NOBLNG
-
Posts
10,231 -
Joined
-
Last visited
Content Type
Profiles
Forums
Events
Gallery
Everything posted by NOBLNG
-

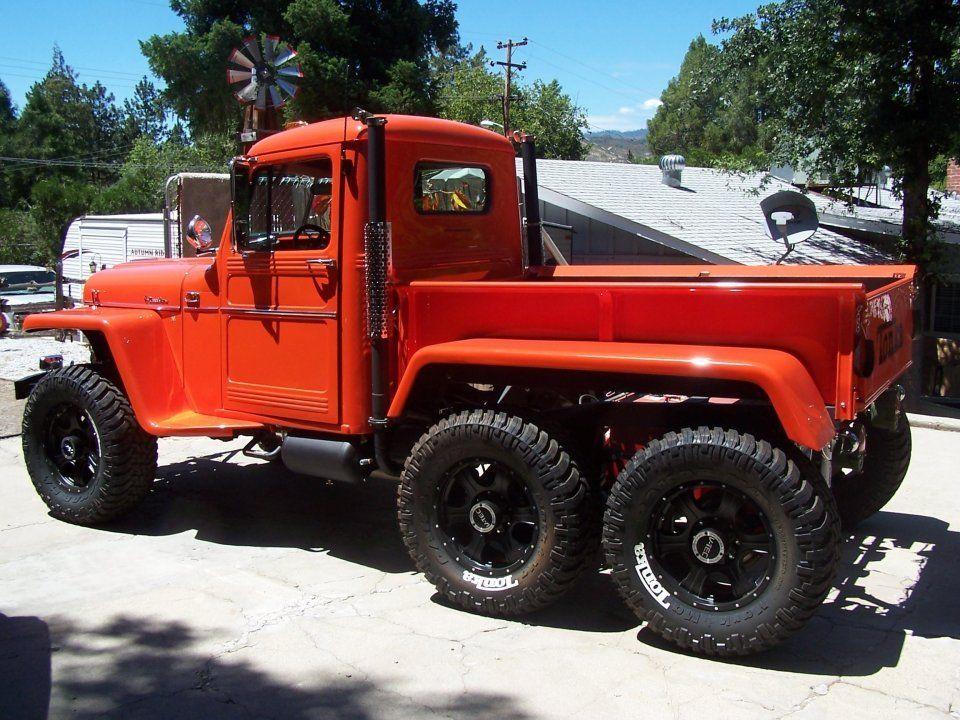
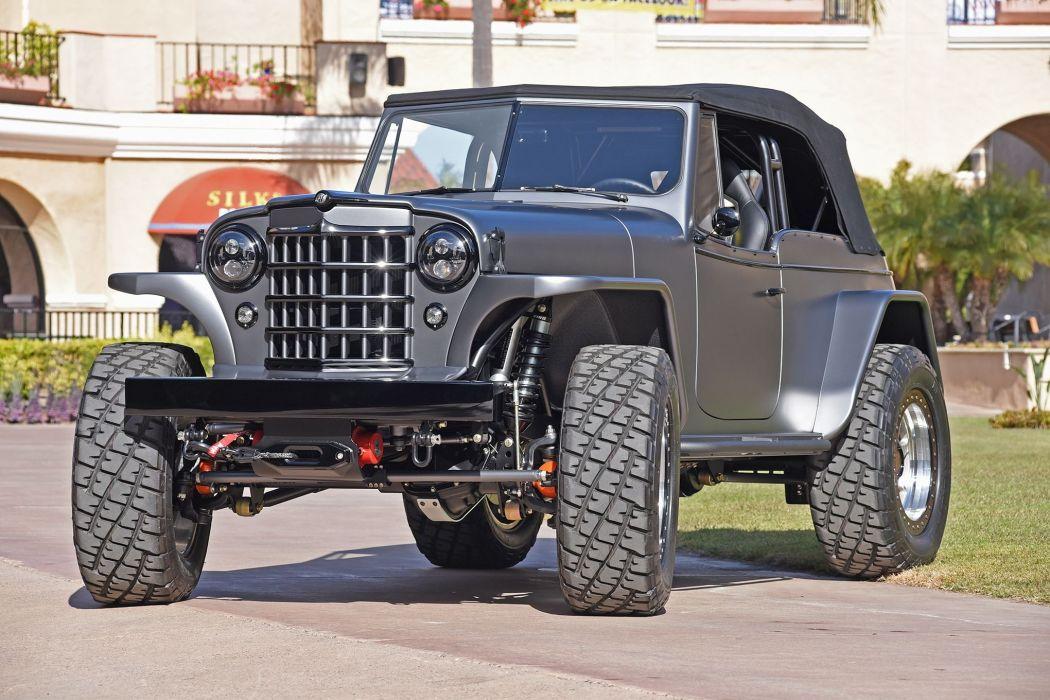
Cool Jeepster
NOBLNG replied to NOBLNG's topic in 1:1 Reference Photos: Auto Shows, Personal vehicles (Cars and Trucks)
And a cool Willys.
-
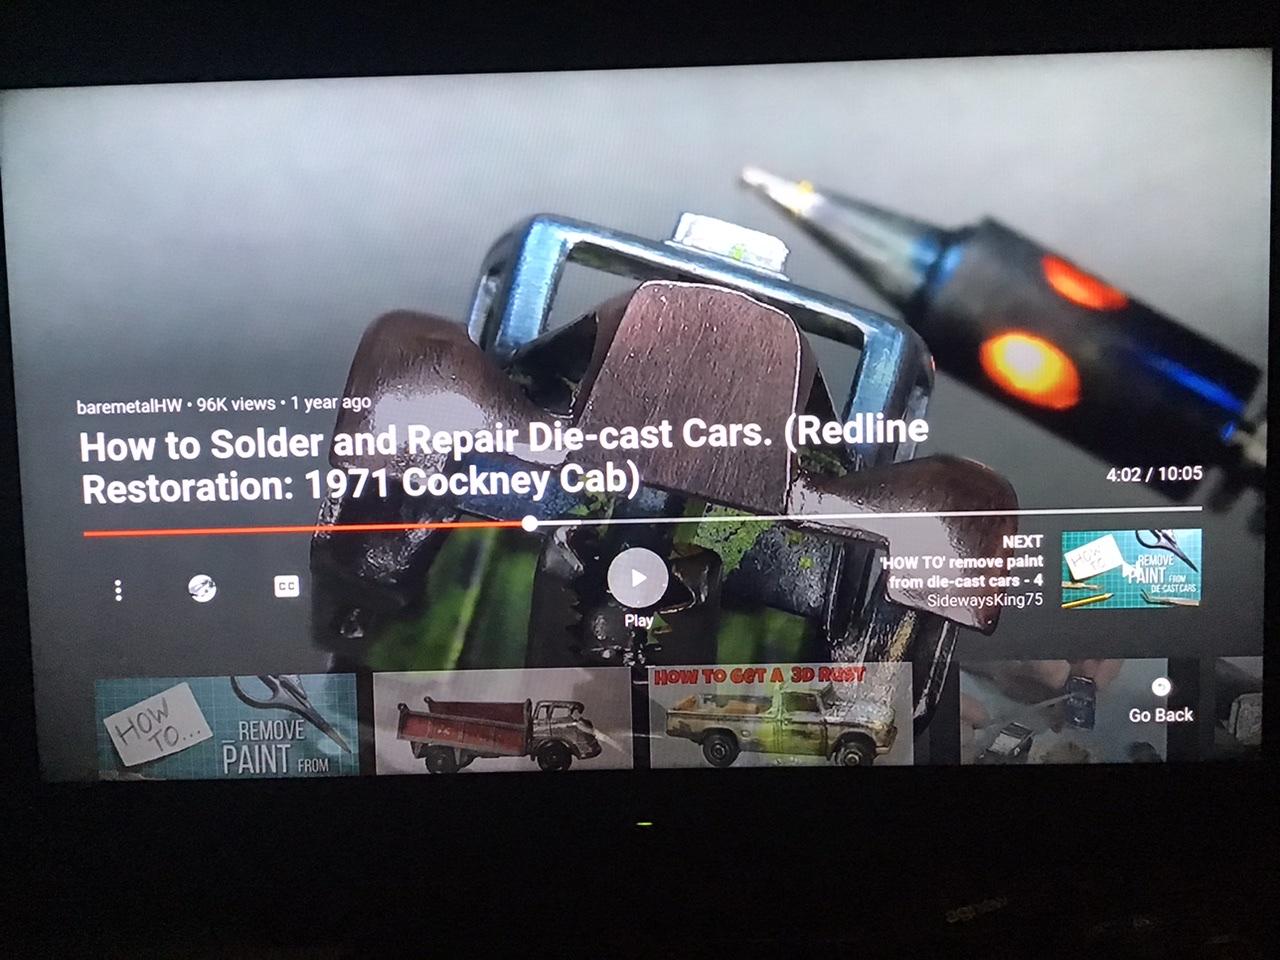
Apparently die cast can be soldered if it is copper plated first. I came across a couple of youtube videos where they used a copper plating kit from Micro Mark and then regular solder. I don’t think it would work very well for the amount I want to add, so I will likely stick with the Milliput or J-B.
-
'60 chevy COE
NOBLNG replied to randx0's topic in WIP: Model Trucks: Pickups, Vans, SUVs, Light Commercial
Interesting! I have a similar project brewing in the back of my mind. Please proceed.? -
This thing looks similar. https://www.ebay.ca/itm/B-G-Racing-Quick-Lift-Lifting-Jack-For-Rally-Car-Powder-Coated-154P/302230002905?epid=573262103&hash=item465e4fdcd9:g:iYUAAOSwBYpdzQsv
-
I sure like this one!
-
TJeepster
NOBLNG replied to NOBLNG's topic in WIP: Model Trucks: Pickups, Vans, SUVs, Light Commercial
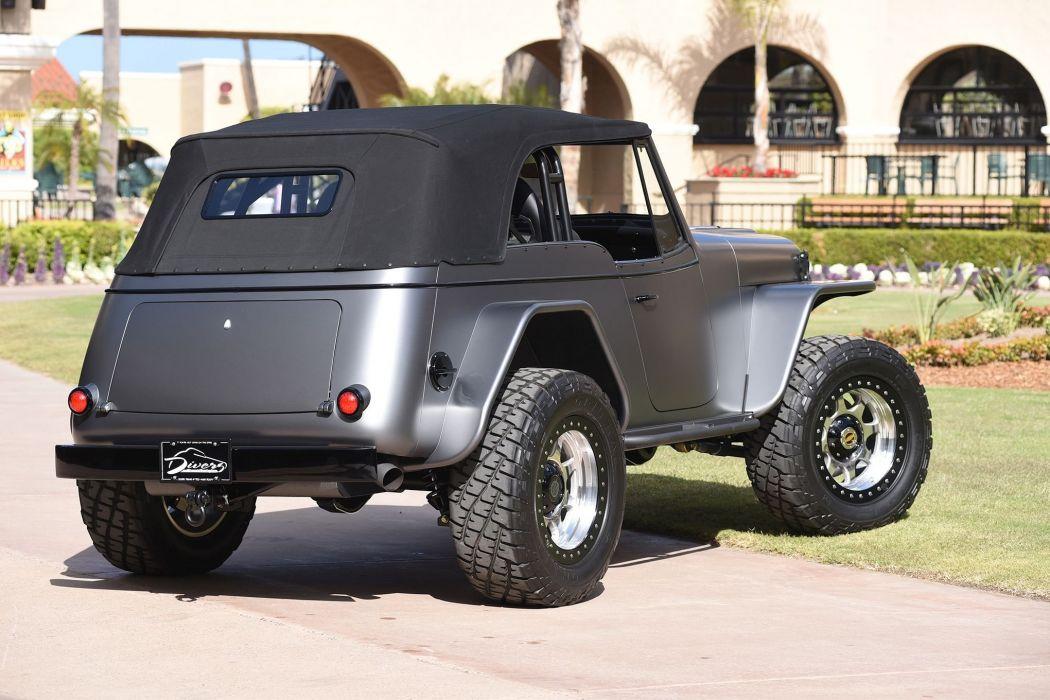
Thanks. I saw a Jeepster years ago on a 4x4 forum that had the front end of a Willys truck grafted on. It was pretty cool! -
‘54 Willys P/U
NOBLNG replied to NOBLNG's topic in WIP: Model Trucks: Pickups, Vans, SUVs, Light Commercial
Thanks. Yes it would be nice! I just ordered another one off e-bay. I may try to cast that one....either by finding someone local who can do it for me or maybe cutting it up and casting flatter sections myself? -
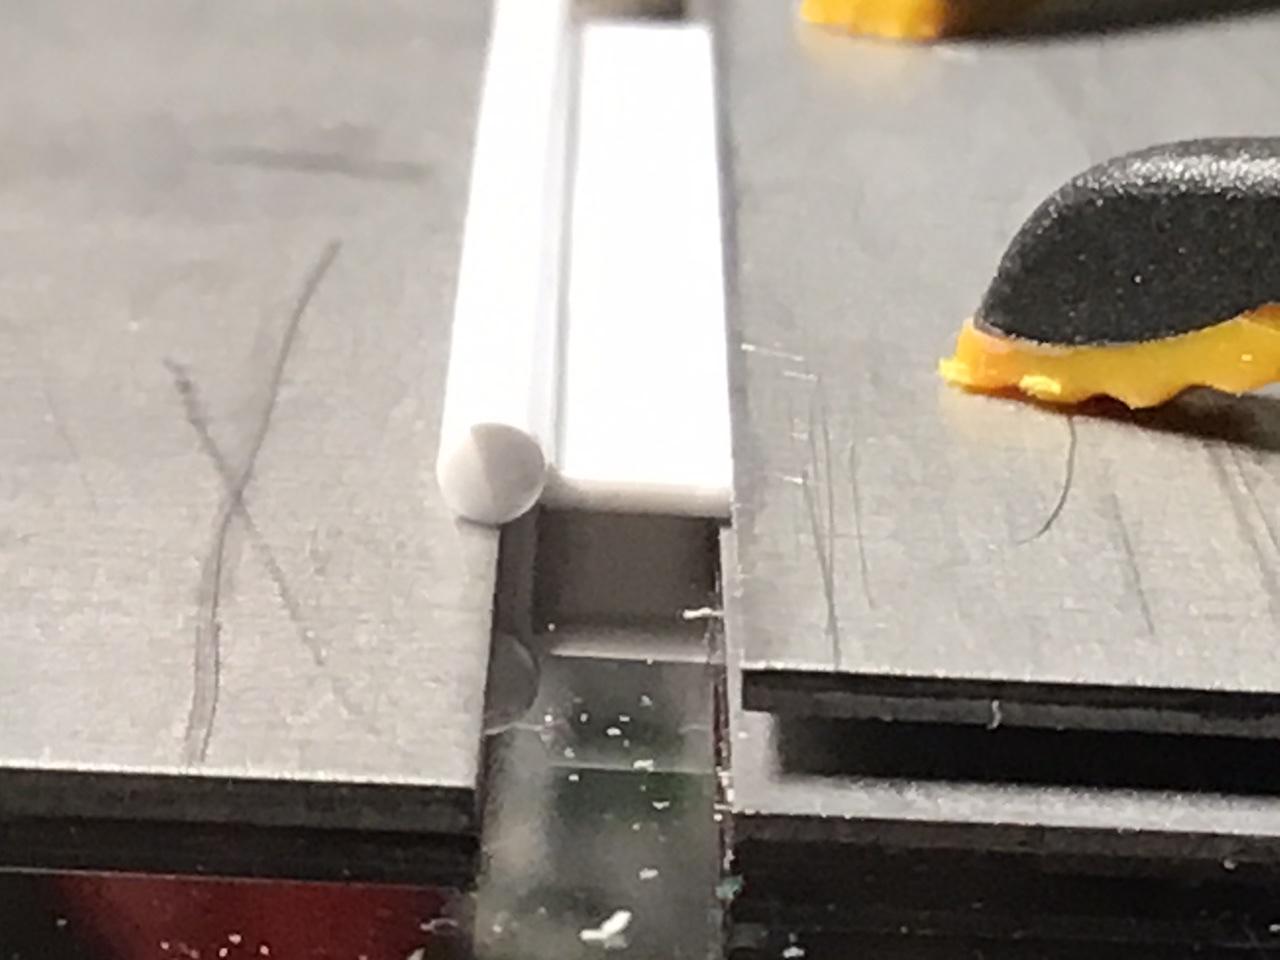
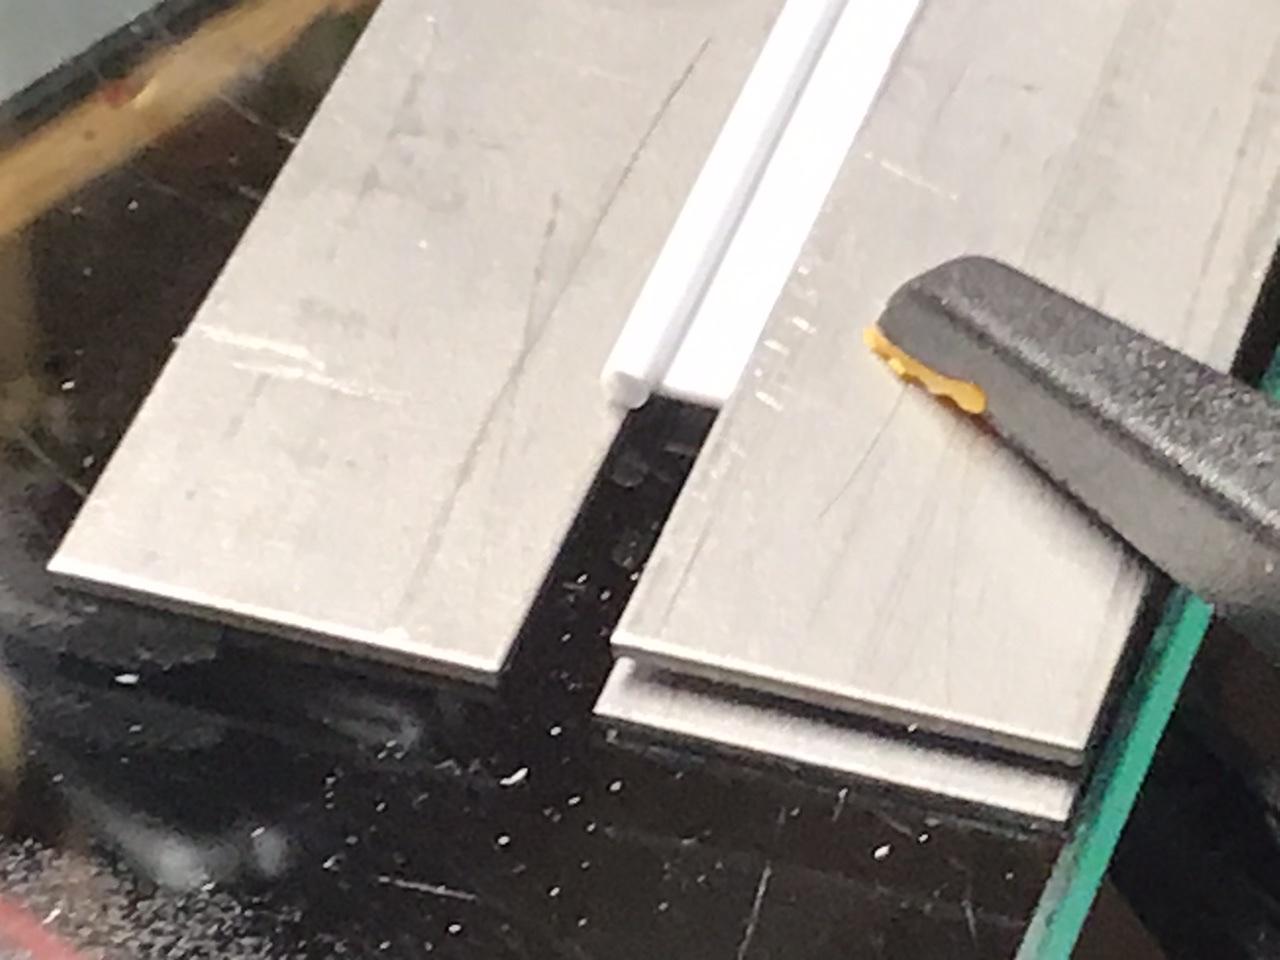
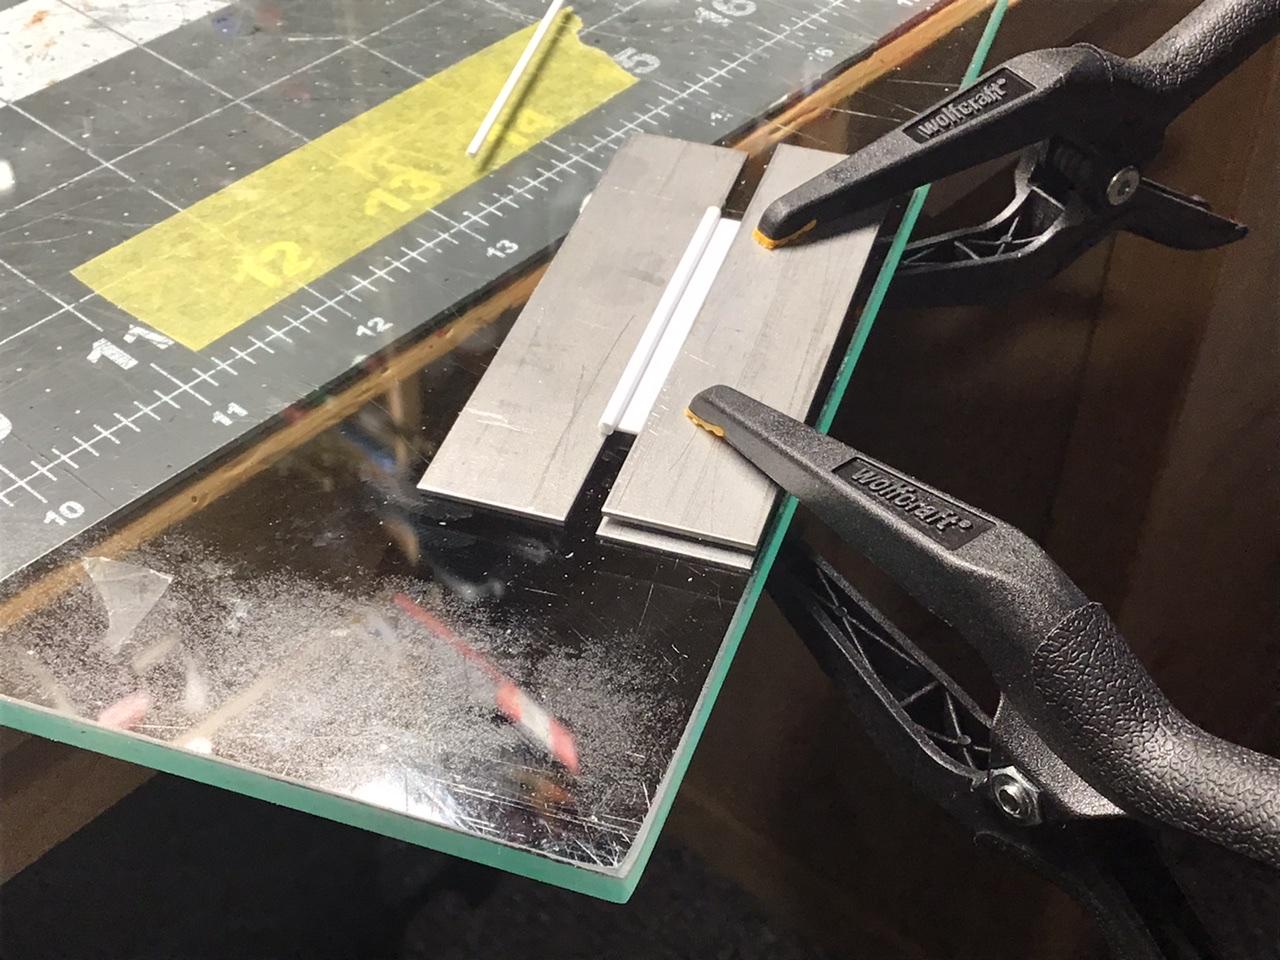
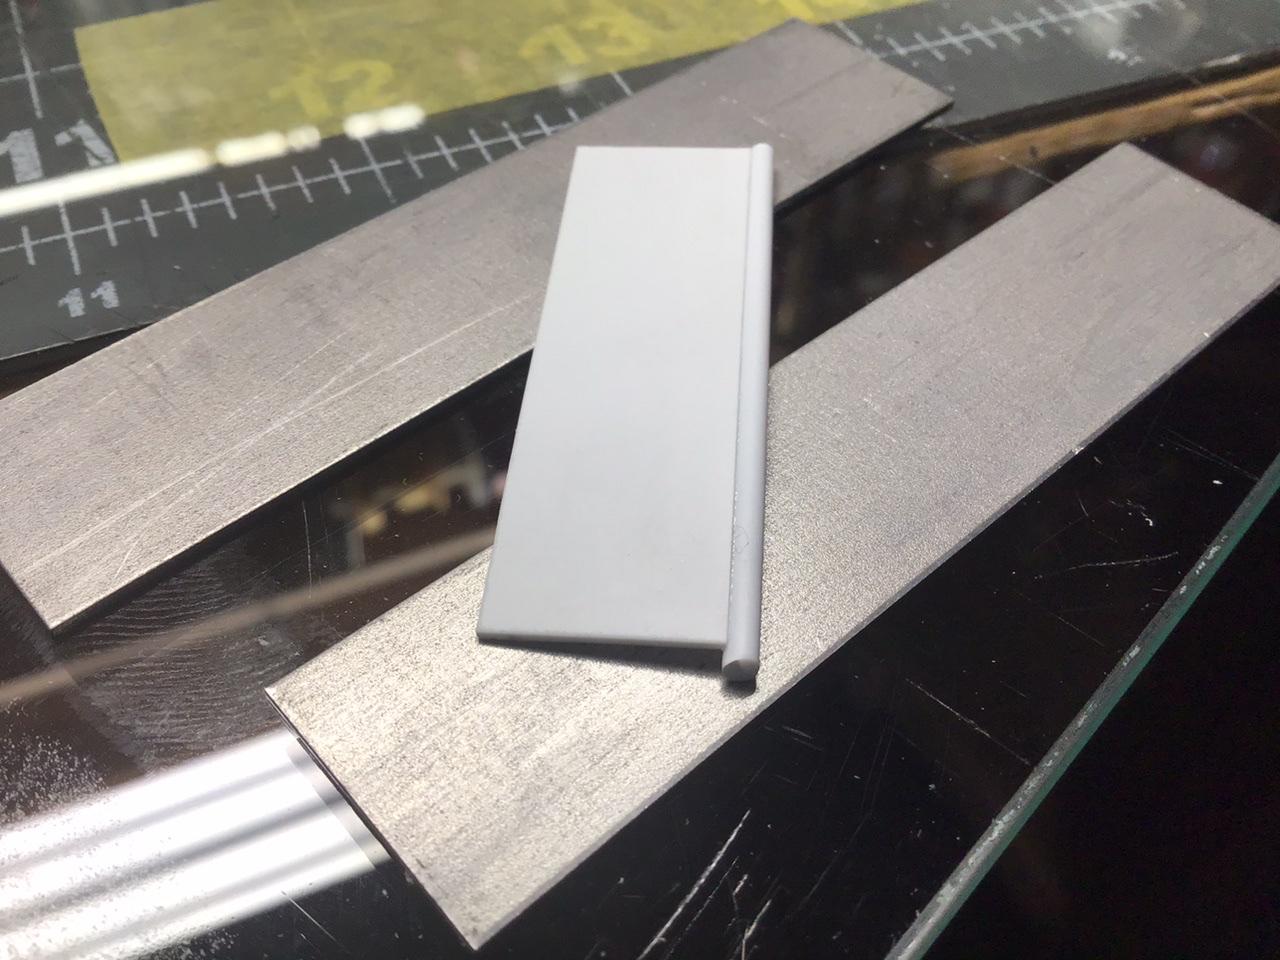
I want to glue round styrene rod to the edge of a styrene sheet so that it is flush on one side. I have done it before by filing a bevel on the edge of the sheet and laying both on a flat surface. I like to use Tamiya extra thin cement for this. The problem is the cement wicks under the parts and they are damaged by getting stuck to the surface. I came up with this idea to leave a void right where the glue joint will be. Now the cement will only seep along the joint itself.
-
The green looks much nicer.
-
Nicely done!
-
Beautiful interior....the whole thing is beautiful.
-
'61 Pontiac Monte Carlo - For Sale!
NOBLNG replied to Mike999's topic in General Automotive Talk (Trucks and Cars)
The front end made me think of a ‘67-‘69 Barracuda.? -
Advice for an Easy to clean Airbrush
NOBLNG replied to Mattilacken's topic in Model Building Questions and Answers
I too have a Paasche H and love it! It is very easy to clean being single action external mix. I have an Iwata eclipse that I bought previously, but have not picked it up since getting the Paasche. -
Very nice!
-
AMT 1955 Chevrolet Bel Air 2-door Sedan - India Ivory & Harvest Gold
NOBLNG replied to RandyB.'s topic in Model Cars
Super nice job. Love it! -
Nice job so far. Looks like you’ve got that roof blended in pretty good. I just finished an AMT ‘36....and that roof does take a bit of work to look right
-
TJeepster
NOBLNG replied to NOBLNG's topic in WIP: Model Trucks: Pickups, Vans, SUVs, Light Commercial
Thanks! It’s on the back burner right now, but I hope to get to get back to it soon.? I took the summer off and then started a few other projects, trying to get myself motivated again. Thanks to everyone for their interest. -
Cool. I like these older Chevelles. I’m watching.?
-
Wow, nice job on this! Certainly couldn’t lose that one in the parking lot!?
-
Fabulous looking work on this one. It looks like really nice kit.
-
Tamiya Color & number needed
NOBLNG replied to Mike Stem's topic in Model Building Questions and Answers
I believe Tamiya’s “PS” paint line is intended for the inside of clear polycarbonate RC car bodies. I’ve never tried it and don’t know how it behaves on styrene? Maybe someone on here has experience with it? -
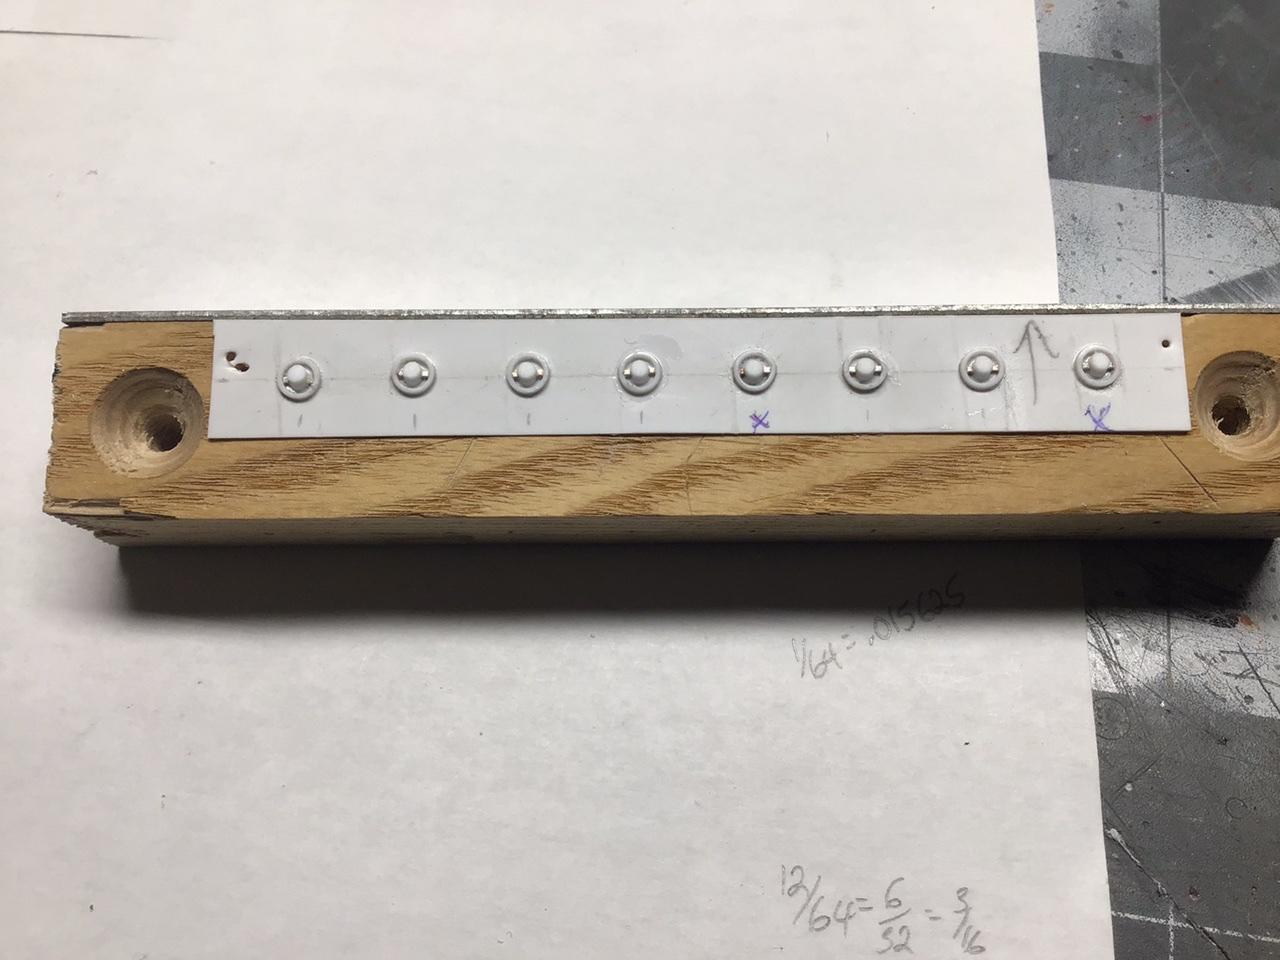
Thanks Rob. A bit out of scale doesn’t bother me much either usually. The new ones would scale out to 4-11/16” diameter and the smallest I could make the originals was 5-1/8” so that is quite a difference. If anyone knows of some good quality resin ones that are available...please don’t tell me now!
-
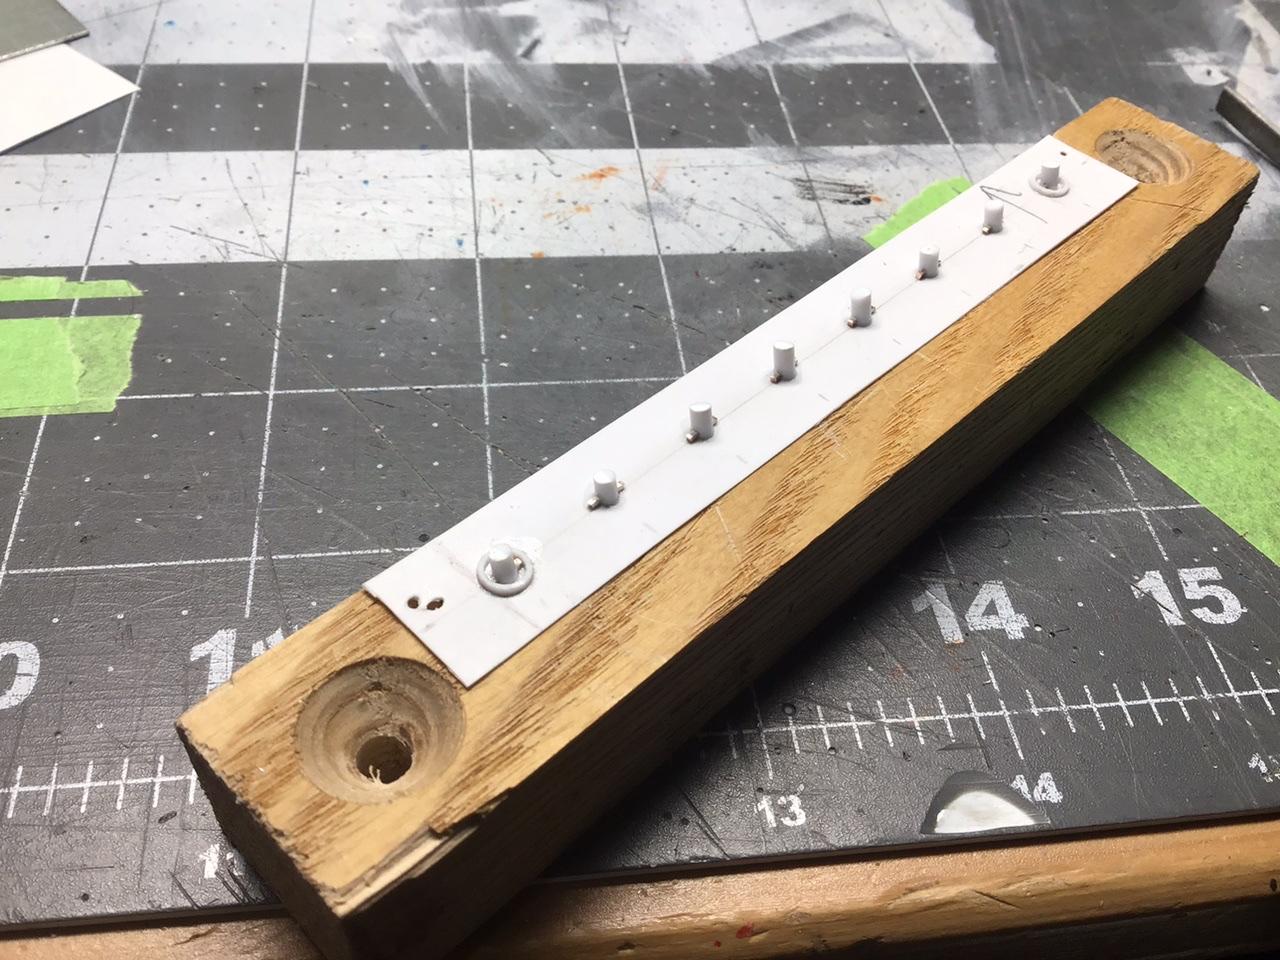
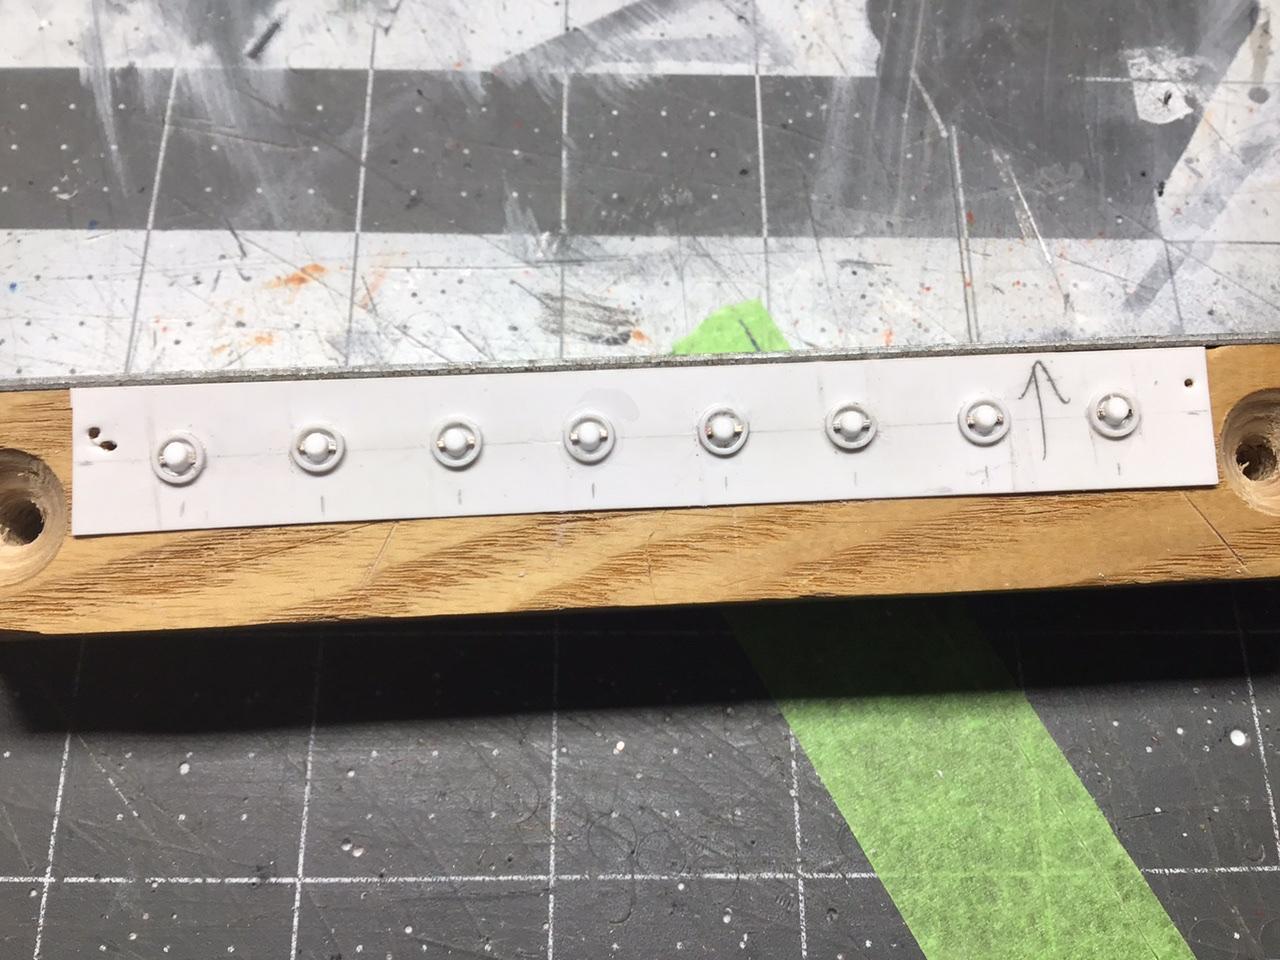
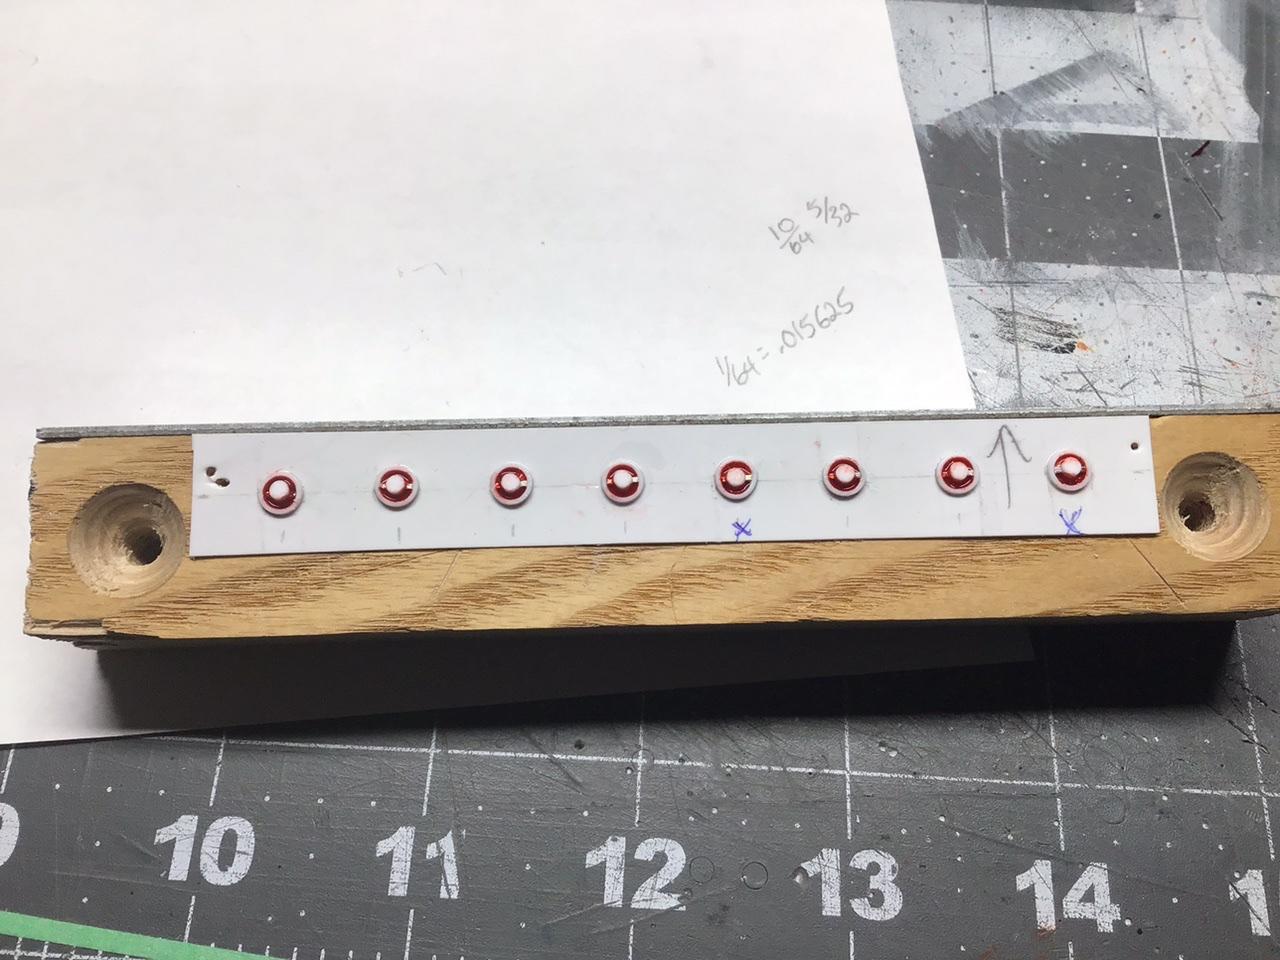
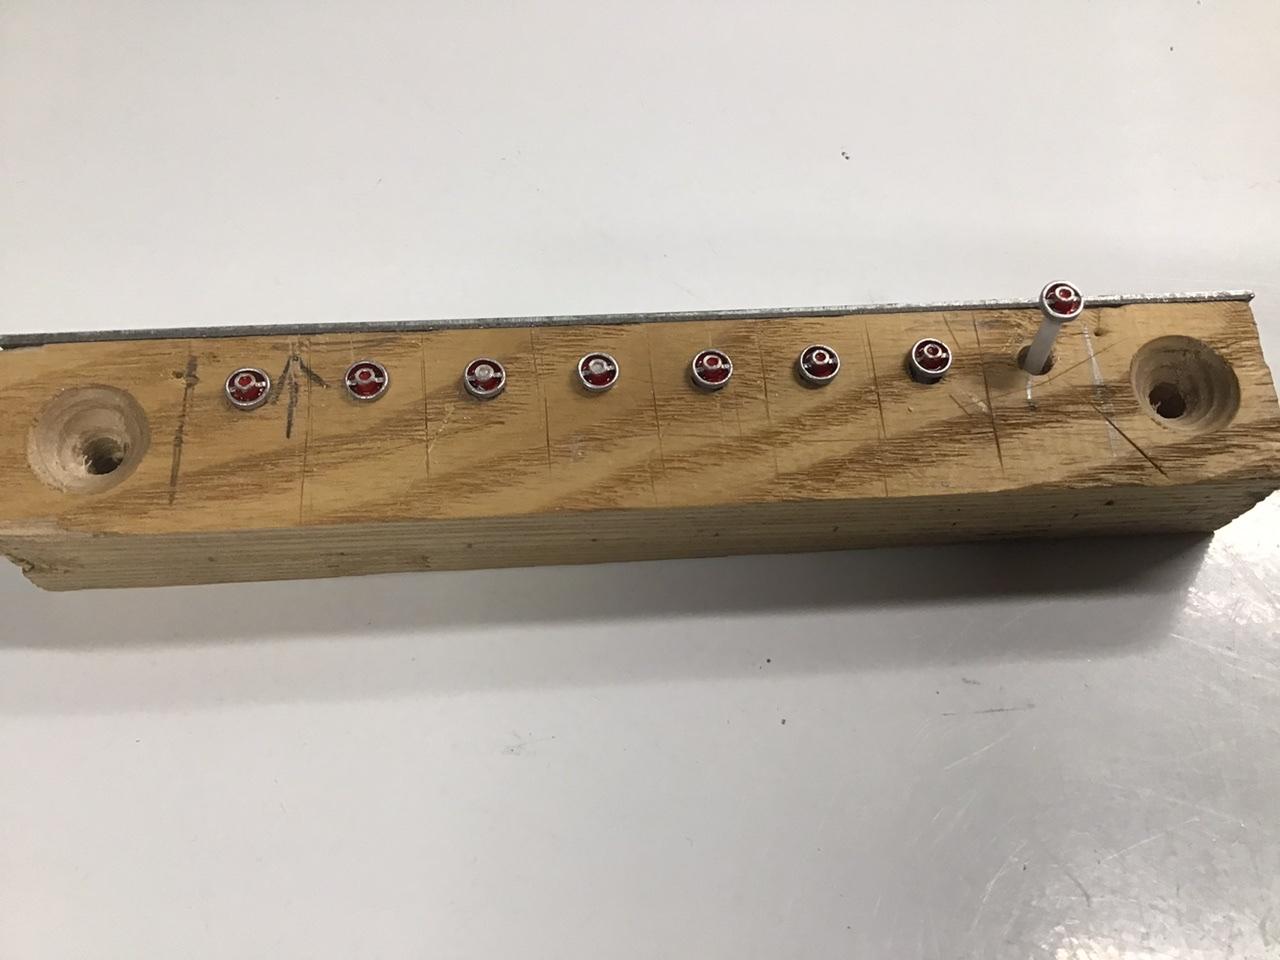
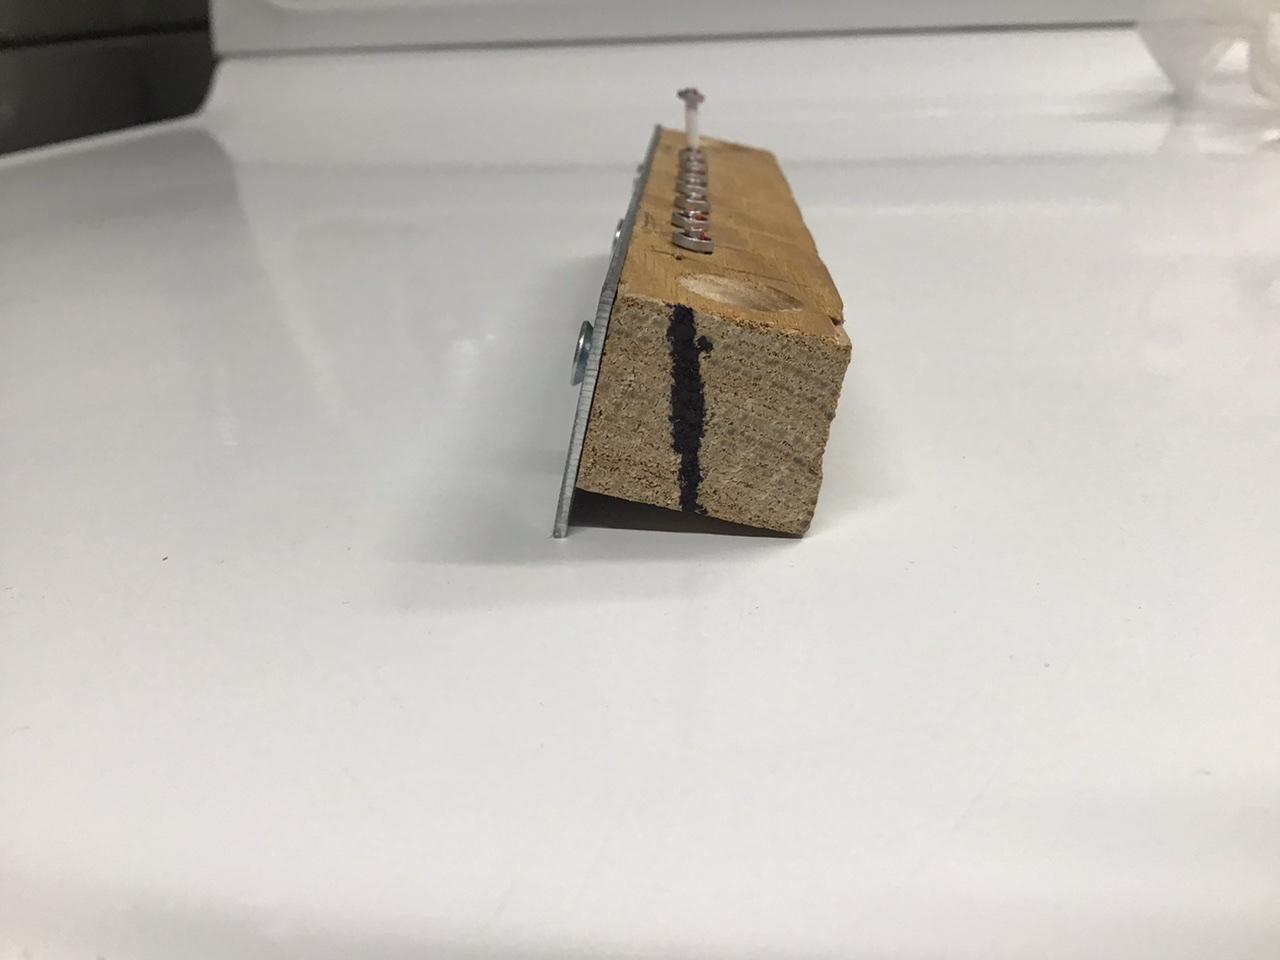
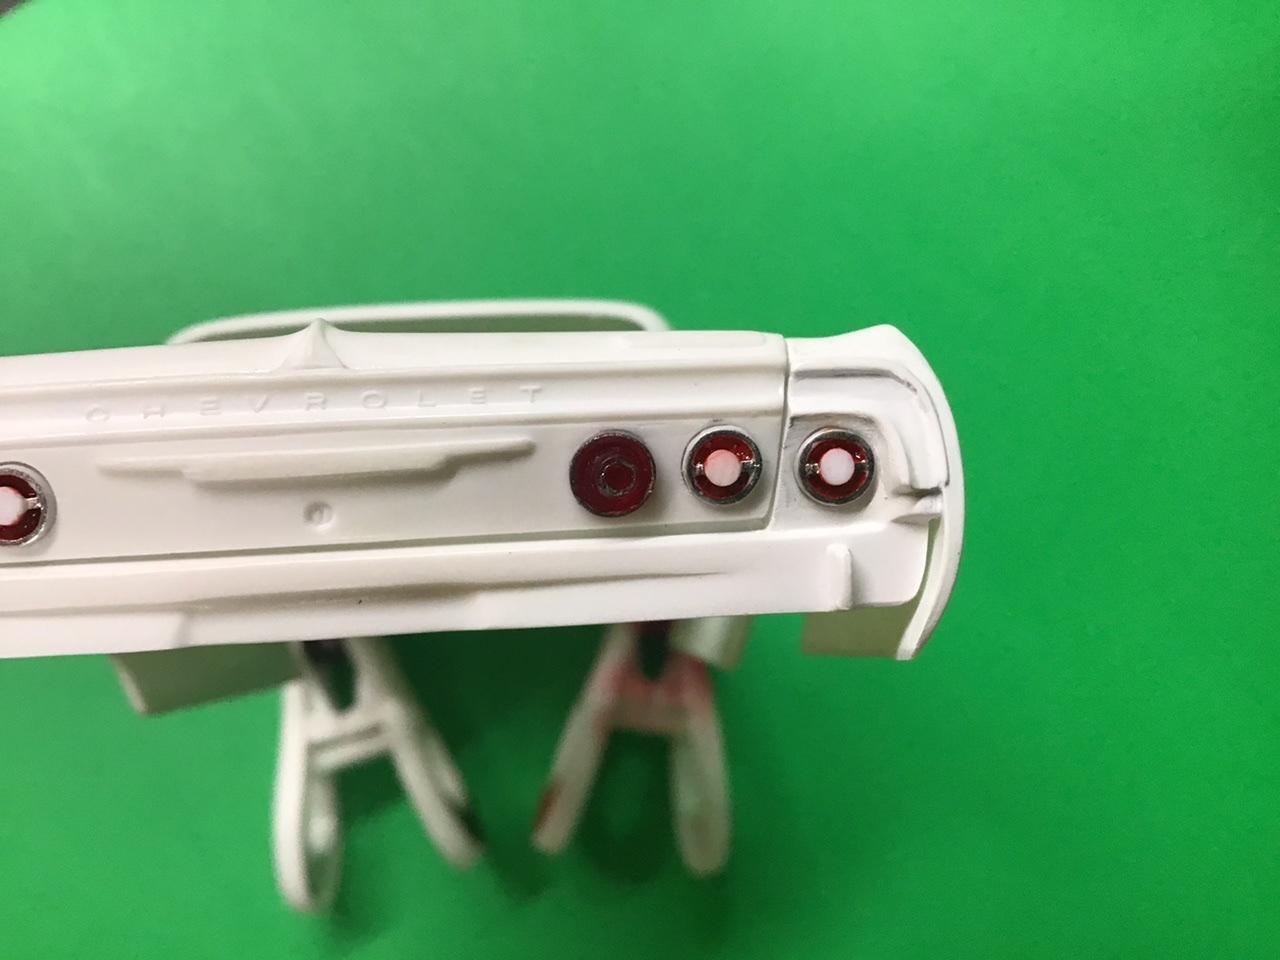
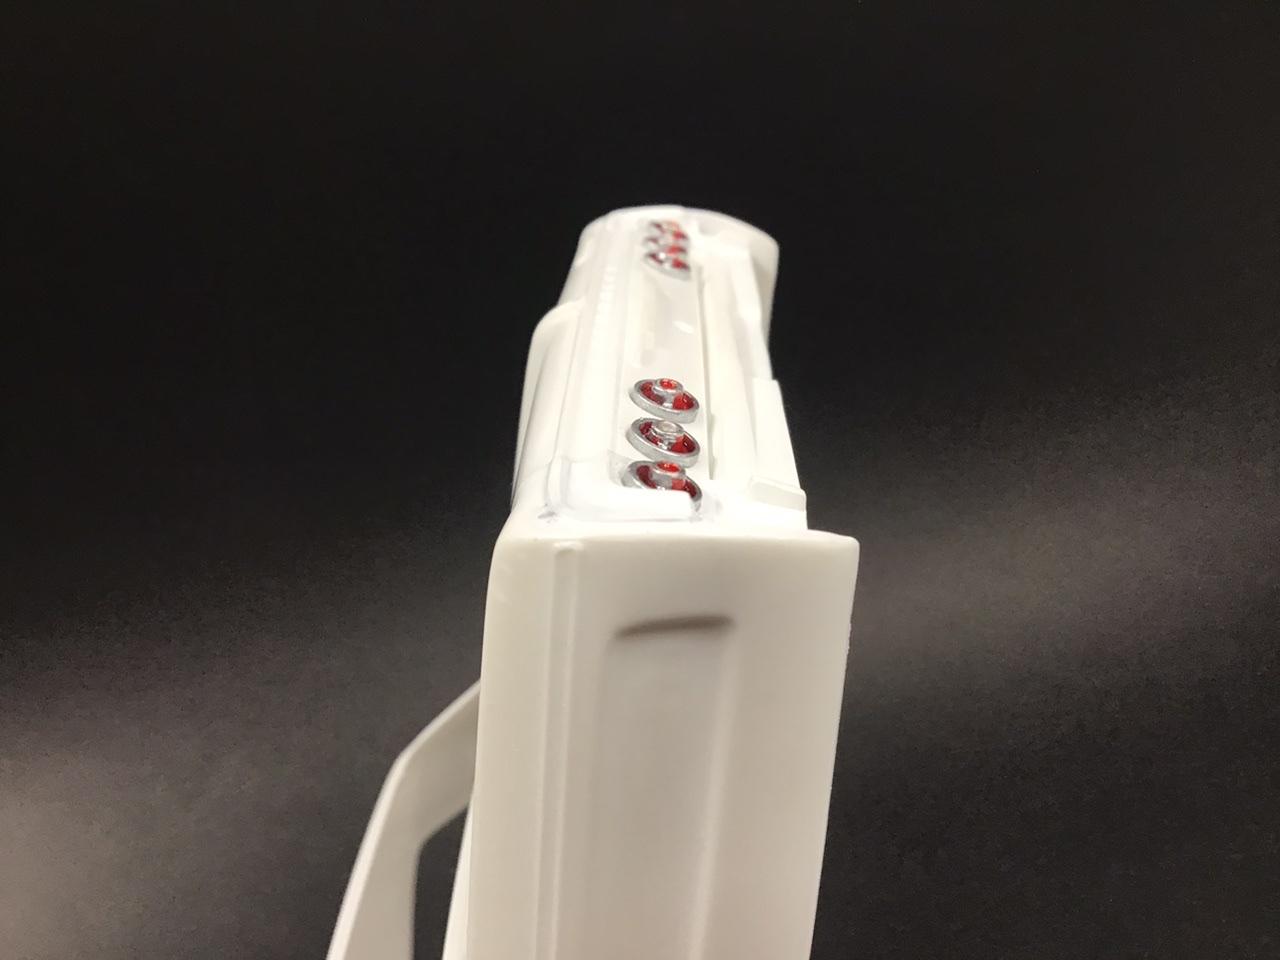
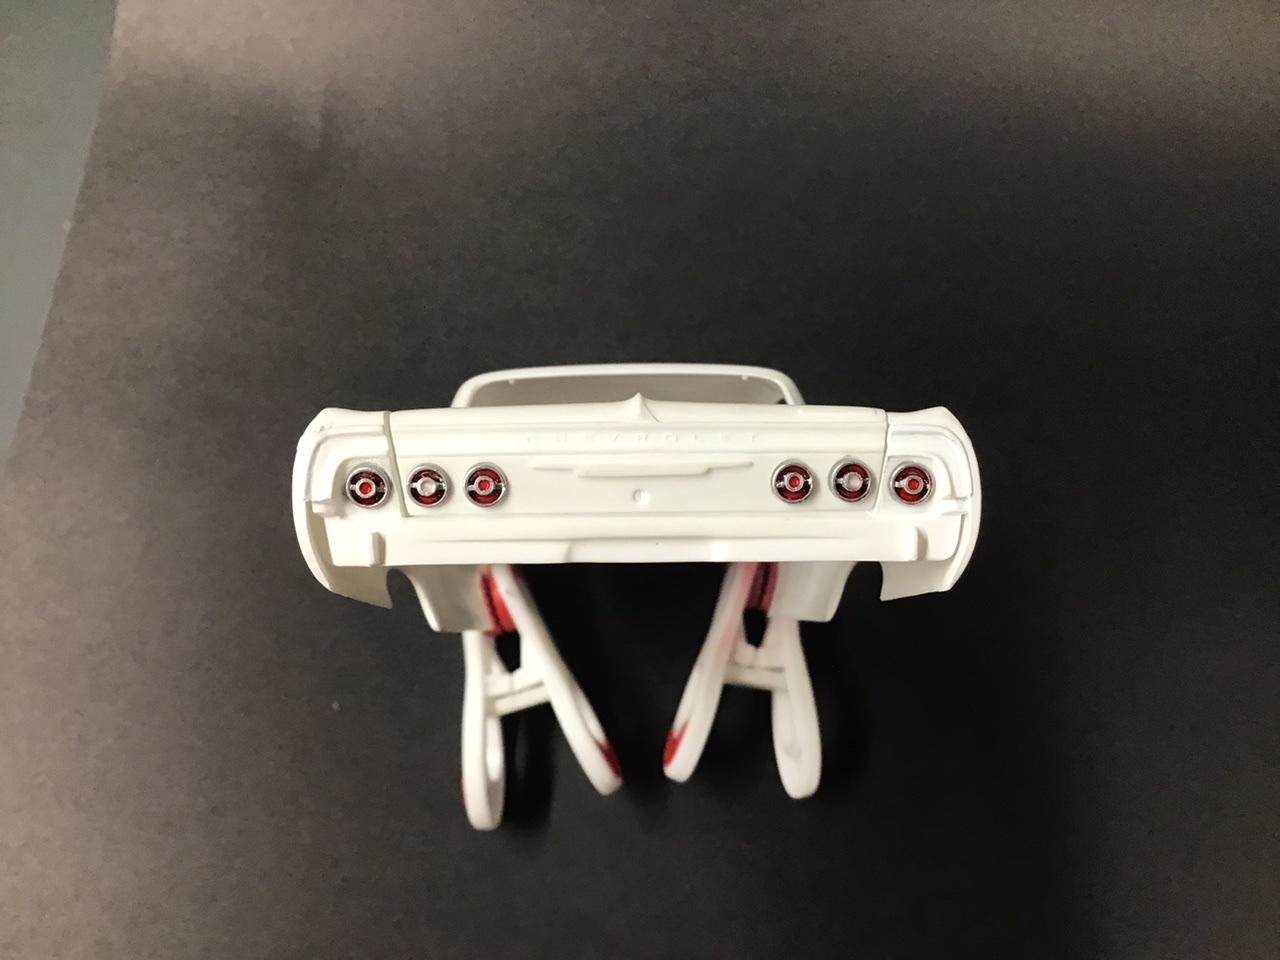
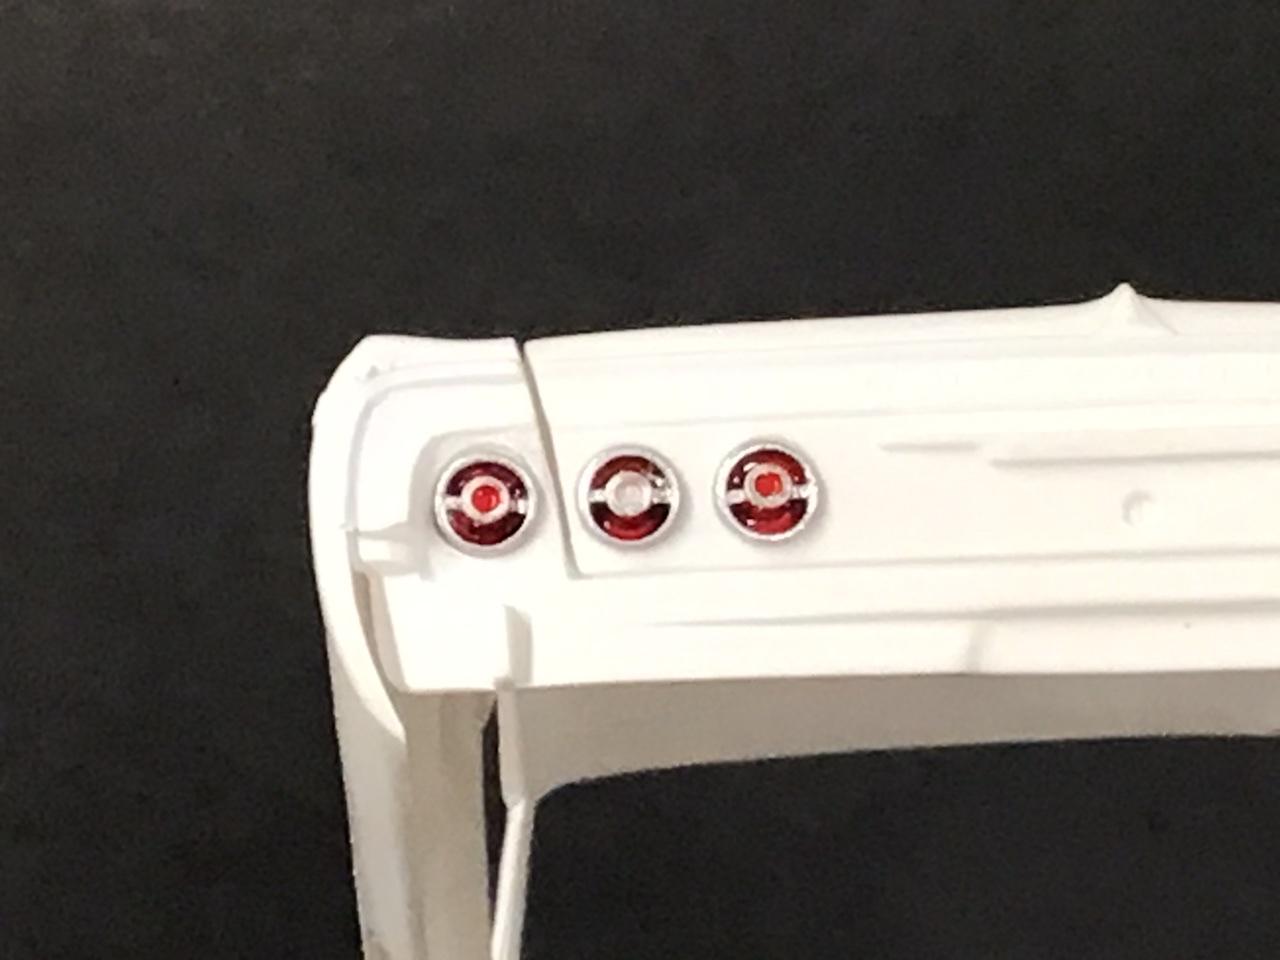
The lights themselves I made from .080” styrene rod, 3/16” od tube, .025”x.025” square wire, and some .015 styrene sheet. I made a wooden jig to keep all the .080” center rods canted at the correct angle. With the square wire mounted in them and all aligned horizontally, I glued the center rods into the styrene sheet first. Once that was dry I added the outer rings and just eye-balled them into position since they are not really “centered” on the centers. ? The red lens is just Tamiya X-27 clear red. The center bezels I made from .016” wire wrapped around a .046” drill bit and slightly squashed. Outer bezels are painted with Model Master chrome silver.
-
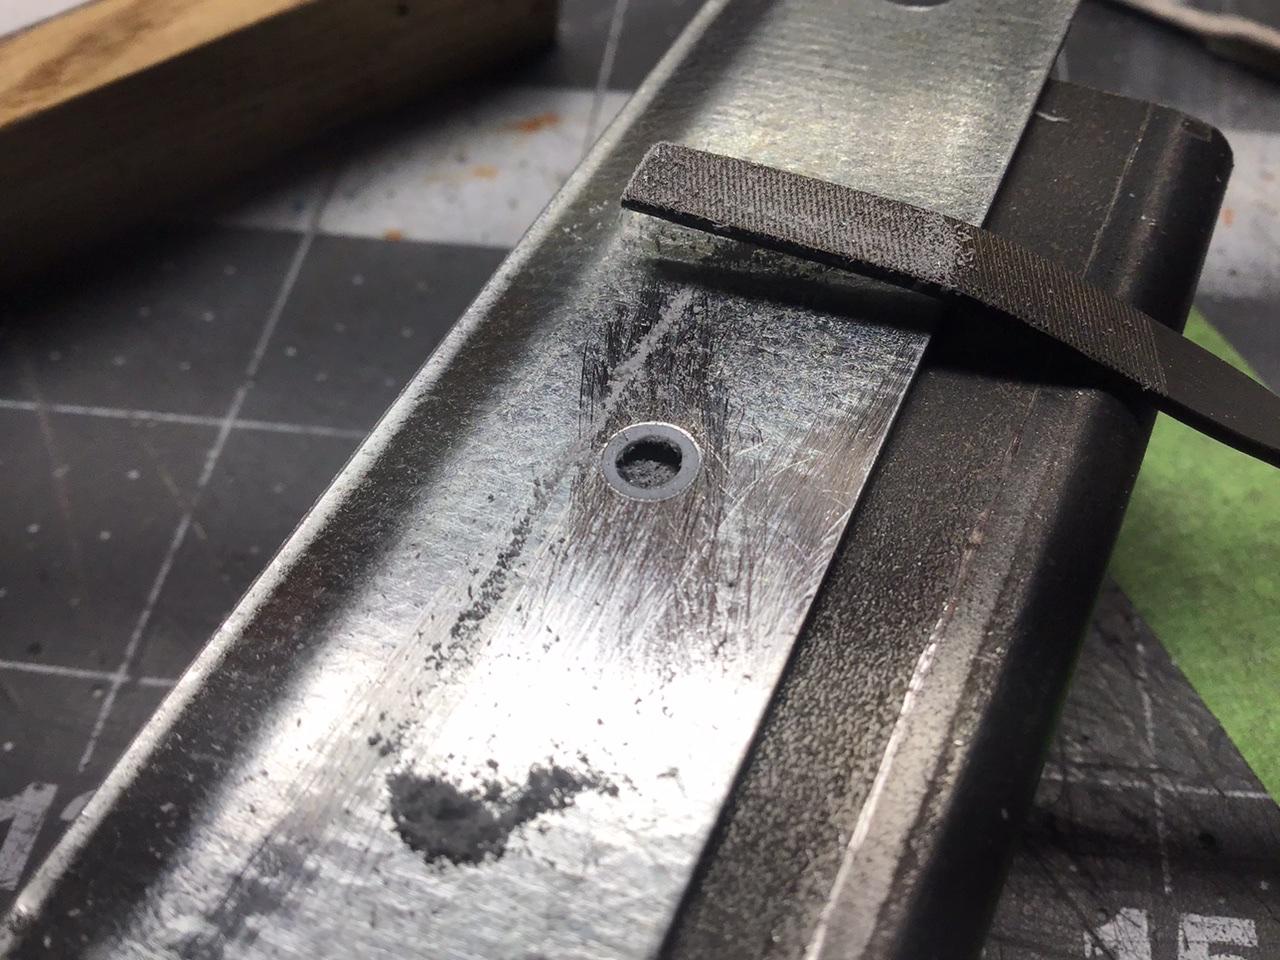
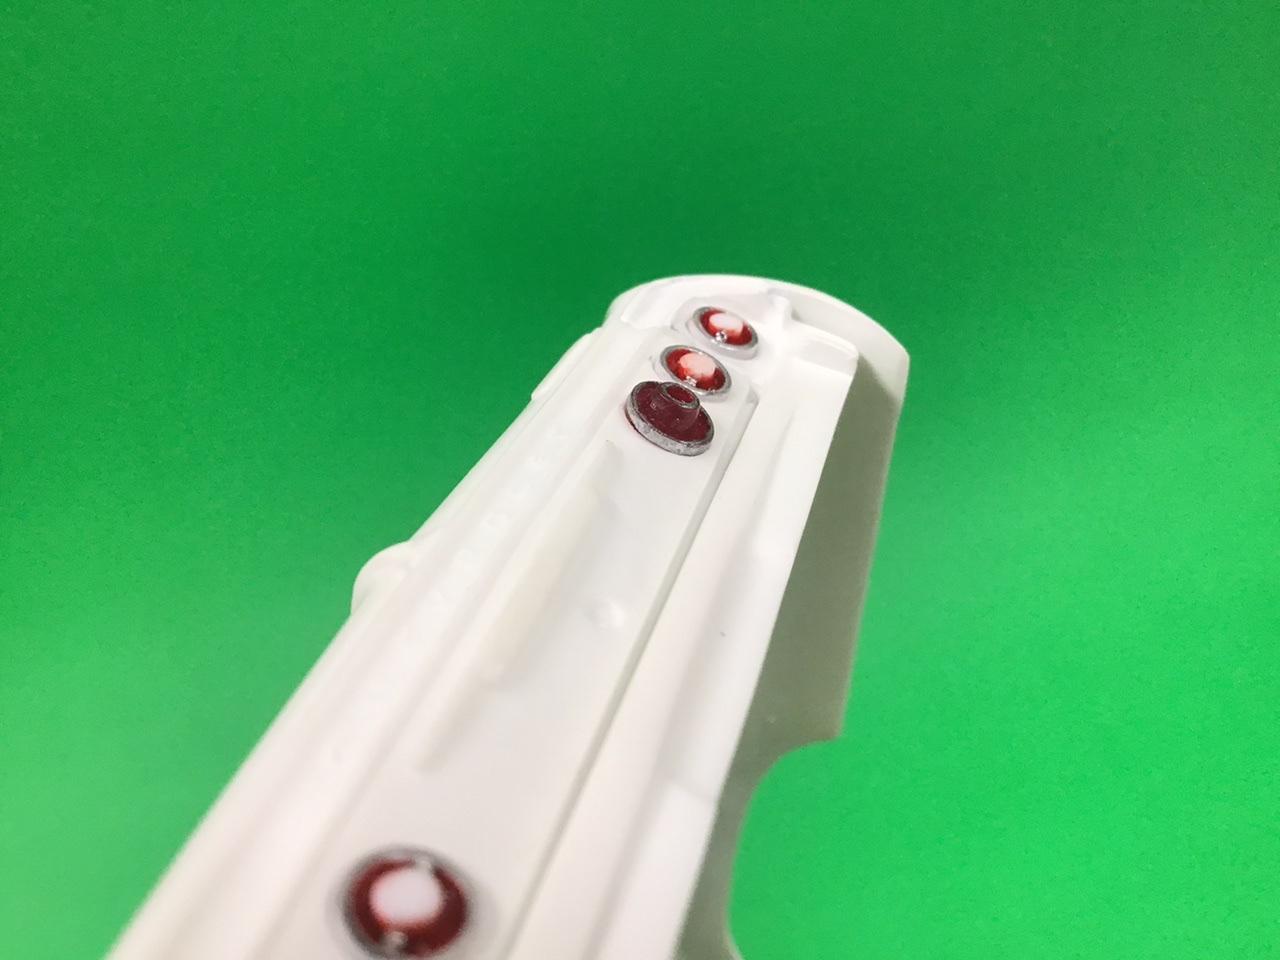
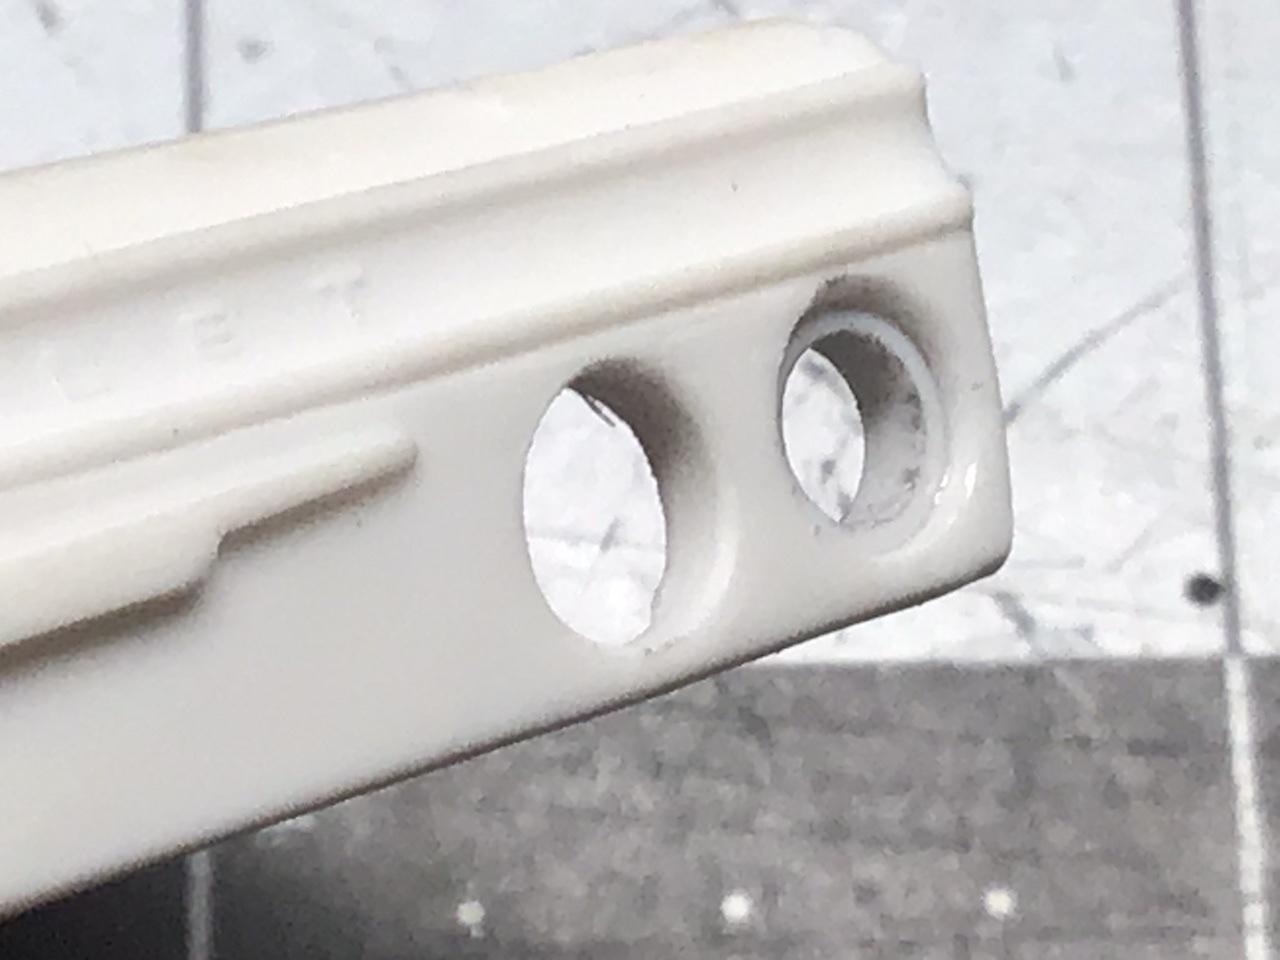
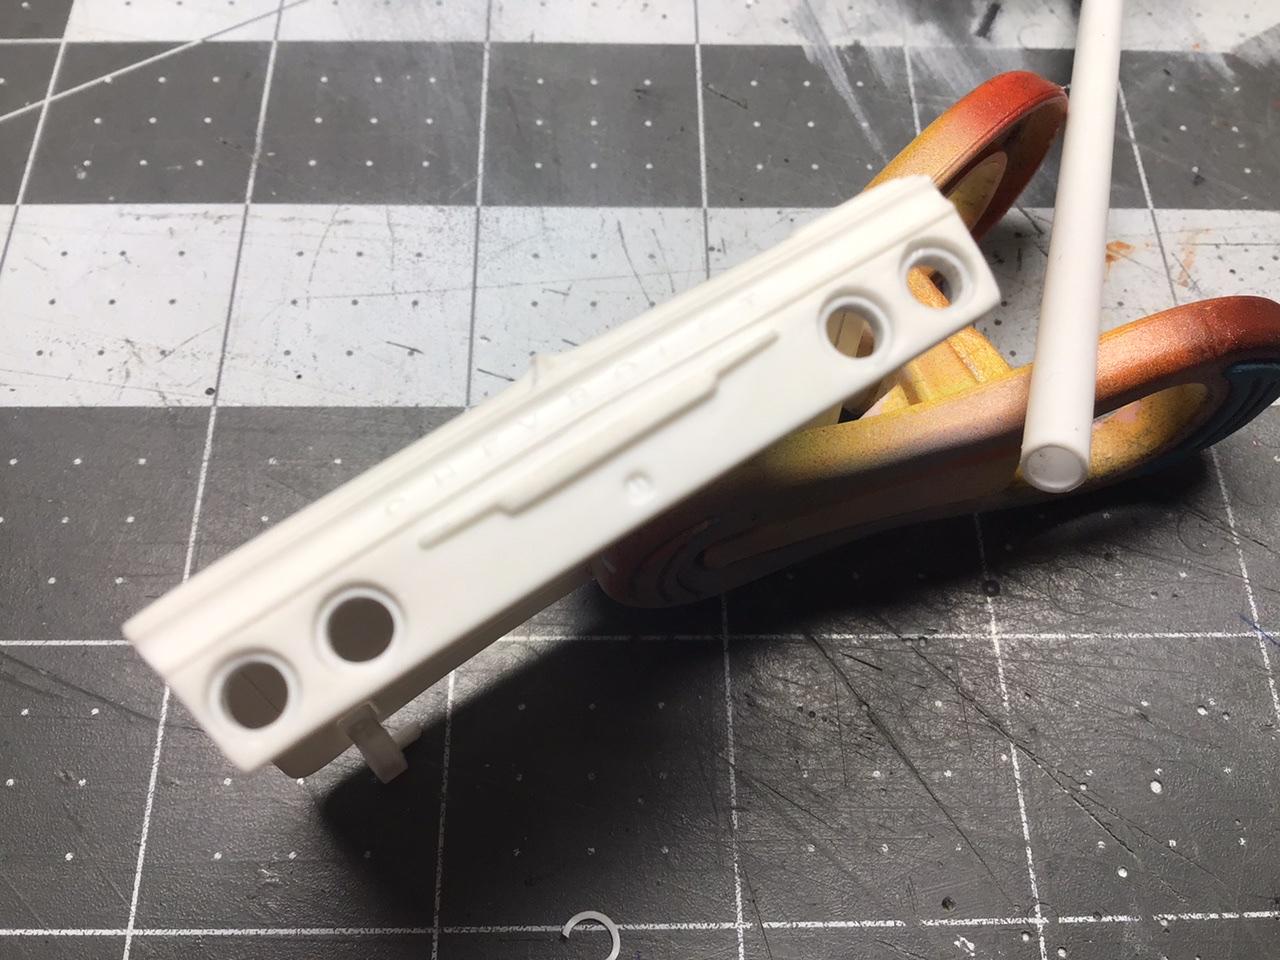
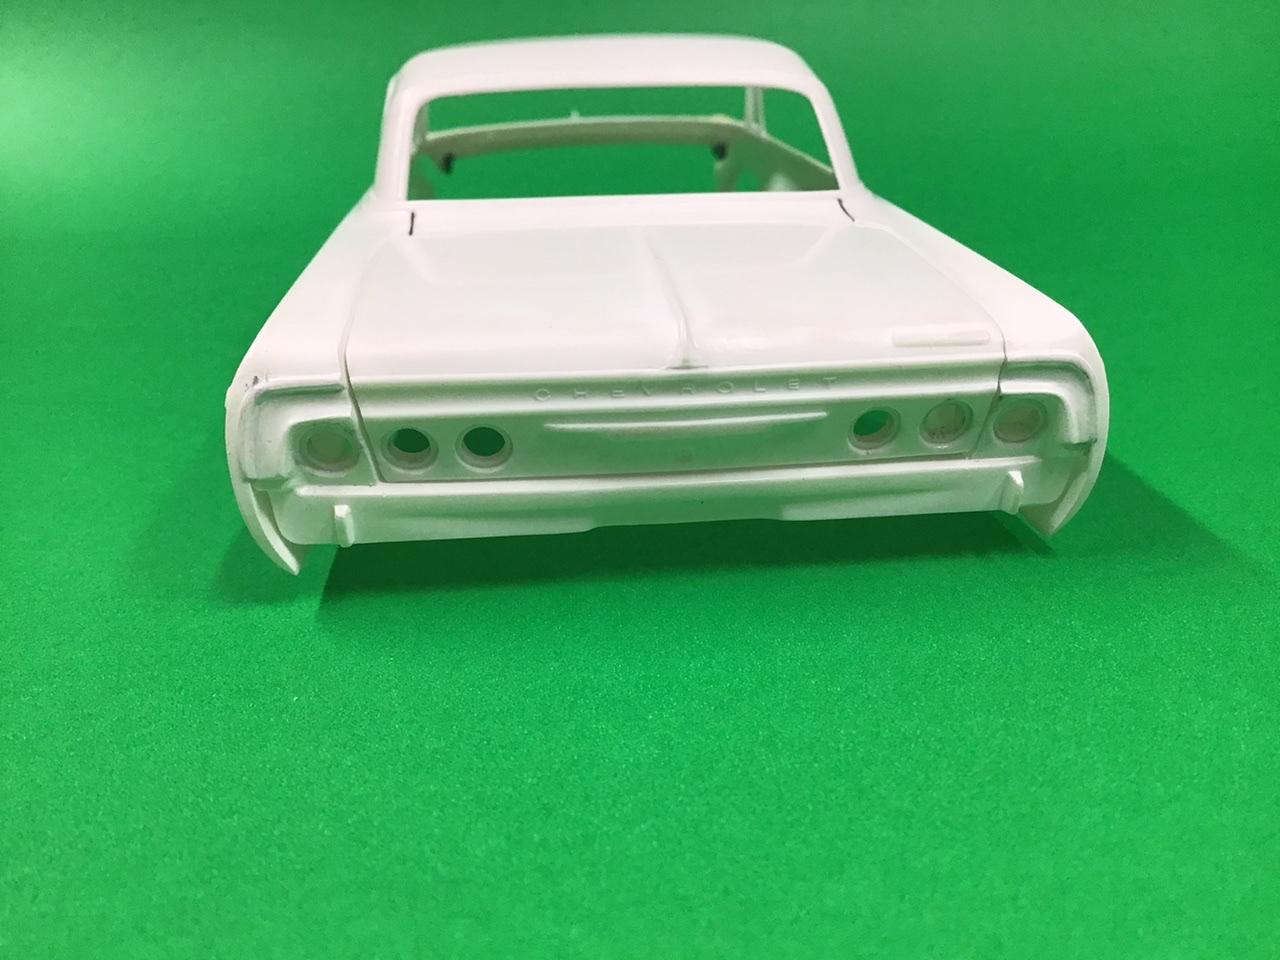
Well I finally got these tail lights done to my satisfaction. ? They’re not perfect, but they are better than the kit pieces. I wound up drilling out the body with a 3/16” drill bit. I then added a sleeve of styrene tube slightly recessed in the hole to act as a depth stop for the tail lights.
-
Keeping things parallel and square
NOBLNG replied to Chariots of Fire's topic in Tips, Tricks, and Tutorials
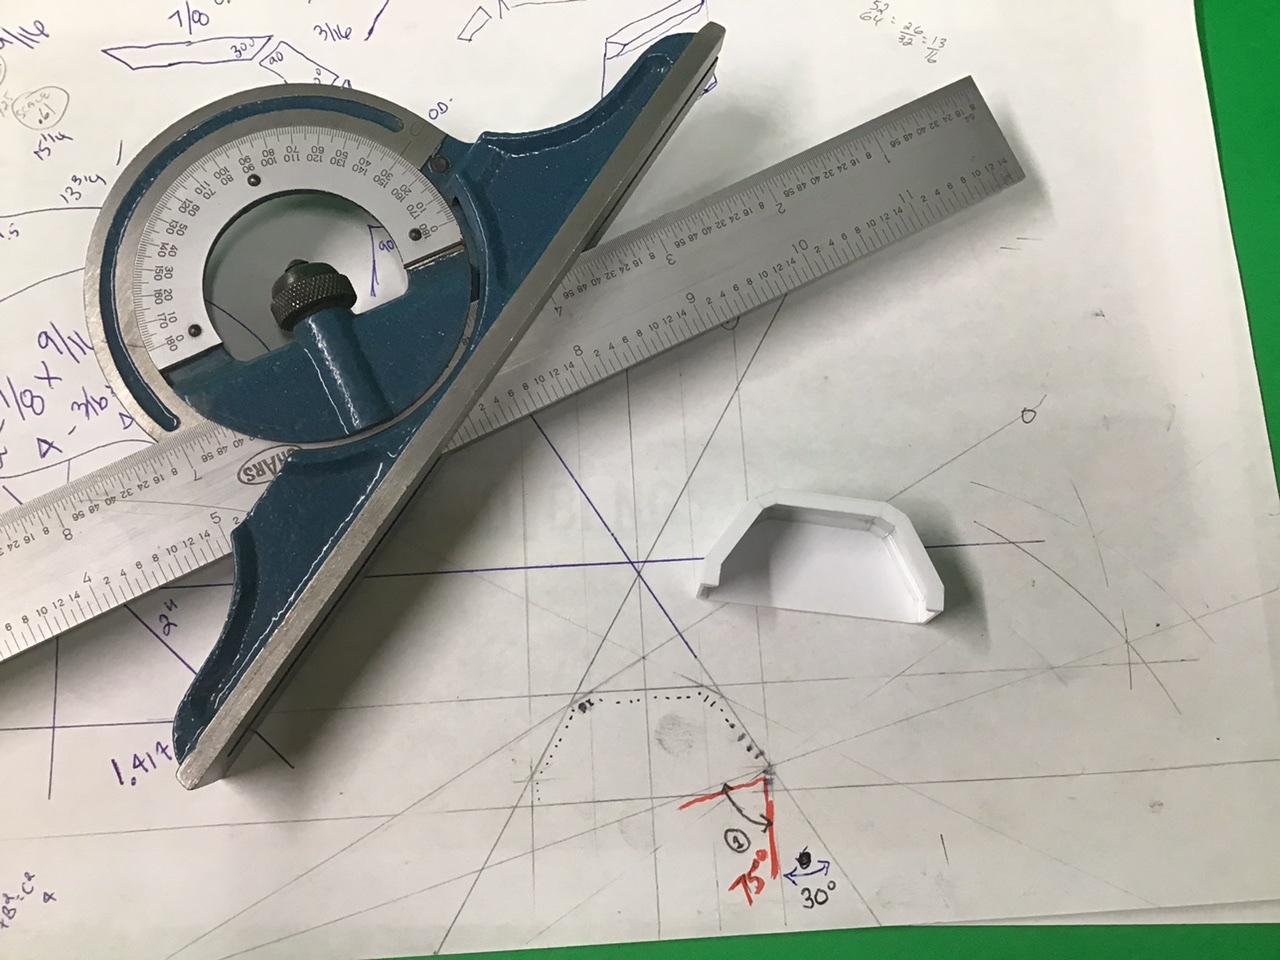
I have a small (12”) press brake/shear/roller that I used to bend the metal. It could possibly be done carefully with just a bench vise and a hammer?? To get the angle bang on I used a combo square/protractor. I used the same method with a compass that you used for the perpendicular line to split the mitre angles when laying out these fenders. Here I needed 180 degrees from six 30 degree mitres.