NOBLNG
-
Posts
10,231 -
Joined
-
Last visited
Content Type
Profiles
Forums
Events
Gallery
Everything posted by NOBLNG
-
You’ve been working on it for 25 years? It is coming along very nicely!? I love the color.
-
Looking good! I’ve done one of these, it is a nice kit.
-
Nicely done.
-
Beautiful!?
-
 I have grandiose plans to cut it up and cast it possibly after fixing some issues. I have another that I am currently working on. http://www.modelcarsmag.com/forums/topic/156181-‘54-willys-pu/
 -
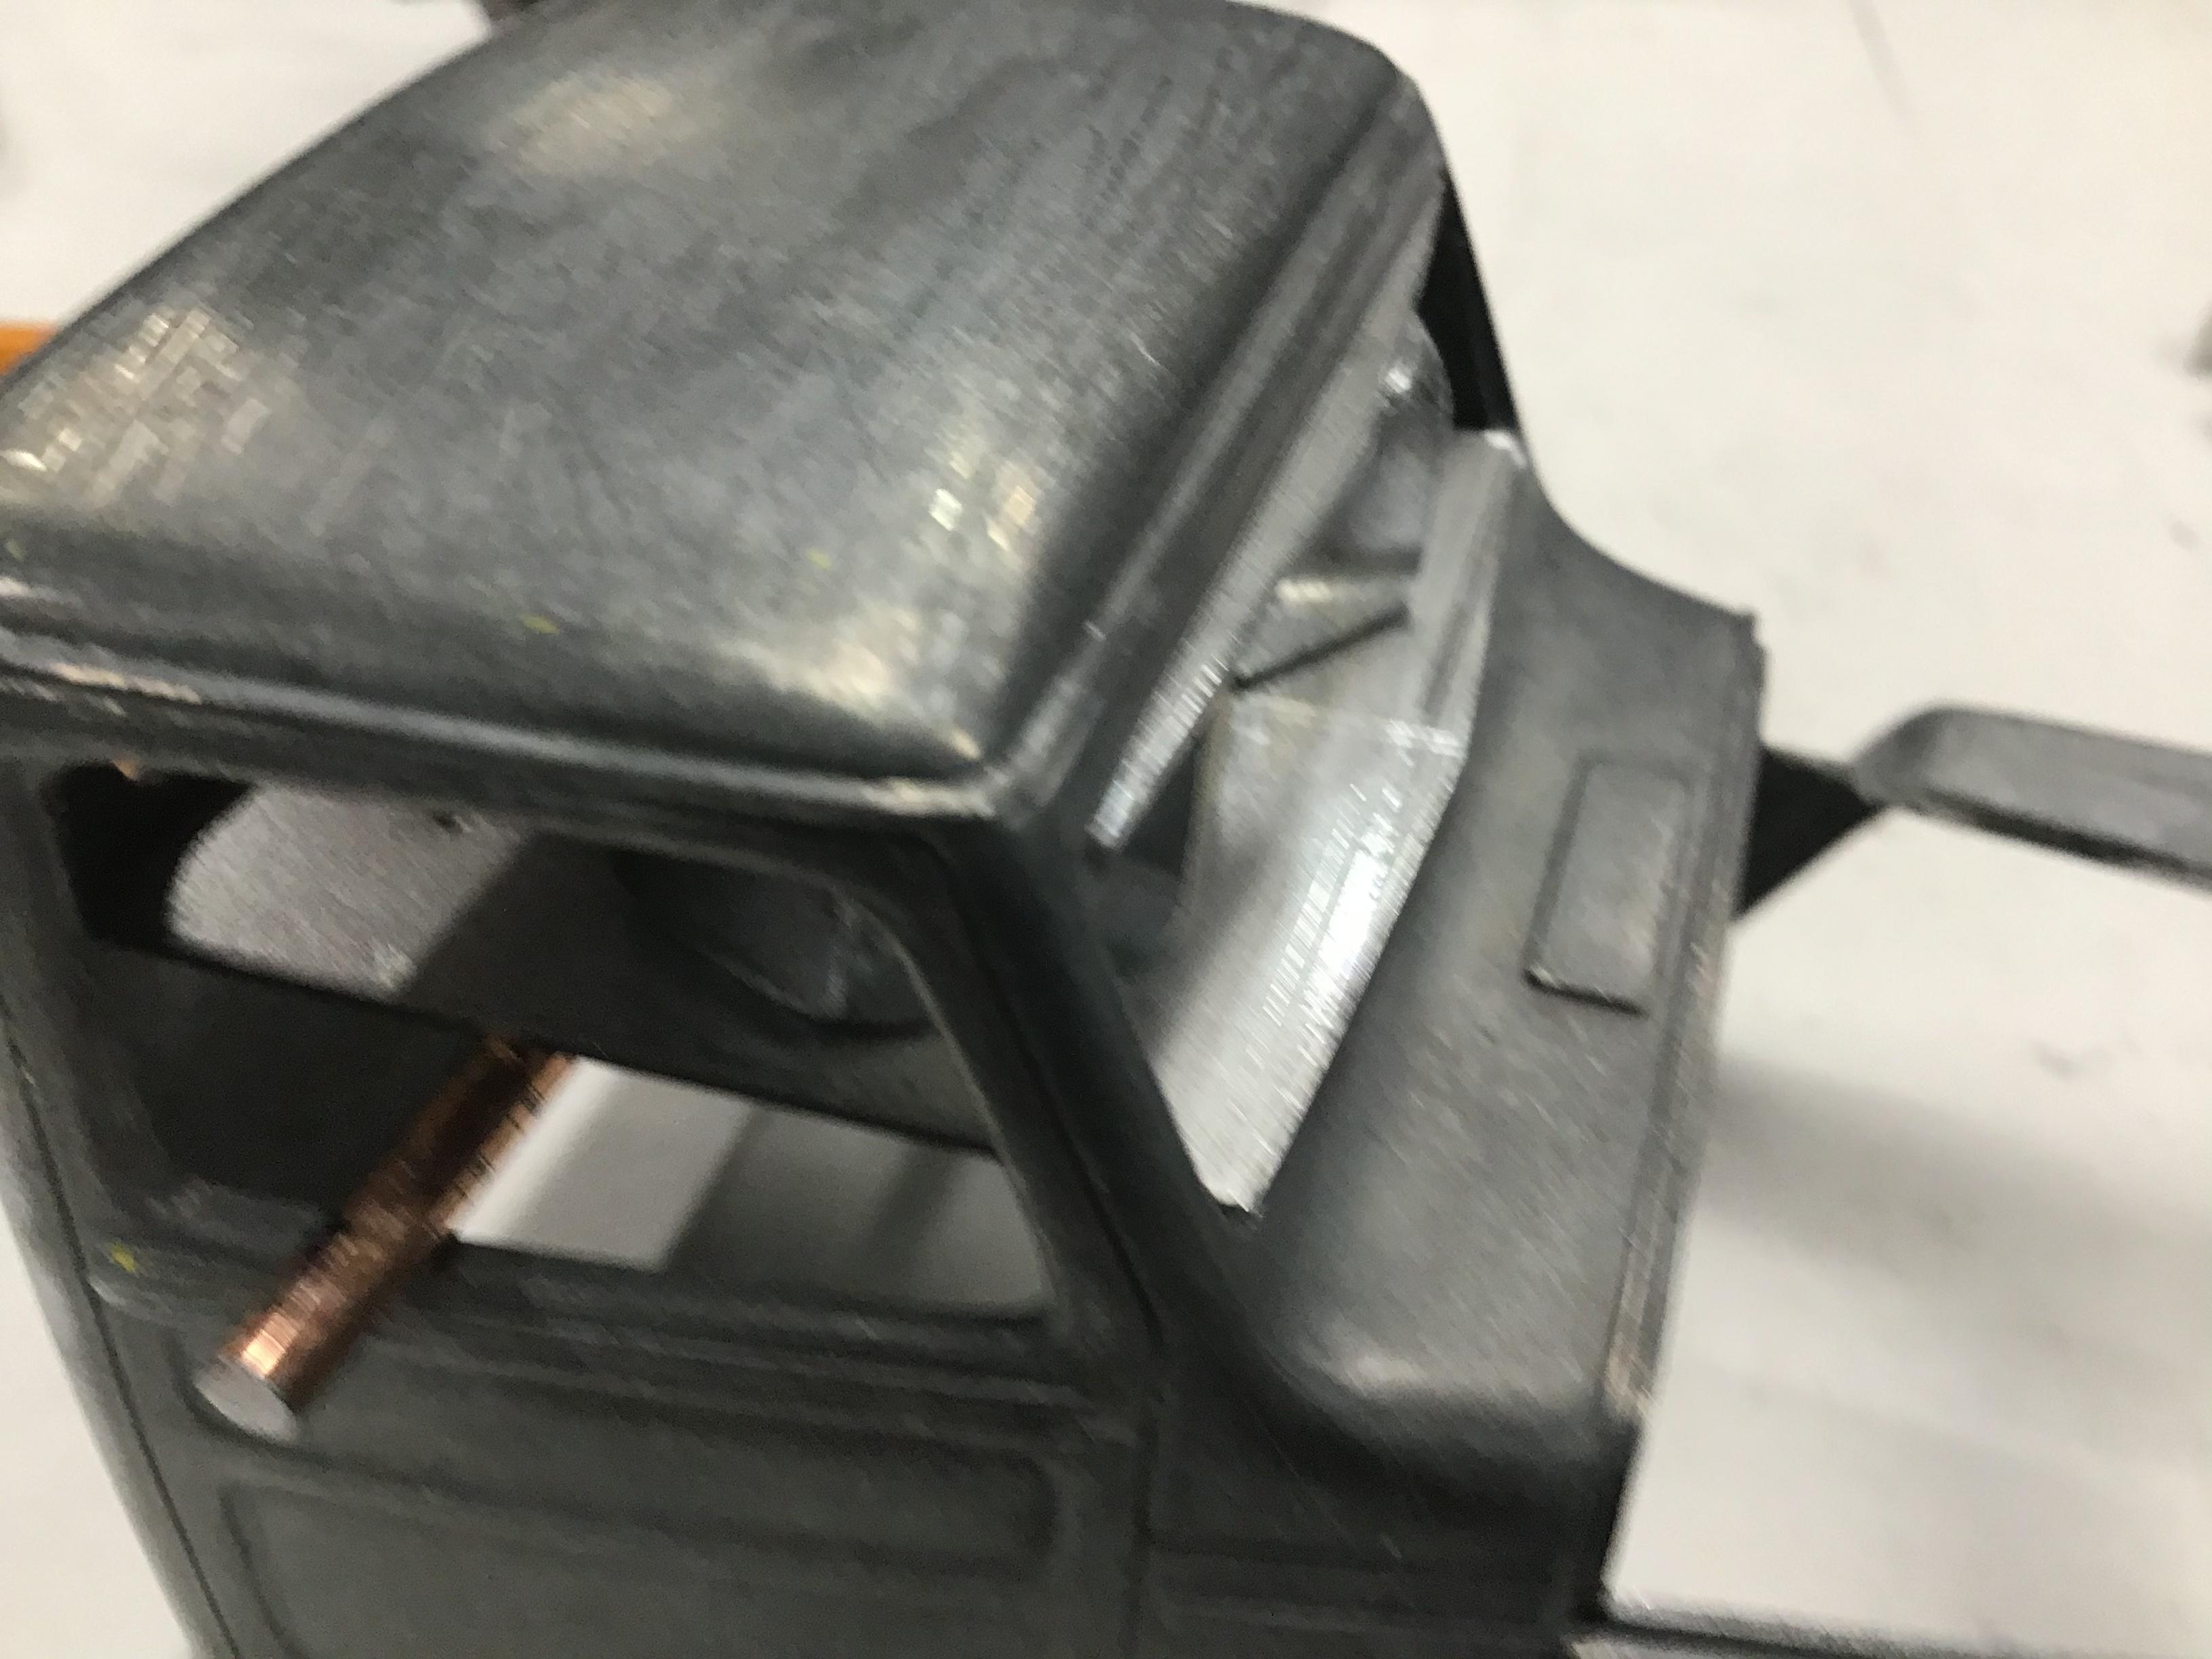
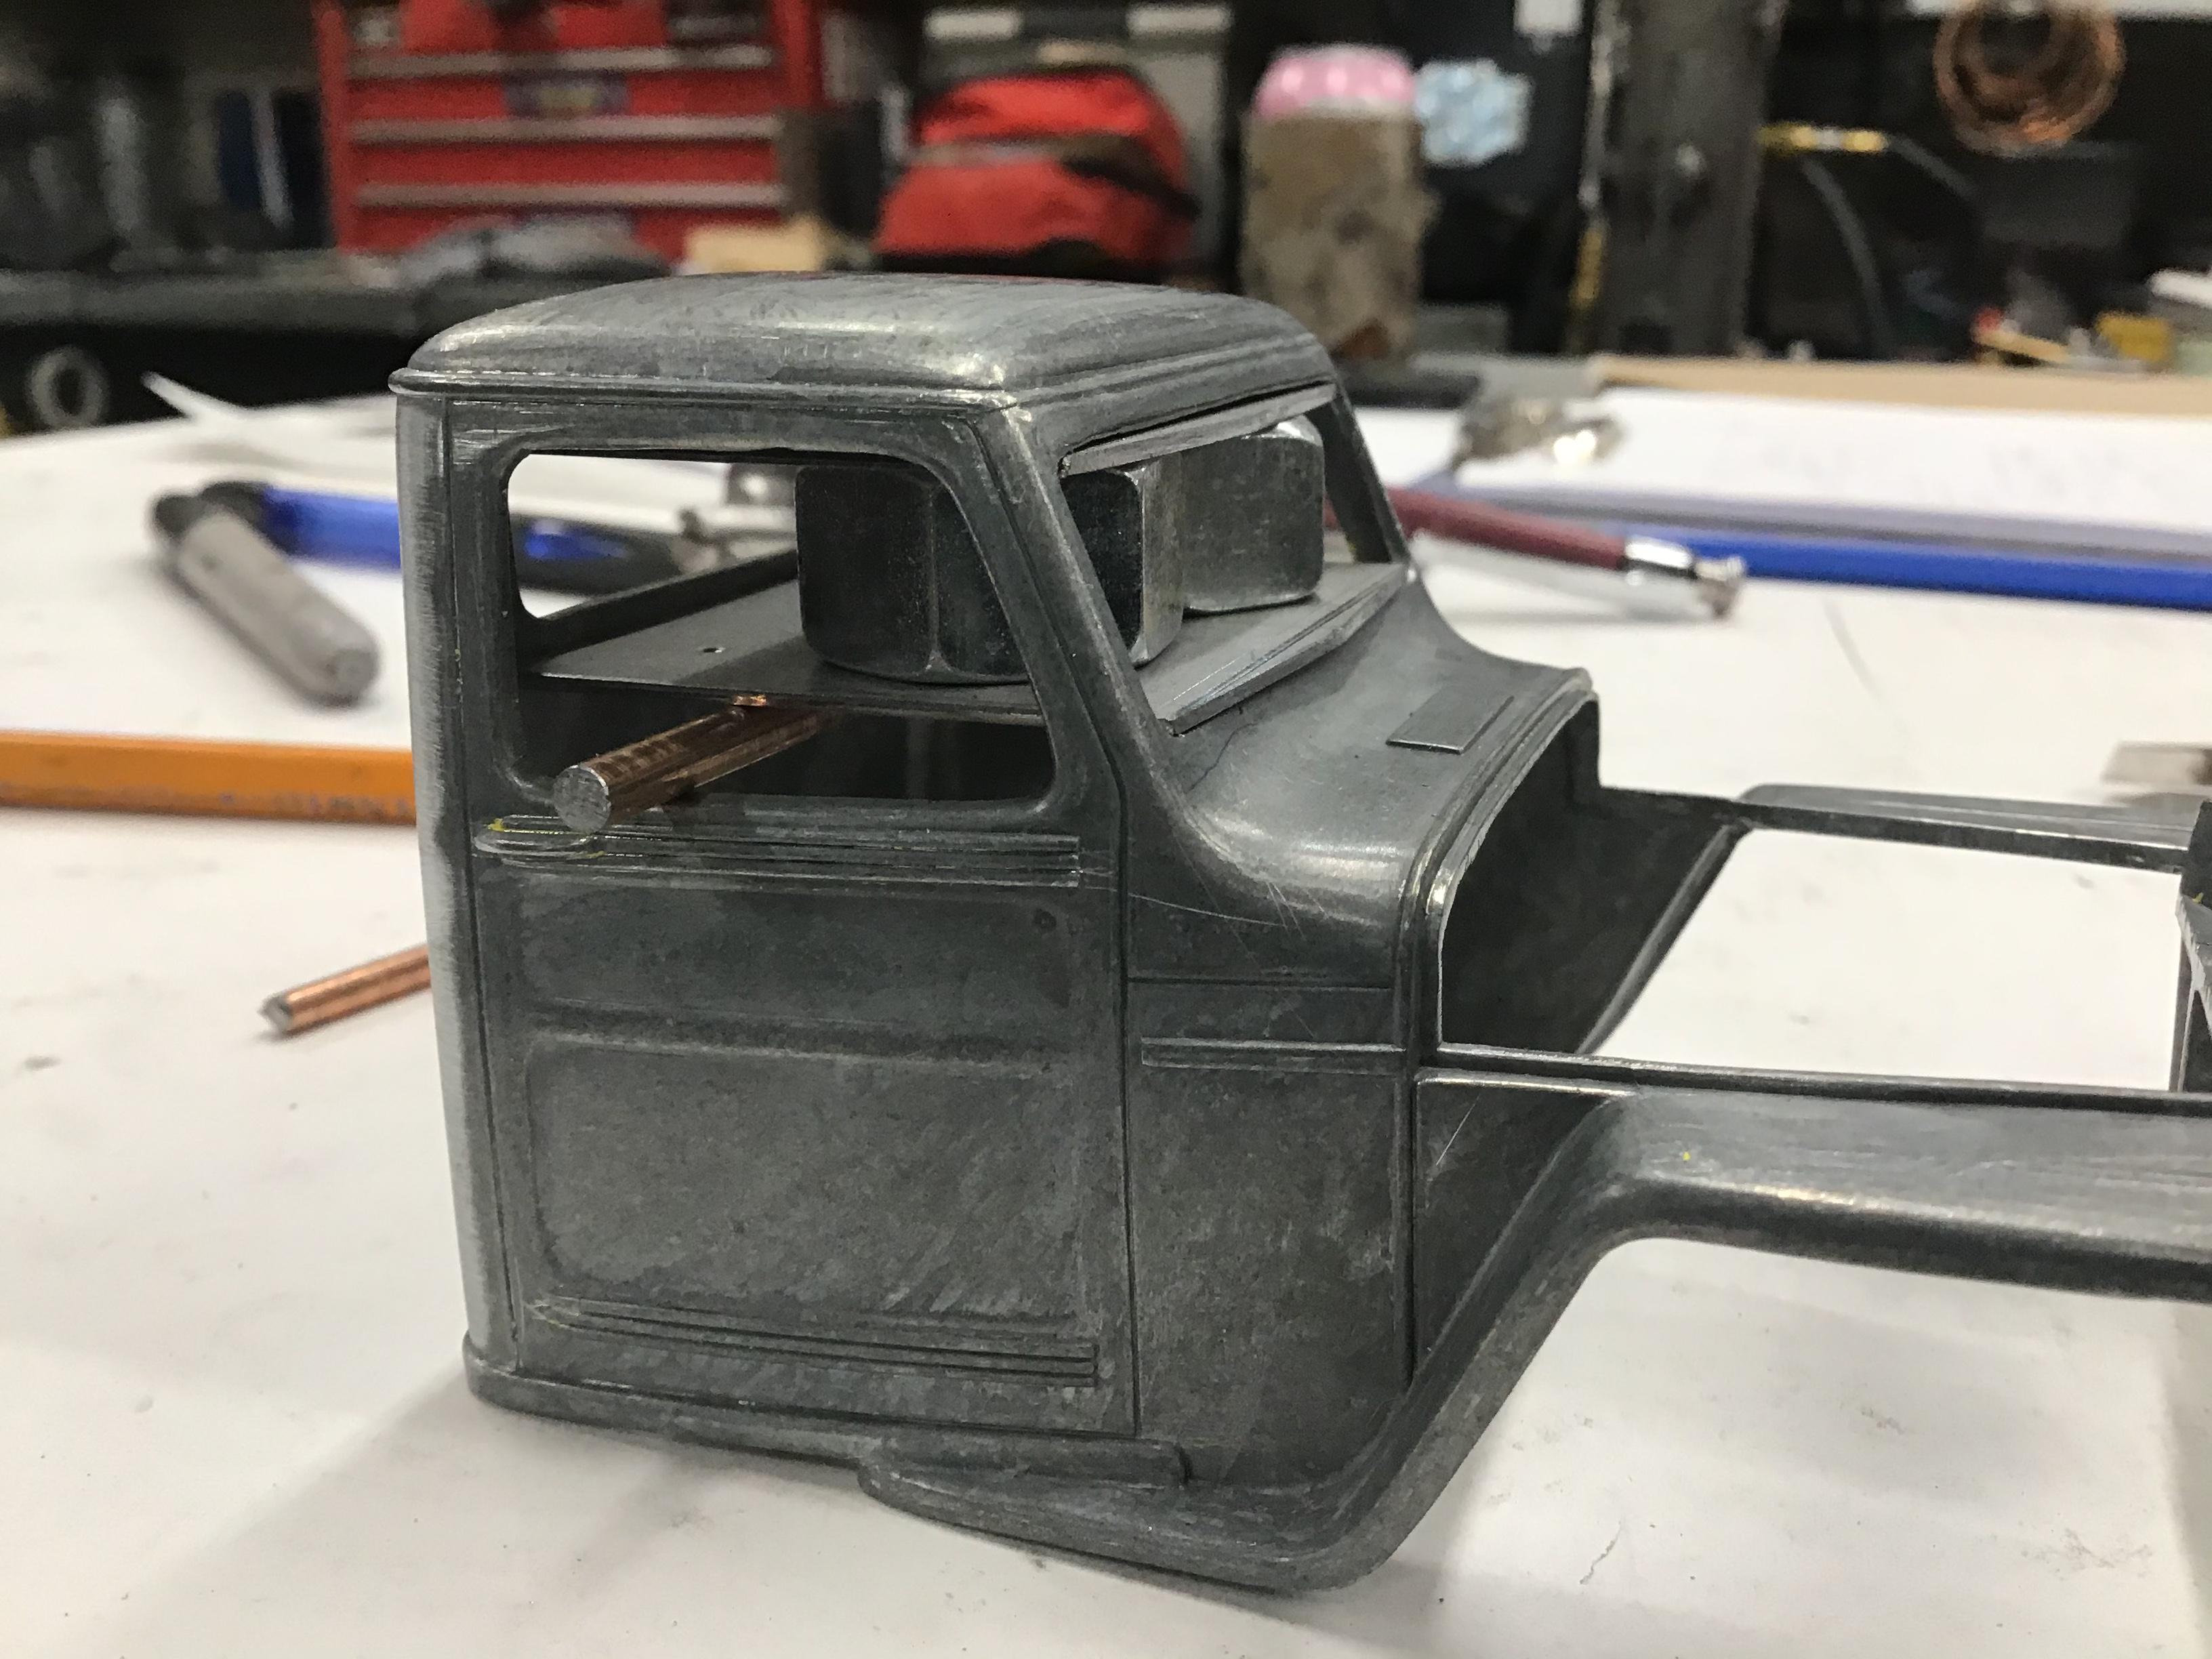
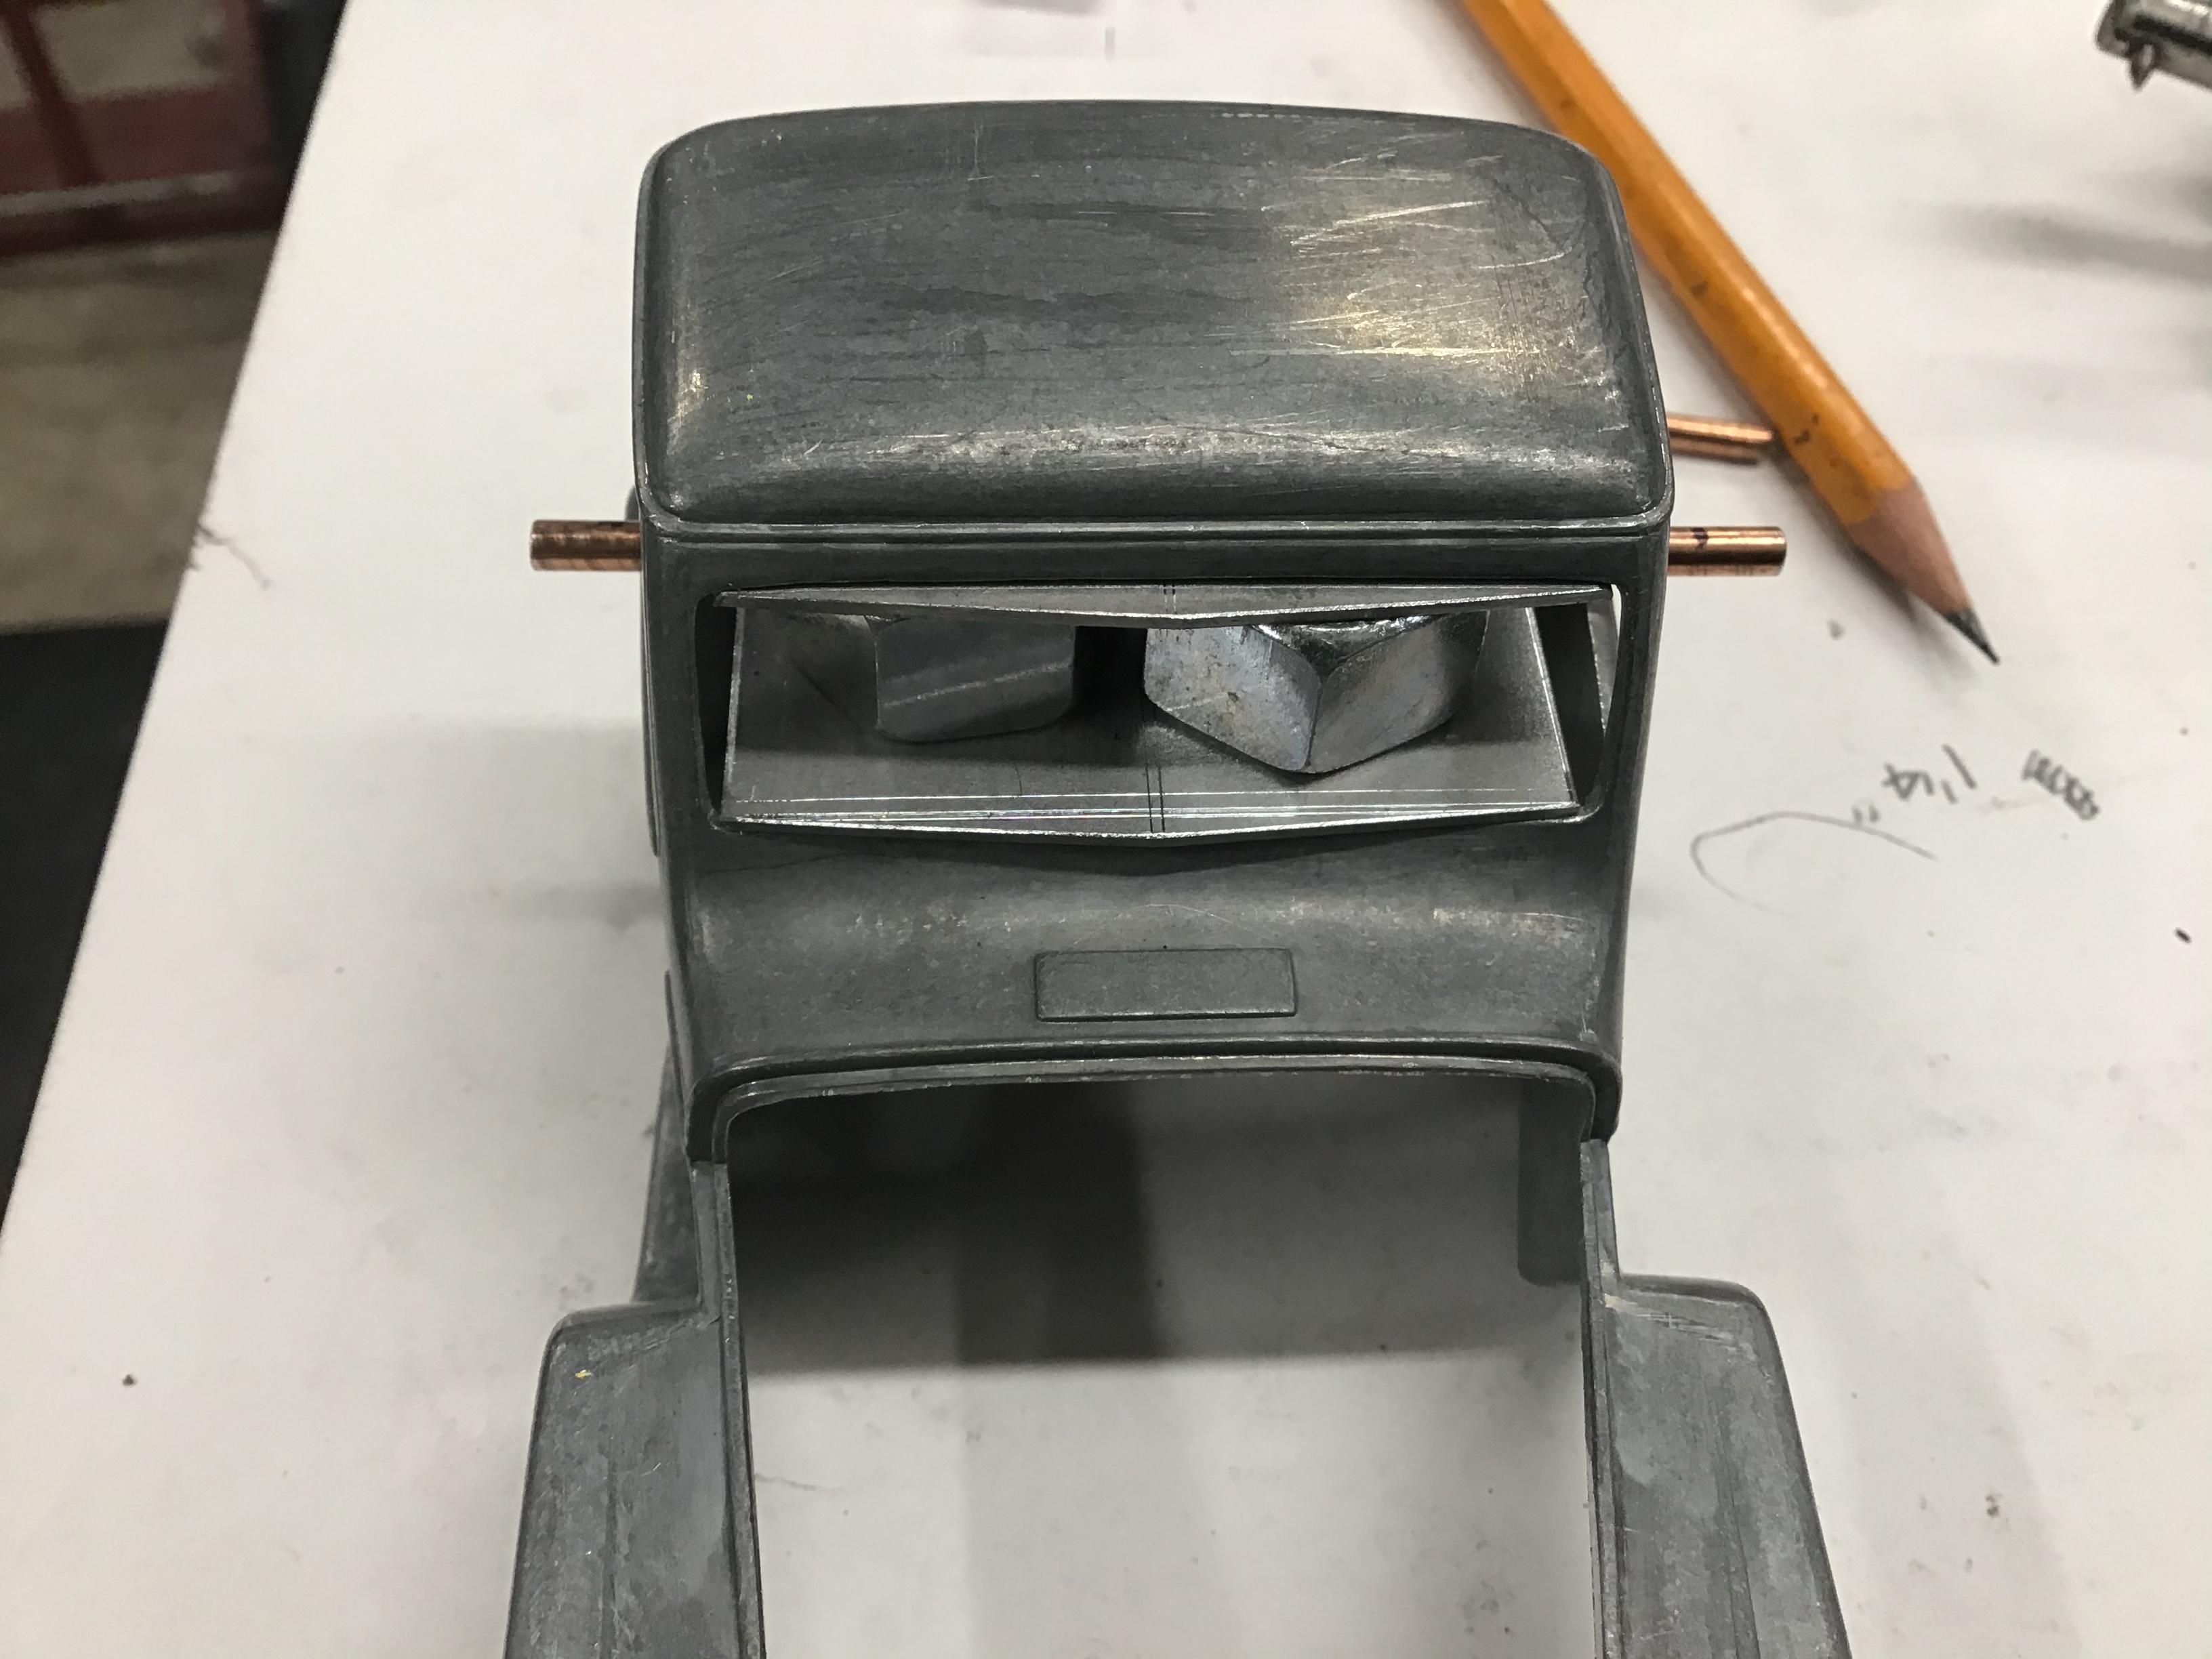
‘54 Willys P/U
NOBLNG replied to NOBLNG's topic in WIP: Model Trucks: Pickups, Vans, SUVs, Light Commercial
I made the rear window smaller like the earlier trucks had and smoothed the back of the cab. I also made a jig to get the Milliput contoured close to what I want.
-
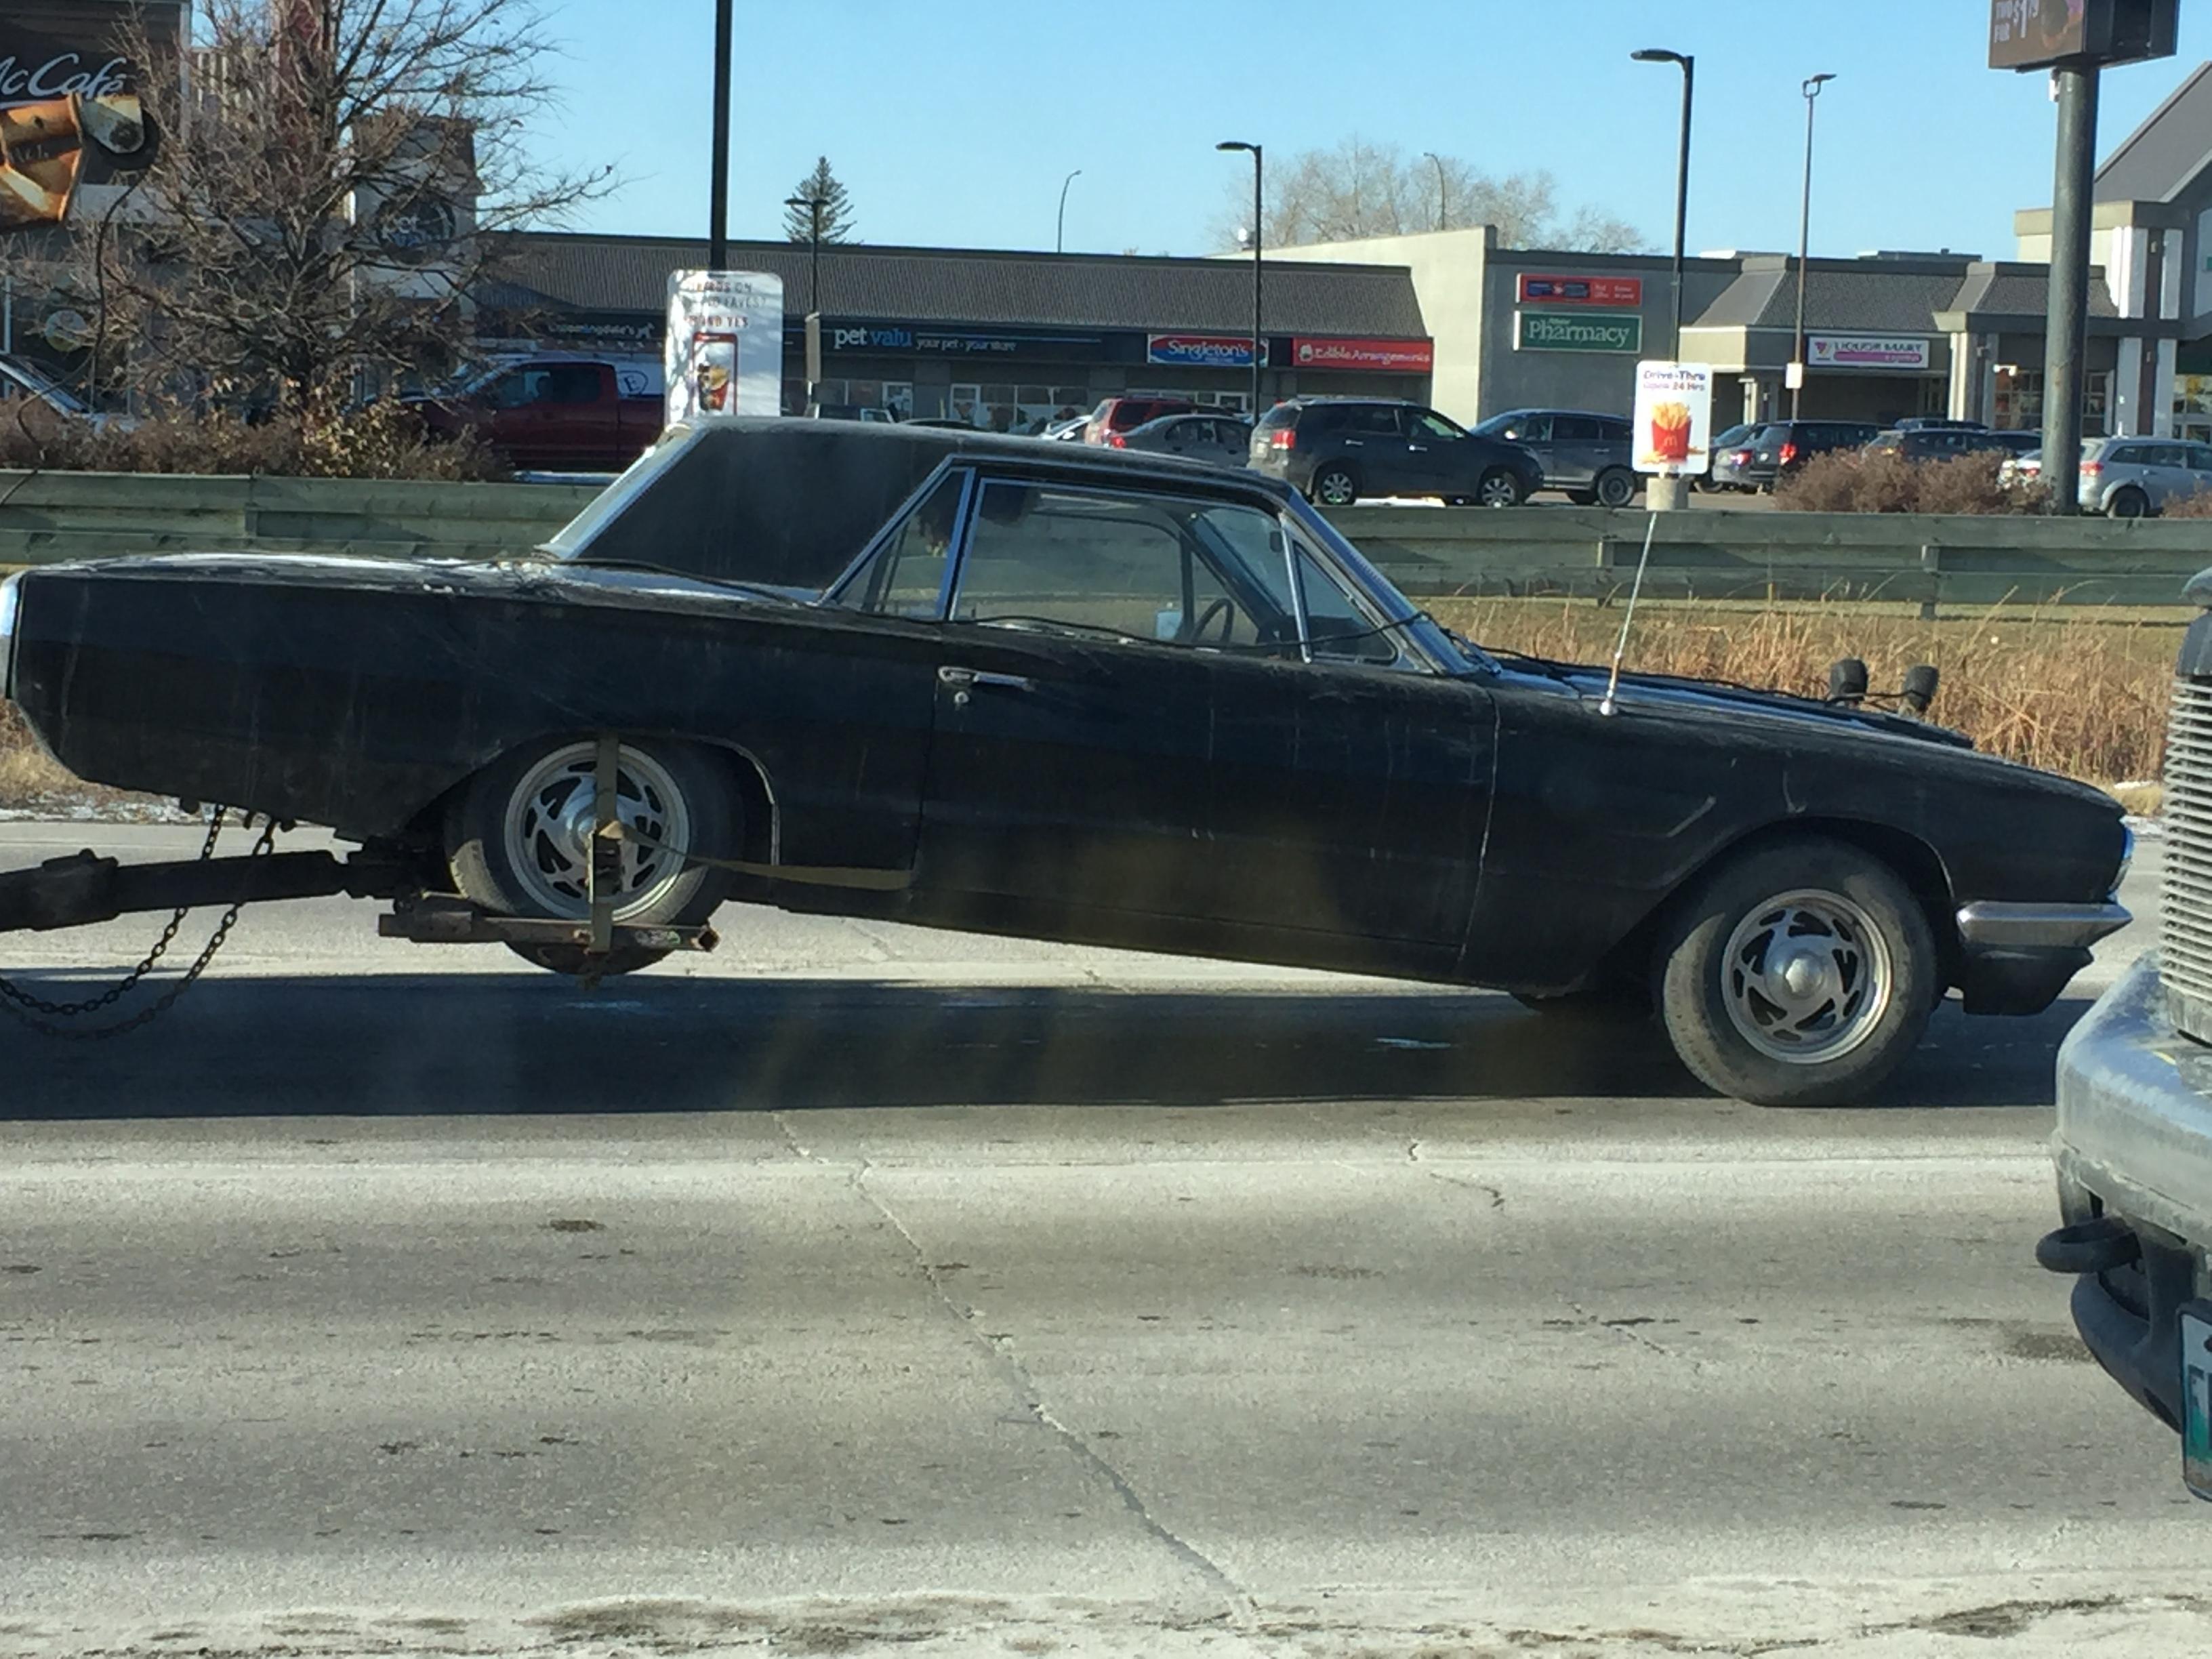
What did you see on the road today?
NOBLNG replied to Harry P.'s topic in General Automotive Talk (Trucks and Cars)
Saw this today. Looks to be in pretty good shape.
-
AMT 1960 Ford ramp truck
NOBLNG replied to BIGTRUCK's topic in WIP: Model Trucks: Pickups, Vans, SUVs, Light Commercial
2-13/16” scale inches would equal 70-7/16” in 1:1. Almost a six foot stretch! I never would have thought that pile of plastic was salvageable.....but WOW, nice work. -
TJeepster
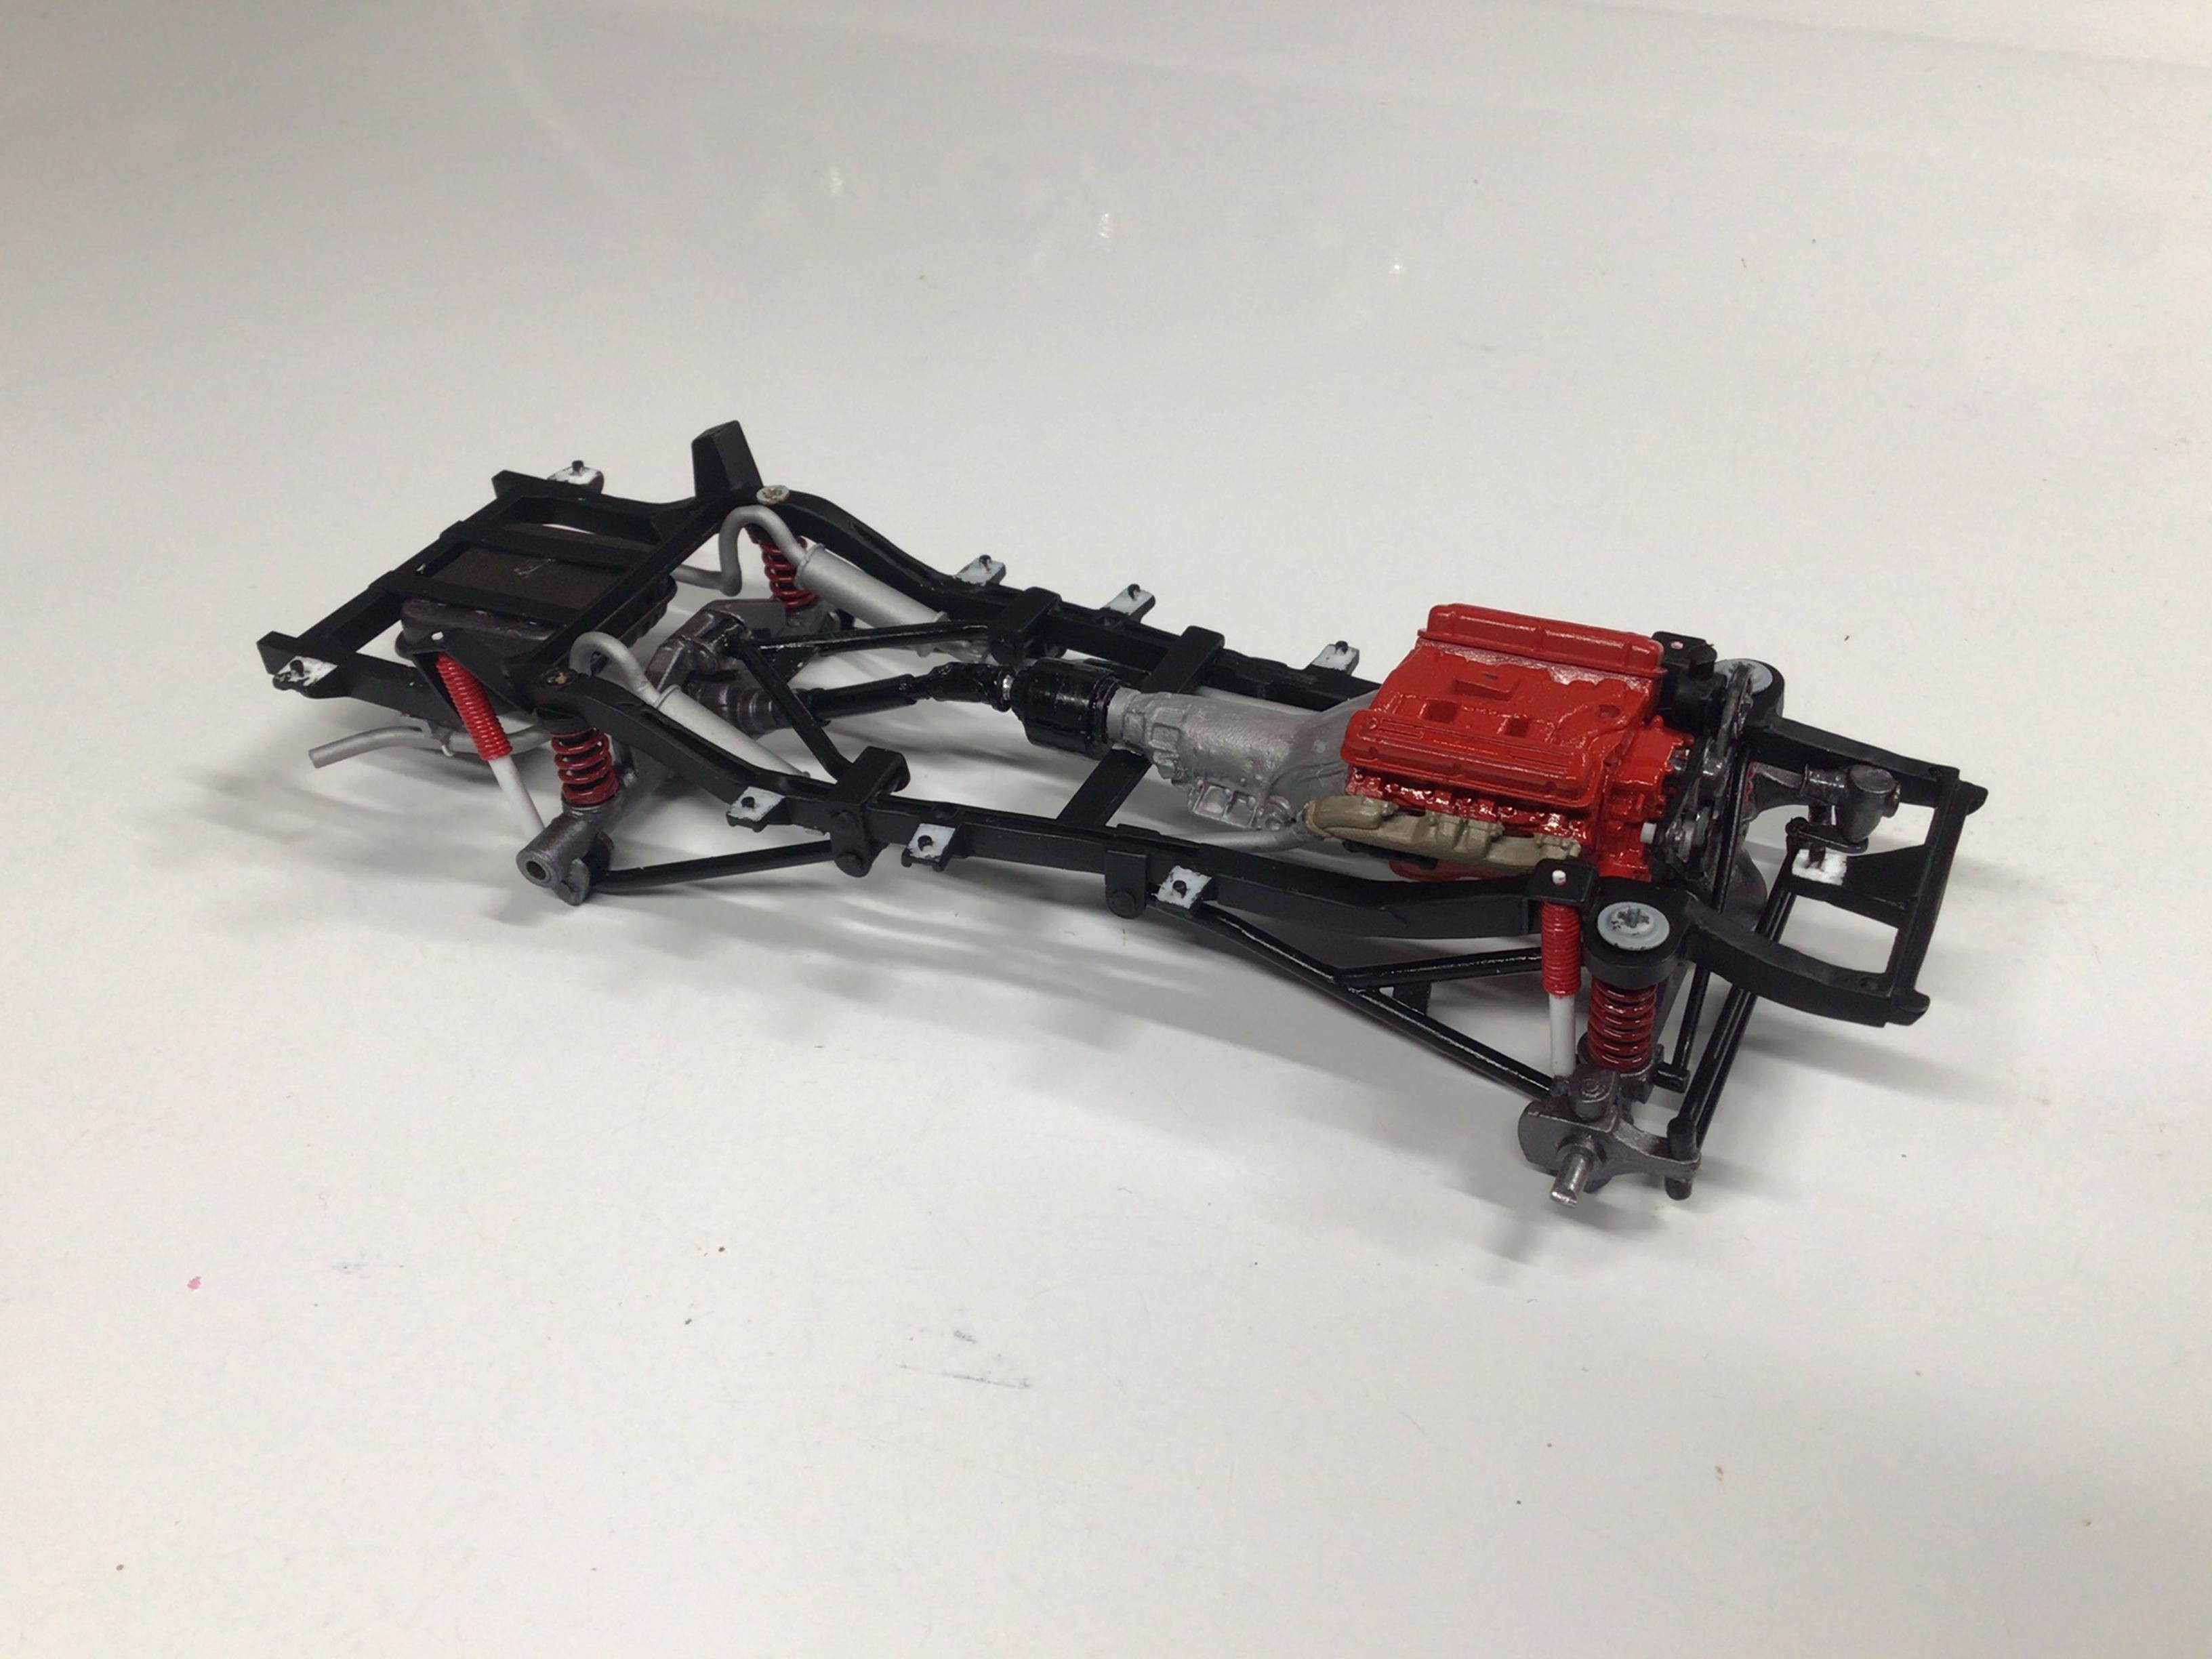
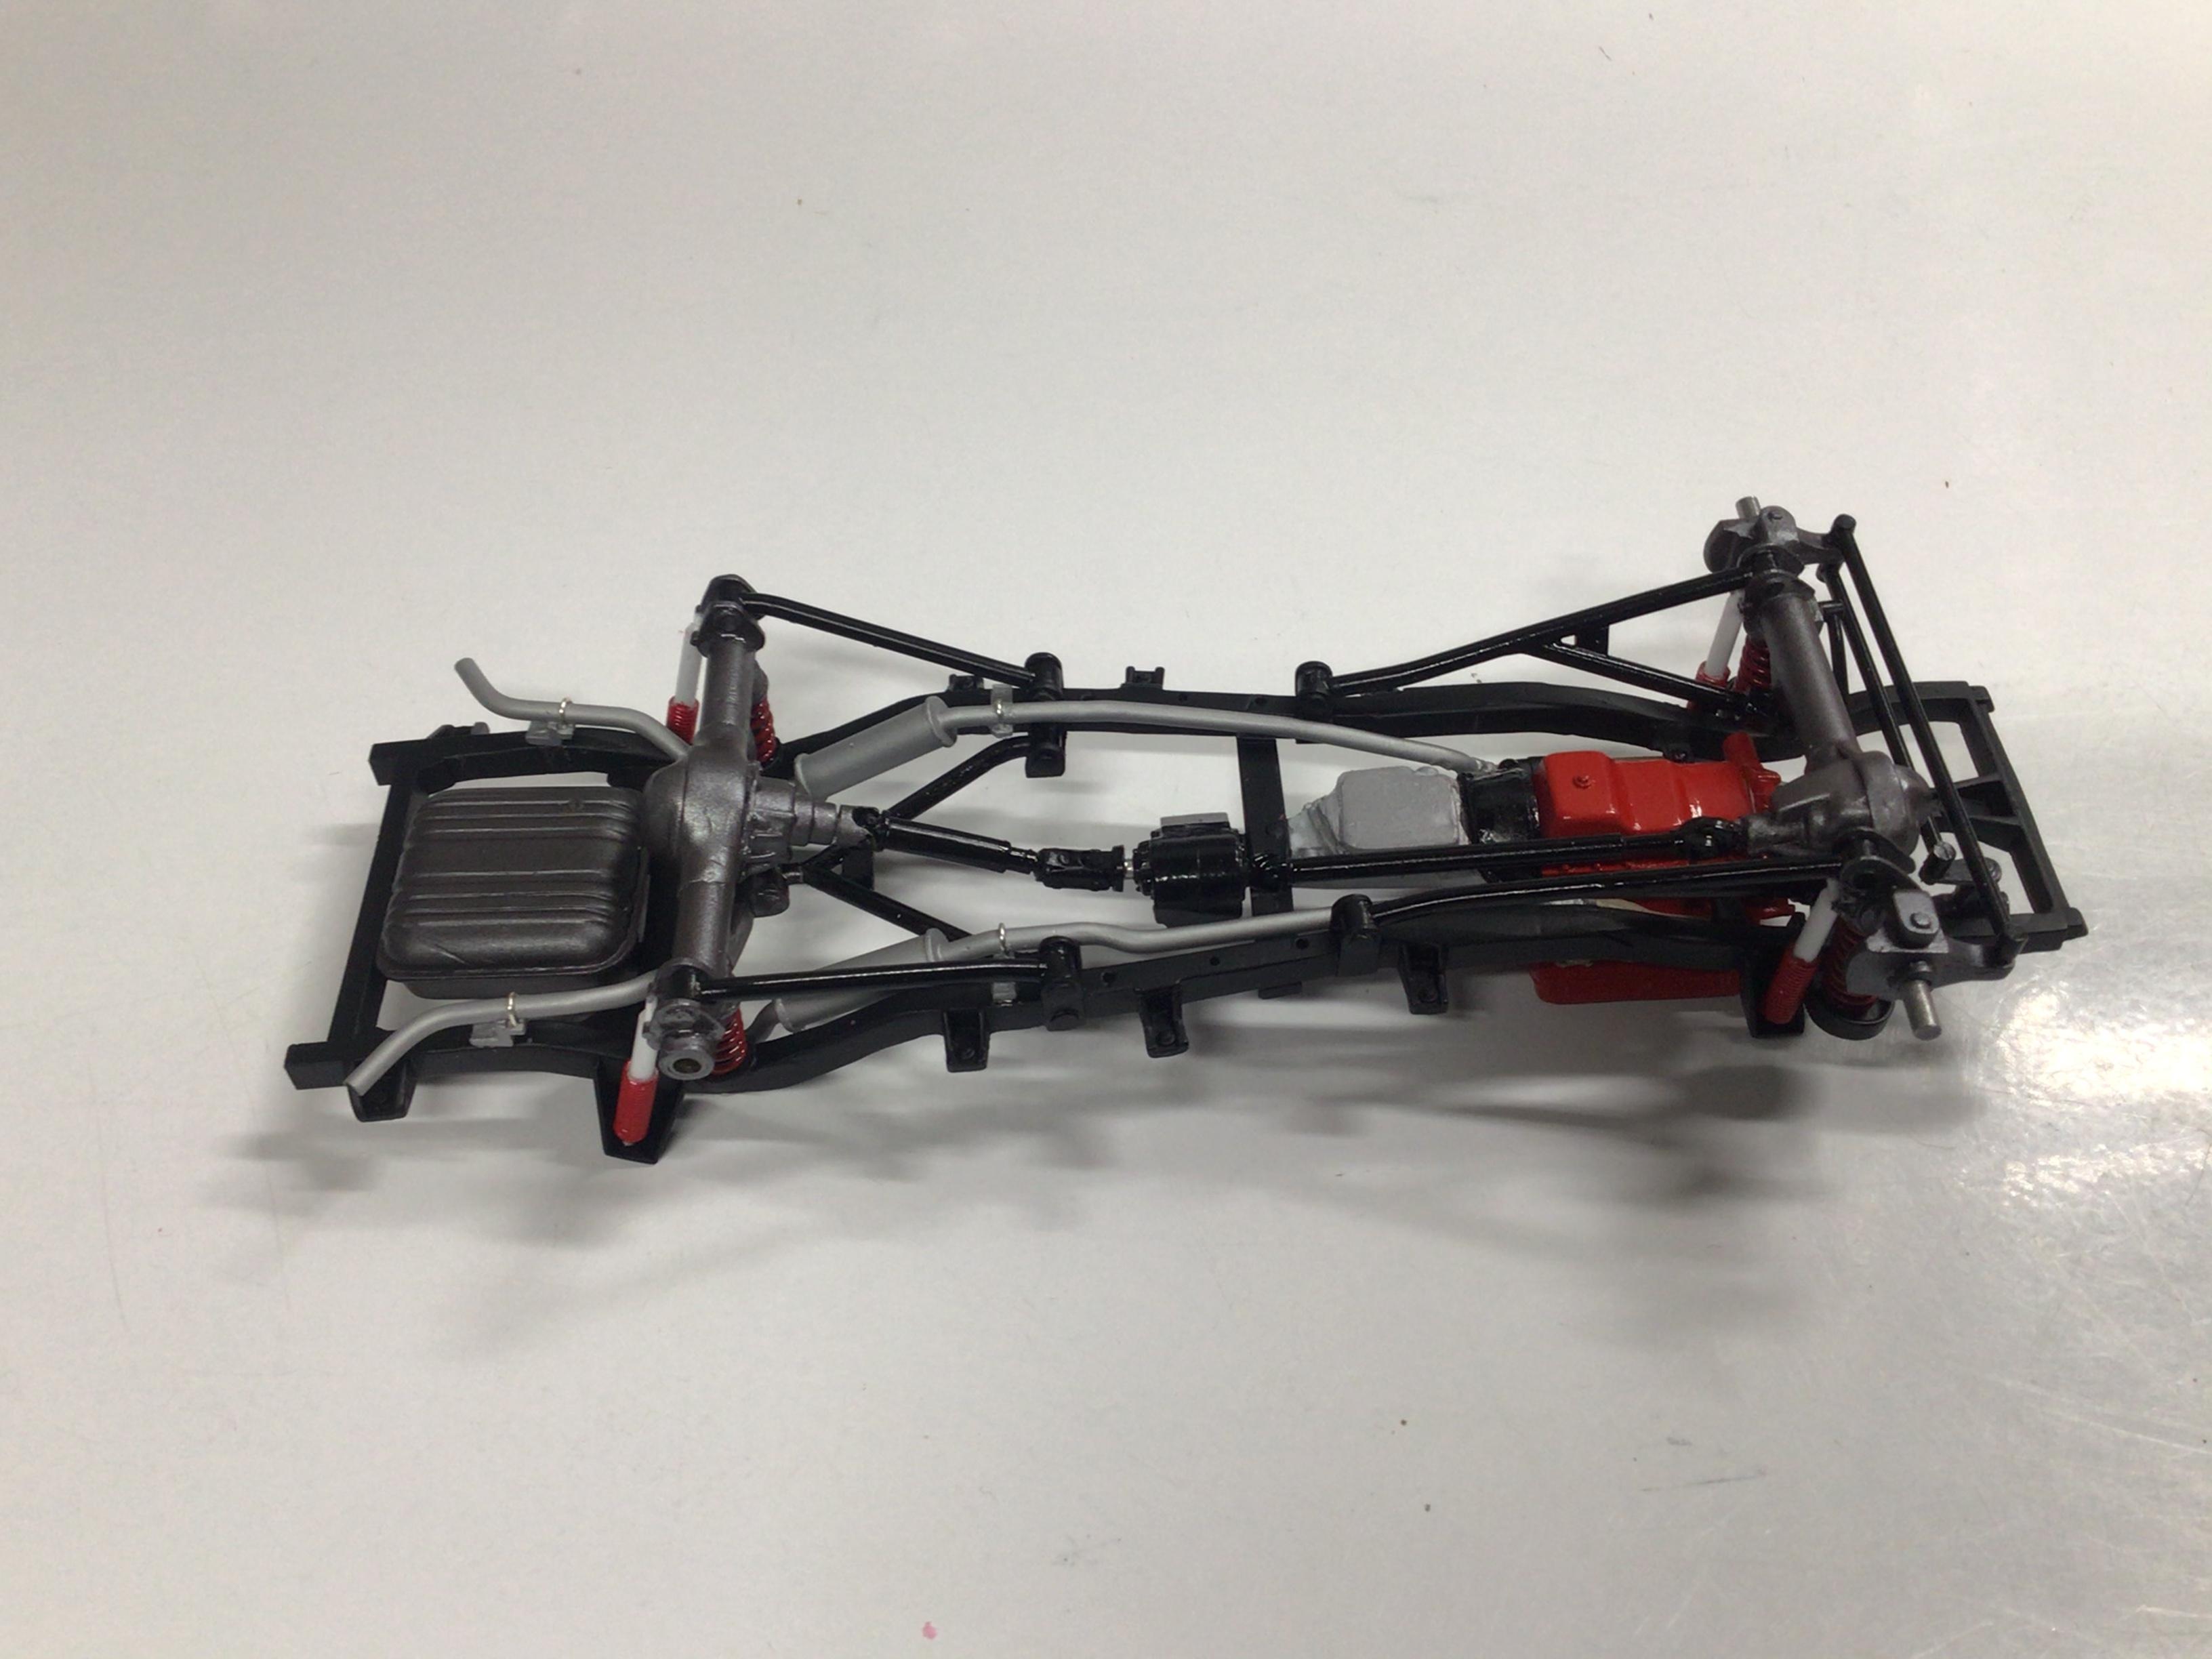
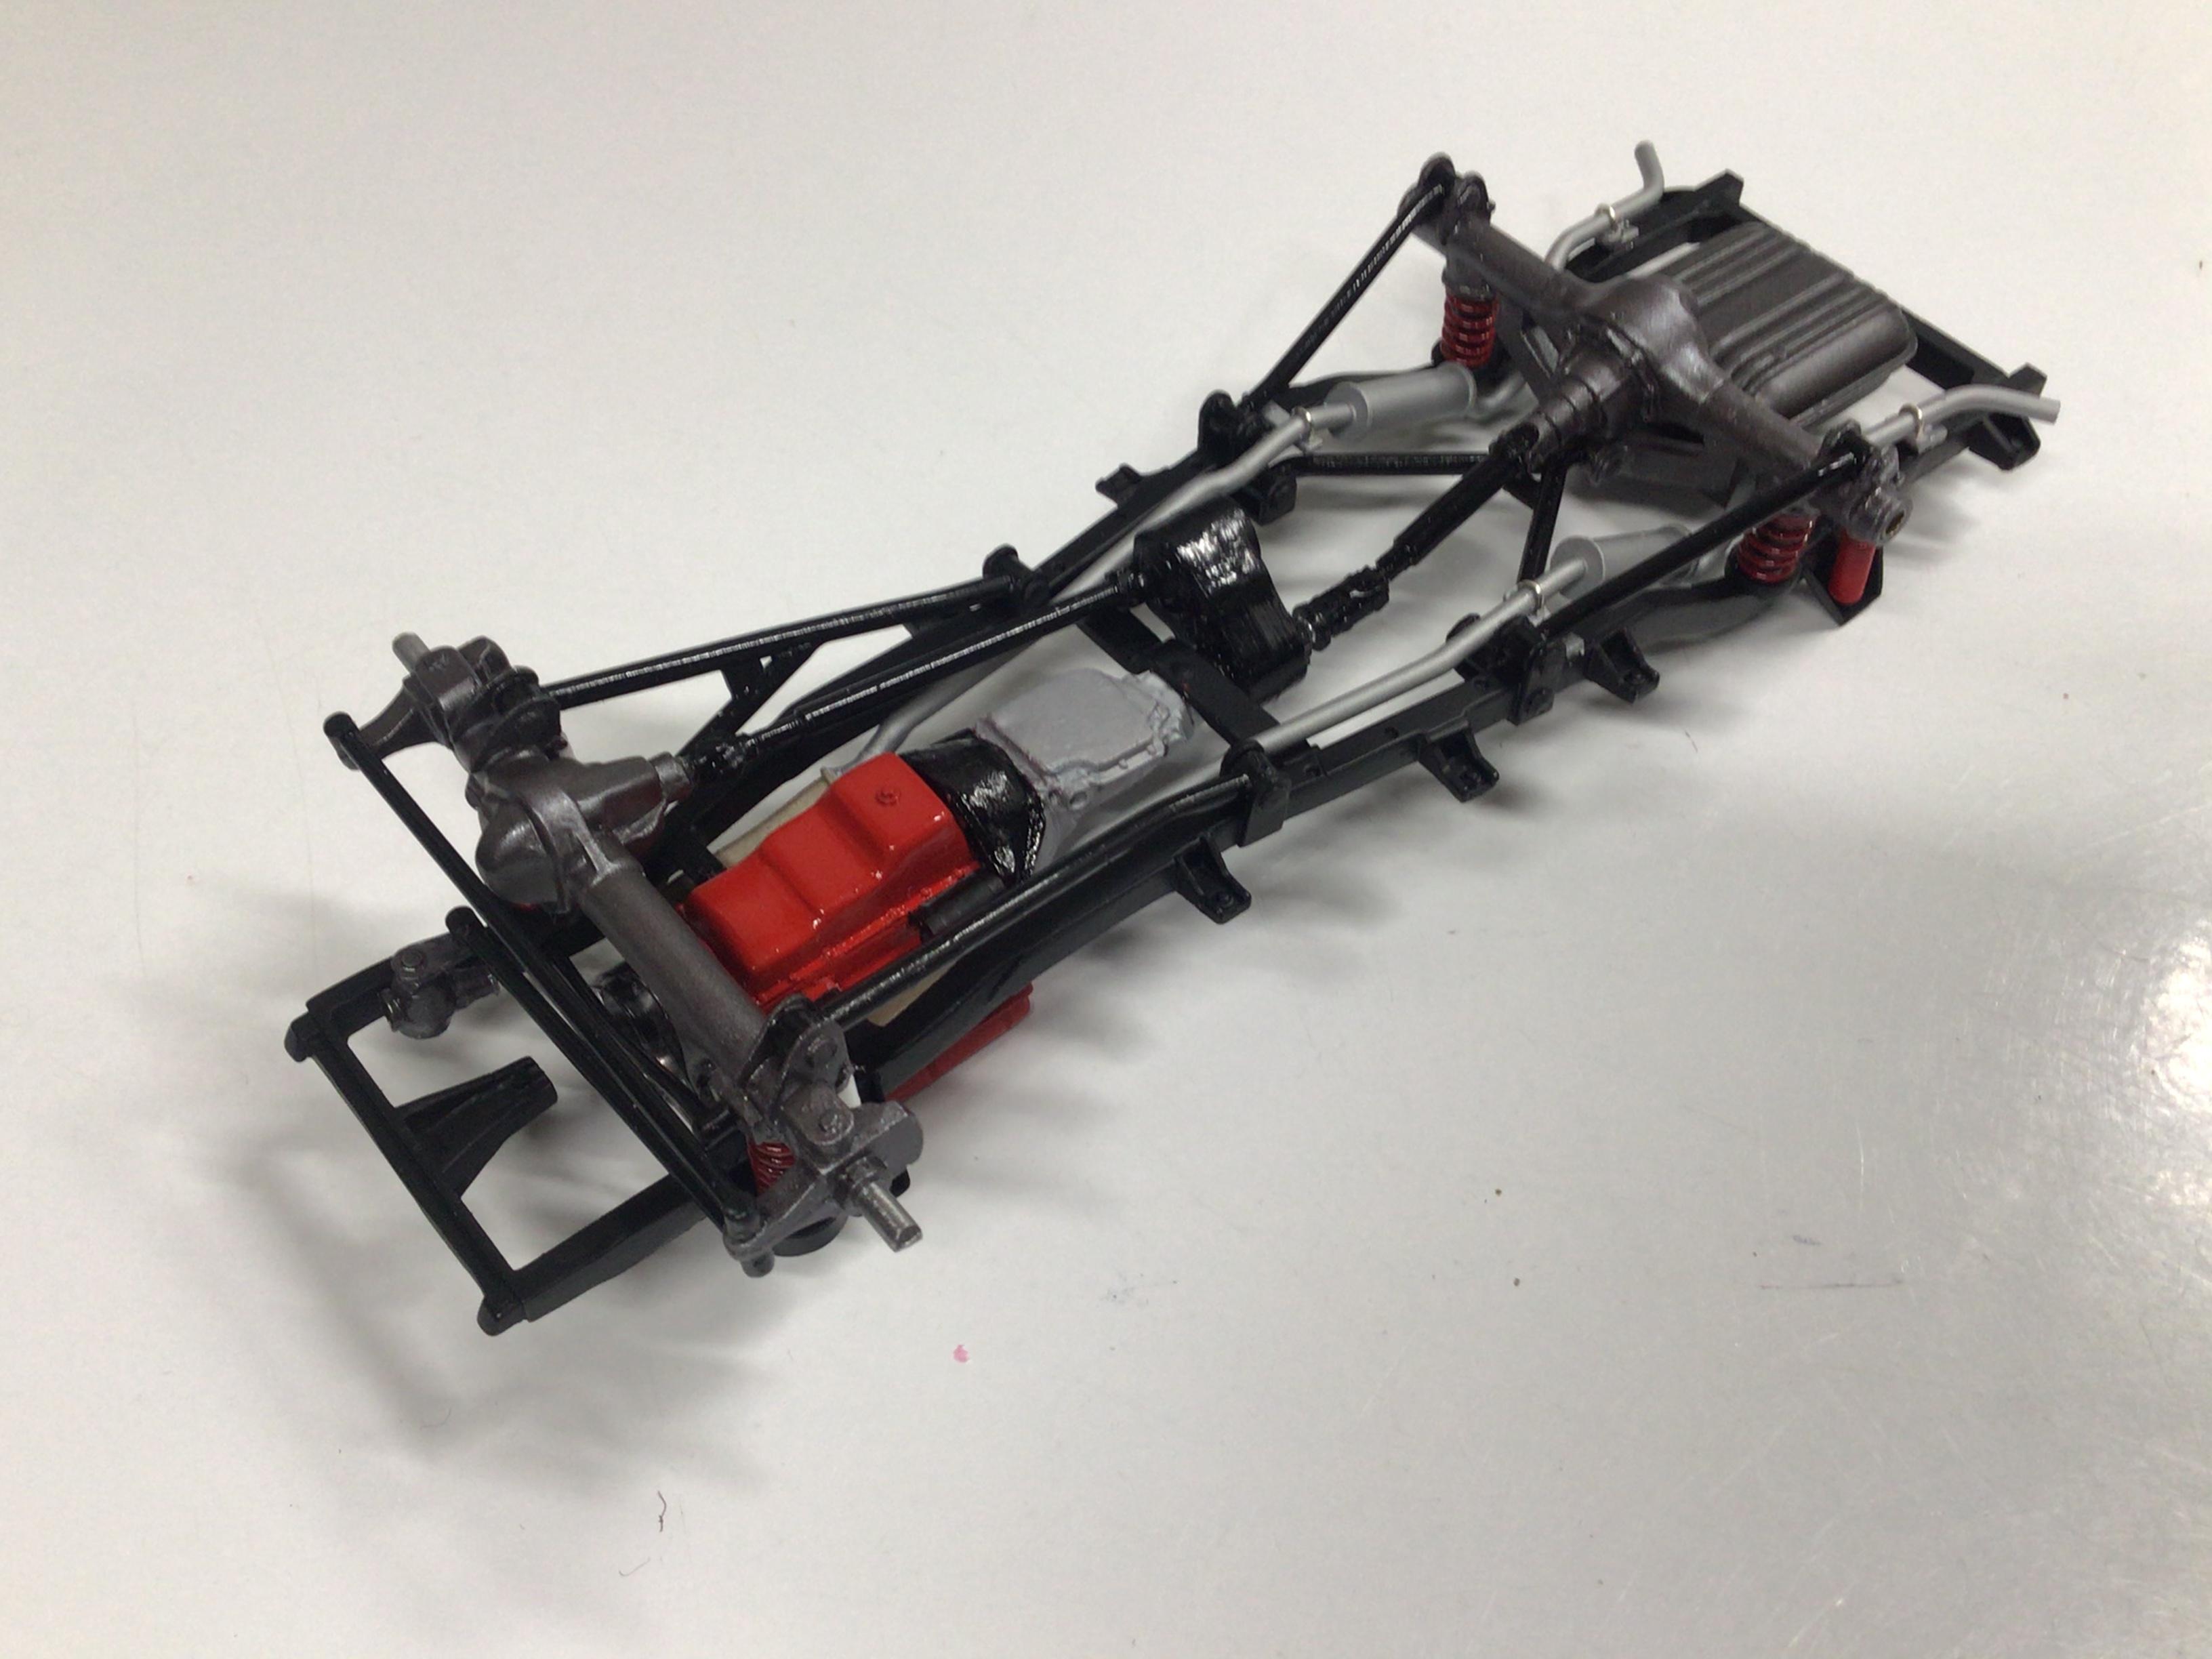
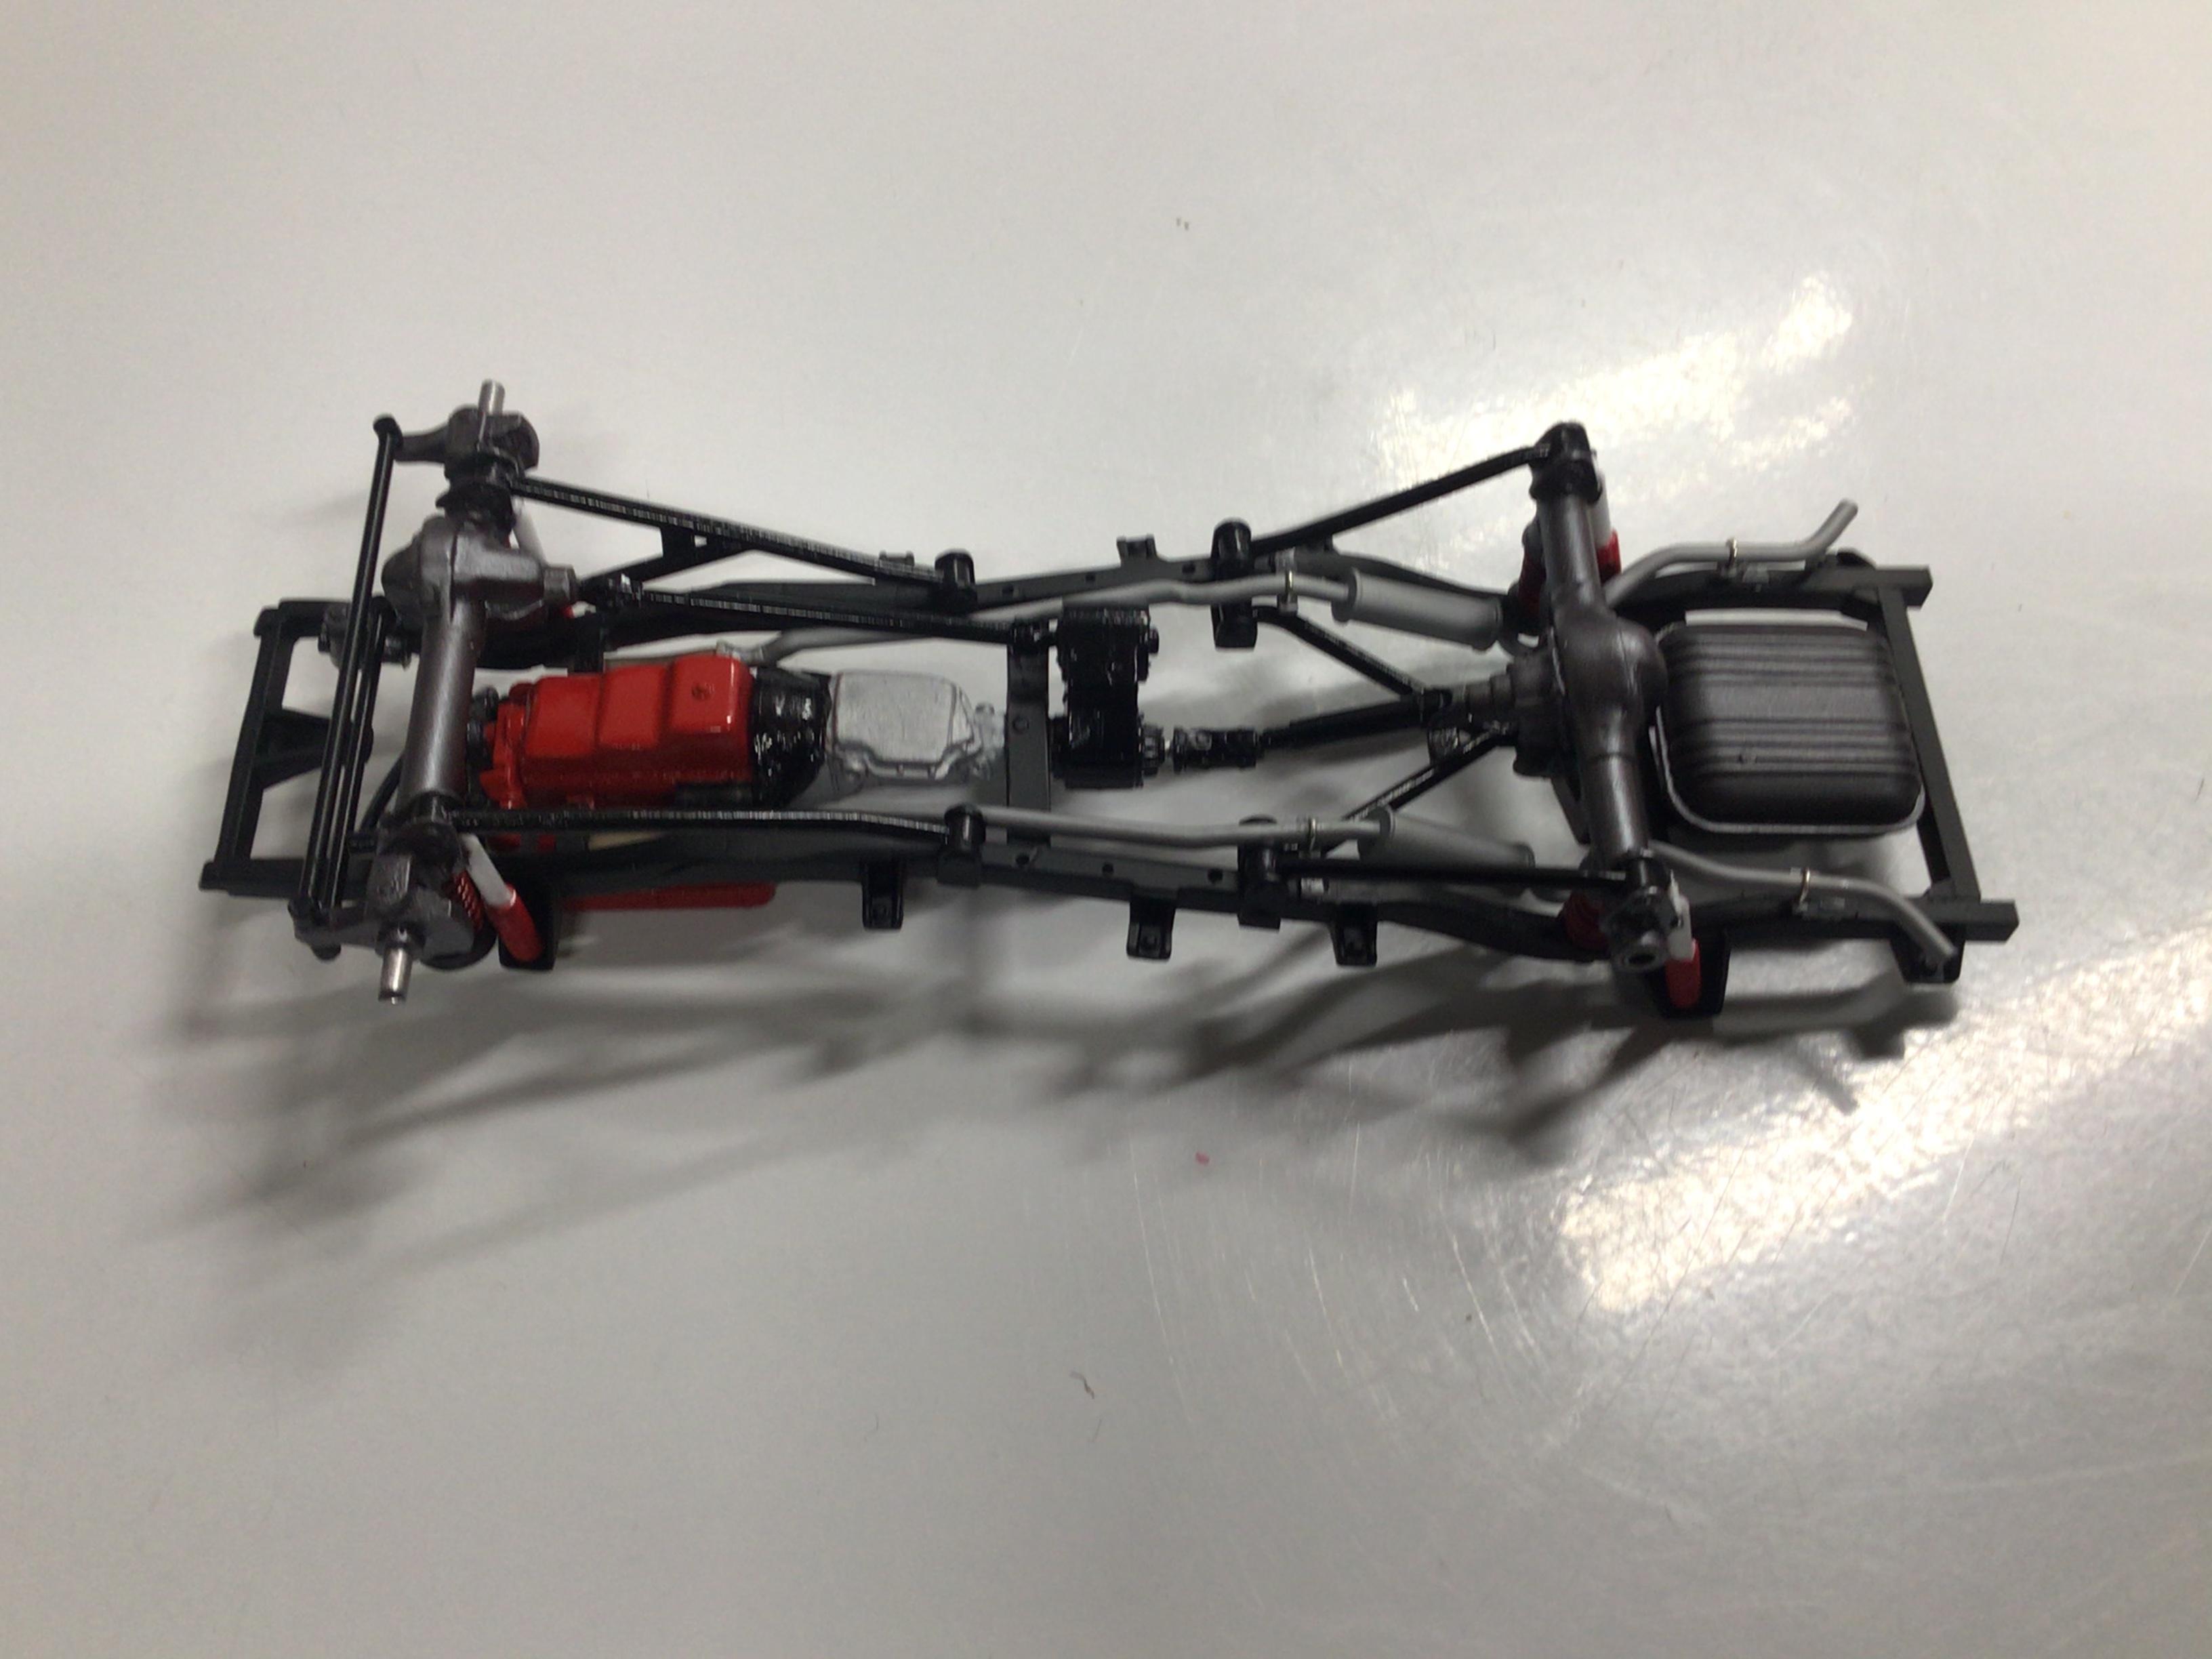
NOBLNG replied to NOBLNG's topic in WIP: Model Trucks: Pickups, Vans, SUVs, Light Commercial
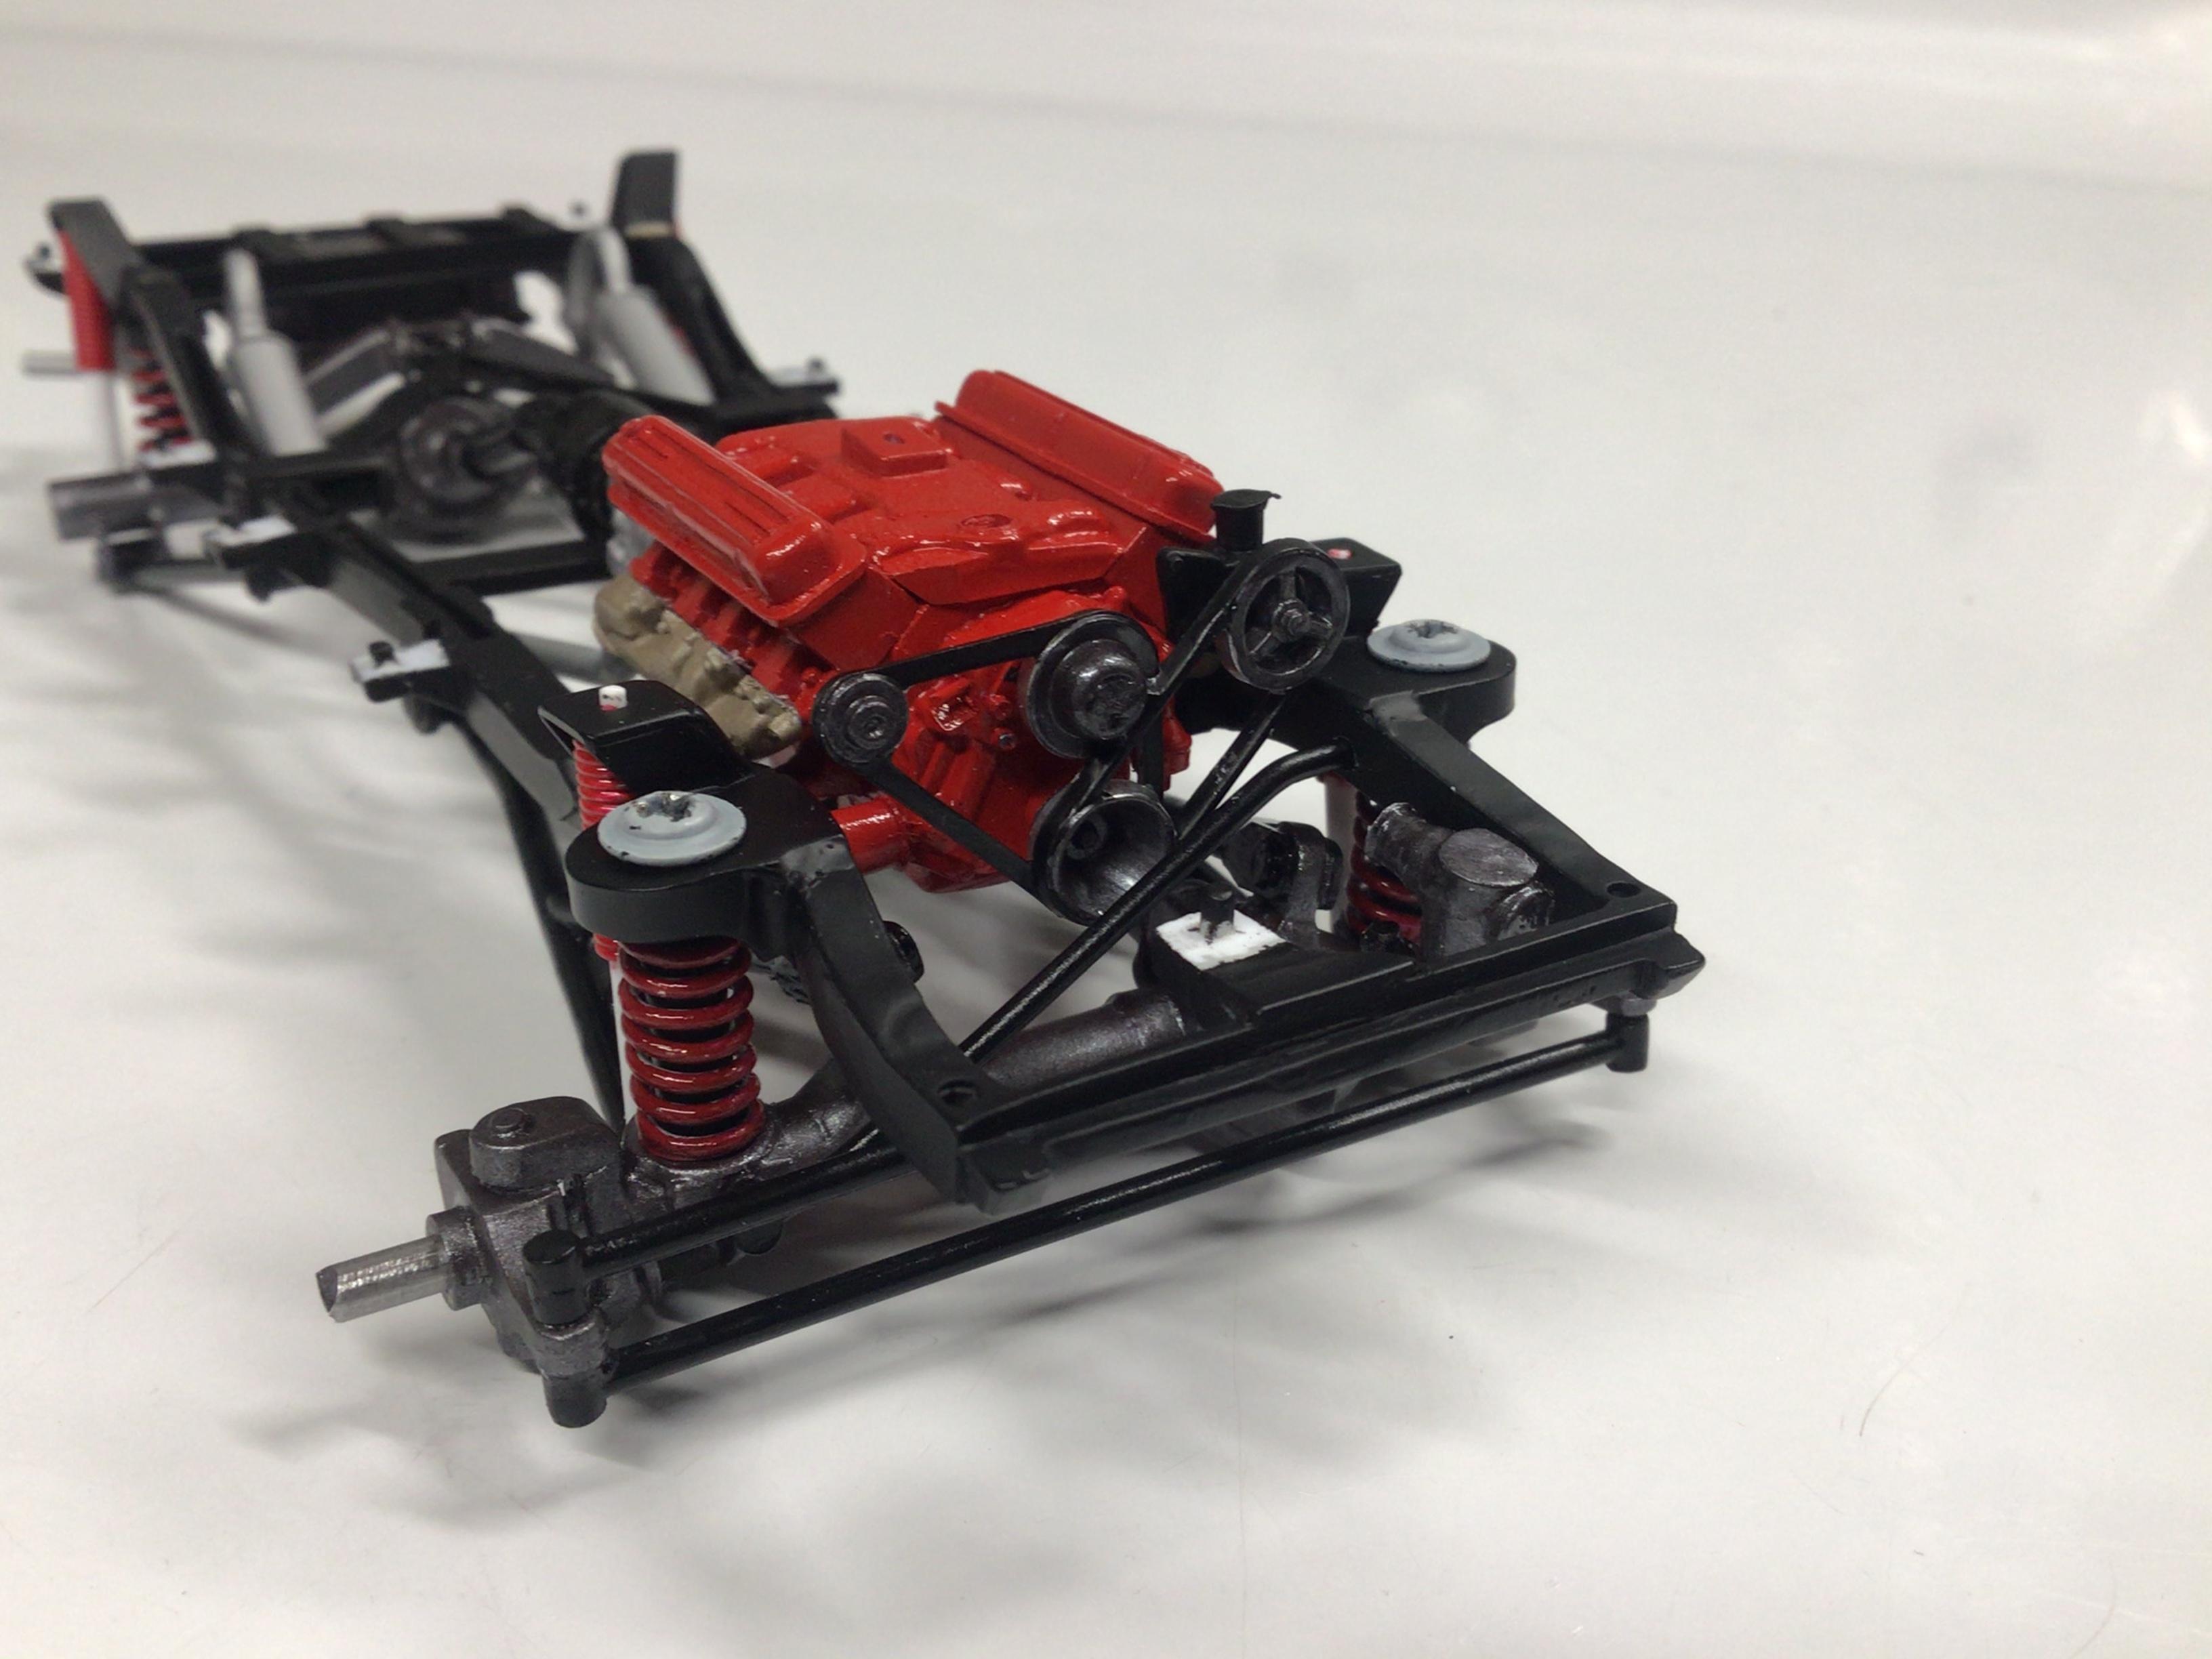
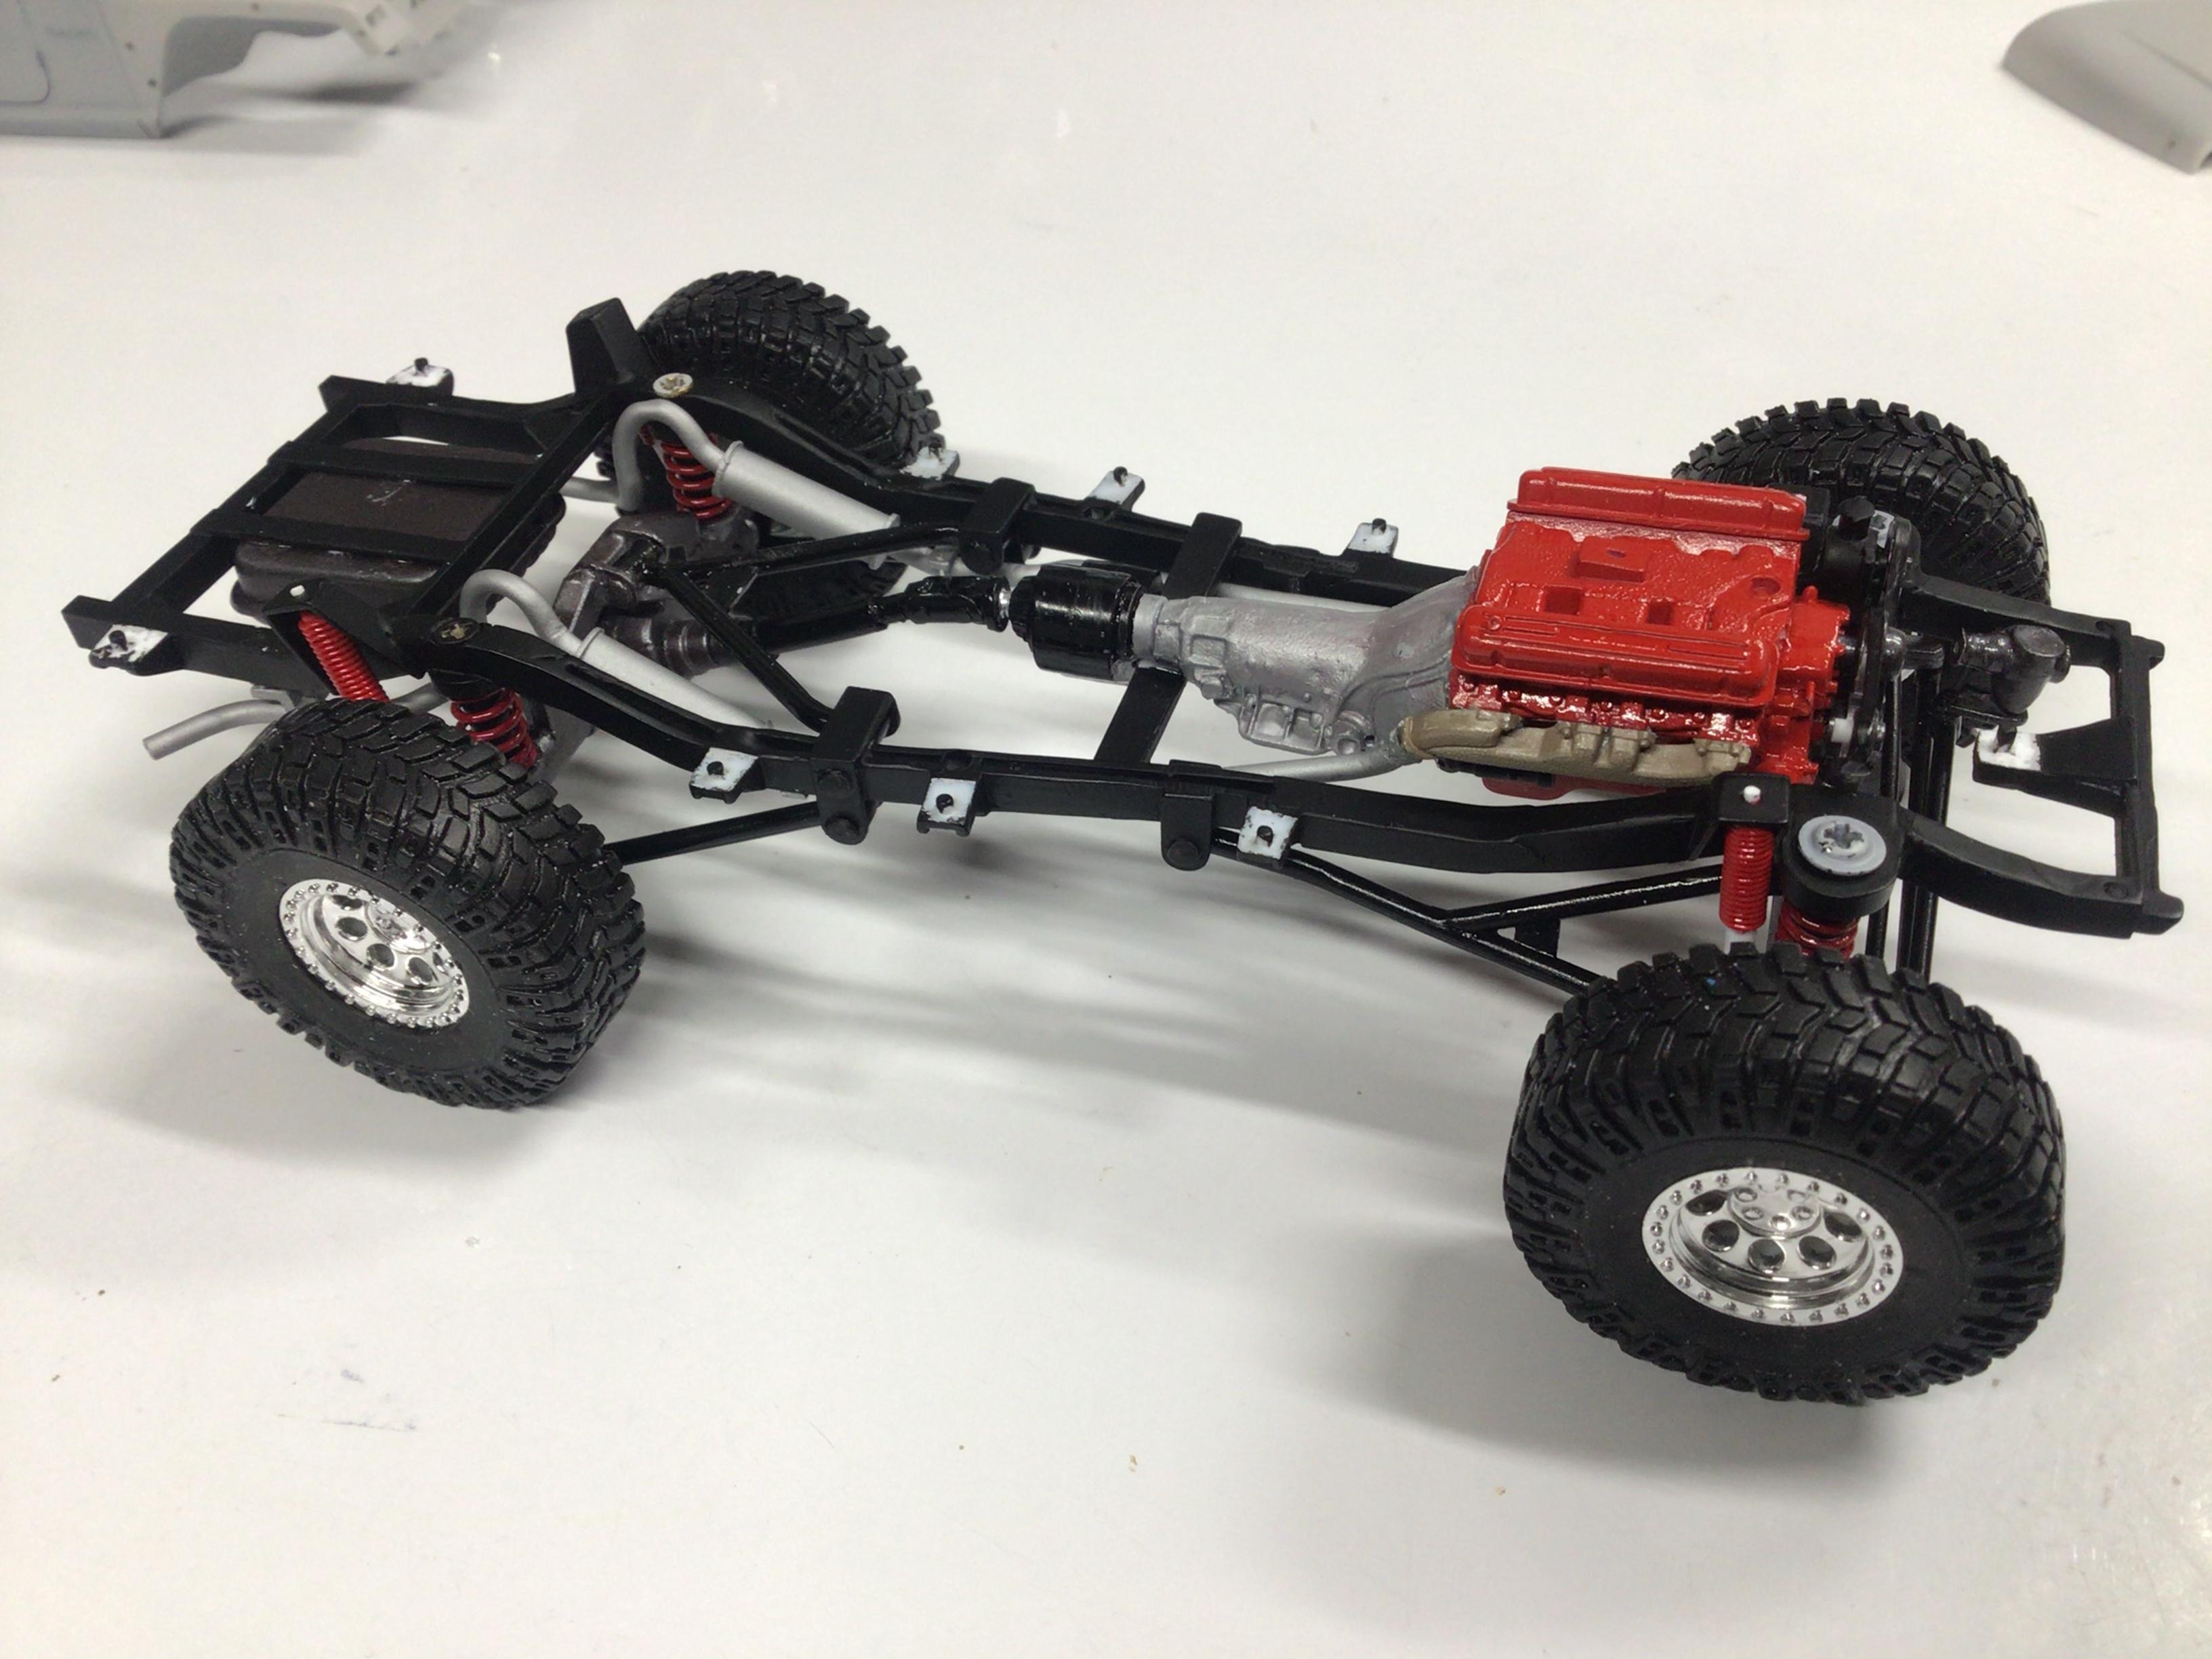
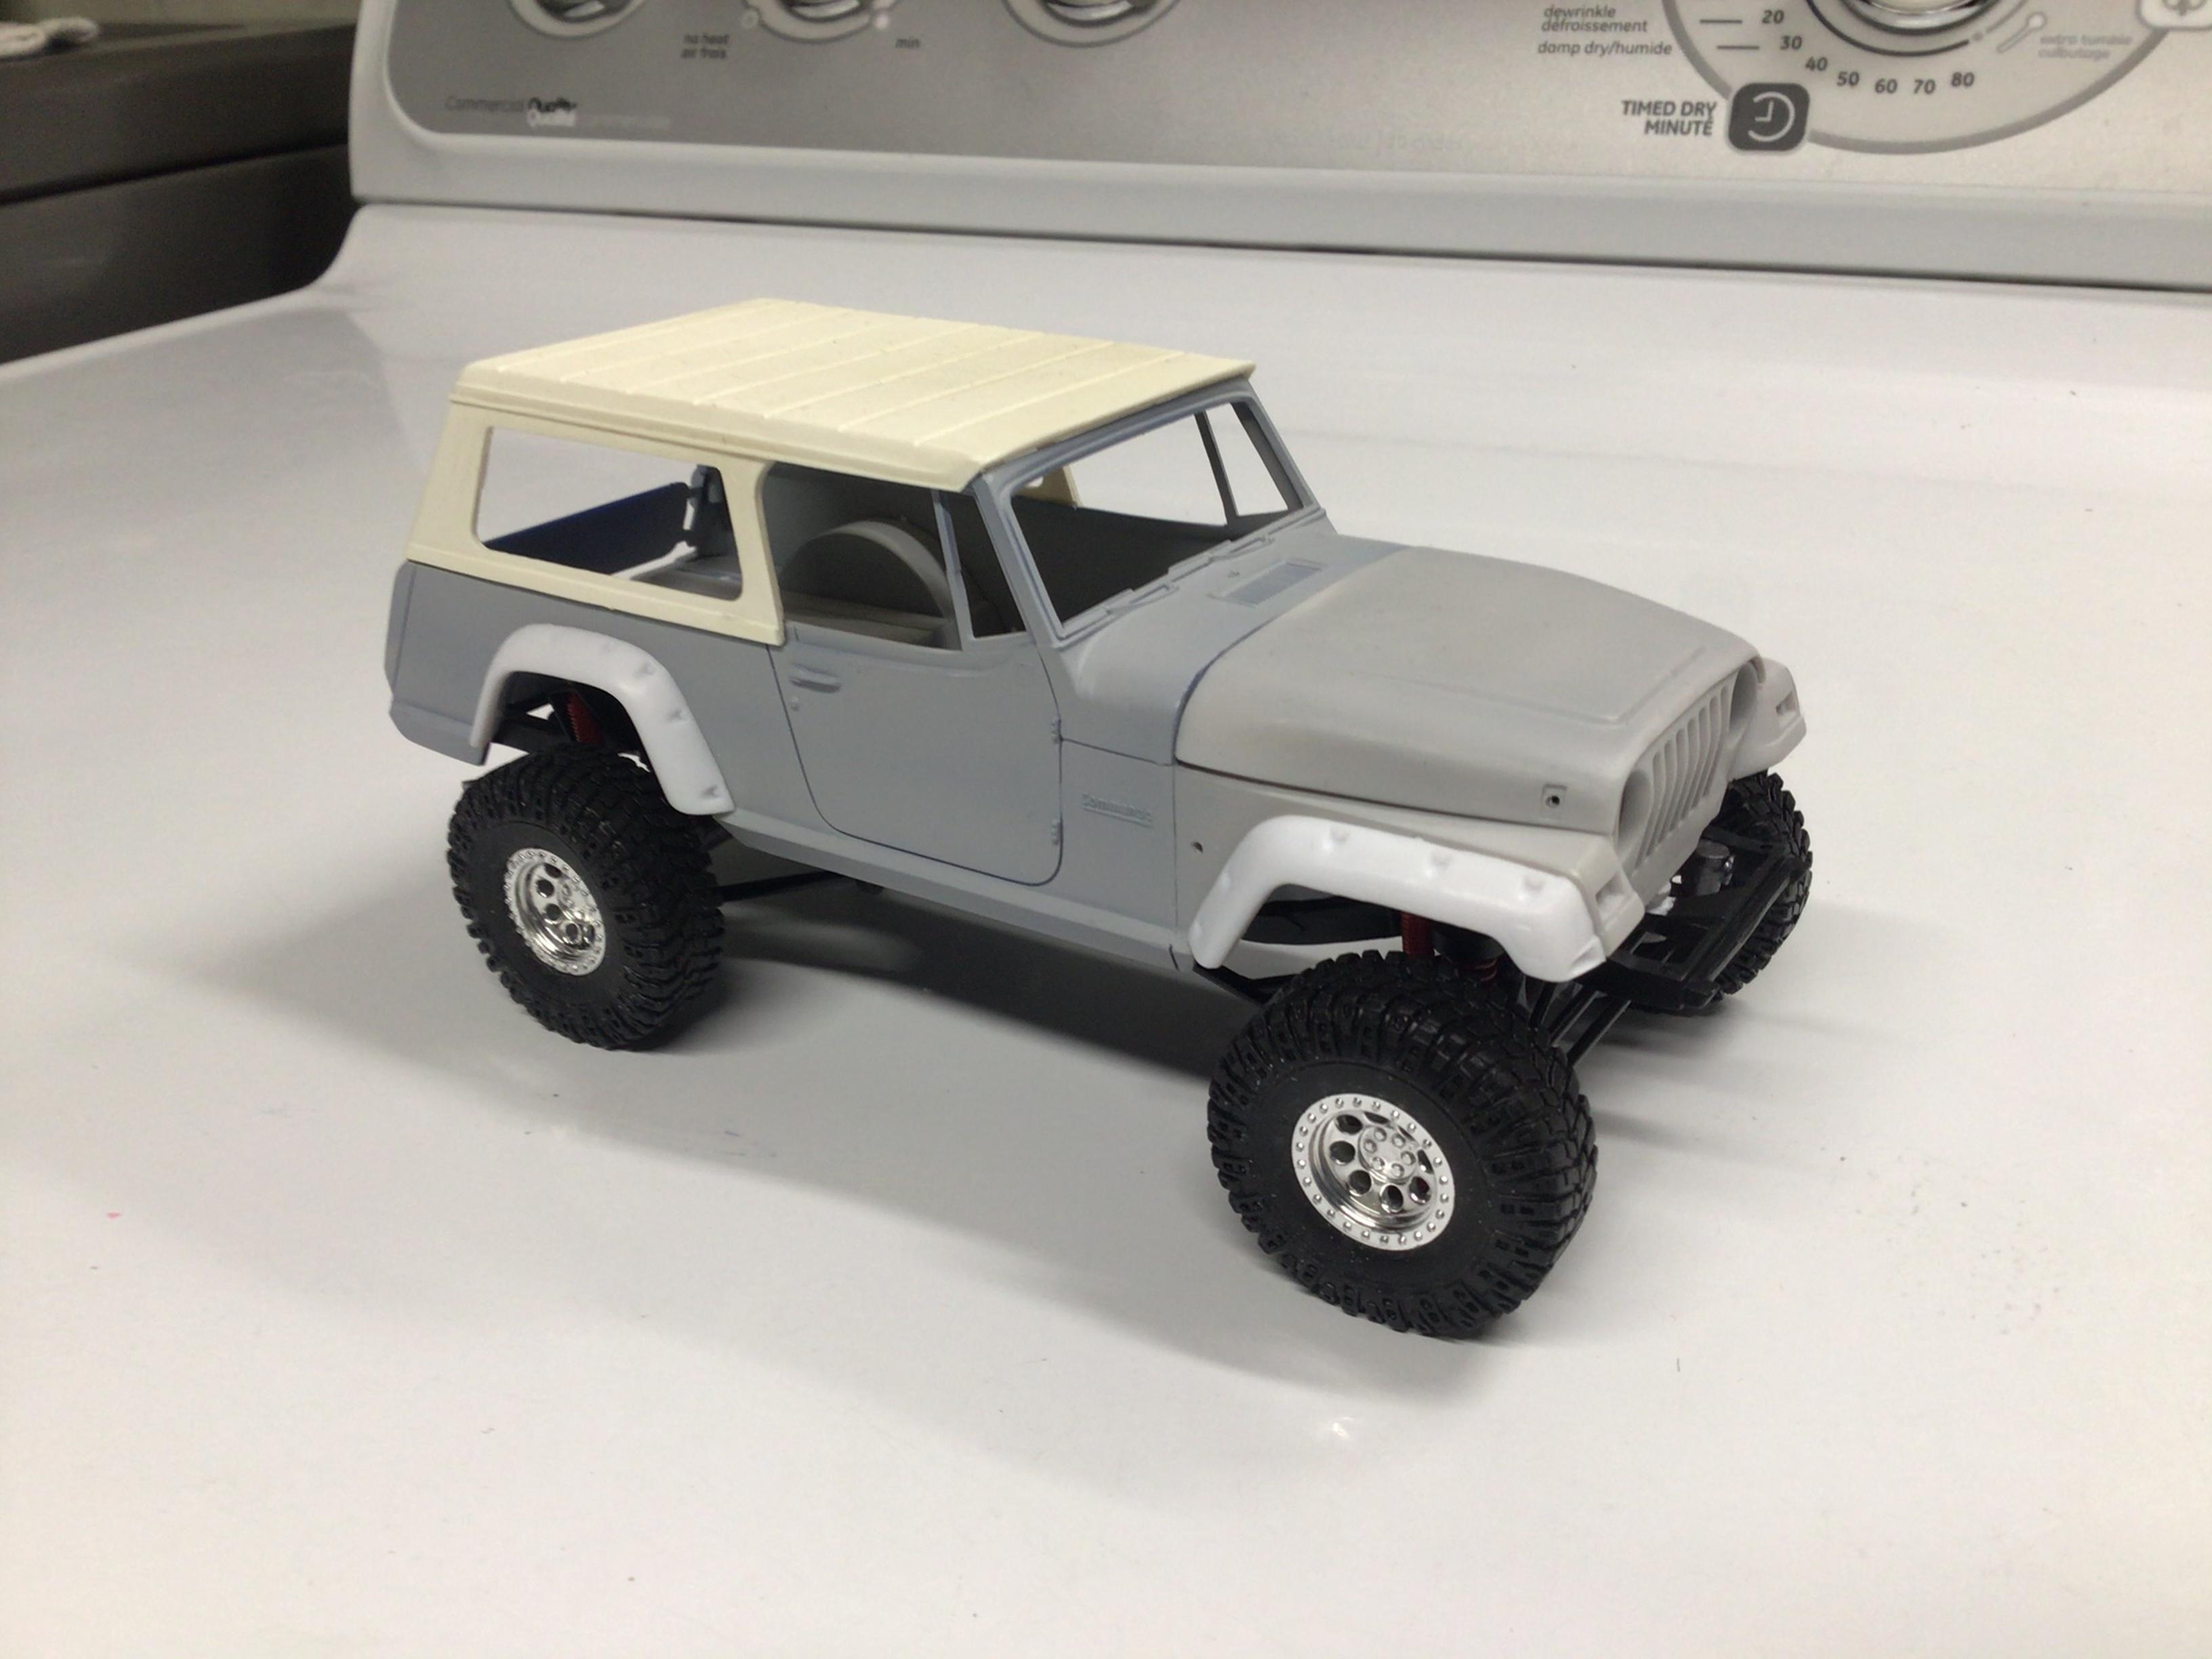
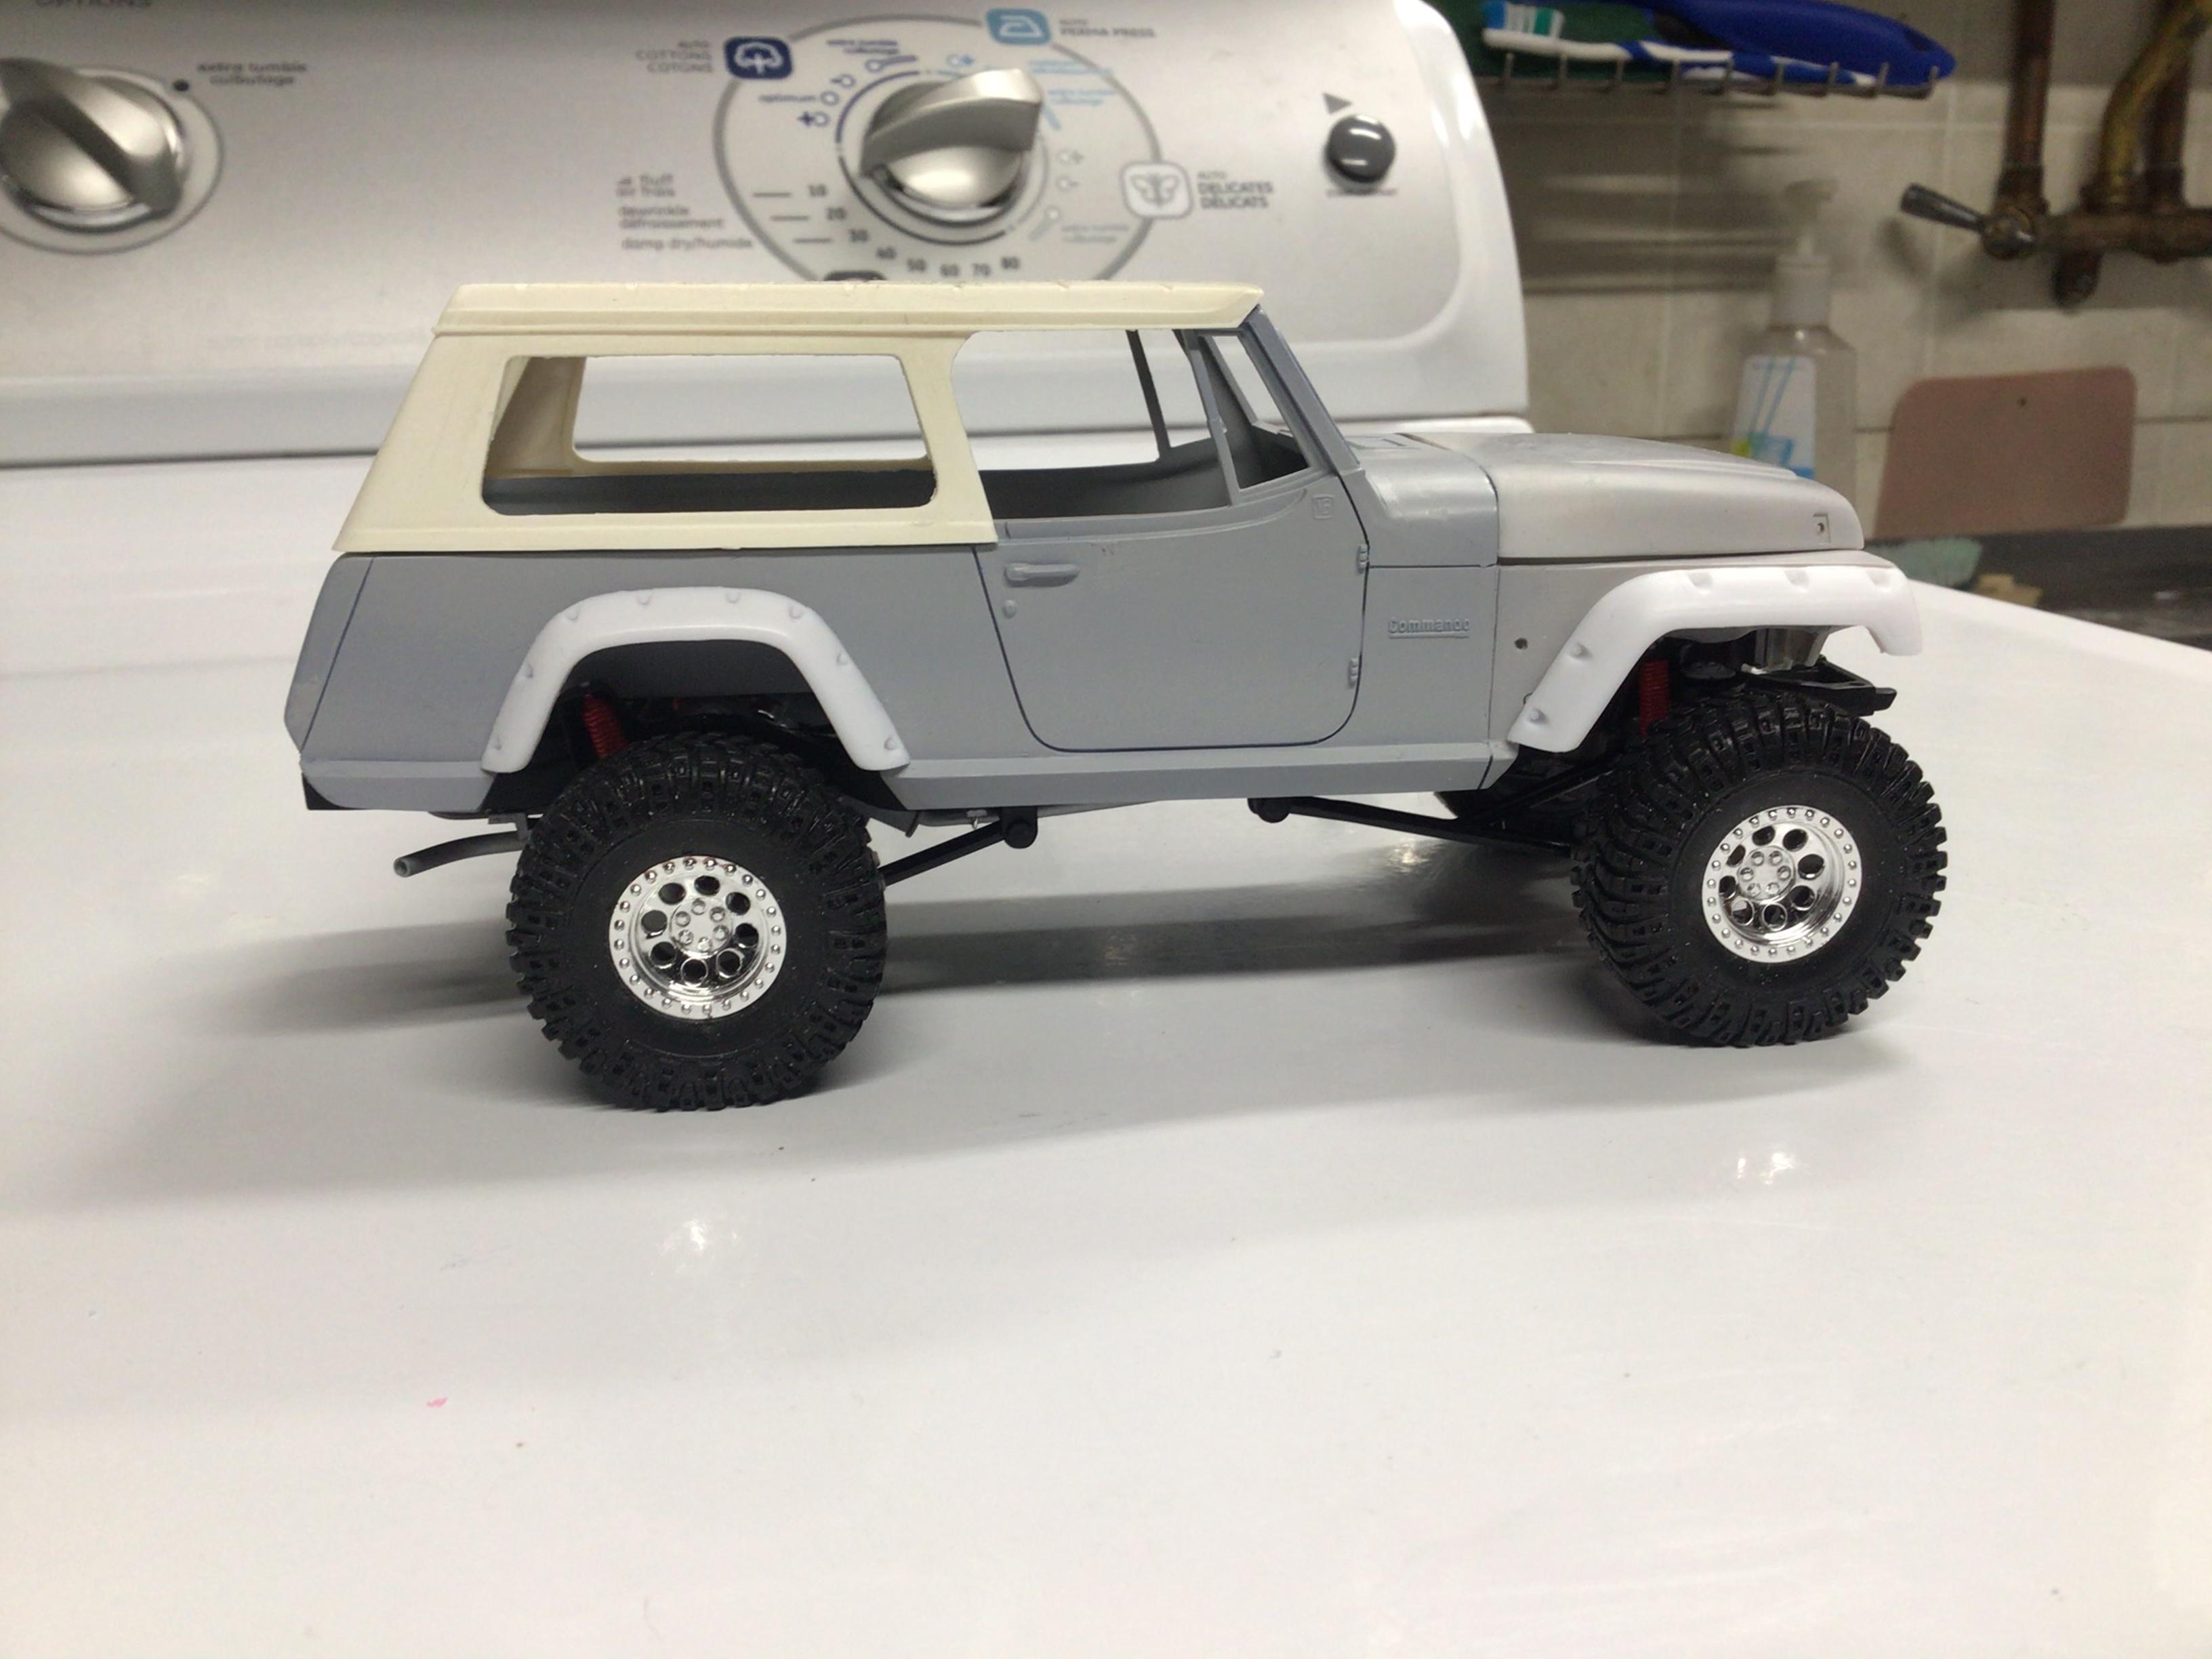
I’ve got the chassis pretty much done. This was my first attempt at building a complete exhaust system.? Heck, first attempt at everything! It took me about three tries and a few sticks of .080” styrene to get the exhaust to where I can live with it. I ditched the Hemi engine and replaced it with a Buick 350 and turbo 400 transmission (the earlier C-101 Jeepsters had a Buick V6 and TH400 trans, and the 350 is a popular swap in the 1:1 world). This engine is actually a 430 from the AMT ‘69 Riviera that I re-worked a bit to resemble the smaller block since no Buick kit came with a 350. The resin roof from Olson Brothers arrived a while back too and looks better than the half-cab roof I think.
-
Amazing slicing and dicing going on here! There is something more rewarding about this kind of building that just glueing a kit together isn’t there? What glue did you use for the side panel that adheres to the styrene and the filler...epoxy?
-
Your forethought and attention to details is amazing!?
-
Welcome to the forums. Whereabouts in Canada are you?
-
I wanna build that red ‘Vette too?, but I don’t have a clue how to go about it....or the skills. But if you are going to do it Eric, I guess I can get my get my thrills vicariously.? I’ll be watching in anticipation!
-
Way ahead of it's time!
NOBLNG replied to doorsovdoon's topic in General Automotive Talk (Trucks and Cars)
It was built here a while back. The interior is weird because of the electrics. -
Why is it that metallic paints (laquers) seem to take a lot more flushes to clean out of the airbrush cup than solid colors??
-
What was the worst movie you saw at the theater??
NOBLNG replied to slusher's topic in The Off-Topic Lounge
1)PeeWee’s big adventure. 2)Island of Dr. Moreau. -
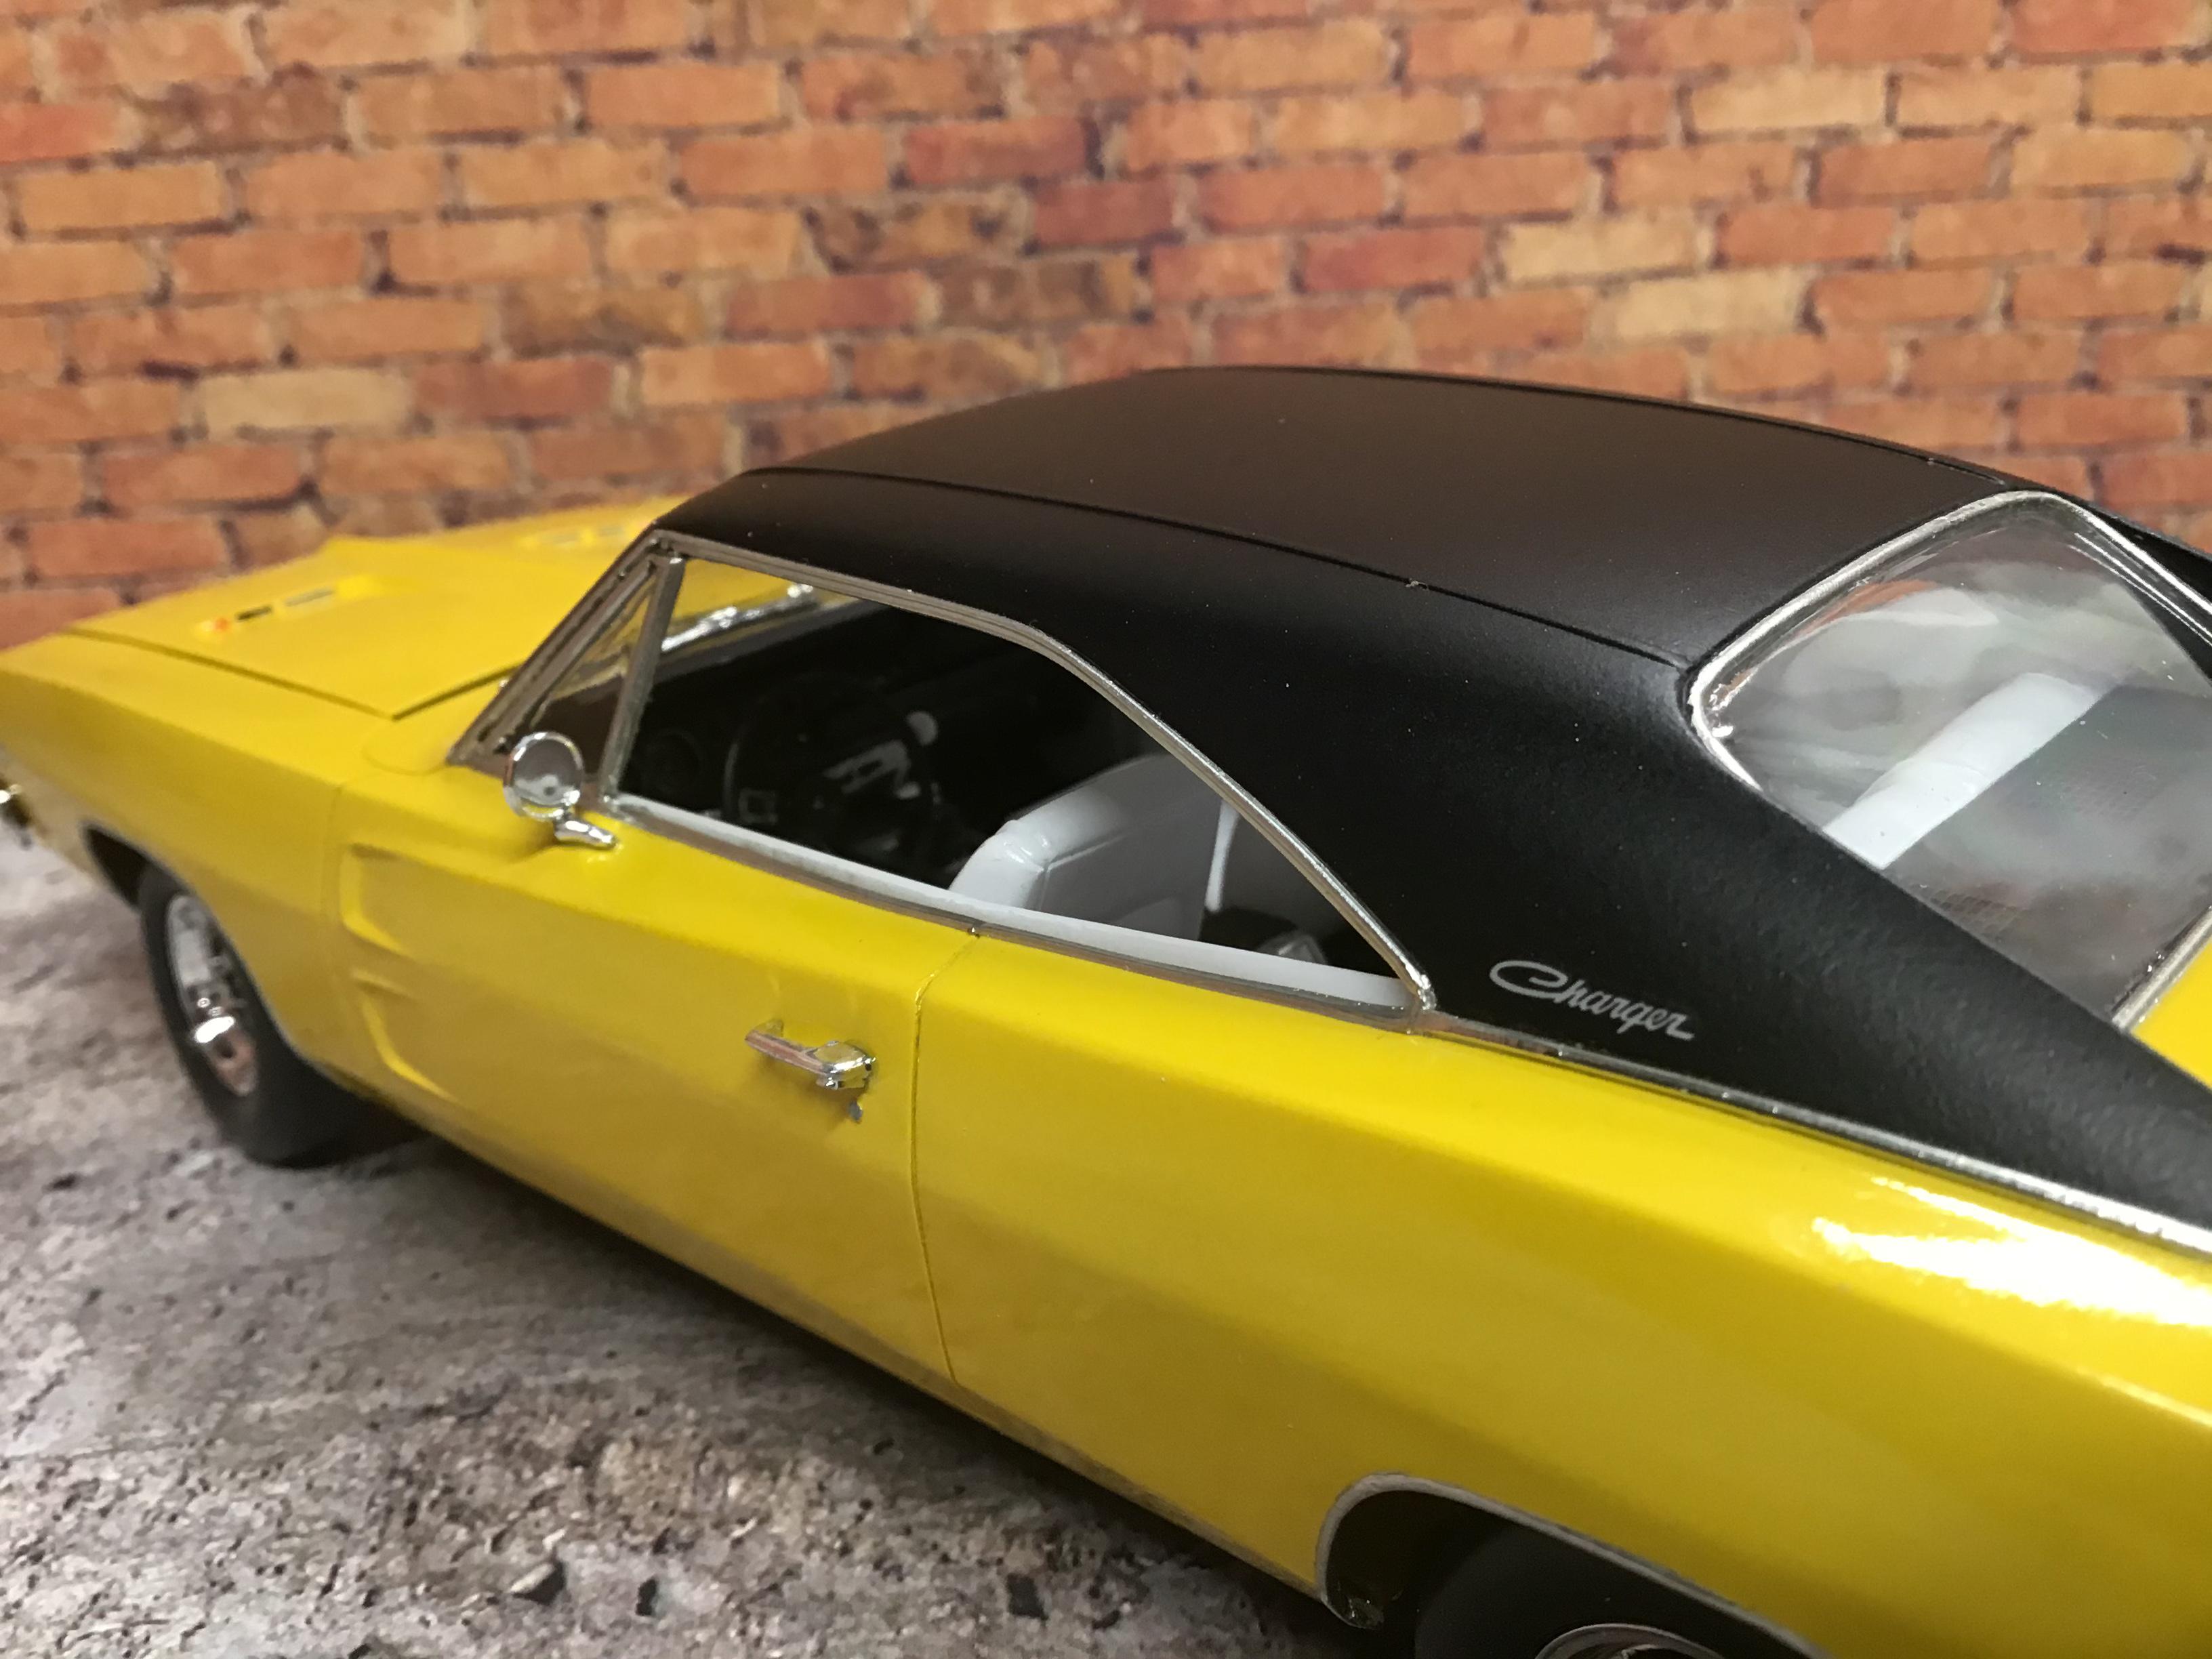
This is gloss black with one coat of Tamiya flat clear on top sprayed from a distance of 8”-10”. I did the gloss black first so that I could apply the decals.
-
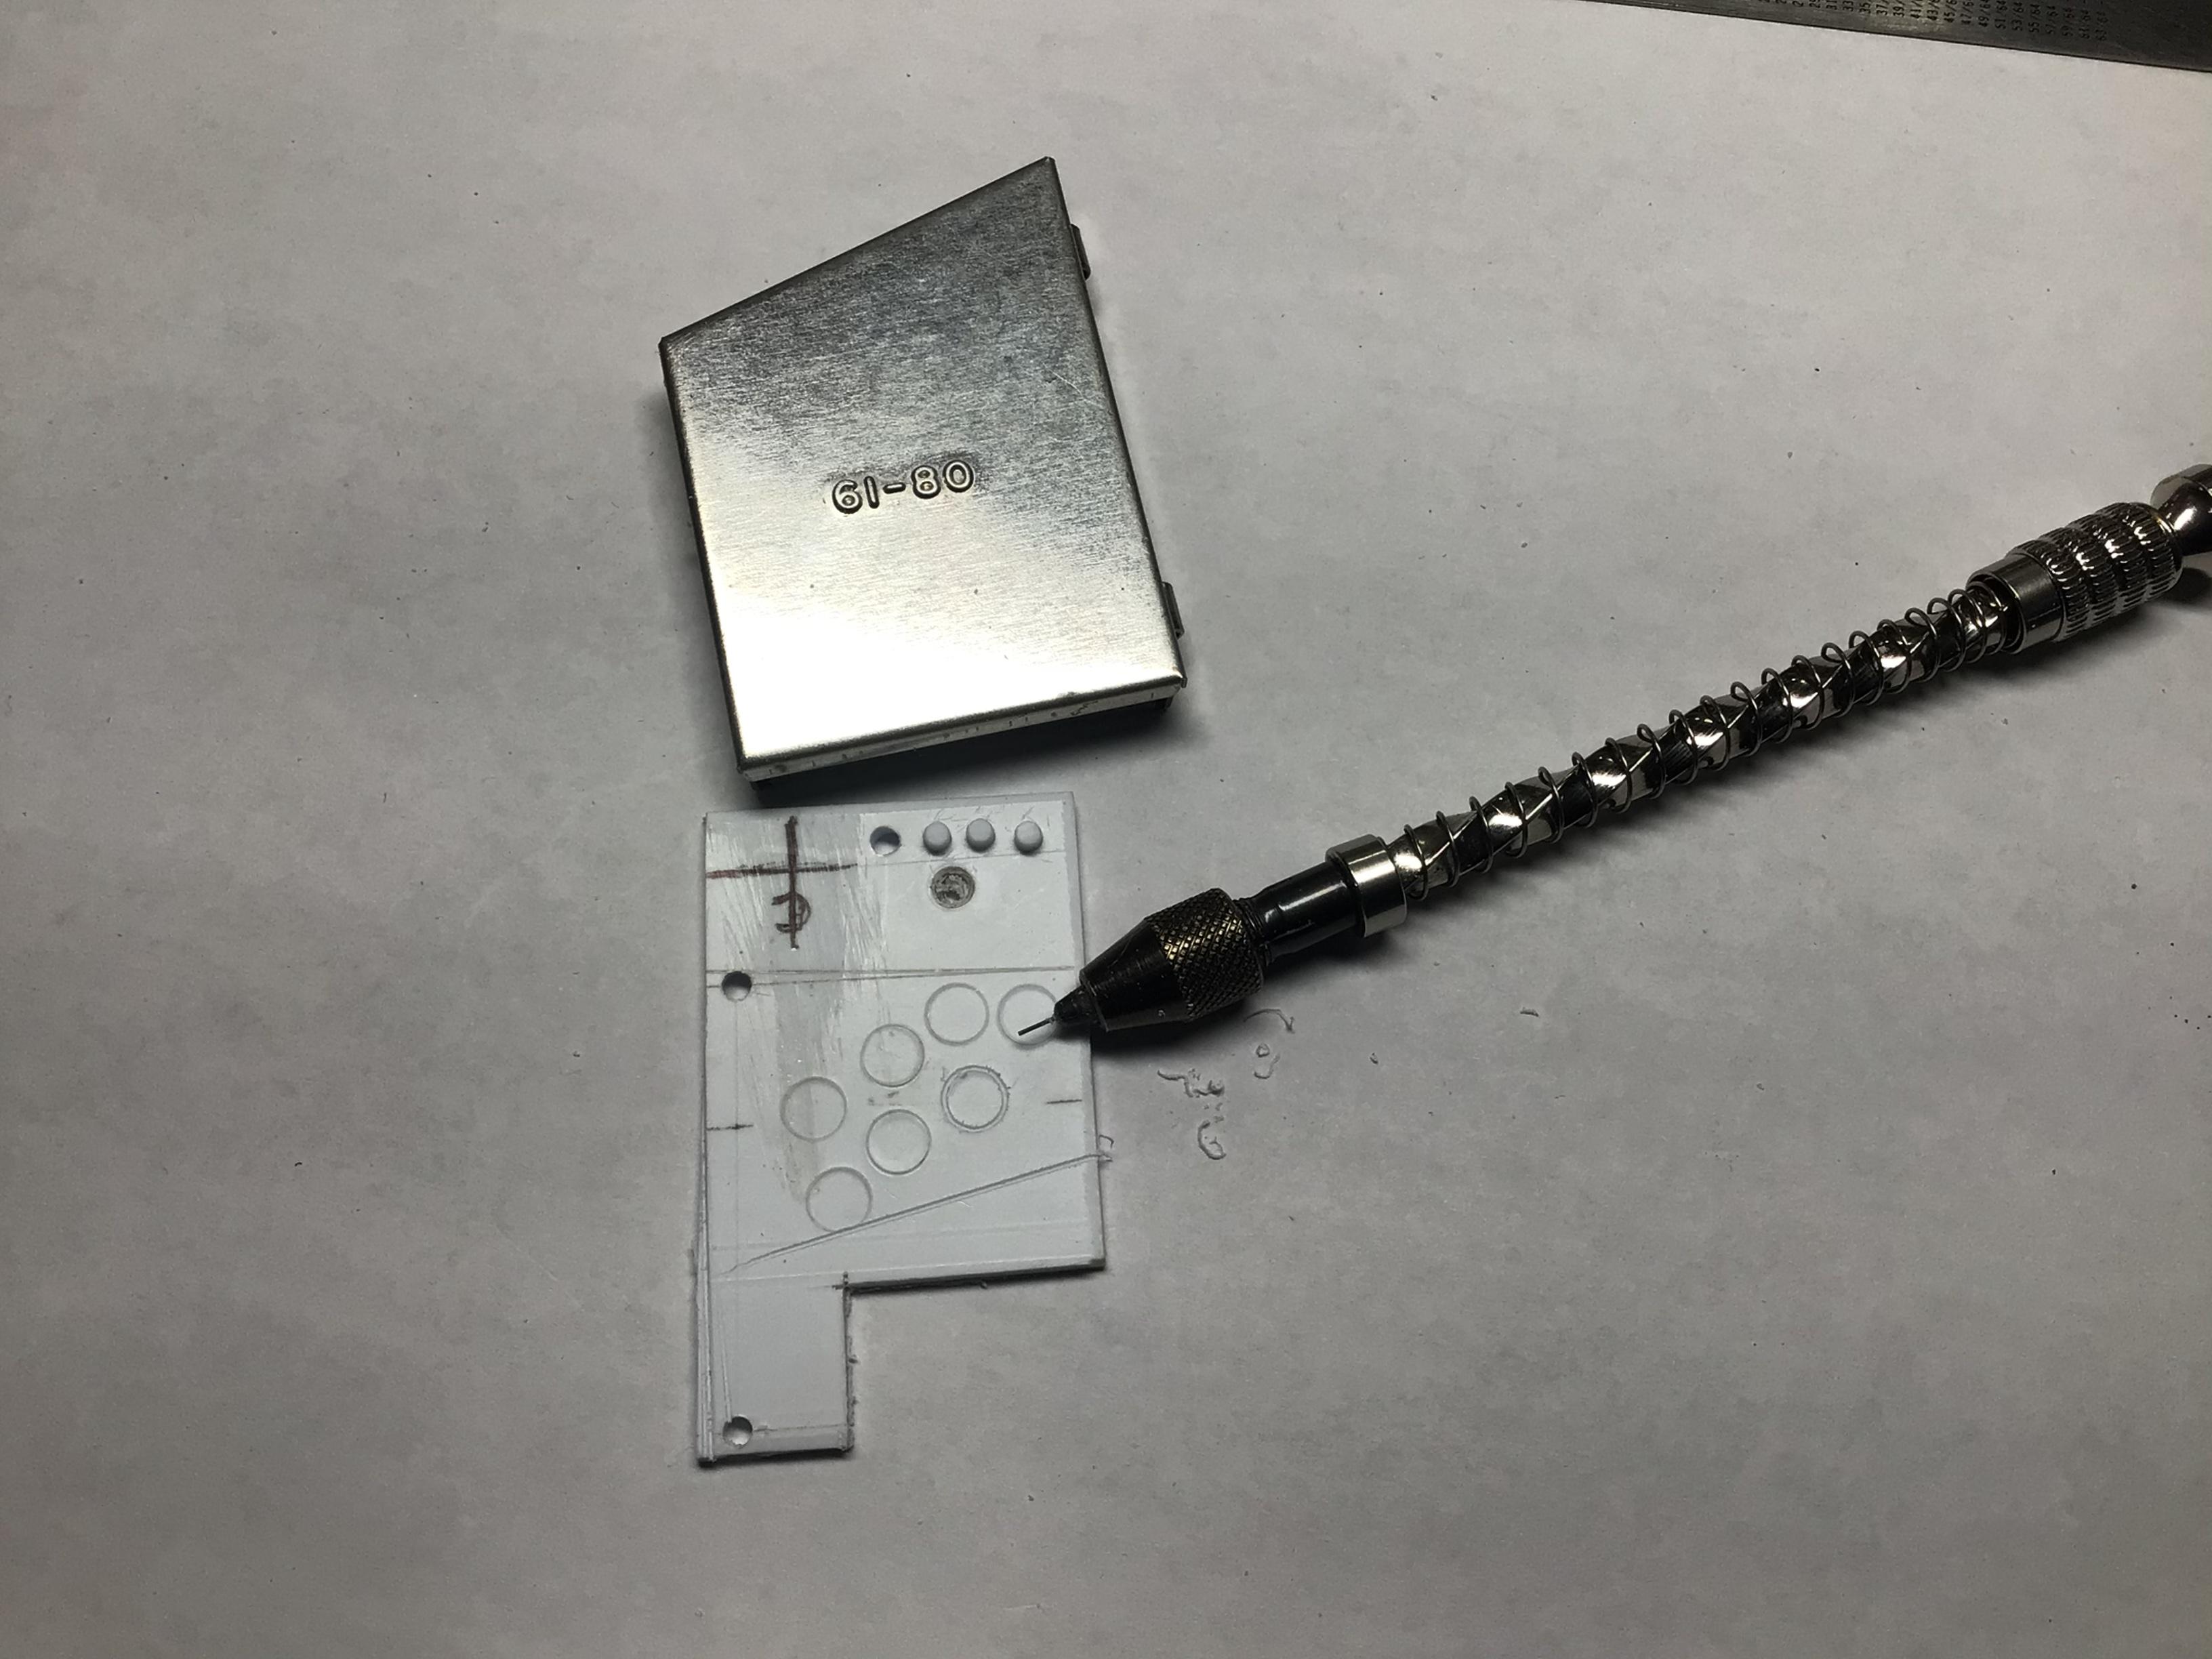
Another thing you can do is chuck a small drill bit backwards in a pin vise and use it as a scriber. Use a very light touch as they are brittle! This is a #80 (0.0135”).
-
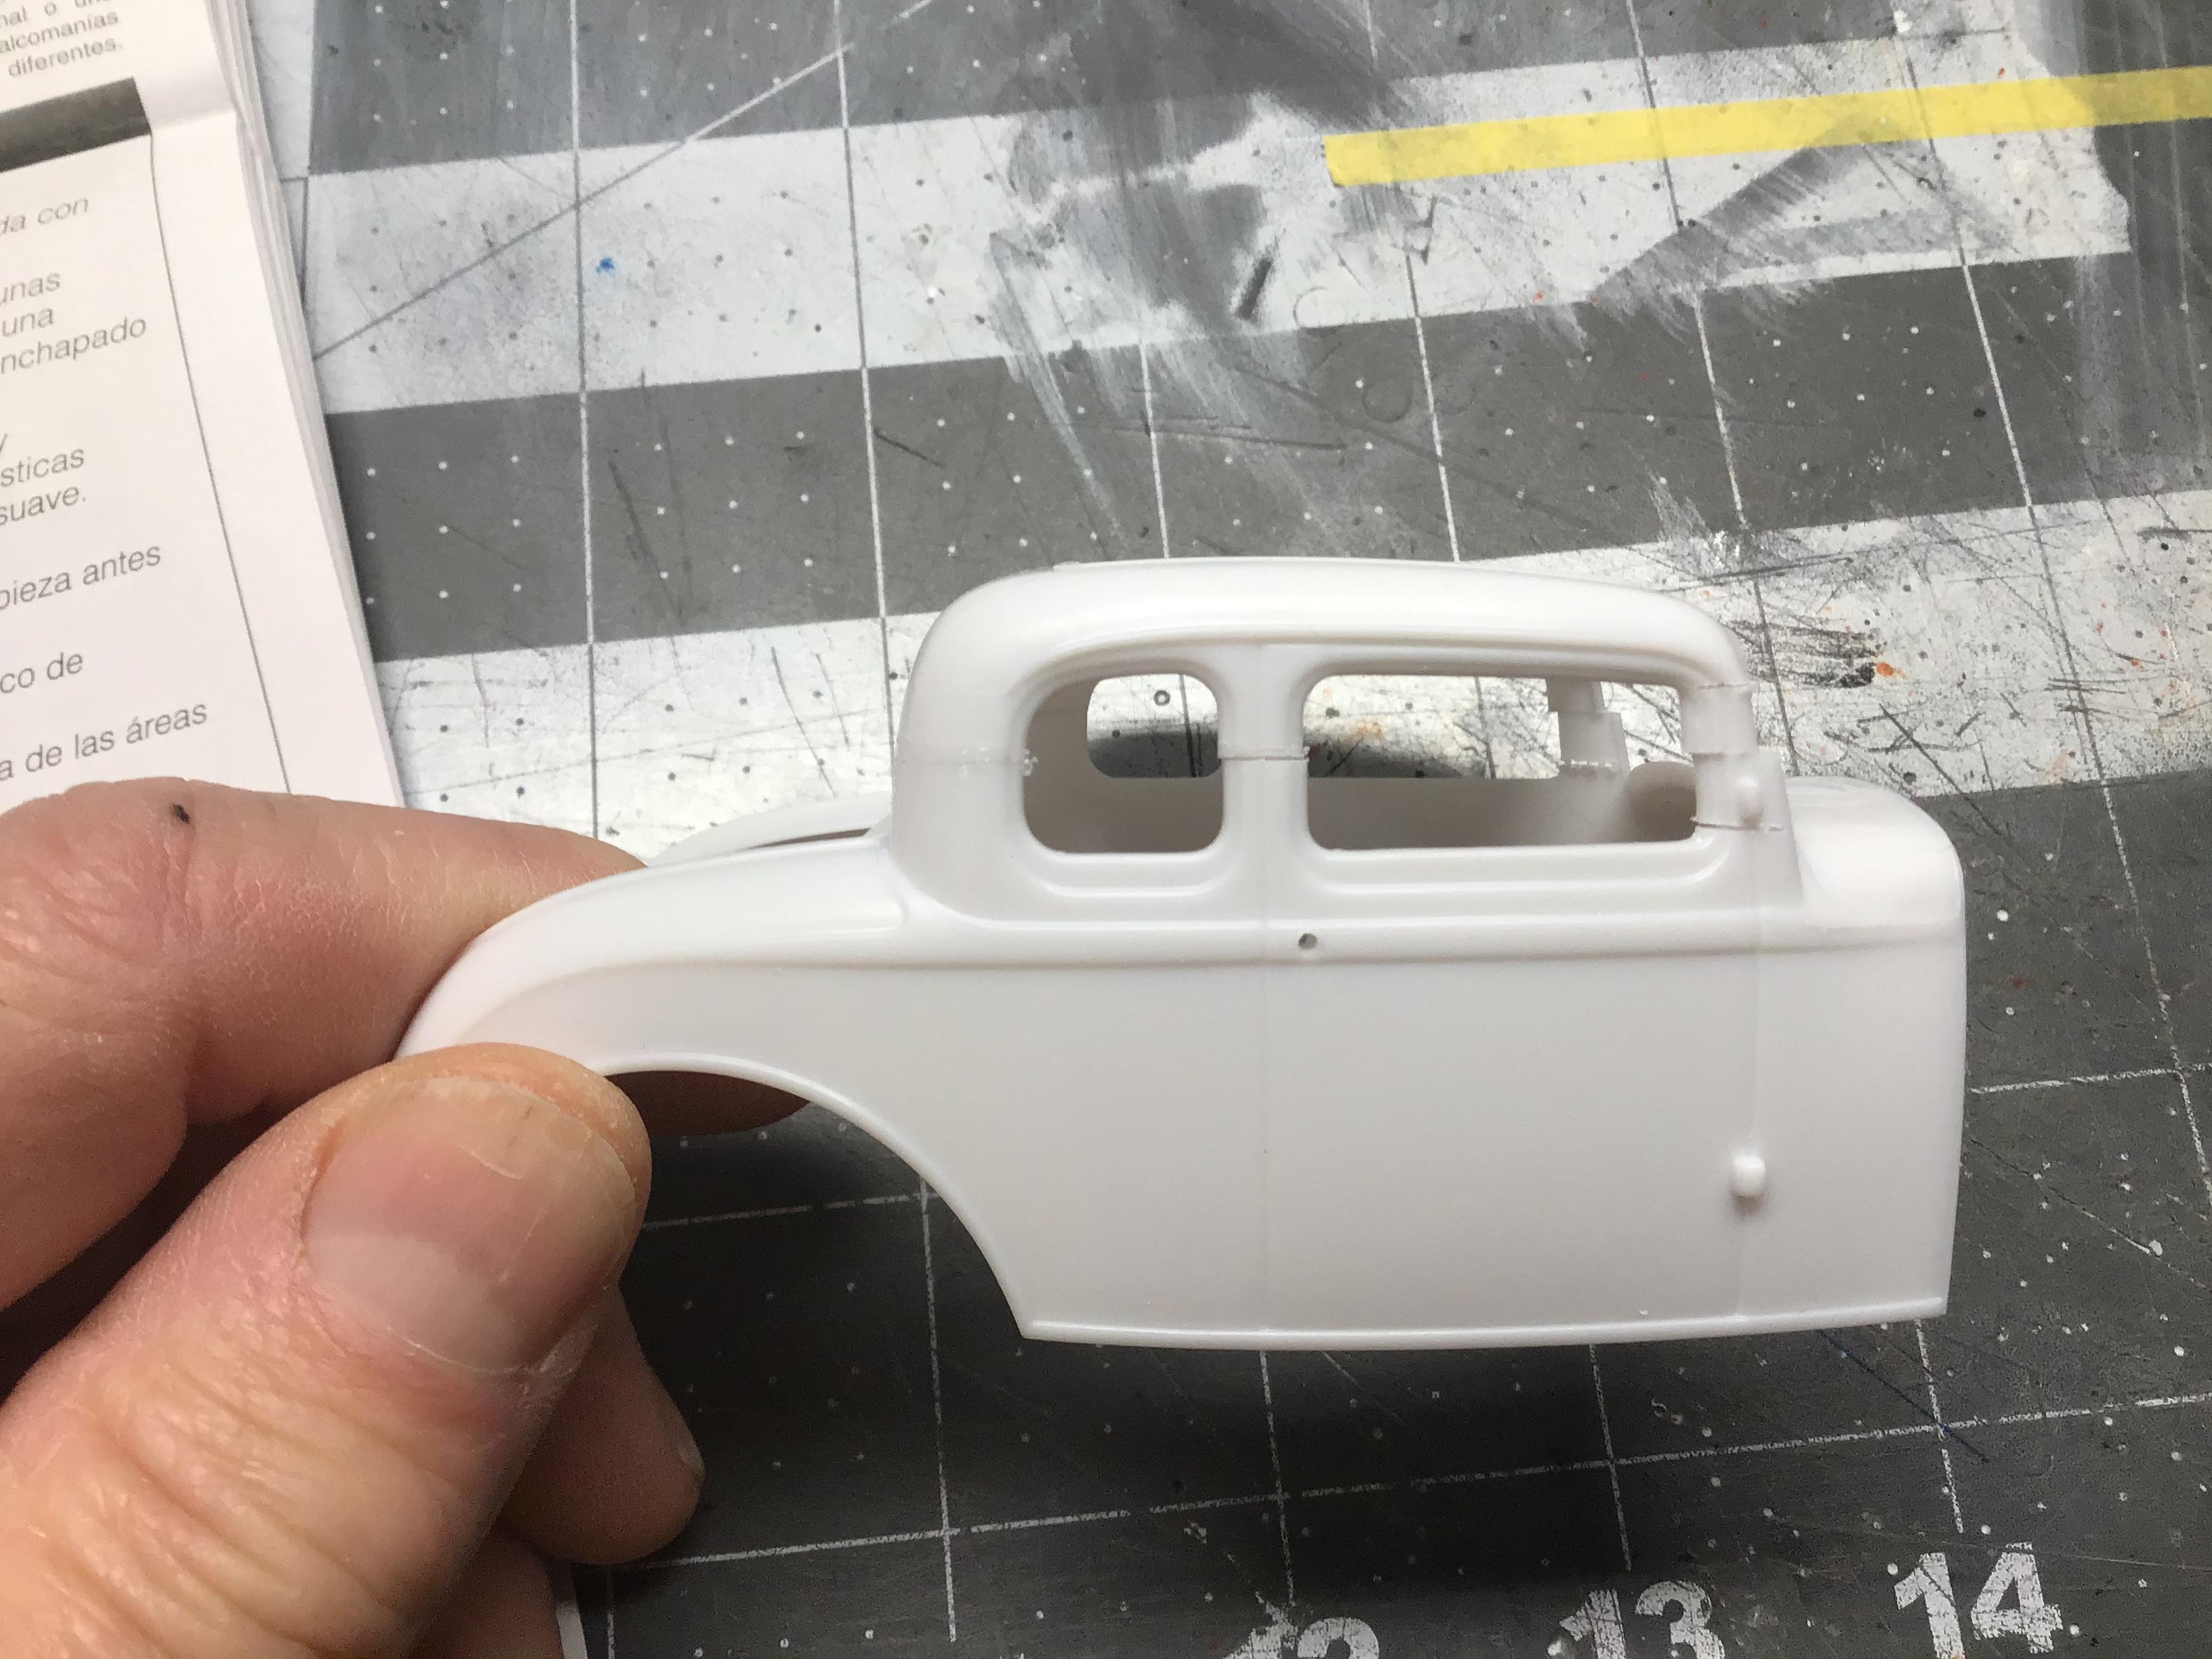
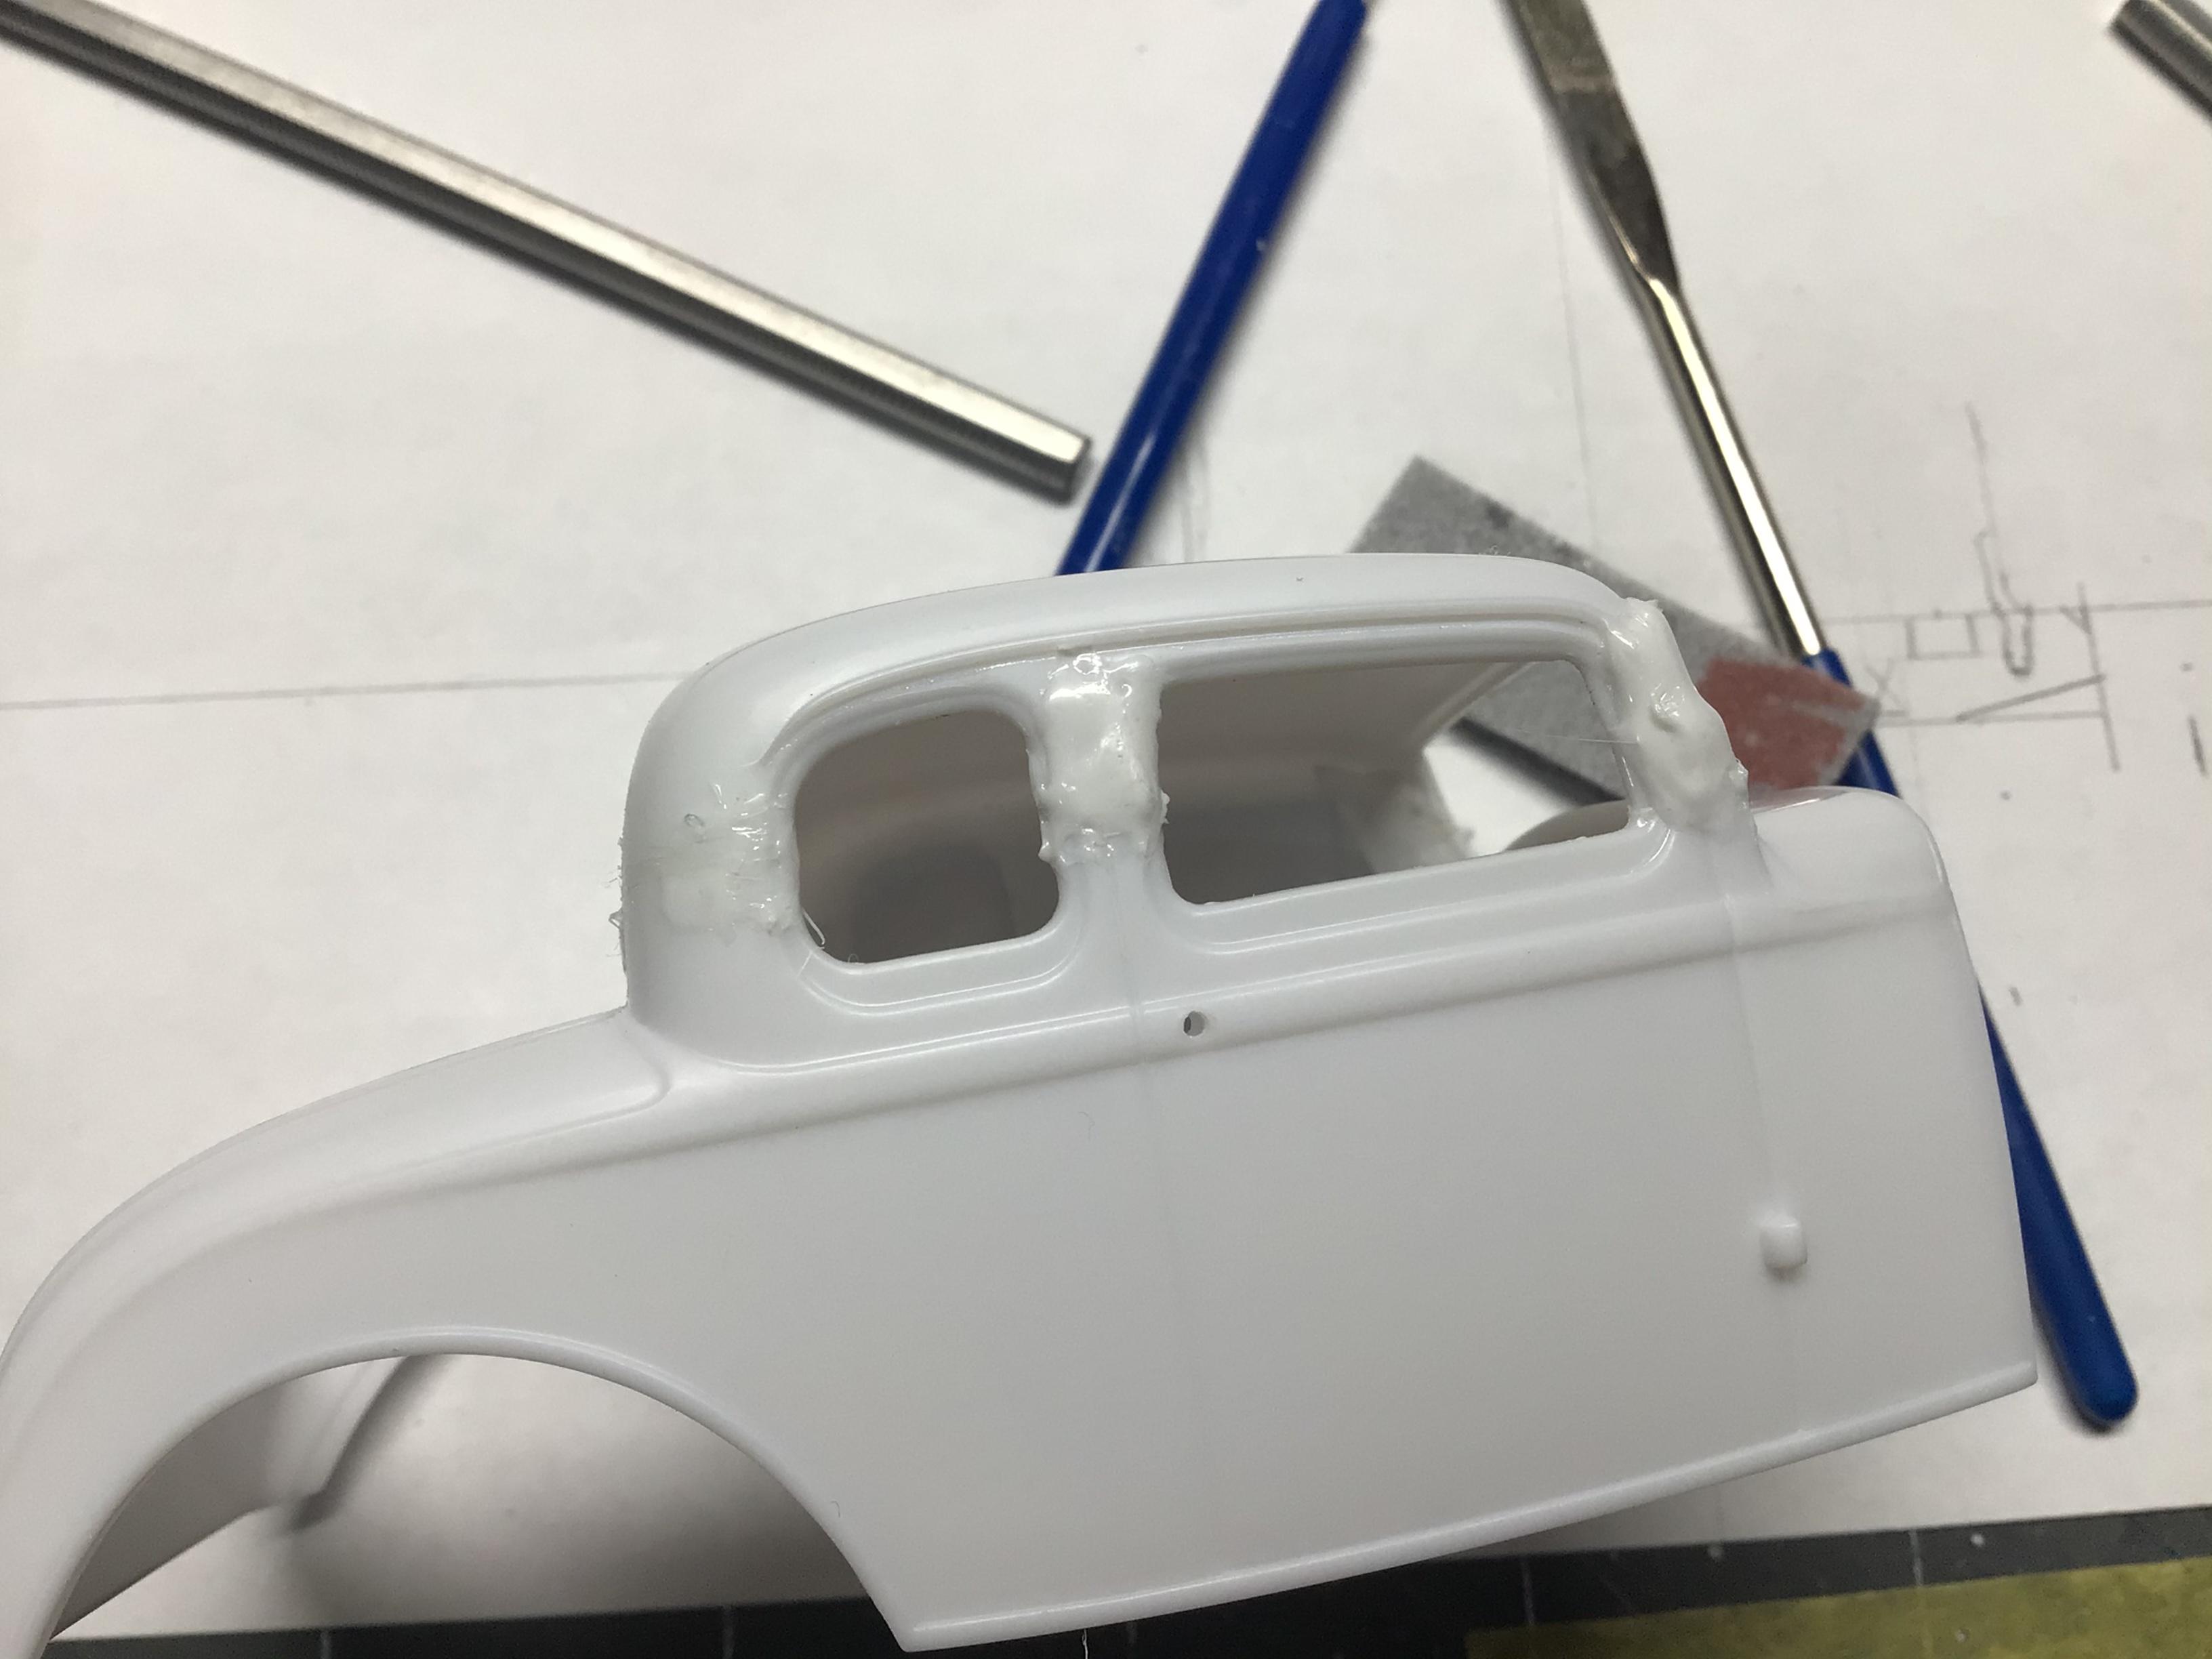
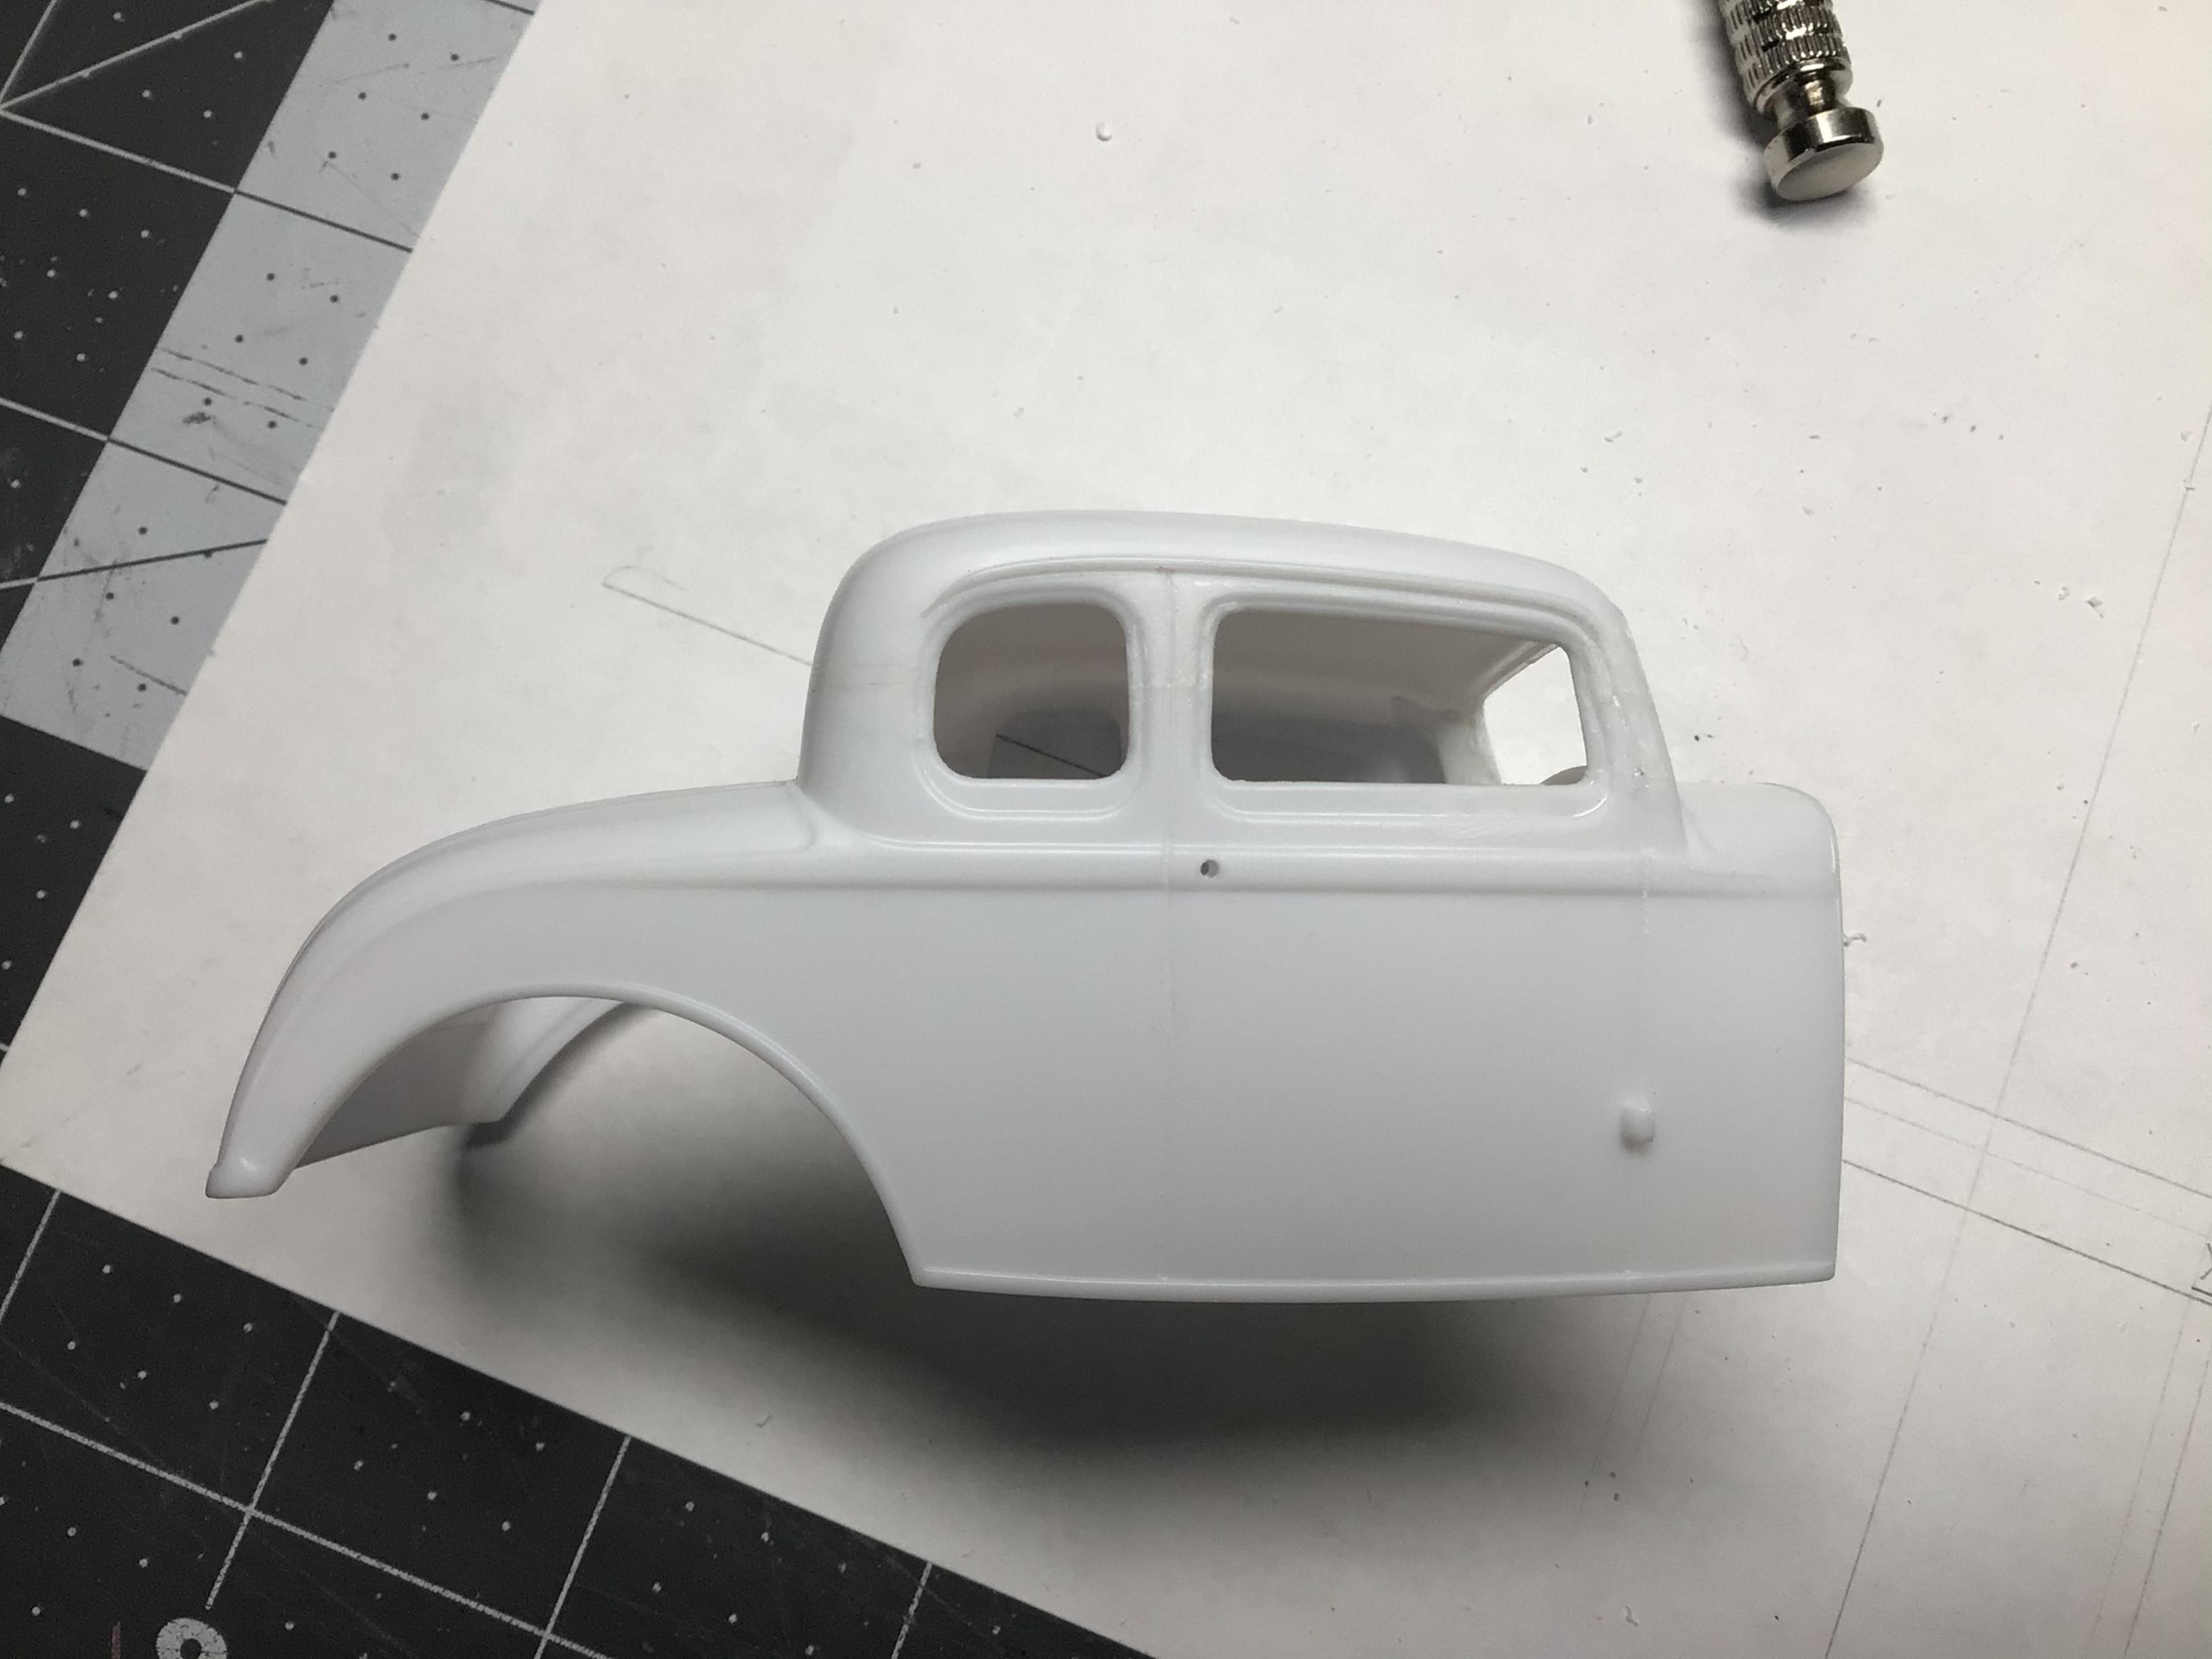
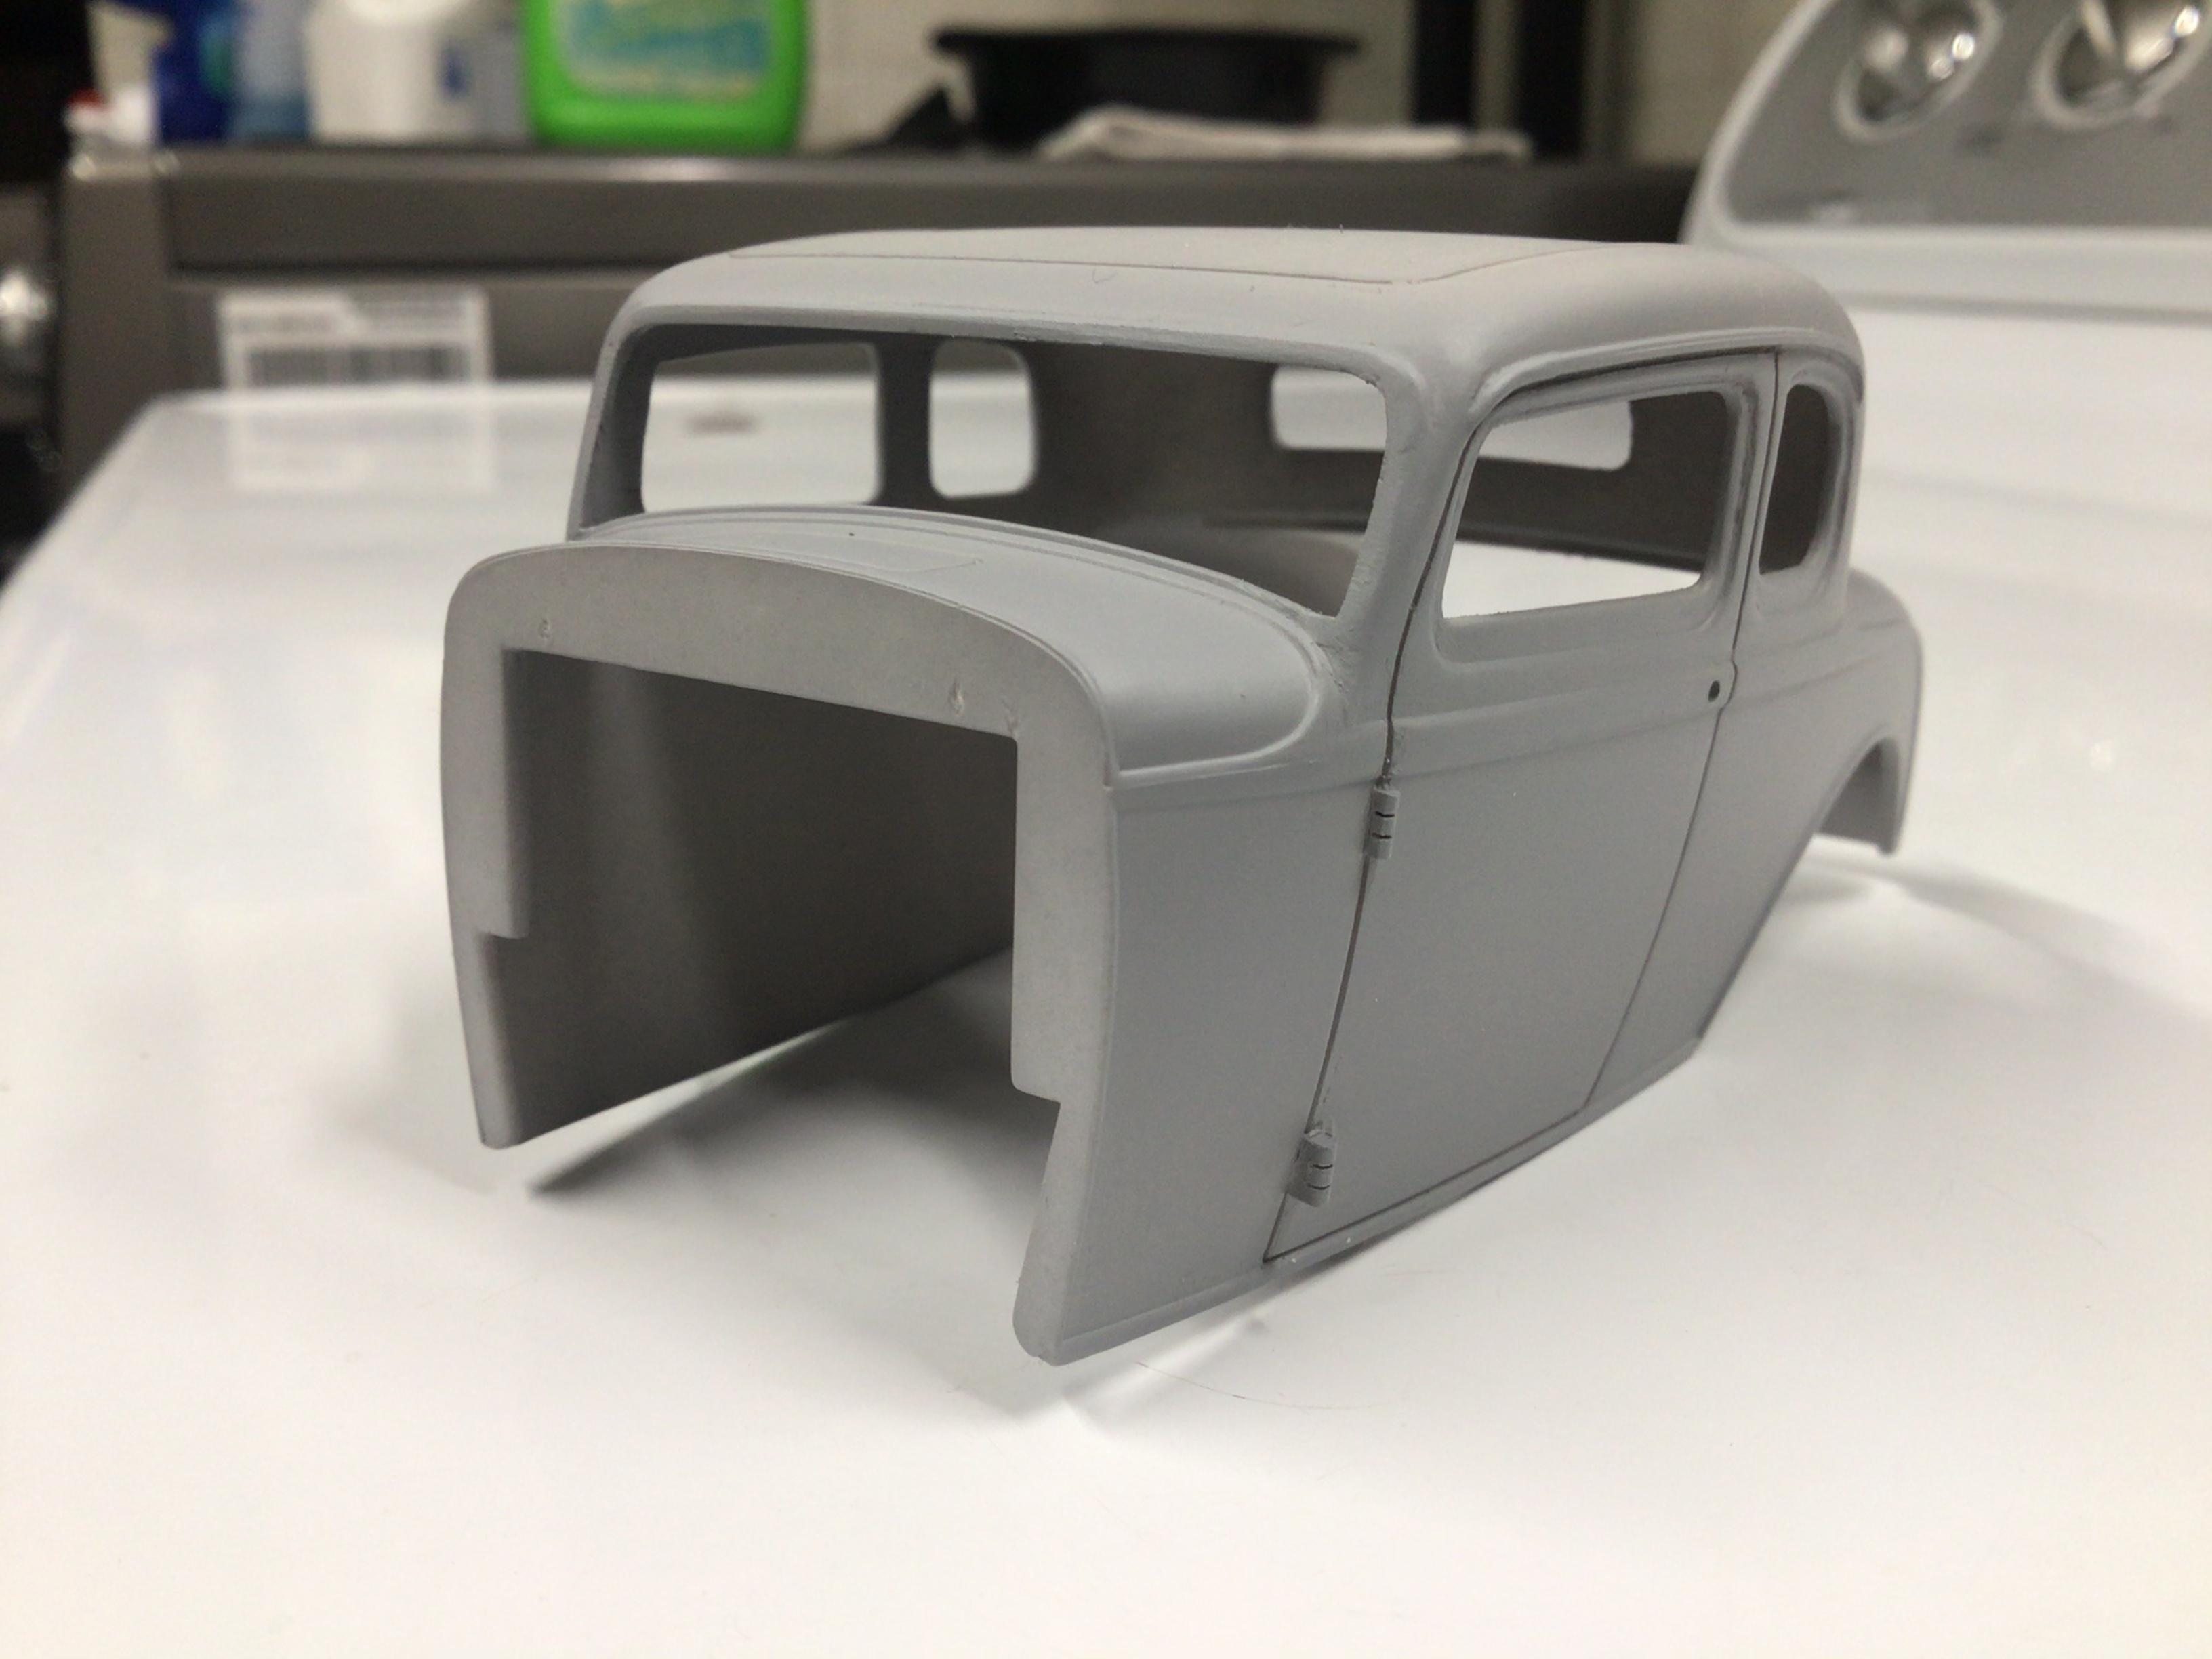
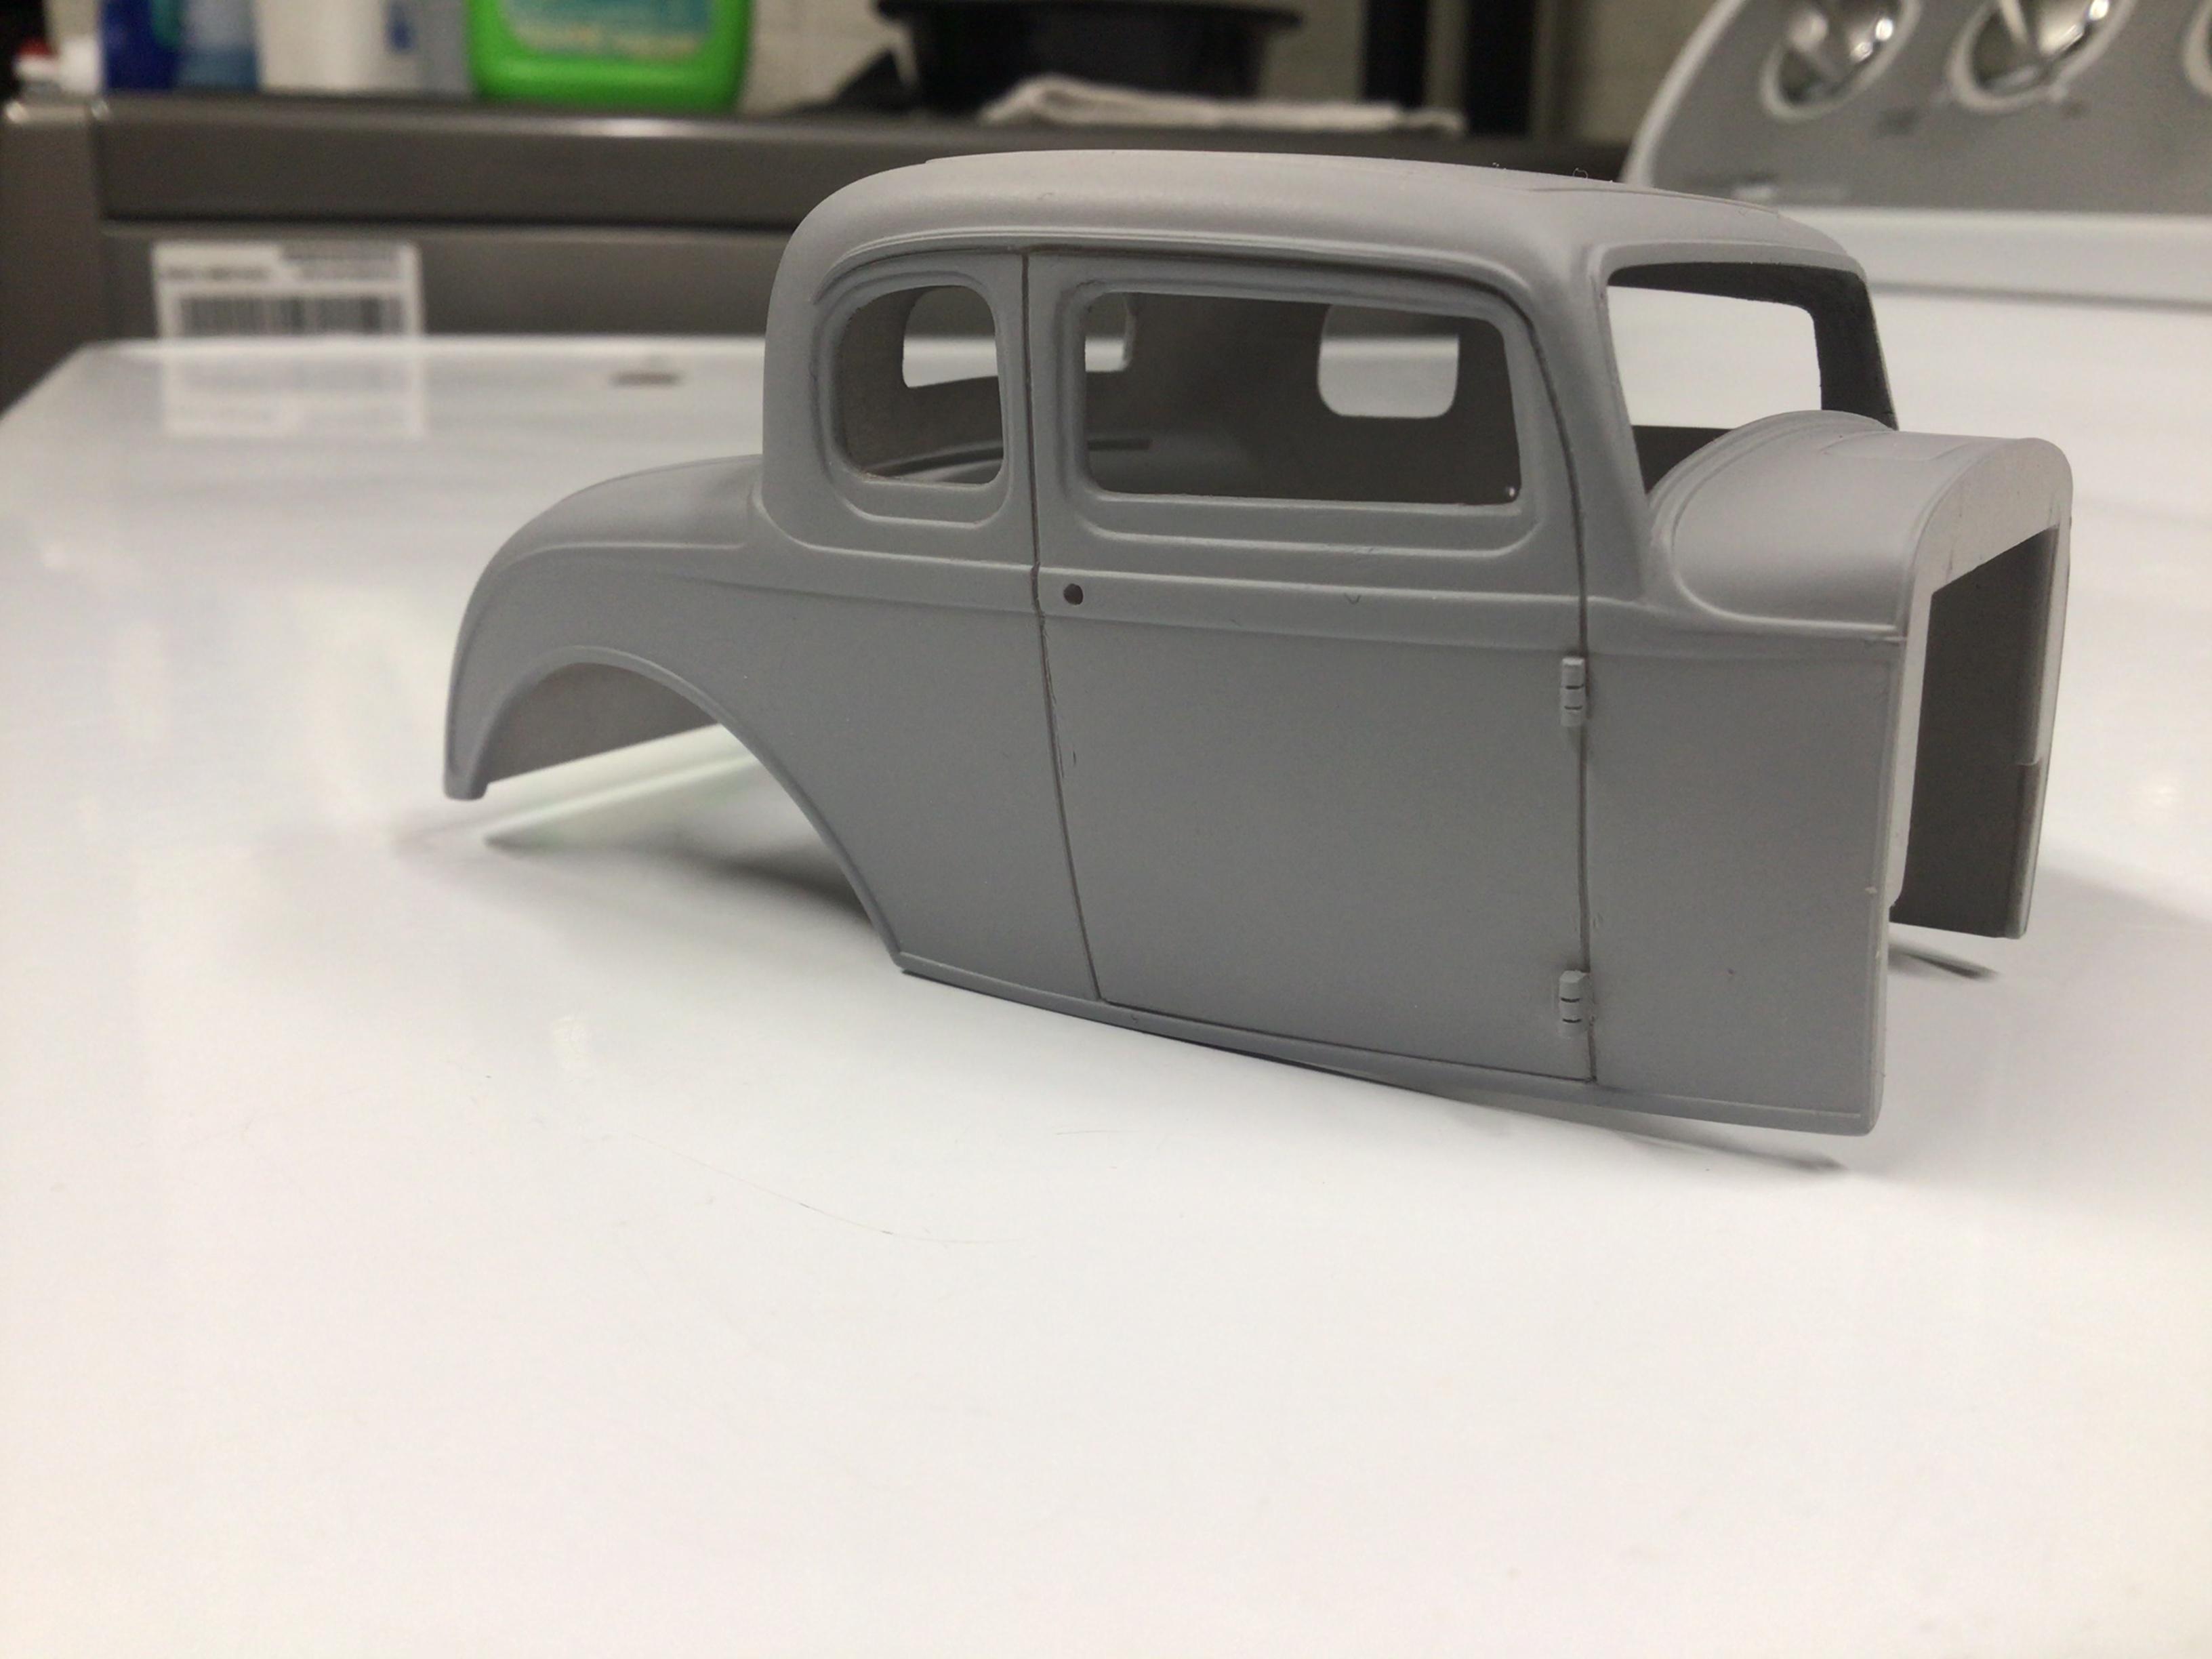
No point in starting another thread on this I guess. This is my first attempt at a 3” chop on the Revell ‘32. I found this thread after the fact, so I dropped the C pillar straight down. Accordingly, I had to add a little to the B pillar. I made a slit at the top and bottom of the A pillar and leaned them forward and back till they lined up. The sprue glue I used for filler works great...but it takes a long time to dry into solid styrene again. If I was to do it again (I mean WHEN I do it again?) I may cut the entire A pillar out and then file the length down at the proper angles to fit? All in all, I am happy with the results. Edit: I see some pics of these cars where the upper hinge is on the A pillar, and some where it is just below the belt line. Is that a stock difference, or a modification? Obviously I need to move it down so they will be aligned. Thanks.
-
'41 Chev Custom
NOBLNG replied to Brianl's topic in WIP: Model Trucks: Pickups, Vans, SUVs, Light Commercial
Beautiful work!? -
Ford F-150 Flareside or Styleside?
NOBLNG replied to Flynlo's topic in Model Trucks: Pickups, Vans, SUVs, Light Commercial
I prefer the style side. I’ve never really liked stepsides on any trucks later than the early or mid sixties. Once they lost the front fenders and went to a wide flat hood the stepside seems out of place in my mind.? -
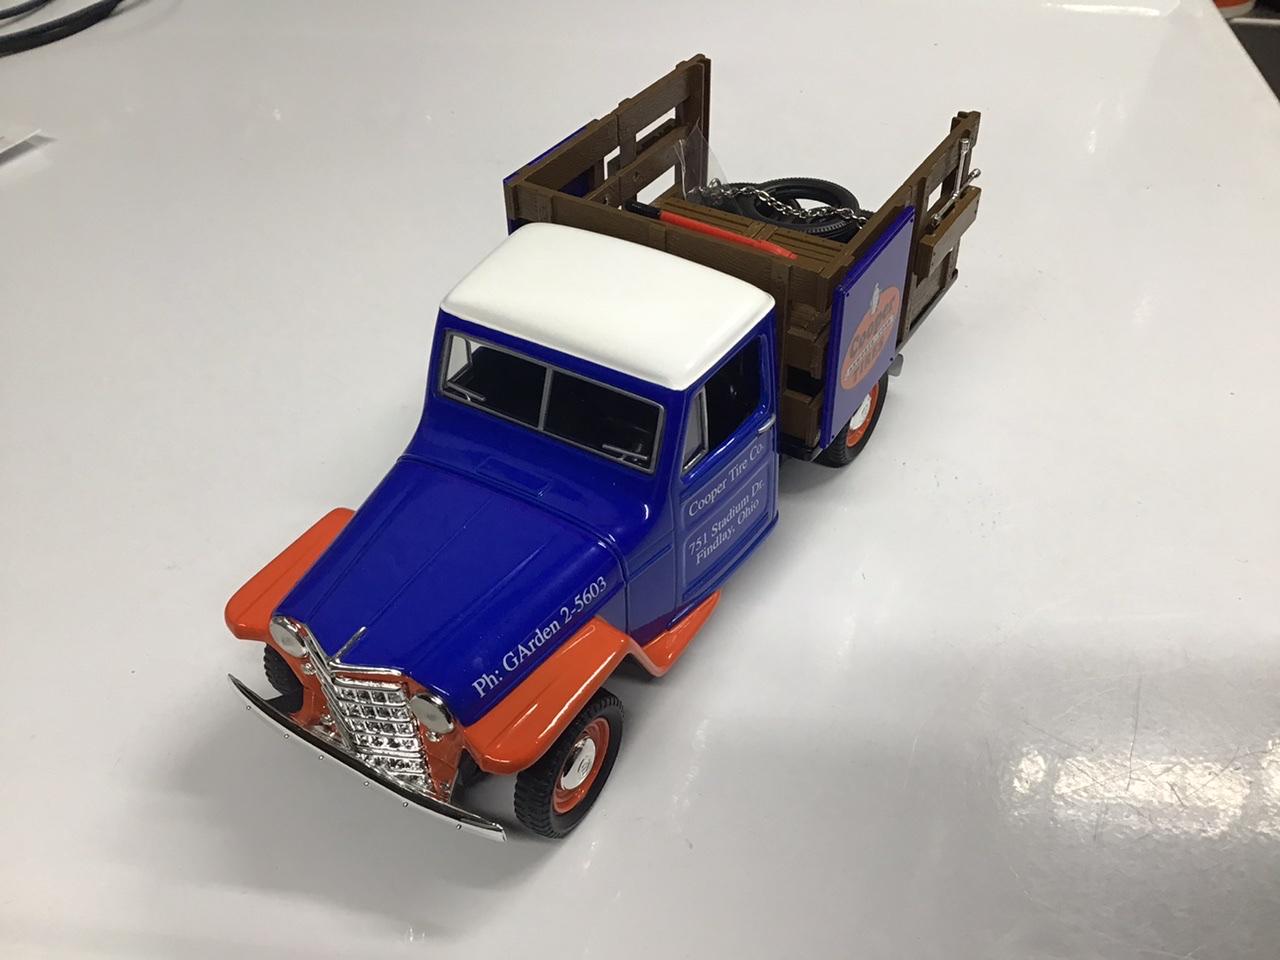
The willys die cast arrived today, the other two I picked up last week.
-
1964-66 Shelby Daytona Coupe
NOBLNG replied to Venom's topic in Model Building Questions and Answers
Type it into e-bay. There are a couple of them on there. https://www.ebay.com/itm/Gunze-Sangyo-High-Tech-Model-Cobra-Daytona-Coupe-1-24-Scale-Professional-Kit/164492521120?hash=item264c84aea0:g:QmUAAOSwiddfo-u4 -
'54 Autocar tractor with added '50s era reefer trailer
NOBLNG replied to traditional's topic in Diecast Corner
Great work on that trailer! -
Fantastic work you’re doing here Eric!