NOBLNG
-
Posts
10,231 -
Joined
-
Last visited
Content Type
Profiles
Forums
Events
Gallery
Everything posted by NOBLNG
-
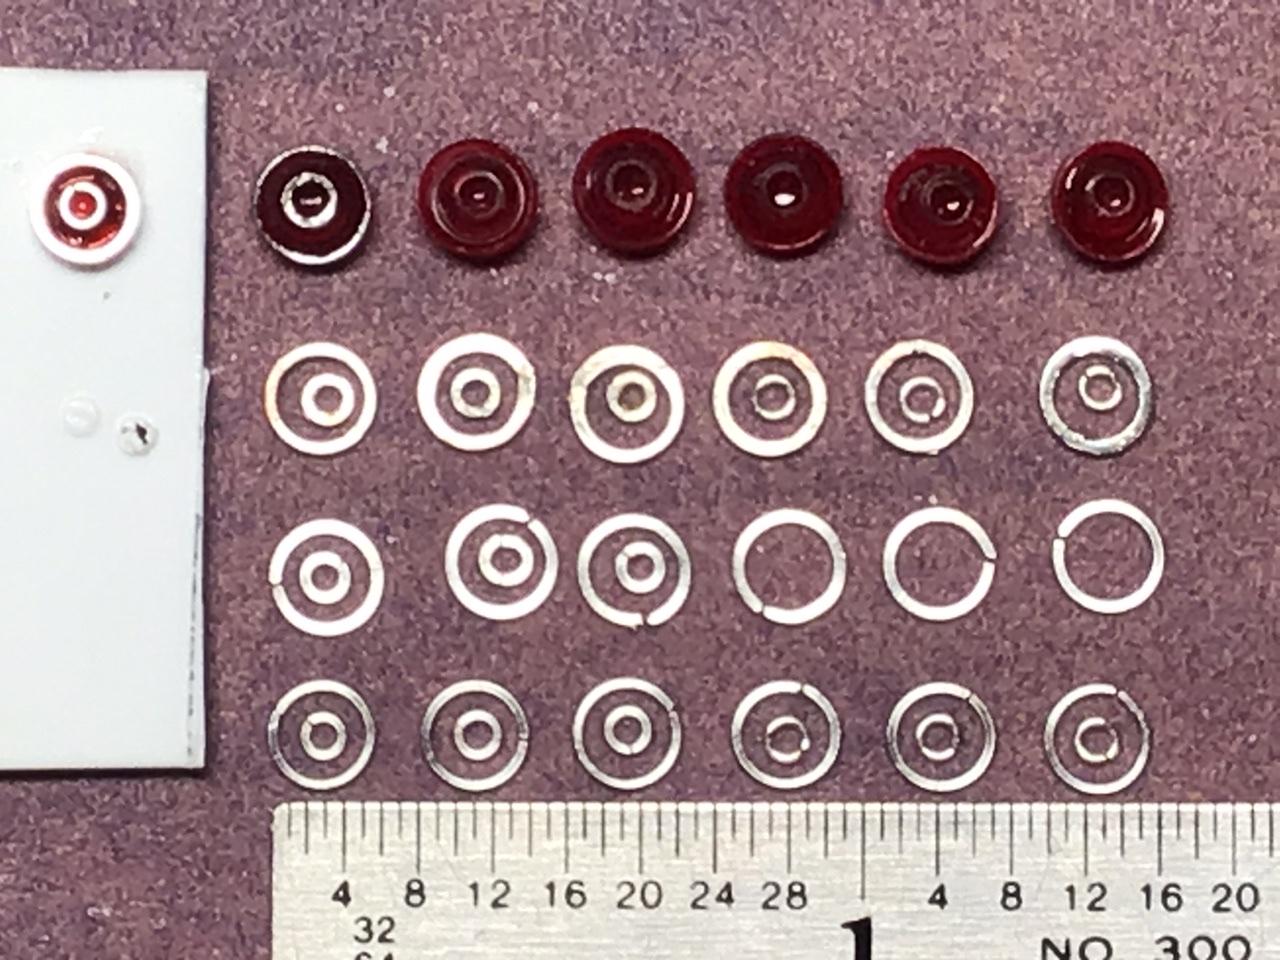
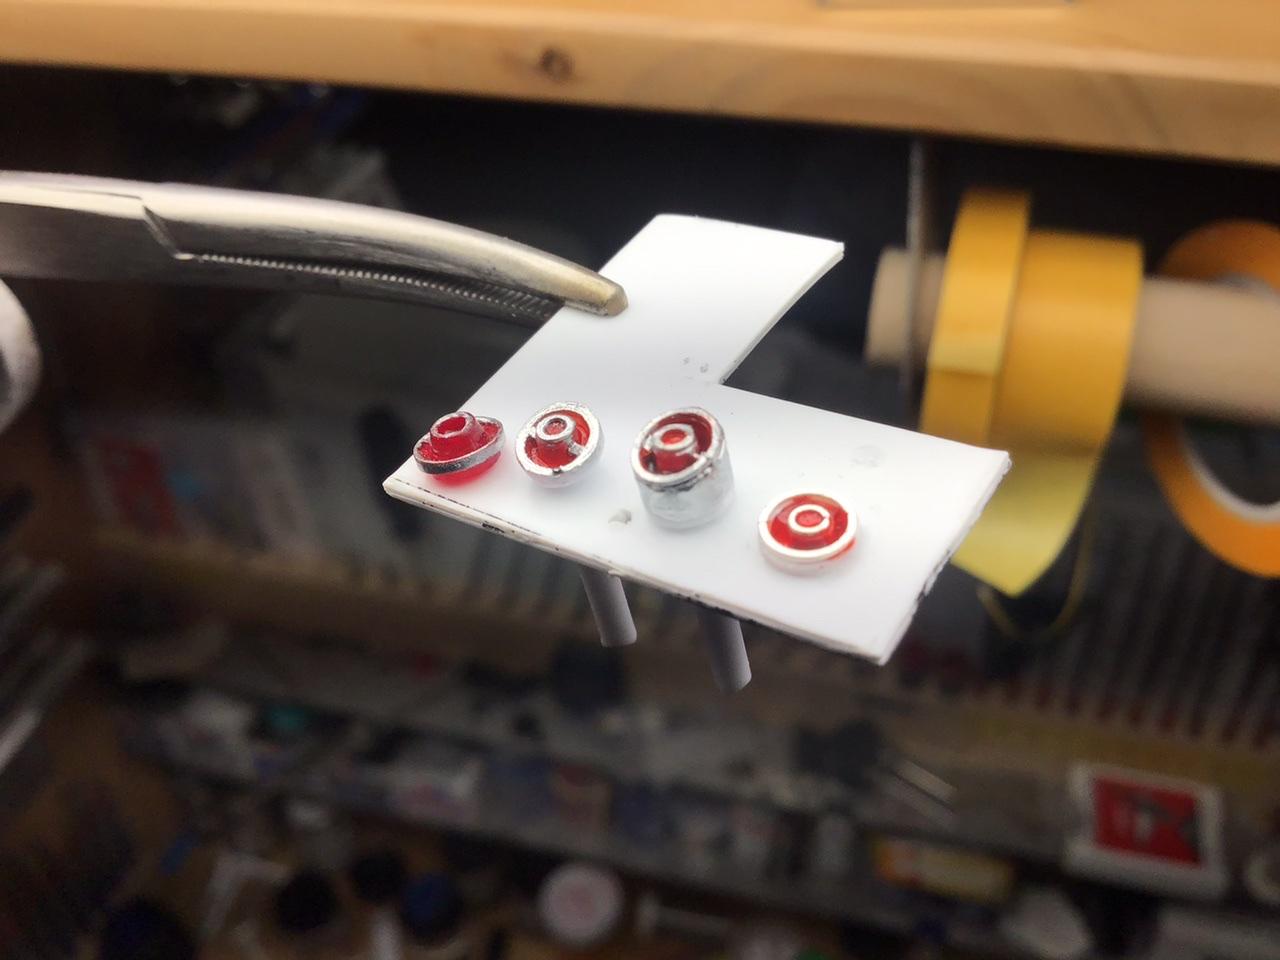
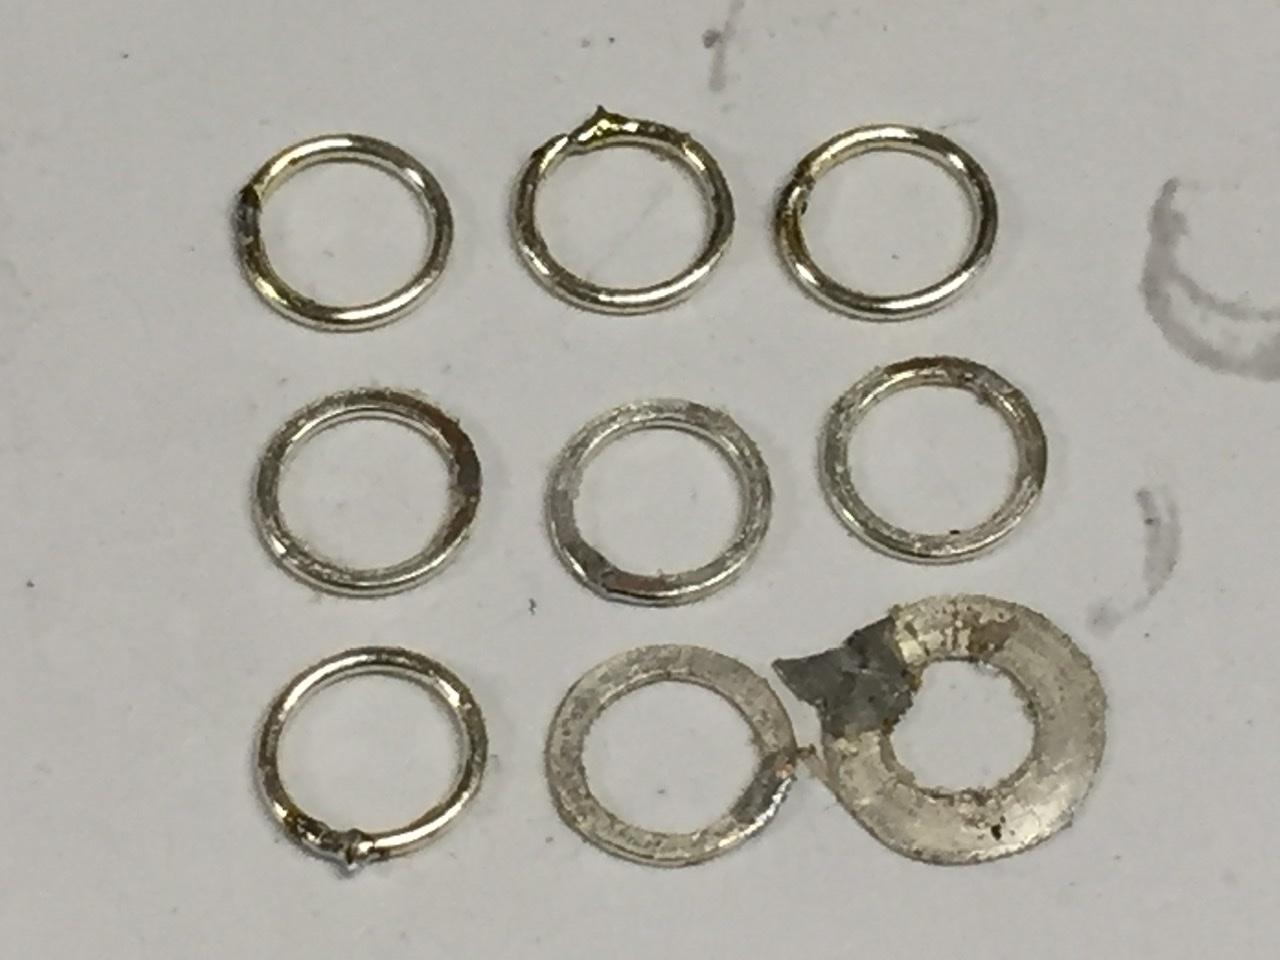
I’ve been fiddling for the last week with these taillights. I’ve been making bezels from 0.015” wire, and I think I will only wind up doing the smaller inside ones from wire, the outers will be molotowed. These attempts are (right to left) a first trial to see what a scratch made one could look like, a second attempt to get a procedure sort of nailed down, and finally a semi-finished unit. The kit supplied piece is on the far left. Now the trick is to make six identically appearing pieces.? The only reason I am putting so much effort into these, is that, the original kit pieces were horribly oversized and the rear end of the ‘64 is it’s most iconic trait I believe, and the best looking of any of the early ‘60’s chevys. Thanks for lookin’.

-
My local Michaels doesn’t seem to be restocking any Testors products. They only have one can of some fluorescent spray paint on the shelf, and a bunch of the little square bottles in odd colors. I asked one of the employees what gives? And she said “I dunno”.?
-

1960 Ford Ranchero
NOBLNG replied to Brizio's topic in WIP: Model Trucks: Pickups, Vans, SUVs, Light Commercial
Nice job! What did you use for the expanded metal on the rack? -
Not my kinda car...but that is one beautiful paint job.?
-
Patina’d 34 Pick Up
NOBLNG replied to OldNYJim's topic in WIP: Model Trucks: Pickups, Vans, SUVs, Light Commercial
That is looking fantastic! -
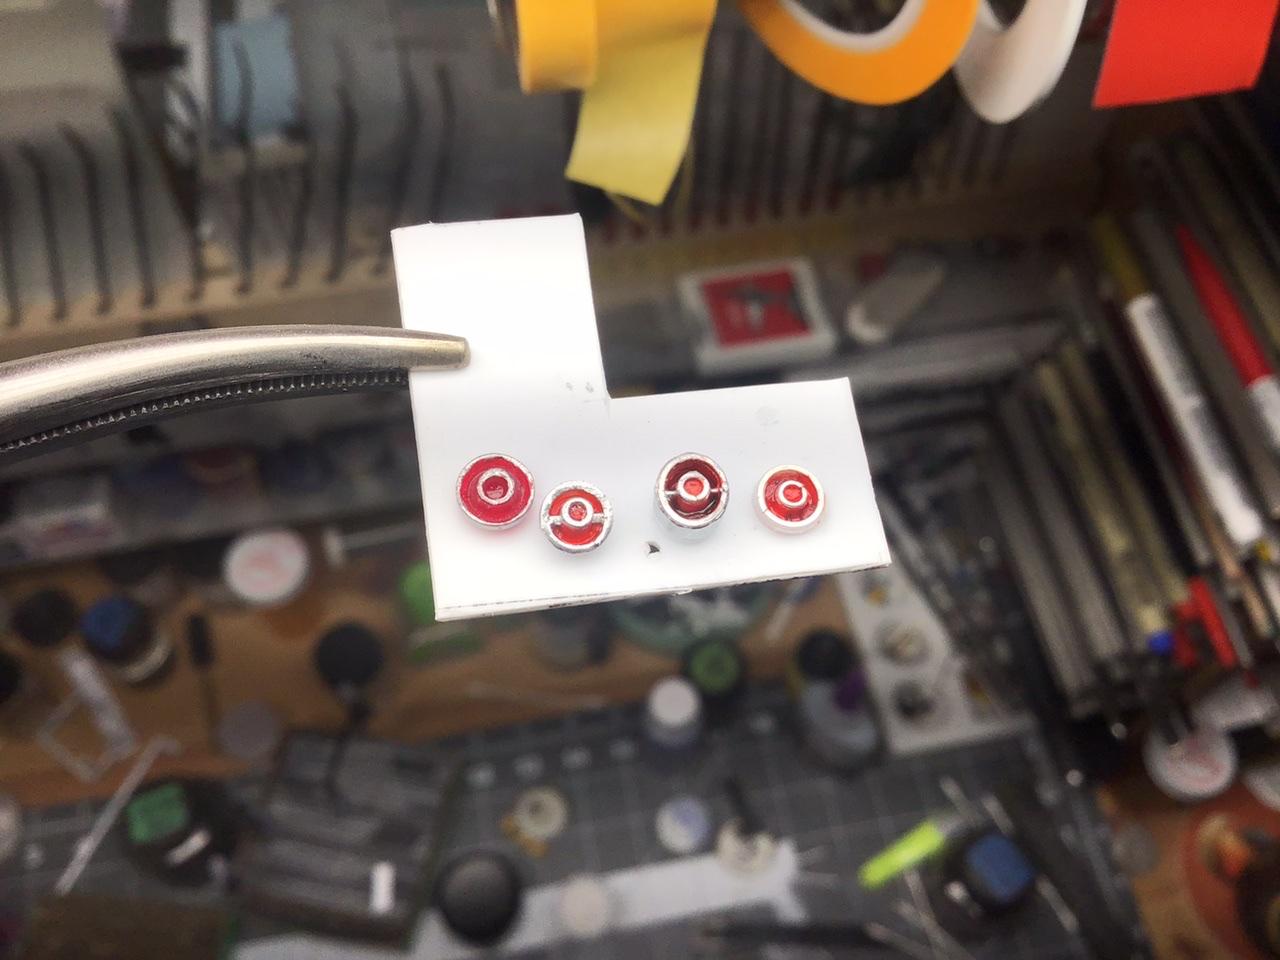
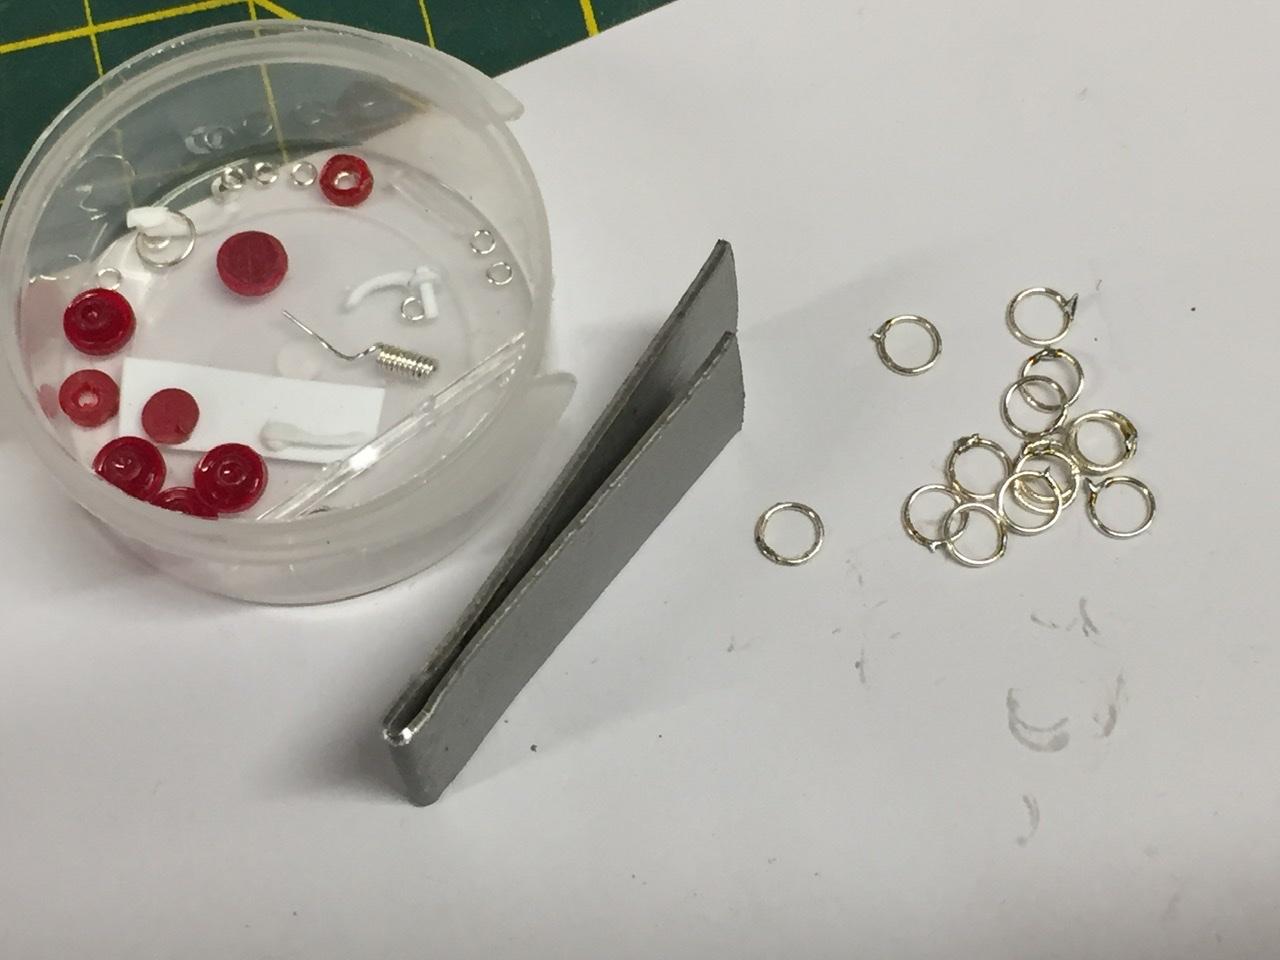
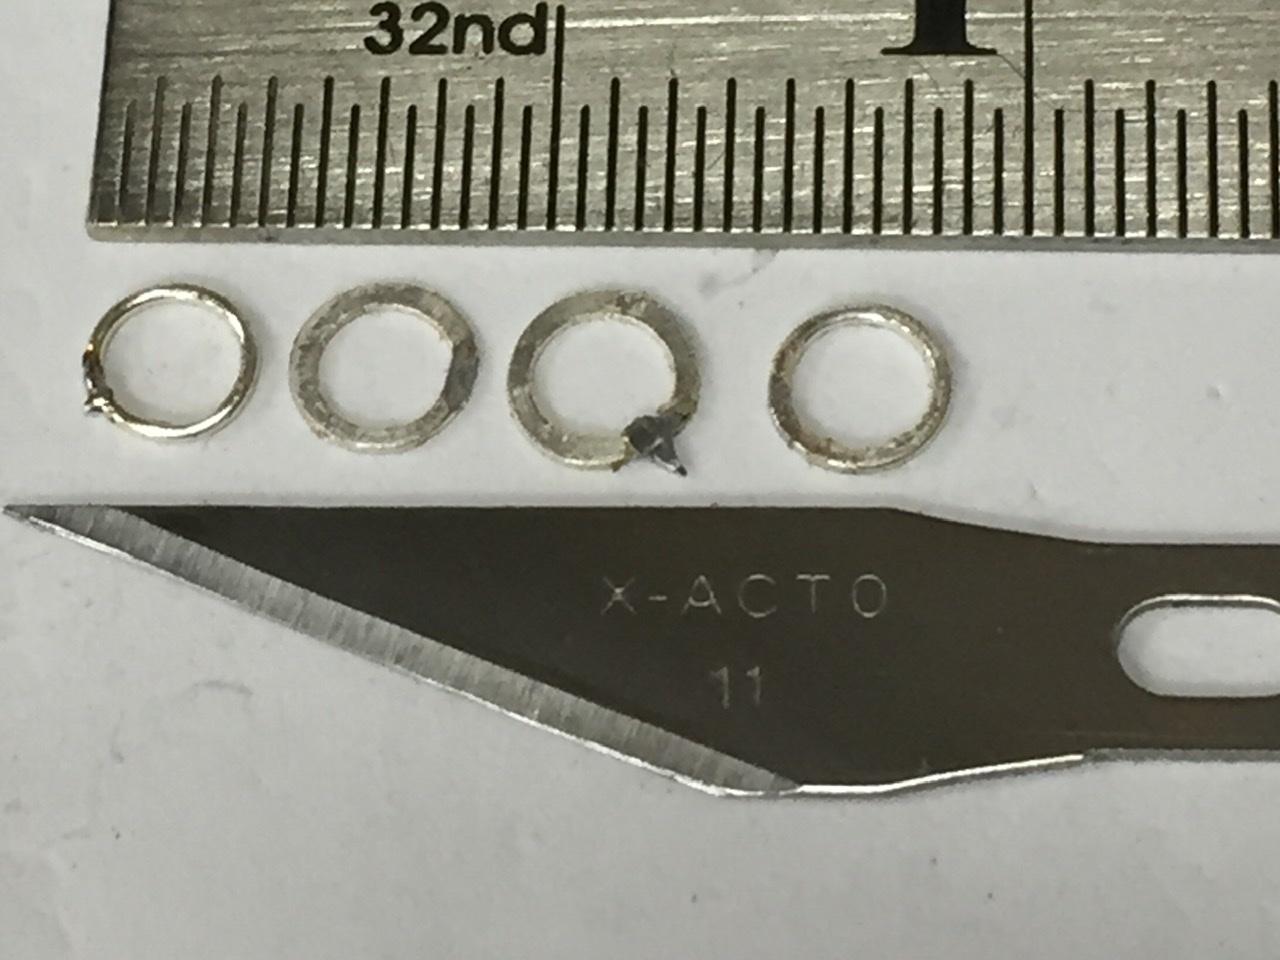
I’m getting better at it?. A little less “squash” looks a little better. Also, instead of using my nipper to separate them, I find a sharp hobby knife makes a cleaner, squarer cut. A very light squeeze with tweezers makes the seam just about undetectable.
-
Looking fantastic there Geoff!
-
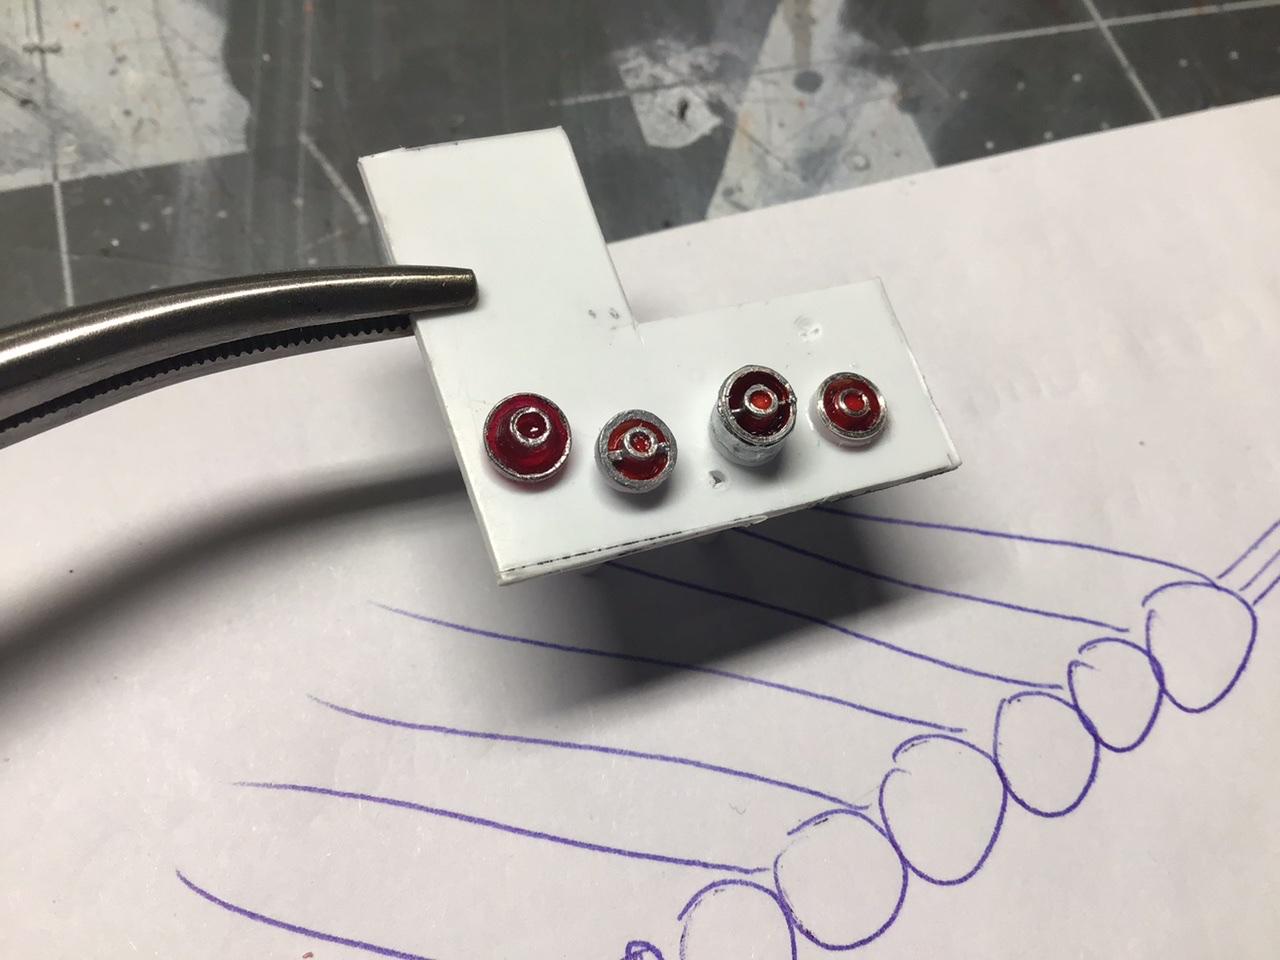
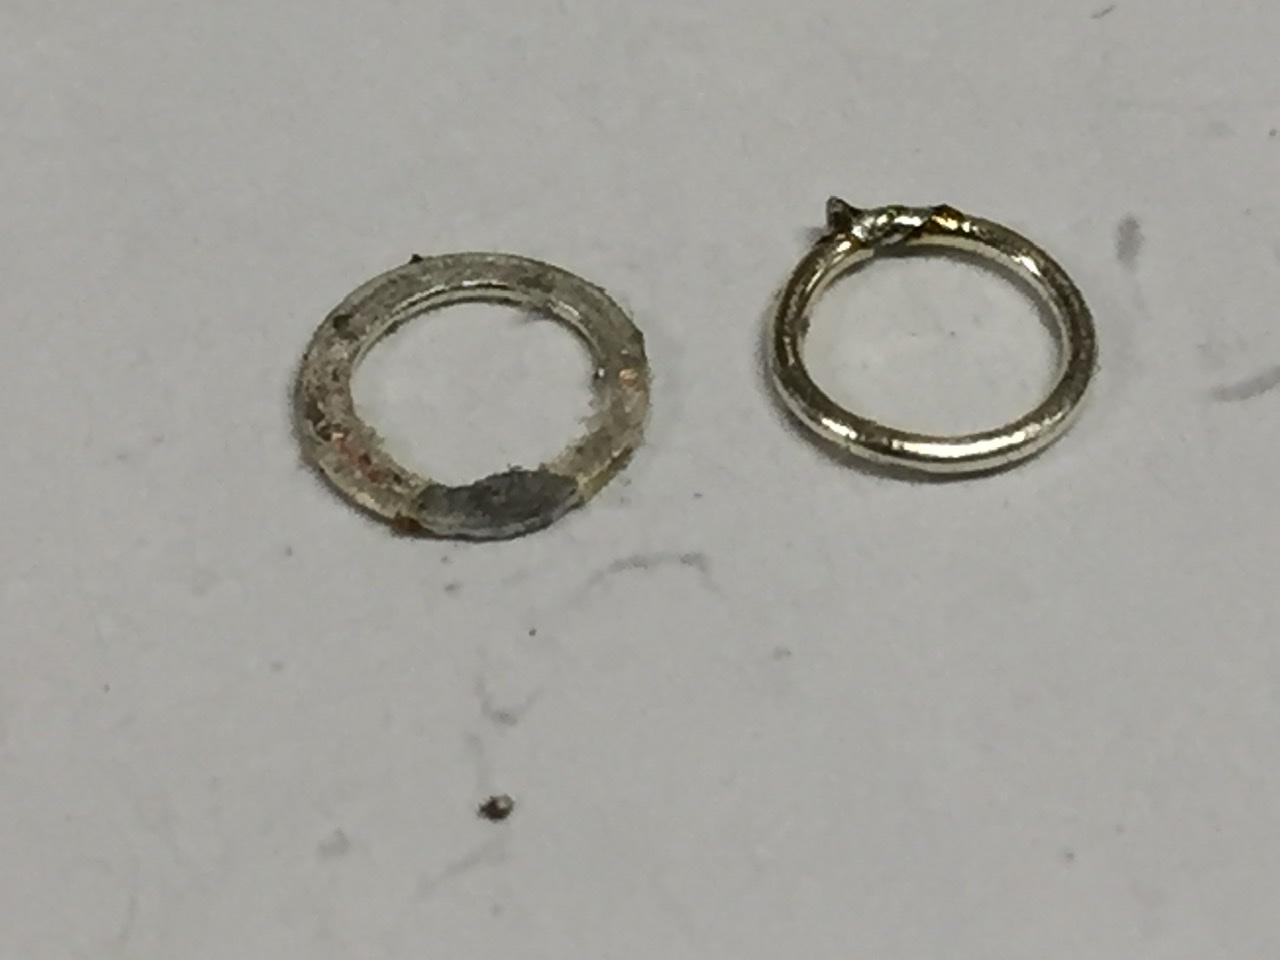
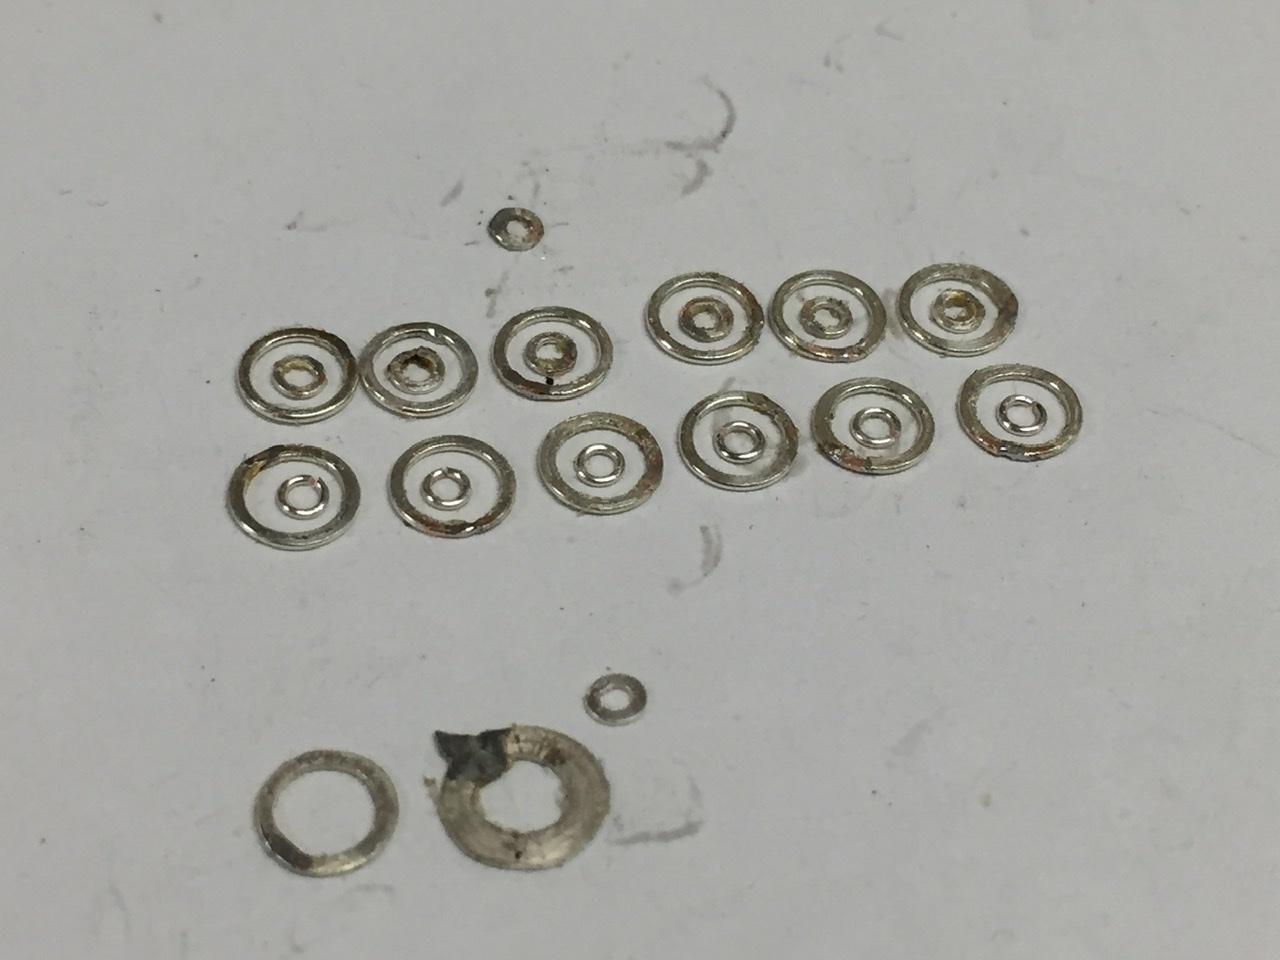
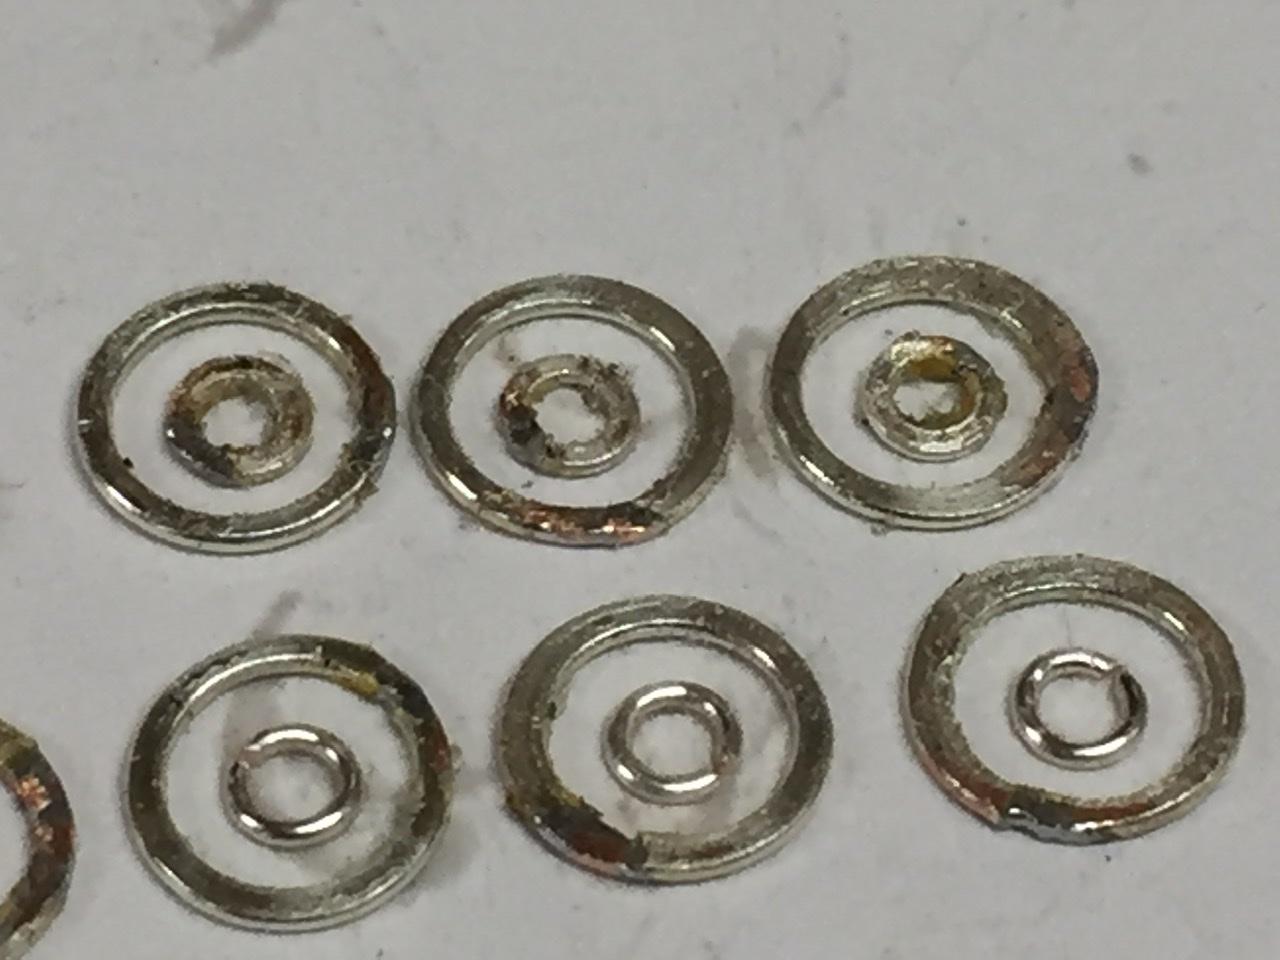
I think my first attempts were a little messy. I believe I pressed the solder flux into the bezels, and likely should have cleaned them well before pressing them. This is another attempt using 26ga (.015) wired, rolled, pressed and the ends trimmed, no solder this time, and the silver finish is intact. I intend to fill the cavity between the inner and outer rings with X-27 clear red, as well as the centers of the inner and outer lights.
-
Jeep CJ-7
NOBLNG replied to Oldmopars's topic in WIP: Model Trucks: Pickups, Vans, SUVs, Light Commercial
The REAL Daisy wasn’t blonde.
-
Slaters across the pond sells it at a reasonable price. https://slatersplastikard.com/assets/pdfs/EmbossedFlyer.pdf
-
Jack Nicholson in “The Shining”. Easy one: “It's 106 miles to Chicago, we've got a full tank of gas, half a pack of cigarettes, it's dark and we're wearing sunglasses.“
-
1960 Chevrolet Fleetside
NOBLNG replied to iamsuperdan's topic in Model Trucks: Pickups, Vans, SUVs, Light Commercial
Super. Nice clean looking truck. -
That is just fabulous! One of my all time favourite cars and you did it justice.
-
Olson Brothers makes a nice SM465 and NP205 t/c. https://www.resincastmodelparts.com/store/Other-c42971920 The AMT crew chief blazer (‘71 or ‘72) has one also.
-
Jeep CJ-7
NOBLNG replied to Oldmopars's topic in WIP: Model Trucks: Pickups, Vans, SUVs, Light Commercial
Nice if you could find a Daisy Duke figurine to go with it. ? -
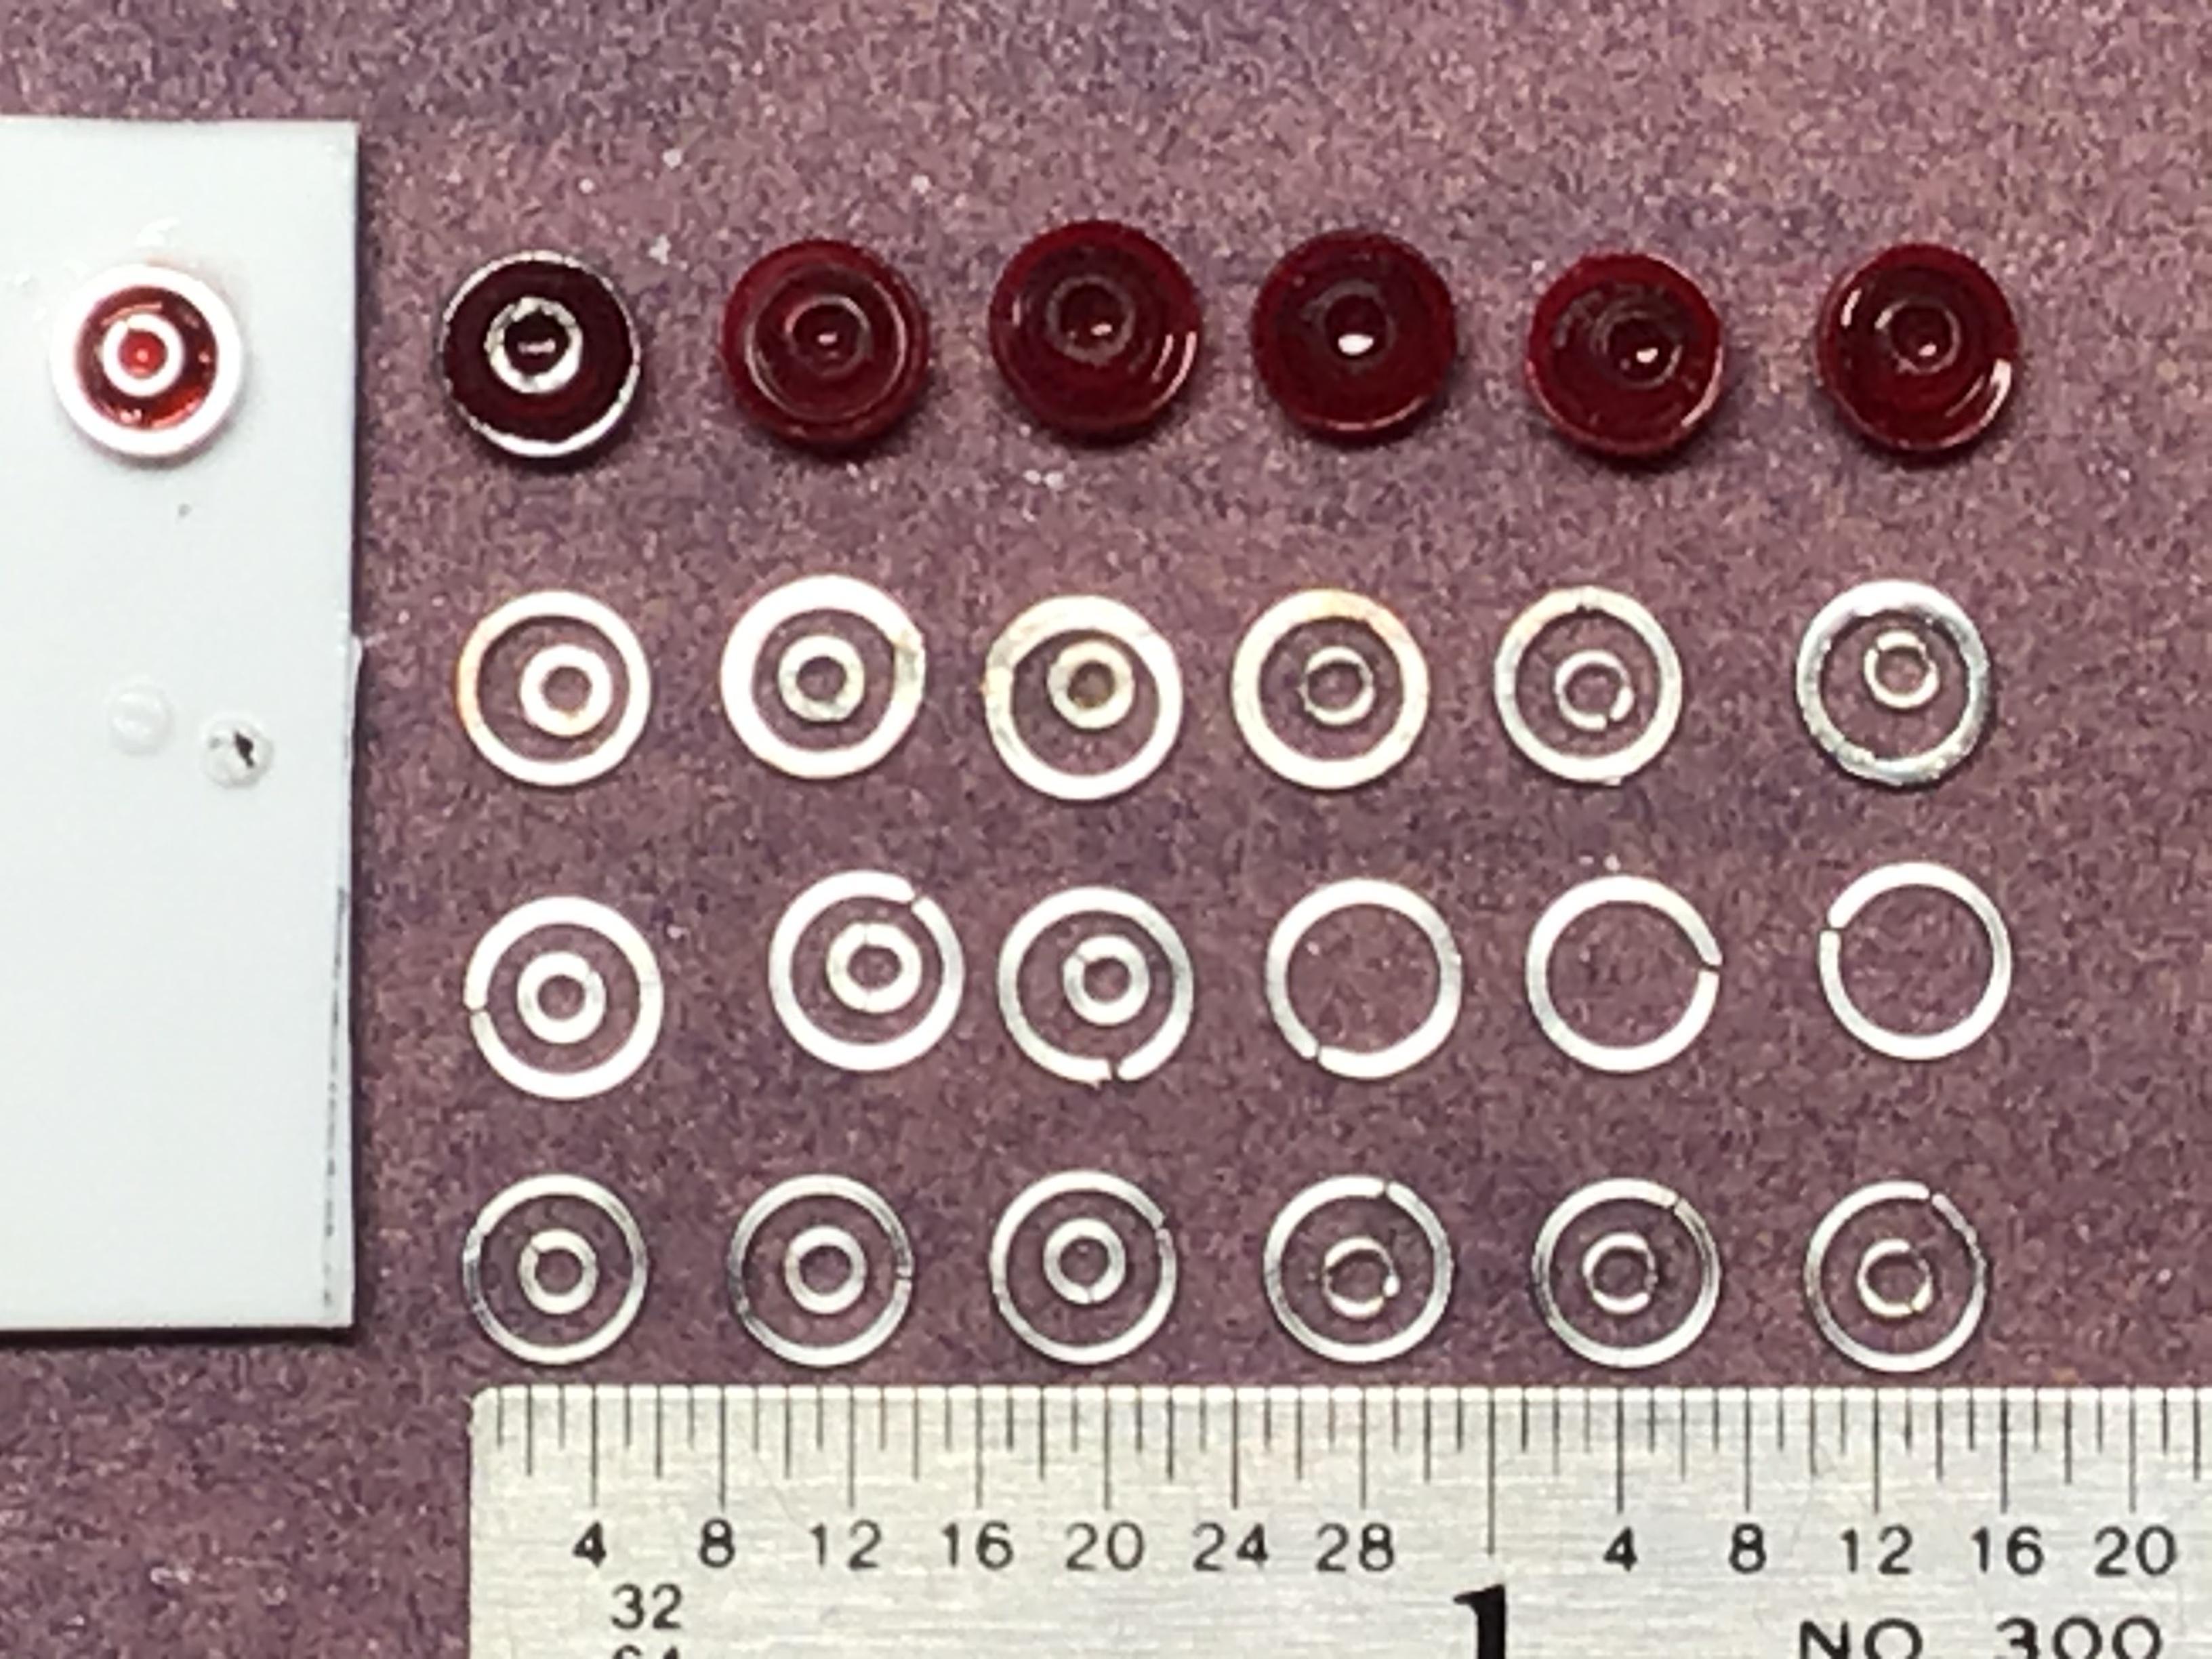
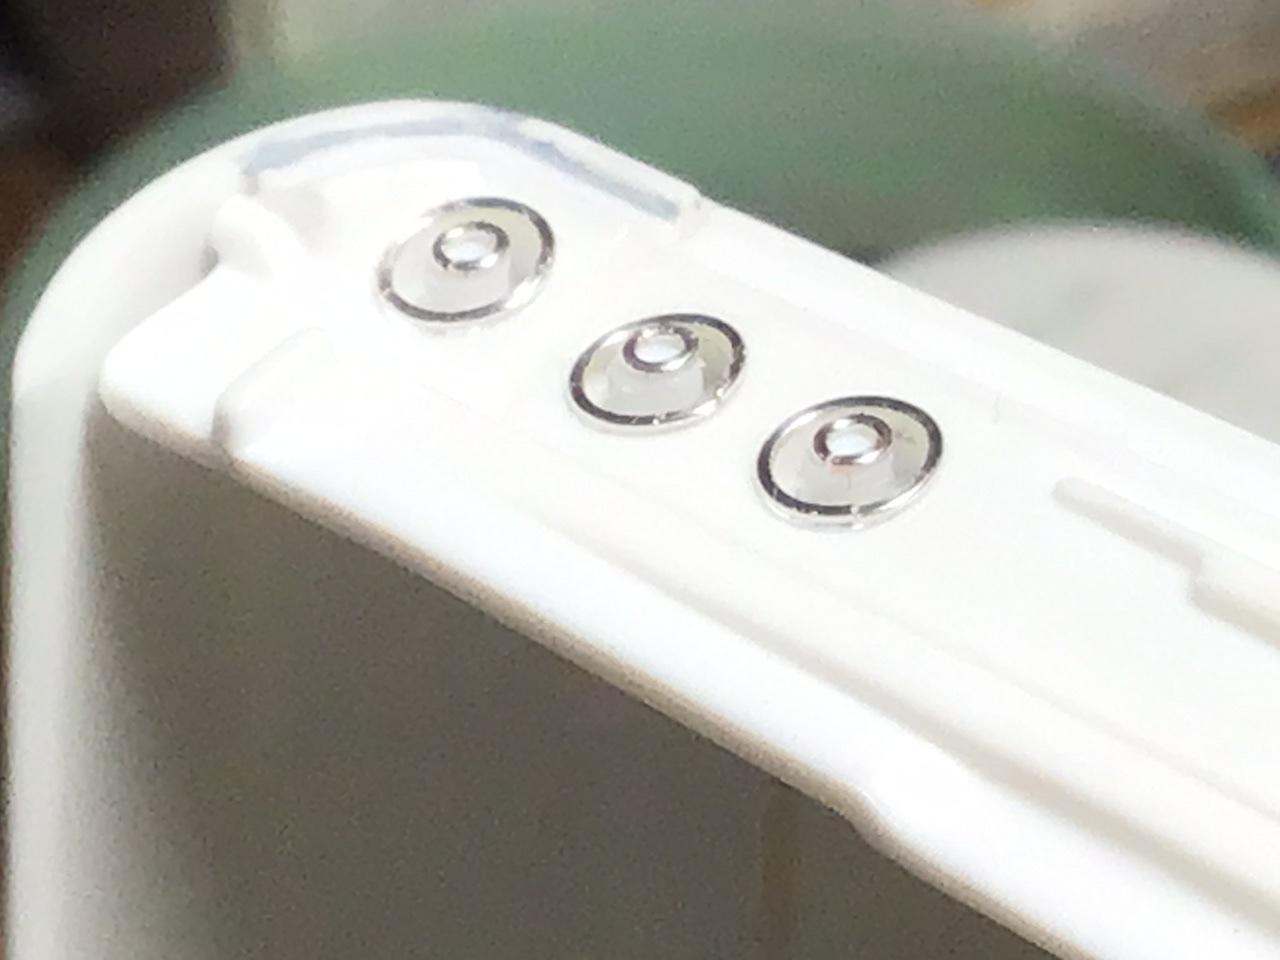
The pics are extreme close-ups and they look a little better to the naked eye.? I was hoping to save the nice silver finish, but they may need to be painted or molotowed. They did need to be squashed between two very smooth surfaces, as any texture will be pressed into the surface. Also it takes extremely little pressure to squash them into a flat faced bezel. Make lots of extras because there are a few rejects...and some will wind up going awol!
-
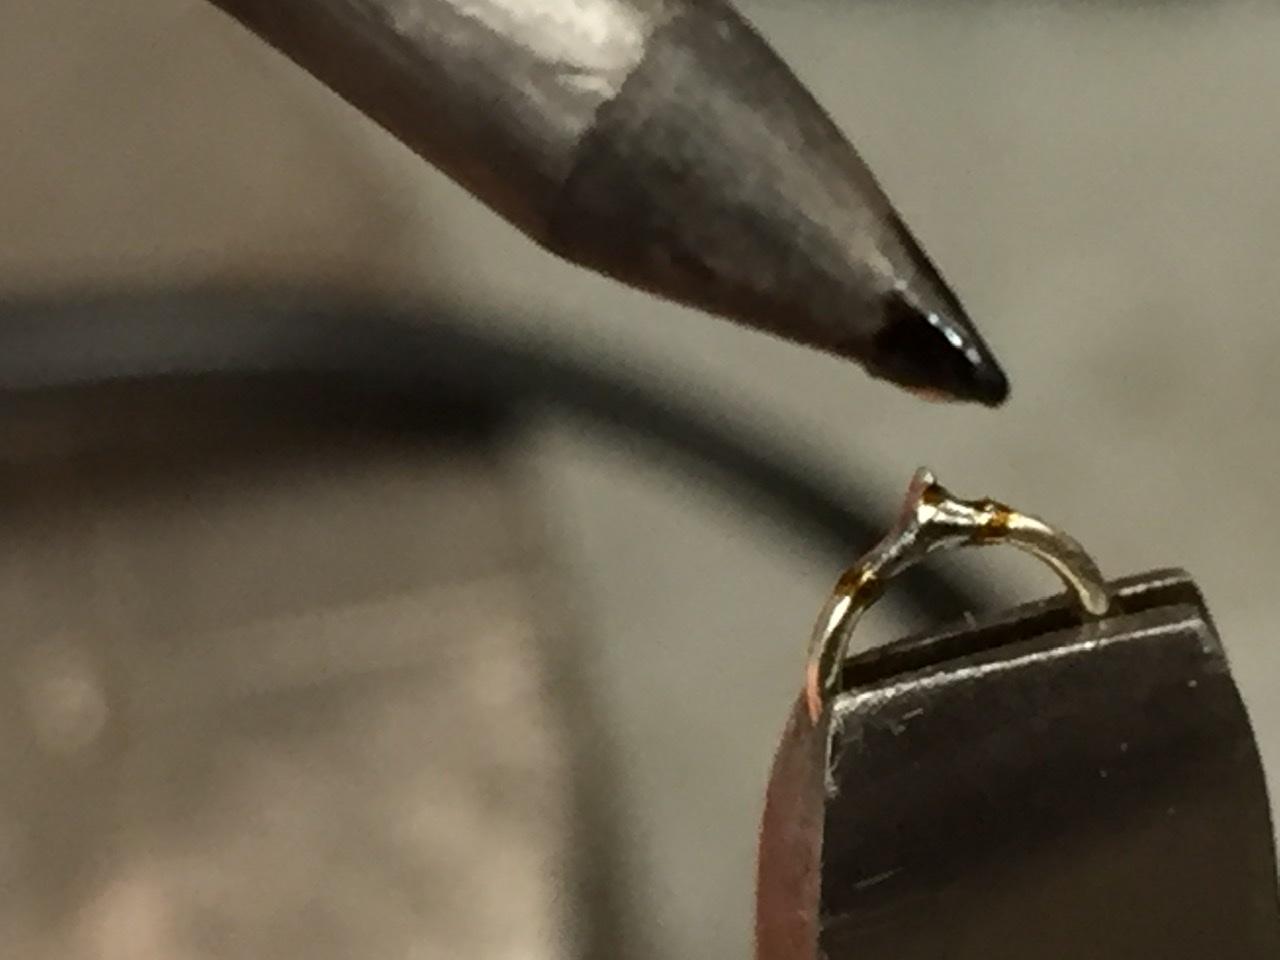
I have been fiddling with making some tail light bezels for a ‘64 Chevy. These are .020 wire wrapped around a drill bit and very lightly squashed In a vise. The nice thing about this is that any diameter or width of bezels can be made just by varying the wire size, drill bit size, and the amount of “squash”.
-
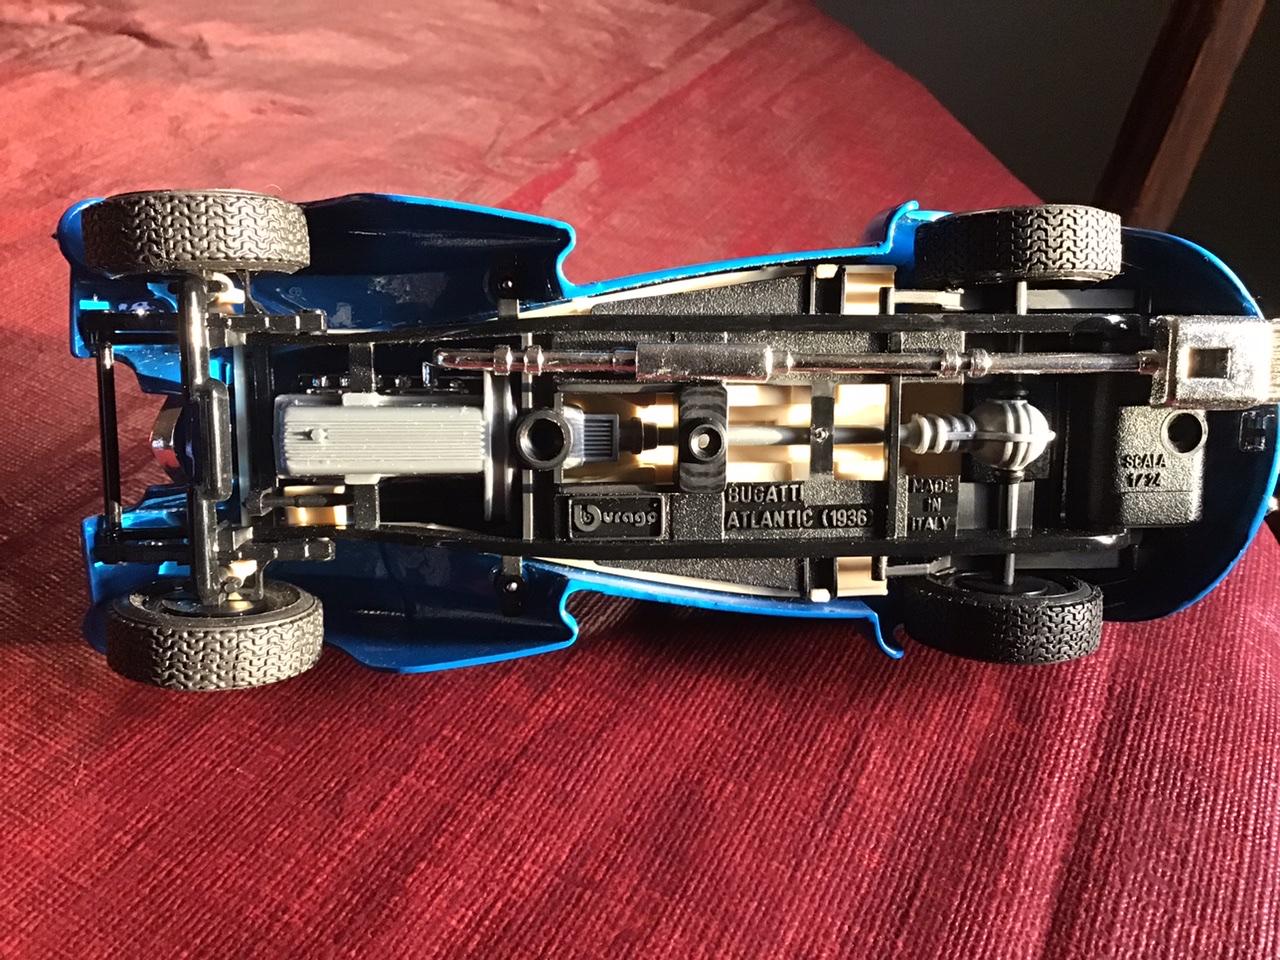
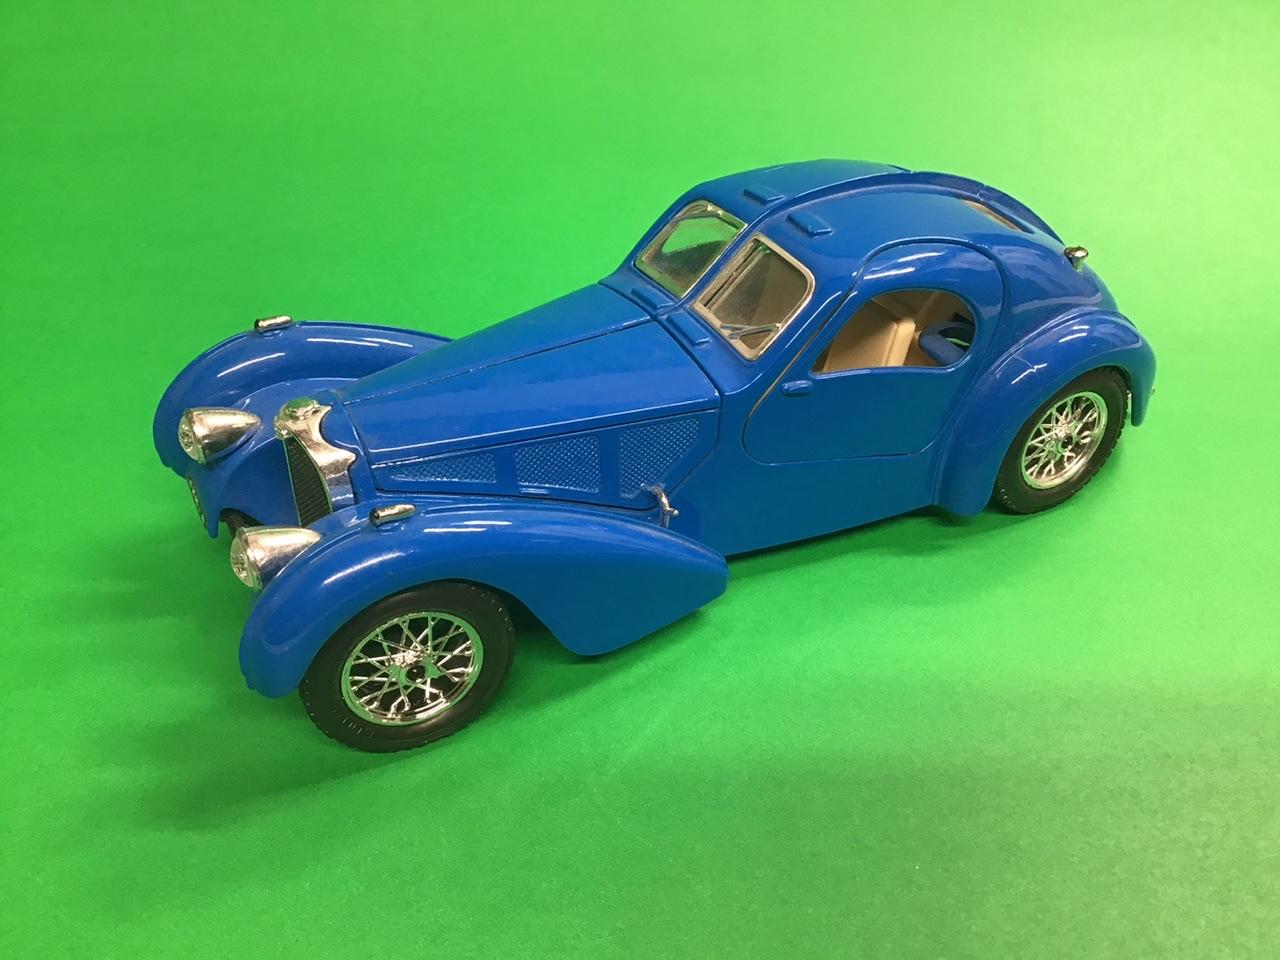
No, it is a 1936 Atlantic, of which only four were made and were inspired by the one-off Aerolithe from 1935. The Aerolithe body was Elektron (90% magnesium and 10% aluminum). The Atlantics were aluminum. The original Aerolithe was only around for 10 months(?) and then disappeared. Edit: Apparently, the second Atlantic which was made specially for Jean Bugatti disappeared also in 1938... and has never resurfaced?? https://www.bugatti.com/media/news/2019/the-bugatti-type-57-sc-atlantic-a-style-icon/ Jay Leno and David Grainger https://www.youtube.com/results?search_query=bugatti+aerolithe
-
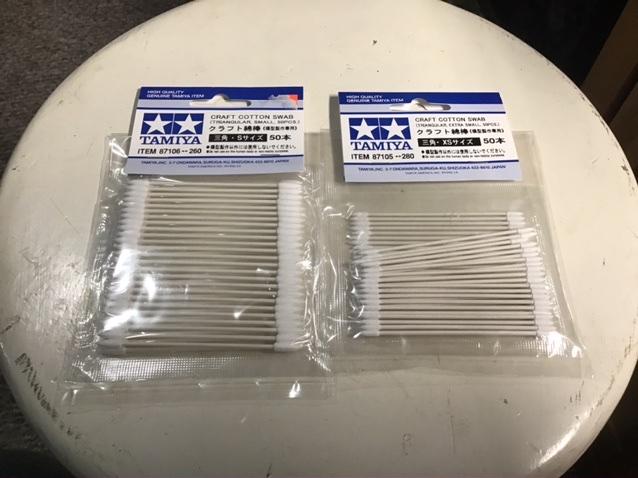
I agree, these are great for burnishing foil. Also, hold the hobby knife at as shallow an angle as possible...less chance of ripping the foil and less pressure required.
-
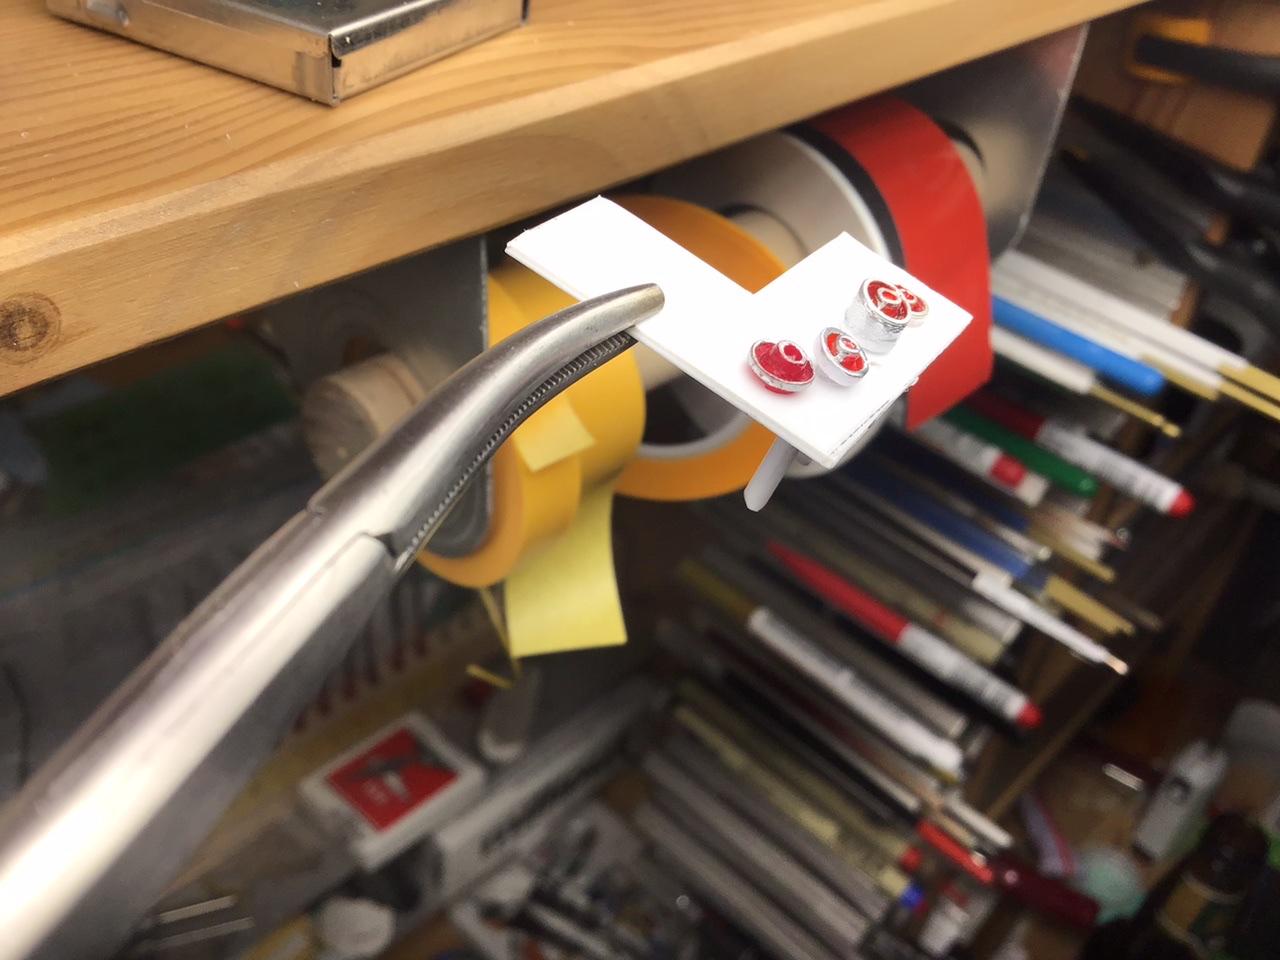
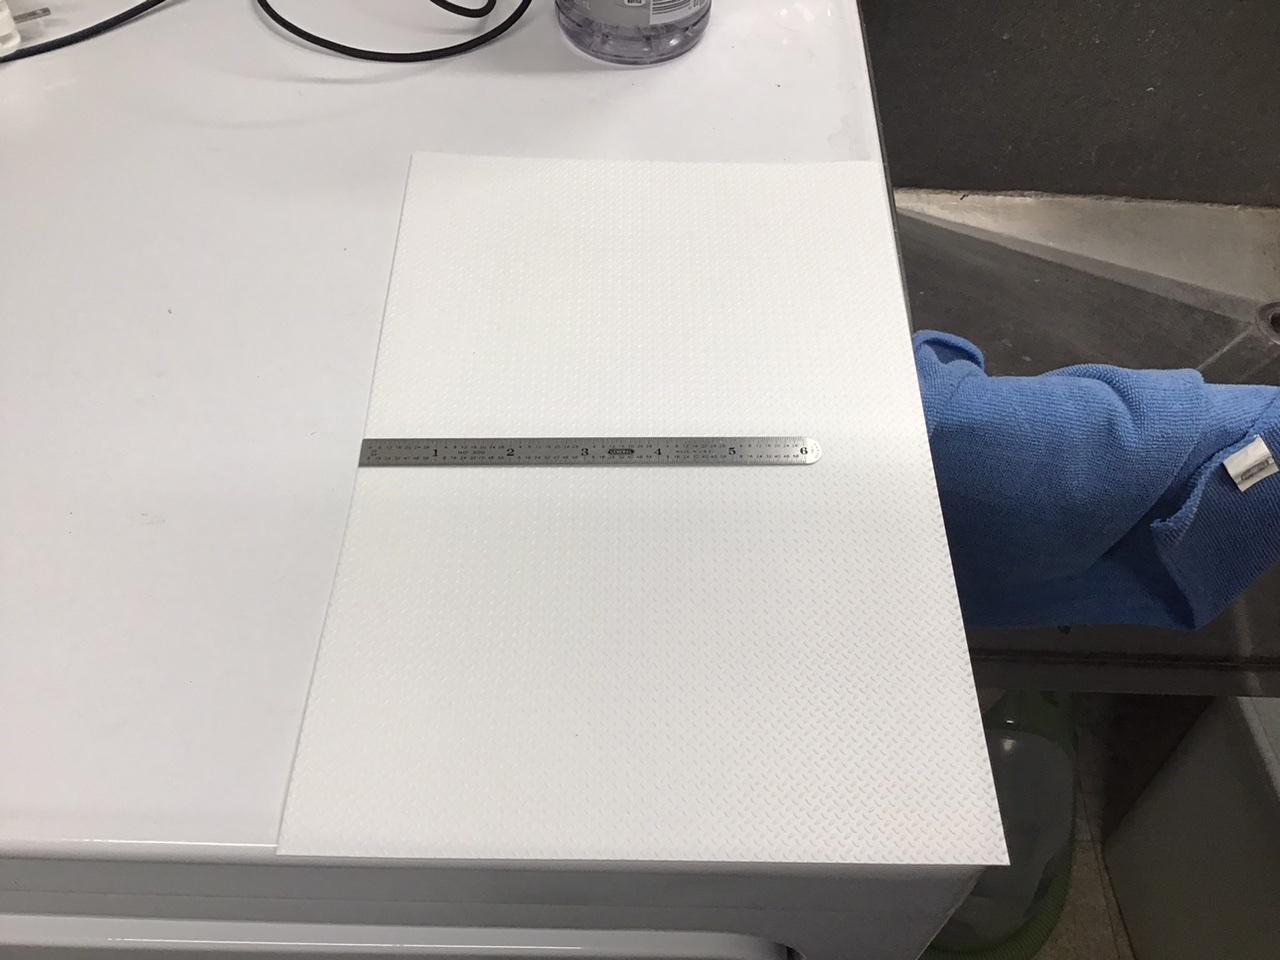
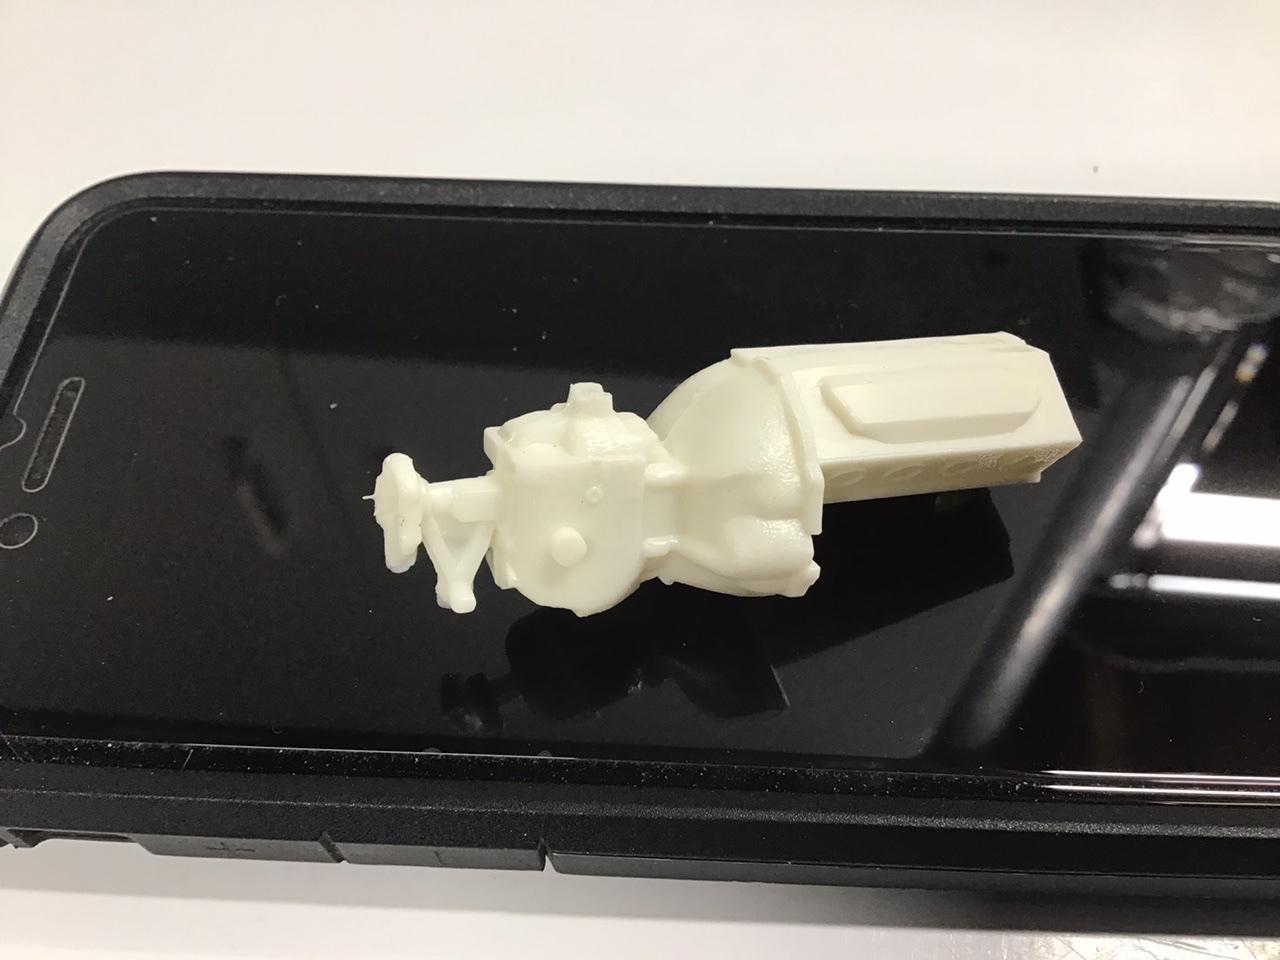
This seems like a good place for this. I am working on some taillights and came up with this. It works great, but I think that anything like a quart jar, yogurt container, coffee can, etc. filled with sand or something for weight, would work fine for front or rear end work.
-
Painting tiny rivets- UPDATE
NOBLNG replied to Kit Basher's topic in Model Building Questions and Answers
How about Dabbing them with a brand new sharpie? -
I only have these two that I bought at a yard sale last summer. And the Willys stakebed that I am working on.
-
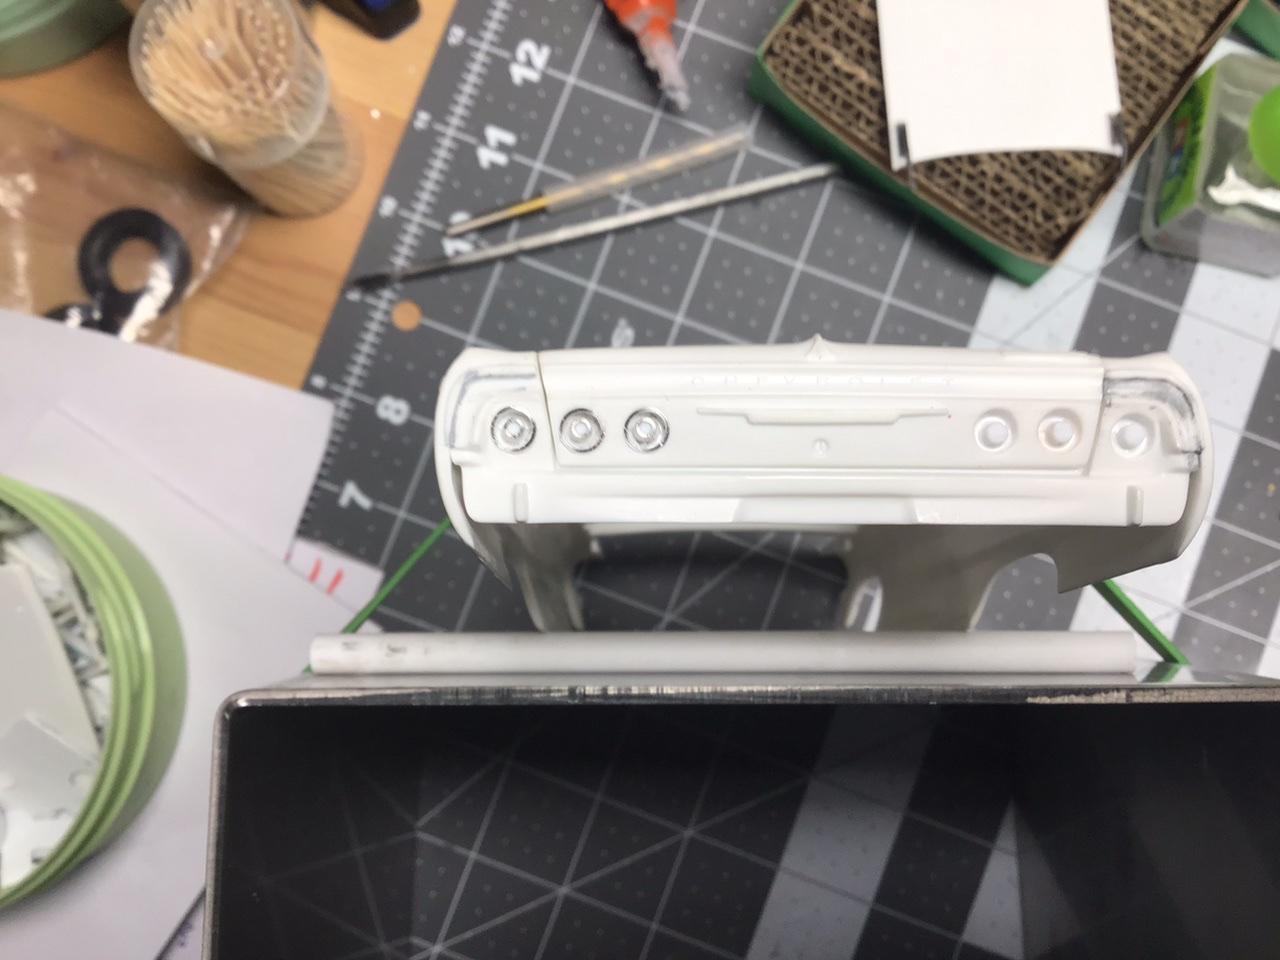
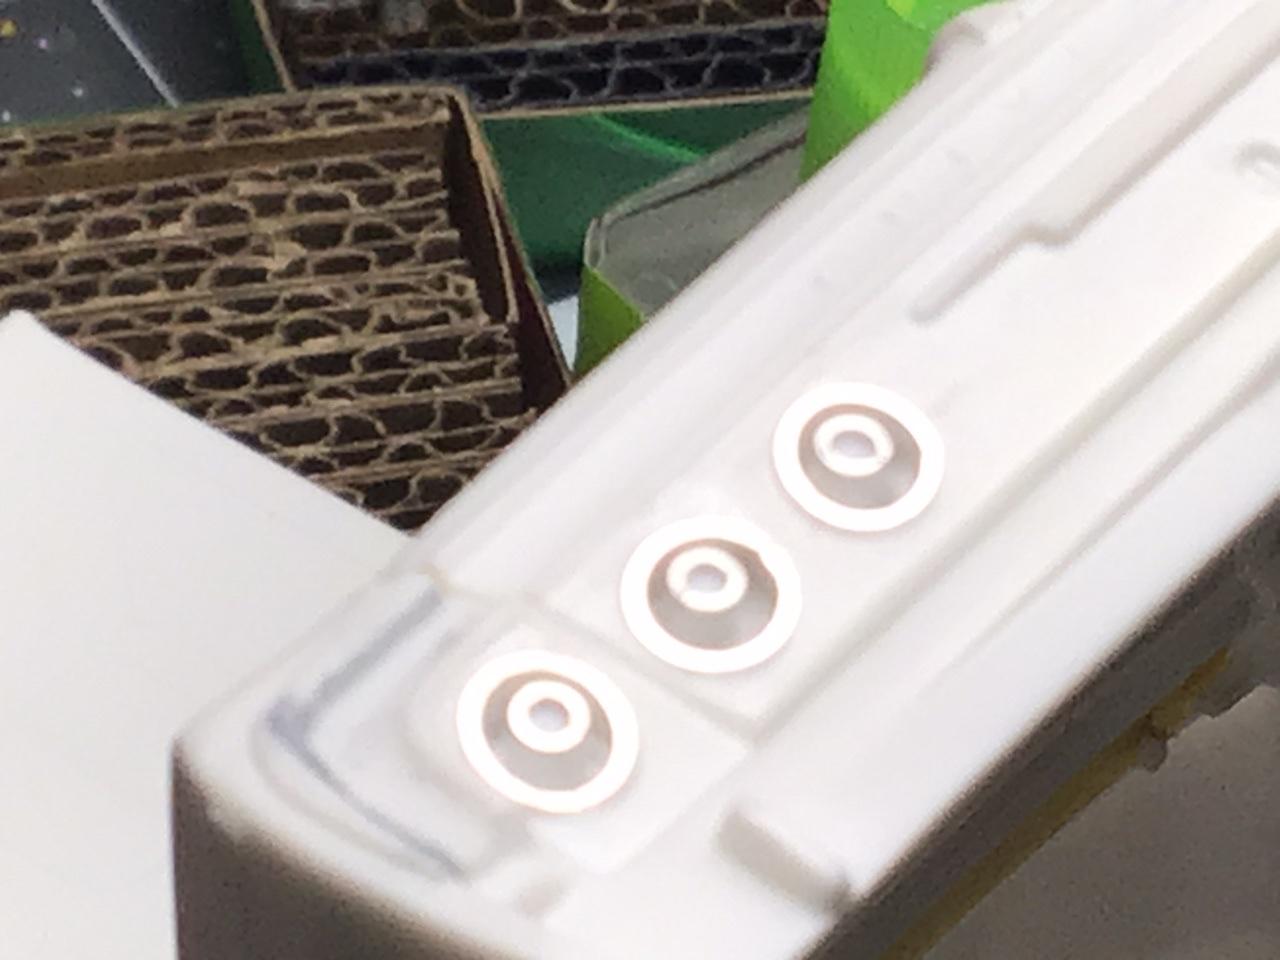
Thanks Guys. I am still not pleased with the tail lights. They are just huge looking to me. Unfortunately, all the clear red sprue I have is too small in diameter to make new ones out of. I may have to make a trip to the local auto wrecker tomorrow and find me a busted tail light lens?
-
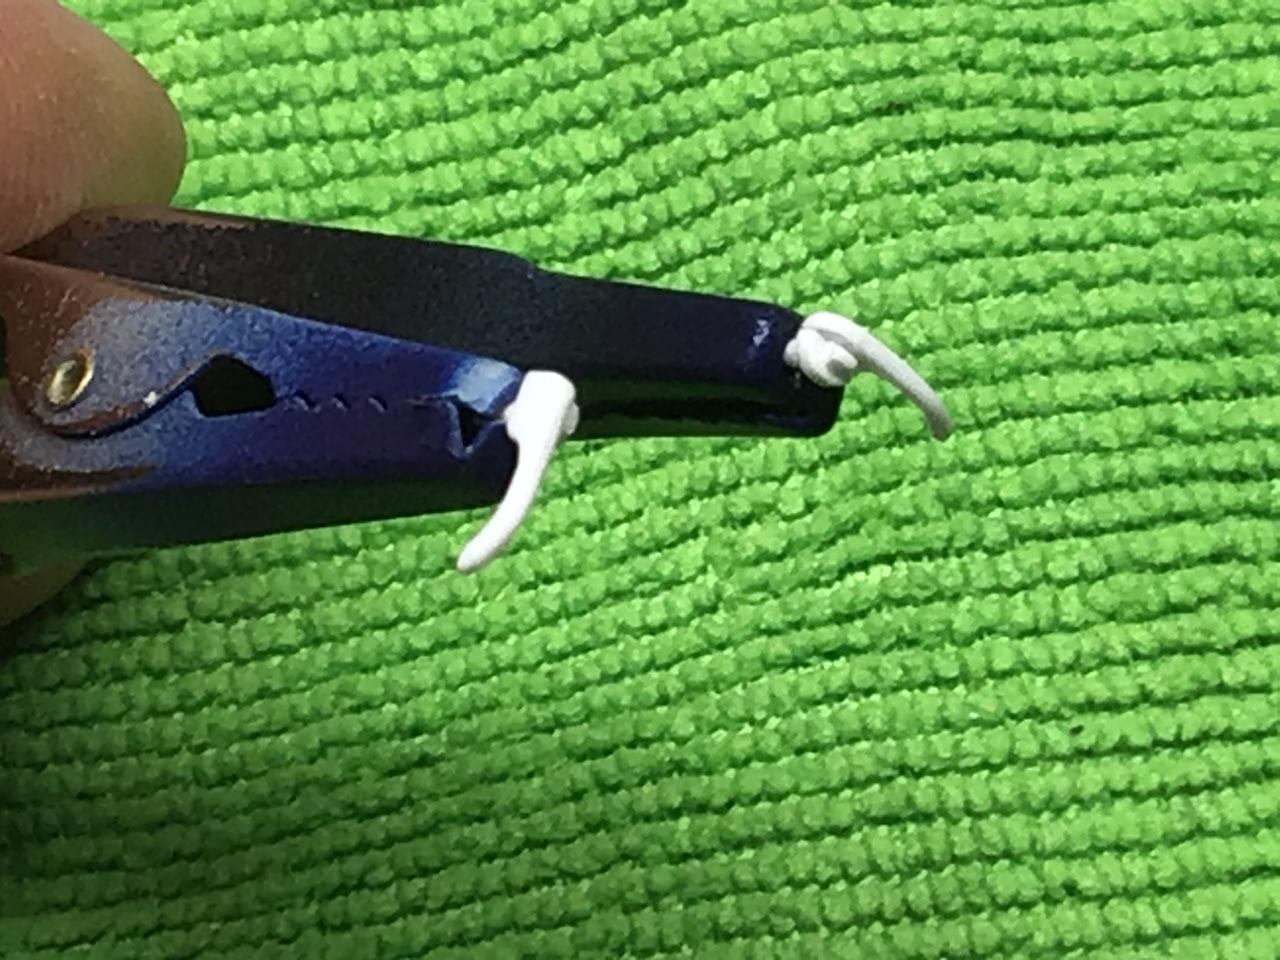
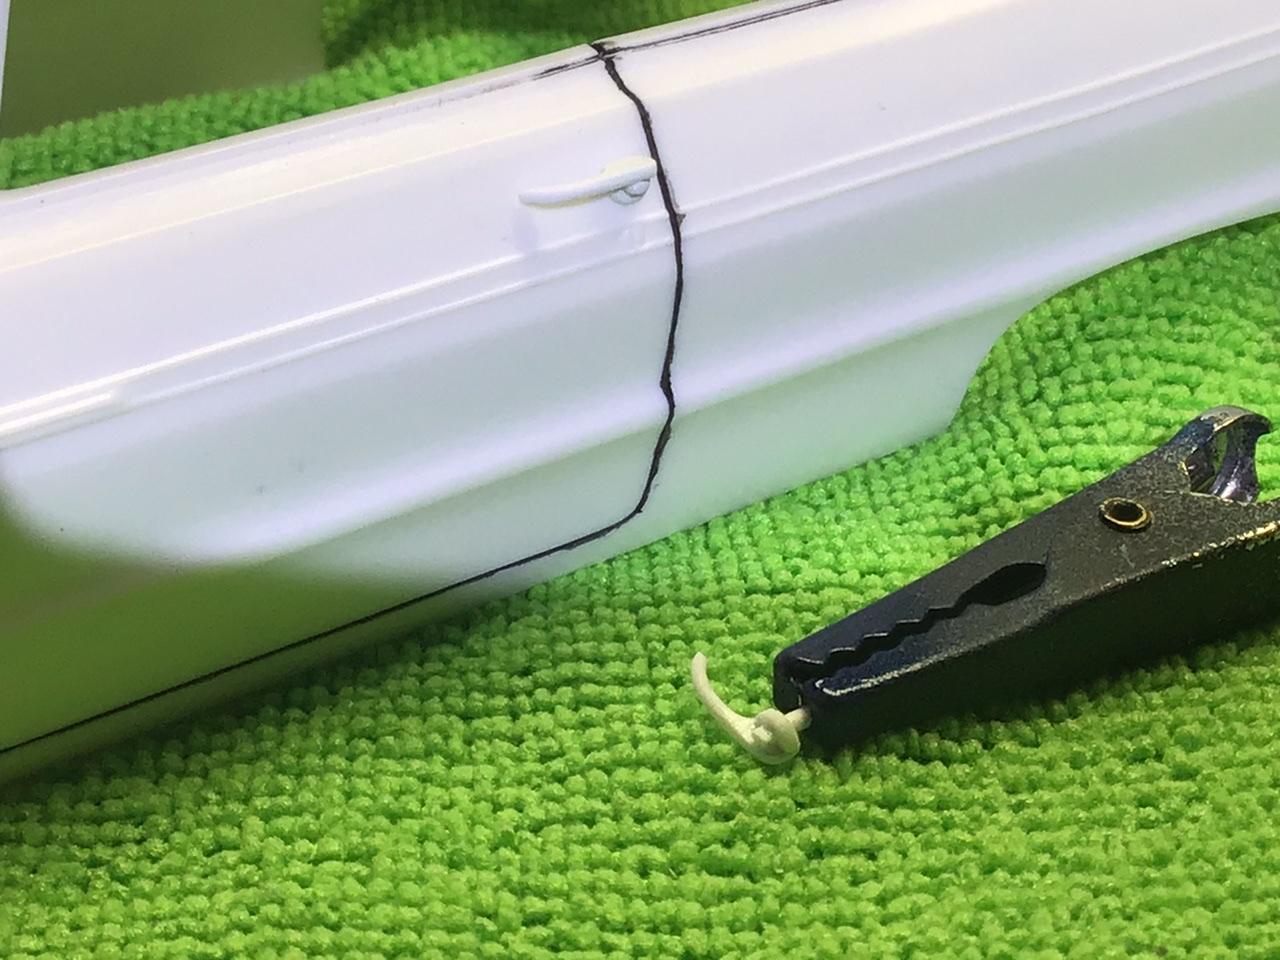
I have the door handles With integrated mounting pin pretty much finished, maybe a touch more sanding.? Why don’t they cast them with a pin on the back that you could use or snip off if desired??
-
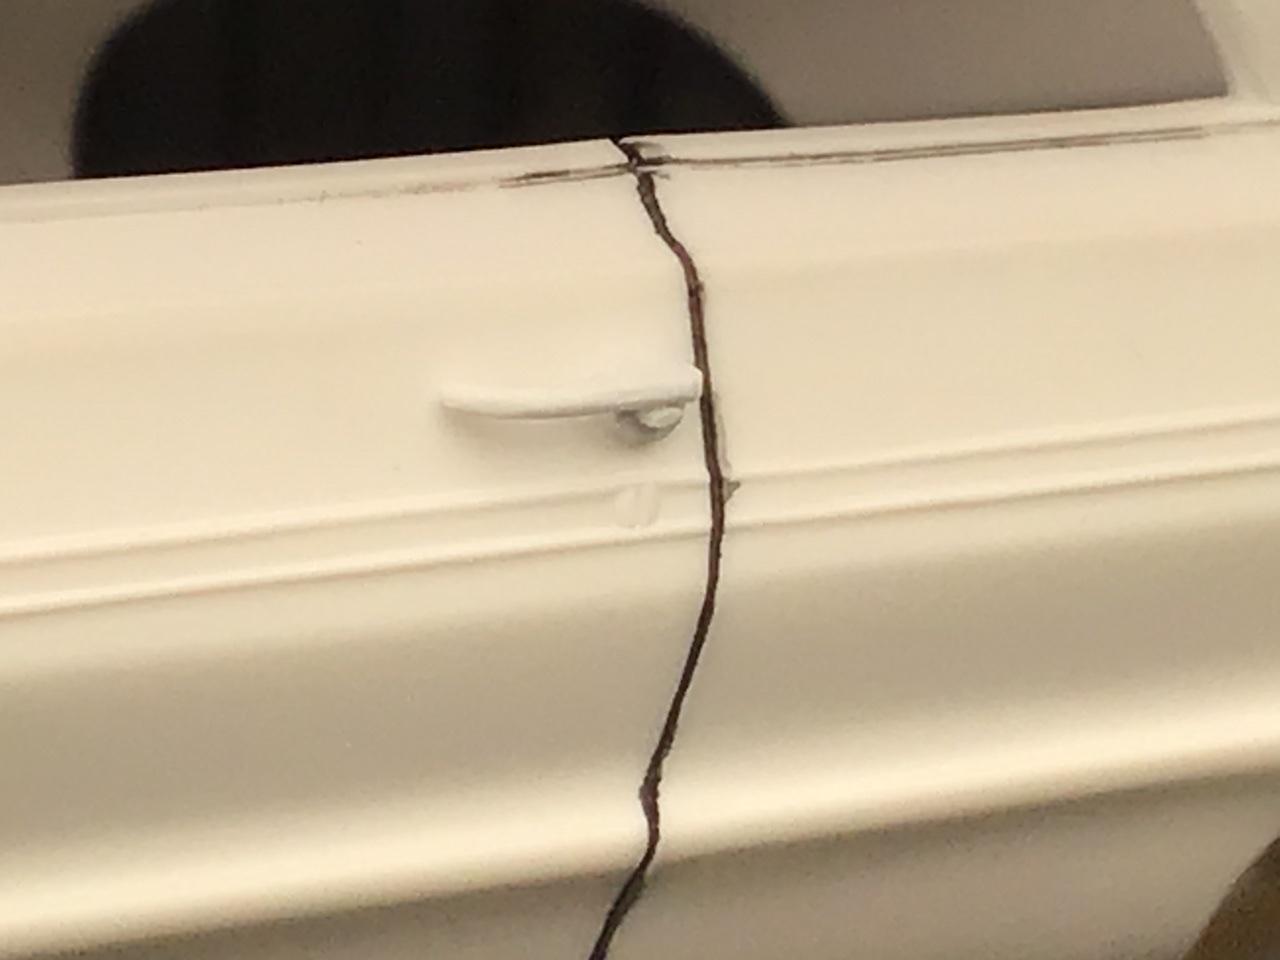
Welcome. Too bad about the scratches. Some clear coat over that “marbled appearance” would look pretty cool. You’re getting good advice here, try again.