NOBLNG
-
Posts
10,231 -
Joined
-
Last visited
Content Type
Profiles
Forums
Events
Gallery
Everything posted by NOBLNG
-
Sweet looking Chevelle! Wheels and tires look great.
-
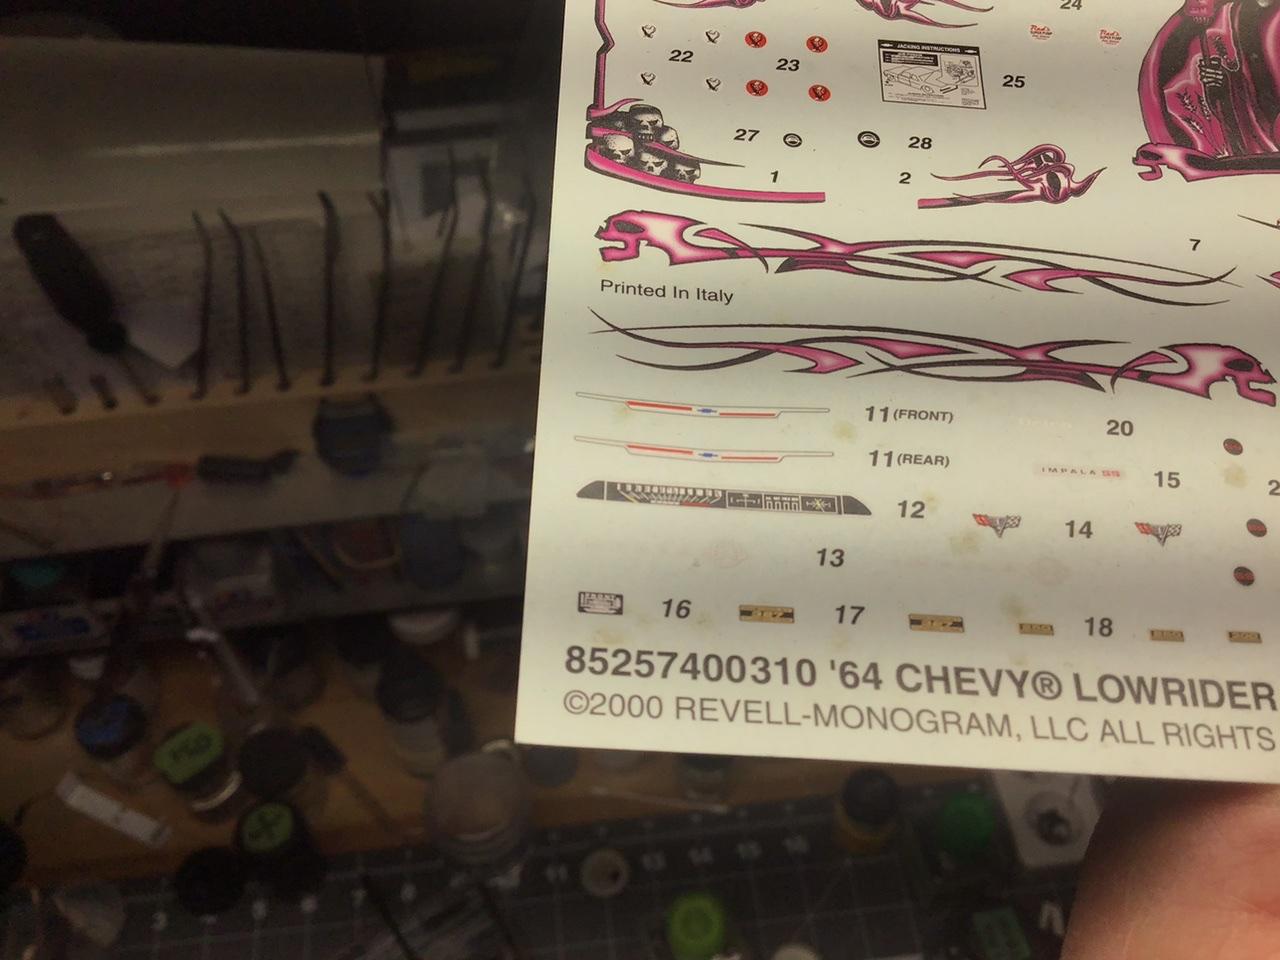
Can the decal sheet be cleaned with something before applying the decal solution? I don’t think these are too bad but...

-

‘64 Impala package shelf color
NOBLNG replied to NOBLNG's topic in Model Building Questions and Answers
I had some TS-58 light blue pearl left over that was about the color I wanted (not factory) that I already covered with flat clear. I intend to paint the dash body color, but had not thought of flattening it. Good tip,Thanks.
-
‘64 Impala package shelf color
NOBLNG replied to NOBLNG's topic in Model Building Questions and Answers
I thought so. Thanks Guys! -
'41 Chev Custom
NOBLNG replied to Brianl's topic in WIP: Model Trucks: Pickups, Vans, SUVs, Light Commercial
Absolutely beautiful work!? -
‘64 Impala package shelf color
NOBLNG replied to NOBLNG's topic in Model Building Questions and Answers
Thanks Rick. I found the colors, but are those supposed to match the carpet color, seat color, or body color? -
Tamiya TS-41 Coral Blue with just a touch of white added and sprayed through my airbrush. The body is TS-16.
-
I am doing a ‘64 Impala. The body will be dark blue with a grey roof. The interior will be lighter blue carpet on the floor and lower door panels. The seats will be white. I believe the dash (non-padded) will be body color. What color should the rear package shelf be? I’m thinking same as the carpet? I’ve tried to find pics or info on chevy forums, but info is minimal. Thanks, Greg.
-
Thanks Tom. That looks like a really nice casting, but it does look to be a flat windshield too. I think the roof of my die-cast could be lightly coerced out to the proper angle, but the cowl will require some type of filler to build it up. I was hoping for a metal solution, as I am worried about adhesion issues, but that sounds increasingly futile.
-
I have heard of that method of casting details and understand that it works pretty well. This Charger though had only decals, and nothing cast into the body.
-
That is REALLY Nice. In my late teens, one of my best buddies had a ‘69 Beaumont,(same body style, ’68 and ‘69 only). Later in my 20’s I bought a ‘69 Chevelle to restore...but unfortunately I was living in an apartment at the time and it was WAY too rusty for my talents at the time, so I sold it.?☹️
-
Went shopping for a couple paint items and came home with this jewel...at least I hope it’s a jewel.?
-
Thanks. Check my build thread in the link.
-
That is a beautiful looking paint job.
-
Nice job on that repair.?
-
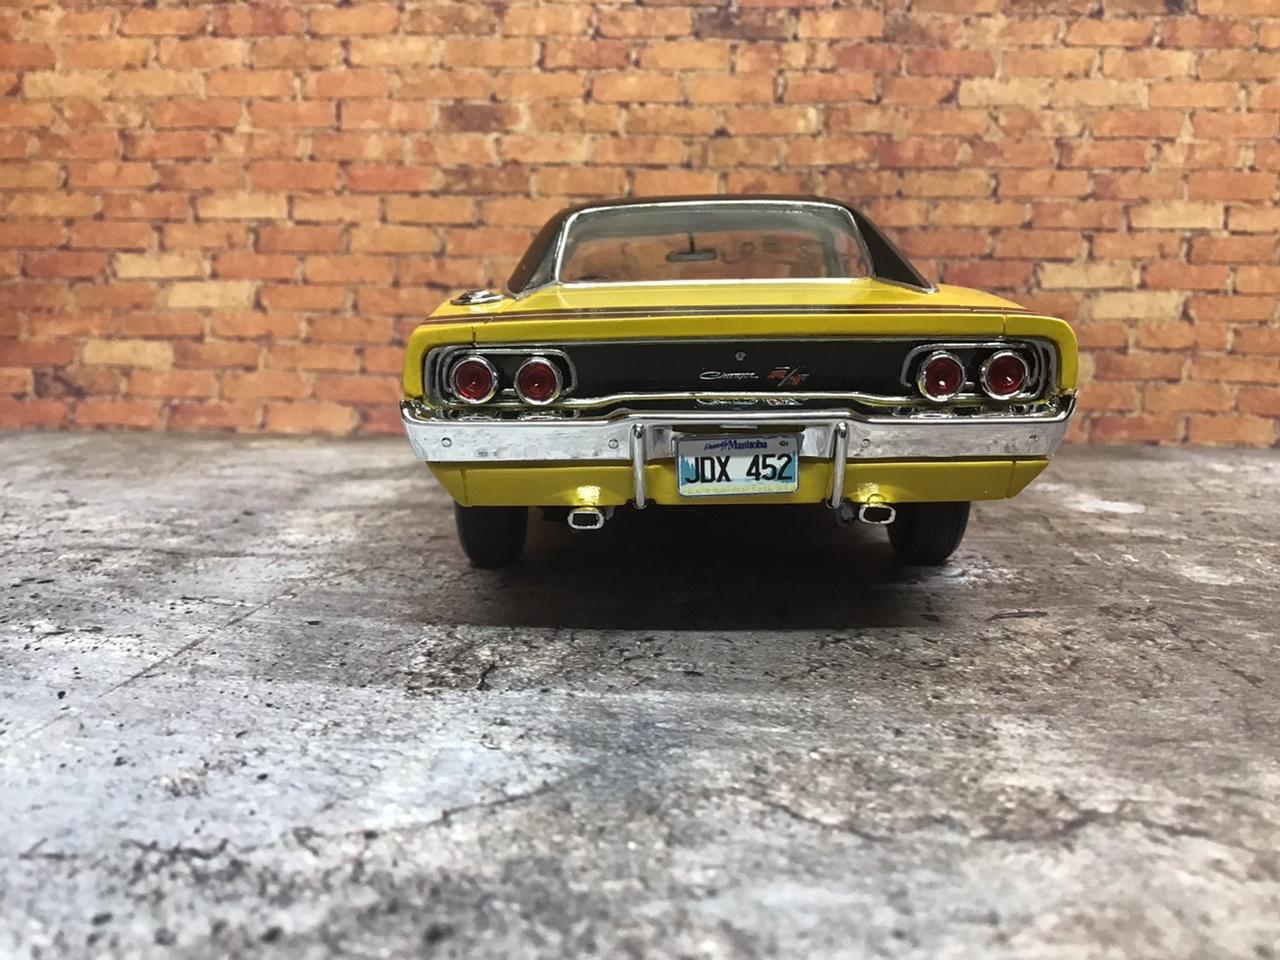
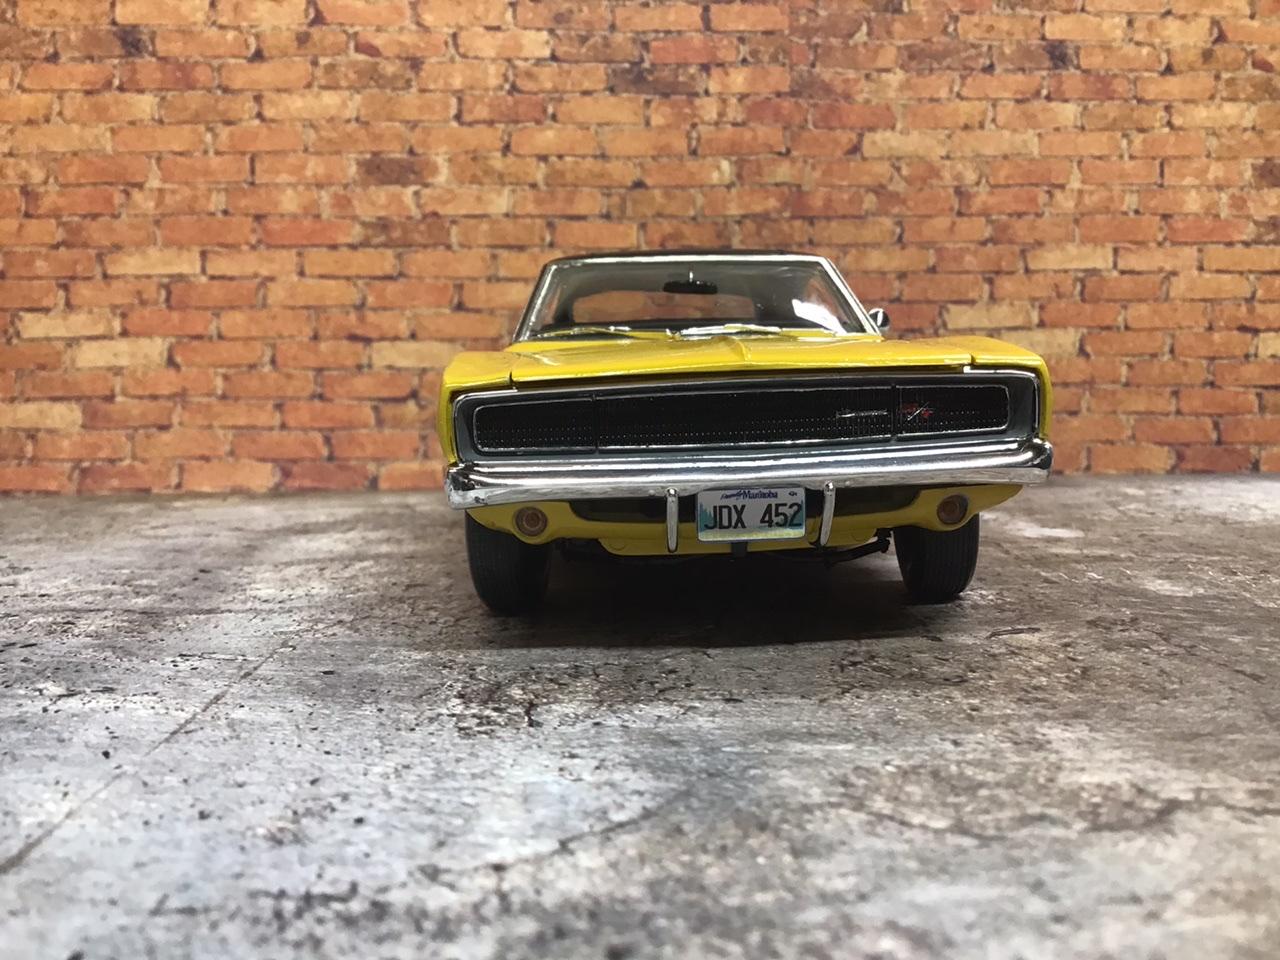
Thanks for the appreciation everyone. I believe this year of Charger has the nicest lines of any of them. A guy in my hometown had one close to this color that I remember admiring when I was a kid.
-
Beautiful, I love these cars.?
-
Sweet looking automobile.
-
Wow! For a cheap paint job (no offence intended), that sure looks fantastic! ? Great job on the whole car.
-
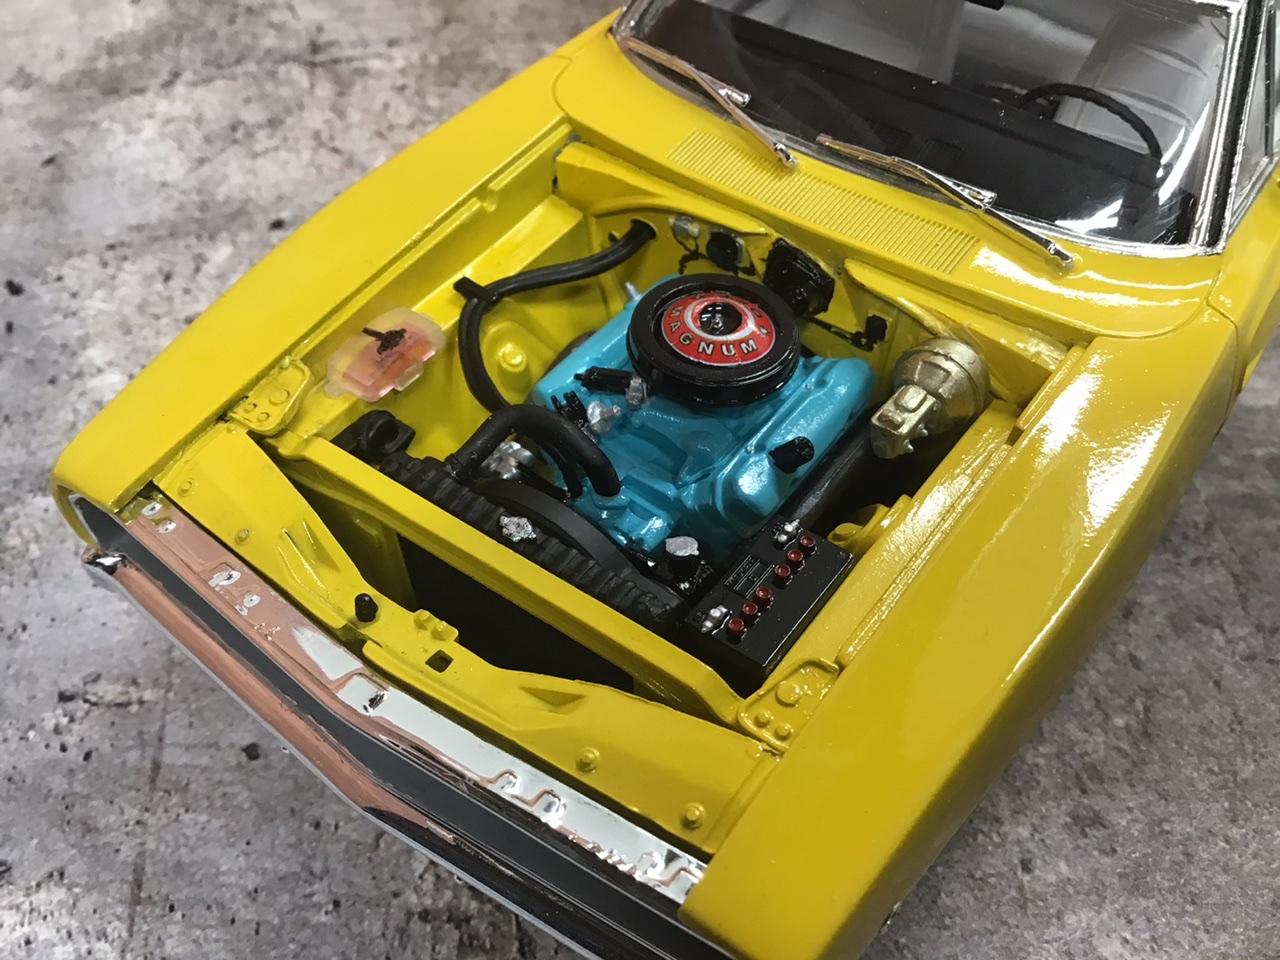
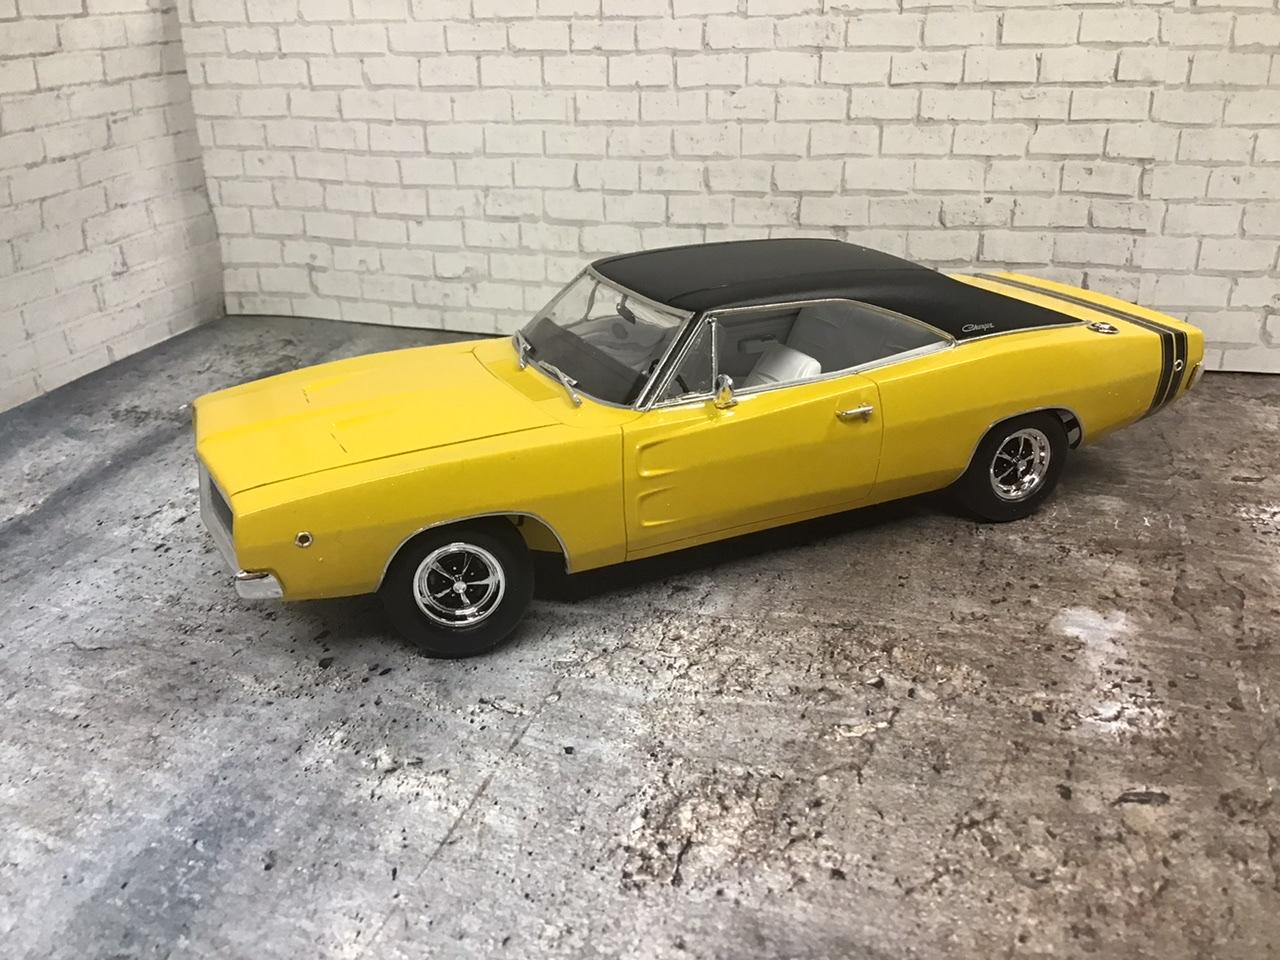
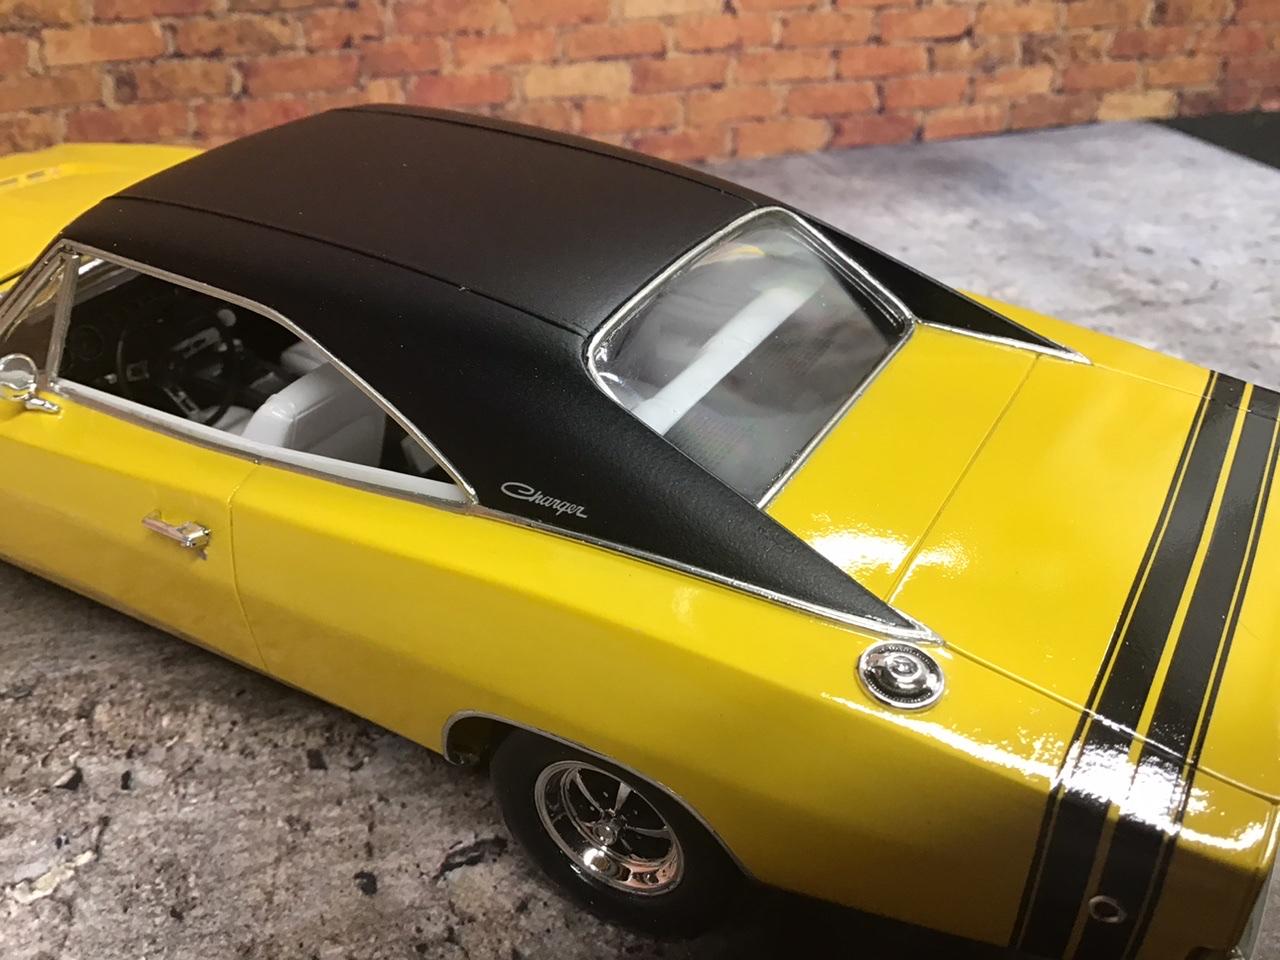
This a really nice kit. I had a minor Interference issue getting the interior tub and floor pan to tuck up high enough on the passenger side, and no locating points for the front valence. Other than that, everything fit great. Yellow is Tamiya TS-16 decanted and airbrushed. The roof is Tamiya gloss black with one coat of Tamiya XF-86 flat clear. Build thread:http://www.modelcarsmag.com/forums/topic/155696-‘68-charger/
-
I’m about done with this one. I decided to go with the factory rims instead of the centerlines. More pics under glass. http://www.modelcarsmag.com/forums/topic/156320-revell-‘68-charger/
-
Looking real nice.
-
Here is another with just Tamiya XF-86 flat clear over gloss black.
-
Minimum temp for Tamiya rattle cans ?
NOBLNG replied to Goodwrench3's topic in Model Building Questions and Answers
Winter is when I get back into modeling, when it’s too cold and ugly to be outside. I insulated my garage and keep a little electric heater going 24/7 so that my paint doesn’t freeze and my tools don’t get all frosty. When it gets really nasty ? I can fire up the woodstove.? -
Very fine work. I never would have thought of that colour for it, but that chrome really accents it nicely. Is that engine turned dash a decal?