Plowboy
-
Posts
3,434 -
Joined
-
Last visited
Content Type
Profiles
Forums
Events
Gallery
Everything posted by Plowboy
-
I would recommend using TS-13 over the AS-29. I've also sprayed a coat of TS-65 clear pearl over AS-29 and followed with TS-13. It's hard to capture the effect in photos. But, it looks really nice in person. Same color. No pearl.
-
Very cool little Toyota! I really like the extra details you added and especially the window tint! Nice work!
-
That's a nice looking little Triumph! Way way back in the day, I built the Monogram TR-7 molded in black. I've always wanted another one. But, not enough to pay what they bring nowadays. Nice work on your TR-8!
-
“Joker Is Wild” - AMT / Revell 32 Roadster Kitbash for DSC
Plowboy replied to OldNYJim's topic in WIP: Model Cars
It's coming together nice Jim! If you have an AMT '57 Fairlane, it has several bullet tail lights inside. -
Very nice Ken! The roof graft has a very natural look to it. Really nice paint and decal work!
-
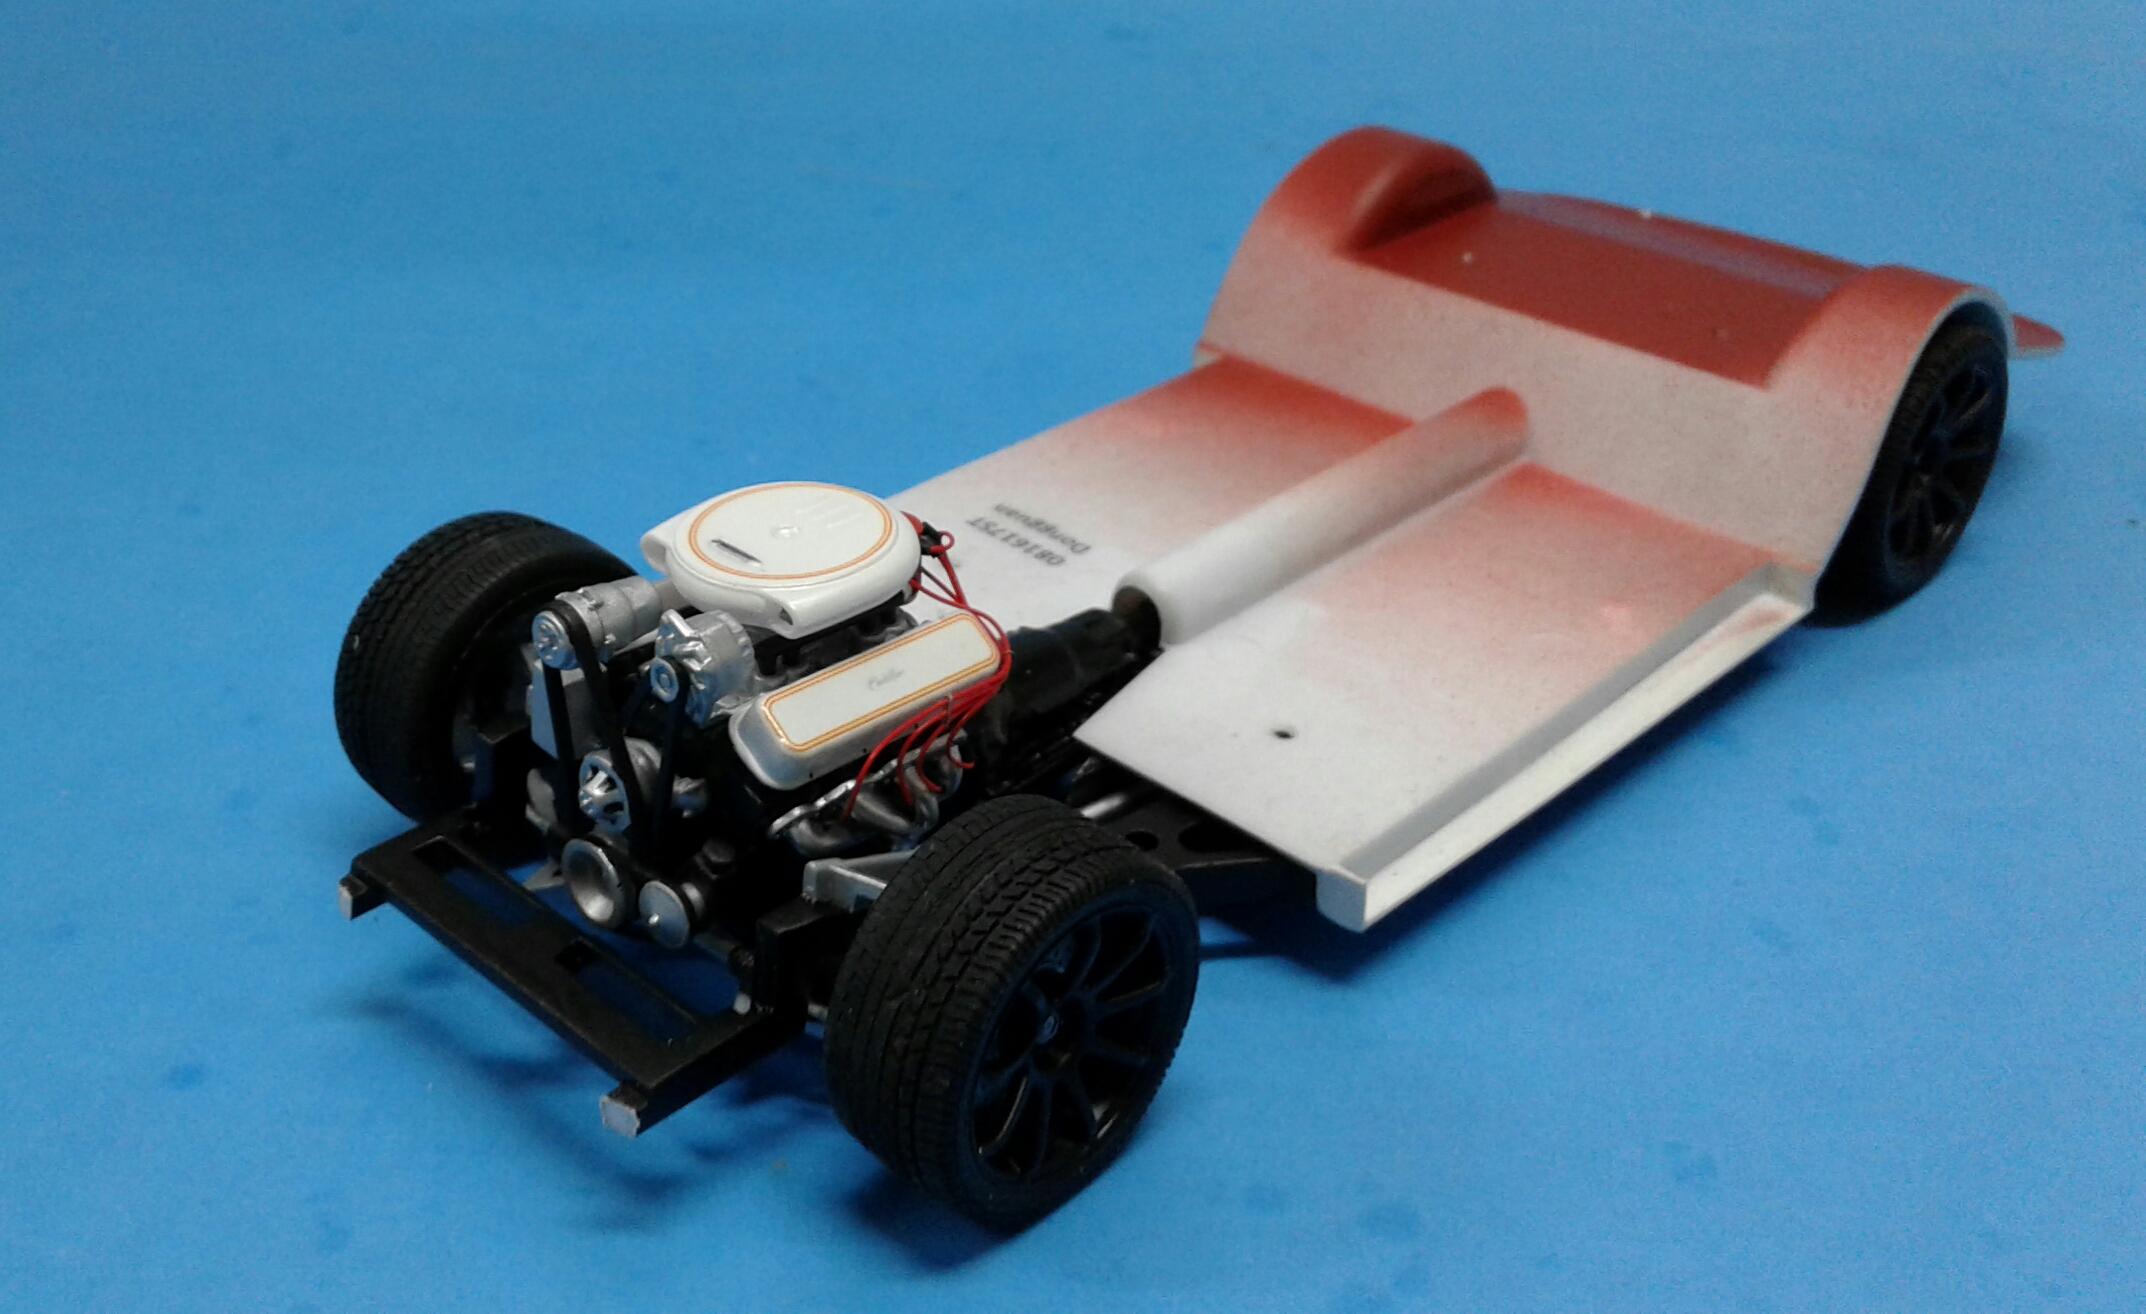
Last update before it hits the shelf! The engine is now glued to the chassis for good. I'll add a few more details once the body is installed. I may add a detail or two to the trunk. The glass, mirrors and interior are glued to the body. I couldn't believe the effect that installing just the mirrors has. I can't wait to get the rest of the black parts installed! I had to use the kit glass for the rear window. Even the paper thin clear wouldn't conform to the opening well enough. Thanx to everyone who watched, commented and gave advice! Much appreciated!

-
Revell made a '64 or '65 with the short fleetside bed. I'd have to check to make sure of the year. You would have to lengthen the bed and frame. There may be someone that casts that bed. Check with Rookie Resins. The original AMT Chevy long beds weren't that great. Wonky wheel openings in the front. Body lines don't match up and are rounded. The tailgate needs work. The lip that runs along the bottom of the bed and wheels opening is wrong. Hood is wider than the cowl. Honestly not worth the money they command IMO. The only reason I bought one was to have it to go with my '60 F-100. You can build a decent model with one. But, it takes a lot of work.
-
It's looking nice Luke! The paint looks excellent! I have one of these that I converted to a hardtop, lost interest and haven't looked at it again.
-
Man! That was a rough one Sam! Looks like you have it going your way now.
-
Thanx guys, I appreciate all of the great feedback! Thanx Thomas! Glad you found the thread useful. There's only one way to learn how to cut up bodies and that's by doing it. Taking the time to plan the cuts is most important. Thanx! All of the brightwork: bumpers, grille, turn signals trim, side mirrors and trunk medallion are Satin Black. So, it's going to have plenty of contrast. It's not going to need more.
-
'40 Ford Early '60s Style/Remembering a Friend
Plowboy replied to Kromolly's topic in WIP: Model Cars
That color looks really nice! Pegasus does make those wheel covers. Here's what they look like. I painted the red and added the valve stem.
-
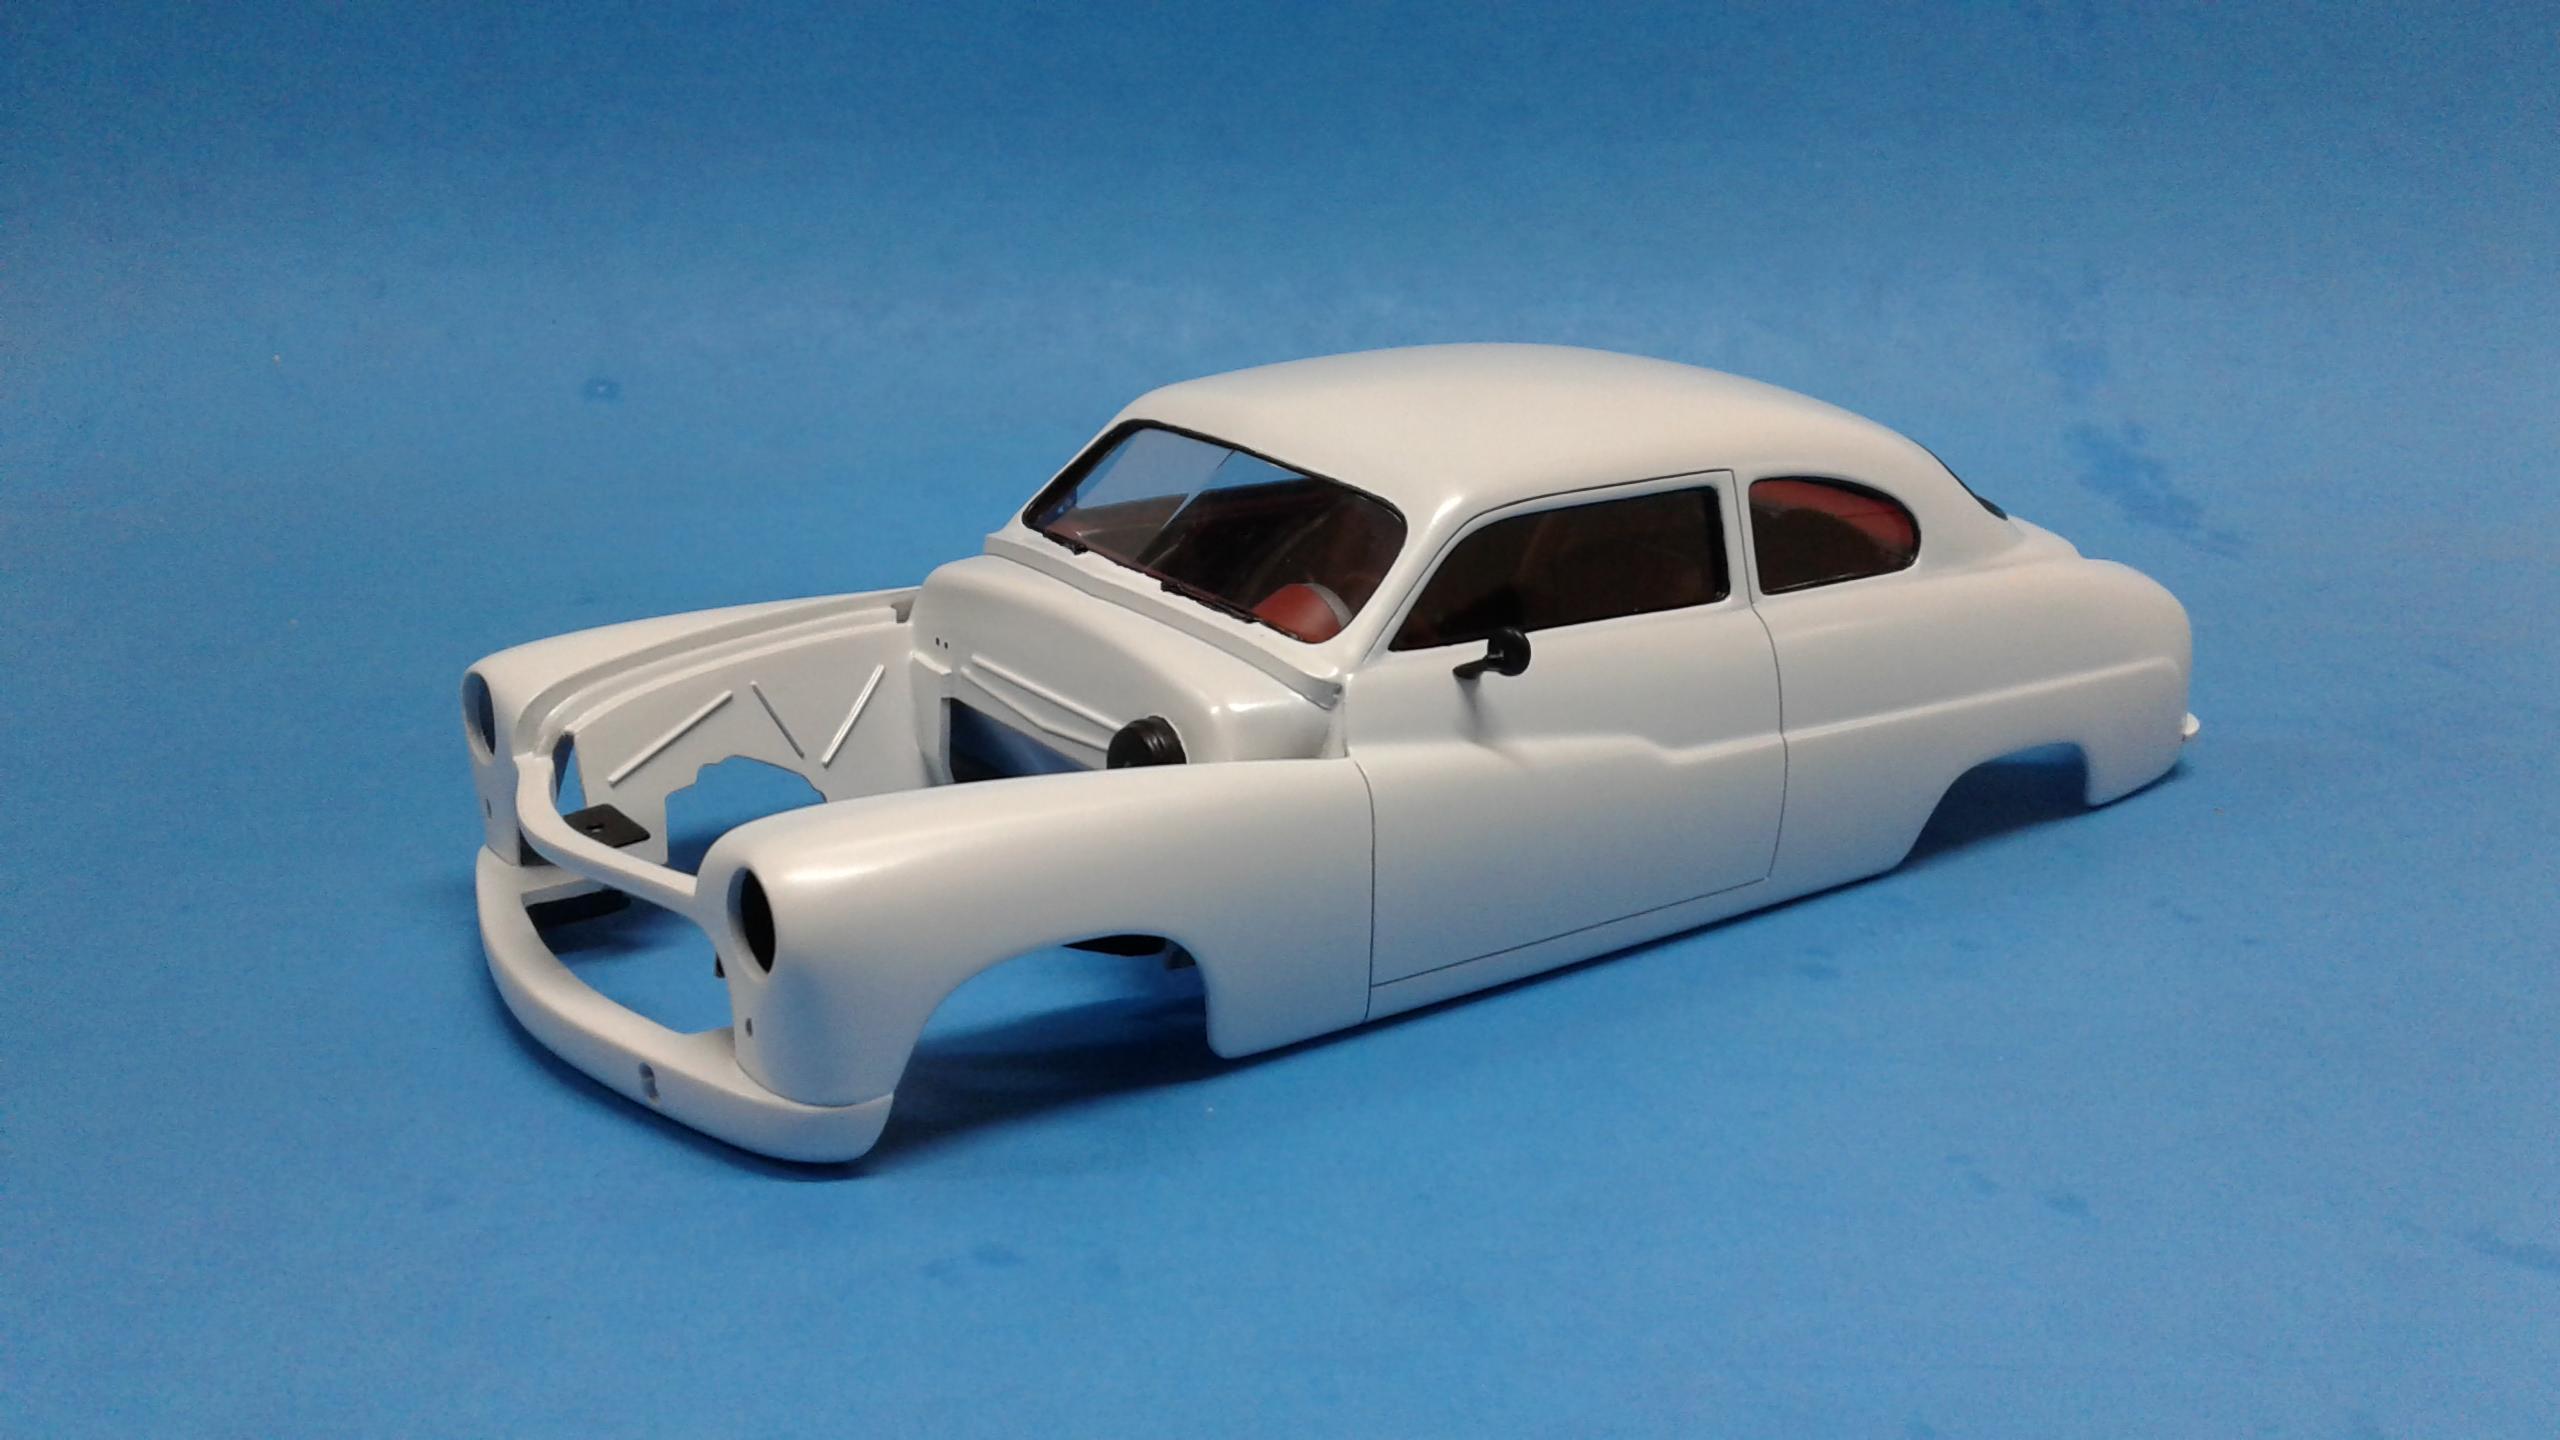
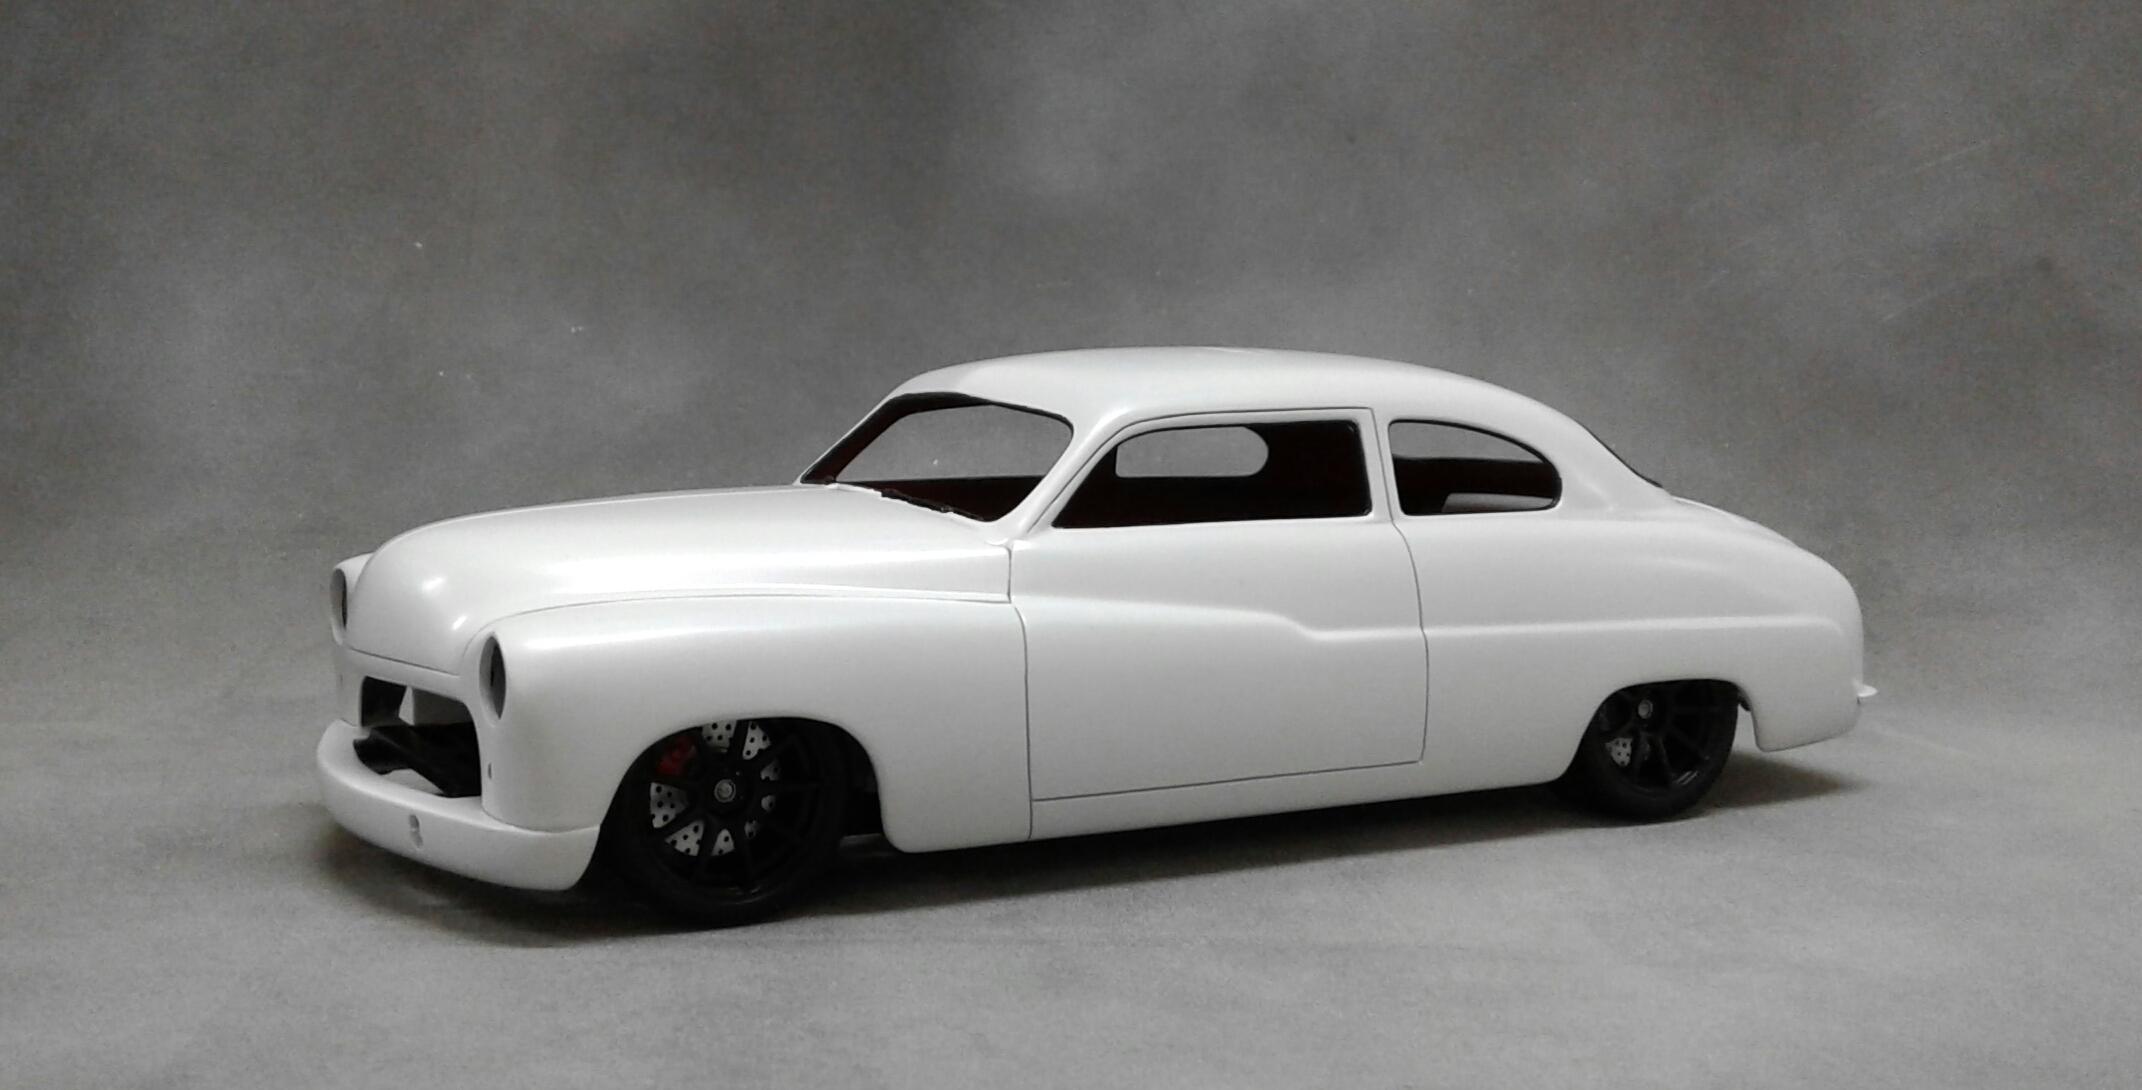
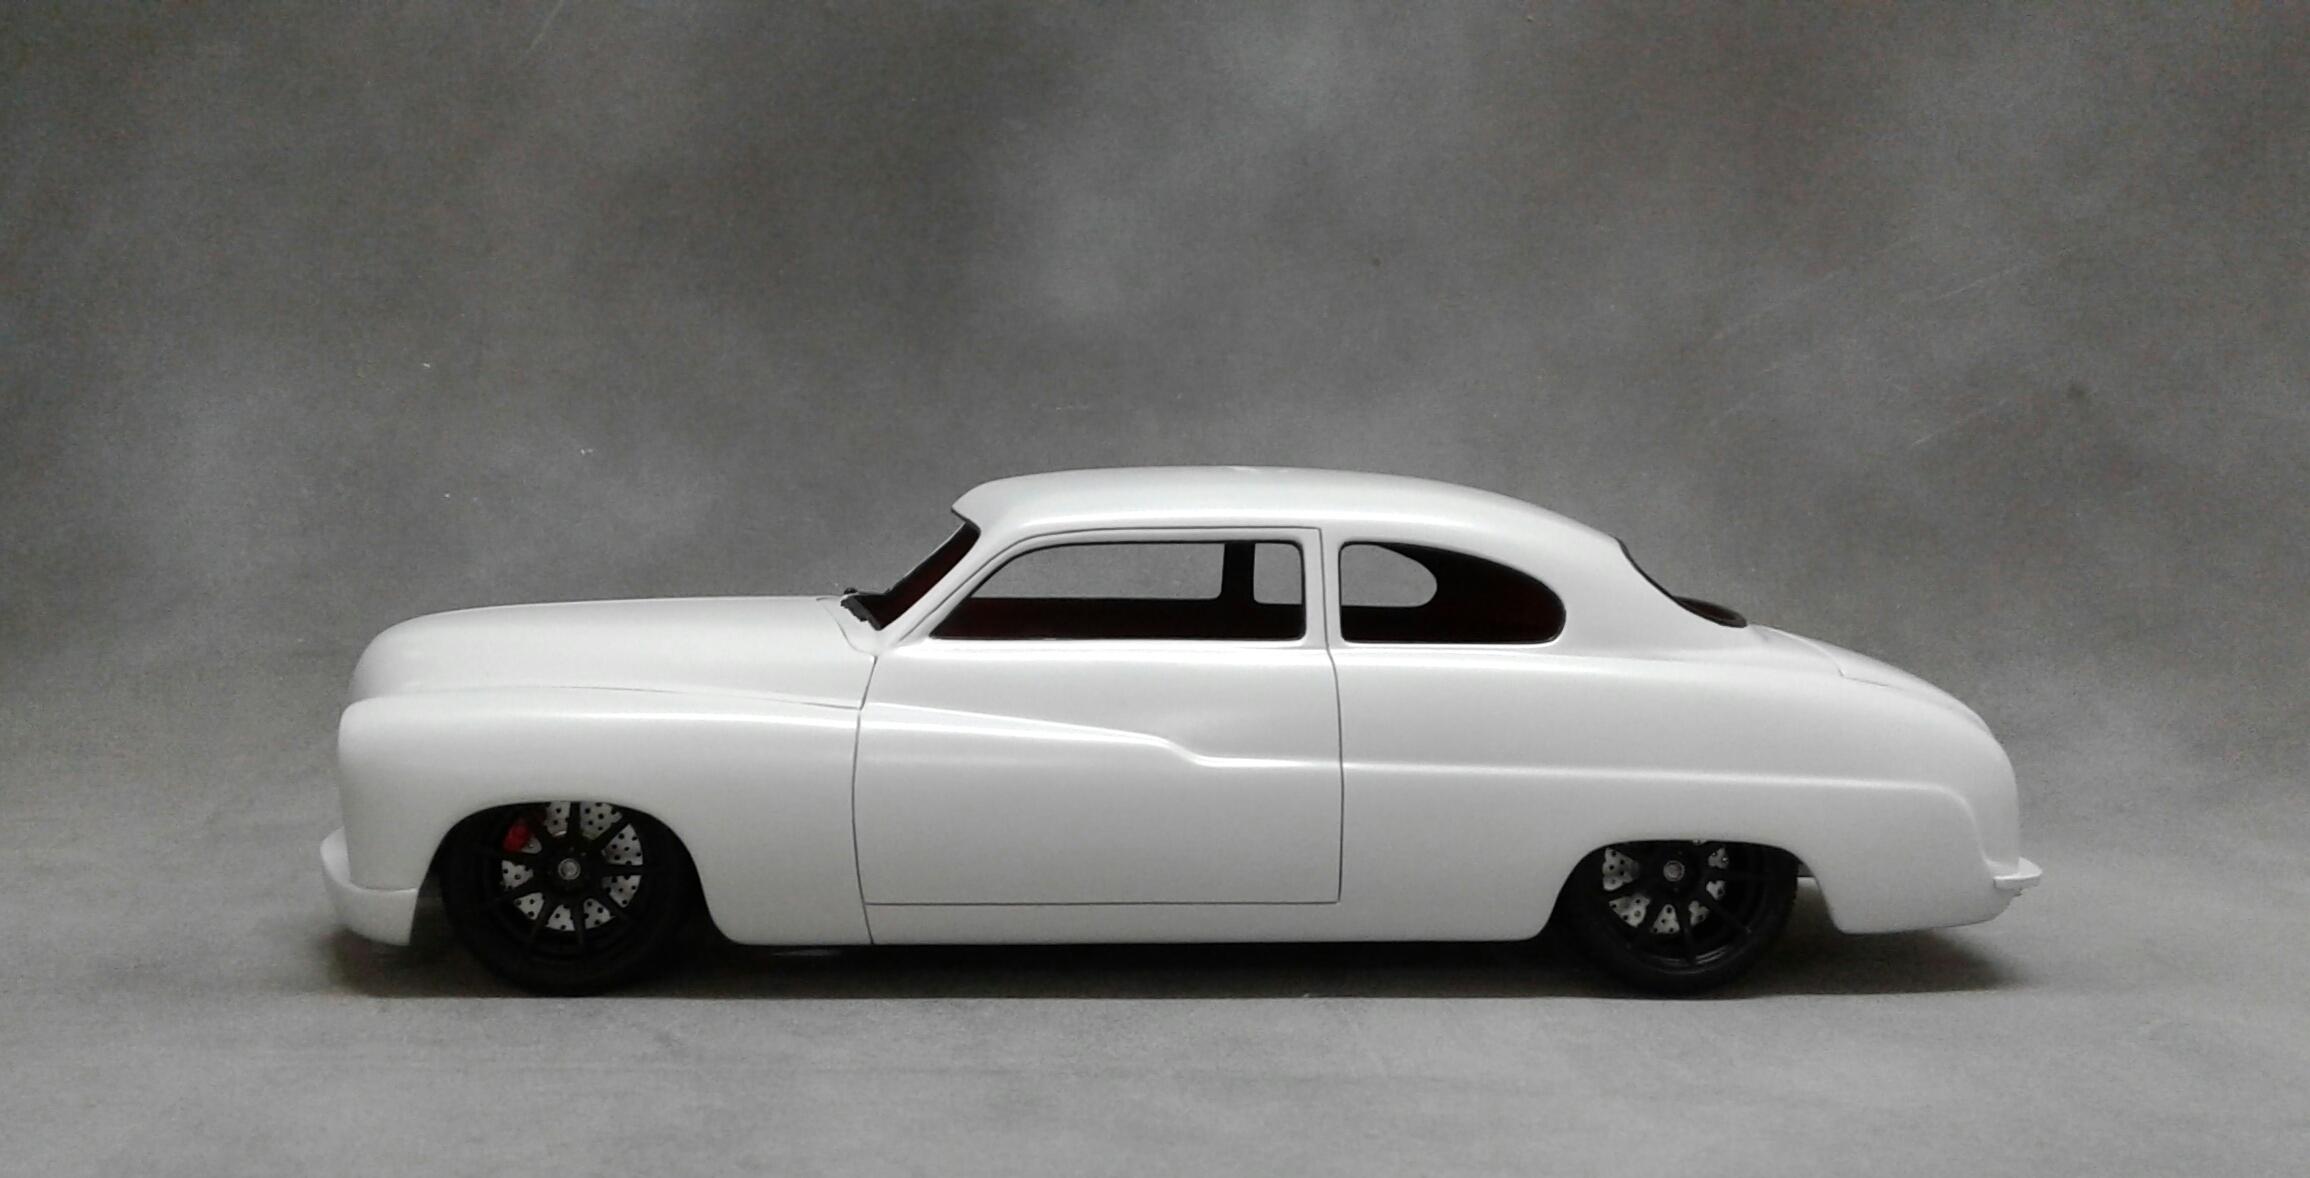
Thanx guys, I appreciate the feedback! That's an interesting idea. I don't think I could build one stock though. I have been thinking about building the Revell '49 Mercury and paint it Satin Black. I have the paint work done on the body. I shot a coat of semi gloss clear over the one coat of Pearl White. It gave it the exact effect that I wanted! I also got all of the trim in Satin Black. Talk about a task! I would never have done it decent had I not scribed around the trim. That was a lifesaver and made all the difference! I have all of the windows made. I had to make the back glass out of some paper thin clear to get it to conform to the body. I kinda dread trying to install it. I got the decal fixed on the valve cover. A last test fit of the interior showed that I need to shave just a touch off of the door panels. I'm also going to have to shave a touch off of the frame rails up front. I couldn't resist doing a mockup with it in paint. The black trim gives the window openings the illusion of being larger than they actually are. I don't think many would believe that the roof has been chopped two scale inches. Even the three scale inch section is hard to spot to me. I'm hoping to have this done by the end of the week. Then I can jump back on my '32 and finish it up.
-
Nice looking little Mustang Mike! I have this kit from way back. But, never could work up the courage to try the decals. Nice work!
-
It's looking good Steve! Just a suggestion; I would get rid of the remaining door frames at the top to give it a true hardtop look.
-
I just looked at mine and actually it's just the upper A arms that are a different length. The lowers appear to be the same length. So, one could use the van's lower suspension piece. Just have to source a set of equal length upper A arms.
-
No, it isn't. The left side suspension components are longer than the right side due to the offset engine.
-
Replicating some of Dad's rides
Plowboy replied to SCRWDRVR's topic in Model Building Questions and Answers
You can use the front suspension from either the Revell '66 pickup or Suburban. I don't think the scale difference would be an issue. I can't think of a Chevy 2wd front suspension in 1/24 scale besides the van. But, it has an offset style. Longer on the left, shorter on the right. -
I'd use the chassis from a Revell '66 and lengthen it.
-
I like Tamiya Gray Putty. It works well for filling.
-
I've got more work done to the body. I temp glued the hood to the body so that I could get it, the fenders and nose piece to all match up. And I decided the direction it's going to take. I have another set of wheels in mind also. These were just handy and I stuck them under it. The chassis just resting on the wheels and tires at the moment. But, it gives me an idea of how low I'll be able to get it. I did a mini tub on the back half. Just have to narrow the gas tank and glue it back on. I'll narrow the rearend however much is needed. I'm going to let this project idle for a while. I have two other projects that I want to get finished up as they've been idling for a while. I'll hit it here and there when/if I get a chance. Plus, it'll give me a chance to get more ideas. No idea what engine I'm going to use or colors.
-
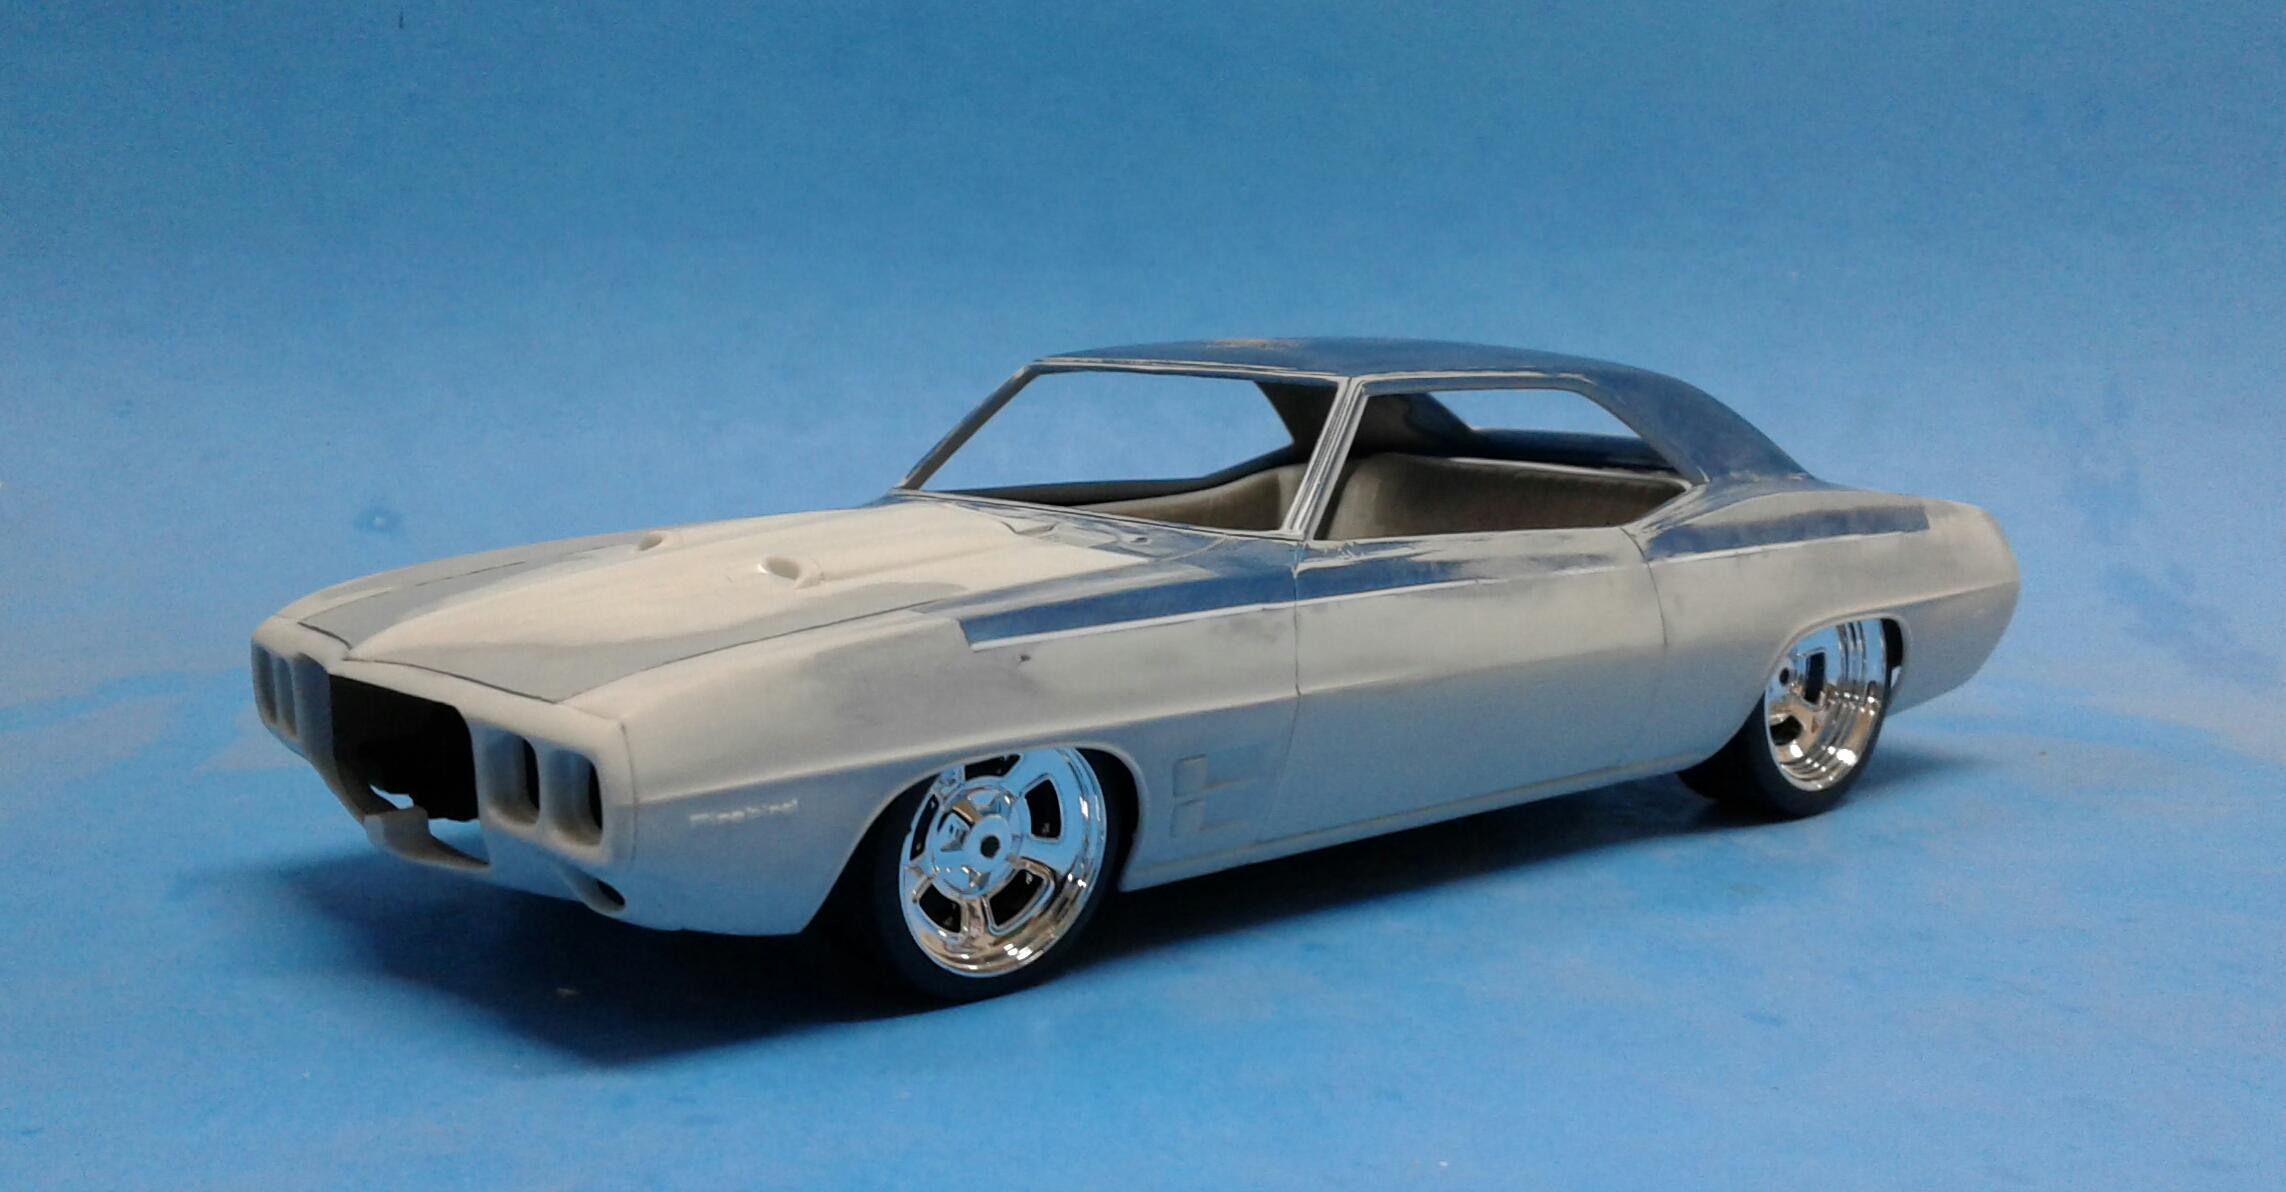
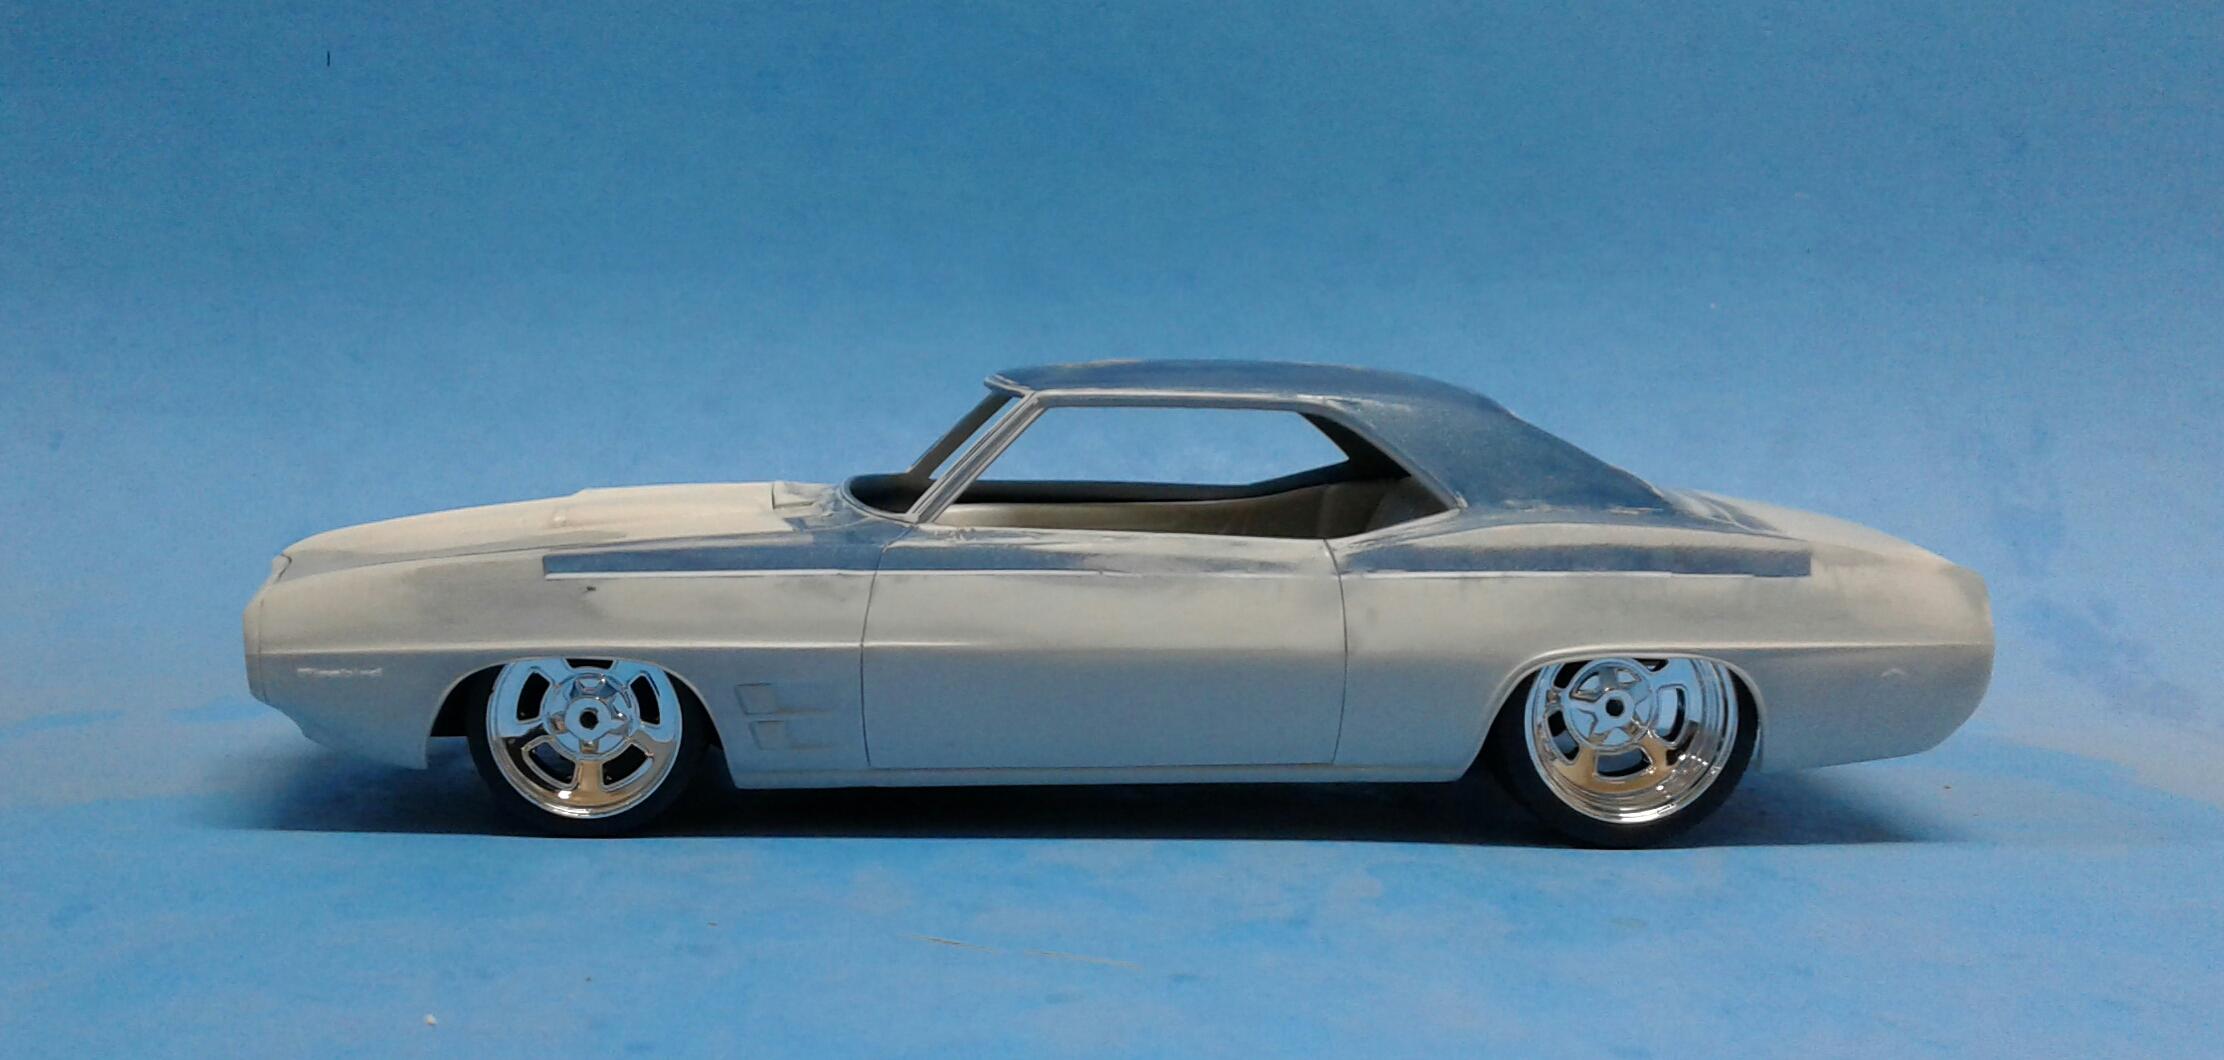
The issue is above the character line. It's not the position of it. As I stated earlier, it measures the same from the bottom of the body as the Revell '69 Camaro. This was guide I used to cut the roof section from the Camaro. Notice the distance from the top of the guide to the top of the fenders, door and quarter panels. Same guide, same position. Notice the difference? To get an accurate Firebird, one would need to use most of the Revell Camaro IMO. That or section the Firebird body above the beltline. If this were an important build to me or I was planning on casting it, I would do it. But, this is just a for fun build. It has taught me that there is a better way than the way I did it.
-
Kitbashing,,,
Plowboy replied to thomascoffey1959@gmail.com's topic in General Automotive Talk (Trucks and Cars)
Me too Scott! I've done some rough ones over the years! I've only had one that I gave up on and it was just too far gone and too much missing. -
You can either spend the money and save a lot of time or save some money and spend a lot of time. Depends on which one you value the most.
-
Kitbashing,,,
Plowboy replied to thomascoffey1959@gmail.com's topic in General Automotive Talk (Trucks and Cars)
It does Carl! I'll take an old rare glue bomb over a new kit any day! It's much more satisfying to take something like this... And turn it into this.... -
Steve, I think you should paint it blue! LOL! You already know I like it! Glad you started a build thread on it.