Plowboy
-
Posts
3,434 -
Joined
-
Last visited
Content Type
Profiles
Forums
Events
Gallery
Everything posted by Plowboy
-
Need my first scribing tool
Plowboy replied to Venom's topic in Model Building Questions and Answers
Josh, I ground it down with a Dremel and cut off wheel. Then finished with a file. To be honest, I thought I had made it so thin that the tip would snap off. But, it hasn't after around 40 models. I just recently sharpened it for the first time. The reason I made it was because I always had trouble with 90 degree corners even with an Xacto blade. With this dental pick, I can go to the corner, turn and go the other direction. Here's a couple of photos of it. I tried to get a photo to show the thickness of it. But, my device couldn't focus on it.
-
The engine looks nice Dennis! Even if it is painted pink! Can't wait to see the body in paint! Personally, I think the body and fenders should be the same color to be an '80s era build. That was when monochromatic paint jobs were the "in" thing.
-
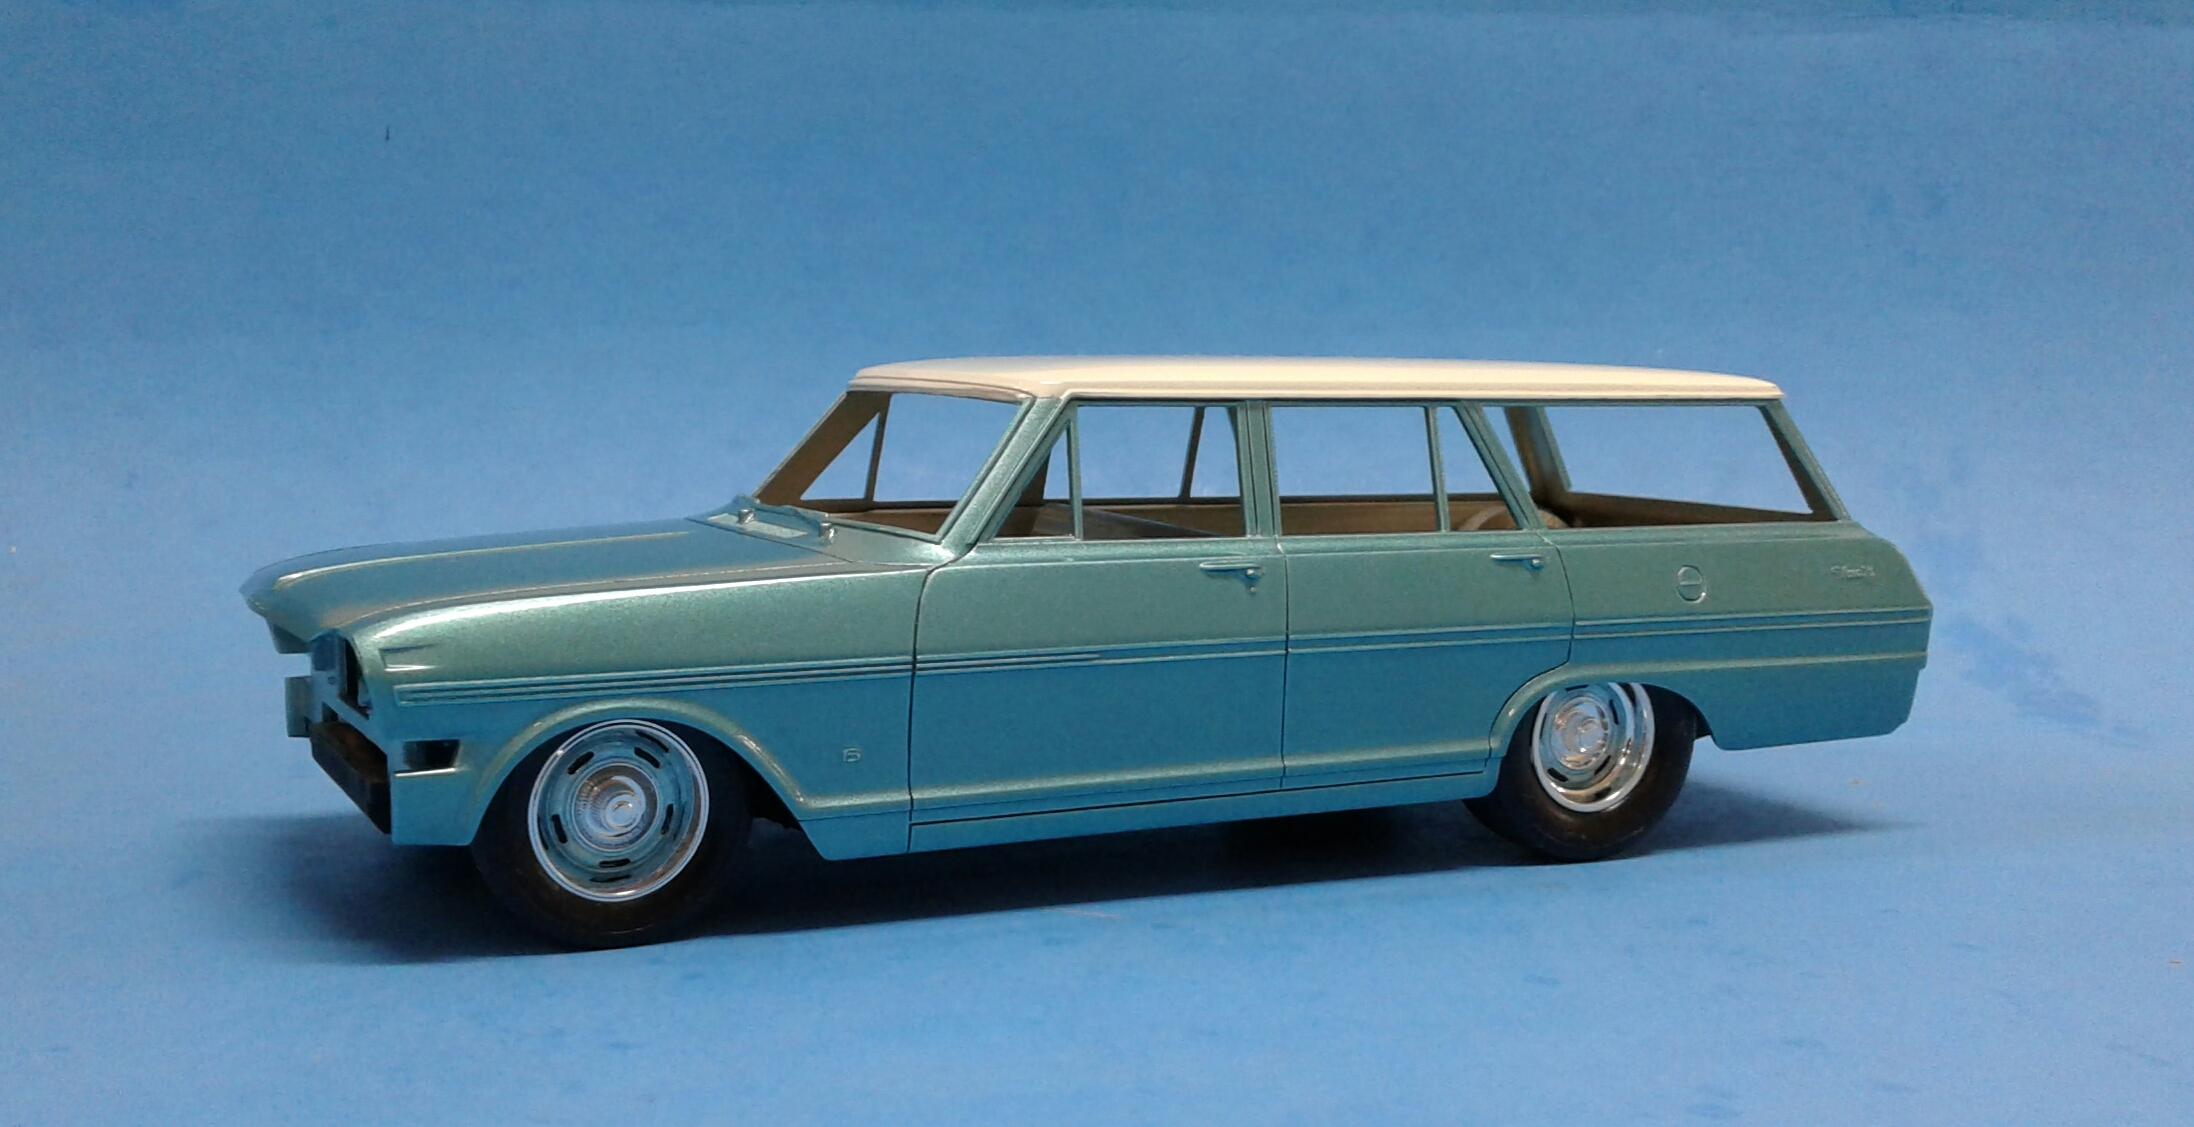
Thanx Carl and Steve! It's looking like the Nova wagon is going to be finished long before this project.? I may drag out another old project and finish it up. I've been eyeing an old Monogram Corvette SS Hatch that I started years ago.
-
Need my first scribing tool
Plowboy replied to Venom's topic in Model Building Questions and Answers
The best scribing tool I've used is one I made by modifying a dental pick. It will follow even the faintest line without jumping out and cuts whether I push or pull with it. It cuts a finer line than photo etch blades. -
I mostly buy my stuff from ebay. I do a search for what I want, choose lowest price price plus shipping and buy. Several online vendors are on there. I usually get my paint or whatever in two to three days. Sometimes five at the most. I tried Hobbylinc recently and while I saved money, it took over two weeks to get three cans of paint. It depends on whether you want it quick or cheap.
-
Stripping aftermarket plating
Plowboy replied to MrObsessive's topic in Model Building Questions and Answers
I stripped a couple of bumpers in LA's Totally Awesome!!! once with good results. Stripped them clean with no effect on the resin. You can find it in any Dollar General store. Don't buy the spray bottle as it's diluted. Get the half gallon jug. It's only around $3. -
1977 International Scout SSll
Plowboy replied to bogger44's topic in Model Trucks: Pickups, Vans, SUVs, Light Commercial
Hands down, the best build I've ever seen of this kit! Looks perfect in every way! All the extras you added really made this old kit come to life. Makes me want to build one for myself! Nice work Tony! -
That's a really nice looking little Roadster Dave! Never would've known you started with the old Monogram kit. I really like the paint combo! Well done!
-
Not to mention that installing the engine before the suspension makes it a PITA to install the suspension!
-
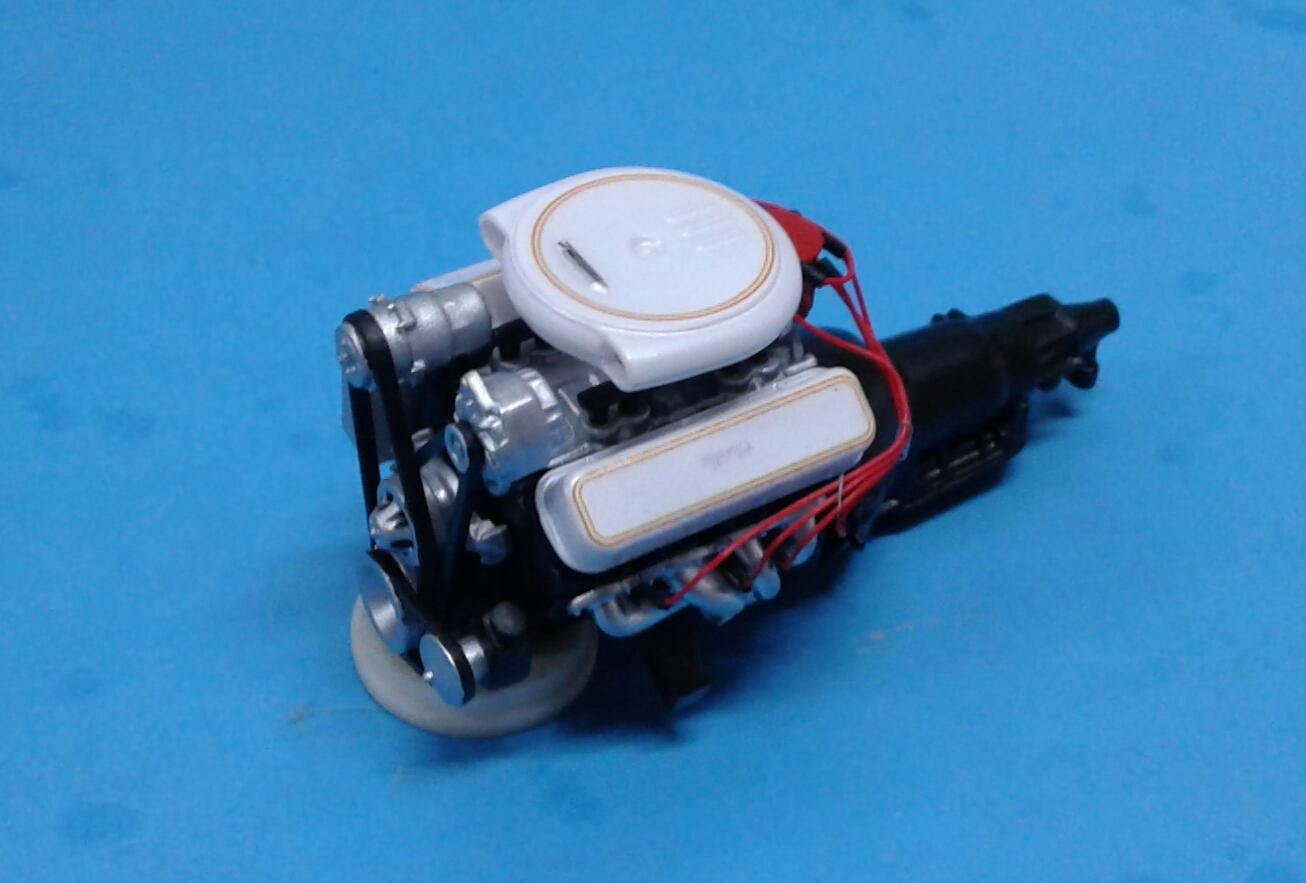
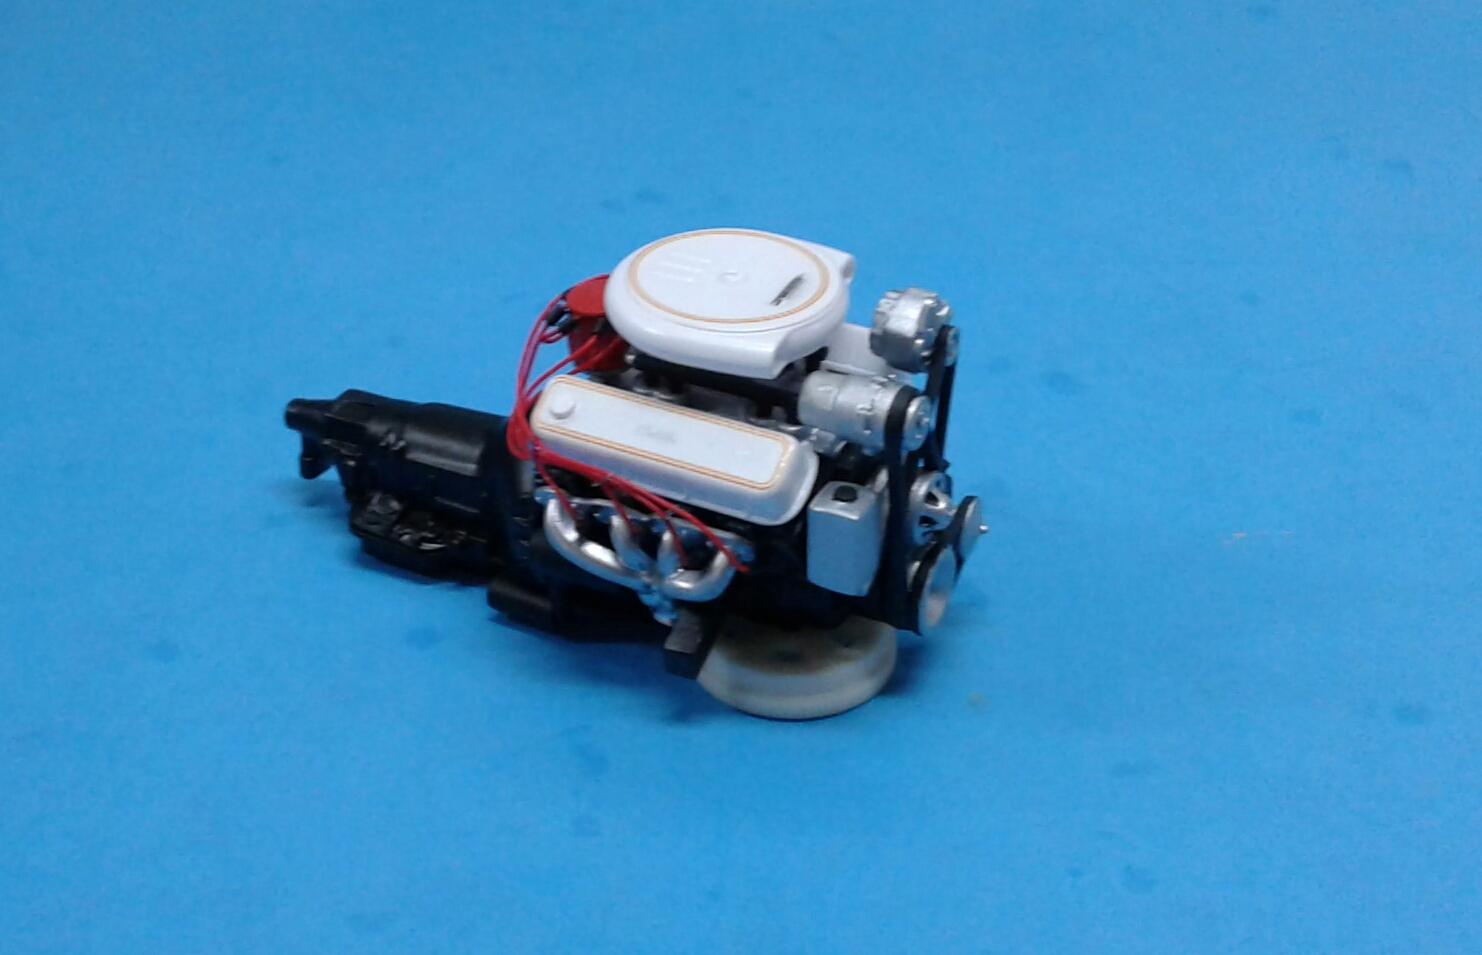
Thanx guys! There's still paint hanging on to the Mercury's body! Mainly in the engine bay, underside of the hood and trunk and the headliner. Tamiya paint and primer is tough to strip! But, I have got the engine wired. I still have to make the alternator and A/C pump brackets. The accessories and breather are just stuck on. Here you can see the upside down decal on the valve cover. Thanx to GoodbuildNY, I'll have a replacement soon! While waiting for the paint to strip, I've been working on this. Just got it and my paint debacle was the perfect excuse to go ahead and start in on it!
-
Reversed engineered, with improvements
Plowboy replied to Luc Janssens's topic in General Automotive Talk (Trucks and Cars)
Another one they could do like the Nova wagon is the '60-'63 Falcons. Bonus points for a wagon version! -
'78 Dodge Warlock 4X4
Plowboy replied to Can-Con's topic in Model Trucks: Pickups, Vans, SUVs, Light Commercial
Nice looking Dodge! The posable wheels are a nice touch! -
1961 Ranchero in 24hrs
Plowboy replied to Sam I Am's topic in Model Trucks: Pickups, Vans, SUVs, Light Commercial
That's a nice looking little Ranchero Sam! Especially considering the time invested! -
That's a nice looking Corvette Nigel! The color and wheels suits it perfect! Nice work!
-
I had issues with the last paint job I did with Dupli Color. It had a mottled look to it under the clear. The DC clear went on really orange peeled as did the paint. I pretty much switched to all Tamiya. Primer, paint and clear. I'll still use different paint occasionally. But, I always use Tamiya primer and clear.
-
Reversed engineered, with improvements
Plowboy replied to Luc Janssens's topic in General Automotive Talk (Trucks and Cars)
I'd like to see the '63 F-100 with or without the camper top. To me, it would have been a better candidate for the Cal Drag Combo. -
Reversed engineered, with improvements
Plowboy replied to Luc Janssens's topic in General Automotive Talk (Trucks and Cars)
Look at the body line above the rear wheel opening. -
Reversed engineered, with improvements
Plowboy replied to Luc Janssens's topic in General Automotive Talk (Trucks and Cars)
The Revell '70 snap Chevelle has very inaccurate quarter panels. -
Very nice looking Olds Mike! I really like the color on it! To me, there's nothing cooler than a model built after the full scale once owned! Nice work!
-
GT350R rear opening
Plowboy replied to 250 Testa Rossa's topic in Model Building Questions and Answers
If you have a circle template, you can place it on the body and get your mark. If not, take a larger sized tire and use it as a template. You could also use the tire on the model like a compass. -
Just a Factory Stock 1983 Hurst/Olds by Revell.
Plowboy replied to Dragonhawk1066's topic in Model Cars
That's a really nice looking Olds Craig! The interior along with the nice looking paint work really makes it stand out! I bought one of these with plans to drop it over a P/S chassis. But, yours has made me rethink that idea. Nice work! -
One thing I noticed on this kit when I built it is the front end/grille is a little off. The strip at the top of the grille is actually the leading edge of the hood. It should be laid back the same angle as the leading edge of the hood instead of vertical. I wanted to fix it. But, it would have required too much work. Or more than I wanted to put into it. It's one of those little things that once you see it, you can't unsee it. Here's a couple photos that shows it fairly well.
-
If you burnish it well, there's no need to clear coat it. I did it once and made the mistake of using enamel. It ruined it over time. Never again. The chrome strip on this '40 is only .020 thick and stuck with no problem.
-
I have an MPC "Stunt Van". I don't recall it having anything other than the roll bars inside. Maybe only the 2wd versions got the full interior? Hafta agree with you on the MPC vs AMT vans.
-
Has it been that long ago when they released the 007 issue? Doesn’t seem like it. Now, they're doing a taxi version? This isn't a very good kit to be honest. But, as long as it pays the bills, that's all that matters.