Bills72sj
-
Posts
4,581 -
Joined
-
Last visited
Content Type
Profiles
Forums
Events
Gallery
Everything posted by Bills72sj
-
Very cool.
-
I have never played the sim. There was a fellow on another model forum that was a prolific model builder. Once he started playing the truck sim, he faded away from building quite quickly. It may be addicting. I don't know.
-
I got to take out my StreetMachine today. Spent 11 vacation days, in early November, upgrading and fixing minor things after pulling the dash out of the car. When I put it back in, the car was functional but had a couple of minor tasks to accomplish and some gremlins to chase out. Took care of all of that yesterday. Took it out for both a drive and a (loud) stereo jam session. My new GlowShift gauges work great and I tuned the 9 speaker sound system very precisely via my DSP (Digital Signal Processor). With you eyes closed, you could swear you were listening to a live act without the smell of beer.

-
Well done I like the "Cats" in the exhaust.
-
 I like the differentness (is that word?) of the intake set up. I would buy it for that alone. If you work at it long enough you can sand away the vinyl top. I did that when I made my Hot Wheels '68 El Camino which was a total parts box build.
-
I frequently get zip lock bags of various sizes from work that were used to hold repair parts. After masking the area with tape. I tape the bag around to keep overspray from sneaking into places I do not want it.
-
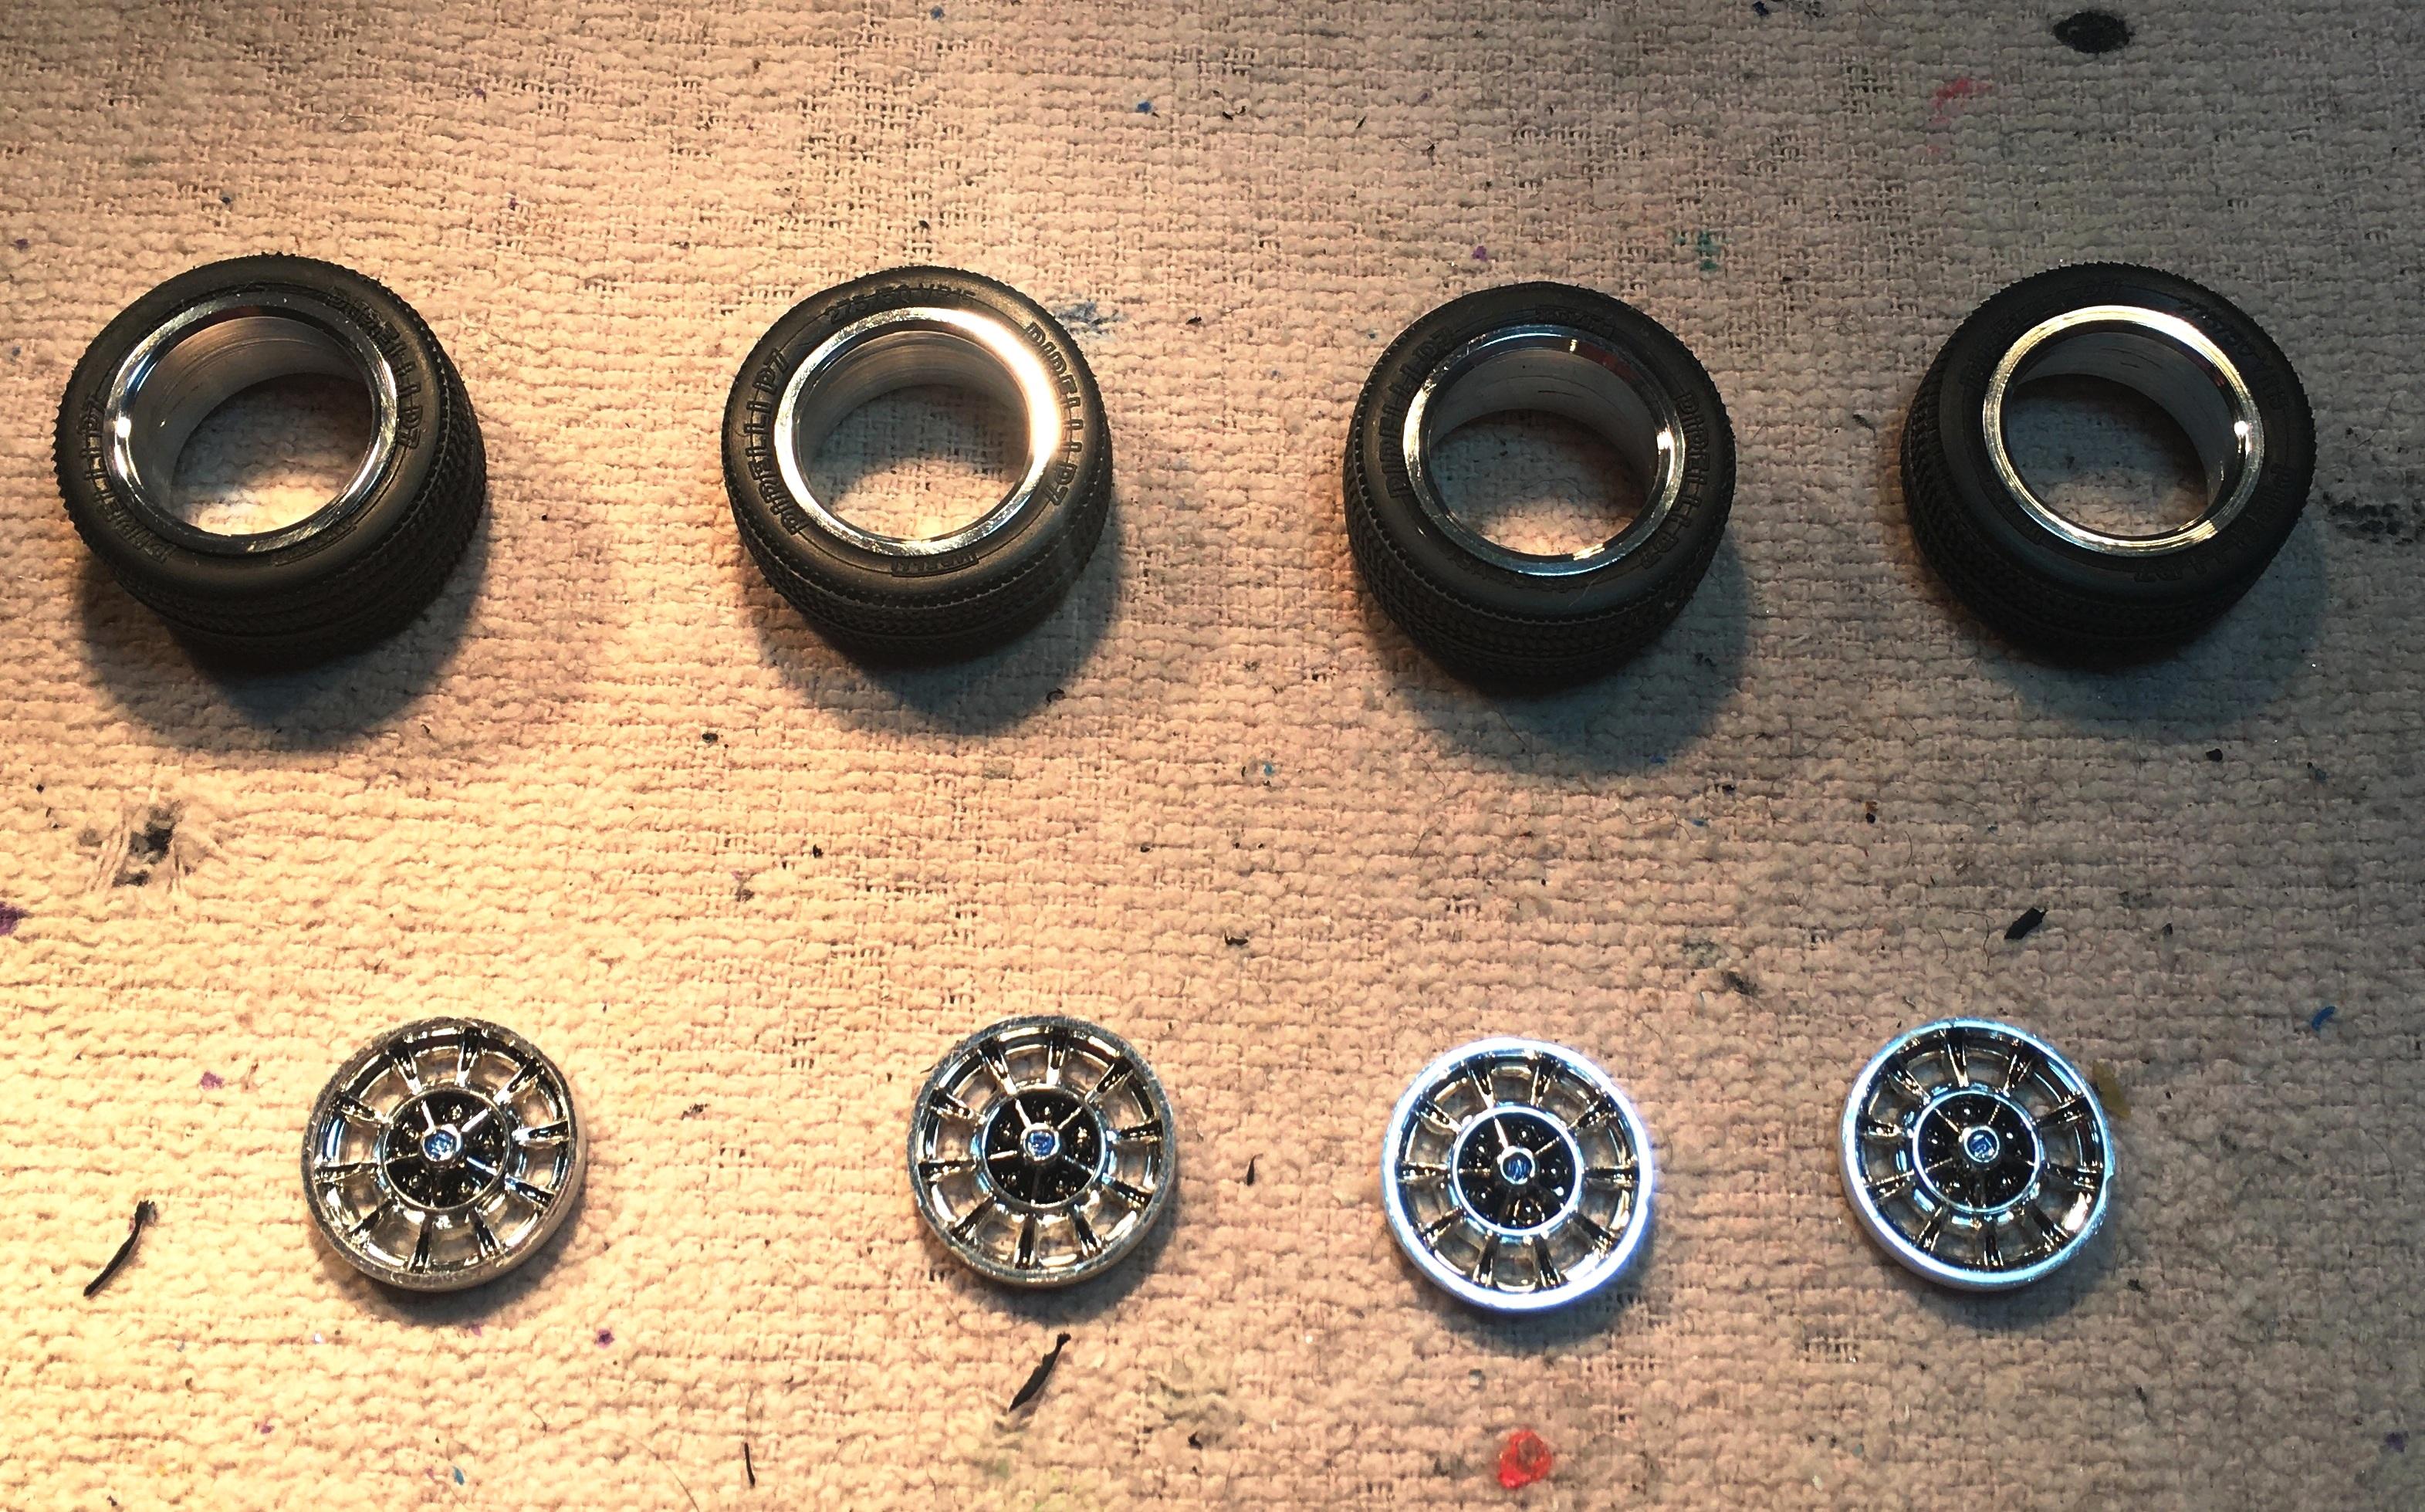
Detailing wheels is one my favorite tasks. I usually use panel liner though sometimes it requires multiple applications to get the desired effect. I have also painted the inserts of wheels by hand using enamels. I shake the bottle. and use a toothpick to apply the paint while using, the inside of, the freshly wetted bottle cap as my paint well.
-
The Pig Rig
Bills72sj replied to Nosferatu's topic in WIP: Model Trucks: Pickups, Vans, SUVs, Light Commercial
I love the concept. Very creative. -
Love the color.
-
Cool build. It has that moonshine runner look to it.
-
Way cool paint fade. NICE!
-
PM me I am open to offers. Do you have any big rig parts?
-
Cool build. I have the 1985 Testors/HSO reissue with the cast pot metal rims to get to eventually.
-
The Monte Carlo has been traded off.
-
Very impressive. You are doing things that I would not even attempt.
-
I have one of these to tackle for a drag racer in the not to distant future. Following.
-
I built a couple of 72's awhile back. I am curious as to your 71 back dating. Following.
-
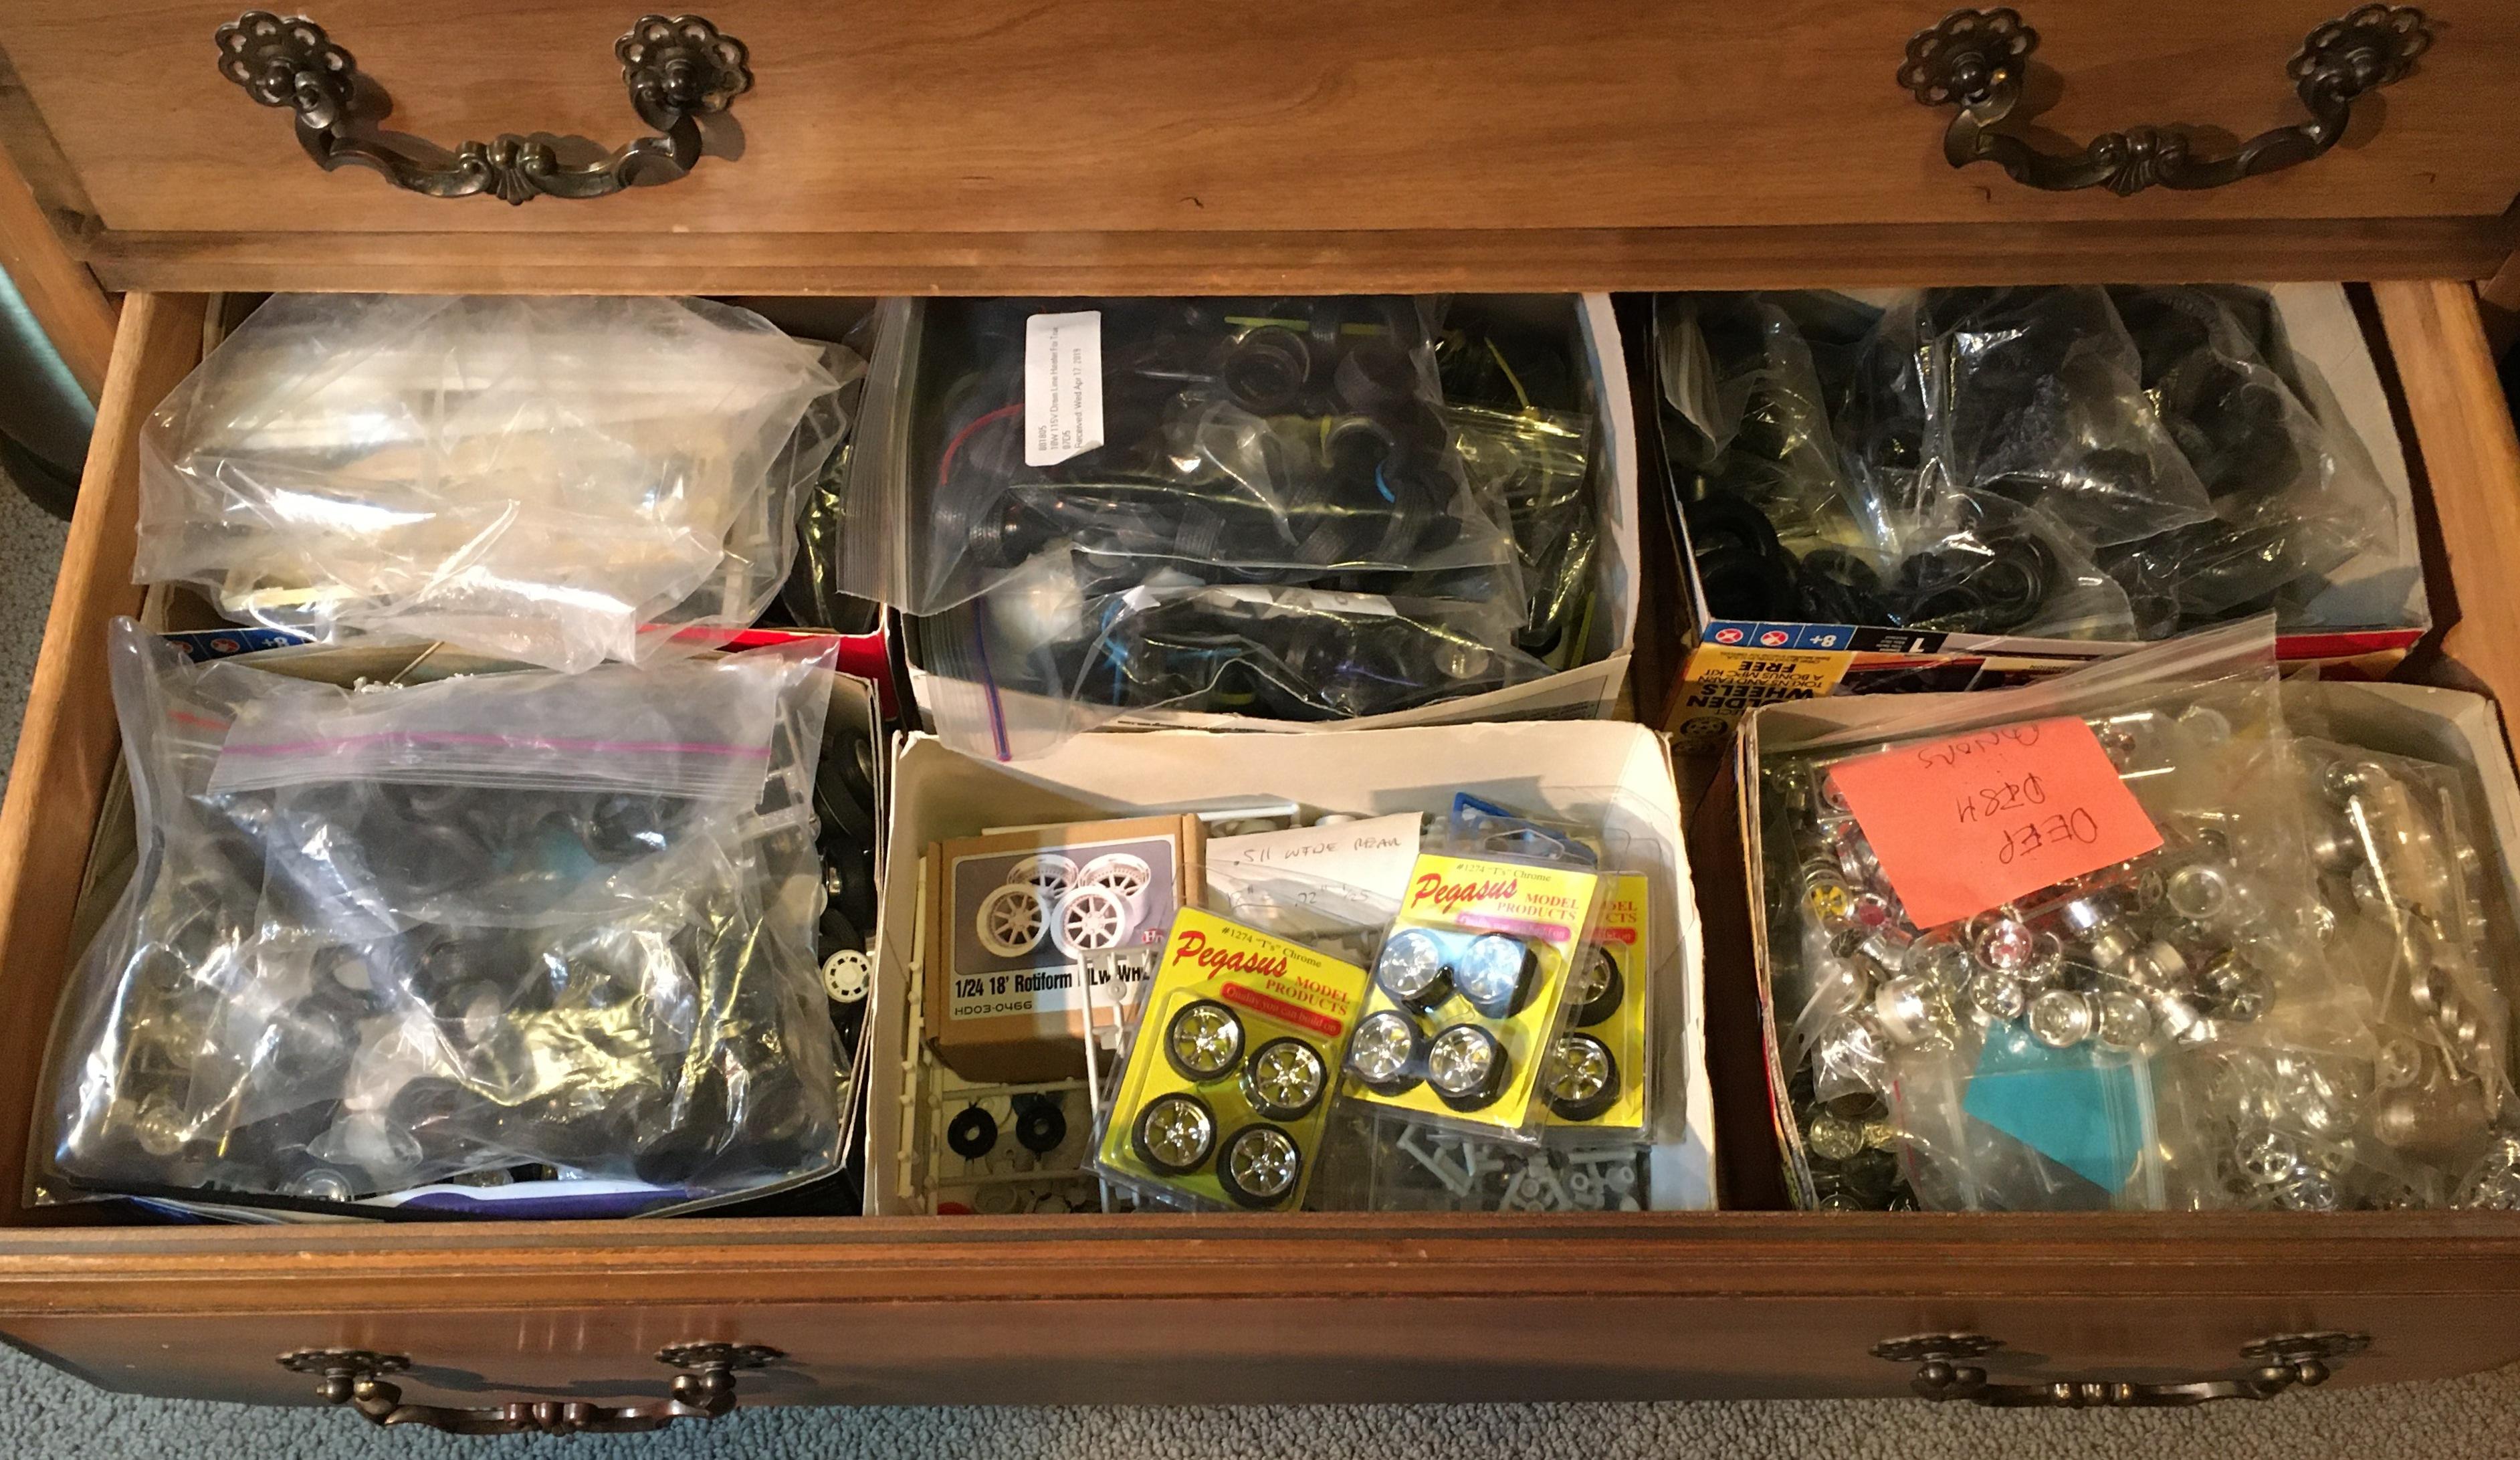
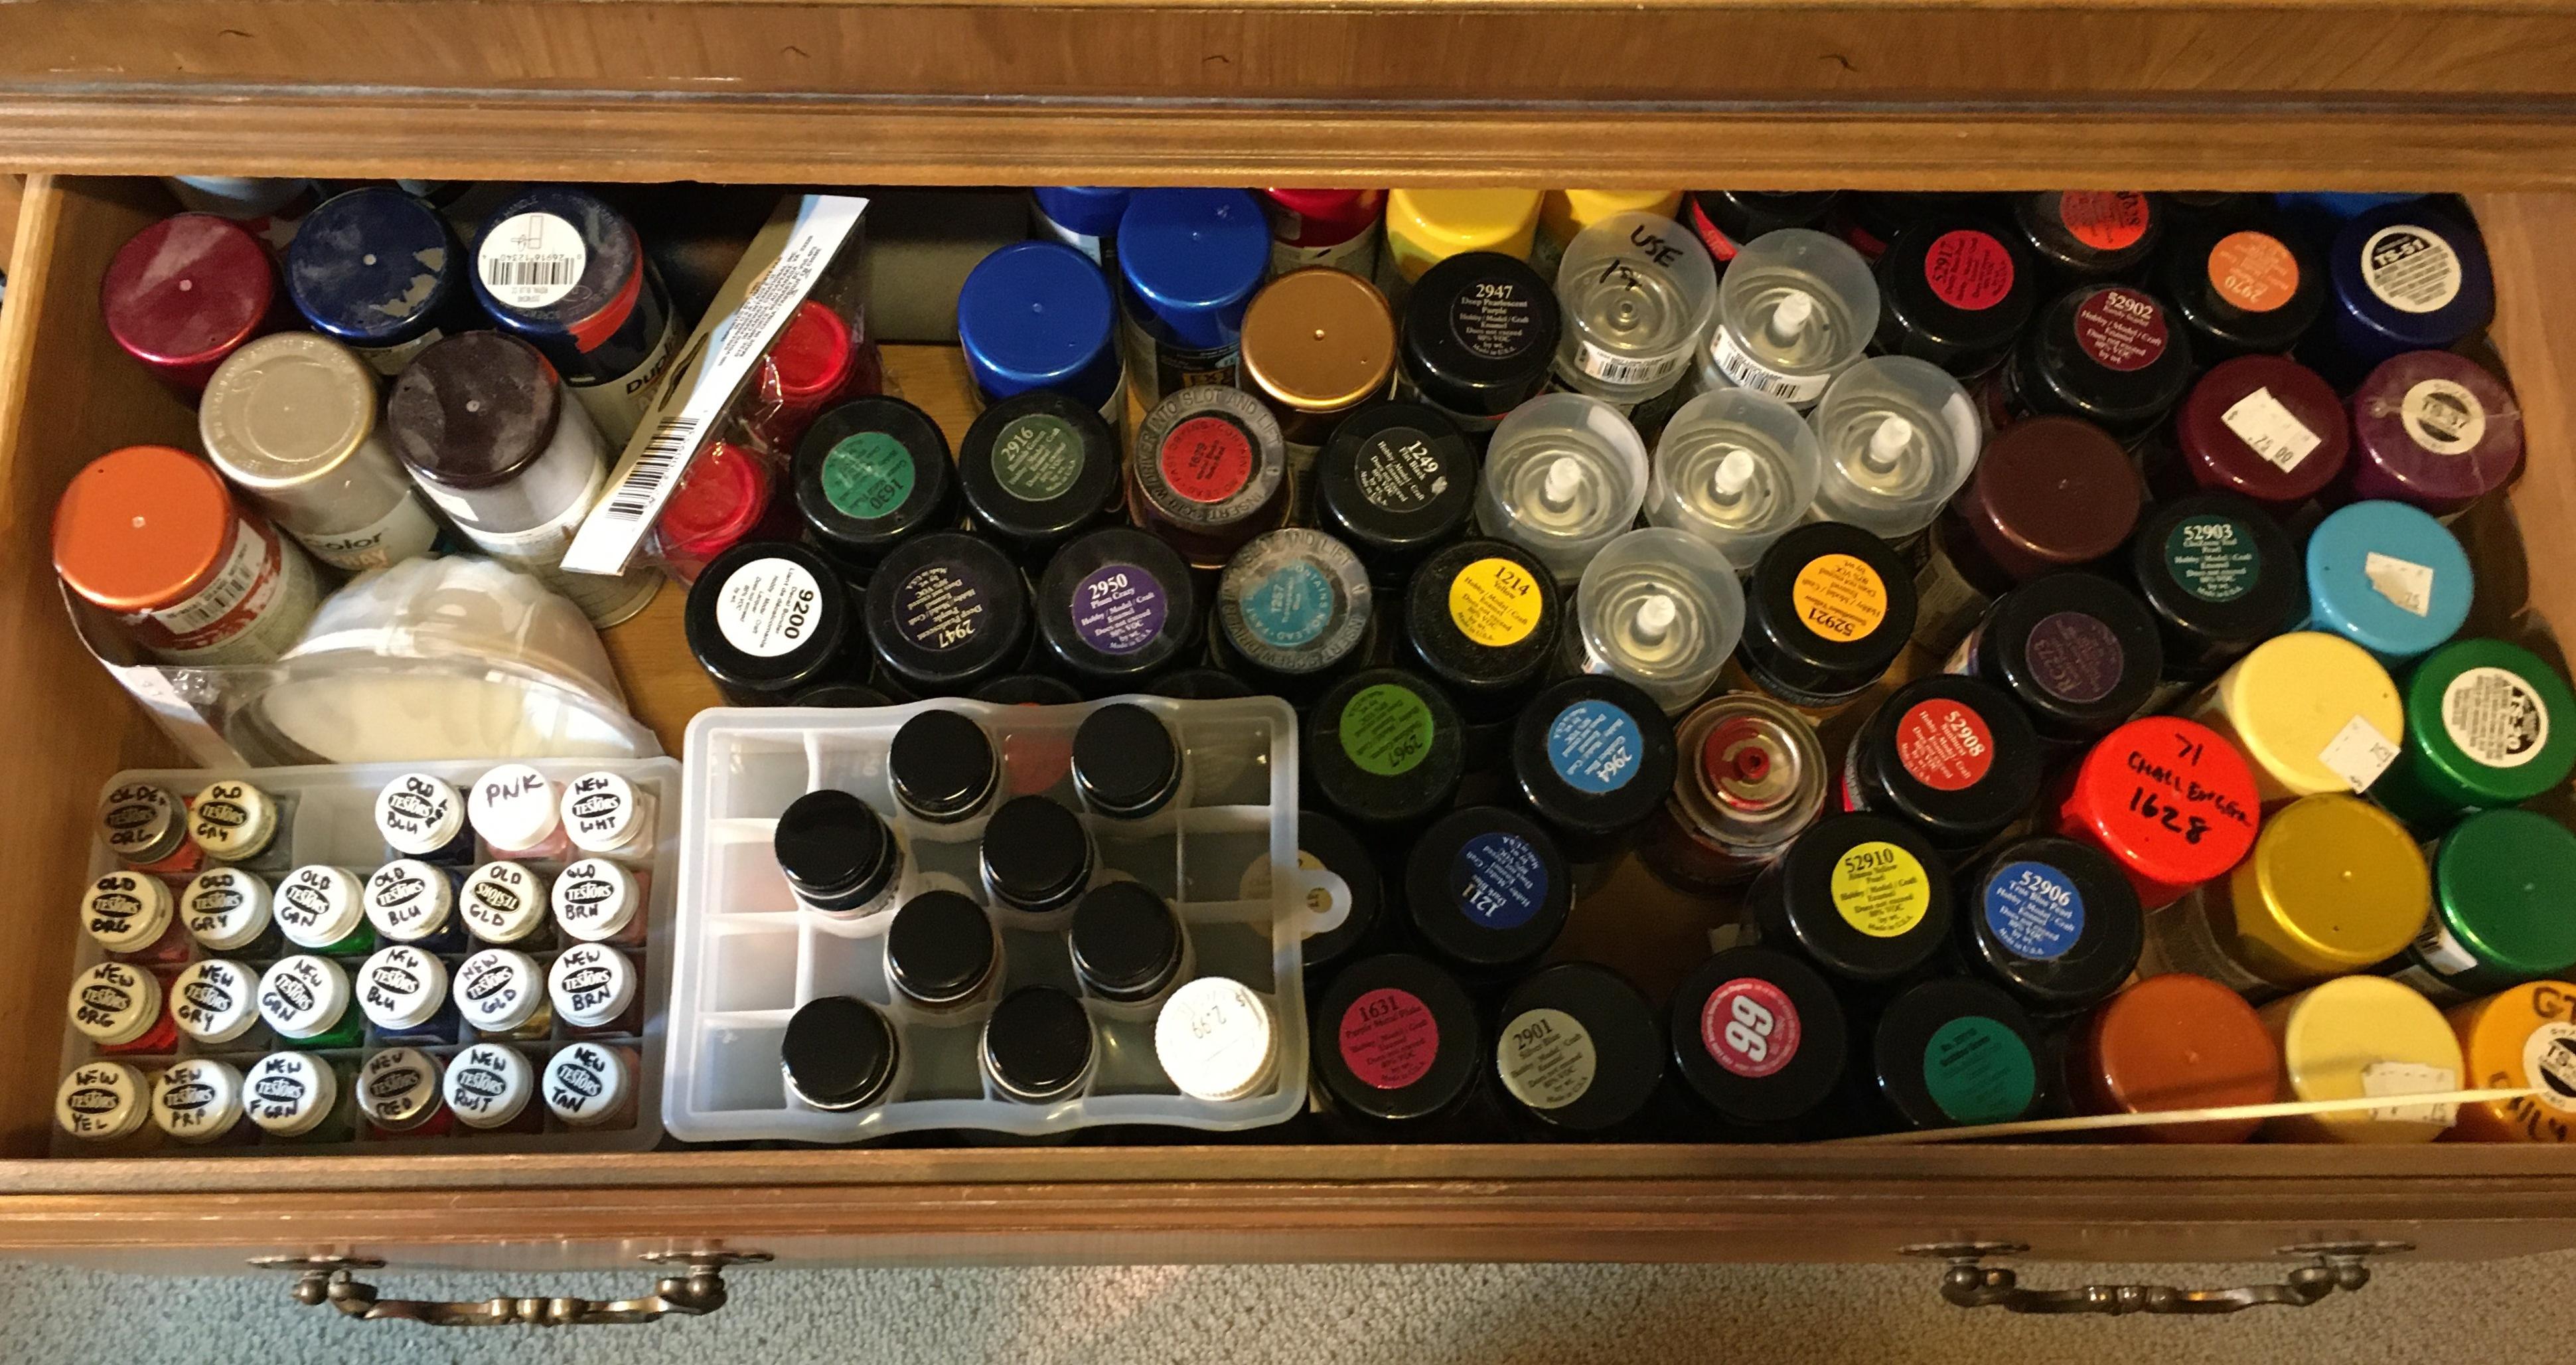
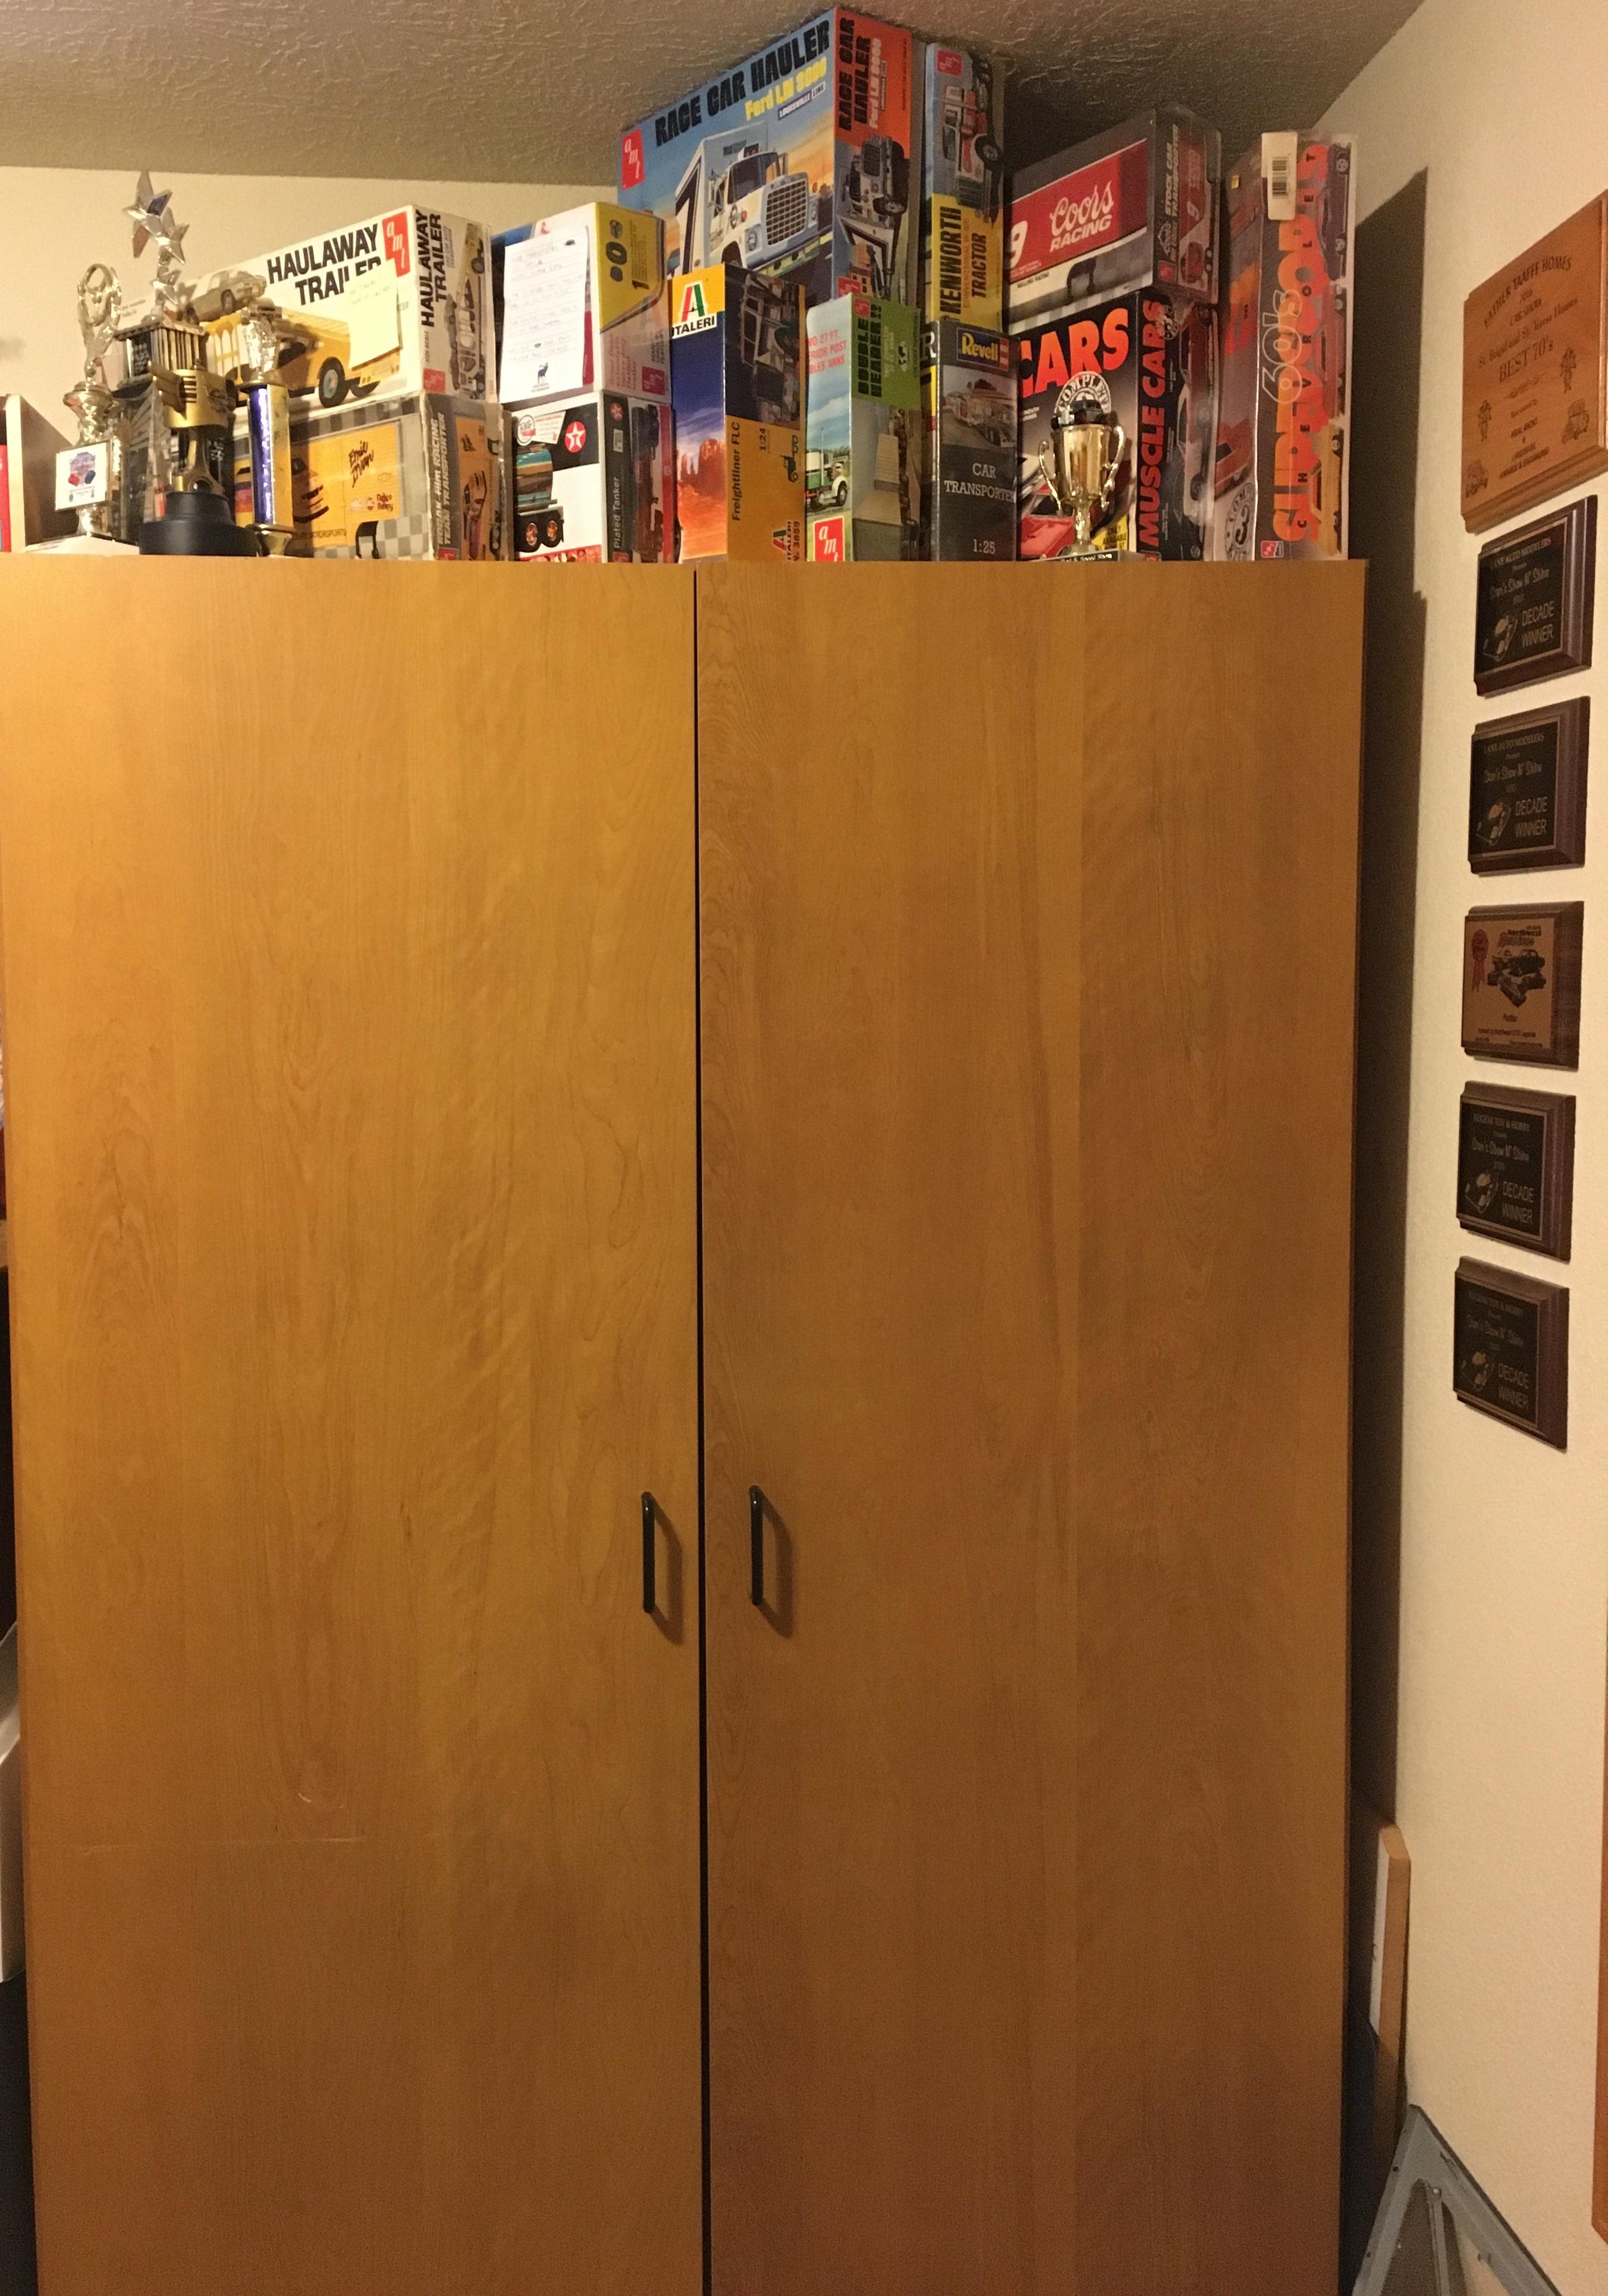
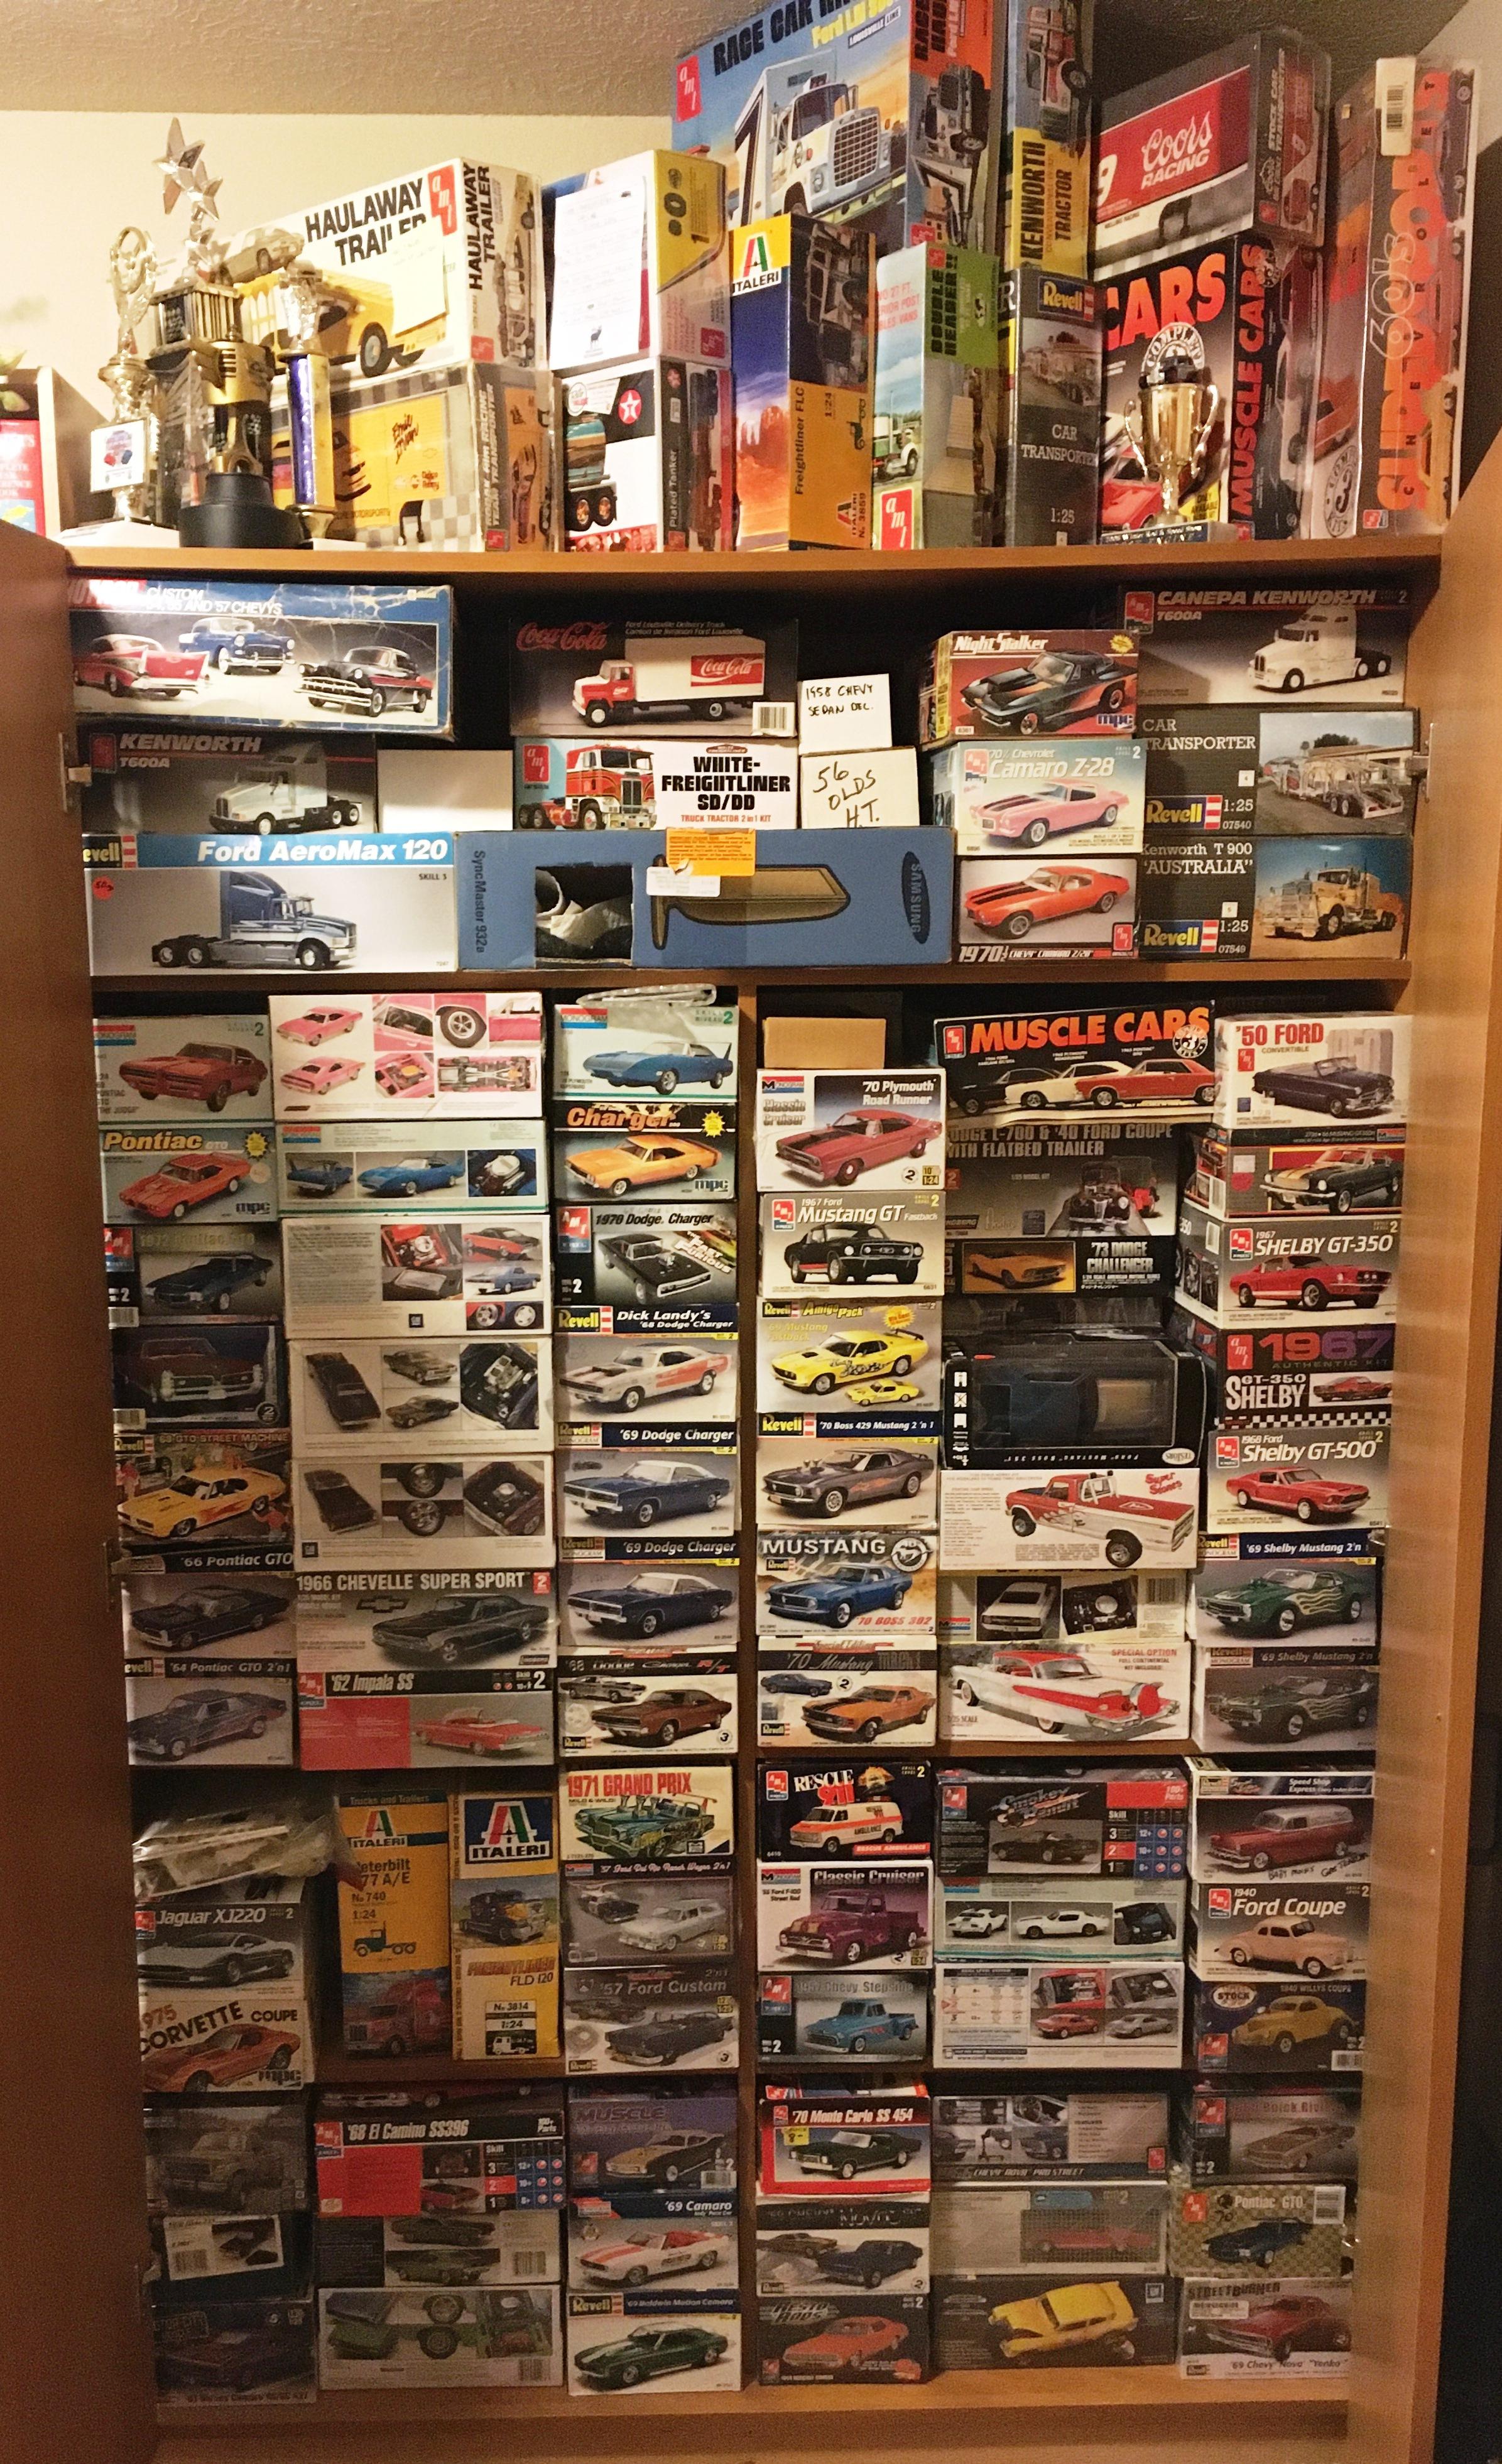
I suggest you check off these boxes. Display shelves that will keep dust off of completed builds for when you are sanding on a current project. A large stash storage that can be closed off (at least until you overwhelm it). A dresser full of drawers to stash parts and supplies. A WELL LIT bench with LOTS of outlets. If it has a pullout keypad drawer, you can pre-stage your rotary tool and/or micro drill to keep disruptive power cords OFF the bench. An upper shelf above it for quick access to items without having to get out of the chair. An office chair with MORE than 4 legs/casters. A paint booth compatible with your window.
-
Just a Street Racing Street Freak Gasser Vette
Bills72sj replied to OldNYJim's topic in WIP: Drag Racing Models
Way cool build. Following. -
Caboverdose
Bills72sj replied to Rockford's topic in WIP: Model Trucks: Big Rigs and Heavy Equipment
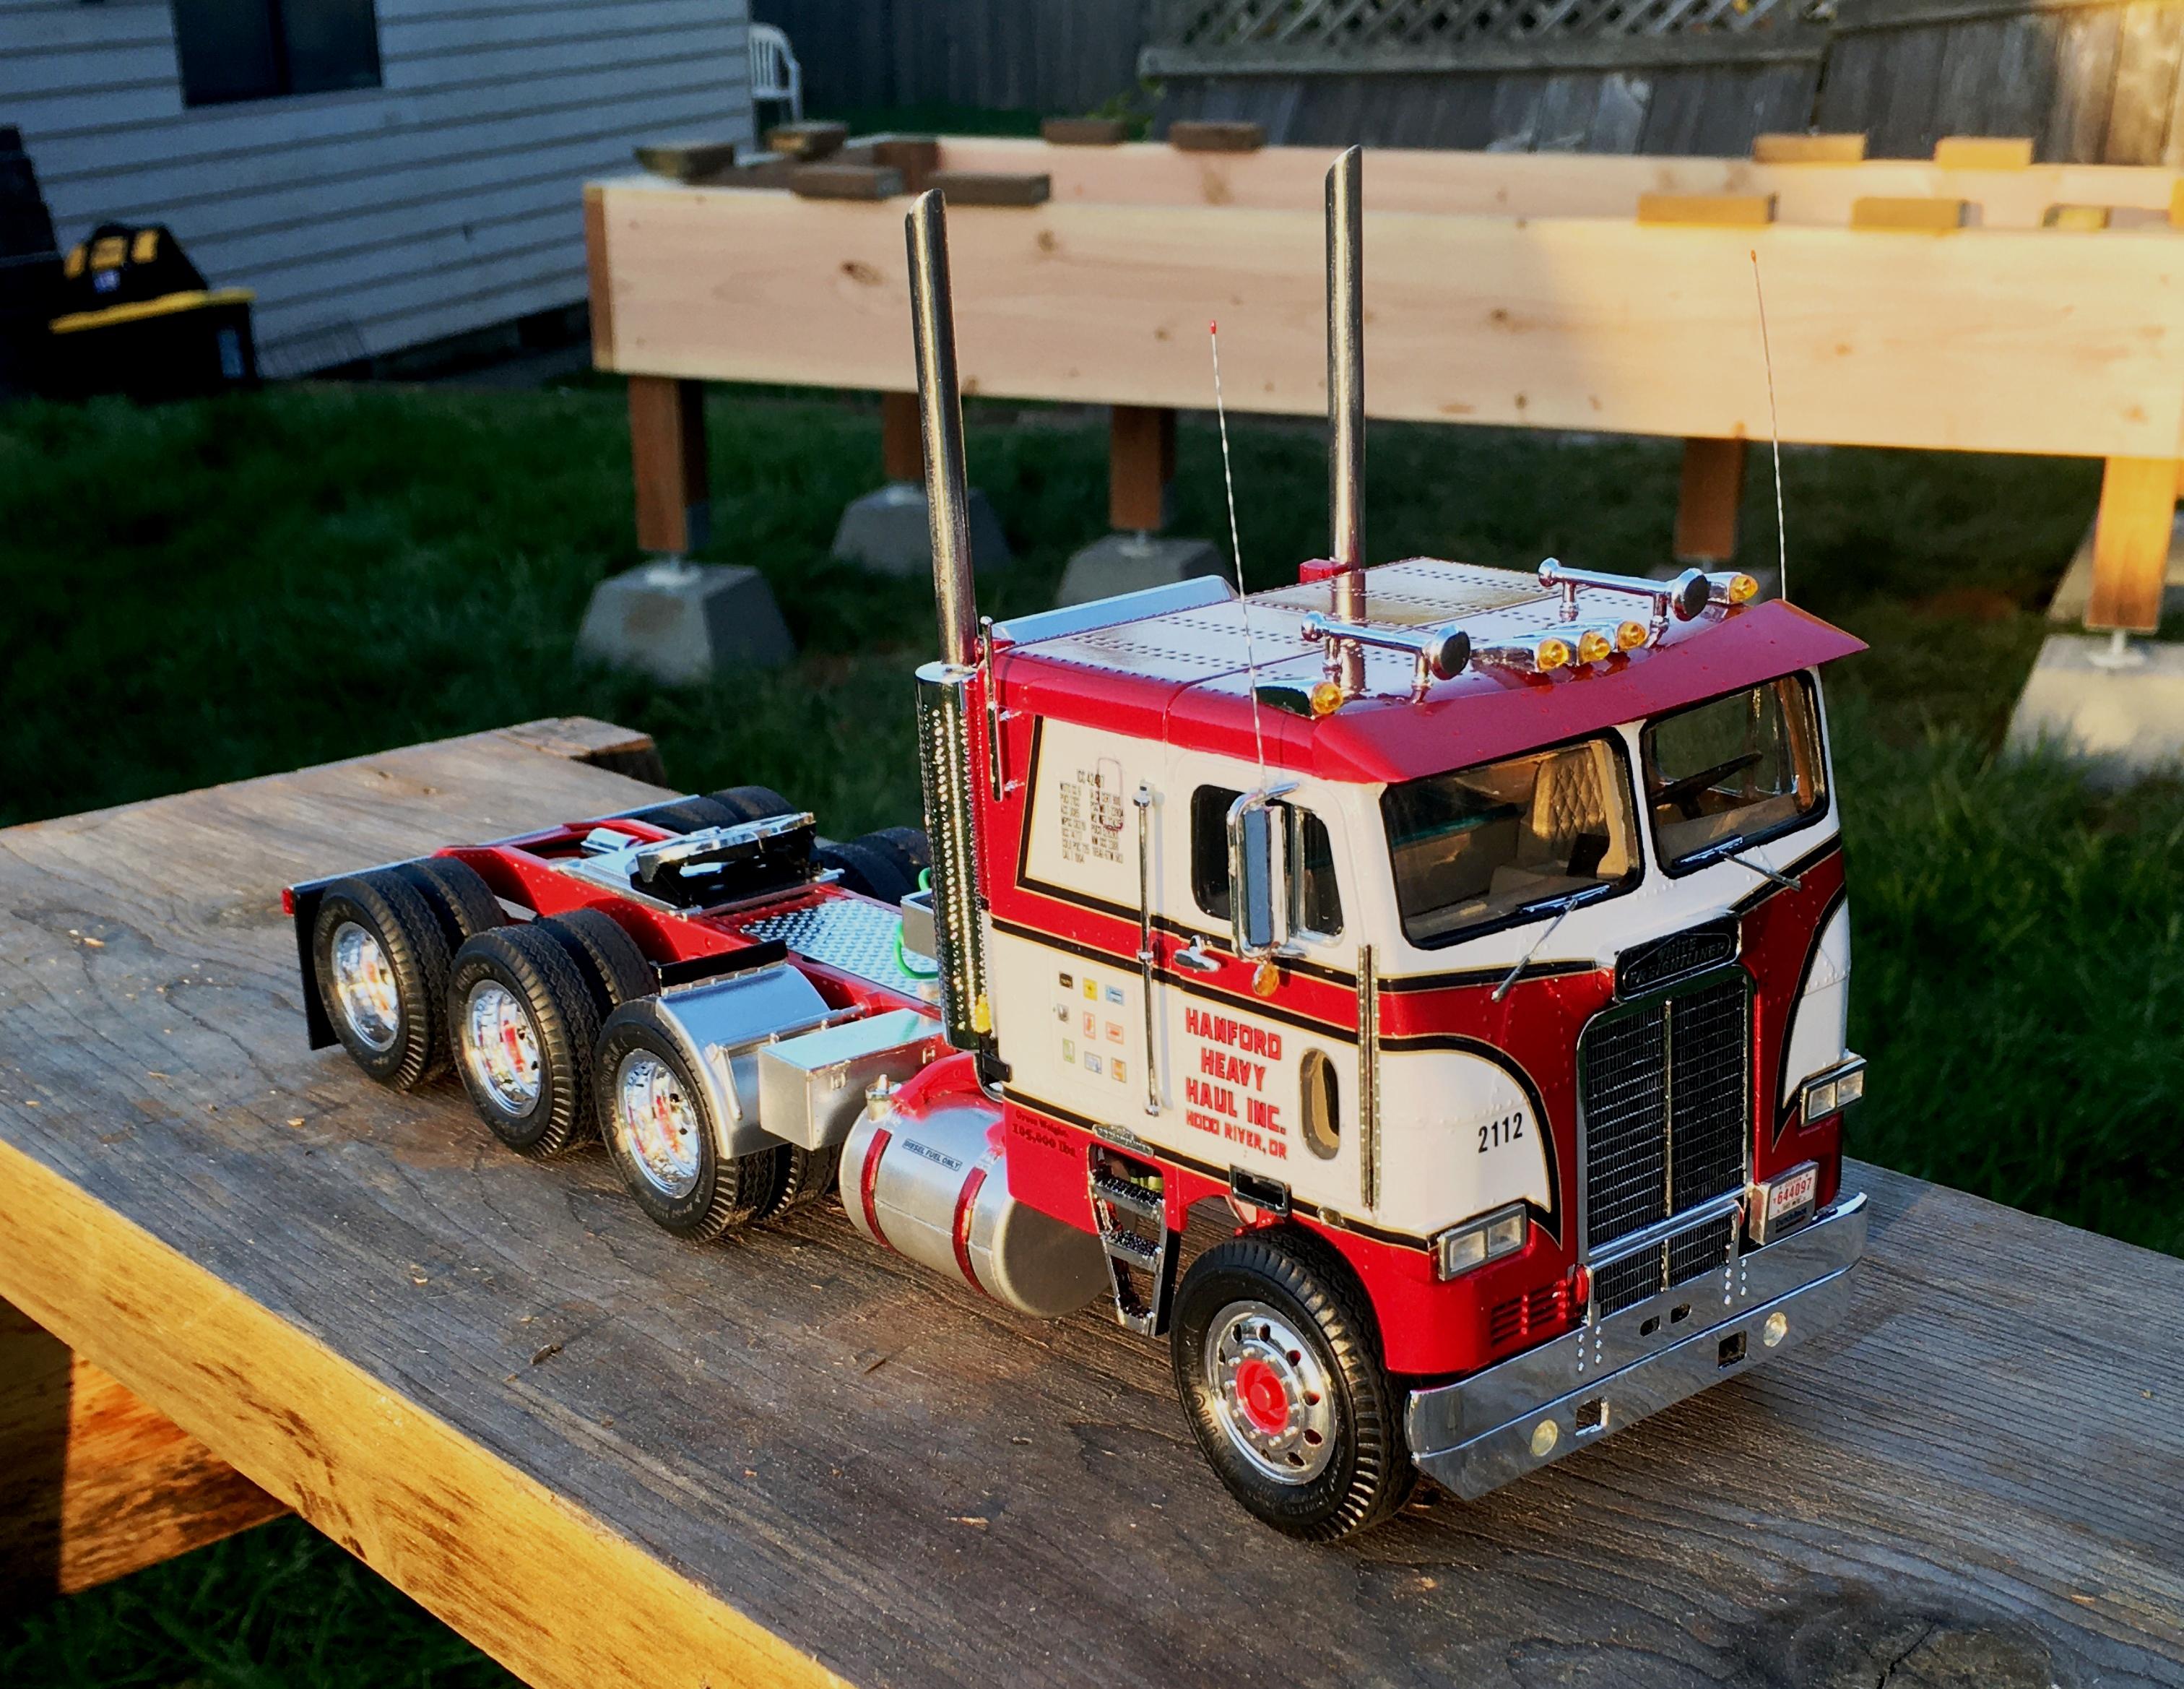
When I built my Freightliner day cab dual drive for an extended flatbed, I took advantage of the longer frame for a chain box/headache rack.
-
Home made decals. Advice needed !
Bills72sj replied to Bugatti Fan's topic in Model Building Questions and Answers
I have been making my own decals for years. I have used both clear and white decal paper designed for inkjet printers. I look for artwork, on the web, in the highest resolution I can find. That way when I shrink it, it will be crisp and clear. To eventually get the exact size I want, I use old school MSPaint program. It has the ability to reduce PRINT size as opposed to FILE size. Reducing the file, and/or "resizing" the file, KILLS the clarity and in most cases "pixelates" it. To conserve decal paper, I first print on regular copy paper so that I can finalize the eventual size of the decal AND adjust the left margin to place it slightly spaced from it neighboring decals. I print each individual decal in a row via multiple passes through the printer. I let the ink dry for 12-24 hours. I then cut the now completely printed portion from the sheet and transparent tape it to some dust free backing that can tolerate overspray. For clearing, I used to use Testors clear 9200 but it is no longer available. The odor of it lends itself to being an enamel clear. I spray a "mist" coat and let it flash for 10 minutes. I do not worry about the rough texture. I then spray a "wet" coat while holding the sheet vertical. I quickly lay the sheet horizontal ASAP. If I get the all the artwork covered in gloss, I quit while I am ahead. If I have some rough patches, I spritz those areas with the clear as soon as I notice them. I let the sheet dry, for 24 hours, undisturbed, in a dust free environment. I cut/trim each decal very precisely. I prep the painted surface with white vinegar on a cotton swab. I use a drop of Dawn dish soap in the decal water and let them soak a minute or so until the decal can just be disturbed from the backing paper. Once laid on the surface, the dish soap buys me a LOT of time to slide it into its precise location. I DAB (not wipe) away excess water with a (or multiple) dry cotton swabs. The dabbing method also assists in laying down the decal over curved or creased surfaces such as emblems. I find the "fresh" decals VERY tolerant of being pushed around, without breaking, even if I accidentally fold it over itself. Here are some examples:
-
Help with tires
Bills72sj replied to James2's topic in WIP: Model Trucks: Big Rigs and Heavy Equipment
To eliminate the "unbeaded" tire look, get some grey backing rod from Home Deport or Lowes.
-
Oldsmobile Quartet
Bills72sj replied to GMasterG's topic in WIP: Stock Cars (NASCAR, Super Stock, Late Model, etc.)
I often do similar builds in a batch as well. When I run across an issue, the solution is easy to implement across the rest. Also there always a task that be accomplished while something dries or cures. If one build is failing I can kept my motivation rolling on the other two or three. I do Day 2 Muscle Car builds so it also gives me the privilege to mix and match options on each build to keep them unique. (i.e. I engine swapped 3 of my 4 Mustang builds). -
I may have attempted your task with mini magnets. Assuming they have enough strength to accomplish the alignment part.
-
Thanks for the trade. 🙂