Bills72sj
-
Posts
4,581 -
Joined
-
Last visited
Content Type
Profiles
Forums
Events
Gallery
Everything posted by Bills72sj
-

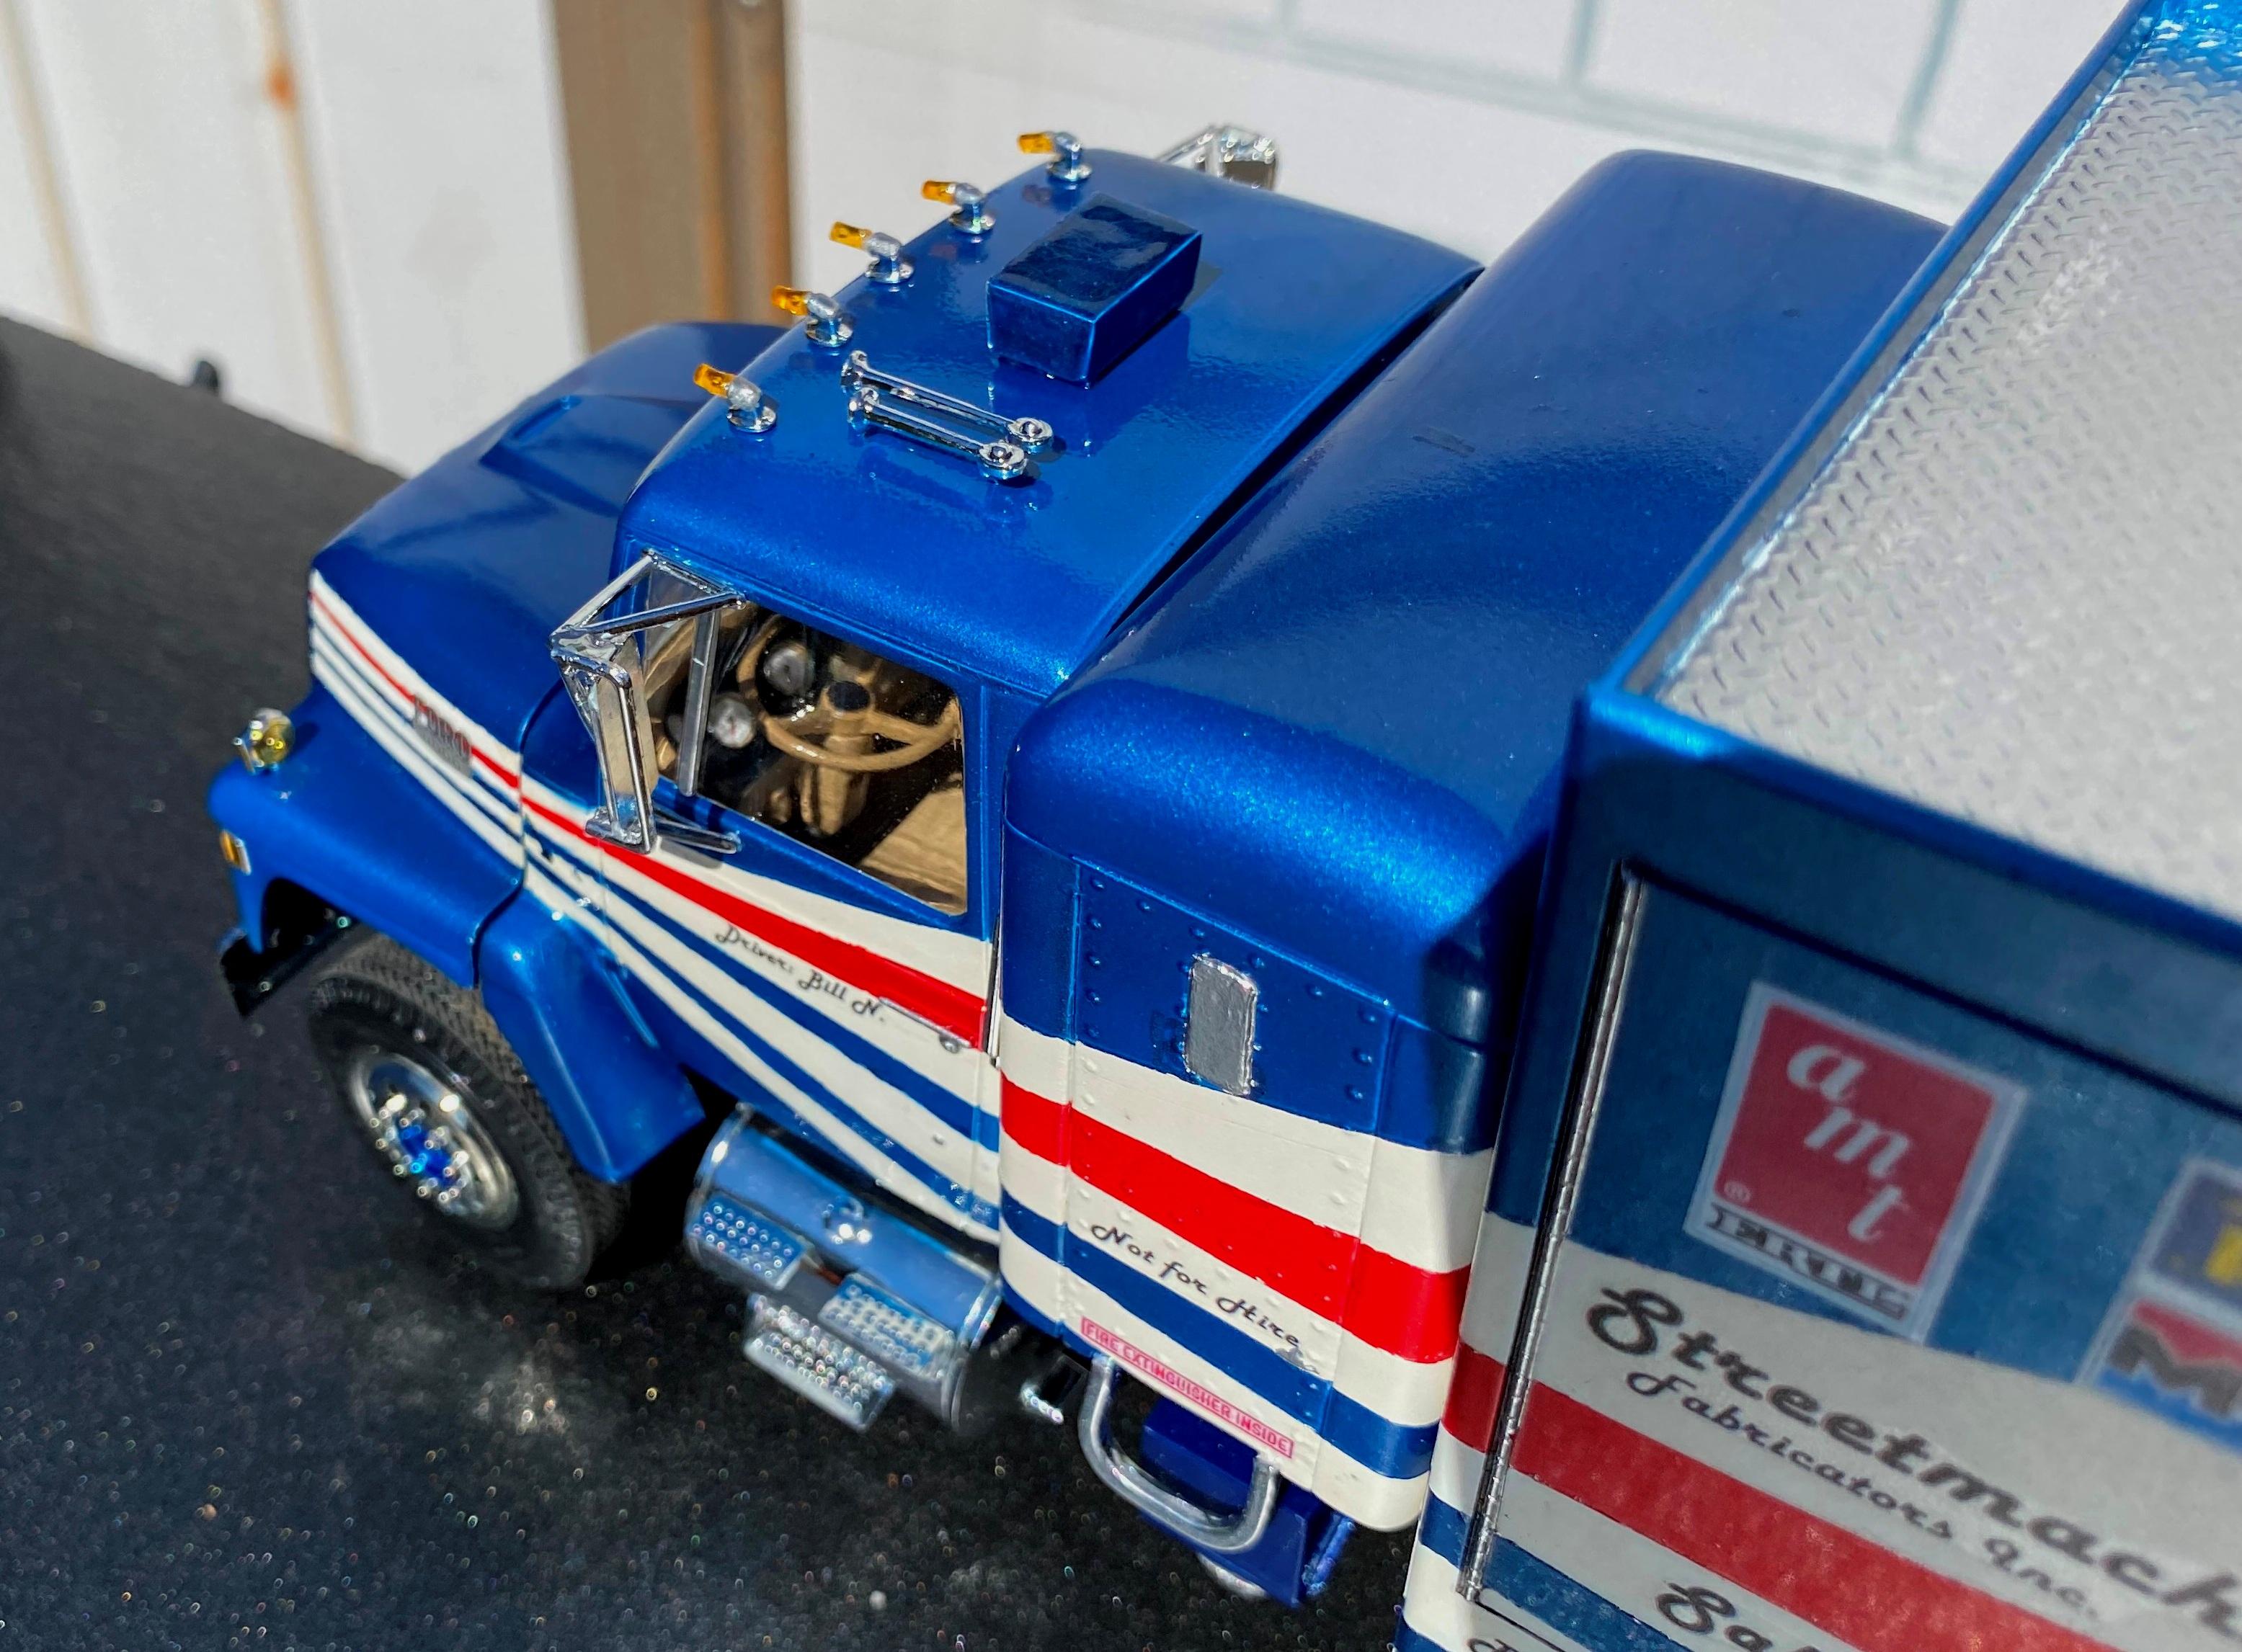
My 1st Big Rig "Blue Collar"
Bills72sj replied to James2's topic in WIP: Model Trucks: Big Rigs and Heavy Equipment
Great job on the mods you are doing. I built two of these a few years ago. The extra frames make for some easy mods. https://www.modelcarsmag.com/forums/topic/151693-brbo-2020-triple-drive-white-freightliner-done/#comment-2231905 https://www.modelcarsmag.com/forums/topic/150940-white-freightliner-coe-day-cab-dual-drive/ -
Nice models. You got 4 more done than I did.
-
Wow! I like the lighting. I would love to have a GT/CS.
-
I'm liking the Zombie Beetle. I would not mess with THAT girl though...
-
Very nice Bees indeed.
-
Lacquer thinner for airbrushing enamels?
Bills72sj replied to Steamboat's topic in Model Building Questions and Answers
I used Testors bottle enamel thinned 50/50 with hardware store lacquer thinner. I love the results.
-
That turned out very nice. You just need to add some animal "pellets" to the bed. Unless, of course, your critters are housebroken.
-
Rare/unusual auto options.
Bills72sj replied to Chuckyg1's topic in General Automotive Talk (Trucks and Cars)
My Dad had a 1958 Cadillac Eldorado Brougham. Before I was born in in 1961. He told me about that mini bar set up. He shared that owning that car was such a divorcee magnet. You know... the women that marry for love, get divorced, then work on marrying for money. -
I like your style.
-
Way Cool! I love your variety. My favorite is the diorama.
-
Model building on youtube.
Bills72sj replied to Force's topic in Model Building Questions and Answers
I enjoy the videos but I just watch the beginning and the end. I also helps me steer away from curbsides and low piece count chassis. If I want to learn what fantastic looks like. I watch how you do things. My results are not as good but I learn new techniques and get to be pleased with the result. -
Very impressive batch. I love the Ford truck.
-
Very nice batch of builds. Do you have links to the WIPs?
-
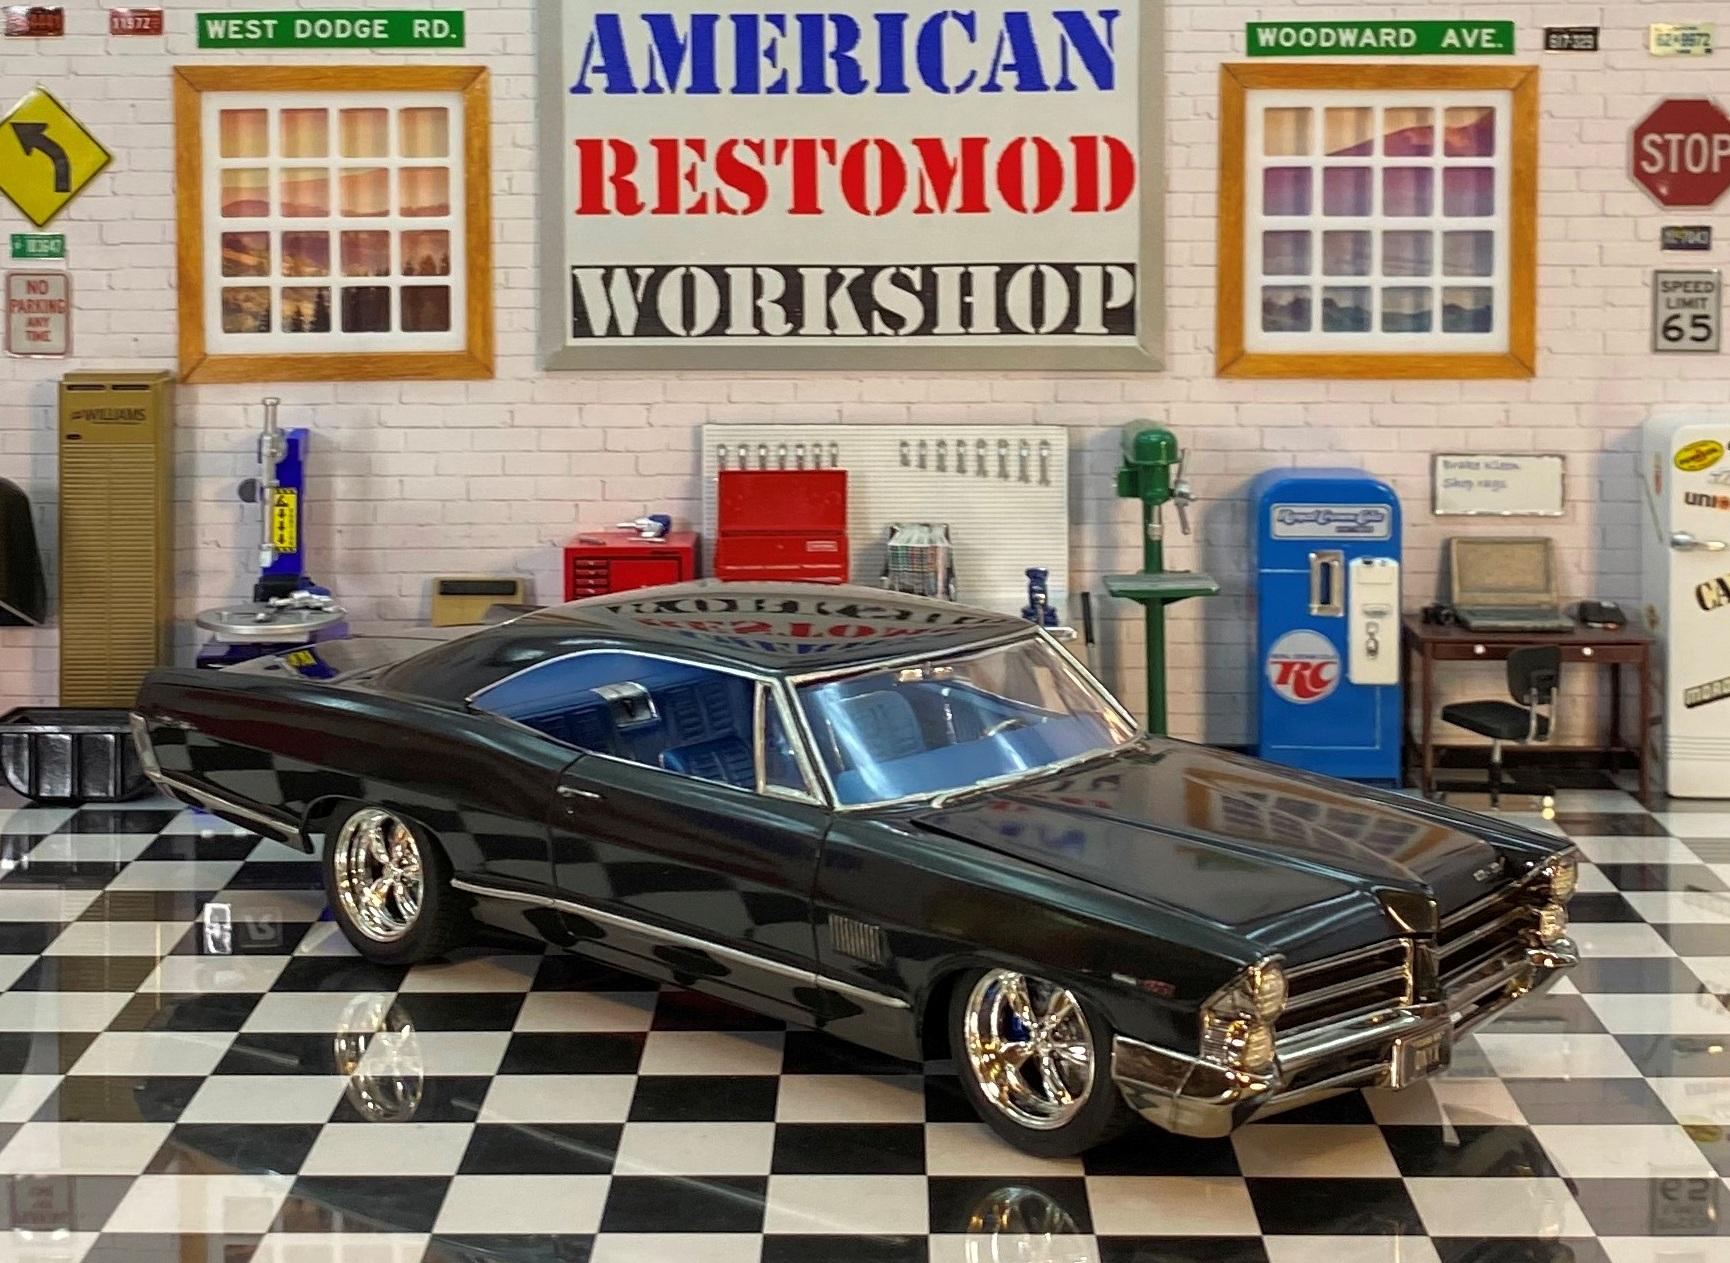
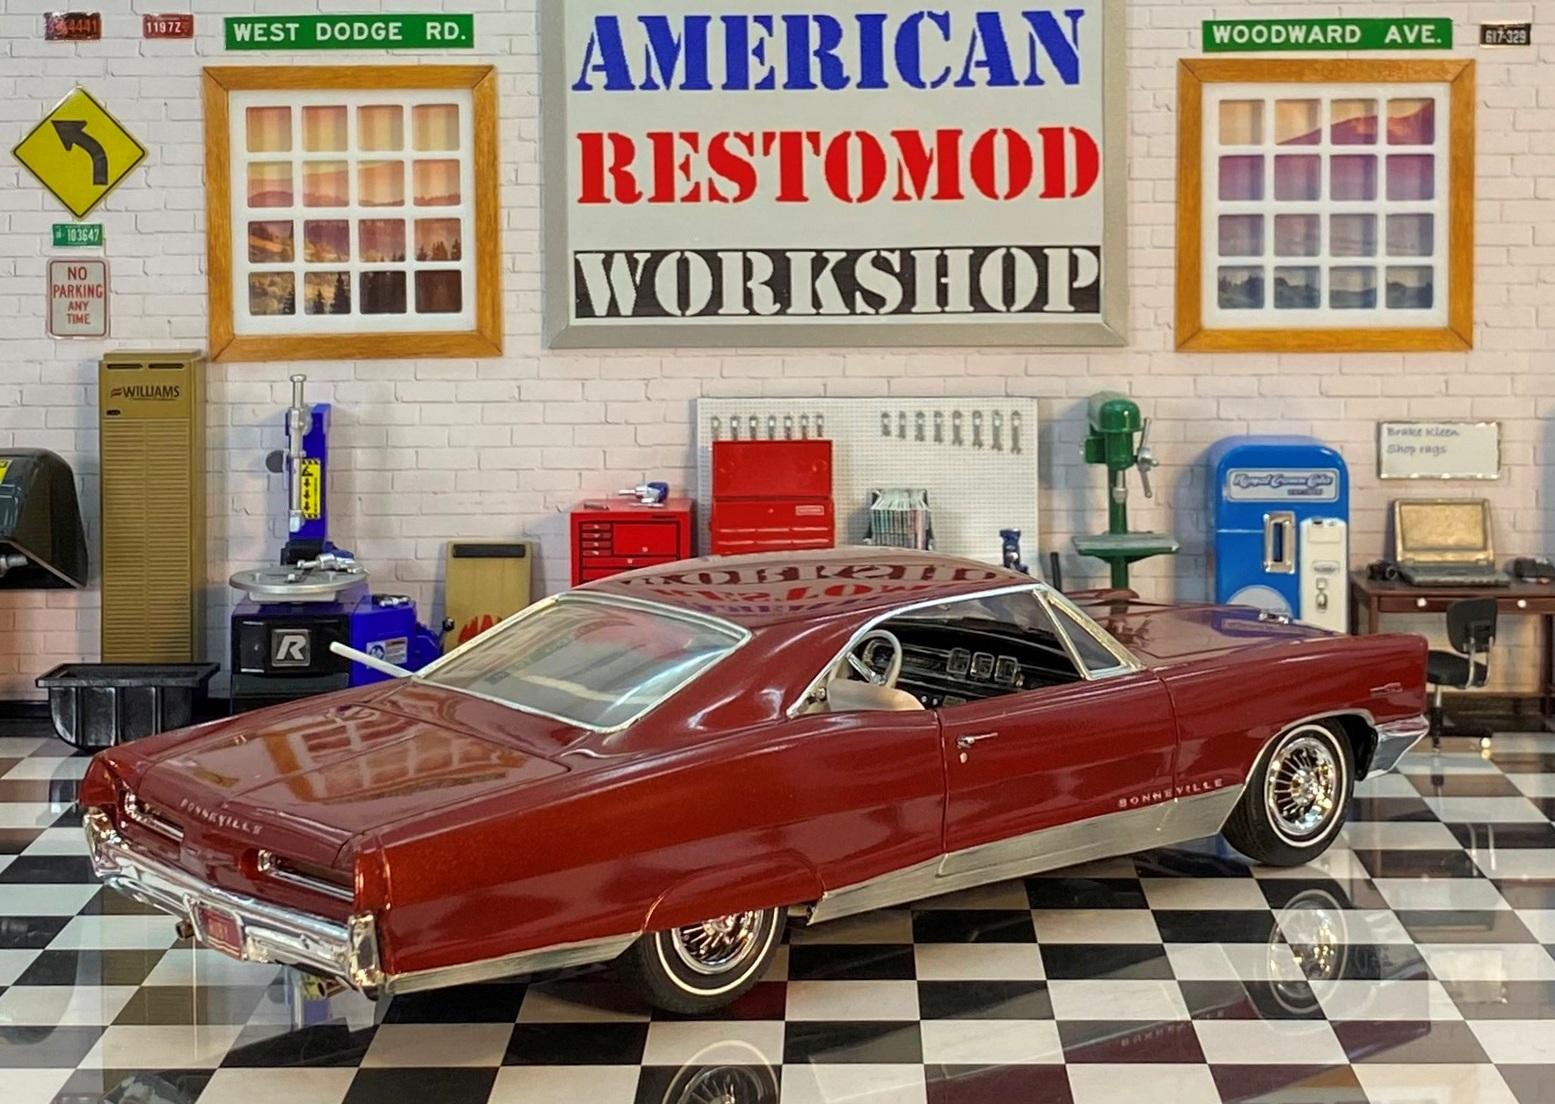
The Big Boys-Large Cars
Bills72sj replied to Falcon Ranchero's topic in General Automotive Talk (Trucks and Cars)
I like the big ones too. My dad had 67 Chrysler 300. A buddy in High School got us around in his mom's 75 Cadillac Sedan DeVille. I've owned a 71 Ford Country Squire station wagon. Woodgrain and all. Most all of my adult rides have been 71-72 Pontiac Grand Prixs. While not the largest car, I actually had to reject houses when my wife and I were house hunting because it would not fit in the garage. -
I have a few ideas for some sportsman drag racers to include trailers and tow rigs. But my next big project is a temporary replacement 455 for my 1:1.
-
Way Cool build.
-
Wow! Extremely nice work.
-
Nicely done. I would be proud to have it on display.
-
A Winter beater. Way cool. Snow tires are a nice touch.
-
Revell 1970 Plymouth Road Runner 1/24 scale.
Bills72sj replied to Dragonhawk1066's topic in Model Cars
That turned out very nice. Did the dog dish wheels come with the kit? -
Pontiac and Buick engines
Bills72sj replied to DoctorLarry's topic in Car Aftermarket / Resin / 3D Printed
Acknowledged. Thank you for replying. -
I feel sorry for you. I live in Salem, Oregon. I frequently take my car out to the back roads in my county yes 5-10 minutes away from my house. No, traffic, twisty with lots of hills with farms and forest. Heck, I can even exceed triple digits in many of the farming areas in the valley.
-
Pontiac and Buick engines
Bills72sj replied to DoctorLarry's topic in Car Aftermarket / Resin / 3D Printed
Any hope in wishing for an A/C compressor on the passenger side? -
Same age. Similar routine. If I was not happily married I could retire now. However, aging women are expensive. So I shall keep on working. I like the challenge.
-
That depends on the year. The Cobra had more to do with the drivetrain package while the Talladega was the aero modified verson.