LL3 Model Worx
-
Posts
1,081 -
Joined
-
Last visited
Content Type
Profiles
Forums
Events
Gallery
Everything posted by LL3 Model Worx
-

Wrinkled Paint - What Happened?
LL3 Model Worx replied to andy12646's topic in Model Building Questions and Answers
Ace-Garageguy has it right. I spent alot of my life prepping and painting 1:1's... everything from county school buses, other fleet vehicles all the way to show cars that have sold for enormous money through Barrett-Jackson, I'm fairly well versed in paint and its application... though experimenting with new methods these days on styrene. I just do not understand the logic of not testing on scrap before blowing down on $20- and up worth of kit just to have it backfire in your face. I've shot ridiculously hot catalyzed automotive urethane over styrene with no primer at all from a HVLP gun with excellent results... but I TESTED on junk FIRST! Here's the result... I did this at around 10yrs old before my long hiatus from car models. I've ruined more bodies with hobby specific spray cans (I'm looking at you testors enamels!!) Than I have with anything else... When I first returned to car models I built this Nova... I used Duplicolor perfect match grey primer wich is pretty hot and it crazed/etched the plastic... but that's not really a problem if you wait, wet sand and recoat and then wet sand again. Result No evidence of etching after finishing correctly... and this is just buffed duplicolor perfect match red with no clear. Always test first... as most paints can be made to work with the right process and corresponding materials and work put in by YOU. I've recently just been using plain old testors enamel either decanted or from the jar in my airbrush, with no clear just buffing and polishing and it turns out fairly decent (at least to me) Results I'm all for experimenting these days... but I always test before I take the plunge. As sometimes you can be left with useless plastic ready for the trash. Model on! -Leroy-
-
GREAT WAY TO USE UP ODDS AND ENDS FROM THE SPARES BOXES!
LL3 Model Worx replied to Bugatti Fan's topic in WIP: Dioramas
Best part of this is when you actually do need one of those parts, as long as you don't glue it down you wouldn't be lying when you say "I gotta go to the junkyard for parts" lol! -
I'm just gonna make a list of all the folks I've had good dealings with (I won't mention those that are still pending) 1930fordpickup (very generous) Gary Davis (super nice guy) High Octane (very patient, when I fumbled) Scott8950 (fantastic guy, and great communication) ExoticsBuilder (came through for me) Chasracer (despite self inflicted confusion, a stand up guy) afx (really smooth deal) BeakDoc (exceptionally laid back) 89AKurt (helped my current build out tremendously! Generally helpful and funny guy) There are more in the works...
-
2020 Cannonball Run Build Thread!
LL3 Model Worx replied to disconovaman's topic in Community Builds
Thanks. My dad actually painted the original body's used for the show. The interior is going to take a fair amount of work to make it resemble the actual TV car. The body doesn't need much at all, the only thing I'll really have to do is cut out the pop up headlights and change it to the configuration used on the TV car. I'm hoping it comes out good. I'm honestly not sure, I got the kit from a friend, it's just unlike any of the standard blemishes ive seen. It would make perfect sense though... In any case I've filled and sanded it away with no issues. -
The pleasure was all mine Scott, I would reccomend and encourage with confidence anyone trade with you. Class act!
-
2020 Cannonball Run Build Thread!
LL3 Model Worx replied to disconovaman's topic in Community Builds
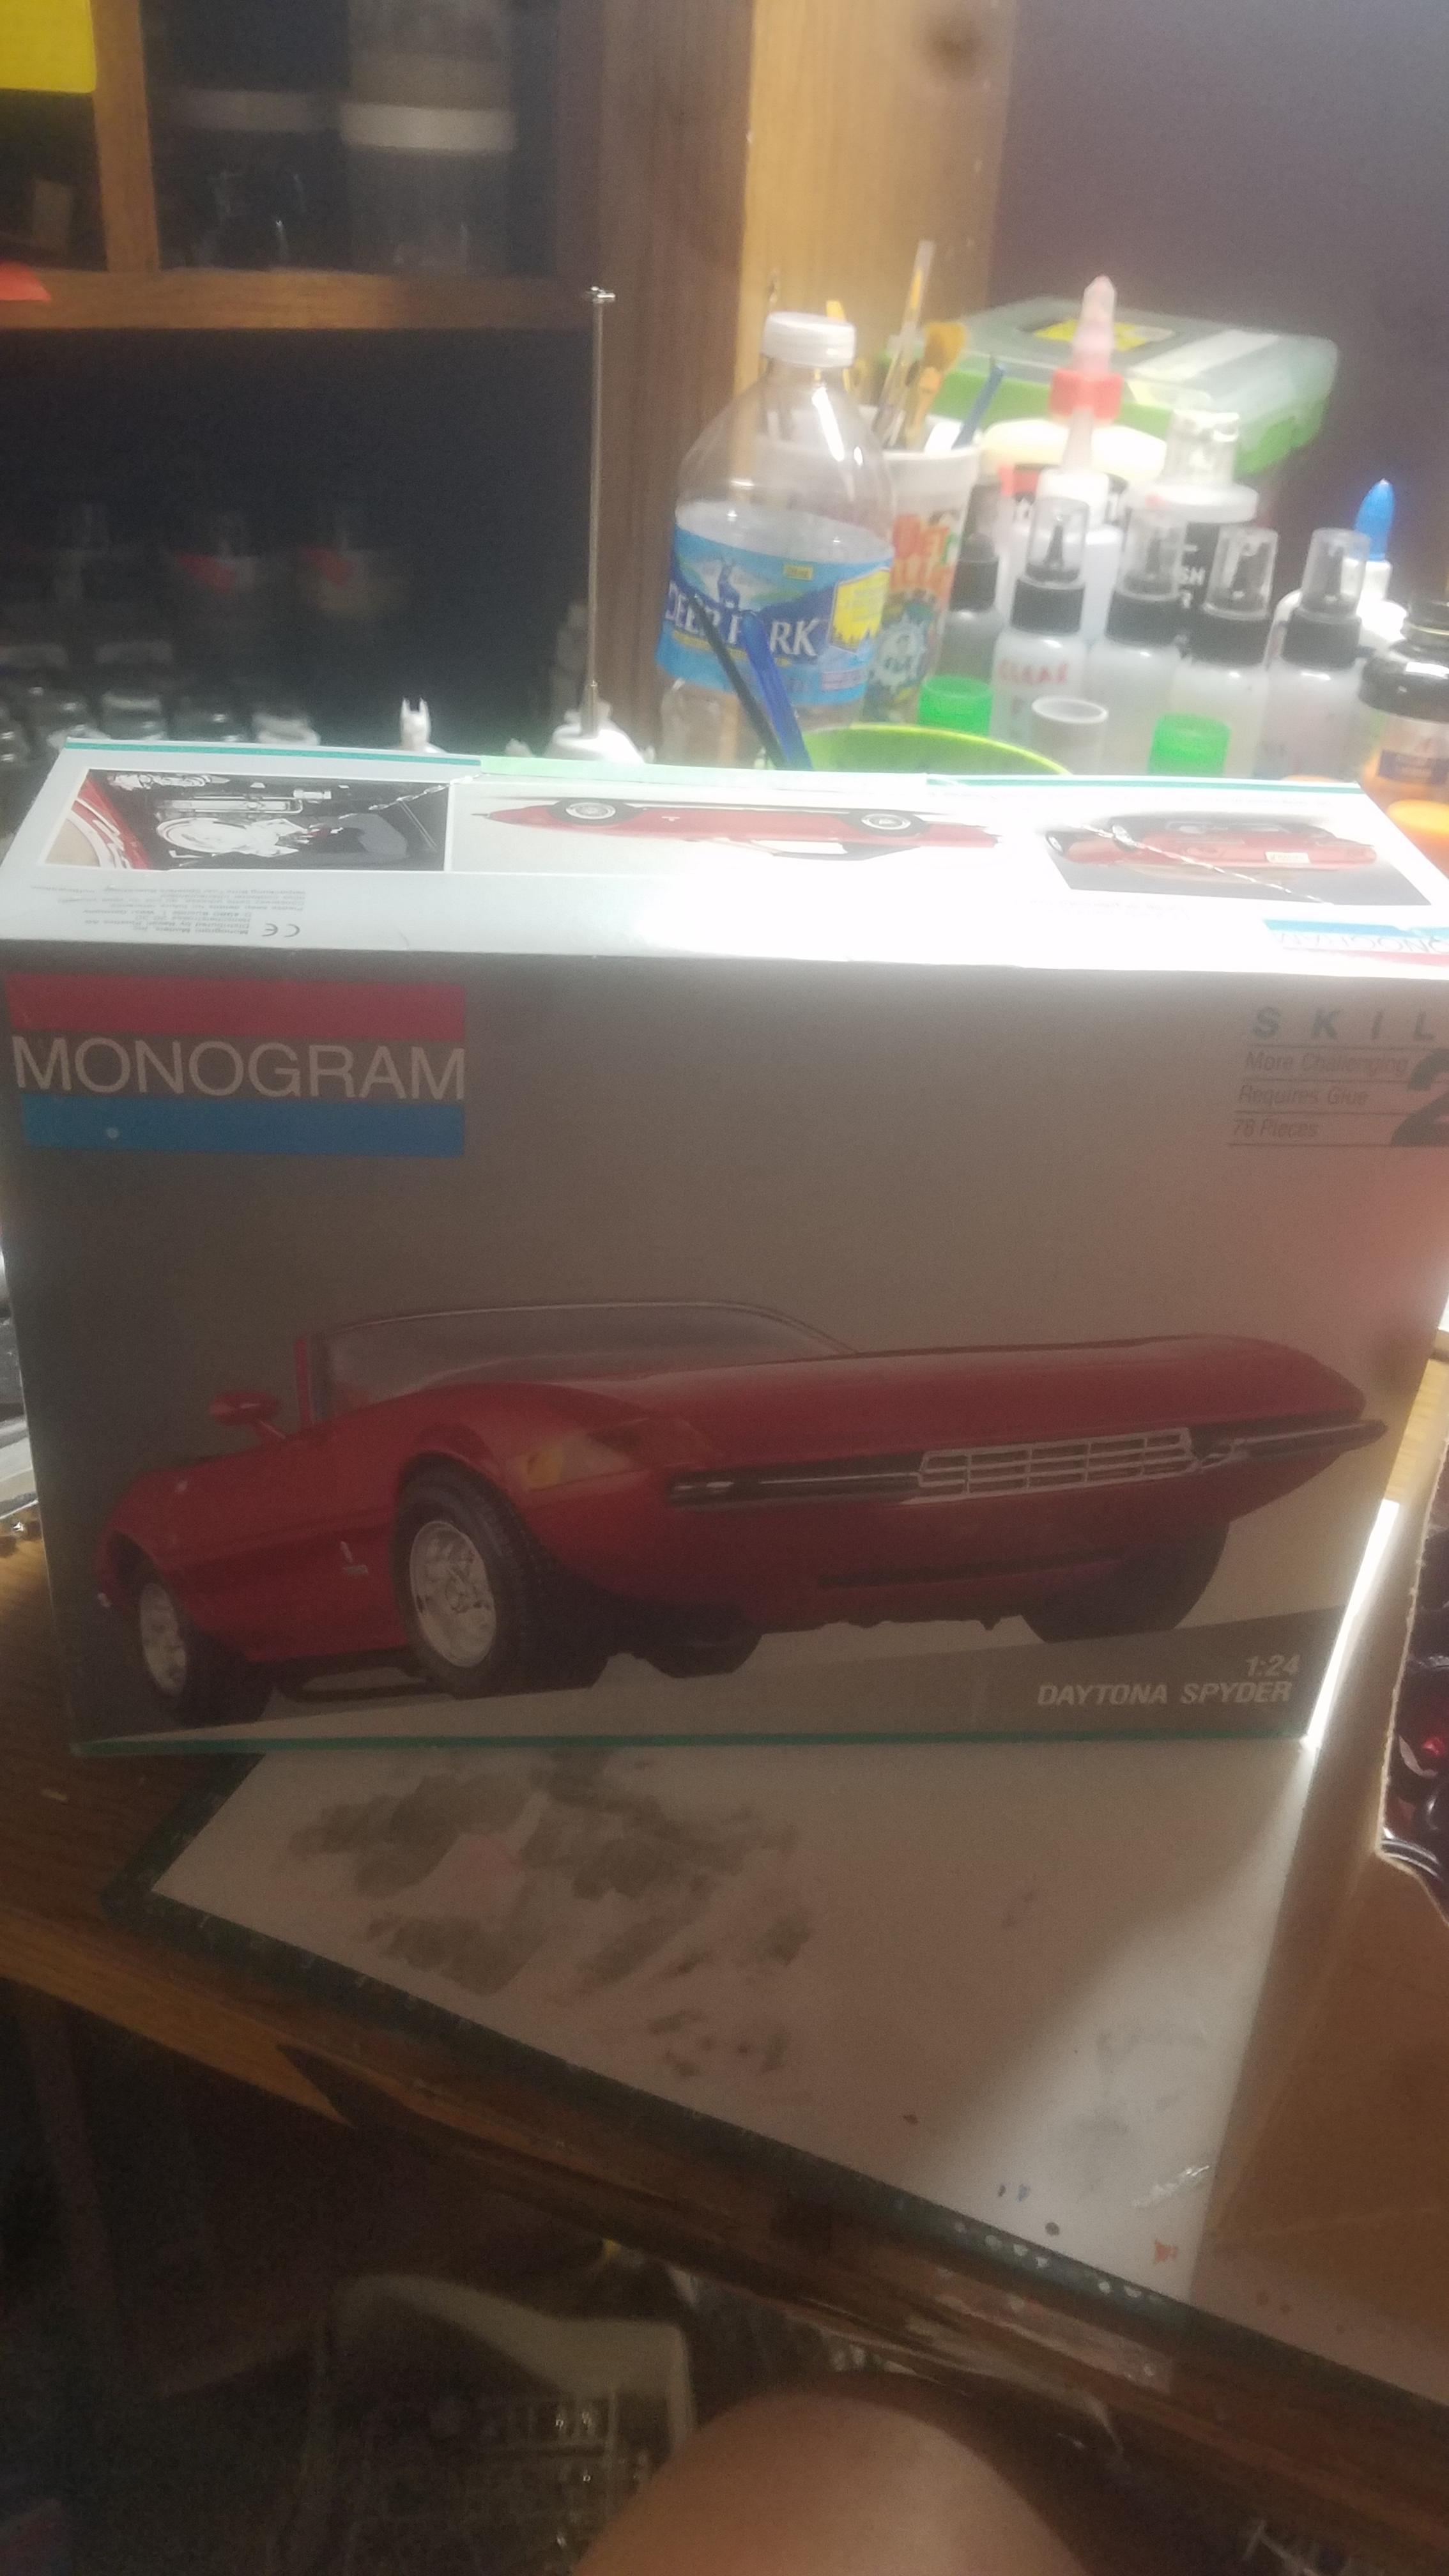
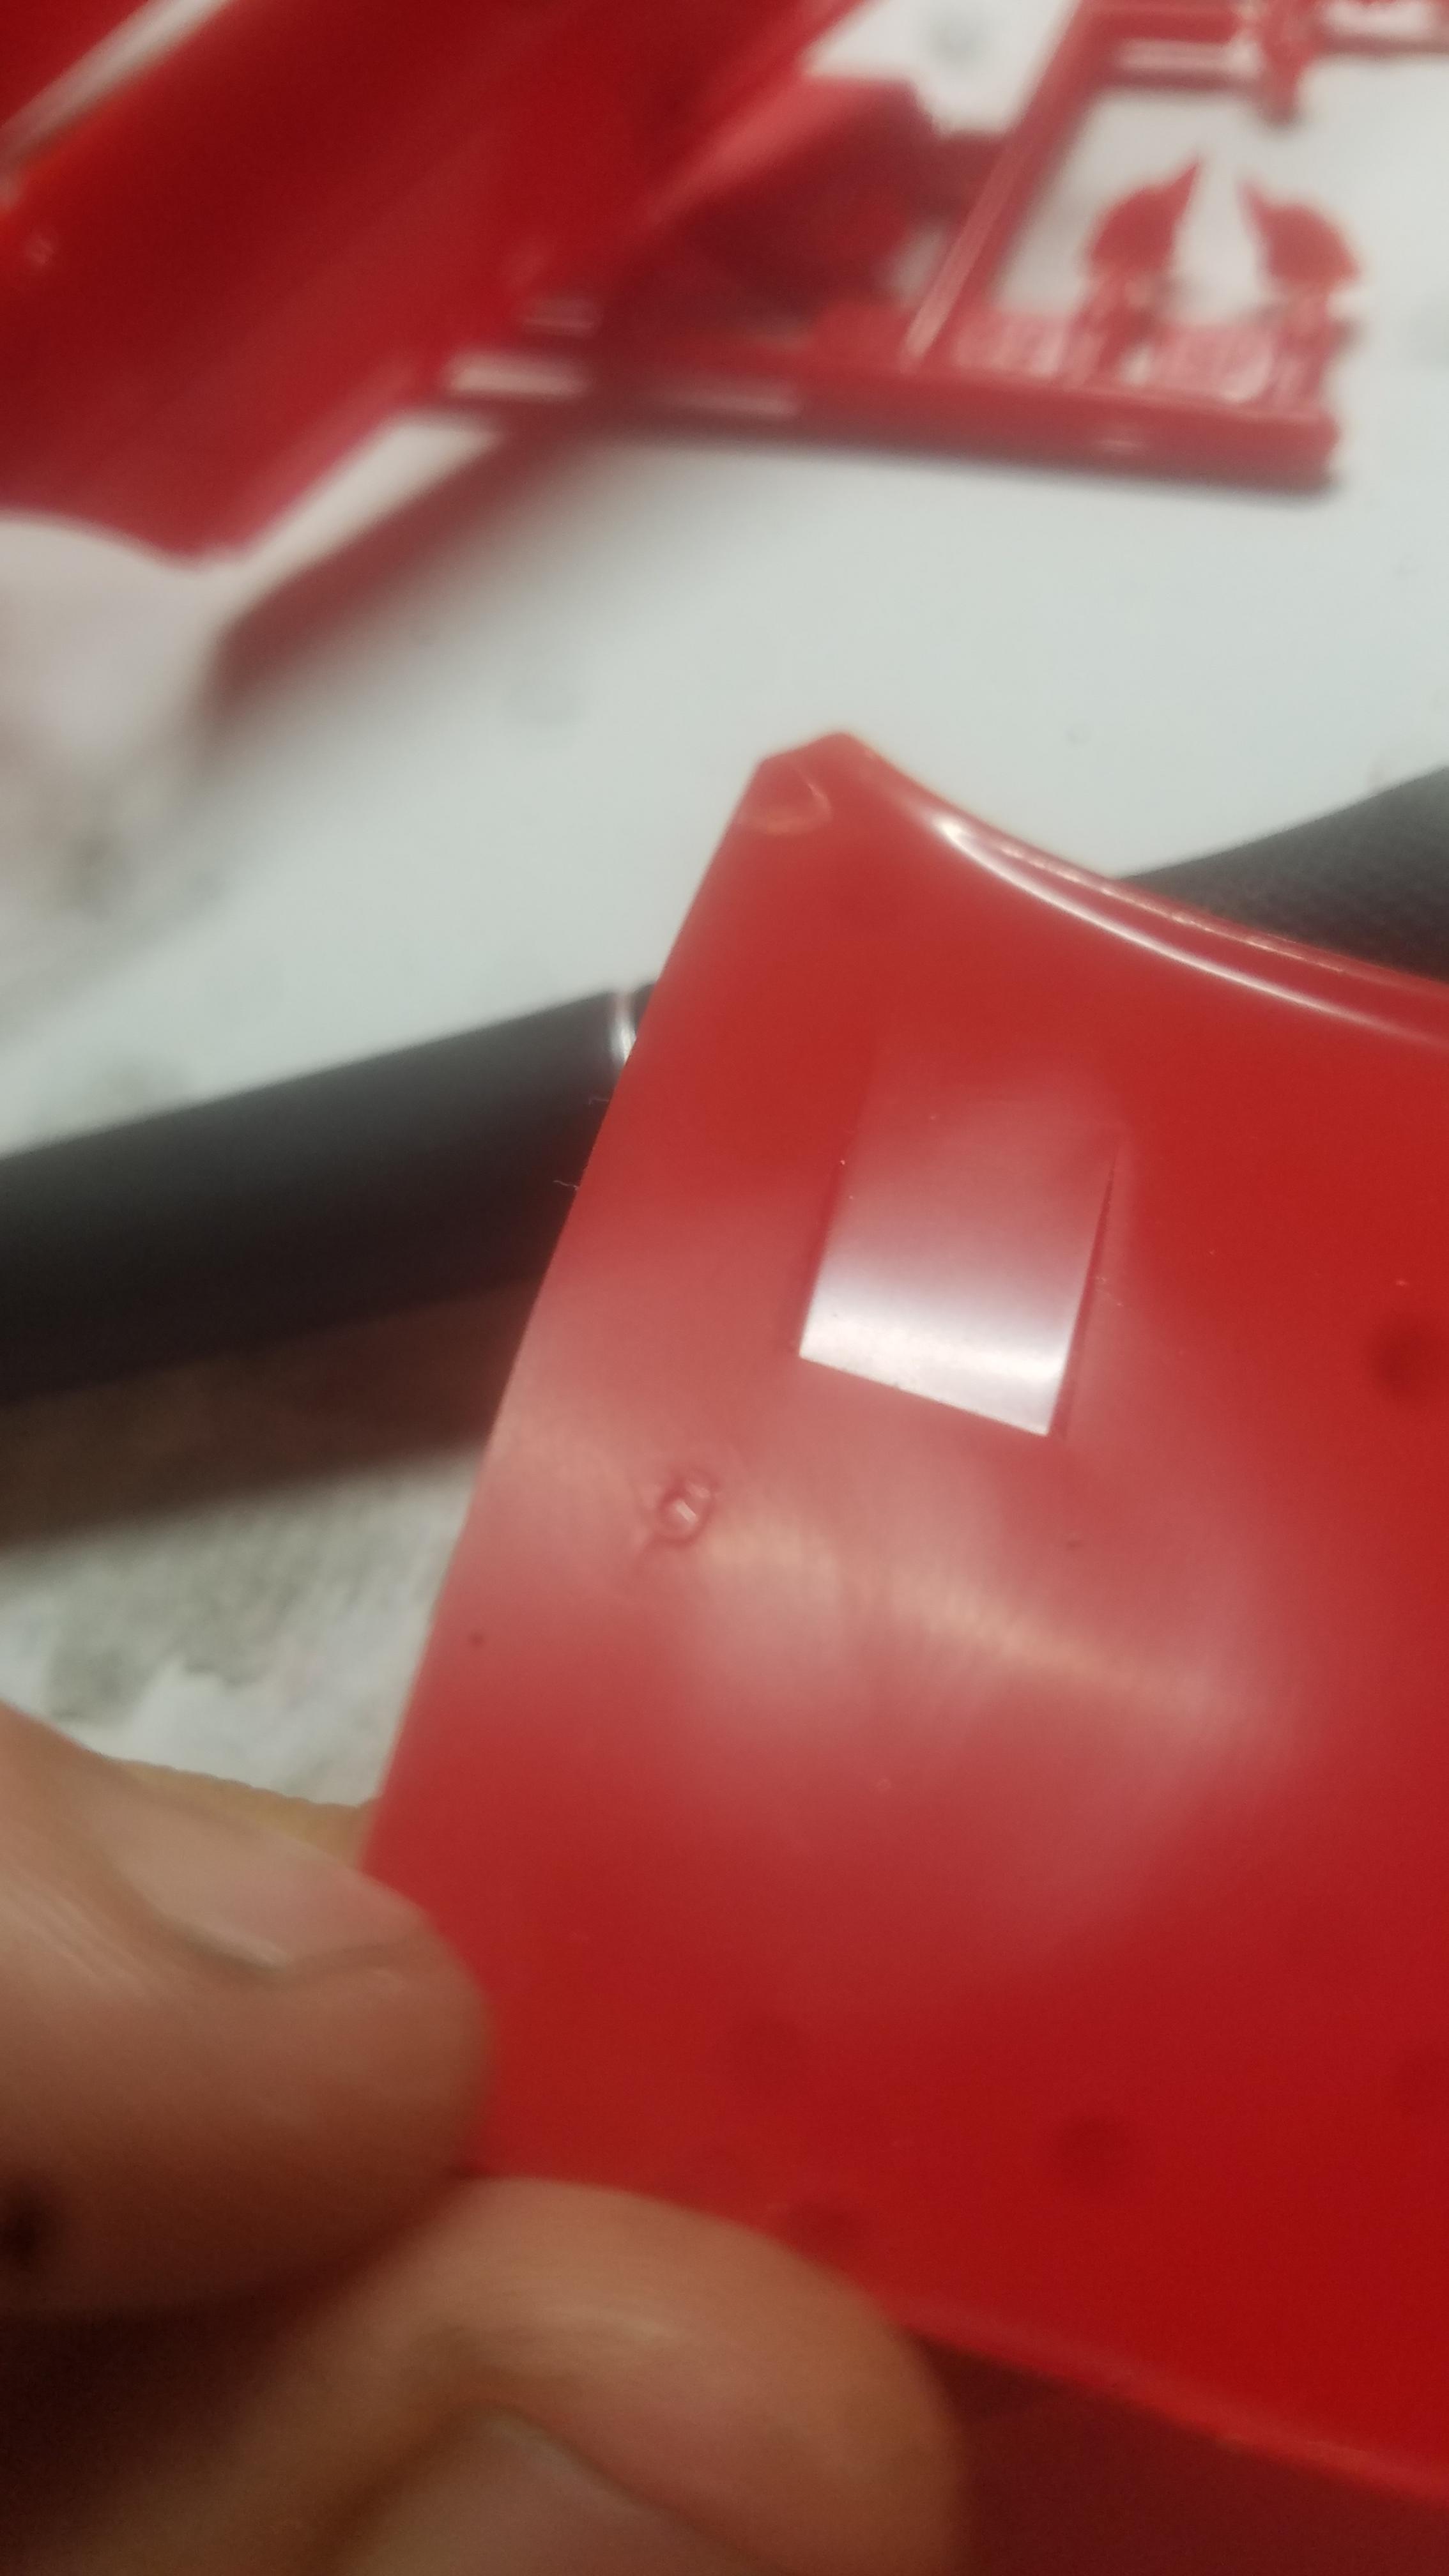
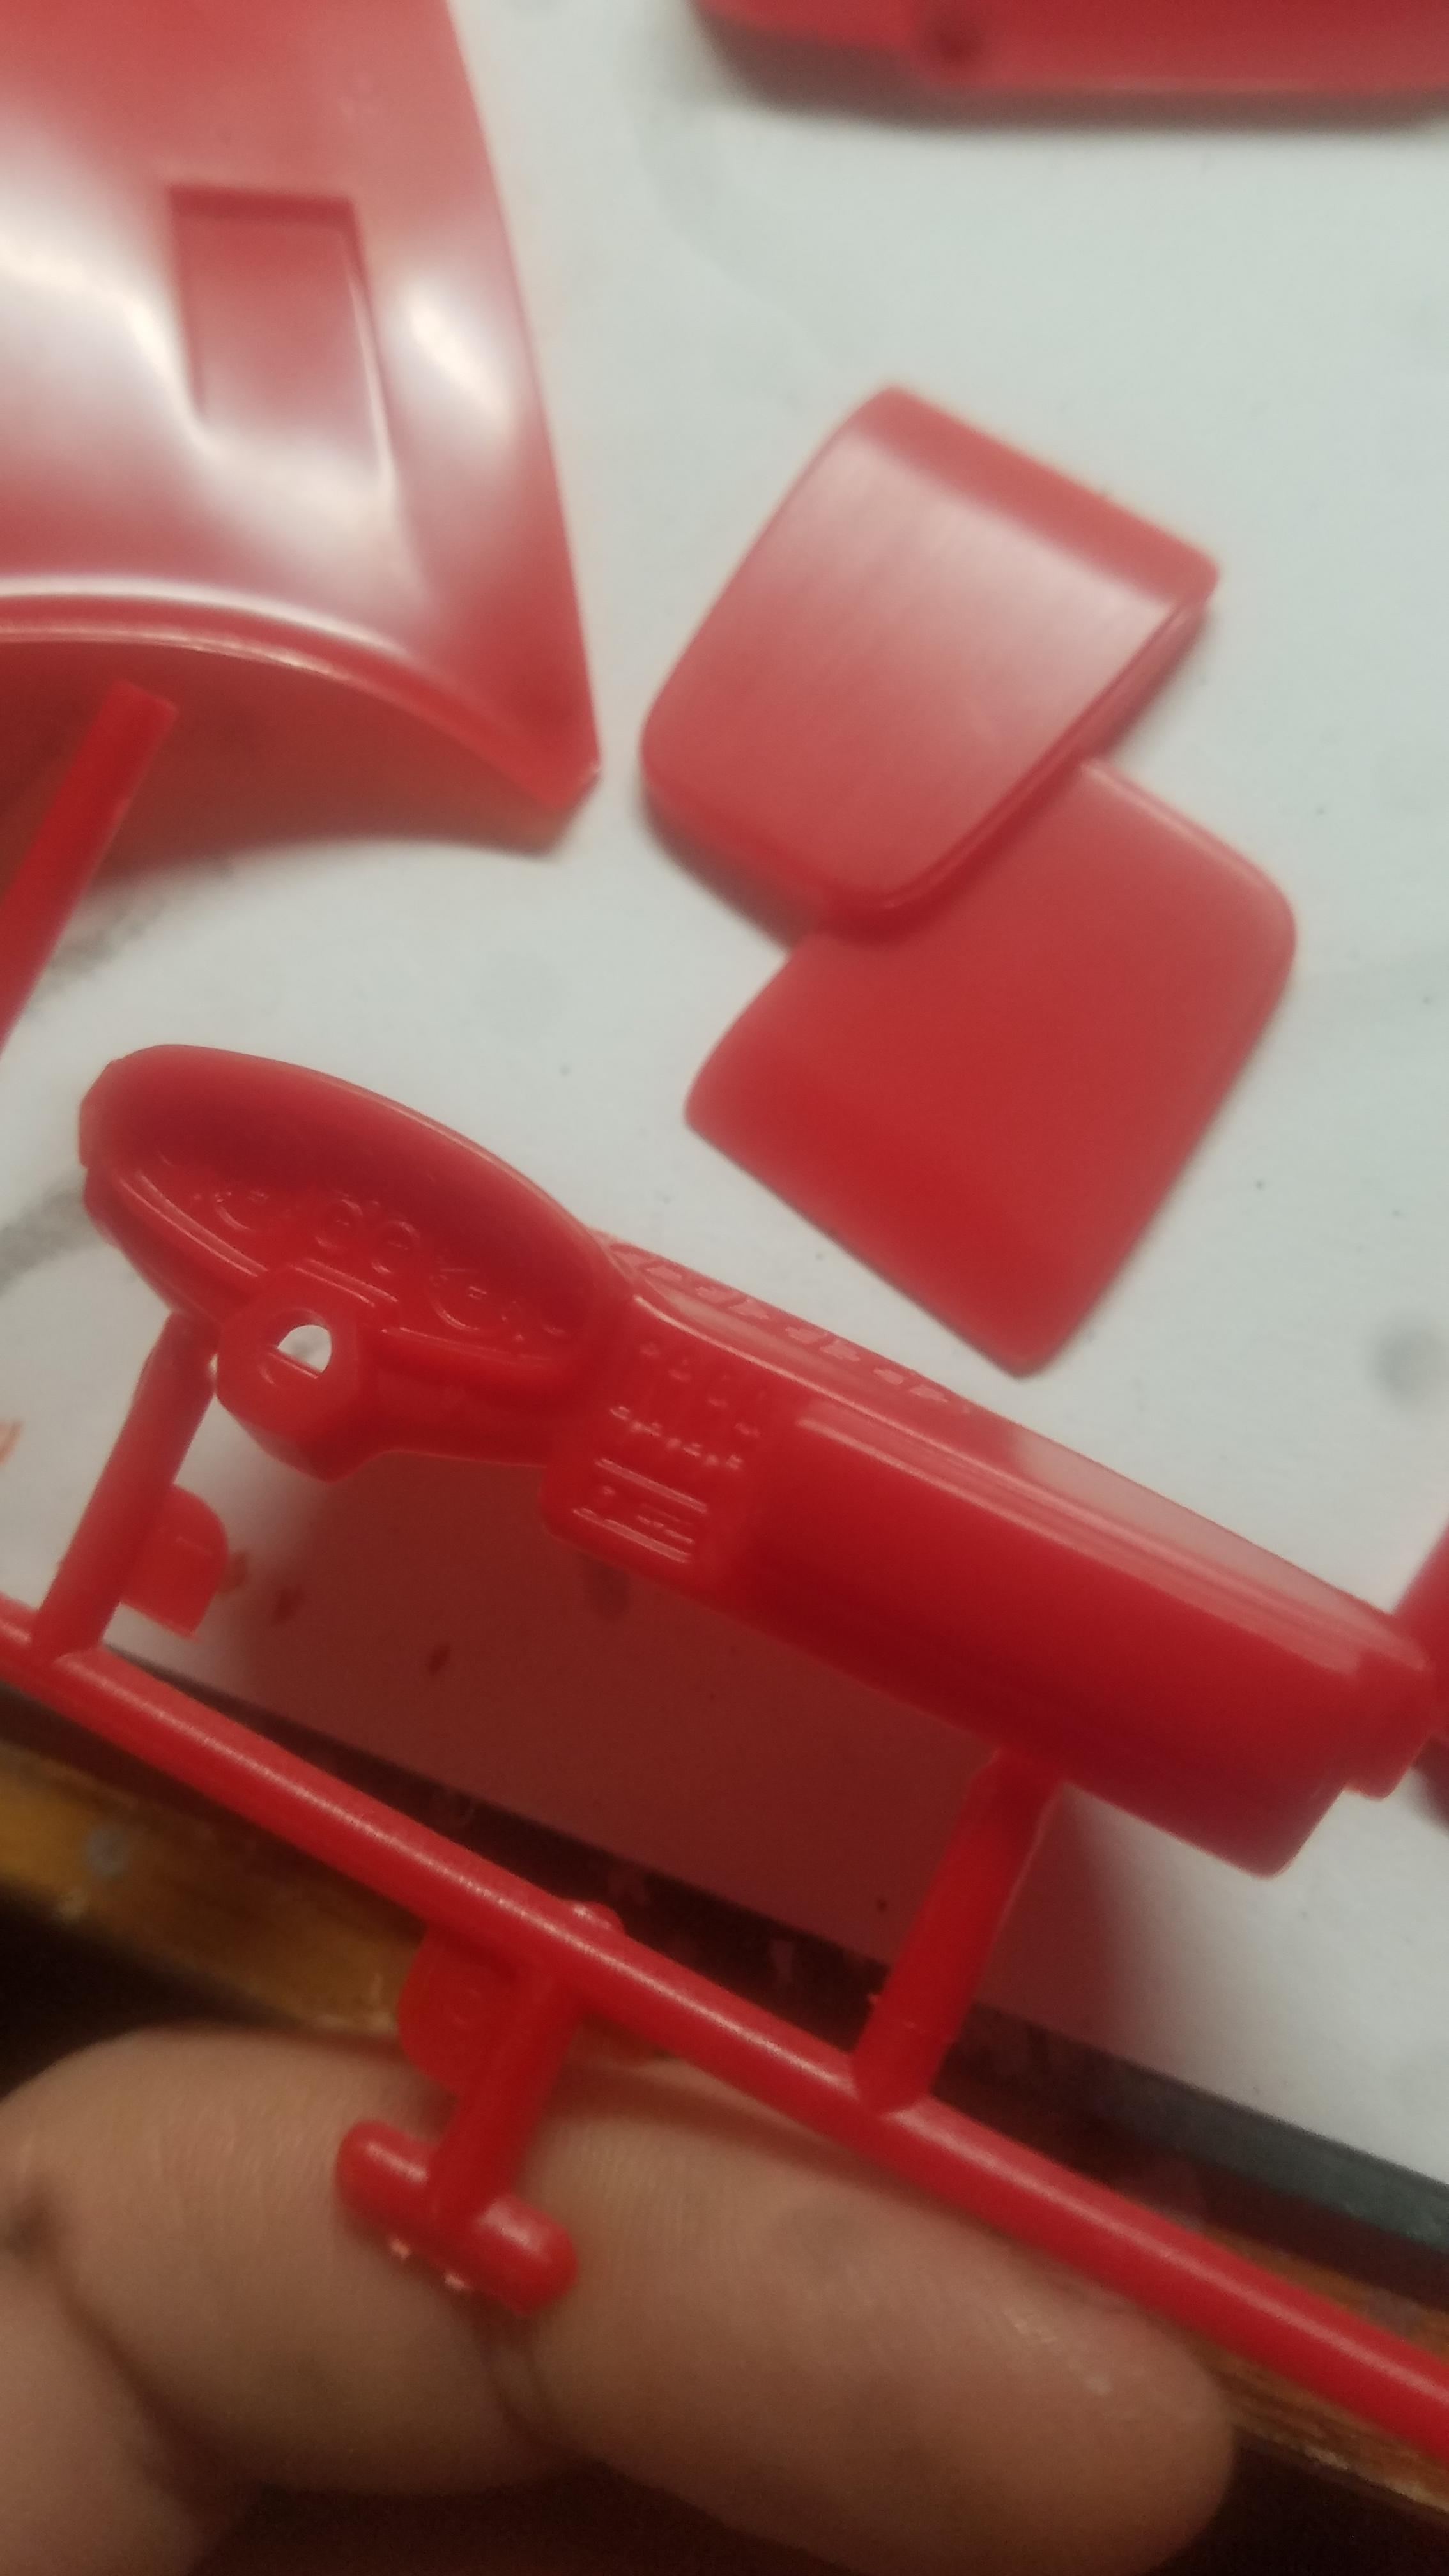
So, I FINALLY got some bench time, and was able to actually start! Here's the kit I'm using. I found a few odd spots on the hood that it I've never encountered before, but a little sanding and filling will take care of it. The dash/ guage cluster is correct for a real Daytona, but incorrect for the TV car, so I'm going to have to do some "adjusting". I've already removed the crash pad from the passenger side (not pictured) and I'm in the process of scratch building a glove box to replace it. The A/C vents on the dash also have to be moved, there are 3 vents in the TV car and 4 on the real car and this kit. The center console has to be modified for C4 style shifter/plate also, along with the door panels and seats. Hoping to finish the dash and seats tomorrow, and hopefully have something of more value to post. But at least I've now left the starting line.
-
Biggest pet peeves on builds.
LL3 Model Worx replied to LL3 Model Worx's topic in General Automotive Talk (Trucks and Cars)
Yup, I'm right there with you. I have a few old builds from when I was a kid, that actually have pretty good paint on them (base/clear) from HVLP back then, so the paint is gorgeous, I however didnt know jack about modeling back then, so I never addressed the mold lines, or sink marks or any of the real basics. -
Model Master Paints and MegaHobby
LL3 Model Worx replied to ssroczyn's topic in Model Building Questions and Answers
Dang.... glad I've got literally thousands of jars of both the auto and FS lines. If you guys ever need a color or two, don't be afraid to ask. If I have it, its yours! Leave it to Testors (rustoleum) to cut back on good product (enamels) but reassure the garbage (Acryl line) is still gonna be there. Serious bummer!! Then again, this type thing has happened quite a few times already. But I think the mainstream swap to acrylics in the armor end of things could be the main culprit here... a real shame as I and many others love these paints. -
I'll second that. Andy is a truly great man!
-
If you are using mainly acrylics, you can make your own "deep cleaner" really easy and mega cheap. Use a mix (doesn't have to be exact) of distilled water, Windex, a few drops of Dawn dish detergent, and a few drops of glycerin. I use something similar from time to time to clean the few synthetic brushes I use for terrain, and other painting non model related. Lacquer thinner usually works good for a deep clean also...
-
Using Testors Extreme Lacquer
LL3 Model Worx replied to Chevy II's topic in Model Building Questions and Answers
I agree with you. However, I have been using a standard desktop coffee warmer, and a coffee mug to warm paint cans for years without incident. I wouldn't recommend putting a can directly on the warmer though as that can get over 100 degrees. If you submerge in water using a ceramic or other insulated mug it shouldn't get any warmer than about 80-90 degrees in a half hour period. But yea, fully agree use caution! -
Yea, silver sharpie certainly has its uses. I'm glad they work for you... I may give them another shot one day when the pain subsides and the memory fades lol.
-
Italeri - Ferrari 275 GTS (Spyder N.A.R.T.)
LL3 Model Worx replied to 89AKurt's topic in WIP: Model Cars
Just gotta say.... those are gorgeous. -
Deadliest car in america.
LL3 Model Worx replied to Scott8950's topic in General Automotive Talk (Trucks and Cars)
I think society today is so ate up and consumed by nostalgia it's pretty insane... I mean, society at large would have you believe the world is one big ever developing catastrophe... and that the future is gonna be very difficult (it likely will be)... so the masses cling to things from the past as it represents happier times or at least can be associated with such. And now even things that are not so "happy"! Like serial killers... old crime stories, unsolved murders, KILLER cars etc... it's a coping mechanism. It's old so it must have value of some sort, to somone. Things like this story, are just a clear demonstration of the aforementioned theory I have shared above. I think the truth is, that work is hard, and societal "progress" requires ALOT of it, and people either consciously or subconsciously think that clinging to things from the past (even If they never experienced that past) will somehow provide comfort and mitigate the burden of reality, which is that of hard work! Today, its easier to whine than work... easier to complain than keep pushing forward... I'm not advocating progress for the sake of it, but I am advocating for good work ethics, and personal responsibility. Today, people just do because someone says do, and they follow when someone "leads"... while all the while forgetting to question or ask why? Nostalgia folks, its a real "safety blanket"...a killer... highly infectious and I'm just as infected as everyone else. I'll get off my soapbox now... sorry for ranting, but things like this wouldn't be an issue if people were busy solving real problems with real work! -
I know I've beaten it to death already, but mine certainly have not. I got one good use out of them and then they completely quit, with the exception of the odd spit and sputter here and there. I really wish they had worked, because the ink within is pretty remarkable stuff. Maybe I'll try them again someday, but at the price they charge, it's not really worth the gamble for me when I have other alternatives that always work, even if they are less convenient.
-
It may have already been said, but my method is as follows. I use mainly natural bristle brushes first off. And I use a variety of paints... Model master enamels, Vallejo acrylics, cheap craft acrylics and some lacquers, and even Nail "polish". I keep a large and deep cup half full or warm water with a dab of dawn dish soap in it for acrylics and I keep a glass pickle jar half full of lacquer thinner as well. The reason I keep it half full is to help prevent sloshing... After painting, I pull the brush across a paper towel that is laying flat on my table... this is just to remove excess so I apply no real pressure. Then I follow by quickly and vigorously swishing the brush in the appropriate cleaner... making sure not to hit the bottom or sides with the bristles. Afterward I form the bristles to the appropriate shape with my fingers and then store it upright (bristles up) in a cup. About 4 times a year I will rub a little hair conditioner into the bristles and thoroughly rinse under warm water. I have had brushes that I use regularly for around 10yrs and they are still going strong. Also another tip I could give, and I apologize if its already been mentioned but, do not load paint more than halfway up the bristles... otherwise it gets inside too deep and is hard to clean out without damaging the brush. Just my .02
-
Works great if your markers aren't duds like mine.
-
Using Testors Extreme Lacquer
LL3 Model Worx replied to Chevy II's topic in Model Building Questions and Answers
Get yourself a coffee warmer and a large enough coffee cup to hold a spray can... Fill the cup with hot water and put it on the coffee warmer and place the can in there for about 30 minutes while you prep... Then the paint should atomize and spray quite a bit better. But, nothing beats using the airbrush when it comes to controlling the flow of paint/air... Warm up the can. It will change your life... lol! -
Two paints, frustration
LL3 Model Worx replied to Tom Cee's topic in Model Building Questions and Answers
Testors enamel from spray can can sometimes take a month or more to fully gas out... and in some cases it could take years... (ask me how I know) Best thing to do when using them is to either decant for airbrush use and thin it with lacquer thinner or of that's not an option spray in several extremely light coats waiting about 15 minutes apart. You could also brush a little dulcote on the areas you want to paint a different color and let is dry (it's pretty fast) and then apply your color... this way the dulcote protects from bleed and reactivating the underlying coats of enamel. -
Vallejo Premium Airbrush Paint
LL3 Model Worx replied to SnozzaP's topic in Model Building Questions and Answers
Shouldn't hurt styrene at all as its water based... Seems the same thing as "Wicked Colors" or Createx... just a highly pigmented acrylic urethane. Test on some scrap but I'm betting its ok... -
2020 Cannonball Run Build Thread!
LL3 Model Worx replied to disconovaman's topic in Community Builds
Well I managed to get part of an engine together before being called away to change a starter... and tensioner pully. Family sucks someitmes... Since I didn't have any LS motors laying around and it seems many will be going that route... I chose a good ol LT1.
-
I appreciate that. Unfortunately I don't have any of the kits on your list... wich is bizarre considering my stash lol. Yea that's what strikes me as well.
-
I'd be down for doing this with someone... it would be too cool!!
-
2020 Cannonball Run Build Thread!
LL3 Model Worx replied to disconovaman's topic in Community Builds
Man.... I'm foaming at the mouth wanting to start my build!! Seeing some EXCELLENT progress here! I haven't even got to look at it with all the craziness in my life these last 2 weeks. That, and I'm still in the process of building my wife a Van that she "has to have"... But that's getting sidelined! I've acquired a few of the parts I needed to really make this thing come together finally. A big thanks to 1930fordpickup, Belugawrx, and 89AKurt! Fine group of guys right there! Here's to Monday, fingers crossed! -
Looking good! I've got 2 of these lined up in my queue. This is making me want to move them up the list! I'll be staying tuned!