Mattilacken
-
Posts
3,673 -
Joined
-
Last visited
Content Type
Profiles
Forums
Events
Gallery
Everything posted by Mattilacken
-
 Came out great! super work on that brush paint!
 -
Calsonic Skyline GT-R R33 - 1/24
Mattilacken replied to Pete75's topic in Other Racing: Road Racing, Salt Flat Racers
Pete, Bringin an old thread back, but i just saw a thing that you can think of for the next seat belts in the maiking. The sholder straps would connect to the back wall with an anchor bolt ( a ring that was secured through the sheat metal and a big washer or reinforcment on the back side in IRL) or to the cage at some point roughly at the same height as where they pas through the seat. thought i would give that feed back now wen thinking of it since such a minor detail ad some nice detail to a race car I was browsing this old thread now since I got the same kit, love the JGTC of the '90's and a fan och best motoring and such. I dont know if i will ad as nice belts to min as you did here though.. time will tell. -
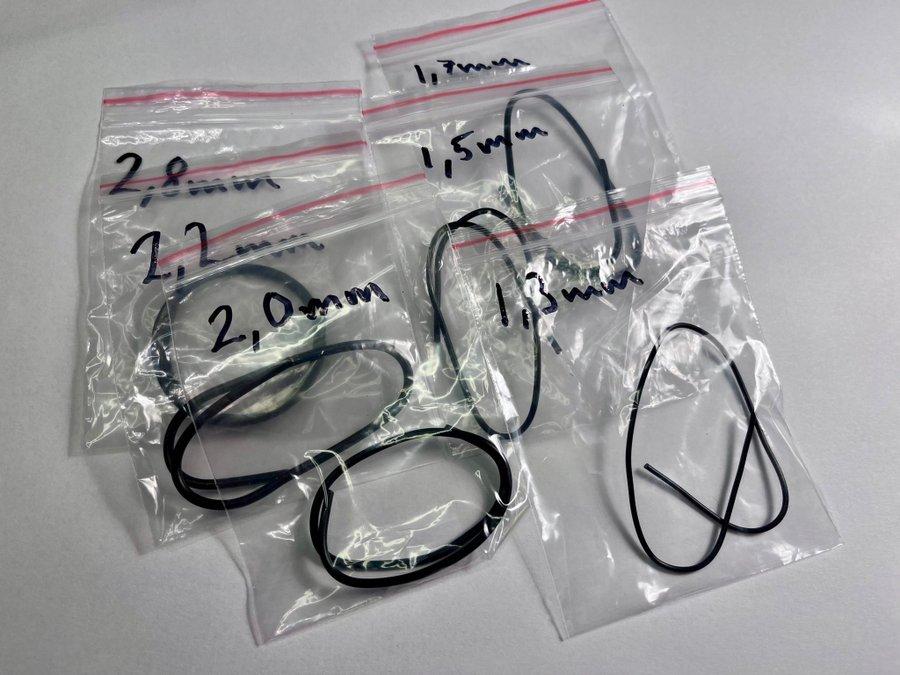
I went ahead and ordered a bunch of different cabels so i have better controll when doing plumbing, I actualy put a set together to sell. Single lead cables, no need to replace the wires. And the core is silver which means you can use them directly for making say AC hoses, just paint the final end of the black cover silver and you are done! This is one set.

- 39,066 replies
-
- 4
-

-
- johan
- glue bombs
- (and 1 more)
-
I am no collector just gett what i like, and the most rare i have is Tamiya 1/24 Aston Martin DBS. Edit: unbuilt for now but will be built
-
A Team van
Mattilacken replied to avidinha's topic in WIP: Model Trucks: Pickups, Vans, SUVs, Light Commercial
Looks great! Glad to se that you got it in paint! -
O now i remember that you are putting a MB V2 in it!! Super cool! do you want a set of headlight bezels for it, I can send you some since i have printed a bunch extra.
-
I am sure that you dont suck! I guess you have a bunch of other stuff to do or build as well! And knowing your build i know that al of them are great!
-
1974 Chevy Malibu (Nascar converted to Stock)
Mattilacken replied to Cosmo_Song's topic in Model Cars
Great work on the conversion work! The nascar body is quite different and you managed to revert the changes verry well! Will you get a 3D printed version and build that one as well? I have the Laguna files, both interior and exterior, test printed a body in 1/24 but messed it up and ran out of resin and thats where i am -
Such a nice tribute to your late dad! I wish my dad was doing any modeling before the Parkinson struck.
-
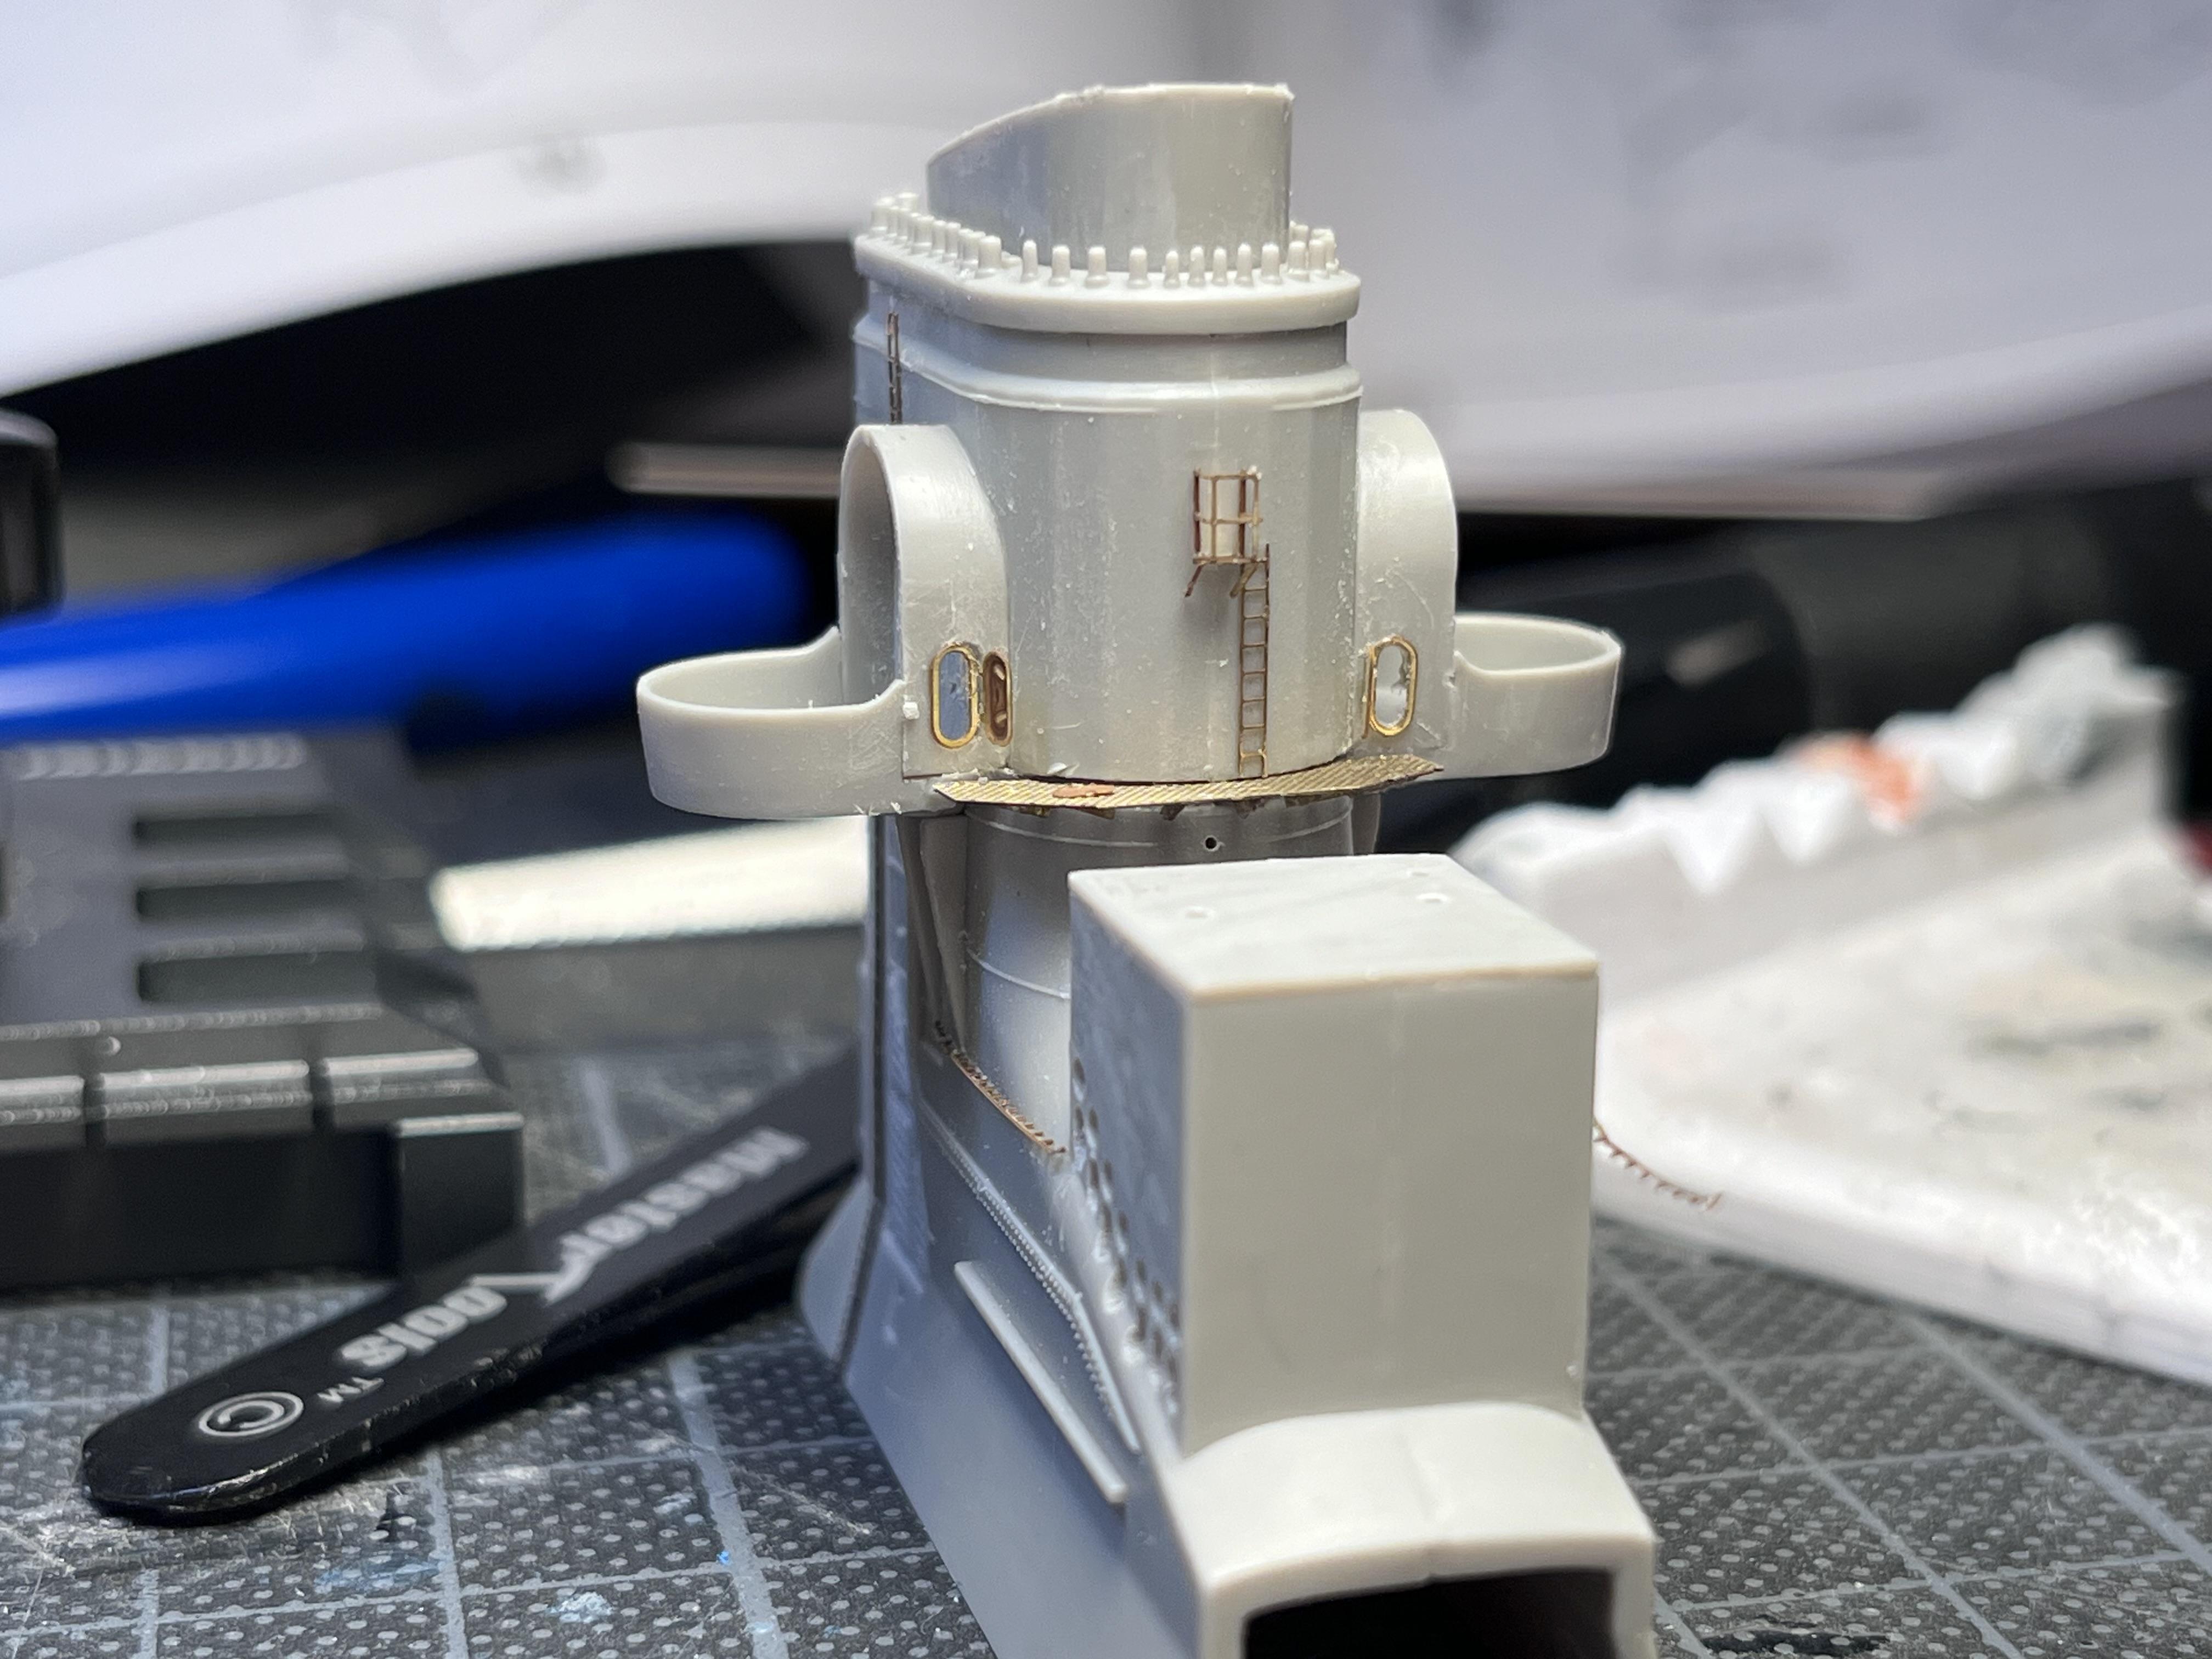
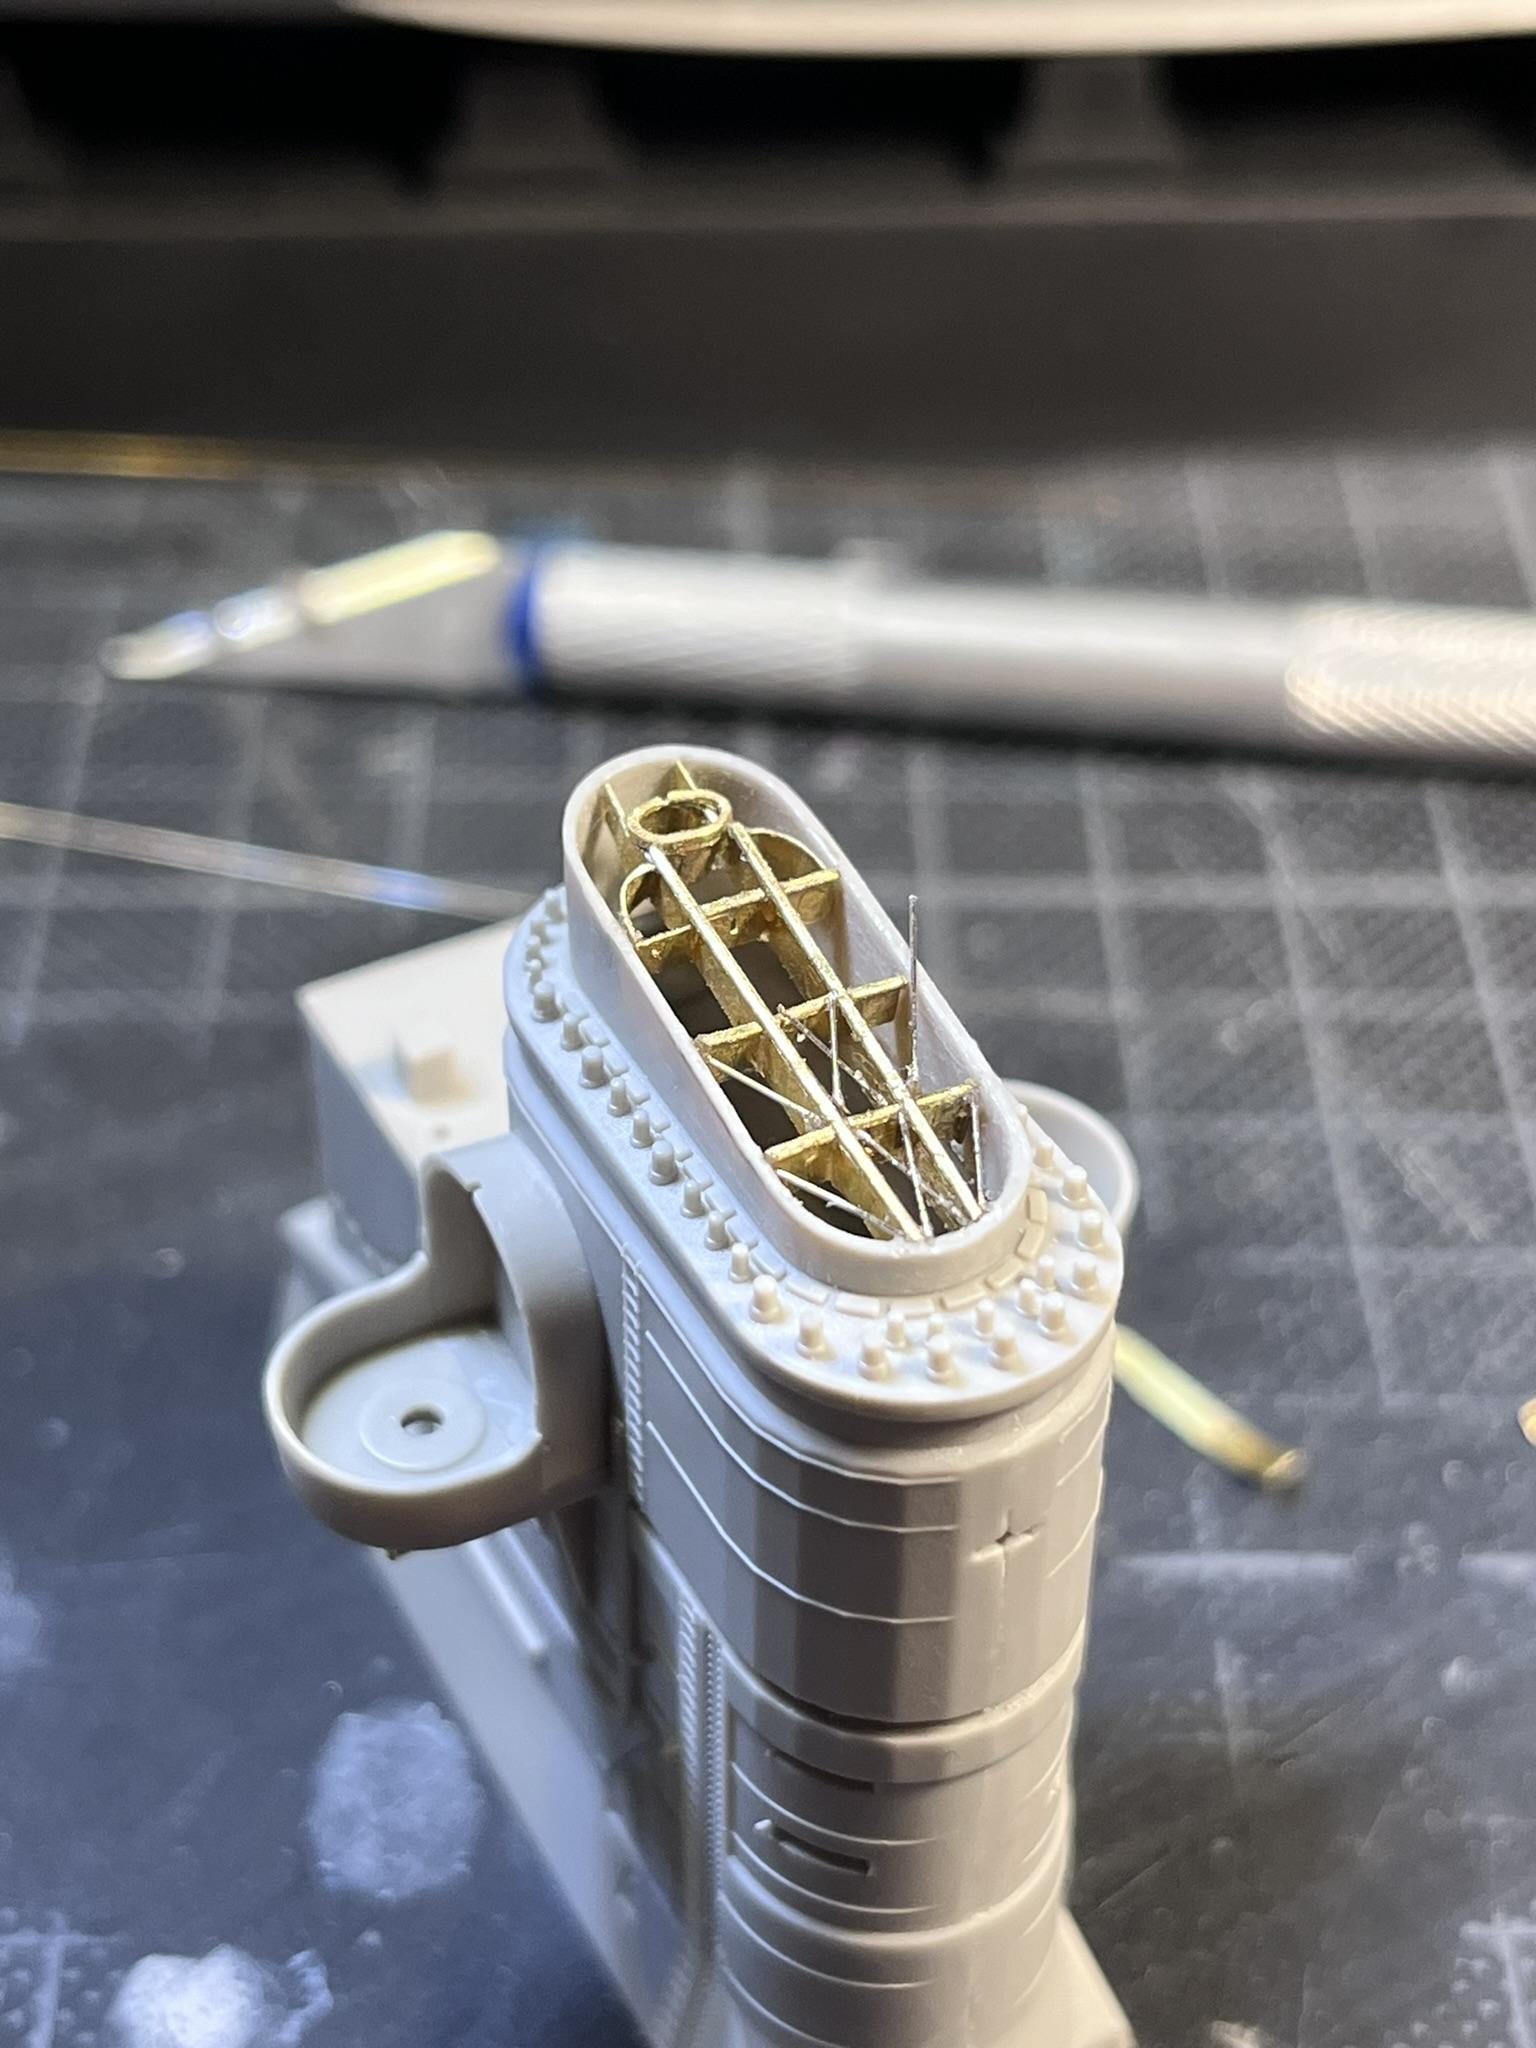
Some of these are stunningly hard to get right! And the micro plattform there is so thin so I bend it with a gentle touch. And it’s so easy to bend them so you won’t recognize it! well a bit further on the funnel.
-
1997 GMC C3500 Sierra
Mattilacken replied to Chuck Most's topic in Model Trucks: Pickups, Vans, SUVs, Light Commercial
Nice build! And as Can-Con said the foged headlights are a nice touch for that used look! Looks great! -
What did you see on the road today?
Mattilacken replied to Harry P.'s topic in General Automotive Talk (Trucks and Cars)
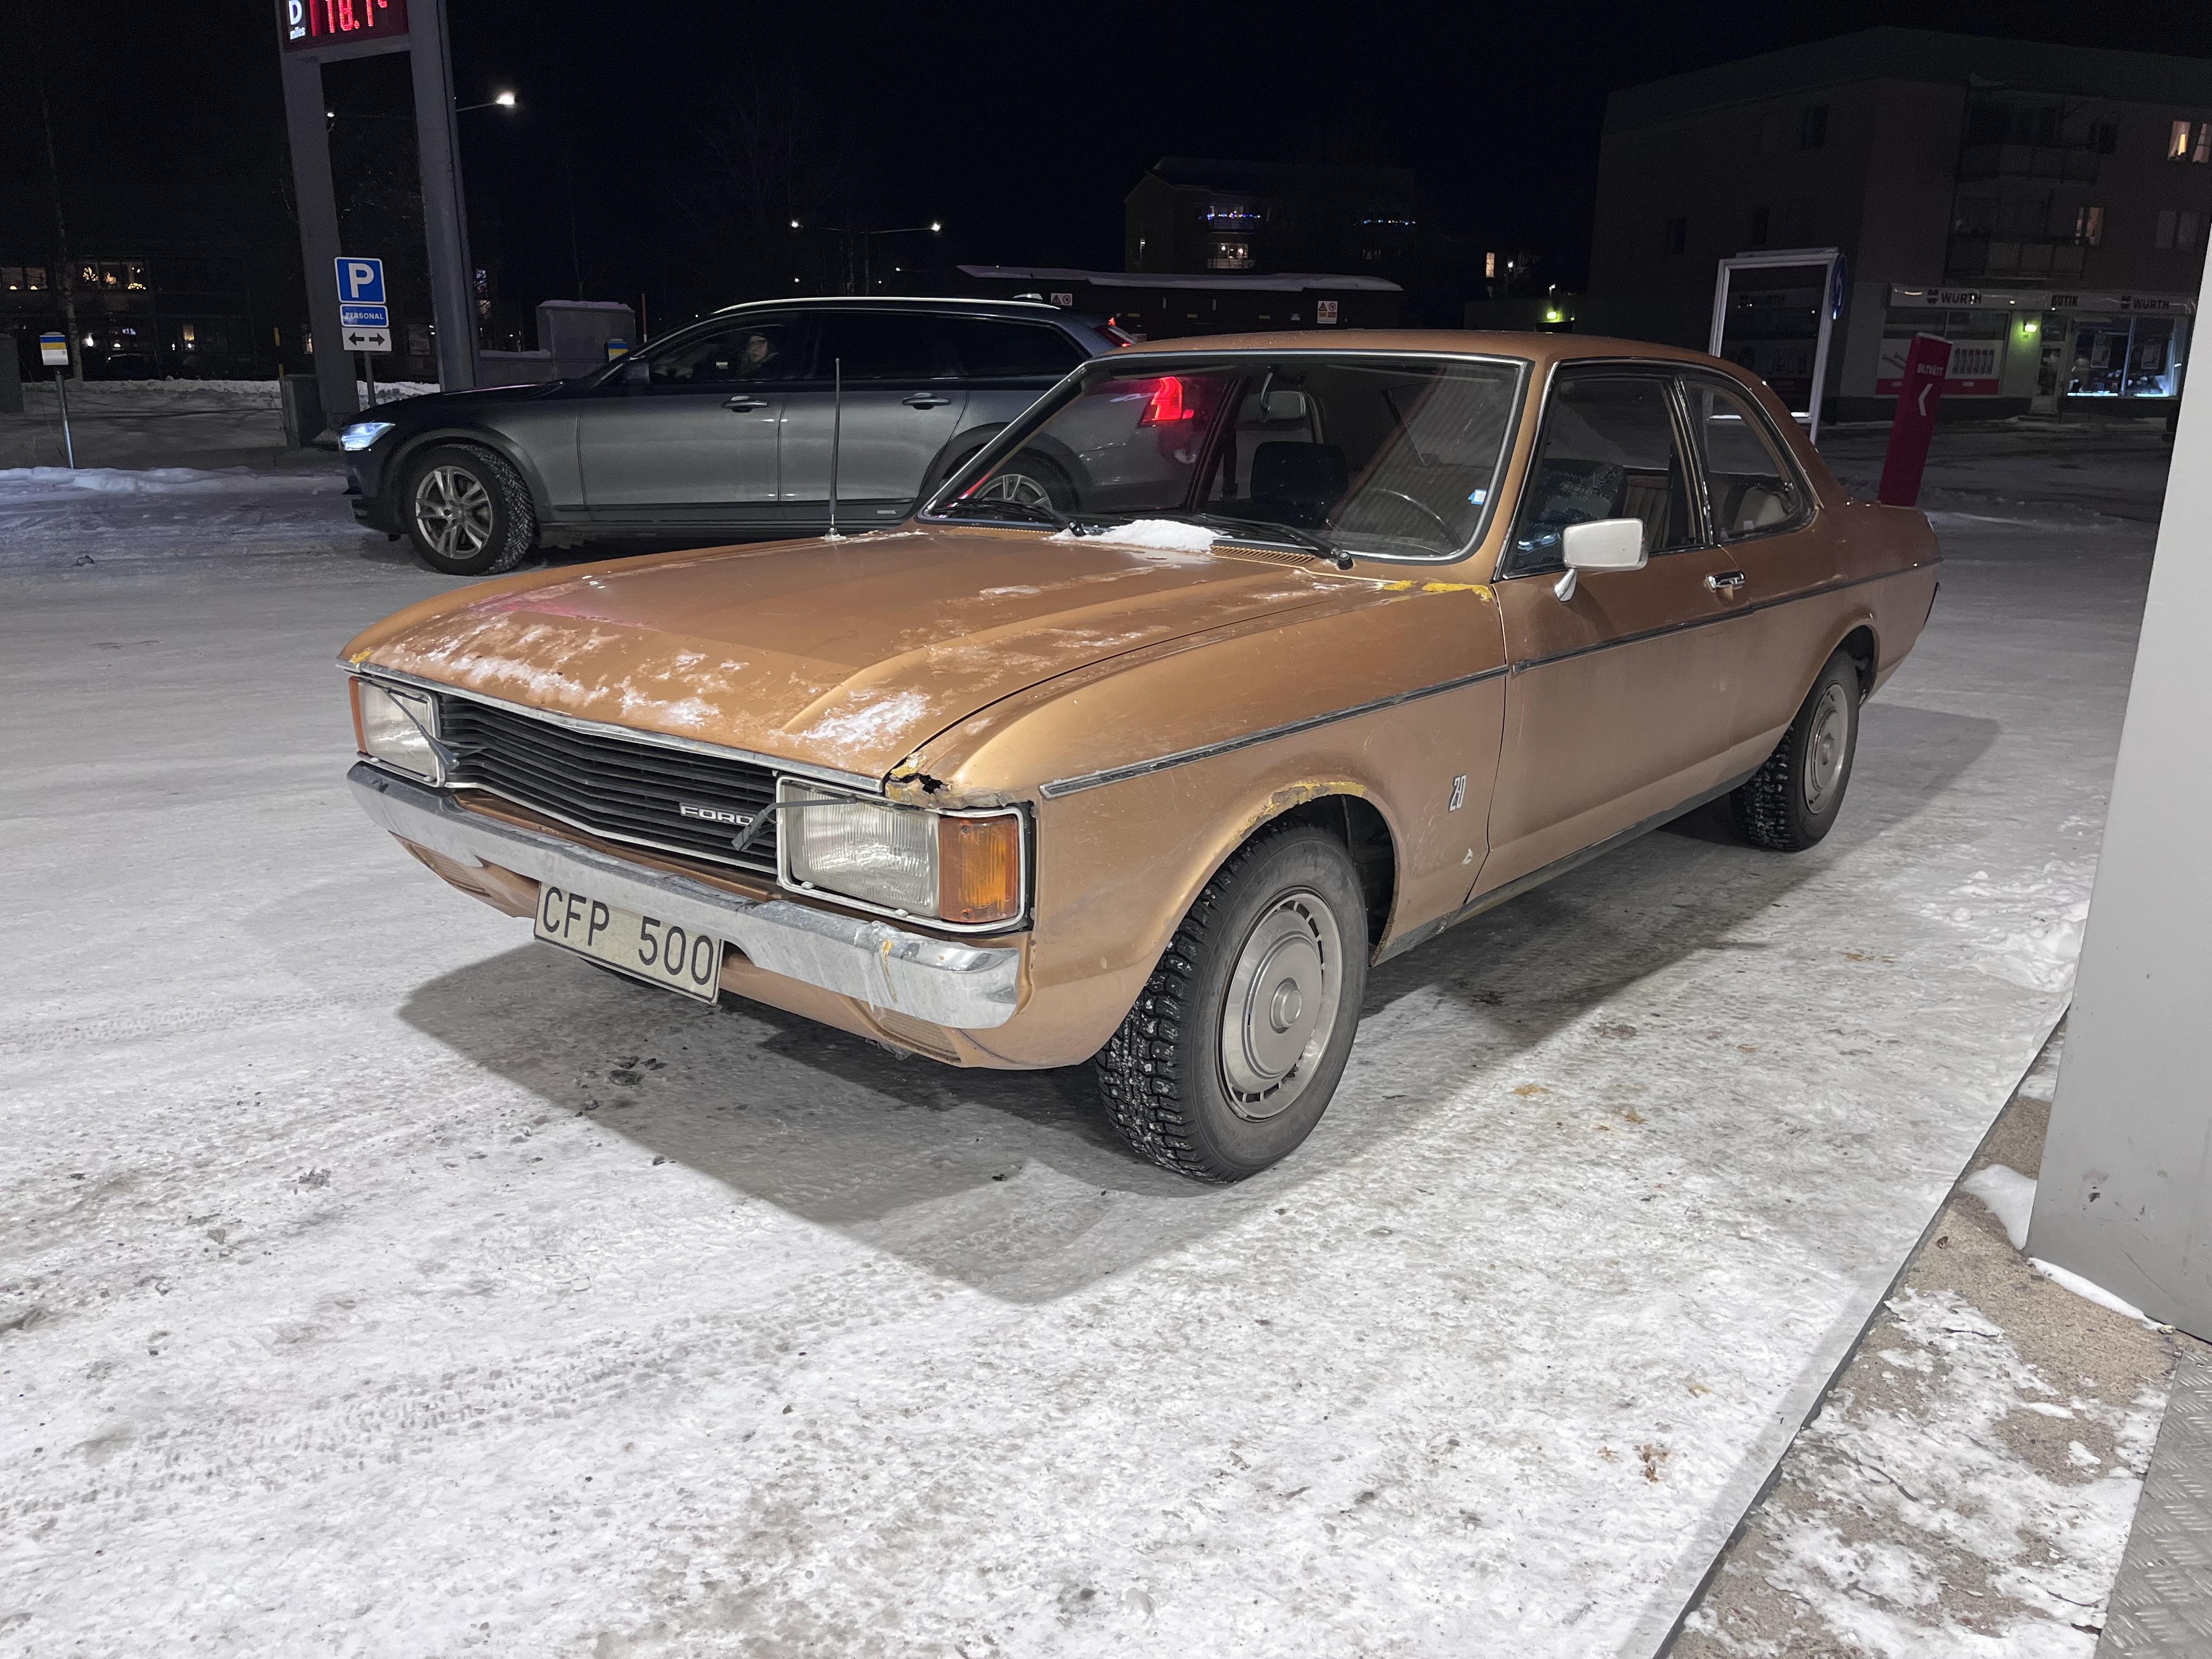
I saw this the other day.
-
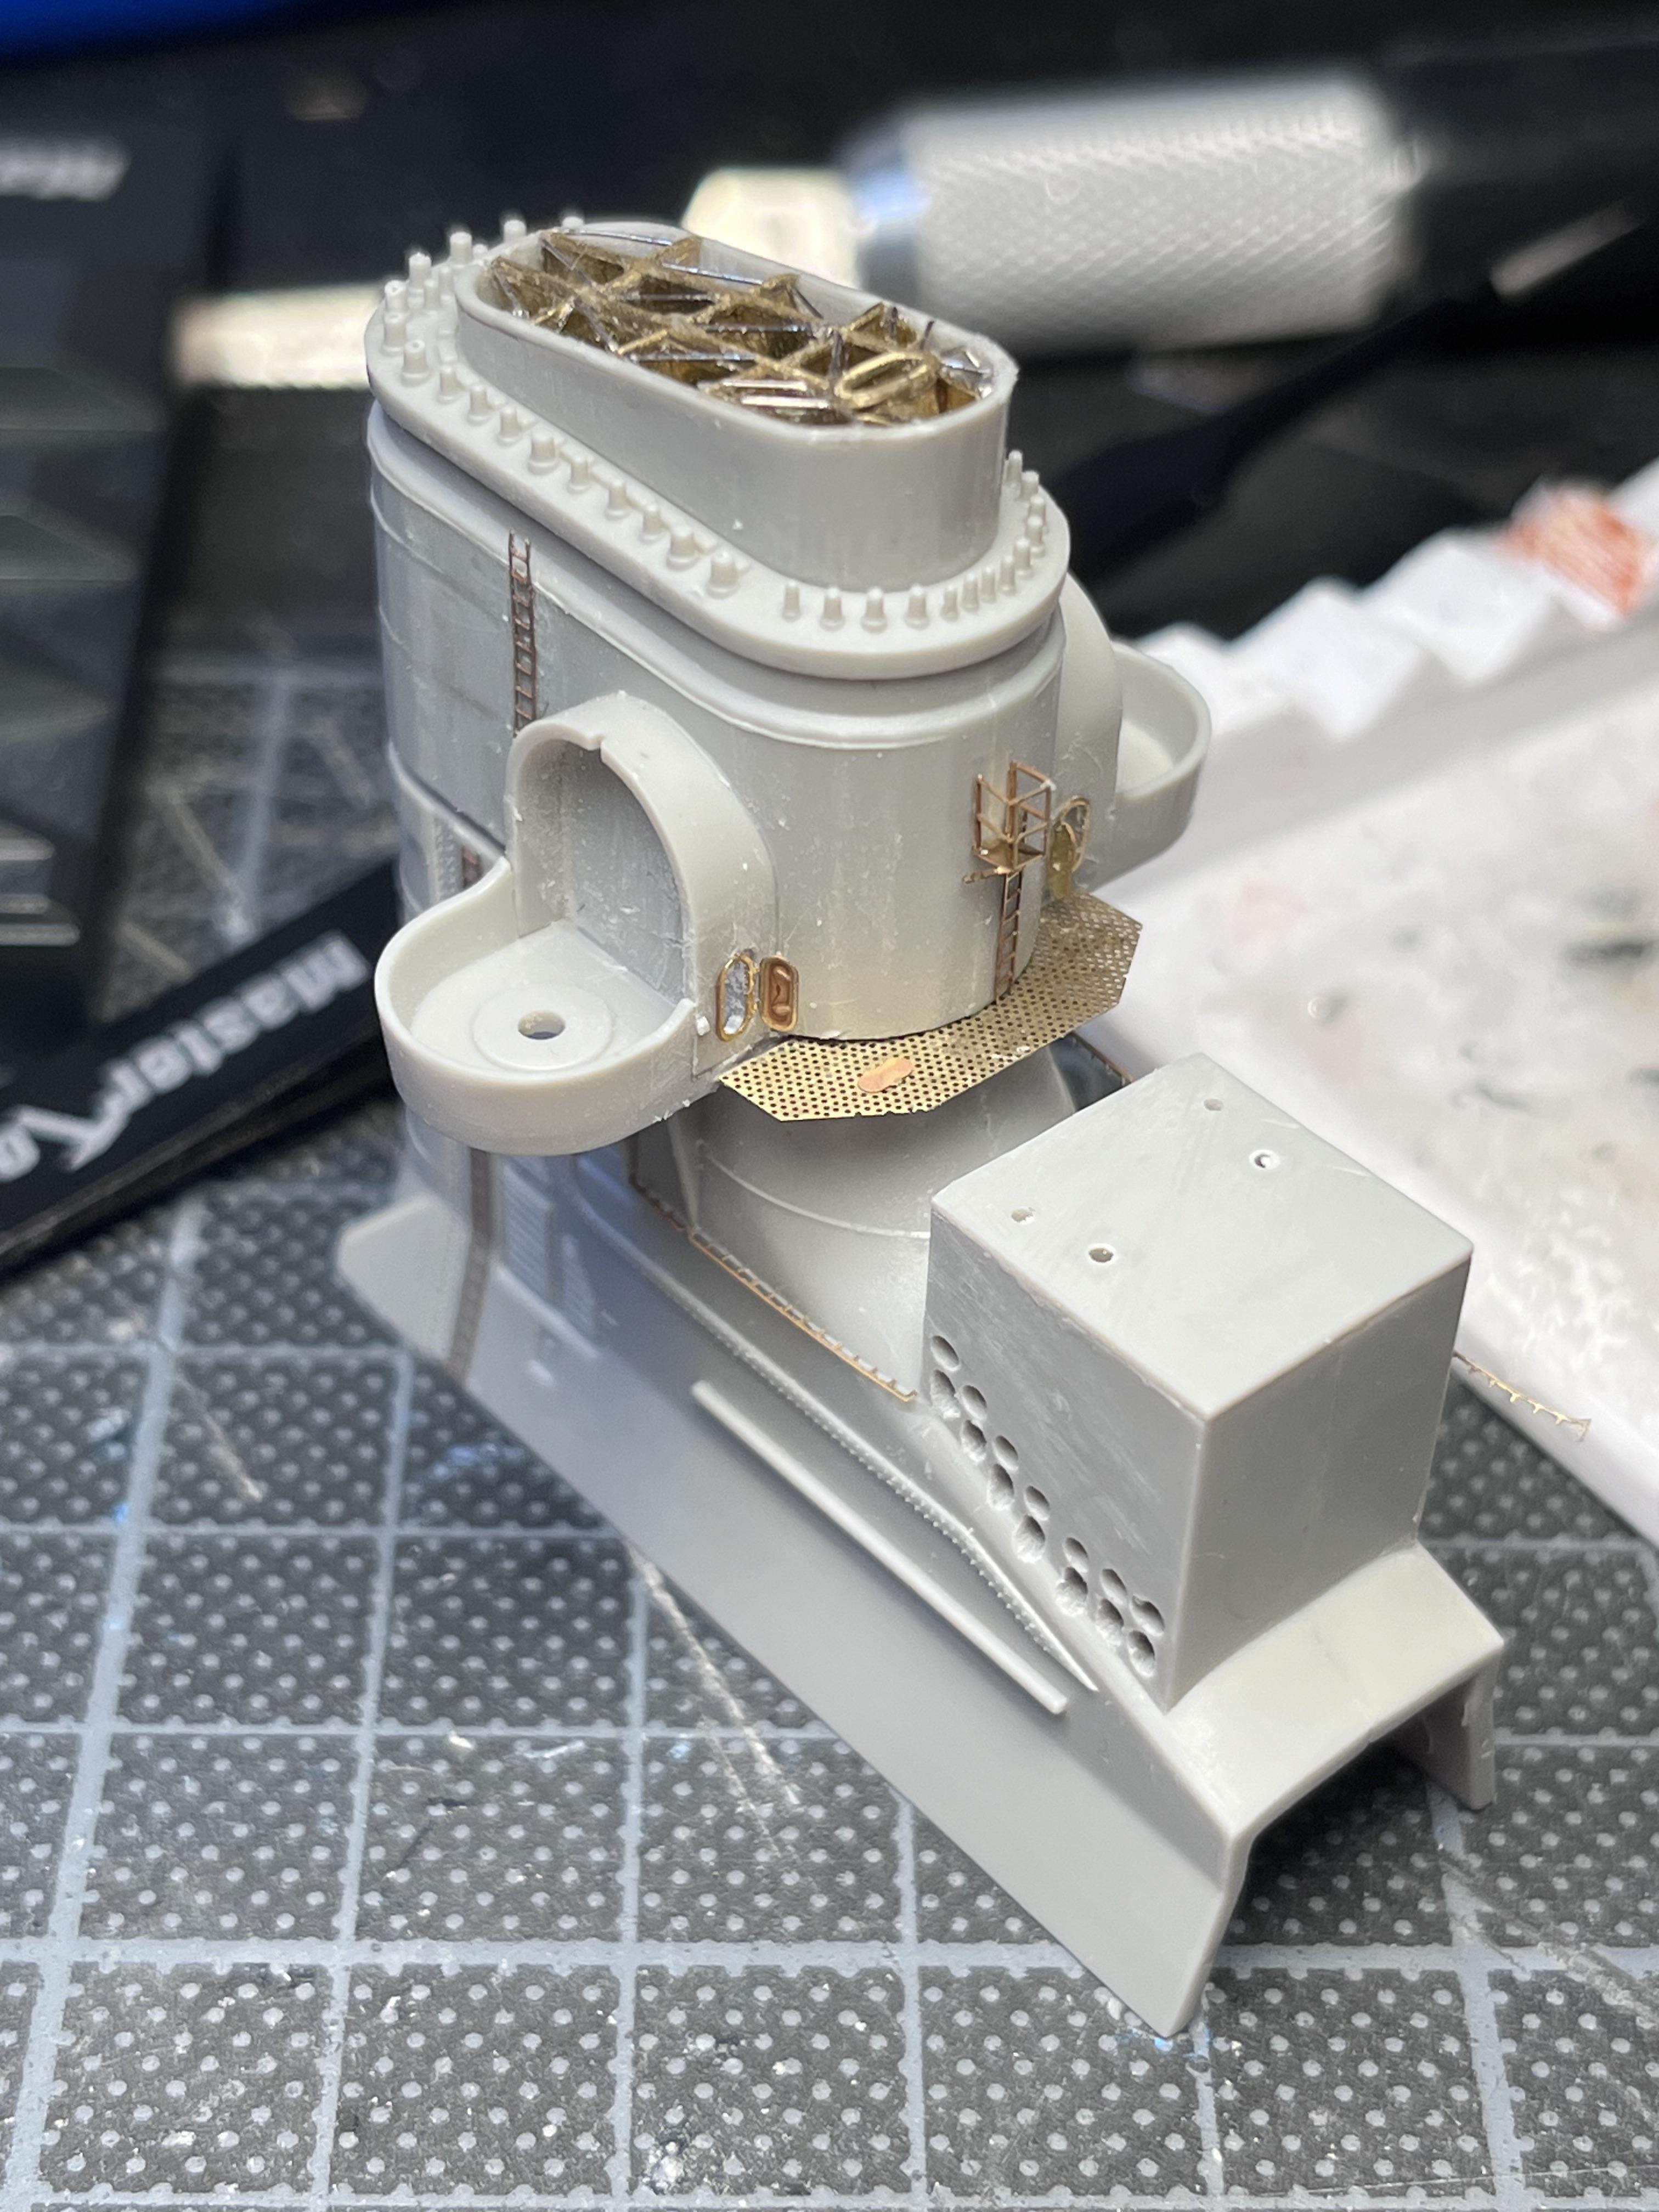
Replaced my first walkway with PE, and made doors to the search light space functional(not hinged 🤓) also started modifications on the bigger platform and al the railings on the funnel. And started to reshape the structure infront of the funnel.
-
3rd gen Camaro
Mattilacken replied to MarkJ's topic in WIP: Other Racing: Road Racing, Land Speed Racers
Interior is looking sharp! -
True that, but mine are not so steady al the time but enough;) But it takes some time.. i think that brass work is minimum 6h
-
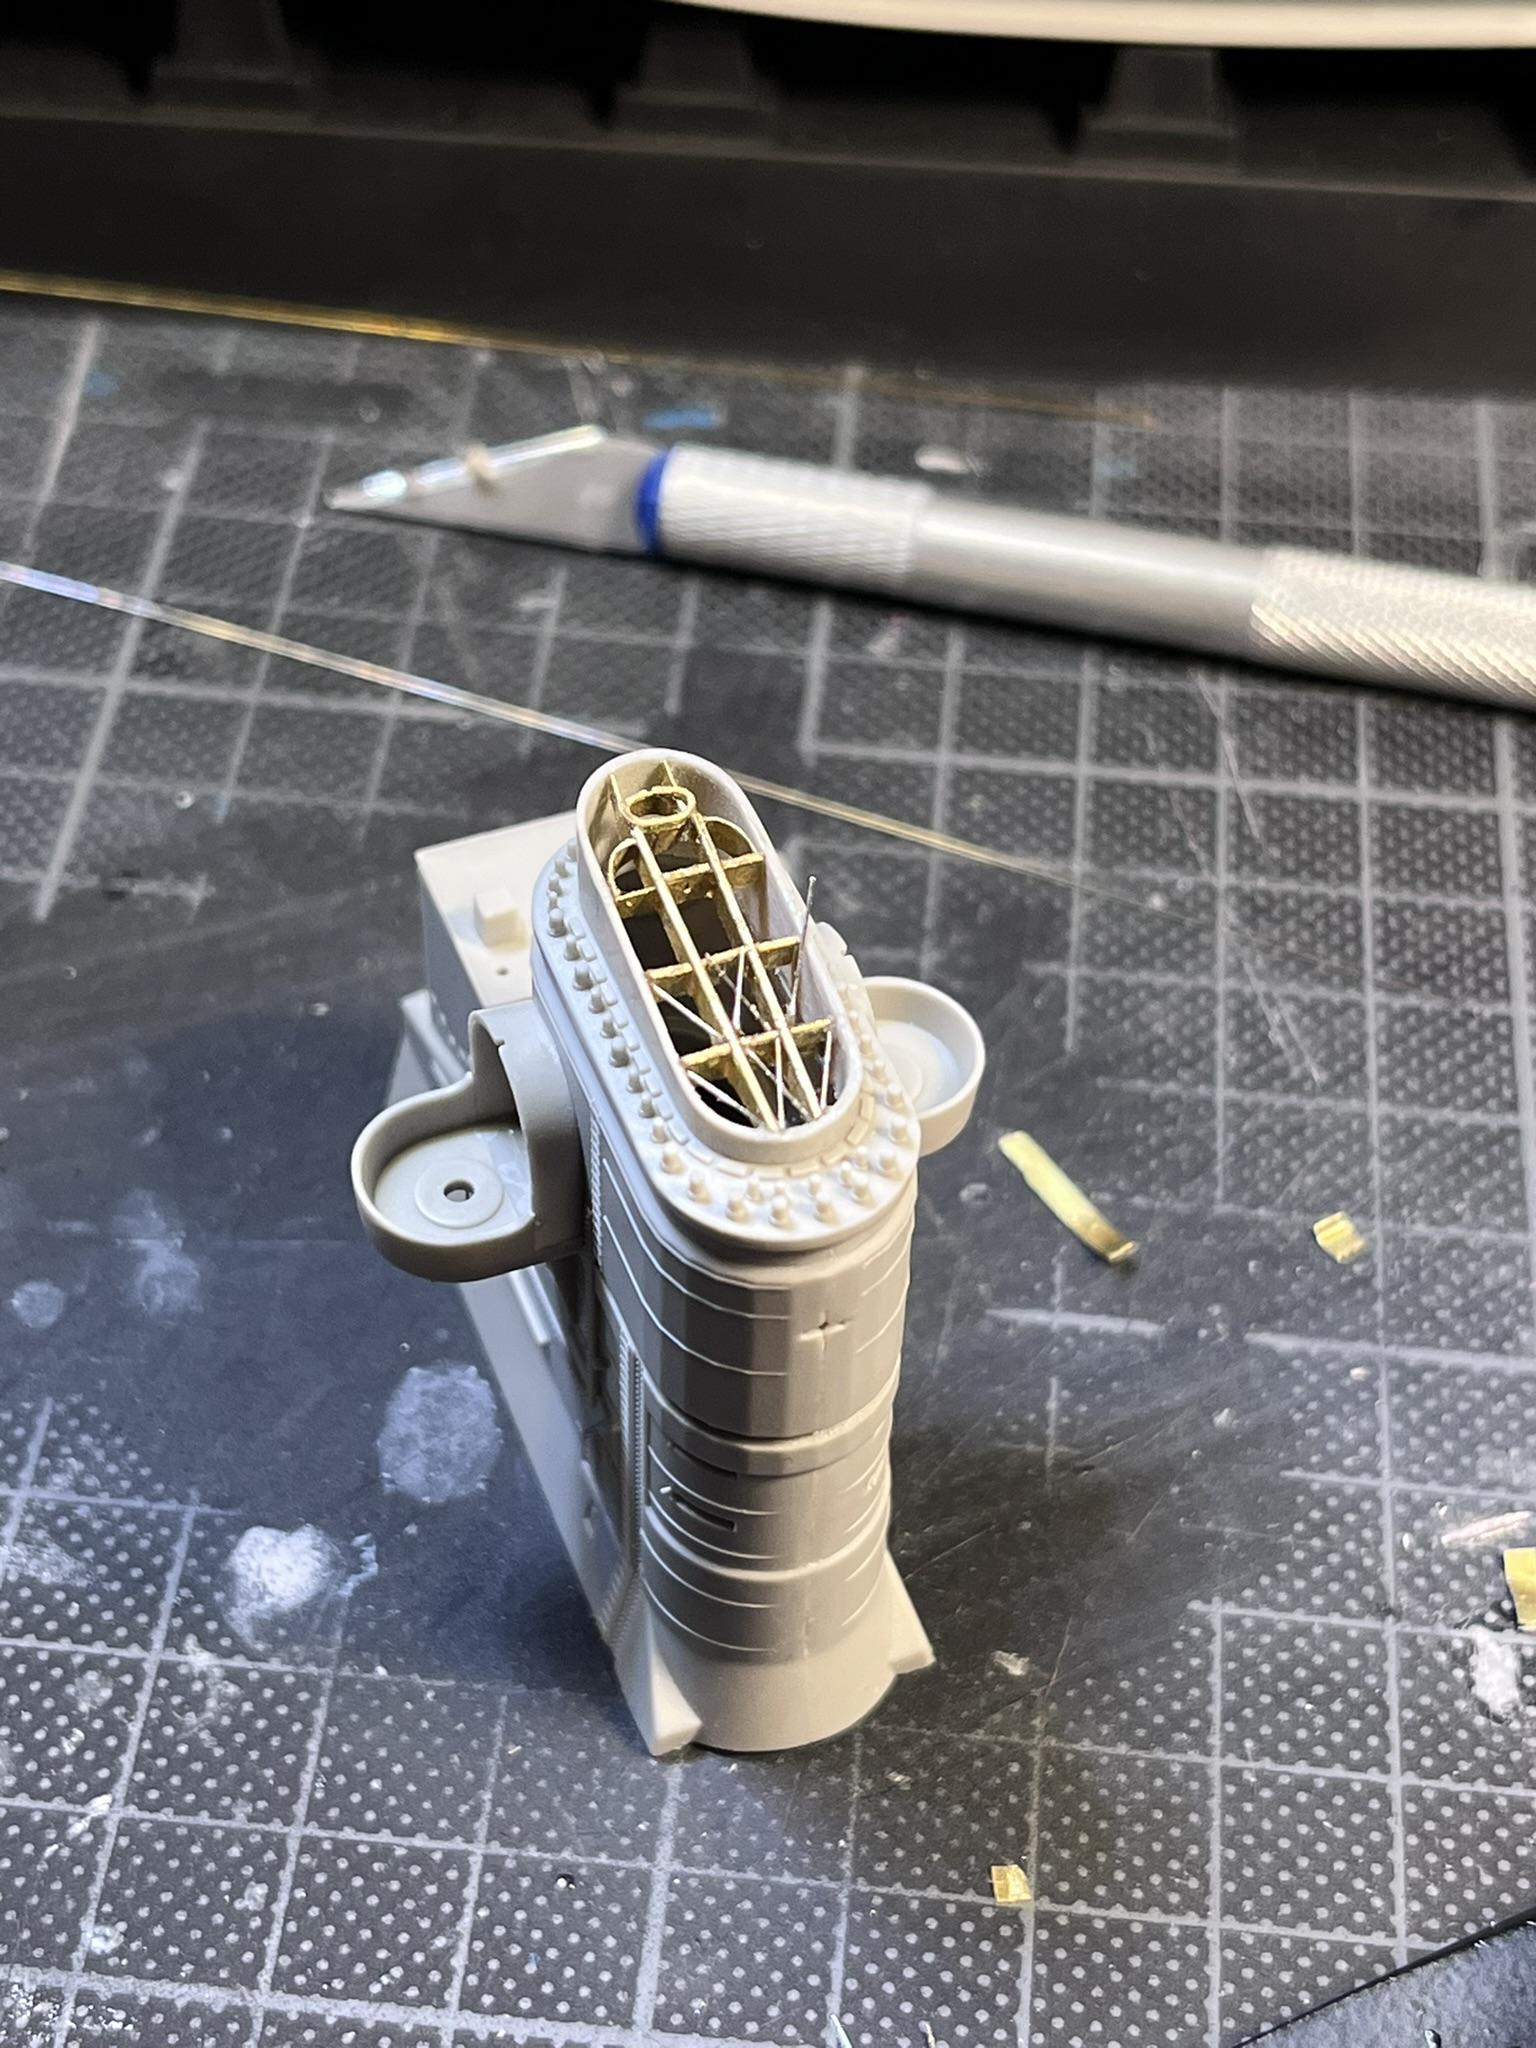
Made some progress the other day. The z and X bracing in the smoke stack have been started.
-
I have this cutter and it works good so far, i just cant figure out how to use it with the angles and support on the right.
-
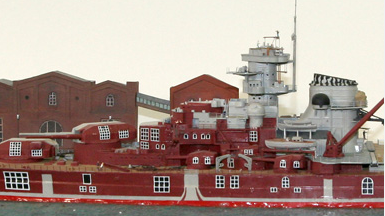
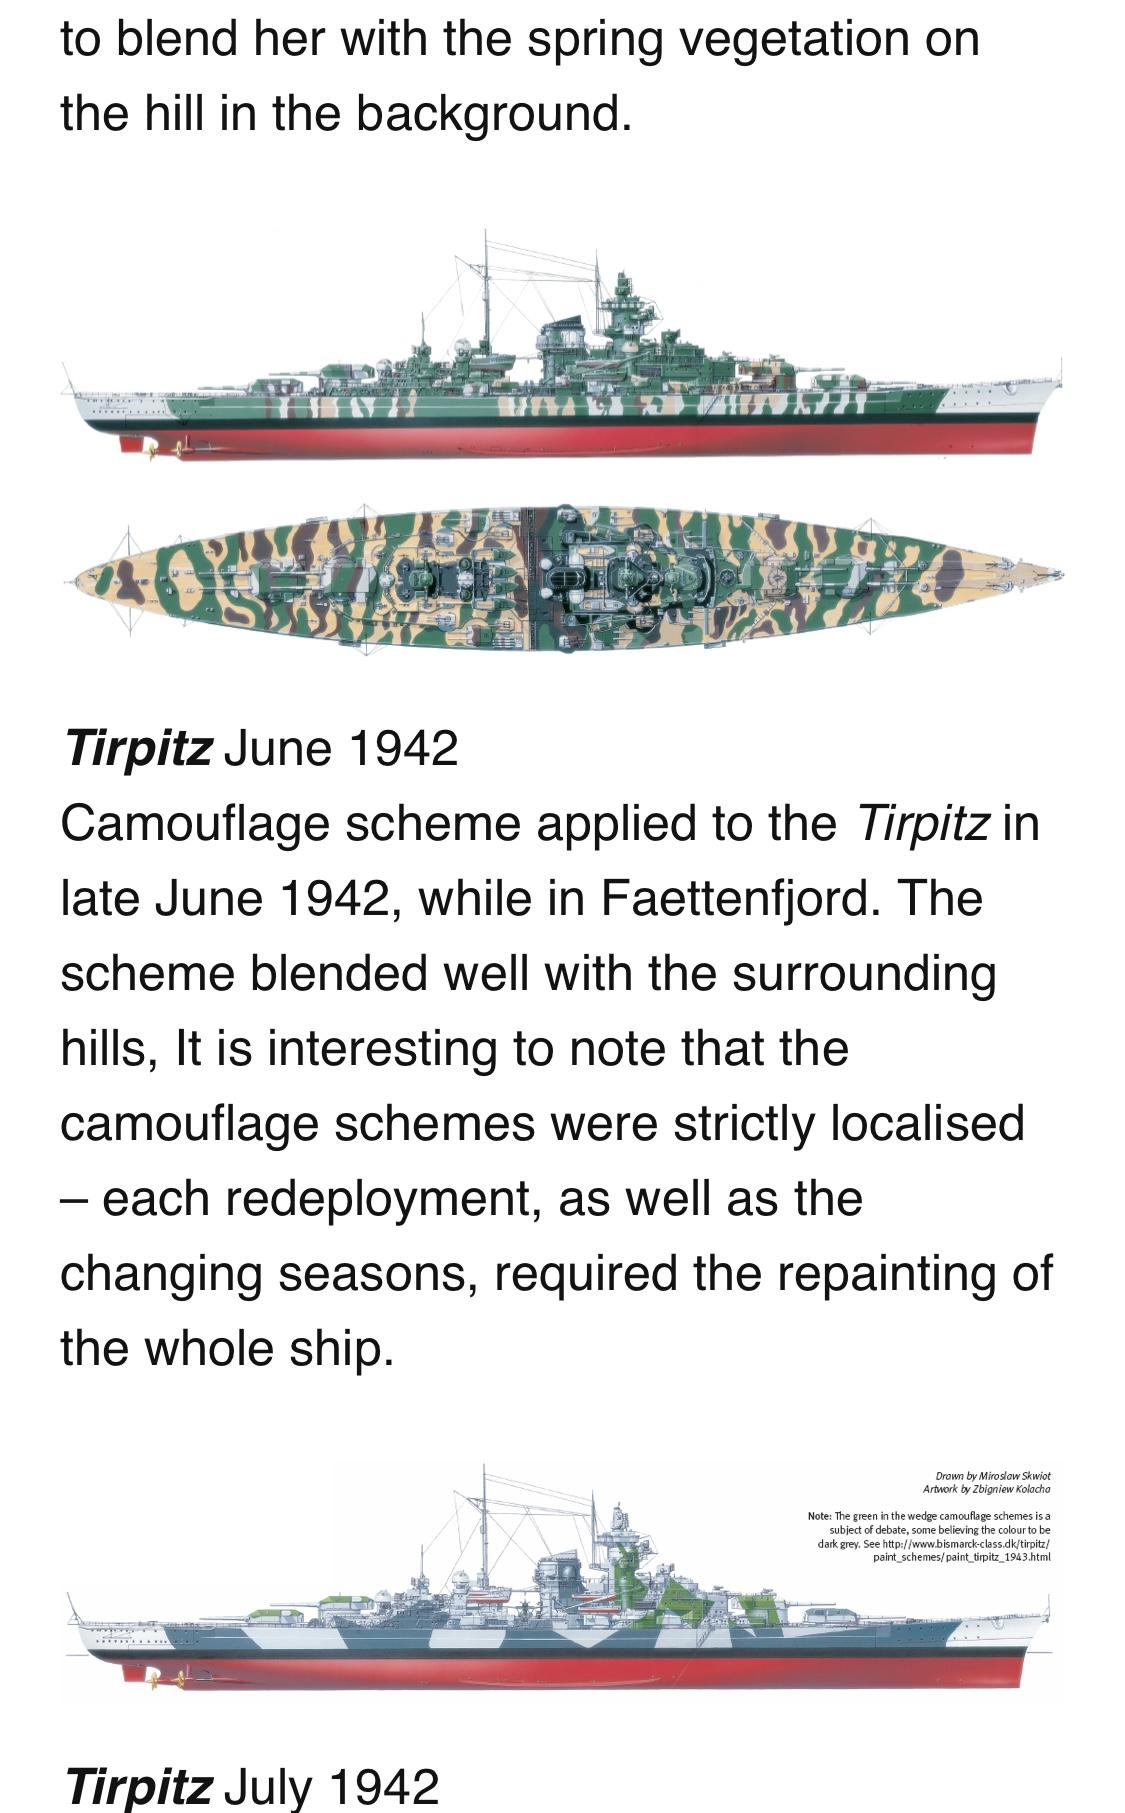
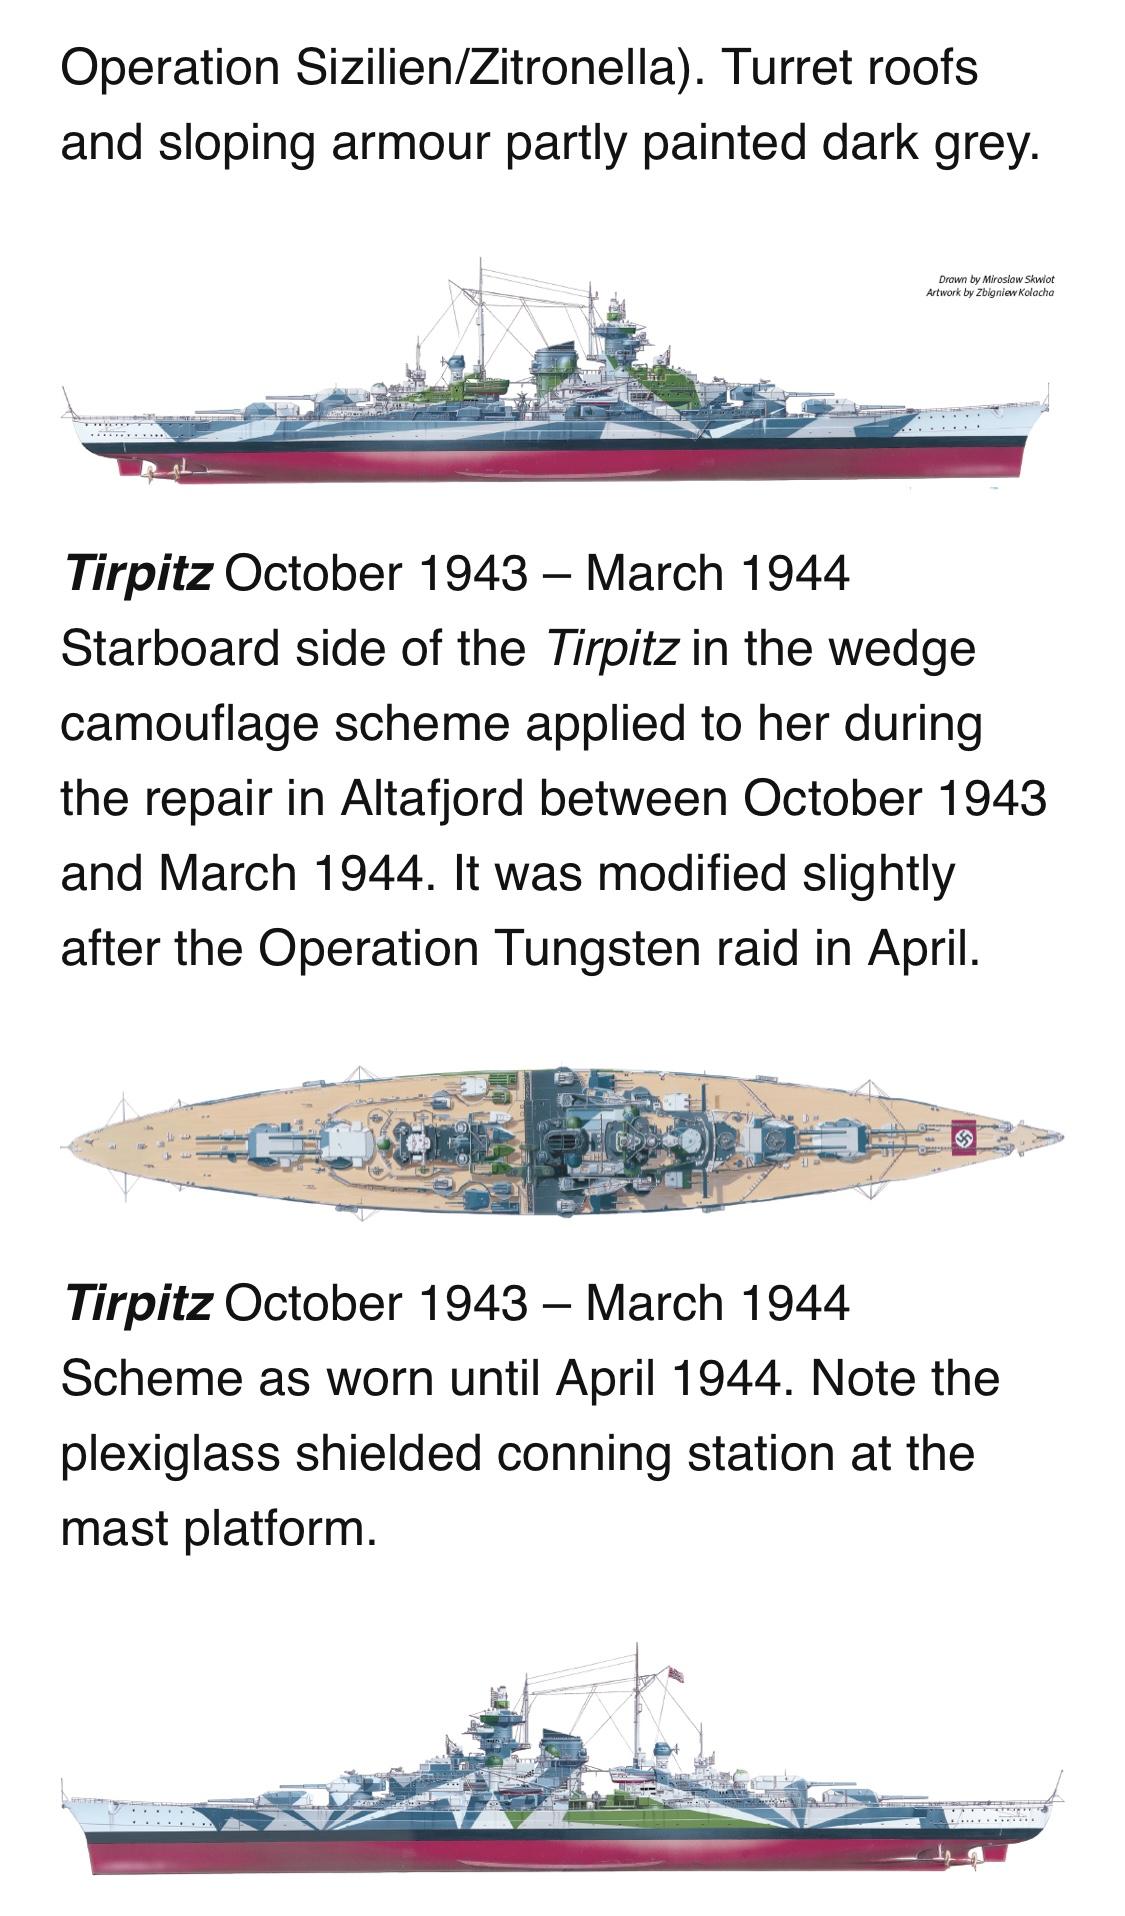
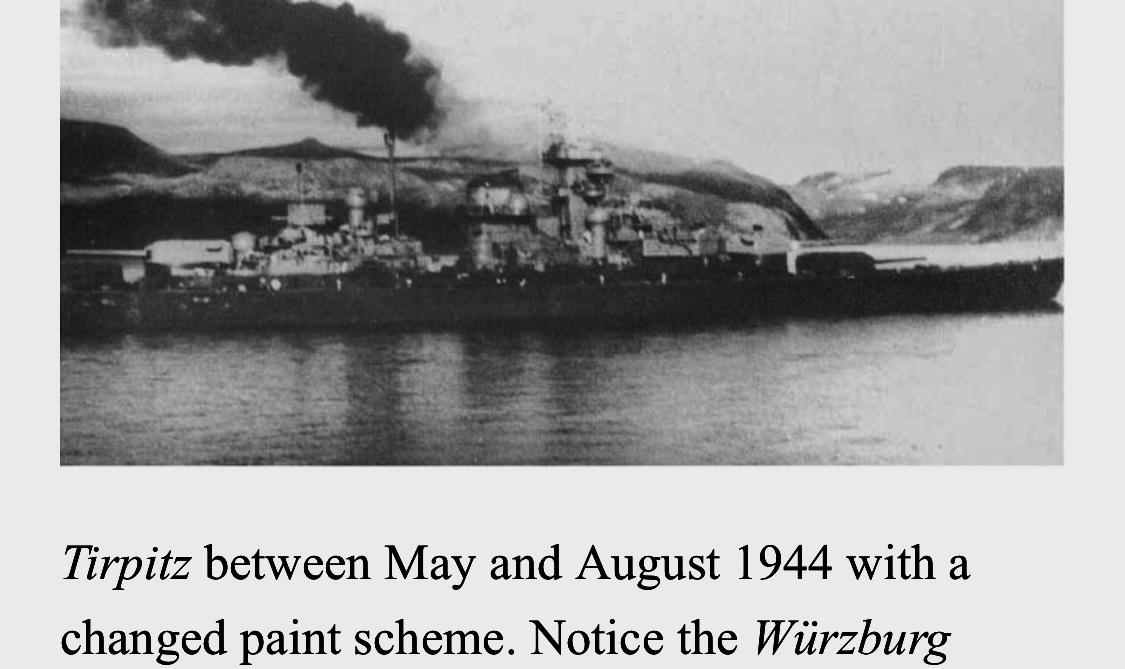
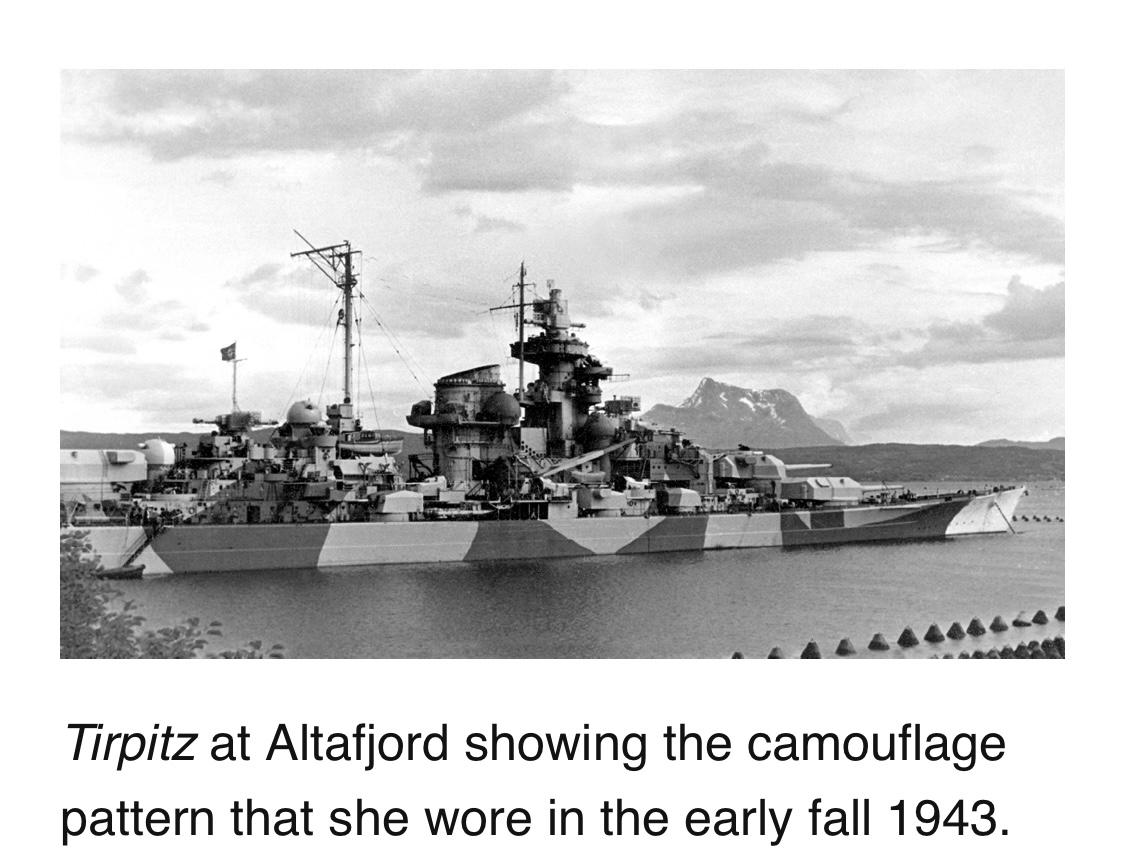
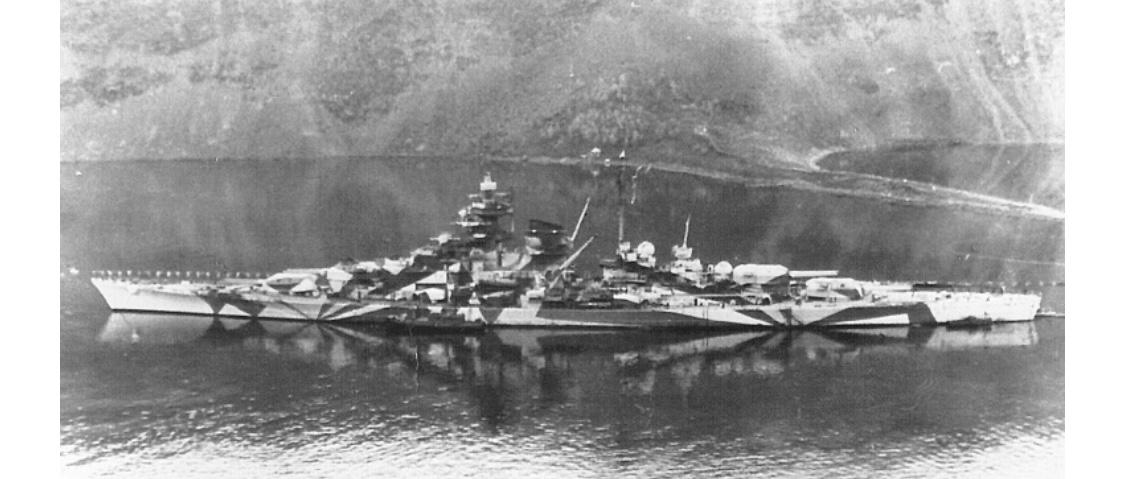
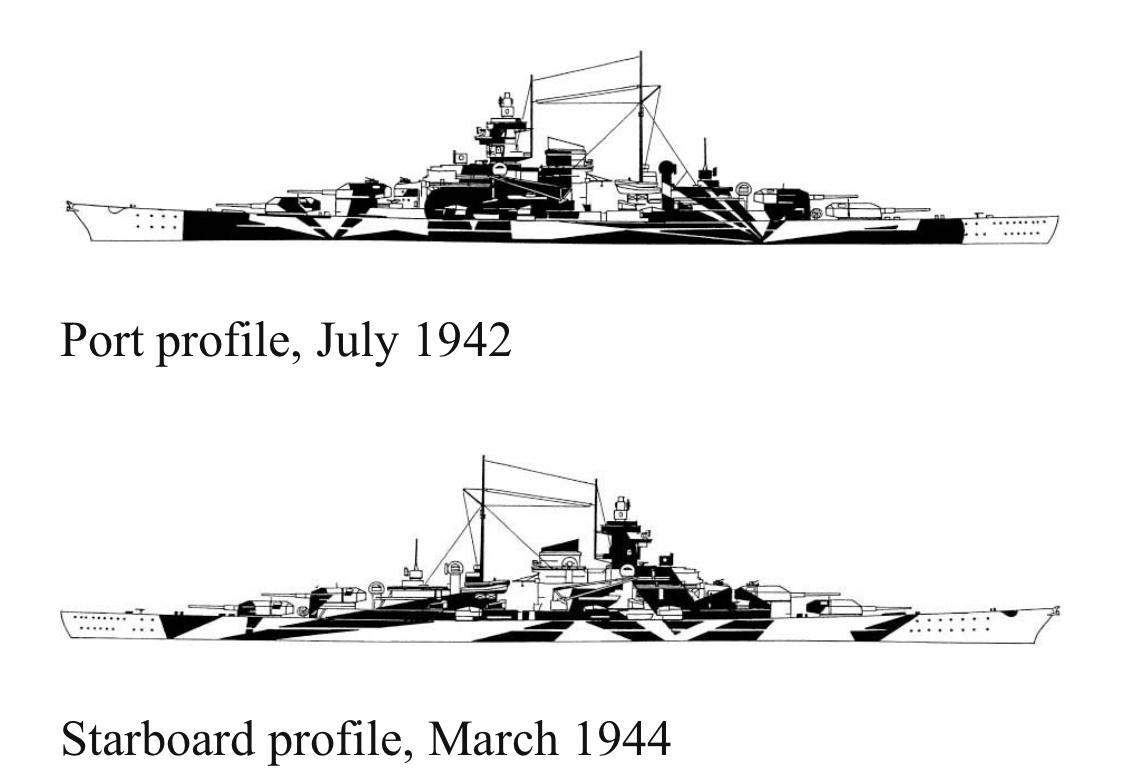
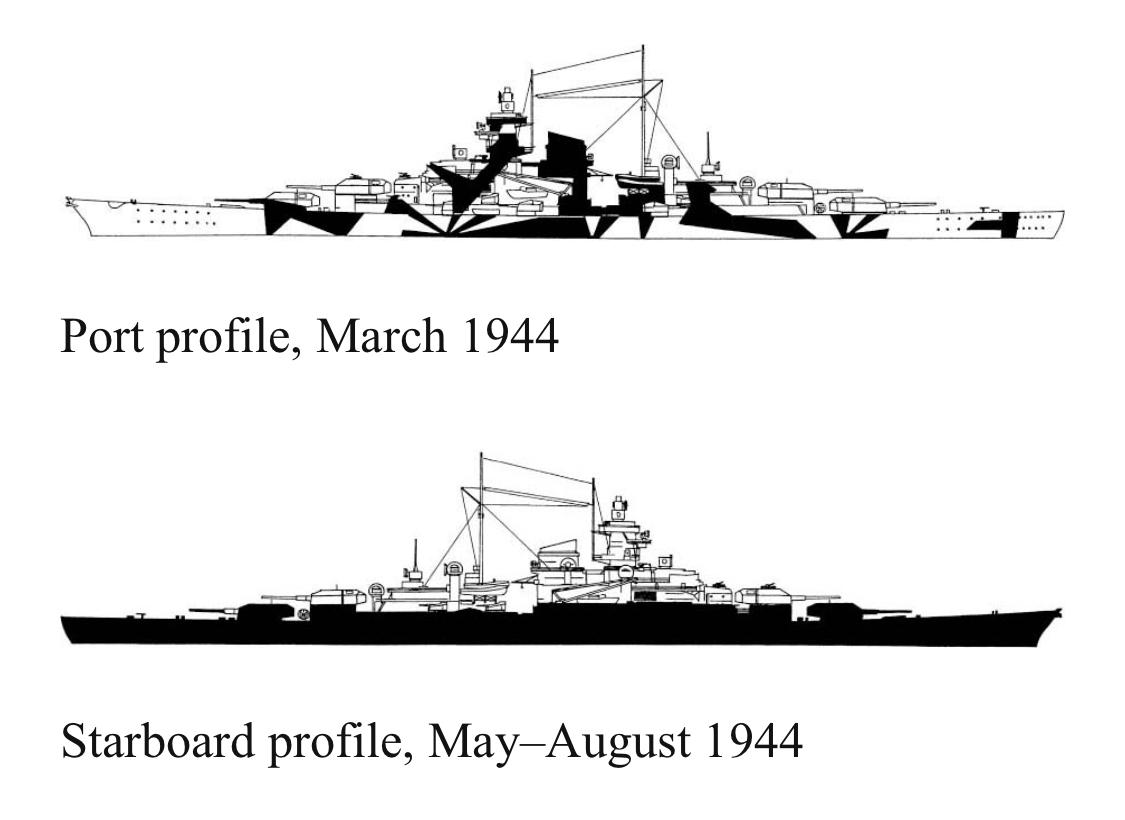
@mustang1989 Yes i guess thats true, and i usaly ease in to it gradualy, start with a bit and end up with looking up many details! And many times I decide to do what I think will look good any how since I build for myself. But then I know the reality. Btw.. i rememberd there being other camoflages.. how about this one: '
-
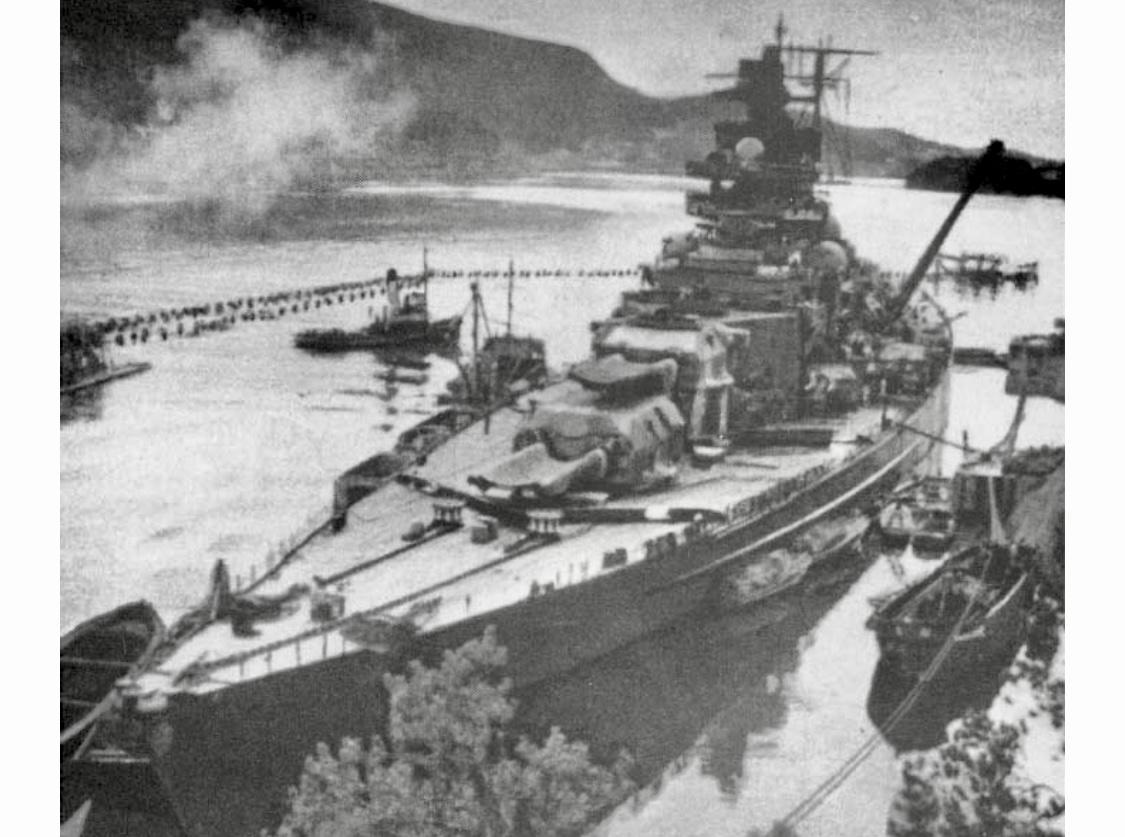
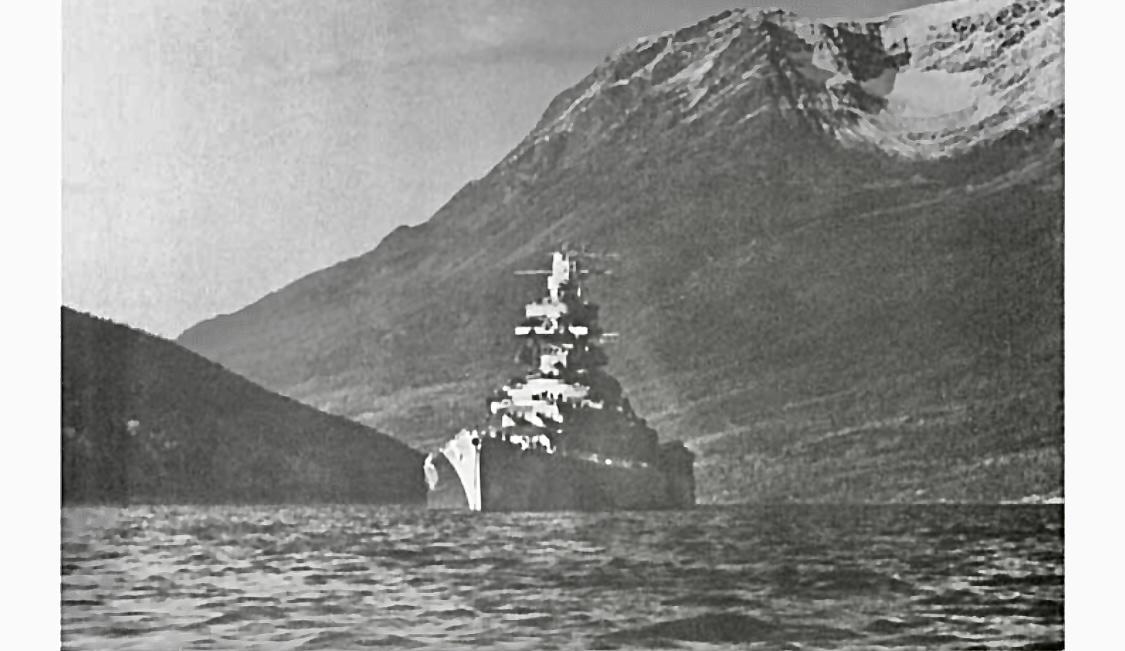
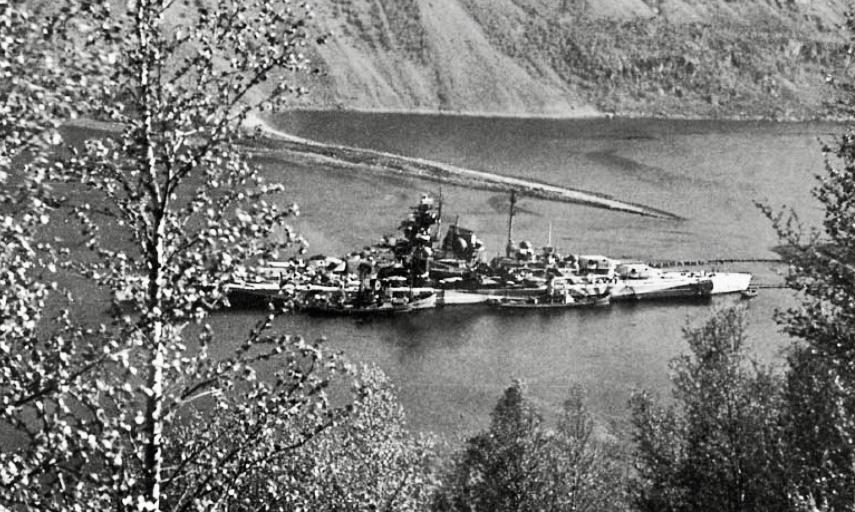
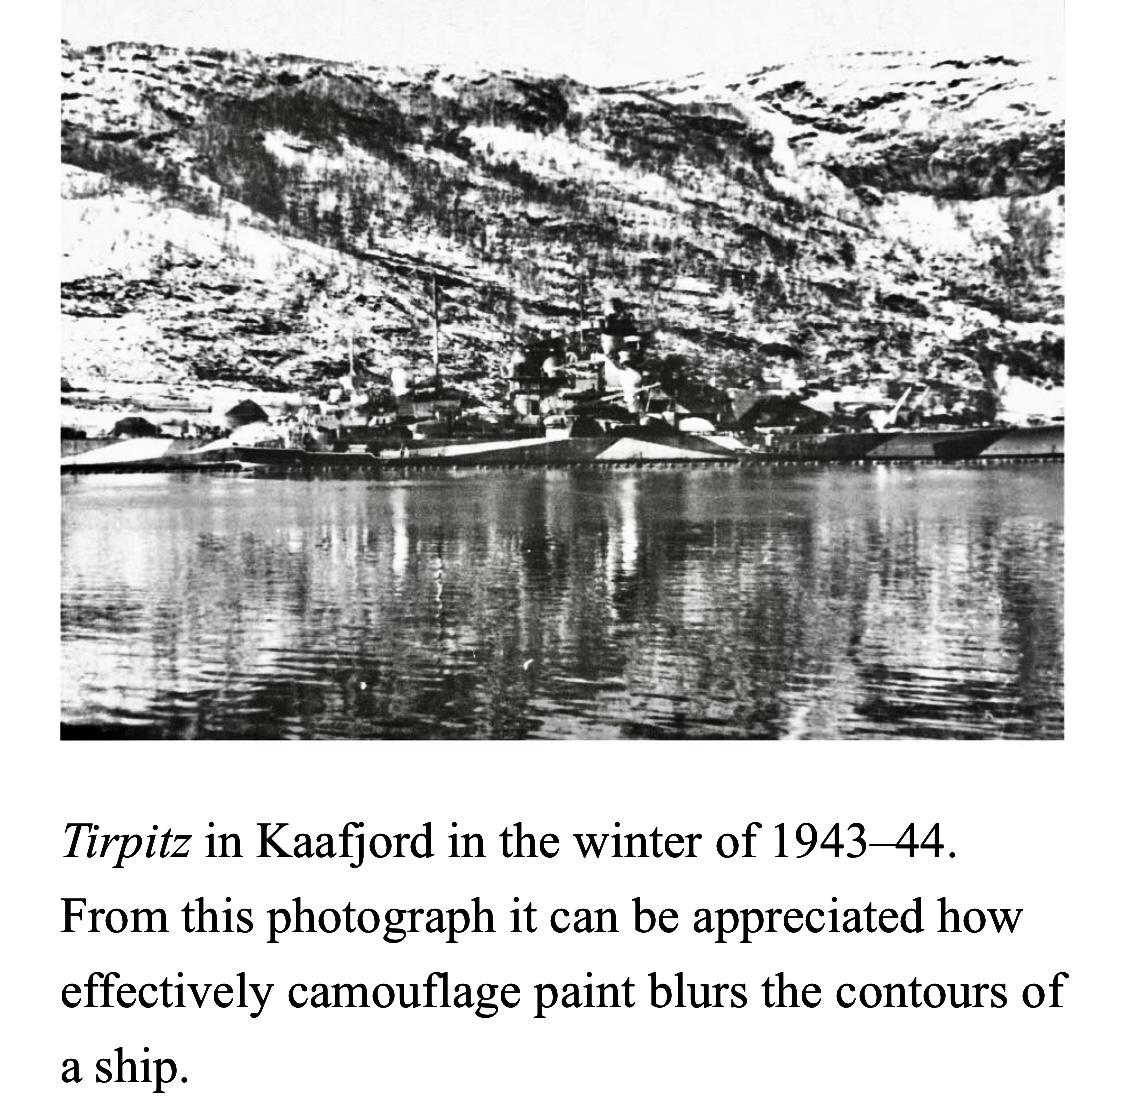
I can imagine, those molds are dated and i guess worn as well! O Tirpitz was repainted often to hide it in its new location. Did not know that they where called as him. You are right on the history there. I even belive it was the Furer that made sure that Tirpitz did't see much action. I havent been diving on Tirpitz but on an other German wreck, this summer a mate and I plan to go to some destroyers to dive on them. I dont have any photos of my own, but I ad in a bunch of others on the camo and som just because they are cool.
-
Right! Thanks ? True that! But i must say comparing pictures i have seen of Revell or Tamiya kits of Tirpitz that Trumpeter have made som great progress, but as you say, lack in som areas. Probobly come down to how you cast your parts as well, the chimney was two piece and most of the front castle is cast as one entire flor which reduces the posibilitys i guess for greater details. An other thing i was thinking off, since there is so few differences between Tirpitz and Bismarck, get those areas right. True that, i am also happy they make them! Thanks! I found a flexible CA when i ordered the doors that suposidbly should be better, and so far it gives me some wigle room untill it sets and then its not as hard as other CA which makes it some what flexible. And then its down to using tooth picks that i sharpen and fine pliers And the smal tool for bending PE that i got also helps out when i screw up to straighten them the pieces in the funnel have been straightened several times haha. I was thinking to make a camo that it had when it was in Narvik but it was there several times so I dont know which one yet.. will see if i find some that i like more, it wont be OB I think at least.
-
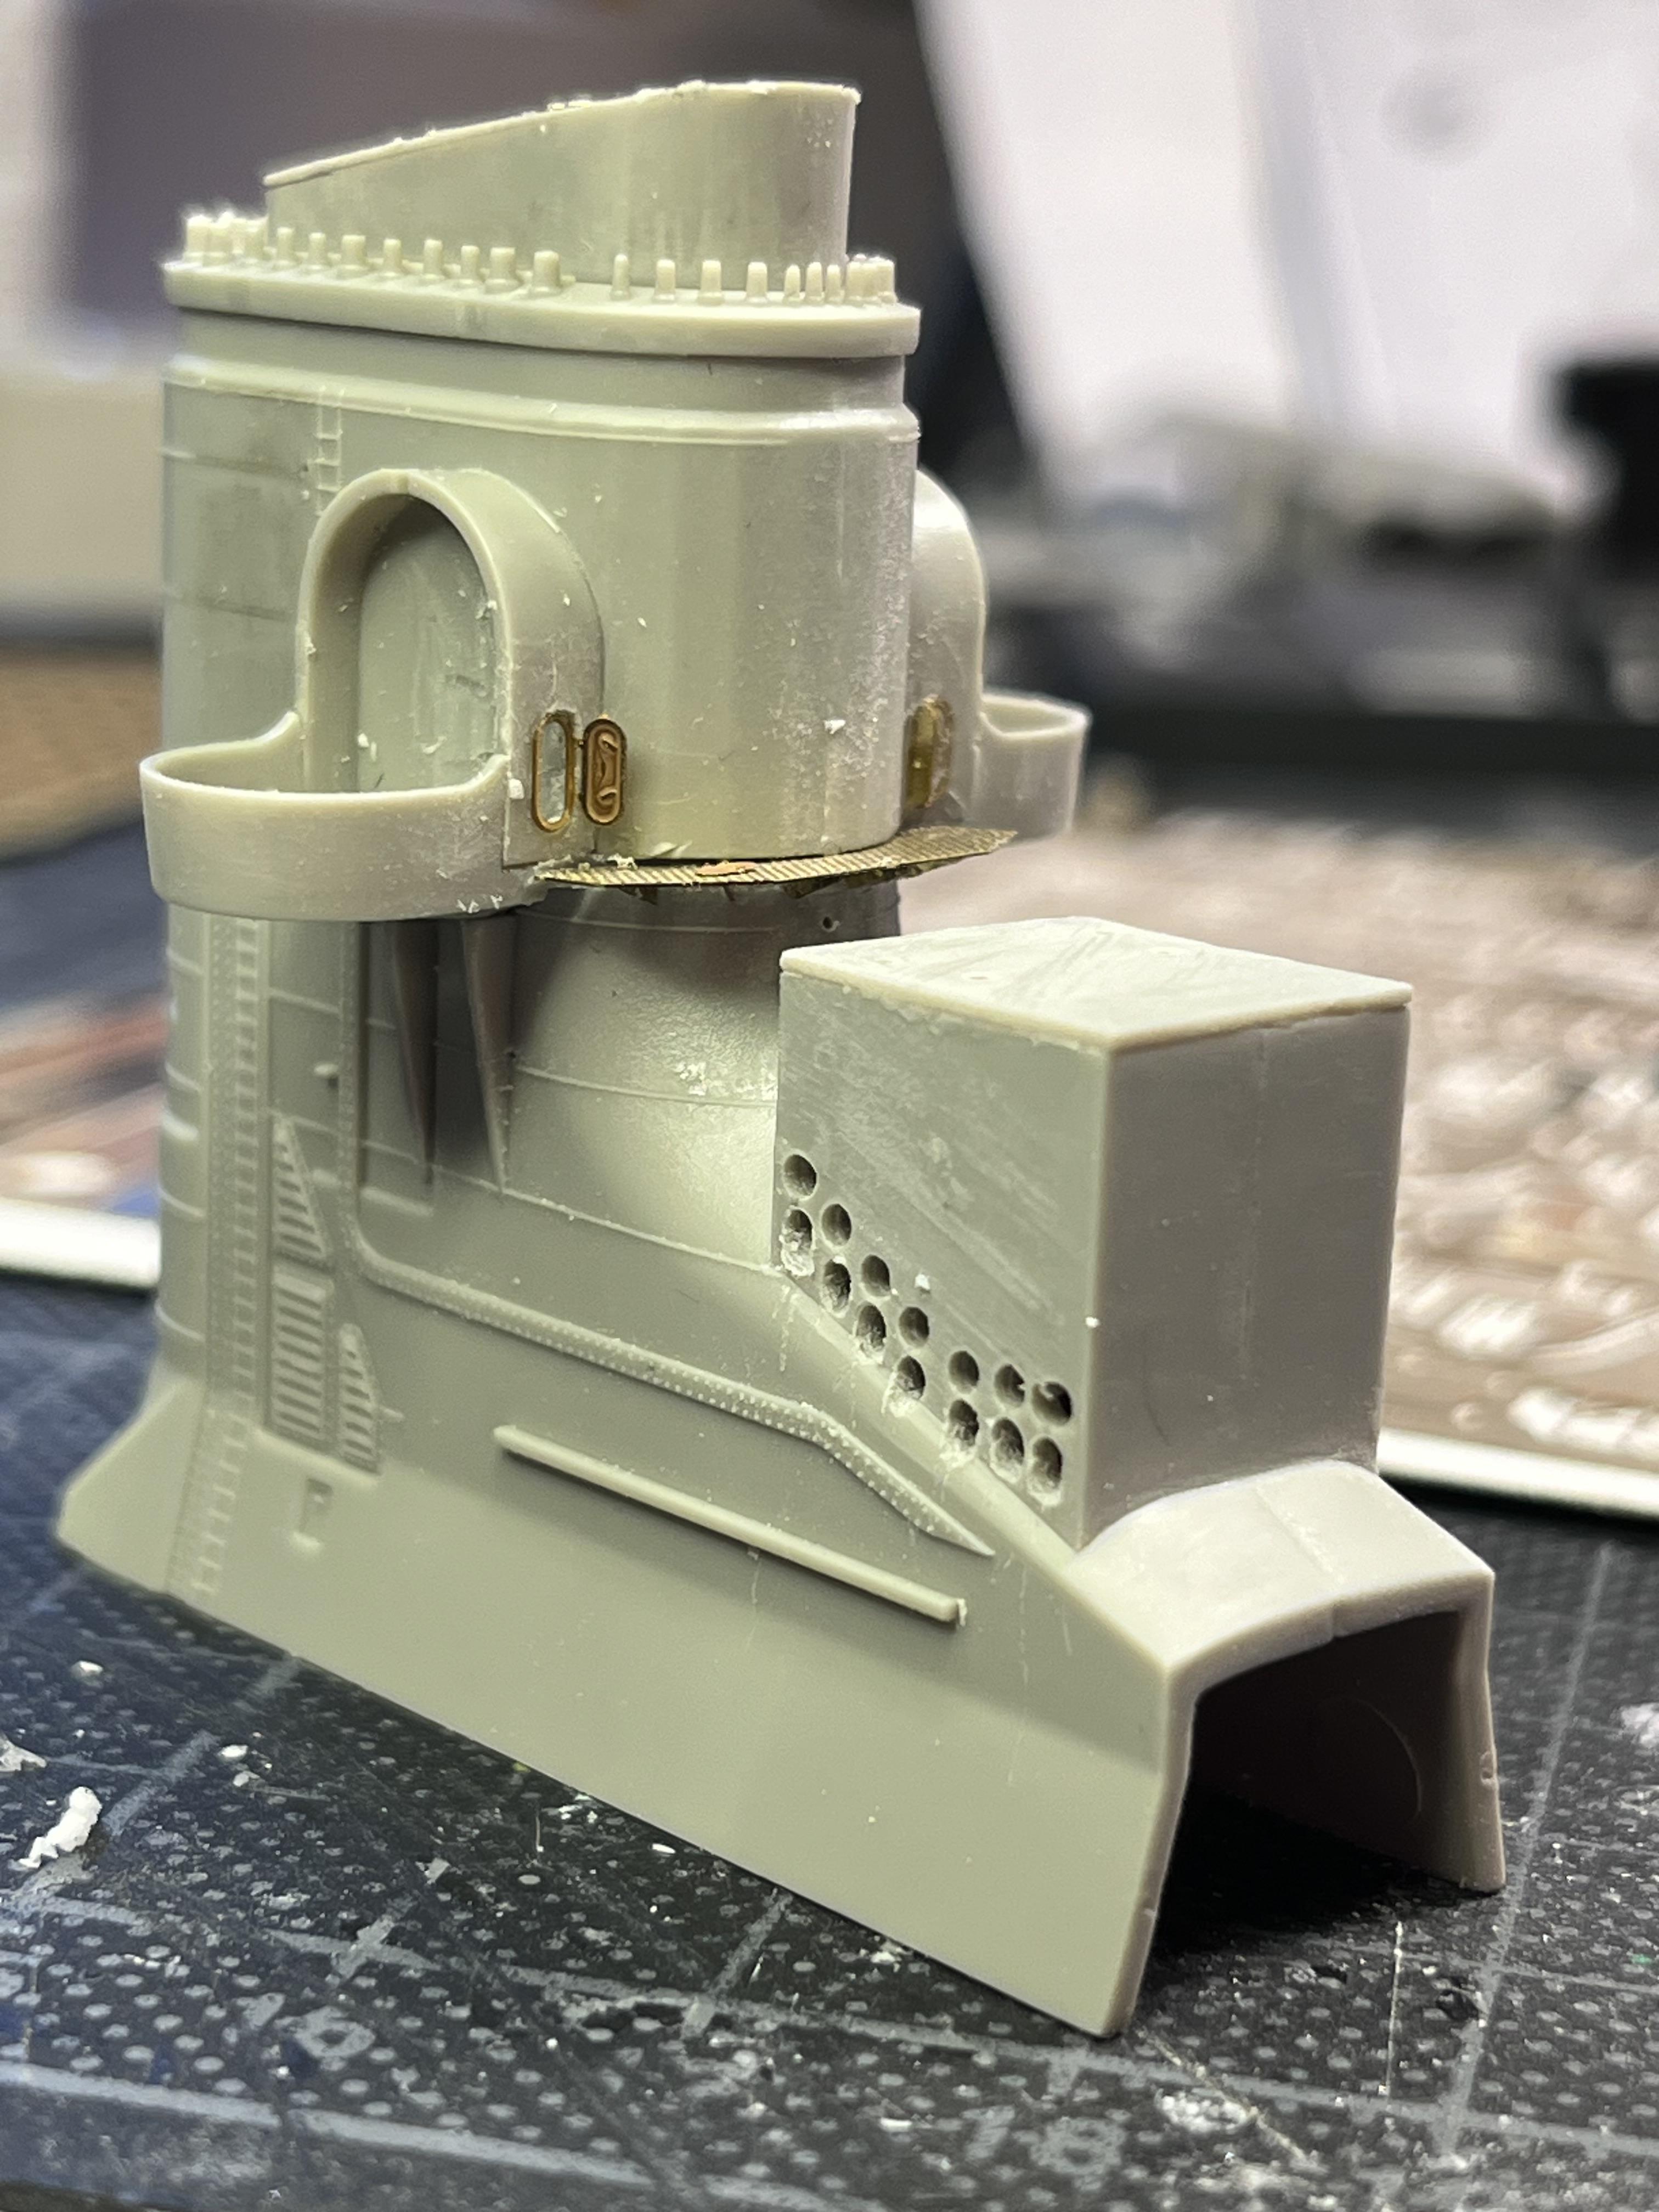
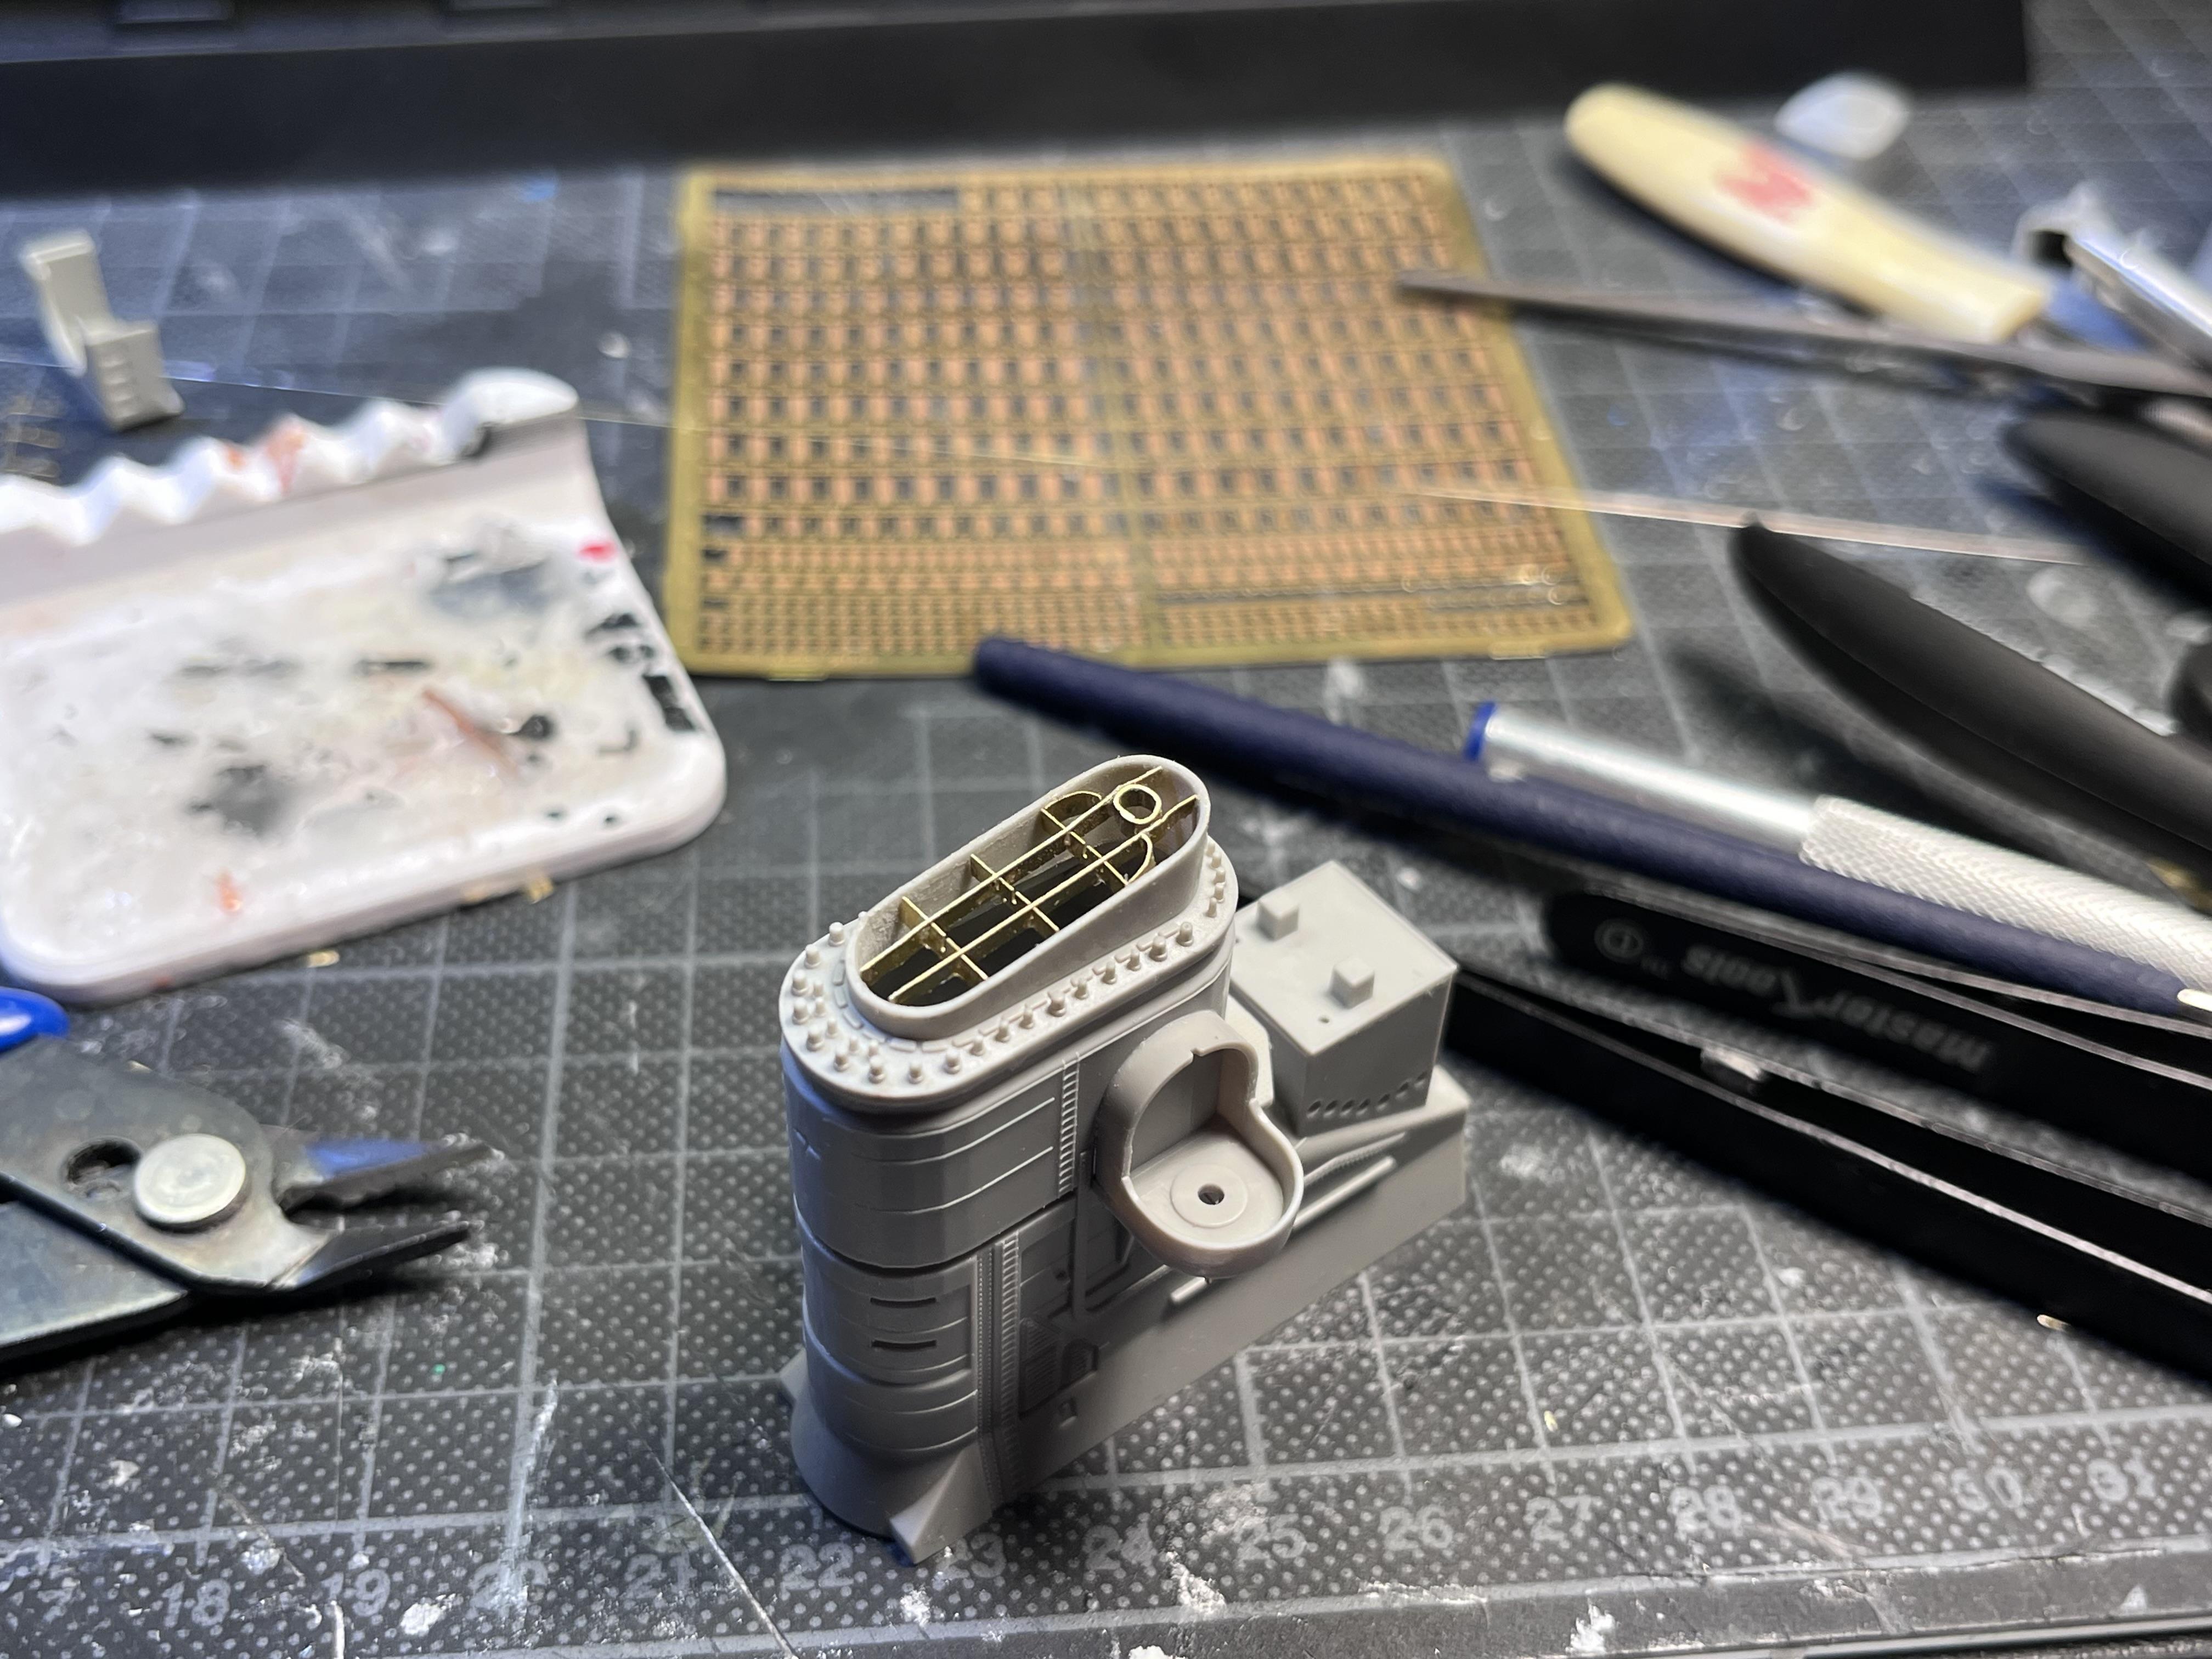
@mustang1989 I could not agree more! I enjoy that part as well! here is a start on the new funnel. It’s close enough for me shape vise.
-
Uppdatera: JUN Supra tribute build
Mattilacken replied to Mattilacken's topic in Other Racing: Road Racing, Salt Flat Racers
It’s two a4 just joined together with tape. It works, tried to print a A3 later but messed it up and forgot about it haha -
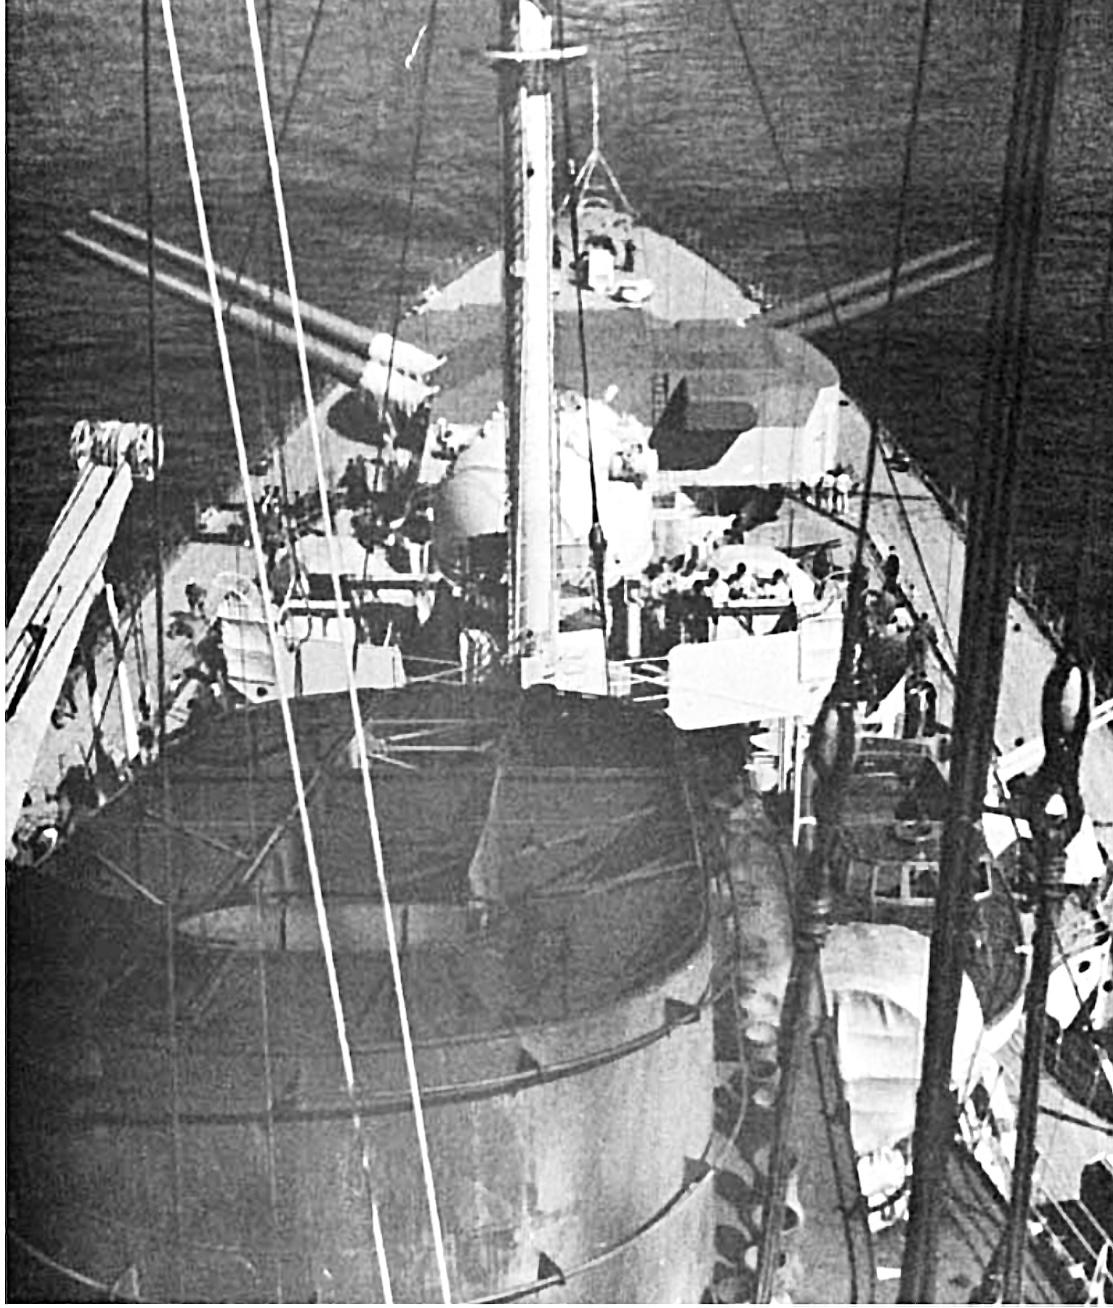
Thanks! And i put in an order for more PÉ today since I realized that the bridge wings are those of Bismarck and not the lightweight version of Tirpitz. I also saw that the model is inaccurate in some other bits like the funnel. So I will remove the work from yesterday and scratch build these parts. Se my nice reference photo that I found and enhanced. Photos from the book “ Battleship of the Bismarck class”
-
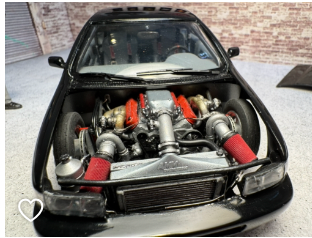
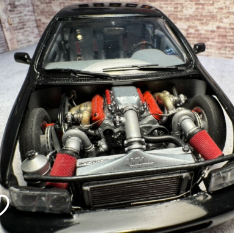
Nice build!! I realy like this era ships and especialy the big ones. Never the less that these never existed but they are way cool! I have started Tirpits from Trumpeter over in the WIP section and some parts are tiny! I would like to do a what if as well, what if these where built in the 70's or even 80's. Upgrade everything onboard with modern wepons exept for the big guns and ad other types of fuel, nuclear for example. That would be a cool build! And It would look way different on the superstructure. My thought being like mixing it with this one:
.jpg.db6914c8949d2be4e953e664c88dd6ce.jpg)