Steve H
-
Posts
2,535 -
Joined
-
Last visited
Content Type
Profiles
Forums
Events
Gallery
Everything posted by Steve H
-
Beautiful build Tom, and I love that Tamiya blue. I need to step up and buy one of these, expensive and hard to find, but they are great looking old cars. Cheers, Steve
-
Hi Roger. Really enjoyed the WIP on this one. Sorry I’m a little late to the party here, but she turned out beautiful. You put a ton of work into the body alone, you have a very good eye for detail sir! I’m also a huge fan of pro street, and GM cars, so this one is a home run for me. Keep ‘‘em coming! I plan on doing something similar with the ‘64 some time soon-ish… Cheers, Steve
-
Another beauty Luke! That paint is killer, and the wheels are beautifully done. Cheers, Steve
-
Hi Sam. I love everything about this build. The stance, colour, and that engine… spectacular. Very nice build, thanks for sharing. Cheers, Steve
-
What a cool wagon! Very nicely done, and that colour is gorgeous on it. I love big ‘ol wagons… Cheers, Steve
-
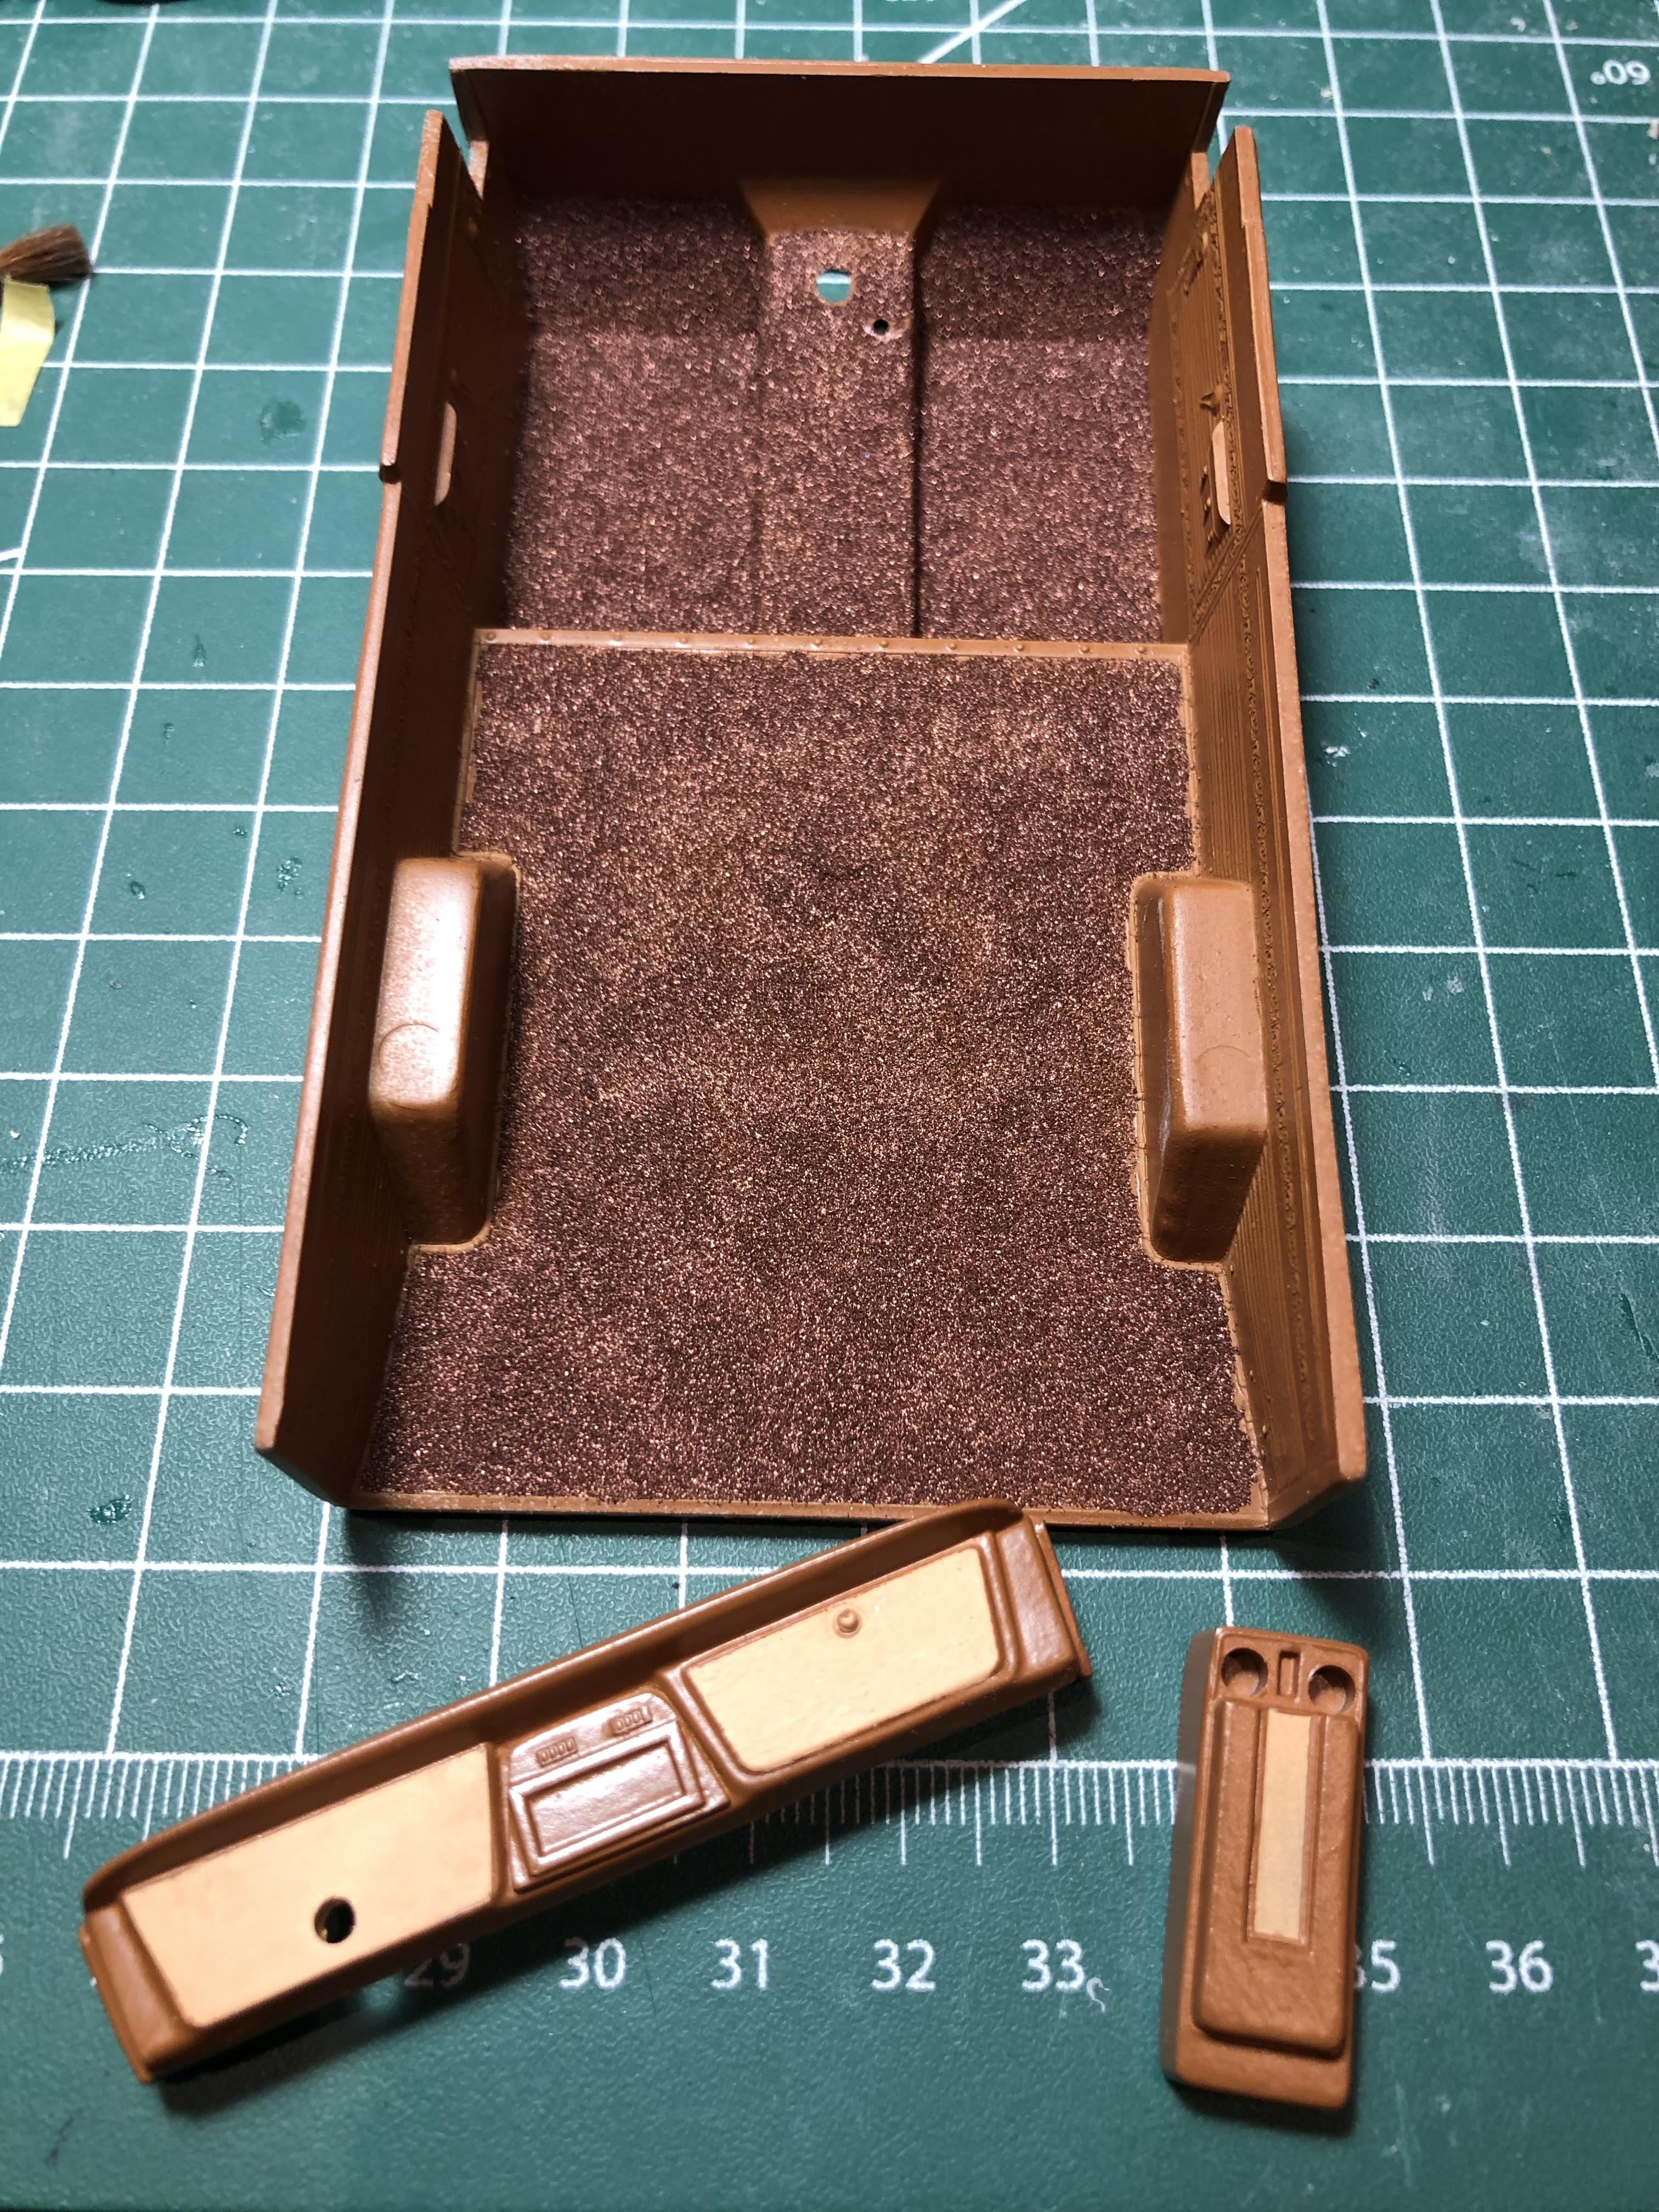
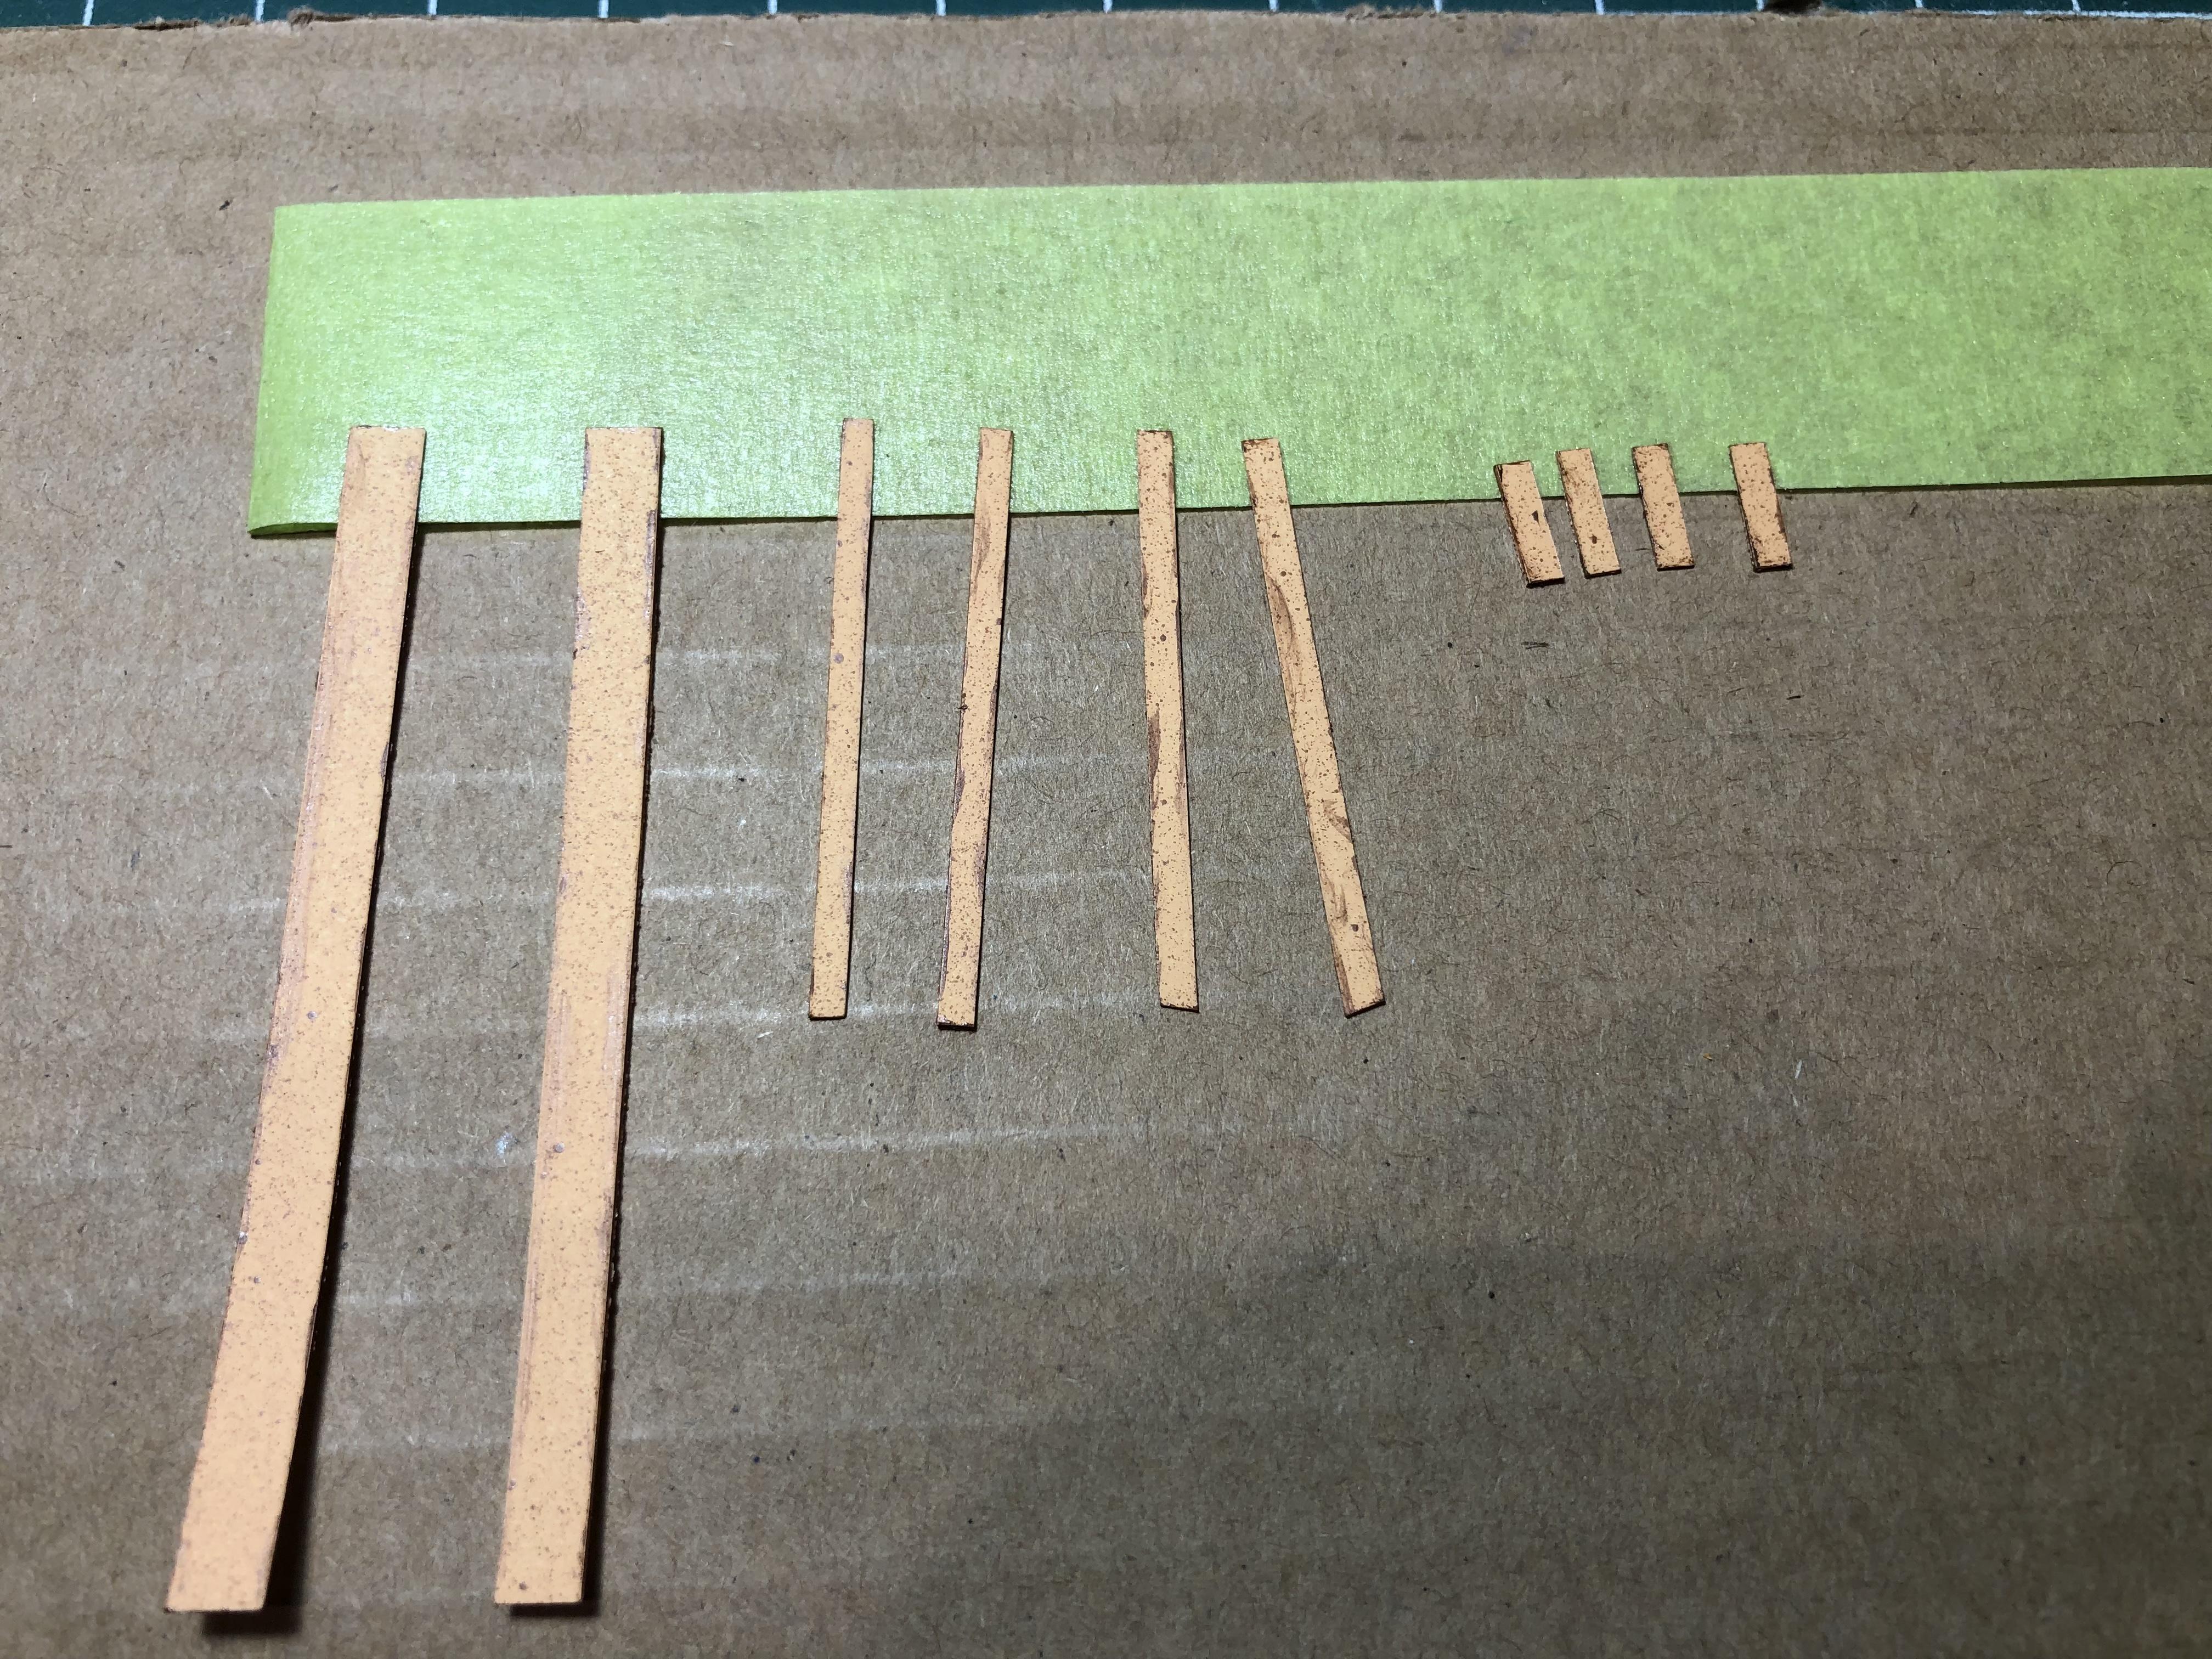
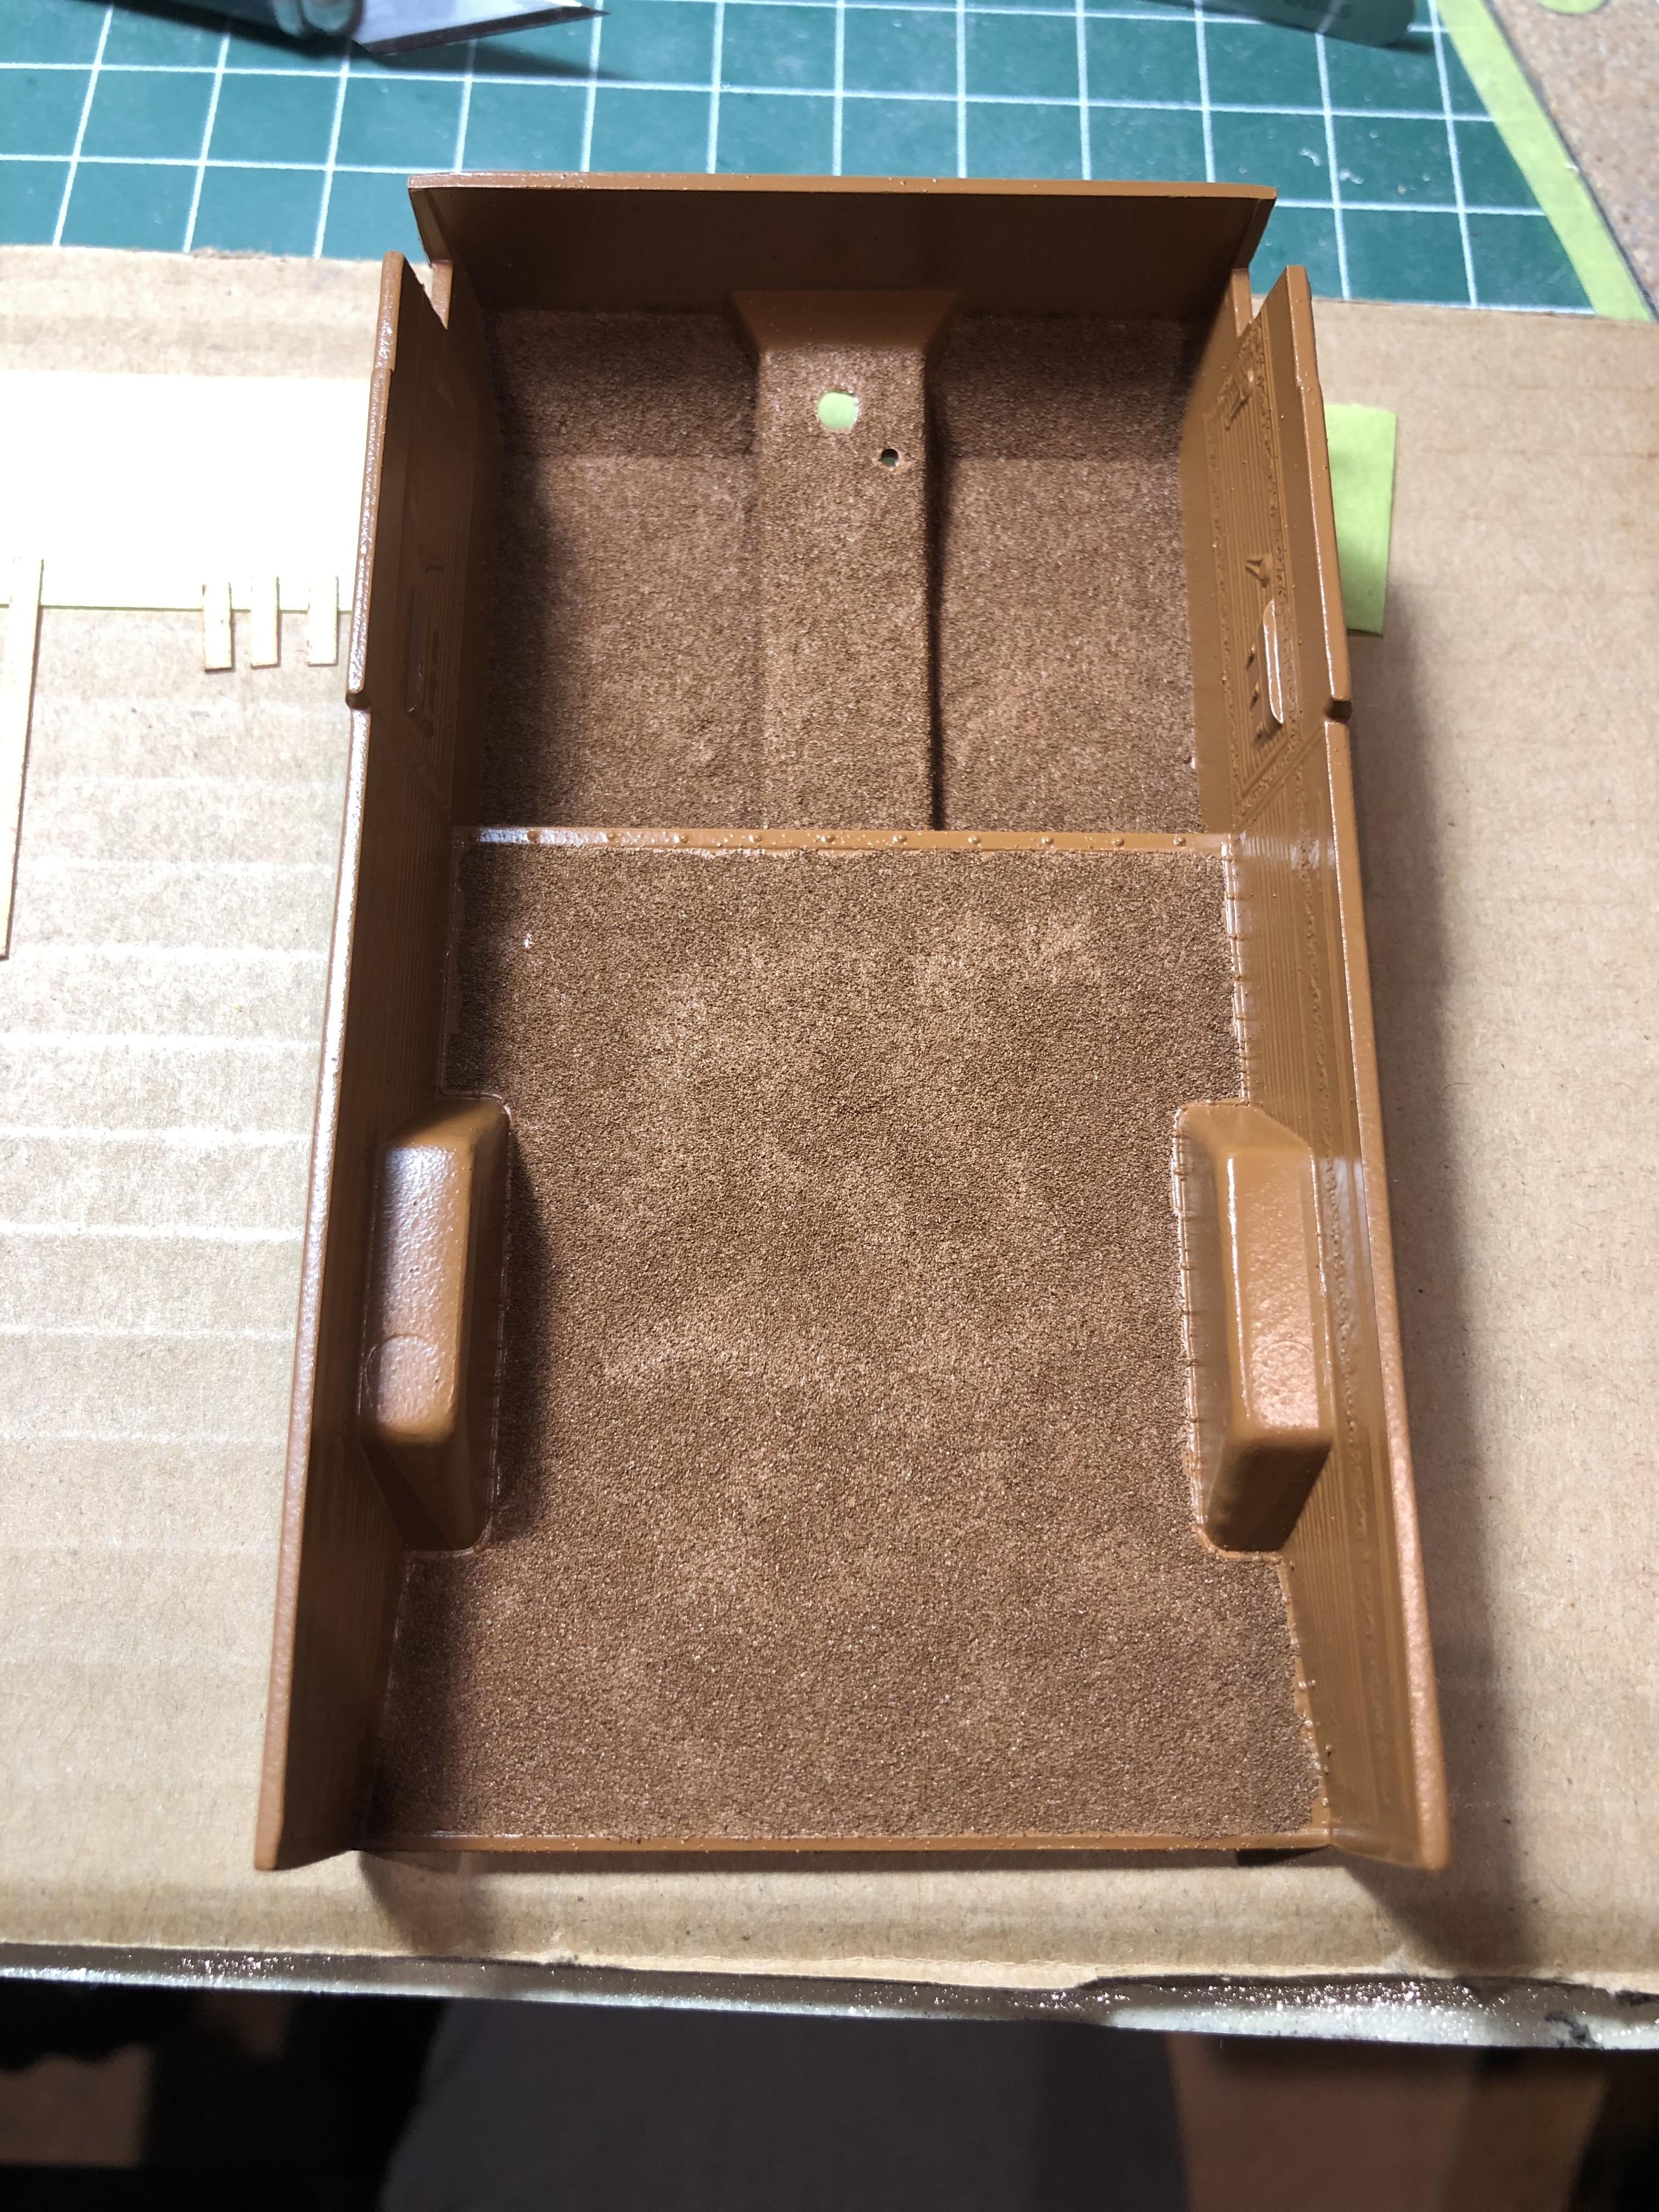
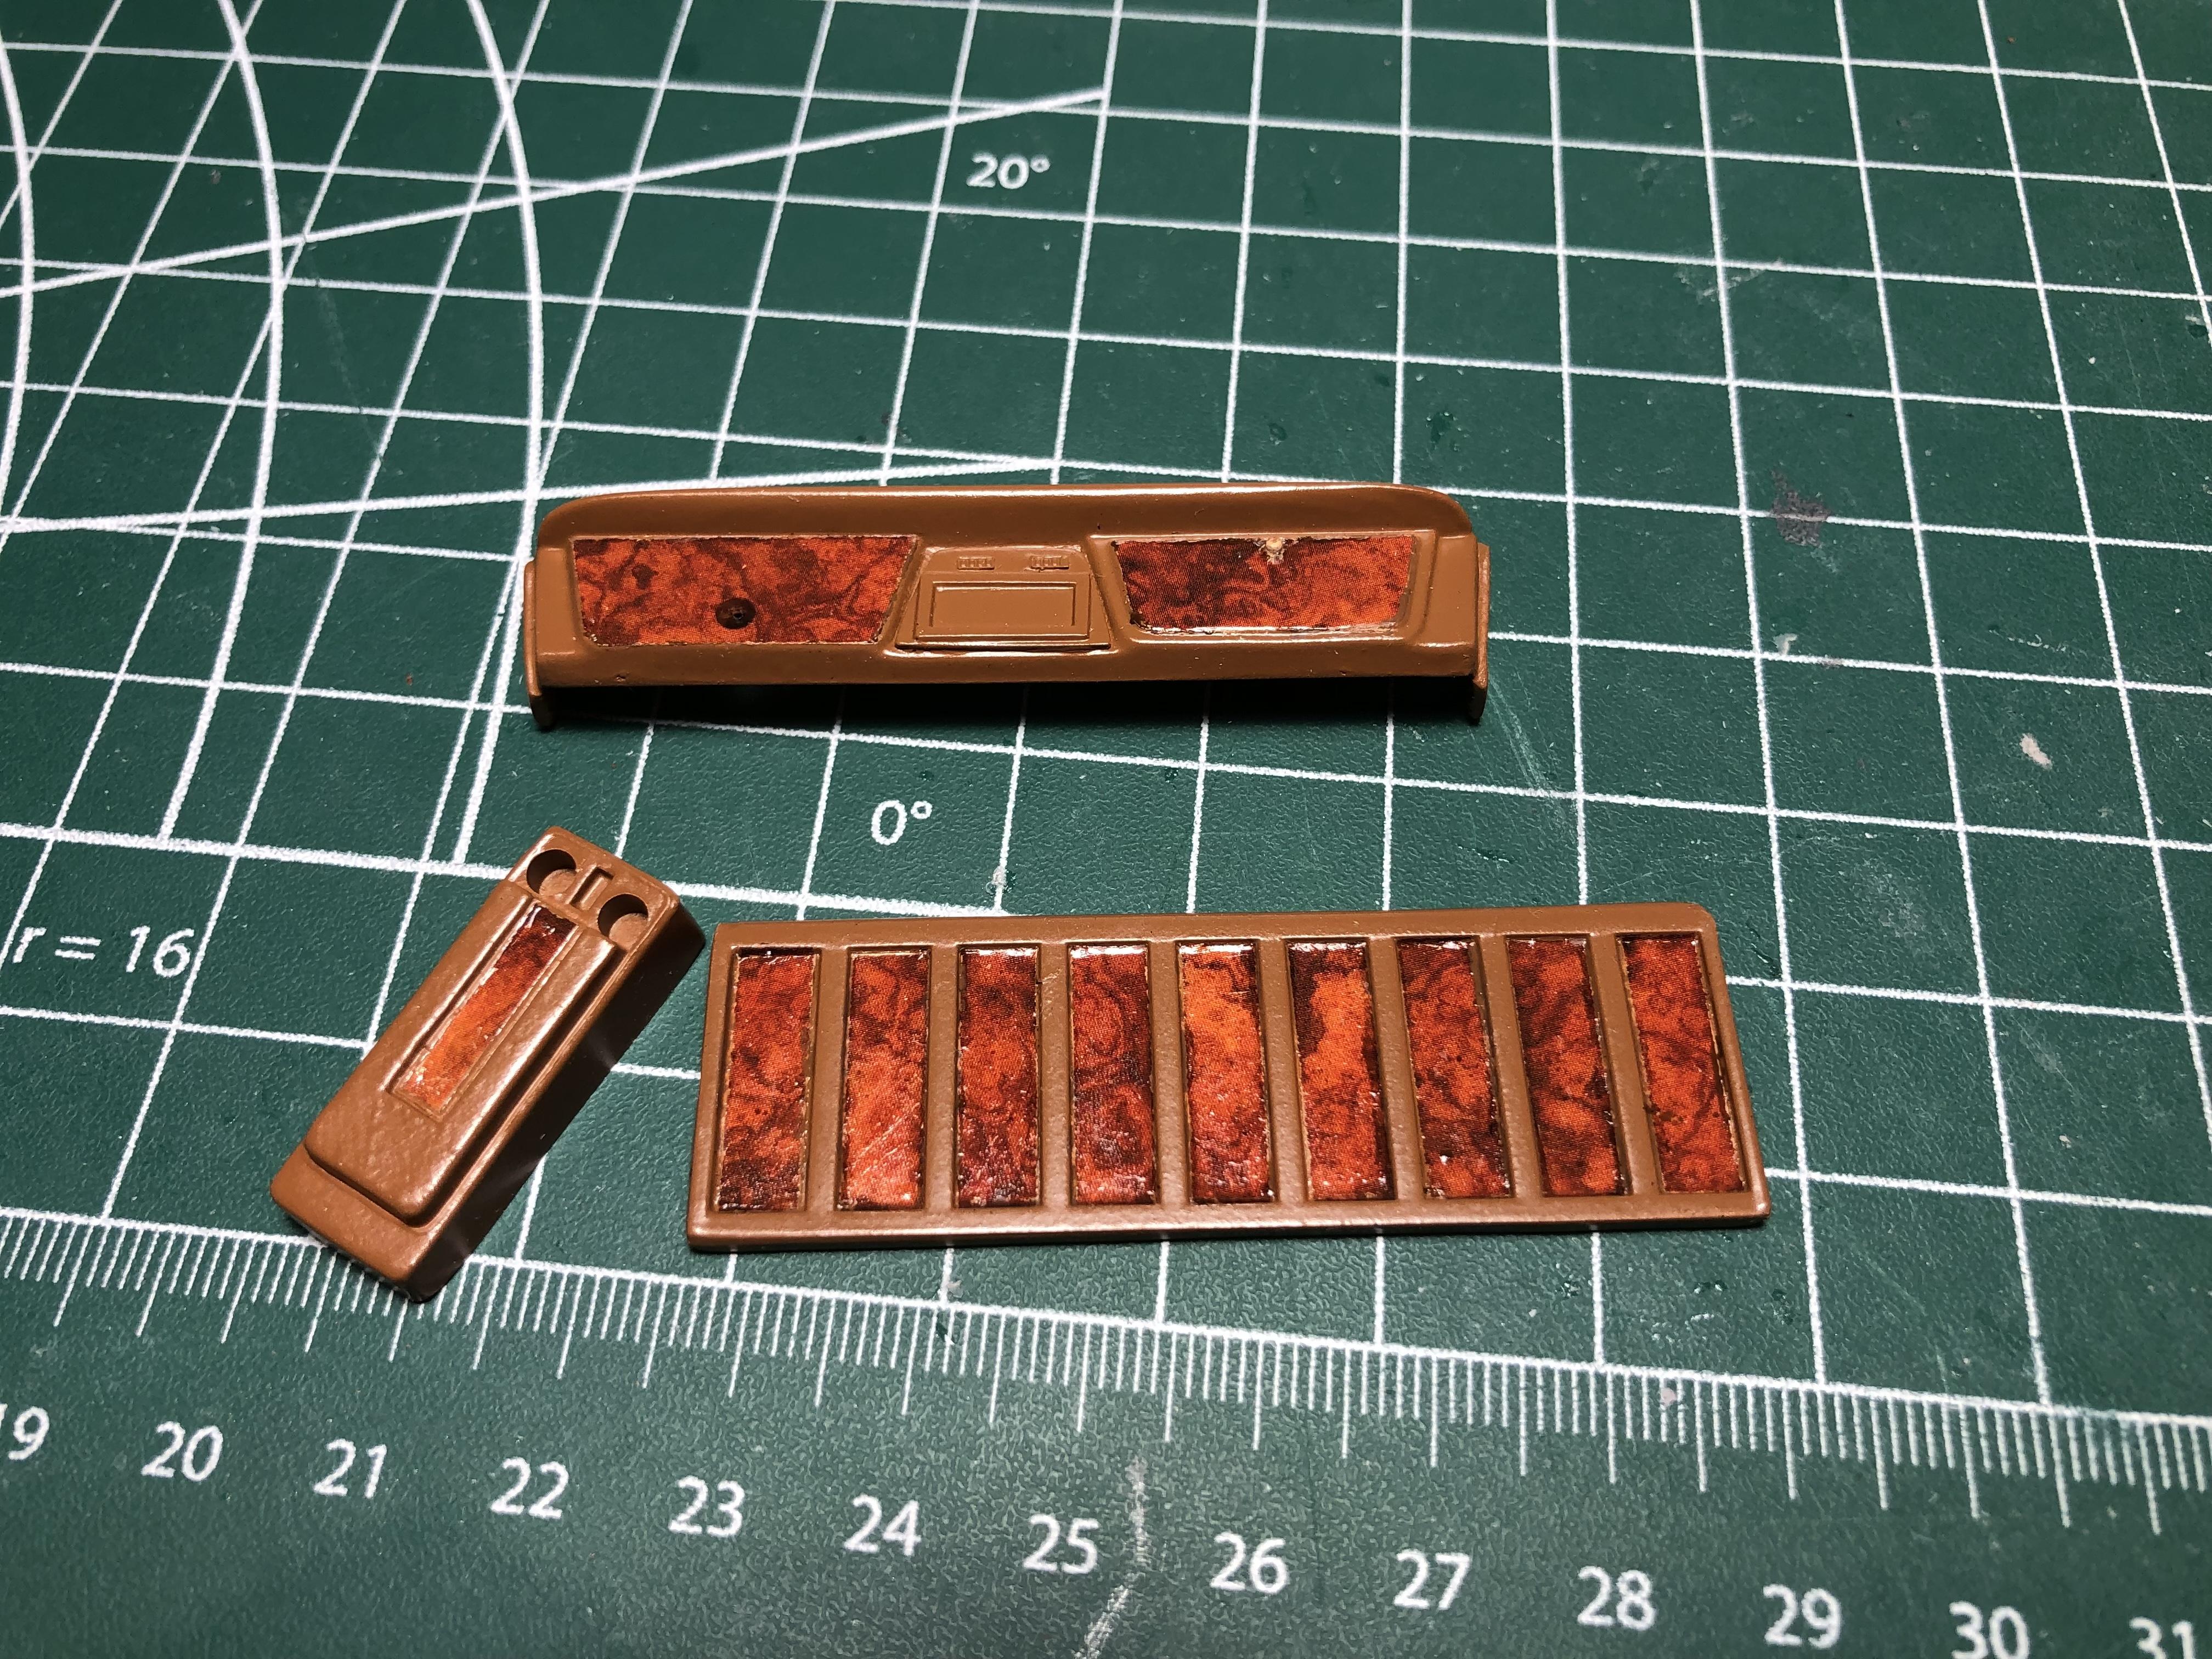
 I’m now very motivated to finish this build up. I’ve got my next project mapped out in my head, so time to get this one built! The interior is mostly painted (in “warm caramel”) but not assembled yet. I added a dark embossing powder fr carpet, then hit that with a couple of light coats of caramel. The result I was hoping for was a slightly darker carpet colour, which seems to have worked ok. My original idea was to have some wood grain in the interior. A few years back I got some very nice decals from Uschi (spelling might be off there…) I’ve used them once on my Caddy hearse. The decals require a light base colour as they are very thin and quite transparent. I cut some thin styrene and based it with Tamiya “flesh” then a mist of caramel spatter, some of which will add a bit of additional character to the decals. The edges were brush painted a darker colour to blend between the “wood” and interior colour. No need to be too fussy as you can see… Here’s the decals applied to the dash, console, and inside of tailgate… The “wood” got some Tamiya clear brushed on to gloss it up. The other pieces will be added to the door panels and in the back. The goal was a custom look, we’ll see how it all looks once complete. Gauges will be from MCG. Lots of detail to do but it’s coming together. The engine is almost done, and I’m hoping to get the body in colour this week ?. More updates soon! As always , thanks for having a look. Cheers, Steve
-
Hi Jeremy, thanks for the support sir! Thanks Greg!
-
'40 Ford
Steve H replied to Slotto's topic in WIP: Model Trucks: Pickups, Vans, SUVs, Light Commercial
Awesome looking build Steve. Not my business, but I hope you can stay with it and finish it, you’re so close. I like the patina paint, and to answer your question, I think patina is a colour…. or maybe a few colours? Cheers, Steve -
Hi Anton! You’ve been busy. This has come together VERY nicely. That engine looks killer stuffed under the hood, and the wheel/tire combo is perfect. I have issues with static too, especially with resin. I don’t have one yet, but I plan on ordering a Tamiya anti static brush, apparently they work well. I’m sure others will have different options… Hope all is well sir, cheers, Steve
-
'65 Nova Pro Street Update 11/14/22 Completed Chassis Photo Pg. 5
Steve H replied to Plowboy's topic in WIP: Model Cars
Great stuff as always Roger. Looks like you are getting close on this one. As you know, I’m a big fan of your builds, but this one is a particularly beautiful build. Cheers, Steve -
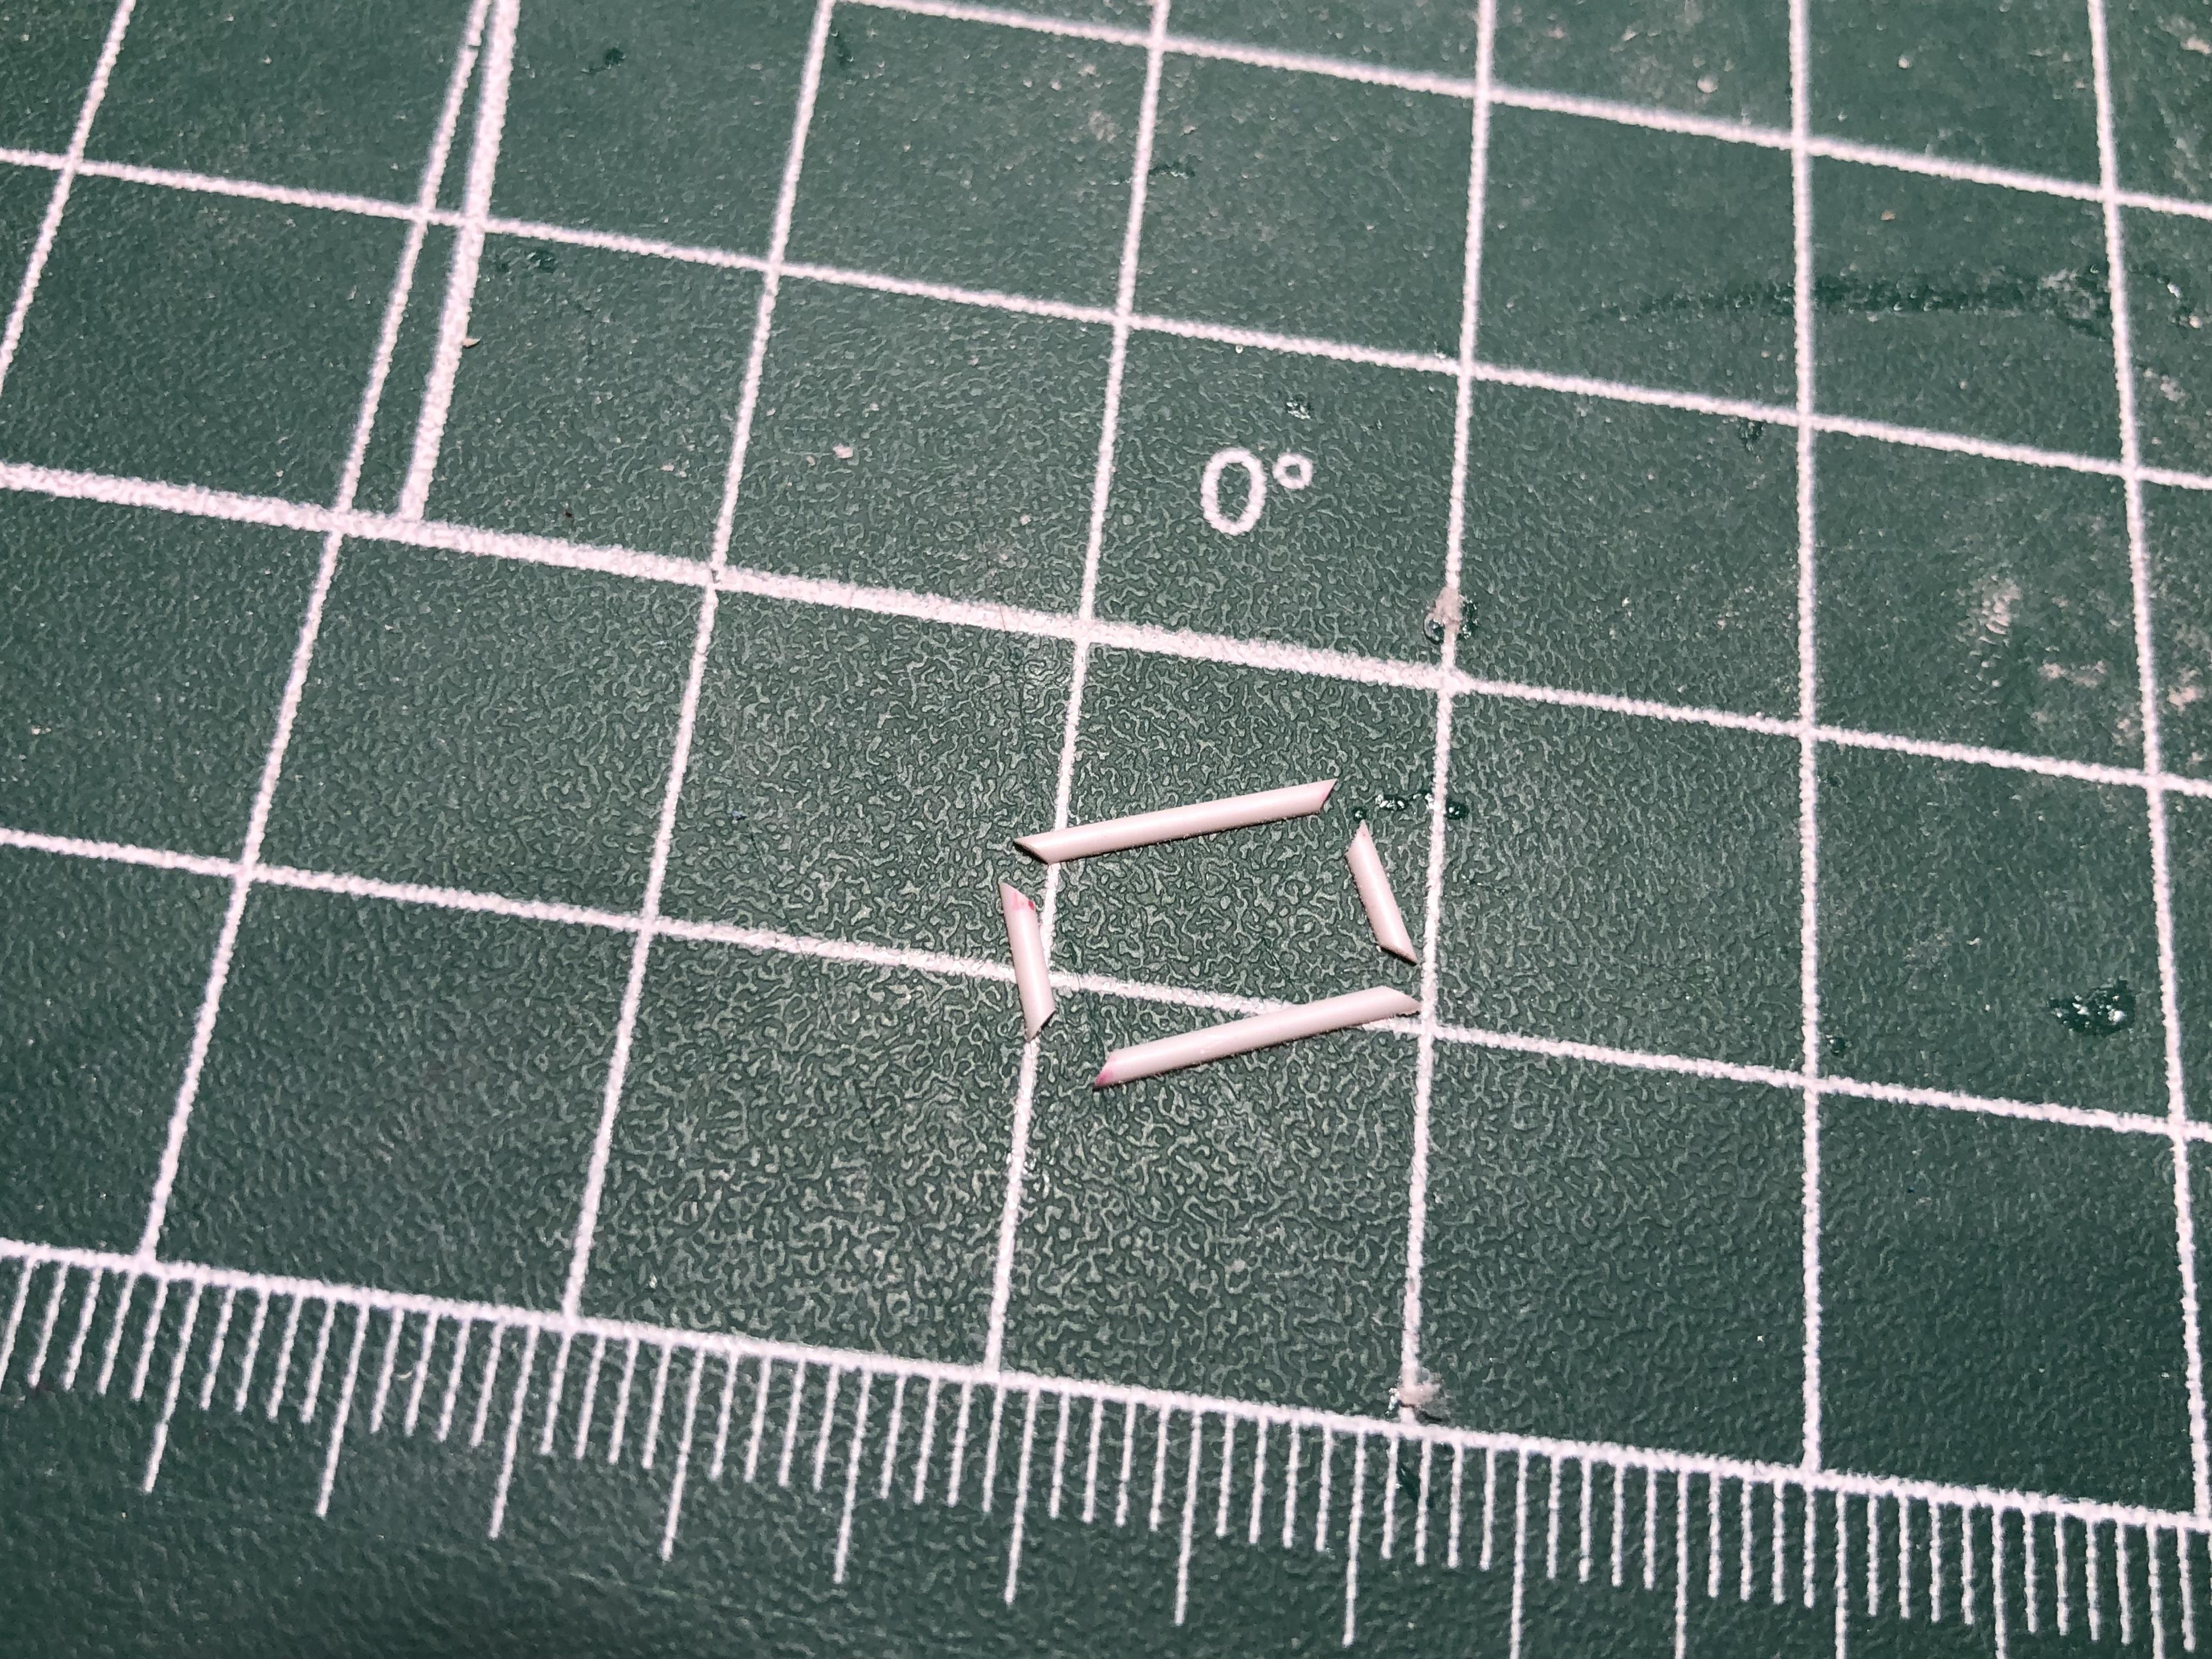
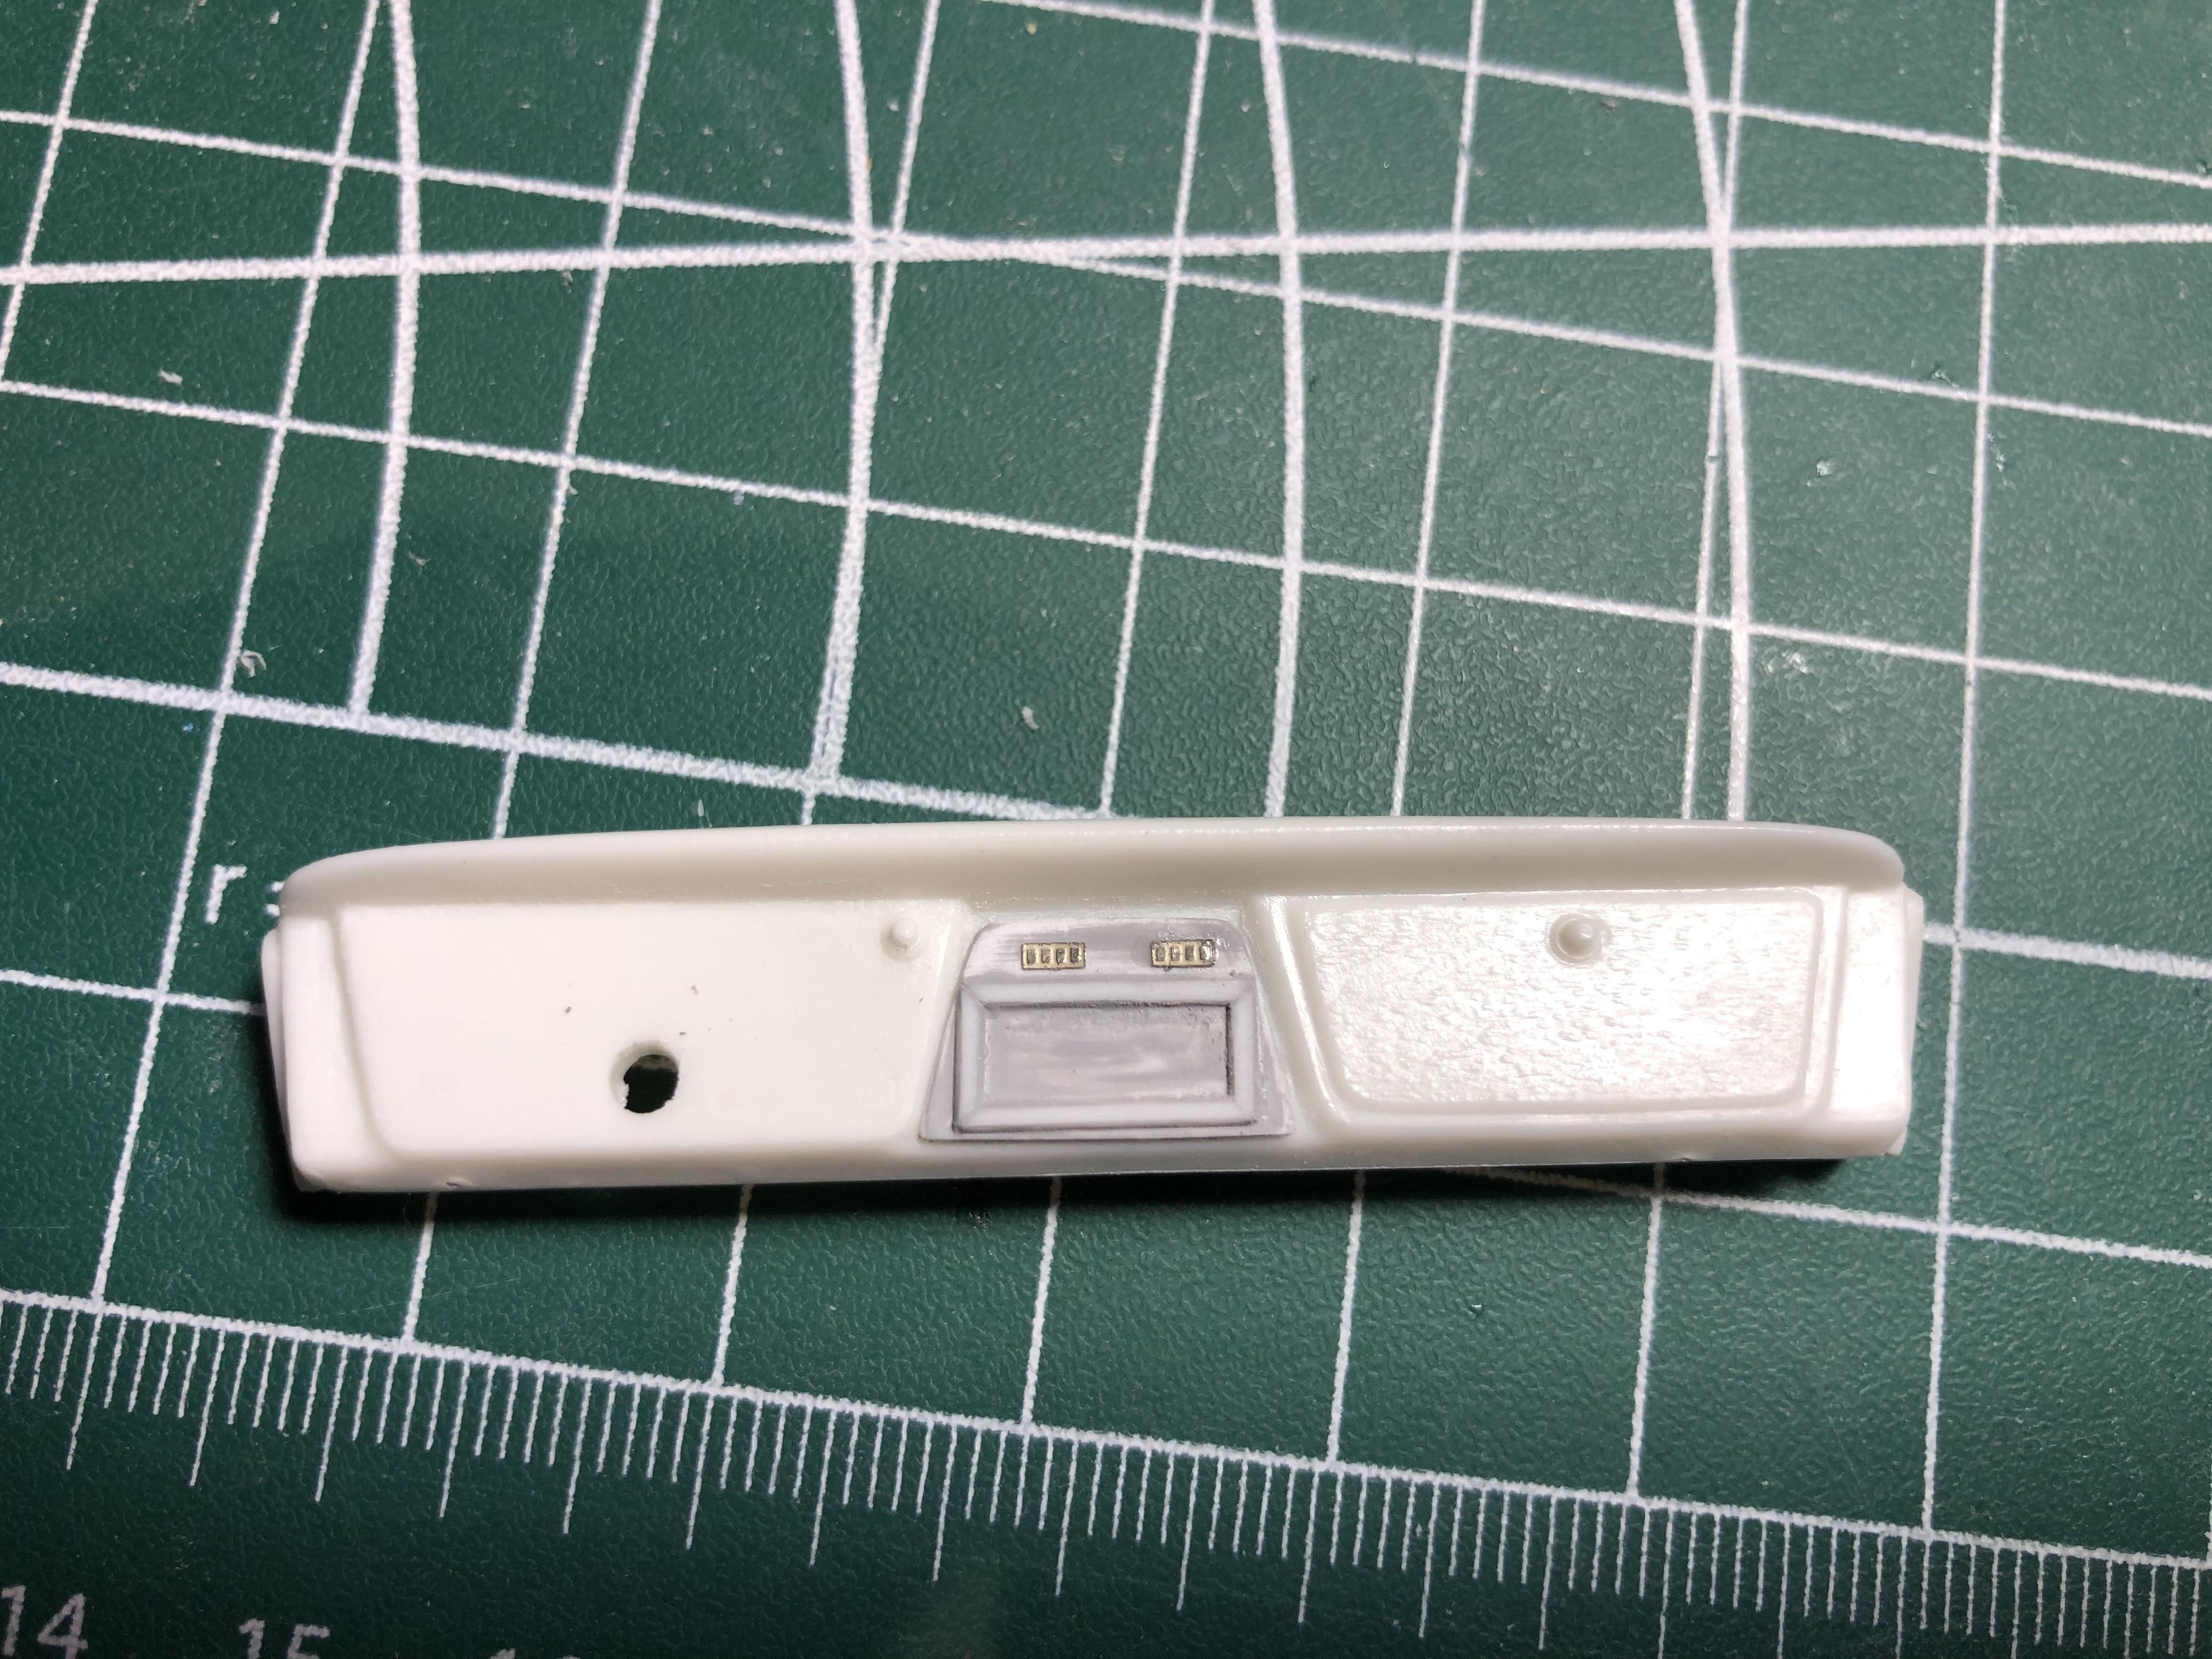
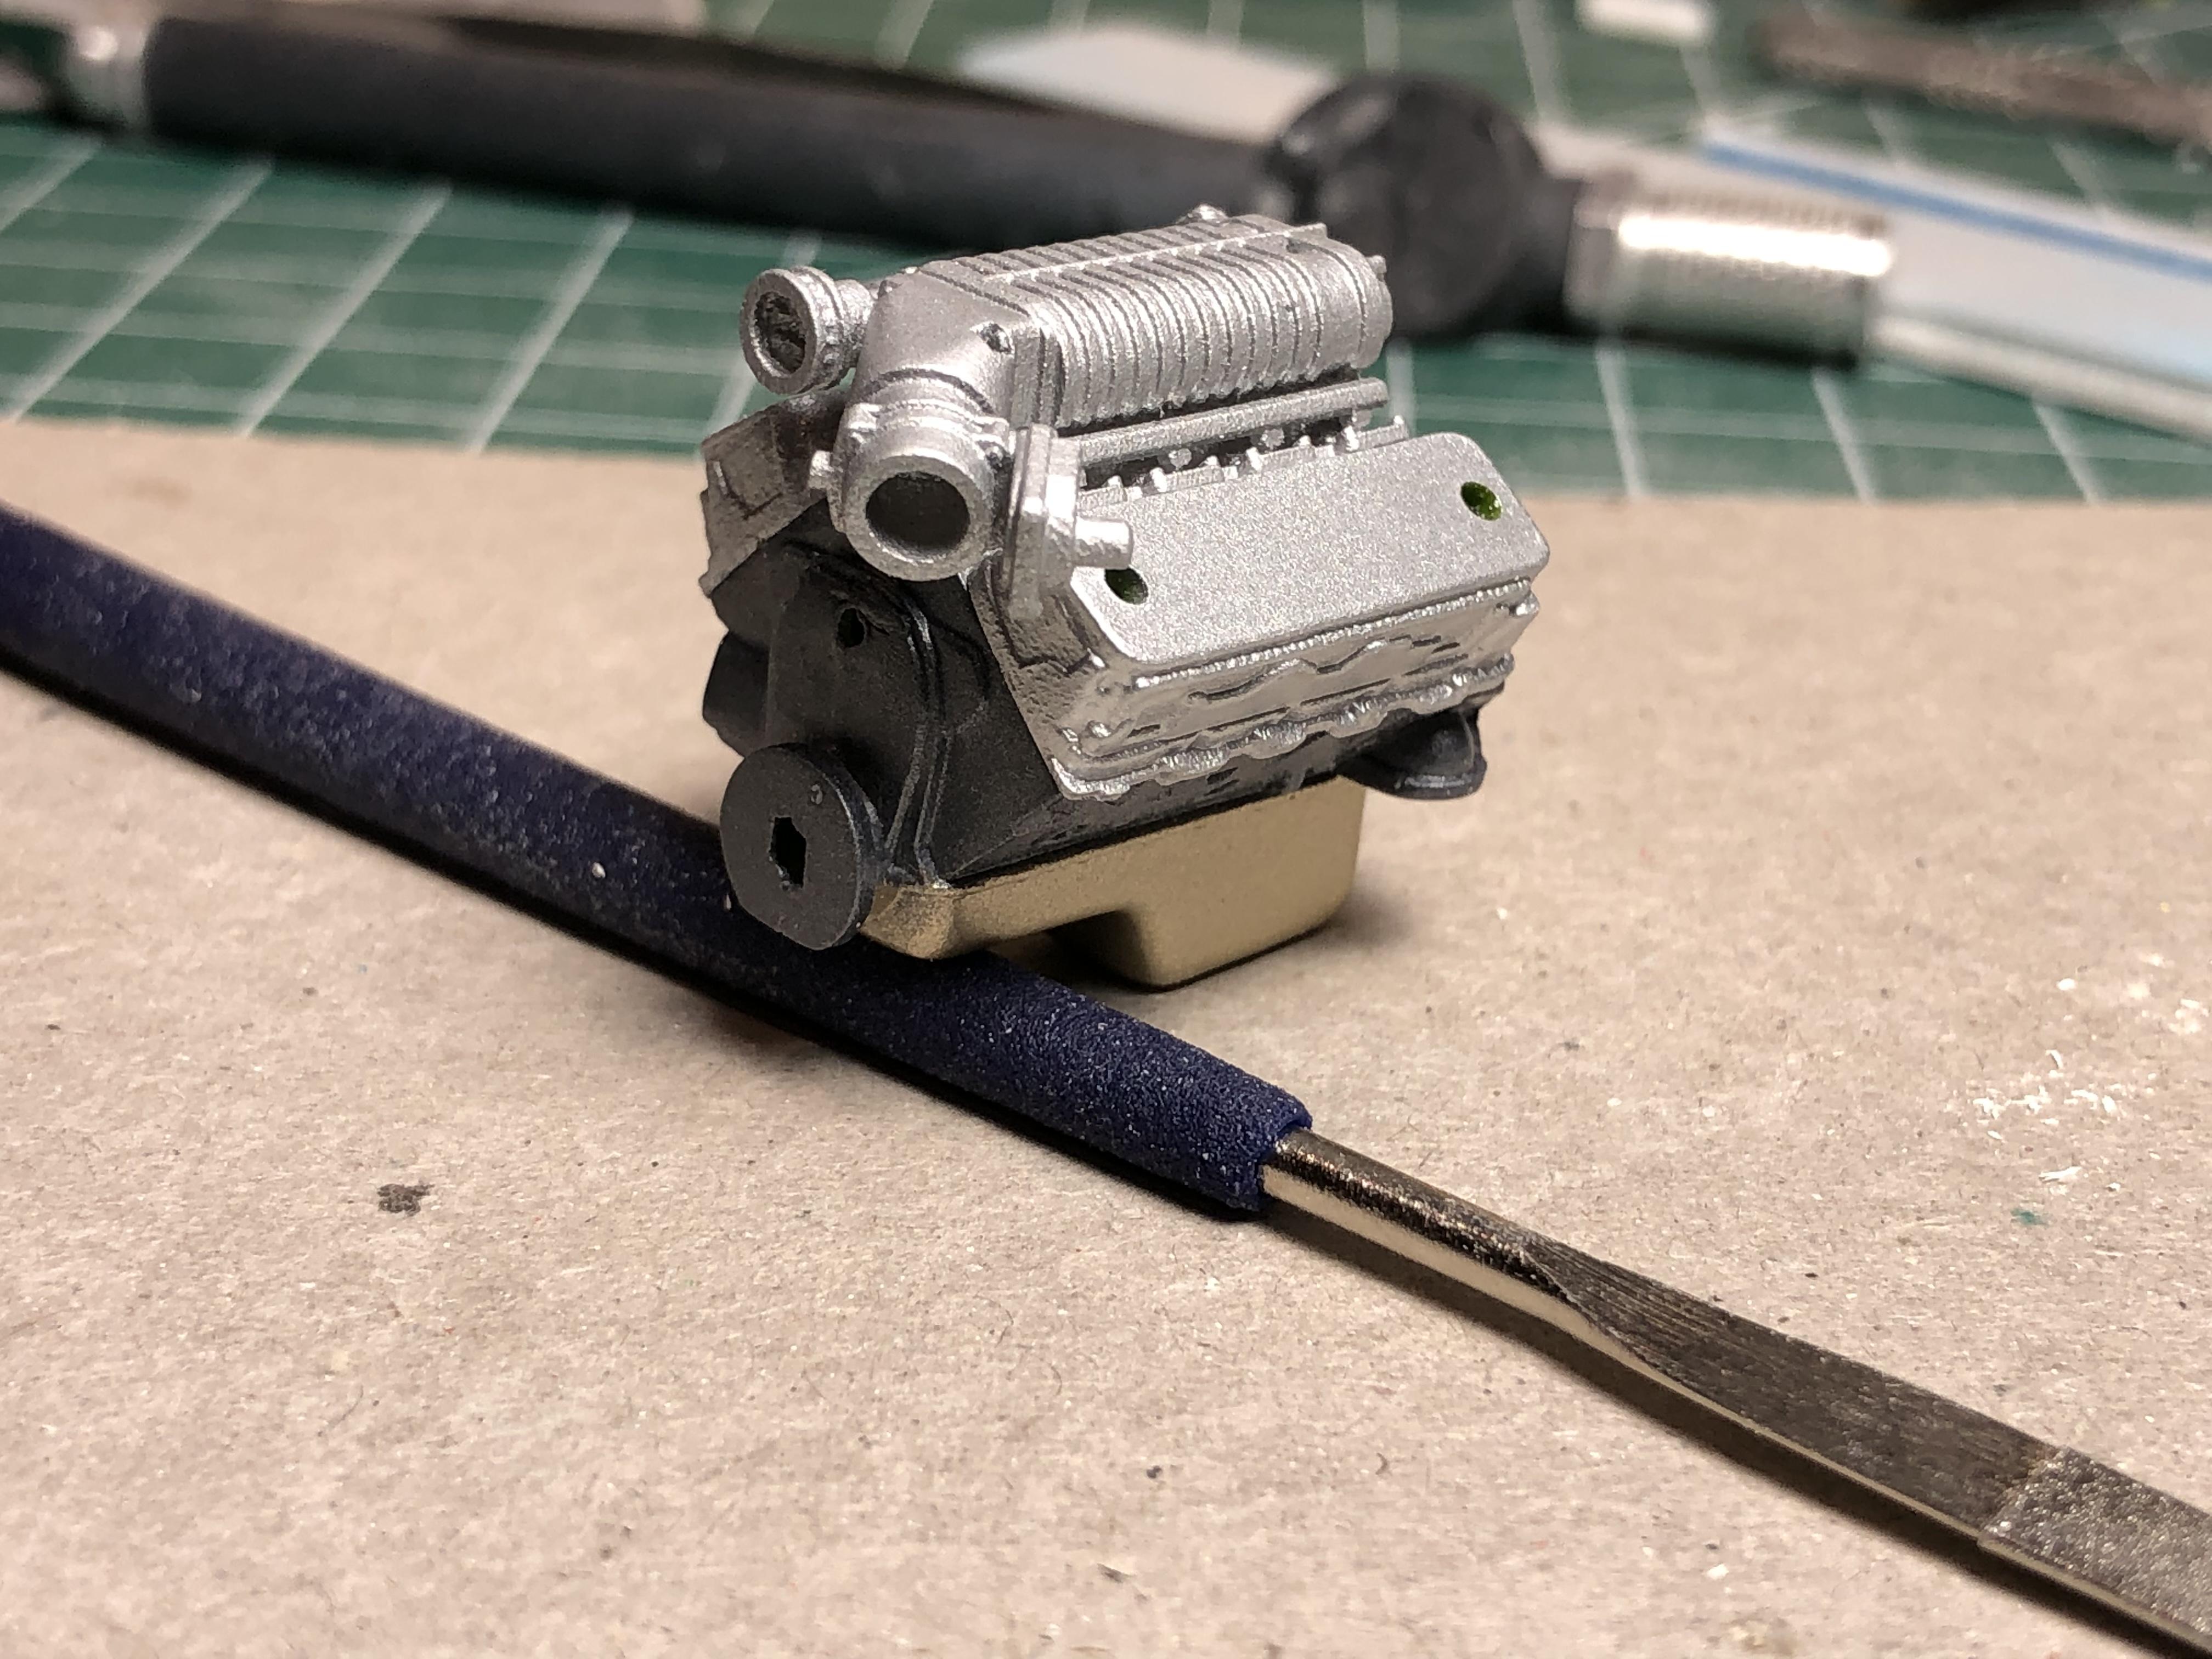
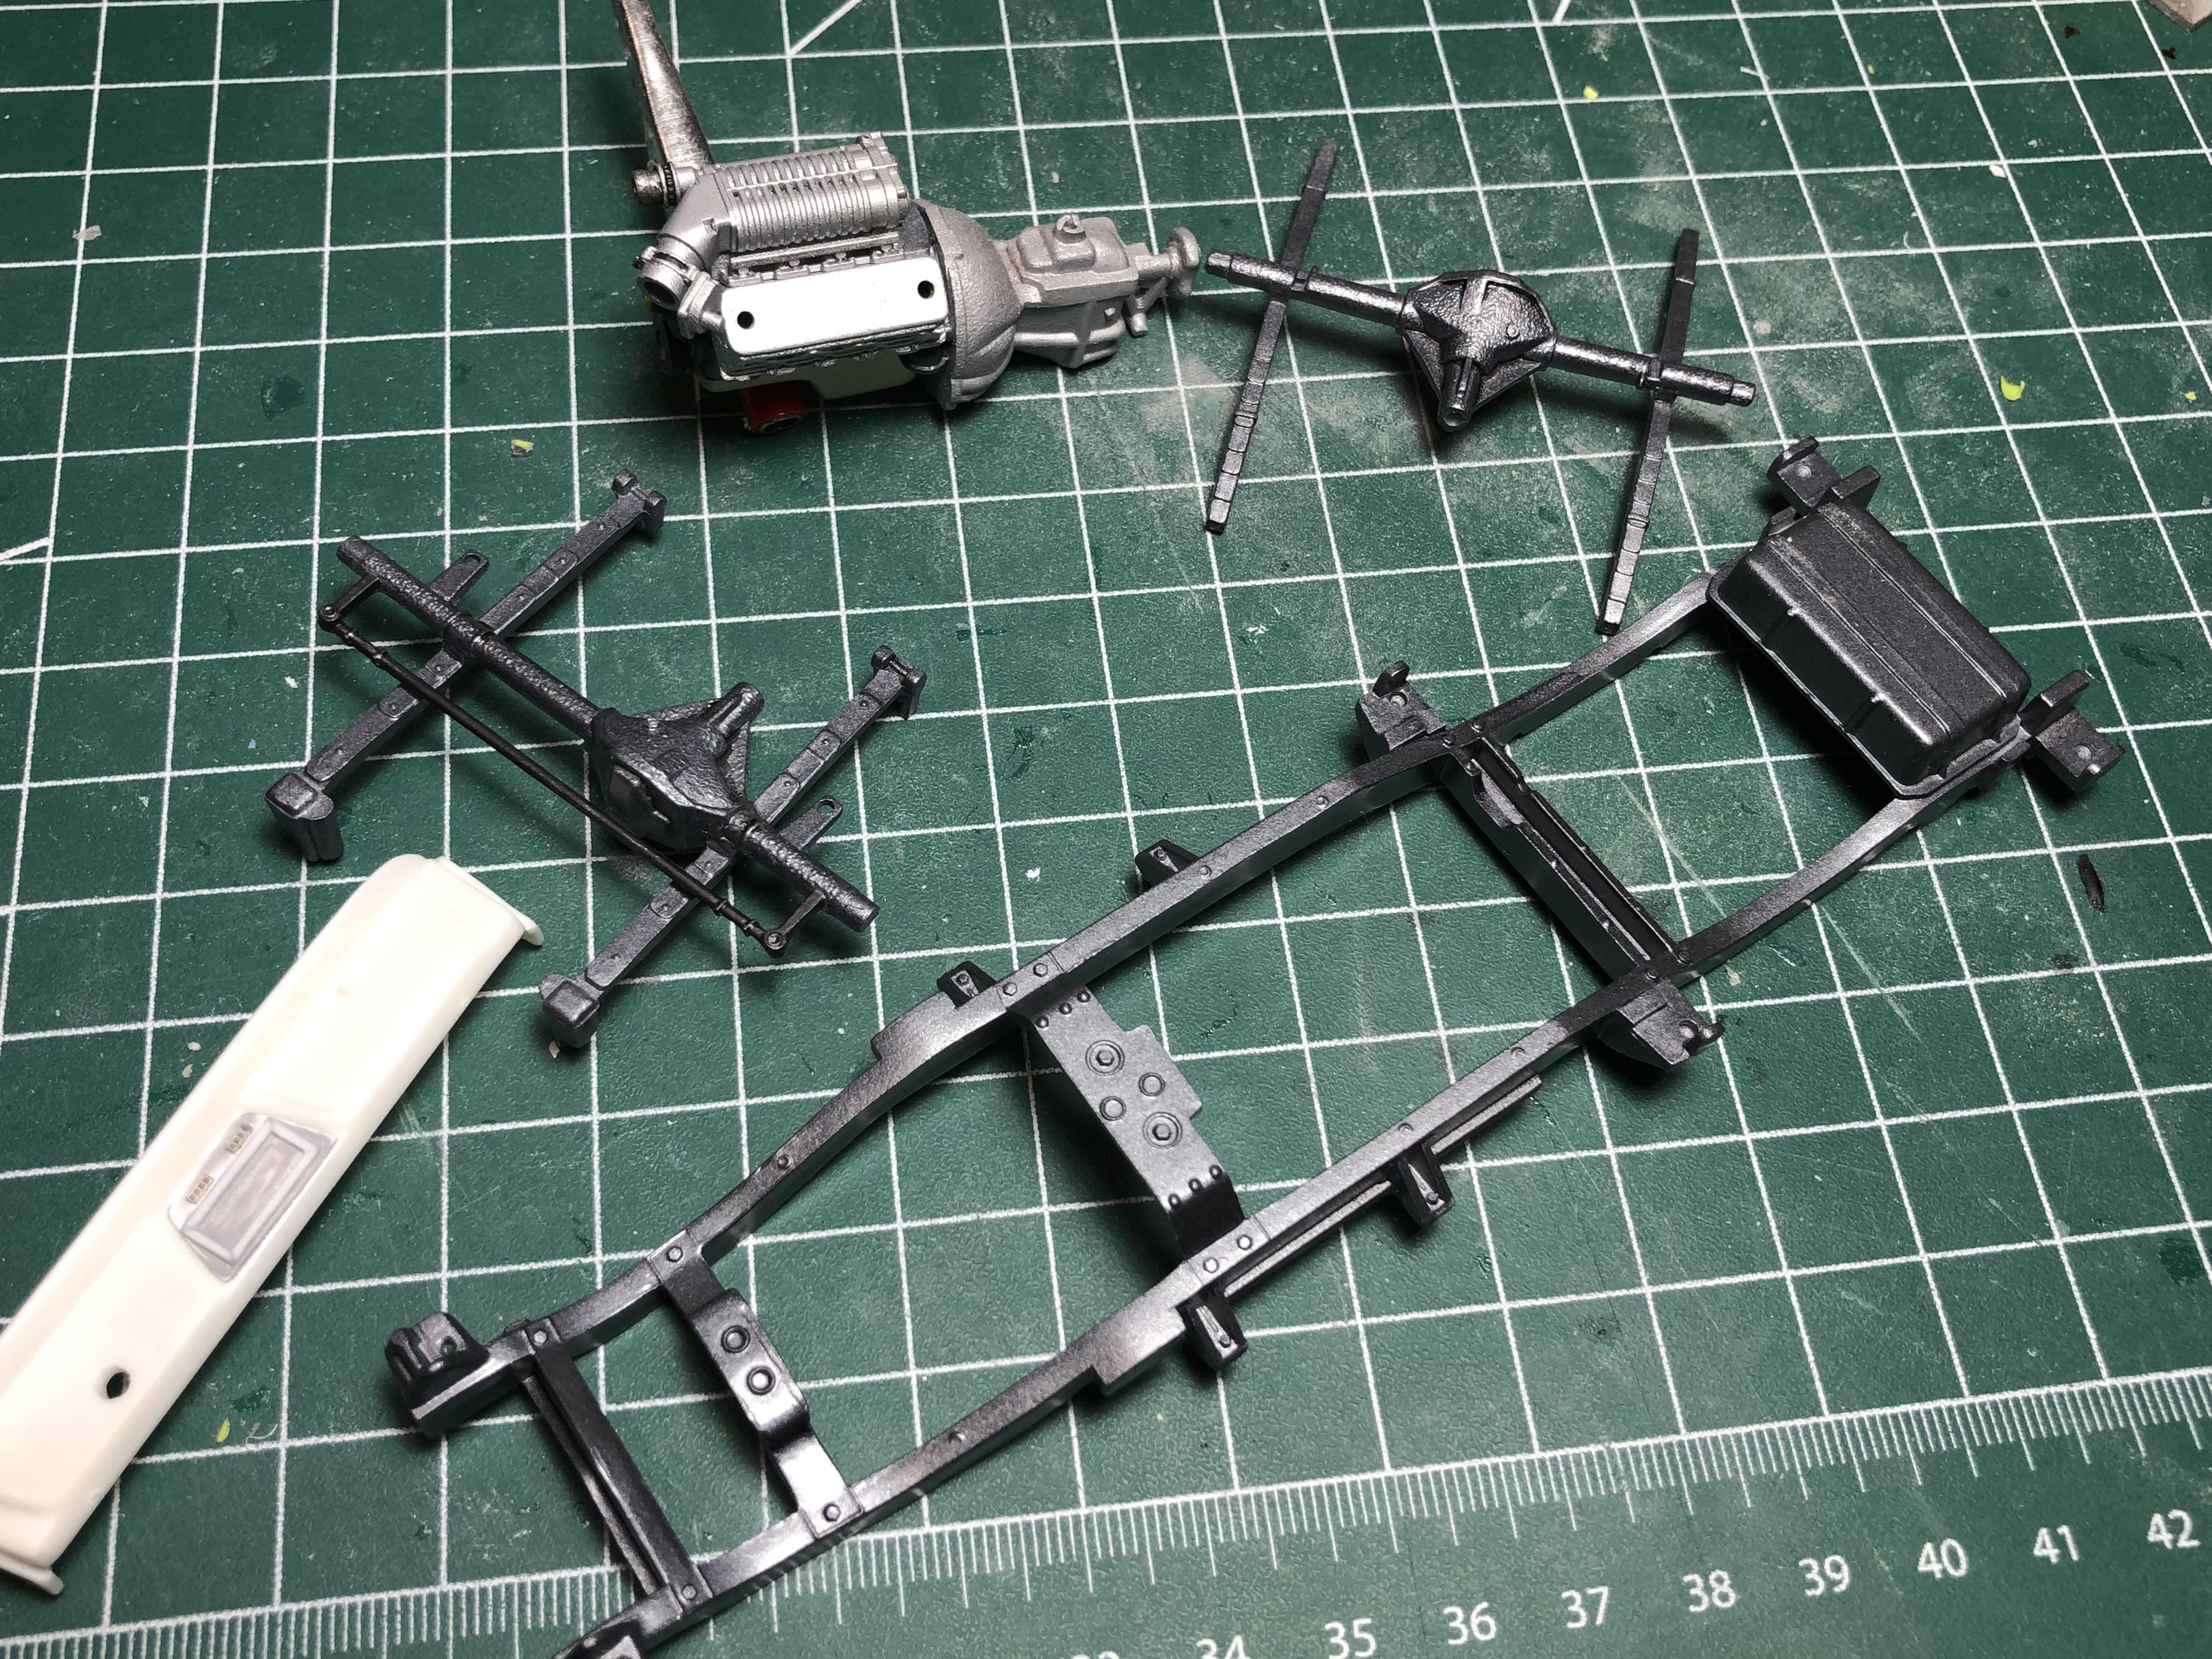
Time for a small update. I haven’t focused on one aspect of the build, instead, I’m kind of working on everything at once… As a result, it probably doesn’t look I’ve done much! ? I have the axles and frame in paint, Tamiya light gunmetal. The engine is a 396 block from Revell’s 67 Chevelle pro street, kit transmission, and resin whipple blower. I have sorted out the pulleys for the blower drive etc., just need to paint them and make the belt for the blower with masking tape. I haven’t sorted out the details for suspension yet, but I’m not going to get carried away with that part of the build. The interior is complete in my mind, just need to make it in styrene now…. I have made a “nav” screen for the dash and added some switches above which, in my mind would be climate/seat heat controls. I have an aftermarket gauge cluster that will be added to the dash later. The bodywork is close to complete, looking forward to seeing this in paint. Hoping it’s just prime, light sand, prime, colour coats ? Thanks as always for having a look. Cheers, Steve
-
Hi Greg! Thanks for the encouragement. With regards to the “stuff” on the rad support, I think I will leave it as is. Thanks for the screenshot to reveal what it should look like. This won’t be a super detailed build, so I’m not overly concerned about accuracy. IIRC you had pointed that out in your WIP thread, great information and much appreciated. I do however, plan on opening the grill, so I could change my mind ?. Thanks Misha, good to hear from you. Yup, back to the hobby room! I was amazed at how stubborn that texture was on the cap, took wayyyyyy longer than I expected. I generally don’t like orange, but something about hugger orange works for me. These Blazers, 69 Camaros, an I’m sure your Corsair look really good in orange. Thanks Anton. I appreciate you guys taking the time to check in, hoping to keep rolling on this one.
-
Awesome to see Martin’s build on the cover. A VERY talented local builder and an extremely nice guy. I have had the pleasure of seeing that build “in the flesh” and it’s amazing. Keep up the great work, and thanks to all that contribute to keeping the magazine going. Now if we could just figure out the postal delivery, which I know is nothing to do with you fine folks. I won’t see my issue for about 8 weeks….
-
Beautiful Camaro Mathias. Great looking colour combo, and man, that red really pops. Paint job is stunning. Cheers, Steve
-
Excellent work as always Roger. Those new wheels definitely look right under it. I really dig the big old wagons, this is a beautiful example of an old wagon with great lines. Cheers, Steve
-
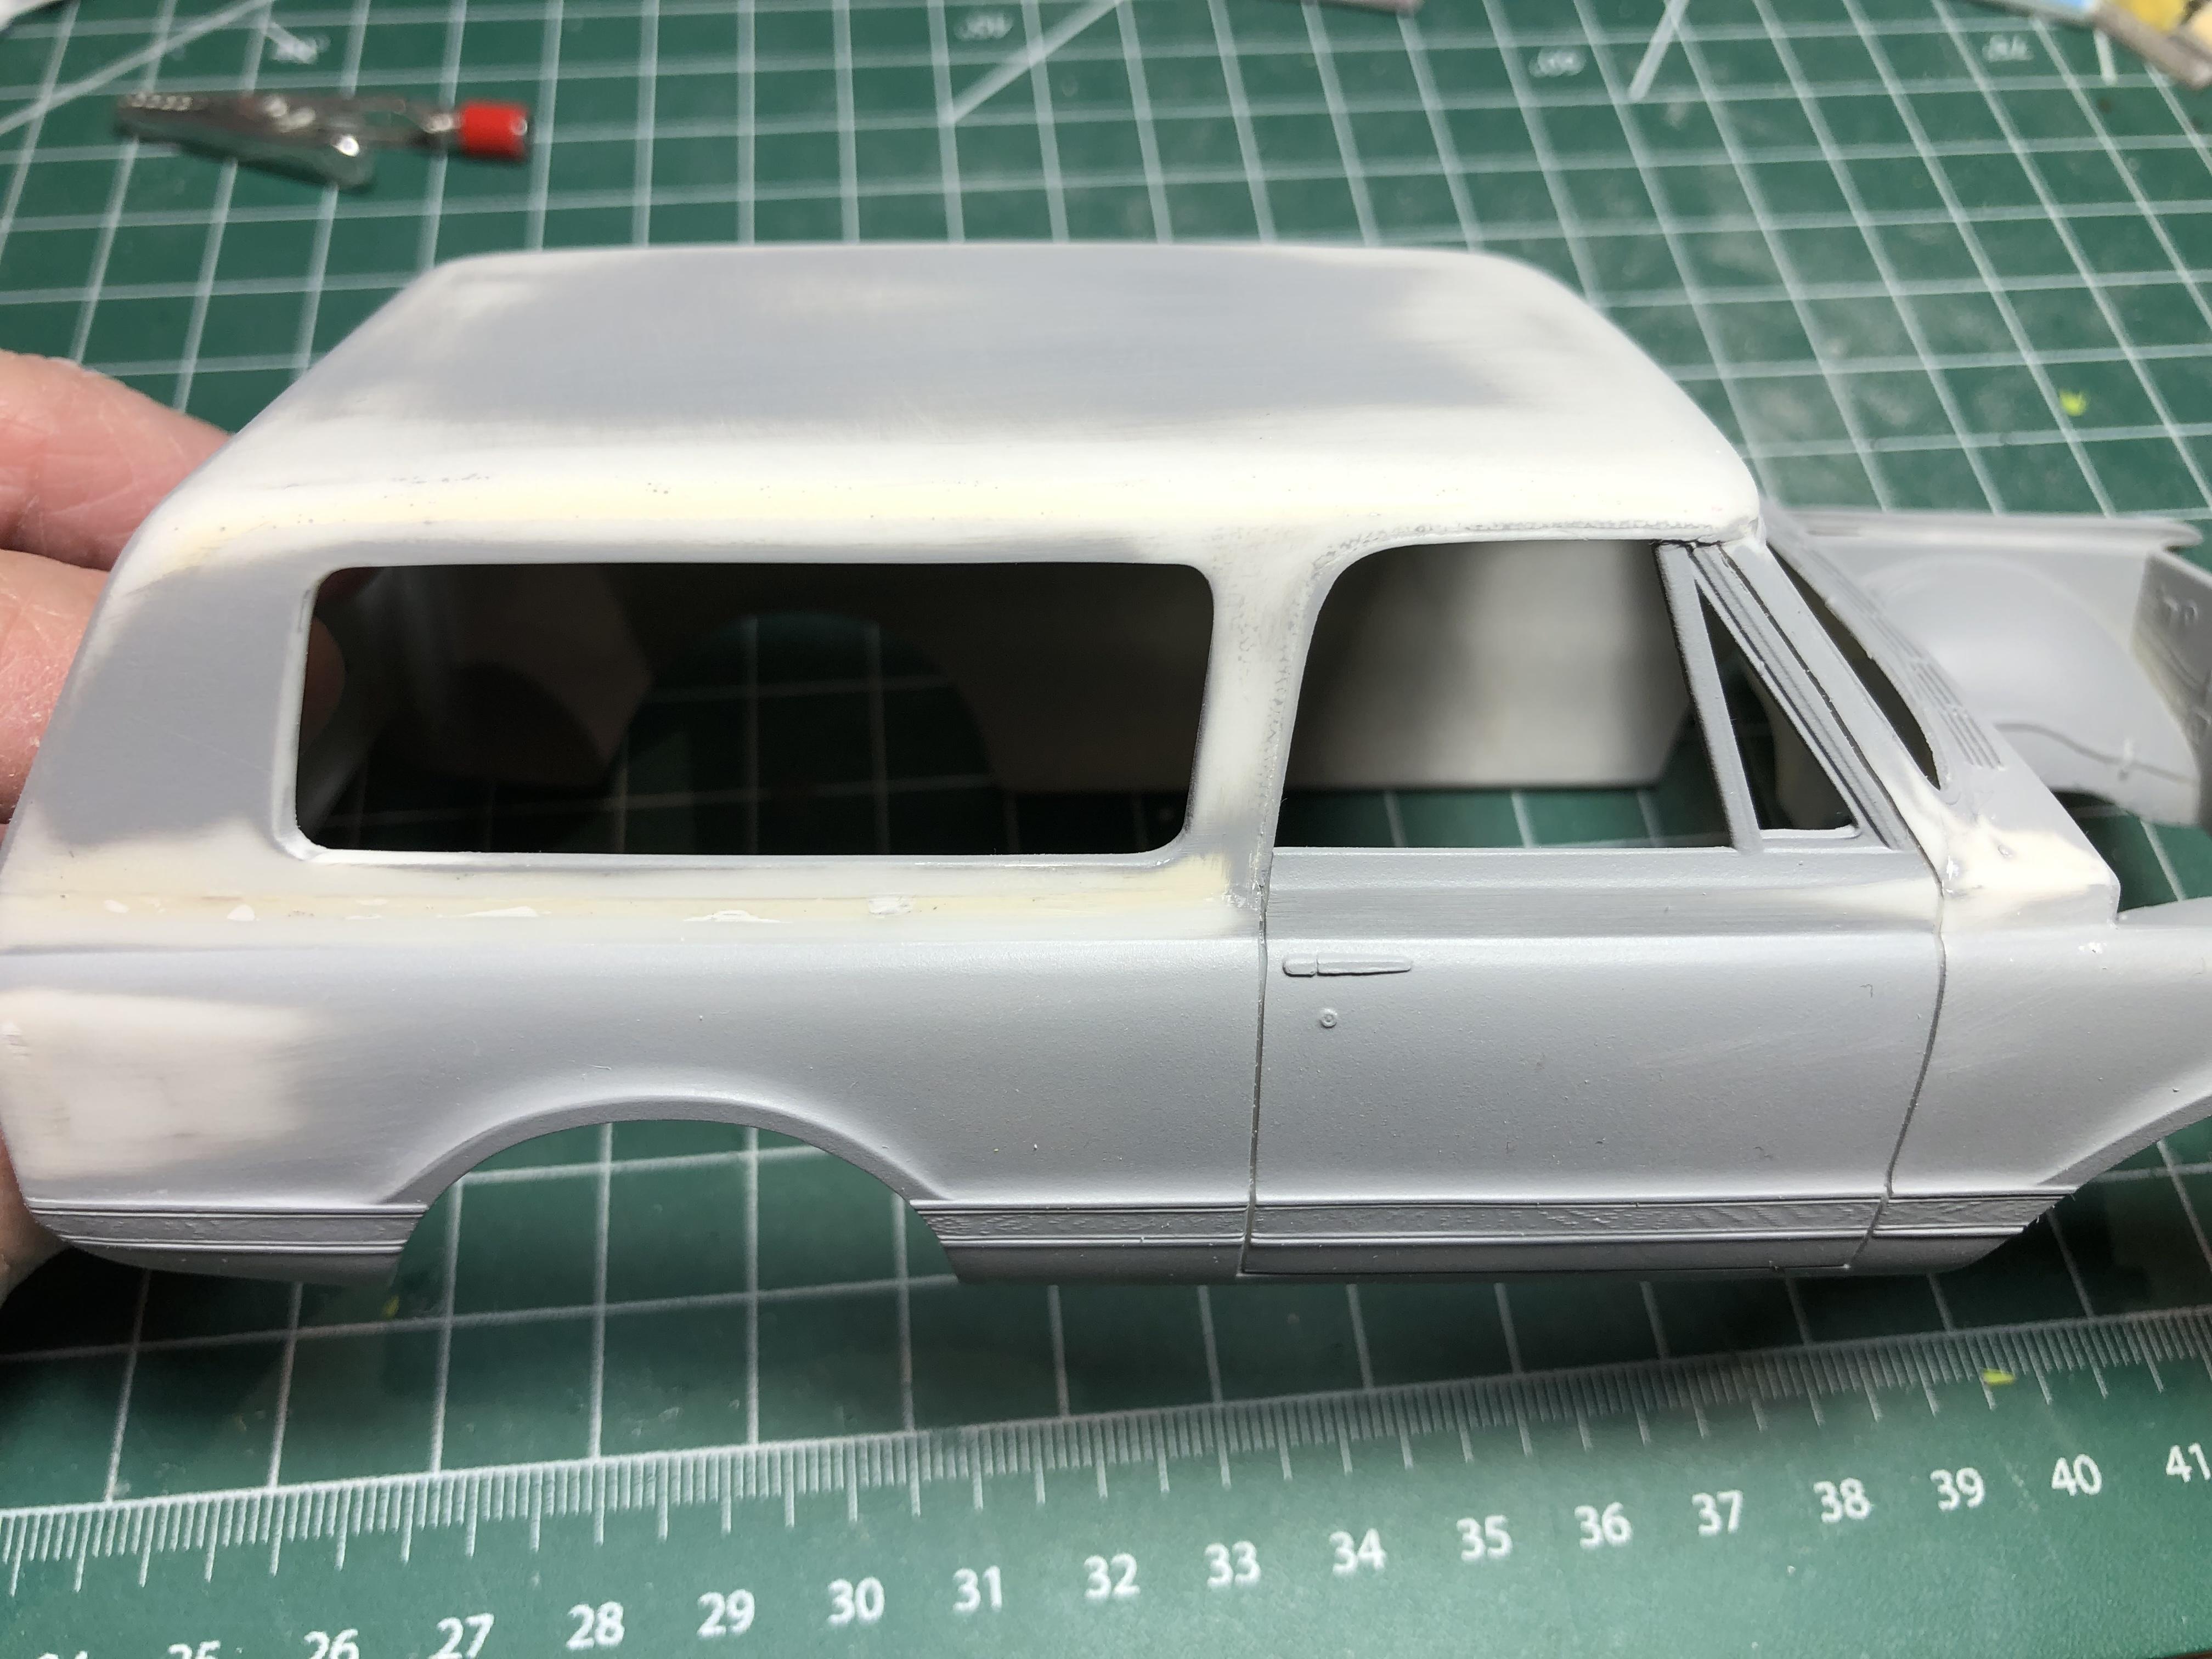
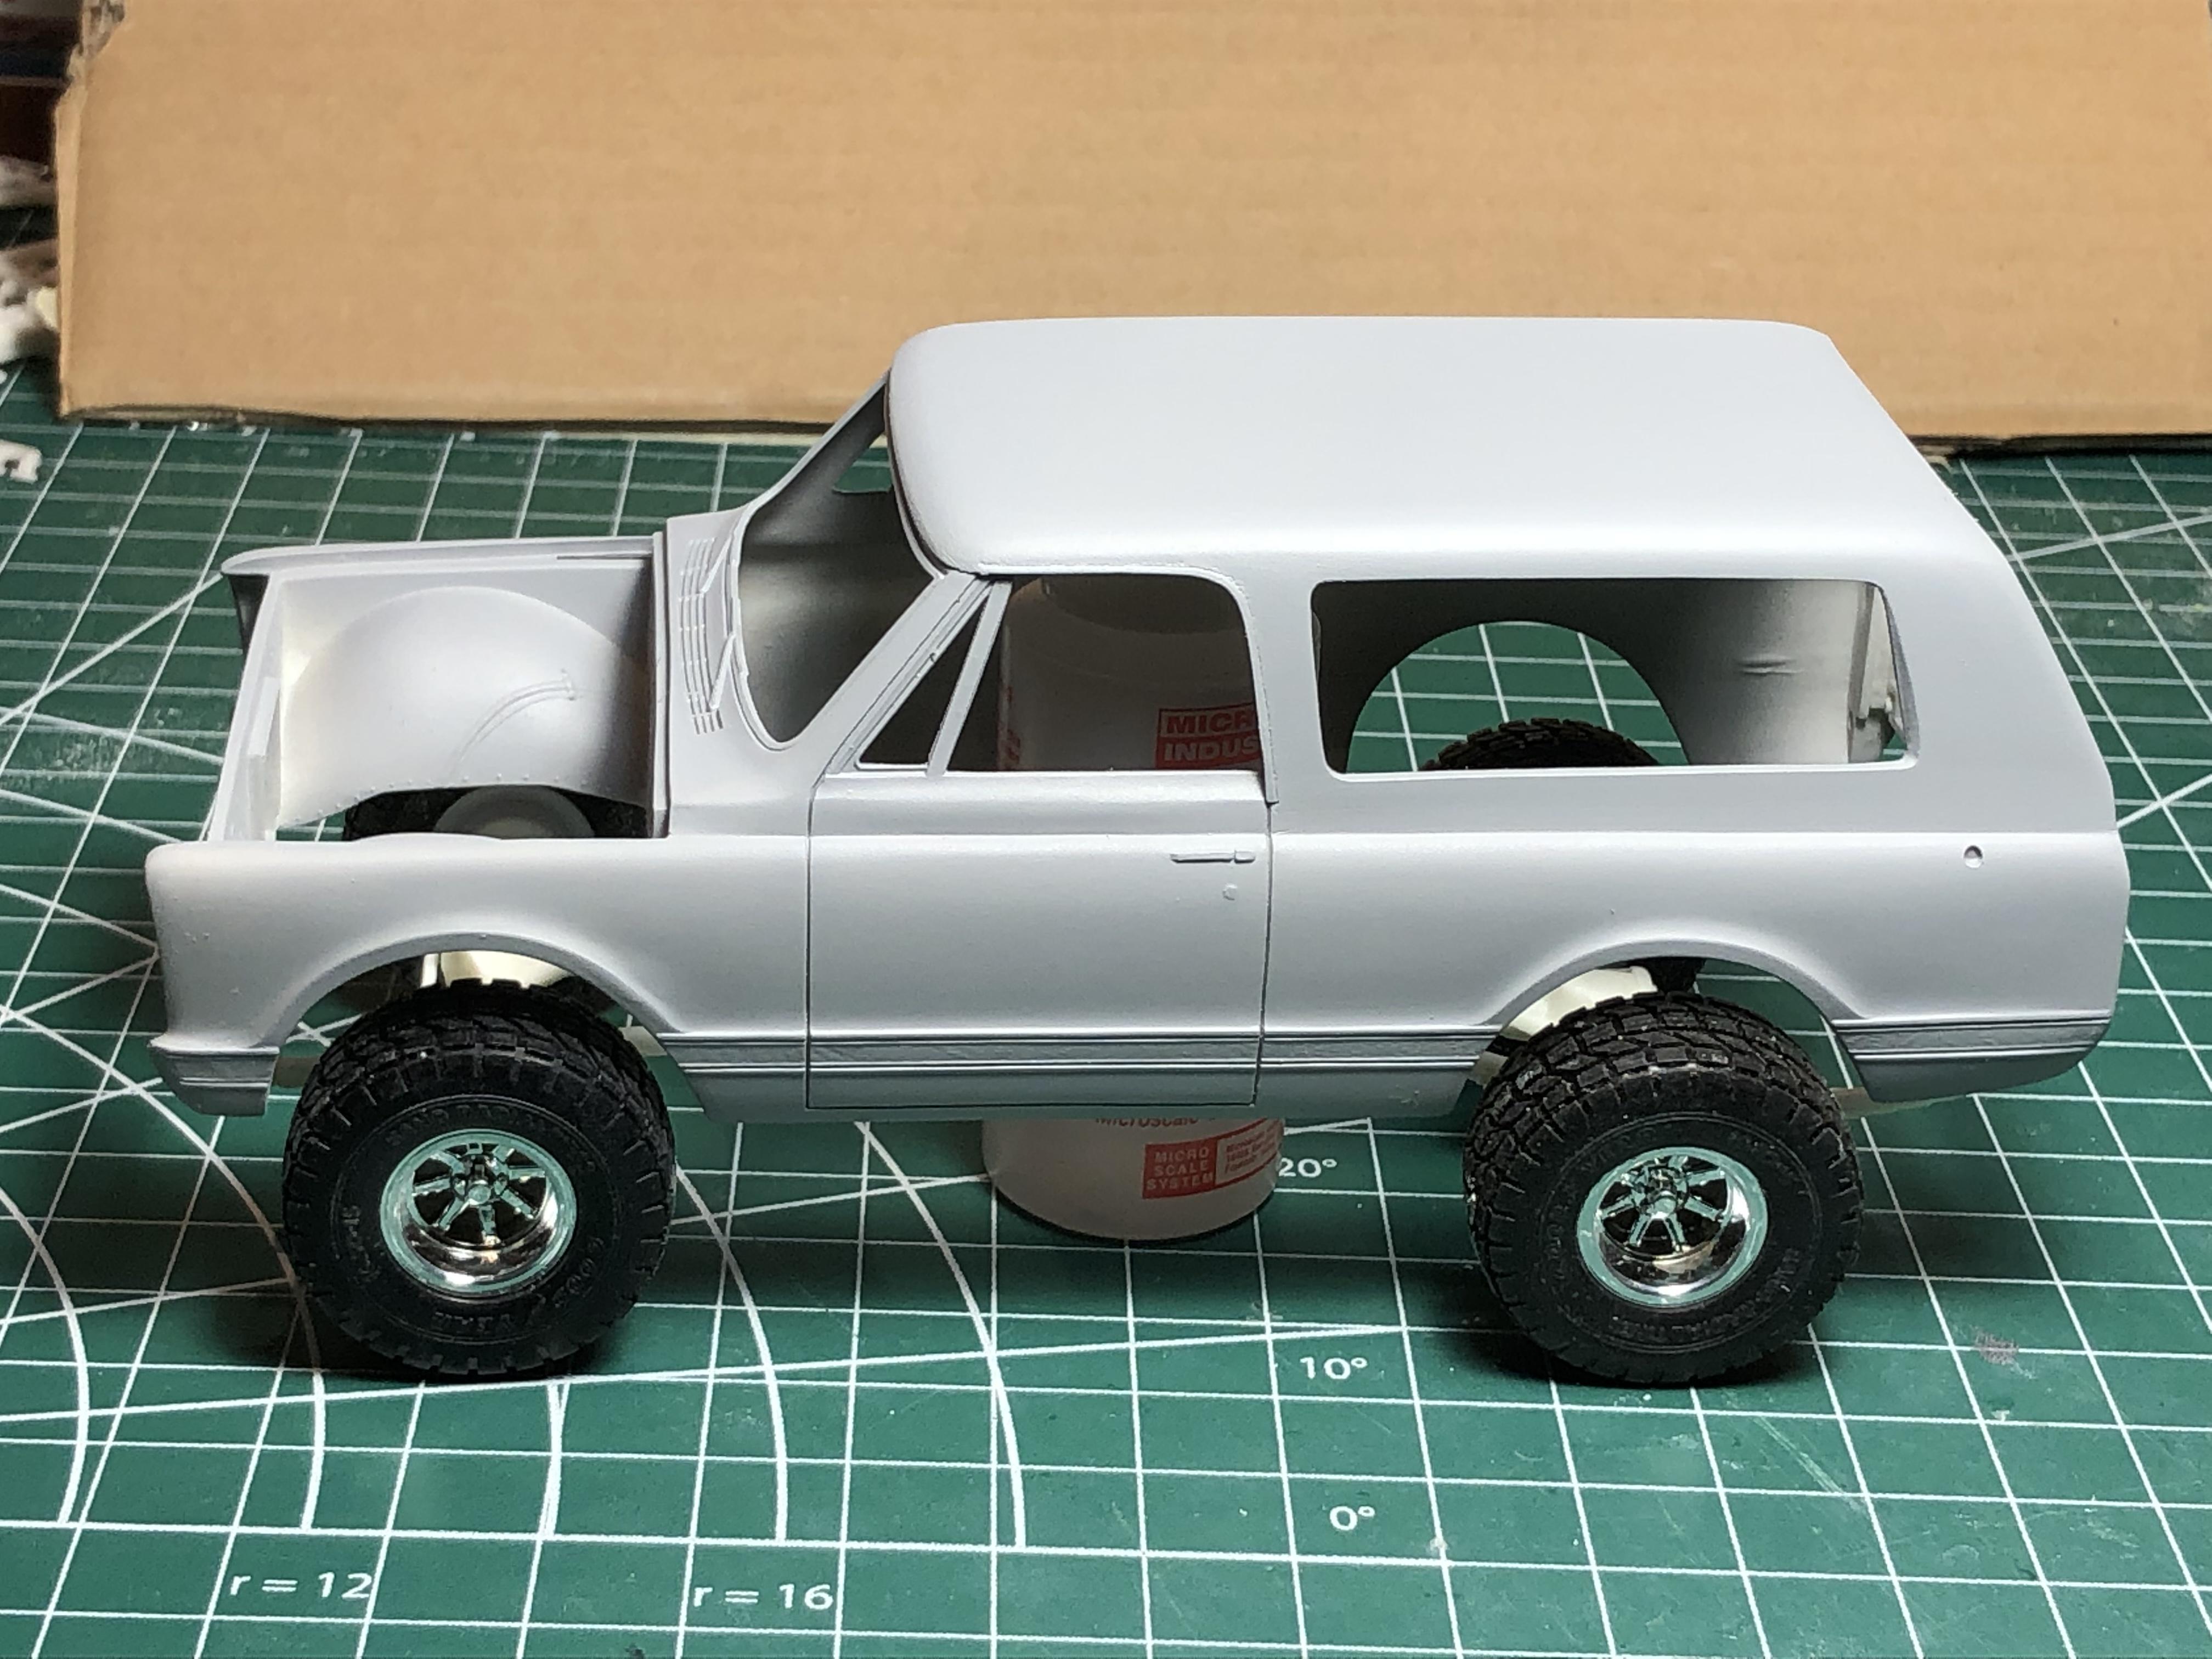
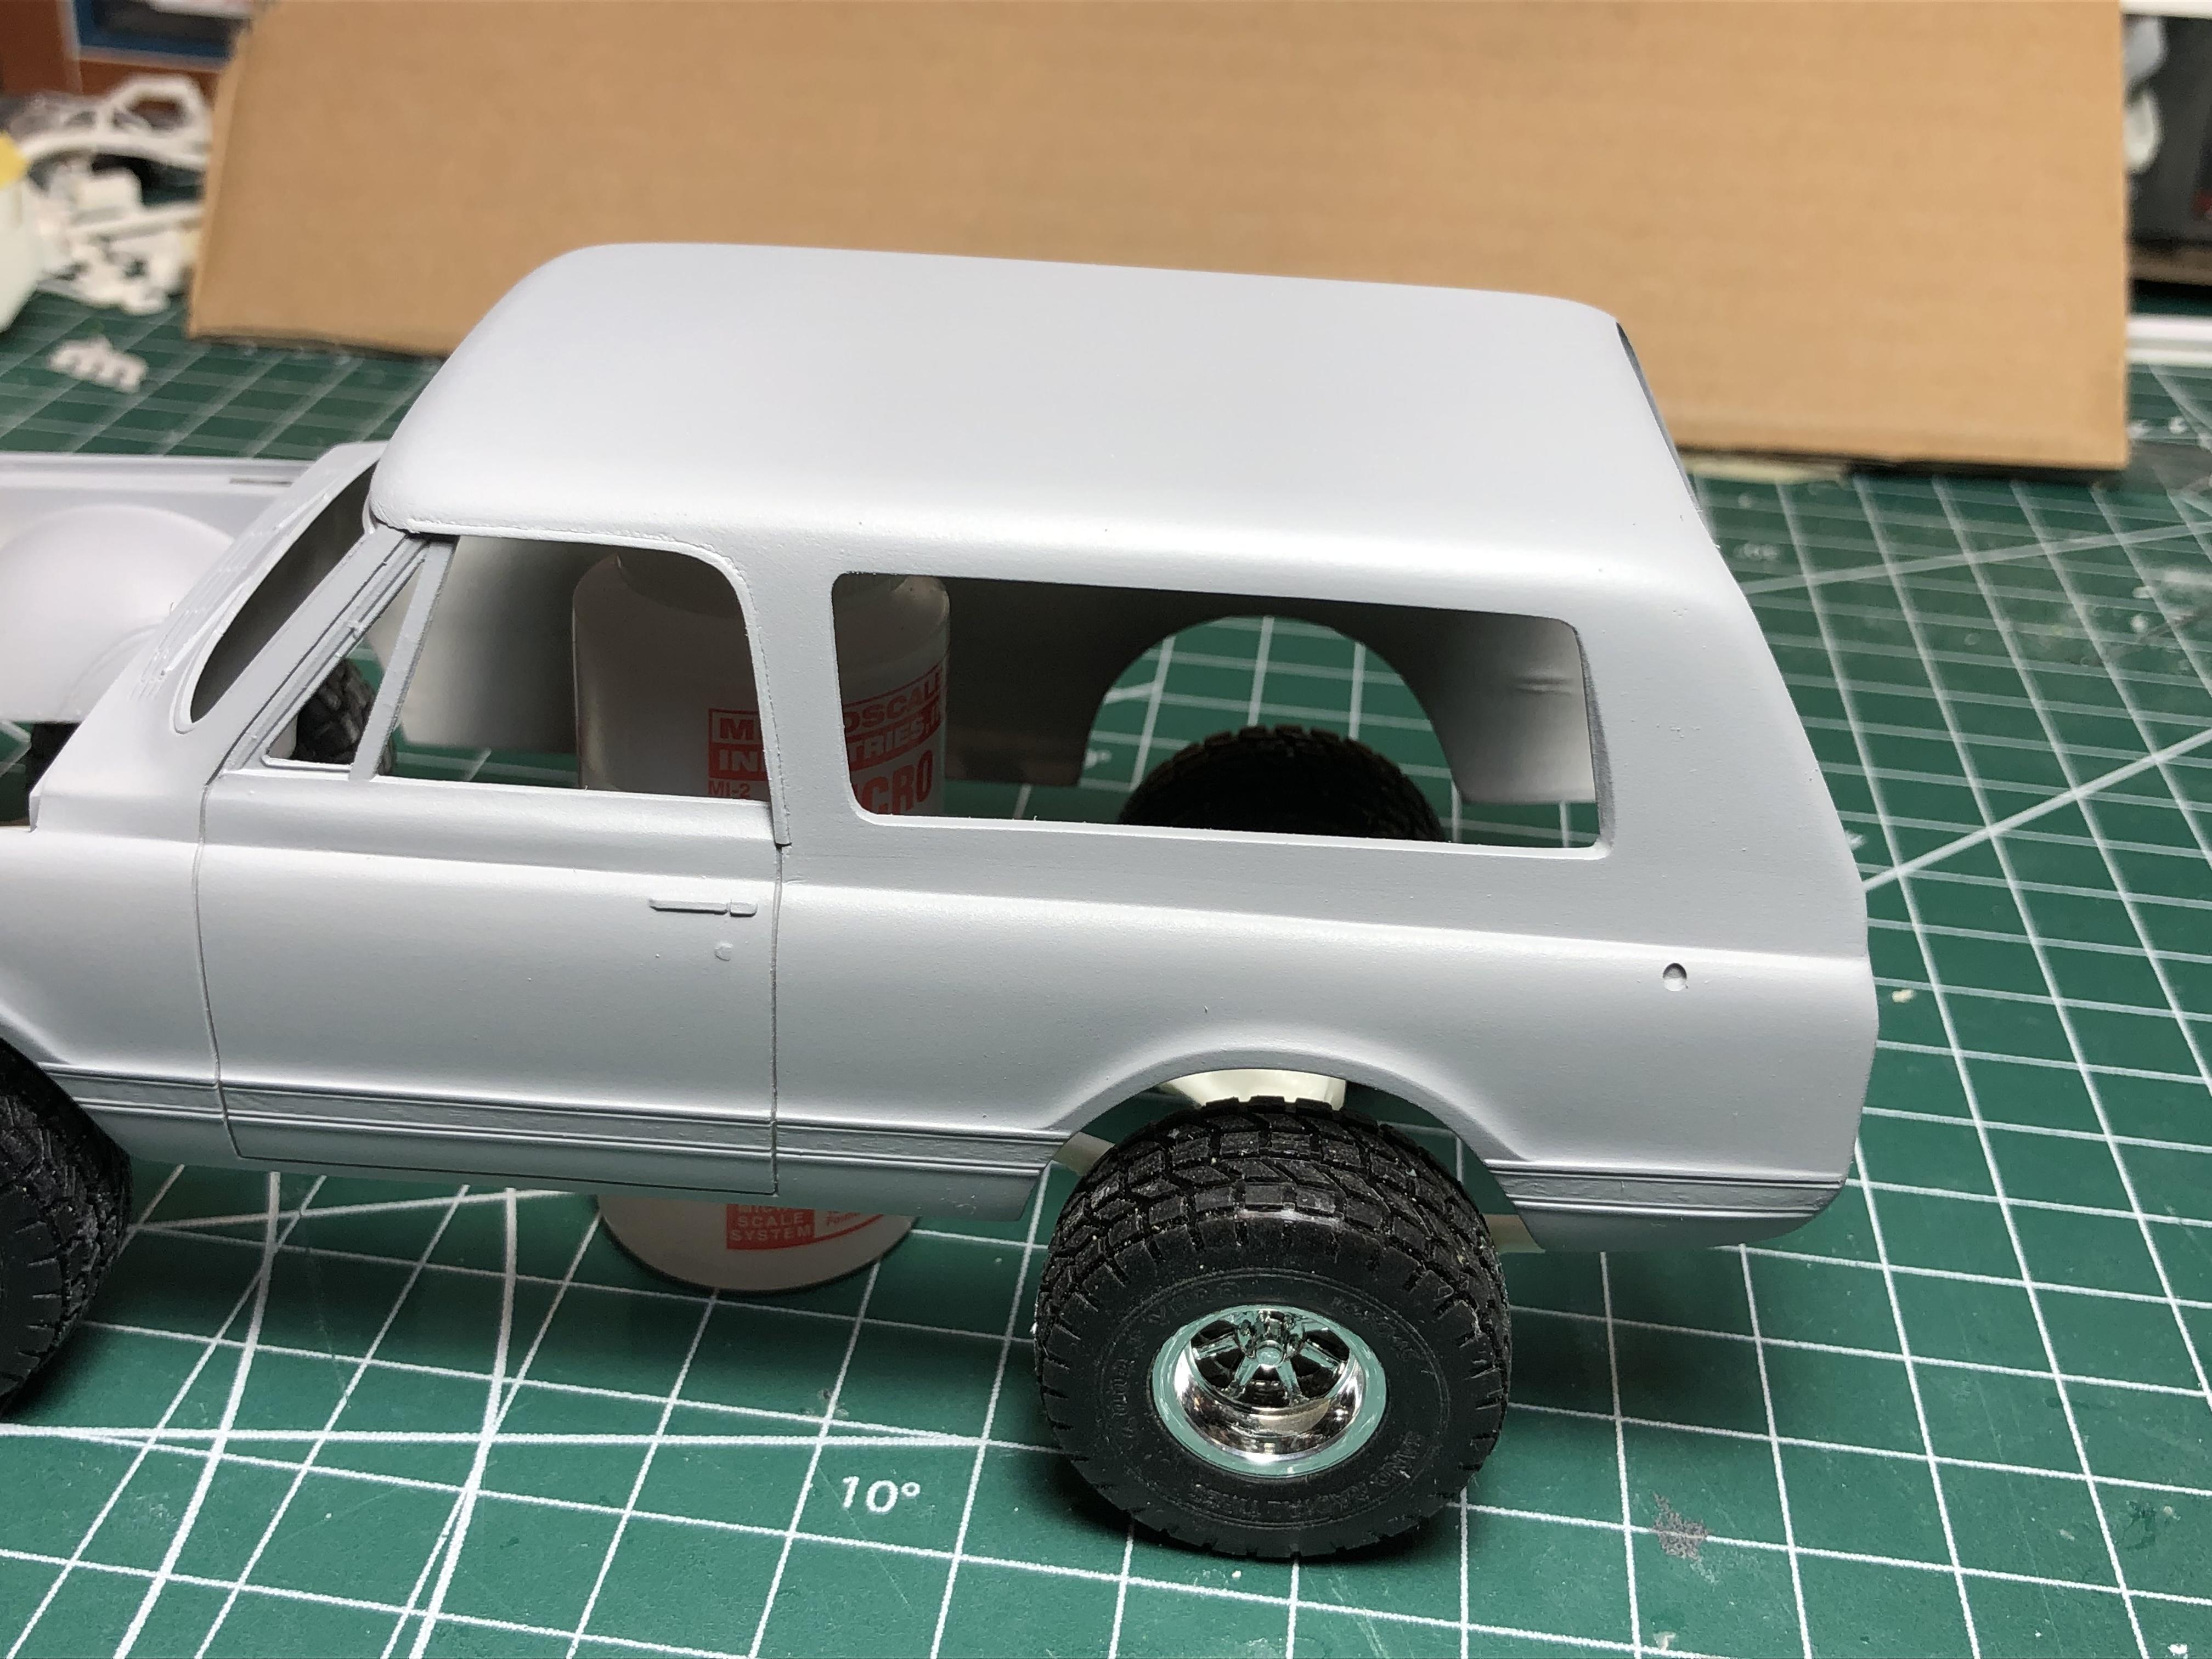
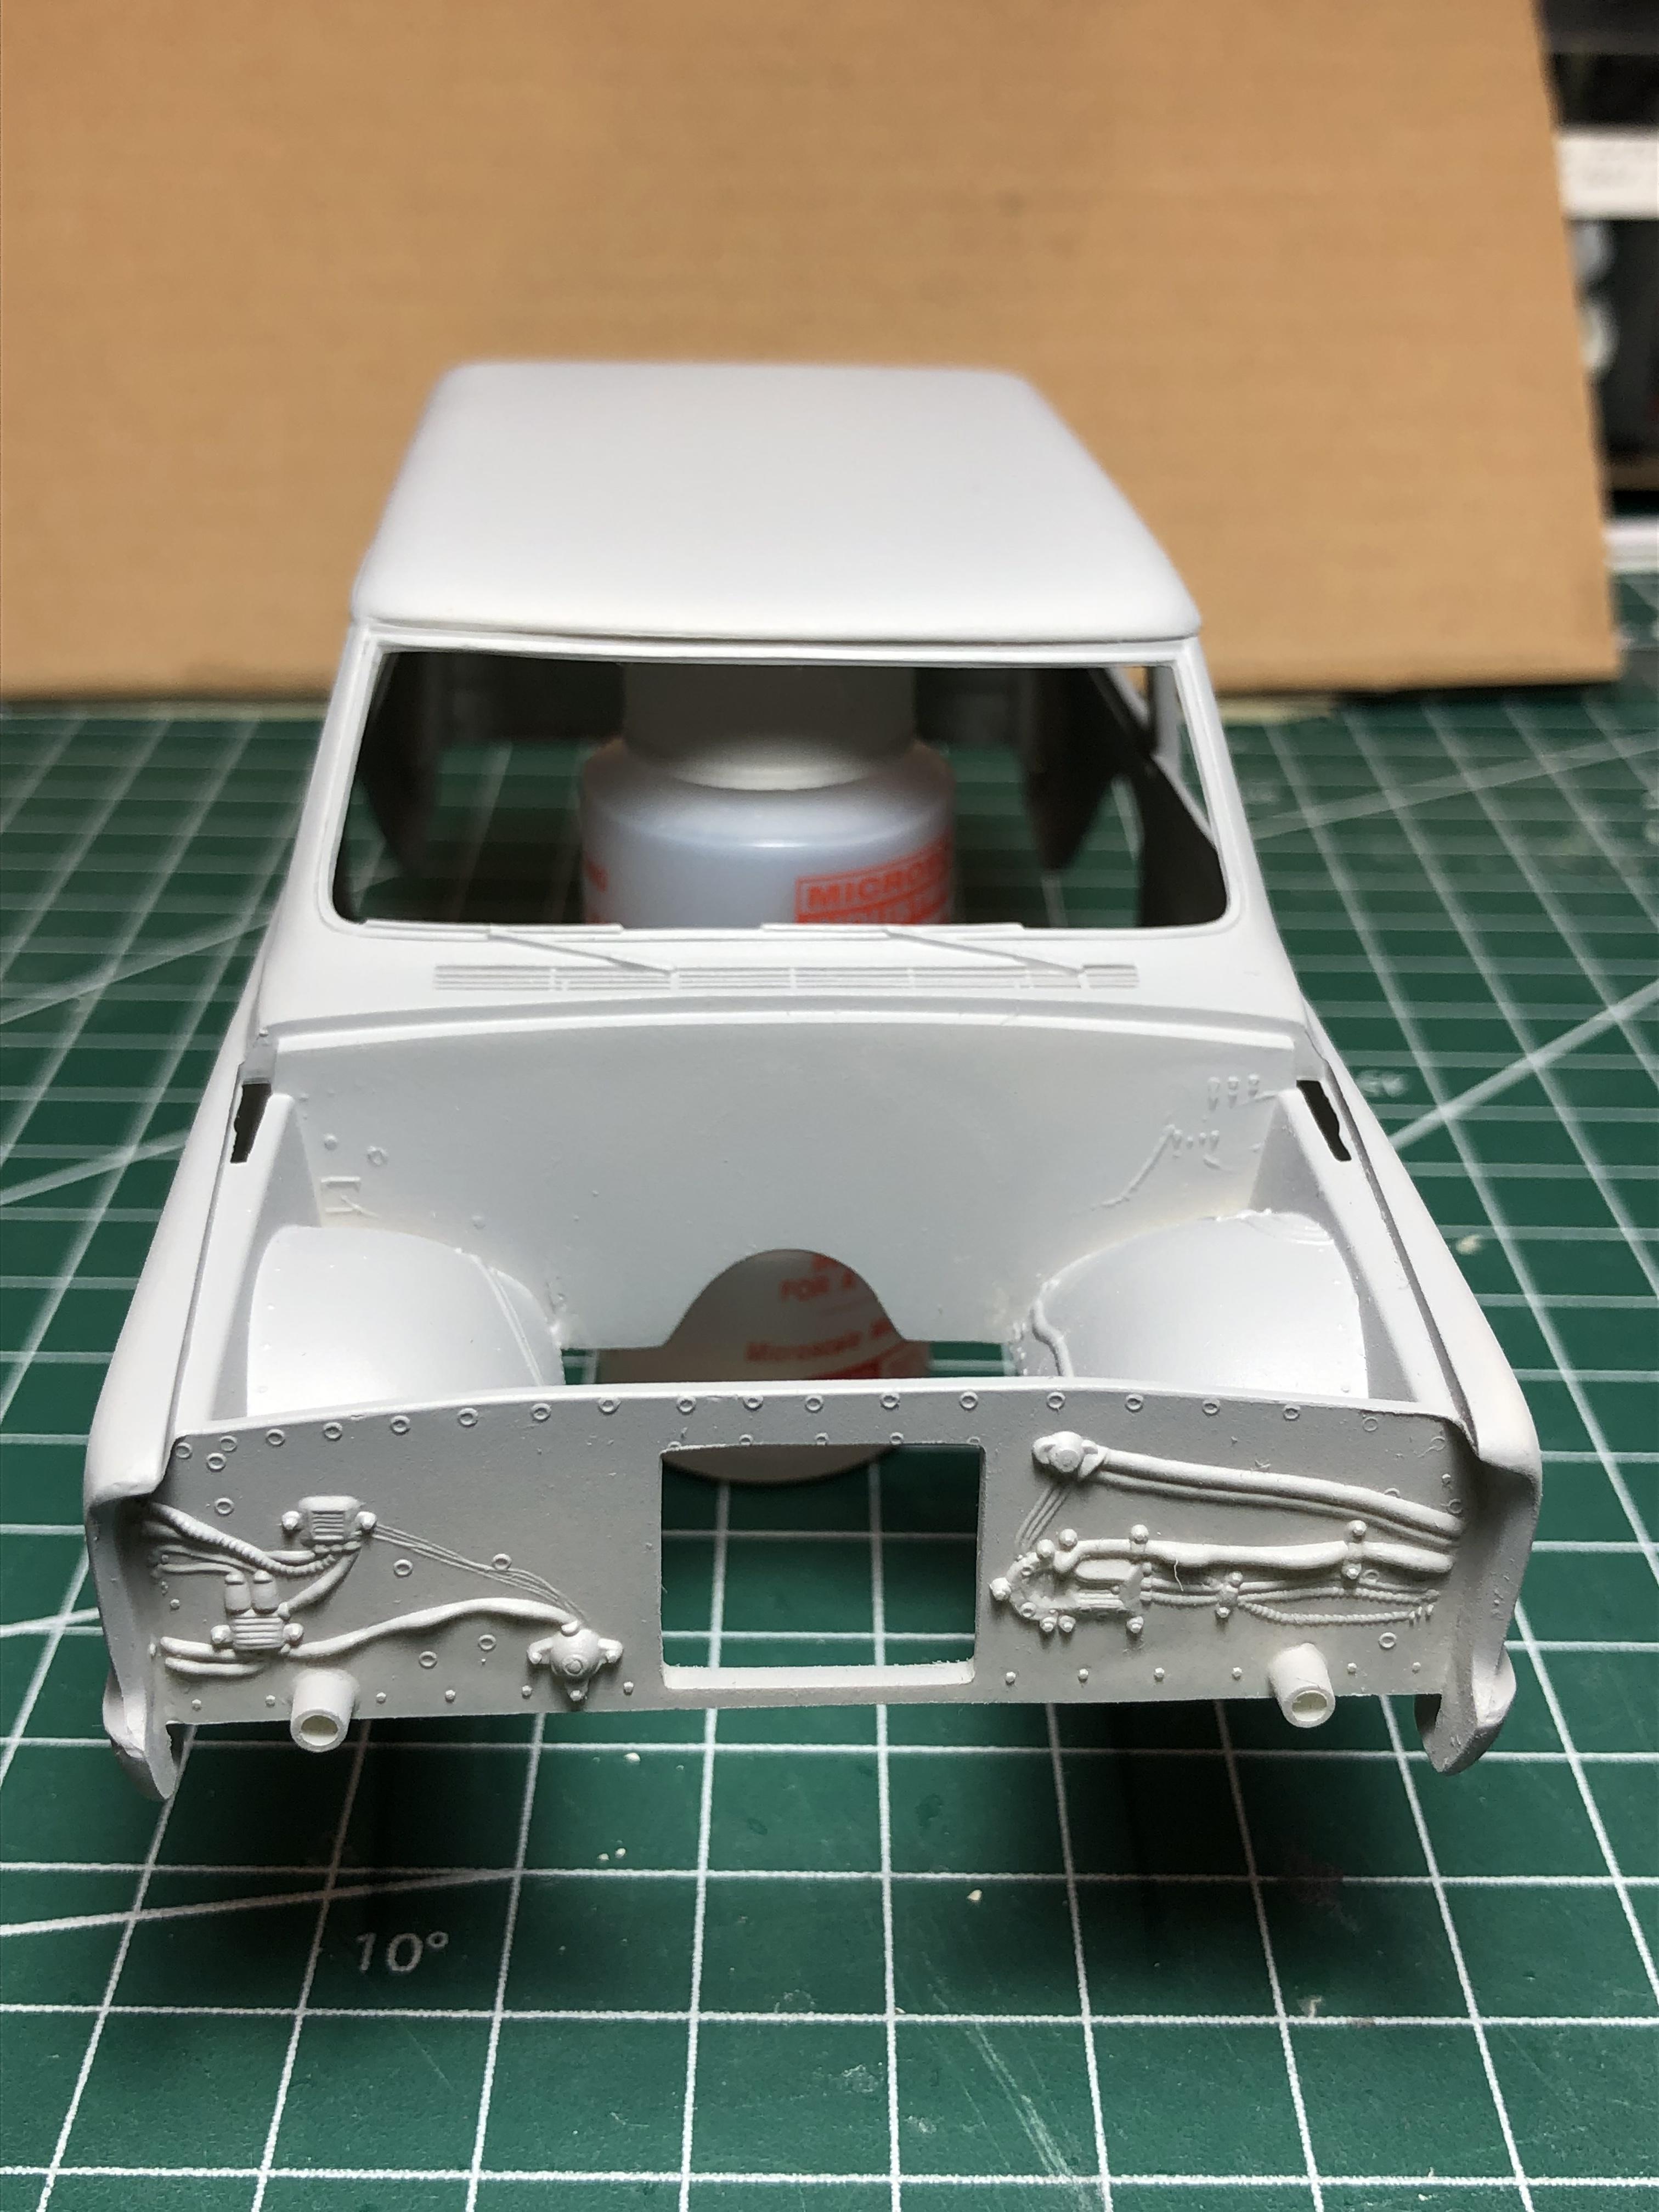
Finally an update… I made the executive decision to mold the top to the body, with the goal of it looking “different”, and hopefully good…? The idea (in my head) was to create a “modern style” SUV look with a non removable top. The “fibreglass” texture has been removed. Getting the warped cap glued on was a challenge, but working slowly from front to back got it on. I spent more time sanding than I care to admit on this. The body needed ALOT of cleanup, the texture on the cap was very stubborn, plus the bodywork. I sourced a new radiator from a 62 Impala kit to replace the ridiculous looking kit piece. The gaping hole in the firewall has been filled. Still lots of fine tuning to do, but here it is after the second round of primer… Pleased with how it looks so far, and still planning on hugger orange for body colour. Something like this, but all orange… I should be back at the desk regularly now, so hoping to keep this one going. Cheers, Steve
-
Haha !! Thanks Jeremy, I appreciate the support. At a quick glance, it looks like you’ve got a handful of builds going. I’ll try to get caught up…
-
Out of the box chrome parts
Steve H replied to Kickstand's topic in Model Building Questions and Answers
Some kit chrome looks “toy like”. On most of my recent builds I use one or two mist coats of Tamiya smoke to take the excessive shine down a notch. If you try this, practice on some scrap sprue first, heavy coats do not work well. -
Hello Anton! This beast is coming along nicely. The grill/headlights look fantastic. The stance, and final wheel choice are top shelf. As to the paint issue, first of all, dang!…. I am not an expert, I would check out Plowboy’s thread on “how to save a paint job”. Roger’s builds as I’m sure you know are absolutely awesome. Hopefully this helps. Keep up the great work, this build really speaks to me. Cheers, Steve
-
Hi Anton! This one is a little different than the usual. I always appreciate your support, thanks. Hope all is well with you and your family. Greg! How are you? I was wondering if you finished yours. Mine will be a fair bit simpler than yours, hoping to get some momentum going this weekend. I have missed my hobby, time to get back at it!!
-
Hmmmmmm….. now where was I…… Hi all, it’s been a busy summer. Despite only working part time thru the spring summer, I had several big projects around our property which took up most of time. I managed to sit at the desk for a couple of hours today. Nothing to show for it, just worked on removing mold lines on body, and started some tweaking on the roof. With fall setting in and most of my big projects complete, I am hoping to get back to some regular hobby time. I must say, it felt good to see the styrene dust flying again! Hoping to have a meaningful update next week. Cheers, Steve
-
Thank you Stephen, from a Steven! Cheers, Steve
-
Hi Ken, It’s 1/24 scale and IIRC it’s Fujimi. Goes together very nice. I would absolutely do another one similar to what you are doing. That thing is going to be wicked. Cheers, Steve
-
Really like this build! I plan on doing a rear wheel drive pro touring version of this as well, so I am watching with interest. The twin turbos should give it some giddy up! Cheers, Steve
-
Great idea Jeremy! Very nice looking build indeed. Those wheels look really good under it, I wouldn’t have guessed they would have looked that good. Cheers, Steve