e30lover
-
Posts
367 -
Joined
-
Last visited
Content Type
Profiles
Forums
Events
Gallery
Everything posted by e30lover
-
The way you shot with the perspective makes the car so realistic!
-
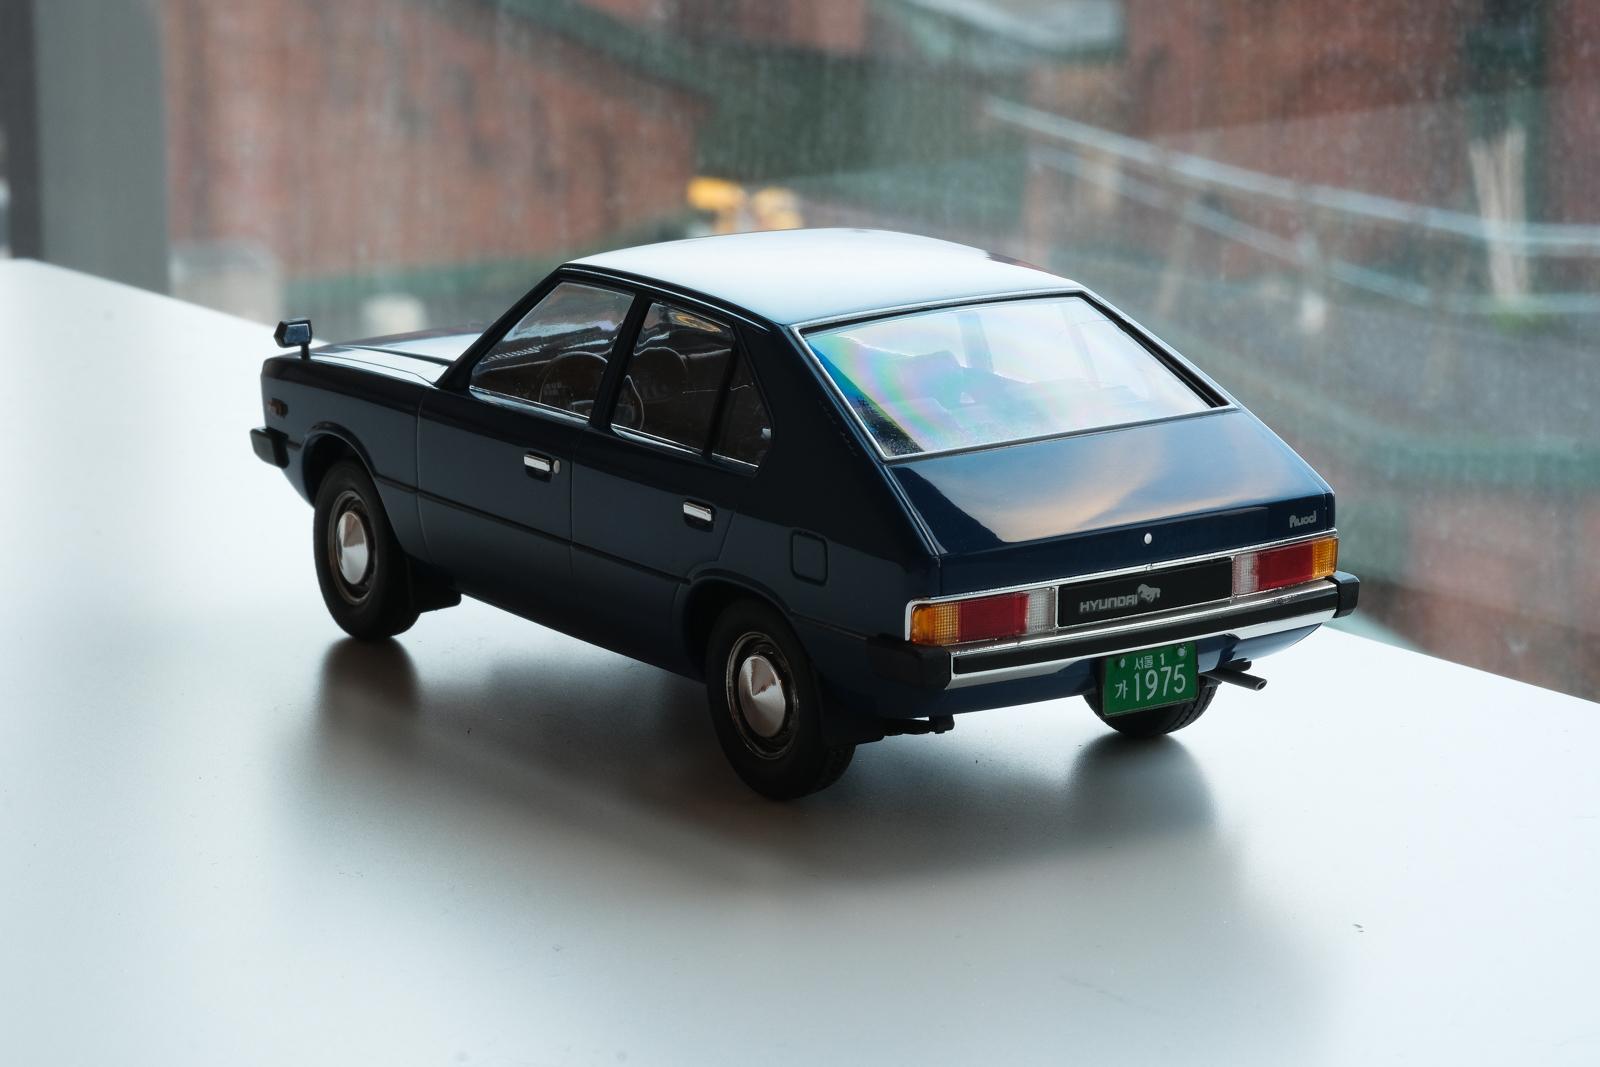
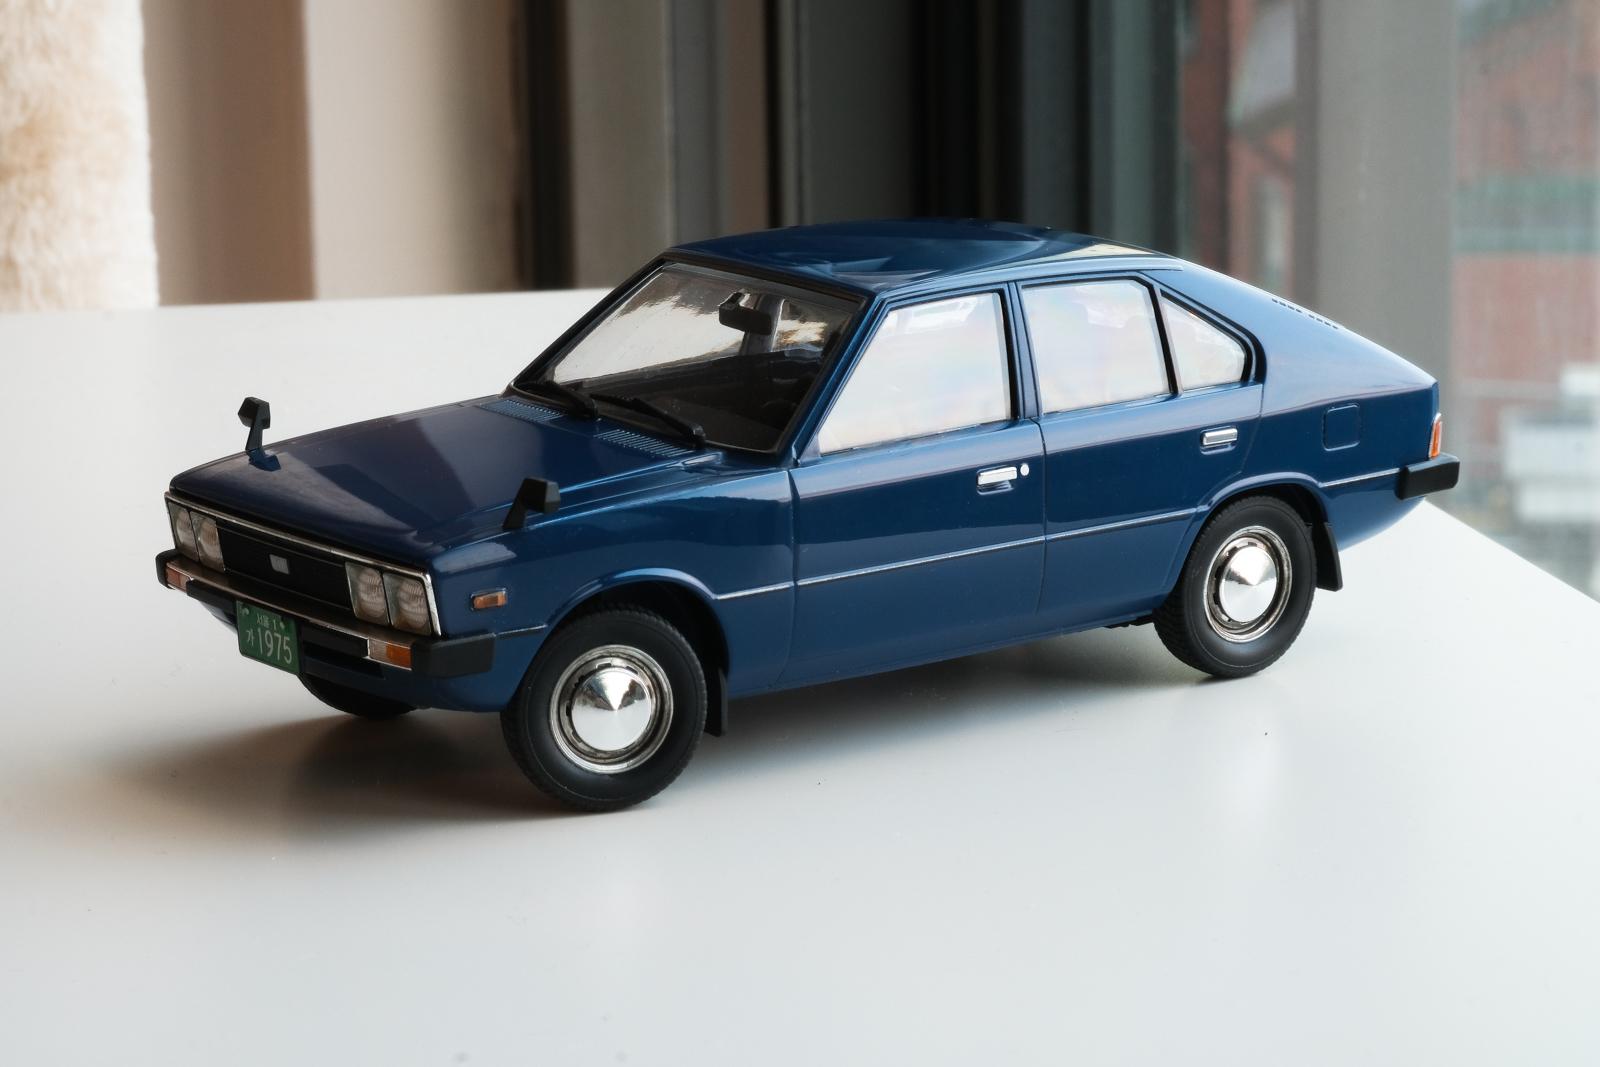
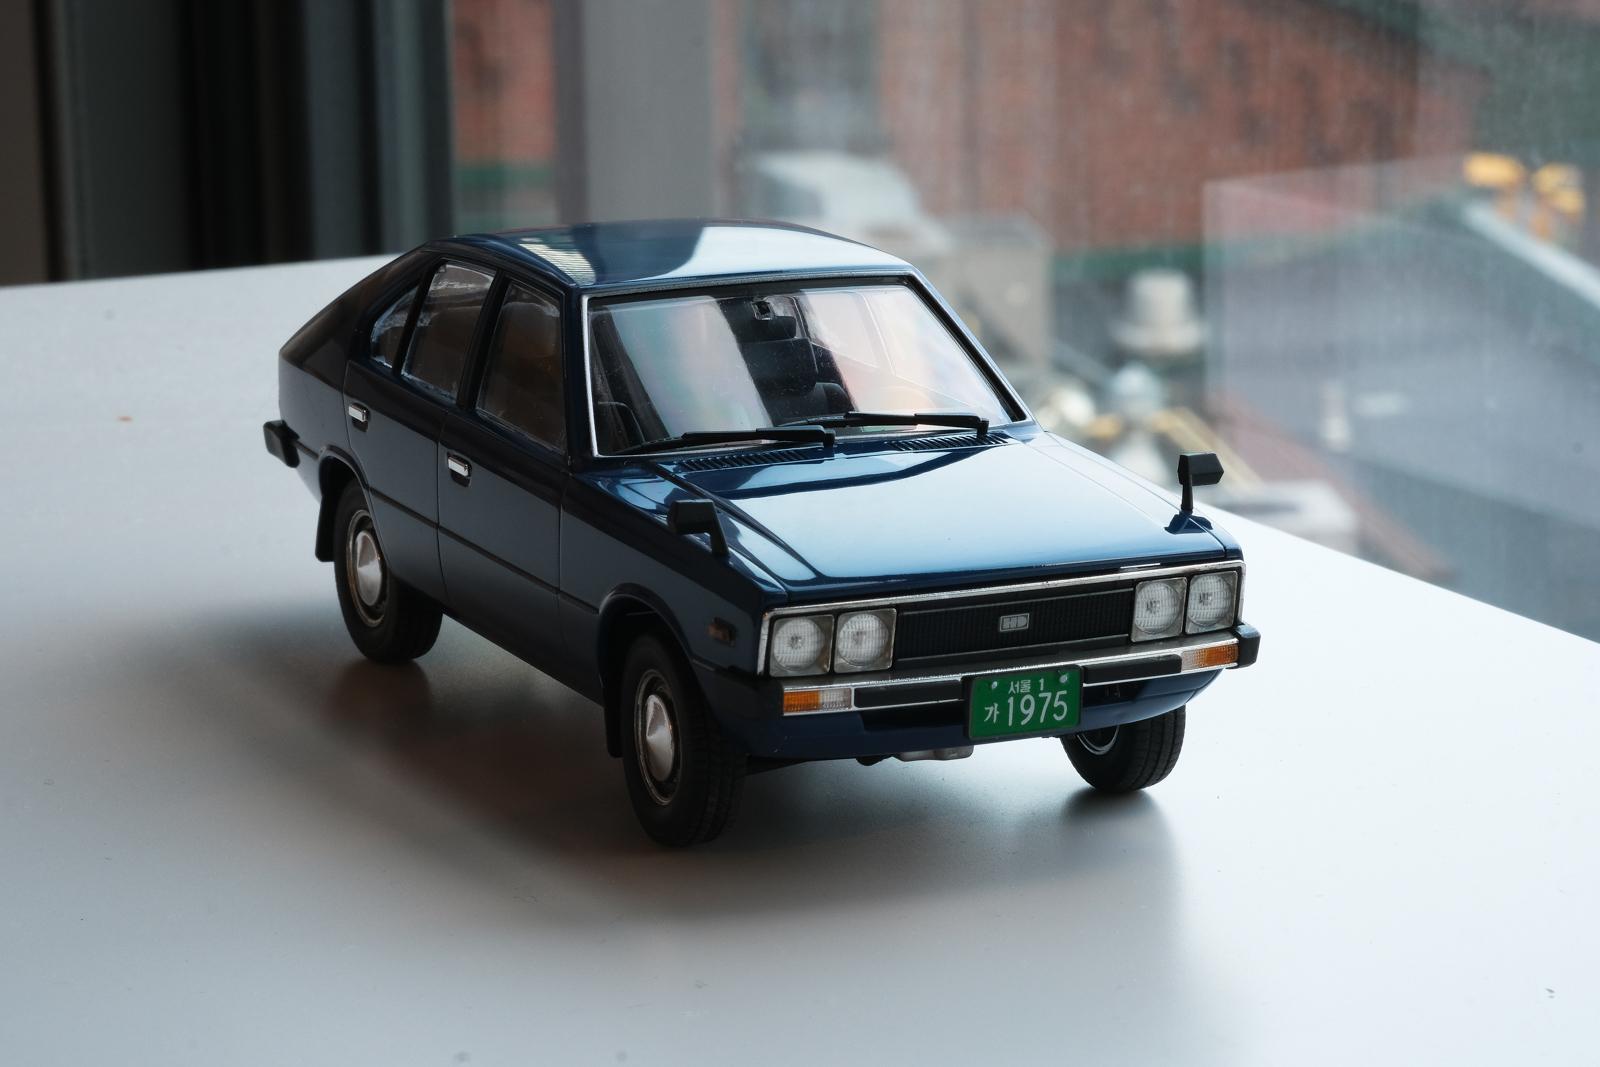
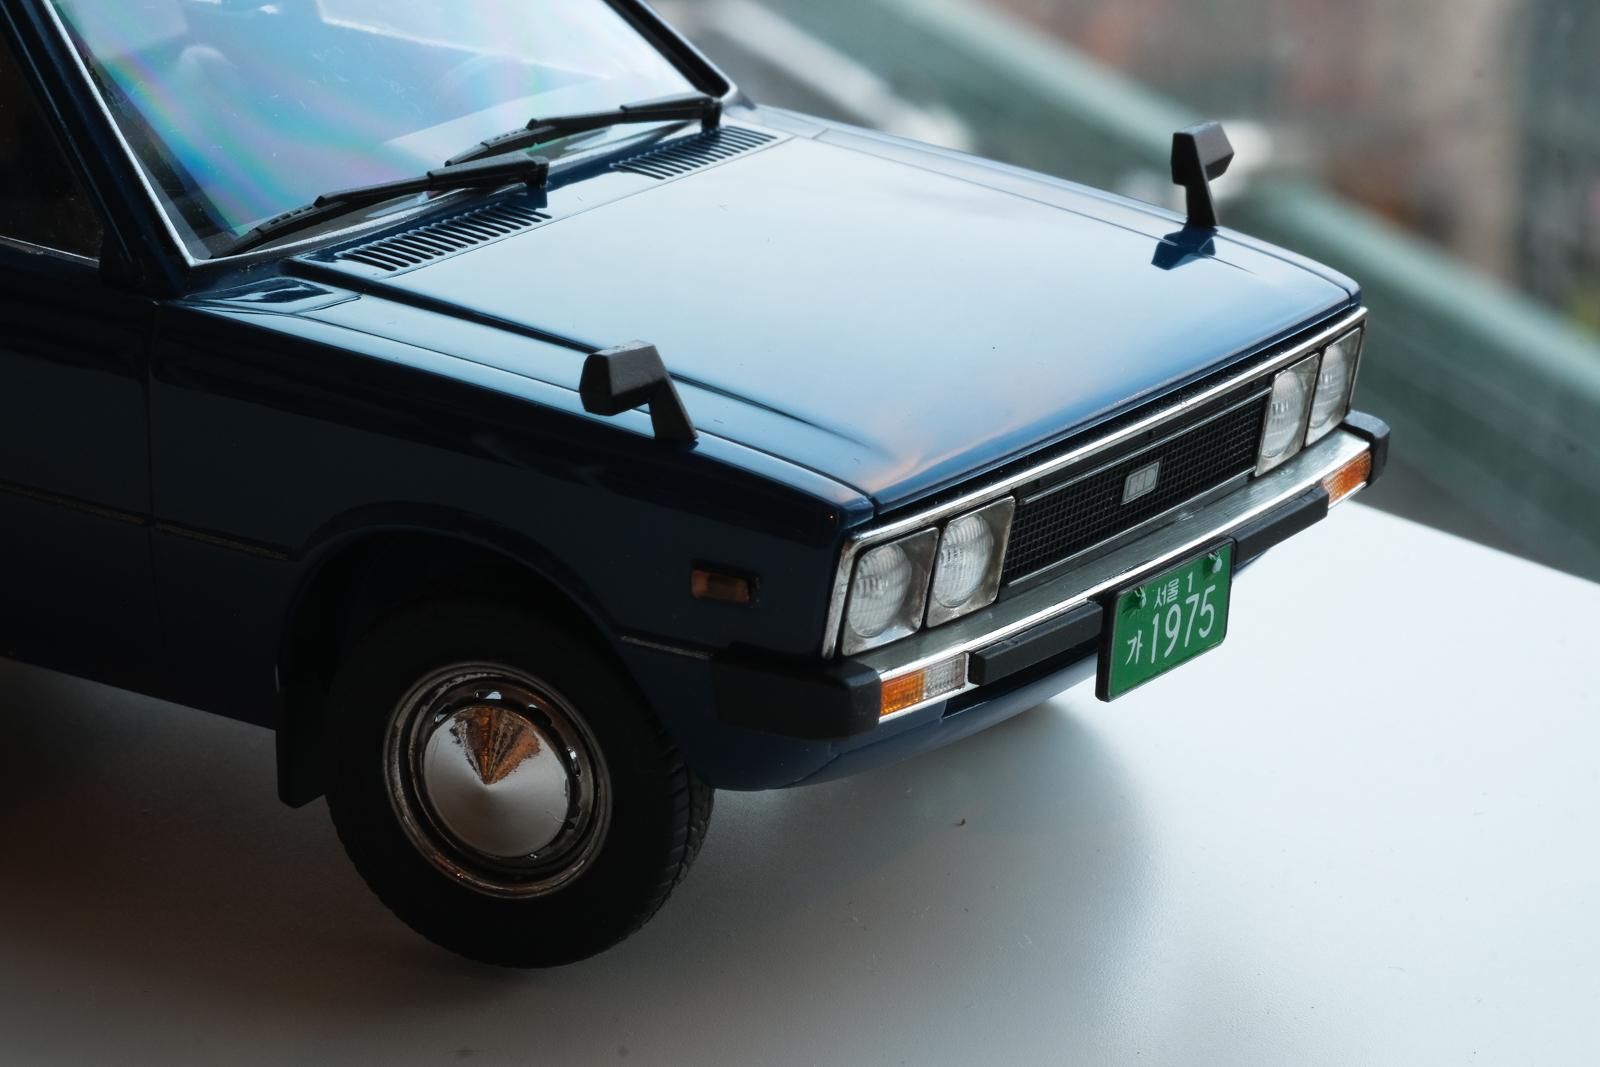
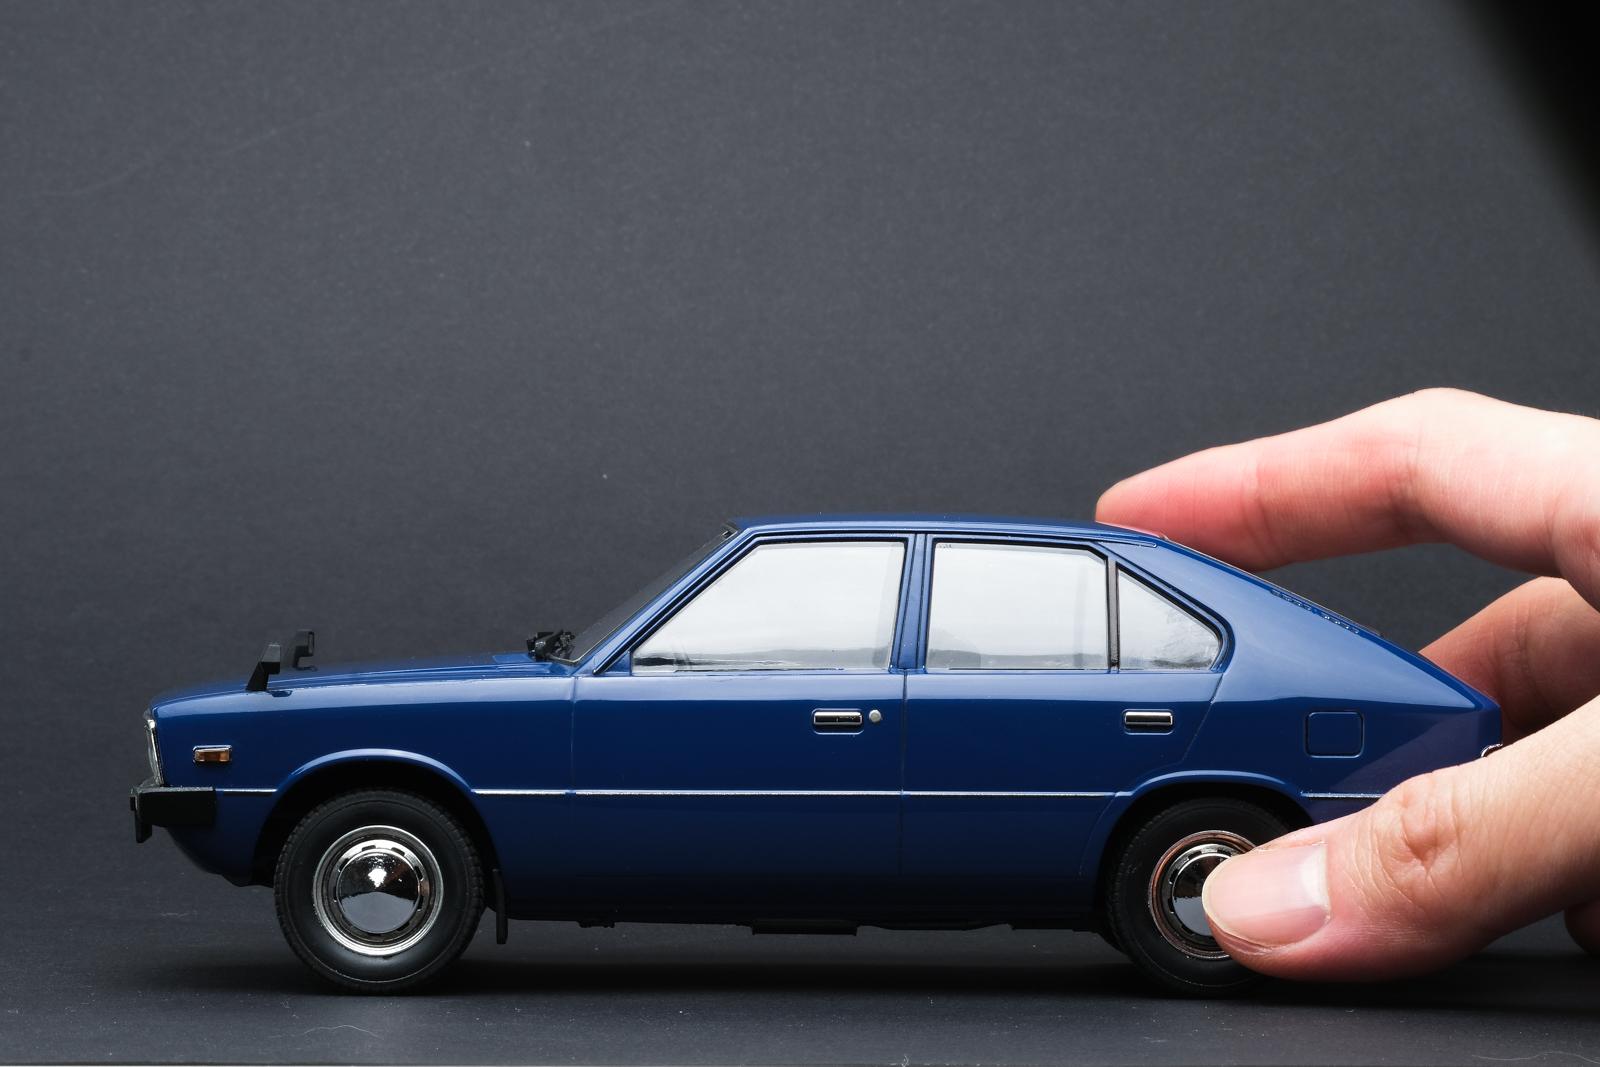
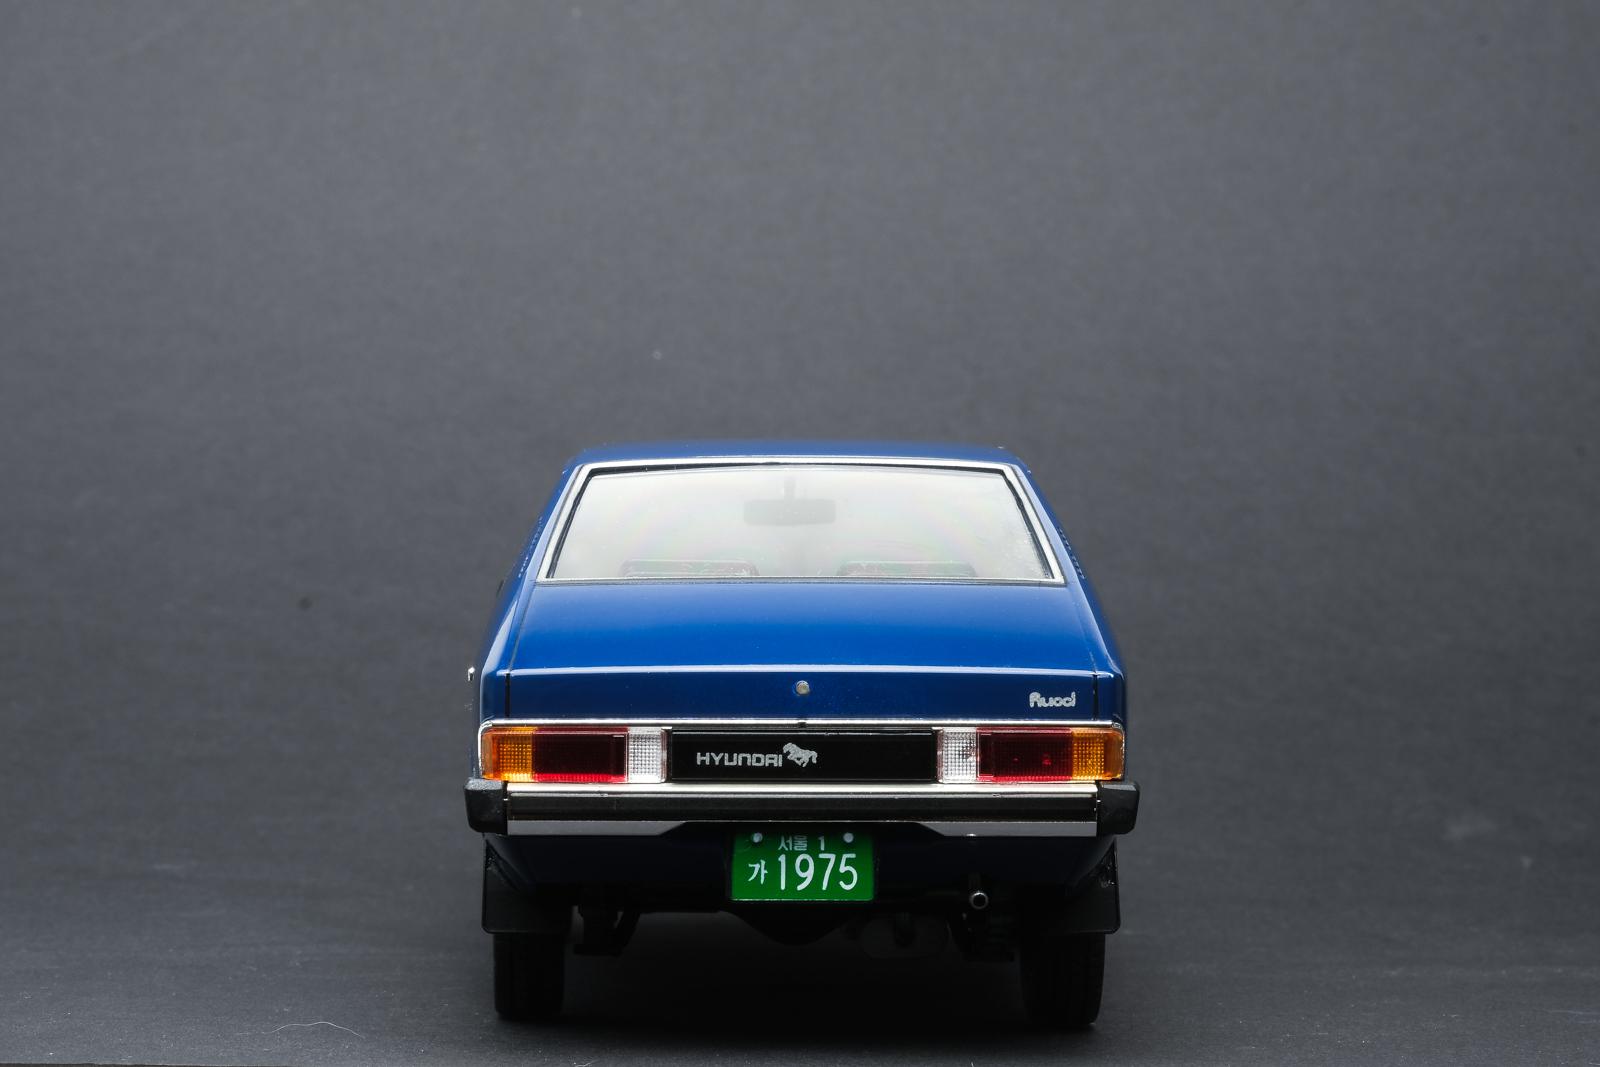
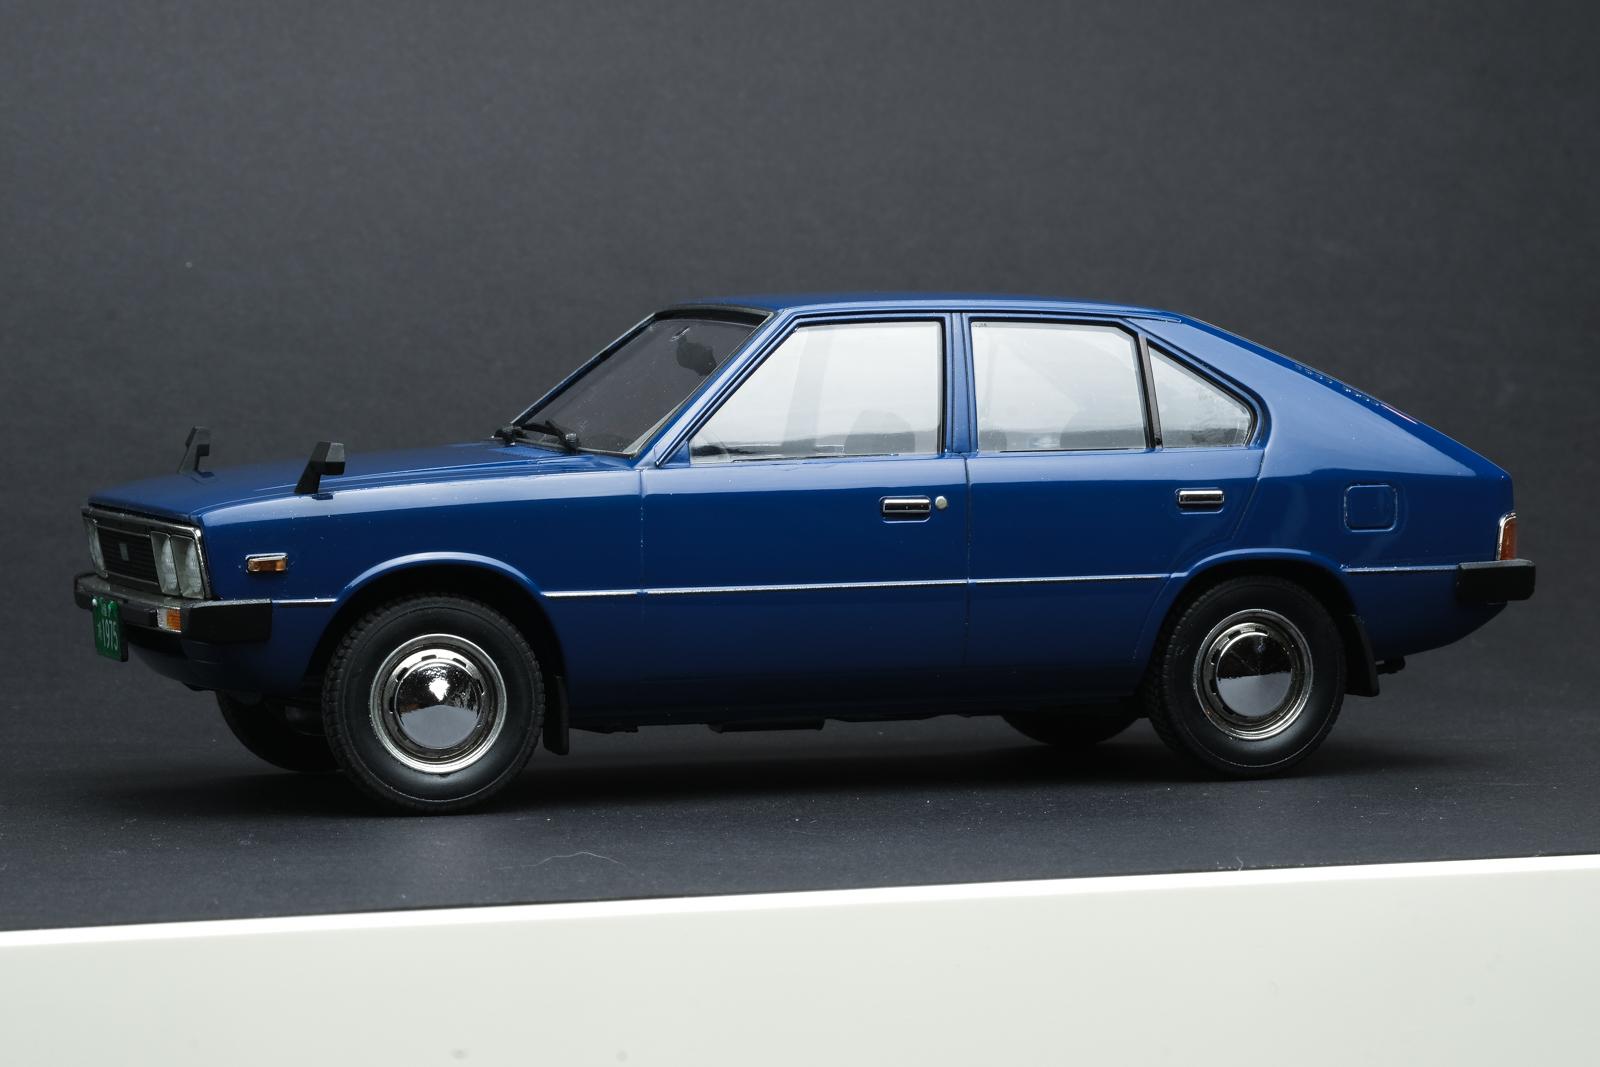
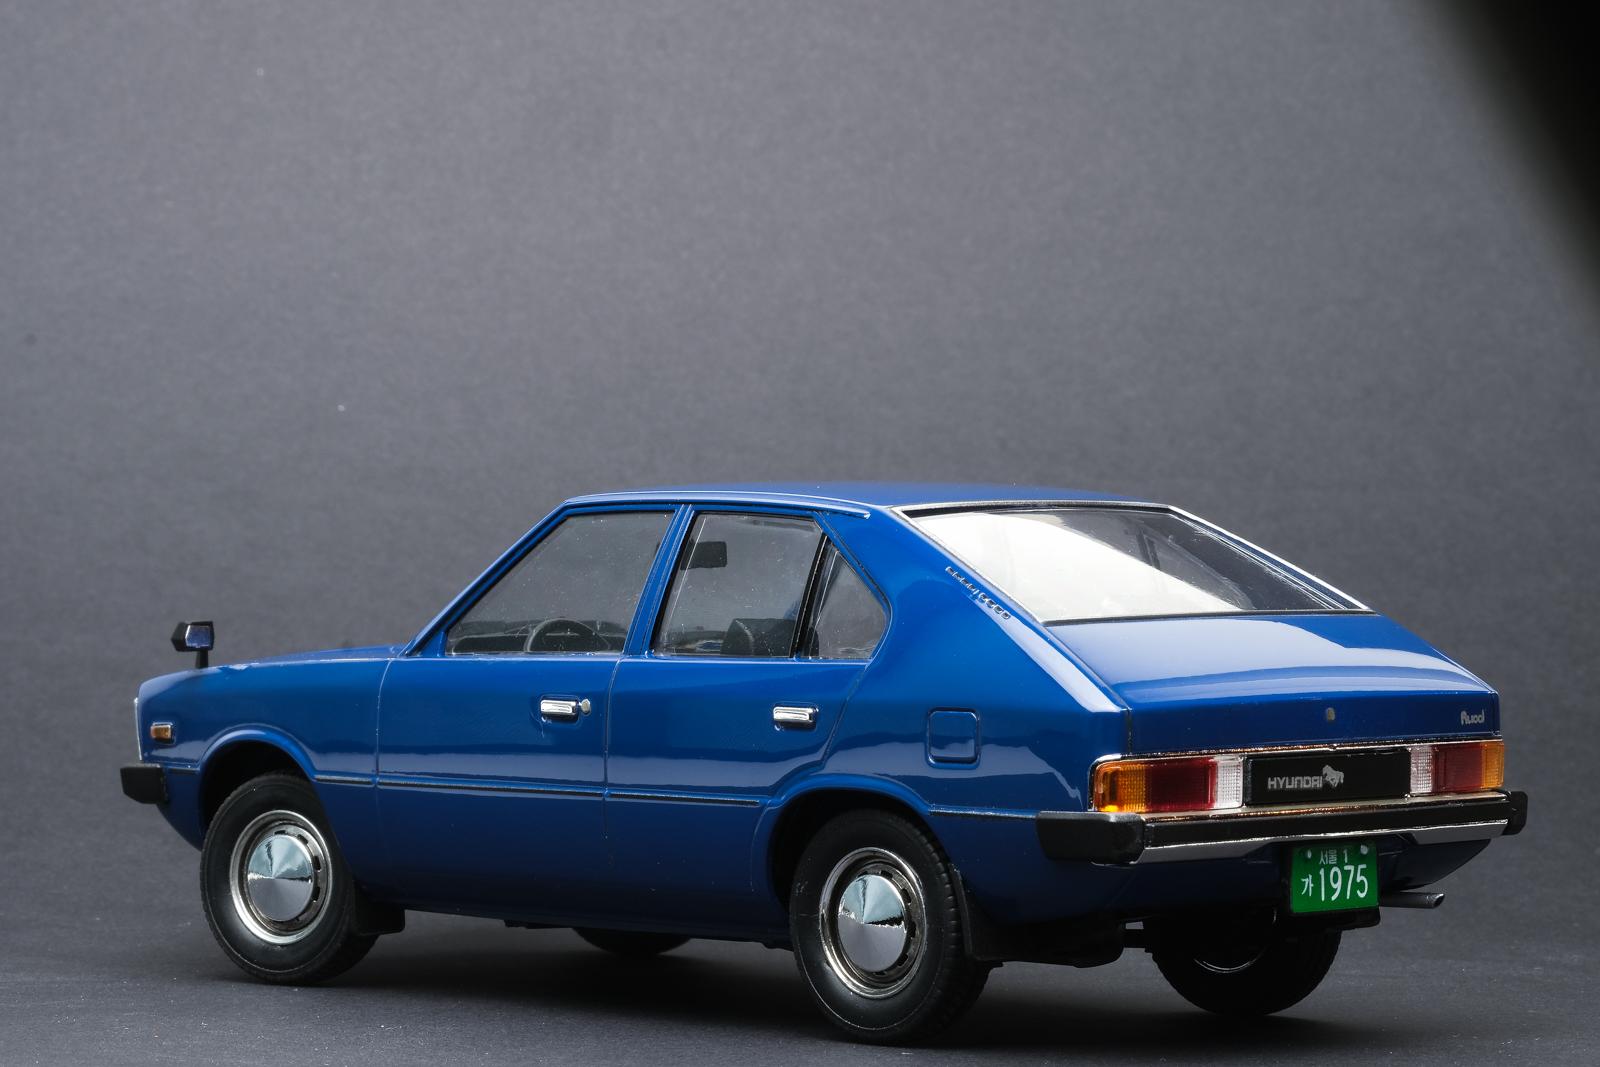
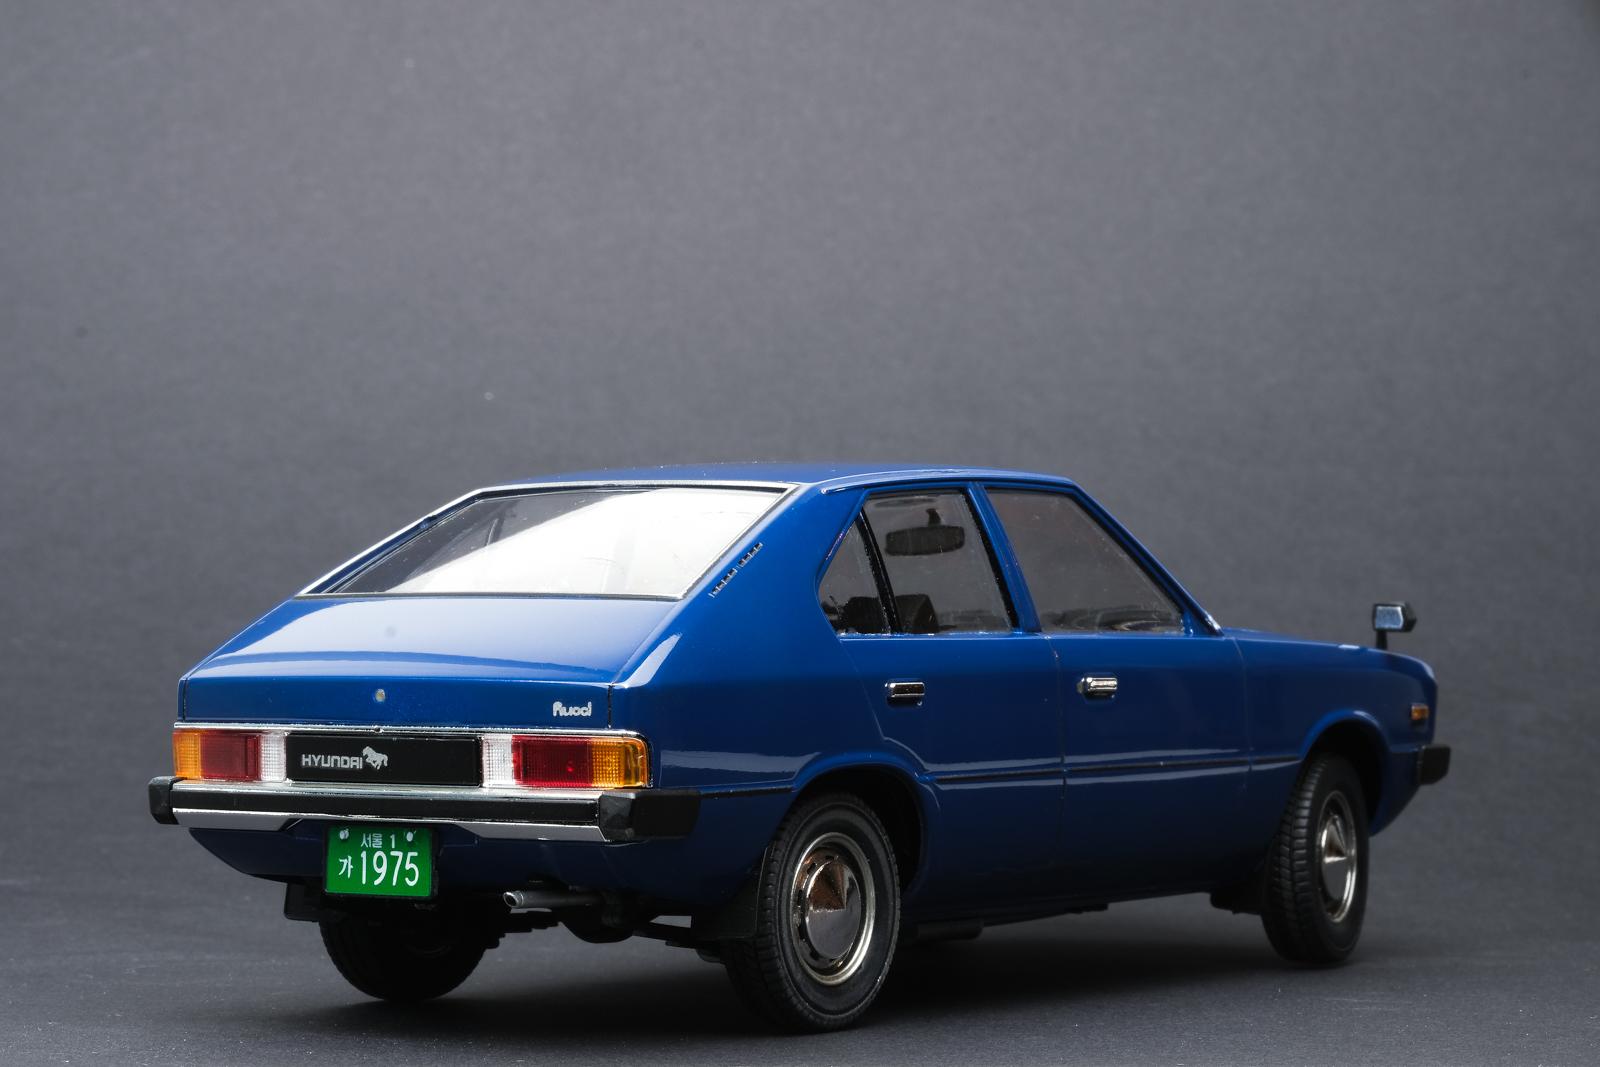
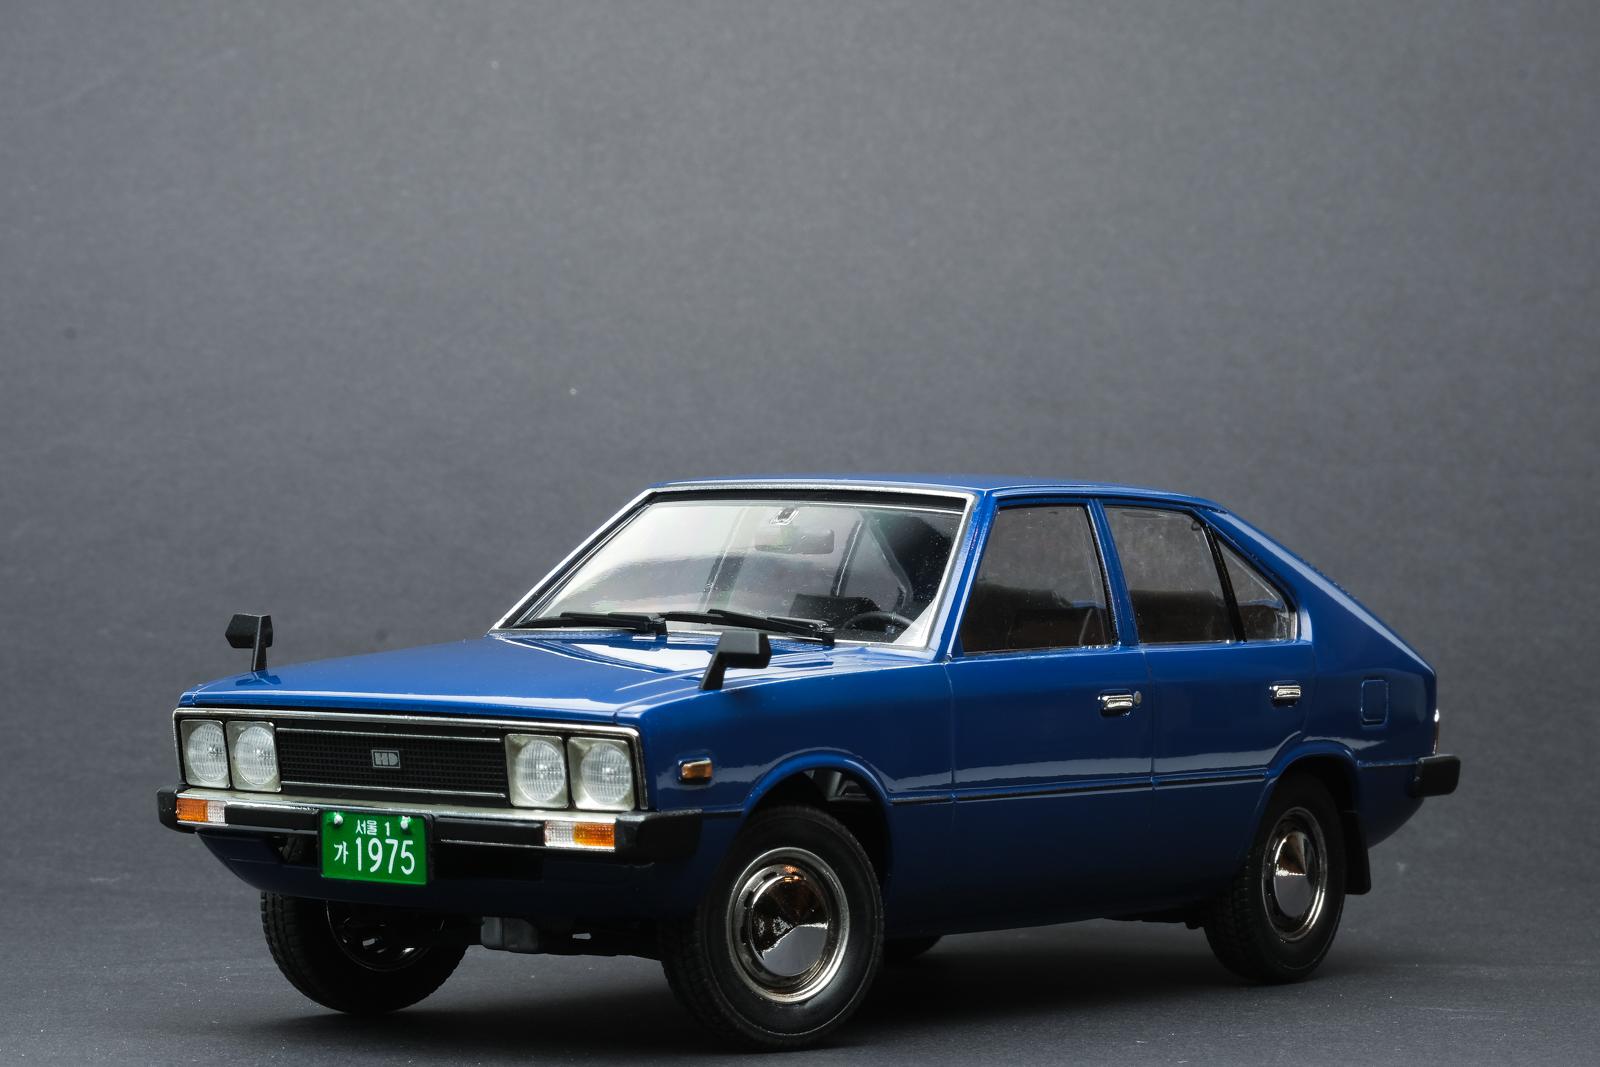
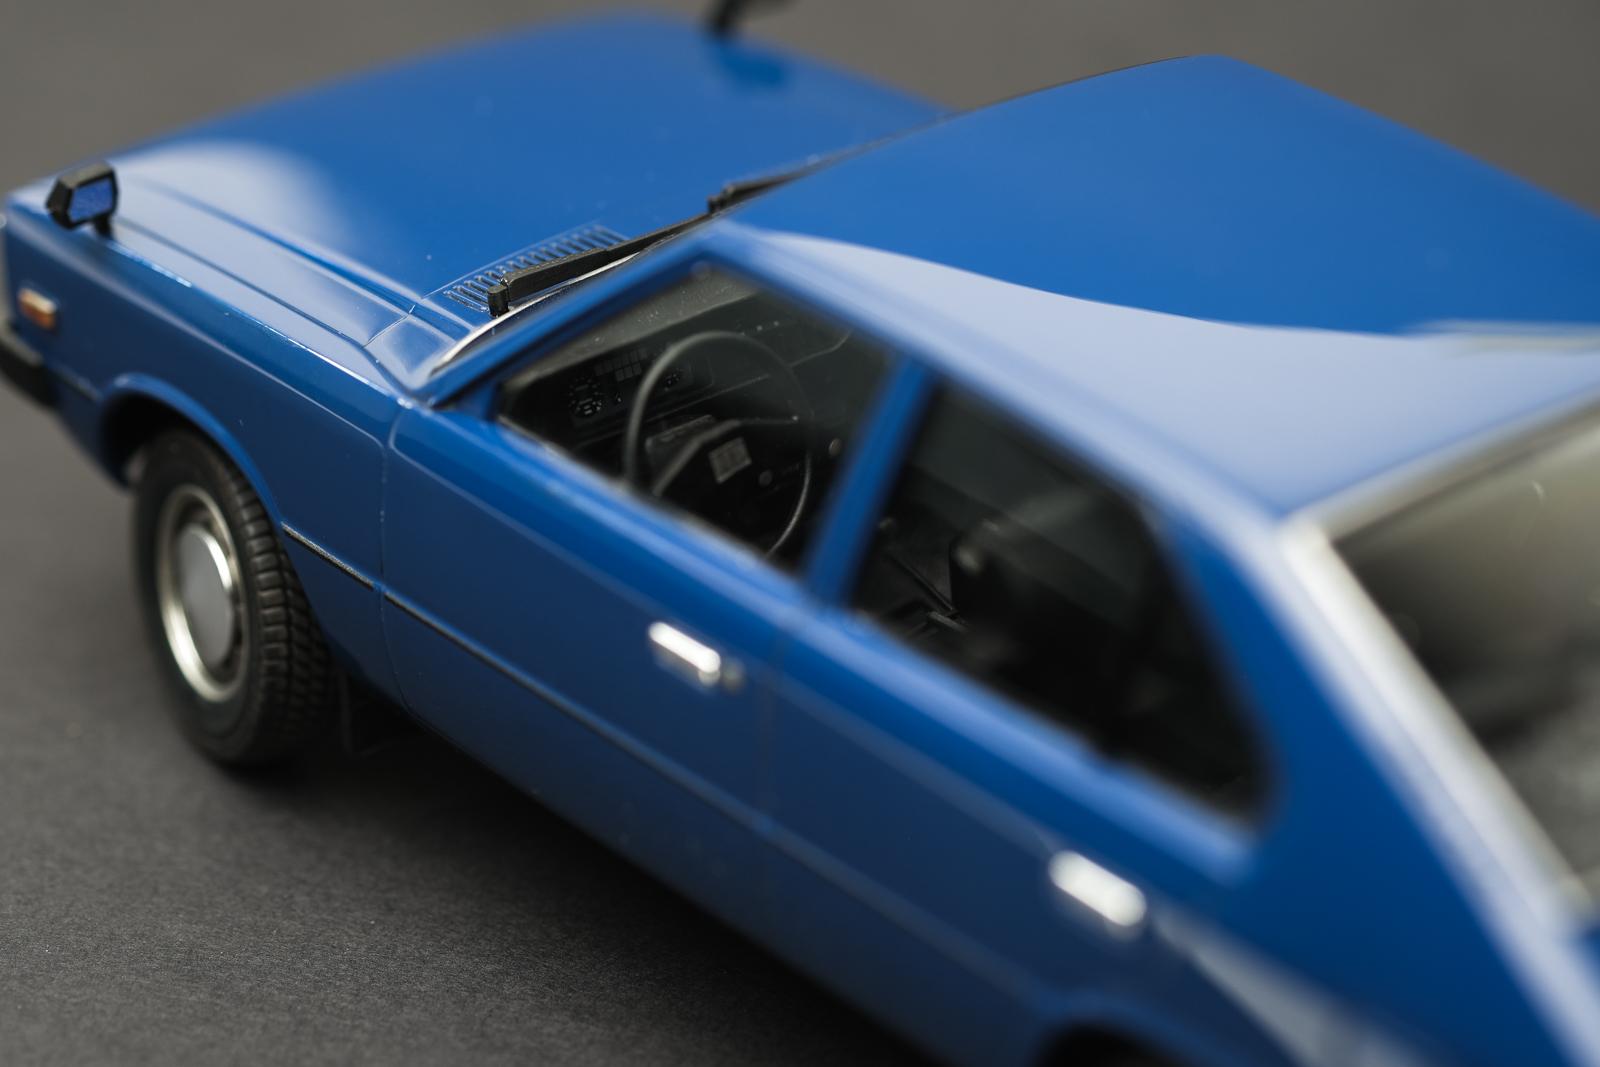
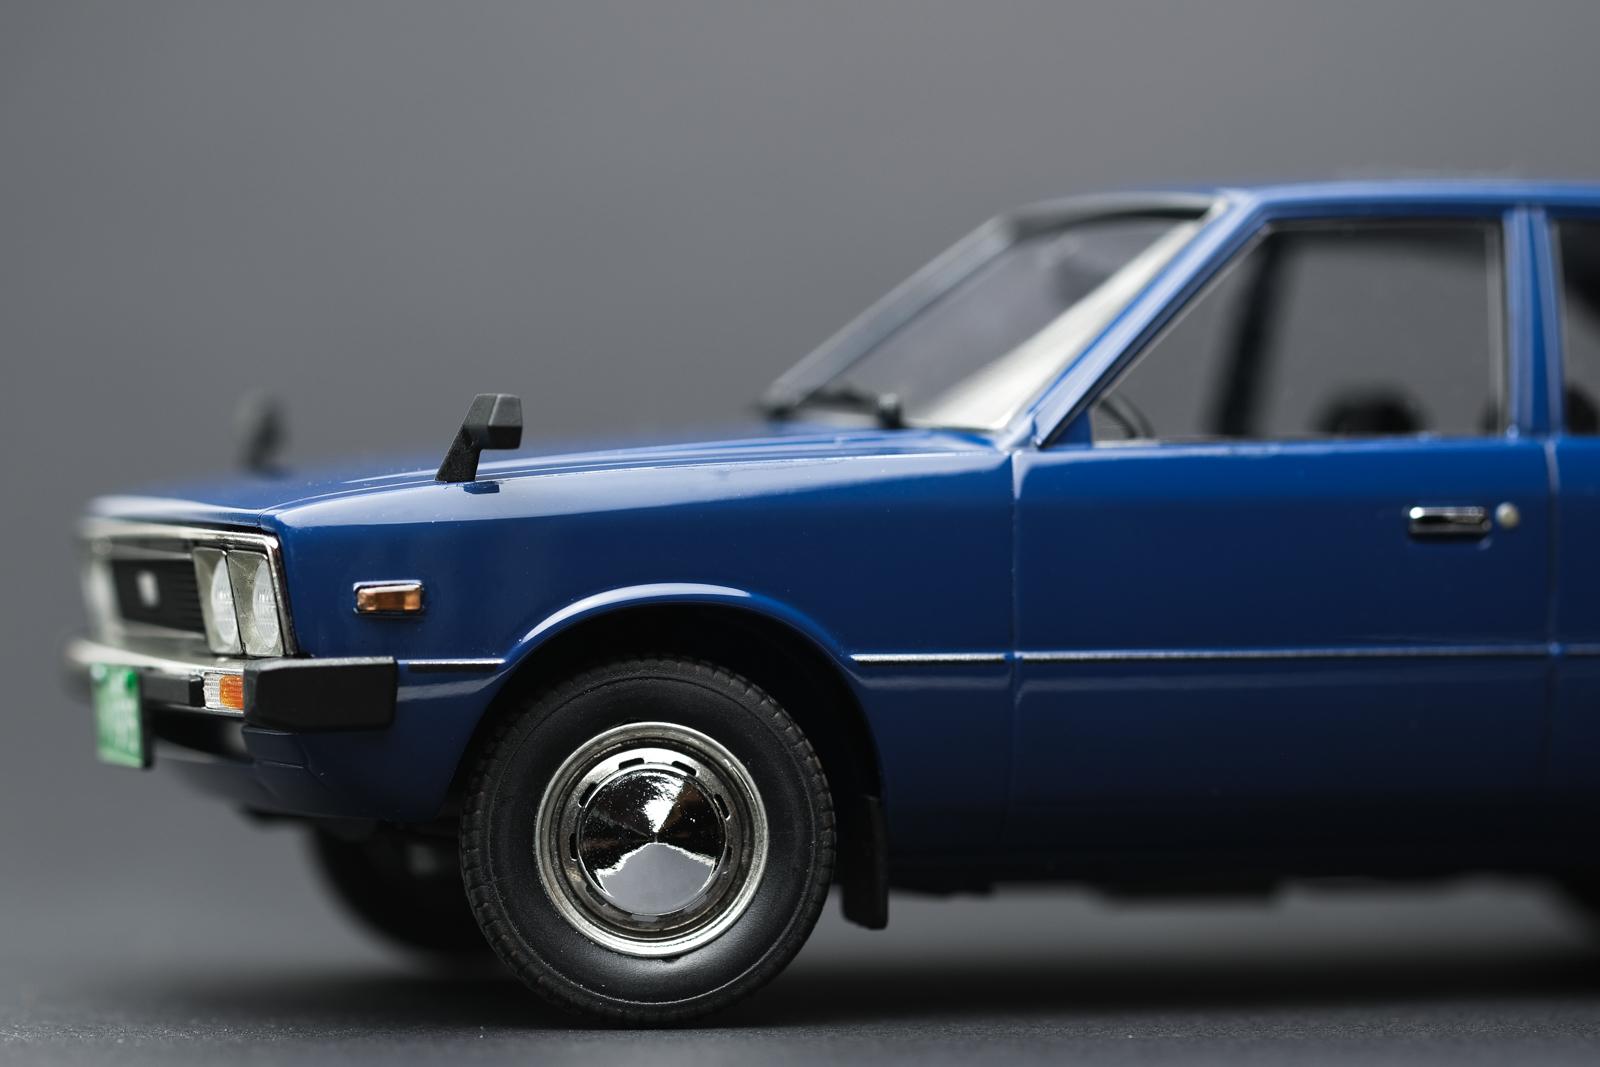
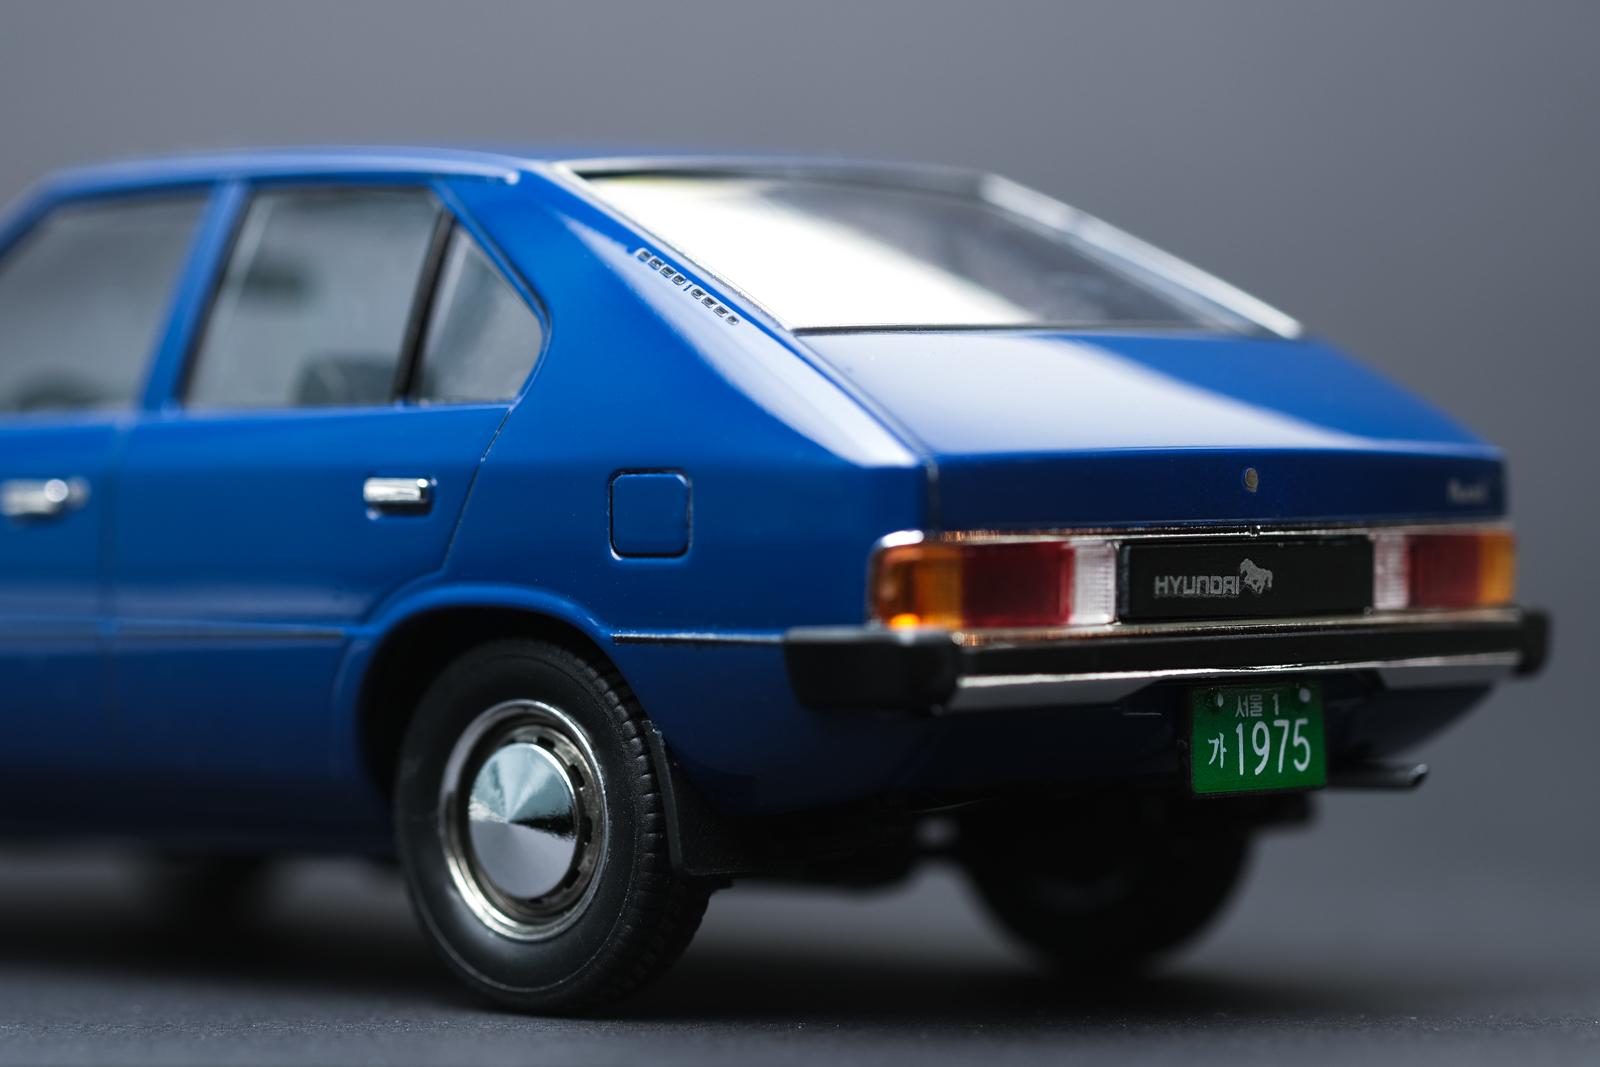
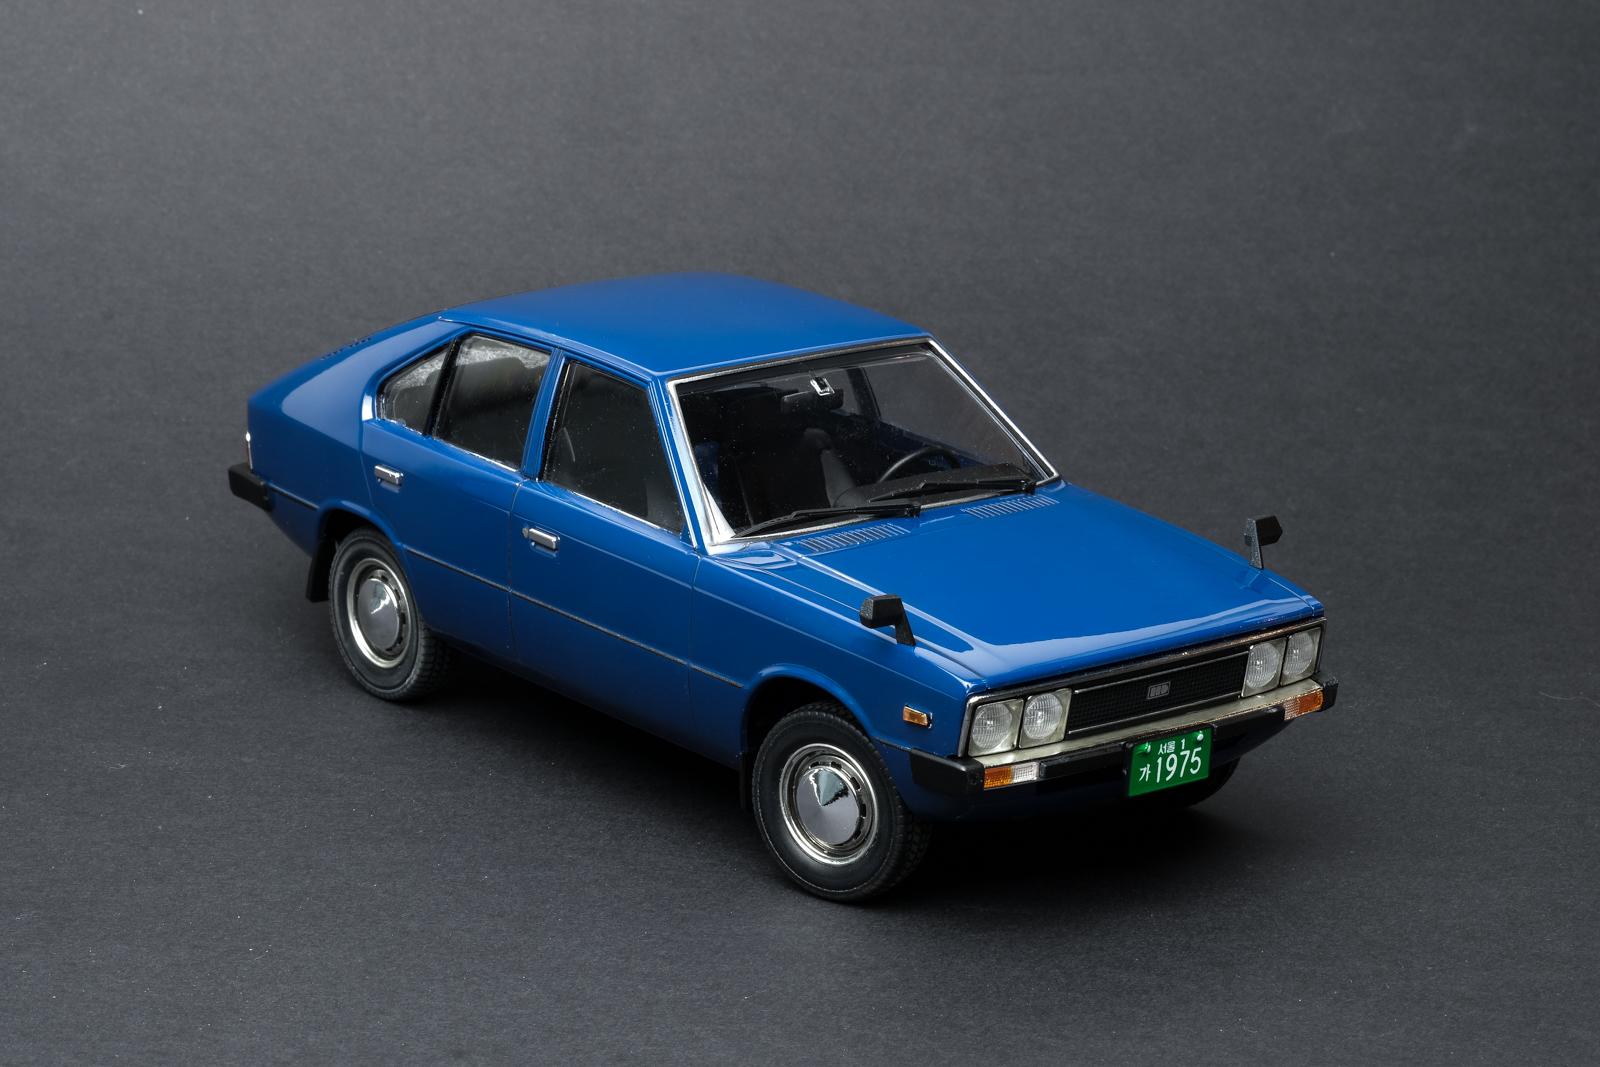
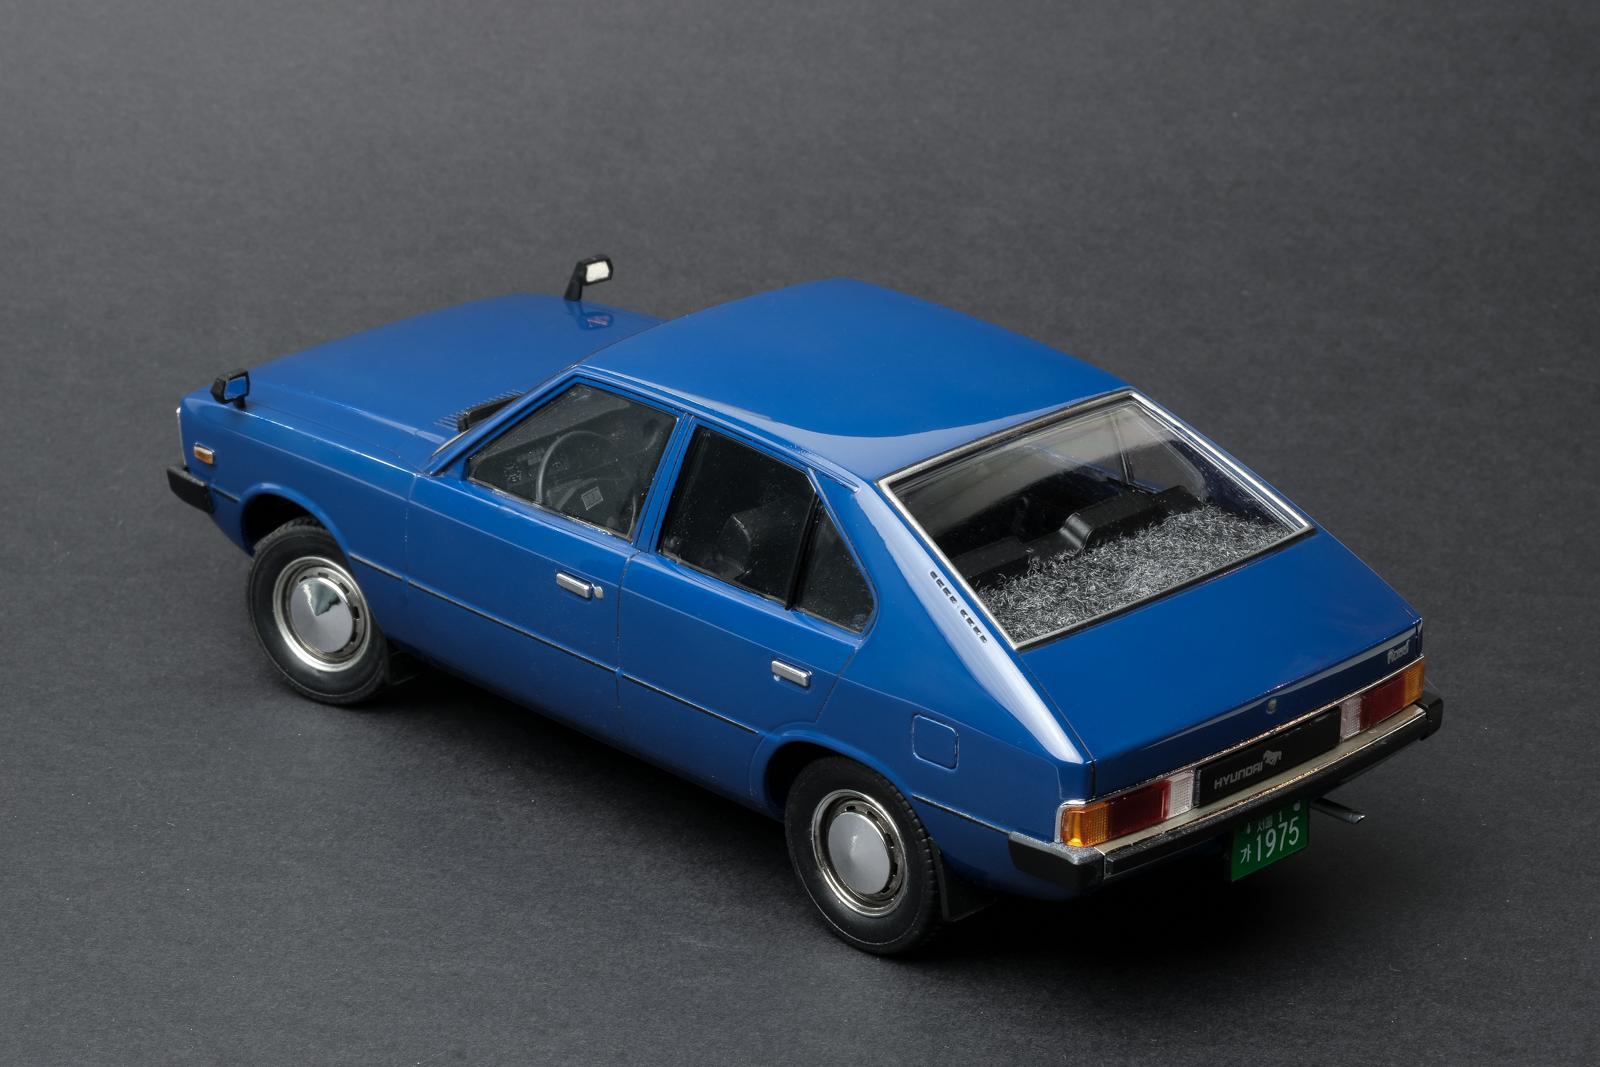
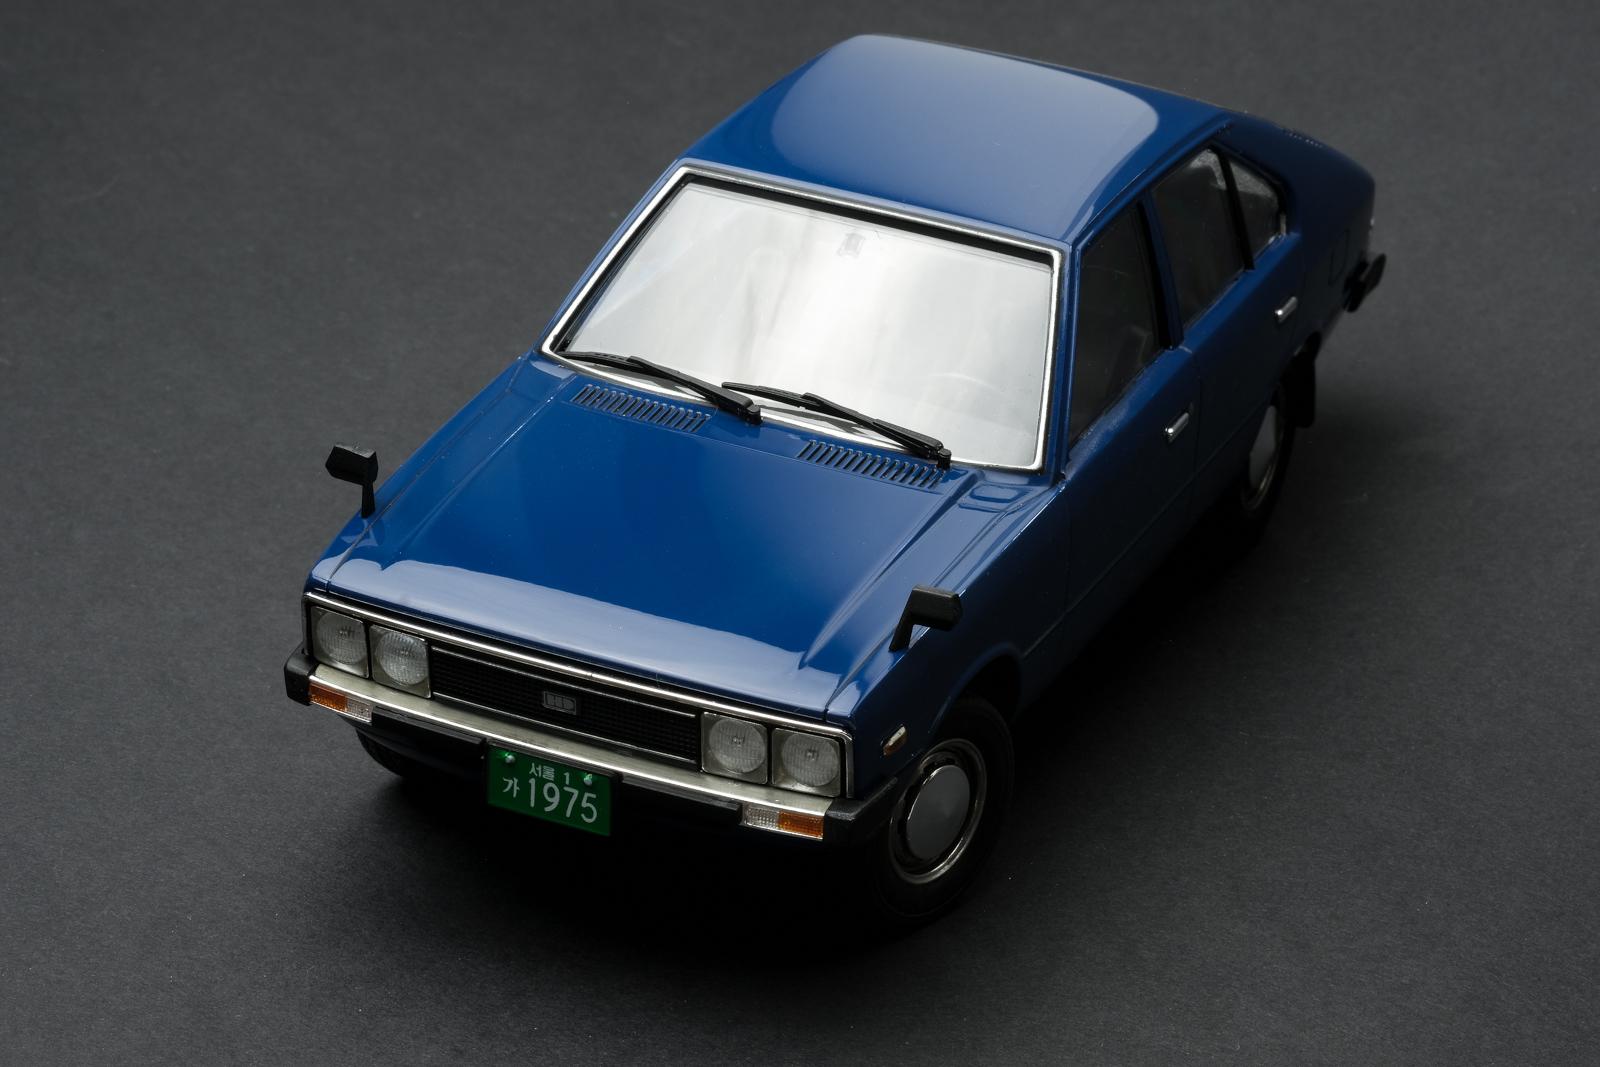
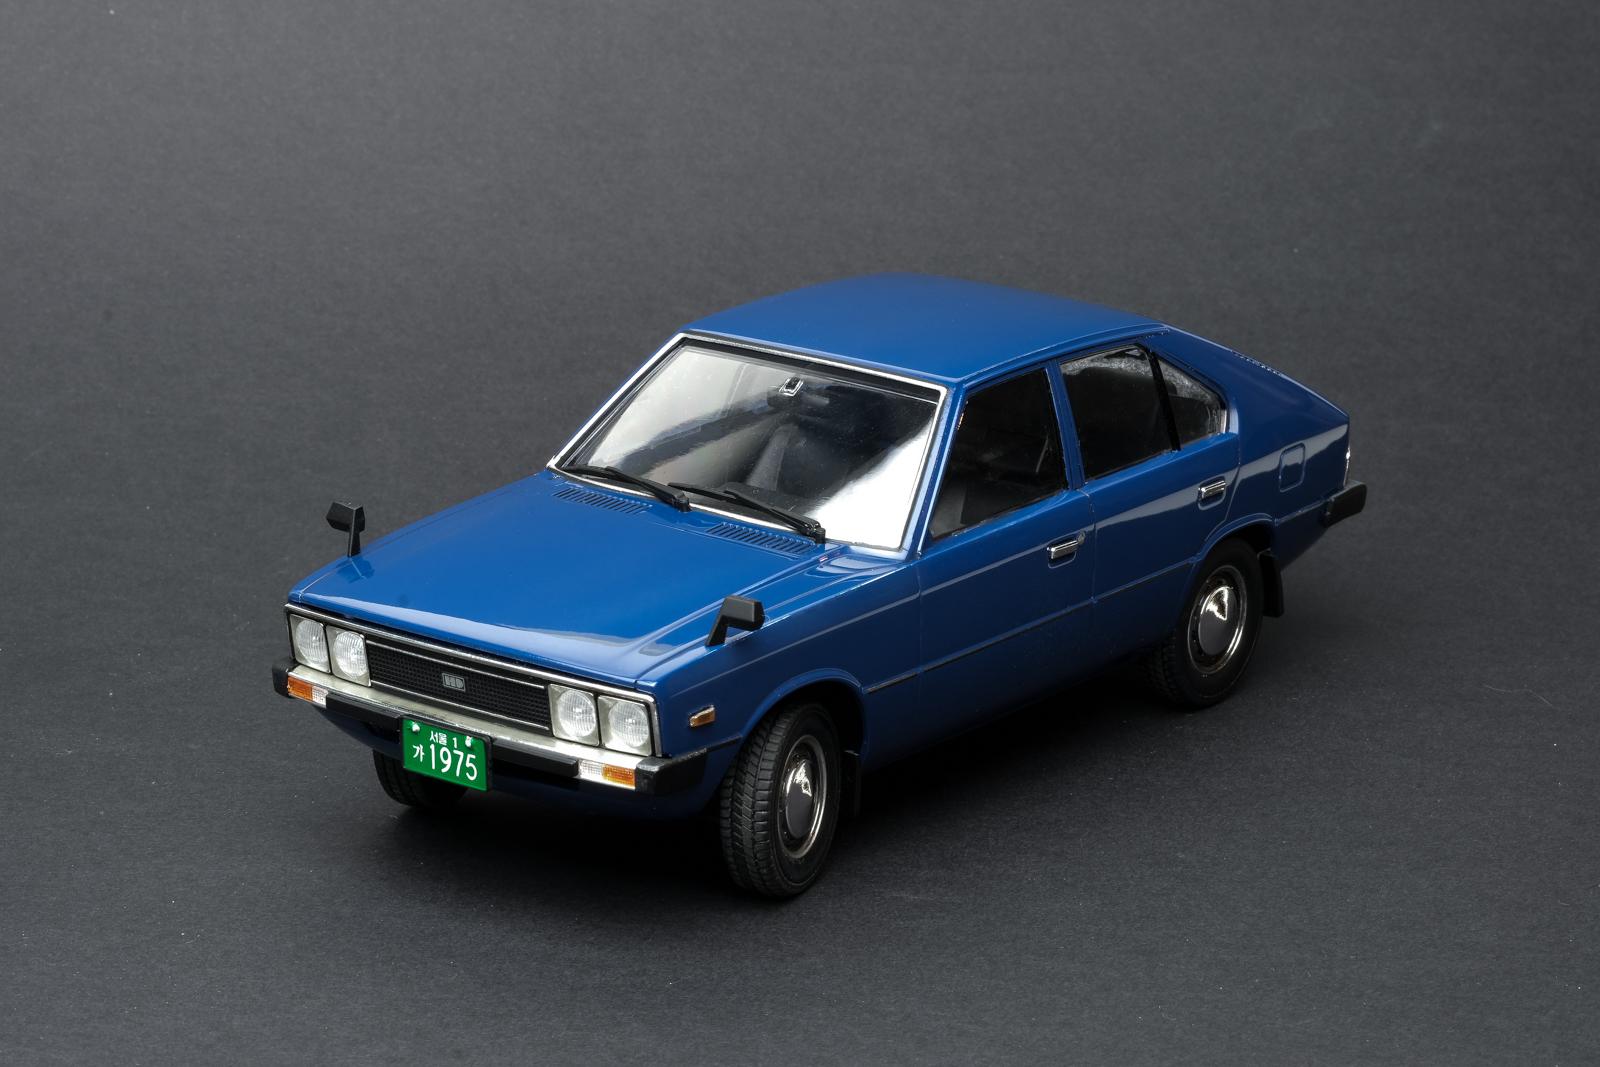
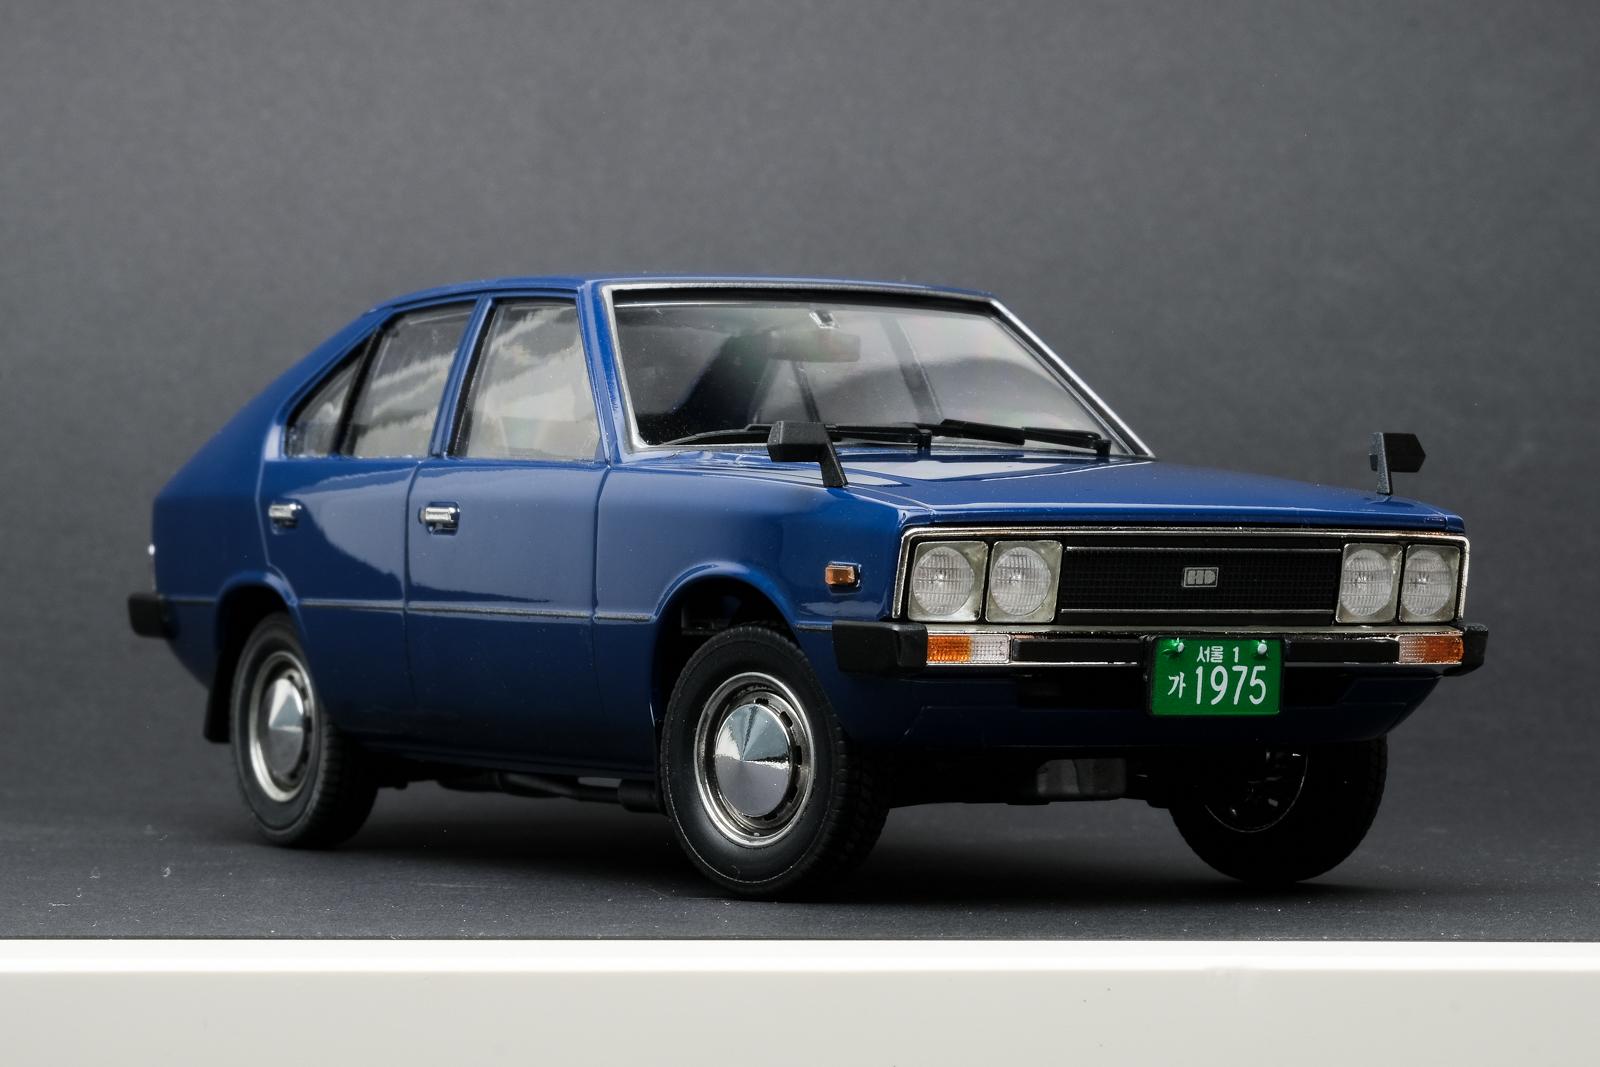
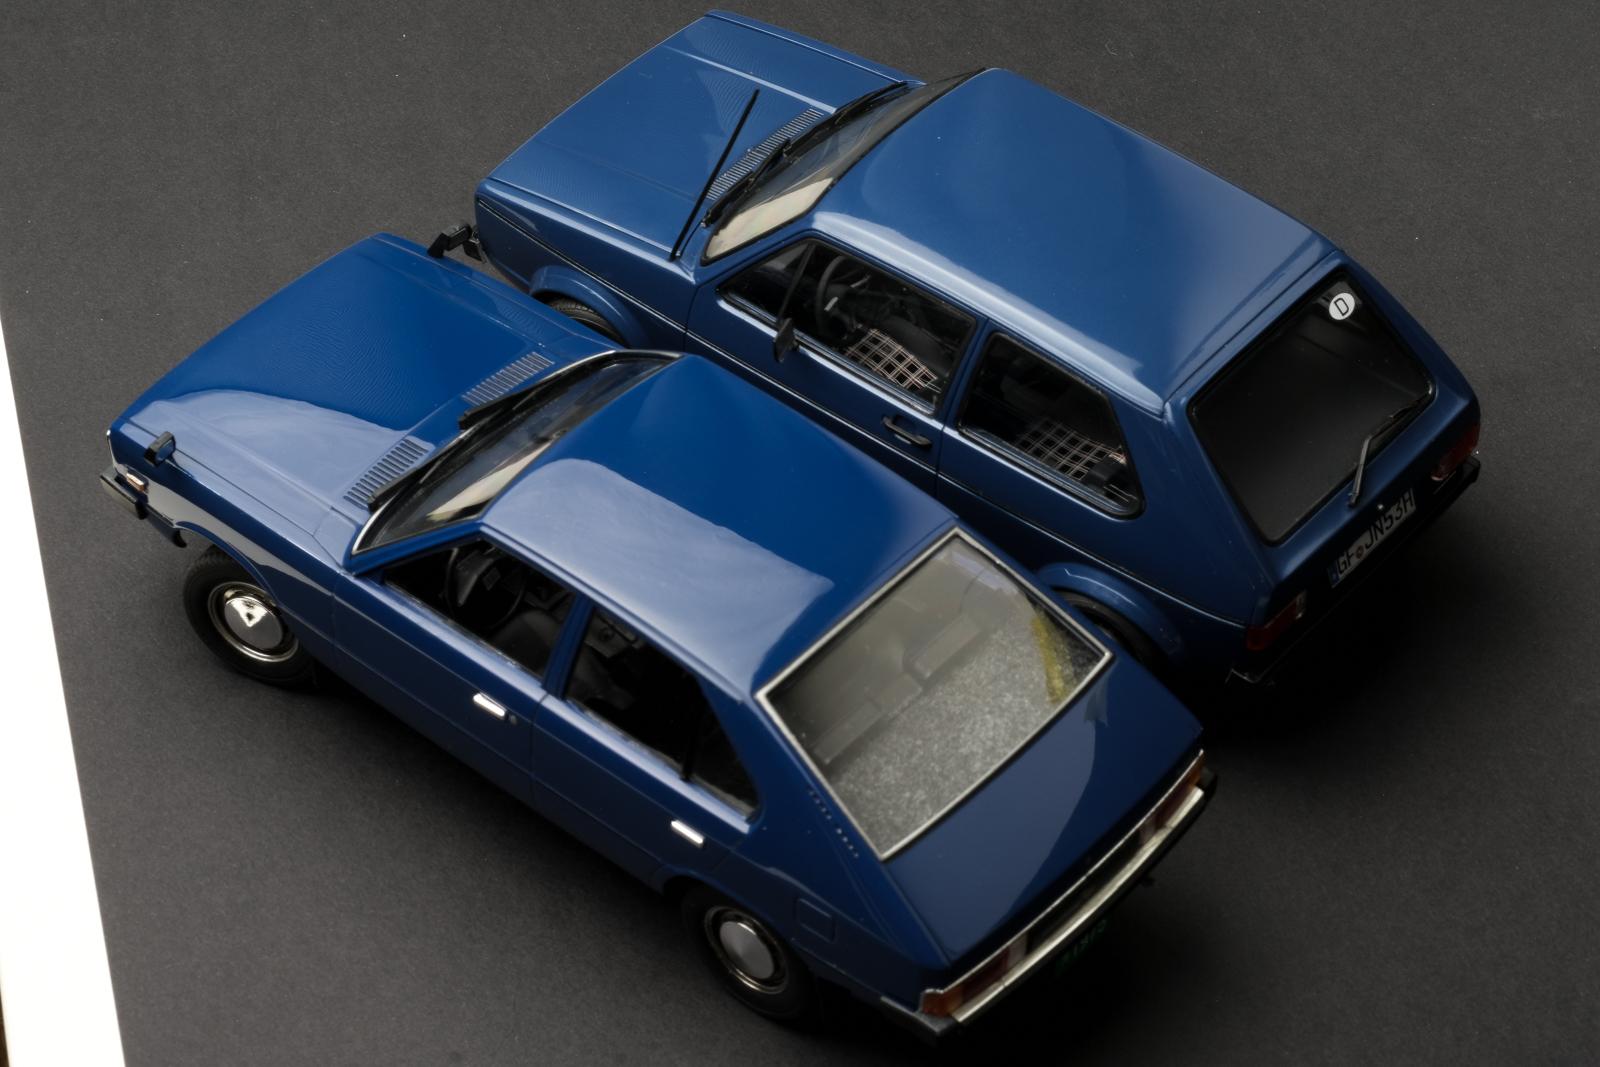
Here’s my latest build - 1/24 Hyundai Pony! It’s a brand new release from Academy, and I was pretty satisfied with the kit quality. All parts fit excellent and the body is also very accurate. Window clear parts that leave some gap and shallow panel lines were the only downside. My friend actually gave this kit as a gift so thought I’d build this for him completely box straight. Also to keep things simpler I built this using mostly rattle can, exception of window and side moldings. There’s the build detail: Prepped the body with 600 grit + 1500 grit Sprayed Tamiya surfacer and wet sanded with 1500 grit Sprayed TS-15 blue (I could only apply one coat as the can only had little left over) Sprayed two coats of TS-13 clear and let it sit for a few weeks (I'd like to lay at least 3 coats of clear when doing it in airbrush but with rattle can, more than 2 coats will appear too thick) Once it was dried, I lightly wet sanded with 3000 grit sponge then polished with Tamiya three stage compounds Used Tamiya flat black and gloss aluminum spray cans for underbody and interior Flocked the carpet with dark grey flocking materials Used Tamiya's panel line accent around panel lines and wheels I added some brown and grey pastel to give mild weathering effect on tire treads Painted headlamp surroundings and outer rim edges with silver sharpie Masked the whole body and airbrushed flat black for rubber surrounding then I masked the same area on top of it and airbrushed silver to give some realistic effect. Not my best work but it was fun & quick build. Just like the old days! Thank you for looking! Here's a shot with Mk1 Golf I built a while ago. Both Giugiaro designed in the same era (but Pony 1 doesn't actually have a hatch)

-
Absolutely stunning!
-
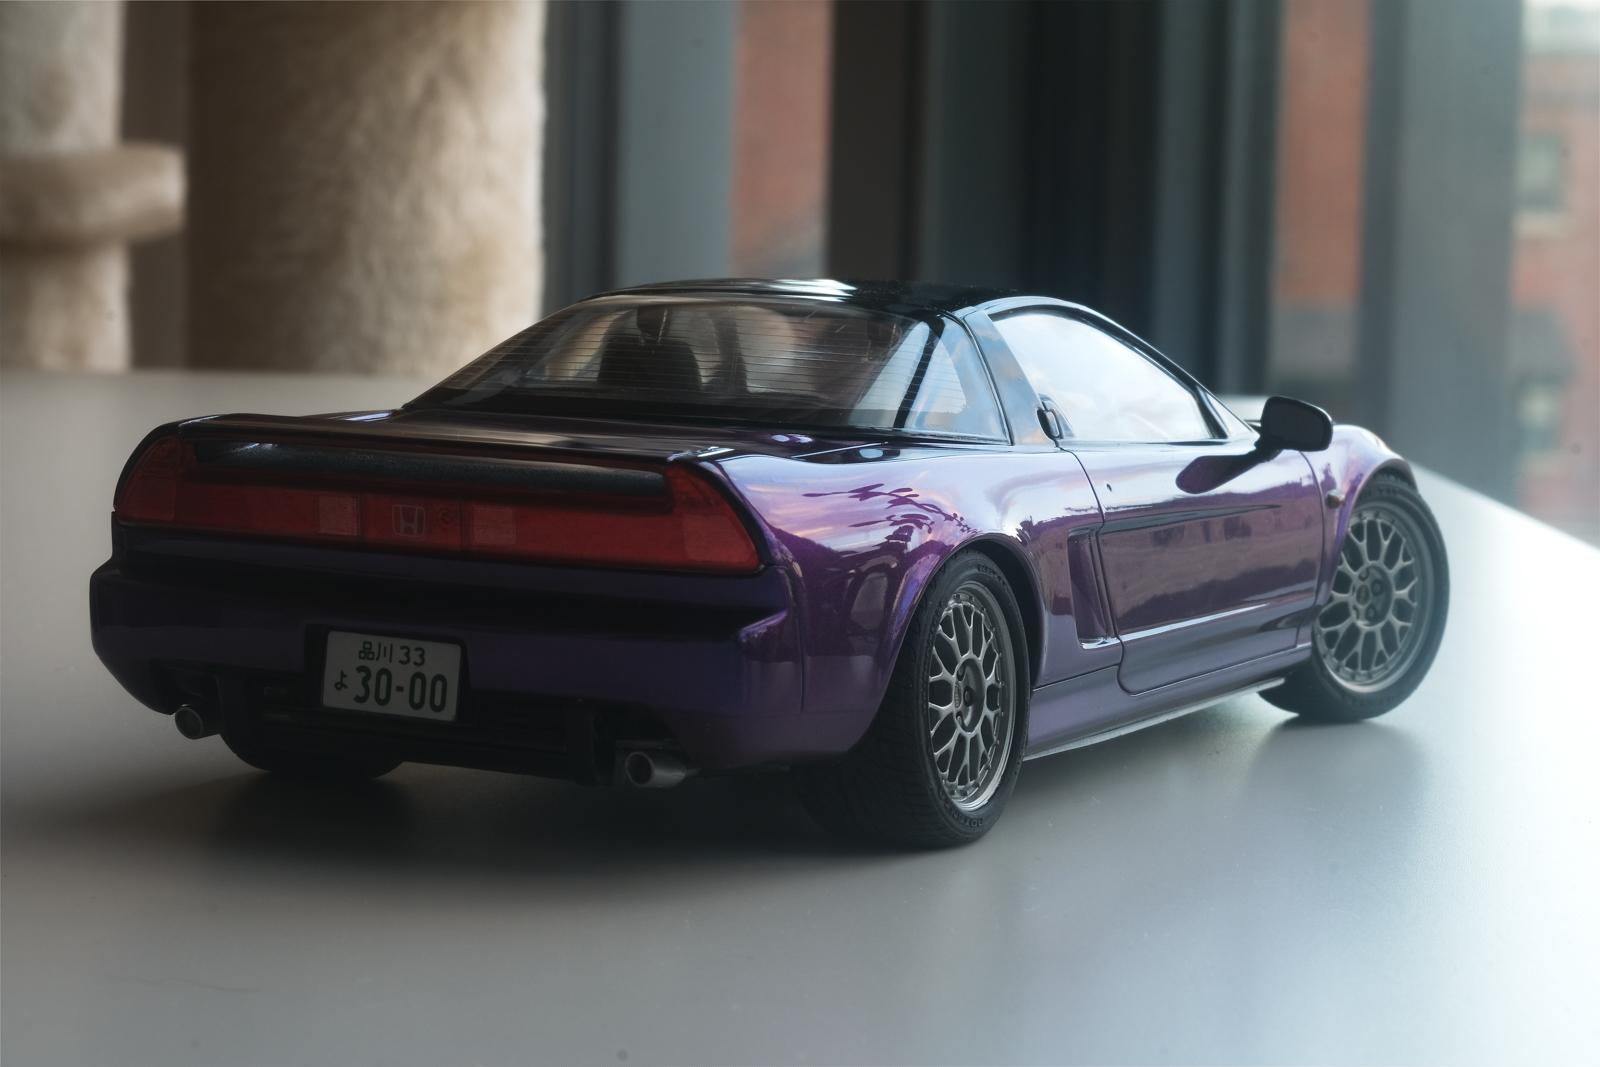
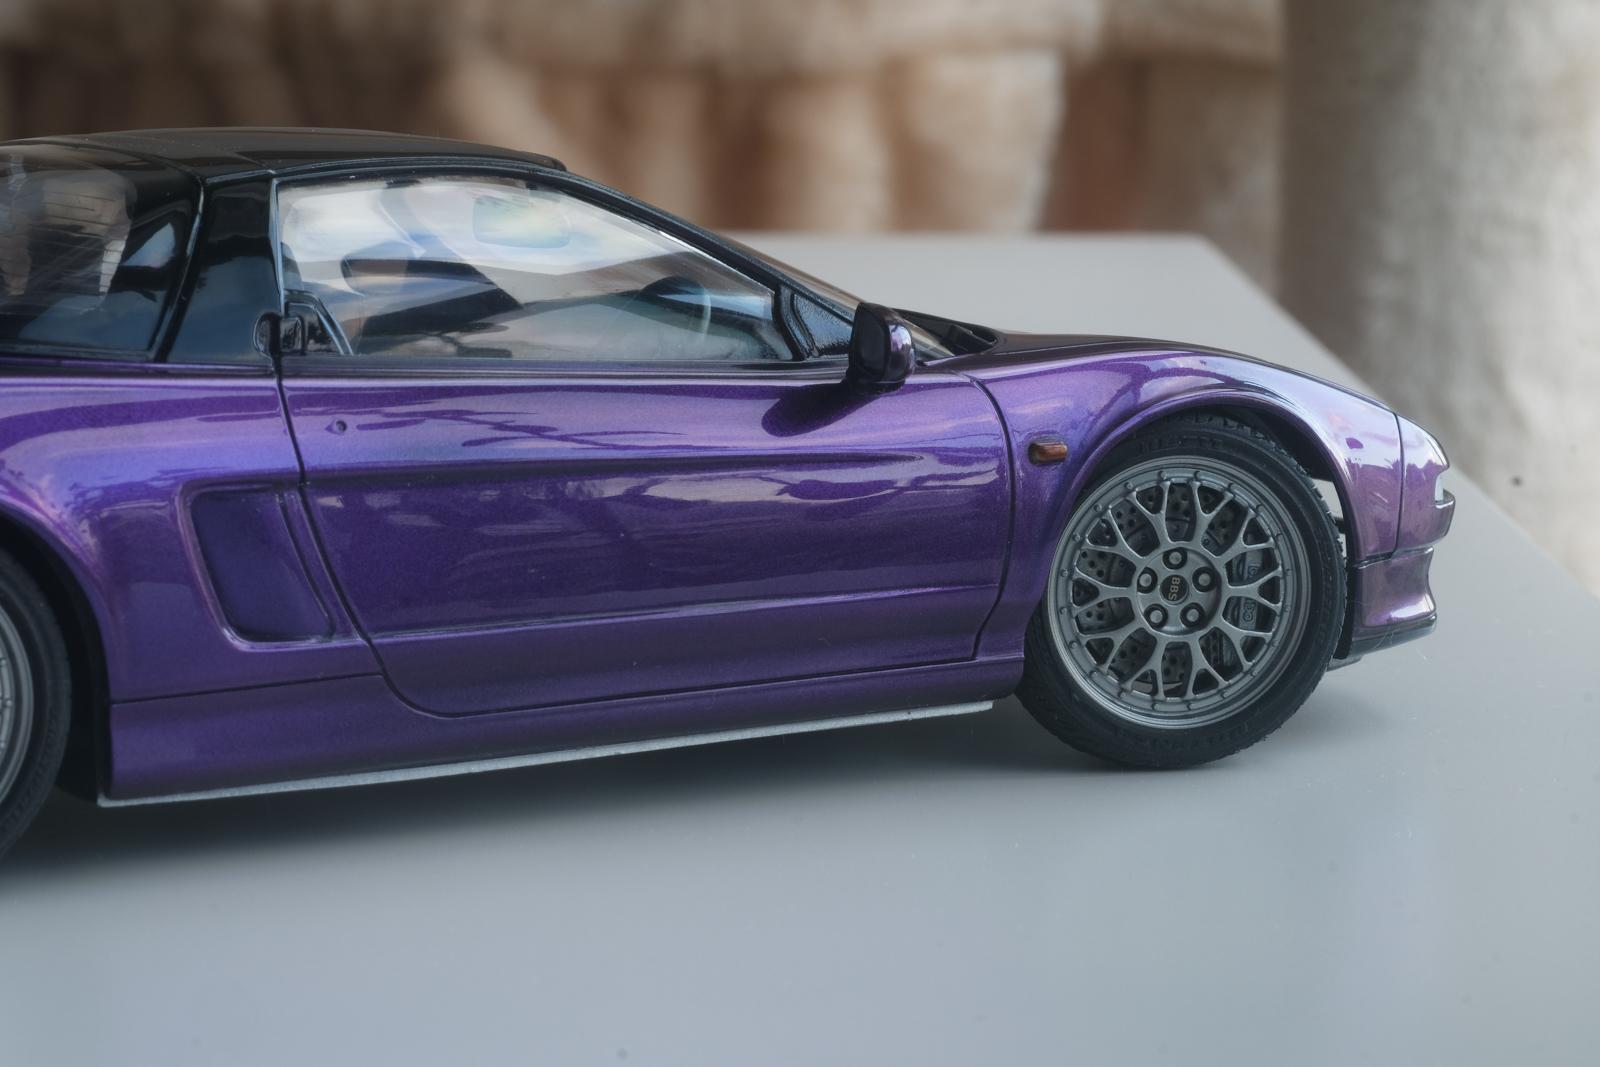
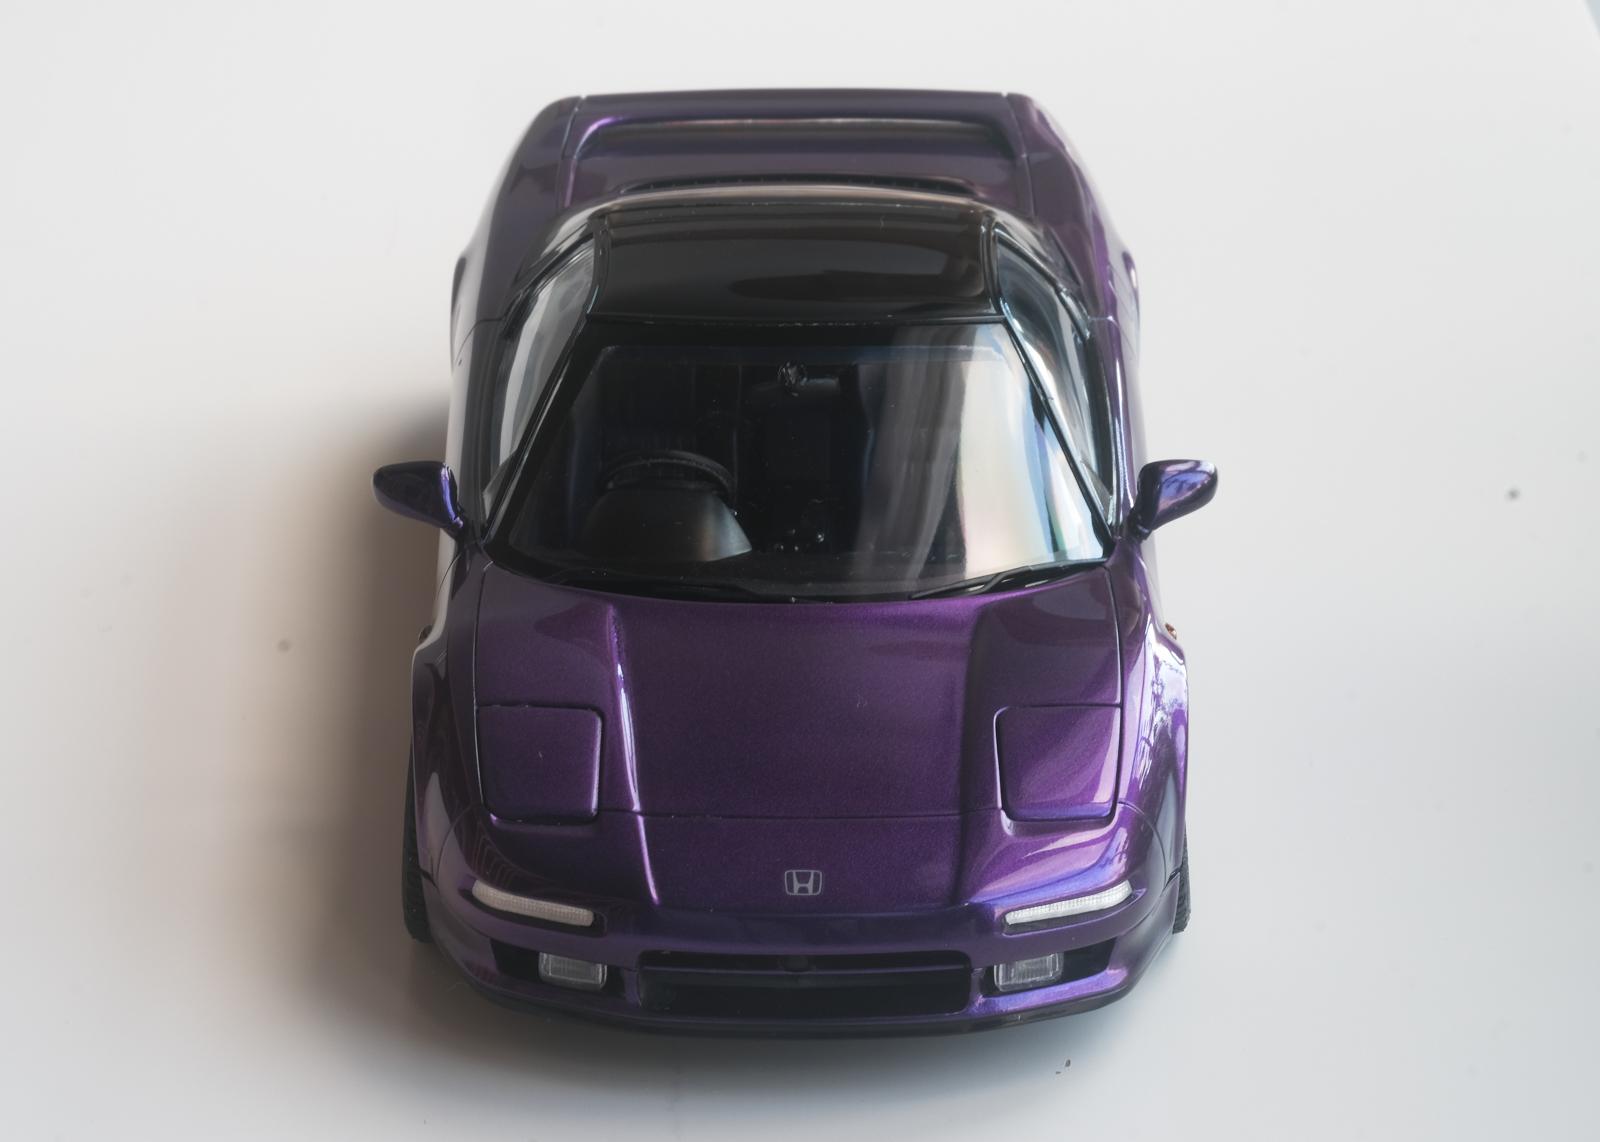
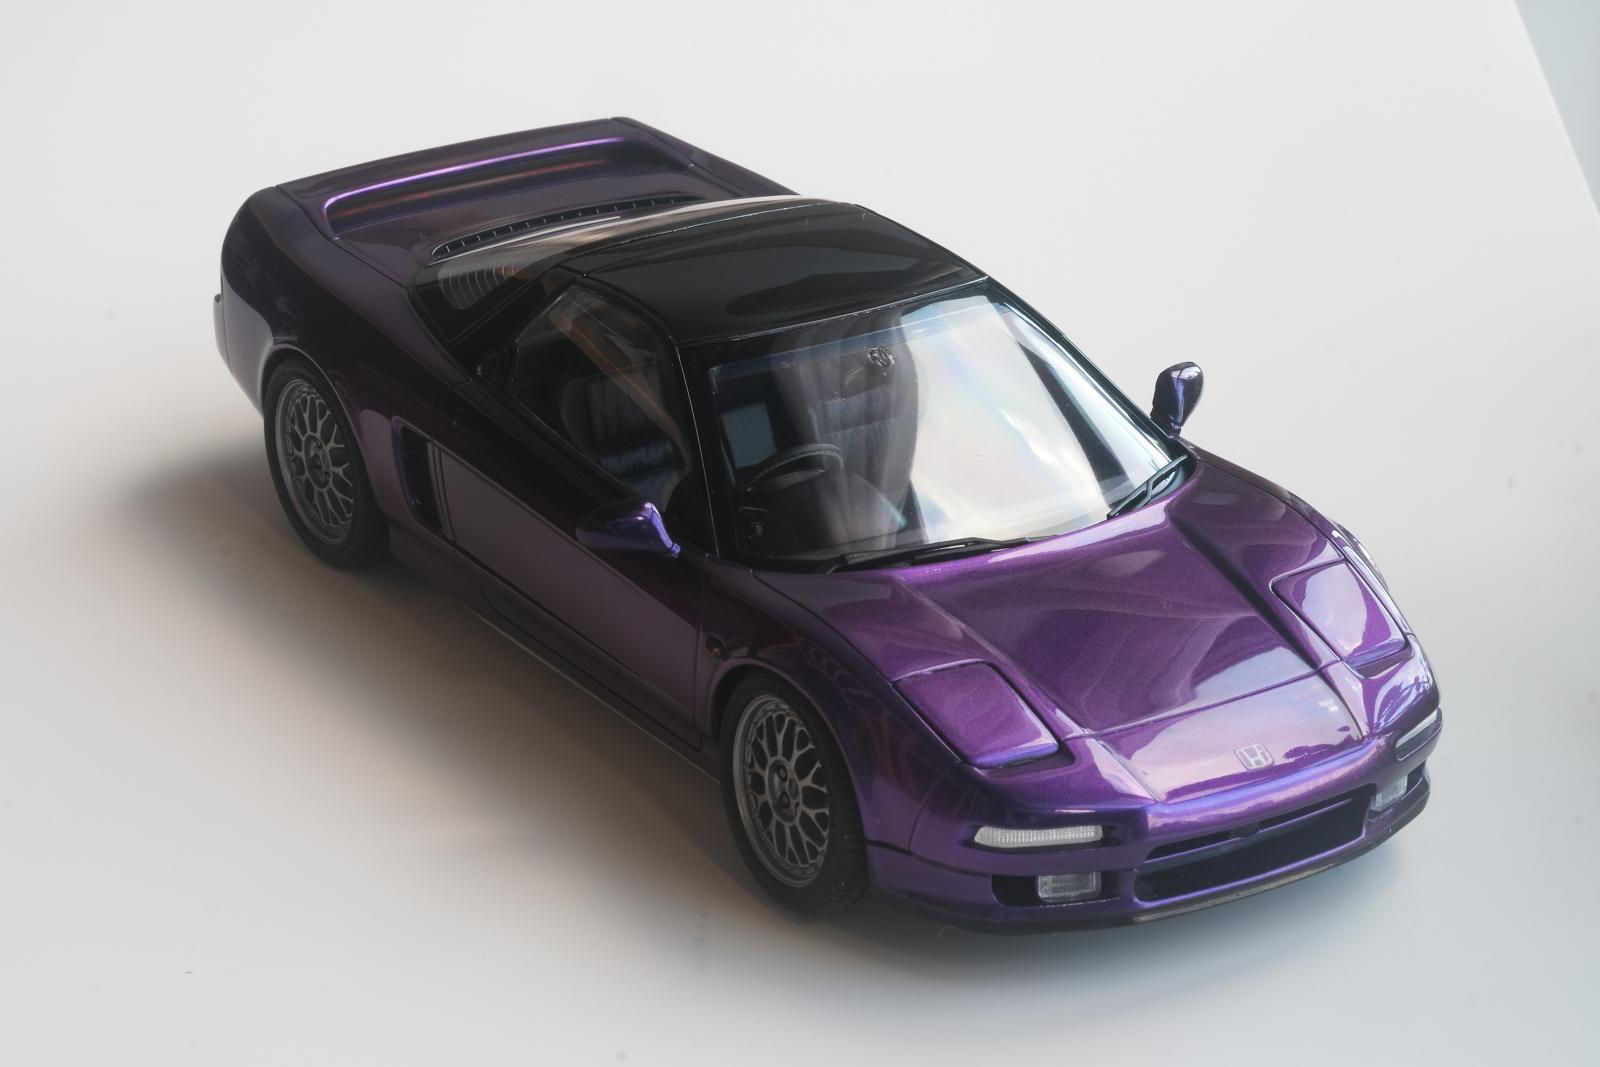
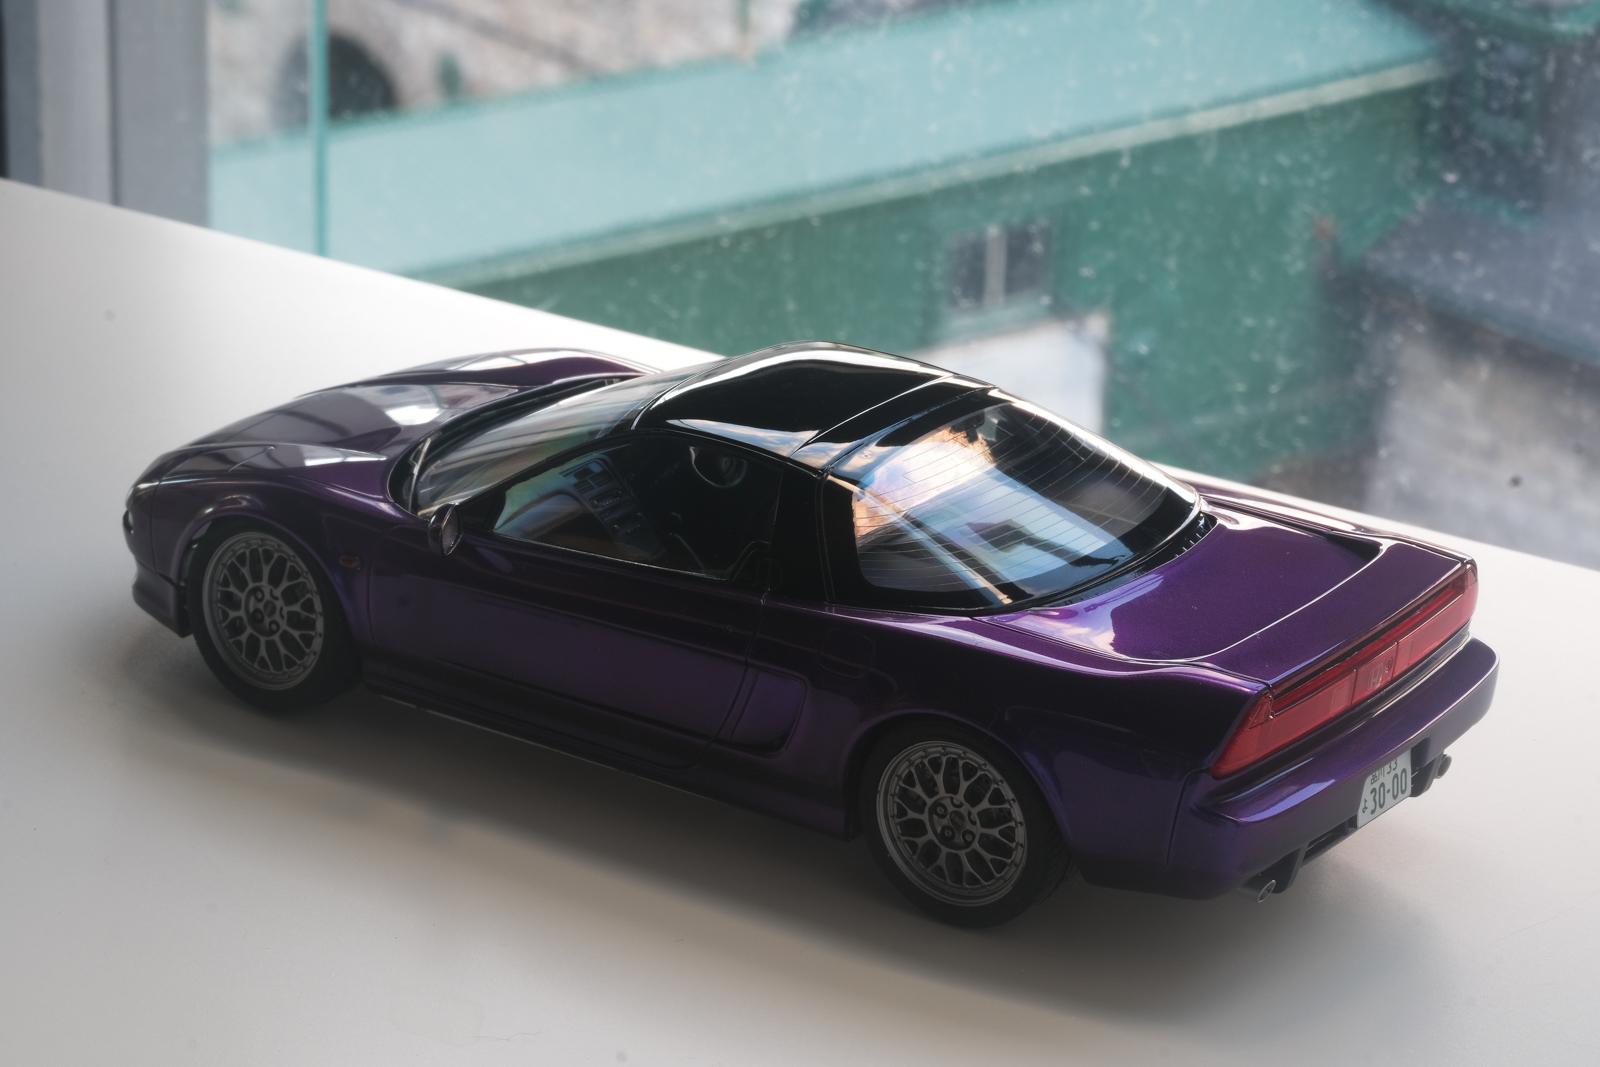
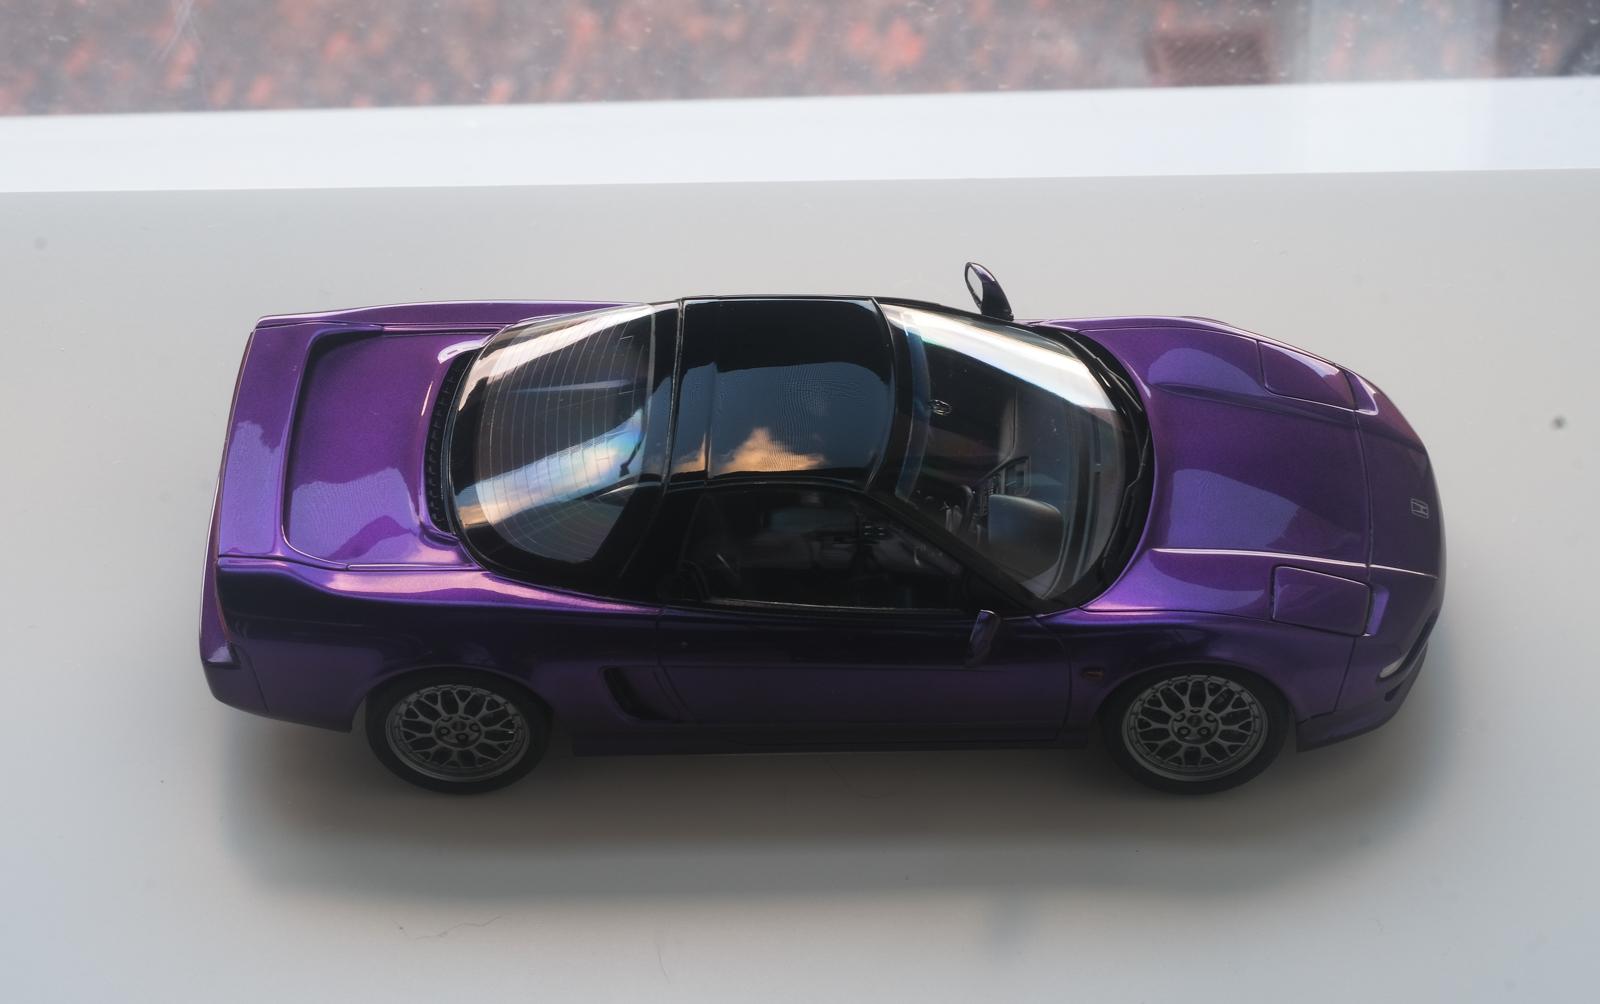
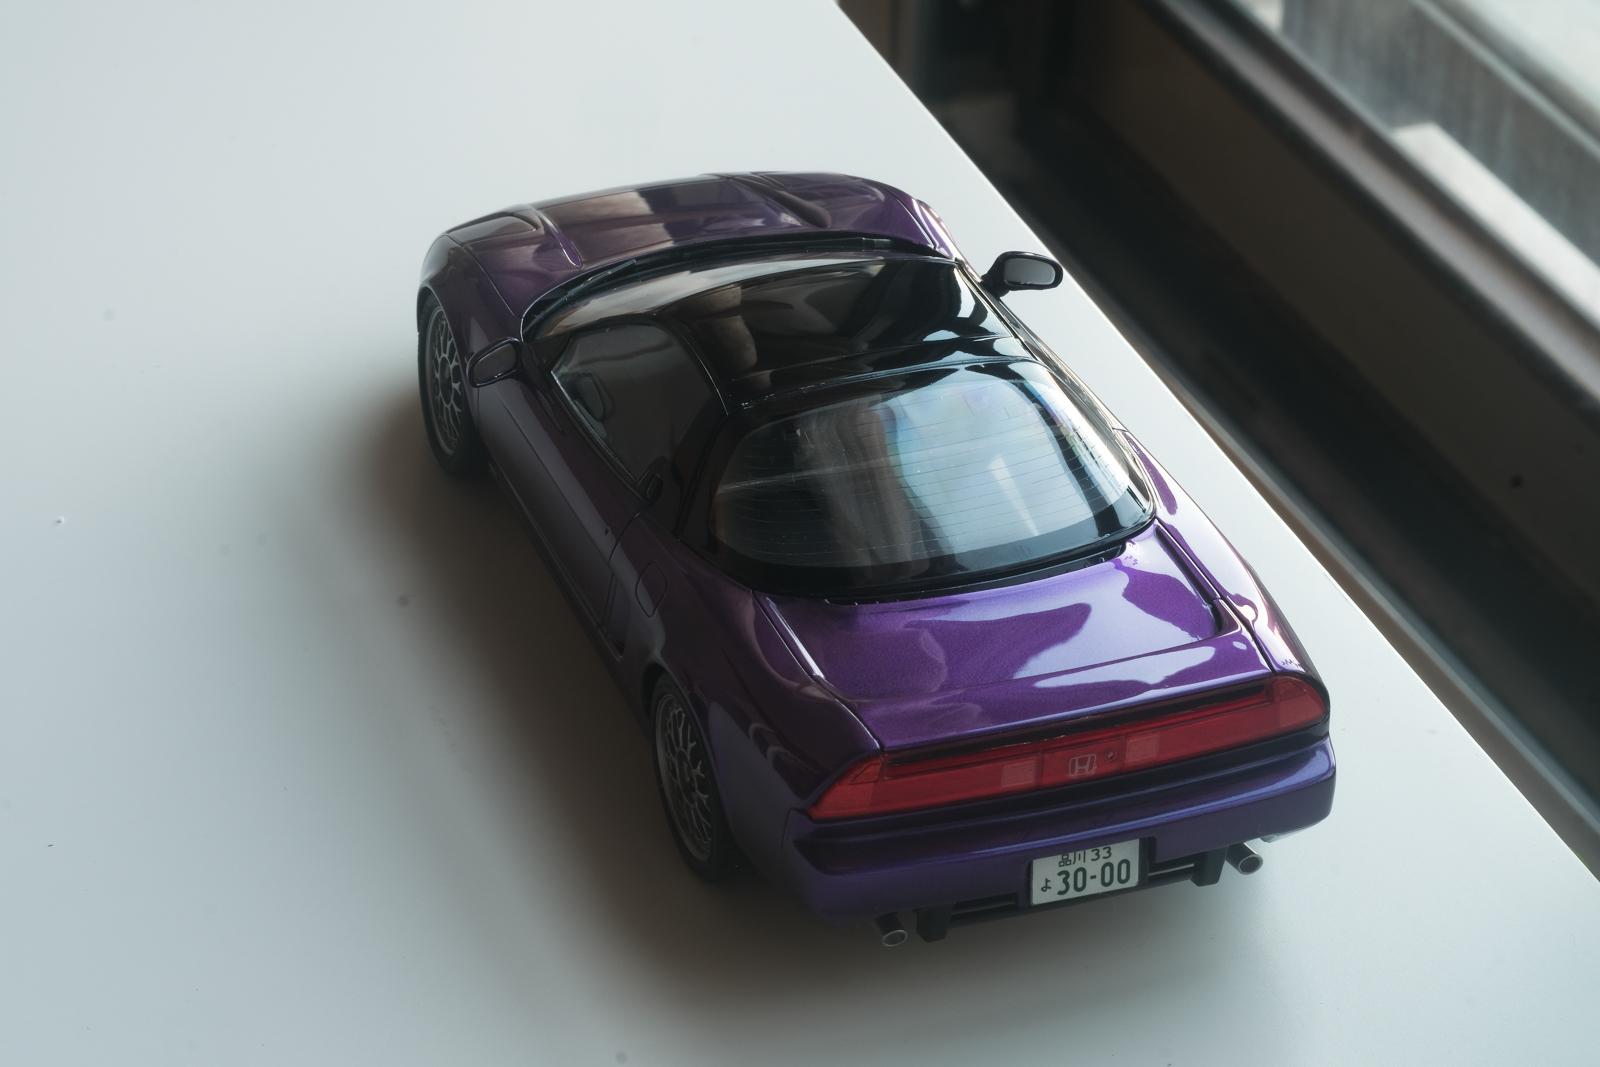
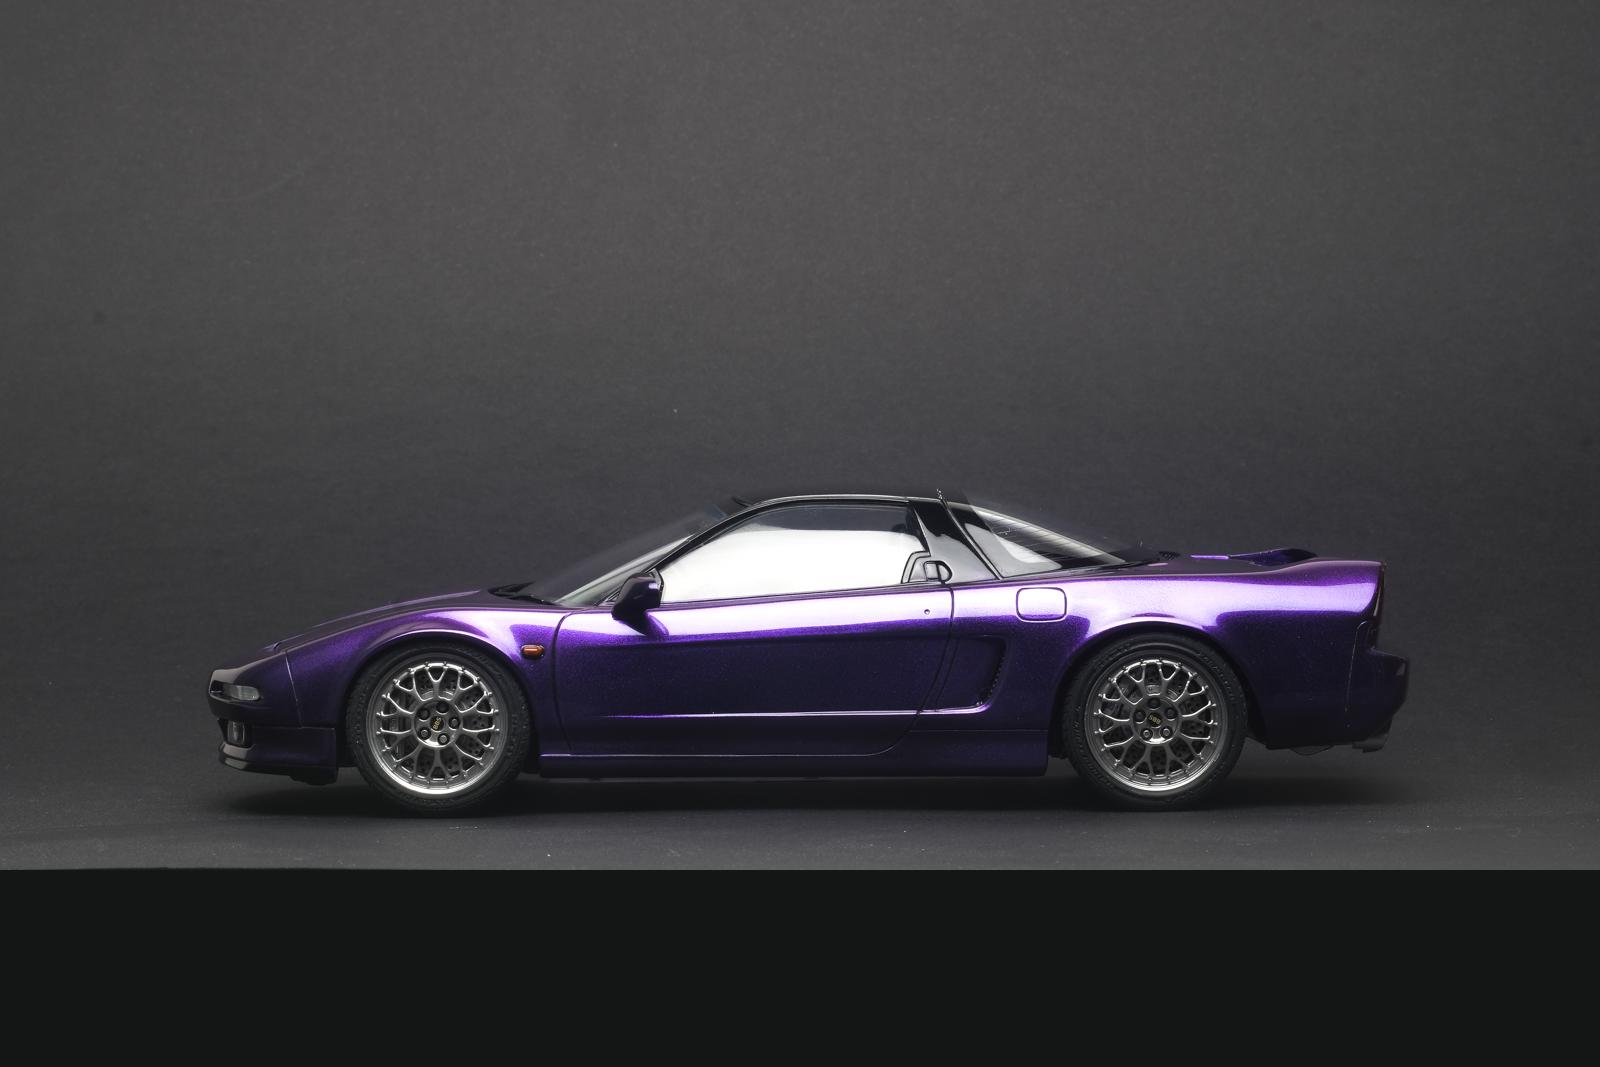
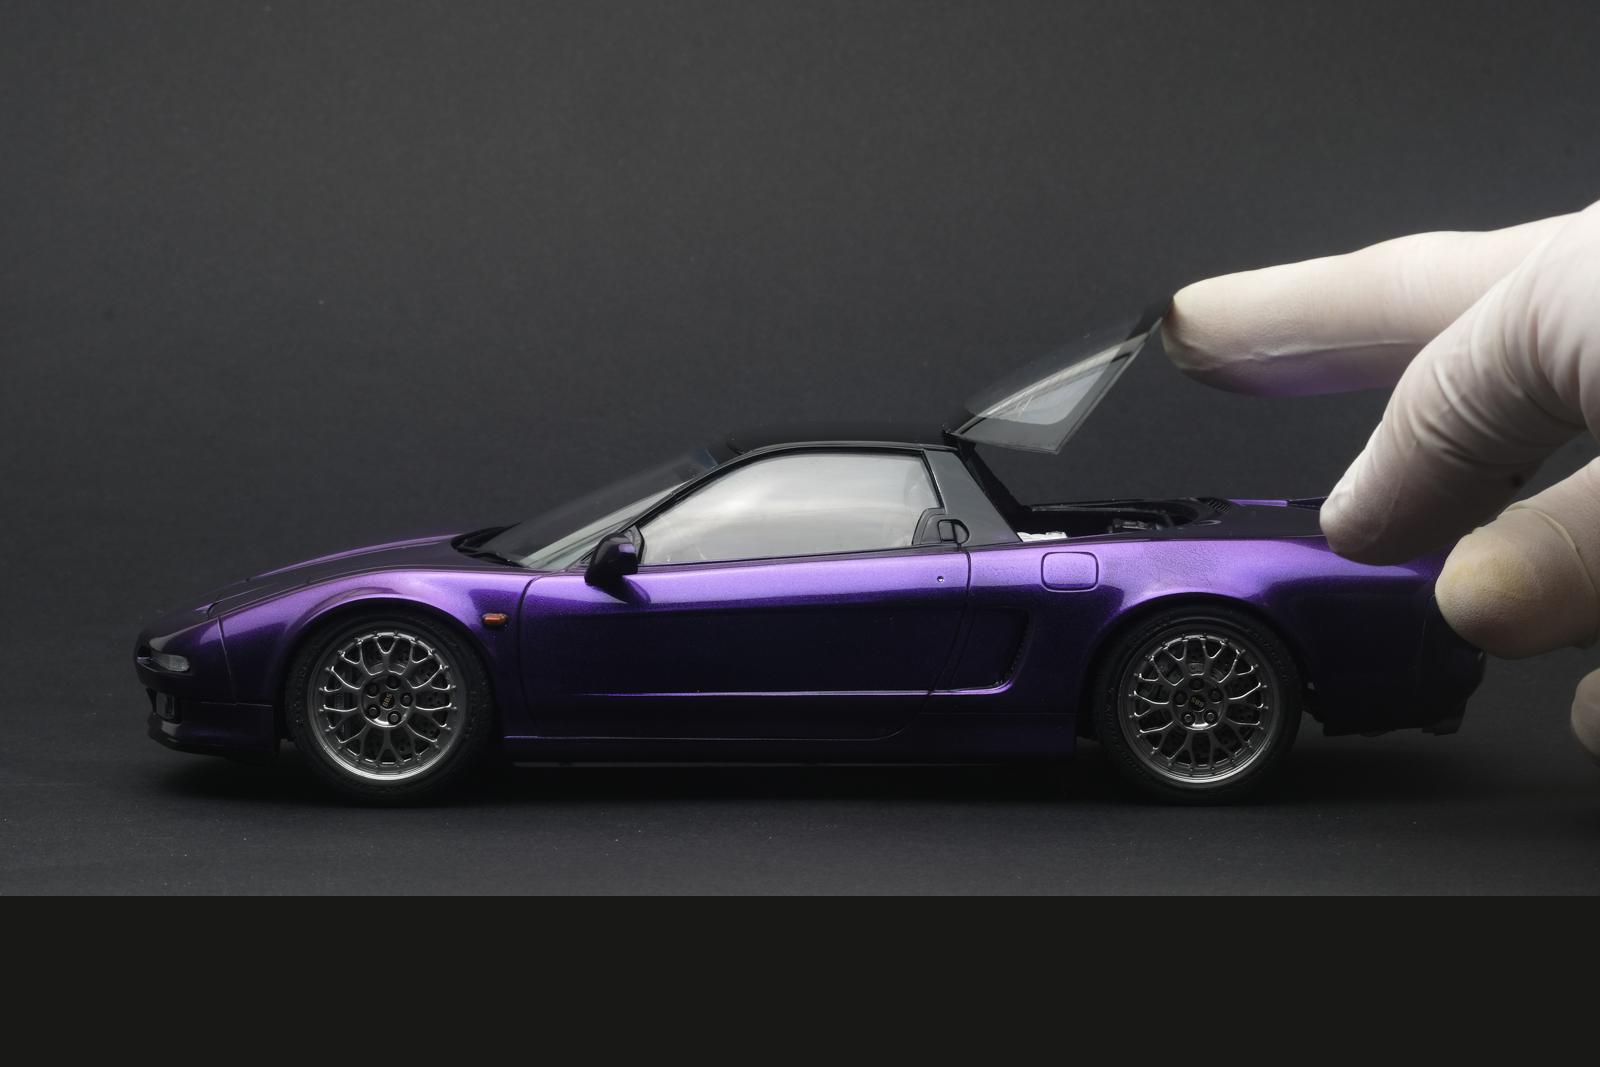
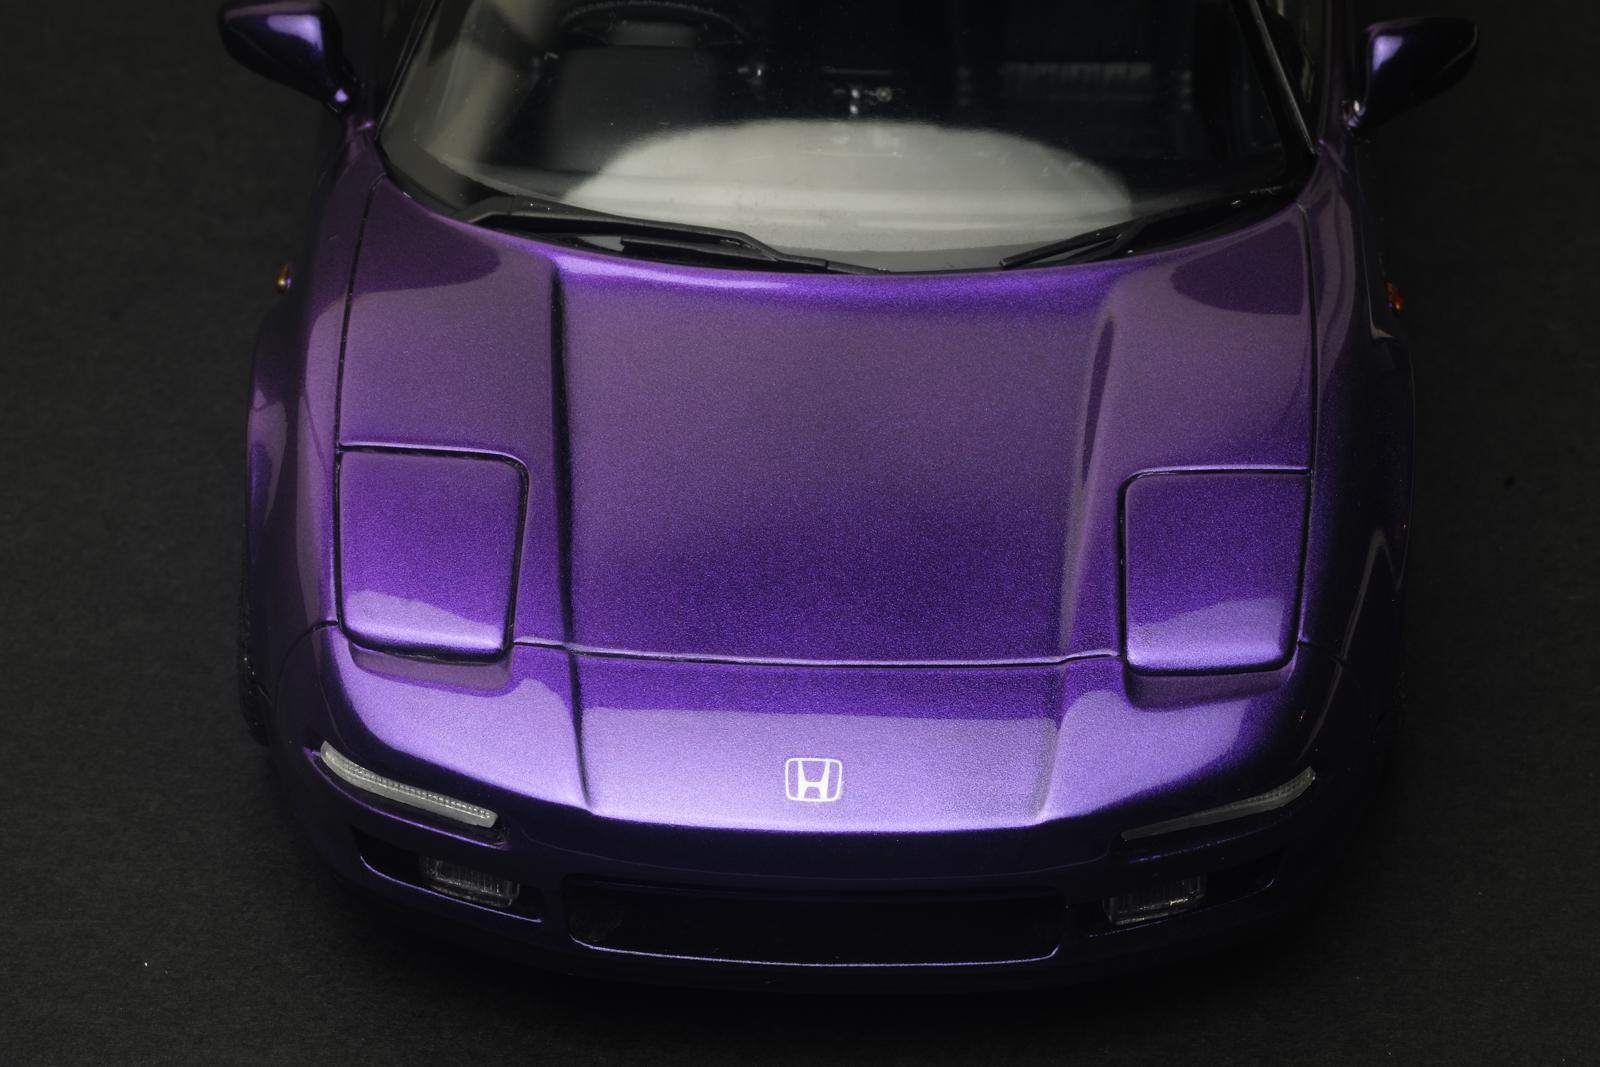
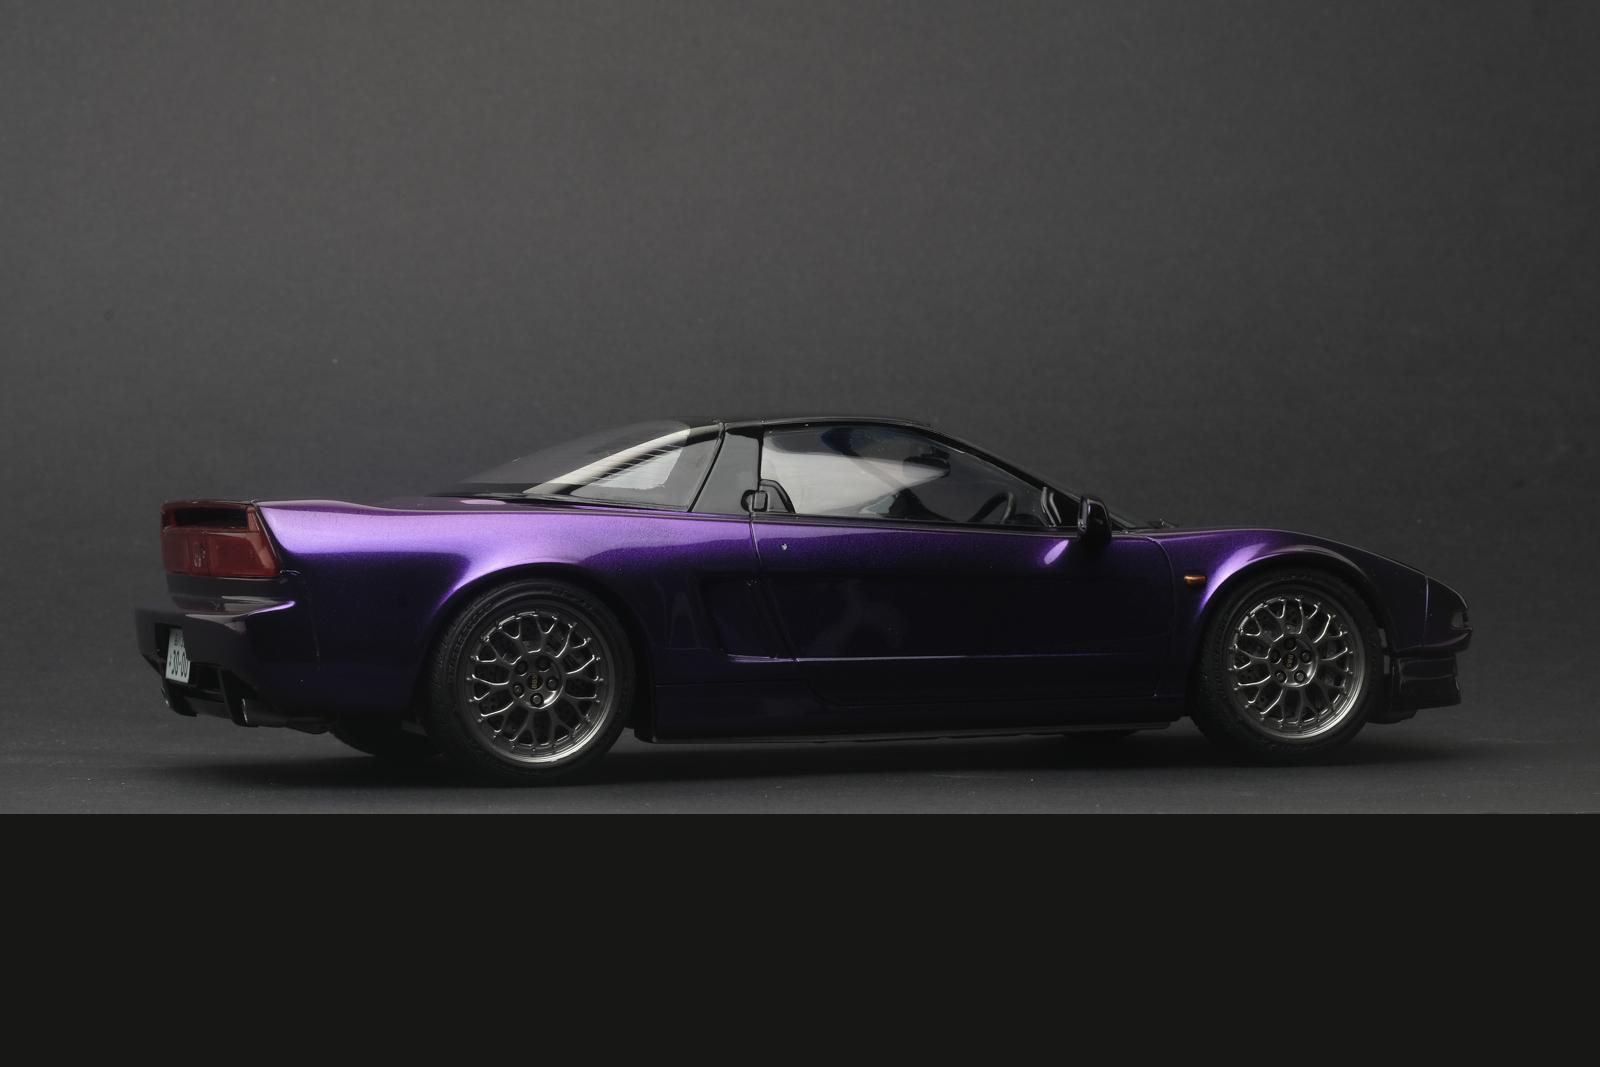
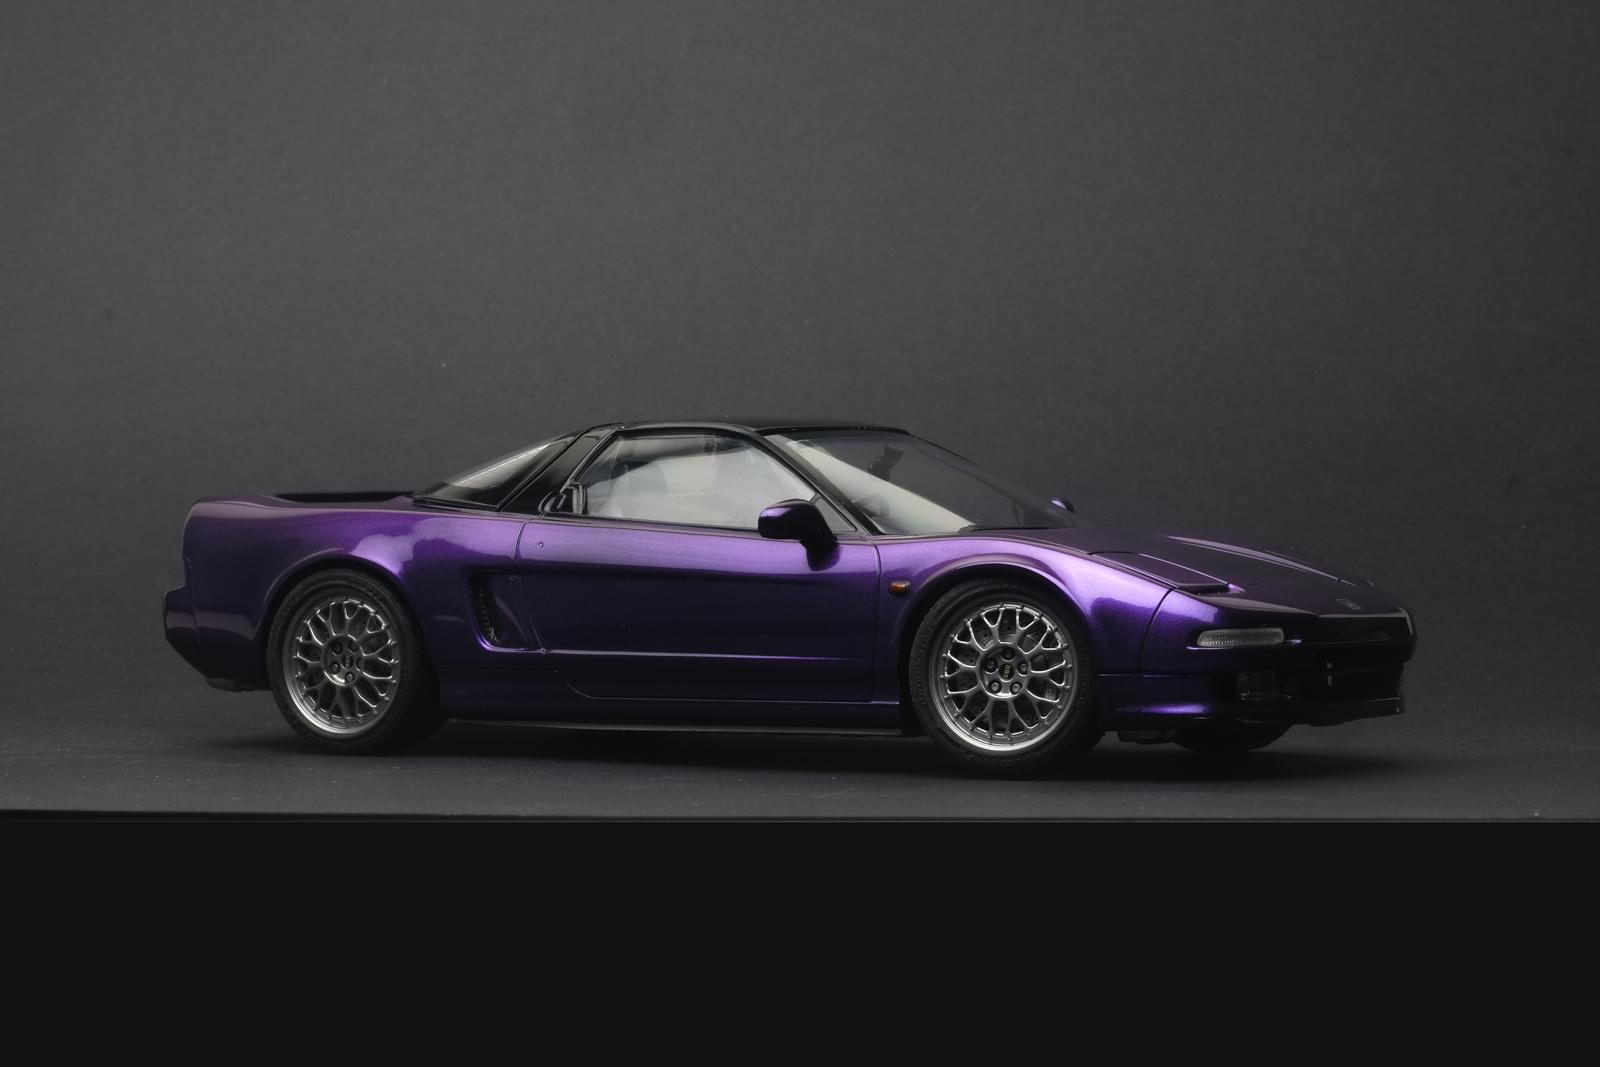
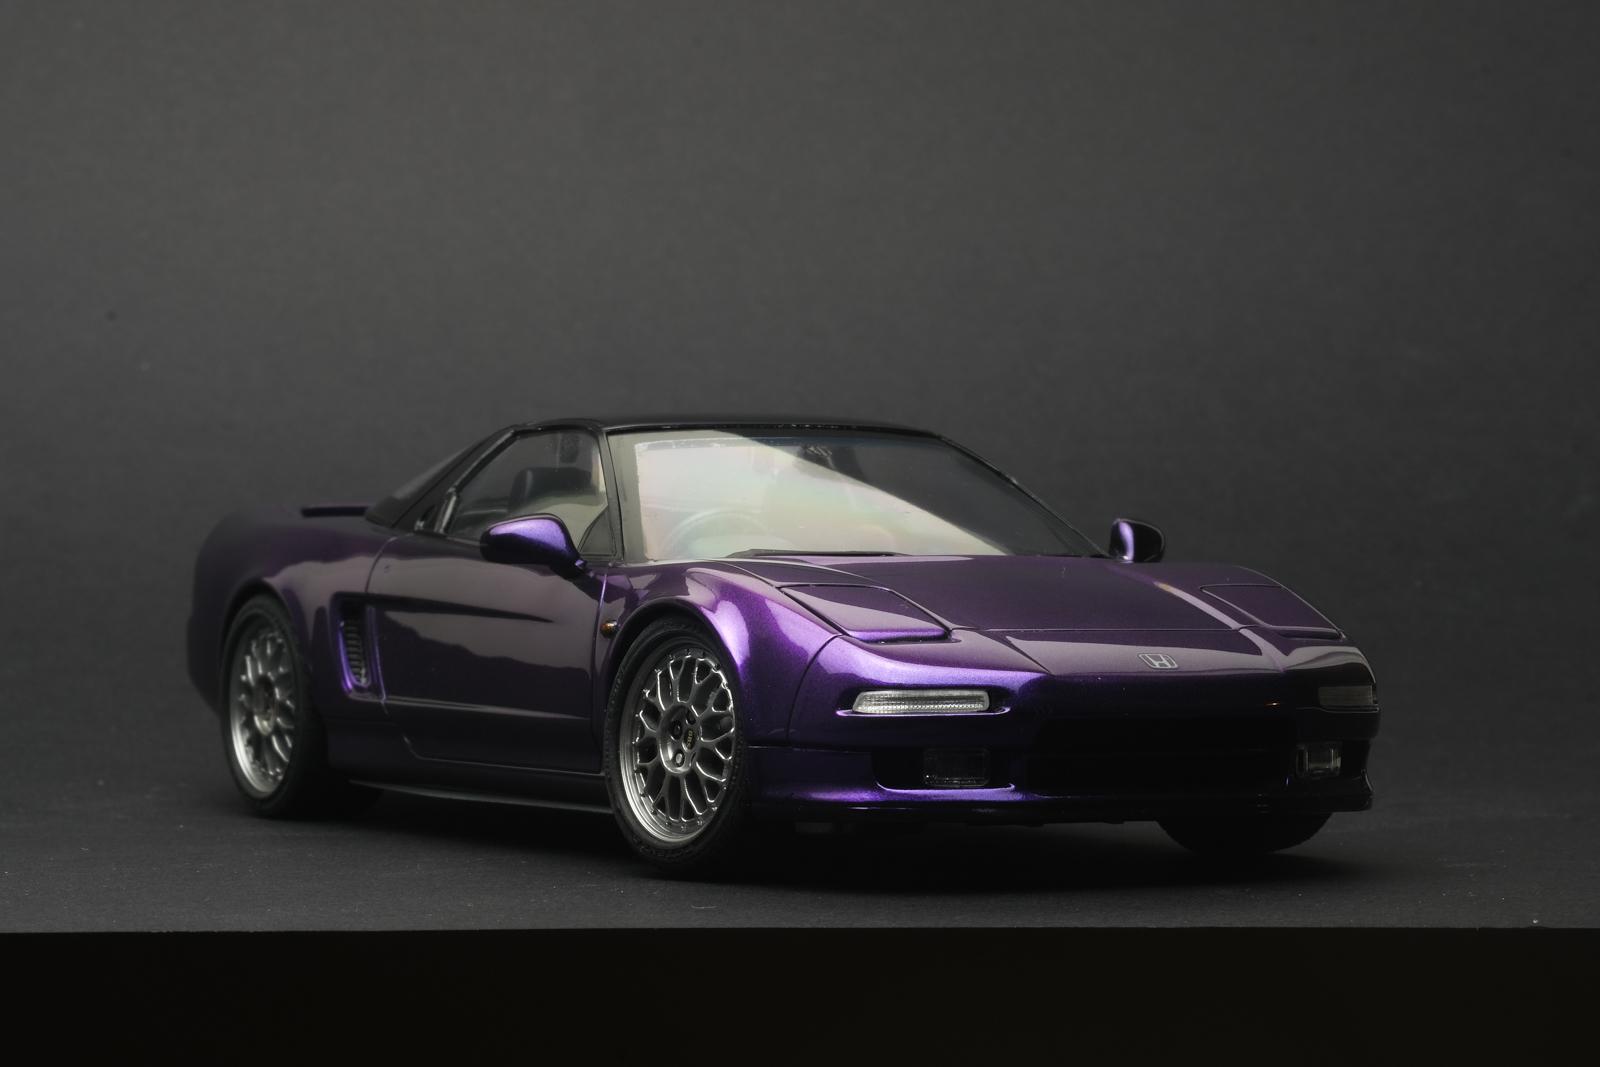
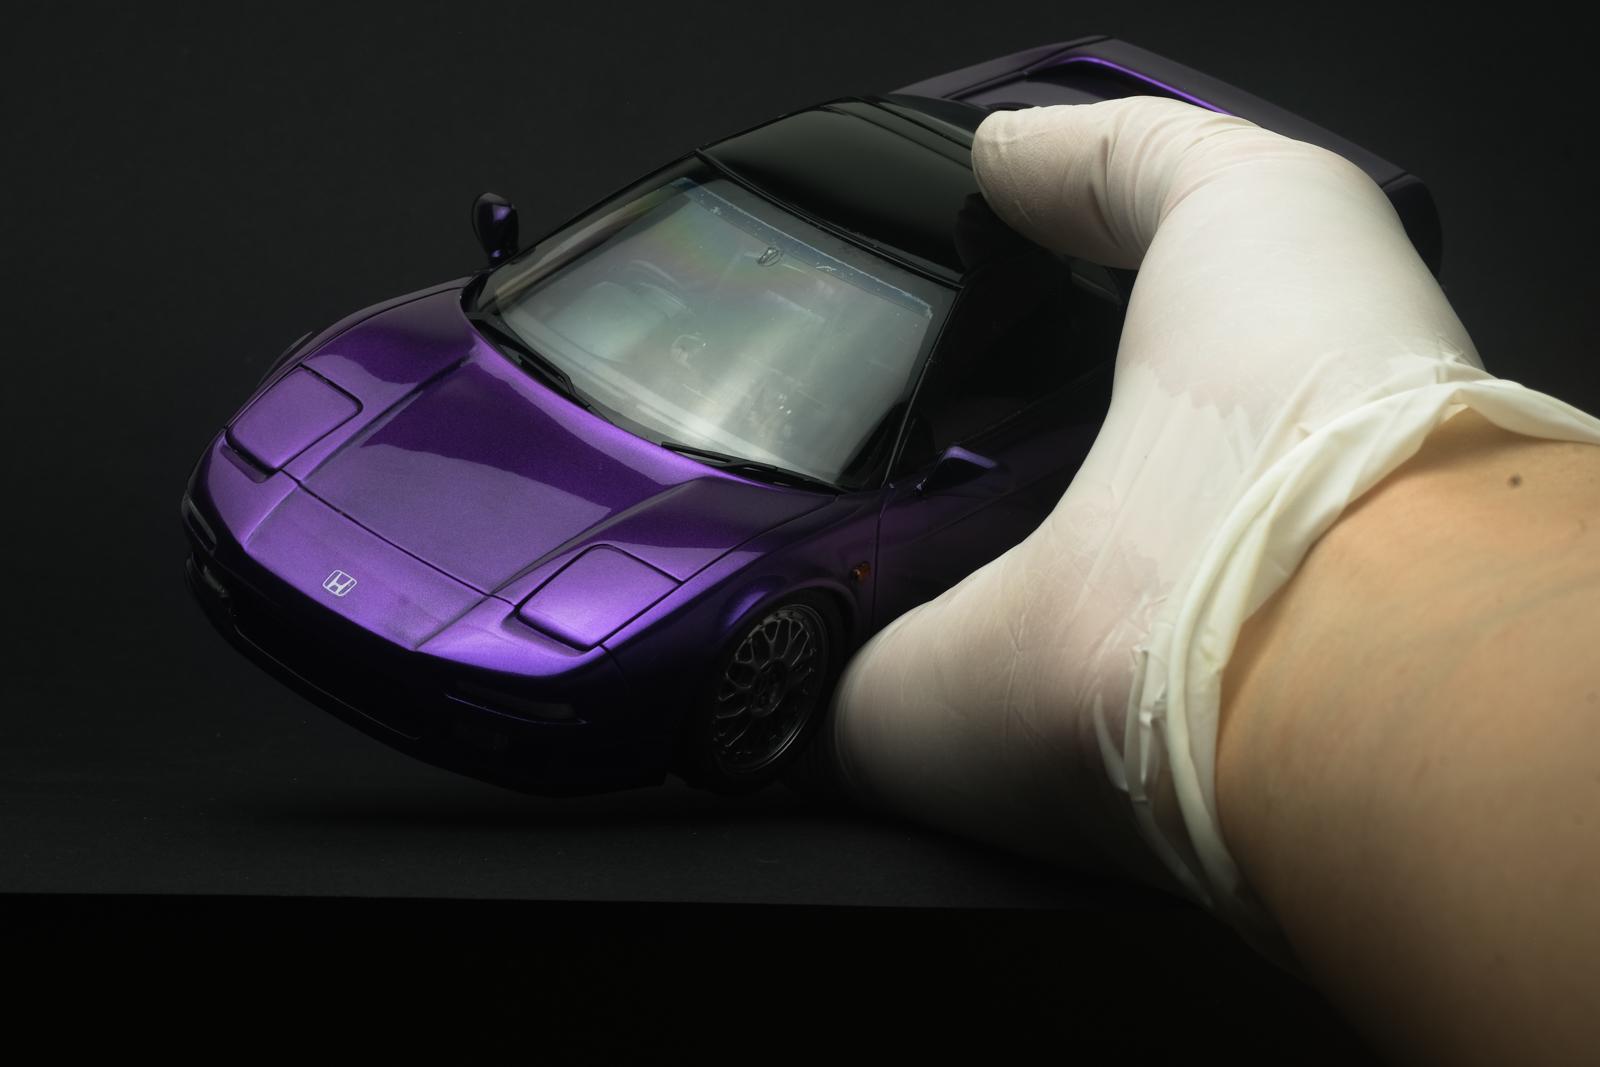
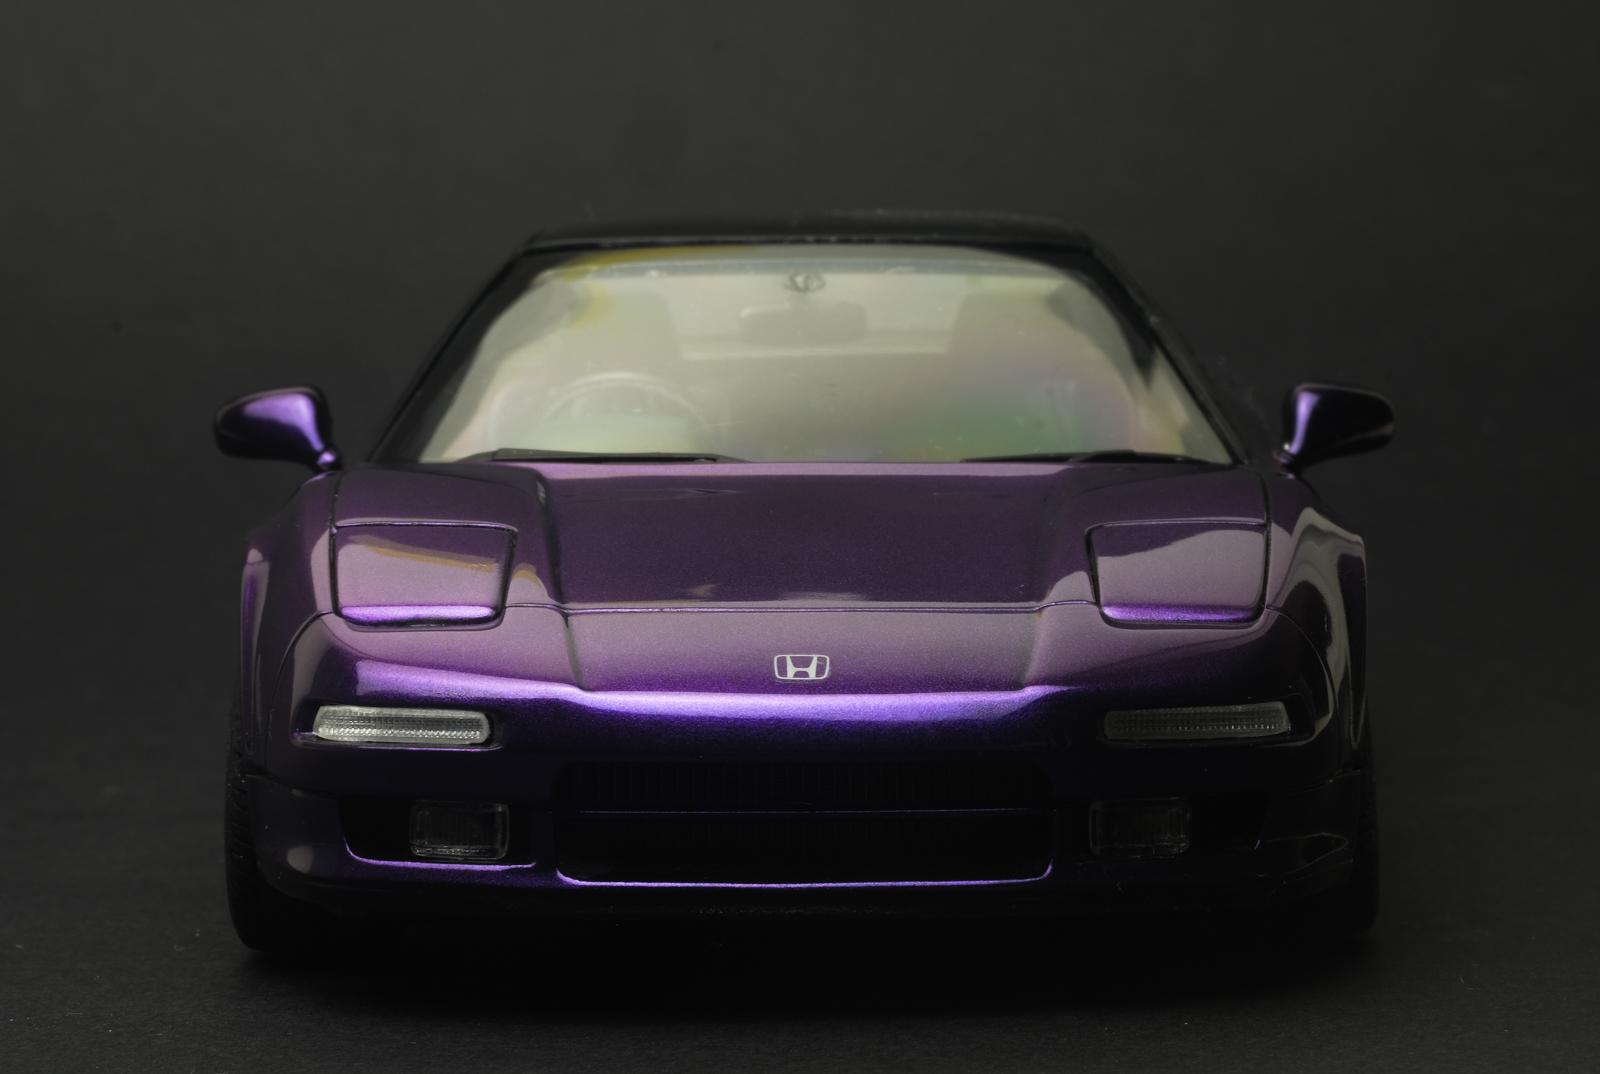
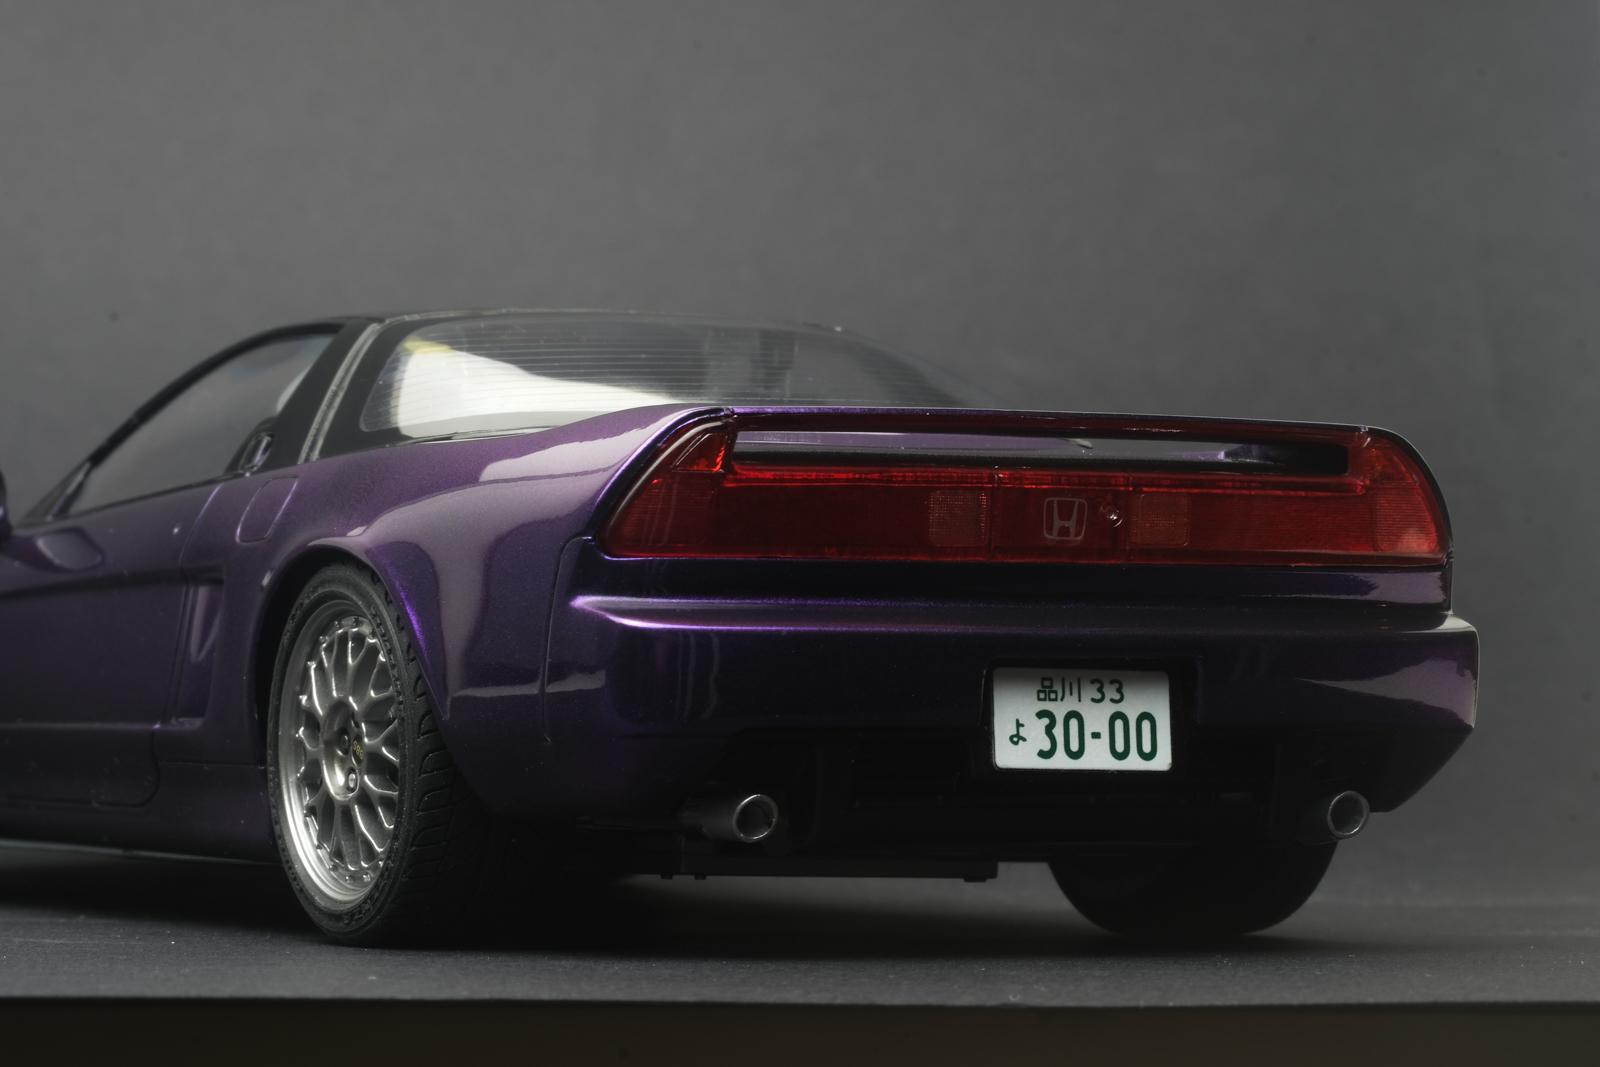
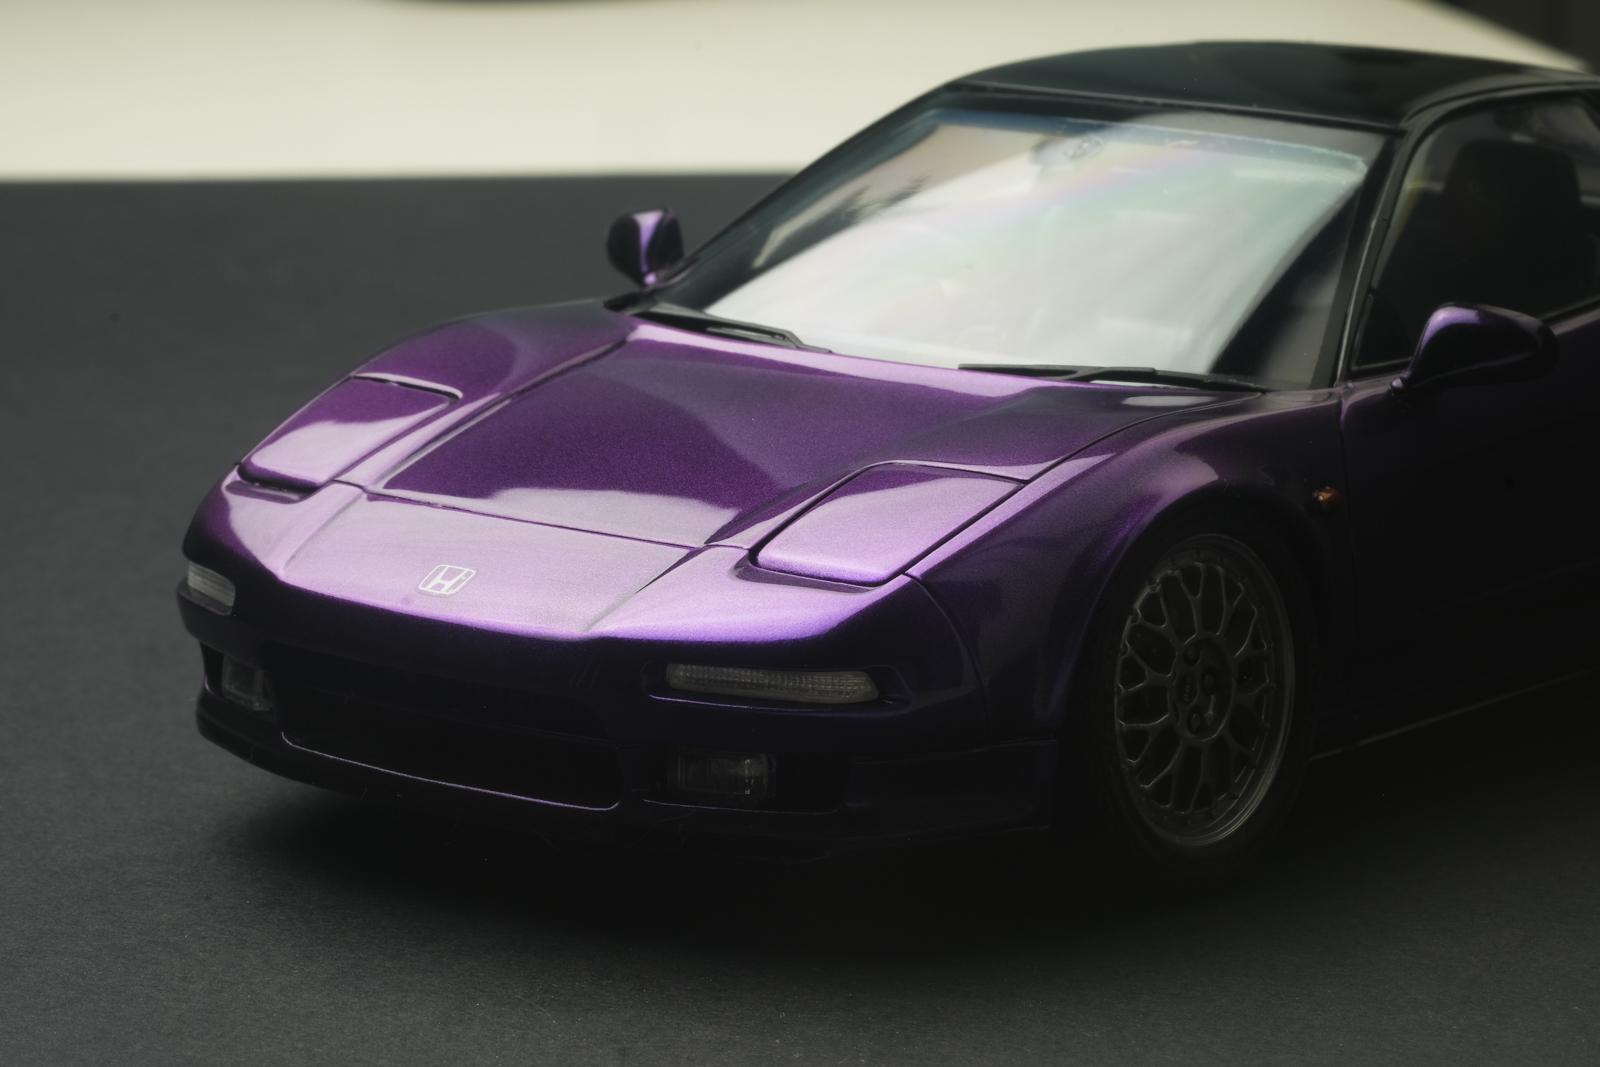
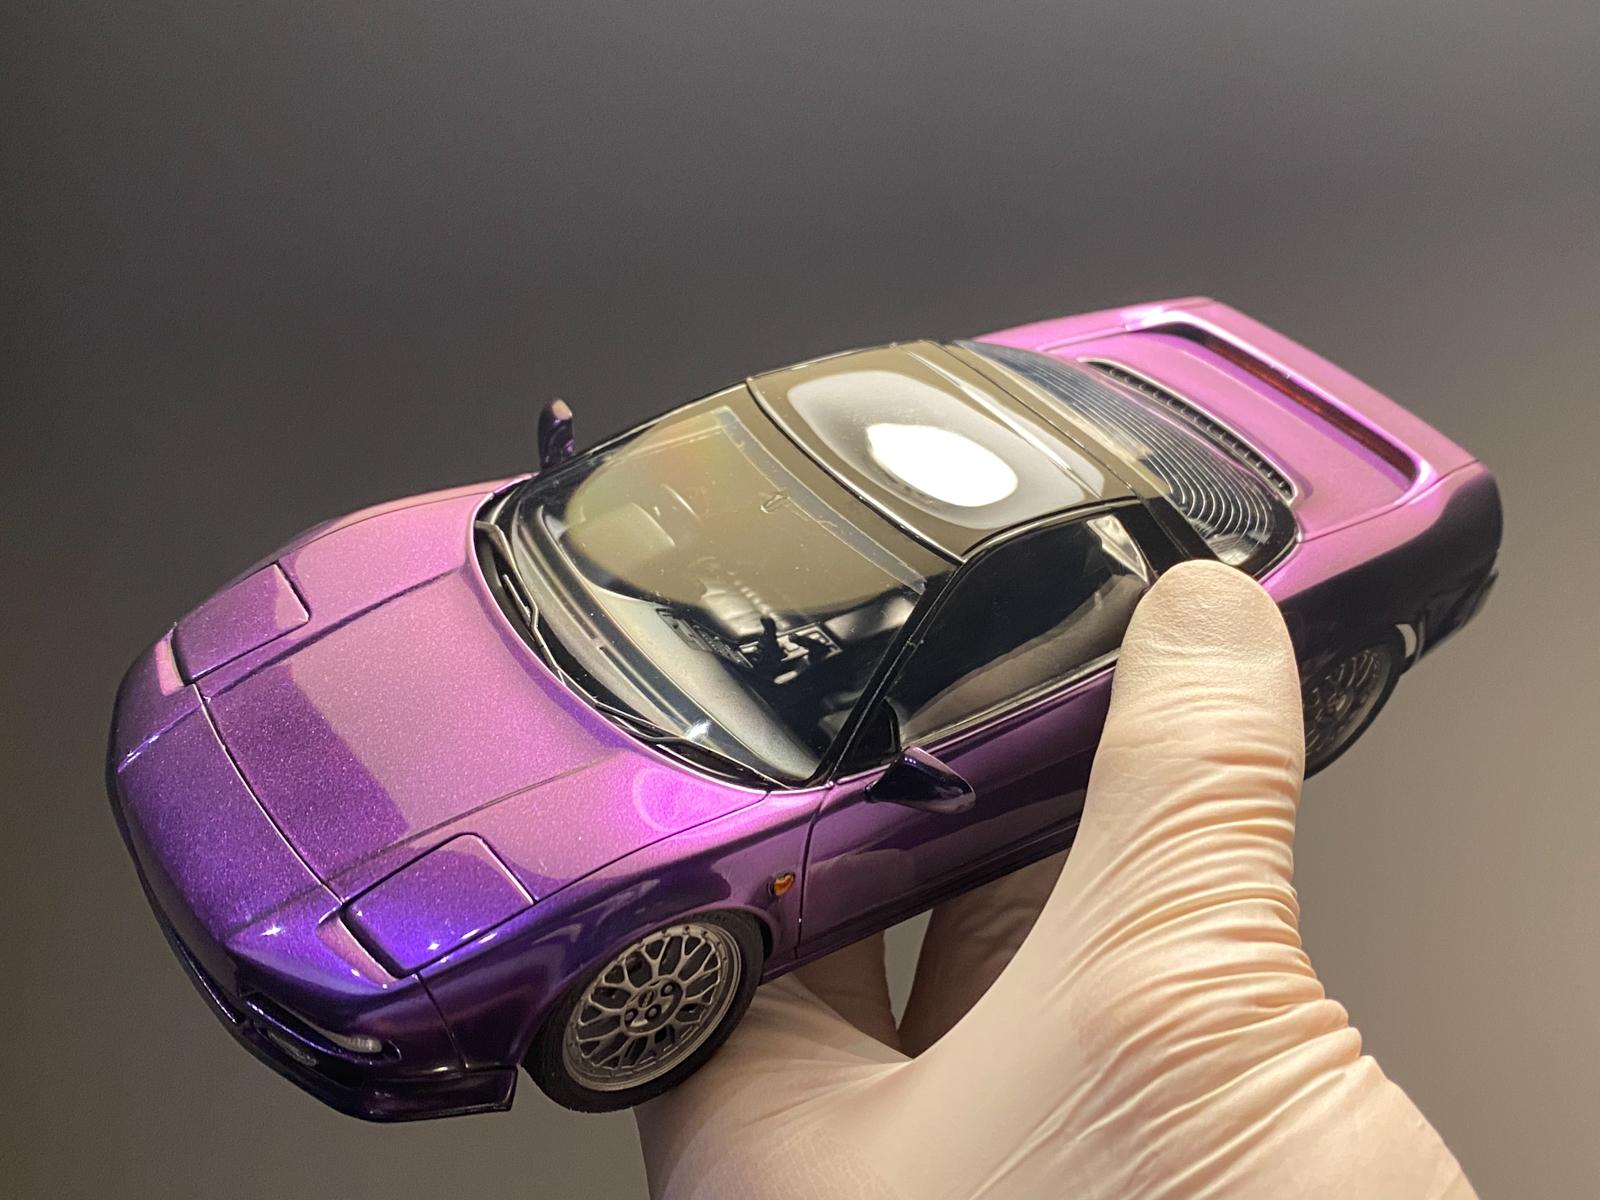
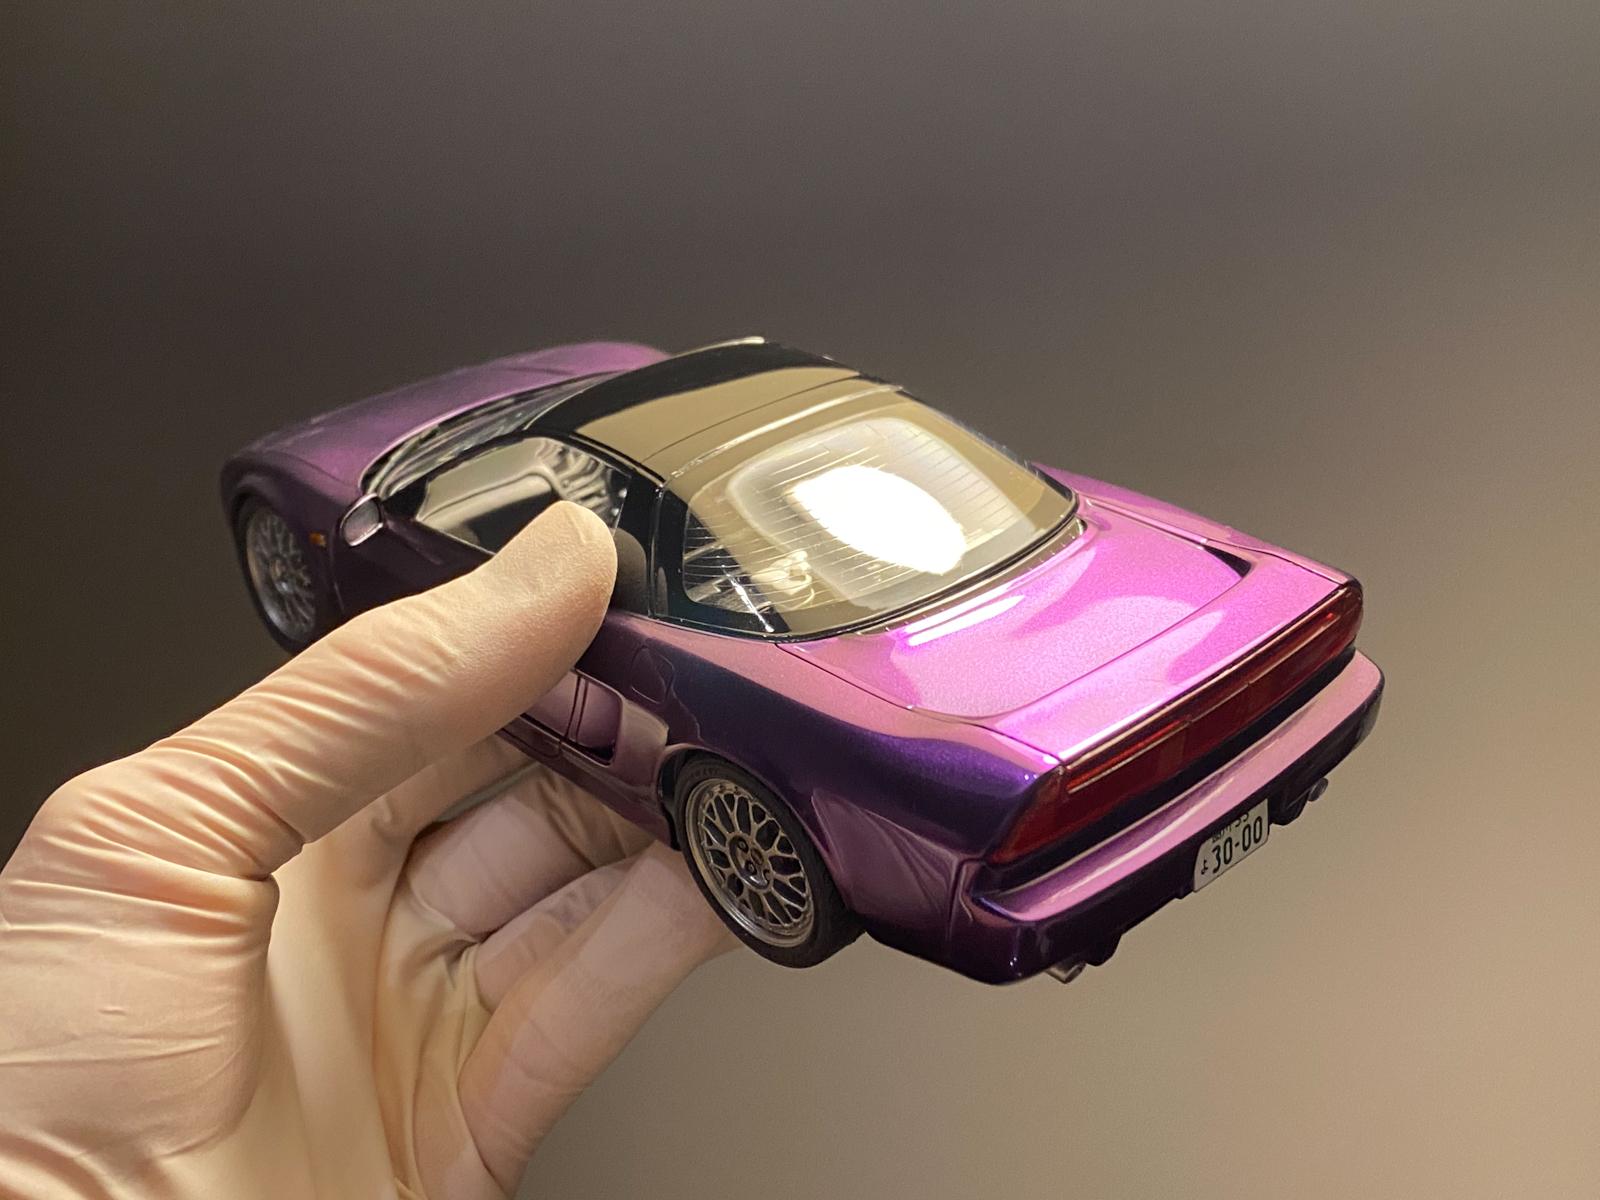
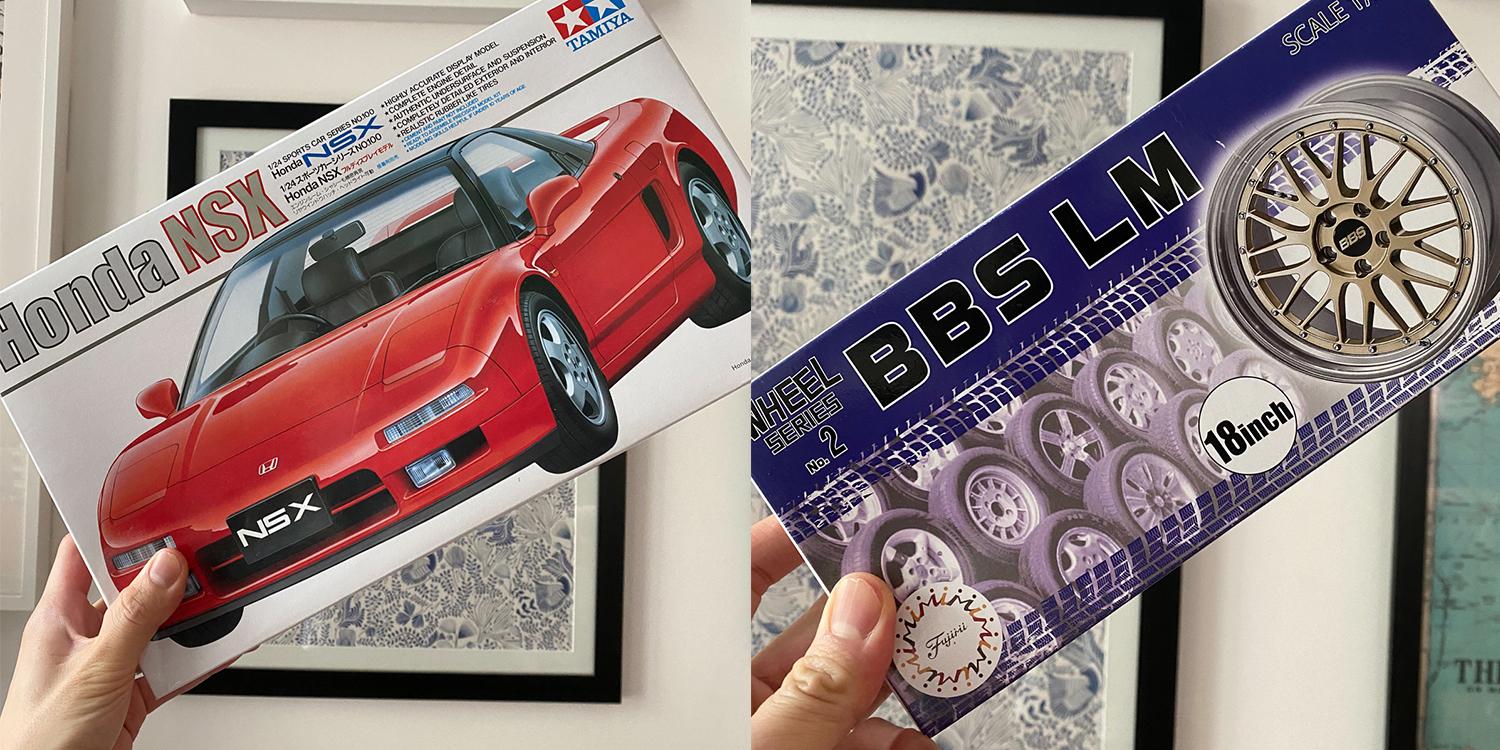
1991 Honda NSX in Midnight Purple with BBS LM (Tamiya 1/24)
e30lover replied to e30lover's topic in Model Cars
Thank you! Thanks a lot! Thank you! Thanks! Thank you! I think I'd keep the 2000 grit process in between the clear coat next time to reduce waviness on the body panels! Thank you! Thanks! Thank you! I have a thing in unusual colours and think that's what makes the model making fun! Highly recommend and I'd probably mix to darken the paint a bit! Thank you! Thank you! NSX looks fantastic in real life, I think much better than in photos and magazines. I'm not into Hondas but I love driving 90 ~ 00s Honda cars. Not my best paint job but the colour hides the flaw pretty well! Thank you! Thanks a lot! Thank you! Next one will be something unusual Thank you! Thanks! Thank you! Thanks a lot! Thanks! It's far from immaculate but it's getting better! Thanks! -
1989 Ford Mustang GT ‘Vert in Light Gray (Smoke) 1/24 Monogram
e30lover replied to polybius's topic in Model Cars
Fantastic work on both foxbody. Detail paints and camera angle really add to the realism! -
Fantastic build! I also have this kit and looking forward to build one soon. Opening up the vents and PE wipers really add a nice touch!
-
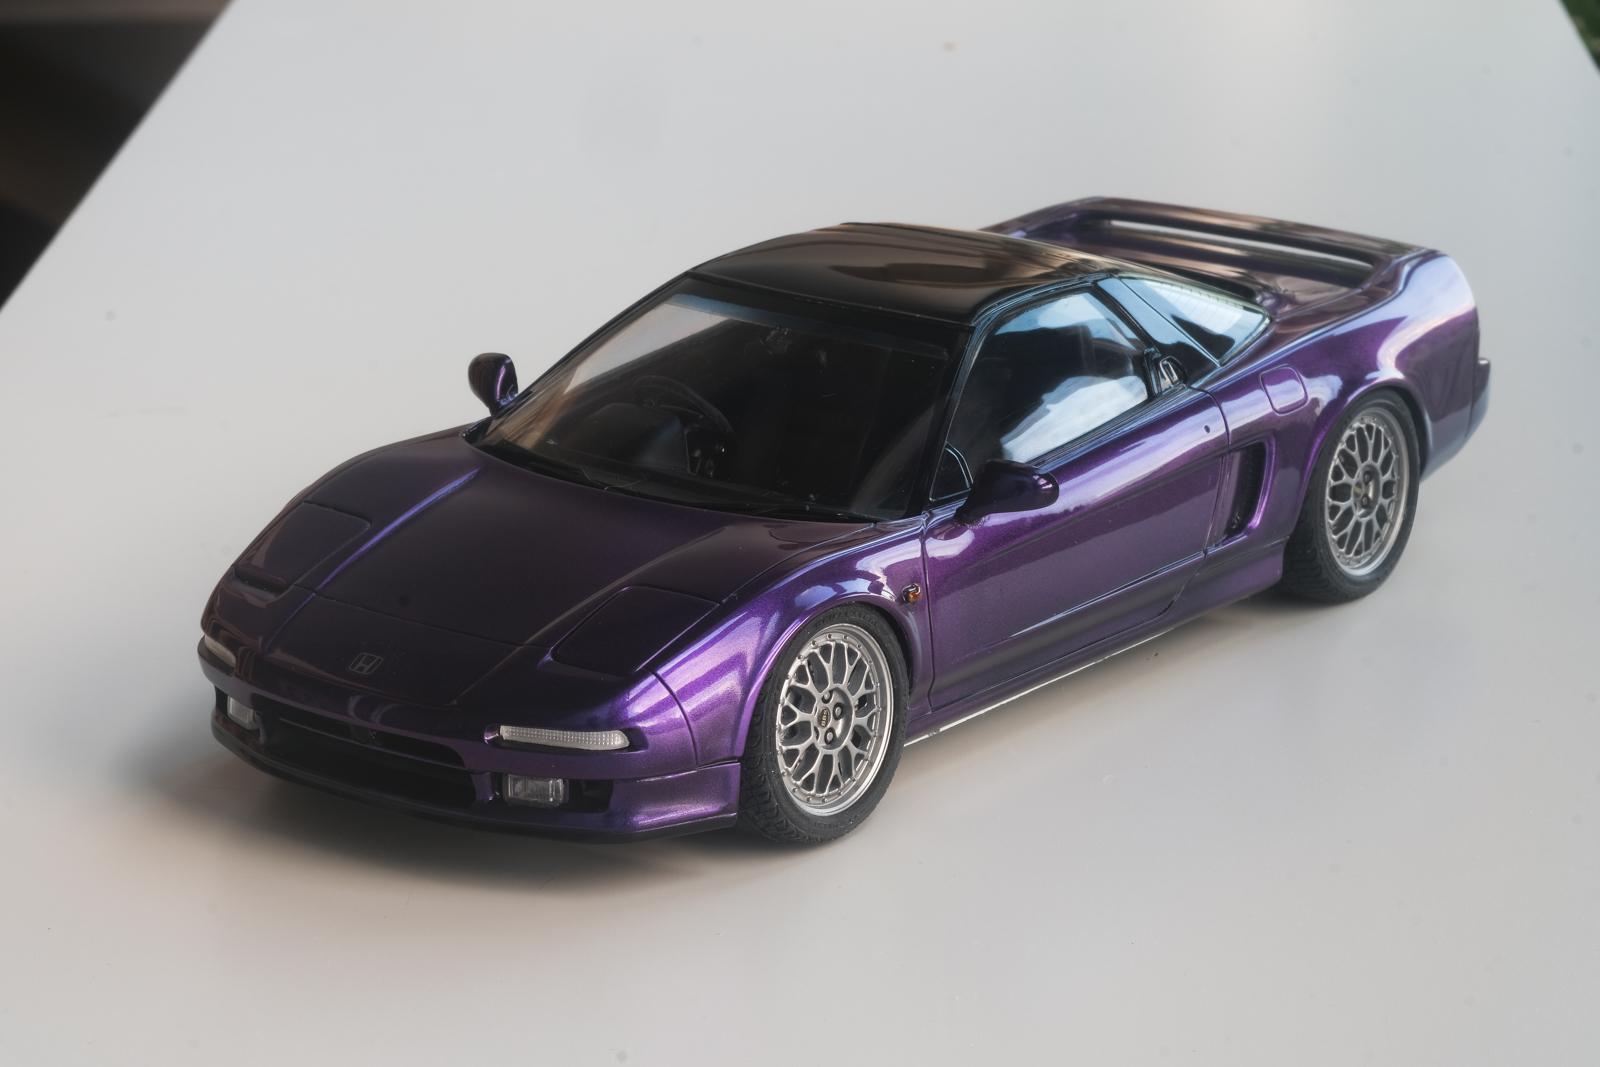
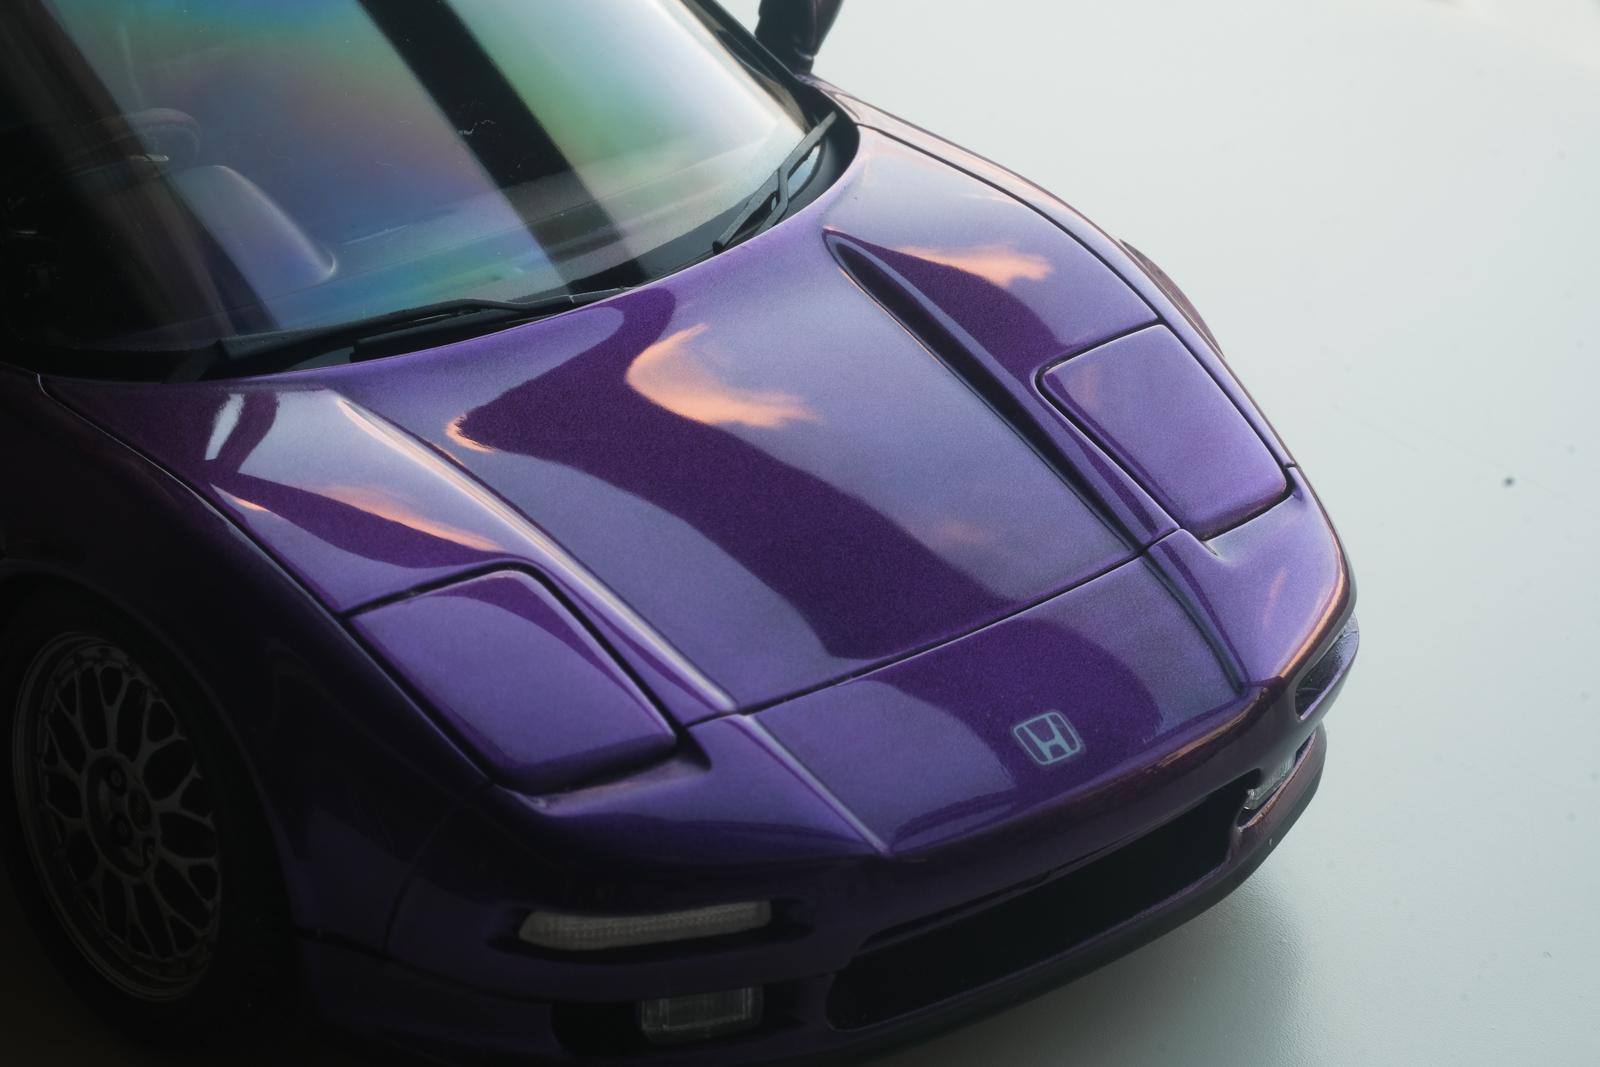
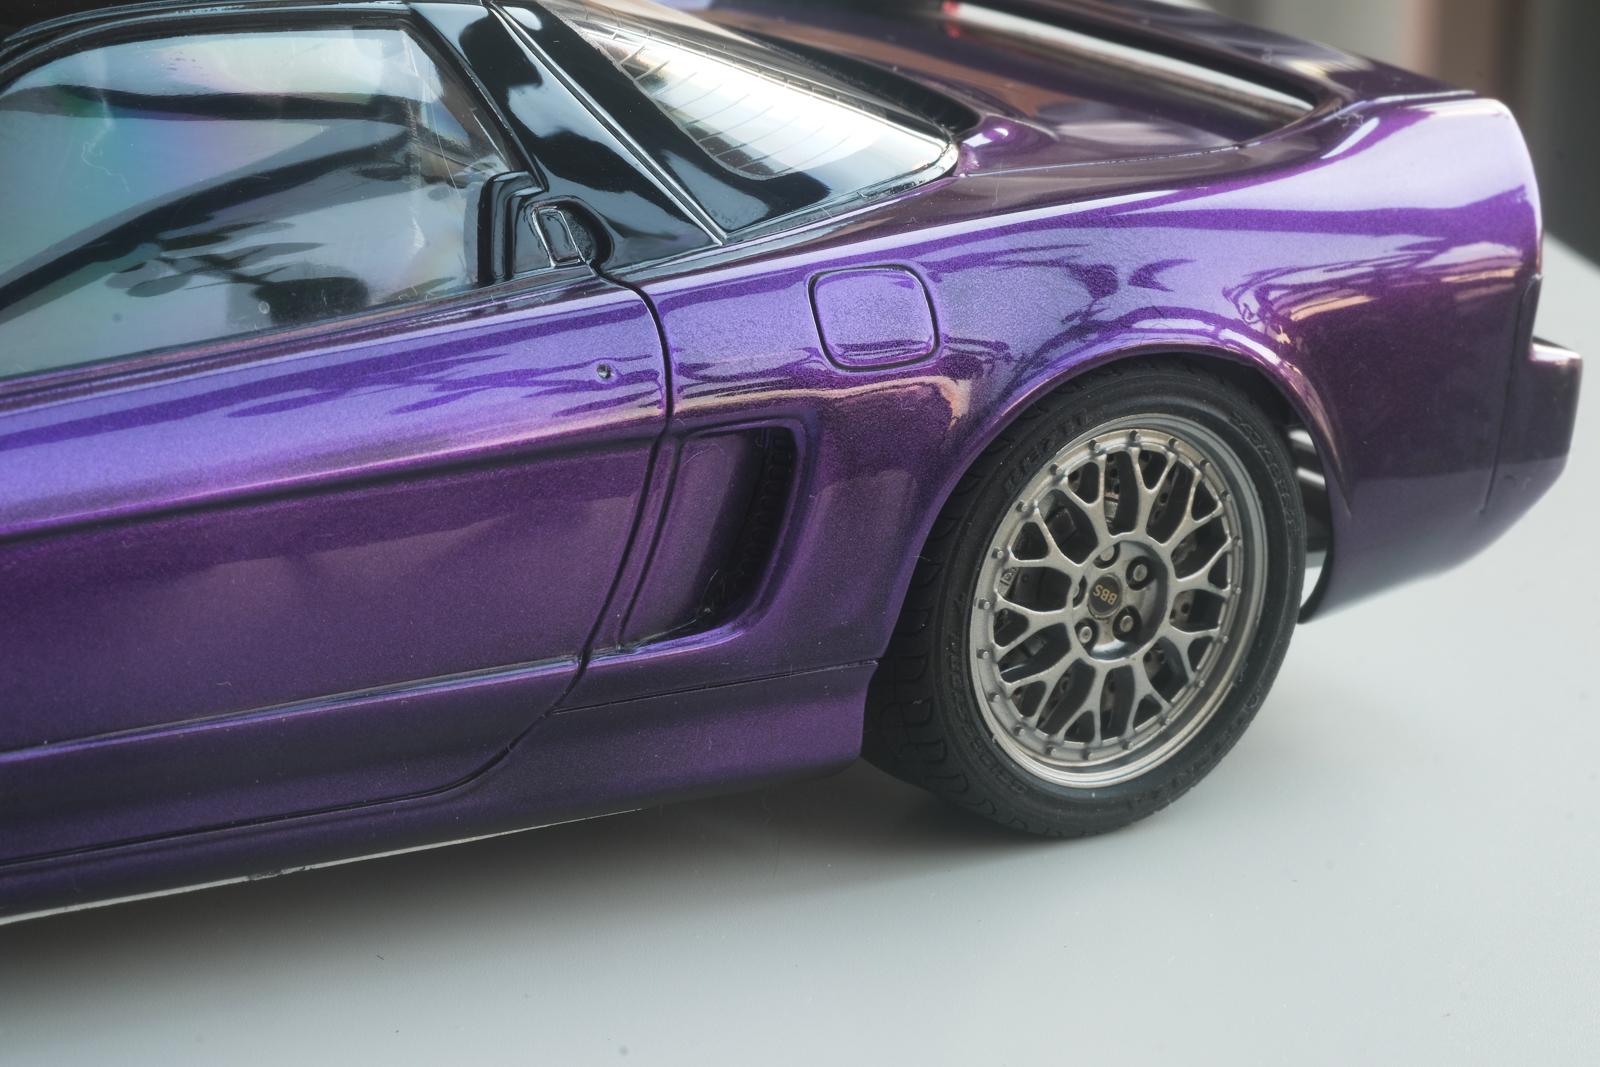
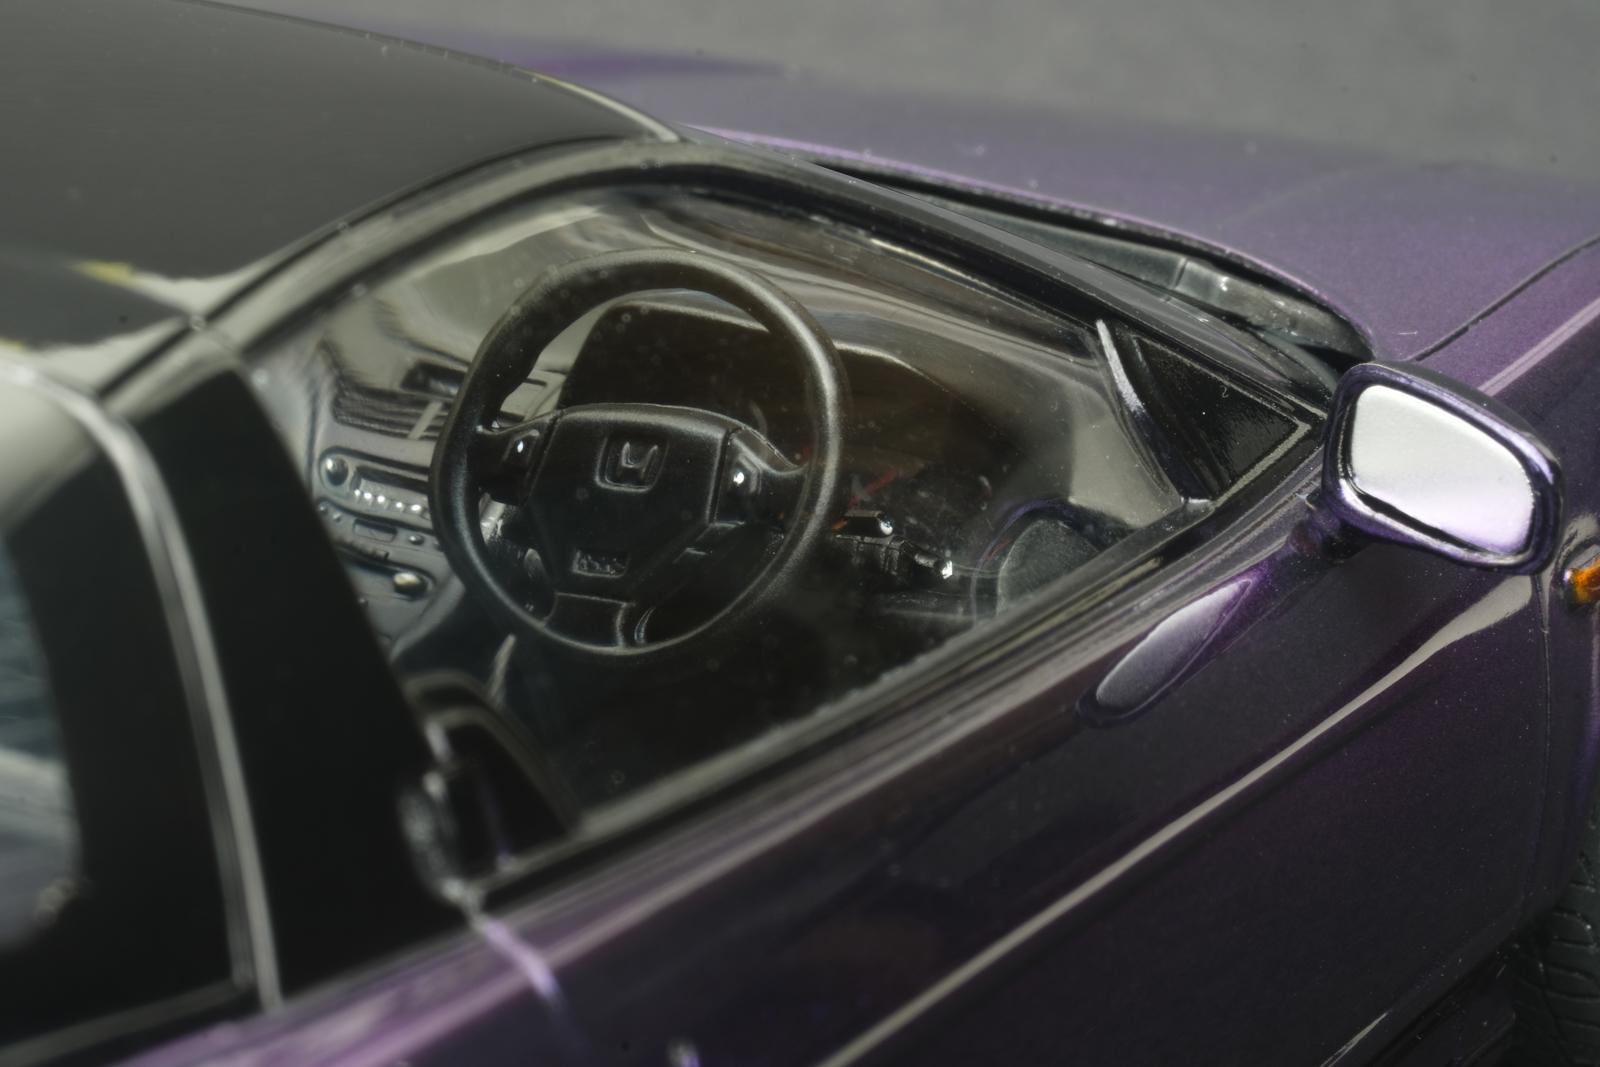
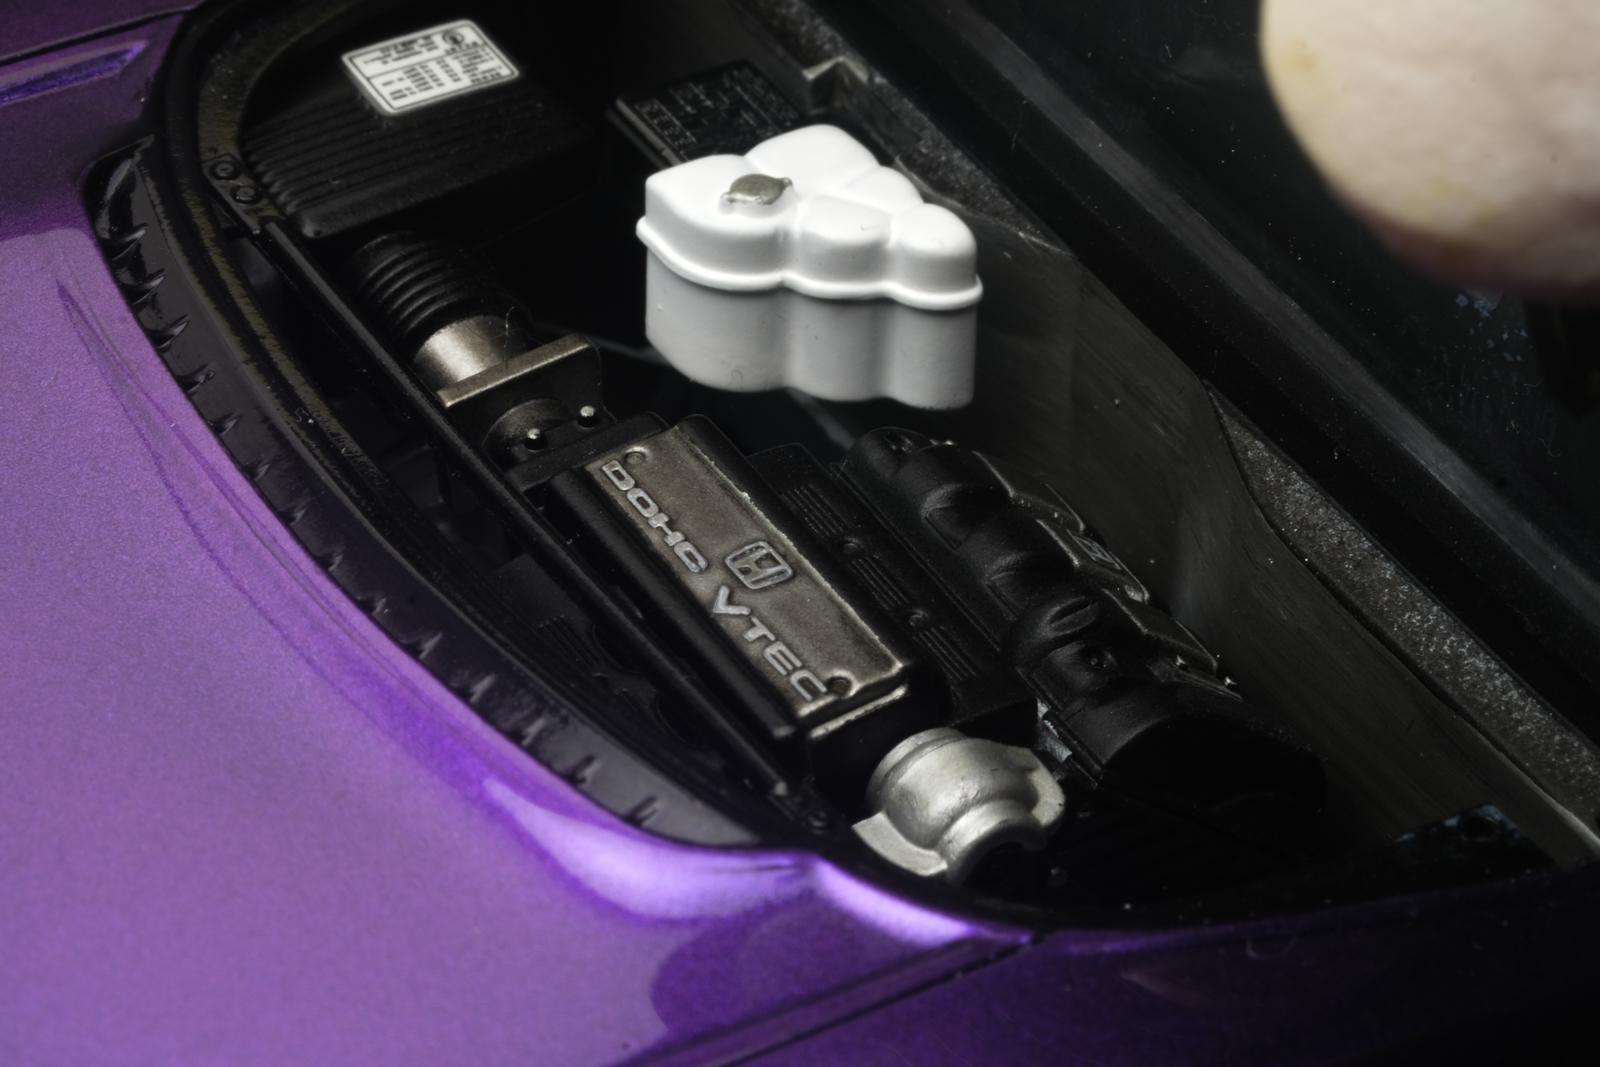
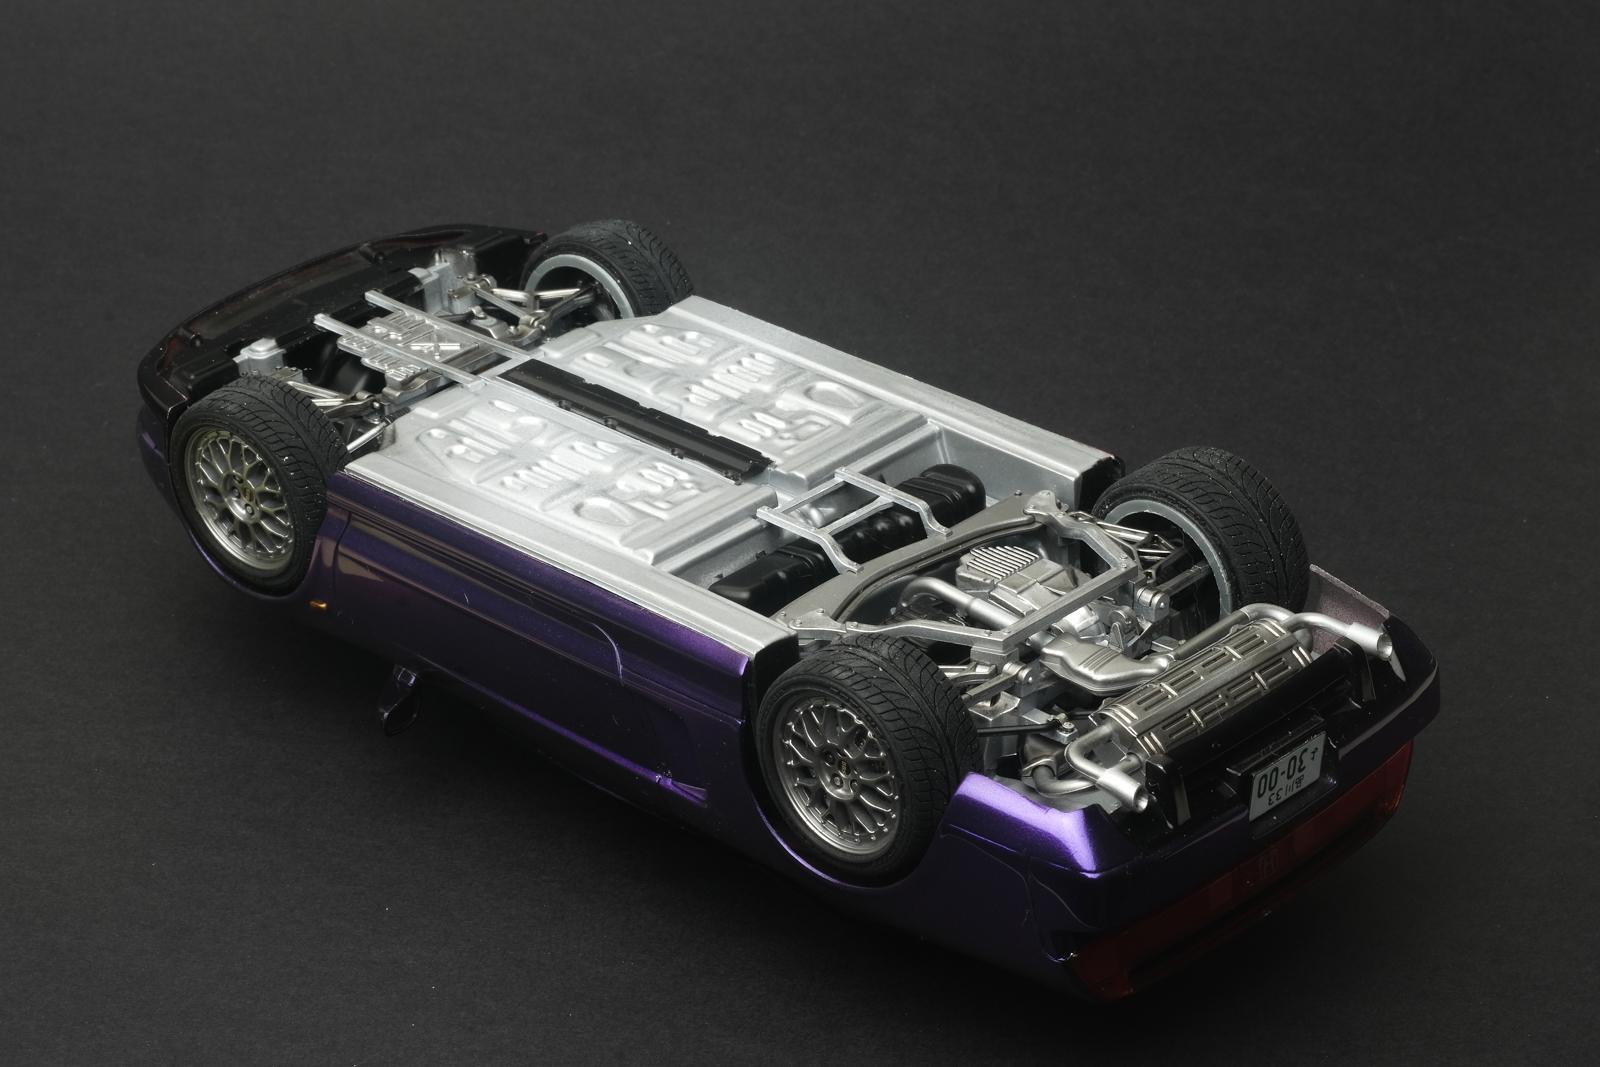
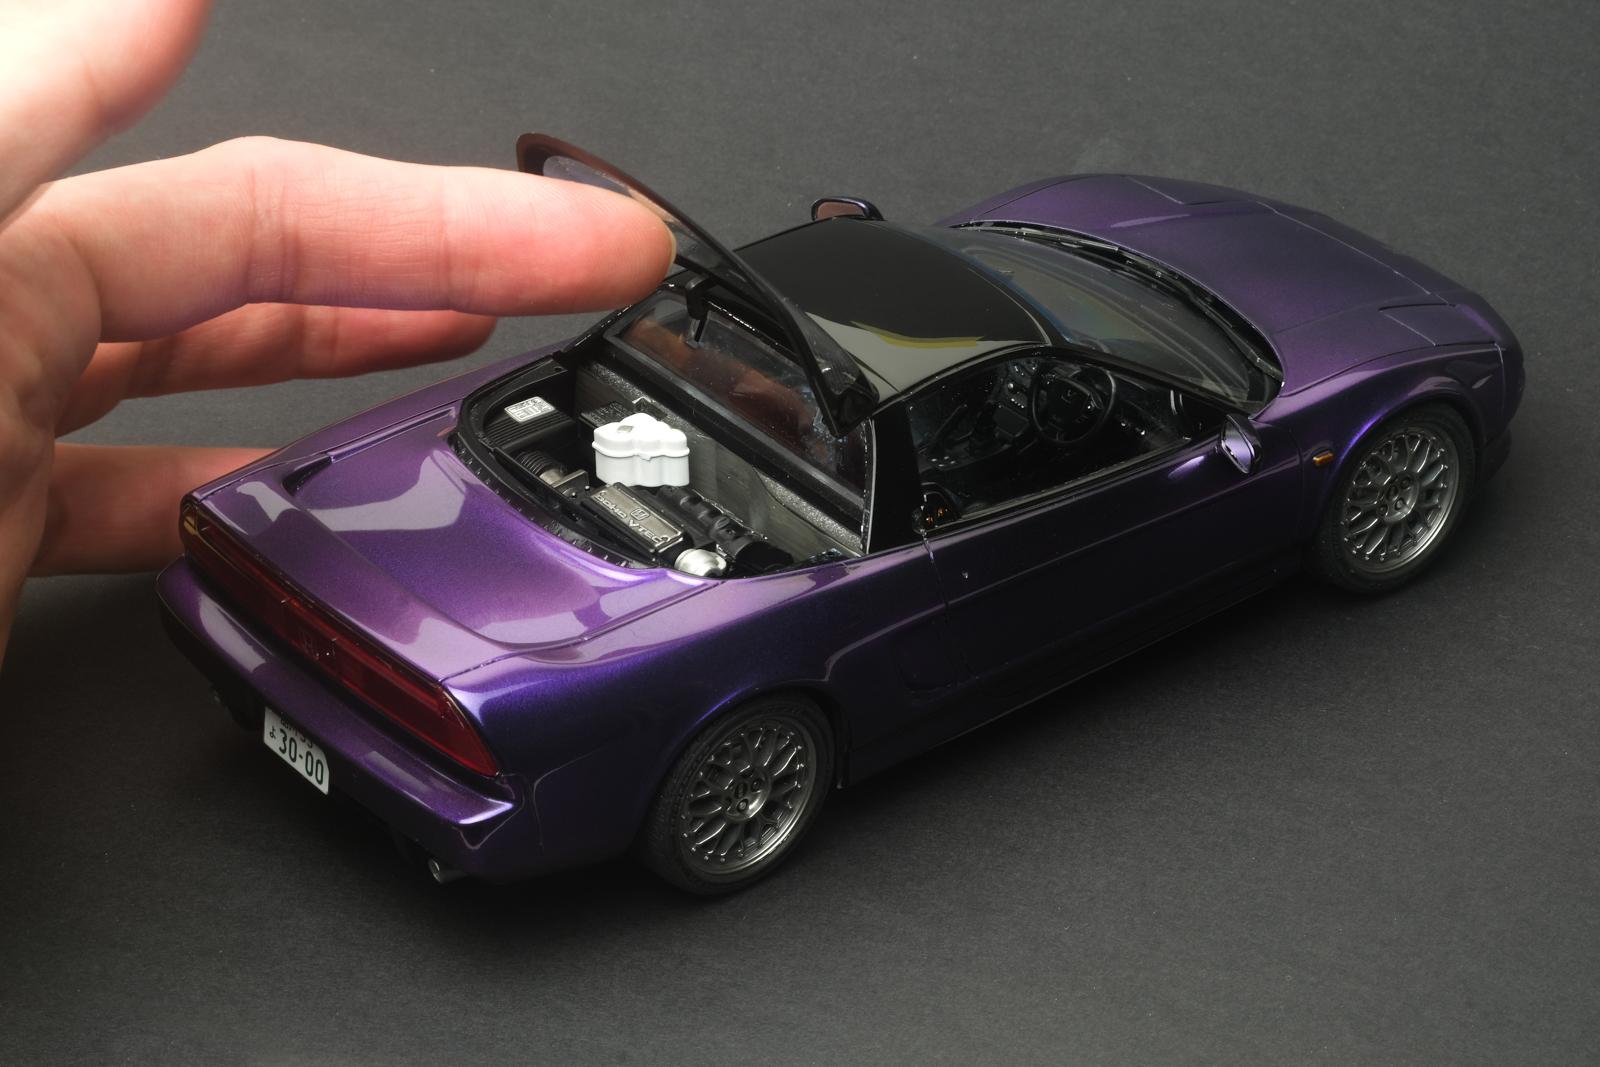
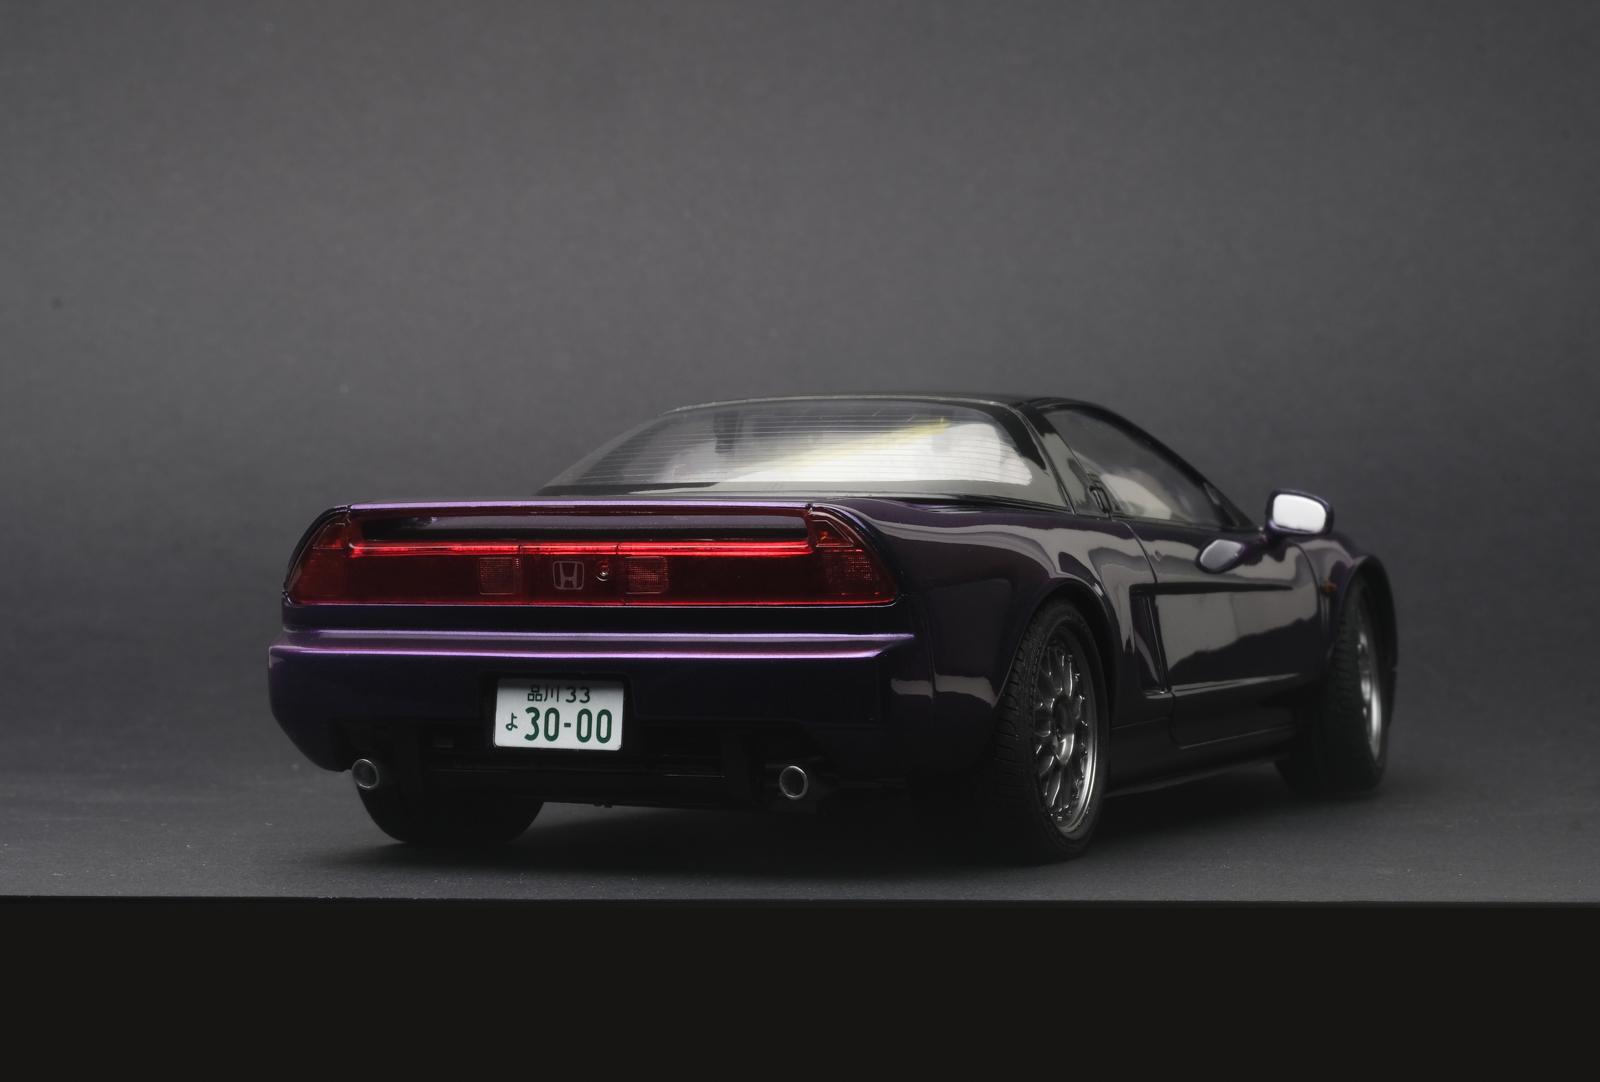
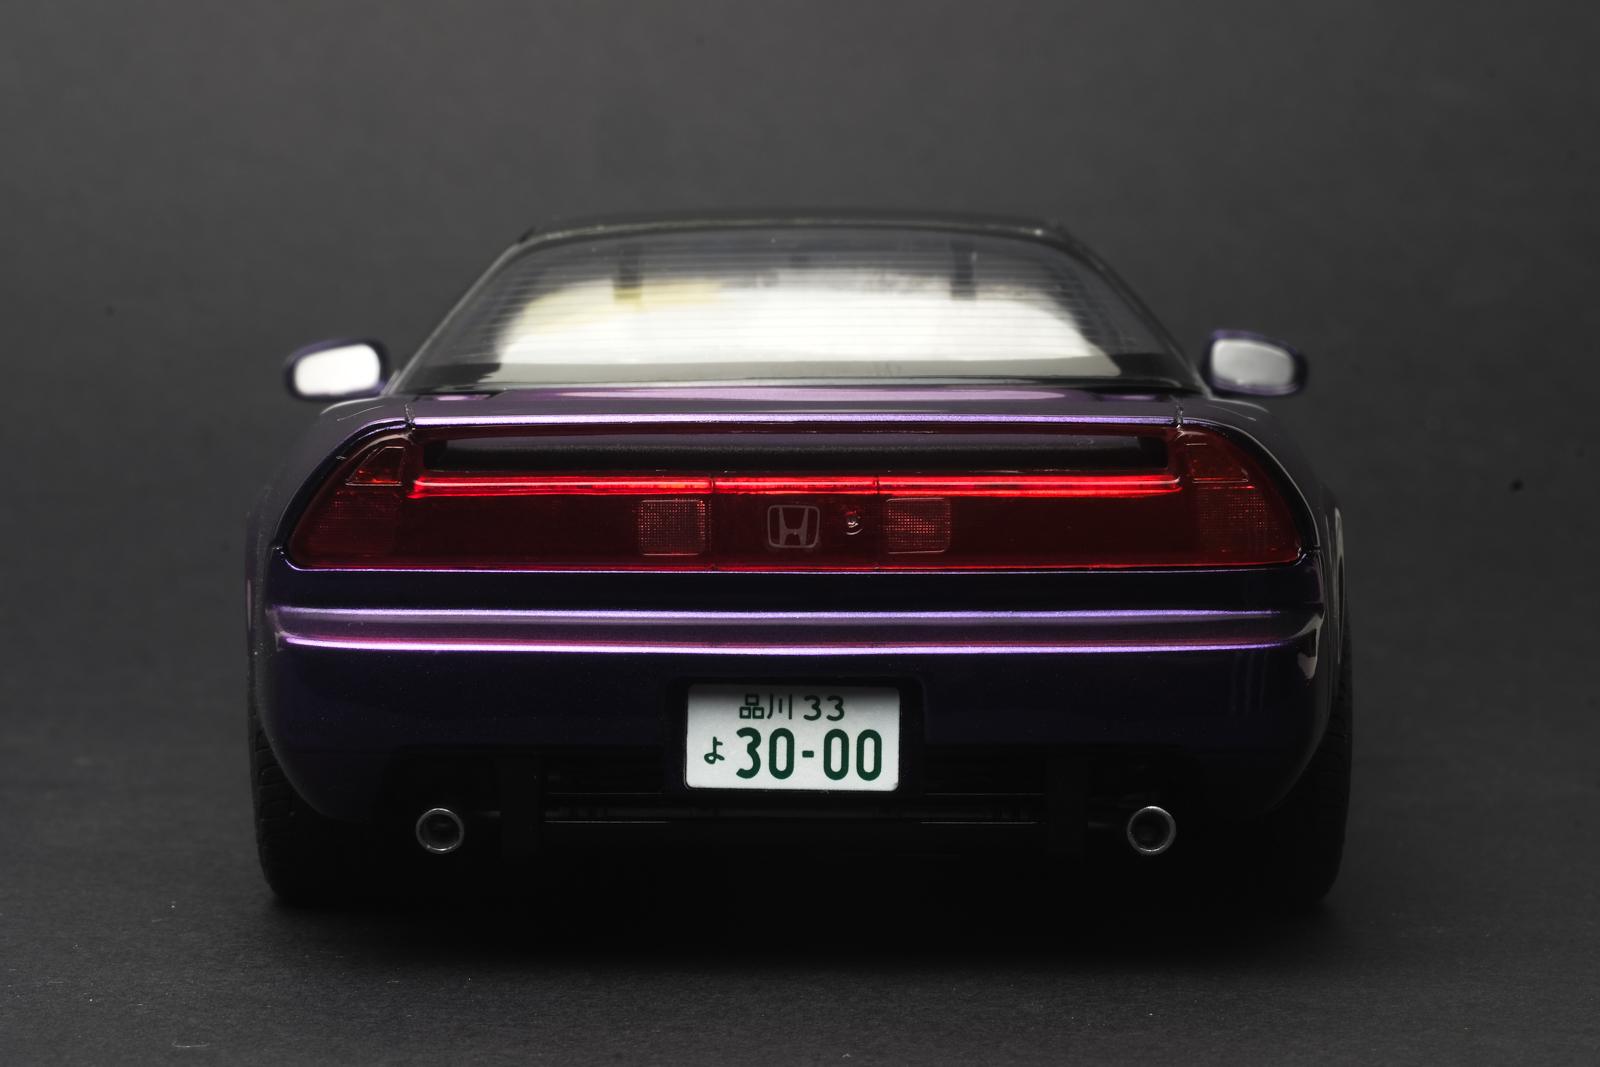
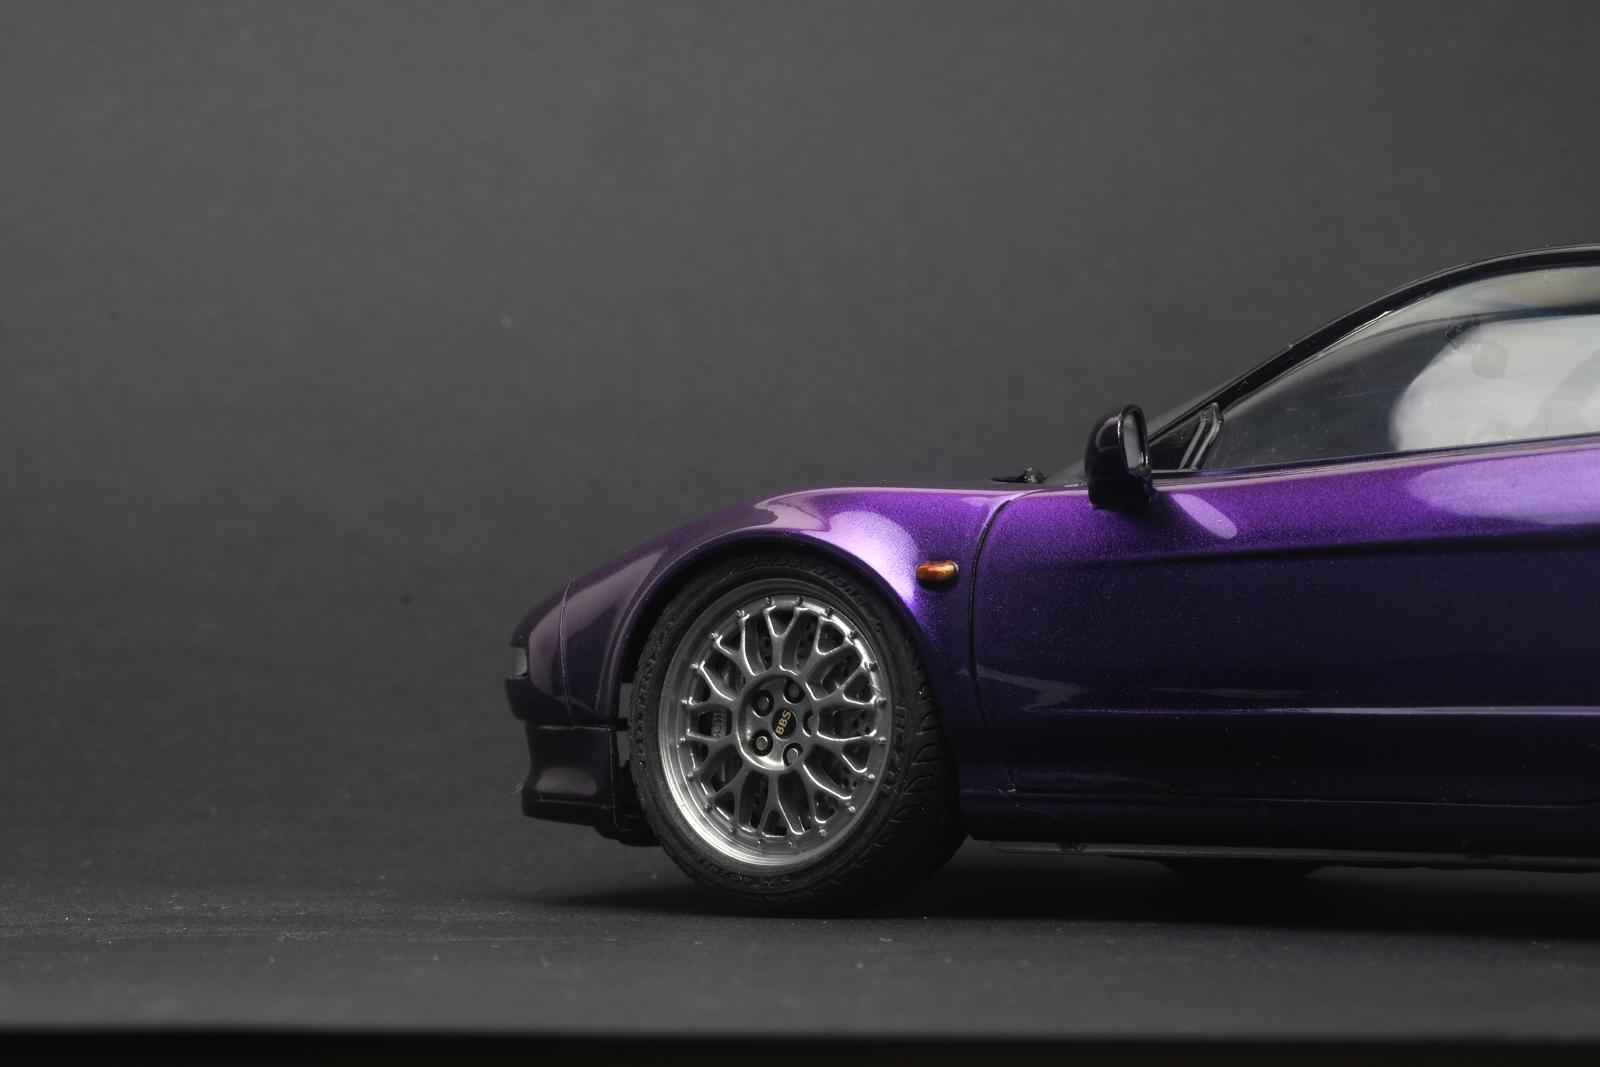
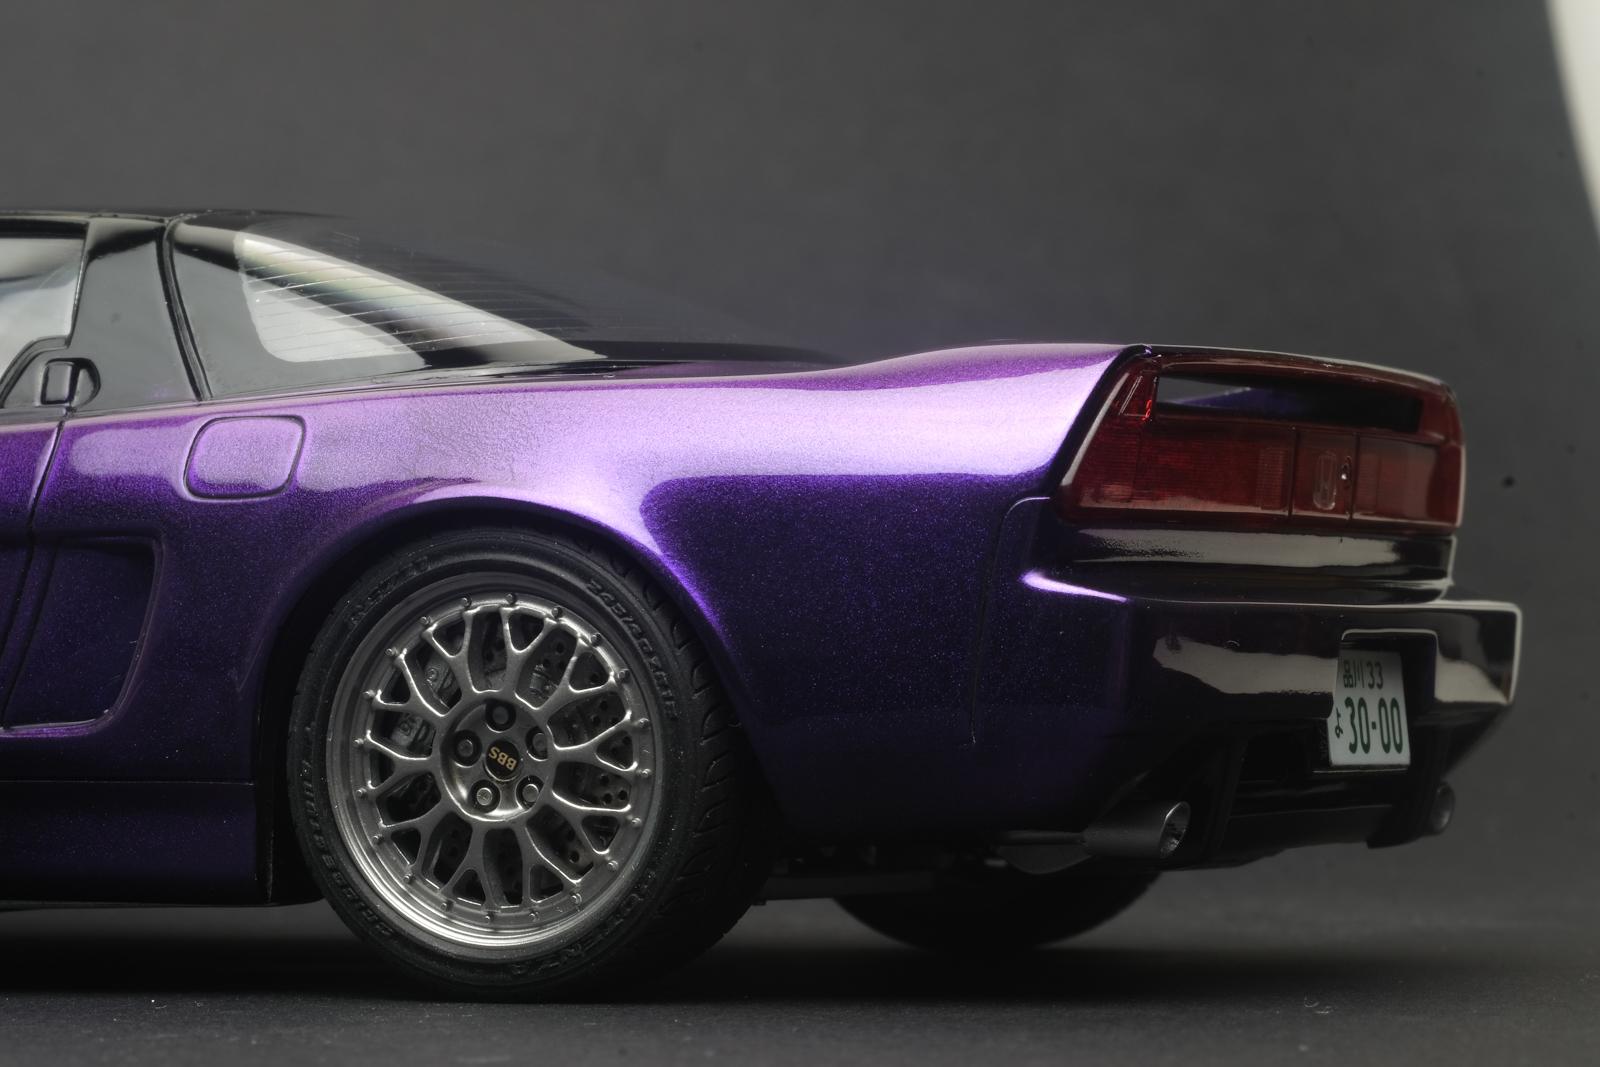
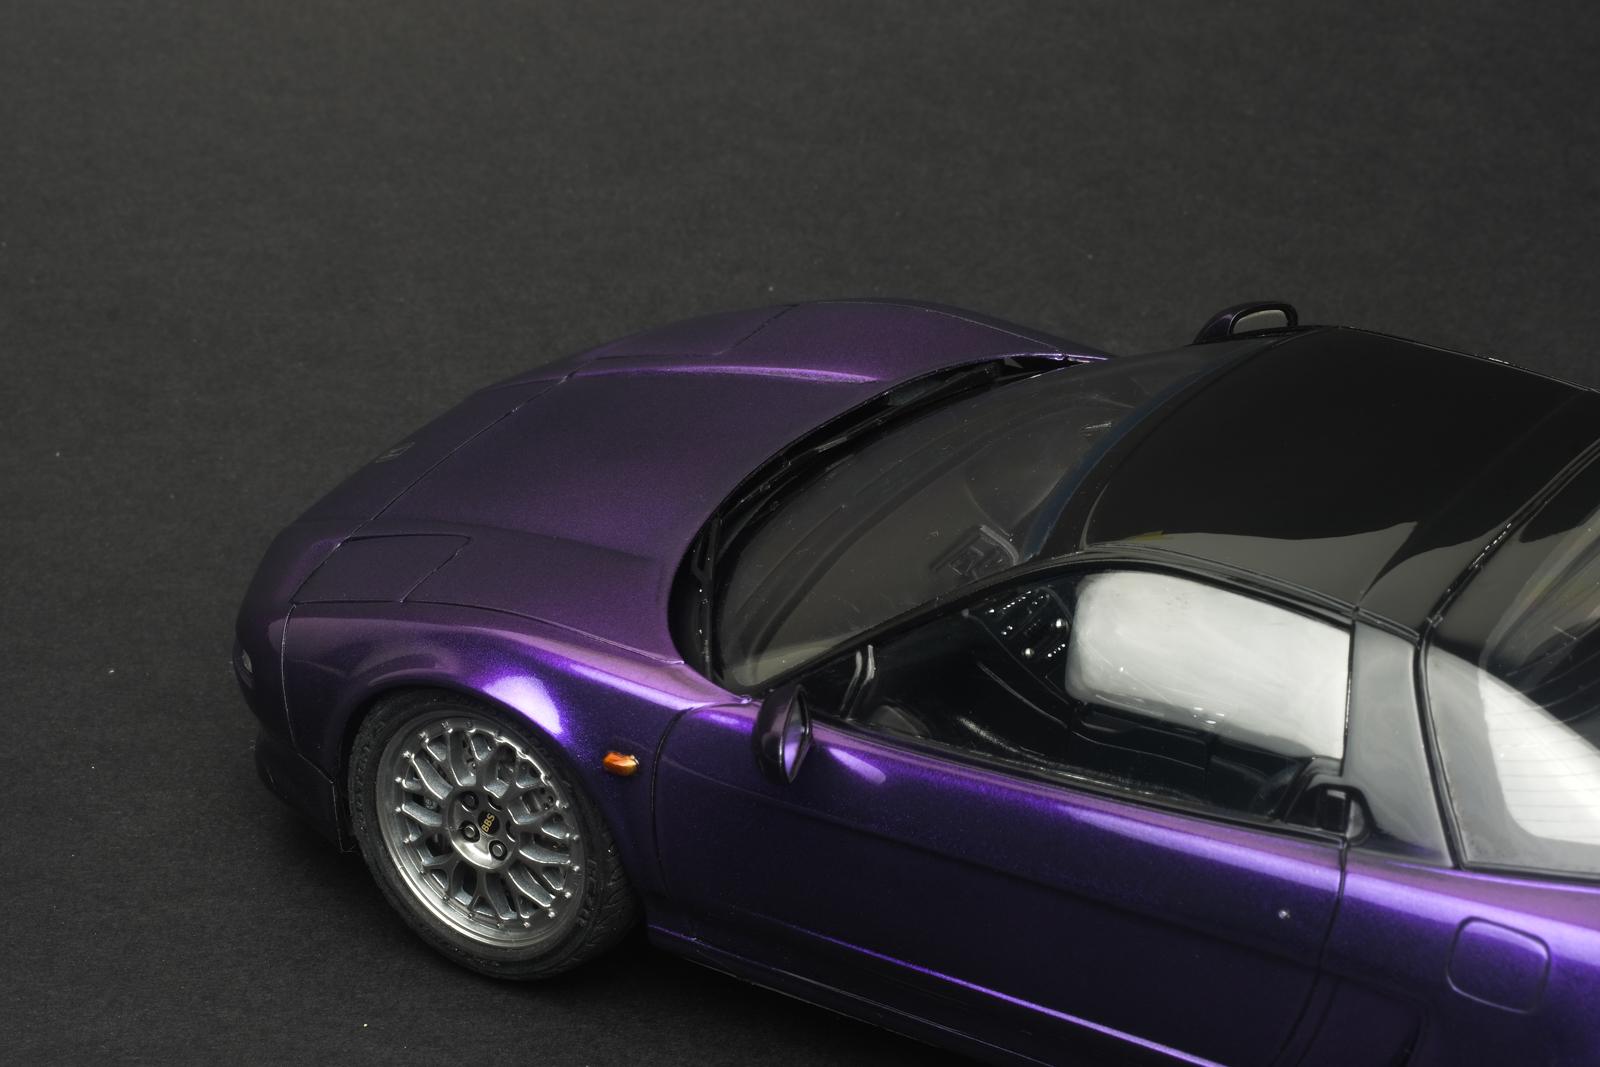
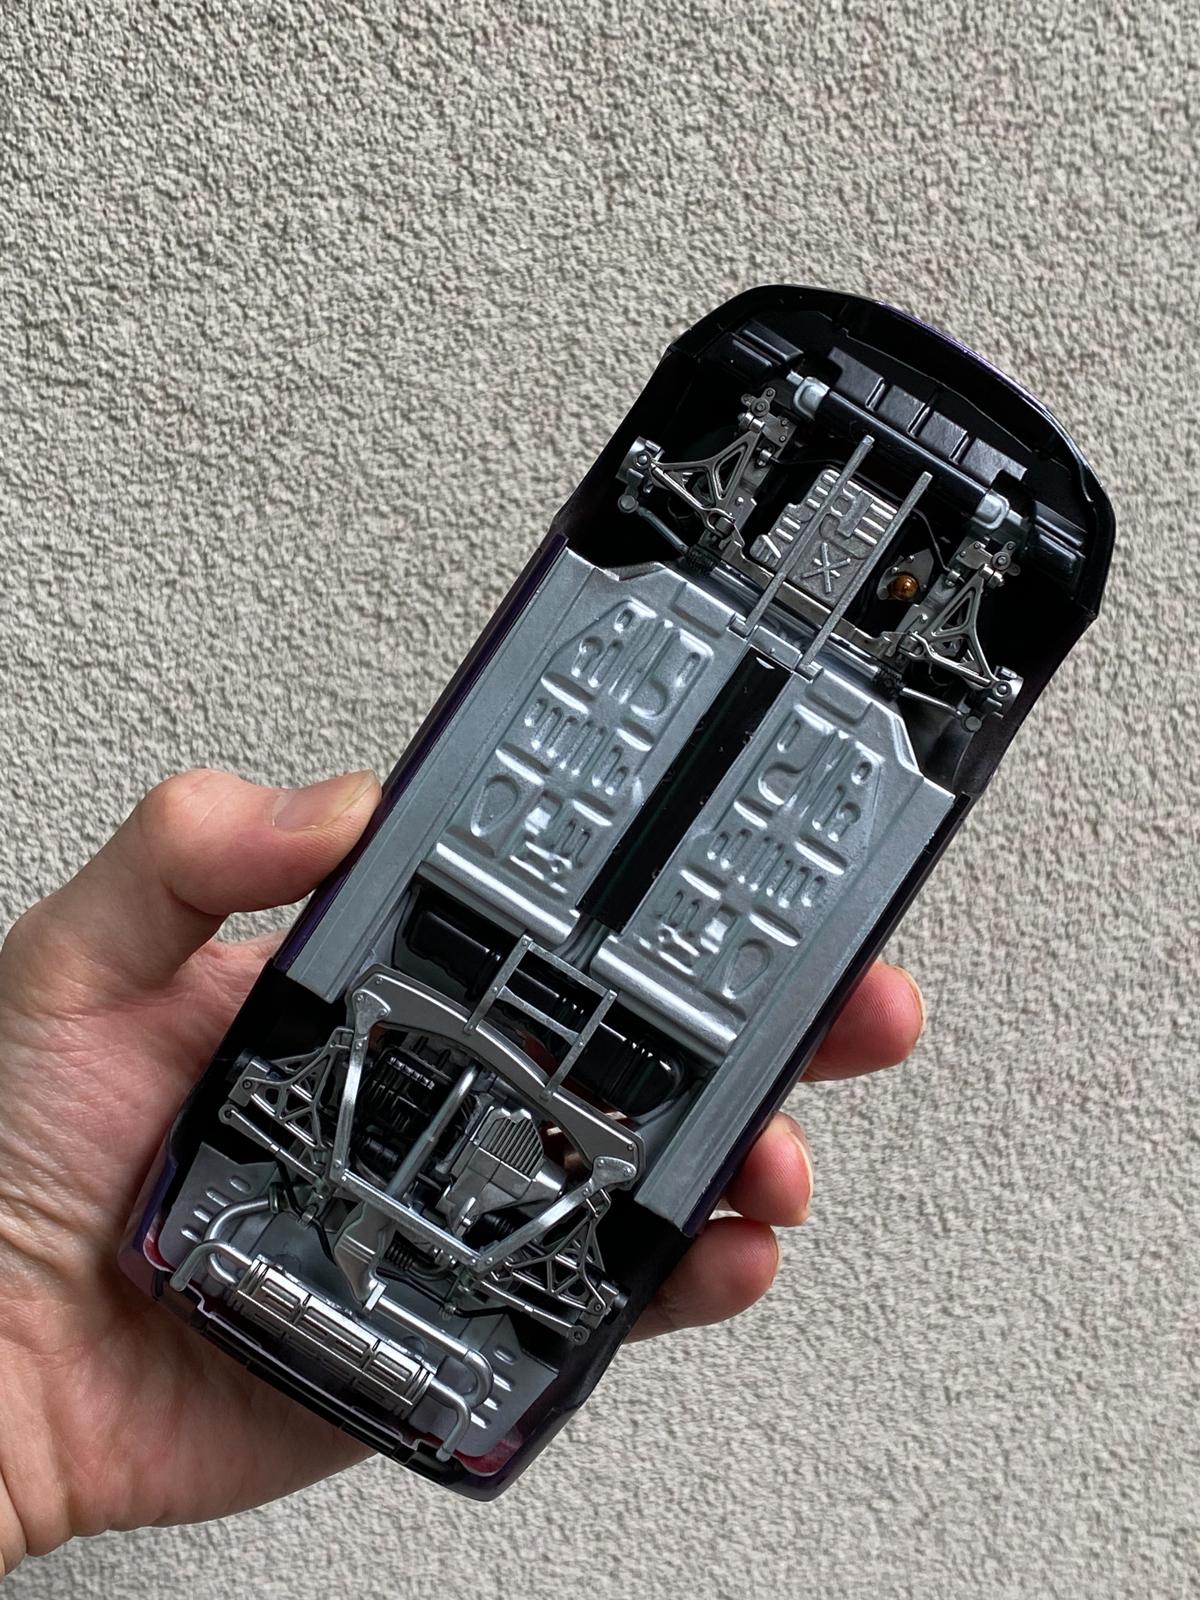
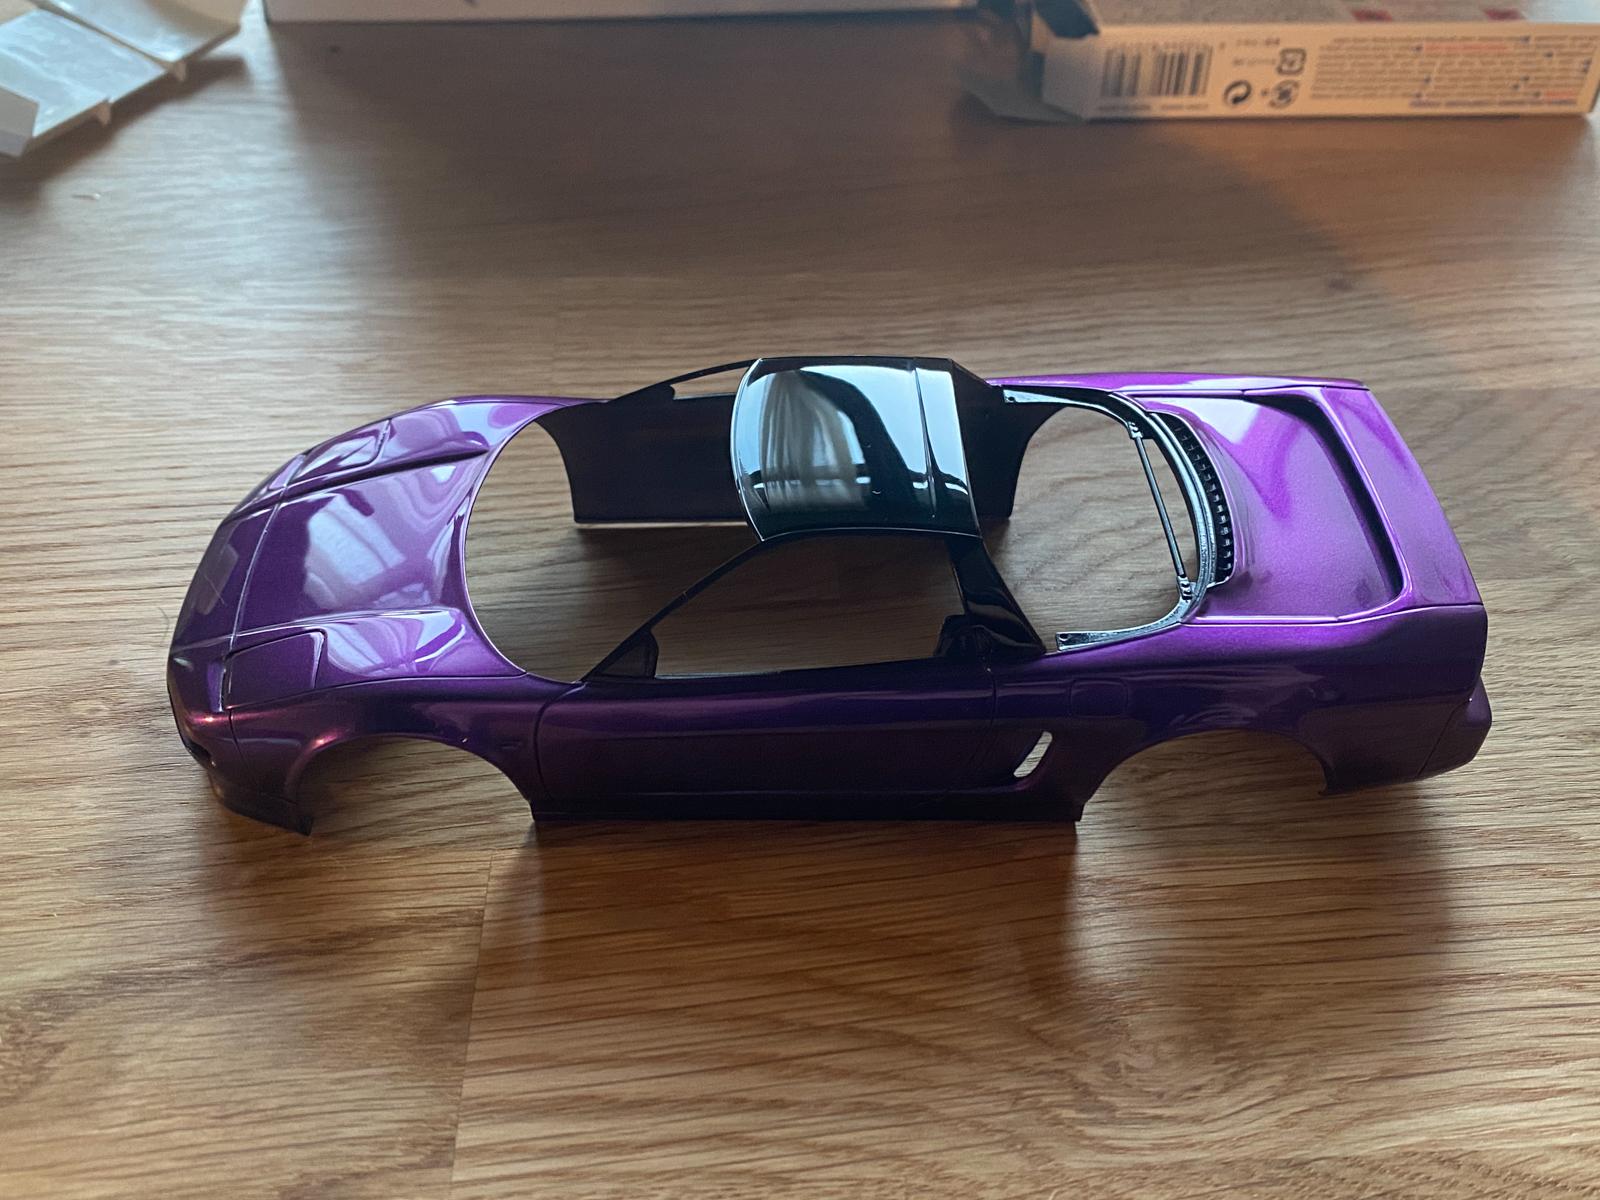
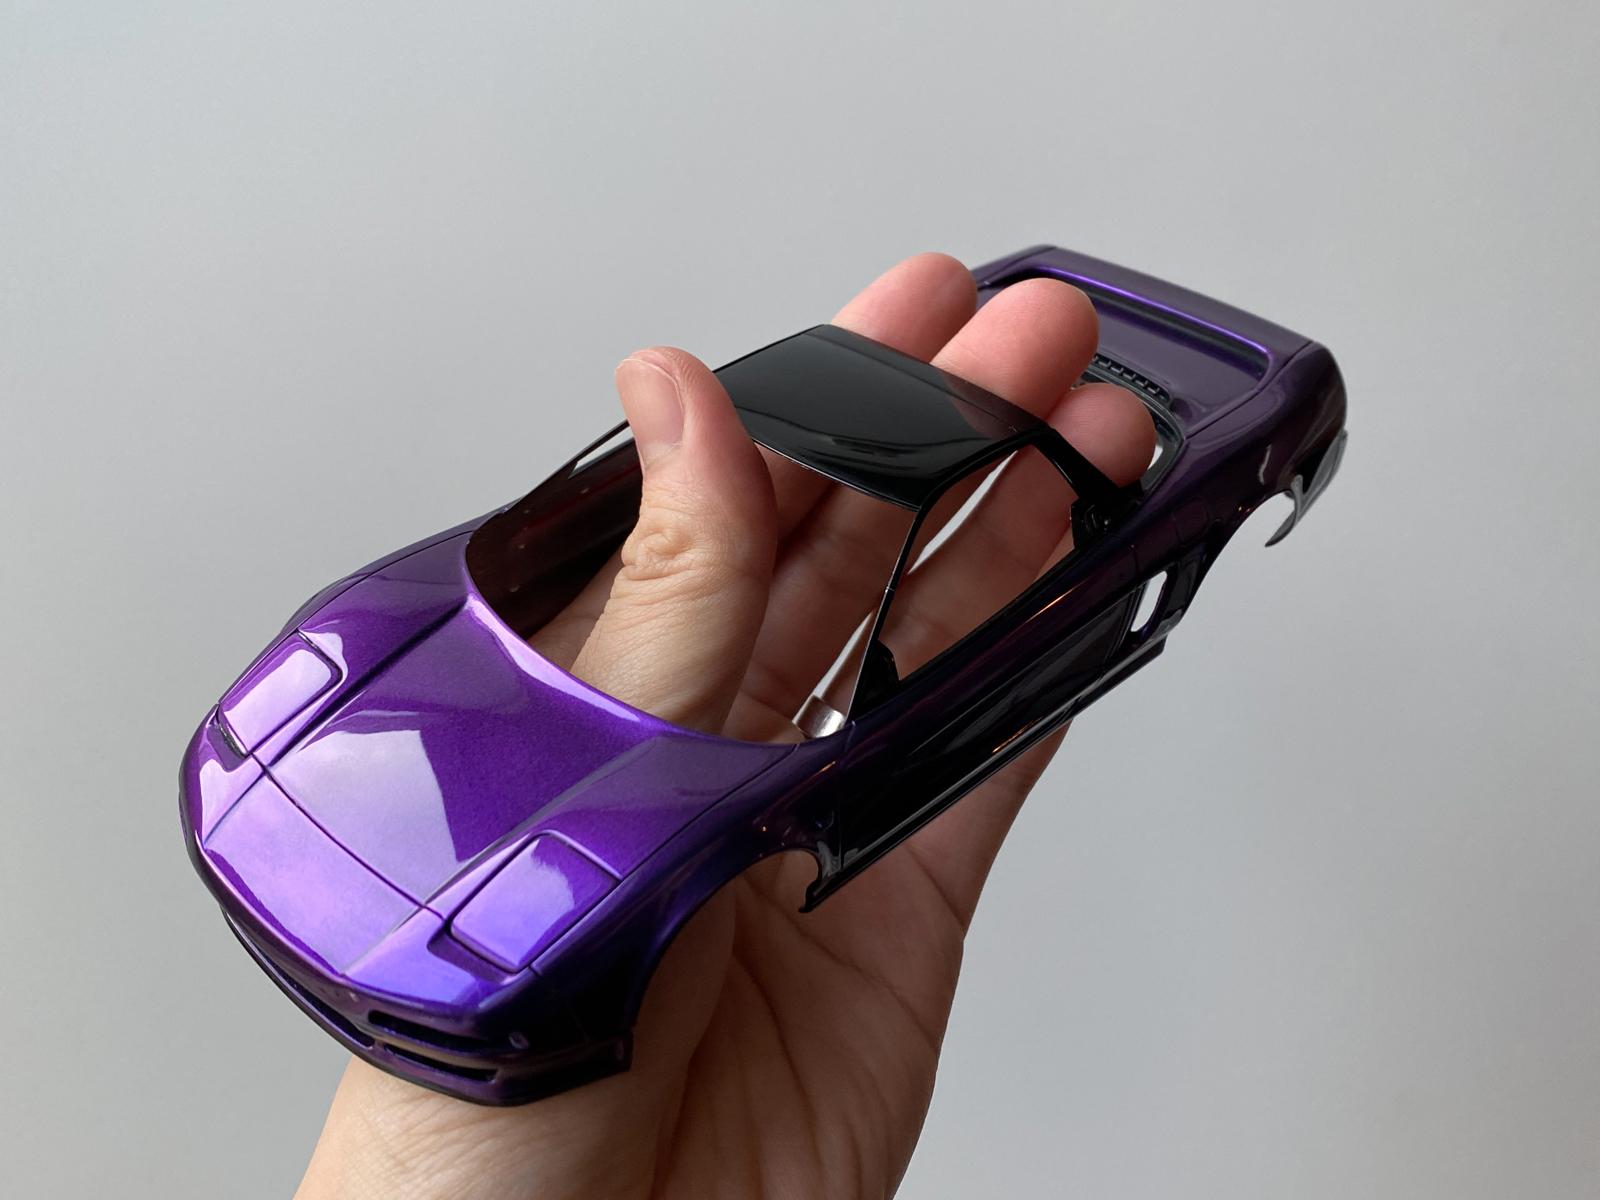
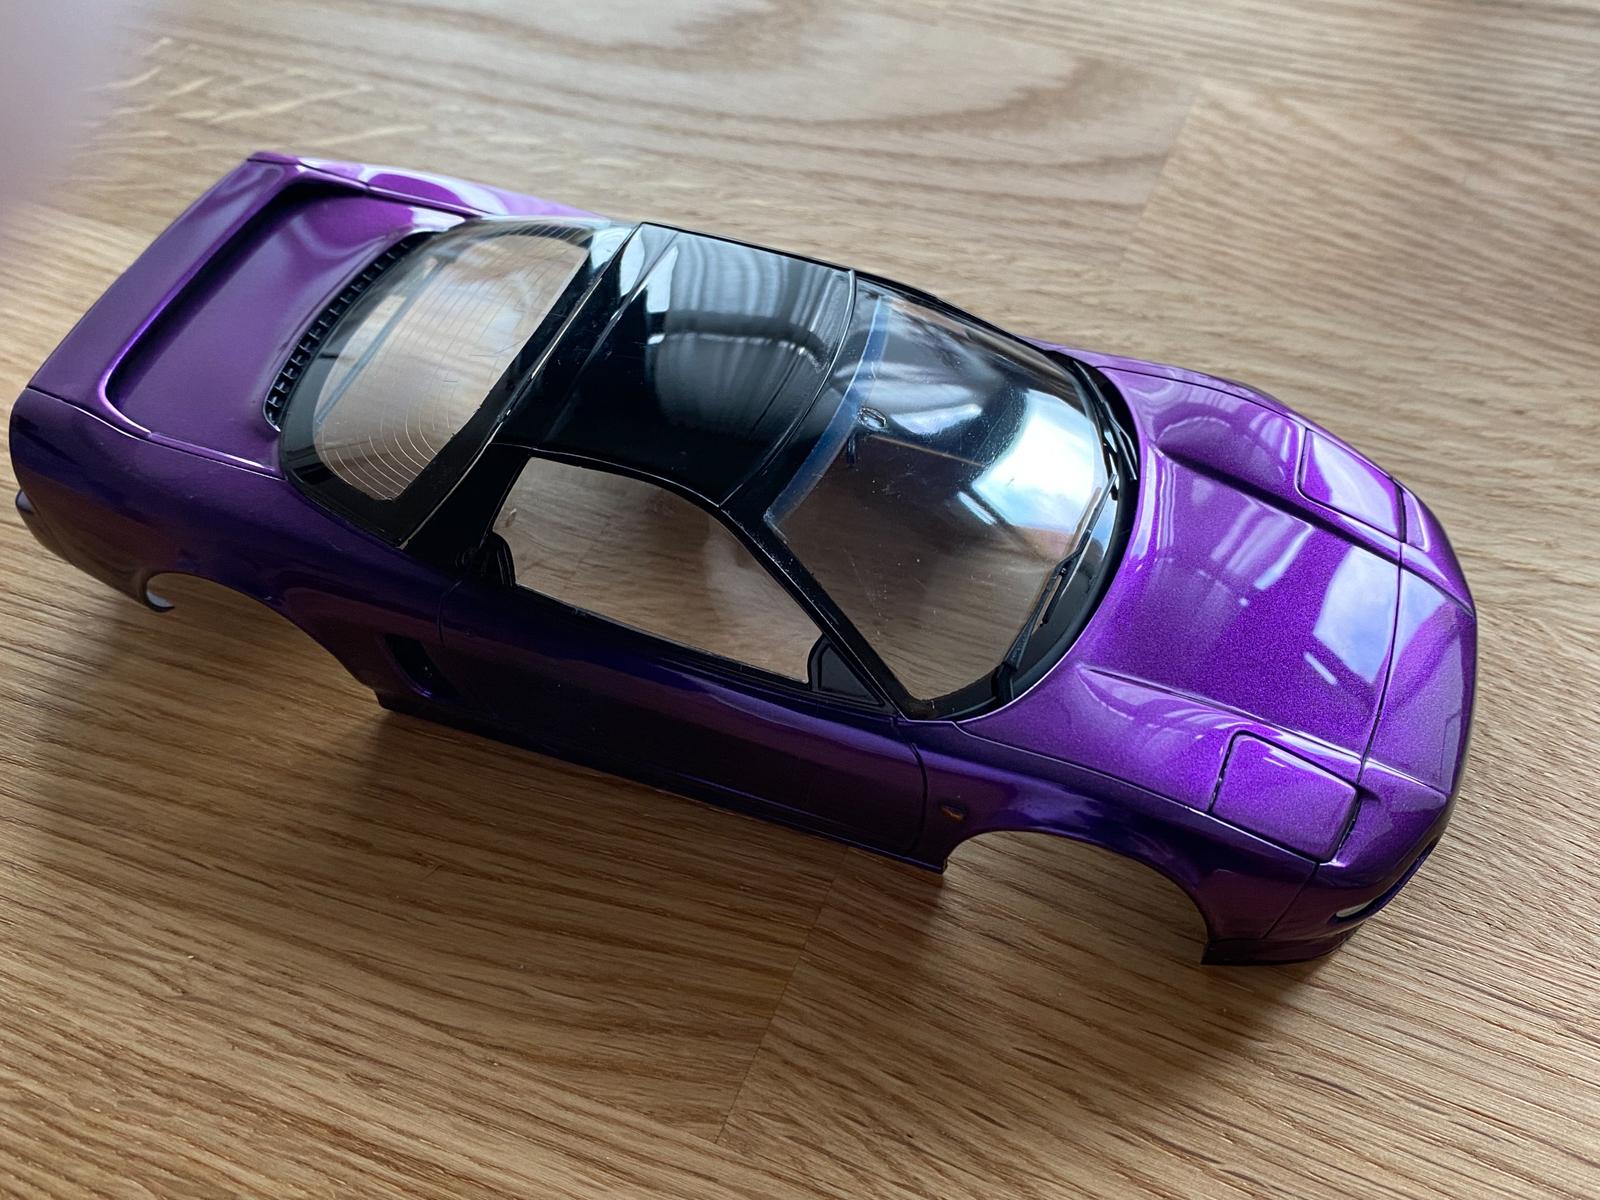
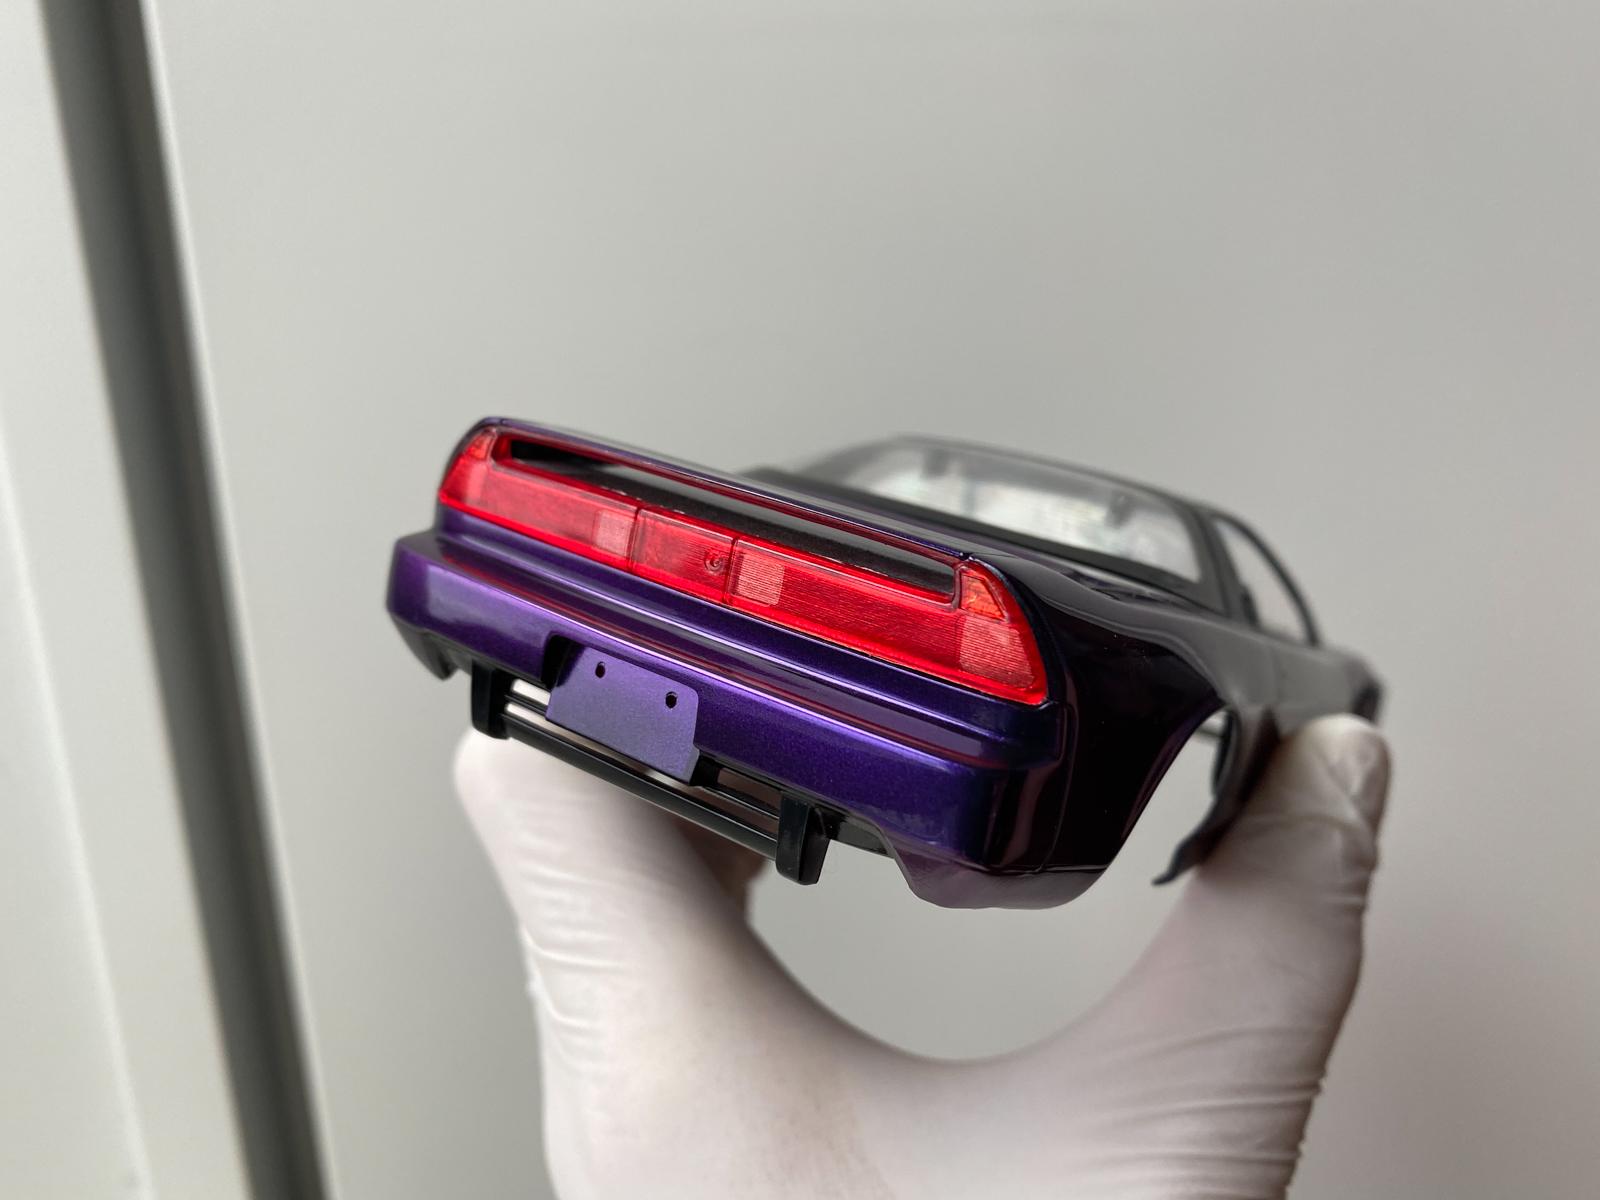
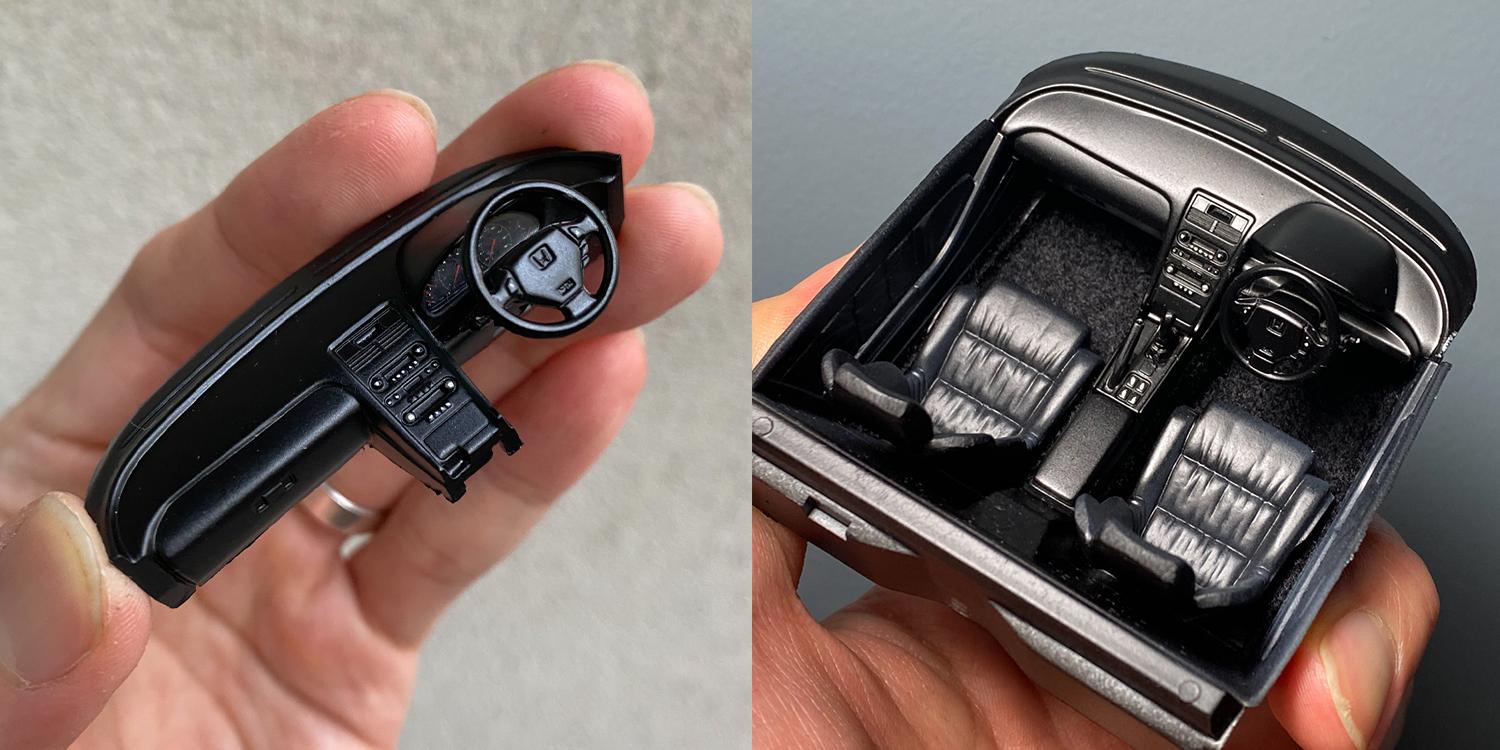
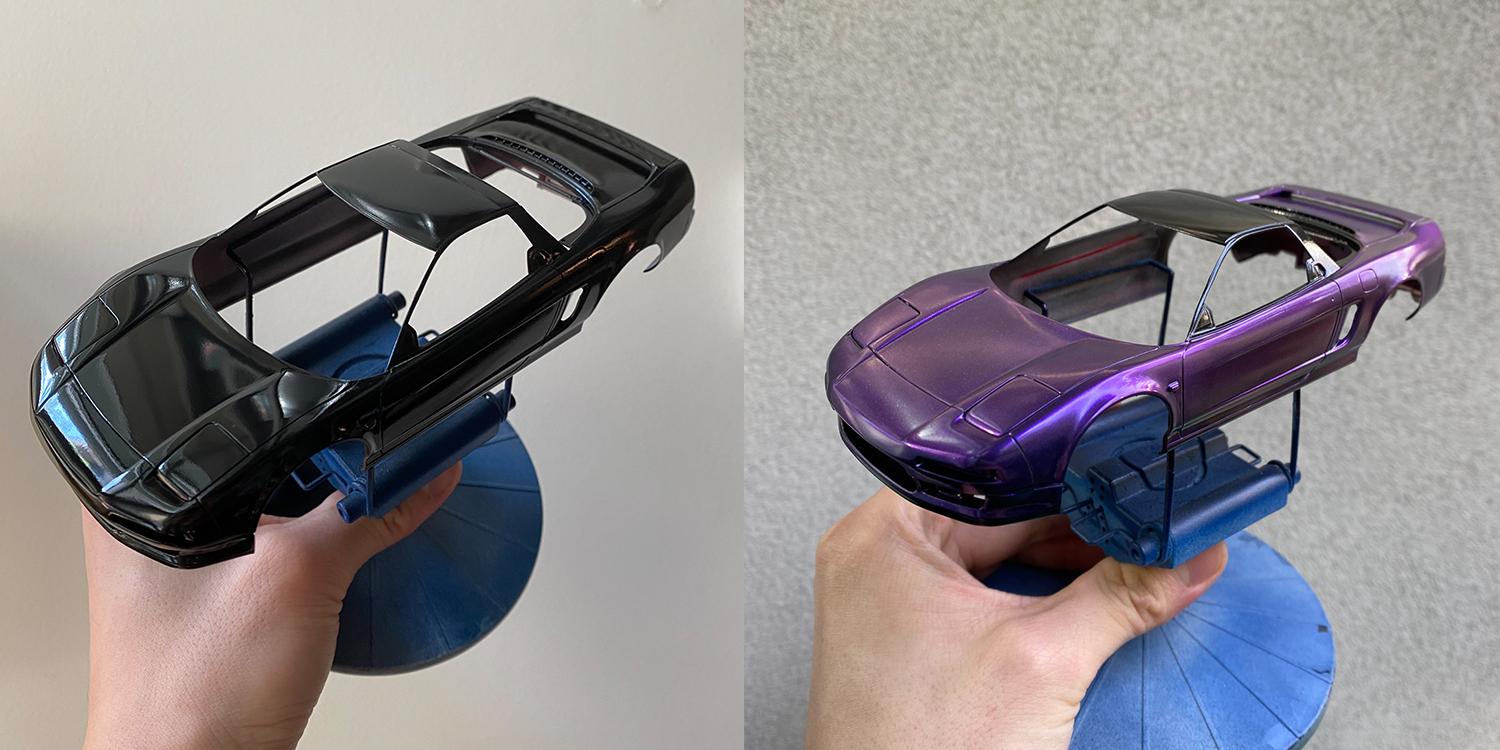
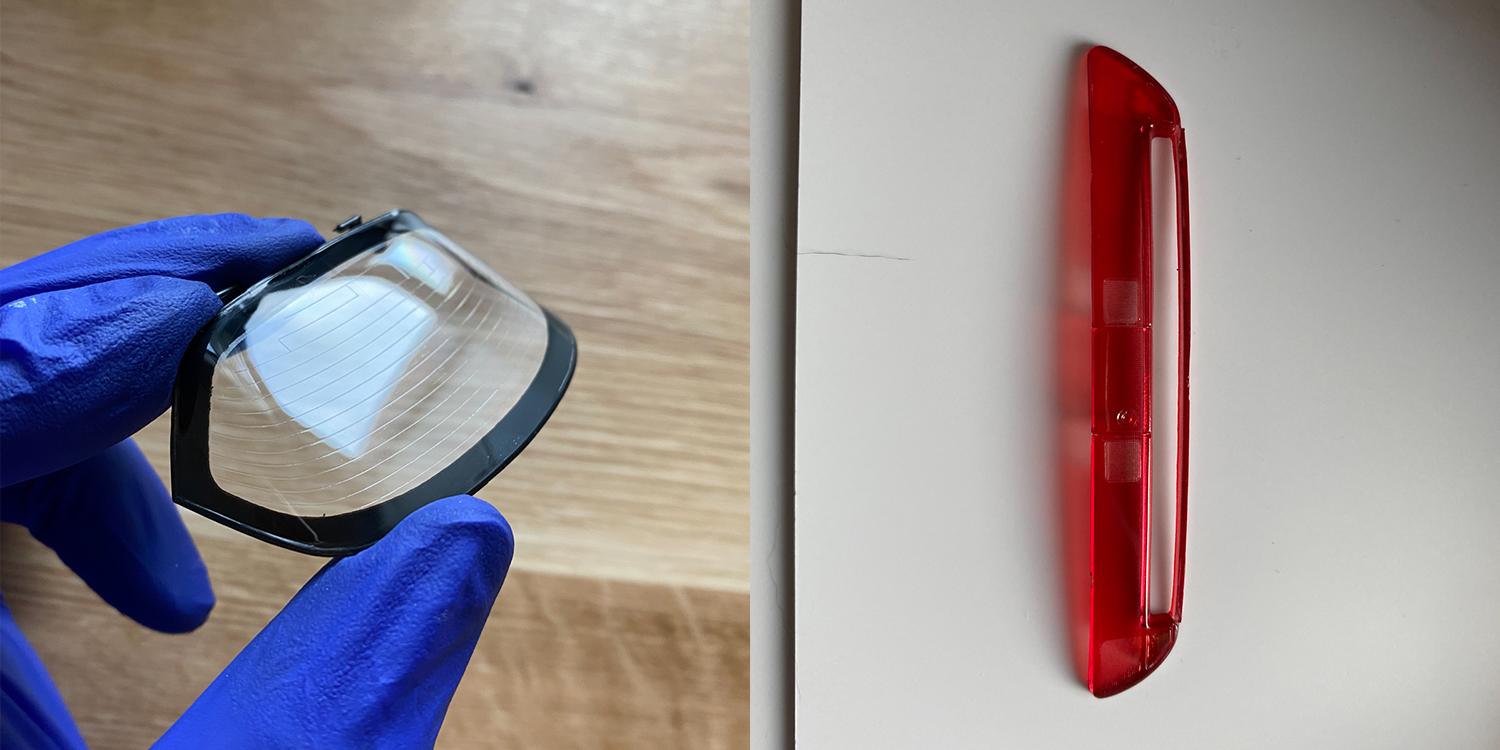
Hi everyone, I finally finished my latest project. It’s an older kit from Tamiya and as usual was fantastic to build - everything fit perfectly and small parts number made the overall process easy. My goal for this kit was to do a clean JDM build with 18” staggered BBS LM, and I wanted to simulate one of NSX’s rare colours called Midnight Purple. To achieve that, I used Mr color’s Amethyst purple - it’s a clear pearl that addes different shade of assigned colour (it gets more vivid by applying on top of darker colour) - I picked this colour because it’s similar ot the actual midnight purple showing different hue depending on the lighting and the angle. It is though, touch brighter than the actual midnight purple and in retrospect I could’ve added bit of black and clear deep blue to get closer. Here’s my build process: Exterior 600 grit wet sanding to remove mold lines Sprayed Tamiya white surfacer 600 > 1500 wet sanding to remove flashes and uneven surfaces Airbrushed Mr color’s black as a base coat Masked off the roof then airbrhsed 2 coats (one mist, one wet) Mr color’s Amethyst purple Added 3 layers of Mr color’s super clear III and left it for a month to fully cure the lacquer Wet sanded with 2000 grit > 3000 grit Polished with 3 stage Tamiya compound Chassis & interior Used TS gloss aluminum, Mr color’s aluminum, stainless steel, and chrome silver in various suspension and underbody components Painted the BBS LM wit Mr color’s aluminum and added enamel wash around lug nuts Removed all the mold lines of the interior, sprayed grey surfacer Airbrushed semi gloss black then airbrushed dark grey very lightly on the leather seats to bring out the texture Used vallejo white for buttons Added flocking for the carpet Lights, etc| Masked off reverse and turn lights on the taillight, airbrushed clear red, removed the masking and airbrushed clear red very lightly BMF’d all the light reflectors Masked the windows and airbrushed surroundings in flat black Here are the photos - thank you for looking!
-
It appears to be a very slight sink mark caused by injection pin - and because it's a dip on the surface, sanding might have not corrected it. I had good success with 3M Glazing putty or Tamiya yellow putty for fixing such issues, and if it's small I often brush liquid cement on those dips. Other than small mark you mentioned the color looks great!
-
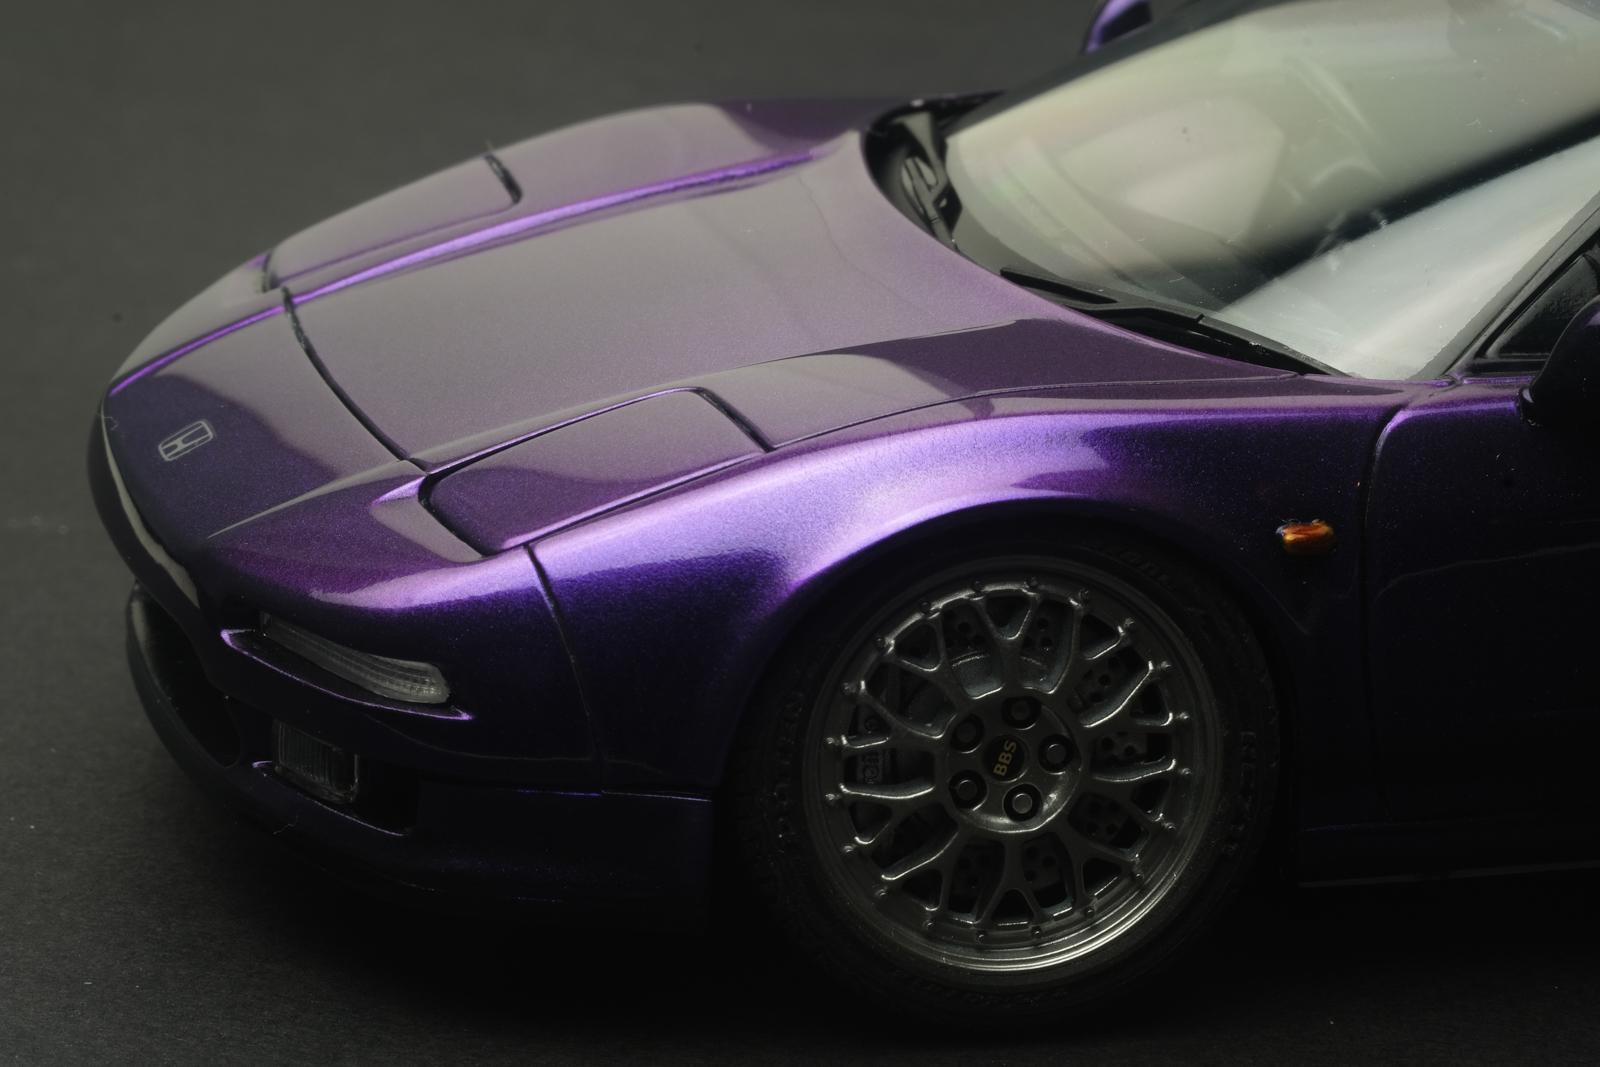
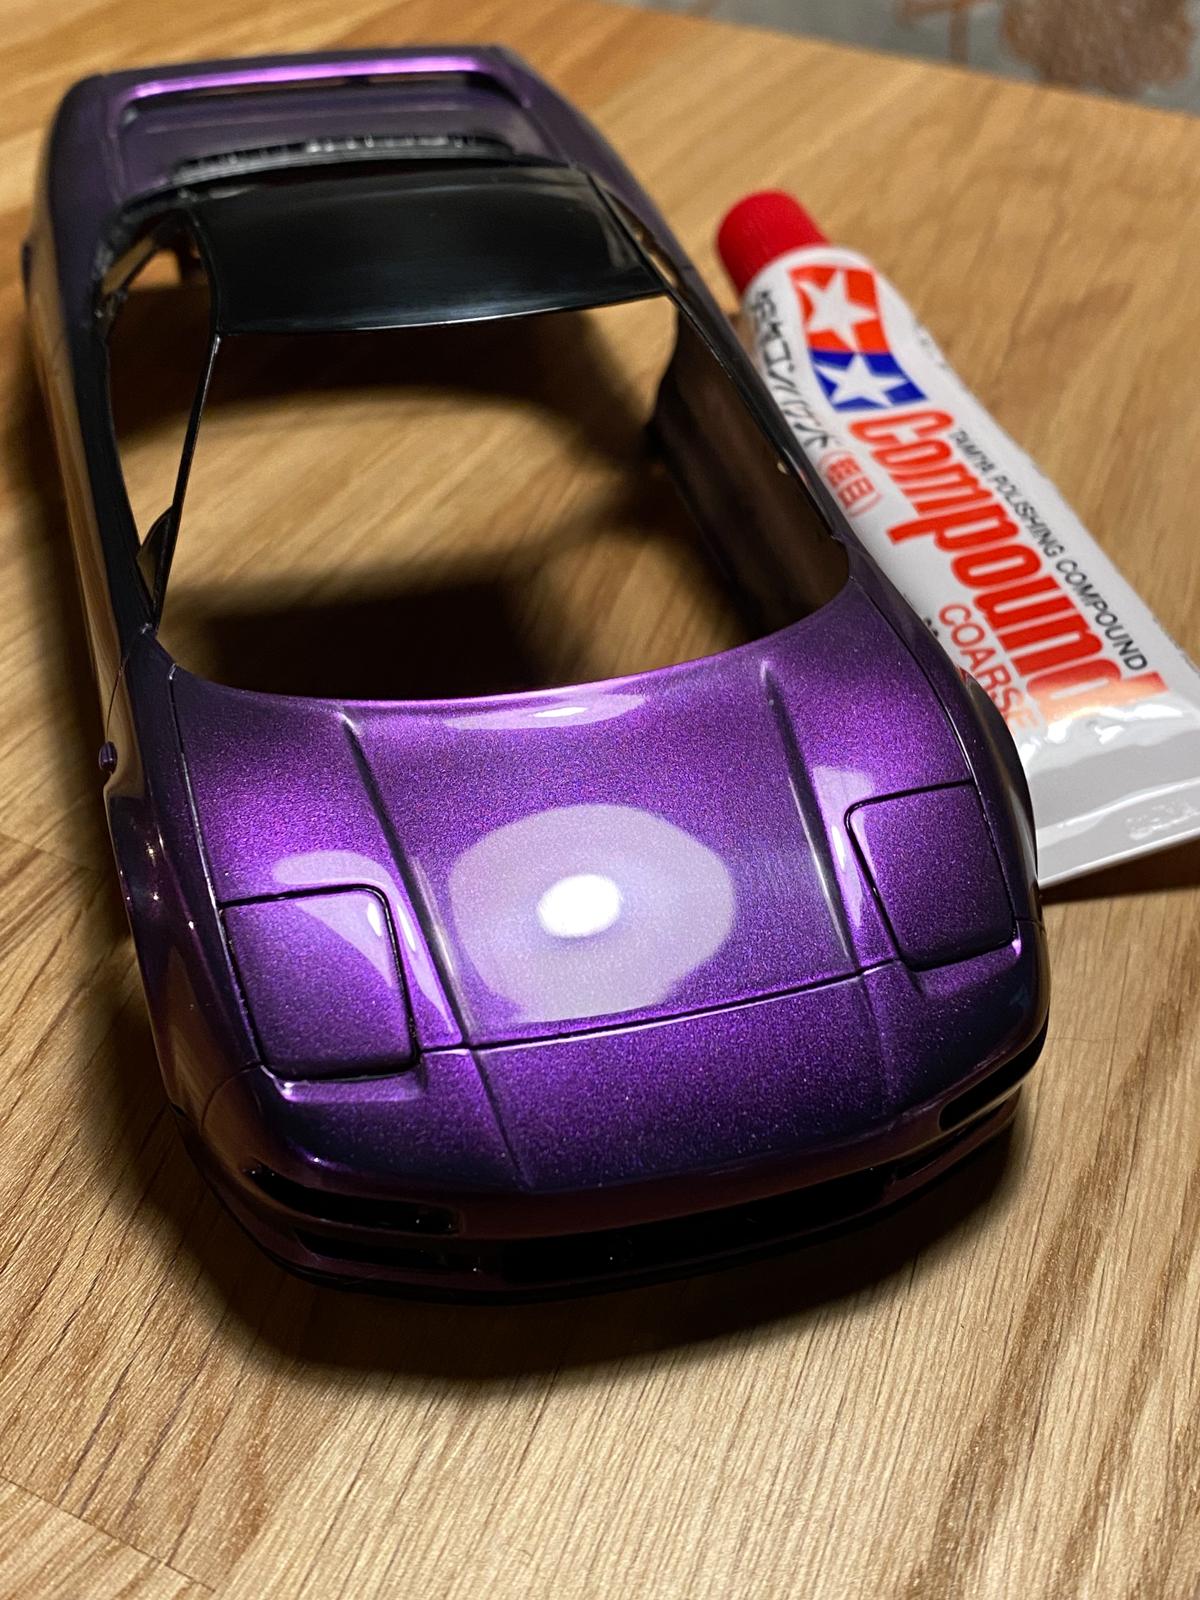
Thank you! Appreciate it! Thanks a lot! Thank you! Thanks! Stay tuned! Thank you! Thanks! Thank you! Thanks! Not my best paint job (overcoating clear colour is always tricky) but at least I didn't make any major mistakes! Thank you! Thanks a lot! As with most of Tamiya kits it was very easy to put together which made the process lot simpler. Thank you! Agreed. I also like wheels with separate lips which saves time cutting up masking tapes. The first round wet-sanding and polishing (image that has Tamiya compound right next to the body) which looks maybe 70% good, takes only about 2 hours, but it's always the last step that takes forever to get mirror finish on all body panels and remove all micro-scratches - NSX has many dips and sharp edges on the body which made the process really time consuming too. To me 2k clear feels too thick (e.g paint building up around the panel lines) but I had seen pro modelers laying a very thin 2k clear with Finisher's Urethane GP2 so I might try that in the future!
-
Based on the photo of bare body, that finish seems like a mask & paint job. Anything from Tamiya or Mr Color's aluminum/stainless steel/chrome would produce very similar result.
-
A time consuming but totally worth approach is to de-chrome all the chrome parts with bleach (Revell's chrome platings are rather too thick), fix the mold lines and other imperfections, then paint them back. I think you can match the red if you shoot it with white primer first.
-
Love the little details. Tires look fantastic too!
-
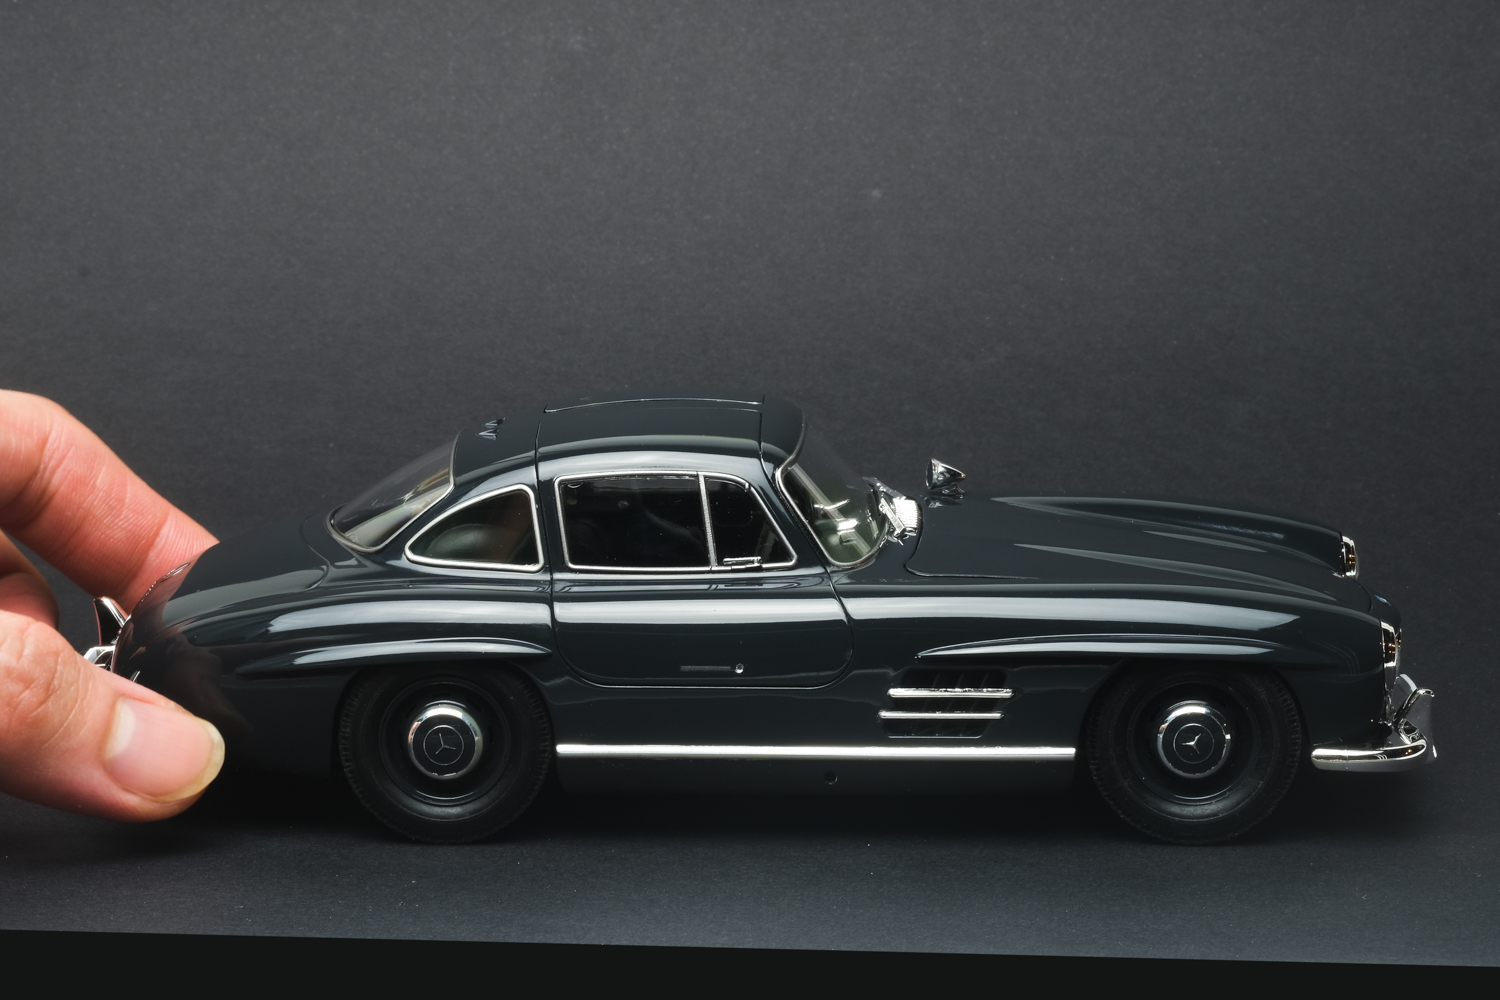
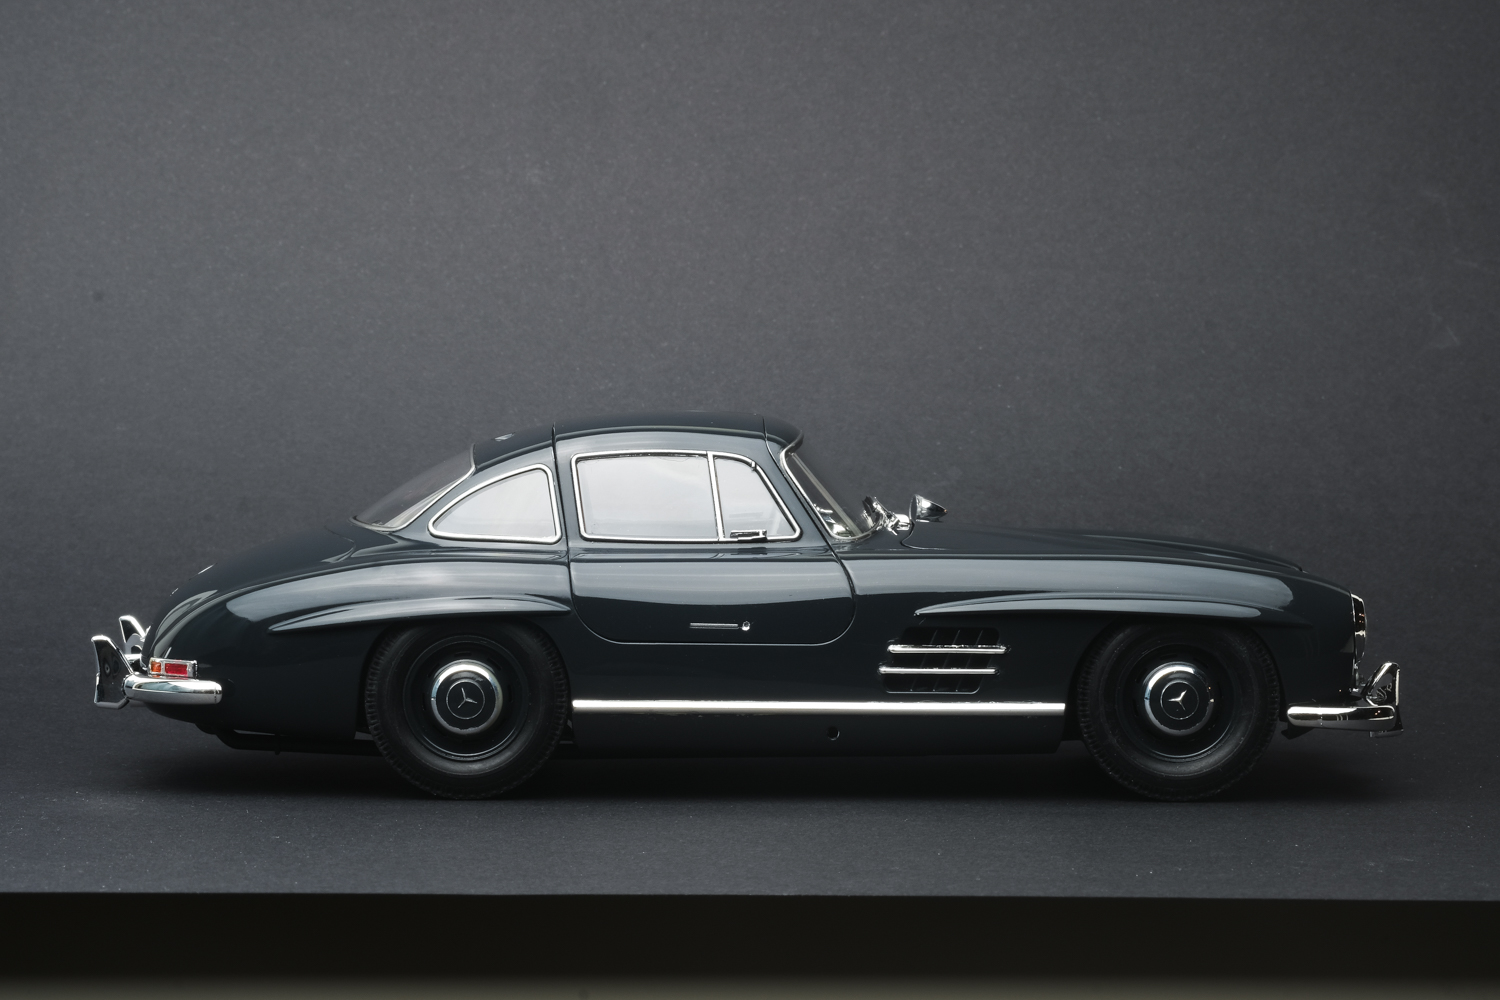
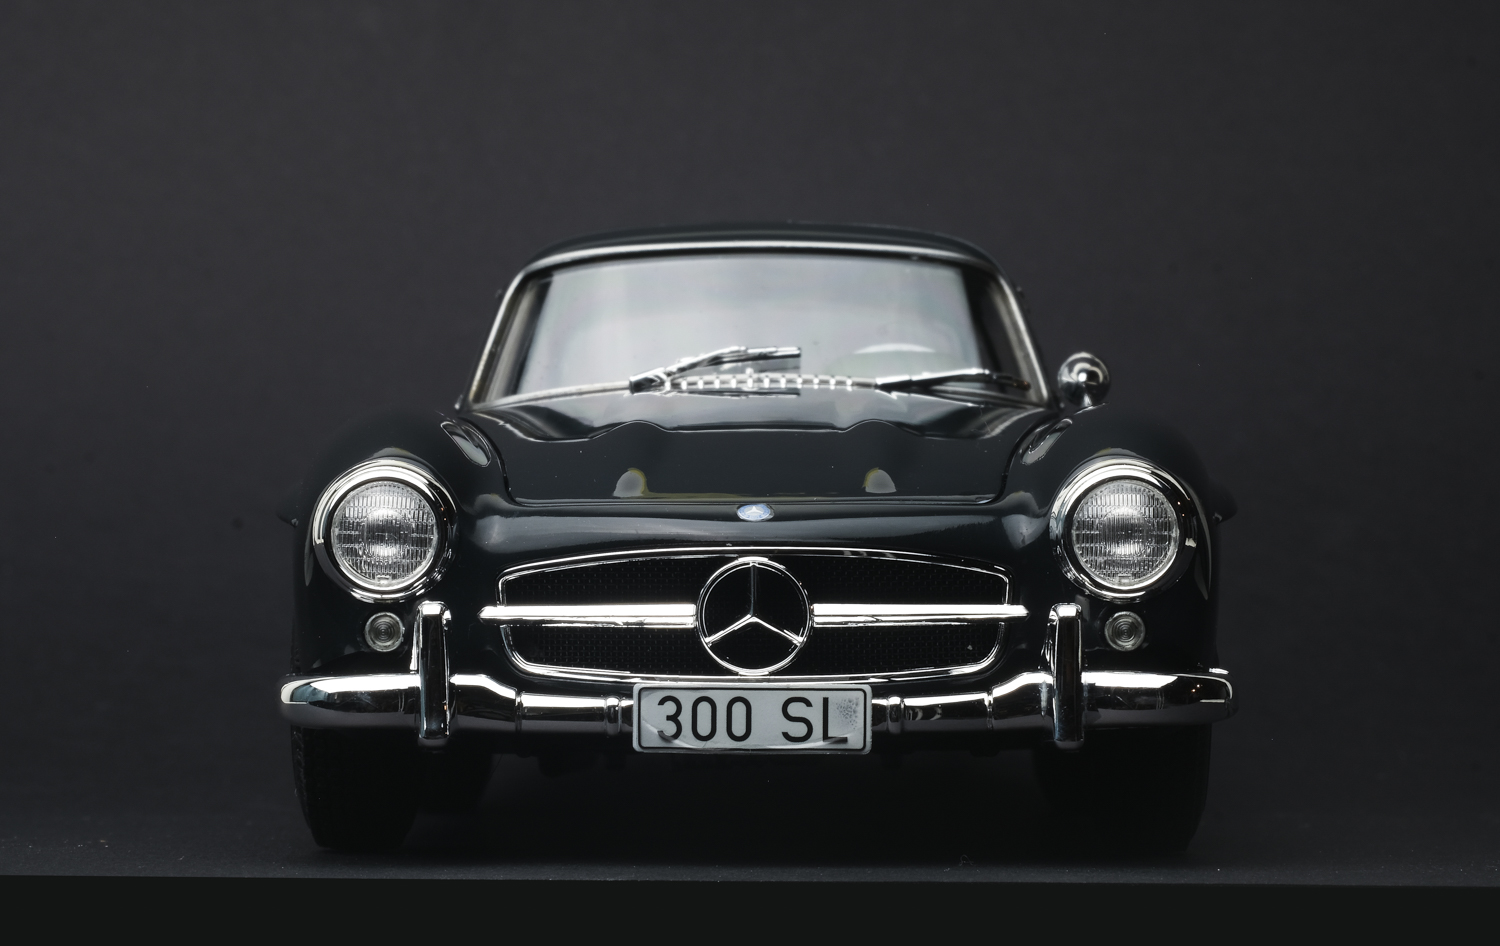
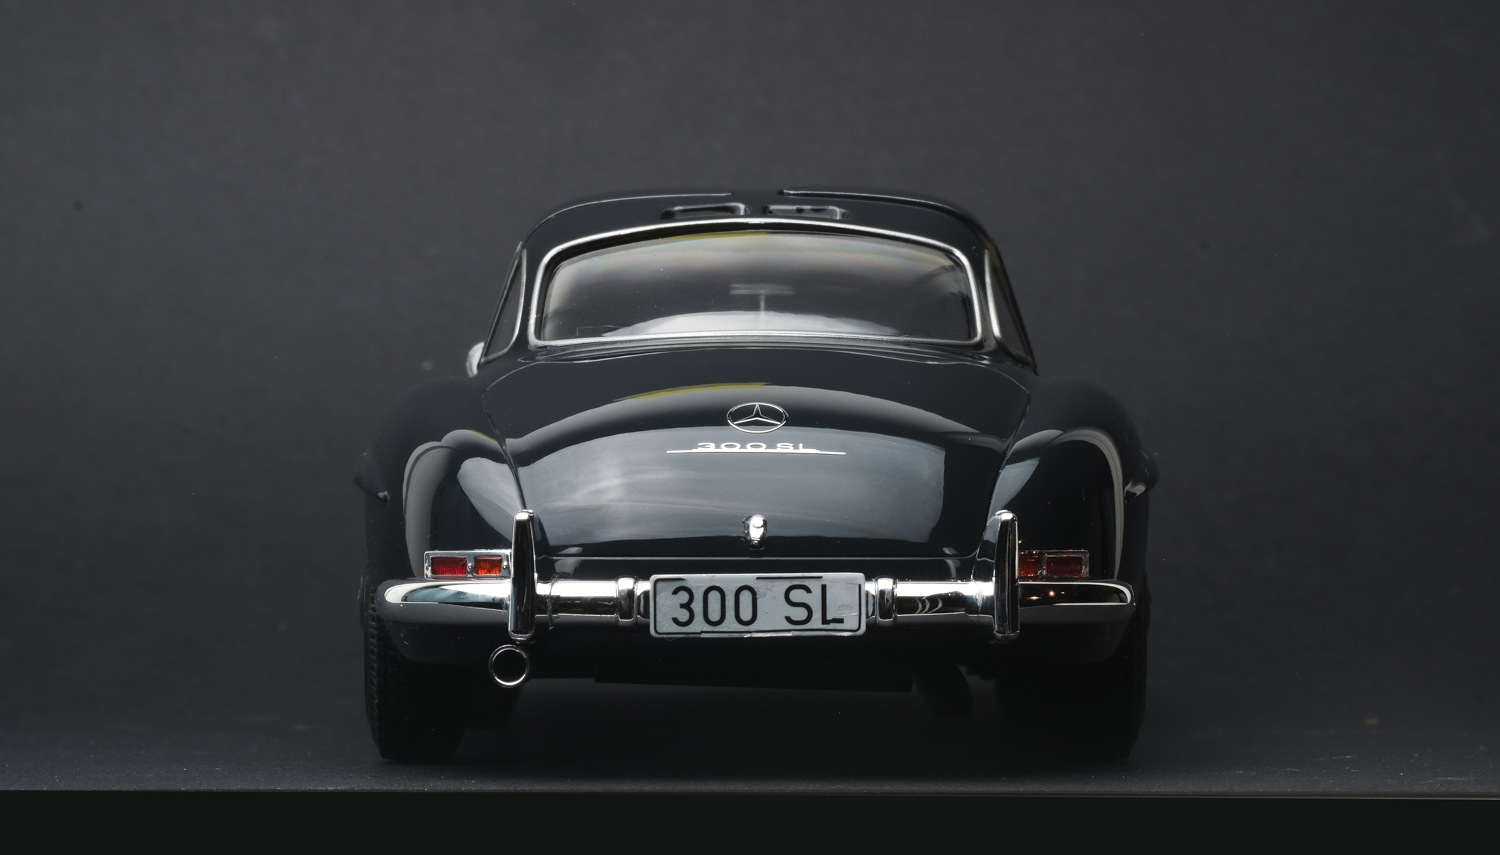
1956 Mercedes Benz 300SL Gullwing in Graphite Grey
e30lover replied to e30lover's topic in Model Cars
Thank you! It's now my favorite Tamiya kit I ever built! Highly recommended Thank you! Thanks a lot! Appreciate the compliment! -
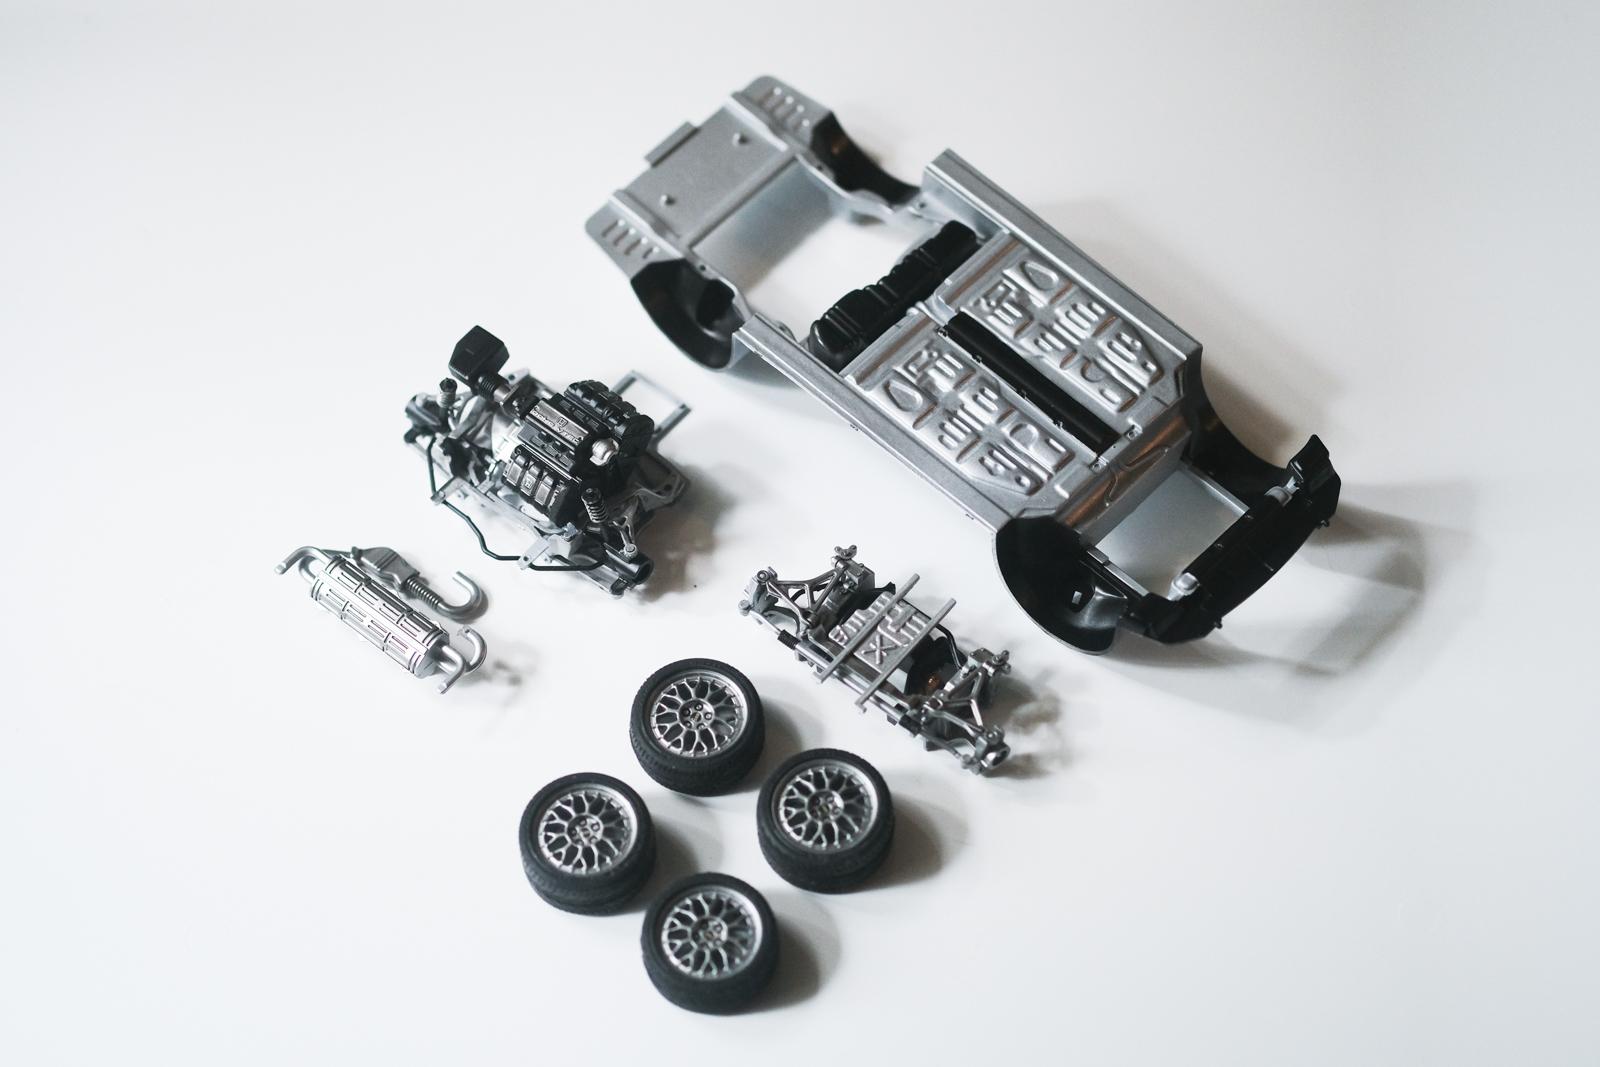
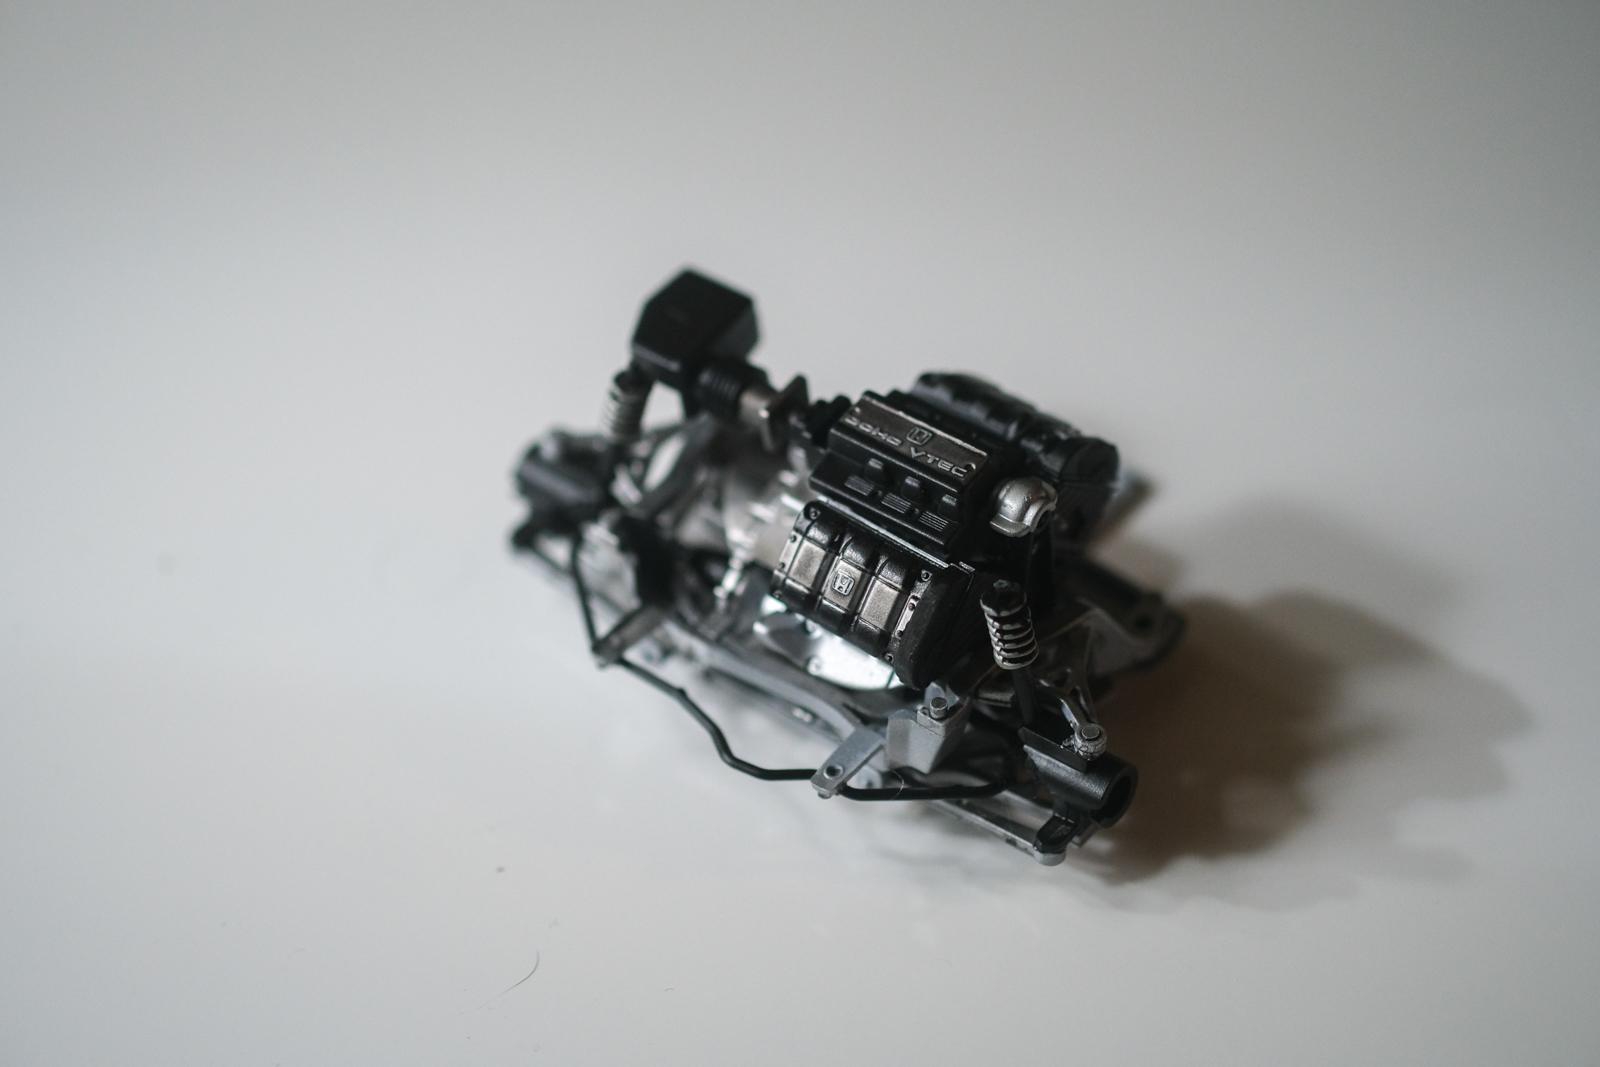
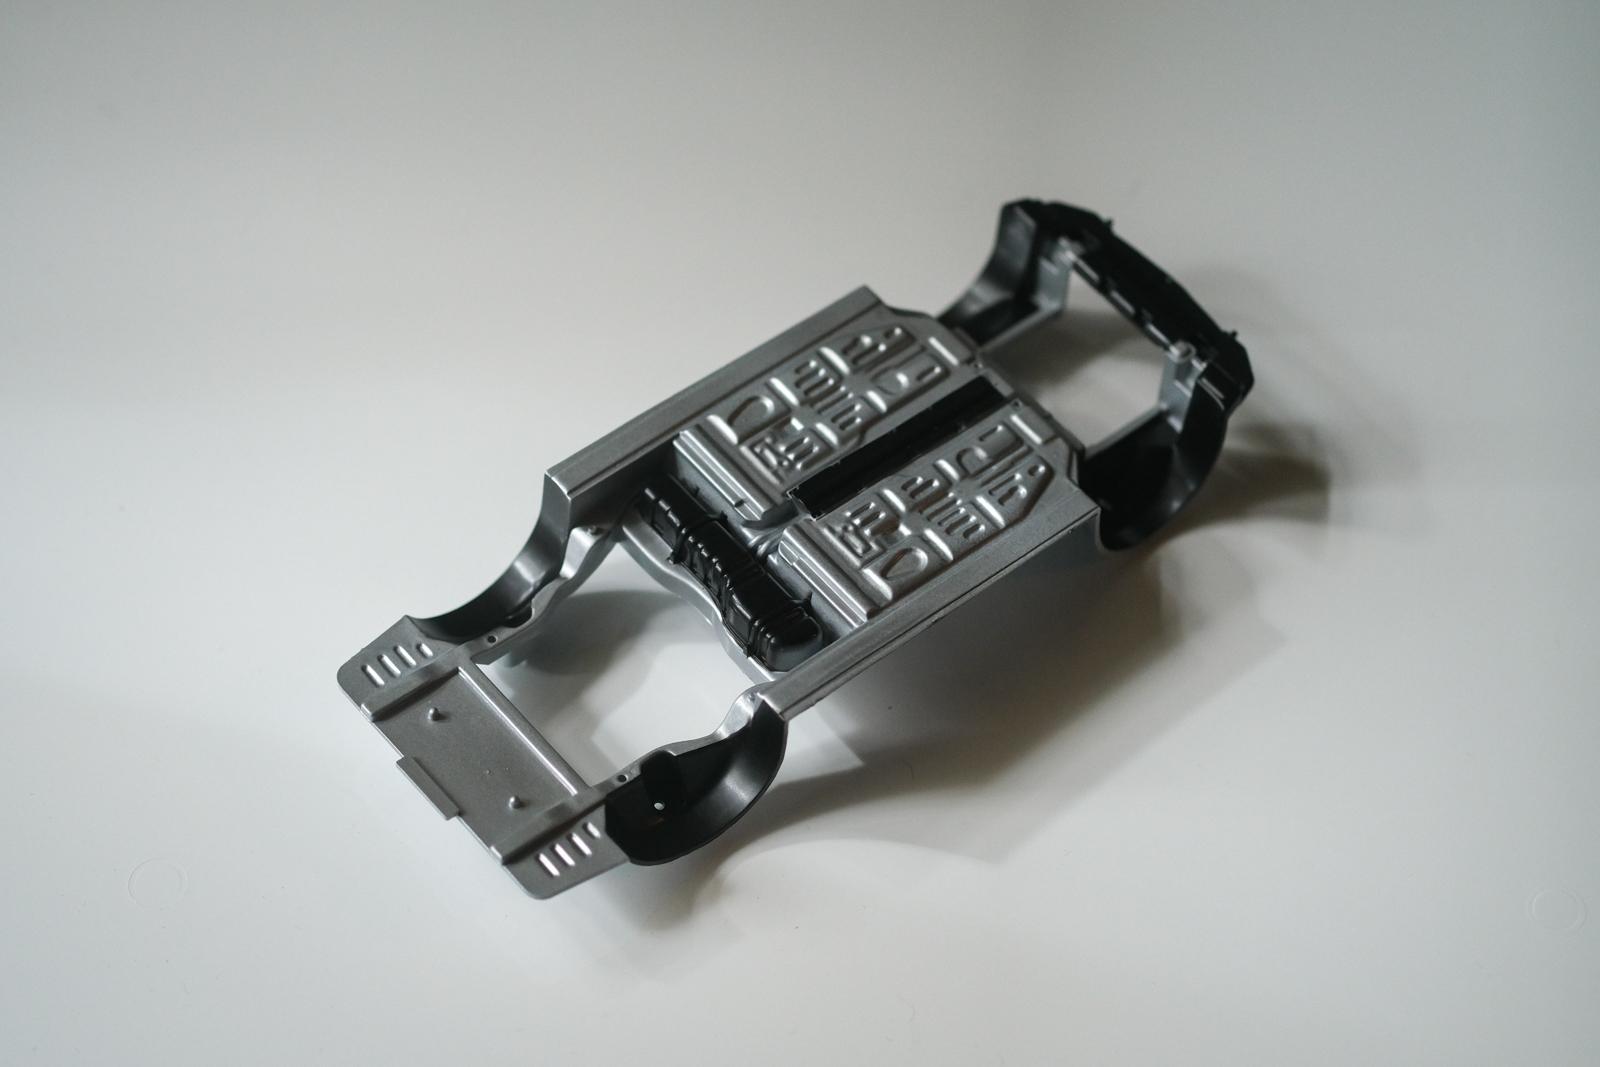
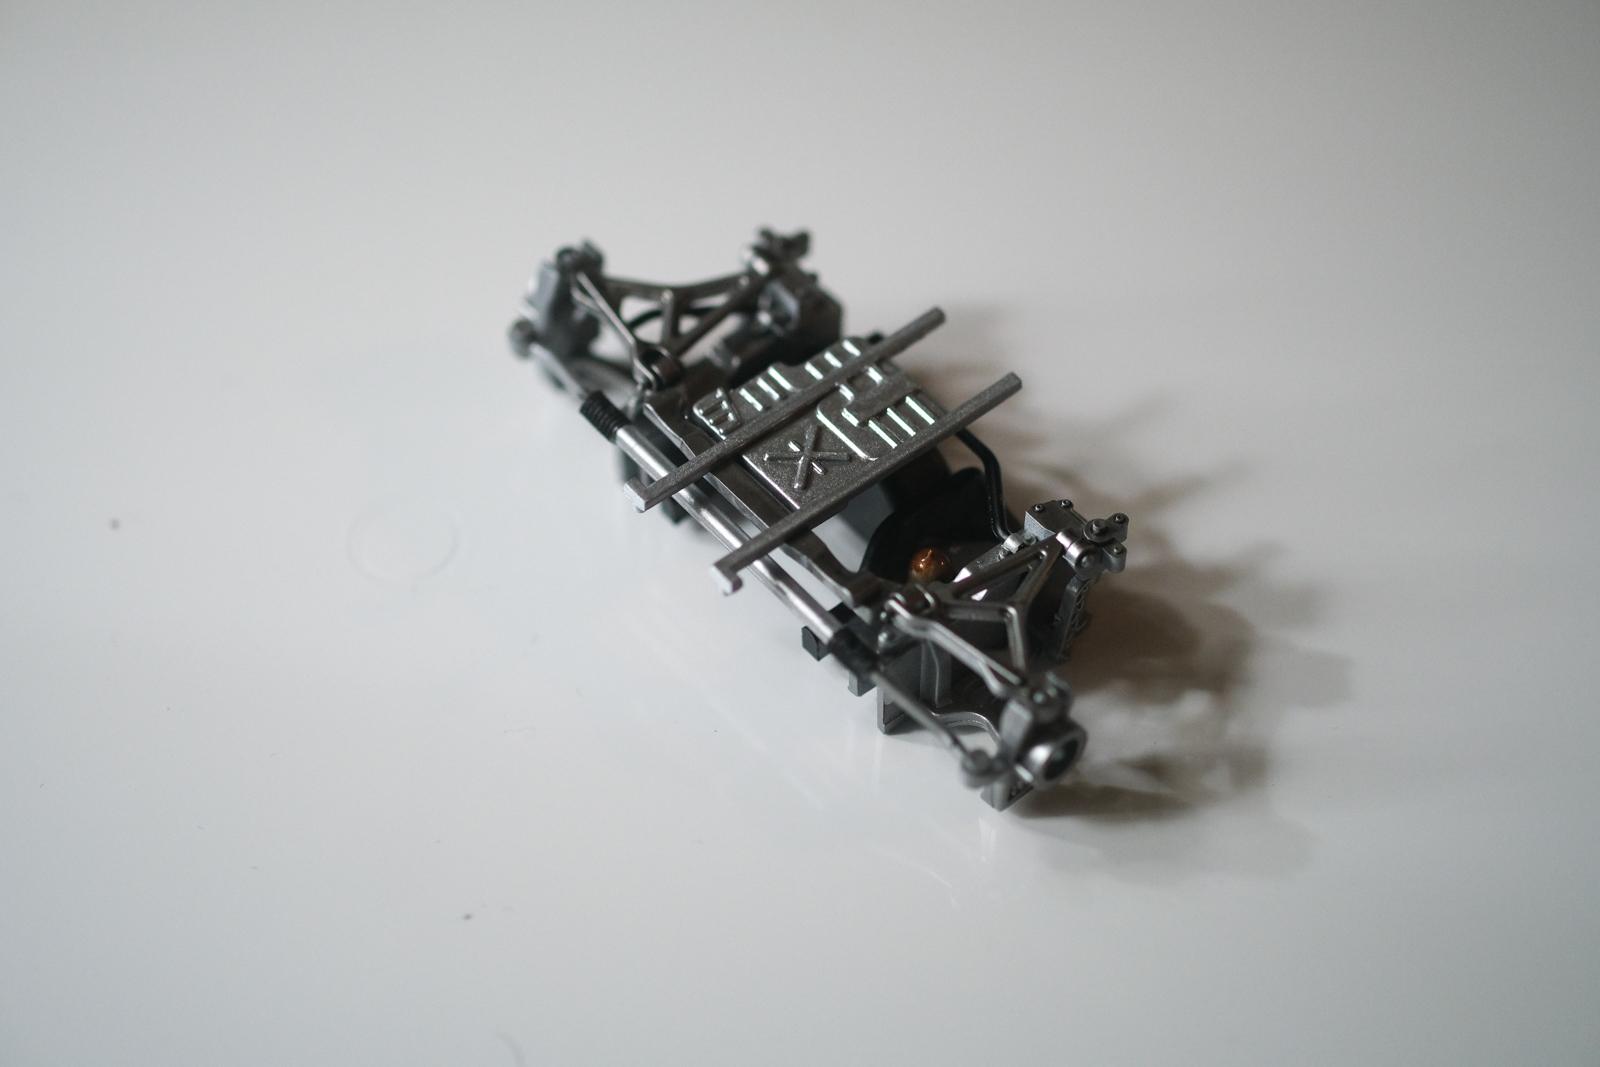
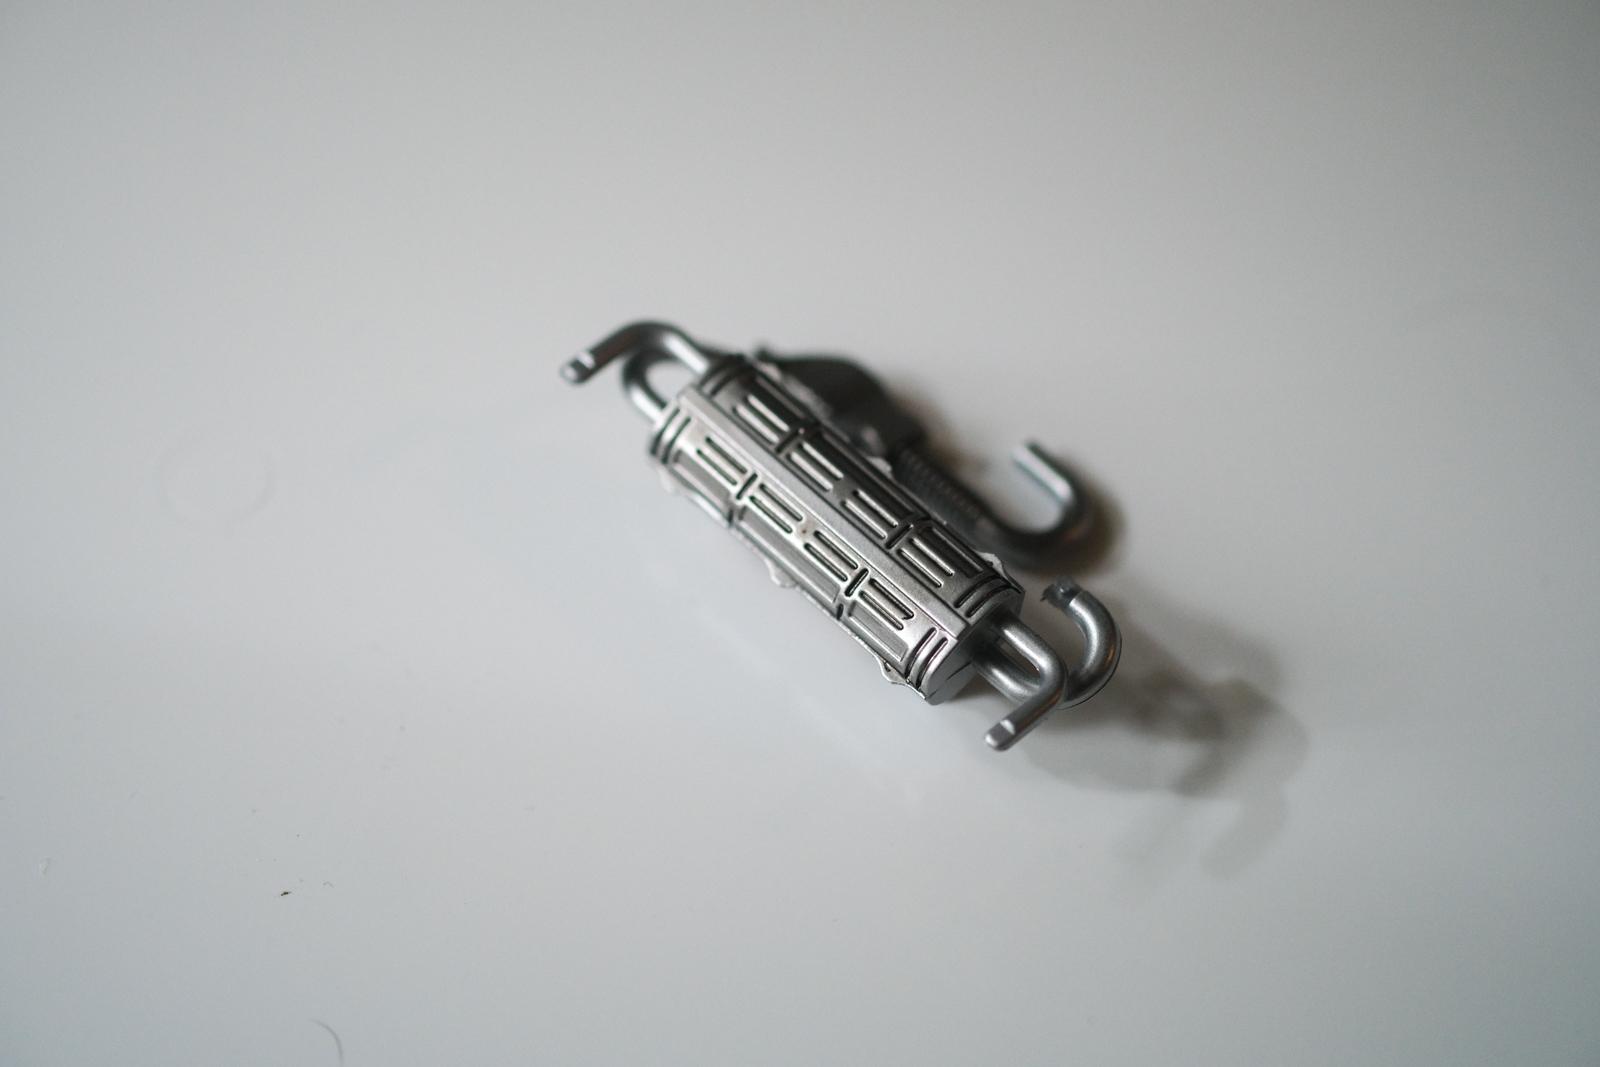
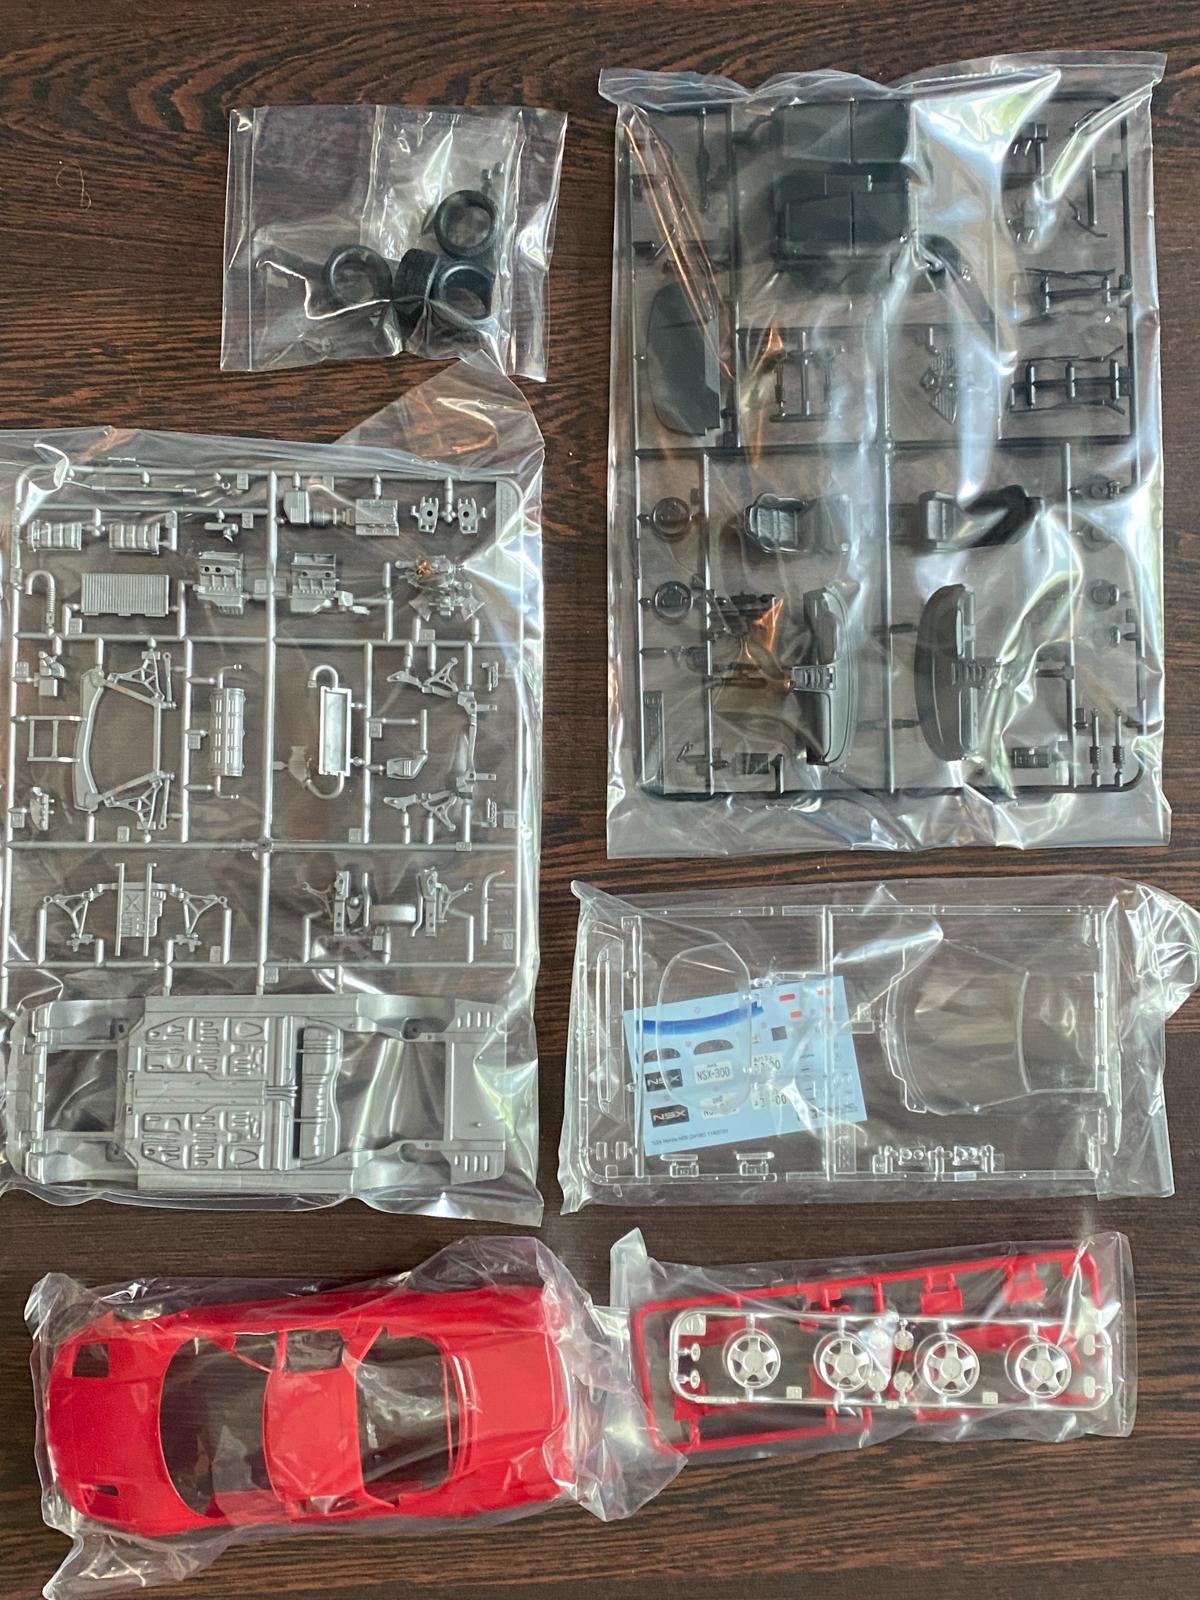
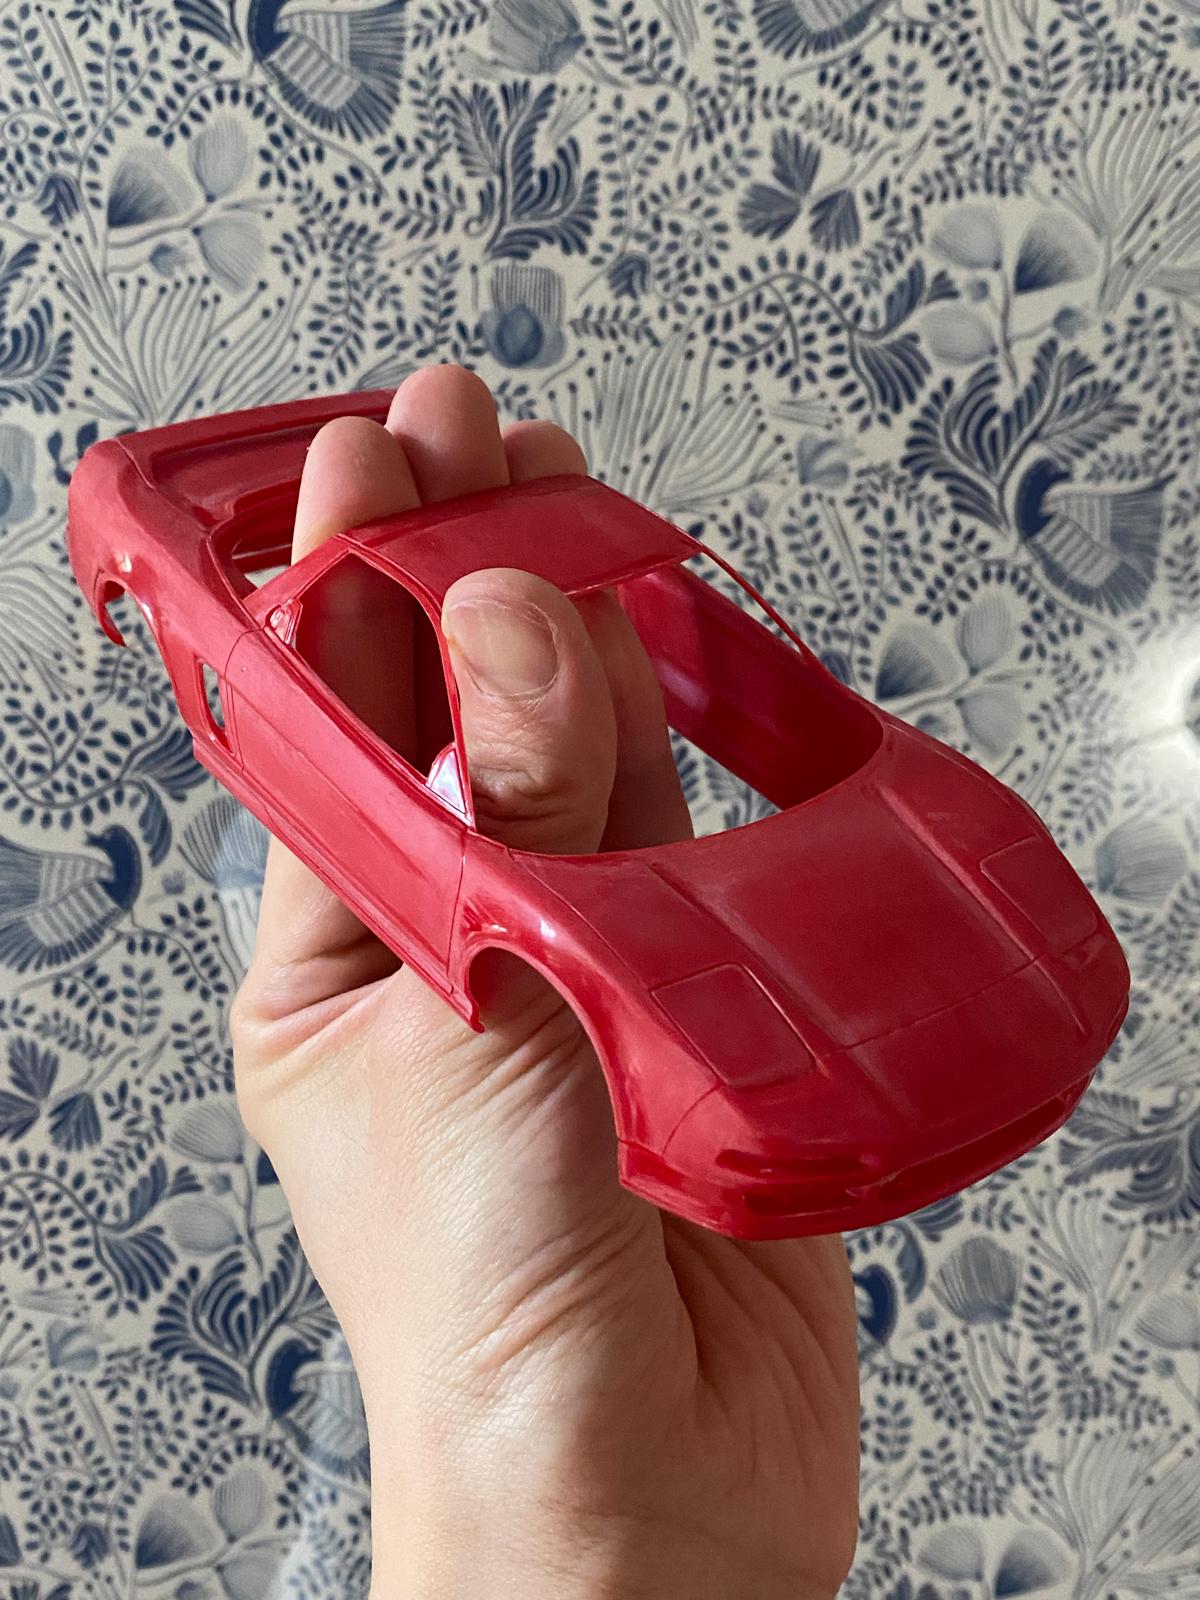
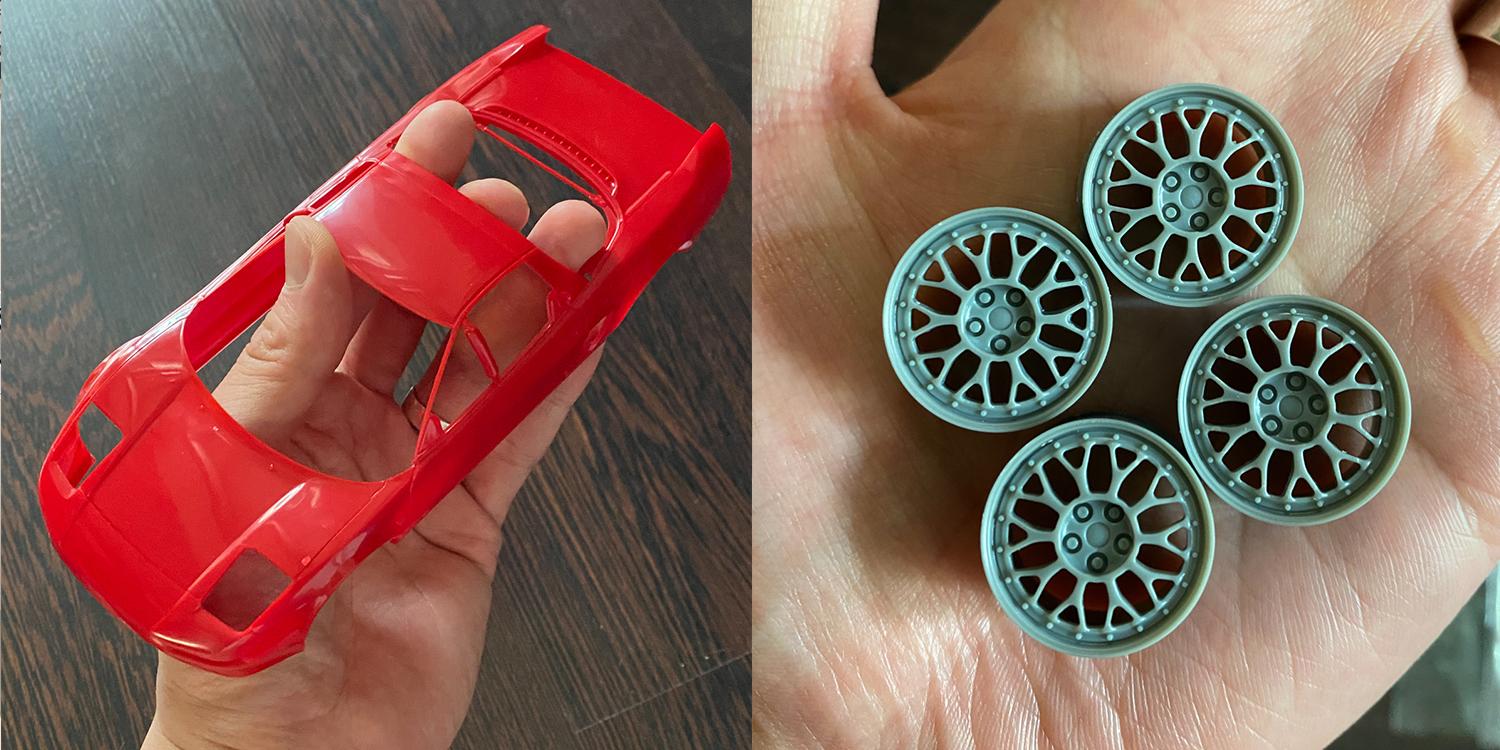
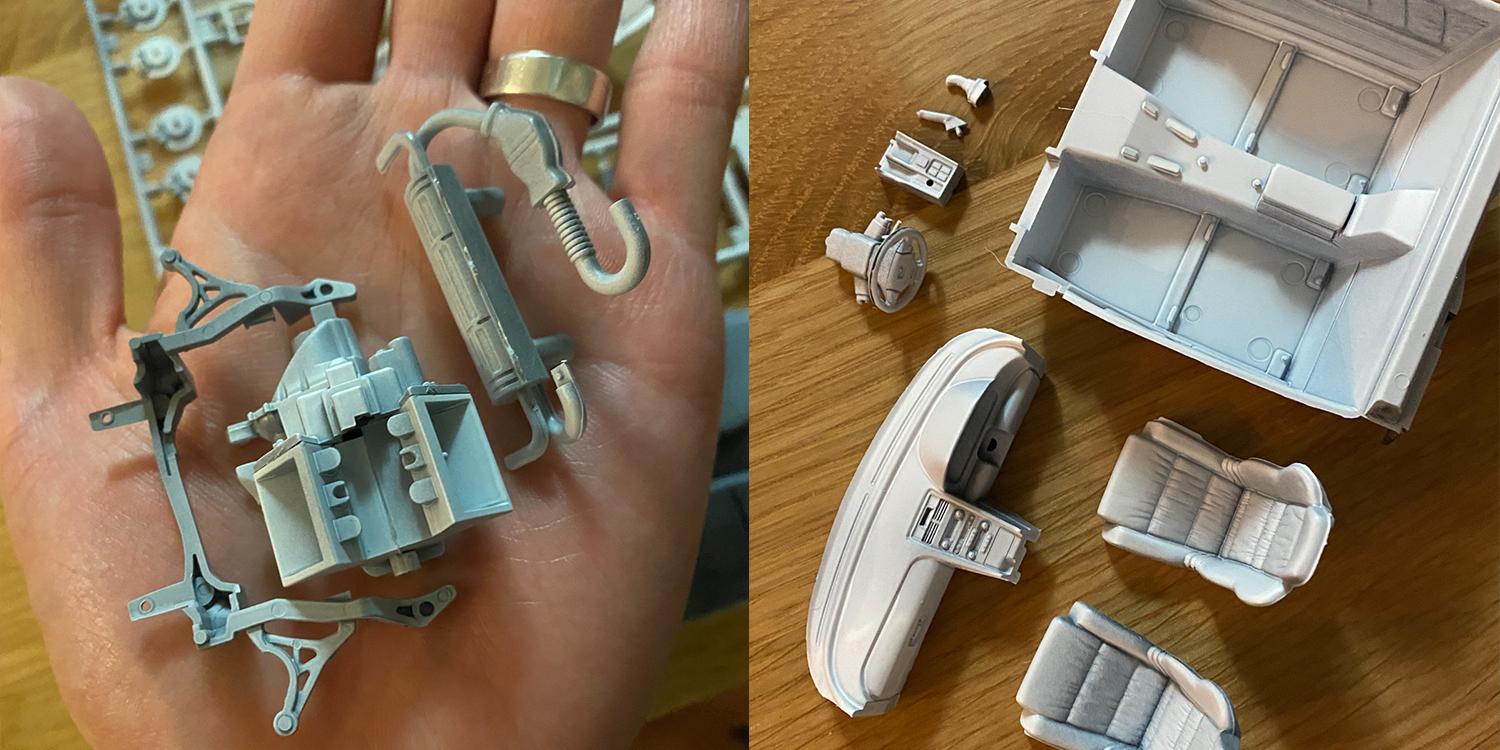
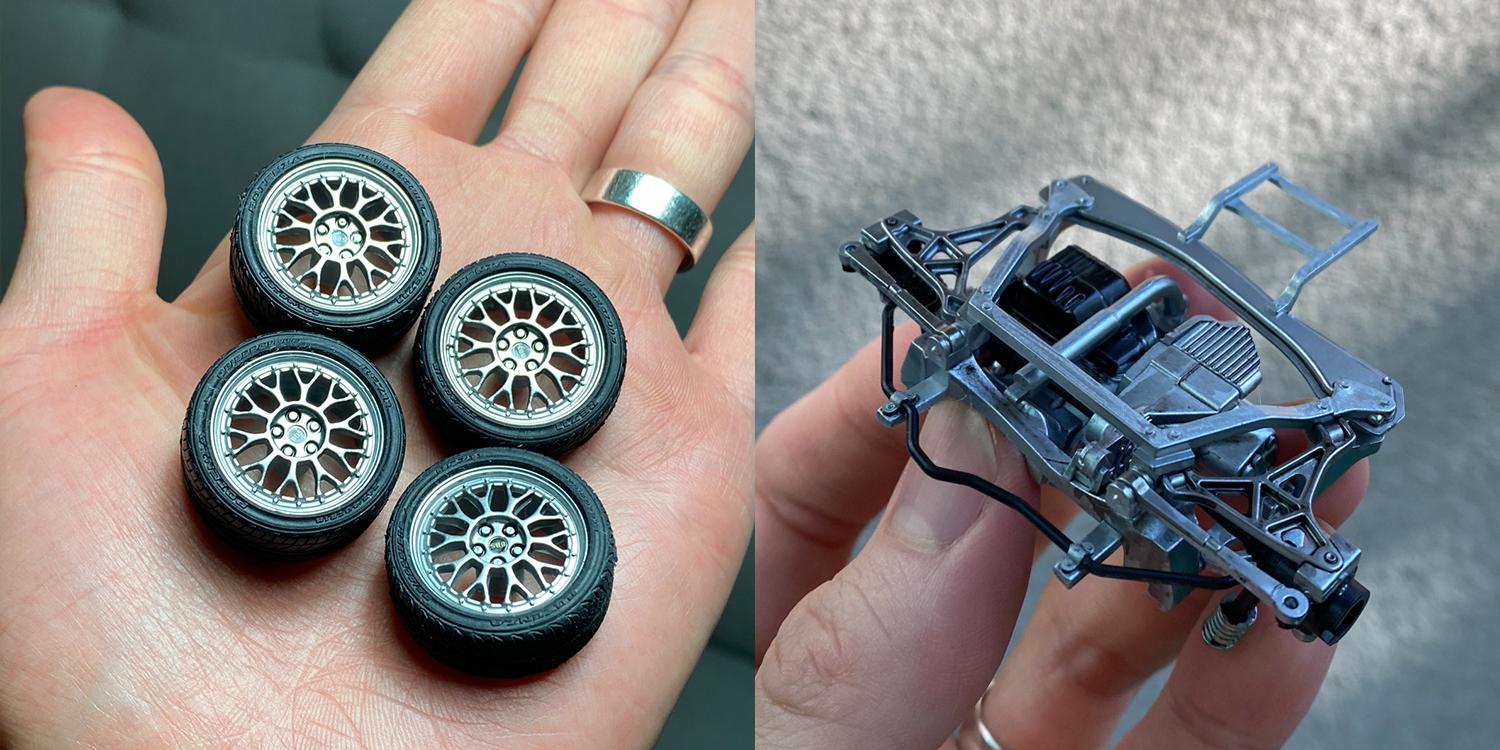
Hi everyone, my latest build is Honda NSX from Tamiya. It's one of those Tamiya kits that never seem to go out of stock. The factory wheels look too pedestrian so I decided to use 18” BBS LM from Aoshima. Like many other Tamiya kits from the same era it's got the full suspension and engine detail. Gotta watch out super thin A-pillar.. and the wheels are fantastically detailed along with Bridgestone Potenza sidewalls. They're also staggered so perfect for NSX. First step was to clean up the body with 600 grit and 1200 grit sandpaper and added Tamiya surfacer. I don't have photo but I wet sanded the body with 1500 grit after spraying surfacer. I glued all the pieces that I’m going to paint in same colours and smoothed out the glue line. Wheels were painted in Mr Color’s aluminum and suspension parts were painted in chrome silver and stainless steel colours. I painted the valve cover with smoke clear over silver, then masked off the middle and painted semi gloss black. The underbody was painted in TS gloss aluminum, then I masked the inner fender and fuel tank to paint semi gloss black. Front suspension was also masked off to paint black & silver. On muffler and oil pan, I added a wash with panel line accent. All these different shades of silver becomes noticeable when I put them all together. NSX did come in variety of interesting interior colour options but as I’m planning to use some flashy exterior colur, I decided to keep it simple. I just added flocking and also airbrushed dark grey to bring out the shine on the texture of those leather seats. I wanted to make something similar to NSX’s midnight purple, so I coated Mr color’s XC04 Amethyst purple on top of black. The paint itself looks like pearl clear in a bottle, but the colour becomes more vivid based on the base colour below it. It’s a touch brigher than actual midnight purple, but I decided to keep it as is instead of making it darker. I added three layer of clear coats but it this colour eats up clear like nothing else, so the orange peel looks pretty bad in the photo. I dried the paint for about a month and started polishing process. I wet-sanded with 2000 grit and 3000 grit - my focus in this step is to make sure I completely eliminate all orange peels through every nook and cranny(such as creases on the hood, edges across side window sills, etc) without damaging the clear coat. I then proceeded with Tamiya’s 3 stage compounds. The polishing process takes about 6~10 hours by hand. Here’s the polished body. NSX has some complex shape so I didn’t polish too aggressively this time - just enough to get the even shine without orange peels! Then I moved onto window masking and taillight. I masked off the reverse light and turn signals, airbrushed clear red, removed masking then lightly airbrshed clear red to simulate the real car. I added the backing with BMF. Then I glued the glass. Not quite happy with Tamiya’s window stripe.. I’ll use the actual paint next time. I assembled the rest then put the brakes and wheels - just need to do a proper photoshoot now!
-
Love the color - on both Rx-7s! Great finish!
-
1956 Mercedes Benz 300SL Gullwing in Graphite Grey
e30lover replied to e30lover's topic in Model Cars
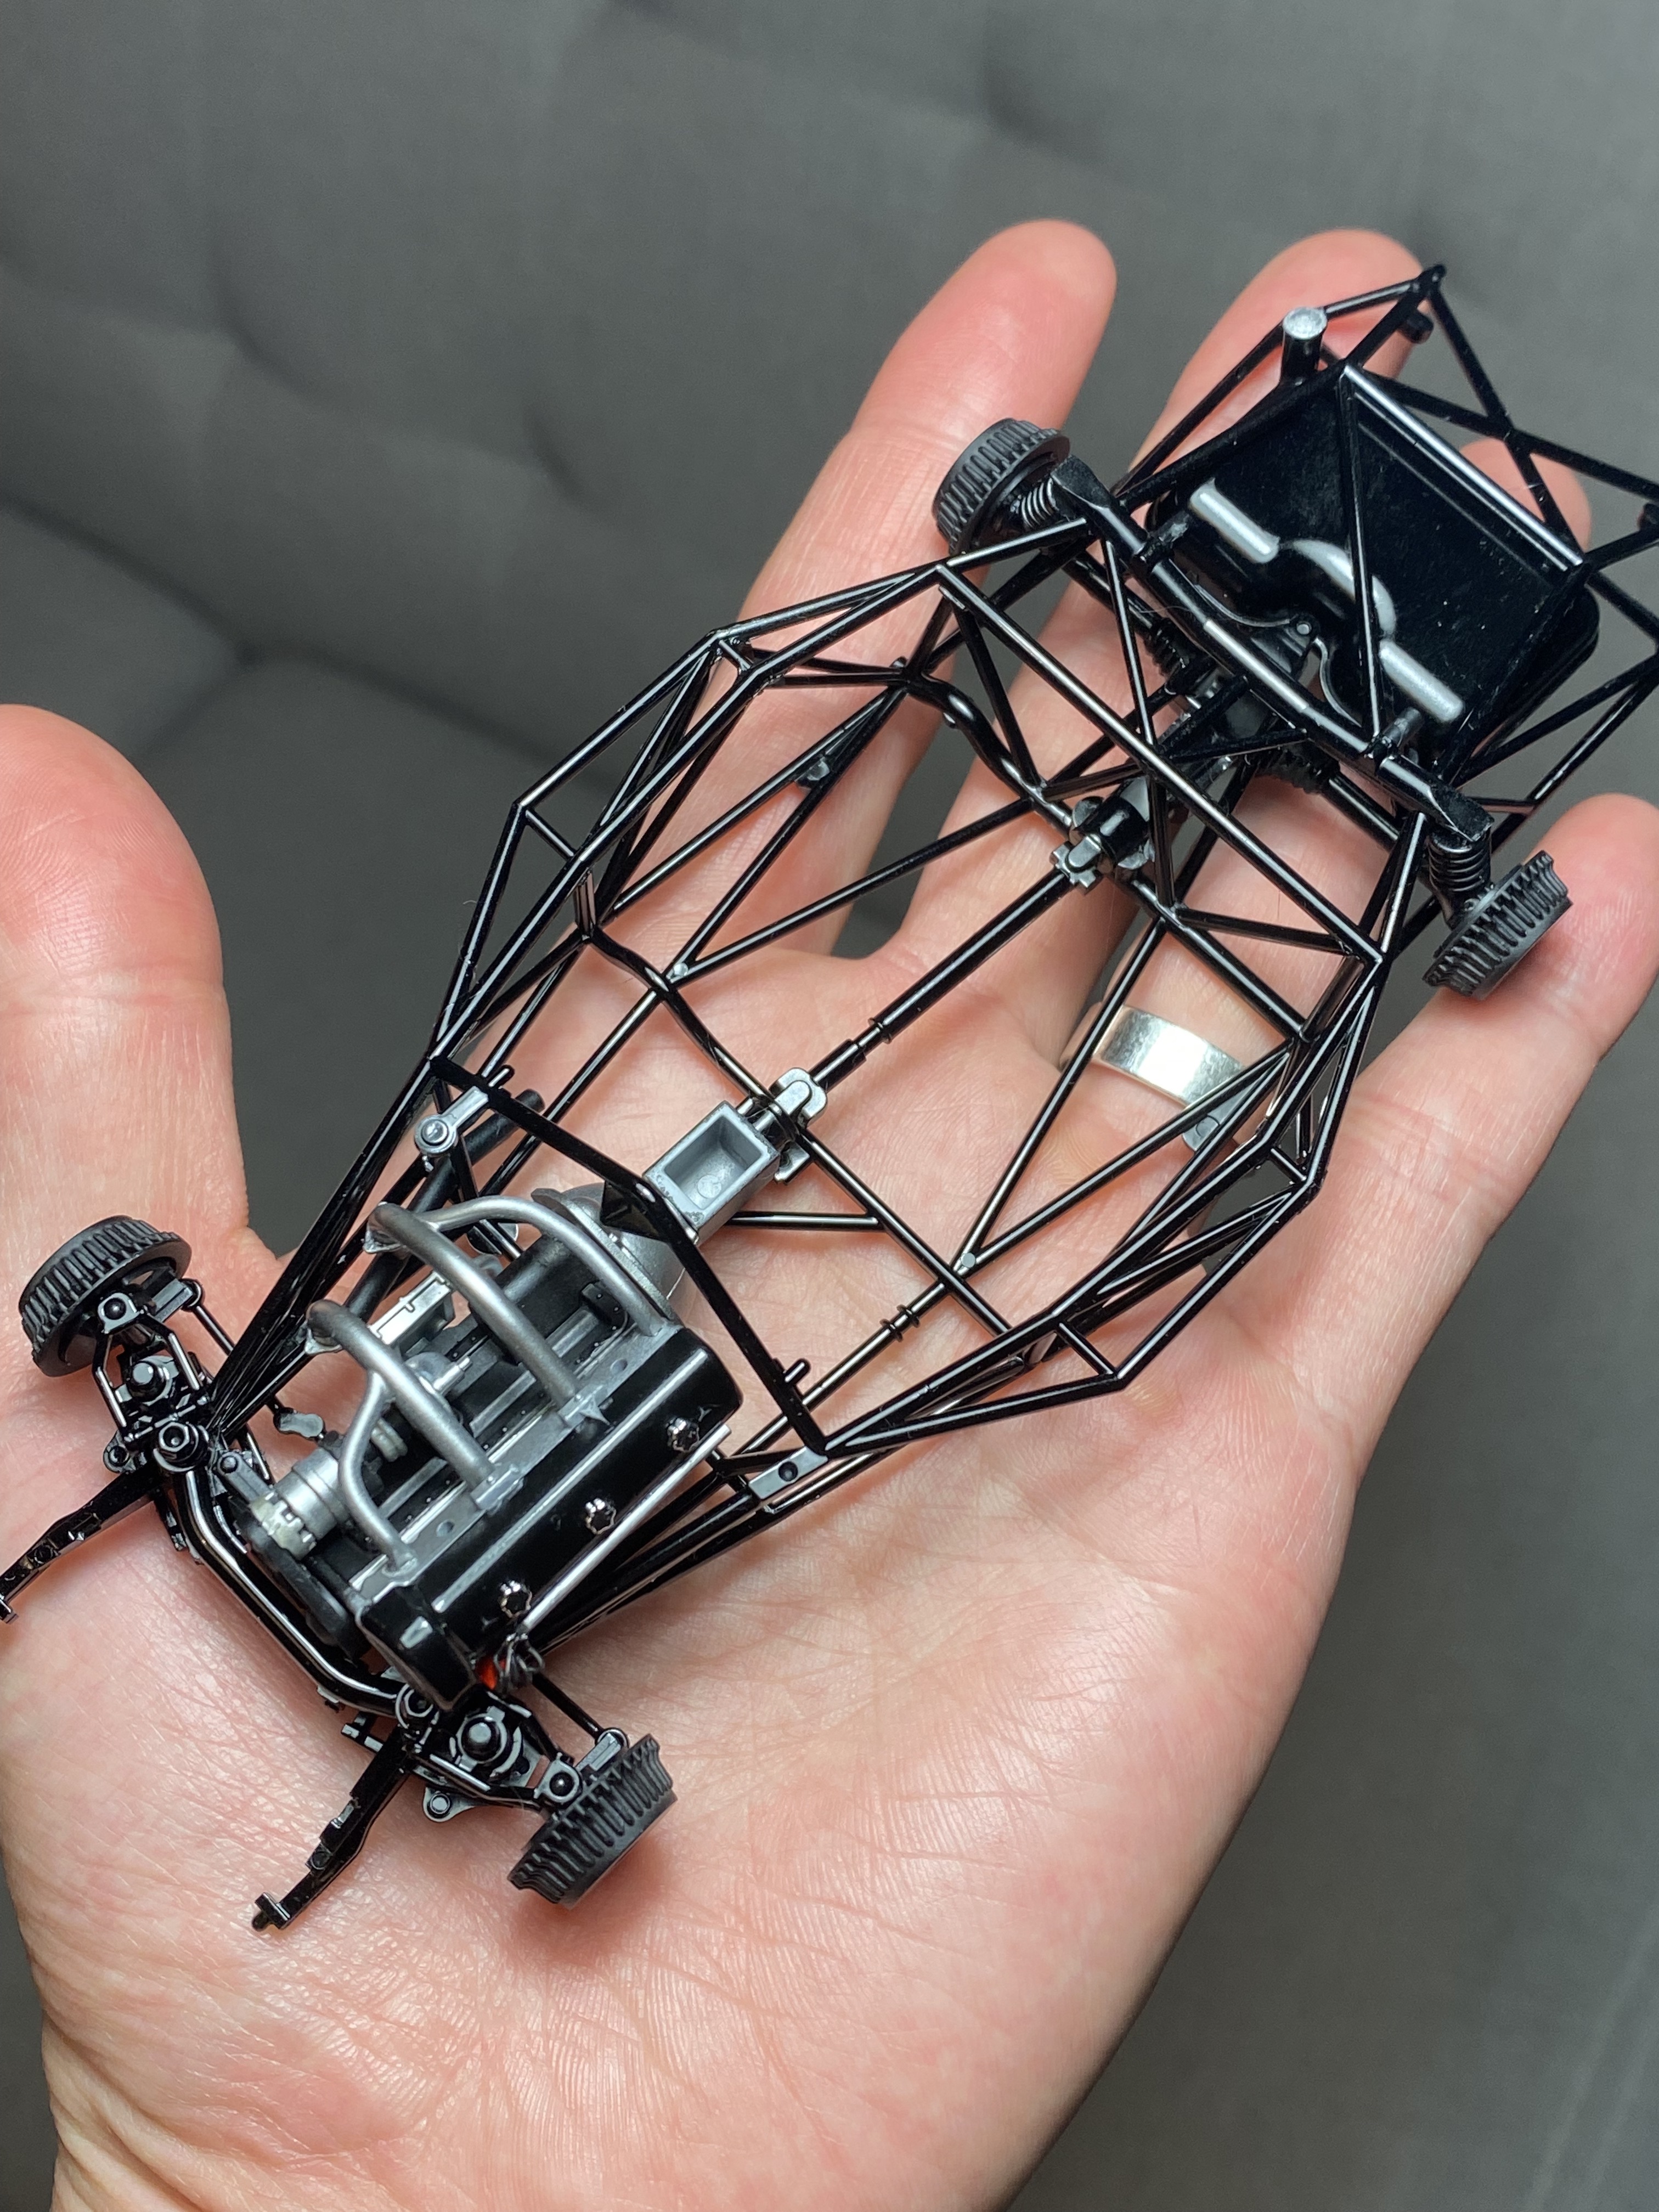
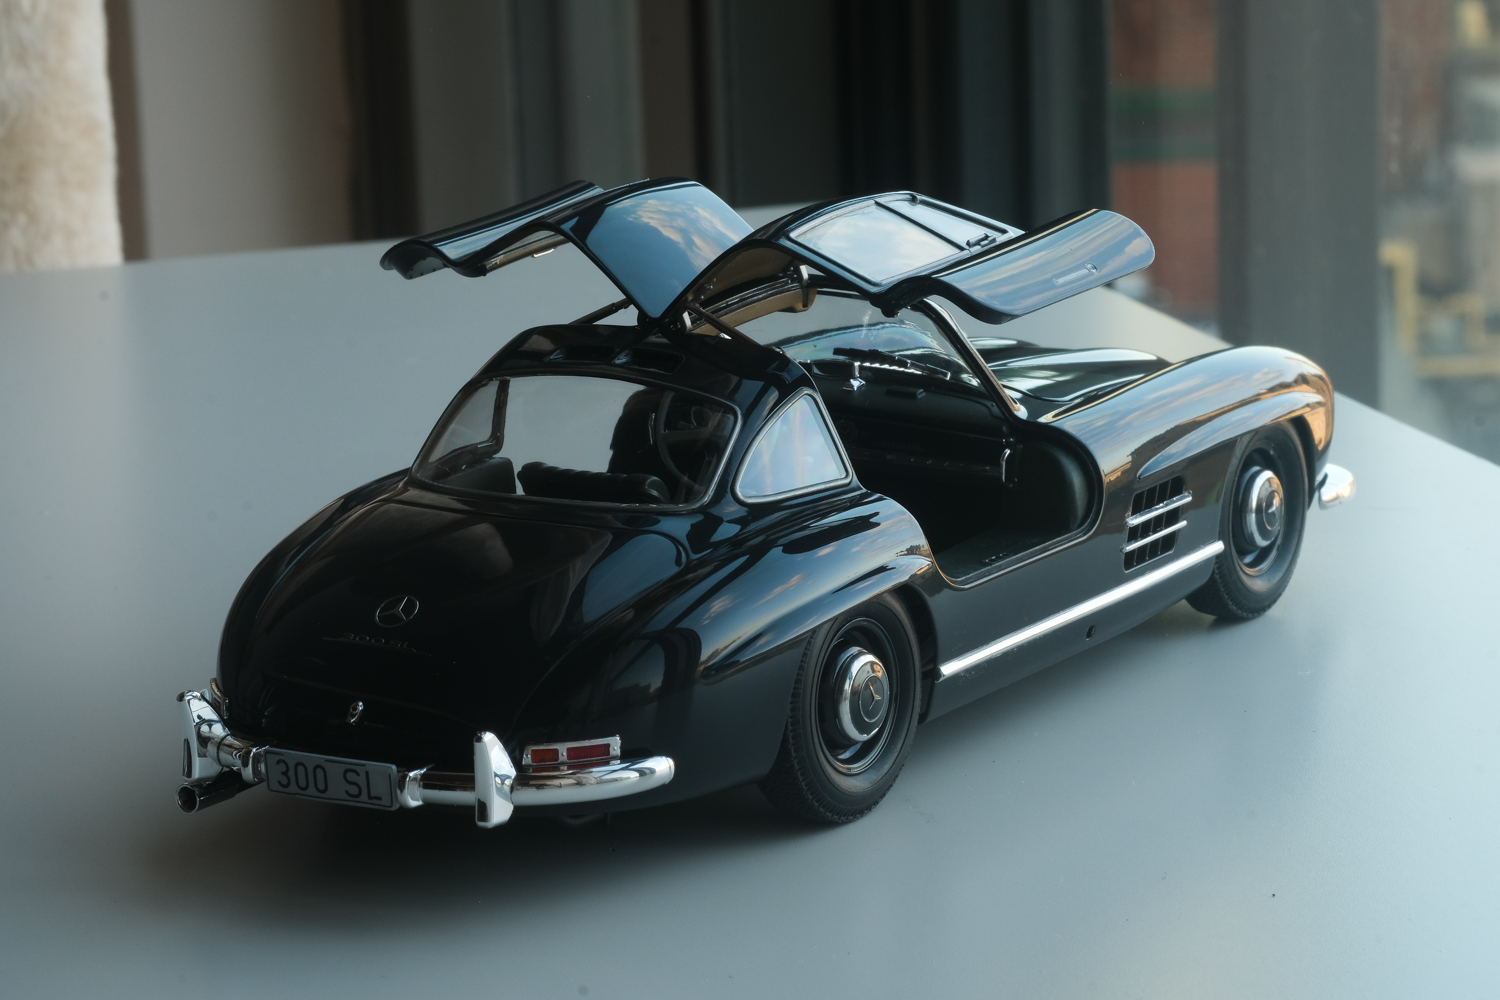
I used model designation on a euro plate to get the auction block vibe, but yeah I agree - I would've been happier if they just molded euro plate rather than decal. Thank you! Tubular chassis - i mean the whole thing is super easy to put together with zero fiddling or correction, and it was joy to build. Thank you! Thanks a lot! Thank you! Thanks! Thank you! A couple of projects are in the works - stay tuned! Thank you! -
1956 Mercedes Benz 300SL Gullwing in Graphite Grey
e30lover replied to e30lover's topic in Model Cars
Here are a few WIP shots of the chassis!
-
Nicely done! Great job on BMF too. You truly captured all the cool aspects of Swedish Volvo builds!
-
1956 Mercedes Benz 300SL Gullwing in Graphite Grey
e30lover replied to e30lover's topic in Model Cars
Thanks a lot! Thank you! Appreciate it! Thank you! This was much easier to build compared to DS21 kit. Thanks a lot! Thank you! Thanks! I totally agree, and that's why I always start with the body - meaning I won't touch the engine, chassis or interior until I finish laying the final clear coat and shelve it for a month. That gives me more than enough time to slowly finish the rest, and when the body is completely cured, I'll be less likely to cut corners -
Fantastic build! Replacing molded door handles and wipers with PE parts, de-chroming those sub-par chrome parts from Revell, and lowing suspension really elevates the look. Using 3mm metal wires for ignition wires is a great idea!
-
1956 Mercedes Benz 300SL Gullwing in Graphite Grey
e30lover replied to e30lover's topic in Model Cars
Thank you! Tamiya's great chrome plating helps adding to the realism. It's one of my favourite colours on any german cars! Thank you Misha! 300SL came with lots of great interior colours, so it was very hard to choose one. Thank you! Thanks! I recommend adding white little by little - I usually shoot to a plastic spoon multiple times to test out the colour. Make sure you do it in well-lit area as the grey looks drastically different depending on lighting condition! Thank you so much! Thank you! Appreciate it! Thanks! This one took definitely longer than usual, but all went without any trouble. I recently moved to a place without a balcony - bummer I couldn't take outdoor shots. Maybe I need to make a diorama background or something! Thanks so much! Thank you! Thank you! Appreciate it! Amount of custom work you do I'm sure you can achieve the same if not better paintwork! It's really just more prep time. Thank you very much! Took me a while to find the real gullwing with the same colour combo online - but they did exist! Thank you! This kit is truly amazing - I built mostly straight out of the box but I'm sure more accurate engine bay can be easily achieved with bit of extra detail work. Thank you! I did have the same plaid decals too, but I didn't like how they conformed around the seat curves so decided not to use it. Yours look fantastic! Thank you! -
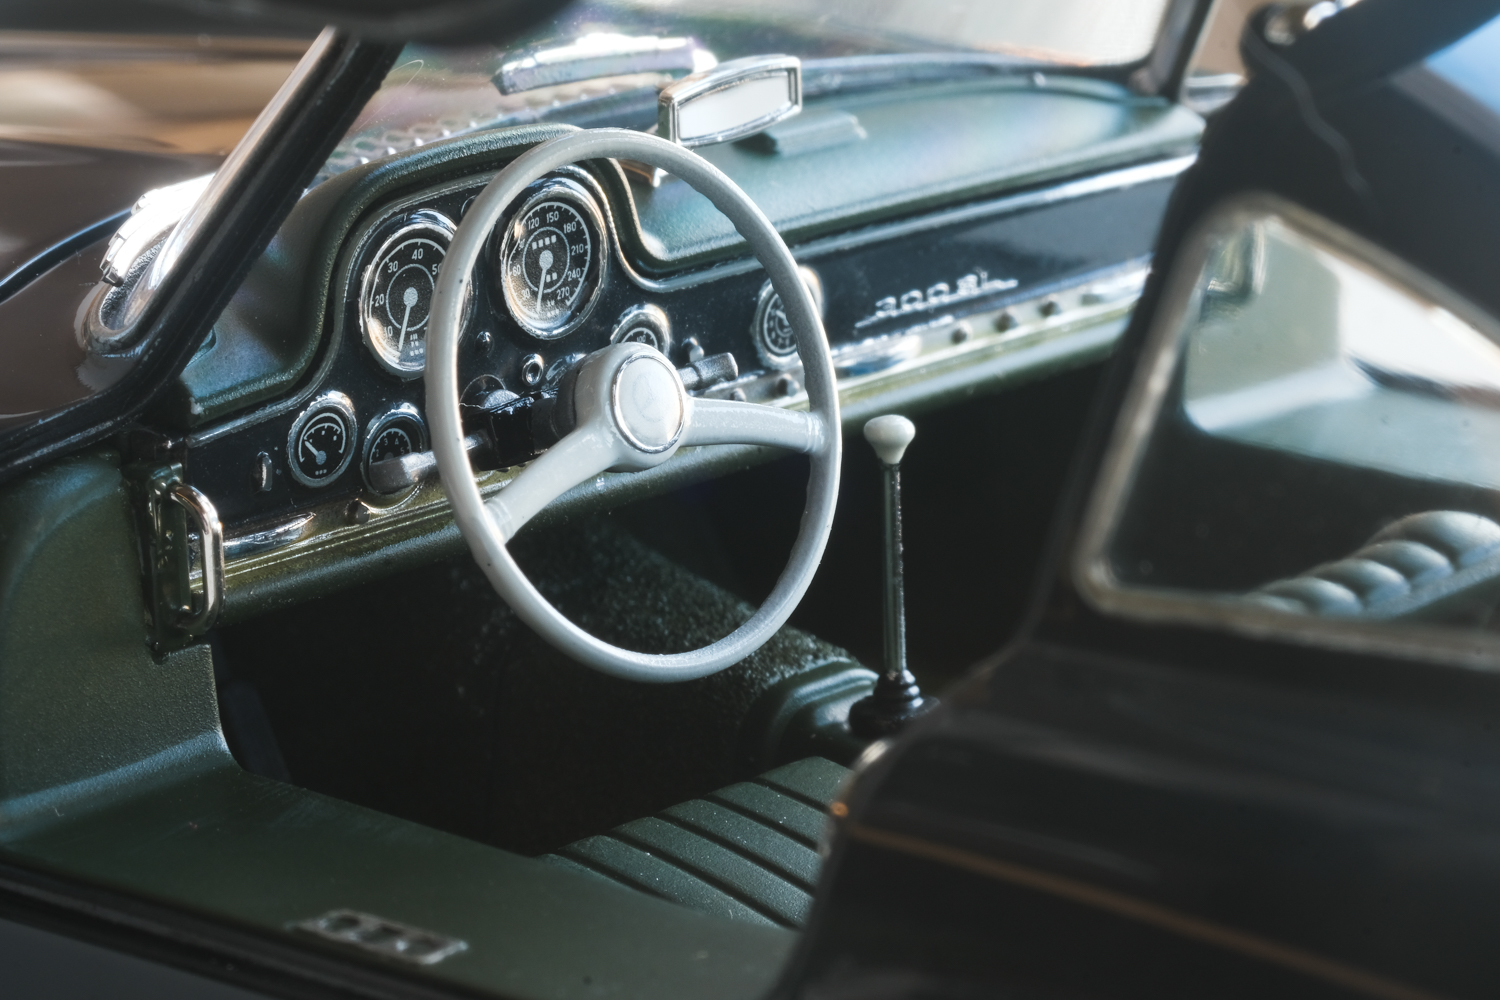
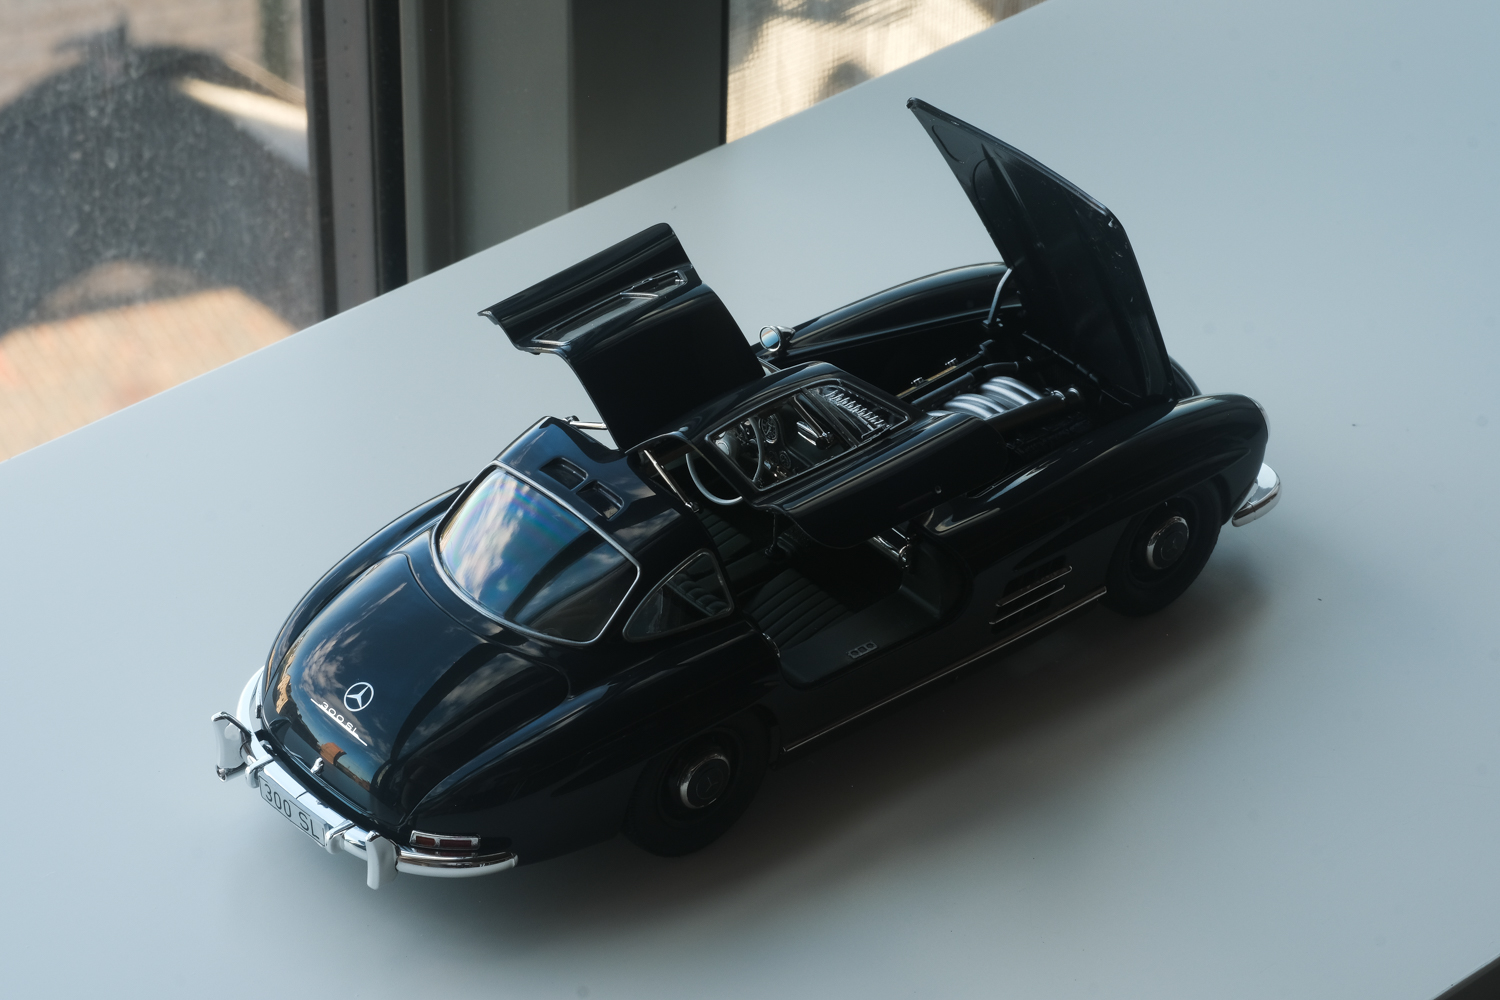
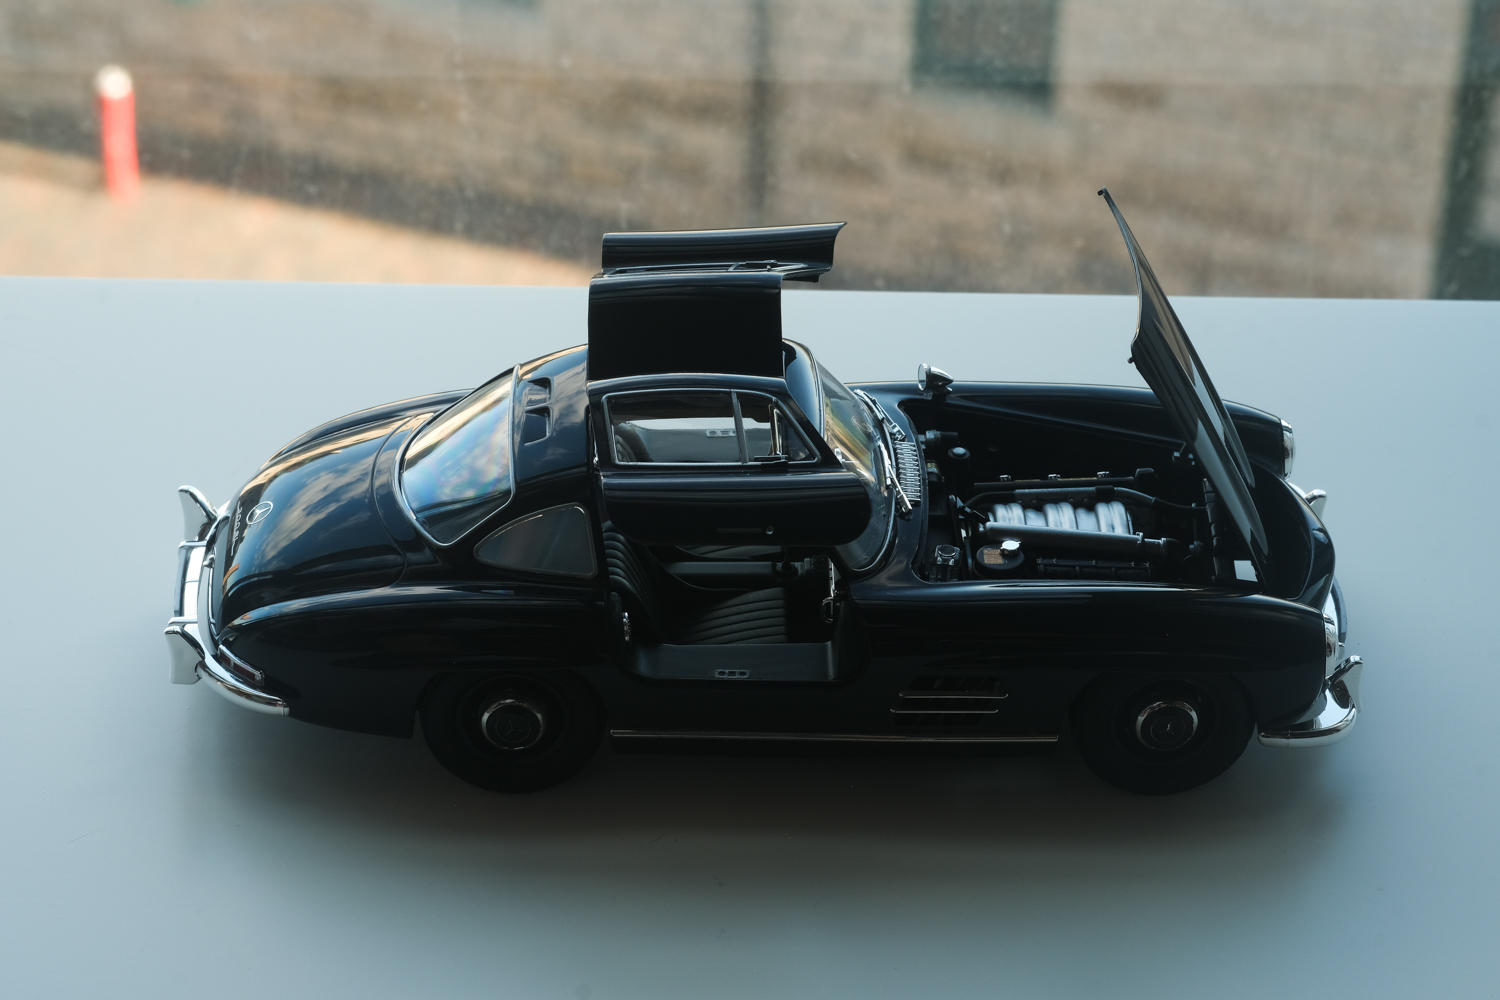
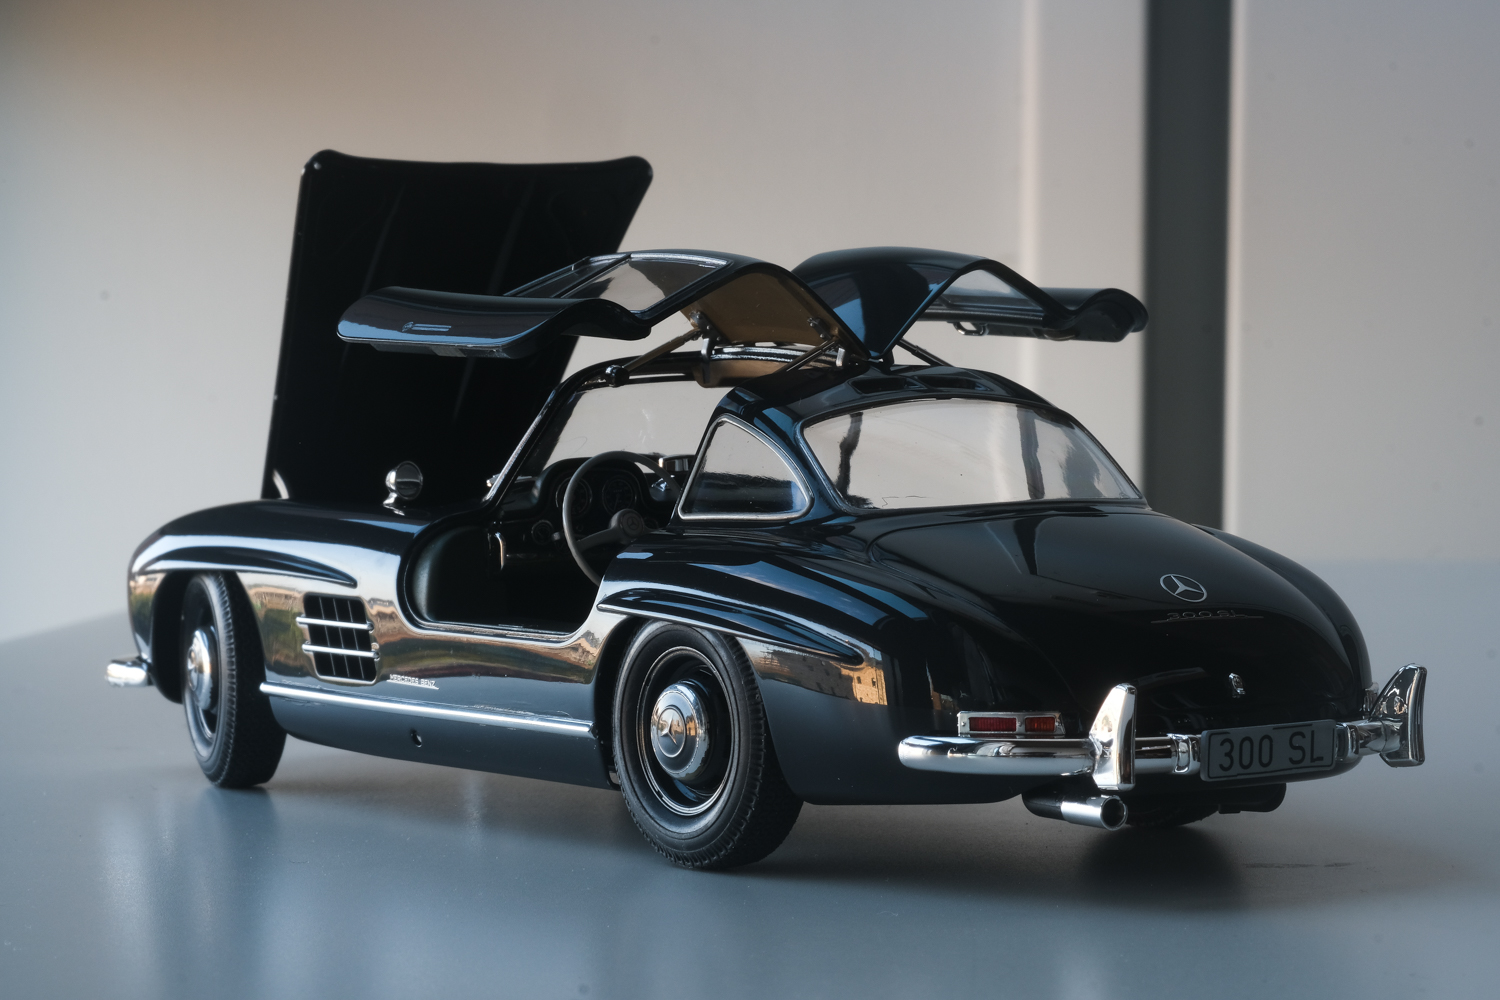
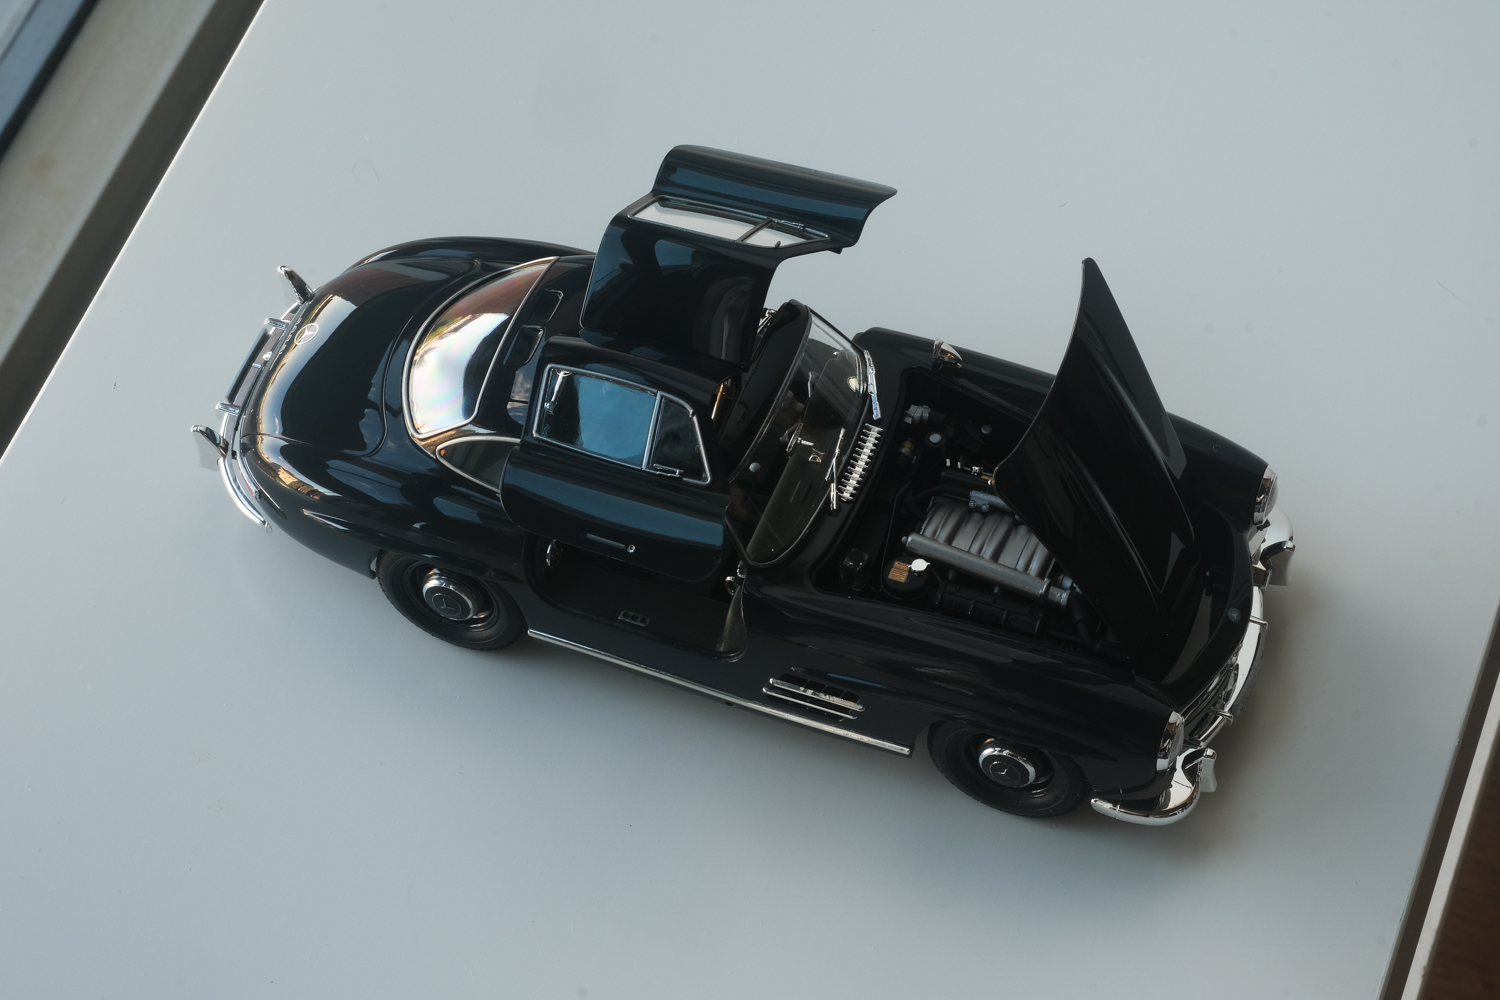
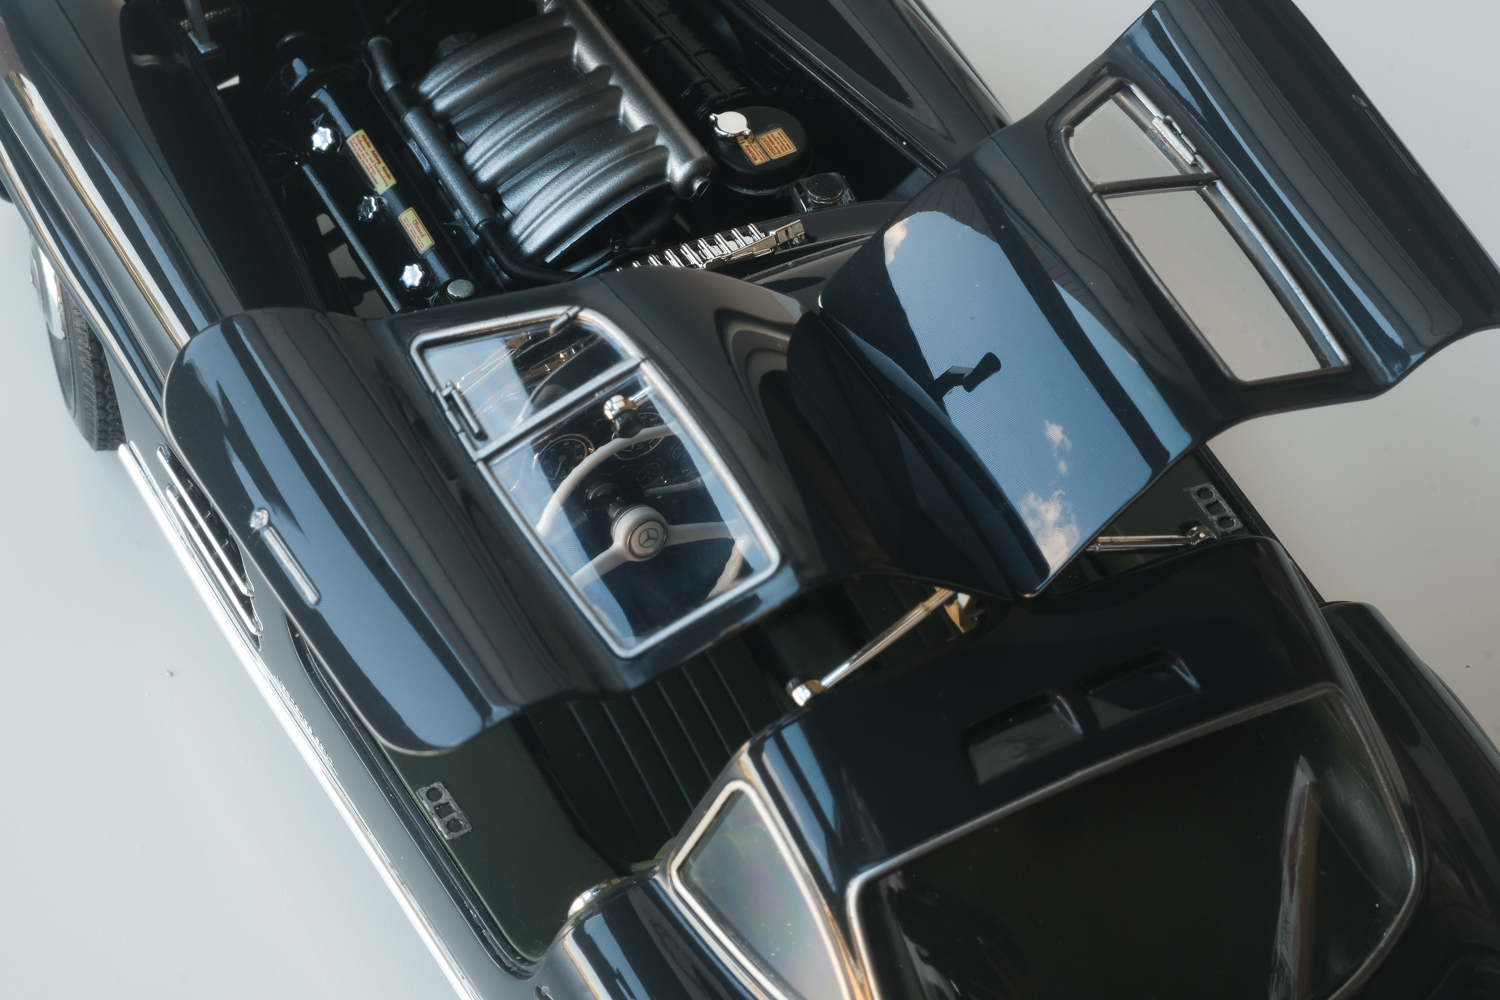
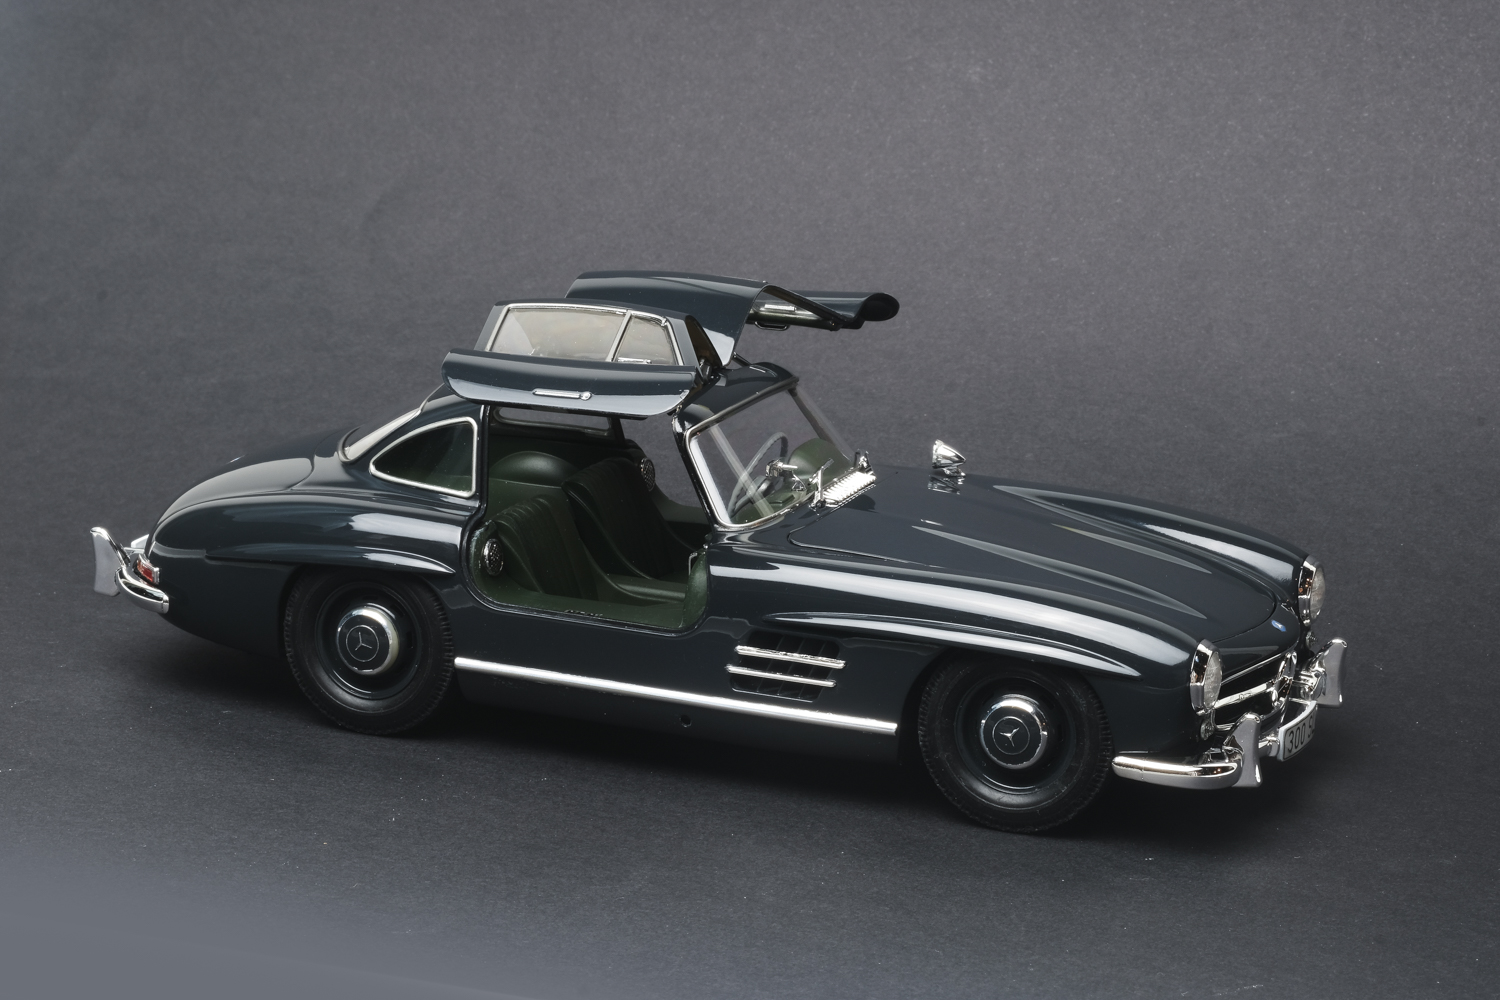
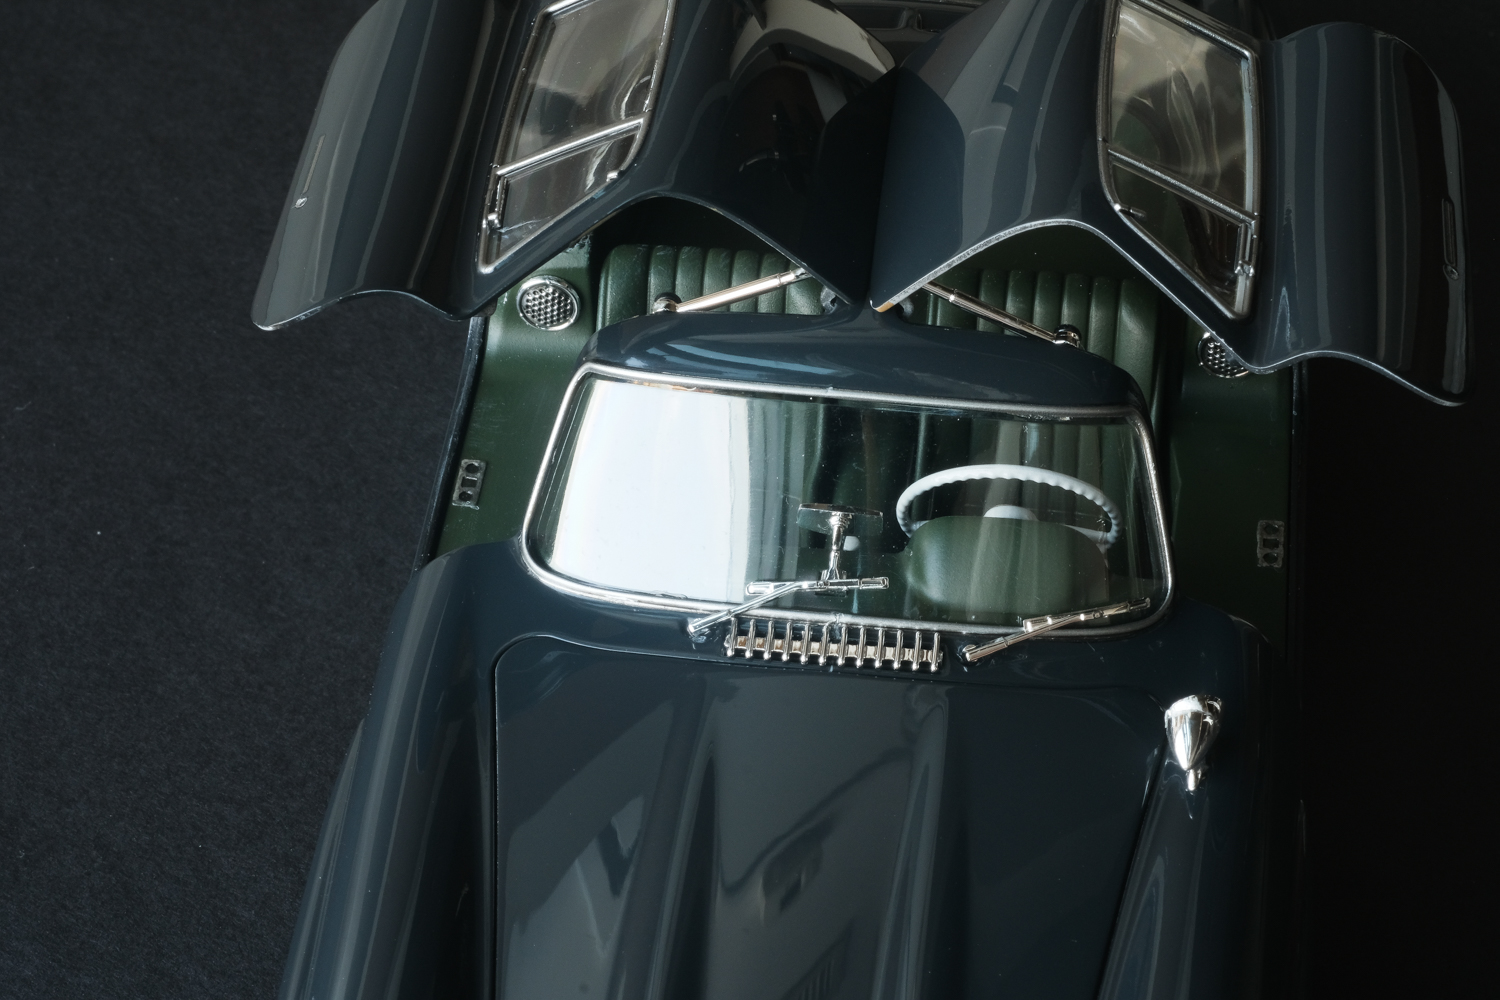
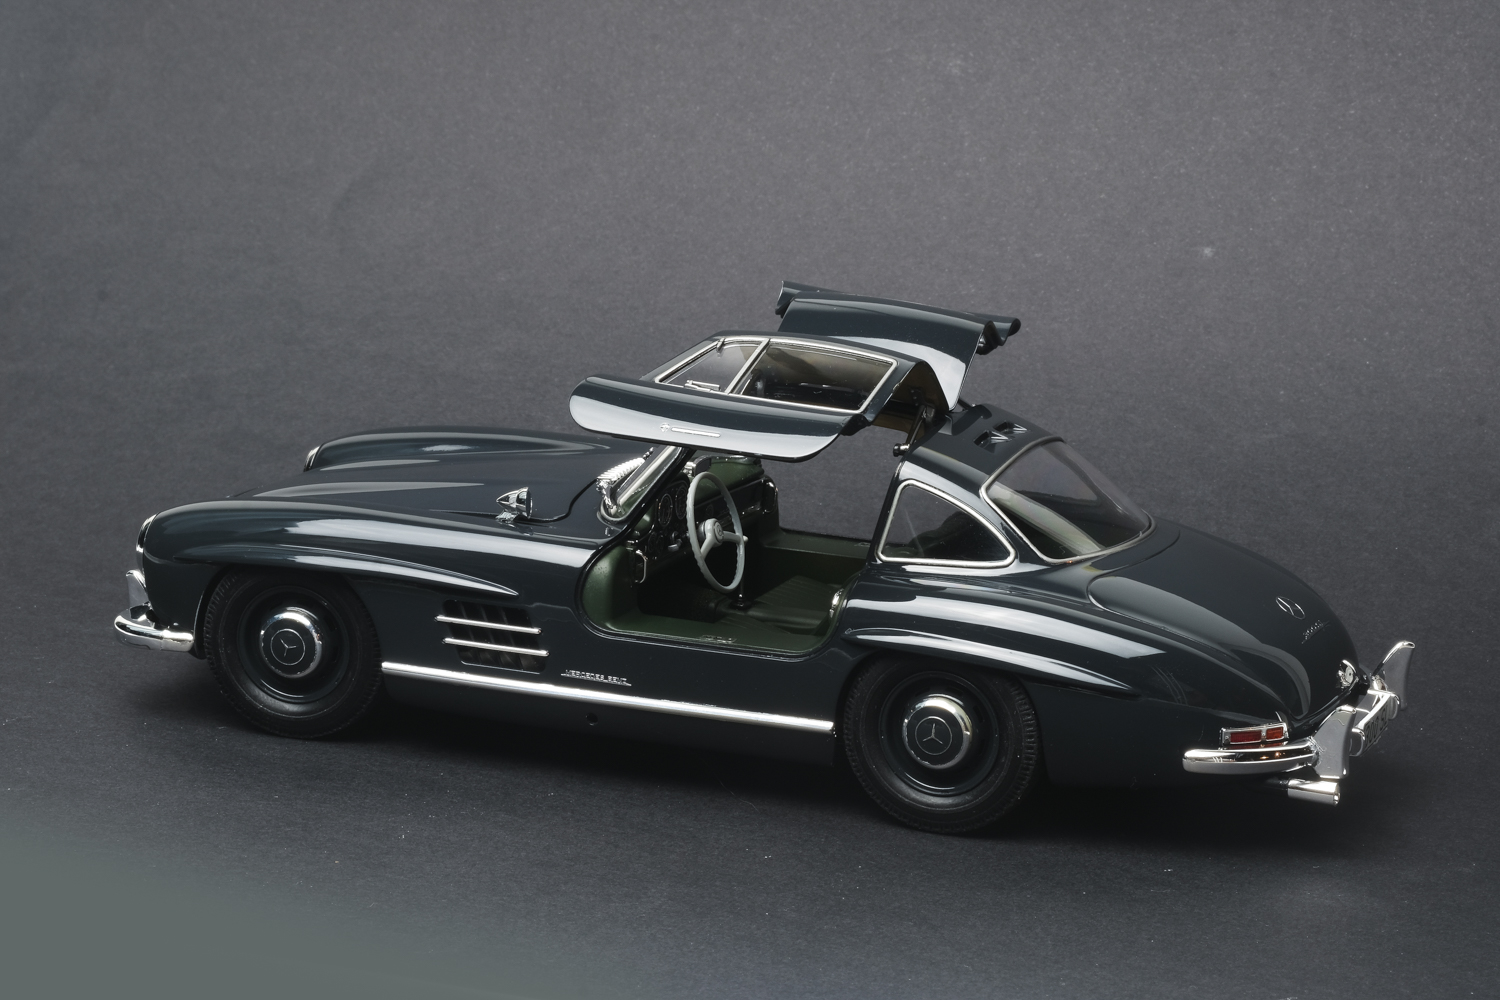
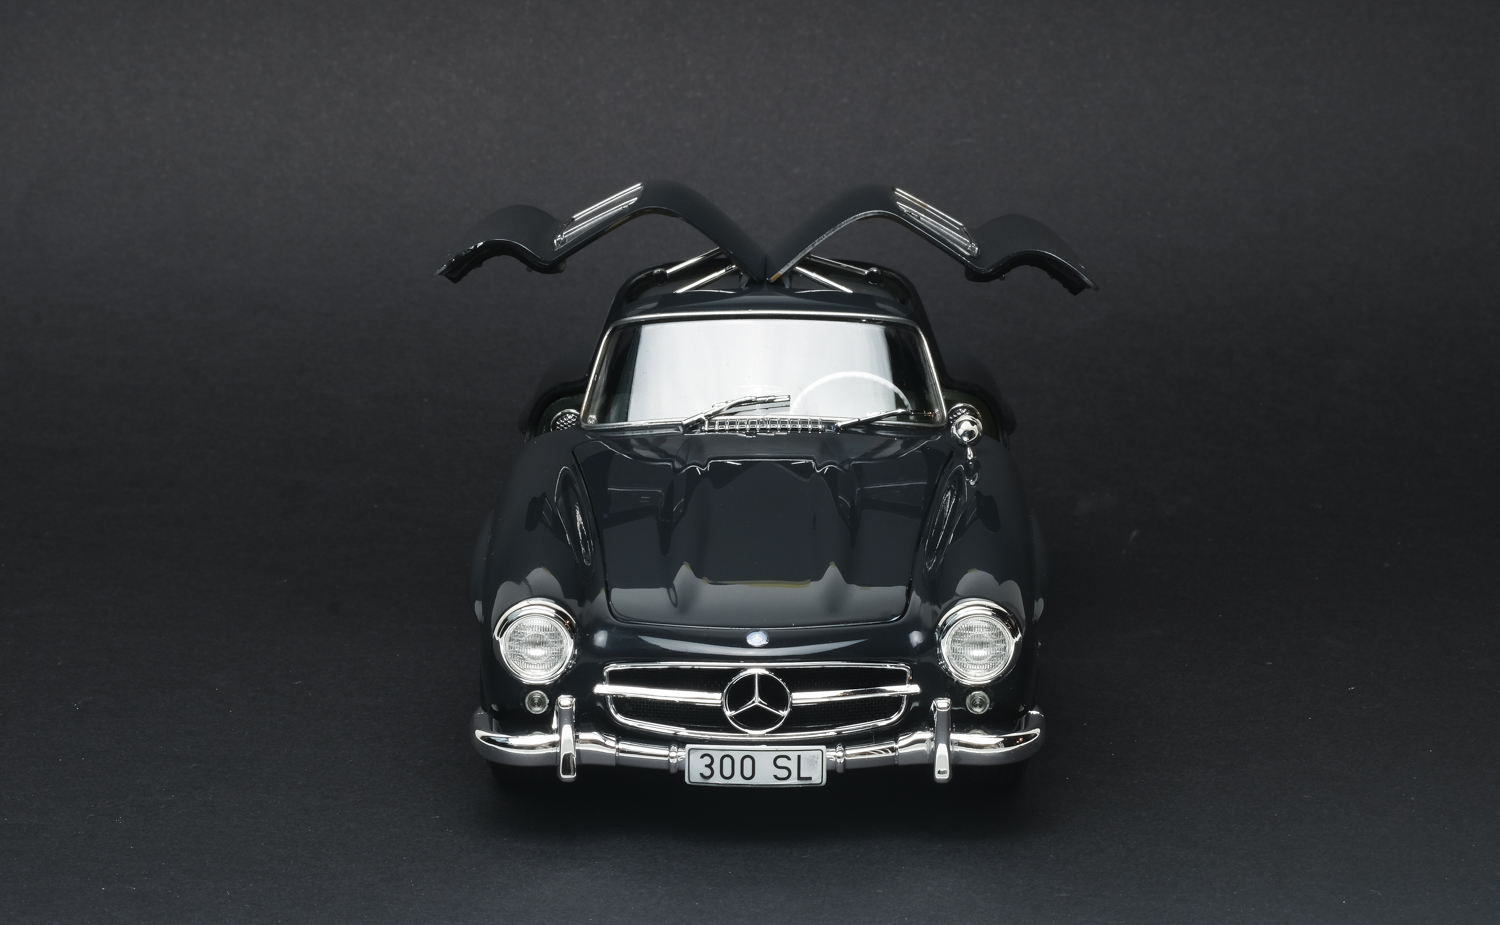
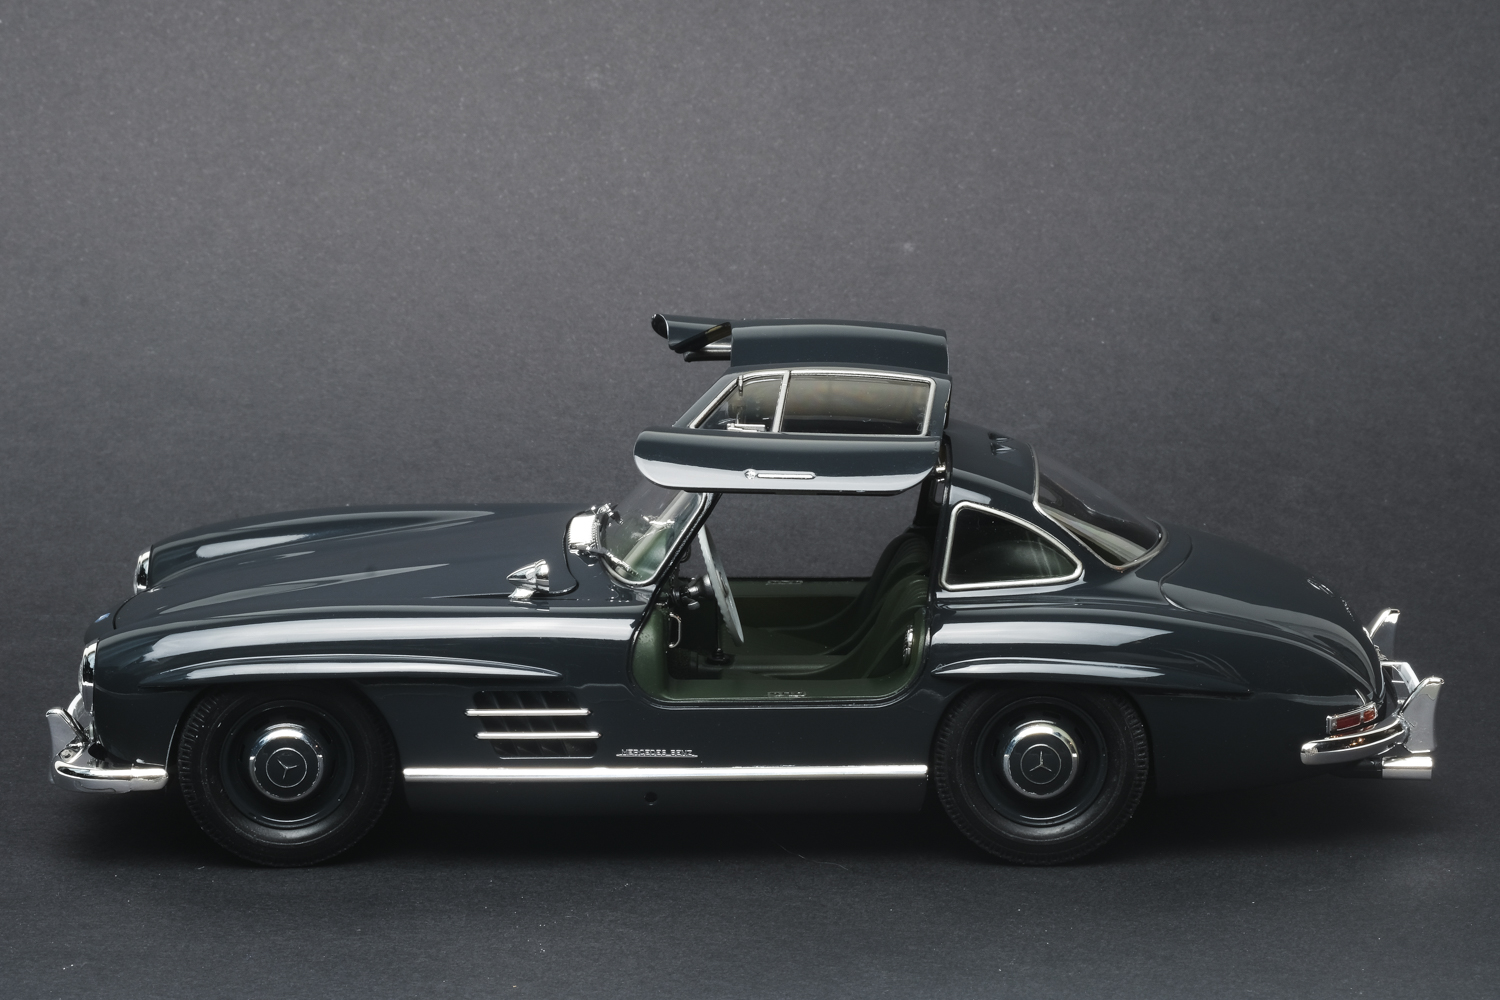
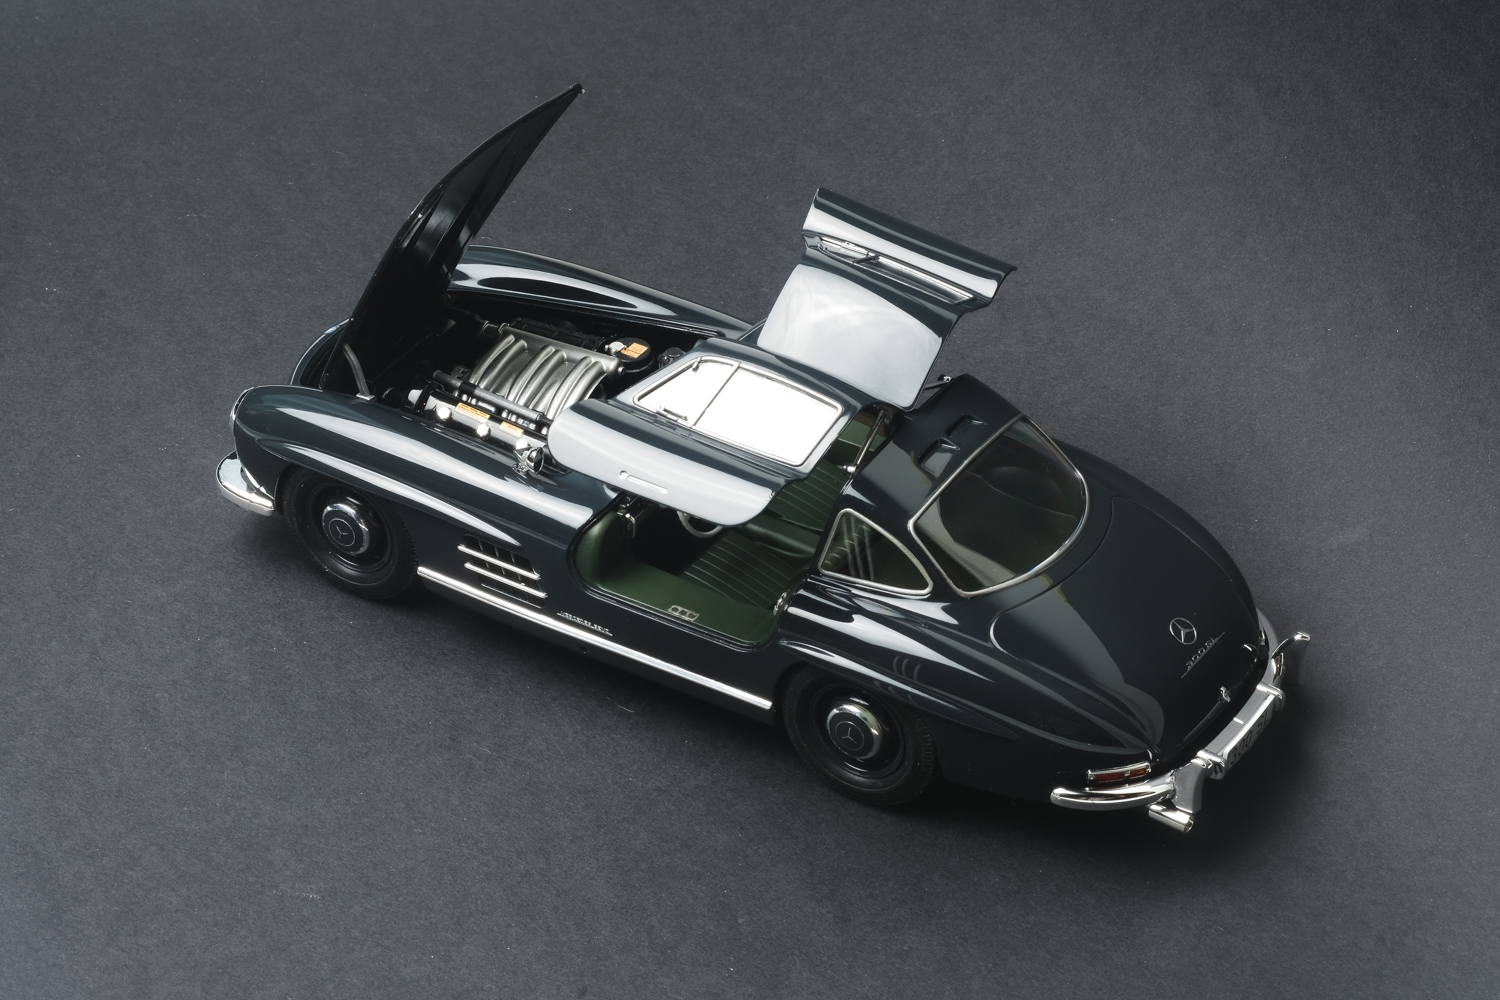
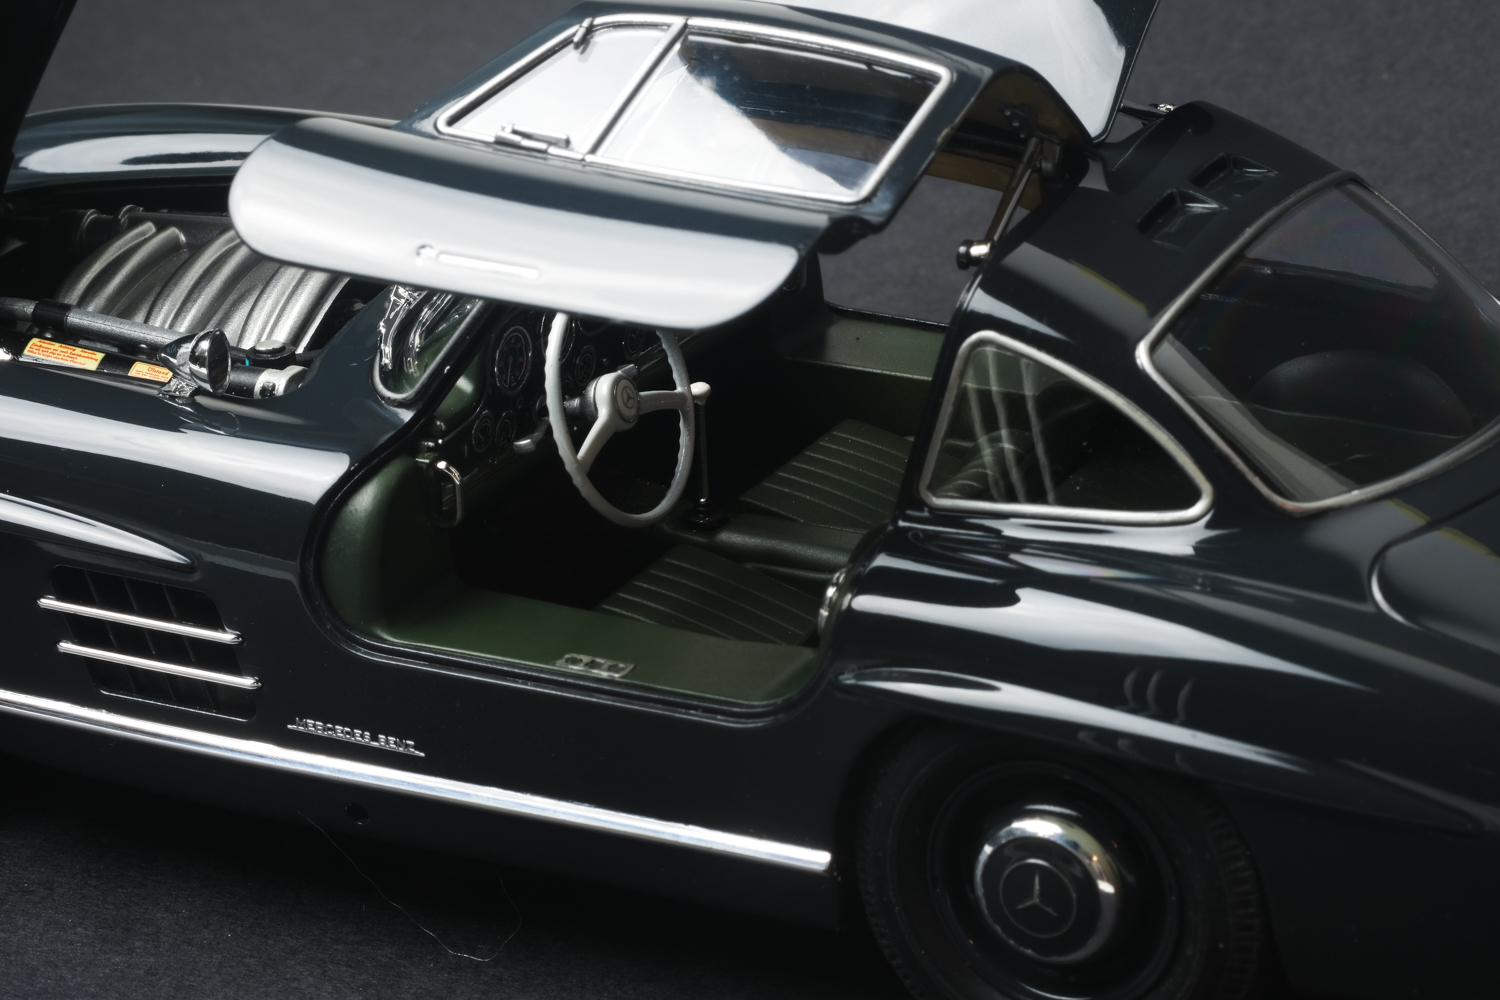
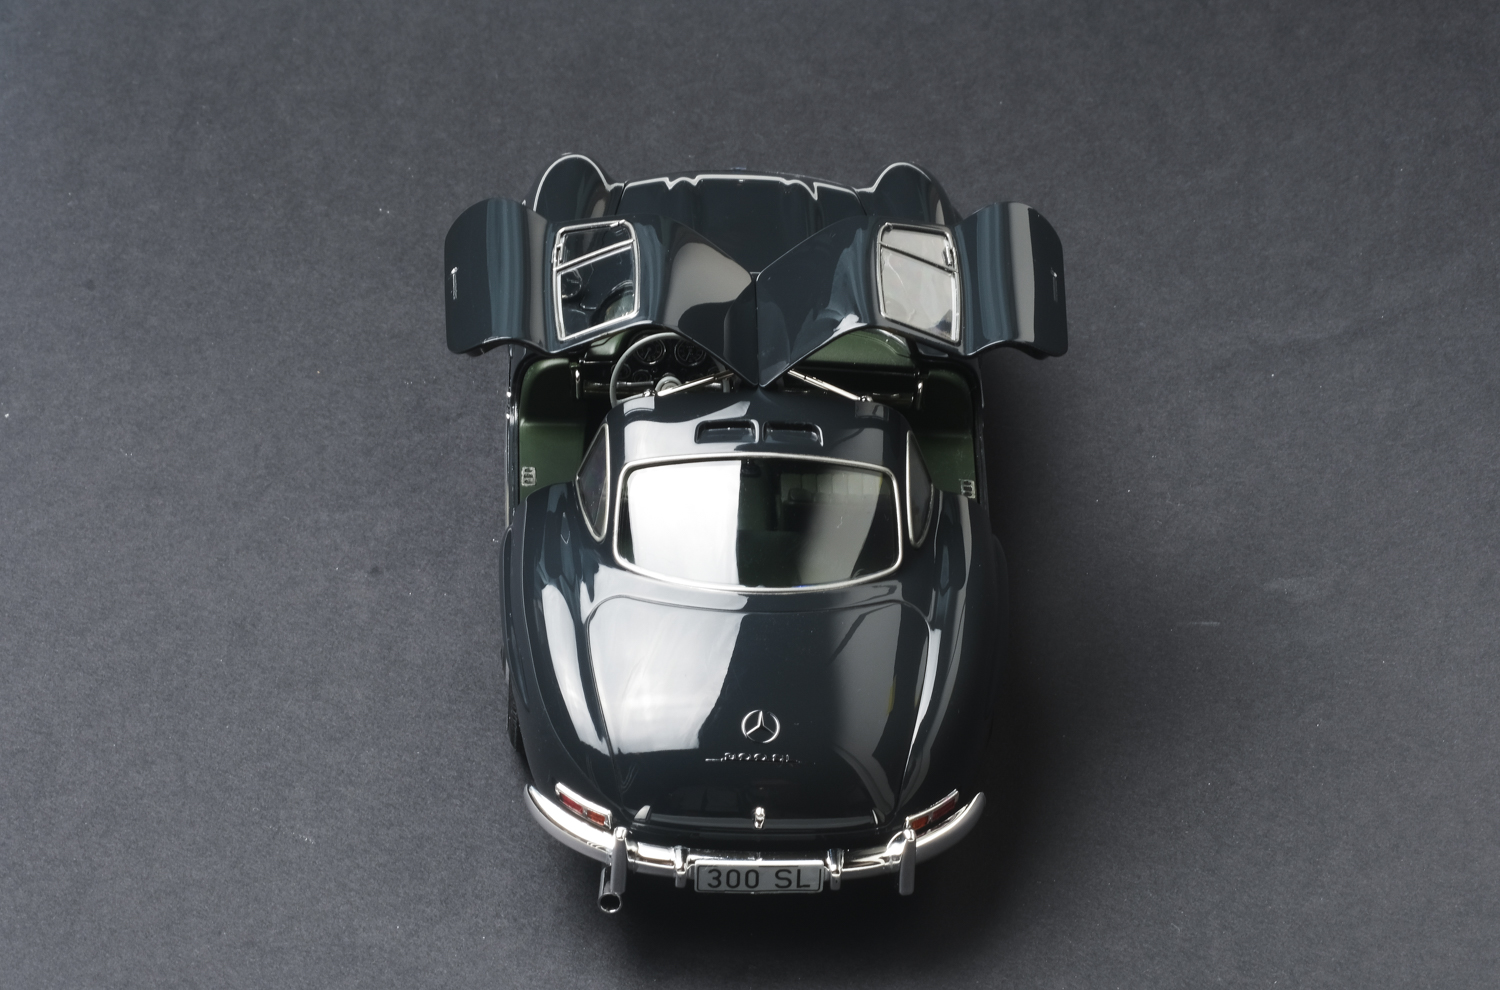
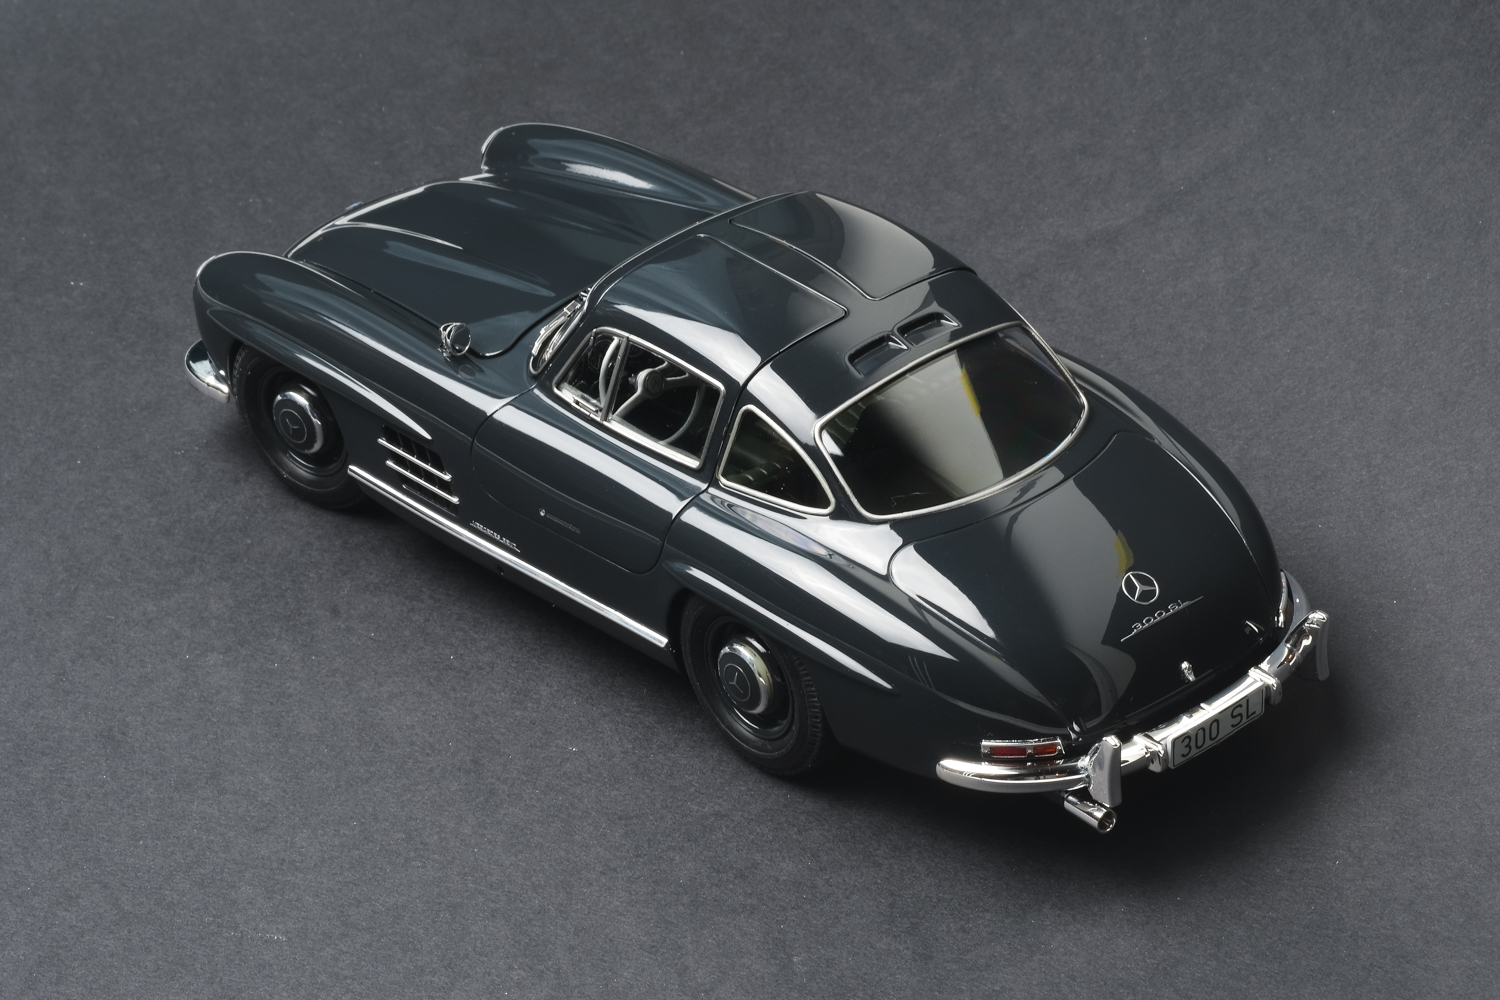
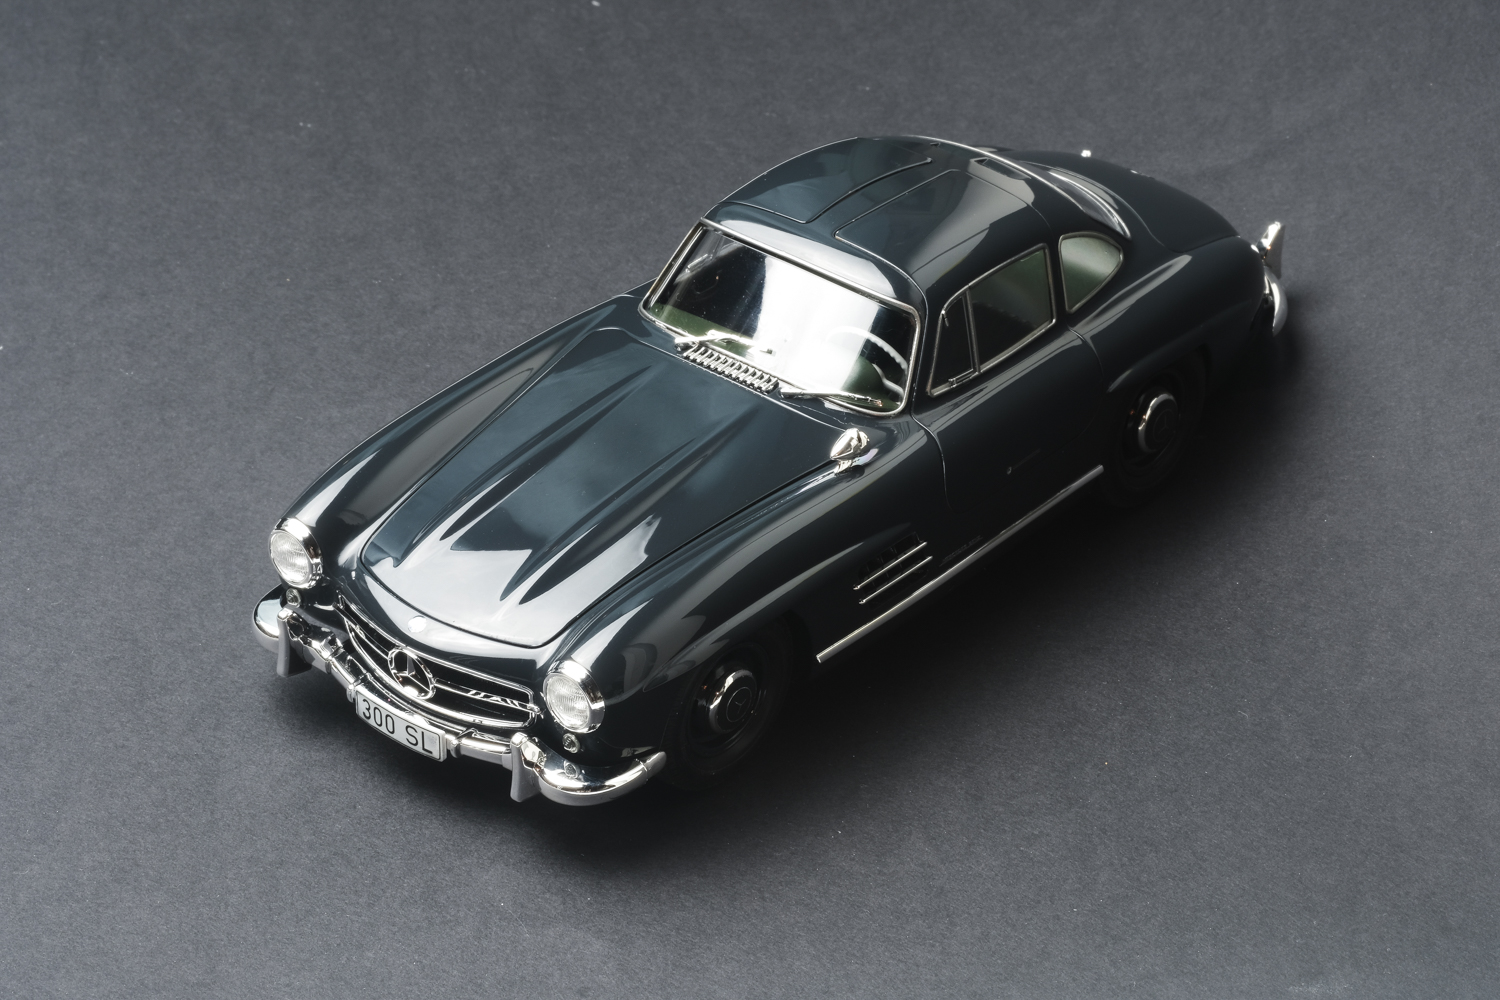
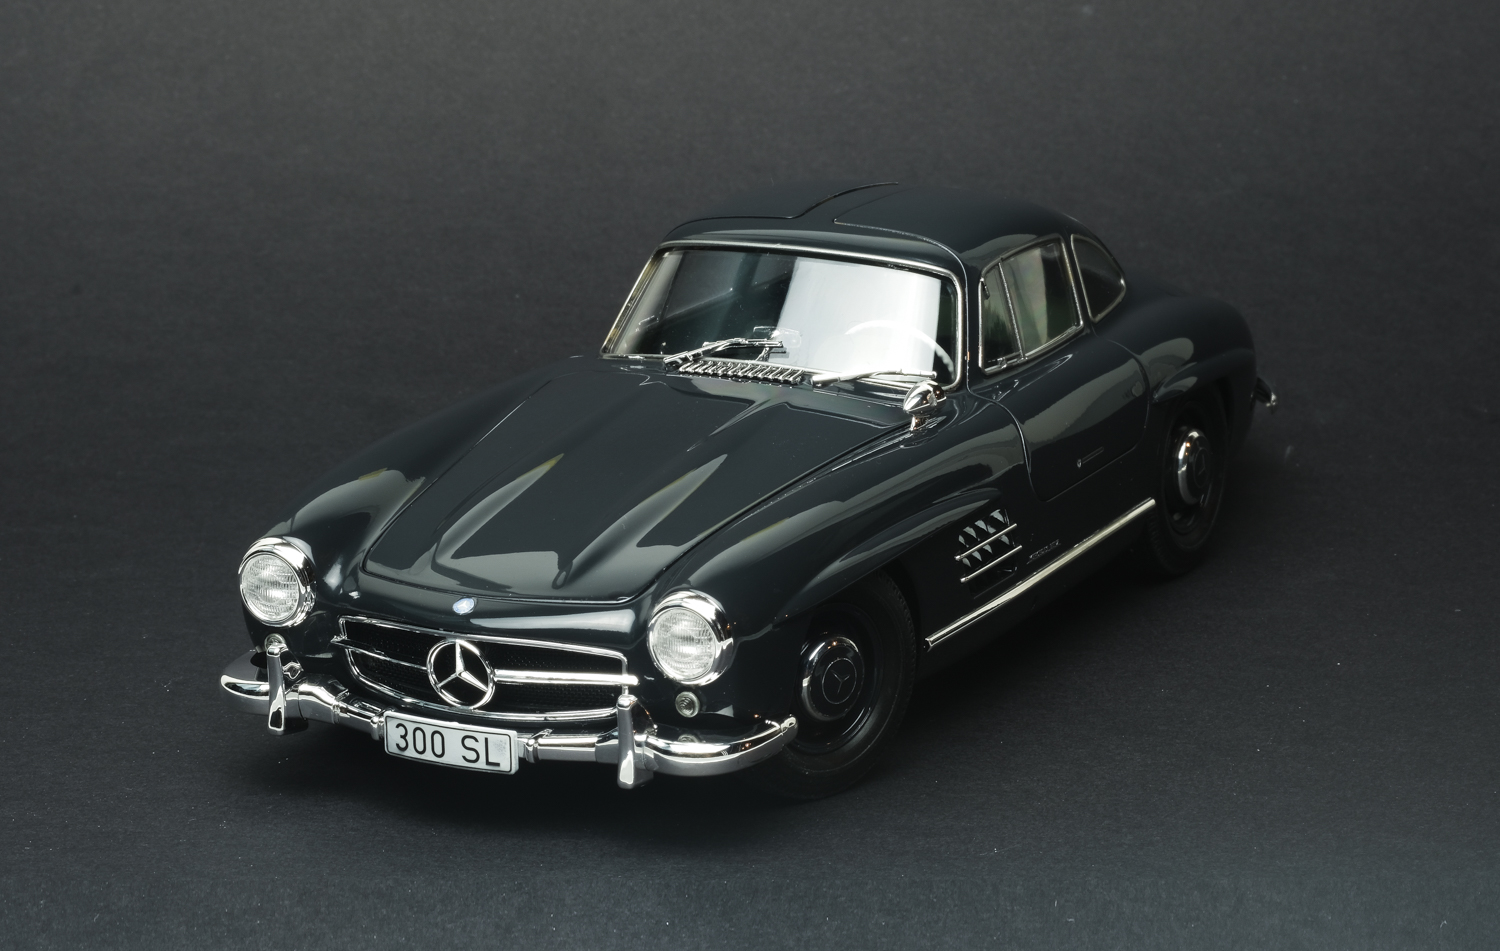
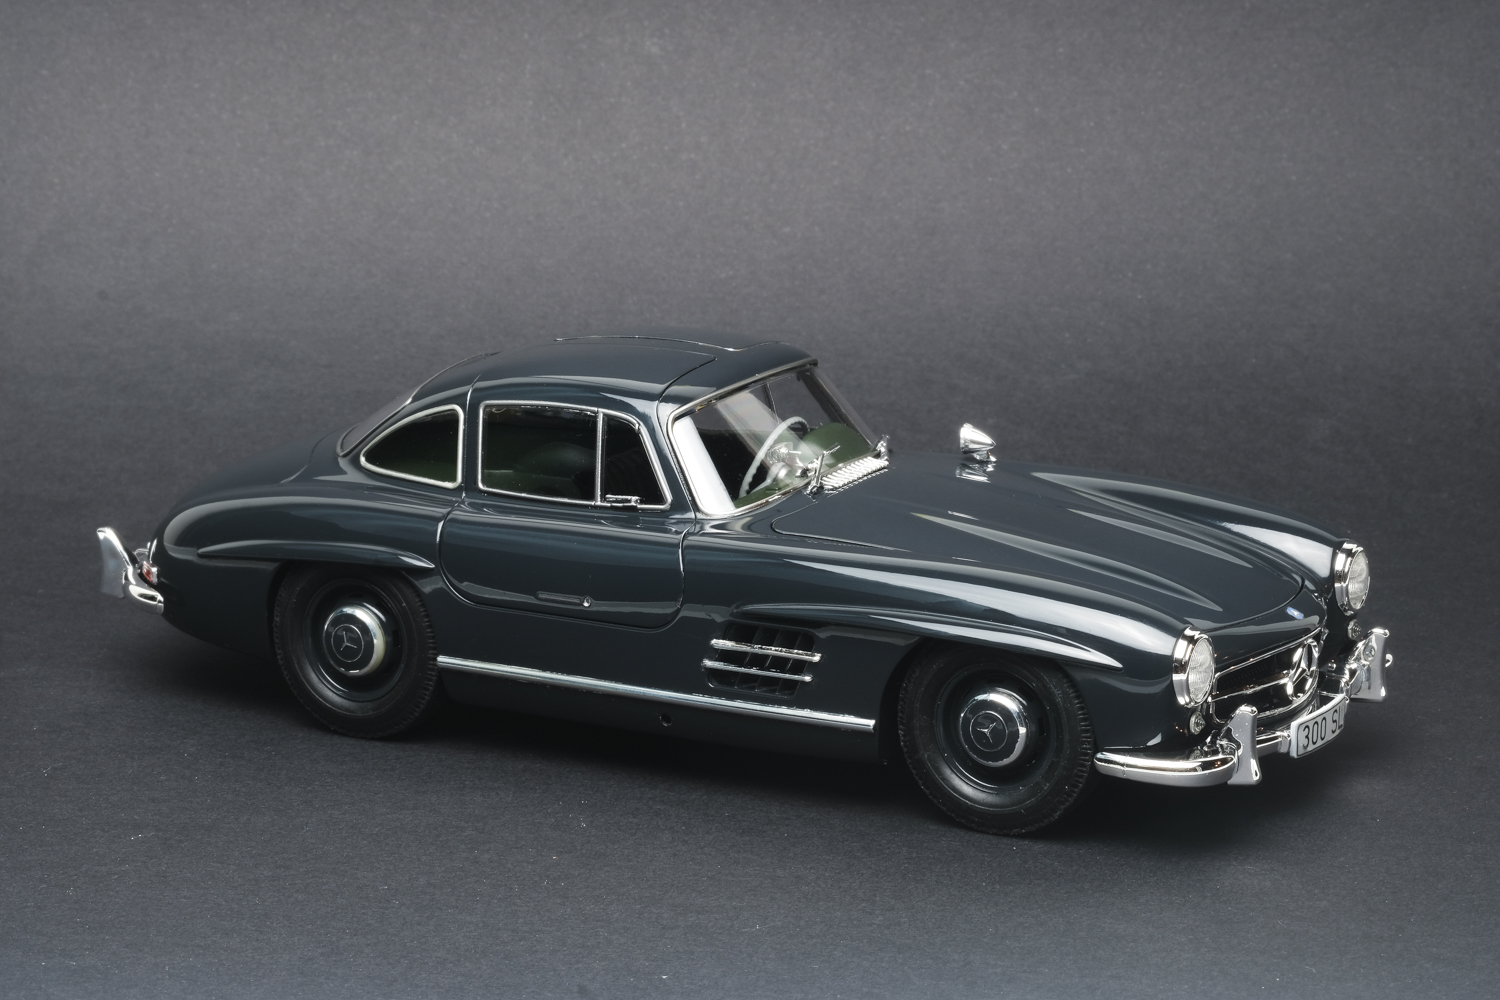
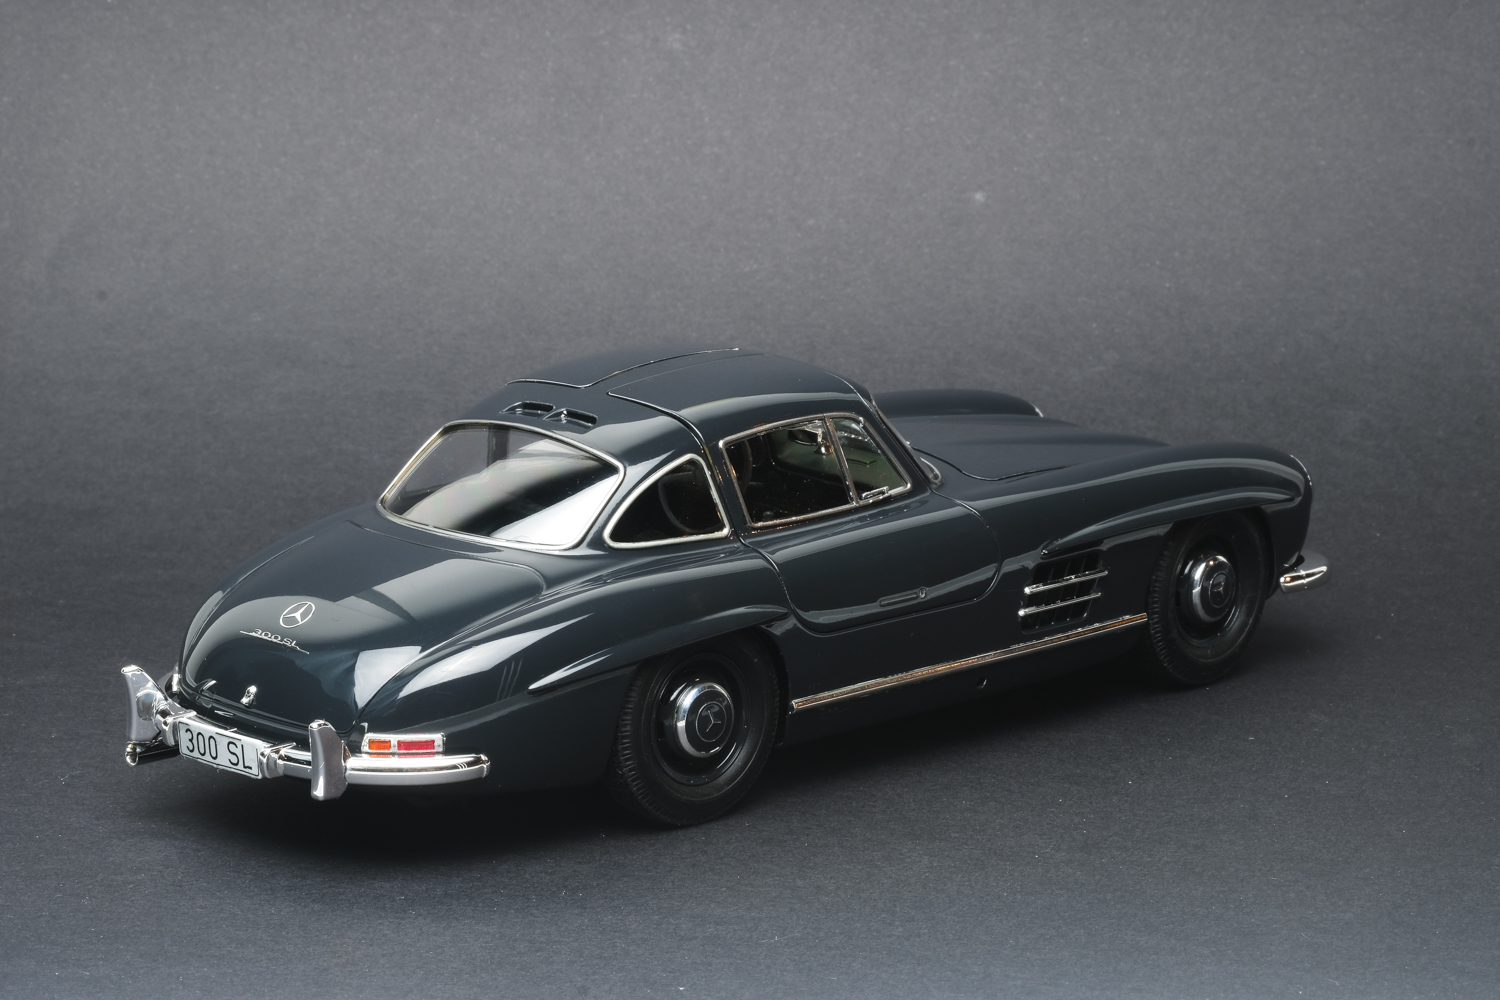
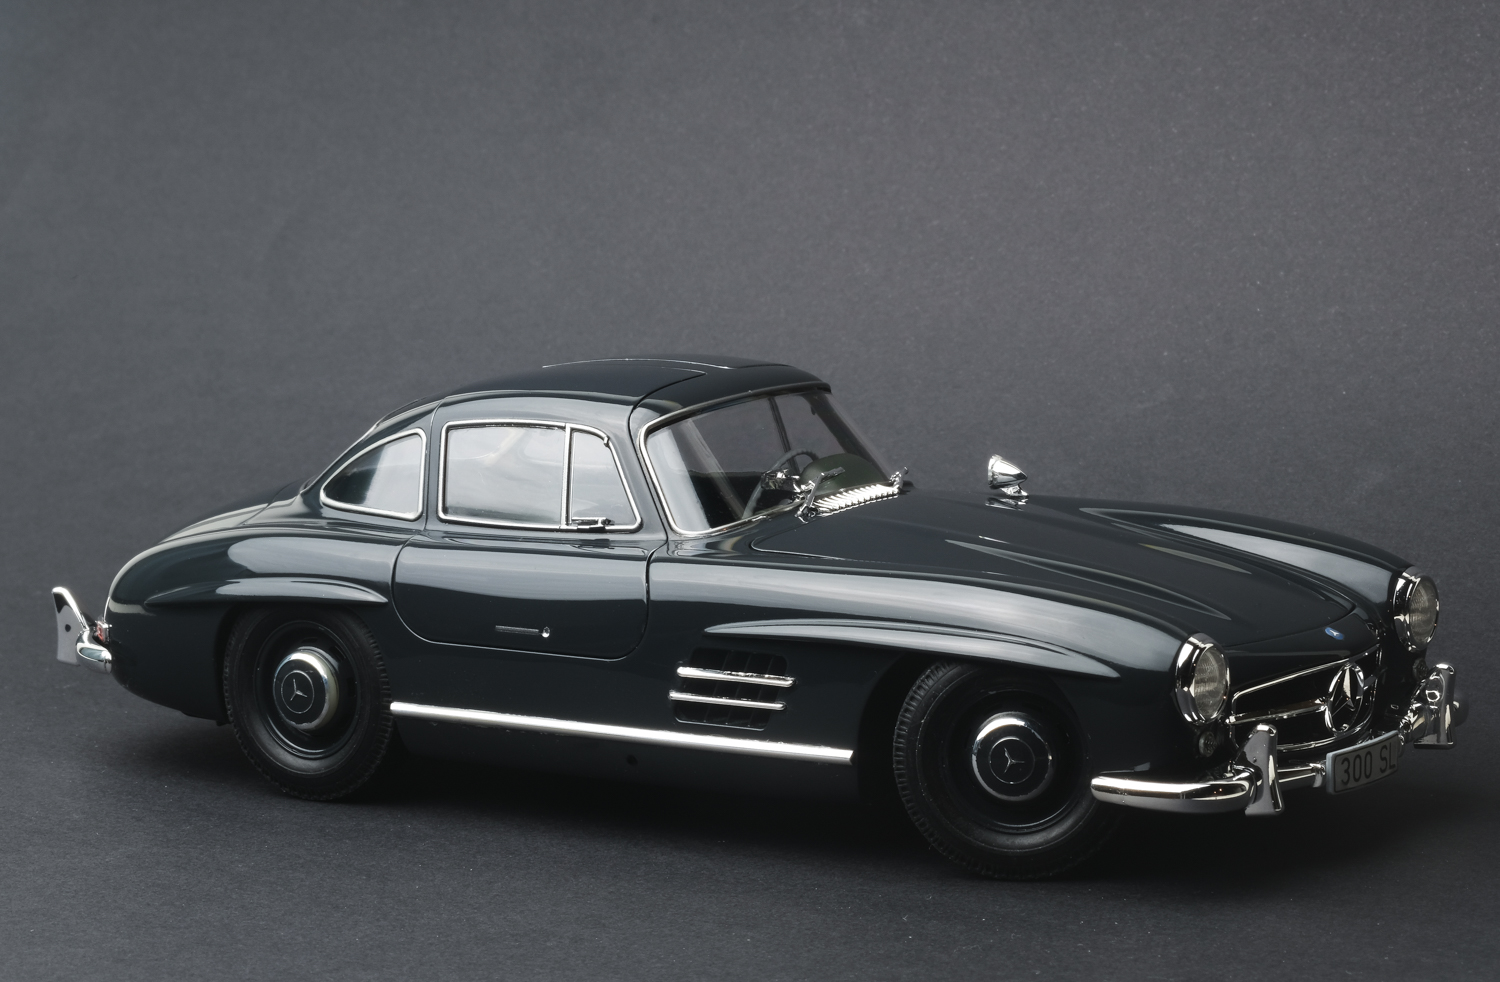
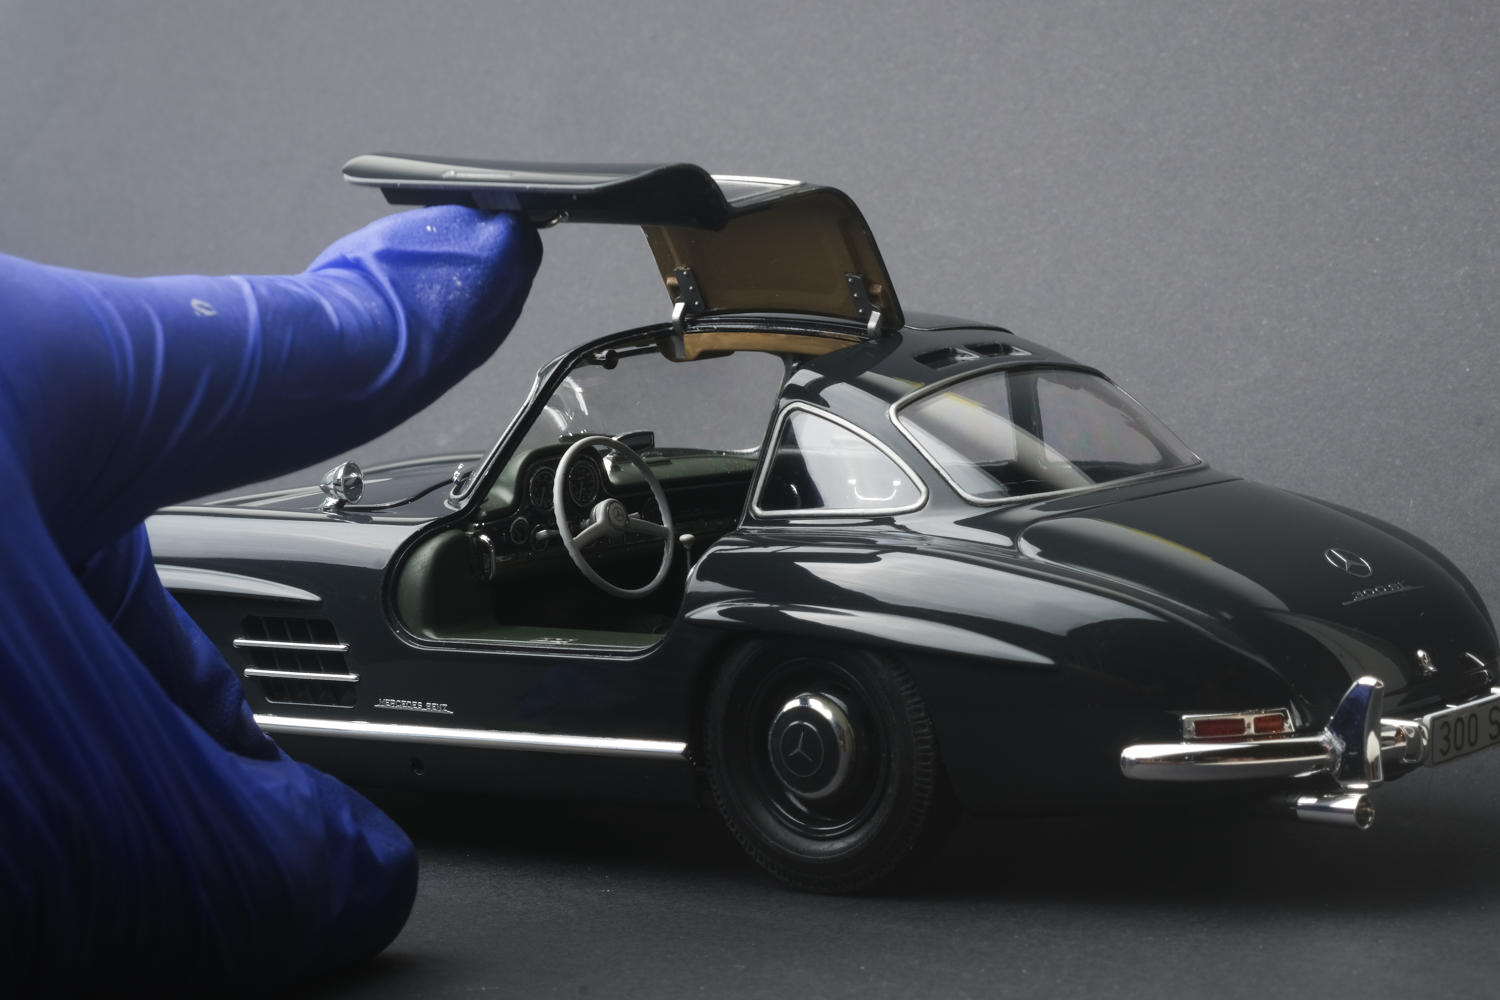
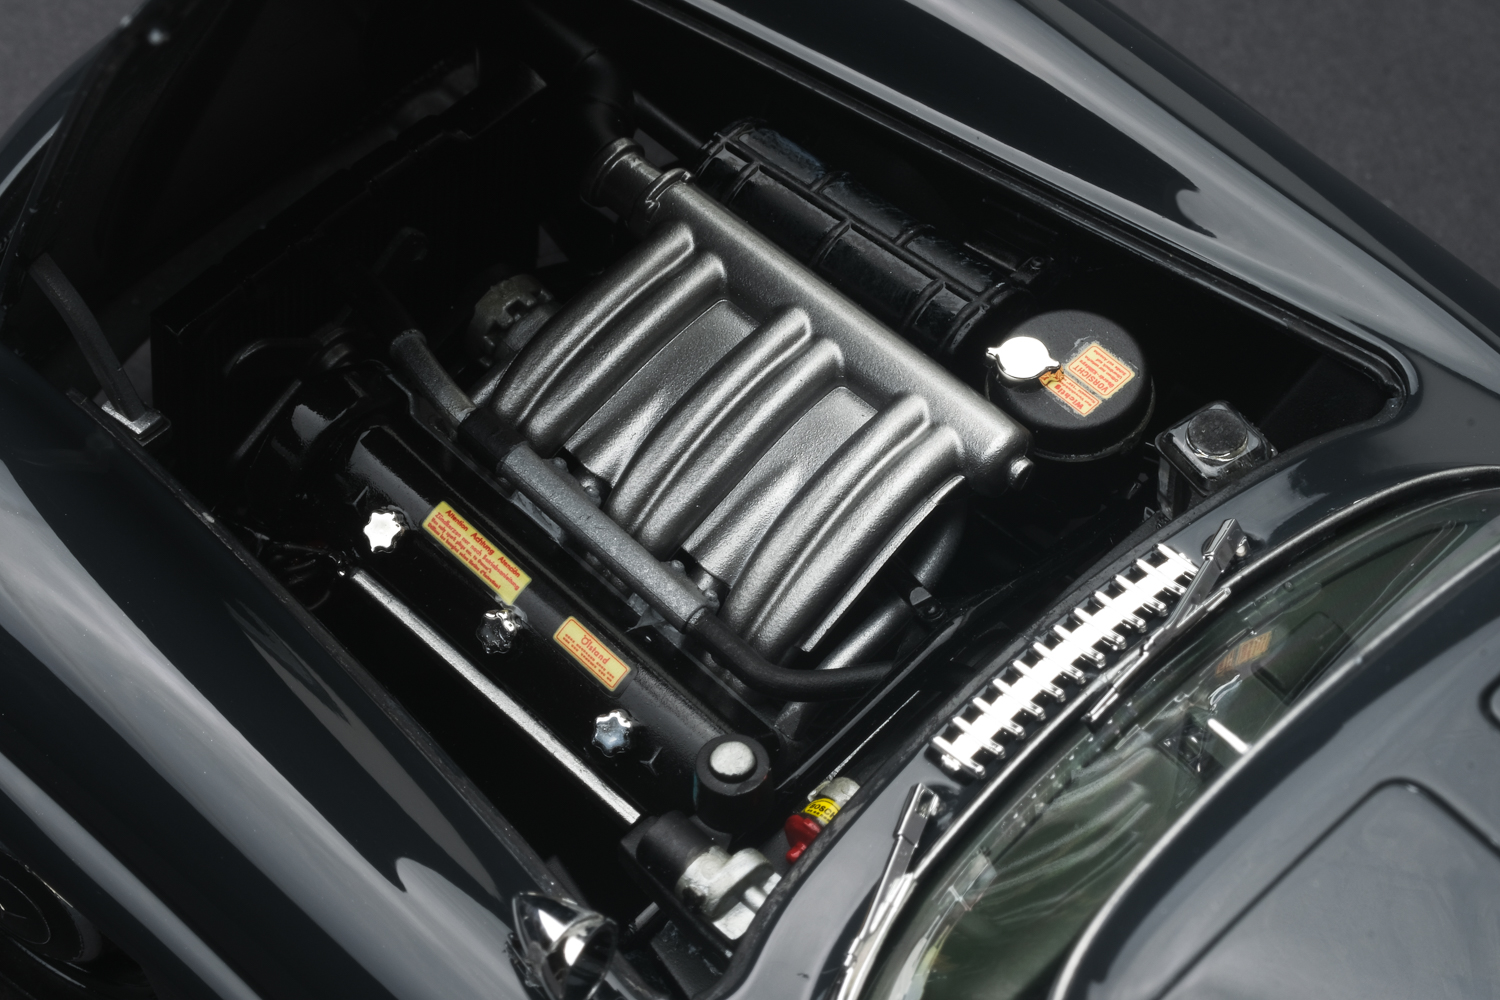
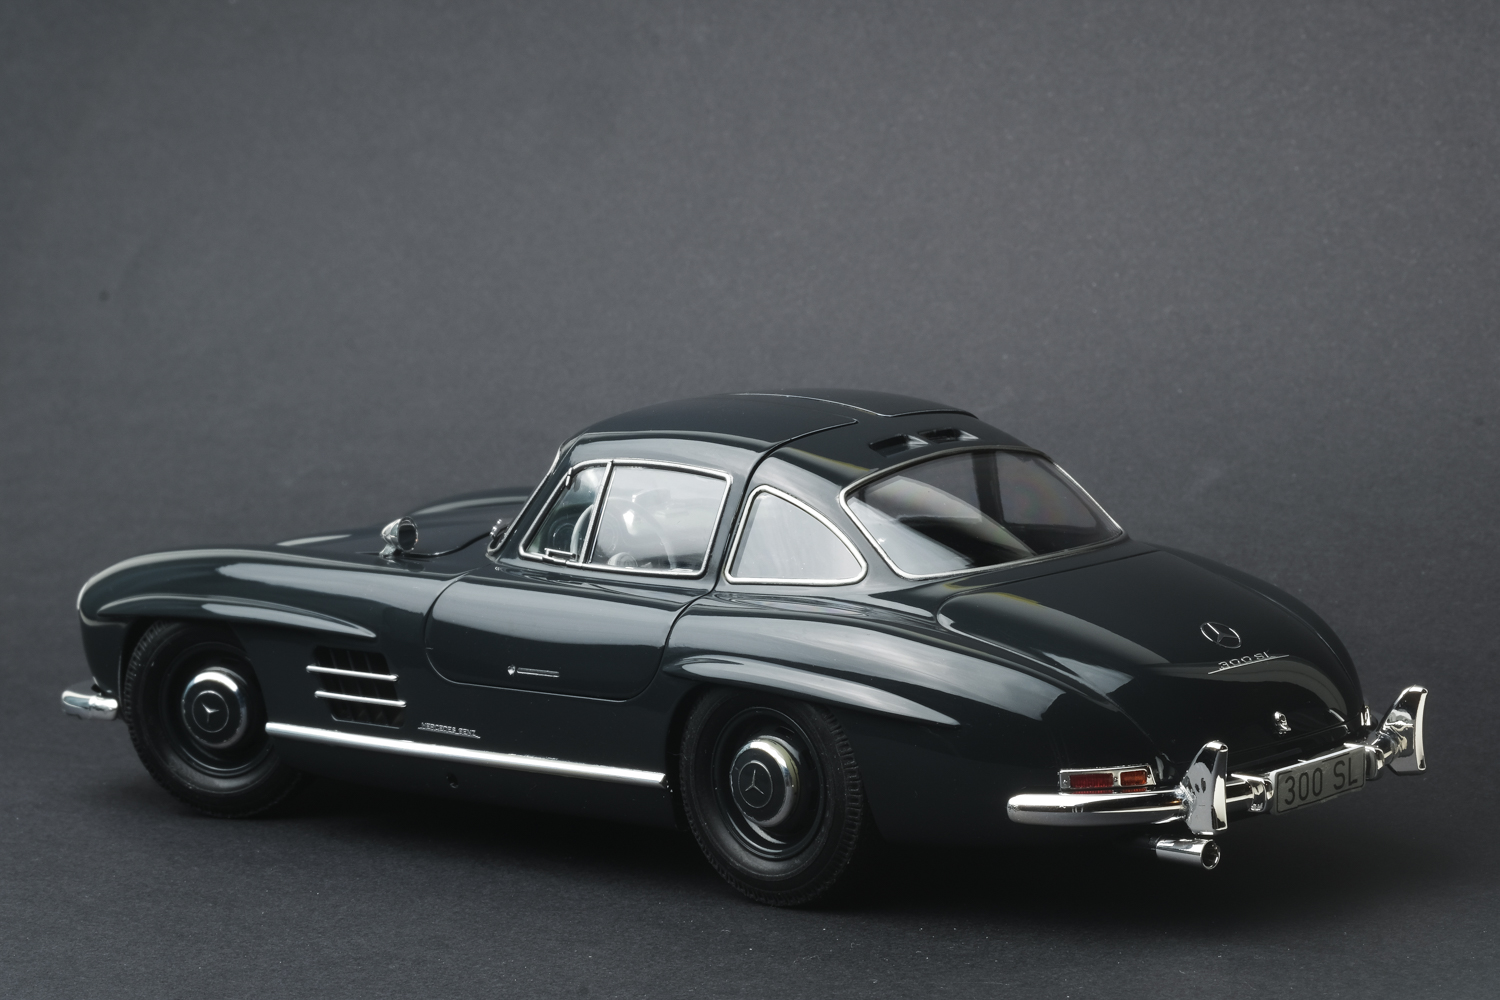
Hi everyone, I was able to finish my latest project - Tamiya 1/24 300SL Gullwing. A while ago, I stumbled upon this Graphite Grey Gullwing while browsing bringatrailer.com: https://bringatrailer.com/listing/1956-mercedes-benz-300sl-gullwing-coupe/ and wanted to build the similar spec, I however opted for dark green interior as it’s my favourite interior colour from 300SL. As for the kit, it’s one of the best 1/24 kits I’ve ever built - it has full tubular chassis, engine, accurate suspension and separate interior tub and body panel - all with opening hood and doors with hinges! Only Aoshima’s supercar series kits would come close to this level of detail (Fujimi EM kits are too finicky to build compared to these gems). Here’re my build details: Prepped body with 600 > 1500 grit to remove any flashes and sink marks - especially around side panel and doors Tamiya grey surfacer > 2000 grit wet sanding Applied 2 base coats (I mixed Mr color’s gloss black and Tamiya’s racing white to simulate Graphite Grey) Applied three layers of Mr color’s super clear III (1 day drying time in between, and I progressively added more self leveling thinner every coat) Dried for at least one month to fully cure the paint (I staggered multiple projects so waiting time isn't much of an issue .. however I could get Mr. Color's drying booth to speed up the process) Wet sanded the body with 3000 grit sponge and polished with Tamiya three stage compounds Masked the body and painted the window trims with Mr. color chrome silver. I then applied panel liner wash to simulate rubber surroundings. Applied embossing powder to carpeted area and painted the interior with Mr color’s IJA Green Painted steering wheel with racing white and painted the headliner with tan Chrome dashboard and hubcaps were painted with body colour then I polished the excess part to reveal the trim rings on the dash and Merc logo on the hubcap. Thanks for reading and hope y'all enjoy!
-
DM ModelKits Ford Sierra Cosworth
e30lover replied to Luc Janssens's topic in Car Kit News & Reviews
From my knowledge the licensing works differently between race cars vs. street cars. For race cars, model manufacturers need to get the license from main sponsor whereas for street cars they need to get (presumably much more expensive) licensing from the actual carmaker. That's probably why smaller companies like NuNu or Belkits cannot produce street version of their models. -
Great work on a iconic model. Love the choice of paint and appreciate sharing the steps. It's a skill that most of modellers don't have - ability to lay down many layers of paint without creating "ripple effect" around panel lines. Also those extra touches such as door handles and PE wipers really helped elevating otherwise basic model.
-
I asked and he said he uses Hasegawa mirror finish. Definitely harder to cut than BMF as it has vinyl like texture but the end result can be pretty amazing. Thank you. Really appreciate it! Ebbro kits are very expensive but I'd say it's well worth the extra price! Thanks a lot!