BK9300
-
Posts
1,989 -
Joined
-
Last visited
Content Type
Profiles
Forums
Events
Gallery
Everything posted by BK9300
-
I'll have to try some of that - does it bond to brass as well?
-

Making Tracks
BK9300 replied to Chariots of Fire's topic in WIP: Model Trucks: Big Rigs and Heavy Equipment
I've mentioned elsewhere that I find weathering a daunting process - yours turns out very realistic. Looking forward to the scratch built hoist being added! -
Terrific rad - so realistic the way the mesh/core sits behind aluminum tanks/frame and not just inserted into an opening - great to watch!
-
Awesome job with the grill - great looking build!
-
Western Star 4900 FA plow truck
BK9300 replied to BK9300's topic in WIP: Model Trucks: Big Rigs and Heavy Equipment
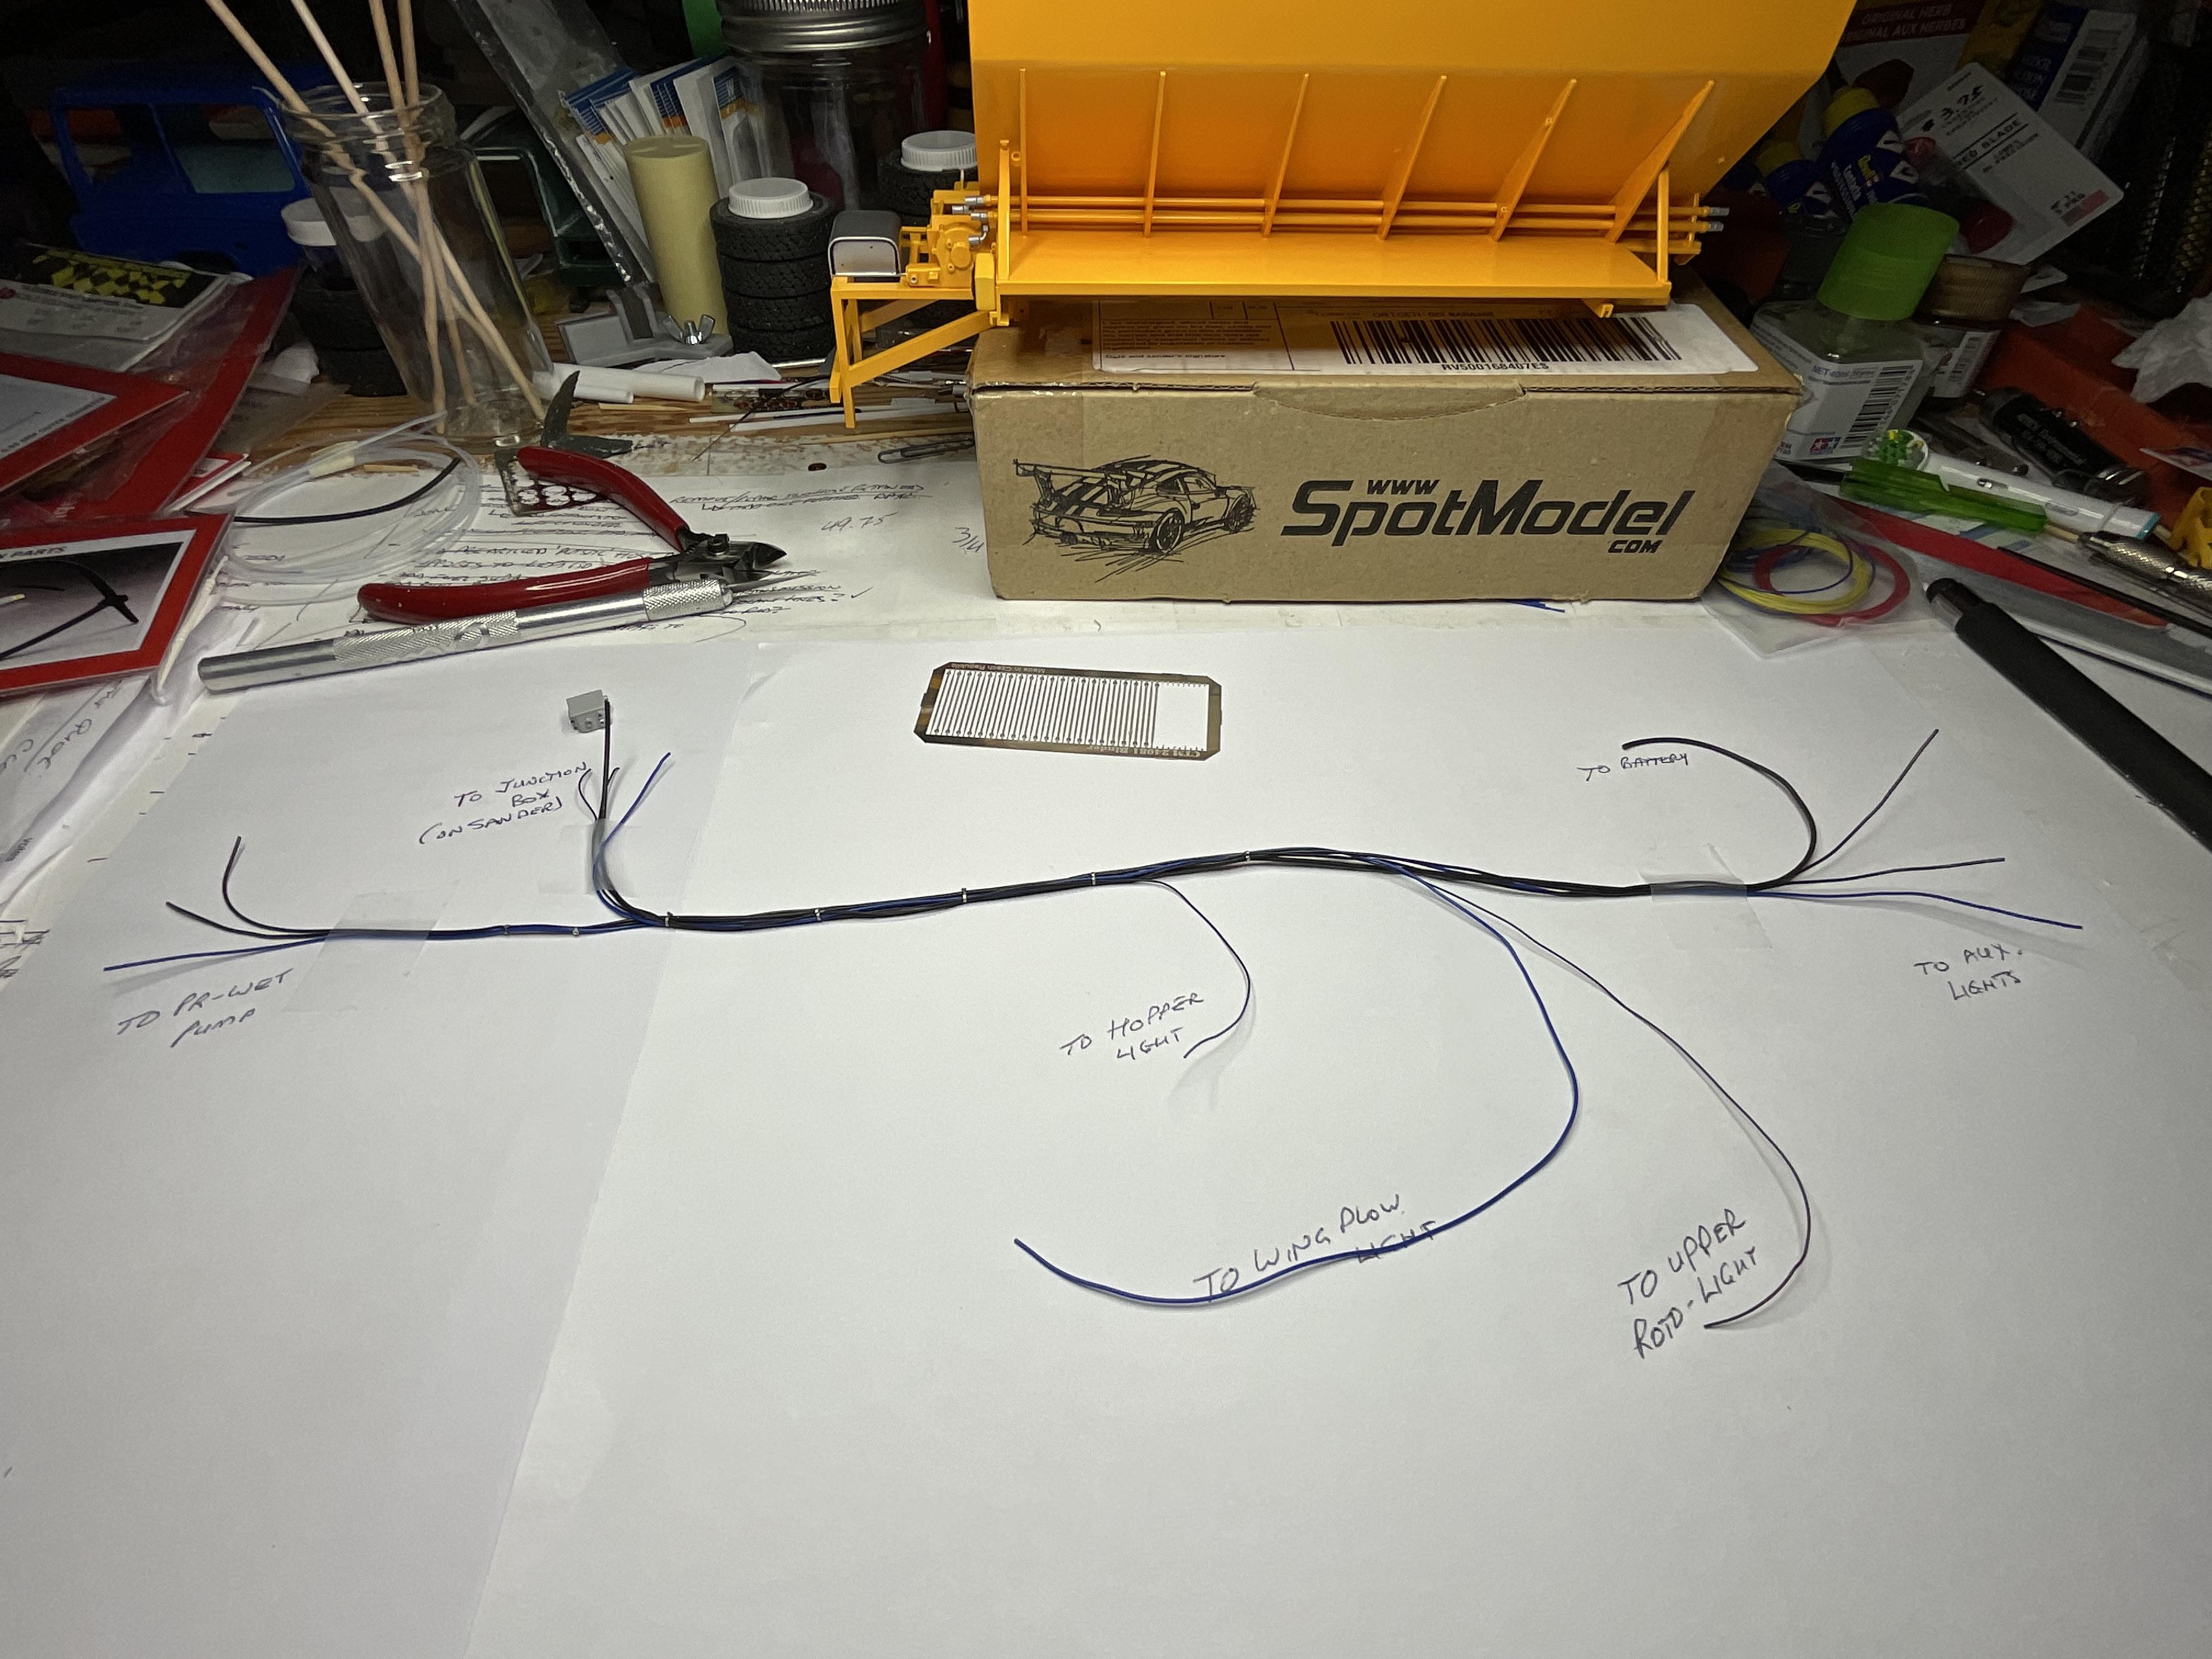
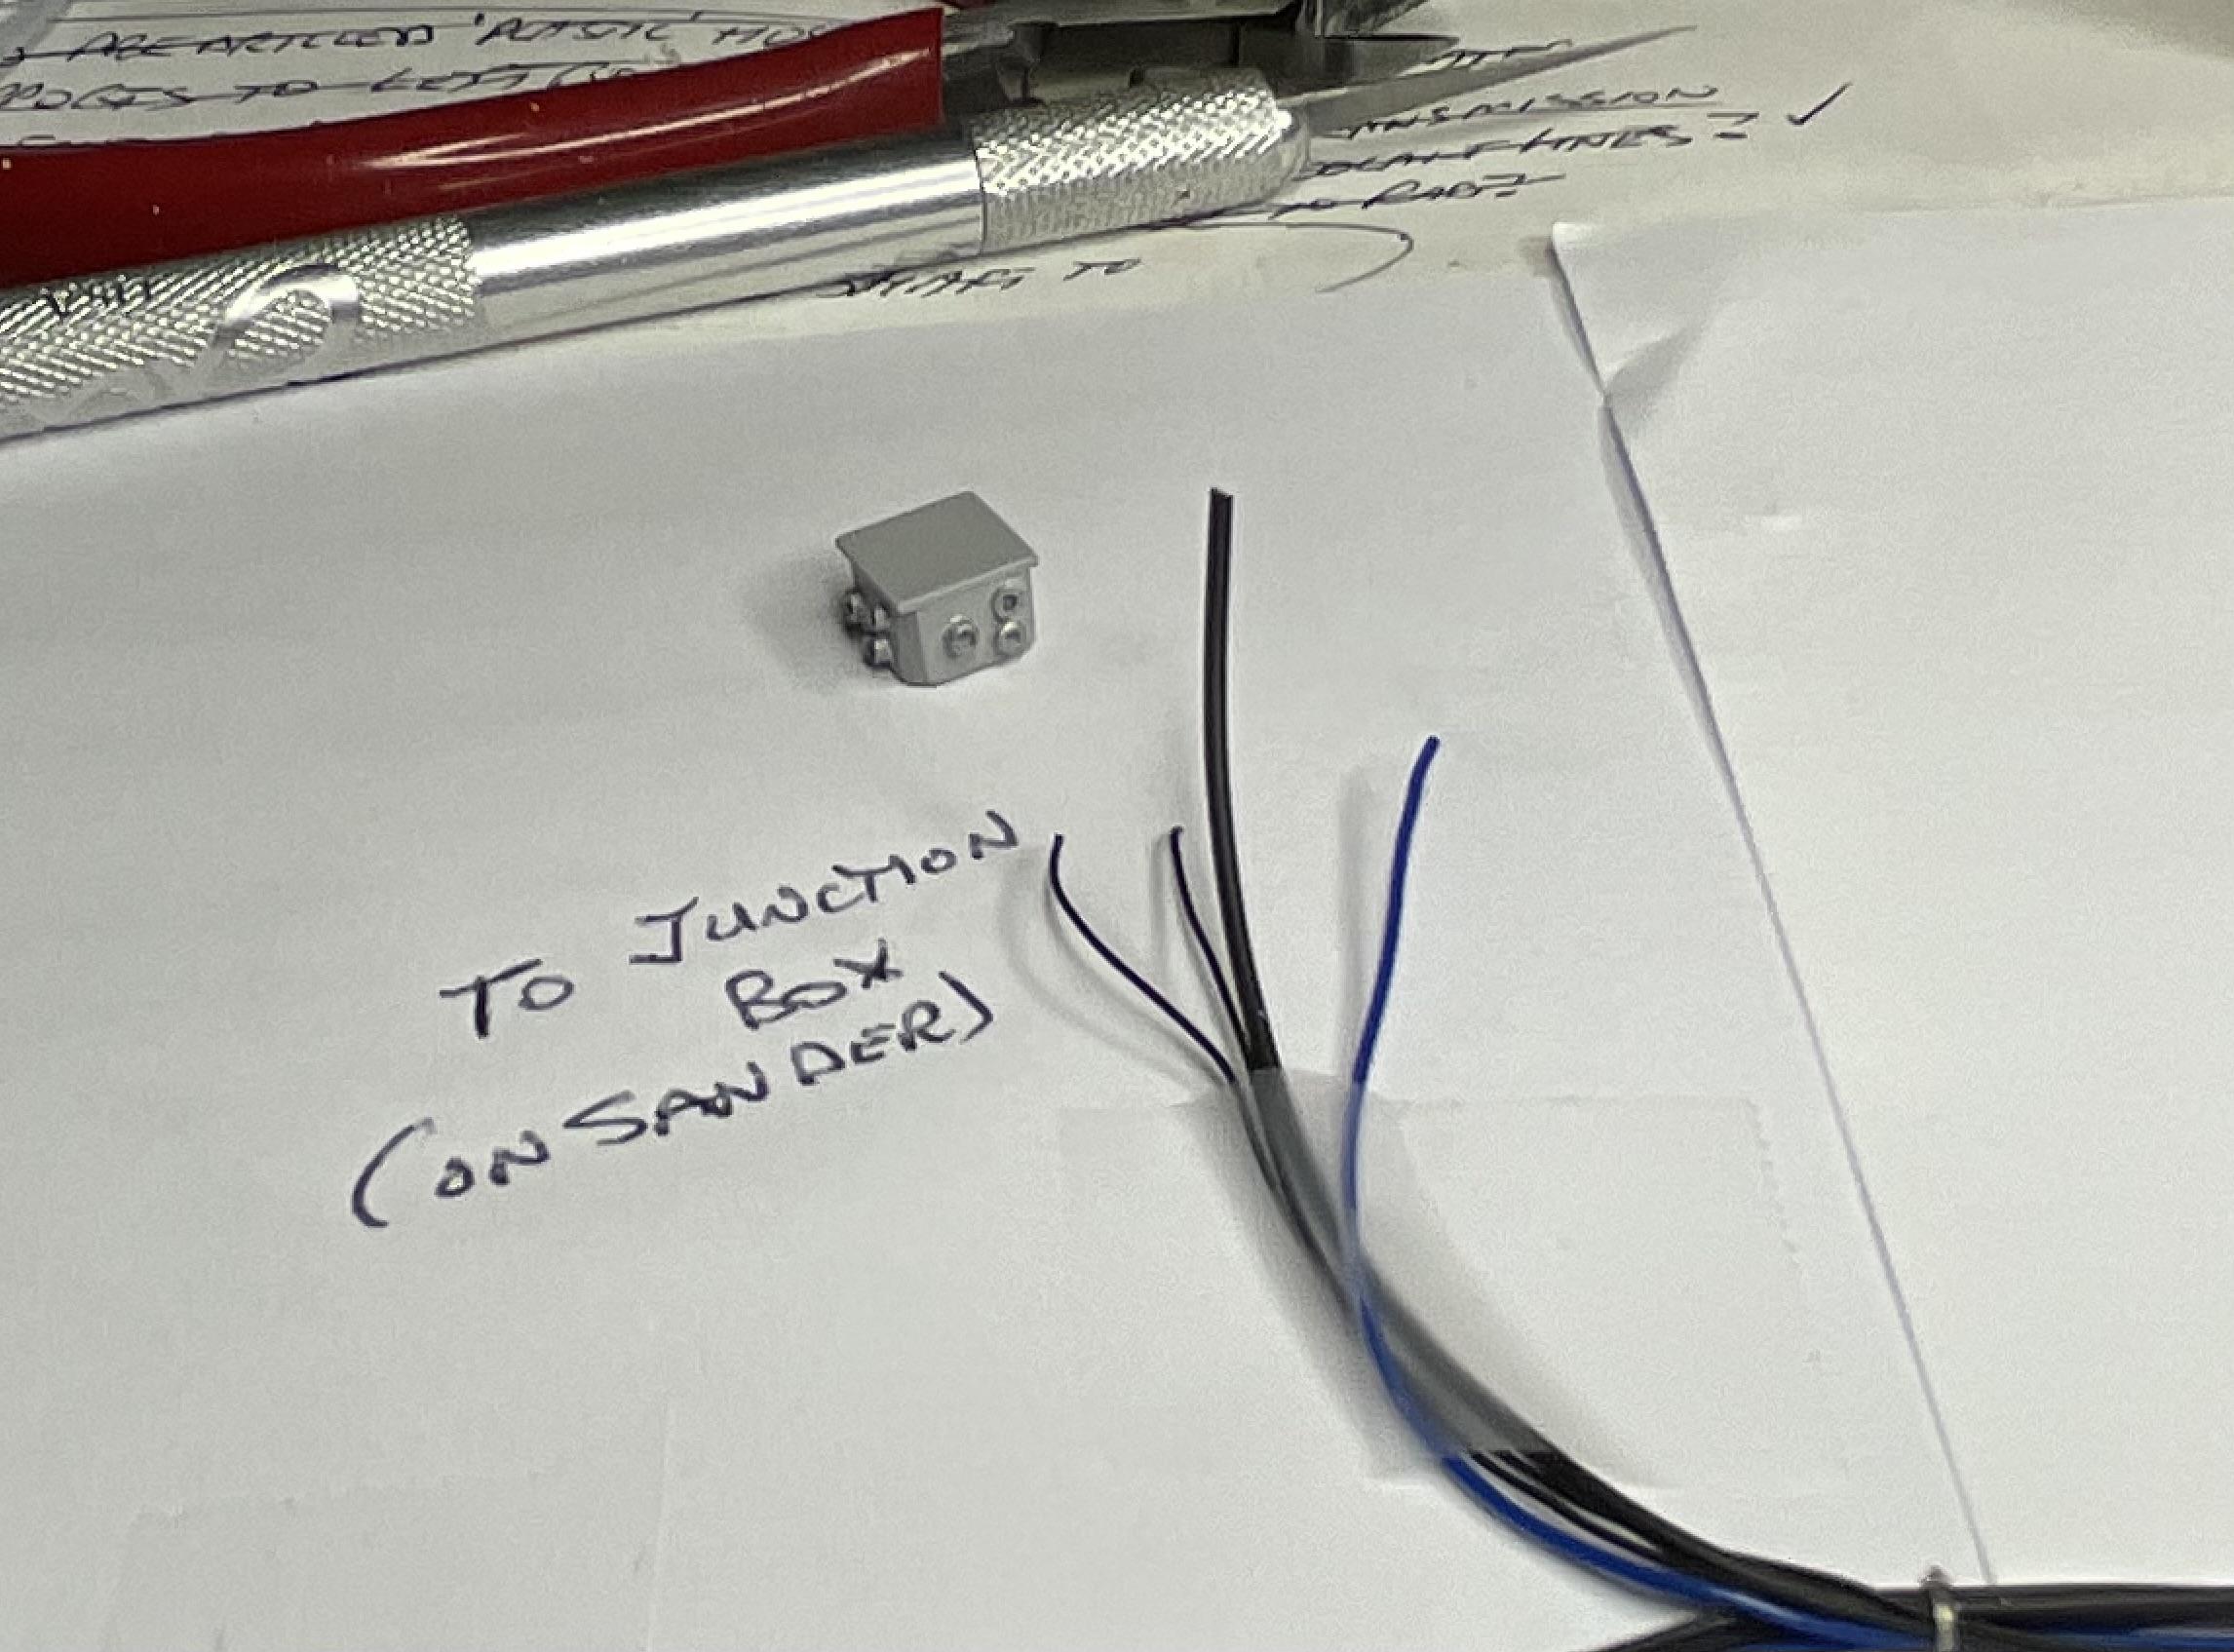
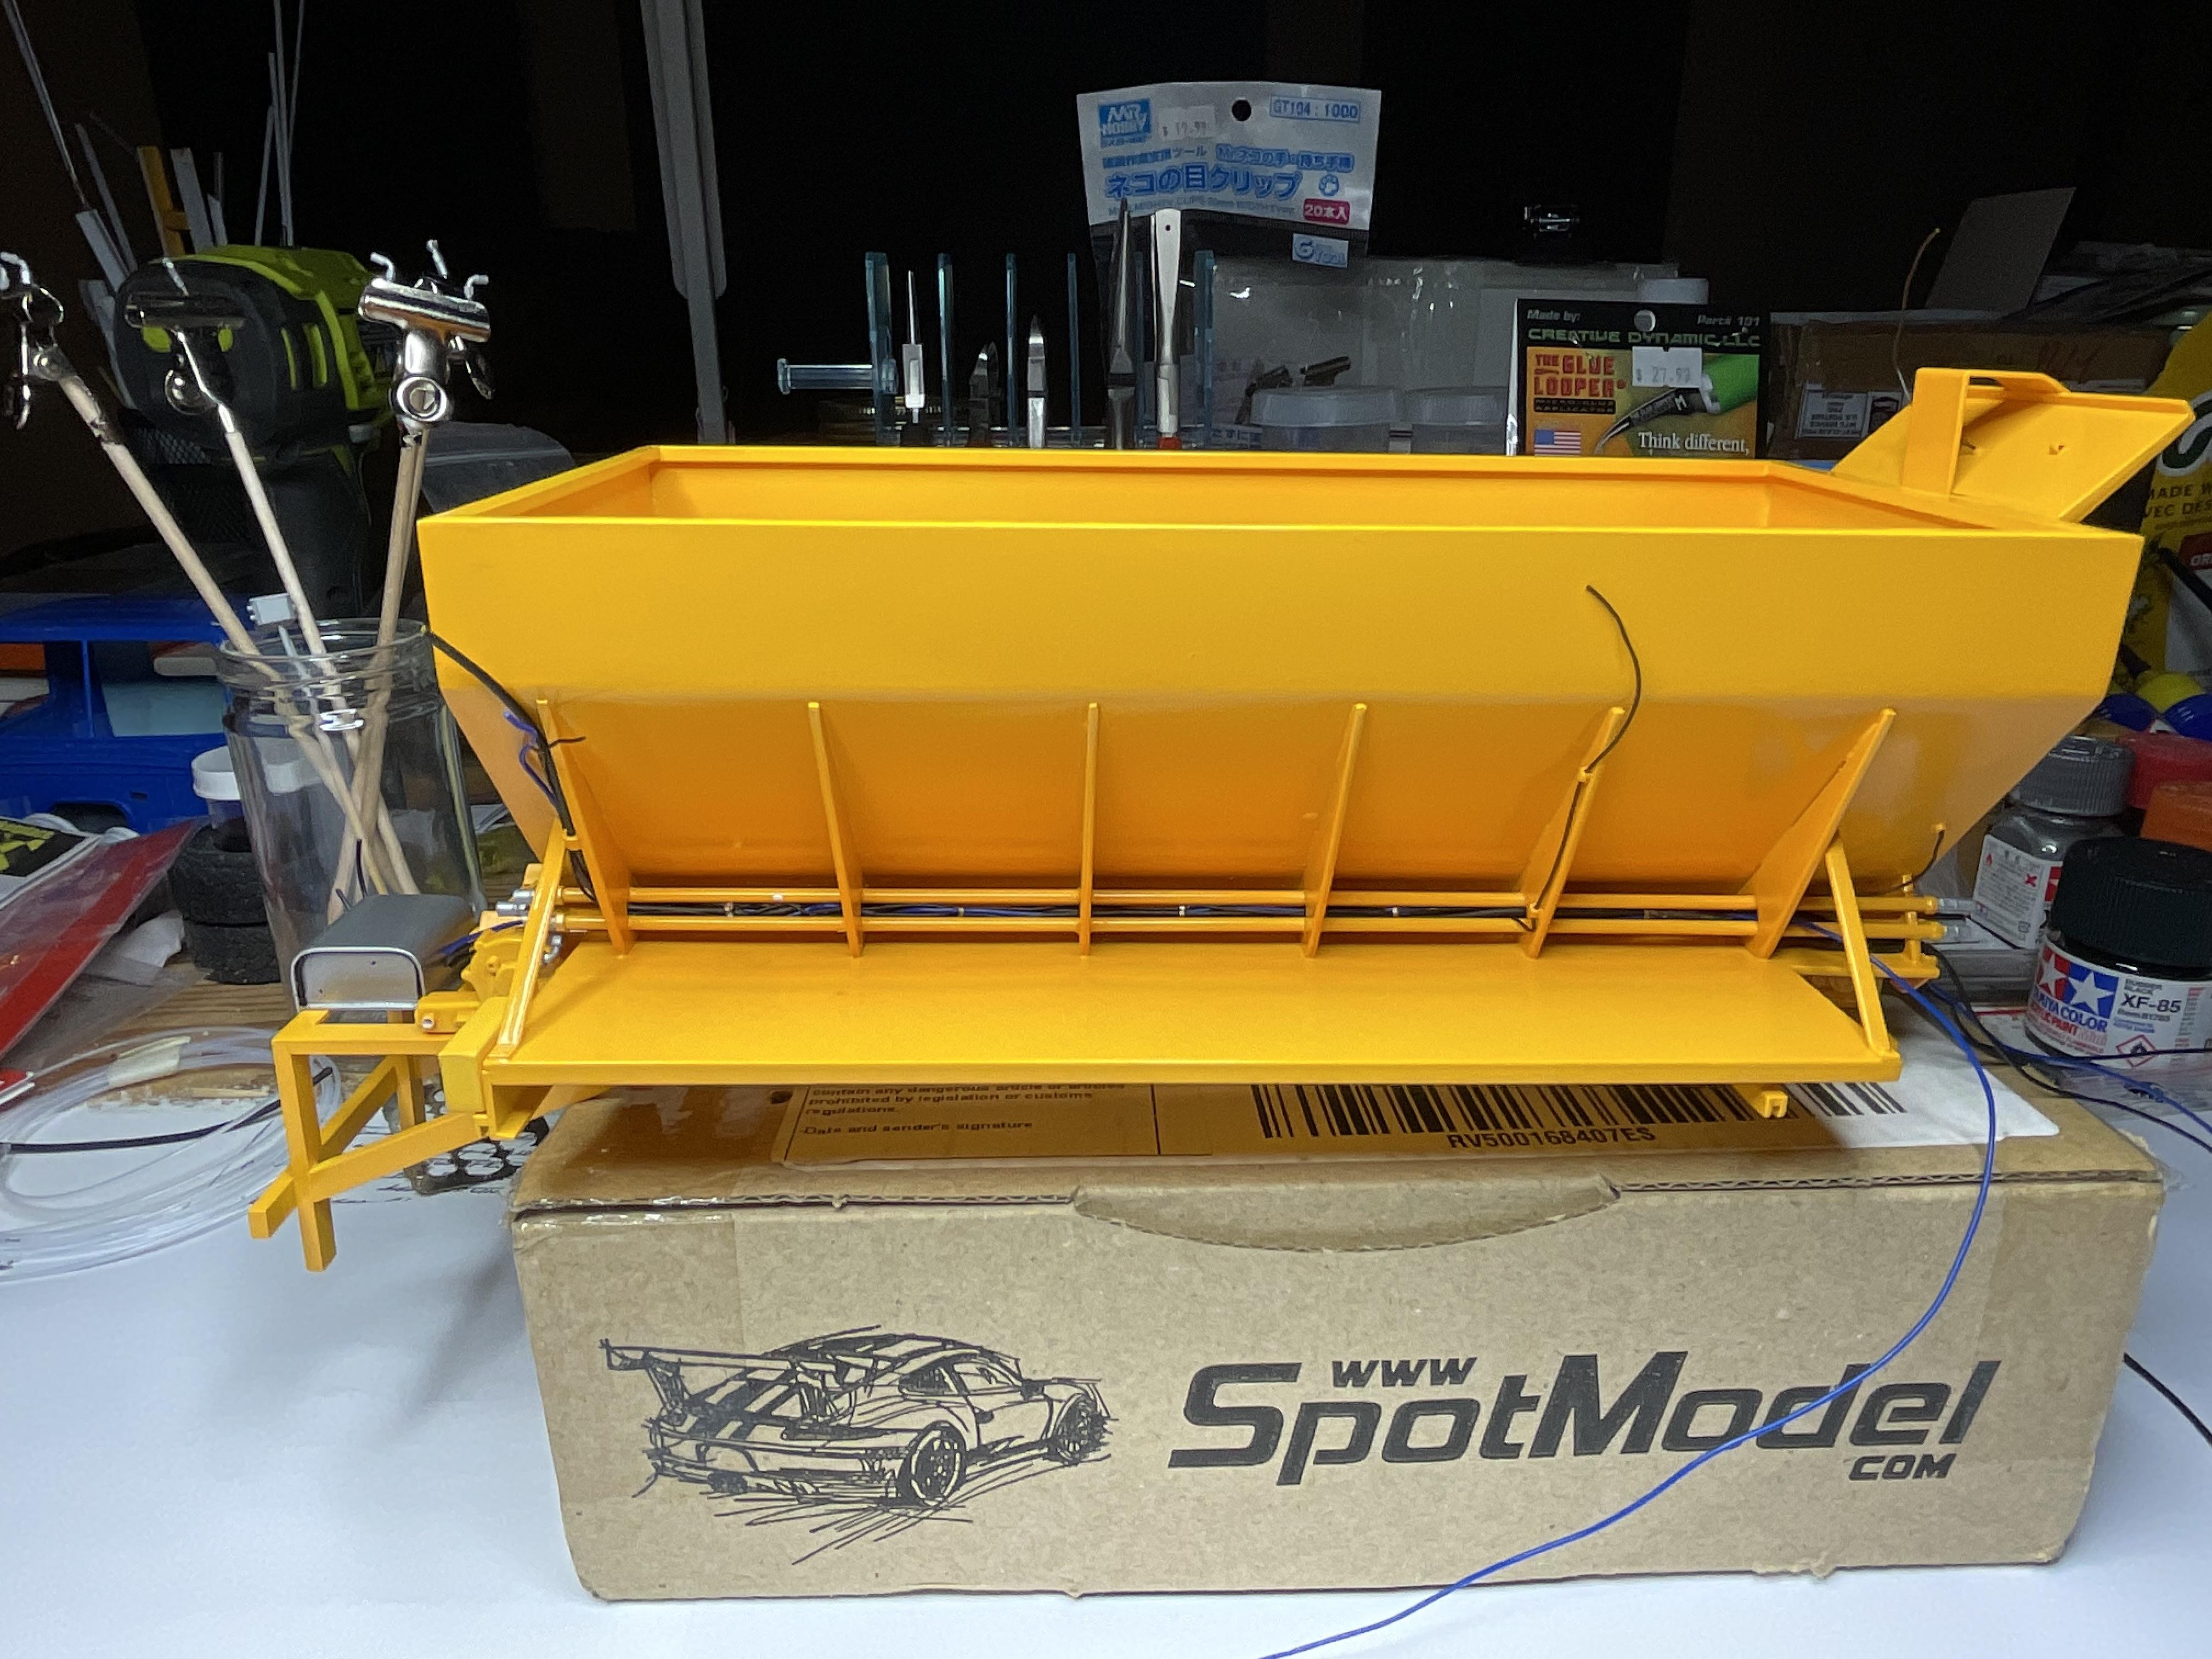
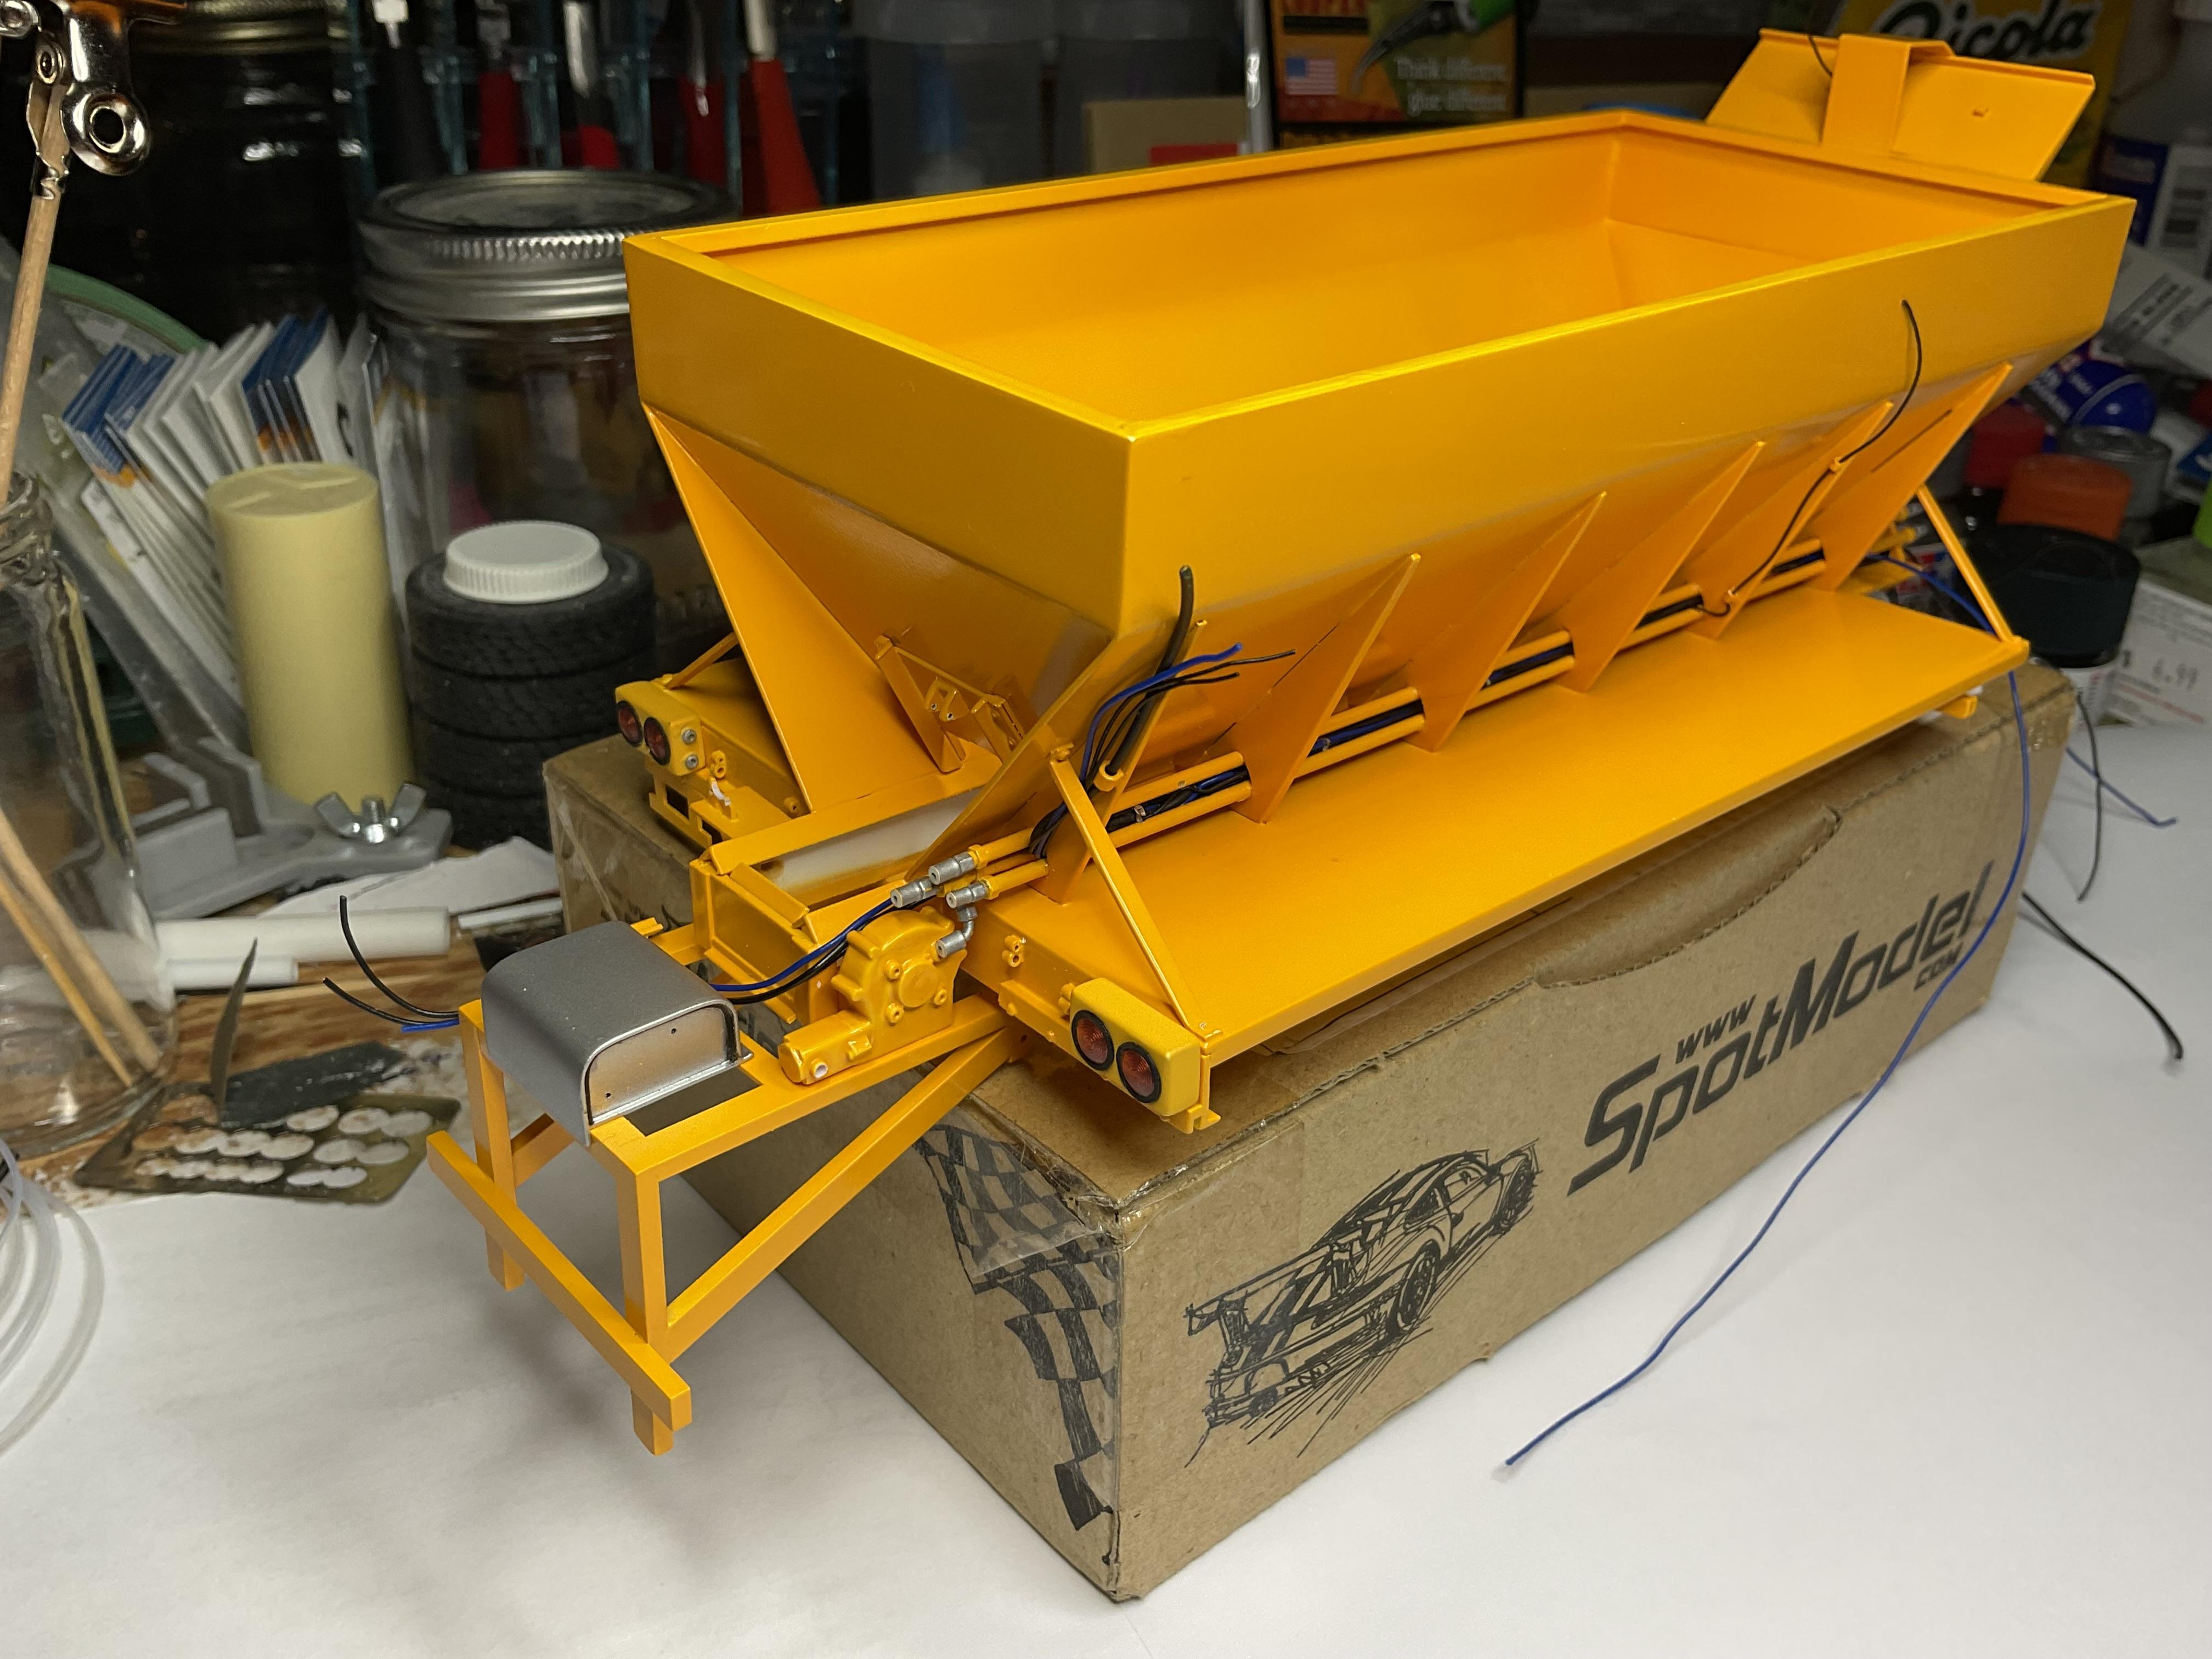
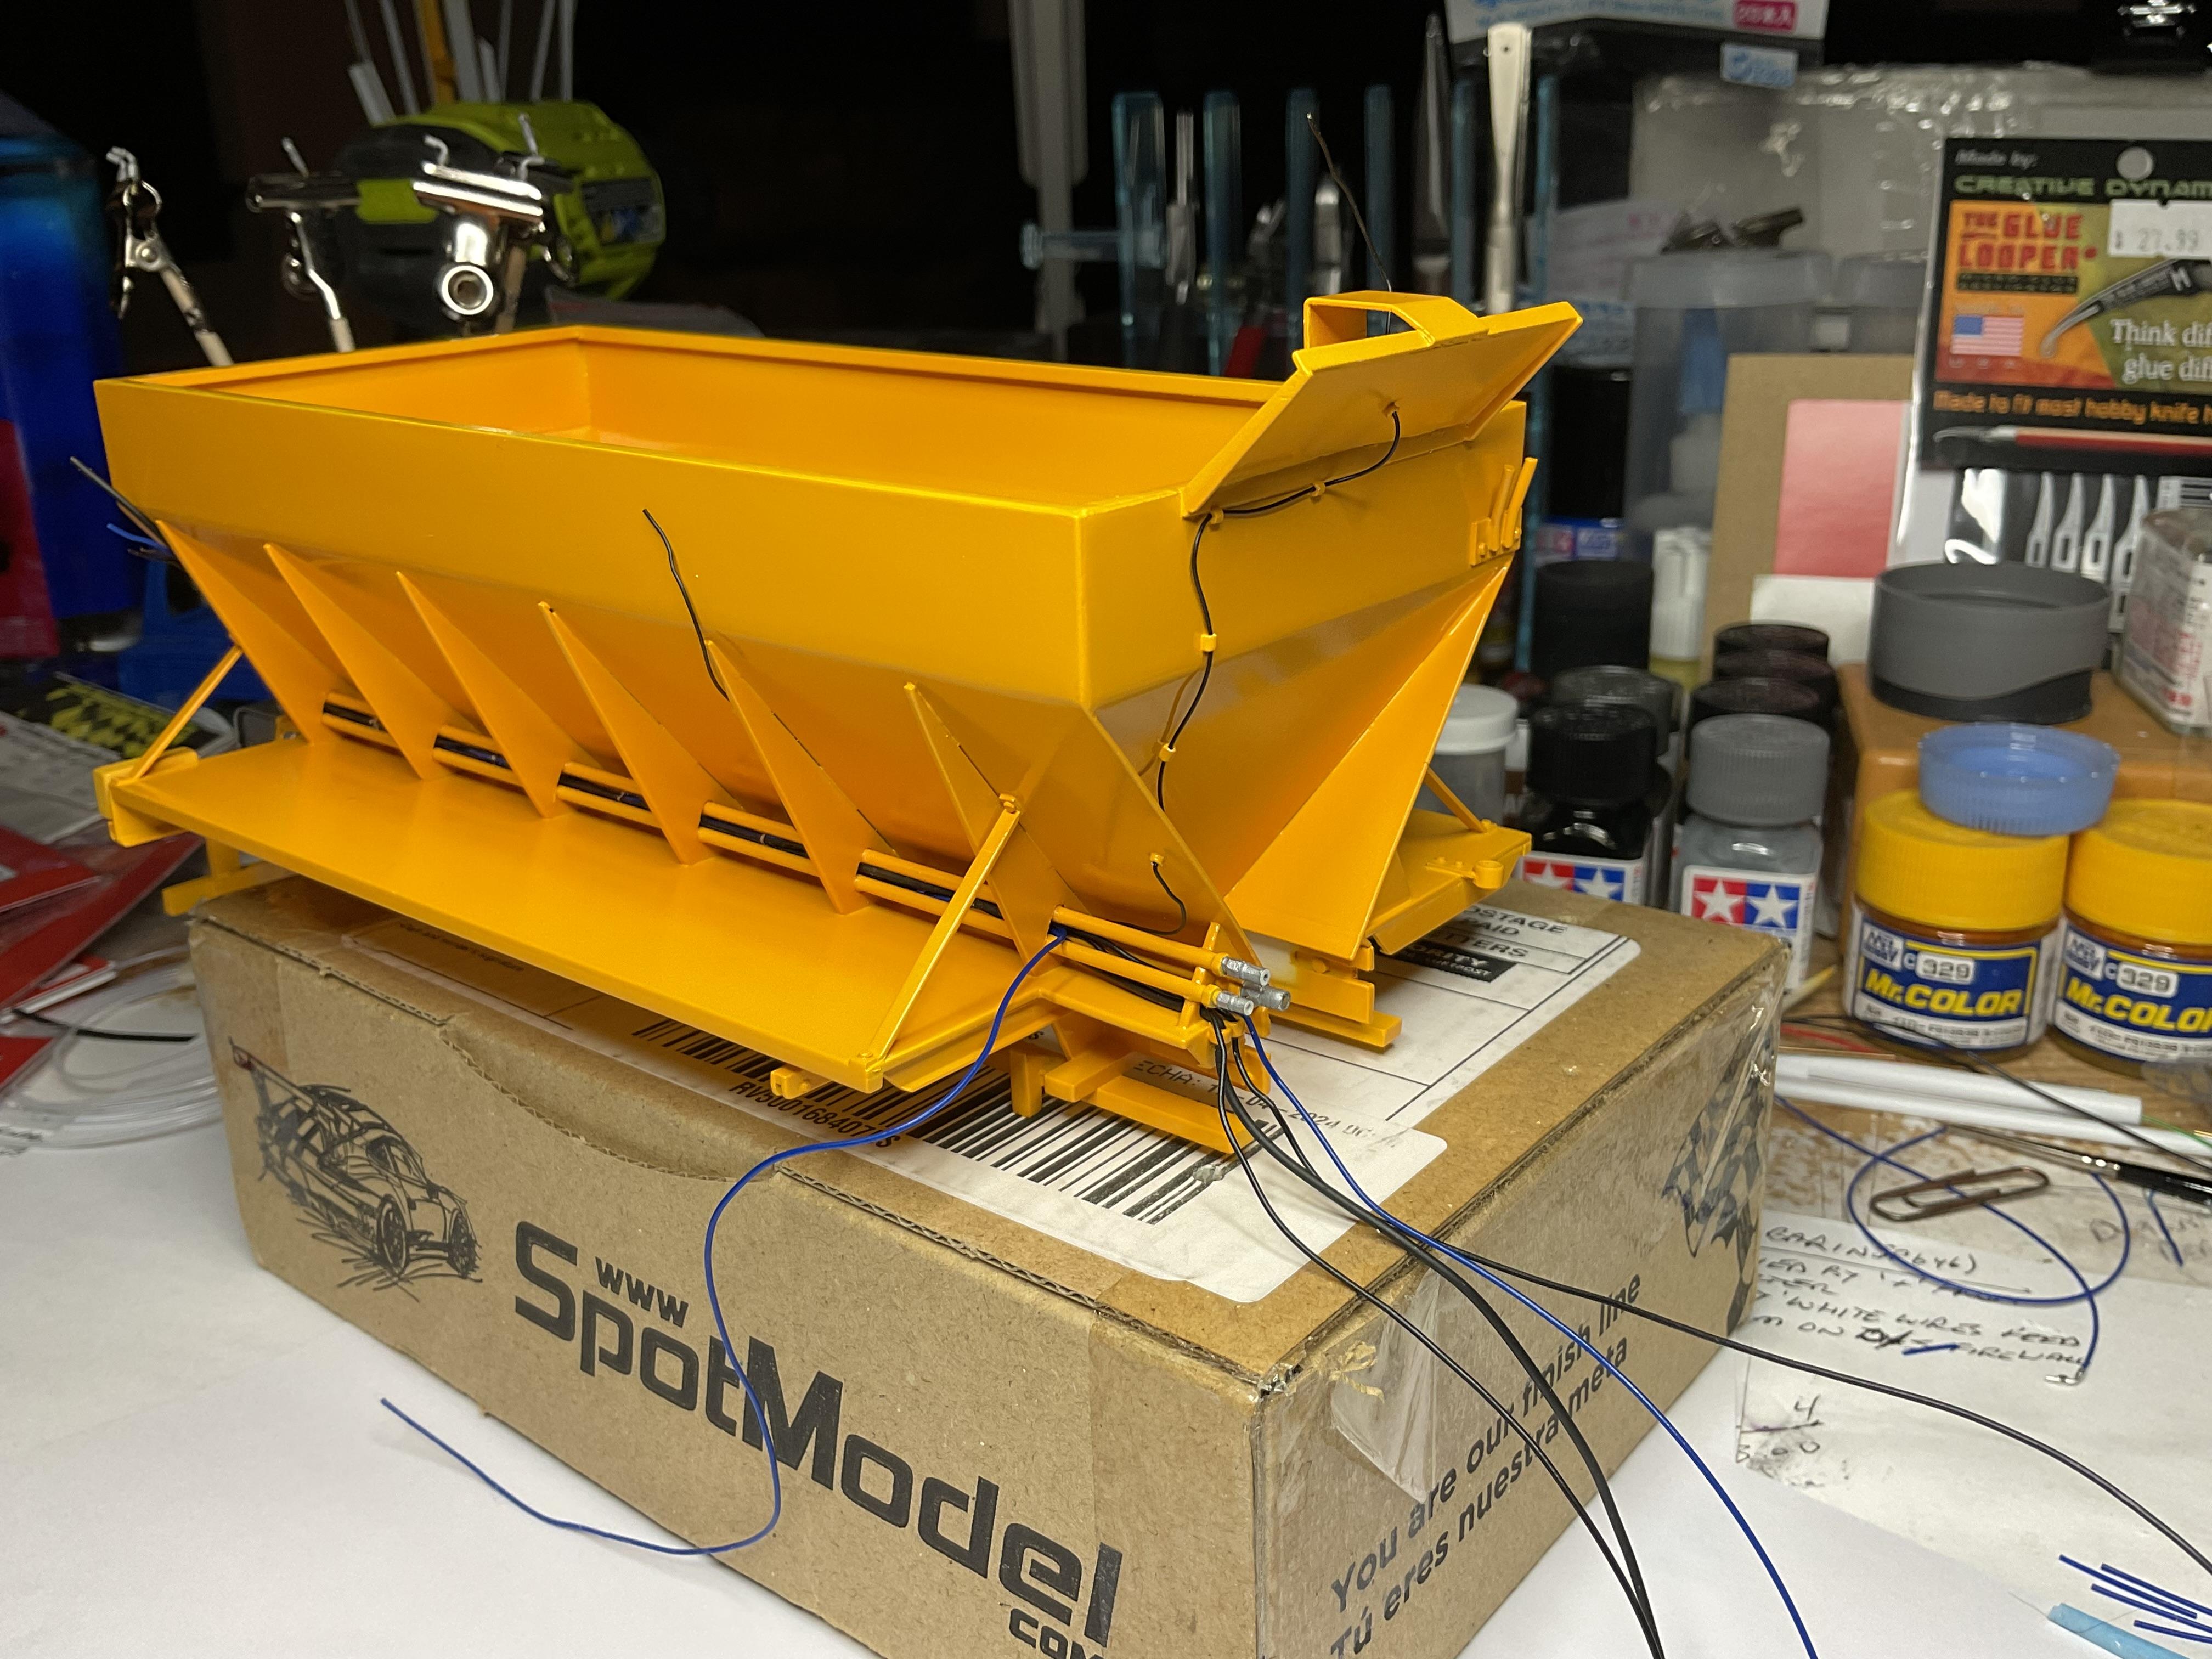
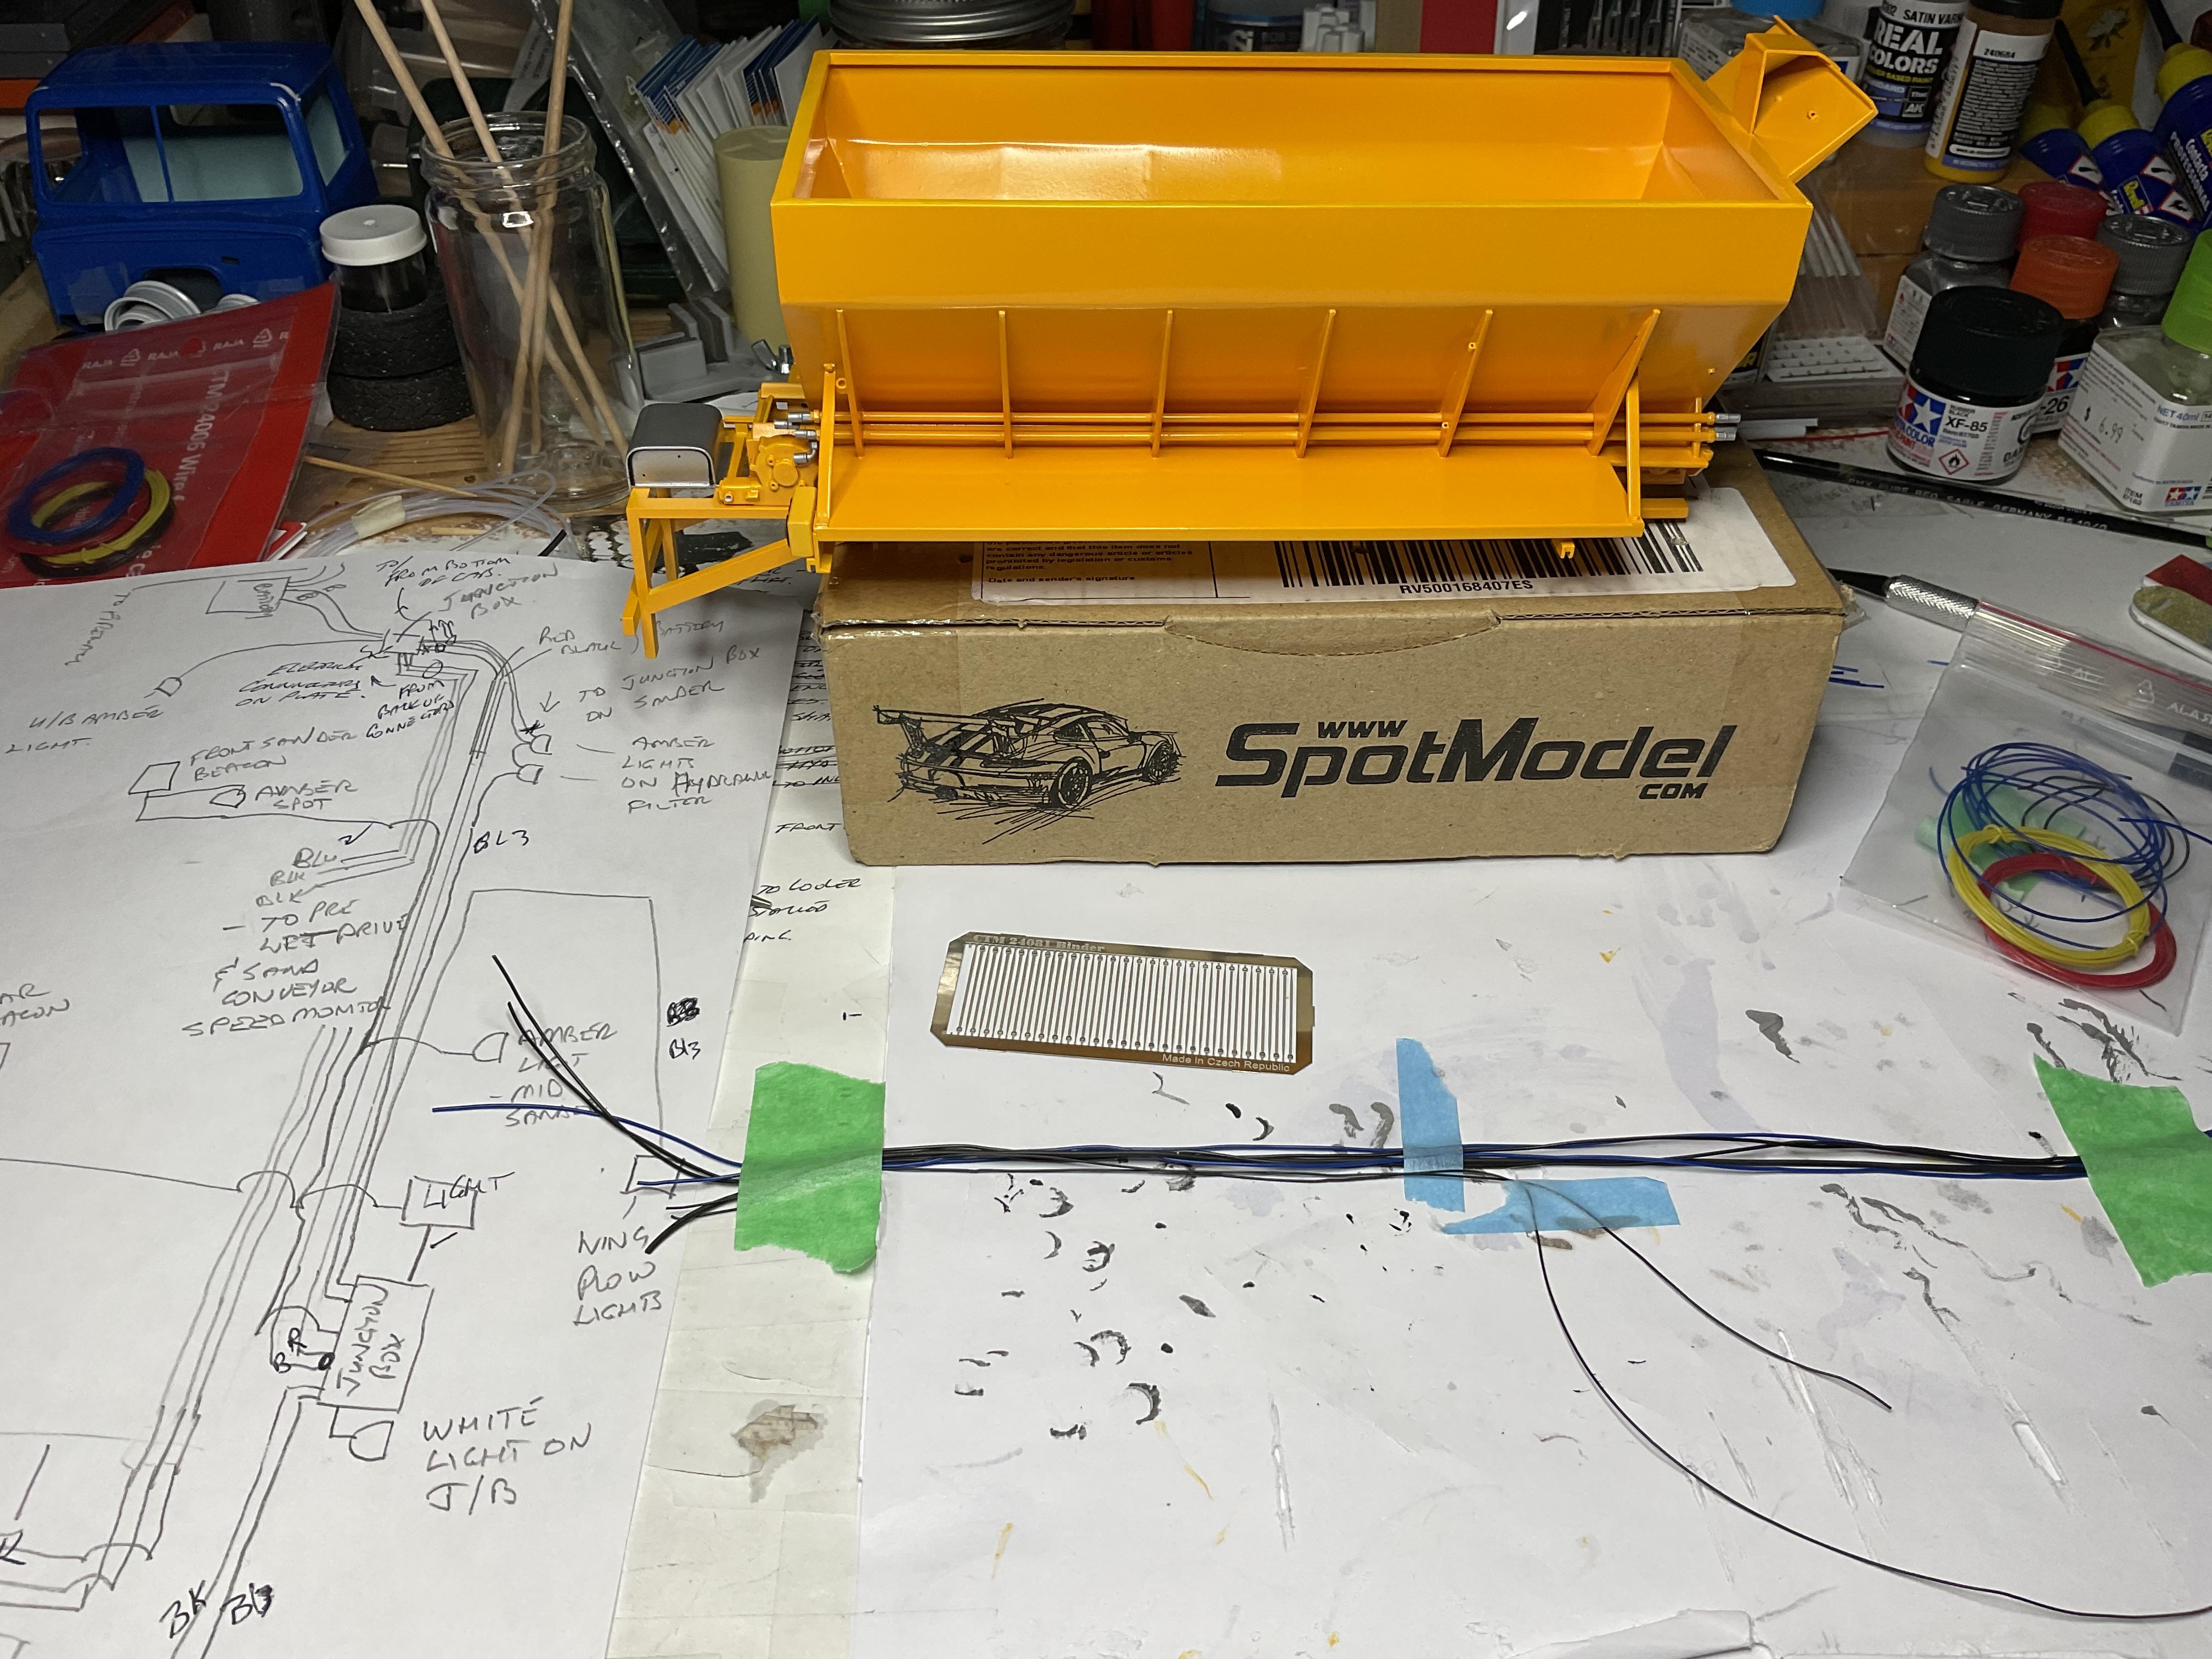
After I made my posting last night, I was cleaning up the work area, getting ready to call it a night, and thought I would try one of the PE zip ties, just to see how much work it might take in the morning. However, one turned out good, so I did a few more, did a photo of the wiring harness and then started in on putting the harness on the sander. I'd gone this far so, after a few hours (2 in the am, I think), I had the harness in. It was a struggle, and some touch up painting will need to be done, but a big step accomplished! Wiring harness zip-tied where needed and labeled to be sure I had the wires I needed - can't (or won't!) replicate every little wire, but the majority of the sander wiring is incorporated in this harness; there will still be wiring to run from the junction box at the back, to the rear brake lights and upper rear sander amber flashing lights The thickest 'wire' is a sheath for the power supply wiring, the blue wire is a three-wire line that runs back to wing plow amber warning light, and the black wires are two-wire runs to the hopper side light and the roto light at the top, front of the sander Had to put some tape on the wires in order to 'pull' them into place After much muttering and angst, the harness was tucked and pulled into space between trio of hydraulic hard lines - black wire up side of hopper is for light to shine on wing plow Wires up side of rear support rib will tie into junction box and three wires continue further back - two for pre-wet pump and one for the sand conveyor speed sensor Blue wire off side of fender will end up at amber warning light on wing plow and you can see a black wire running through side wall of hopper and up to service the roto-light. The other wires will terminate at a couple places under the cab Have to terminate the wiring at the pre-wet pump and then move on to some hydraulic hoses for the conveyor drive motor! Again, lots of pics, so thanks for taking the time to have a look - much appreciated!
-
Hope you have a speedy recovery - like Dan said, good thing you had yourself checked out.
-
Roanoke Railhouse Beer GMC General
BK9300 replied to Gary Chastain's topic in WIP: Model Trucks: Big Rigs and Heavy Equipment
Sorry to hear - very frustrating when “do overs” are needed. -
1960 Ford F-100 Pickup Pro Street
BK9300 replied to Zippi's topic in WIP: Model Trucks: Pickups, Vans, SUVs, Light Commercial
I agree with you about maybe not using box walls - hard for driver loading vehicle on trailer to open the door to get out! (have first hand experience with that!) -
full detail 1/16th Gordie Bonin BubbleUp Trans Am Funnycar
BK9300 replied to Ian McLaren's topic in WIP: Drag Racing Models
Have always liked drag racing, in all its forms, and while I know very little about the cars themselves, I sure can appreciate the amount of realistic detail you achieve with your builds. -
Amazing amount of fabrication you’ve done! What do you use to attach/glue your interior ‘tin’ pieces together?
-
Beautiful looking cars!
-
Amazing paint and beautifully executed trim!
-
Western Star 4900 FA plow truck
BK9300 replied to BK9300's topic in WIP: Model Trucks: Big Rigs and Heavy Equipment
Thanks, Jeff - always appreciate your comments and support along the way! (too many pics for a magazine!) -
1960 Ford F-100 Pickup Pro Street
BK9300 replied to Zippi's topic in Model Trucks: Pickups, Vans, SUVs, Light Commercial
Great looking pickup, Bob - good to see it in black, too! -
V-12 1950 Ford F-1
BK9300 replied to Chuck Most's topic in Model Trucks: Pickups, Vans, SUVs, Light Commercial
Don’t know which I like better - the build or your story. Both are terrific! -
Western Star 4900 FA plow truck
BK9300 replied to BK9300's topic in WIP: Model Trucks: Big Rigs and Heavy Equipment
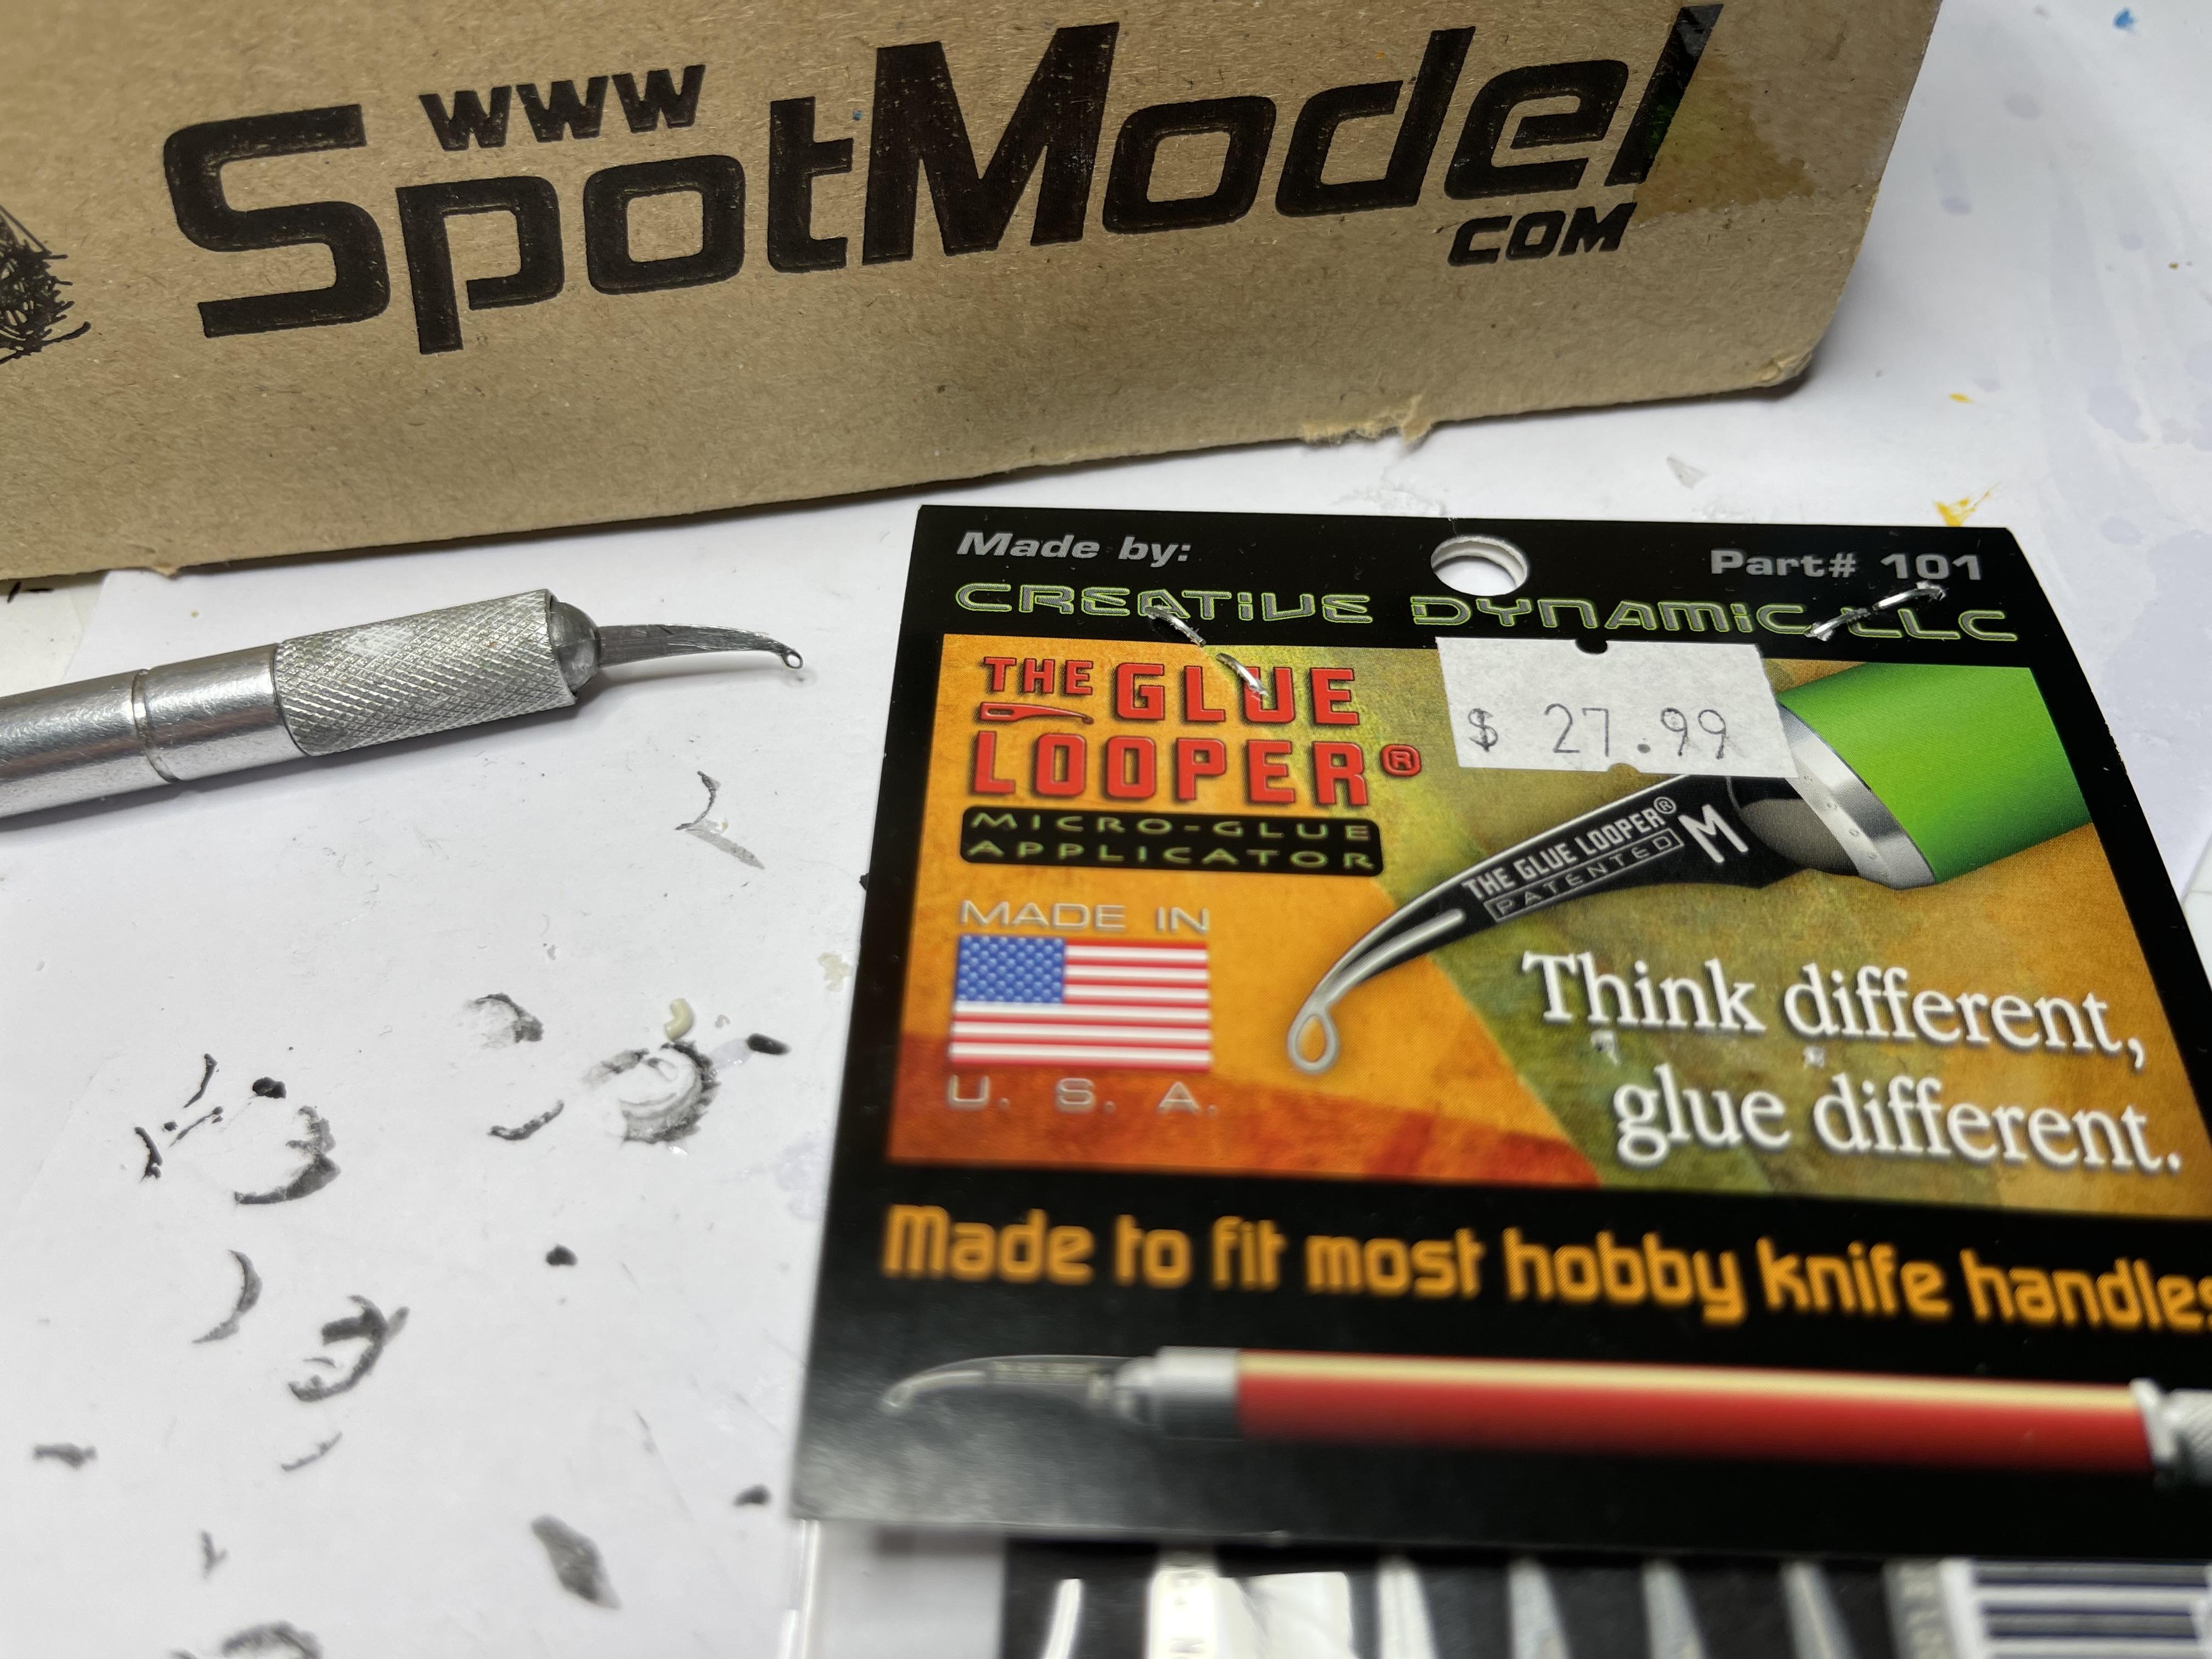
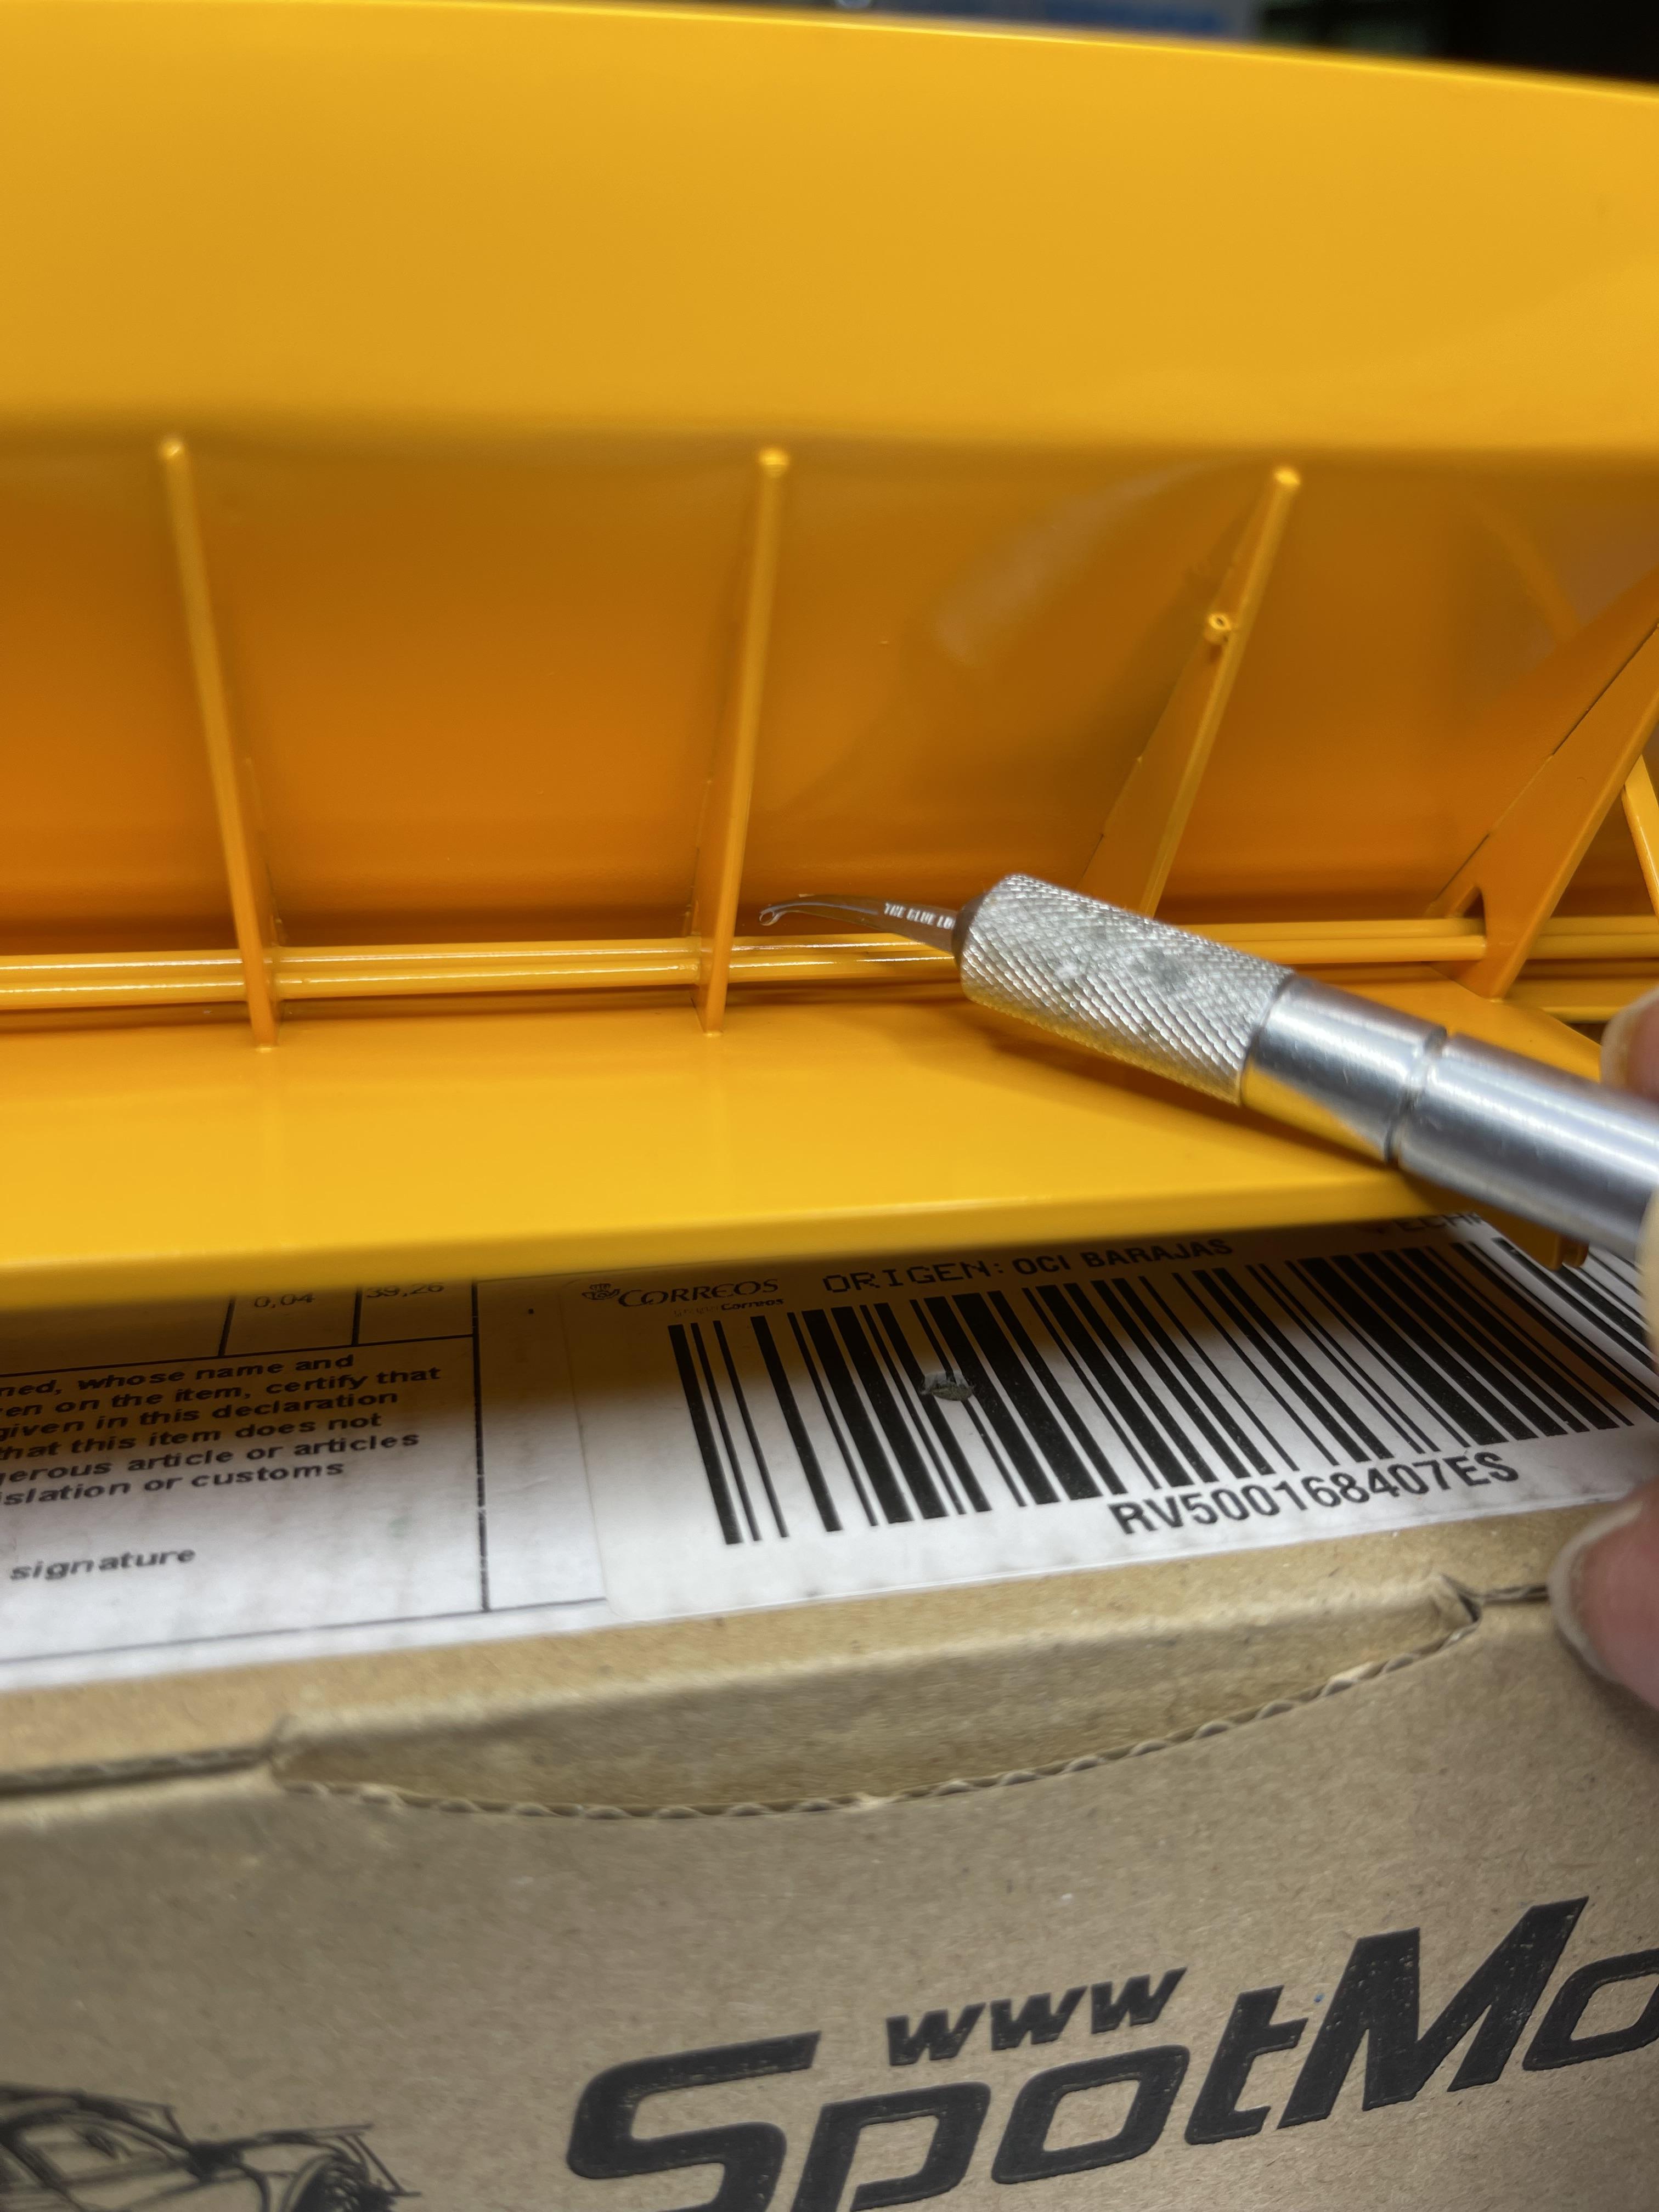
Been carrying on with work on the sander - have spent a lot of time on this part of the build, but there is a lot to build and put together! Before much more could be done, I needed to fix in place the hard line hydraulic runs along the side of the sander. Once they were in place, I started laying out some wiring runs - there's an electrical junction box on the rear/side of the sander, distributing power to various lights on the sander, power to the pre-wet pump housing, as well as amber clearance lights on the wing plow, side of the hopper, over the underbody plow and the sander's roto-lights. First of three hard lines to install - Wasn't sure how I was going to get CA glue into the tight spots on the hopper support ribs to attach hard lines - found this great set of loops (package of 10, PE loops) that allow me to pick up a small amount of CA glue and carefully place the glue where needed. Had to clean the loop out lots along the way, but sure was handy Was able to apply glue quiet easily with this attachment All three hard lines in a quick mock up started laying out lengths of wire for sander's wiring harness - going to try to get some PE zip ties to work! With any (a lot of!) luck, should be able to install the wiring harness tomorrow - it will need to run inside the trio of hard lines - not looking forward to that!
-
Western Star 4900 FA plow truck
BK9300 replied to BK9300's topic in WIP: Model Trucks: Big Rigs and Heavy Equipment
Thanks, Charles, for stopping by to have a look and for the generous comments! Some days the 'ride' is a little bumpy, but still moving forward. Thanks again. -
Wicked looking Impala, Anton. My boss back in the day had a 1996 Impala - similar (same?) body lines as your build, but that would be where the similarity ends!
-
Cyber punk ‘88 Dodge Daytona/Mercedes C9 kit bash
BK9300 replied to Steve H's topic in WIP: Model Cars
Steve, sounds like lots of scratch building ahead of you! -
Western Star 4900 FA plow truck
BK9300 replied to BK9300's topic in WIP: Model Trucks: Big Rigs and Heavy Equipment
Thanks, Gary - its been challenging! I appreciate the comments along the way! -
Western Star 4900 FA plow truck
BK9300 replied to BK9300's topic in WIP: Model Trucks: Big Rigs and Heavy Equipment
Thanks, Jeff - as always, appreciate your comments! My assembly/completion goals seem to keep getting missed because one detail or another conflicts with yet another, in terms of assembly order (no instructions for this one!). Often said on this forum, and it's true - need to be several steps ahead of the assembly process in your head, as opposed to where you actually are, to be able to continue without having to take something apart later on. (glad to hear you had a good holiday!) -
Western Star 4900 FA plow truck
BK9300 replied to BK9300's topic in WIP: Model Trucks: Big Rigs and Heavy Equipment
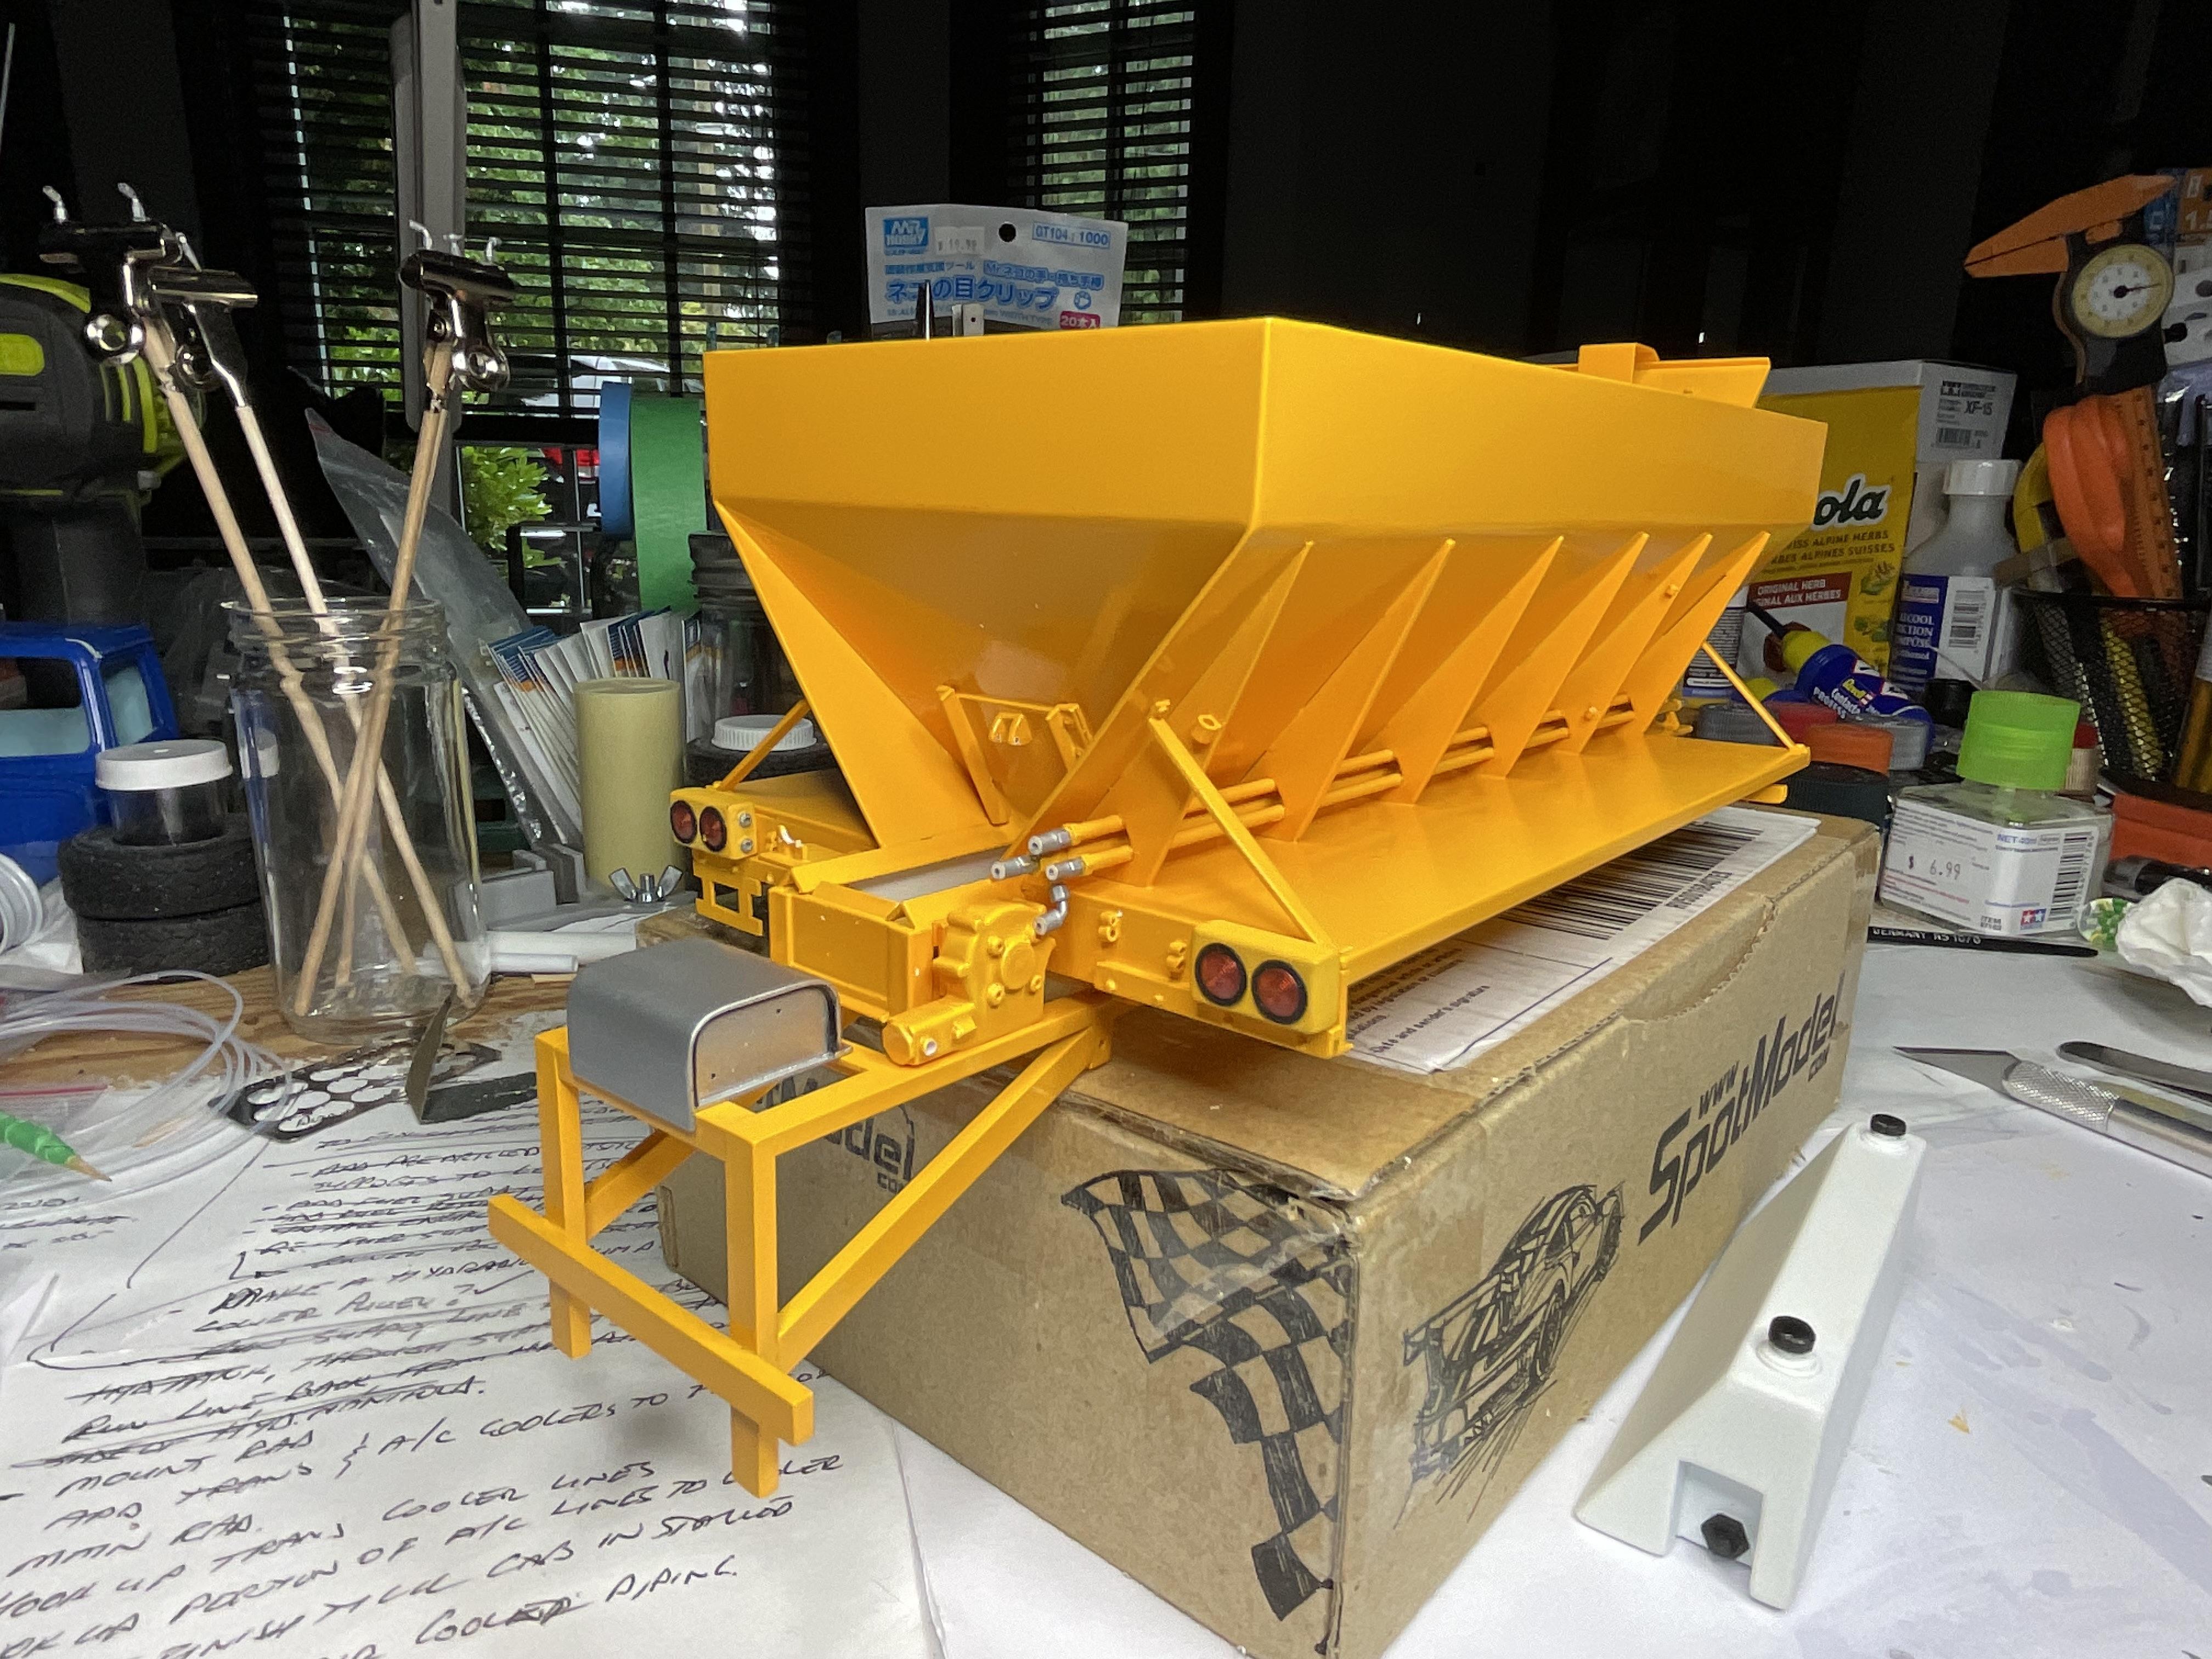
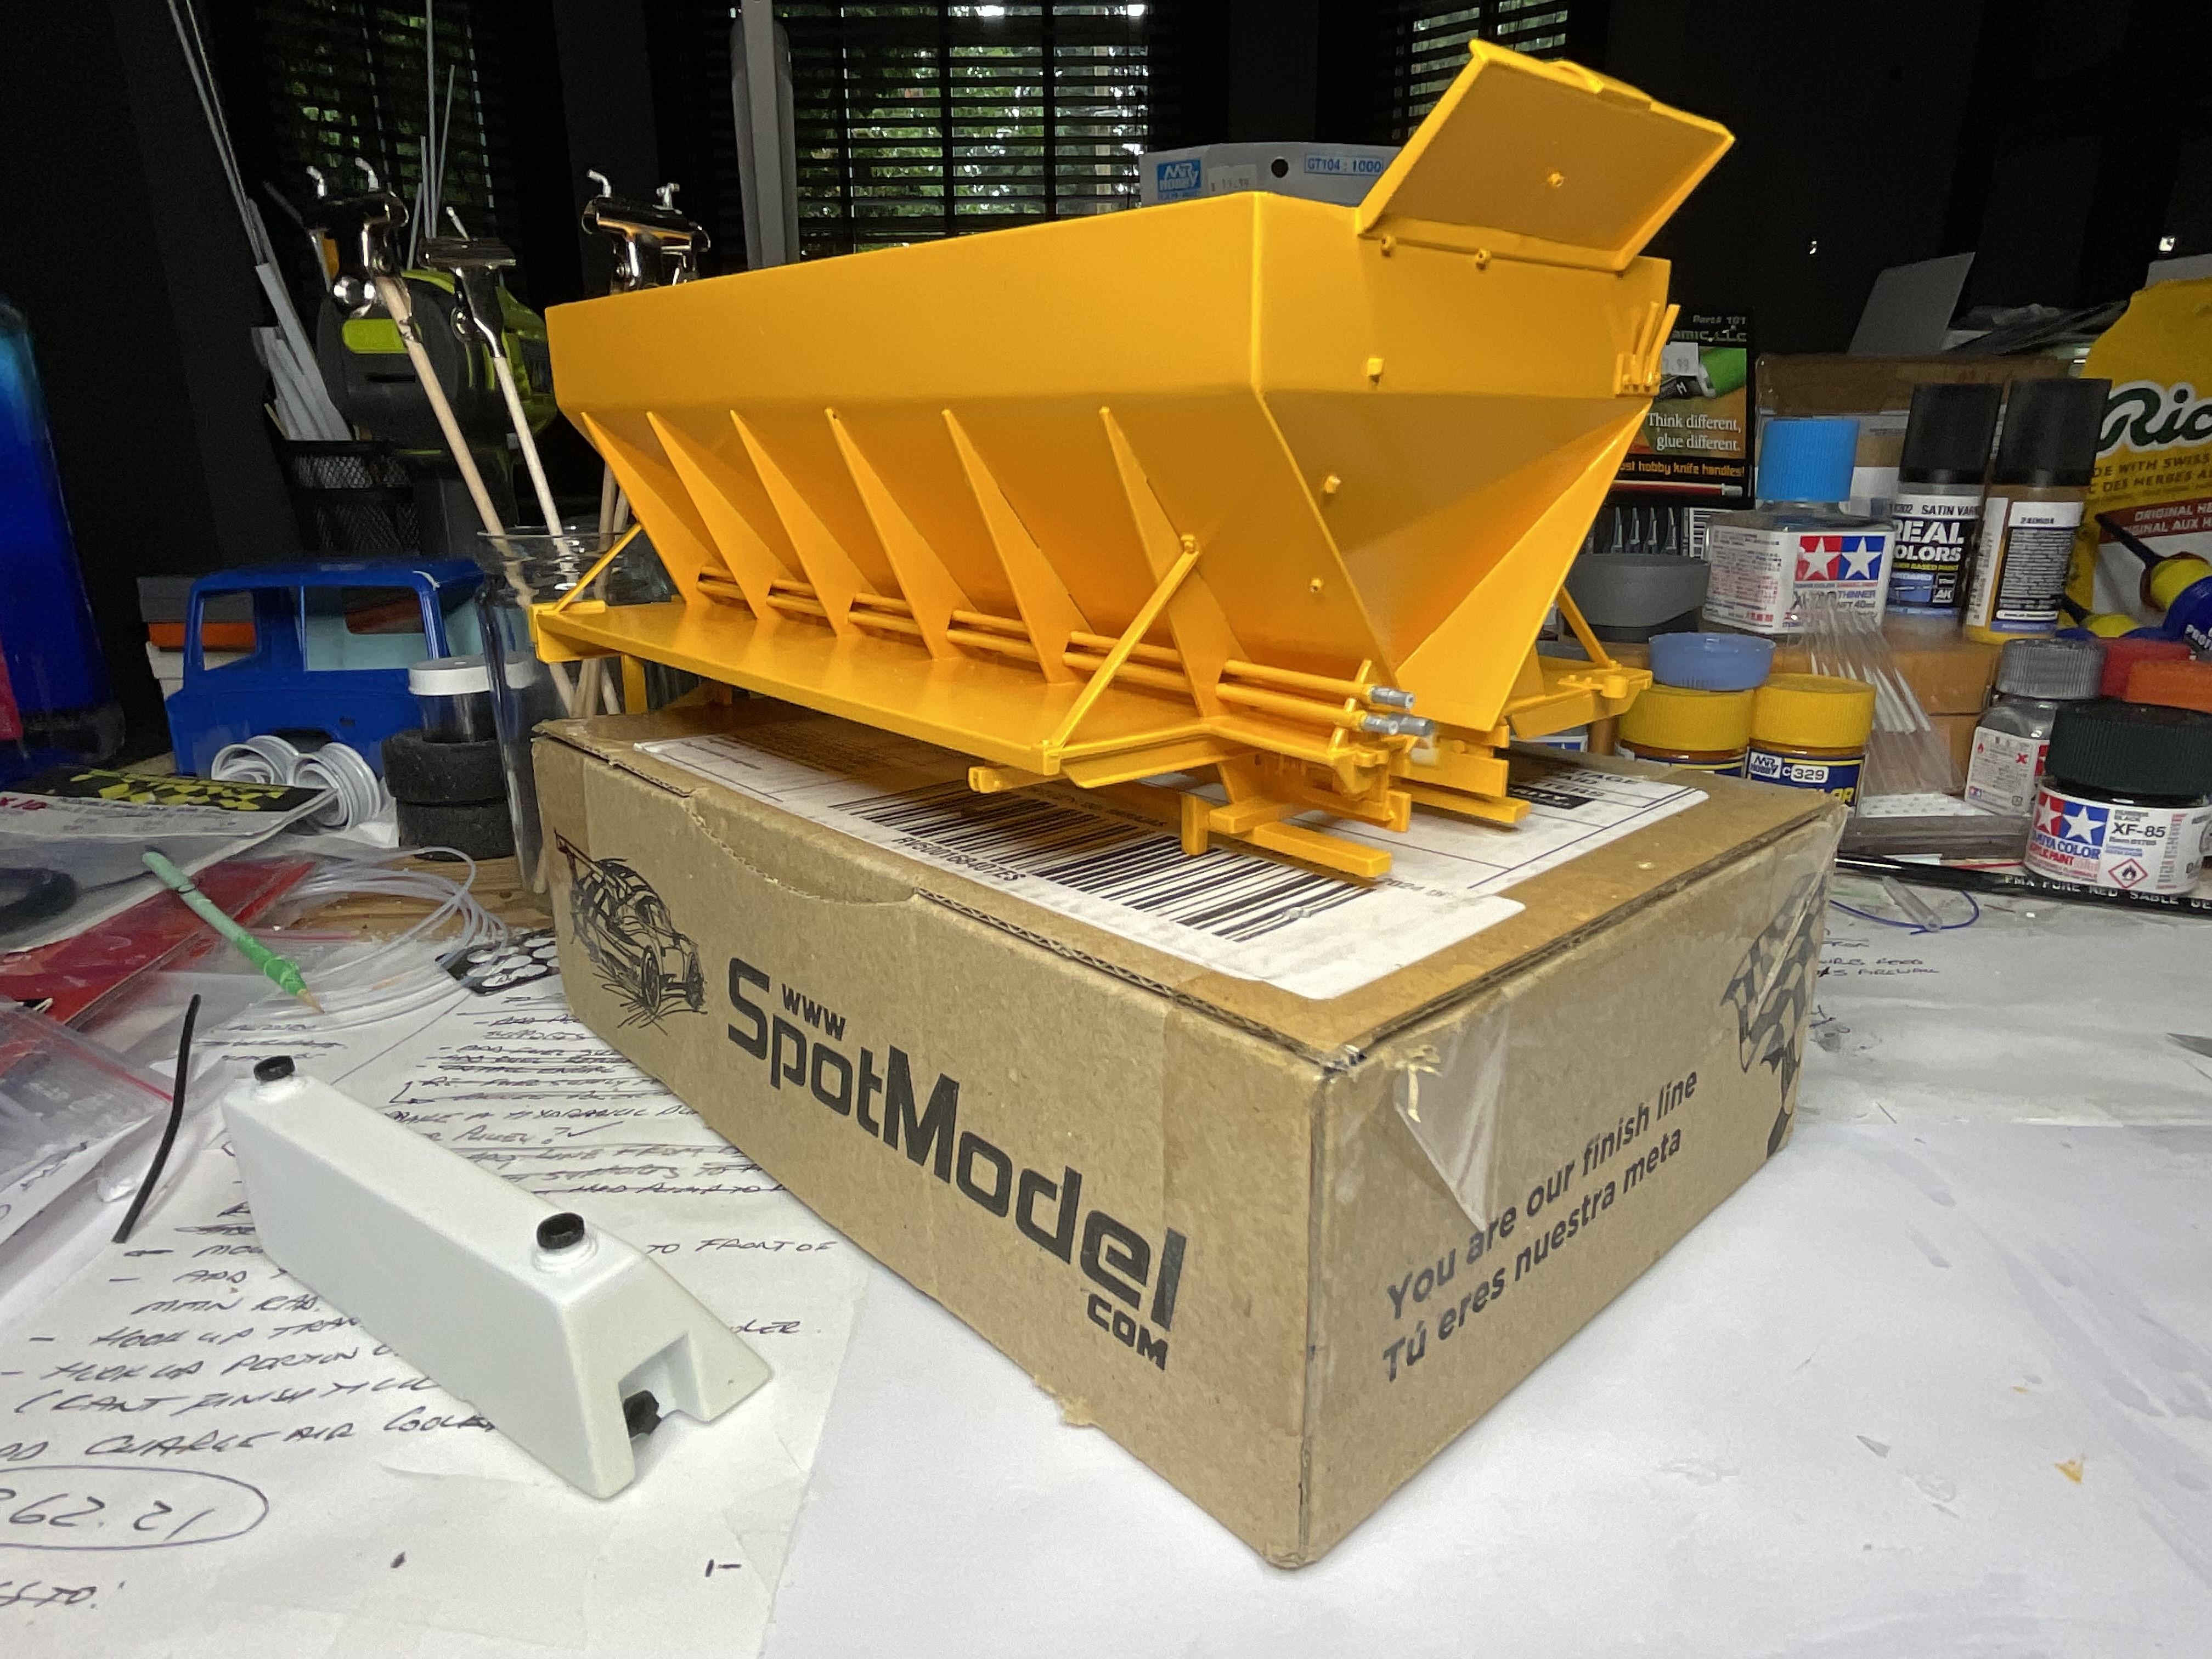
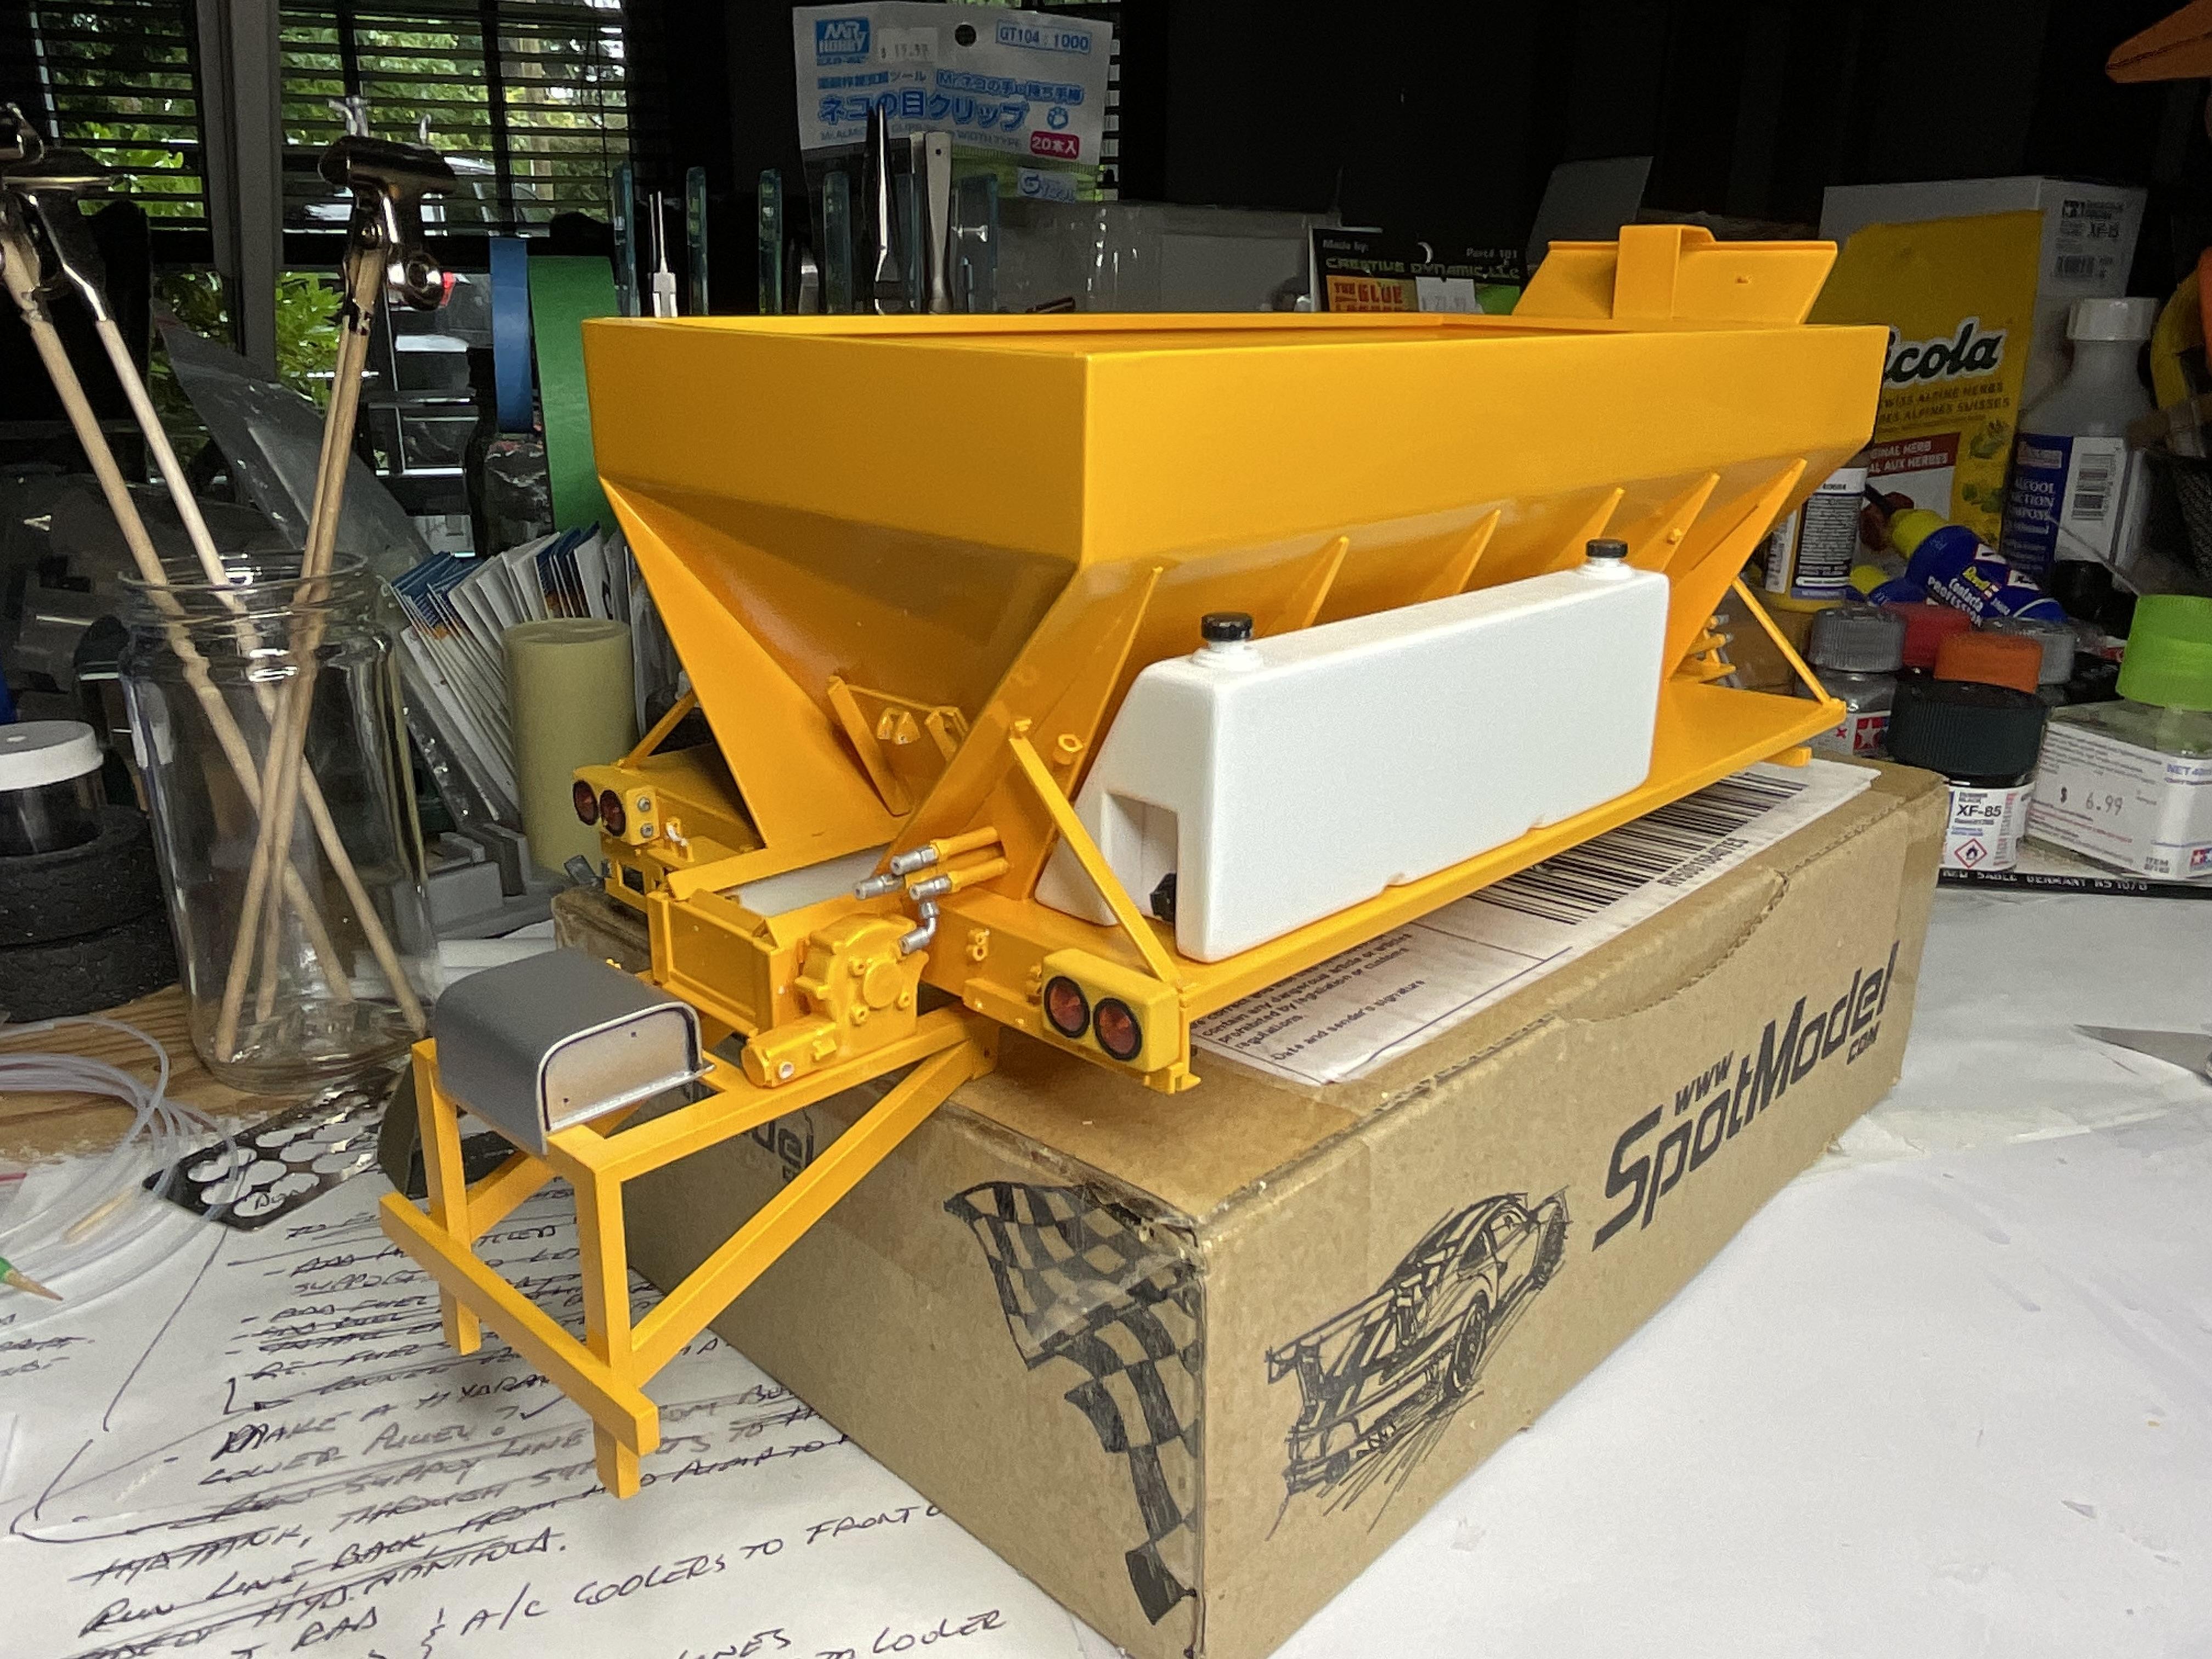
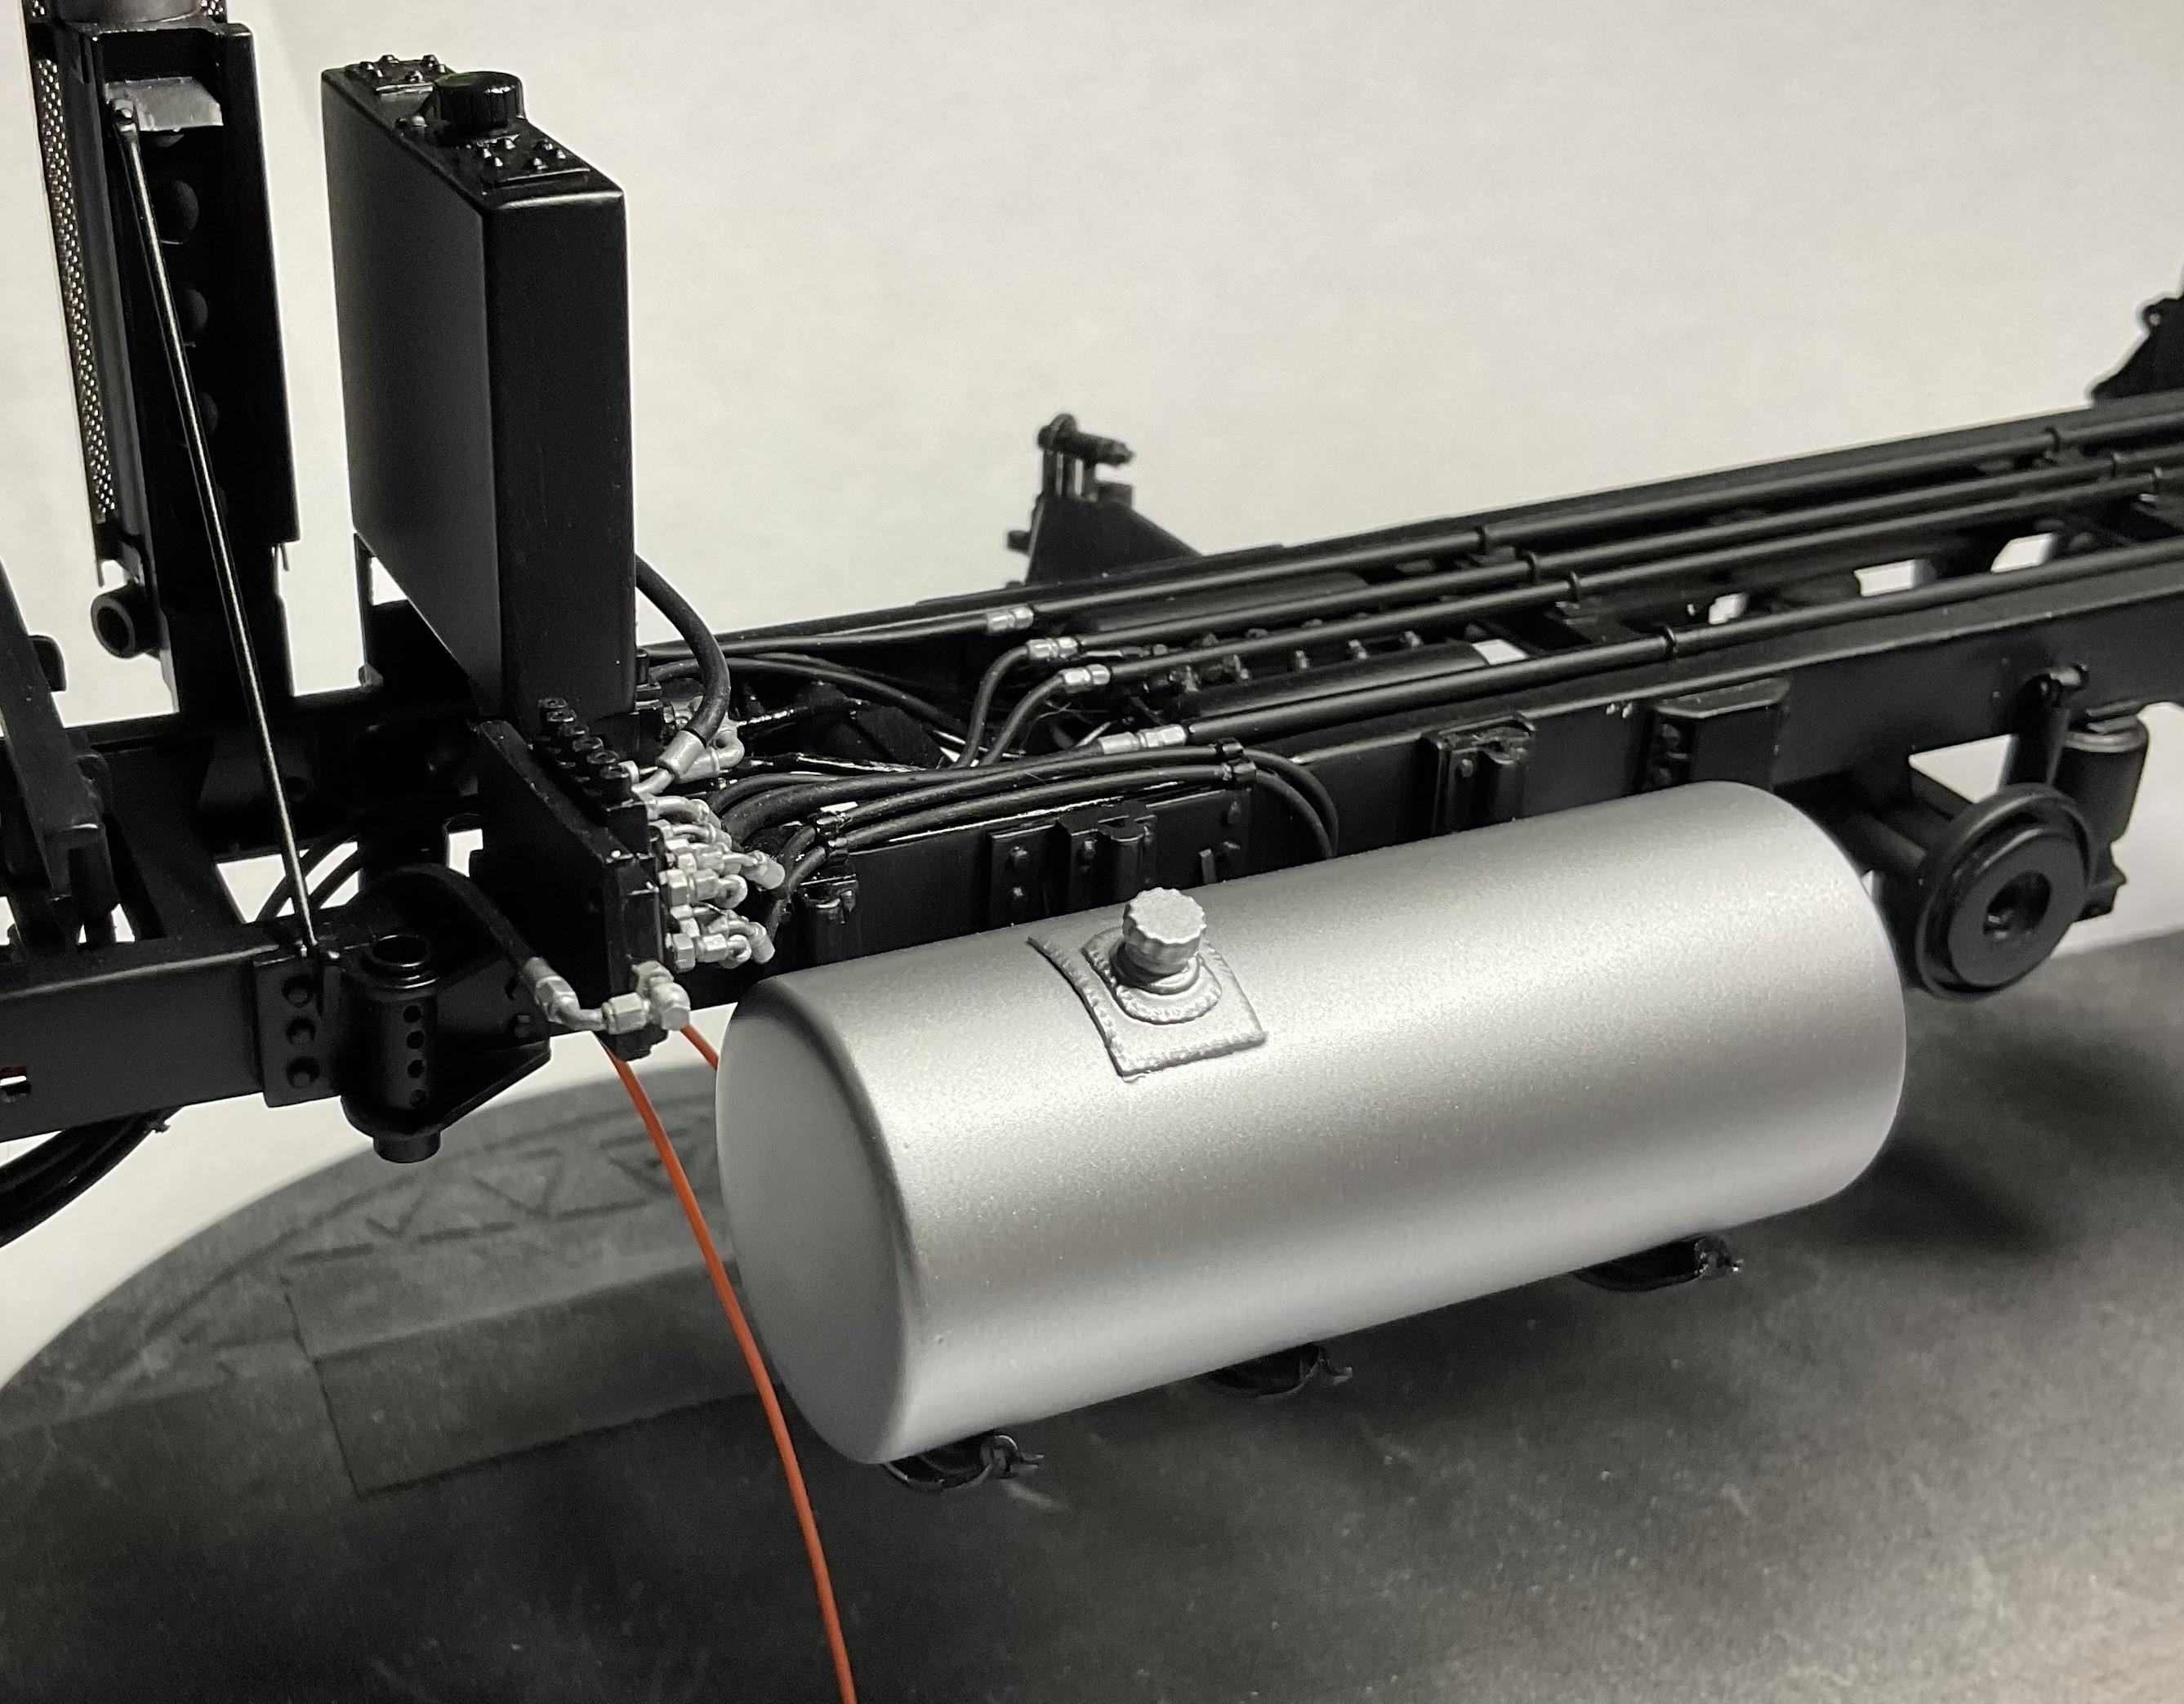
Made a little progress this week, mostly involving detail painting and some minor assembly - getting there bit by bit. Used Alclad chrome on exhaust tip (needs to be recoated); painted fittings on ends of hydraulic hard line runs; flat yellow 'boxes' represent the plastic brake and warning light housings on sander - painted aluminum tips on boxes for electrical connectors; painted fittings on sand spreader; pre-wet liquid pump housing painted aluminum and added rubber gasket around each end housing lid Fuel tank painted - need to make hold down straps and attach fuel lines/fittings attached CTM brake lights to light housings and attached pre-wet unit to sander frame spreader spinner attached Still hoping to get to the hydraulic lines and wiring soon!
-
Making Tracks
BK9300 replied to Chariots of Fire's topic in WIP: Model Trucks: Big Rigs and Heavy Equipment
Going to look impressive on your M-20's trailer - tremendous detail in the kit and with what you are planning for additions. -
full detail 1/16th Gordie Bonin BubbleUp Trans Am Funnycar
BK9300 replied to Ian McLaren's topic in WIP: Drag Racing Models
Beautiful chassis, Ian - like the last minute "welding" that happened before sending the frame to the paint booth! -
I always marvel at the detail that can be highlighted/added to such a small scale project - your P-61 is looking great! Apart from adding weight to the nose of your model, is there any room for you to add weight behind the engines in the cowlings