OldNYJim
-
Posts
252 -
Joined
-
Last visited
Content Type
Profiles
Forums
Events
Gallery
Everything posted by OldNYJim
-
 Keep up the great work Dave!
 -
What Did You Get Today? (Not Model Related)
OldNYJim replied to LOBBS's topic in The Off-Topic Lounge
Thank you! We’re doing a cross-country move too, which adds a BUNCH of headaches. But, we have a 500sq. ft. studio right now and we’re going to a 3 bedroom house with front and back yards, private parking spot, a POOL and a free onsite gym...for $400 a month less ?. I think rural Indiana is going to be a culture shock after decades in and around NYC - but it’s just for a year until this COVID stuff calms down and the job market gets better. Going to be weird tho. Never thought I’d leave the city, but I also never thought everything around us would be closed and we’d be stuck inside for 4 months either... -
Top tip (actually, two...) It seems like the tip is the problem with these, and what stops the chrome being chrome. Cleaning them by dipping in 99% isopropyl alcohol seems to help and bring them back to life. Alternatively, rather than throw the pens out, you can unscrew the nozzle and empty the chrome ink, which will still airbrush perfectly well (which is what leads me to believe the tip is the cause of the ‘silvering’ issue rather than the ink itself) and still give a great chrome finish I REALLY like the ink for airbrushing - but the refills are now so expensive compared to what they cost a few years ago so I’m transitioning back to Alclad here again
-
What Did You Get Today? (Not Model Related)
OldNYJim replied to LOBBS's topic in The Off-Topic Lounge
Got a new house! Upgrading from a one bed apartment to a three bed house...no more terrible foreign neighbors. Plus - one of those rooms will be my dedicated workshop! ? Moving’s gonna SUCK, but it’ll be worth it... -
I like it - love the rear wing! This would be a more than worthy successor to the XJ220. That said, I hope the electrics are better than both of the Jags I’ve owned...?
-
I’ve always liked these - and I’ve been lucky enough to drive a couple of replica 7s...nearest thing to a scaled-up go kart I ever got to drive! Love the wobbly wheels - I’ll be watching!
-
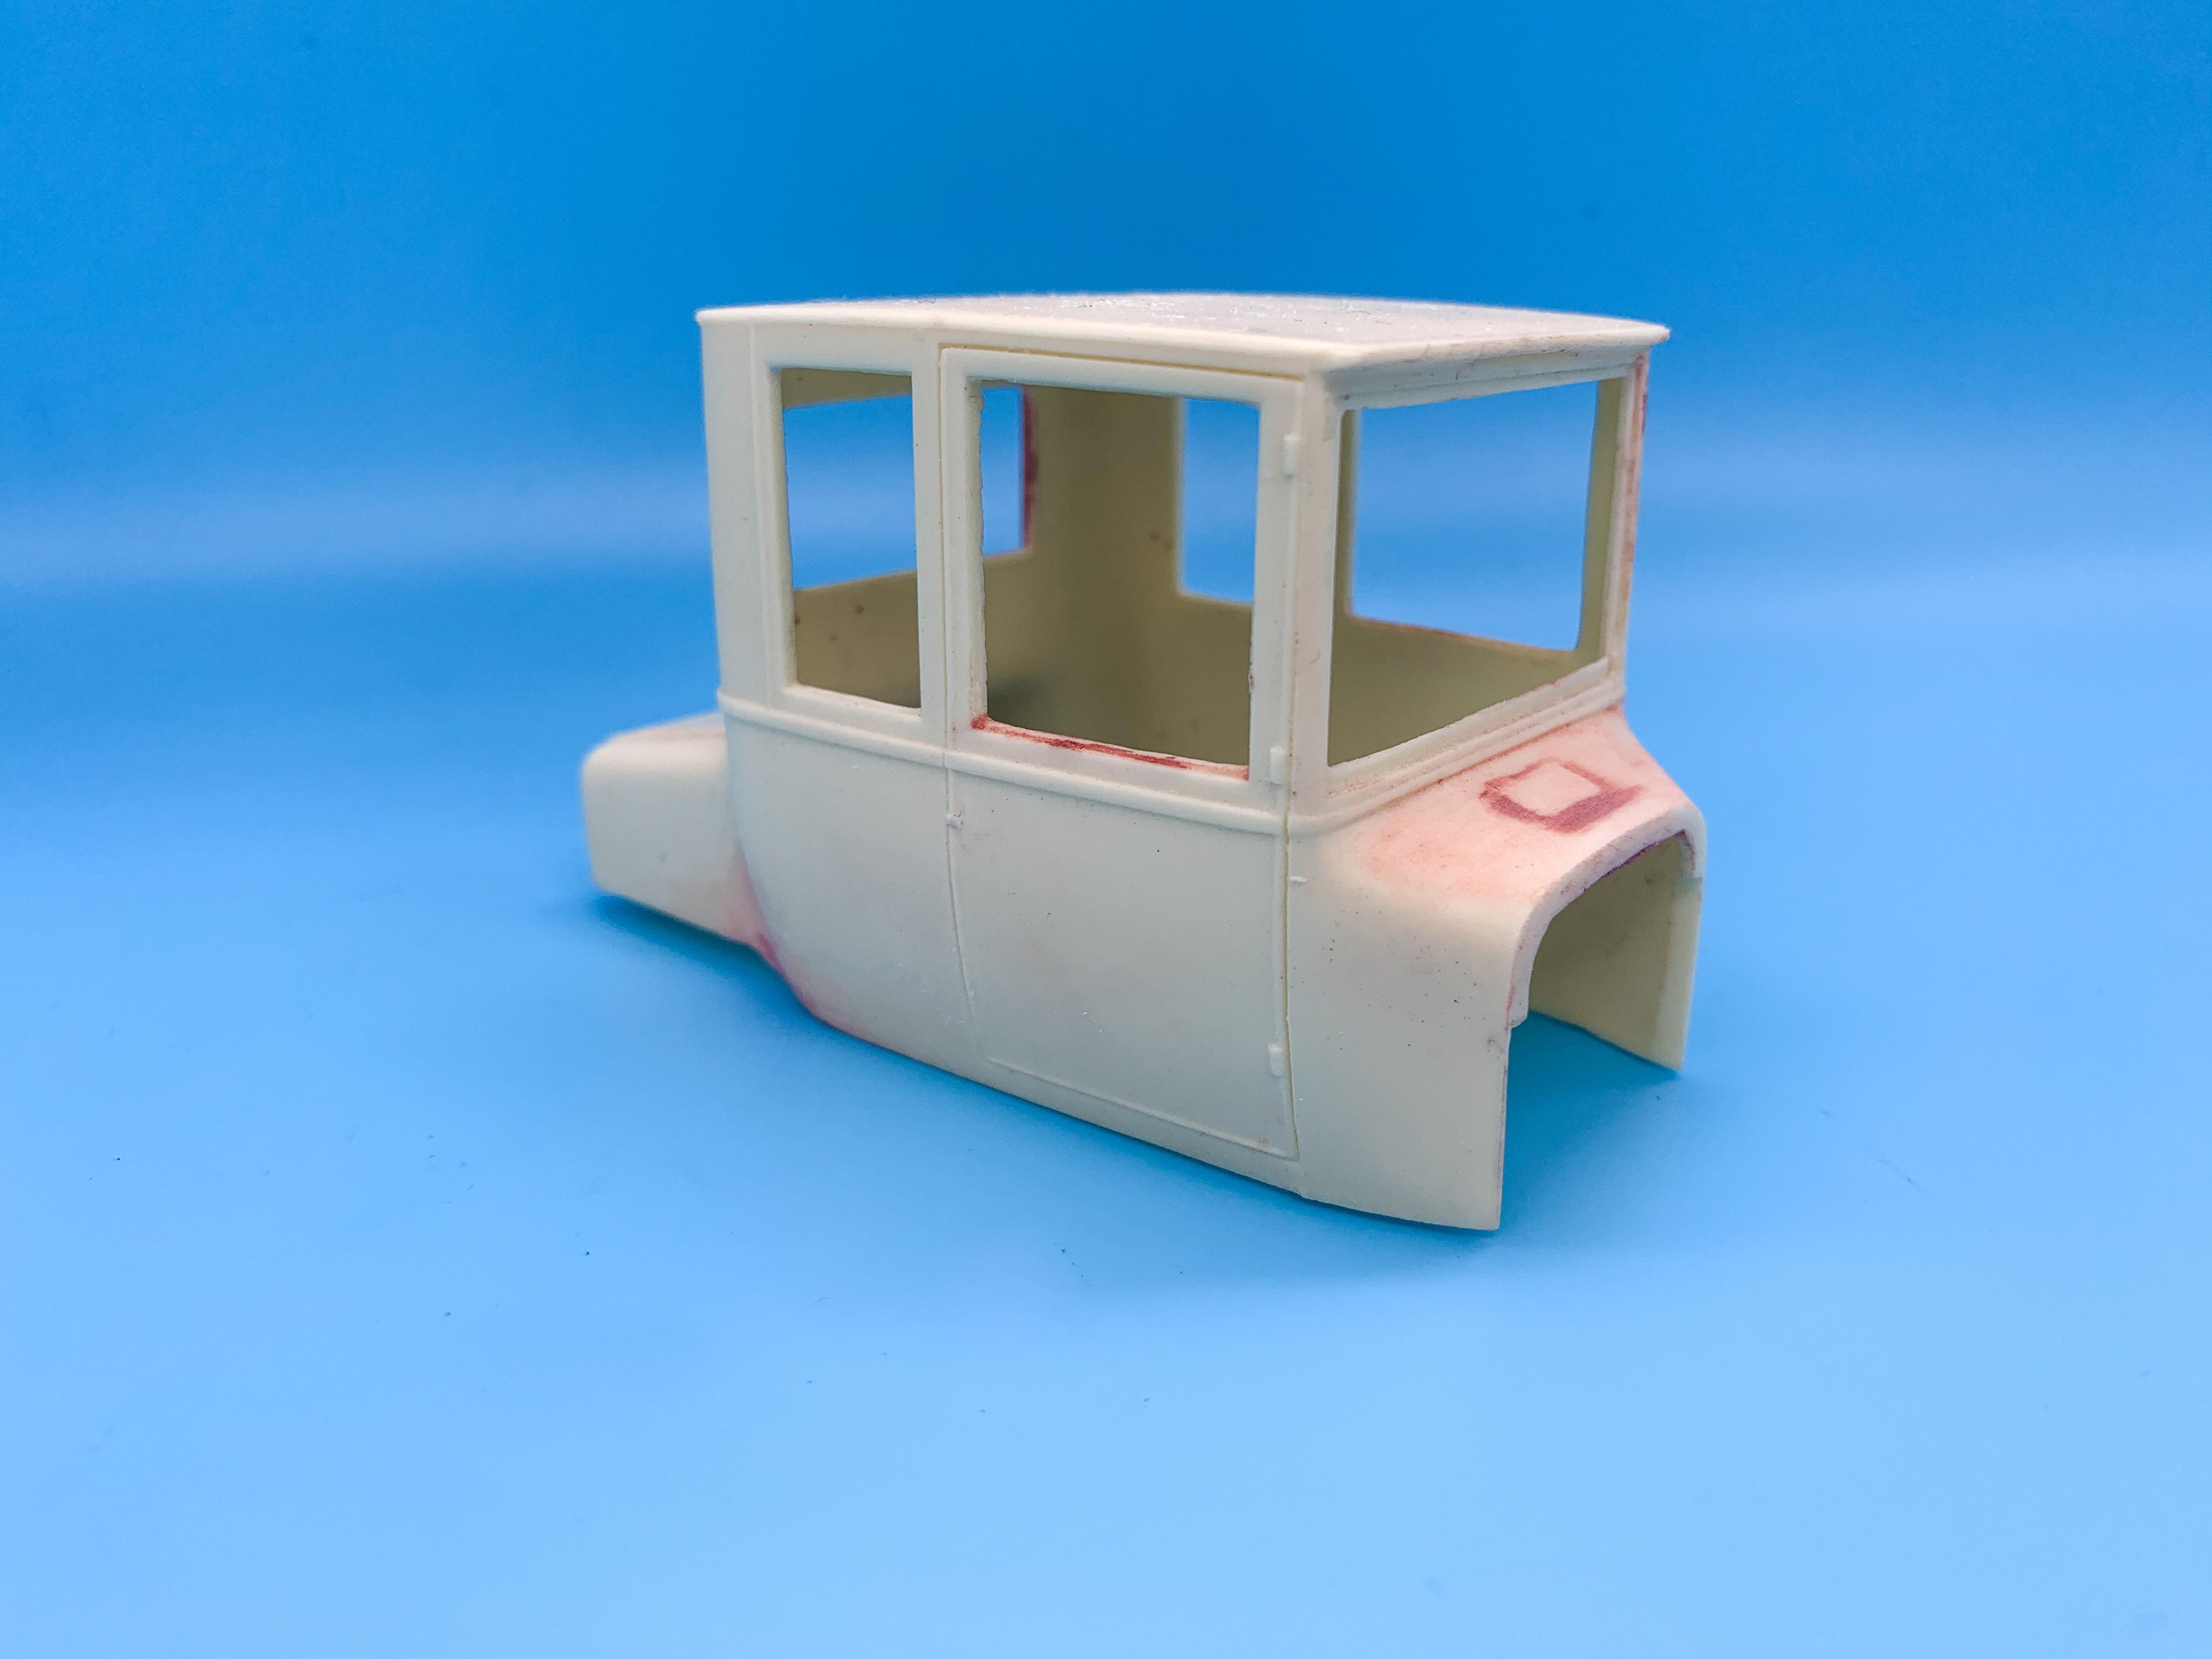
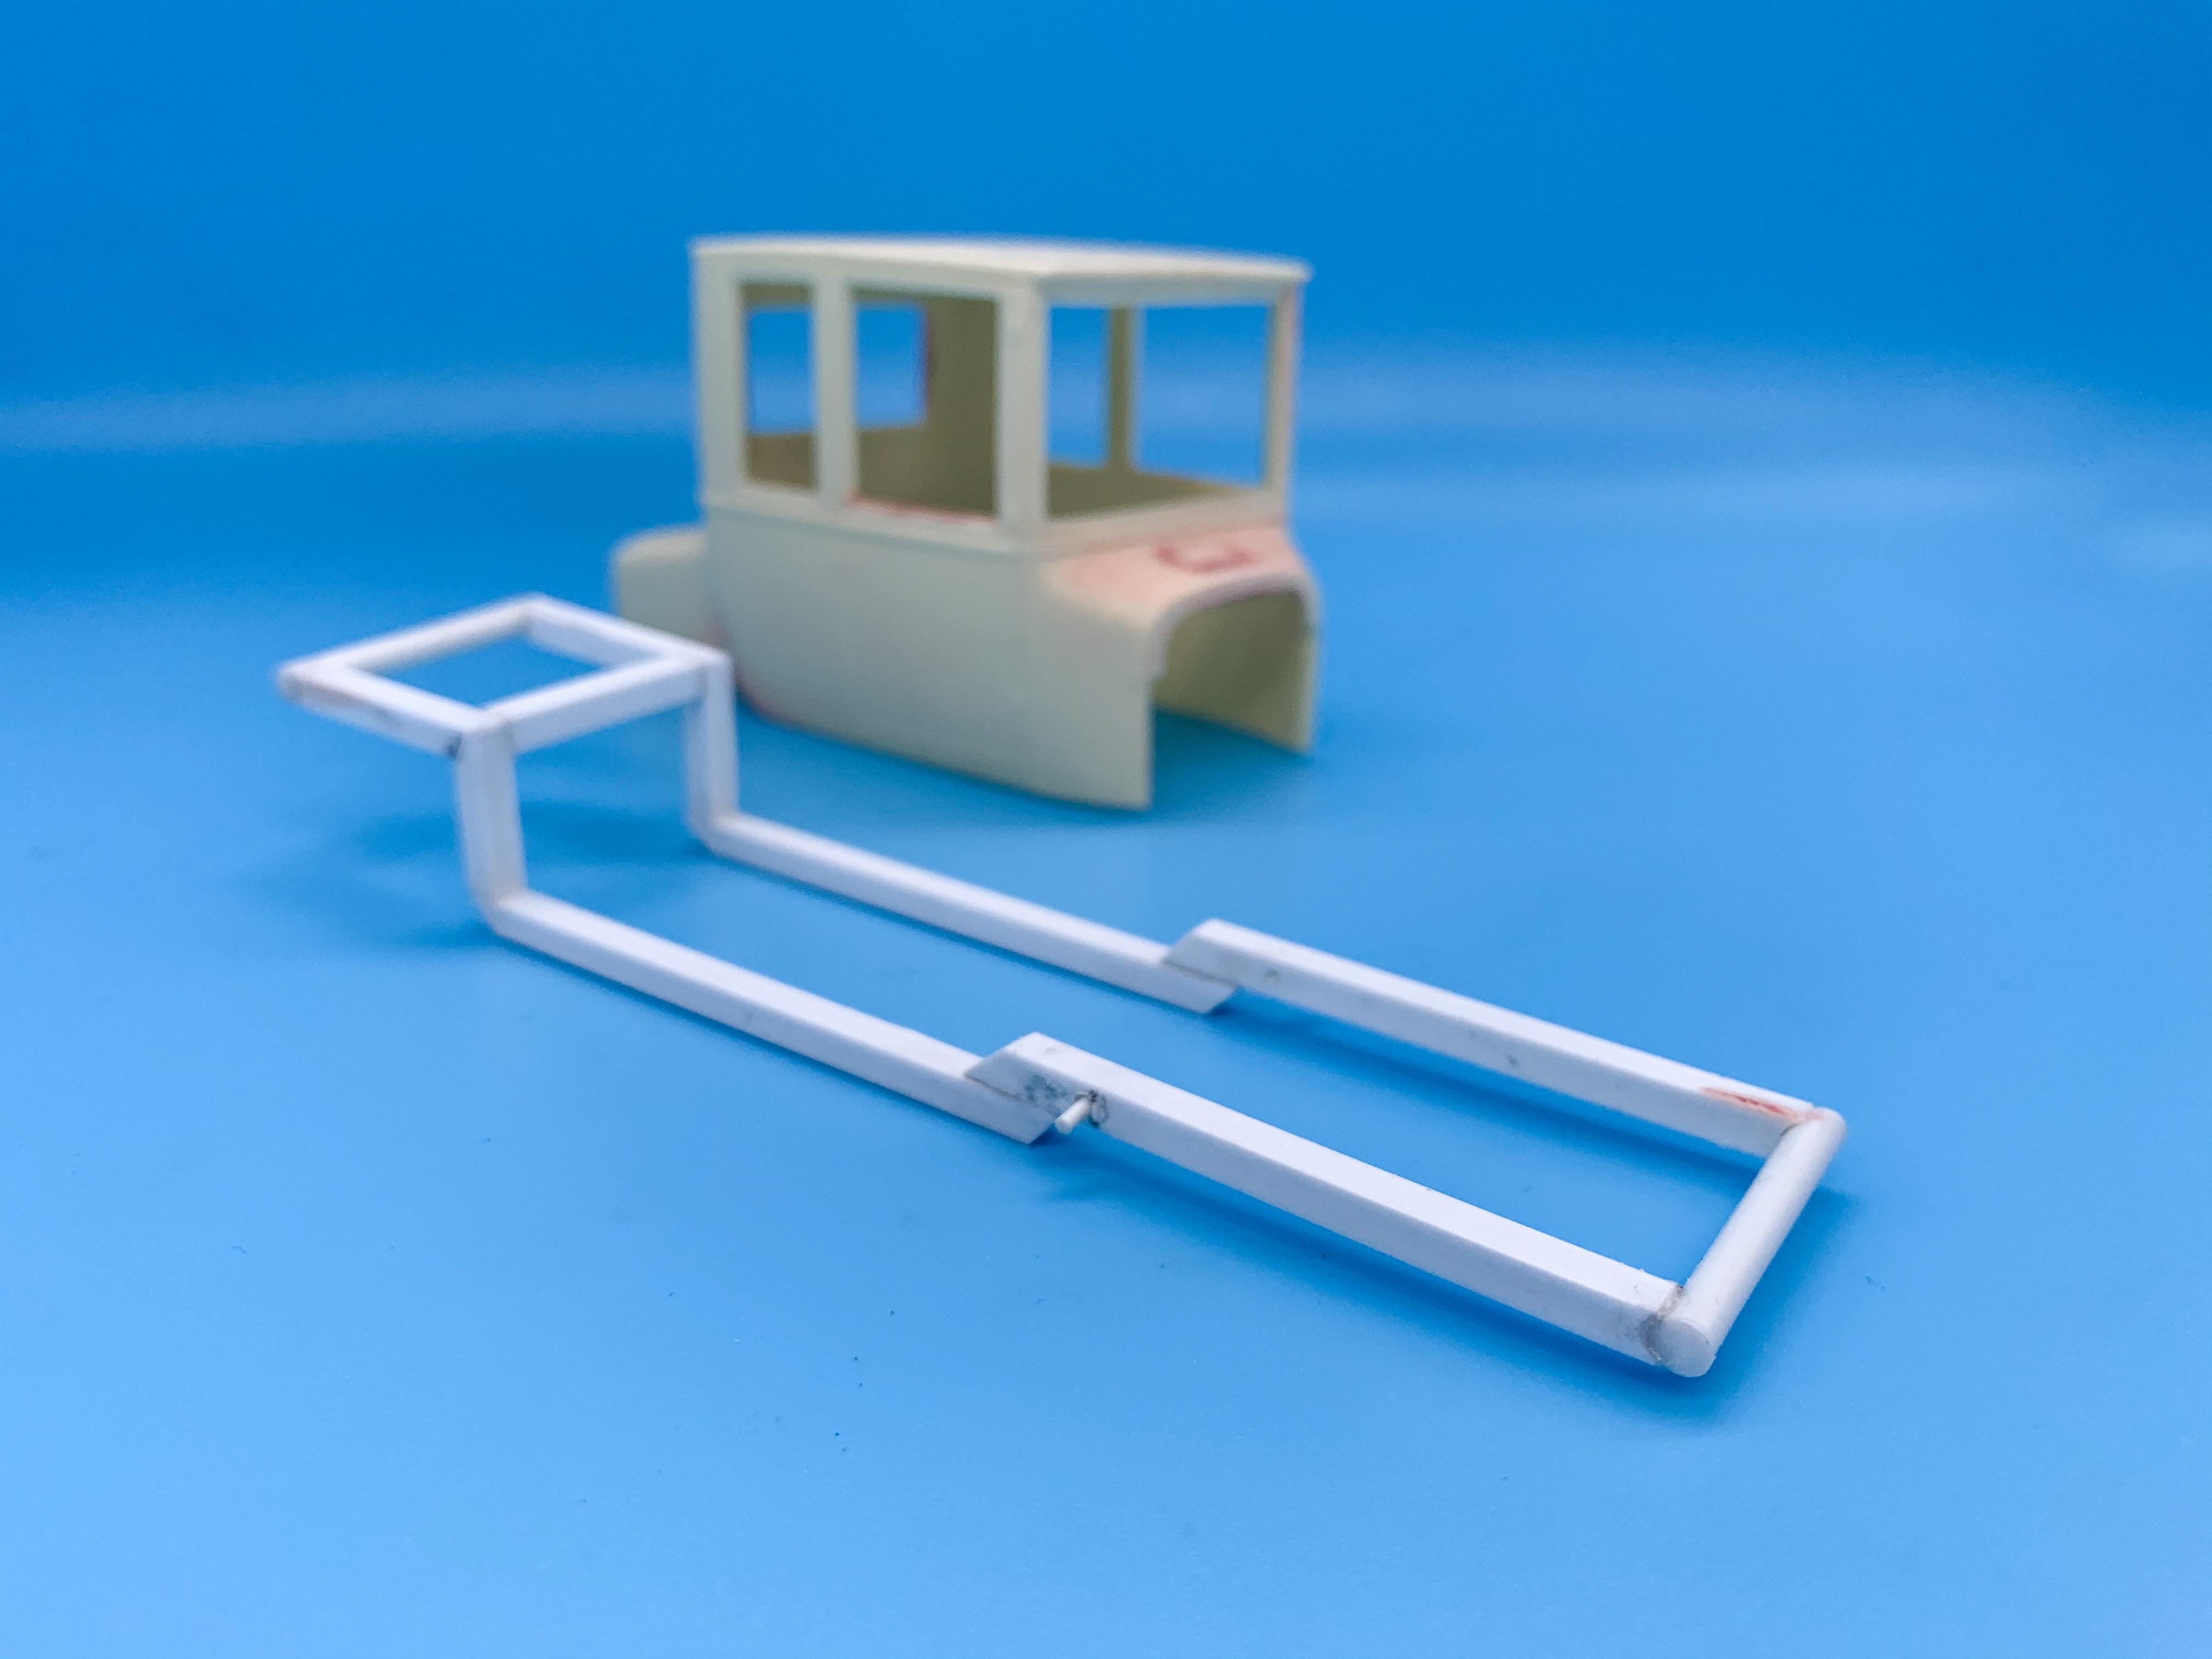
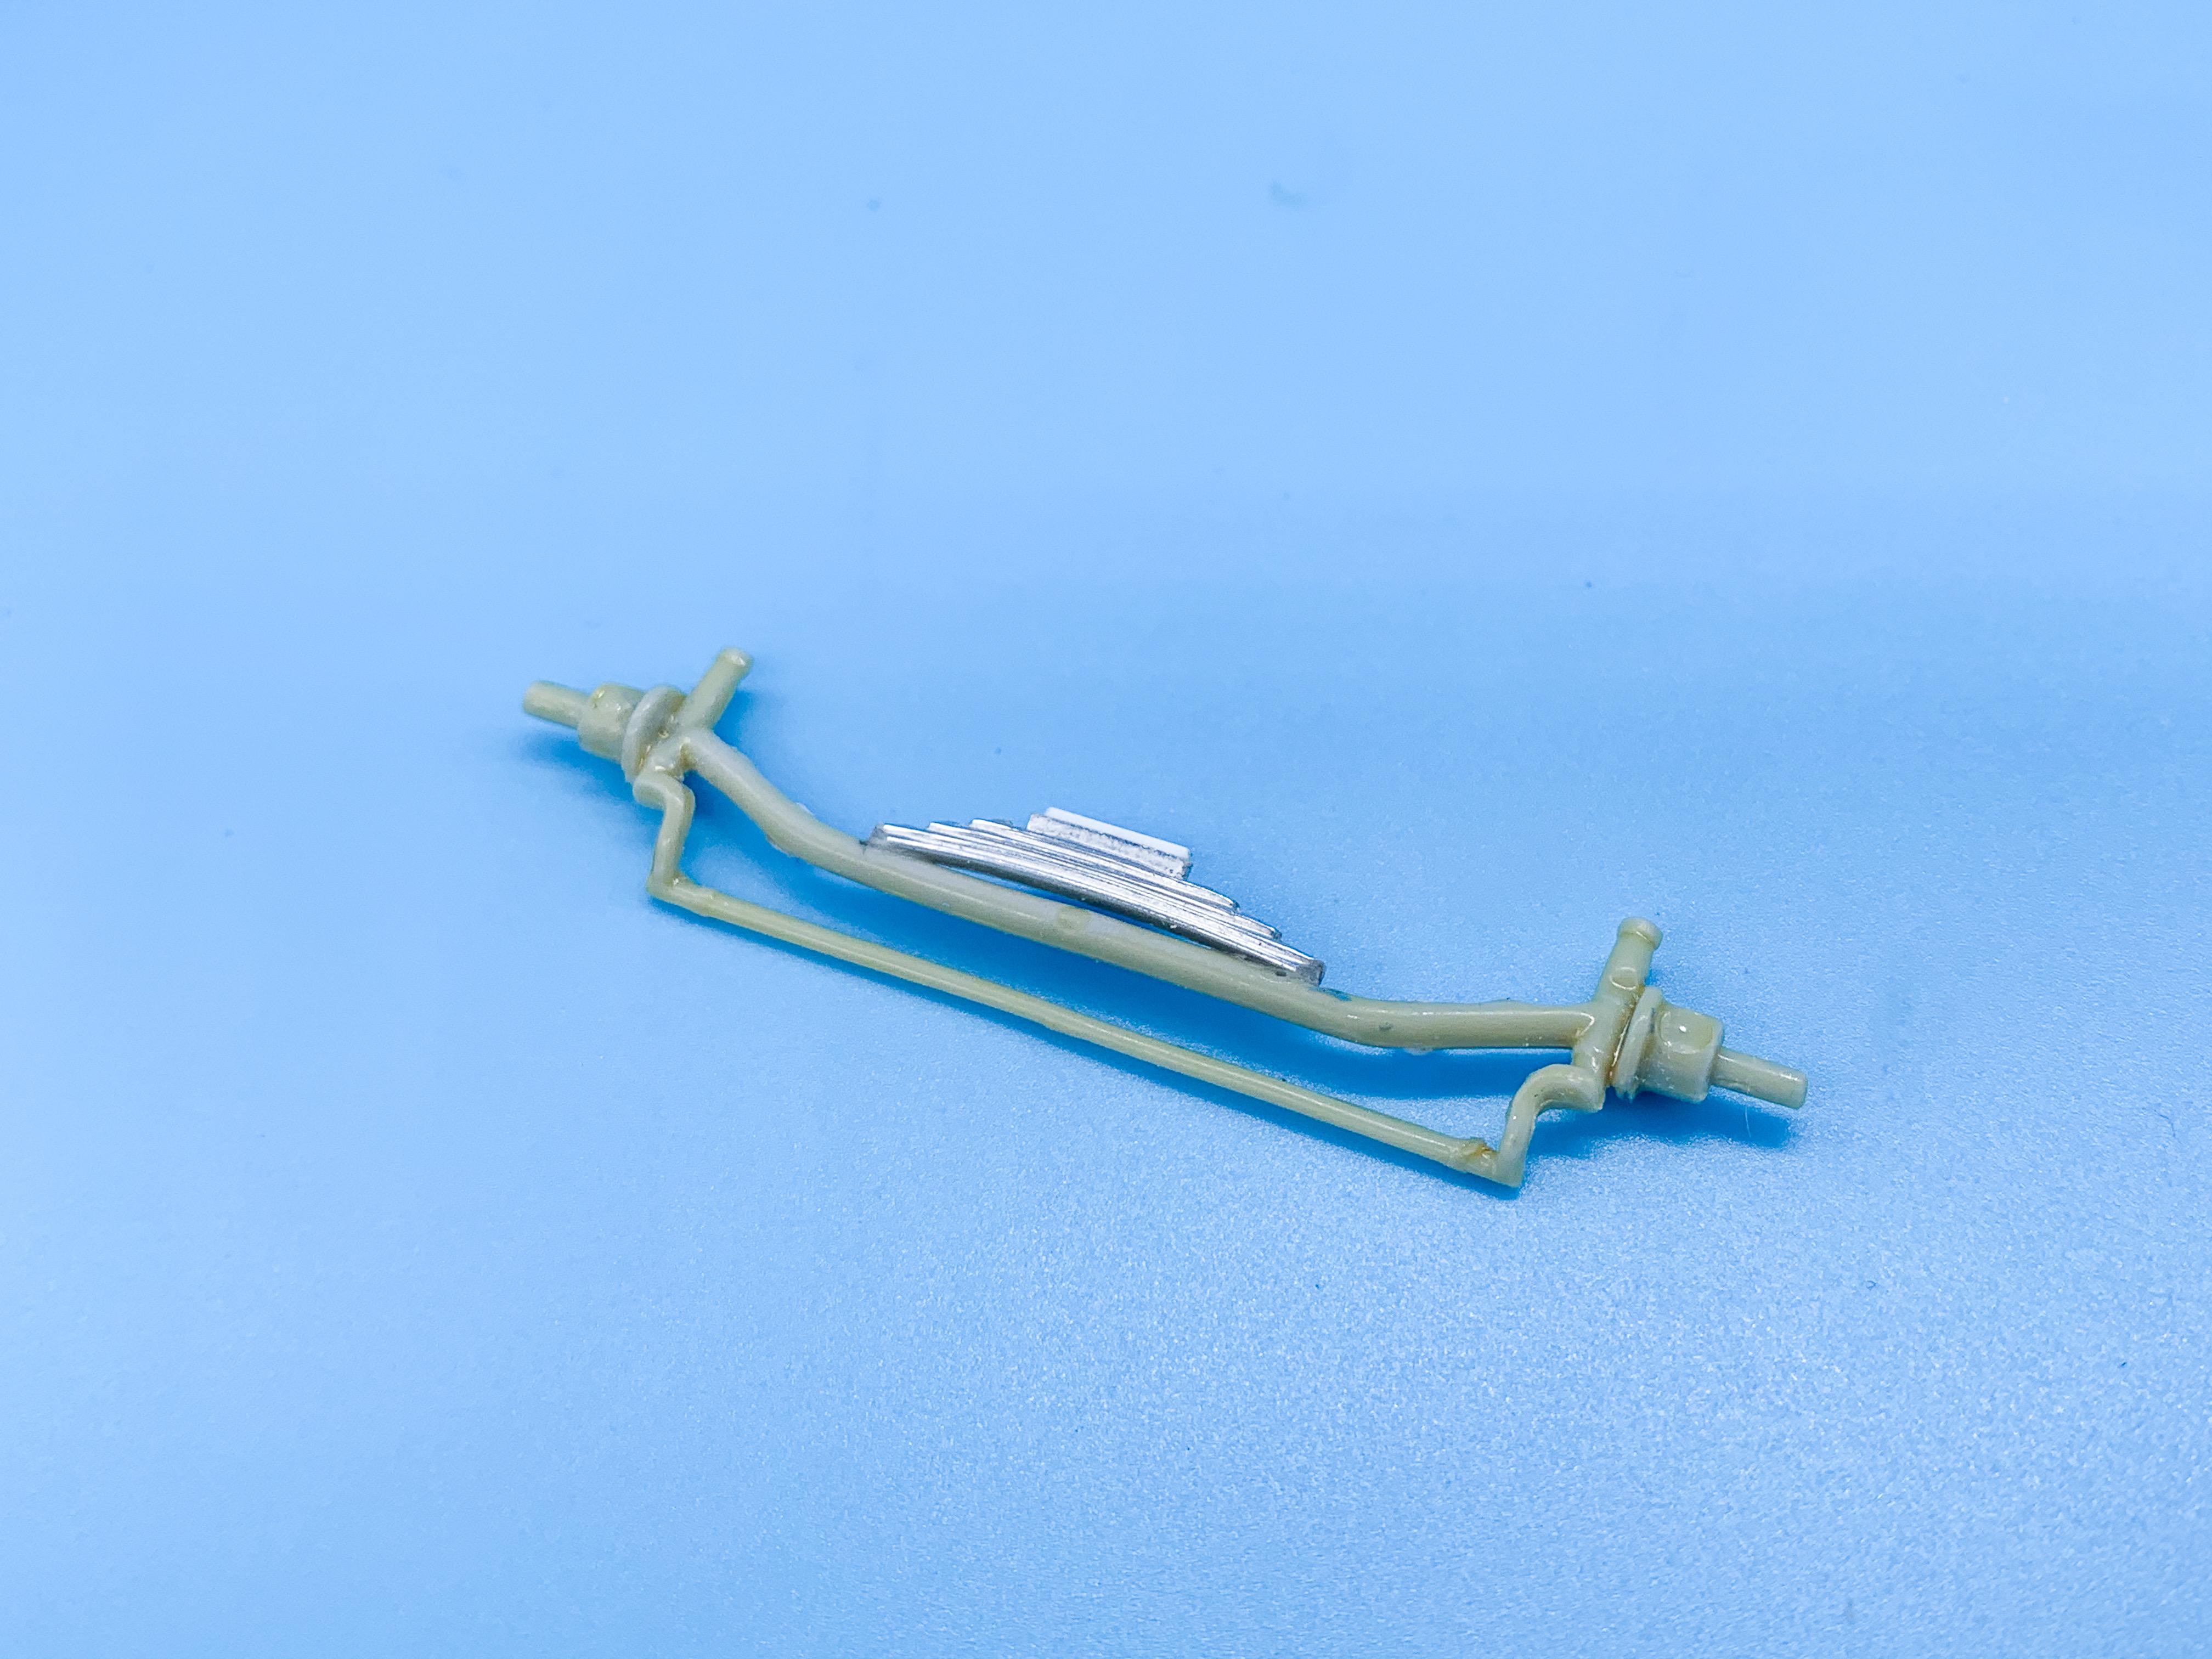
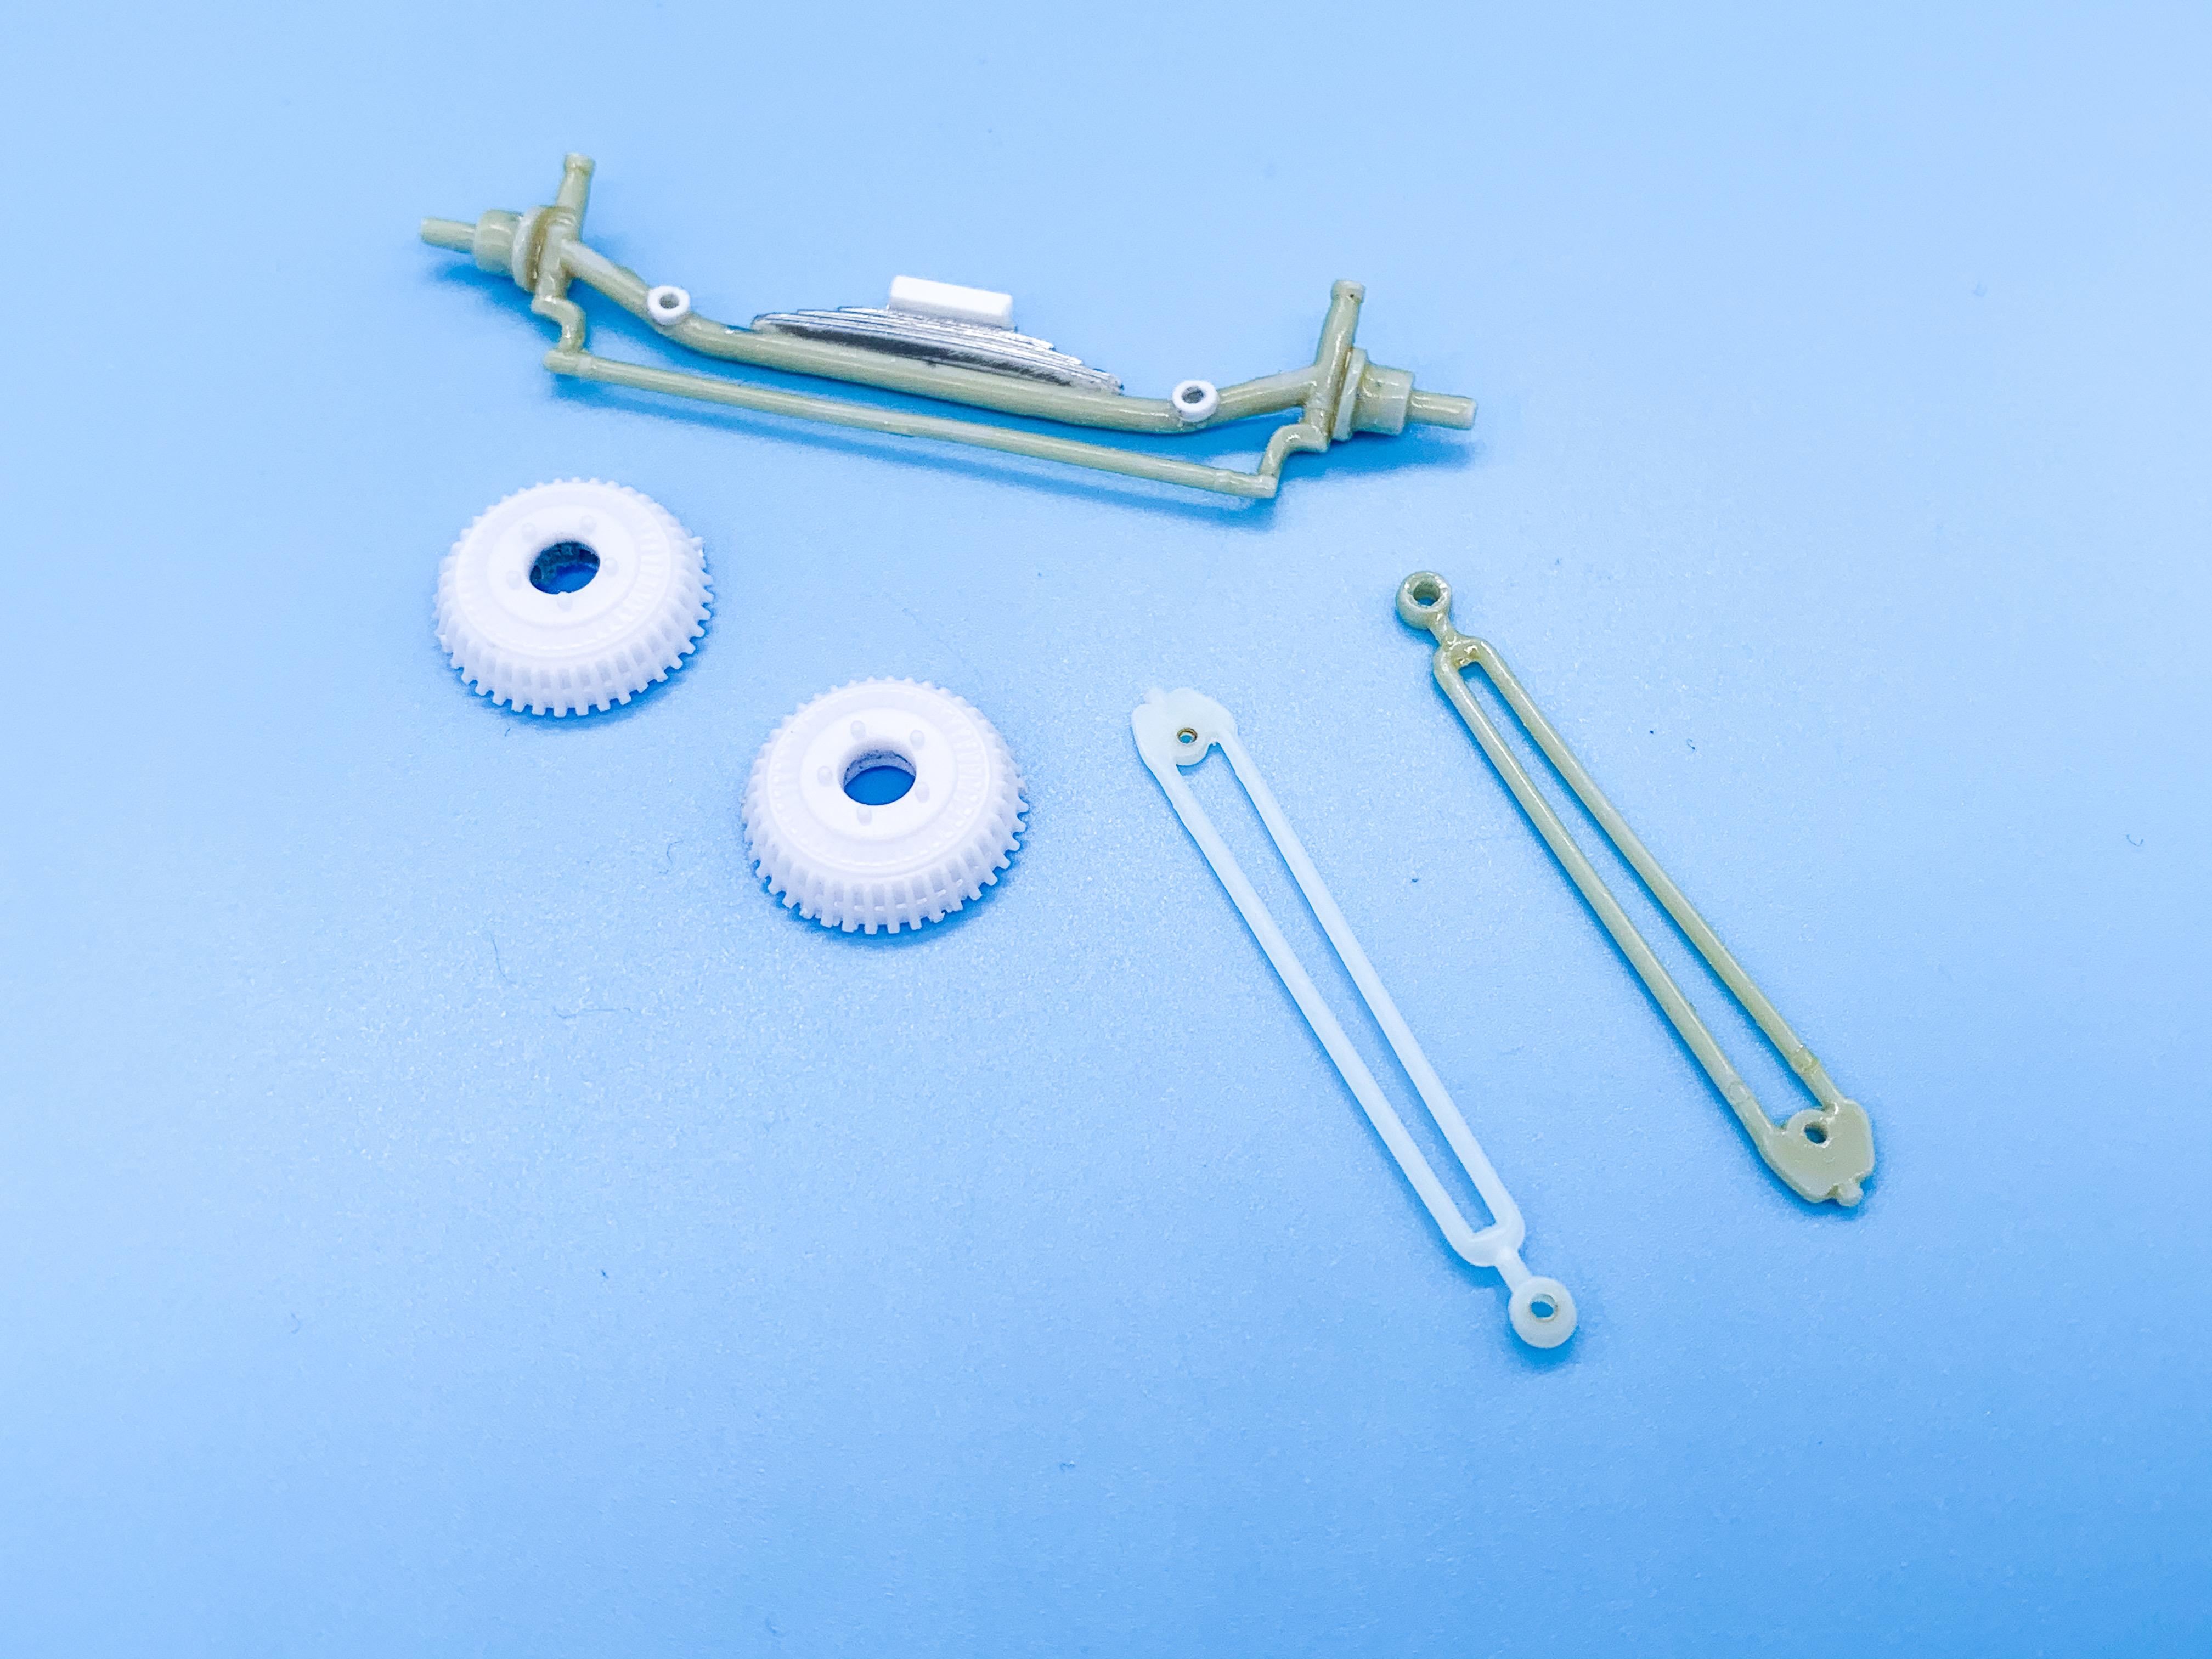
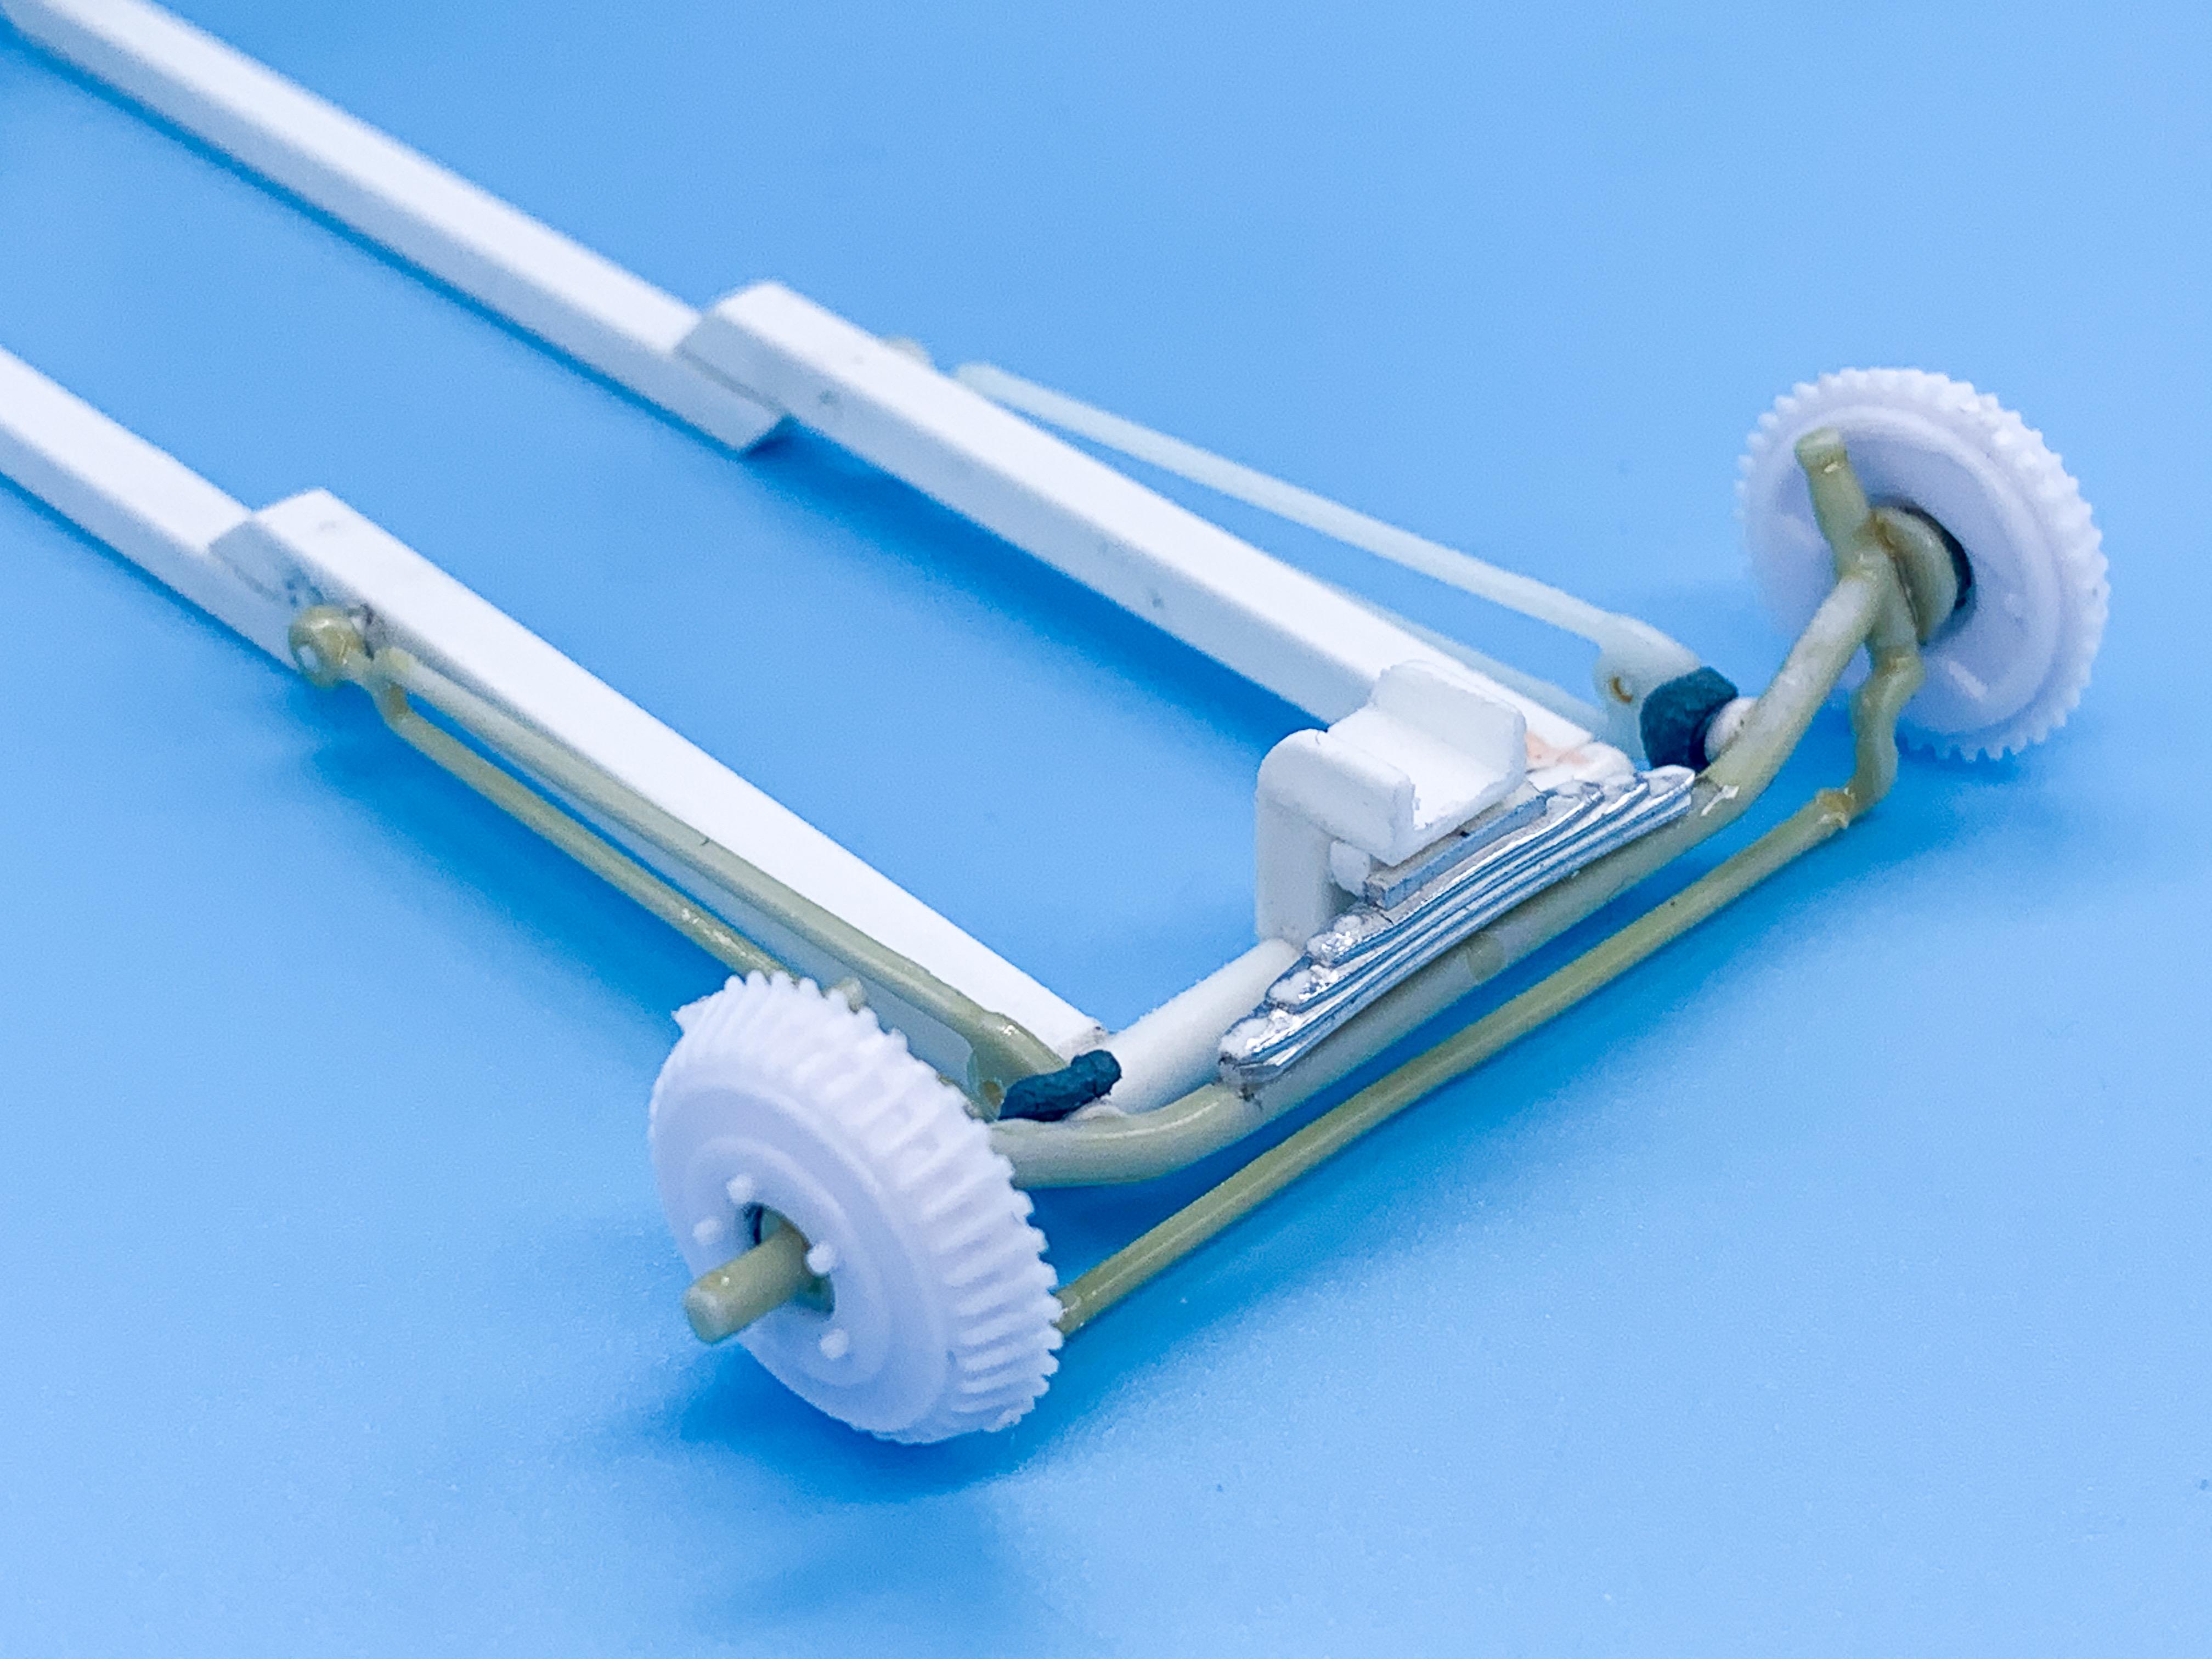
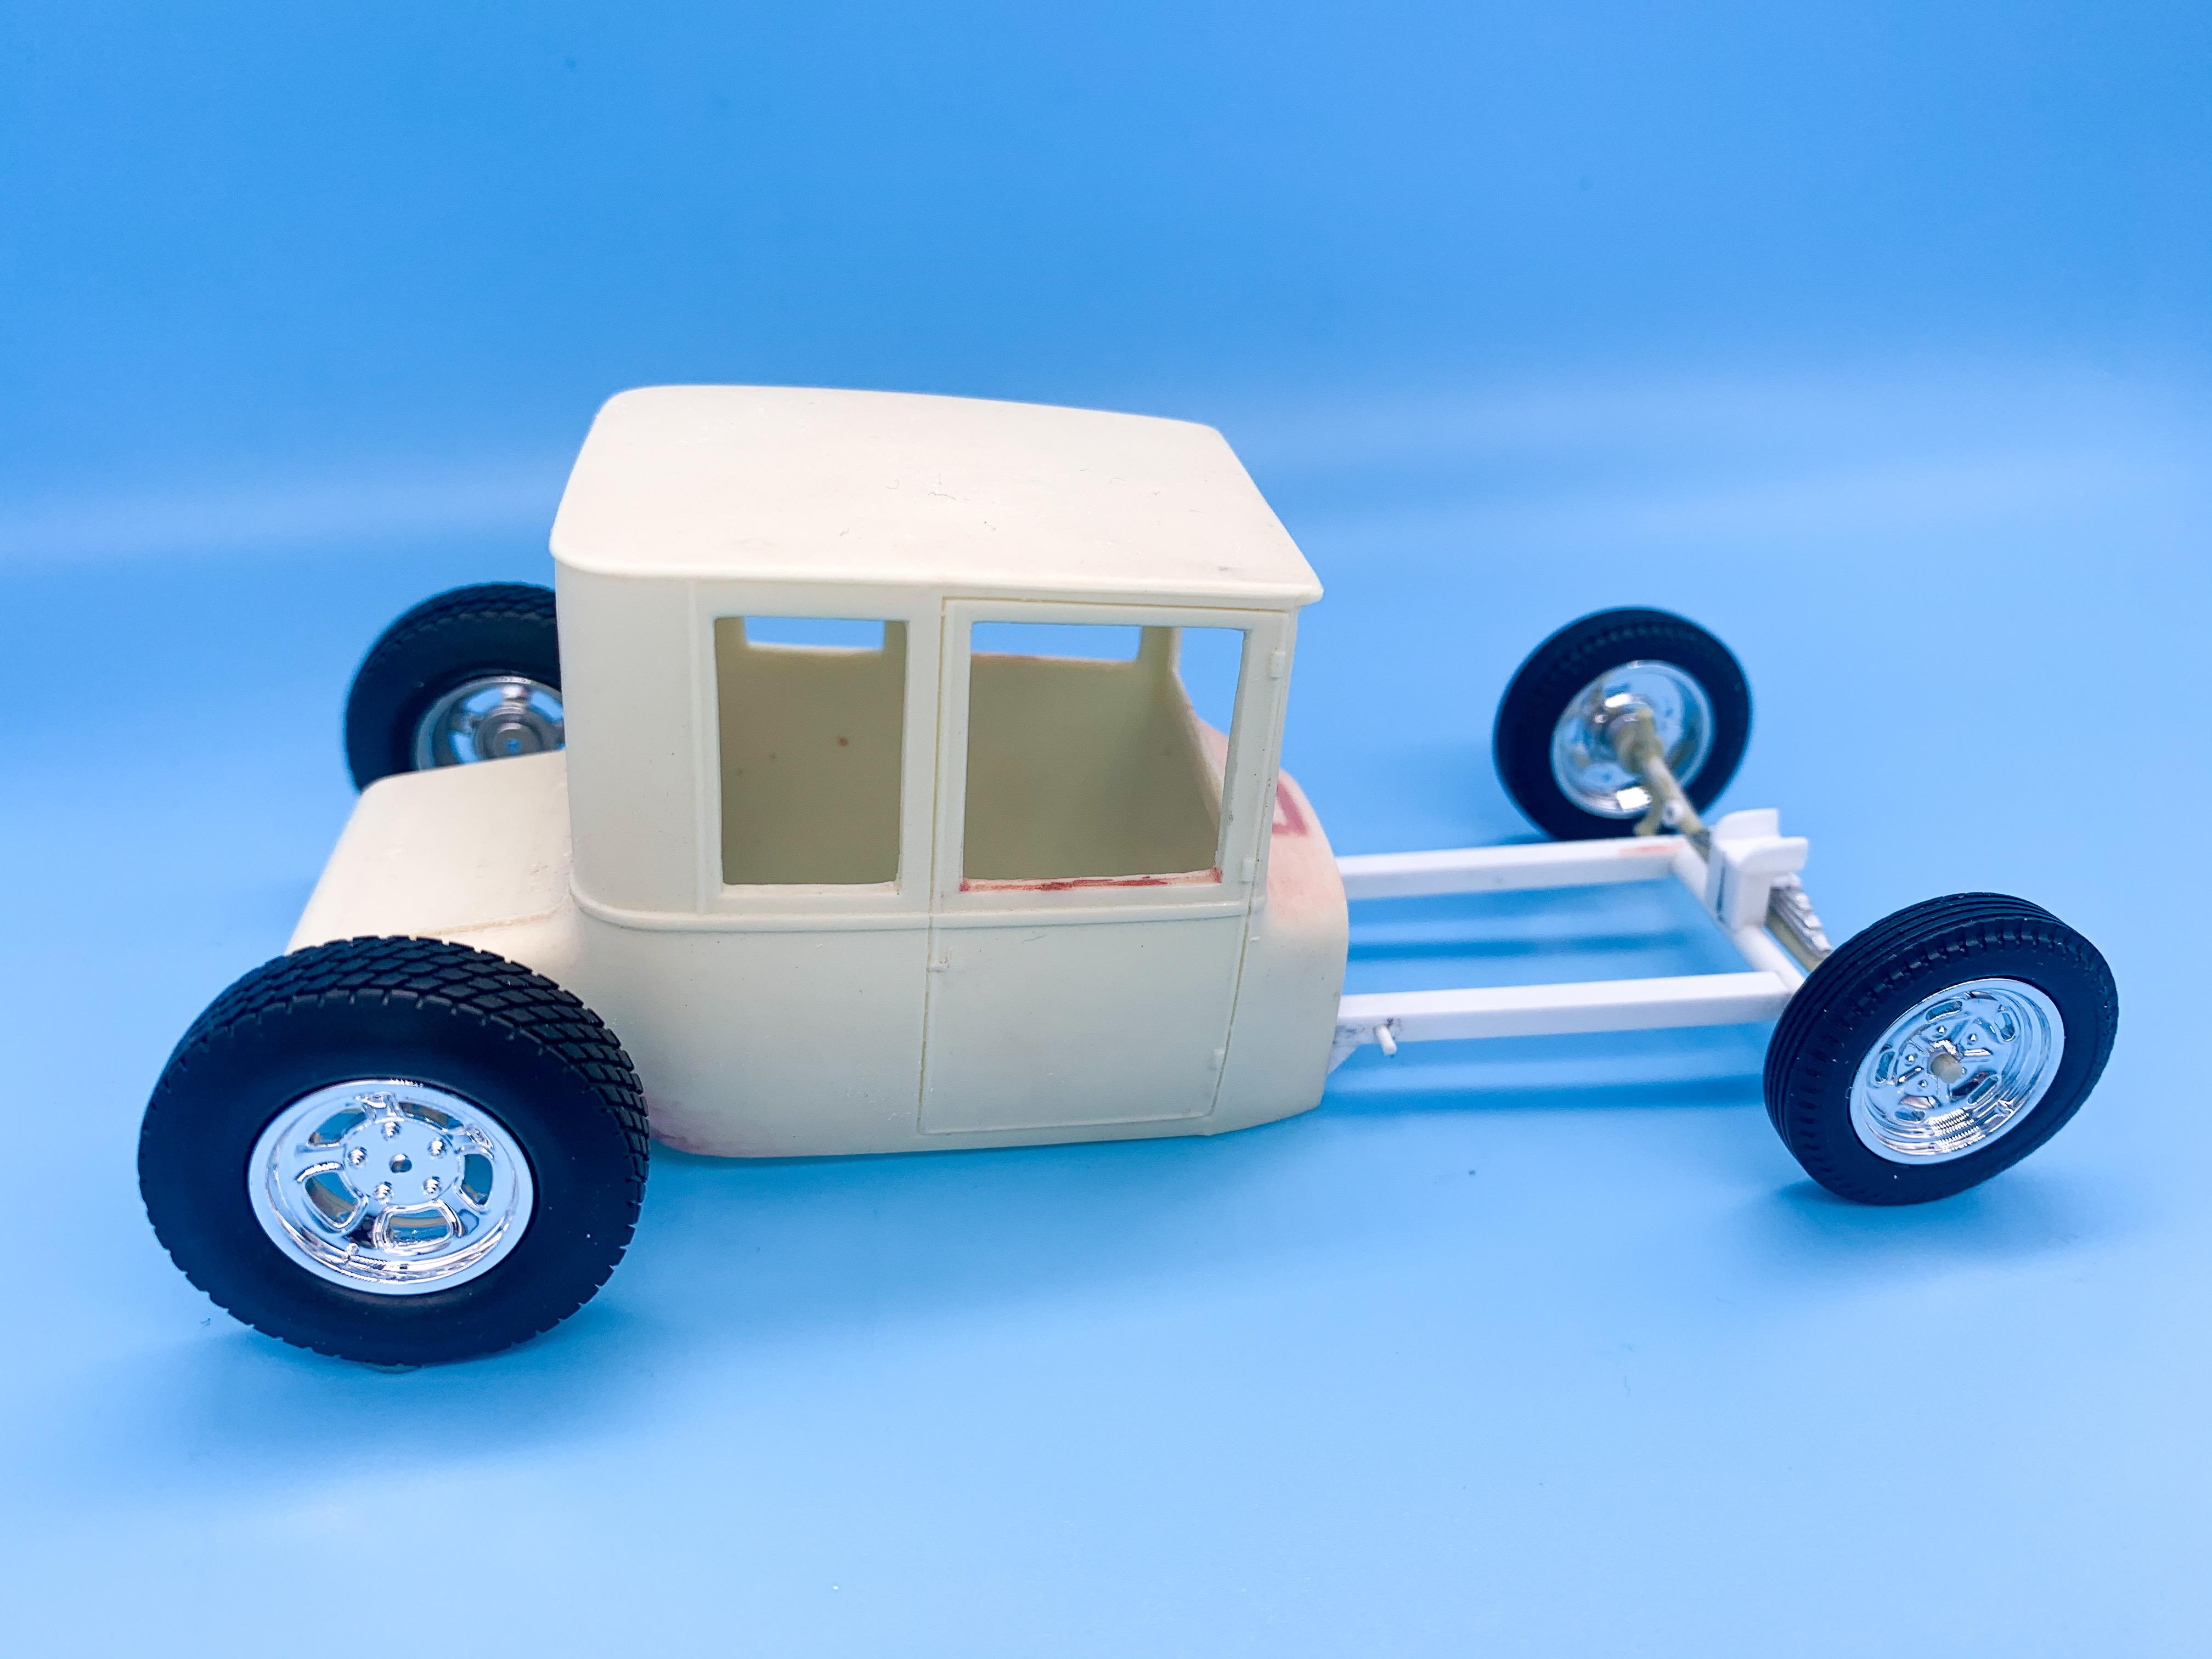
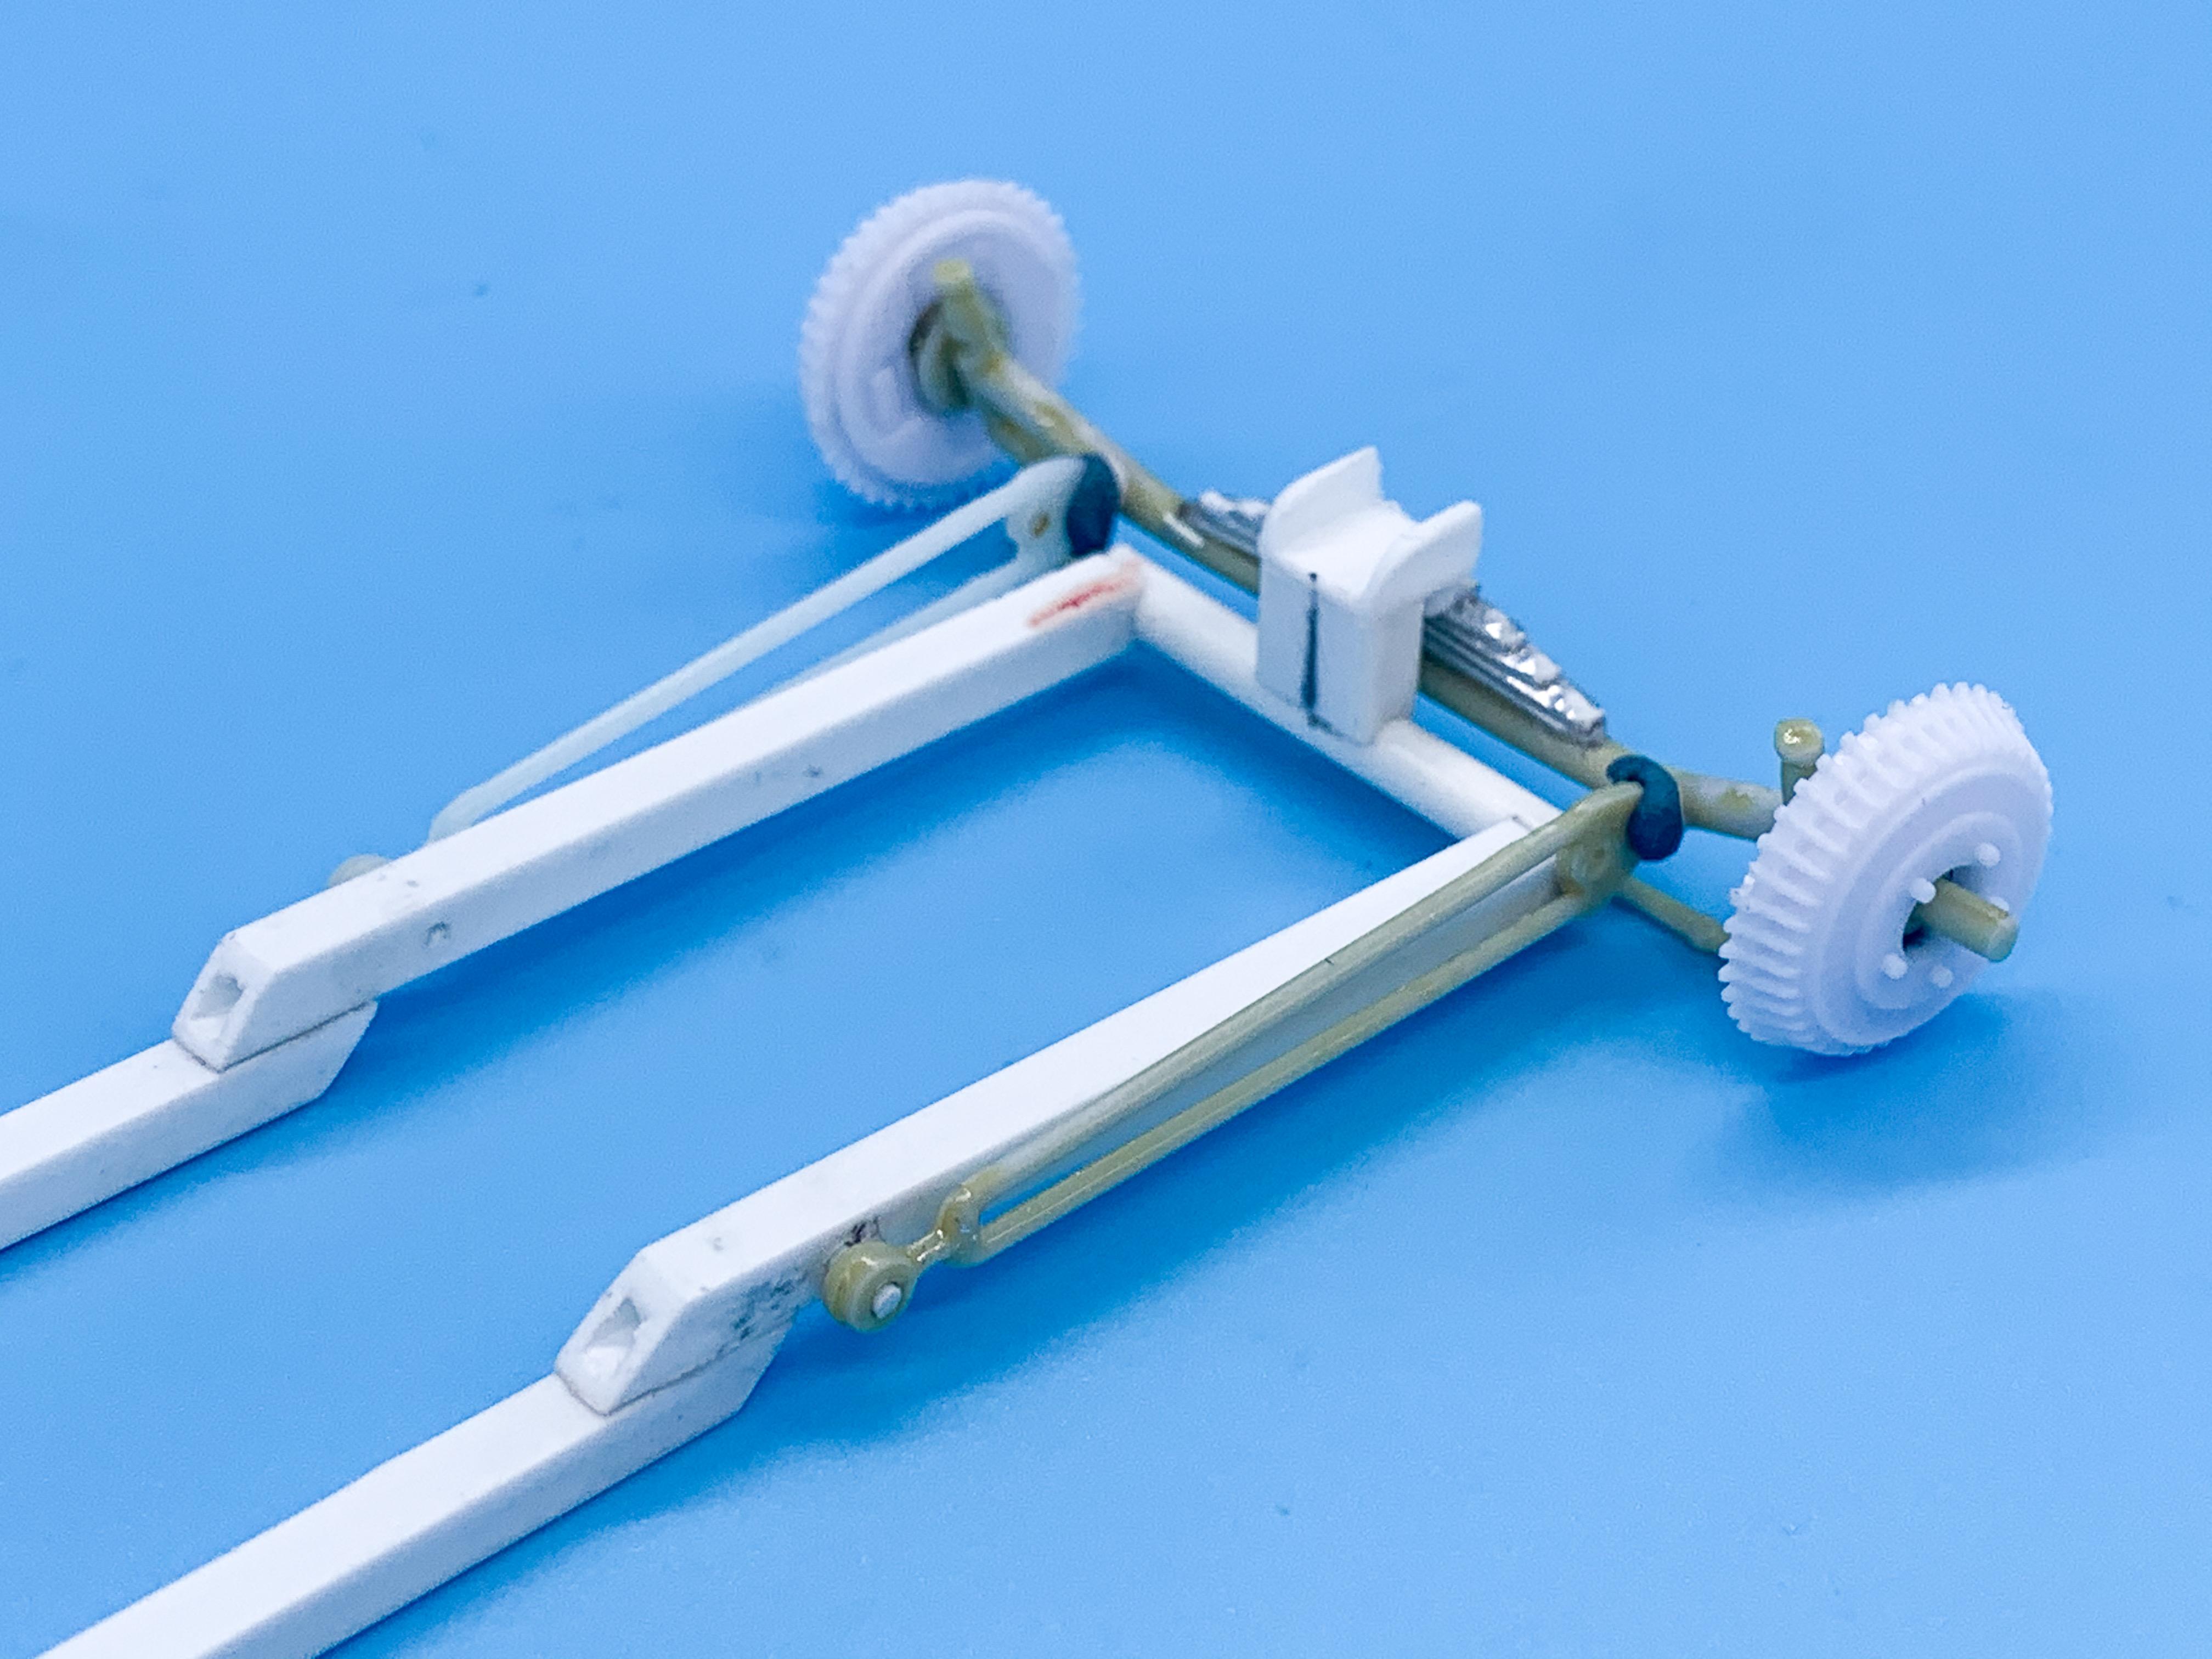
Had this Jimmy Flintstone body for a couple of years - it’s been sitting on my bench and every now and then I pick it up, do a little cleanup, mock it up with some wheels, decide I don’t like those wheels and put it back on the bench again I figured I’d do a little actual work on it this weekend and maybe I’ll get somewhere with this thing before the resin turns to dust. I’ve been casually collecting parts for this build for a while and read an old thread today by @Dennis Lacy where he was working on one of these and found myself inspired. His build ended up with a different body, but I’m gonna stick with this one, unchopped, for this one. Whatever parts I end up choosing I’ll need a frame, so that was first order of business - nothing too complex or fancy, just a big kick up in the back so the ride height isn’t any higher than it needs to be and a little kick in the front for the same reason: Ive had this front axle in my spares box forever and earmarked for this build - no idea what it came from but I added the spring from a broken Revell 32 axle I had as a starting point: The axle has locating holes on the back for the linkages but the fit was pretty sloppy so I added some receivers from some styrene tube and got them where they’ll pretty much snap into place and hold (and should fit real nice once there’s a coat of paint on there): I had a spare set of the nice finned drums from the Revell 29 kit which I think will also be donating it’s wheels and tires so I opened them up so they fit right on the new axle. With those bits in place I was able to make a spring perch for the frame: And a mock-up to see how it’ll work: And a quick mock-up with the wheels and body...it won’t be THIS low but it won’t be super high either... I like it already! Not a bunch of progress so far, but I figure if I start a thread it’s a real project and I’ll have to get it done ?. More soon! ?

-
64 Dodge D100 Pickup Pro Street
OldNYJim replied to AmericanMuscleFan's topic in WIP: Drag Racing Models
The really incredible builders are the ones who can make a mundane component like a header flange into a little work of art -
STEVE SCOTT ,A.KA . [ UNCERTAIN T ]
OldNYJim replied to bpletcher55's topic in General Automotive Talk (Trucks and Cars)
I’m pretty sure he’s just pocketing the money people send him with no intention of doing anything resembling making these kits. Maybe he really does think he will make them eventually - but after ten or twelve years and tens of thousands of dollars of money sent to him you’d think he would’ve had SOMETHING to show for it... -
Paint and assembly techniques
OldNYJim replied to jamesG's topic in Model Building Questions and Answers
Sounds like you’ve got a technique that you’re happy with -
Got distracted by other builds and never came back to this thread - how rude of me...thanks for all the nice comments everybody!
-
STEVE SCOTT ,A.KA . [ UNCERTAIN T ]
OldNYJim replied to bpletcher55's topic in General Automotive Talk (Trucks and Cars)
Oh wait, that list is still online - based on him pre-selling the kits at $40 a pop (the lowest I ever saw him sell them for) that’s $20k, and the price has been as high as $150 at times and most commonly for the last few years $80. http://www.uncertaintmodelkits.com/registry.html Buyer DEFINITELY beware -
STEVE SCOTT ,A.KA . [ UNCERTAIN T ]
OldNYJim replied to bpletcher55's topic in General Automotive Talk (Trucks and Cars)
And is STILL actively promising and taking deposits for to this day. I once totaled up the orders he’d taken (back when he proudly published a list of everyone who had preordered and paid him already) and it was well into the tens of thousands of dollars. Last update he actually gave on the production of this kit (aside from talking about what he’s planning to do, more than a decade into this project) was that he had purchased some wire (!) to “test” so that he could make some wire wheels for the kits. This was probably three years ago now... ? -
Paint and assembly techniques
OldNYJim replied to jamesG's topic in Model Building Questions and Answers
I’m with Steve ⤴️ I know you TECHNICALLY get a better joint if you use the trick of welding parts together during final assembly with a suitable solvent glue (and that’s how I assemble parts prior to paint) but as Steve says there’s so many great glues on the market that don’t require you to start scraping paint off to glue parts together I’ve never done that. I’m not SO rough with my built kits that they need that extra adhesion -
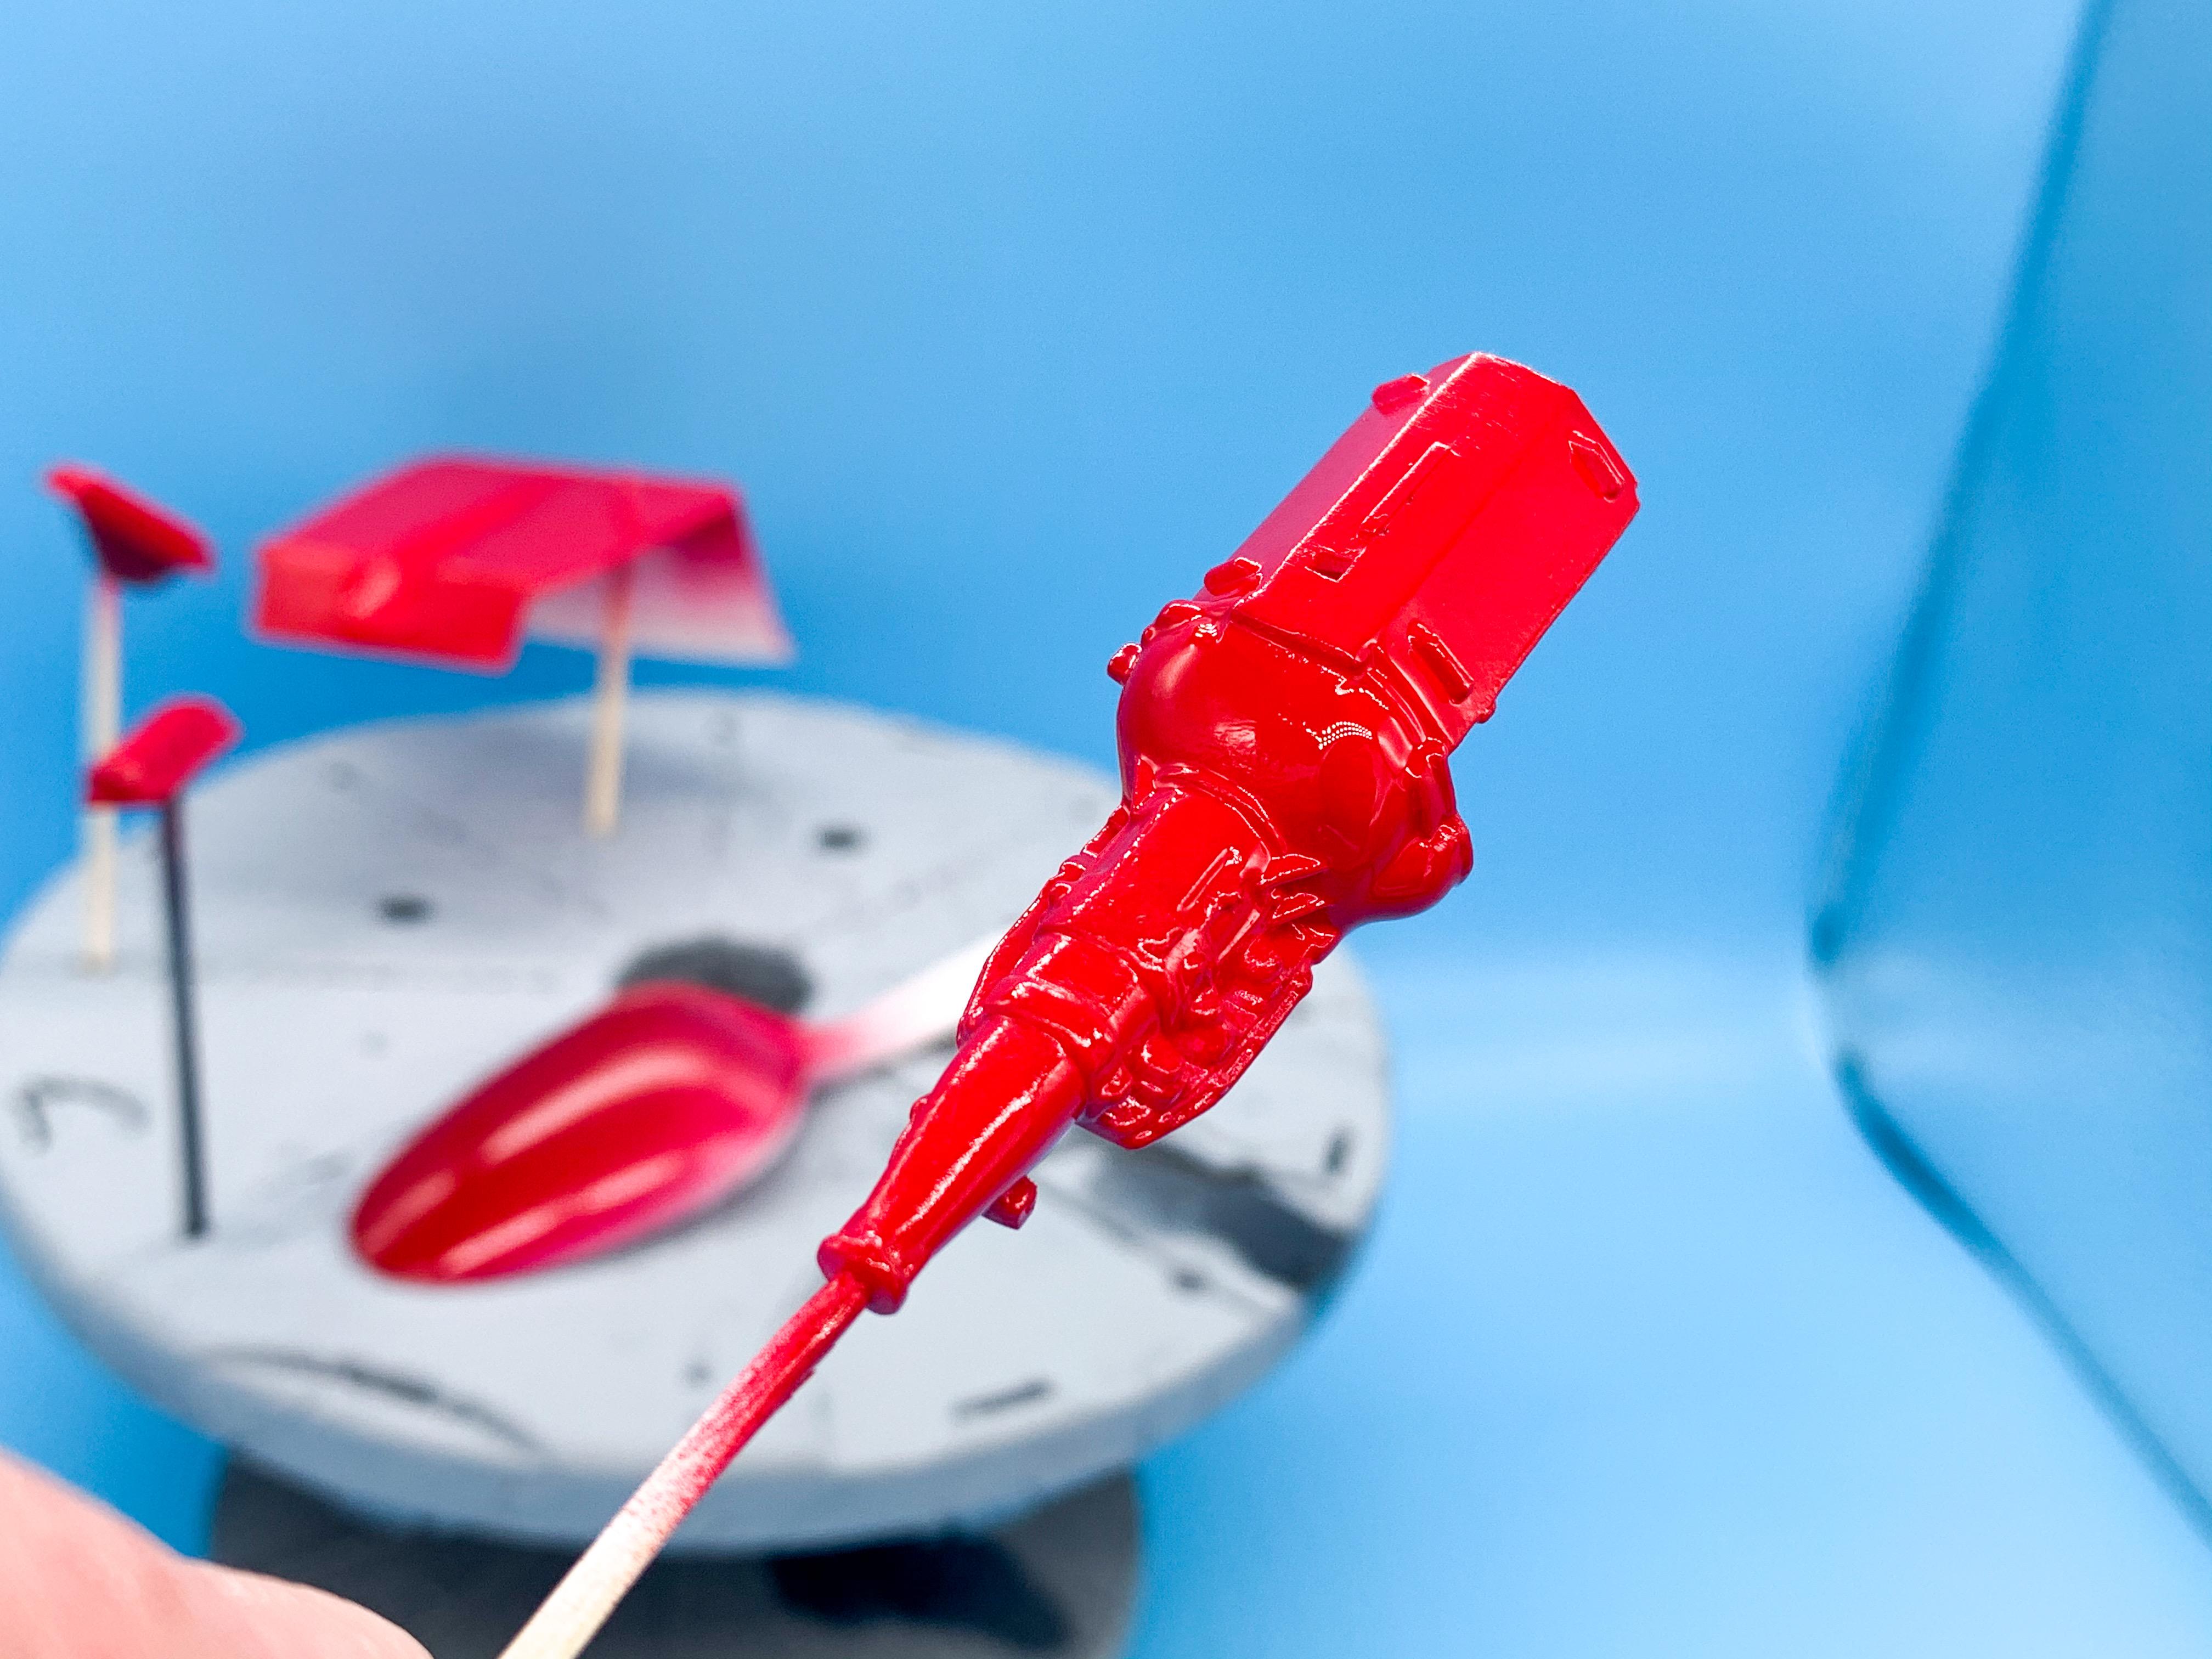
The Rigor Motor coffin-dragster - the skull looks like this:
-
Another MCM Editor is Onboard
OldNYJim replied to Dave Ambrose's topic in General Automotive Talk (Trucks and Cars)
Excellent news! I wish you all the best in this, and I’m excited to see what happens! -
The ‘other’ mag is stopping publication
OldNYJim replied to cruz's topic in General Automotive Talk (Trucks and Cars)
Excited to read about the reboot of MCM on the Facebook page today - the intention to bring it back, and have it more like SAE used to be than Scale Auto (which wasn’t as content heavy as the older magazines, by far, much as I loved it) sounds intriguing! Good time to start publishing Model Cars Mag regularly again for sure! -
Oh wow, this is stunning - world class building! Very very impressive Claude!
-
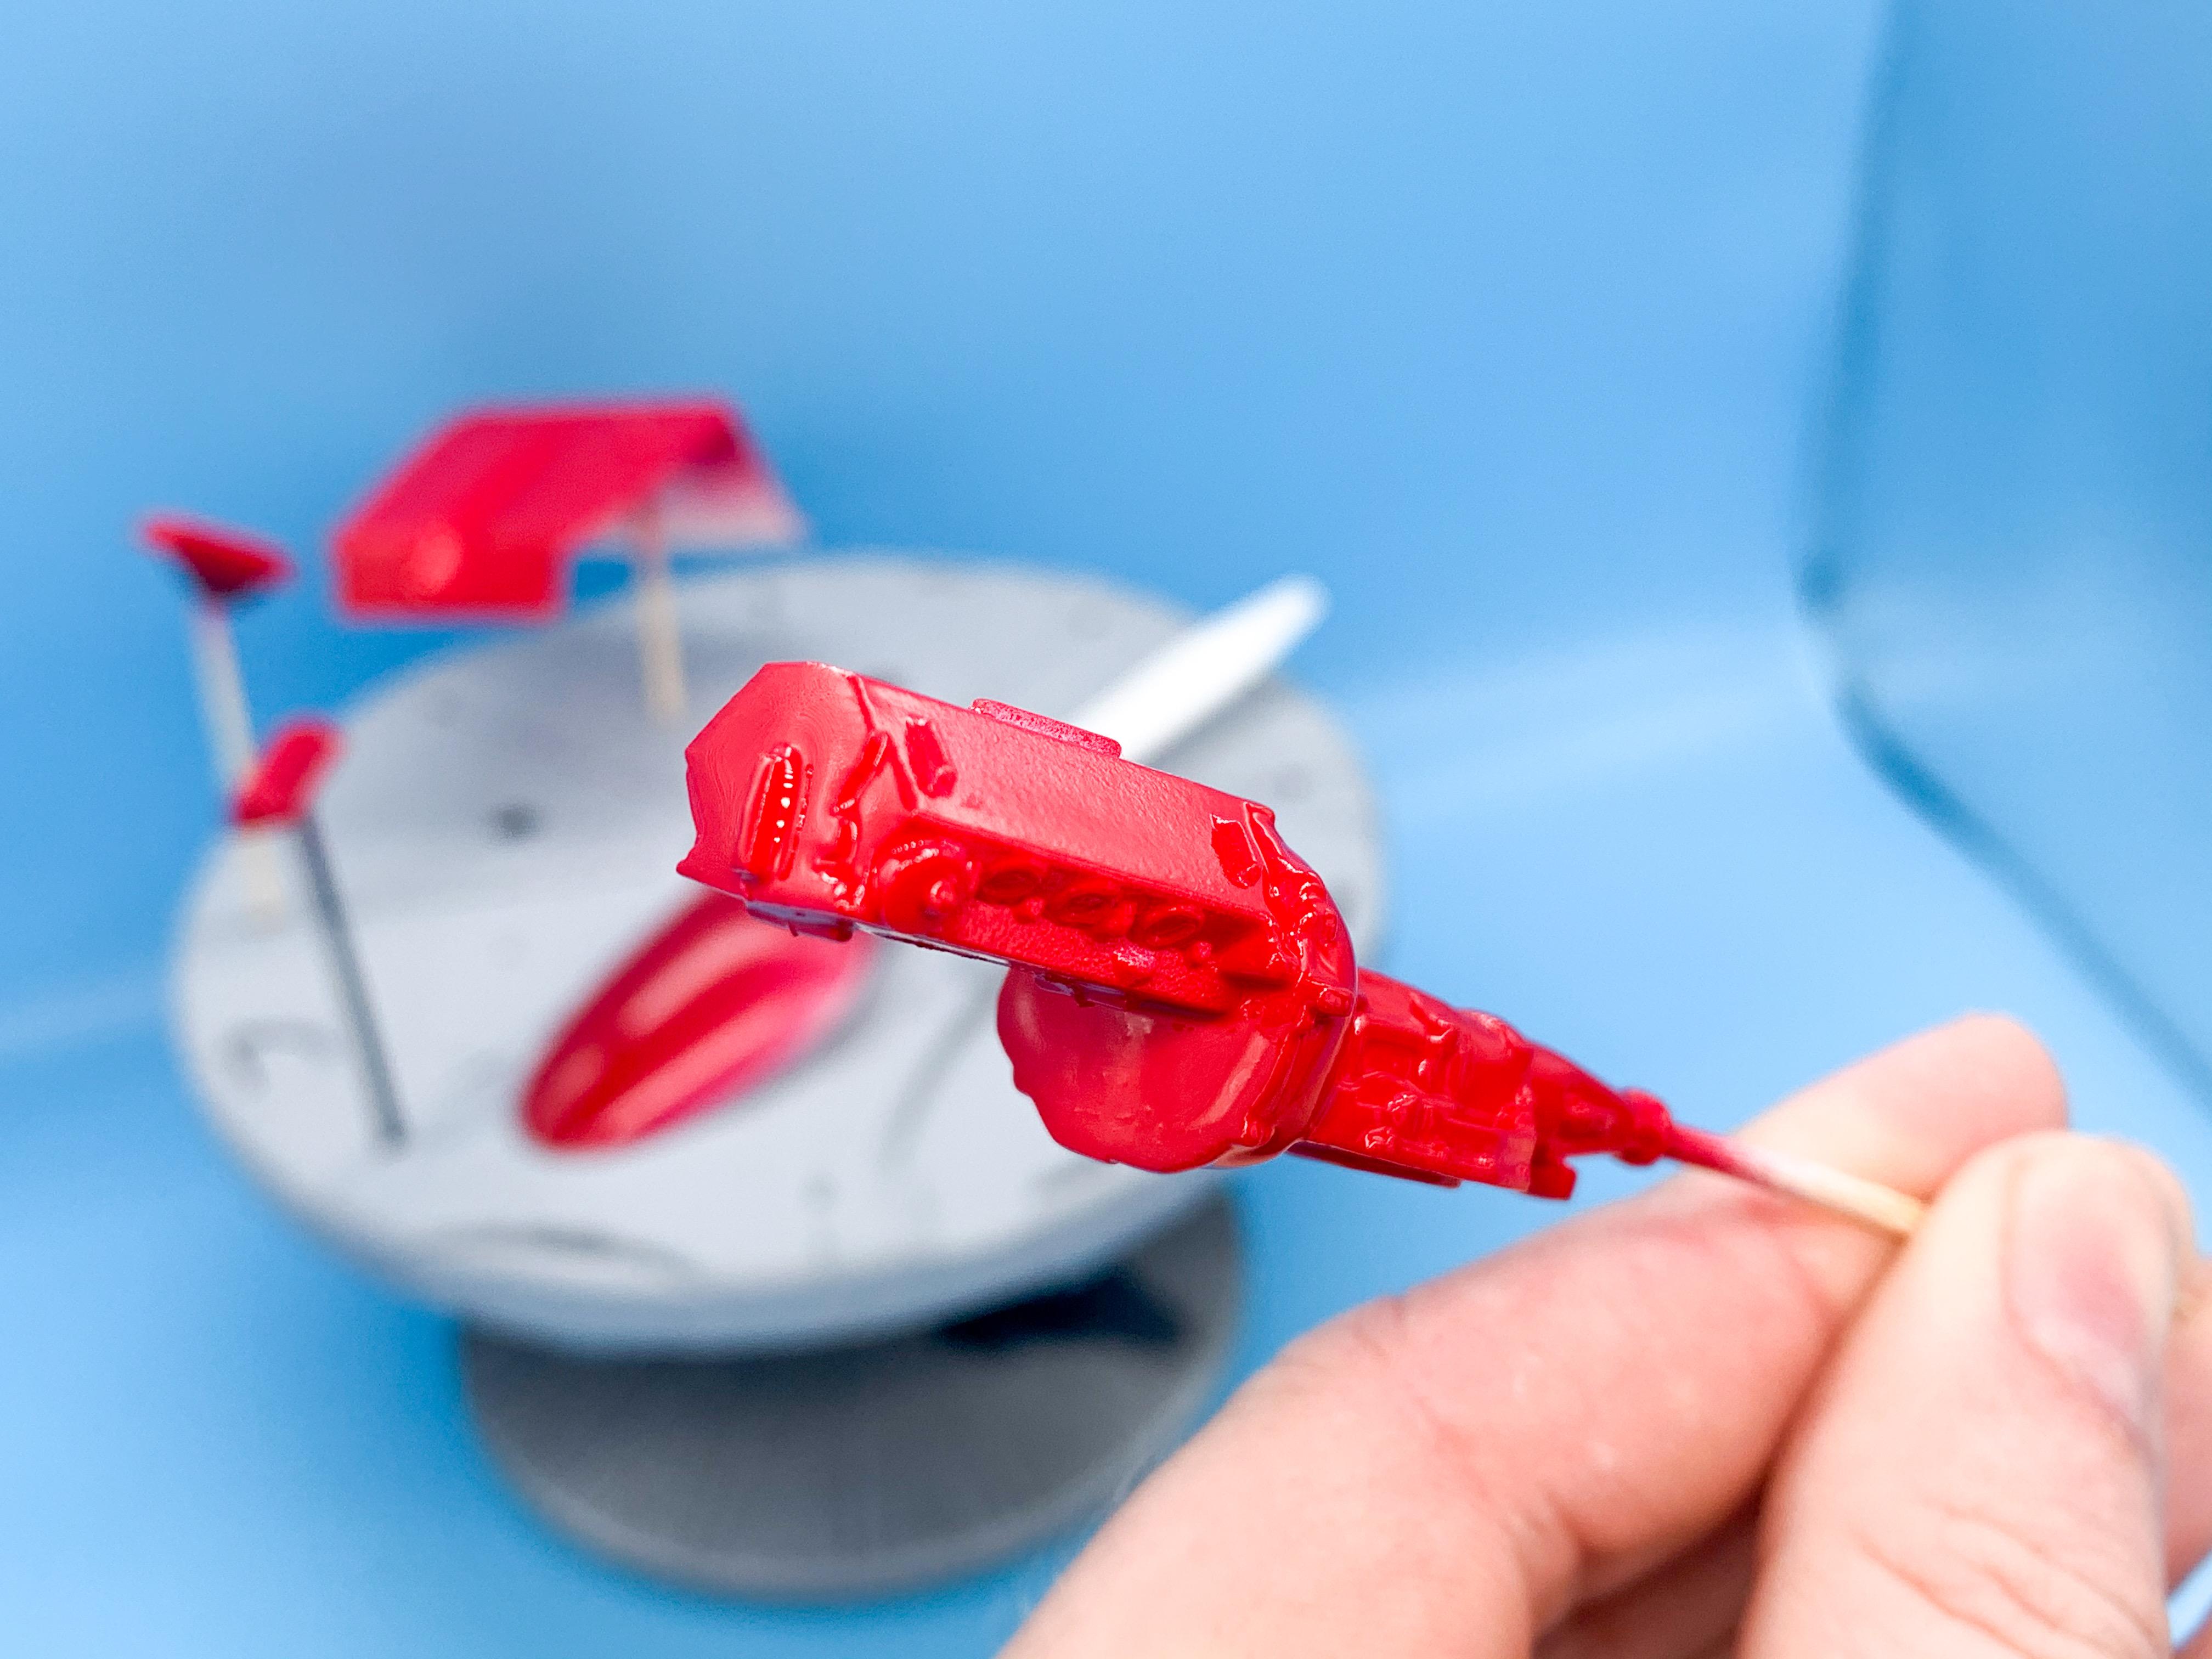
Wow, thank you so much for all the nice comments everyone! Sanding day today - the body was pretty straight but the frame needed a little more to be perfect and there were a few little touch ups to handle: Back in primer tomorrow for another try - shouldn’t be far off being ready for color. Speaking of color, had a few little parts that WERE ready for color - loved getting a chance at spraying some of that Boyd red! LOVE it! Not an interesting update, I know - but was excited to see how that color looked on some parts! More soon!
-
Ahh, interesting! I never used one of those - sounds like you got a real bargain with that one!
-
What do you use it for?
-
Testors paint thinning for airbrush
OldNYJim replied to Ctmodeler's topic in Tips, Tricks, and Tutorials
Testors high gloss clear cut 50/50 with the thinner ?? -
Pity, because we love everything about the place apart from the neighbors - but NYC rent is too expensive to keep paying for somewhere you don’t like...
-
We’re about to move, and you’re right - it sucks. Doesnt suck as much as living next door to the Moroccan family with the wife-beating husband and the child-abusing Mom and the perma-crying (unsurprisingly) young kids though. The roach infestation coming through the wall of their urine-smelling apartment was the final straw, after the landlord said he couldn’t do anything to remove them because they accused him of racism and threatened him with some kind of Muslim rights lawyer...so we’re about to pack up and move out, soon as we find a place. Pain in the donkey though...
-
Looks great Randy - looks like it would be a fun little hot rod to bomb around in! Nice job!