OldNYJim
-
Posts
252 -
Joined
-
Last visited
Content Type
Profiles
Forums
Events
Gallery
Everything posted by OldNYJim
-
Awesome!!! I started looking at casually collecting parts for one, but have you seen the price of a Tamiya or Revell Mini lately? I’m thinking the Roth Surfite might be a good engine donor instead... (Sorry for the thread hijack btw)
-

British Ford 100E Multi piece kit!
OldNYJim replied to Bugatti Fan's topic in General Automotive Talk (Trucks and Cars)
Who better to make a kit of an unusual English car* than a company in Brooklyn, New York? ? Thats a cool looking car though - what scale is the kit? *unusual in Brooklyn, I’d assume -
I saw that one! I think they run a version of a Mini engine, if I remember right? Would love to see you tackle one of these (like you don’t have enough on your bench ?)
-
Those necklace fasteners look promising - do you have any info on the manufacturer or a part number?
-
What did you see on the road today?
OldNYJim replied to Harry P.'s topic in General Automotive Talk (Trucks and Cars)
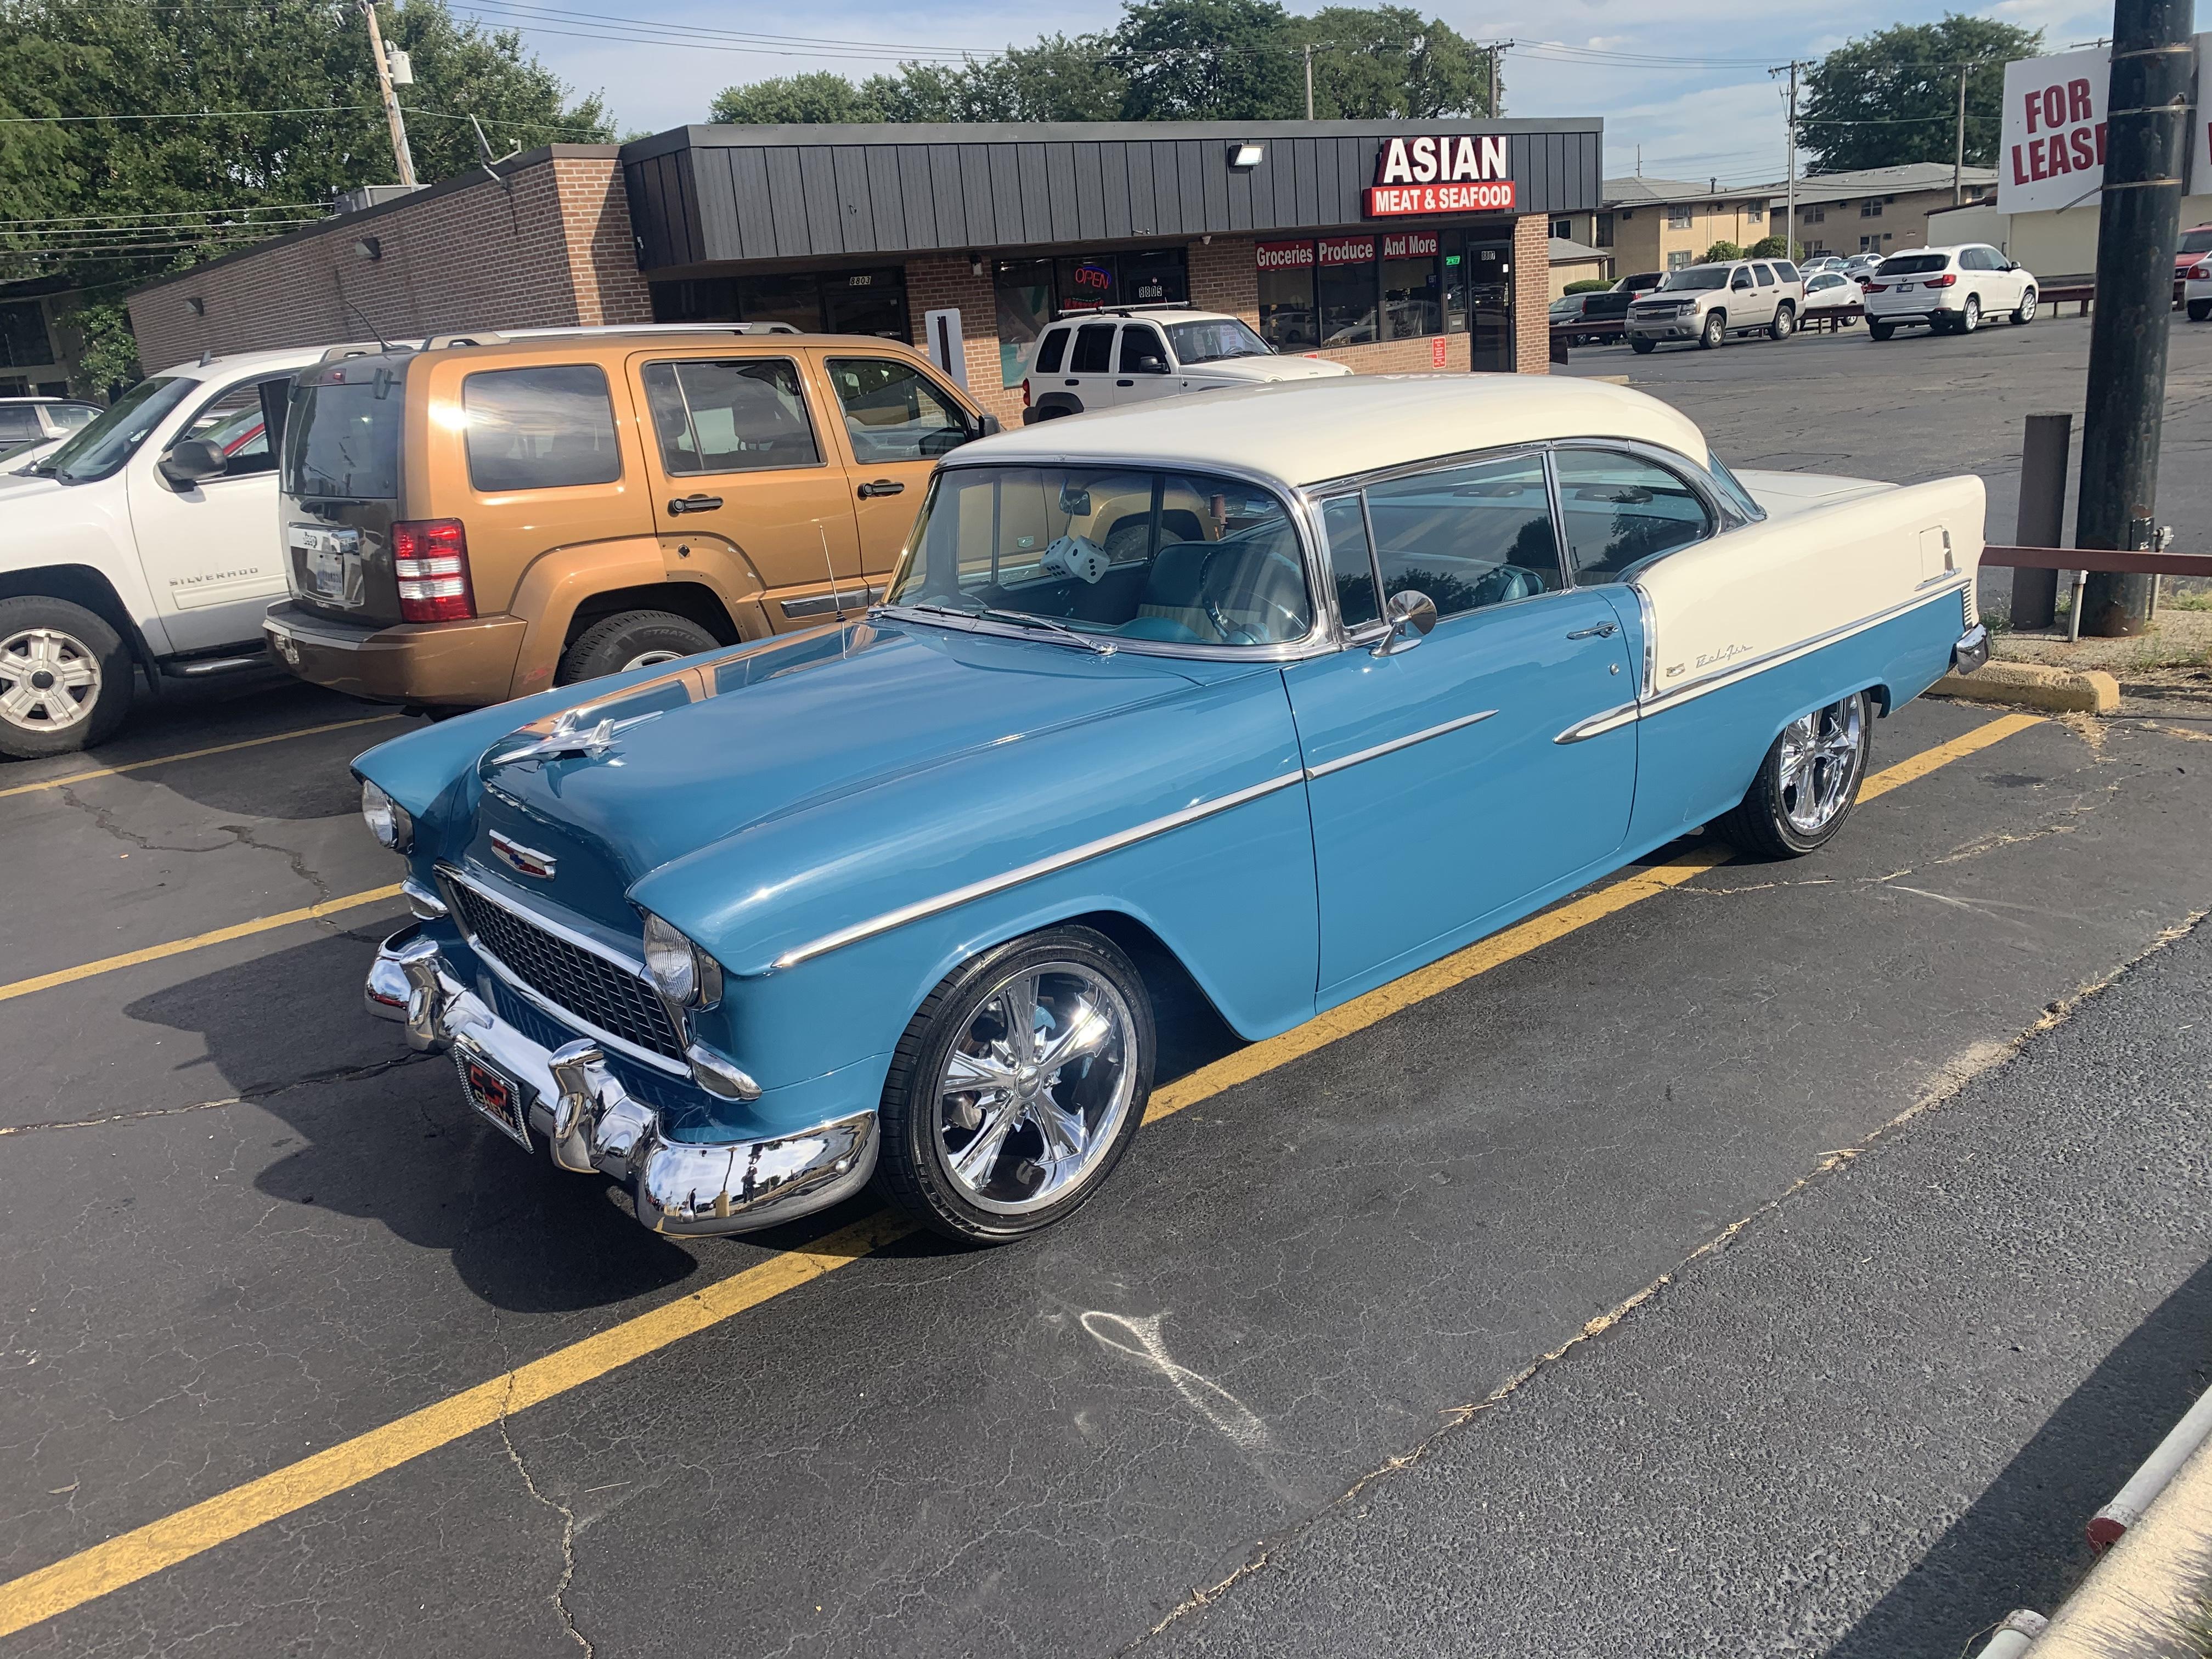
Exploring the local neighborhood a little... And the best one of all was this cool 55 - pity it was too quick for me to snap before it got away ??
-
Looking awesome! Is the Boyd Dusty Rose pretty translucent, or did you just mist it on real light so it didn’t affect the base color too much?
-
Shiny!! I too would like to know which clear you used. My money’s on 2K, but I’m often wrong...
-
Airbrushing future -- buffing out errors?
OldNYJim replied to gjorenby's topic in Model Building Questions and Answers
I’ve lightly buffed Future with a fine wet ‘n’ dry paper before and then re-coated to fix the issue you’re talking about. As long as it’s setup and hardened for a week or so it works ok for me...I just use a very fine grit paper and sand it like I would anything else. You’ll dull it in the process, but another coat fixes that. Like others have found, actually trying to buff and polish it like a regular clear doesn’t work, but you can level it out and have another shot at a nice smooth coat -
I saw one of those in New York - weird little thing! I saw a video of them racing on a dirt oval track...I wanted to scratchbuild one myself! ? EDIT: that one I saw doesn’t look quite the same, but I guess they’re related?
-
D.A.A.M. show for November 2020 is cancelled
OldNYJim replied to ZTony8's topic in Contests and Shows
Is there some info somewhere on the spring show, @ZTony8? I’d like to make that one! -
72 Plymouth Roadrunner 426 HEMI 8 Pack
OldNYJim replied to AmericanMuscleFan's topic in WIP: Drag Racing Models
What a beauty! Love all the little details! -
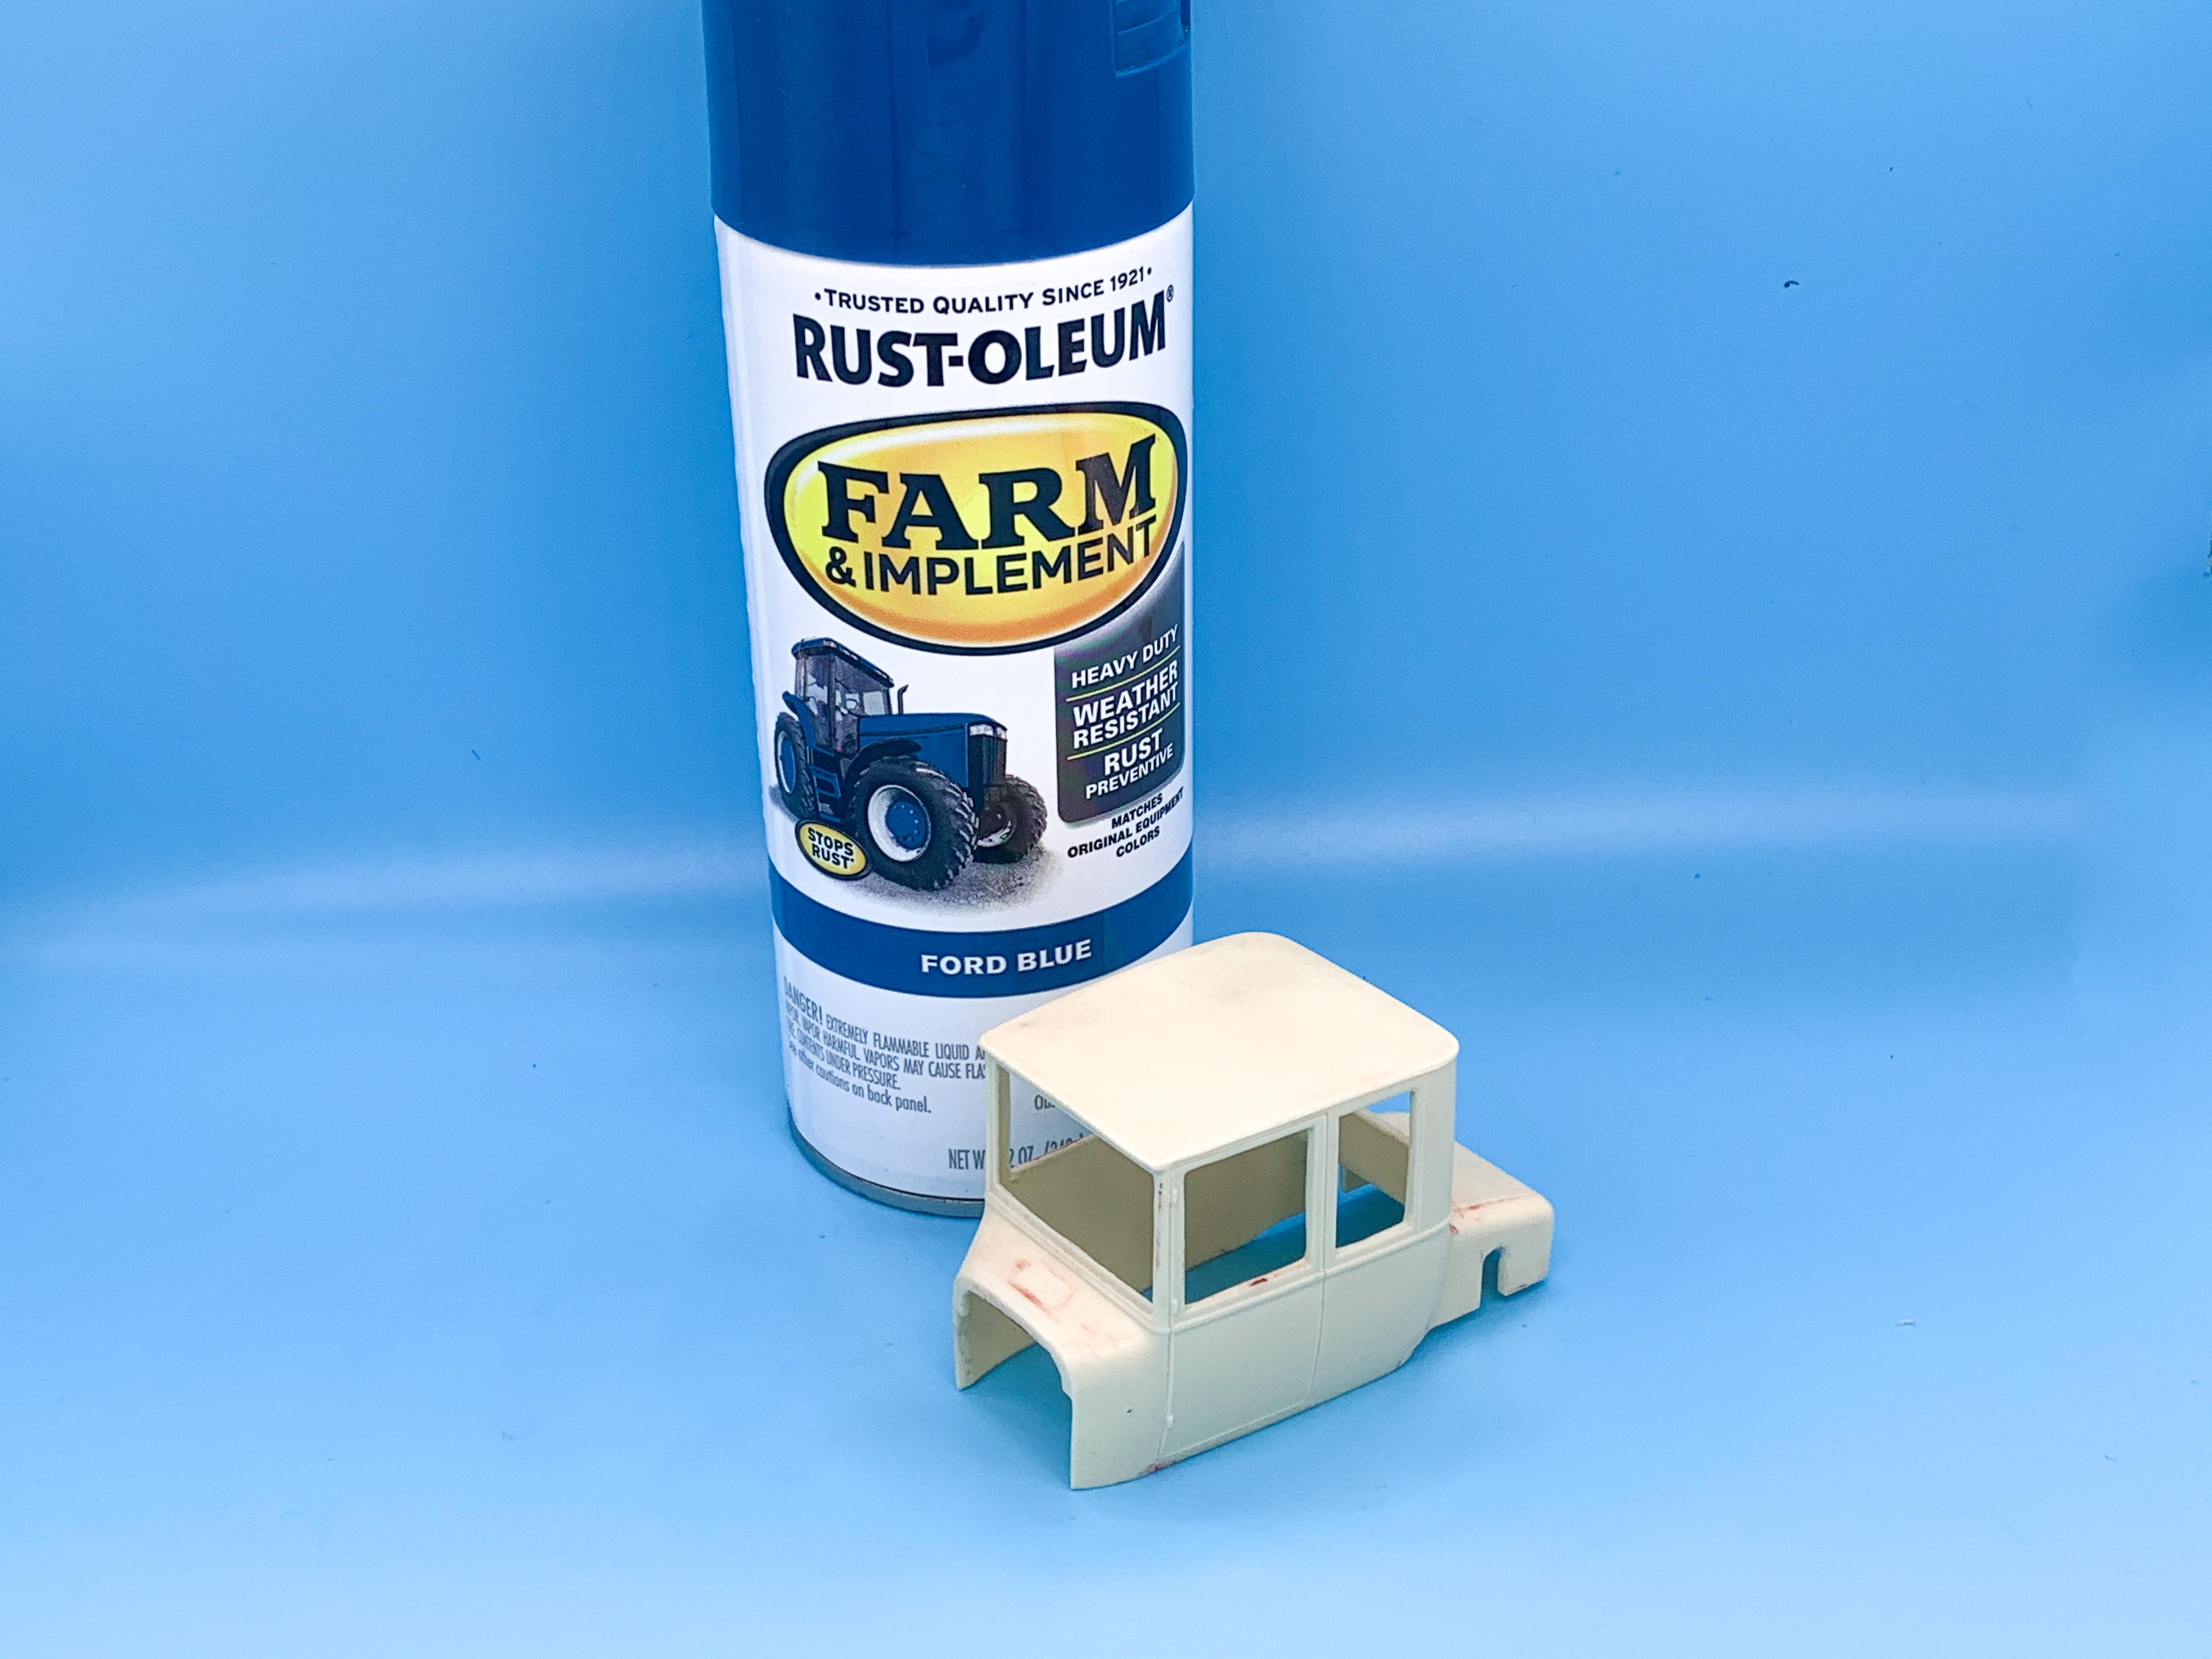
Thank you everybody! Appreciate all the nice comments. @Tom Geiger - I think I’m with you on the blower...I do like the exaggerated look of the high roof, and you’re right, it loses some of that if the engine’s right up there too. Im starting to get to where I can put some paint on this thing, almost...I had a color in my head that I’ve been trying to find and hadn’t managed to track down yet. I wanted a solid color for this one, a kind bright dark blue ?. Not a REAL dark blue, but not too bright either. Kinda traditional looking but not too old looking...and obviously that mix of requirements made it hard to find what I was looking for ?. Hunting in Menards today I found this, in the tractor paint aisle, no less. JUST what I had been looking for! Shot a couple of spoons to see if it’s about what I wanted and I think it is - I’ll check them out in the daylight tomorrow and see. I think we have a winnner though - and it’s a Ford color ?. First paint job after moving to Indiana and it’s a tractor color ? Should look something like this shade hopefully; Kind of an unusual shade for a Tall T, I feel like - but I think I’m gonna like it! Got a couple of little bits and pieces cleaned up on the frame today, and got all the parts that will need some more work Bondo’d ready for some sanding and then primer tomorrow, hopefully! More soon!
-
That detail makes all the difference - nice job!
-
What did you see on the road today?
OldNYJim replied to Harry P.'s topic in General Automotive Talk (Trucks and Cars)
That's cool! They didn't get very close with the NYPD graphics - but I love the look of it and the idea! Way cool! I'd drive it! -
What did you see on the road today?
OldNYJim replied to Harry P.'s topic in General Automotive Talk (Trucks and Cars)
Sounded cool too! IMG_7571.MOV -
What did you see on the road today?
OldNYJim replied to Harry P.'s topic in General Automotive Talk (Trucks and Cars)
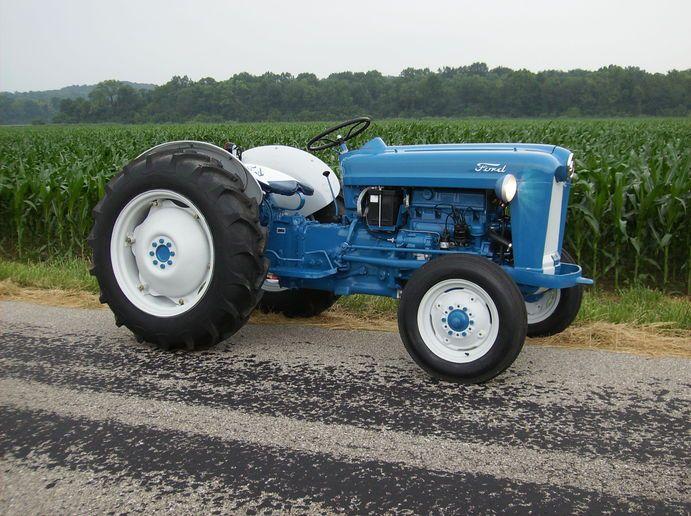
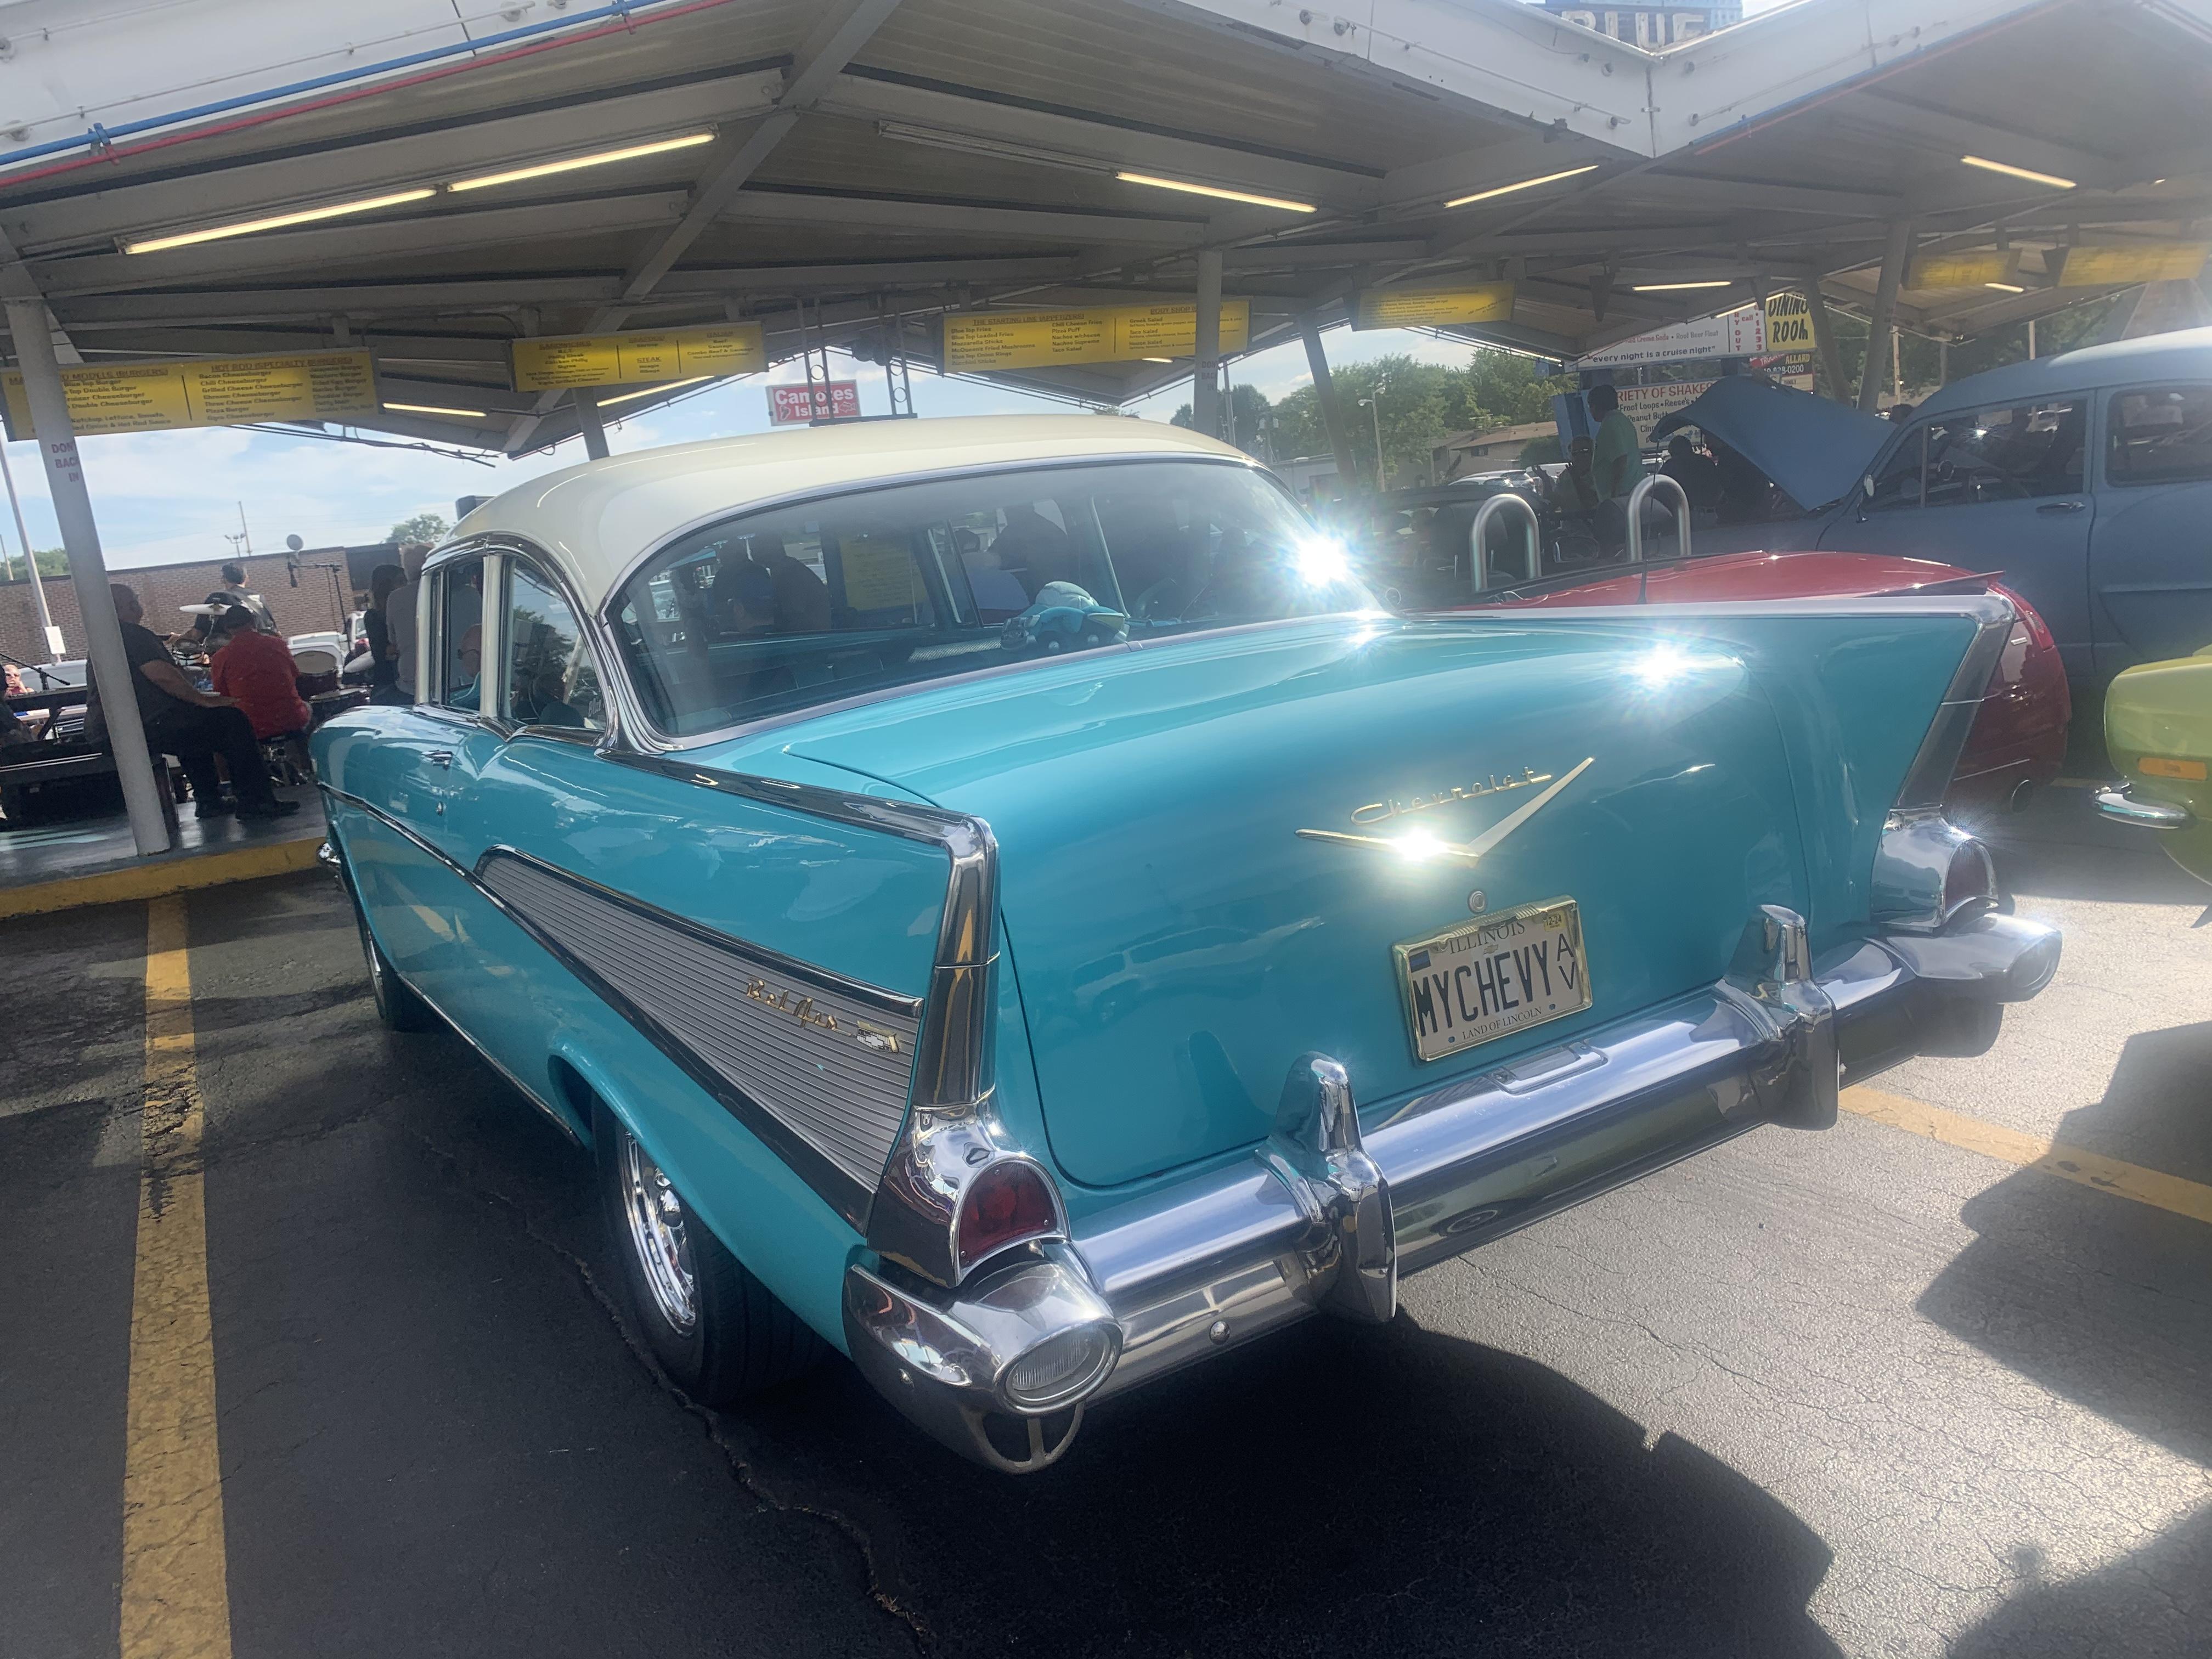
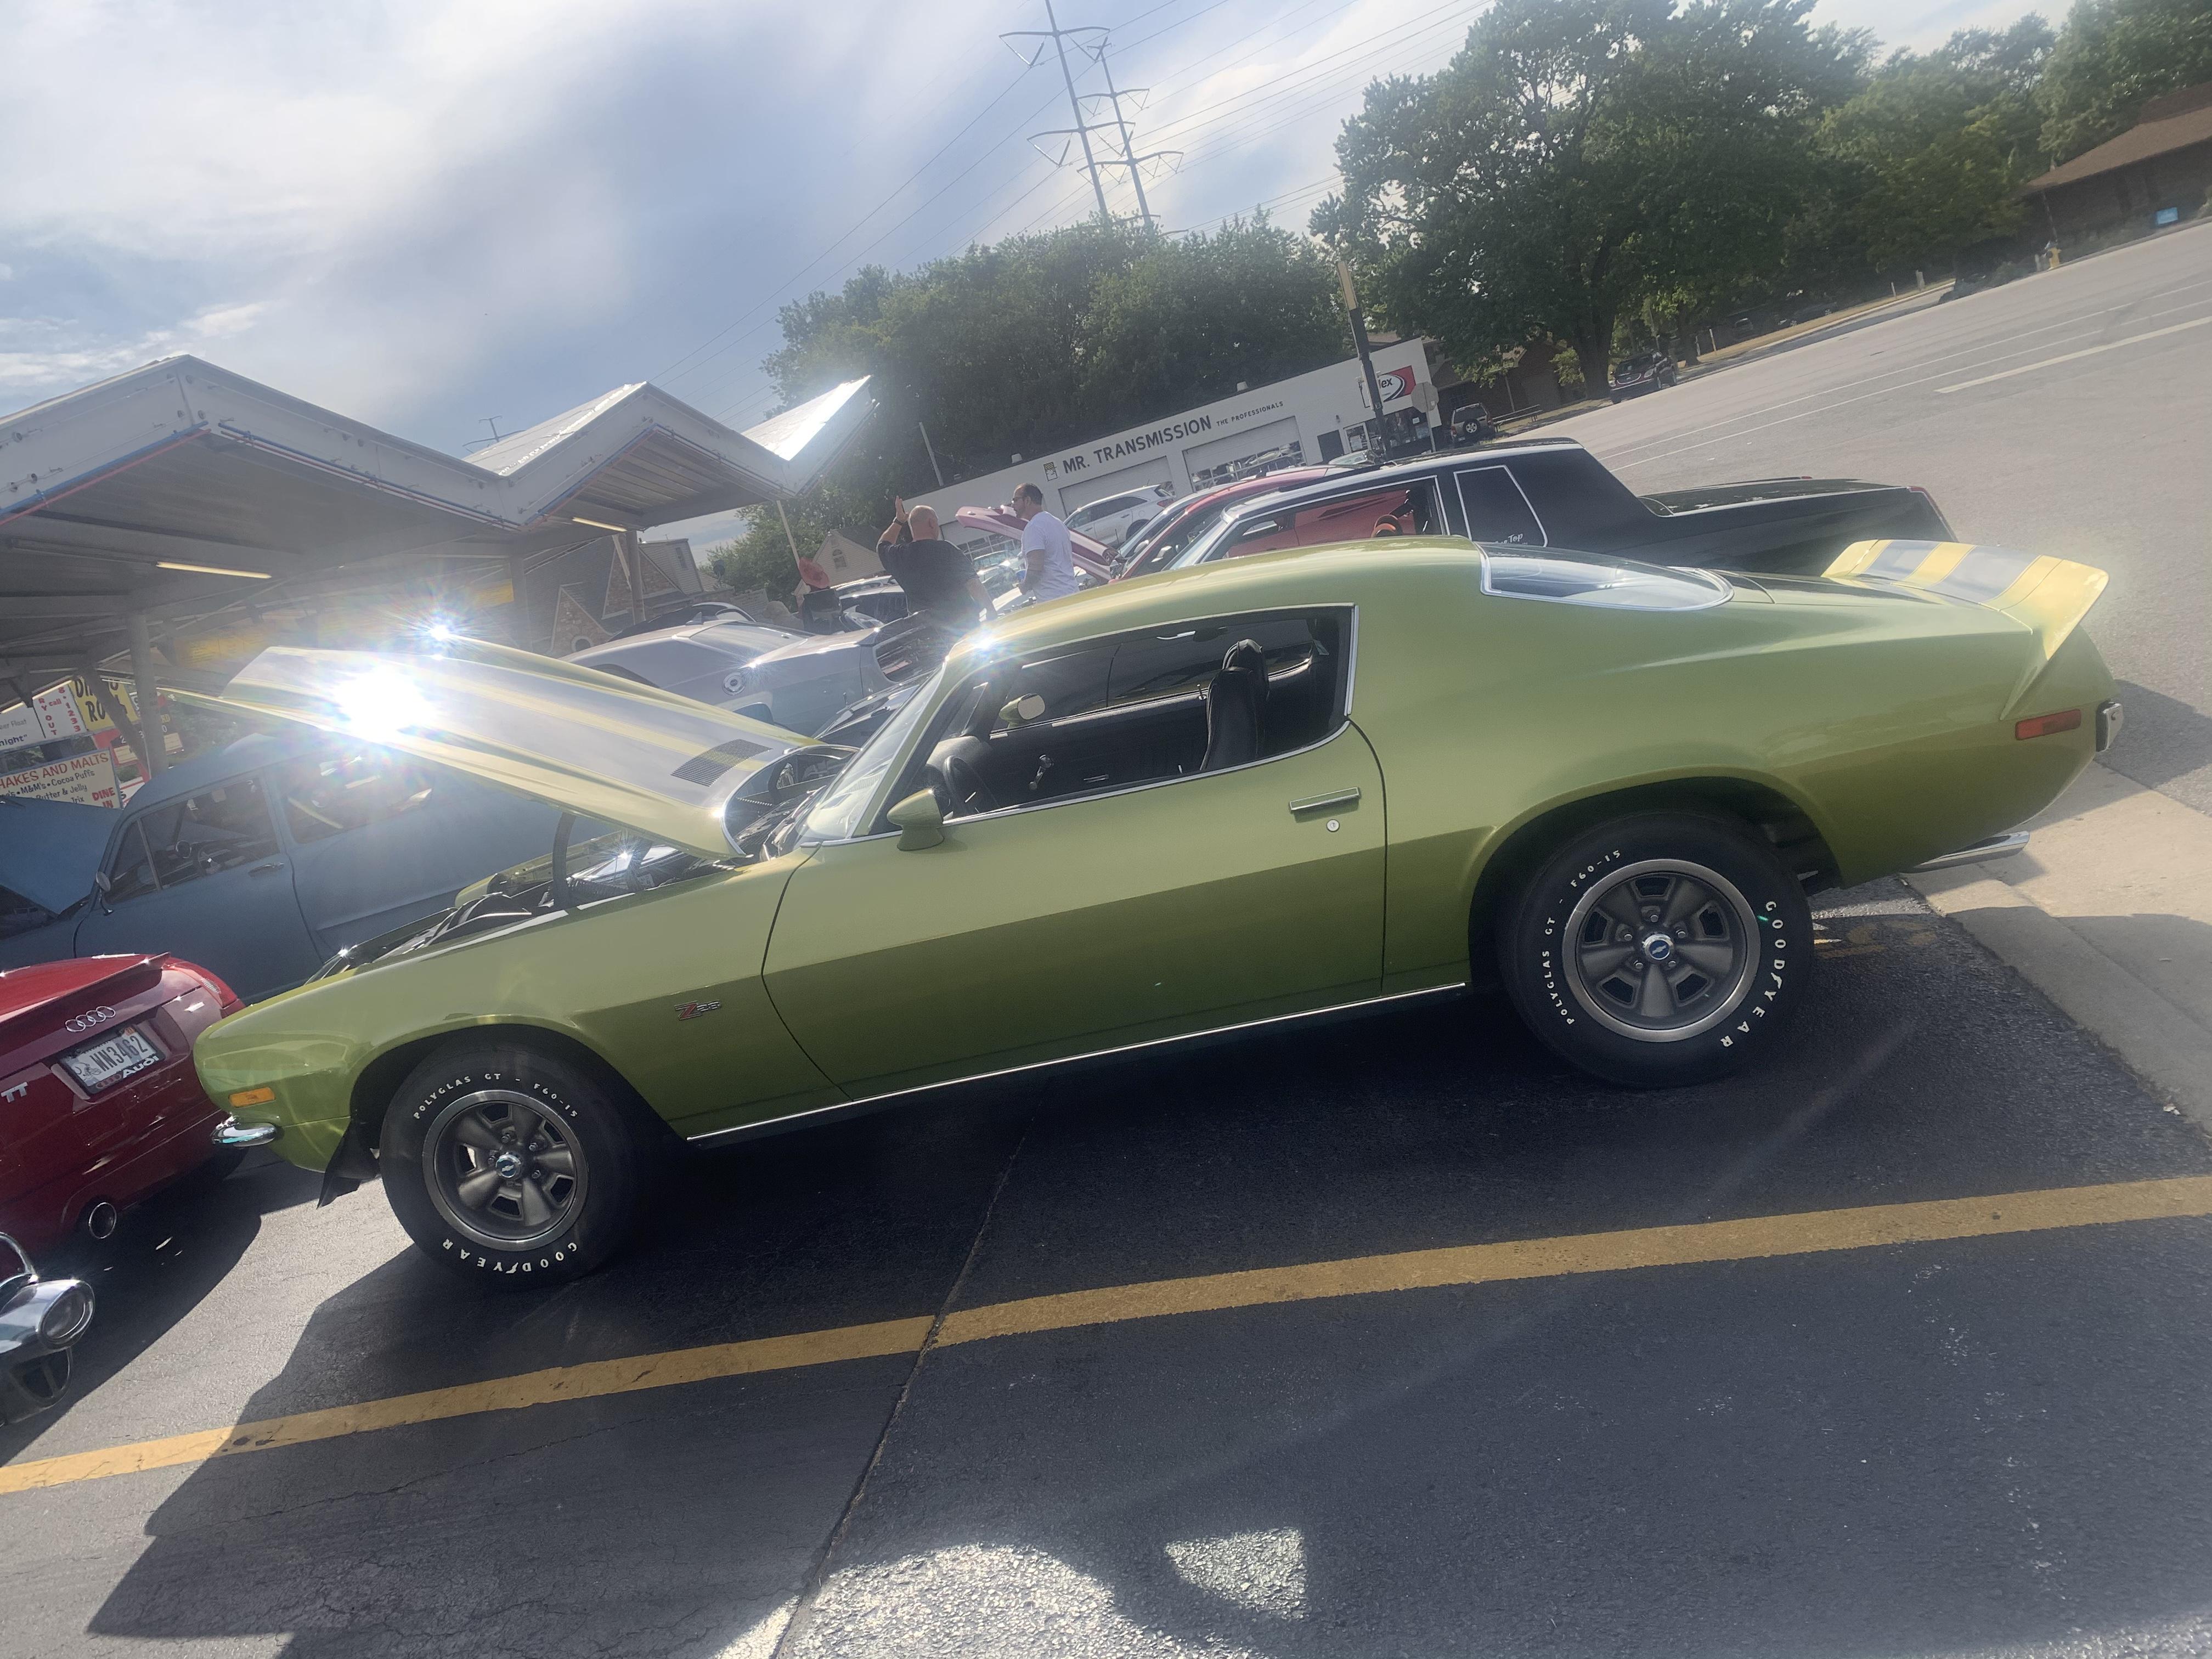
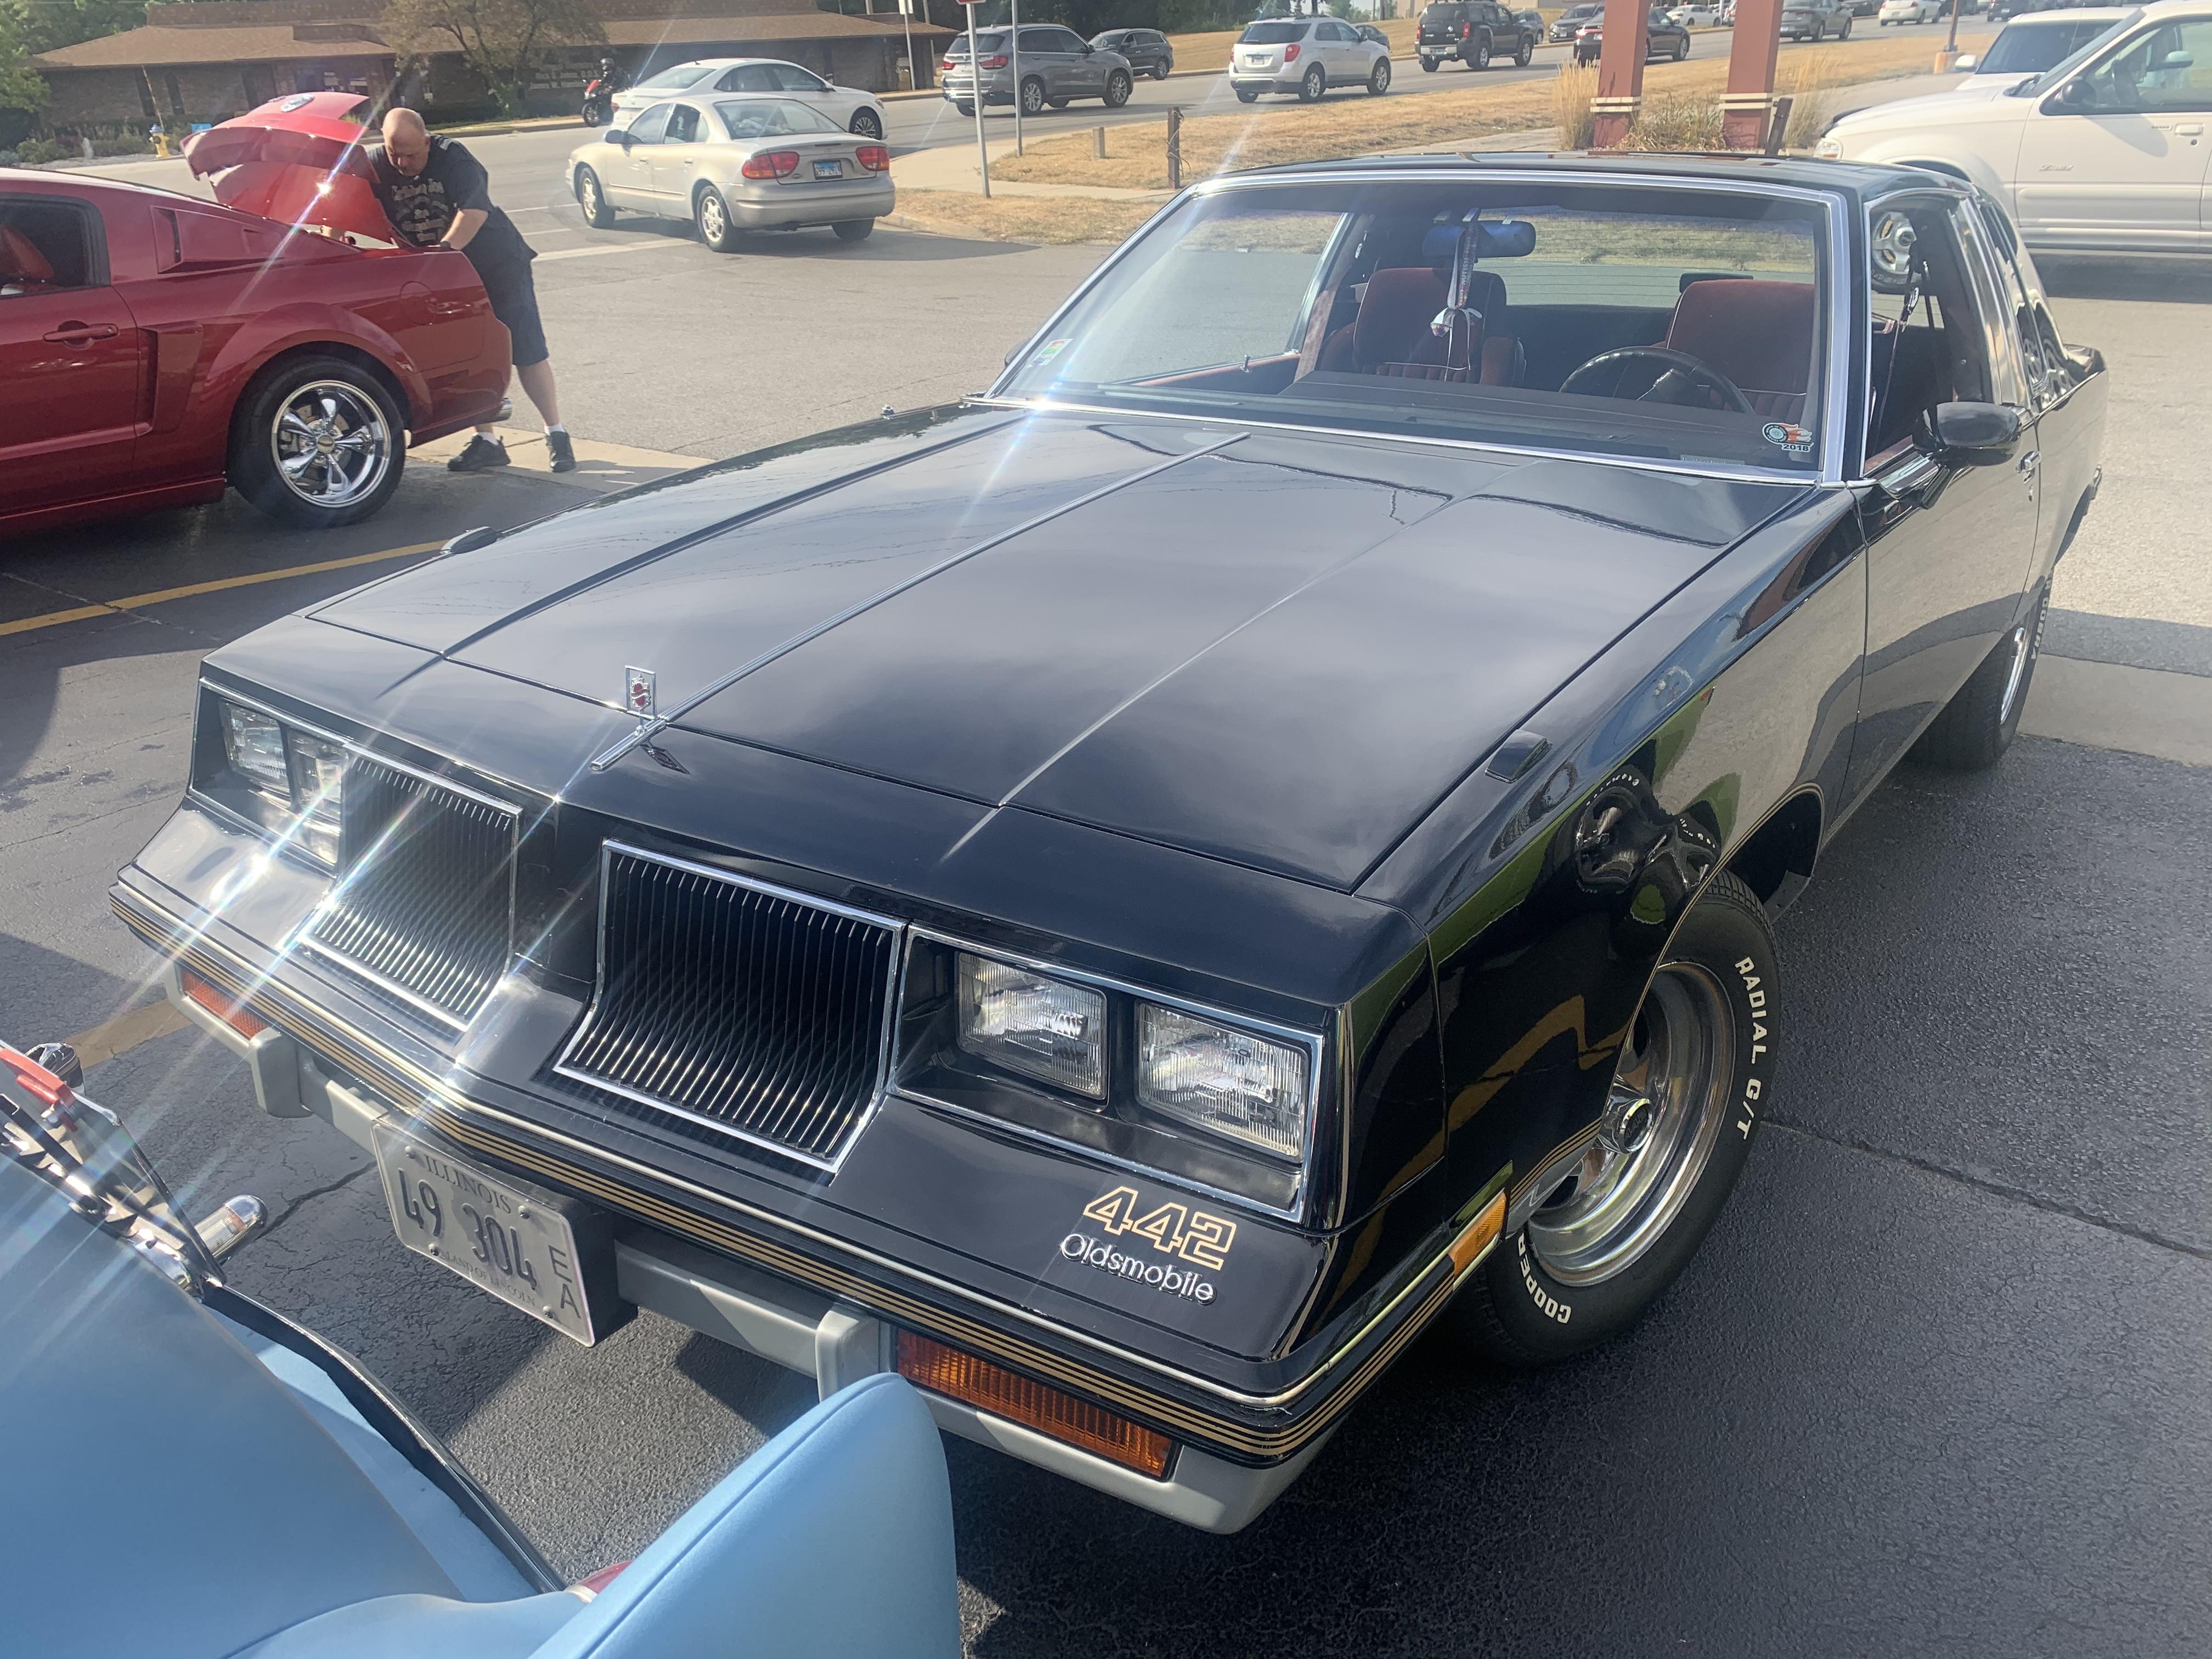
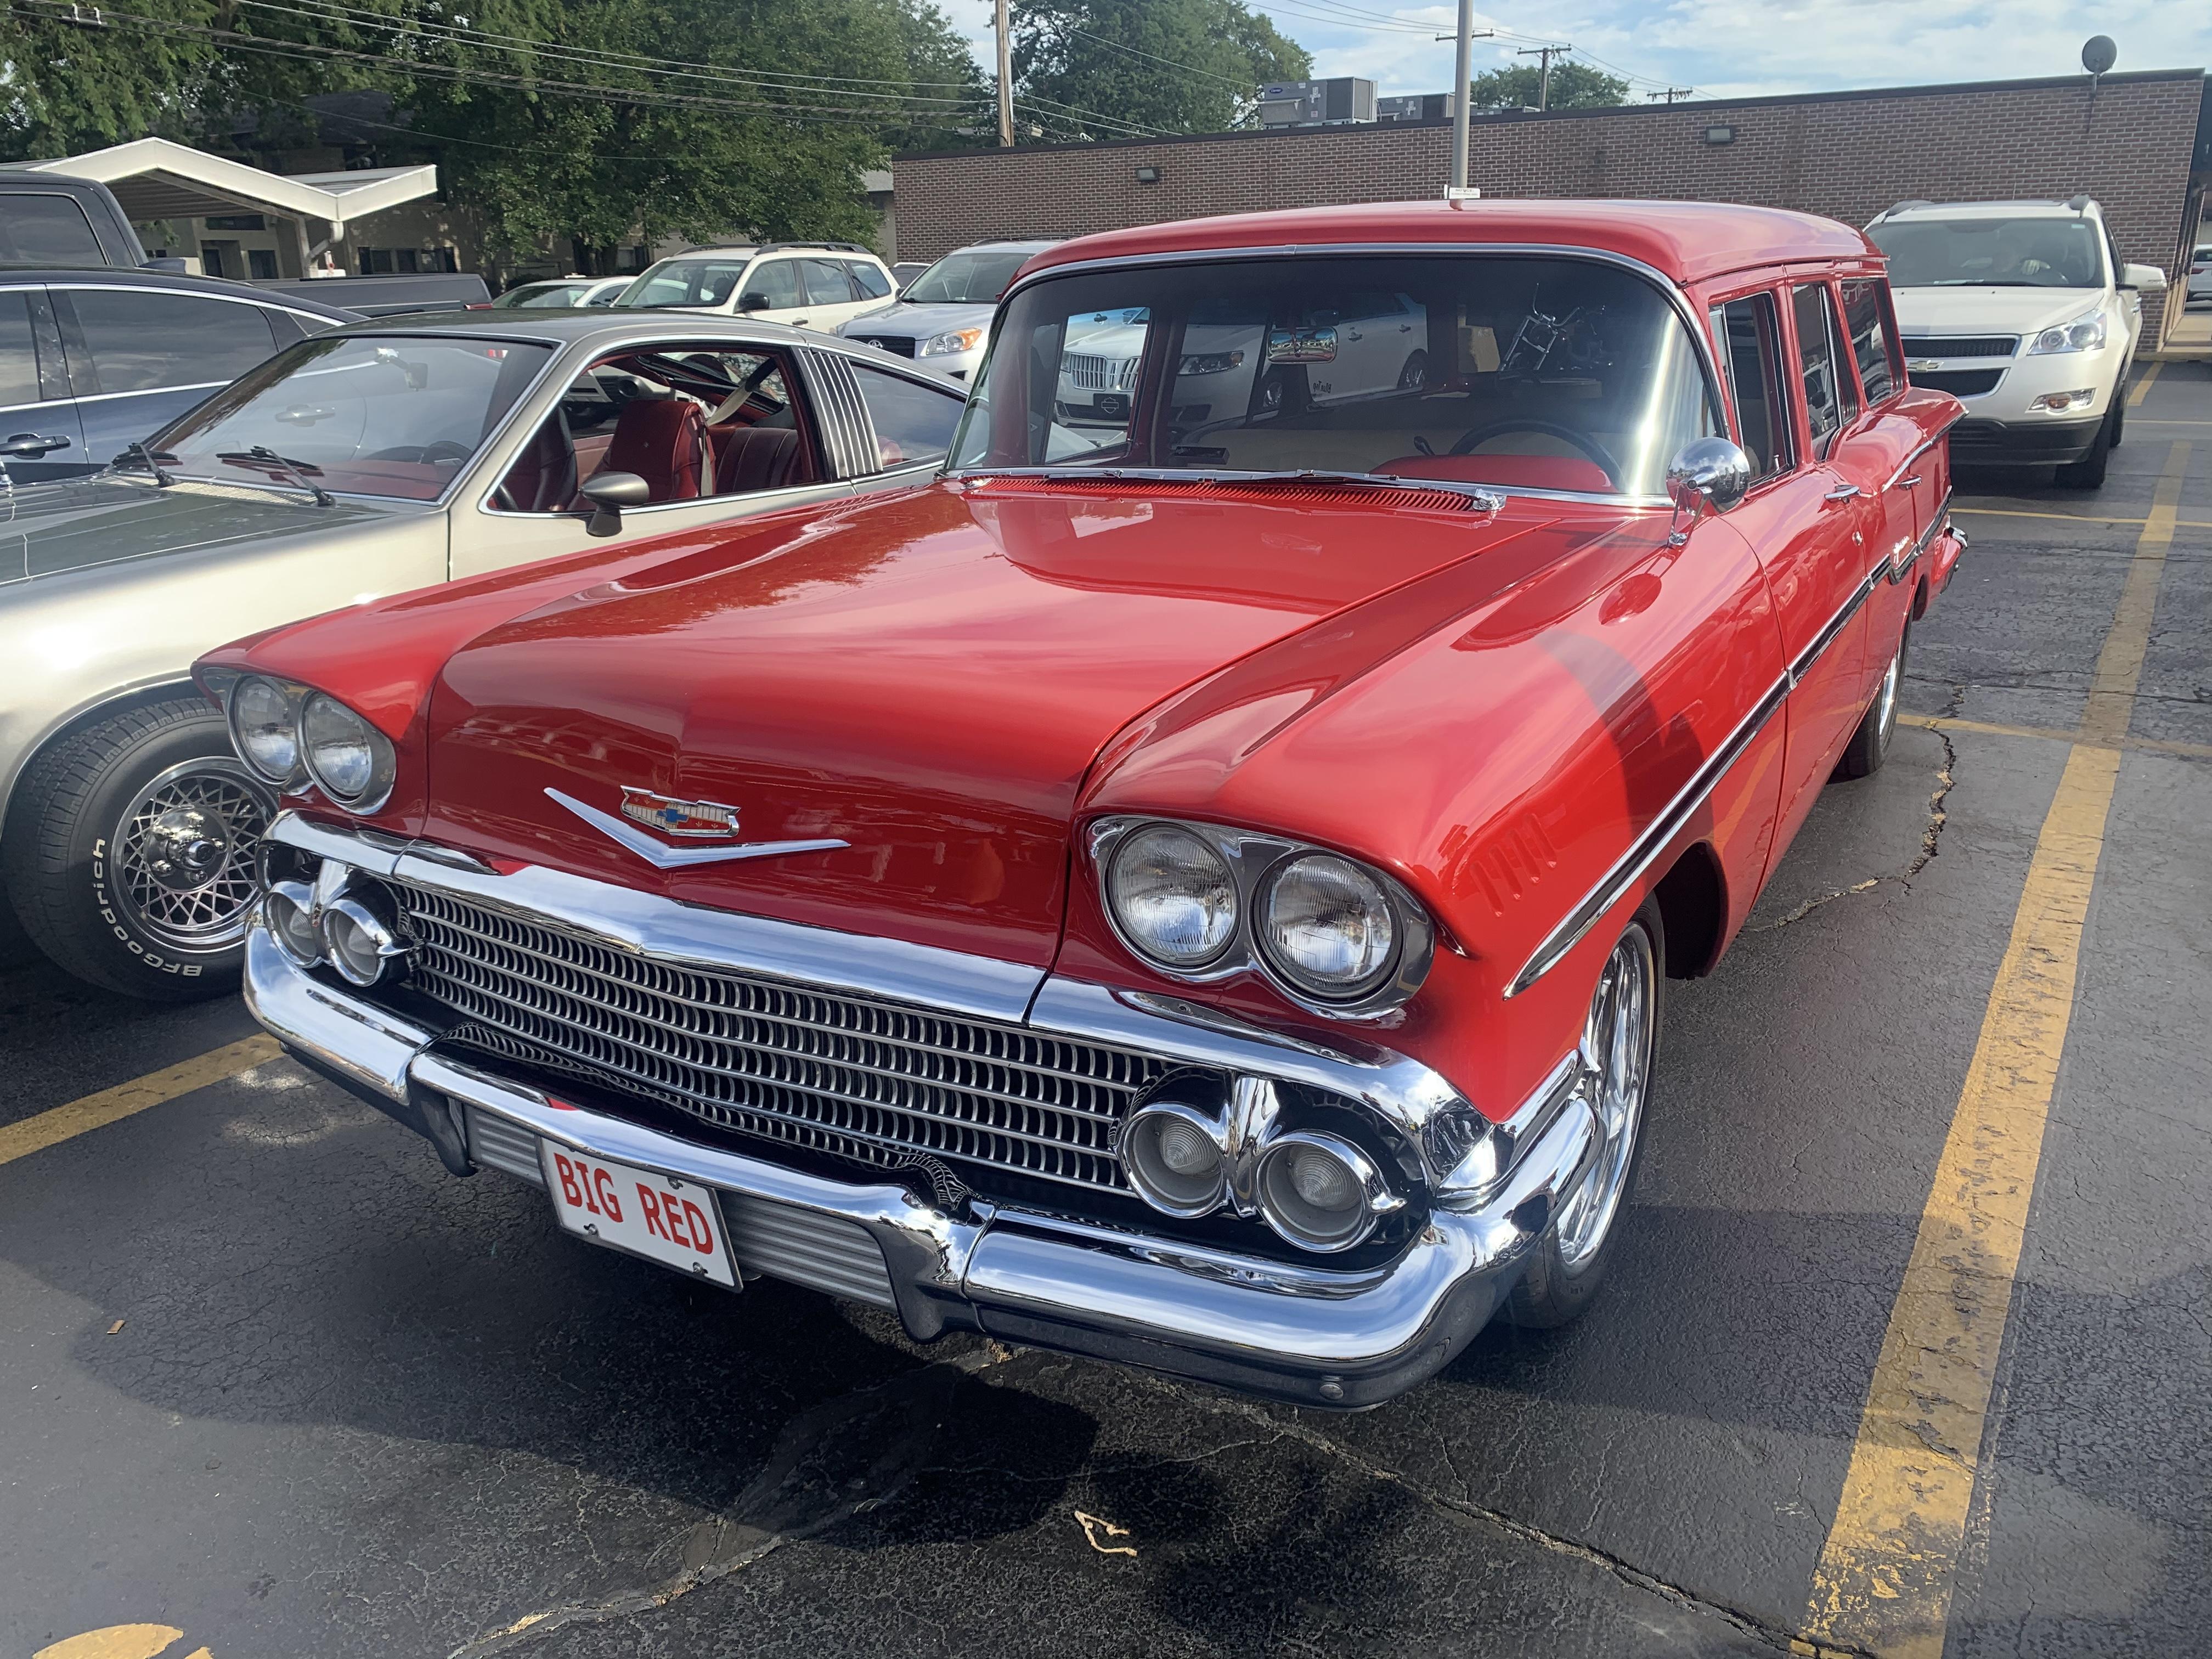
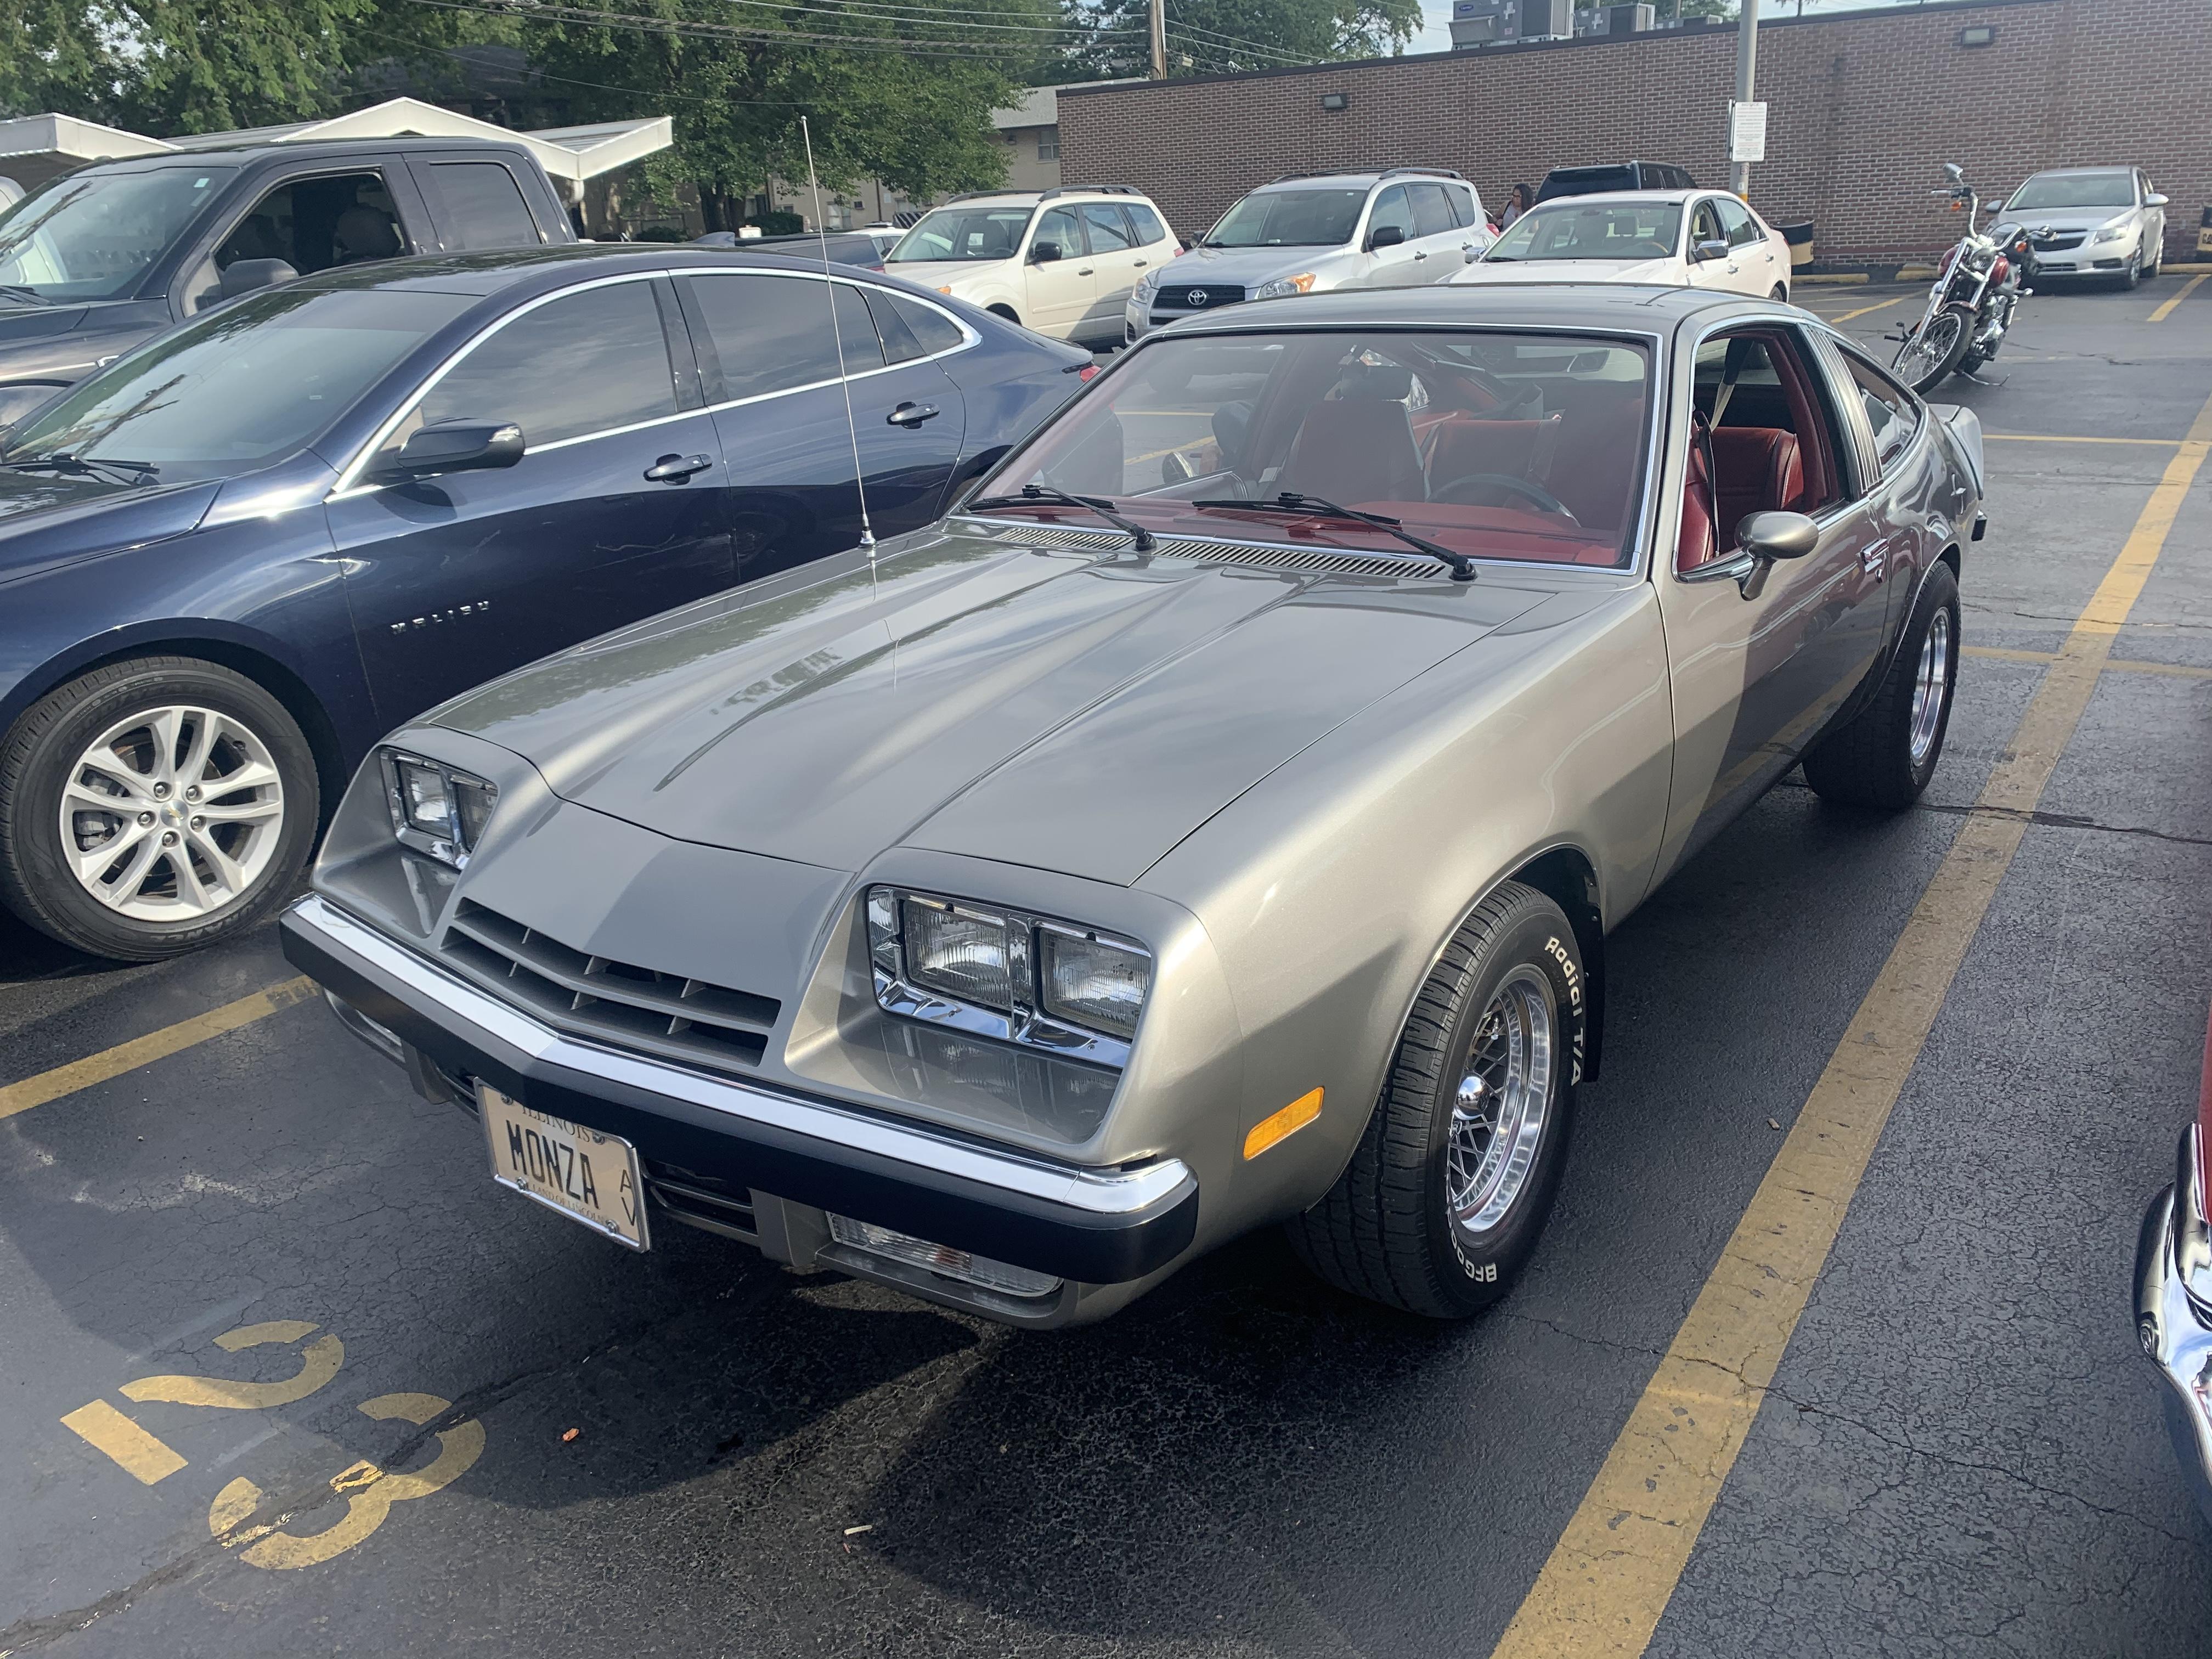
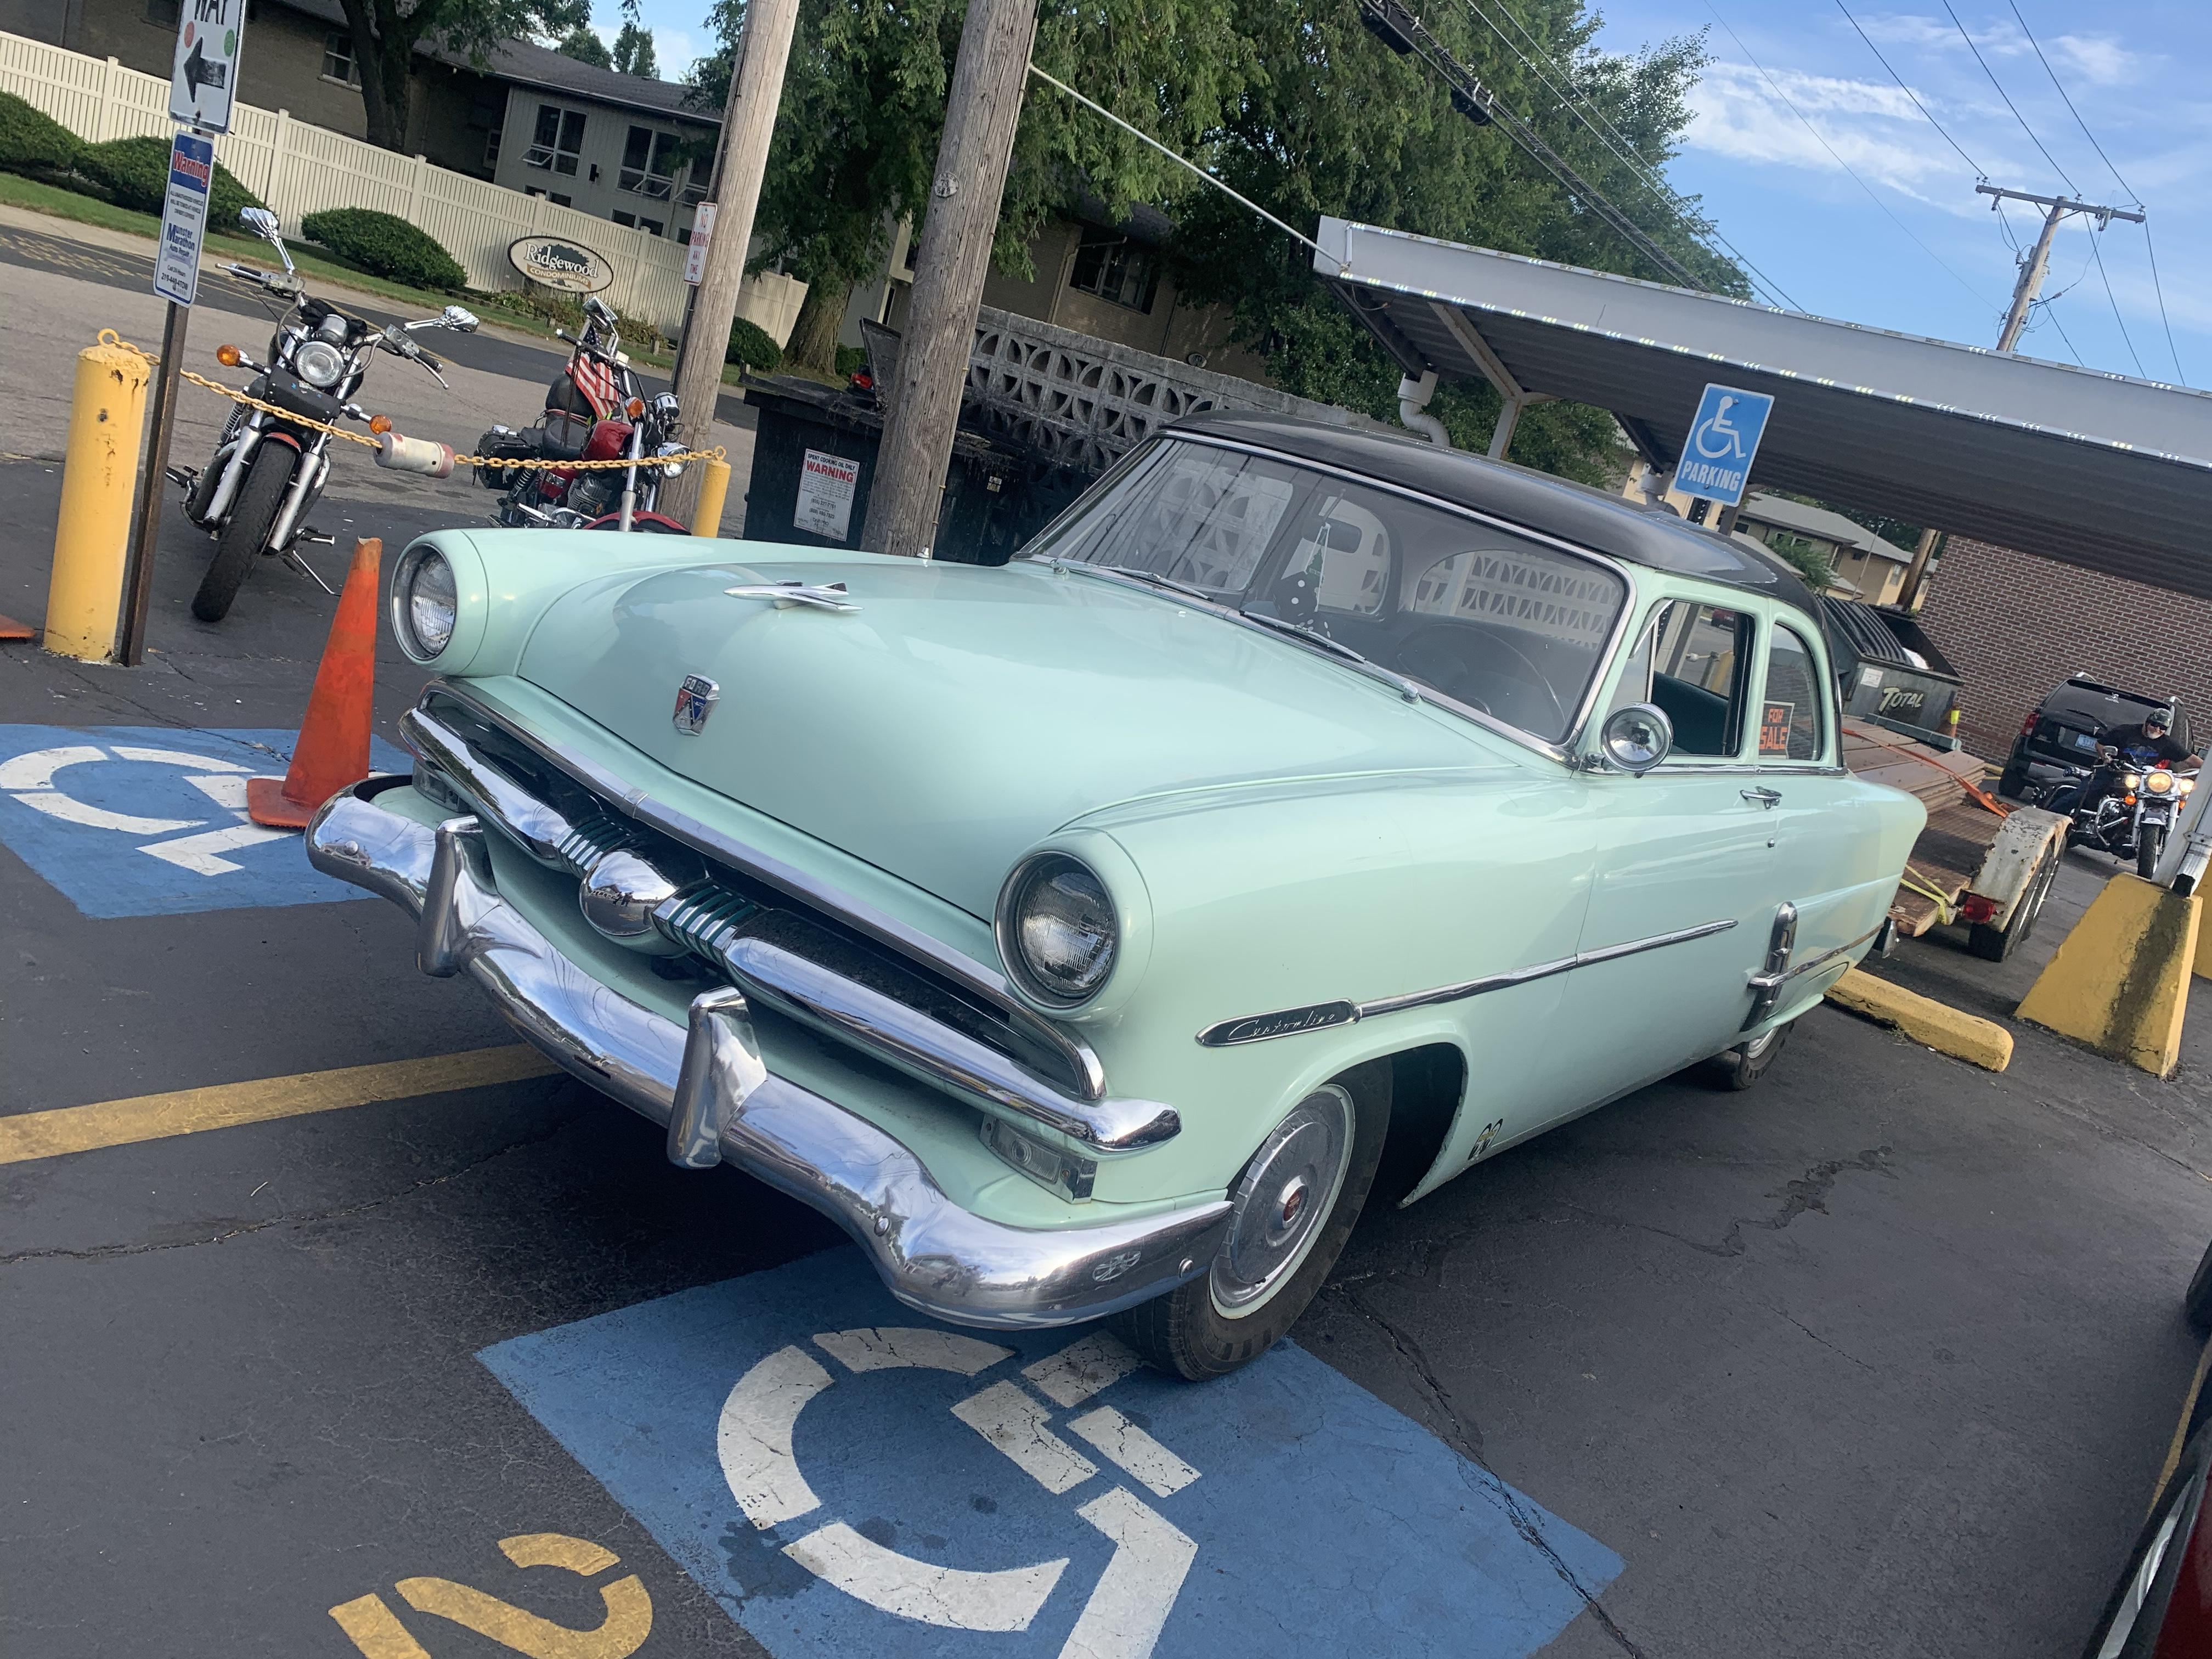
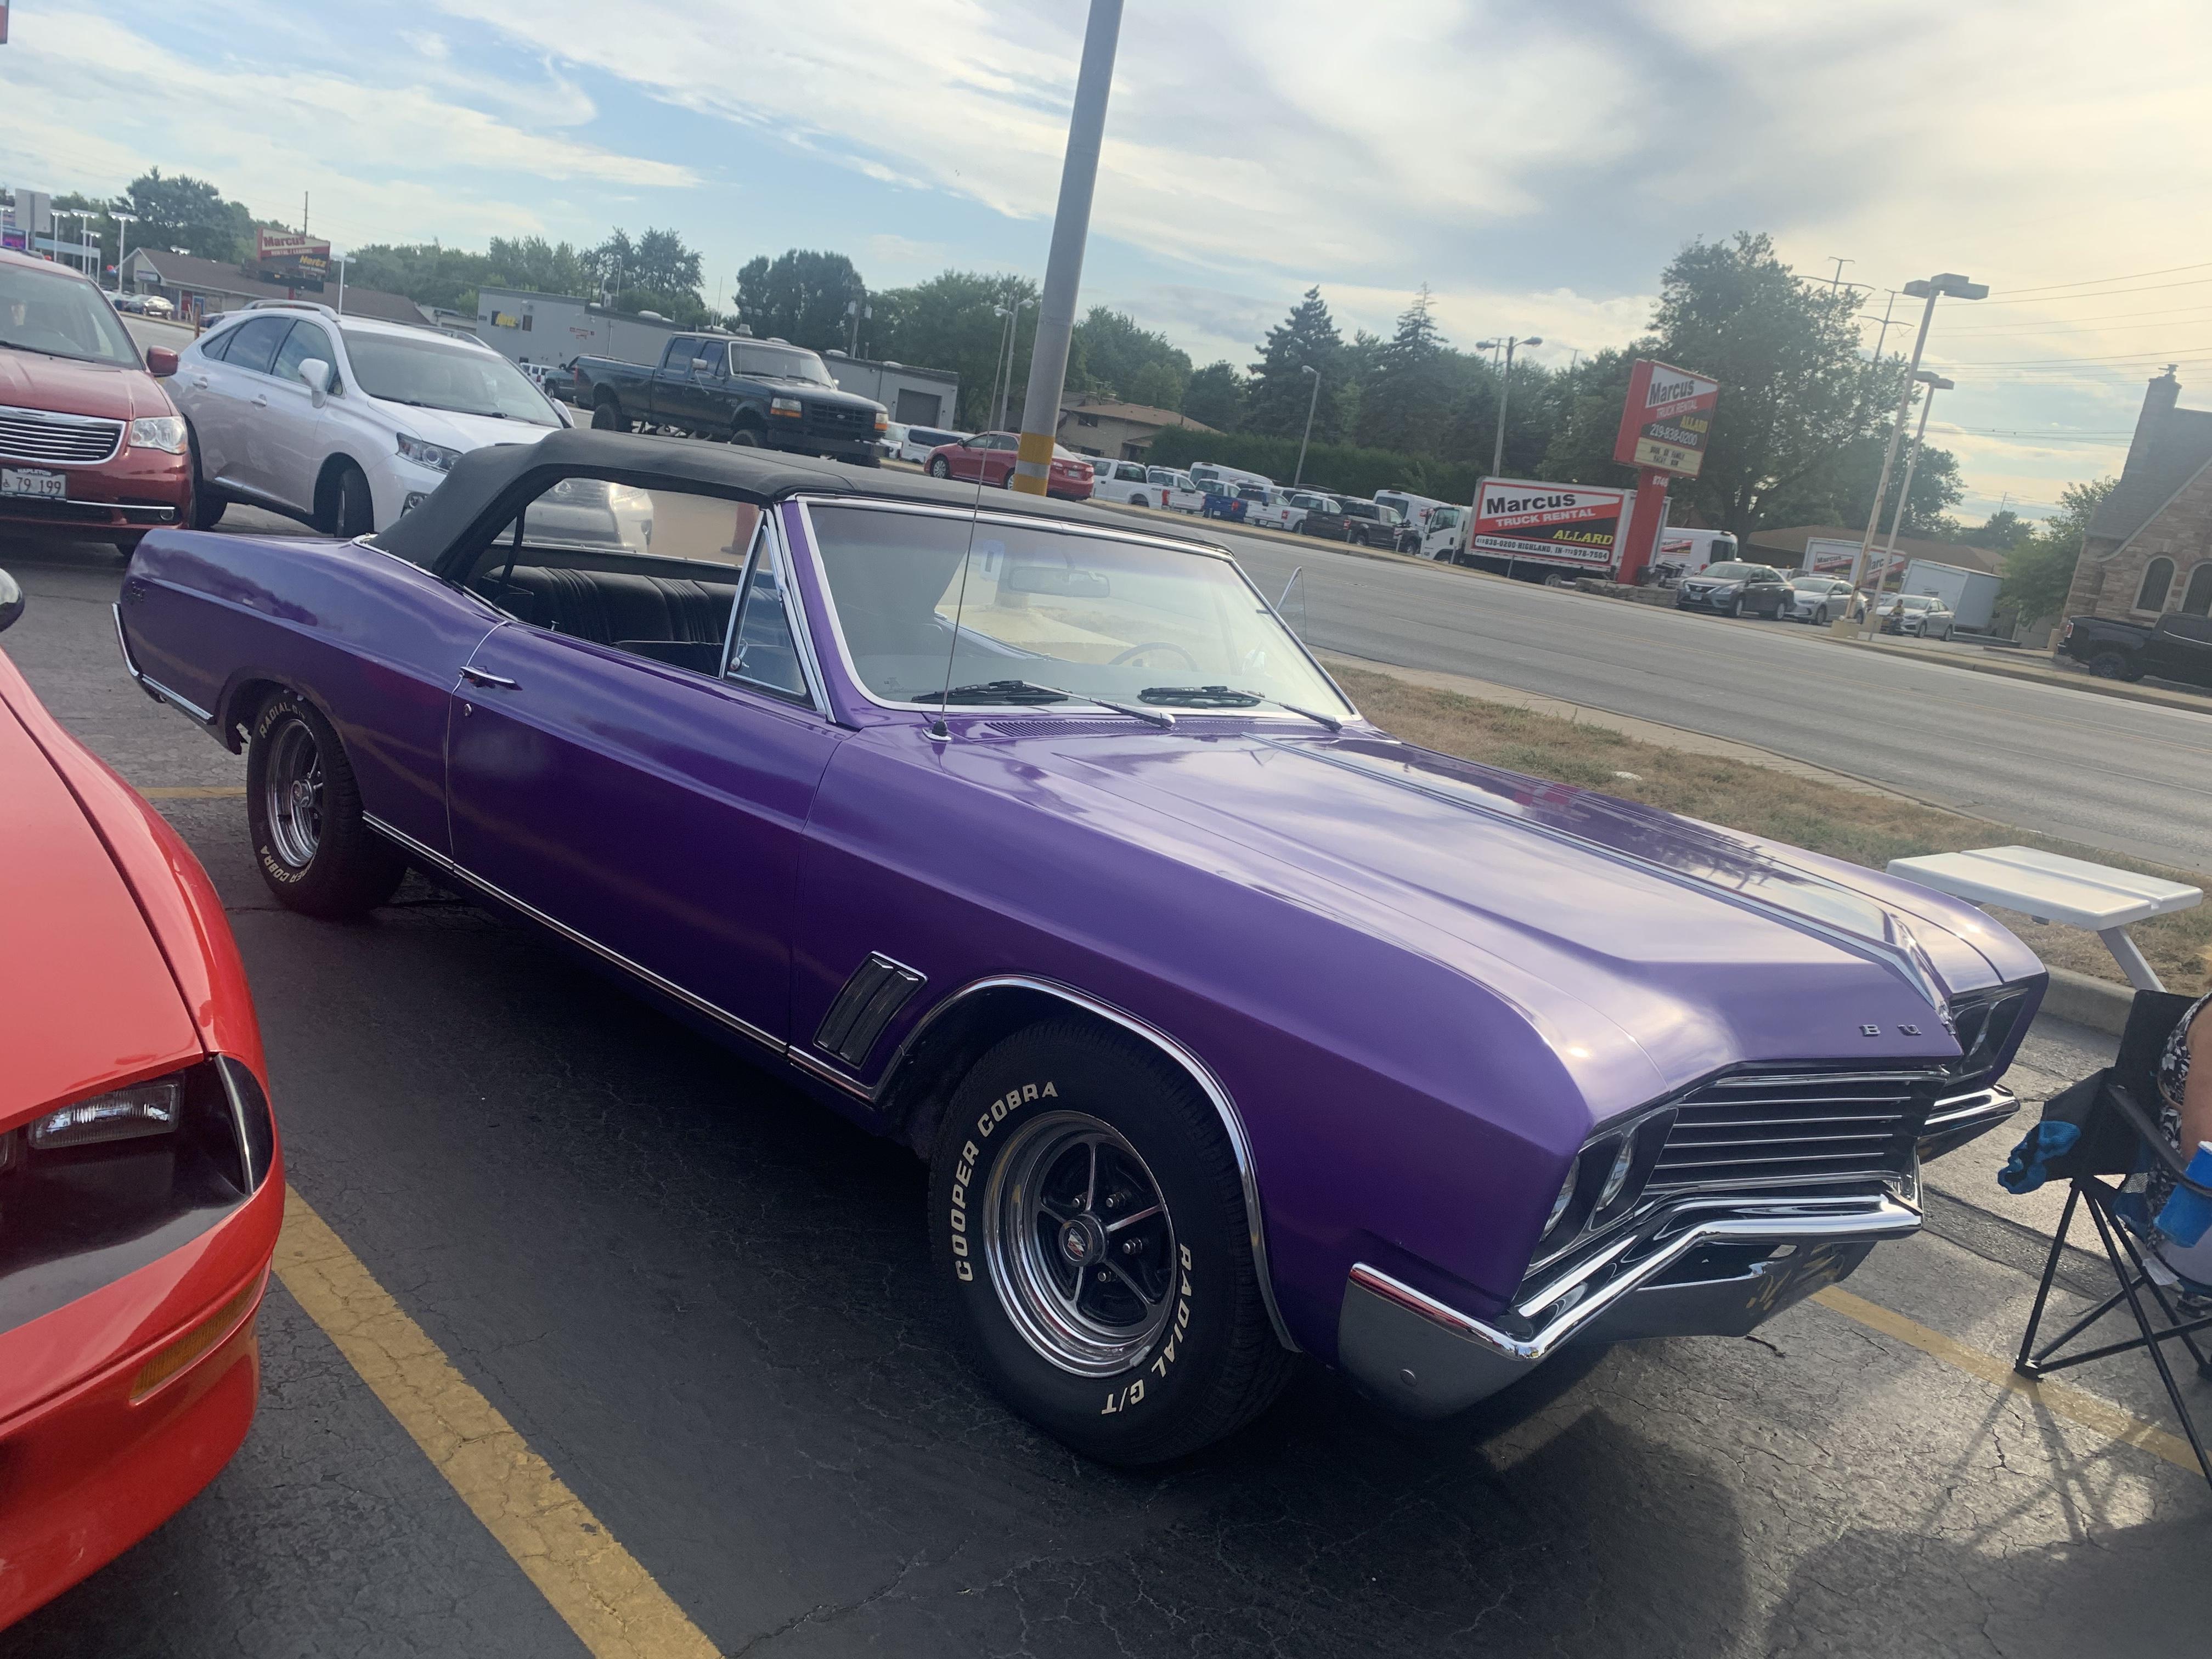
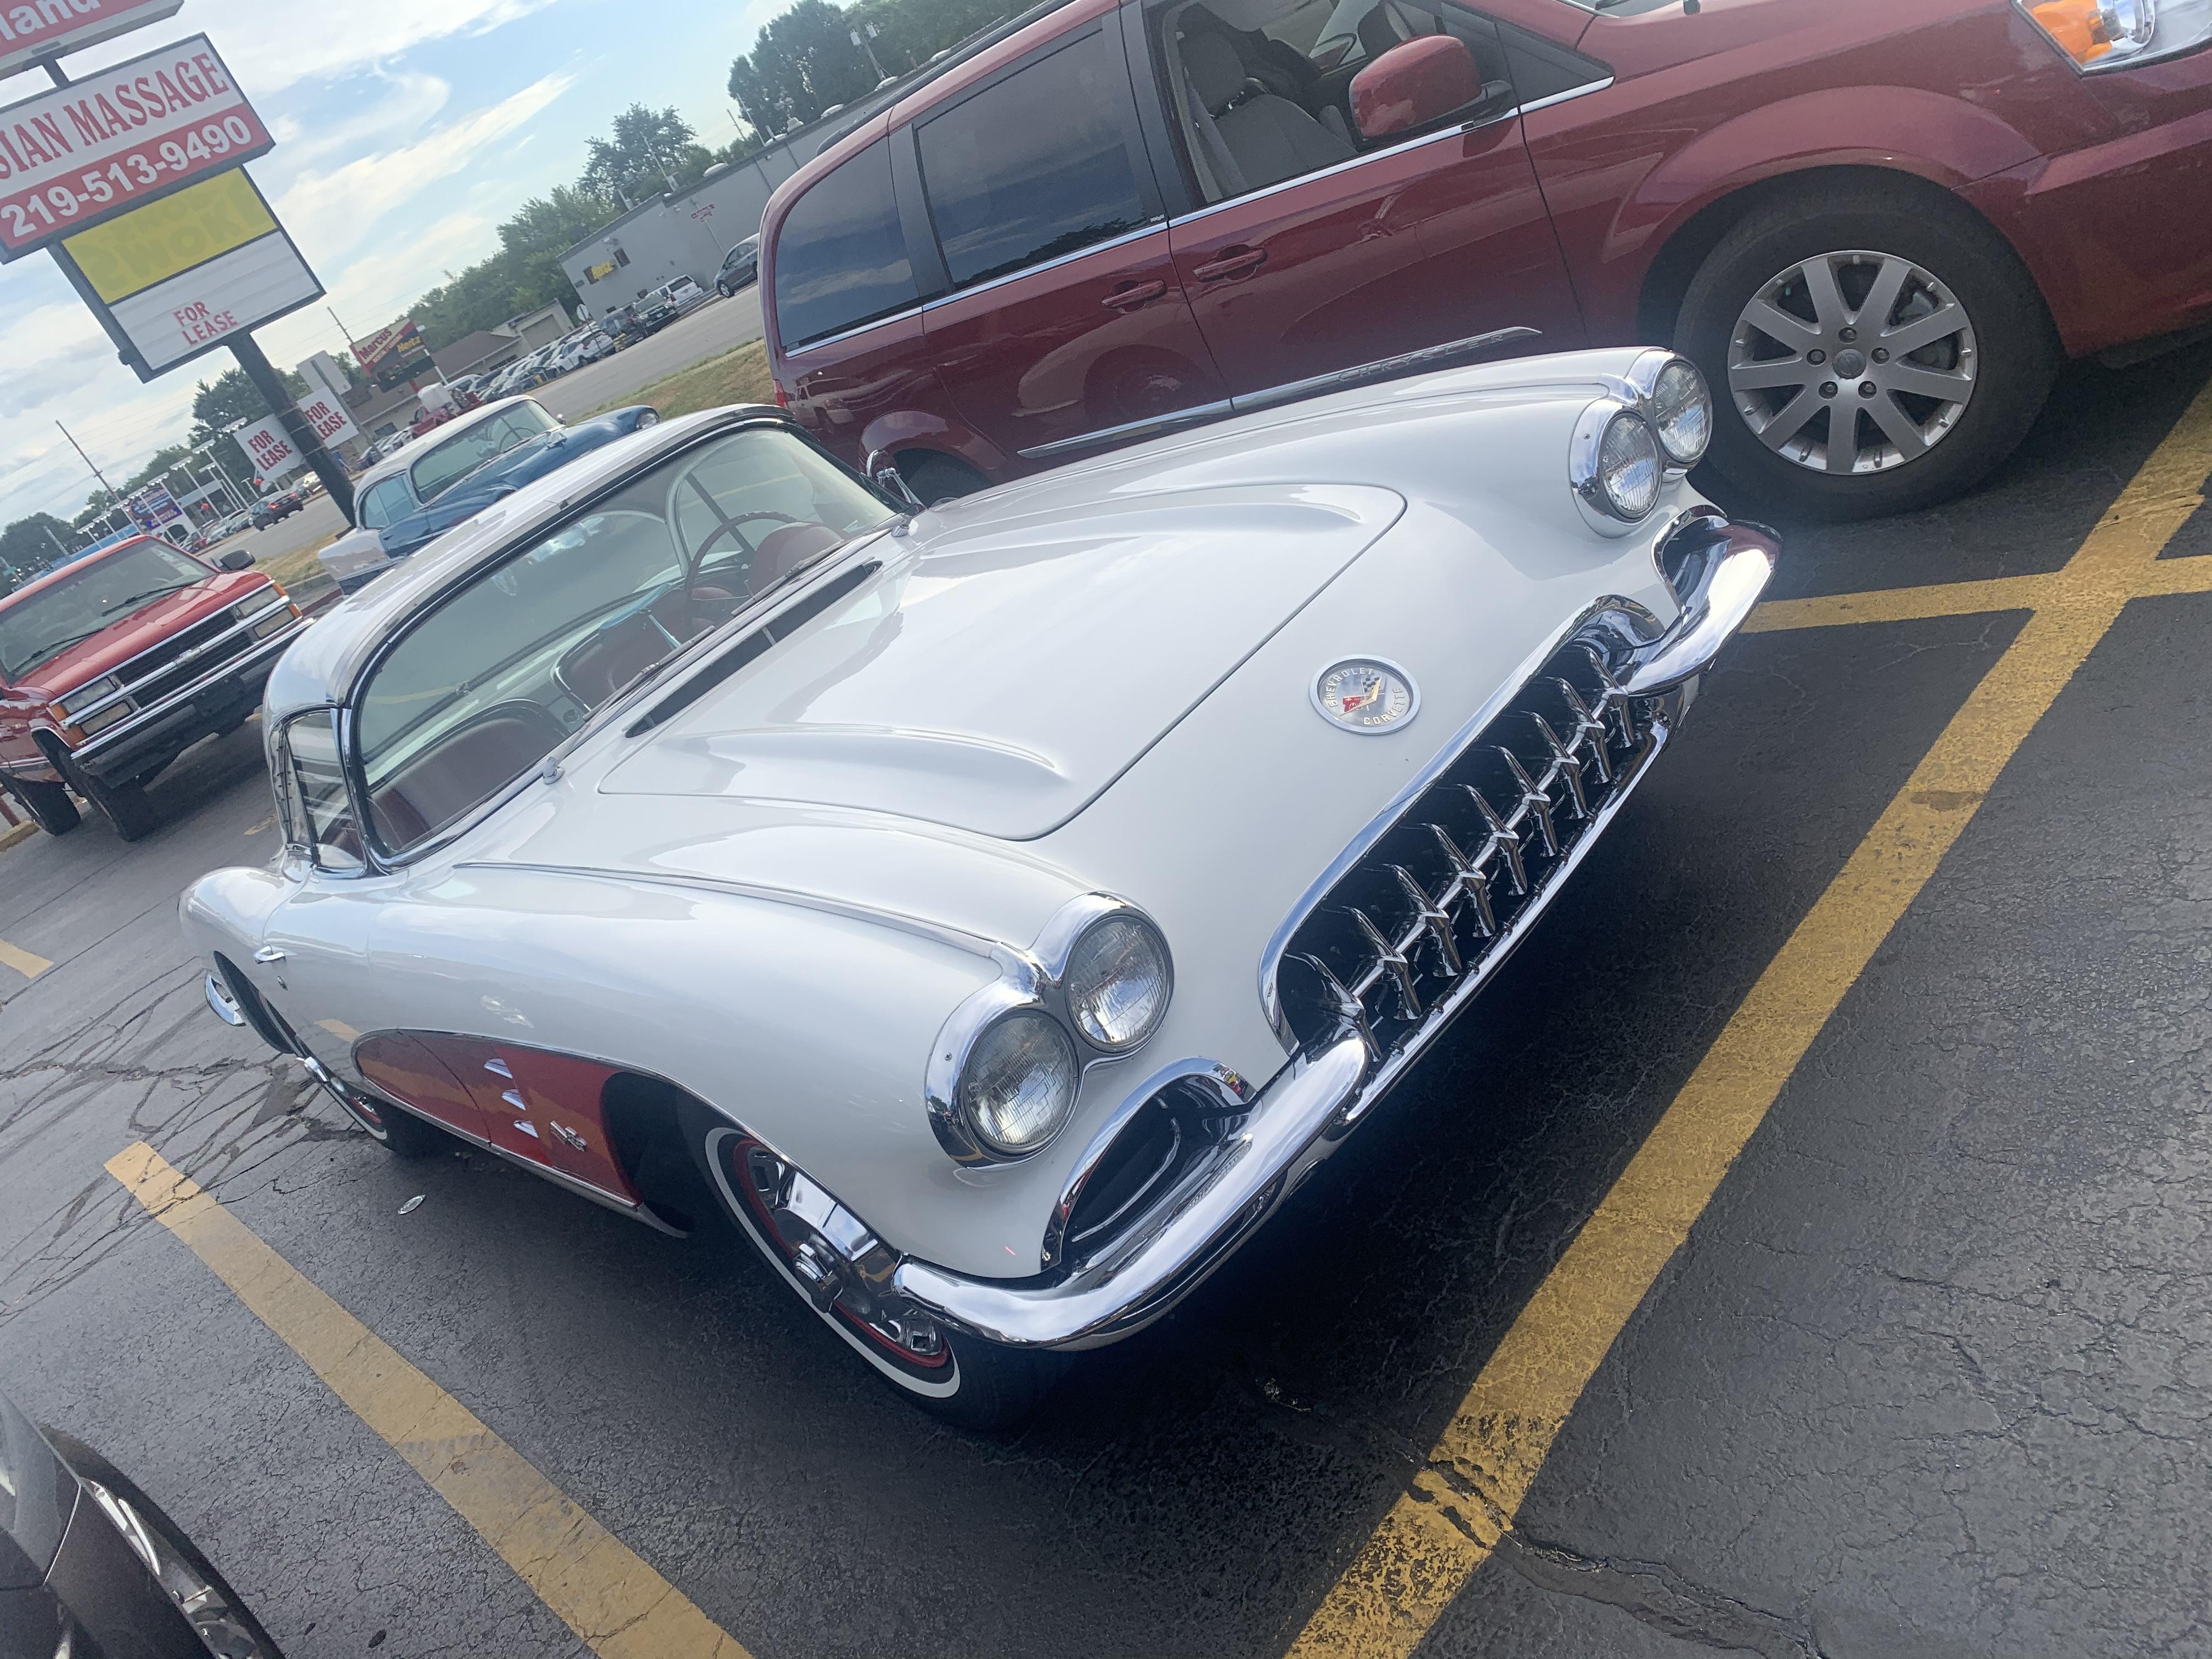
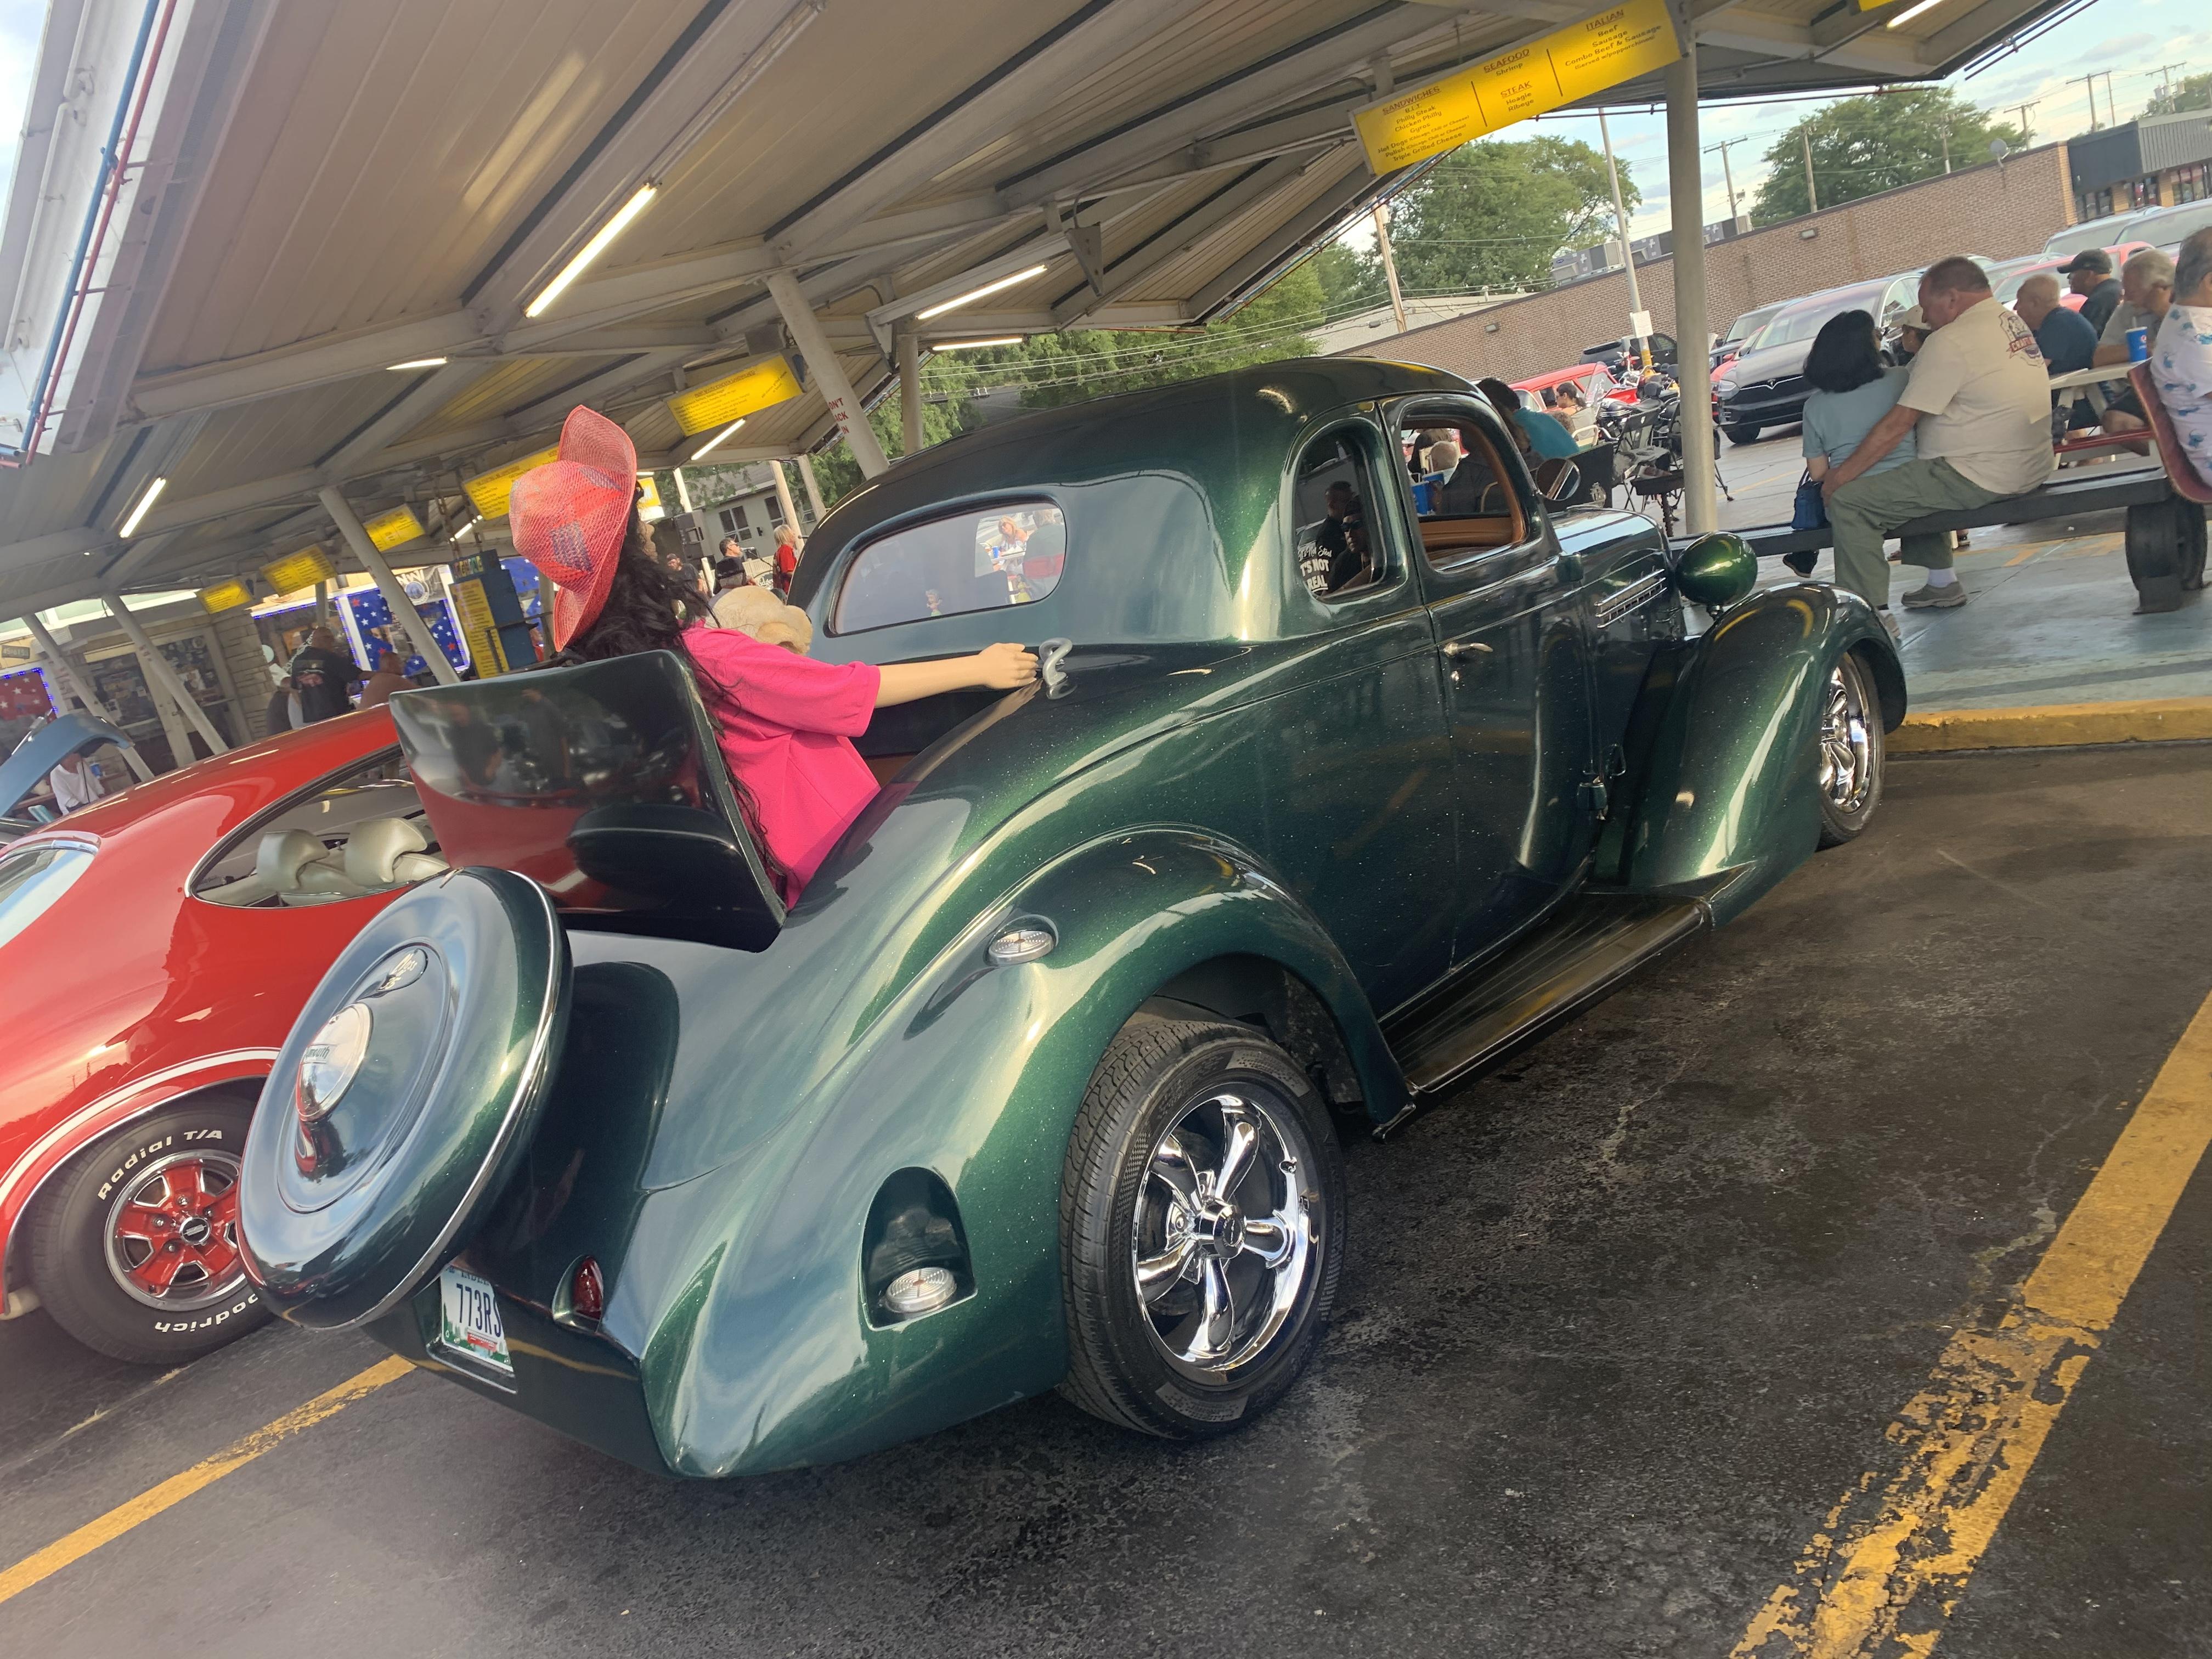
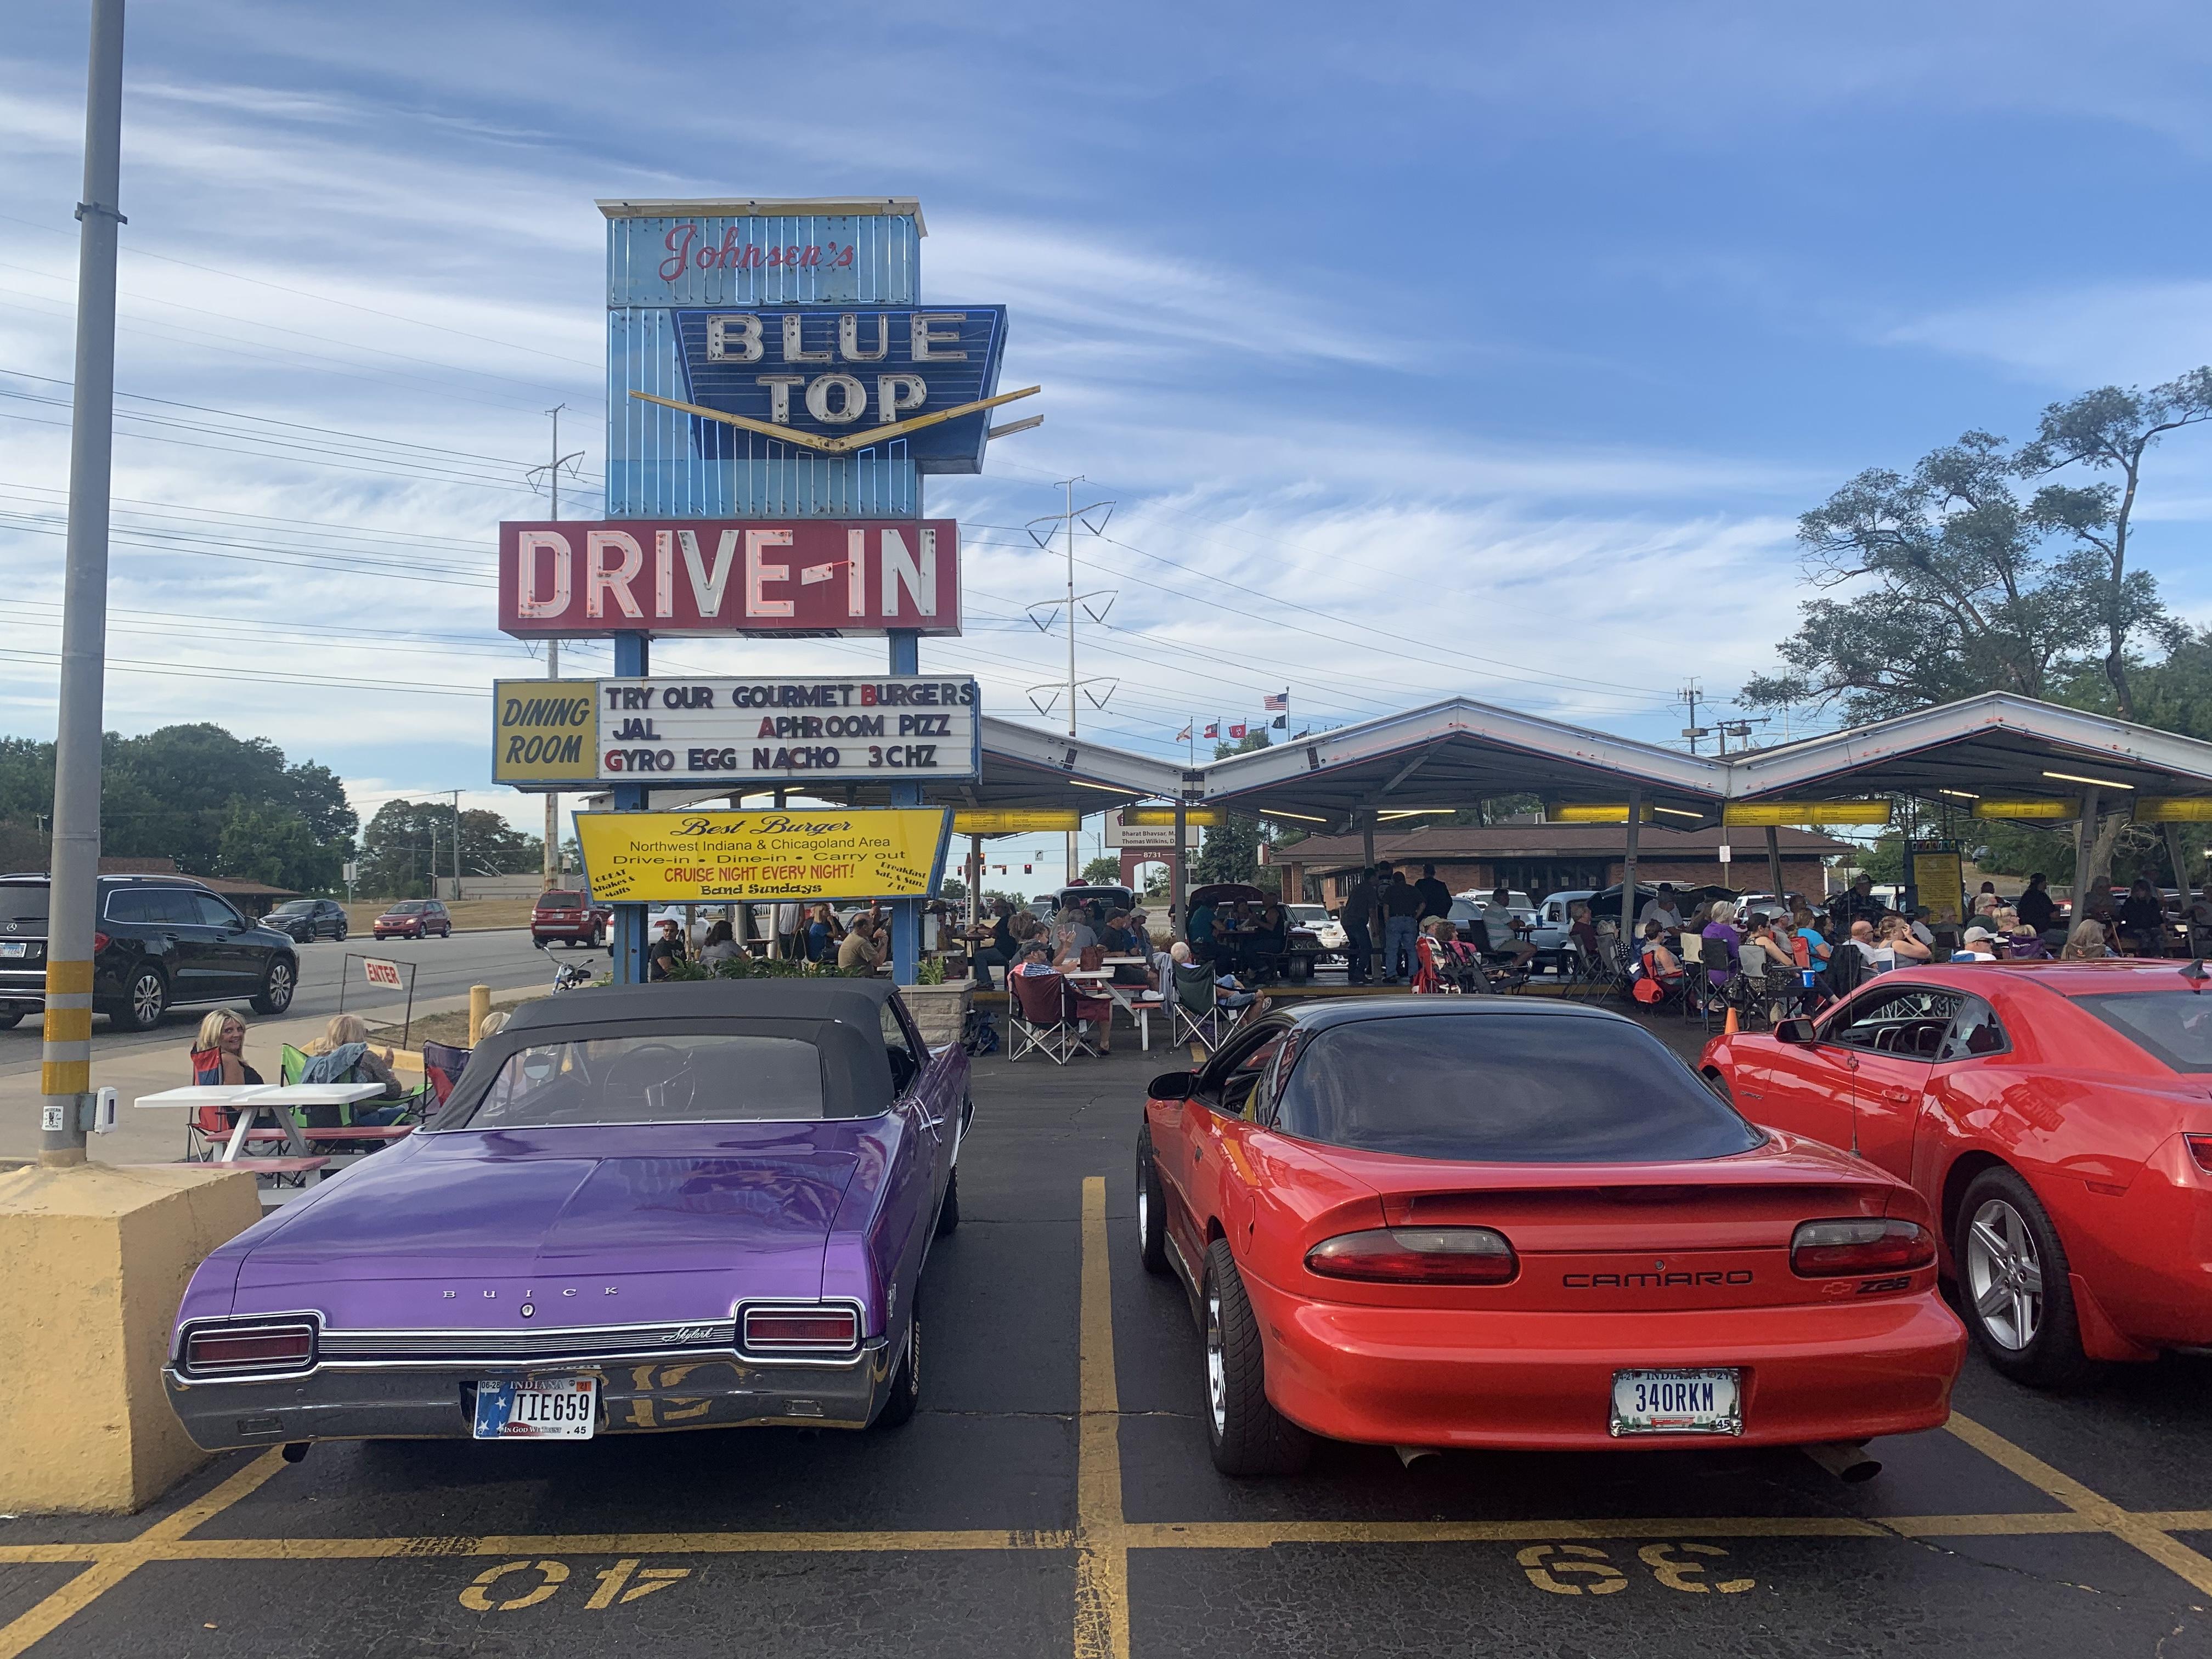
Y’all saw some good stuff today! We went to the drive-in to check out their Sunday car show - some cool stuff there!
-
What did you see on the road today?
OldNYJim replied to Harry P.'s topic in General Automotive Talk (Trucks and Cars)
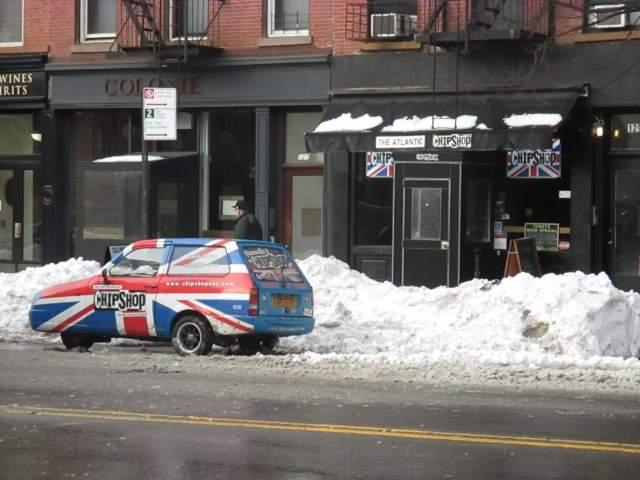
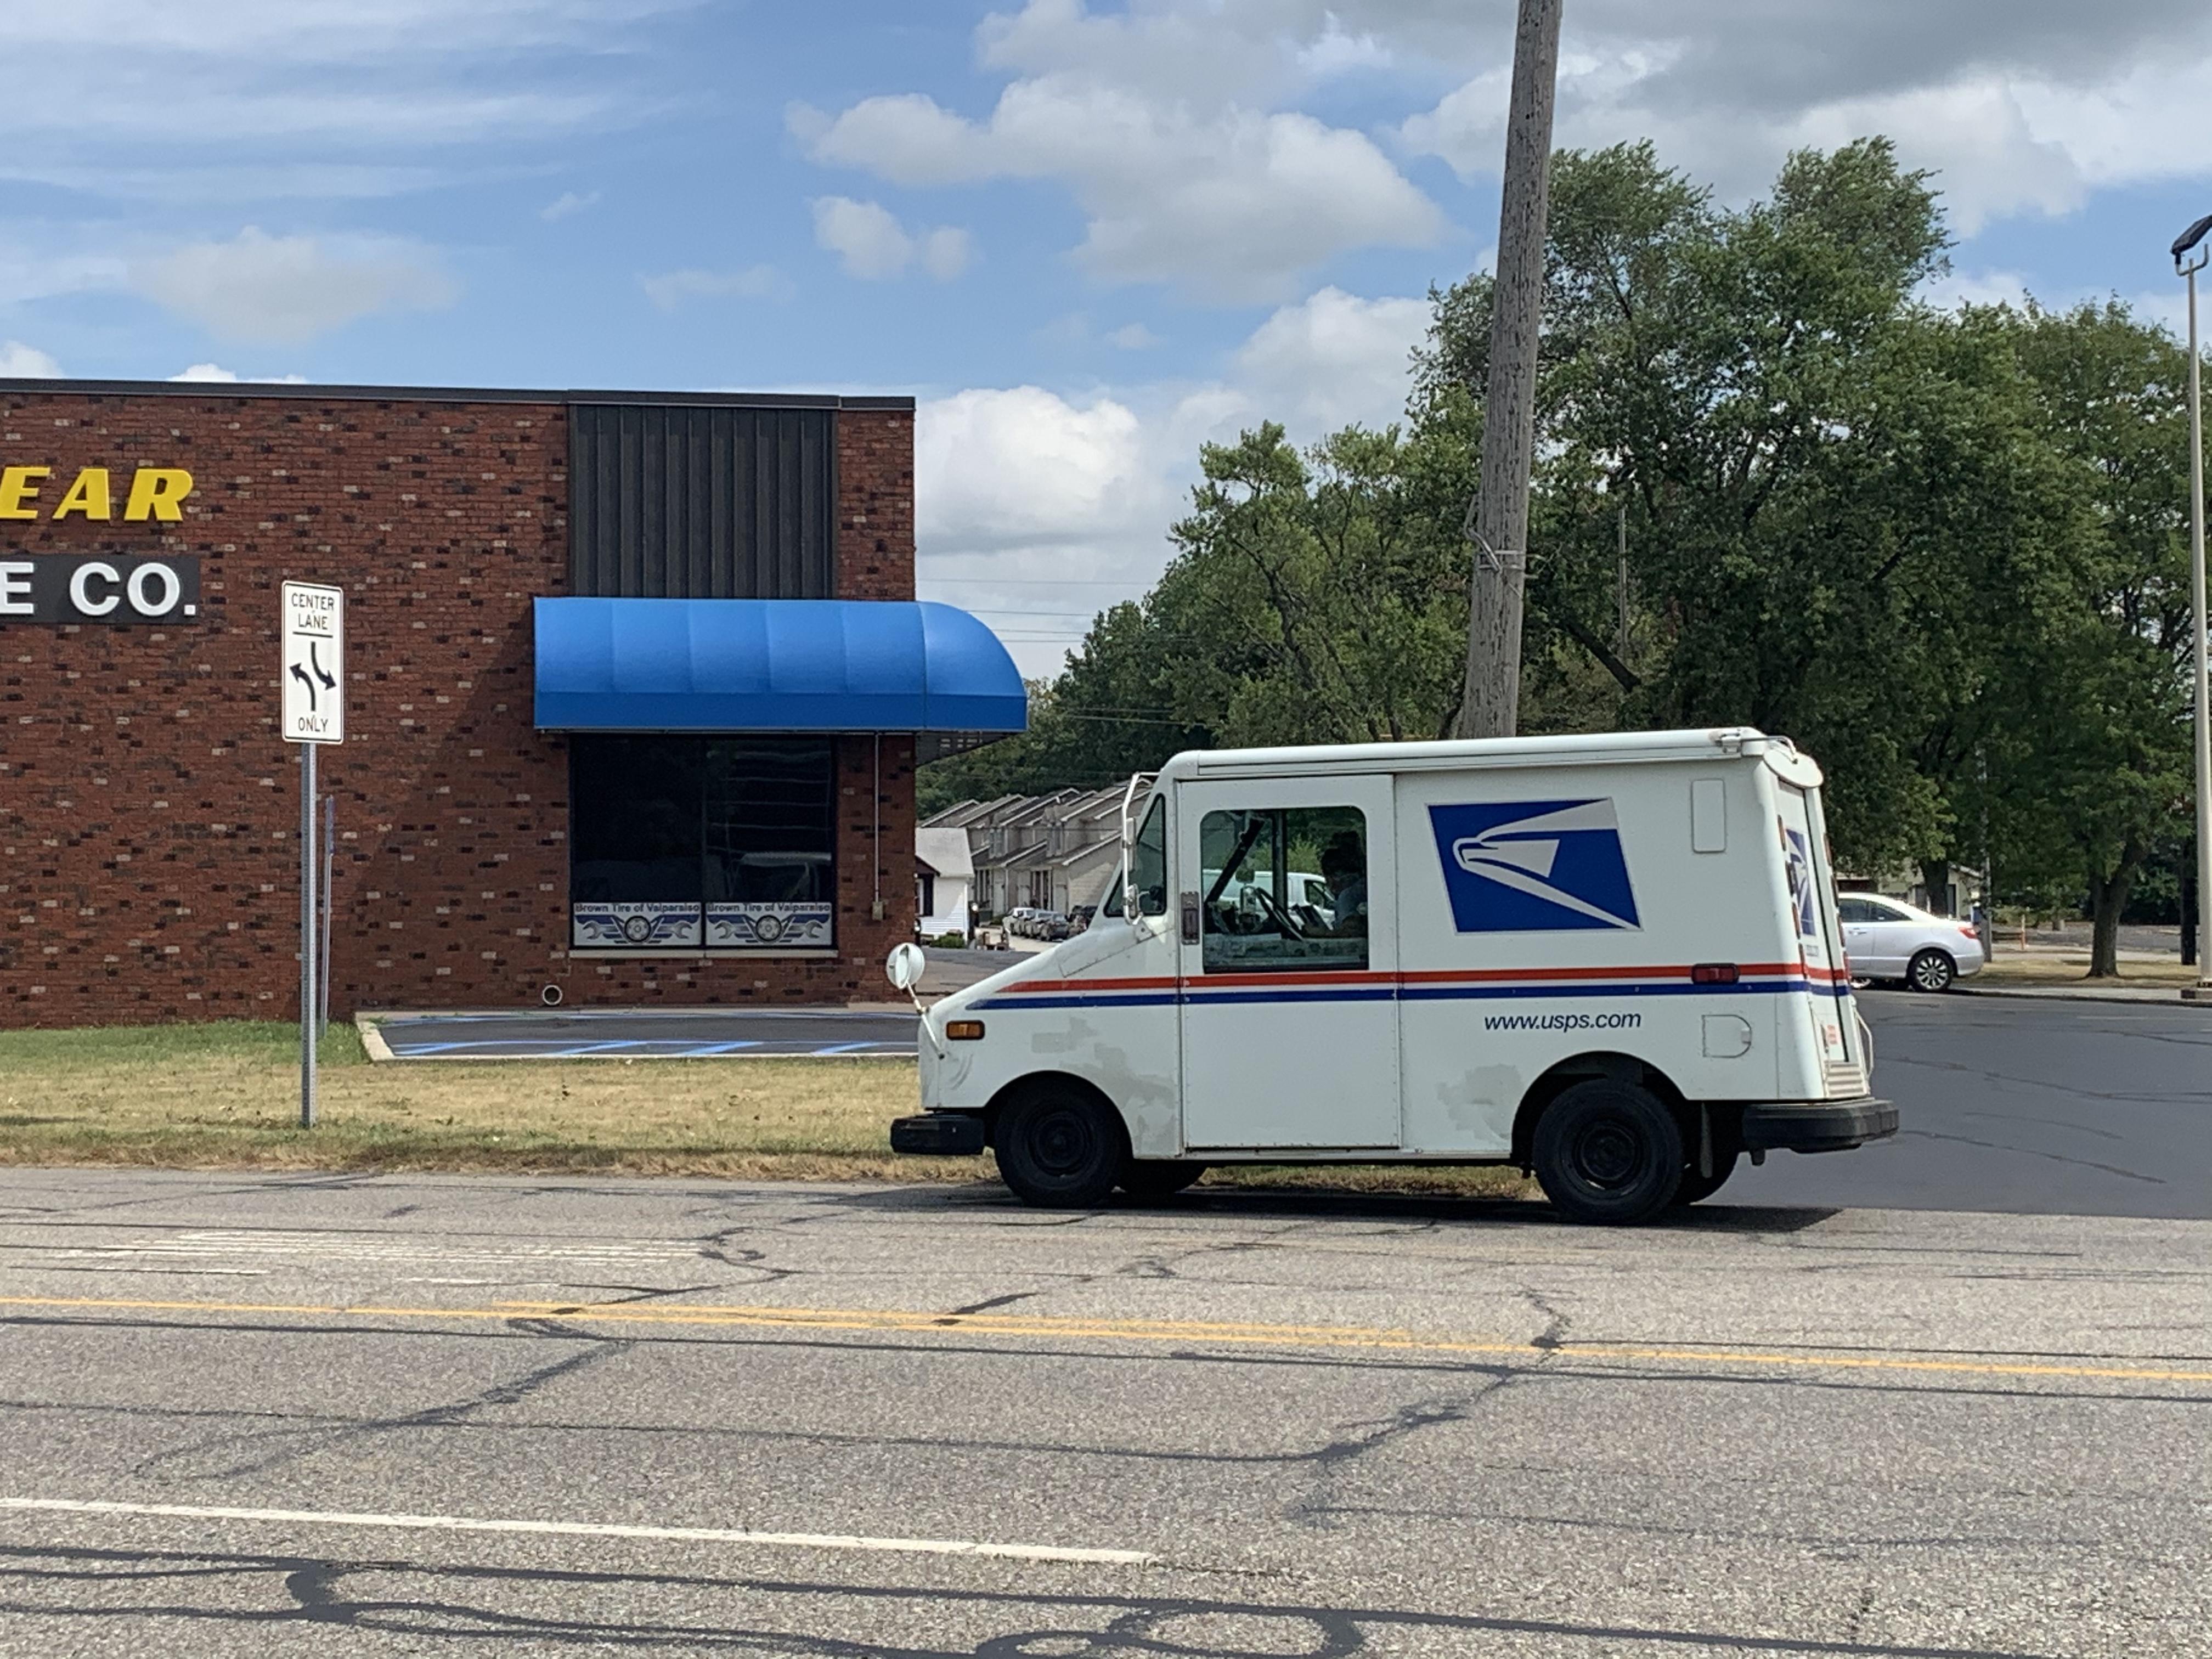
No - I want a REAL one ?. I’d lower it a little, tune it, paint it a nice color and have a weird USPSrod ?? In New York I only ever saw these: Which is weird, because those small ones would be MUCH better in a city with constant gridlock and near no parking. I guess the volume of mail that they need to move limits them to the larger vans though?
-
What did you see on the road today?
OldNYJim replied to Harry P.'s topic in General Automotive Talk (Trucks and Cars)
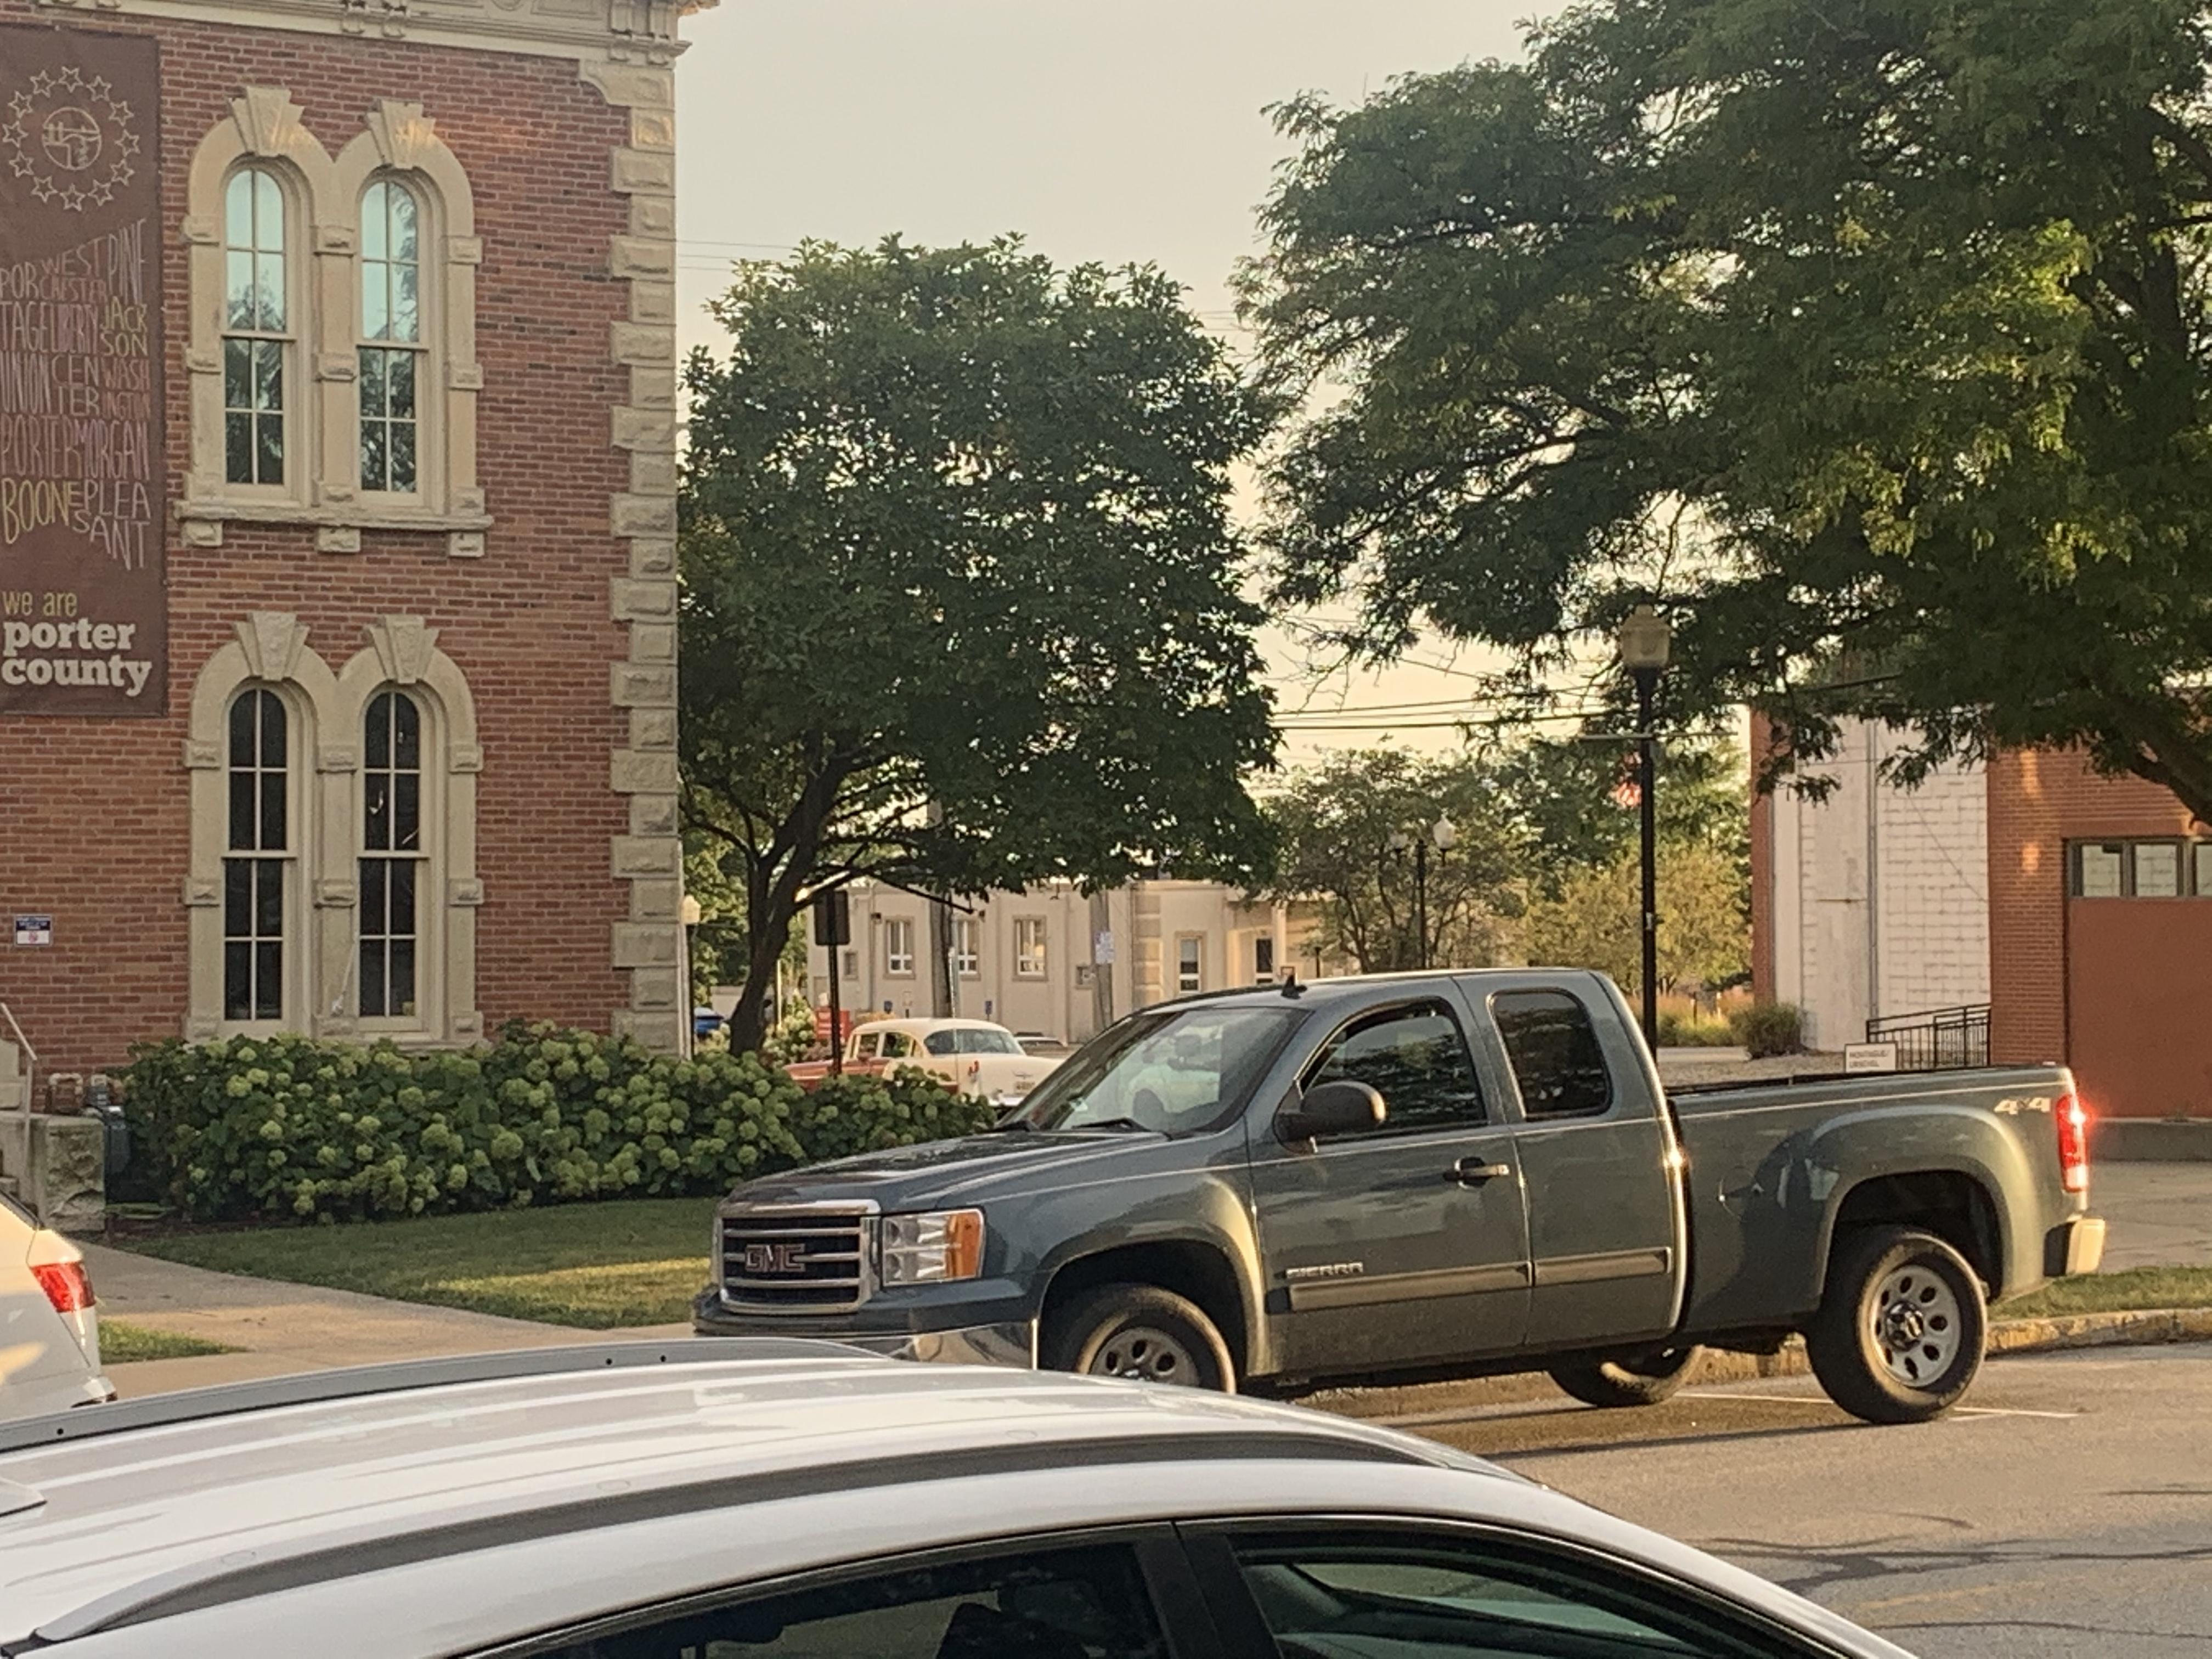
This was in Valparaiso, Indiana - but we were in NYC before. Never saw one of these little trucks in New York before! I want one! ? -
He looks surprised! ?
-
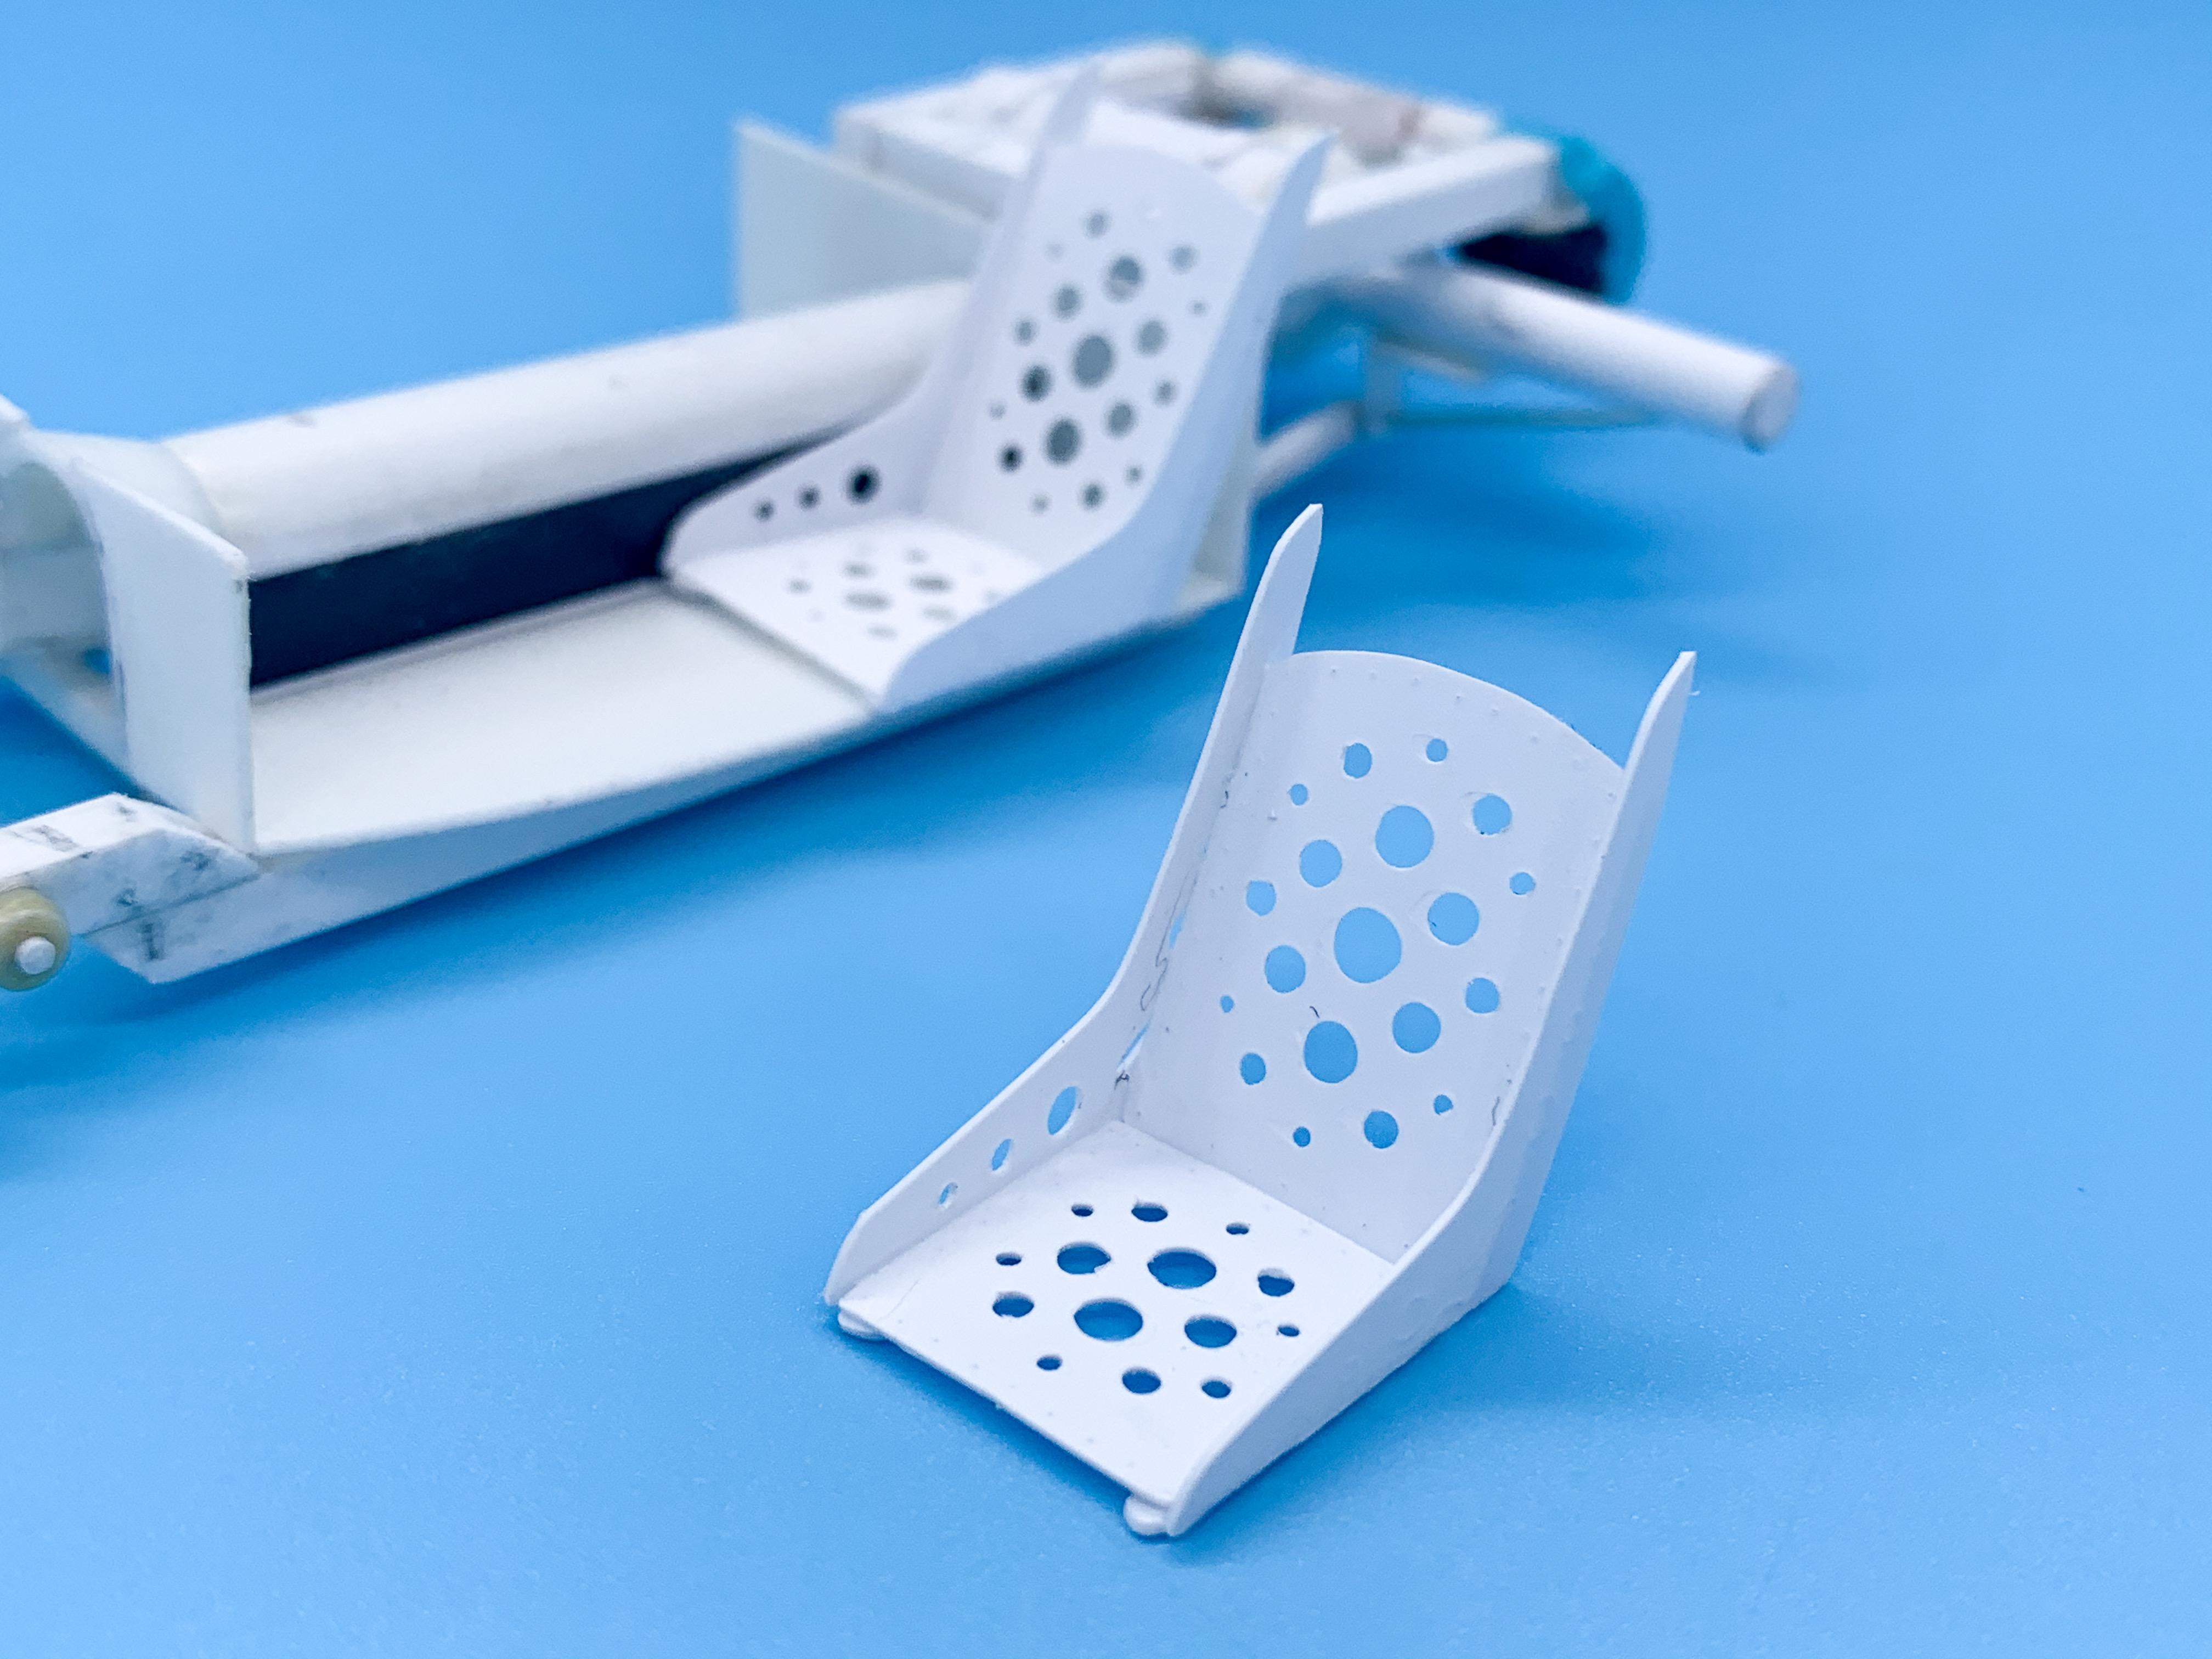
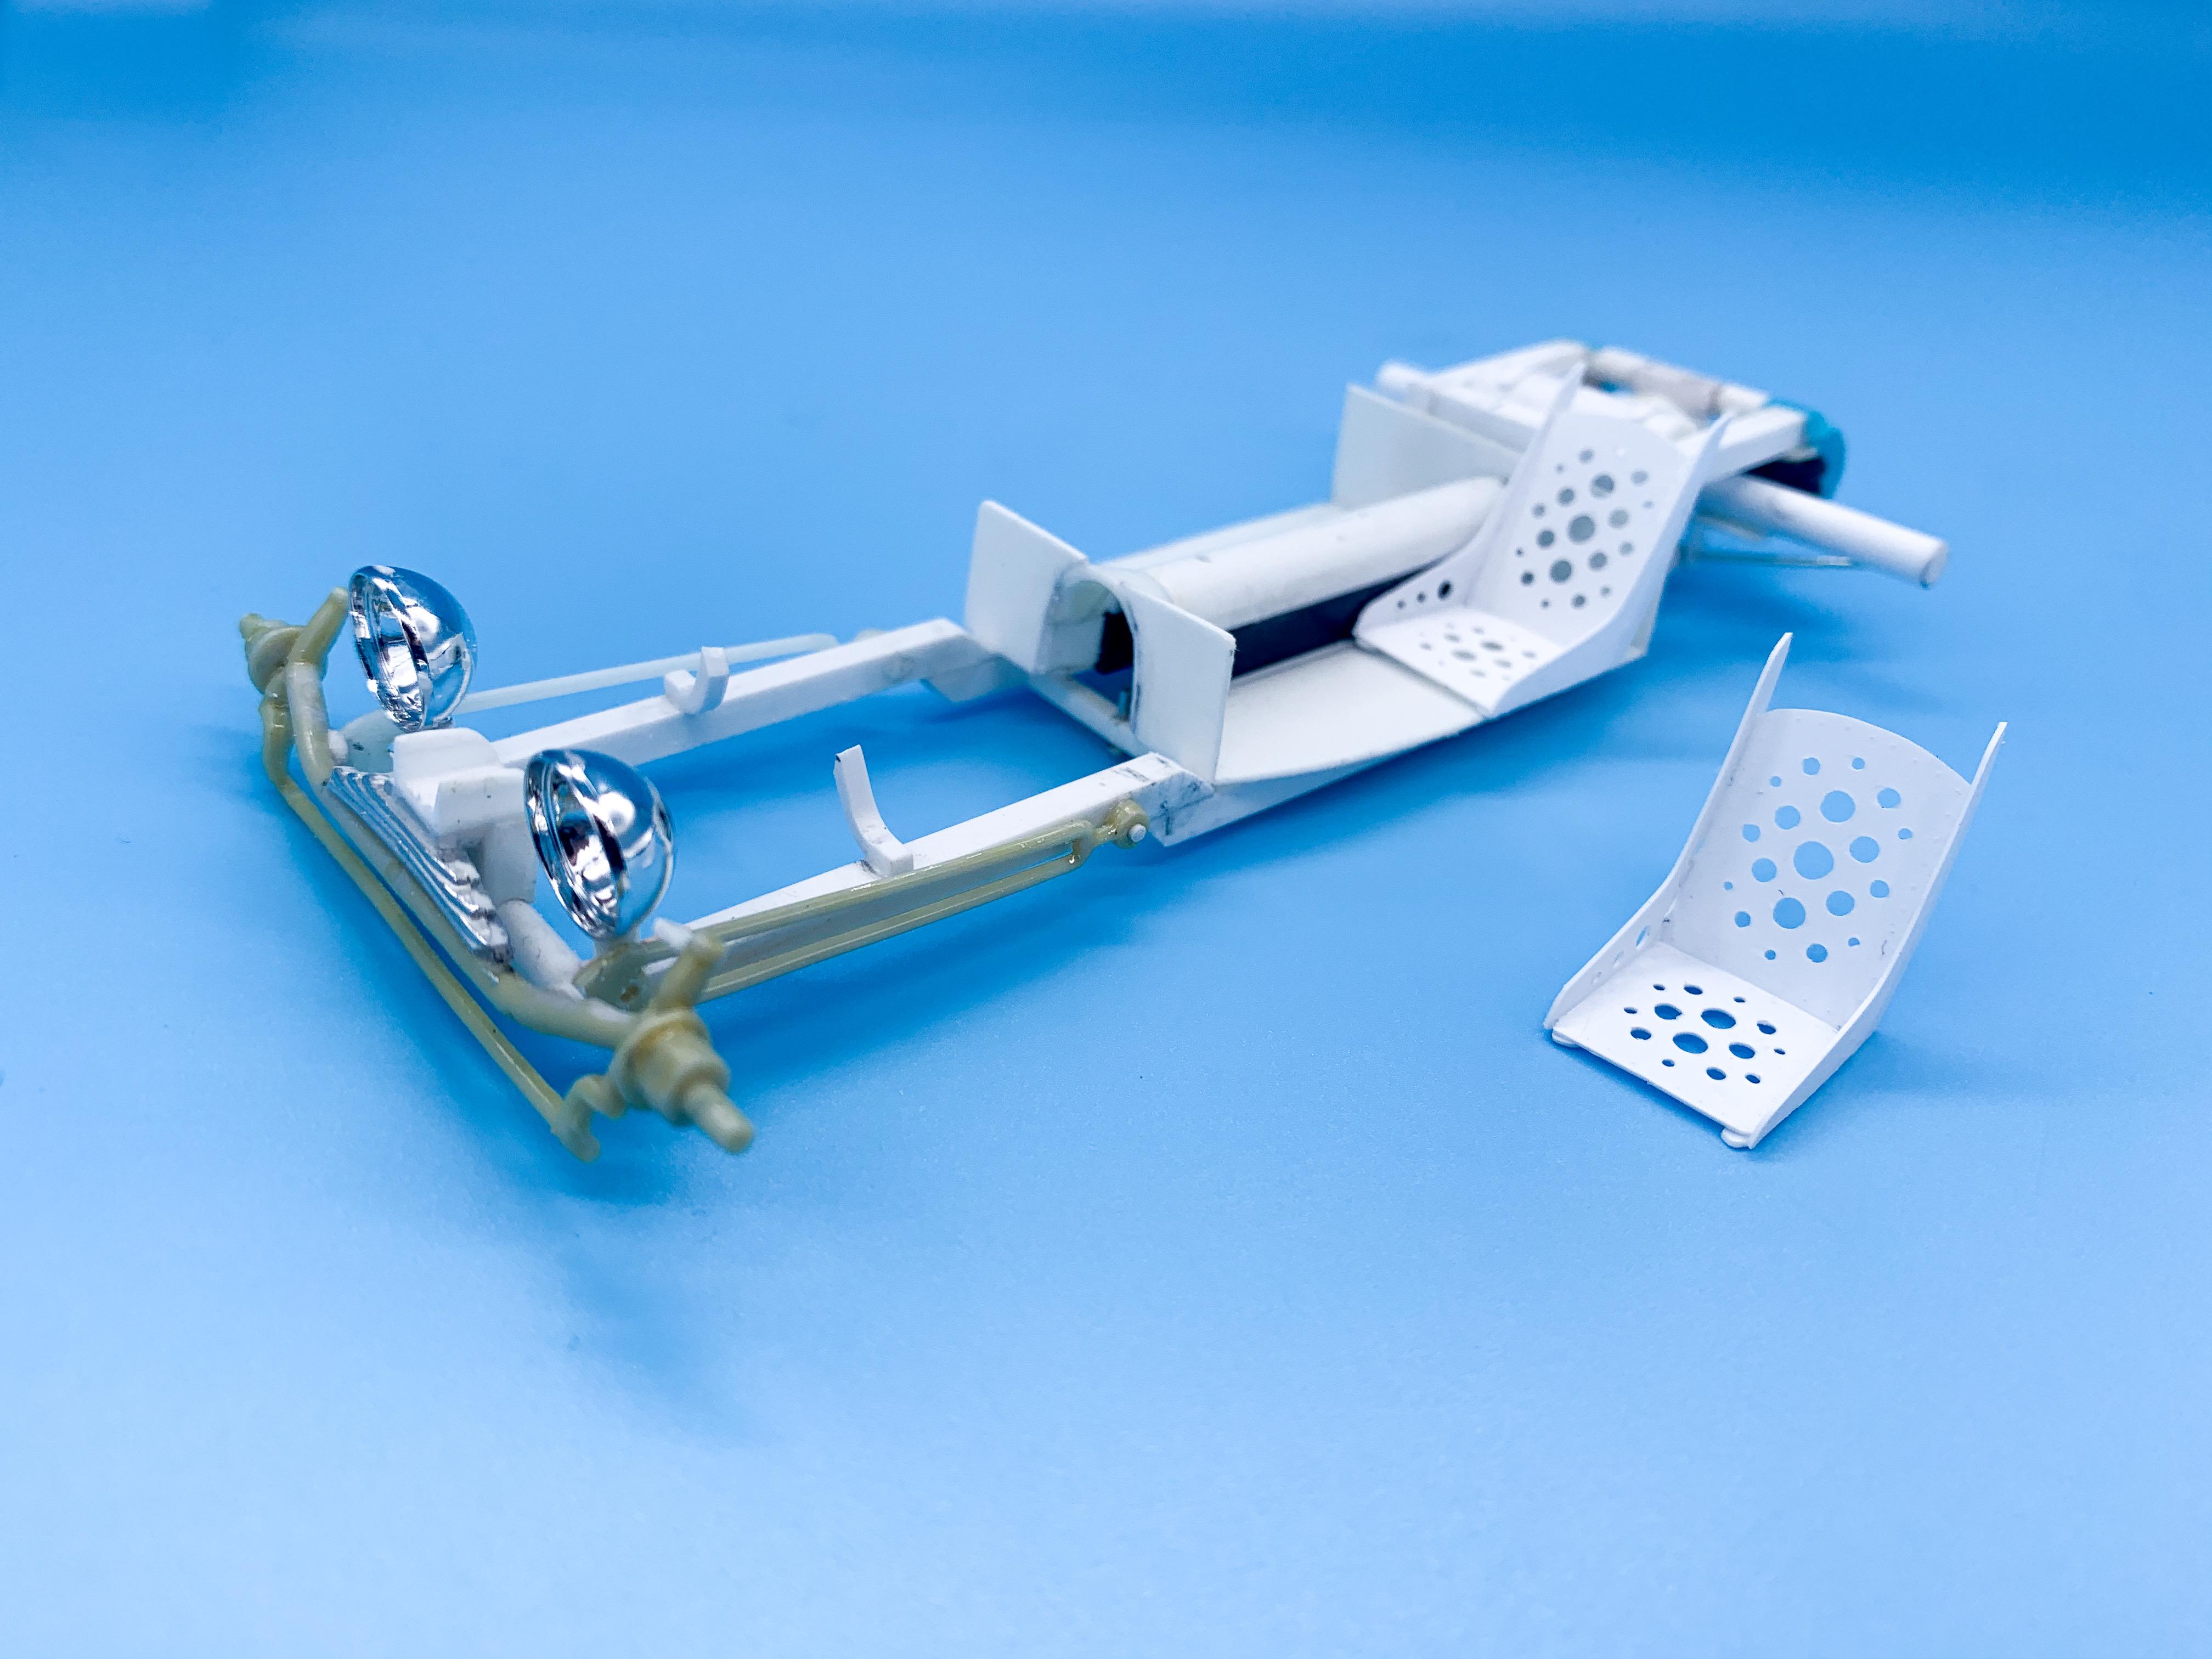
Got my new hobby room set up this past week... ...and I was really excited to get back on this one! I wanted to work on the steering some more today - but I kinda needed to make the interior floor and trans tunnel so I could make seats so I could see where it was all going to line up...so today I made all that junk instead. First up, the floor: Because this body curls inwards a little towards the bottom I had to make sure I’ll be able to get the body on there once the floor’s in place - and because of the big Z on the frame the trans tunnel needed to be fairly high...I can see how why all those rat rods have high trans tunnels taking up most of the interior ? Fits about perfect though! Next up, I needed some seats. I was going to make a bench, but the tunnel meant that the seat base would sit higher than I wanted. That creates a little bit of a issue, because these T bodies are so narrow already that it didn’t leave much space. So, to check I’m actually building something (mostly) feasible in 1:1 scale I measured the smallest gap I would be able to sit in (yes, I measured my rear end with a ruler) and then measured the gap available and discovered I would JUST squeeze in there ok. Because it’s a tight fit though, bomber seats made total sense, so I made a set with a 16” wide seat base based on plans I found online: I might lose those ‘bat ears’ on the top before I’m done, but I kinda liked them when I was tweaking the design...we’ll see! Those should work! I think it would probably feel a little like how a Lotus 7 (or the home built variants) feels like to sit in, where you kinda squish yourself into it, but I like how they look. Next up will be some risers to mount them (and some more clean-up once the glue’s dry and they’re not so fragile) and I can get back on the steering setup. More soon!
-
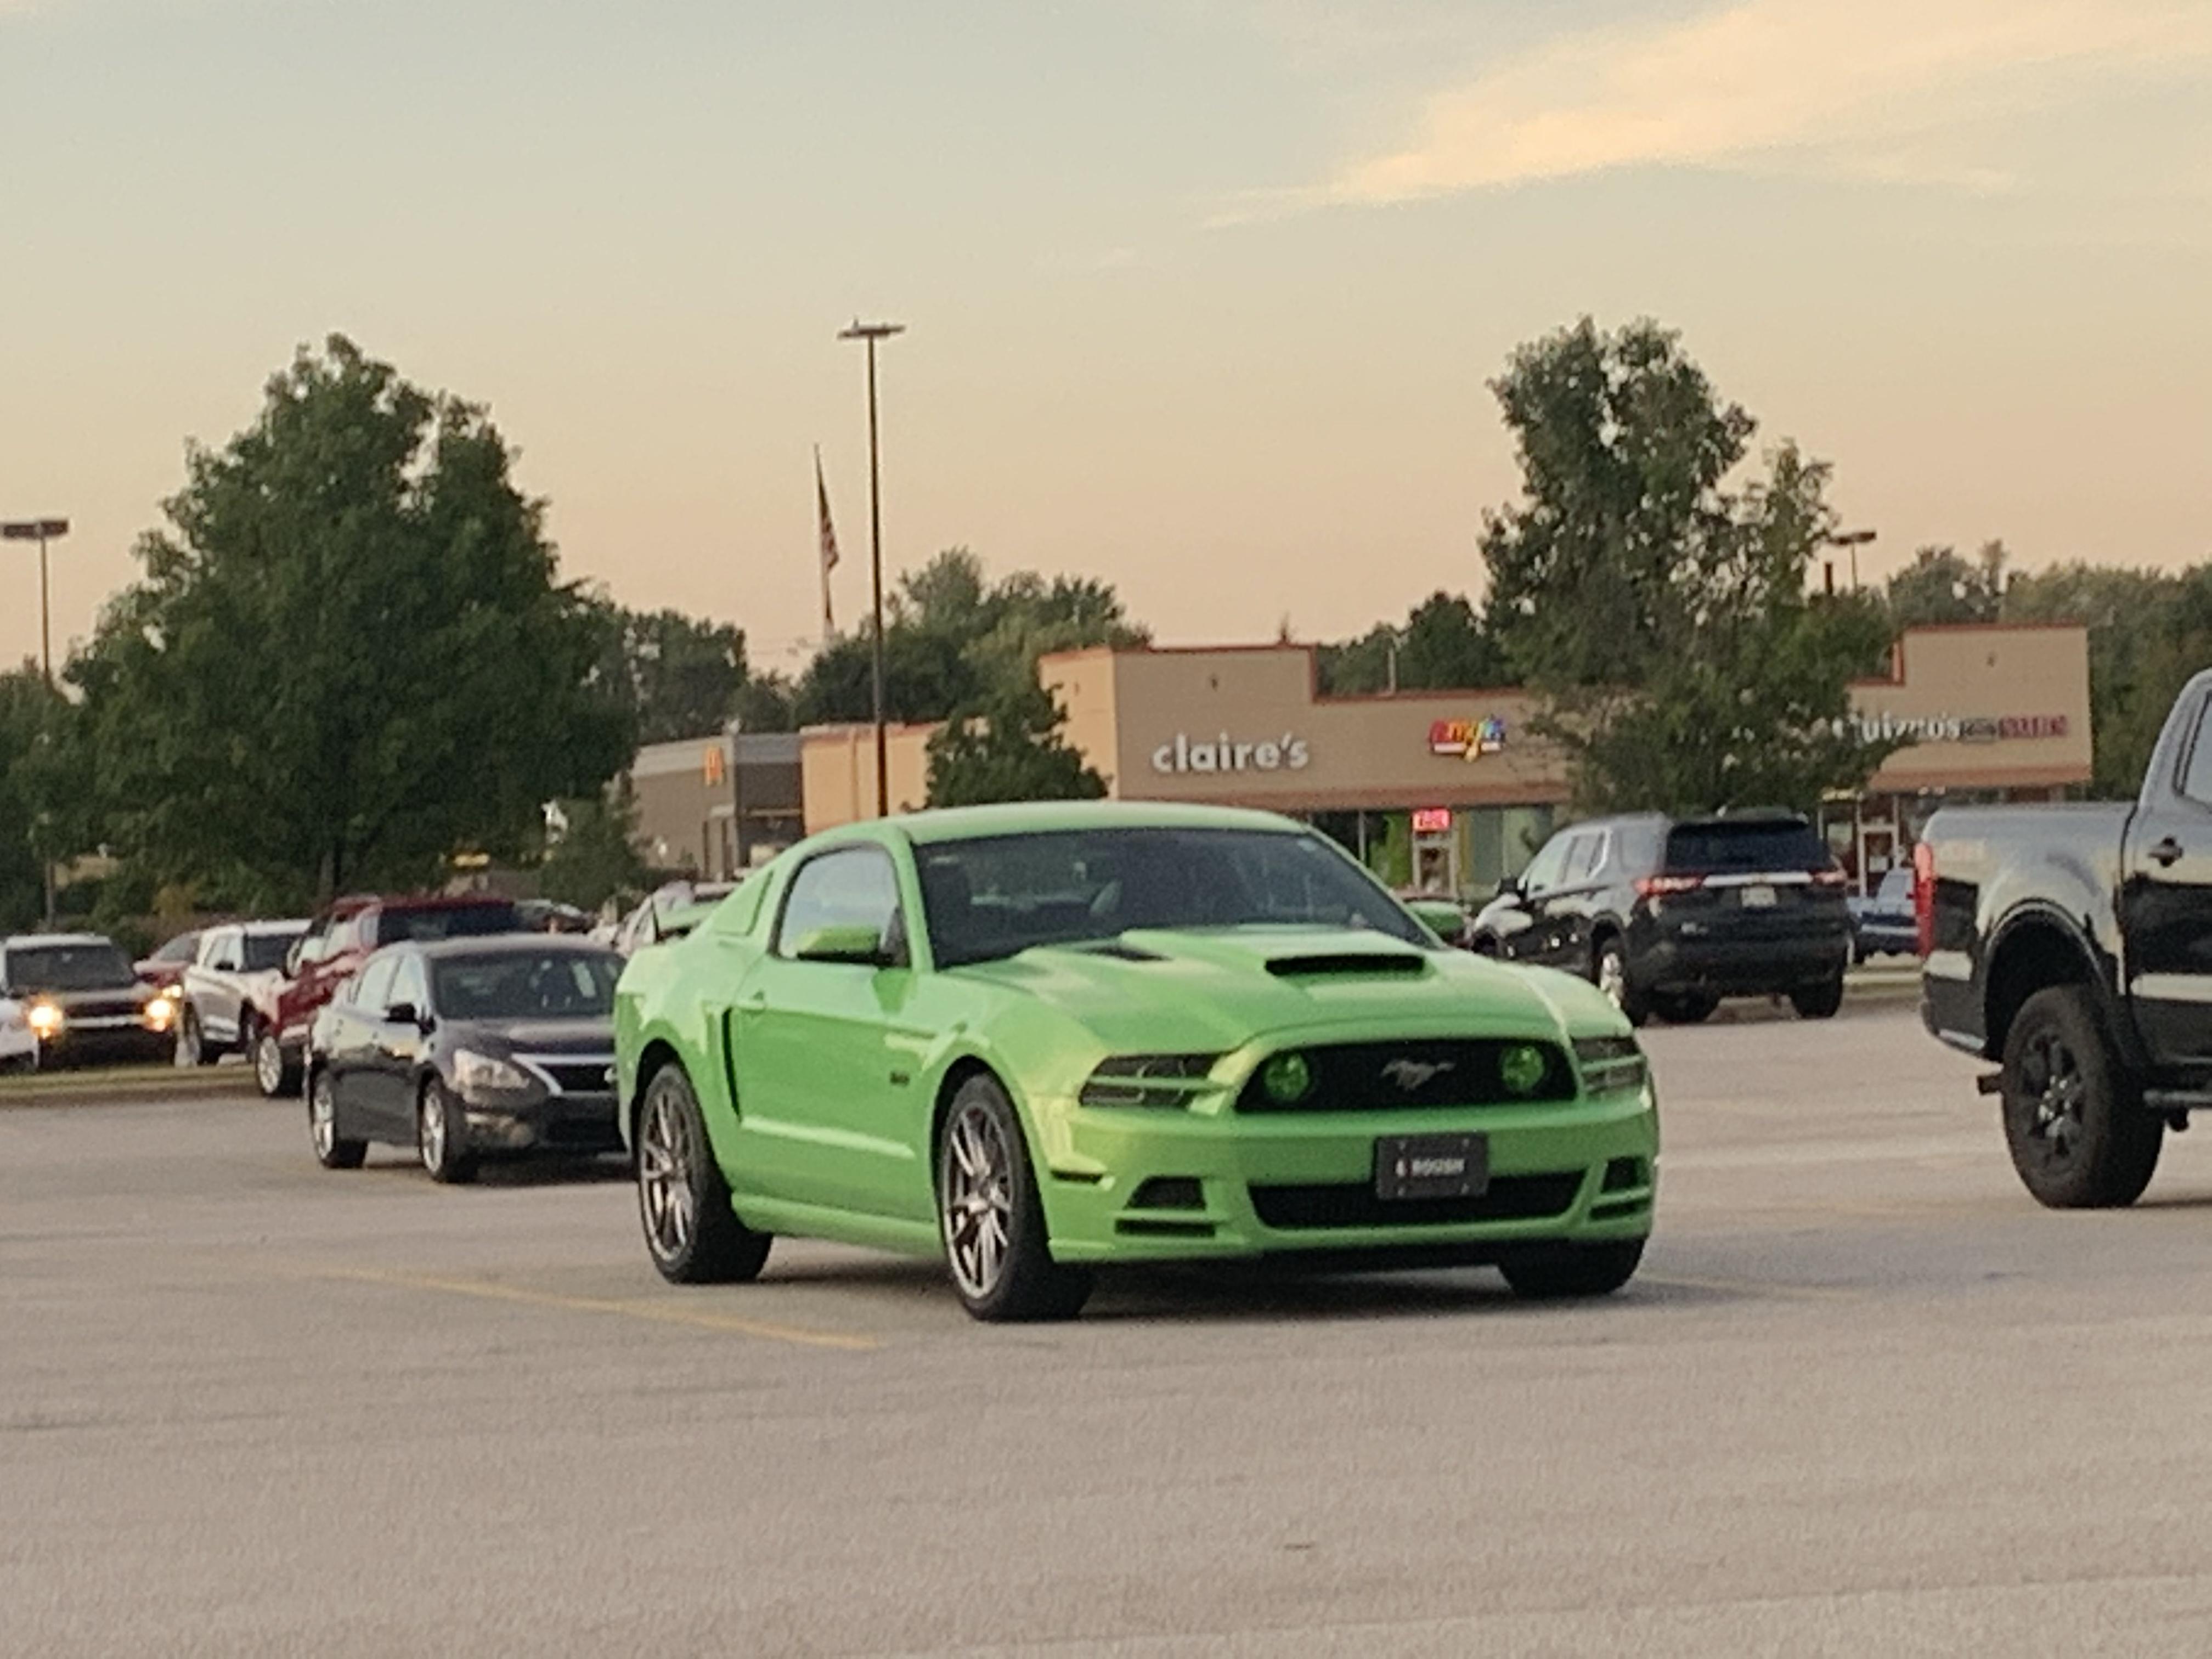
What did you see on the road today?
OldNYJim replied to Harry P.'s topic in General Automotive Talk (Trucks and Cars)
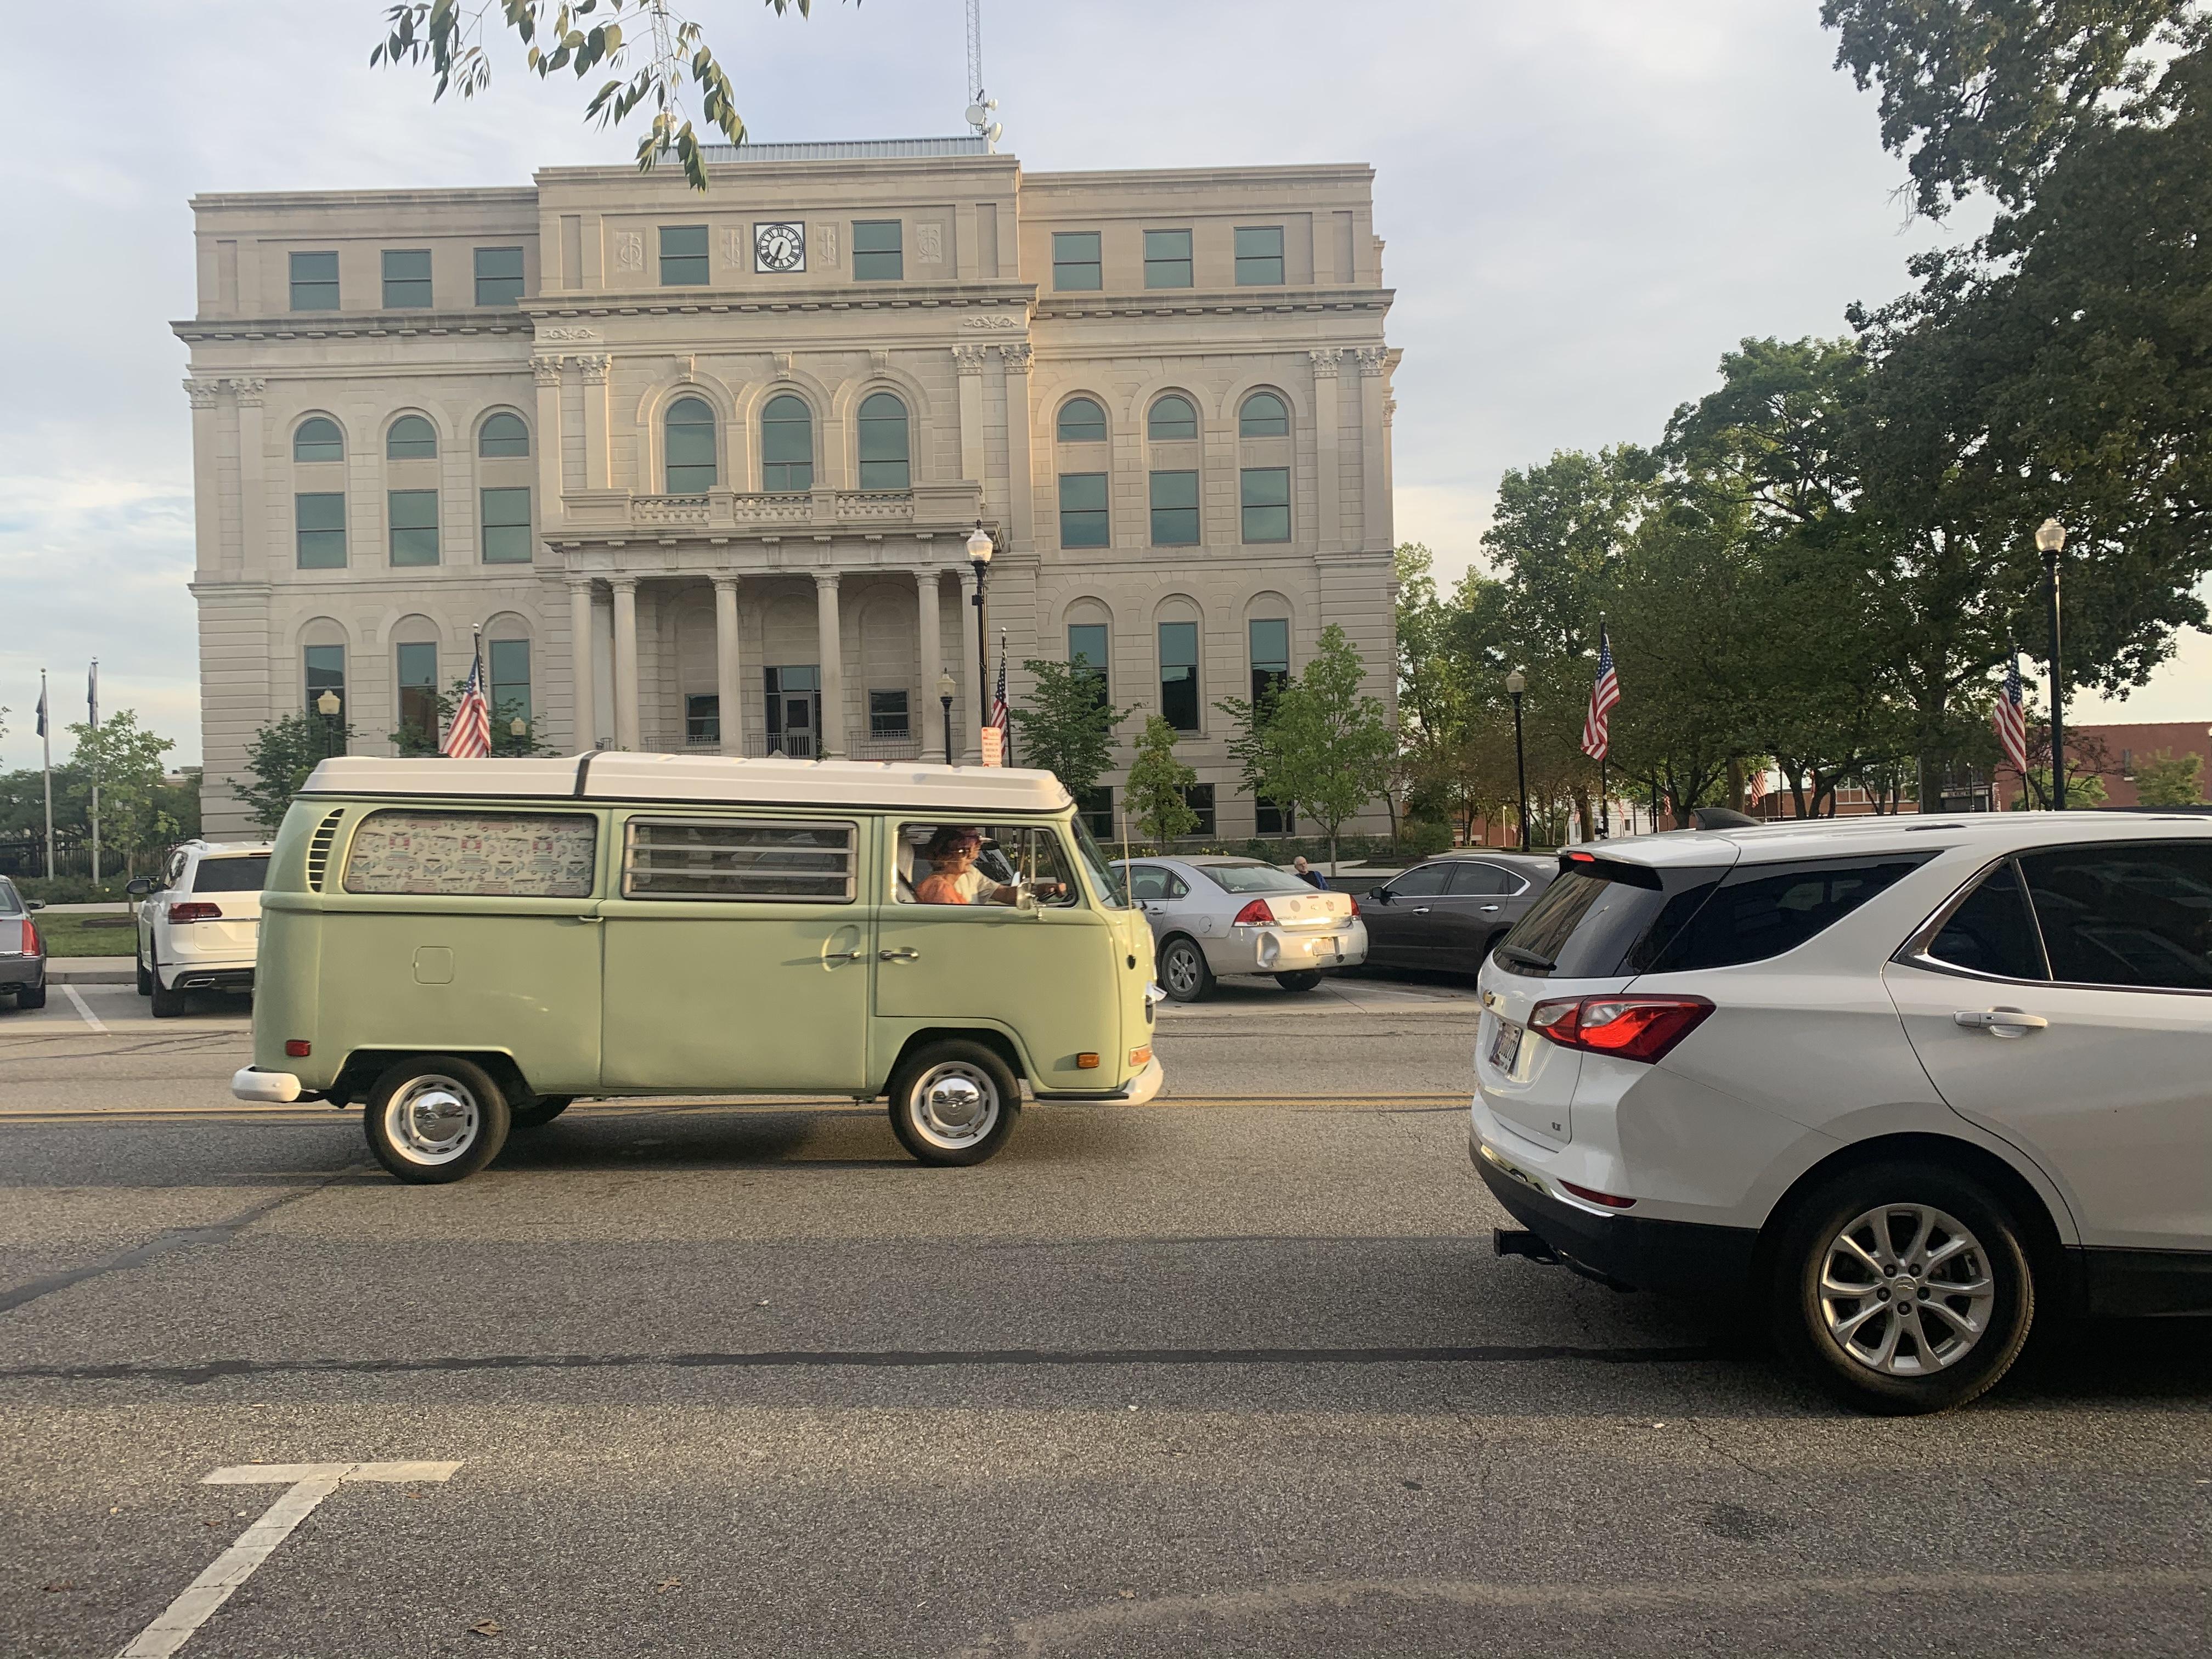
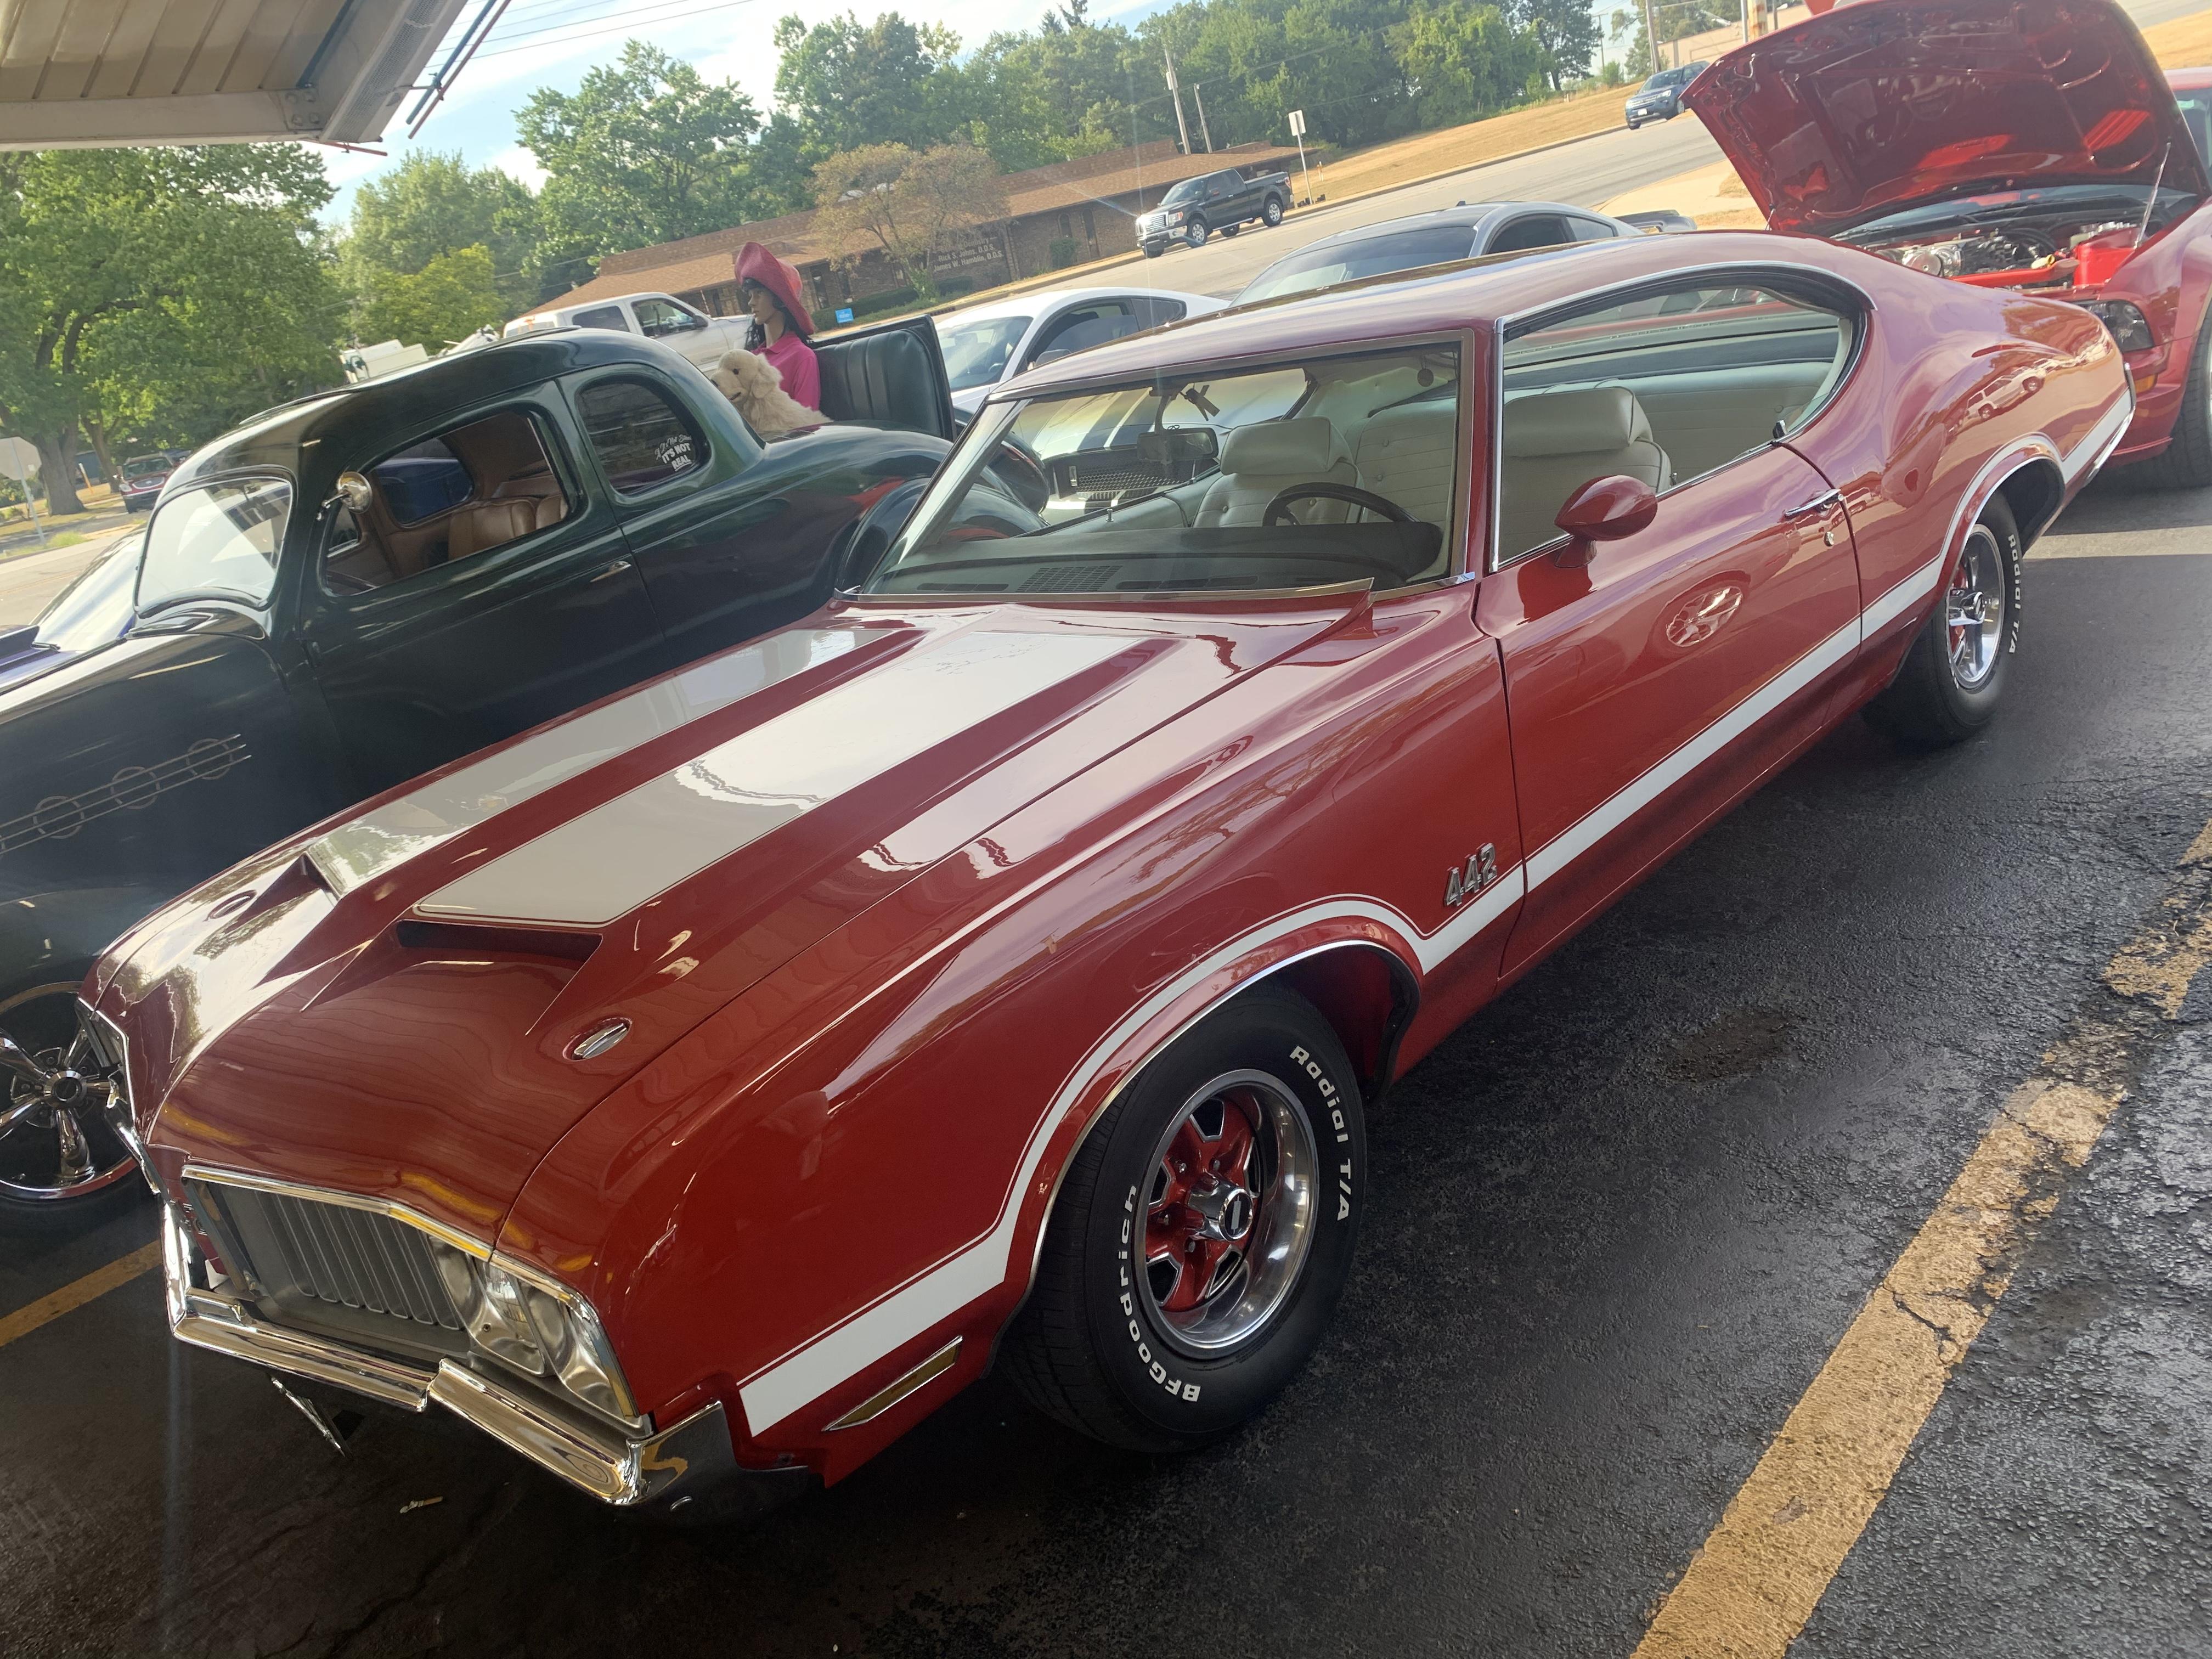
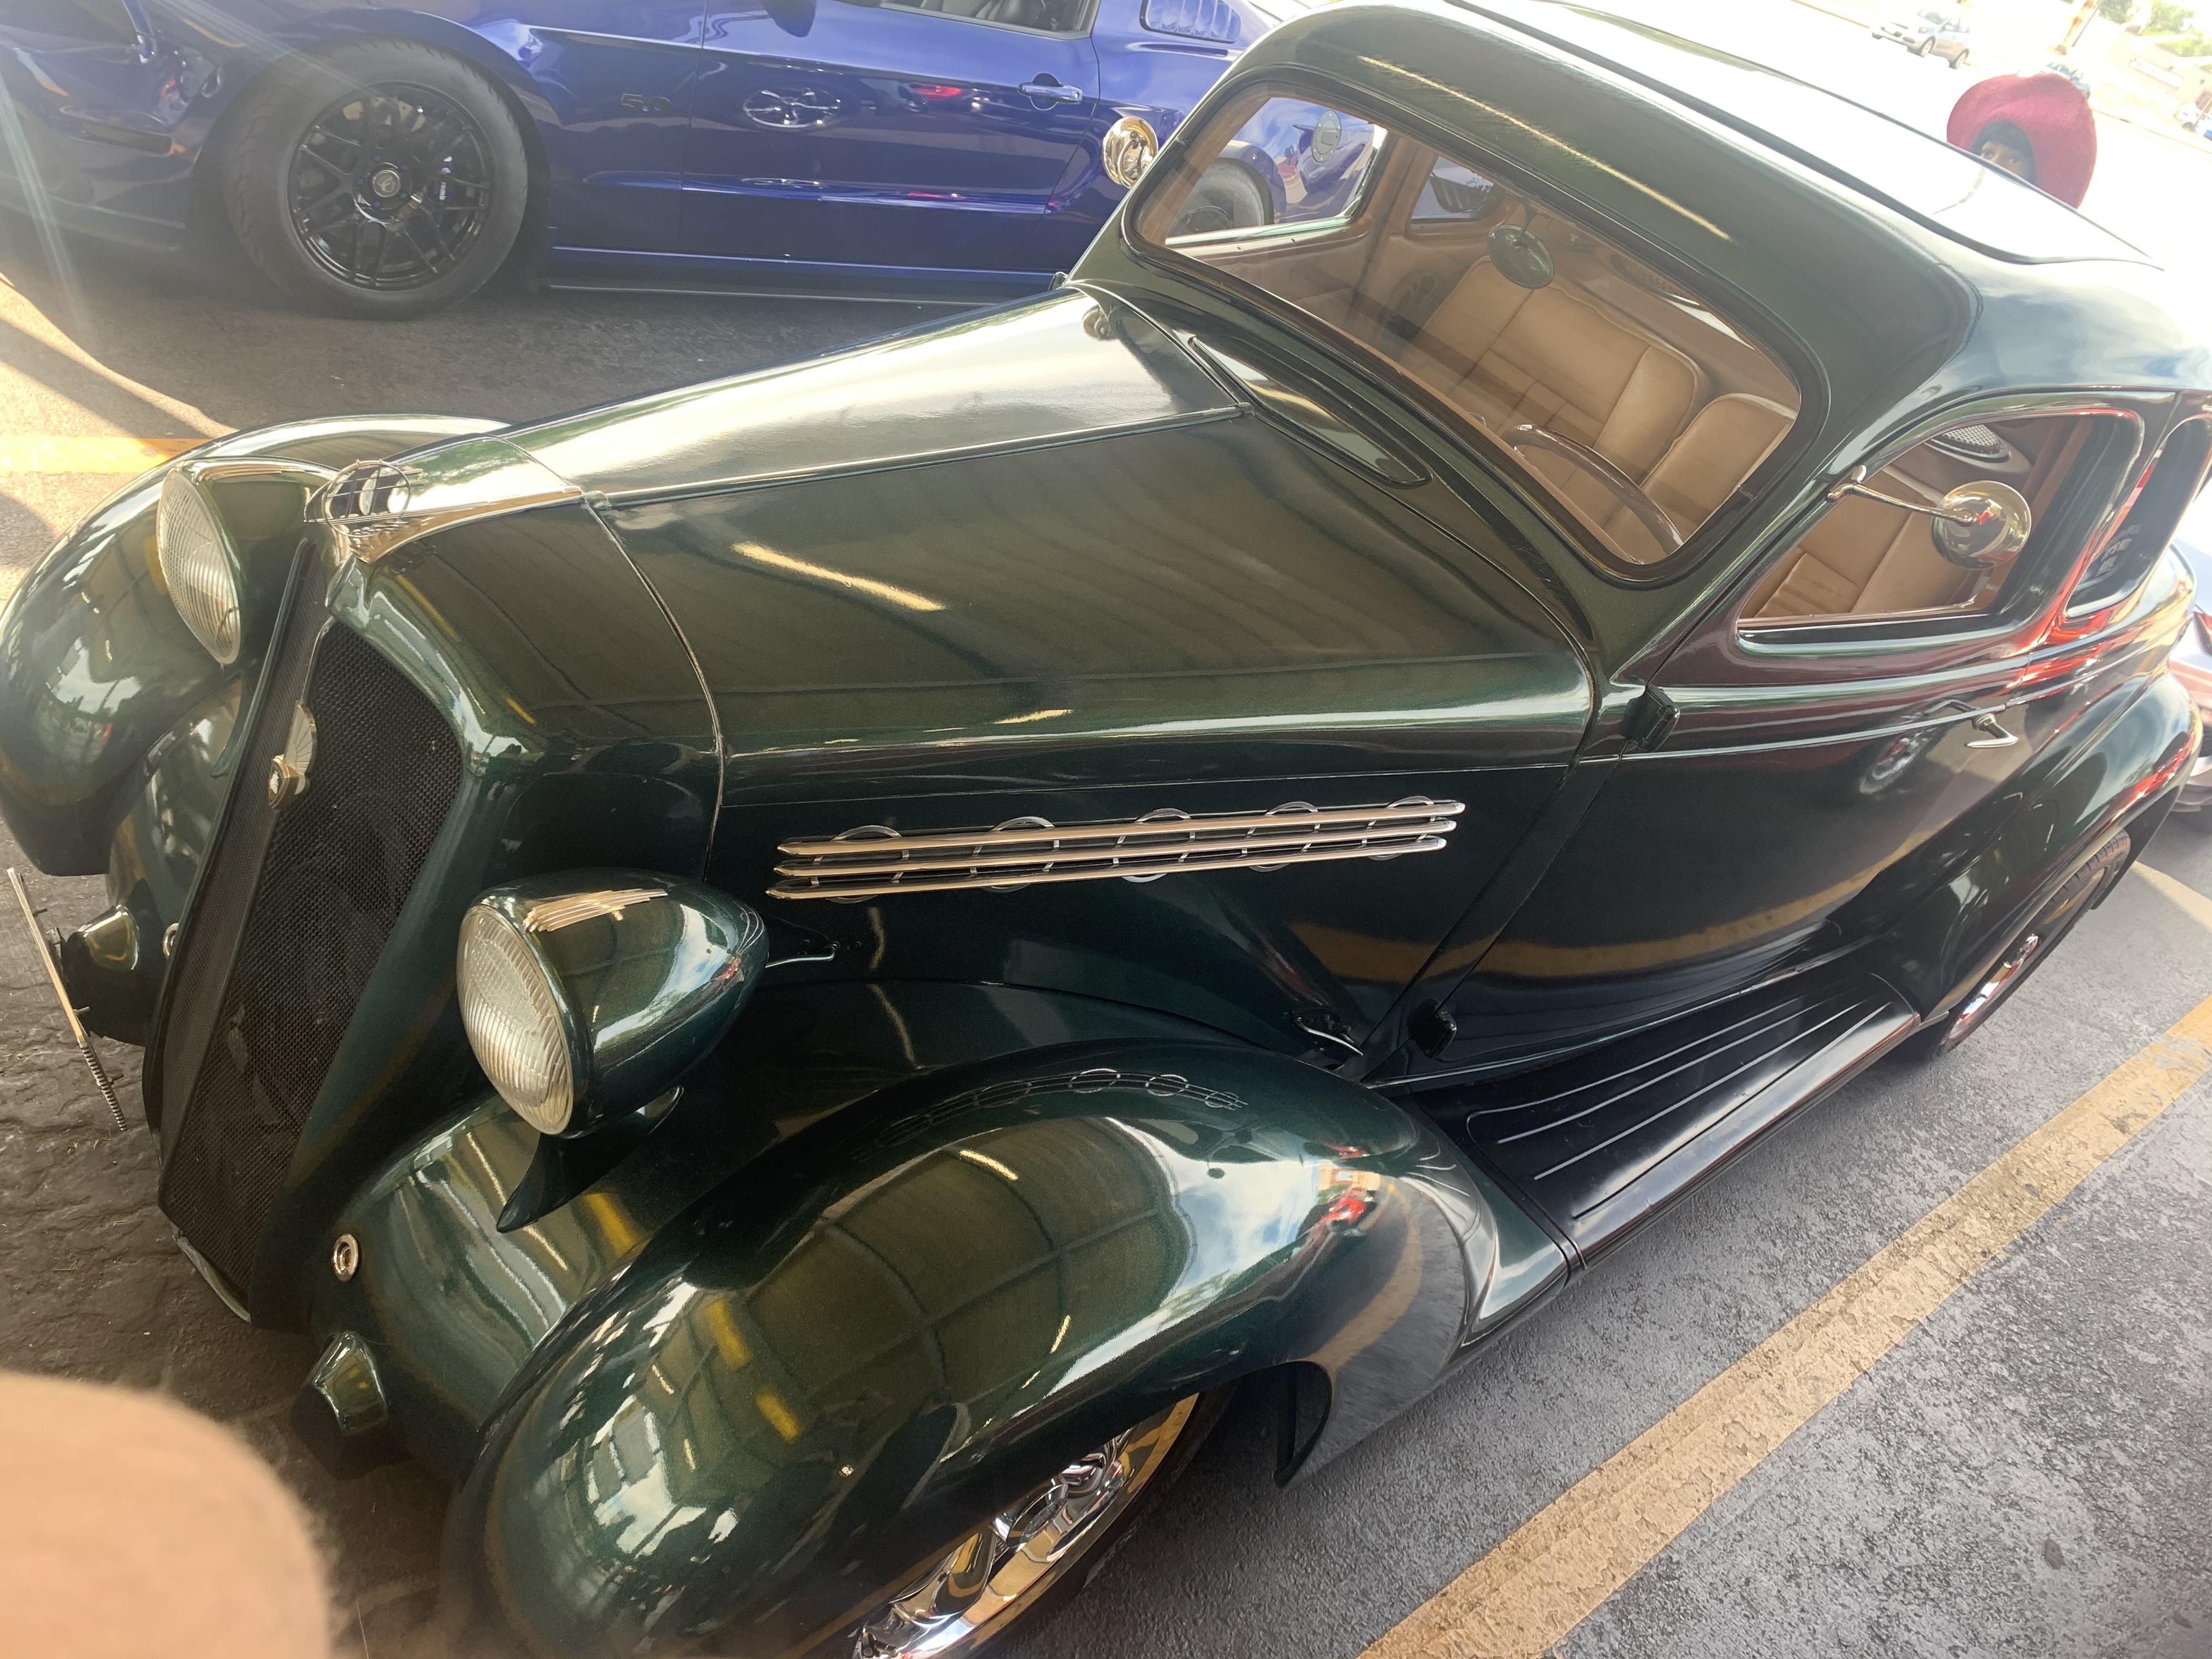
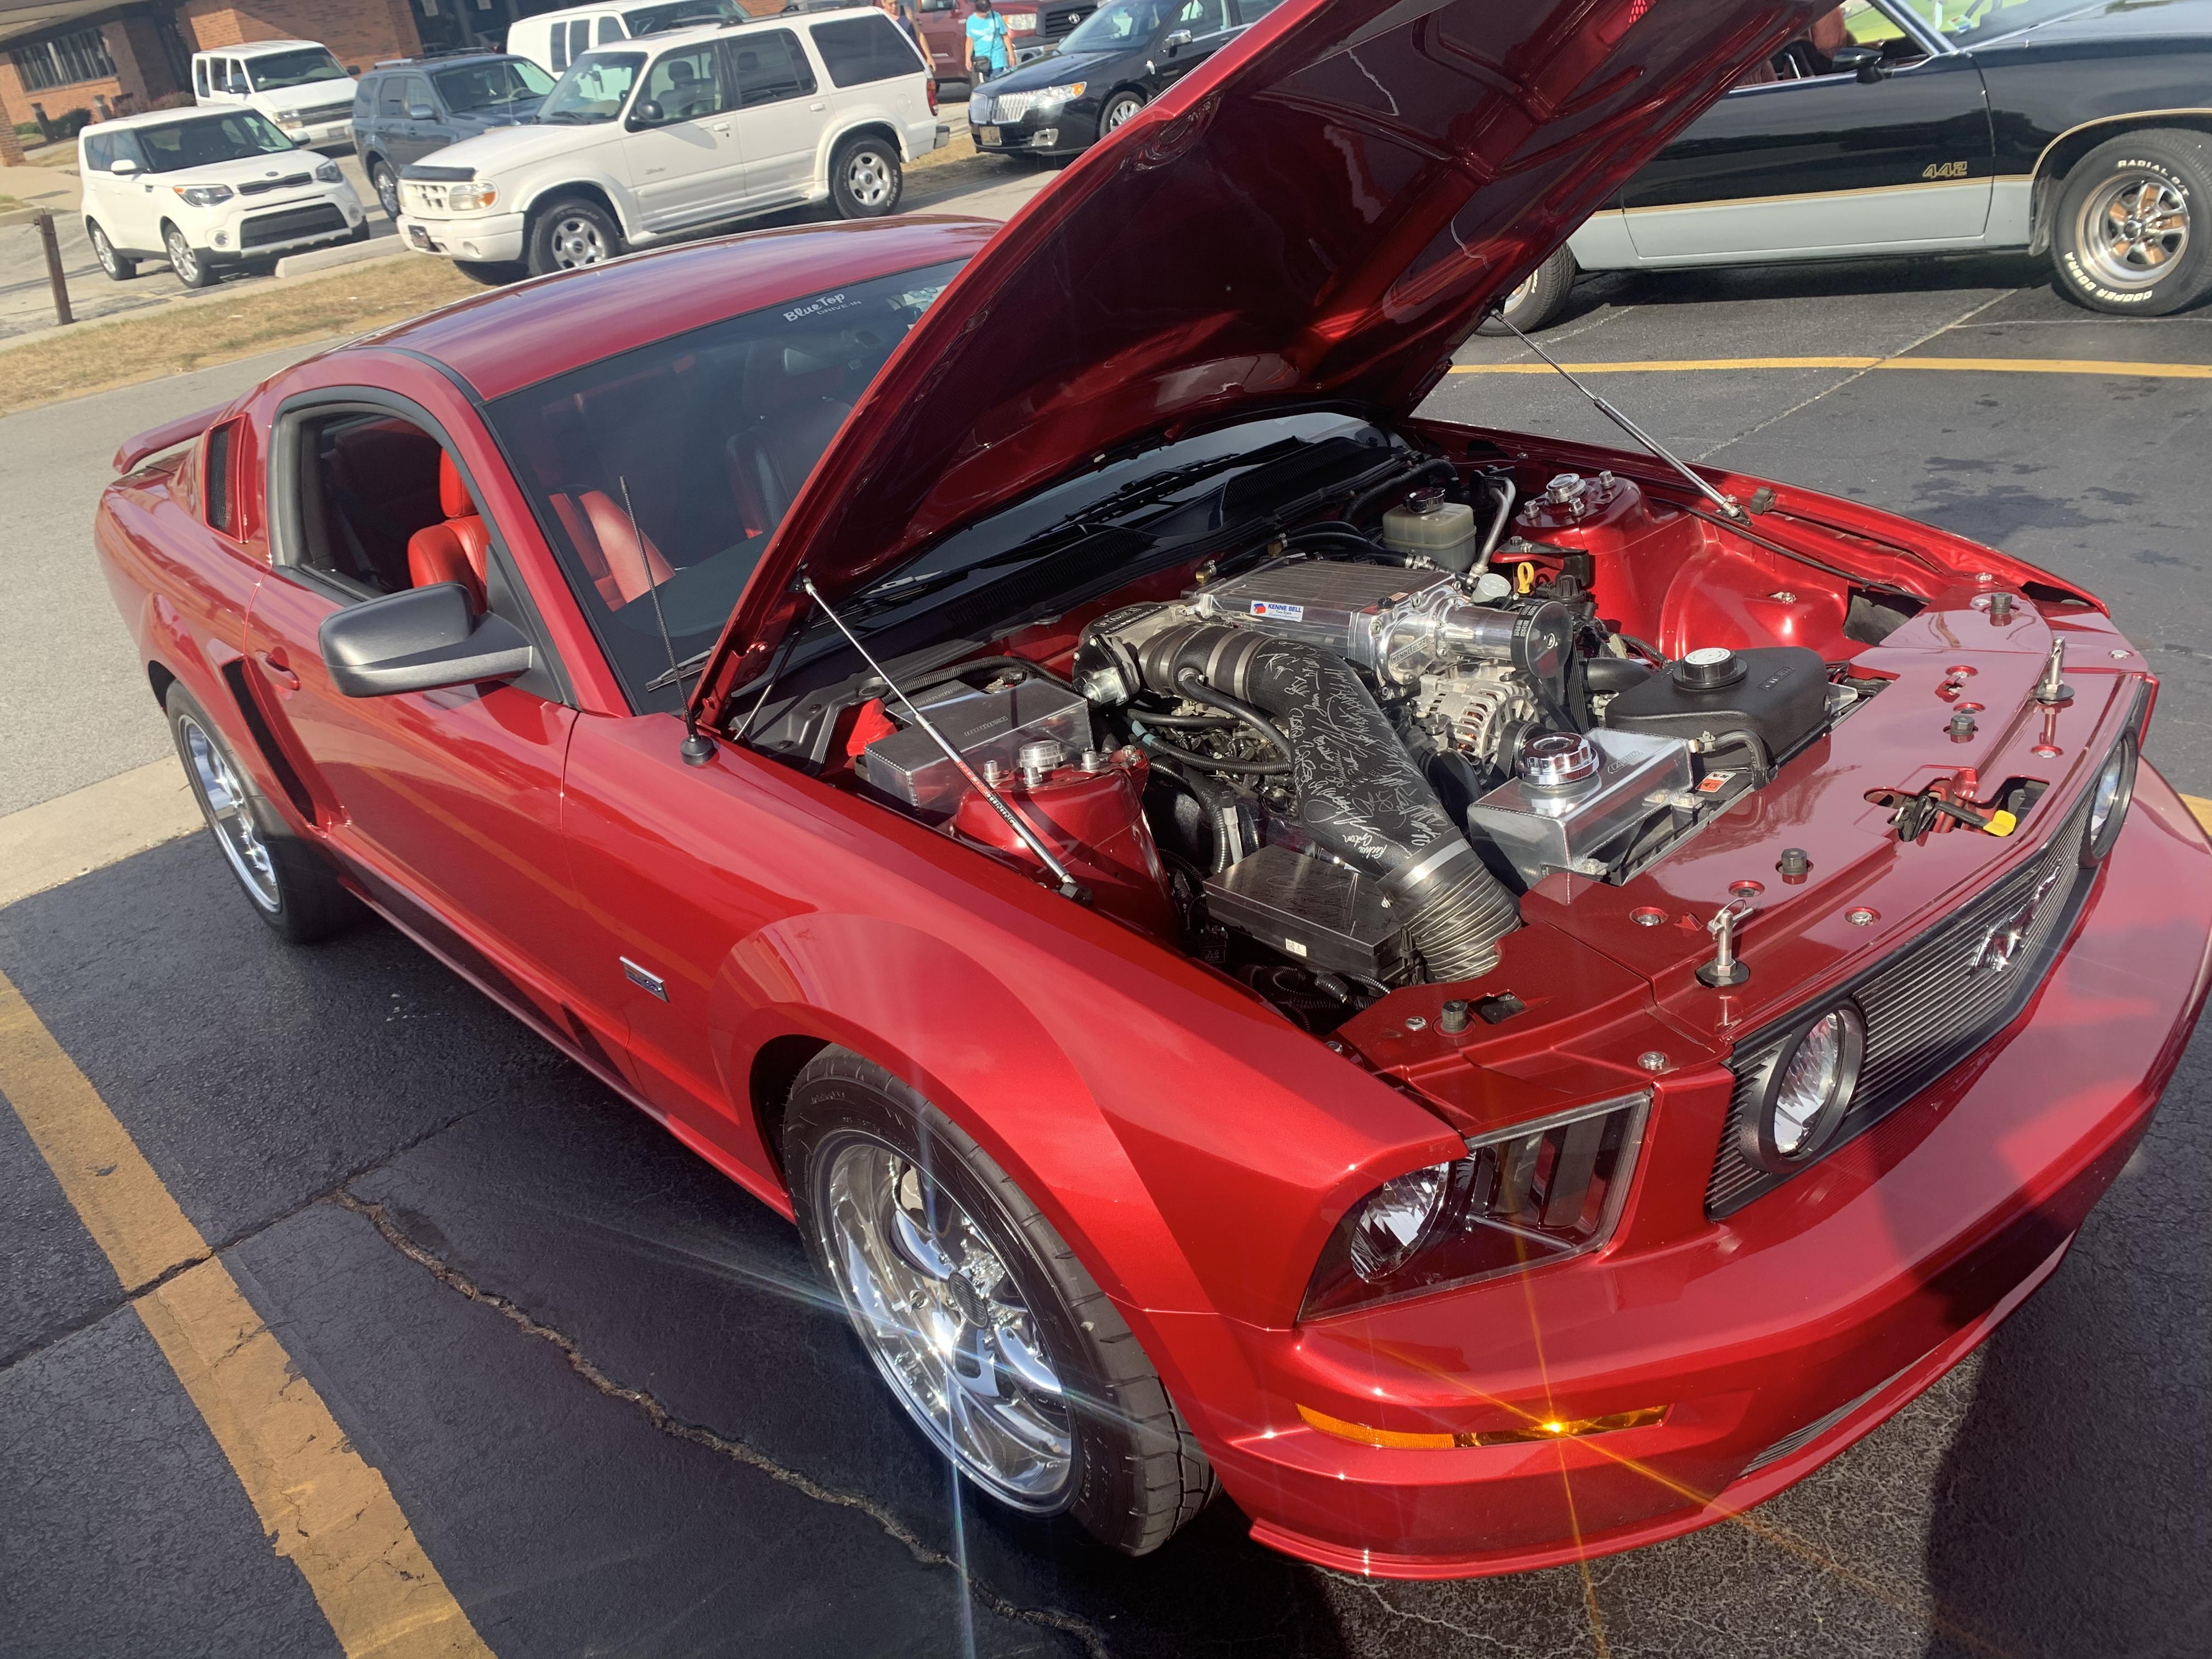
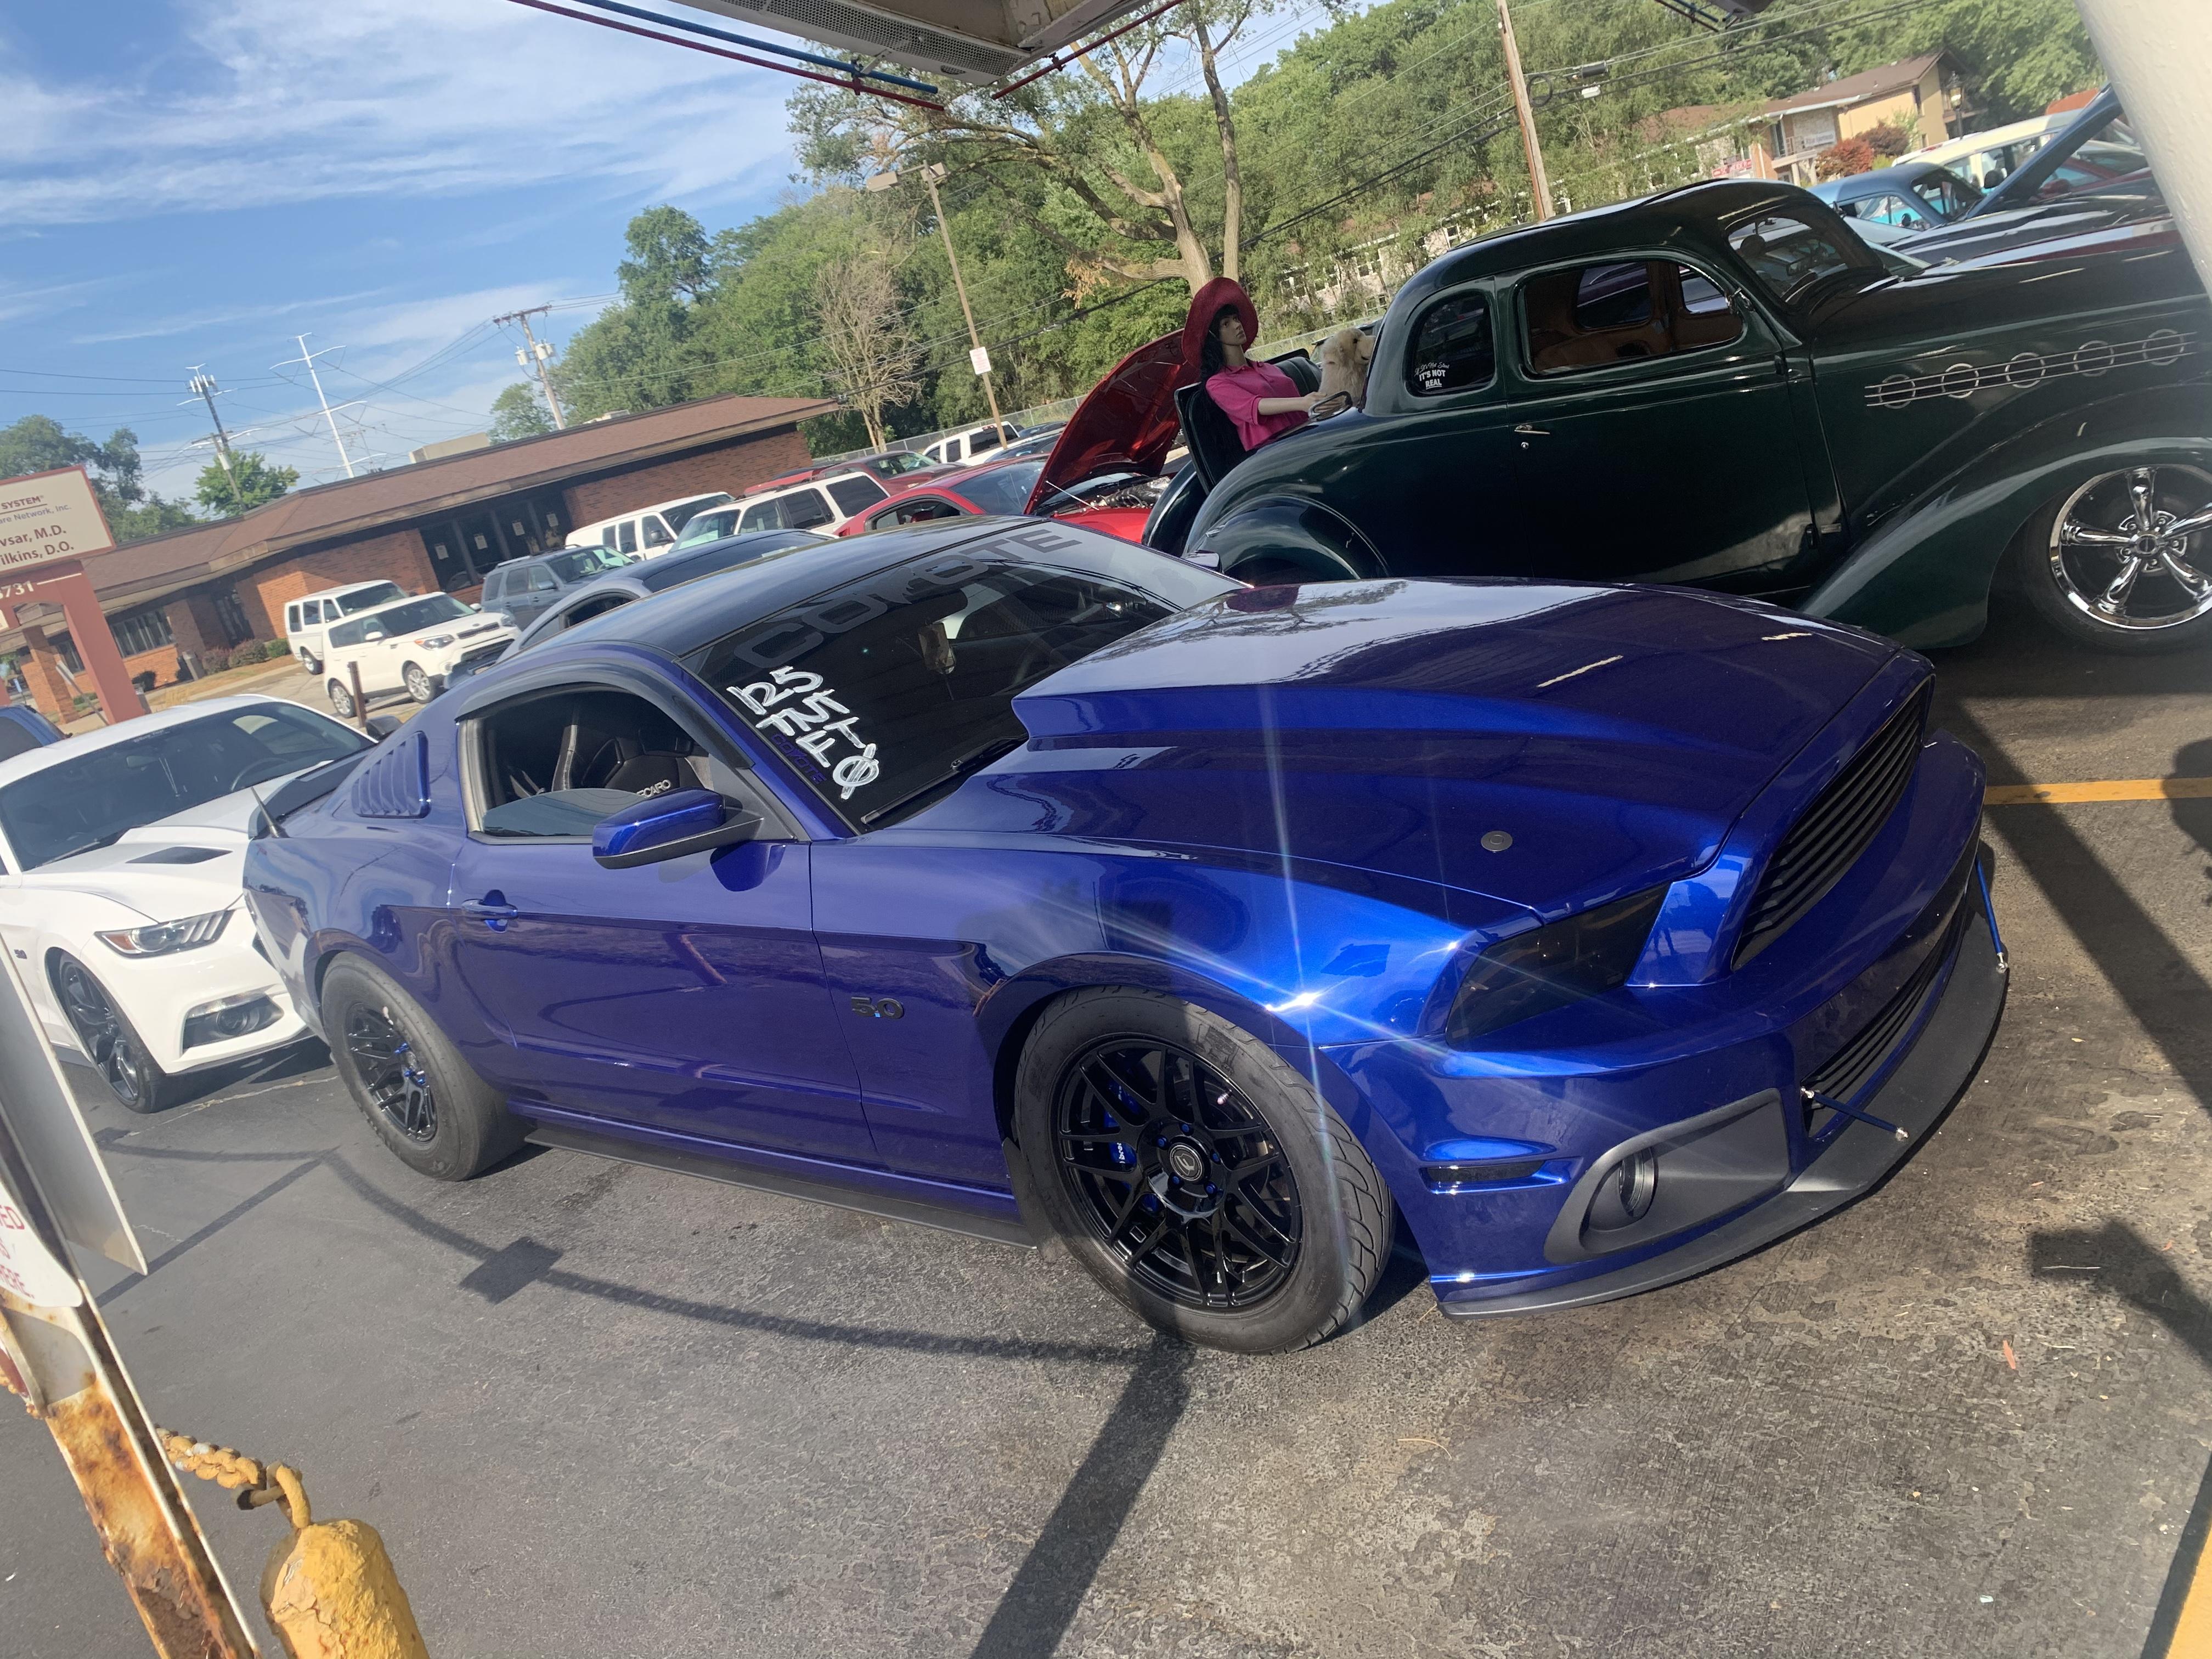
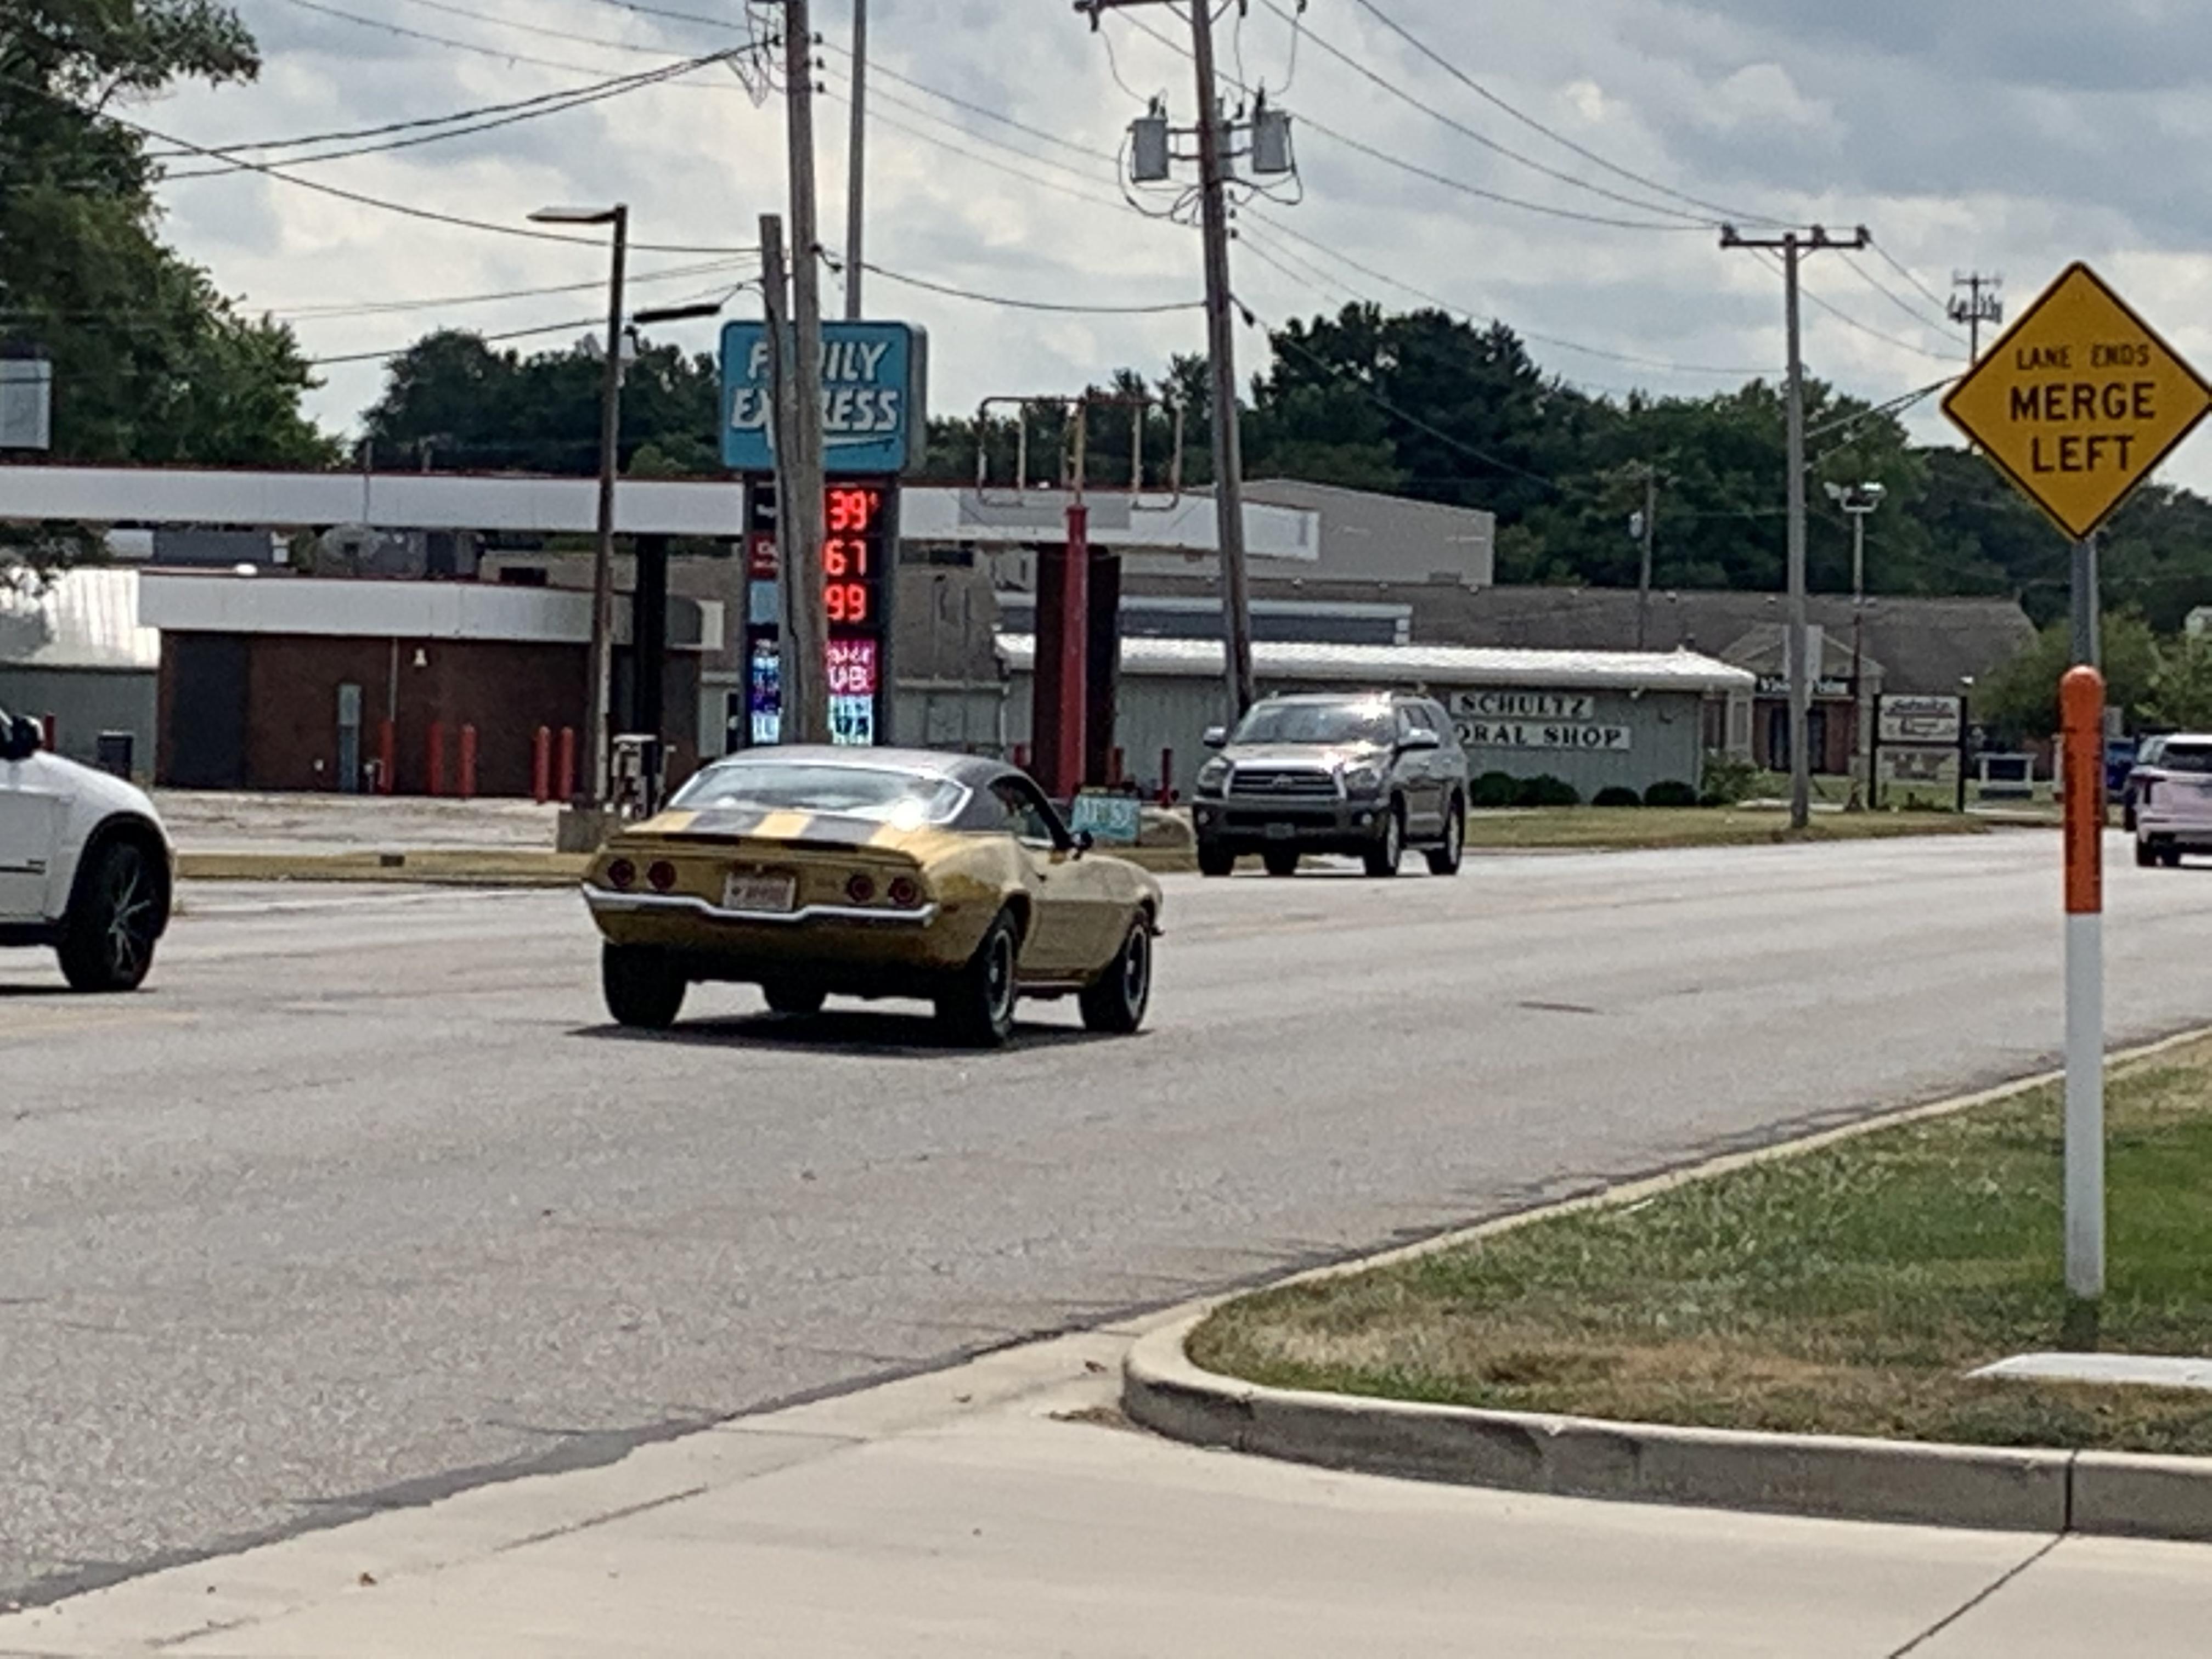
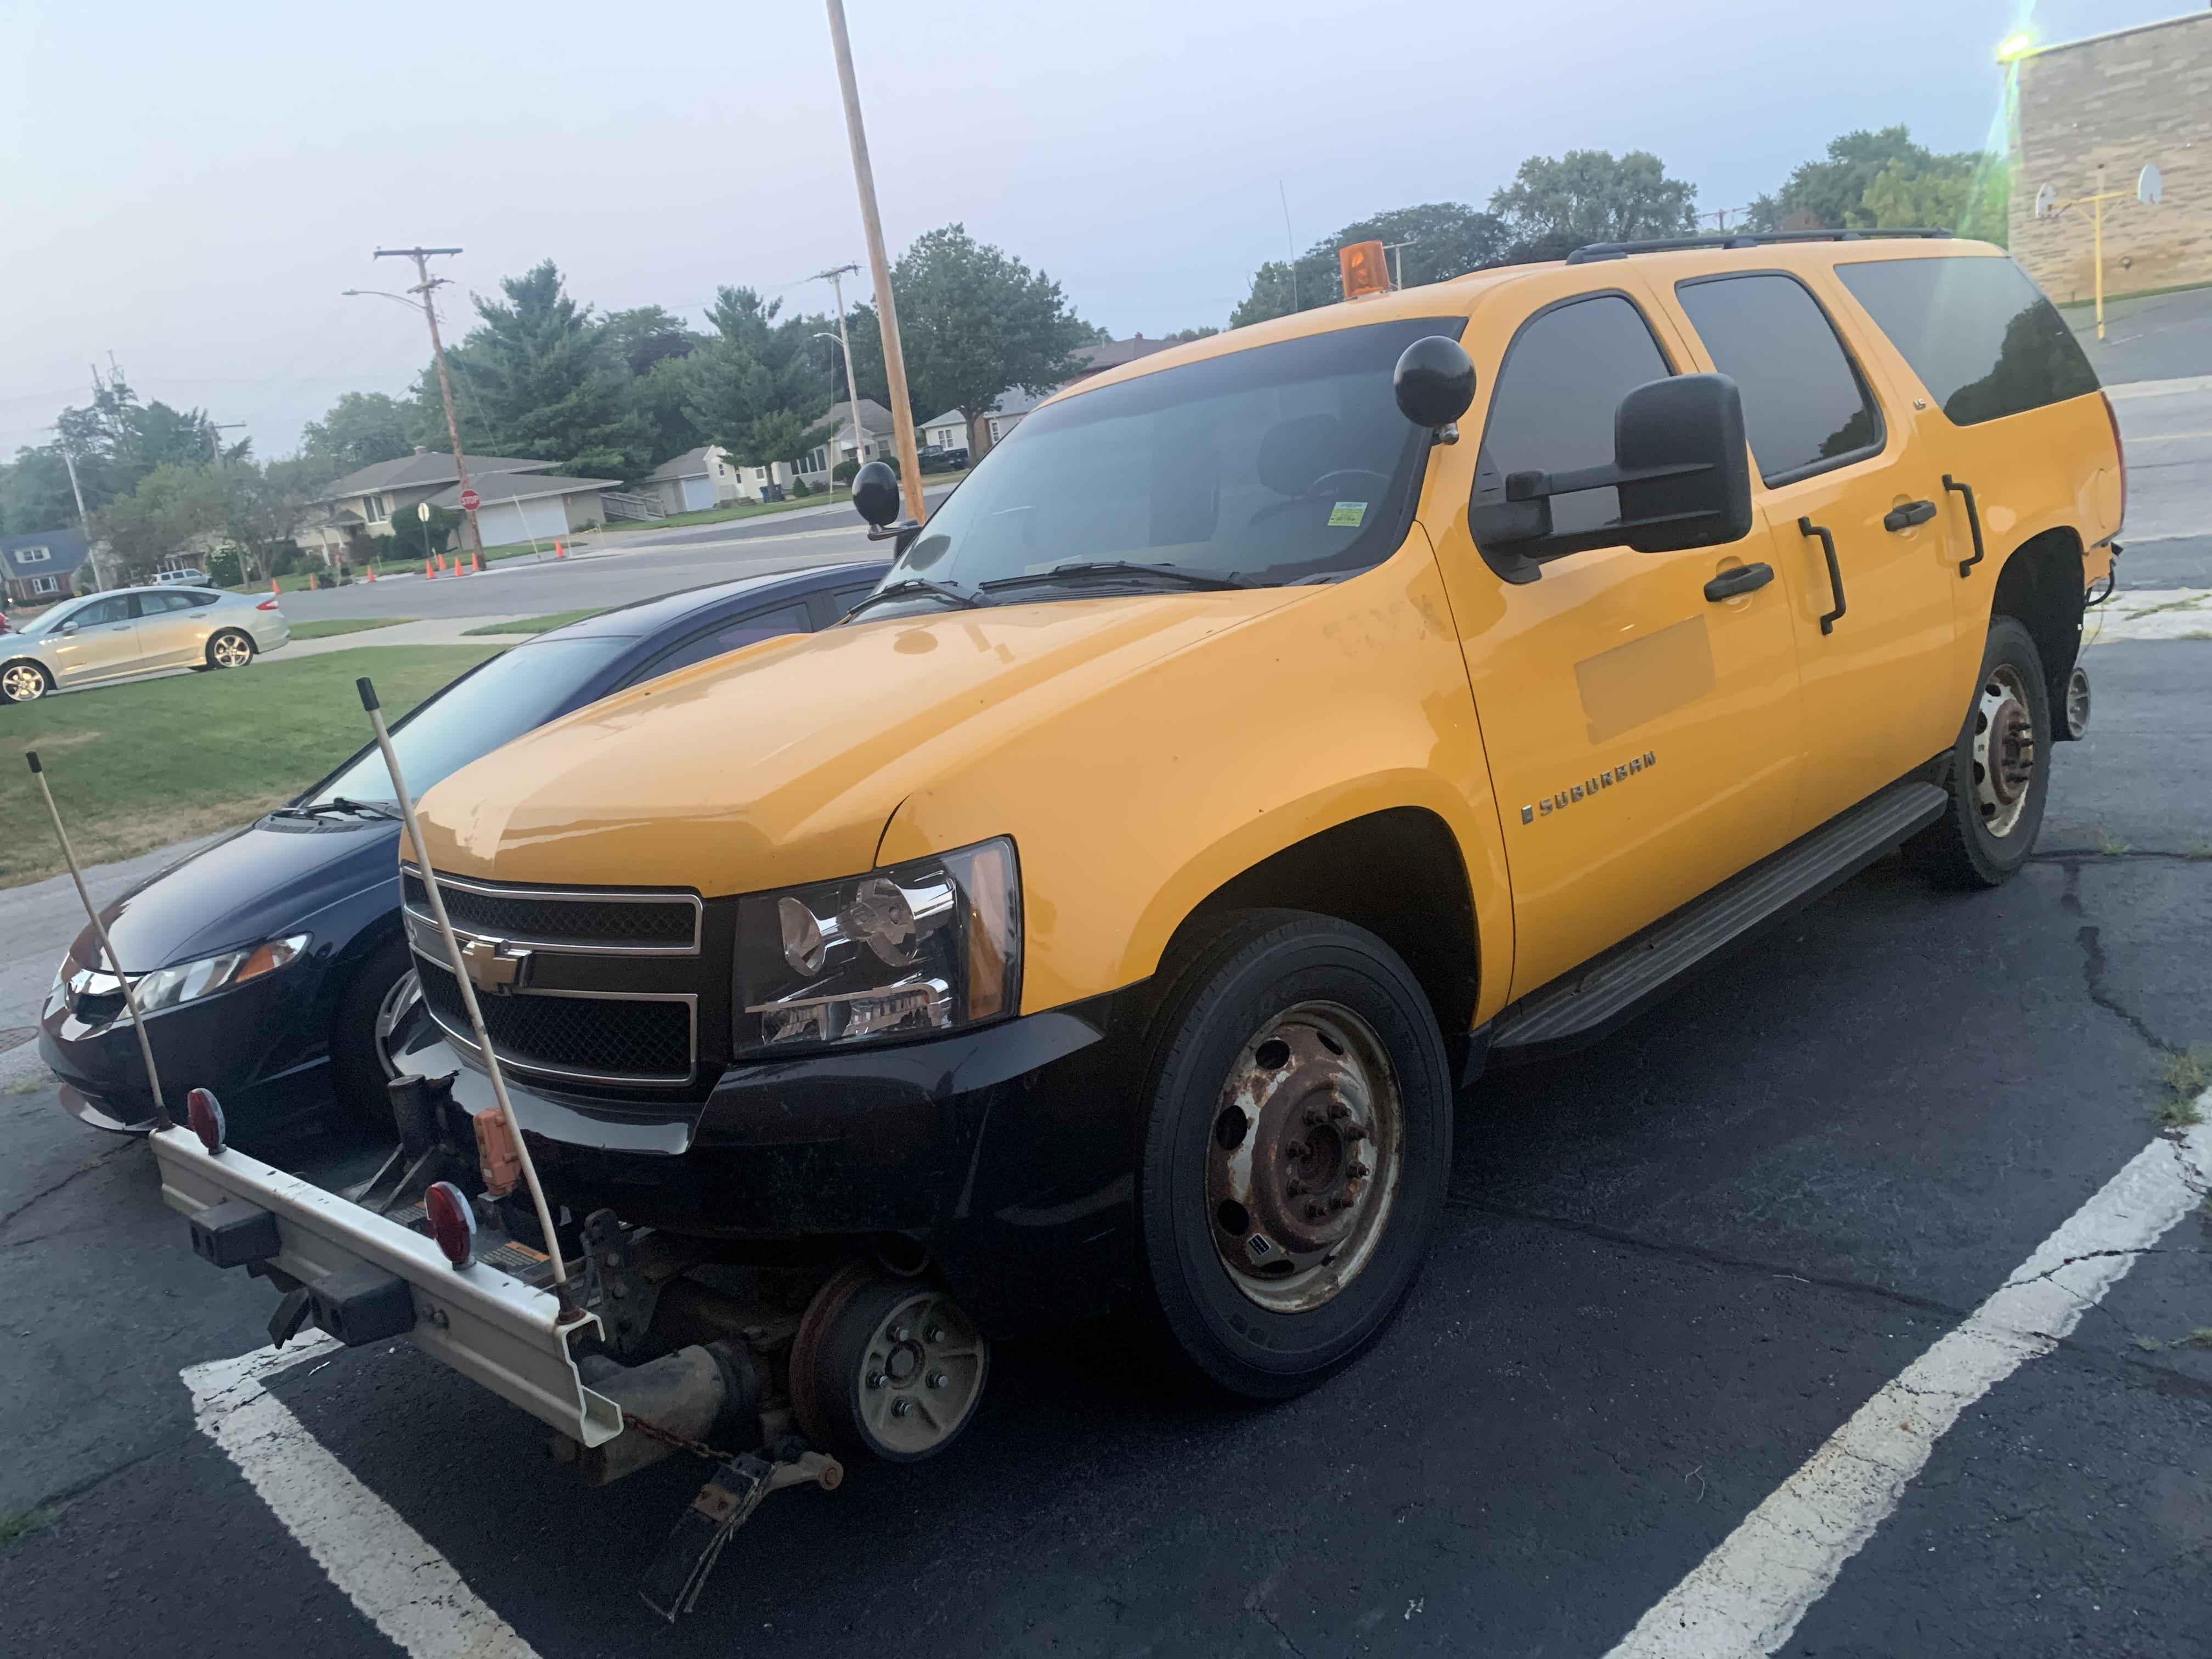
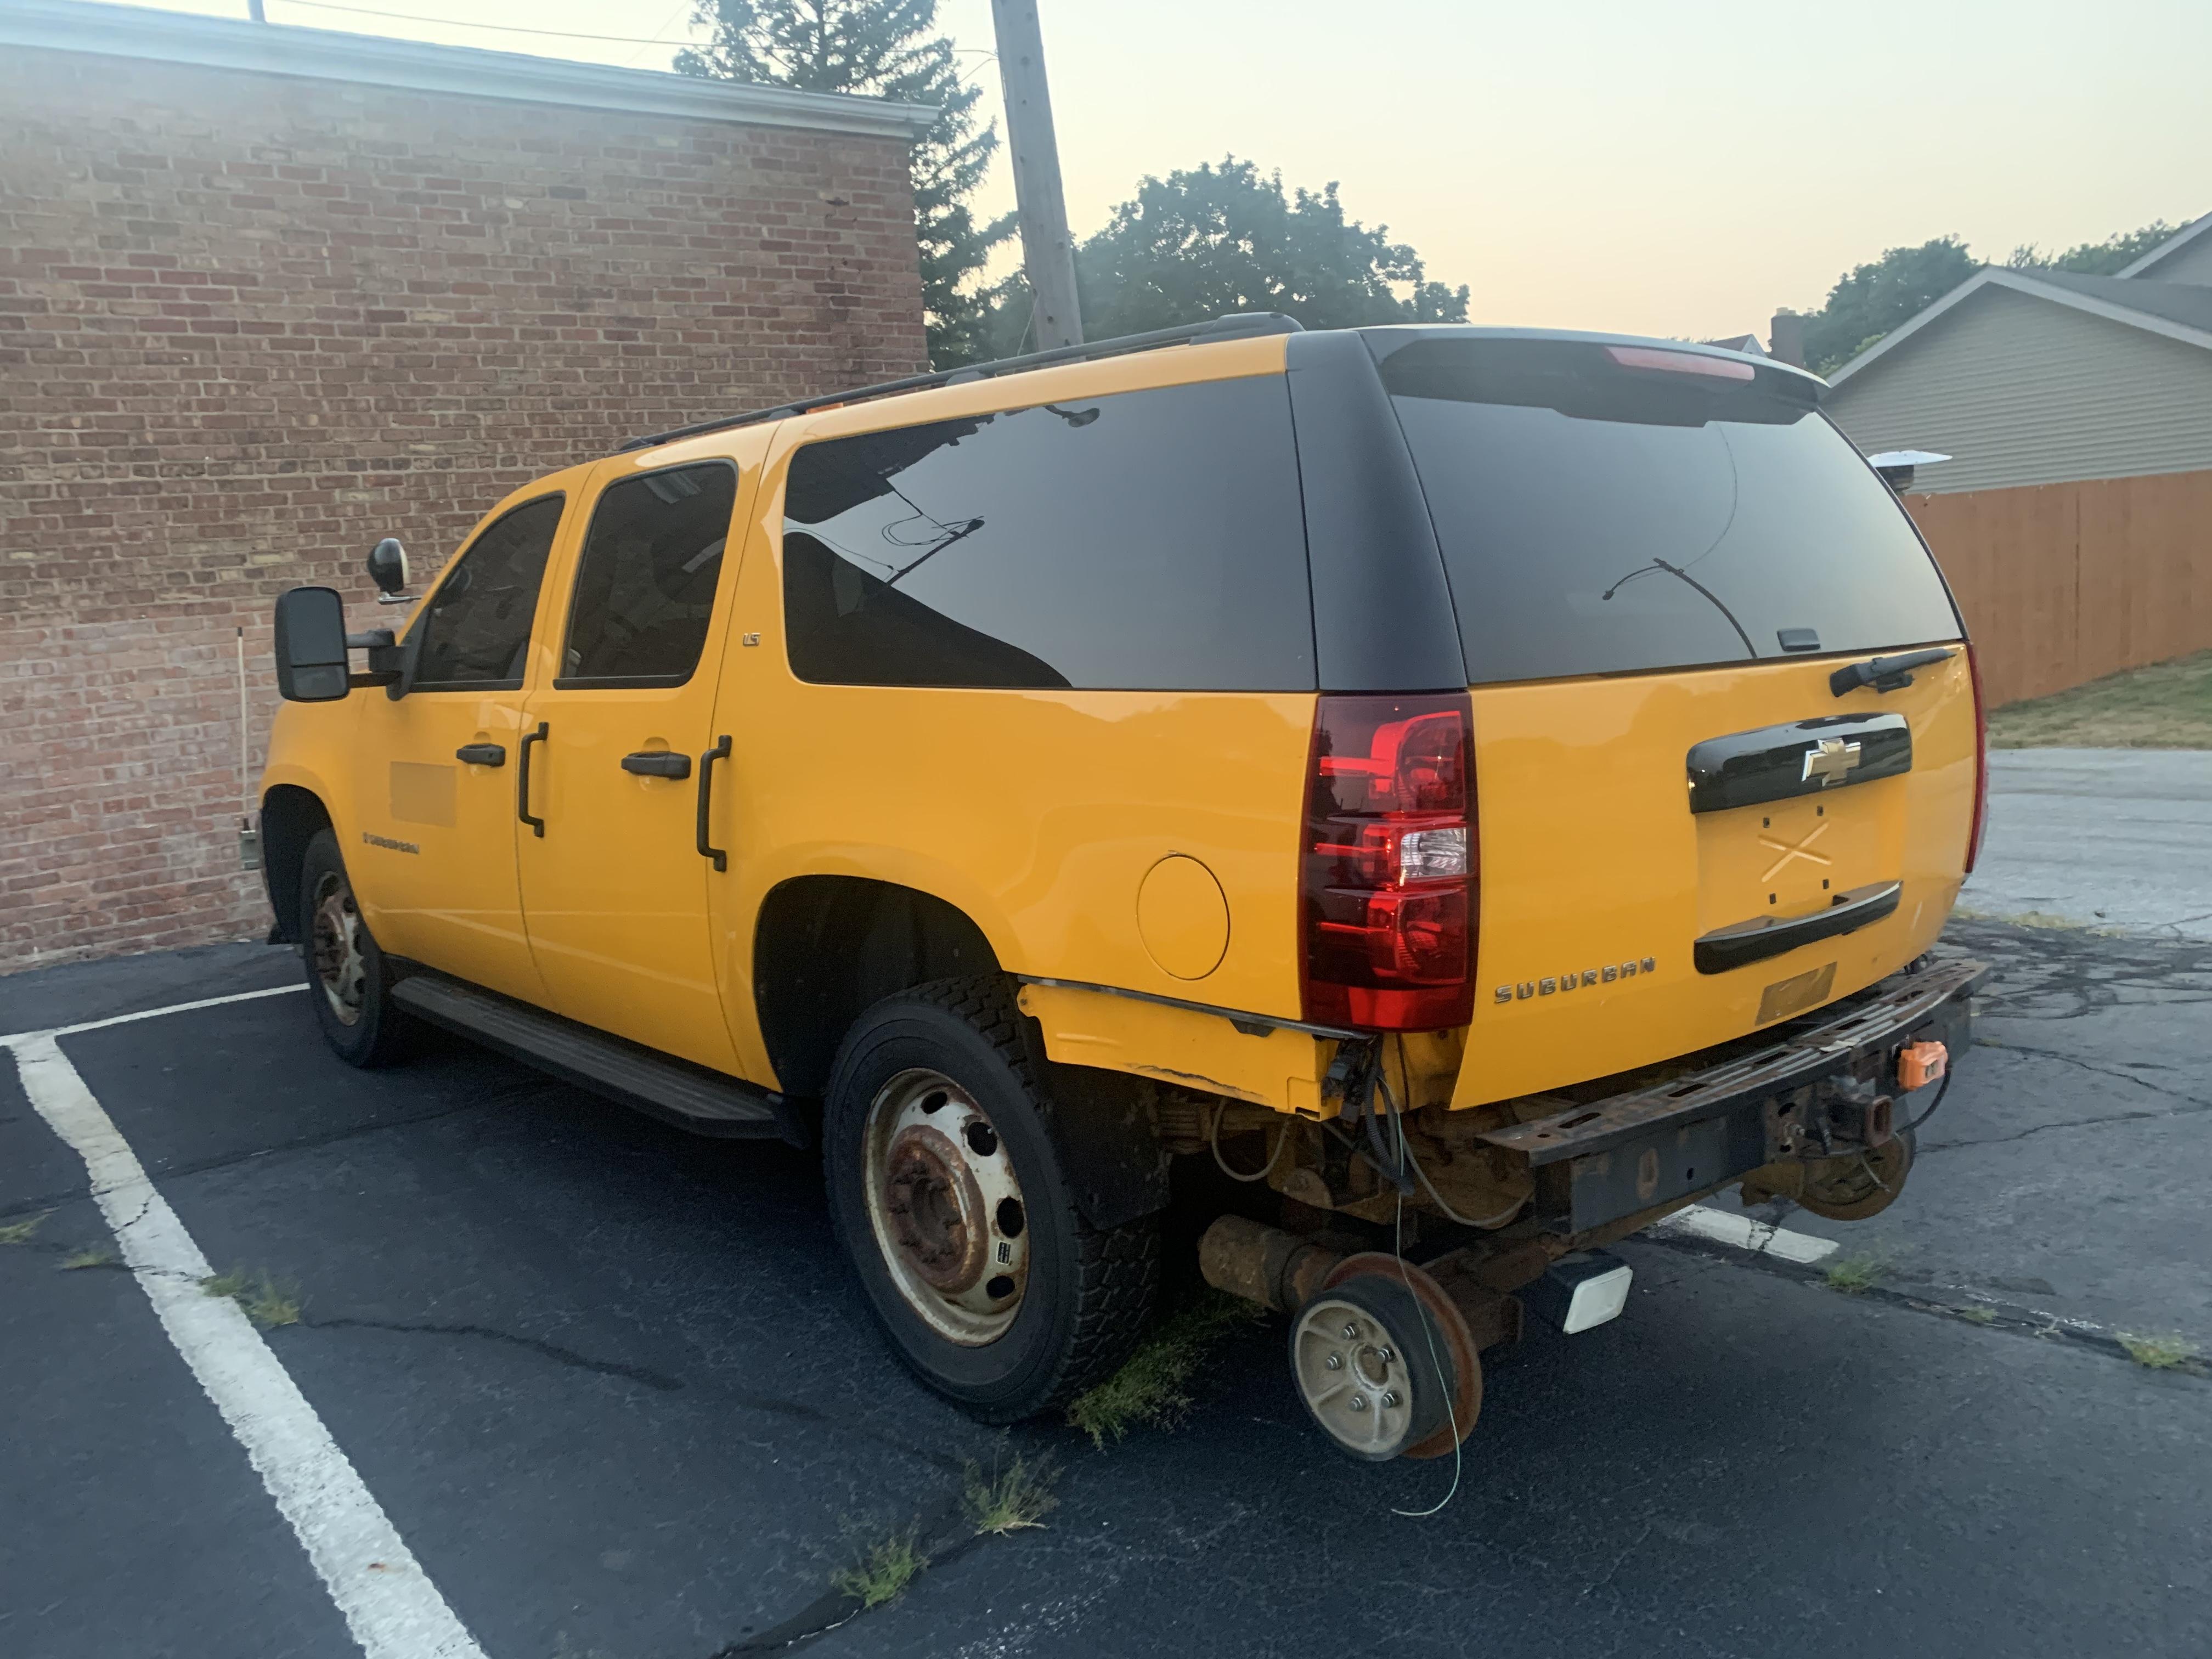
Spotted this as I was at the gas station today: Sounded nice - wish I’d got a better pic! Apparently you get to drive on the railroad out here ? Another sighting that I wish I’d got a better photo of: And, as a New Yorker I was weirdly excited to see this little mail truck - never saw one of these before! Only ever saw the ‘regular’ size Grumanns or whatever they’re called - it’s cute ?
-
What did you see on the road today?
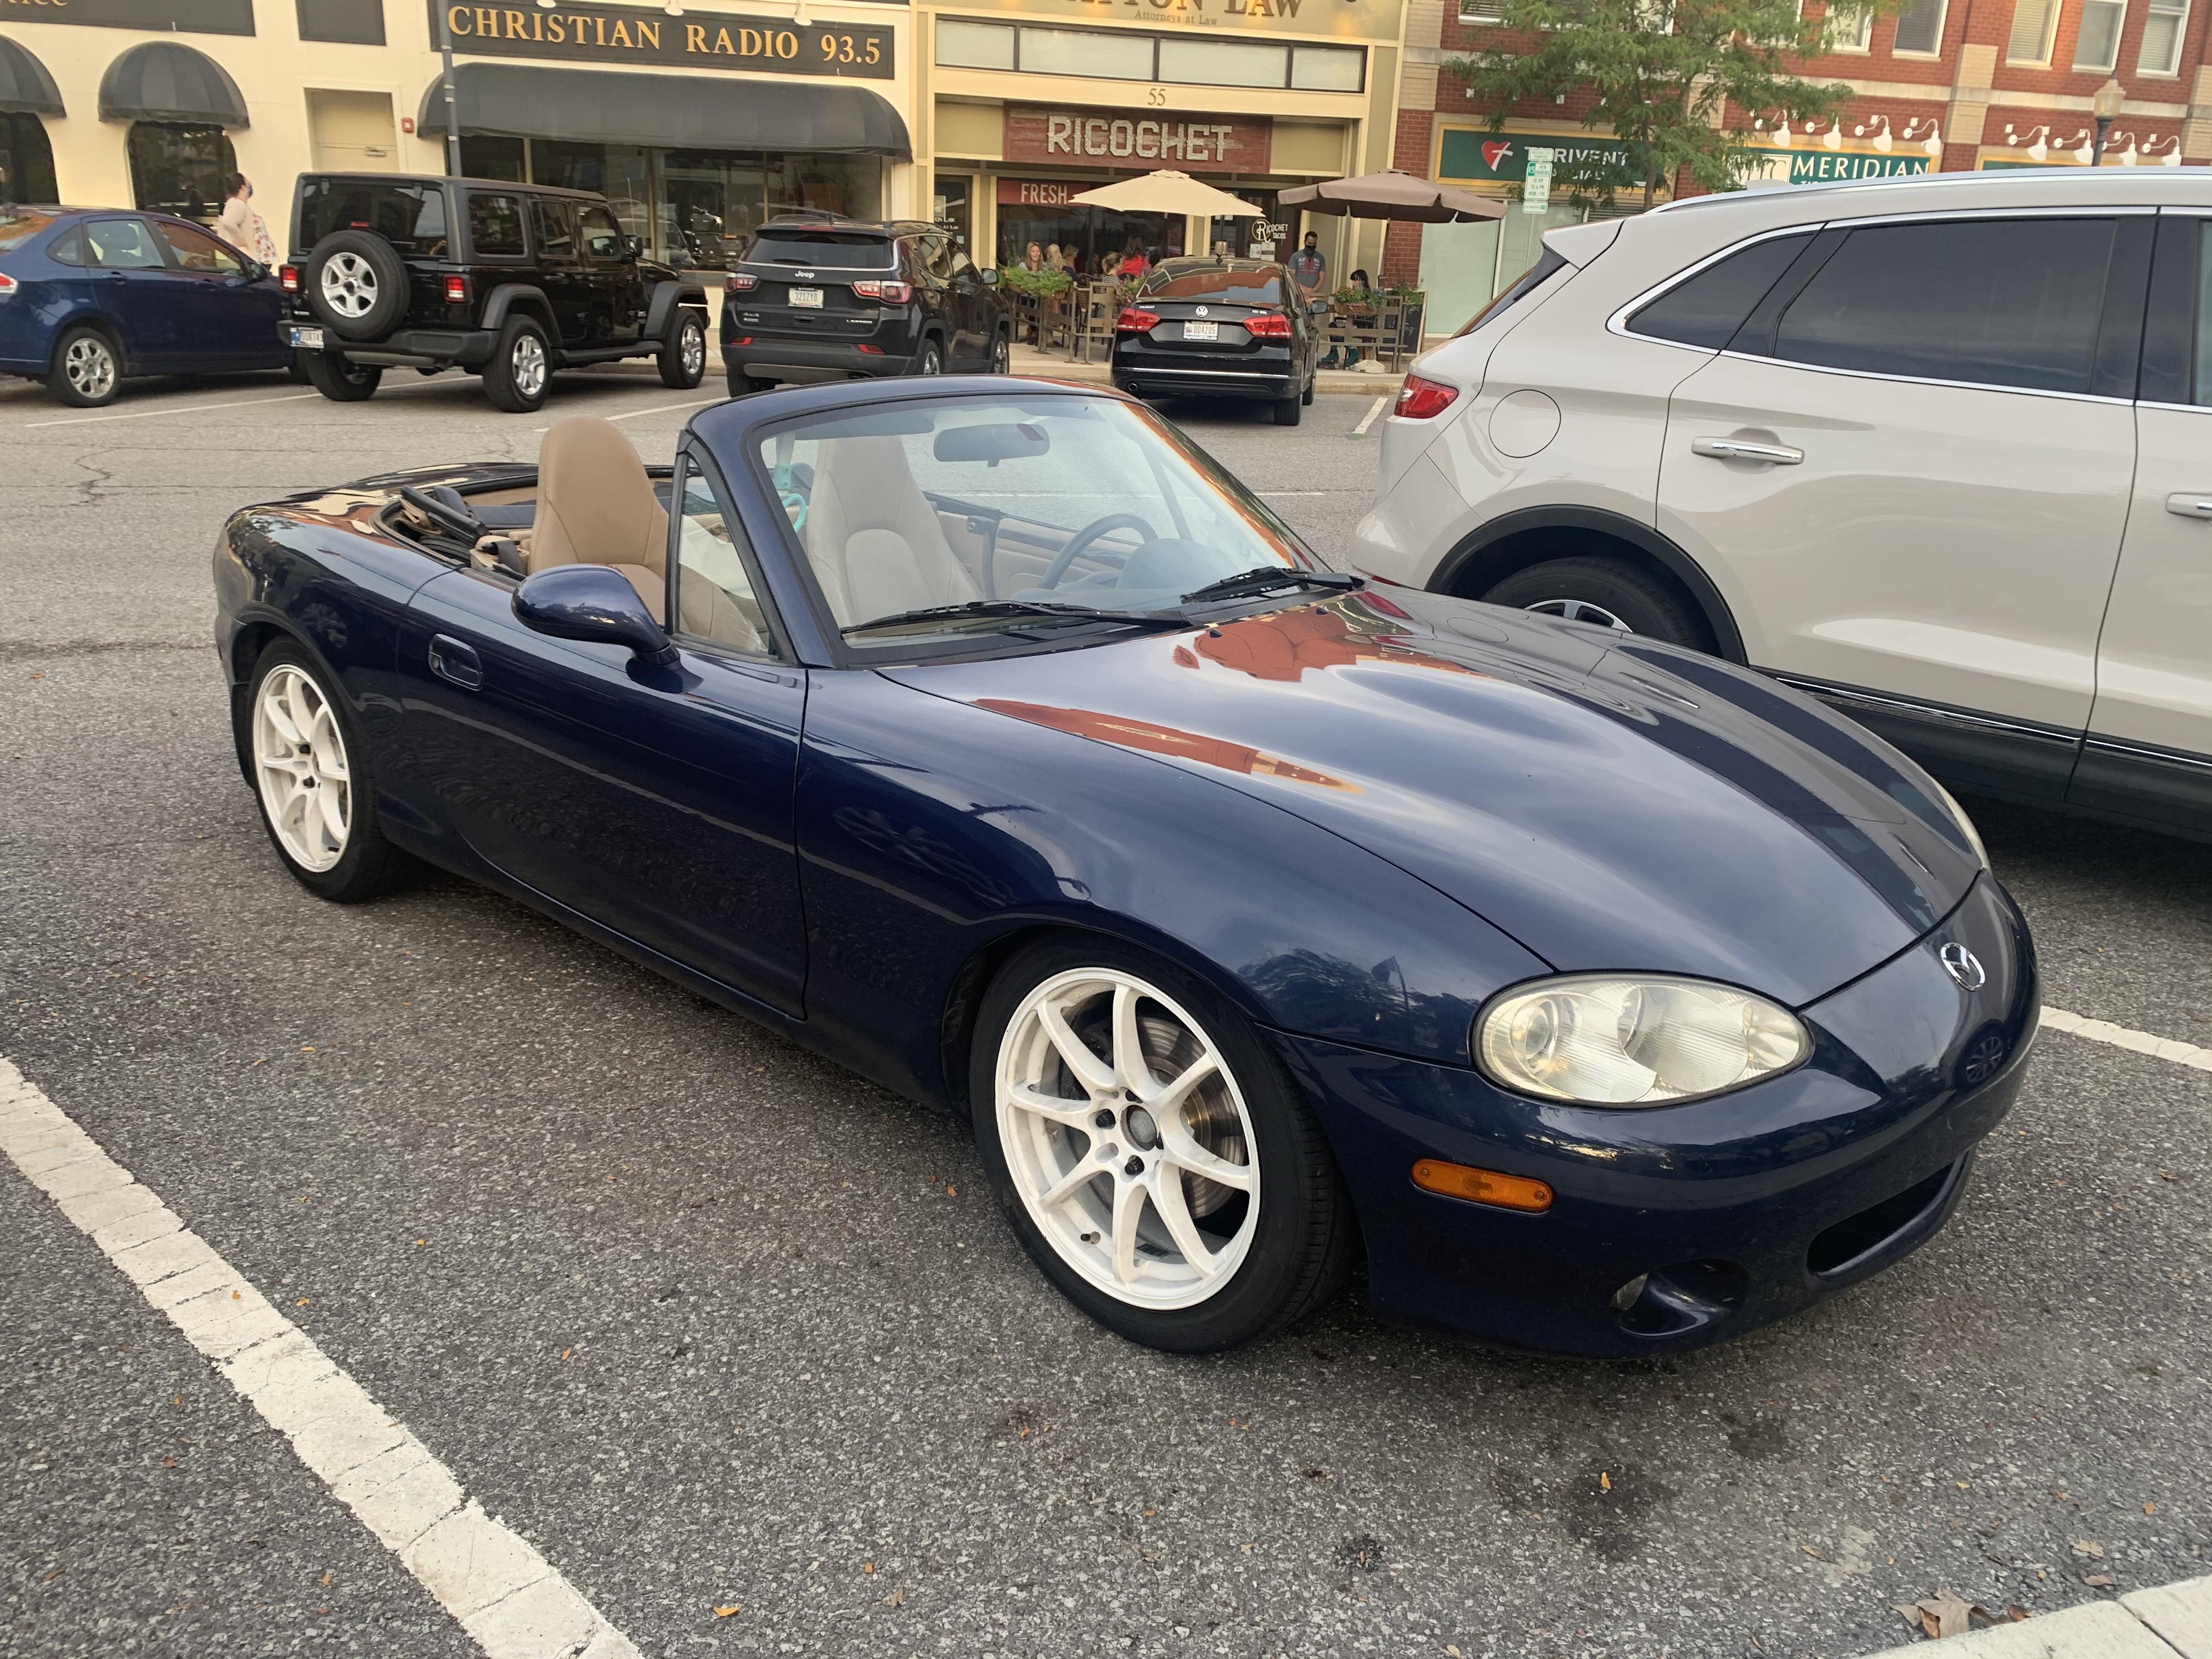
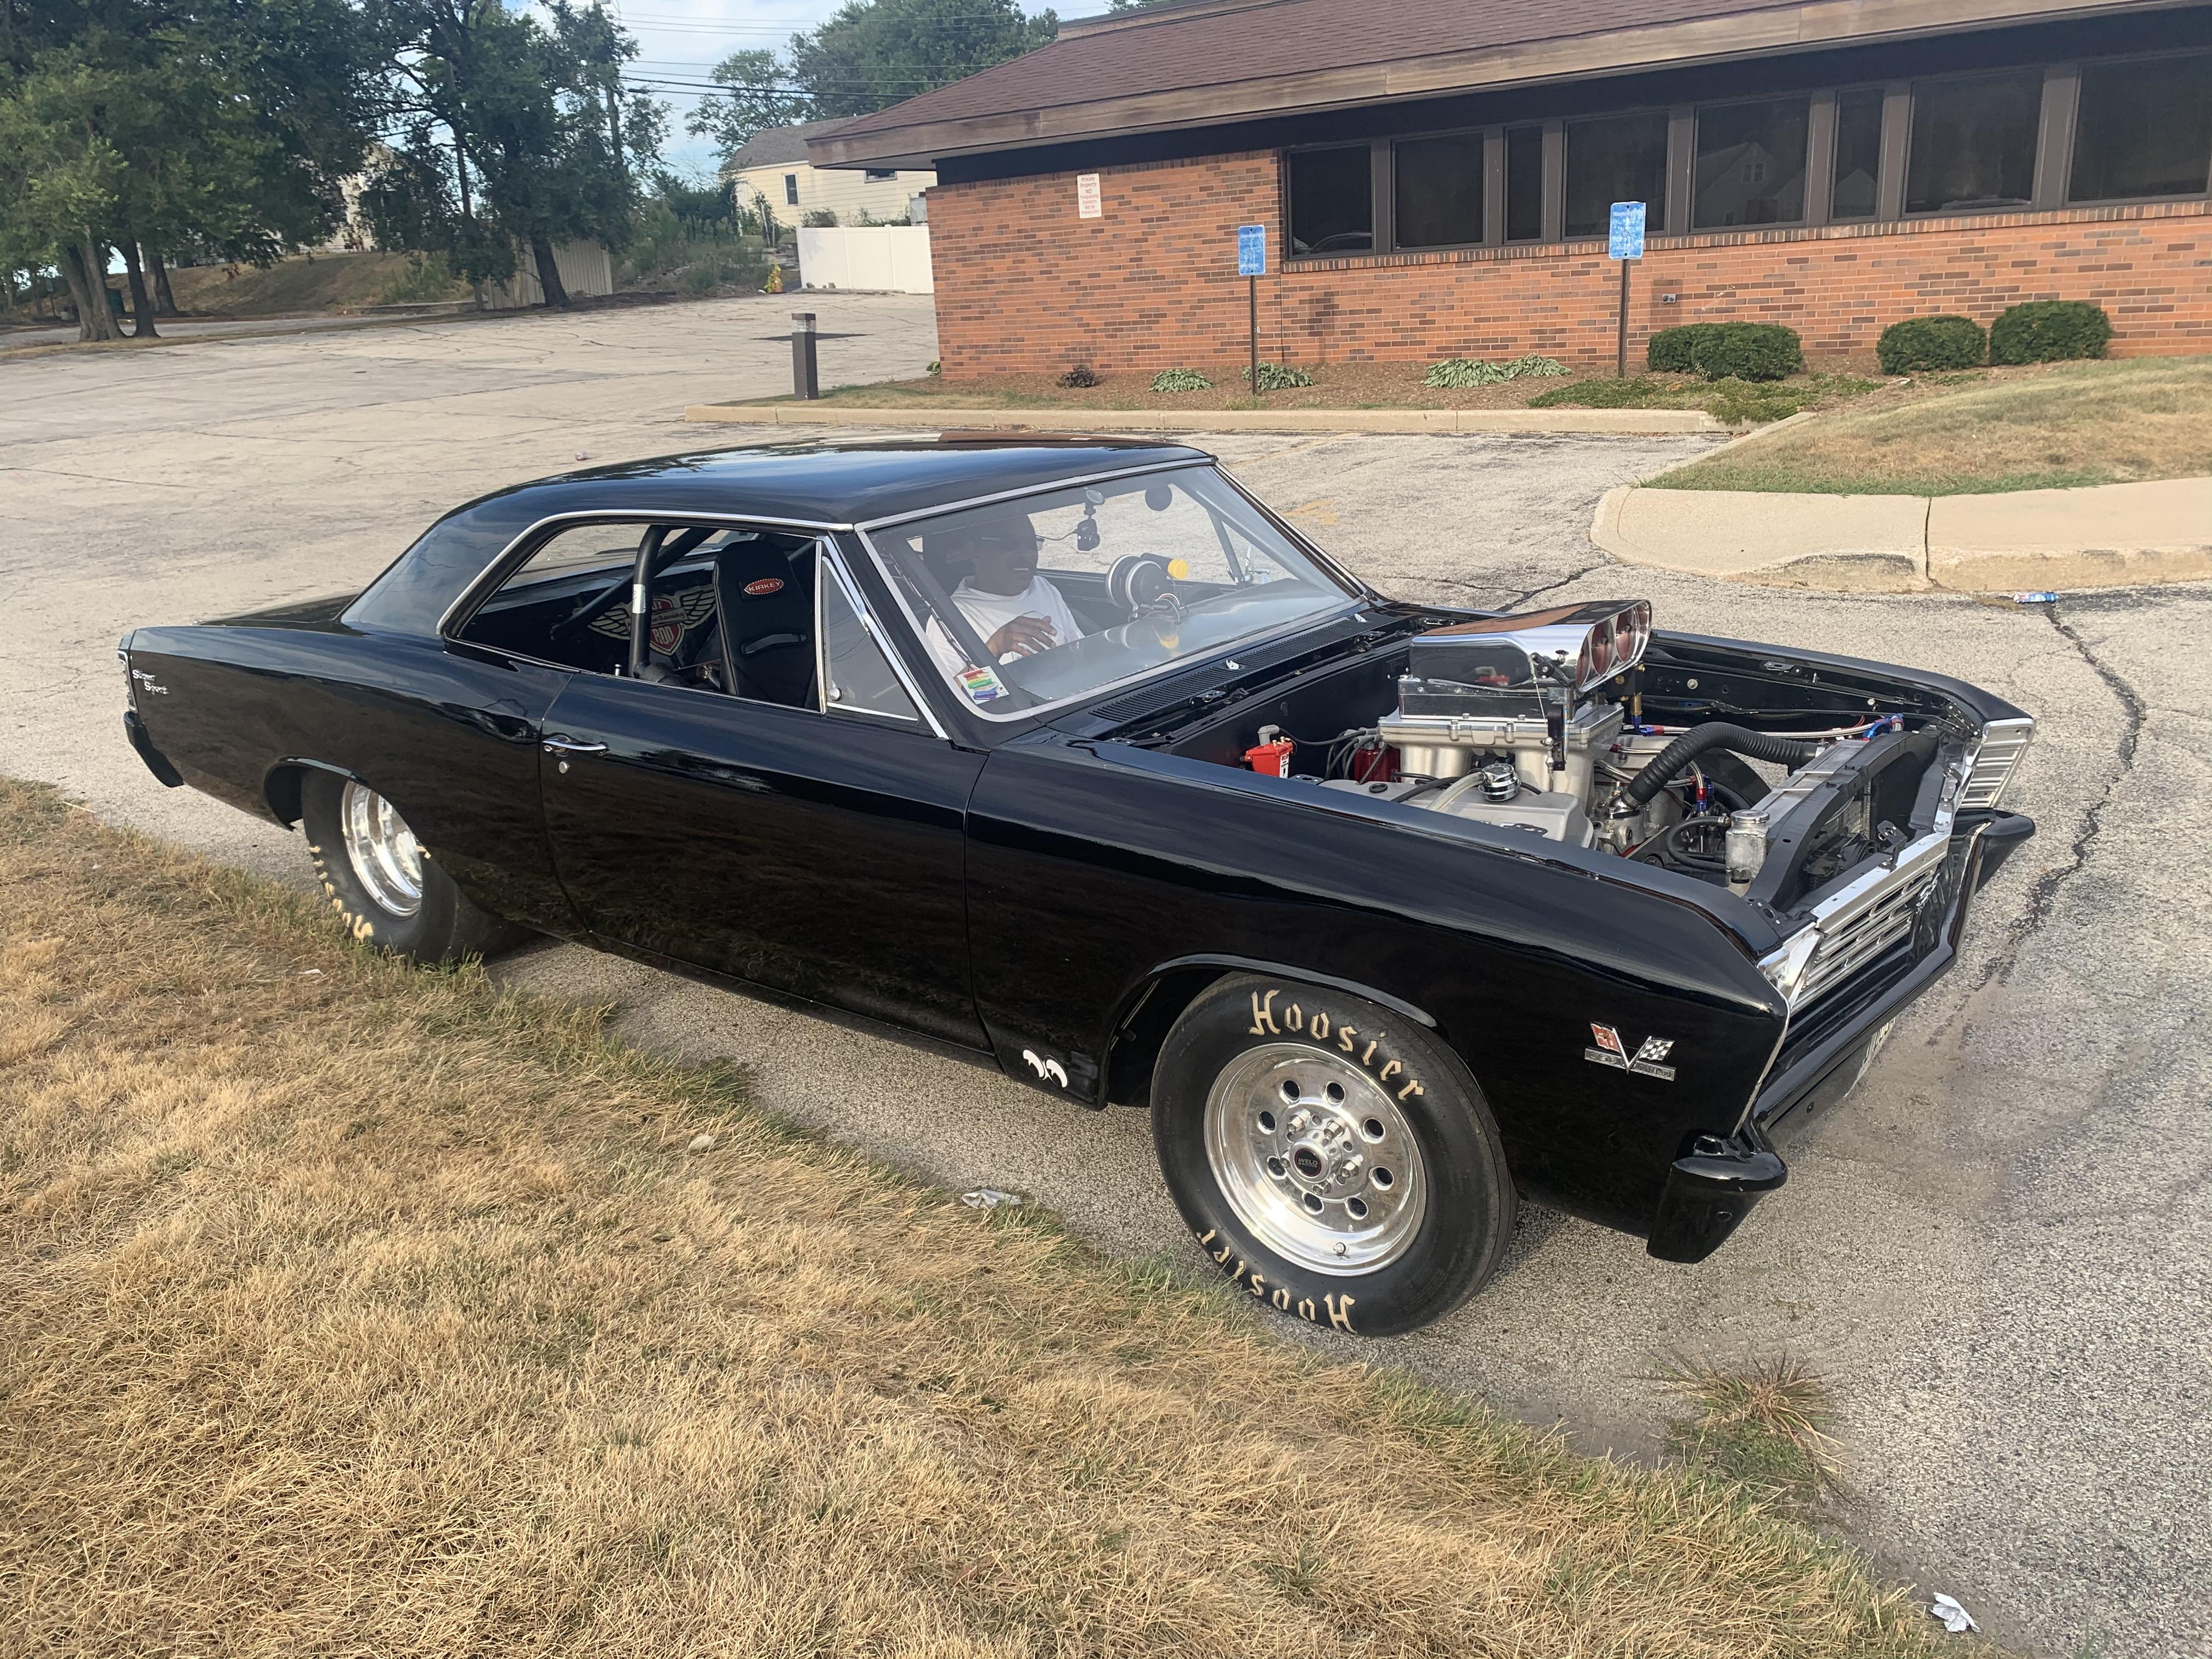
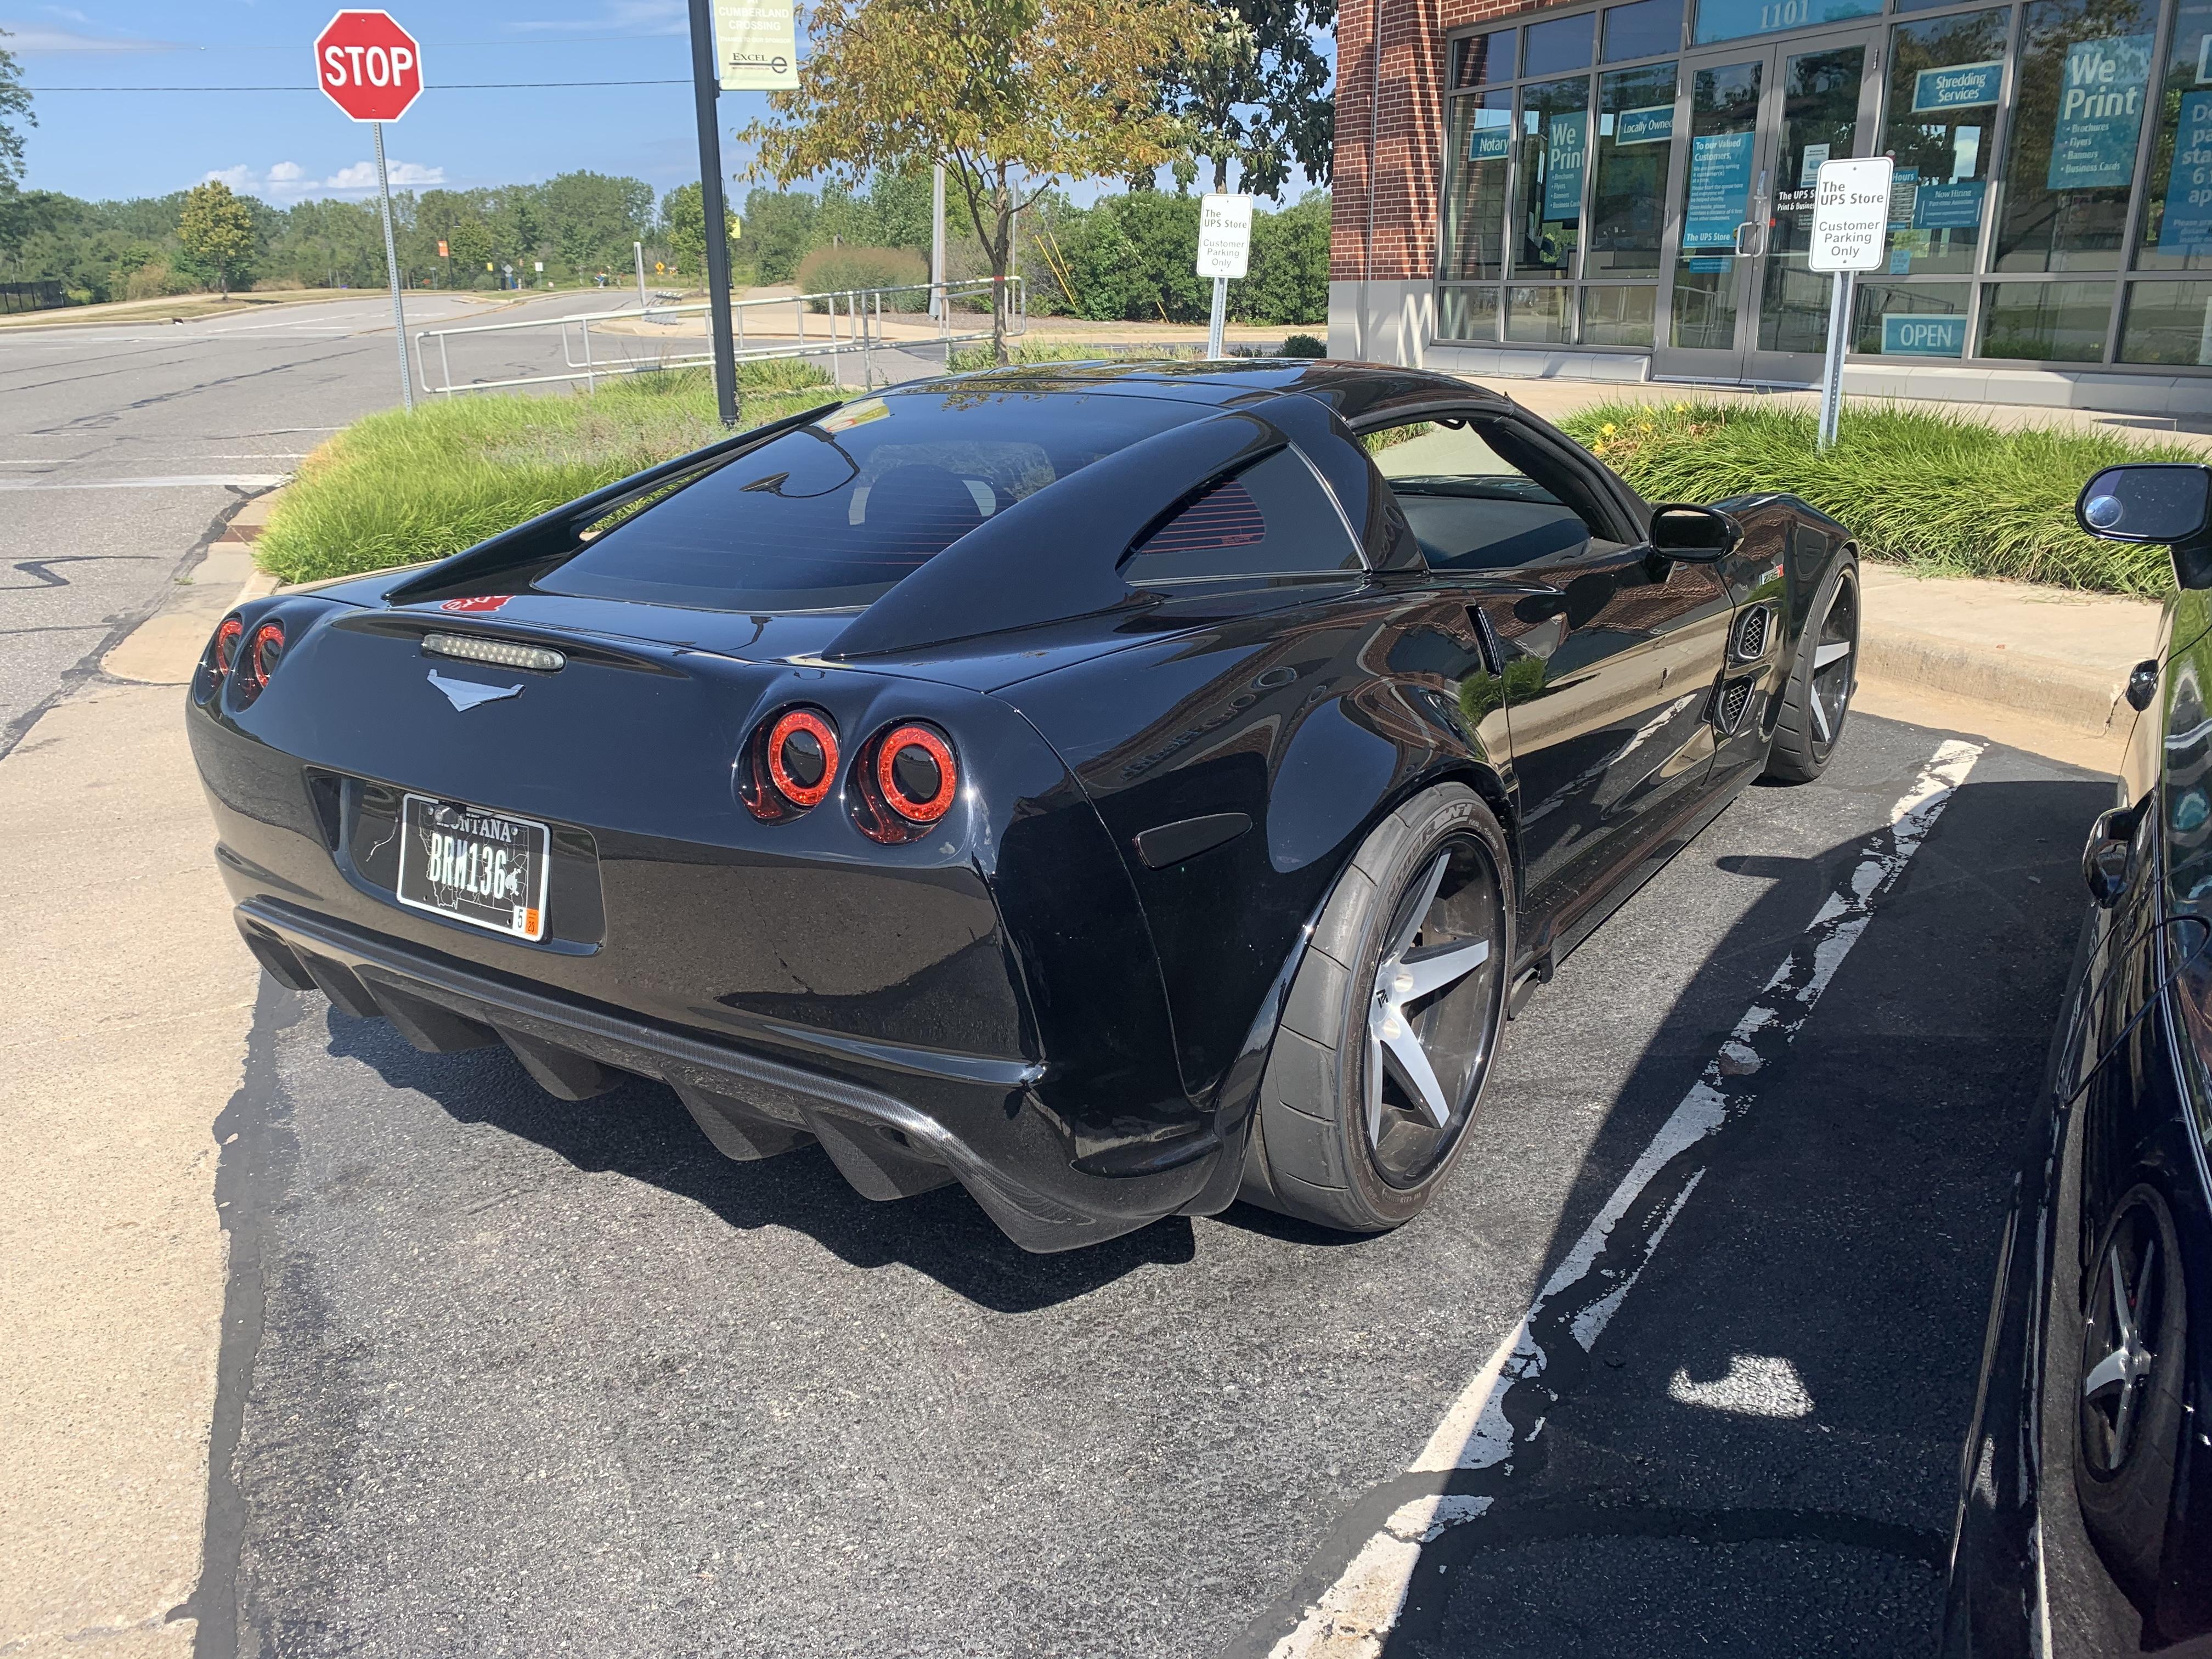
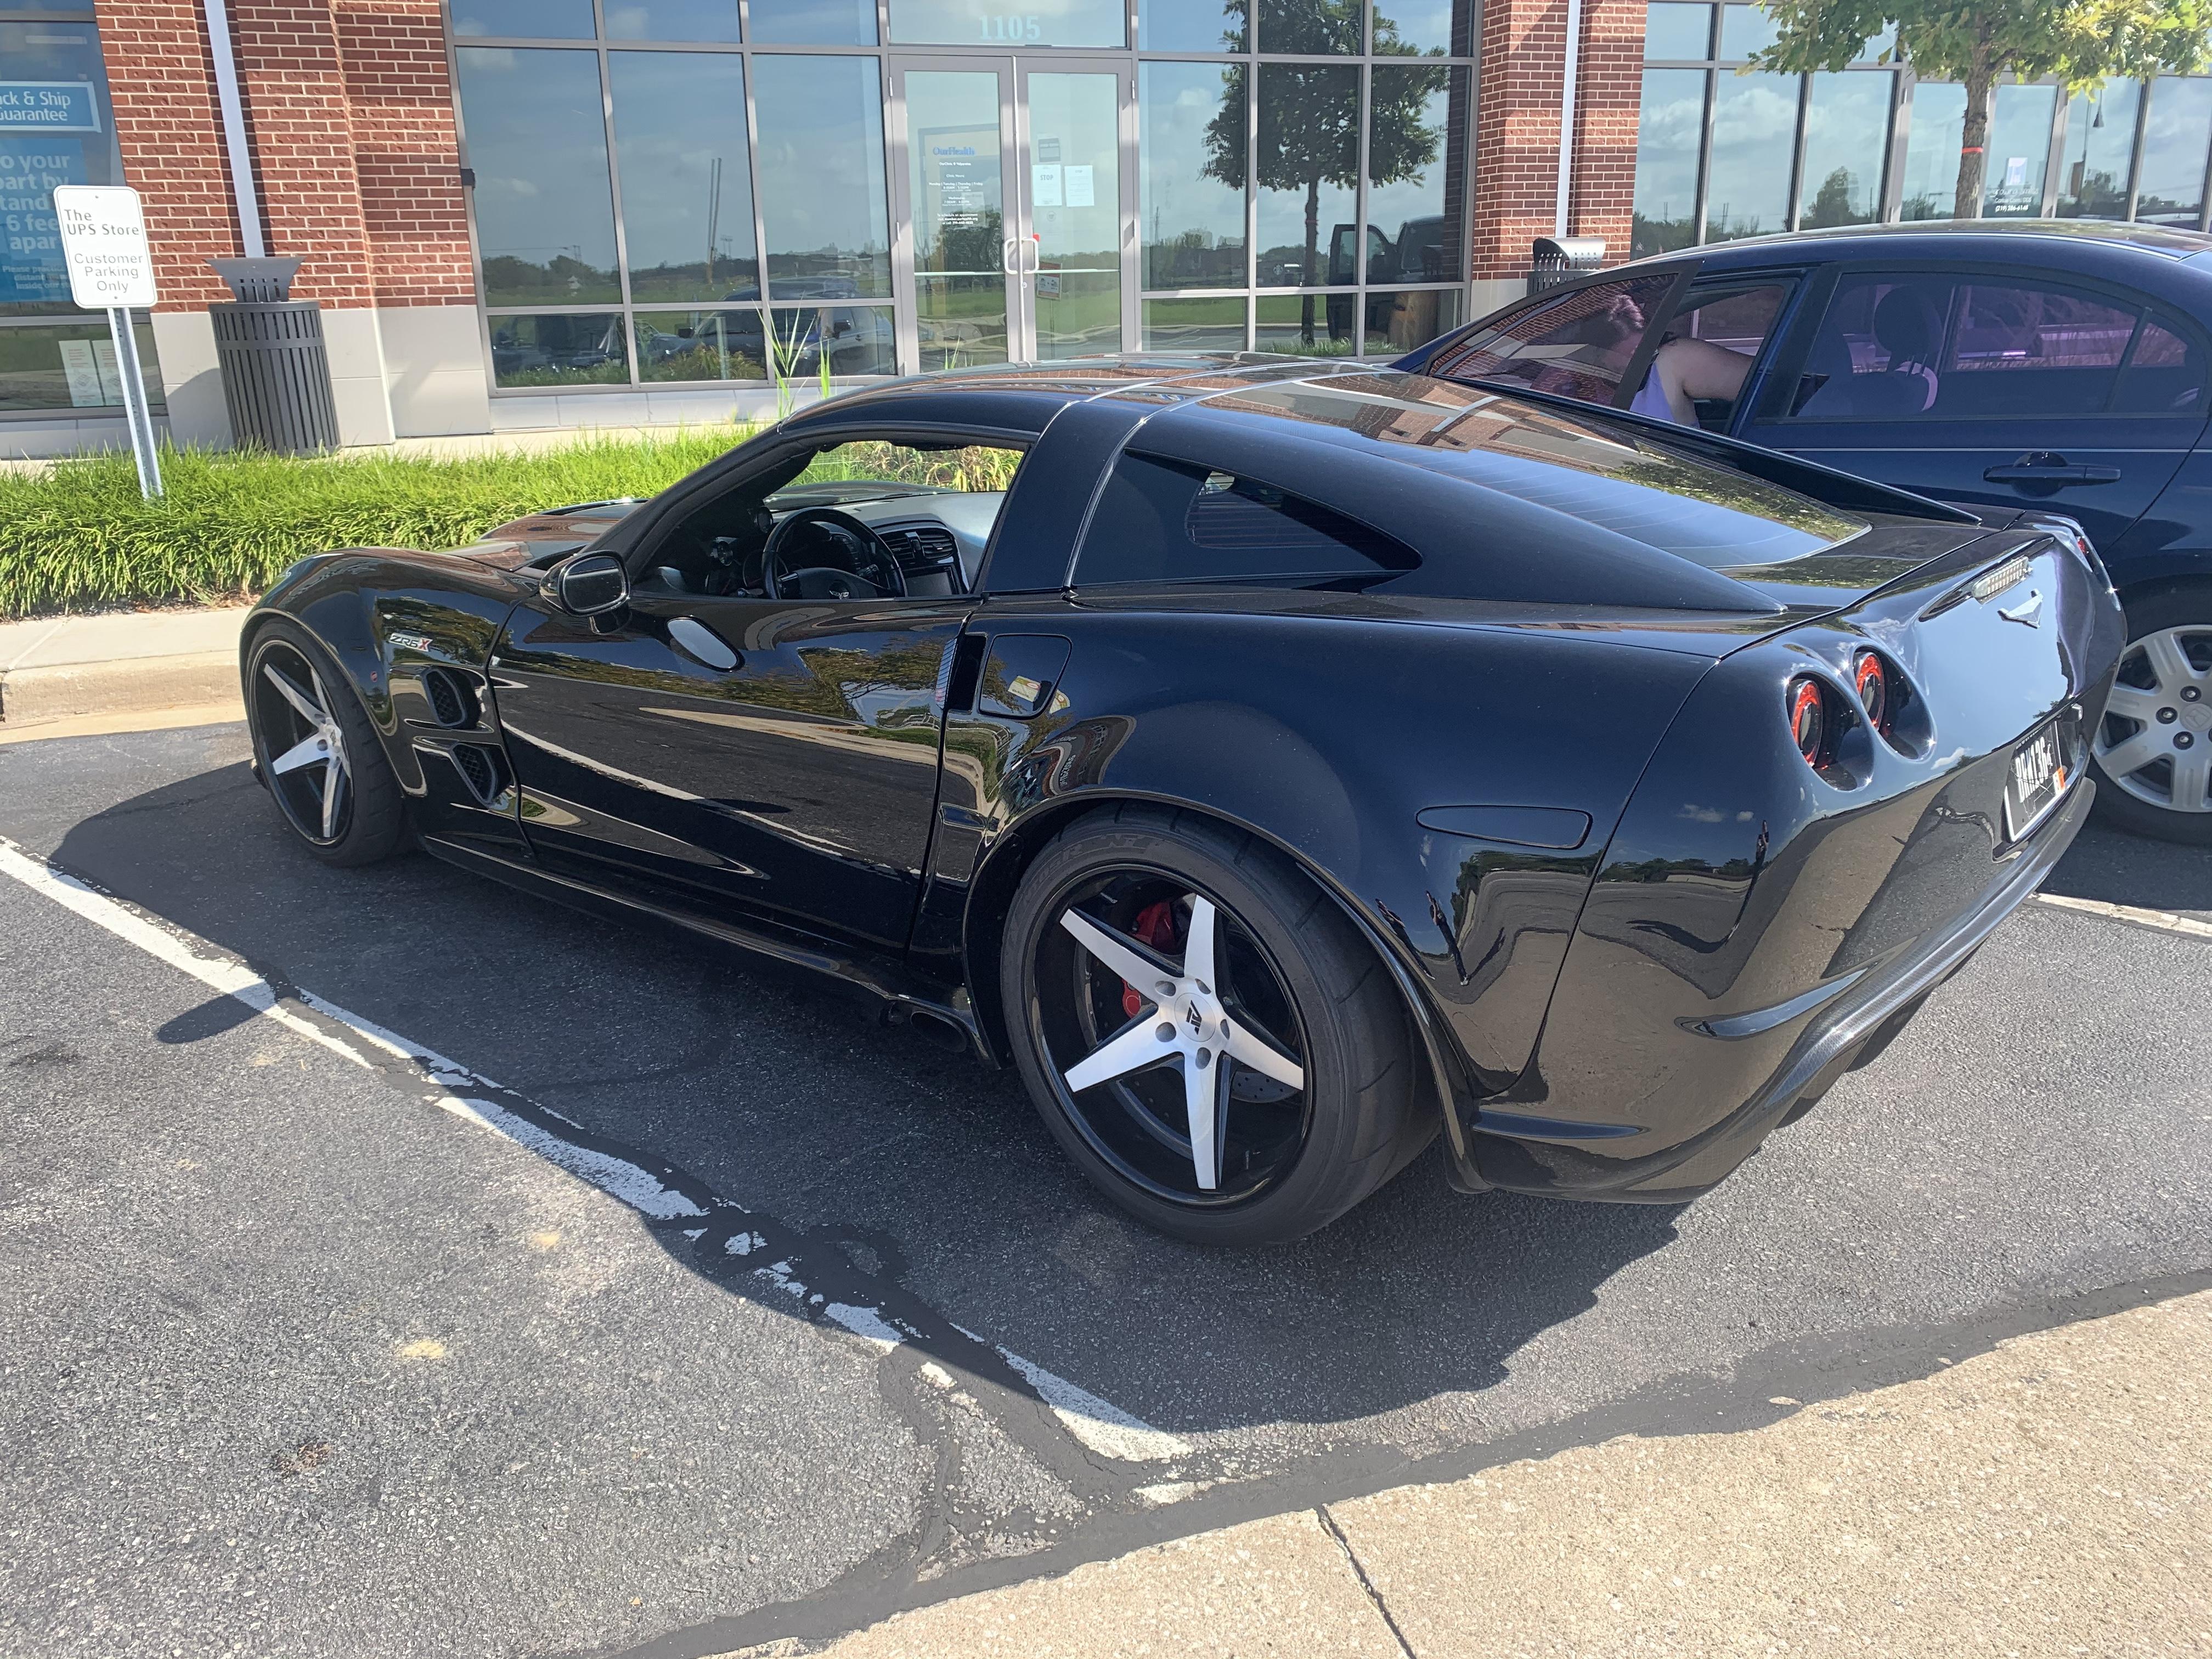
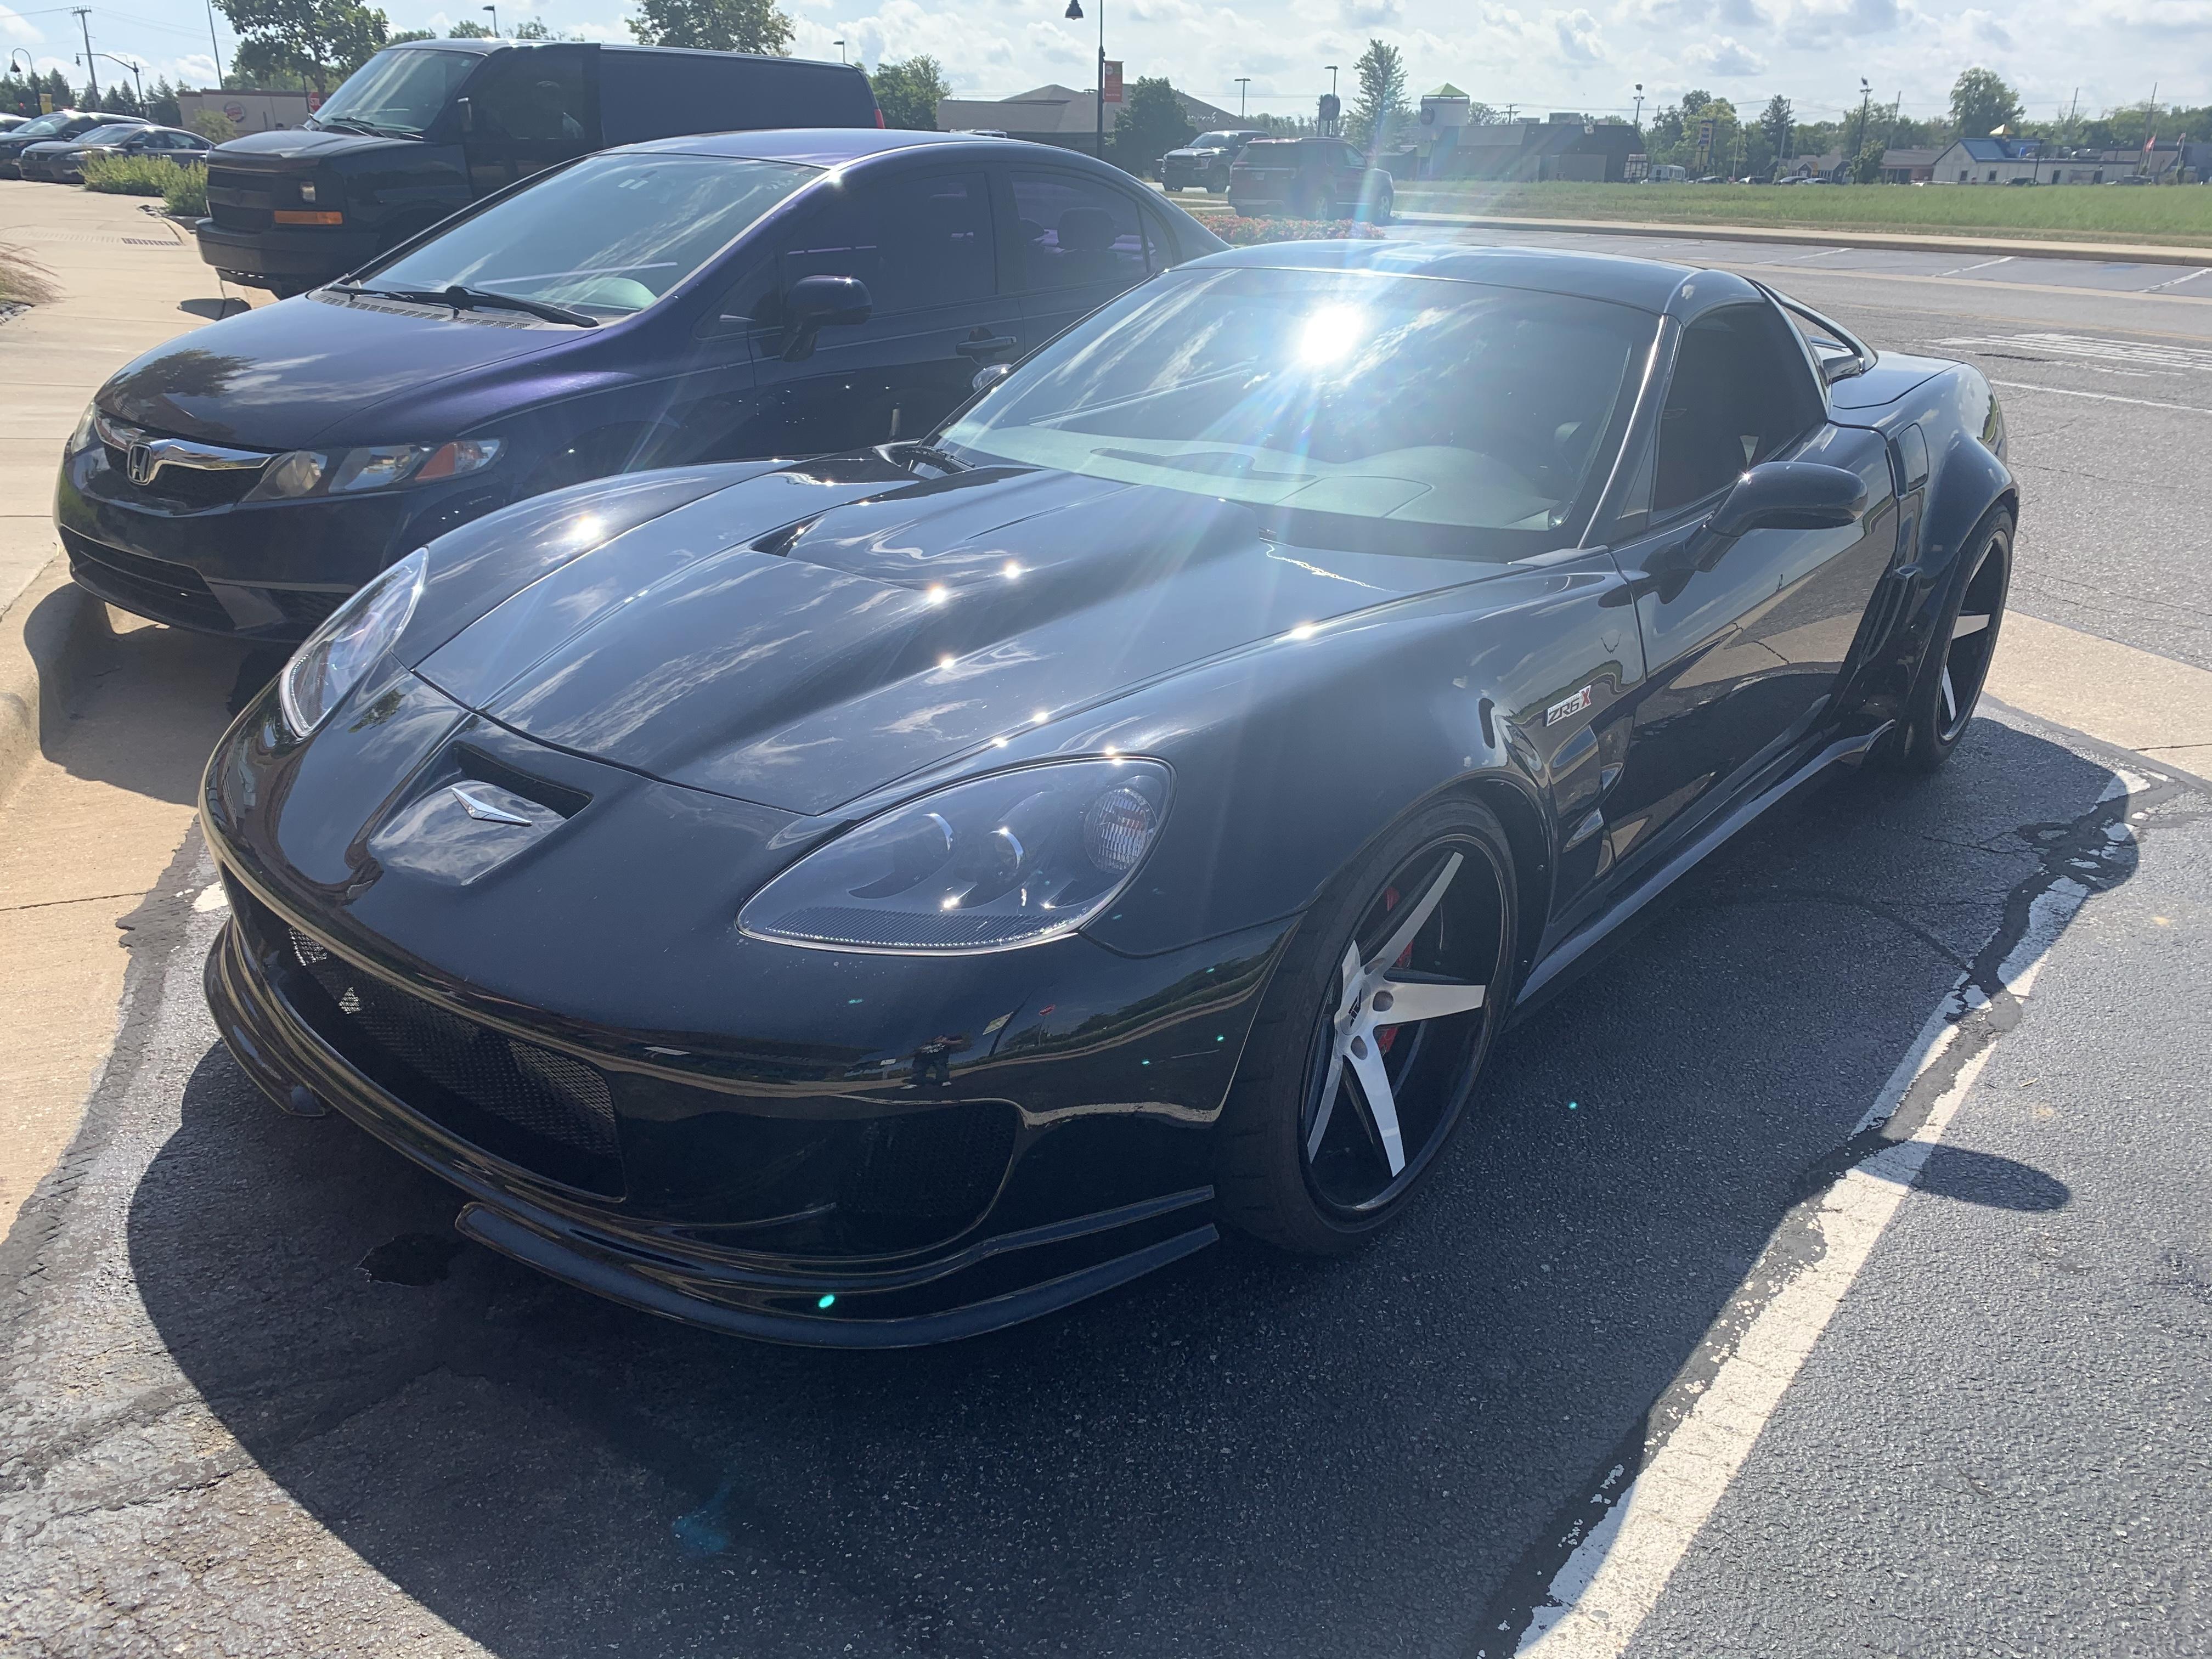
OldNYJim replied to Harry P.'s topic in General Automotive Talk (Trucks and Cars)
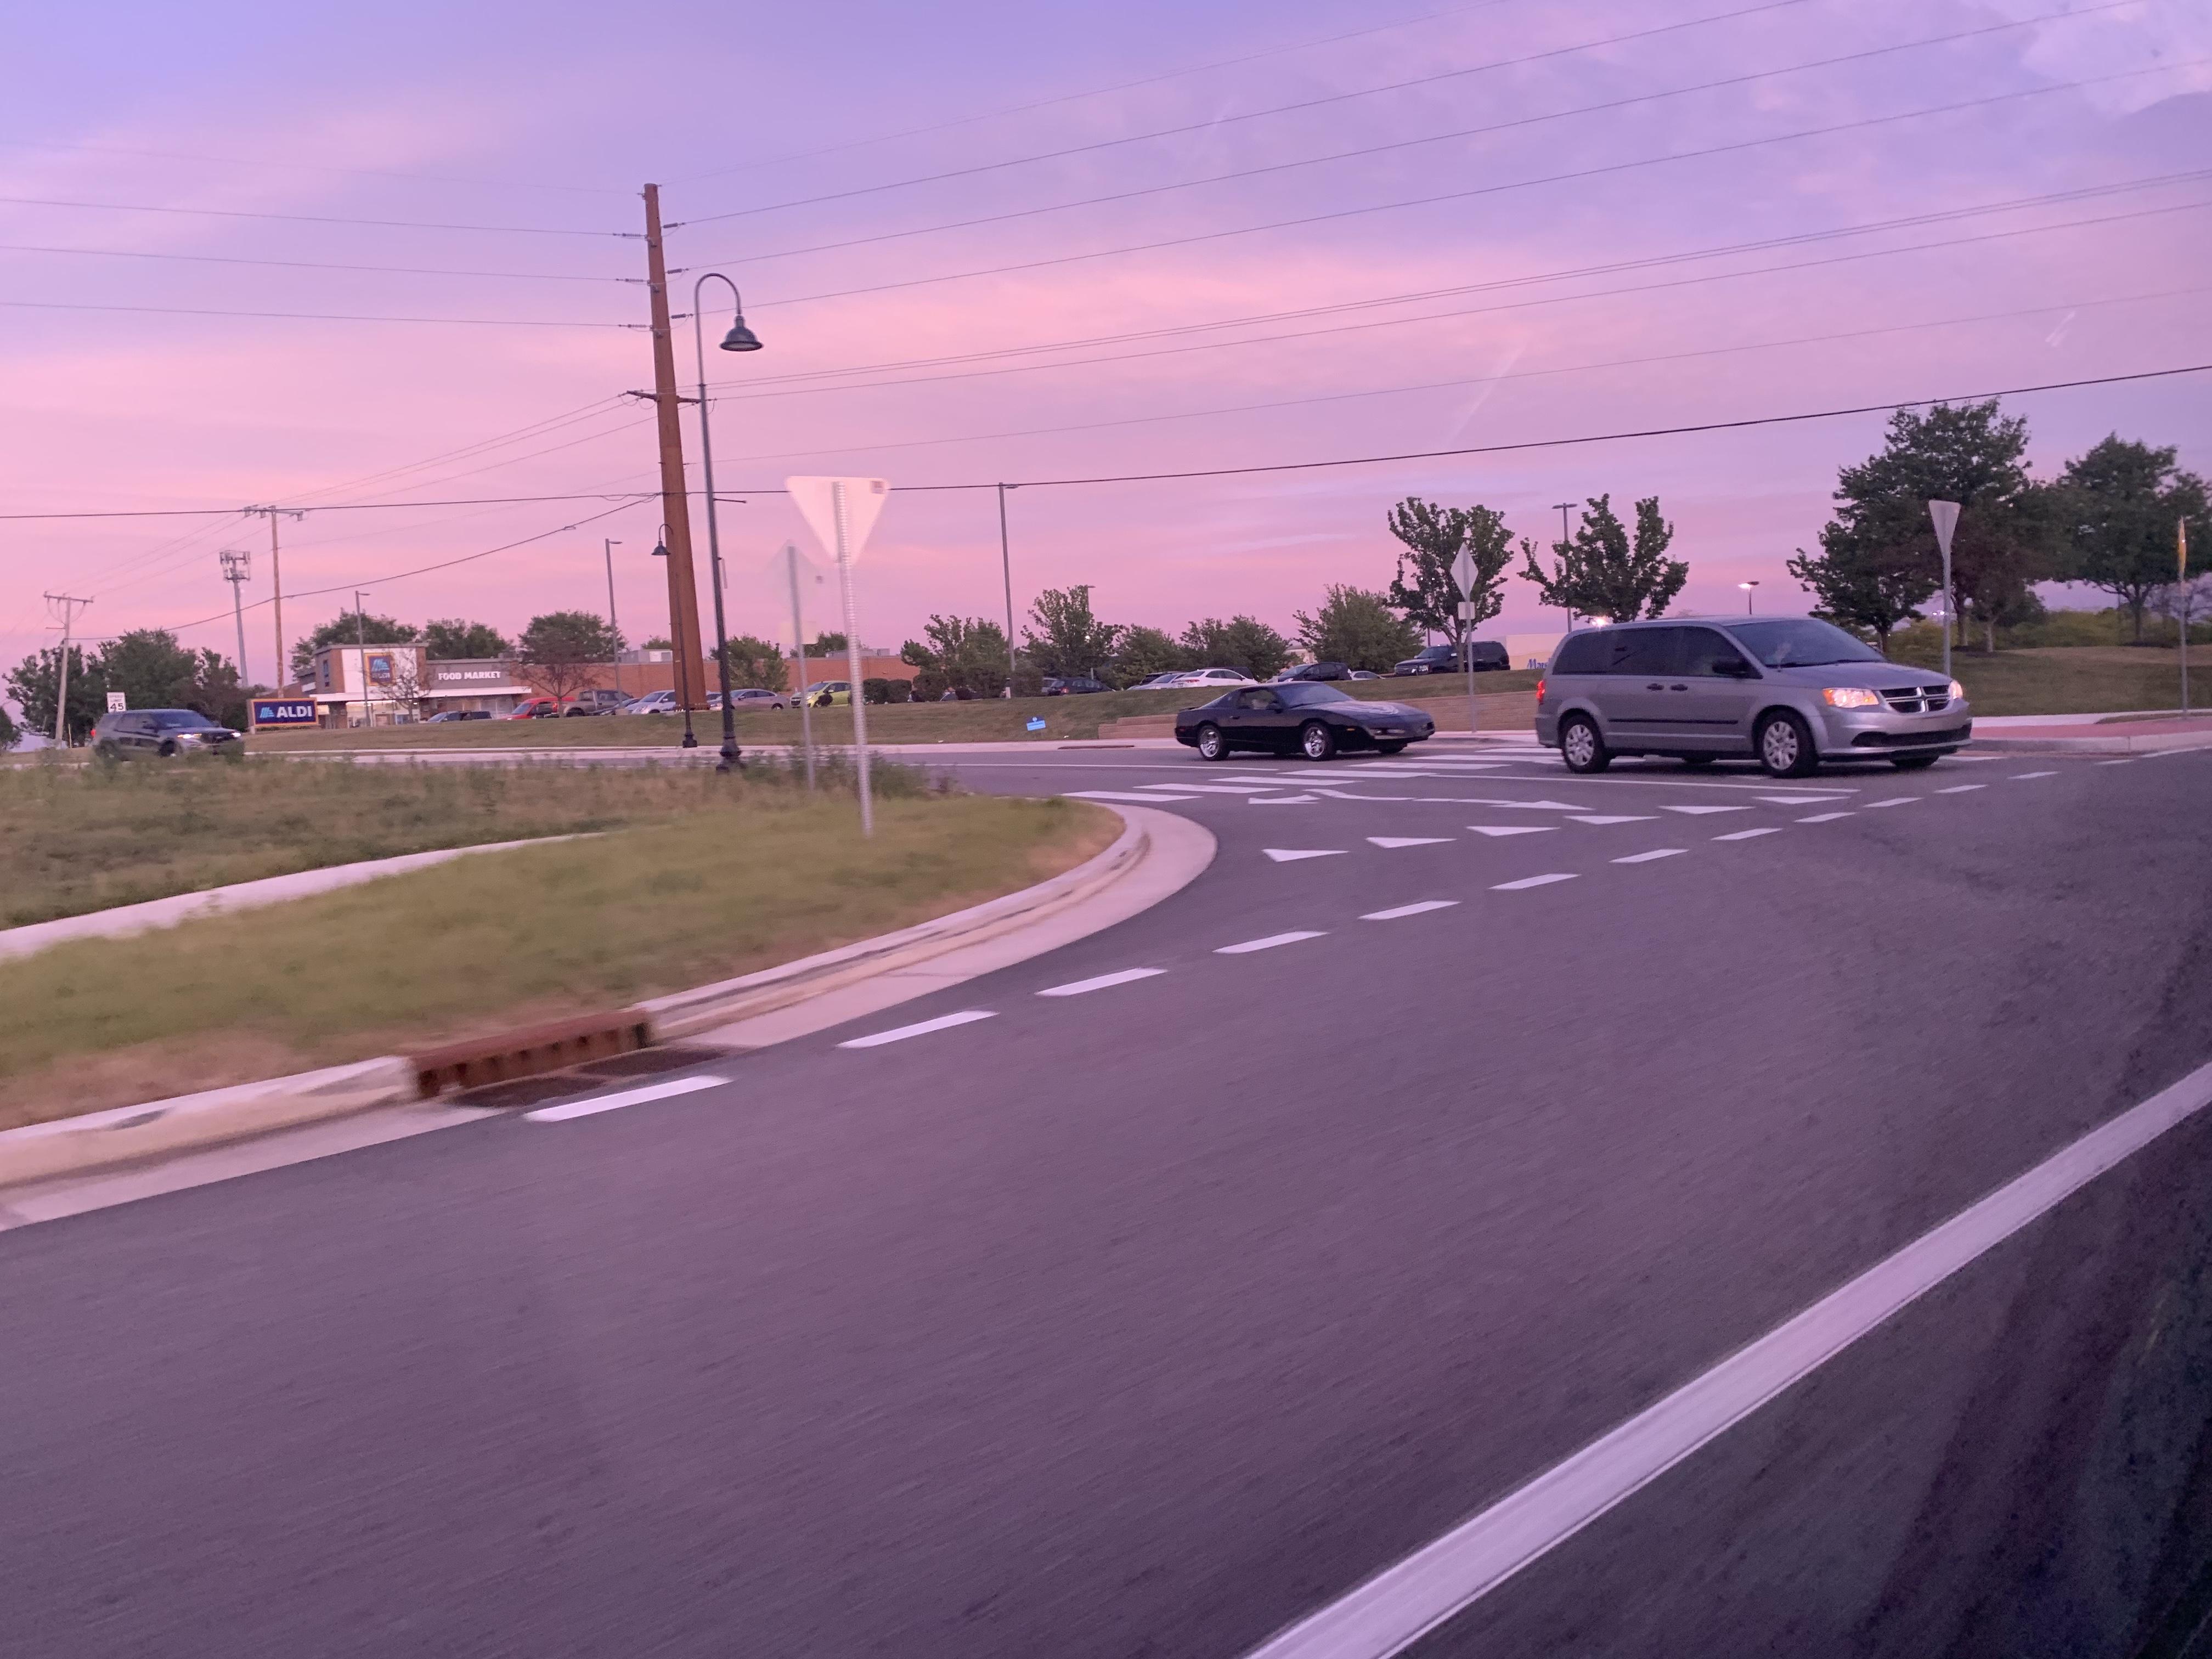
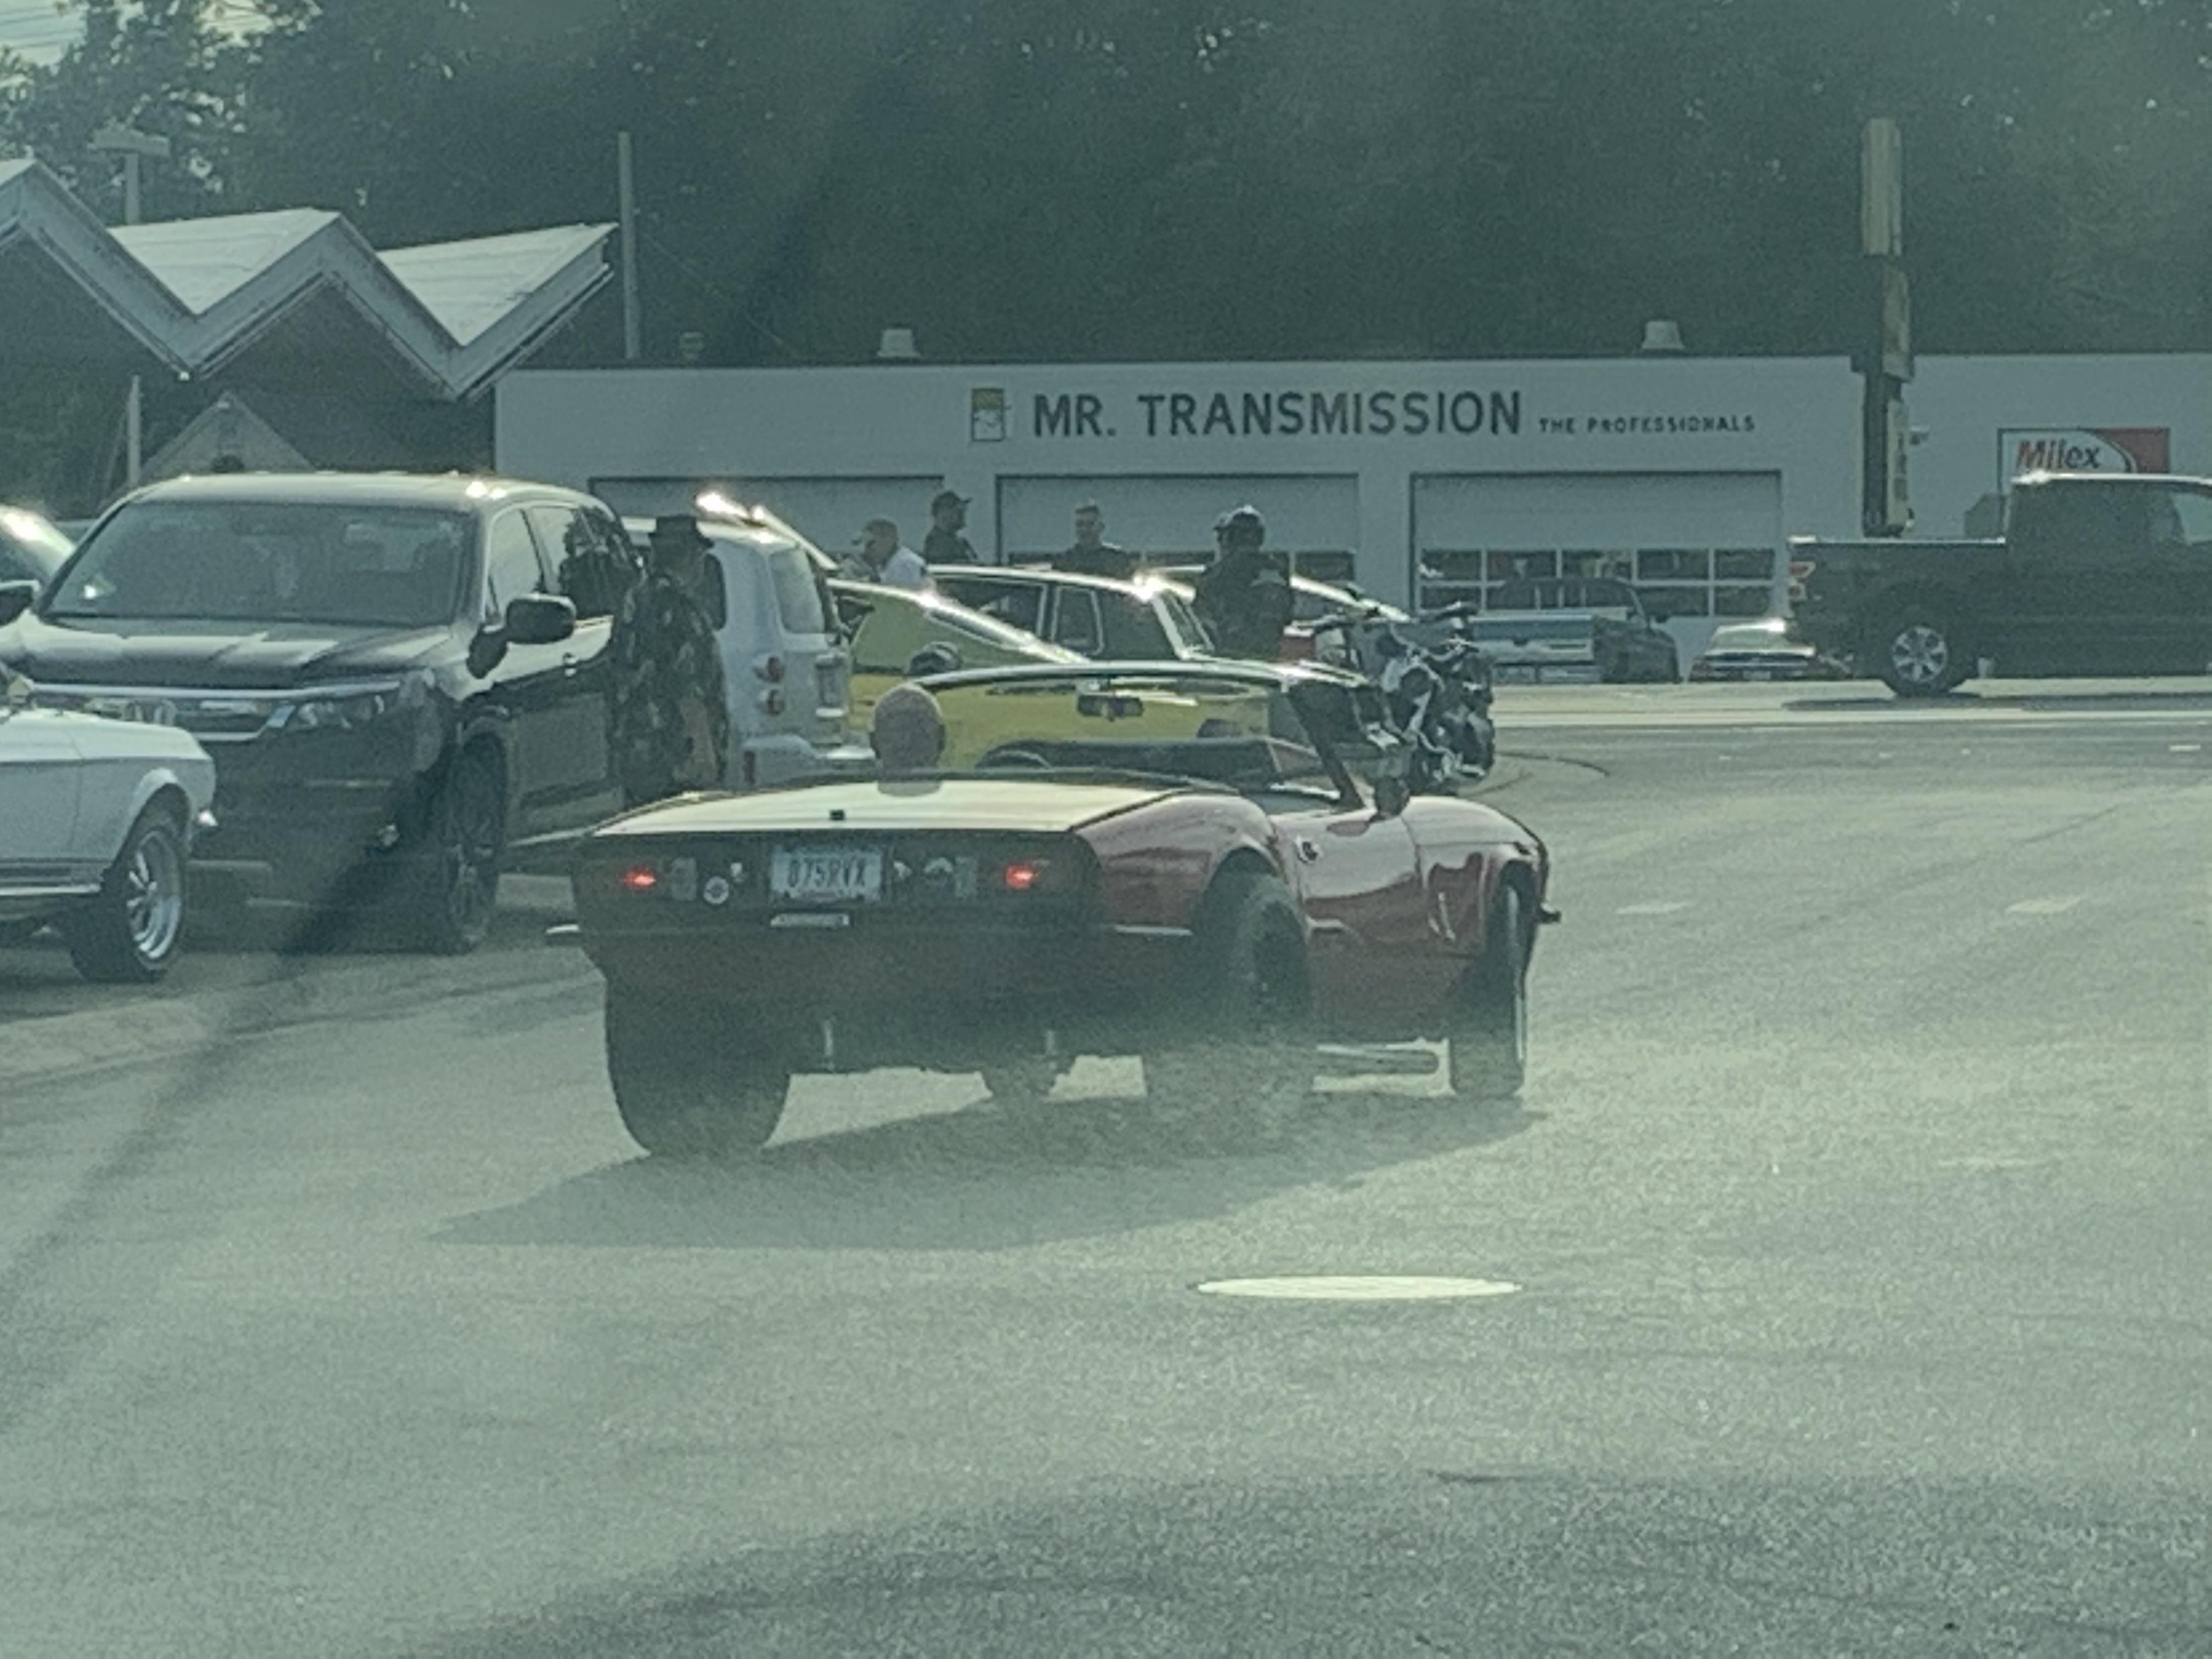
The little badge on the back said something like “SUPERVETTE” or something along those lines. Those tires do look pretty sticky now you come to mention it @espo - perfect for blasting between all the corn fields out here ?? -
What did you see on the road today?
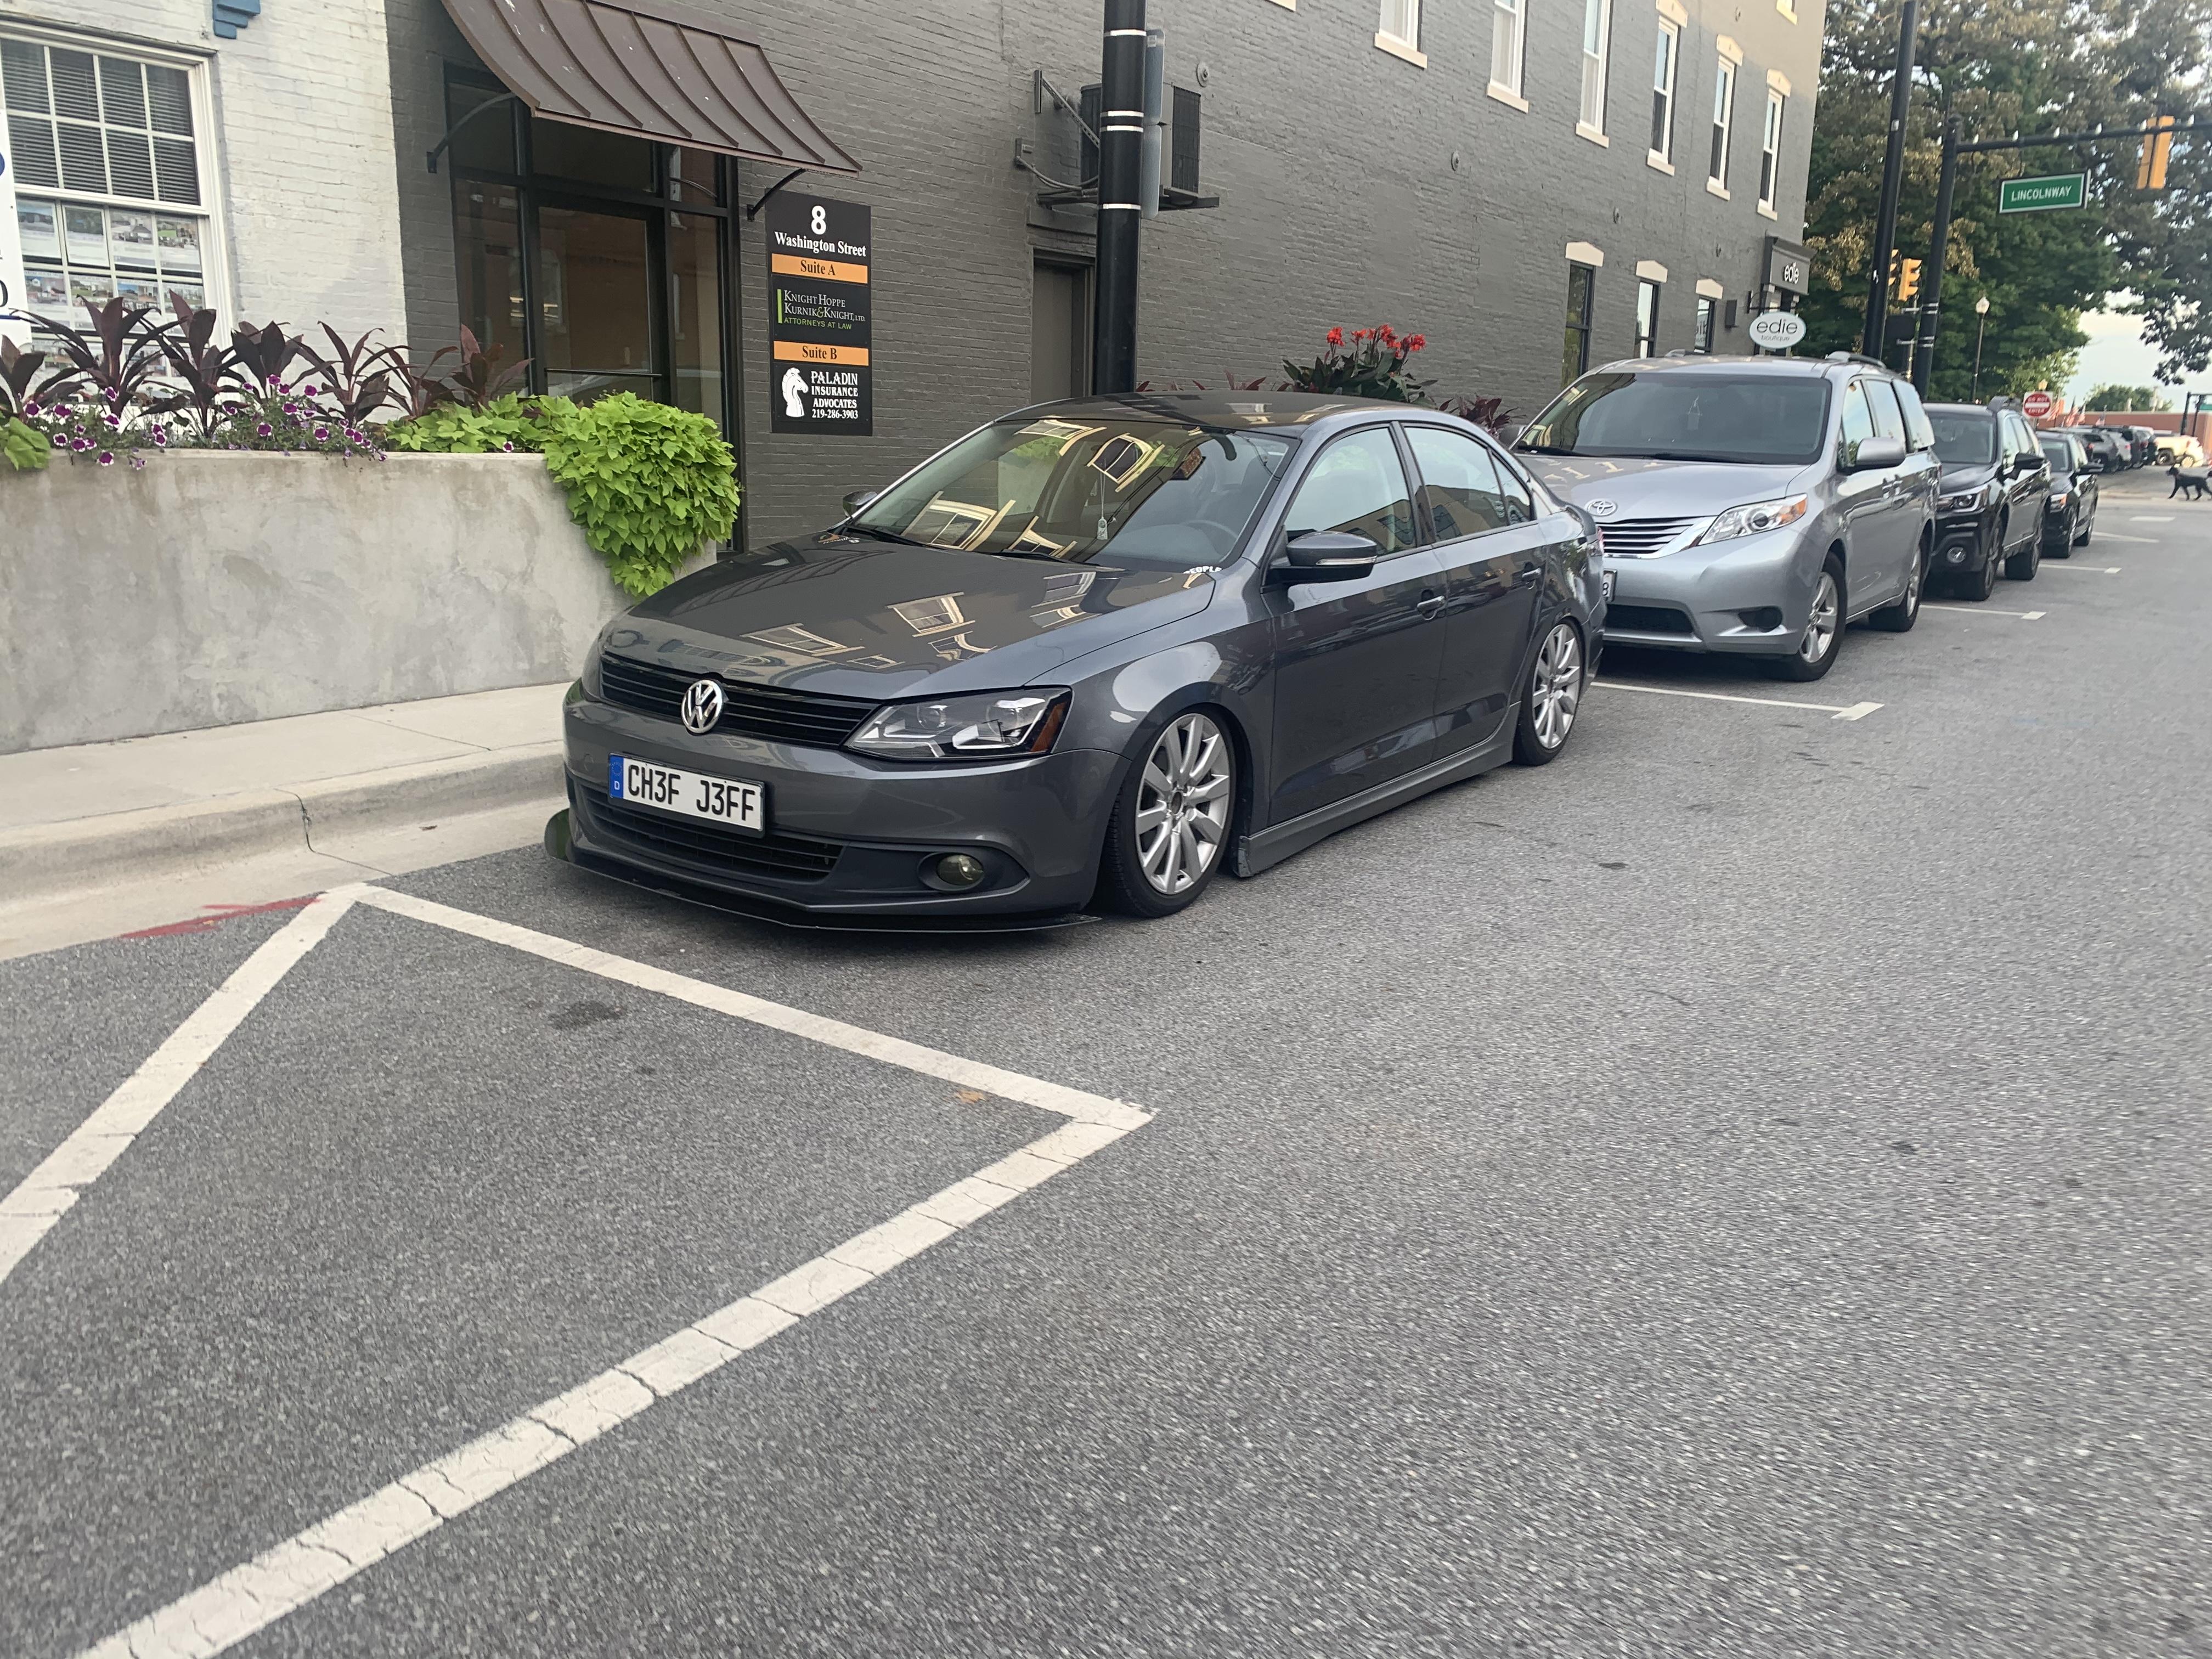
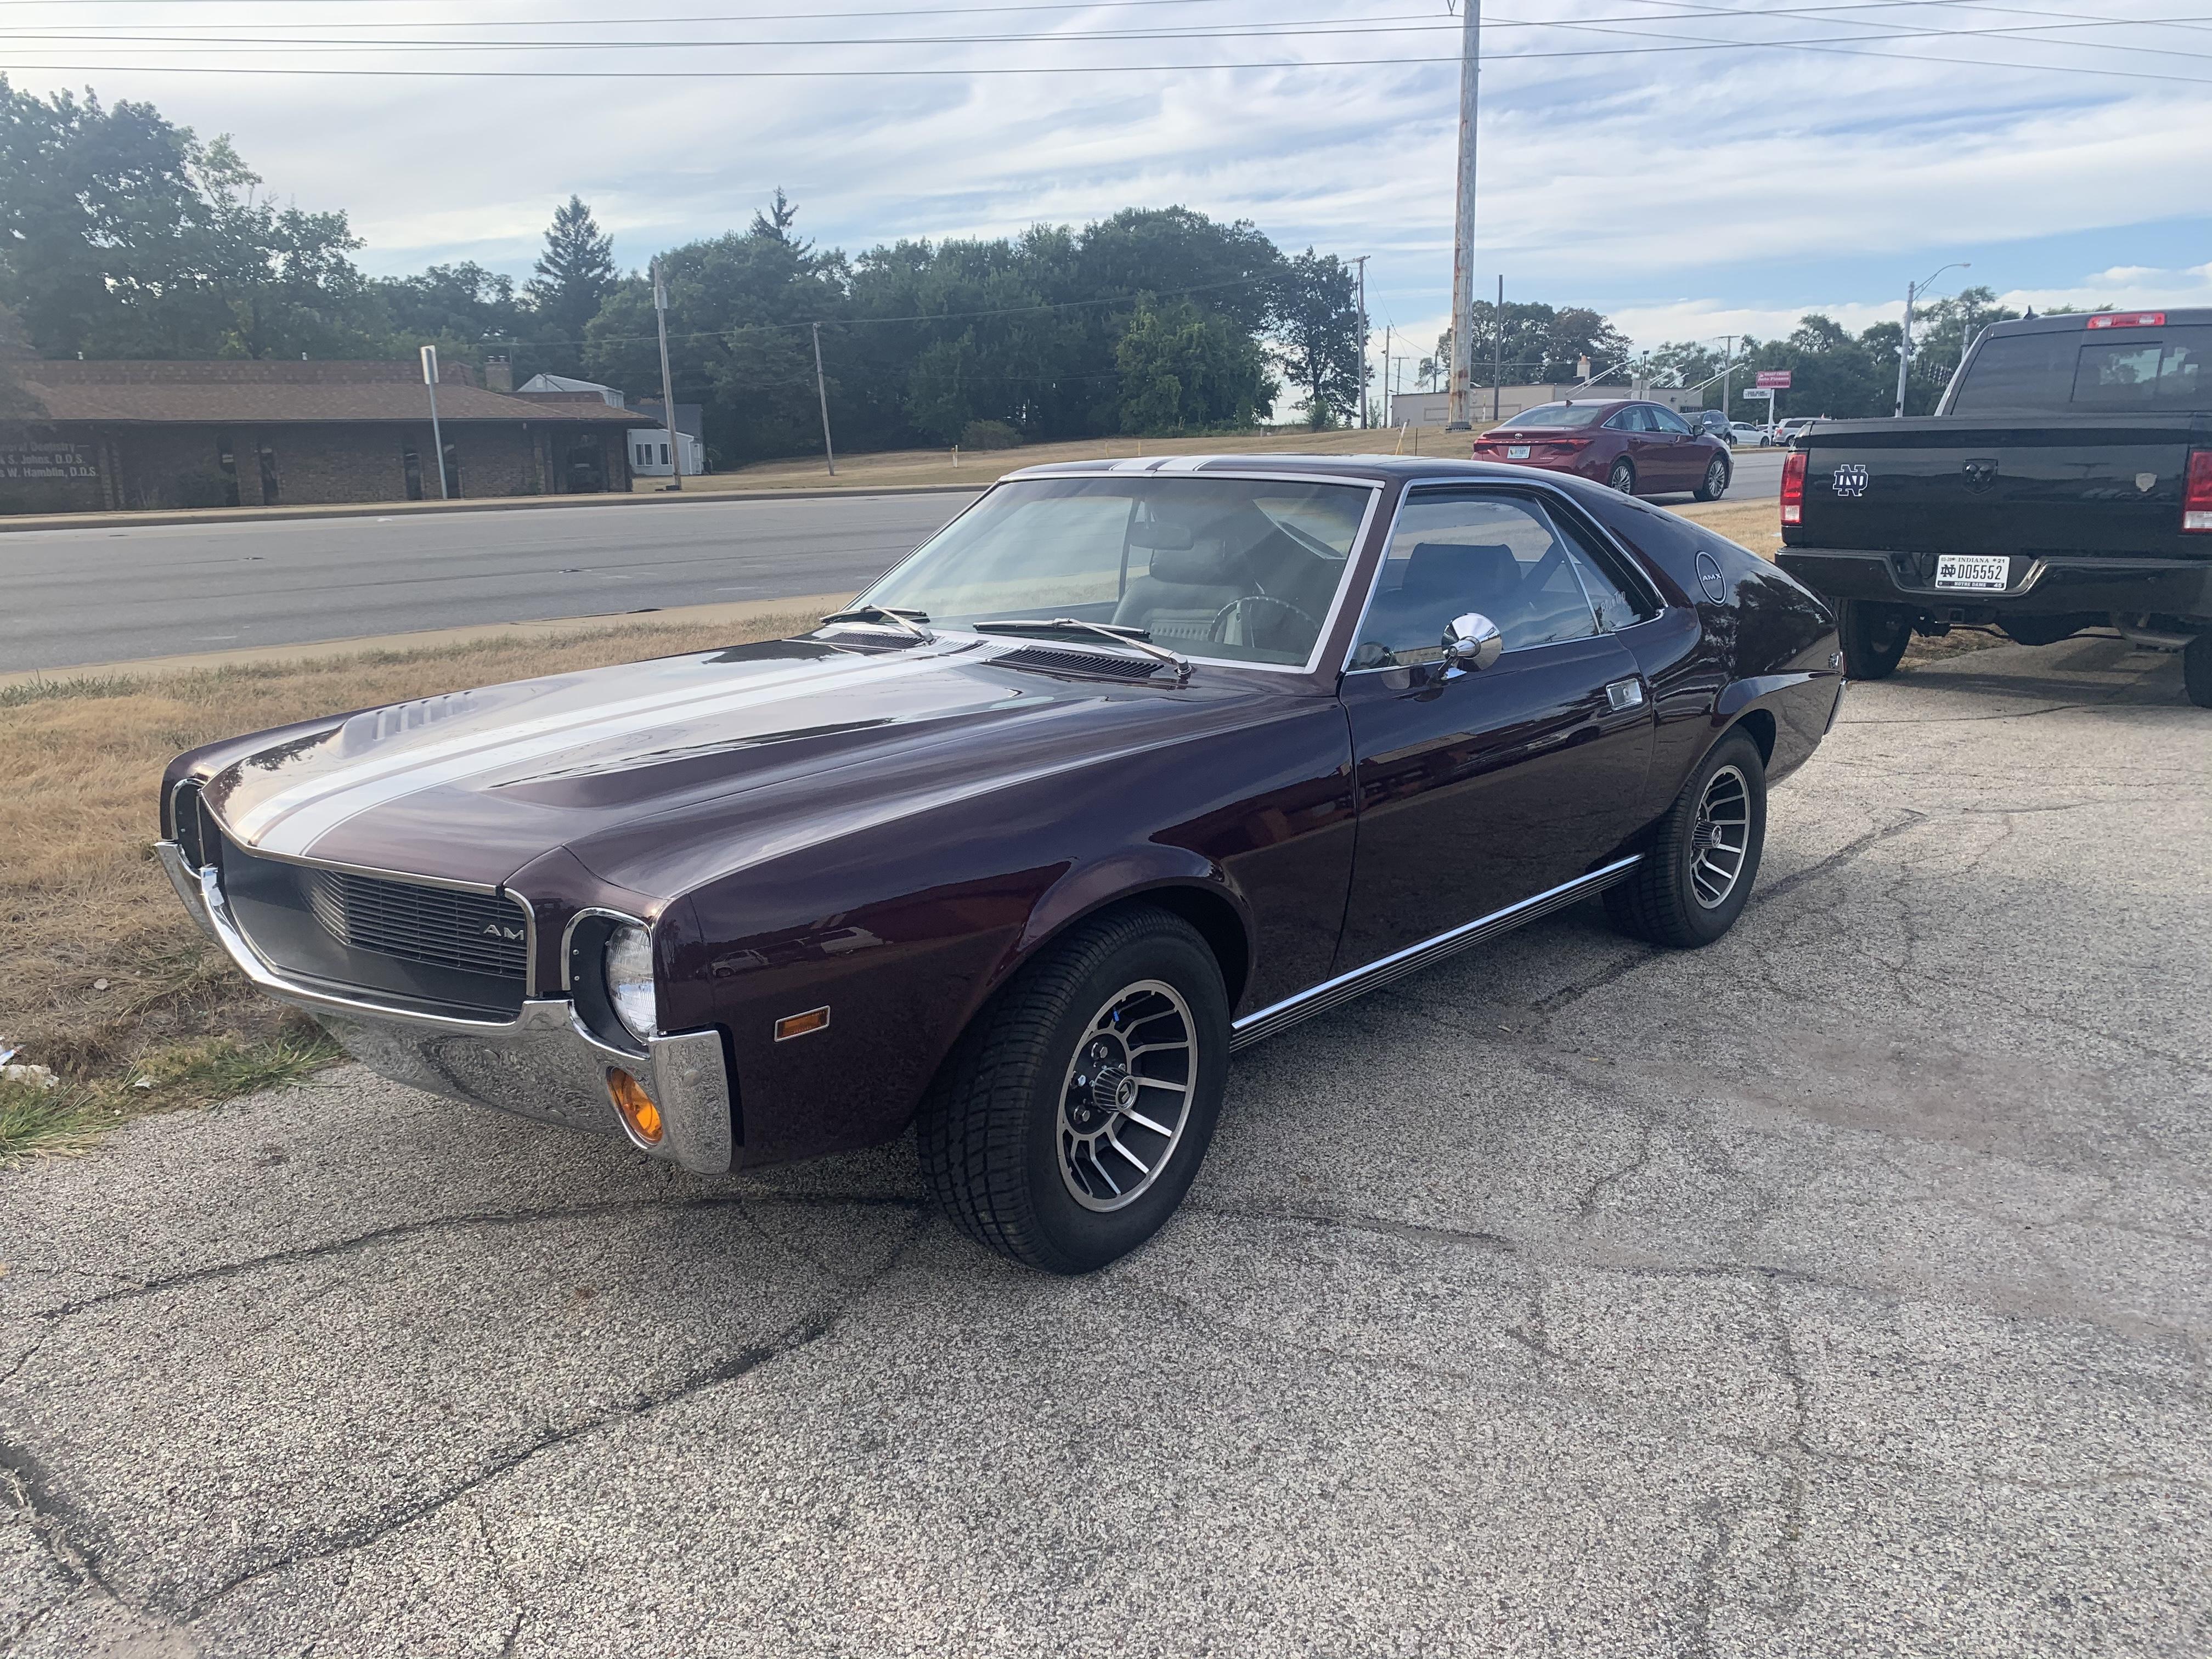
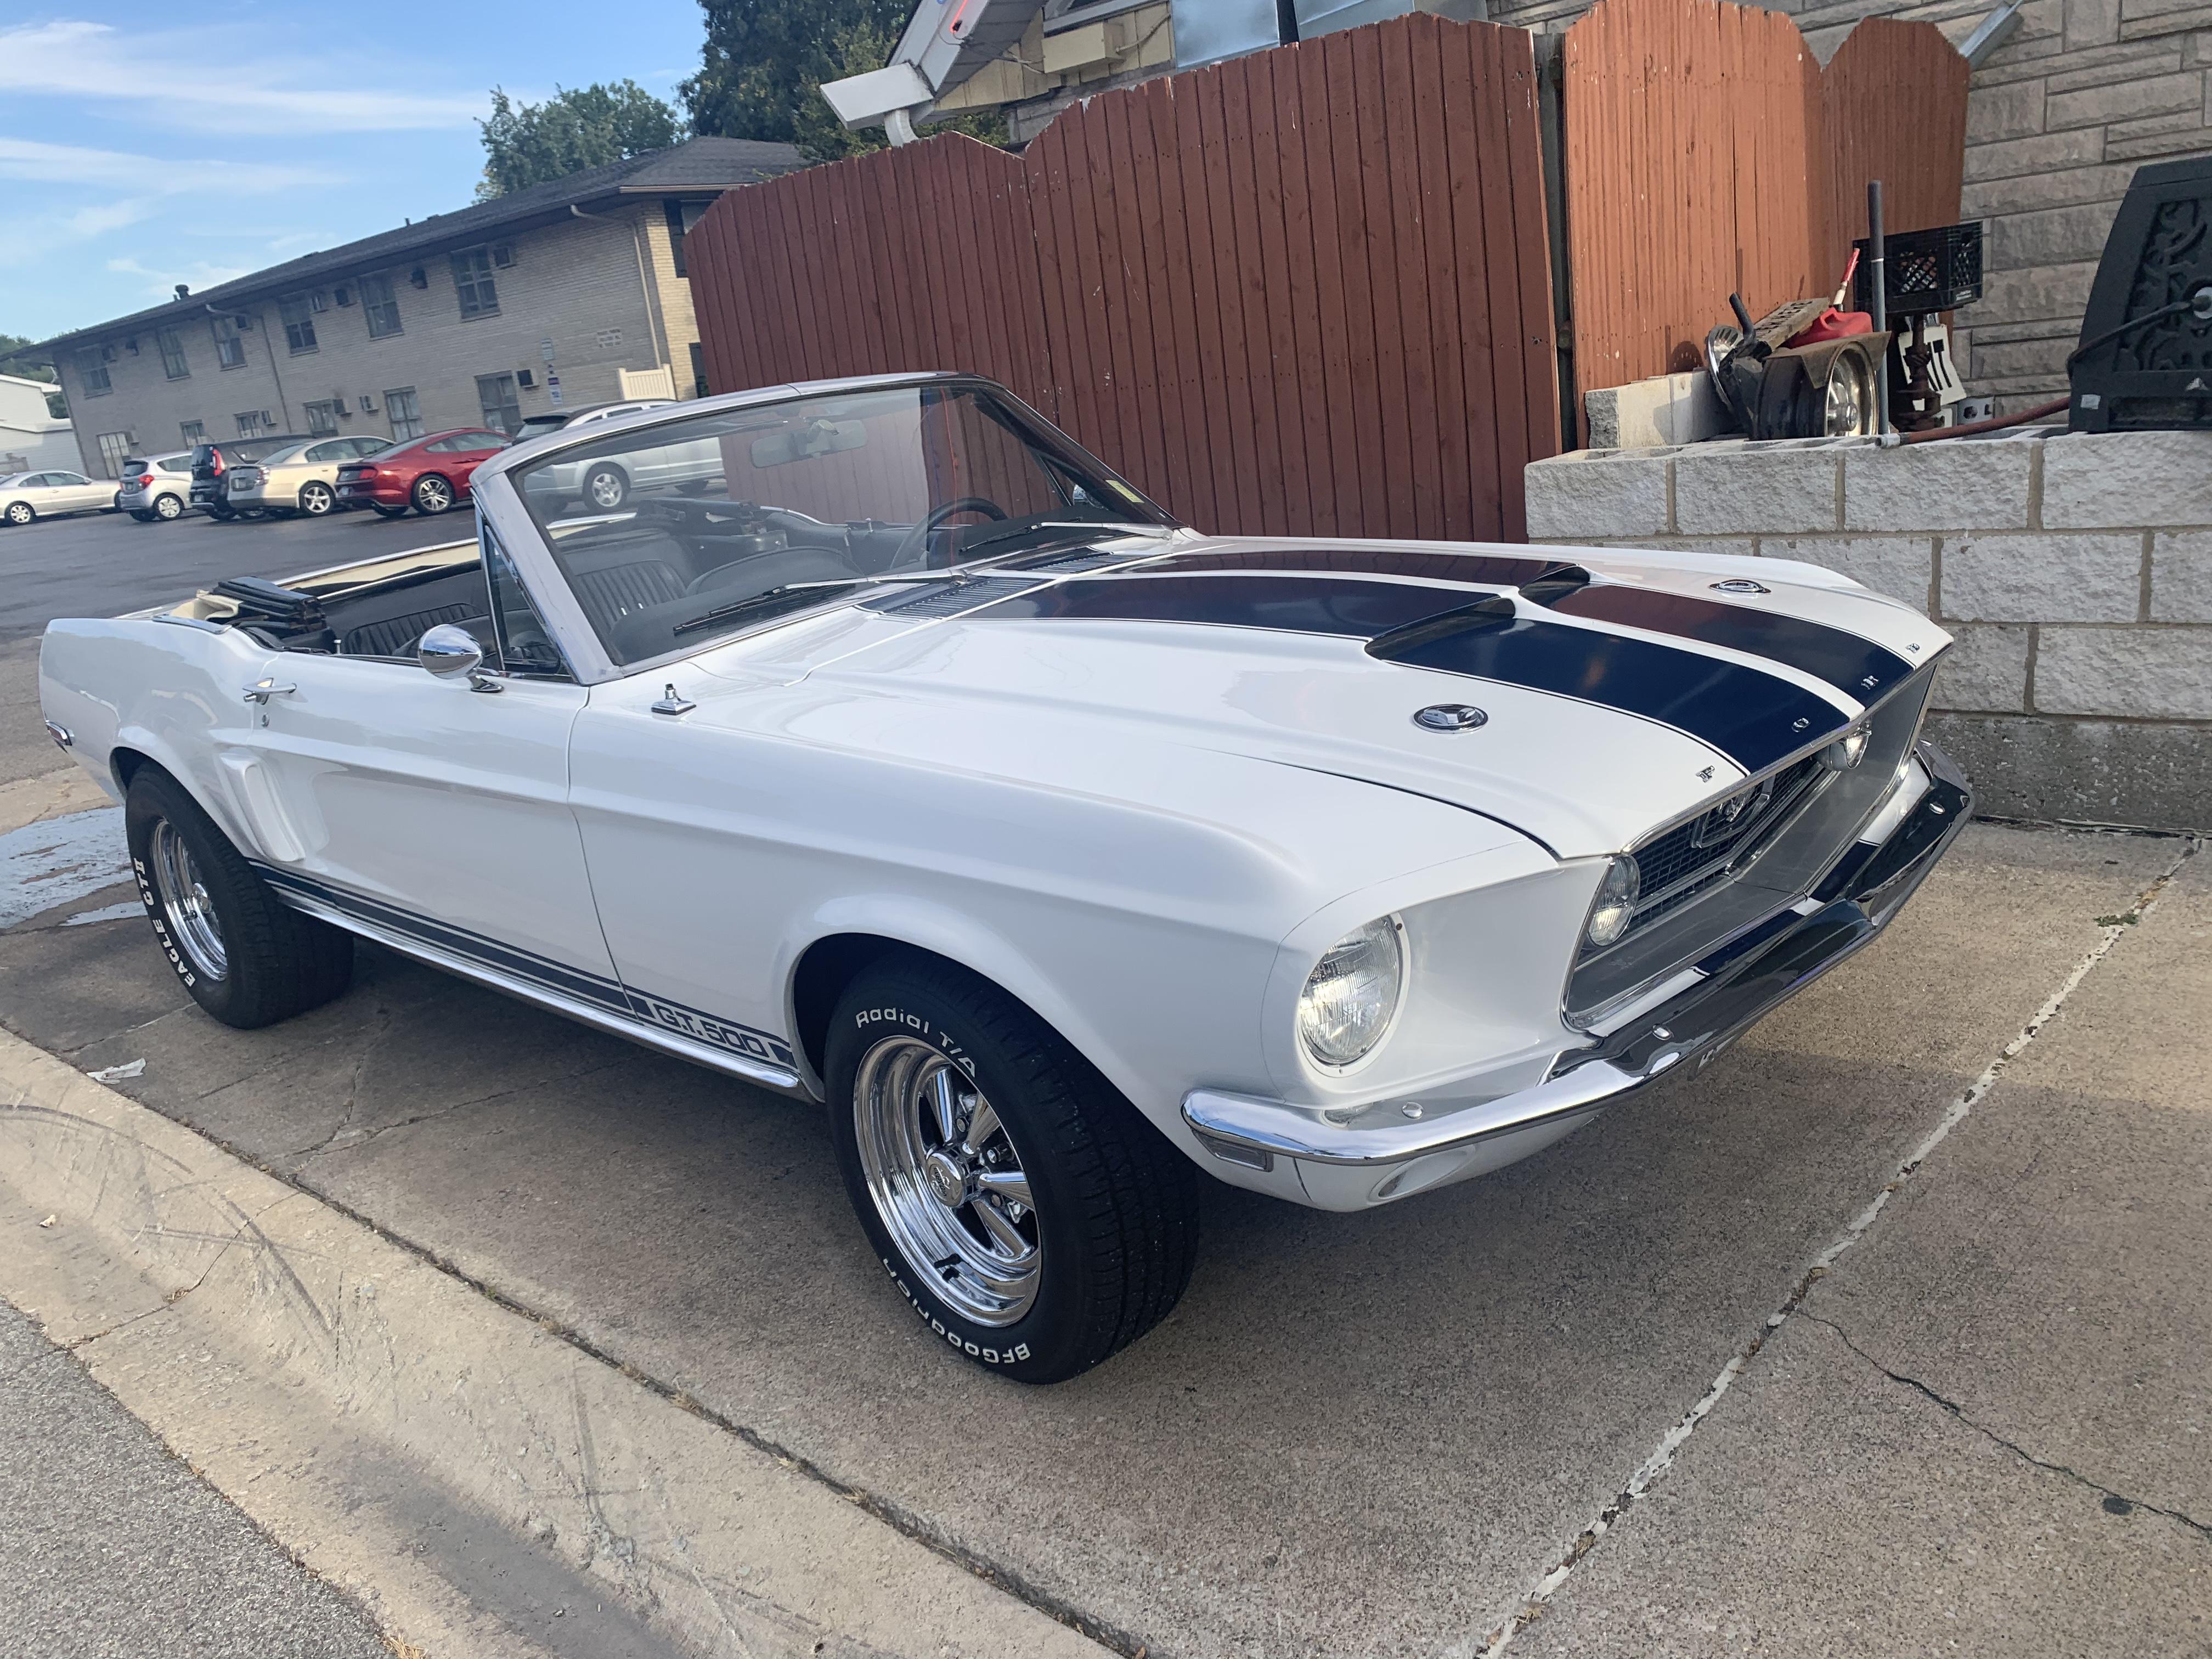
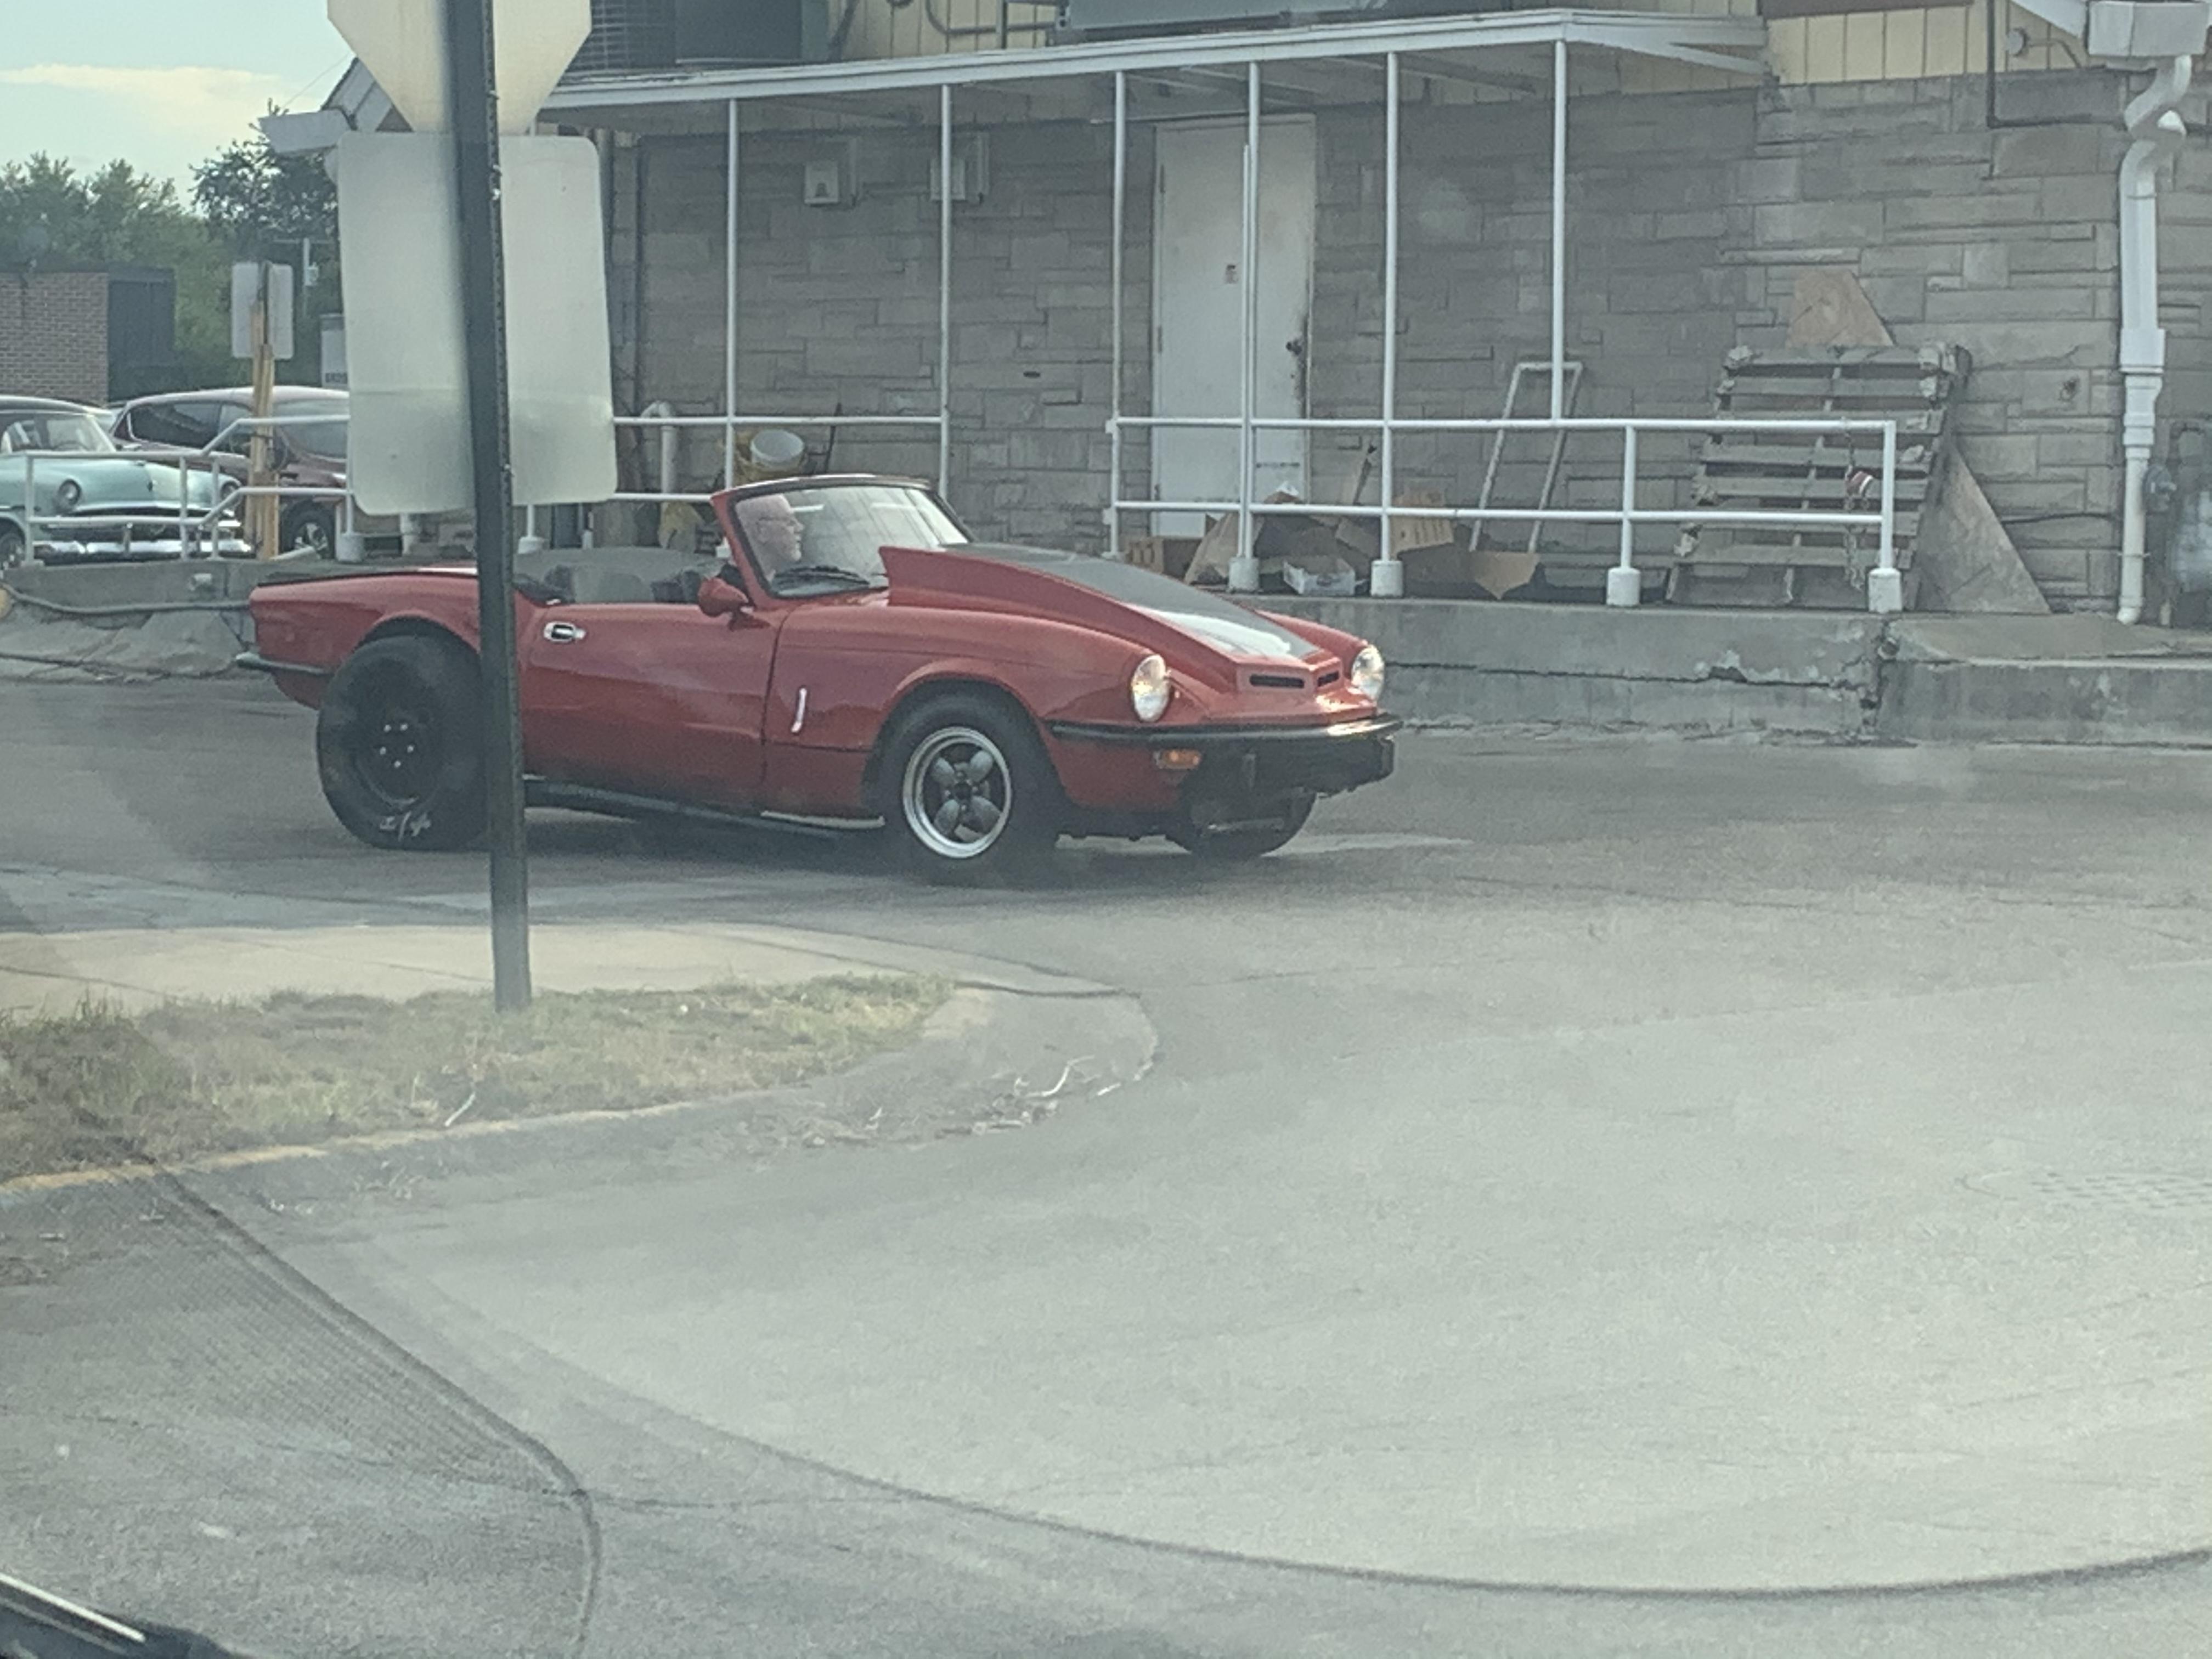
OldNYJim replied to Harry P.'s topic in General Automotive Talk (Trucks and Cars)
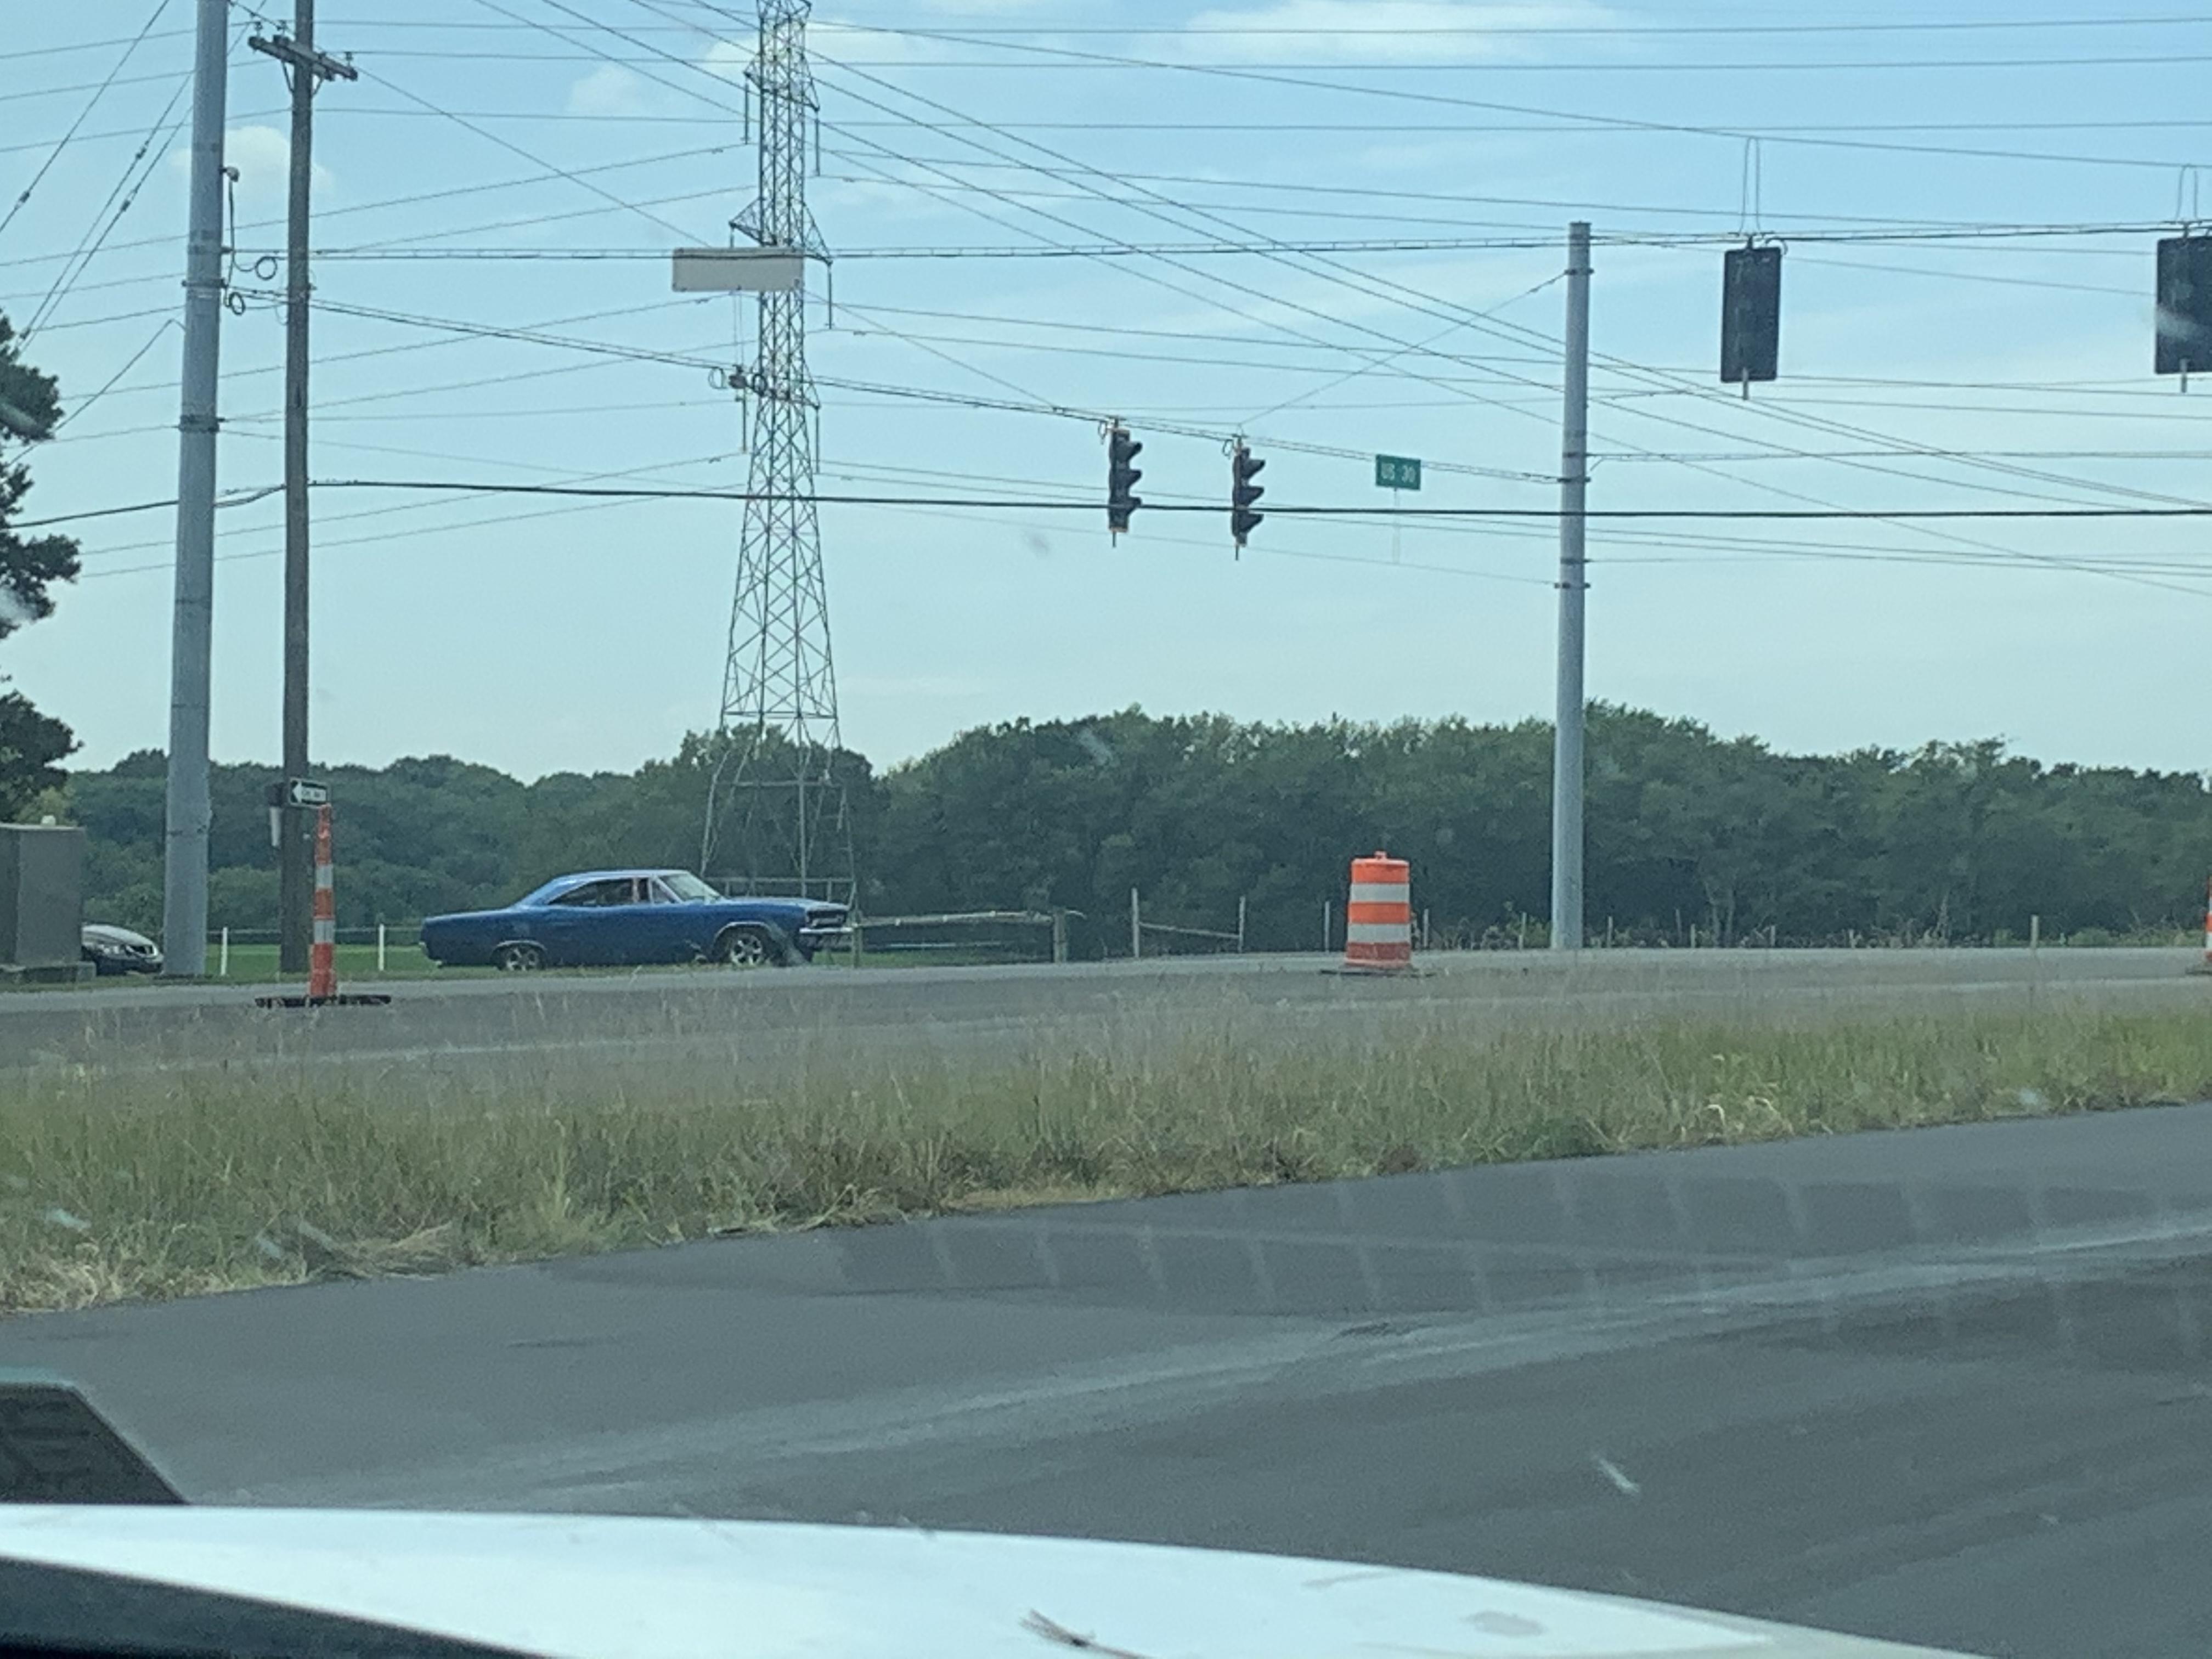
This caught my eye today:
-
Well, I wanted something like that, and my wife wanted something boring and practical, so we compromised and got what she wanted ?♂️?? In fairness, she’s an accountant, so she doesn’t need to be rolling up to people’s businesses in something that looks TOO ratty I guess ?
-
I actually don’t know much about this kit - I’m not really a 1/32 kinda guy...couldn’t find much online about them either. It’s cool though!