OldNYJim
-
Posts
249 -
Joined
-
Last visited
Content Type
Profiles
Forums
Events
Gallery
Everything posted by OldNYJim
-
The Sopranos Cheers Frasier American Hot Rod Cant think of a fifth, but I watch the NY news on NBC every single day, so I guess that would be number five ?
-
That’s really realistic - nice work!
-
Oh man, those colors are NICE! Good choices!
-

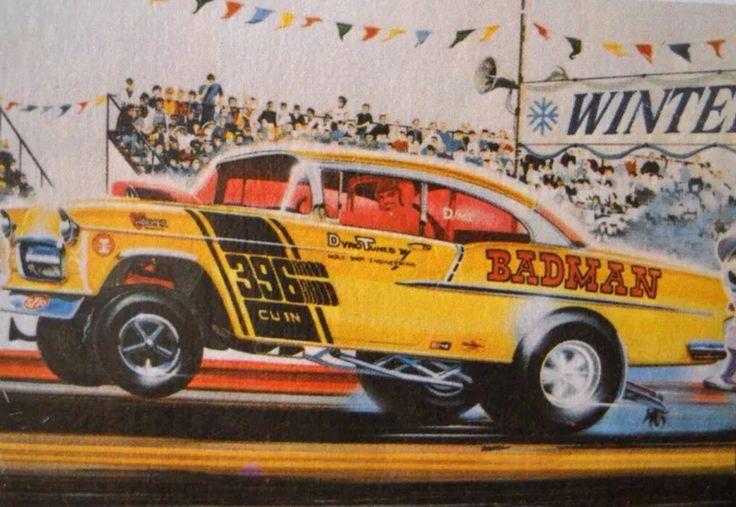
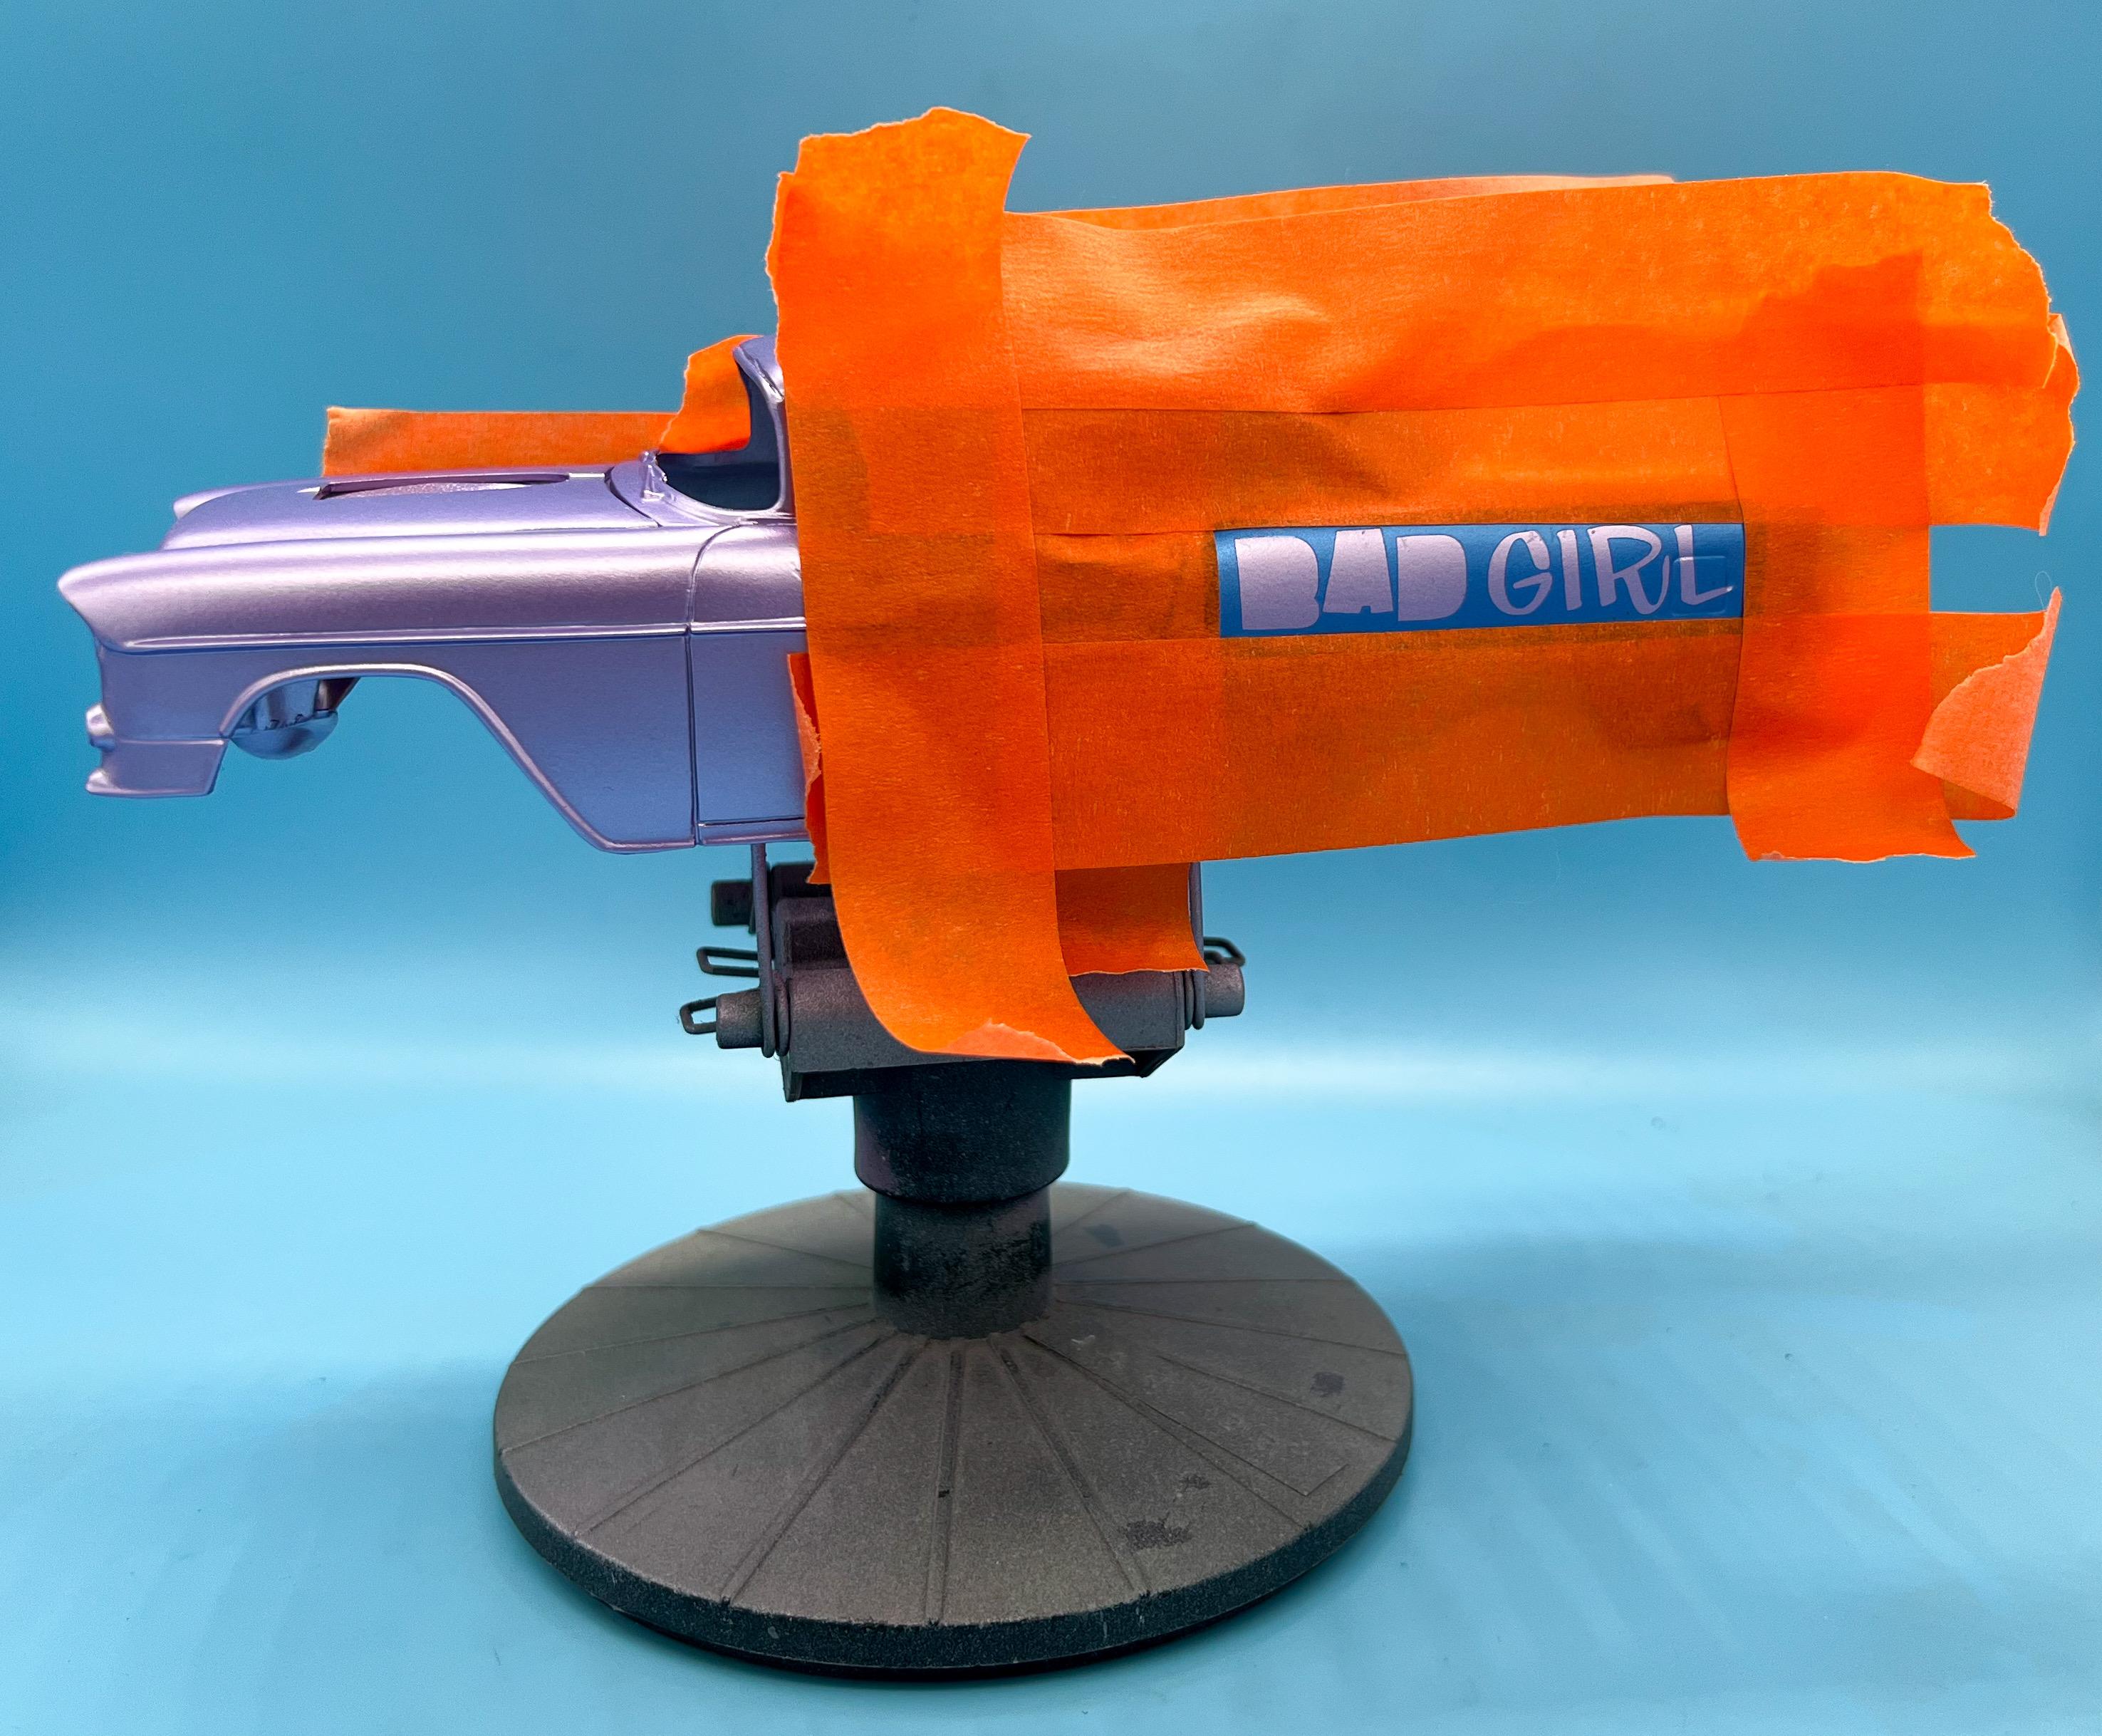
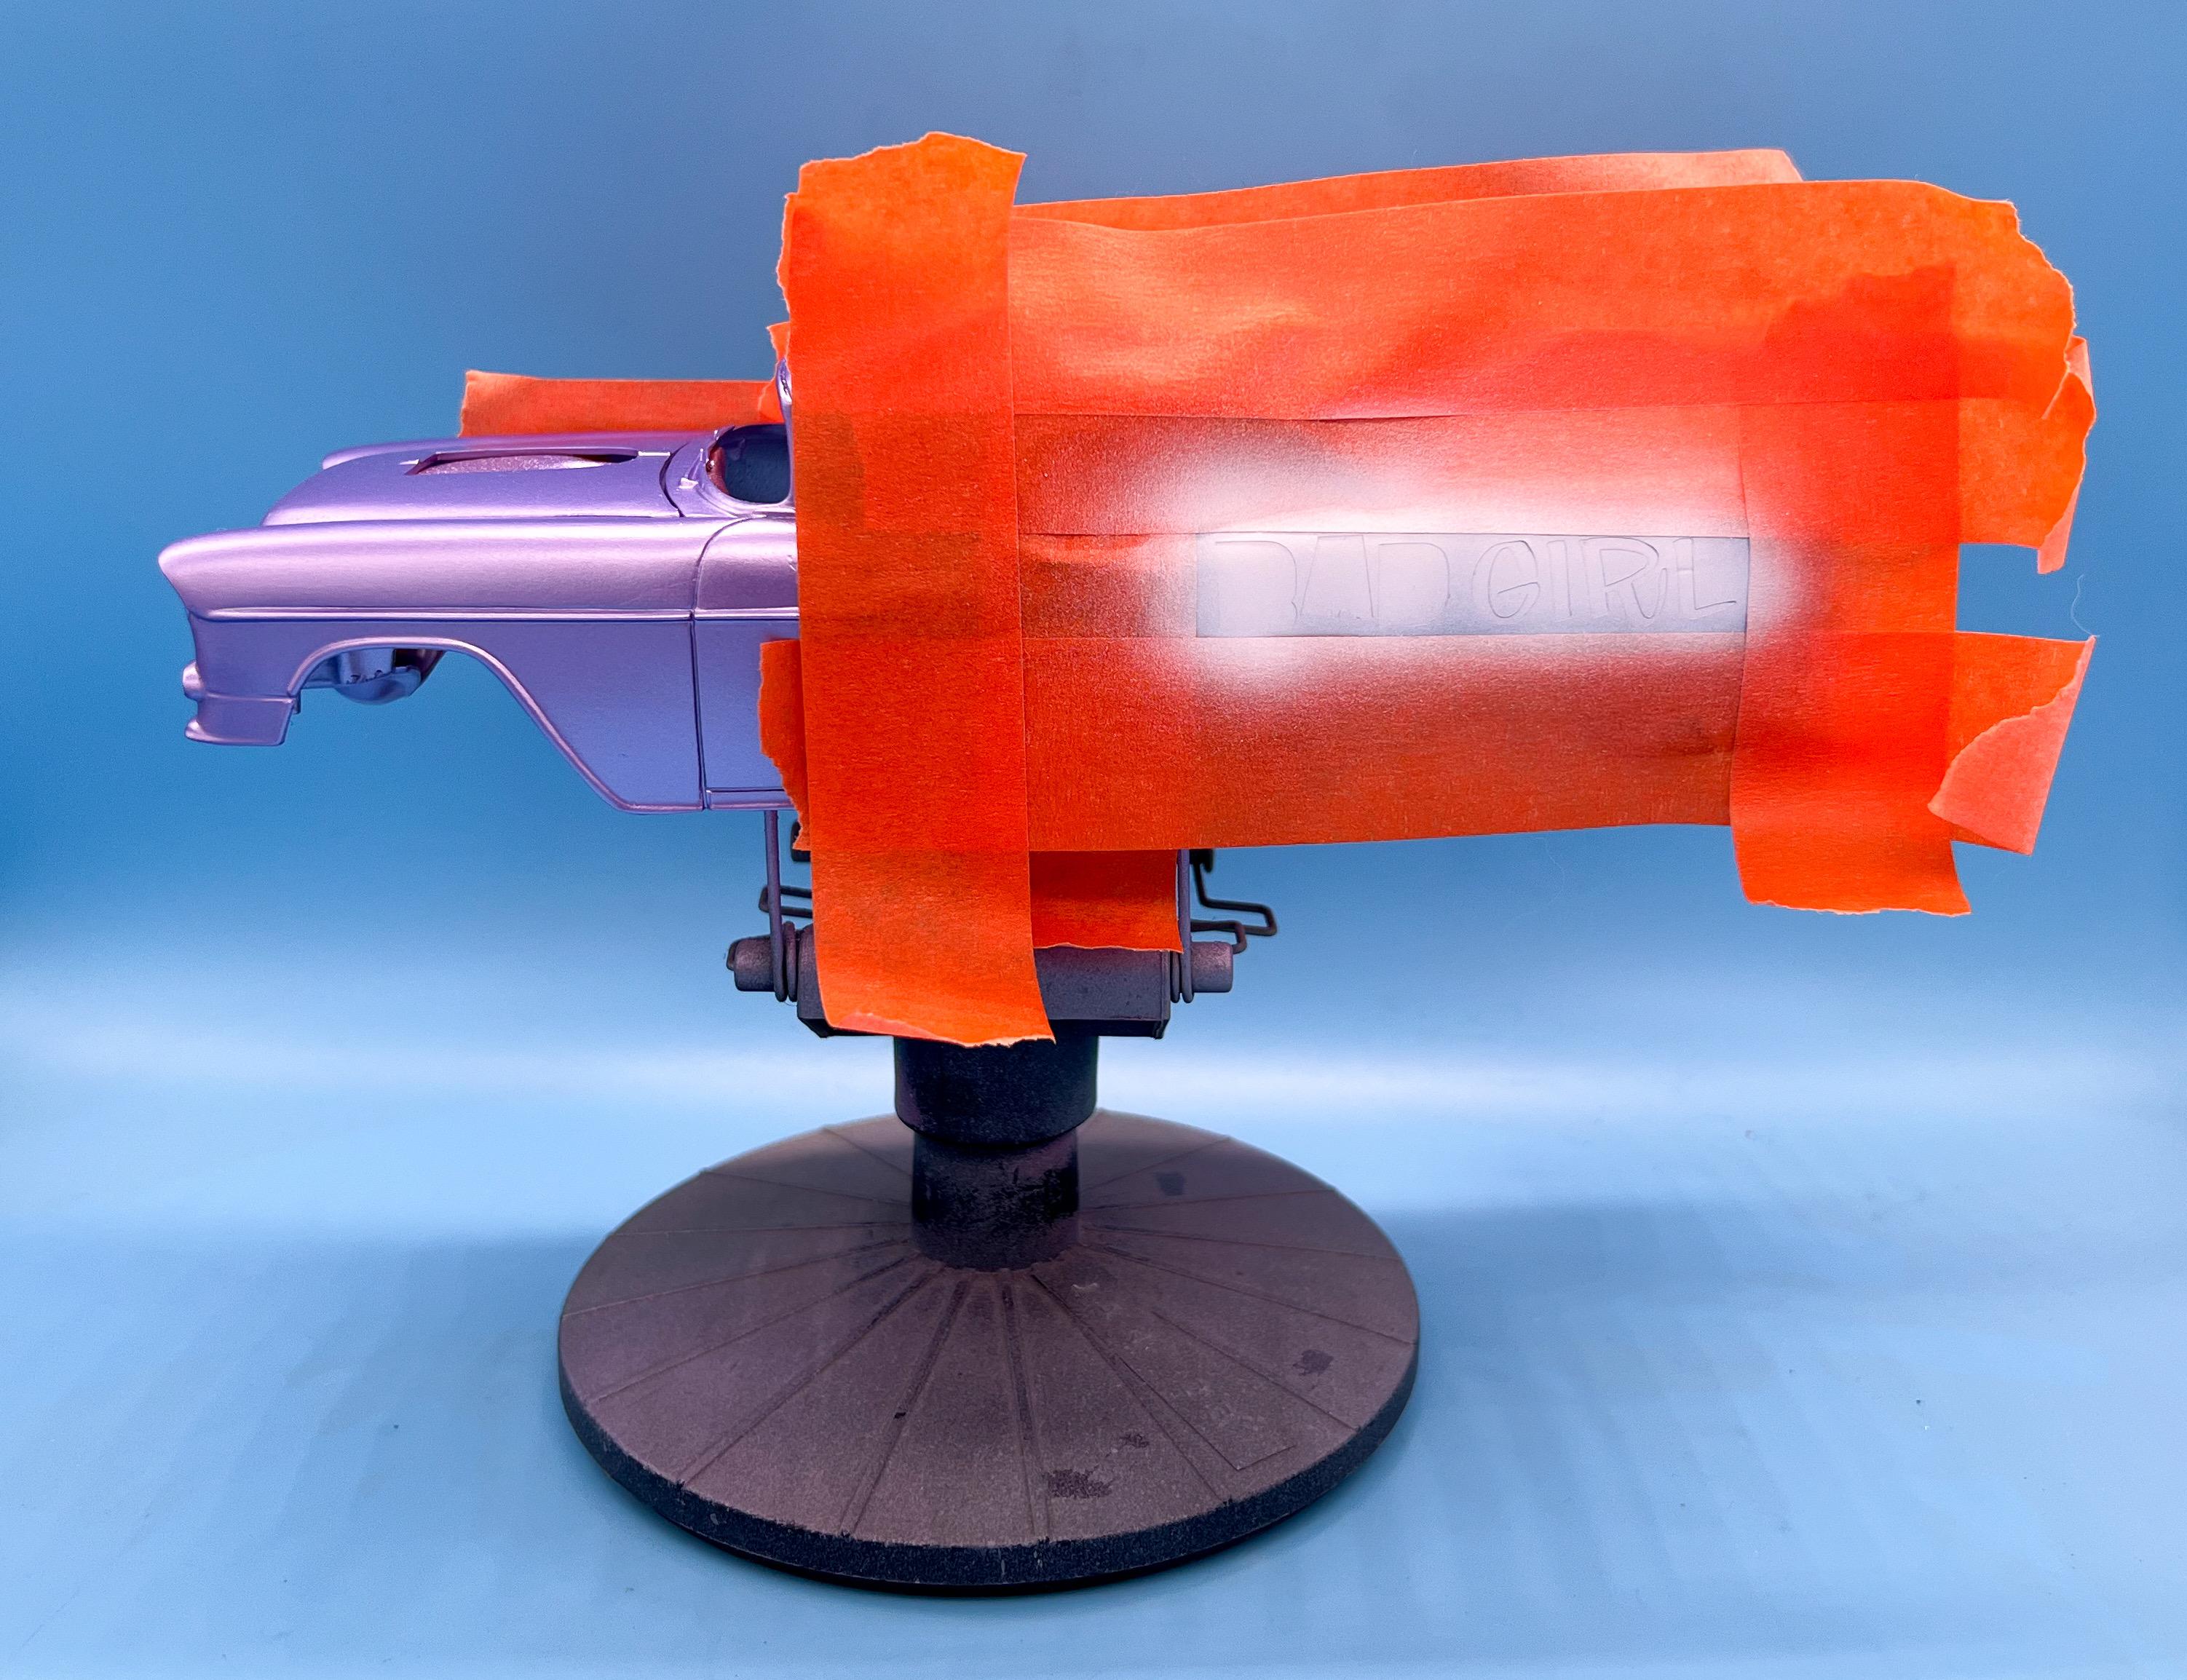
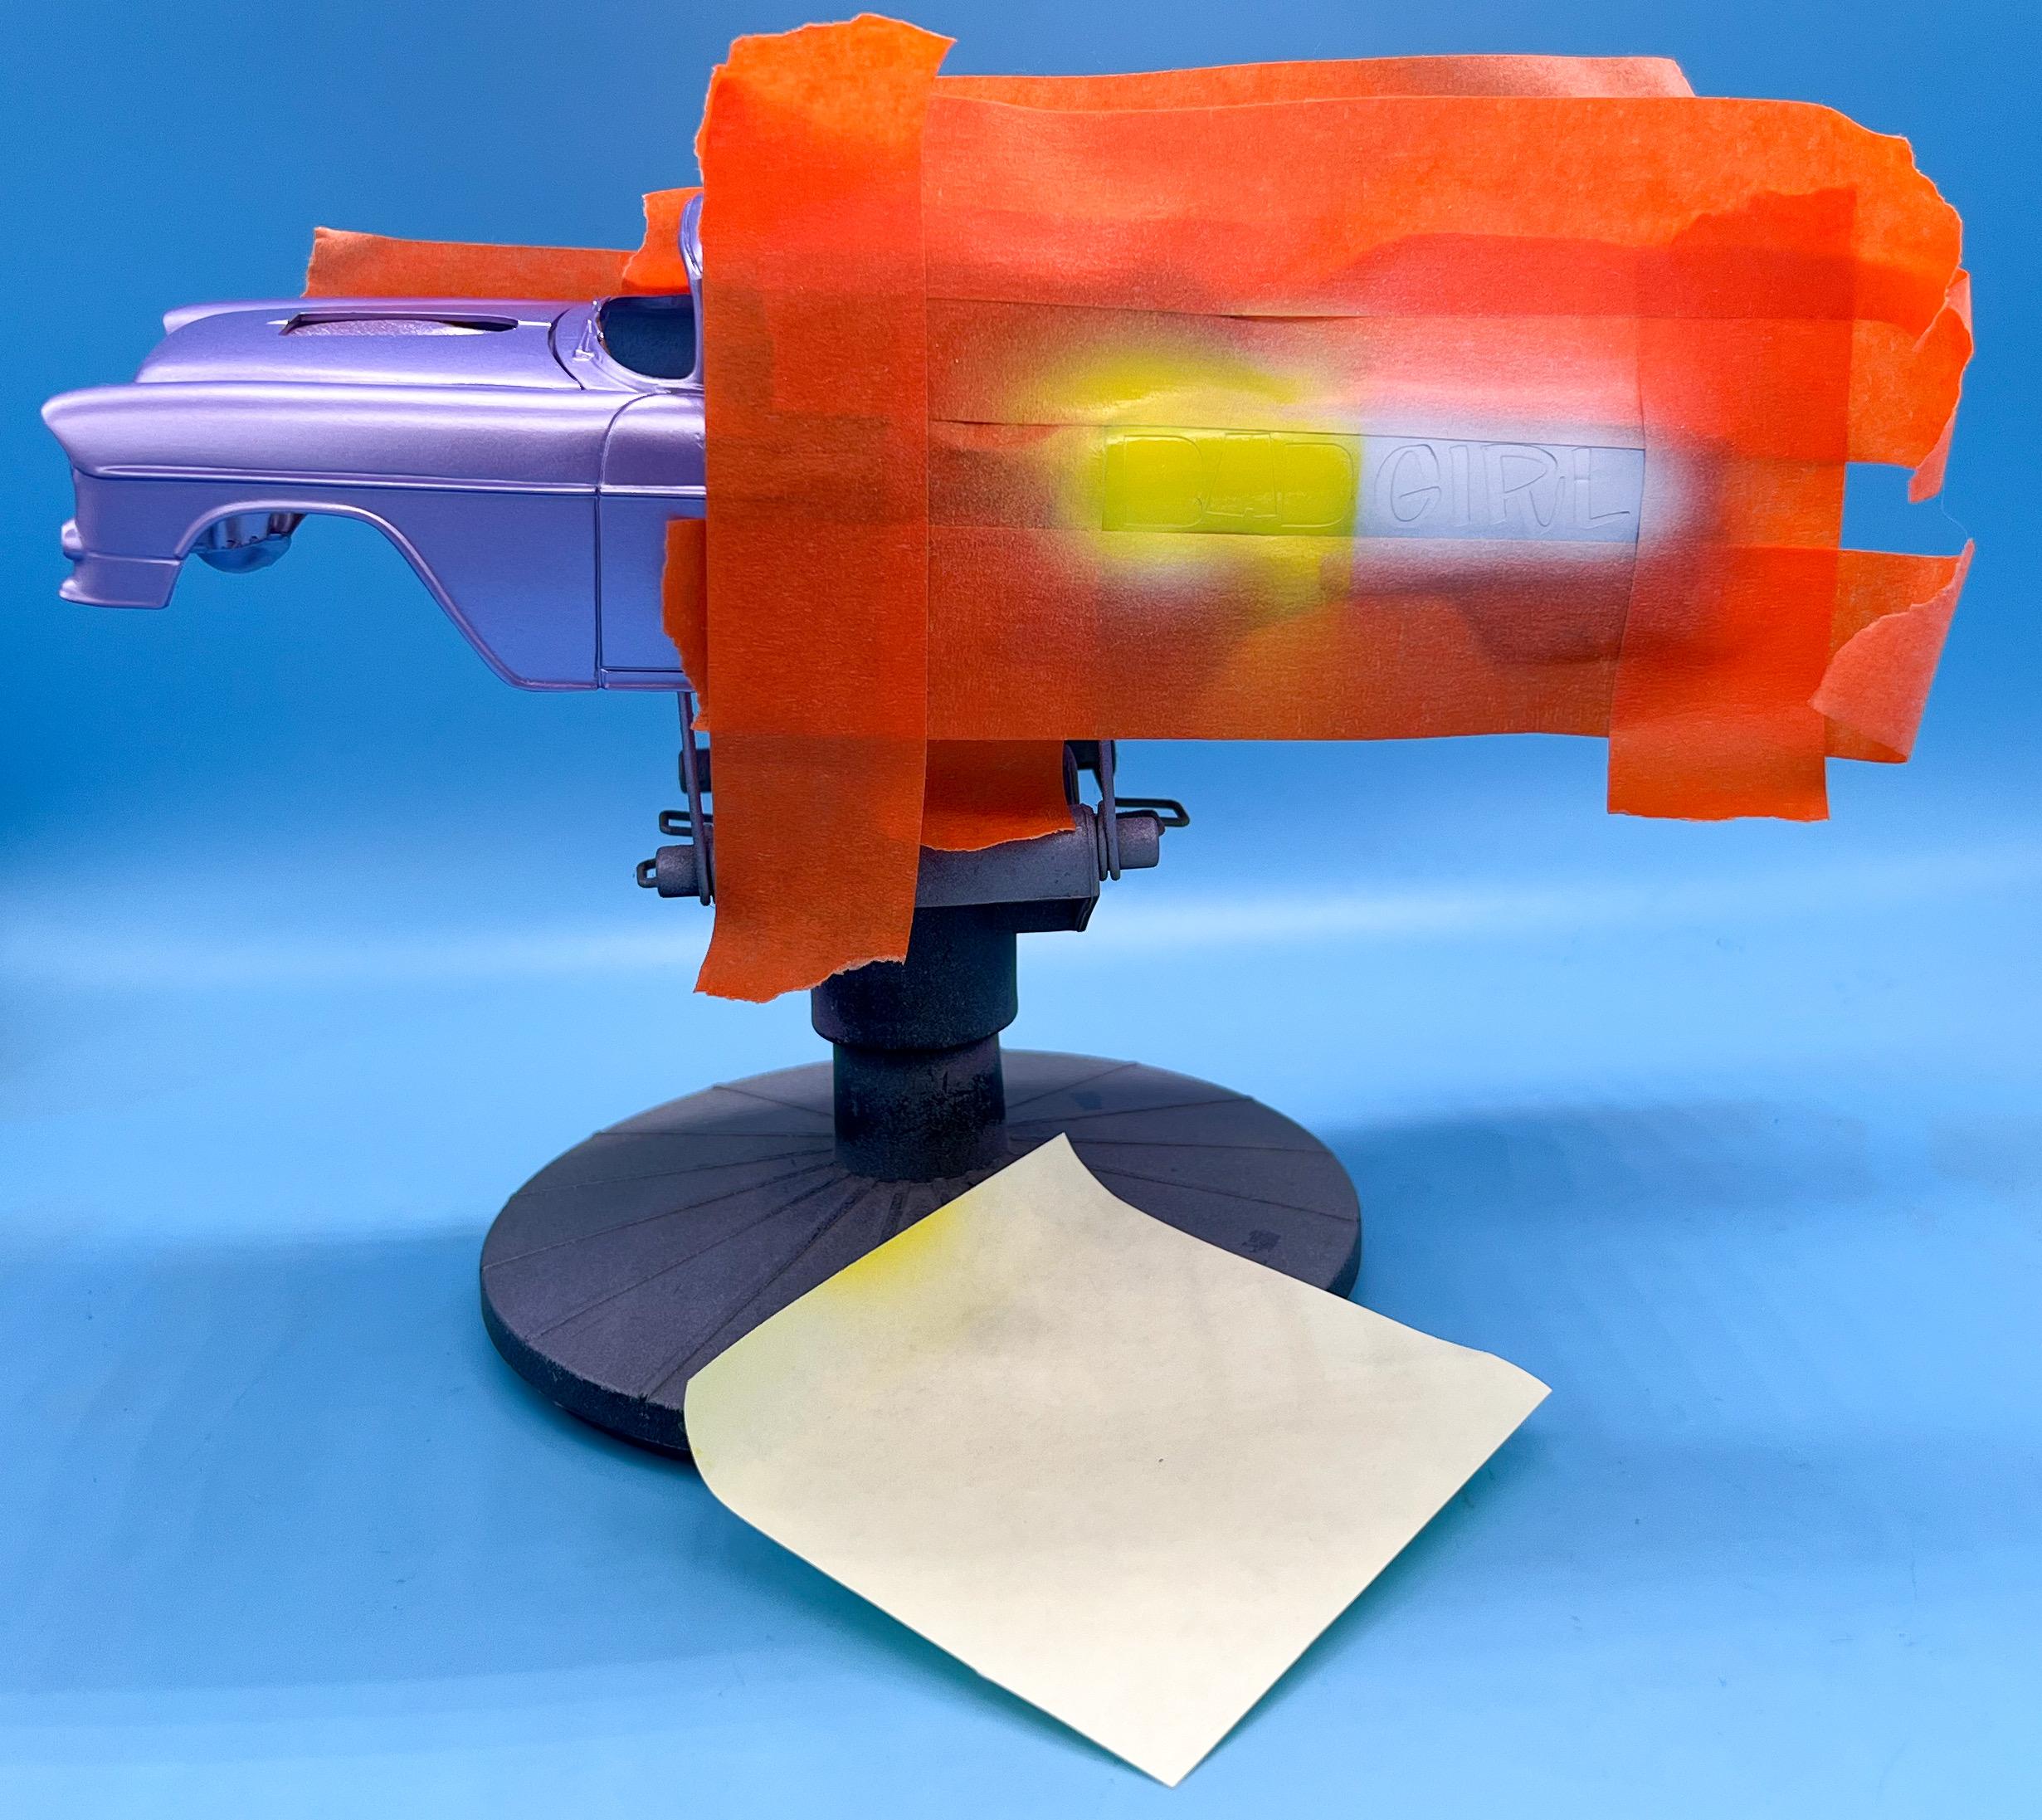
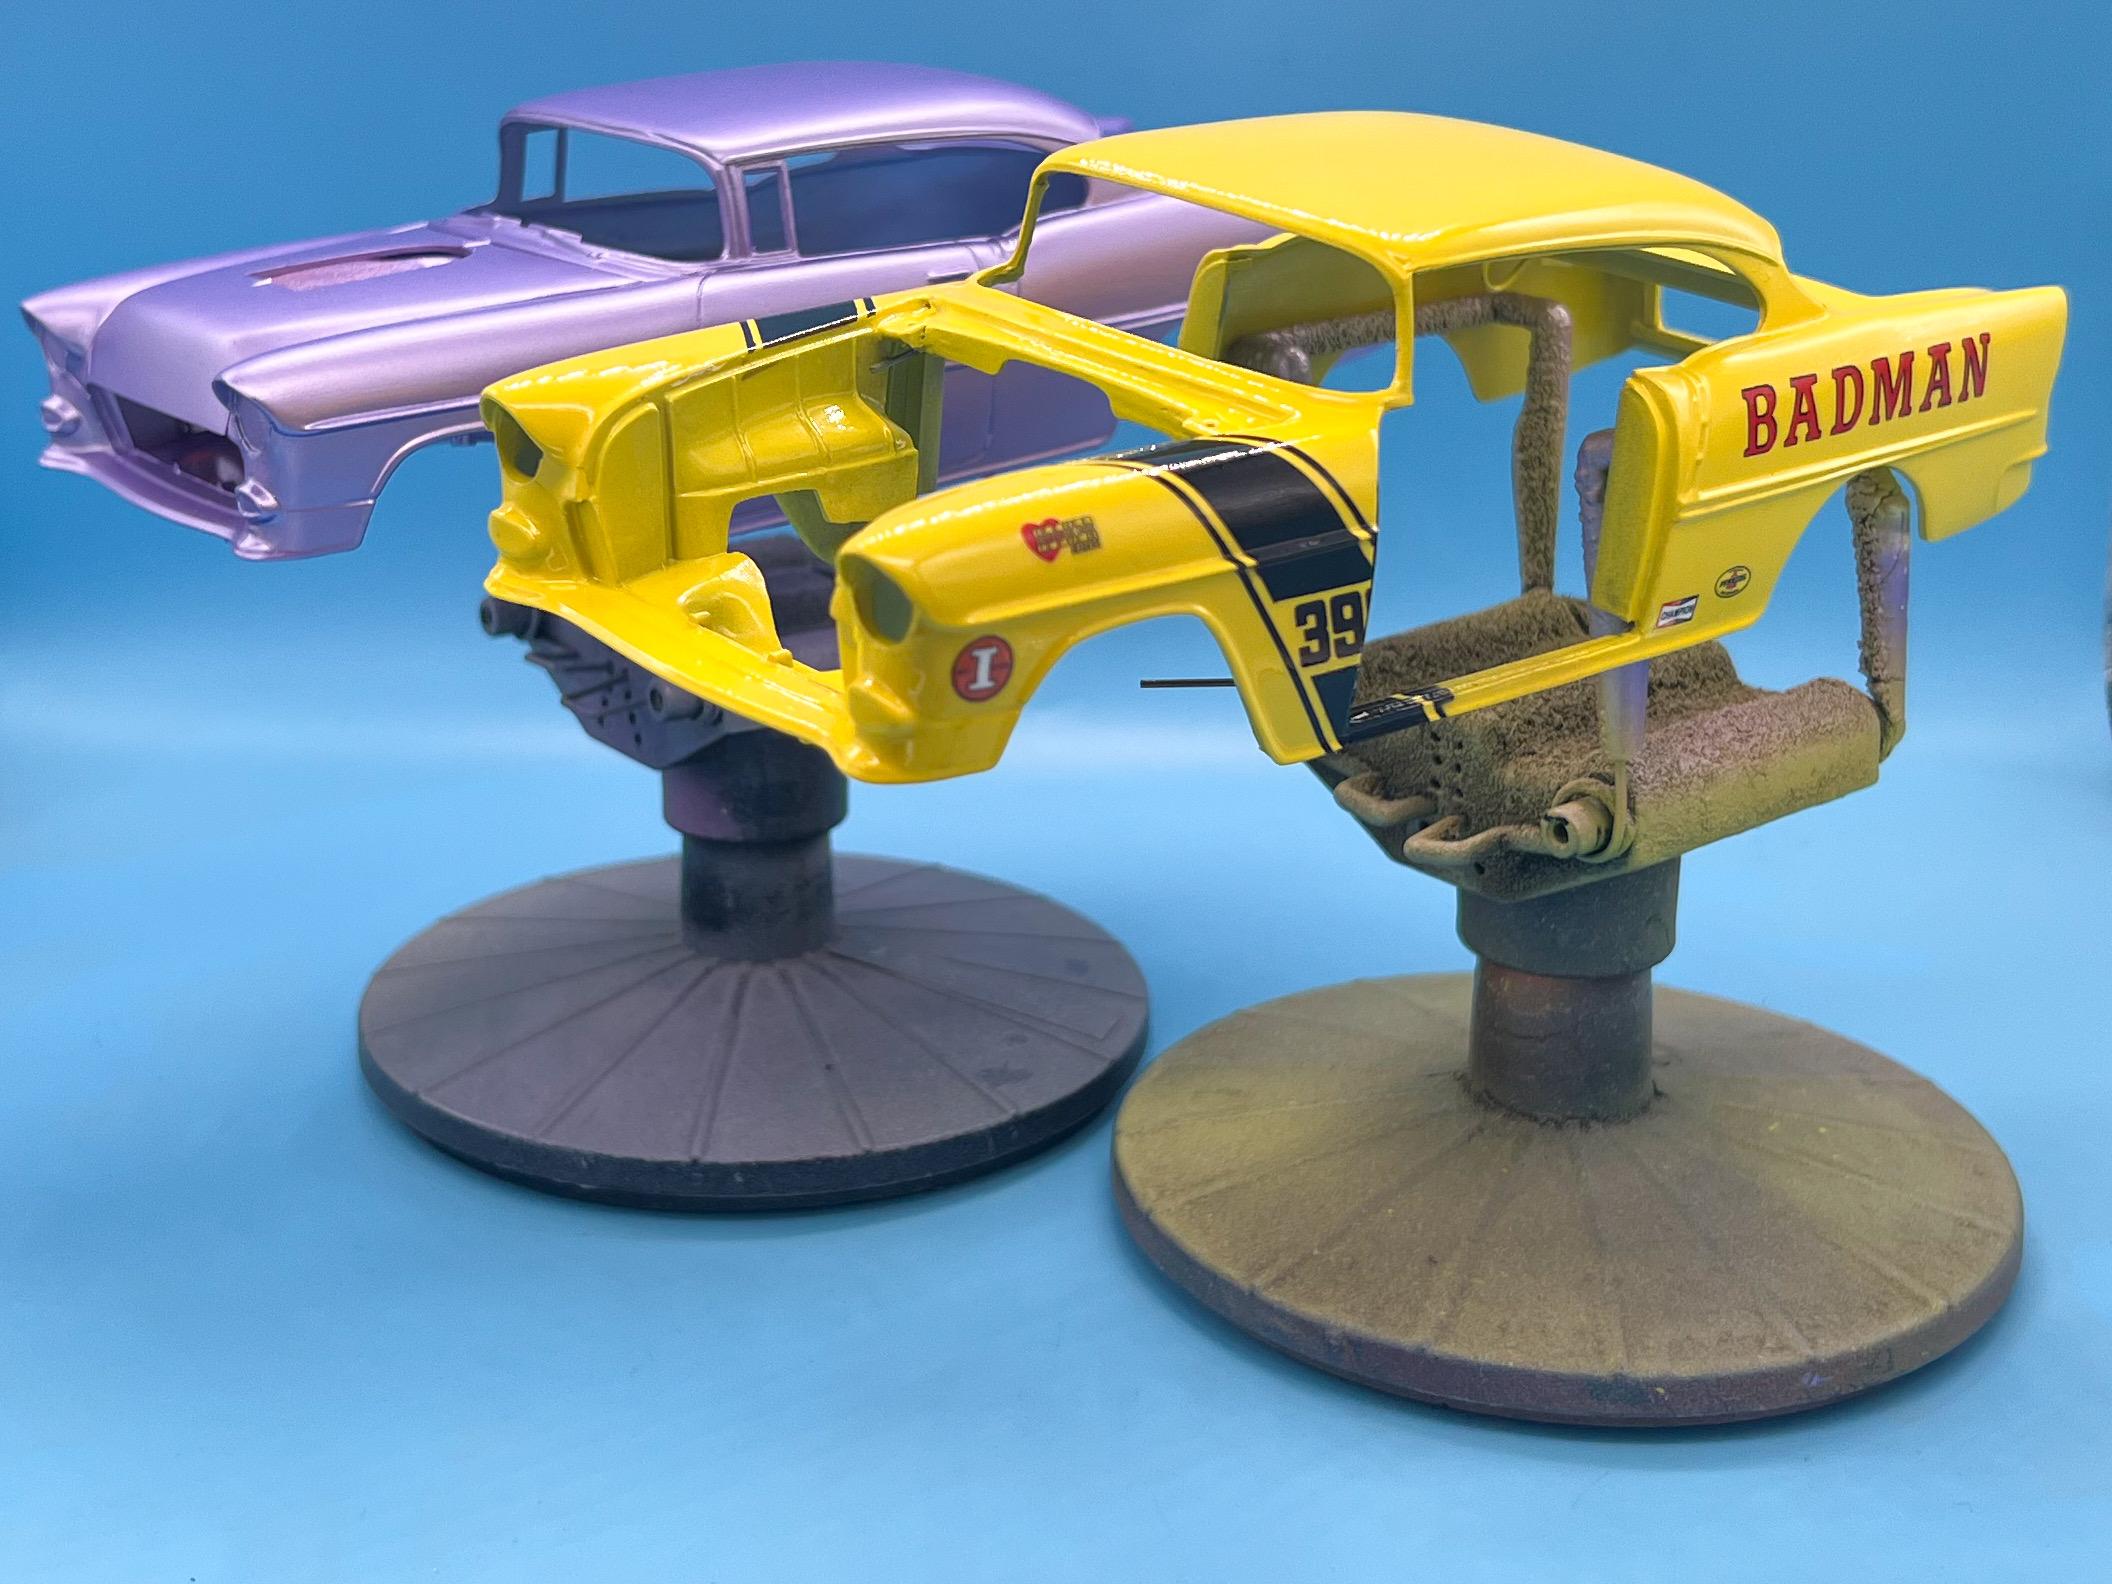
My take on the most famous ‘55 gasser street machine’…
OldNYJim replied to OldNYJim's topic in WIP: Model Cars
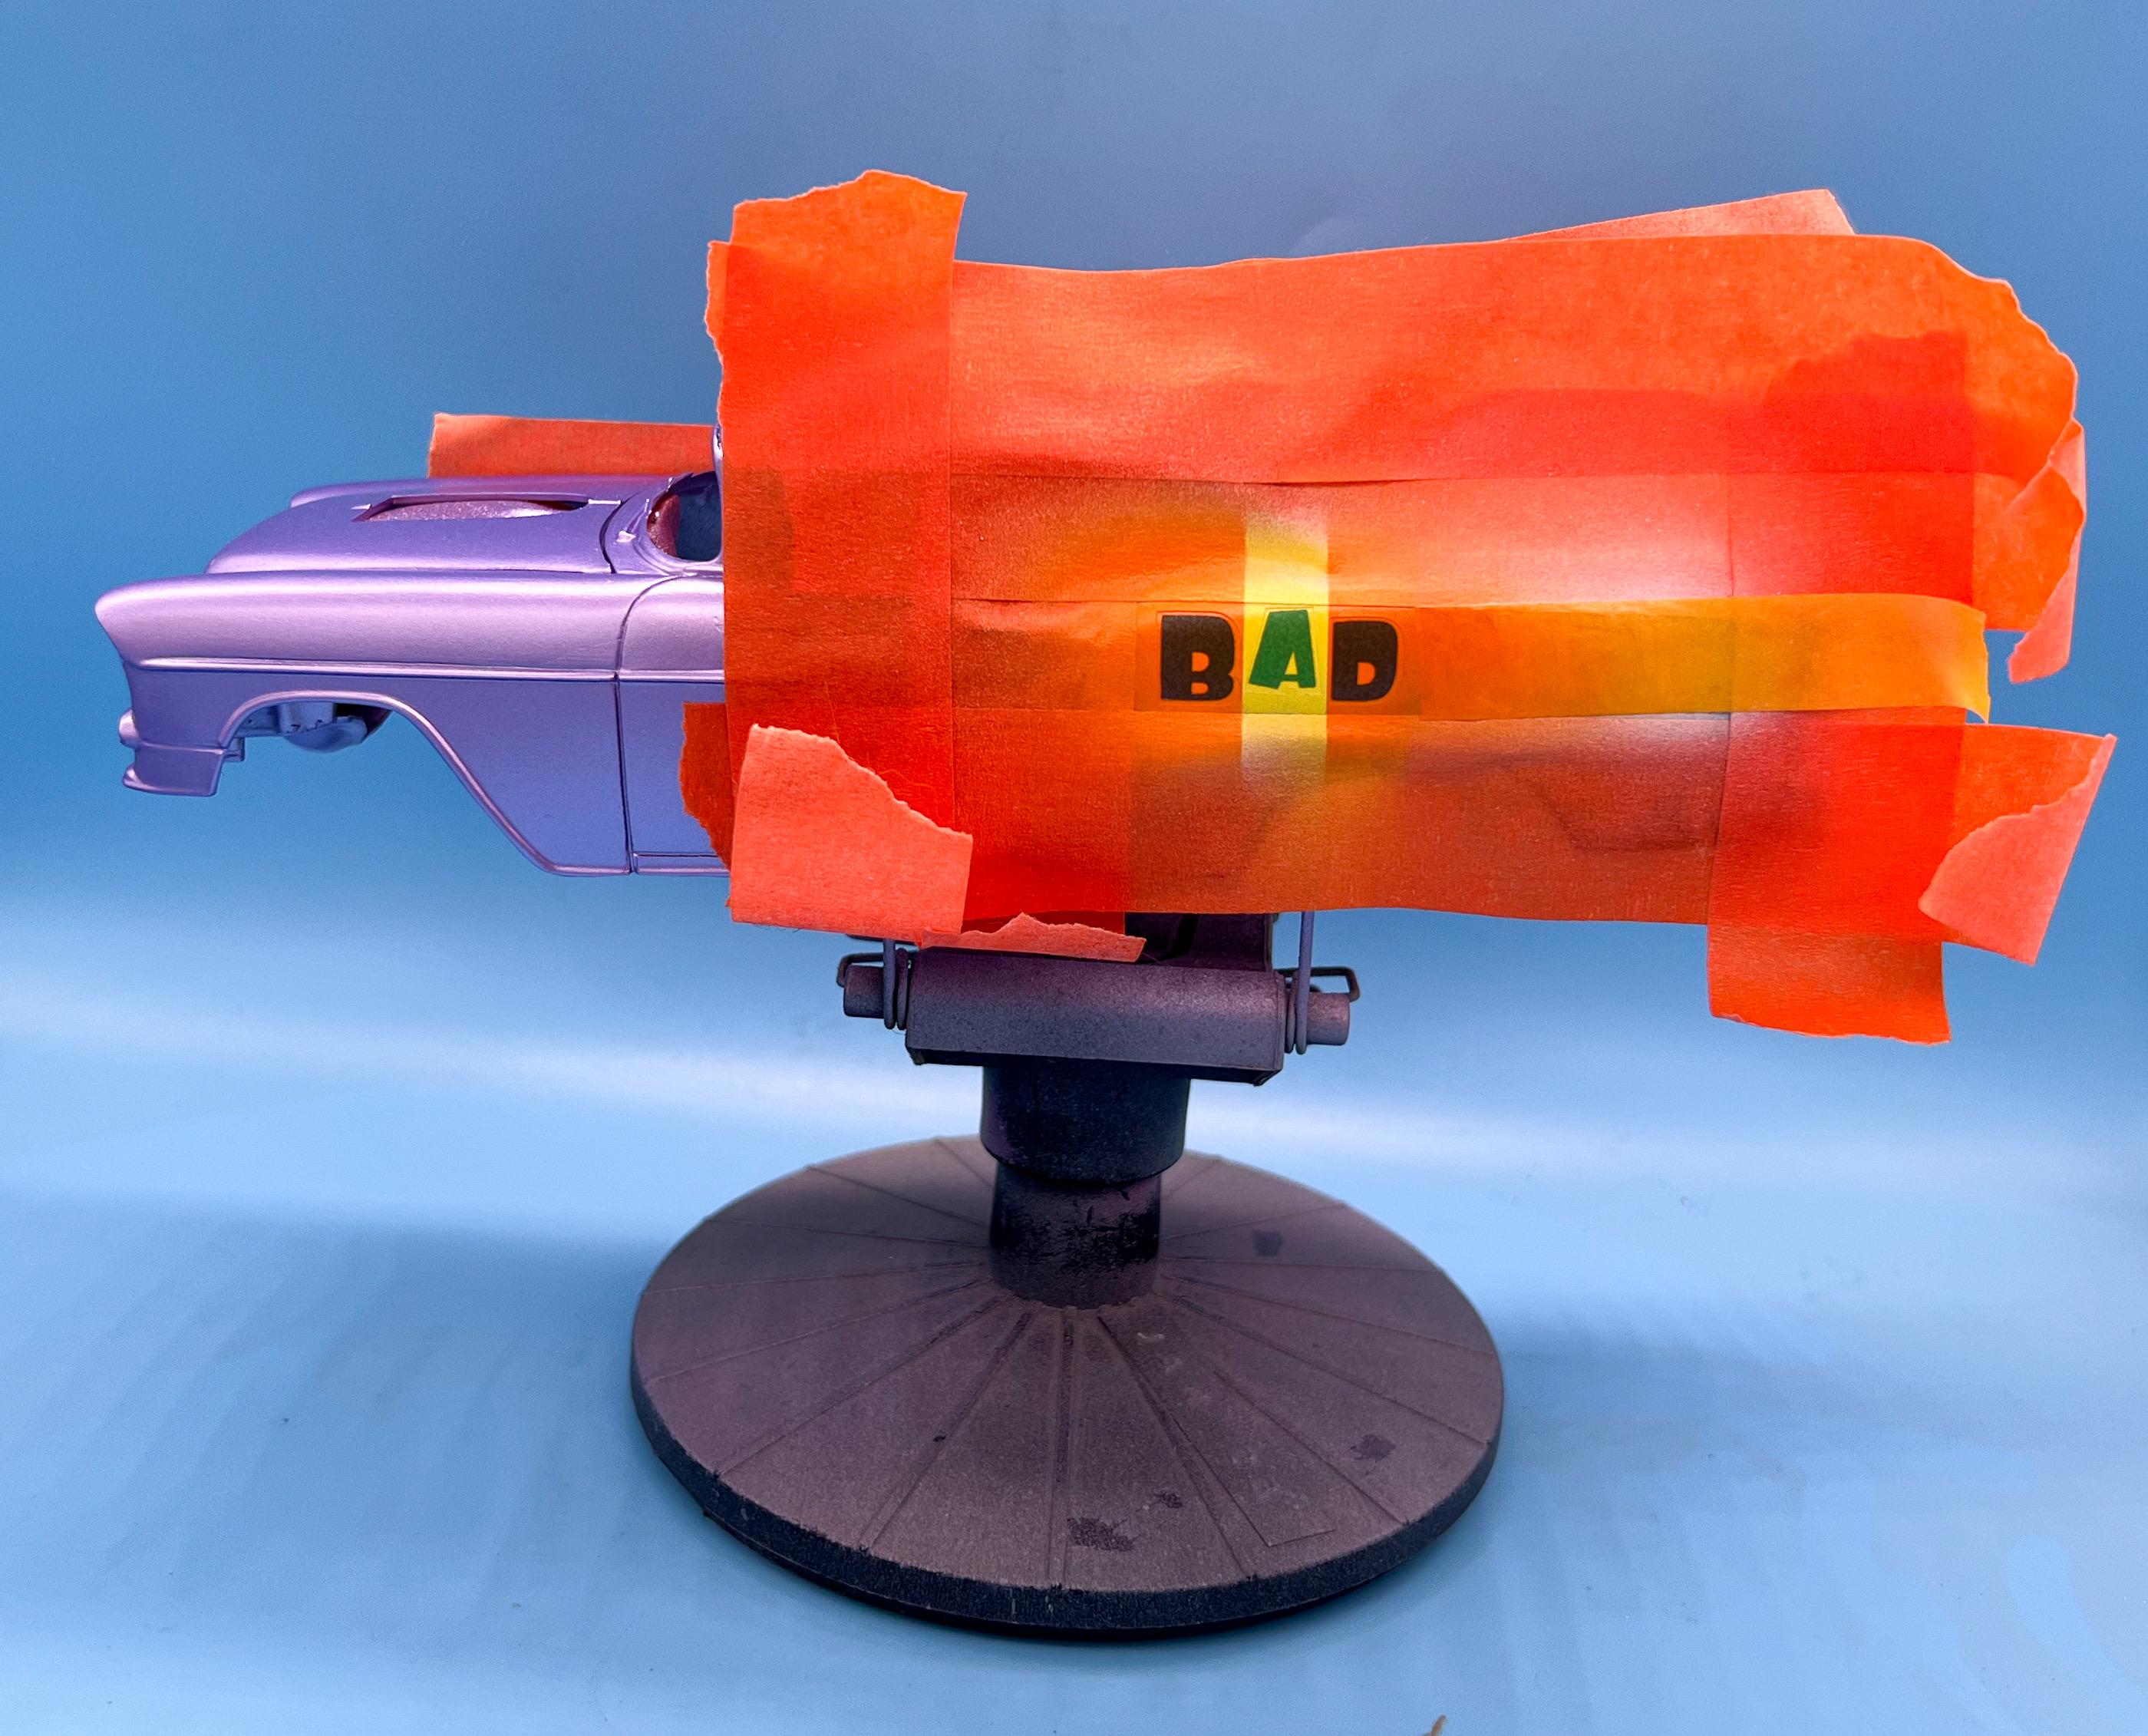
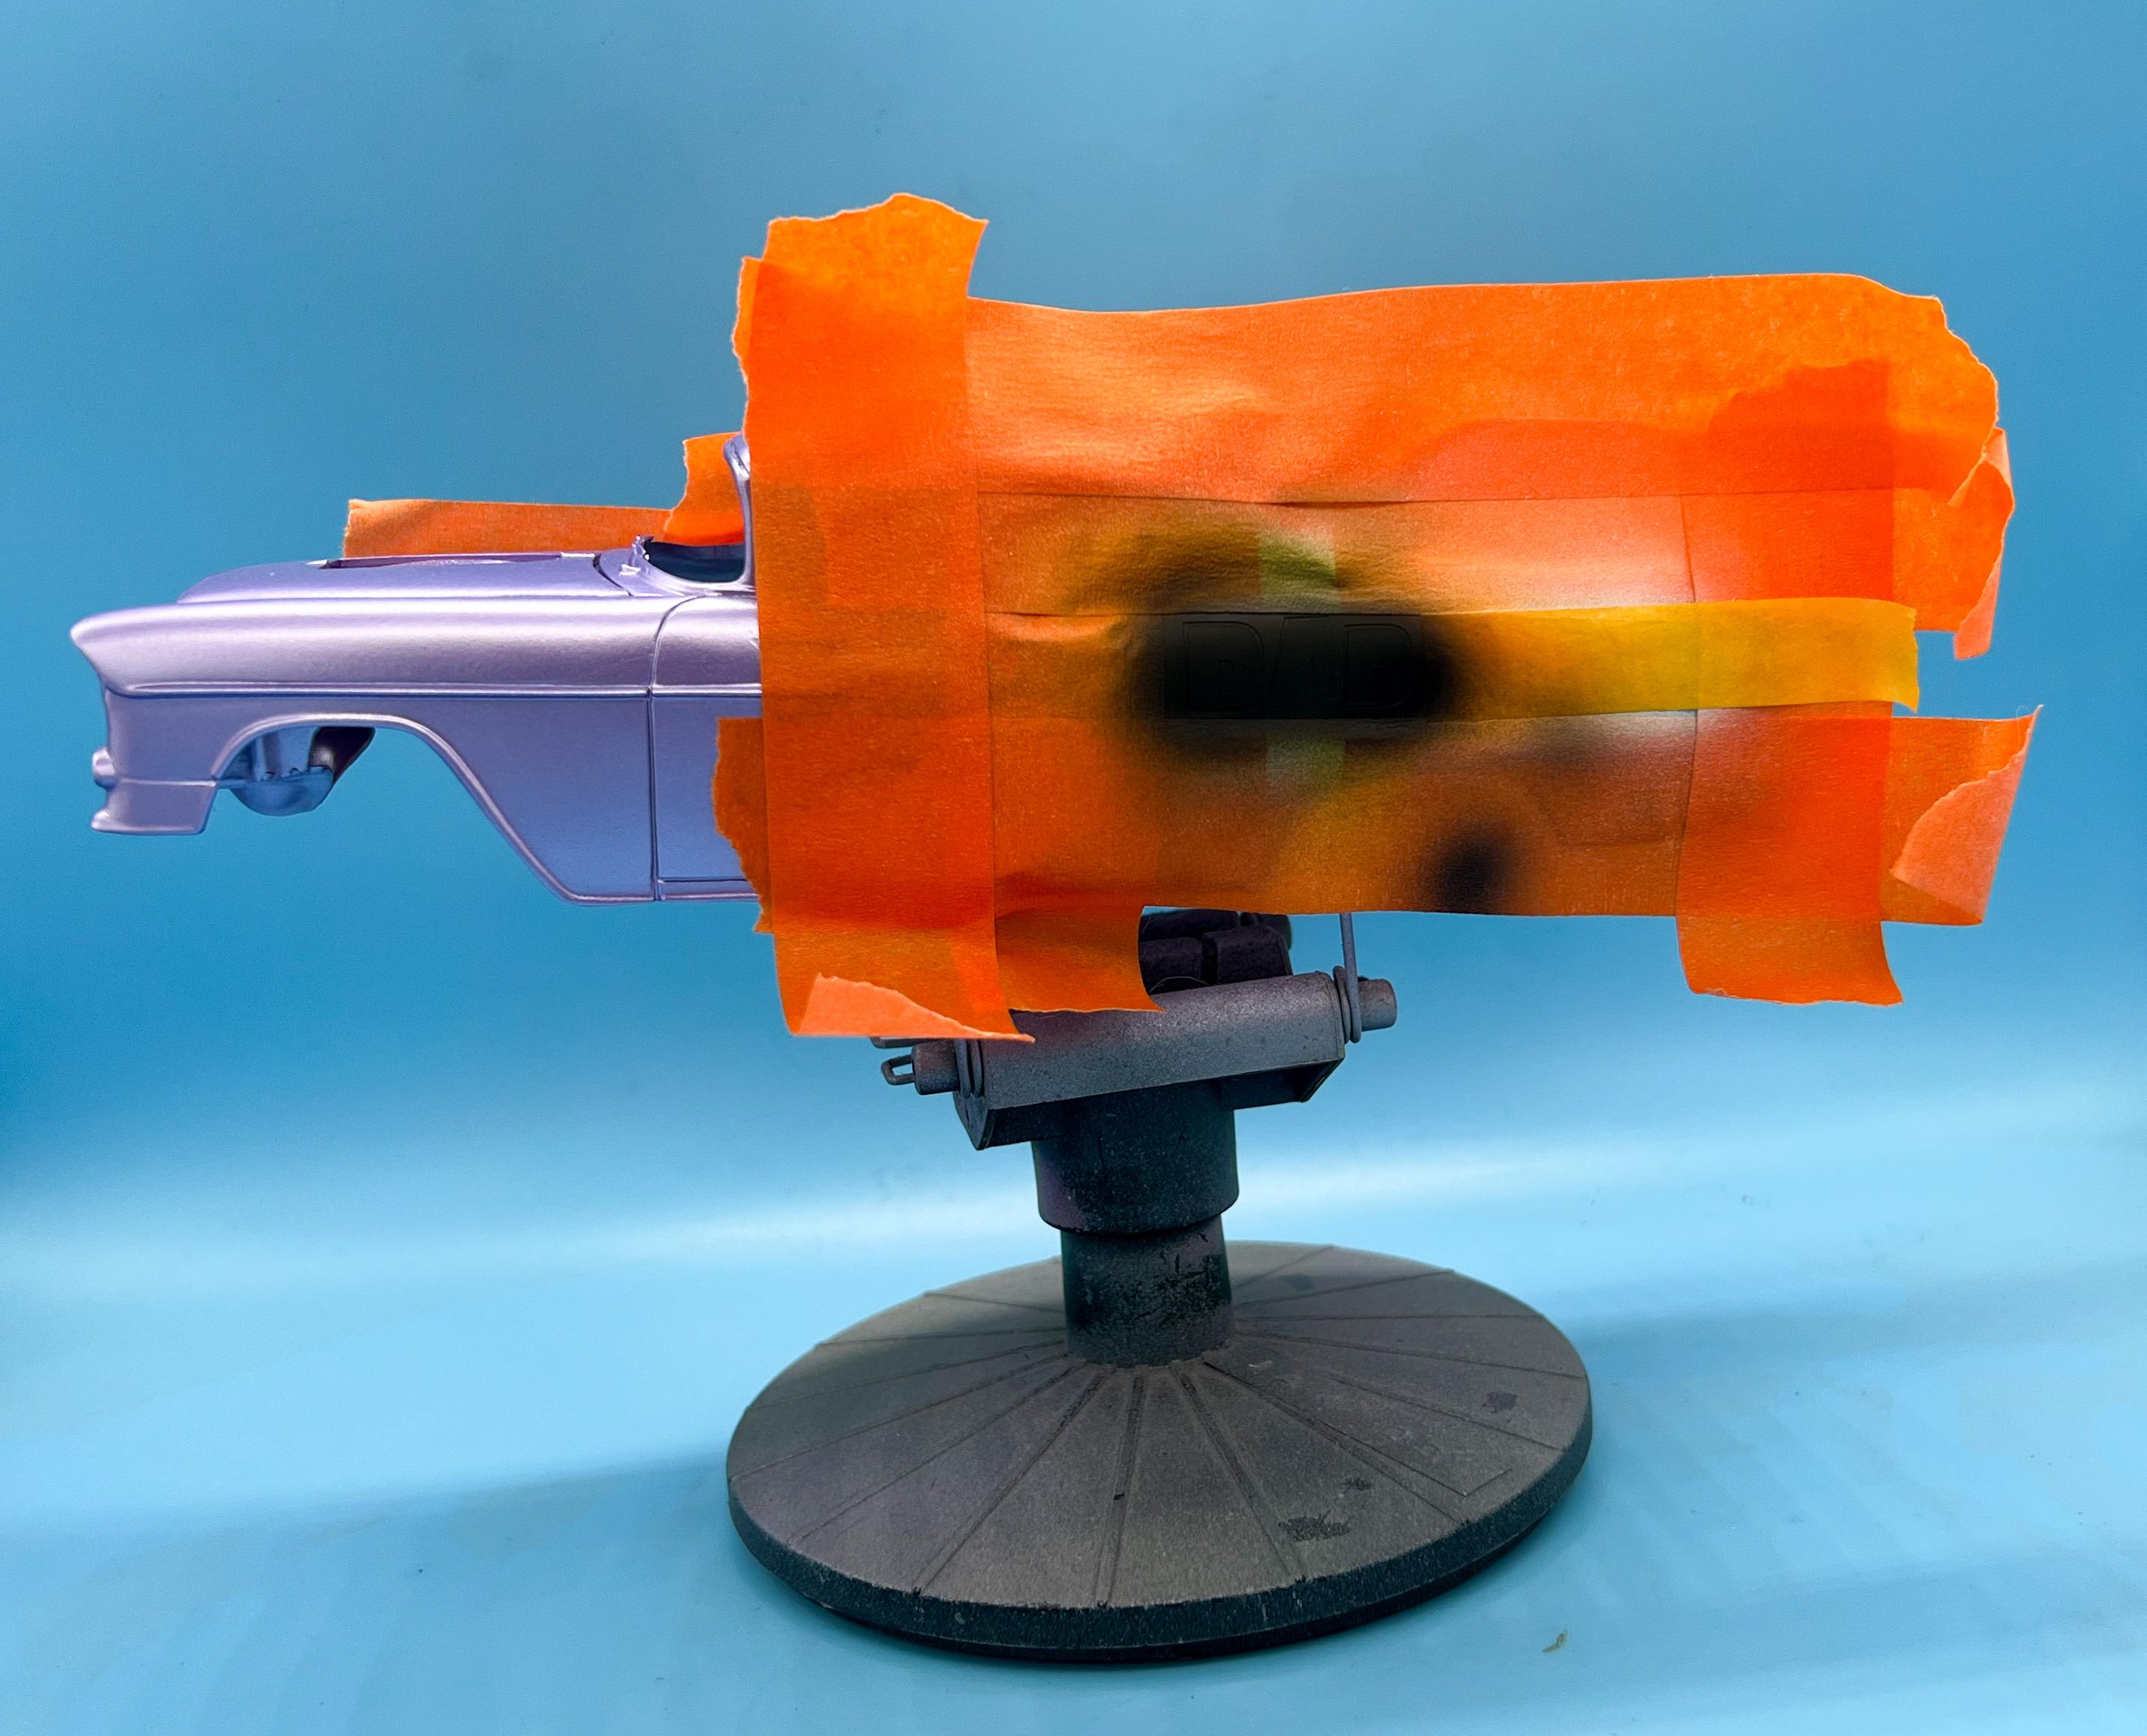
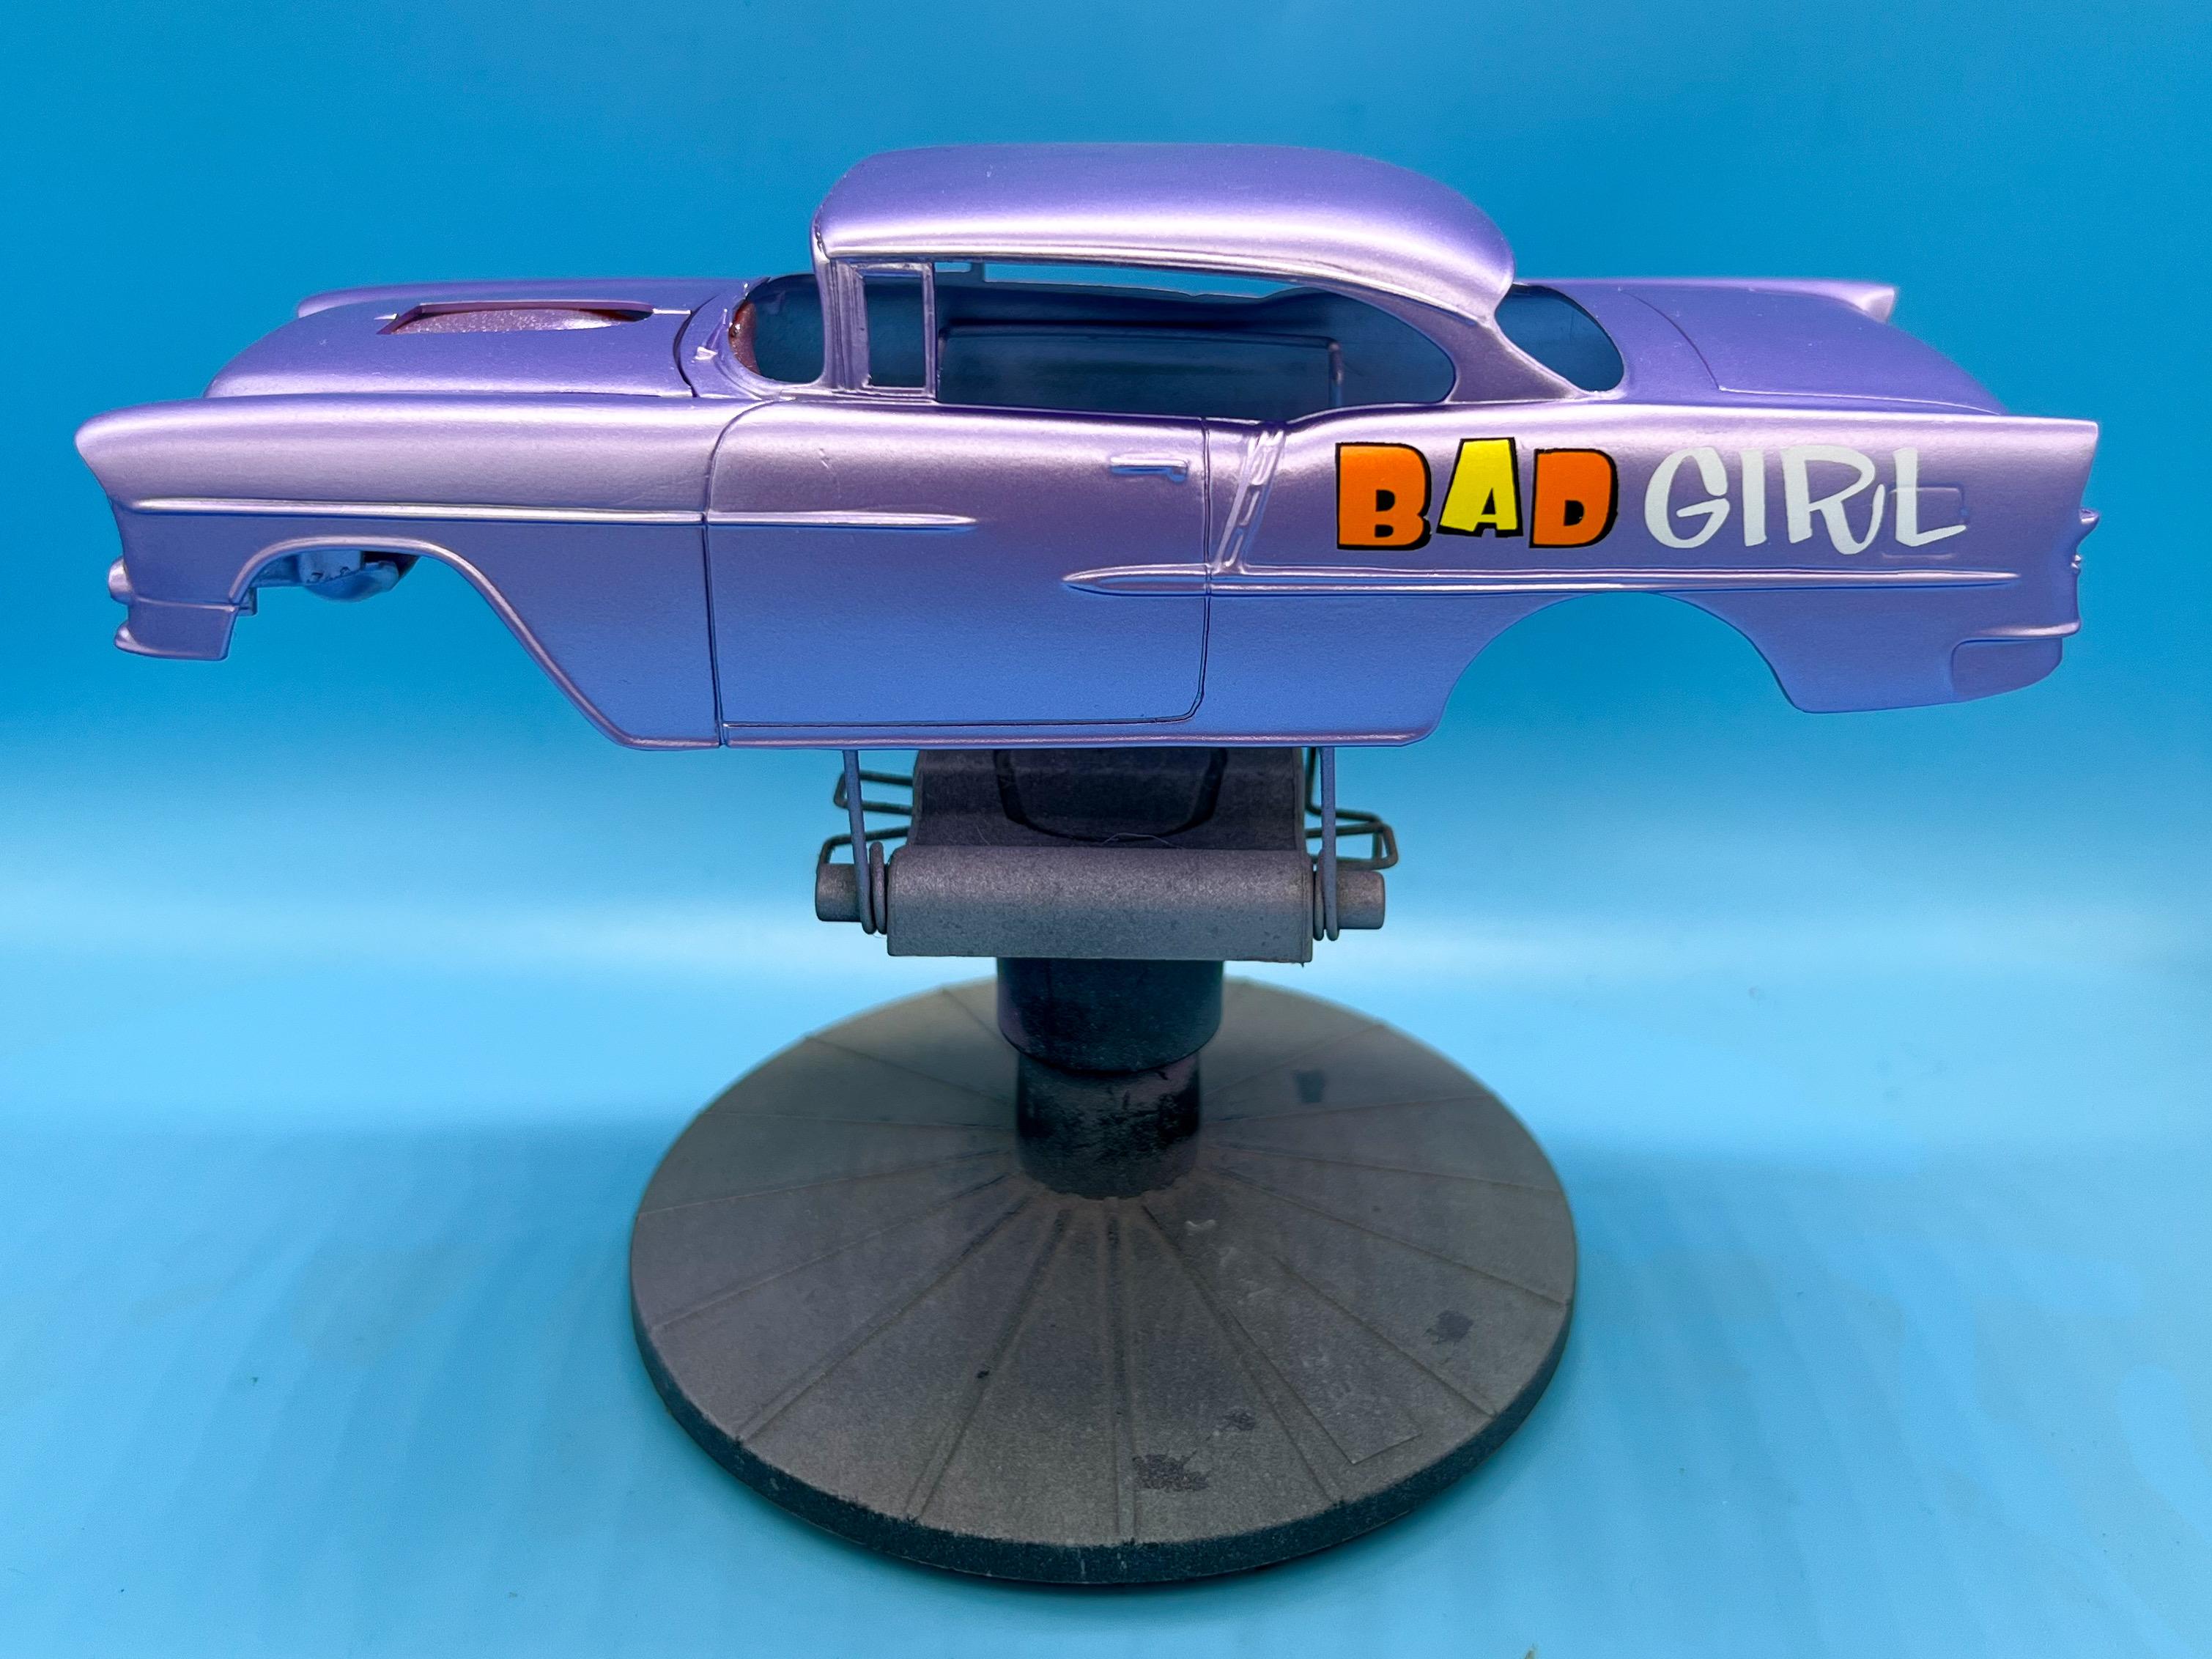
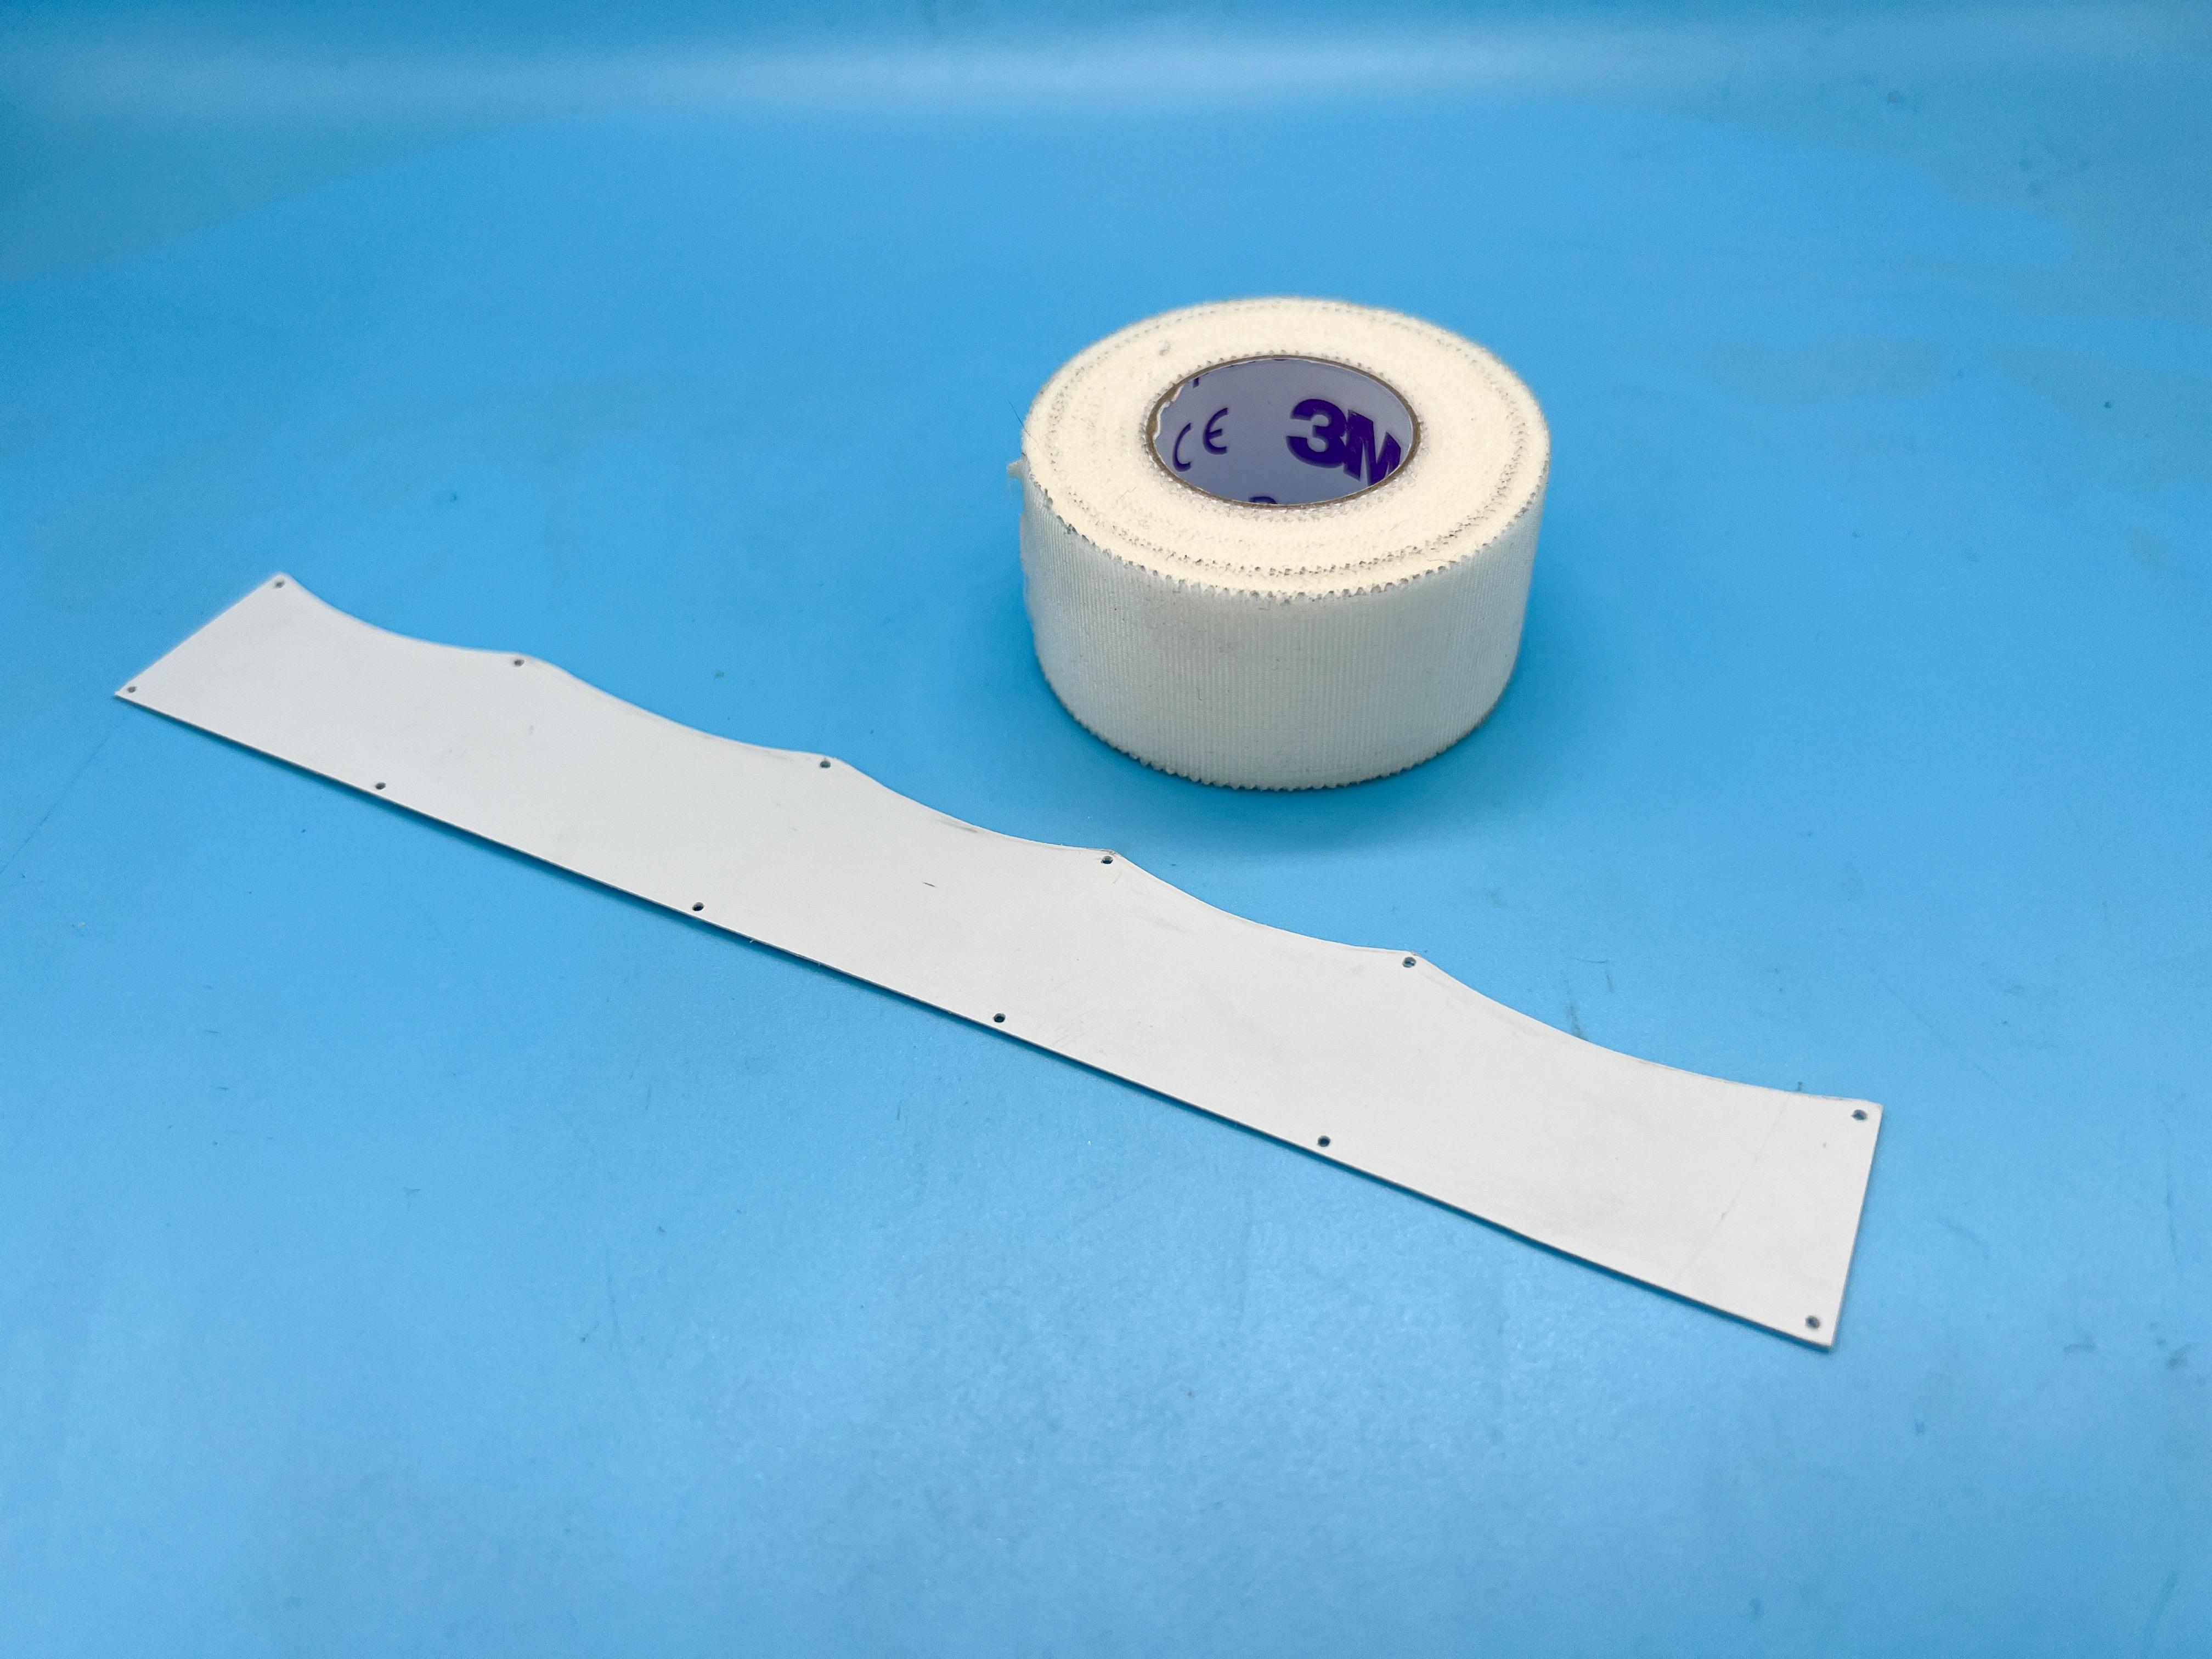
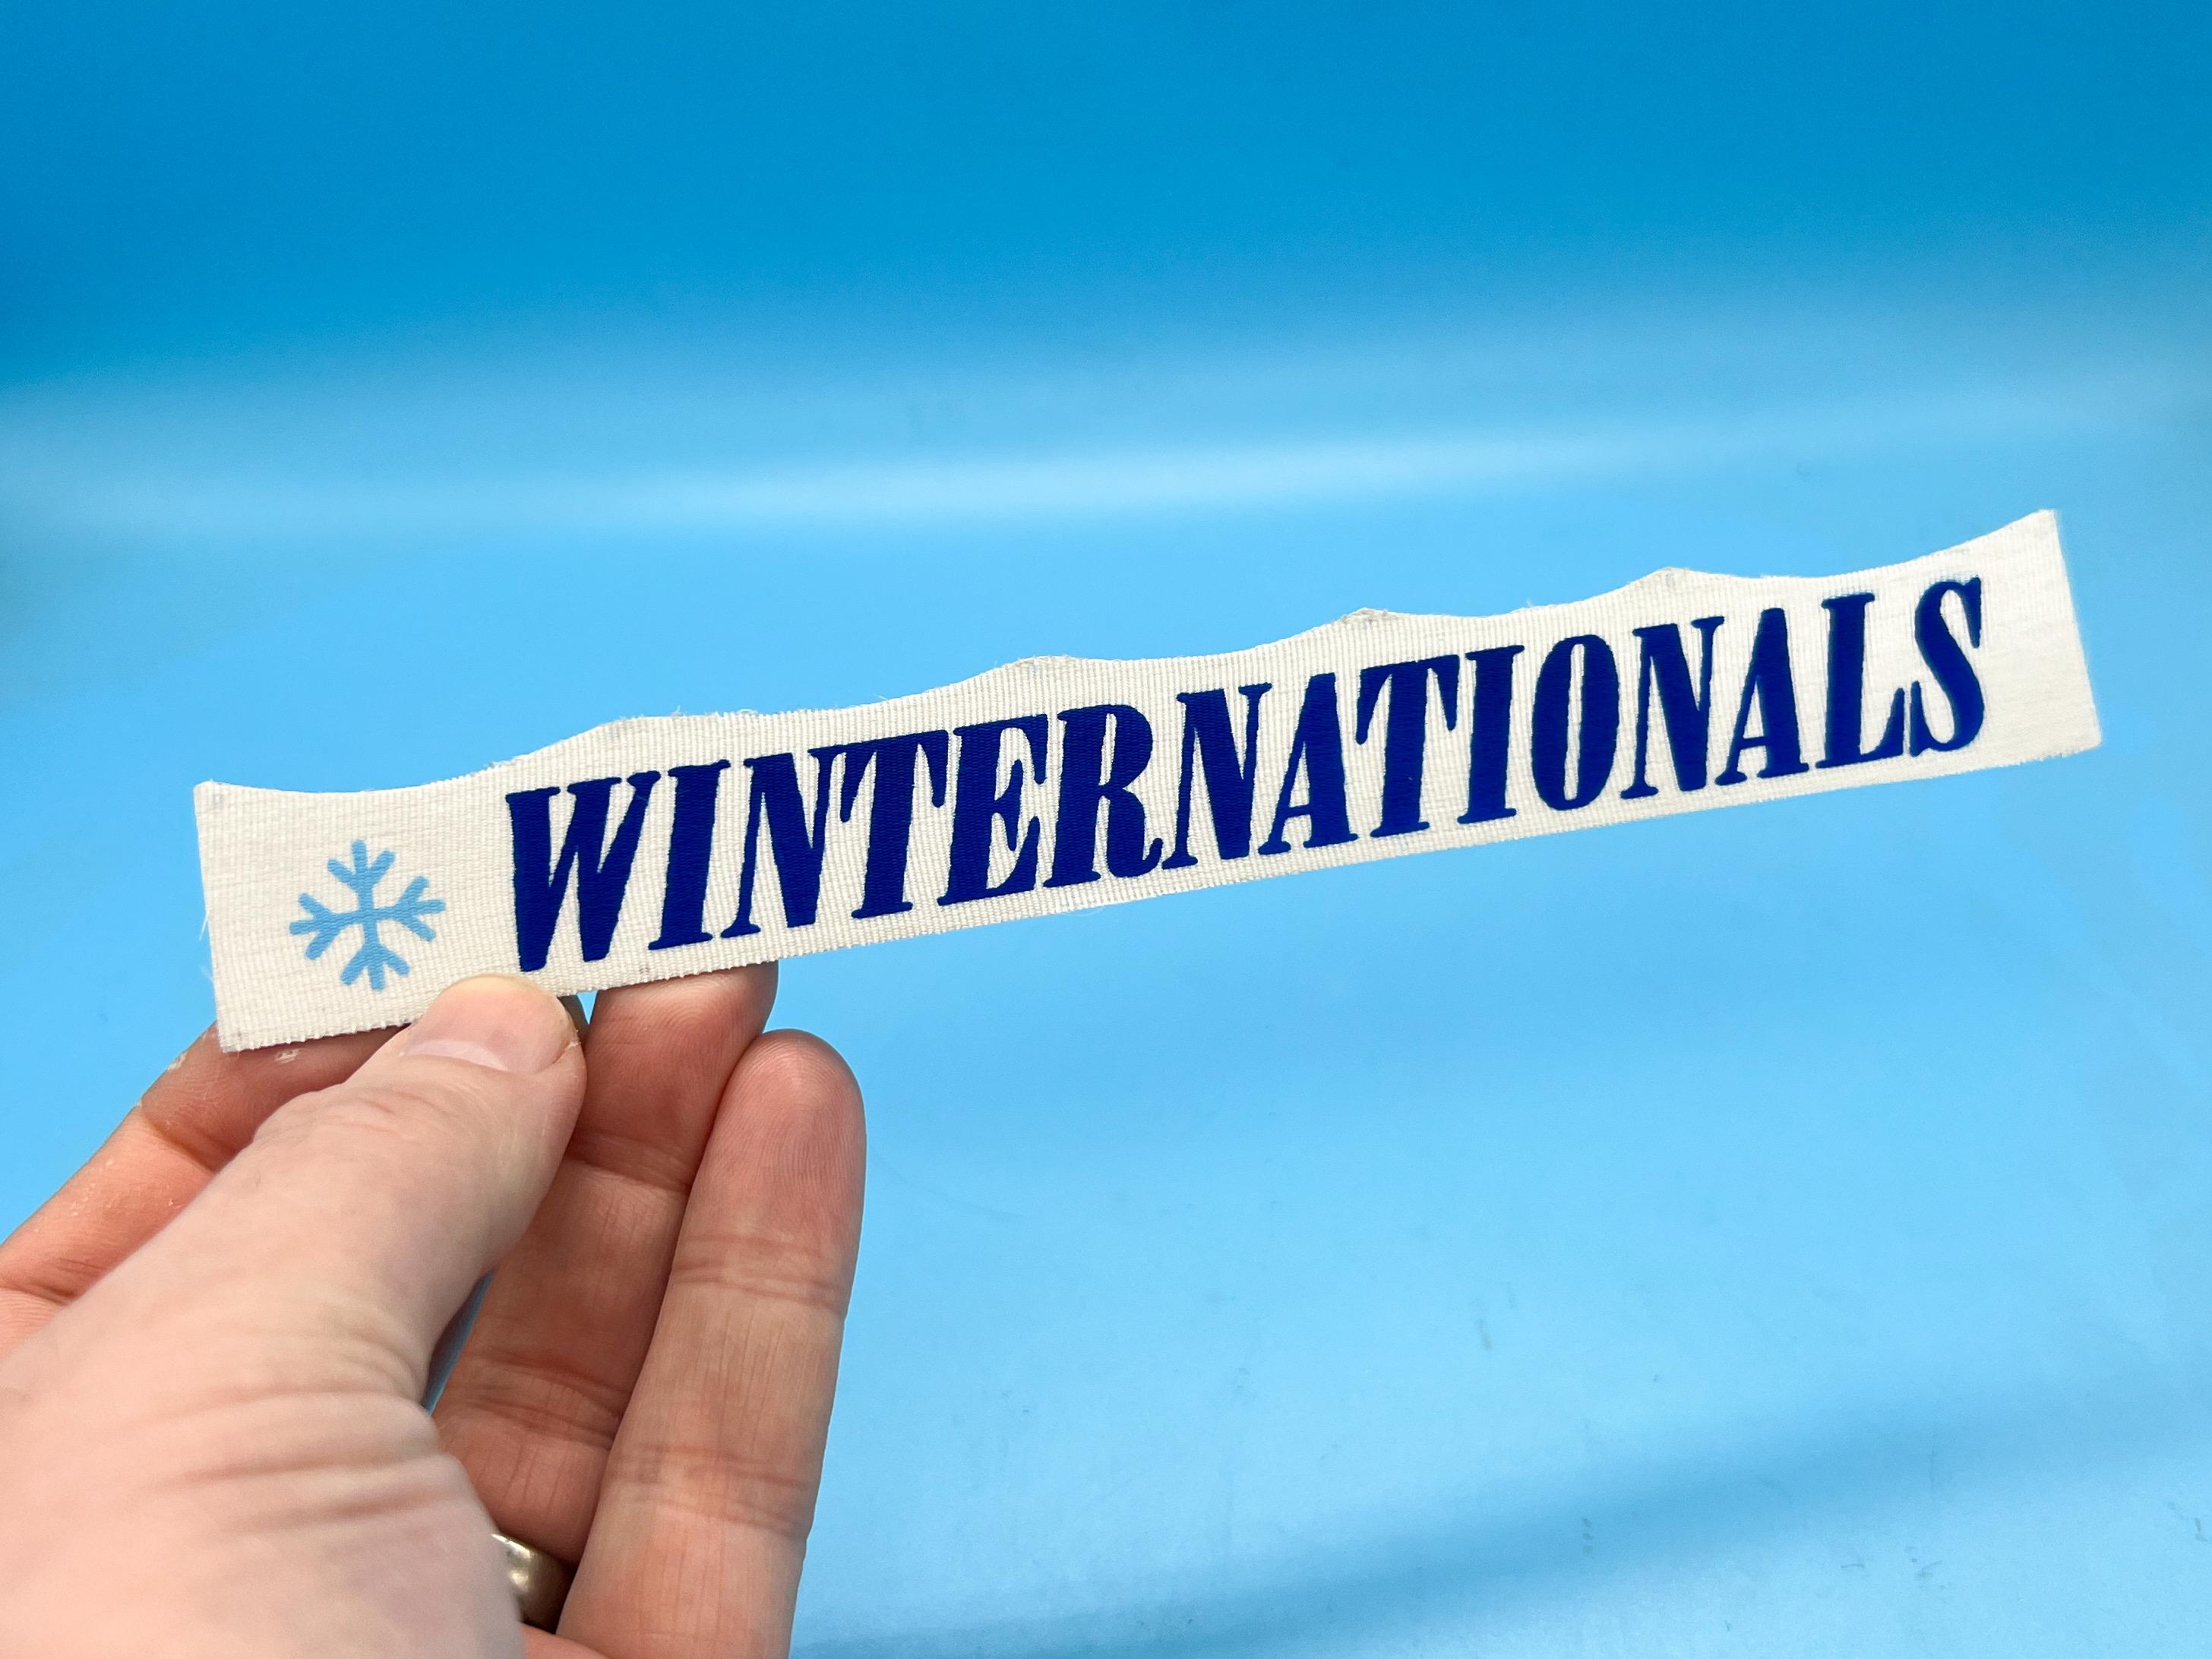
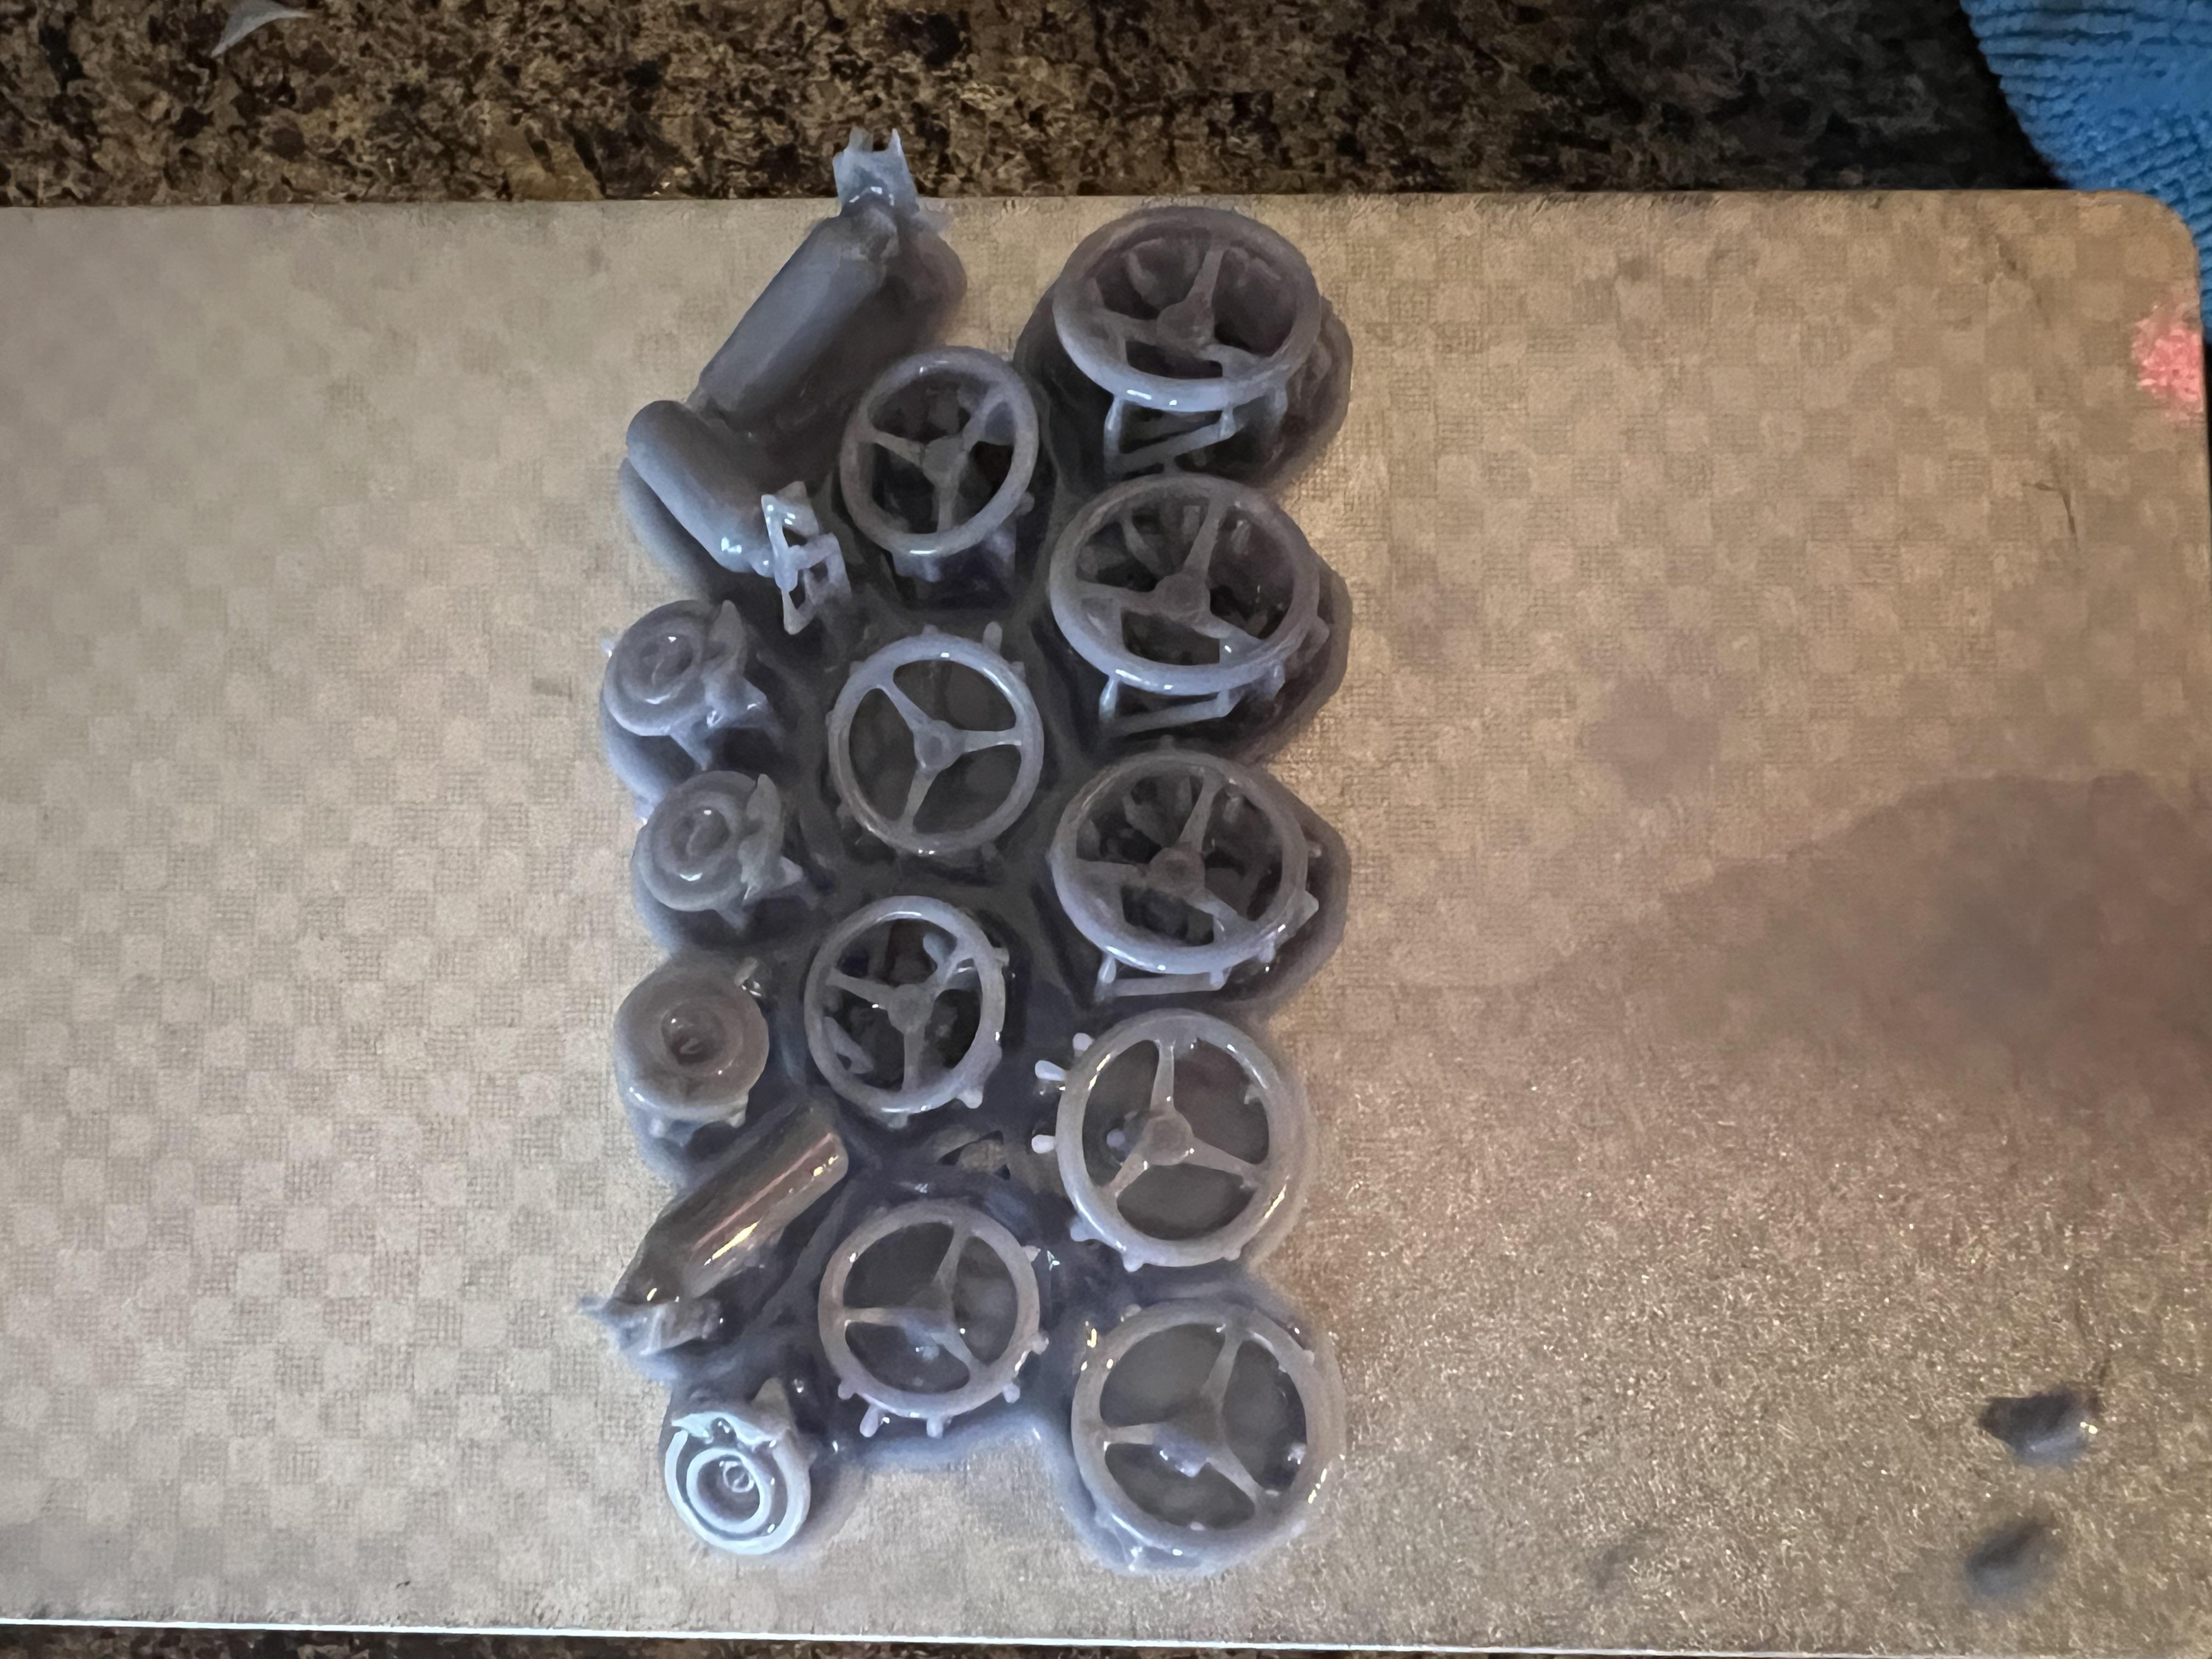
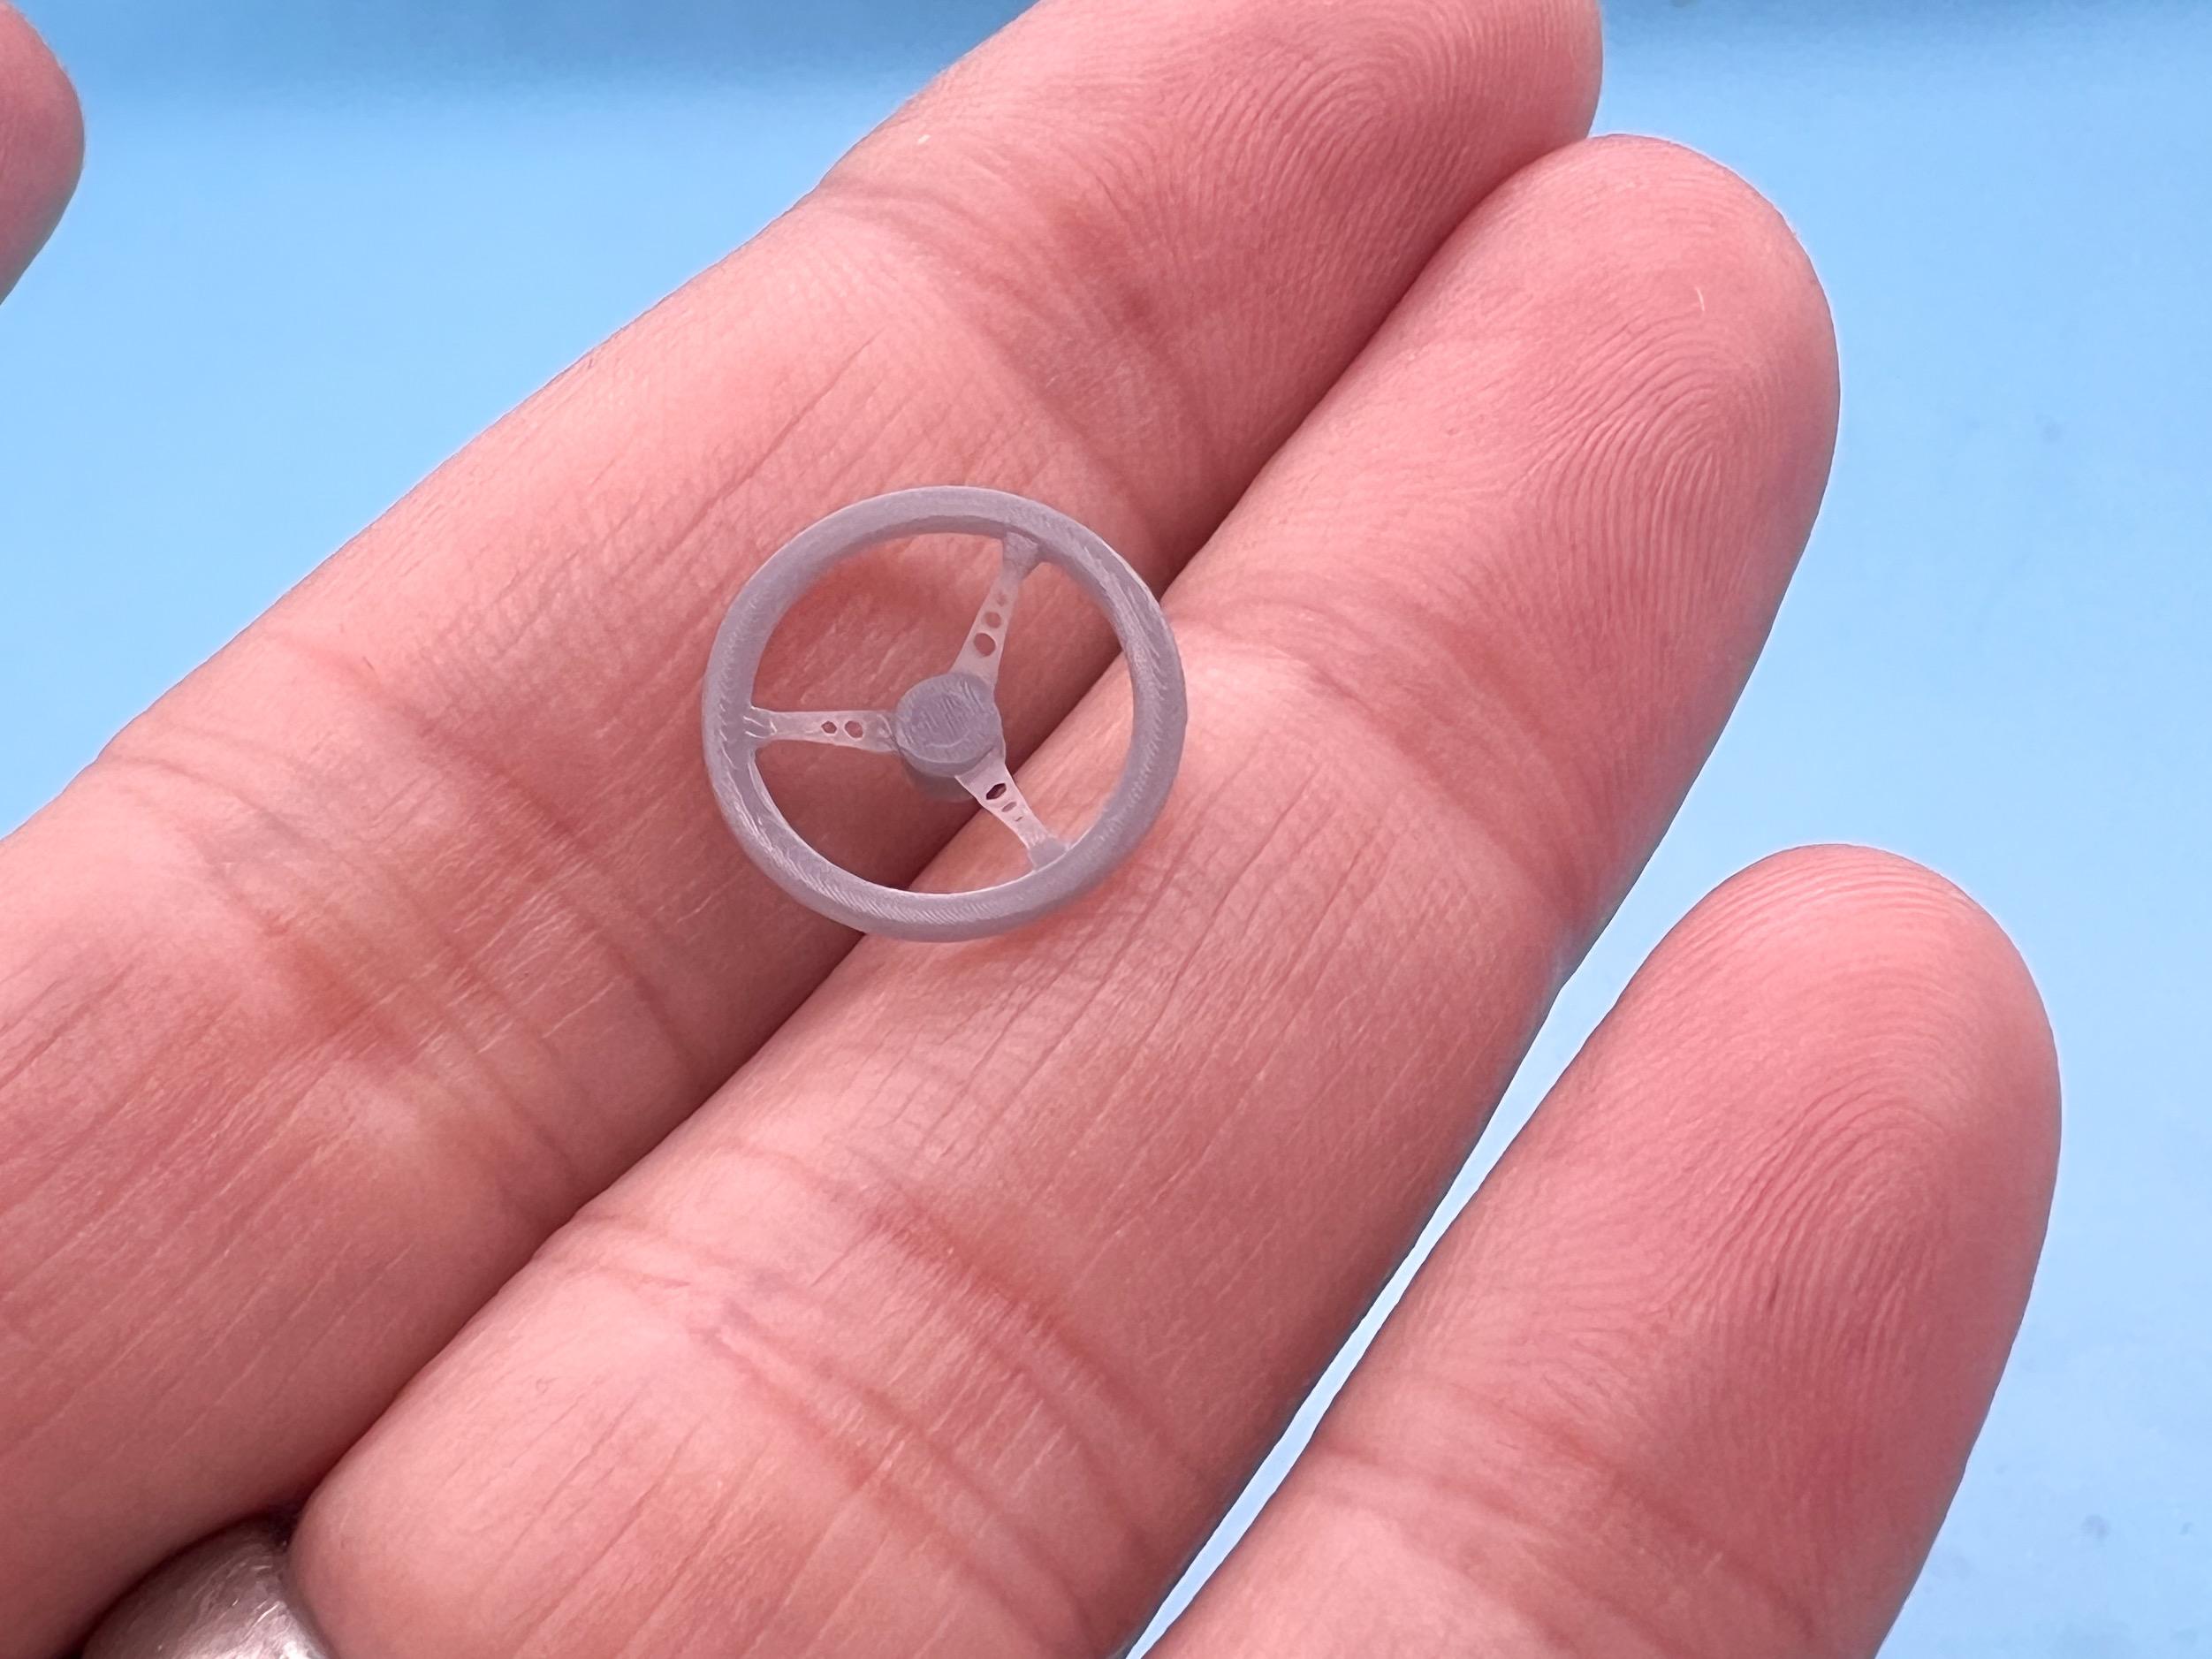
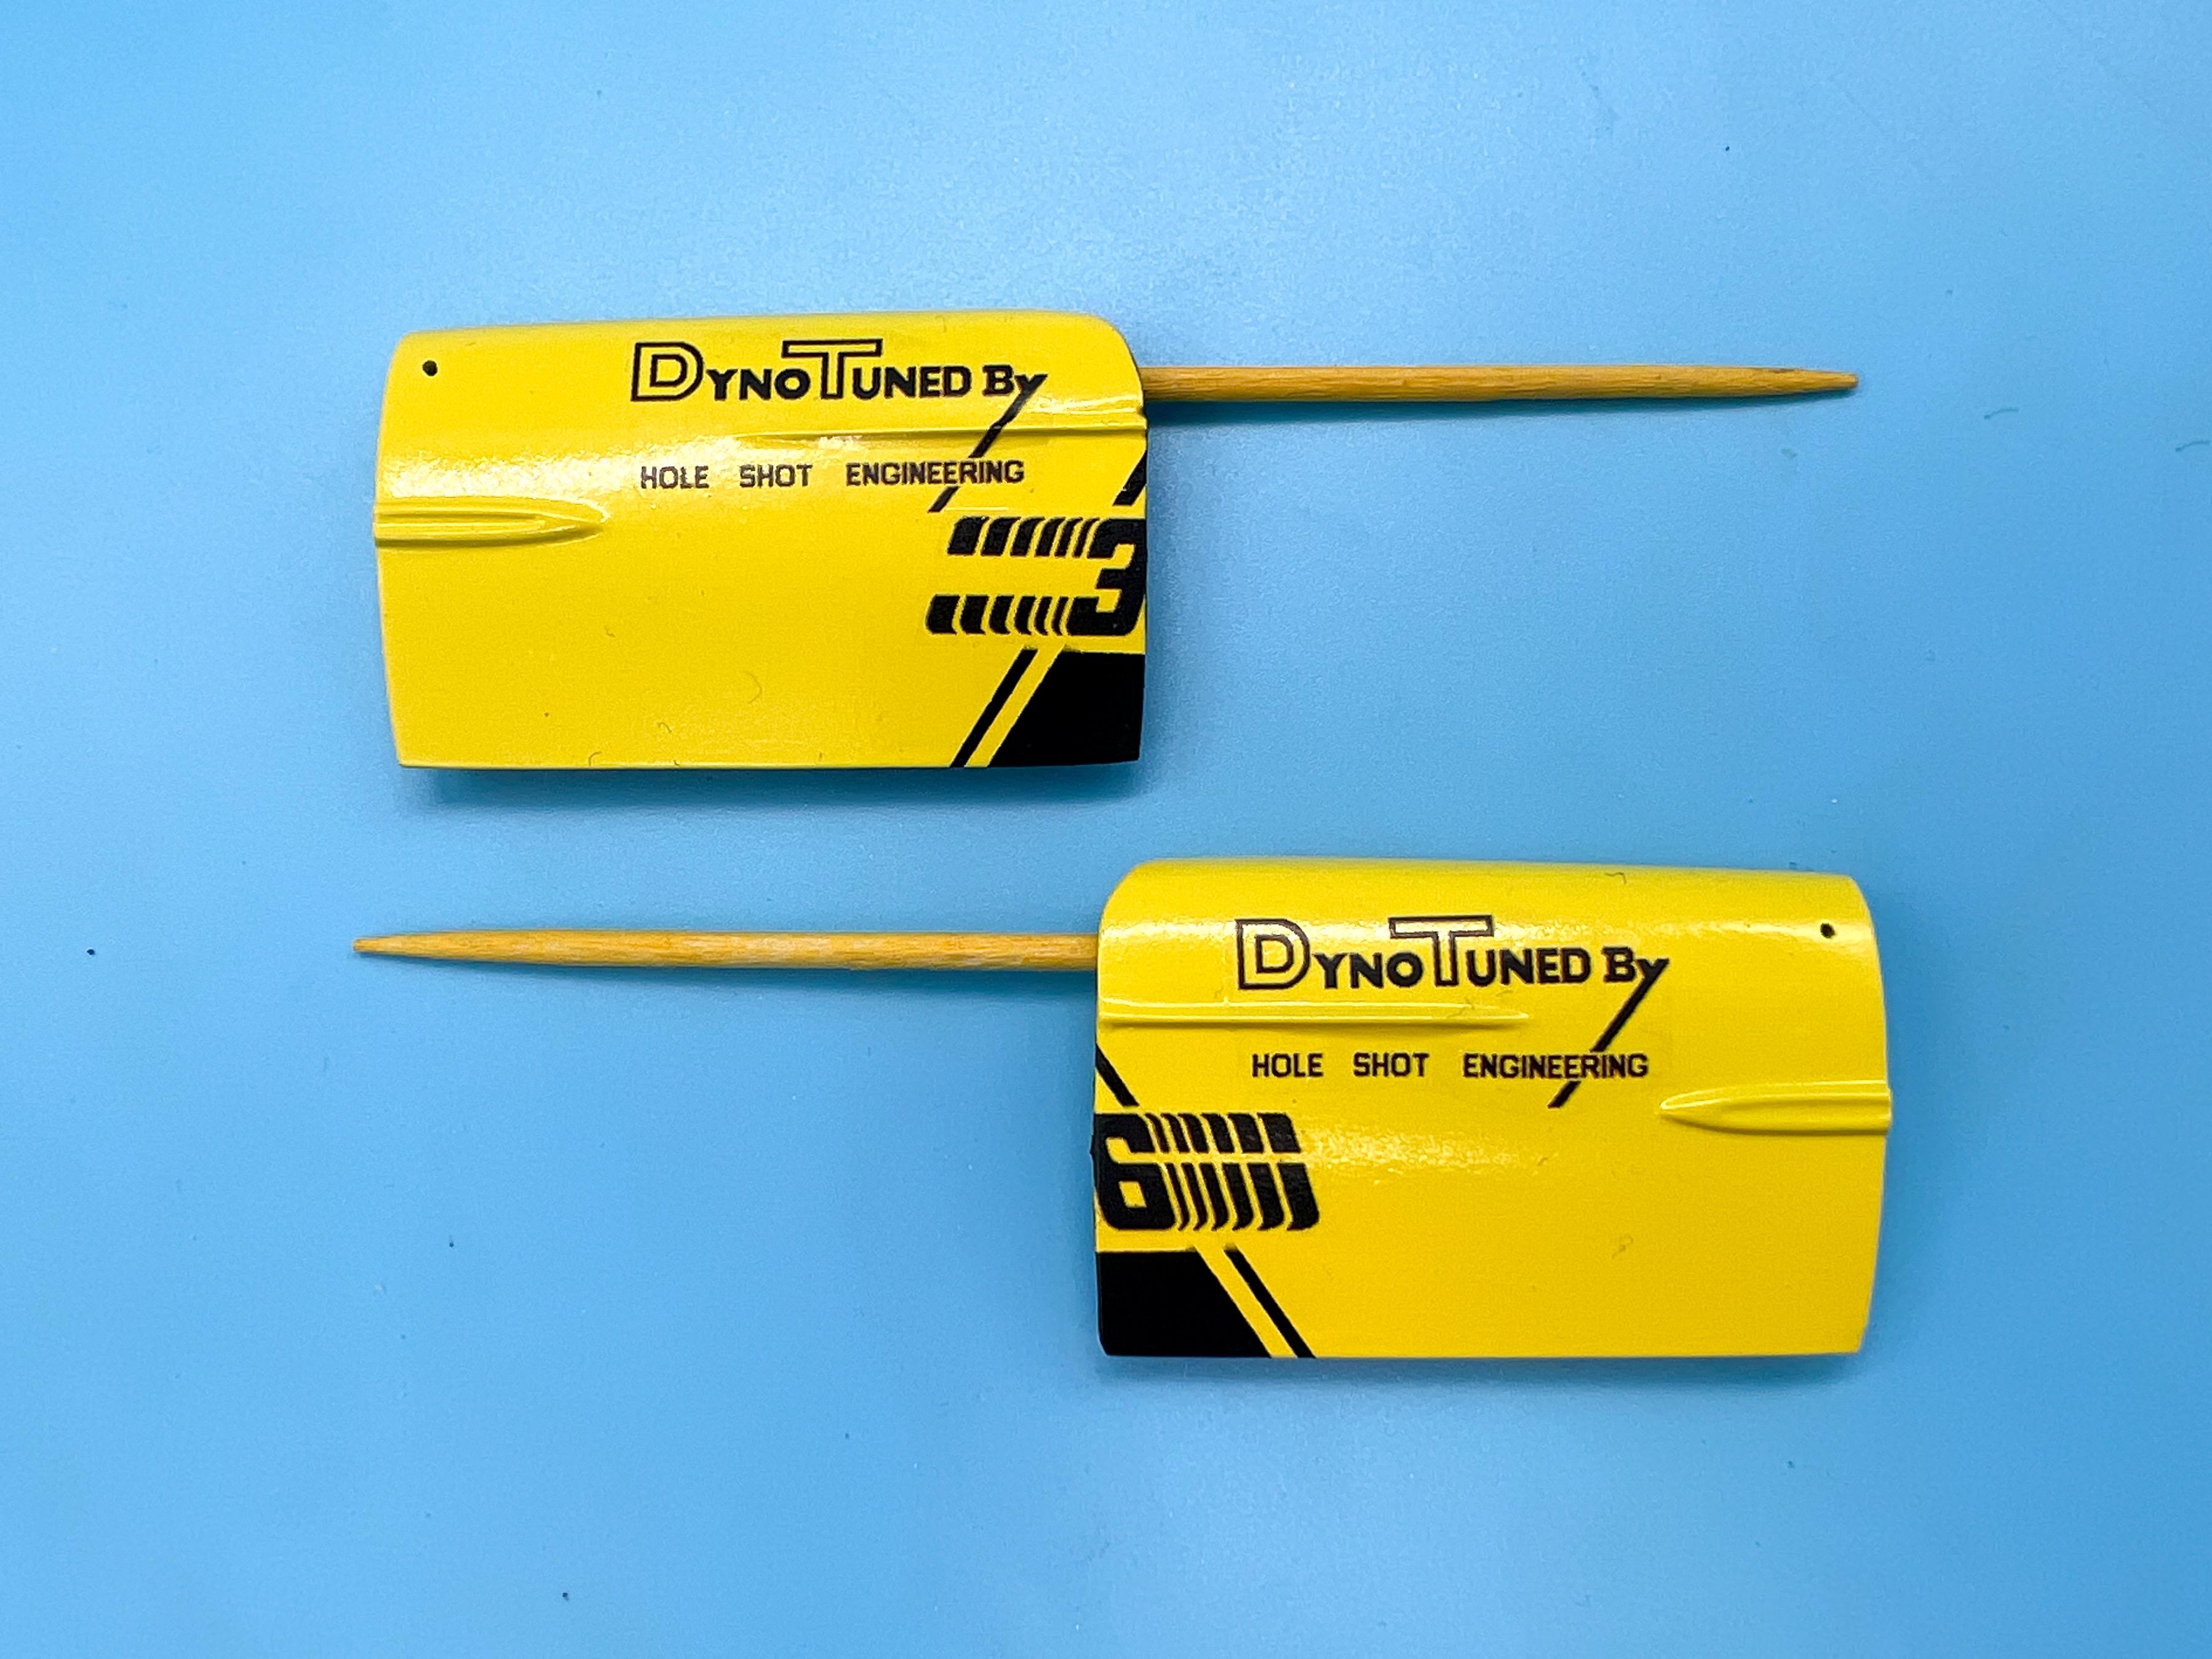
A little more progress this weekend… First order of business was a little signwriting on the sister car…designed some lettering for the doors and cut some masks: I’m going with colors that will compliment the rest of the scene I’m trying to create here…first up, a pure white base: Then, a little masking with a Post It (which is a useful tool when you don’t want to use anything too tacky over recently shot paint…) and some of the same yellow I used on the ‘main’ car: Then, some more masking and a third color: Next up, I shot some intercoat to protect the work I already did, and once that dried I laid down some more masks: And then some black, to outline those big chunky cartoony letters: Then, the moment of truth…tada! I have a little more to do on this one, but like the box art that inspired these builds this one will be a lot simpler…it’s really just part of the furniture for the little scene I’m making… Speaking of the box art, I felt like doing some work on the base, so I cut some styrene sheet to make the banner that you can see top right here: I covered the ‘banner with medical tape to give it a little texture, then cut some more masks for the lettering and that snowflake graphic, then shot some Createx baby blue and dark blue over top: Some careful unmasking later… Whilst I was doing all that, I had the printer running, making some from brake disks, fire extinguishers for the interior and a shot at a better looking steering wheel…parts fresh off the printer: This steering wheel is SUPER fragile, but I like how it looks compared to the kit piece - what an improvement! The kit part was fragile too, but at least the new one is round to start with… Thanks for looking - more soon, soon as I’ve done more!
-
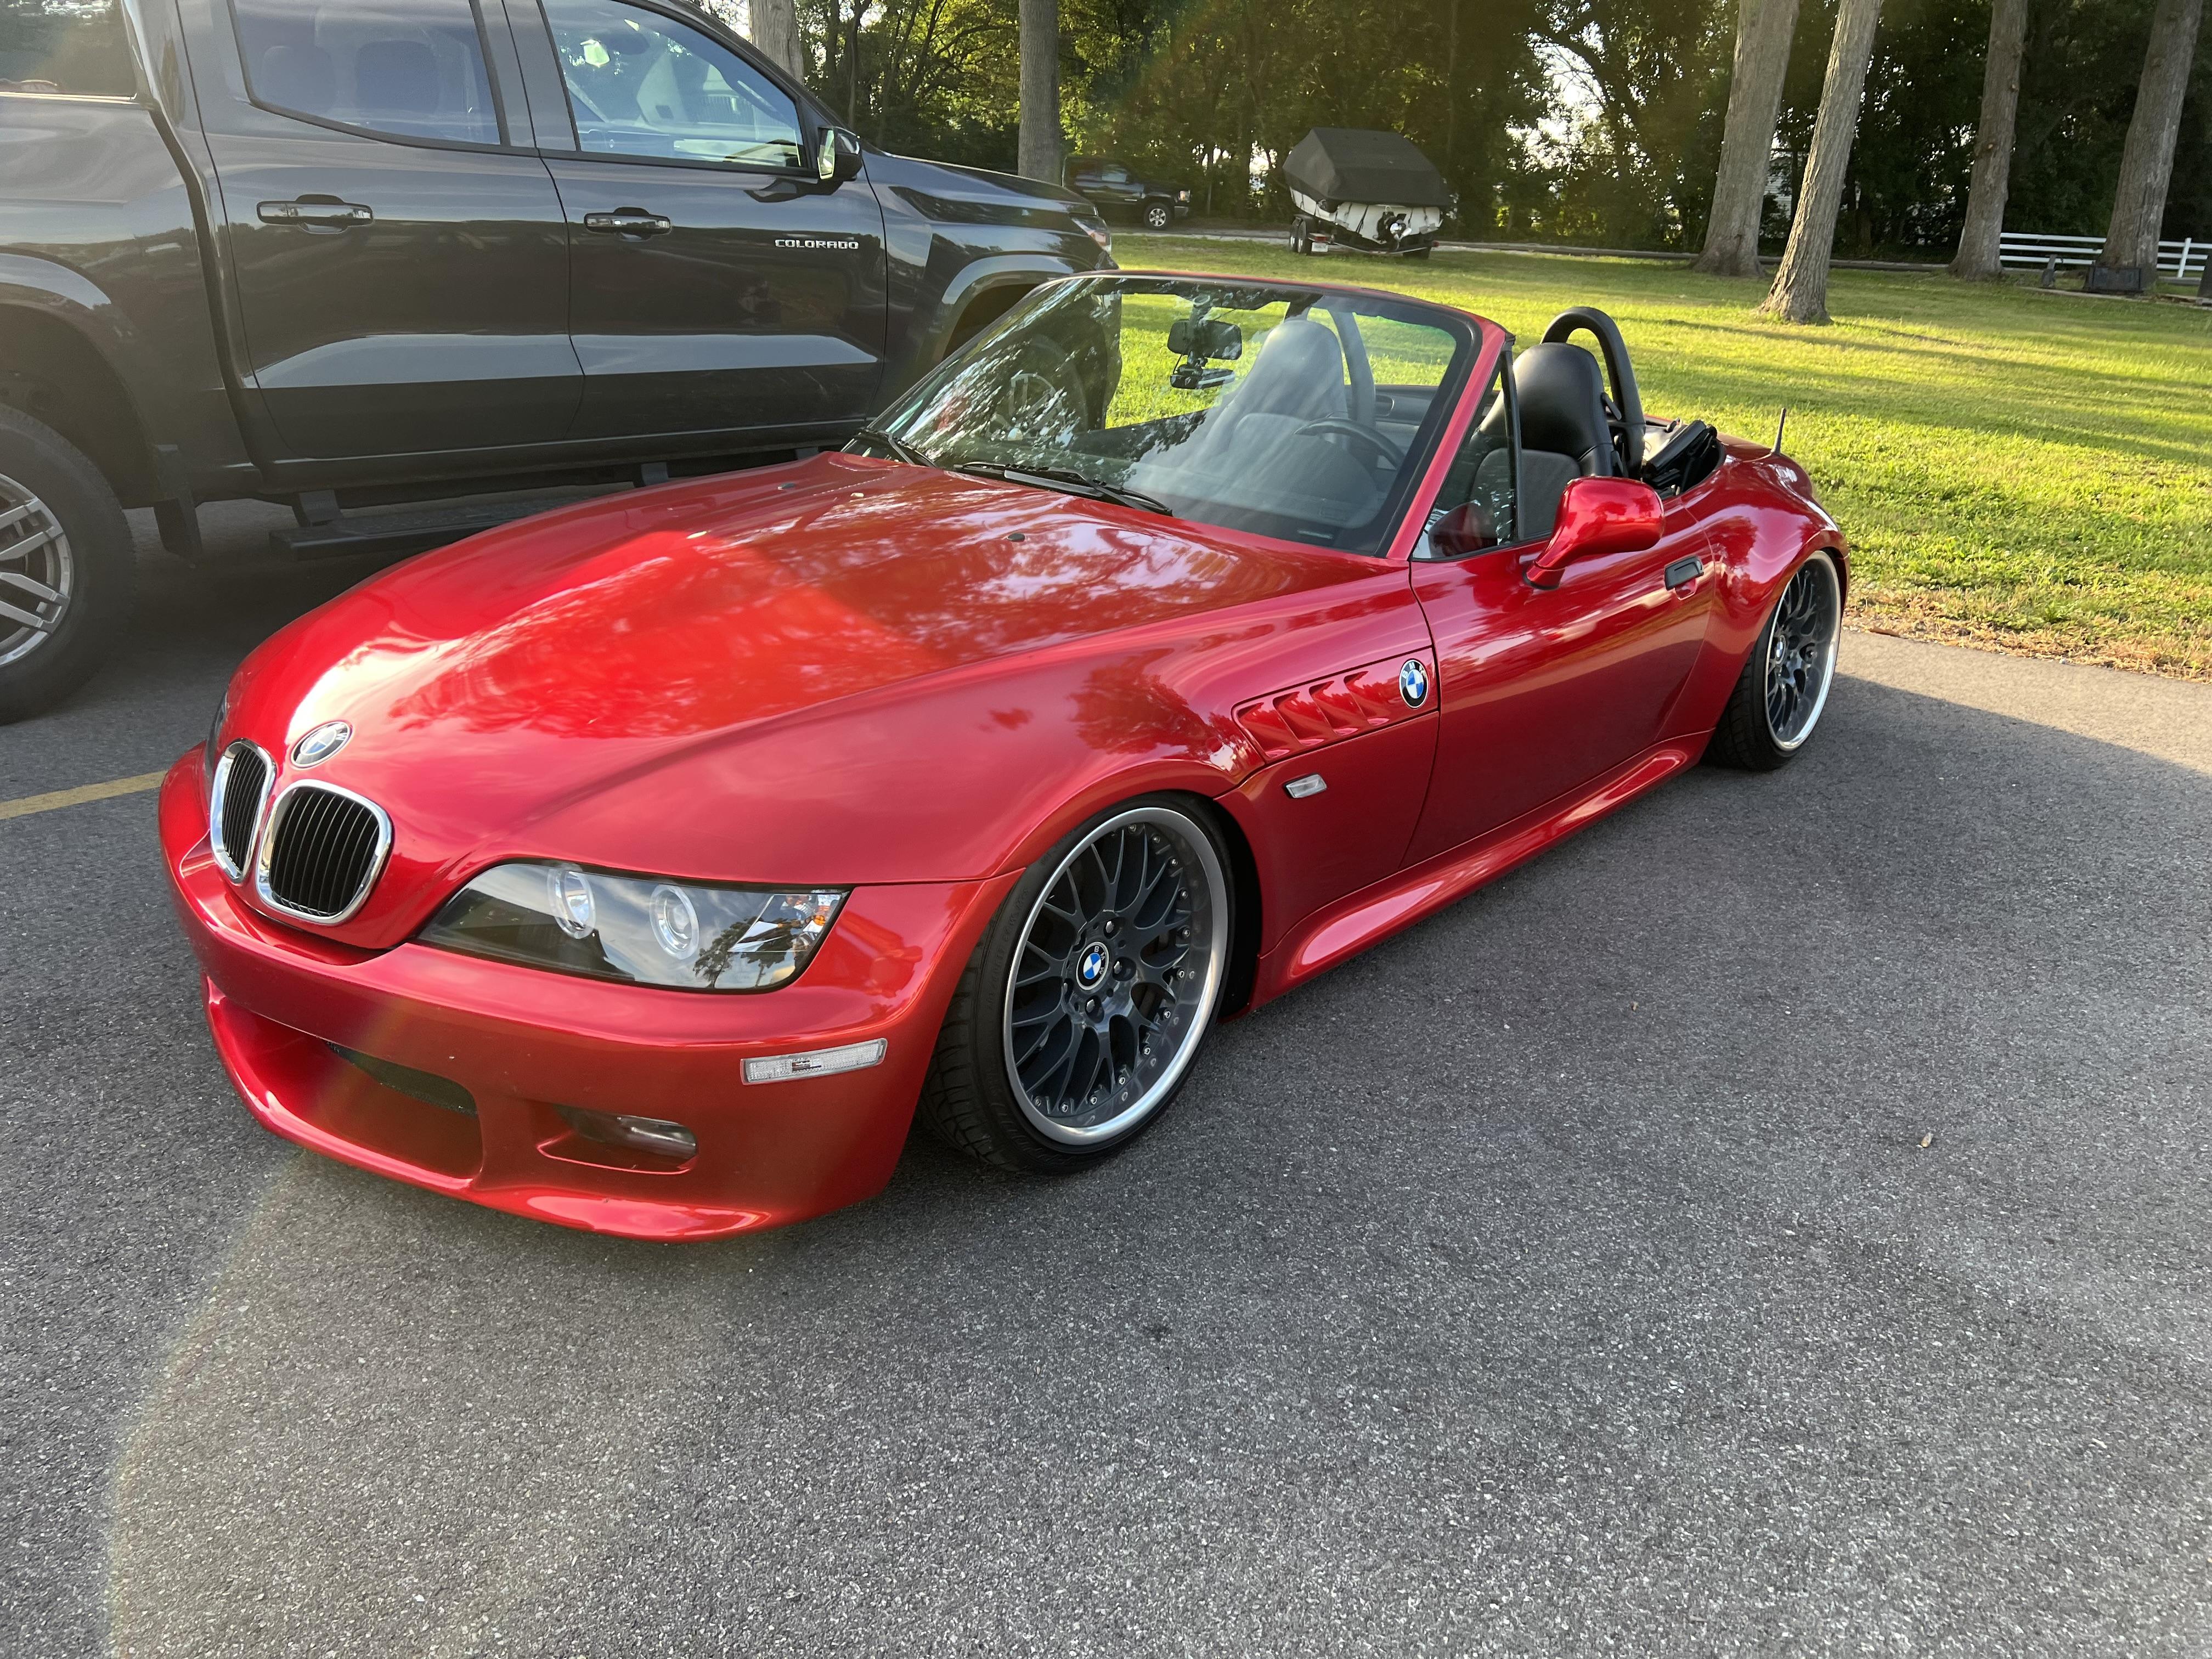
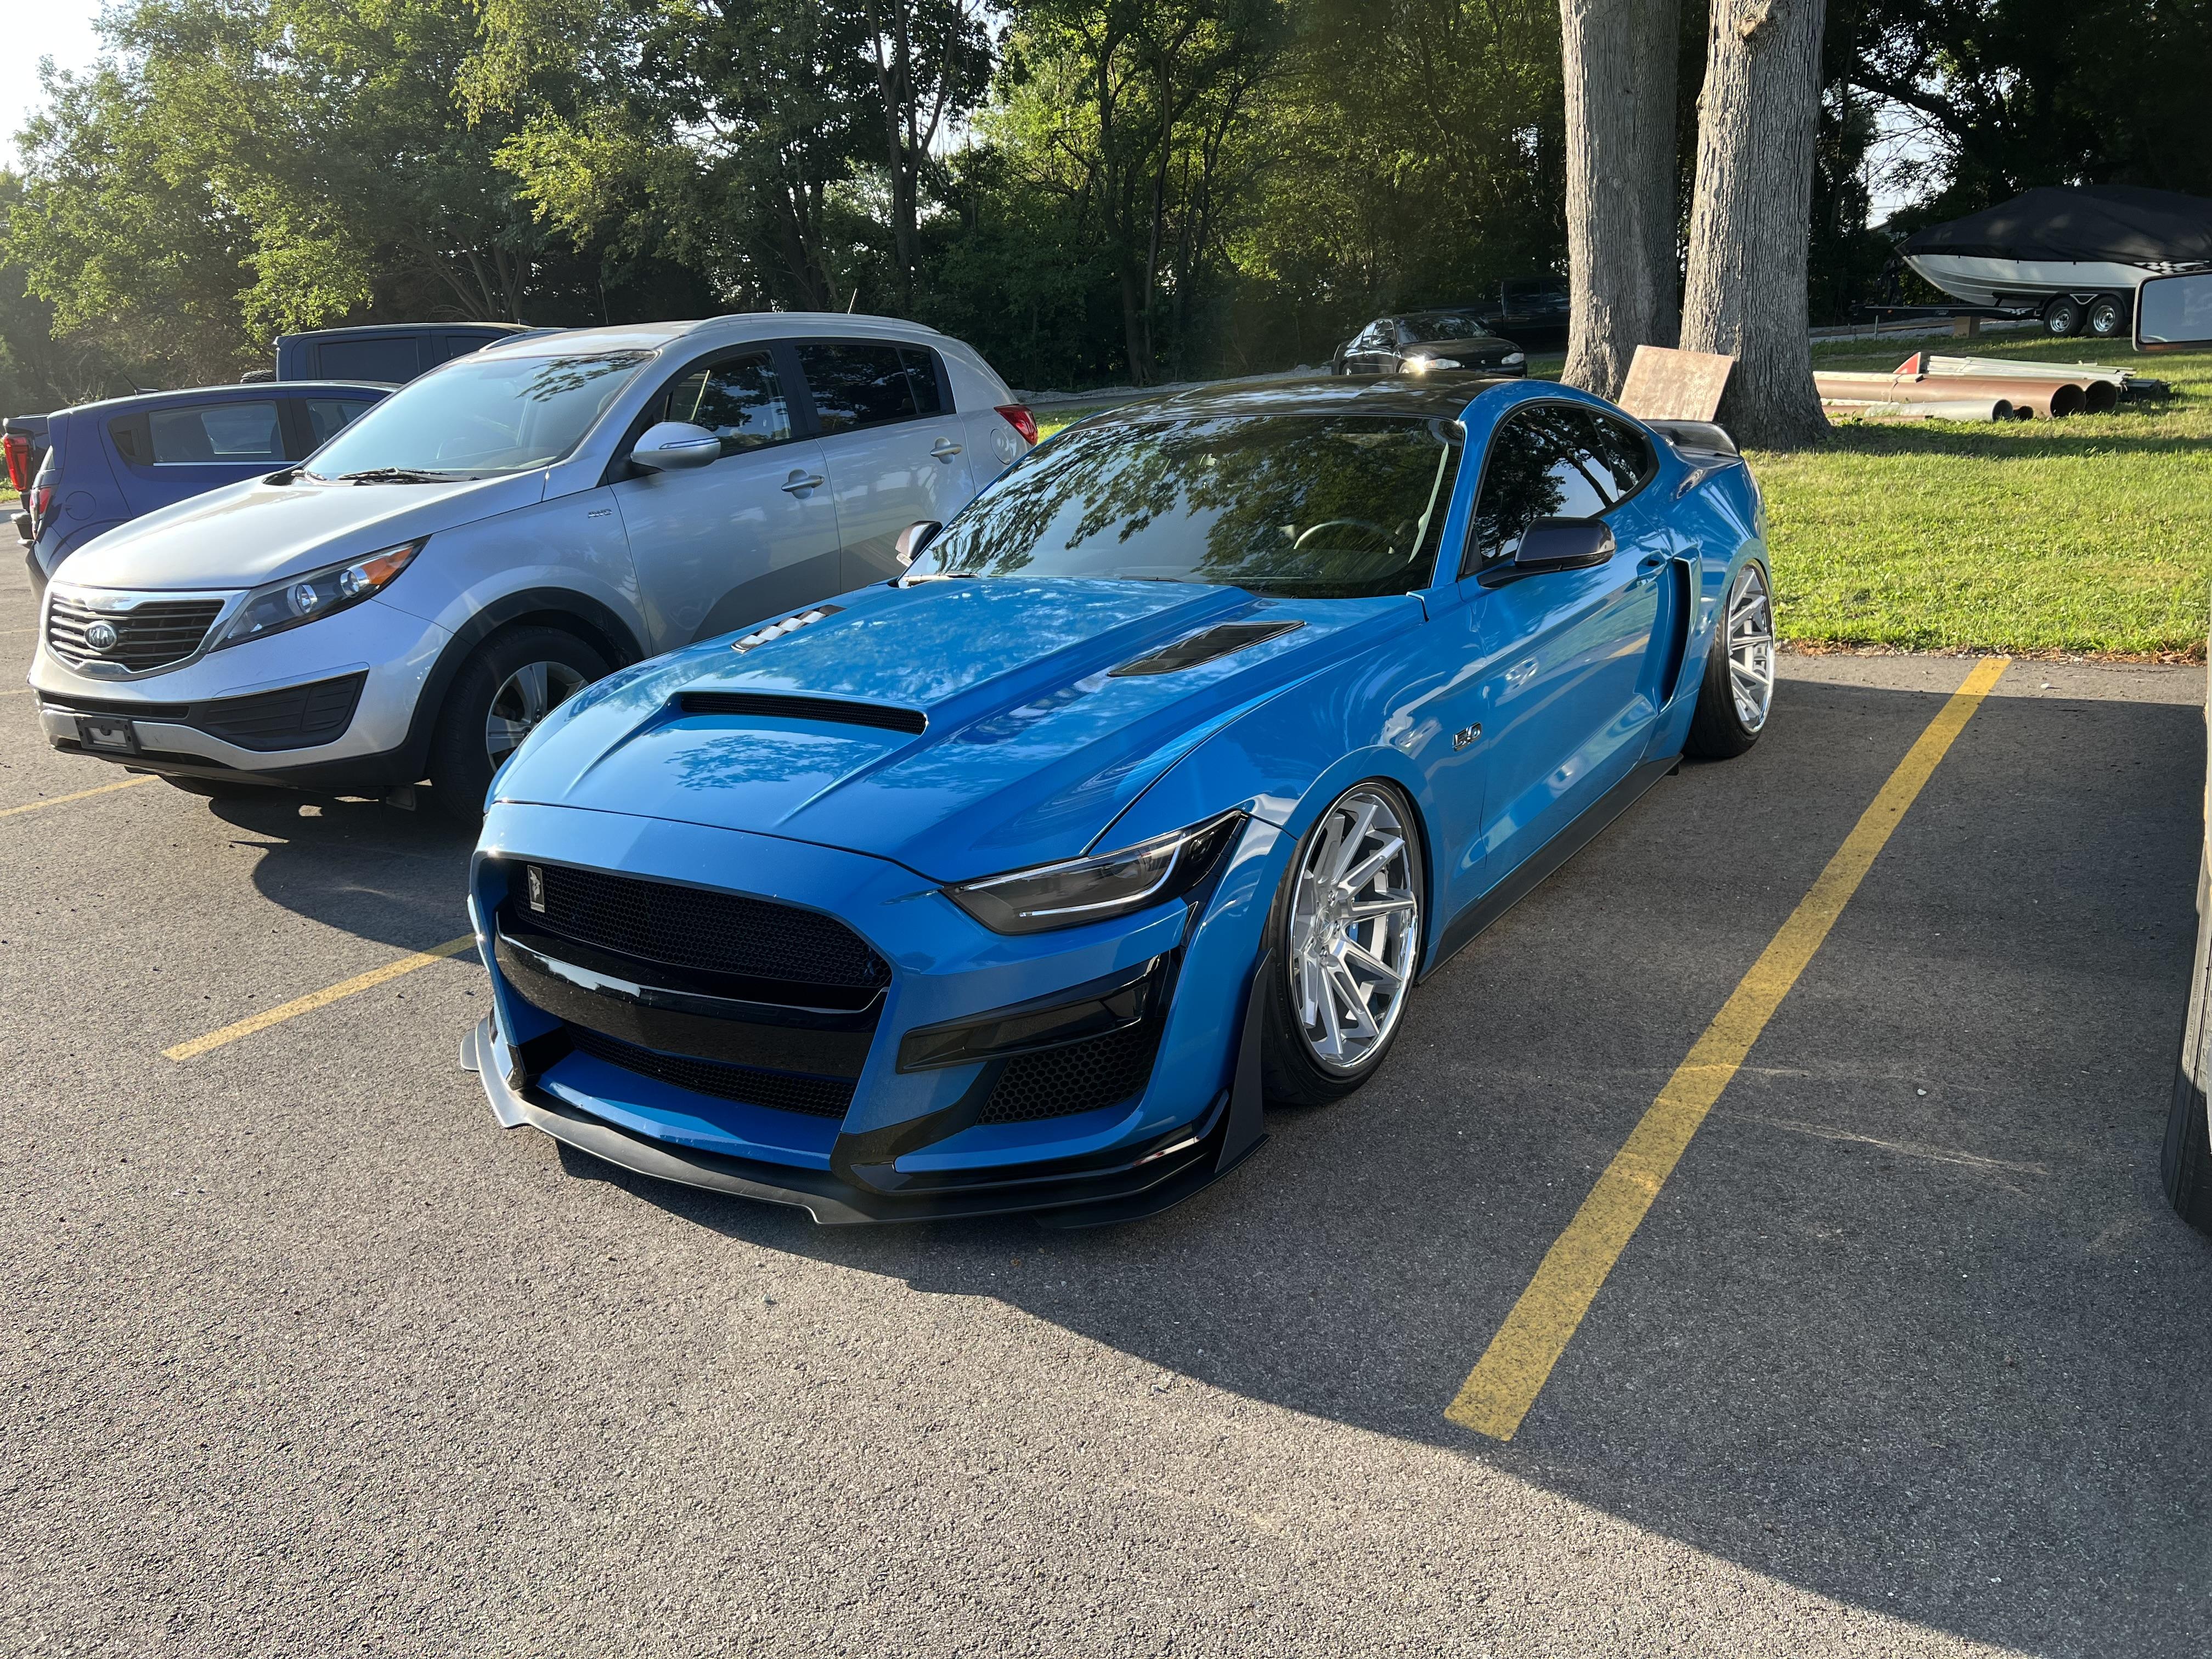
What did you see on the road today?
OldNYJim replied to Harry P.'s topic in General Automotive Talk (Trucks and Cars)
In the lot where I work this week
-
Nice looking build! I love those colors - and those wheels look great too!
-
My take on the most famous ‘55 gasser street machine’…
OldNYJim replied to OldNYJim's topic in WIP: Model Cars
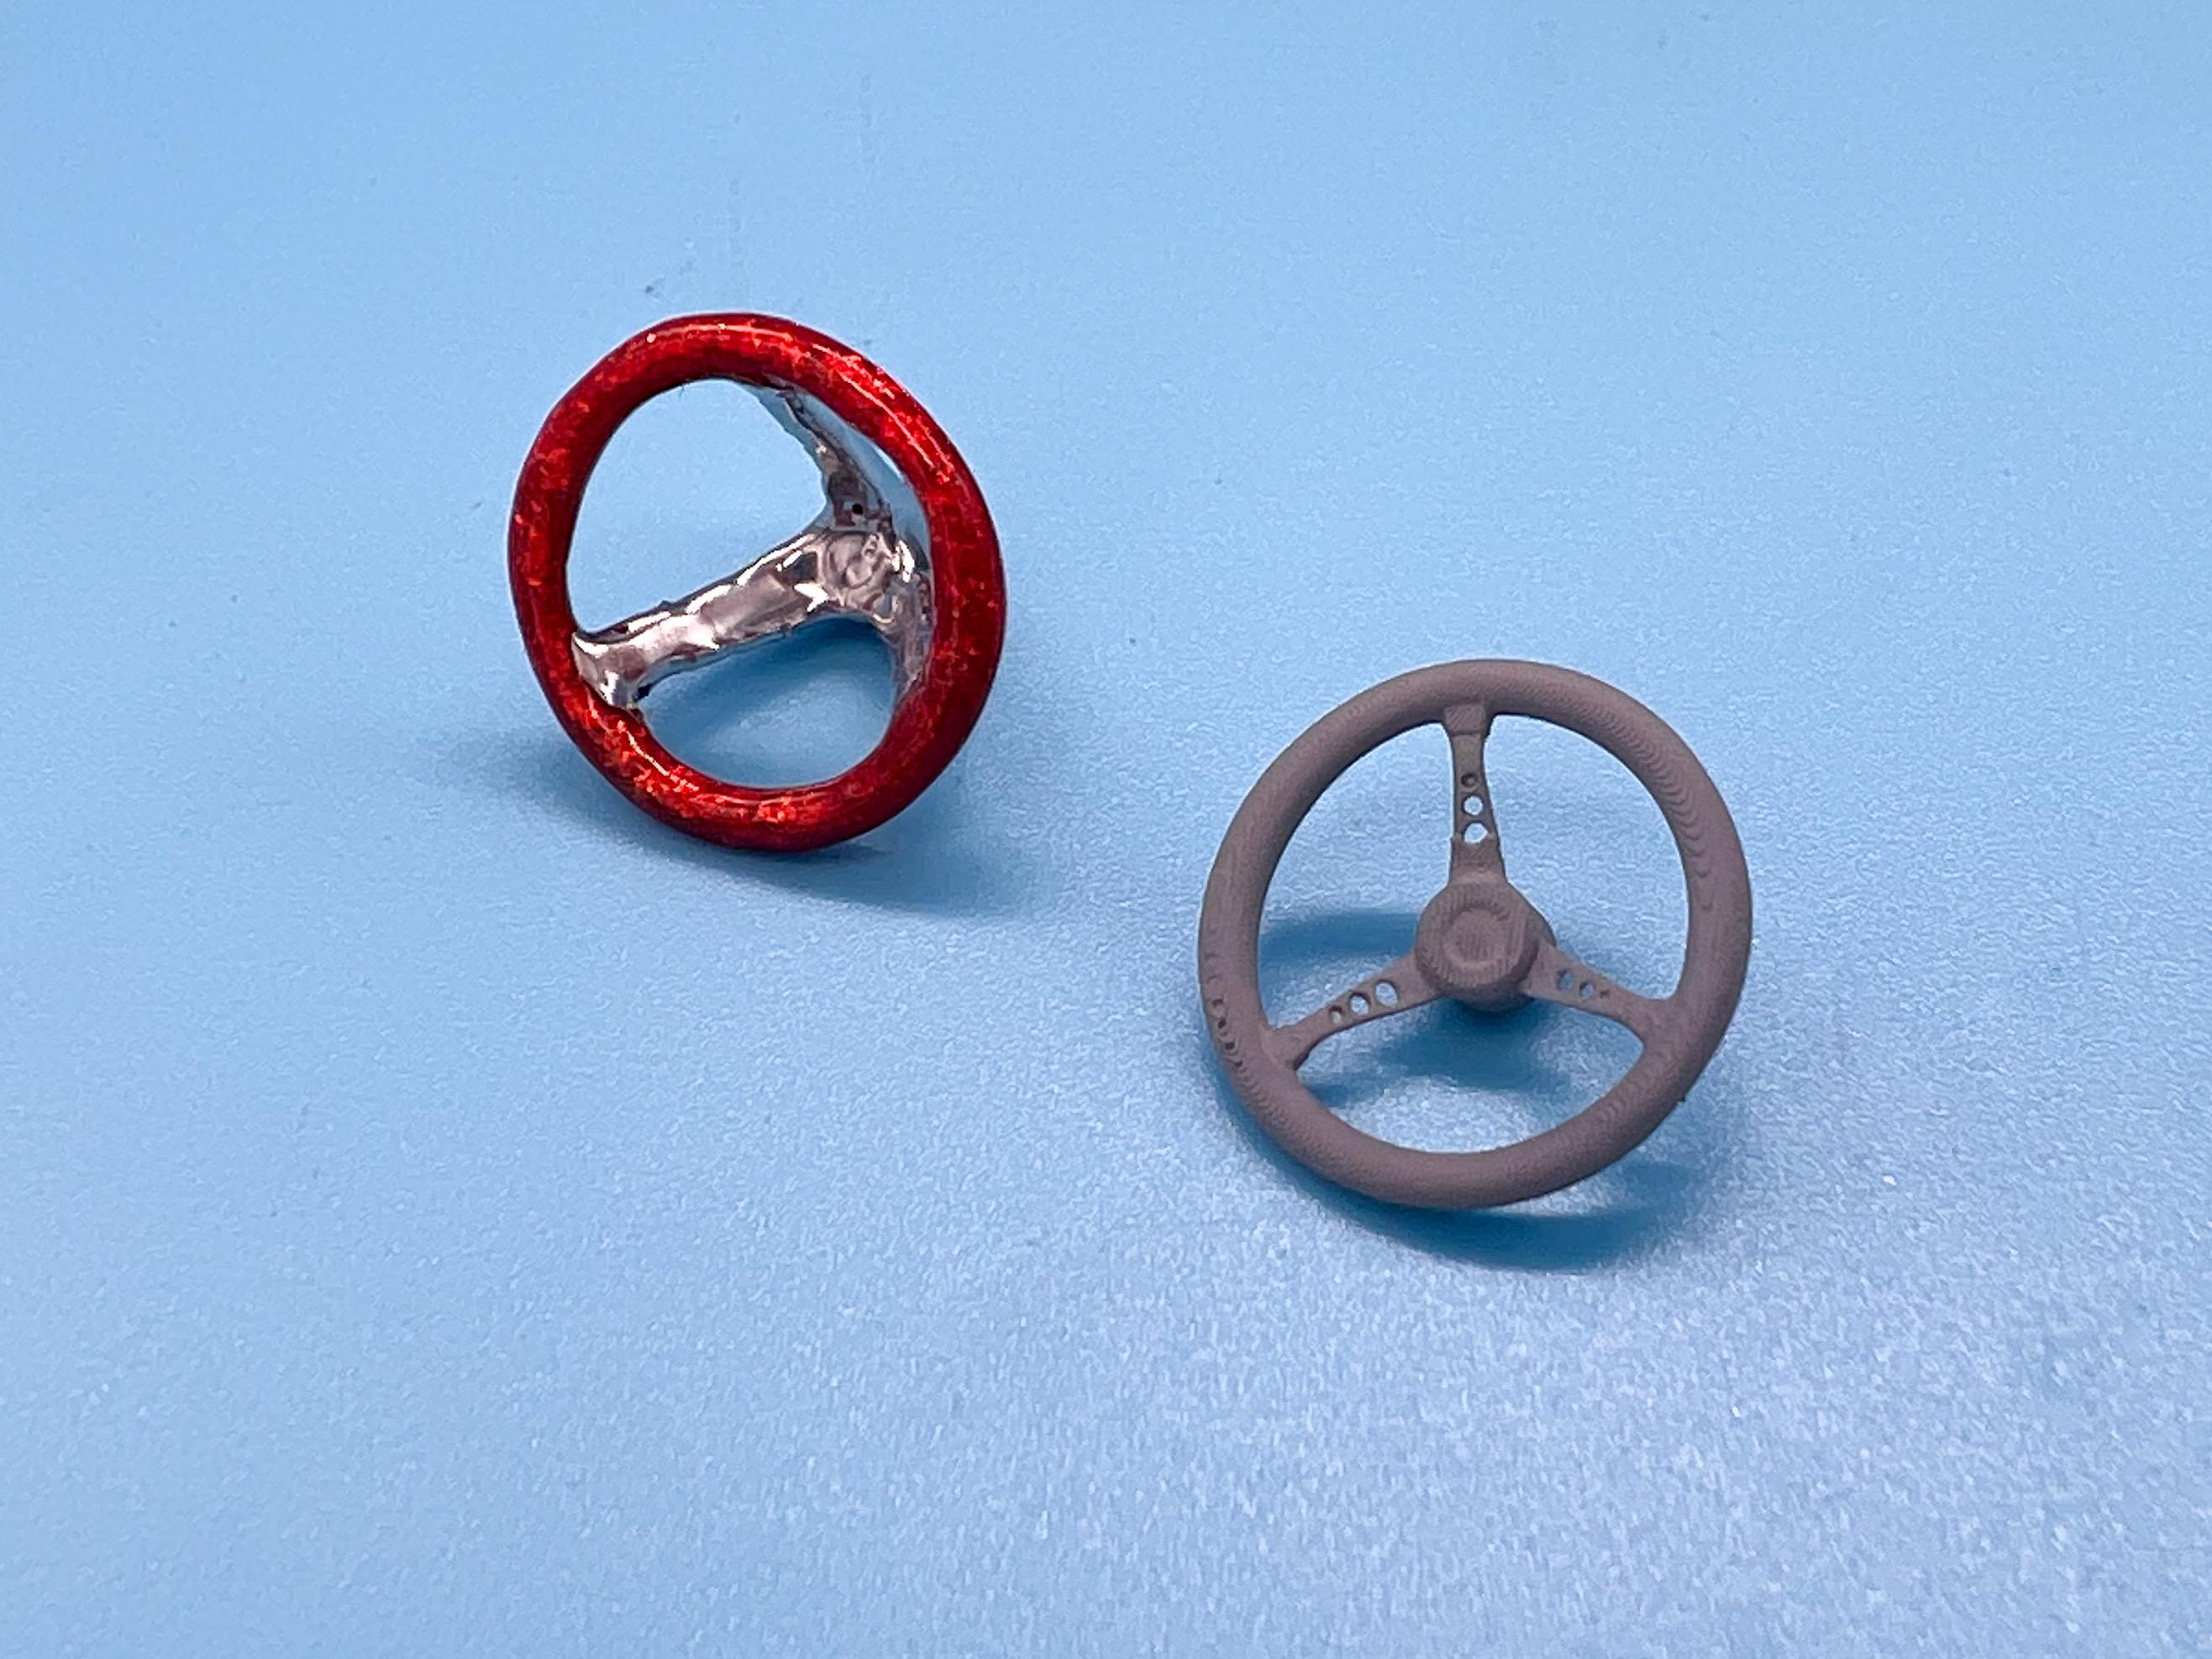
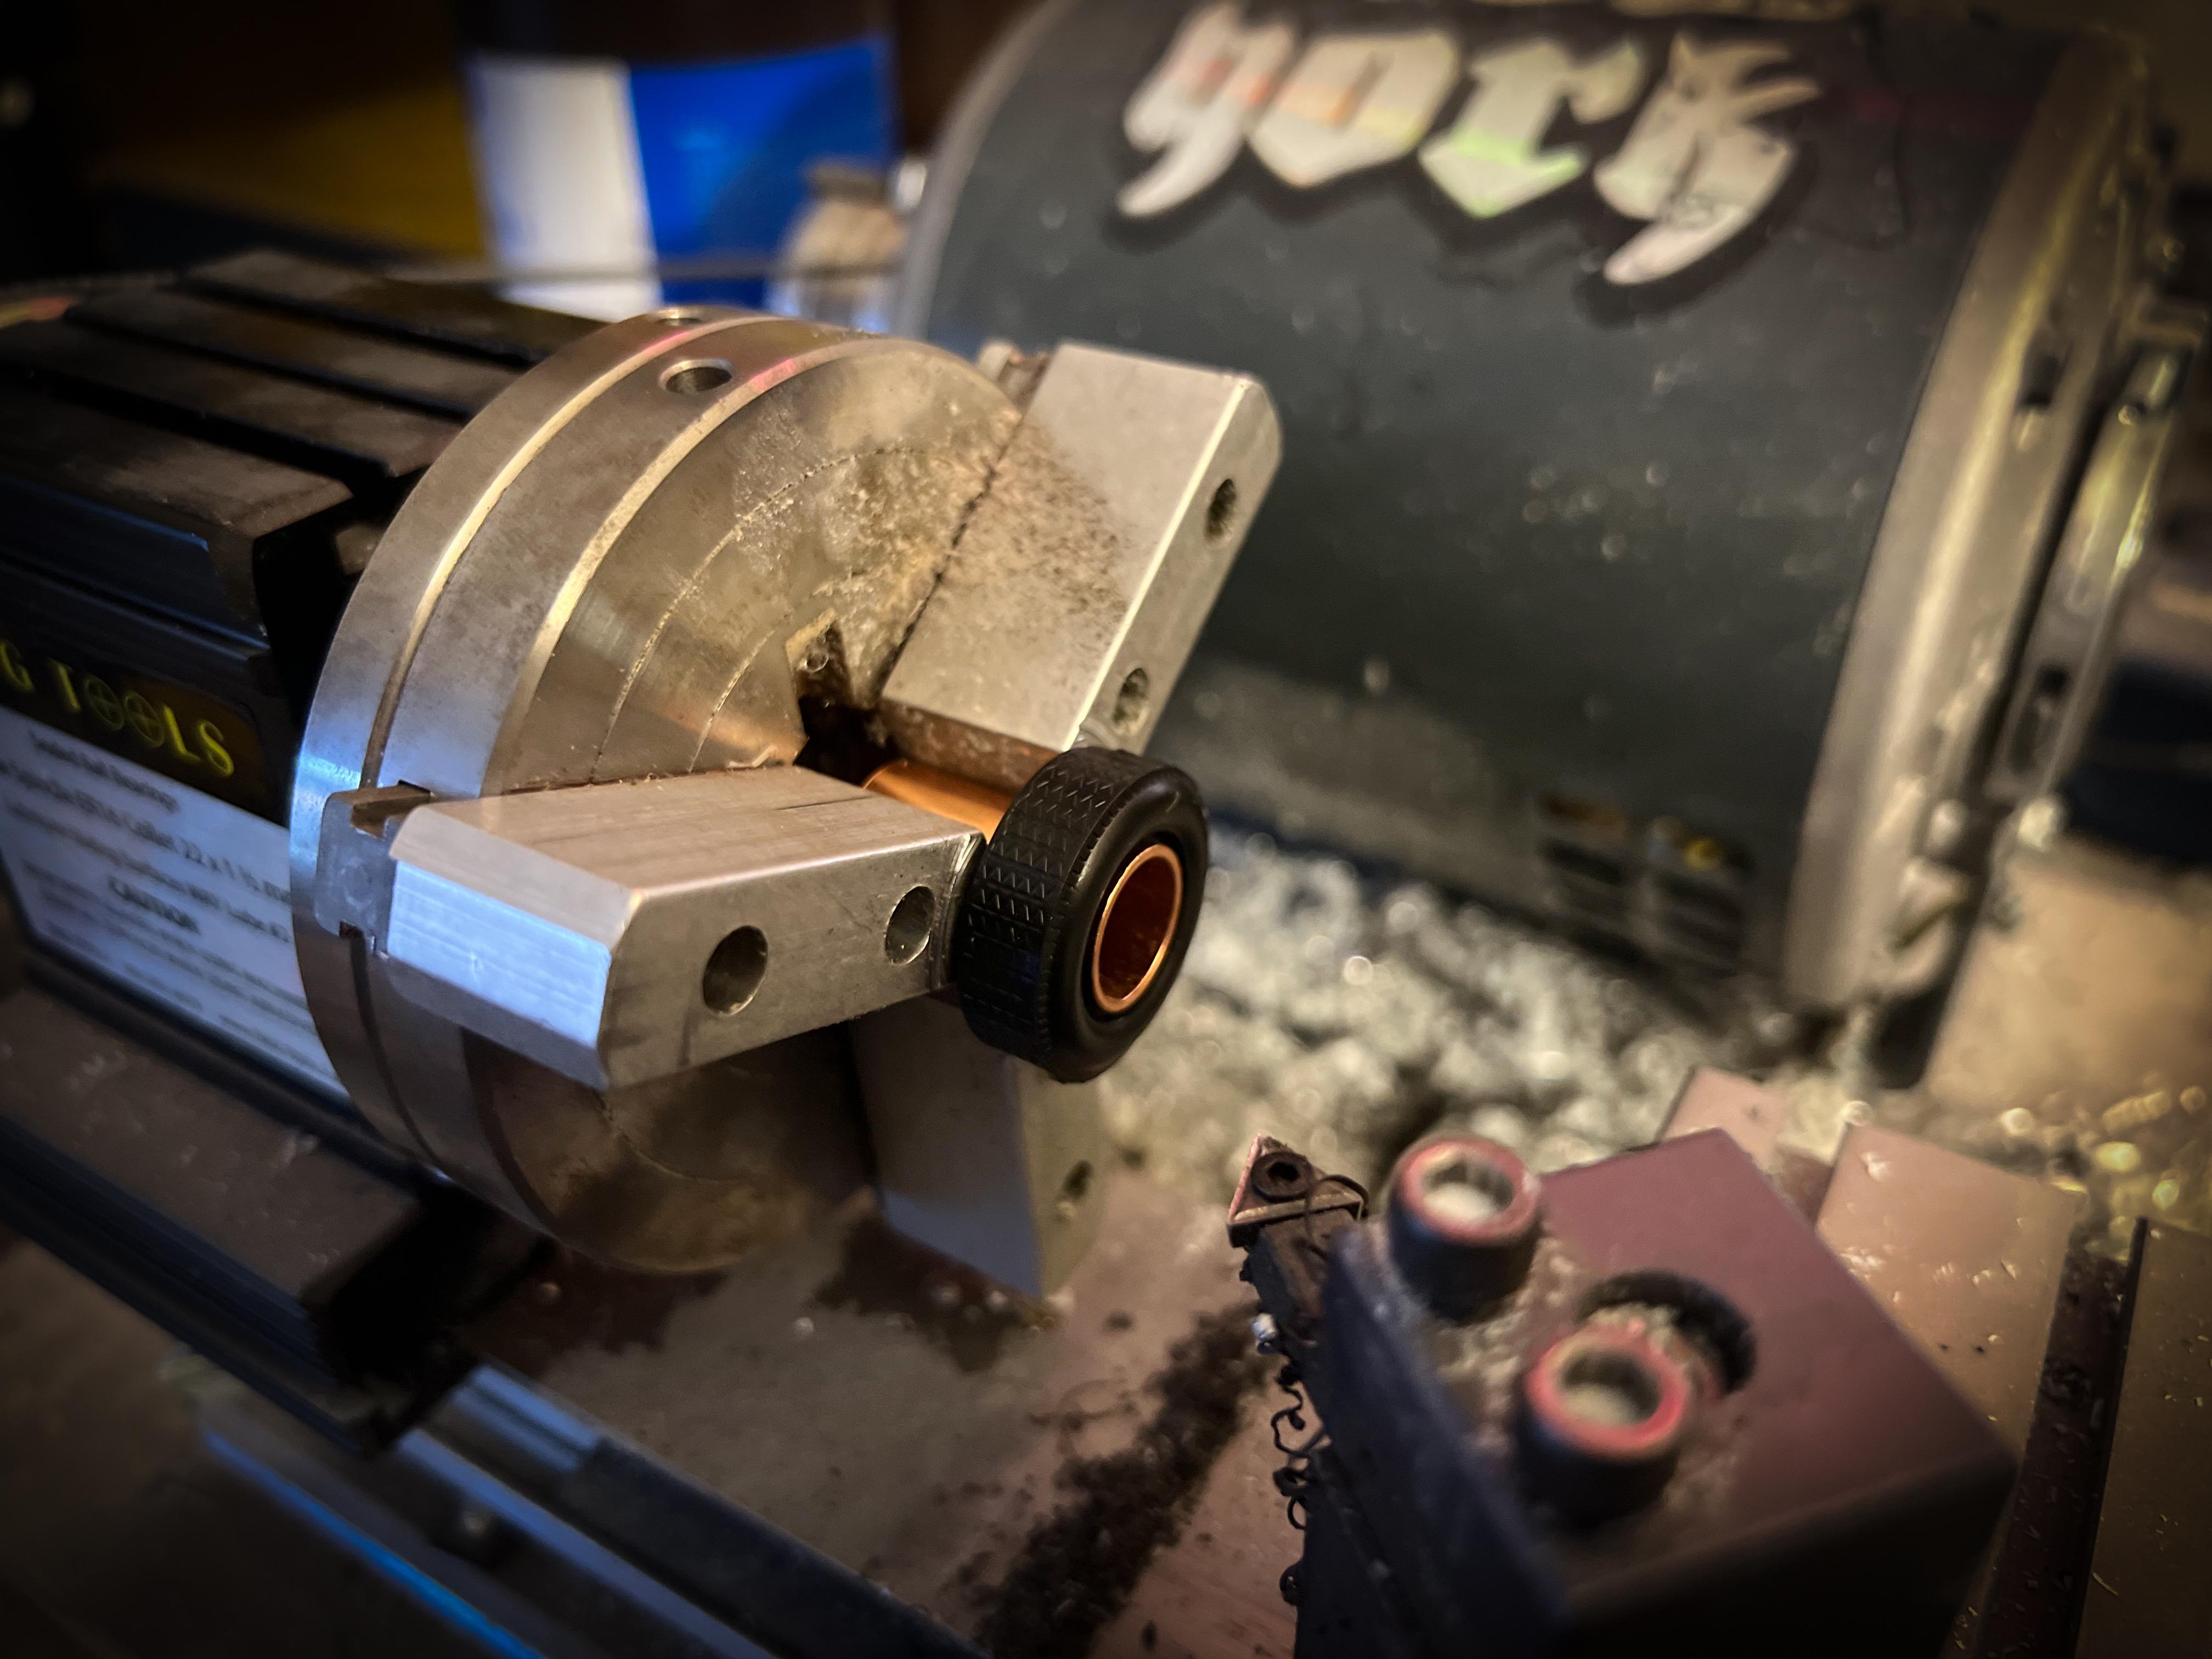
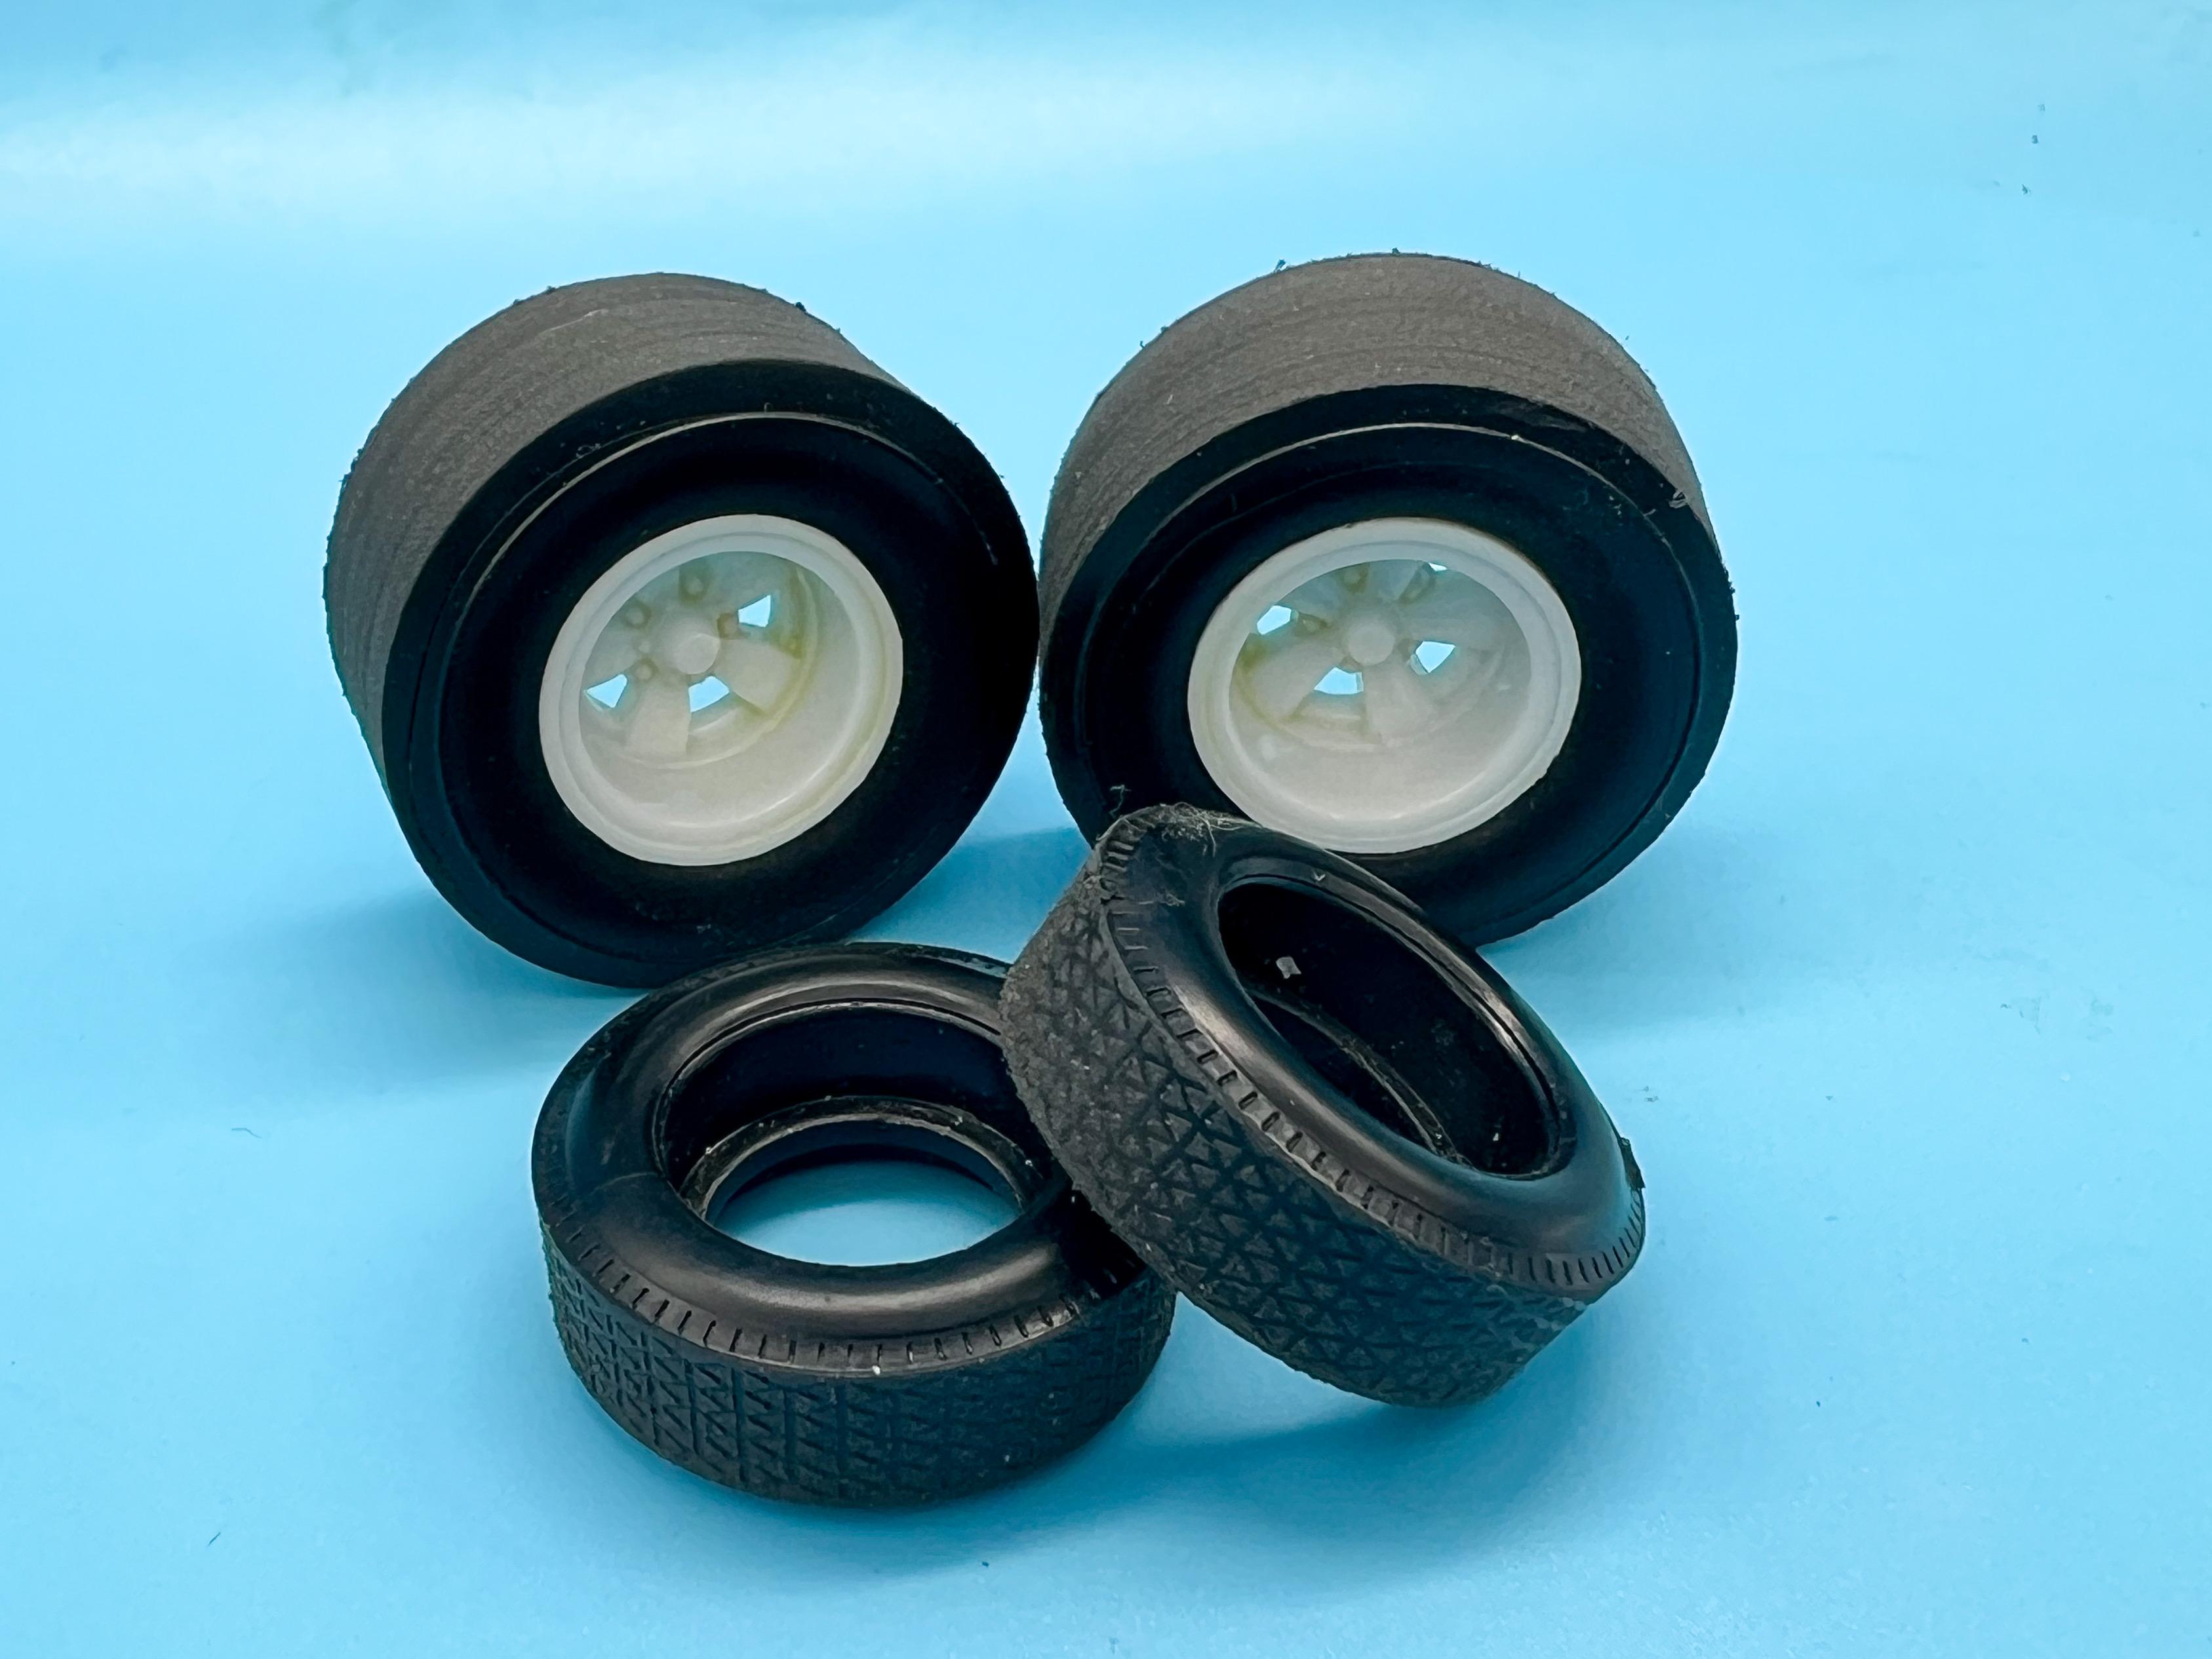
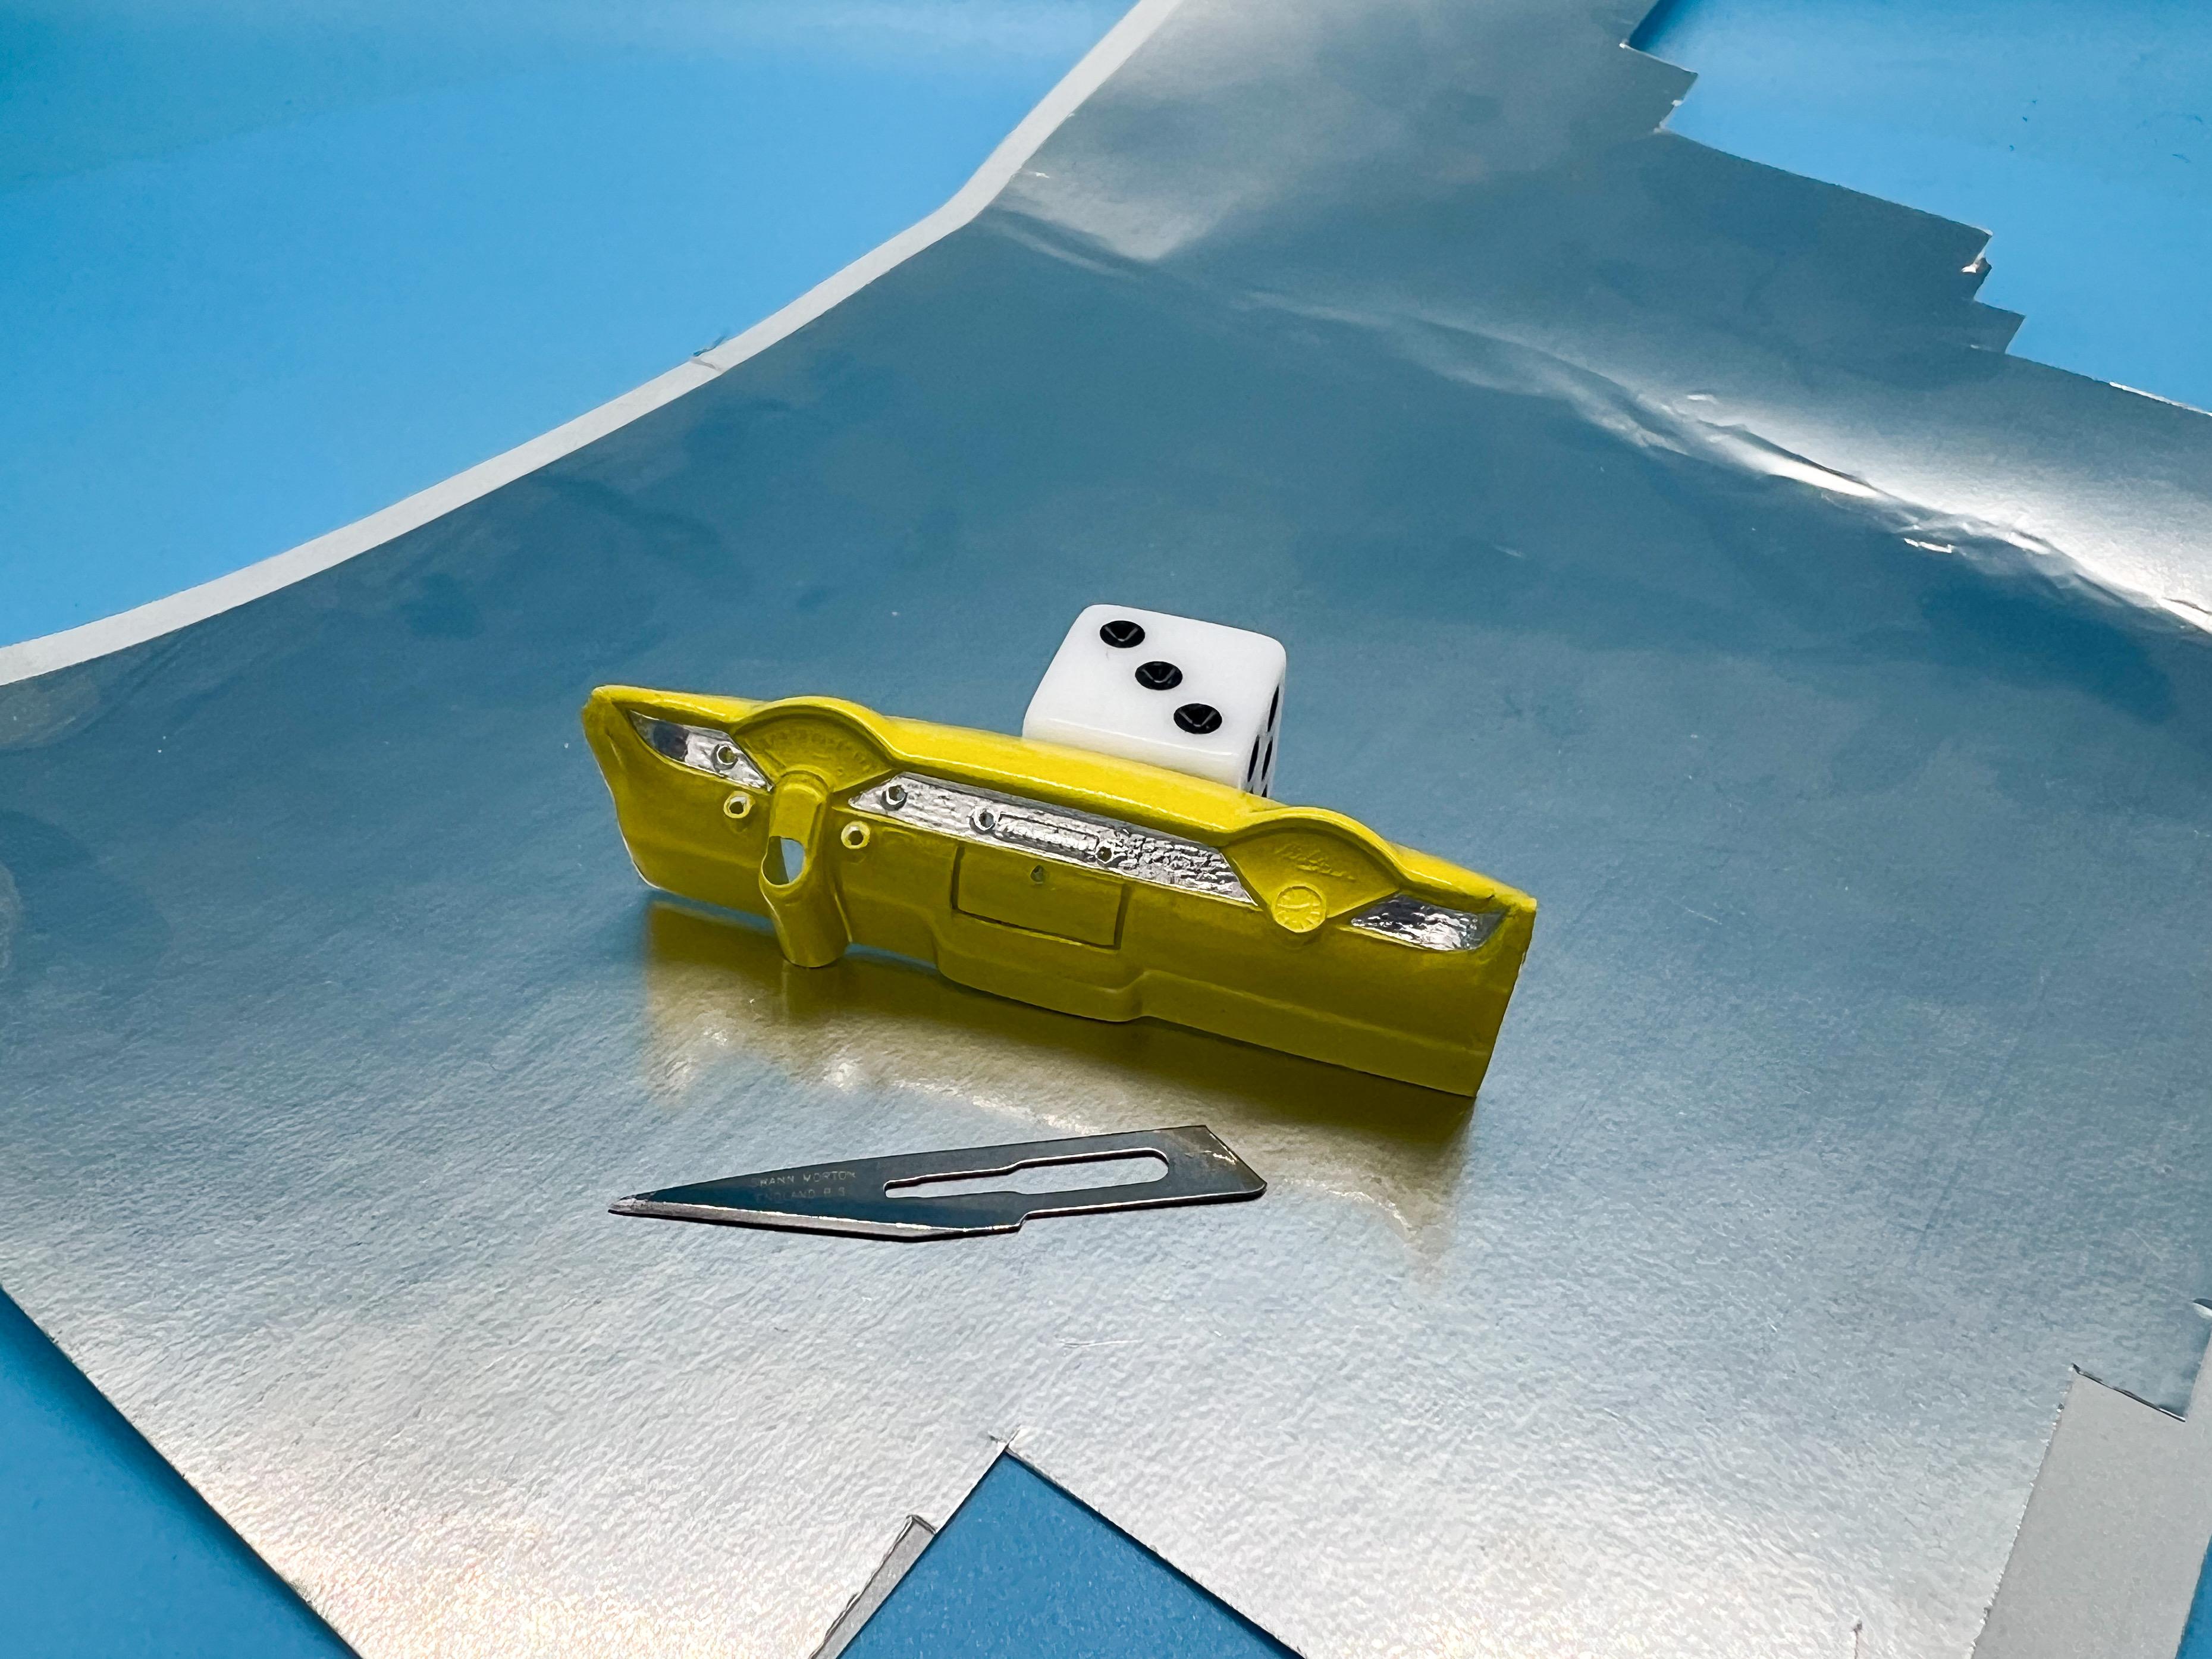
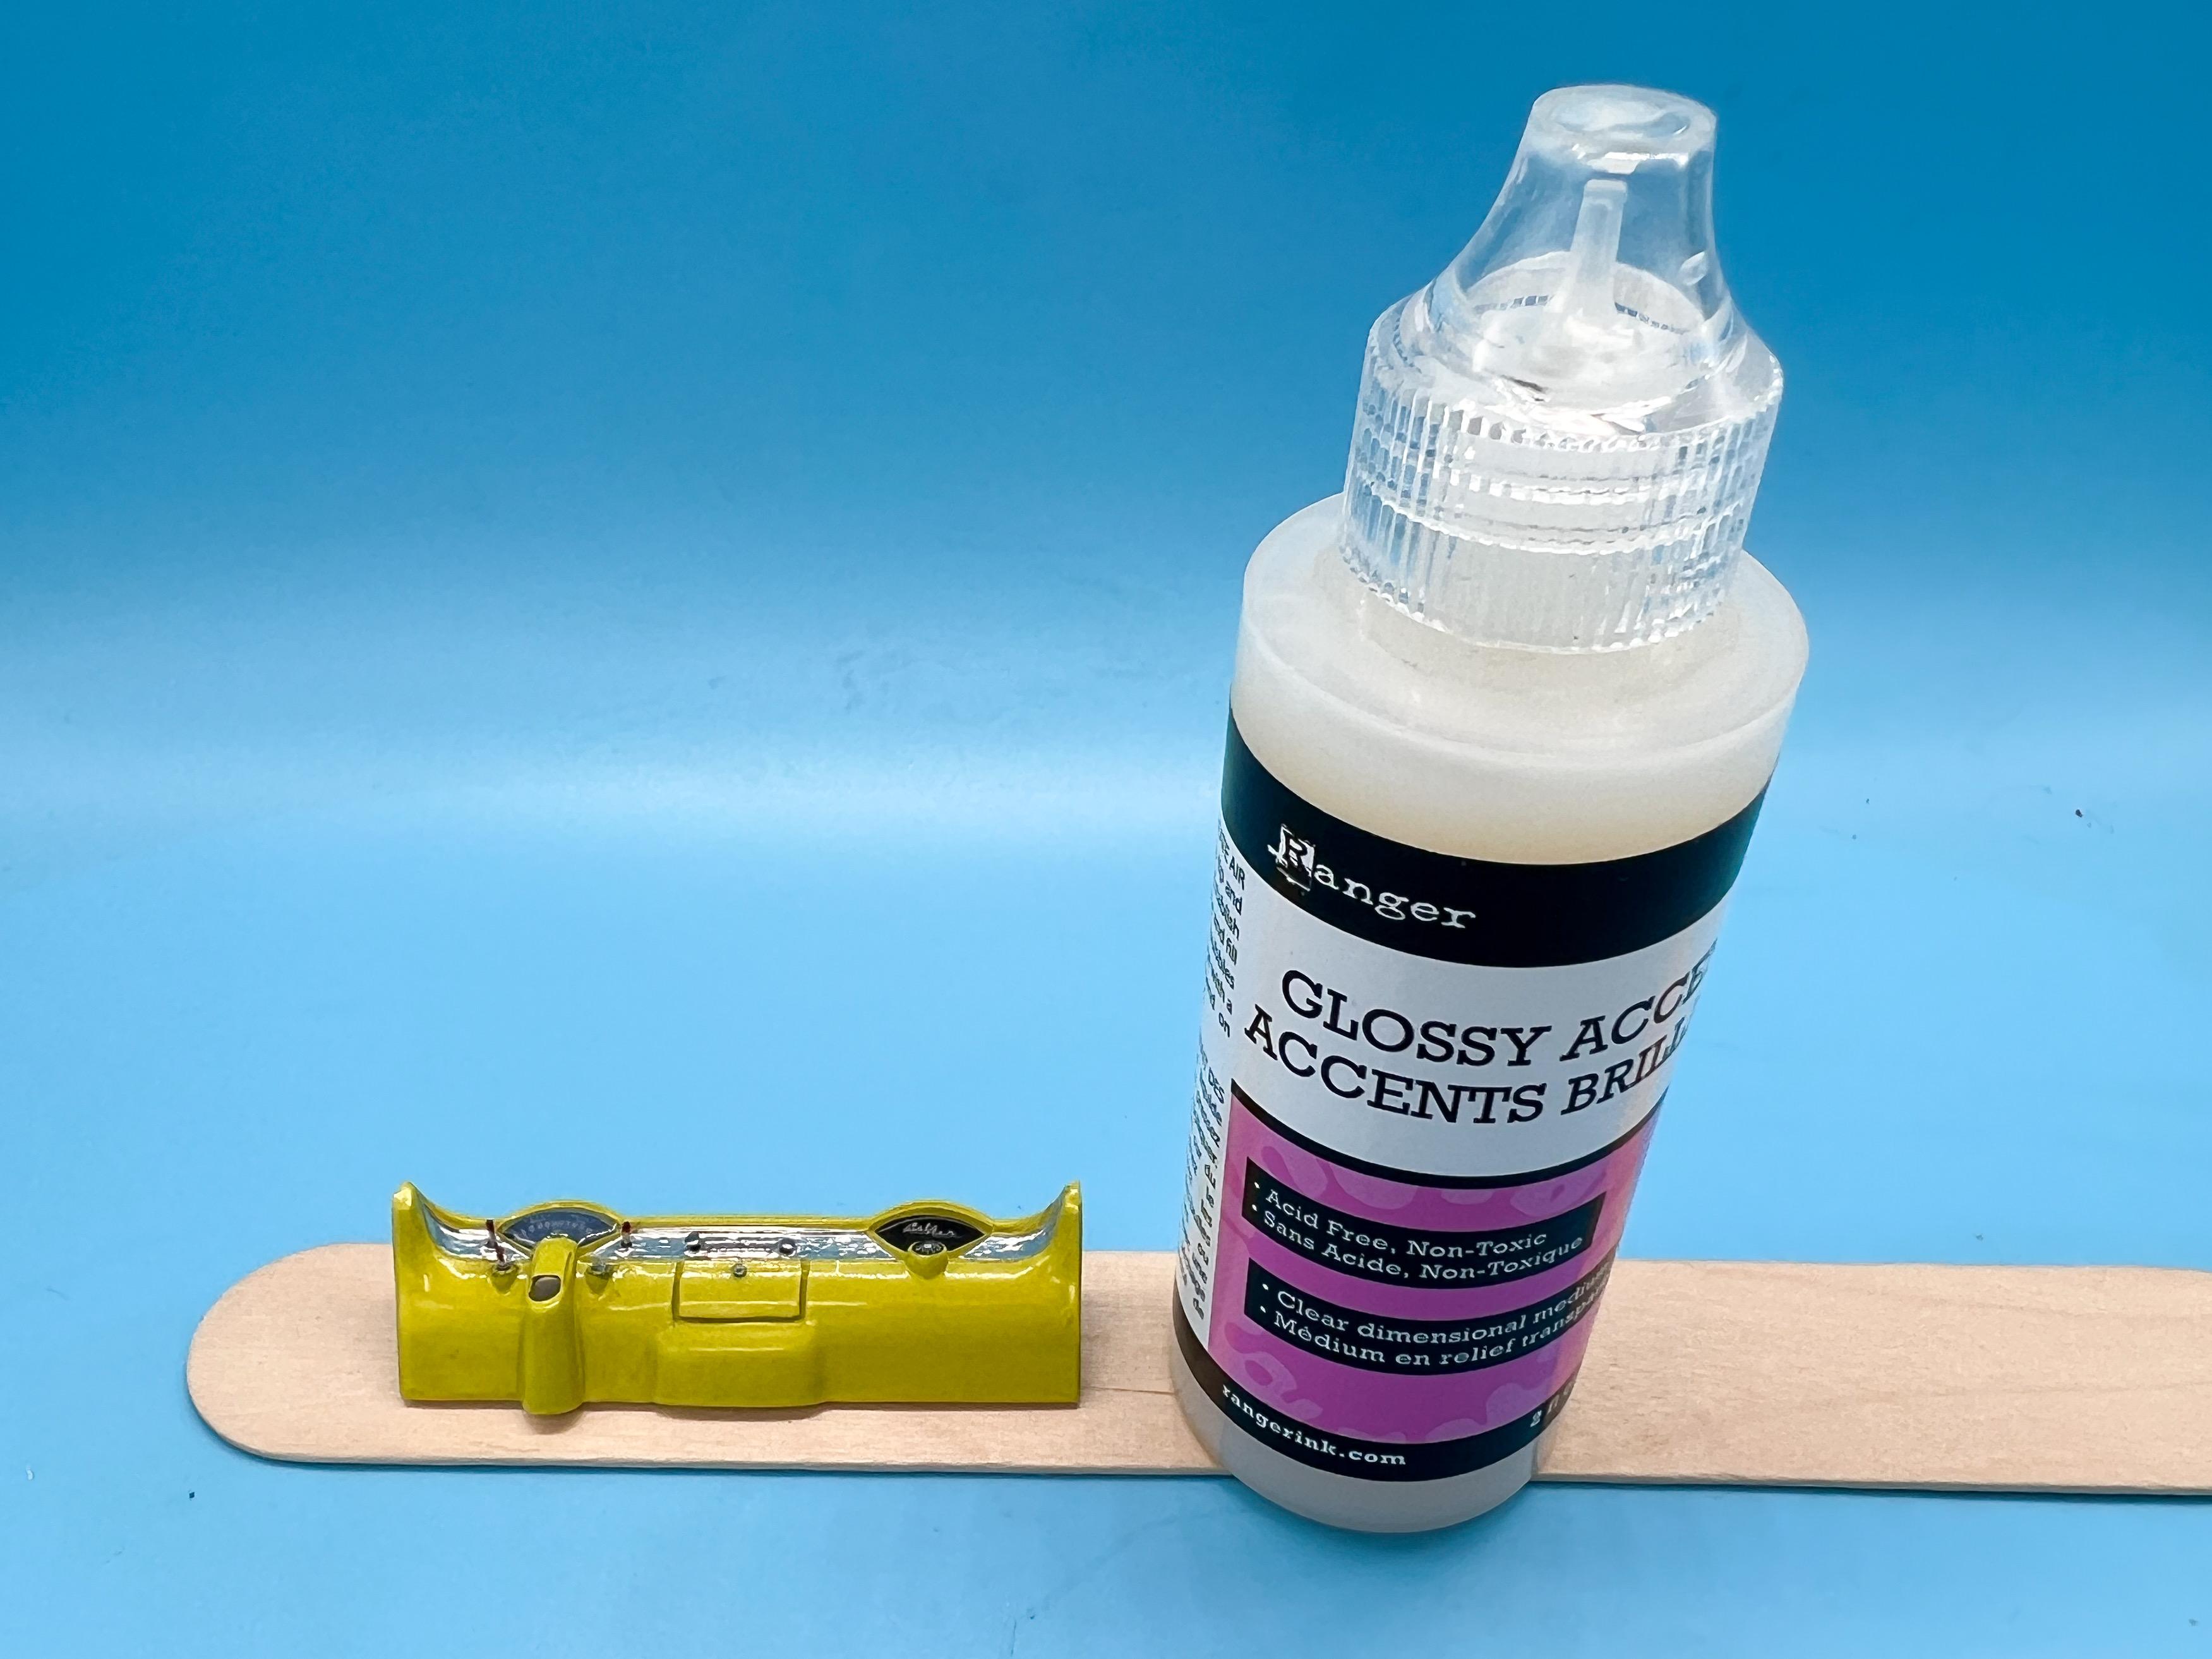
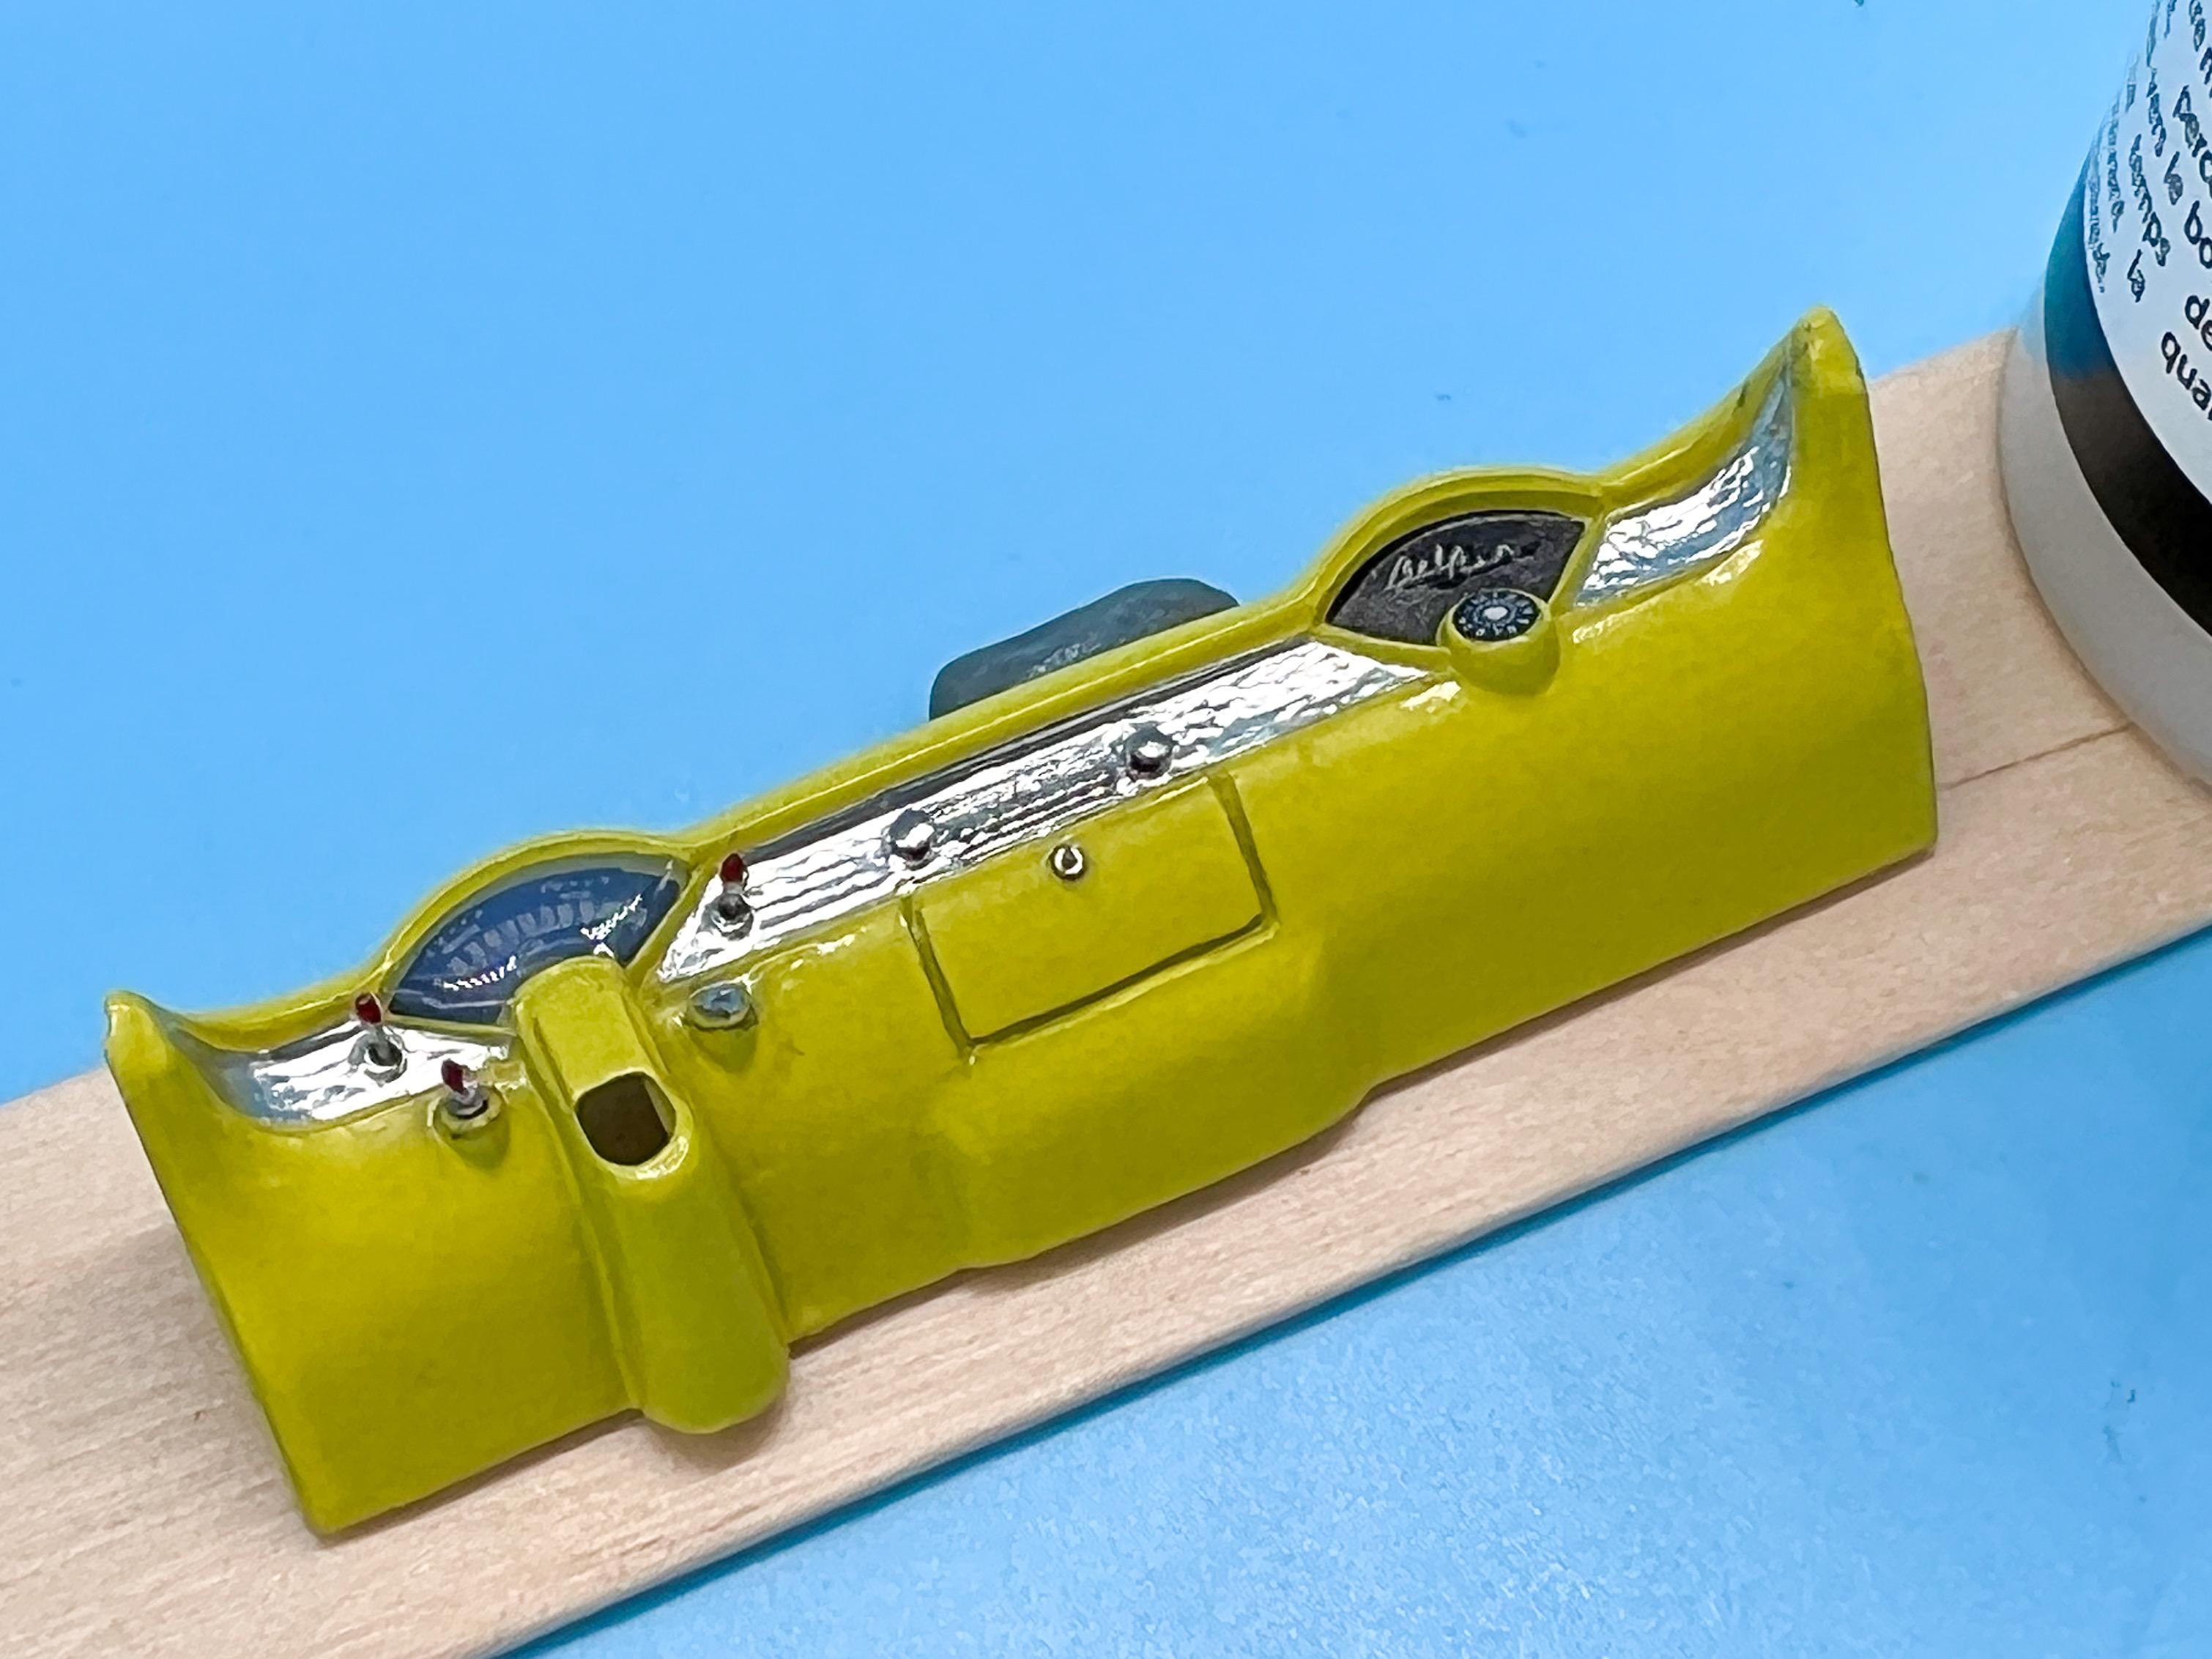
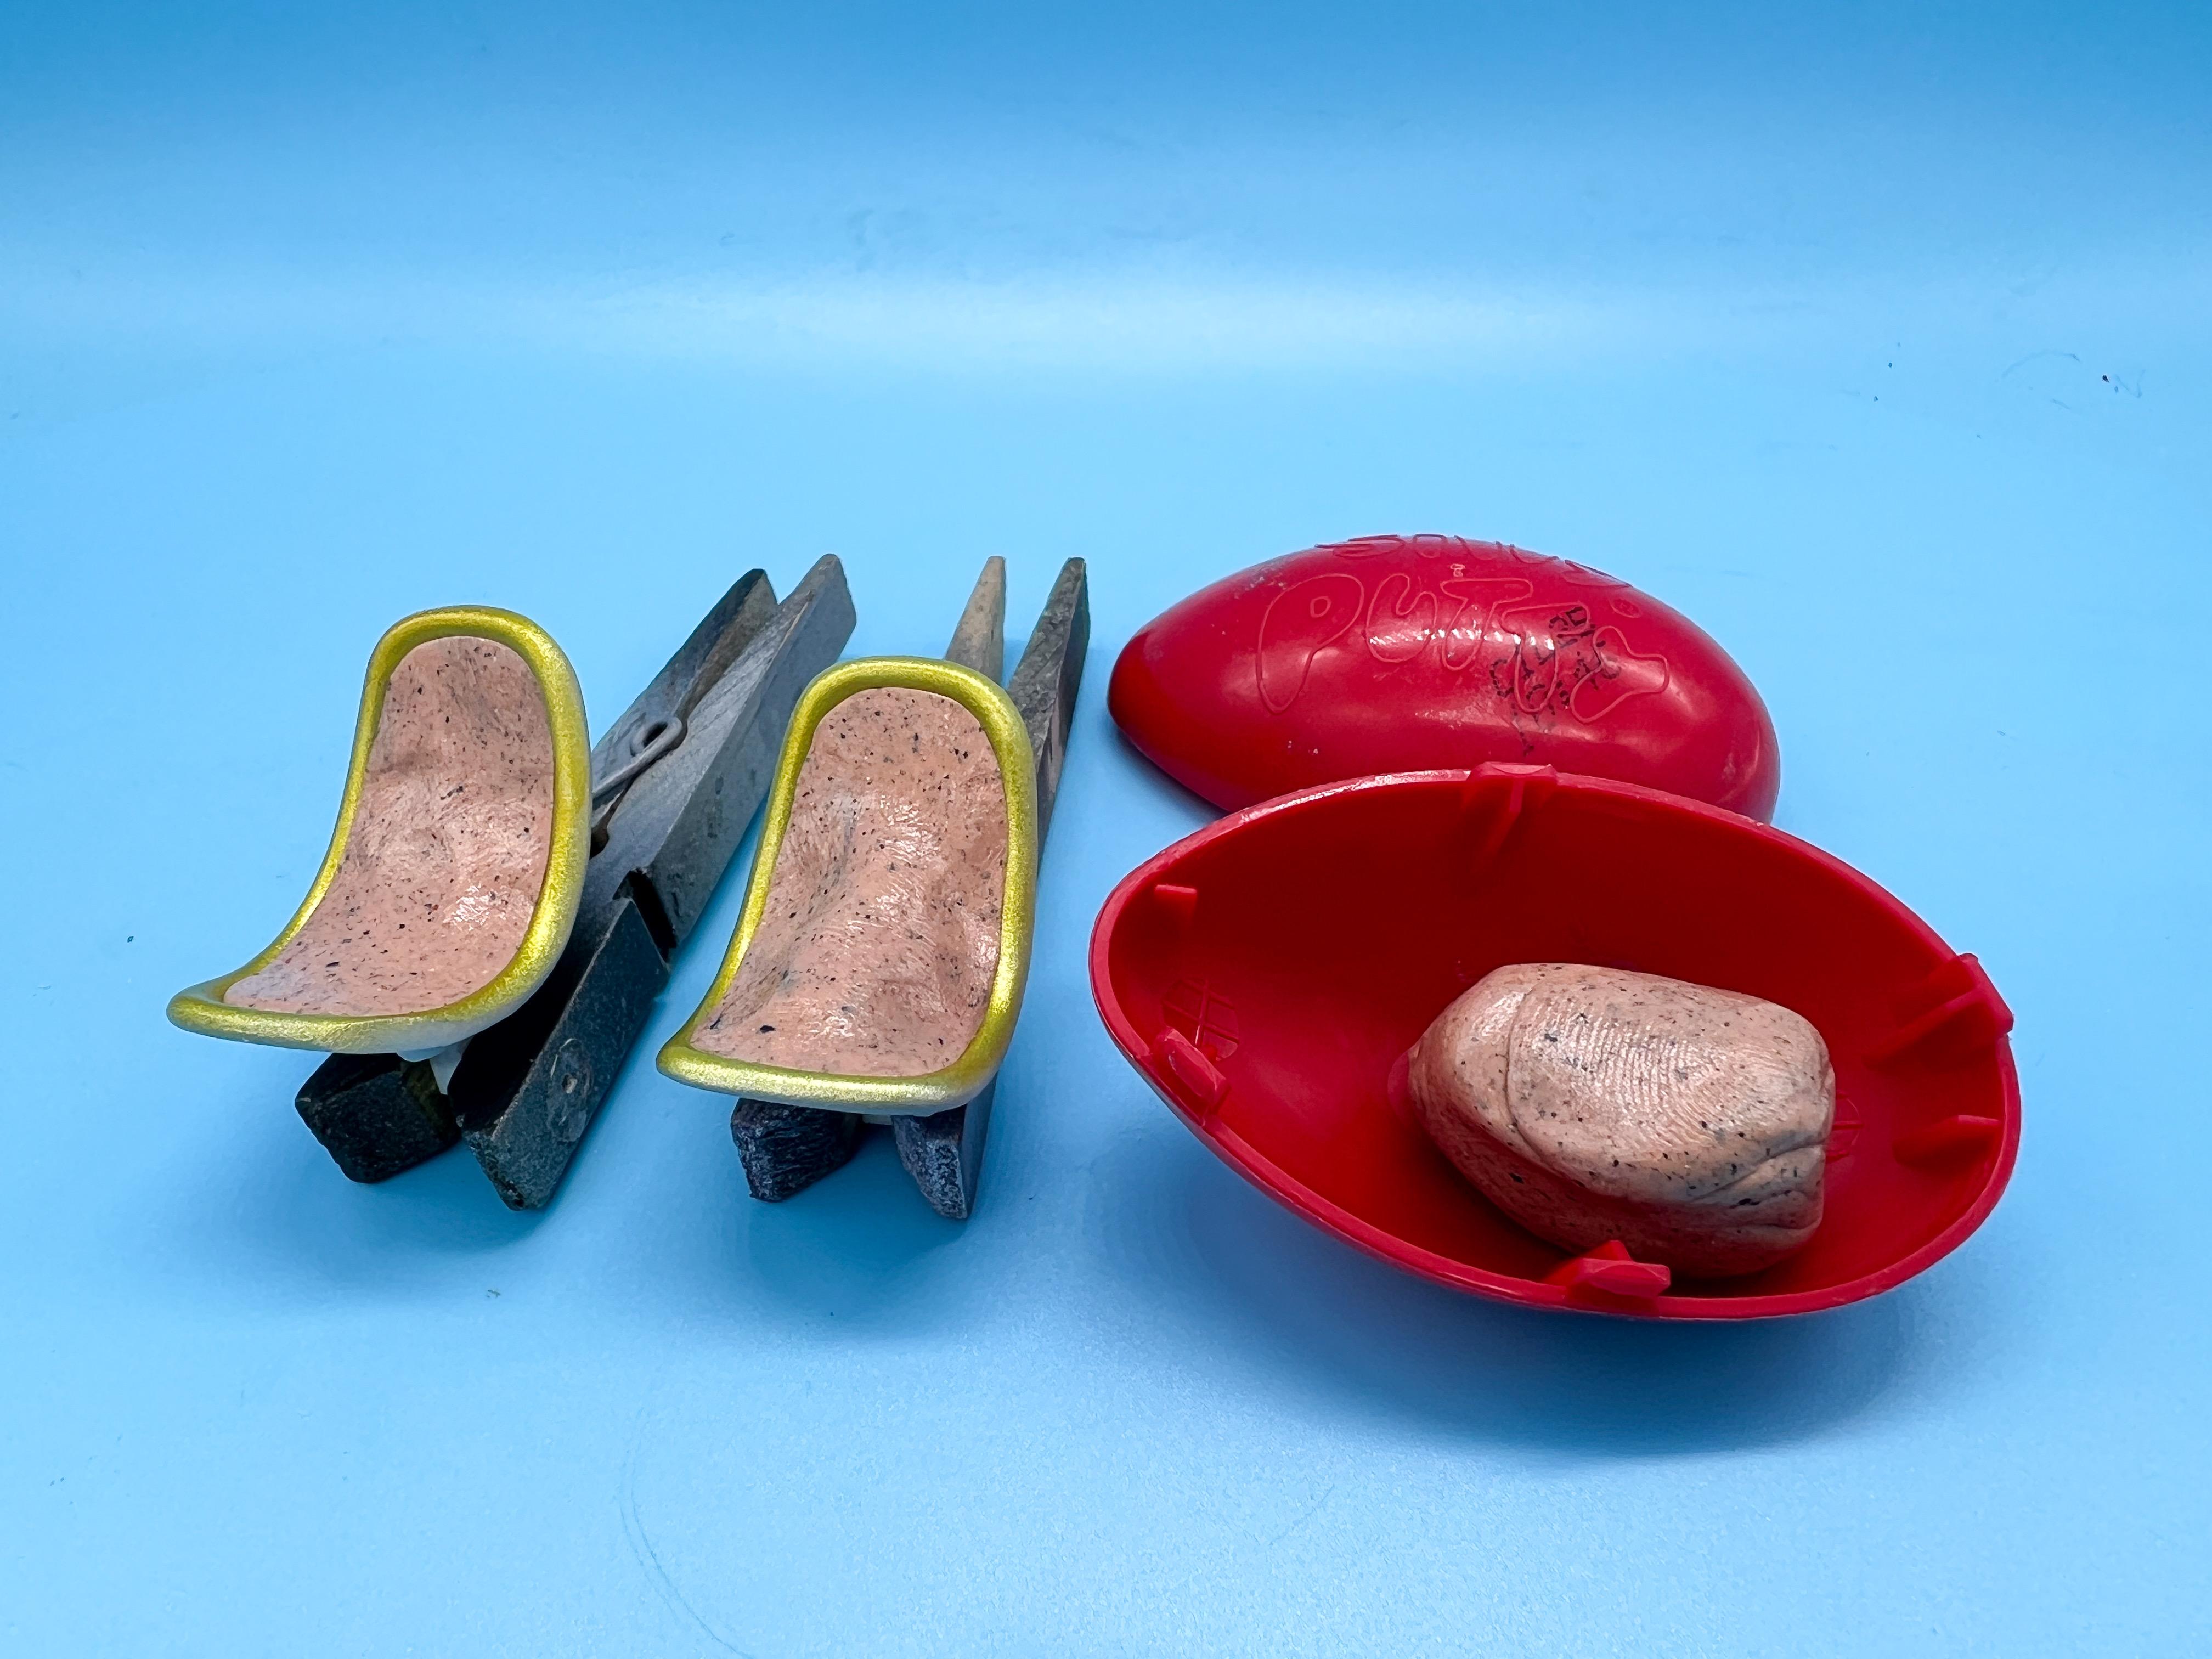
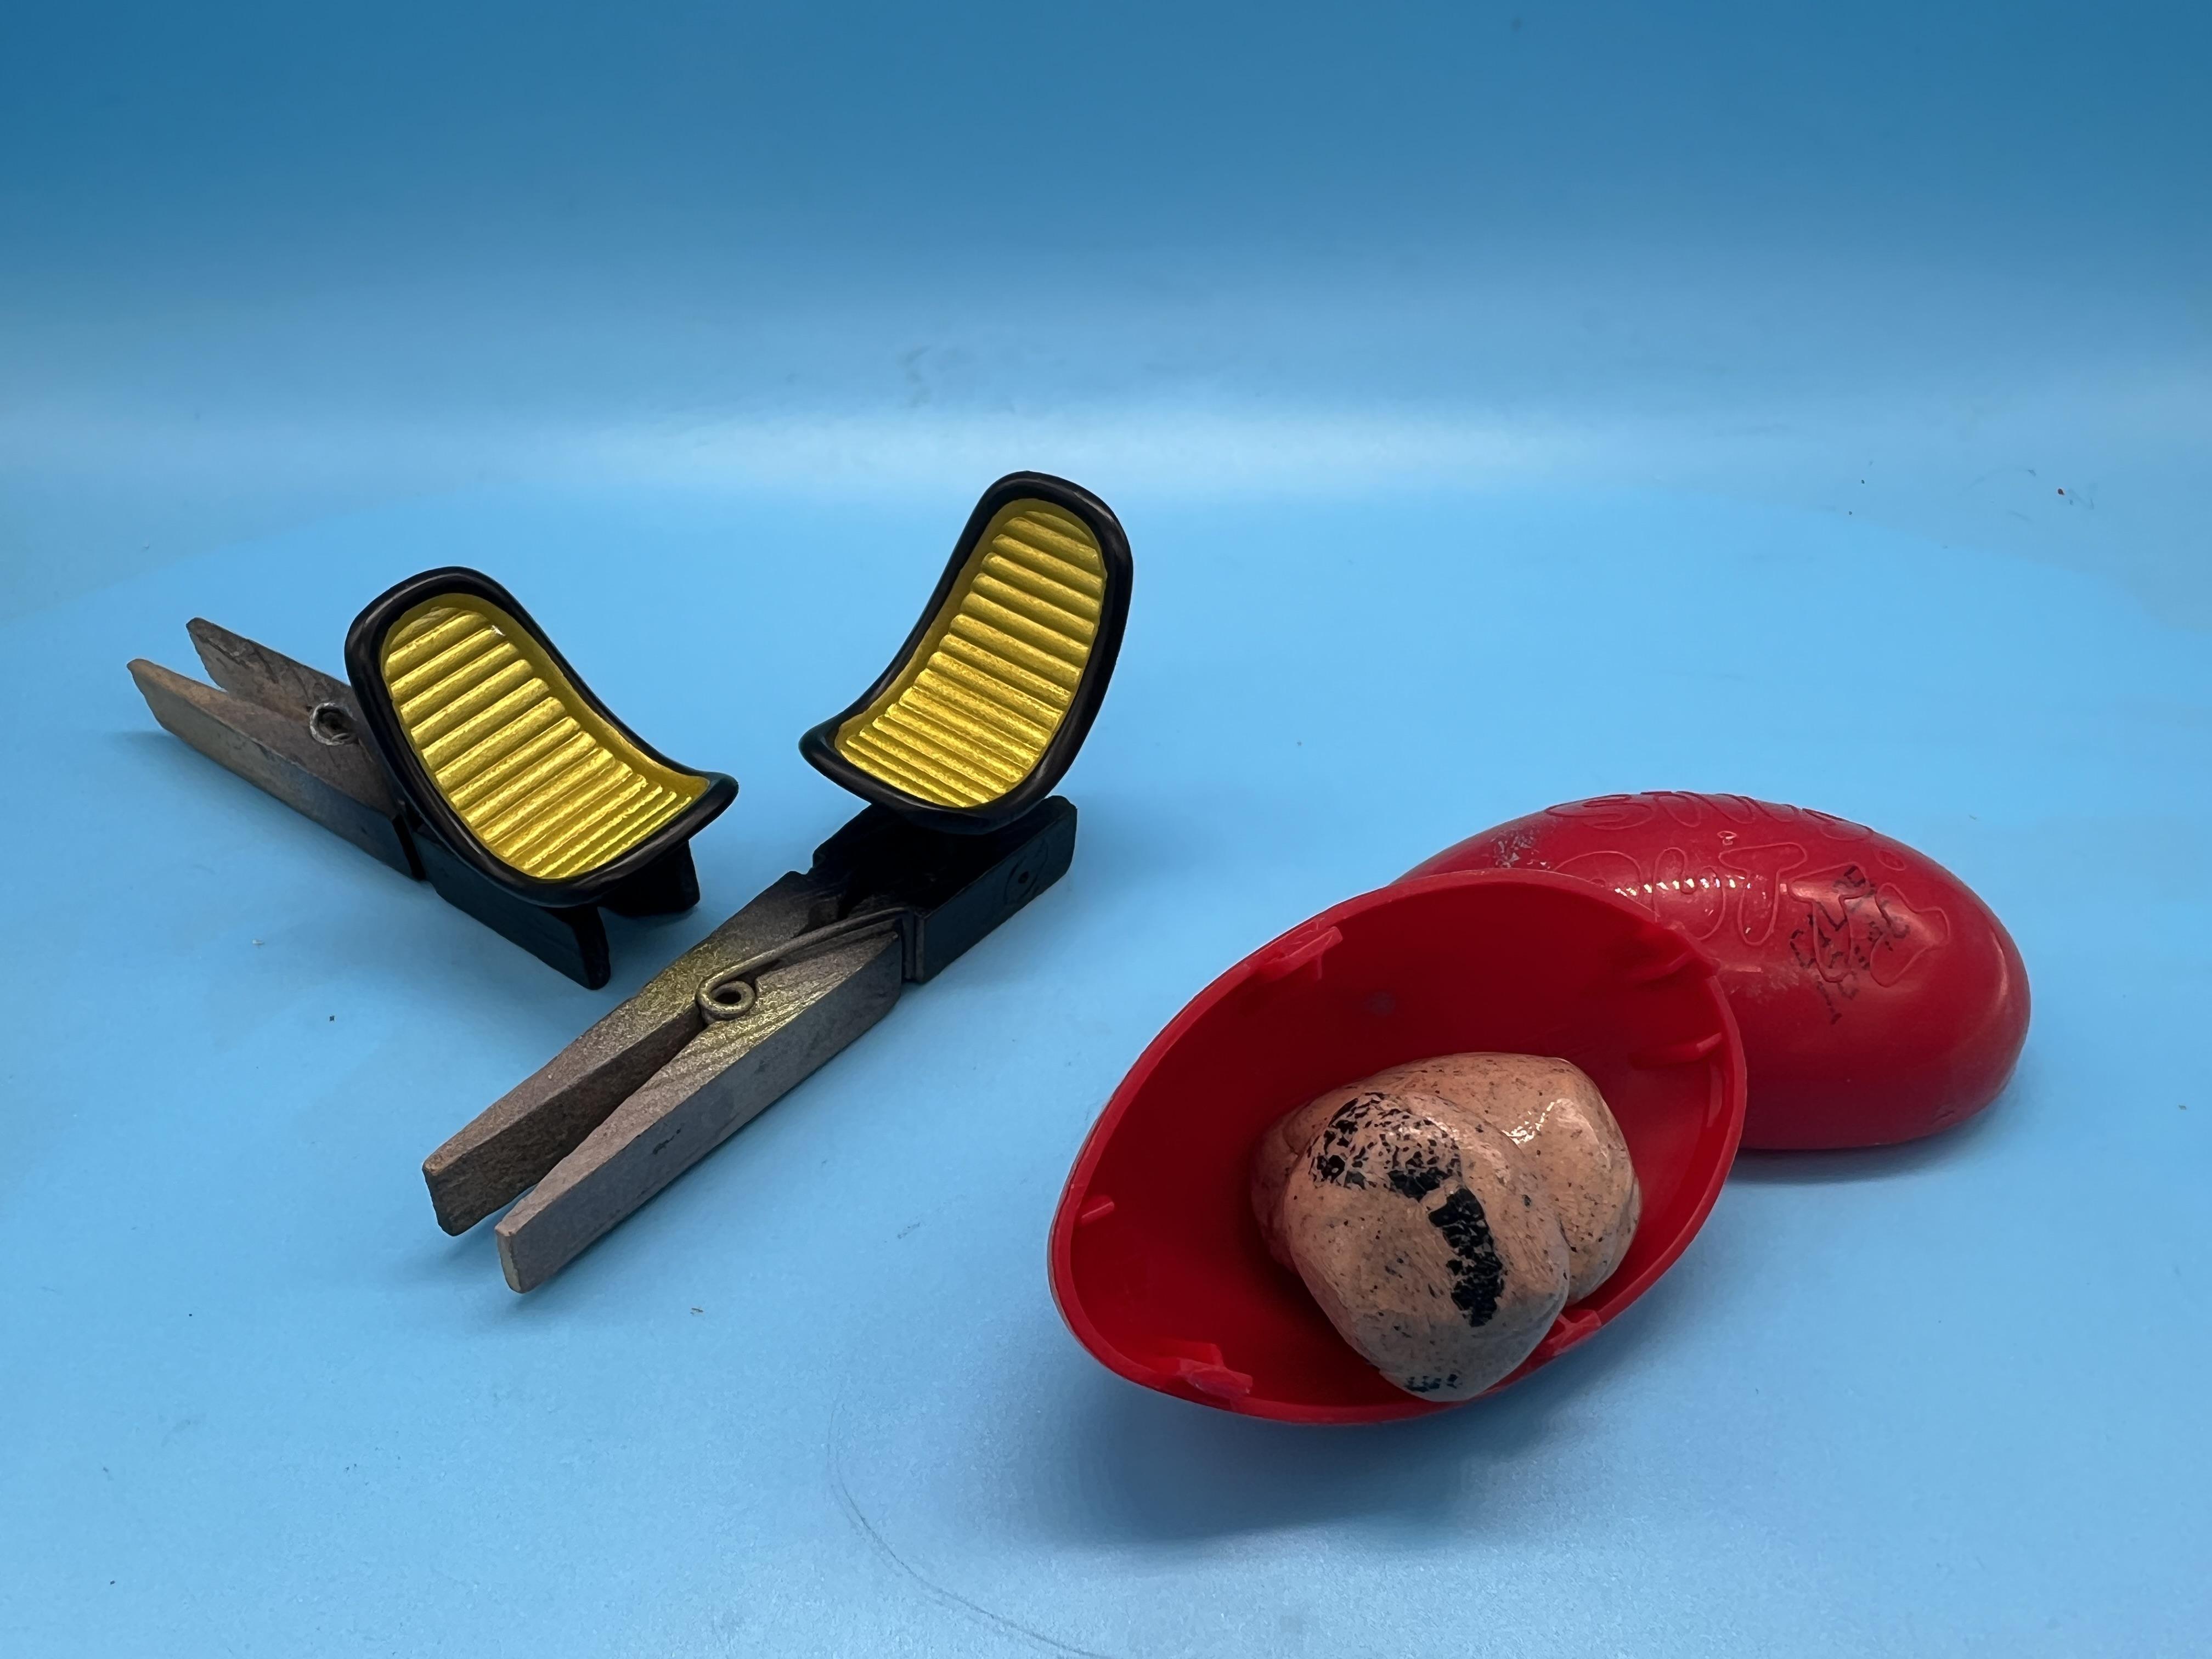
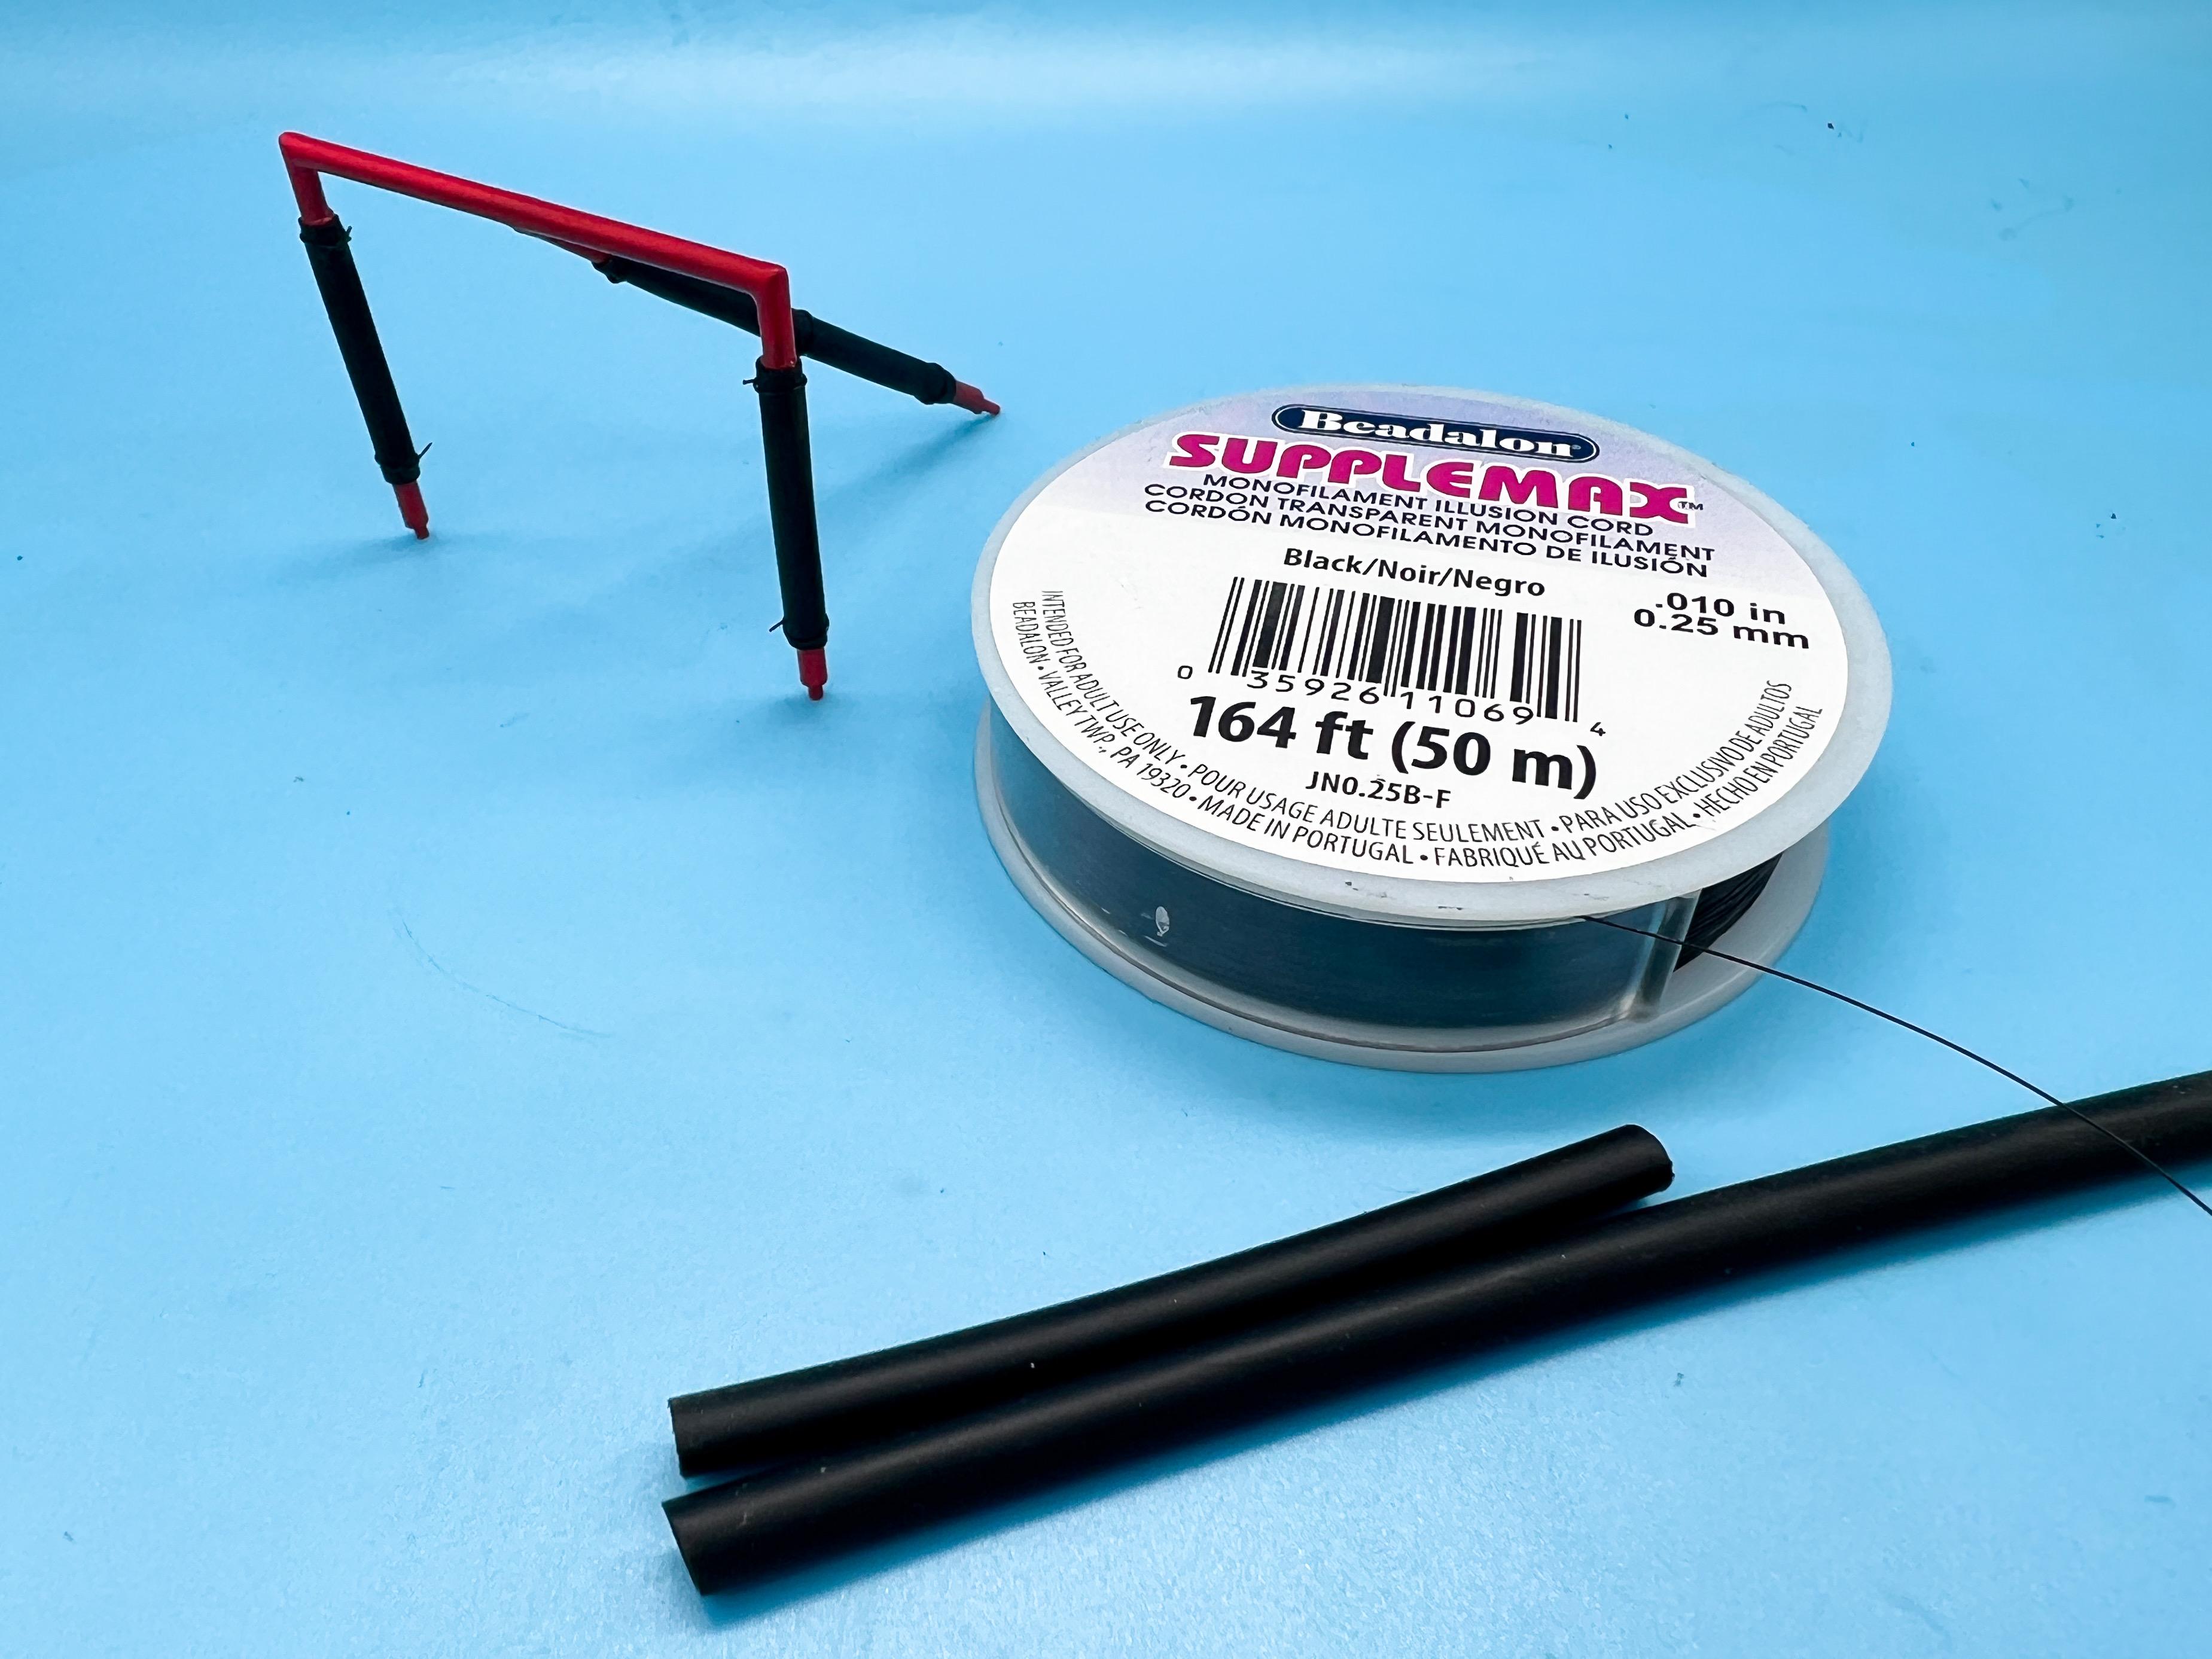
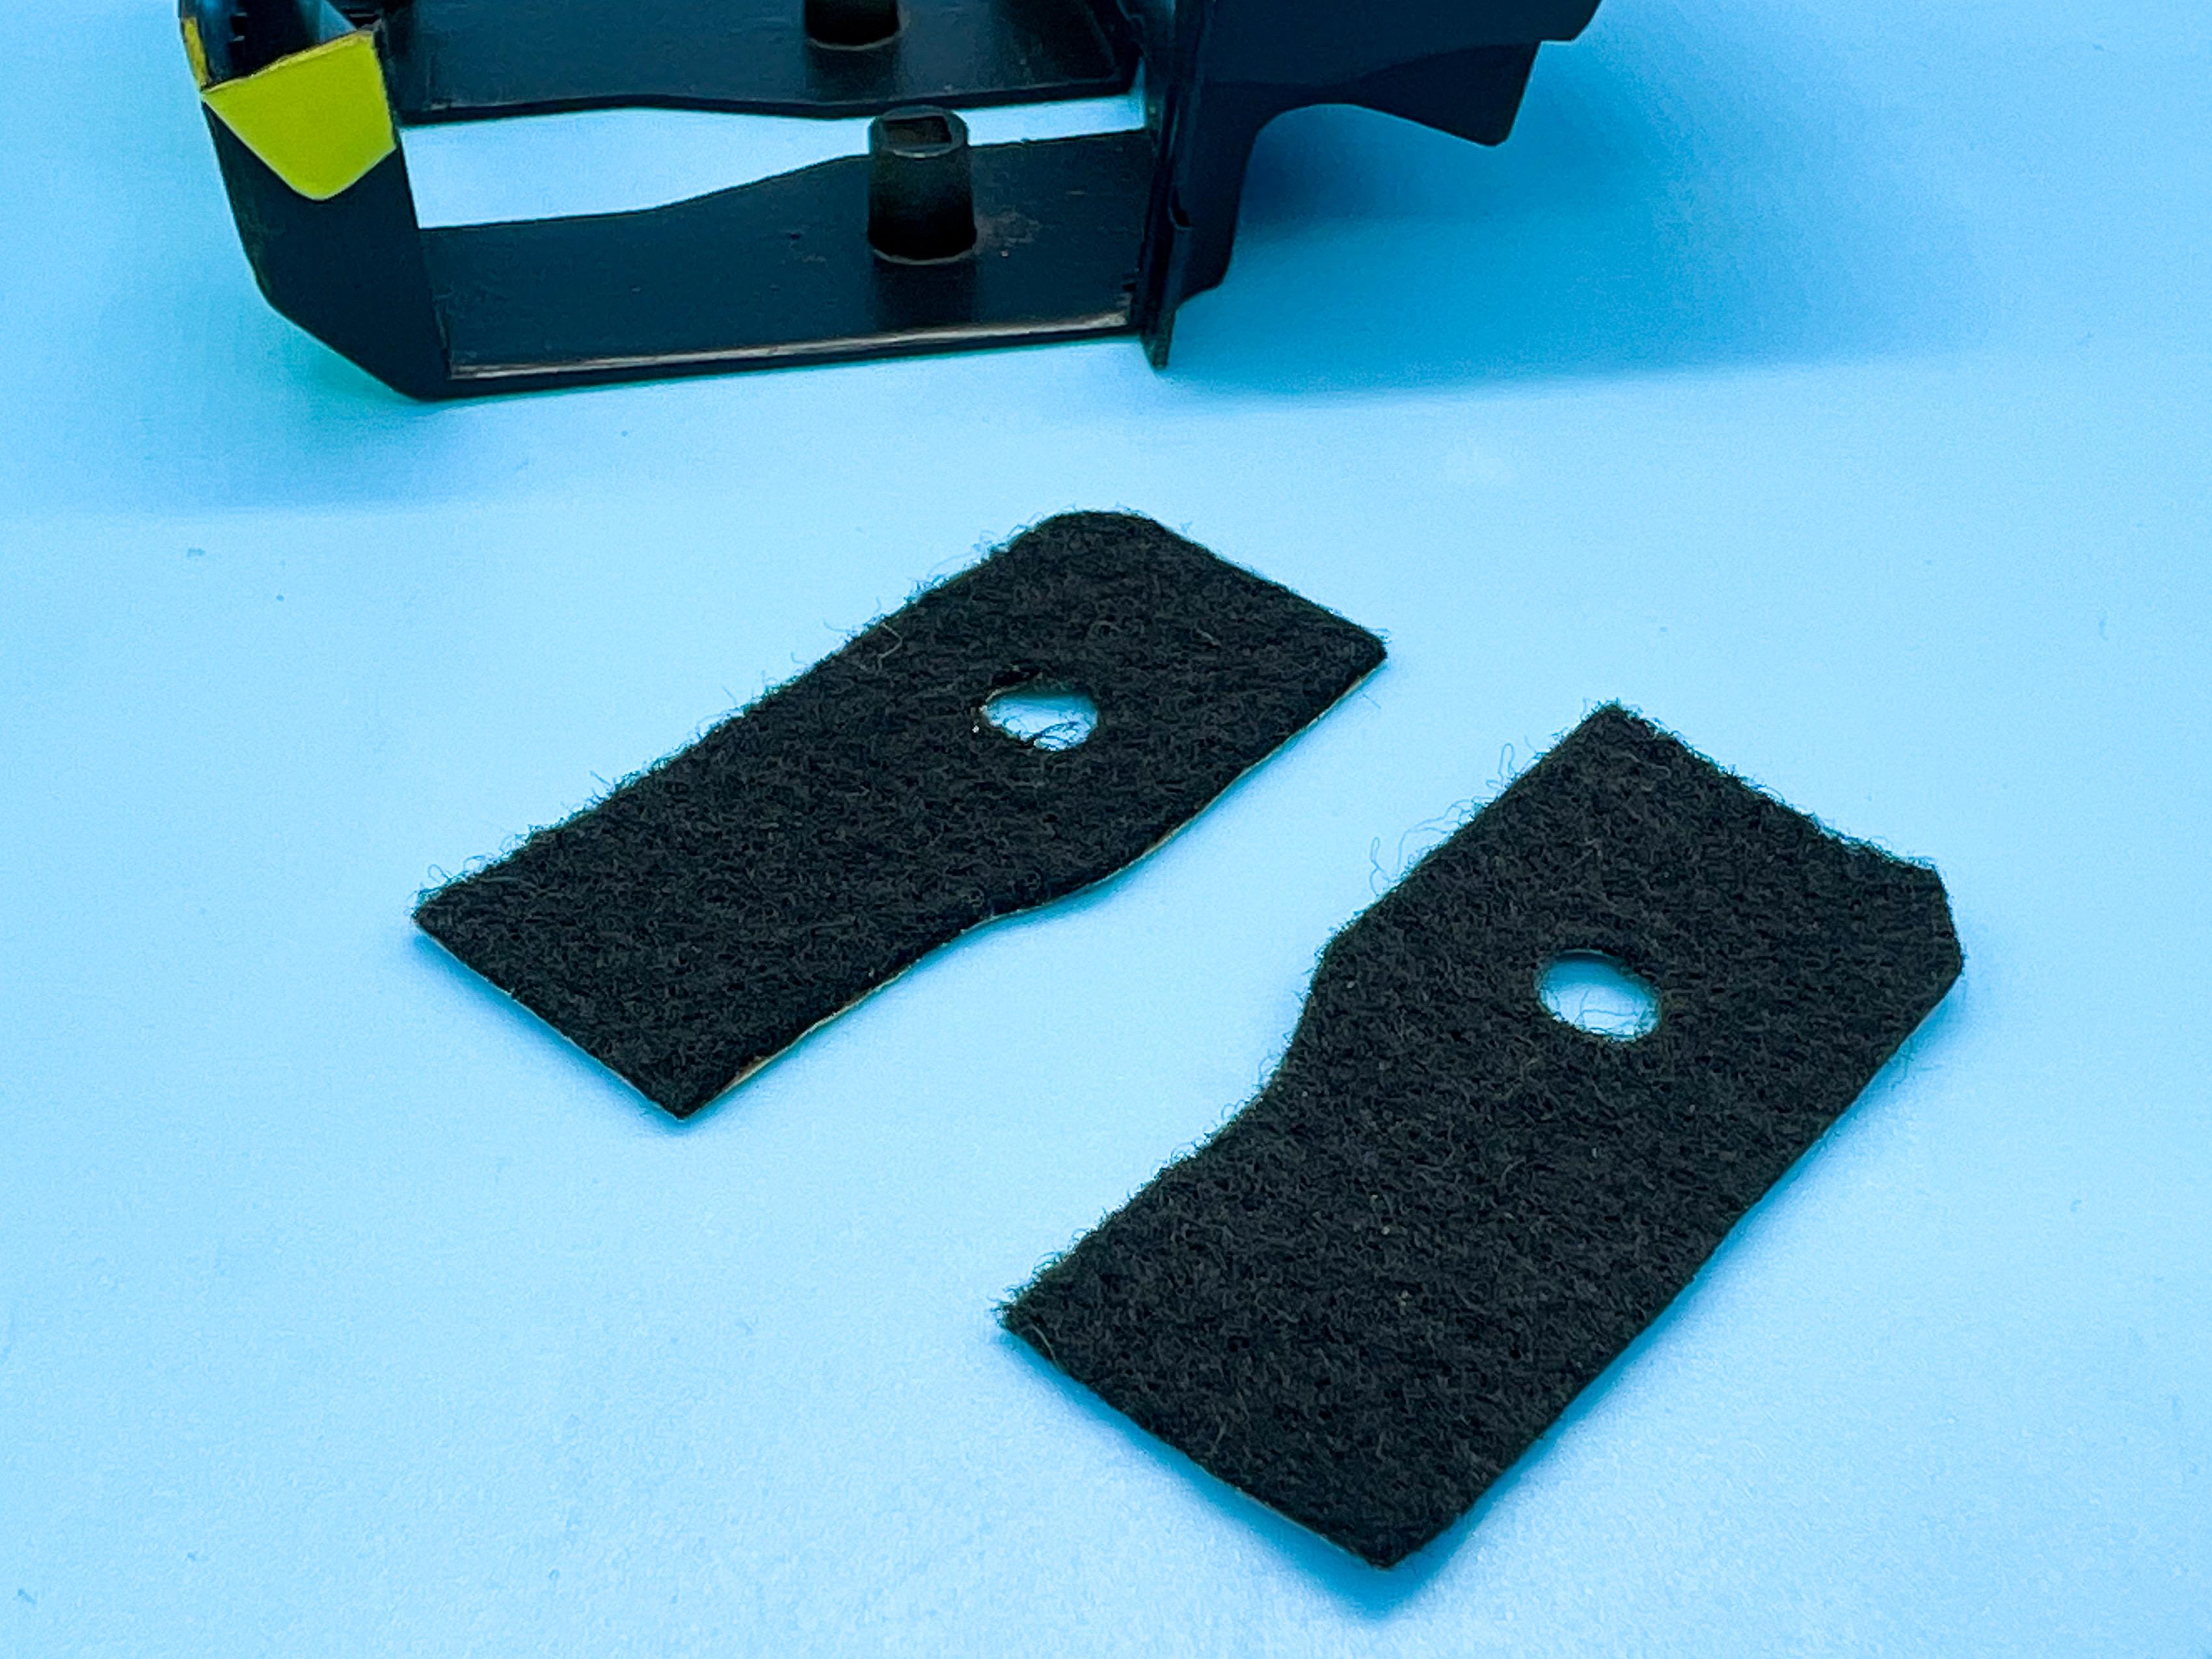
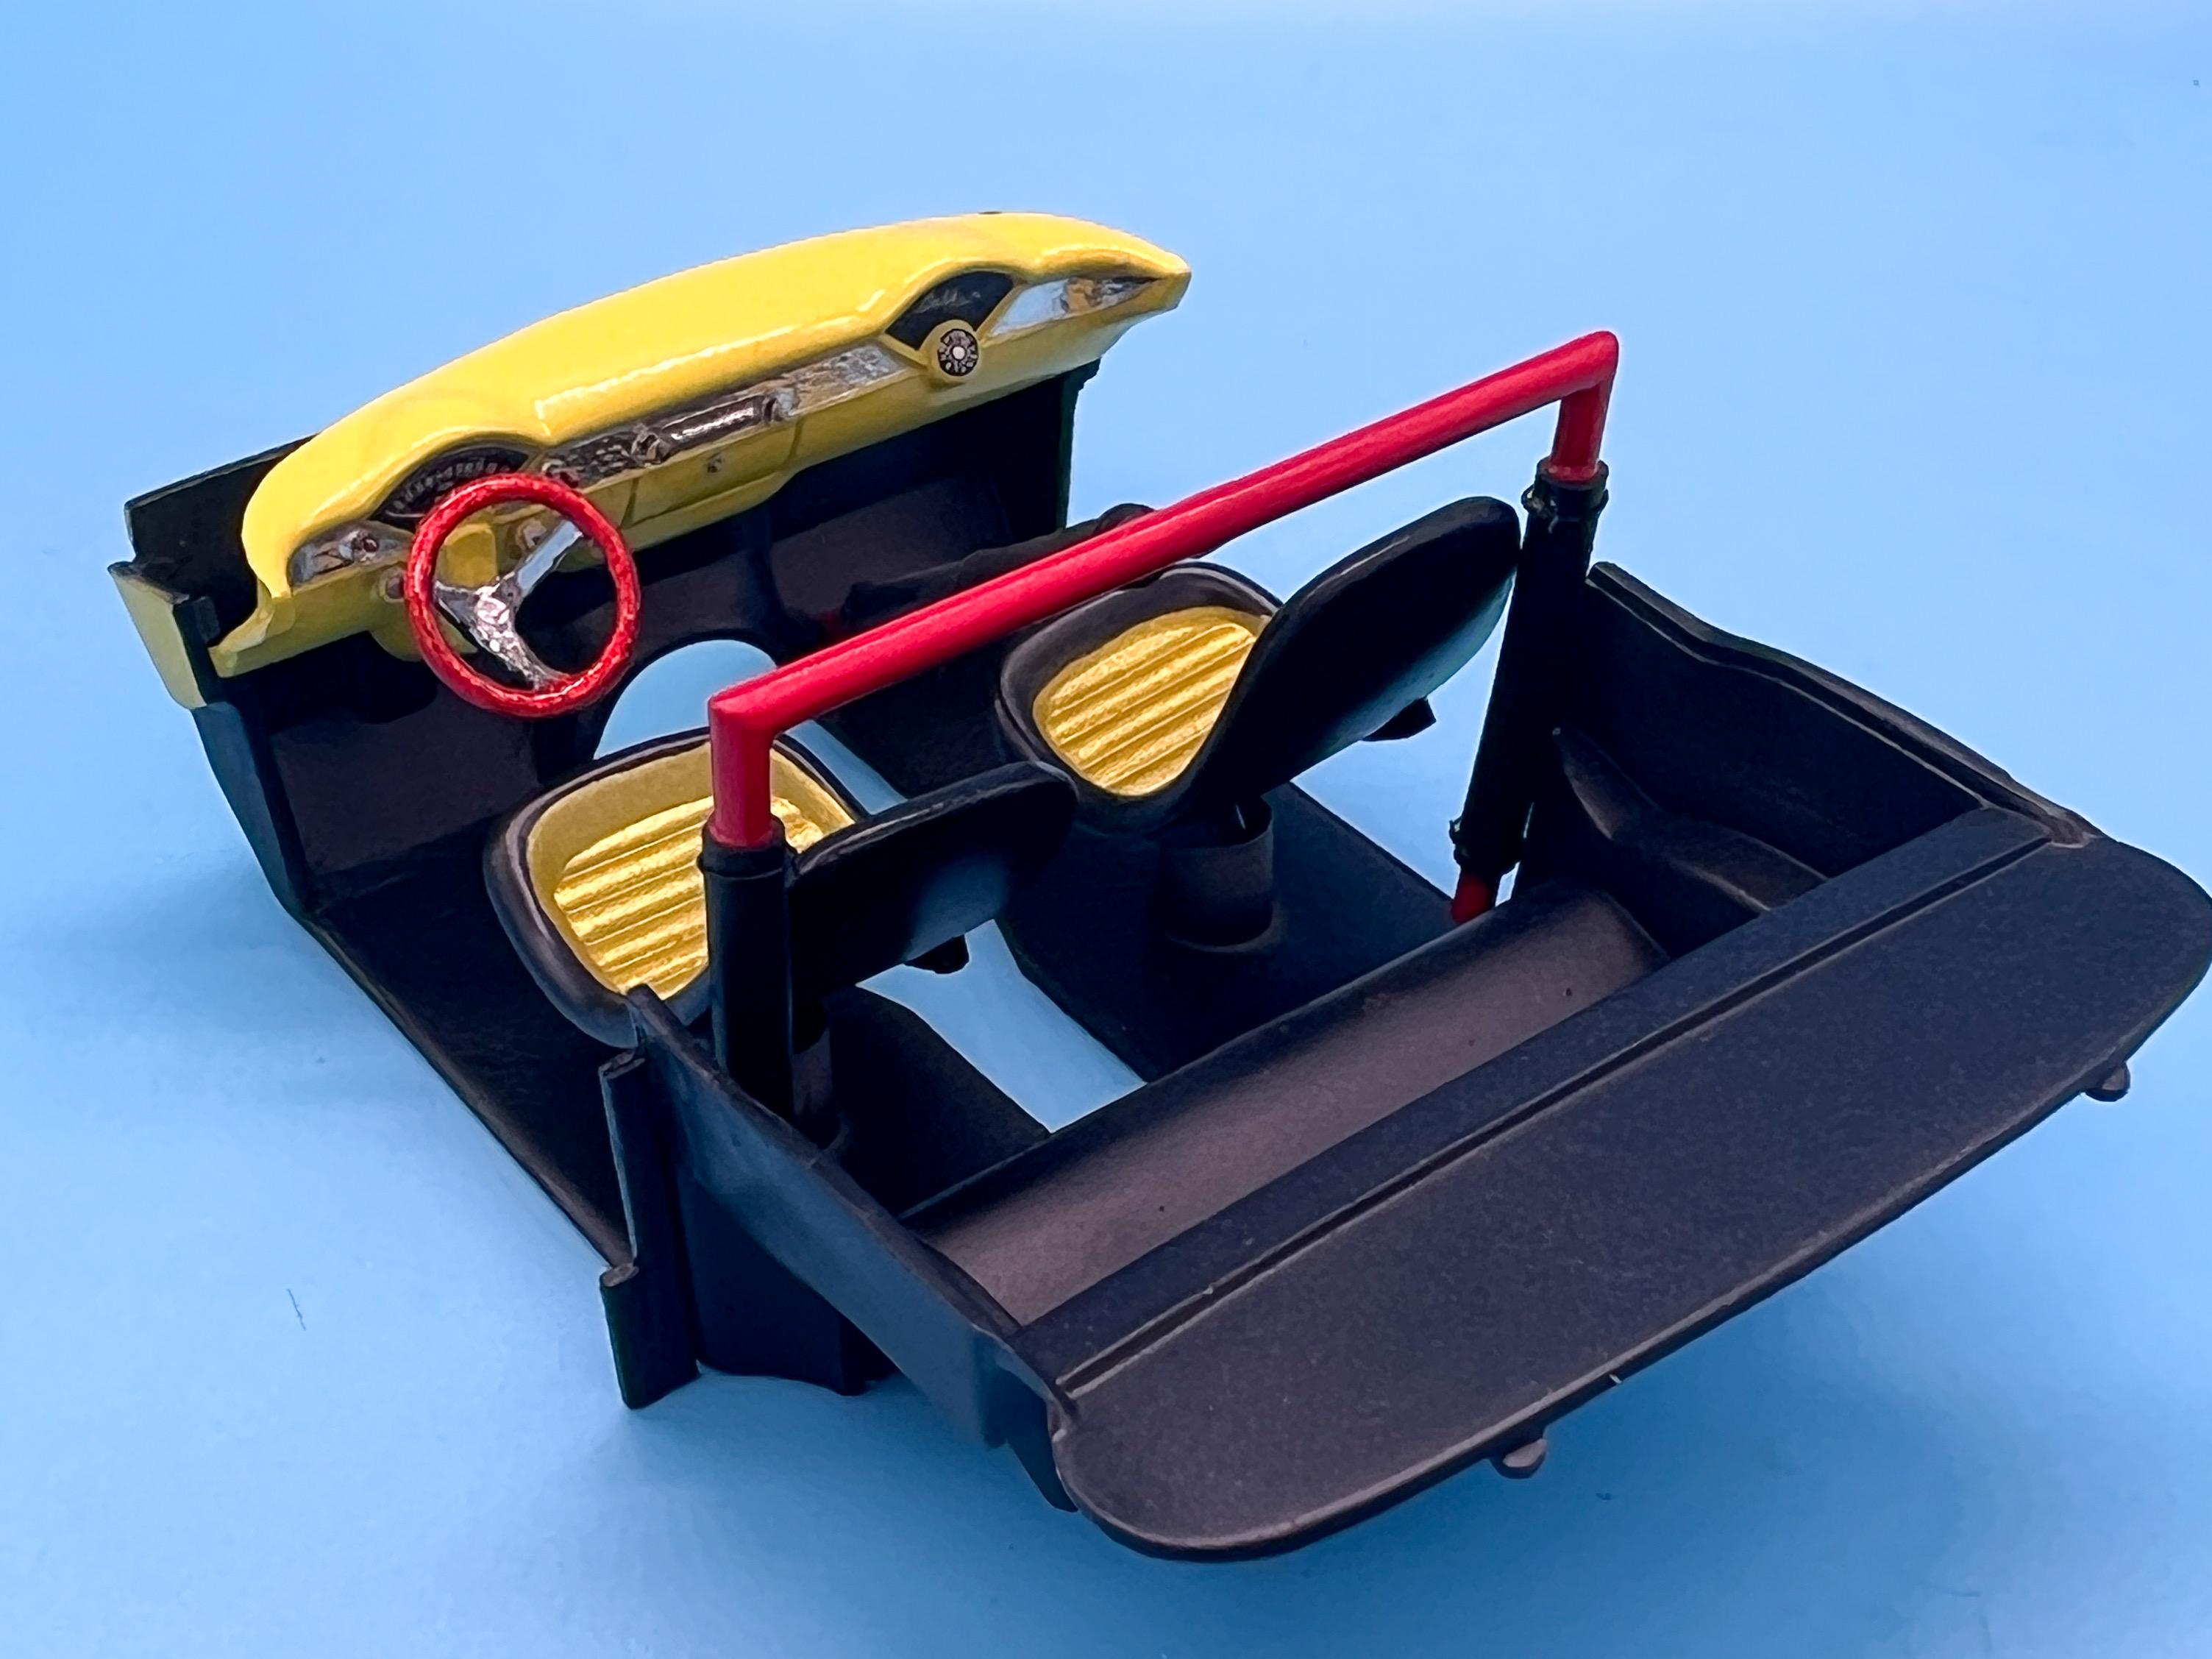
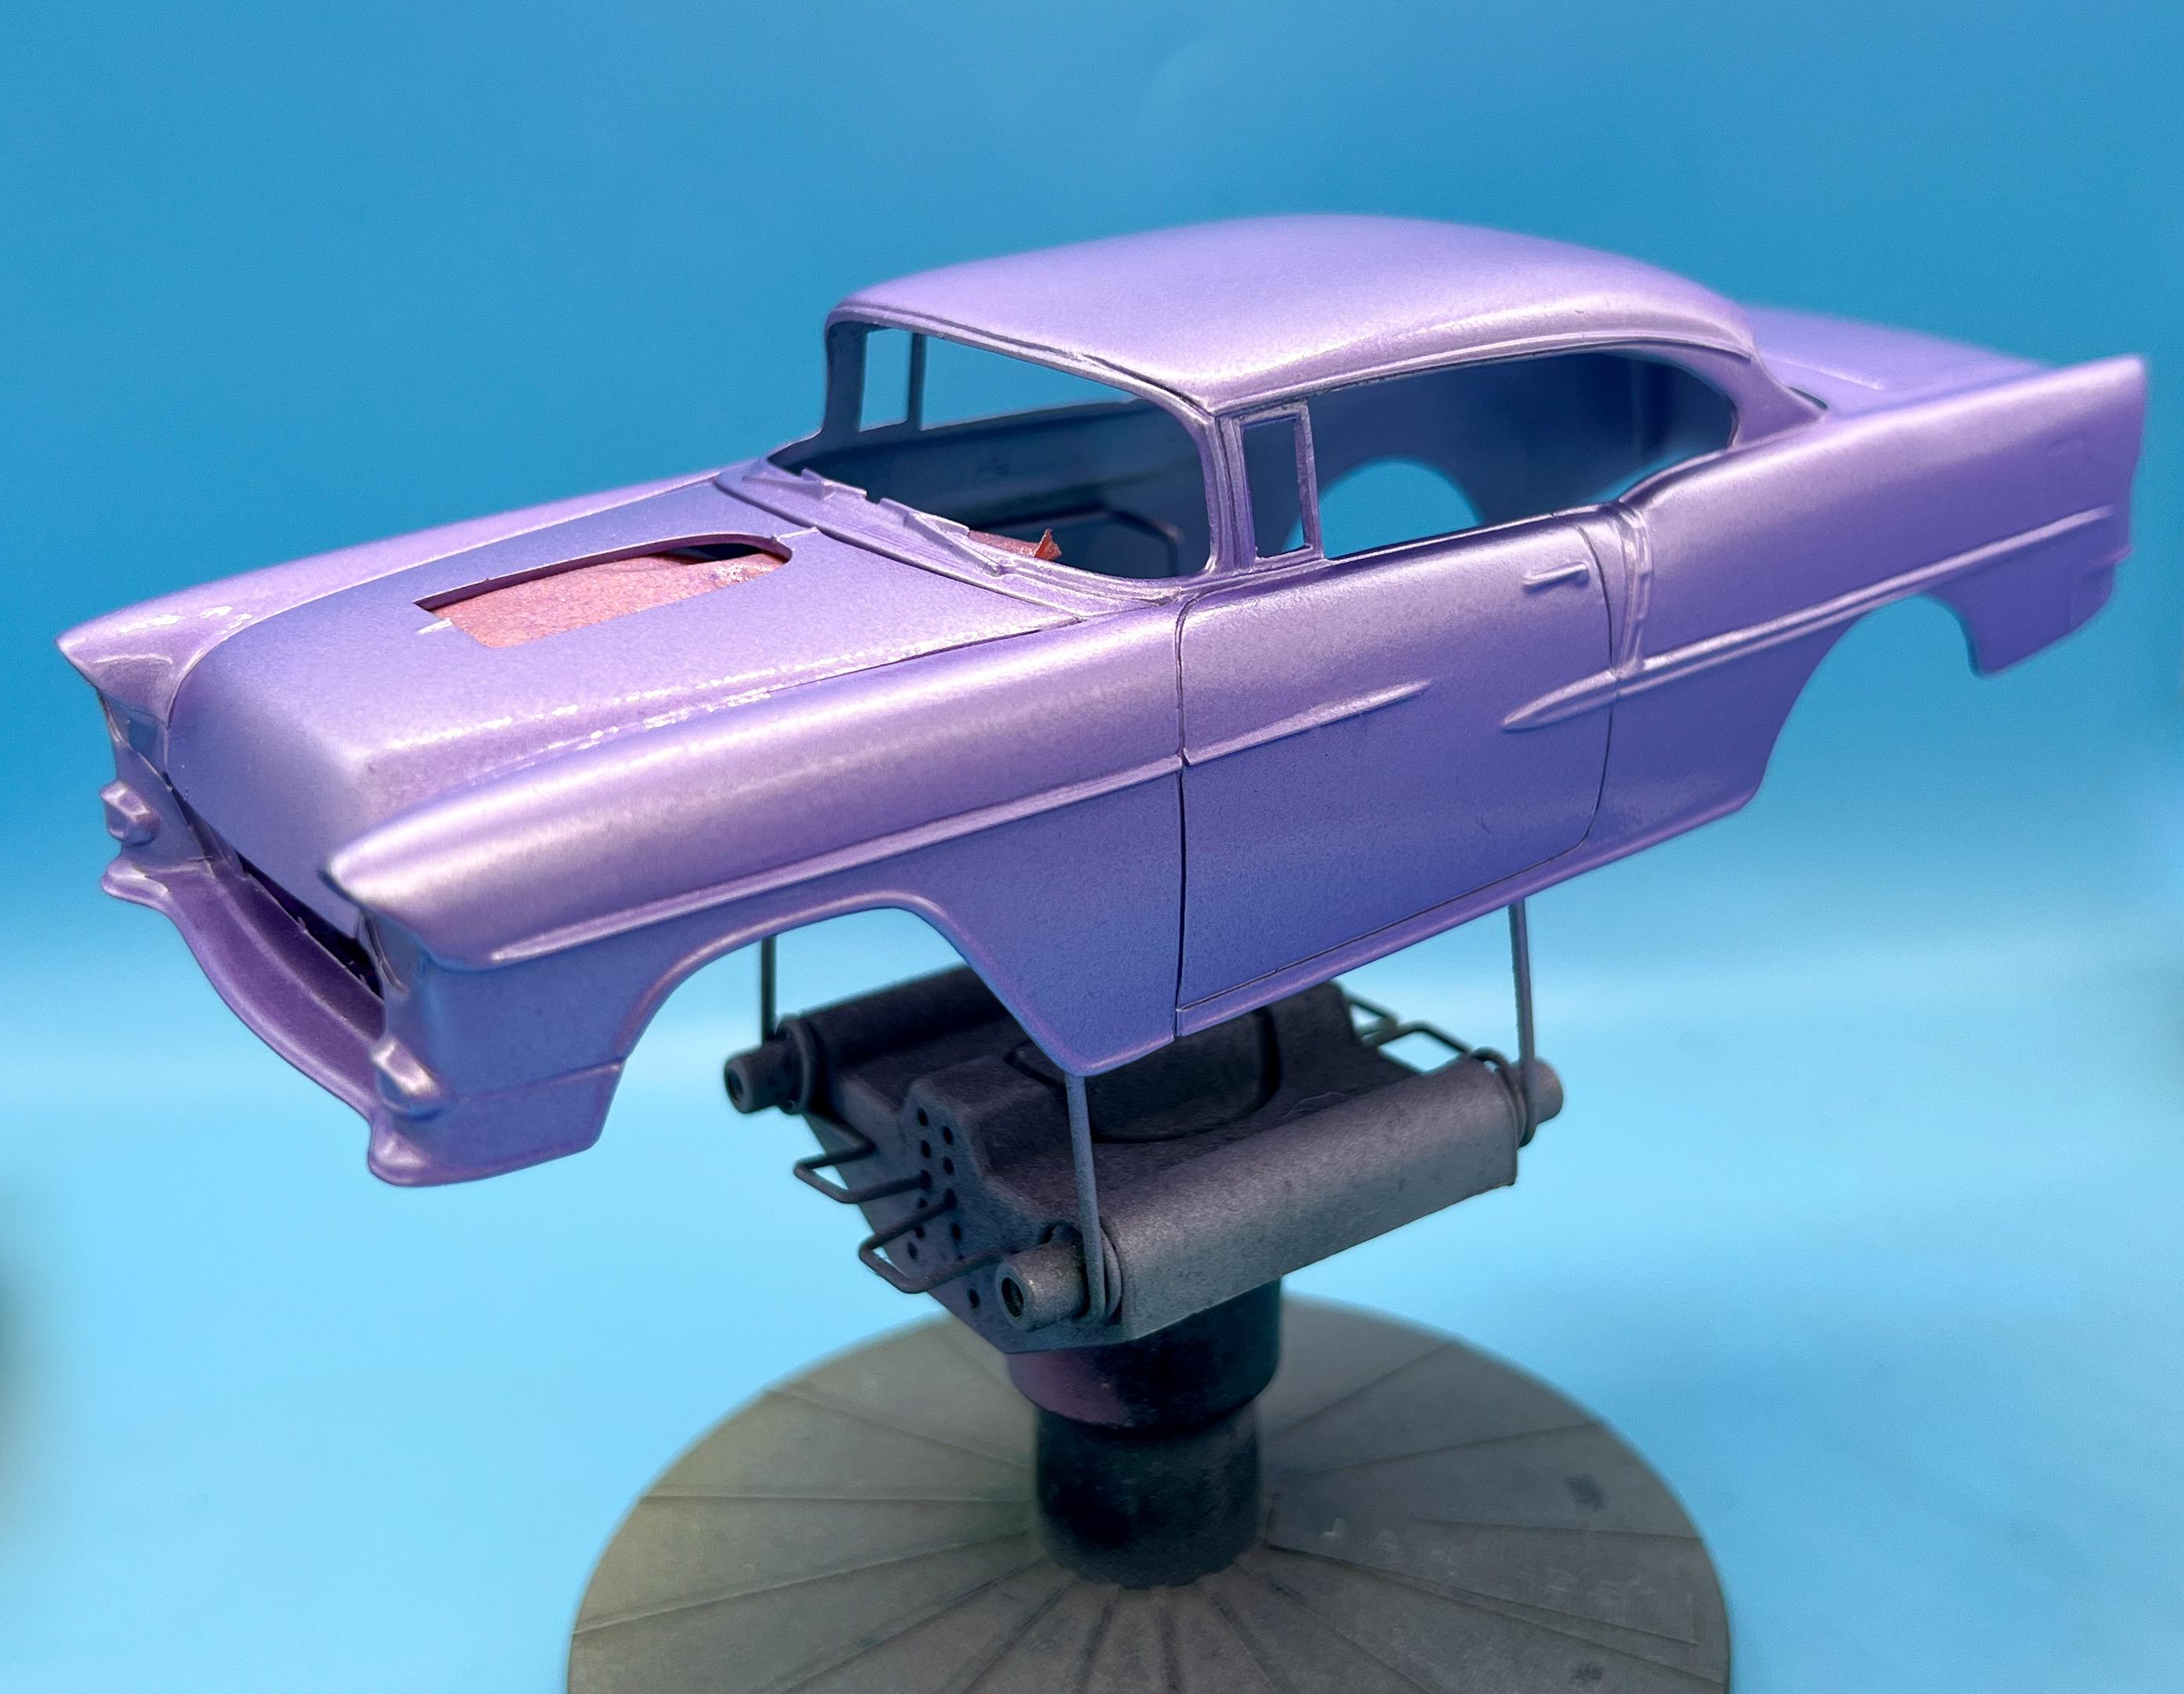
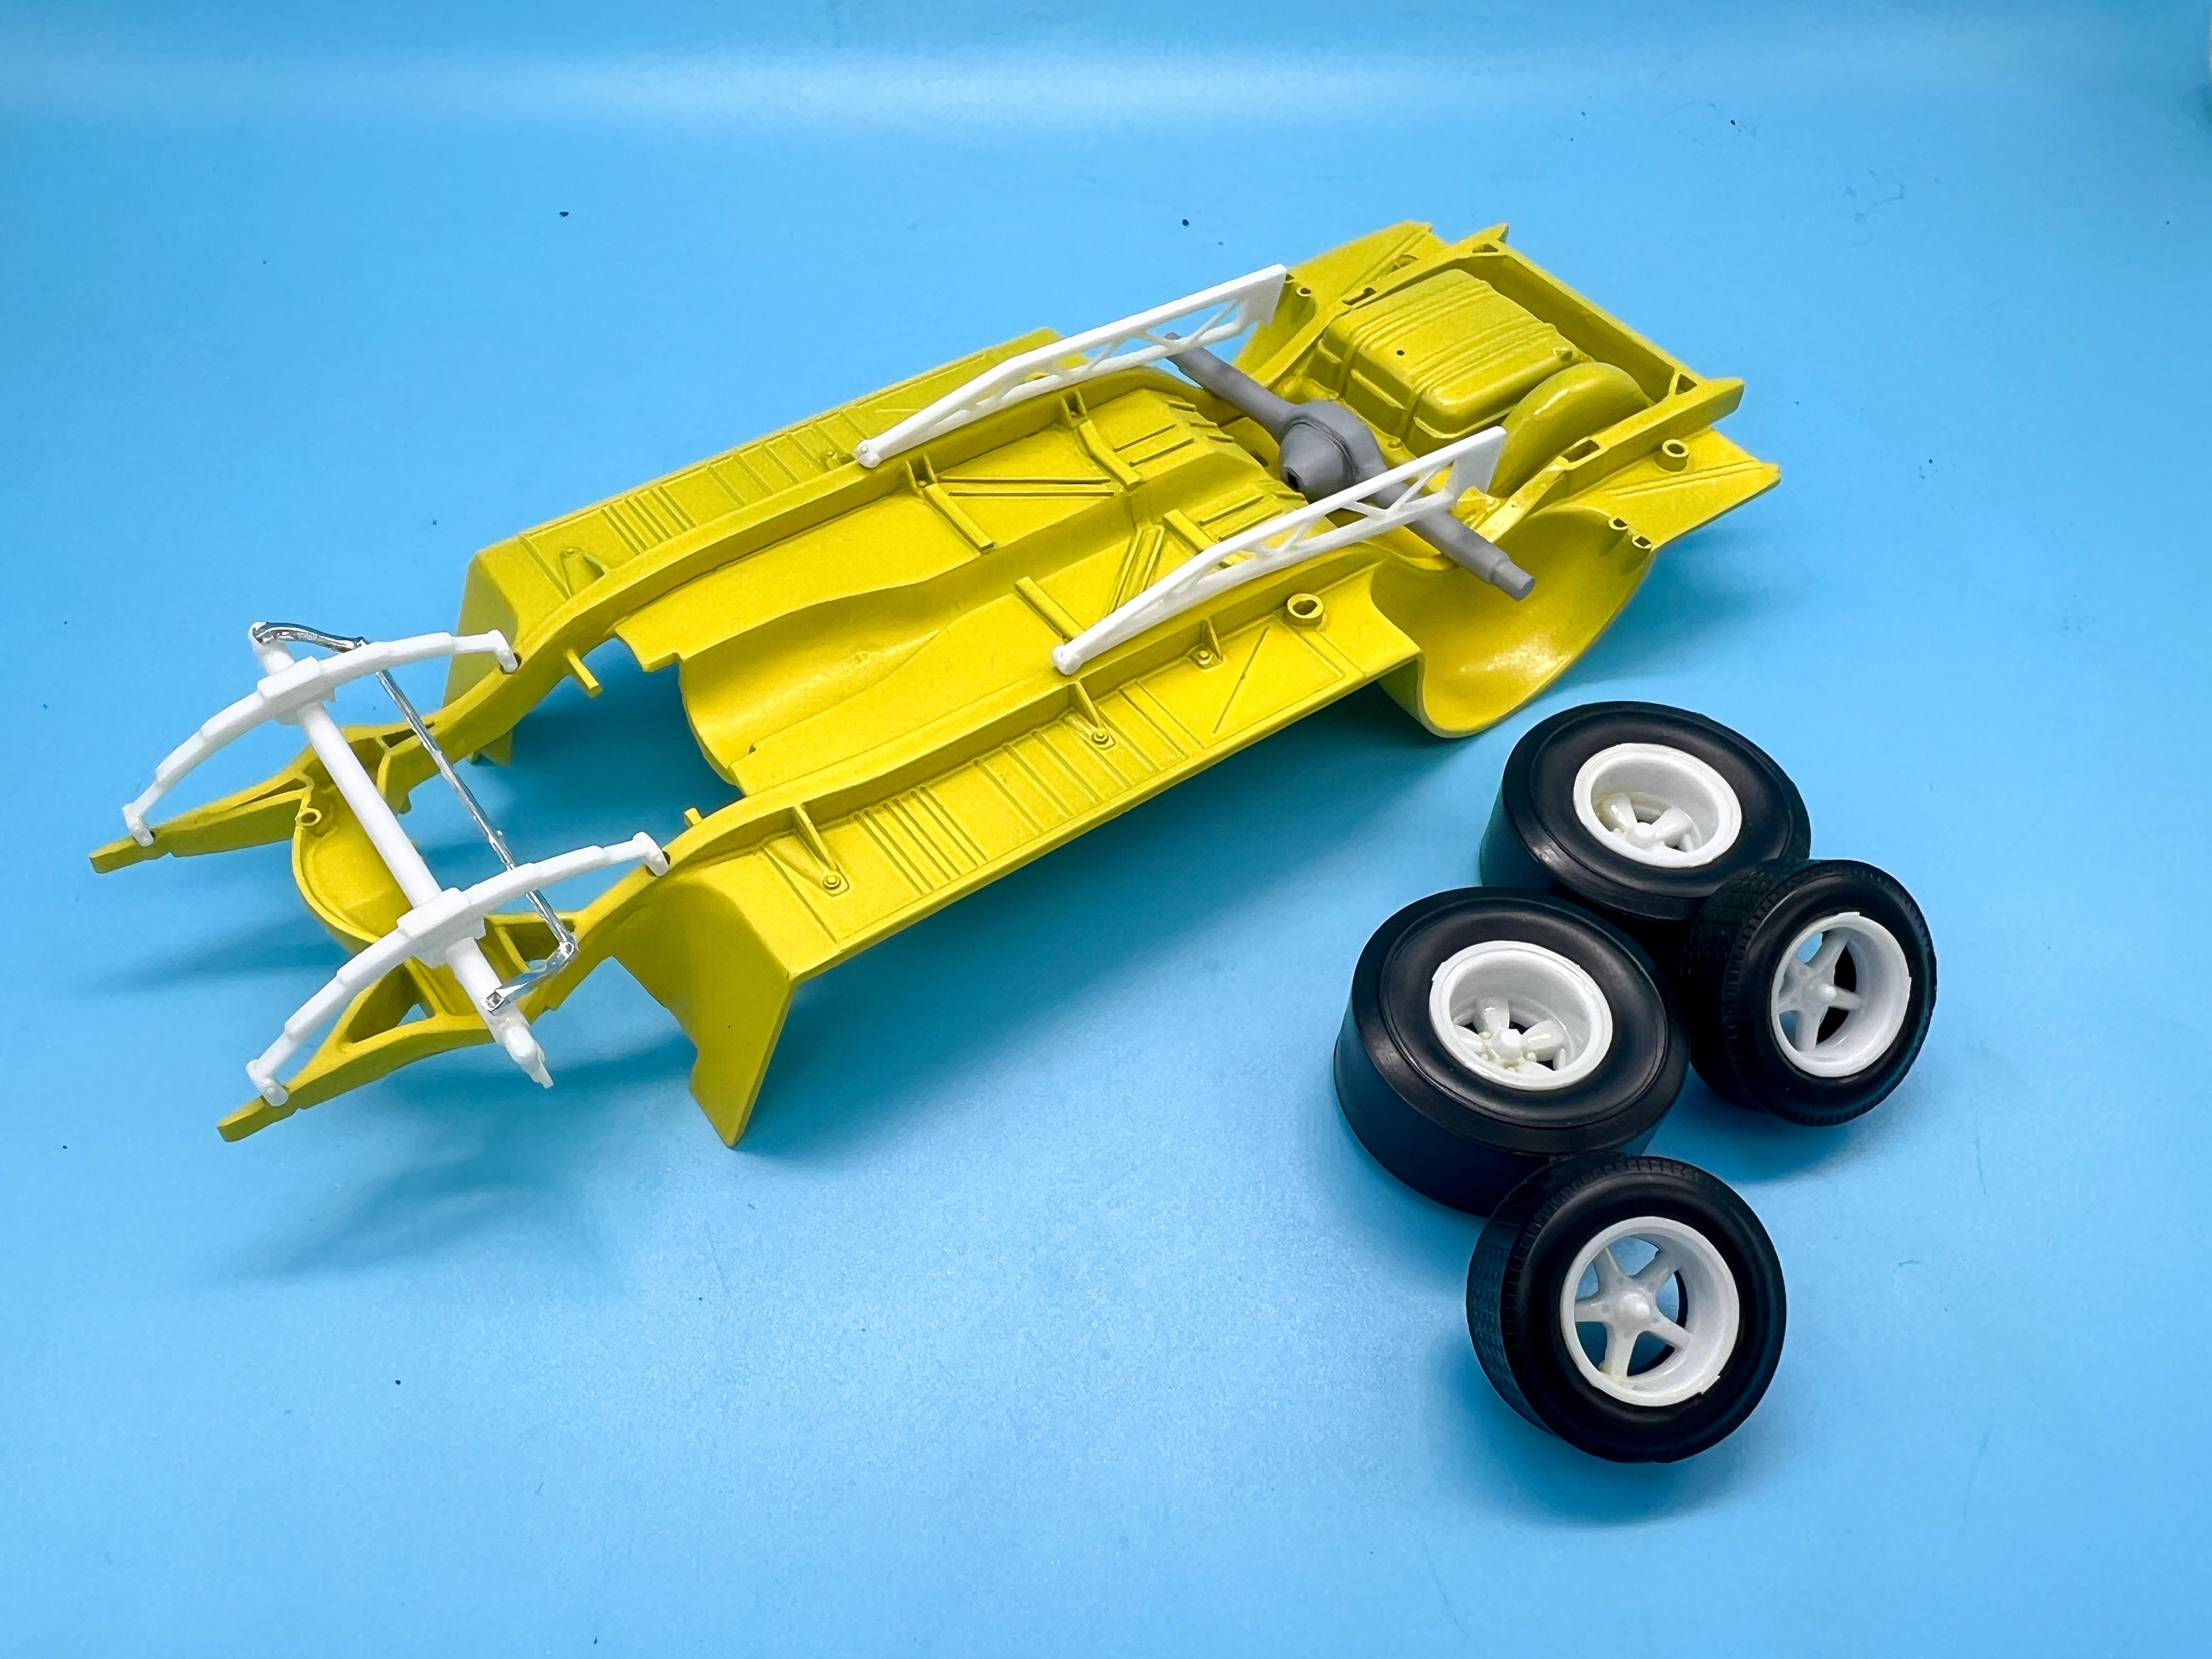
Thank you so much! It’s the weekend, so a little more progress… Trued the tires to get rid of some of that shine and make them round…the rears weren’t too difficult, but had to go easy on the fronts because that distinctive triangular tread pattern is pretty shallow and I didn’t wanna scrub it all off… I’ll shoot them with some dullcoat once I’ve rounded those sharp edges off the rears to round them out a little… Foiled the dash: Added the decals from the new Revell issue of this kit, and made some toggle switches: Then used a little of this Glossy Accents from Hobby Lobby to add the gauge faces: It goes on cloudy, but clears right up when it drives, and it’s thick enough to make domed glass, if you need to: Whilst that was drying, masked the seats - I’m going for a sparkly-yellow-vinyl look for the insert and black for the bulk of the seat…Silly Putty to the rescue for that tricky masking job: Worked great…just a couple of touch-ups with a brush and these will be ready for the next stage: Whilst I was messing with the interior, made a template and cut some carpets: And added some detail to the roll cage with heatshrink and monofilament to represent roll cage padding: Quick mock-up of the interior…I wanna improve on that kit steering wheel, I think, it’s not really cutting it for me…although I’m pleased with the metalflake effect on the rim… And back on the outside, got some clear built up on the body and it’s ready for its last wetsand and final coats of clear before it bakes a while before polishing…touched up some flaws in the lilac one too and shot some intercoat on it ready for laying down some lettering: Plenty of disjointed all-over-the-place progress…but at least it’s progress, I guess ? More soon, soon as I’ve done more!
-
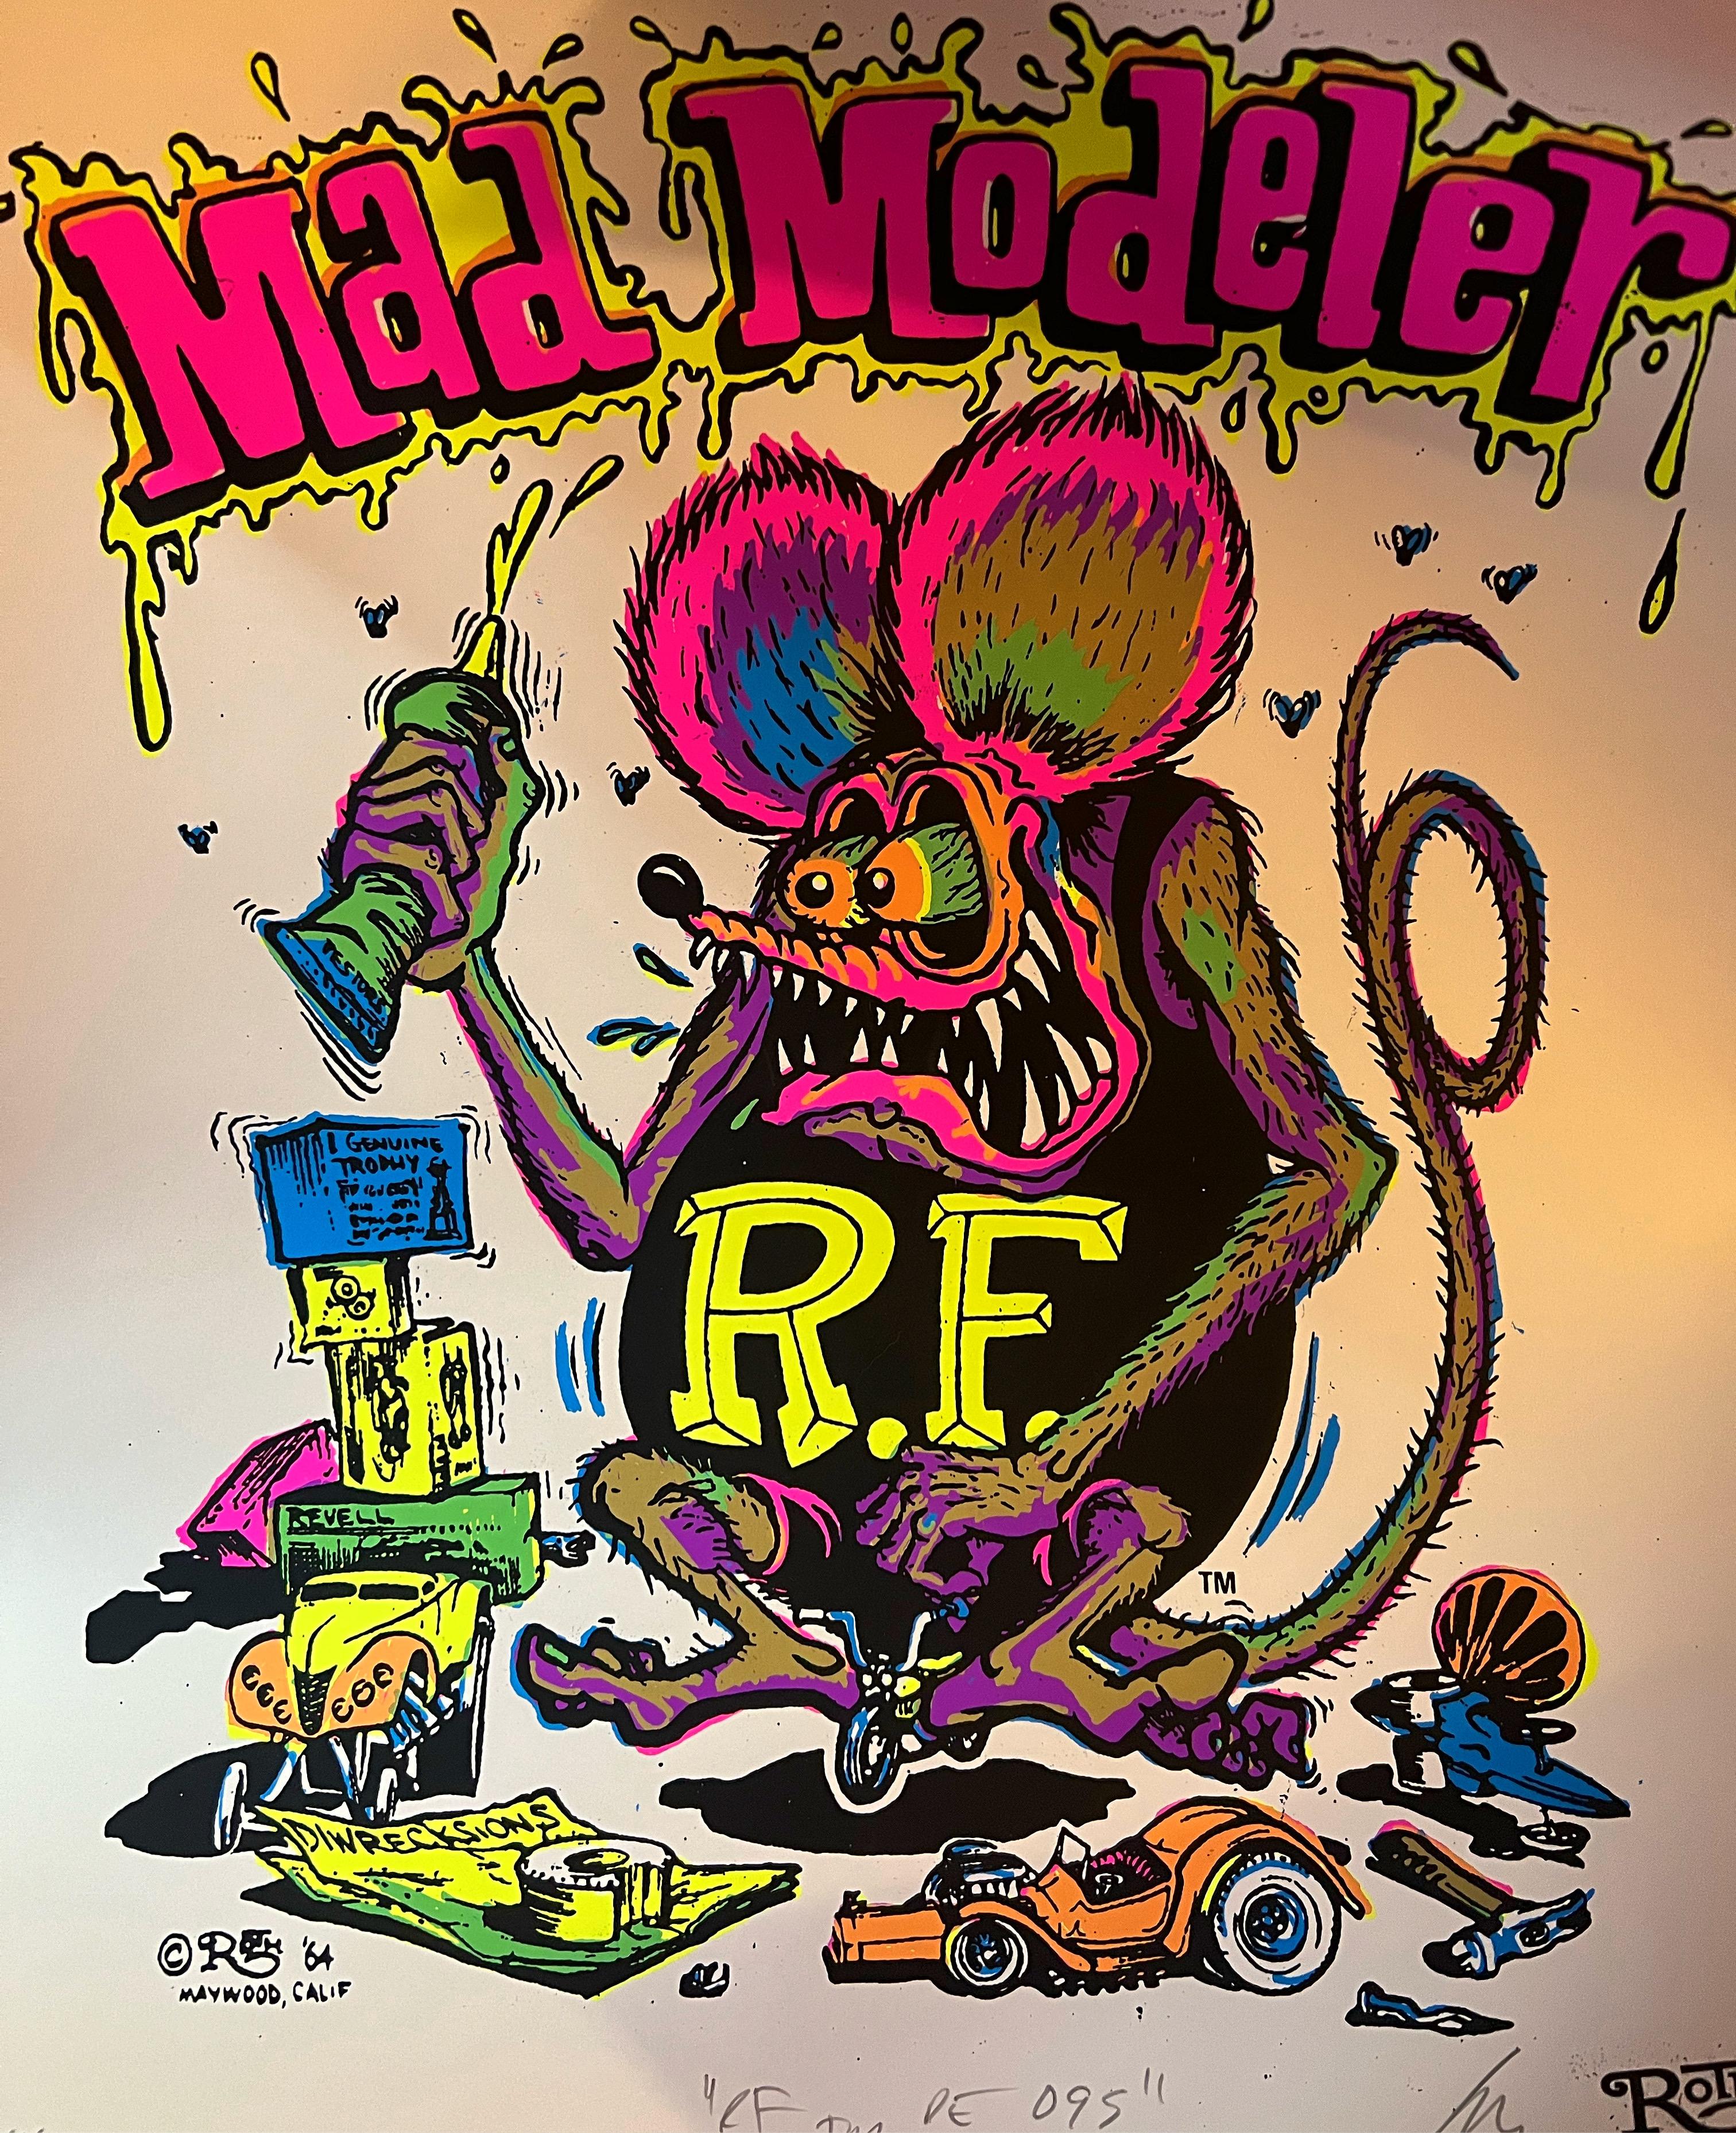
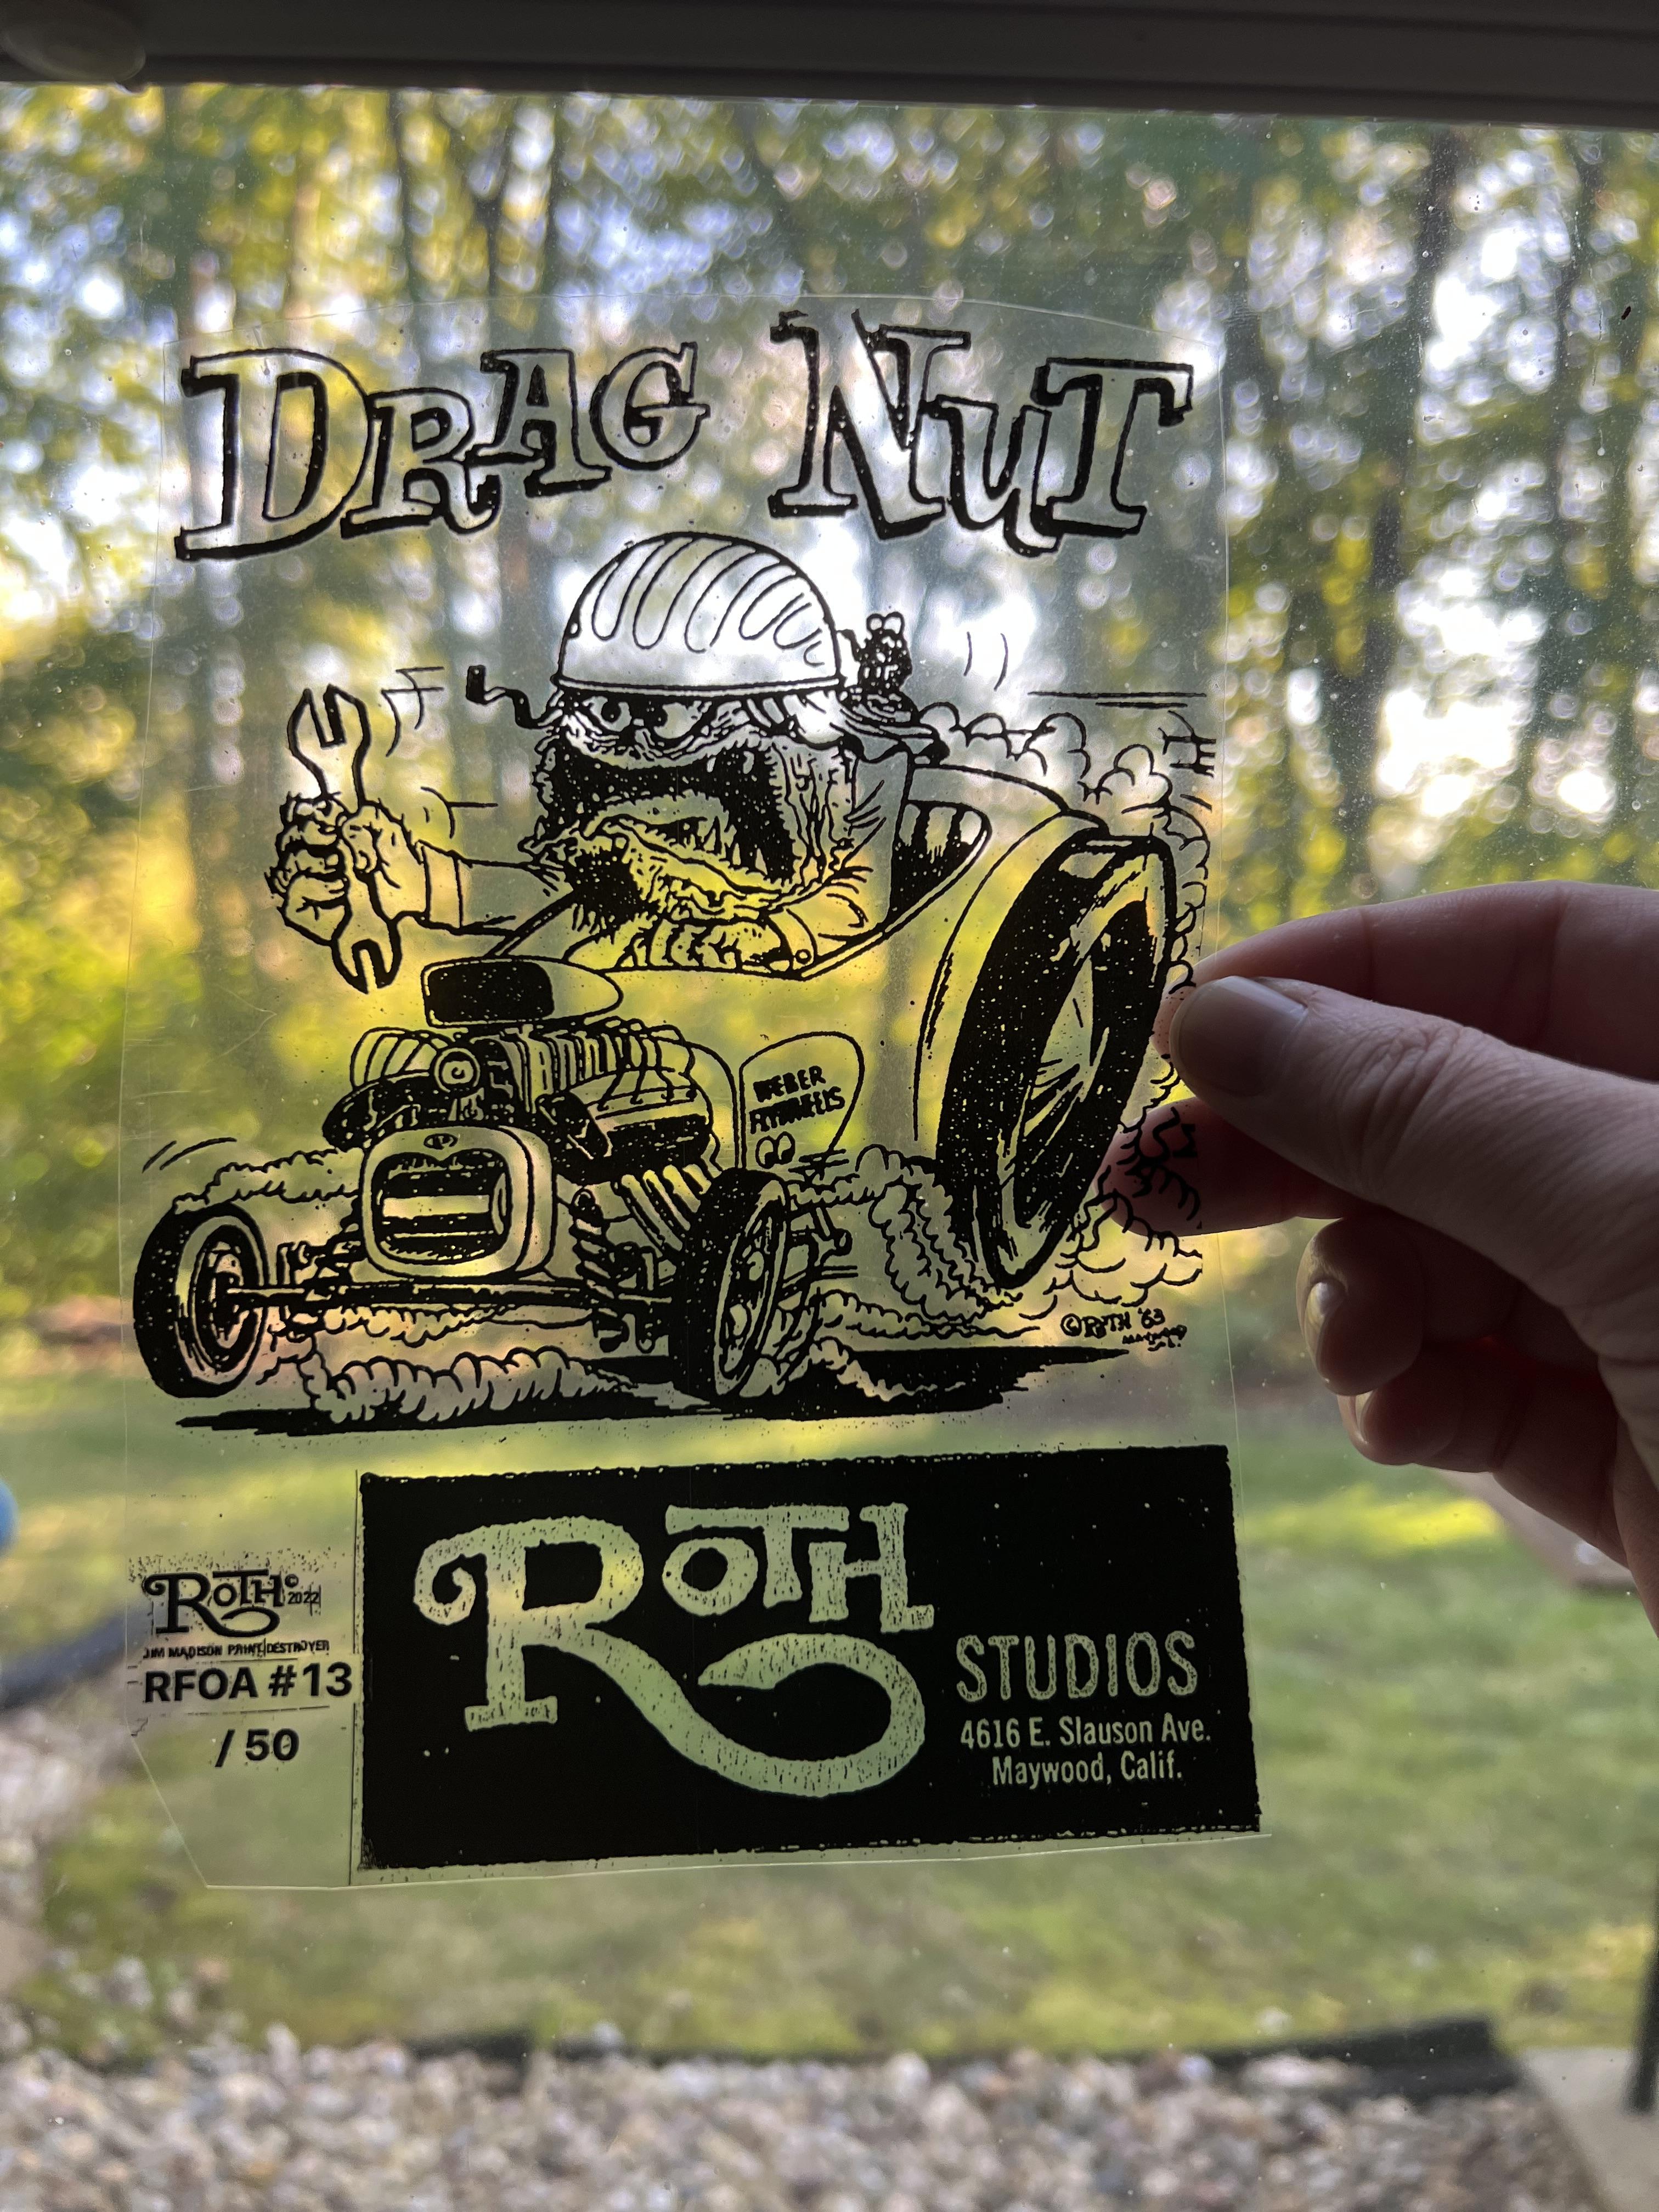
I ordered some licensed Ed Roth art from an artist named Jim Madison after seeing his work at a car show recently…and it came today! Ordered a frame for it, and it’ll be a great addition to the wall above my bench. Plus, he sent a whole stack of over cool art too - all kinds of interesting stuff to hang and display! This one would be cool to illuminate, somehow, with a little hanging light box:
-
That is FASCINATING, and I’d never heard about that before. Thank you for posting!
-
What did you see on the road today?
OldNYJim replied to Harry P.'s topic in General Automotive Talk (Trucks and Cars)
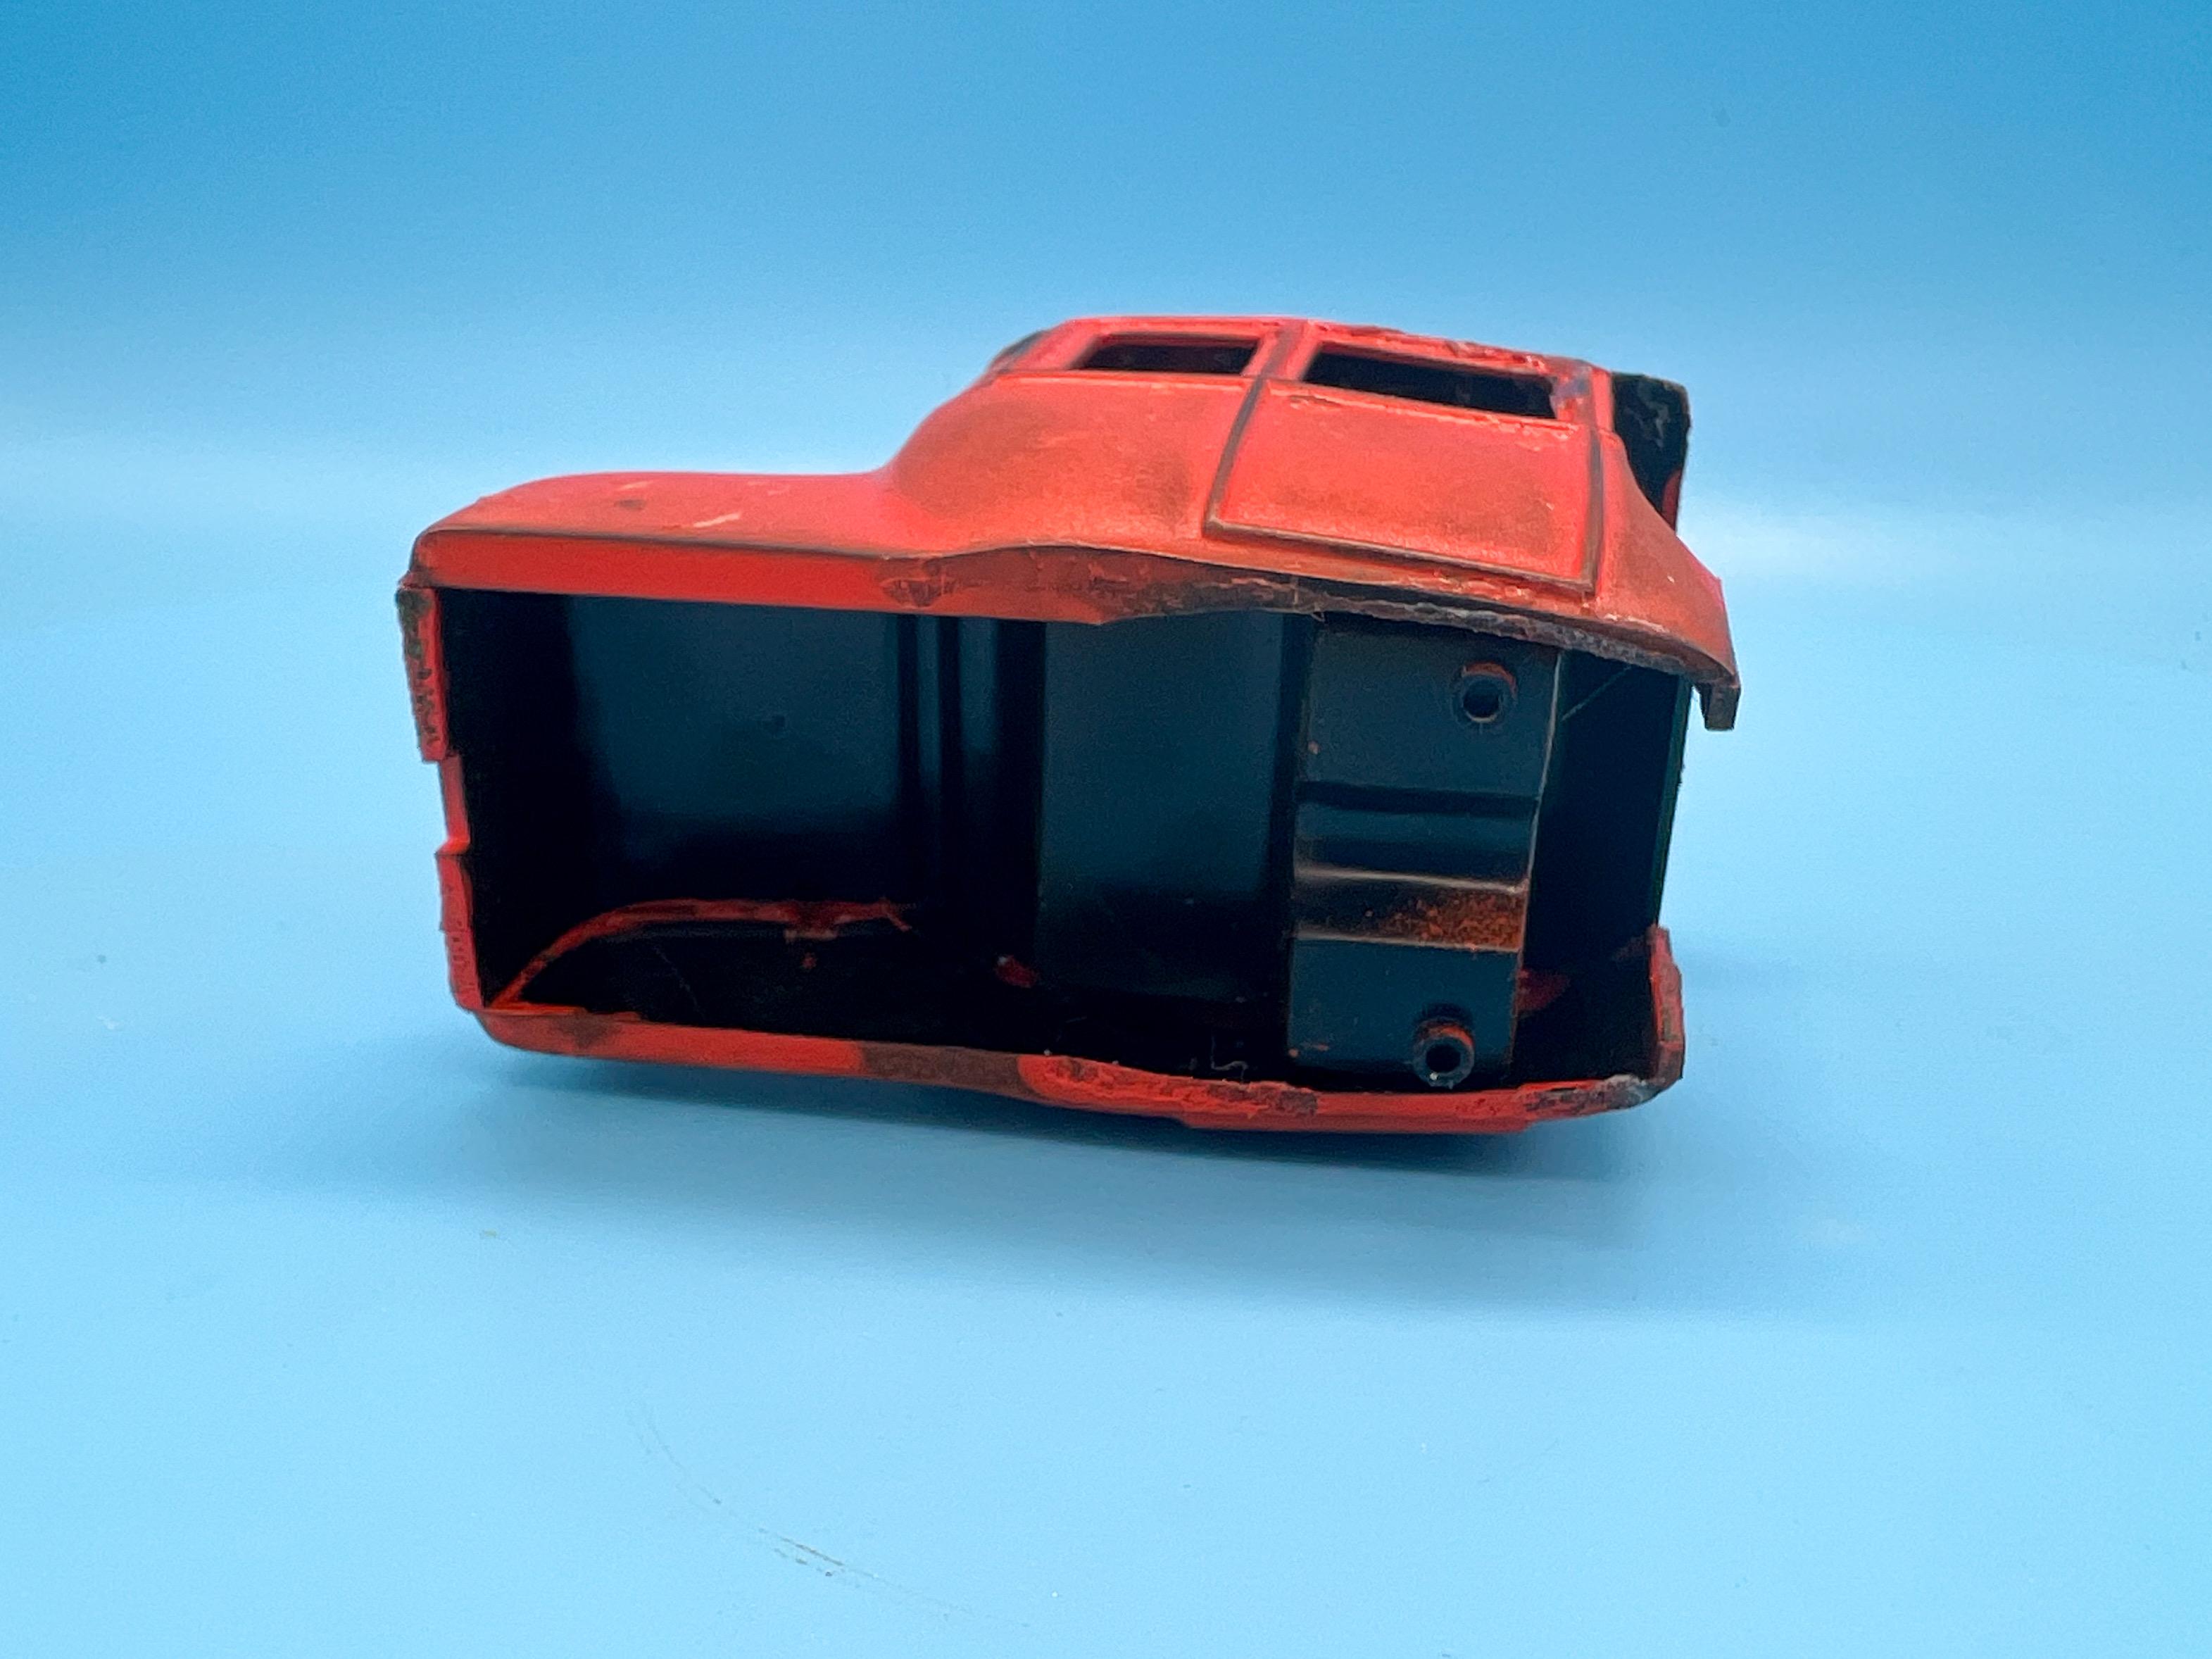
Saw this cool old Vette, apparently broken and stuck on a junction on my commute home…there wasn’t a good place to stop but the guy was on his phone when I looped past so hopefully he got things resolved…
-
If you're set on white glue, I'd personally go with Aleene's Tacky Glue instead of Elmer's - like the name suggests it's MUCH stickier than Elmer's, costs about the same and has the same wash-away-able properties as any other white glue so that you can easily remove it when you're doing mocking everything up.
-
1/32 scale Belly Tank Lakester
OldNYJim replied to styromaniac's topic in WIP: Other Racing: Road Racing, Land Speed Racers
What he said x2! I missed this thread first time around but I’m glad I saw it now!! That bellytanker is a real cutie! -
Great attitude…and great results! That’s a gorgeous color!
-
Bench racing the AMT surfer van
OldNYJim replied to atomicholiday's topic in General Automotive Talk (Trucks and Cars)
Why not mask the van and lay down your own flames? Hand draw them on the tape, slice them out with a sharp scalpel blade and you’ve got the perfect flamejob for the body you're working on -
What's the best Impreza WRC kit
OldNYJim replied to eran_k's topic in Model Building Questions and Answers
Revell made a WRC kit too, which beats the Tamiya in some respects because it includes a 20-something piece engine...if that matters to you. -
My take on the most famous ‘55 gasser street machine’…
OldNYJim replied to OldNYJim's topic in WIP: Model Cars
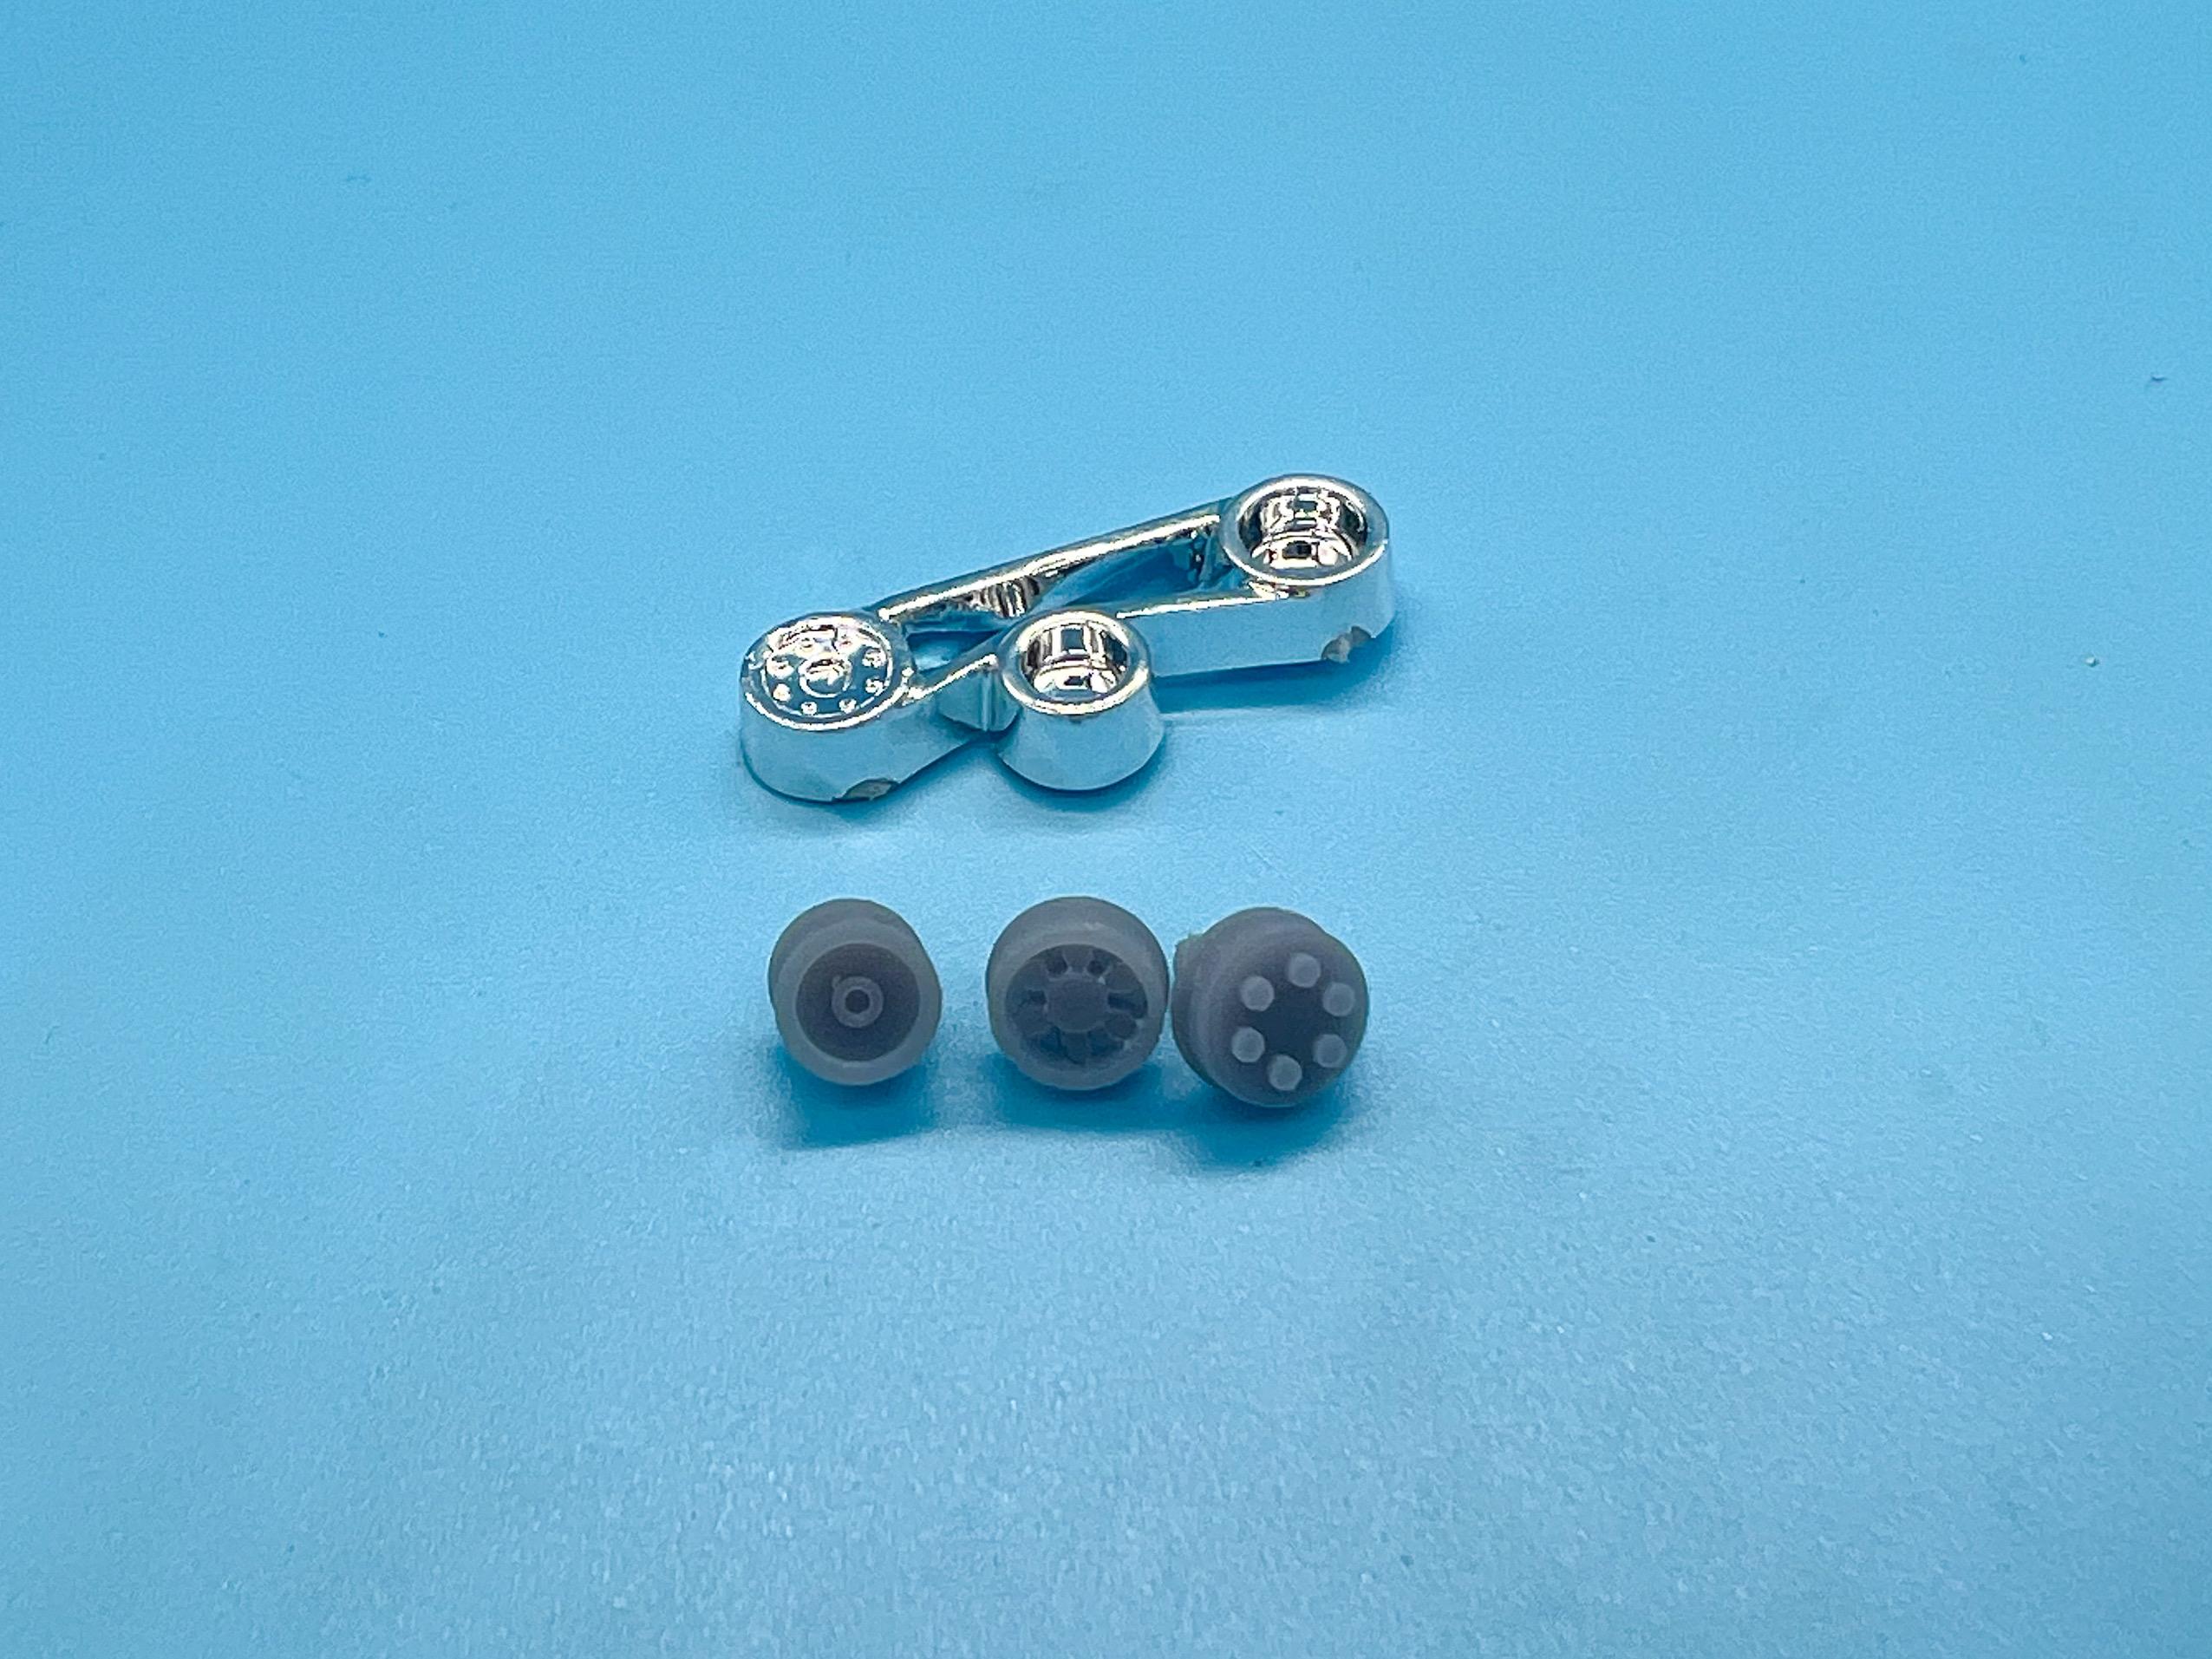
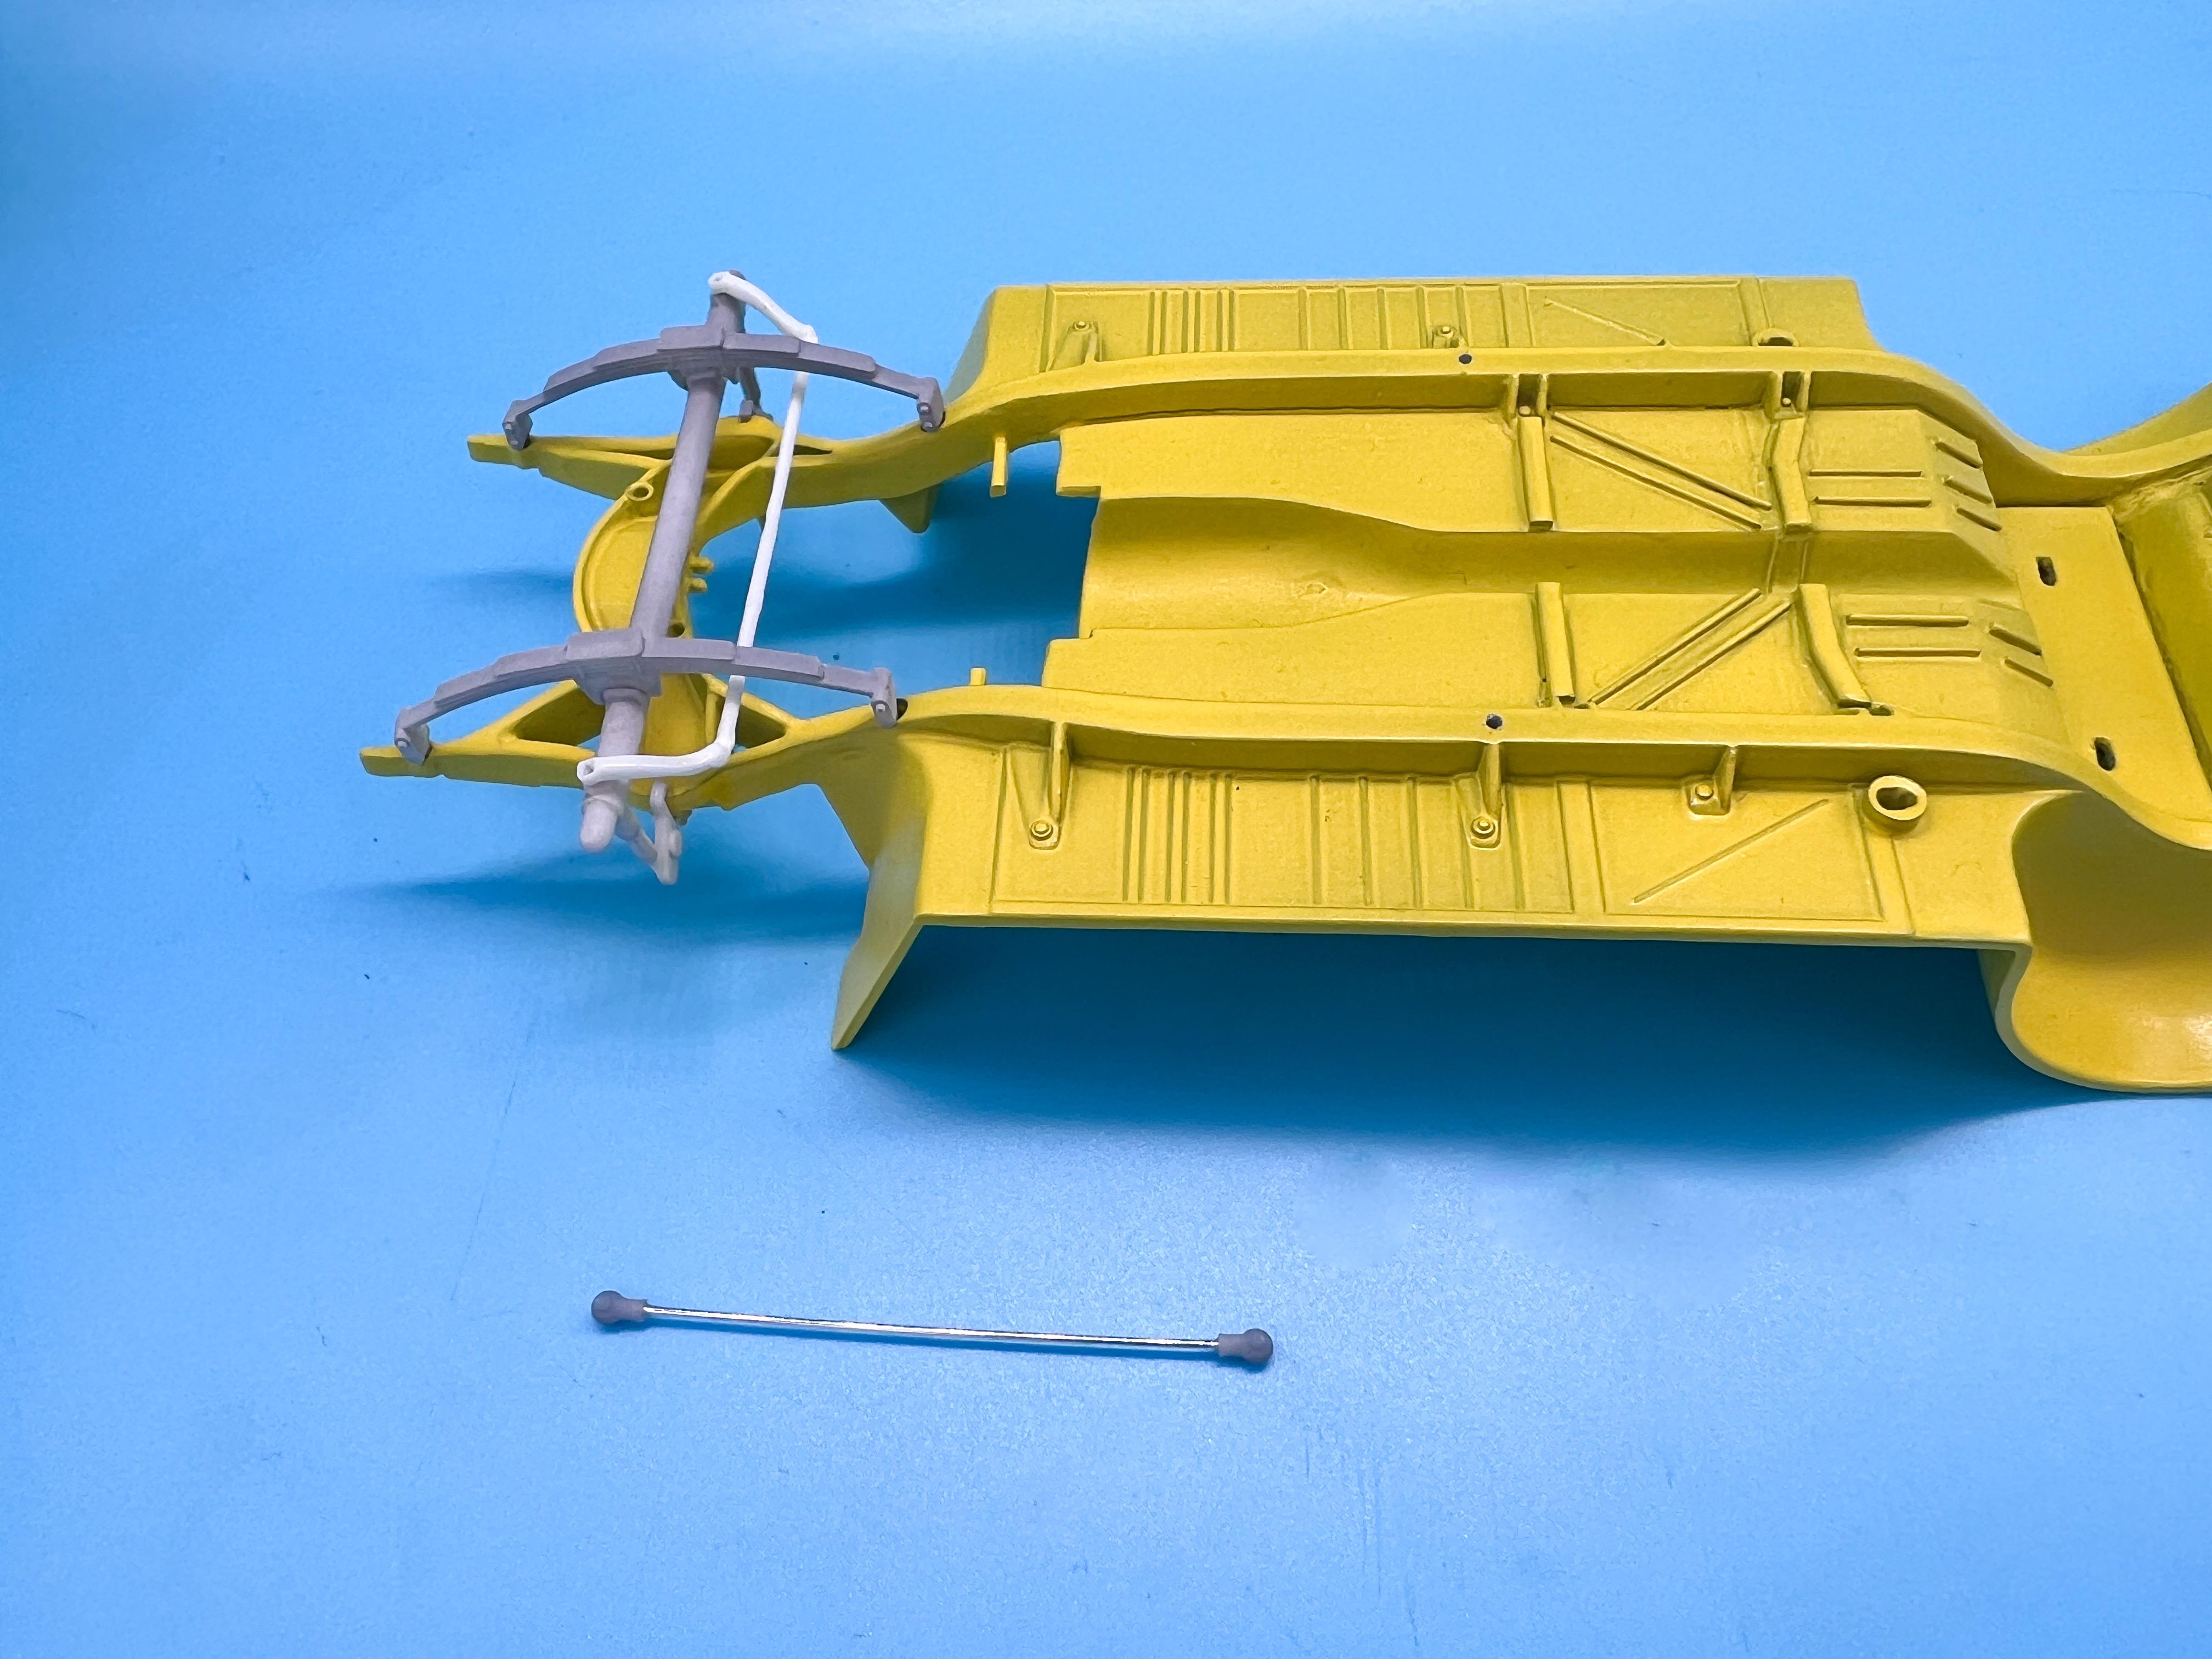
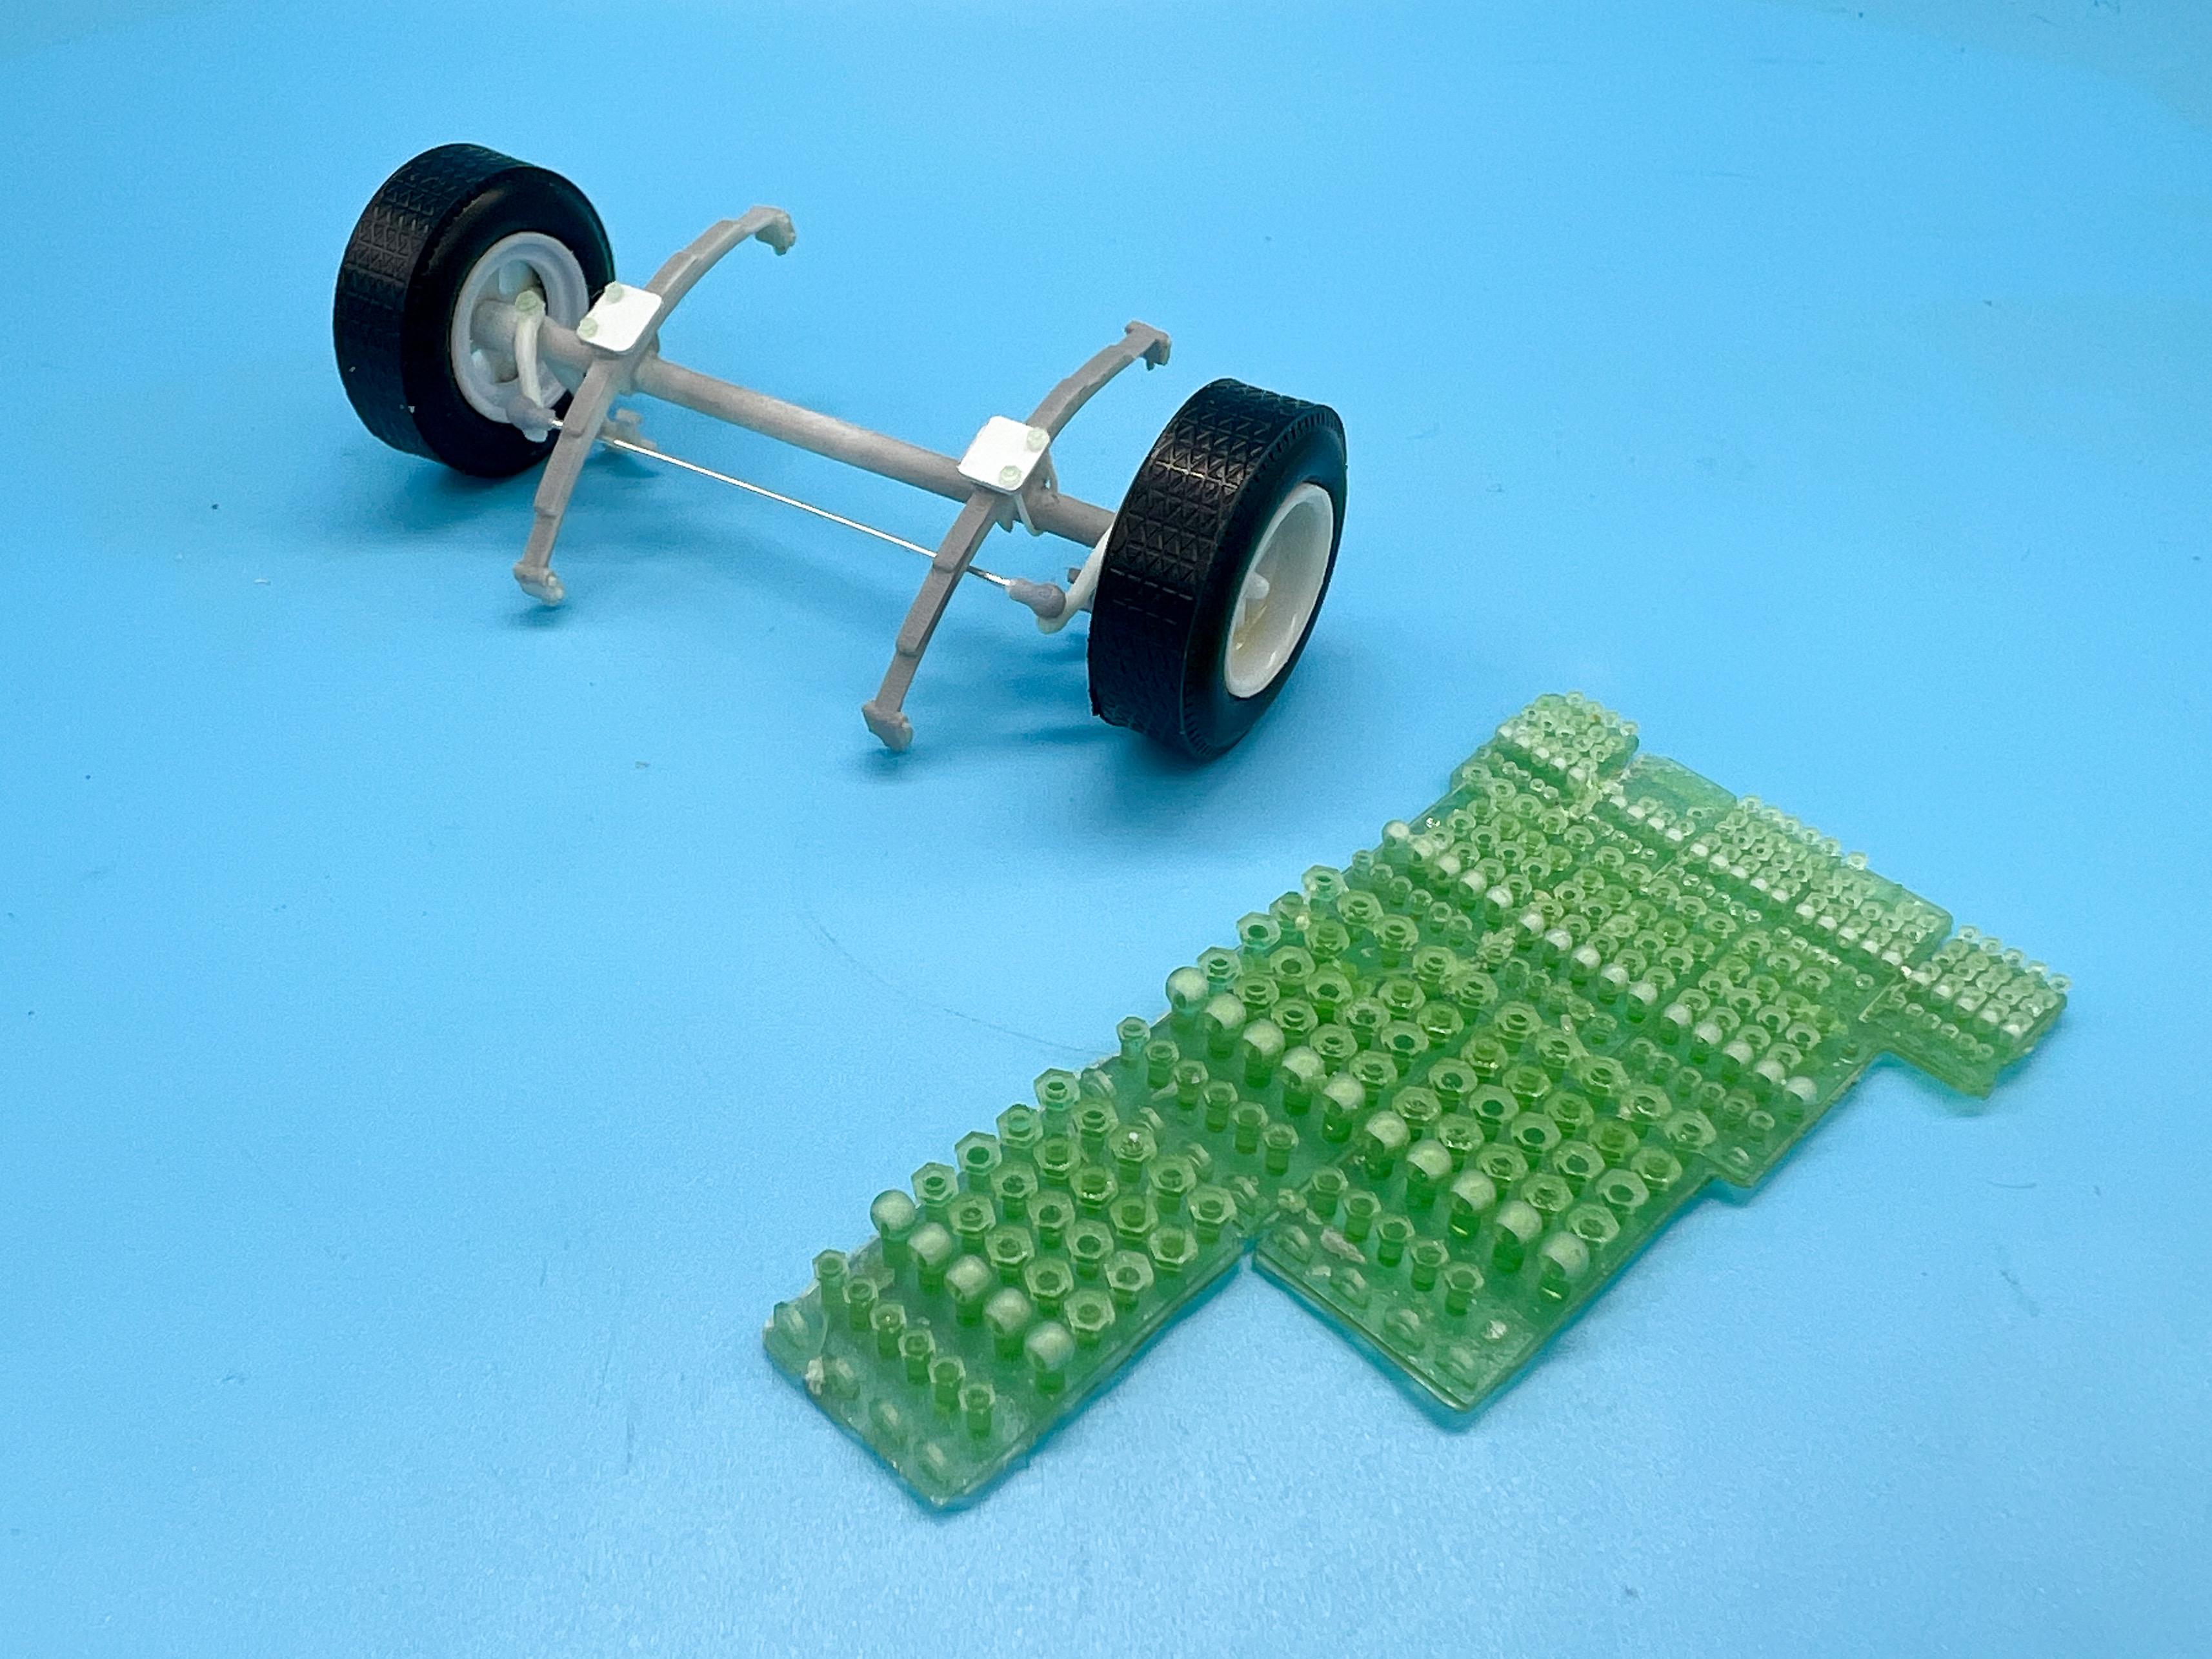
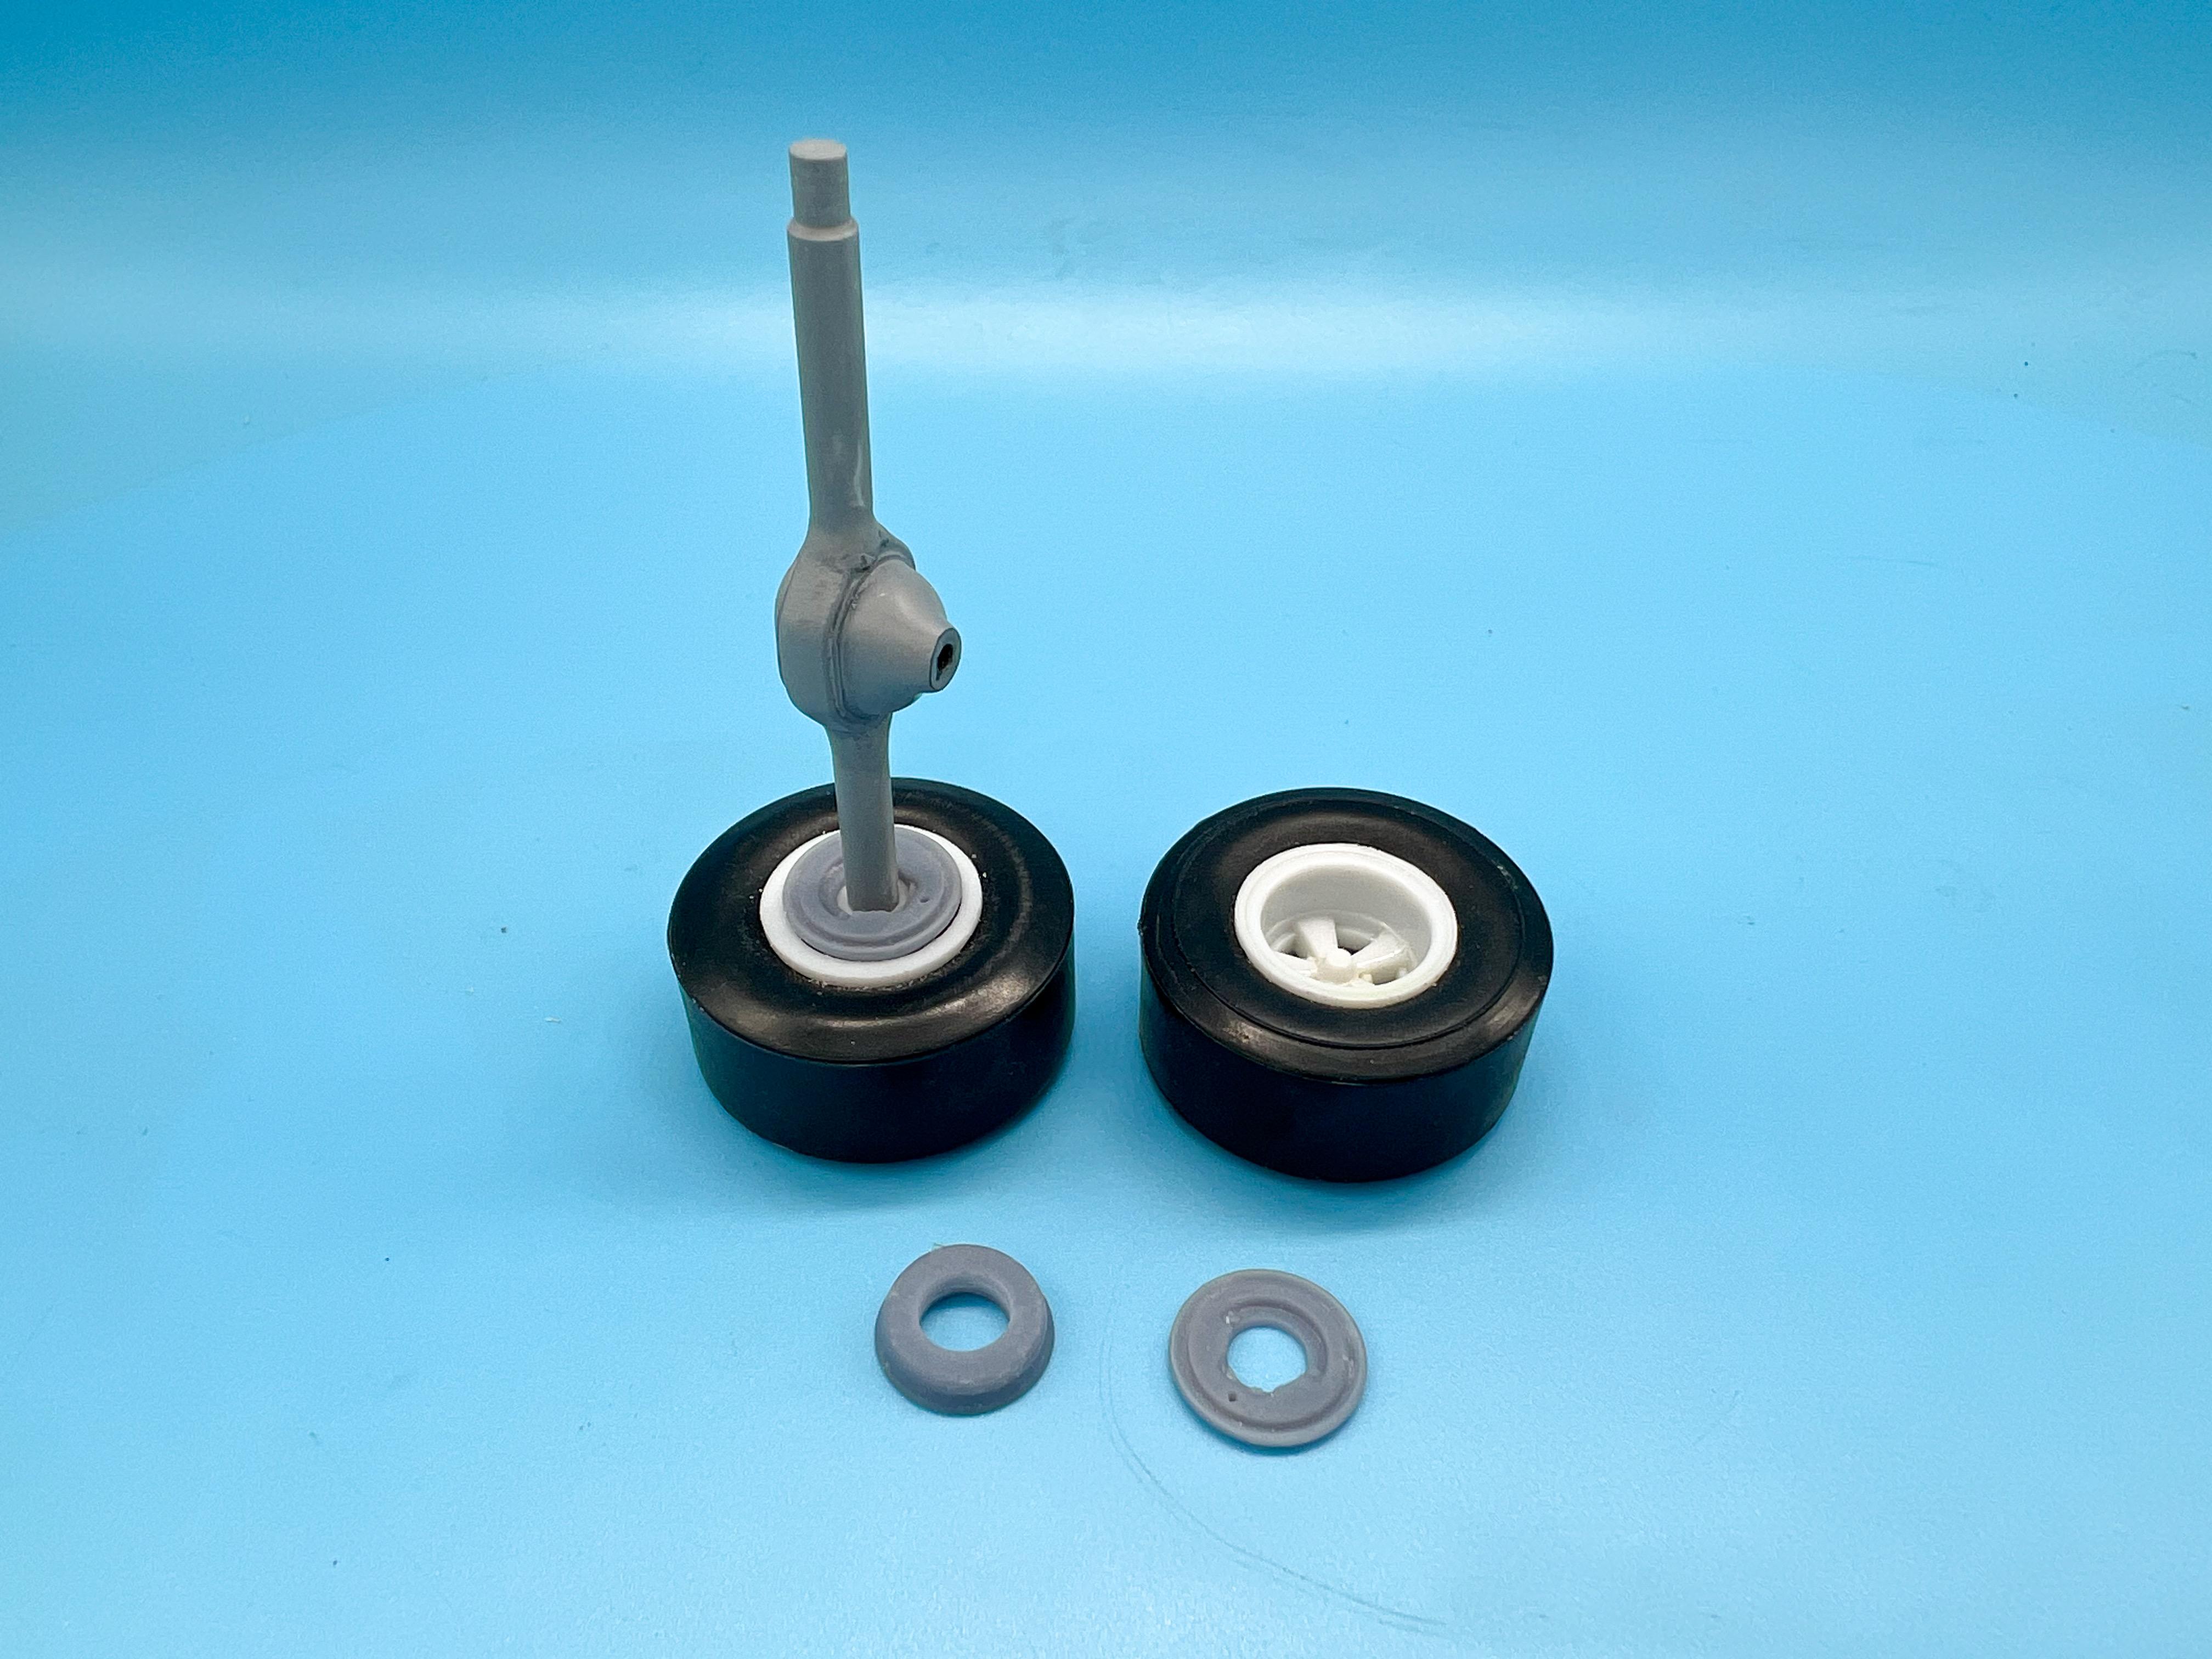
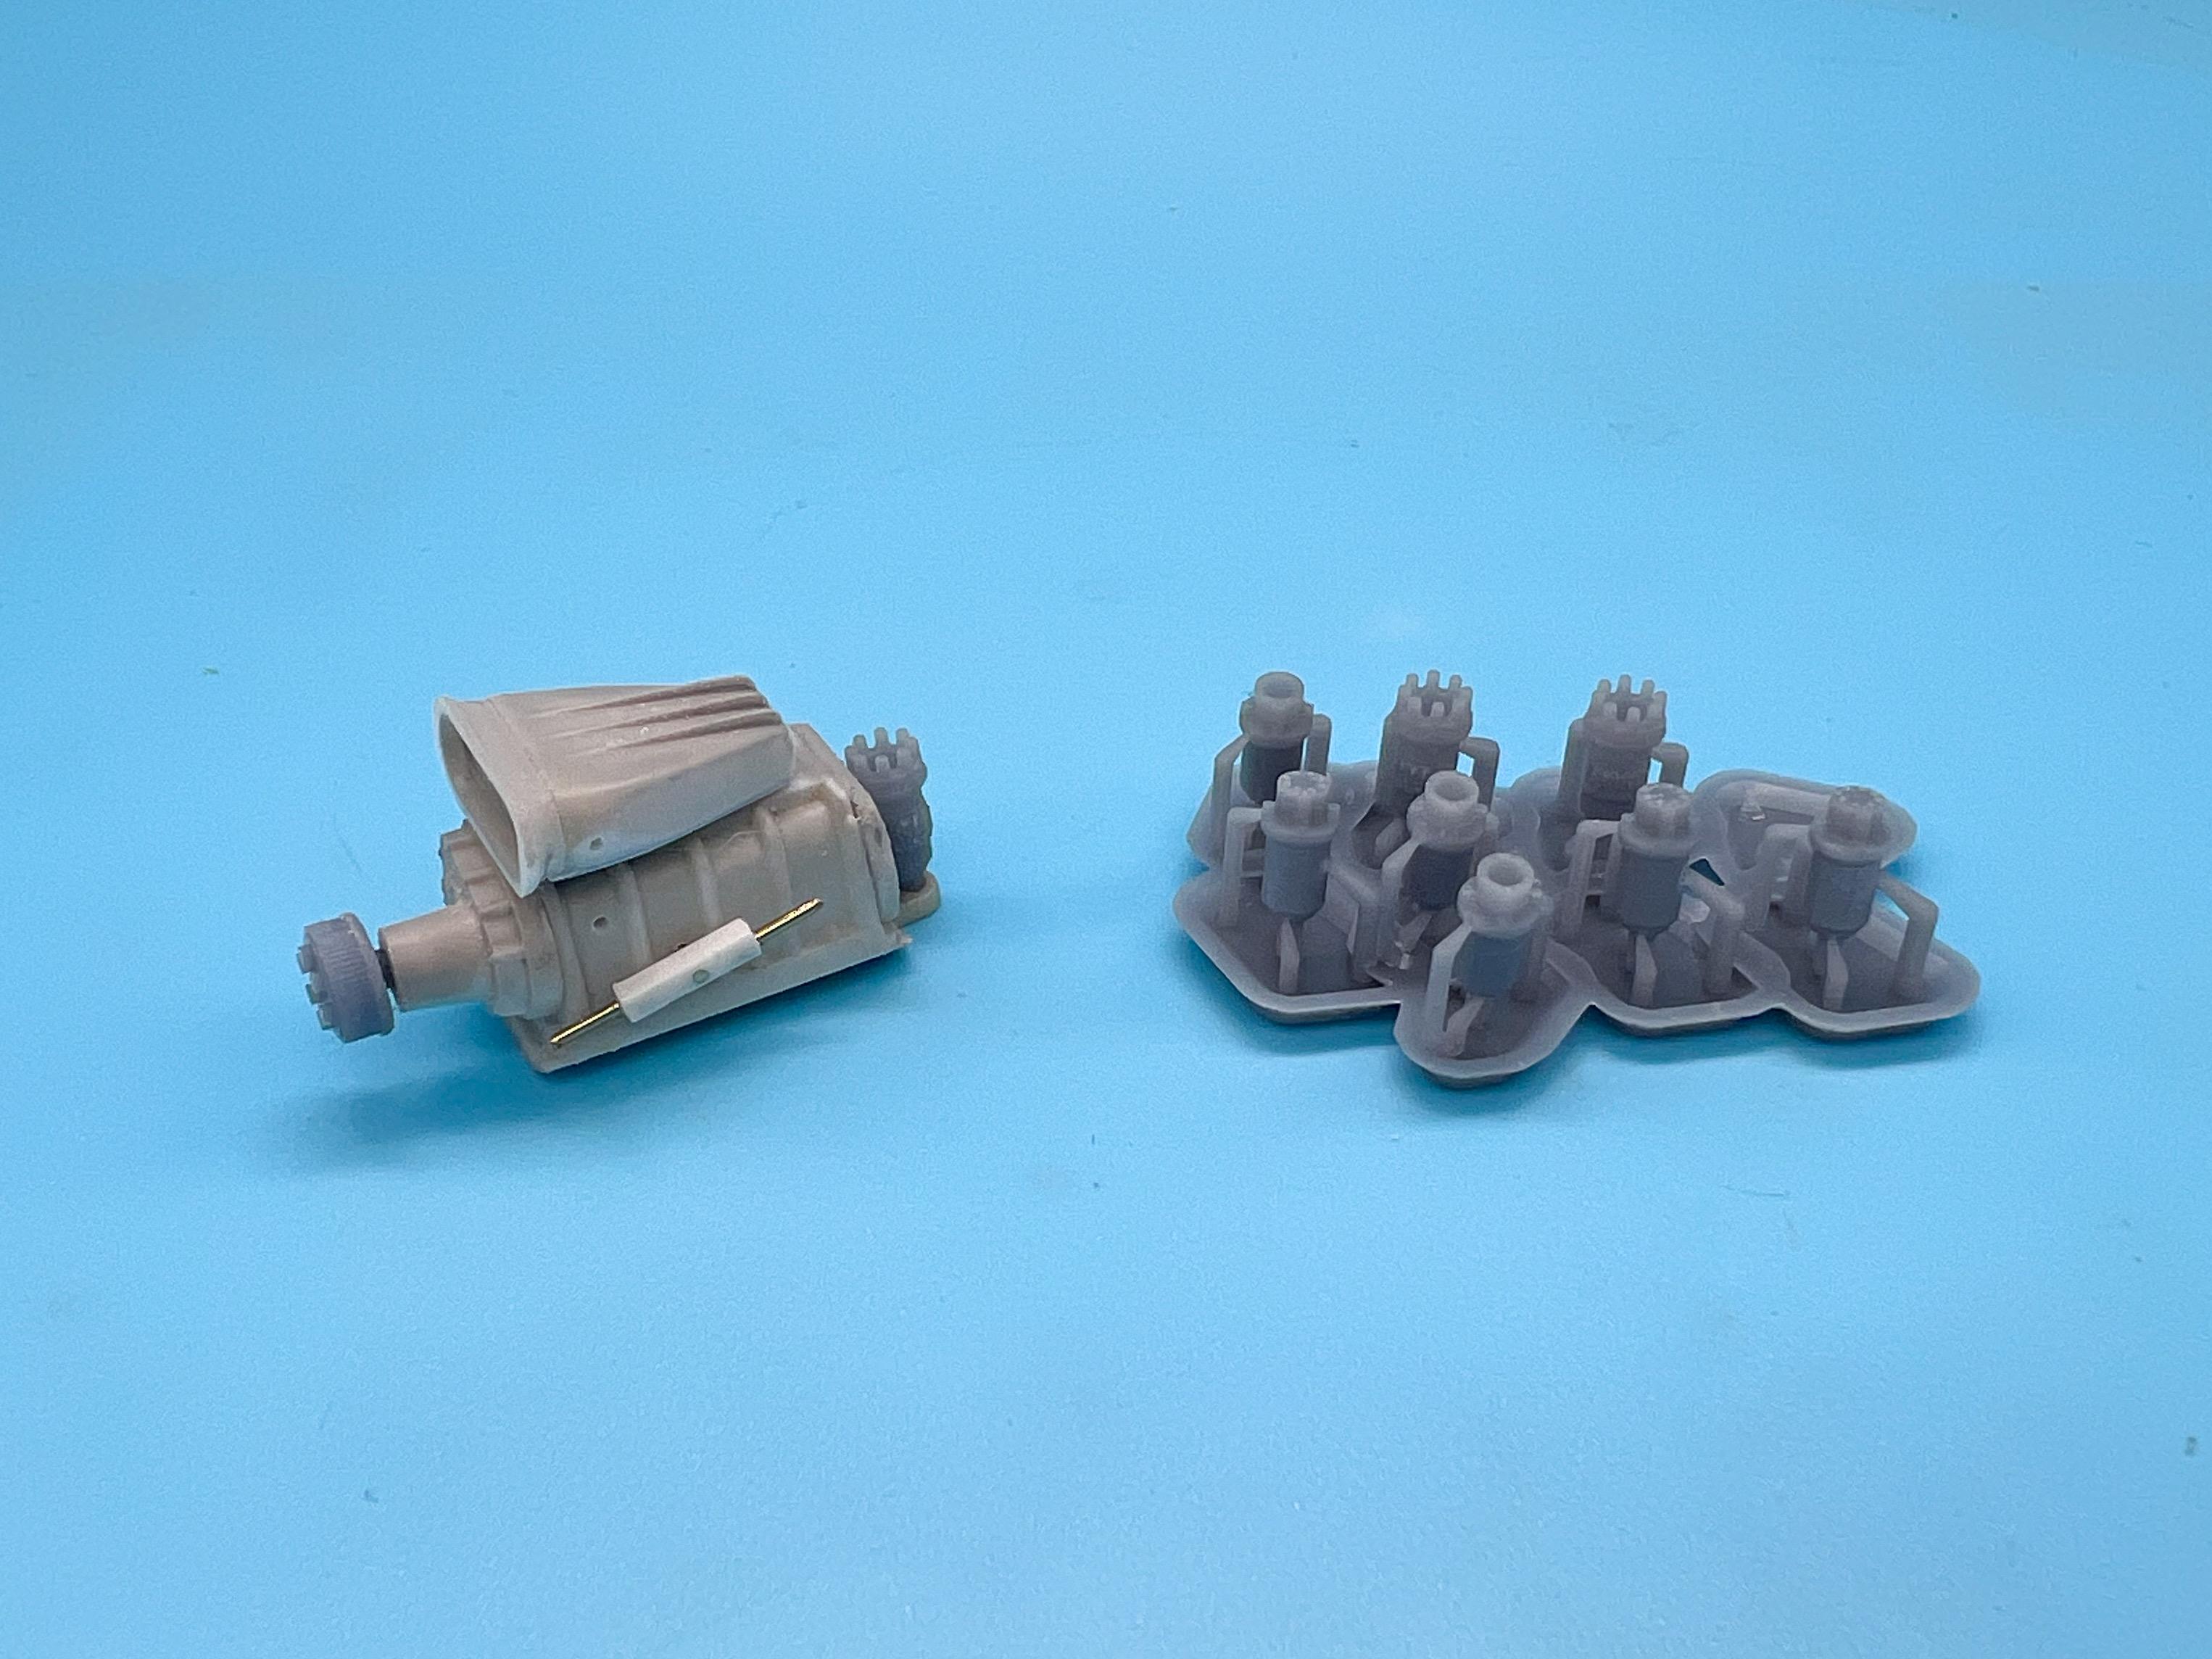
Ha - I was reading that article and thinking what a great build it was - (belated) congrats on the well deserved magazine coverage! A little more progress this weekend - I’ve been trying hard to tie up all the little loose ends of making parts and fixing stuff so I can start batch-painting some of the chrome pieces (which is a lot of pieces on this one…) First up, designed and printed some pulleys to replace the kit part: Whilst the printer was running, printed a PA horn for my base, plus I designed and printed some track rod ends: The kit steering linkage looked like a good place to make some improvements…still need to figure out a steering box for it: That whole front axle assembly could actually use some more detail, so I added some spring shackles and printed bolt heads: Need to figure out some little disk brakes and then these bits are ready to go to the chromer’s… Speaking of brakes, this kit doesn’t have any for the rear either so I printed some 2-piece drums that will still work with those distinctive kit wheels. One snuggles inside the rear wheel so you can see the drum thru there, and the other piece is a backing plate file that has better detail: Keeping the printer busy this weekend, next job was printing some magnetos to replace the kit piece…also started cleaning up the scoop and getting it ready for more detail later: And finally, I’d been playing with some new paint techniques on the sister car, knowing it would be super easy to strip that acrylic craft paint that I used…well, the experiments didn’t blow me away so I stripped that back and started laying color down on the second car again… And that’s about my process this weekend - thanks for looking, everyone! More soon, soon as I’ve done more!
-
That whole video series of 50+ videos is really useful (even for experienced builders). I've watched all of them at least a couple of times already...
-
Unconventional Materials - From the jewelry area
OldNYJim replied to Jiml0001's topic in Tips, Tricks, and Tutorials
Those hexagonal ones would be great for A/N fittings and stuff like that. Do you recall who makes those particular ones? -
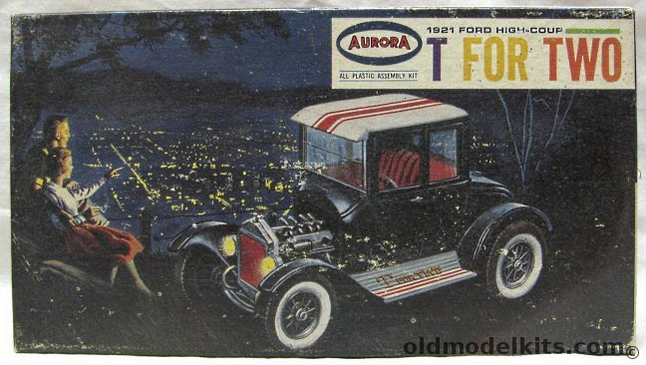
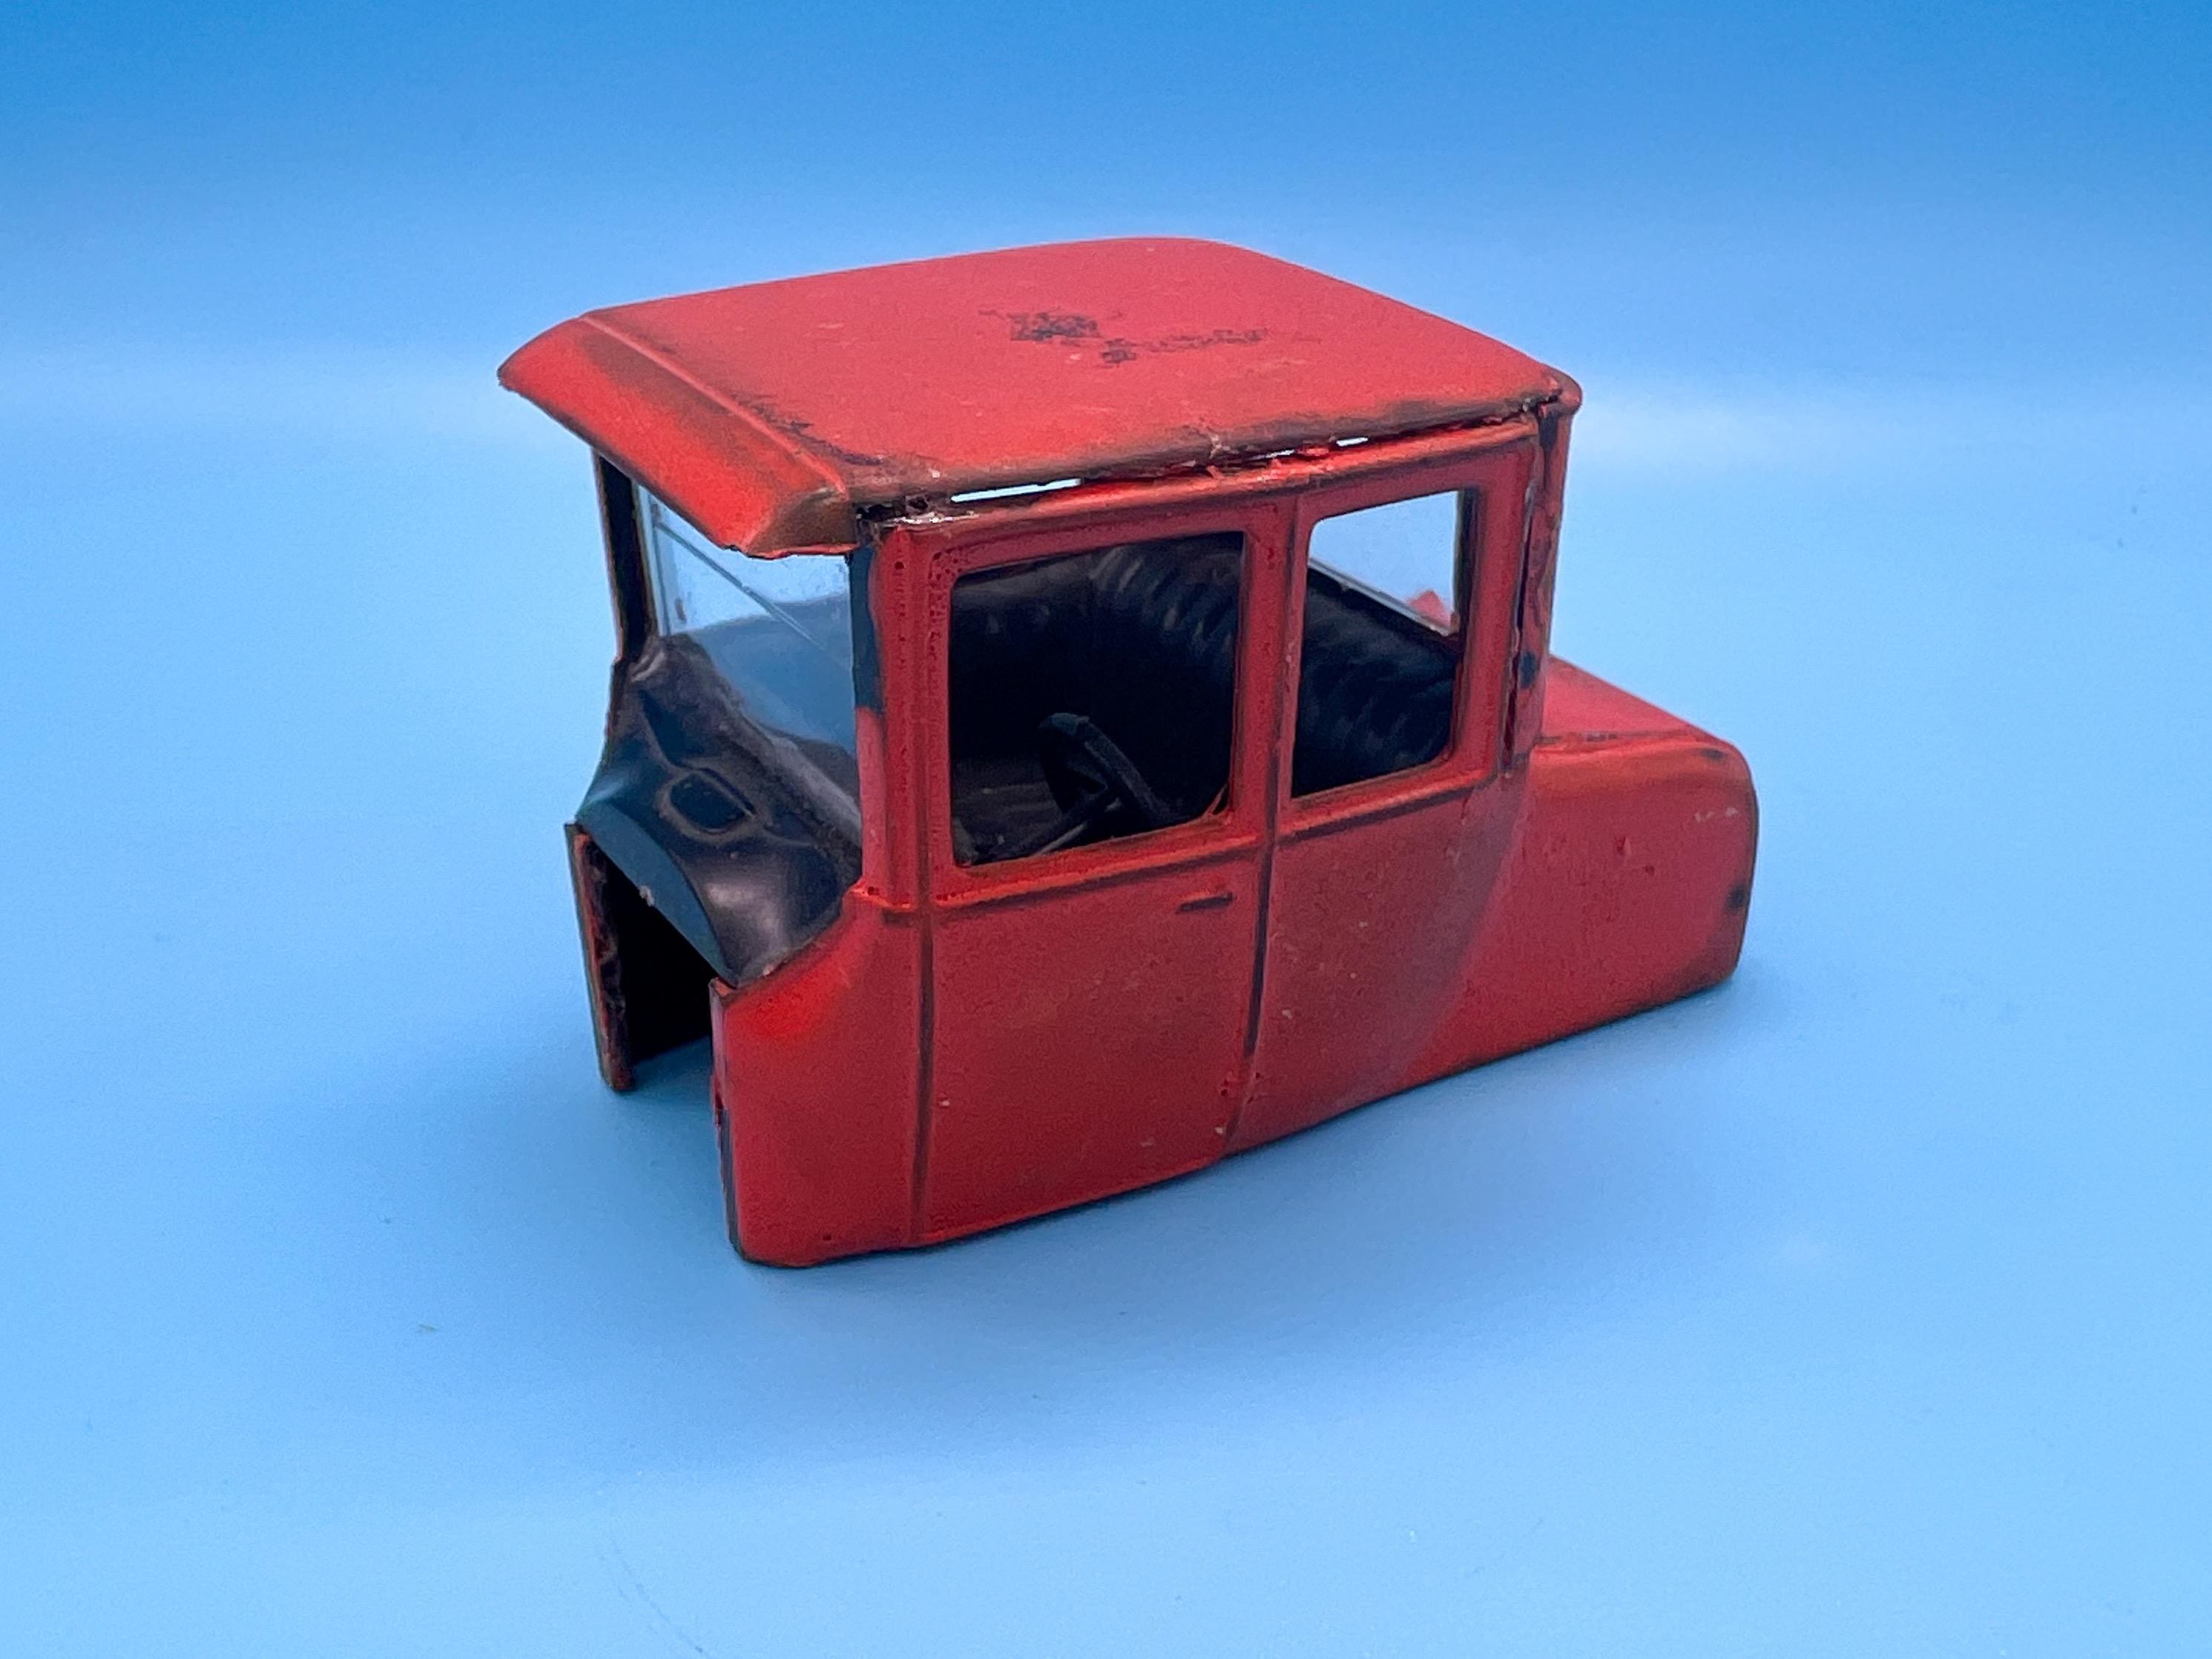
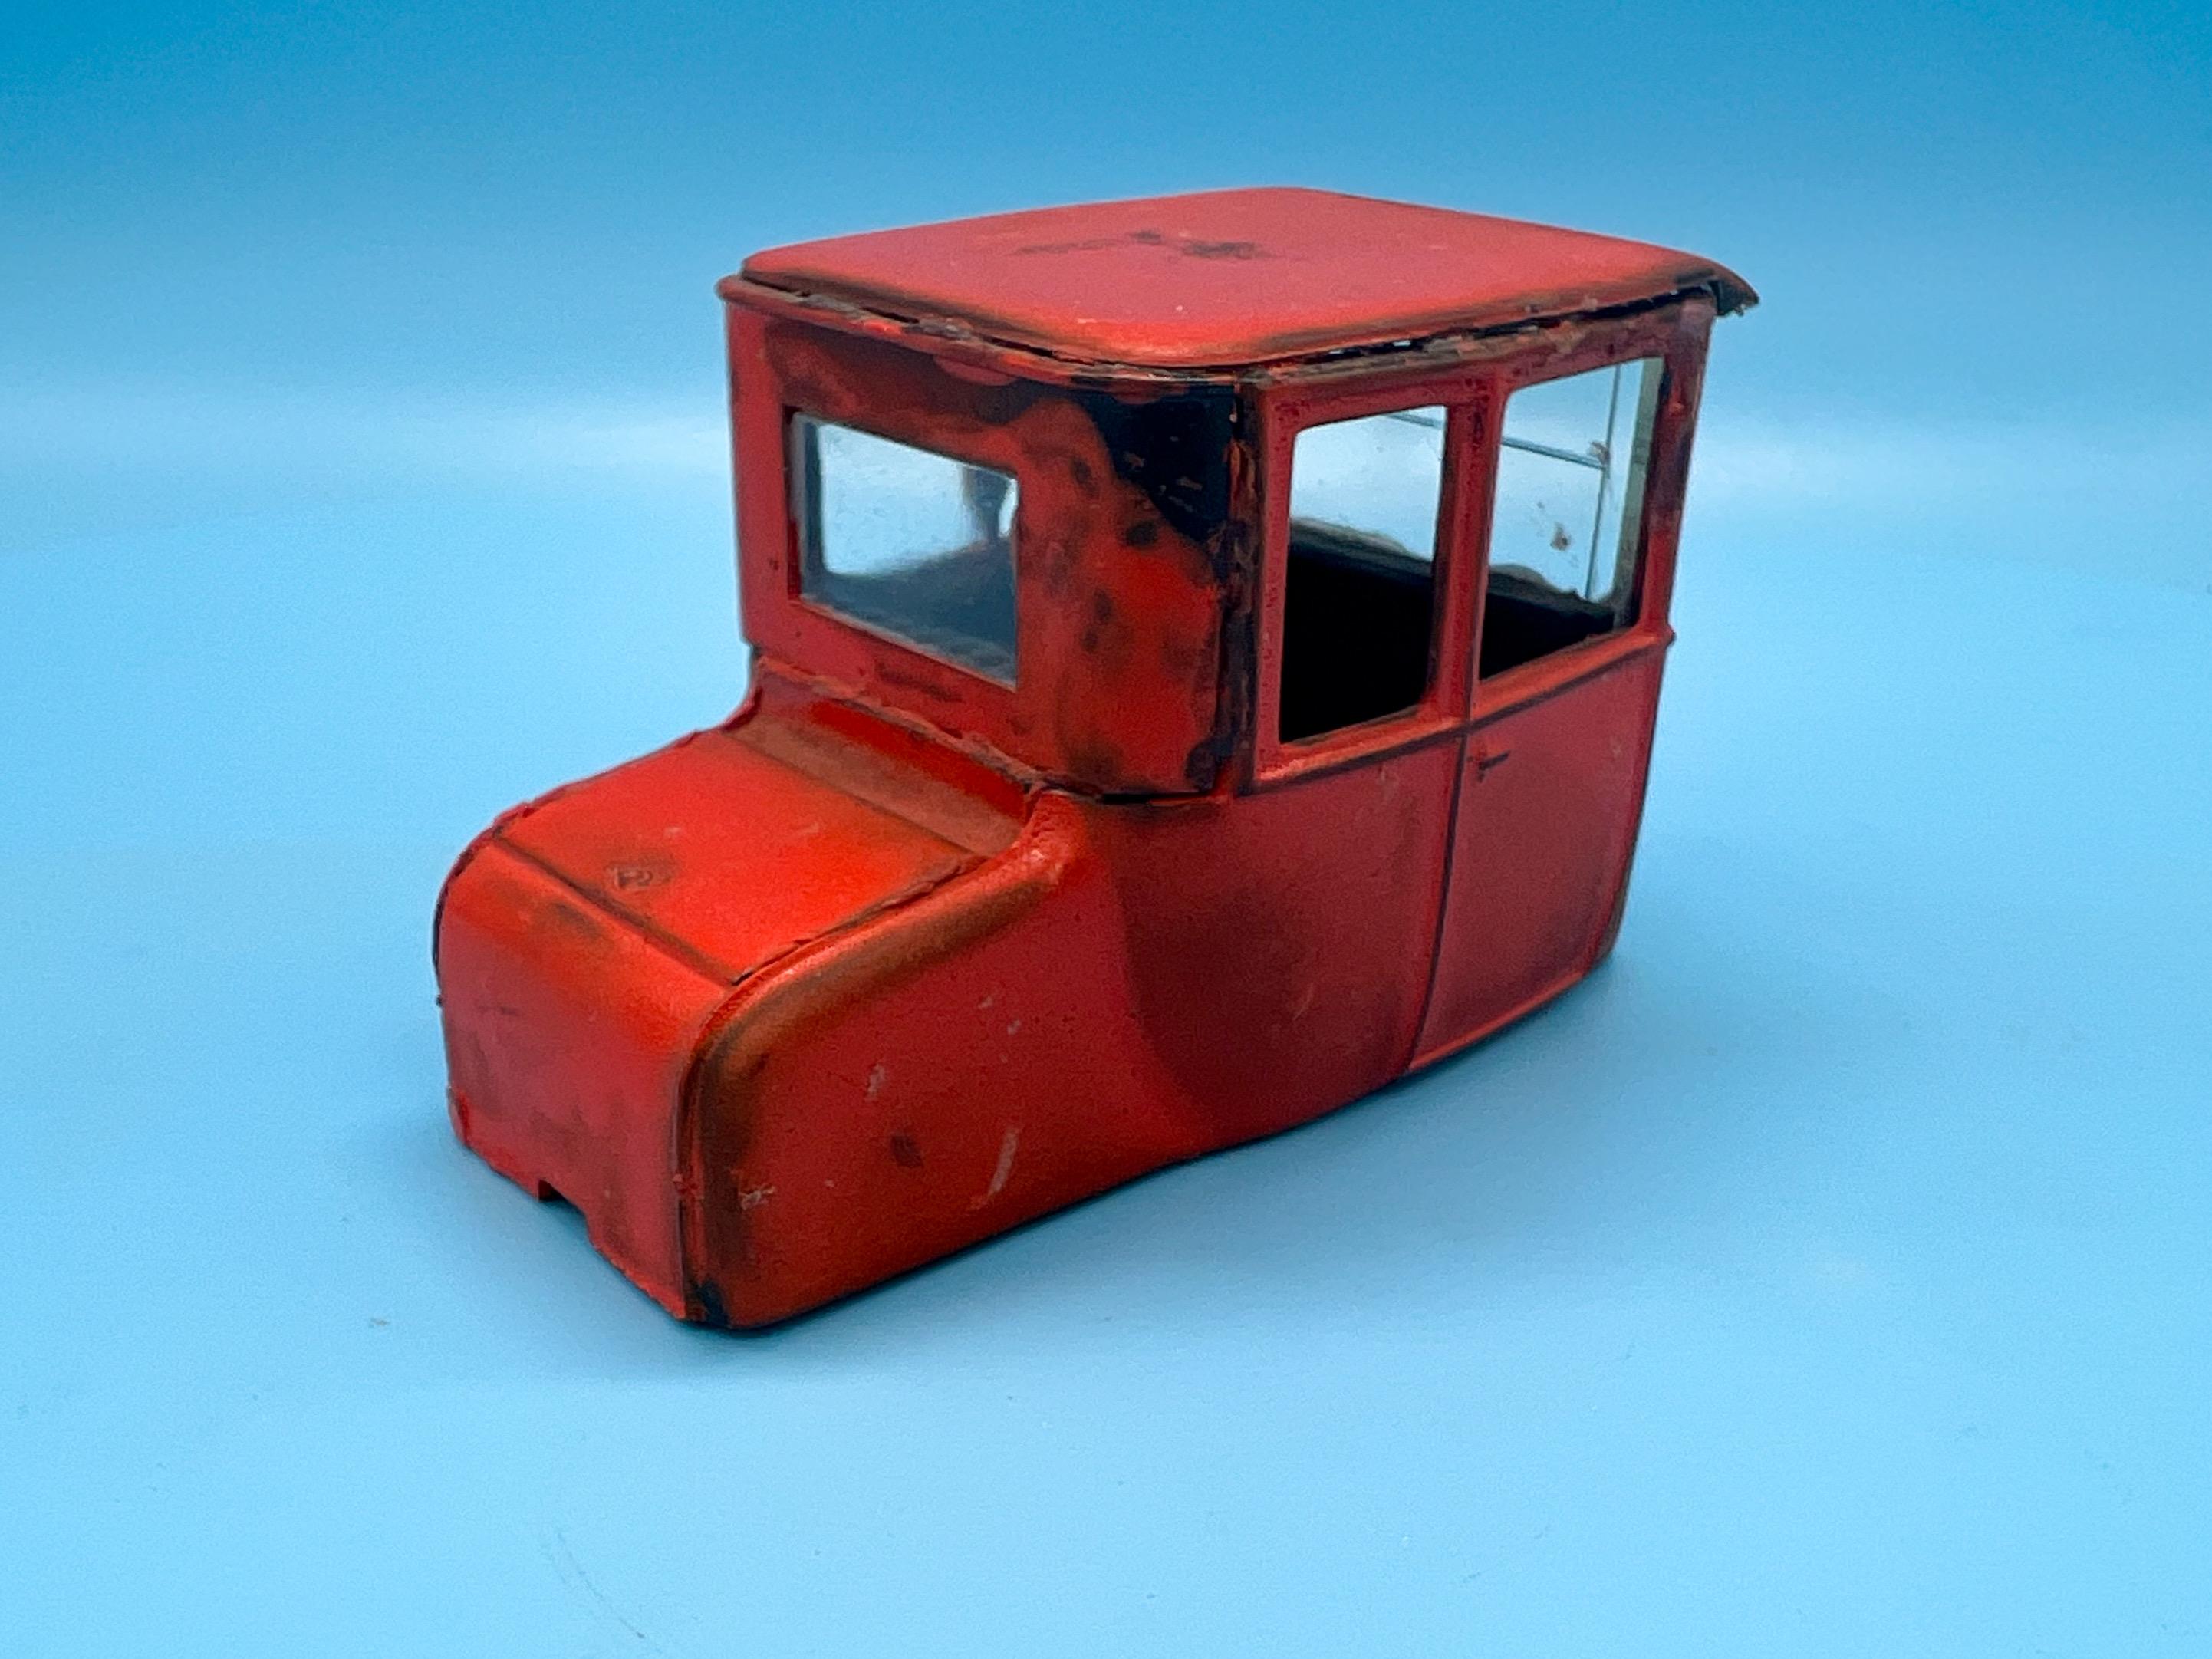
Anyone recognize this multi-part T Coupe body?
OldNYJim replied to OldNYJim's topic in Model Building Questions and Answers
Ding ding ding - I think you're right! It seems too large for 1/32, and a little underscale for 1/25, but looking at some pics online, that's definitely the one. Thanks Dave! Good eye!
-
Picked this out of a box of junk at a swap meet a couple of weekends back…and I still can’t figure out what kit this would’ve been from. Definitely a multi-part body (because it’s falling apart), looks about comparable in size to an AMT 1/25 T body…anyone know the origins of this one?
-
Imagine an alternate world where this was more popular than the Model T and we ended up with thousands of C(hevy)-bucket hot rods! That would be a fun scale project actually - plus the other variations shown on that concept drawing…
-
Nostalgia Fuel Dragster--Blower Manifold (01/28/23)
OldNYJim replied to Straightliner59's topic in WIP: Drag Racing Models
This is coming together beautifully! I was just experimenting with gold leaf on a body this past weekend…actually, I’ve been messing with it for a year now, on and off, trying to figure out the best technique for applying it…still not quite there yet…it’s definitely something where you need to be prepared for failure when you attempt it -
That’s a really great tribute - I enjoyed the compilation of clips of him speaking about modeling, and seeing some of his work that I hadn’t seen before. Thanks for posting that
-
Other model car forums
OldNYJim replied to ColonelKrypton's topic in General Automotive Talk (Trucks and Cars)
Curbsides are great as part of a balanced diet. Ditto snap kits. They’re like M&Ms and sirloin steaks…both good, in their own right ?♂️ -
My take on the most famous ‘55 gasser street machine’…
OldNYJim replied to OldNYJim's topic in WIP: Model Cars
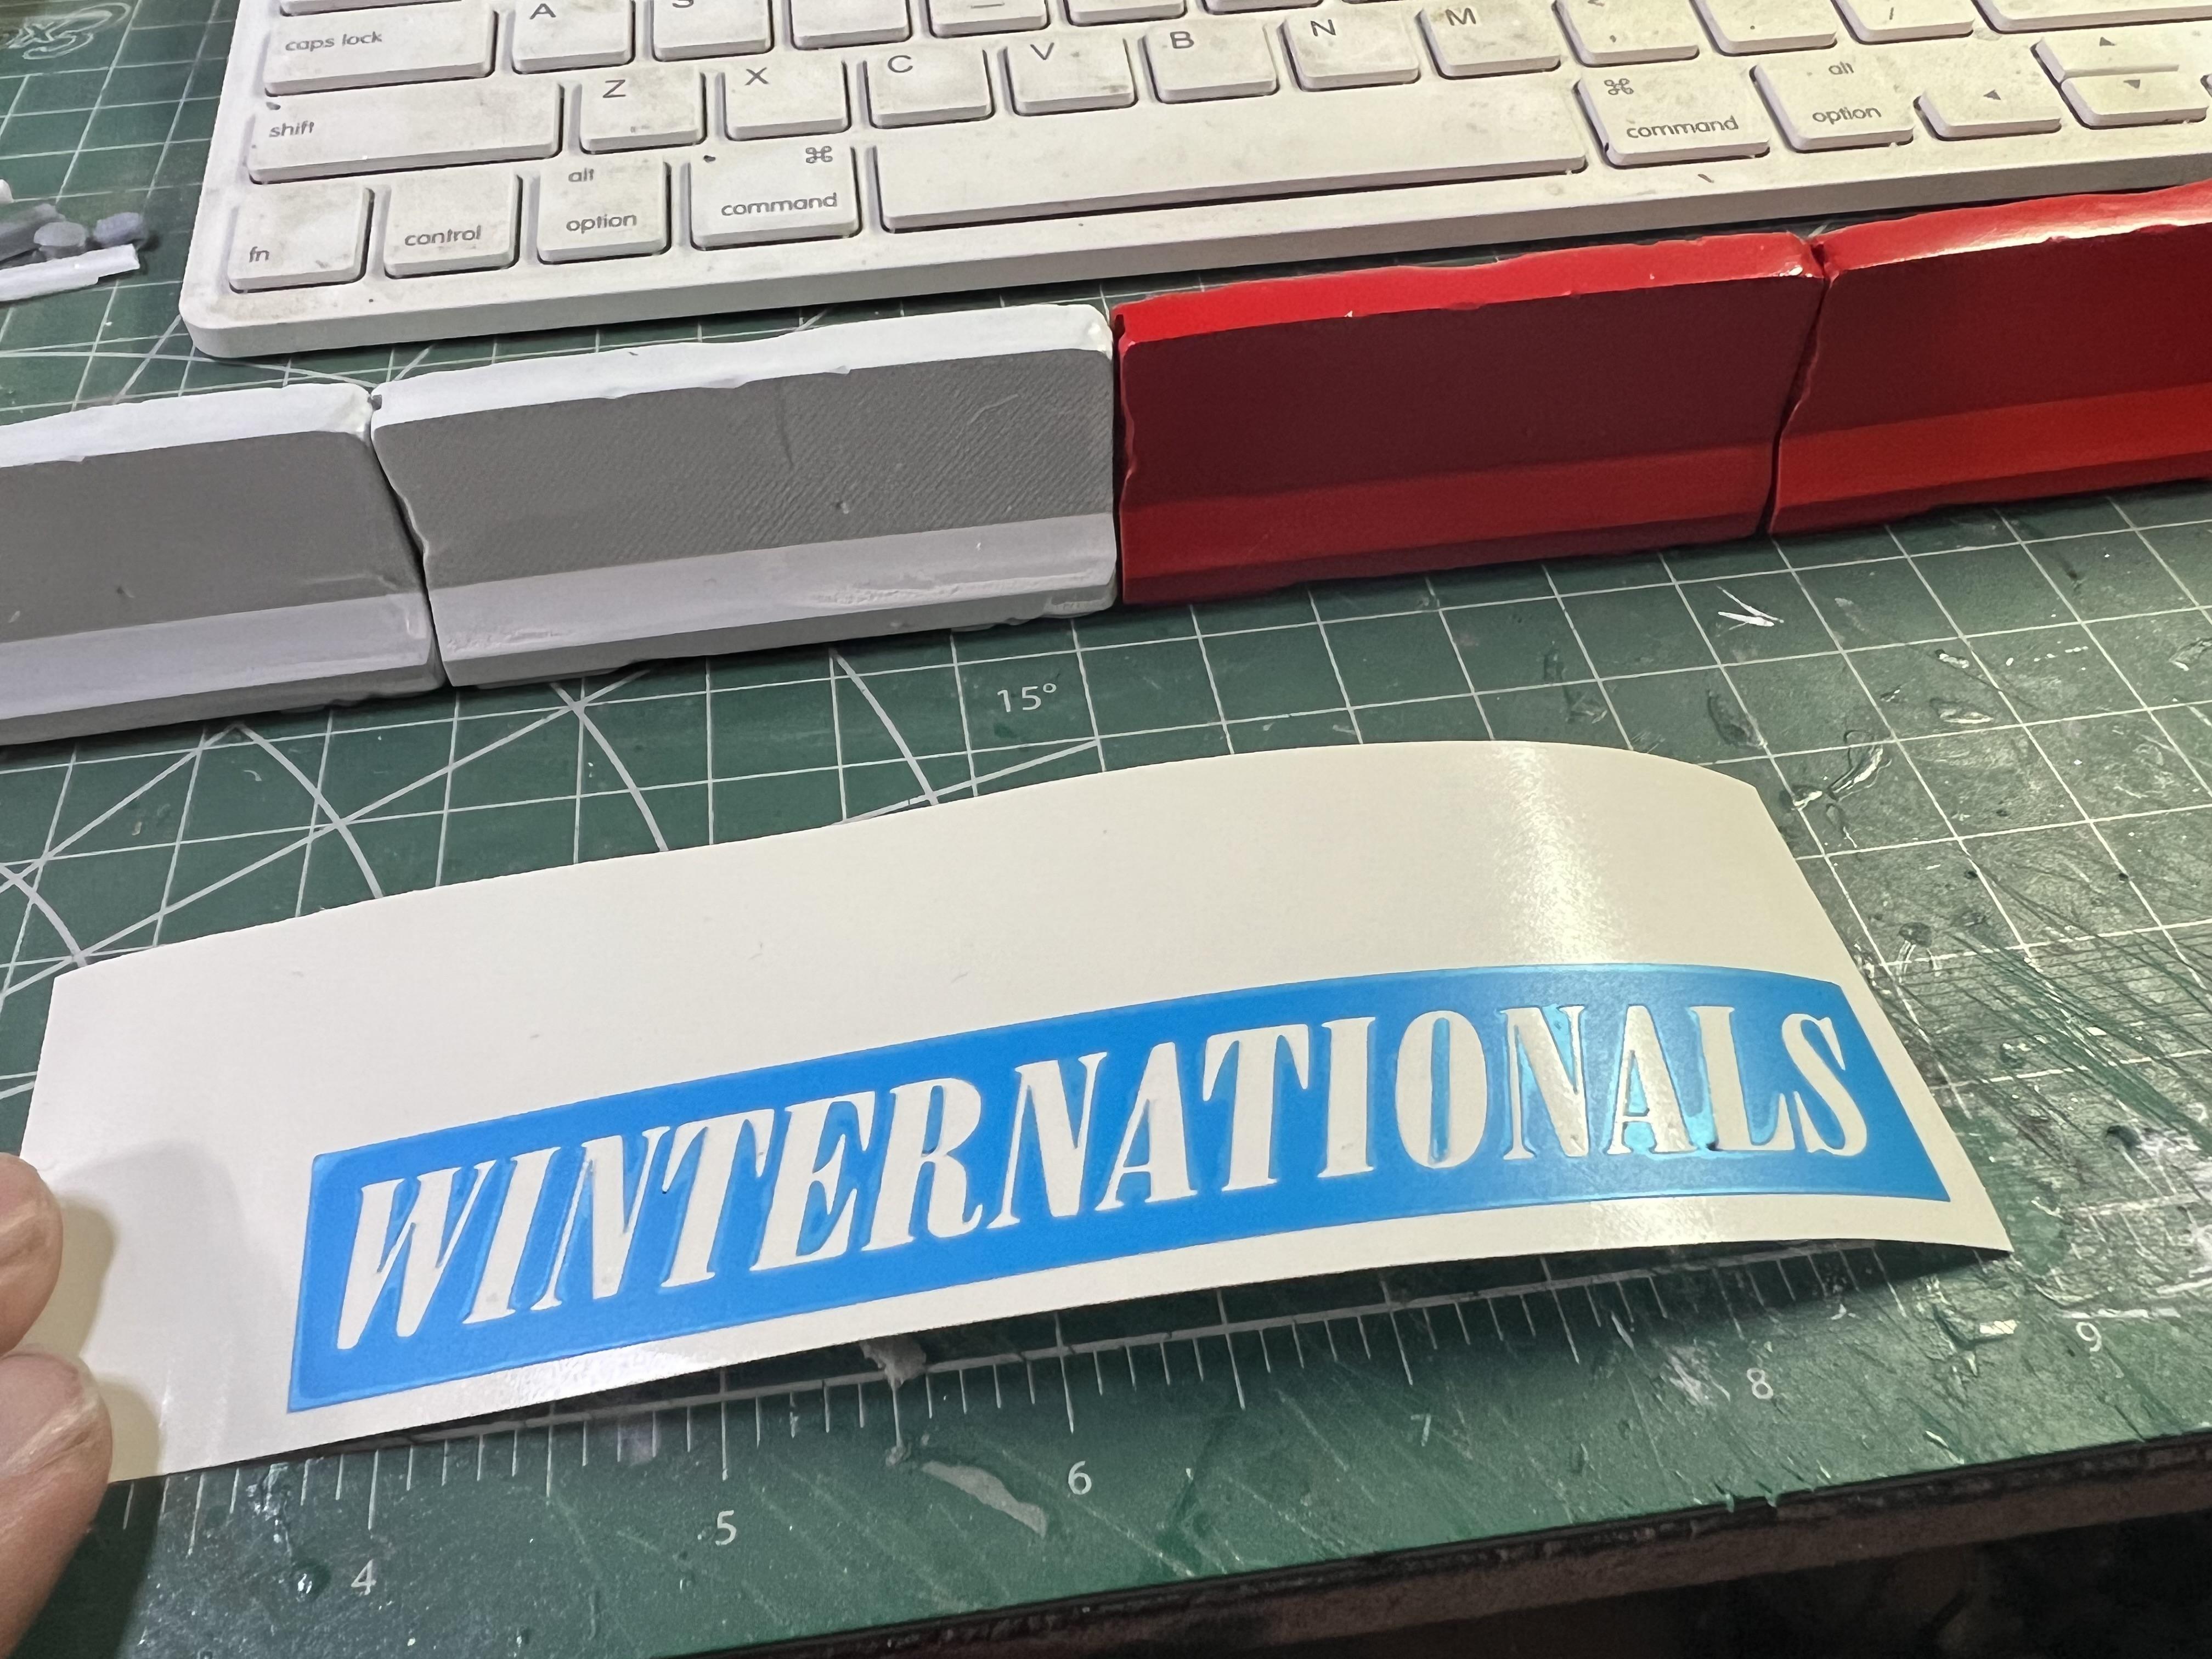
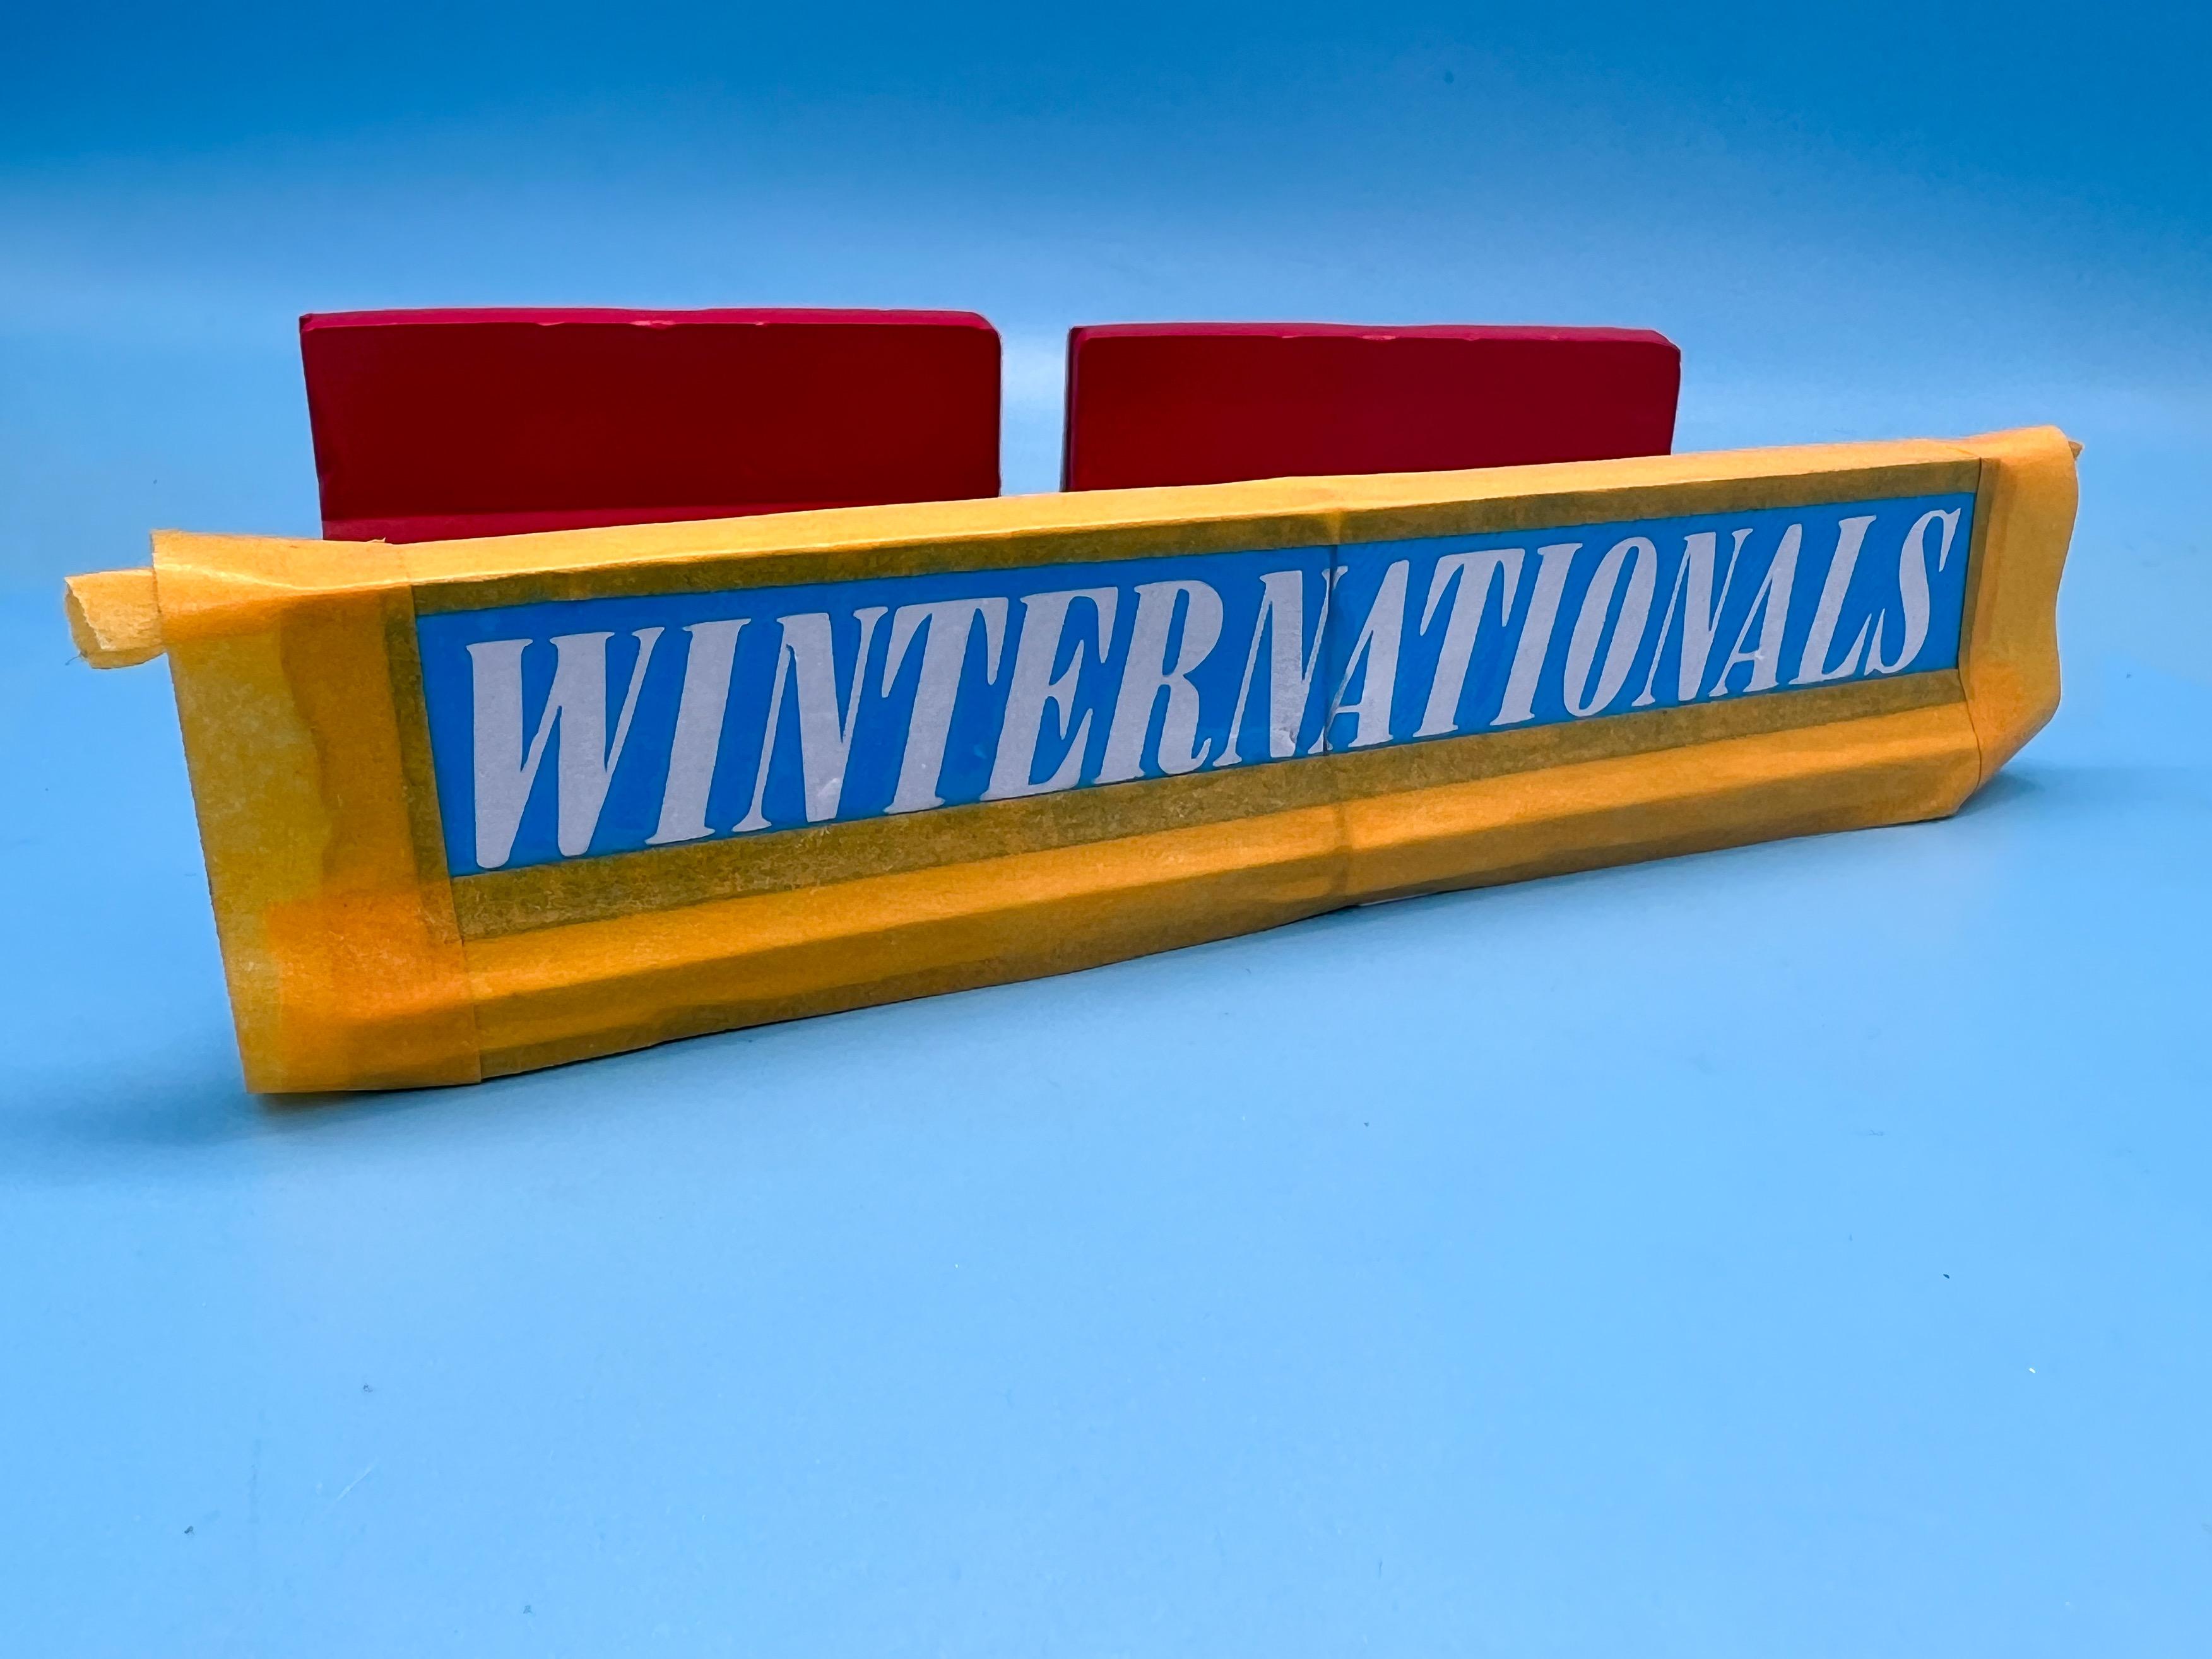
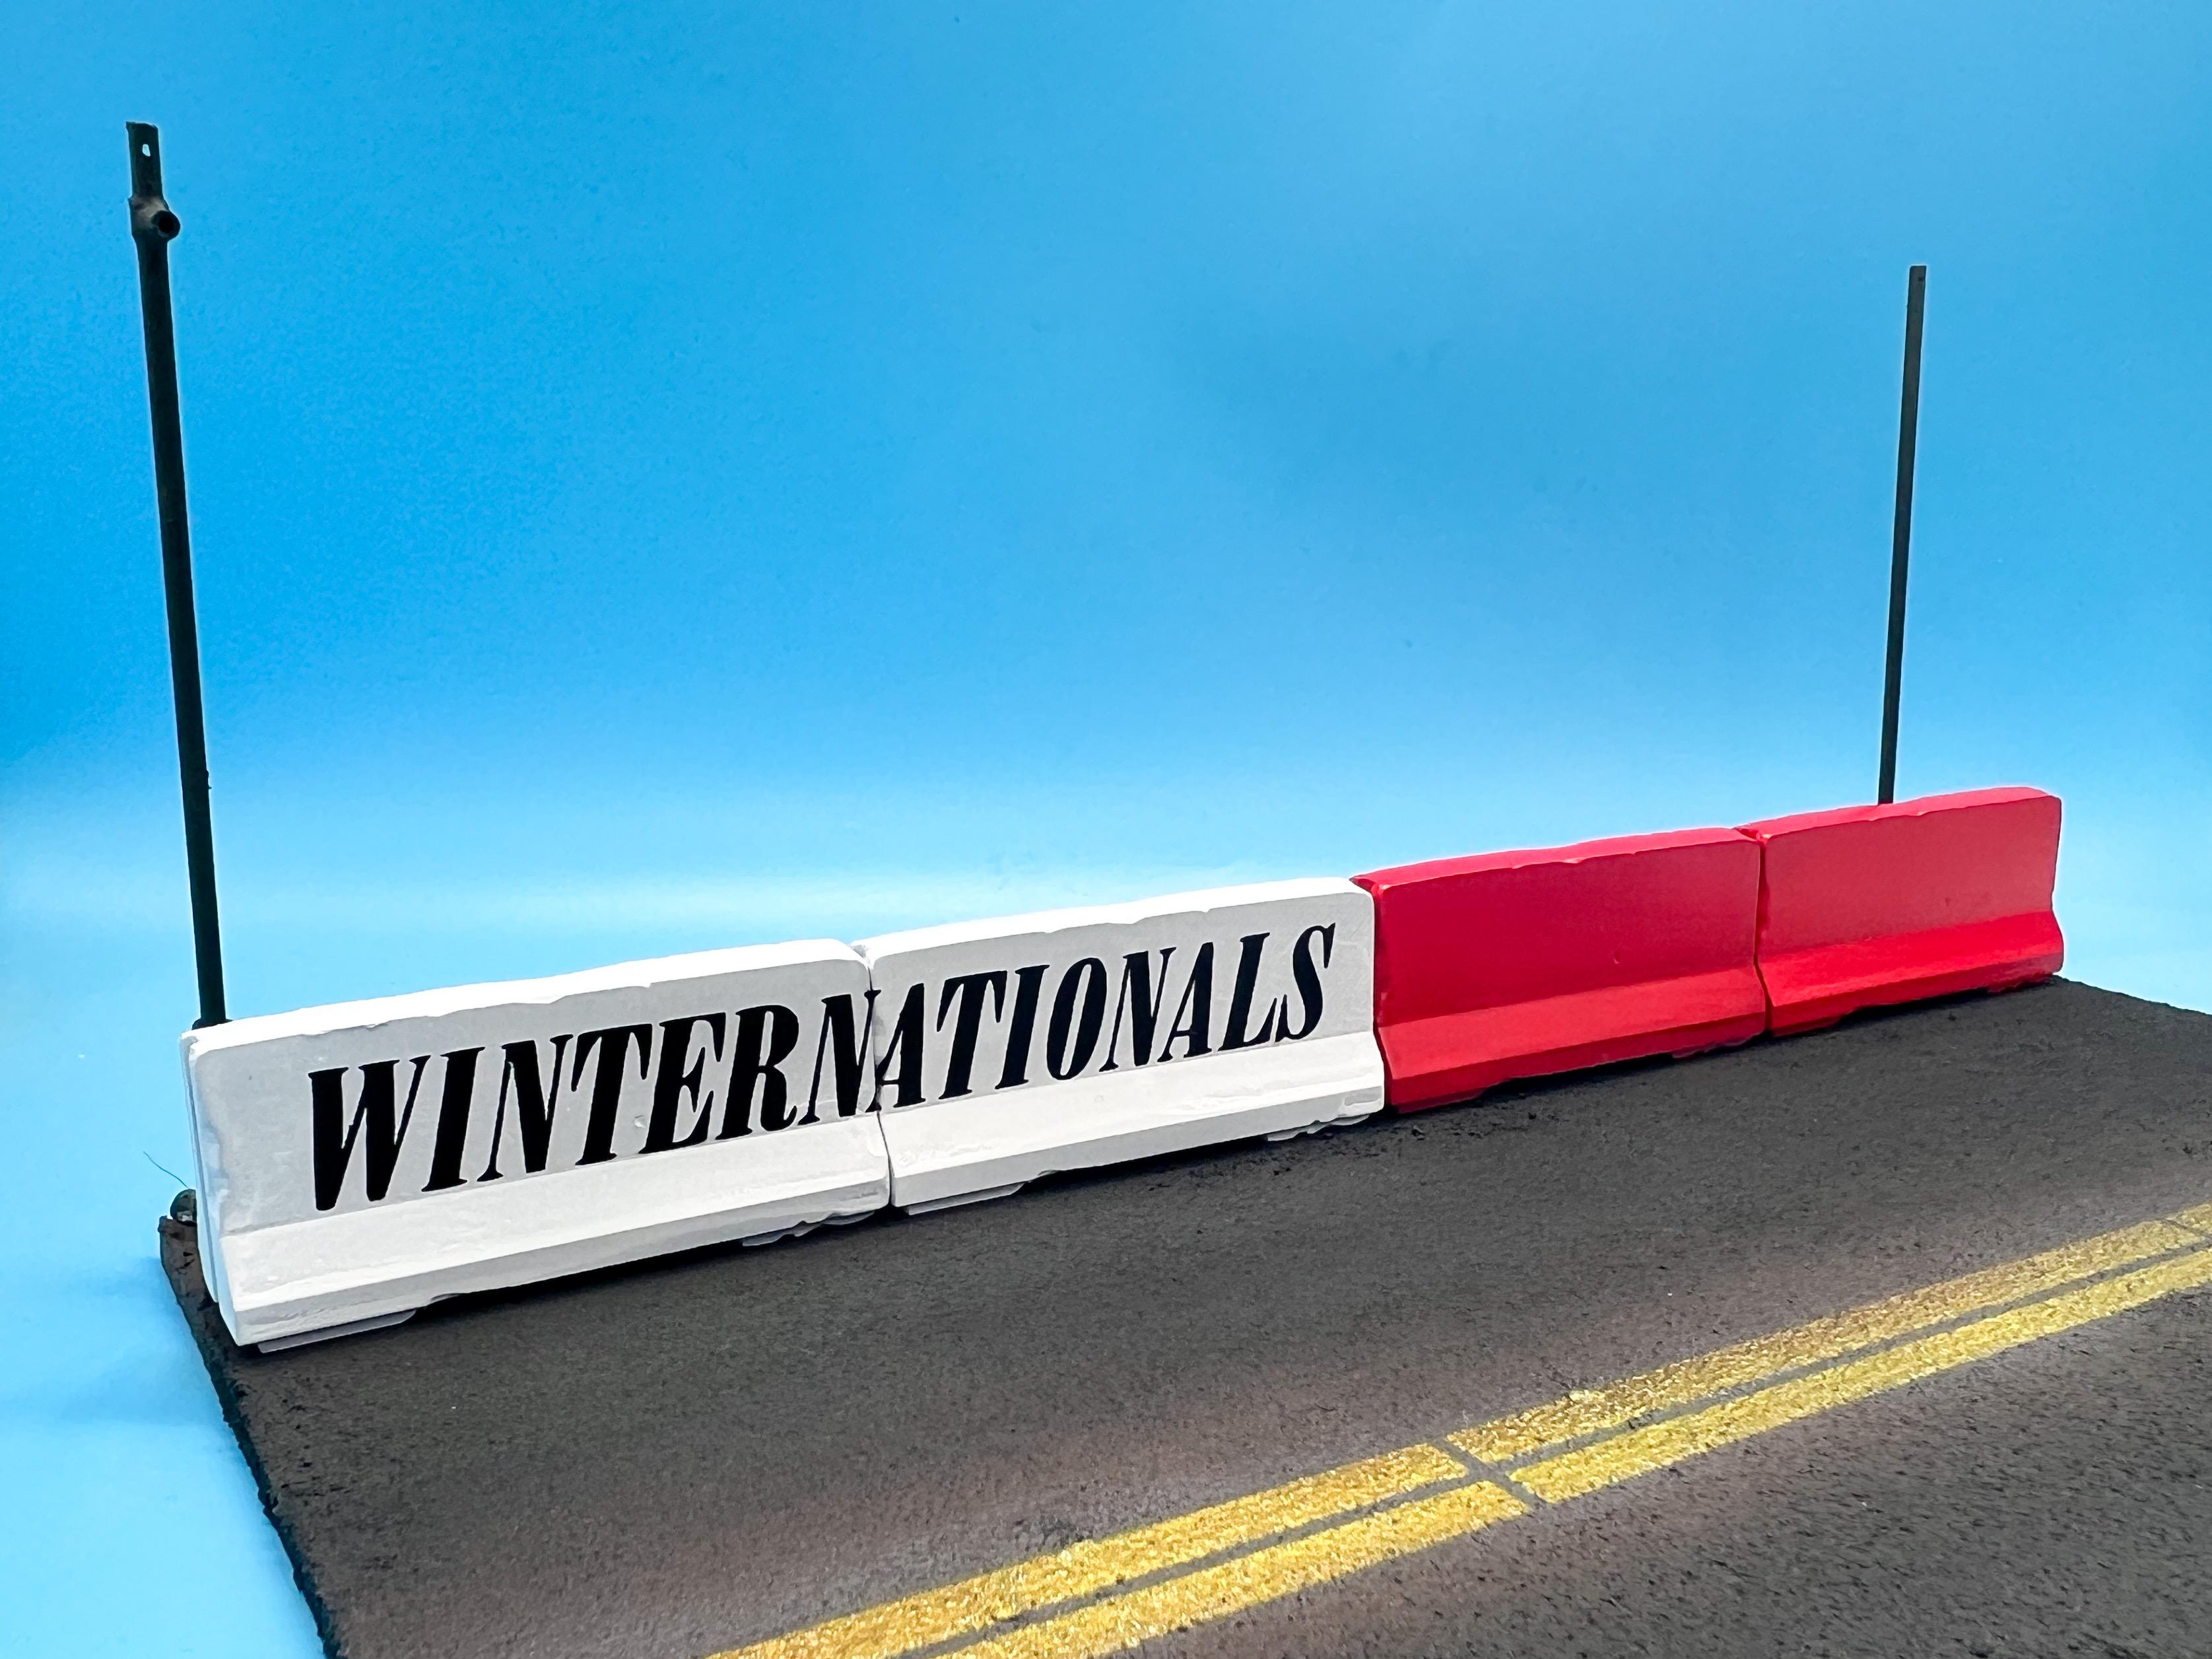
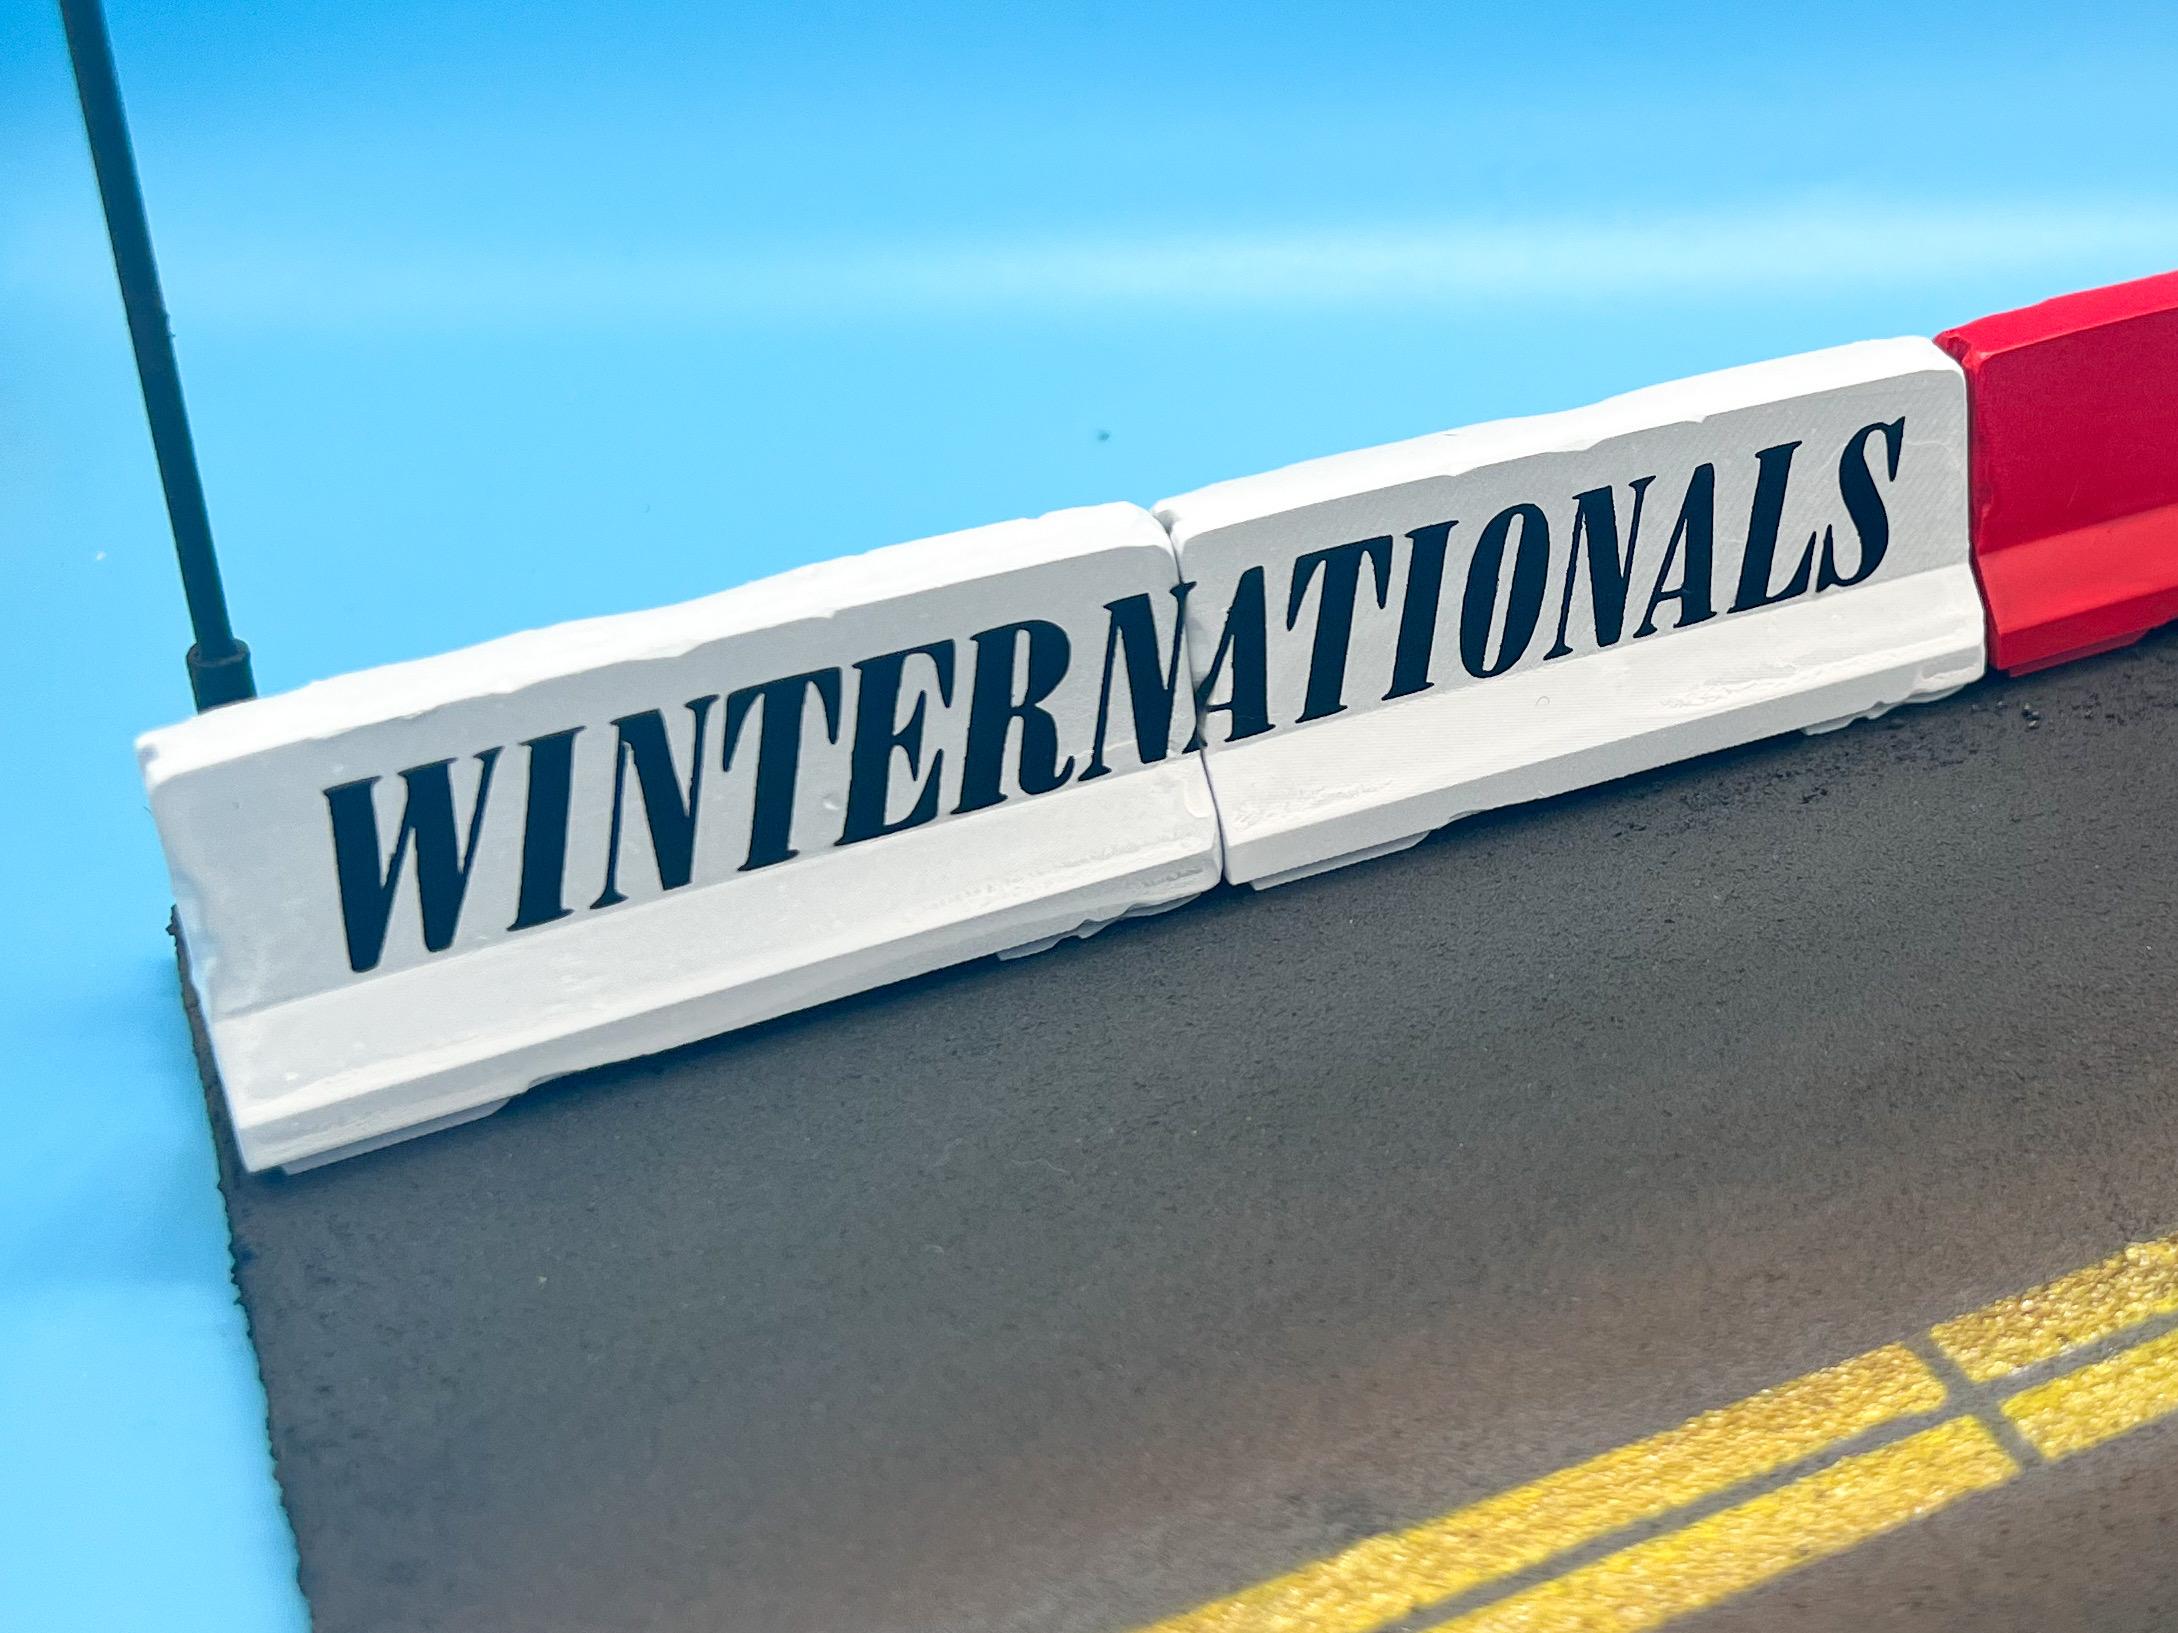
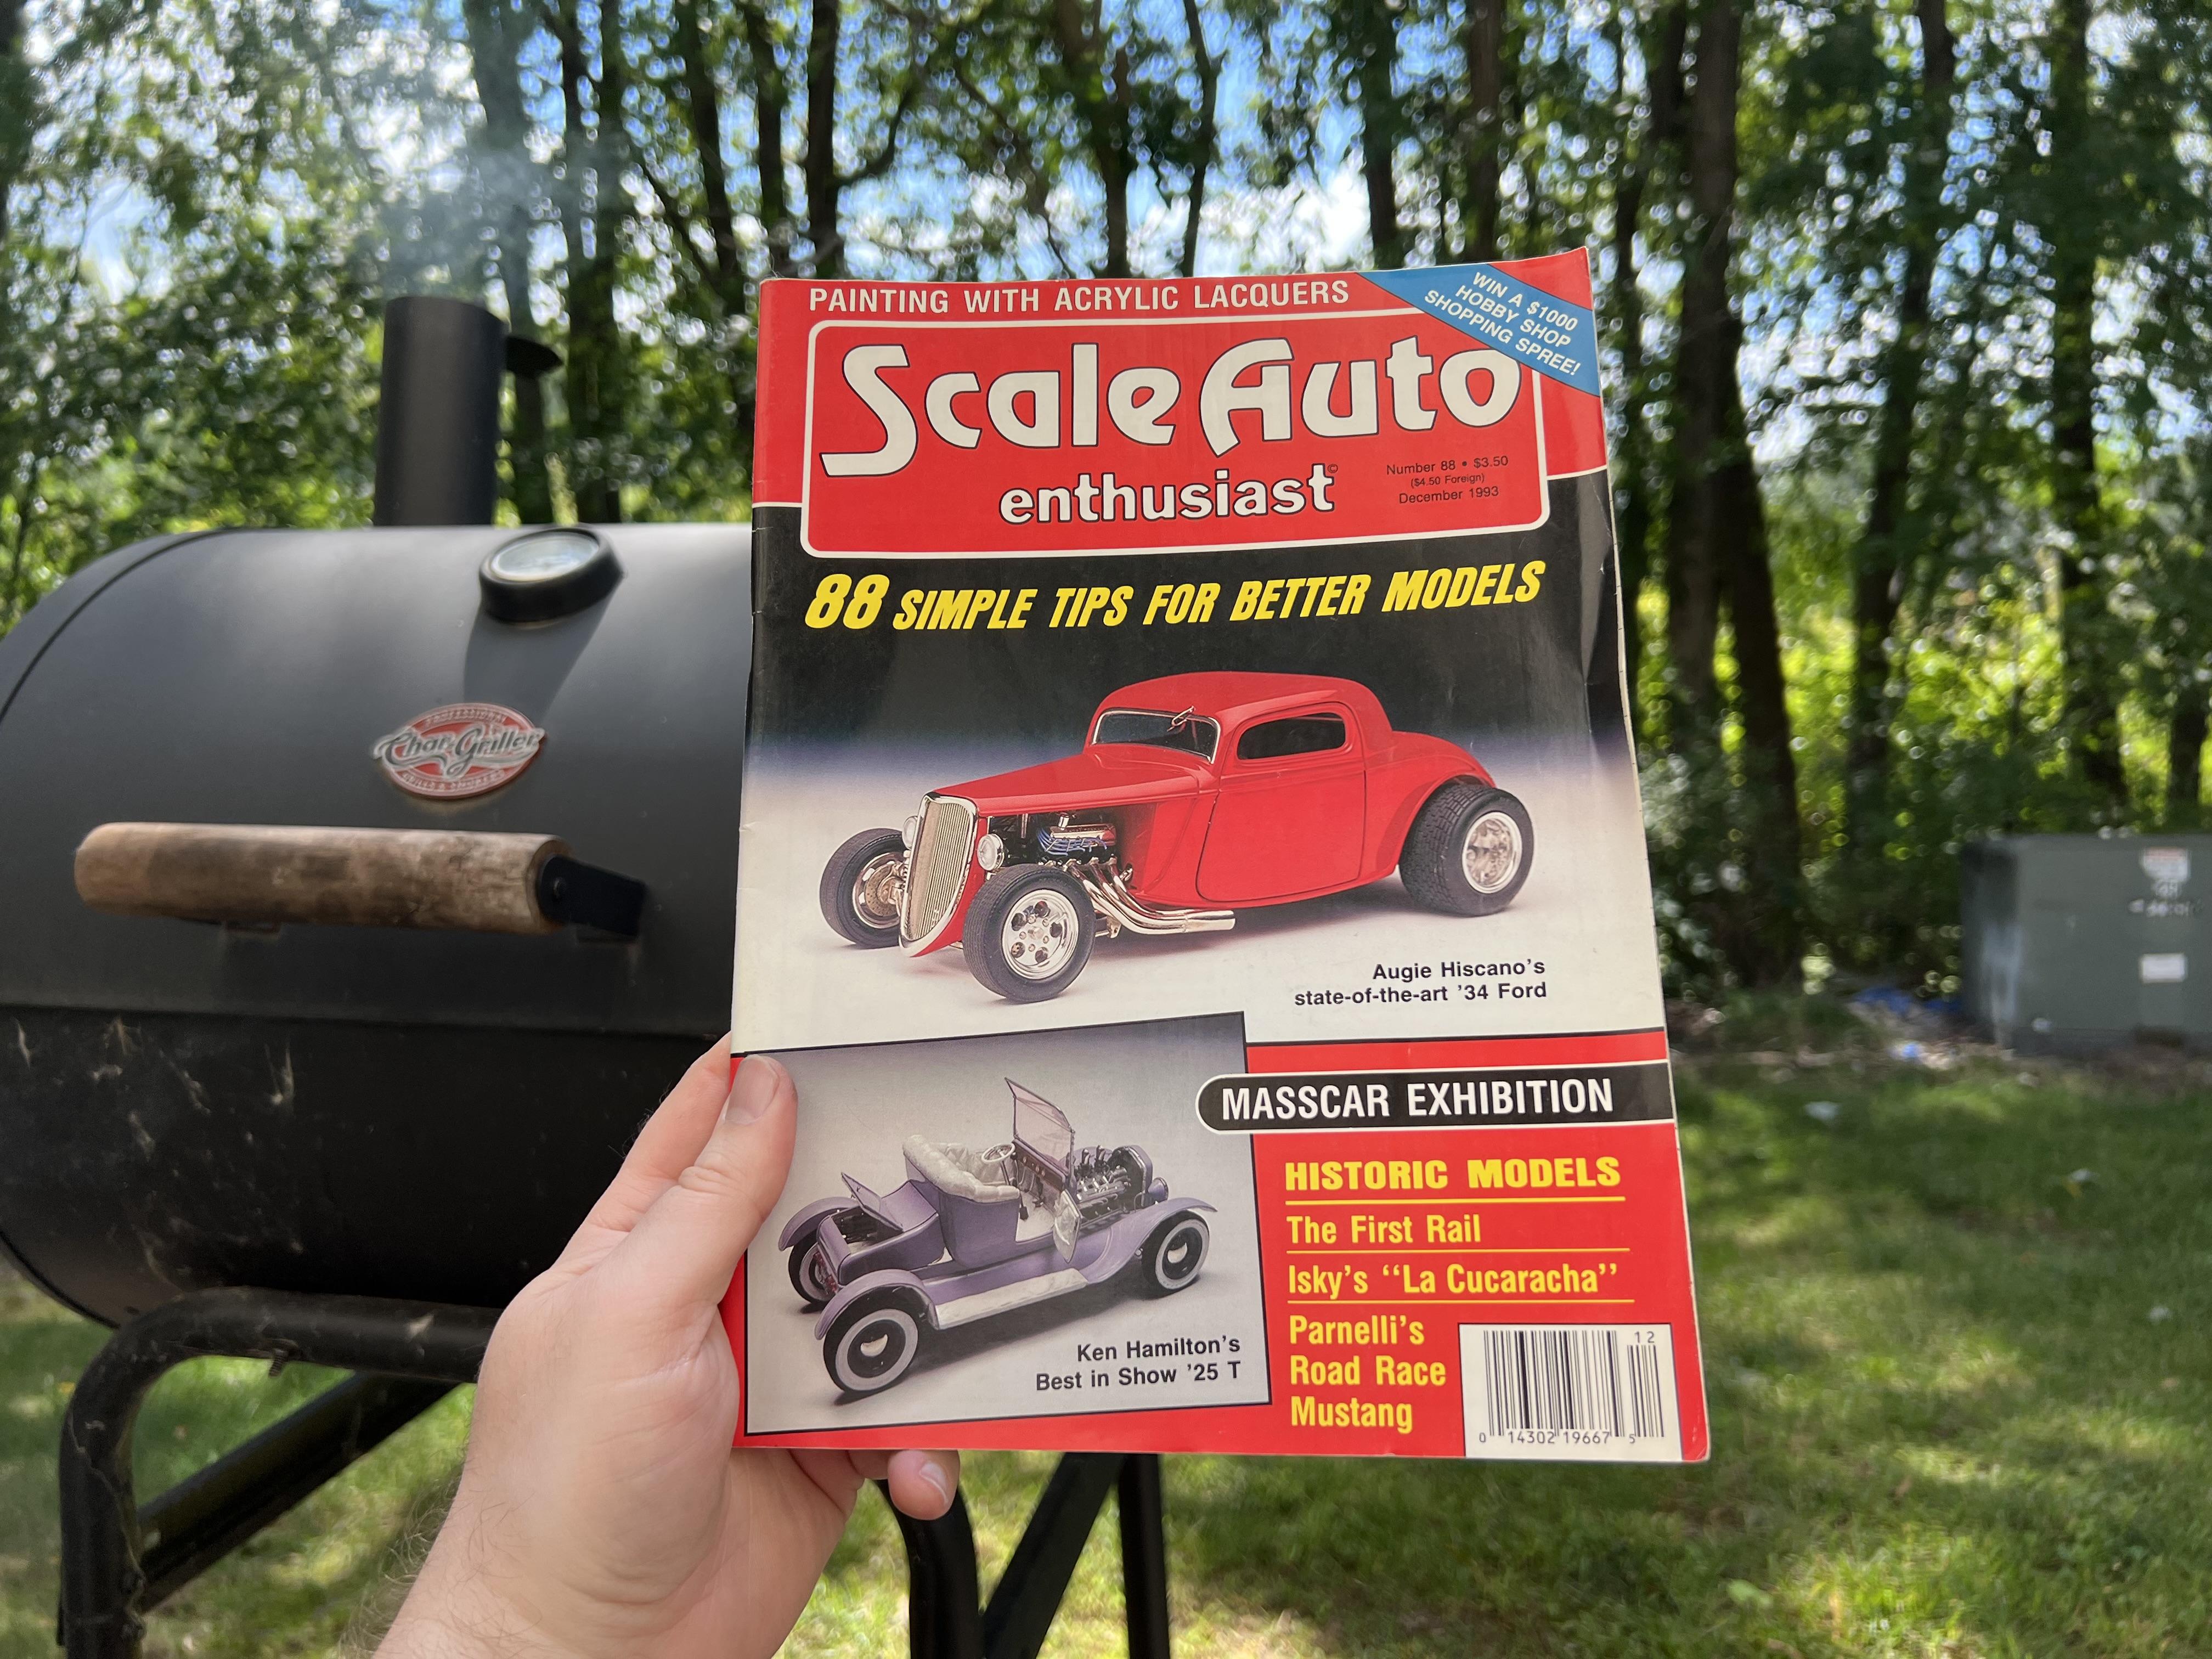
Thanks fellas! Luckily, past-Jim made a lot of mistakes and learned what NOT to do, so present-day-Jim struggles a little less…I still mess up my fair share tho ? Speaking of paint, a couple of little projects completed today… I felt like working on the display base for this thing a little today, so I painted the 3D printed concrete blocks that I had made previously, and wanted to lay down some lettering to they match the scene in the box art. Cut some masks… Taped the blocks together to keep the alignment right, then laid down the masks: And after a little of my favorite Createx black sealer, we have some passable lettering: These will get a little weathering before I’m done, but I was excited to make a little progress on the display stand anyway… There was no way I was gonna be able to successfully paint the tiny door lettering that this car should have, so I laid down decals for that today… And with that the body is finally ready for clear…excited to shine this thing up. Less excited to lay down the chrome portions after clear, but it’s gotta be done… And finally for this weekend, stripped the chrome off the suspension pieces so I can start pinning them together, removing imperfections and seeing where I can add some detail to bring them to life: That steering linkage can definitely use some work, and there’s some boltheads and stuff I can add to help things along. And that’s about today’s progress because I spent the rest of the day by the grill reading old SAEs ? Hope everyone had a good labor day! Thanks for looking!