OldNYJim
-
Posts
251 -
Joined
-
Last visited
Content Type
Profiles
Forums
Events
Gallery
Everything posted by OldNYJim
-
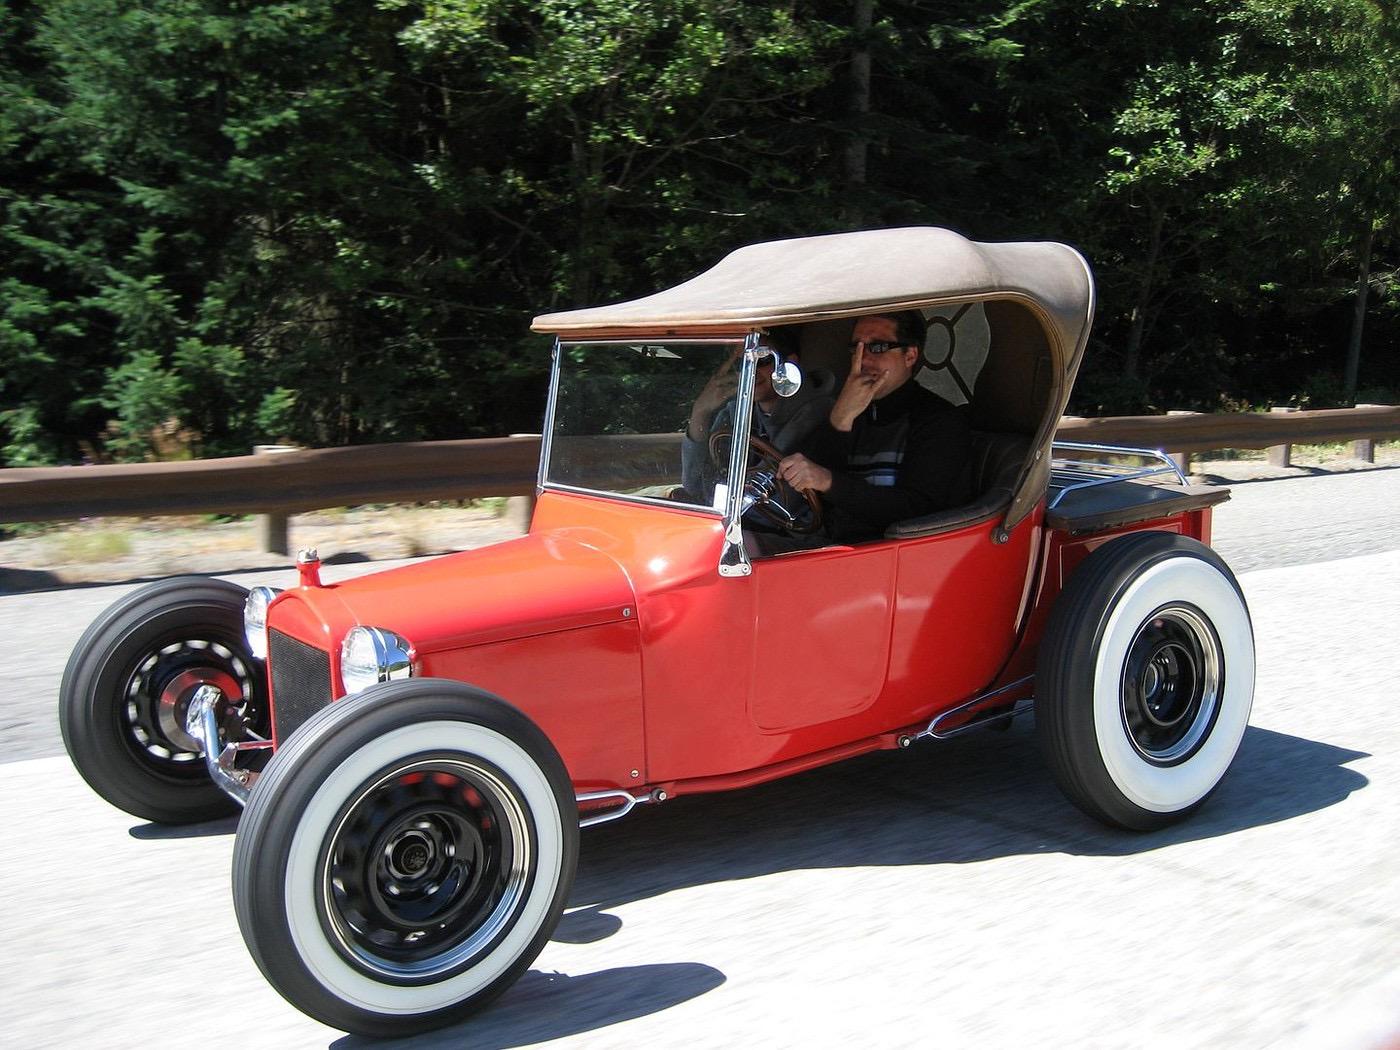
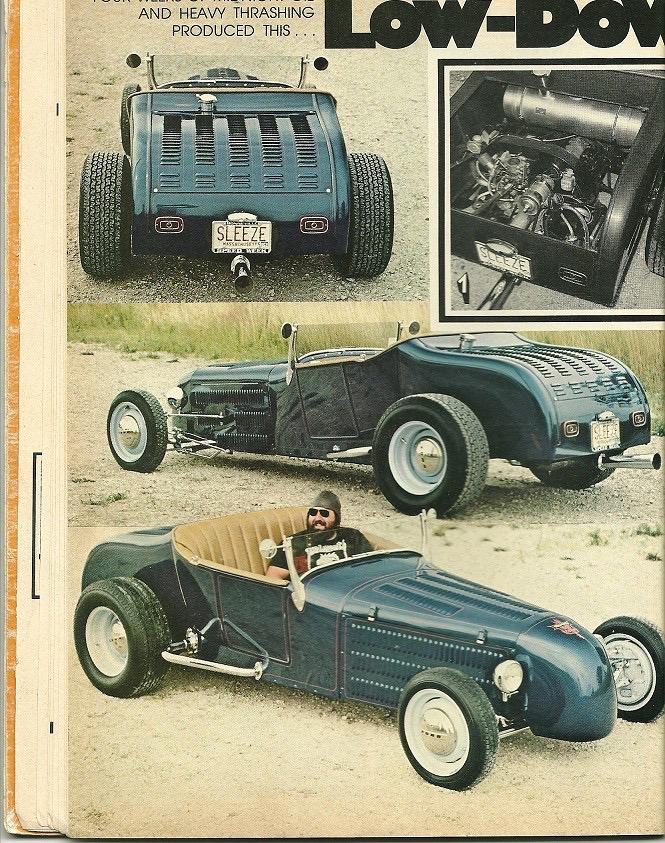
 Absolutely right - I guess the ‘V’ element is the rolling chassis, in this case. VW-based early-Ford-looking hot rods are real thing though:
-
As someone getting set to restore one of these, that is REALLY helpful to know. Thanks!!
-
Revell Porsche 917 - New, re-release or rebox?
OldNYJim replied to Monty's topic in Car Kit News & Reviews
Ohh, I had missed that this one was on the way too - cool! Ive always admired these cars, I’ll be picking one up. Random question - has Revell actually ever released a Skill Level 5 kit to date? I’d be curious to find out what their self-proclaimed hardest kit to build actually is -
I like that Duplicolor chrome too - I use it a lot for a faux aluminum kinda look. It doesn’t like washes much, for some reason, or candy colors - they both kinda bead up on the surface, but it’s good for what it’s good for! Great work on this build so far! Keep it coming!
-
I really like the well-thought-out modifications made to this one, and the super clean fabrication. Glad this one got bumped back to the top!
-
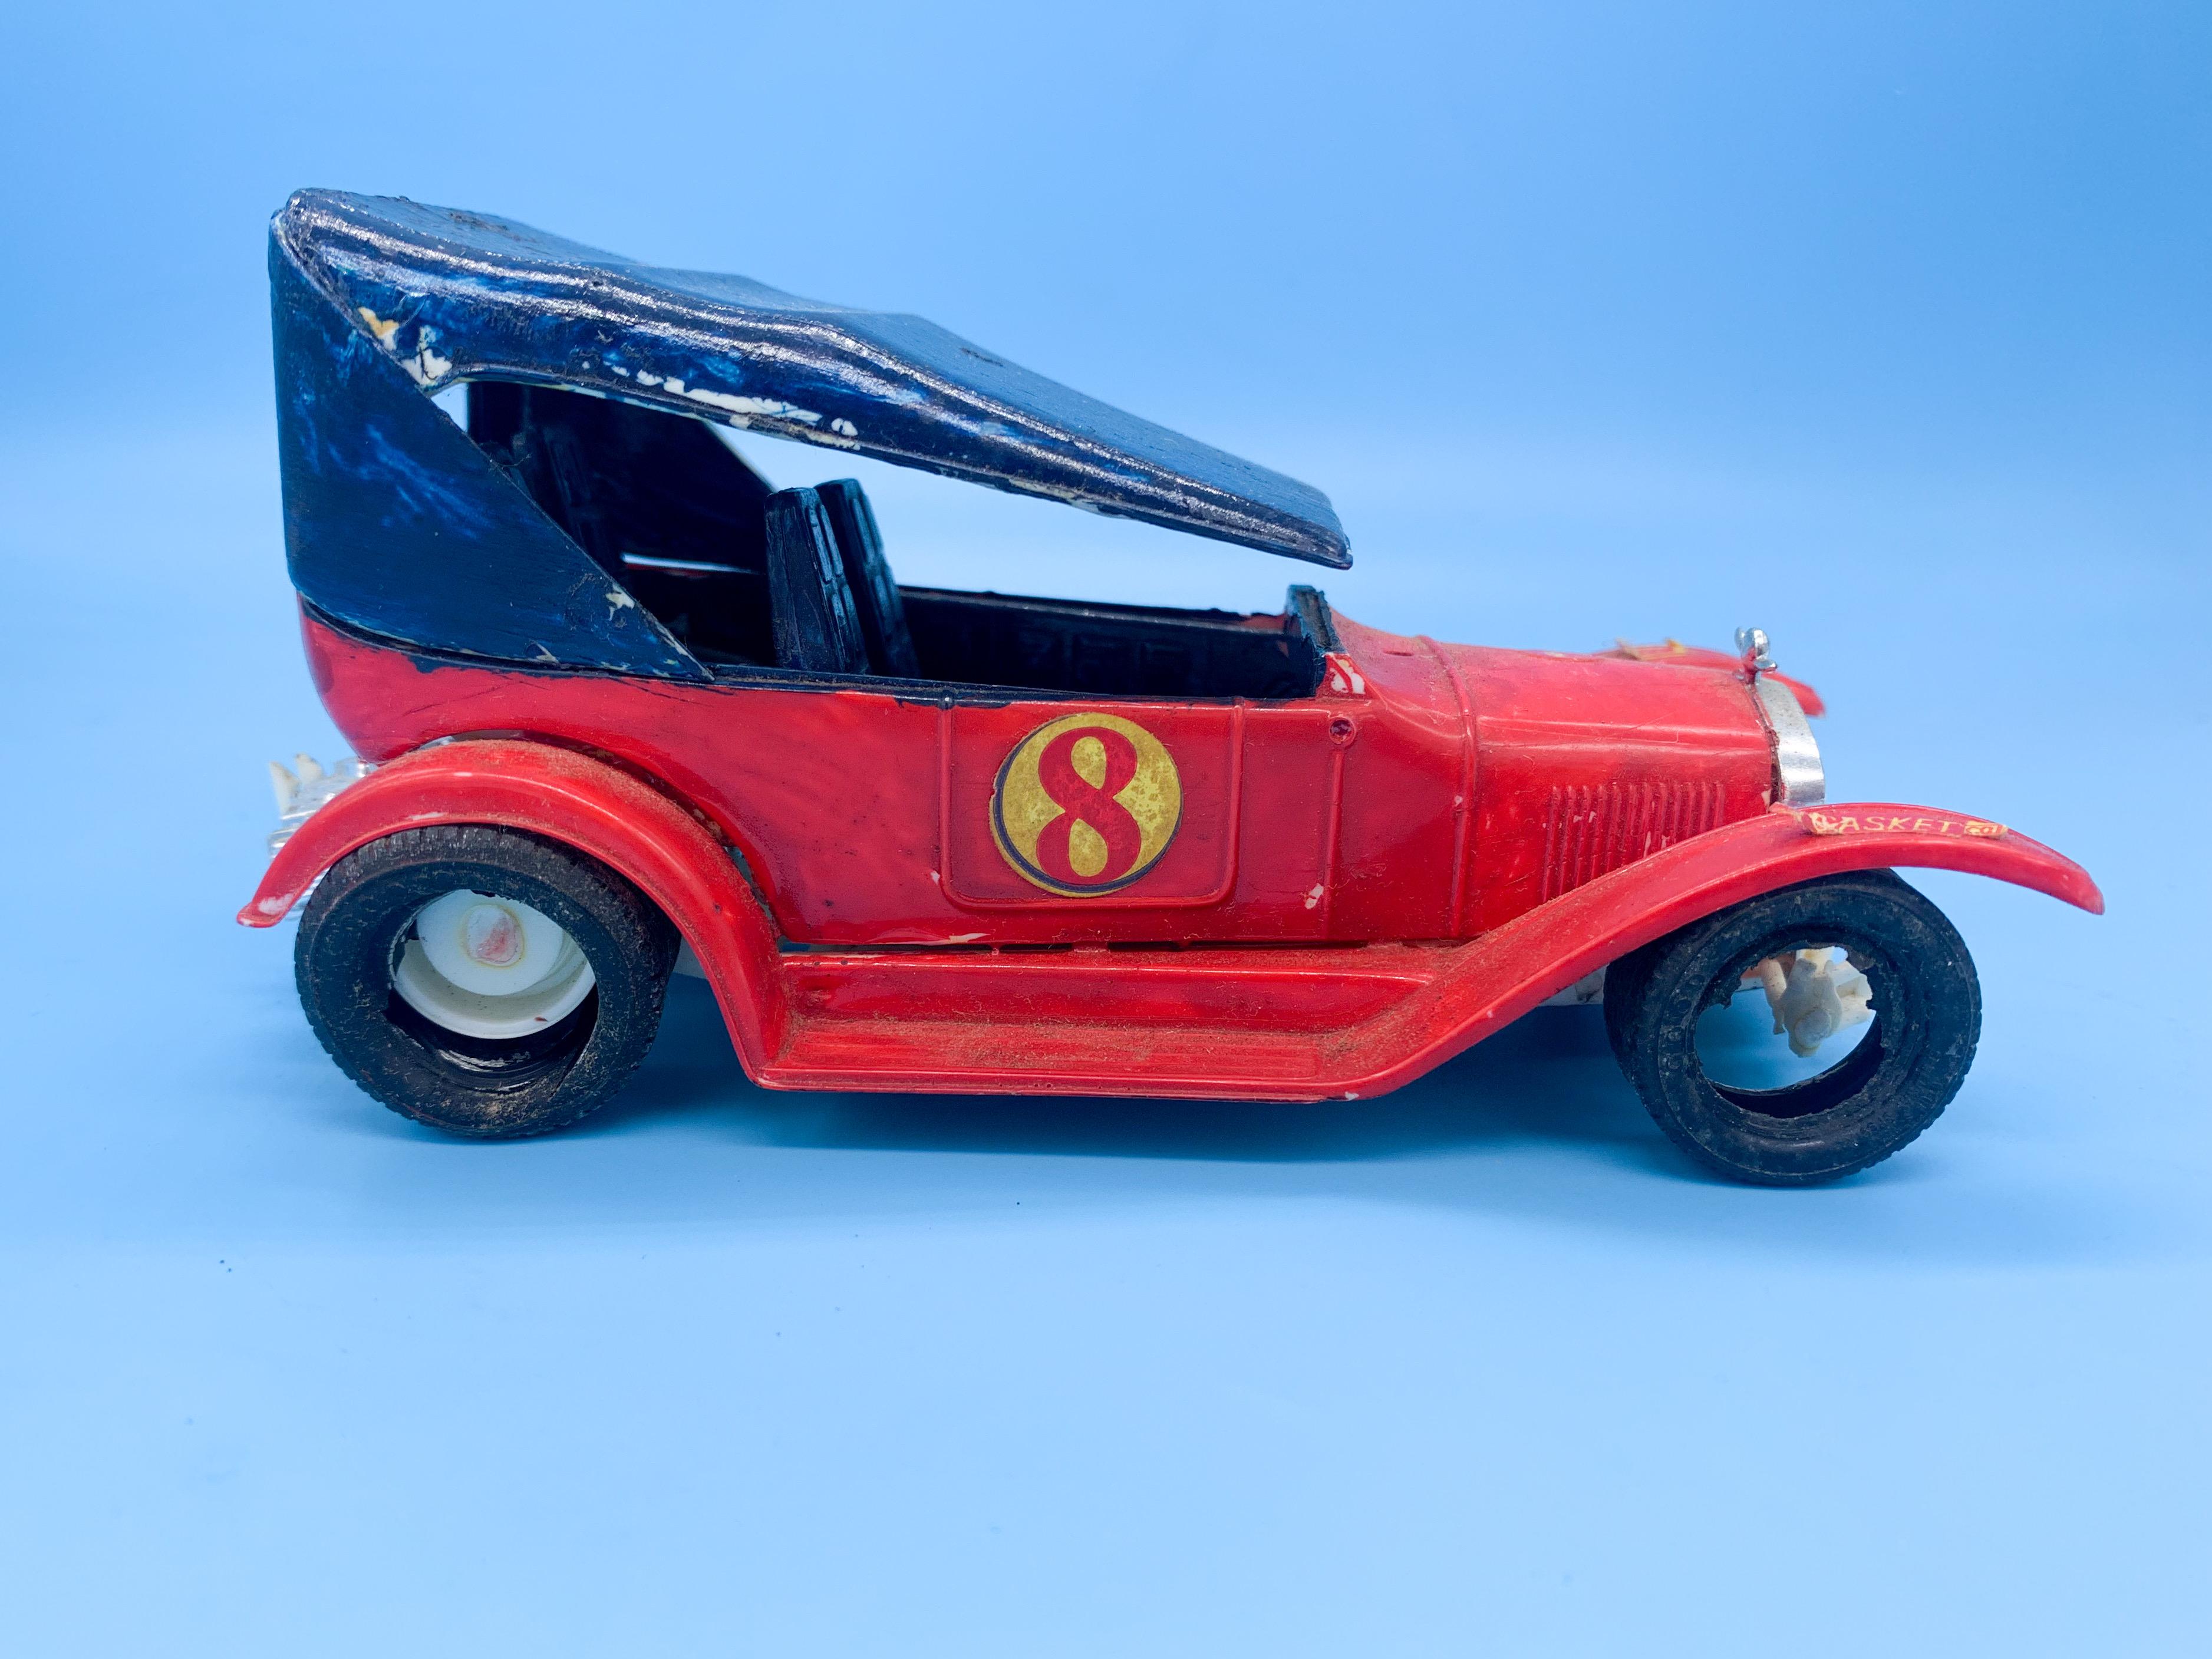
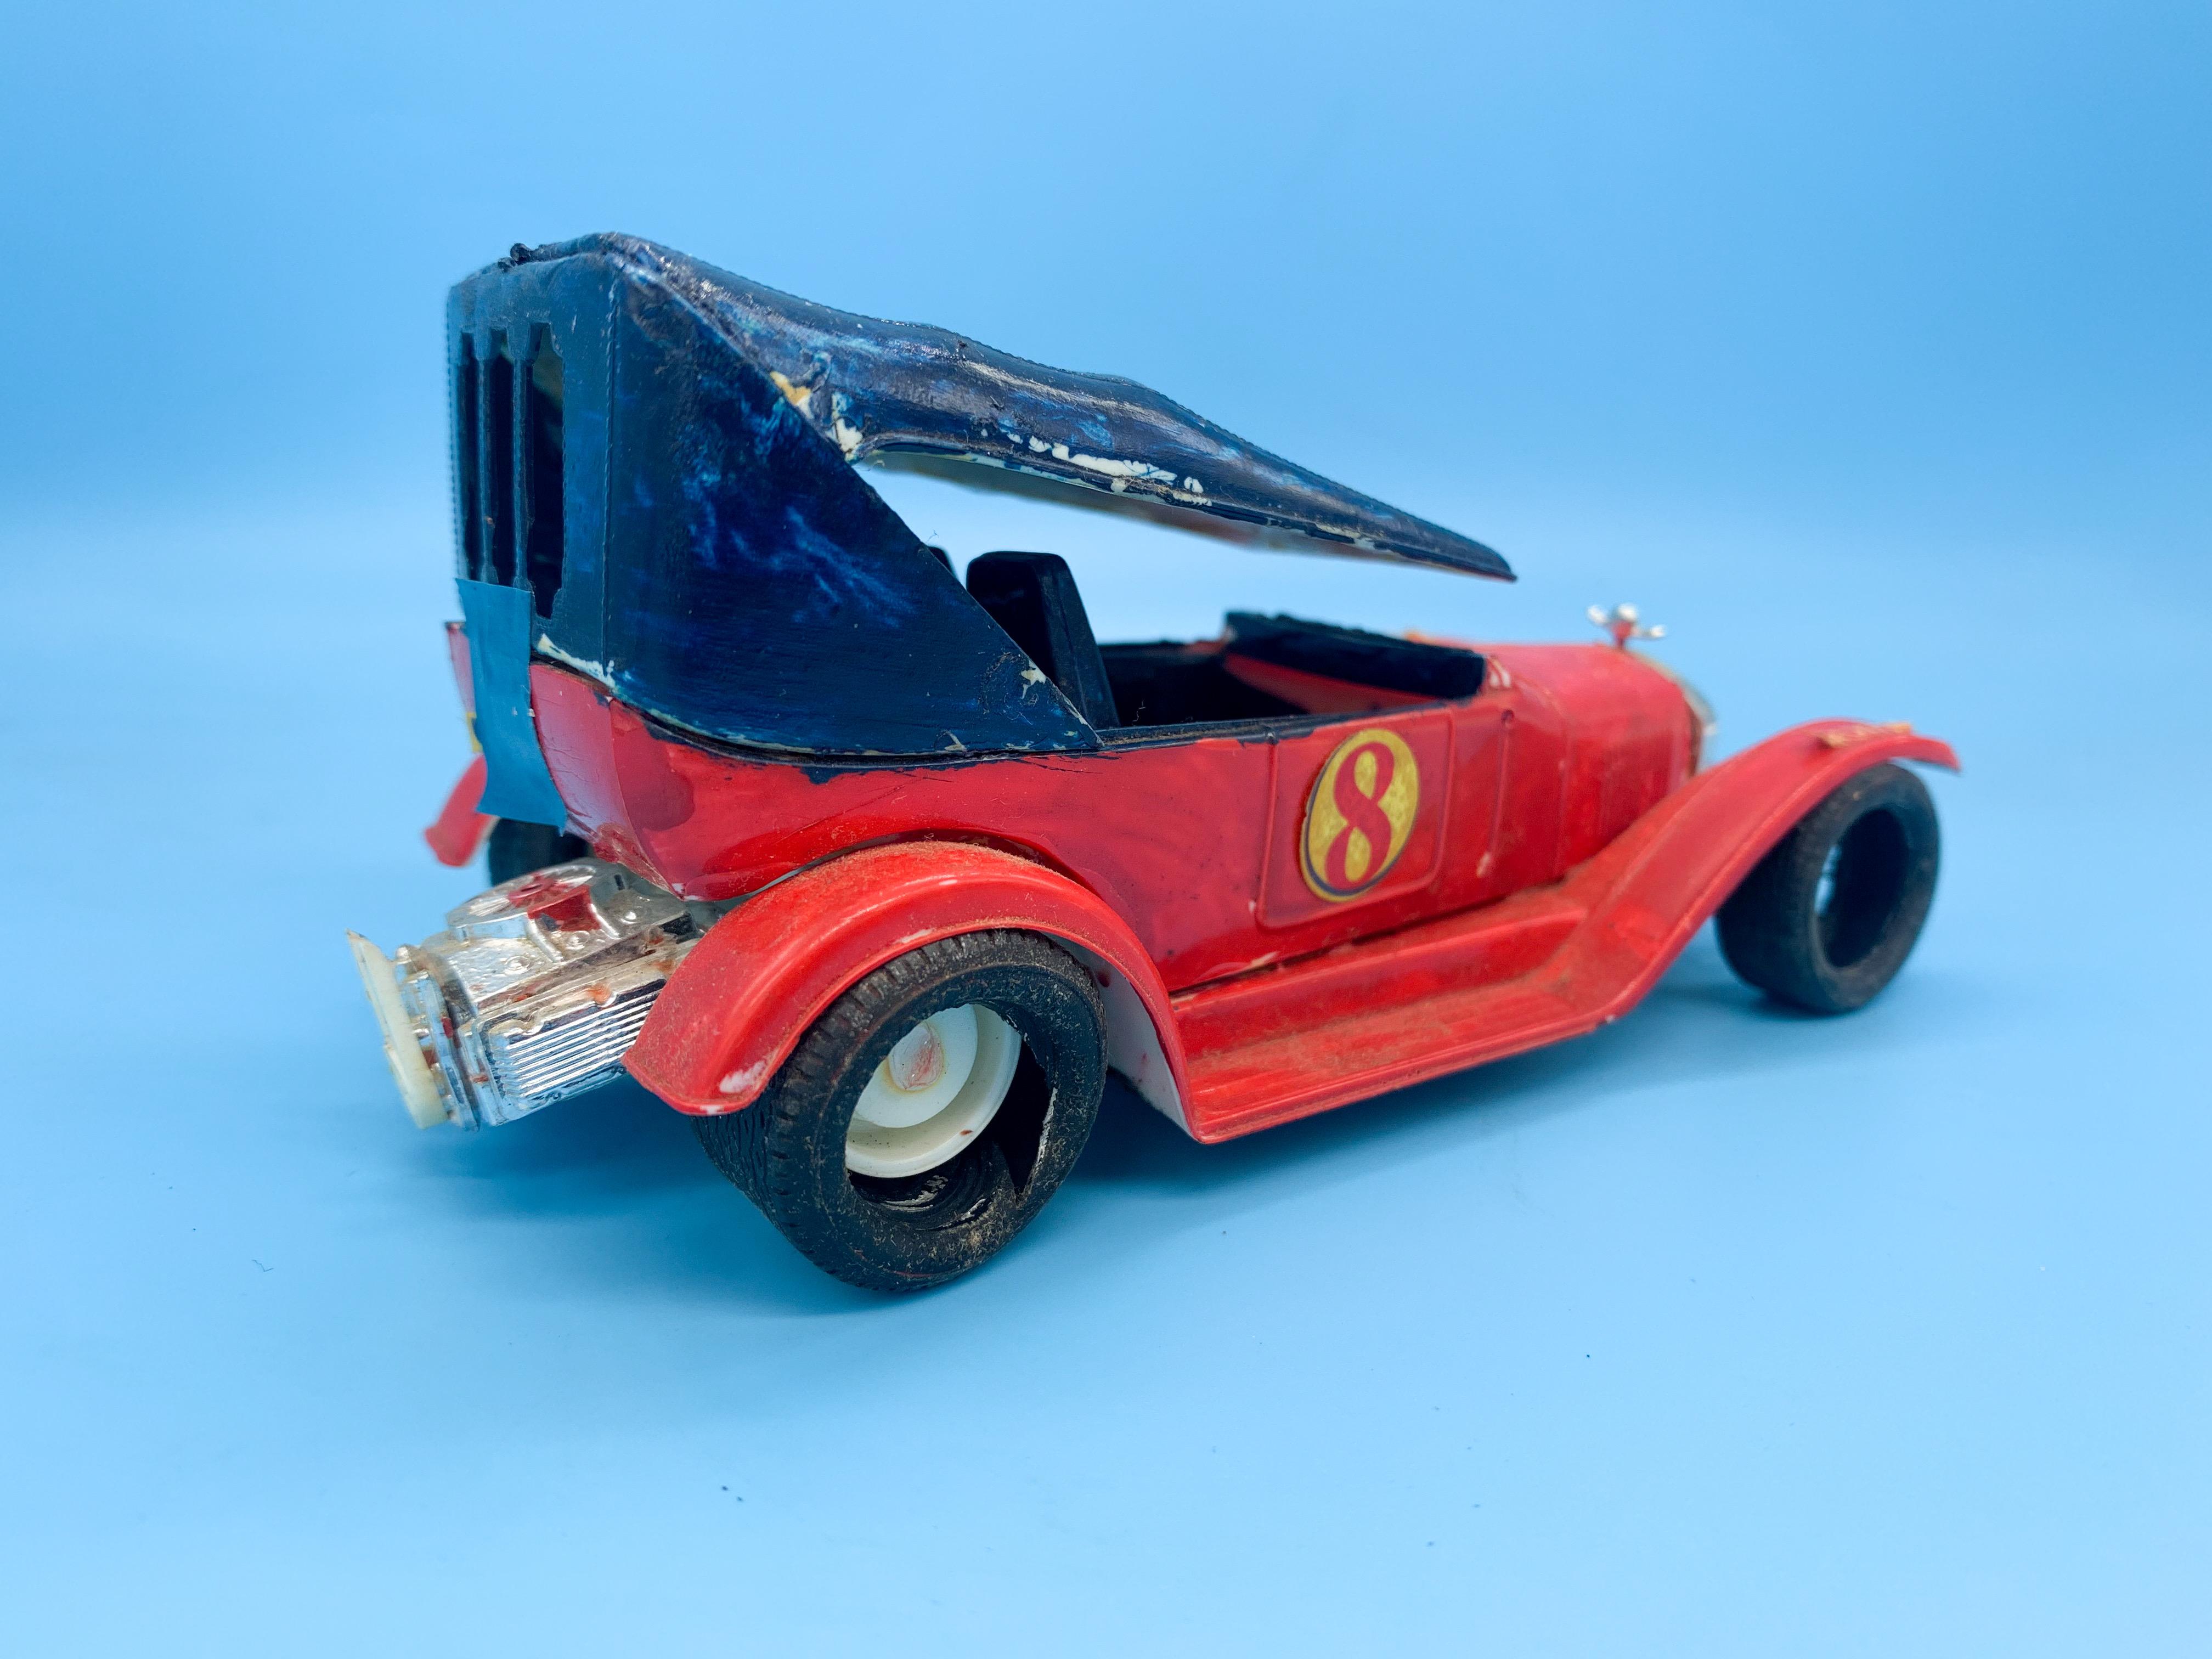
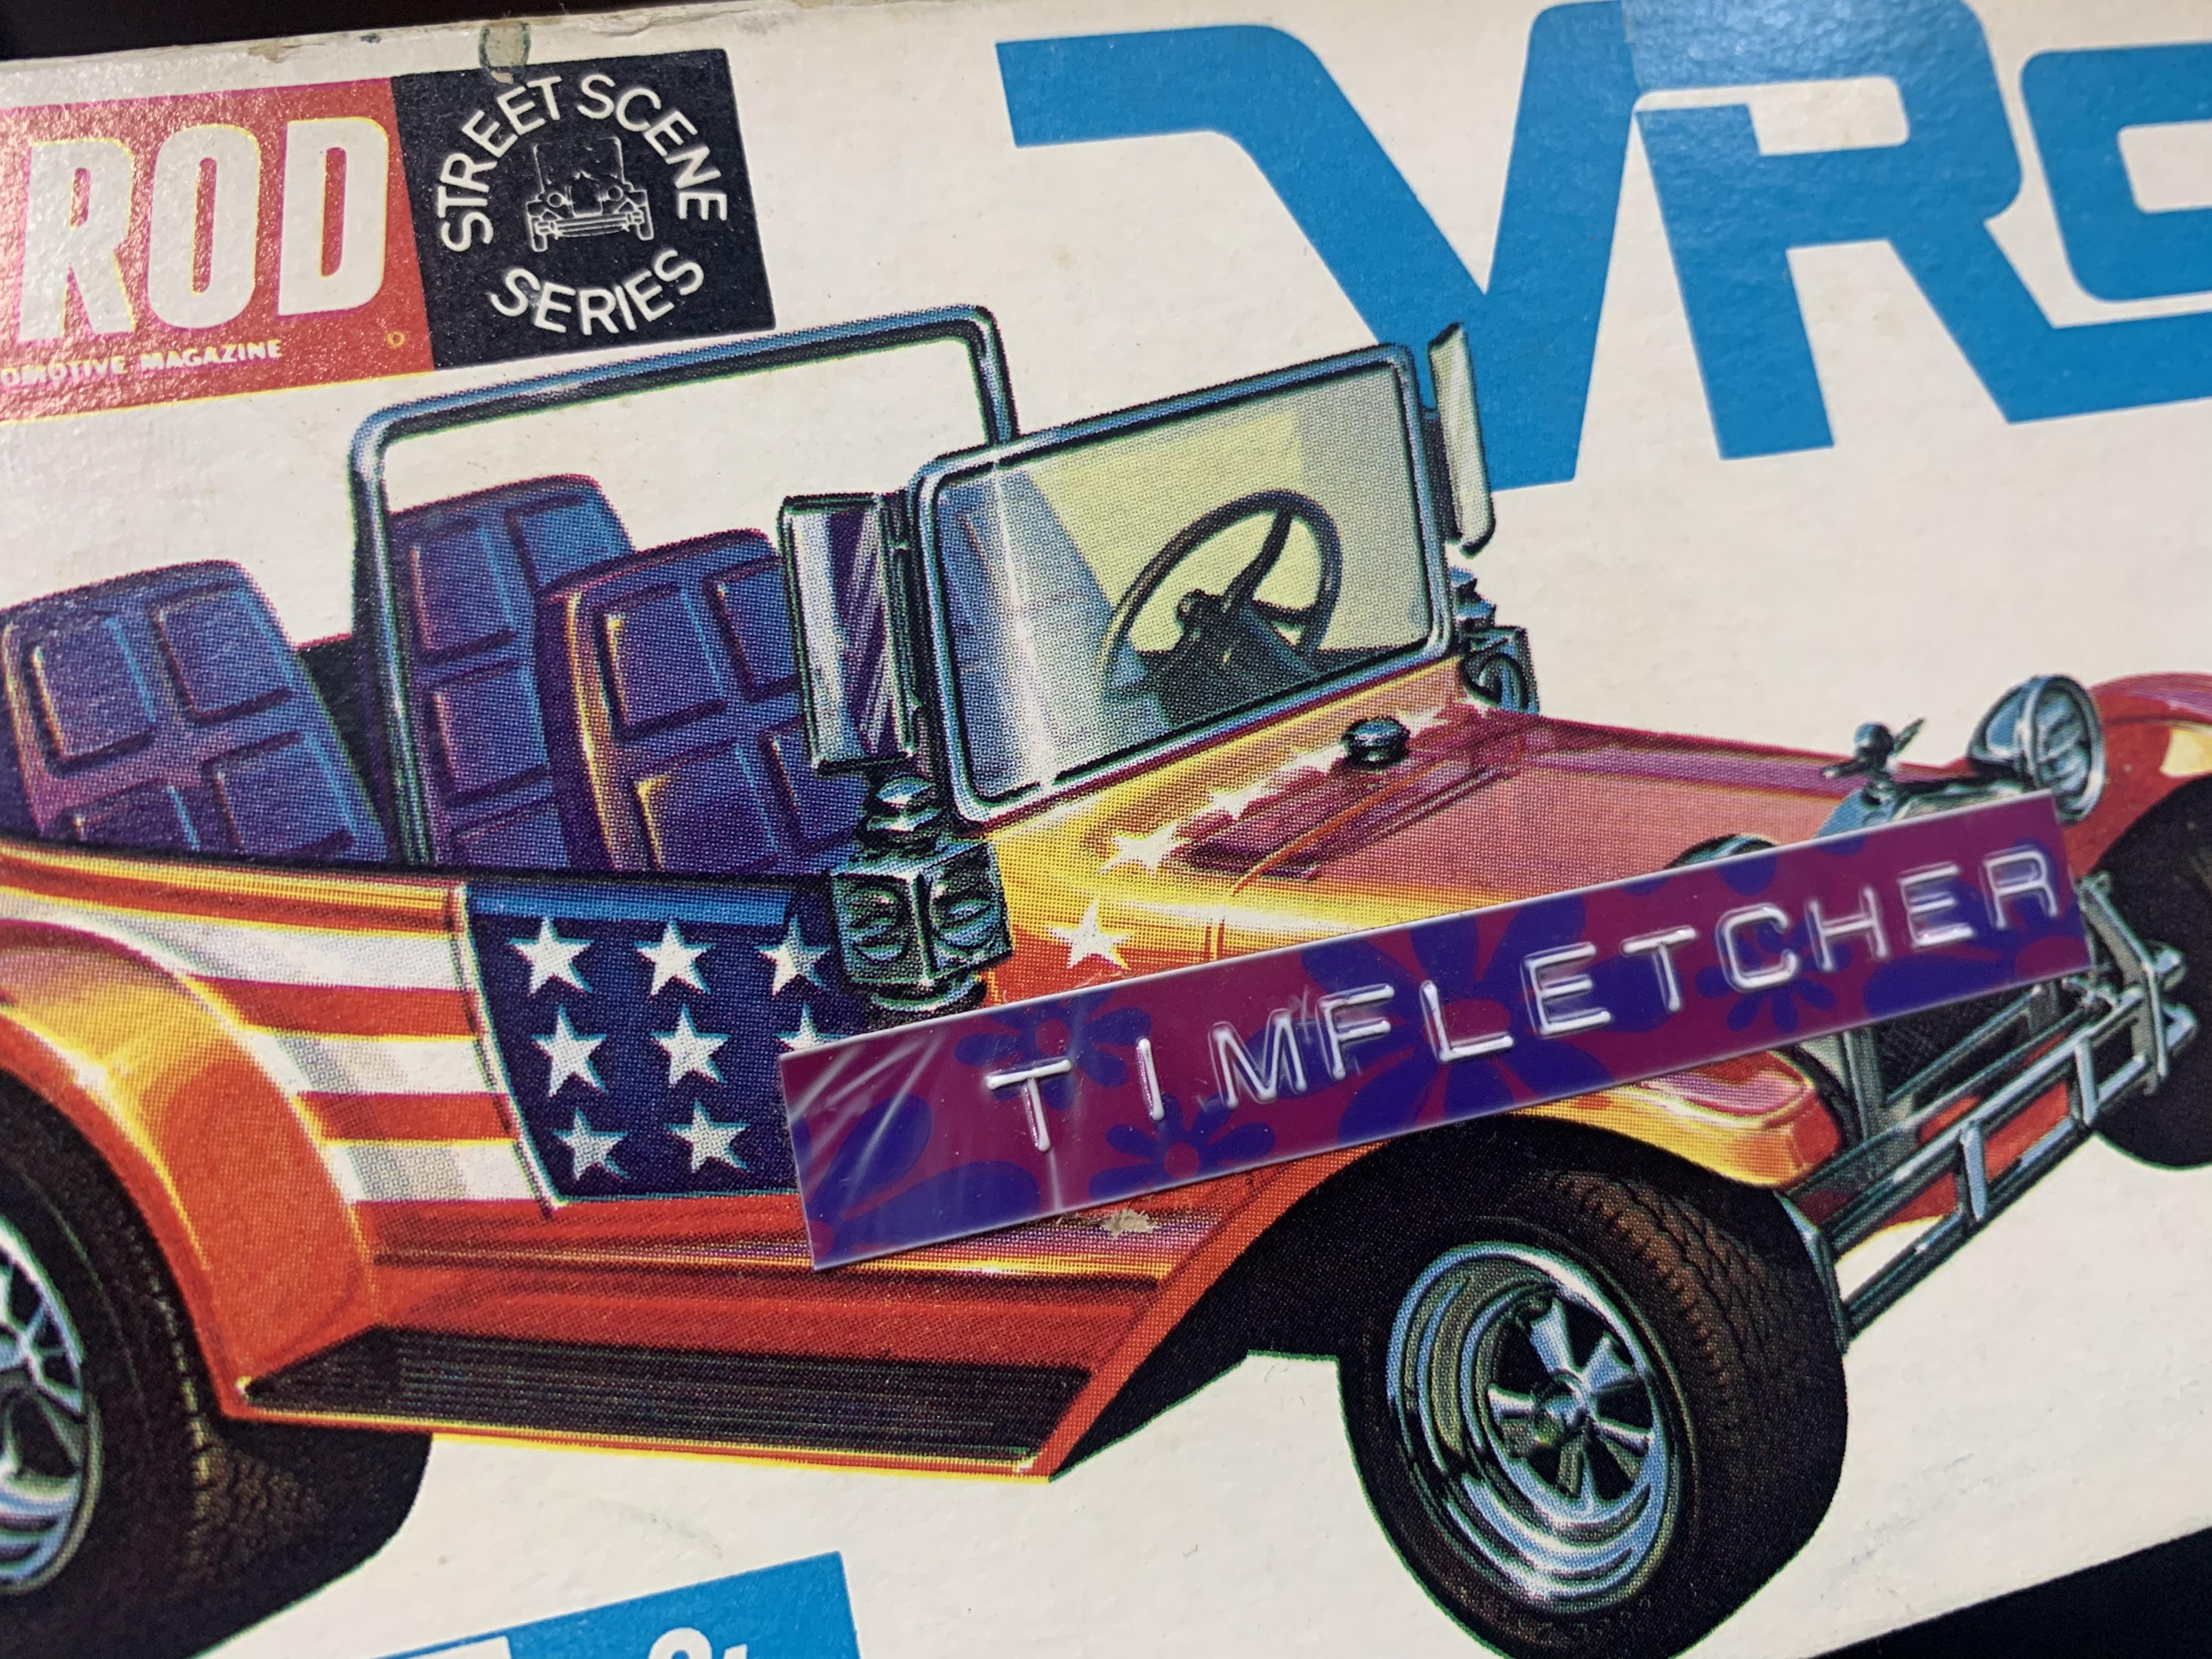
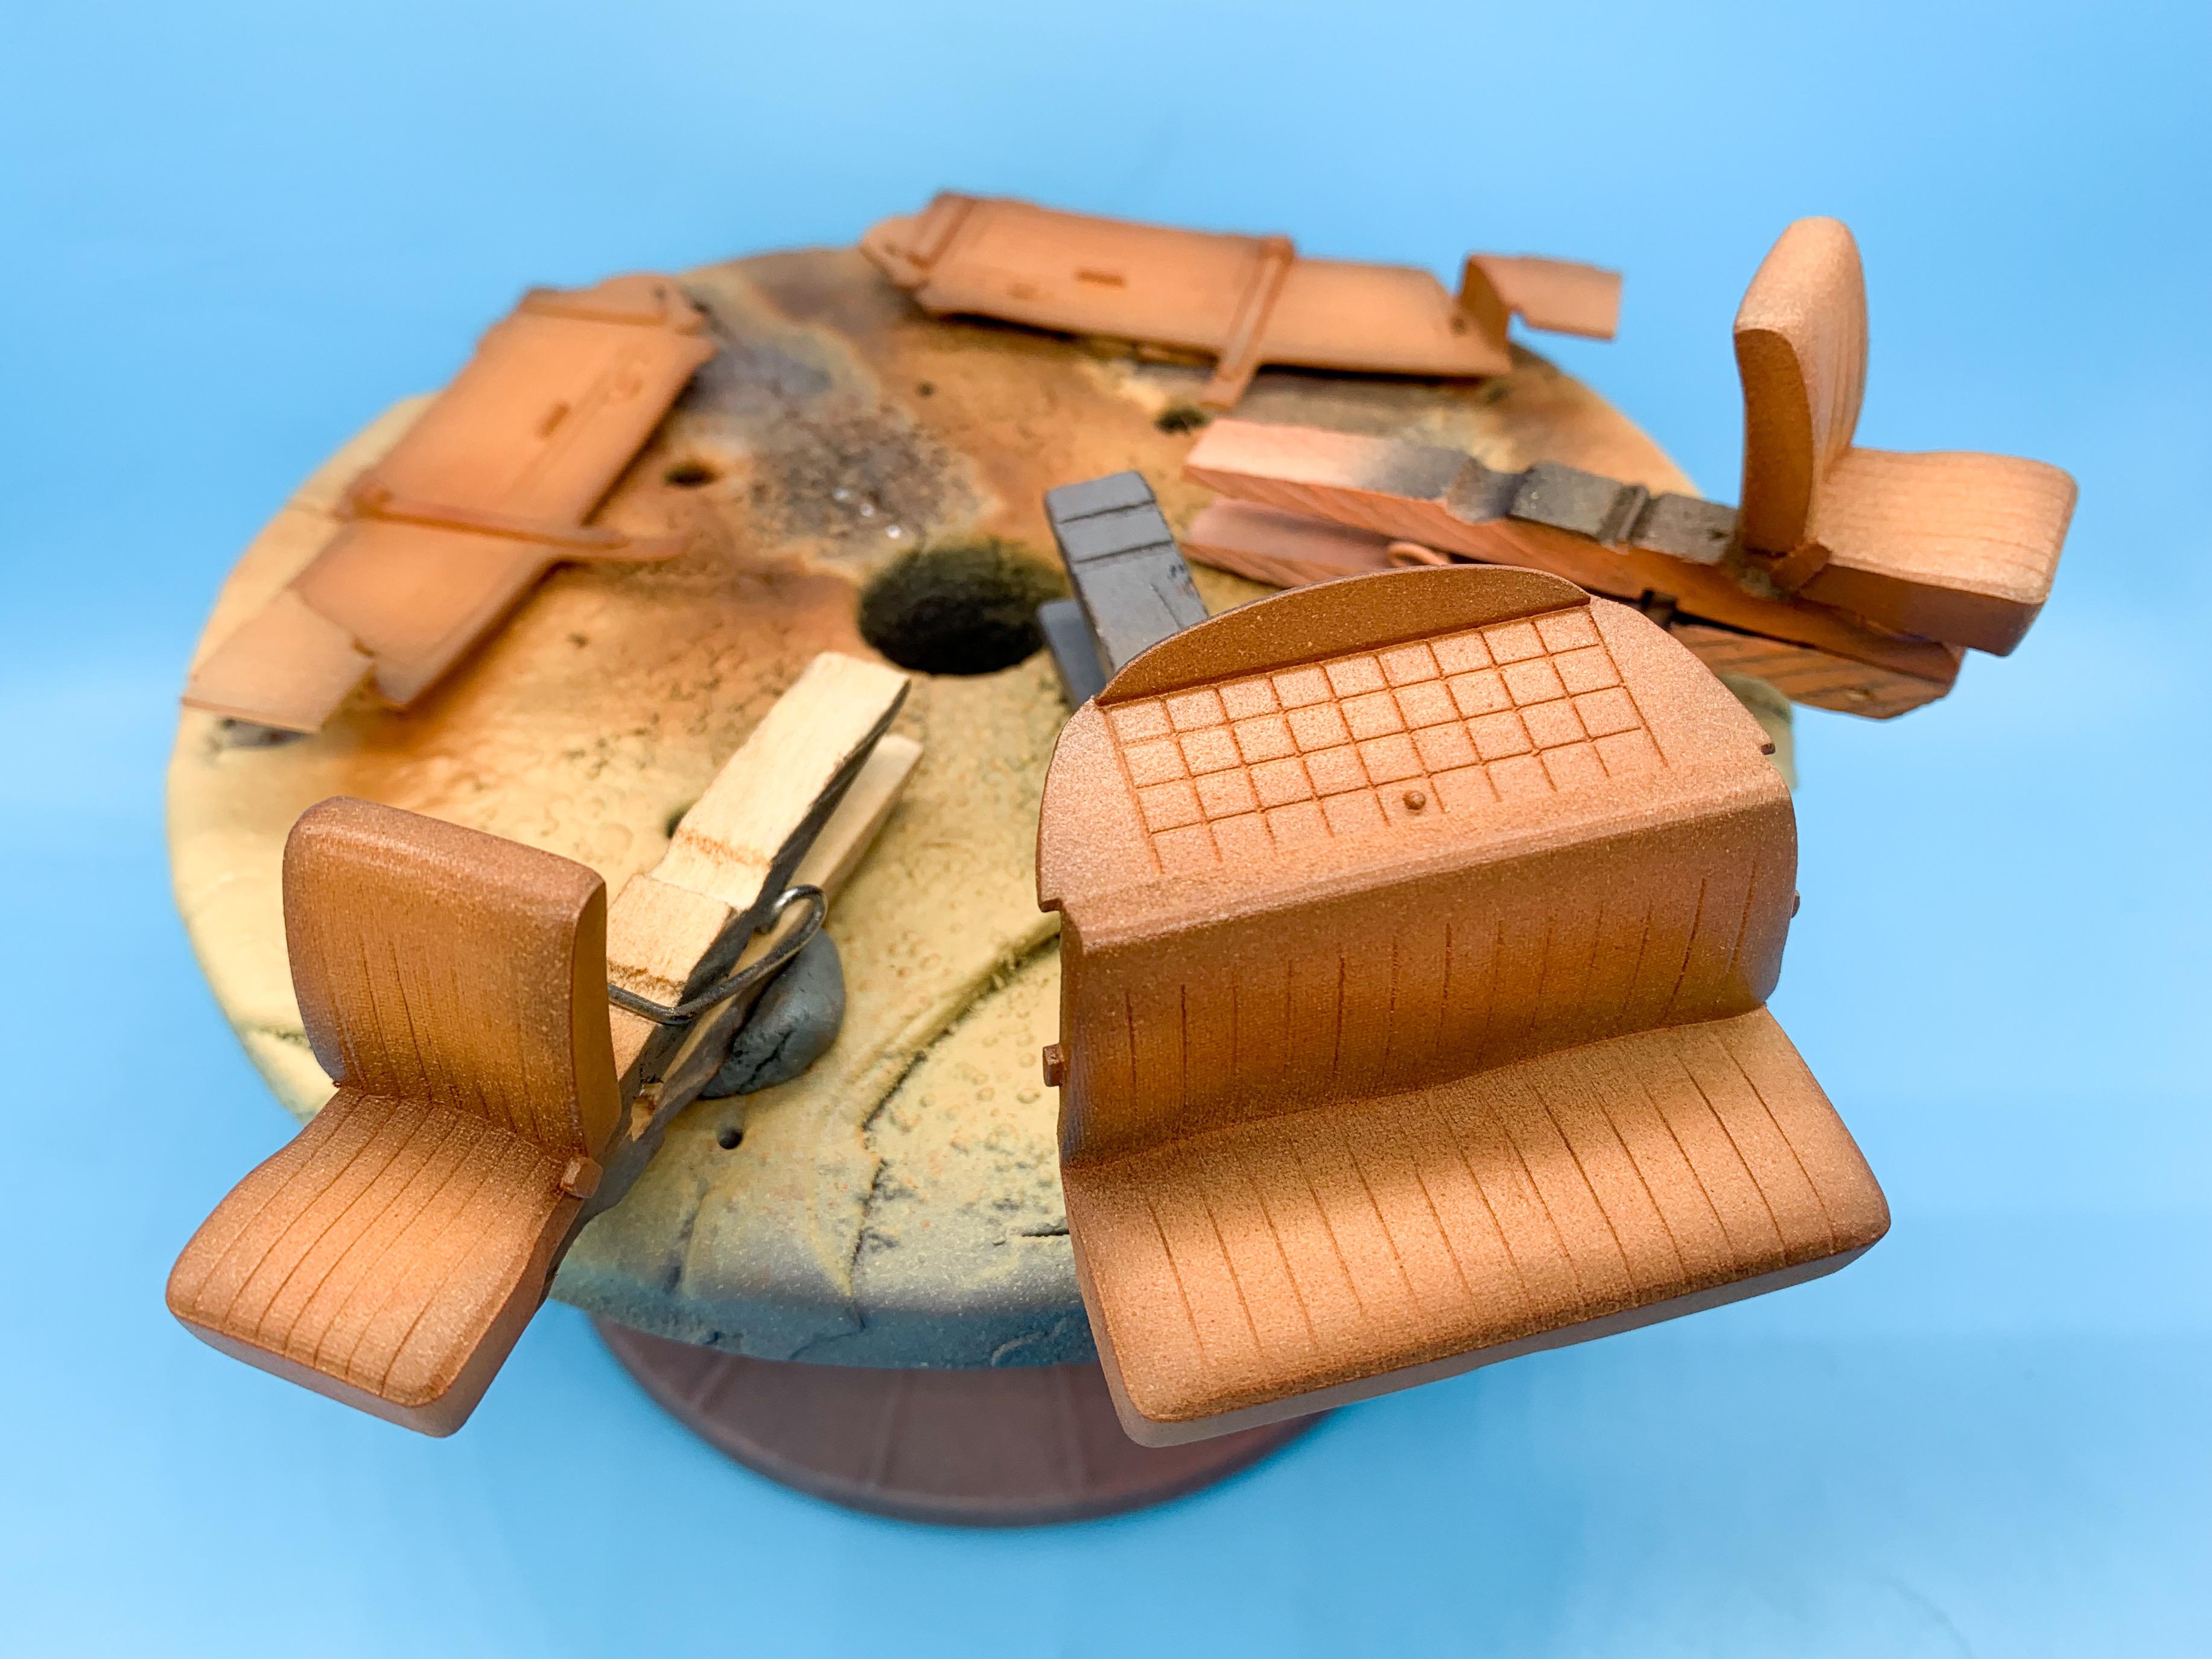
Ever wonder what would happen if you crossed a VW Beetle with a Model T? MPC did, apparently, and Tim Fletcher had a go at building this one 50-ish years ago. Missing some parts, but nothing that should be too hard to replace…
- 38,884 replies
-
- 1
-

-
- johan
- glue bombs
- (and 1 more)
-
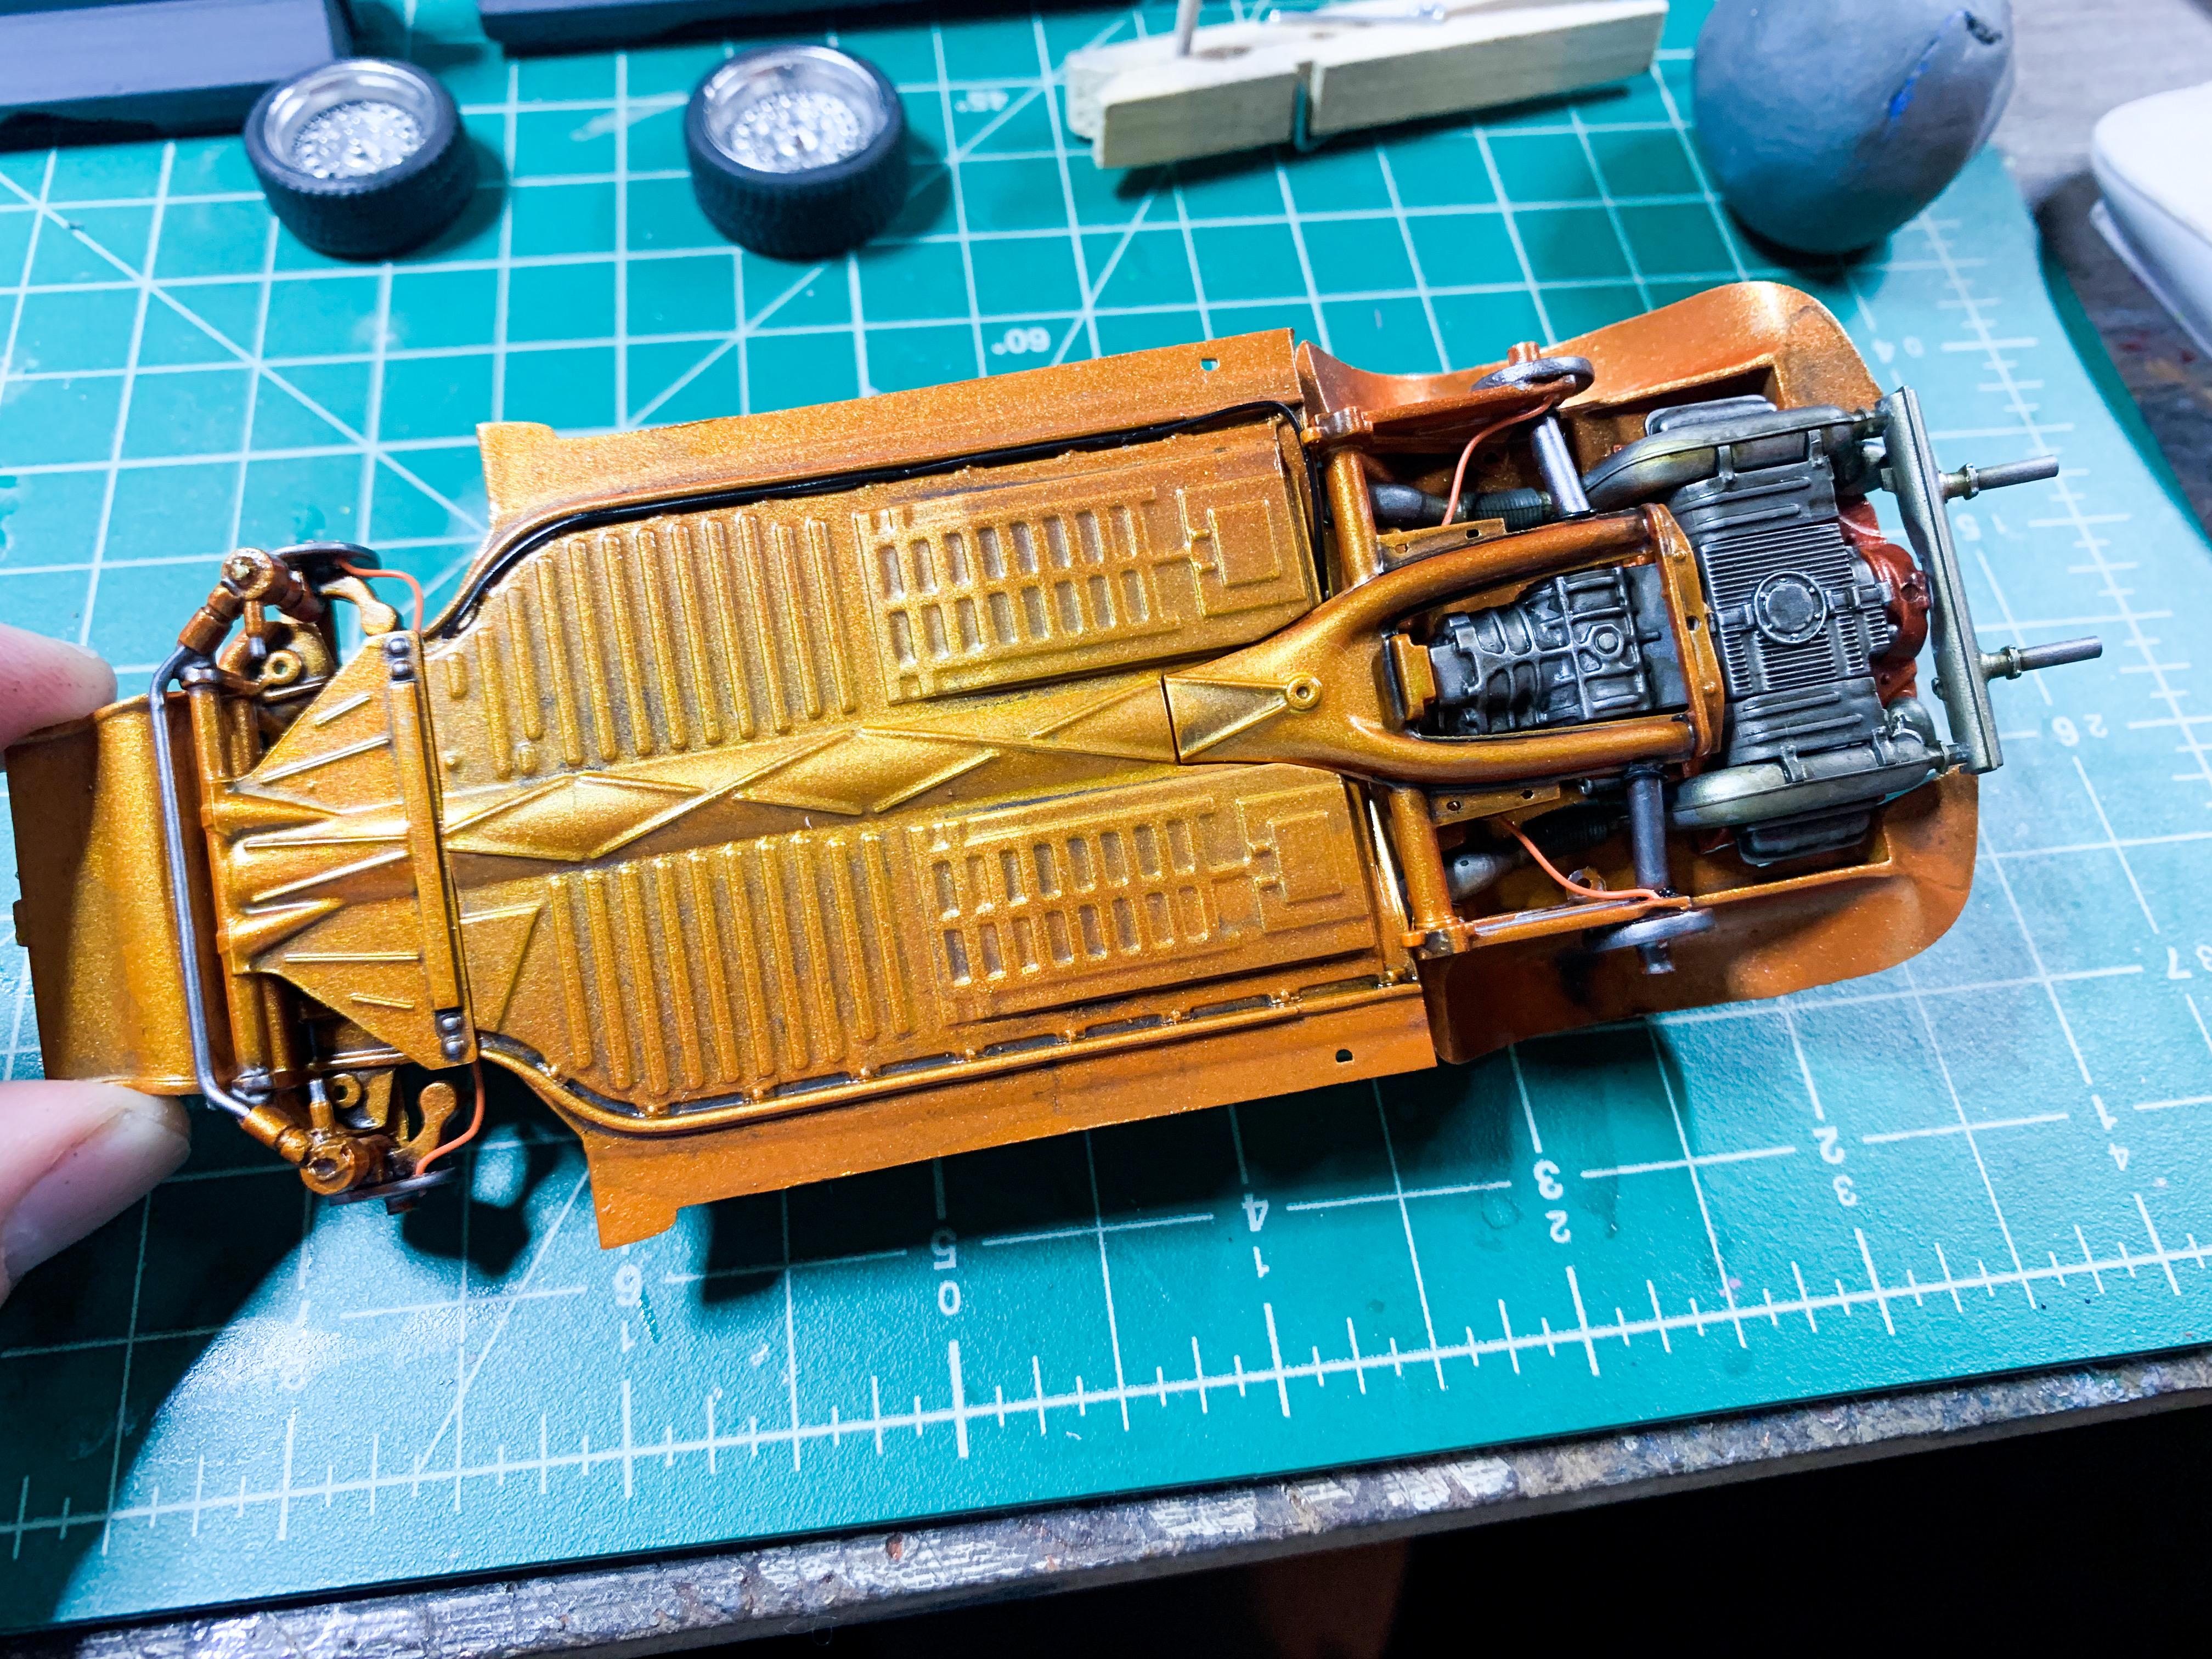
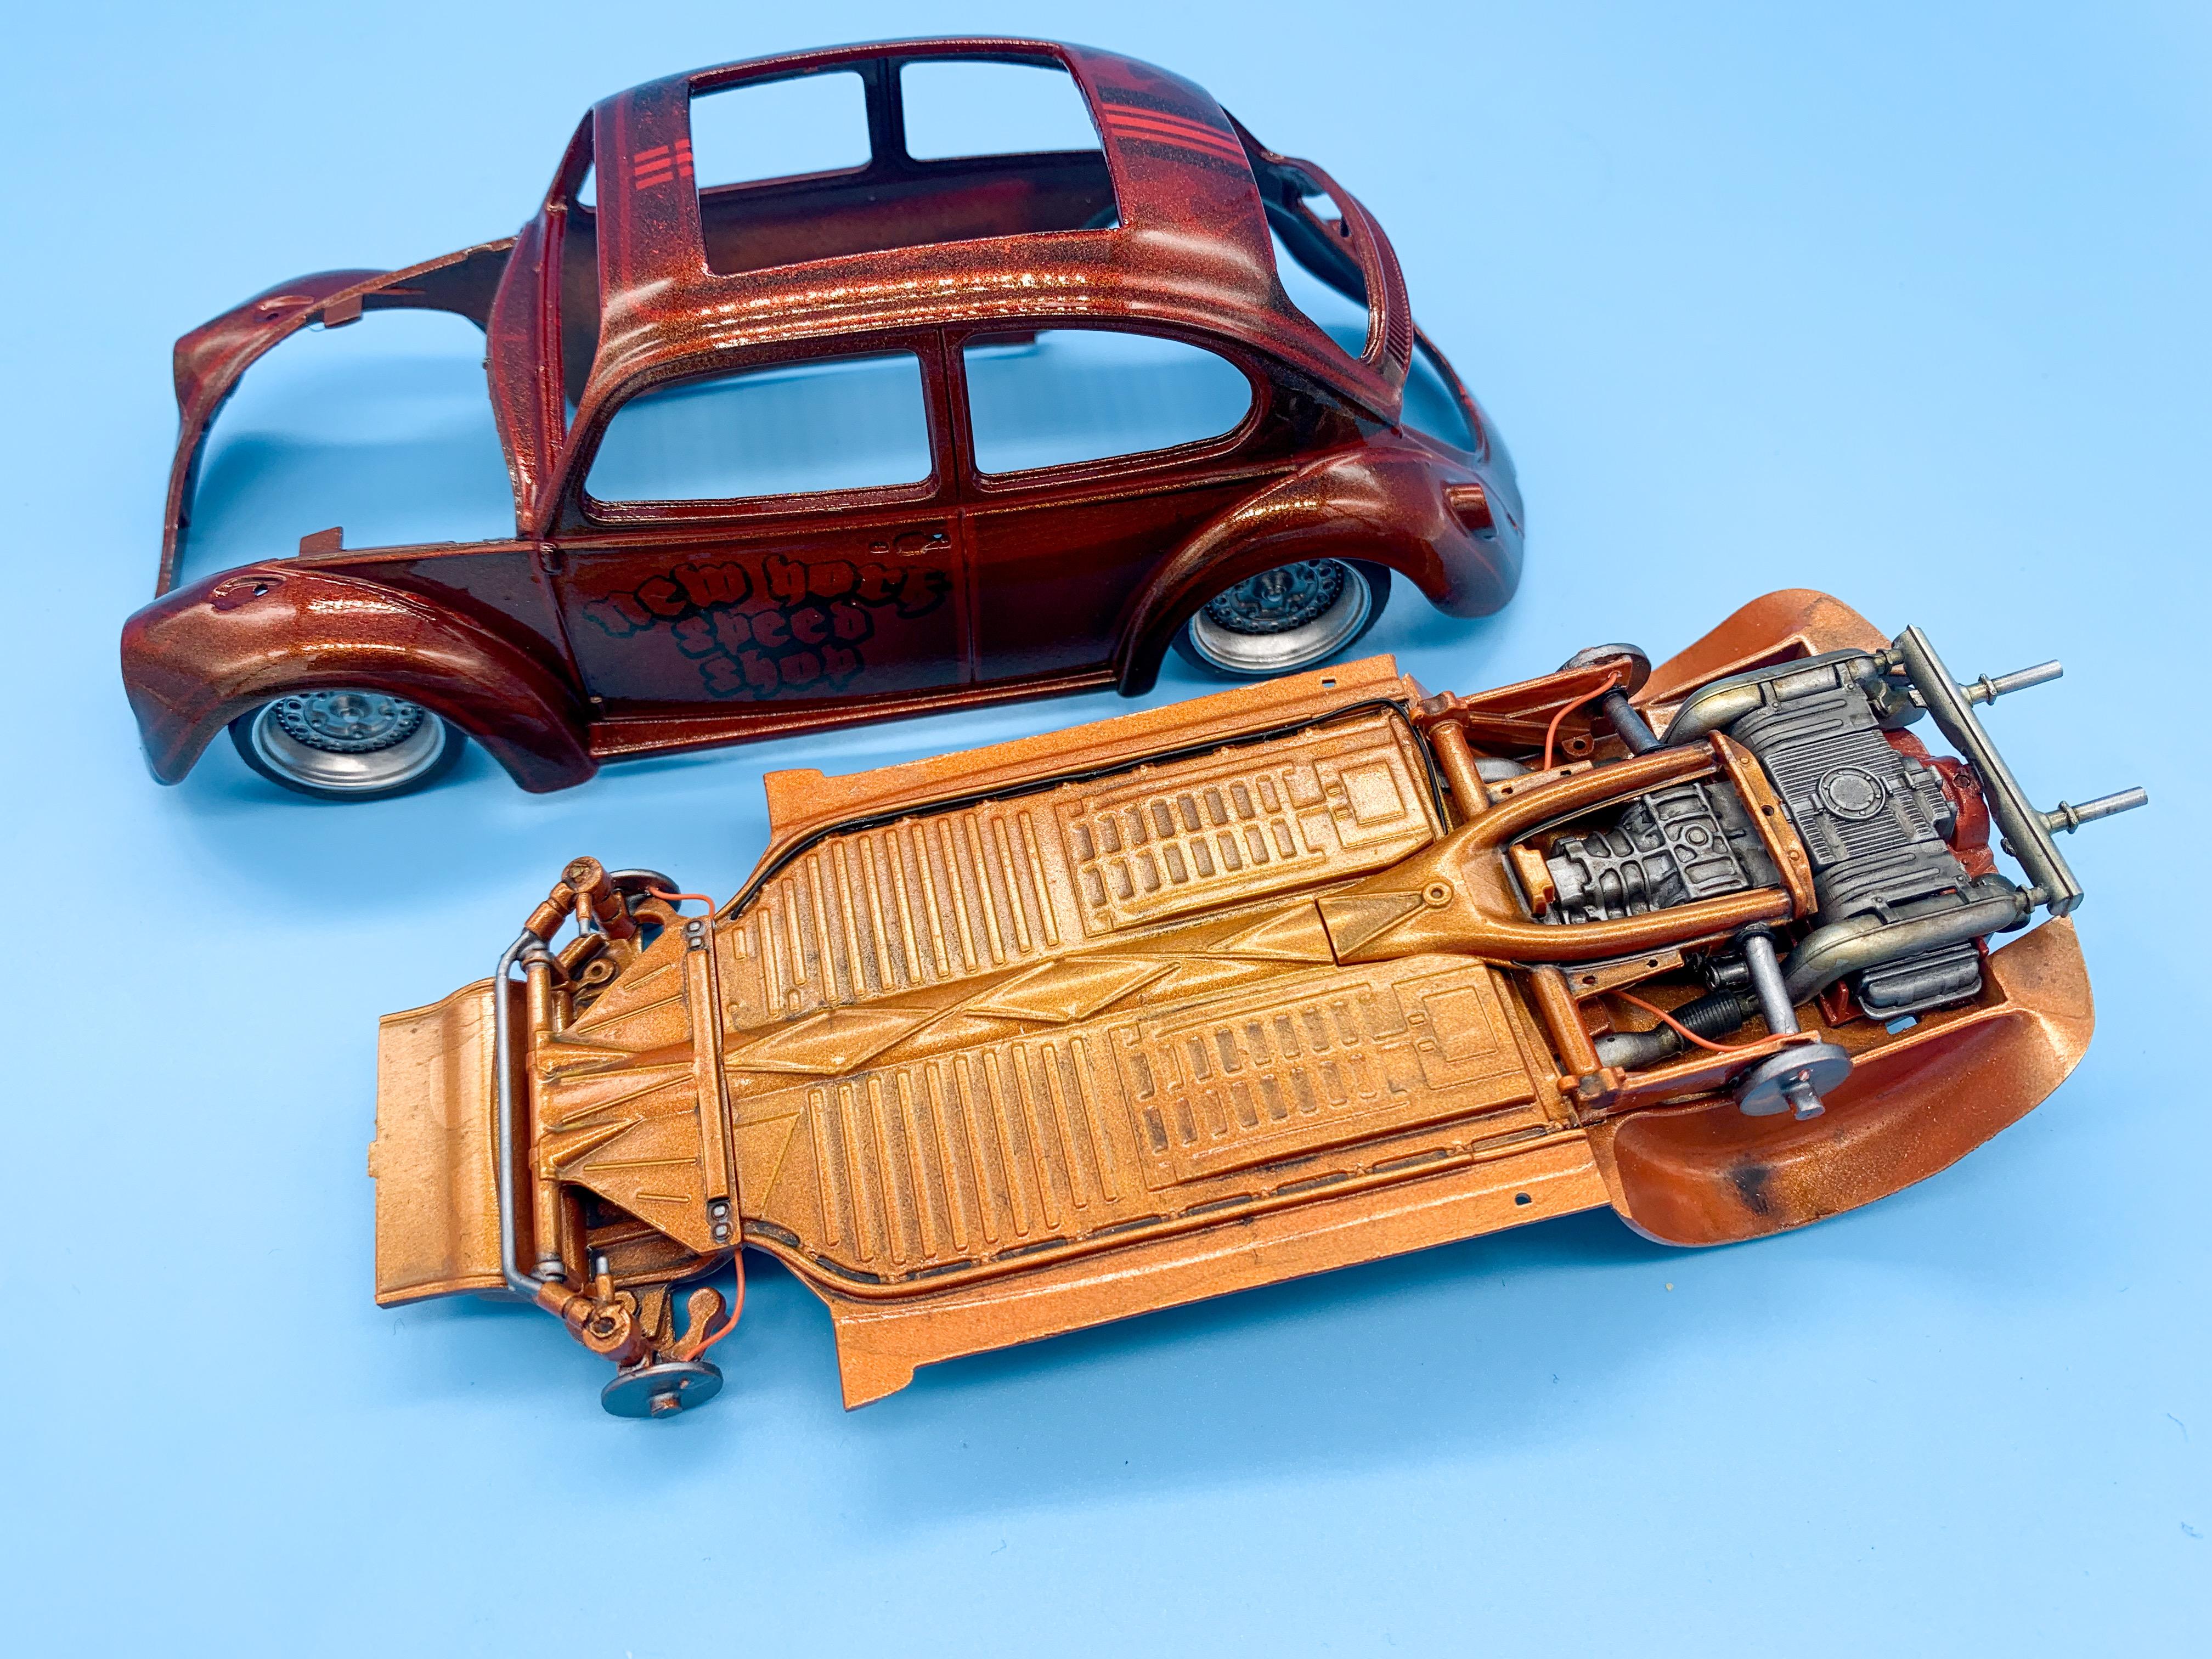
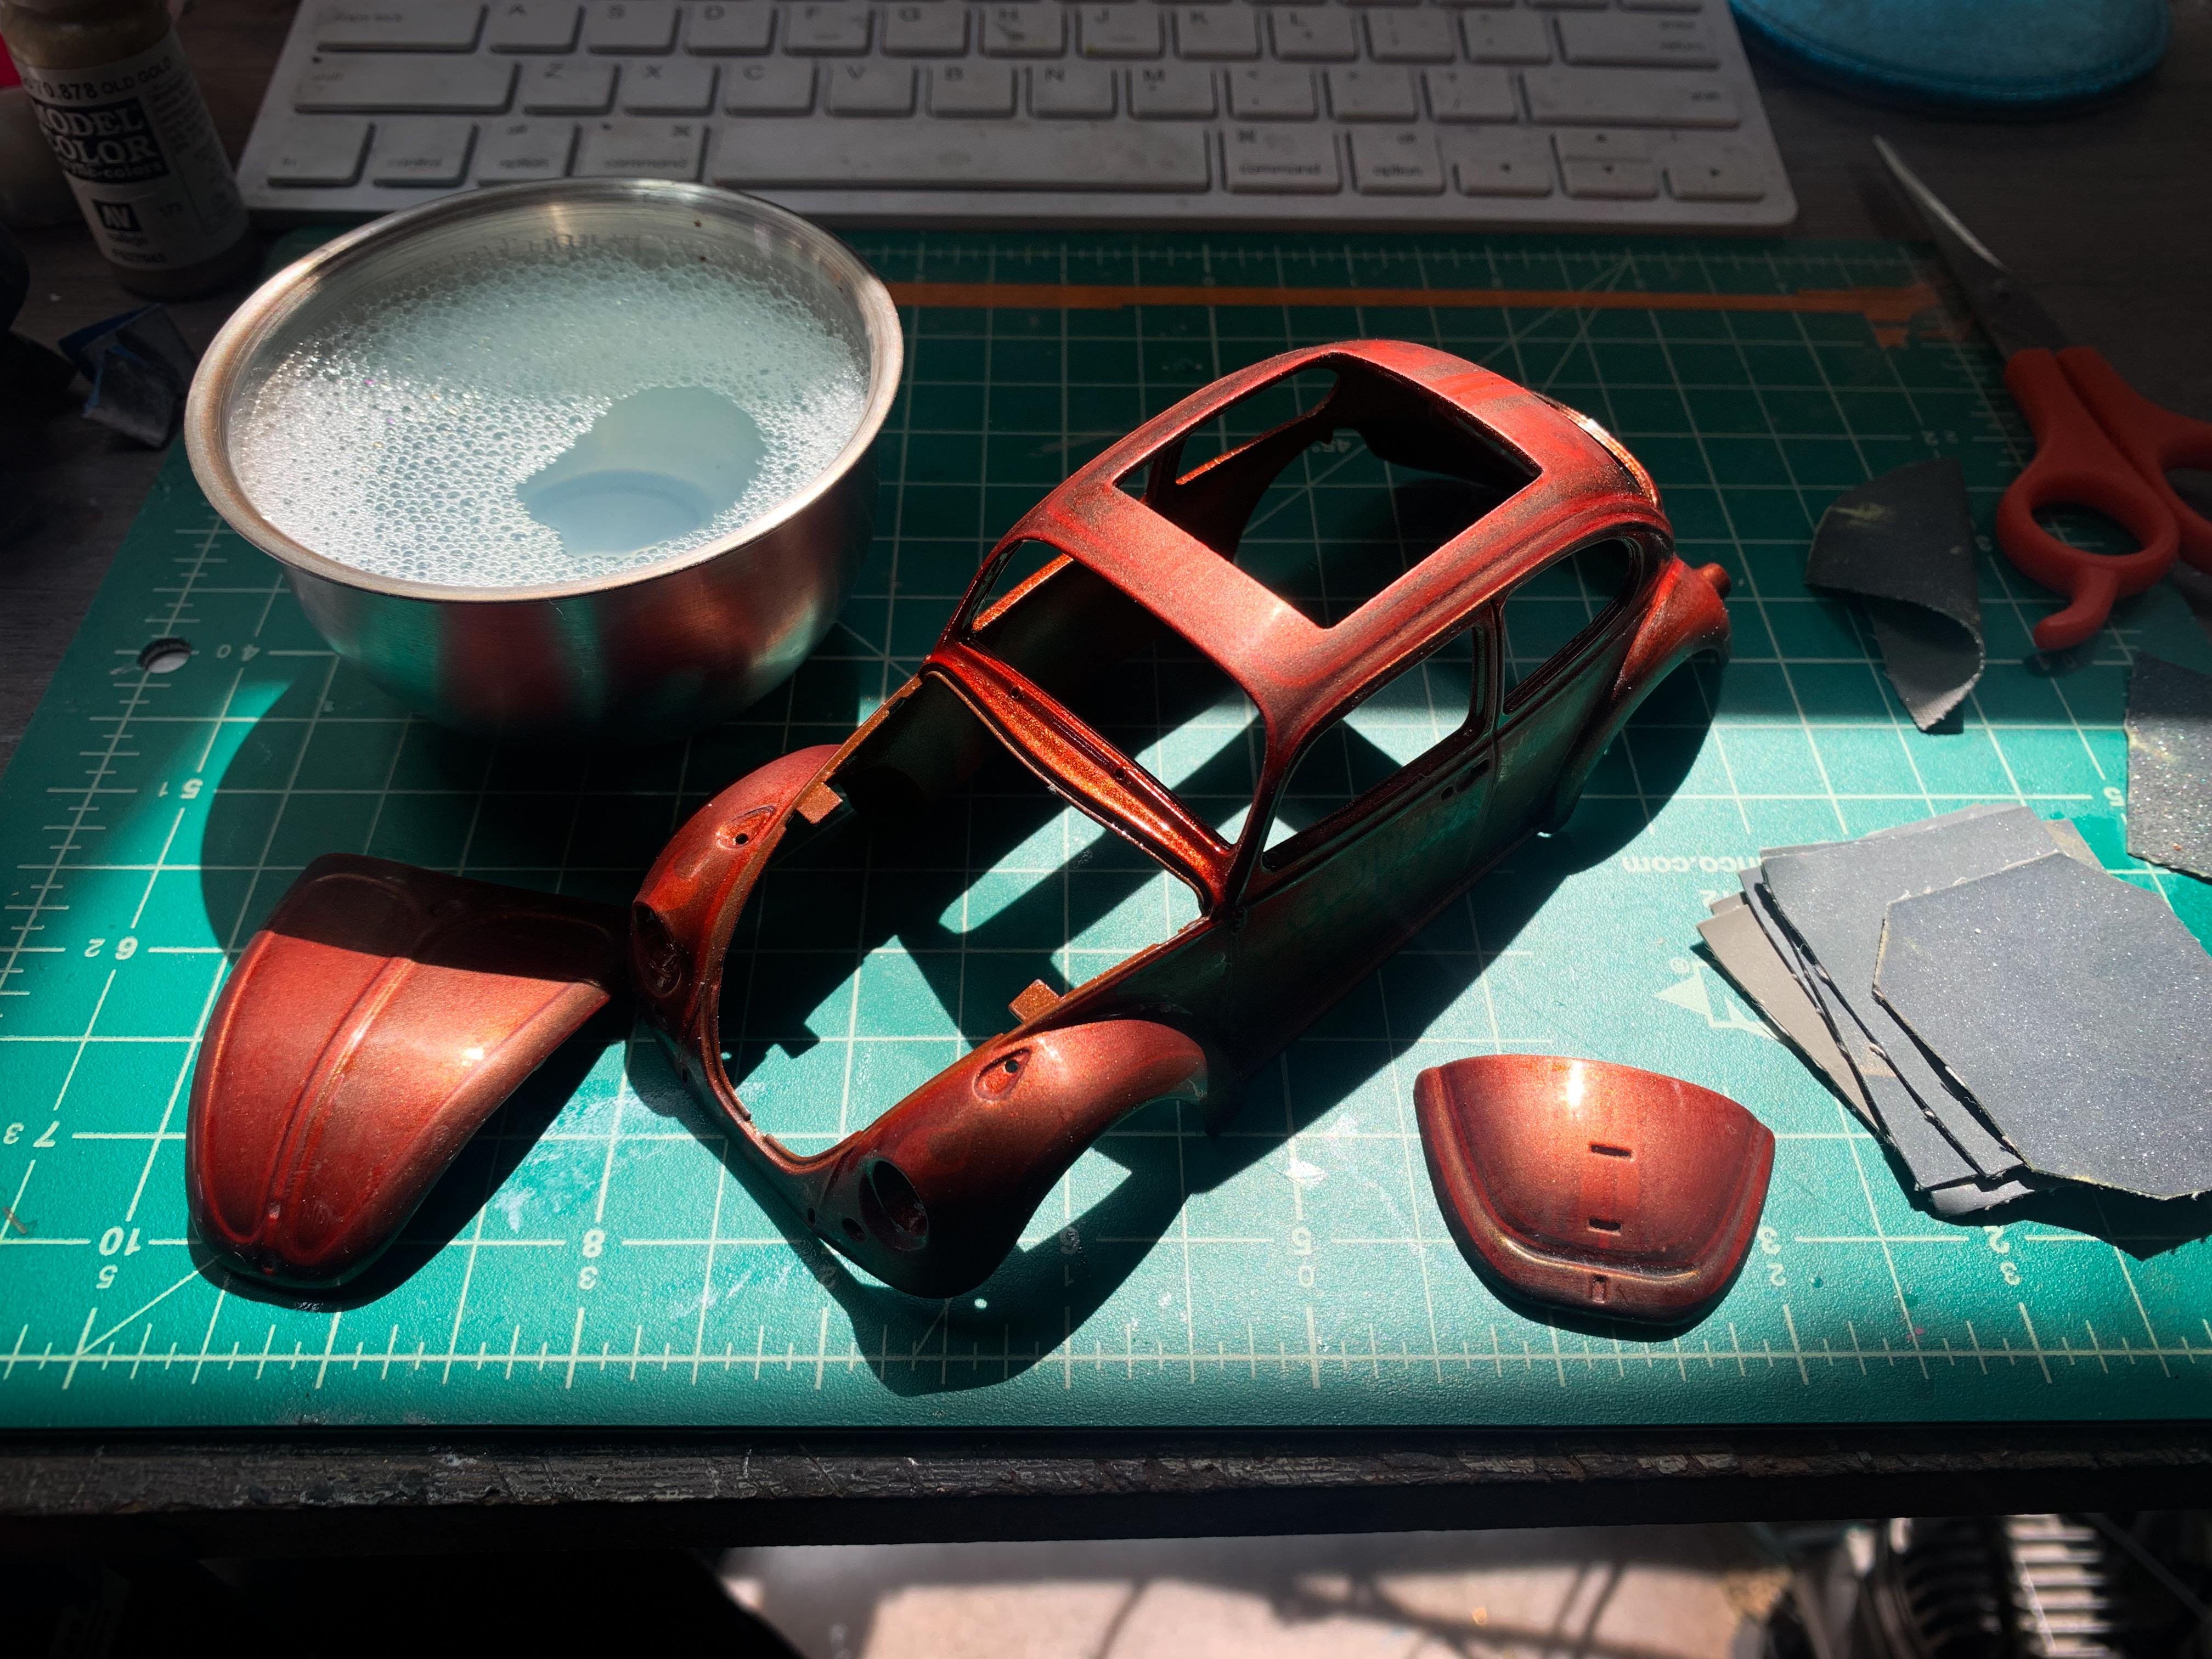
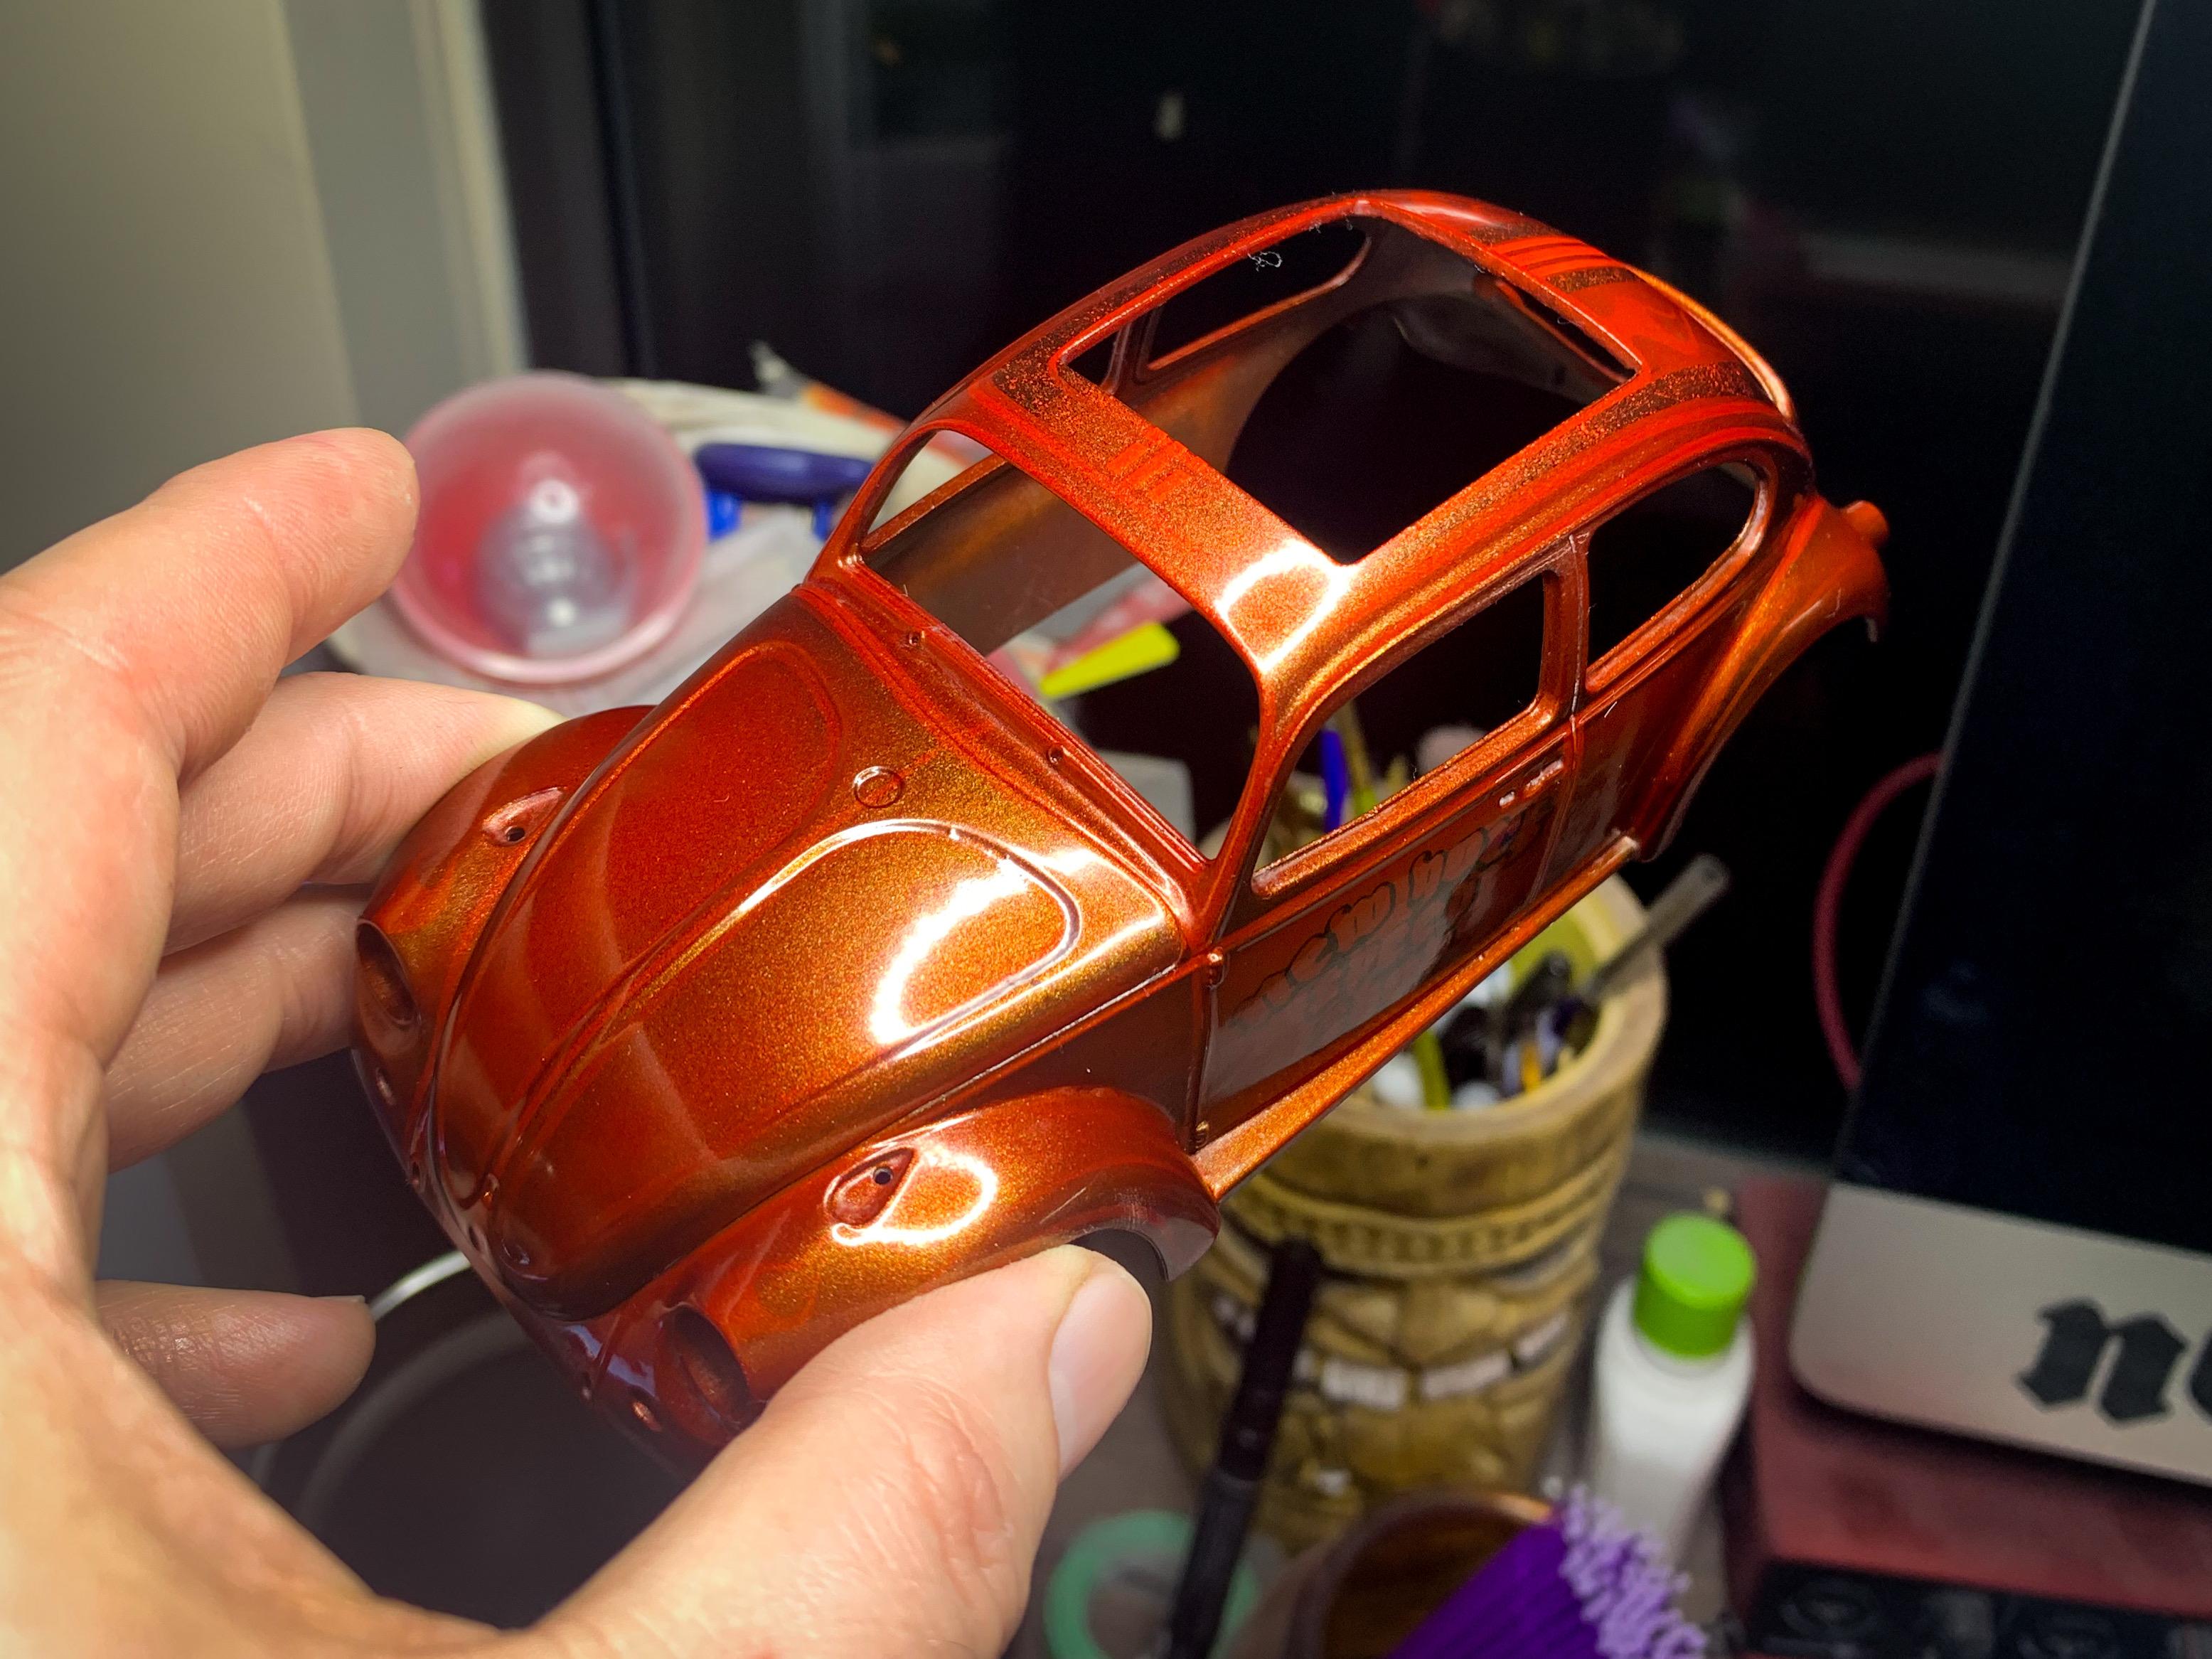
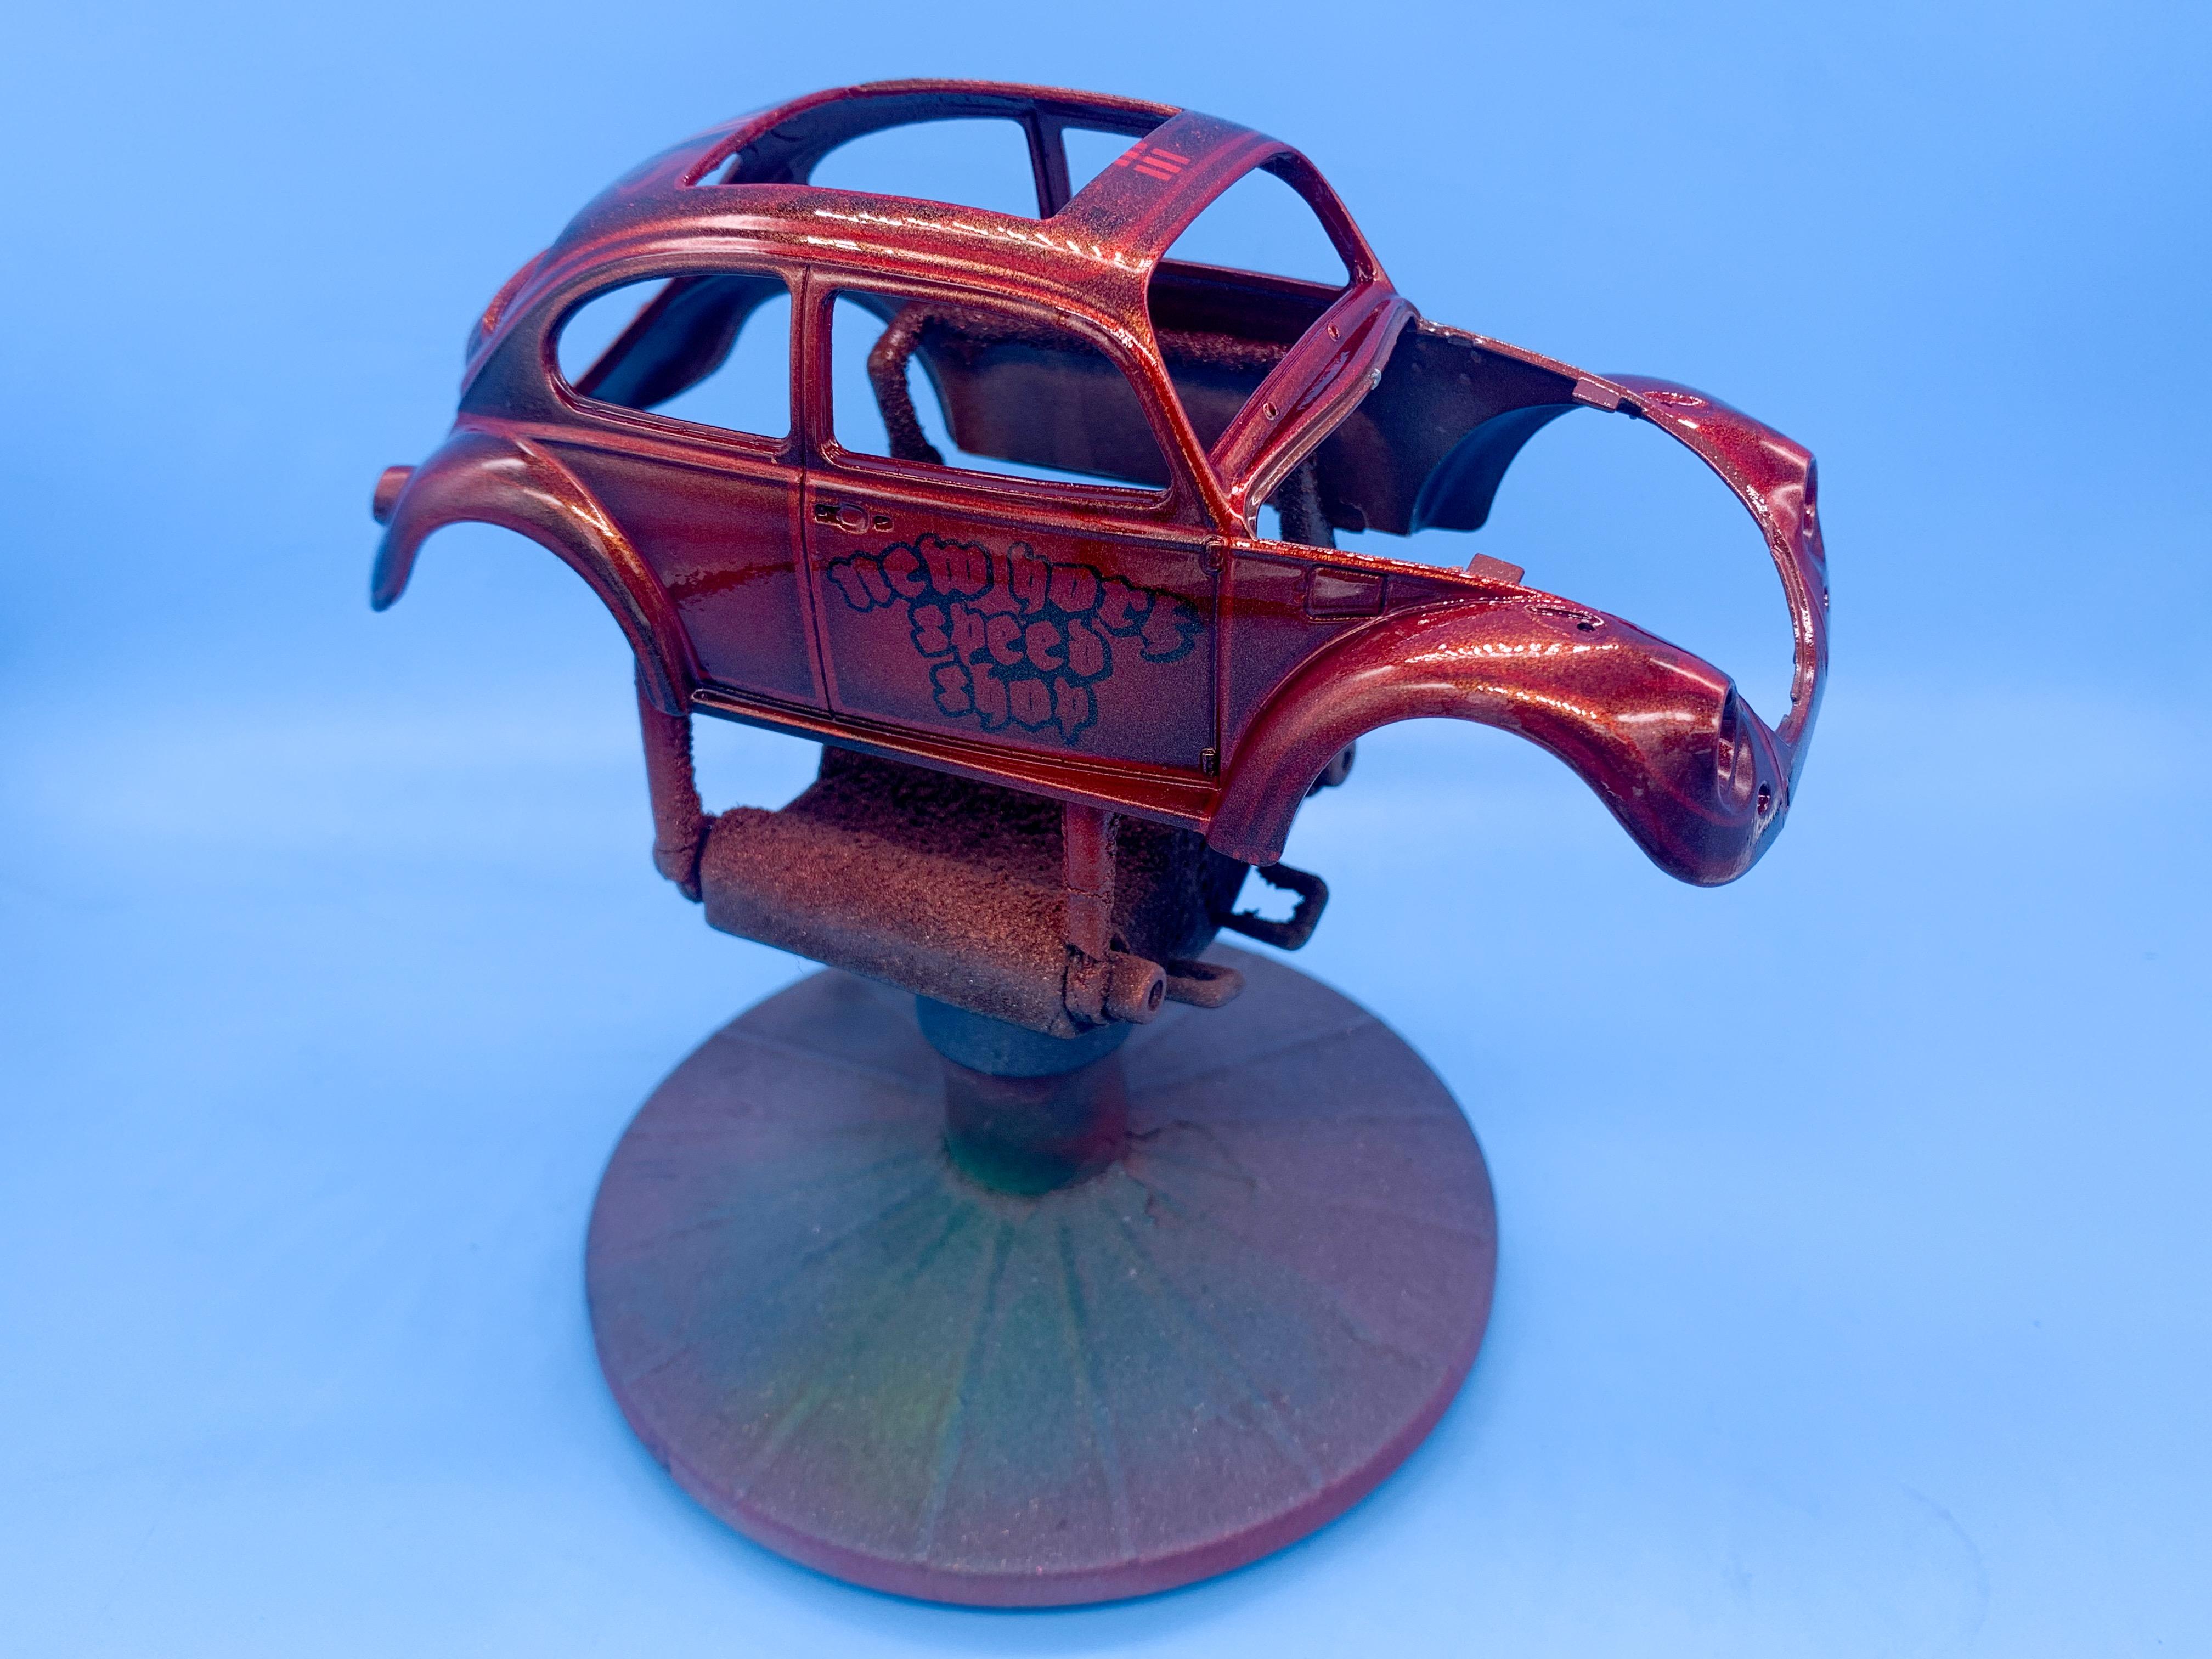
Thanks fellas! A little more progress this past week… Painted the wheels - went with Alclad chrome with a satin clear for a polished aluminum kinda look: Plumbed the brakes, ran a fuel line and did some light weathering to the underside: And, today, polished out the body - was excited to get that done (ideally without incident…) I like to work thru polishing cloths and then compounds - saw a LOT of this view today: And, this view: Polished out with the cloths, prior to compounds: And after a coupla three hours with fuzzy little squares: Will do my usual second go-around tomorrow to get it as good as I can, but I’m pretty pleased - and mostly relieved that I didn’t burn through anything. That would’ve been a DISASTER on this paintjob, and basically impossible to fix… Thanks for looking, and for all the nice comments - more soon, soon as I’ve done more!
-
What did you see on the road today?
OldNYJim replied to Harry P.'s topic in General Automotive Talk (Trucks and Cars)
Fun fact - the police cars in Sleepy Hollow have a black and orange livery ? -
Tom Daniels Baja Beast
OldNYJim replied to TonyW's topic in All The Rest: Motorcycles, Aviation, Military, Sci-Fi, Figures
Not sure if he was credited on the box art, as such (although maybe he was? It's a while since I had one of these to hand) but he was involved in the development apparently: https://www.tomdaniel.com/85_kits/85_kits_pages/cop_out.html "Tom's Inspiration: We had developed a cutting edge "Funny Car" Chassis for the '57 Chevy kit "Outcast"...and the powers that be at Monogram wanted to utilize that chassis under some other kind of car body...I thought that was a kind of a cop out; and I wasn't too thrilled about using the Plymouth Duster body, so "COP OUT" it became, complete with Cop car accouterments." -
Exciting! Congrats! I’m excited to see it (PLEASE do a build thread - I’d love to see more of your 1:1-scale work)
-
Tom Daniels Baja Beast
OldNYJim replied to TonyW's topic in All The Rest: Motorcycles, Aviation, Military, Sci-Fi, Figures
Interesting! Did not know that! I wouldn’t feel so bad in buying one, if they got around to rereleasing it, in that case… I wonder WHY they canned the project altogether then? -
Tom Daniels Baja Beast
OldNYJim replied to TonyW's topic in All The Rest: Motorcycles, Aviation, Military, Sci-Fi, Figures
Wonder if eventually they'll do what they're about to do with the Cop Out funny car, and just remove Tom's name from the box, add new art and reissue them anyway... -
Tom Daniels Baja Beast
OldNYJim replied to TonyW's topic in All The Rest: Motorcycles, Aviation, Military, Sci-Fi, Figures
It's a VW - it's air cooled and the battery is under the seat @Tom Geiger has a funny story about VW batteries and contests, as I recall. Cool build! Nice to see these TD kits getting built I know Tom Daniel posted about the reissue on his site a while back - I hope it DOES get reissued, but it doesn't sound promising: "Well, it looks like the BAJA BANDITO kit is toast! In addition - due to MAJOR contractual differences - my involvement with the “new” REVELL-USA is over." -
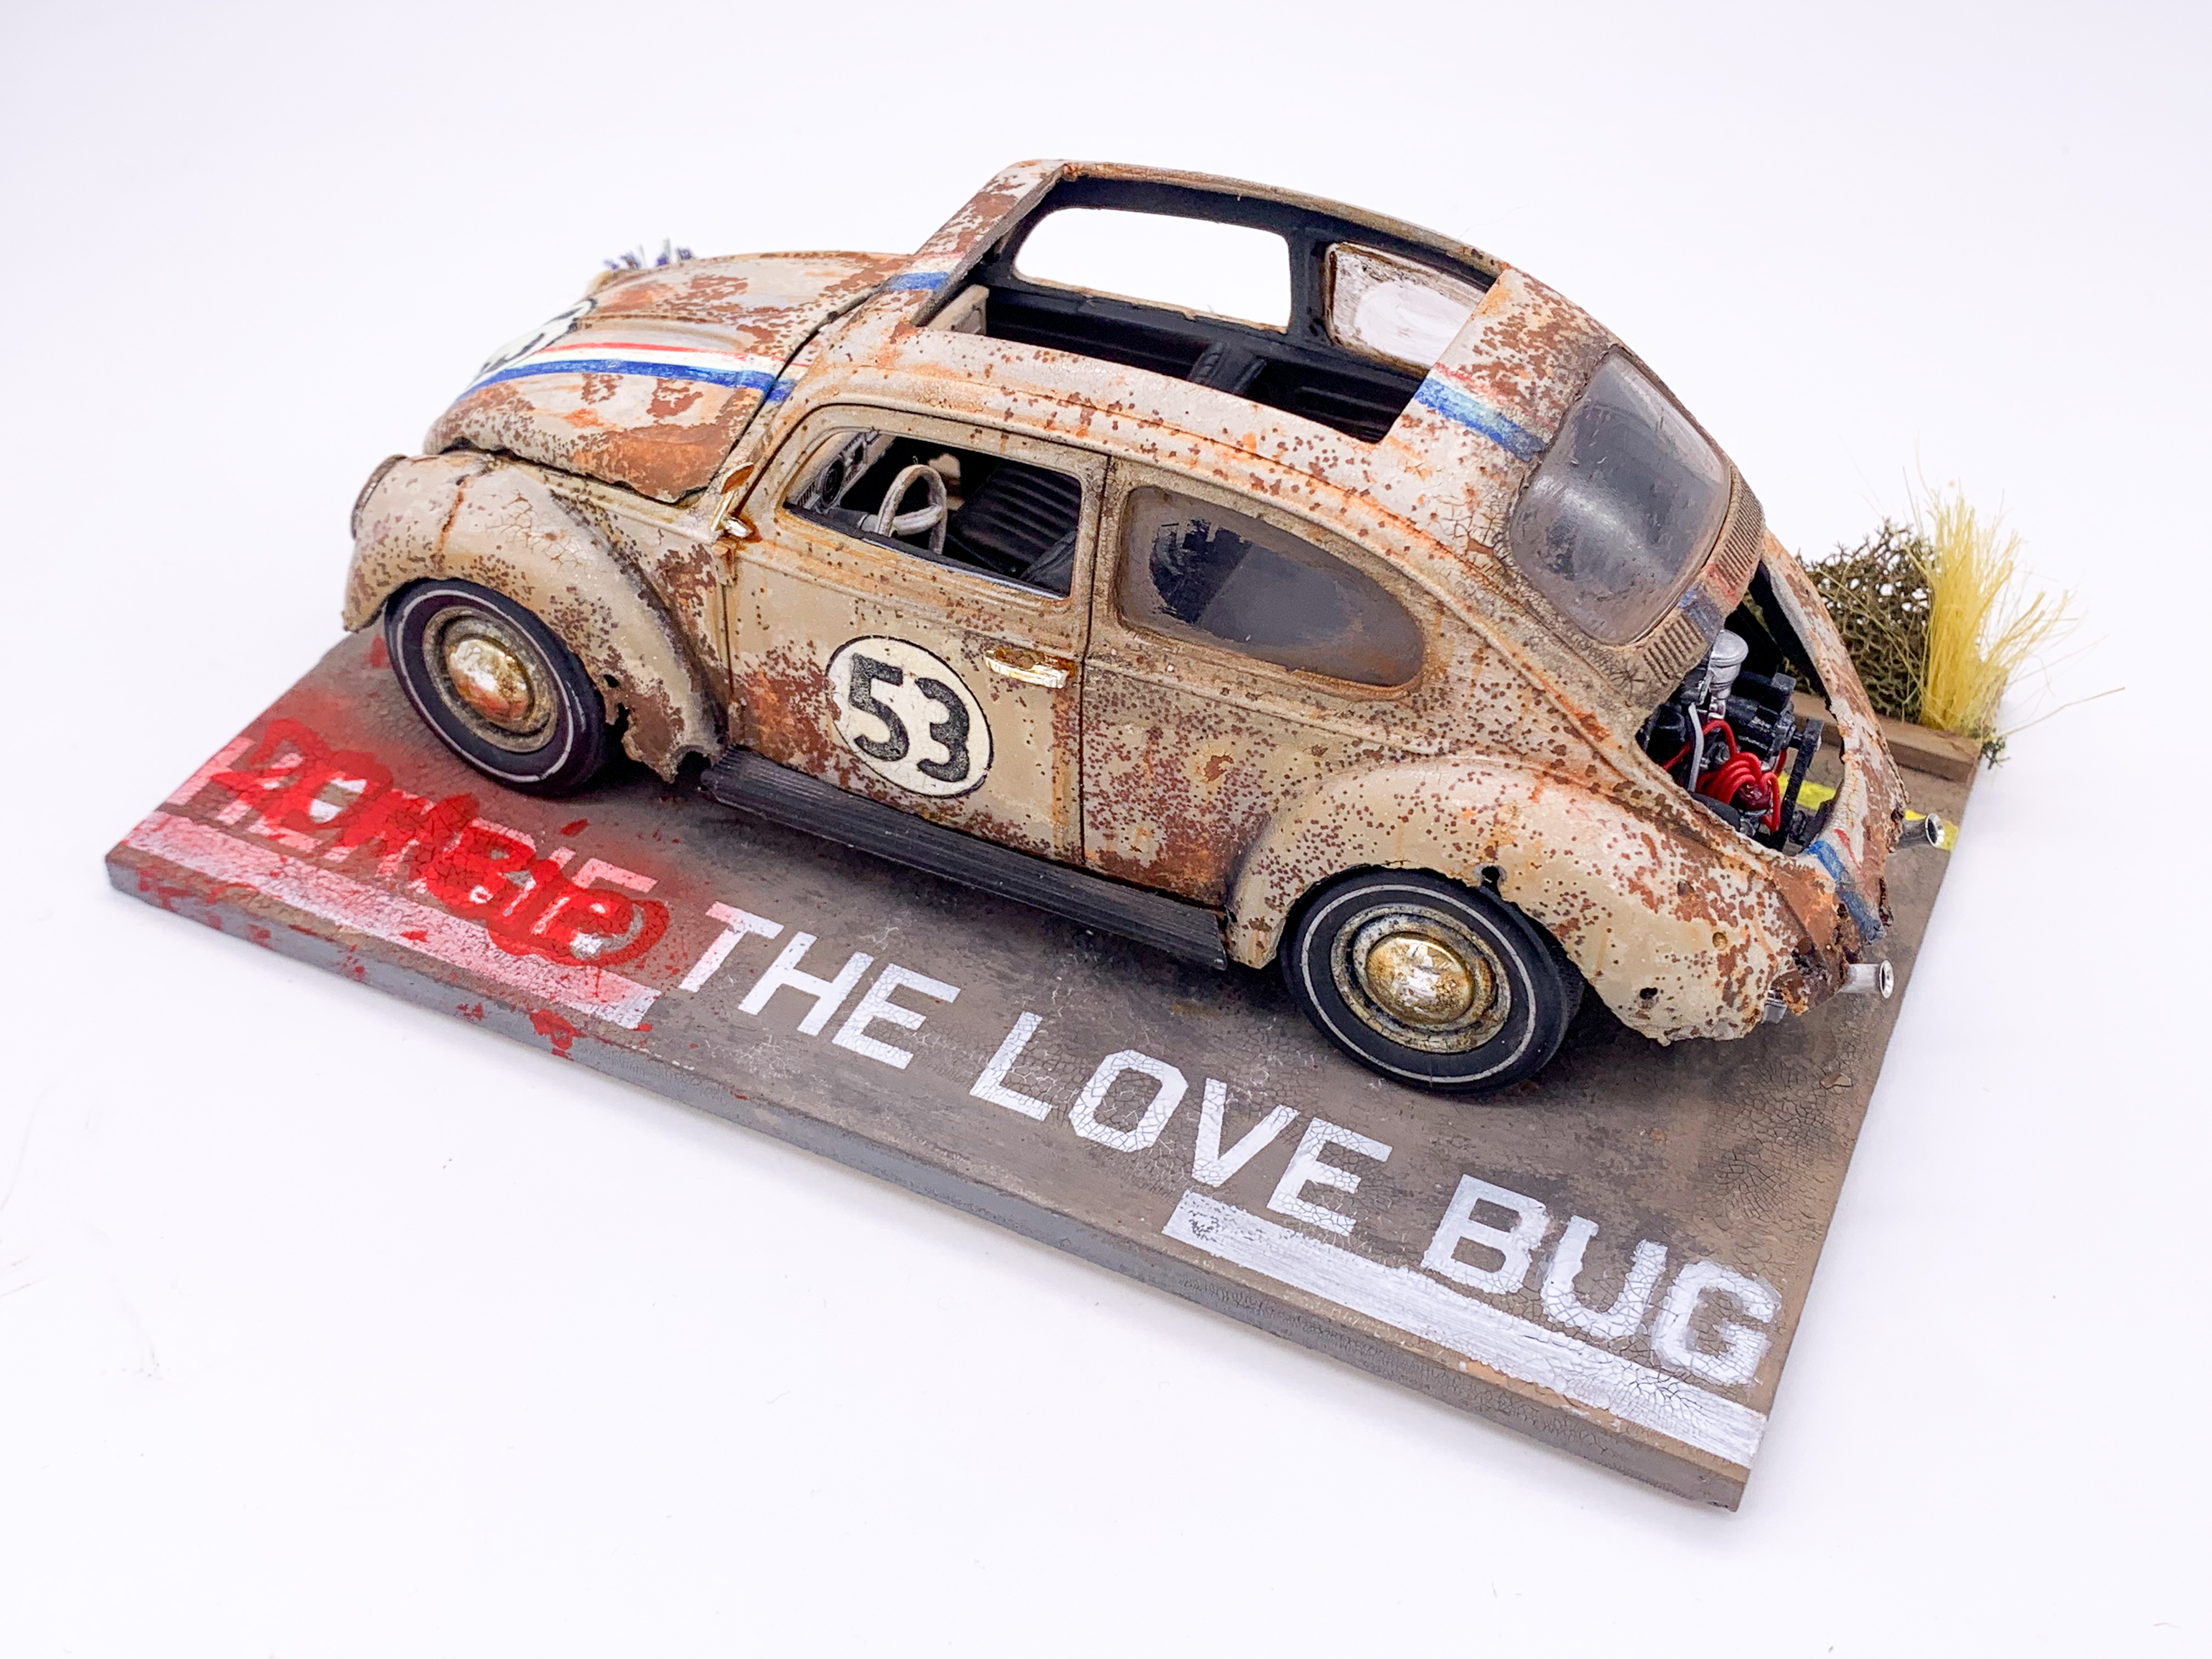
I like those Vallejo washes too - they work great! I need to try some of the others from their range besides just the rust colored ones Cool build!
-
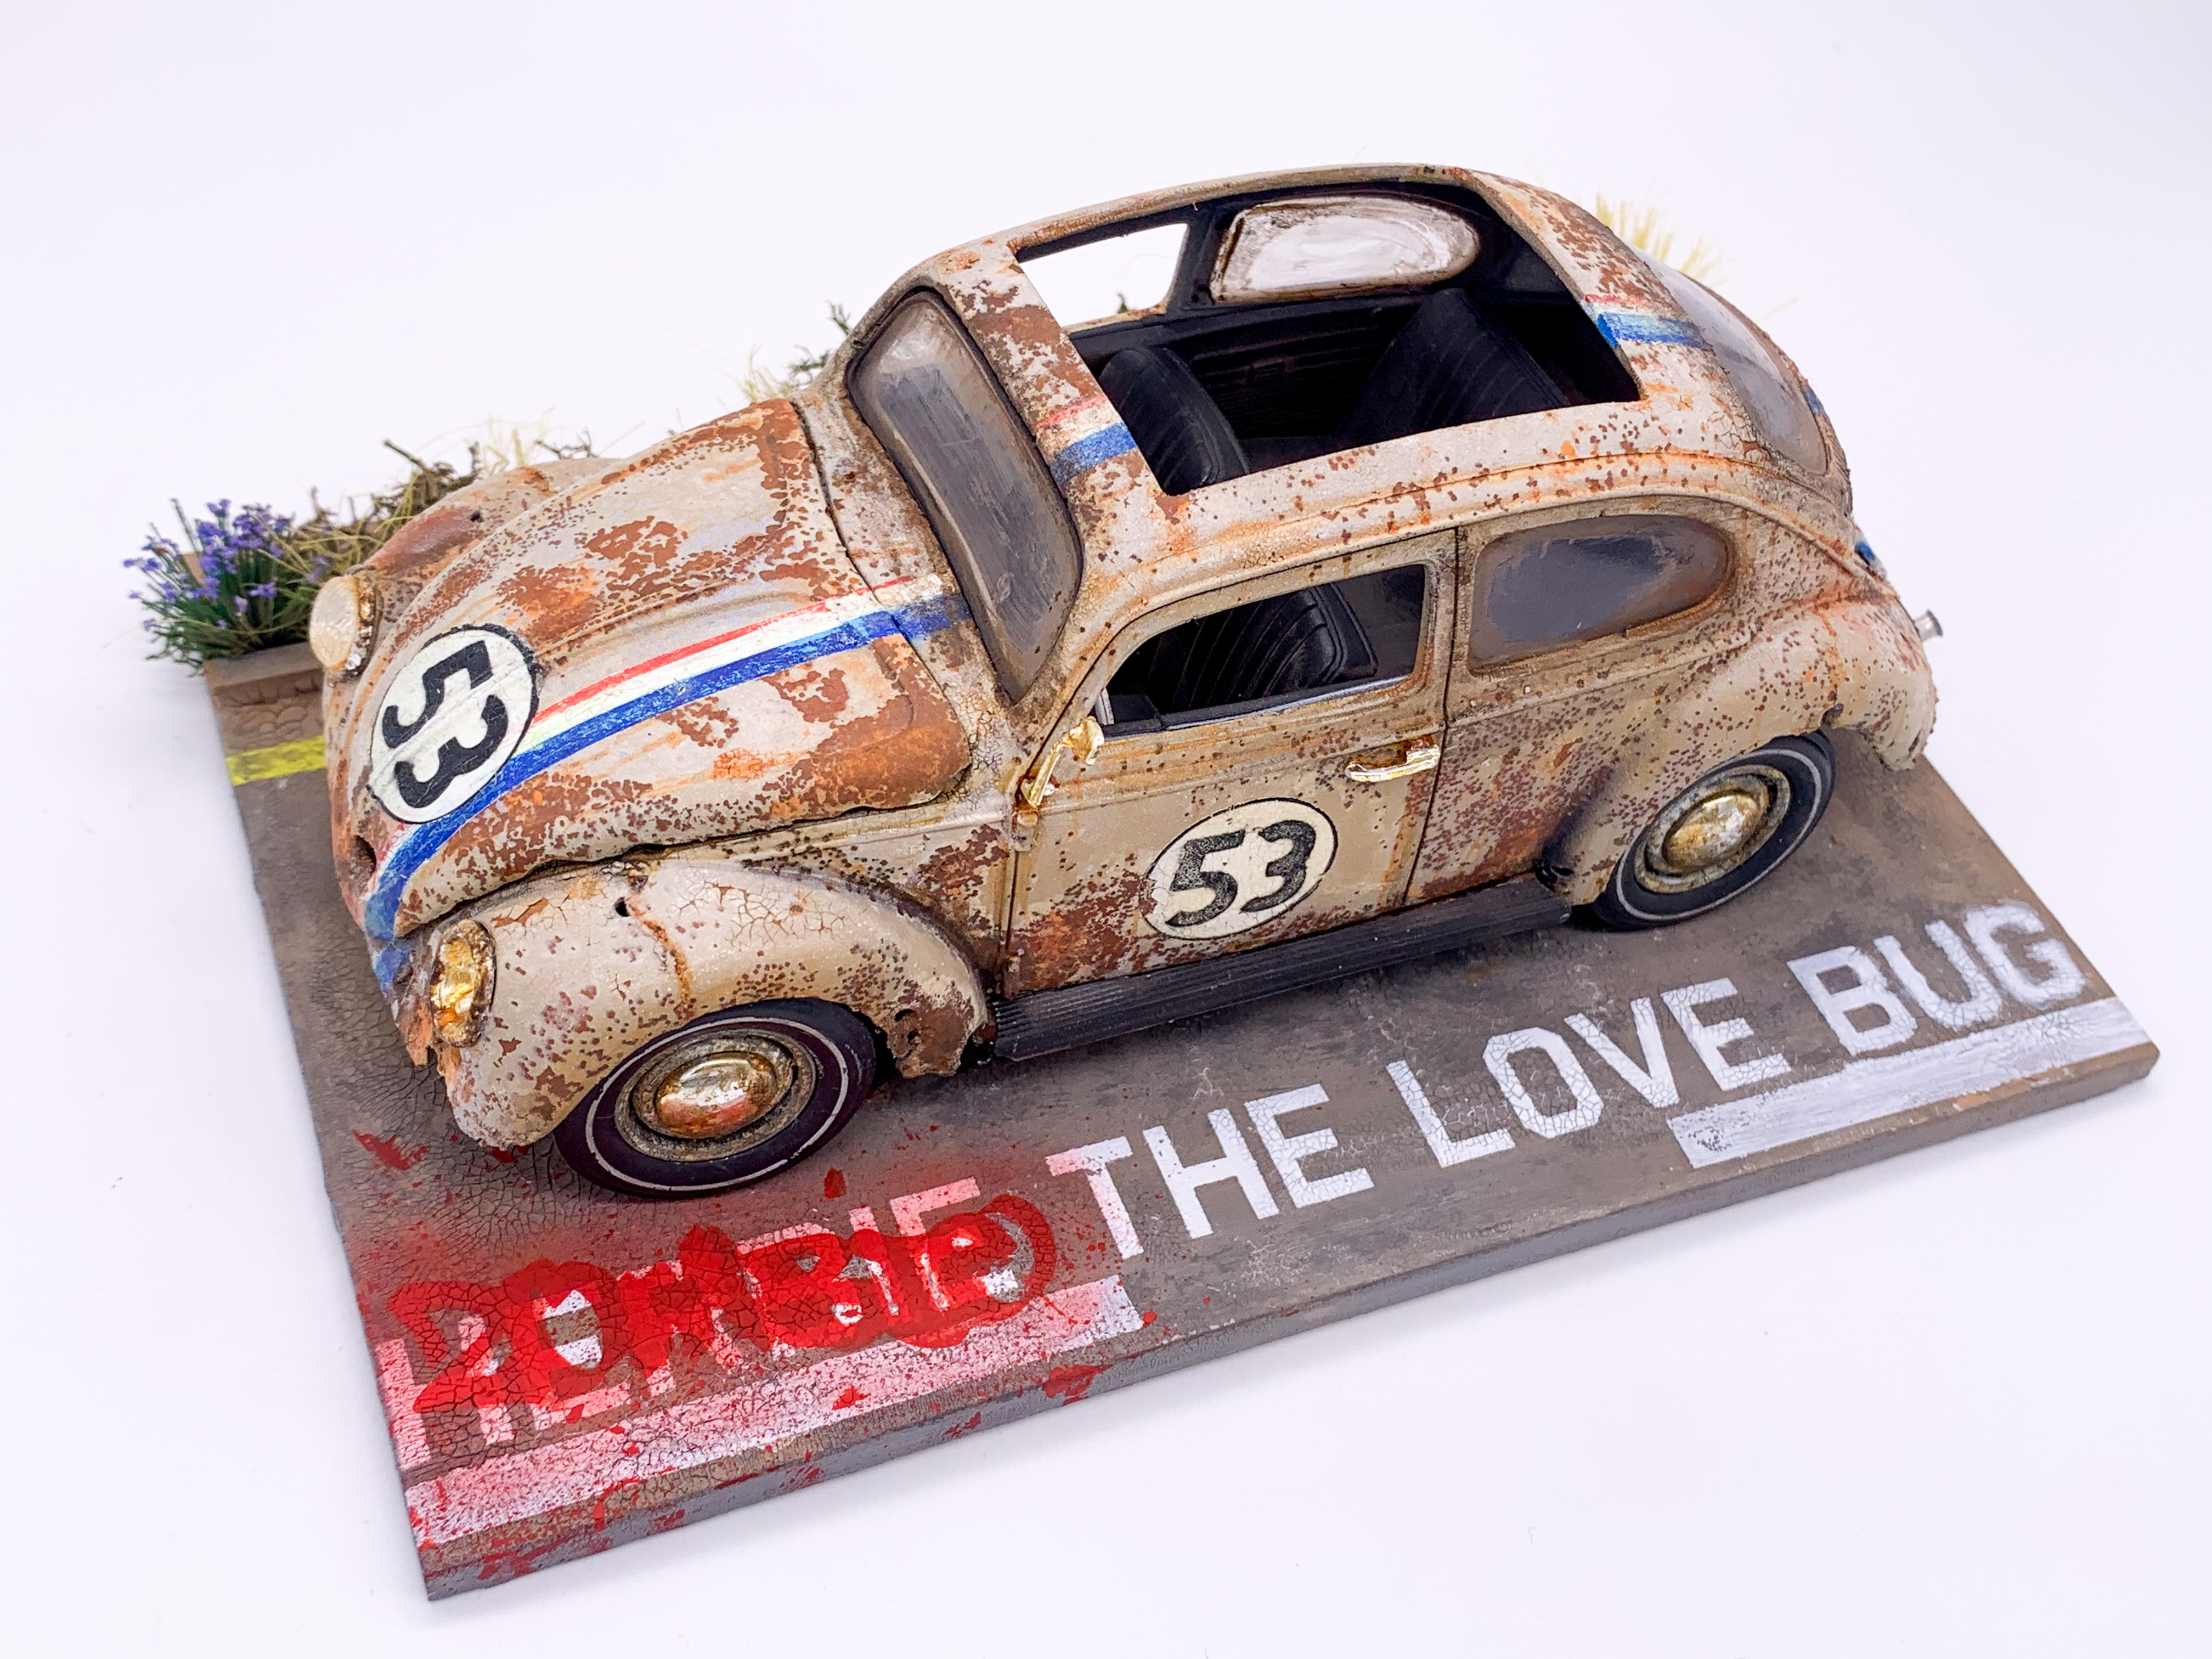
I did a similar project last year - it's fun to beat up on Herbie!
-
Nice job! It makes SO MUCH difference!
-
AGREED! One of the most inspirational model builders I've seen - I've gone through some of his old build threads probably dozens of times getting little hints and tips @John Teresi - your fan club misses you and wants to see what you're building
-
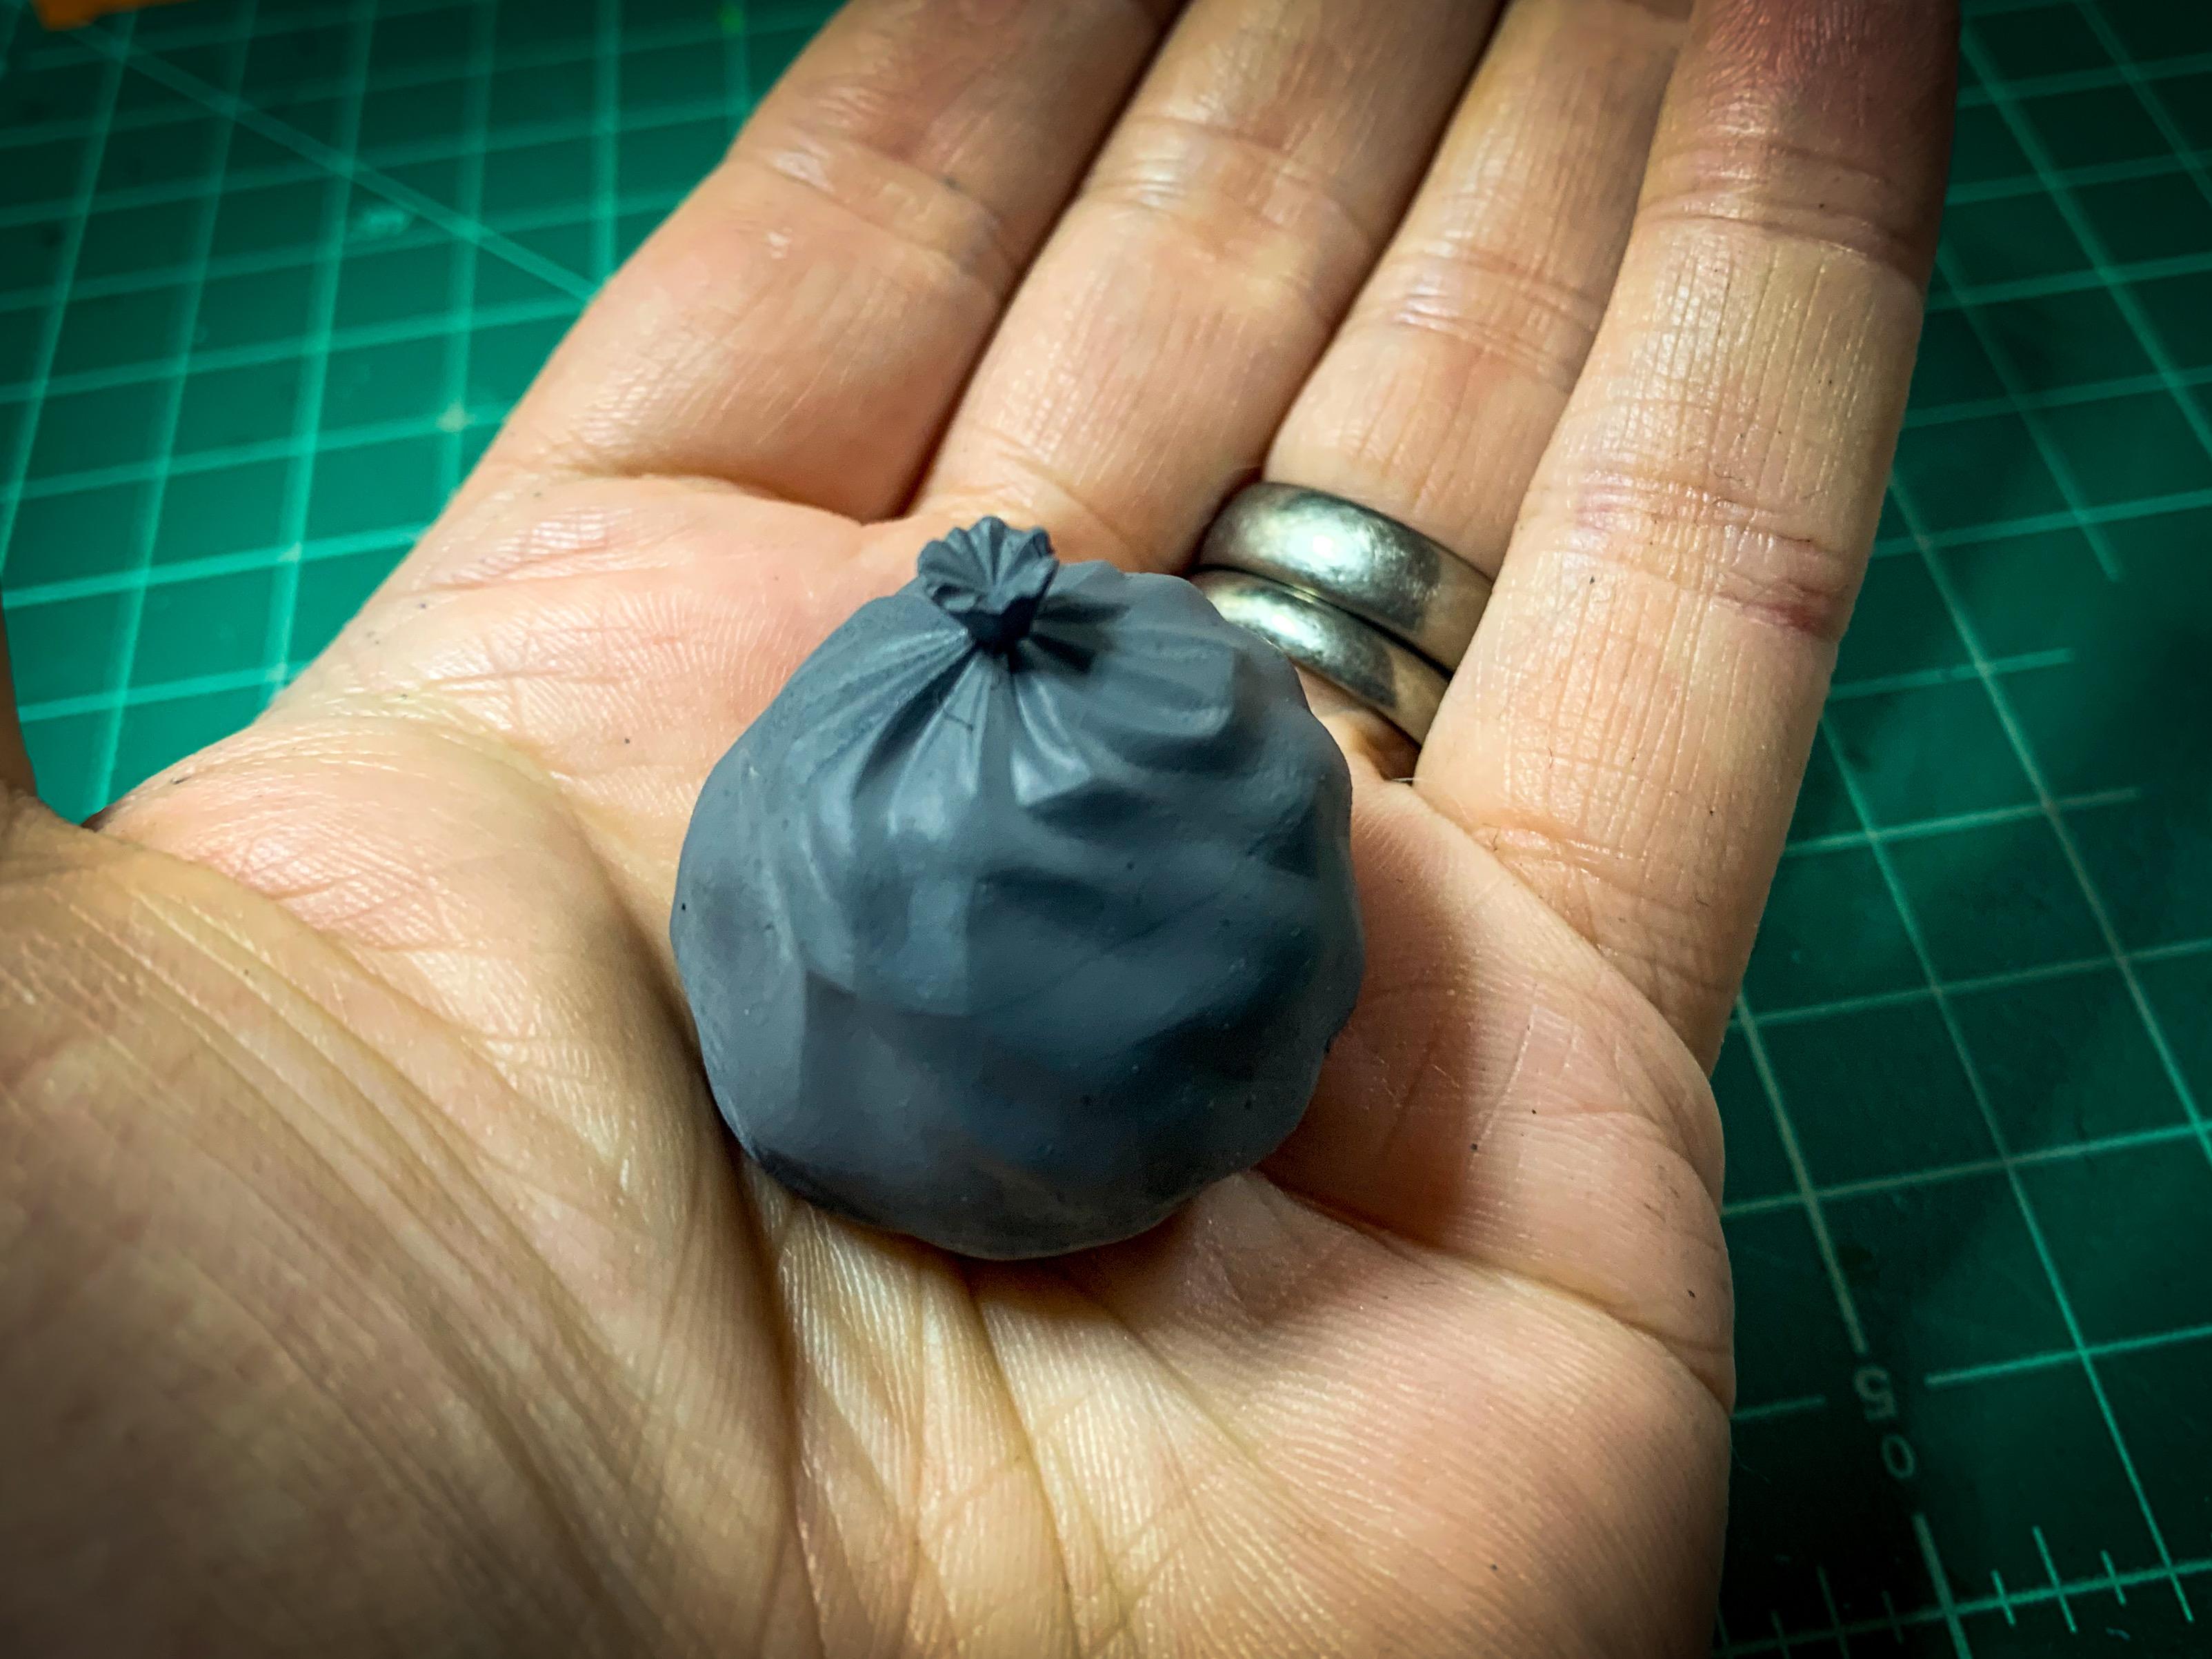
Everything I tried printing today came out garbage ? (Making some accessories to go with a build…)
-
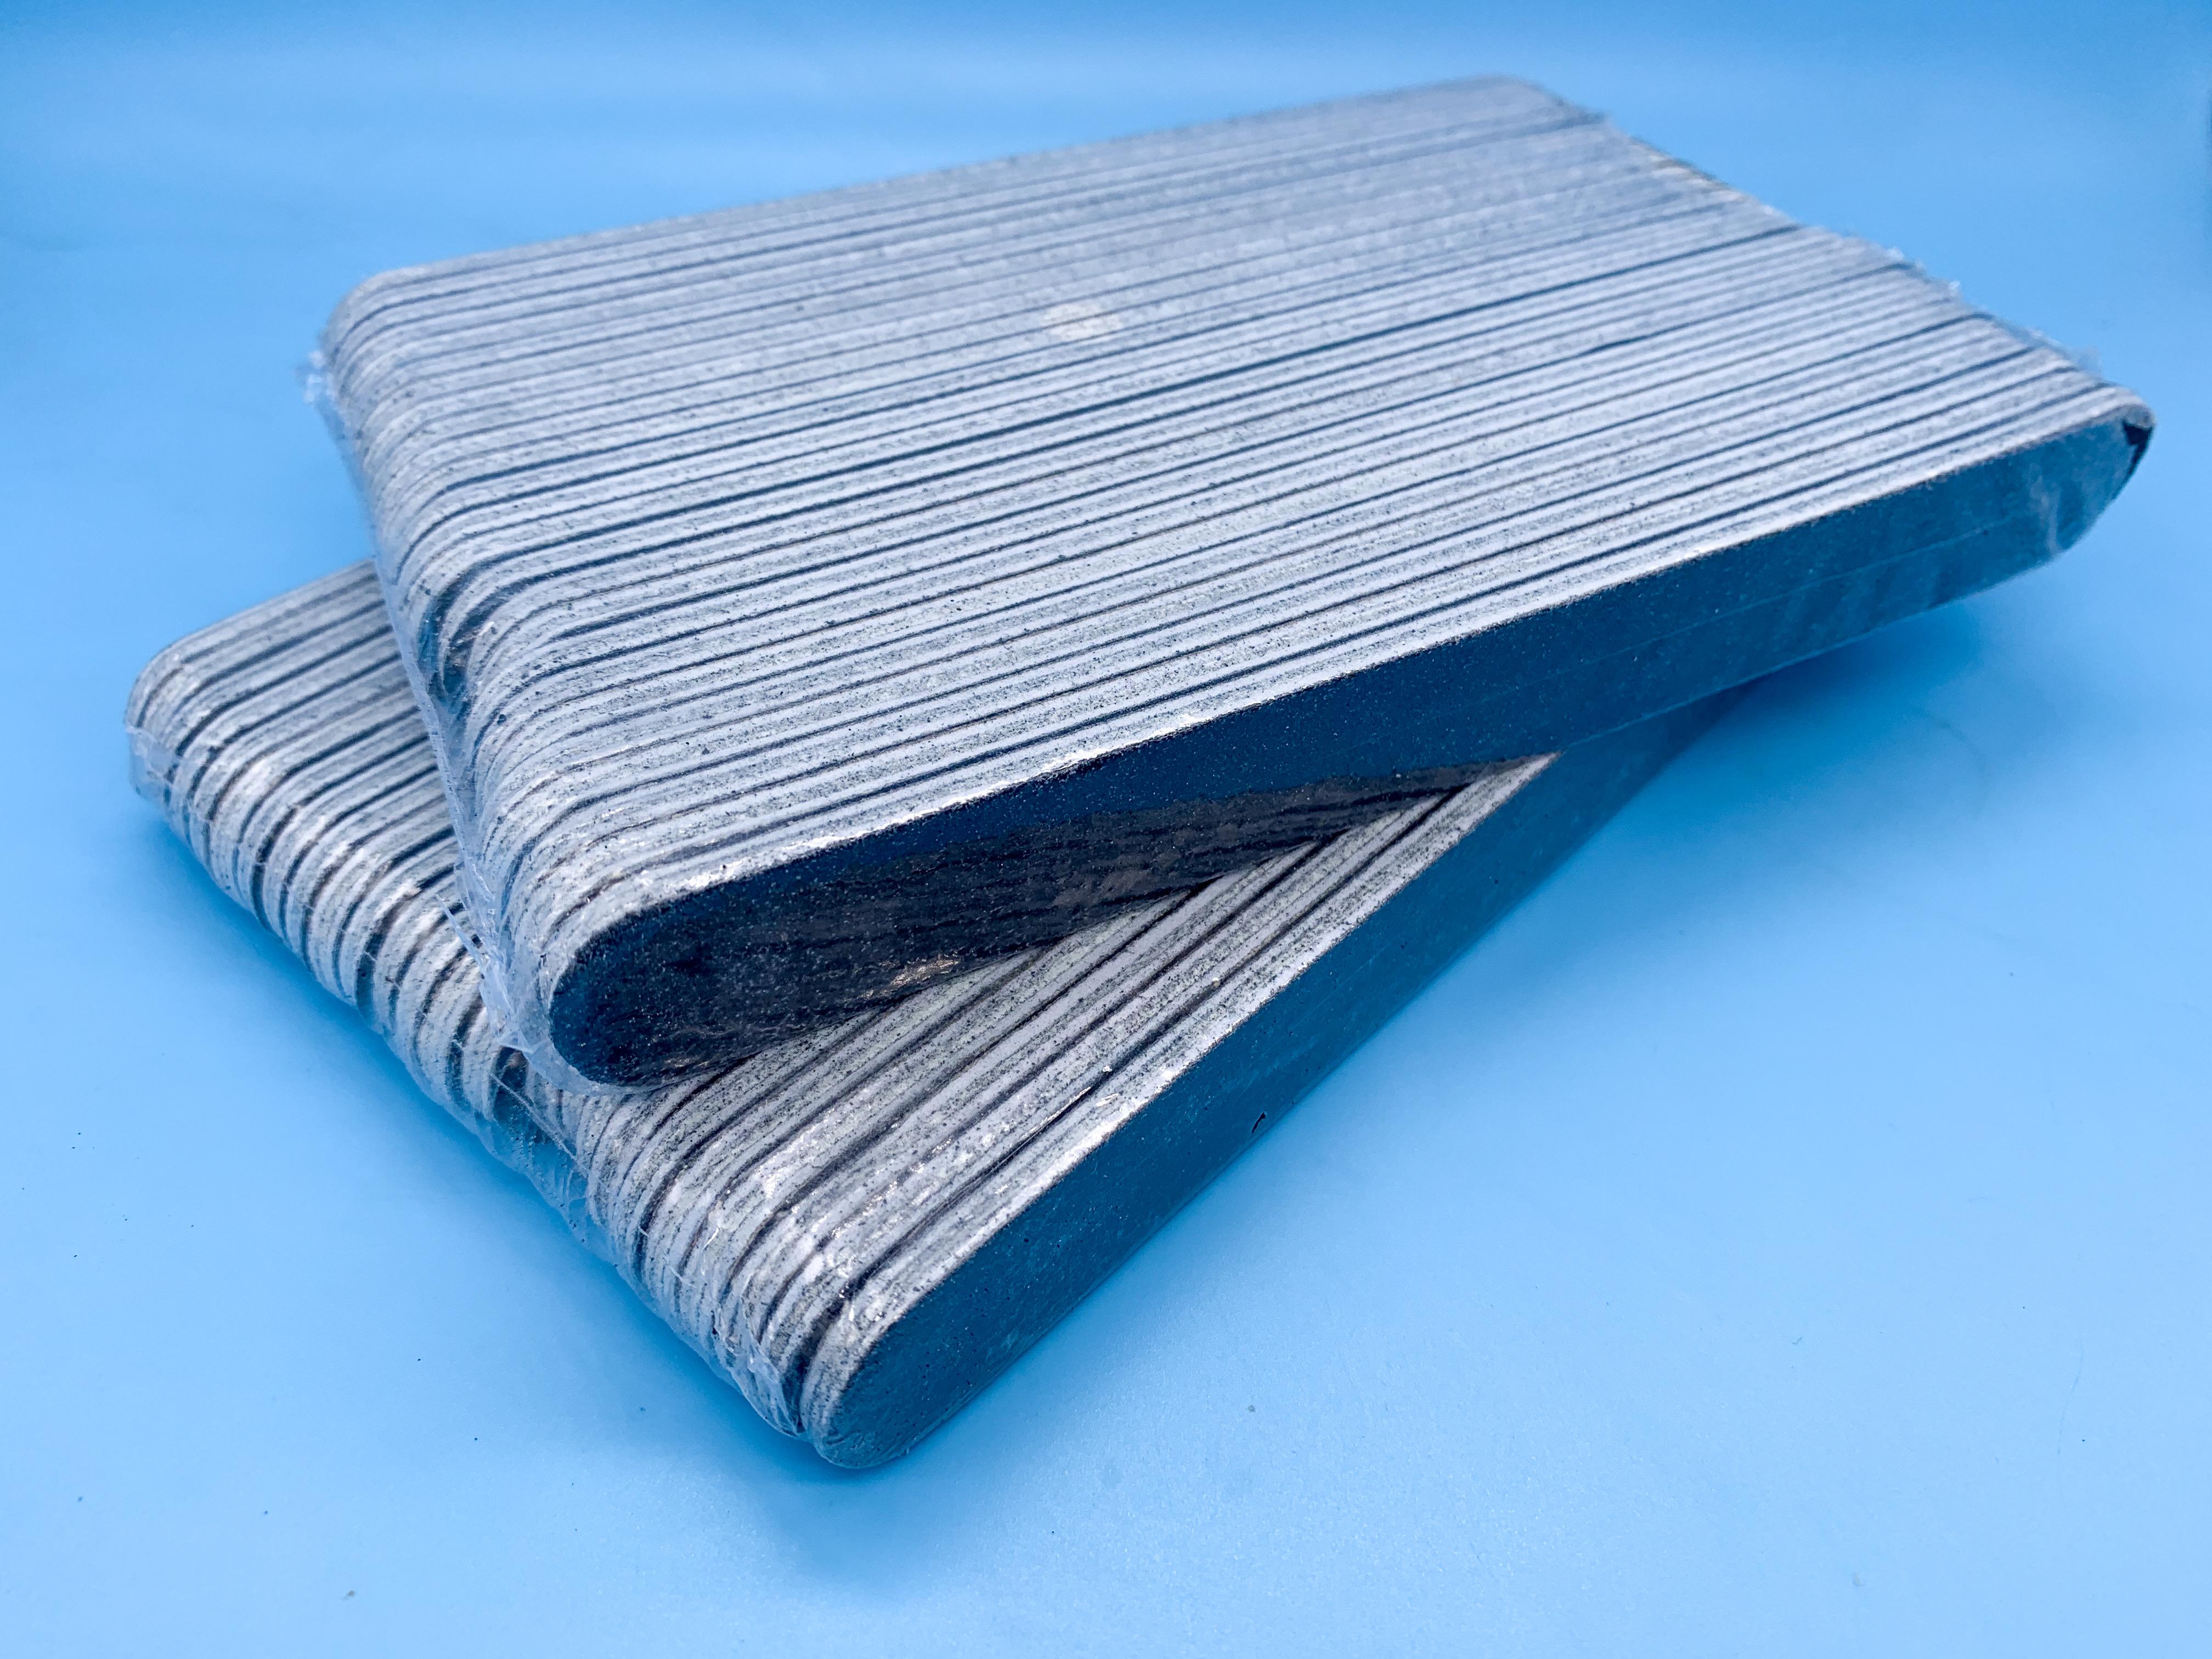
Got a couple of packs of 25 sanding sticks for two bucks each, shipped, on Prime Day last week - now I can tackle all those kits with too much flash! ?
- 38,884 replies
-
- 3
-
-
- johan
- glue bombs
- (and 1 more)
-
That’s a killer looking build
-
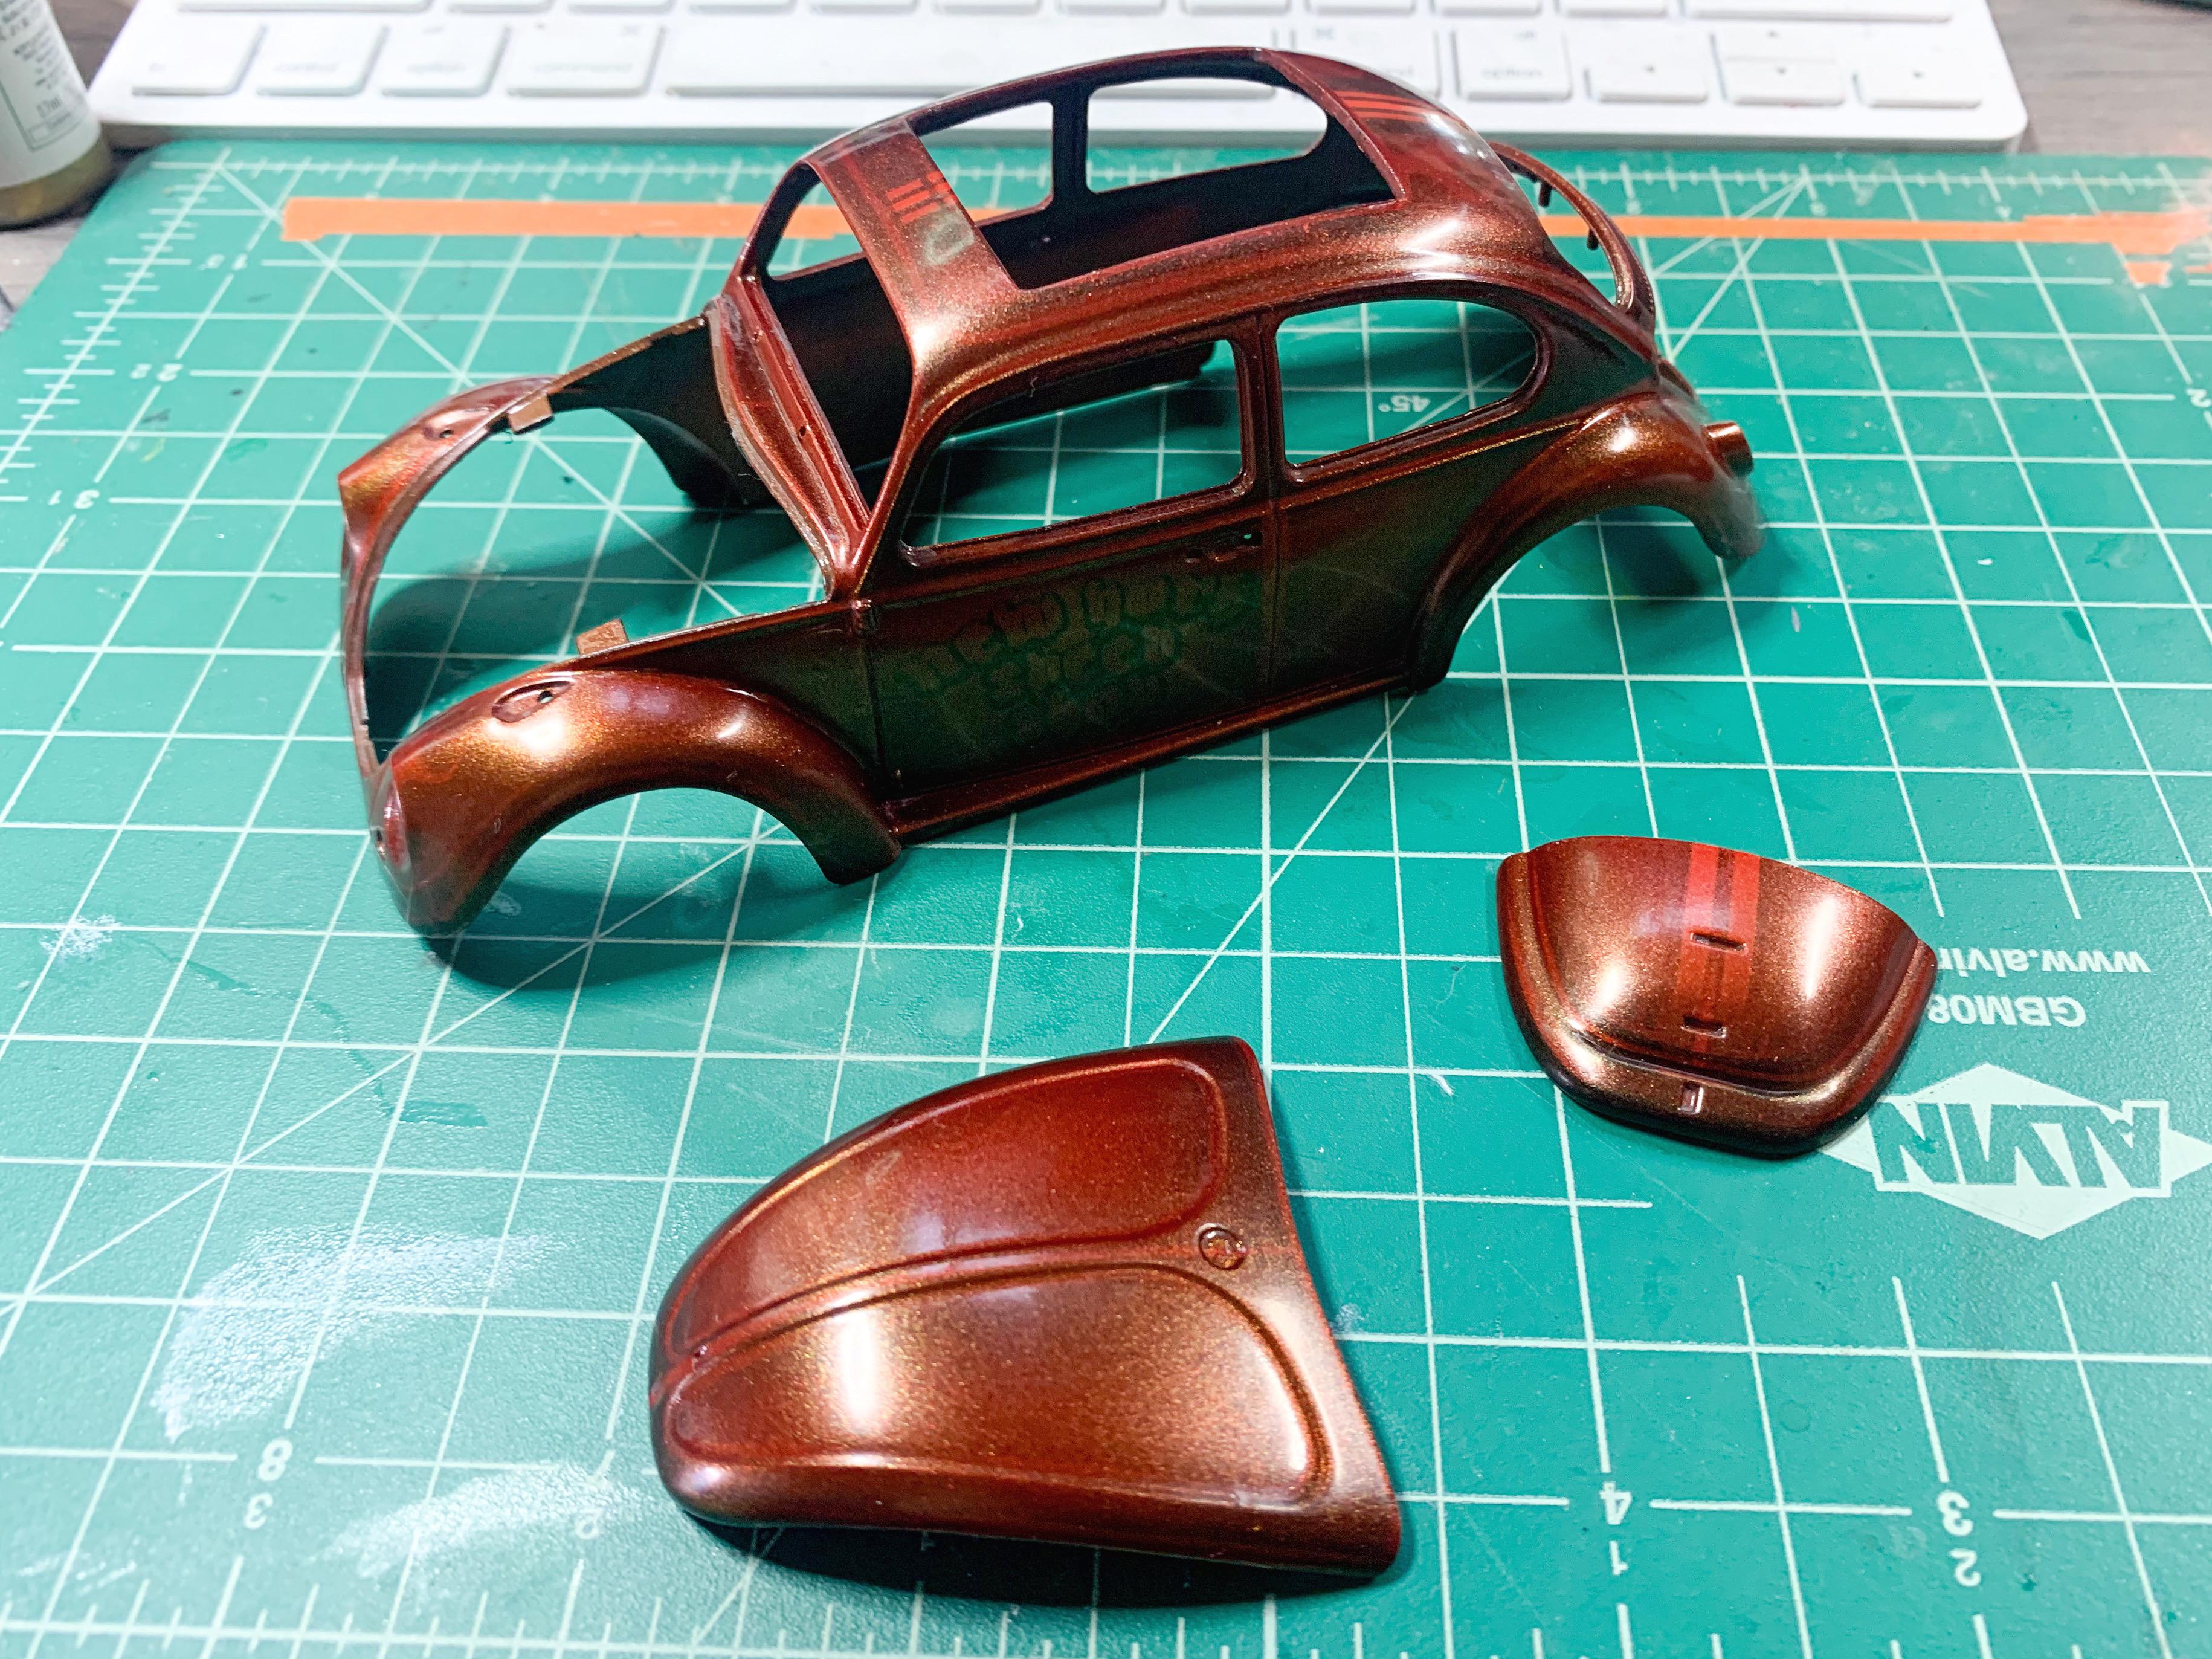
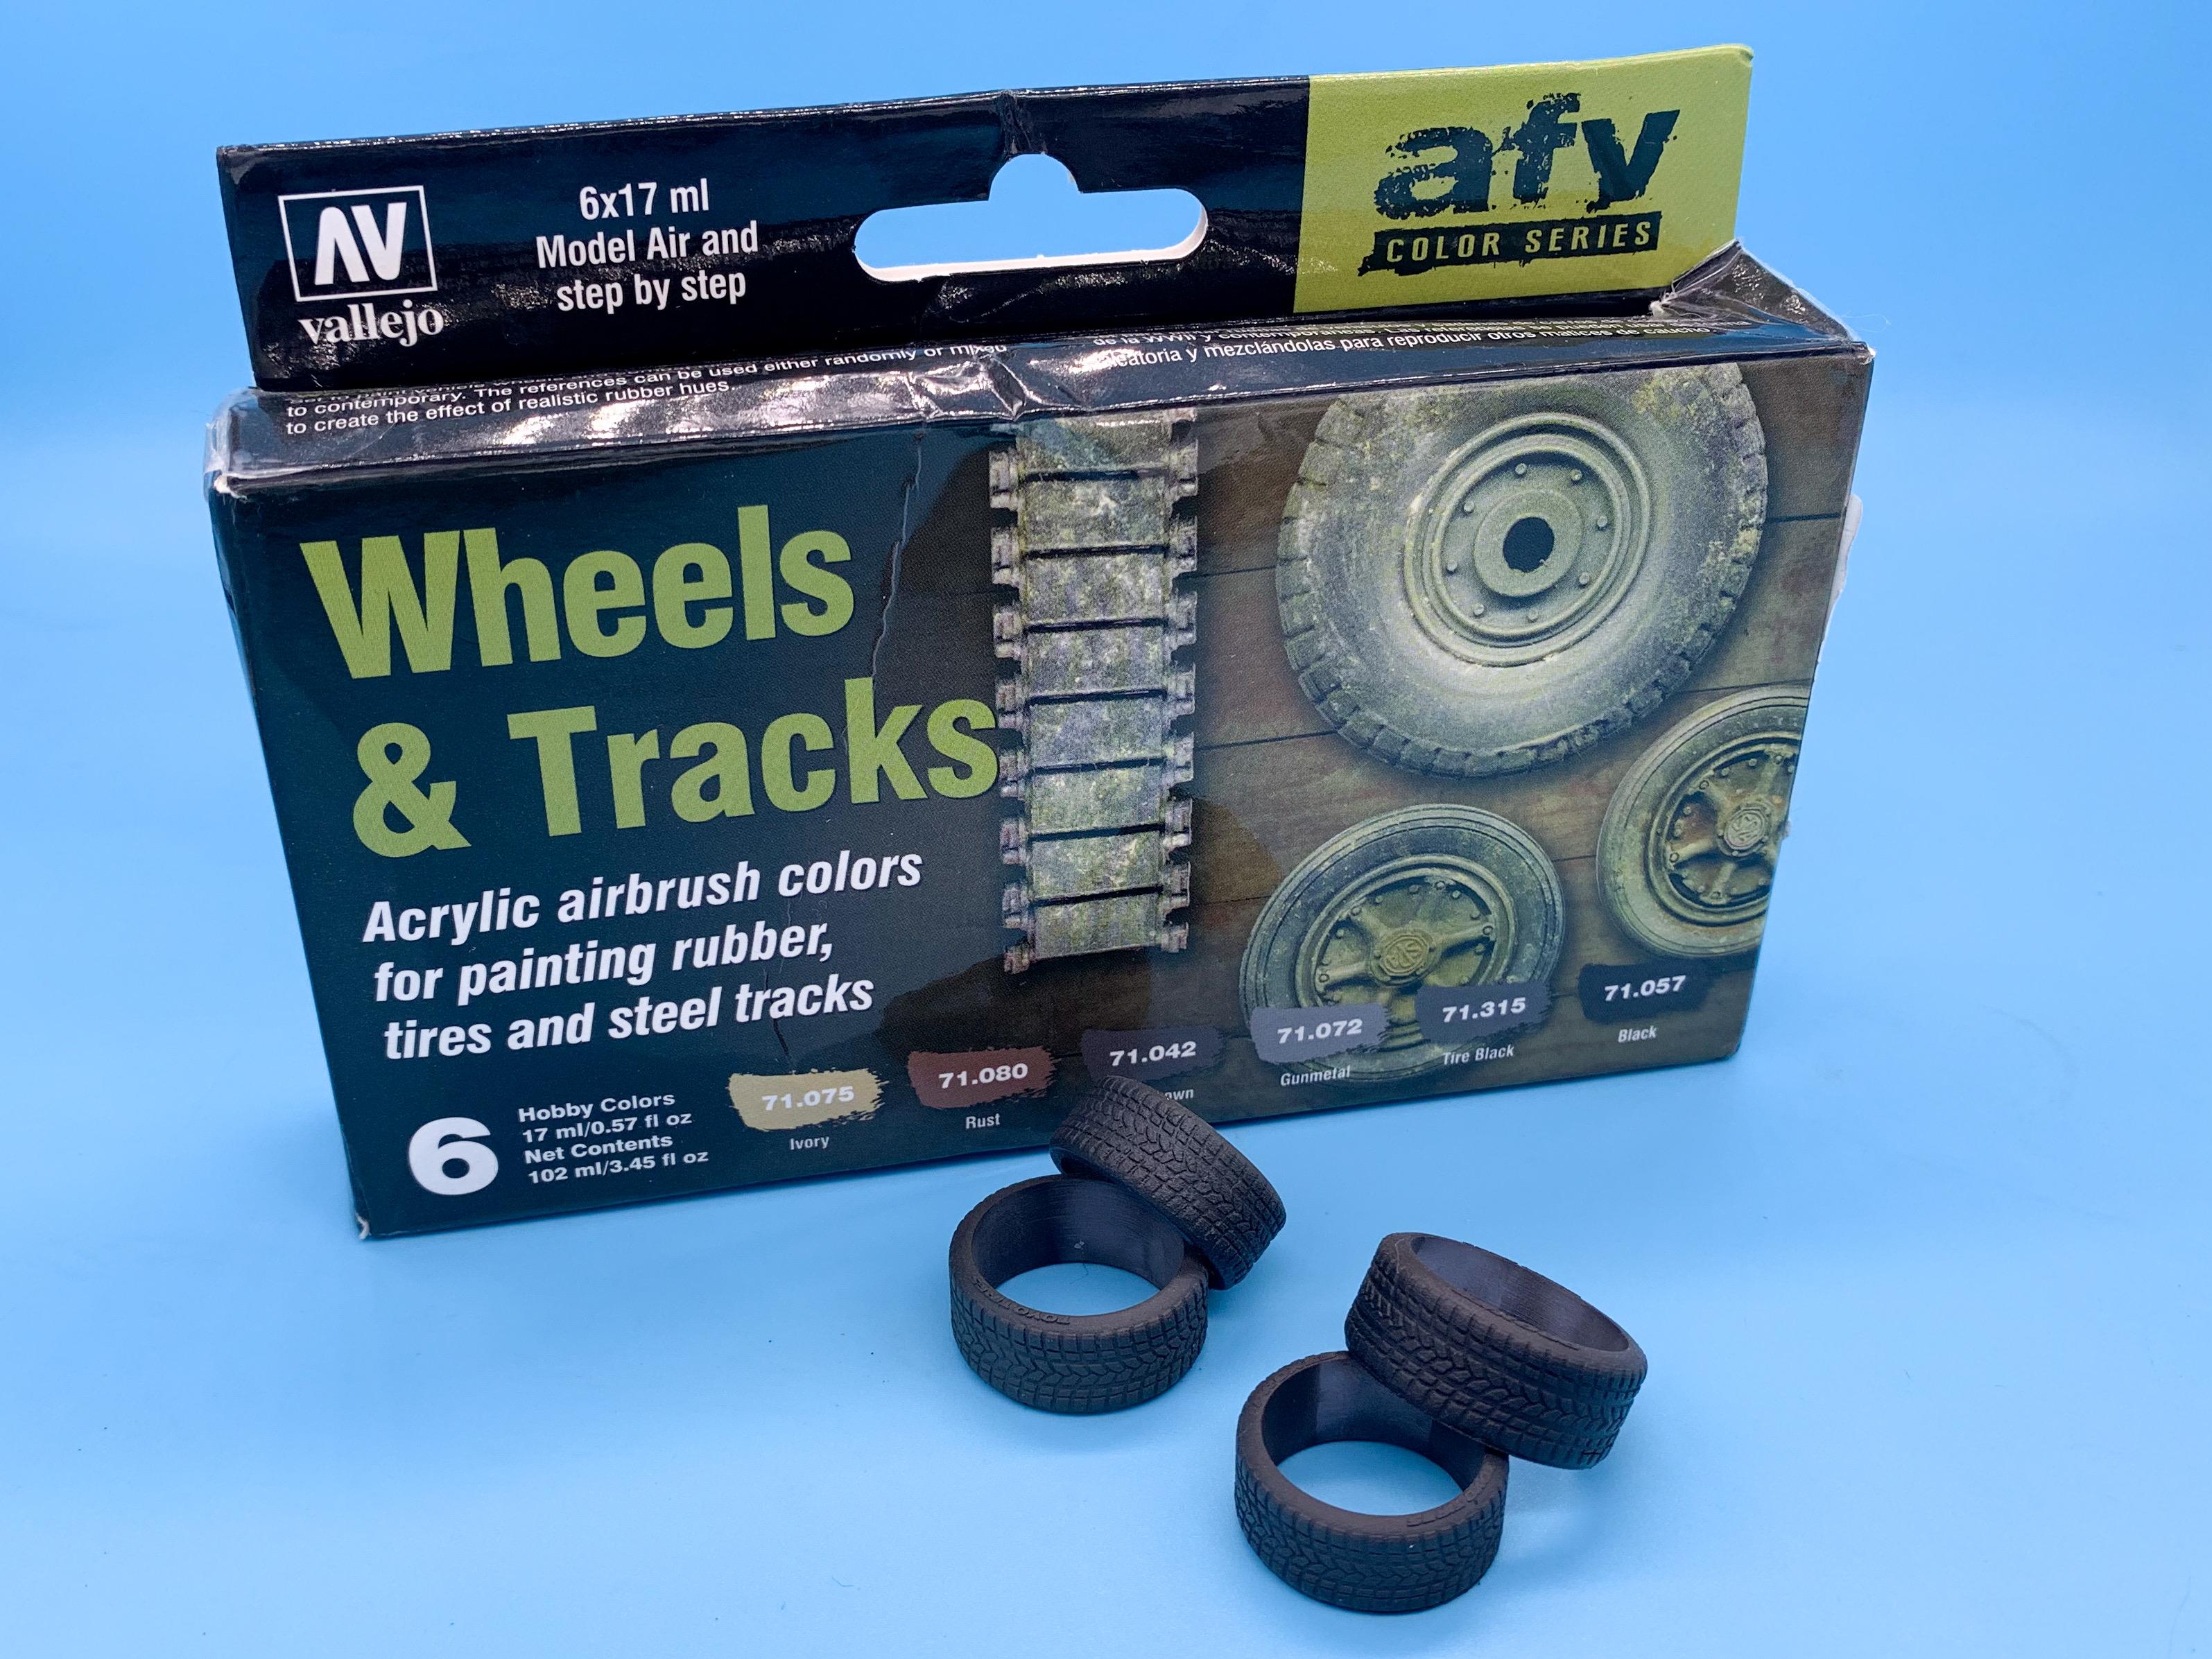
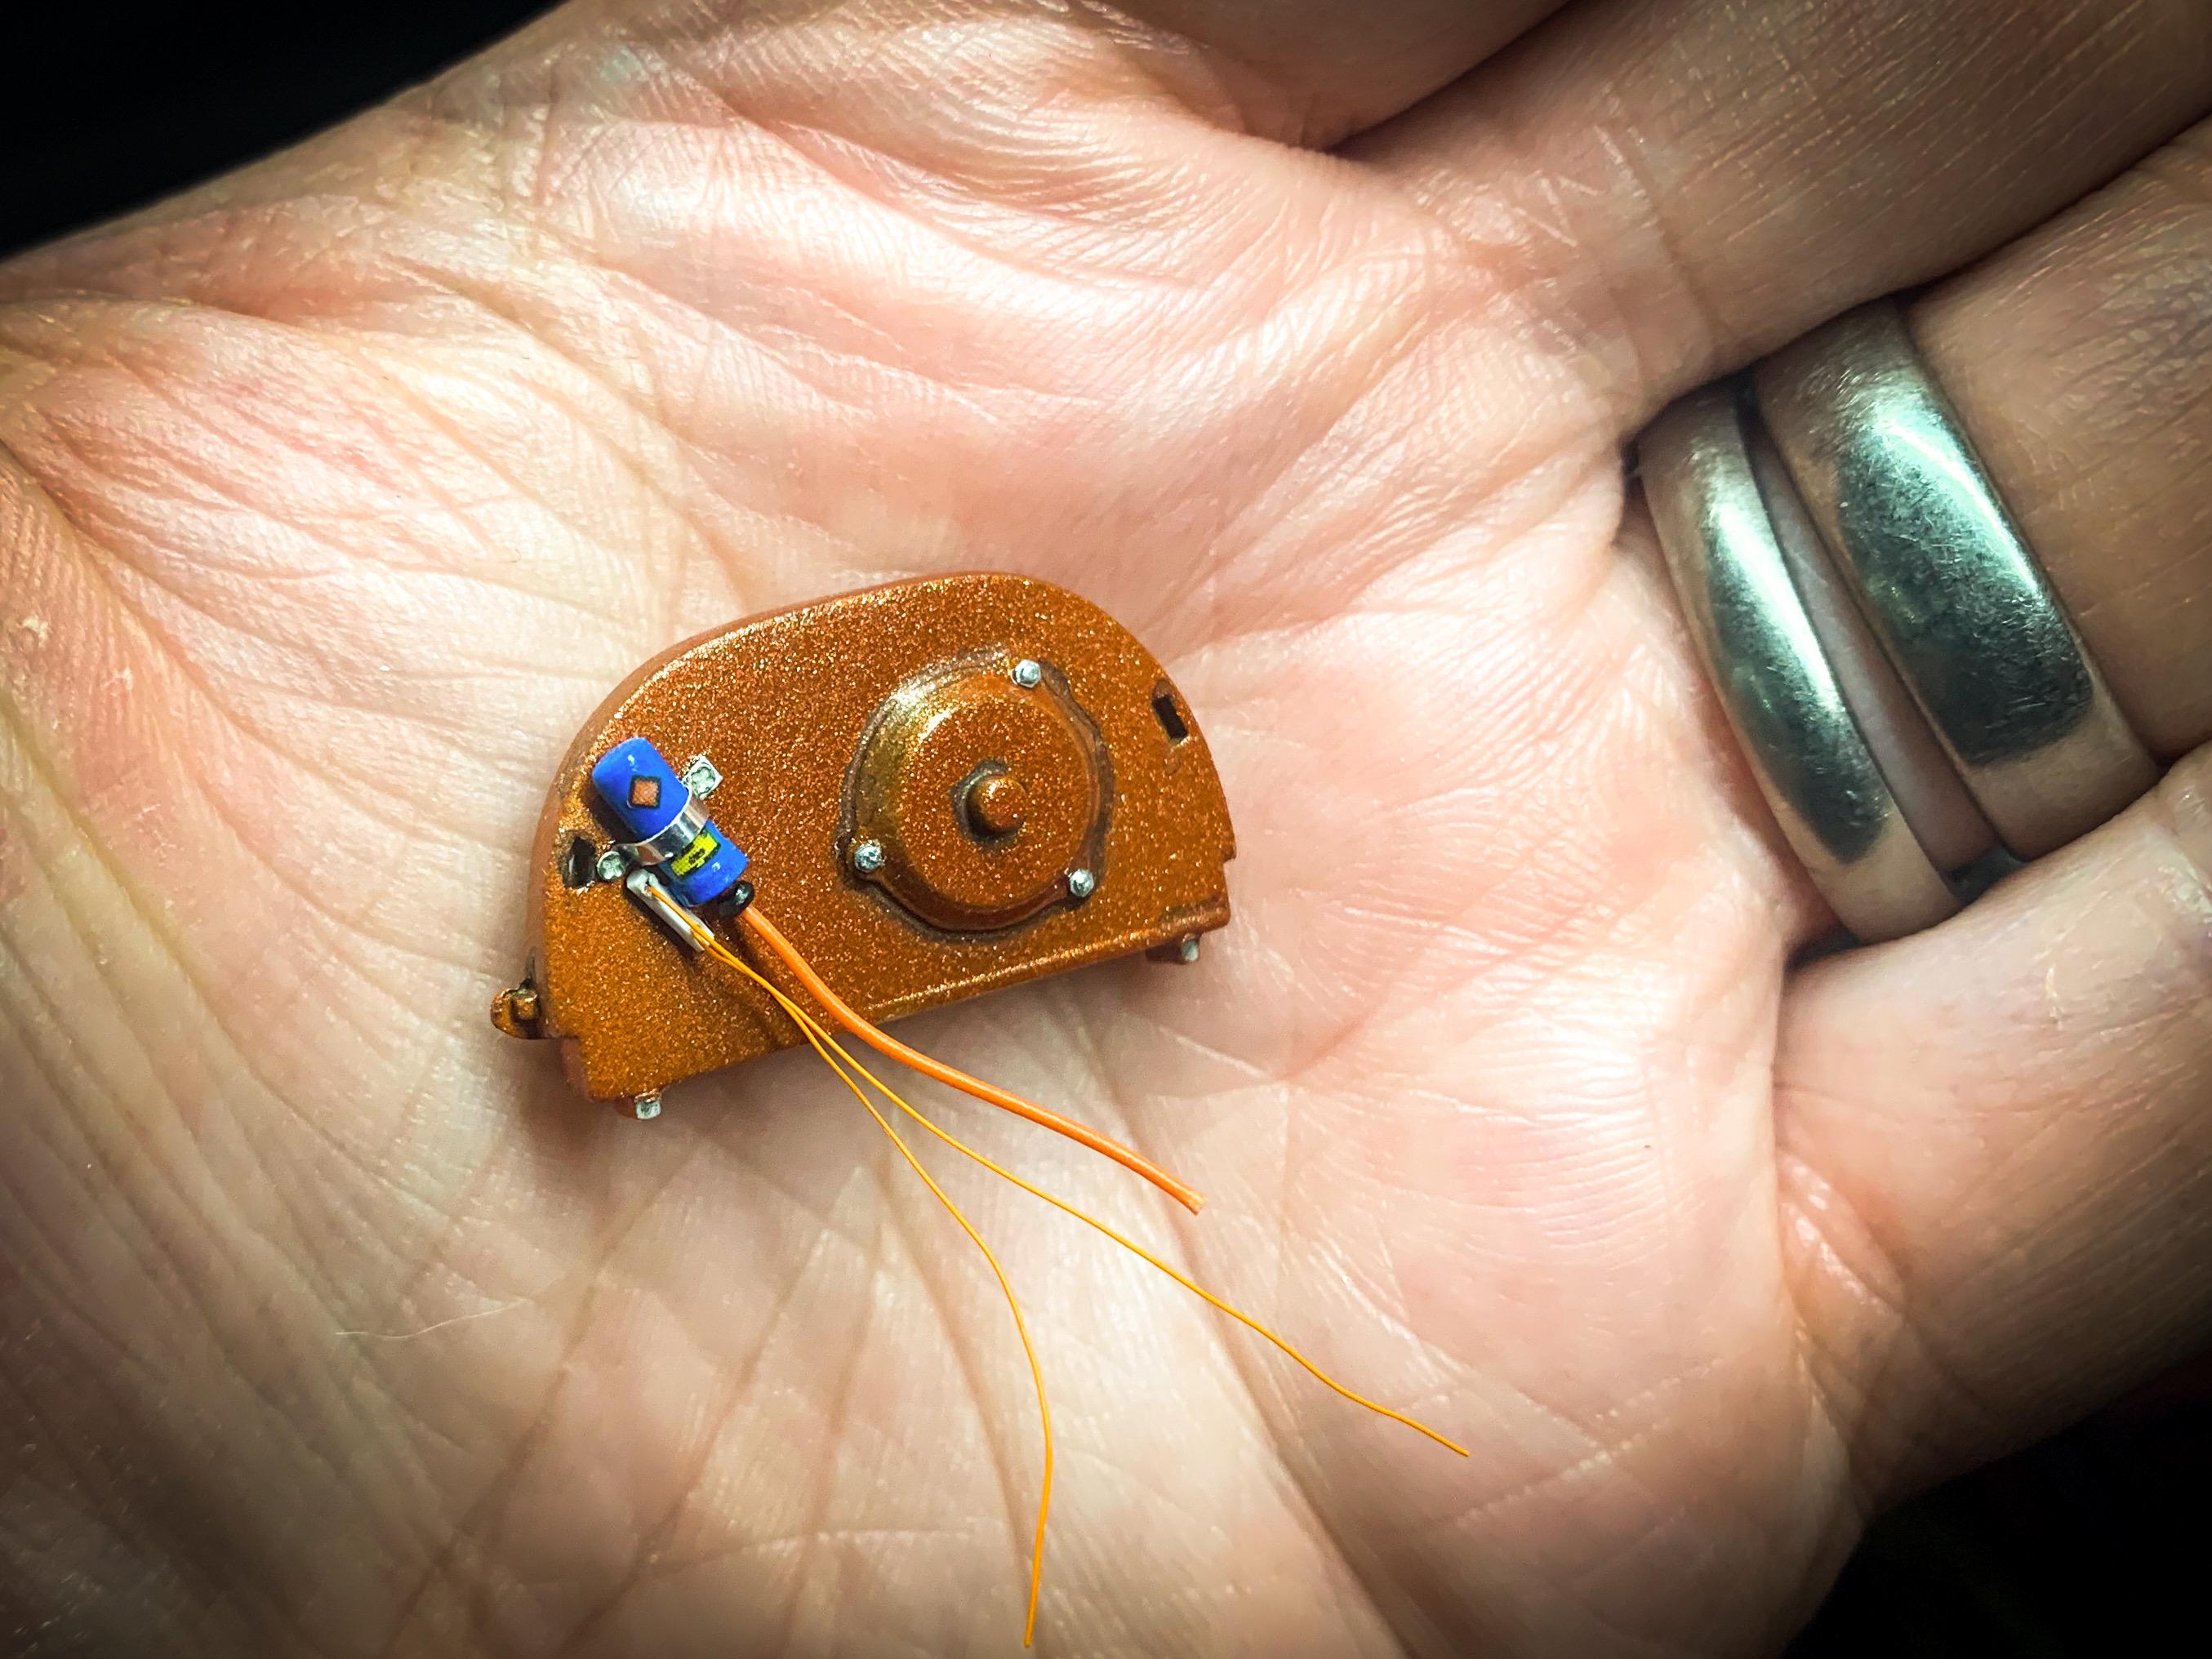
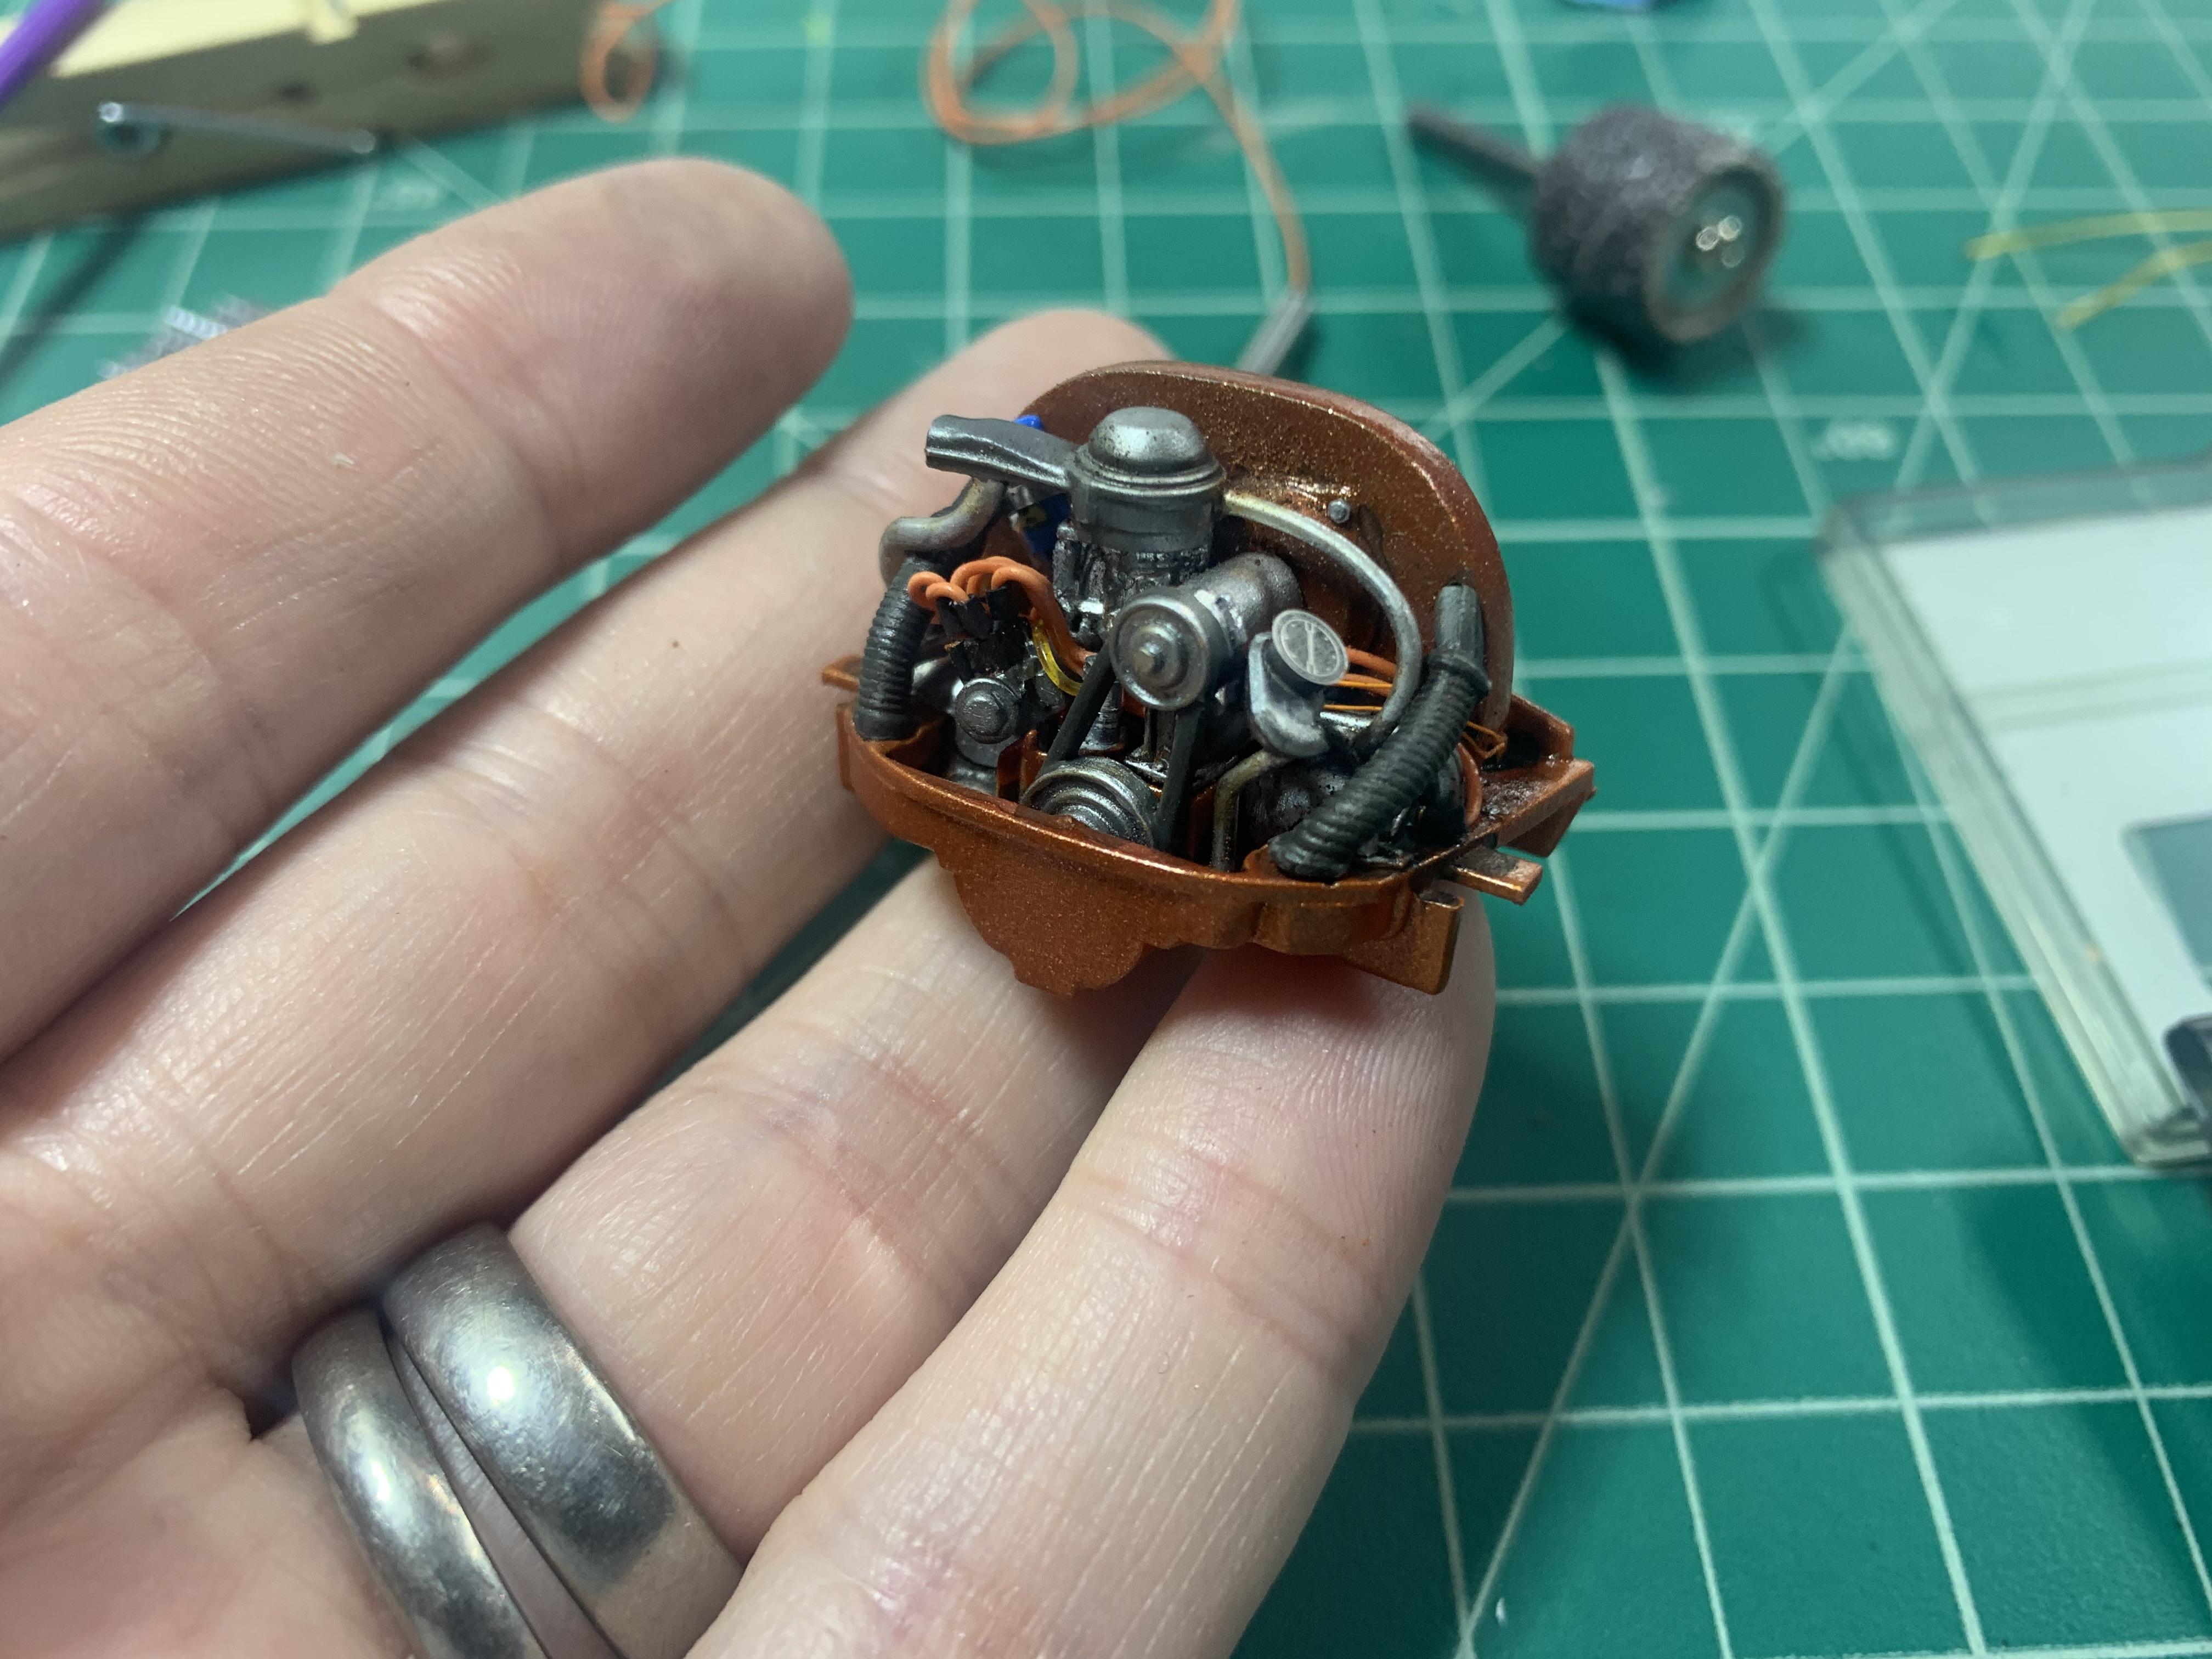
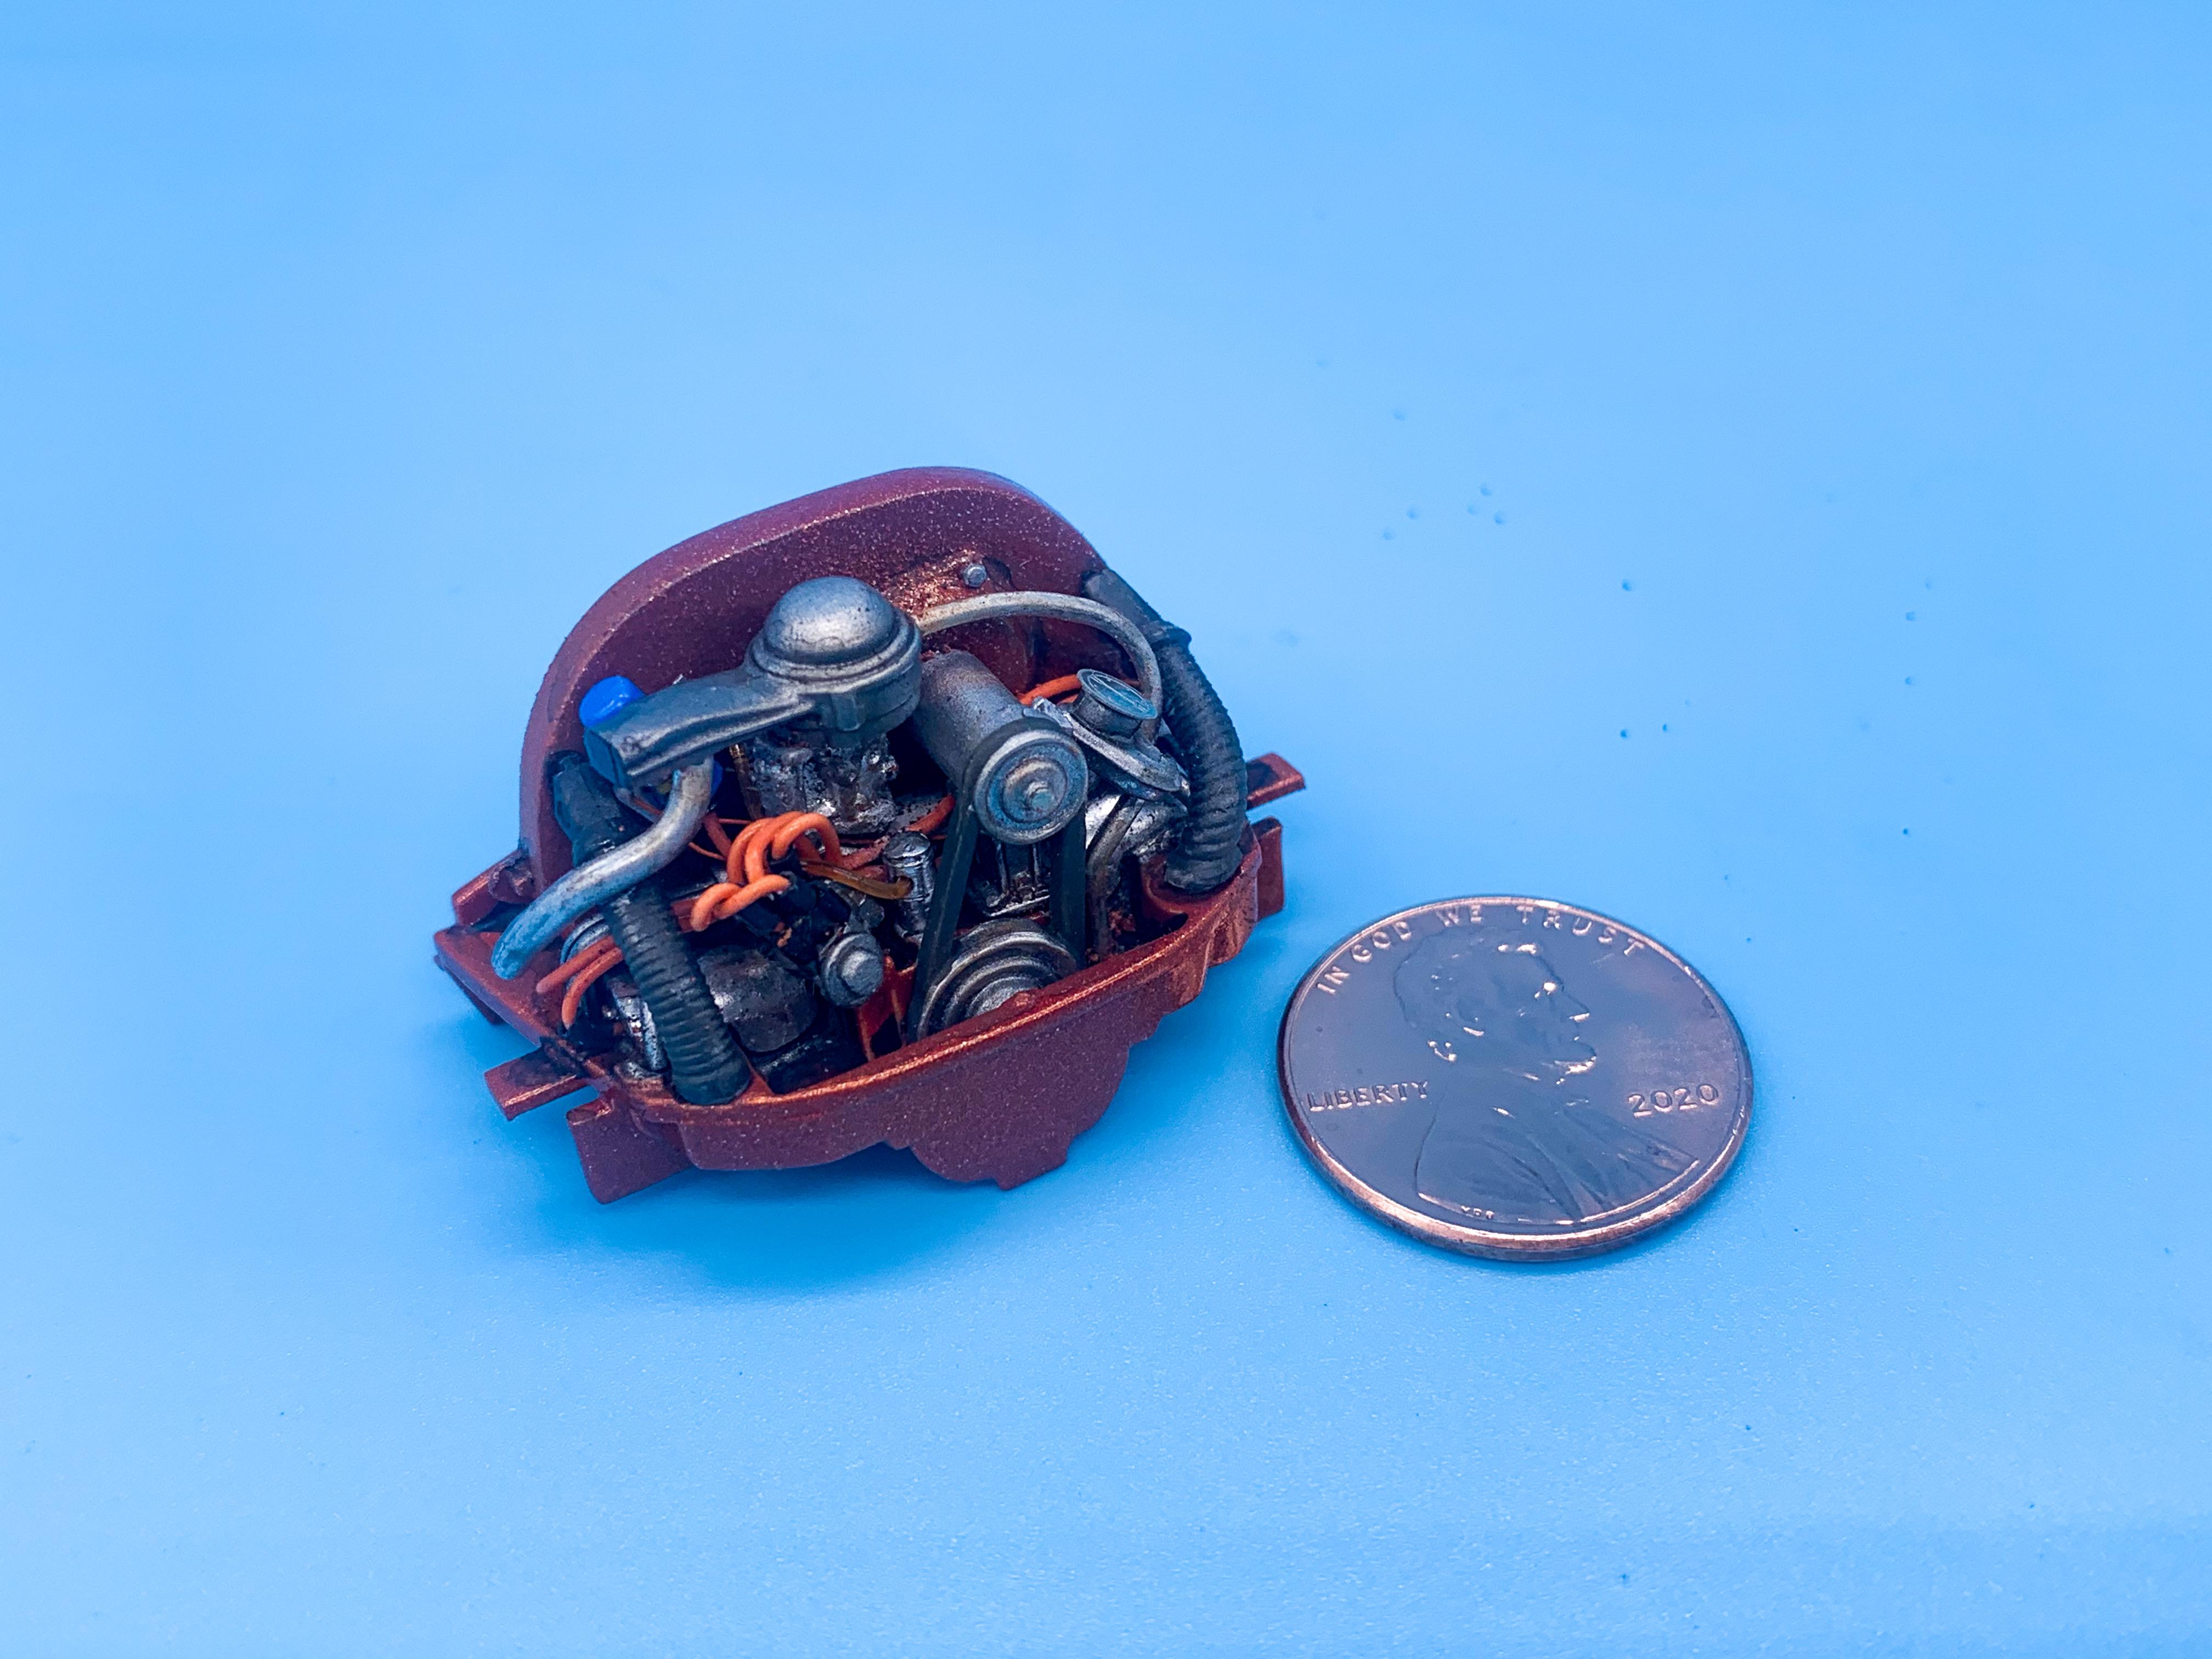
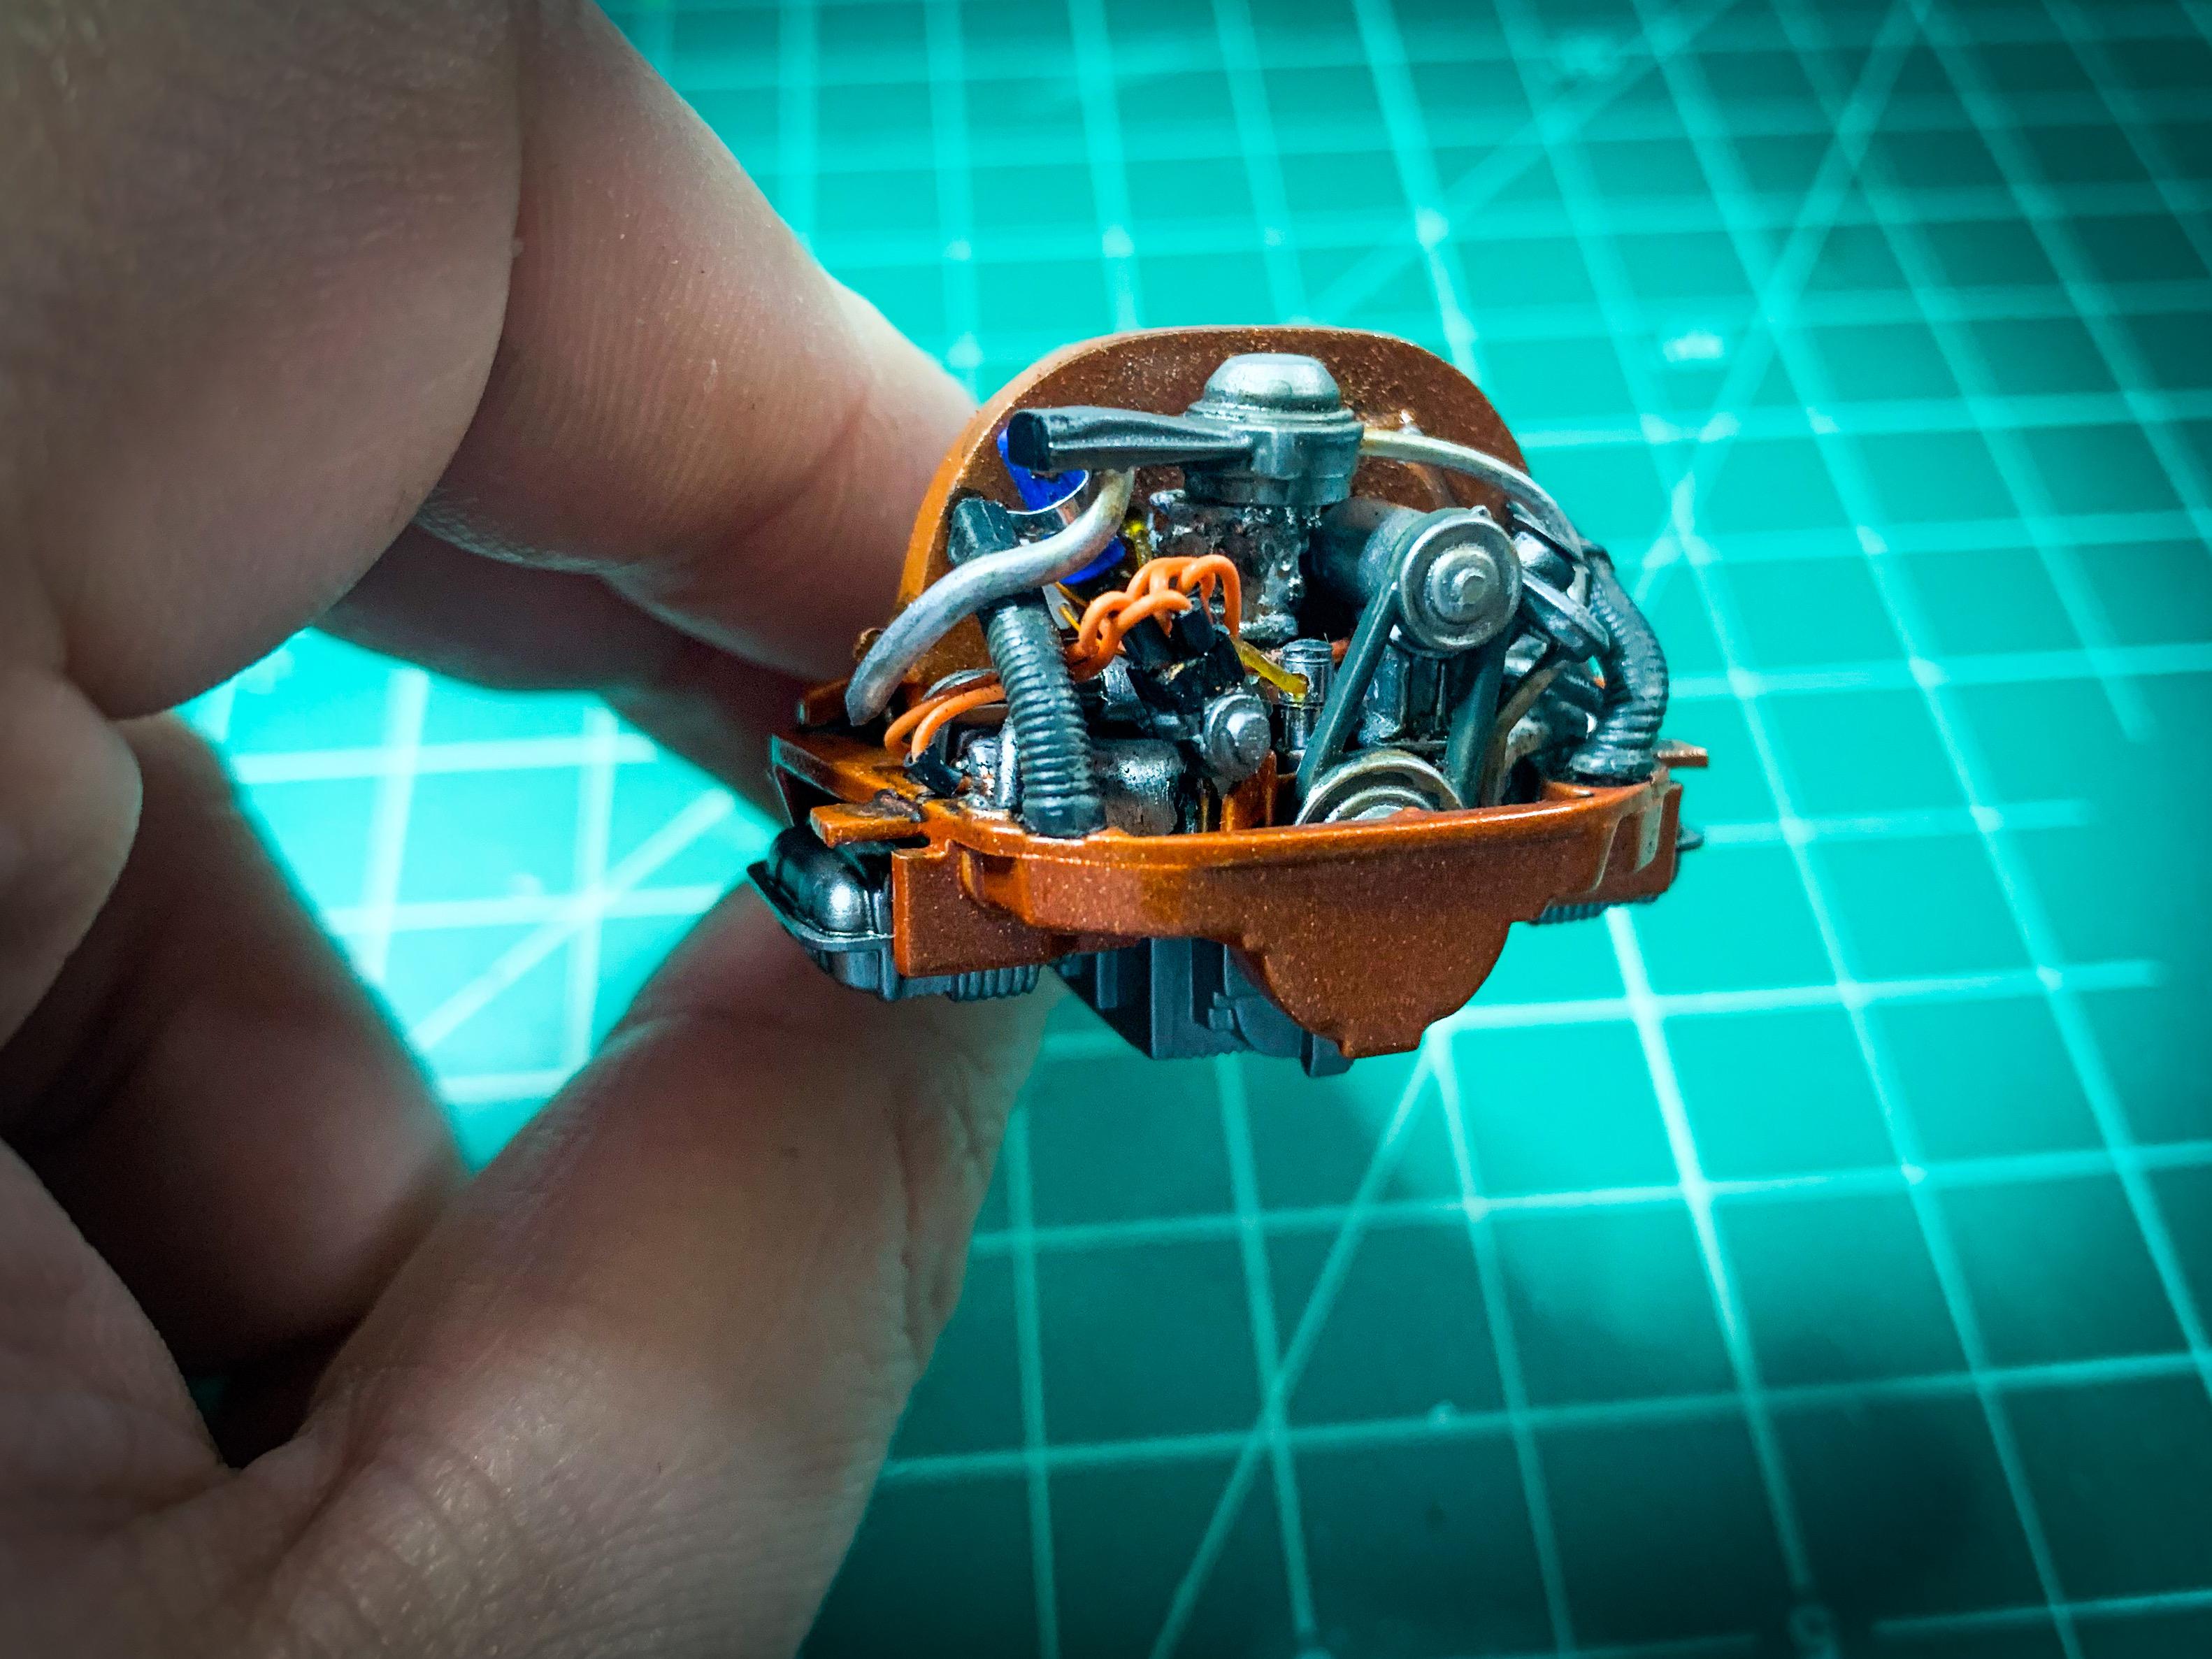
Thanks fellas! I’ve been prepping parts and priming and whatnot mostly this week, so I didn’t have a tonne of interesting stuff to post, but I got a few bits done… Least interesting; got the tires painted with a new Vallejo set I picked up: I had a second idea for an interior which I’ll either use on this one or save for another one - just a nice plain caramel-y leather look. Started laying down some brown tones with airbrushed artist’s acrylics: Scratchbuilt a Bosch coil and a step-down resistor - needed to get the firewall stuff done before I could assemble the engine: And when that was done, got the ‘upper portion’ of the engine together…the block and trans attaches to the bottom side of this upper piece on these kits: I drilled out the kit distributor for wires and added some plug boots, plus found some matching orange tube for fuel lines but mostly finished it box-stock aside from that… Couple of little touch ups and details to add and this’ll be ready for installation - here it is with the block and trans clipped to the bottom: And other than that, my main work on this project this week has been building up the clearcoat on the body - started with a couple of mist coats and I’m up to six coats now…plenty to be able to polish it without worrying about burning through, and the Rustoleum lacquer that I’m using levels itself out pretty well… And that’s where we’re at so far…thanks for looking everyone!
-
I didn’t get a single tool, kit or modeling supply in the mail today. Is the USPS on strike? ?
- 38,884 replies
-
- 2
-
-
- johan
- glue bombs
- (and 1 more)
-
Here’s a GREAT thread on a build along those lines (albeit in a larger scale…)
-
I'll give ya ten bucks for it! ?
-
I’ve got one of these in the queue to build at some point - excited to see more on yours!