gman
-
Posts
995 -
Joined
-
Last visited
Content Type
Profiles
Forums
Events
Gallery
Everything posted by gman
-
Agreed- that is an excellent looking "B." On the 1:1, the clear windows were heat-sealed to the top material during production, and the design of the kit accurately reflects that look on your finished model. I had a later model MGB for about a decade (mine was an '80 with the rubber bumpers). While I tried finding an earlier chrome bumper car, most had rusted pretty badly by the time I was shopping around.
-
There is "accurate to the model/year" and there is "accurate to what you want to represent." For an absolutely stock model, you'd want to be as close as possible to what the vehicle rolled off ol' Henry's production line with. For a hot rod, well people have been modifying those since they were practically new, with many reasons for those modifications- accommodations to fit larger engines/bellhousings/transmissions, modifications for clearance or custom parts. If you spend hours looking at photos of Model A's you'll find many ways to skin that cat. Those ribs were originally stamped into the firewall to add rigidity to the panel. On many Model A's today, very little remains of the original firewall, so anything could technically be called correct for representing a hot-rodded example. Stuff in enough engine/intake and add parts like a firewall-mounted remote oil filter, regulator and fuel block and there is a good chance that you won't see much firewall under the hood ;).
-
You can use styrene half round stock for the thin ribs, and trim the basic shape of the center portion out of styrene flat stock, laminate them to the fire wall with liquid cement...once the cement is dry, blend the shapes and knock the corners down to round and shape them with sanding sticks and sandpaper. Shoot a couple of coats of primer over top, then massage the shapes some more. Primer, then paint.
-
There is a memorial page for him, it does not detail what happened.
-
That is horrible. The community has lost another talented human being.
-
Preventing Tamiya Spray Can Runs/Bubbles
gman replied to TheCamaroKid's topic in Model Building Questions and Answers
Bubbles is likely propellant making it into the paint as it hits the body (from being too close) and becomes trapped in the paint. I would try some tests on spoons or a scrap body shooting the paint from farther away to try to find a happy medium where the paint doesn't run and texture is minimal upon full cure. The lacquer in Tamiya TS paints will actually bite into/melt/"activate" previous coats to a degree. That means if there is texture in your mist coats, spraying wetter coats over top will see the solvent melt into previous coats and minimize that texture. Subsequent coats may still show some slight texture, but that can level out as the paint cures and shrinks. If you balance the overall wetness when you spray your final colour coats, it should leave you with minimal texture that polishing compounds can take care of (or clear coats will cover, leaving you with a protective layer over your colour coats that can be wet sanded, polished and buffed to a high shine). -
While I wouldn't go out and buy one (at this price) just for model building, I used to have one of these type of things for vinyl records that also happened to work very well to de-static models: https://www.sonicboommusic.com/products/zerostat-3-anti-static-gun
-
To quote Paris Hilton- "That's hot!" Nicely done. That colour pops under the clear and really suits the Caddy.
-
Suggestions for a finish simulation sought
gman replied to charlie8575's topic in Model Building Questions and Answers

-
Suggestions for a finish simulation sought
gman replied to charlie8575's topic in Model Building Questions and Answers
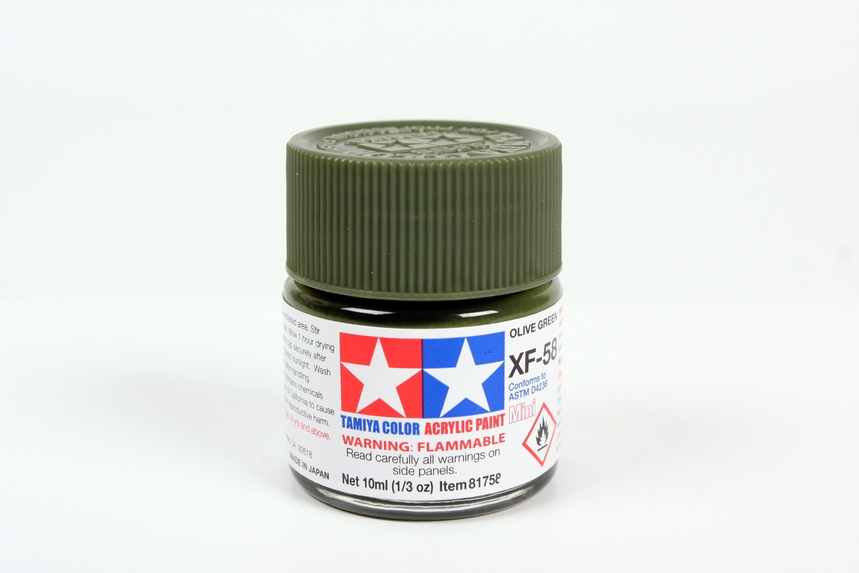
SEM makes a paint branded as EZ Coat Olive green- a search of the interwebz didn't turn up any affiliation with Dodge. https://www.smsdistributors.com/products/sem-62223-ez-coat-olive-green-16-oz-aerosol I have used SEM paints on 1:1 vehicle trim and interior parts. SEM paints are on the "hot" side for plastics, but if that is indeed the shade called out, you should be able to get something in the same ballpark in enamel, lacquer or even acrylic craft paint that will look the part without potentially crazing the kit styrene. -
Deeply dropped beam axle top right- the Revell '32 had a tube axle. Transverse leaf centre of parts tree- definitely not Revell '32. Revell '40 Pro Modeller issue? It's been a while since I've had one of those on the bench, but from memory that'd be my best guess.
-
Need Help with Brush Painting
gman replied to Horrorshow's topic in Model Building Questions and Answers
I'd second the "don't brush paint the body" sentiment. Spray bomb or air brush if you care about the look of the finished model. Primer should be thin coat(s) as should colour & clear. -
Need Help with Brush Painting
gman replied to Horrorshow's topic in Model Building Questions and Answers
What kind of part are you brush painting? What paint are you using? -
Looking very good so far.
- 196 replies
-
- 1
-

-
- eleanor
- shelby gt500
- (and 2 more)
-
Placing the bottle upside down wth a few drops of lacquer thinner dripped into the edge of the lid may work as well.
-
https://public.fotki.com/drasticplasticsmcc/mkiba-build-under-c/amt-instructions/automotive-cars--pi/ford/1931-1940/amt-1940-ford-coupe/02.html The chrome items you circled are labelled as "Tornado wheel covers."
-
I think the original modeller (whether still here or passed on) would be honoured if you took it across the finish line in the general manner intended. Those are some good bones to work with.
-
Good score- someone laid down a nce coat of green on that body.
-
To echo what has been said already, the interior looks excellent. Great detail work, liking what I am seeing so far.
-
I'm a sucker for metallic turquoise, so I can't beat up on your colour choice. It does show just how excellent your bodywork is- apart from the new/improved roofline, there are no clues that there is bodywork under that paint...well done. Some Tamiya or Mr. Color lacquer thinner will take care of the paint thickness for airbrushing. Having decanted Testors lacquers for airbrushing, I agree they are pretty thick right out of the can. I used the Tamiya lacquer thinner to thin out Testors lacquer last time, and based on forum posts showing great results I'm inclined to give the Mr. Color Levelling Thinner a go next time around.
-
It wouldn't hurt to wet sand, provided you have enough paint left to do a couple of light colour coats to obtain even coverage. If you achieve that, some clear might get you the gloss in the end rather than shooting for a glossy finish with the colour coat alone. The remaining paint will go farther if you decant and airbrush (a plus, unless you happen to have another can laying around), plus it will give you greater control compared to the spray can.
-
That is looking extremely nice- my vote would be let the base coat metallic shine through clear. You could do test sprays with clear pearl/purple pearl on spoons or a scrap body, but it would be a shame if it subdued the brilliance of the metallics already in the base coat.
-
Looking for a Good Maroon Color
gman replied to Jim B's topic in Model Building Questions and Answers
My first go around with the Tamiya TS maroon was similar to what happened in the photos of the original post. I could say the same for other colours in the TS line as well. I was ready to give up on the Tamiya TS sprays, but it turns out I was applying them wrong- as others have said, spray mist coats to build up some coverage and "tooth" for the following coats. Let those mist coats gas out, and then slowly build up successive coats to get full coverage. The solvent in the following coats will chemically bond with those initial mist coats and smooth them out as you continue to build the colour up. The Tamiya TS maroon lacquer is a semi-transparent paint, so multiple coats (ideally over a darker primer) will help you get to your chosen opacity in fewer coats than if spraying directly over bare plastic. If you see some texture in the paint after arriving at proper coverage, let it cure completely (the texture should settle down some when fully cured) and then polish using gentle compounds. -
I had a late 80's release of this kit that is just as you describe- molded in light blue, with brownish portions on a number of parts and a greasy residue on many of them. Full of flash, short shots and twisted plastic. It is possibly the most un-buildable example I have owned, but there are a few built versions on the forum which show it can be done.
-
Aclad's range of aluminum finishes may be a good option too: https://alclad2.com/finishes/regular/