Paul Payne
-
Posts
2,134 -
Joined
-
Last visited
Content Type
Profiles
Forums
Events
Gallery
Everything posted by Paul Payne
-
I also really like the front end treatment, and it's always nice to see matching boats!
-
Love everything about it! Outstanding engine engineering, super clean building, and great paint!
-
1965 Continental sport coupe/roadster conversion
Paul Payne replied to mr moto's topic in Model Cars
Sweet! Love the proportions you achieved and the interior is really nice! Great job! -
Any other trade suggestions? Pix of the back, could also send pix of fronts.
-
Looks promising!
-
Nice work rescribing the panel lines behind the interior for the convertible top. Chassis work is awesome- looking forward to the shortened wheel base!
-
1960's Corvair Bertone Concept by Air-Trax
Paul Payne replied to Joe Lange's topic in WIP: Model Cars
Nice model of a car I haven't seen before. Great little engine! -
Photos from Toronto NNL on March 3rd
Paul Payne replied to hct728(Bob)'s topic in Contests and Shows
Thanks for sharing! Nice pix! -
Nice weathering on the racer!
-
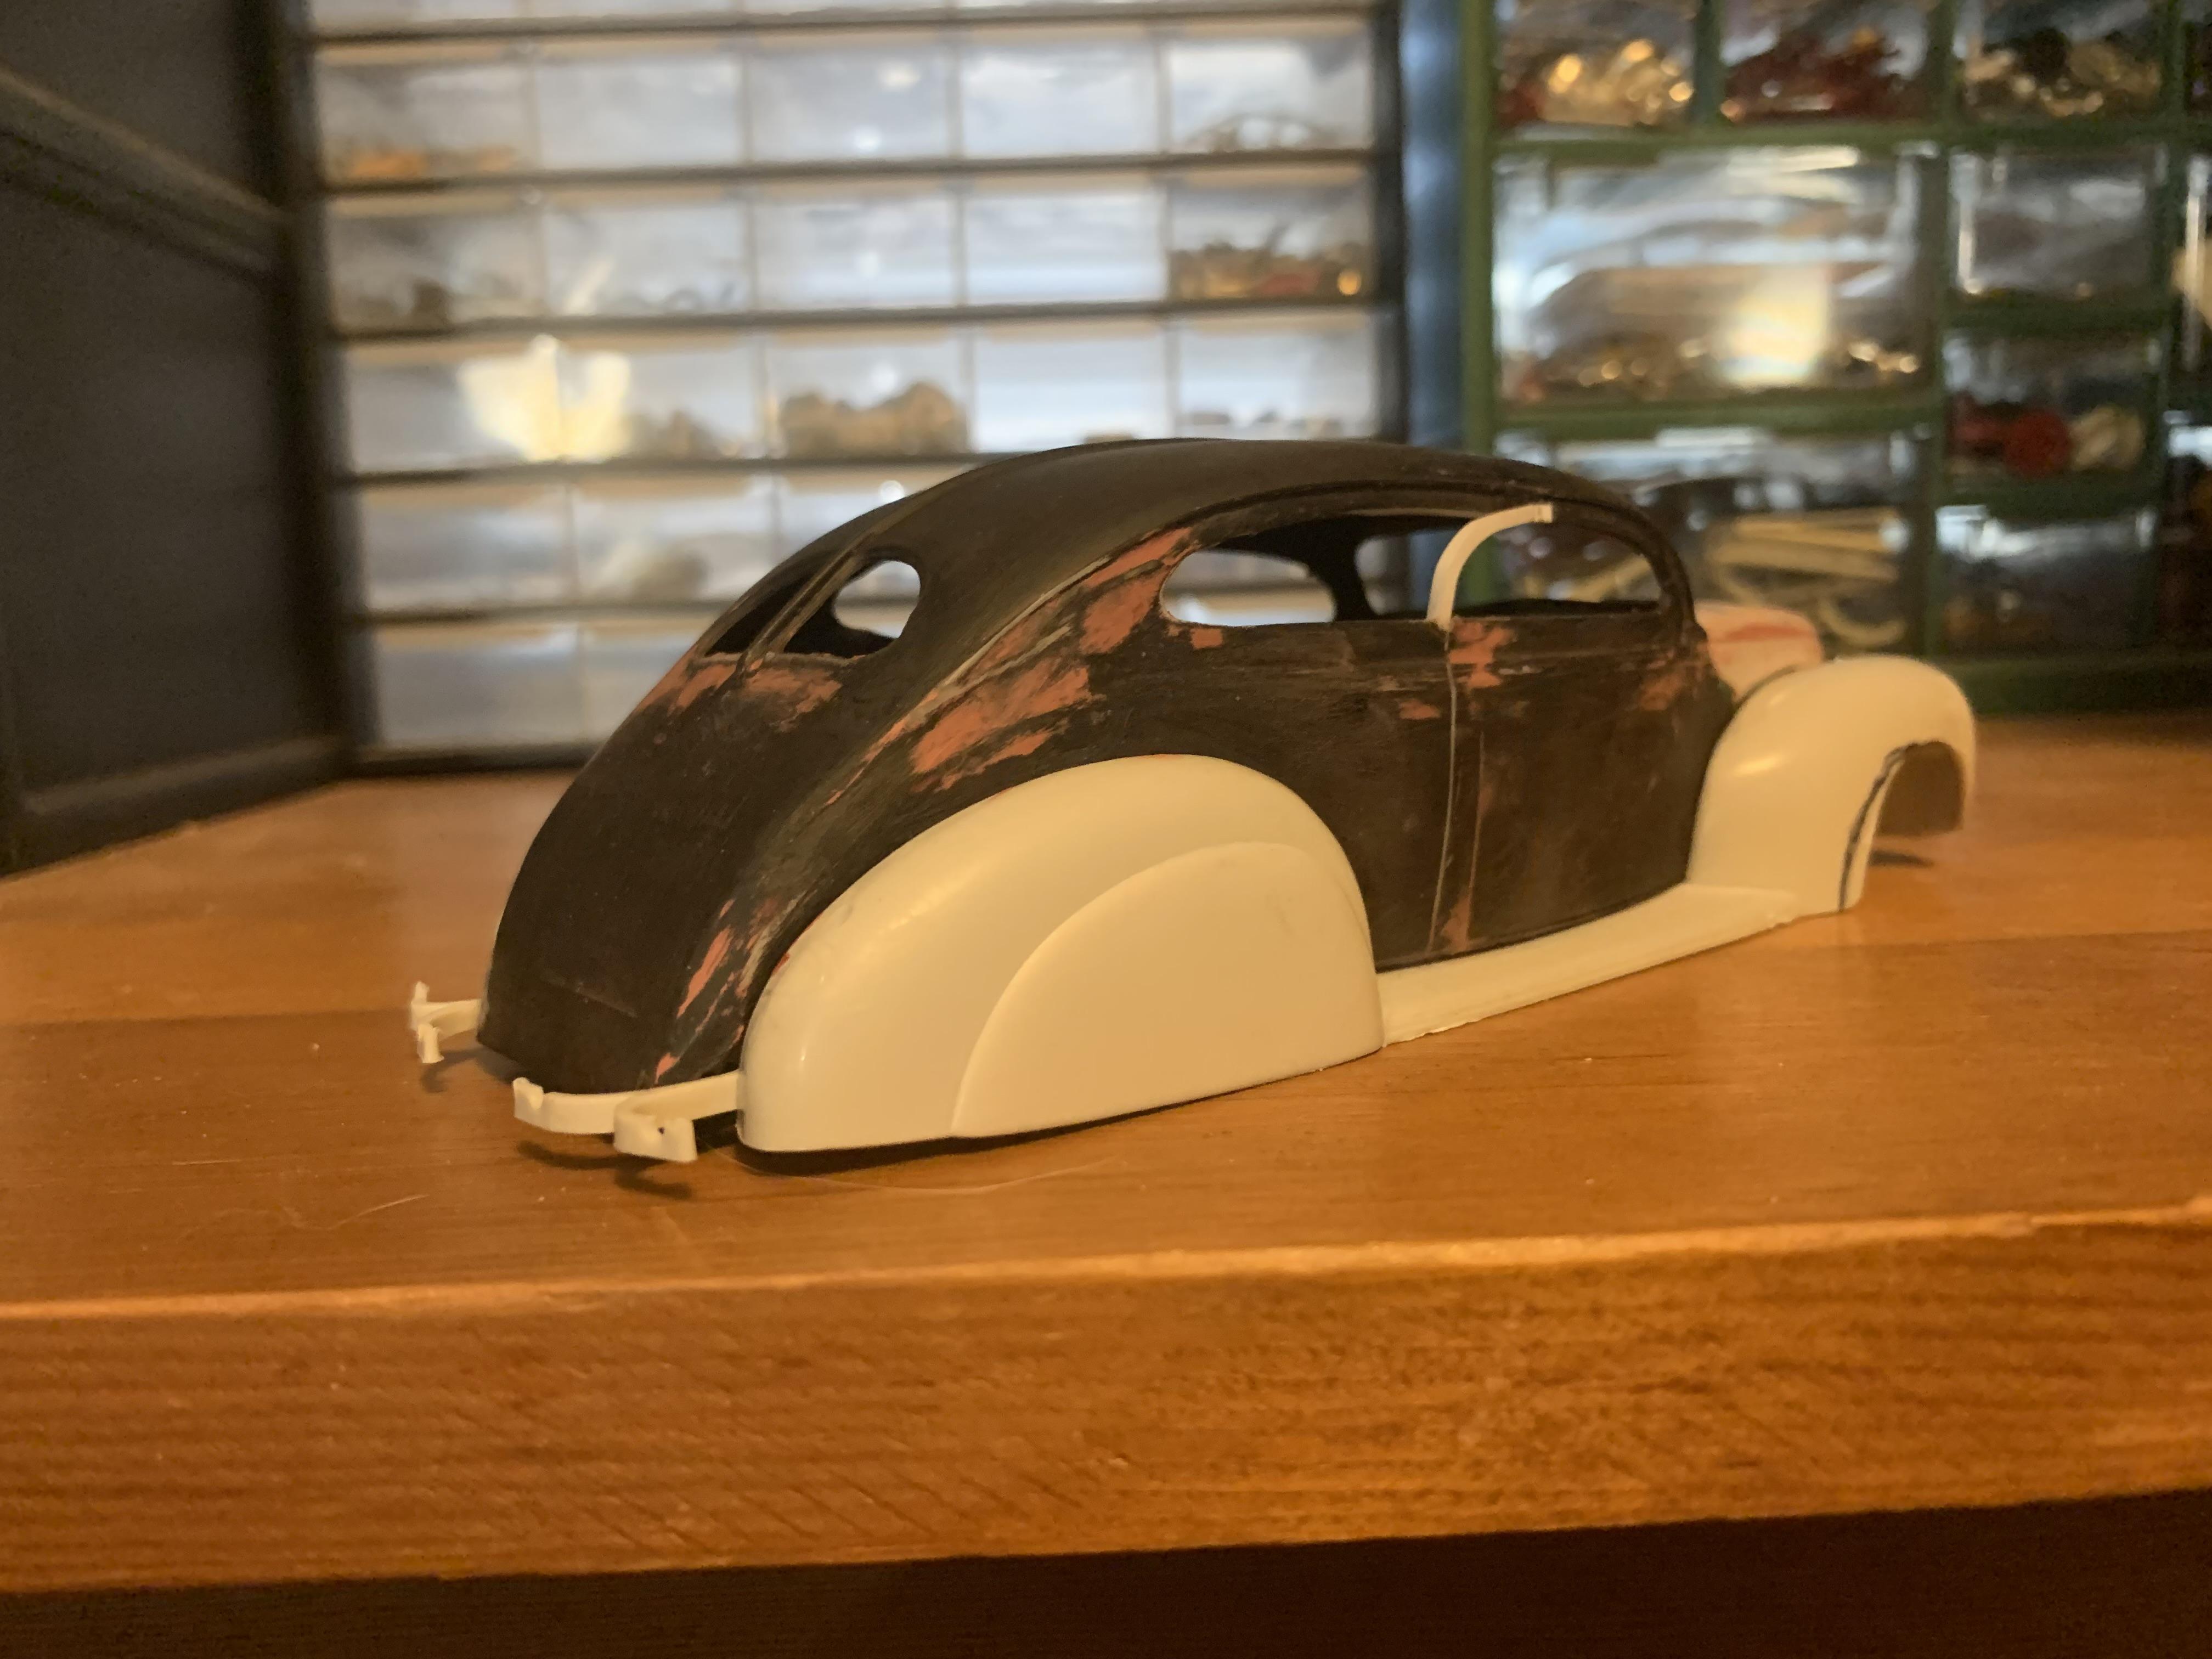
AMT 1939 Ford tudor sedan chopped and sectioned
Paul Payne replied to Paul Payne's topic in WIP: Model Cars
Got the 39 hood sectioned- still needs a bit of tweaking. Shot some primer, things are starting to look good. Created the new window profiles from 0.060" stock and bent them into place after rescribing the door lines about 4 scale inches back. More putty, sanding, and checking, then more primer!
-
I have several very old whitewall tires suitable for restorations. Will swap for Revell Model A banjo steering wheels, dropped beam axles, Ardun heads, shock absorbers.
-
Had a great trade with dust collectors- would do it again!
-
AMT 1939 Ford tudor sedan chopped and sectioned
Paul Payne replied to Paul Payne's topic in WIP: Model Cars
Putty, sand, putty, sand, check, repeat for quite awhile.................................... -
AMT 1939 Ford tudor sedan chopped and sectioned
Paul Payne replied to Paul Payne's topic in WIP: Model Cars
Progress! Trunk lid is in place using liquid styrene cement. Next will be reinforcing all joints with super glue. Everything else withstood the cutting and handling to accomplish this. After the super glue is dry, time for putty throwing!
-
AMT 1939 Ford tudor sedan chopped and sectioned
Paul Payne replied to Paul Payne's topic in WIP: Model Cars
After all the glue hardens, next is cutting and repositioning the trunk lid. After that- putty! -
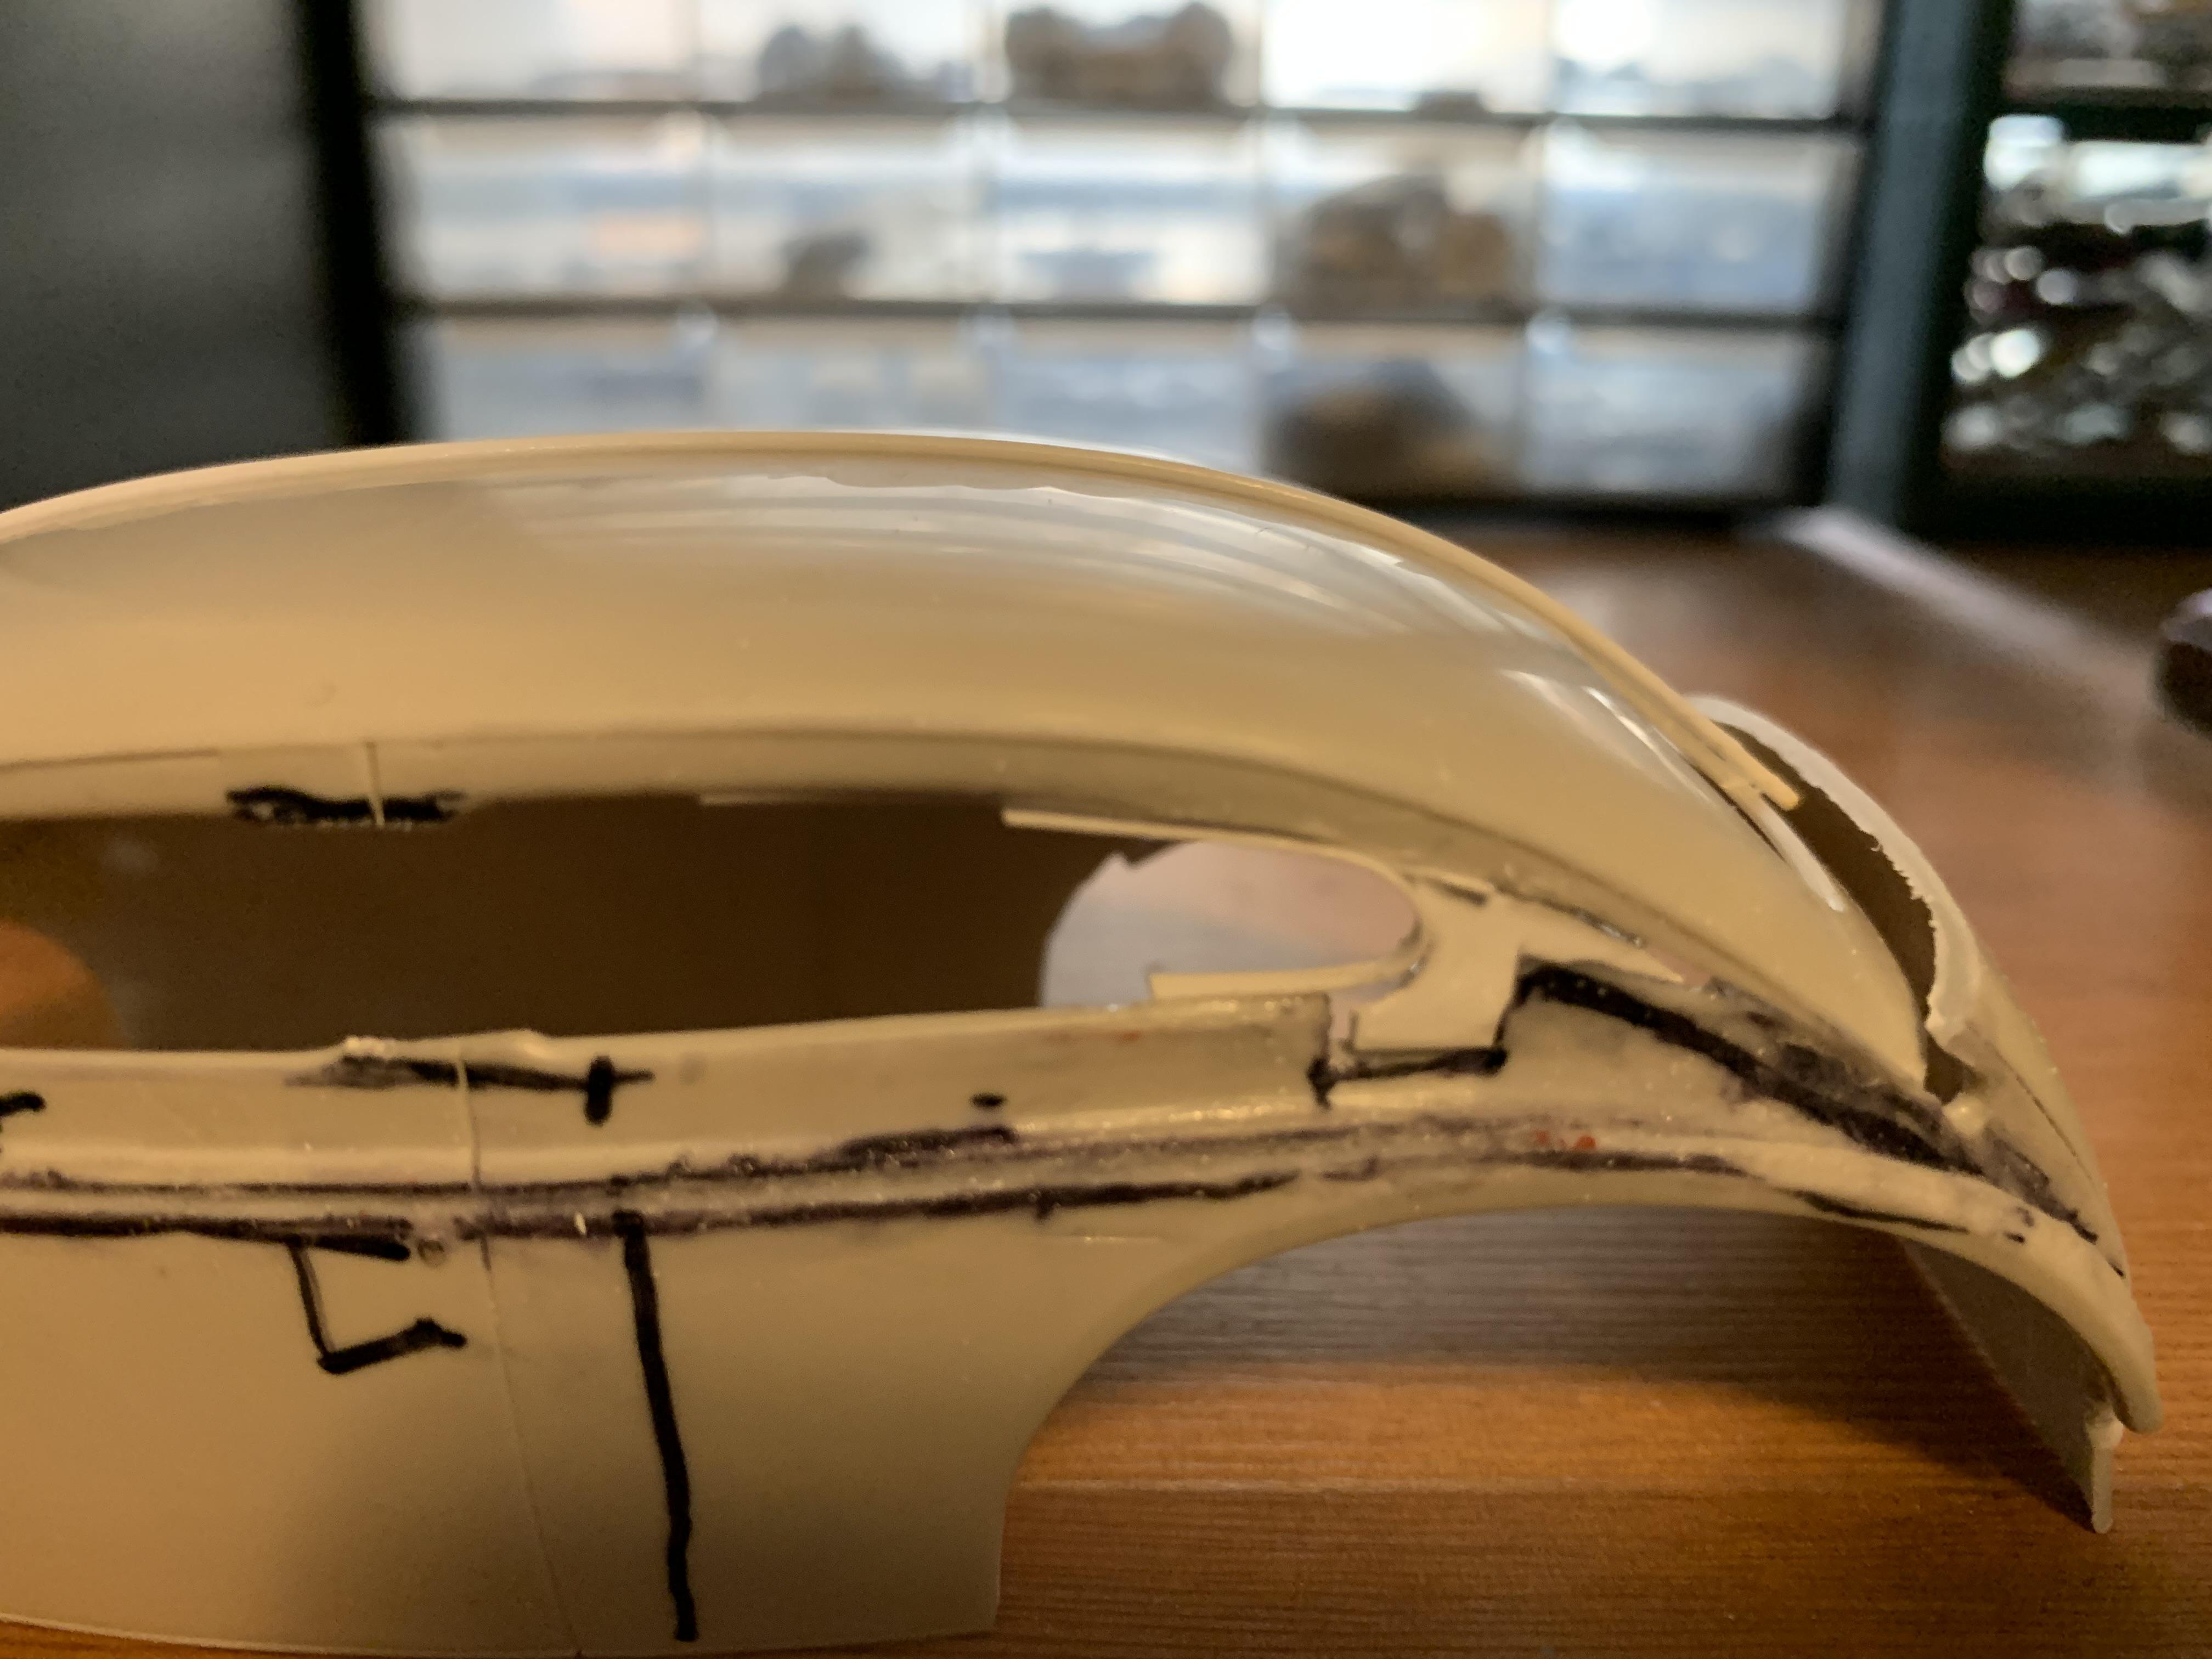
AMT 1939 Ford tudor sedan chopped and sectioned
Paul Payne replied to Paul Payne's topic in WIP: Model Cars
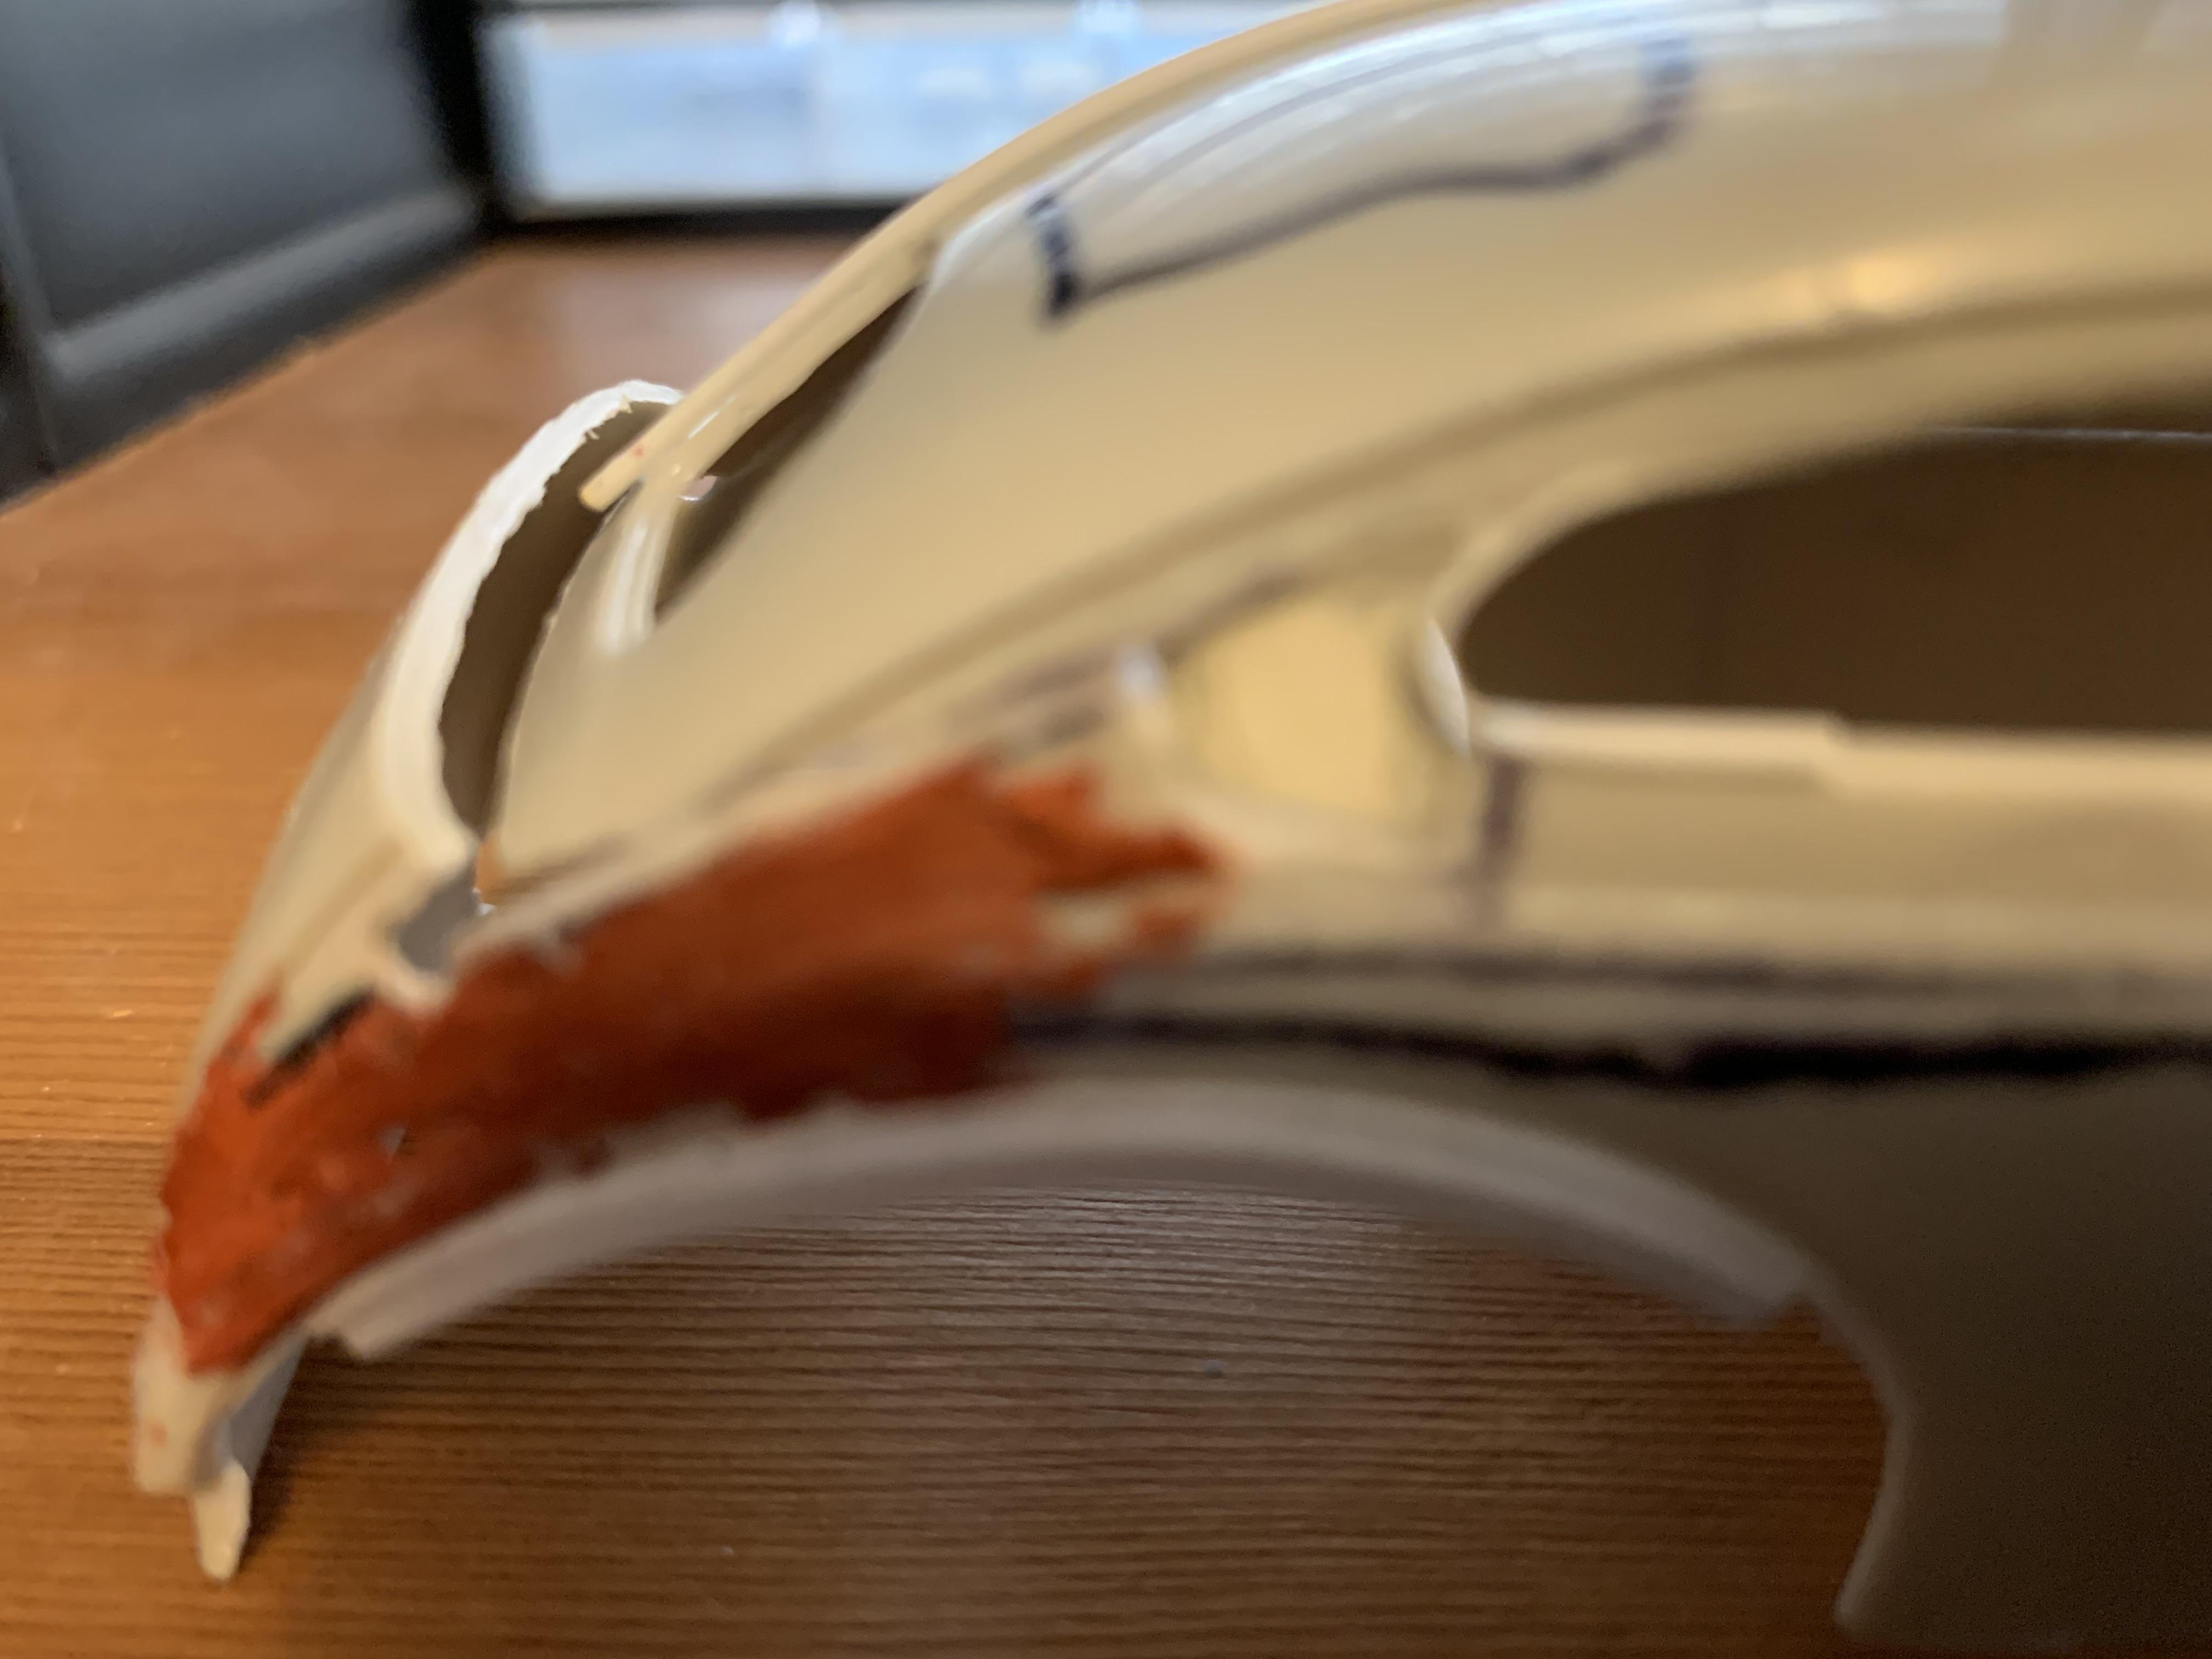
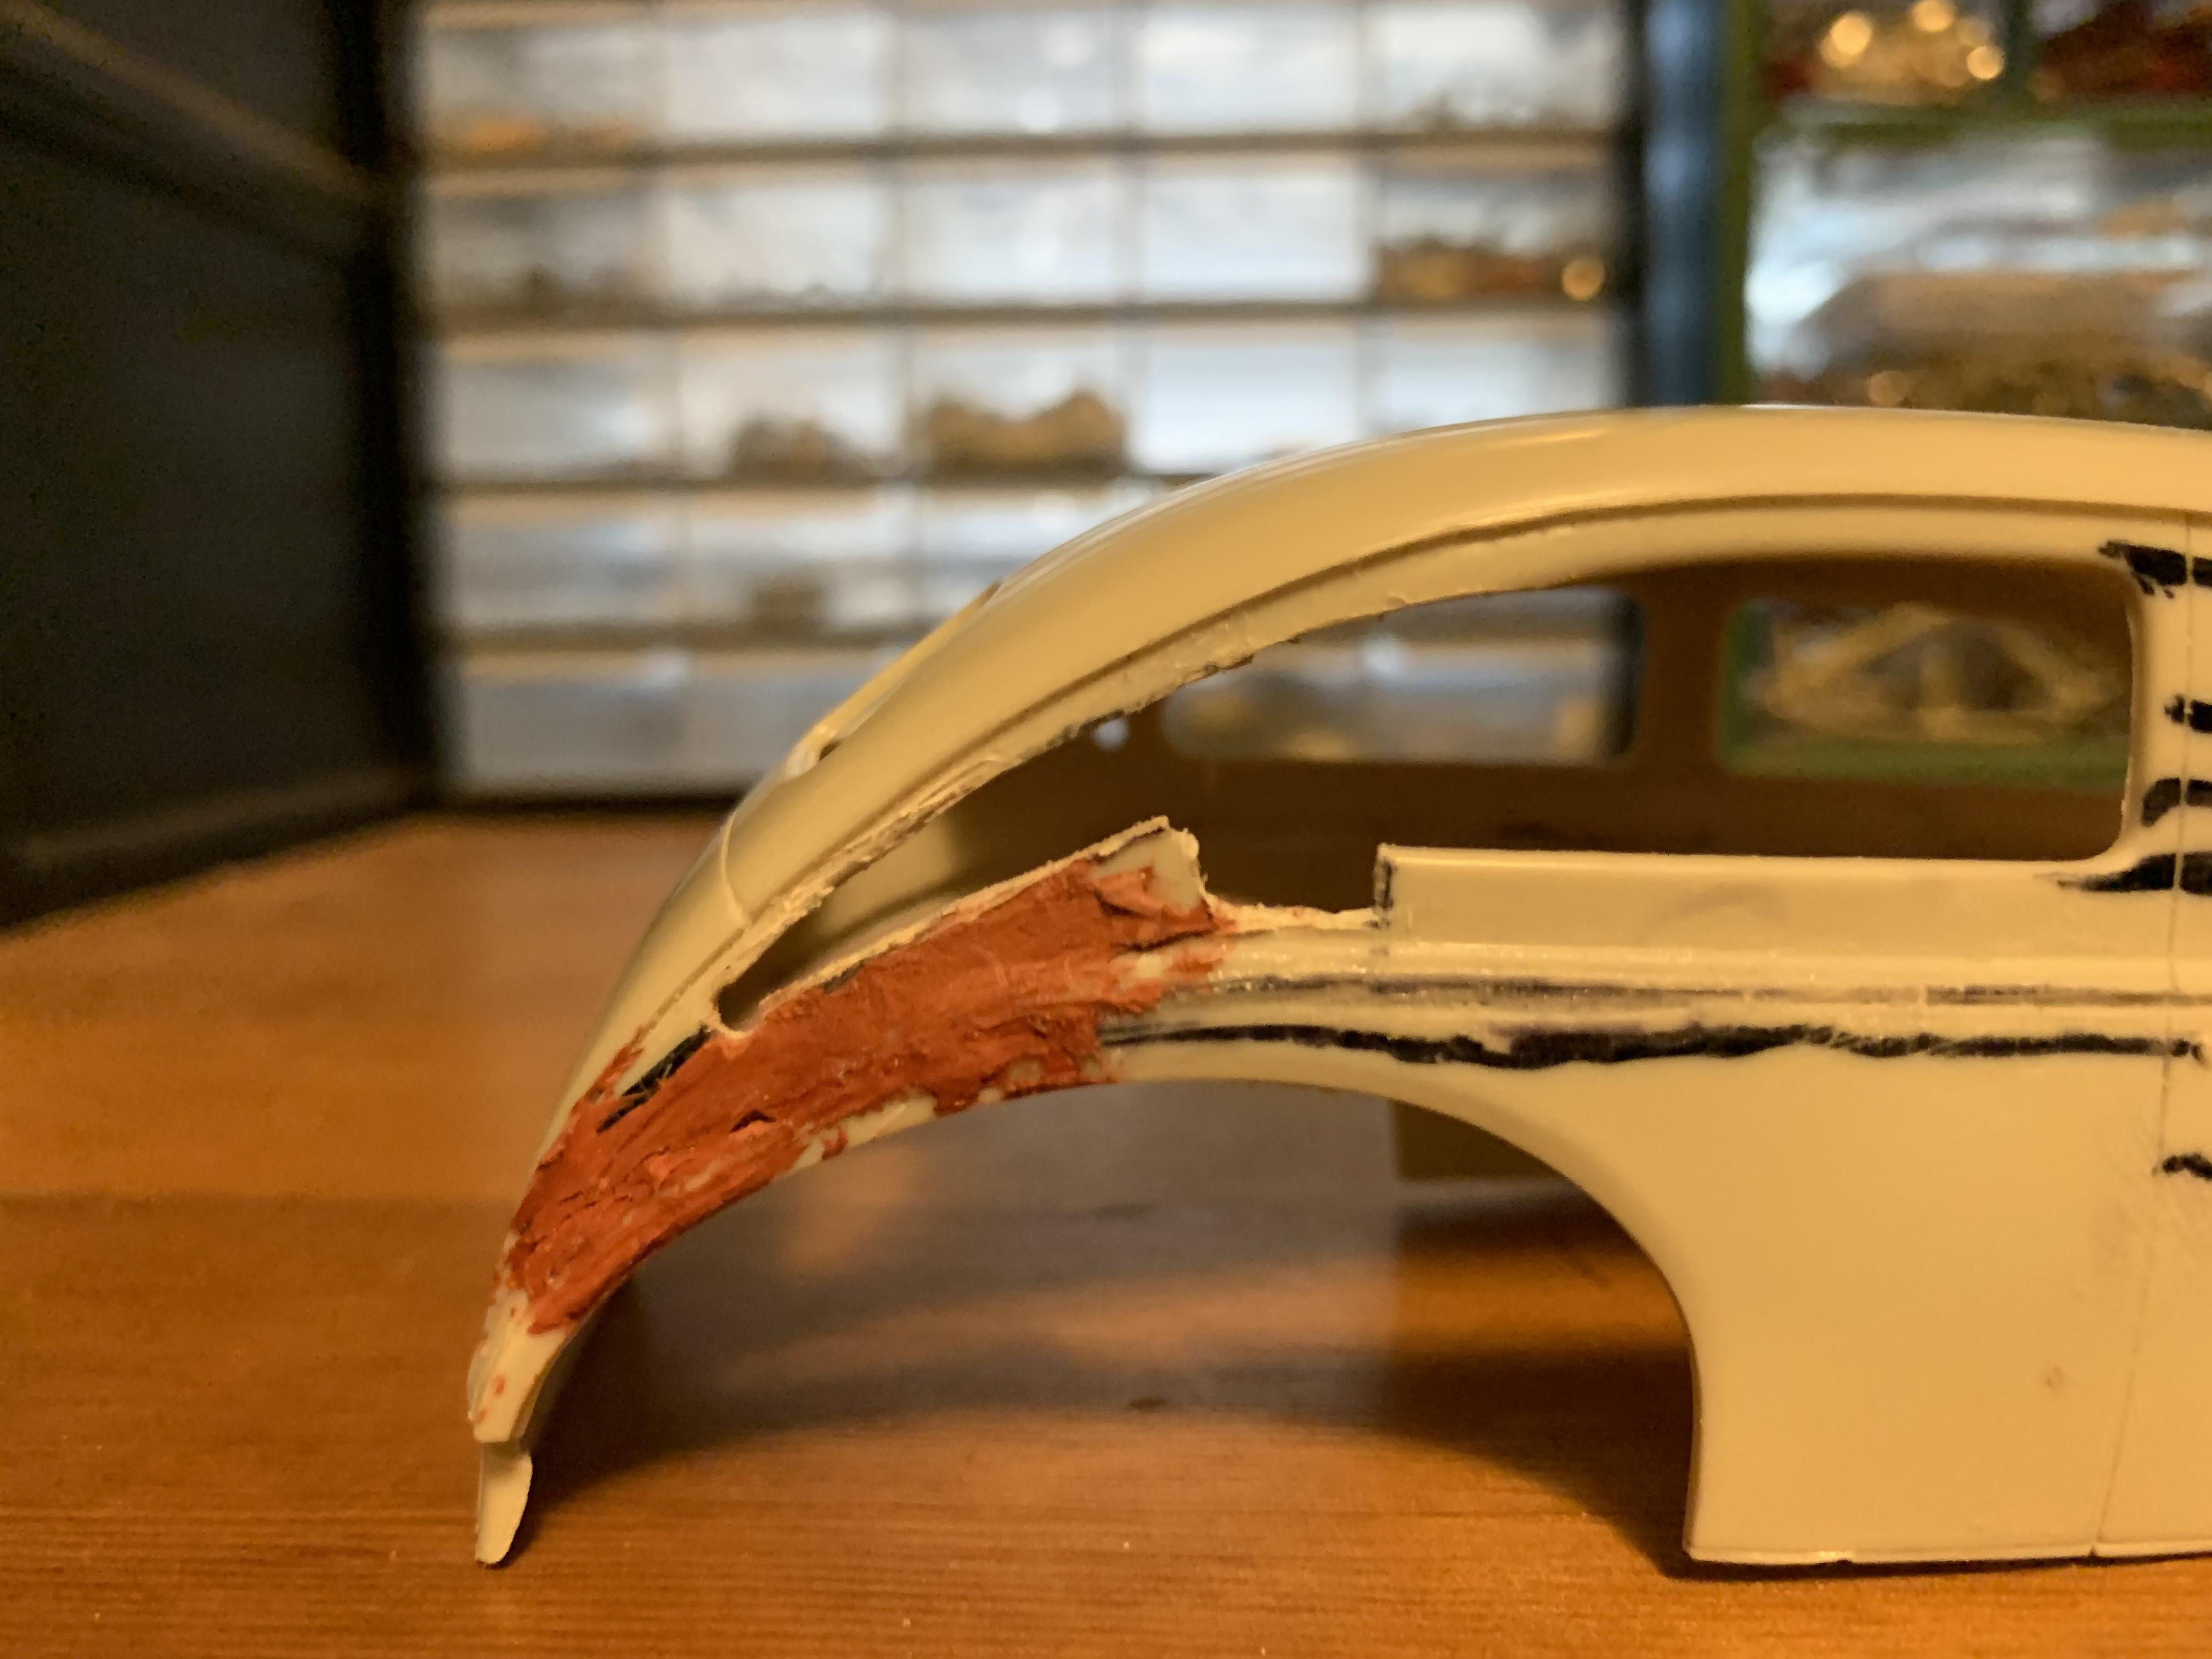
Made patch panels for the sail pillars after bending in the rear of the window openings using 0.010" x 0.060" stock. Lots of filling, blending and sculpting to do. Also laid in some stock in one wheel well- still needs sanding and blending- to cure a gap problem. Just for fun, decided to create a peak using 0.040 rod stock- this will be filled and blended and continued down the trunk lid.
-
Great model! Love the engine detailing! One of the great classics brought to life!
-
Nice 34 roadster!
-
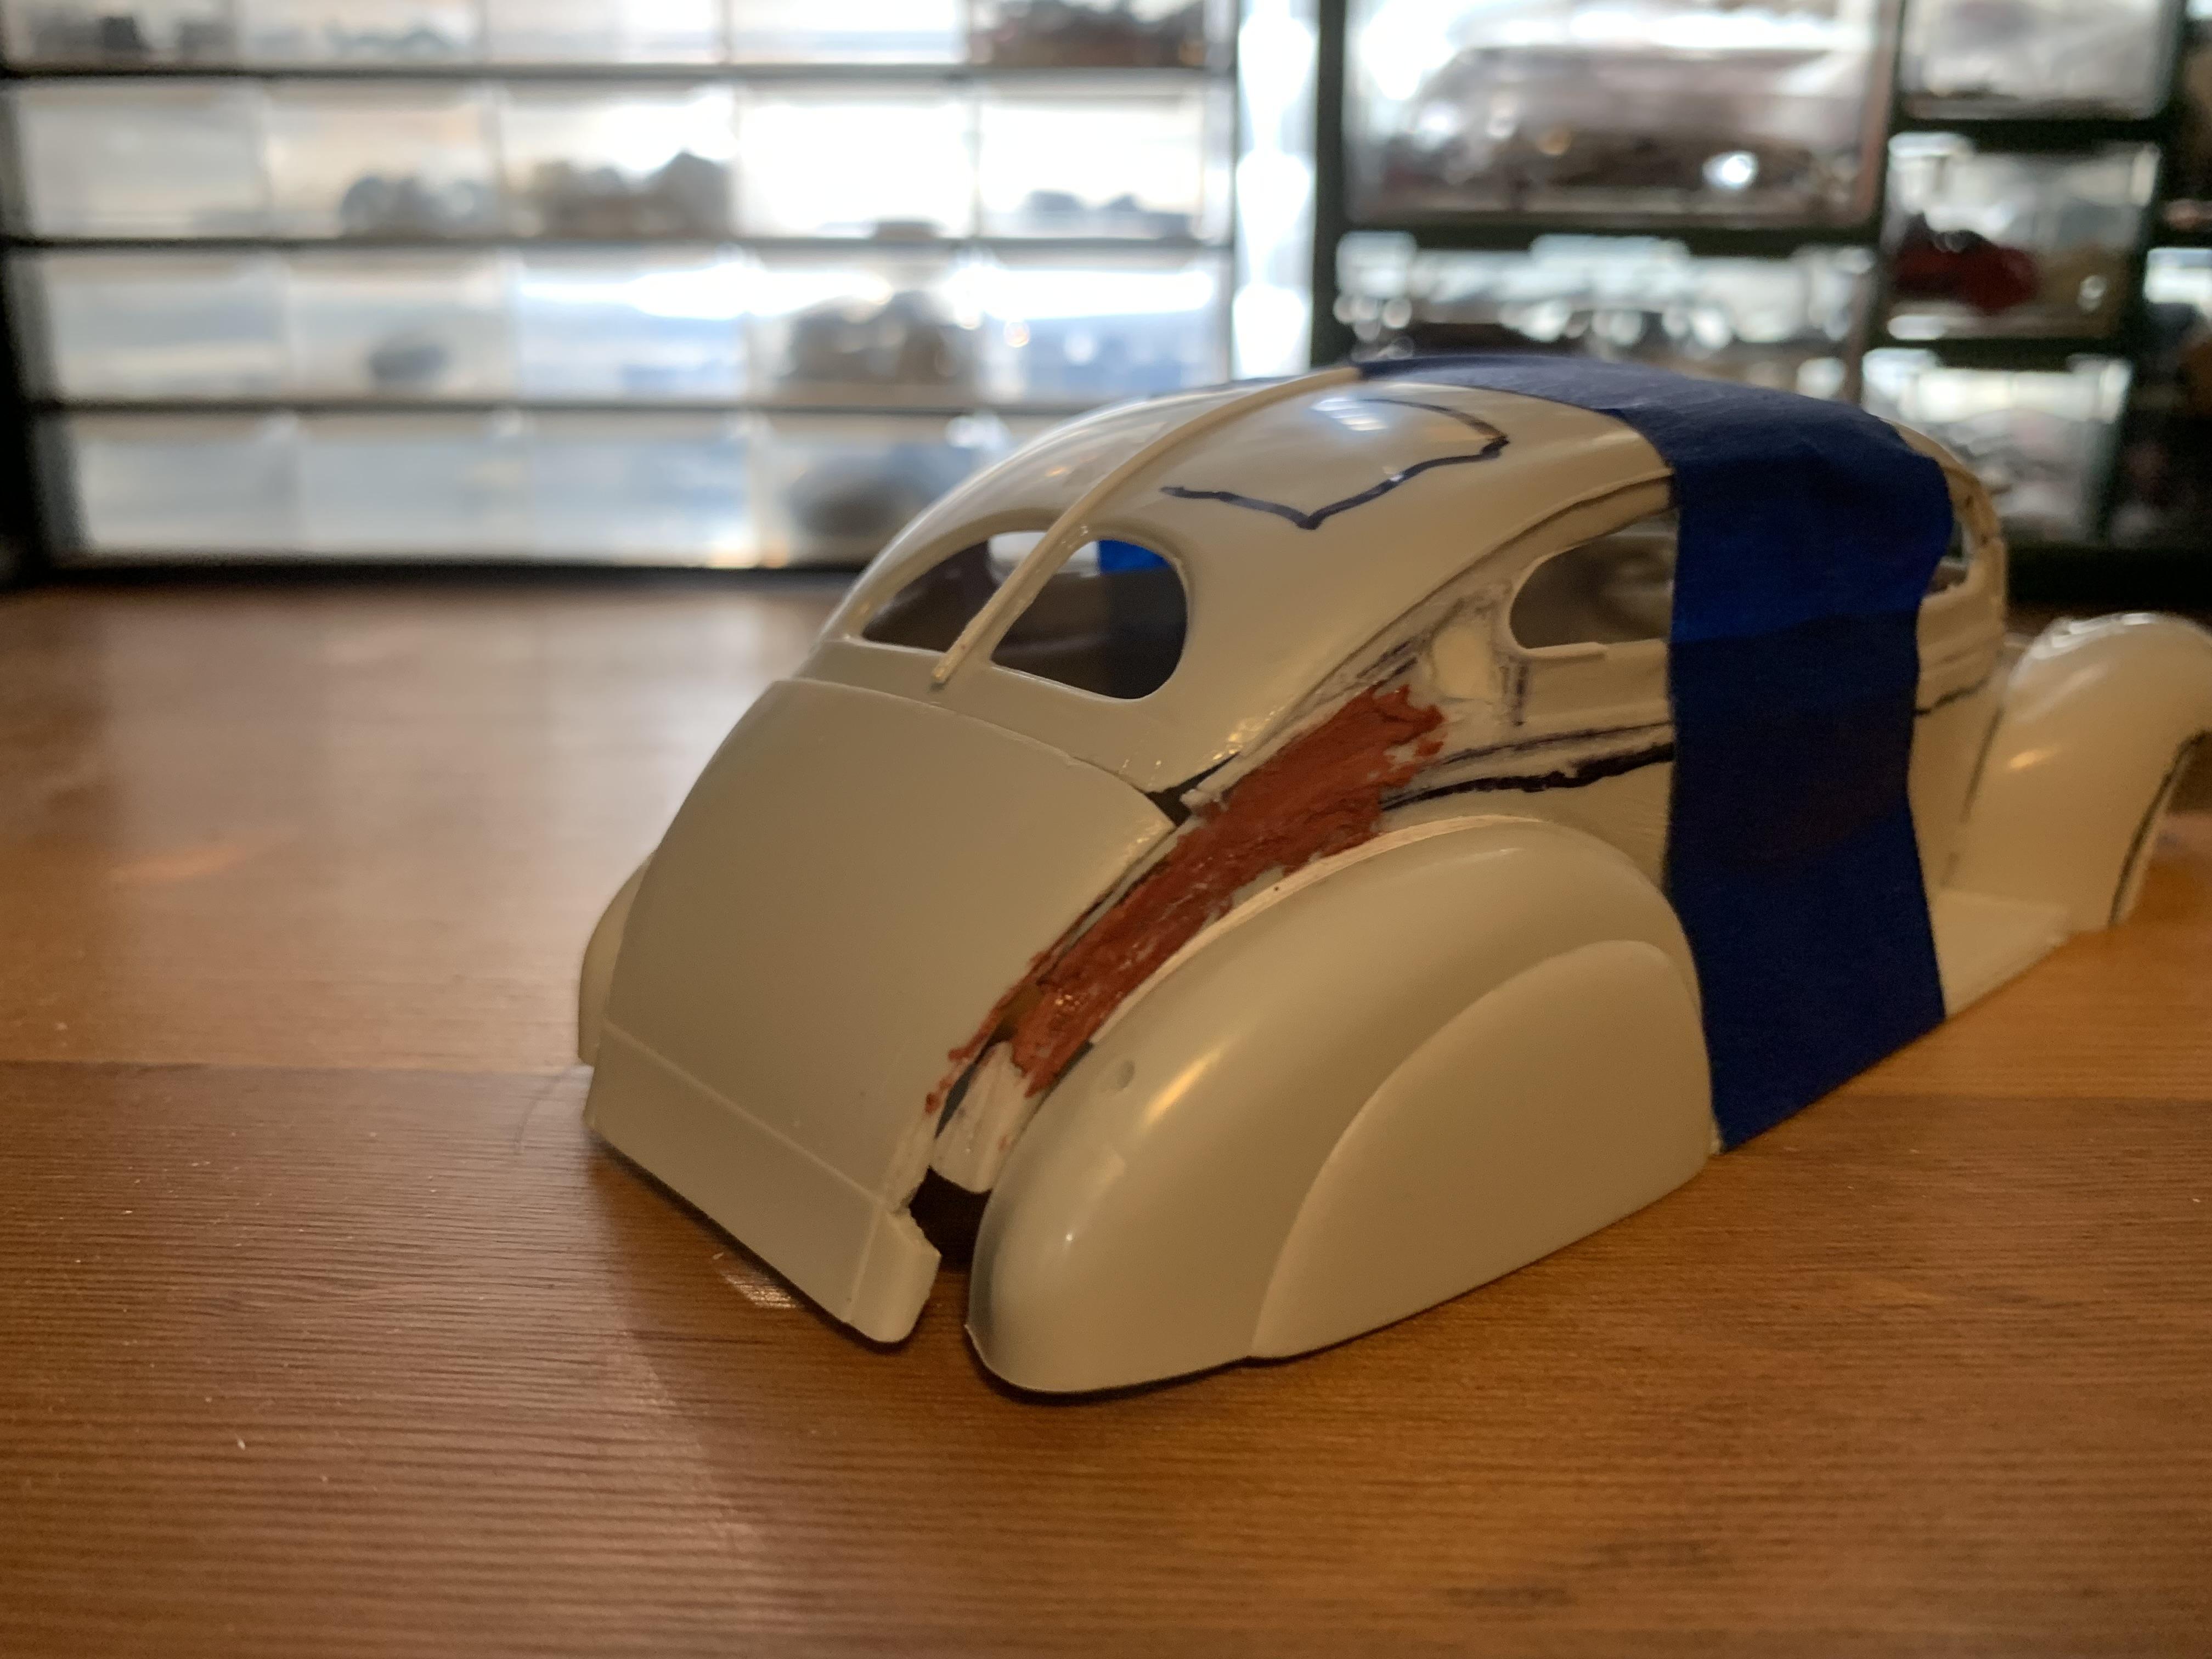
AMT 1939 Ford tudor sedan chopped and sectioned
Paul Payne replied to Paul Payne's topic in WIP: Model Cars
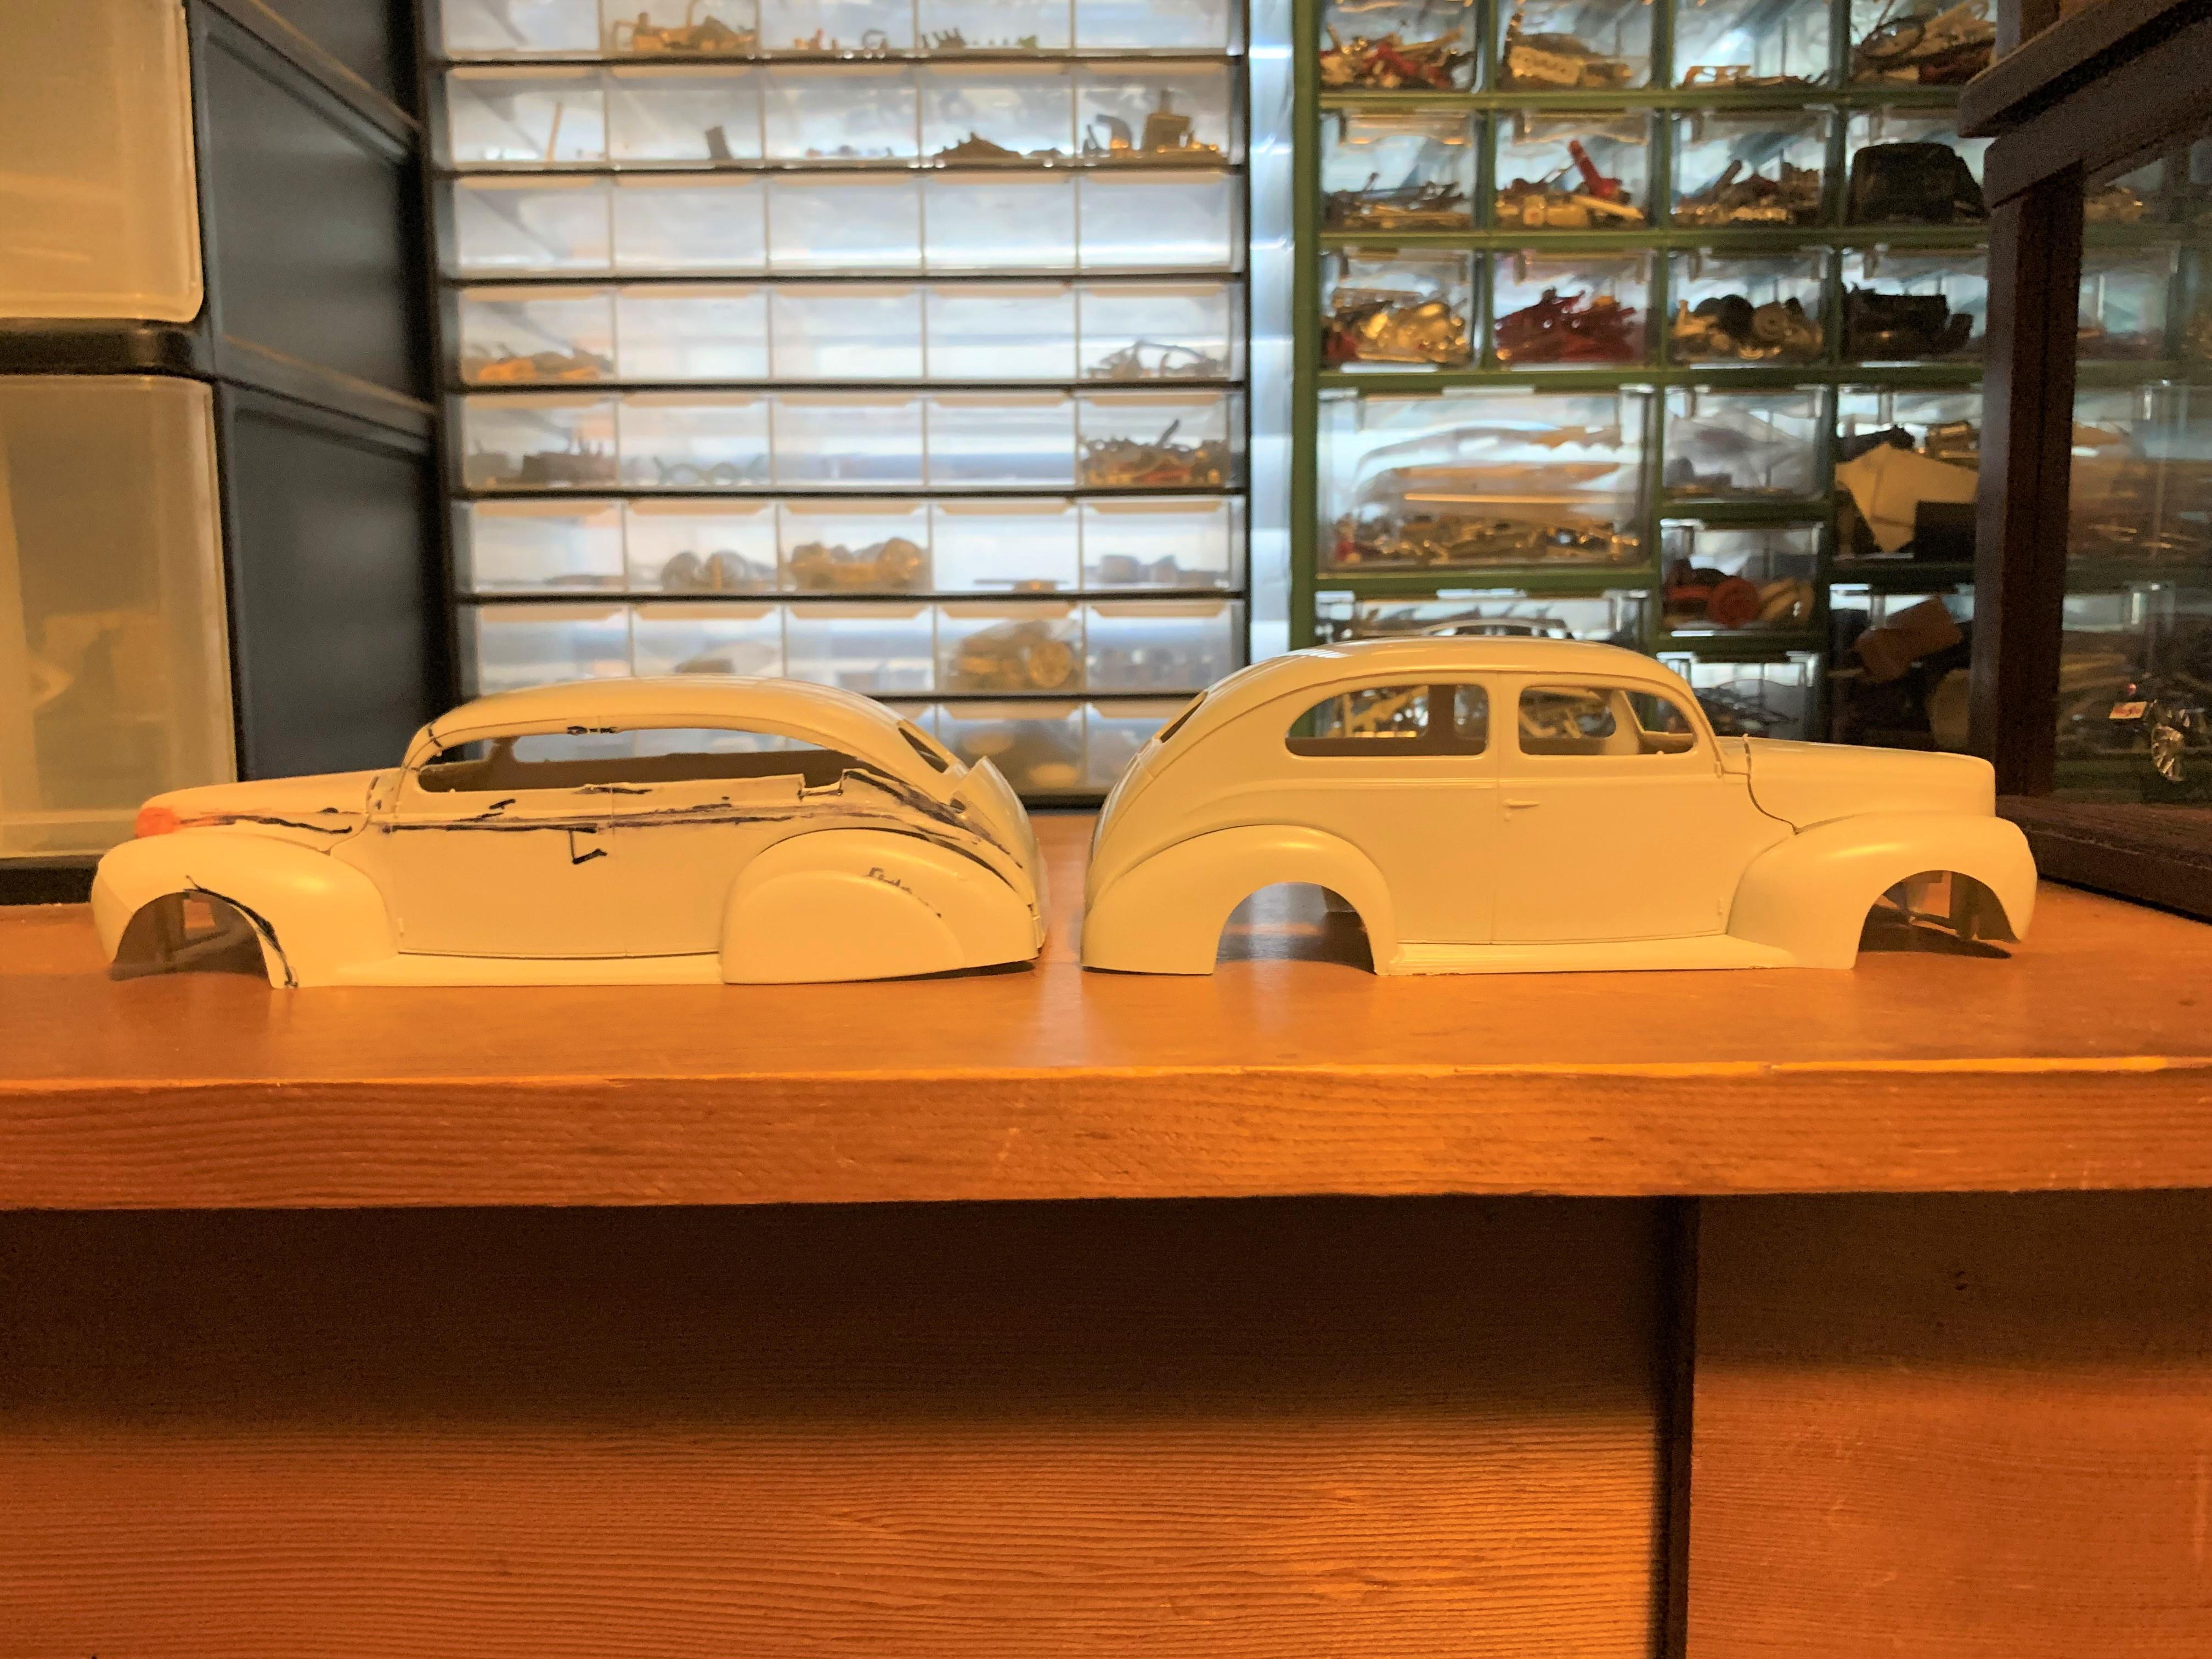
CHOPPED! Can't believe how well this turned out! The windshield area in particular is perfect on the first try, and the rear is square and level as well. The trunk, which was cut at the opening line to allow the top to lay down properly. This will take some thought and time to integrate properly, but still very promising. Everything tacked together with liquid styrene cement- after a final check I will start gluing my fingers, hopefully with some body parts, with super glue. BTW, the putty on the hood is because I sectioned the 40 hood instead of the 39 hood, so will recontour to match the 39 grille!
-
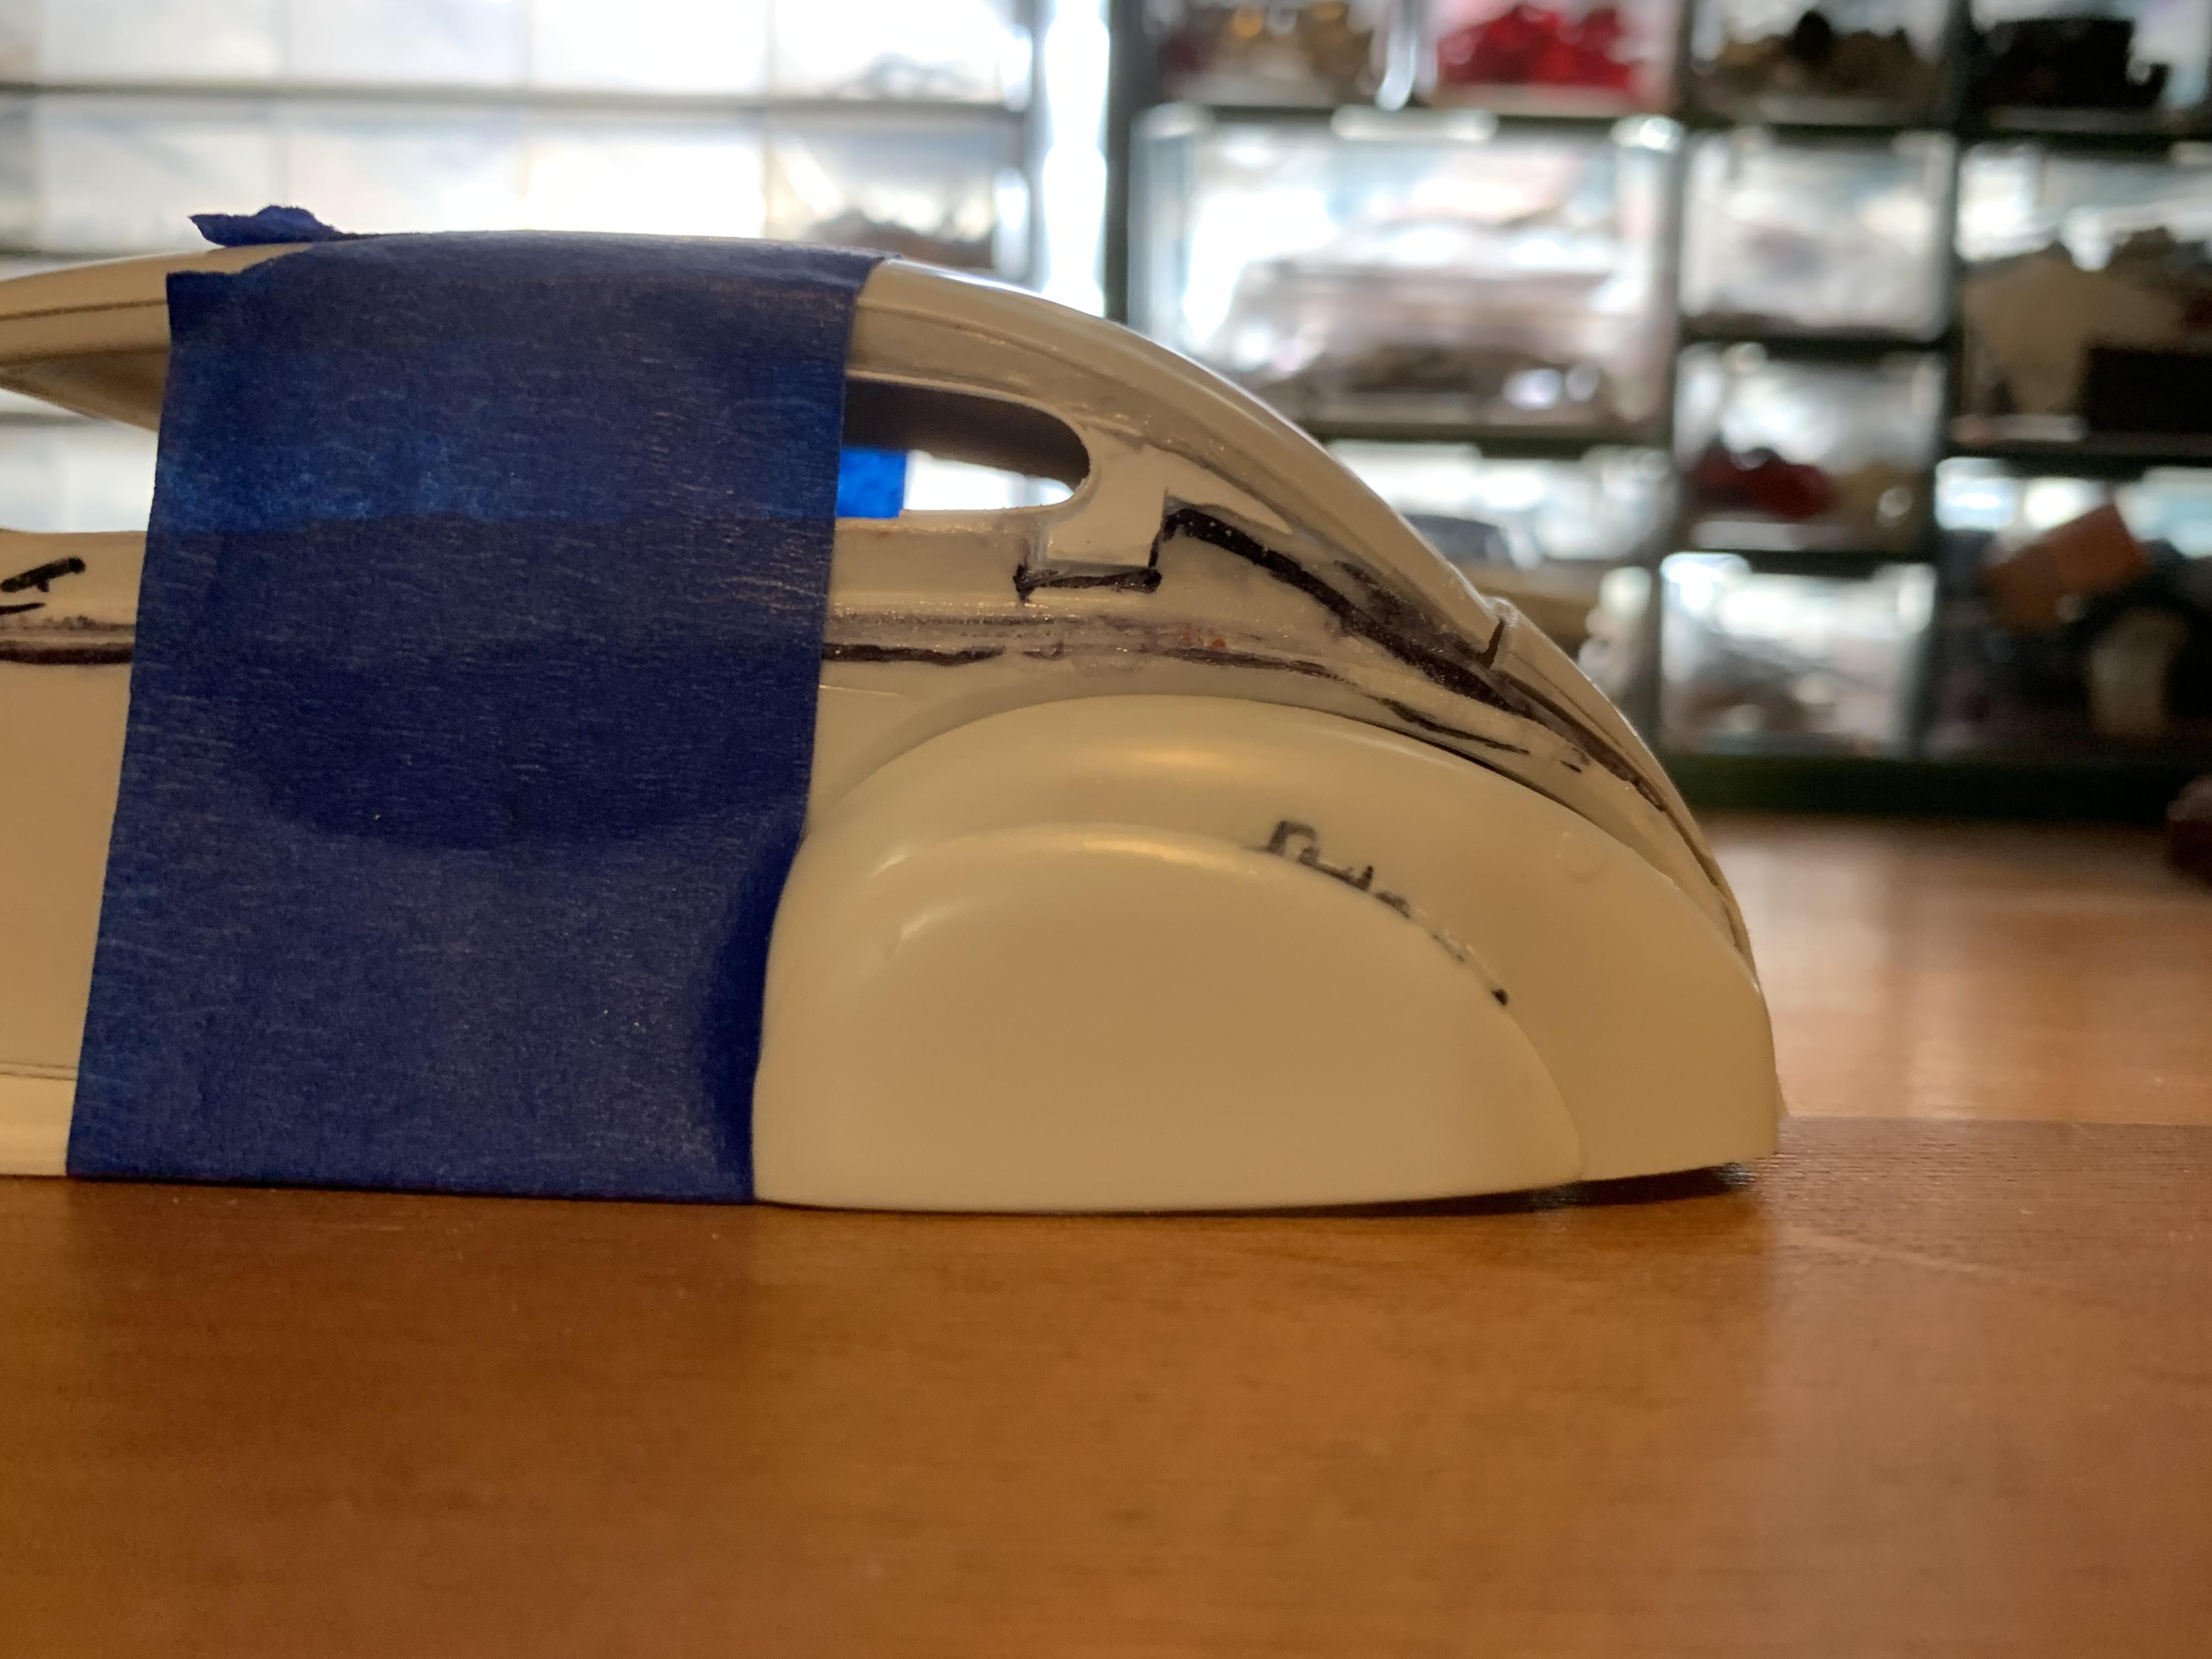
AMT 1939 Ford tudor sedan chopped and sectioned
Paul Payne replied to Paul Payne's topic in WIP: Model Cars
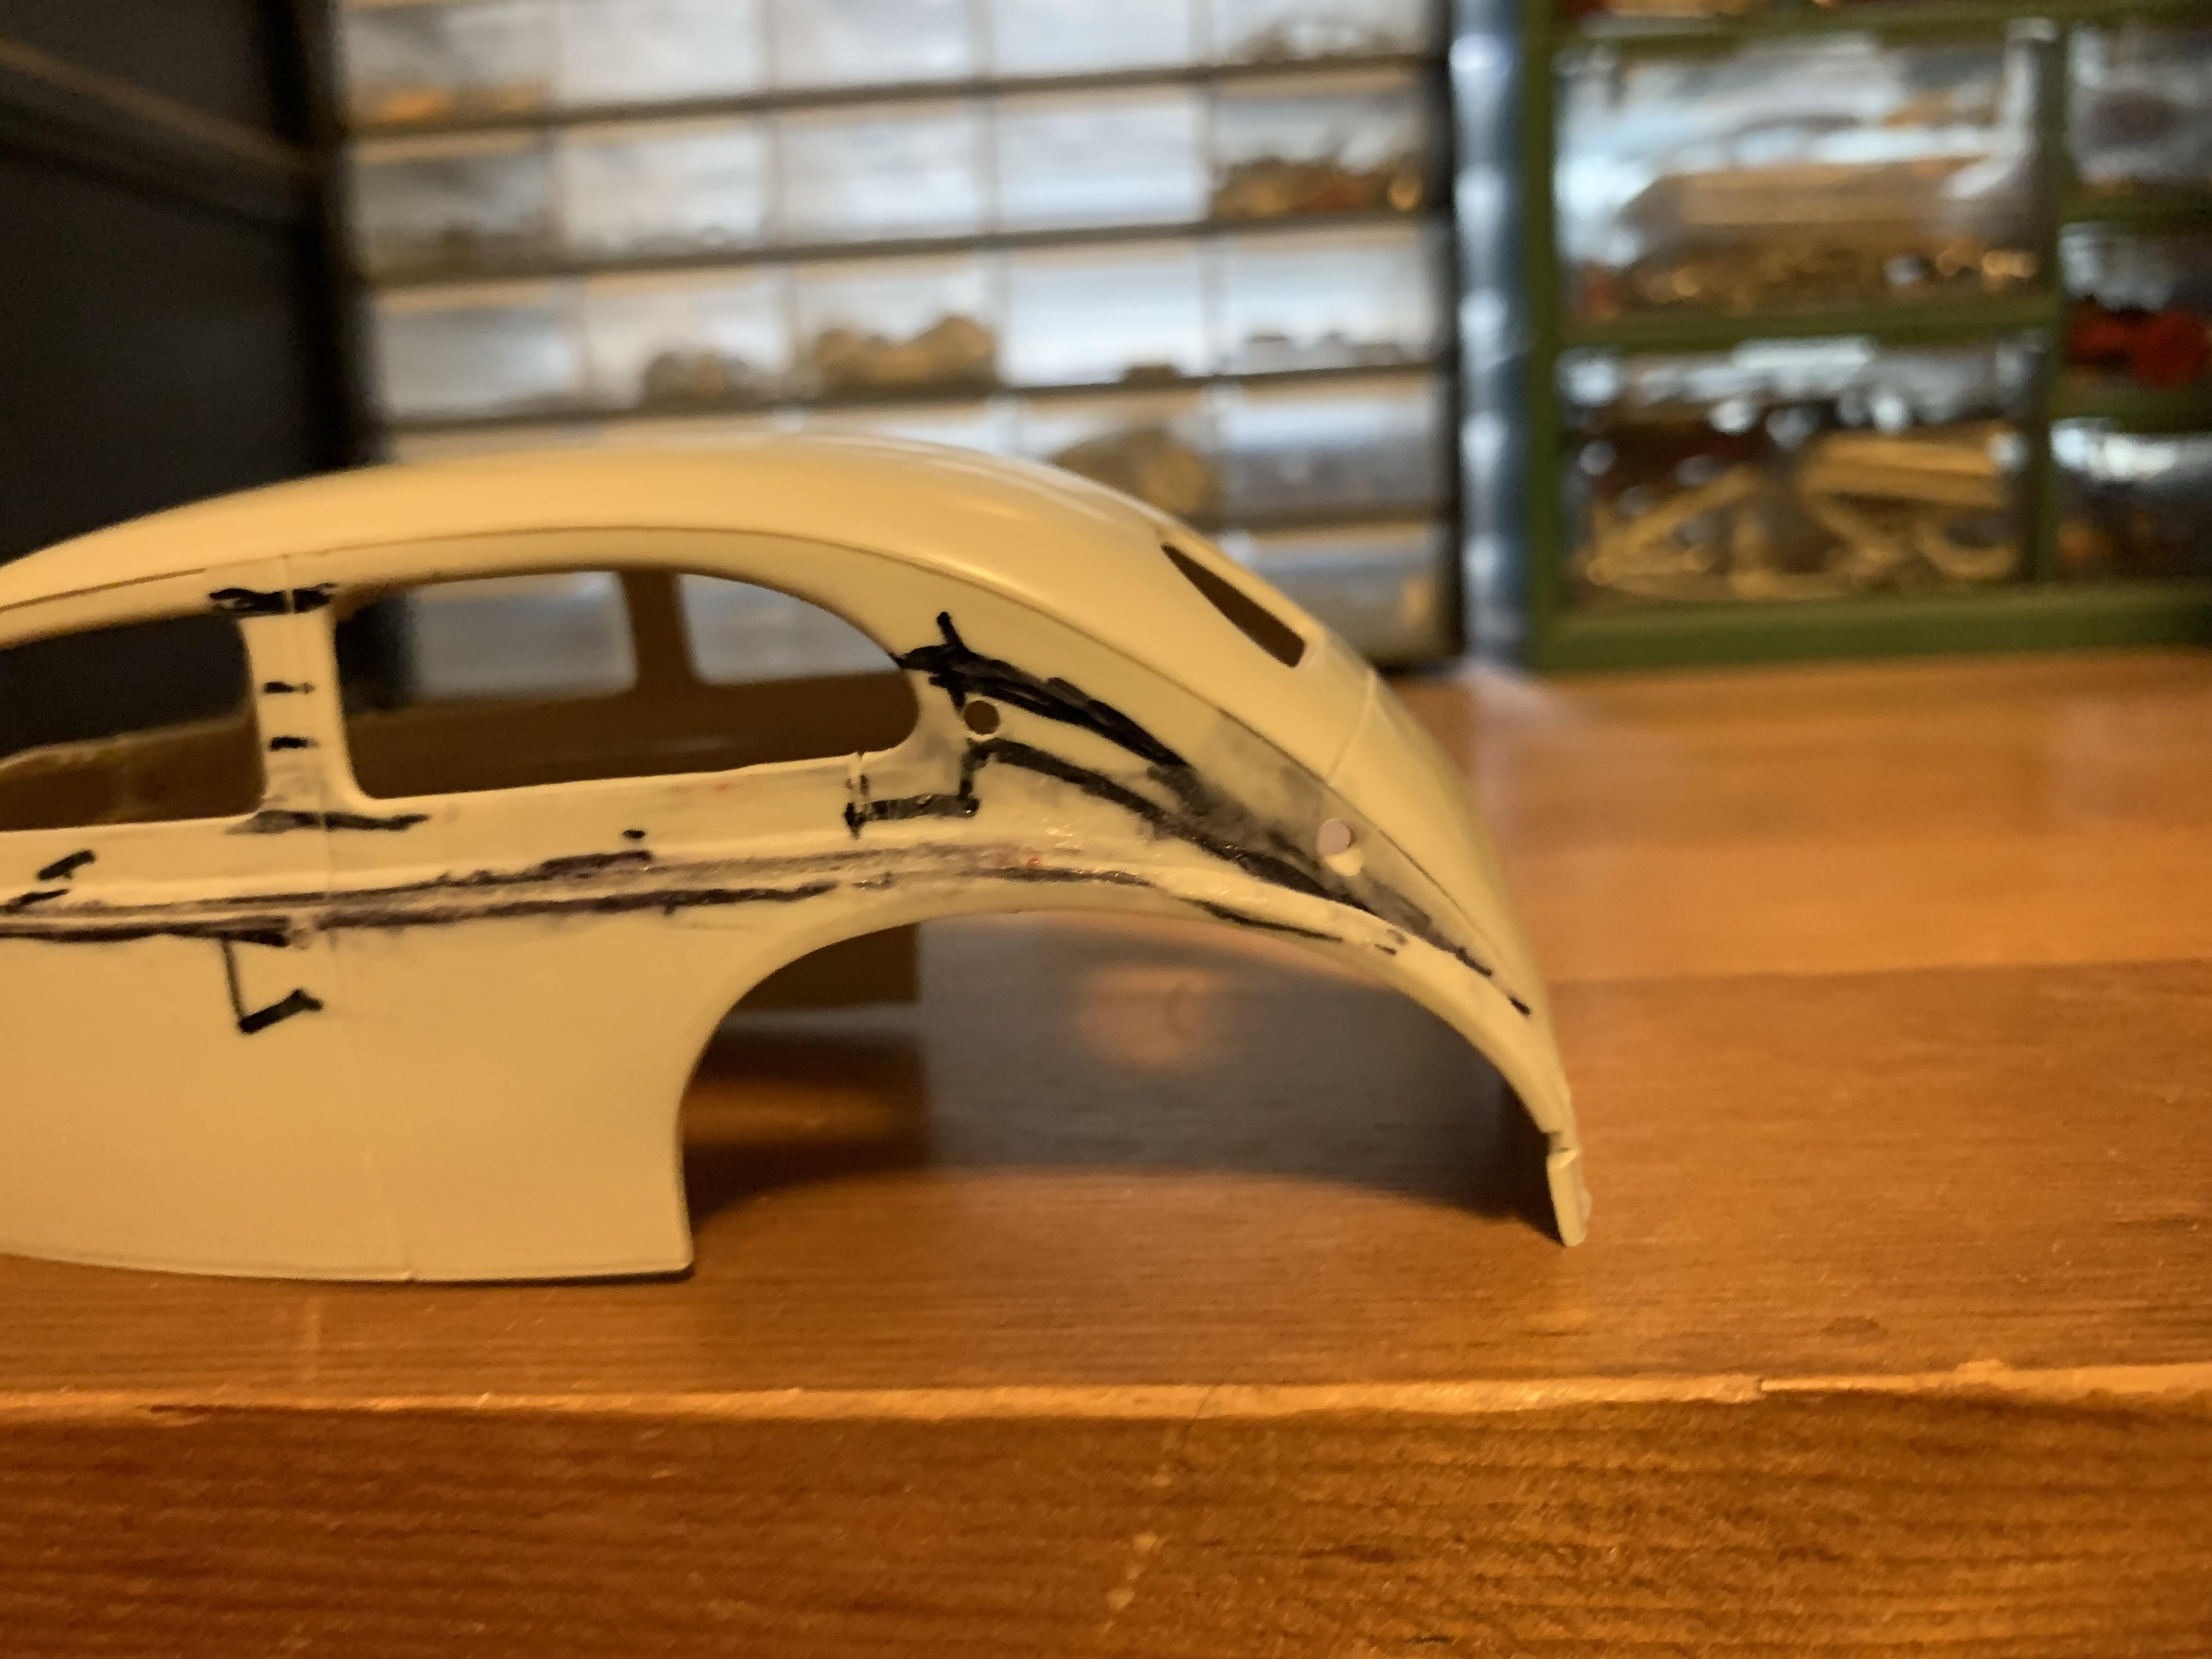
The top chop begins! I started by drilling two relief holes in each C pillar. Starting on the passenger side, I cut down where the rear window opening became horizontal. Next came scribing with my trusty mini saw, staying as parallel as possible to the drip molding. The next cut was to create the tapered cut to remove a curved wedge shape. Finally I cut free the rear of the window opening to preserve this for future use. Now for the driver's side!
-
AMT 1939 Ford tudor sedan chopped and sectioned
Paul Payne replied to Paul Payne's topic in WIP: Model Cars
Great to see all the interest in this project and I appreciate the feed back from all of you. Confirms that my ideas are on the right track! -
AMT 1939 Ford tudor sedan chopped and sectioned
Paul Payne replied to Paul Payne's topic in WIP: Model Cars
Thanks for reminding me where I found pix that inspired this project! Right now I am supergluing my fingers as well as gluing everything back together. Once the body is solid gain, I will start the top chopping. I have decided to lay back the windshield area, and since the B pillar will be removed and replaced with curved framing, I may also make the doors wider by rescribing the lines. Onward through the fog, forward never straight! More pix when I get more done! Warm enough today for a second coat of primer on the 62 GT Hawk as well (winter project). -
AMT 1939 Ford tudor sedan chopped and sectioned
Paul Payne replied to Paul Payne's topic in WIP: Model Cars
The goal is to get the top and bottom of the body glued solidly together for stability, then go for the top chop- still haven't decided to lay back the windshield- any thoughts? -
AMT 1939 Ford tudor sedan chopped and sectioned
Paul Payne replied to Paul Payne's topic in WIP: Model Cars
Had to superglue the cowl first to line up the front door lines. Will try to coax the rest of the body bit by bit into position- sort of tack welding in plastic! -
AMT 1939 Ford tudor sedan chopped and sectioned
Paul Payne replied to Paul Payne's topic in WIP: Model Cars
My initial attempt to glue the upper and lower body pieces was not successful, primarily due to difficult alignment at the door lines as well as the tendency for the lower body at the rear migrating away from the rear fenders. I will try taping the lower body to the fenders, and possibly adding a temporary spacer piece in the area. For radical body work like this similar procedures would be used on a real car!