alan barton
-
Posts
2,105 -
Joined
-
Last visited
Content Type
Profiles
Forums
Events
Gallery
Everything posted by alan barton
-
Looking for the identity of this 1/25 kit
alan barton replied to '70 Grande's topic in Model Building Questions and Answers
MArk< I can tell you that this is the Lindberg 1925 Ford Tall T. The clues are the blue coloured plastic and the cutout in the rear turtledeck for an electrically driven rear axle. It appears that Lindberg bought an AMT 25 T, shrunk it to about 1/27th scale to avoid copyright and then stuck it on the market. If you park it alongside an AMT version, you will see that it is slightly smaller in all dimensions. having said that, you can use any AMT 1923 or 1925 kit parts to help restore it, or use whatever you like and go full bore hot rod. It did originally have a nicely detailed flathead in it. I will try and get you a photo of my original build. Cheers Alan -
37 Chevy Coupe Modified
alan barton replied to raisin27's topic in Stock Cars (NASCAR, Super Stock, Late Model, etc.)
A beautiful build of a legendary car. Congratulations on the win! Cheers Alan -
Richard Petty race car hauler
alan barton replied to Mopar - D's topic in WIP: Model Trucks: Big Rigs and Heavy Equipment
I'm a big fan of race team combos and this one really ahs the look. Your hard work referencing the original rig and detailing it to match ahs really paid off! Cheers Alan -
Mission Impossible - American Graffiti cop car from a wreck
alan barton replied to alan barton's topic in WIP: Model Cars
You're dead right there, David! It cleaned up surprisingly well and a light coat of primer today revealed a fairly invisible repair - phheww! Unfortunately it also revealed a few highs and lows on the roof, just a little smaller than the Rockies but disturbing none the less. I hate to think that it might be old age but as I knew there were some issues on the roof and as I shadow coated it and then blocksanded the entire roof til it was silky smooth, I thought, I do question how I missed such obviuos flaws. it was another bummer to find that, Iike the kids in the back of a station wagon on vacation, I wasn't there yet! Doing some more block sanding tonight and then I will try again tomorrow. Cheers Alan -
Mission Impossible - American Graffiti cop car from a wreck
alan barton replied to alan barton's topic in WIP: Model Cars
Thanks for that information, Dave, that makes perfect sense! It seems rather indulgent to go to all that trouble when it really made no difference whatsoever to the operation of the car but hey, I guess the American auto industry was close to at its peak in that era so they just did it anyway! Now that I think about it, a small number of our home grown Aussie sedans in the late sixties/early seventies had formal rooflines on an otherwise standard four door sedan so we weren't immune to it either. Glad you are enjoying the build. I will be glad when it is finished because it is distracting me from other more worthy hot rod projects but it certainly ahs been a learning experience! Thank you, Ismo, for your comments. I always enjoyed the builds of Juha Airio, one of your countrymen, I believe. Cheers Alan -
Mission Impossible - American Graffiti cop car from a wreck
alan barton replied to alan barton's topic in WIP: Model Cars
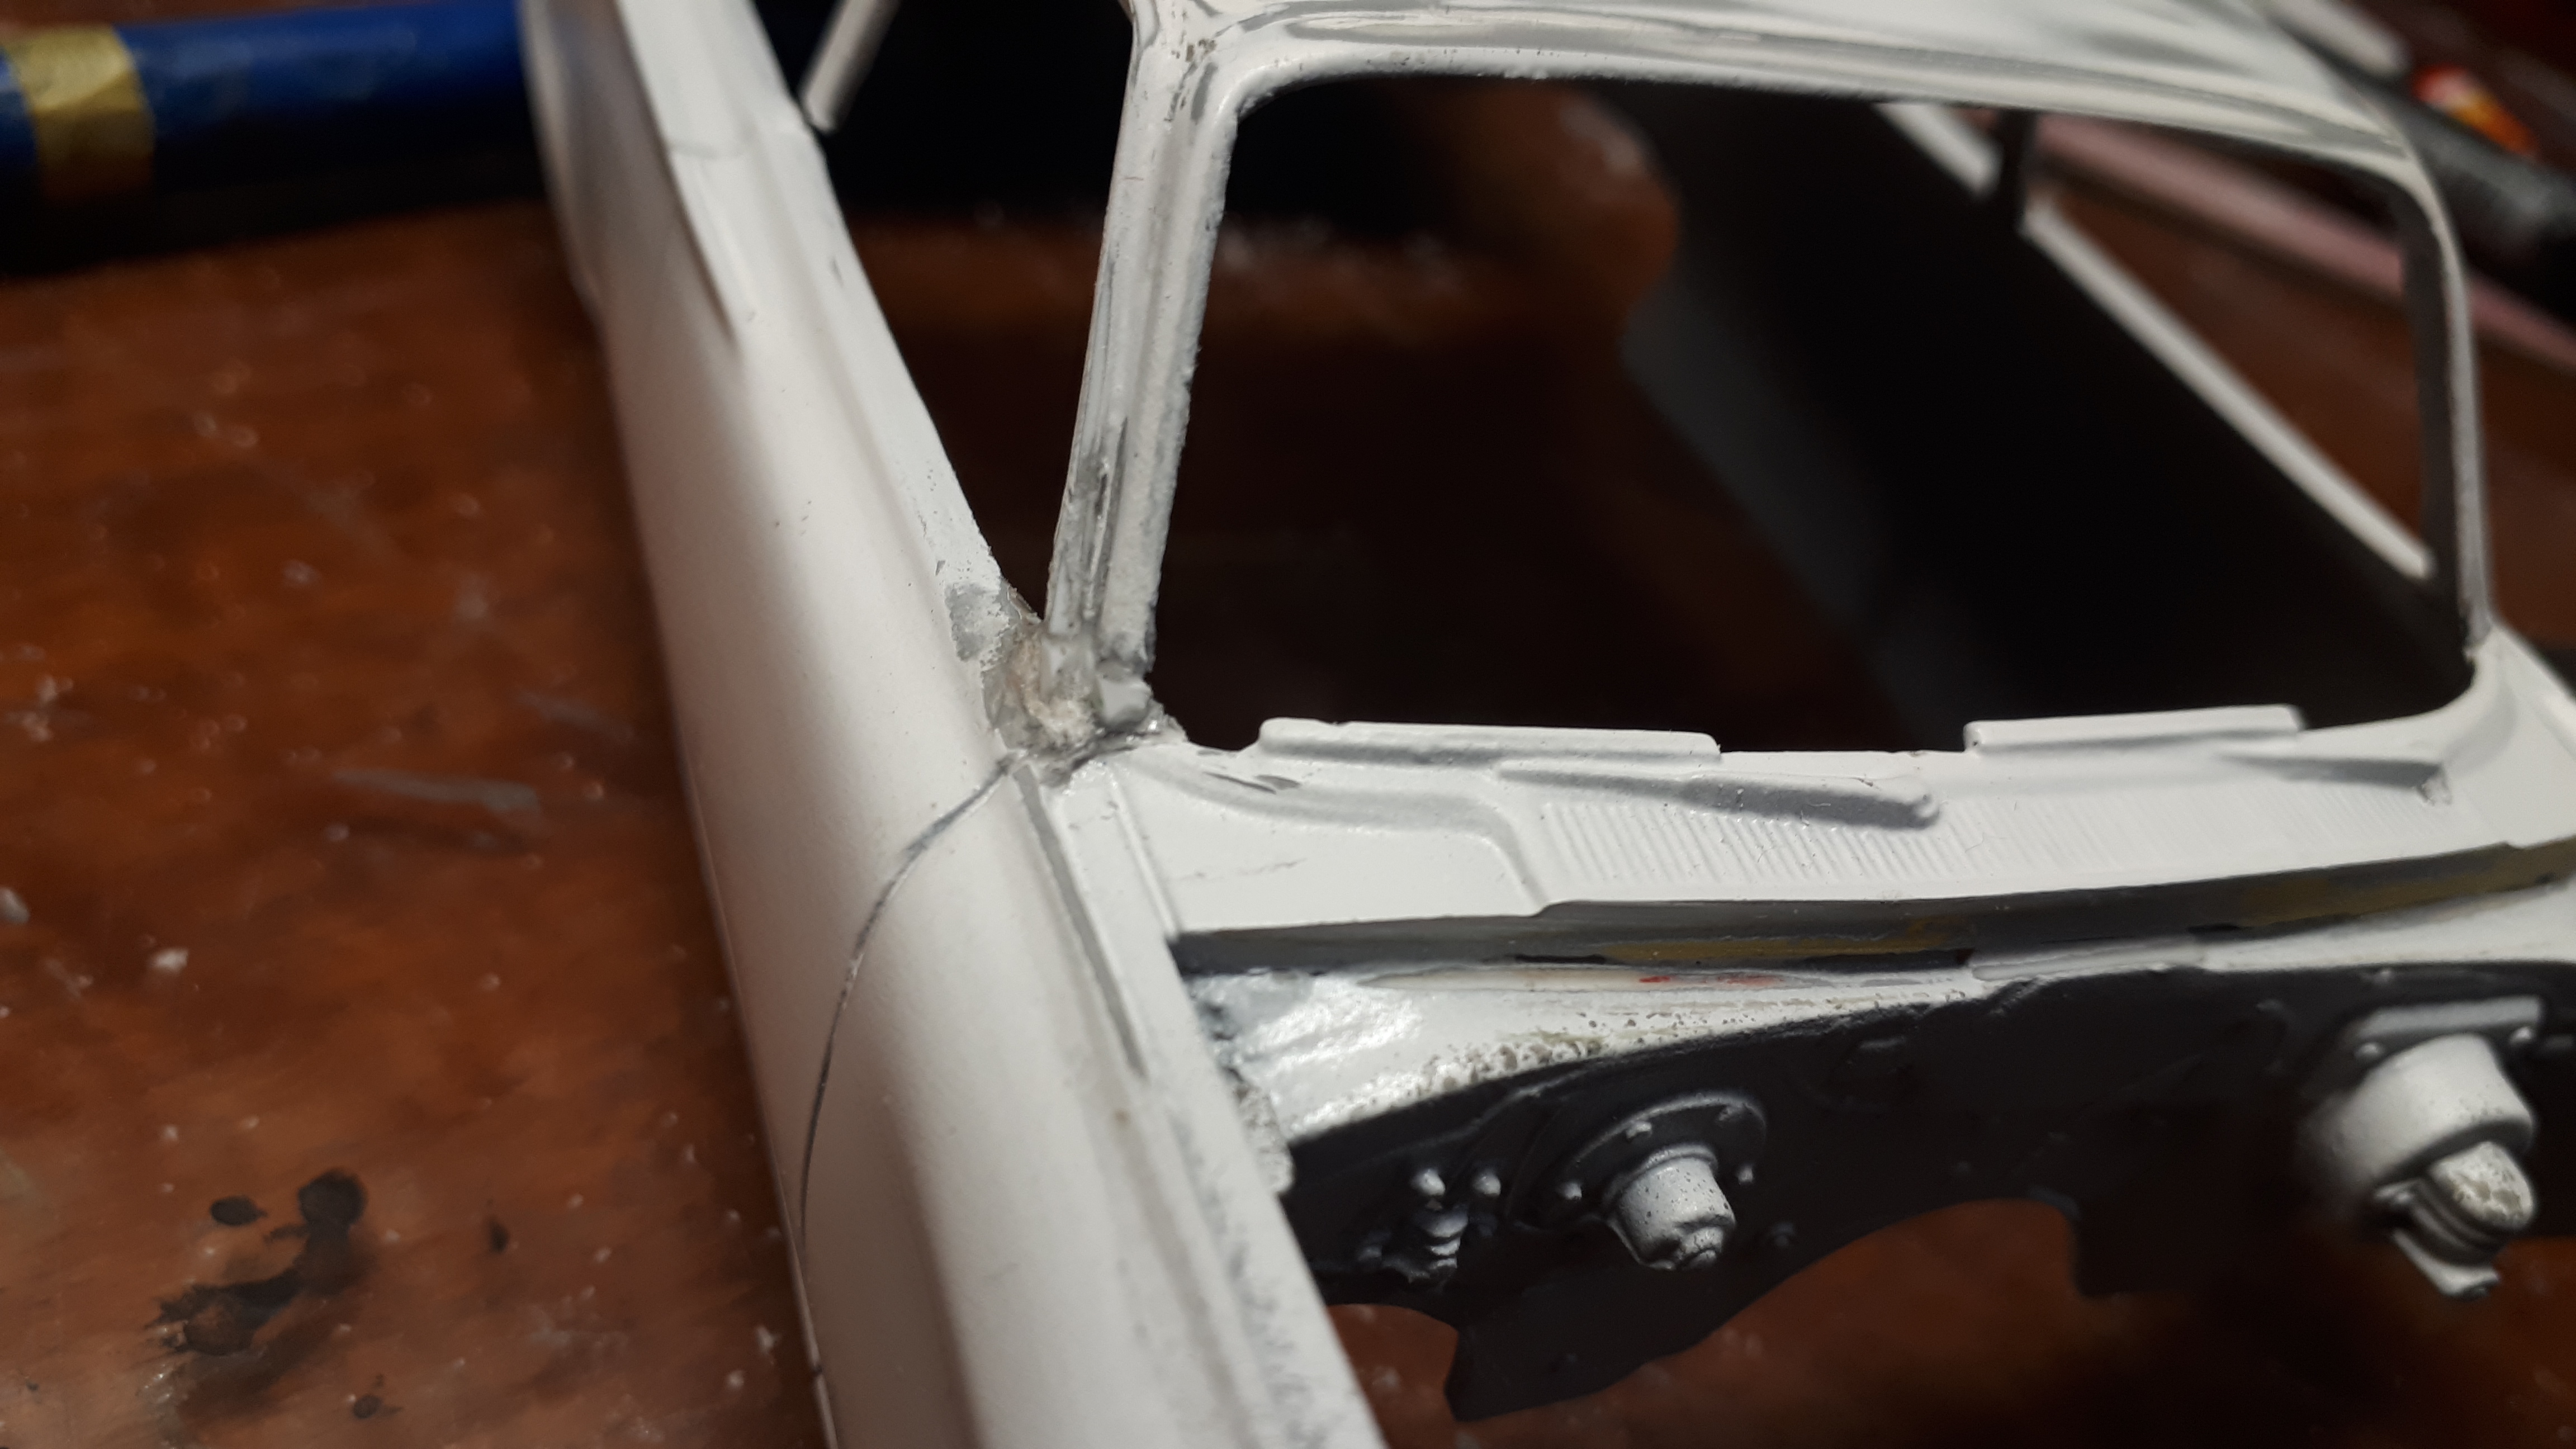
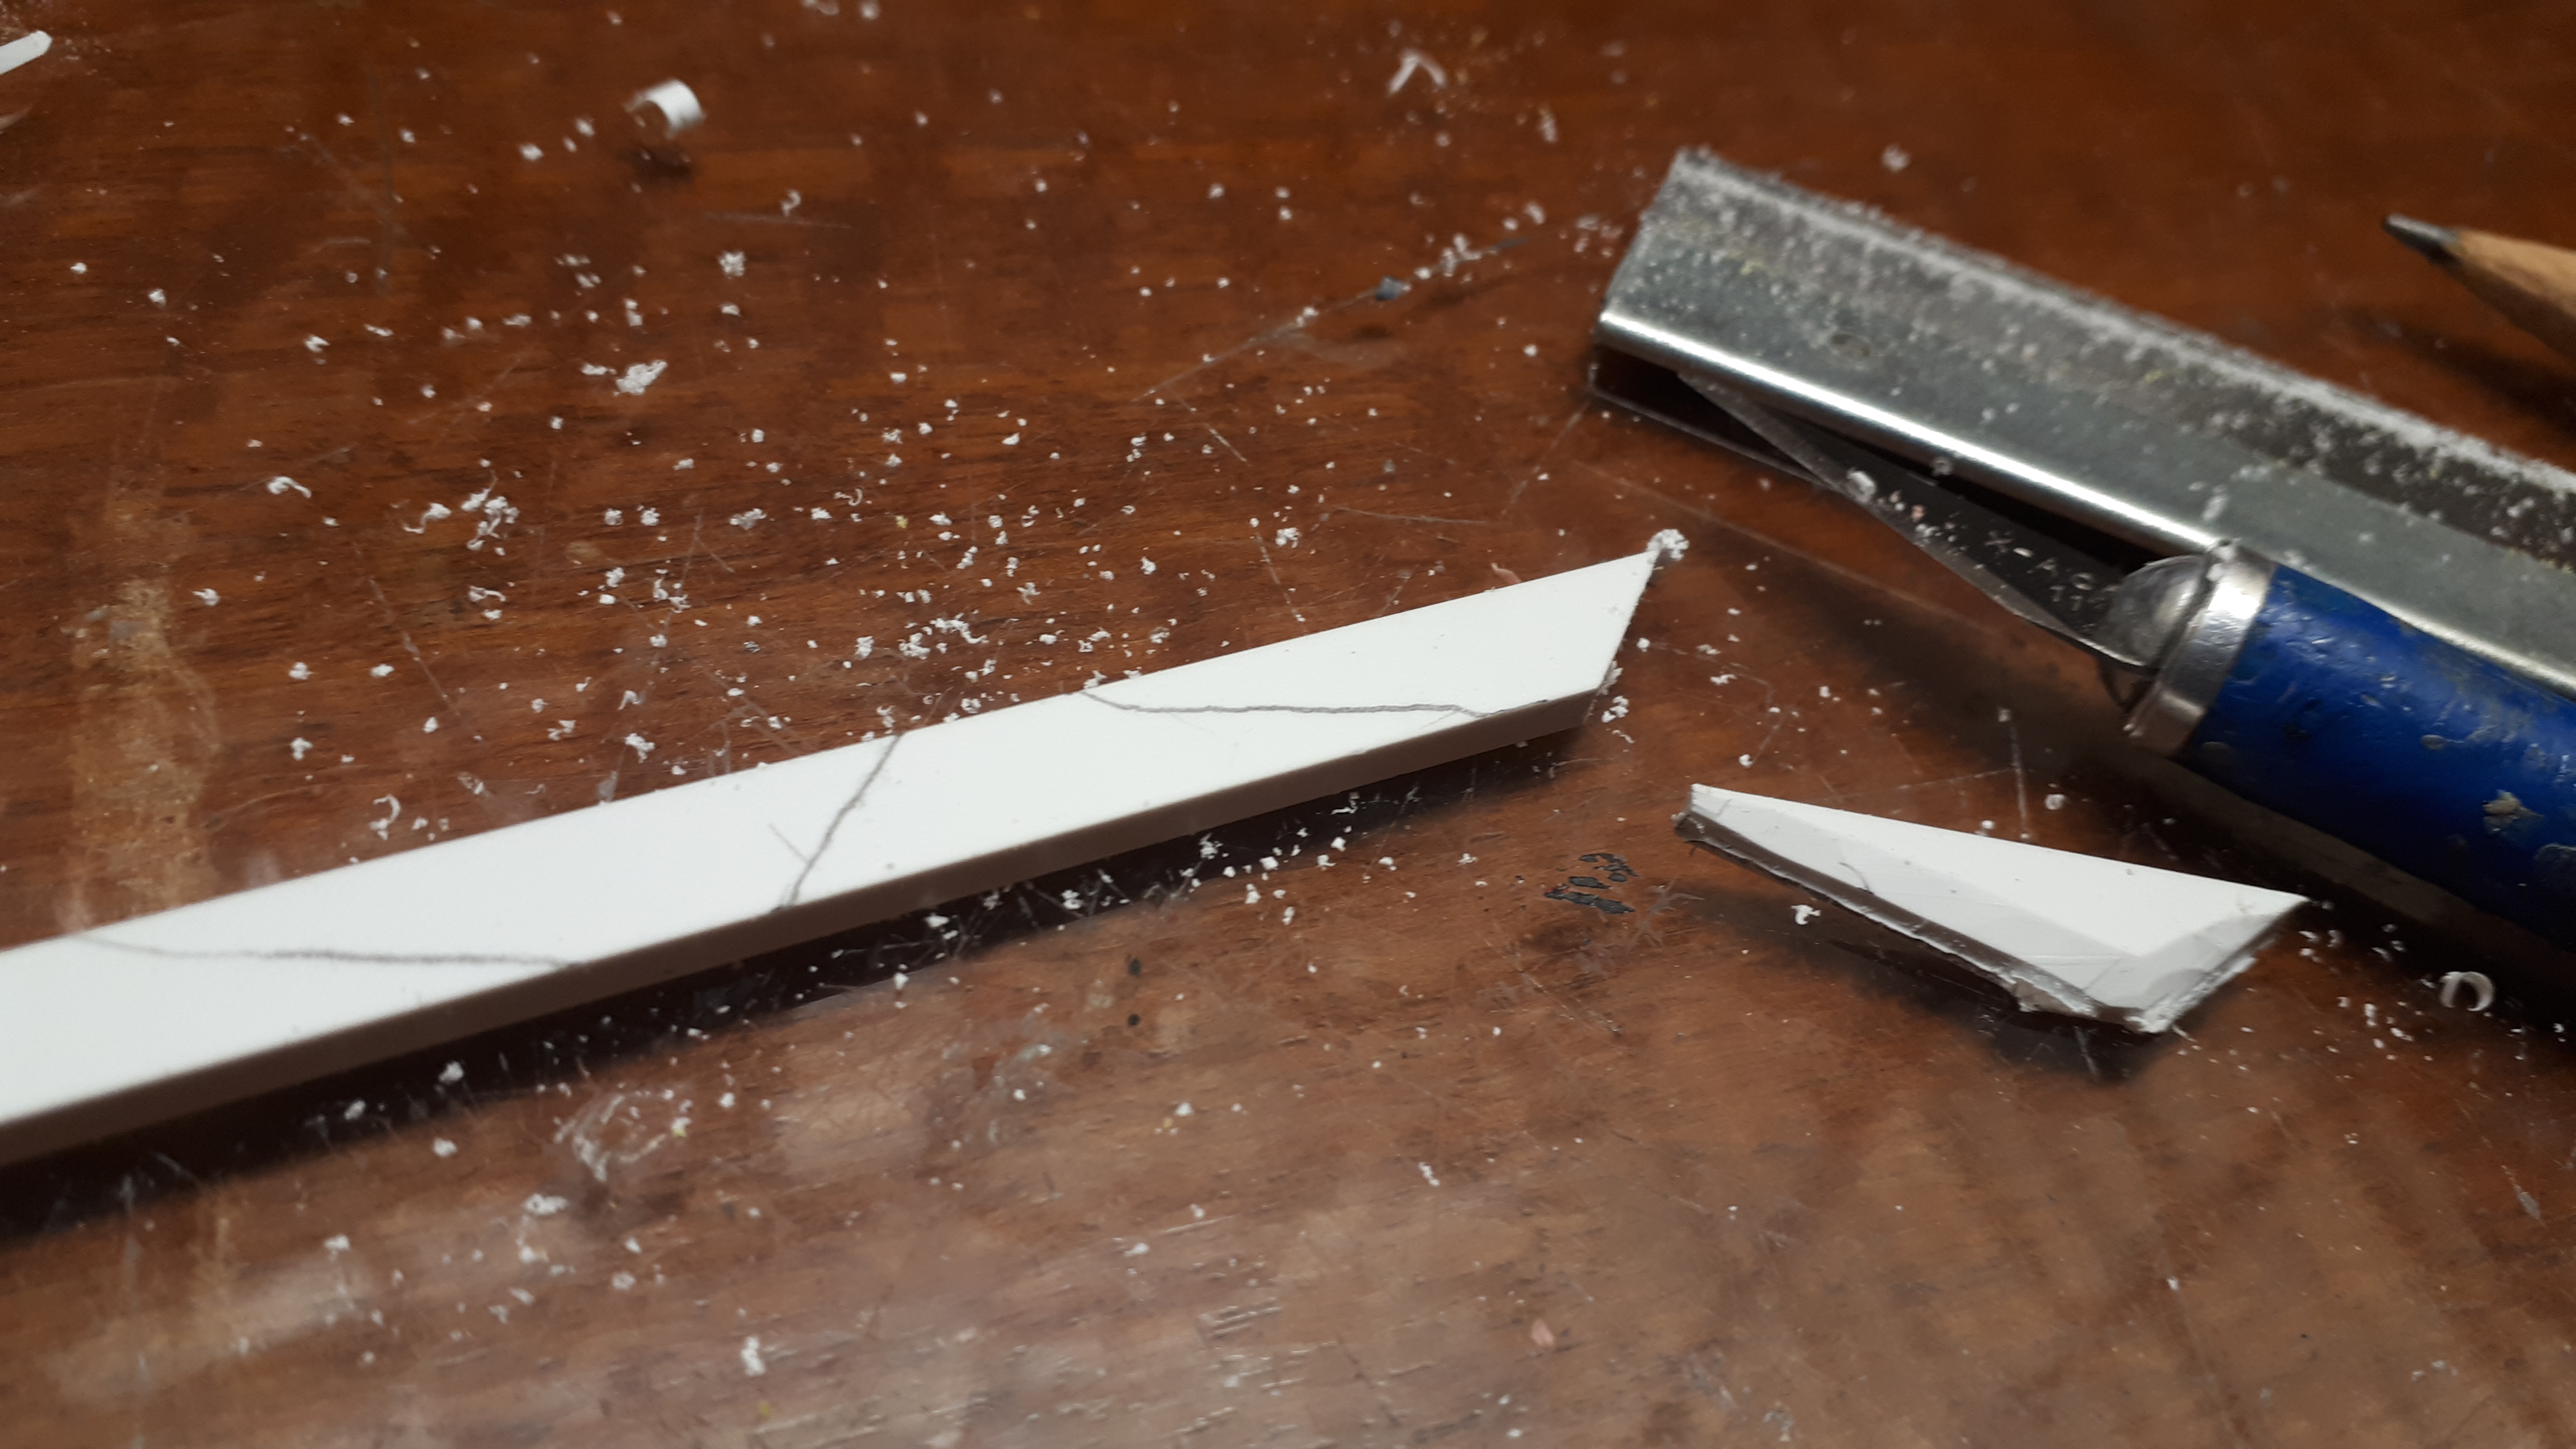
Thank you, David and Bill. Yes, I have pushed myself to try a lot of new things on this model. It won't be perfect but considering what I started with I am pretty happy so far. Had a bit of a set back tonight when trying to fit the windshield that TarheelRick generously sent me. Turns out my roof had a distinct droop on the passenger side - I have no idea why I never saw it before but there it was! The only solution was to cut the post free and slip a 2mm slice of Evergreen in the gap to force the roof up, drown it with superglue and then start carving and sanding. It's not looking very pretty at the moment but we will see what primer shows in the morning. Cheers Alan
-
What a beautiful wagon! I'm a big fan also, having spent most of my childhood in the back of one! That paintjob took my breathe away, absolutely incredible and the foil looks magnificent. Cheers Alan
-
Mission Impossible - American Graffiti cop car from a wreck
alan barton replied to alan barton's topic in WIP: Model Cars
OOOps, that would be twenty days! Nice catch Jackson! Cheers Alan -
Welcome Randy, there is a wealth of information here and it sounds like your resume will lend itself well to producing your Squad 51, plus there are plenty of TV and movie buffs here as well! Cheers Alan
-
That's looking pretty cool Joe! I have a full custom 57 in my future, using parts from the first issue kit left over from my childhood. By far the most distinctive feature so far is the flipped custom headlight treatment - I can recall a number of full sized tri-five Chevies that had a similar treatment but I have never seen it done to a model before. Cheers Alan
-
Mission Impossible - American Graffiti cop car from a wreck
alan barton replied to alan barton's topic in WIP: Model Cars
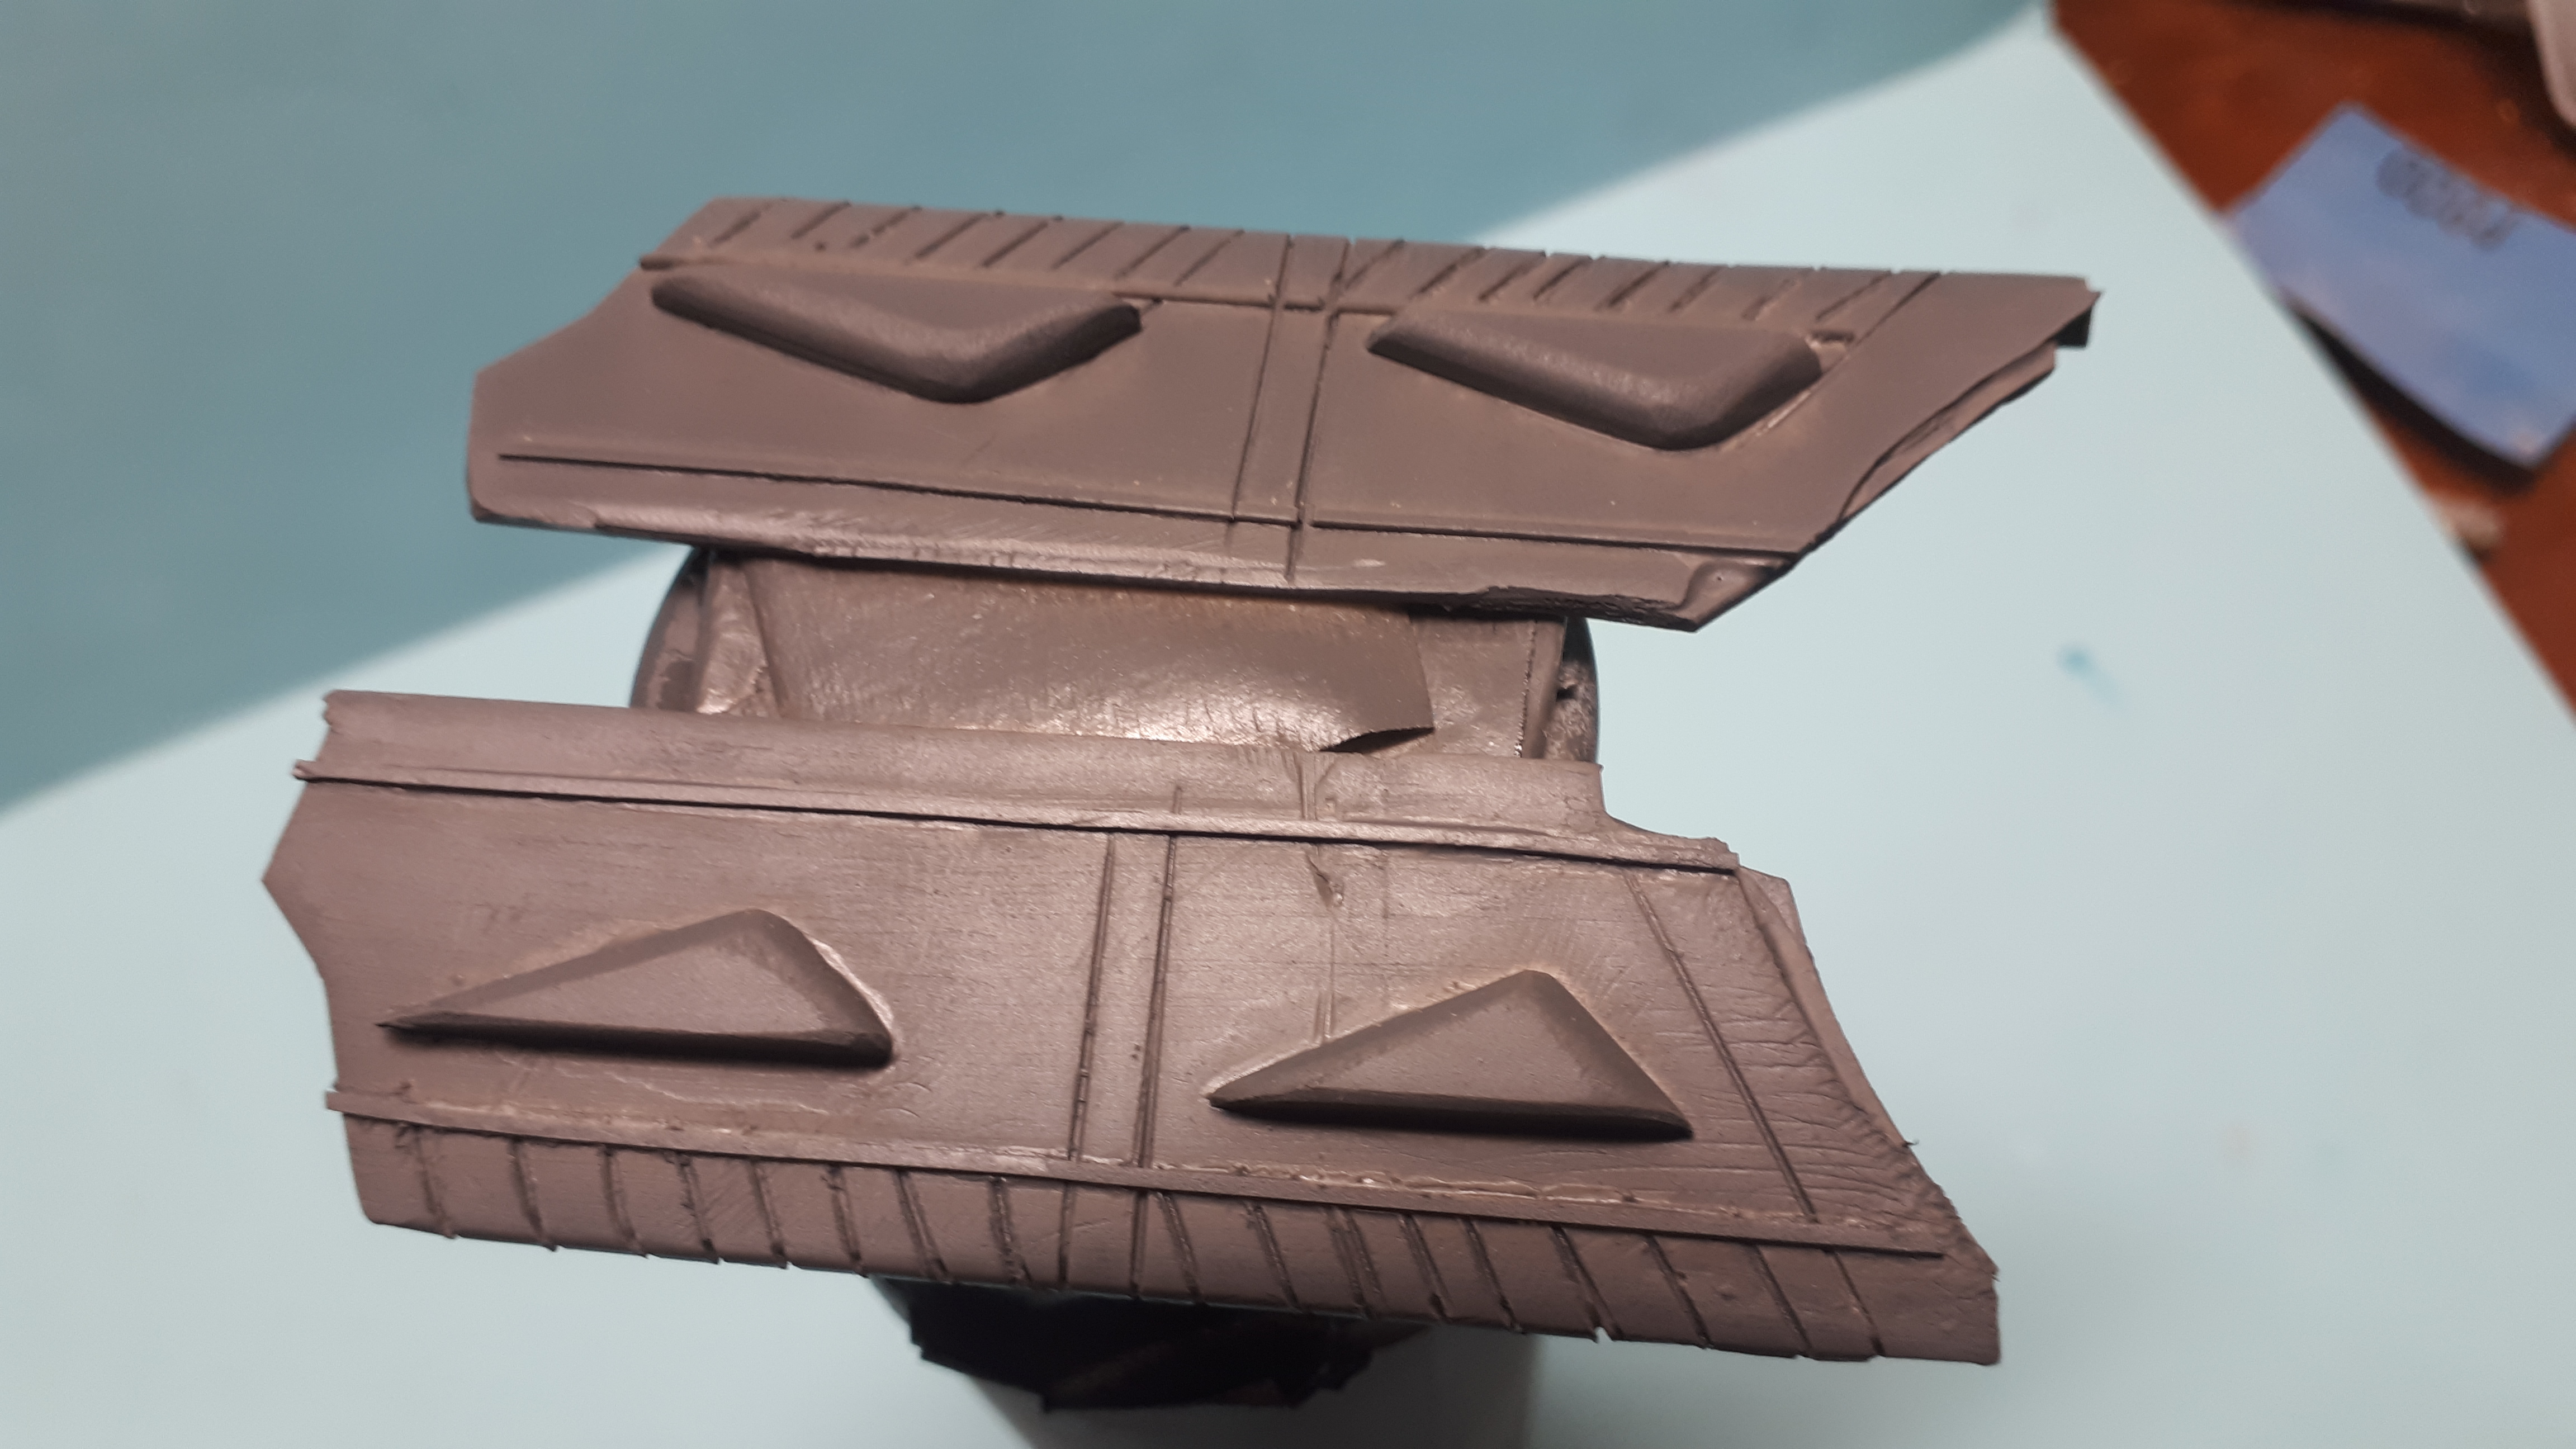
Another month passes by and I now have less than twenty months to go. You know that final coat of primer I put on weeks ago? Well, lets just say there has been at least another four final coats since then! Seems that lumps keep appearing as well as evidence of previous bodywork. We will see what happens tomorrow! I have also been doing some work on the door panels and got them painted tonight. I might have mentioned that I used Steve Guthmiller's technique of first cuutting the side panels off the interior tub and then using pieces of styrene and some saw cuts to represent the interior patterns of a 61 Galaxie. . I glued some short pieces of angled styrene to the bottom of the floor to assist with re-assembly. I have been trying to get Holstein and his offsider finished but they keep fighting me as far as positioning in the car is concerned so I am going to get those side panels glued back on tomorrow so that I can mock up the dash more securely and get the boys locked in. Cheeers Alan
-
Sink hole refuses to go away!
alan barton replied to bh1701's topic in Model Building Questions and Answers
I feel your pain, Bart! I have just been through very similar experiences on two long term projects with major bodywork. I have only recently switched to Tamiya products, on account of you can't buy Testor's here anymore, and I have had way more issues than I ever had with Testor's. I seem to be having a lot of problems with tight concave curves, where no matter how light or heavy I apply primer, I get cavities underneath. And this was before our winter struck, when I had nice warm days and was leaving things up to a week between applications. I also have been having issues with bodywork raising up through the primer, sometimes several coats down the track. I will be taking into consideration what people are saying about the potency of Tamiya primer. There are a lot of good suggestions in this thread but i find it frustrating when techniques I have used for decades are suddenly not working! I have certainly used superglue in the manner described by Snake but you also have to be careful because it doesn't sand as readily as the bare plastic around it - block sanding is a must here. Right now I really need to build a few models without bodywork! Cheers Alan -
PMC '59 Ford Ranchero: From eBay to Mild Custom; Interior!
alan barton replied to John Goschke's topic in WIP: Model Cars
Hi John, I saw this on the H.A.M.B. the other day and now realise I was totally barking up the wrong tree. When I saw glimpses of coral coloured plastic I just assumed you had reworked a Revell Skyliner into a Ranchero - didn't know about the PMC version prior to your post! Anyhow, I love what you are doing and it will be very helpful for me in working out the proportions of my conversion. Cant wait t see it in paint! Cheers Alan -
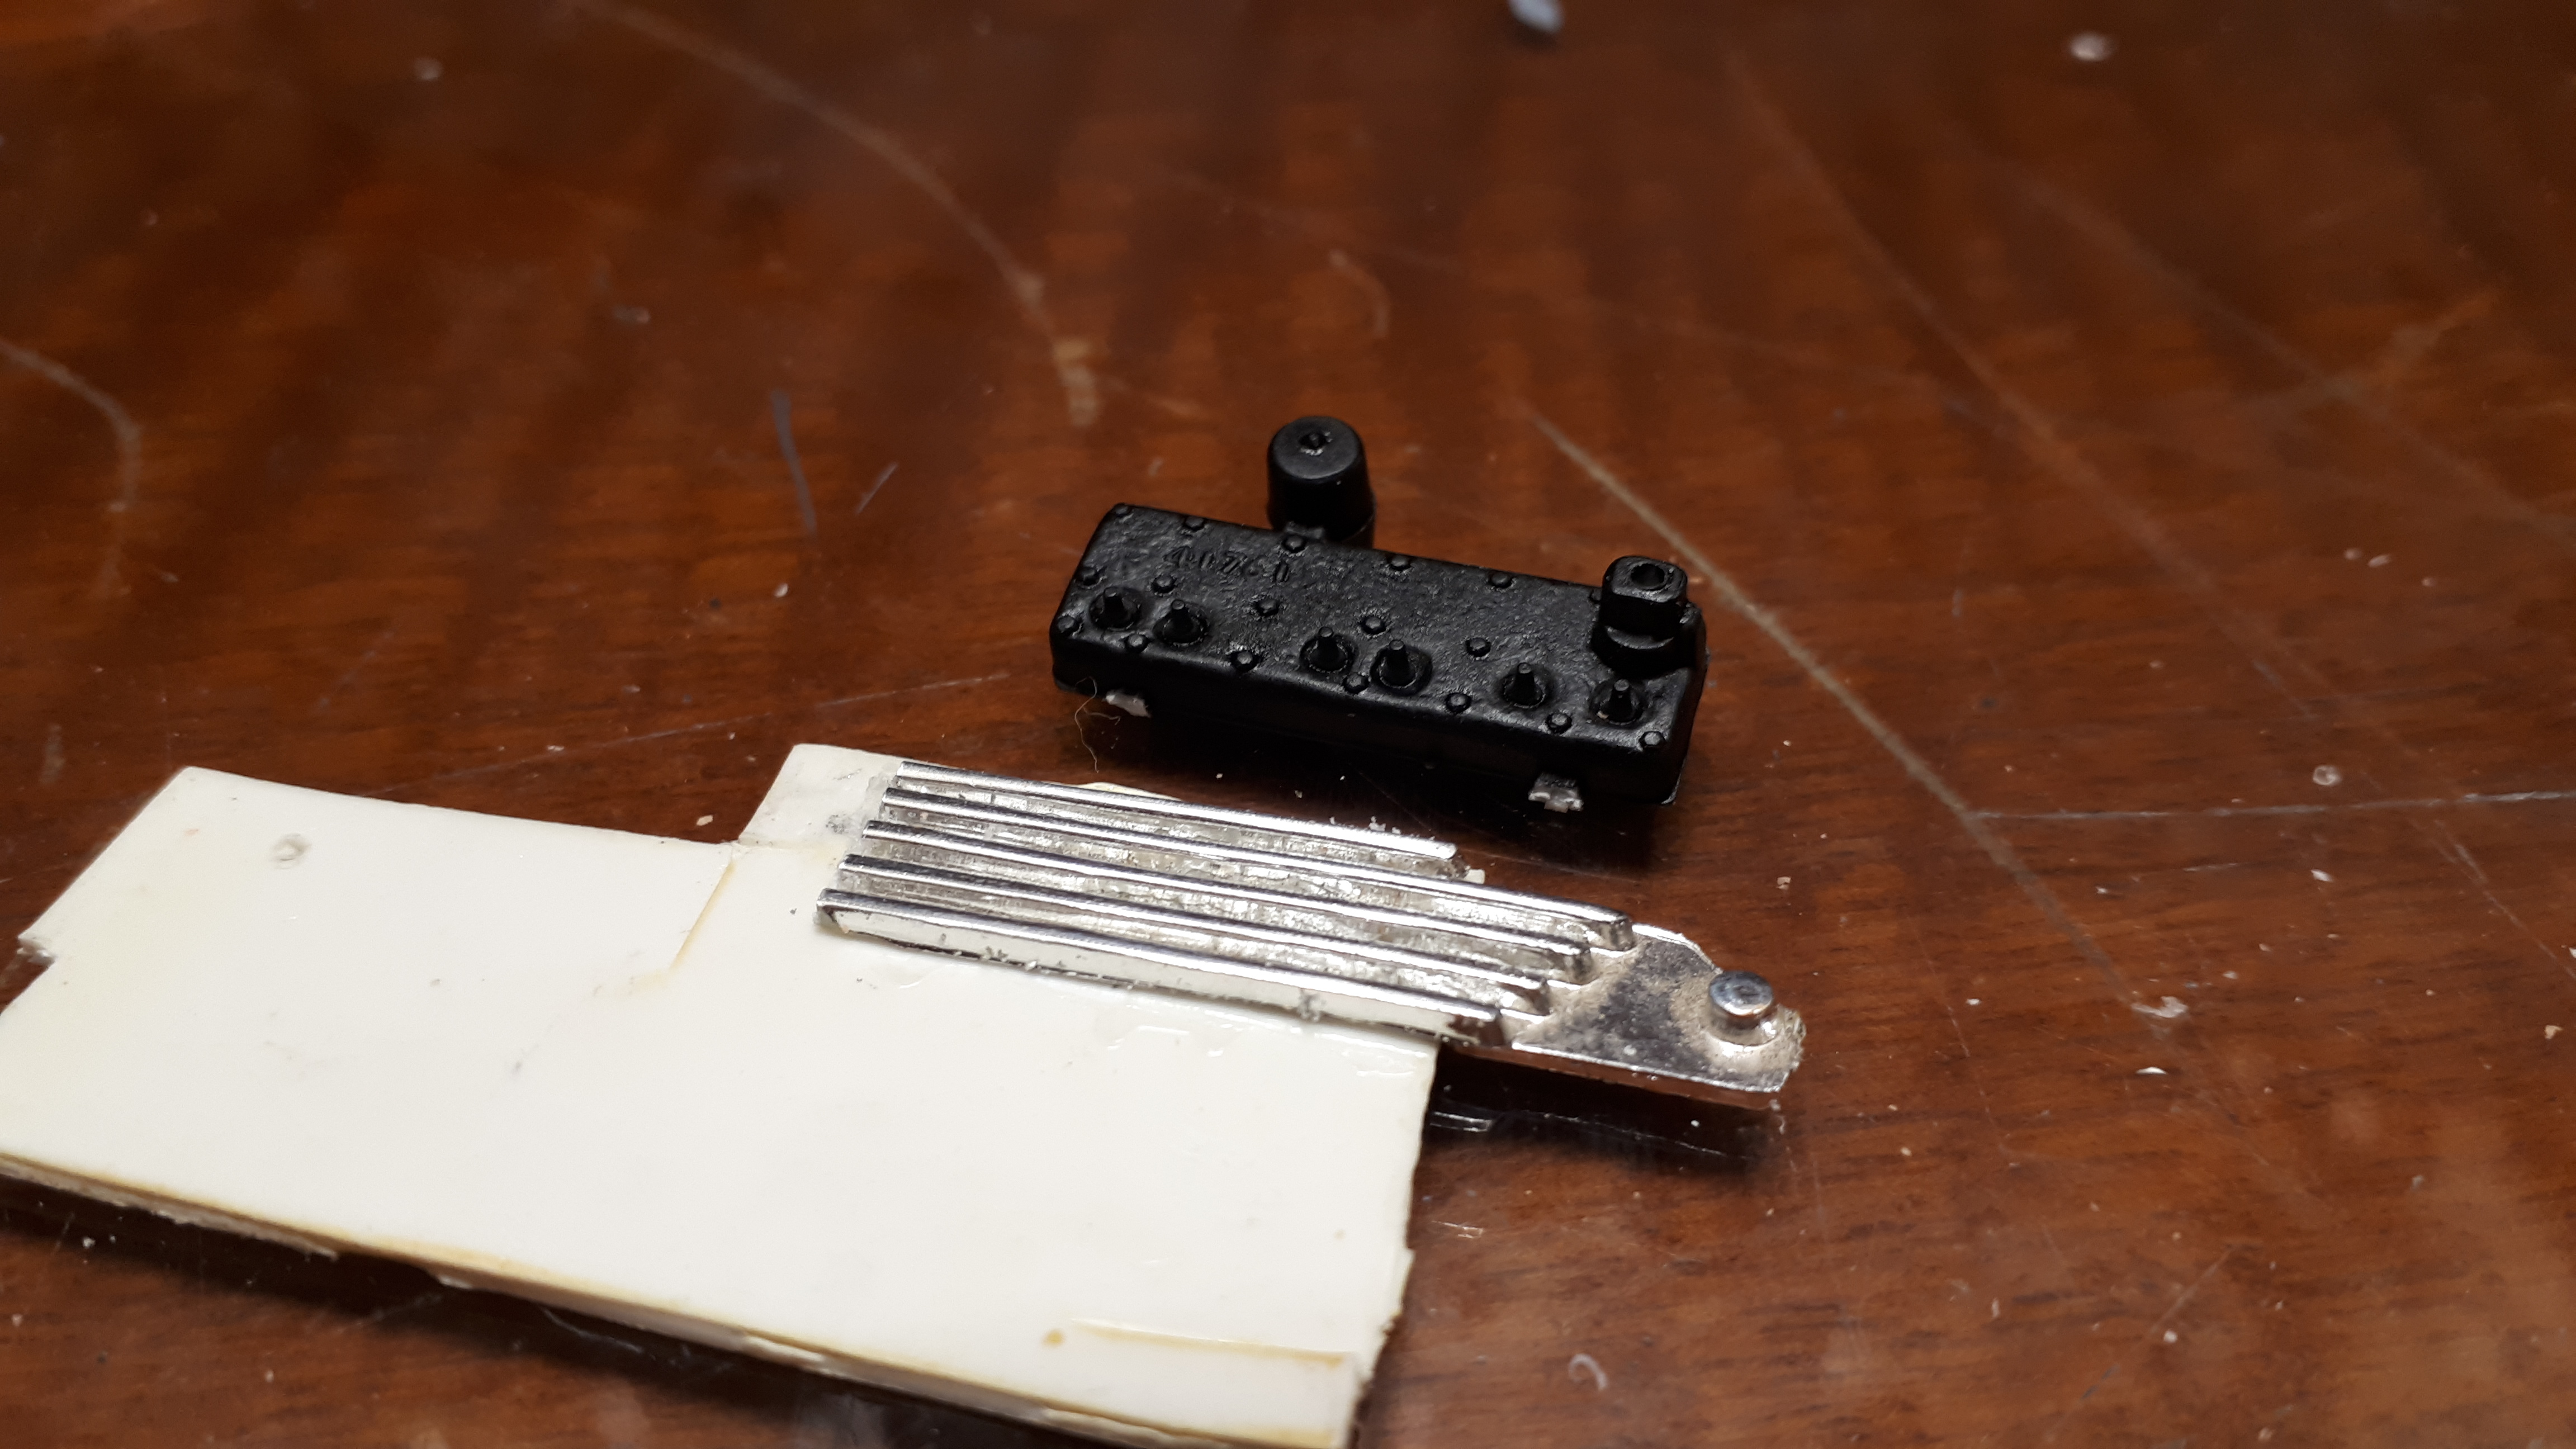
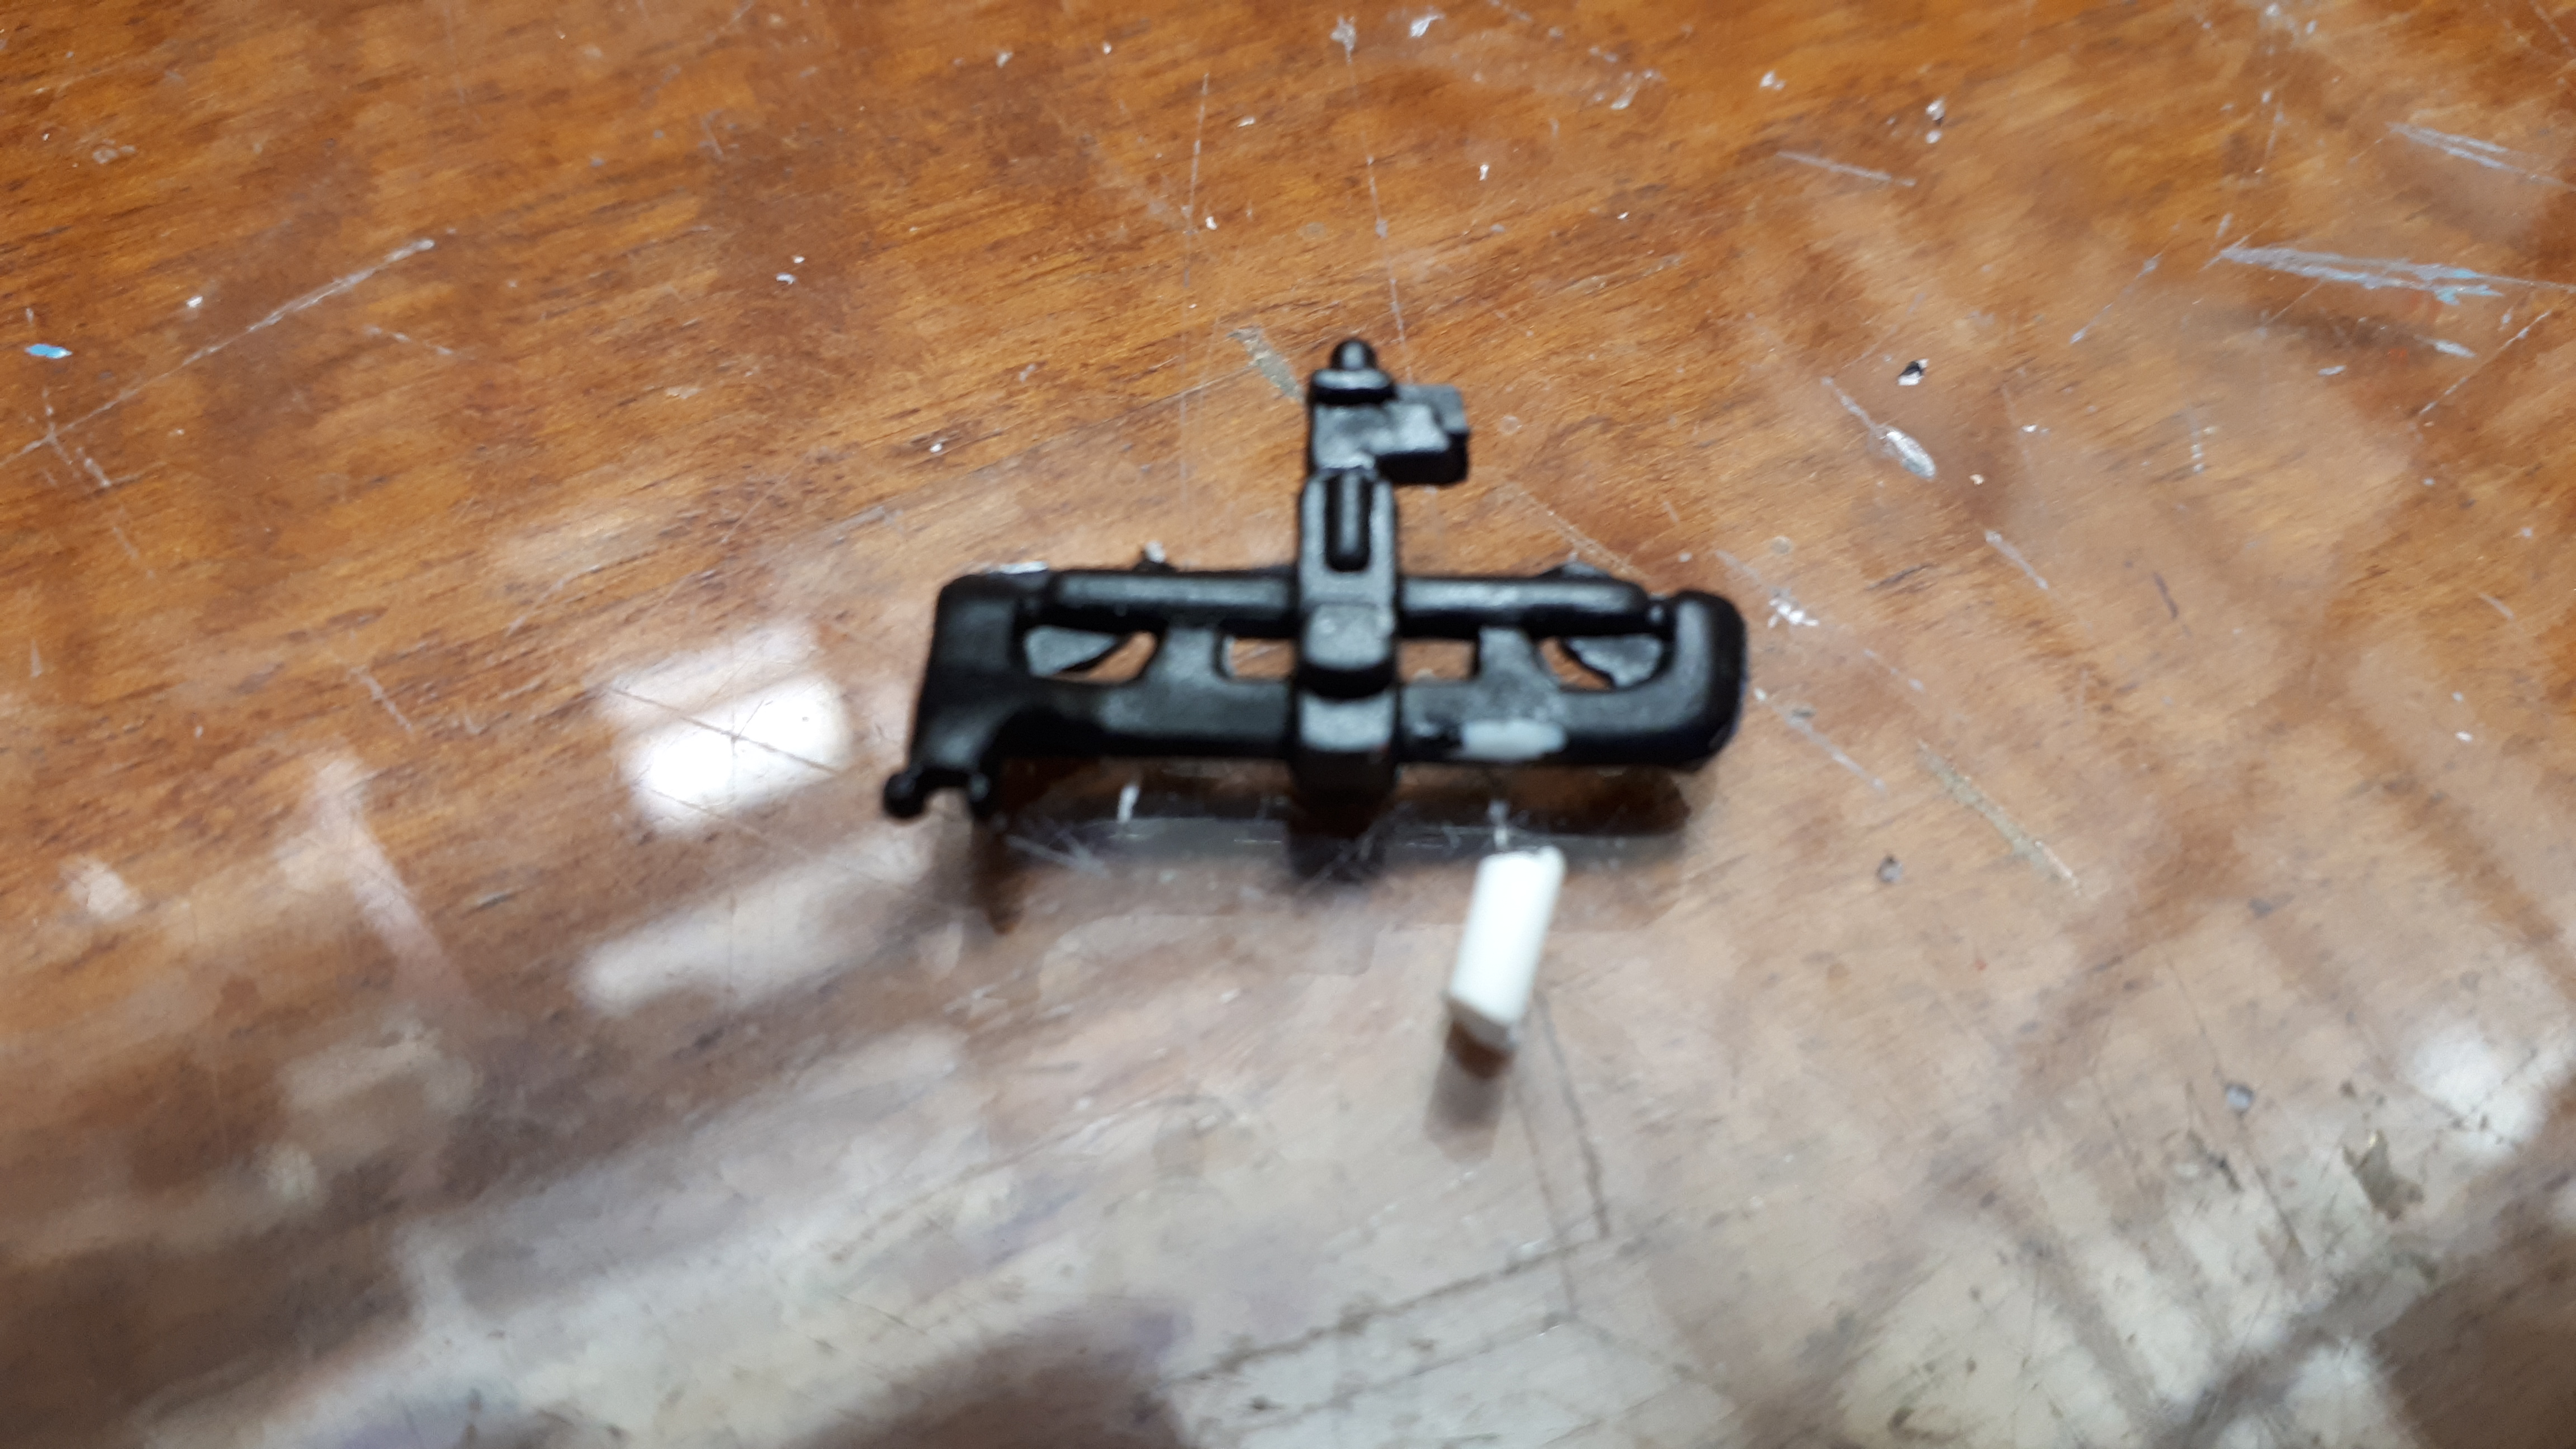
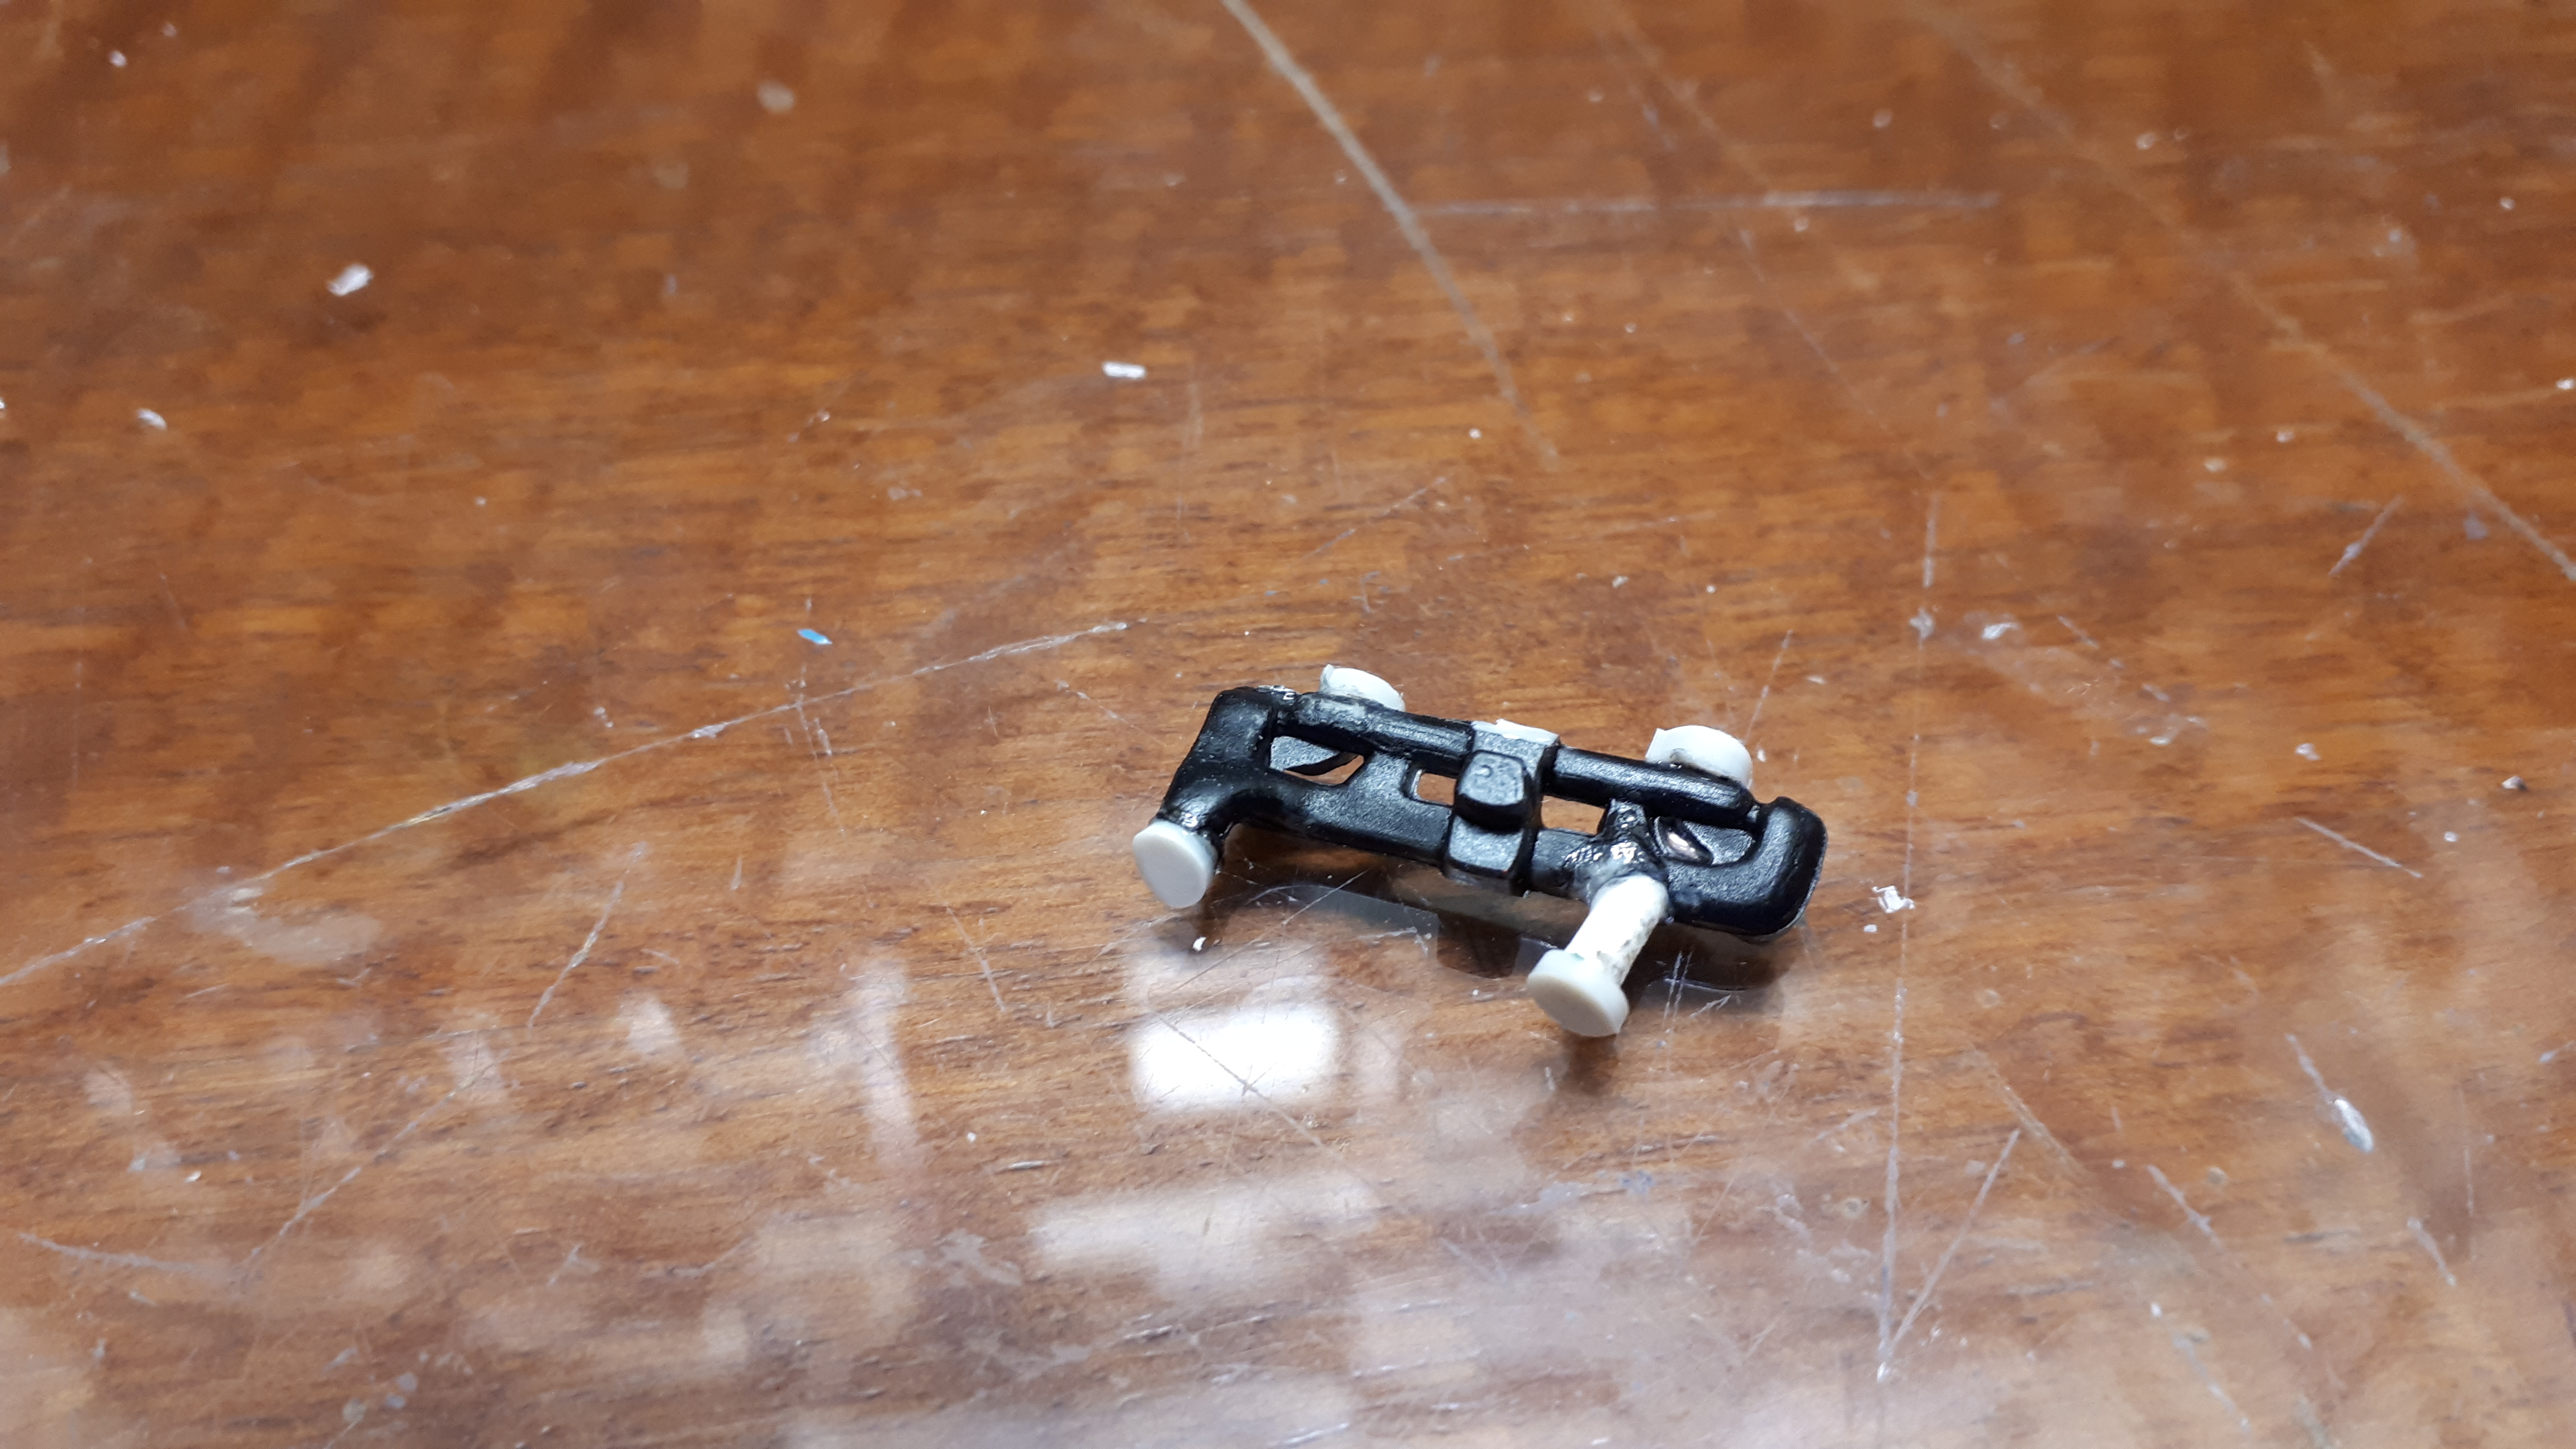
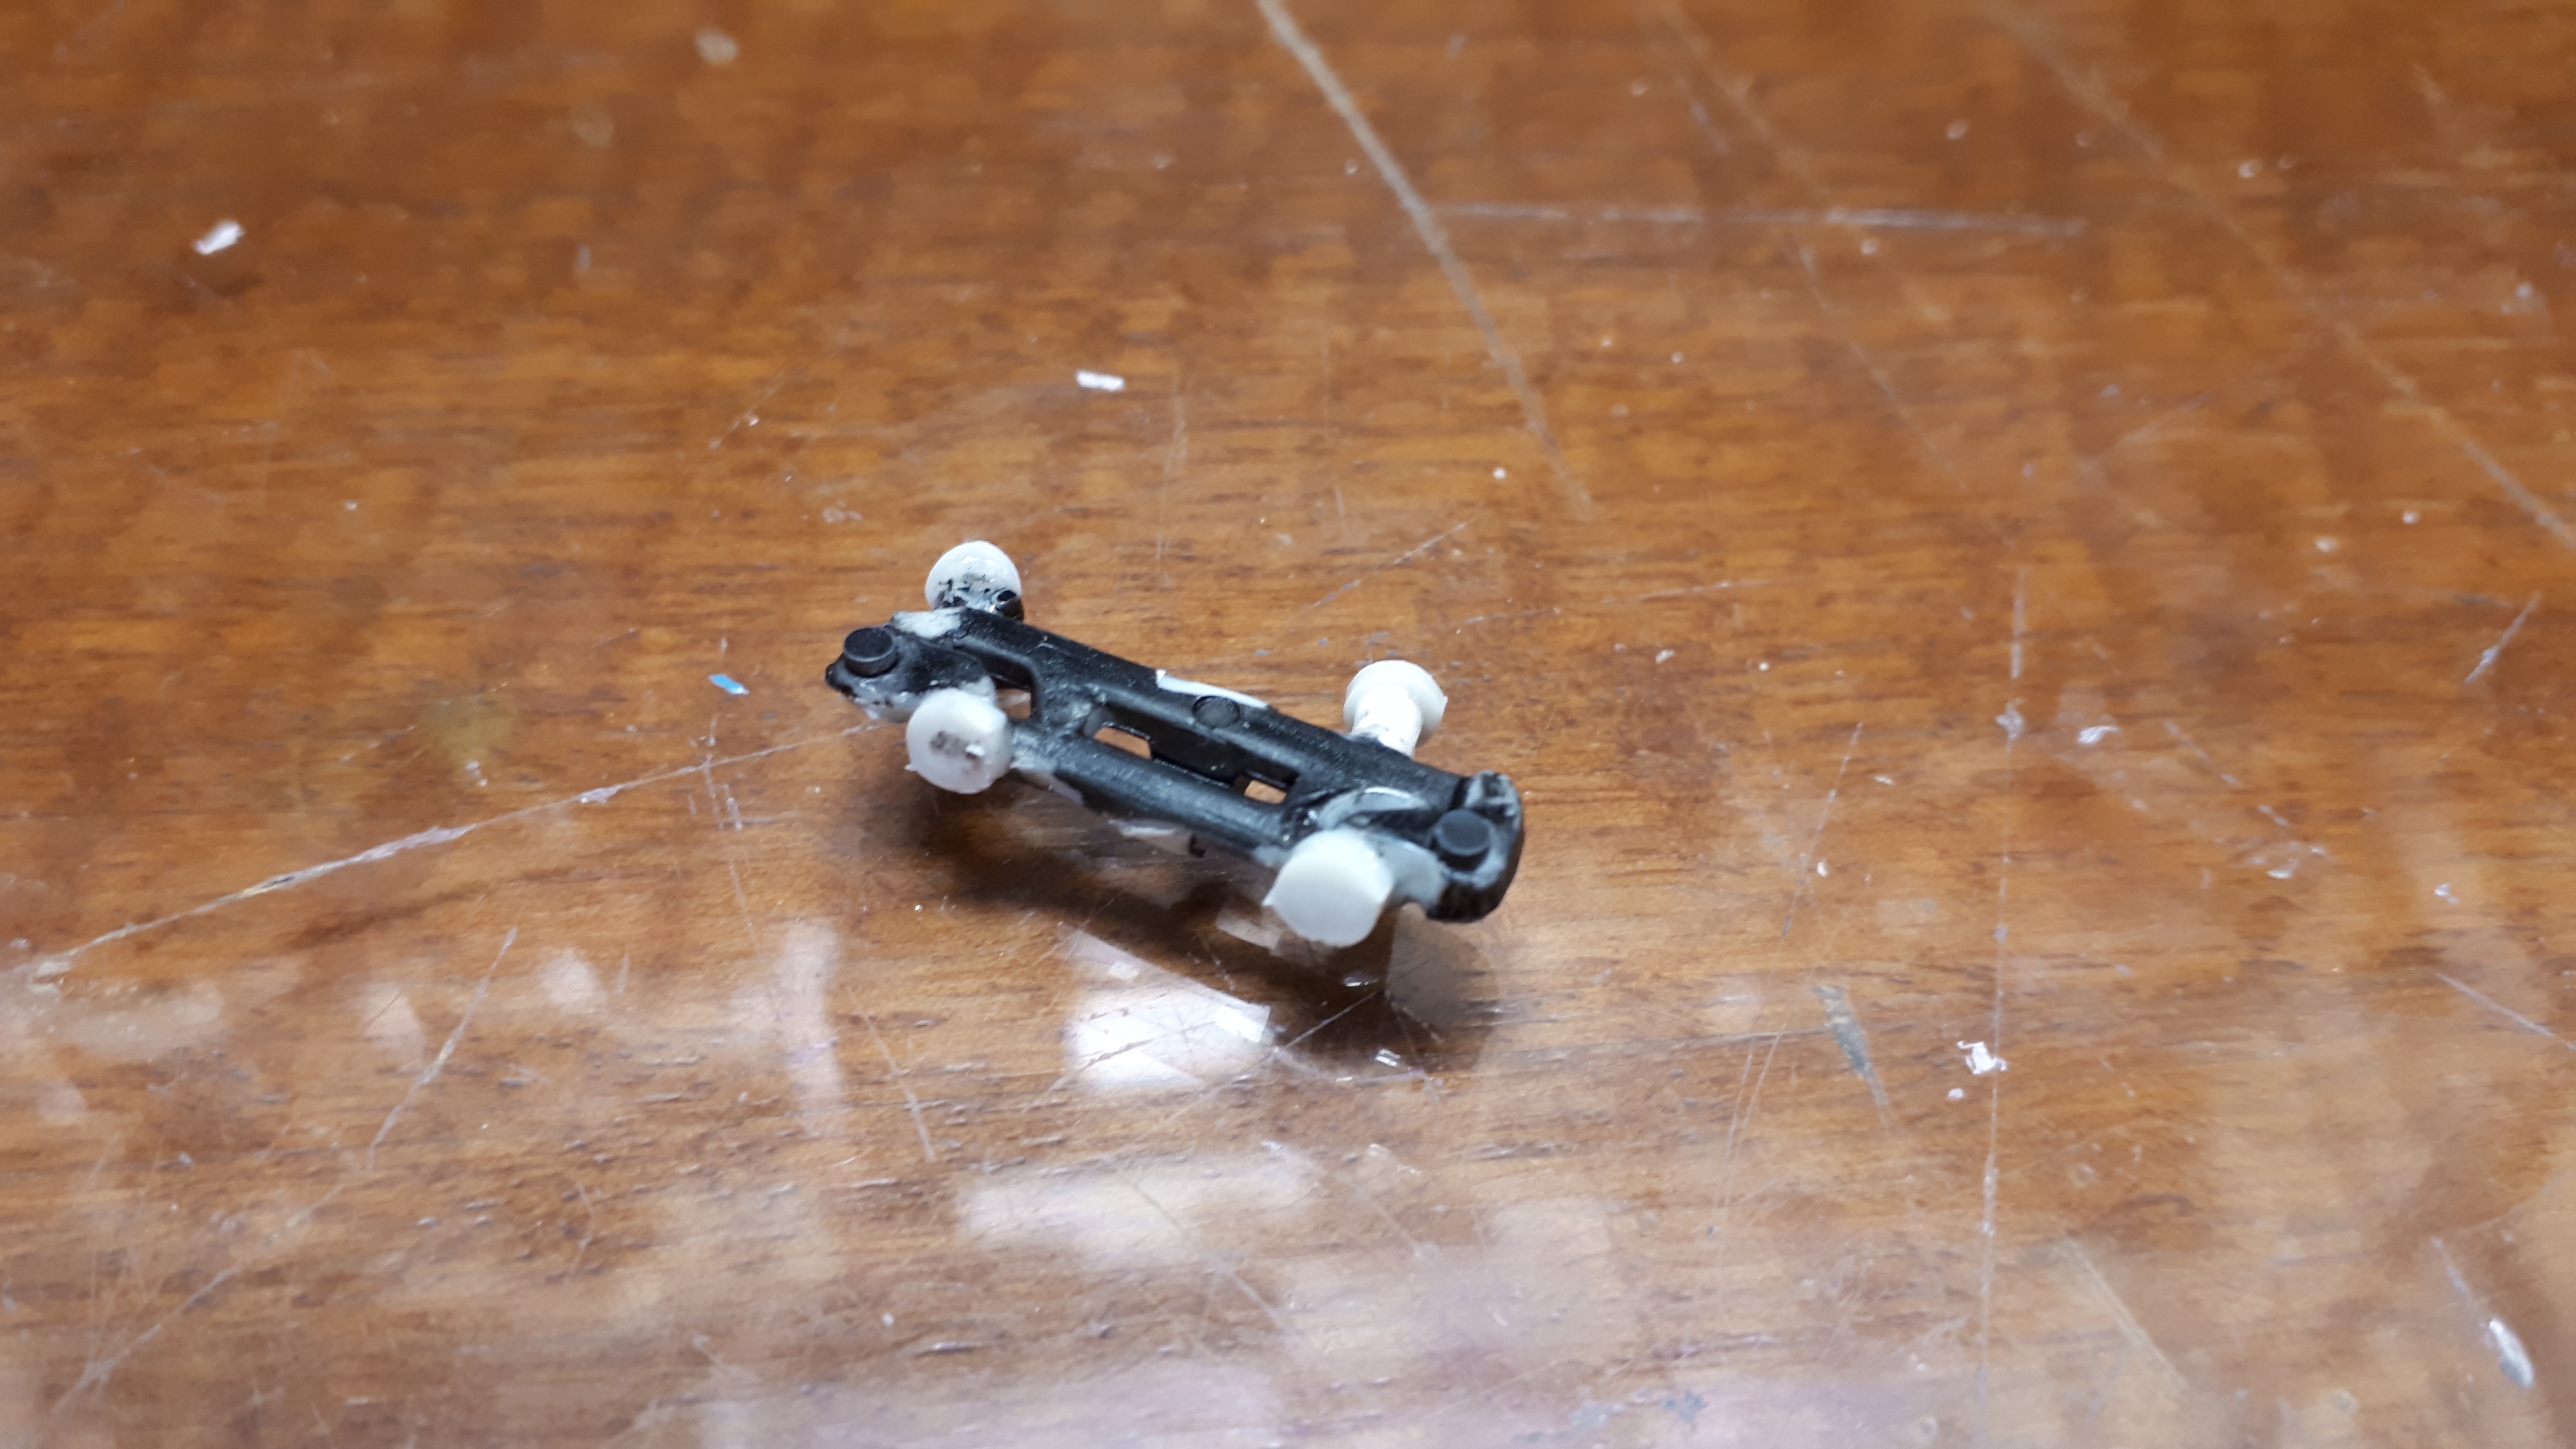
Hi Bill, Just a few thoughts. I like the idea of extending the front of the frame, and I seem to recall that someone on here, relatively recently, extended the rear of the frame. Me, I must be awkward because when I put this frame under an AMT 29 roadster many years ago, I stretched it in the middle, using a roughly 4mm long piece of flat styrene that, when fitted between the front and rear half, just looked like a heavy duty reinforcing plate for a crossmember or something. Hard to describe so I will get a photo tonight. Maybe not the best engineering of a tube space fame in the world but it did avoid rejigging front or rear end brackets. My favourite hot rod rears are the Monogram radial GT s that came in a lot of their muscle car kits - I recall the Heavy Chevy Chevelle particularly and the Street Stalker Camaro but I am sure there are lots of others. I normally use the larger diameter - they are wonderful, but I just ran out so am using the slightly smaller diameter or my closed cab, which I don't mind on this theme. Hope that helps. Cheers Alan
-
Hey Rodney, I have no trouble with trendy - I just happen to like my rods in traditional reds, yellows, blacks, you know the type. I think it is great that people are trying different hues these days, I just don't happen to be a fan of some of them. Your model proves just how good they can look! Cheers Alan
-
This is breathtaking, Charles! You have a very skilled eye to recognise the mundane details that transform the accuracy of your dioramas. I have done a few dioramas myself but dream of achieving this realism! Cheers Alan
-
That is a very cool build there. I wonder if it was a real buggy kit back in the day? The thing that impresses me about the design is that it looks well proportioned and completely believable - a lot of VW kit cars were anything but! I really enjoyed your sensitive restoration of this model and now need to find one - thanks for bringing it to everyone's attention! Cheers Alan
-
I have to confess to not being a fan of military toned hot rods............... but this is very cool. I think what I like the most is the continuity of the entire theme. Razor sharp assembly is the icing on the cake! Nice job RRR! Cheers Alan
-
Black Widow 57 Chevy
alan barton replied to Dan Hay's topic in Stock Cars (NASCAR, Super Stock, Late Model, etc.)
It sure is a nice Black Widow but the engine bay is beyond nice! That borders on photo-realism! To think it is all done with is amazing. Congratulations on a beautiful build. Cheers Alan -
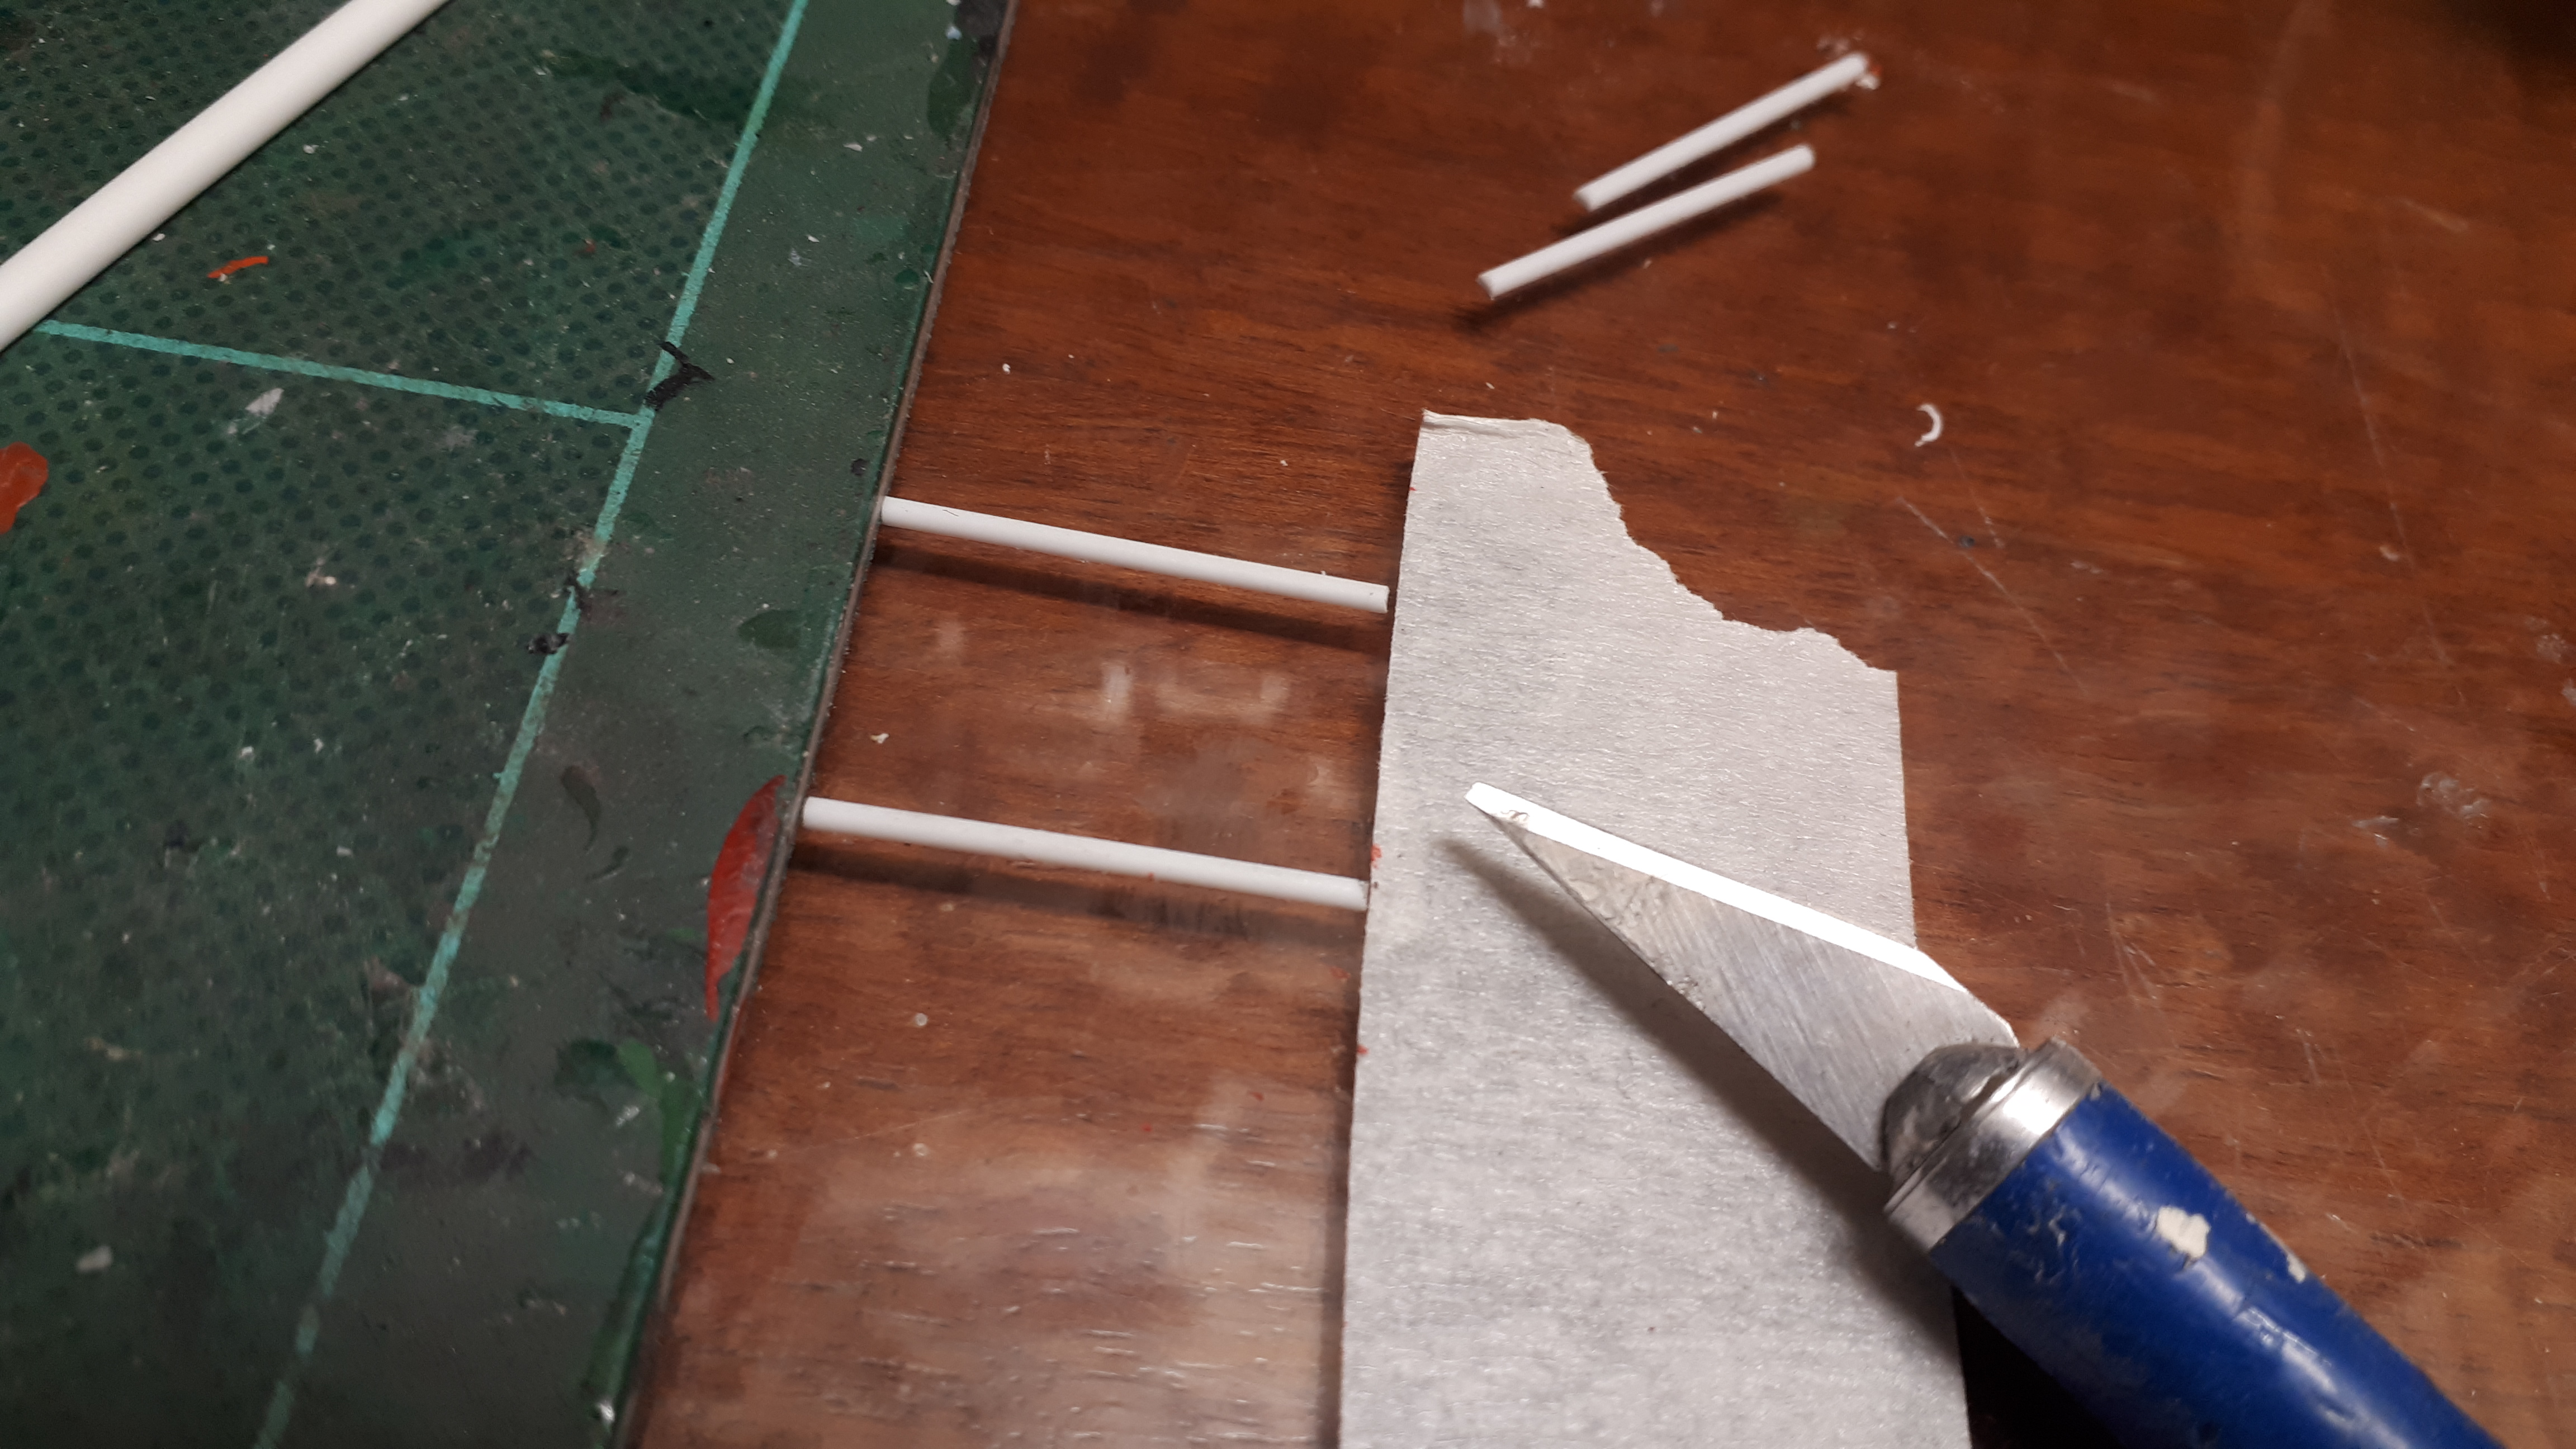
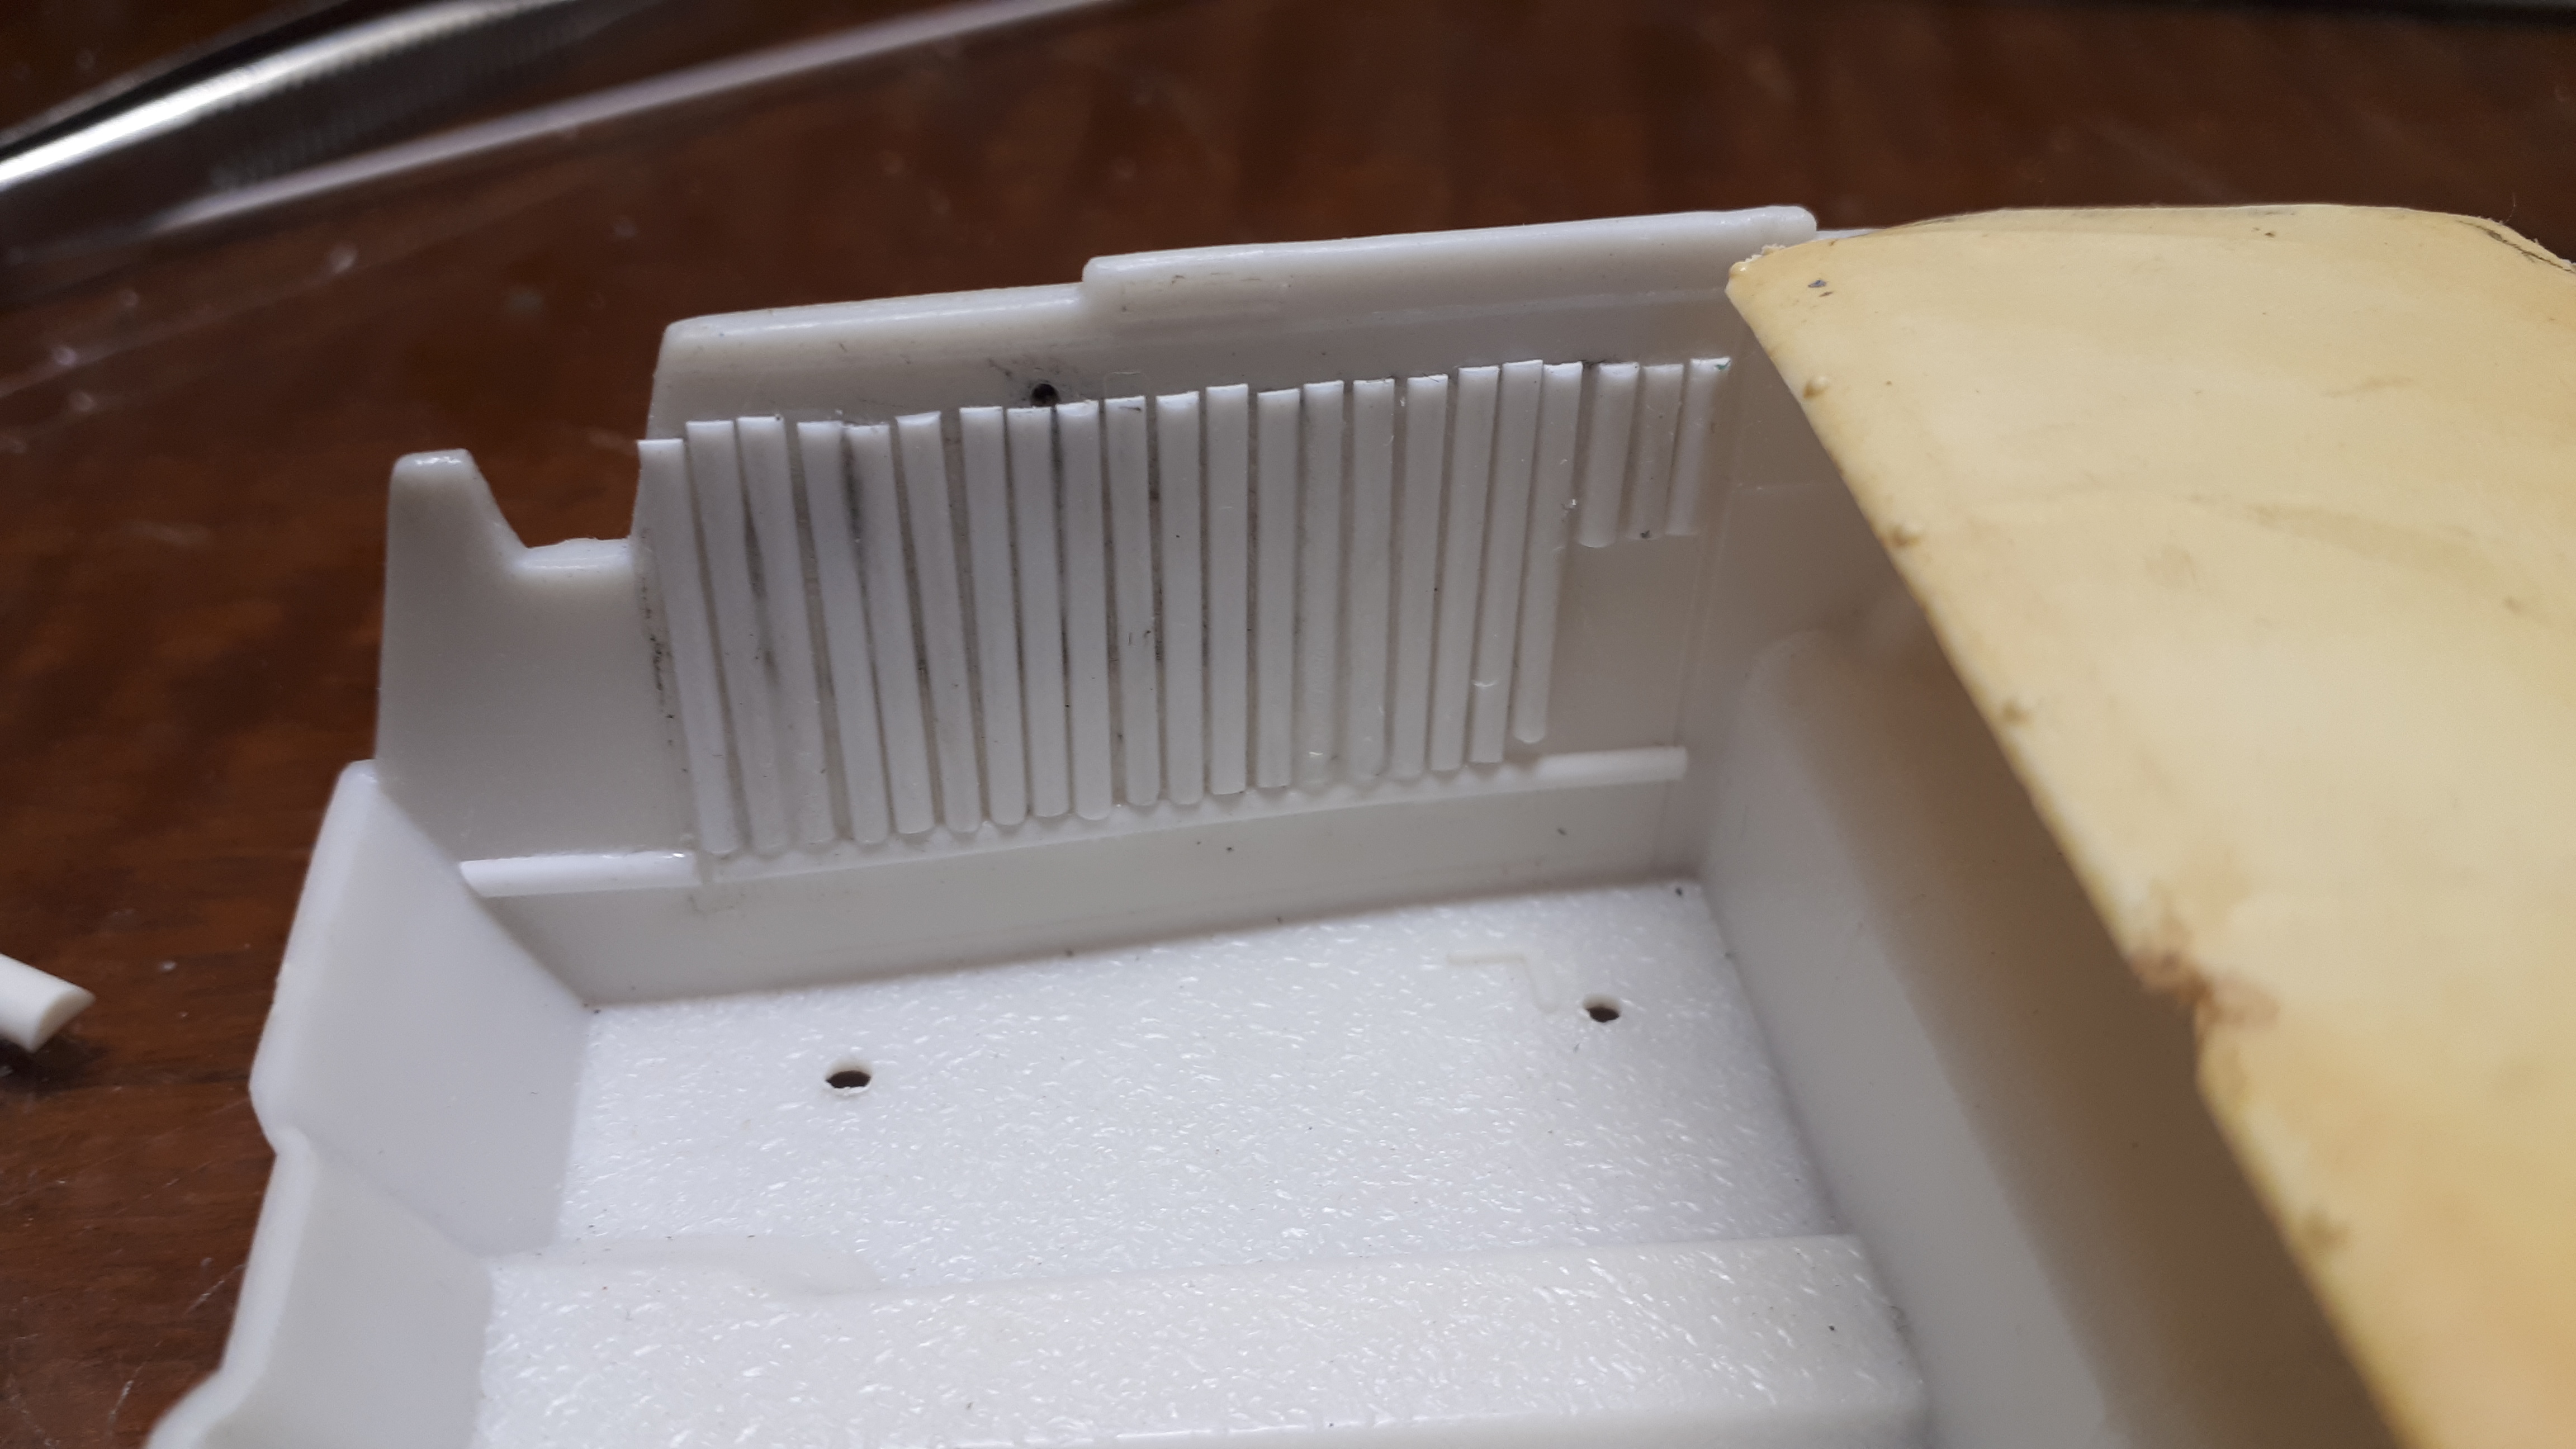
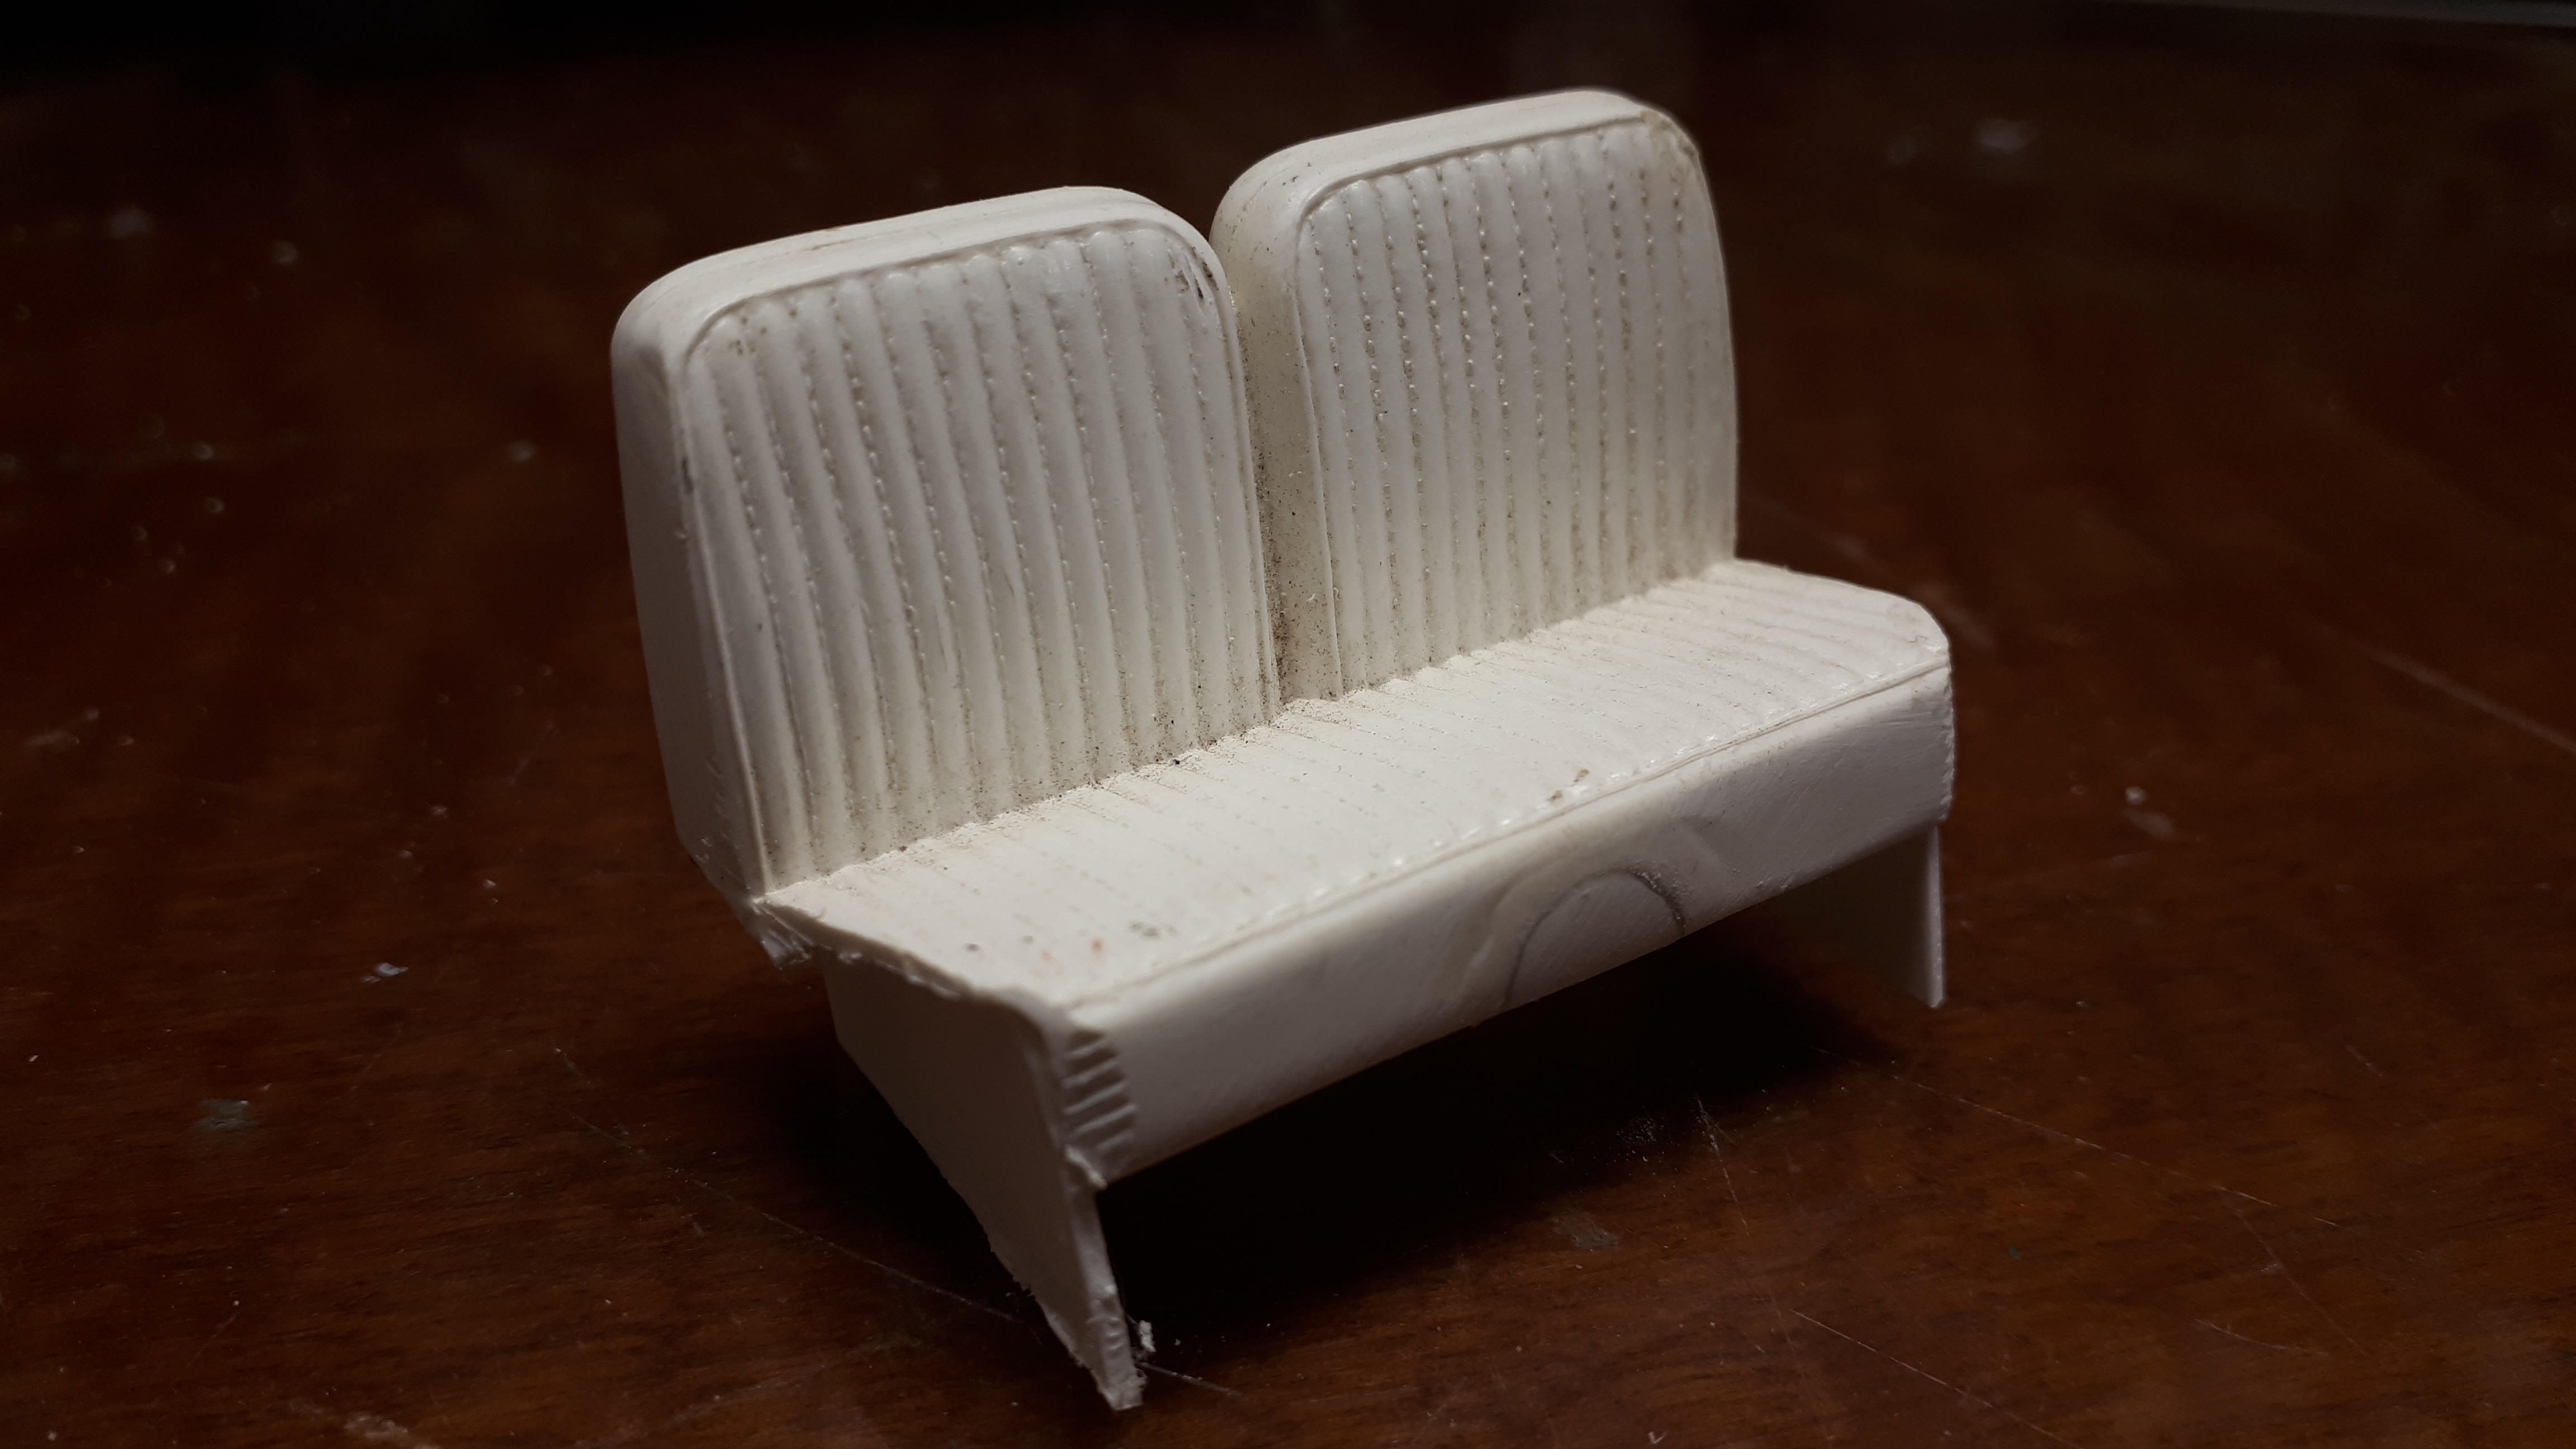
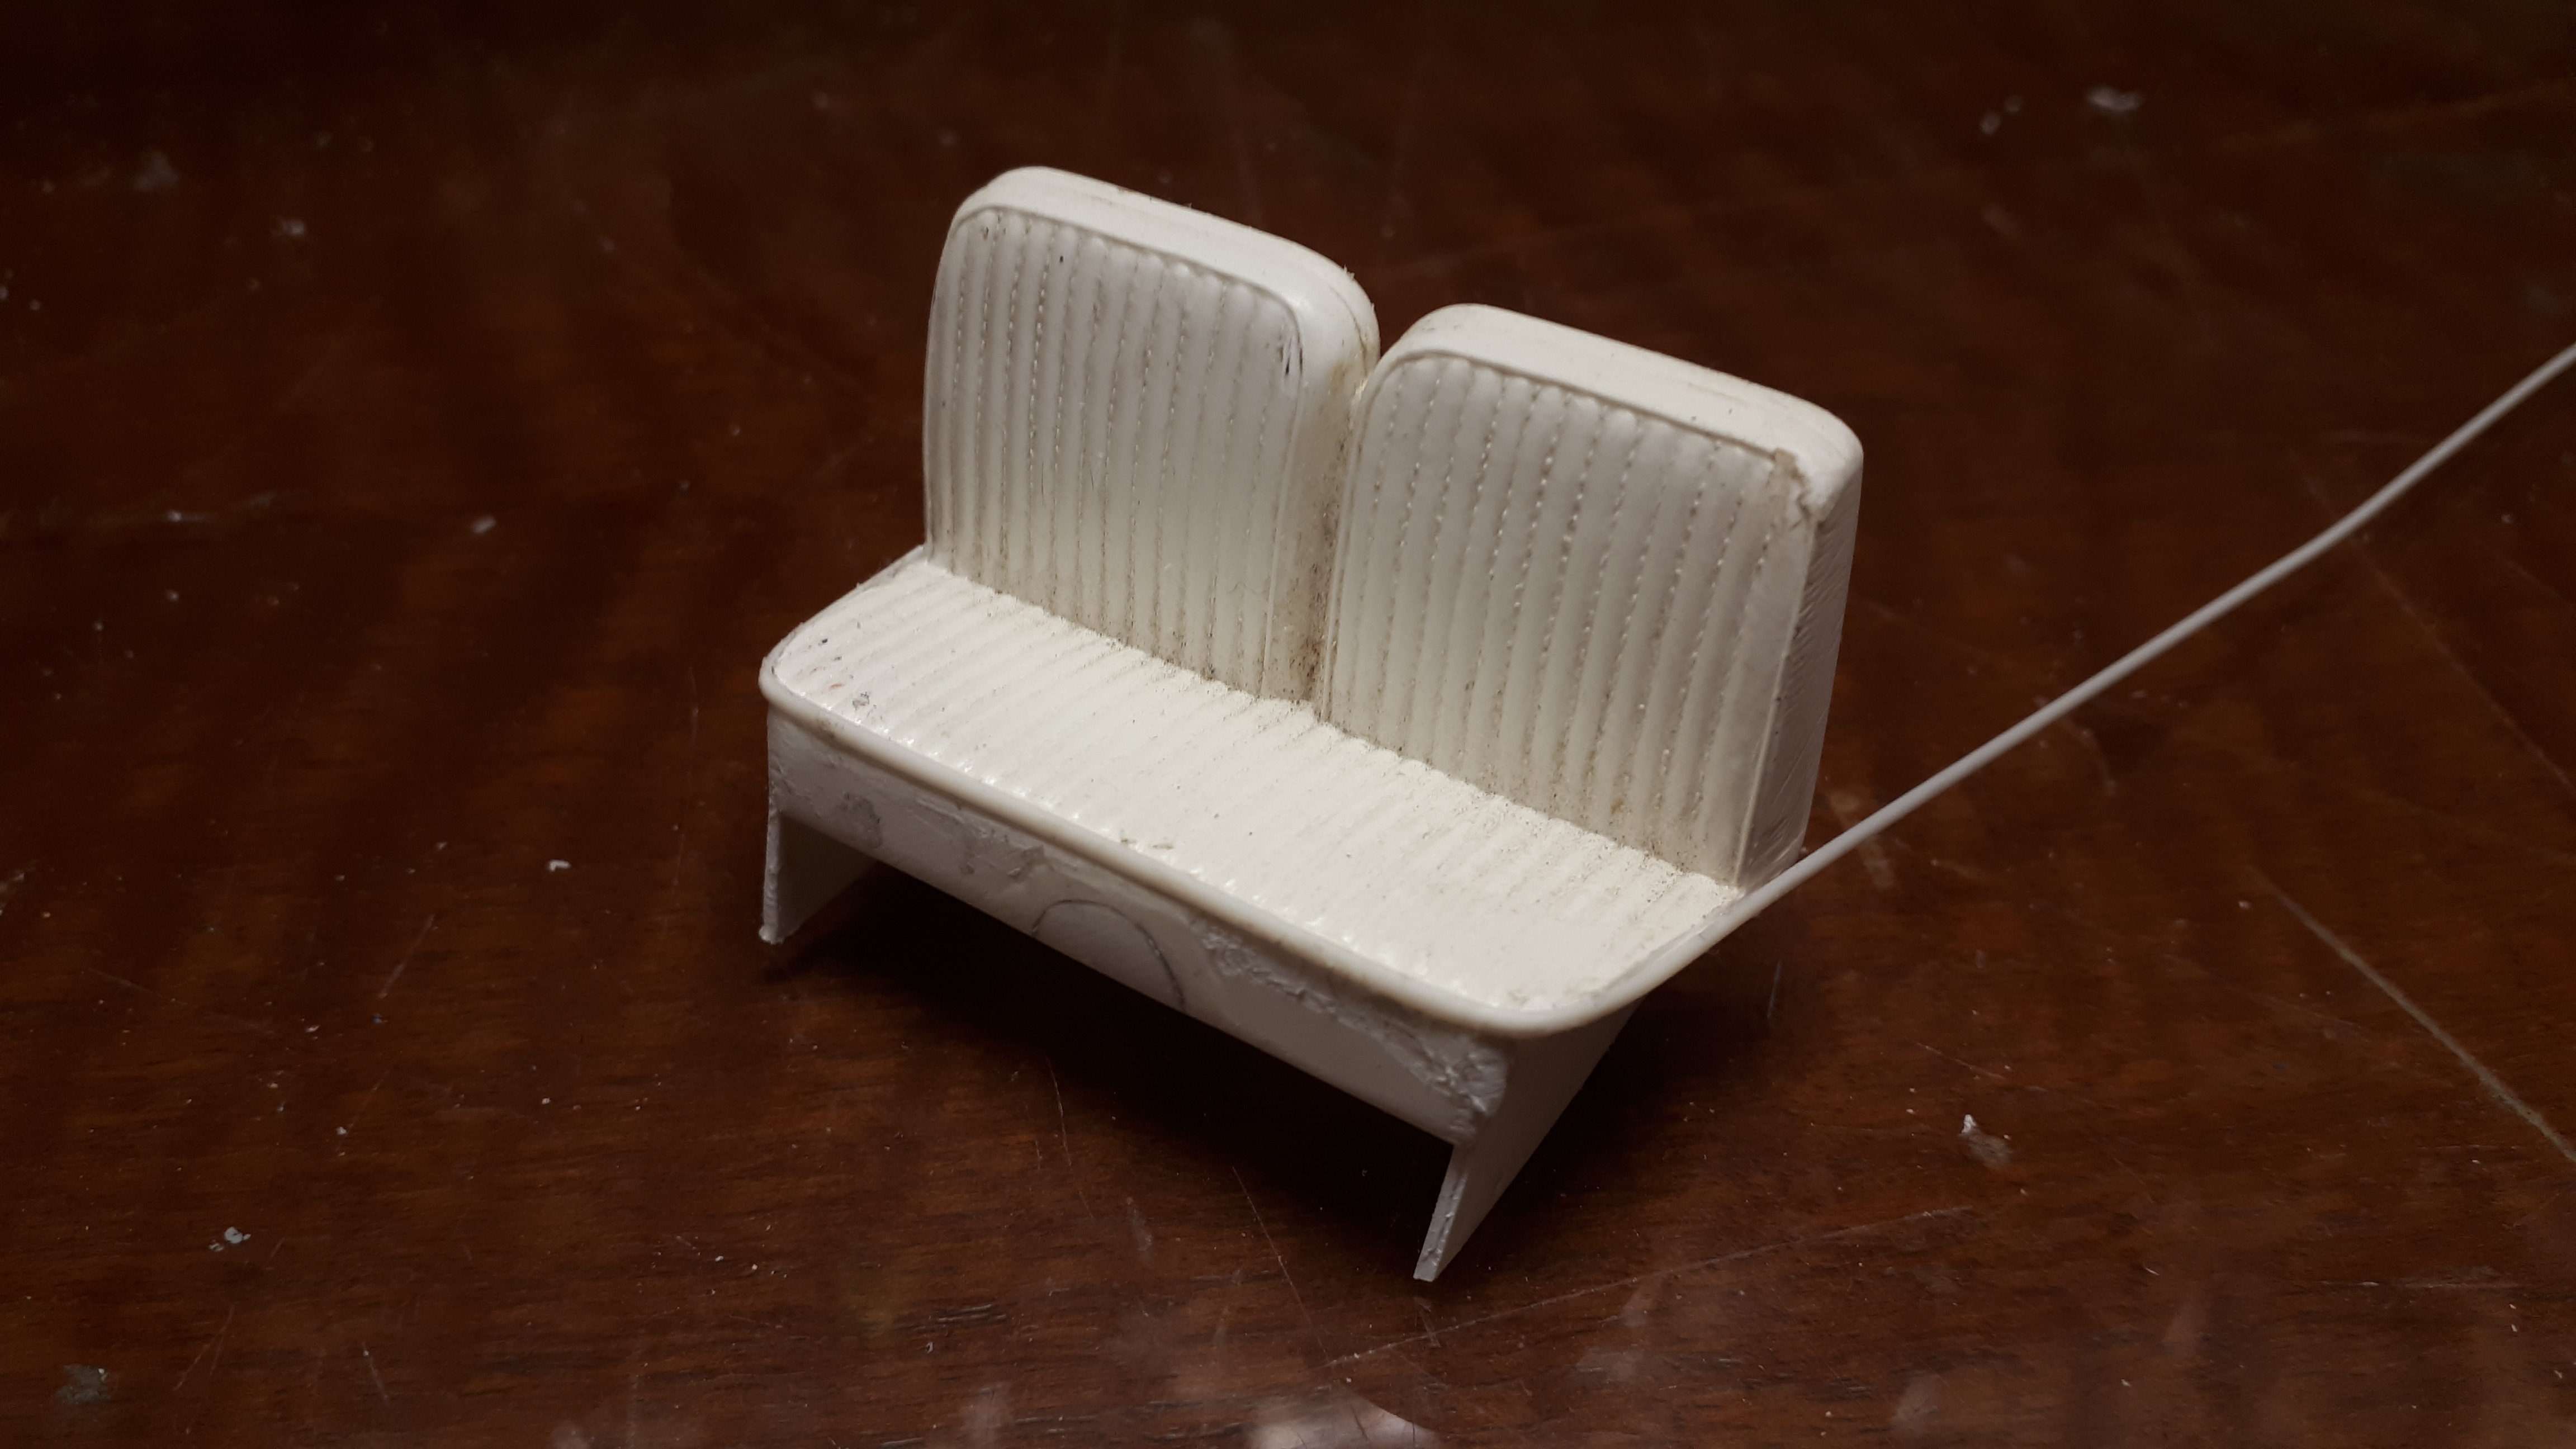
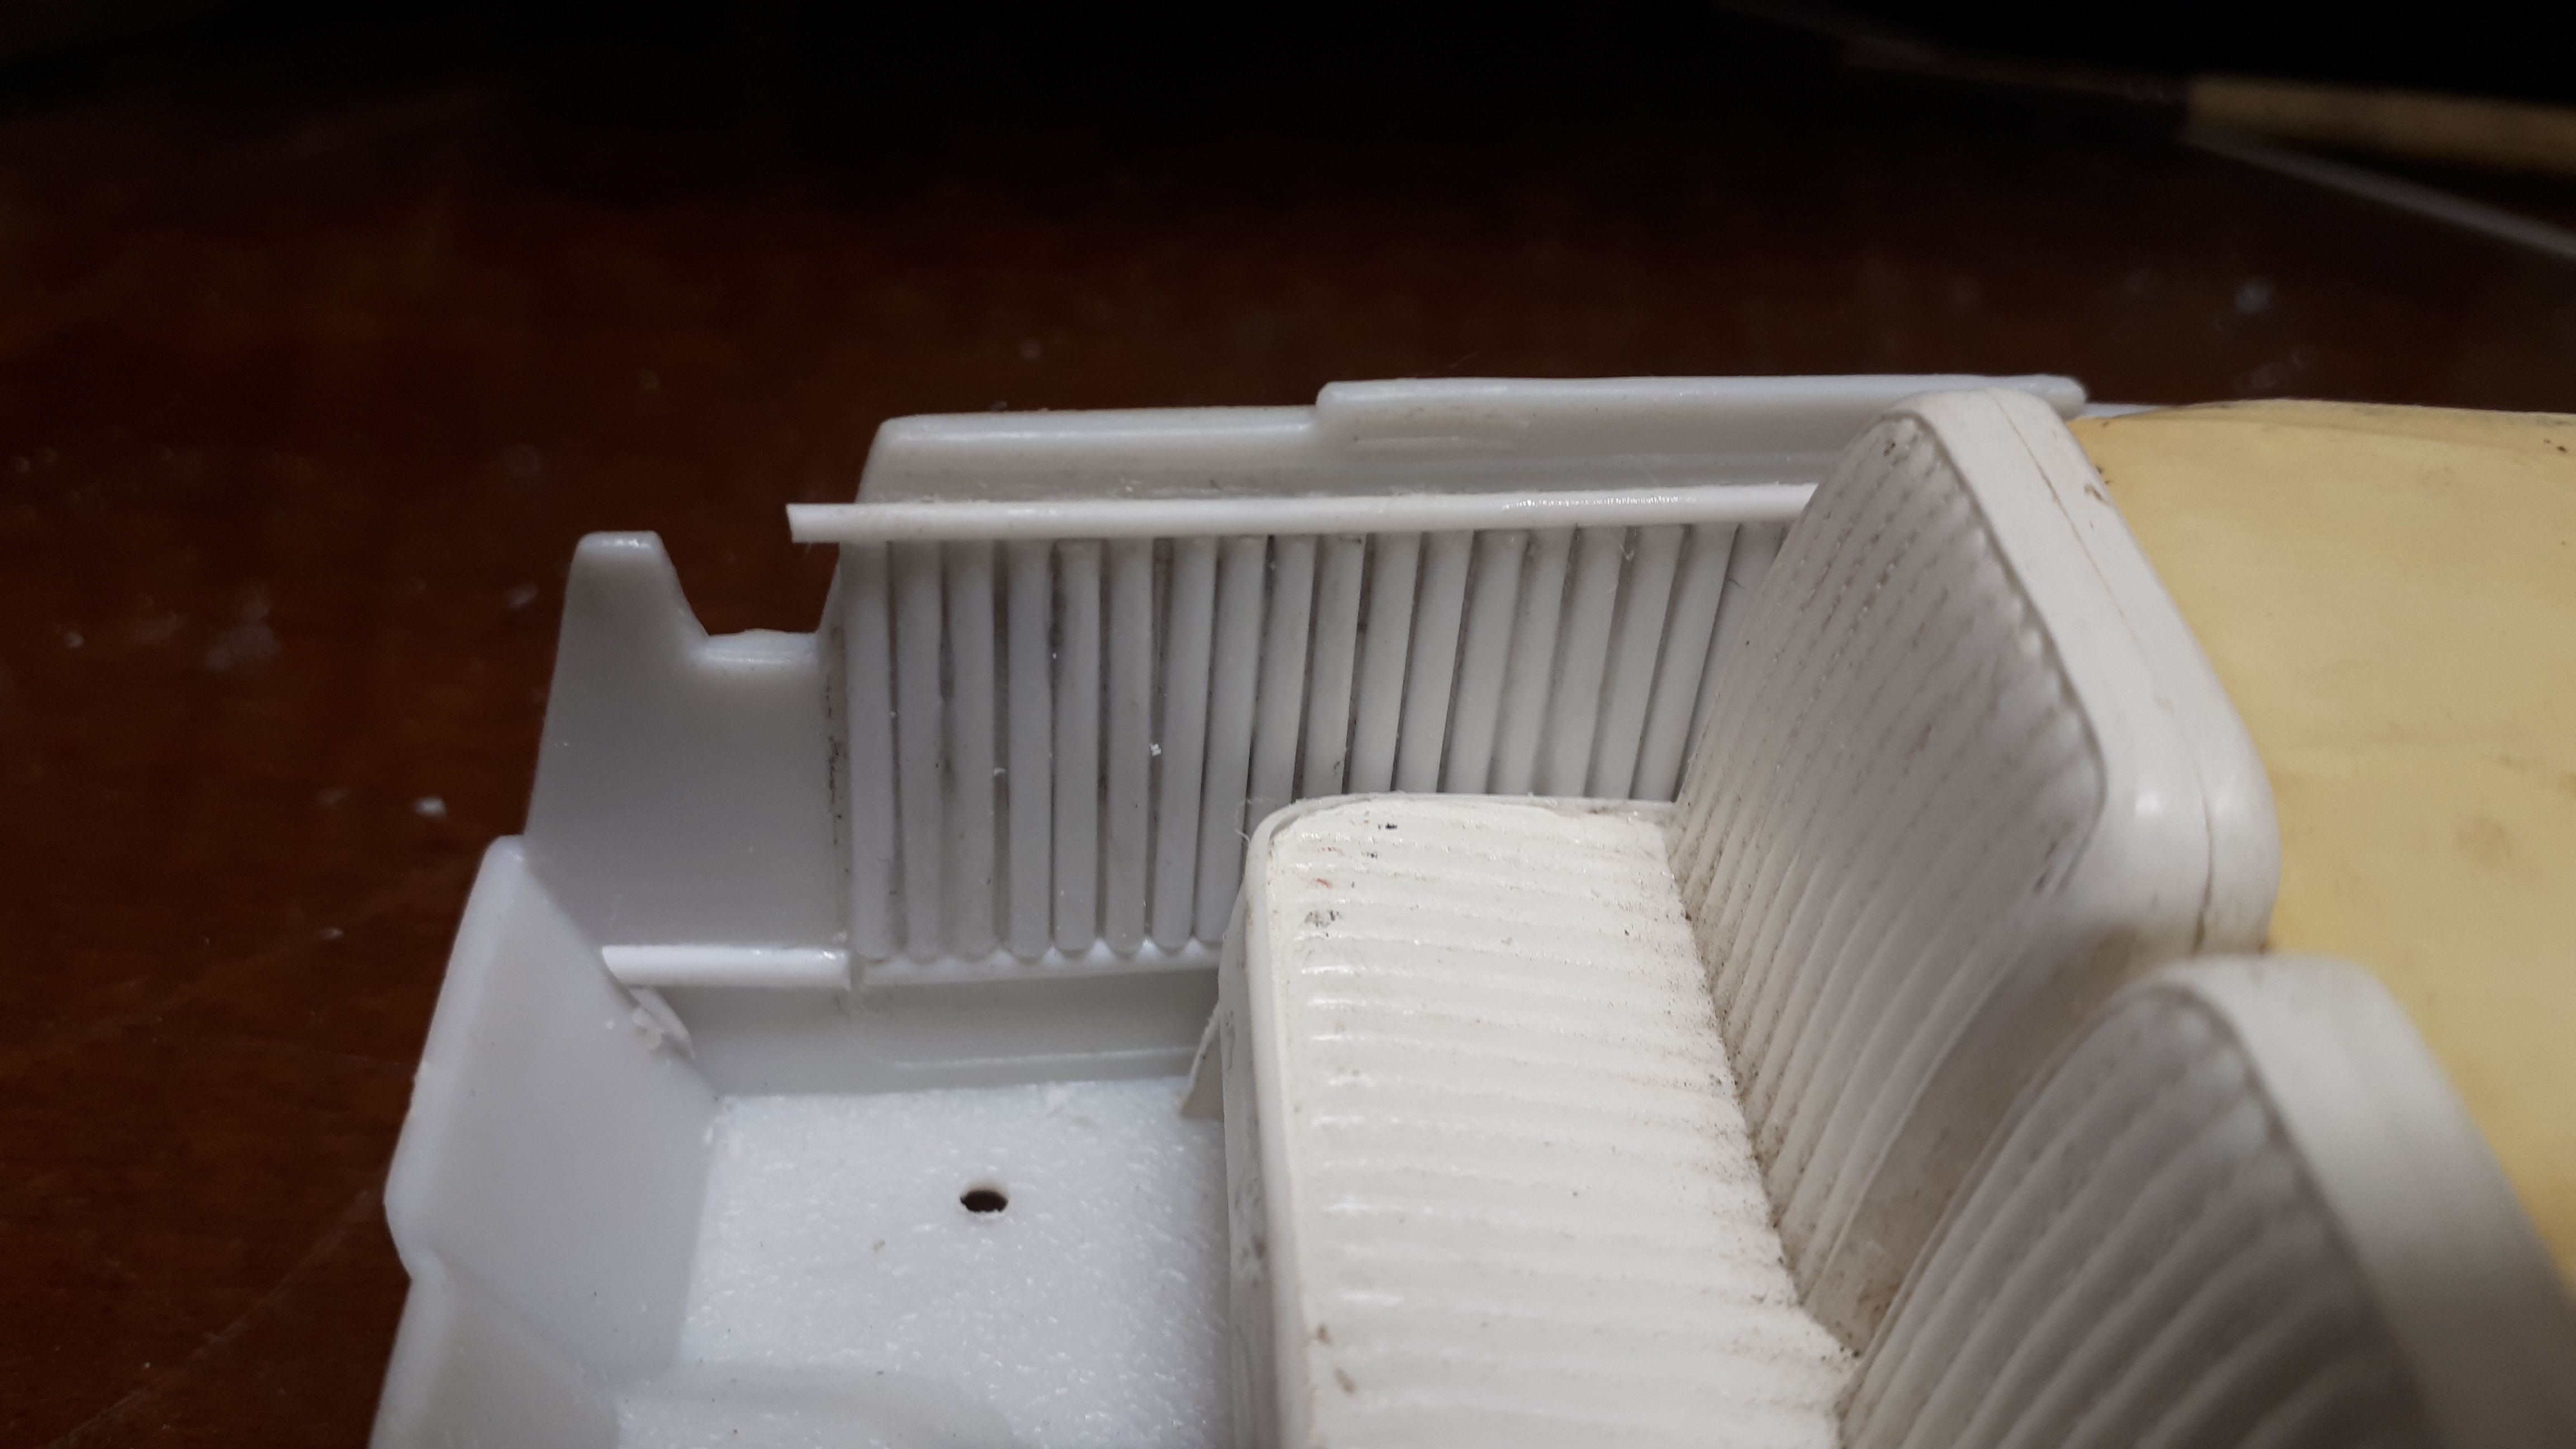
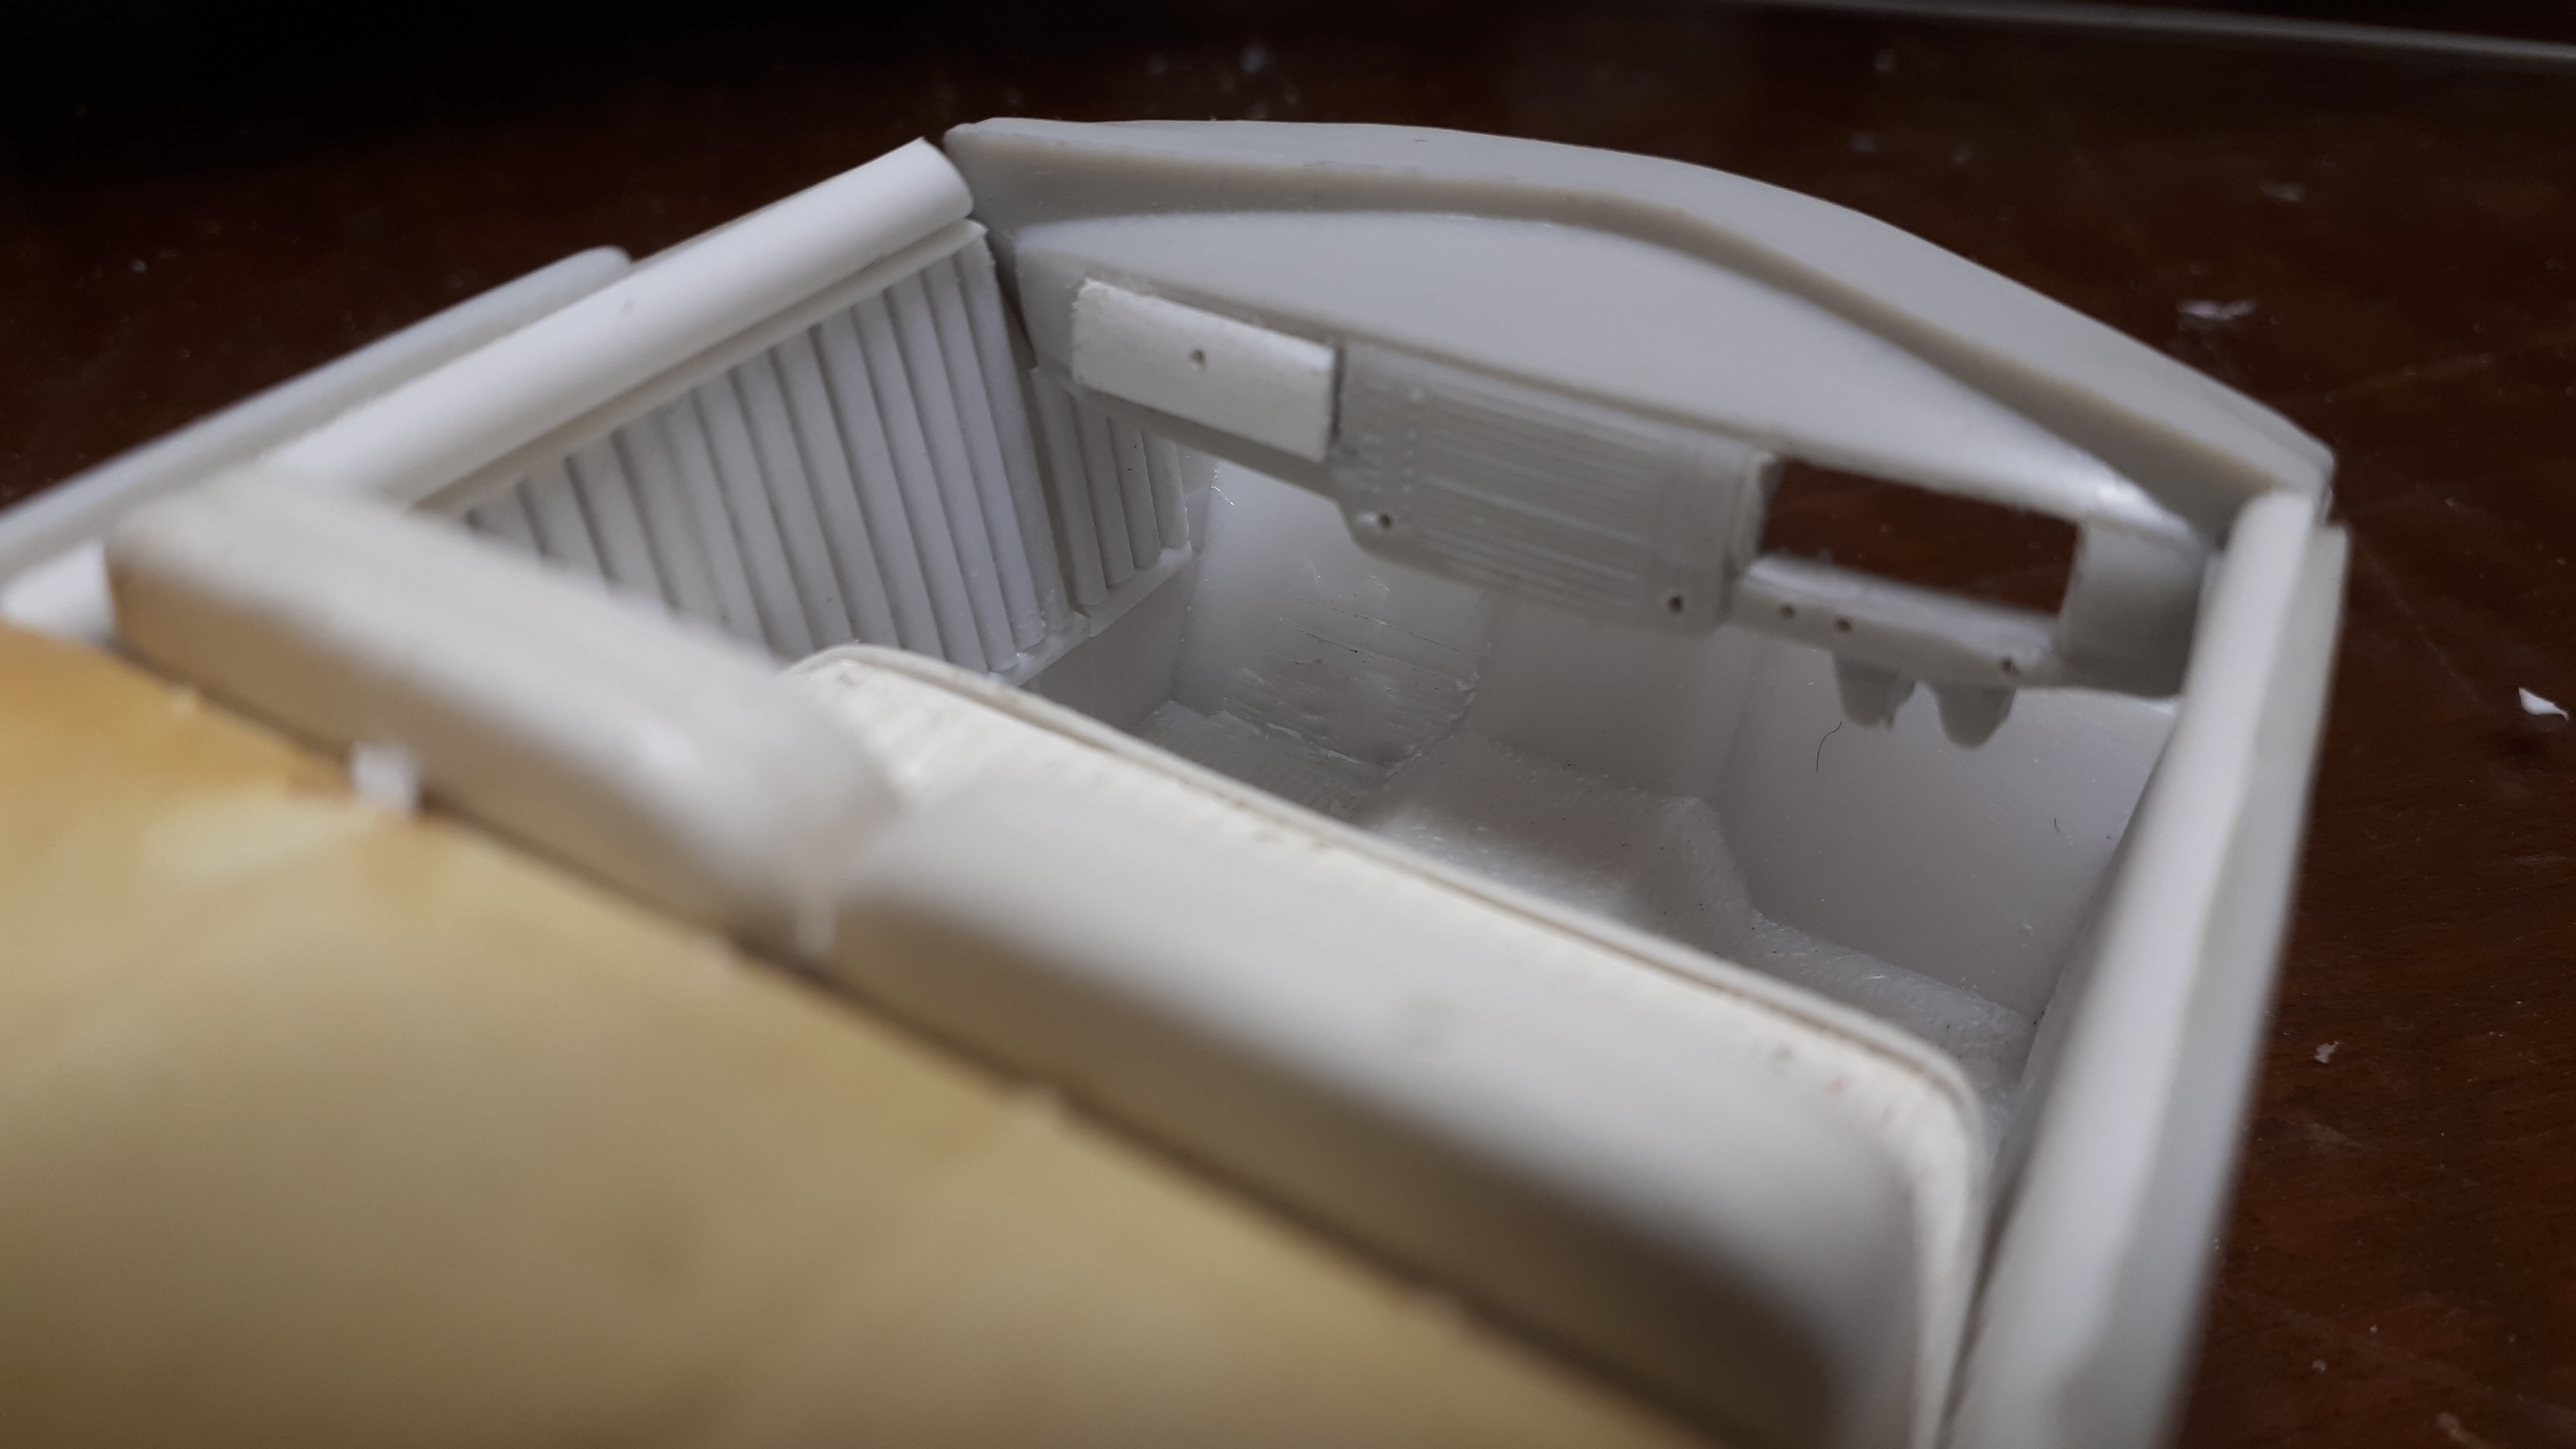
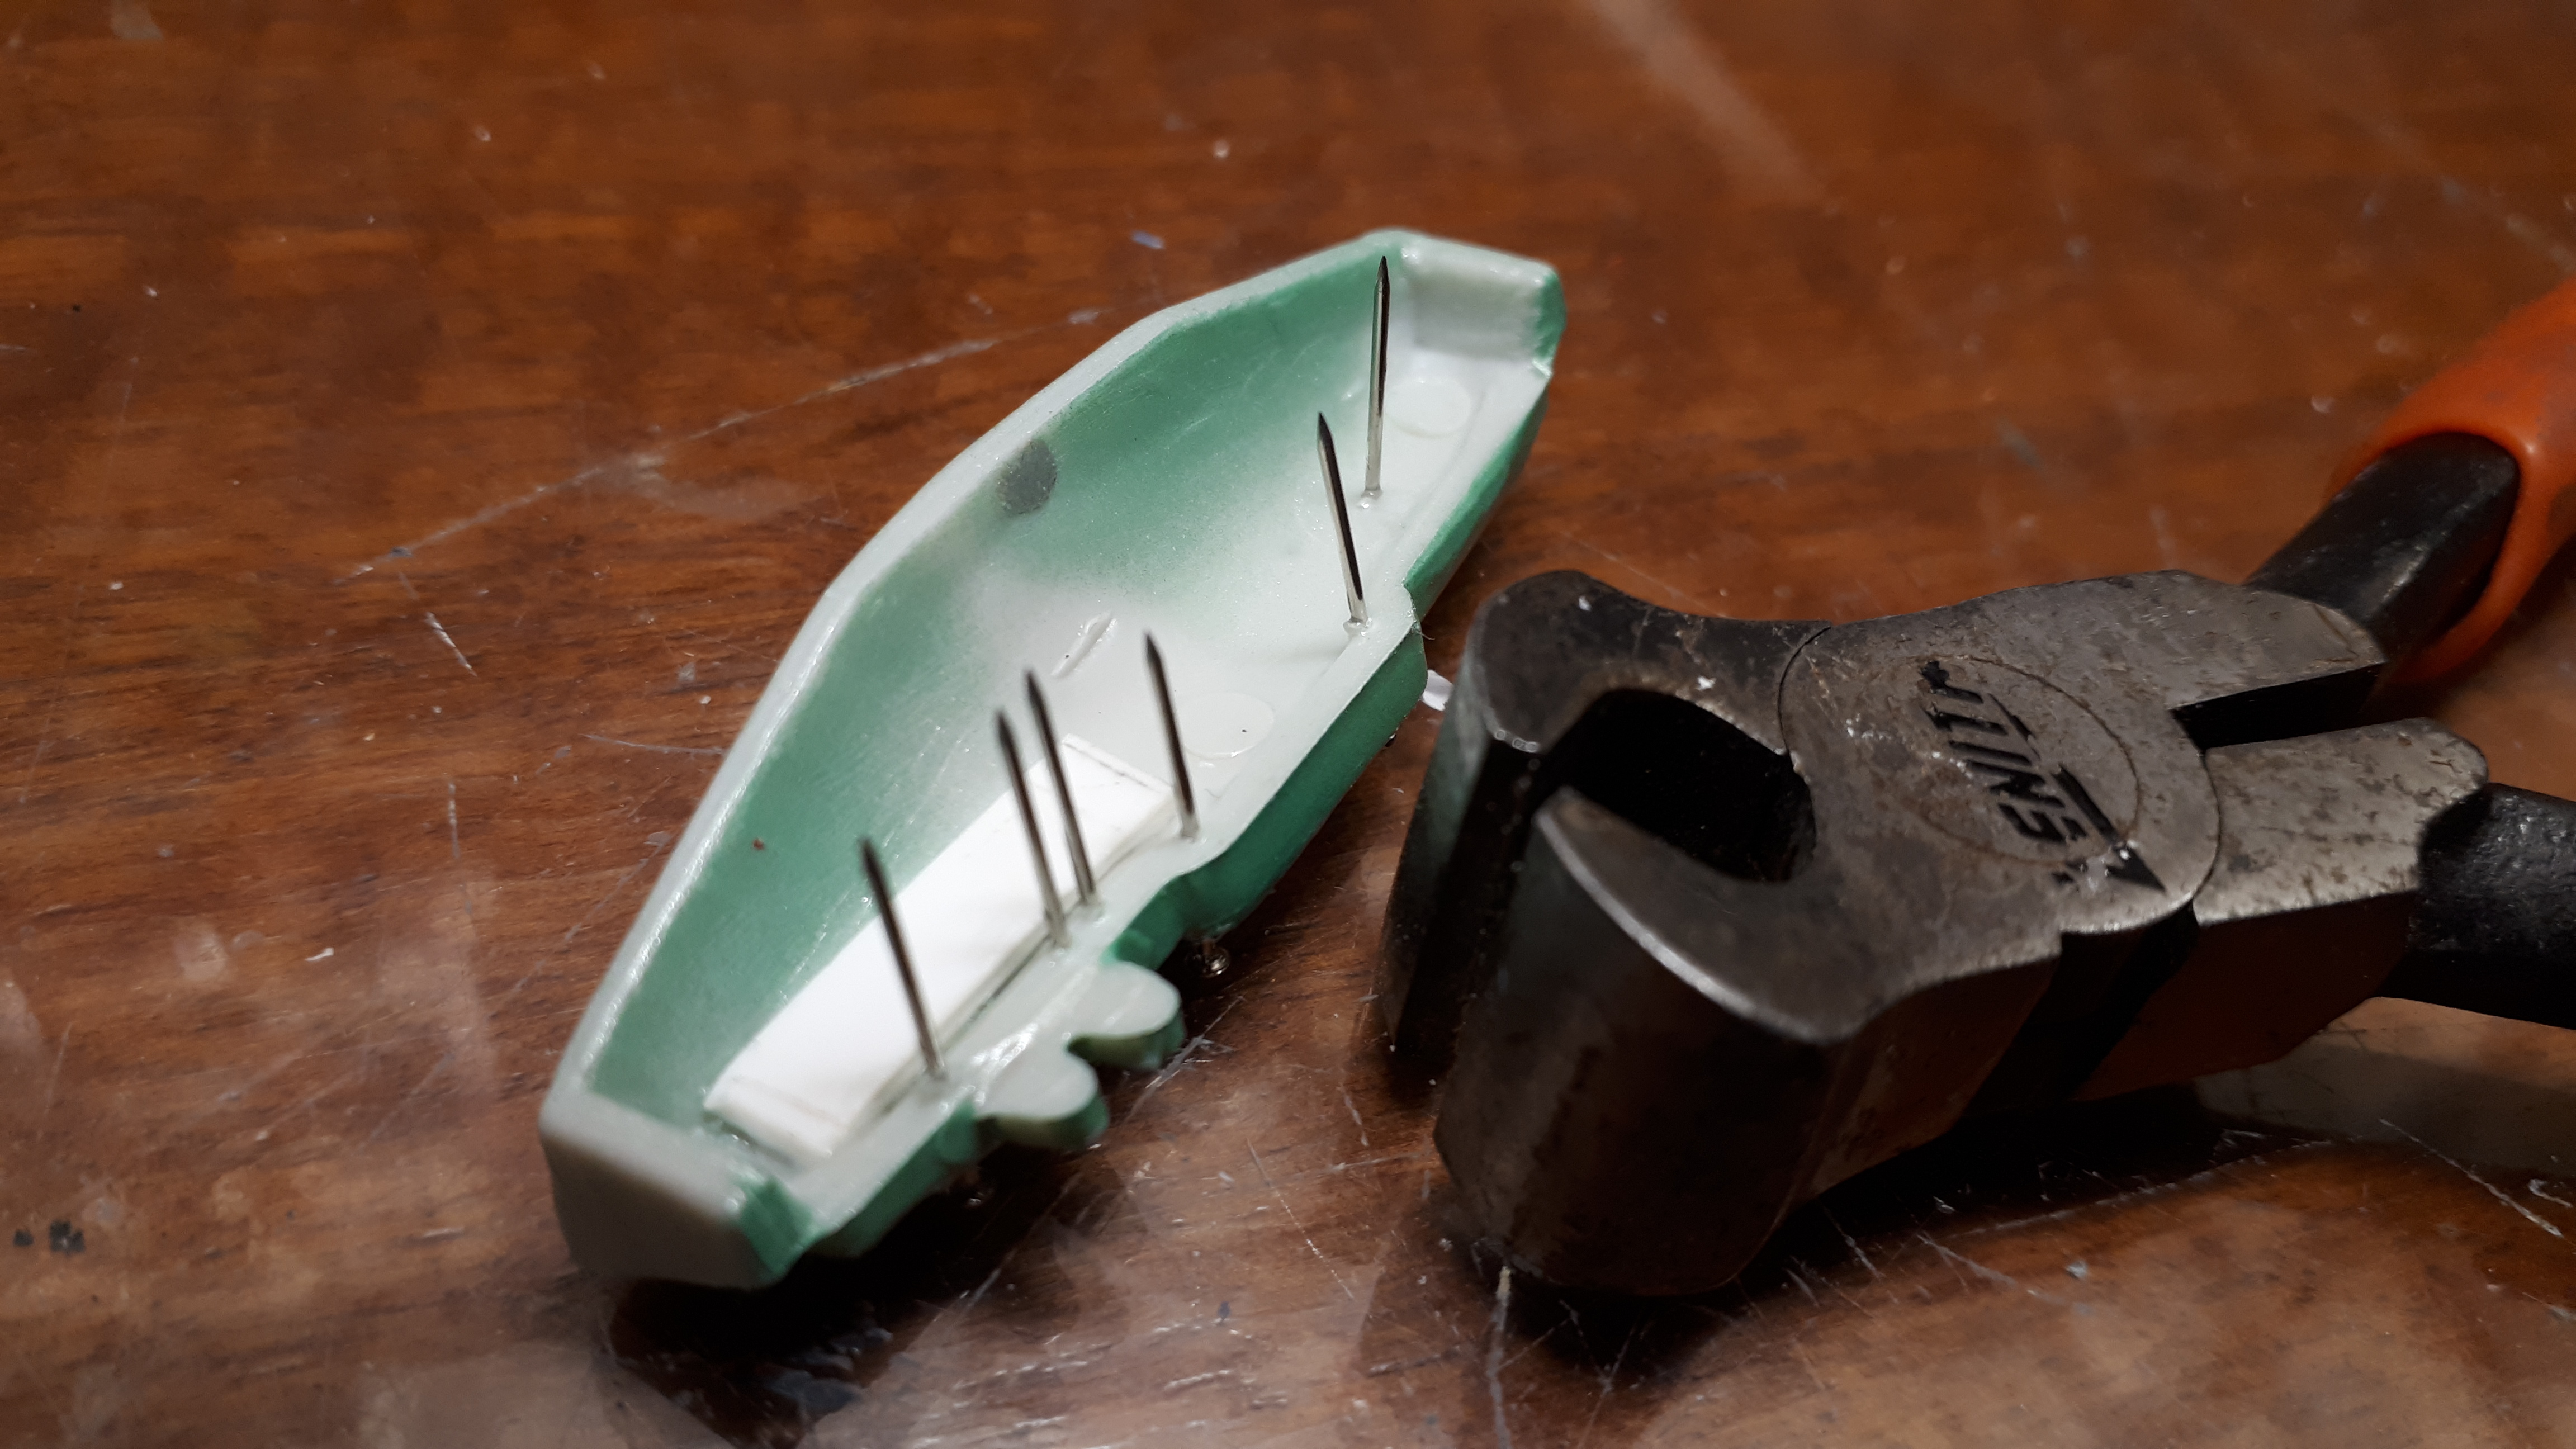
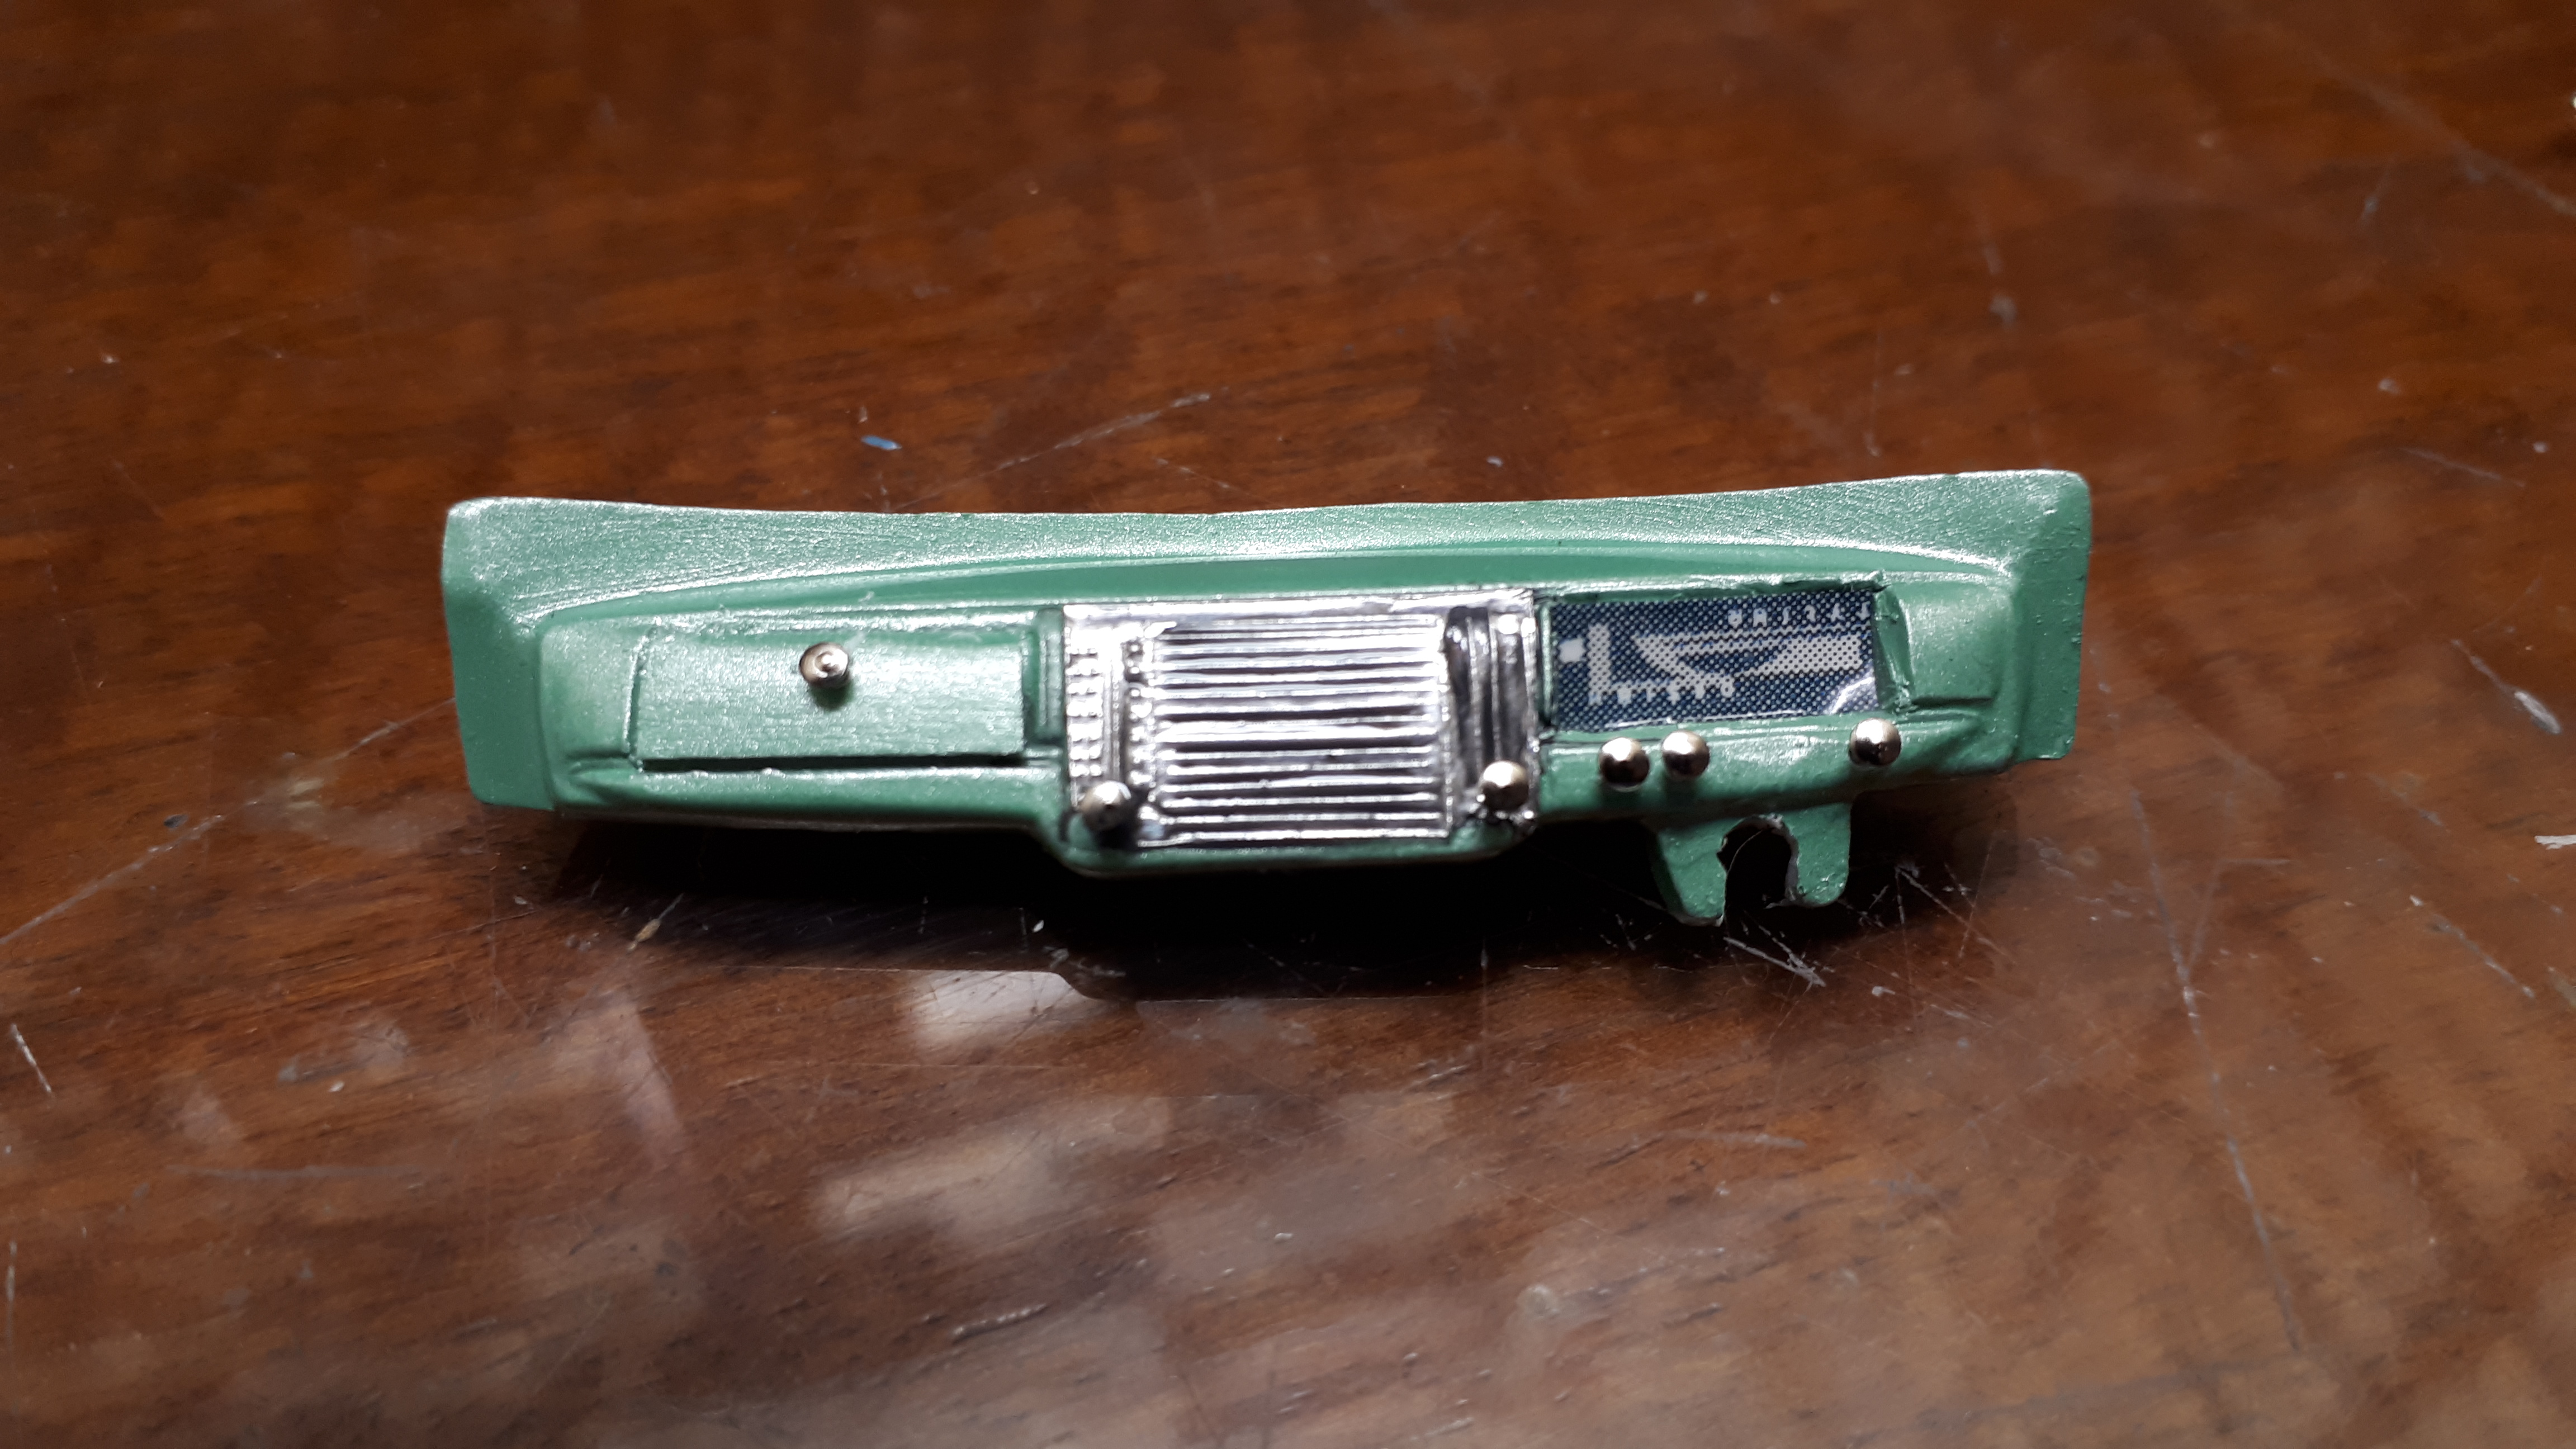
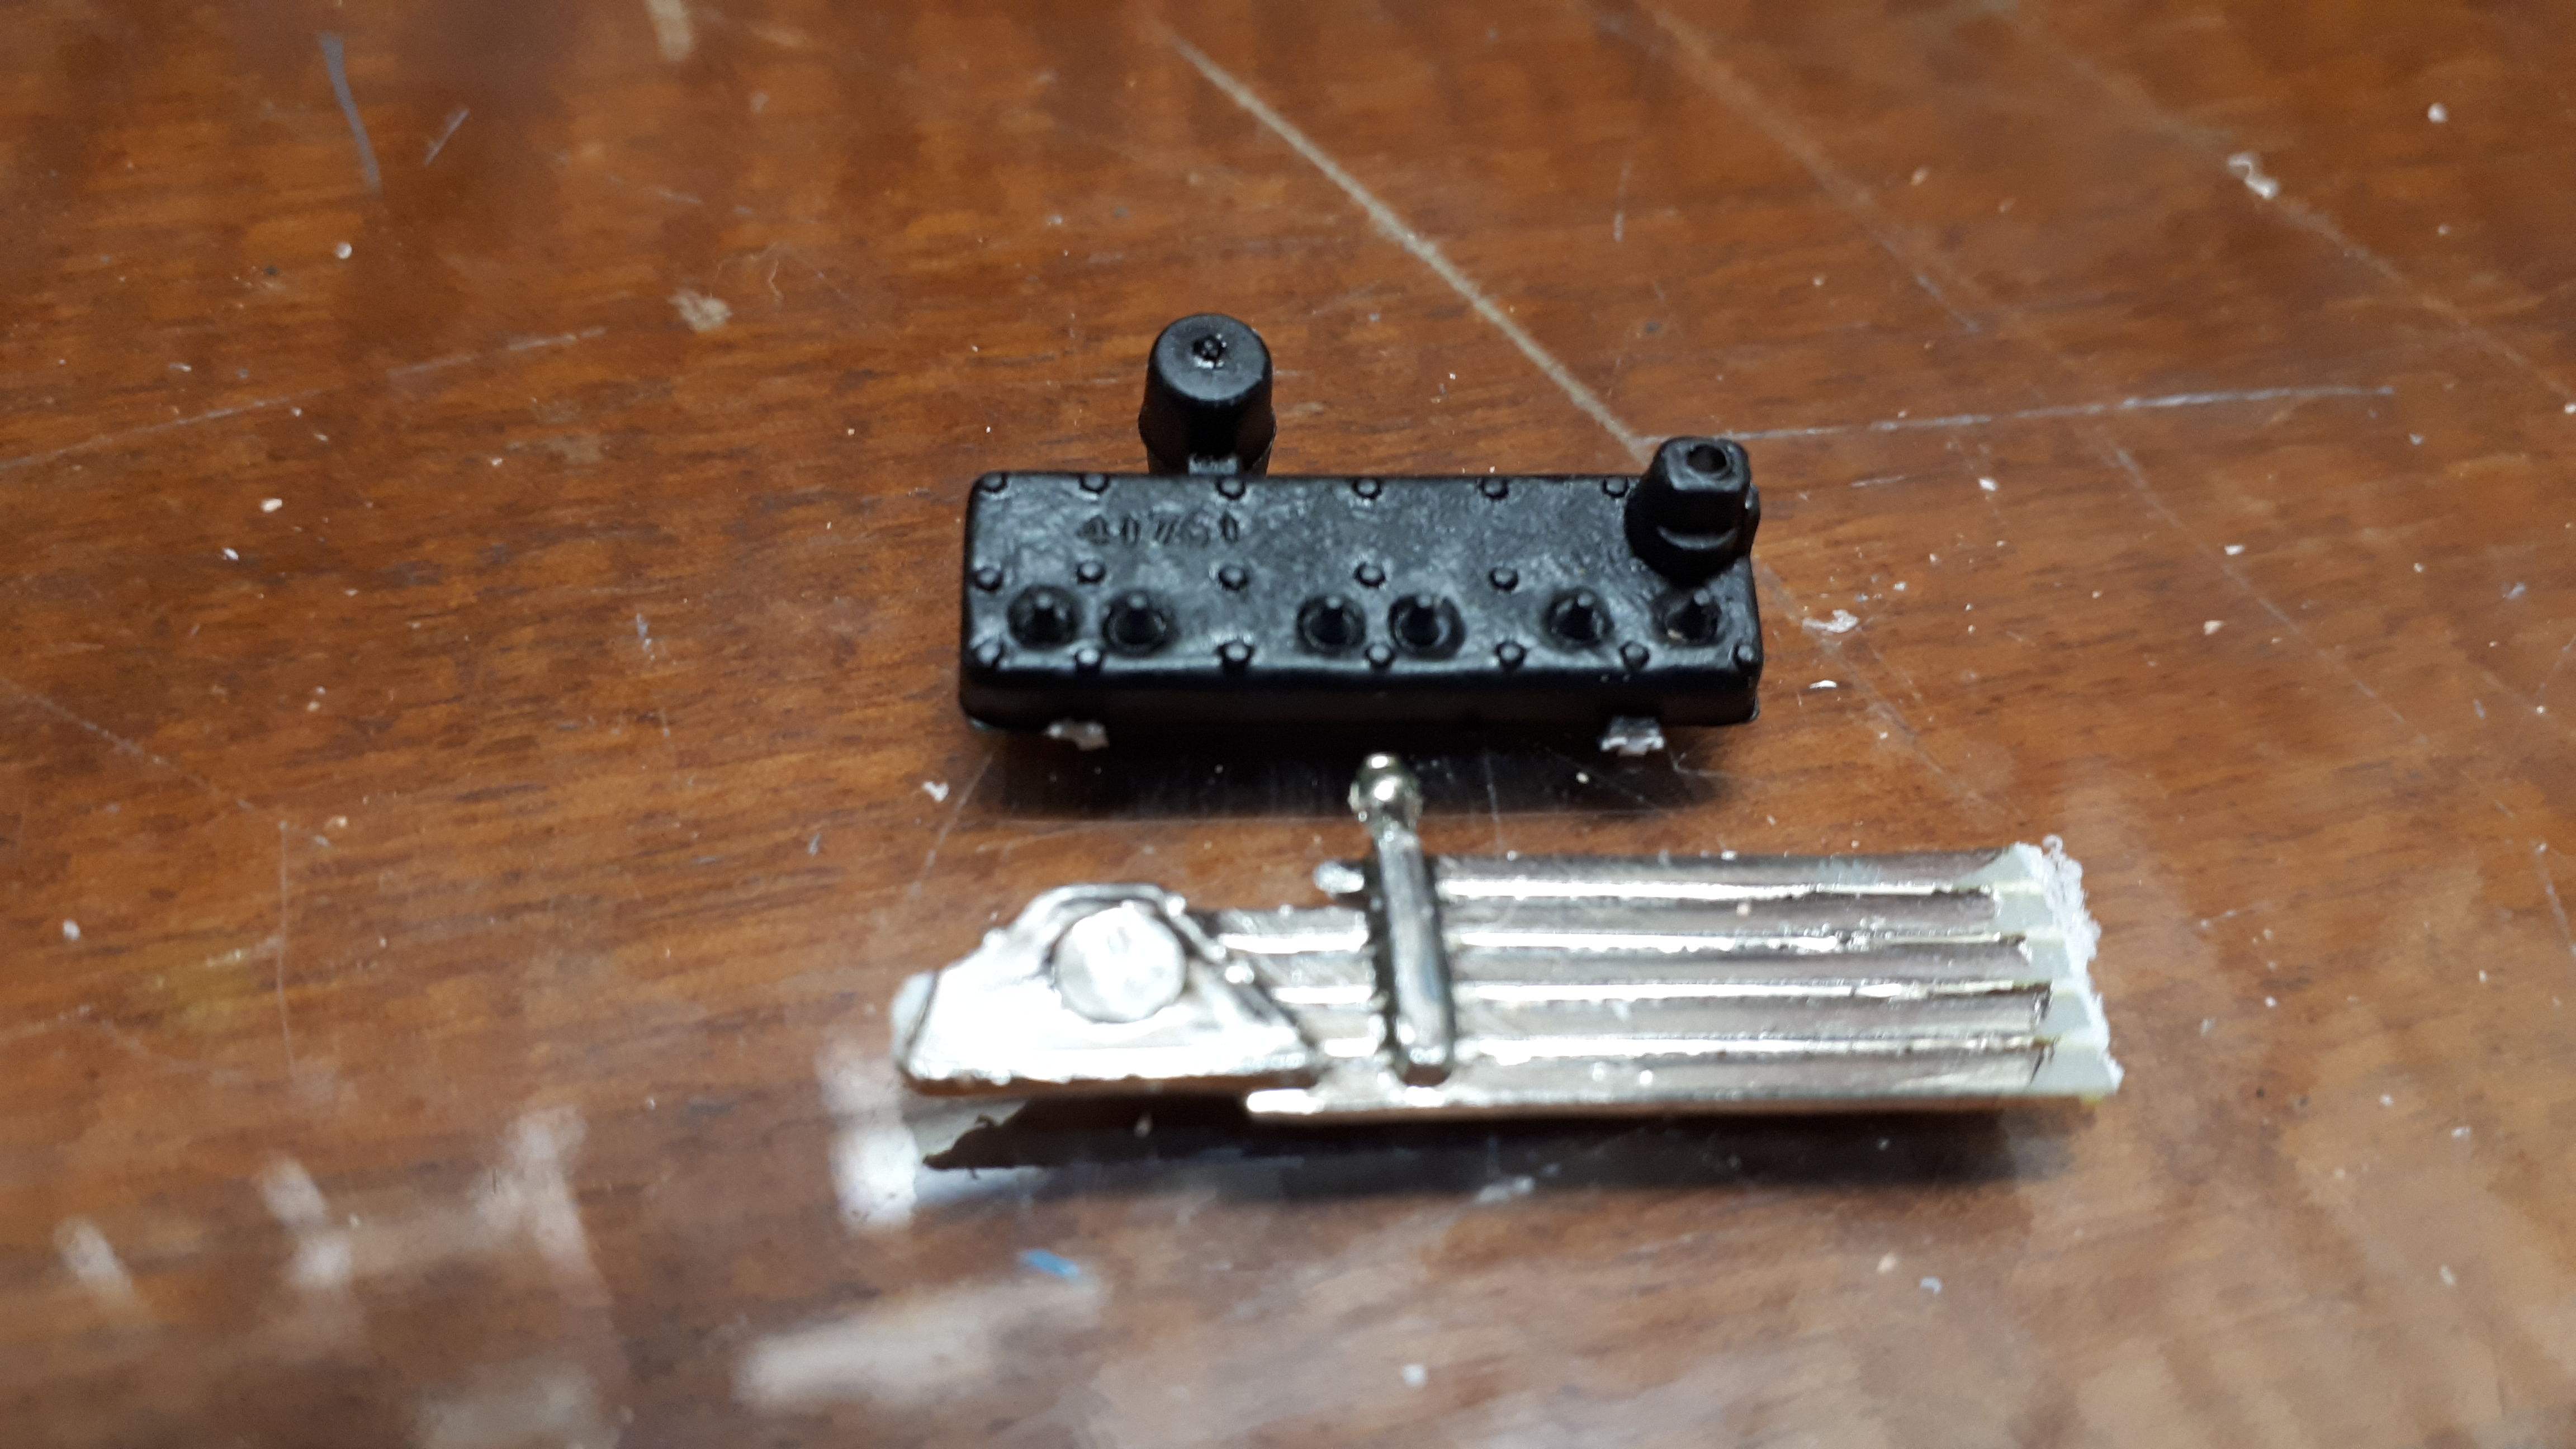
Hi Chris, I should have some photos up soon of how it looks with the V'd Chevy grille. I like it a lot! Problem is, and you can see it in the photos above, when I was cutting from the back, as the saw teeth broke through it cracked off a section of the grille bars on the opposite side of the cut. I patched it best I could but it is not great. Somewhere in my stash I have another grile so I hope to dig it out and try again. I might use an Xacto to scribe through the grille bars gently from the front before starting the sawing from the back this time, hopefully will get a cleaner result. Glad you are enjoying the build. This was definitely a model that I picked up and put back many times before I took this approach and I am very happy with the results. Meanwhile I have got most of the fab finished for the interior. To start with, I put a piece of tape on my desk to mark the length of the Evergreen half round I wanted to use for tuck and roll. Even for a small interior like this is takes a lot of strips! I then glued them to the tub with Revell Professional liquid cement. I left a gap between each strip to allow the white paint to flow into the gap and give the impression of a deep tuck - next time I might close the gaps up a bit. When that was dry I used a steel rule and a sharp knife to trim the top surface straight and then glued another strip of half round along the top and bottom of the pleats. I think the seat is from an AMT 53 Studebaker. I had to file the front corners back to fit in the tight confines of the interior tub and then replace the original piping with thin Evergreen half round. I made some very simple seat supports from flat styrene to lift the seat to a believable height - these supports are invisible on the finished interior. The dash needed to be converted to right hand drive so I cut out the glovebox door and the instrument panel. I then cut a piece of styrene and sanded it to form the replacement door on the left hand side. The instrument cluster was not particularly well engraved so I fabricated a small rectangular housing on the right hand side and used a decal instead. It is not the greatest gauge cluster ever but when you peak inside the window it looks fine. Finally I drilled a bunch of small holes and fitted them with tiny dressmaking pins to replace the dash switch knobs. Cheers Alan
-
Have you been spying over my shoulder, espo? That's exactly what I have done! The fins are part of the custom grille from the old Revell 57 Chevy. I didn't realise until i was cutting it up that it wasn't a solid unit- you can thank Revell chrome plating flash for that. I still have to do some work on the head because as you can see from the photo I have a few wonky bits. I then glued a coupe of carb bases made from scrap plastic onto the original manifold. I then added parts of a second downpipe to create my slightly dodgey version of a split manifold.
-
How ya goin', Tom? Ya don't need much bait on the hook in these parts, eh? I'm just going to bed so you must have just got up. I will be looking at your references in the morning. Cheers Alan
-
Add my name to the list of guys that hadn't seen this one before. What a cool little model, period perfect for when V-rods were flavour of the month. I thought I knew every hot rod kit but once again I have been proven wrong! Bill, your build looks fabulous, loving the orange and Ken, I love where yours is heading. It would be awesome if you can save or recreate the stars and stripes! Cheers Alan
-
Yes Gerald, I certainly did but I only have one spare slant six in my stash, the one from the Deora, and I want to use it in a hot rod where it is exposed to the viewer rather than hidden under a hood. At this stage I think the flathead six in the kit is going to get a makeover! Thanks for your comments and glad your are enjoying it. cheers Alan
-
Its always fun bringing them back from the dead! There is something very calming about being able to to work with something you really can't care about, adter all, it's not like you can make it any worse! I love the family shot at the end. Cheers Alan.