alan barton
Members-
Posts
2,105 -
Joined
-
Last visited
Content Type
Profiles
Forums
Events
Gallery
Everything posted by alan barton
-
Well done! One ( or two) of my favourite models. Looks like both Nanna and pops were leadfoots! Cheers Alan
-
I know this car well, Kit! It was built by a mate of mine, Rod Hadfield of Castlemaine Victoria. Believe it or not, he and his wife Carol drove that all the way across Australia to come to the Sandgroper Nationals in Western Australia in 2004. Rod has built a wild array of cars over the years and took this one and his Merlin powered 55 Chevy ( "Final Objective") to the USA for a huge tour maybe ten years ago? His cars are always full of unusual tricks - he recently completed a street legal America La France powered steel bodied Fiat Topolino and it is a fully streetable, fully detailed show car! Cheers Alan
-
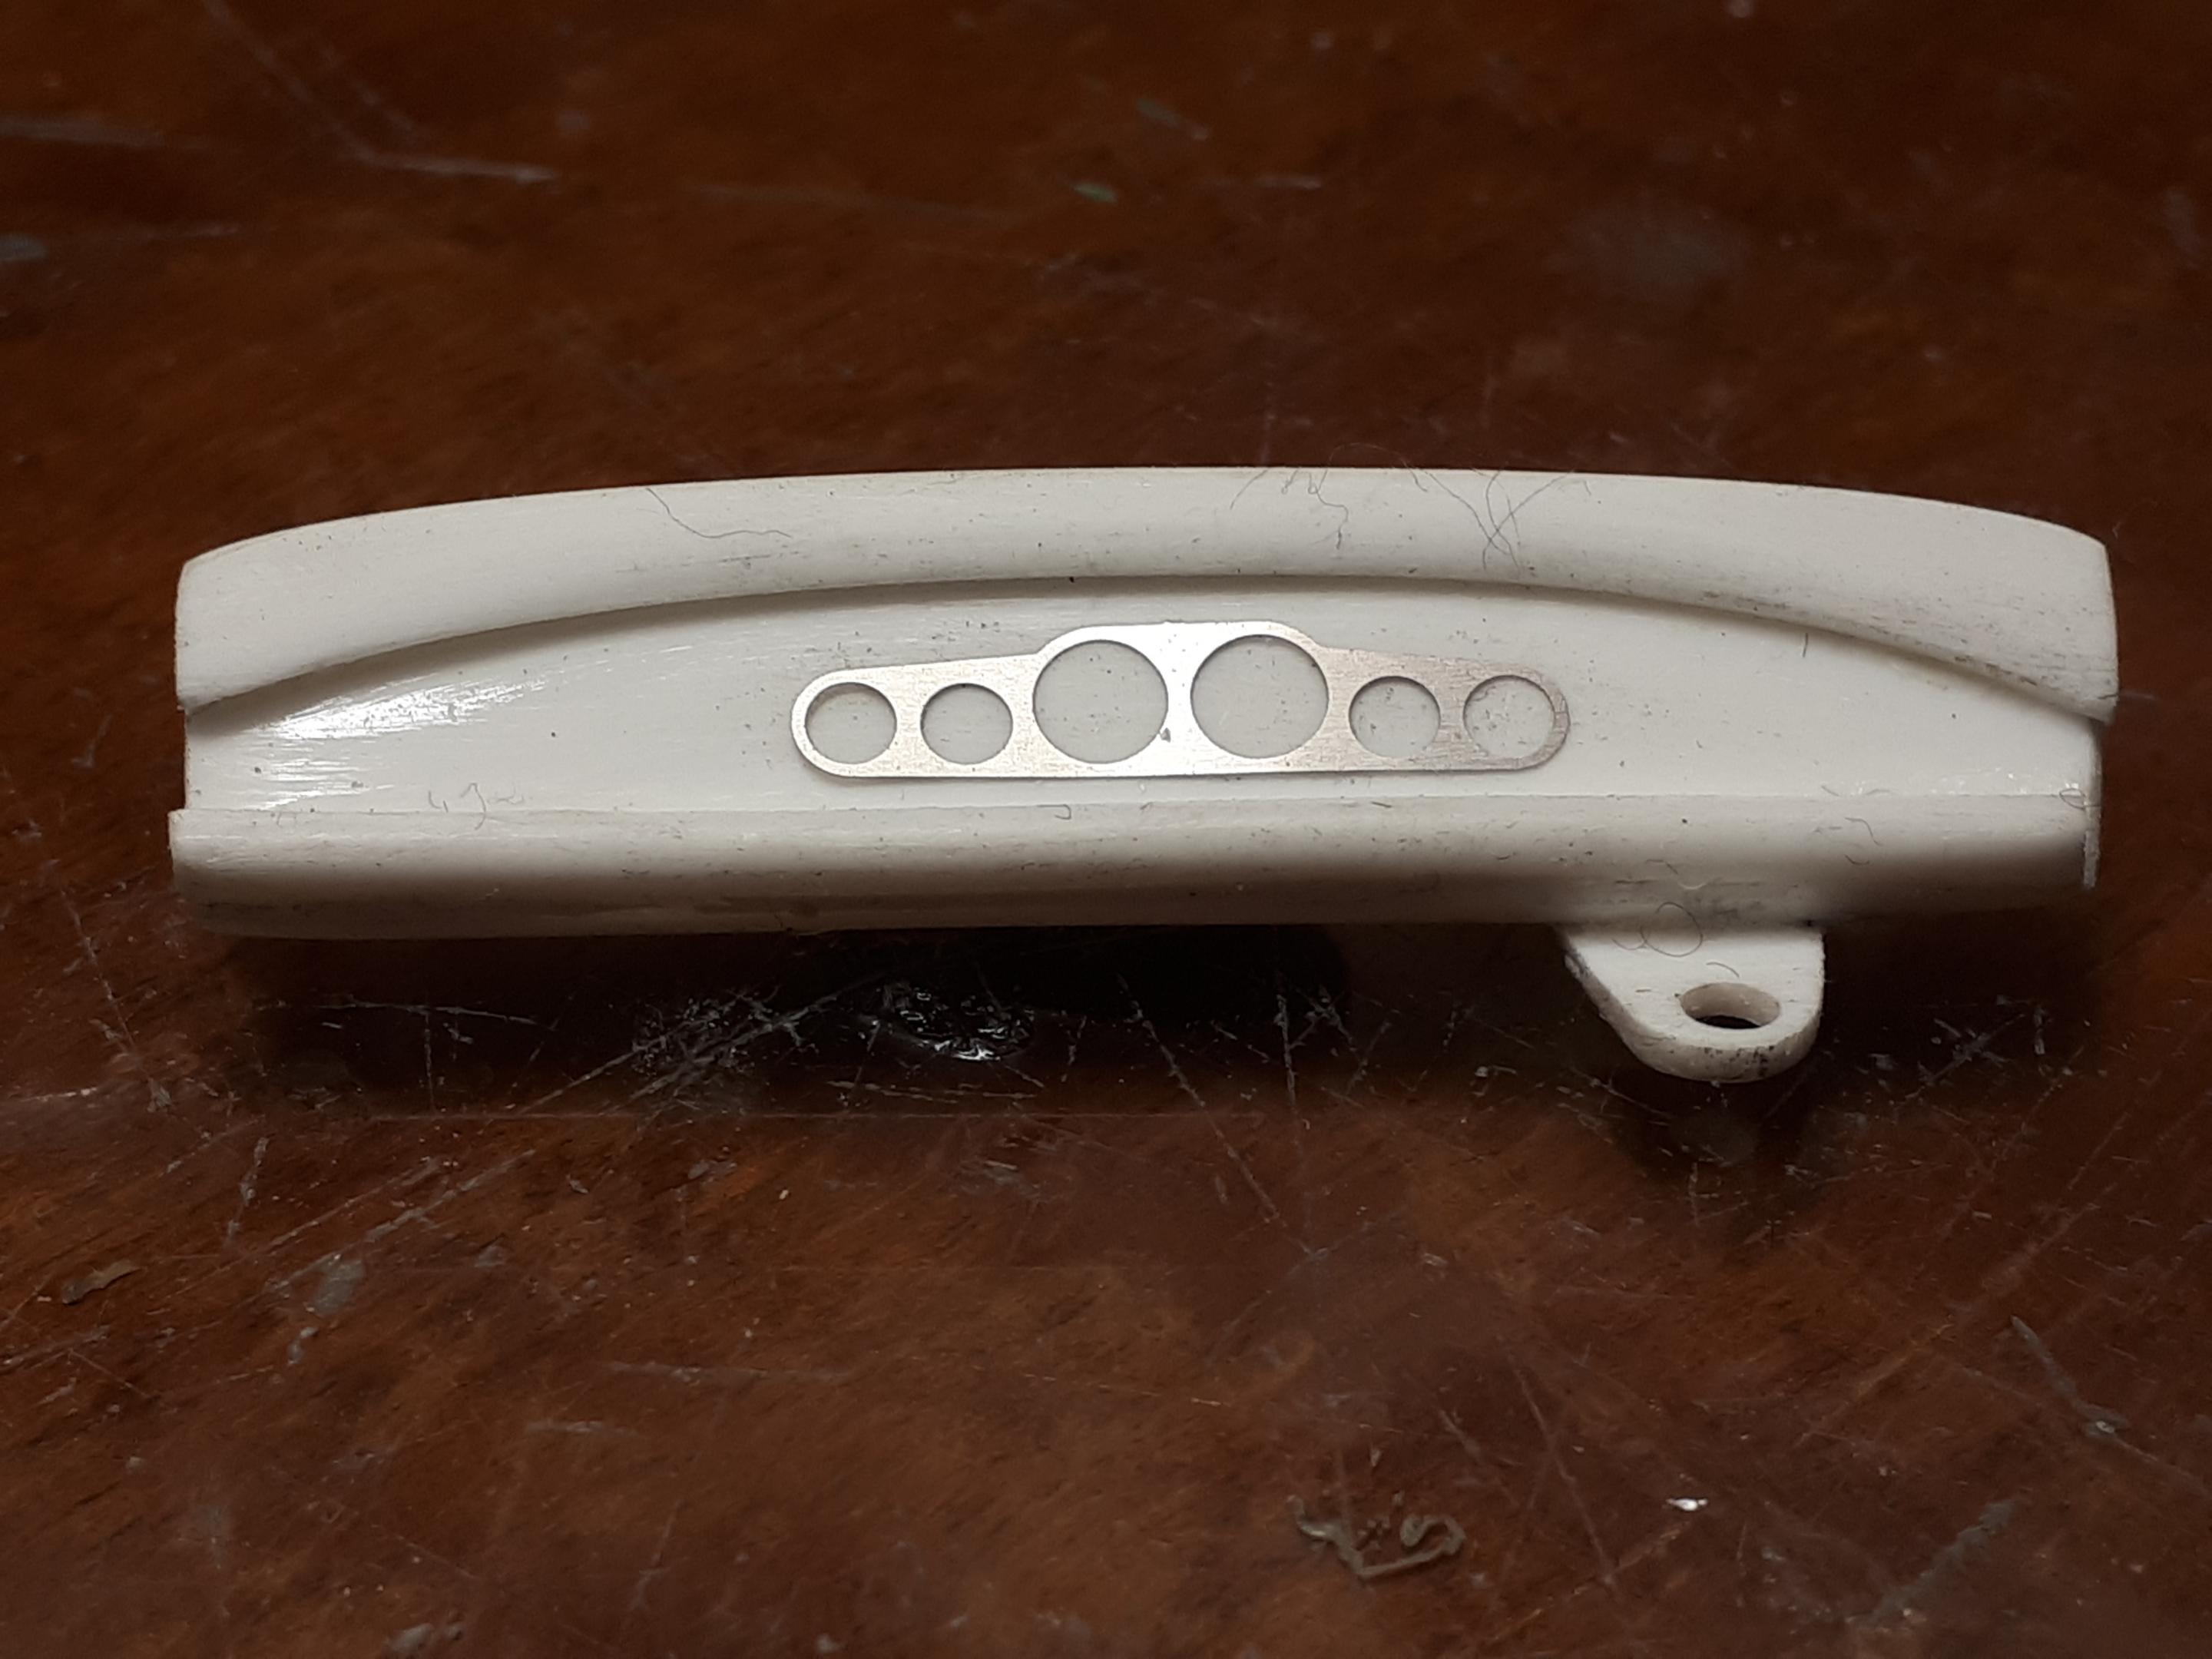
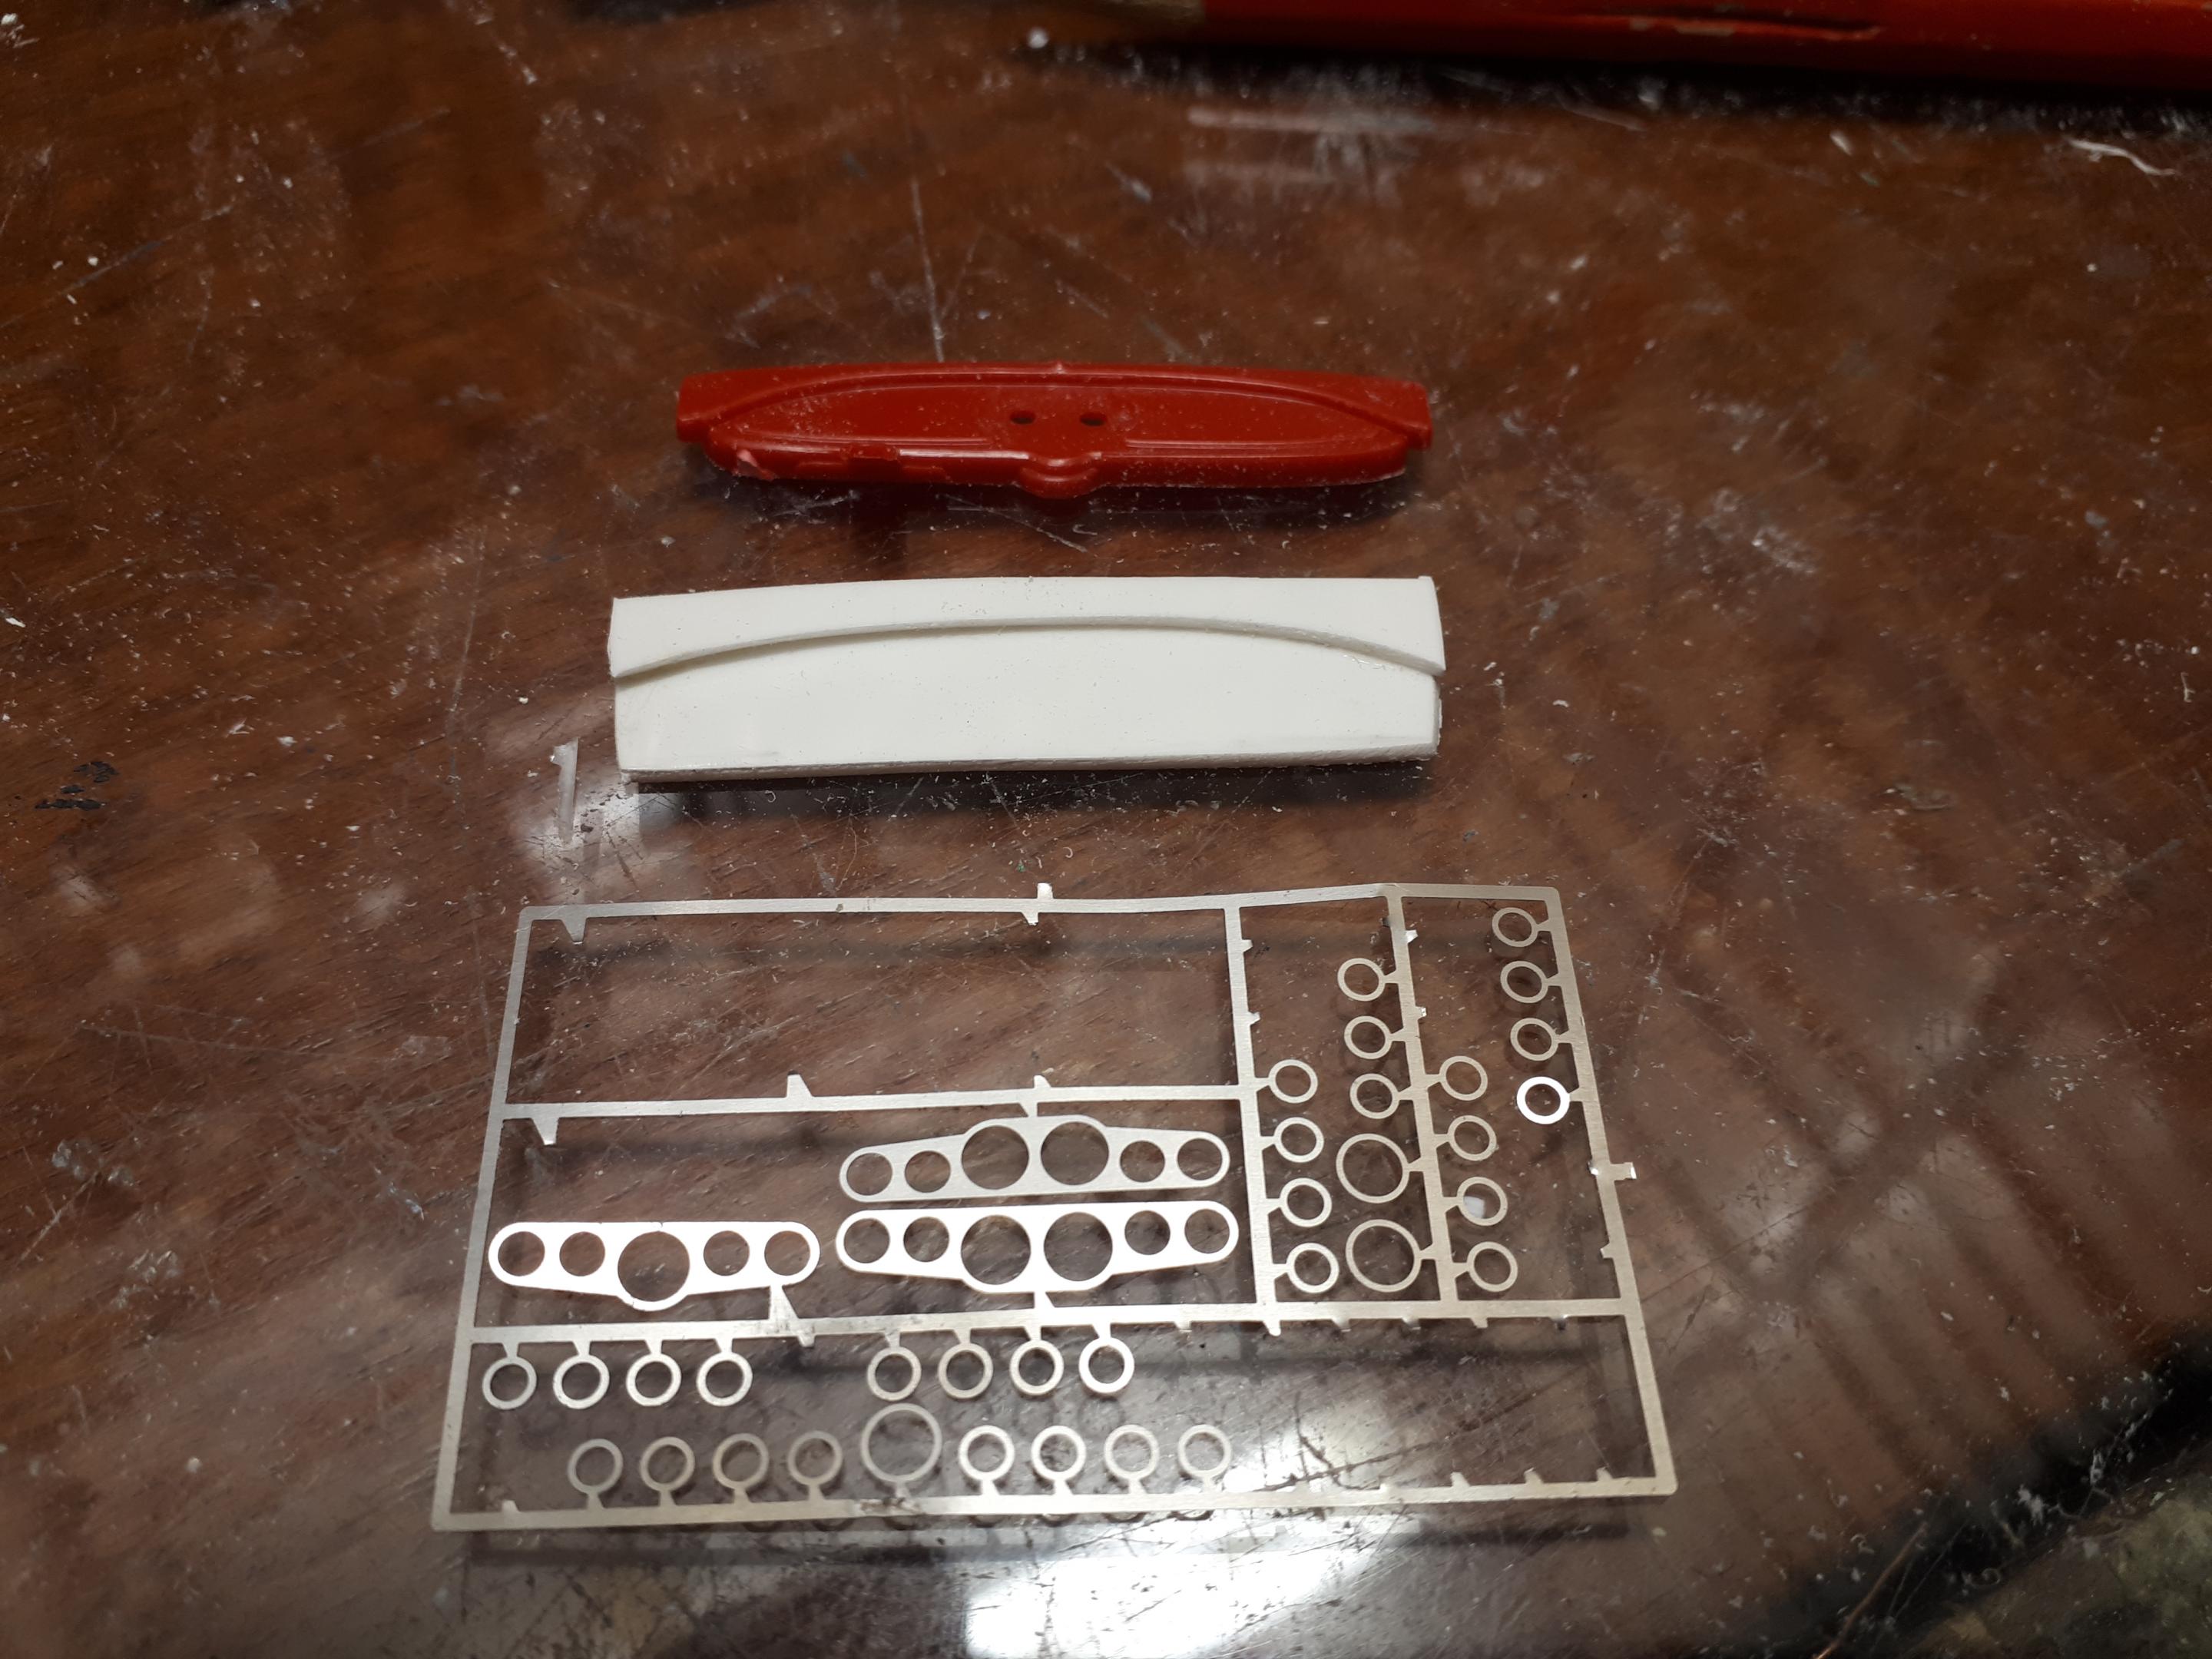
A few steps closer tonight. The basic construction of the dash and column drop is complete. It is made from three pieces of flat styrene plus a piece of Evergreen 222 rod with a flat filed on one side. The P/E instrument panel is an early Detail Master unit. I might have mentioned months ago that I had an assortment of Buttera Jag rear end parts. I decided to use the worst bits and a bit of fabrication to make a Jag rear that was a bit more similar to a "standard" Jag set up in a rod of the era. I find clean final assembly to be quite the challenge so I have glued most of the rear end into the frame. The hub carriers, however, can still be gently slid off the axles which will allow me to fit the disc brakes after everything is painted. Cheers Alan
-
"Spare Parts" Channeled Deuce Roadster - 50's Style
alan barton replied to Bernard Kron's topic in WIP: Model Cars
Surprise!!!!! I know the feeling, in recent years I have built three cars that defied any efforts to separate their components, so I just did the best I could with masking and soldiered on. You have the additional challenge of making it look believable! Cheers Alan -
That pickup up bed is looking good, Kit. I suspect I will be giving mine a very similar treatment. Got the dash pretty much finished last night as well as the floor boards in the cab. Need to figure out a console of some sort, door panels (probably Buttera Model T same as Dennis) decide on fuel tank placement, headers and exhaust for the Ford V6 and then it will be primer time. Love the mug- scary how true that is! Cheers Alan
-
"Spare Parts" Channeled Deuce Roadster - 50's Style
alan barton replied to Bernard Kron's topic in WIP: Model Cars
Bernard, over the years I have painted at least six "clamshell" style bodies top and bottom at the same time. The ones I can remember are the Silhouette, , XR-8, Alumacoupe x 2 and my two Niekamp roadsters. This would work for you without masking. Get a piece of flat wood a bit wider and twice as long as the car. Draw two centrelines horizontally and vertically and use them to drill four holes, one at each end of the centrelines. At the end of the long centreline, insert two lengths of coat hanger wire. Bend over the bottom end of the coathanger wire like a staple and hammer it into the underside of the wood. It will look like you a flagpole at each end. Take another two, longer lengths of coathanger wire, do the same thing on the short centreline, and bend them inwards at right angles at the same height as the flagpoles. These two bent pieces of wire can now be inserted through the rear axle ( like an AMT wire axle style unit) or discretely drill two holes in your wheel wells hidden behind the tyres. Insert the wires through the axle holes and lay the body to rest upside down against one flagpole. Adjust the flagpole so that it touches the car somewhere where a paint blemish wont show, like the front crossmember under the radiator. Then rotate the body to where it is the right way up, resting on the other flagpole. Again, adjust the flagpole to touch , say the underside of the crossmember where the spring would go. You're set. Flip the body back to the other side ( upside down) and paint as much as you can comfortably reach. Gently rotate the body back to the right side up, resting on the flagpole, and paint the top of the body. Let dry and repeat for additional coats. I'm at work so cant show you a picture but hope the explanation works. Cheers Alan -
All that cutting and shutting really paid off, Rodney! Great proportions, it looks like a Fiat but it IS a VW! Also love the paint finishes and textures on the chassis. Very cool. Cheers Alan
-
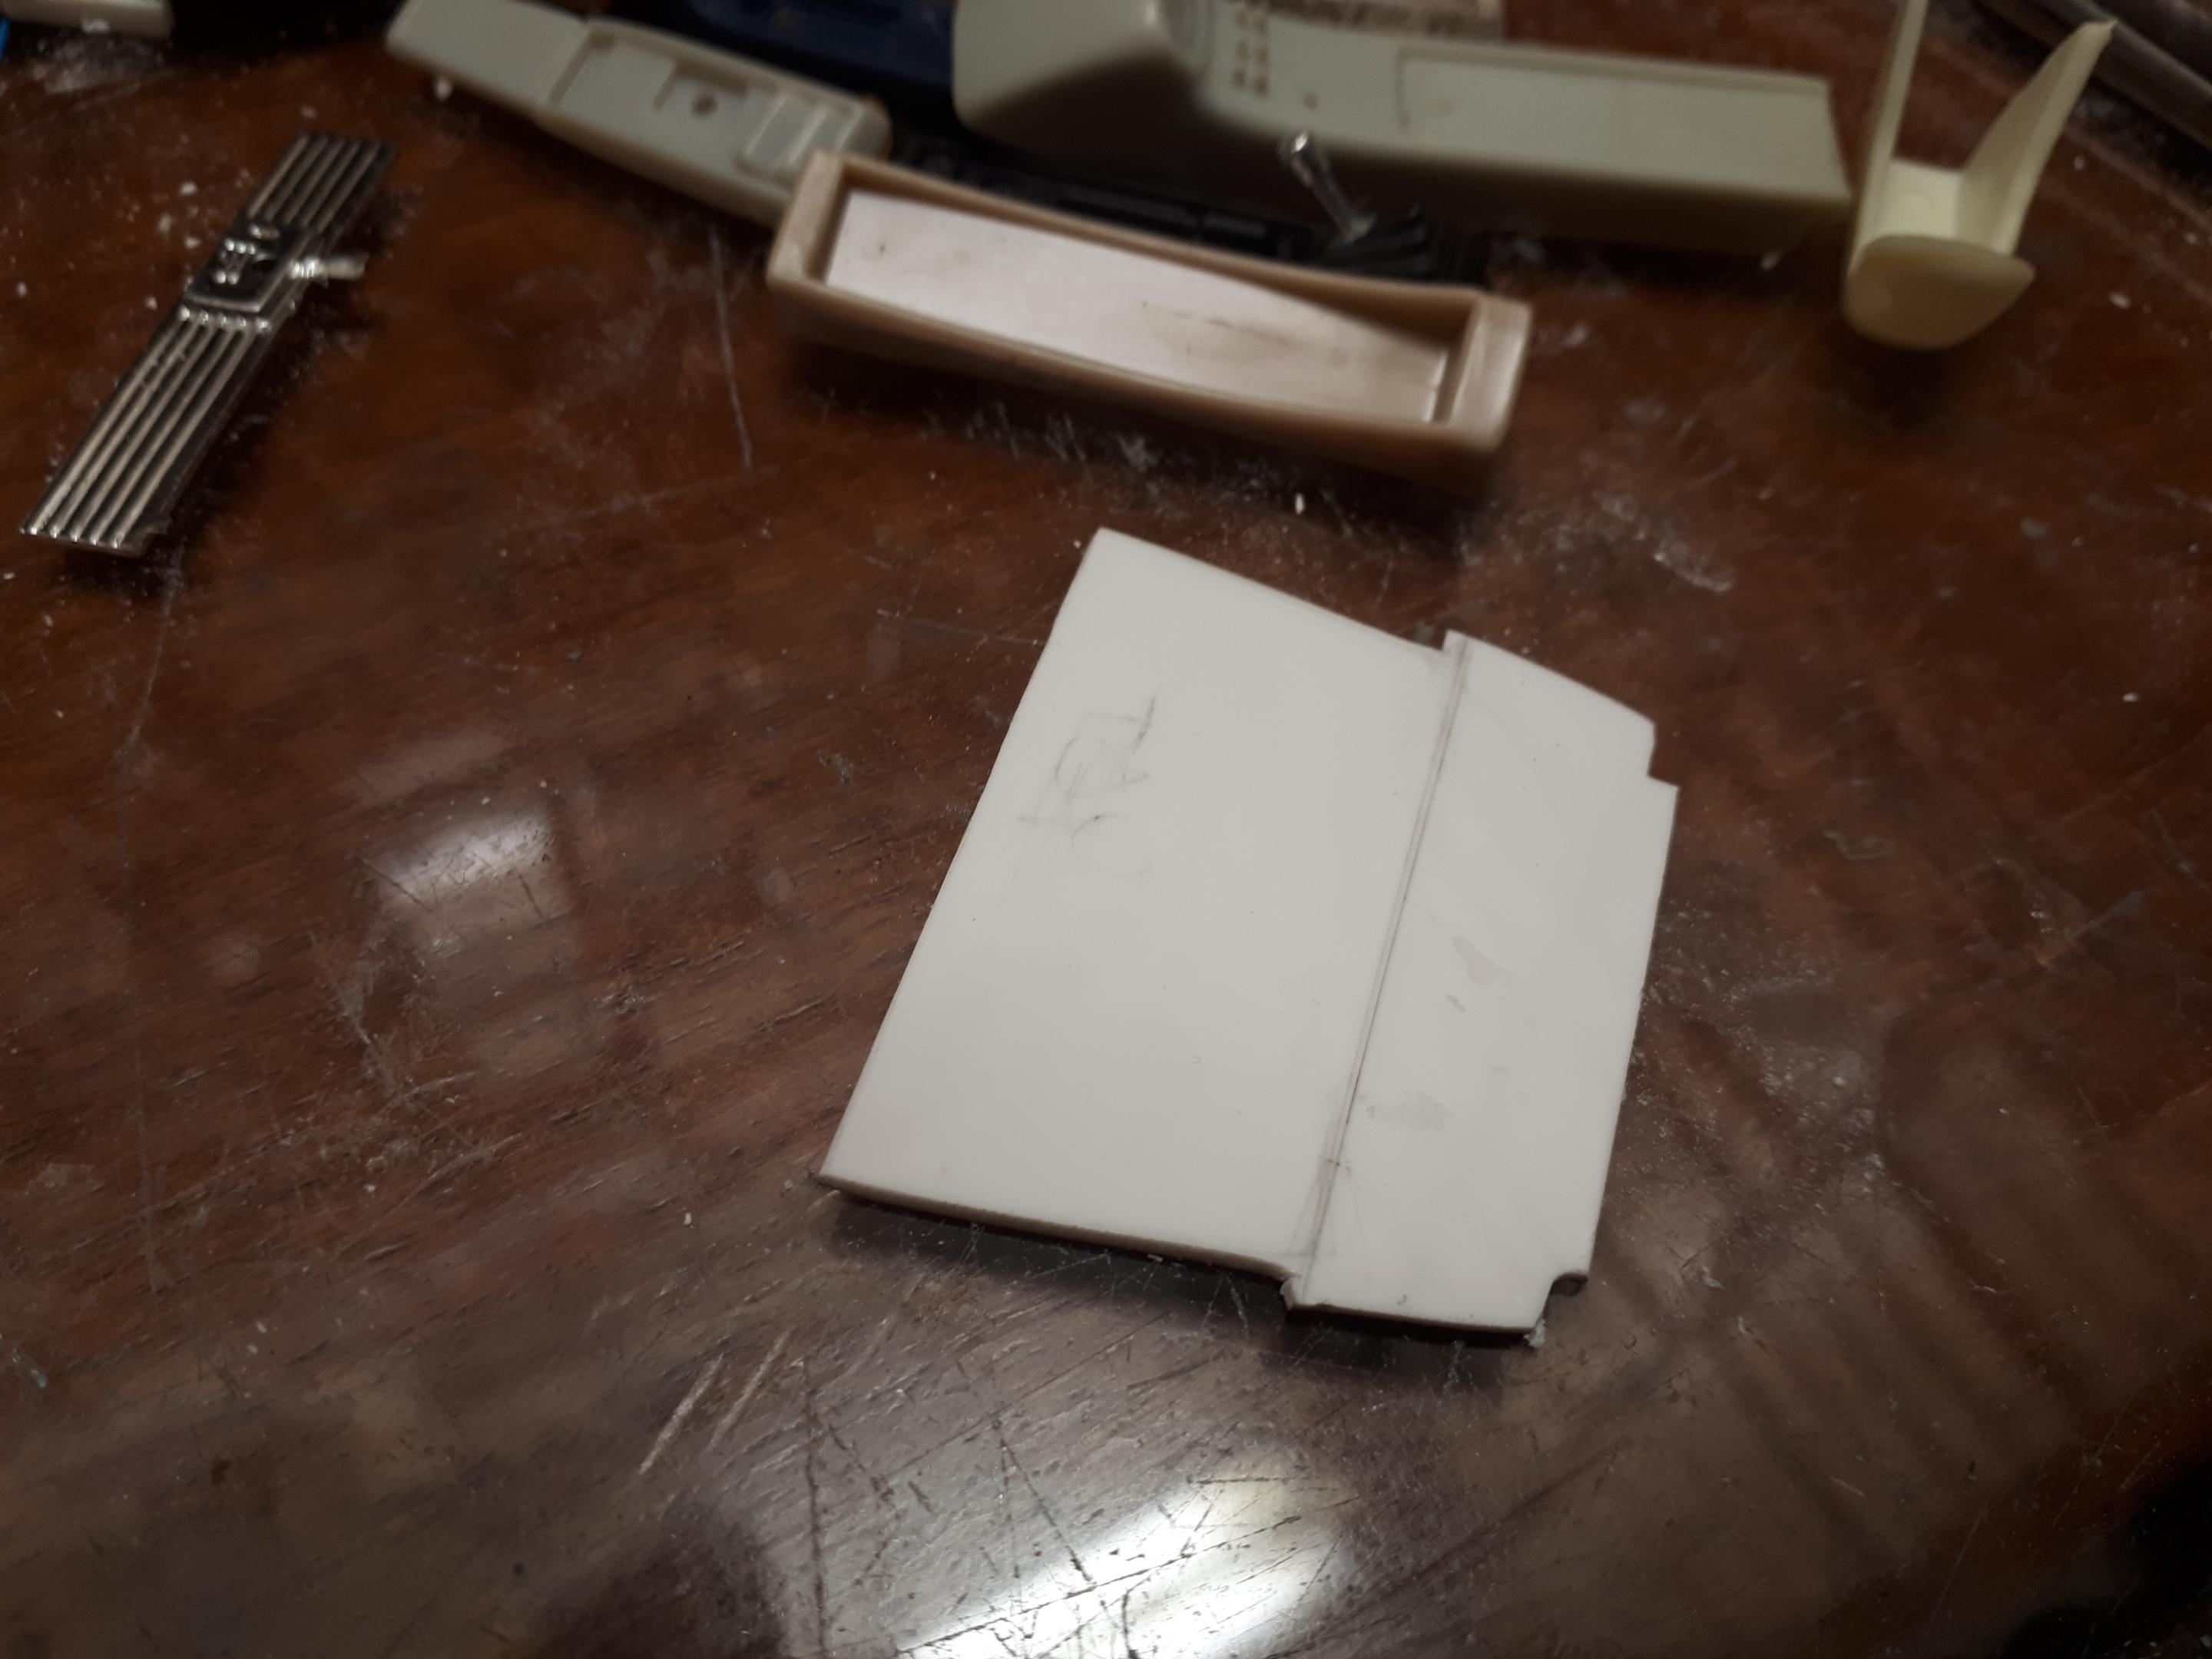
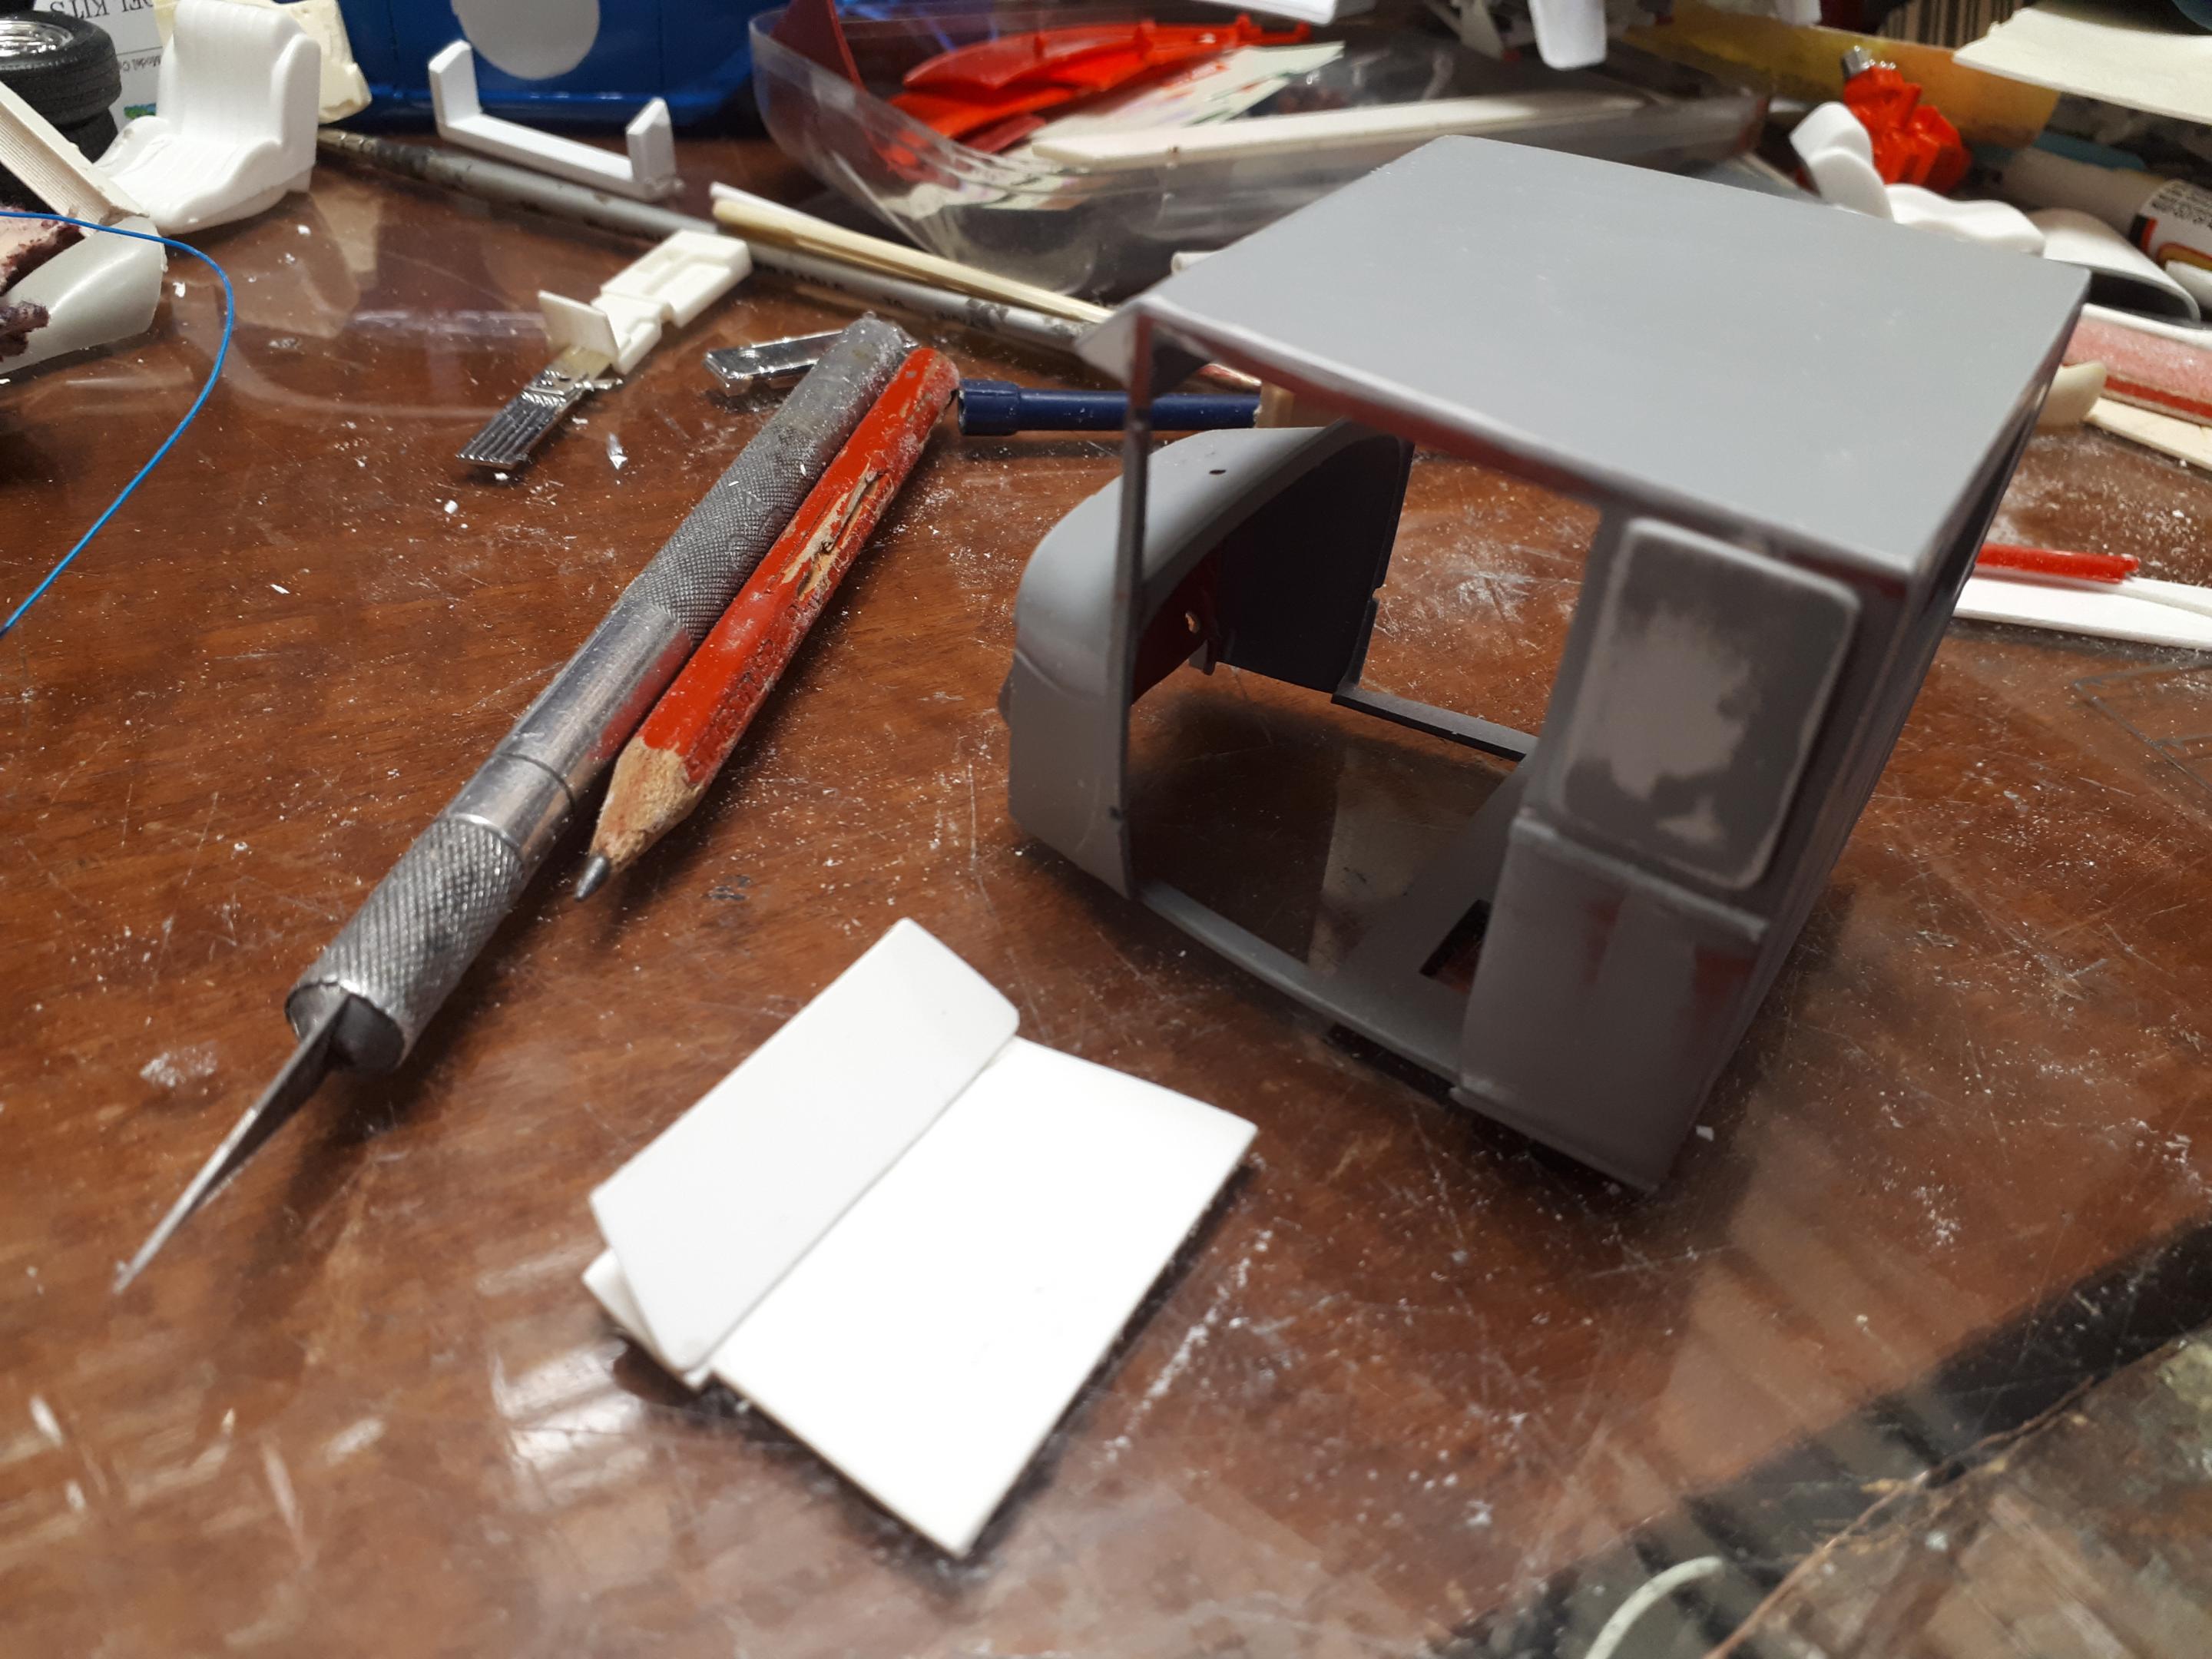
That sits real nice, Kit. Meanwhile, I tried to get some parts done tonight - small progress but progress none the less! I cut a flat piece of styrene to fill the hole in the floor of the cab. Trimmed up a second piece to form a toe board. Also cut another piece of styrene to make a new dash. It will have a continuous roll along the bottom edge and a p/e dash that I have had for decades. Also getting more bodywork done on the fender unit. its good fun to use up glue bombs but they dont call 'em glue bombs for nothing! Oh yeah, broke first one, then the other windshield pillar, while simply holding the cab to fit the dash. Did no-one tell Revell about elasticisers? Cheers Alan
-
1/25 AMT Surf Shark 1959 Cadillac Ambulance
alan barton replied to Casey's topic in Car Kit News & Reviews
Come and live in Australia where kits haven't been UNDER $60 for the last three years or so. And some retailers have Coke themed kits as high as $85! The price you pay for a kit at Hobby Lobby will JUST buy us a can of Tamiya primer. Ah, well, just the price you pay for living in the greatest country on earth, I guess! ? I don't need a Caddy ambo but happy for the people who do. Cheers Alan -
37/38 Ford Pick Up--Revell Strikes Again
alan barton replied to Dr. Cranky's topic in Truck Kit News & Reviews
That is interesting news. Wouldn't mind another one although I still haven't built the two I have. Sure, it would be nice to have a pure 38 pickup but seeing as how the grille and hood is the hardest part to create, I am happy for the parts they gave us and will put the time into converting the fenders and other details. For those who are still wondering, the 37 Ford coupe/convertible/Tudor chassis fits nicely under these pickup/van fender units. I did this swap on my 37 Panel and it went in virtually untouched. Funny thing about scale - I was messing with the current AMT 36 coupe on the weekend and grabbed both a 37 passenger car and a 37 pickup chassis to check things out. The 37 pickup chassis fits happily under the 36 coupe, giving a much more modern tooling to work with, the 37 passenger chassis fits straight under the pickup but the 37 passenger chassis misses the 36 coupe by miles. As they are all essentially the same chassis but designed in different scales in different decades, I would put it down to scale tolerances. there is a minor difference between some combos but a major difference between others. To further muddy the waters, the old Monogram 40 pickup chassis is a good fit under the 37 passenger car and vice versa if you want a simple factory swap. Photos below are - 37 Tudor under 37 delivery, 37 Pickup under 37 Convert, 37 delivery completed, 40 PU under 37 Tudor, 37 Tudor under 49 pickup. AMT 36 coupe compared to 37 Pickup. Cheers Alan -
Harry, I have only been using Tamiya spray cans for a year or so compared to thirty years of using Testors enamels. My experiences so far would discourage me from doing ANY heavy coats with Tamiya. Normally, my last coat of anything is close and wet but this stuff is hot and I have been getting reactions with paint, primer and putty that I have not experienced with any other paints. And it appears that you might have had some similar reactions on the Lambo. Don't be scared of using the spray cans though, they lay down nice and smooth and if you keep checking your surface after each coat, I think you will minimise a lot of the graininess. Good luck - always scary when you have a nice paintjob on a nice model that is at risk! Cheers Alan
-
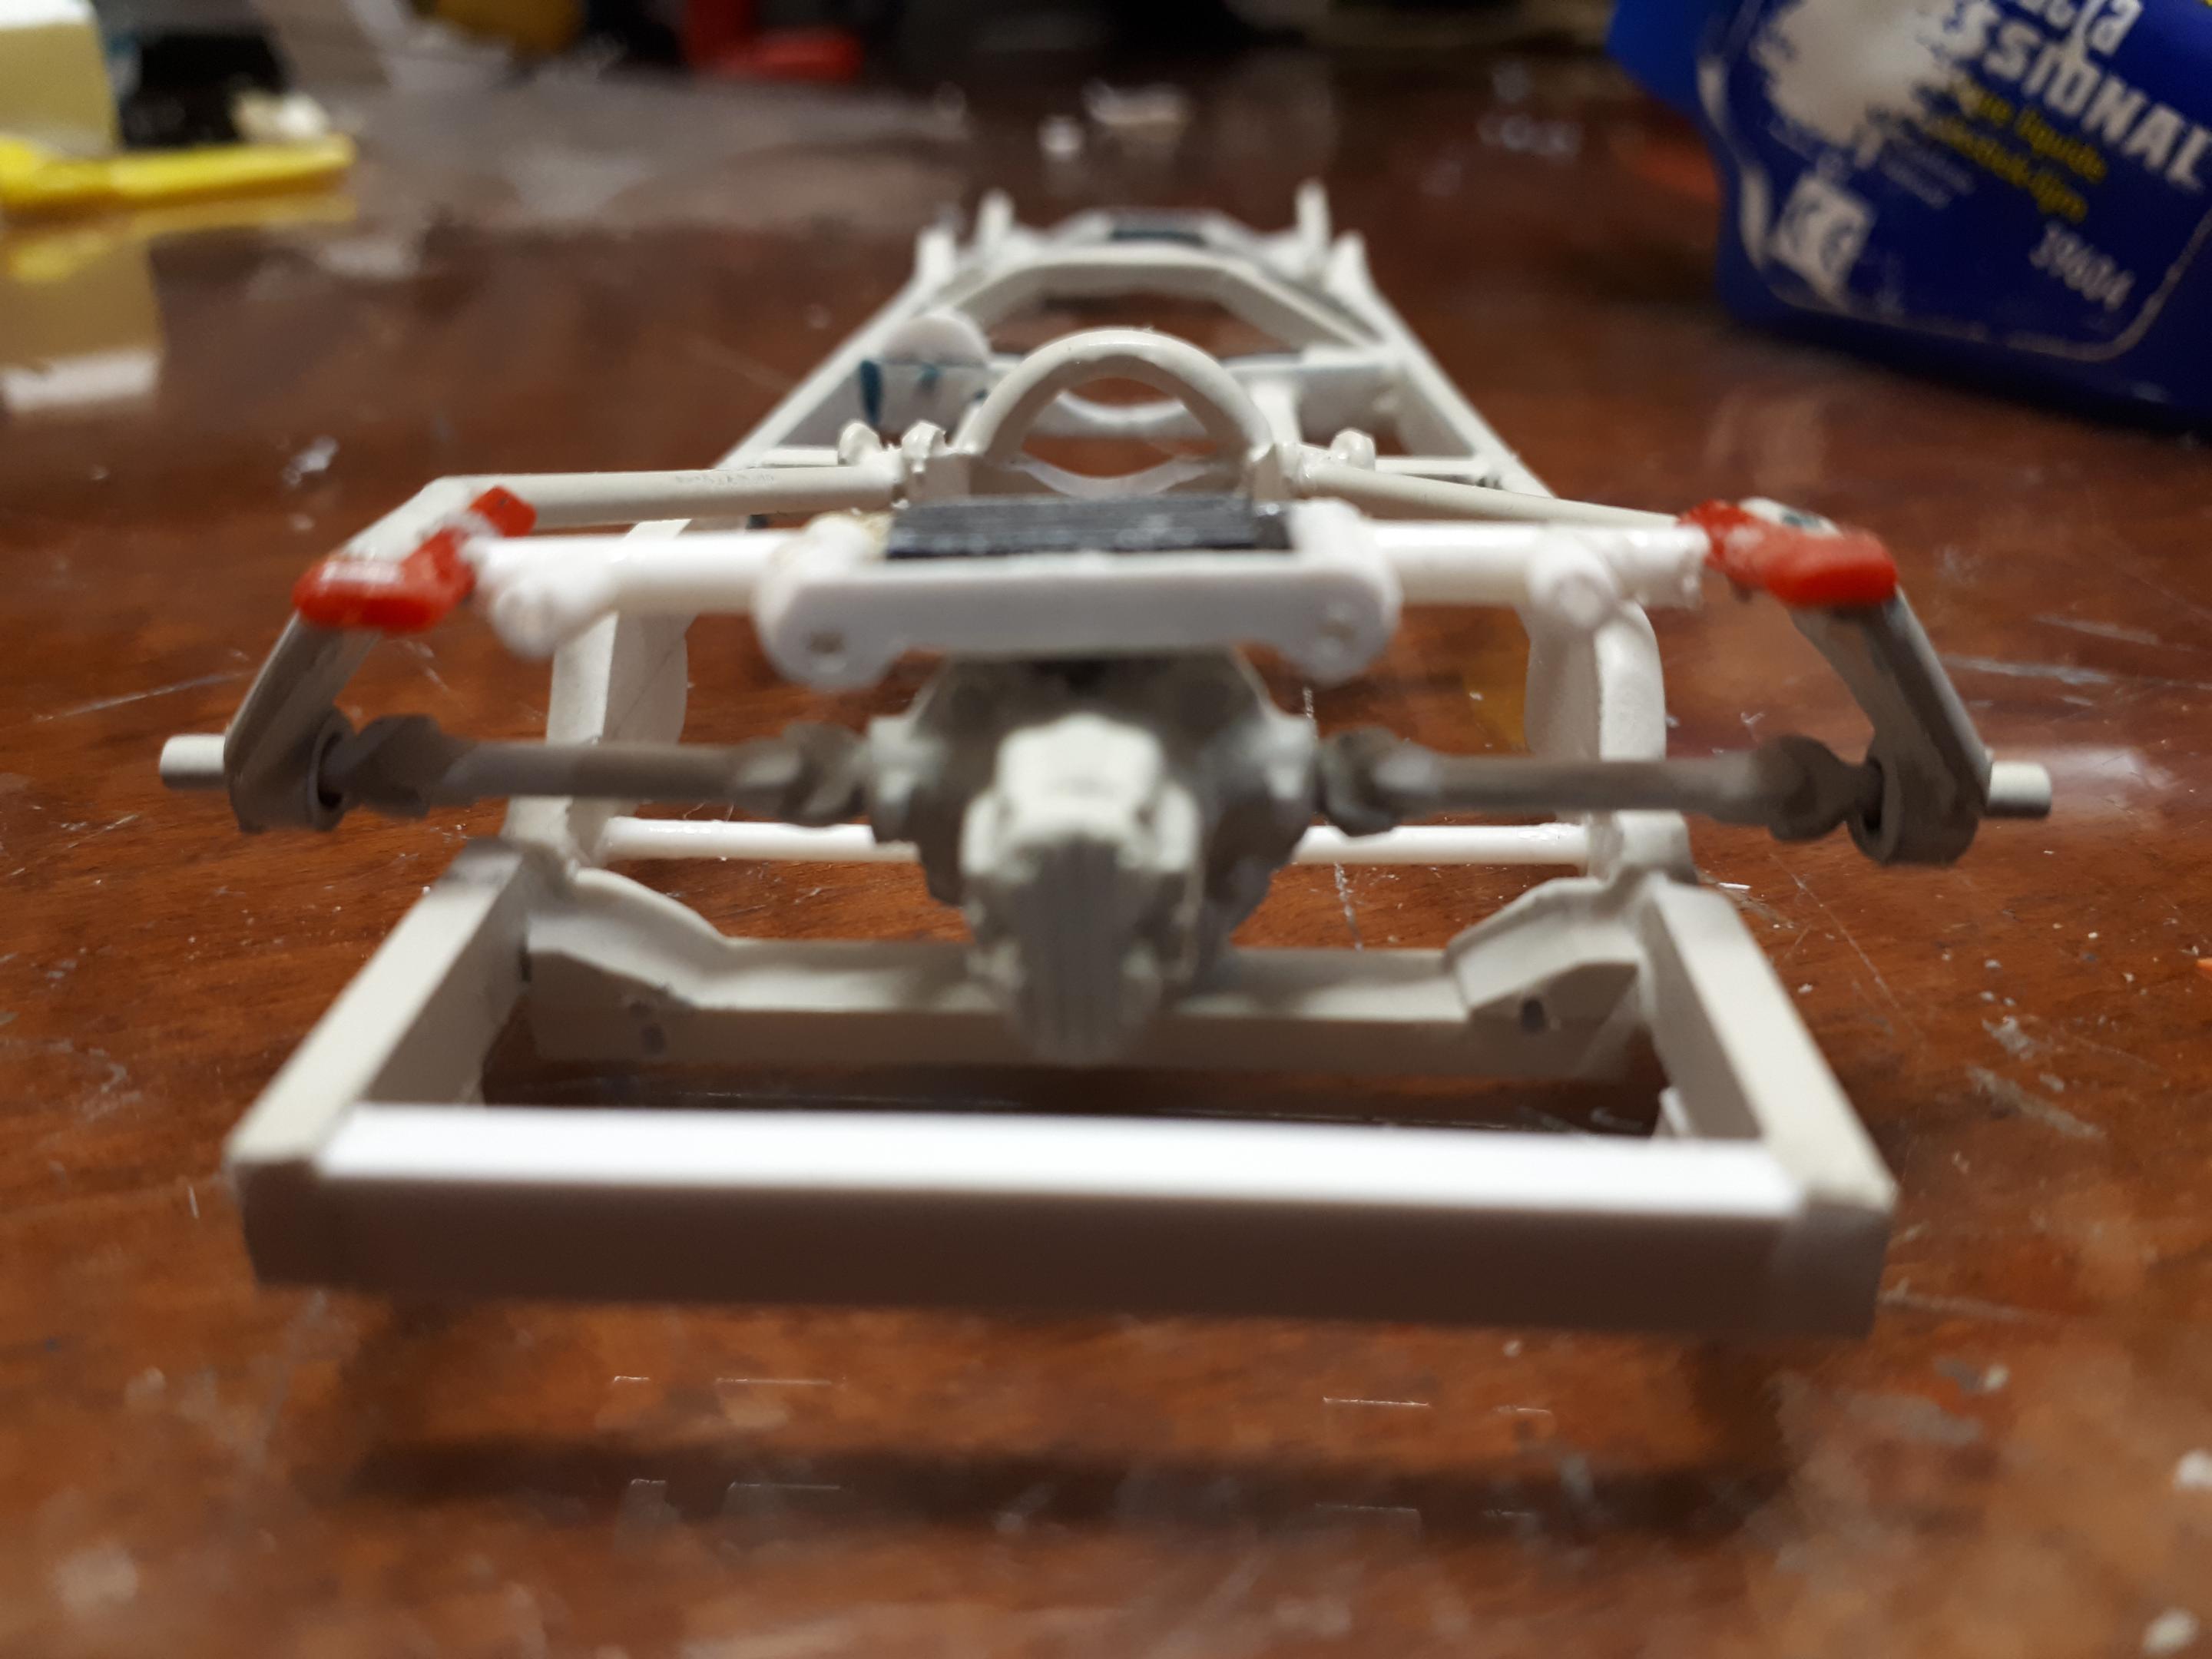
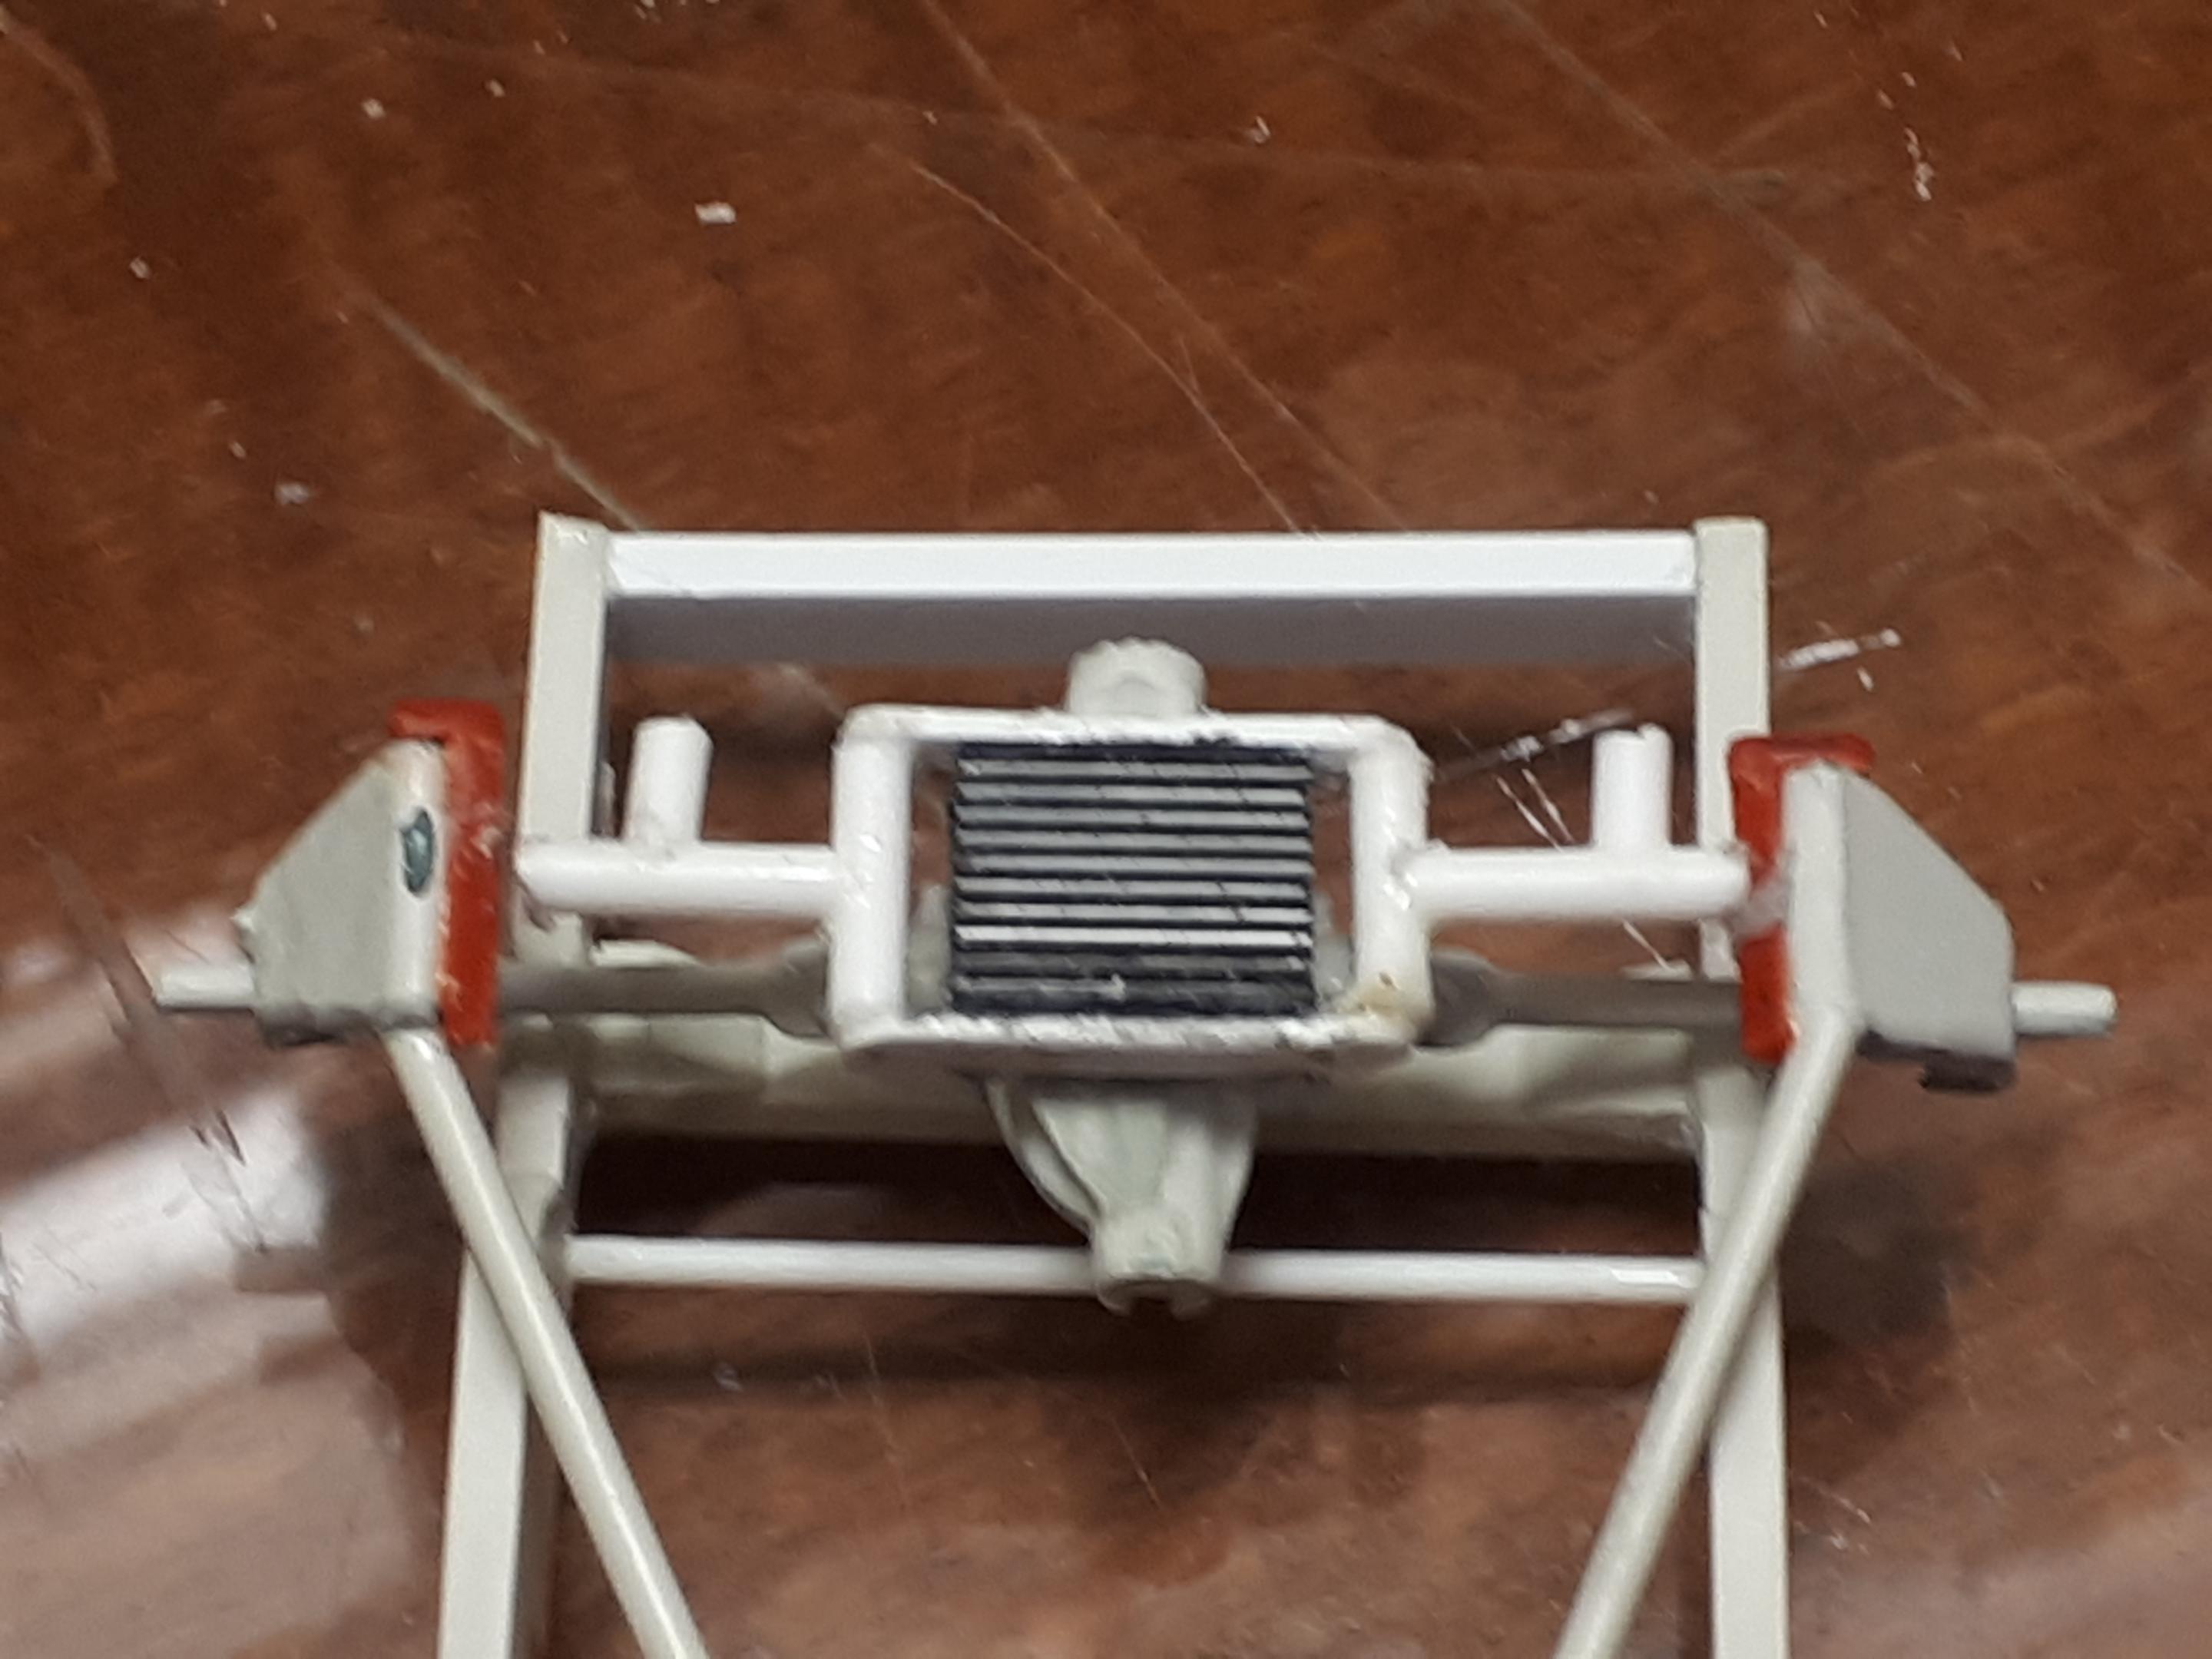
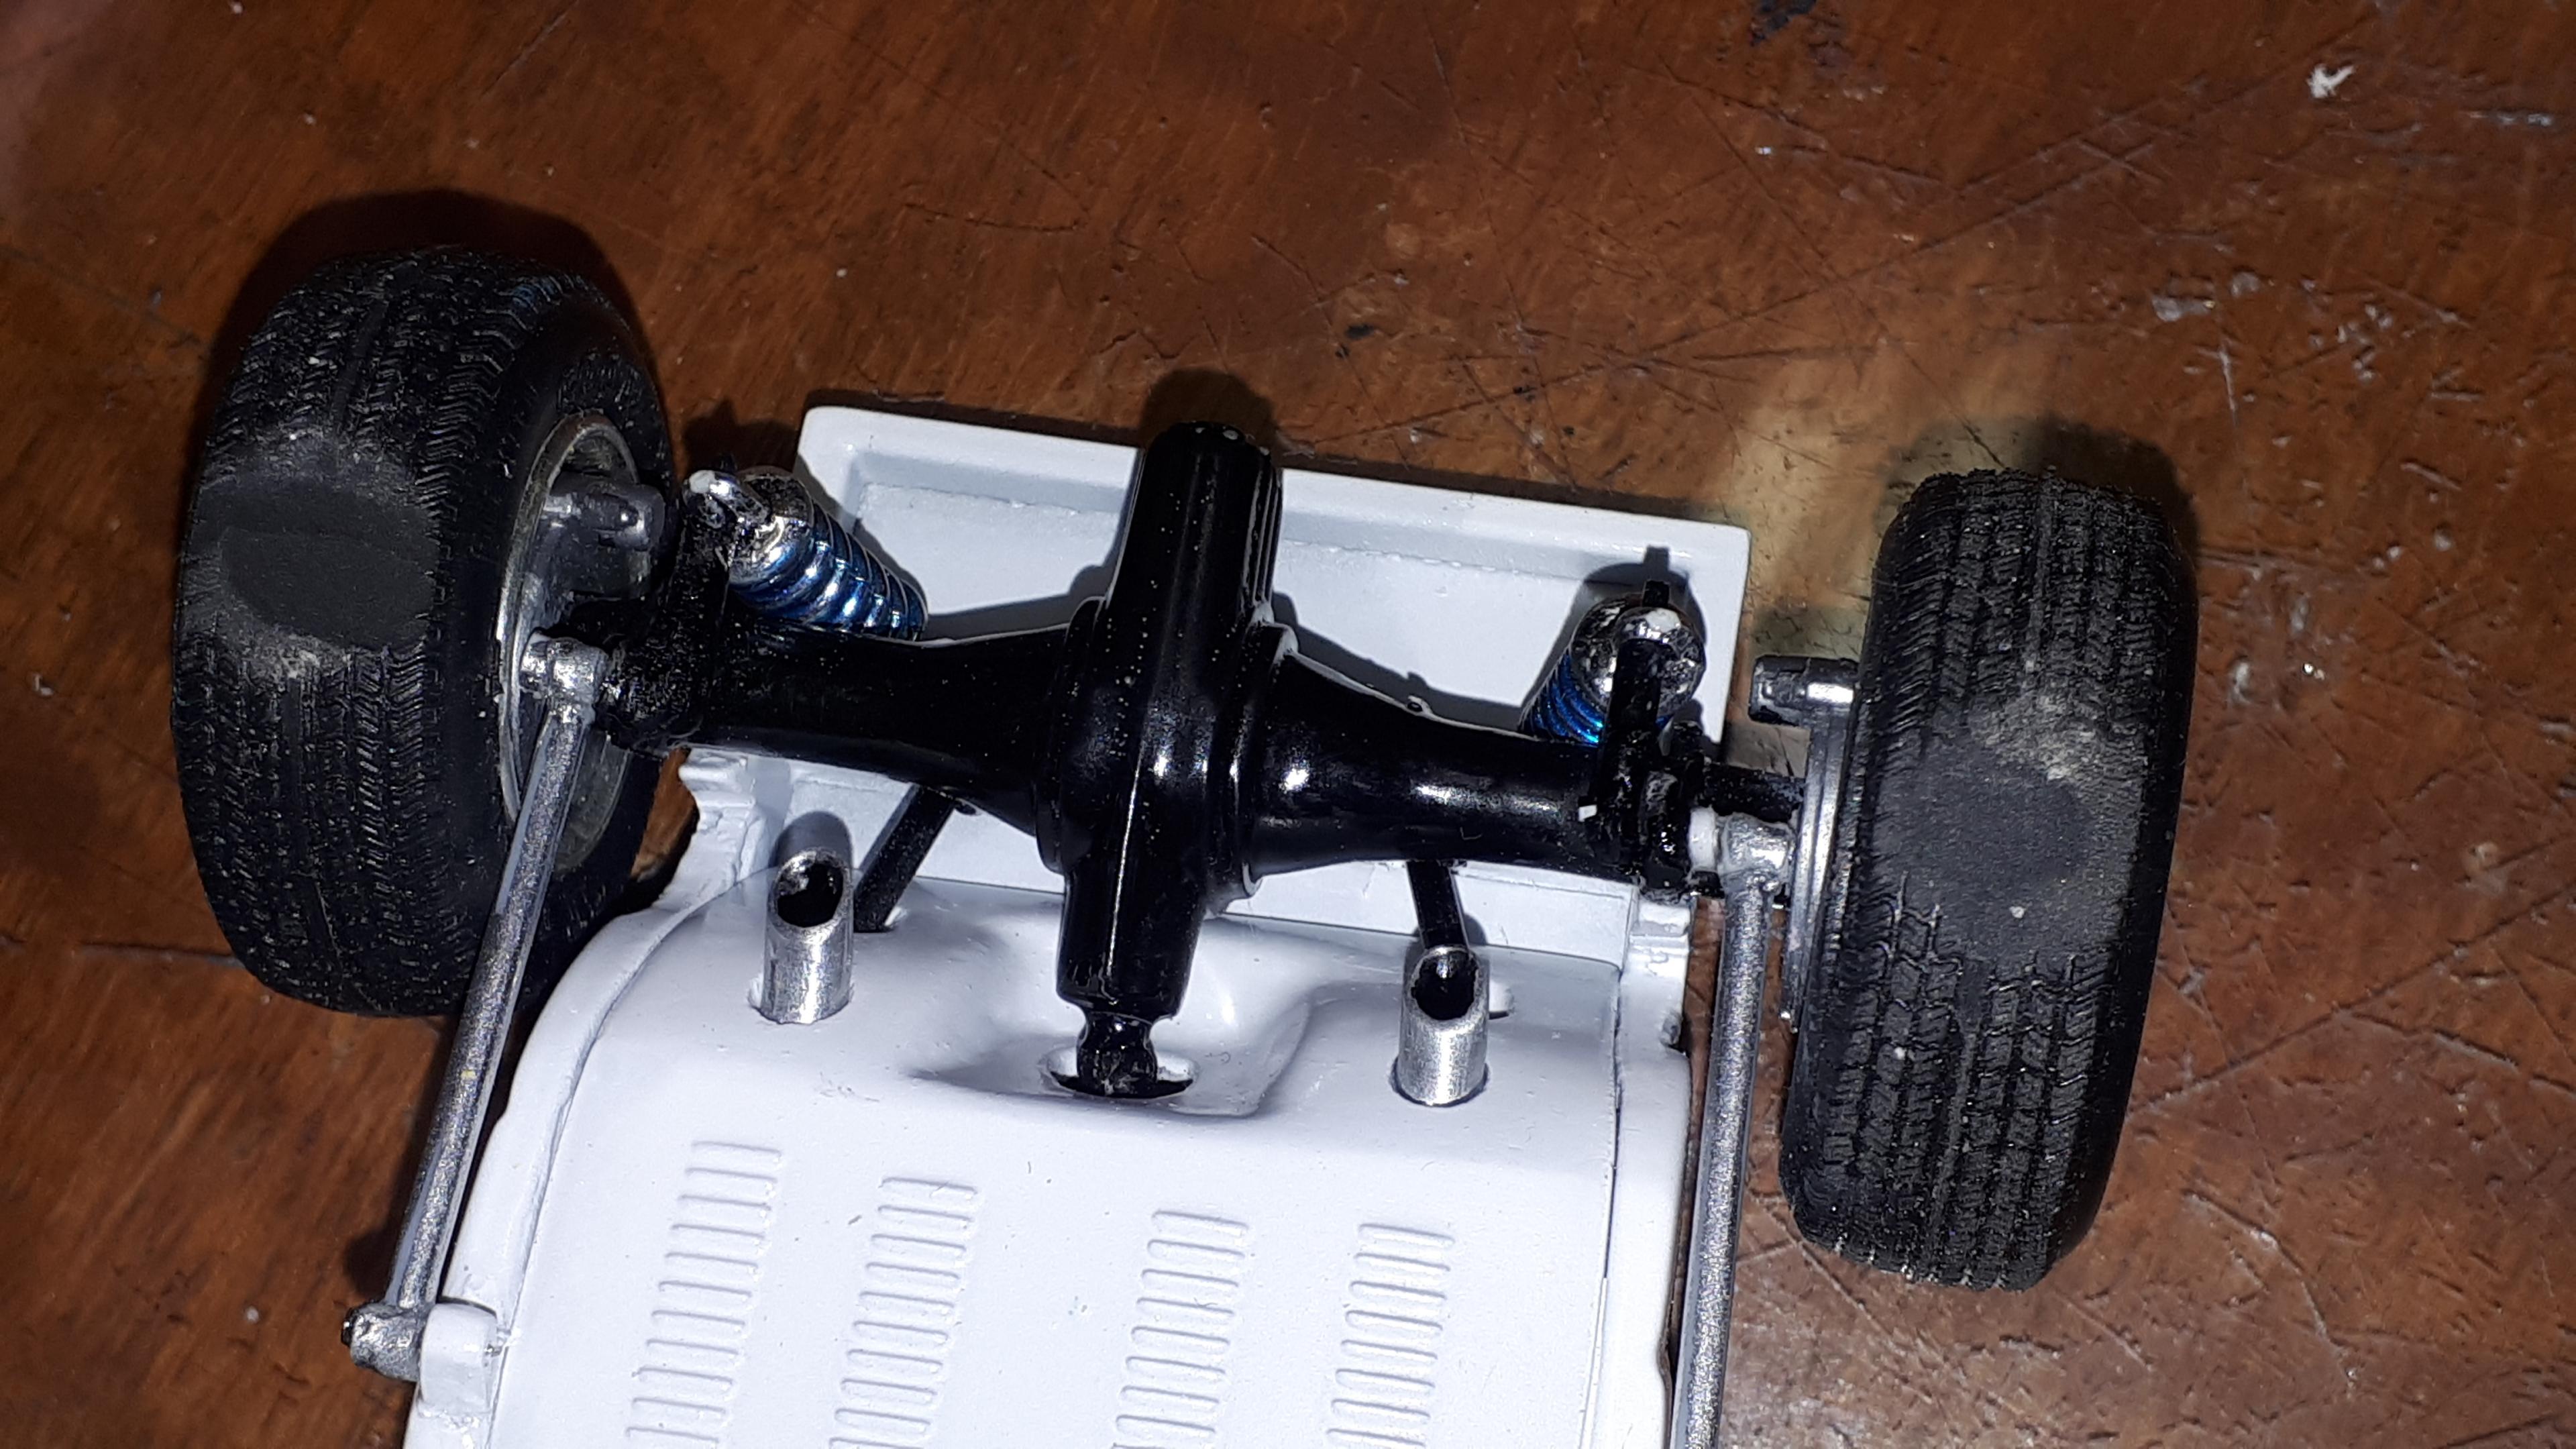
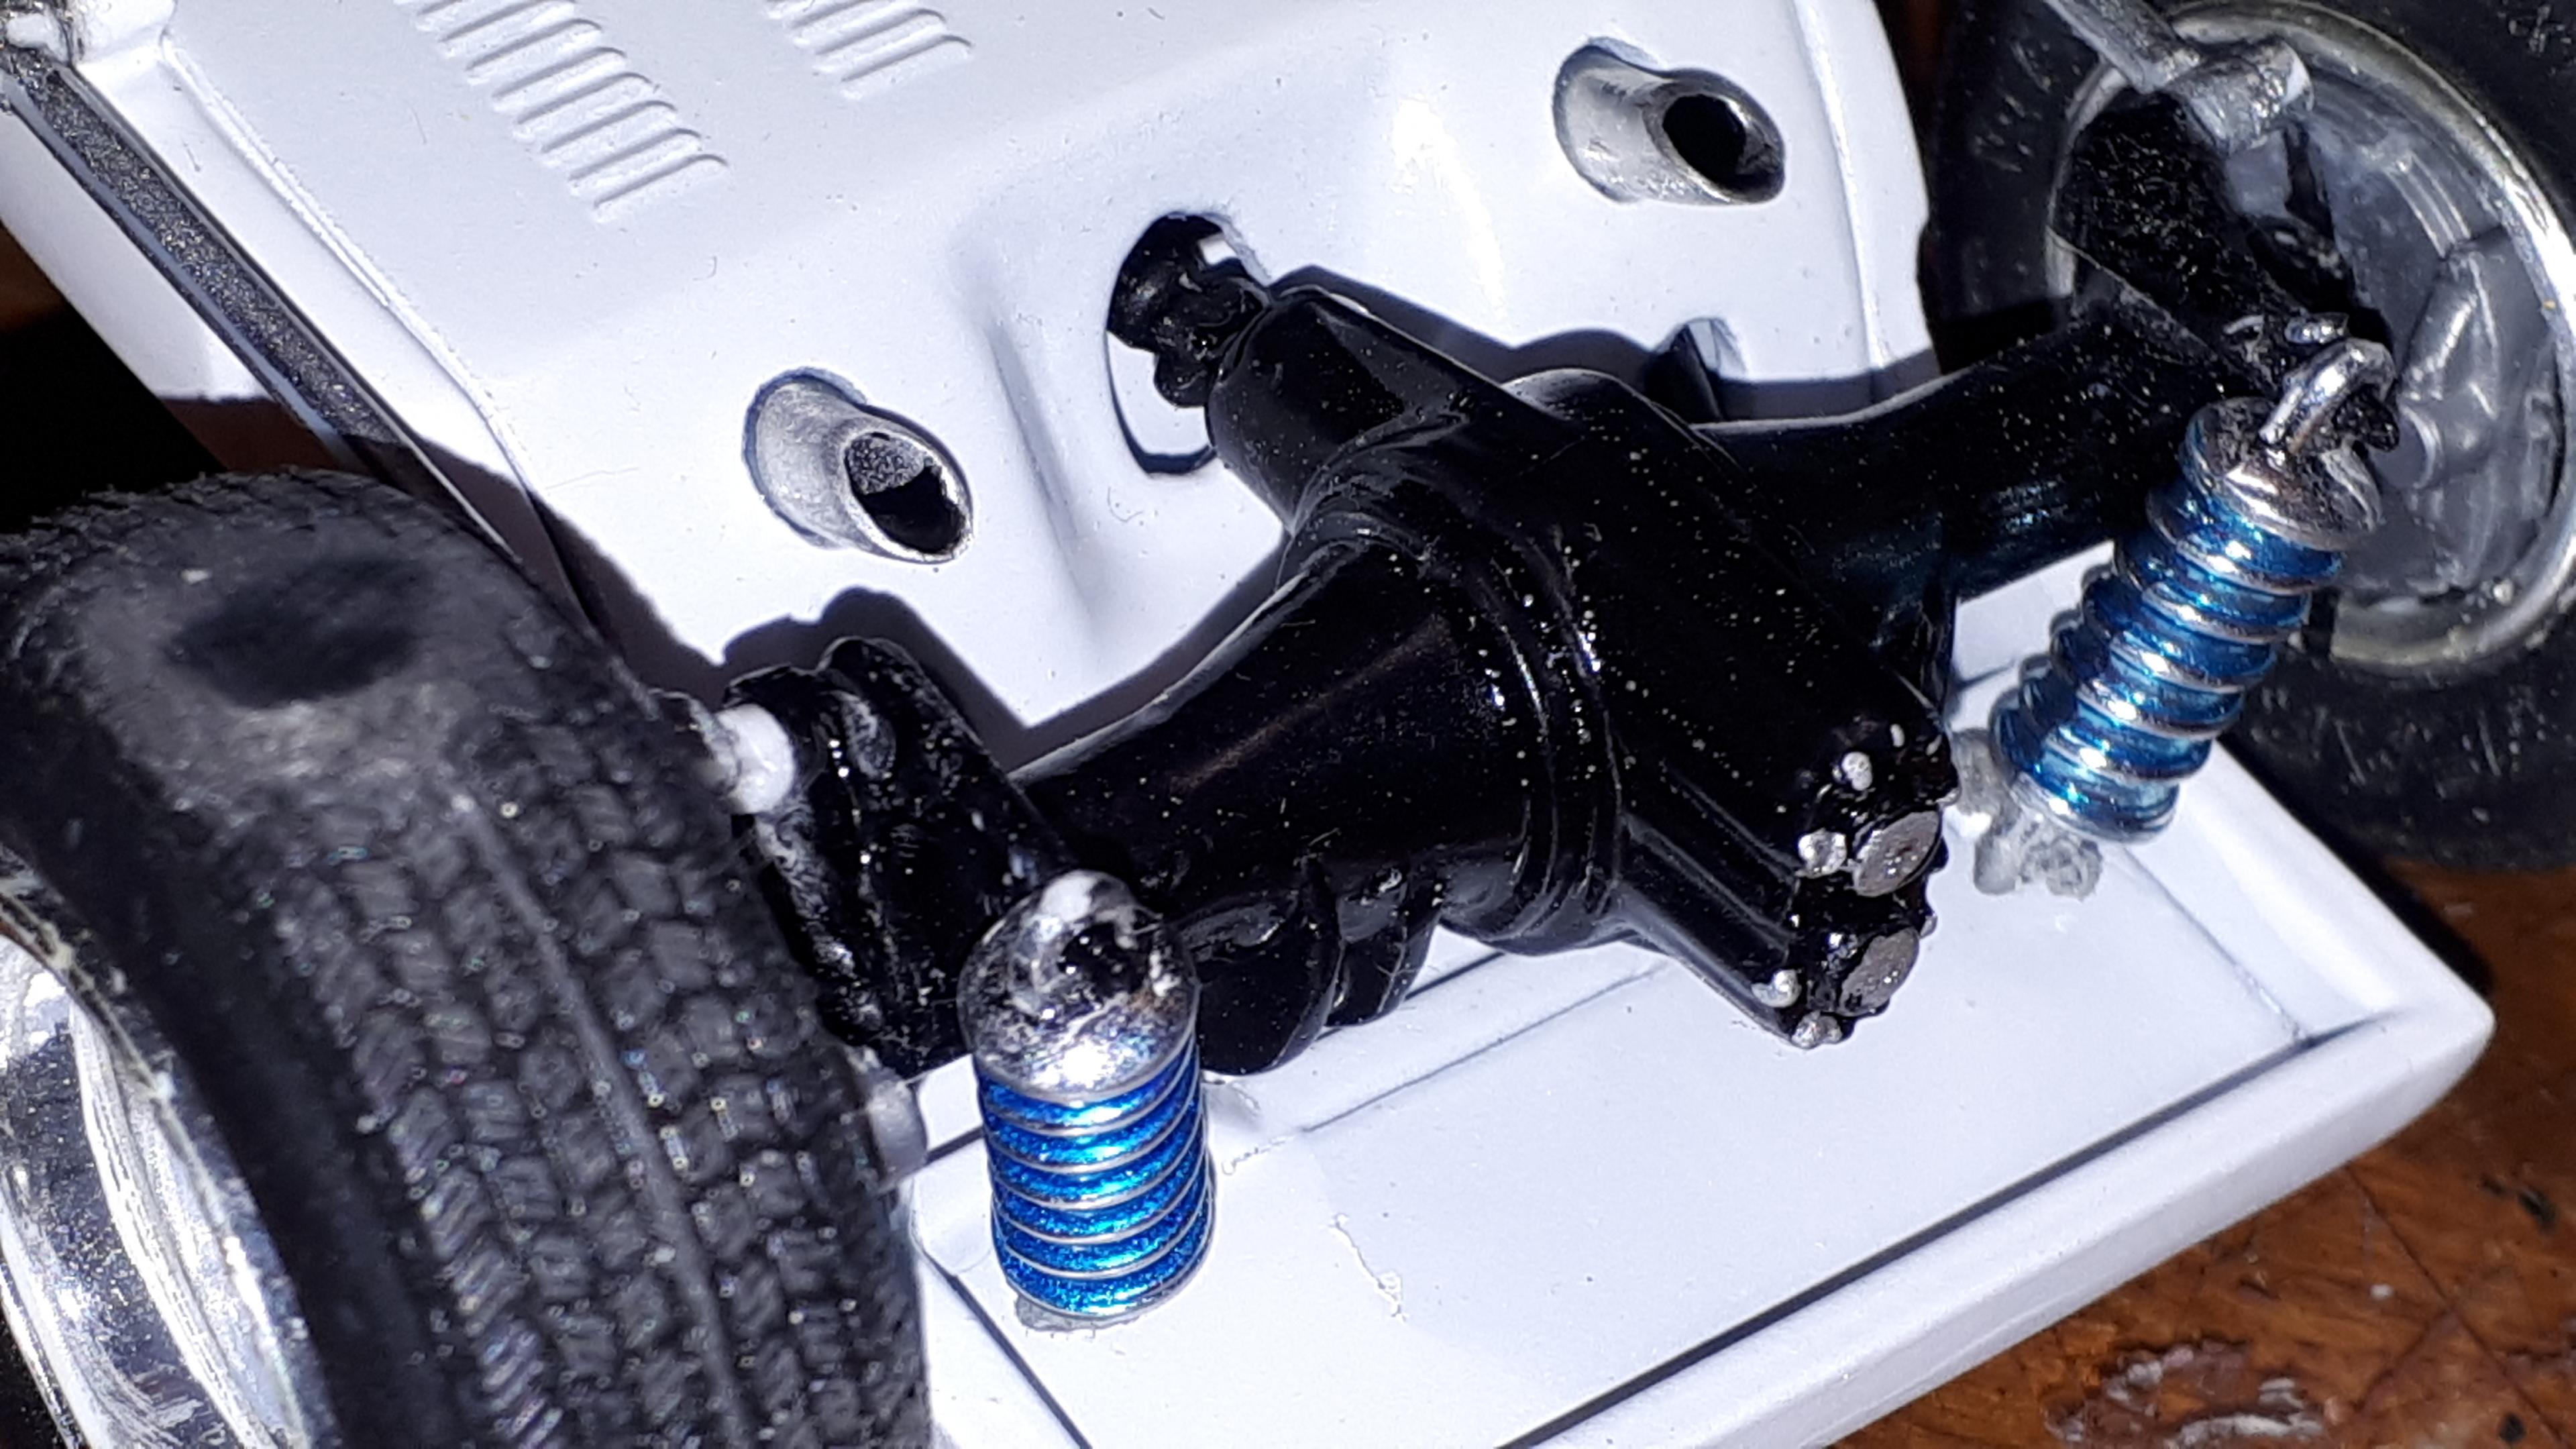
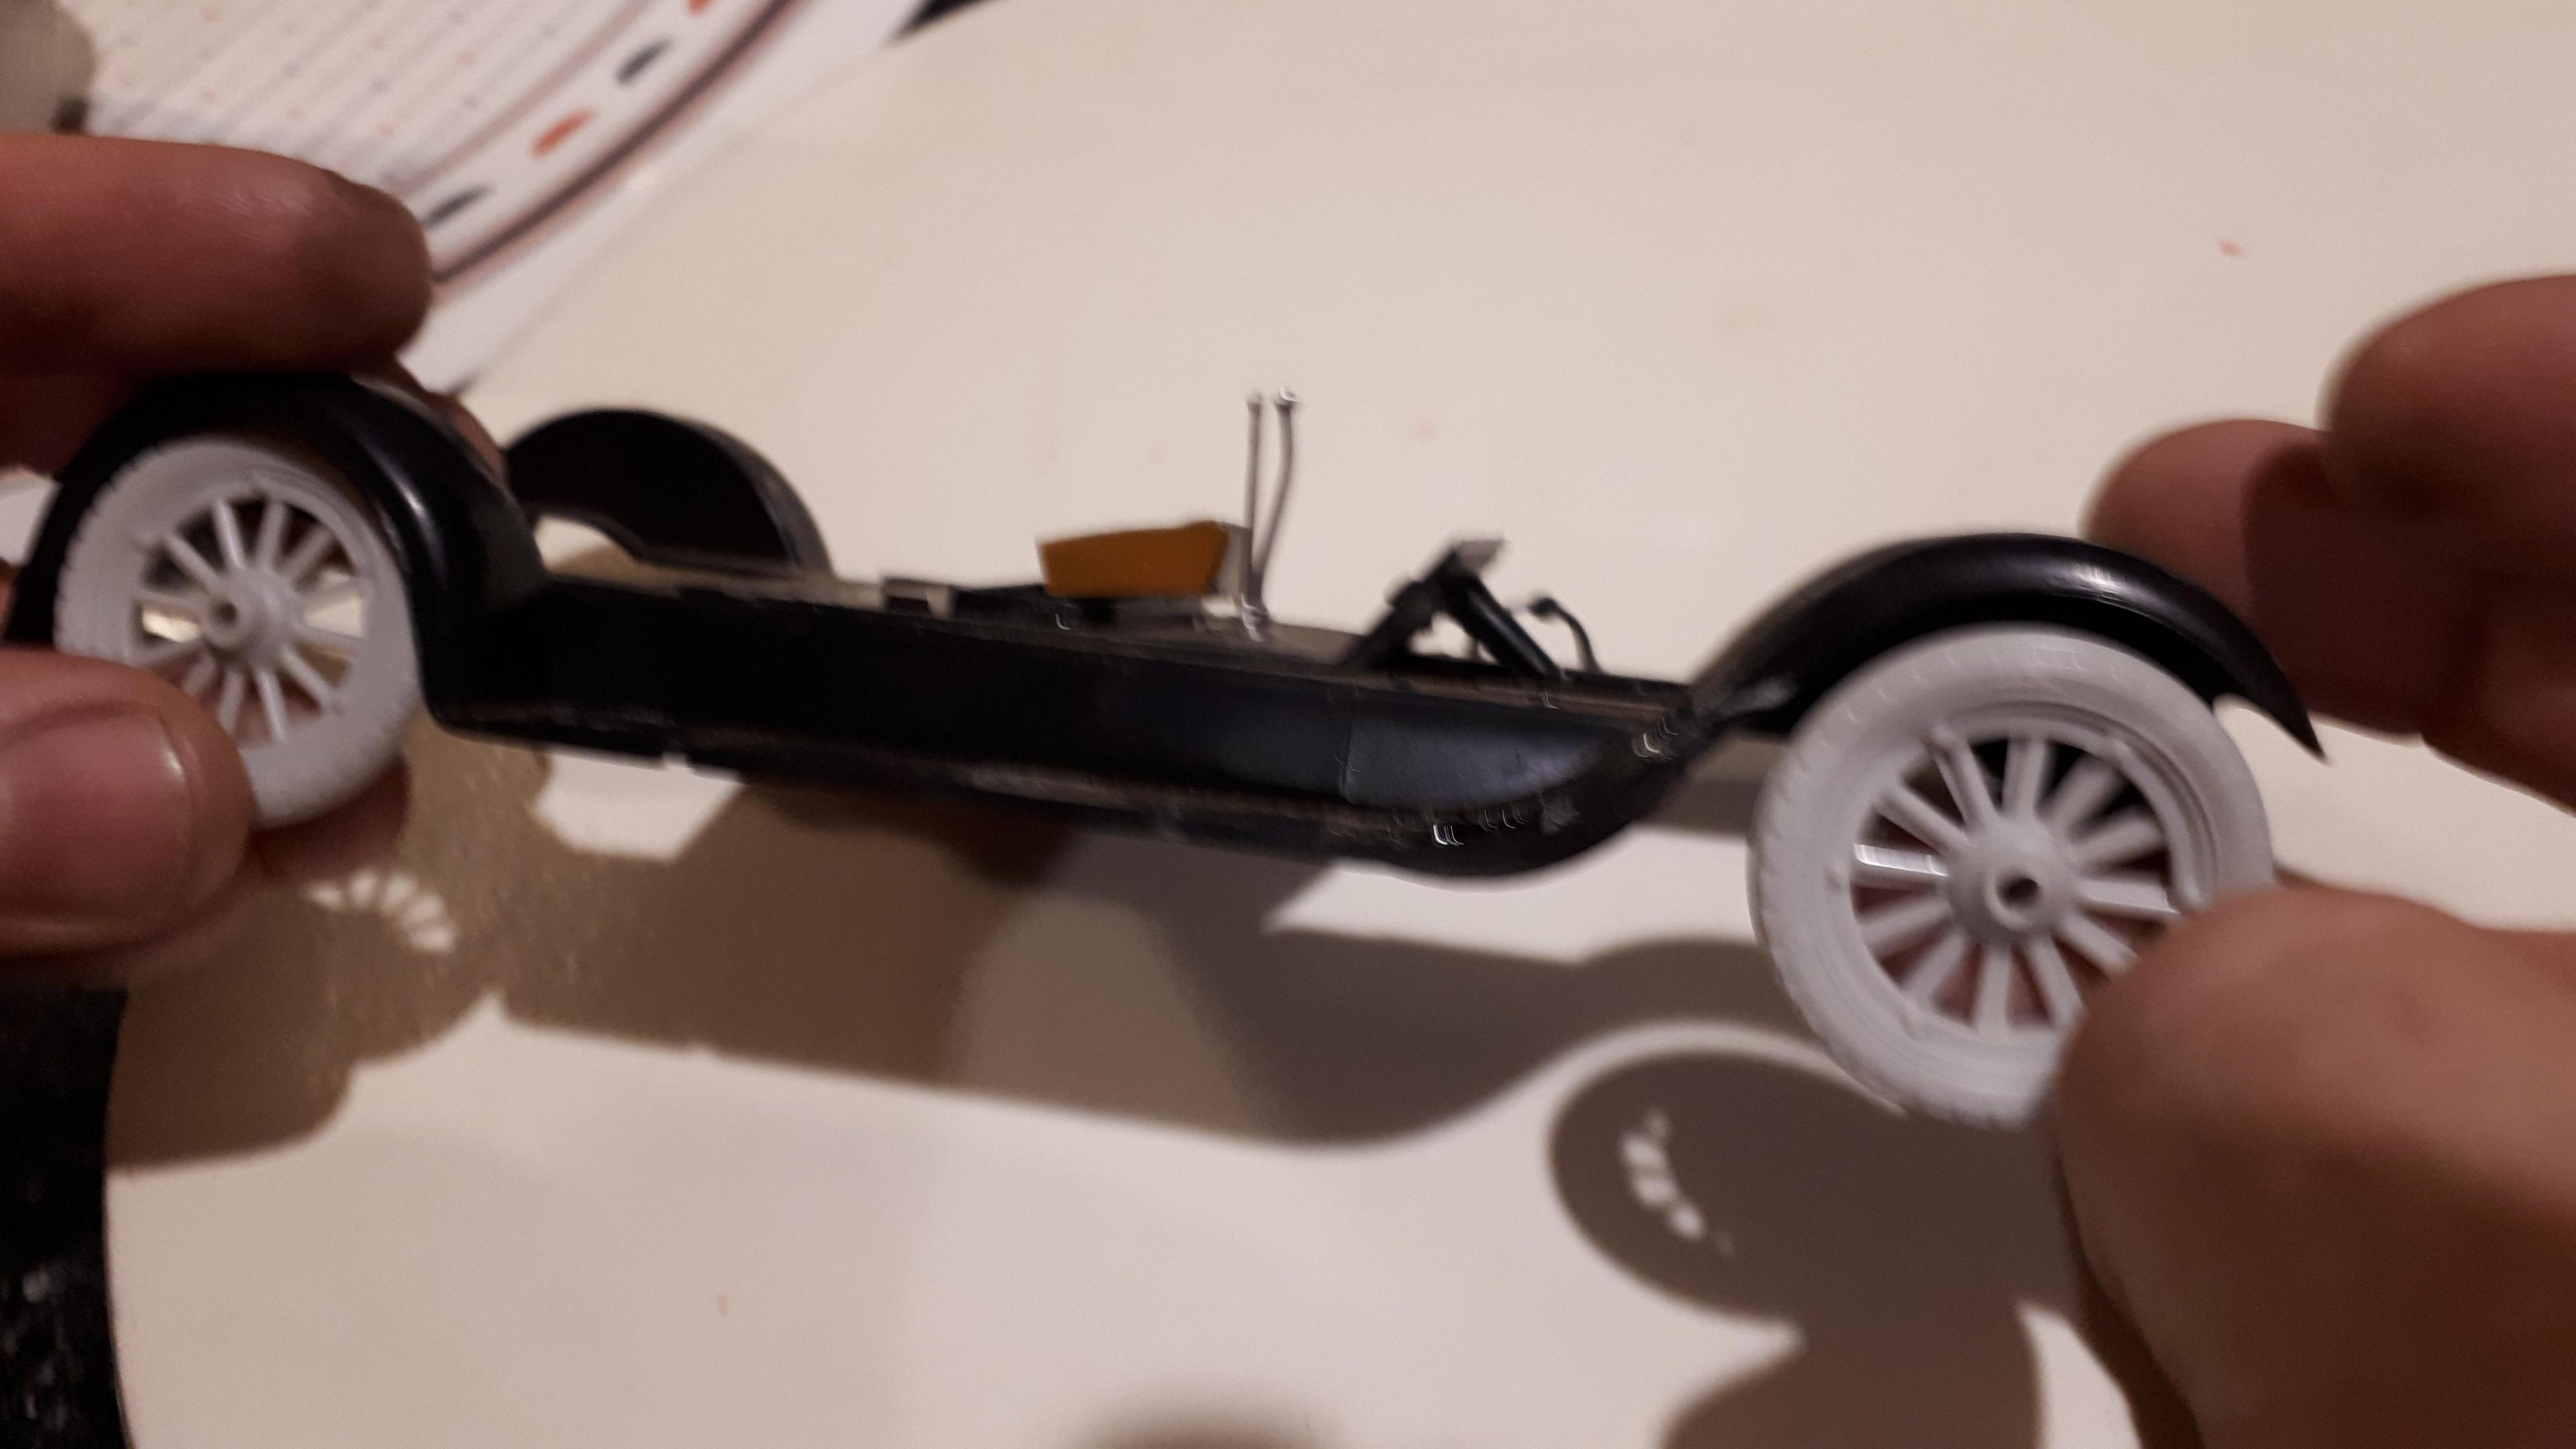
Finally got the rear axle assembly in place. I am very pleased with how the old Revell quick change scrubbed up! Another change here is that I chose to install the exhaust above the bellypan - Lil John had his outside, a far more practical arrangement, but I wanted every one to see the continuous bellypan so that's the way I went. Both he and I dumped the exhaust in front of the ale - - I would hate to think how much this would drone! The four bars are scracthbuilt and the rear crossmember and coil-overs are from the Revell Model A hiboy series. Cheers Alan
-
I definitely would NOT start sanding that candy finish. It probably wouldn't remove much texture and it would be guaranteed to introduce patchiness. As you are already using Tamiya paints, I would put three or four coats of Tamiya clear on it and then wetsand and polish the clear. Great choice of colour by the way, on one of my childhood favourites! Cheers Alan
-
1963 Chevy Nova Wagon Street Rod FINISHED 3/20/22
alan barton replied to Dennis Lacy's topic in WIP: Model Cars
Very crisp! Do you use pins to temporarily locate your exhaust? Many years ago I acquired a cleanly painted Nova wagon body and grille and many years later picked up a Modelhaus hood. I also had a full Buick GNX kit that was to be grafted into it. If Pro Touring had been a thing when I thought of the idea, I guess it would have been a Pro Touring! Problem is, I'm sure if I dragged out that box, I think it would leave the KISS world way too quickly! I might just enjoy your build vicariously at the moment as I have bigger fish to fry, especially the Tim Boyd tribute pickup. Cheers Alan -
Modelhaus phantom ‘61 El Camino
alan barton replied to Steve H's topic in Model Trucks: Pickups, Vans, SUVs, Light Commercial
That looks perfect Steve, a totally believable street machine. The red highlight in the chrome spear really does it for me. Here in Oz, home of the Ute, AKA El Camino, it was perfectly normal for both Ford and GM to carry over body styling on the lower production utes from one series to another. So for a 61 to have a 59 / 60 greenhouse is totally in the realms of possibility. EH Holden utes for example, had earlier EJ rear quarter panels and taillights. HR Holden utes had HD quarters and taillights. And the FB/EK Holdens, with 57 Chevy styling cues, got the entire rear of the FC/FE ute that had a body style reminiscent of the 55 Chevies - in other words, it looked like they cut an earlier body and a later body in half and joined them together! So this combination could well have happened if GM had continued the line onto the 61-64 Chevies. In fact, if sales of the 59/60 were lower than expected, it would have been economically advisable! Cheers Alan -
Chopped & Channeled '32 Ford 3-window Coupe, late 50's Show Car
alan barton replied to Bernard Kron's topic in Model Cars
Accidental duplicate post deleted. -
Chopped & Channeled '32 Ford 3-window Coupe, late 50's Show Car
alan barton replied to Bernard Kron's topic in Model Cars
Stance - that says it all. The combination of a very low body and very tall tyres just works so well to create the feel that you were after. This must look fabulous amongst all you other rods. I feel your pain in the desire to achieve a clean build. I start every model with the intent of it being a clean build, and yet often things conspire to defeat me. I'm not one of those guys who will make a part ten times until it is perfect - that is just not me. I will give it my best shot the first time. And I find stripping and restarting body work seldom gives as good a result as you had to start with. As hot rod modellers, we do a LOT of cutting and joining and we are forever fitting ten pounds of potatoes in a five pound bag so we will just keep trying, chasing the dream. Doesn't make me like your stuff any less! Cheers Alan -
"Bullitt" '68 Charger and Mustang. Double Build!
alan barton replied to doorsovdoon's topic in WIP: Model Cars
You can just tell how good these are both going to be. They will be models that you never have to explain to random visitors what they are about! The vinyl roof on your Charger is one of the most scale sensitive renditions I've ever seen. Nice job! Cheers Alan -
*1941 Willys Gasser "Big John Mazmanian"*
alan barton replied to Zippi's topic in WIP: Drag Racing Models
You've done a nice job so far, Zippi! Like you, I fear painting the most and where possible I try to get all my painting in summer (we are in the depths of winter at the moment). Tamiya paint is scary because too wet a coat can cause it to run and bubble but I would suggest that next time you get just a little closer and wetter on your final colour coat. Looks like the clear coat has done a great job. I built this kit when it first came out and it really is wonderful. Not able to get near it to take photos at the moment but I din't remember fussing too much about the shck position and the stance came out pretty nice. Cheers Alan -
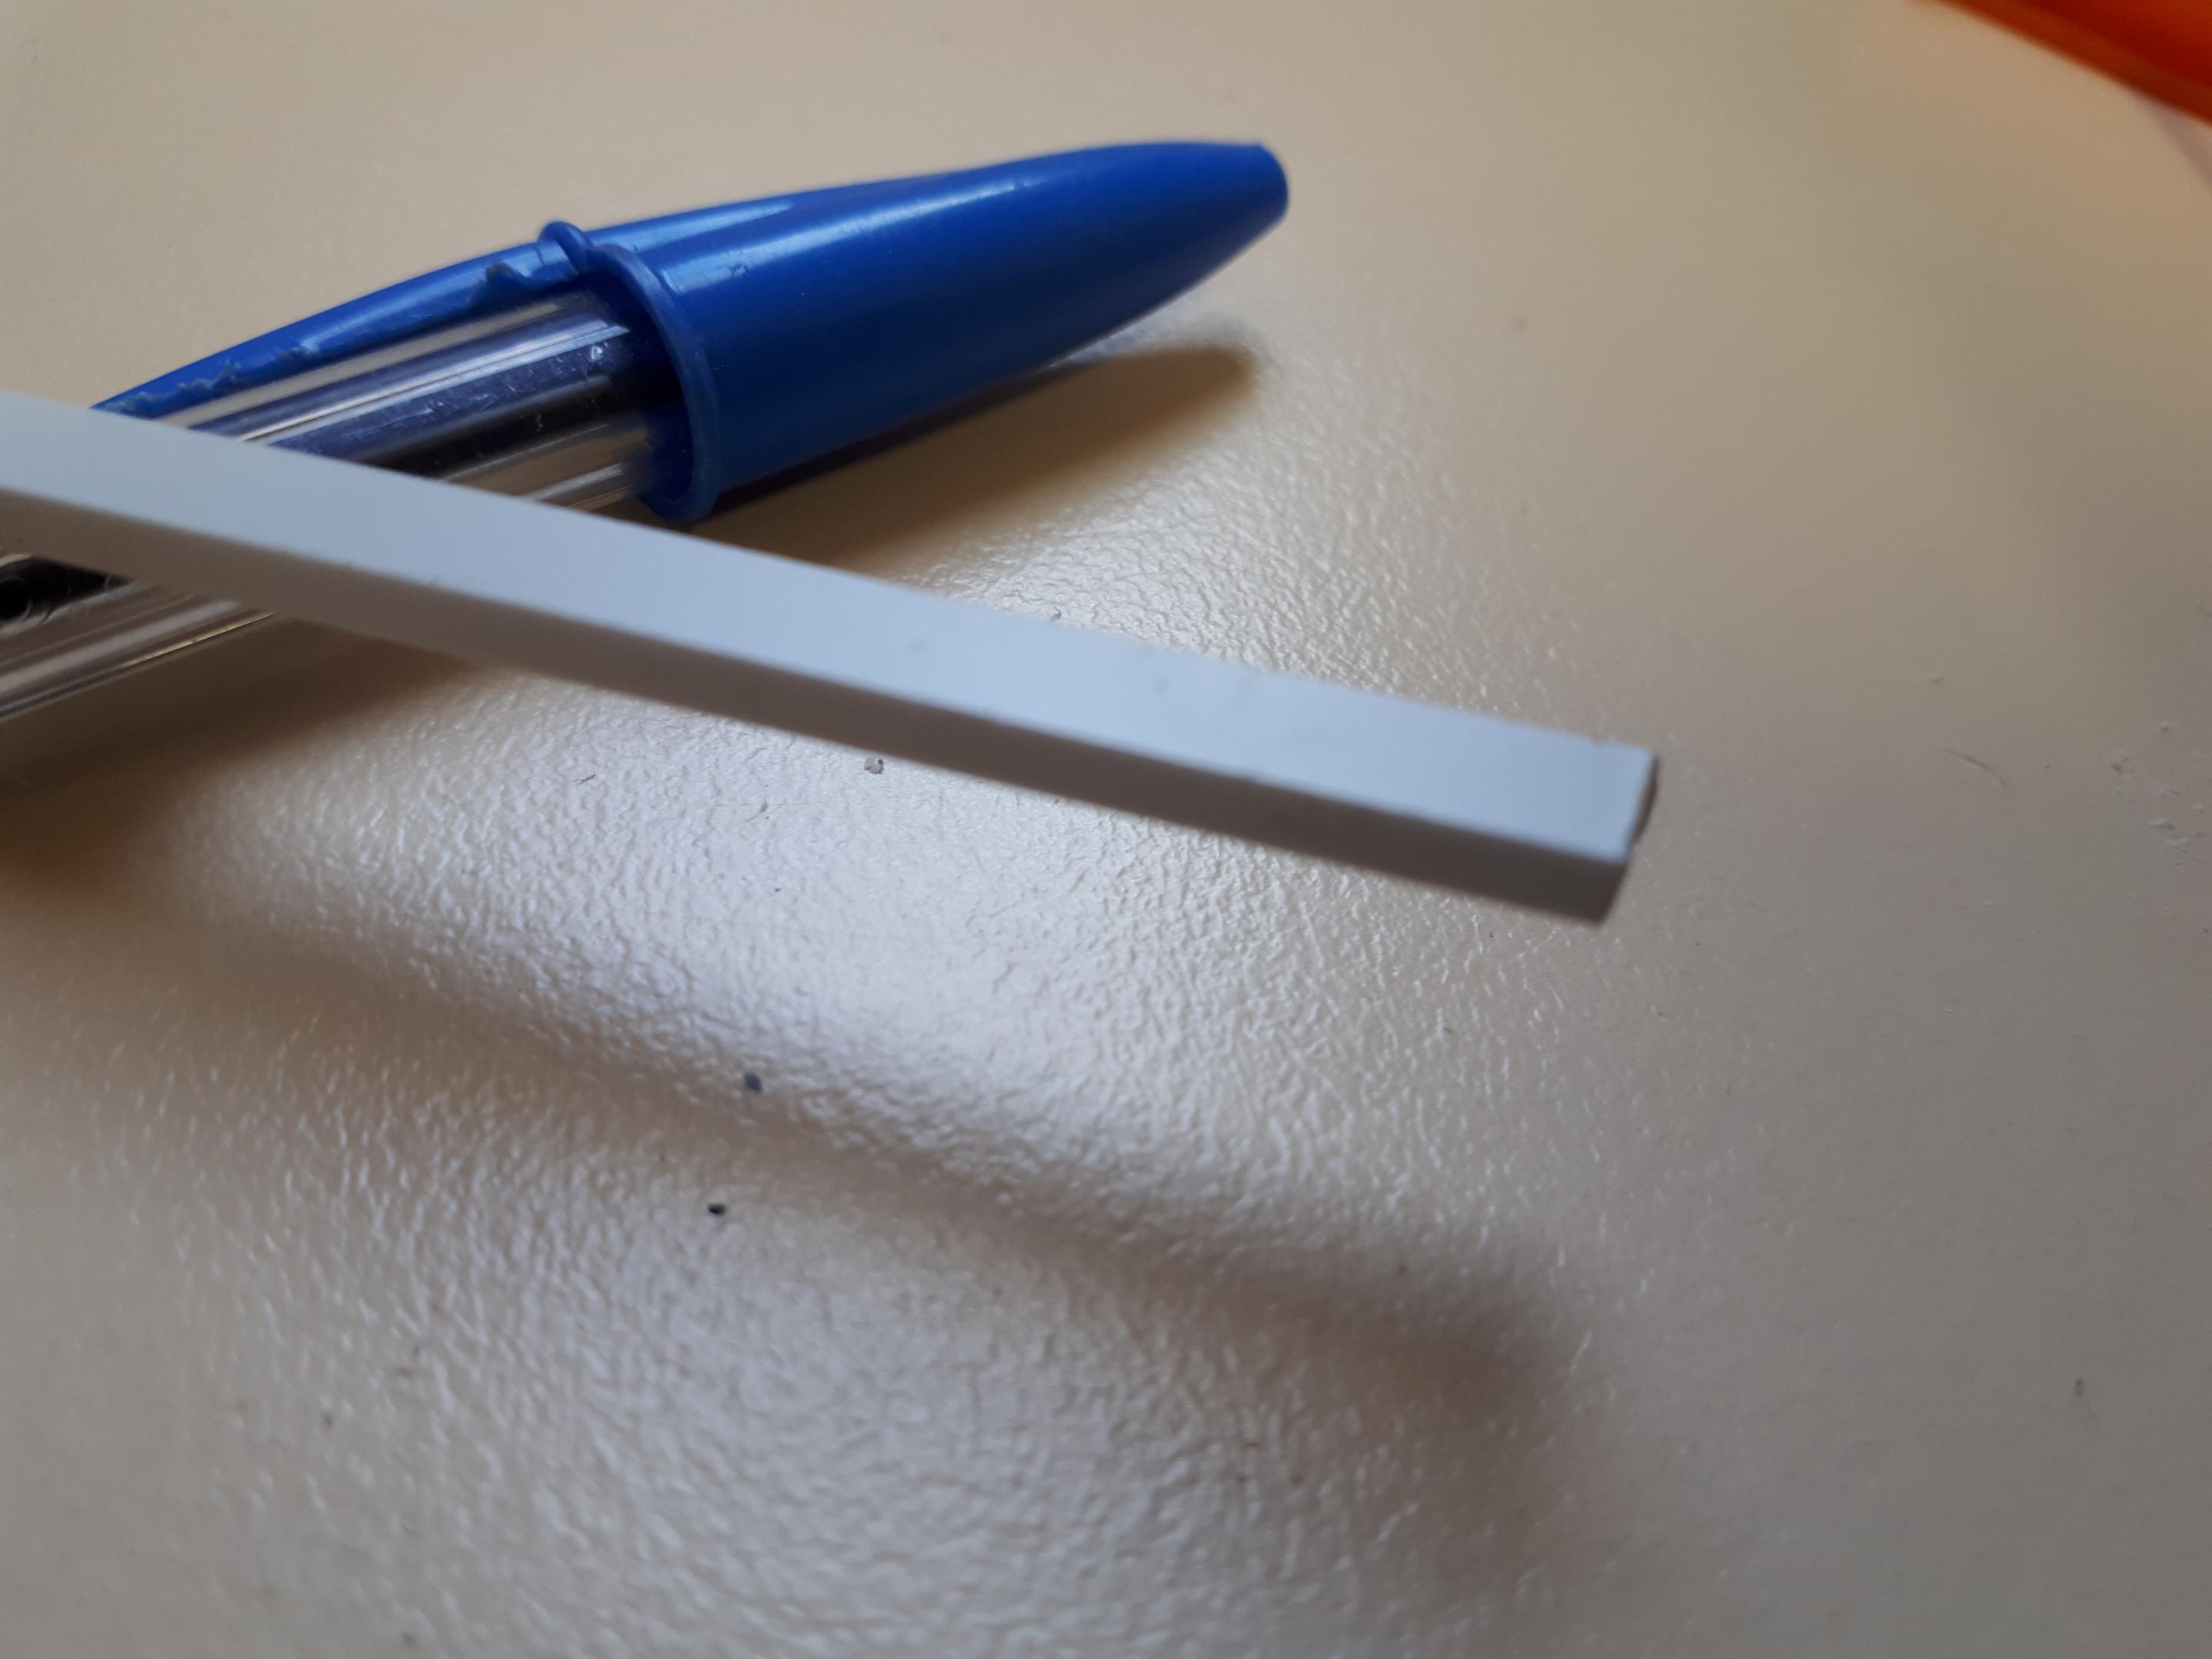
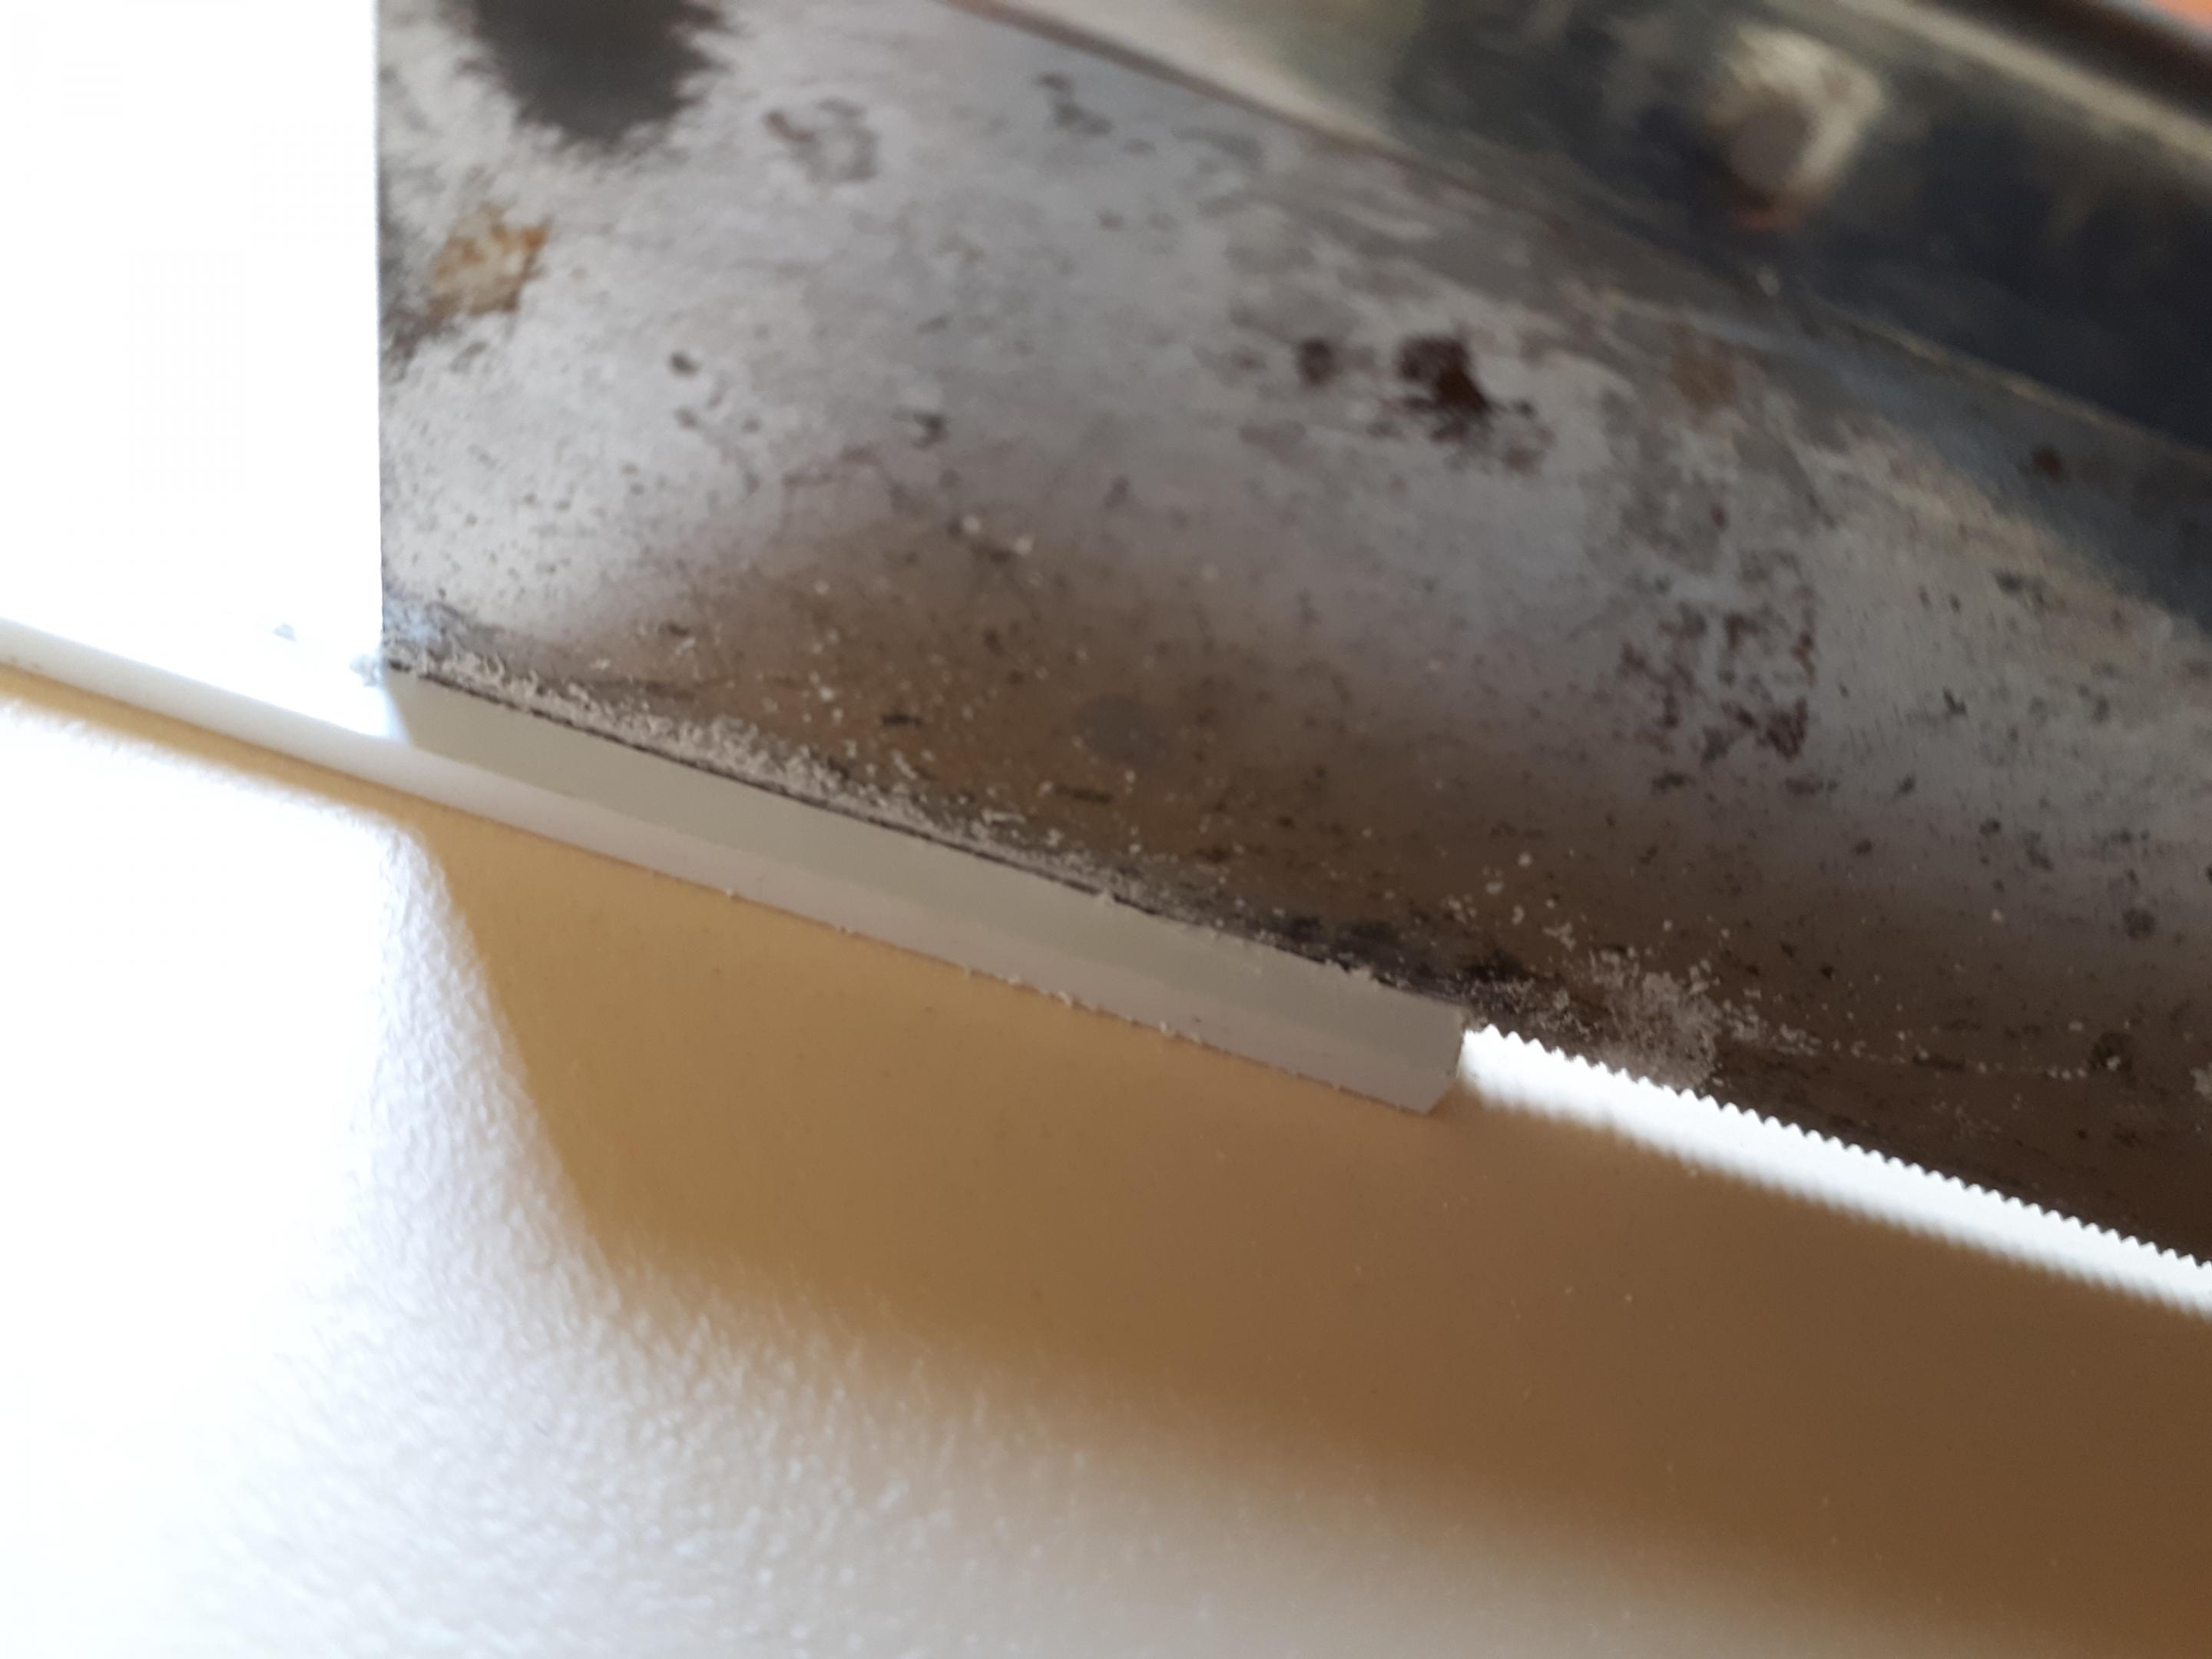
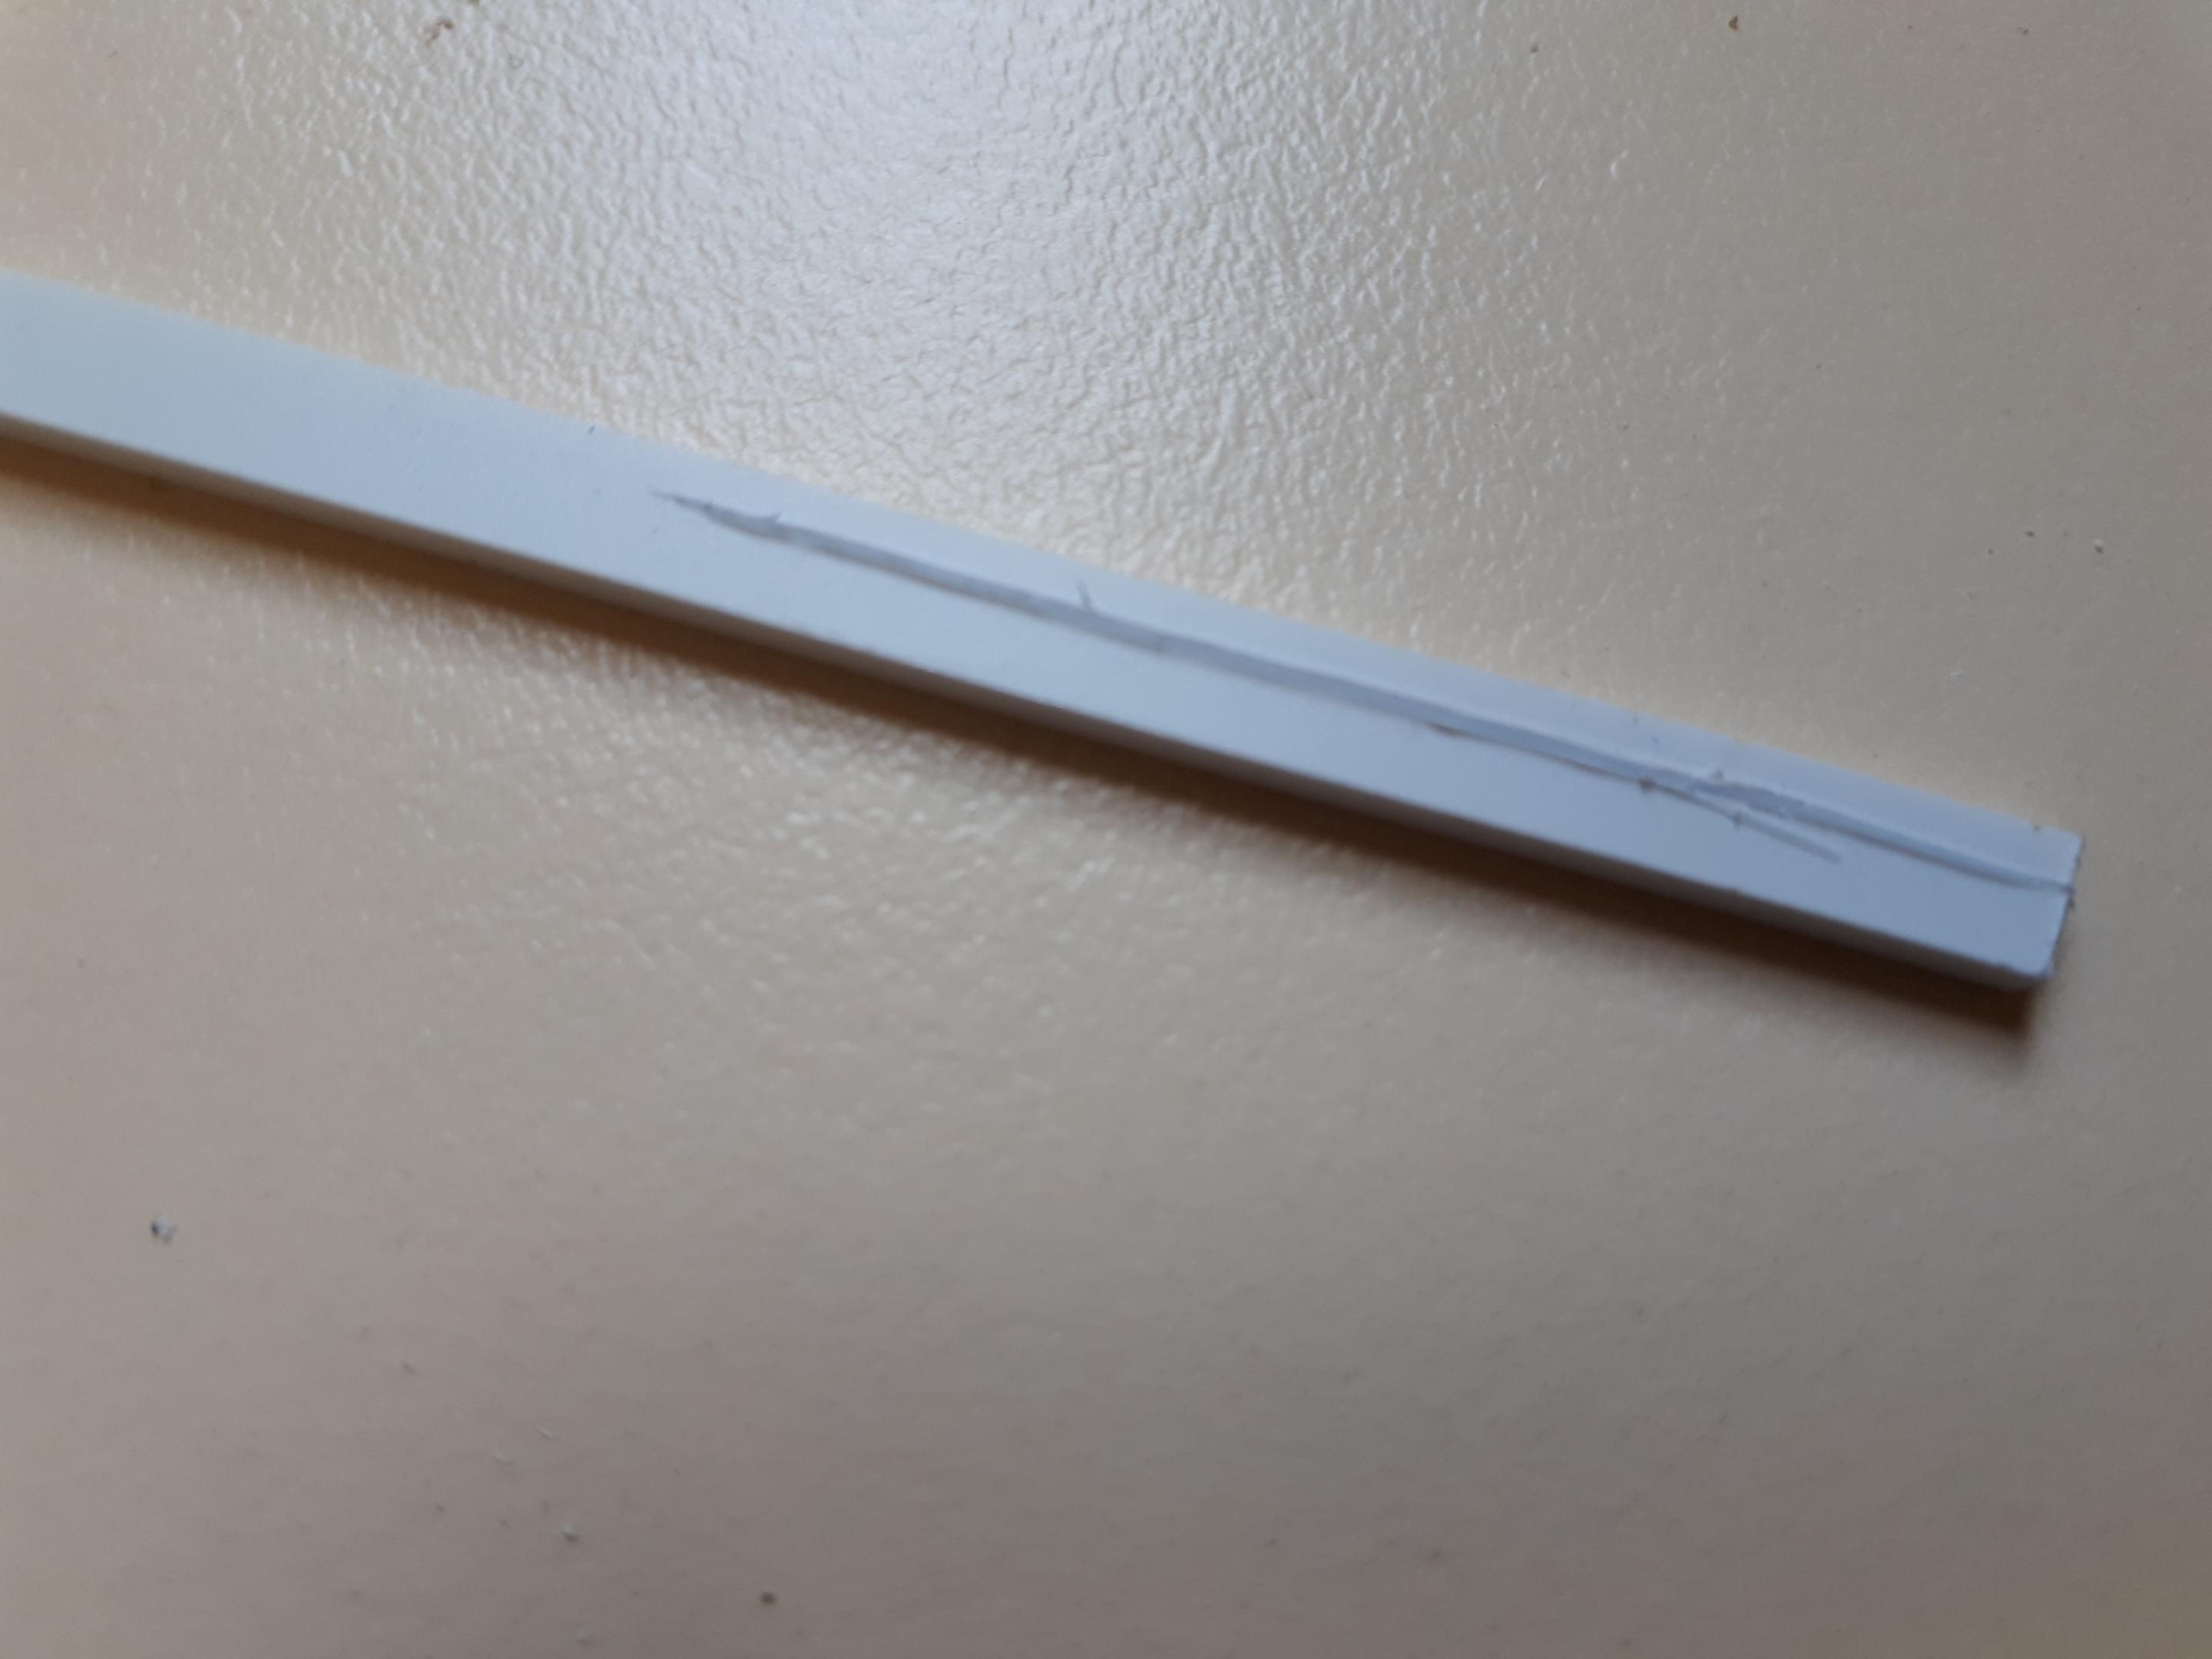
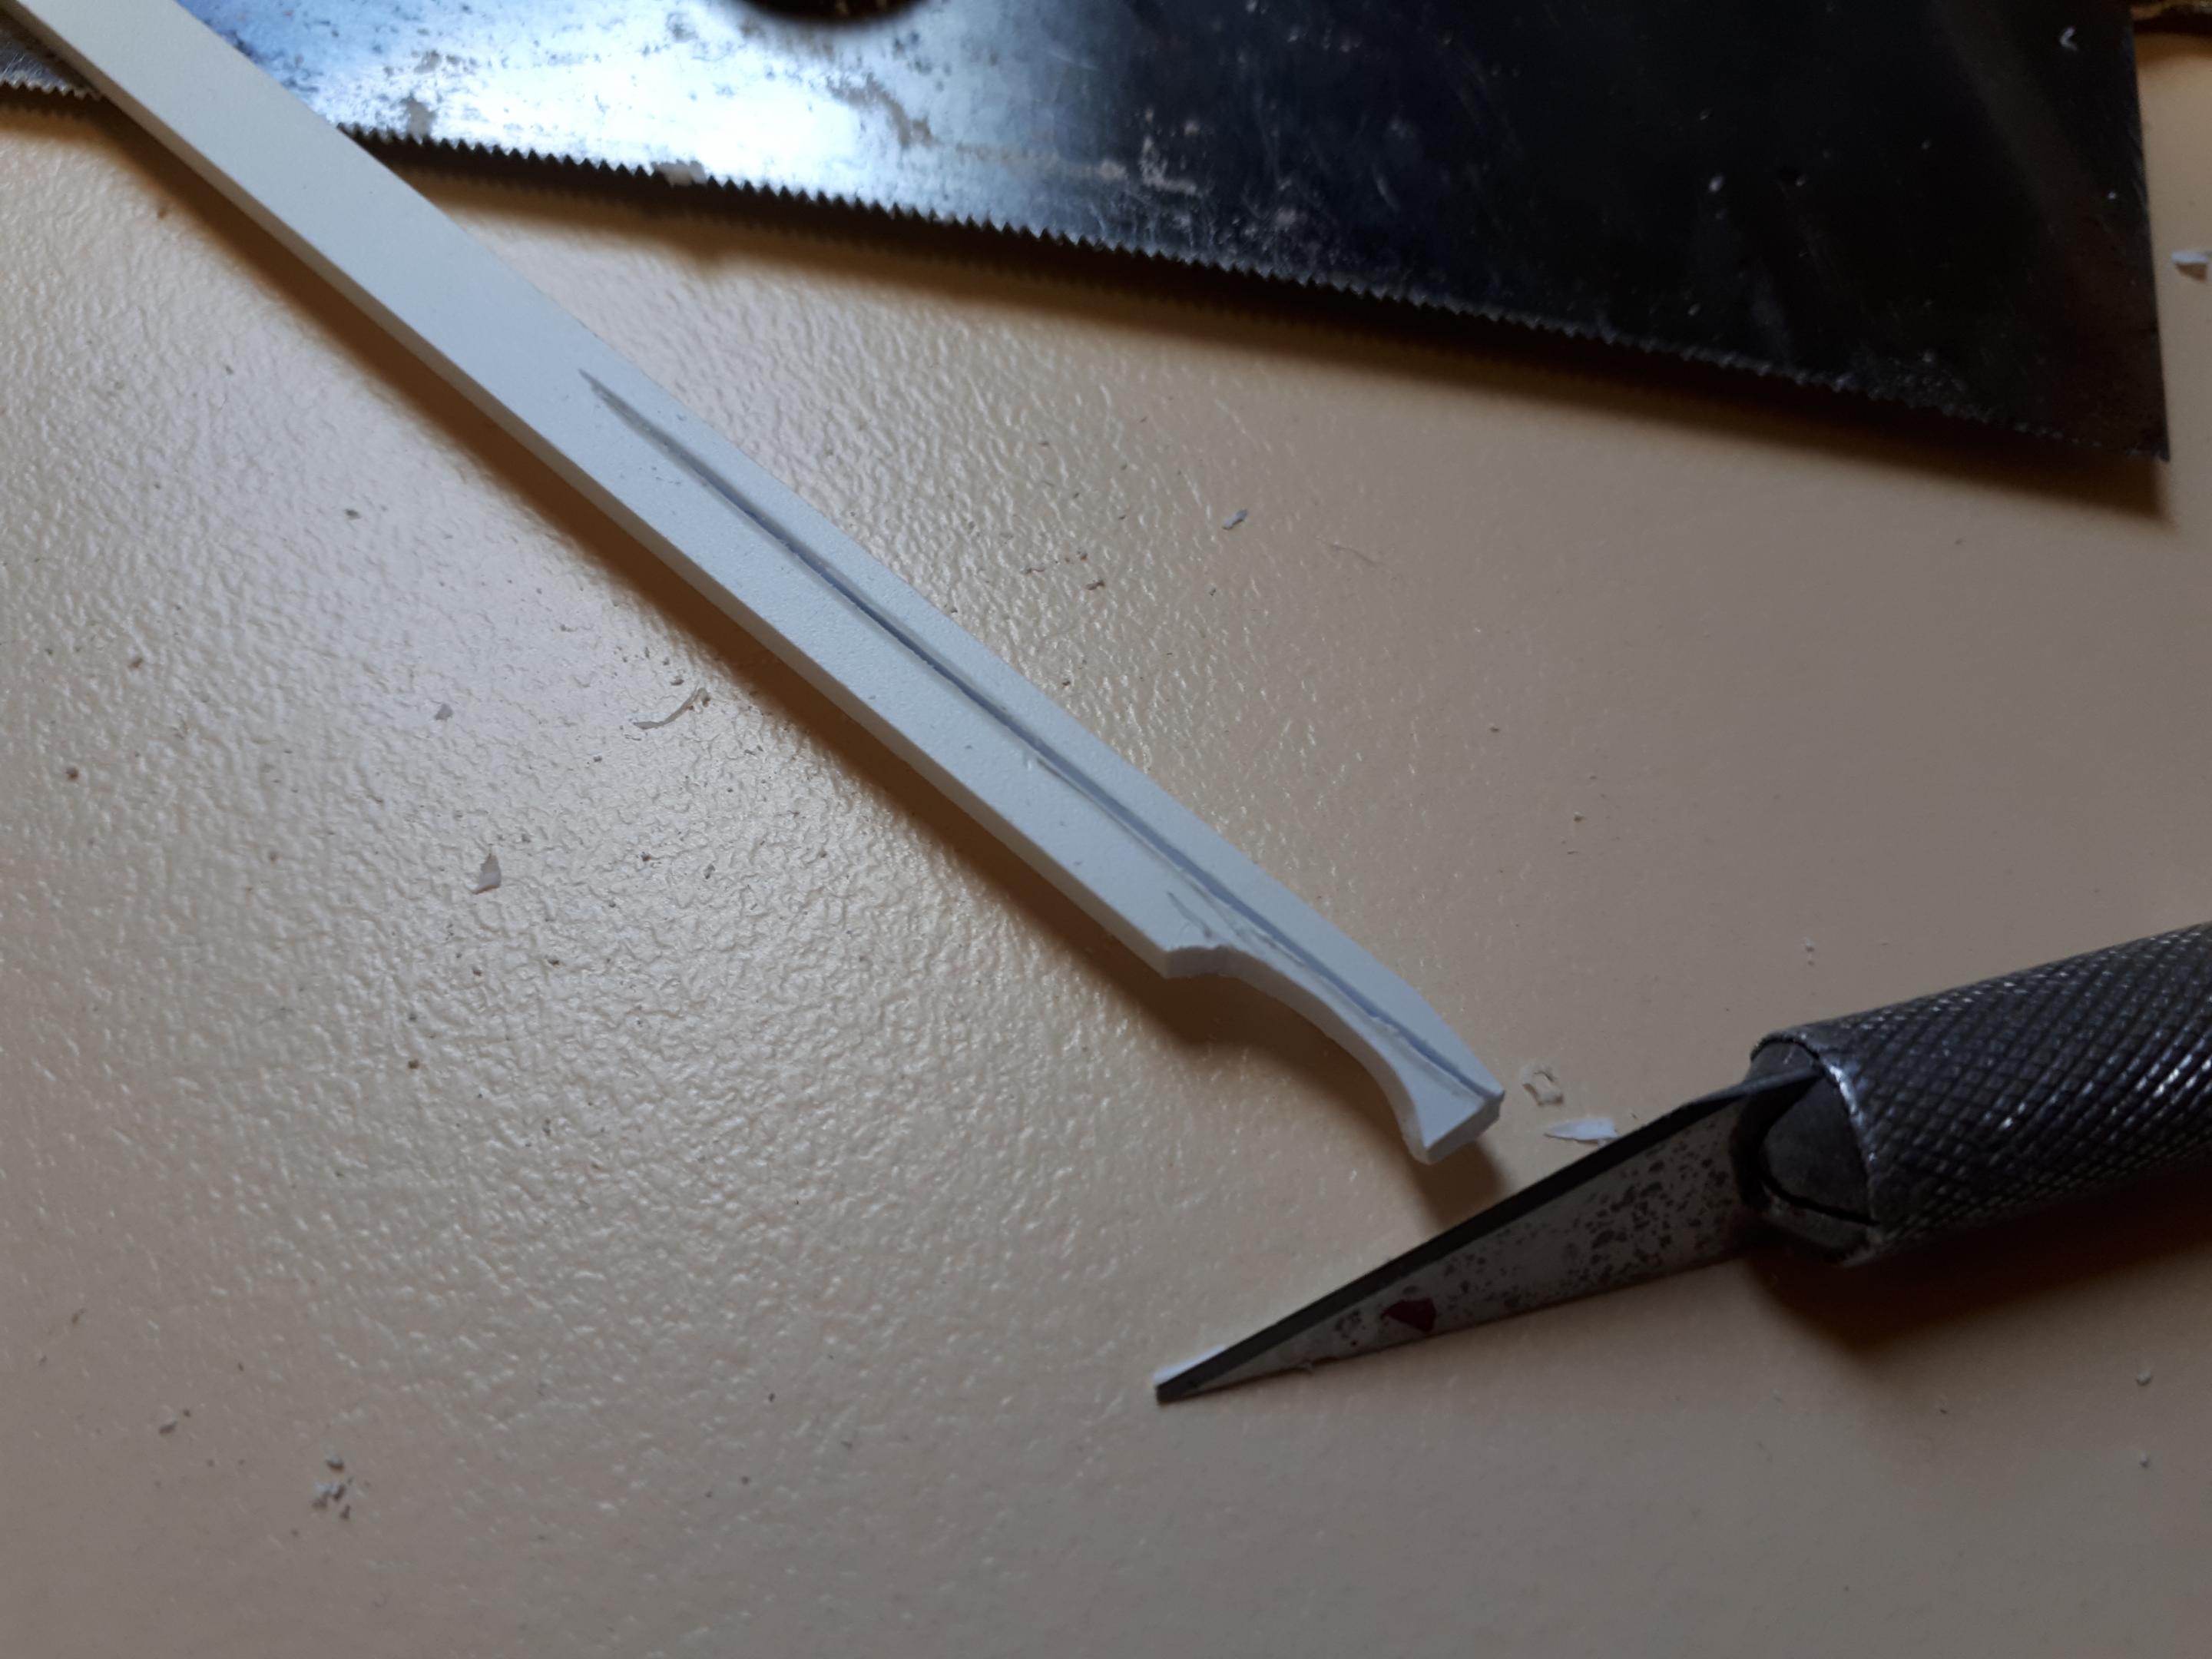
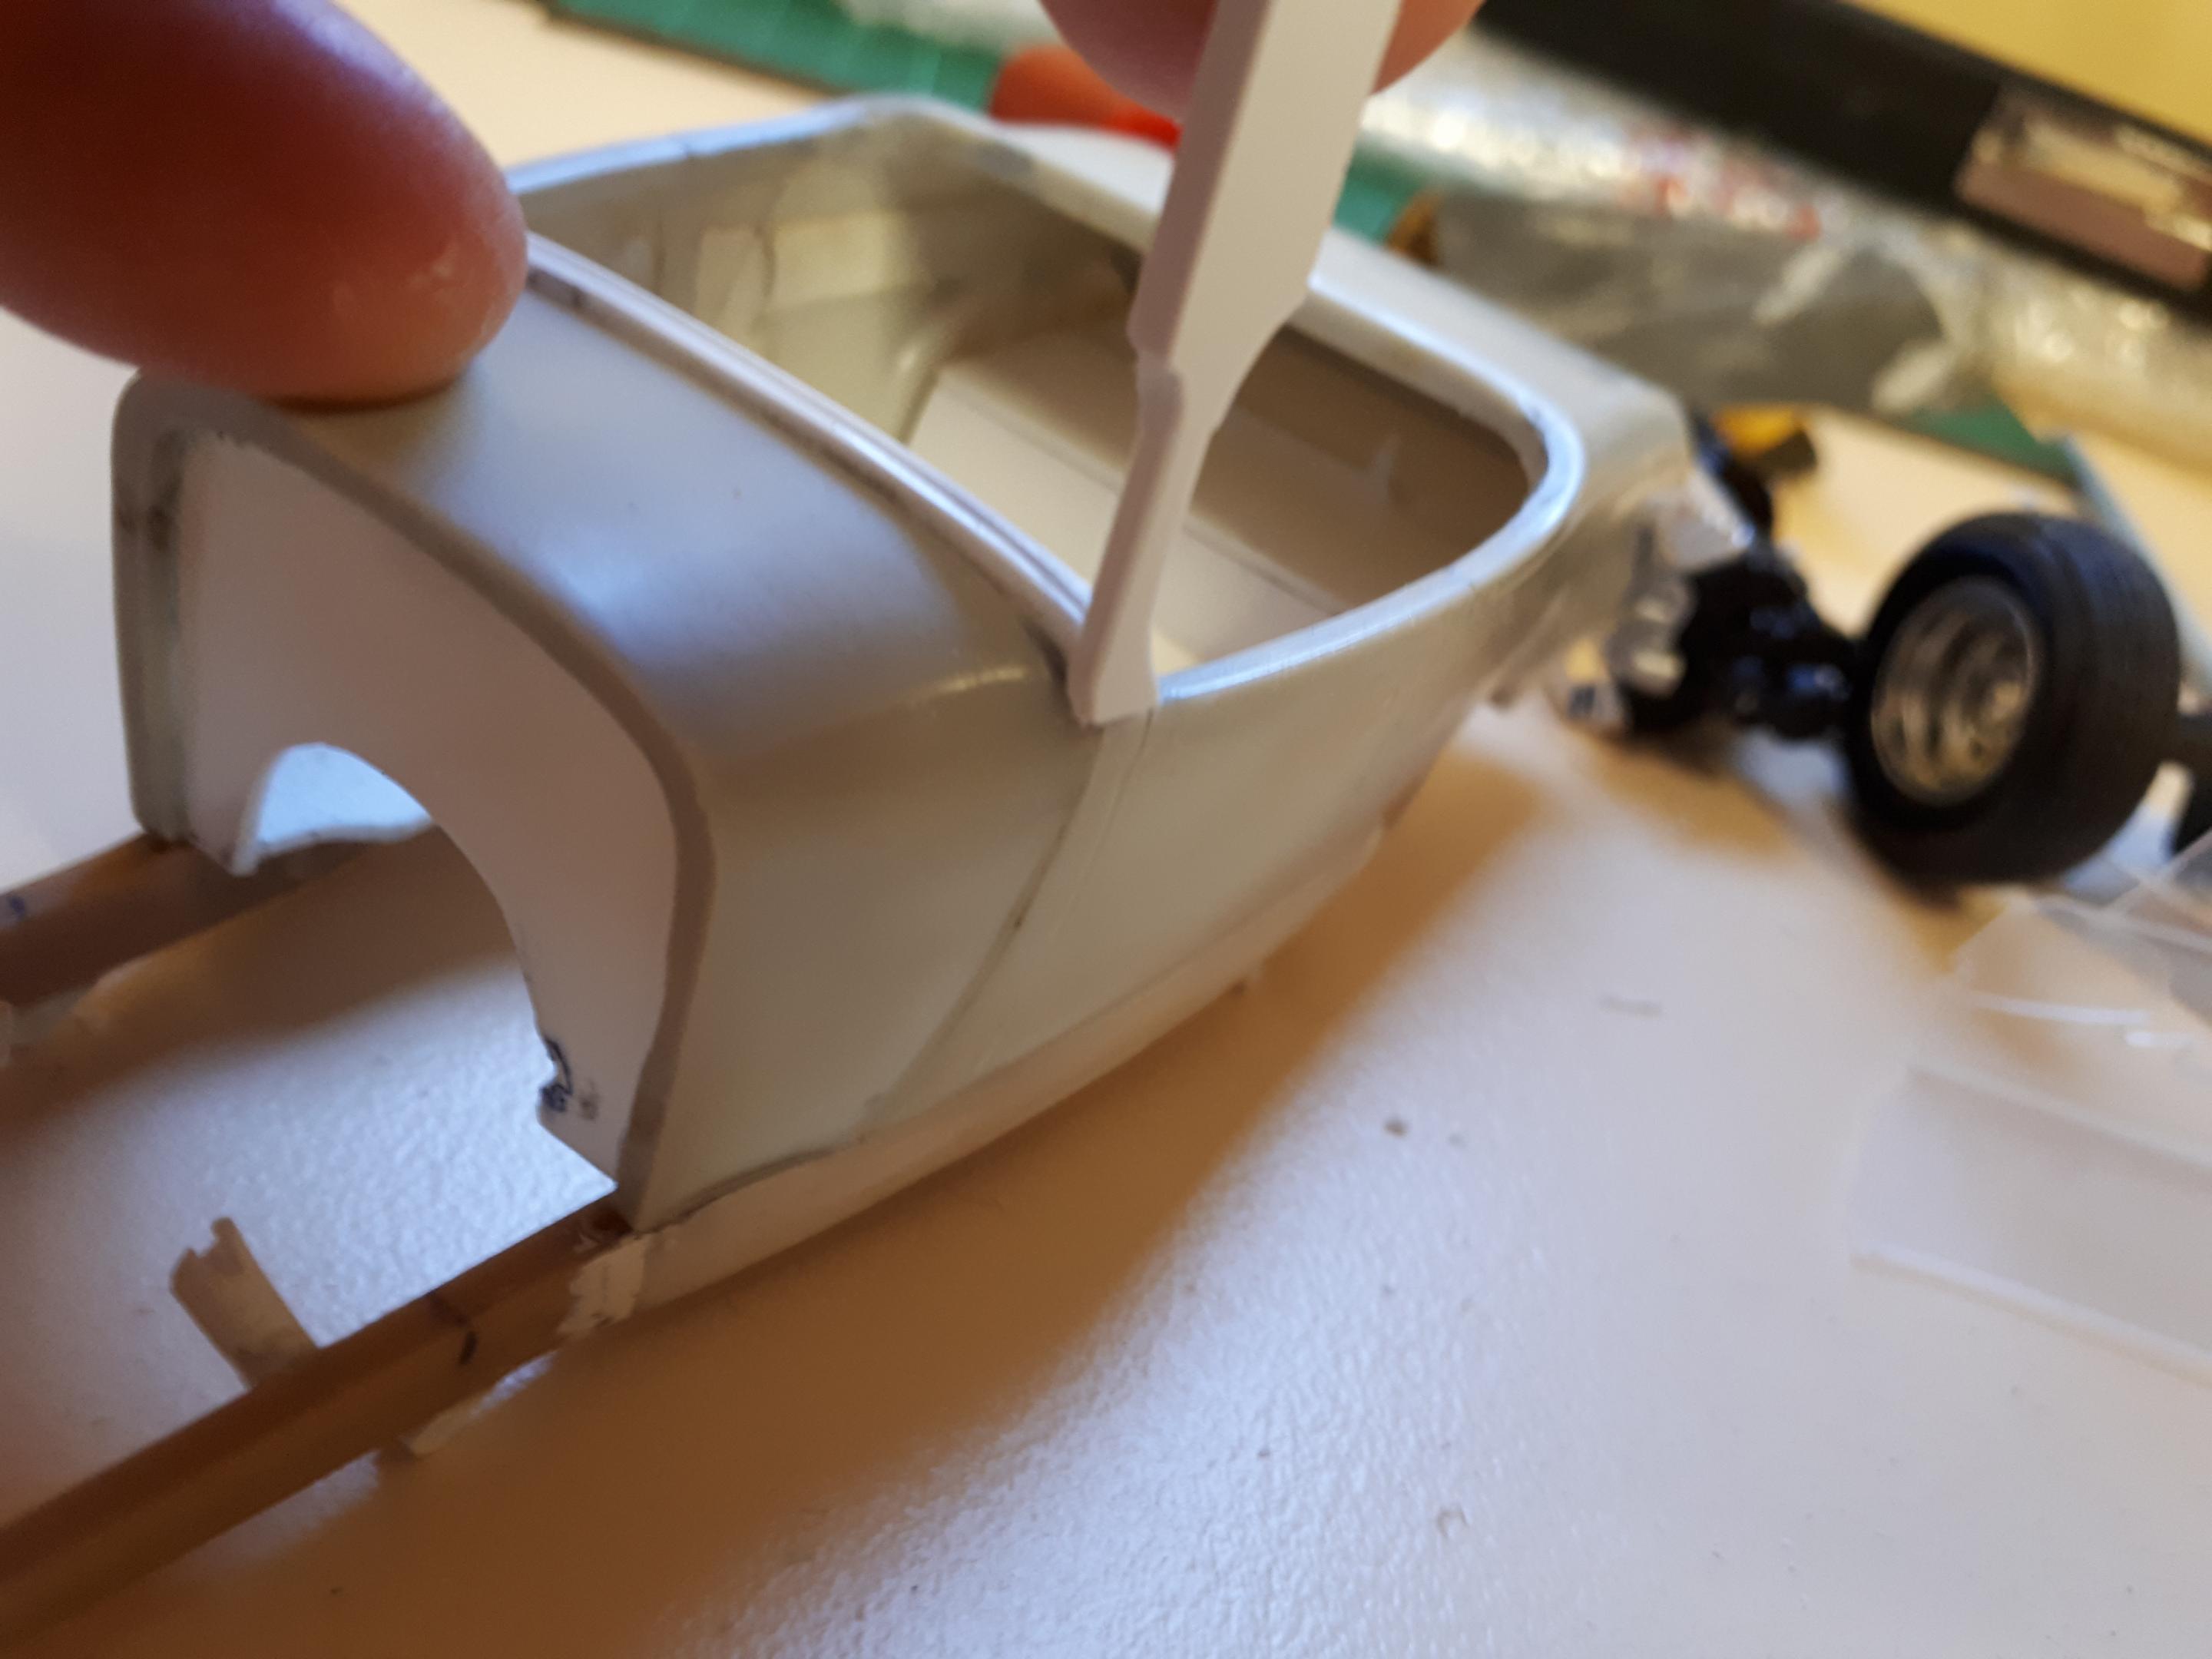
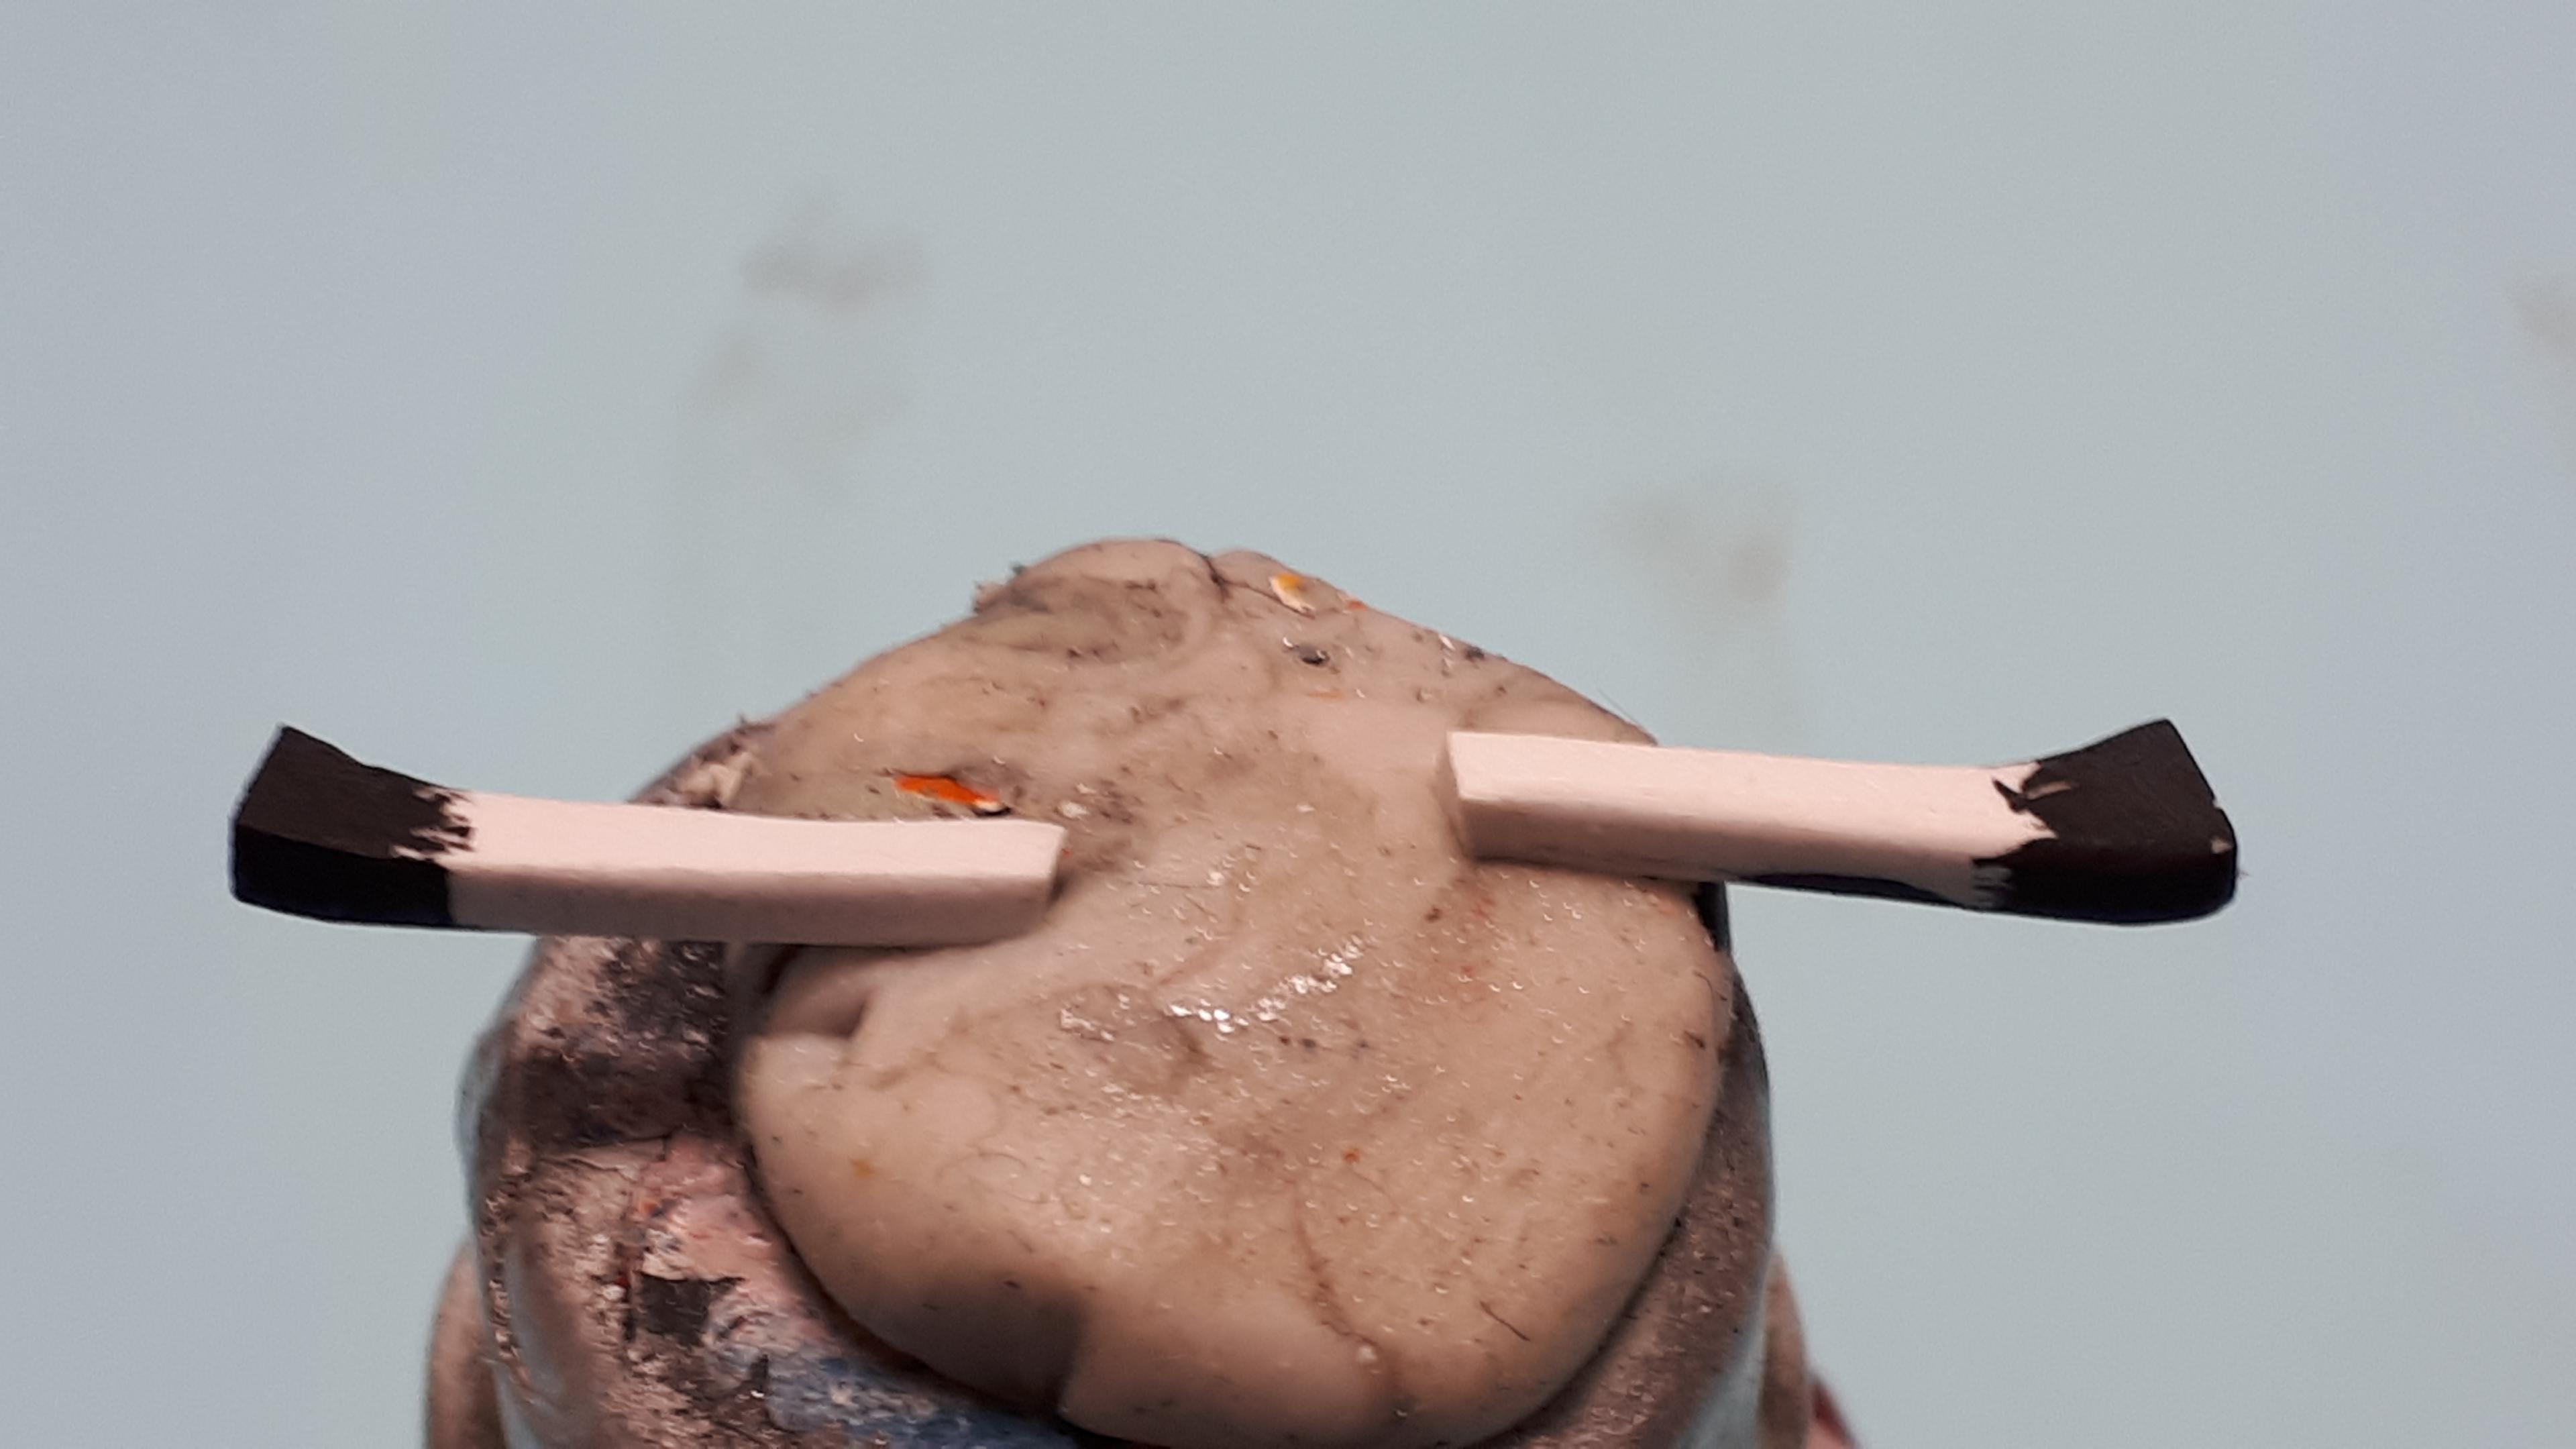
Thanks Bob, Claude and Rodney. your comments mean a lot. I went to do some additional research and guess what - Lil'John DID mount the headlights through the grille shell! It was the later update that I found on the internet that showed them mounted off the shock mounts. The more I look, the more ironies I find. Considering that this car pretty much single-handedly started the billet, hi-tech movement, there is very little billet on it and very little hi-tech! Mechanically, the coil sprung front axle is about the only unusual item while the body is so close to stock Model A (except for the wheel arches) it could have been on a traditional black hiboy with red wires and a flathead! But the way Lil John packaged all these components just set the rodding world on its ear. The only obvious billet components on the first build were the windshield posts. I definitely wanted to recreate these in scale but not exactly the way Buttera did it. On the real car, the top of the door posts were extended up to meet the lower windshield frame and then the posts were perched on top of the bodywork. Instead, I wanted to create a billet version of the stock post. I started with a strip of Evergreen rectangular styrene and used a razor saw to cut a slot it to eventually take the windshield glass. I then did some carving on the length of plastic while it was still attached. When it was close to right I then cut it off, made a second one and then spent a night or so finessing the two until they were as identical as I could make them. I knew they were going to have to take a lot of handling as I glued them onto the car and my skin has the sort of oils in it that can strip paint better than the purple pond! So I painted the bottom of the post flat black so that I didn't have to paint black right next to white, glued them on the car and then painted the rest of them with a brush when everything was dry - Tamiya flat black acrylic worked perfectly for this step.
-
Hi Michael, long time no see! I remember your Jaguars well but this is taking it to the next level. I don't have words to adequately acknowledge the shift linkage. Unbelievable! Hope we get to see this at Model Car Spectacular next year. Cheers Alan
-
Hi Mark, as it happens, I have both a set of the Oldsmobile wheels and a gluebombed 29 Lincoln in my stash so i got my wife to take this photo of me holding the wheels and tyres up to the fenders. I reckon they would do! I would love to send you these wheels but unfortunately the COVID tax means that it would cost me around $25 to send them and they would arrive sometime around Easter! I hope you can find some locally and cheap - there can't be that many people that want them! Cheers Alan
-
Luke, ALL the cool kids go RHD! Alright, maybe I'm the only one but it is very straight forward and easily accomplished with the skills you have demonstrated so far. Try to avoid at all costs cutting up the top of the dash. Instead, use your scribing tool to cut the instrument panel area from the dash, below the crash pad area. You may also find on some models (I don't have one of these dashboards) that the steering column hole may be offset as well. Then take some careful measurements on the ride hand side of the dash and cut a matching hole to receive the instruments. You have plenty of plastic to work with for this operation. Chances are, however, that the glovebox area that you removed from the right to fit to the left will be 1-2mm undersized no matter how careful you have been. Fortunately the glovebox area often has less detail than the instrument panel so you can either fabricate an entirely new glovebox door or add thin strips of plastic to either edge of the existing door until it is a snug fit in the hole left after removing the instruments. Sometimes you will find that because of some previously unseen tapers on the dash, reversing sides will result in a slight sawtooth effect but thin strips of plastic and some putty will usually take care of this. Mate, you will get this done in a night, trust me! It will be the finishing touch to your conversion. Cheers Alan P.S. Have you thought of trying an HD/HR Holden ute style B pillar for your Nova? I love that you correctly used a four door front door length but I reckon the B pillar might benefit from a bit of toughening up.
-
Mark, have you considered the one piece plastic wheels and tyres from the Beverley hillbillies Oldsmobile truck? I will see if I can take a photo for you of the oens I ahve compared to the Model T wheels. This is going to be a very handsome vehicle when it is done. Your conversion work so far looks very promising. Cheers Alan
-
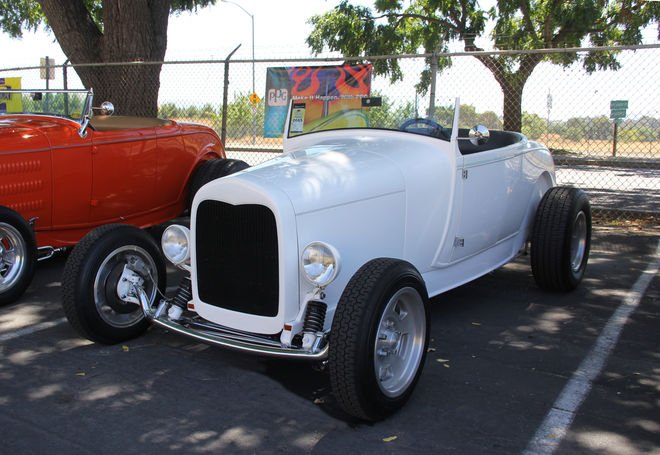
You can see from this shot of a later version of the car that Lil John mounted the headlights off the top of the shock mounts. I had no idea where the shock mounts were going to end up and anyway, I thought they would look cleaner suspended through the side of the grille shell as was common for the era. I considered three grille shells. The AMT unit, the red Lindberg one or the odd 29 grille out of the 32 Switchers kit - who would put a 29 grille on a 32? Anyhow, i decided on the Lindberg grille but it later snapped so a trimmed, sanded and drilled version of an AMT grille ended up on the model. I used the smallest lights from the Revell 29 Highboy kit with small pins inserted through the grille shell for mounts. Cheers Alan

