Bill Eh?
-
Posts
1,250 -
Joined
-
Last visited
Content Type
Profiles
Forums
Events
Gallery
Everything posted by Bill Eh?
-
Best lamborghini countach kit
Bill Eh? replied to randx0's topic in General Automotive Talk (Trucks and Cars)
Definitely not the Tamiya kit. Decal to represent the taillights. LOL Aoshima has many versions of the Countach worth considering. -
Your refreshed daily driver is a work of art.
-
Thanks David, I appreciate your comment\.
-
I also like Fiat Altereds. You did a great job on this one. Do you remember which kit's rear slicks were used? I just sent an email to Chuck Boerner to order a set of decals for myself.
-
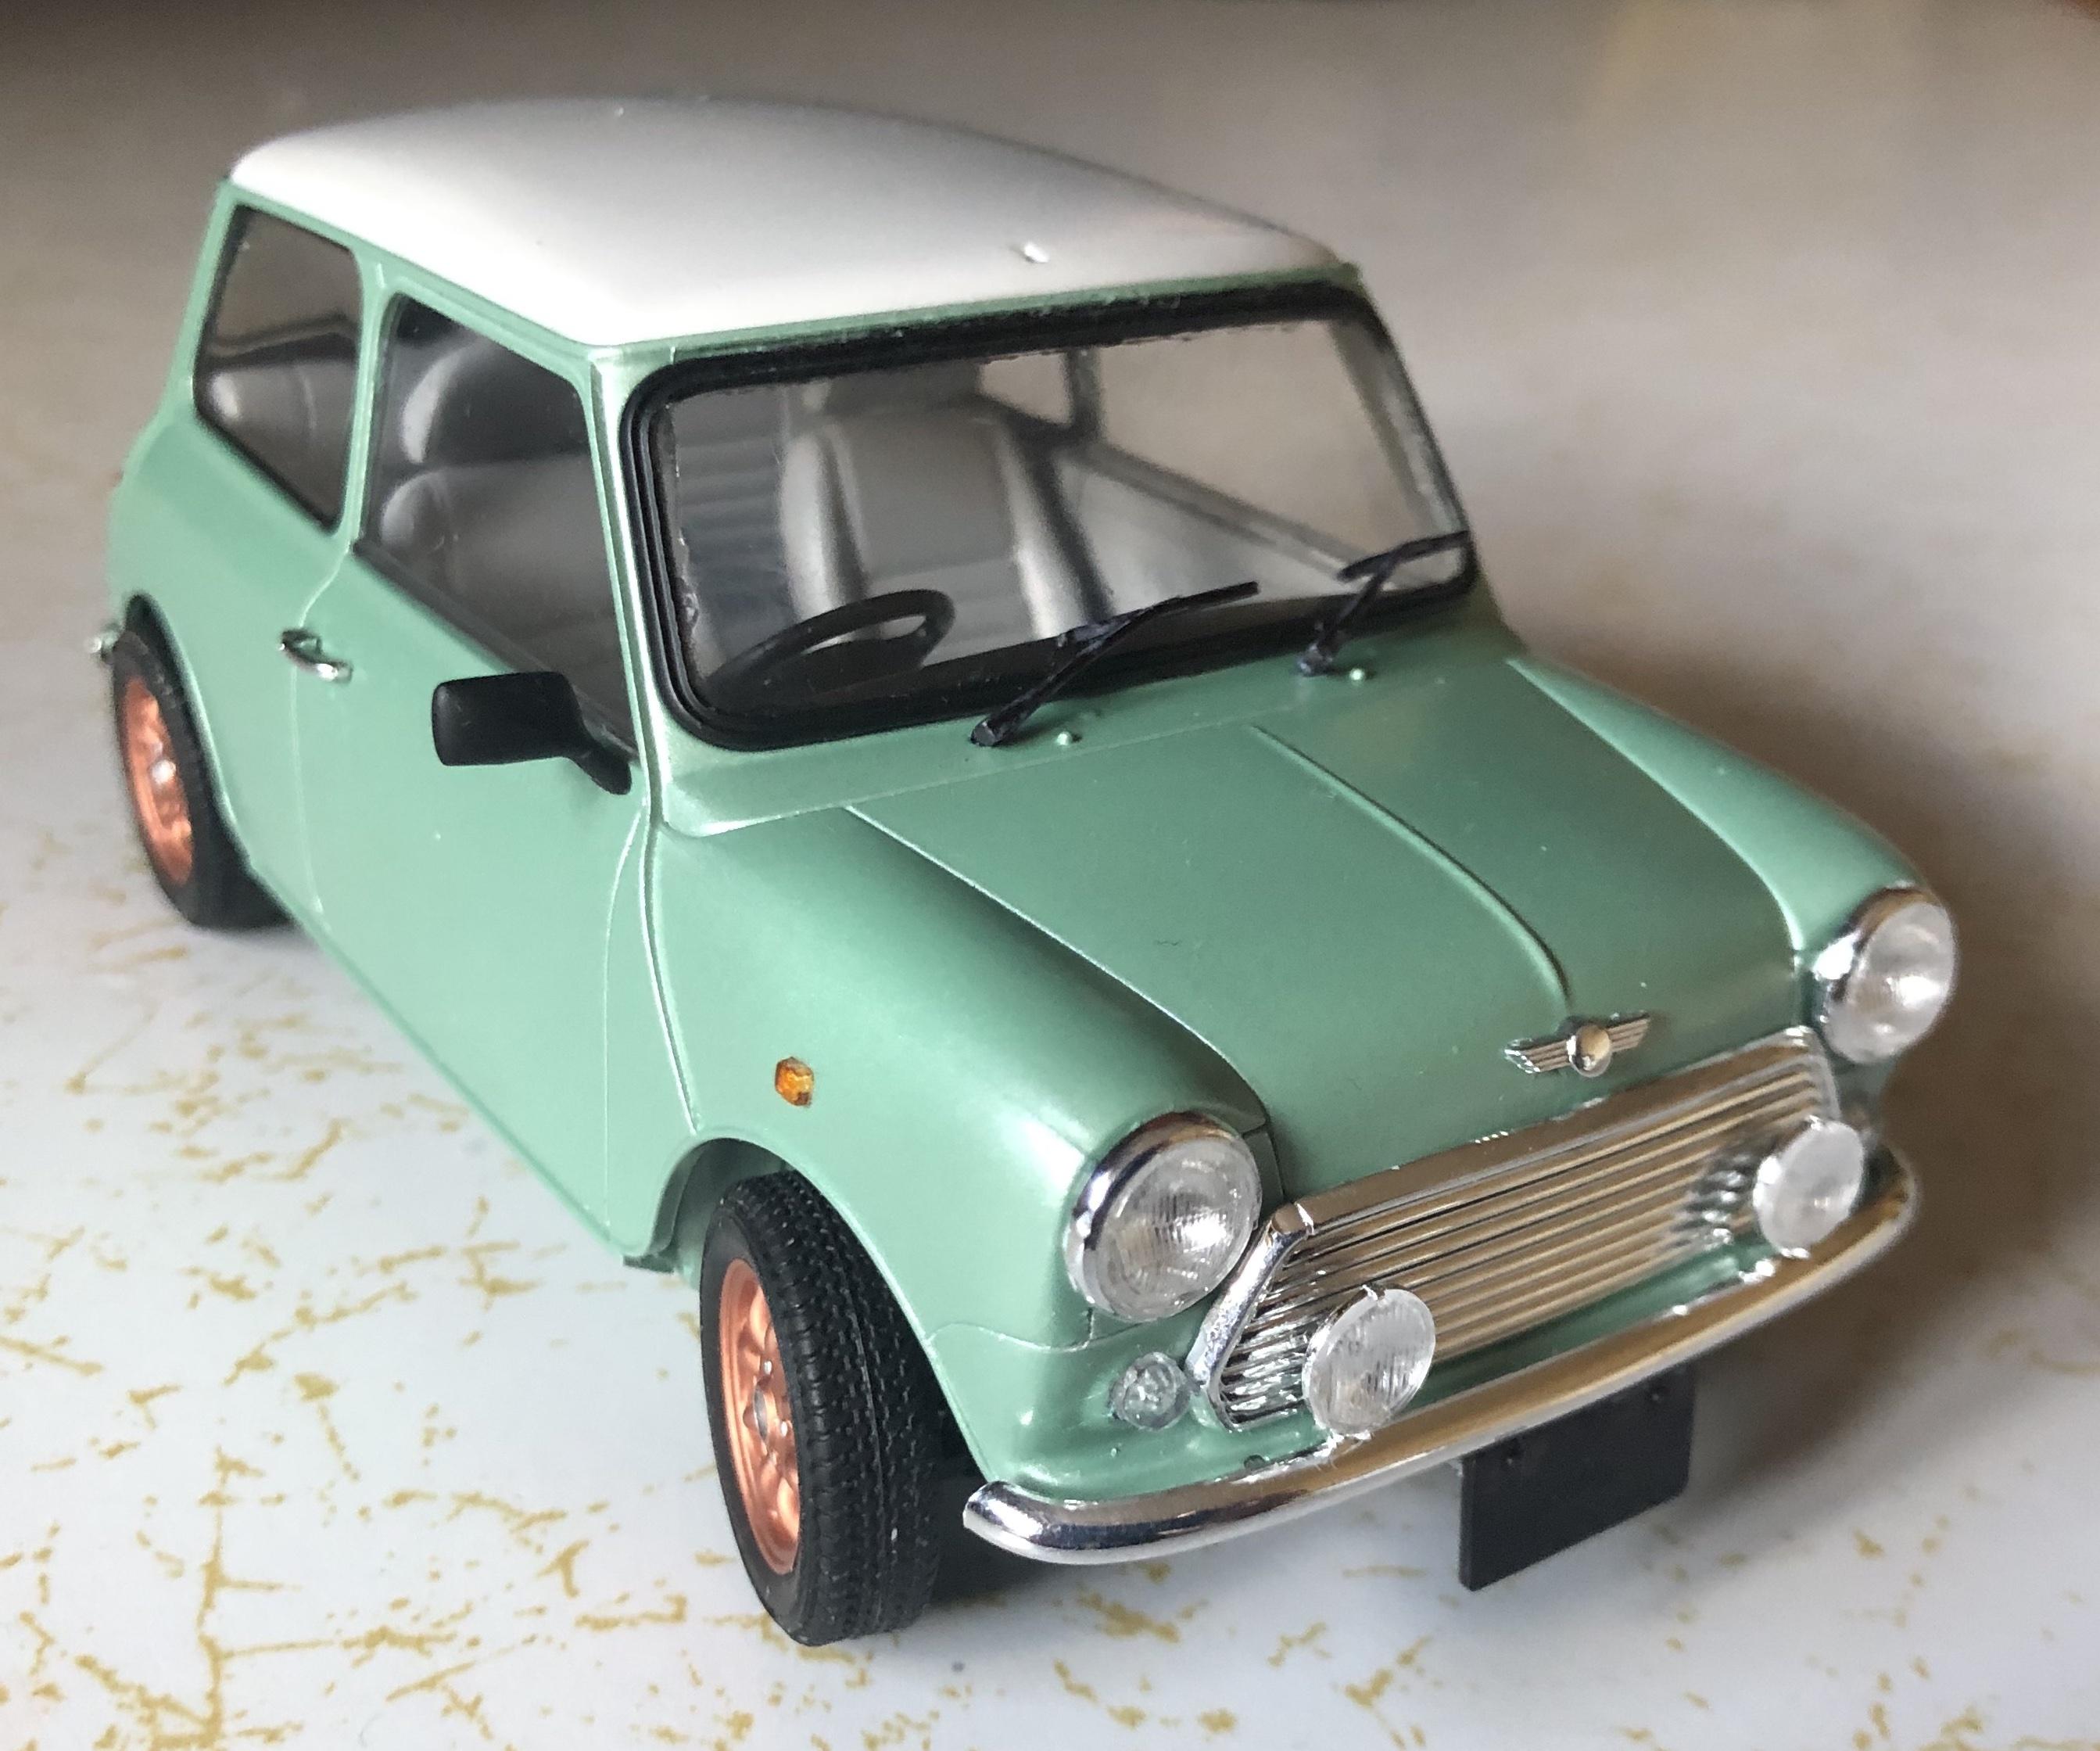
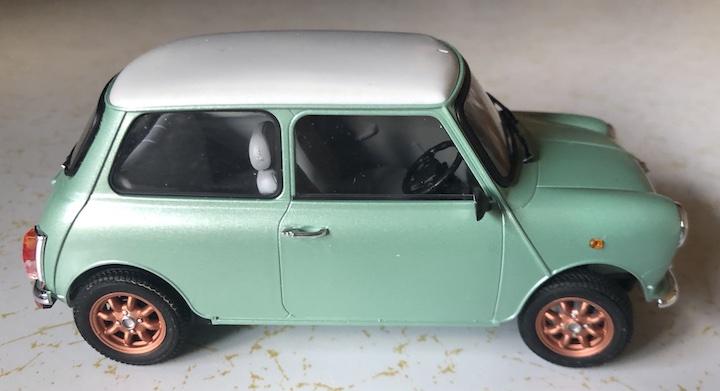
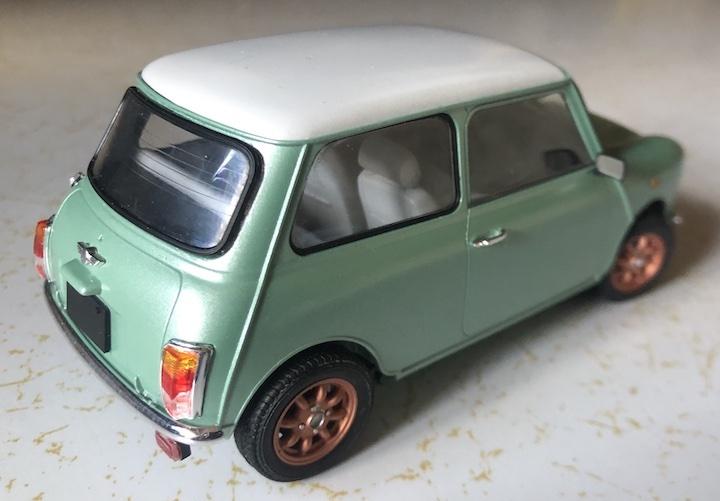
Thanks Lee. I used two Tamiya TS Pearls, Light Green and White. Thanks David. It sure was an interesting contrast and a good handling one at that. Thanks Garry. I wouldn't mind owning one as well. Especially an original, but only if it came with Minilite Wheels, LOL Thanks Bob. I wanted something different so I went with Copper for the wheels. Thanks Jeff.
-
Thanks Bob Thank Bill Thanks John Peter, I'm not sure about the first part. Thanks for the second part, and exactamundo on the third part! LOL
-
I finished this two days before departing for ACME Southern Nationals. Lots of parts were omitted to expedite getting it finished. It's not a 10-footer, it's a 20-footer! LOL

-
Les, I'm not sure if there is a way. I placed an order with them on October 13, and got an acknowledgement at that time. Four days later, October 17, received another email that my items had shipped. I assume that means they had everything on my order.
-
Thinning Mr. Surfacer 500
Bill Eh? replied to Chevy II's topic in Model Building Questions and Answers
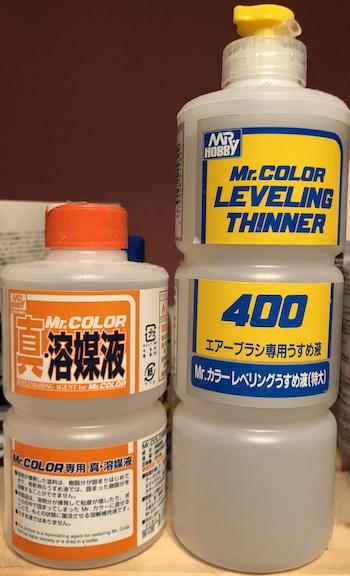
Here is a picture of the Mr Color Replenishing Agent, on the left. It contains the binding agents that Mr Color Leveling Thinner doesn't have. I too have brought many bottles of Mr Color paints back from the dead using this product. I'm sure that it will work equally well for Mr Surfacer as well.
-
Surface Shipping from Japan
Bill Eh? replied to Bill Eh?'s topic in General Automotive Talk (Trucks and Cars)
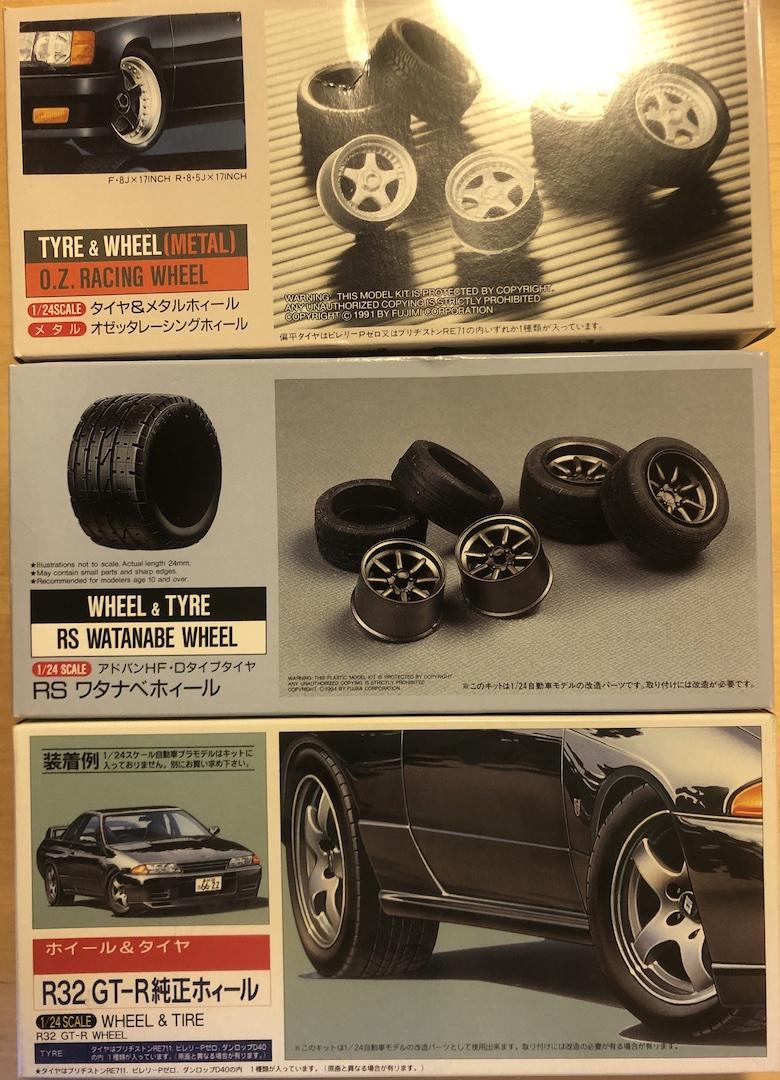
My LHS price on a set was $16.99 plus 13% tax, or just over $19. Even at that price, they flew of the shelves pretty quickly. Buying these from Hobby Search comes out to $10.75. A bargain for a quality wheel/tire set. -
Surface Shipping from Japan
Bill Eh? replied to Bill Eh?'s topic in General Automotive Talk (Trucks and Cars)
Have you seen the two wheel/tire sets by Aoshima, that have been talked about recently? I bought three of each set. I really like the offset that they have. If I use DHL here, I take a double hit on the shipping. DHL I guess is obliged to collect duties/tariffs, all applicable Canadian taxes and a service fee for handling all of this. I have to go to a DHL outlet and pay all of those additional charges before I can get my package. Surface shipping will just get delivered like regular mail. -
I was unaware that Surface Shipping was again available from Japan. I got my weekly Hobby Search notification yesterday. Something caught my eye, so I placed an order. I chose surface shipping so it will be interesting to see how long it takes to arrive. Surface shipping is vastly cheaper than FedEx or DHL.
-
Here's a pic of three Tamiya spray cans. I'm not sure if my order of introduction is correct. I believe they started with Grey Surface Primer (rhs), followed by the Fine White Surface Primer (lhs), and then the Grey Fine Surface Primer (ctr). All are good for use on plastic or metal surfaces.
-
Bob, thank you very much for taking and posting the contest pictures.
-
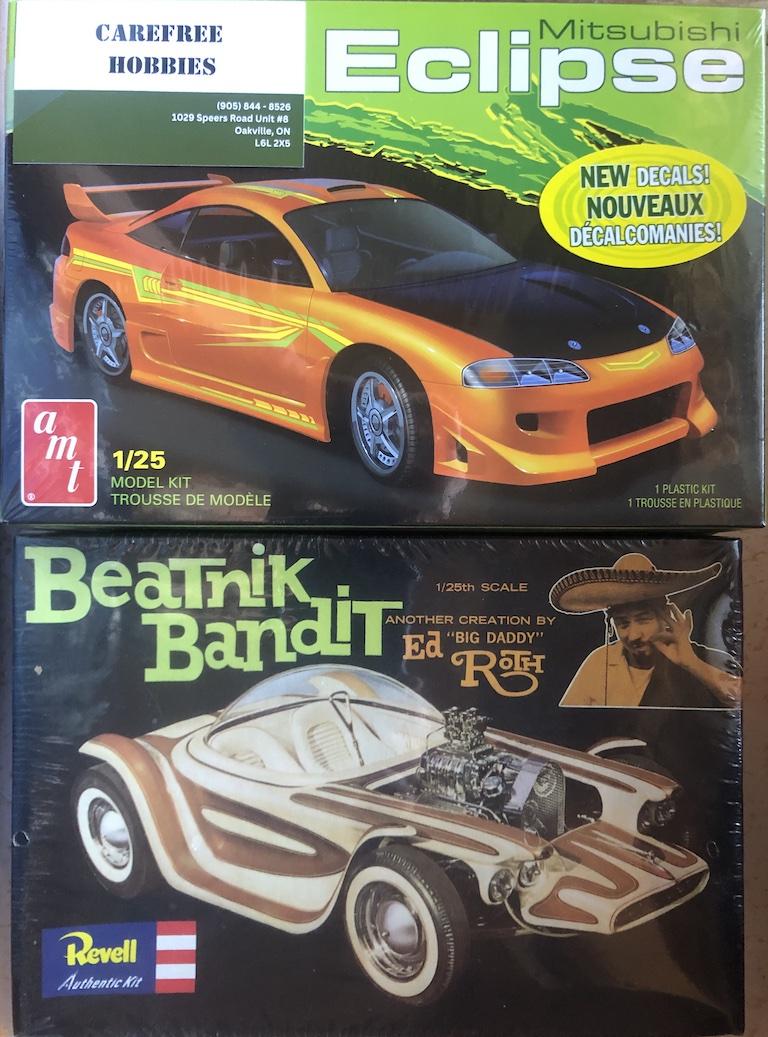
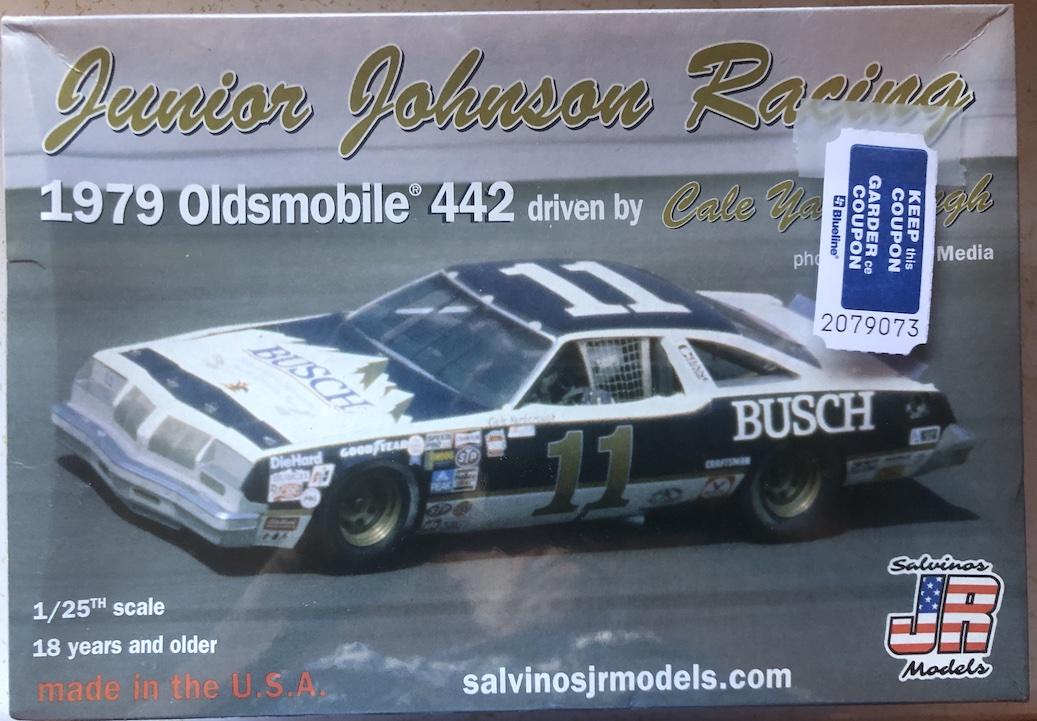
Today was the Group 25 Model Car Contest. After helping with the setting up, I bought 12 raffle tickets. During my time in the vendor room, I bought some kits from great friends/vendors, including some wheel and tire sets. After helping with the judging, I thought best check my raffle tickets before heading home. It was a good thing that I did because I won four kits as raffle prizes. The first pics are my kit purchases. The next pics are the wheel and tire sets. The last pics are my raffle prizes. I am extremely happy with my raffle wins as the tickets only cost me $10.
- 39,159 replies
-
- 8
-

-

-
- johan
- glue bombs
- (and 1 more)
-
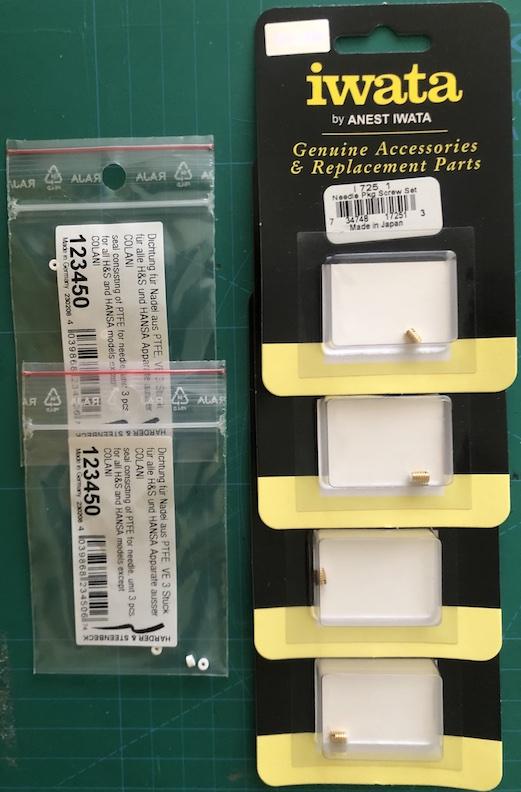
Another purchase from Maple Airbrush Supplies in Edmonton, AB. 2 sets of needle packing for H & S airbrushes (123450), and 4 sets of needle packing screws for Iwata ( I 725 1 ). The Iwata part will allow me to update my older Iwata Revolution HP-CR to make it solvent proof.
- 39,159 replies
-
- 1
-
-
- johan
- glue bombs
- (and 1 more)
-
New Aoshima Firestone Wide Oval Tires
Bill Eh? replied to Monty's topic in Model Building Questions and Answers
Sure, go ahead. -
New Aoshima Firestone Wide Oval Tires
Bill Eh? replied to Monty's topic in Model Building Questions and Answers
I live in Toronto, ON. There are some great shops in T.O., but my favourite is half hour east of me in Whitby, ON, Dailey Hobbies. -
New Aoshima Firestone Wide Oval Tires
Bill Eh? replied to Monty's topic in Model Building Questions and Answers
Back of EnkeiDish box. Both sets are both 1/24 scale.
-
New Aoshima Firestone Wide Oval Tires
Bill Eh? replied to Monty's topic in Model Building Questions and Answers
I bought both sets at my LHS. The Slots are boxed as ENKEIDISH, and yes they are 4 lug. The Cragar SS are boxed as American SS. Both are 15". The decals appear to be licence plates. I can't make out the bottom part of the decal sheet. The larger piece of white paper behind the decal sheet is only a protective sheet. Here are some pictures.
-
Or a case of agree to disagree.
-
Here's another look at the contents, if that helps.
-
I believe the Youtube channel was Scale Model Experiment. I'm not sure as to which specific video, but here's a link to that channel's videos. https://www.youtube.com/@ScaleModelExperiment/videos
-
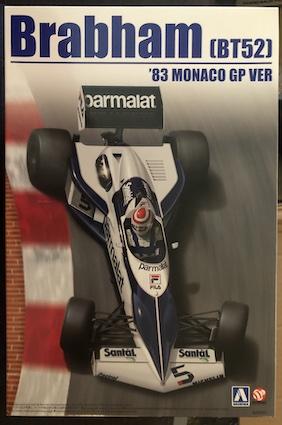
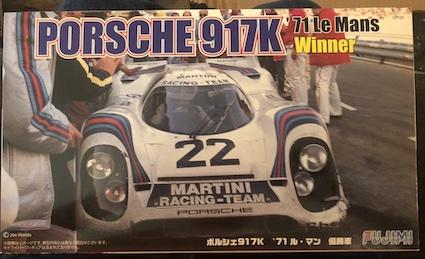
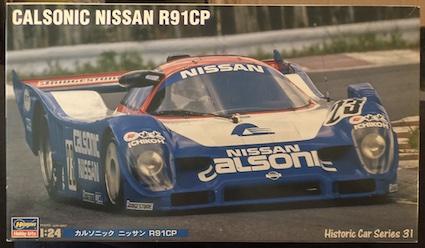
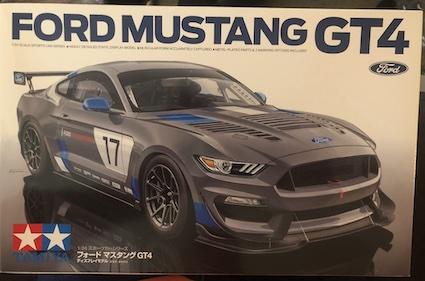
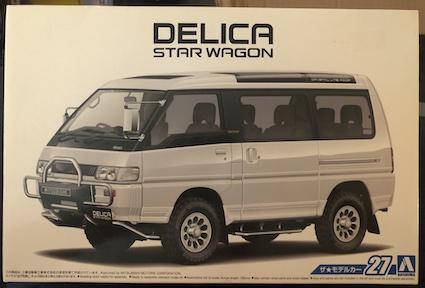
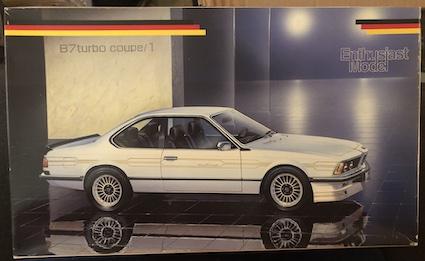
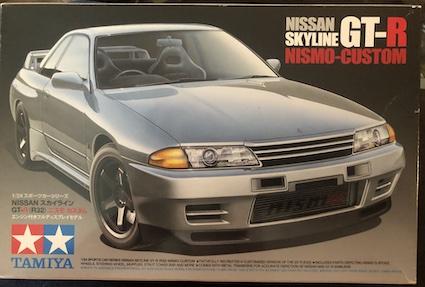
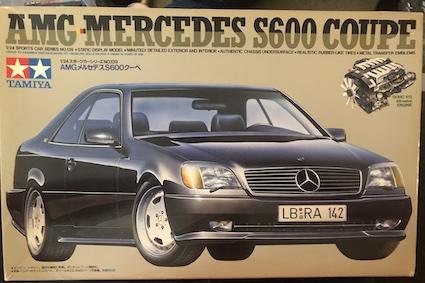
Kijiji strikes again. I notified fellow model club members of the listing and provided them with a list of kits available. The combined order was finalized yesterday, mailed yesterday and arrived today! Lots of Japanese goodness. First three kits go to friend Alex. Next two kits go to friend Ken. The next kit goes to friend Peter. The remainder go to friend ME! LOL
- 39,159 replies
-
- 5
-
-
- johan
- glue bombs
- (and 1 more)
-
Ken, I just scrolled through all of the paints that Michael's had listed under the Golden brand. The only choices offered as spray cans were Archival Varnish Clear and Archival Varnish Satin. I don't think that I would pursue either of these as top coat for my car models, but who knows...