David G.
-
Posts
11,326 -
Joined
-
Last visited
Content Type
Profiles
Forums
Events
Gallery
Everything posted by David G.
-
Holy Cow! That thing's a Monster! Great work on that, the engine details and decals are mind-blowing. David G.
-
Thank you Bob. I spent most of yesterday's bench time working on the interior so I didn't get to look into the suggestion that Rusty offered up above. I plan on getting to that today, I'll report back on the results. Thanks for your comment George. Thanks for the link Michael. I took a quick look but they didn't seem to have any tops posted on that page. I'll keep them in mind for the future though. Thanks again for the comments and suggestions. David G.
-

Courageous Cat Car
David G. replied to Nosferatu's topic in All The Rest: Motorcycles, Aviation, Military, Sci-Fi, Figures
? That is just too cool! Well Done! David G. -
@Ceaser_Salad Those are great looking first builds, everybody has to start somewhere. I especially like the rusted out wreck. The other two look solid and well constructed, which is a great place to start from. A prime objective with most hobbyists is improvement. Quality of work only comes with improvement of skills, which only comes from experience. It's like I say: "Each model I build is really only practice for the next one." As for your initial question, there have been many very good answers offered none of which I can honestly improve upon. Regards, David G.
-
I have seen some Gundams built out and they're quite impressive. I've often considered buying one to build but they're rather pricy and there's almost always a car that I want more. The Mech Warrior models interest me too but there again, paying twenty five to thirty dollars for a model that when finished is only 2" or 3" tall.... eeeeehh ?. I believe I'd enjoy them but familiarity is comfort and comfort's a big part of the satisfaction that many derive from their hobbies. David G.
-
Actually I do both. I admit, I do spend more time gaming but I make it a point to spend at least an hour every day building. Many times that hour of building becomes two or three hours. David G.
-
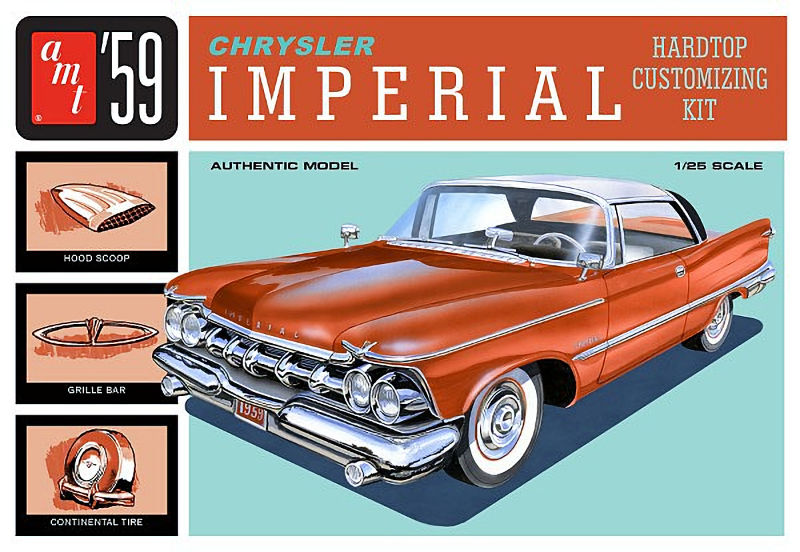
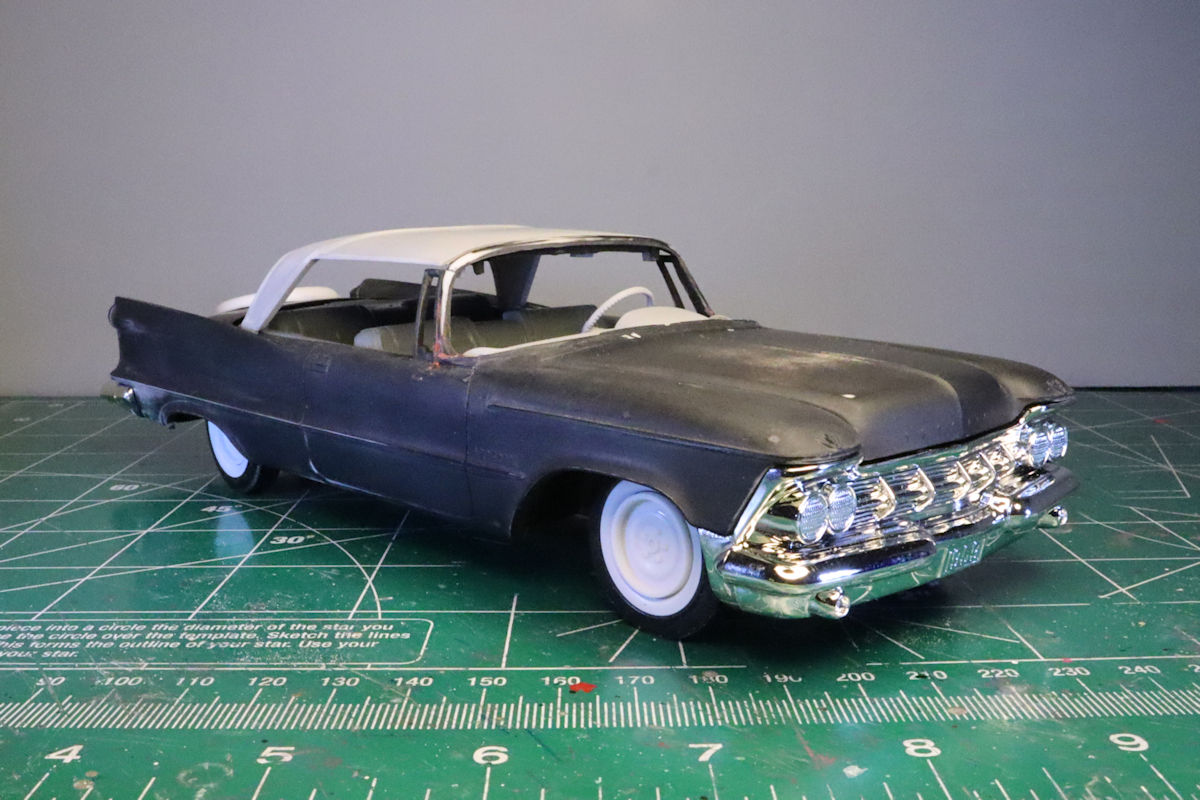
Thanks Johnny, it looks to be a simple yet satisfying build. Thank you Gareth. It does have great looking body proportions but the interior is a bit lacking. I think you may be correct on the custom parts. Thanks Carl. Thank you Chaz Thanks Declan. It's a simple curbside kit and I honestly feel that at full price, I may have overpaid a little for it. There are kits that offer much more in the way of detail for the same price but as far as I know, this is the only one of a 1959 Chrysler Imperial. And it does look like it should build out nicely. Thank you Rusty. That's one of the points I had considered adjusting but photos I was able to find didn't provide the detail that this one does. With this information in mind, I'll take another look at that area. It seems to me that even with adjusting these areas, the screw mounting tabs may need to be thinned a bit too but that'd be the easy part. There is also a small bit of fender showing between the two moldings, which could of course be painted in. Thanks for the advice, I appreciate it. David G.
-
Excellent color combination and wheel choice, looks great. David G.
-
Looks like a great project. Excellent shade of green, it reminds me of the green on a Japanese Beetle. I always thought it was a beautiful color. David G.

-
"Bullitt" '68 Charger and Mustang. Double Build!
David G. replied to doorsovdoon's topic in WIP: Model Cars
Beautiful work on the interior, excellent detailing on the grille and rear panel. David G. -
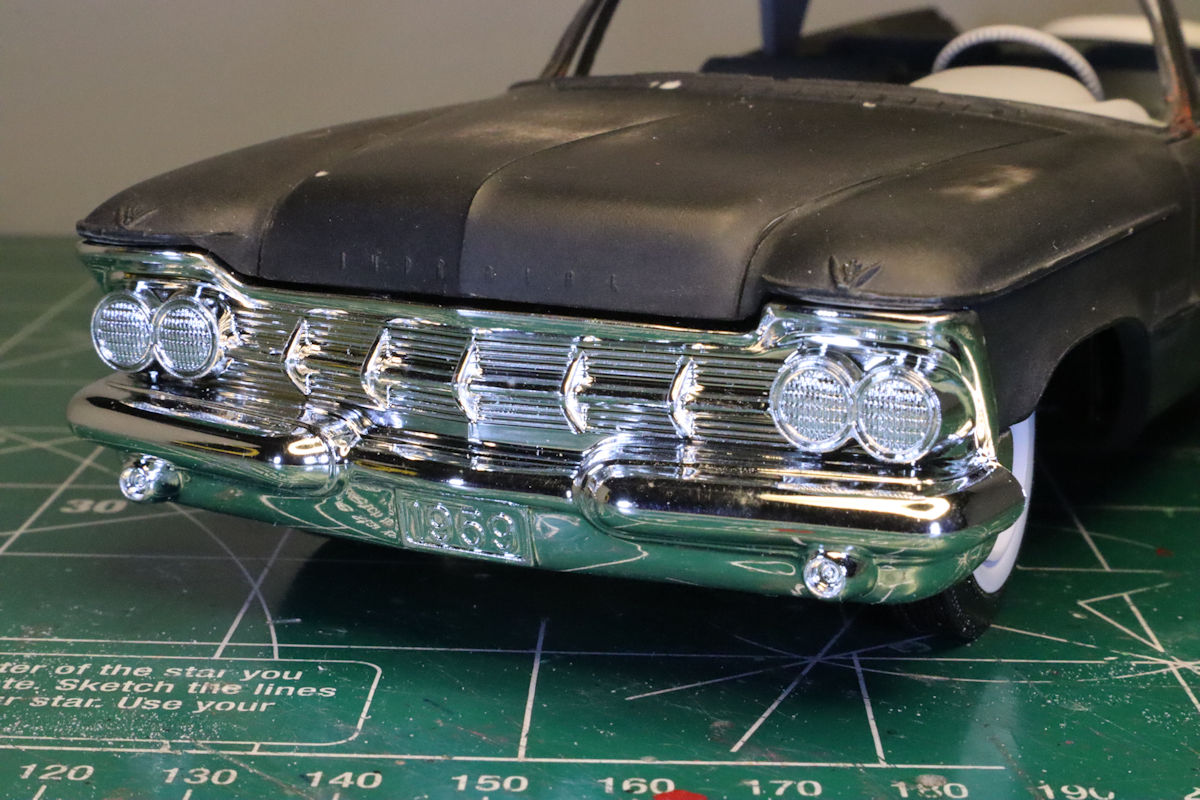
Hello Everybody. My next project is the 1959 Chrysler Imperial by AMT. This is a rather simple kit having a chassis plate, body, and a rather shallow interior. The inclusion of a hard-top landau roof and boot provide the option of building it as a hard top or top-down convertible. There is no up-top for the convertible . There are, however two sprues (one of then plated) of extra customizing parts, most of which will go into my parts box for use on future projects. Here is the basic start. Test fitting to check for any potential building issues and primer to help suss out any casting issues. First issue, each of the A pillars has spotlight mounting hole that needs filled. The next issue is the gap between the grille piece and hood. I've already done some filing to remove the chrome plating and some of the plastic on the areas where the bumper fits into the recesses on the front fenders just ahead of the wheel arcs. This photo shows the gap that remains after those initial efforts. I thought about adding material to the bottom edge of the hood to fill the gap but ultimately decided that I could live with the way it is. I decided to use the trunk mounted "continental kit" because I remember seeing a few of these on real cars over the years and liked the way they looked. And of course, there are a couple of sink marks over the screw mounting posts that need smoothed over. But the rear bumper fits as it should, no complaints there. ? That's all for now. As always, thanks for taking the time to stop and look and please feel free to leave a comment. David G
-
Absolutely Beautiful! I'll have to look for it in the "Under Glass" section. David G.
-
Beautiful interior! The rear louver mishap is unfortunate but at least you can complete 99% of the build and add the louvers when you receive them. David G.
-
Great looking interior and engine detail. David G.
-
Fantastic work on this so far. It's truly a pleasure to follow along. David G.
-
Possibly the only Supernatural, "Supernatural" Impala
David G. replied to Beans's topic in WIP: Model Cars
Holy Cow! I'm loving all the scratch-built items. Bummer about the rear bumper mishap but I have a saying that goes with such an event: "Model builders, we're problem solvers who create our own problems to solve! David G. -
"Bullitt" '68 Charger and Mustang. Double Build!
David G. replied to doorsovdoon's topic in WIP: Model Cars
Excellent work on both of these Gareth, beautiful detailing. I always enjoy following the progress of your builds, thanks for taking the time to share them. David G. -
Thank you Rob. I hadn't seen it finished yet Bill, thanks for throwing the link at me. I went to pay a visit, pretty amazing the way it all came out. David G.
-
Spectacular finish on this one Bill! So many details, all of them extremely well done. David G.
-
You have my interest. David G.
-
Very cool! Sweet detail painting. I seem to remember having one of these kits back before all the modifications were made, probably around 1974 or so. David G.
-
The interior looks great! David G.
-
Nice work bashing the chassis together, the ride height looks right too. David G.
-
All smooth and shiny, looks great. David G.
-
A very interesting project. It would seem that Sir Winston approves! David G.