David G.
-
Posts
11,326 -
Joined
-
Last visited
Content Type
Profiles
Forums
Events
Gallery
Everything posted by David G.
-

*1960 Chevy Fleetside Pickup*
David G. replied to Zippi's topic in WIP: Model Trucks: Pickups, Vans, SUVs, Light Commercial
Wow Bob, quite a long haul on this one but a very informative and enjoyable WIP. Thanks for taking the time to share it. Now, let's see if I can find it in the Under Glass section before I get distracted by something else. David G. -
Tamiya Nissan Skyline 2000 GTR Street Custom - Hakosuka GTR
David G. replied to lghtngyello03's topic in Model Cars
Absolutely amazing work on this! Museum quality. David G. -
Excellent color choice, great interior detailing, a beautiful restoration! David G.
-
Wicked looking front end. David G.
-
Wow! Most impressive, excellent color and detail. David G.
-
*1941 Willys Gasser "Big John Mazmanian"*
David G. replied to Zippi's topic in WIP: Drag Racing Models
I found this thread late in the game and had fun catching up... until the end. What a bummer of a finish. Though maybe... hopefully, not the end. I feel your frustration Bob. David G. -
Hello everyone! Not much progress to report on this one. I'm working on the final pre-paint prep for the body and finishing up some of the details on the interior. I did however get the detail painting of the chassis completed. I'm thinking that the track on this one looks a little narrow, especially when it's up on its wheels. I'll have to do a little more image research to check its appearance against 1:1 cars. Thanks for taking the time to look. David G.

-
I knew it was old just by the kit design but I didn't know the part about it having been a promo- that makes sense though. It is (unlike me) in surprisingly good shape for its age. Thanks for filling in the background for me on this one Tom. Thanks for the tip Steve. I may keep an eye out for that, I think this body style would make a great looking airport limo. David G.
-
Good call on the dashboard revision. It's a significant improvement. David G.
-
Looks like a cool project, as I am about all things Batman. How humiliating for Robin though, right? David G.
-
It's nice to see this one again! Love the record albums and engines, there's just too much amazing work on this one. And the Vette? What a cool concept, I can't wait to see more. David G
-
Beautiful finish and detail! David G.
-
Sweet details, especially the cockpit and hood straps. David G.
-
1970 Ford F100 (Moebius)
David G. replied to Watertown's topic in Model Trucks: Pickups, Vans, SUVs, Light Commercial
Nicely Done! Love the color combination, it looks correct for the era. David G. -
1955 Ford Panel Truck
David G. replied to Captain Spaulding's topic in Model Trucks: Pickups, Vans, SUVs, Light Commercial
Nice detail on the interior. Excellent choice of decals. Great work on the rescue and resuscitation. David G. -
The silver you picked looks great Declan! It's nicer looking than what Pontiac used back then which looked more like metallic gray. Your detail work on the interior looks good too. This should be quite a build when you're through. David G.
-
Thank you Declan. The colors I plan to use are Tamiya TS-42 Light Gunmetal for the body and TS-40 Metallic Black for the landau. David G.
-
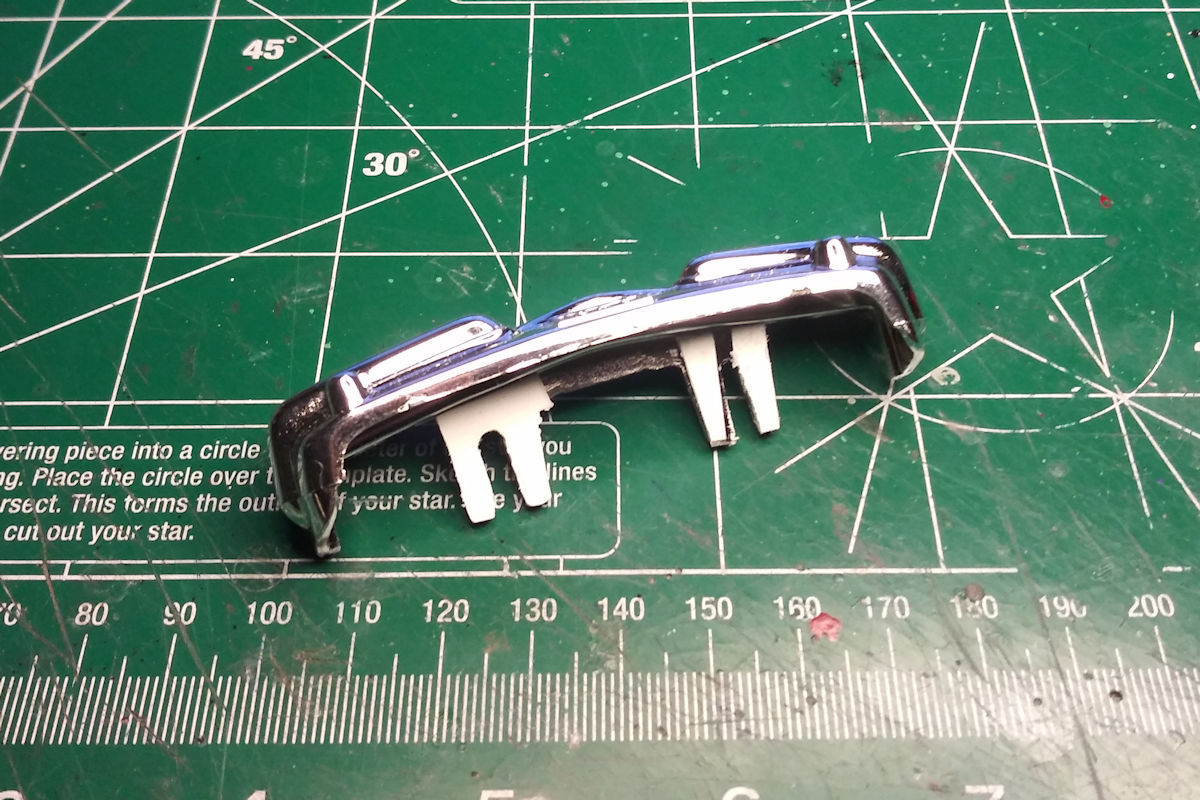
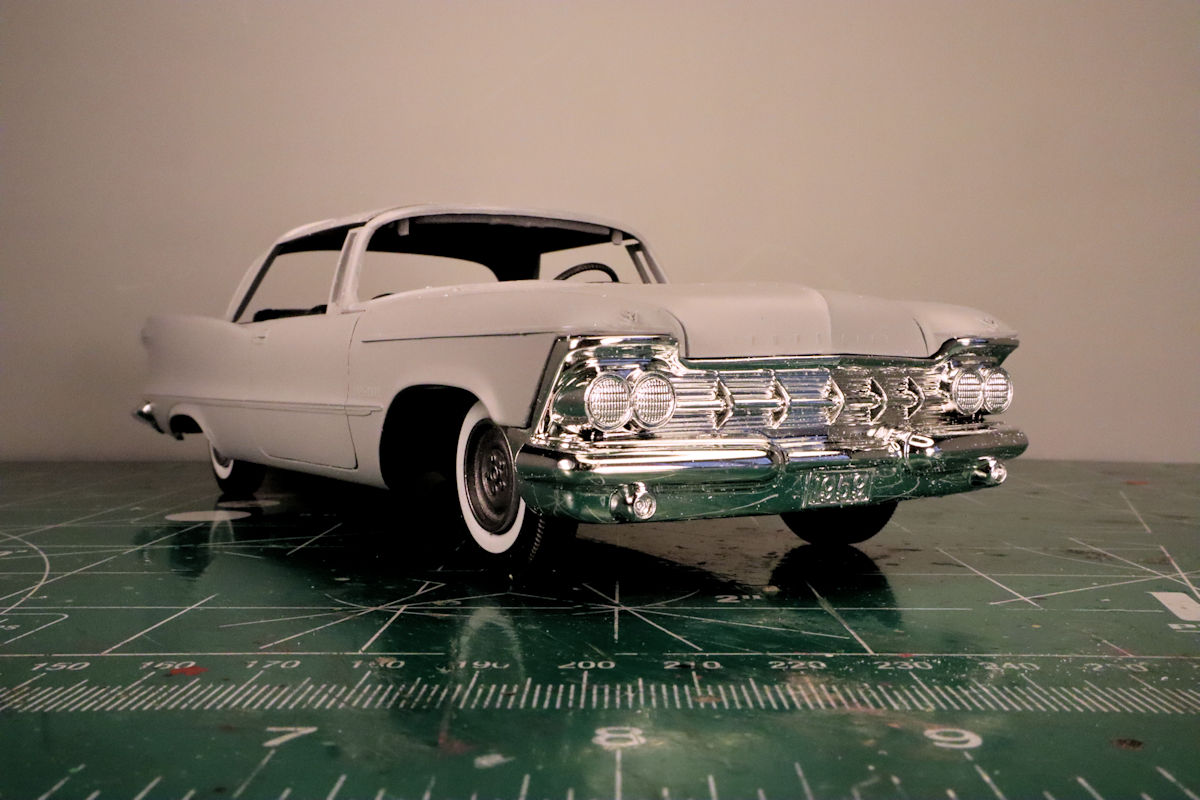
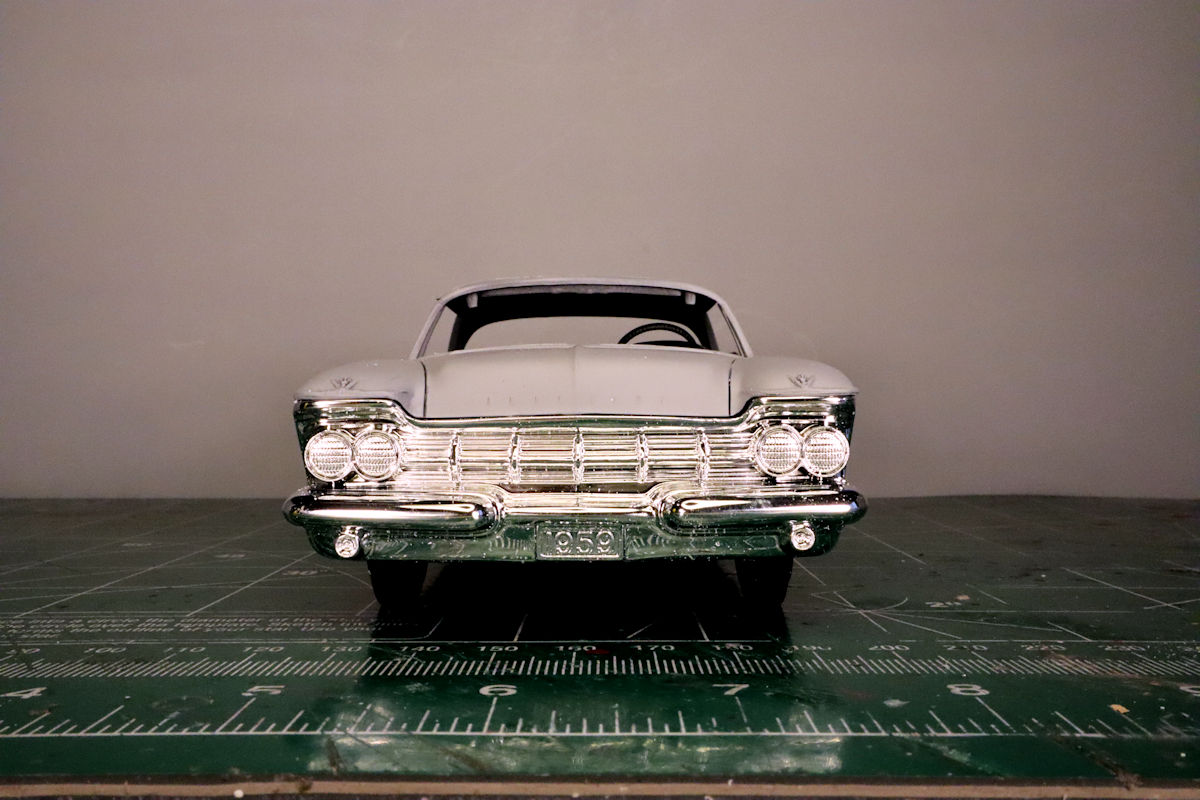
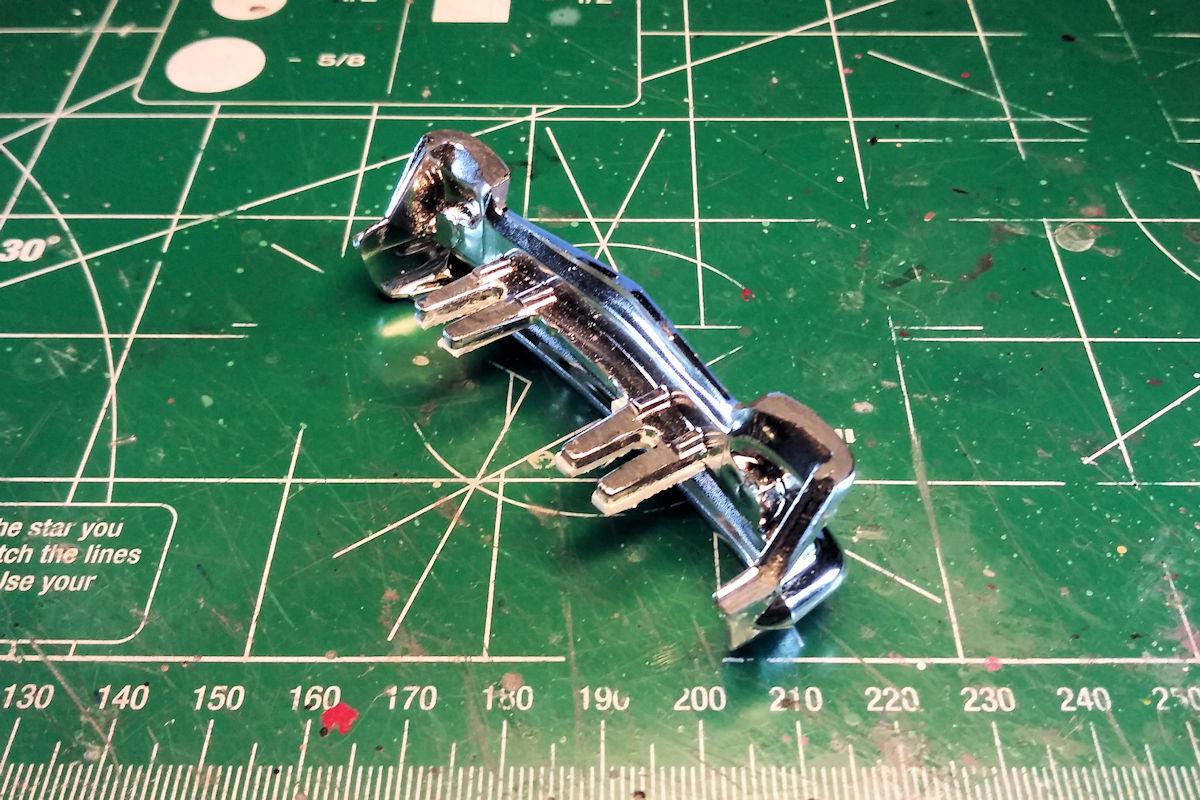
@bisc63 Thanks for the excellent advice Rusty! I followed your suggestion of filing down the area above the headlight pods. Doing that seemed to improve the fit but not quite as much as I would have liked. With a little more test fitting, I realized that the thickness of the raised areas on the fitting tabs was about equal to the remaining gap between the grille and the hood. So I filed the lugs off the top of the fitting tabs and glued some styrene of similar thickness to the bottom of the tabs. This lifted the whole grille by about 1 mm. That did it! There's still a bit of a gap where the left fender rolls down into the hood but for the color I plan to paint this car, it will likely not be noticed. It wouldn't take much to fix it though... hmmmm ? Now on to the next activity! Thanks again Rusty, I do appreciate your advice. David G.
-
Excellent color choice, great paintwork, nicely done. David G.
-
Nice detail painting on this one, the interior looks great! David G.
-
I'd say you nailed it, everything looks spot-on. I love those "sport" packages from the Seventies; decals and wheel covers. David G.
-
A beautiful rendition of two iconic movie cars, Well Done! David G.
-
I'm not sure on the wheels, it would depend on what other options are available. The stance is great, 49 Mercs are one of the few cars that actually look better lowered... in my opinion. The red interior should make for a nice, striking contrast to the body color you intend. All in all, great progress on this Chaz! David G.
-
Beautiful color, very eye-catching. I agree with Alan Barton's advice regarding the paint issue. David G.
-
Without question, that's the best build-up of this kit that I've ever seen! David G. ps: I just checked out the link you provided and I'm still reading through the text. What I wanted to ask what application you used to build your site. I've been looking to upgrade my own website and this is similar to the format that I have in mind. Thanks, David G.