David G.
-
Posts
11,276 -
Joined
-
Last visited
Content Type
Profiles
Forums
Events
Gallery
Everything posted by David G.
-
Wow, talk about eye candy! That oil filter looks like a cherry on a sundae. ? Nicely played Daniel, nicely played. David G.
-
One doesn't see many of these built up and done so well at that! Everything looks perfect! Good call on the engine swap. David G.
-
Beautiful engine and chassis detail so far! Good color choice. David G.
-

Who doesn't love a mock-up? Let's see yours!
David G. replied to Belairconvertable's topic in WIP: Model Cars
That's a beautiful shade of blue. It's difficult to get a good look at what you've done with the top and hood bump. It looks interesting though. David G. -
I remember watching you scrape this one together Tom, it's nice seeing it completed. It looks like it came out quite well in spite of the troubles it gave you. David G.
-
That's a great looking mash-up! A Demon-Dart? The best of both worlds. David G.
-
I think we have the sluggish forum problems solved
David G. replied to Dave Ambrose's topic in How To Use This Board
It's lightening fast now, thanks Dave! David G. -
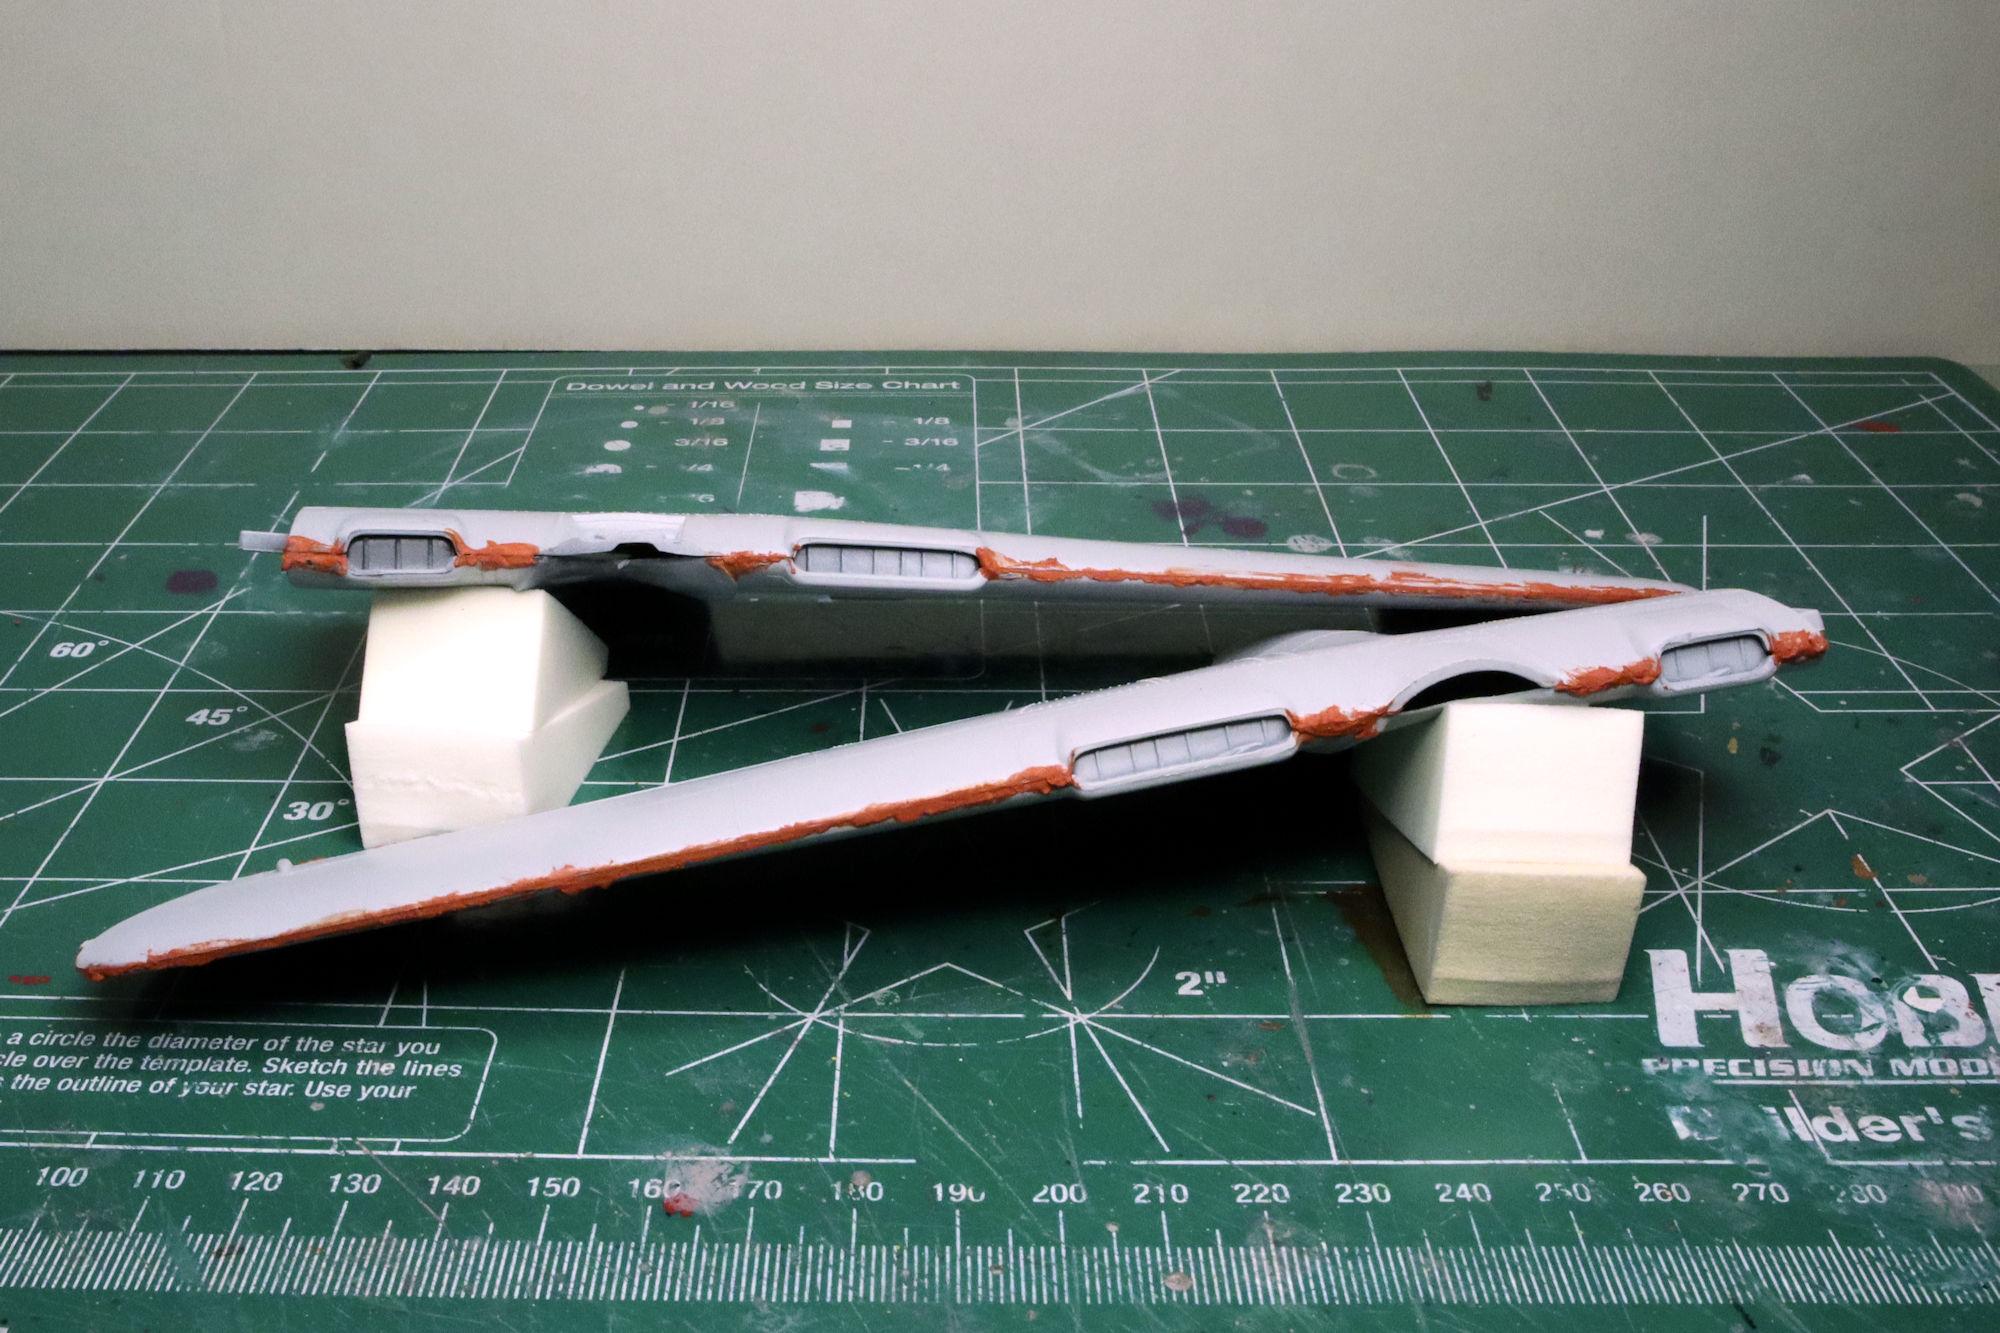
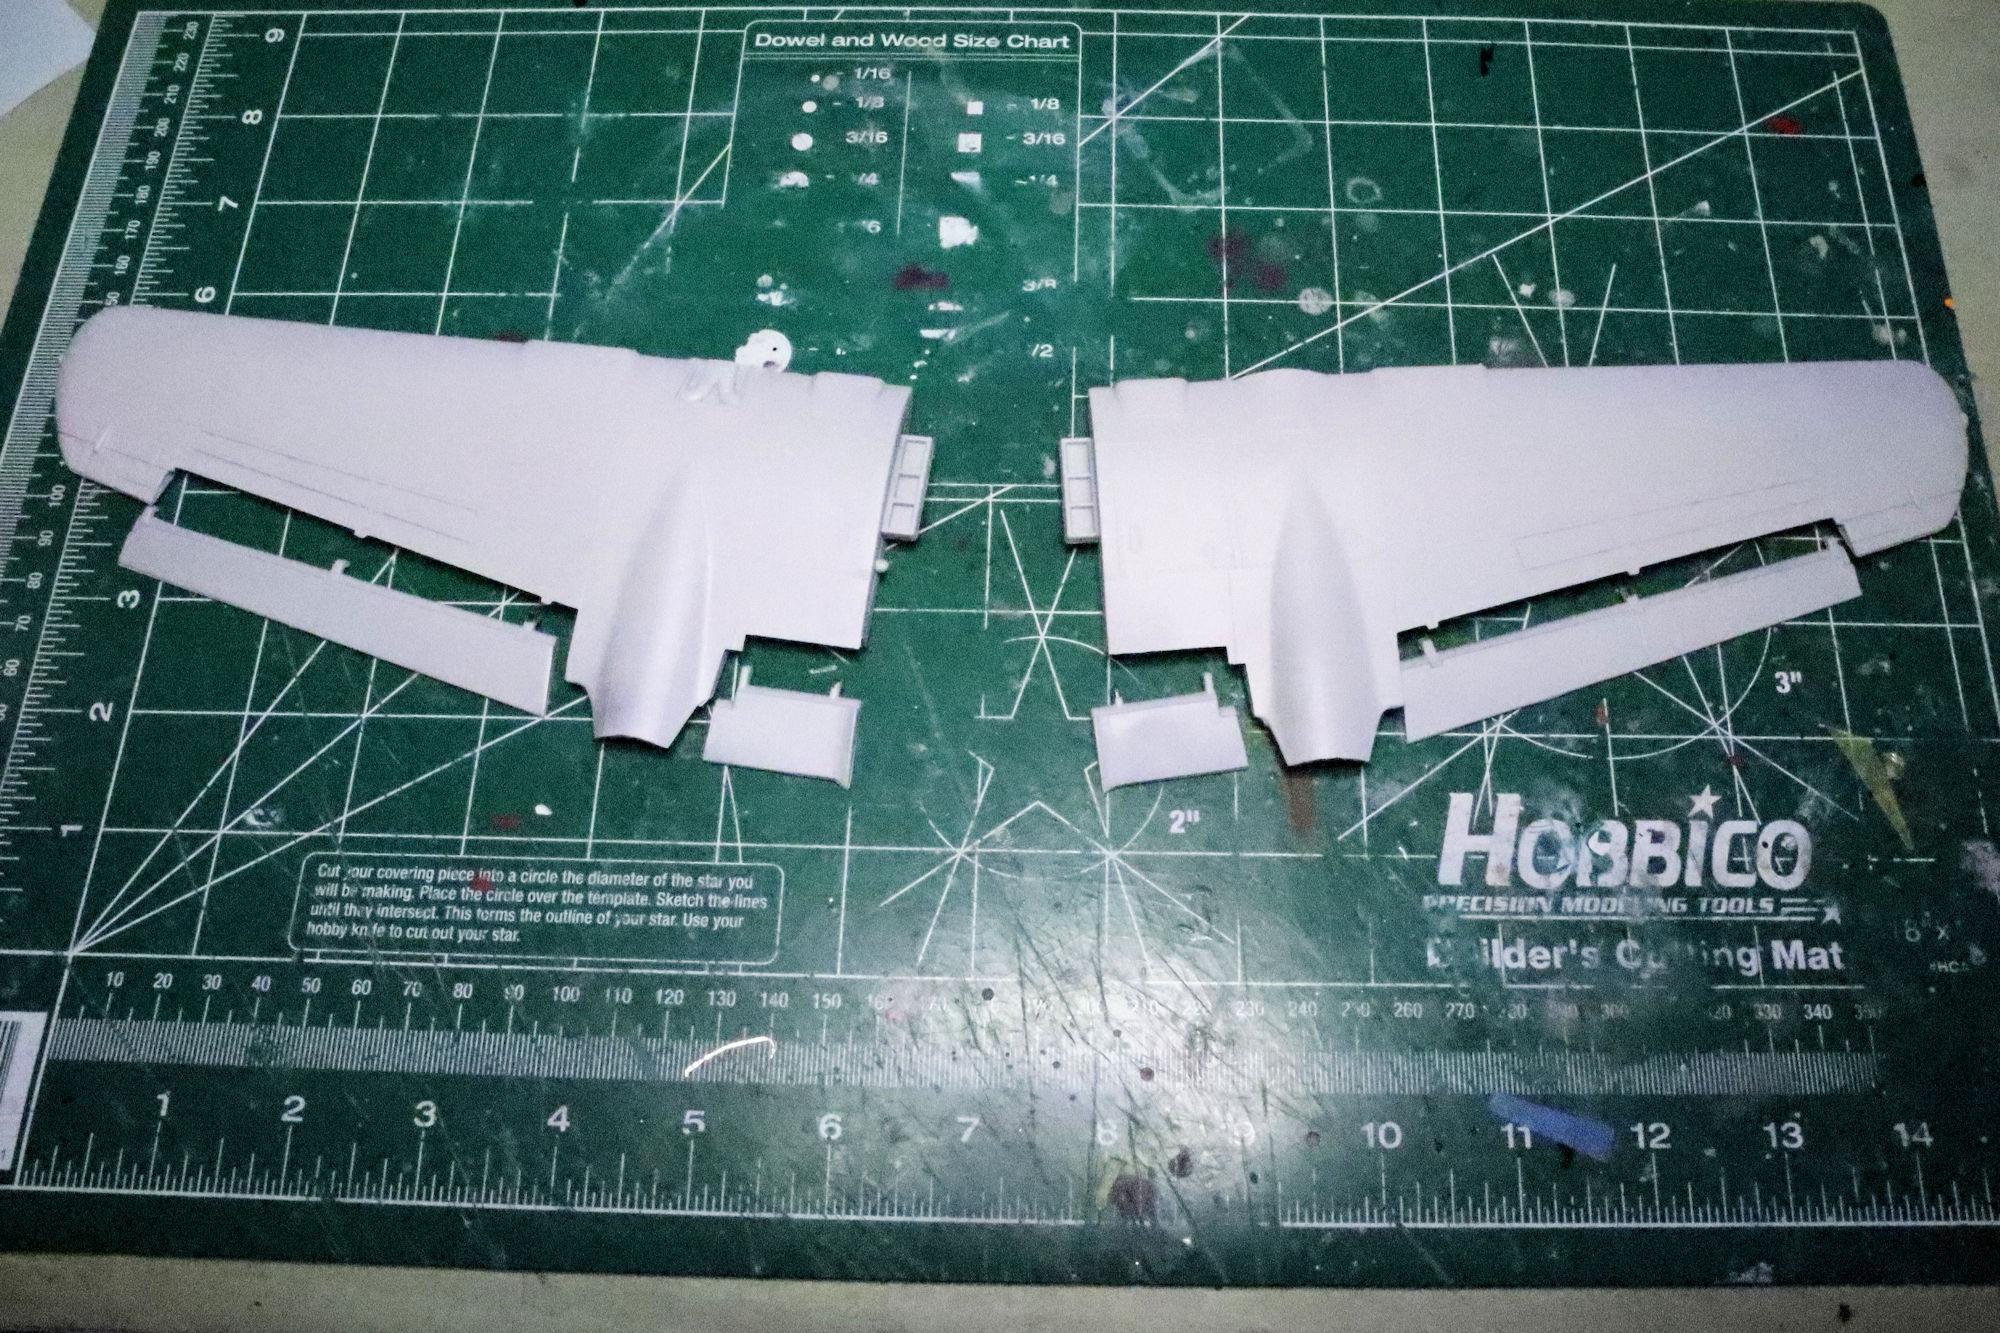
Hello Everybody! At least once a year I try to step outside of my comfort zone and build something other than one model cars or trucks that I typically build. The Northrop P-61 Black Widow by Revell is this year's challenging diversion. And it is proving to be a challenge. Basic assembly and primer for the wings and their flaps. Repairing some gaps in the leading edges of the wings. Given the age of this kit I shouldn't be surprised that the molds are a little rough. That's all for now. As always, please feel free to post any comments you may have and thanks for taking the time to stop in for a look. David G.

-
Thanks for the information regarding the kit's history Alan. This is one of those facts that one kind of absorbs but never really recalls where one learned it. You know, one of those facts that reemerge in the future like; "I seem to recall that this kit started as an Aurora kit but..." At least for me anyway. I'm glad to know that this kit's trickiness is inherent to the kit and not the builder. That shores up my confidence a bit. Thanks for the compliment and the tip too. I've already masked and sprayed the radome in Tamiya AS-29 Gray Green and white. It will be soon featured in an update. Thanks again for all the valuable input and information Alan. David G.
-
Thank you Greg. Thank you Len. I thought so too, especially with the black interior. It's nice having confirmation on that. I do plan to use the hood ornament, I'm not sure why though. Probably just because if this were my car, that's what I would do. I guess that's all the reason I need. Thanks again, David G.
-
I'm glad to know that you're experiencing some improvement Carl. I hope it continues. David G.
-
I continue to be impressed by all the excellent detail work you keep piling onto this kit Daniel! This is the best version of this model that I can recall seeing put together. David G.
-
A definite improvement, beautifully done! David G.
-
The roadster looks good Jim. Even with the challenges it presented, I's shaping up to be a decent build. David G.
-
Love the body mods! Nice work flipping the engine too. David G.
-
I'd say that you nailed it Terry! Right down to the yellowing of the white roof. ? Expertly done! David G.
-
A gorgeous build! I love all the detail and color. The first couple images look like scanned photos of a real car taken in the Eighties. David G.
-
Thanks for your interest Kyle, I'll try not to disappoint. David G.
-
Thank you Carl. I do value your opinion, thank you for taking the time to share it with me. David G.
-
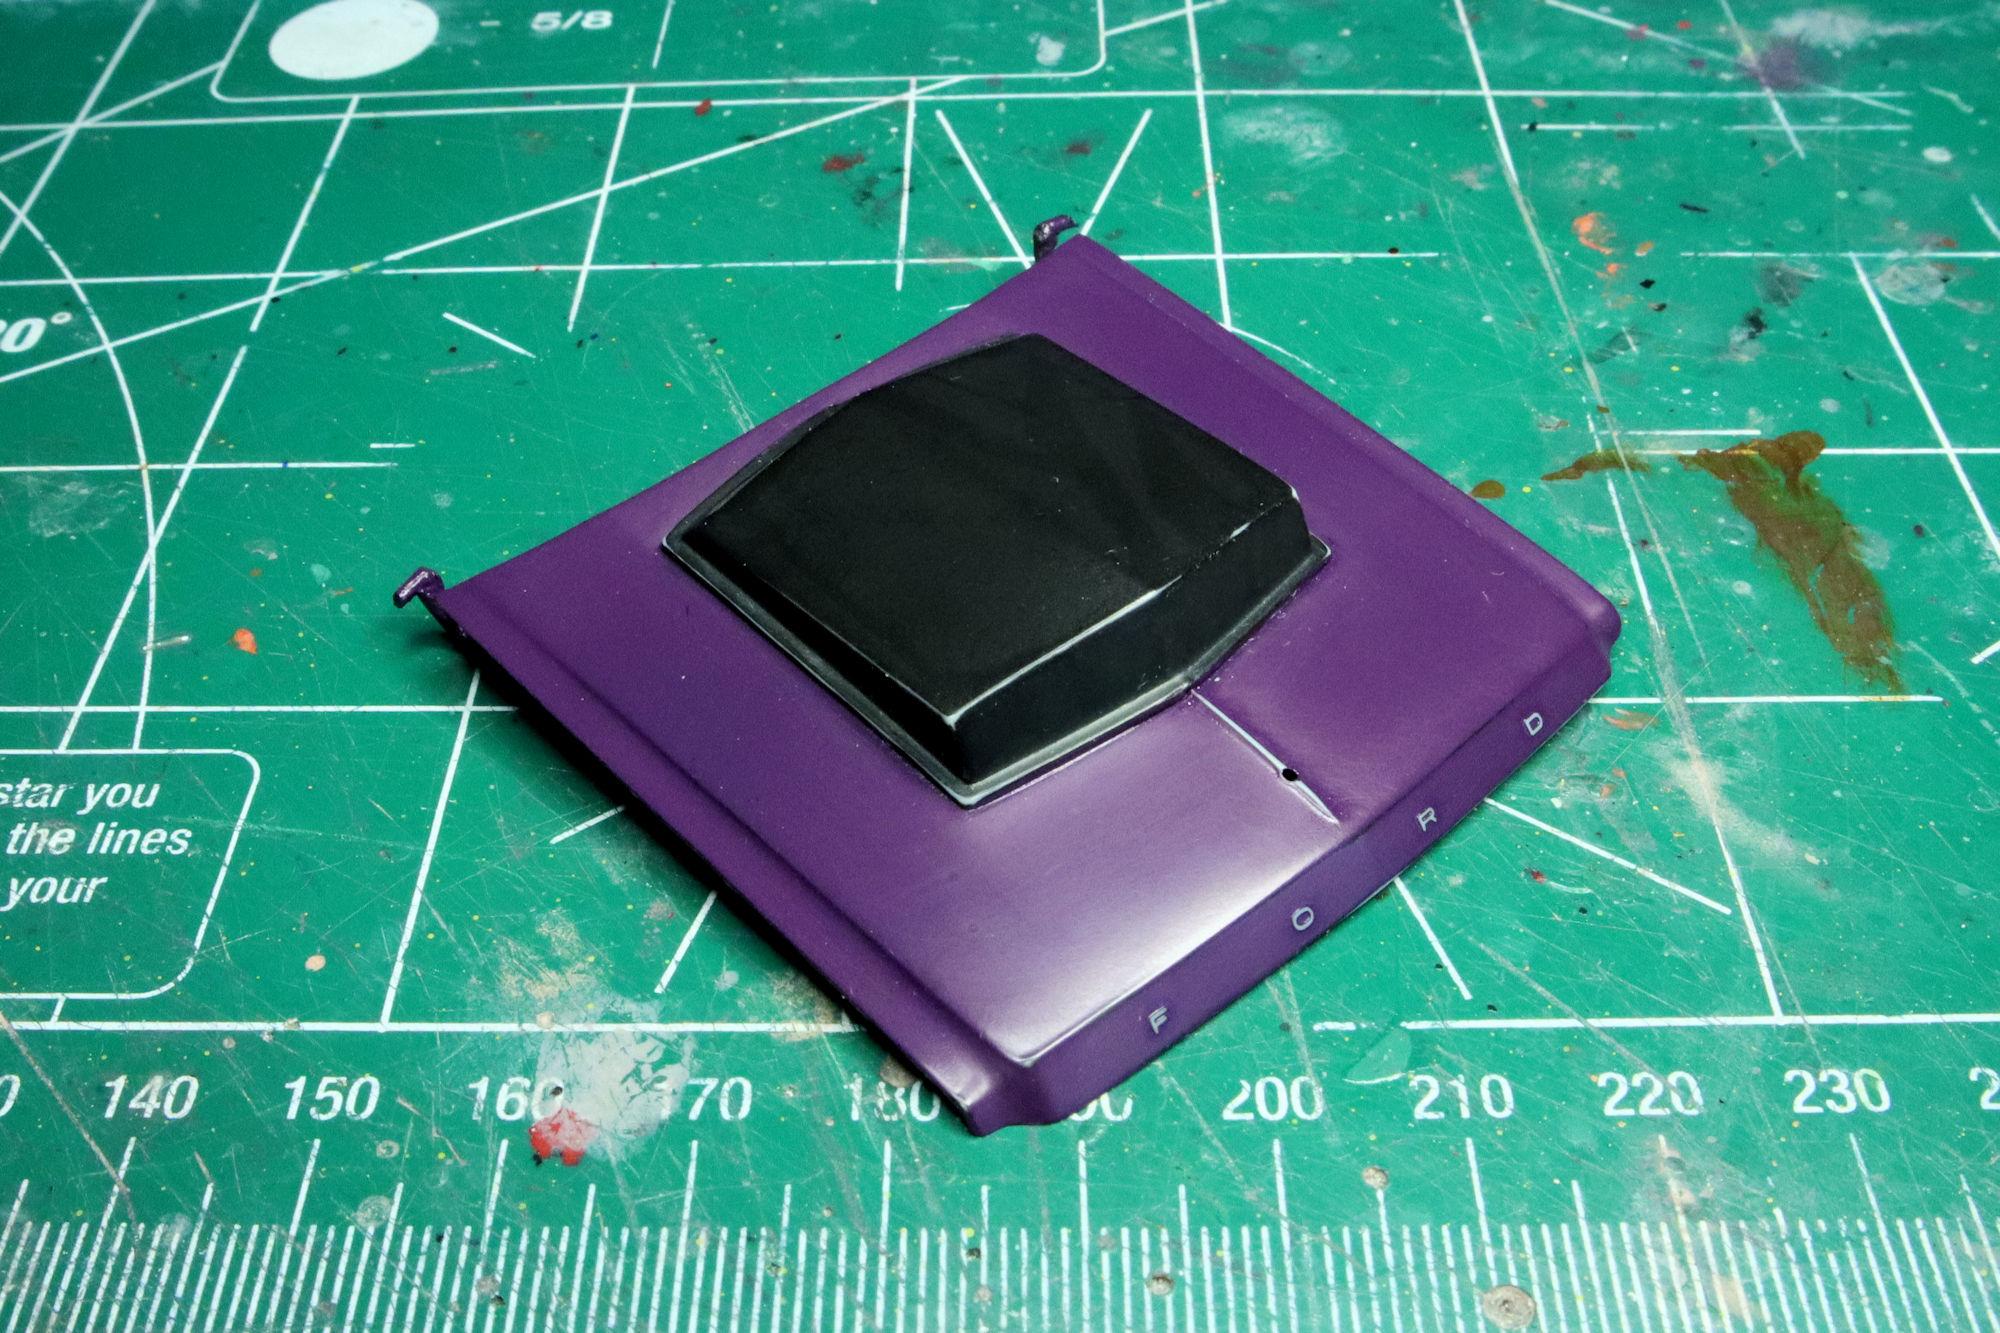
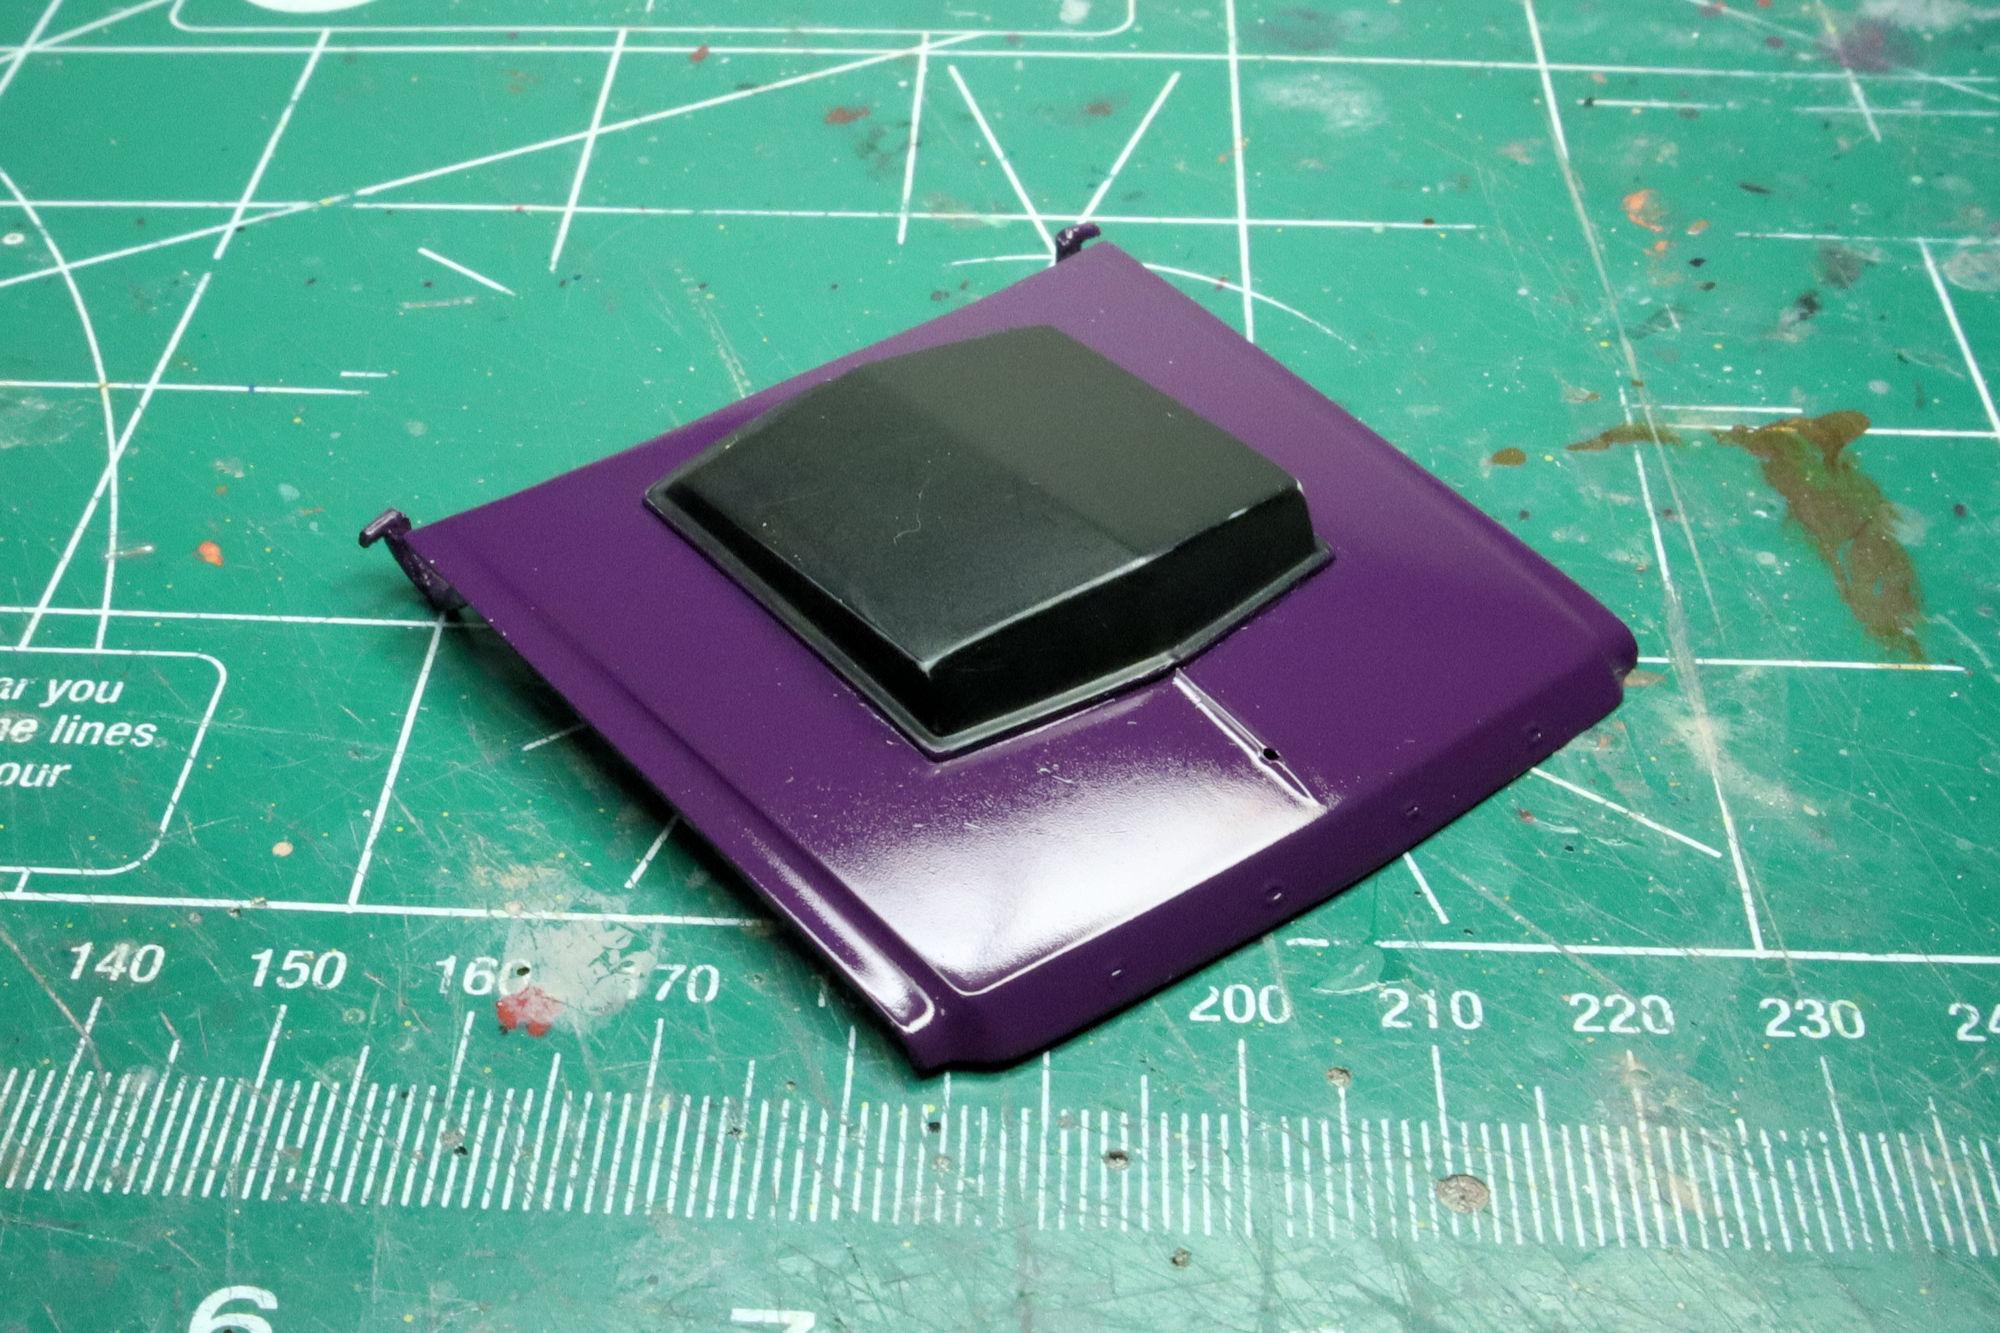
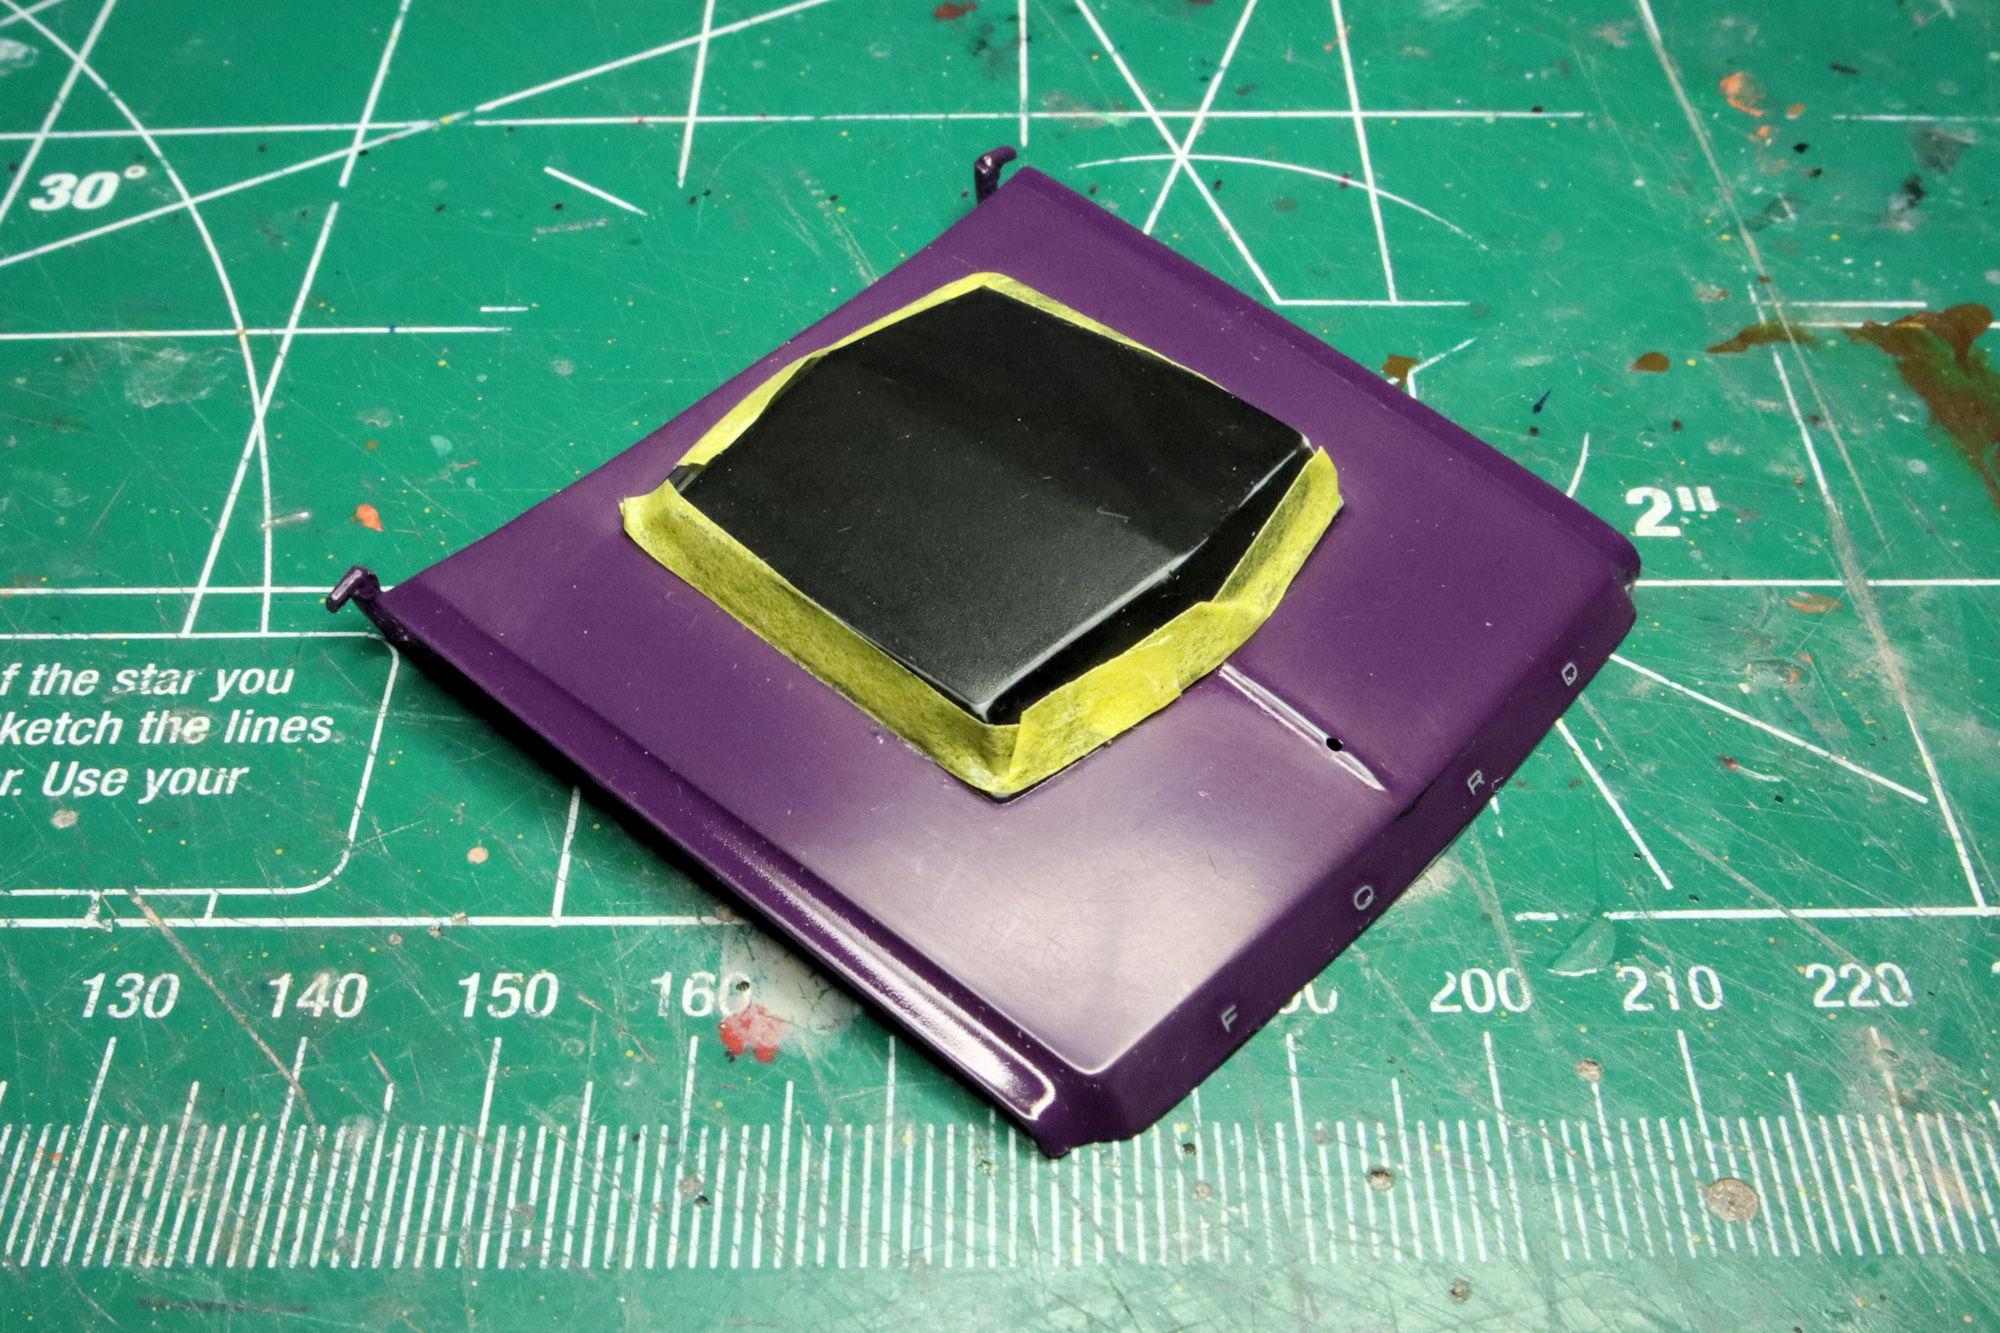
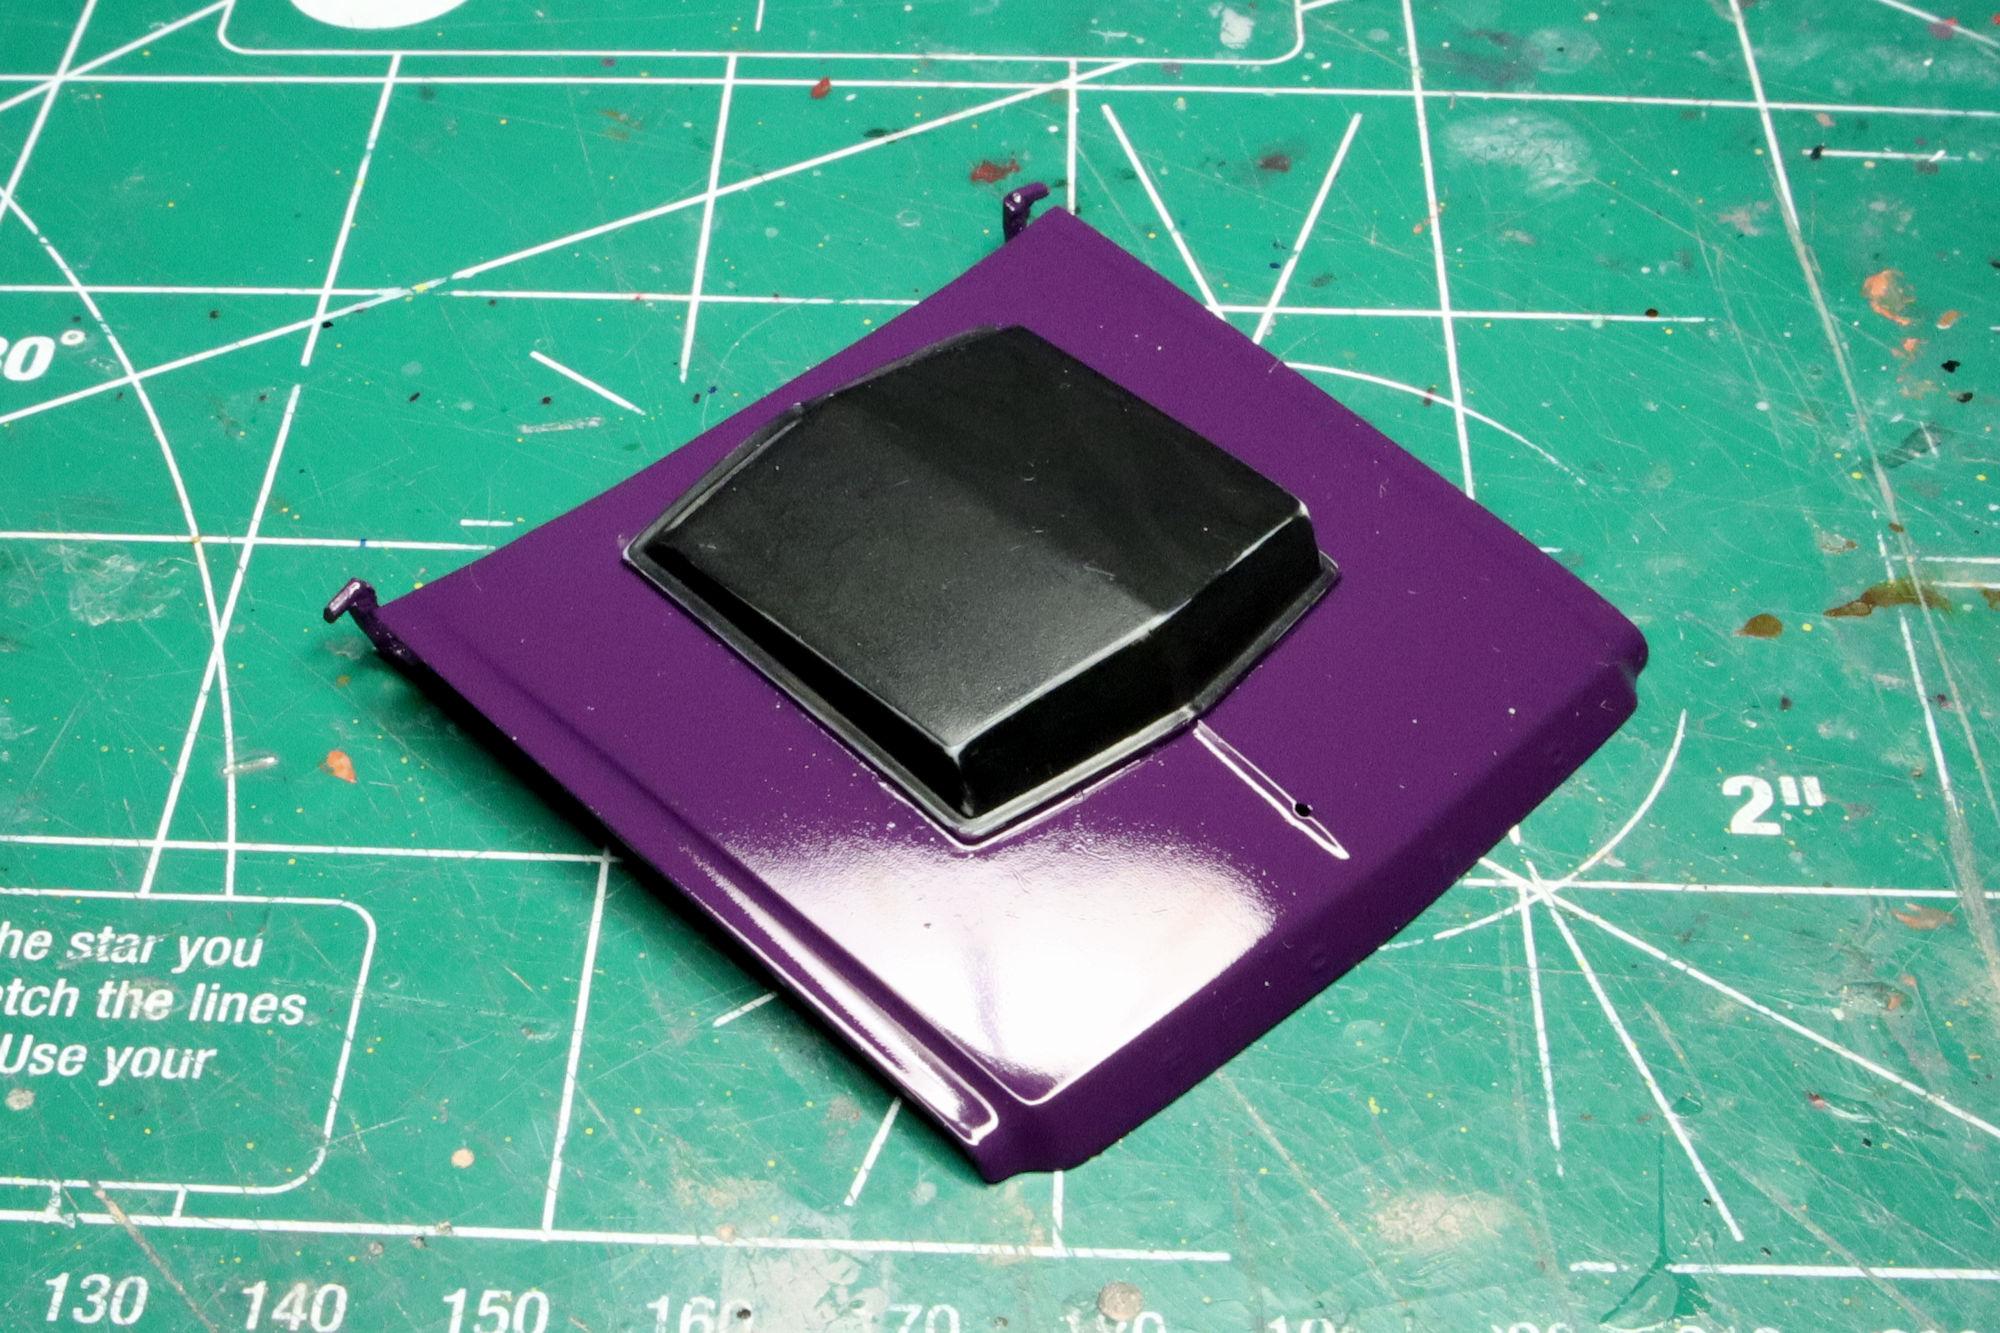
Hello Everybody! I'm back from my North America Tour 2024 and working on getting my life back in some semblance of normalcy. In the interest of furthering that gola, here is the next update for my 1965 Ford Galaxie. More color sanding in preparation for another coat of paint. This coat came out pretty good. There are some residual scratches from the previous sanding, I'll have to see if I can polish them out. Okay. I got the scratches smoothed out and I've started masking the hood scoop because I want it to stay black. This is as good as it's going to get, at least it's as good as my patience will currently it allow it to get. At some point one just has to tick the box and move on. As always, thanks for taking the time to look and please feel free to post any comments you may wish to share. David G.
-
Thanks Mike, It's good to have you along on this one. Thank you Bill, it does seem like a tricky kit but maybe that's because I'm not used to building aircraft. David G.
-
Thank you Joe. It's good knowing that these WIPs I post can be of help to others. Thank you Steve, I had a great time seeing the country and reconnecting with family and friends. I'm happy to get confirmation on the hood scoop, once I made the decision it just seemed like the right way to go. David G.
-
A very clever idea for the radiator hose. It comes with its own mounting pins! ? David G.
-
68-72 Suburban scratch build
David G. replied to 64SS350's topic in WIP: Model Trucks: Pickups, Vans, SUVs, Light Commercial
Thanks for the update Karl. It's good to know that this one isn't just going to fade away. David G. -
1:16 Gunze Sangyo 1937 Rolls-Royce Phantom III Sports Saloon
David G. replied to Anglia105E's topic in WIP: Model Cars
I did have a great holiday, a cross-country trip. Everything went as well as I could have hoped, even the couple difficult turns worked out well for us. I'll have a look at your YouTube video later. David G.