MrObsessive
-
Posts
9,785 -
Joined
-
Last visited
Content Type
Profiles
Forums
Events
Gallery
Everything posted by MrObsessive
-
Here's the latest on the bodywork...........more work than I thought, but at this point I can feel confident there won't be anymore "mishaps" as far as the bodywork showing through a completed and cured paint job. The roof split was the largest (and hardest) to fill in. In hindsight, this should have been the route to go....use as much plastic to fill in the deep split/valley and not rely solely on the putty to not have a reaction with whatever paint/primers that are going to be used. Bodywork is at this point about 80% done. Both sides as can be seen by the pics are totally filled in and this time I tried to use as much plastic as possible, with just a very small amount of putty to fill in any divots and tiny voids. Phillip, the grille I'm using is a modified one from the Danbury Mint diecast. It had to be narrowed a bit as that one is 1/24, while this model is 1/25. The middle trim piece will need to be fastened back in place as it's broken loose on the bottom over the years. To make things fit a bit better on the sides, I'll rework the leading edges of the fenders to better conform to the outer edges of the grille. That's it for now. At the moment, I'm working on the doors as far as getting the outer door skin work done on those and then it's on to making new door jambs, hinges and hinge supports. More work than I anticipated, but I'm going to try something a bit different in making them open/close and fit better in the body. The hood has a bit of work needed too as where I filled in the scored lines with putty, the oven cleaner made that come loose as well. So far I got those filled back in with plastic and then it's on to smoothing things out. Thanks for tuning in! EDIT: I almost forgot......yes Phillip, I'll be using the same colors as before. Snowshoe White with Regency Purple two-toned. I still have a bunch of paint left over from PaintScratch.com of the purple and not long ago I had to order some Snowshoe White as I had no more of that.
-

Modeling for fun.....again!
MrObsessive replied to GaryR's topic in General Automotive Talk (Trucks and Cars)
Now you all know how I feel about certain things being correct. Namely body shapes. There's no such thing as being 100% correct on any model, but there are some things that are so grossly misshapen, I have to fix 'em! Having said that, the last couple builds were simple on my part as I wanted to get away from the drawn out Shelby Mustang WIP I had going. The '74 'Vette was a change of pace for me as it was the first time I believe I took what was a very forlorn looking model and turned it into something nice. No opening doors, no working suspension/engine details, just some body corrections which it needed and I had it done in less than six months which is a very short time for me. I liked doing that so much I took ANOTHER 'Vette I thought was lost and restored that one. You all seen the '68 and how I brought that one back to life. Now, I'm sort of back into the detail mode as I'm taking a long shelved project and semi redoing it to finish it up for good. The work on the '55 Fairlane has been tedious, but half of the work was already done years ago, namely the interior and chassis/engine bits. It's just a matter of fixing the body where the paint went bad and then getting it all repainted and ready for display. If I can get this done before the end of the year, that'll be a record for me since I can't remember the last time I got that many done in a year! As far as fun, I consider research and body corrections as part of the fun. I like doing body mods/corrections where needed. A kind of stickin' it to the model makers as I'm someone with no sophisticated machinery to do what I do, yet you'll have them spend tens of thousands of dollars on molds but it's still wrong. So as they say "To each his own". What's fun for one can be dread to another. -
Interesting topic! I for one will need to make something in PE for a future resto/rebuild project. I'll be in dire need of 1957-'58 Studebaker Golden Hawk scripts/emblems and there's nothing else out there that can come close. And this being such an esoteric car to do, I don't ever expect to see such a thing on the market. I have a CAD program on my one PC so that part I can do, it's the making of the negatives and such that'll be the tricky part. I see that MicroMark sells a mini PE system, so I may spend some bucks on that to at least get my toe in the water to see how all this works.
-
Yes. As someone who had a family member's house TOTALLY DESTROYED when a plane hit their home ANY plane crash is a big deal. In Dale Jr's case no one was hurt which is good, but psychologically it can be a quite distressing for anyone involved. In my case I wish it was just mental damage that occurred when the plane hit my Uncle's house many years ago. In fact, my Aunt happened to be in the house when it hit, so not only was she killed, but everyone on the plane was as well. It's one of those things that one never forgets.
-
Crazy prices on the auction Bay.
MrObsessive replied to GMP440's topic in General Automotive Talk (Trucks and Cars)
Blurry pics are another sign for me to tread with caution. Back in the mid '00's, I saw a conversion started on eBay where someone was taking a '56 Ford and turning it into a '55. The pics were VERY blurry, but you could see the the A pillars were literally bent inwards to meet the roof which seemed to me too narrow for what he was doing. I sent him a note and mentioned it to him and his answer back to me was........"The roof fits quite well, it's just the angle of the pics". OK. ? I took a chance and bought the kit anyway and sure enough just as I thought, both A pillars were leaned in so far to the inside, the car looked absolutely terrible and no way was the 1:1 like that. What was this model? It's the '55 Ford you see as my WIP right now here on the board. If you've seen my Fotki pics, now you know why I had to literally SPLIT the roof in half as the Lindberg '53 Ford roof was obviously too small for the AMT '56 Ford. So, it just reinforces especially from that auction forward that any blurry pics I see I instantly ignore them. That says to me the seller is trying to hide something and that they for whatever reason won't take the time to make sure the pics are clear enough so that the potential buyer can actually see what they are getting. -
Tom, just seeing your post.........thanks for those pics! I see something on the engine which I will be changing...........the angle of the distributor. I had it straight up and down and it should be at an angle as seen here. Thankfully I do have the correct air cleaner as I got the one off of the junker Danbury Mint car. Thanks David!
-
Crazy prices on the auction Bay.
MrObsessive replied to GMP440's topic in General Automotive Talk (Trucks and Cars)
Man, I've paid some BIG bucks for models/kits, but NEVER that much! I have the convertible, but had to buy it in stages. First the body, then the interior, and then some final pieces I was thankfully able to get from The Modelhaus before they closed shop. All that and it cost NOWHERE NEAR $1100! I wondered about that too. I also NEVER trusted old sealed kits since being burned on one many years ago and I vowed never to buy a sealed vintage kit again. Some folks just like to collect sealed kits though.....but that's an awful lot of money and you're not even sure about tire burn, broken/warped parts. -
Thanks Darryl! Still plugging away at the bodywork. Got the roof and sides mostly done now and it's on to the doors. While I'm at it, I'll make new hinges (brass) and probably end up crafting new door jambs as the ones on the doors were breaking apart from the stripping/disassembly.
-
'59 Dodge Custom Royal Lancer Mild Custom!
MrObsessive replied to John Goschke's topic in WIP: Model Cars
I like this a lot John! Nice subtle work on those rear wheel well openings. If you hadn't pointed it out, I might not have noticed! I have one of these as well and now I can't unsee it! -
I agree! That one would be especially hot among the lowrider set! You can imagine the possibilities for detail!
-
My all time FAVORITE bike! I had one a lot like this one as a kid that my Dad bought for me brand new. This would have been during the 1968-'69 time frame and I had it till I started junior high school around '72 or so. Yours looks FANTASTIC and very realistic! I sure hope Round 2 sells a bunch of these.............more money for other long lost reissues we'd love to see! This is one of those MUST GET kits I'll be looking for before the year is out.
-
And here it is! I believe this is a '63 looking at the grille. I'd LOVE to have this one............it SERIOUSLY needs some whitewalls though!

-
That's definitely pre-production as I don't think actual production starts till later this year. Could have been worse....imagine that thing rolling over the hill!
-
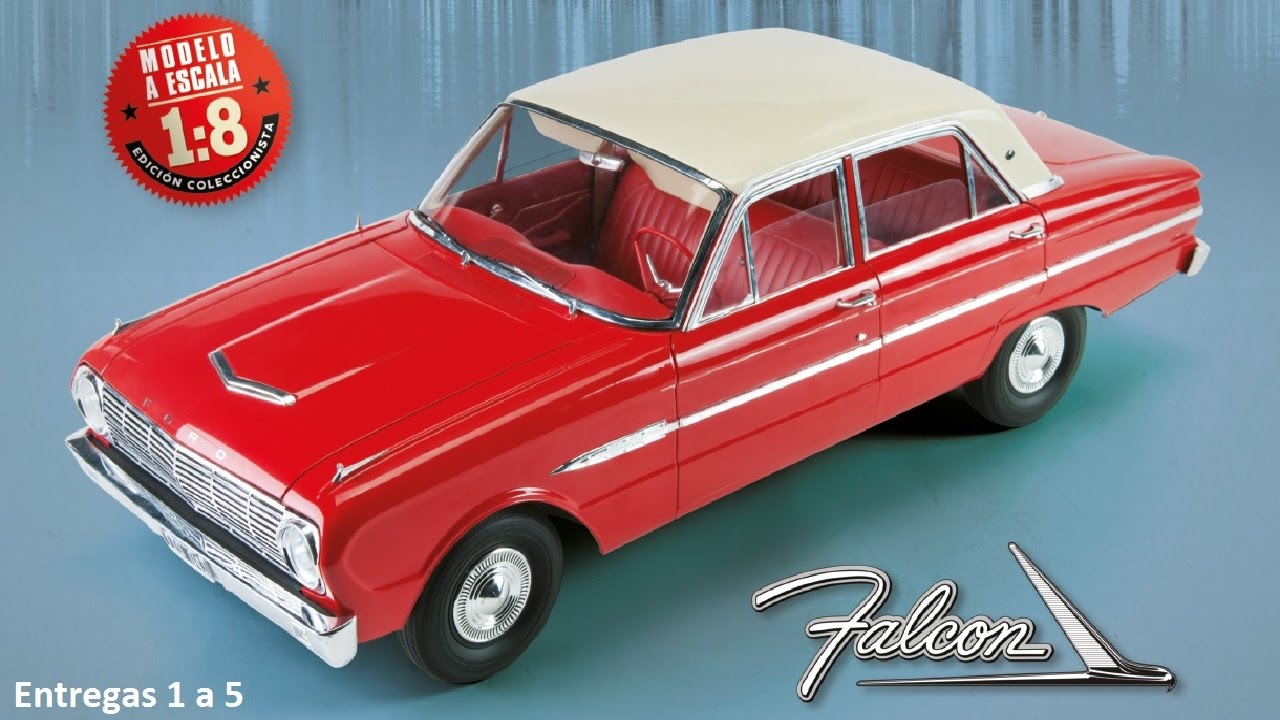
Other than parts arriving late (due to parts being out of stock at that time), I had no issue with how DeAgostini made this kit available. It took a couple years, but with all that I have to build at the moment, I didn't get crazed over that. I figure with other projects going on (a '55 Ford Fairlane is on the table now), it's going to take 2+ years till I get this all done. Dr. Zero, I've seen that truck you're talking about and drooled at the sight of it...........and I'm not a truck fanatic! I think they also did a Falcon four door sedan IIRC (a '64?), that I would definitely go for if we could get it here. Space? Yeah, that's one of the very first things I considered before I signed on the dotted line. I have a place for the Shelby all picked out, but getting a proper case for it is a MUST! Something that big (and expensive) I don't want sitting out in the open subject to dust and nosy cats. Now IF DeAgostini ever decided to ACTUALLY do a '70 Superbird?? LOOK OUT! I'm breaking the bank for that one!
-
You got it Chuck! I seriously doubt that anyone else will ever make a 1/8 scale '67 Shelby Mustang. And yes, the model has its shortcomings as it seems DeAgostini cut some corners for the sake of production. One area in particular is in the engine compartment. I happen to run across a VERY good thread on the UK boards where a fellow did a super detailed one. That thread is here if you want to check it out and believe me I copied each page as I'll be stealing some of his ideas. As you mentioned, the body details are exactly right! Very important with a model this size and my next problem will be HOW to keep it covered when done. There was a case for it offered by DeAgostini, but it was only offered to those in the UK. I guess they think us Yanks here don't like to keep our expensive models covered!
-
‼️‼️‼️‼️ ?? Man oh man.........WHY can’t this be a stock one?? I’d be ALL OVER IT! Hmmm......... ??
-
Jim, I'm really sorry to hear this. Seems as though bad news is having an epidemic lately. I just got word from my sister that our Mom is in the hospital (chronic asthma) and then she hit me with a real whammy when she told me our Mom's brother (our Uncle) had passed away last night. I don't think my Mom knows yet however. I truly hate these cycles when bad news comes in waves.
-
Trying to send a message to another board member
MrObsessive replied to Monty's topic in The Off-Topic Lounge
John, you tried just recently? I just checked my inbox and it's not full. Maybe try sending another PM. If you tried my actual email address, it can be days before I check that one as it's not my primary one. I have different ones for different things. -
Trying to send a message to another board member
MrObsessive replied to Monty's topic in The Off-Topic Lounge
I've found that a combination of my colored text (need this to see the board better), pics and emoticons seem to bring on the error. I get rid of one of those the message will post. Weird, but that's what has worked for me. -
That's certainly a gorgeous one! And it can be one of THE TOUGHEST models in the world to foil! Your chrome looks great and everything looks so nice and clean!
-
68 Firebird with straight 6?
MrObsessive replied to Matt Bacon's topic in Model Building Questions and Answers
There happens to be an auction here that has just the engine. Looks like some parts may be missing though. -
I finally was able to get everything apart. There was no way to fix the damage on the roof without doing paint damage to surrounding areas, so I thought it best to simply disassemble this and sorta start over. One casualty was the dashboard as the top part of it cracked trying to get it out. I'll just rebuild that section as it was where work was done originally to get the dash to fit along the doglegs of the windshield posts better. Unfortunately since I used Oven Cleaner to take off the old paint, it also took away the body putty that was originally used (Dynatron). That's OK as this time I'm going to be using as much plastic as possible to fill in the voids and when it comes down to final painting, the entire thing will be barrier coated with BIN Zinsser sealer. Something I didn't know about in 2005. Here was the original culprit of the trouble. Too much putty in this area which reacted with the paint when fully cured. This will be filled with as much plastic as needed and then smoothed out. Any pinholes or very shallow voids I'll use a little putty, or simply fill it in with more plastic. I don't have pics yet, but I did get this side of the car (rear fender) filled in with plastic so far. I'm going to try my hand at vacuforming a headliner down the road. It'll be a different technique for me as I'll be using a very dense (virtually non shrinking) type of clay to make a mold of the inside, let it harden then using my vacuform machine to do the rest. This is a ways off as I want to make sure the bodywork including the windows template/molds are done first. I'll be tackling other things as this comes along. Making new door hinges (brass) in sort of the same style as I did the '59 Chevy so some soldering is in order, new trunk hinges, and reshaping the tulip panel as the rear window aperture is not quite right in that area. So I've got some work cut out for me but I'm determined to get this thing done once and for all!
-
That's a mighty super clean '68! It's also another one I can kick myself into letting go as I had the convertible. To me this looks so much better than what AMT did with their '67. MPC seems to have captured the rear fender shapes much better. And yes Steve, the '68 should have been a no brainer with their '67 as a base but no...........it never happened.
-
Not sure if this is still made, but there was a "textured paint" out there called Faux Fabric. When it dried it looked an awful lot like the textured black you have in your pic. The first pic, you might be better off printing that on to decal paper and cutting it to size. If you search around on the 'net, there are sites that show in a straight view various patterns for interiors. If your handy with your PC, you can then copy that image and then scale it down to size. You then want to perhaps put it on your desktop as "tiled" do a screencap of your desktop (no program icons) and then save that as a .jpg file to print on either plain paper or decal paper. A little work involved, but I hope this helps!
-
JoHan USA Oldies
MrObsessive replied to Wm David Green's topic in Model Building Questions and Answers