Search the Community
Showing results for tags 'revell'.
-
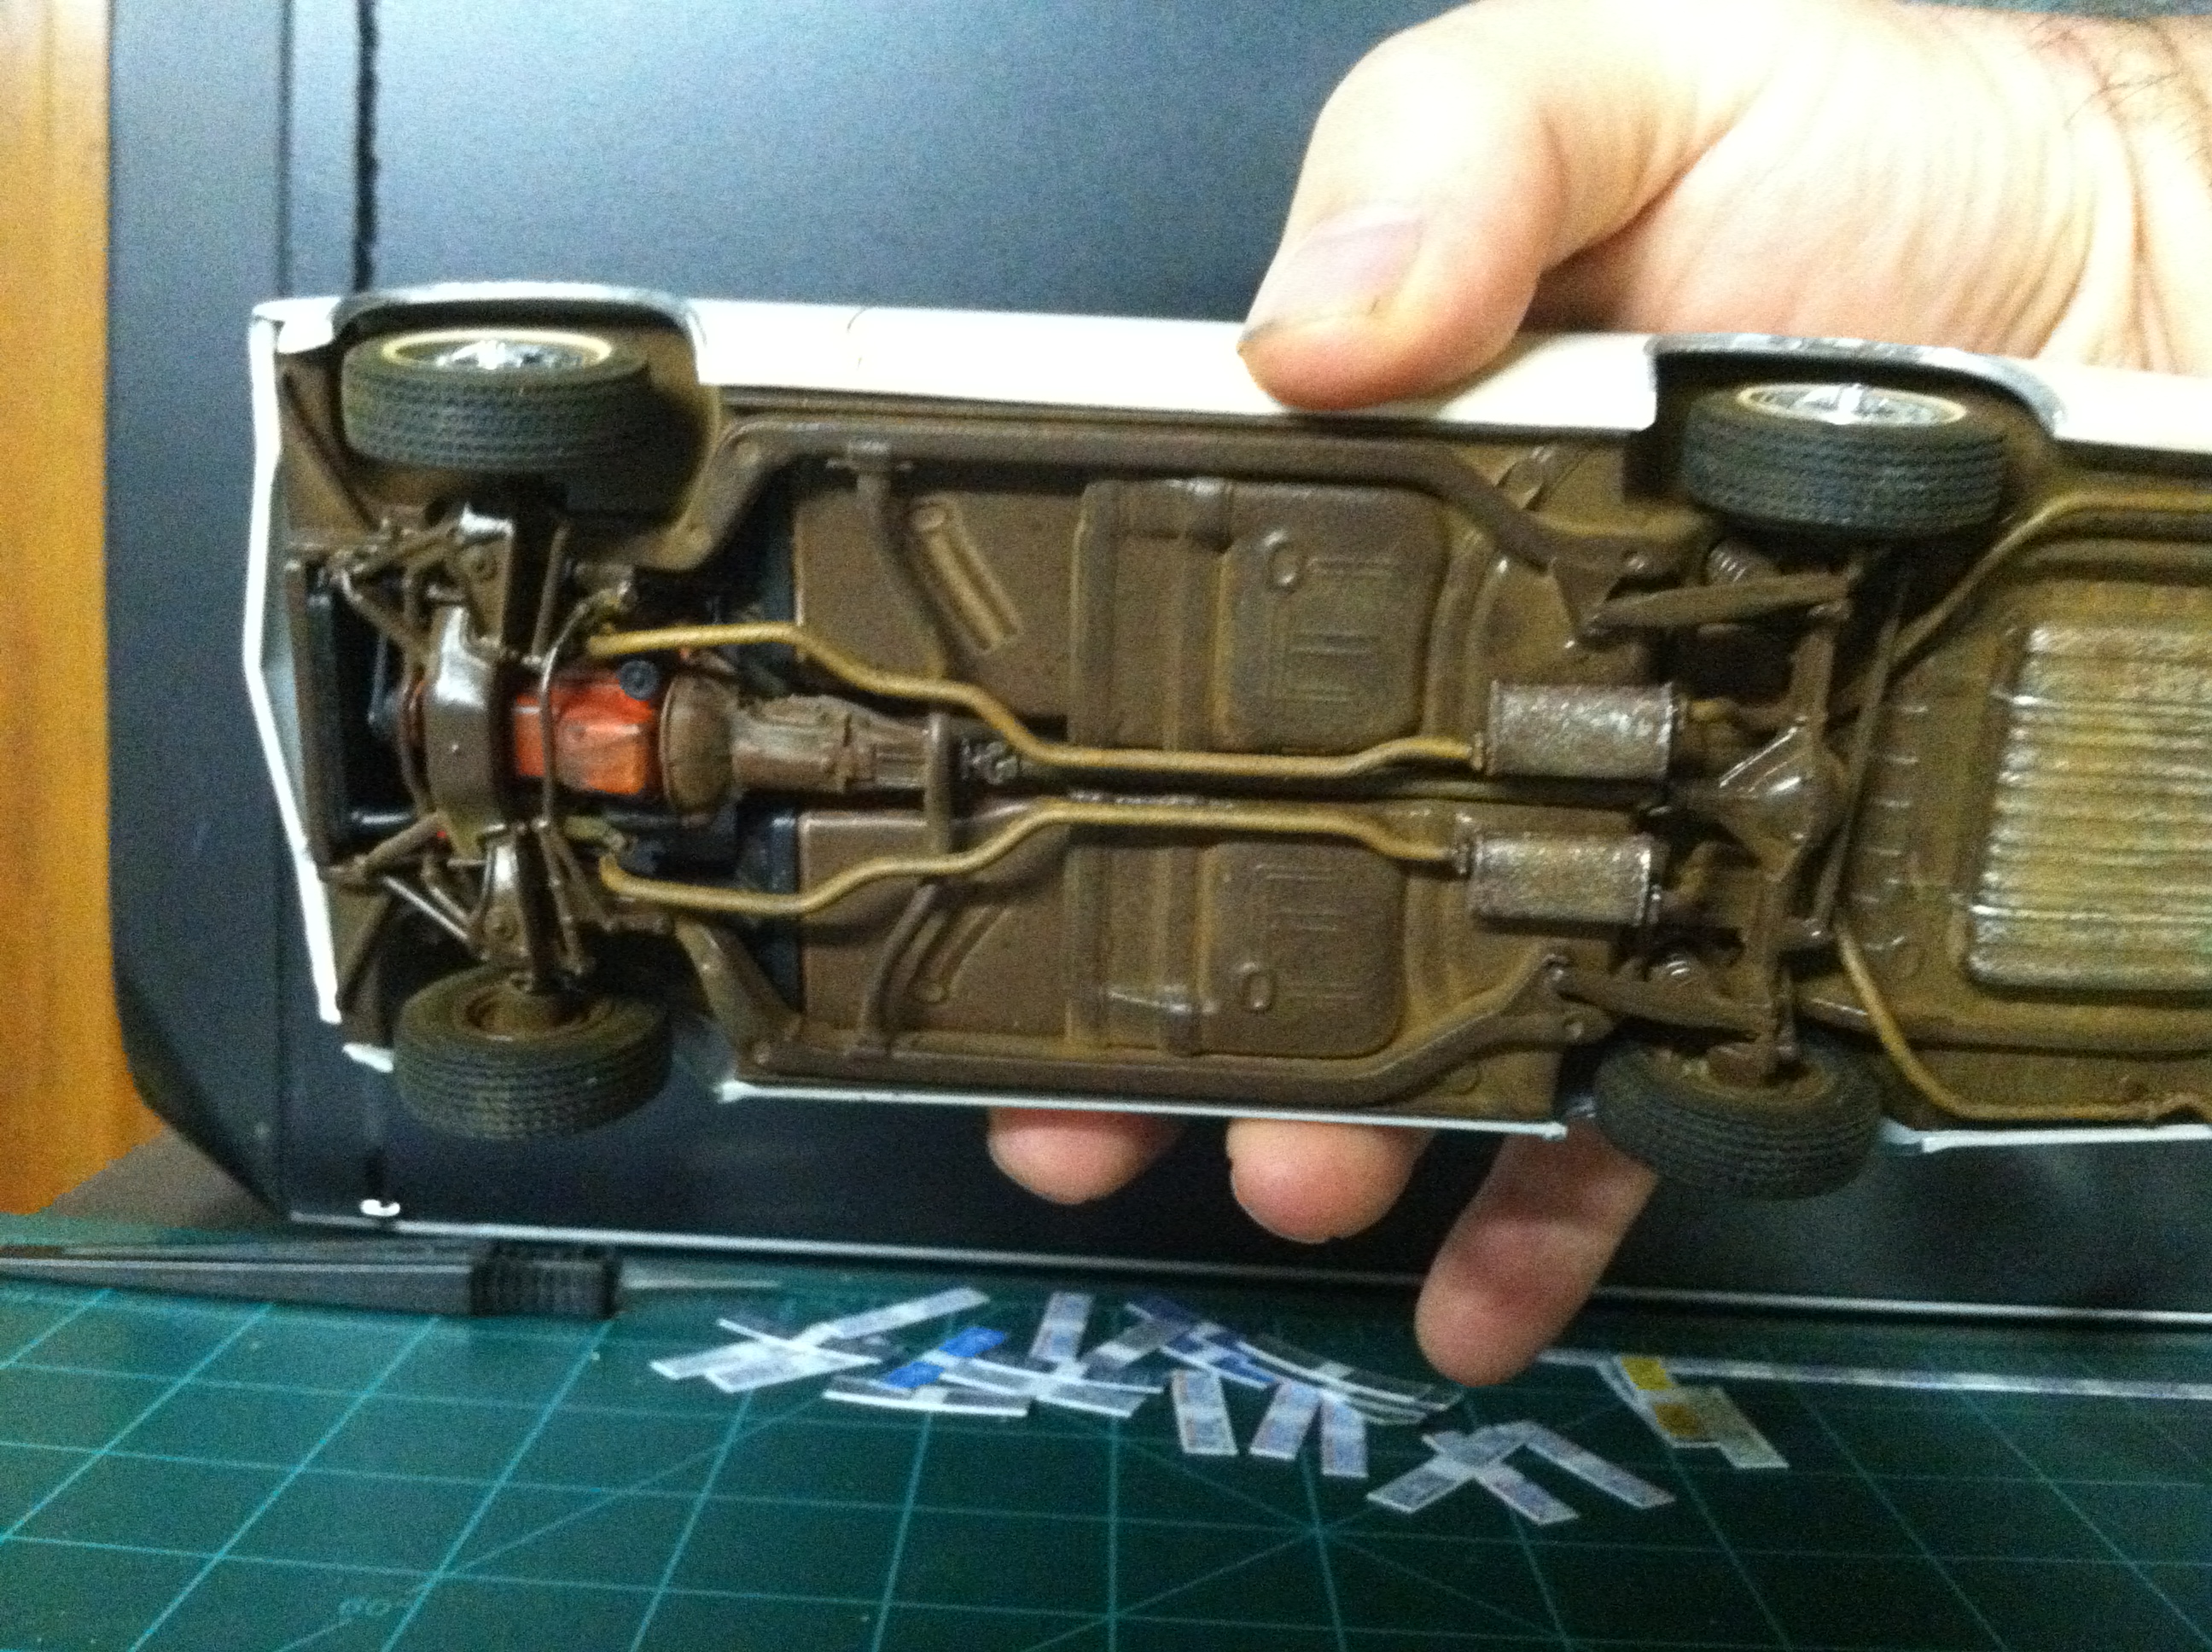
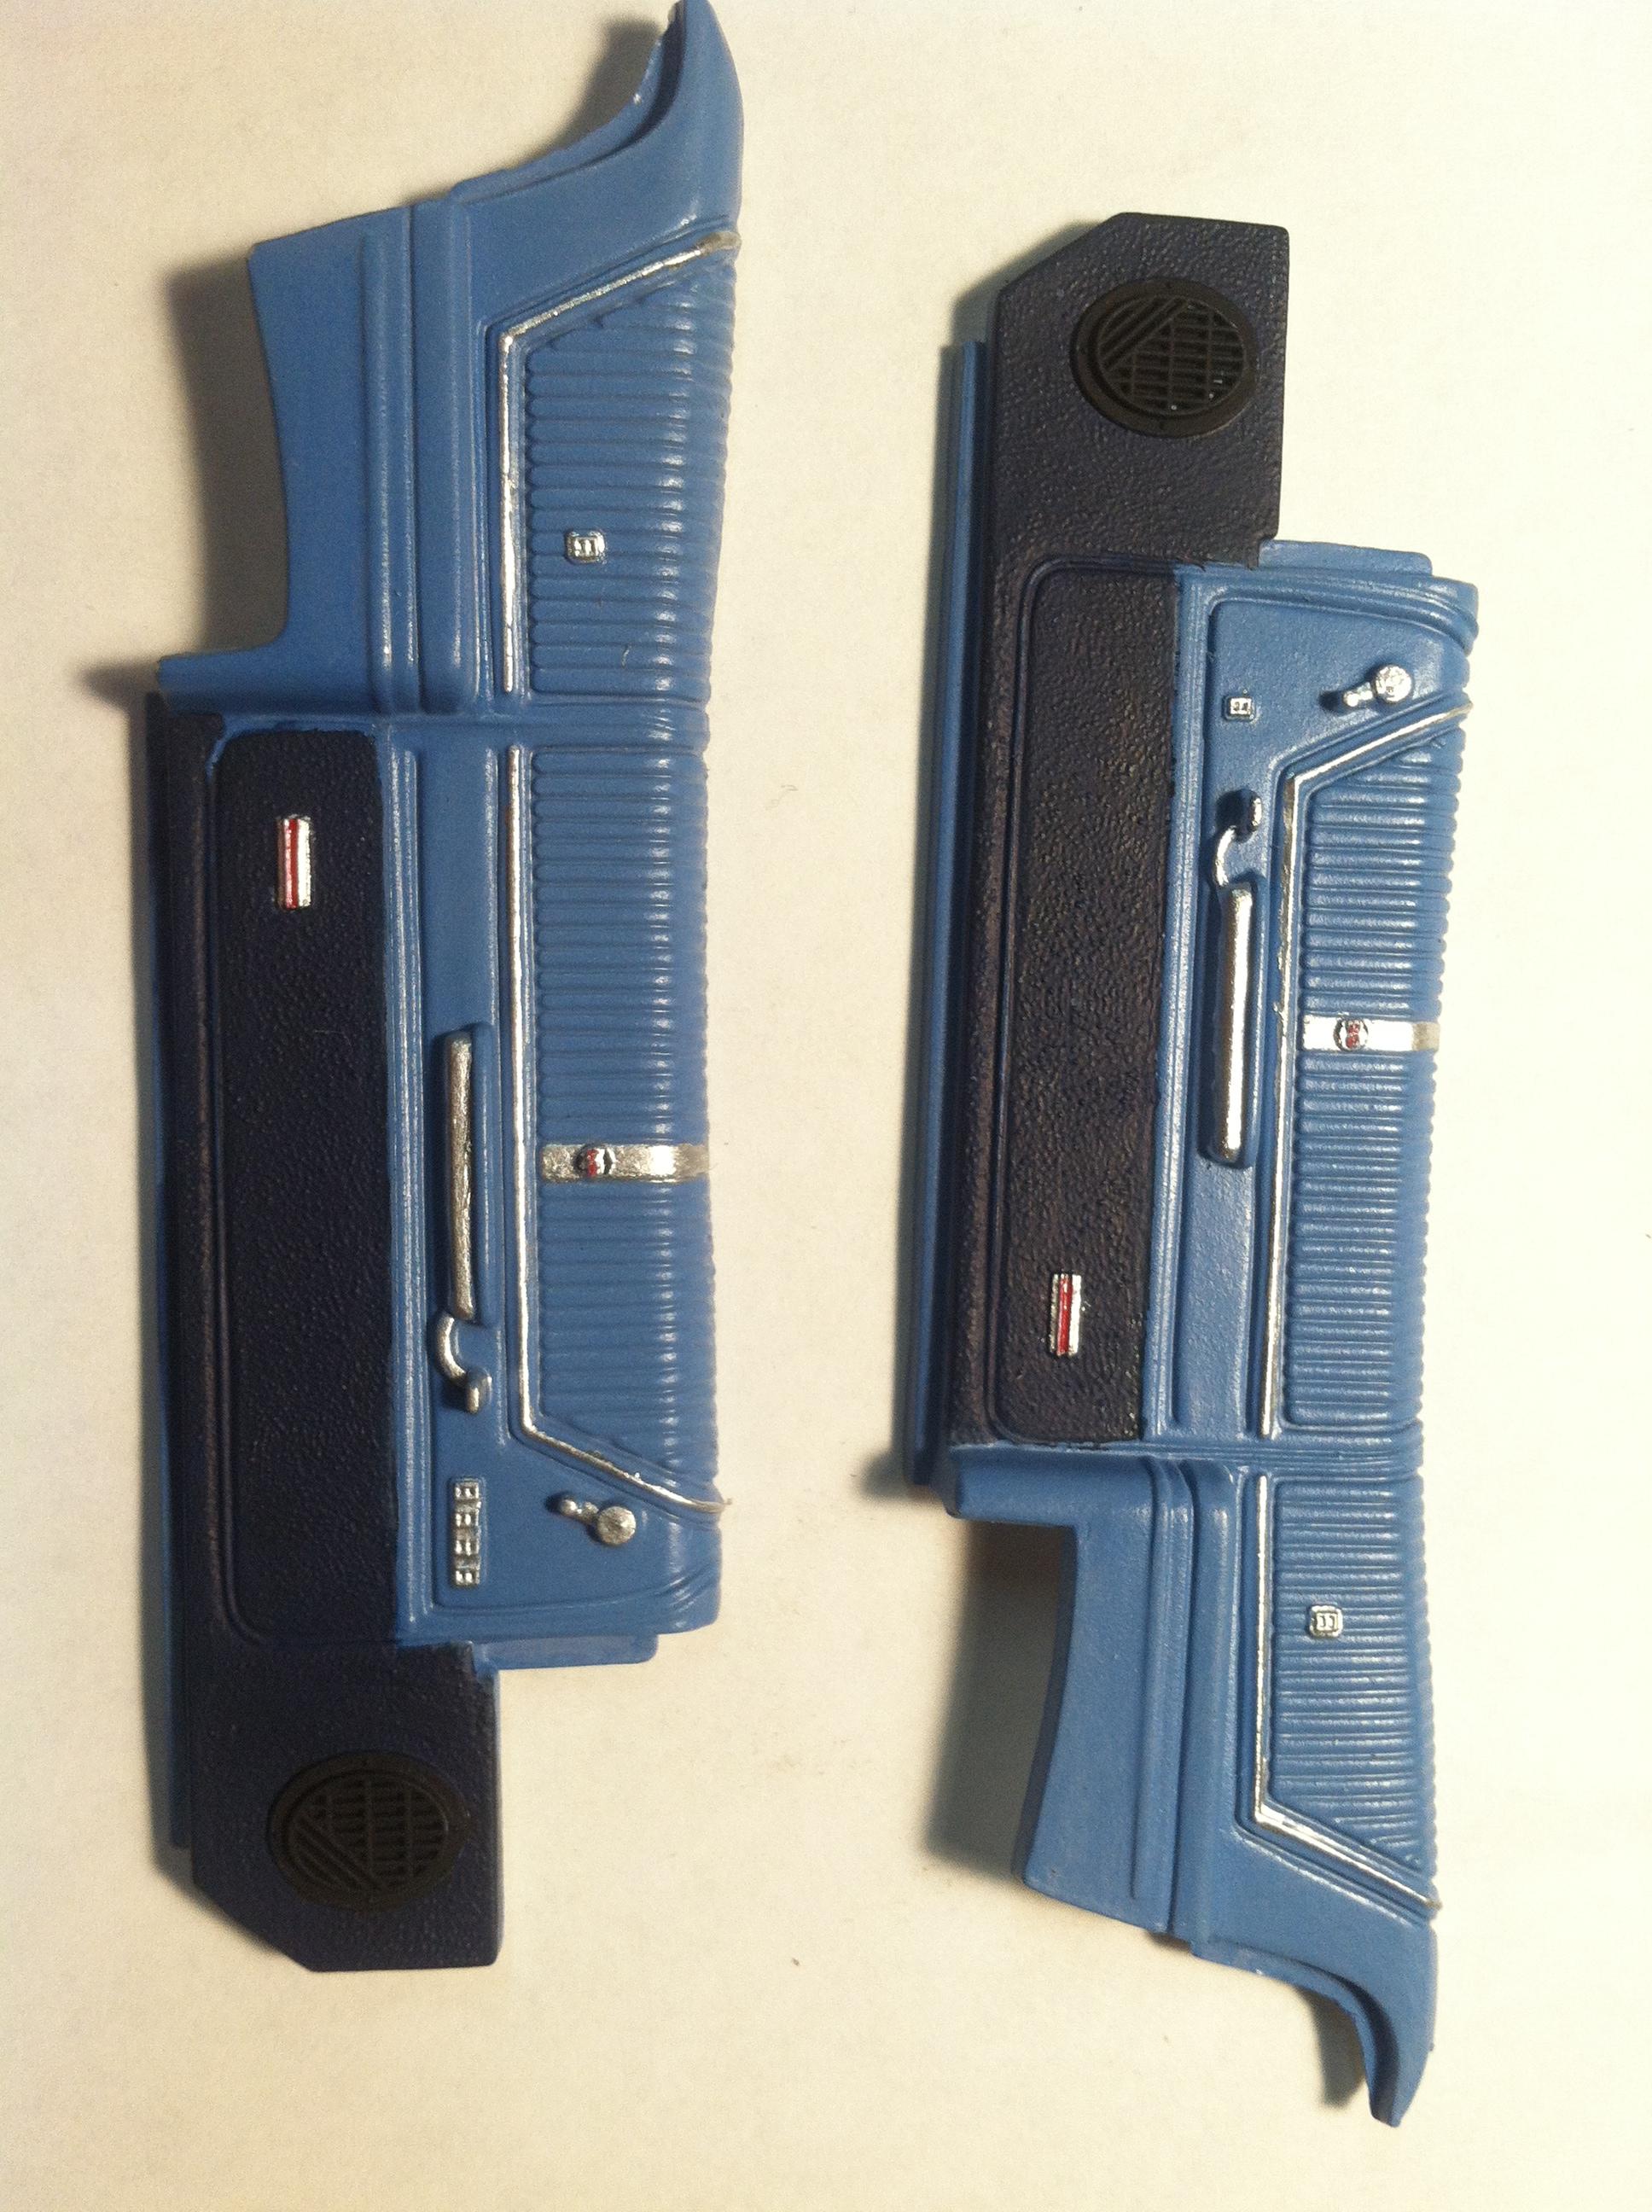
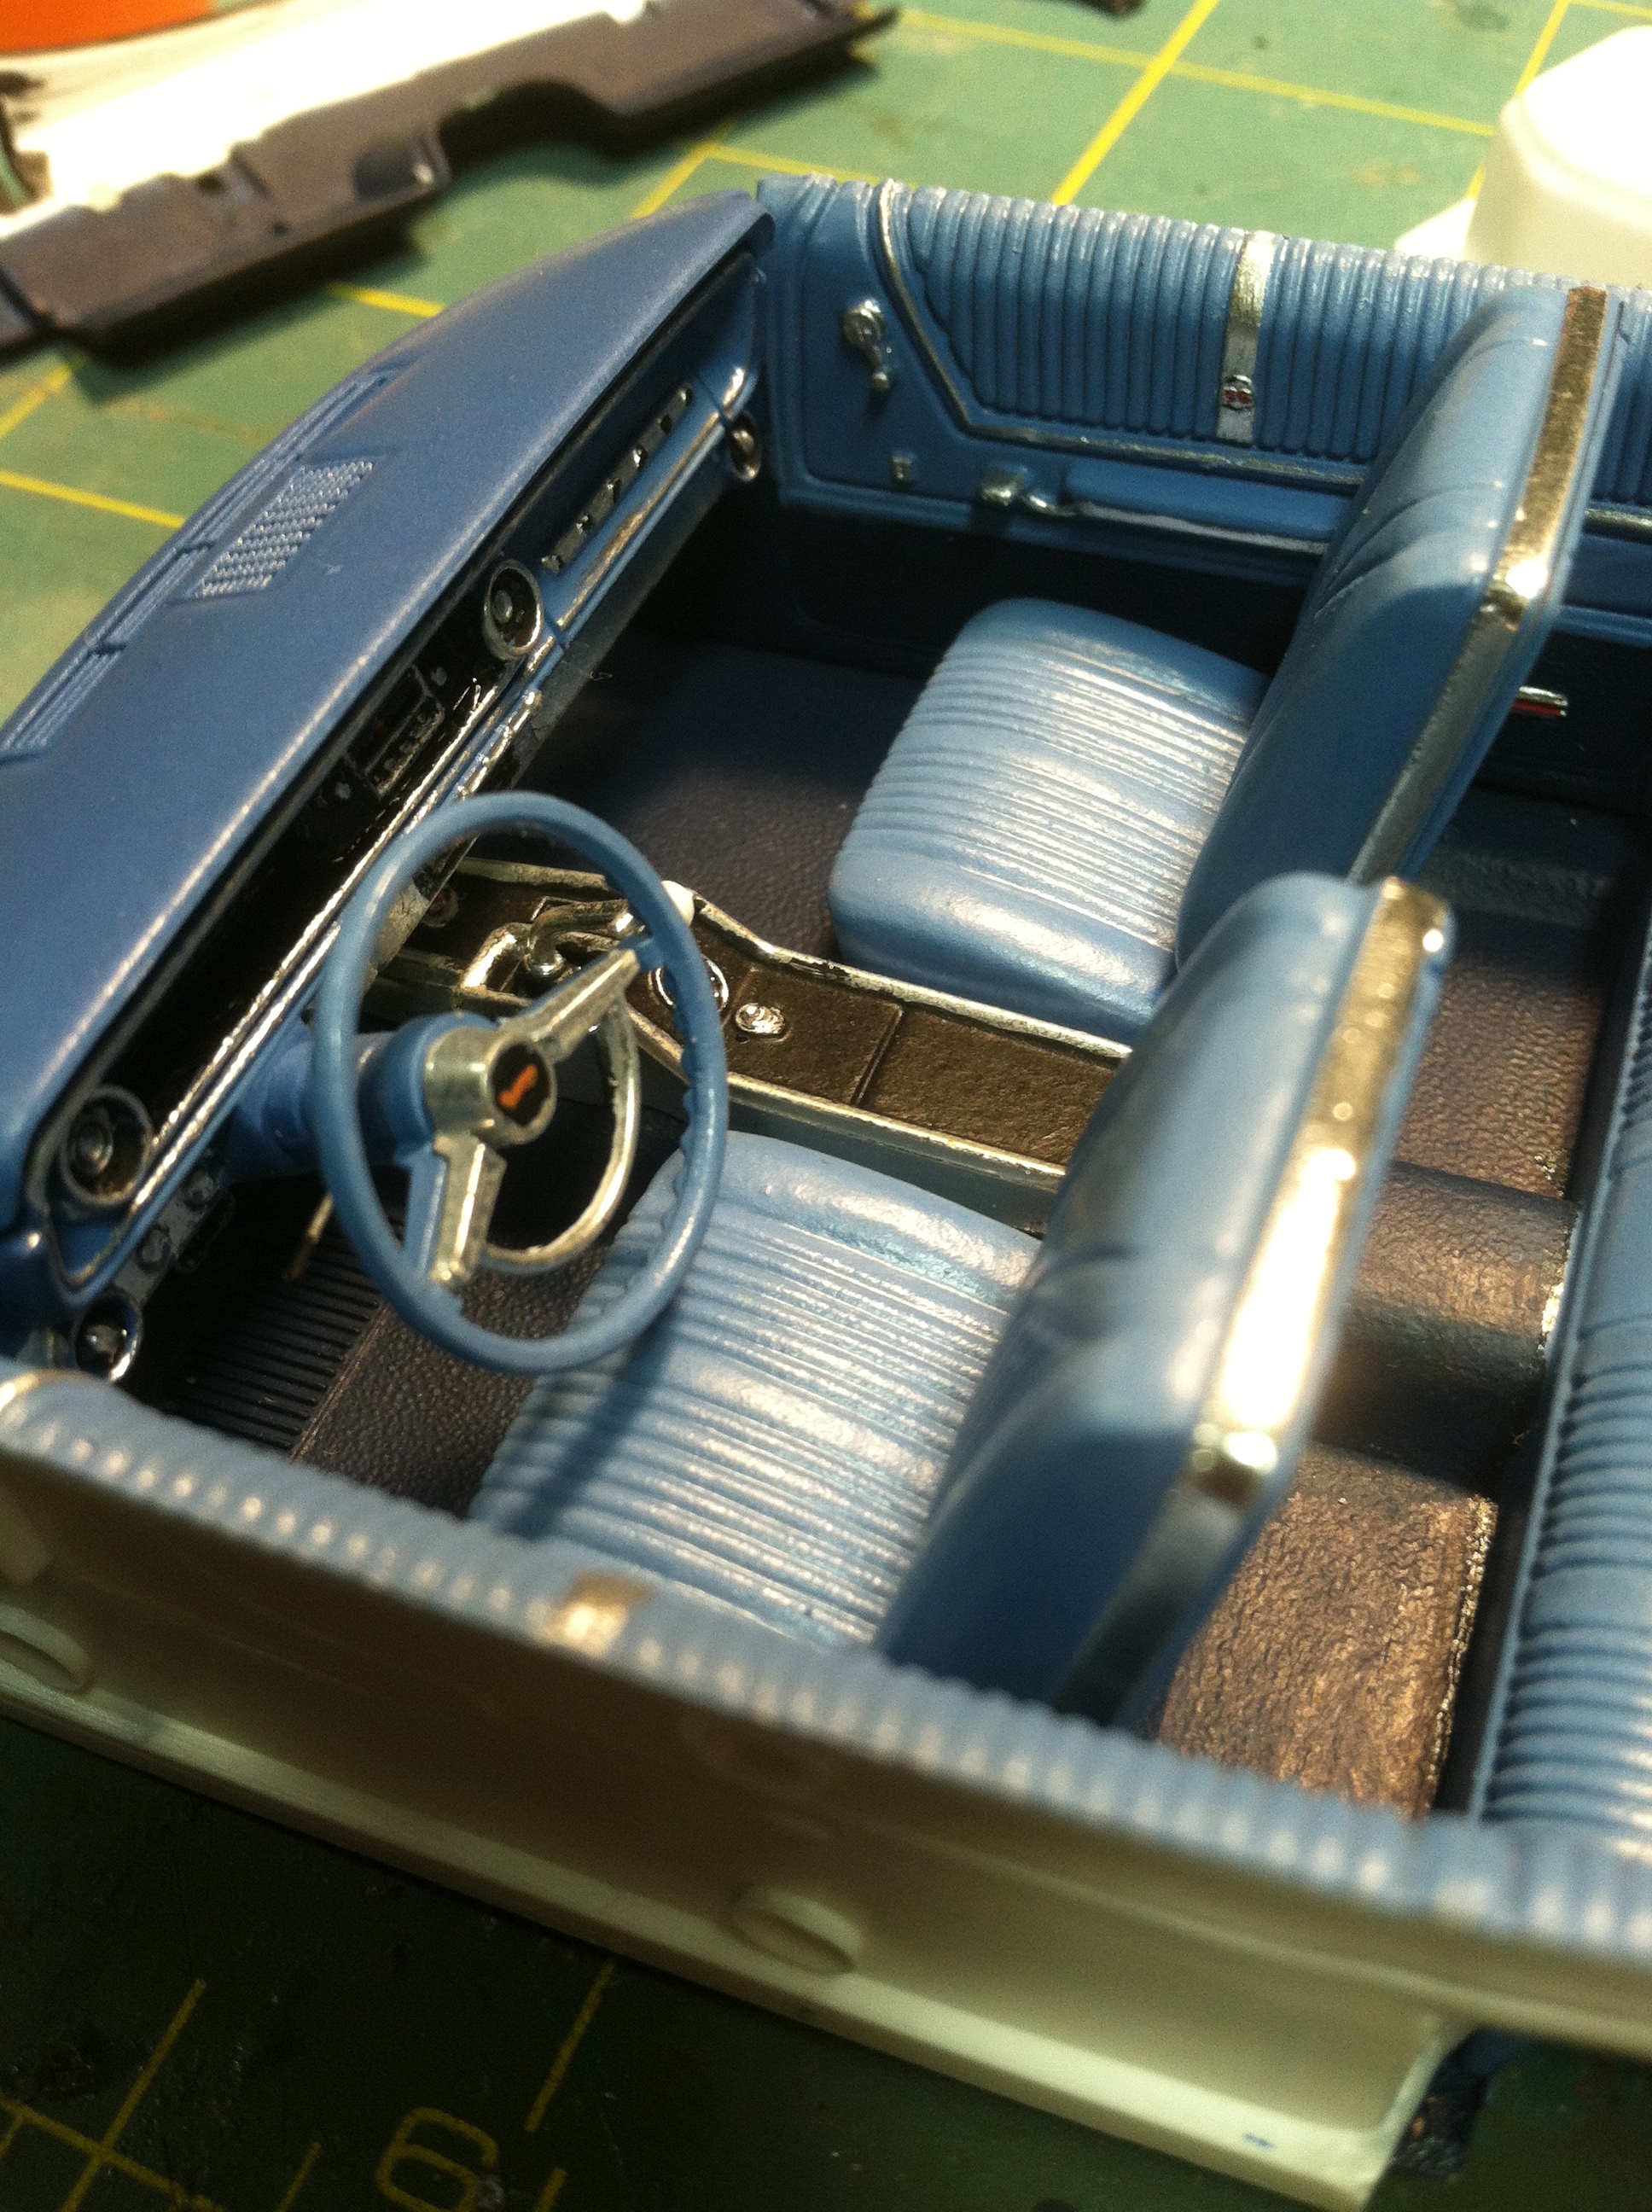
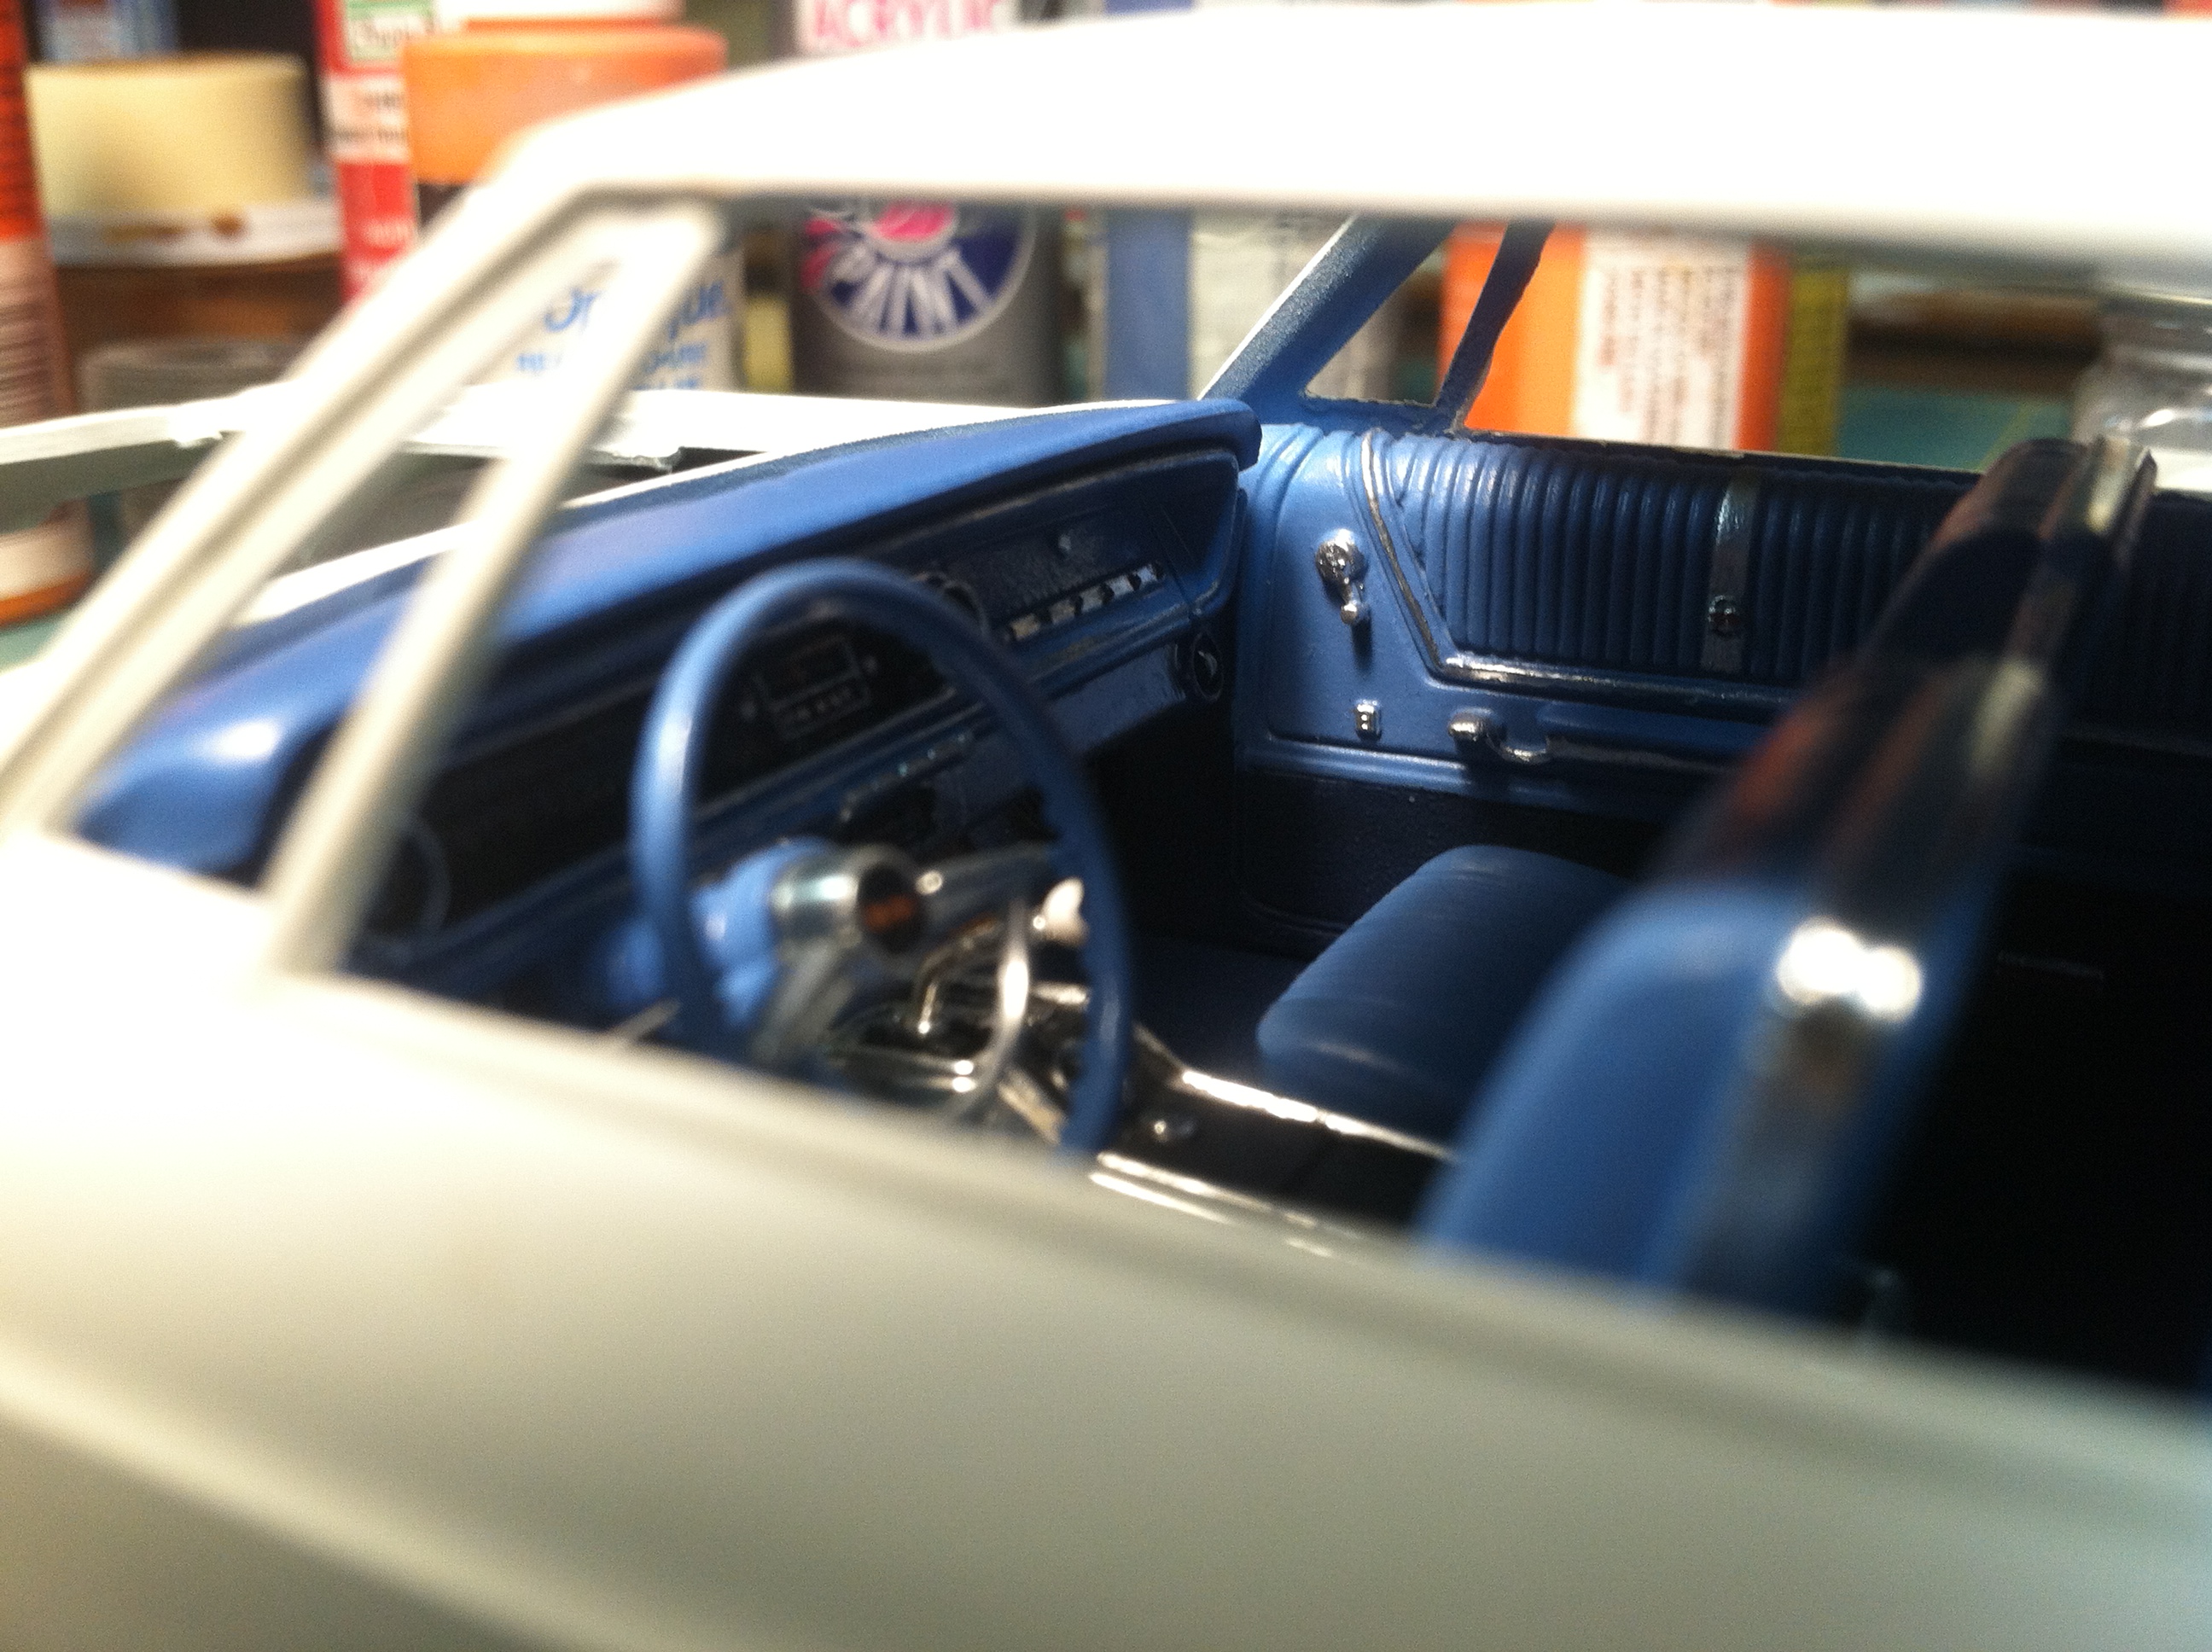
Started in 2011, not touched since 2013, I think it might be time to finish this, what do you all think? This is how it was on Wednesday. Thanks for looking, all comments welcomed.
-
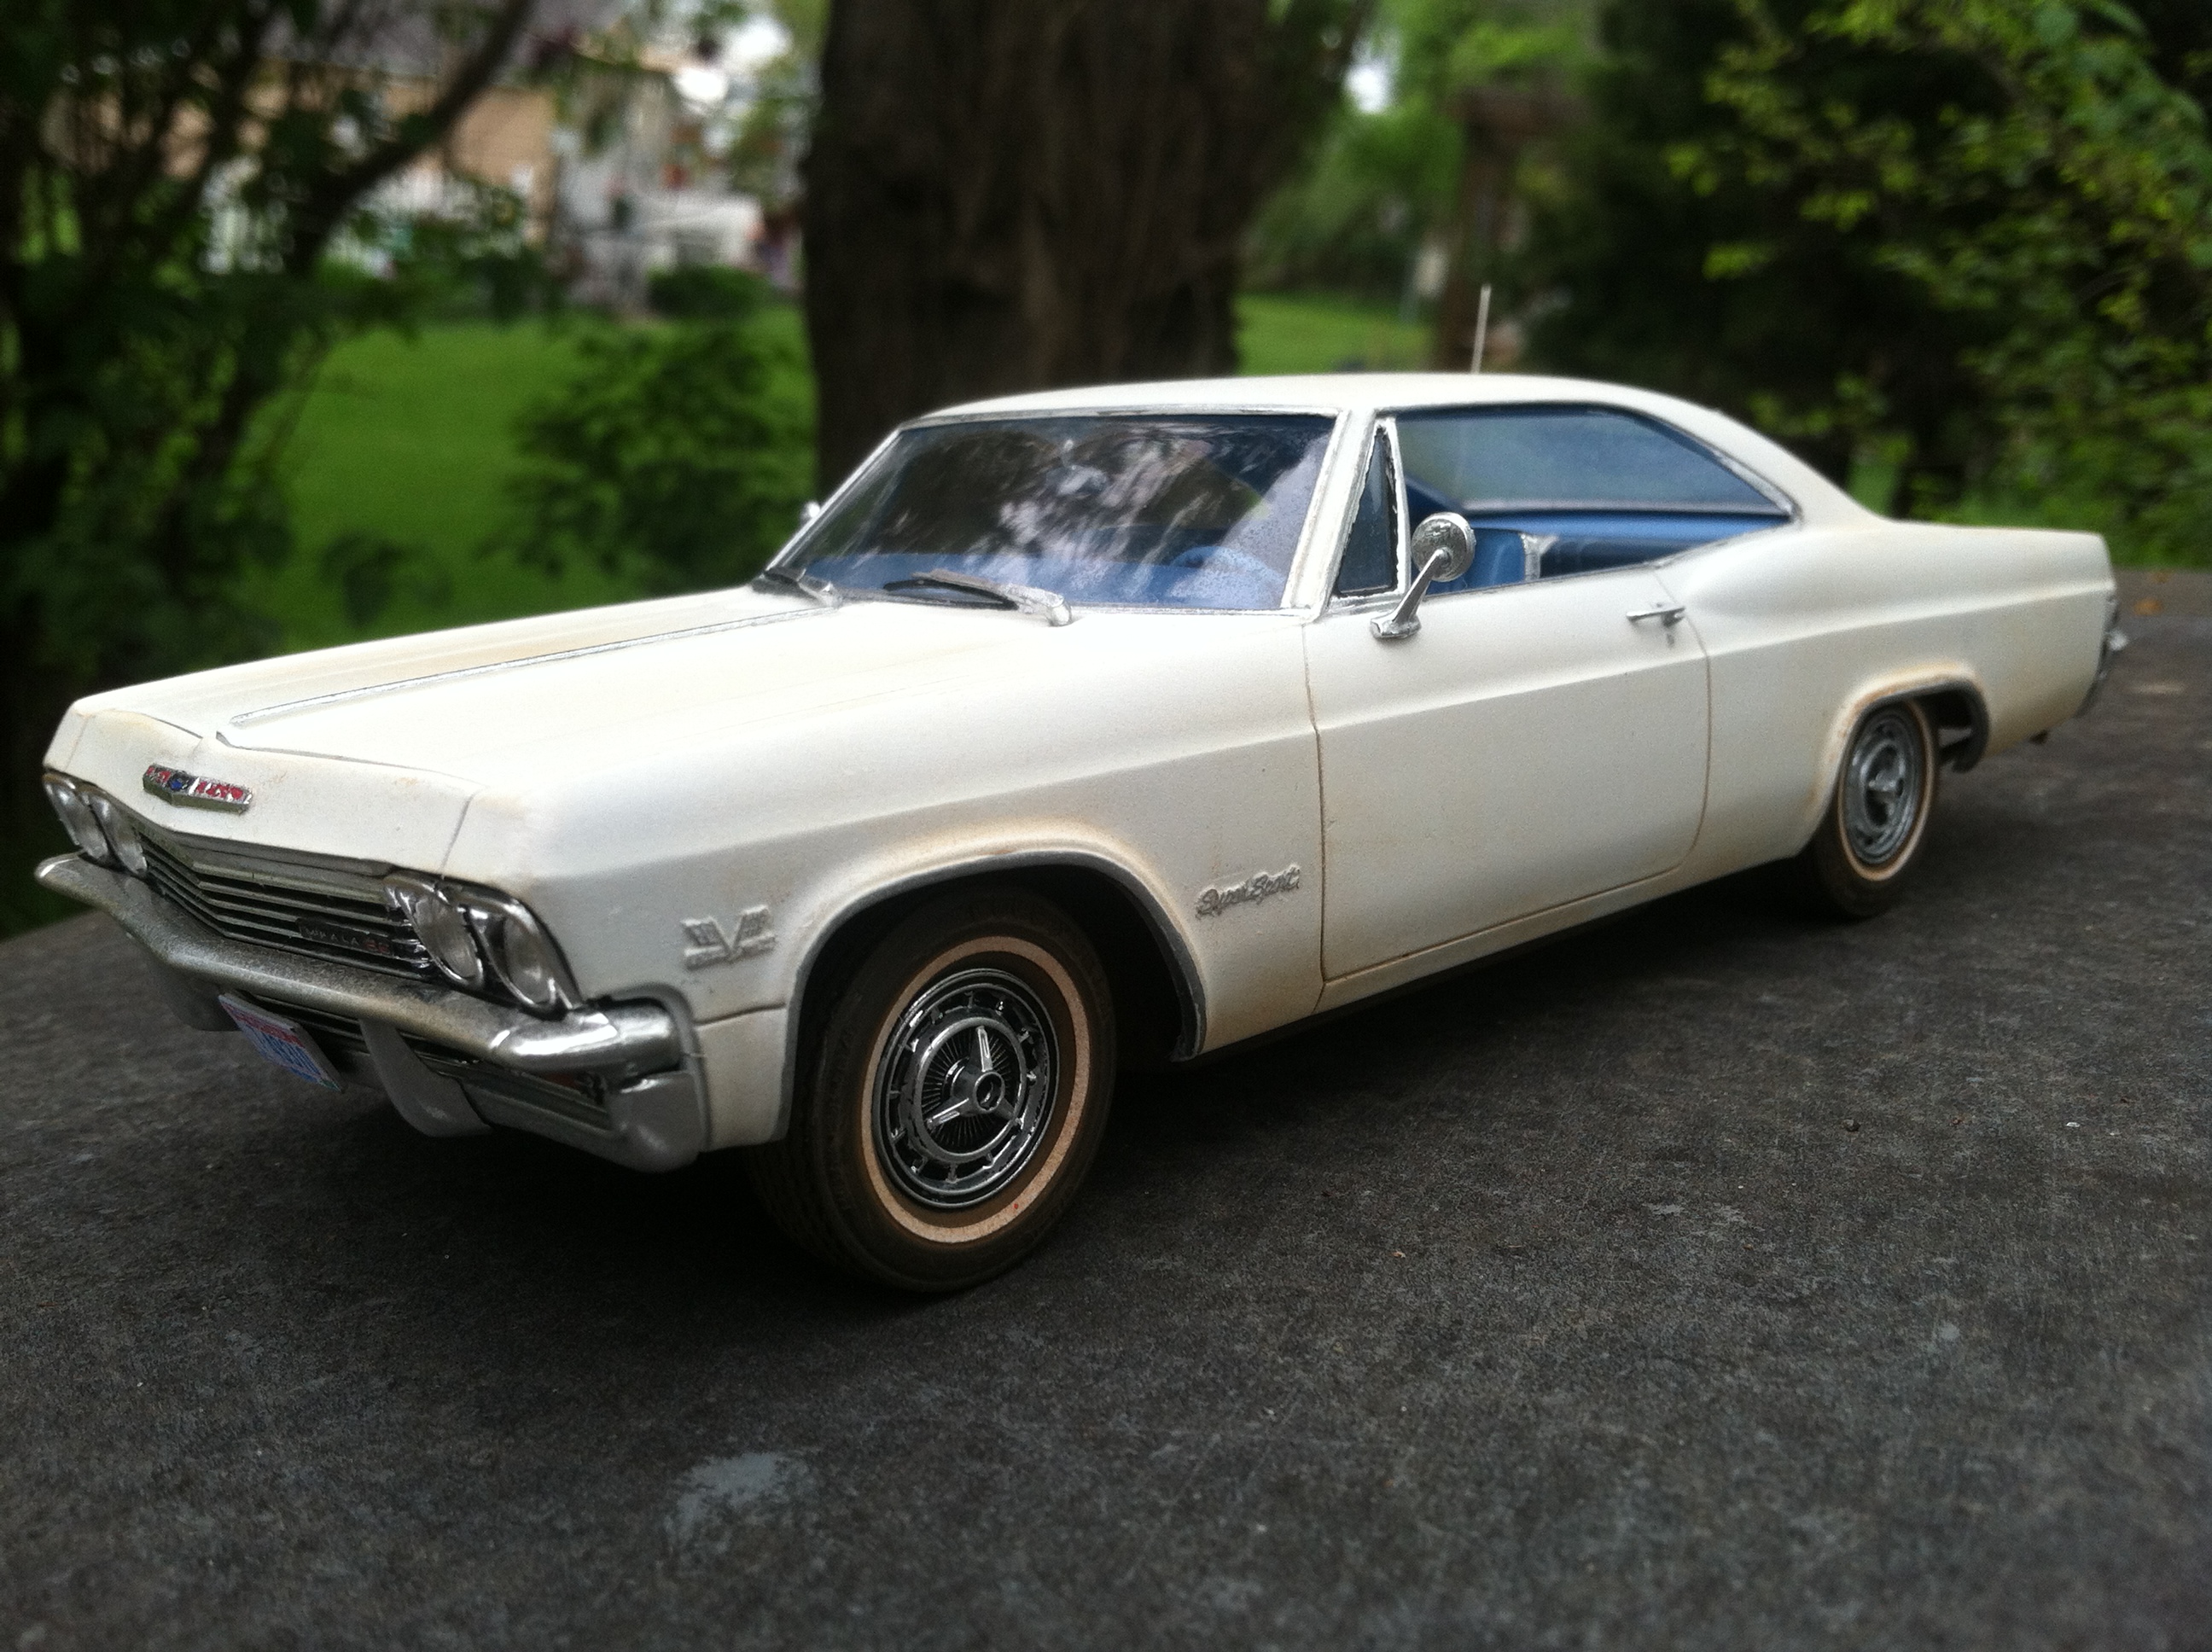
Lessons learned on my first time, keep it simple. Single color interior, have EVERYTHING in the box or within reach. I spent about an hour total looking for stuff I decided I needed to add. Do a simple tire/wheel change if your going to do that. I spent probably 40 minutes getting those Aoshima wheels, tires, and brakes adapted to the Impala. Perhaps the Impala was not the best kit to select, lots of little parts and loads of opportunity to do detailing ate up time. However, my total build time for this model was, 20 hours, so If I could have worked right on through, I might have gotten it done. I had loads of fun though, and that is what counts.
-
After 17 years, this one finally got dragged over the finish line today. Painted Auto touch up Ultra Marine blue with Kens fuzzy fur carpet and white plastic seats. Thanks for looking.
-
After 12 years, I finally got this one off the bench! Using the intake and exhaust from the 69 Nova kit, and the Air cleaner assembly from (I think) the MPC 69 Camaro kit, I present to you a stock Z/28 RS!
-
So here is one that I started back in 2002. I want to get it finished because I have decided to do the same kit for the 13th Annual 24 hour build. I figured if I'm going to get one done in 24 hours, then I should get this one done first! Here is where I'm at right now. I did the wheel well trim, seat trim, dash trim, tail light trim, and hood chrome all with a Molotow 2mm chrome pen. I love it! How did I ever get by without it? (By using BMF that's how! PIA it is!) Body is painted with Auto touch up "ultra marine blue with a clear coat (I think) or else I polished it out. It has been too long for me to remember, but I think I just clear coated it. Ken's fuzzy fur carpet. I still need to do more on the dash, like instrument decals and some finer painting of the chrome. Door trim is BMF while seat trim is Molotow pen. I have a decal for the back as well, I just could not resist doing the pen on it though. Outside of tail light bezels are the pen while the inside is Testors Chrome paint. Valve covers and intake are from the AMT 62 BelAir while the block is from the kit. Thanks for looking! All comments welcomed.
-
This has been hanging around the workbench since November of 2017. Good to have it completed and under glass.

-
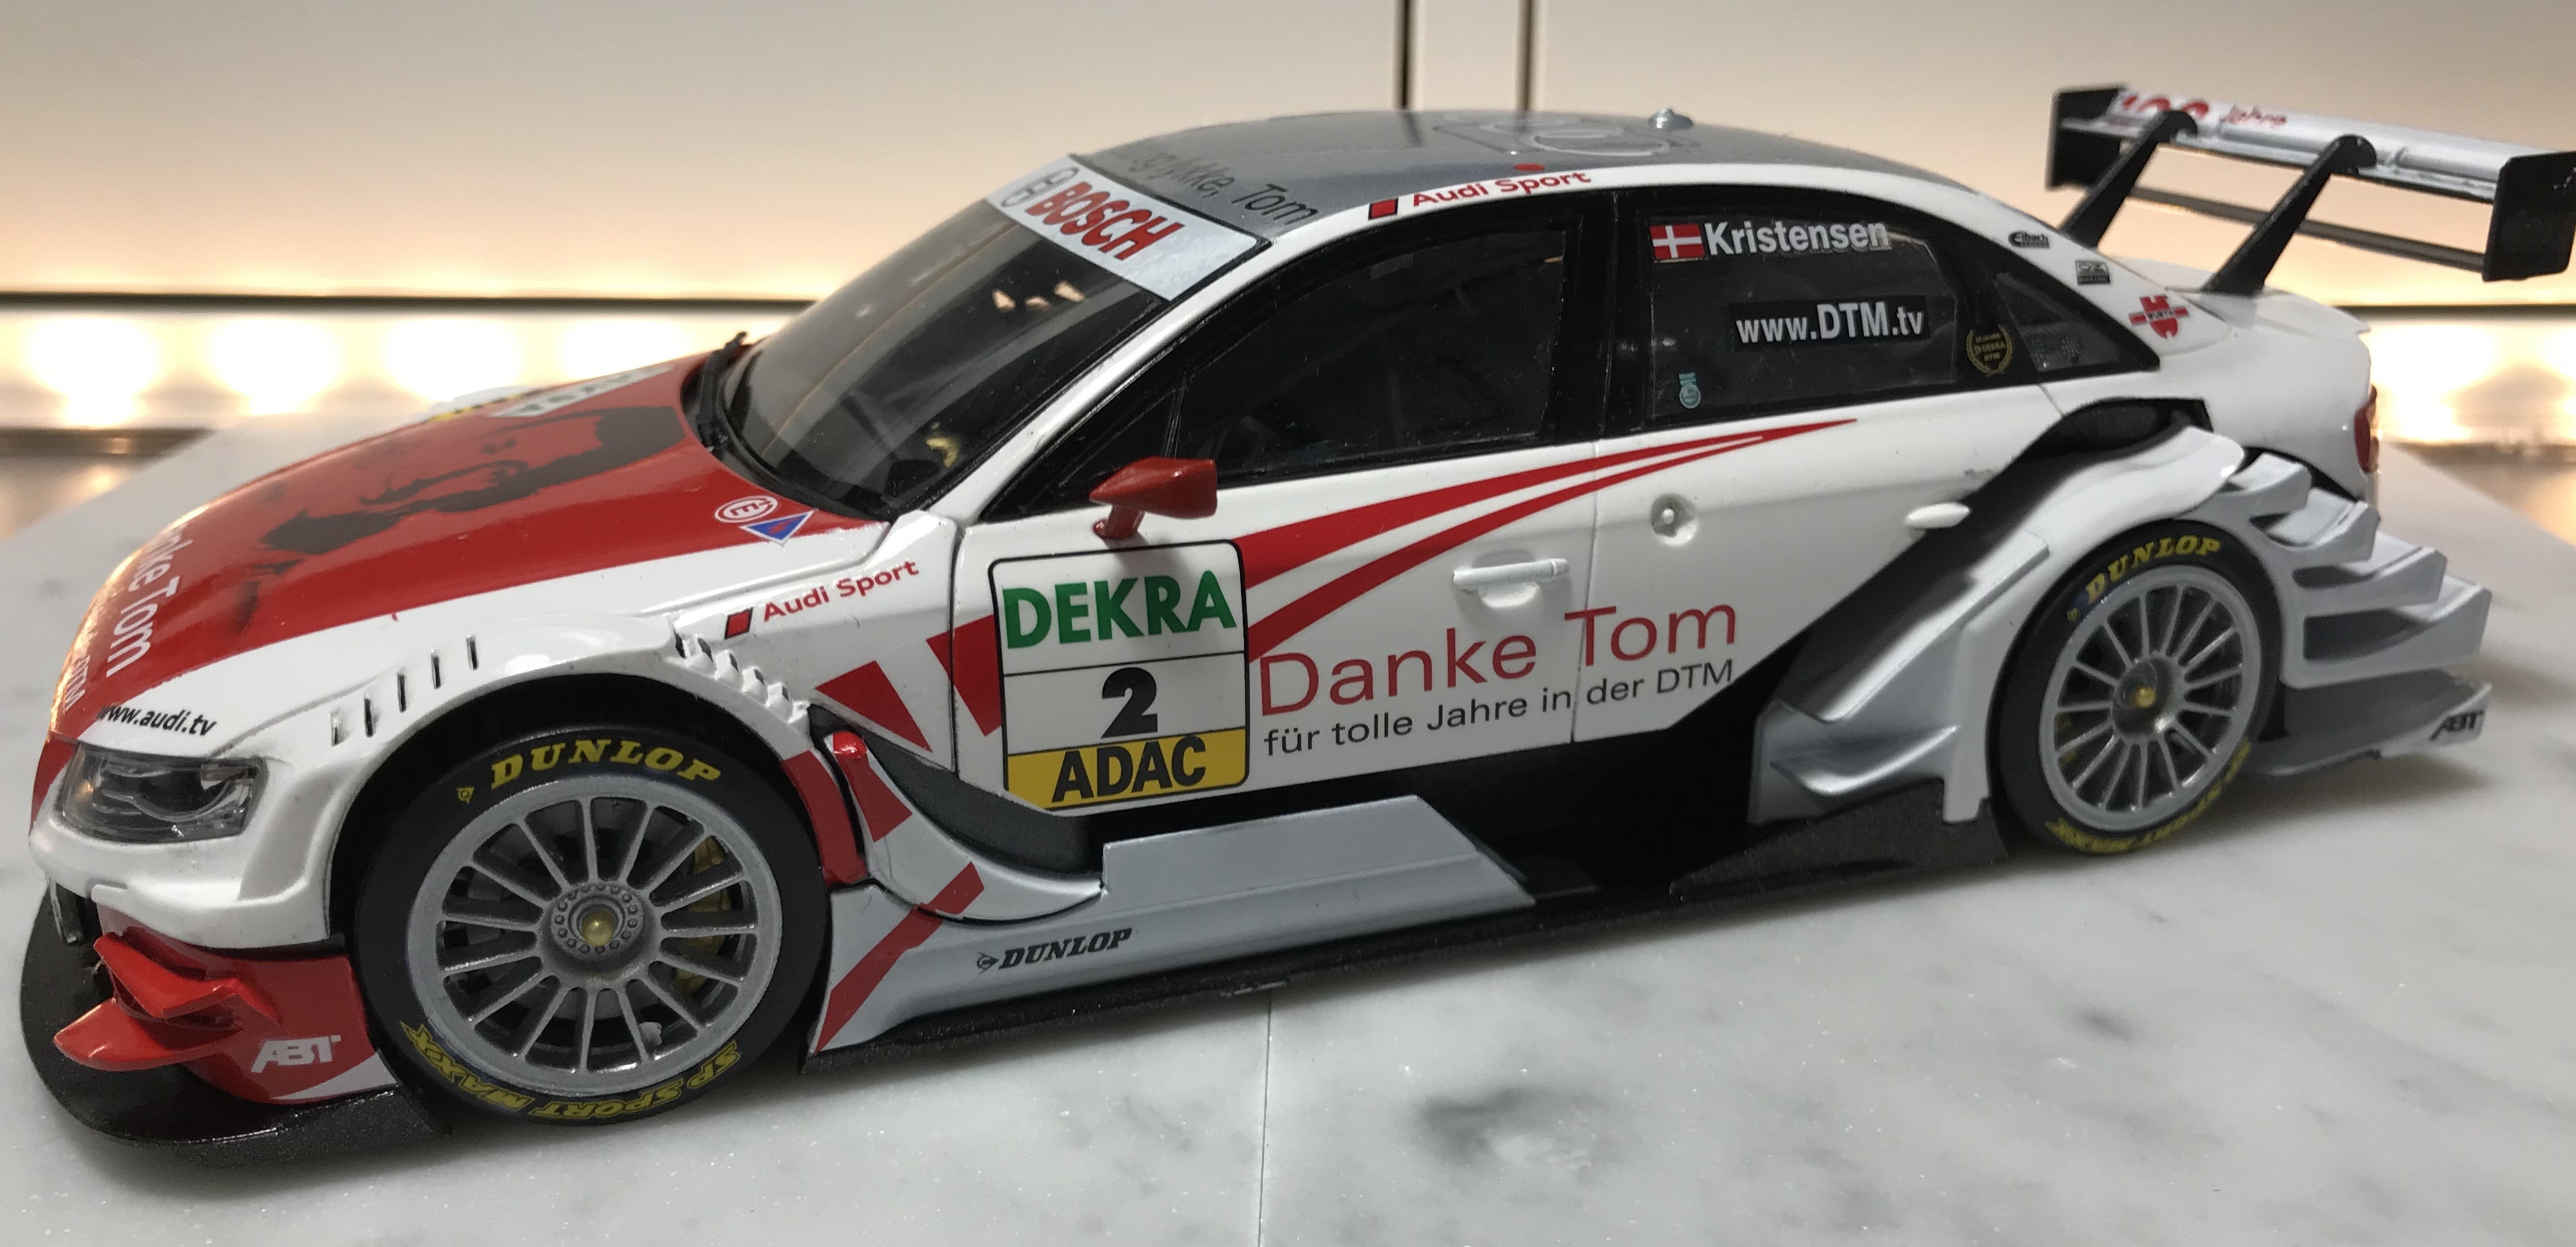
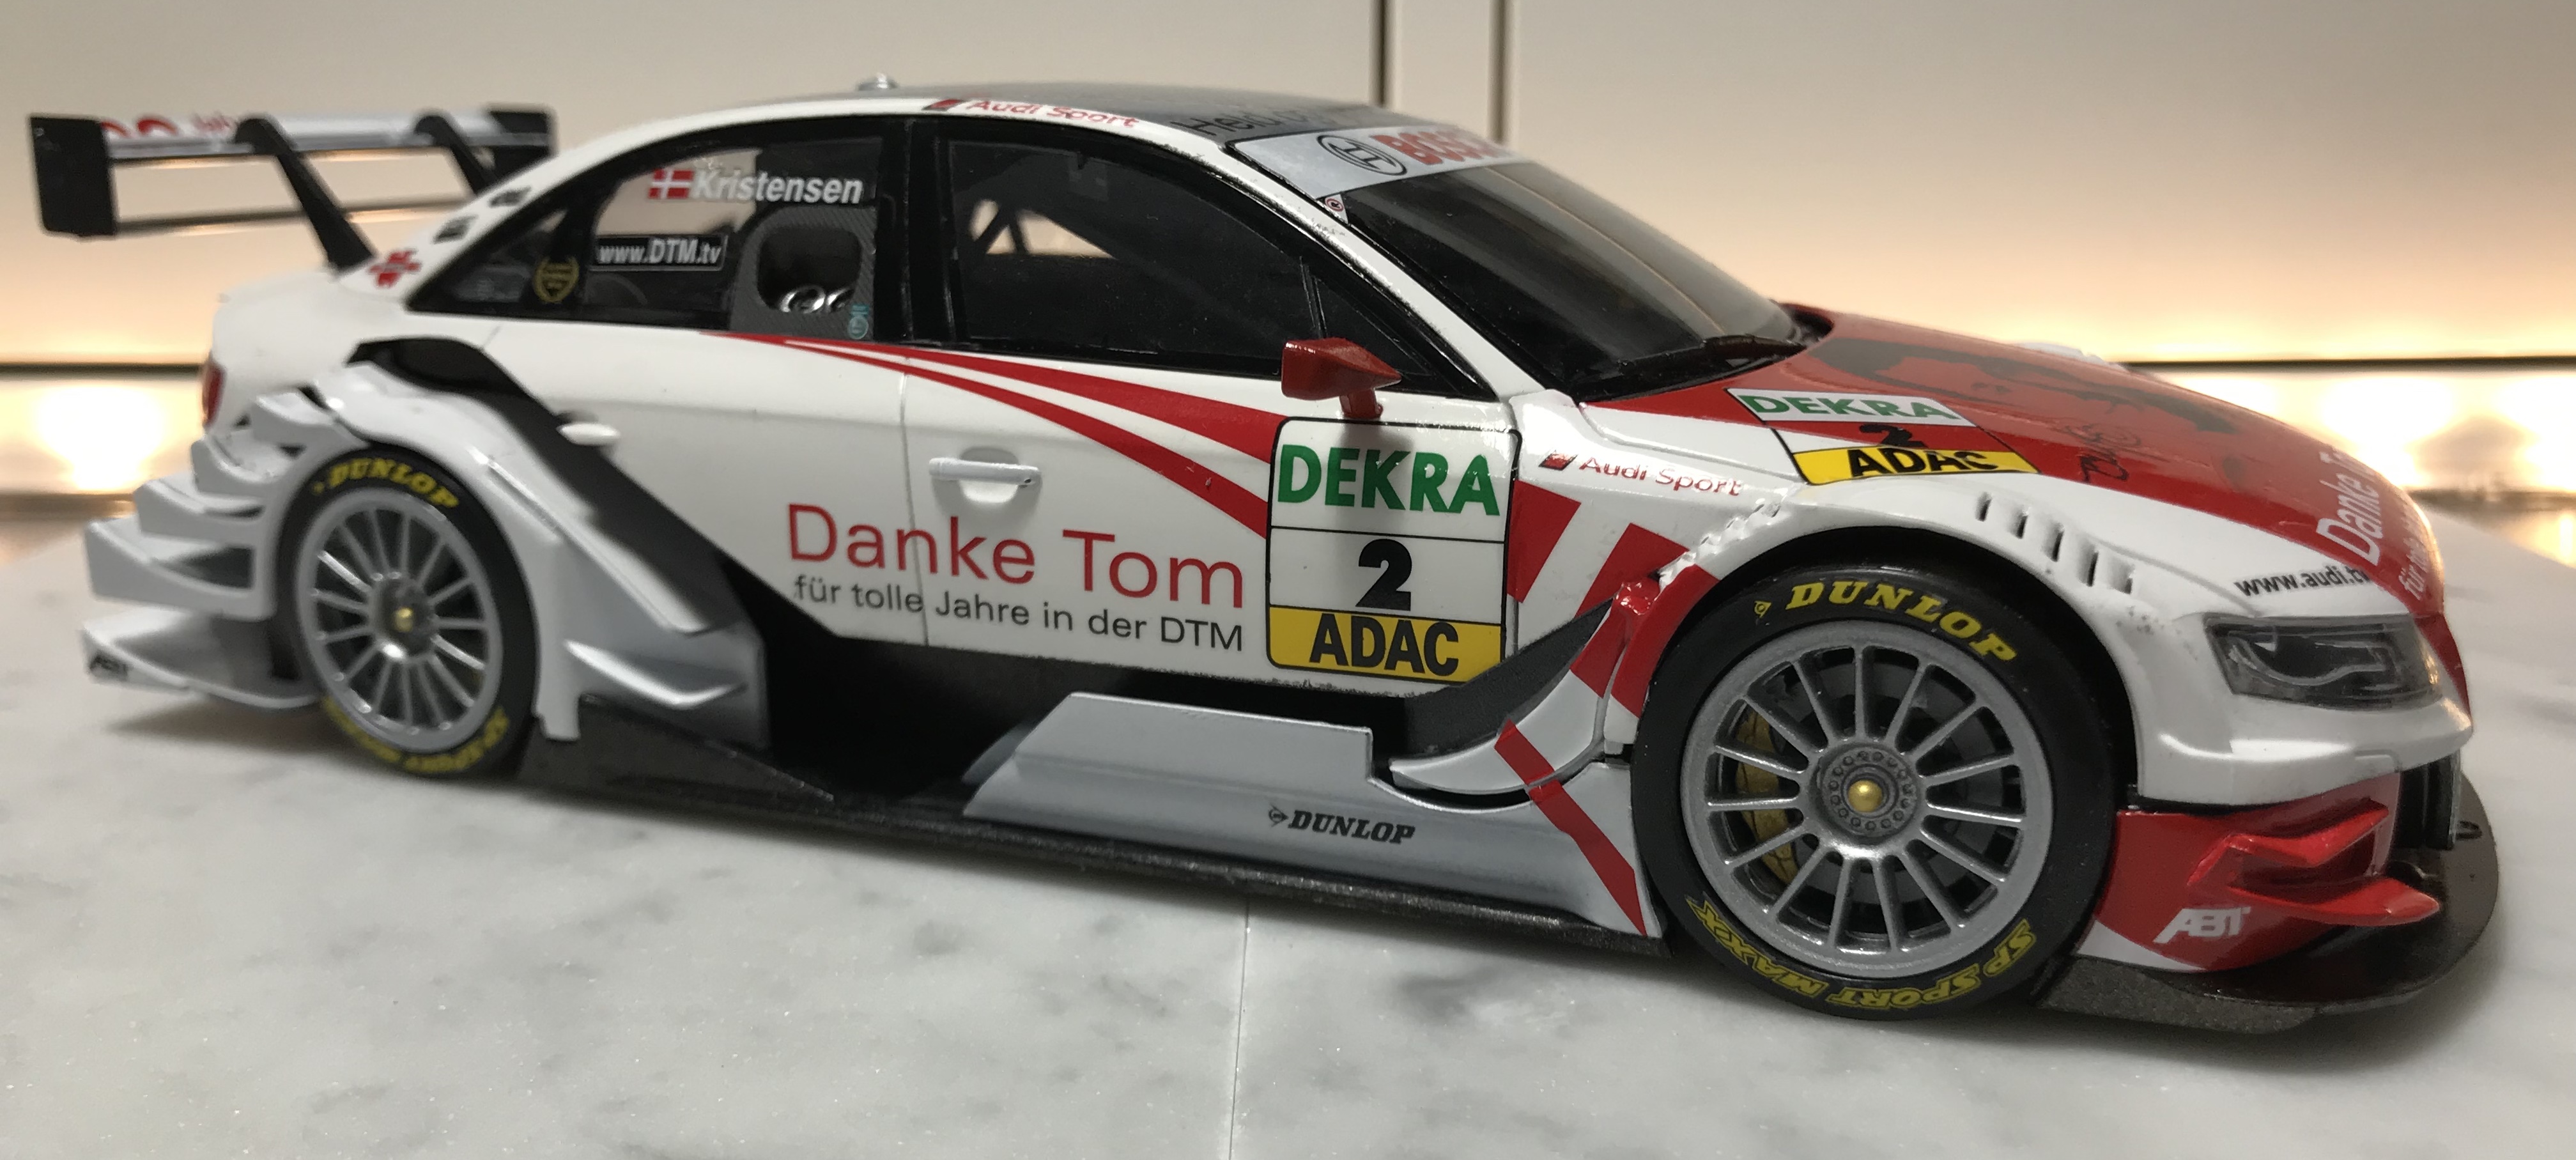
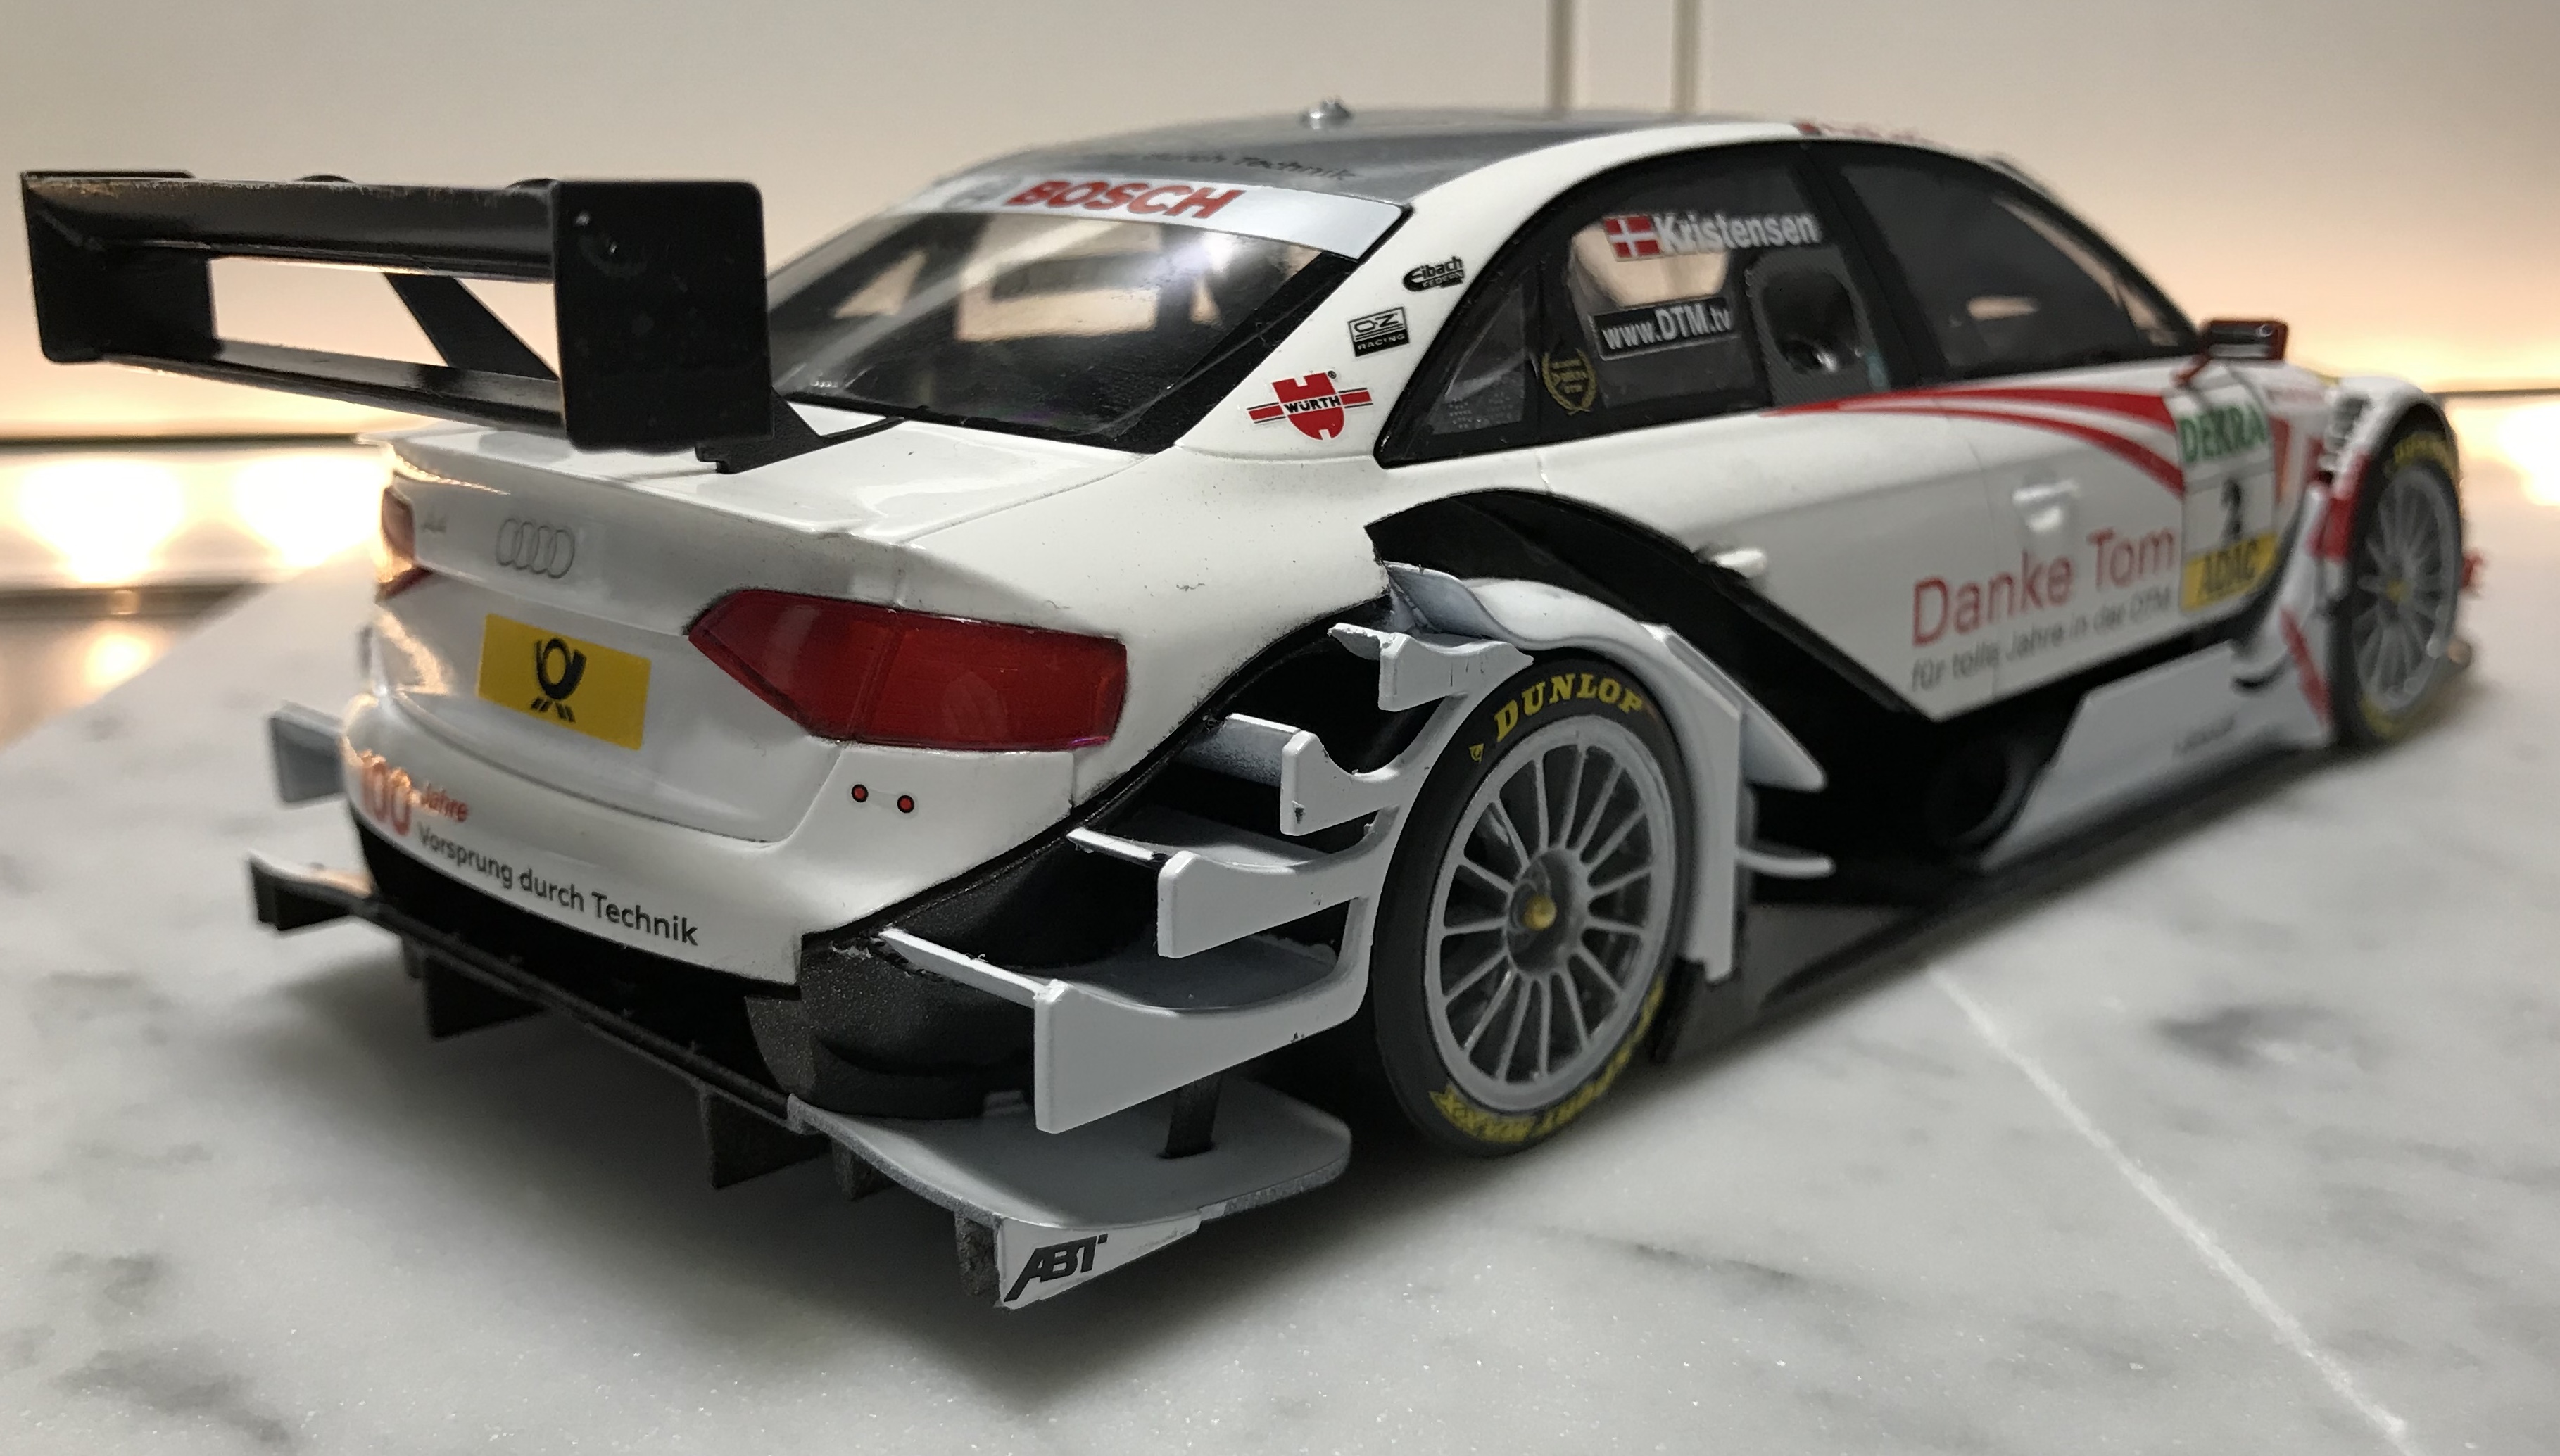
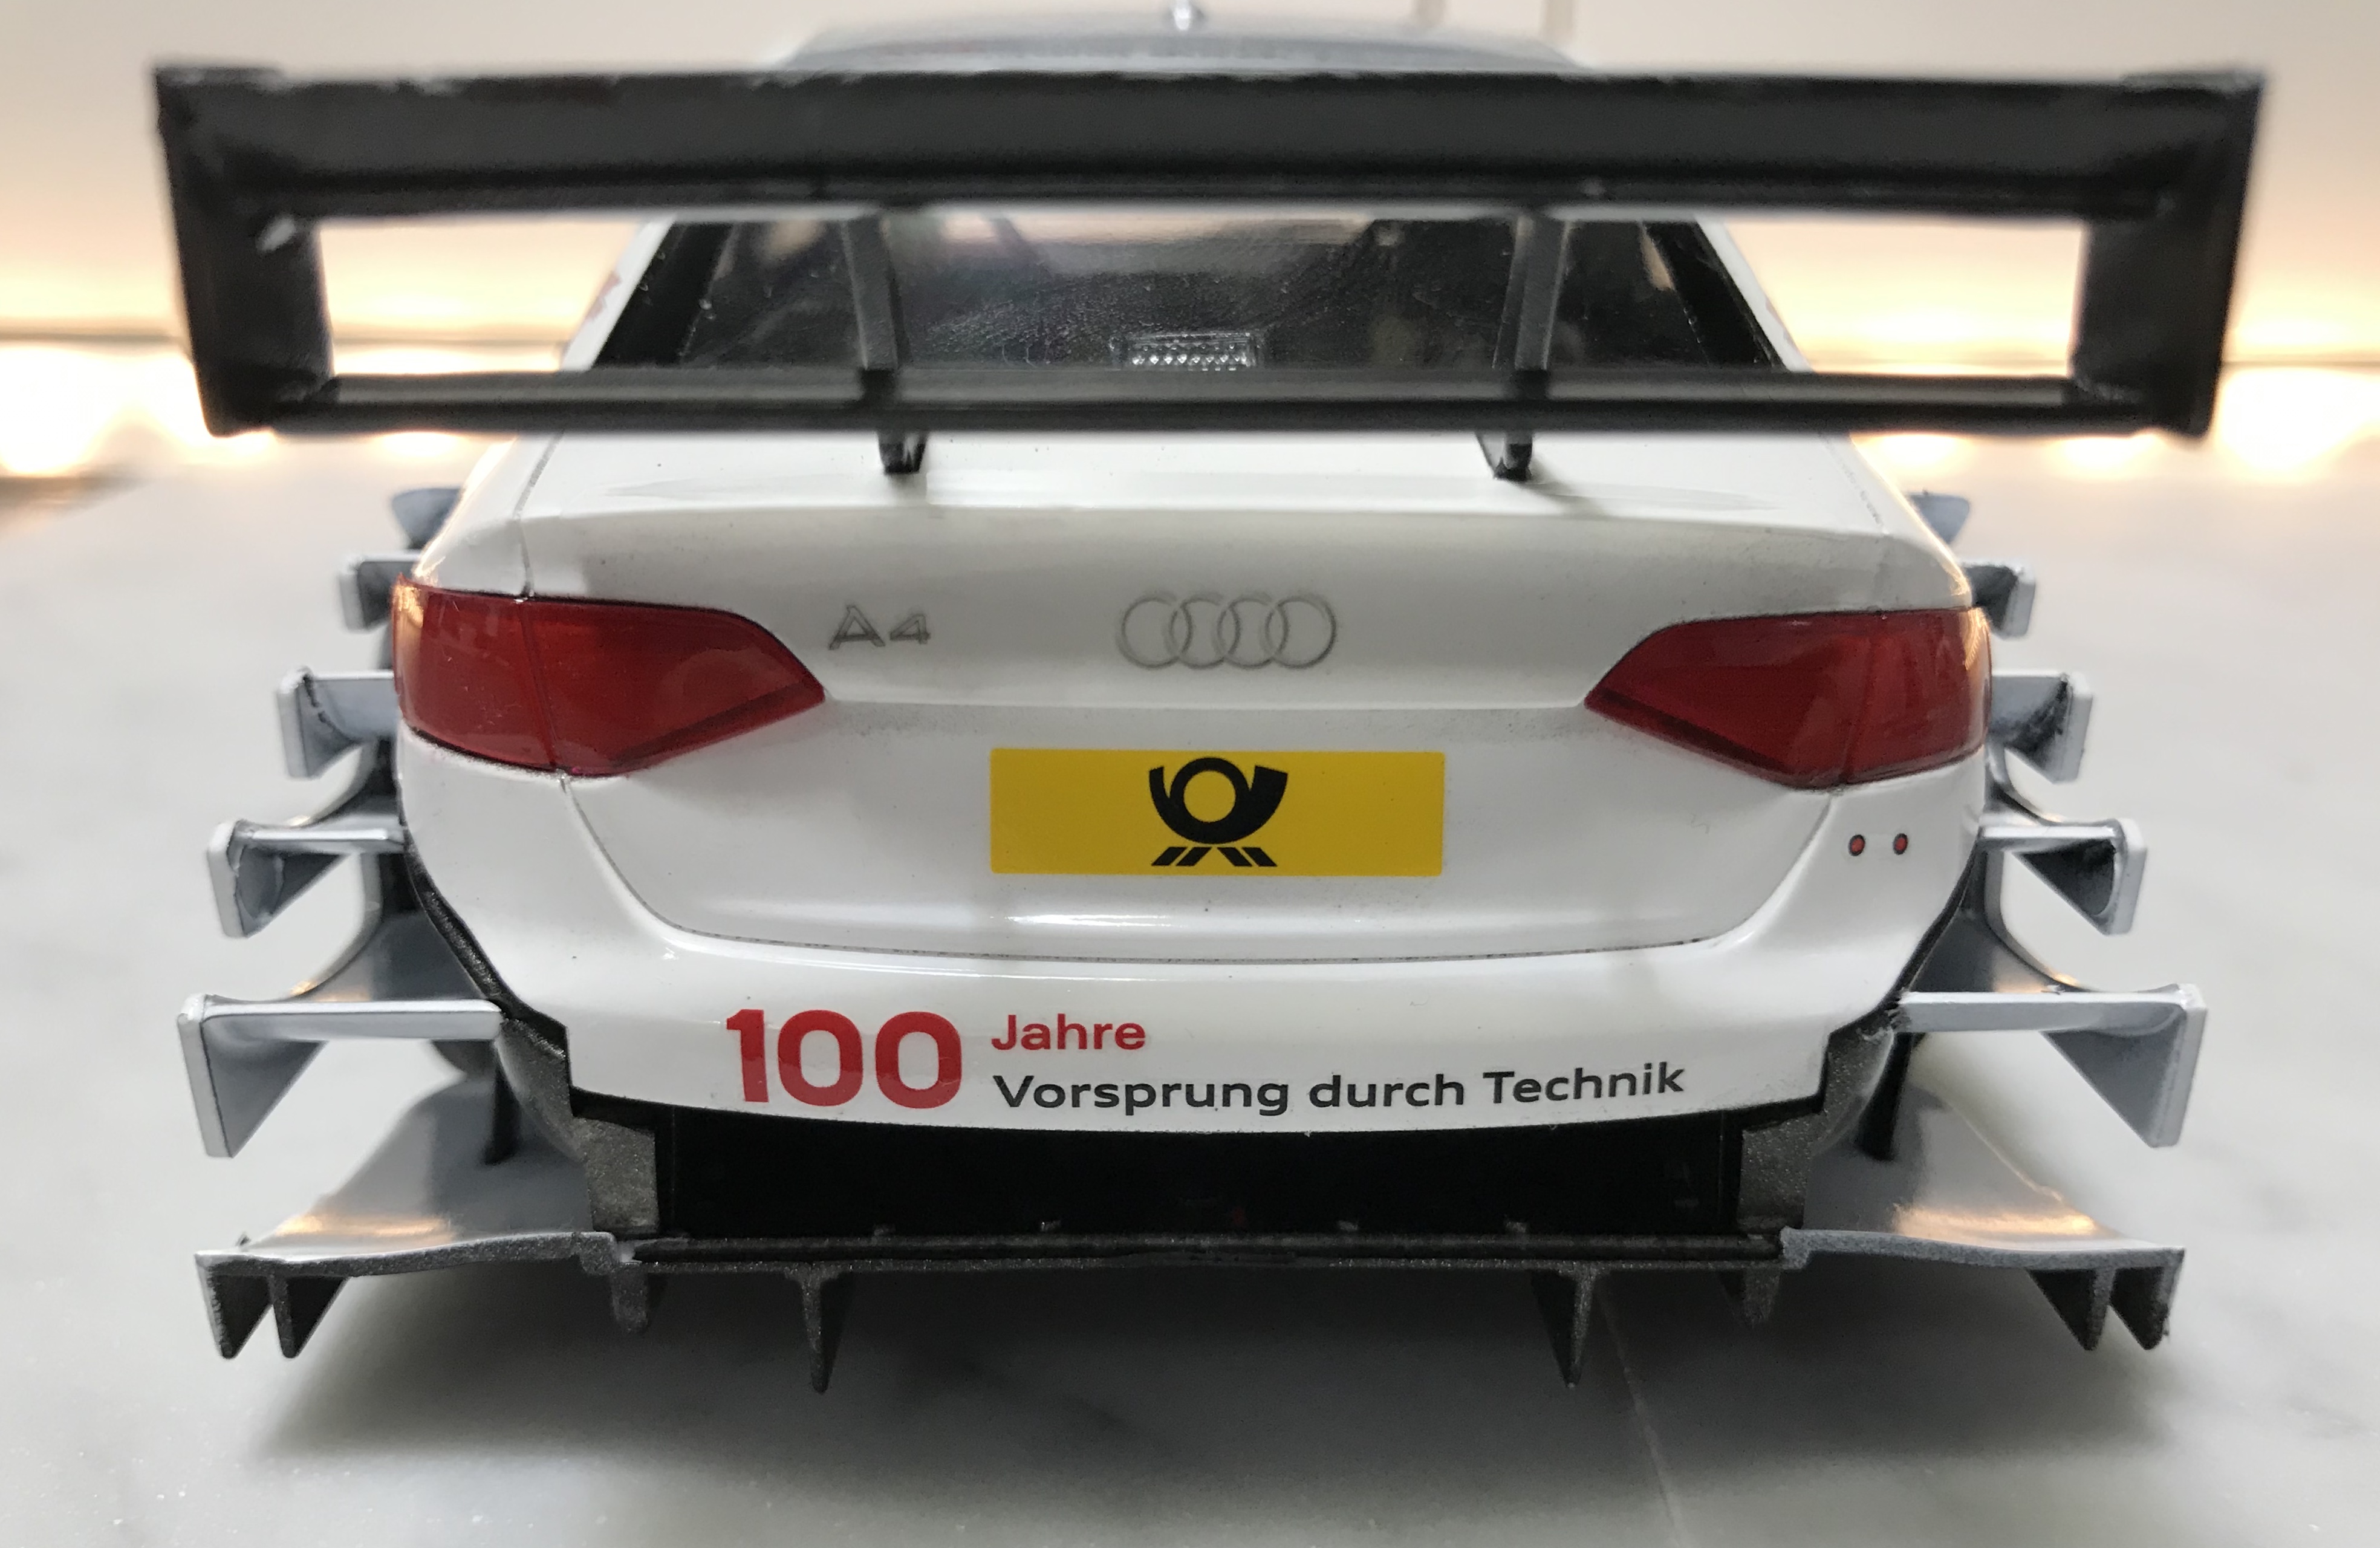
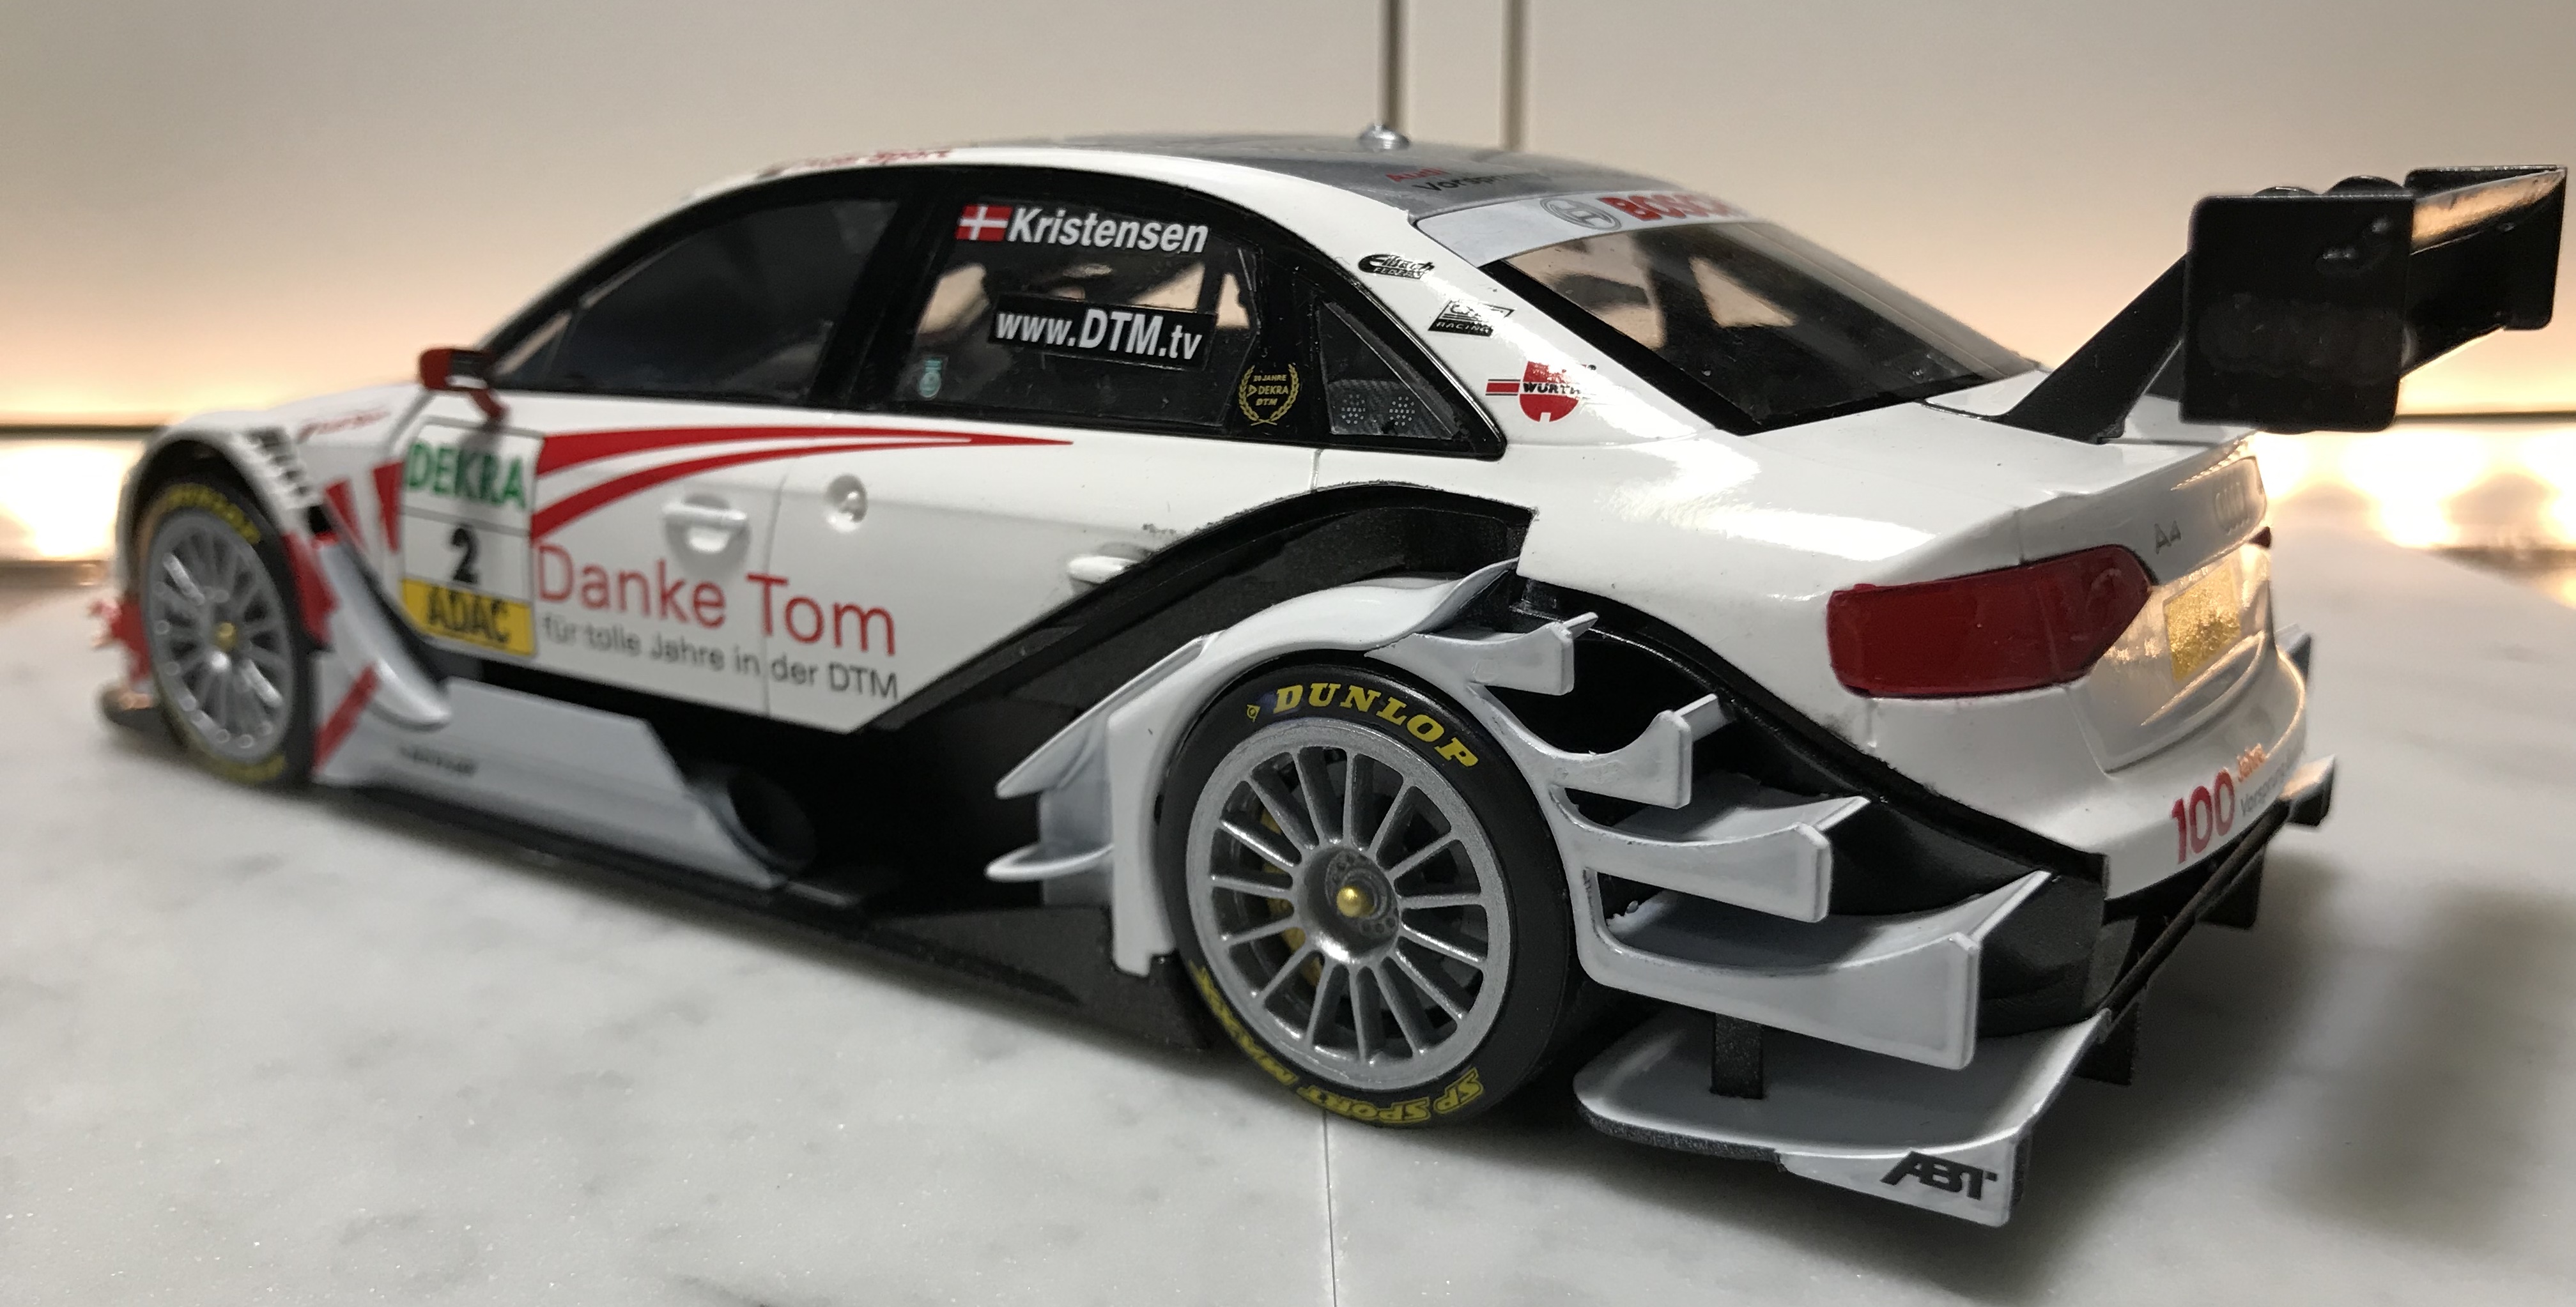
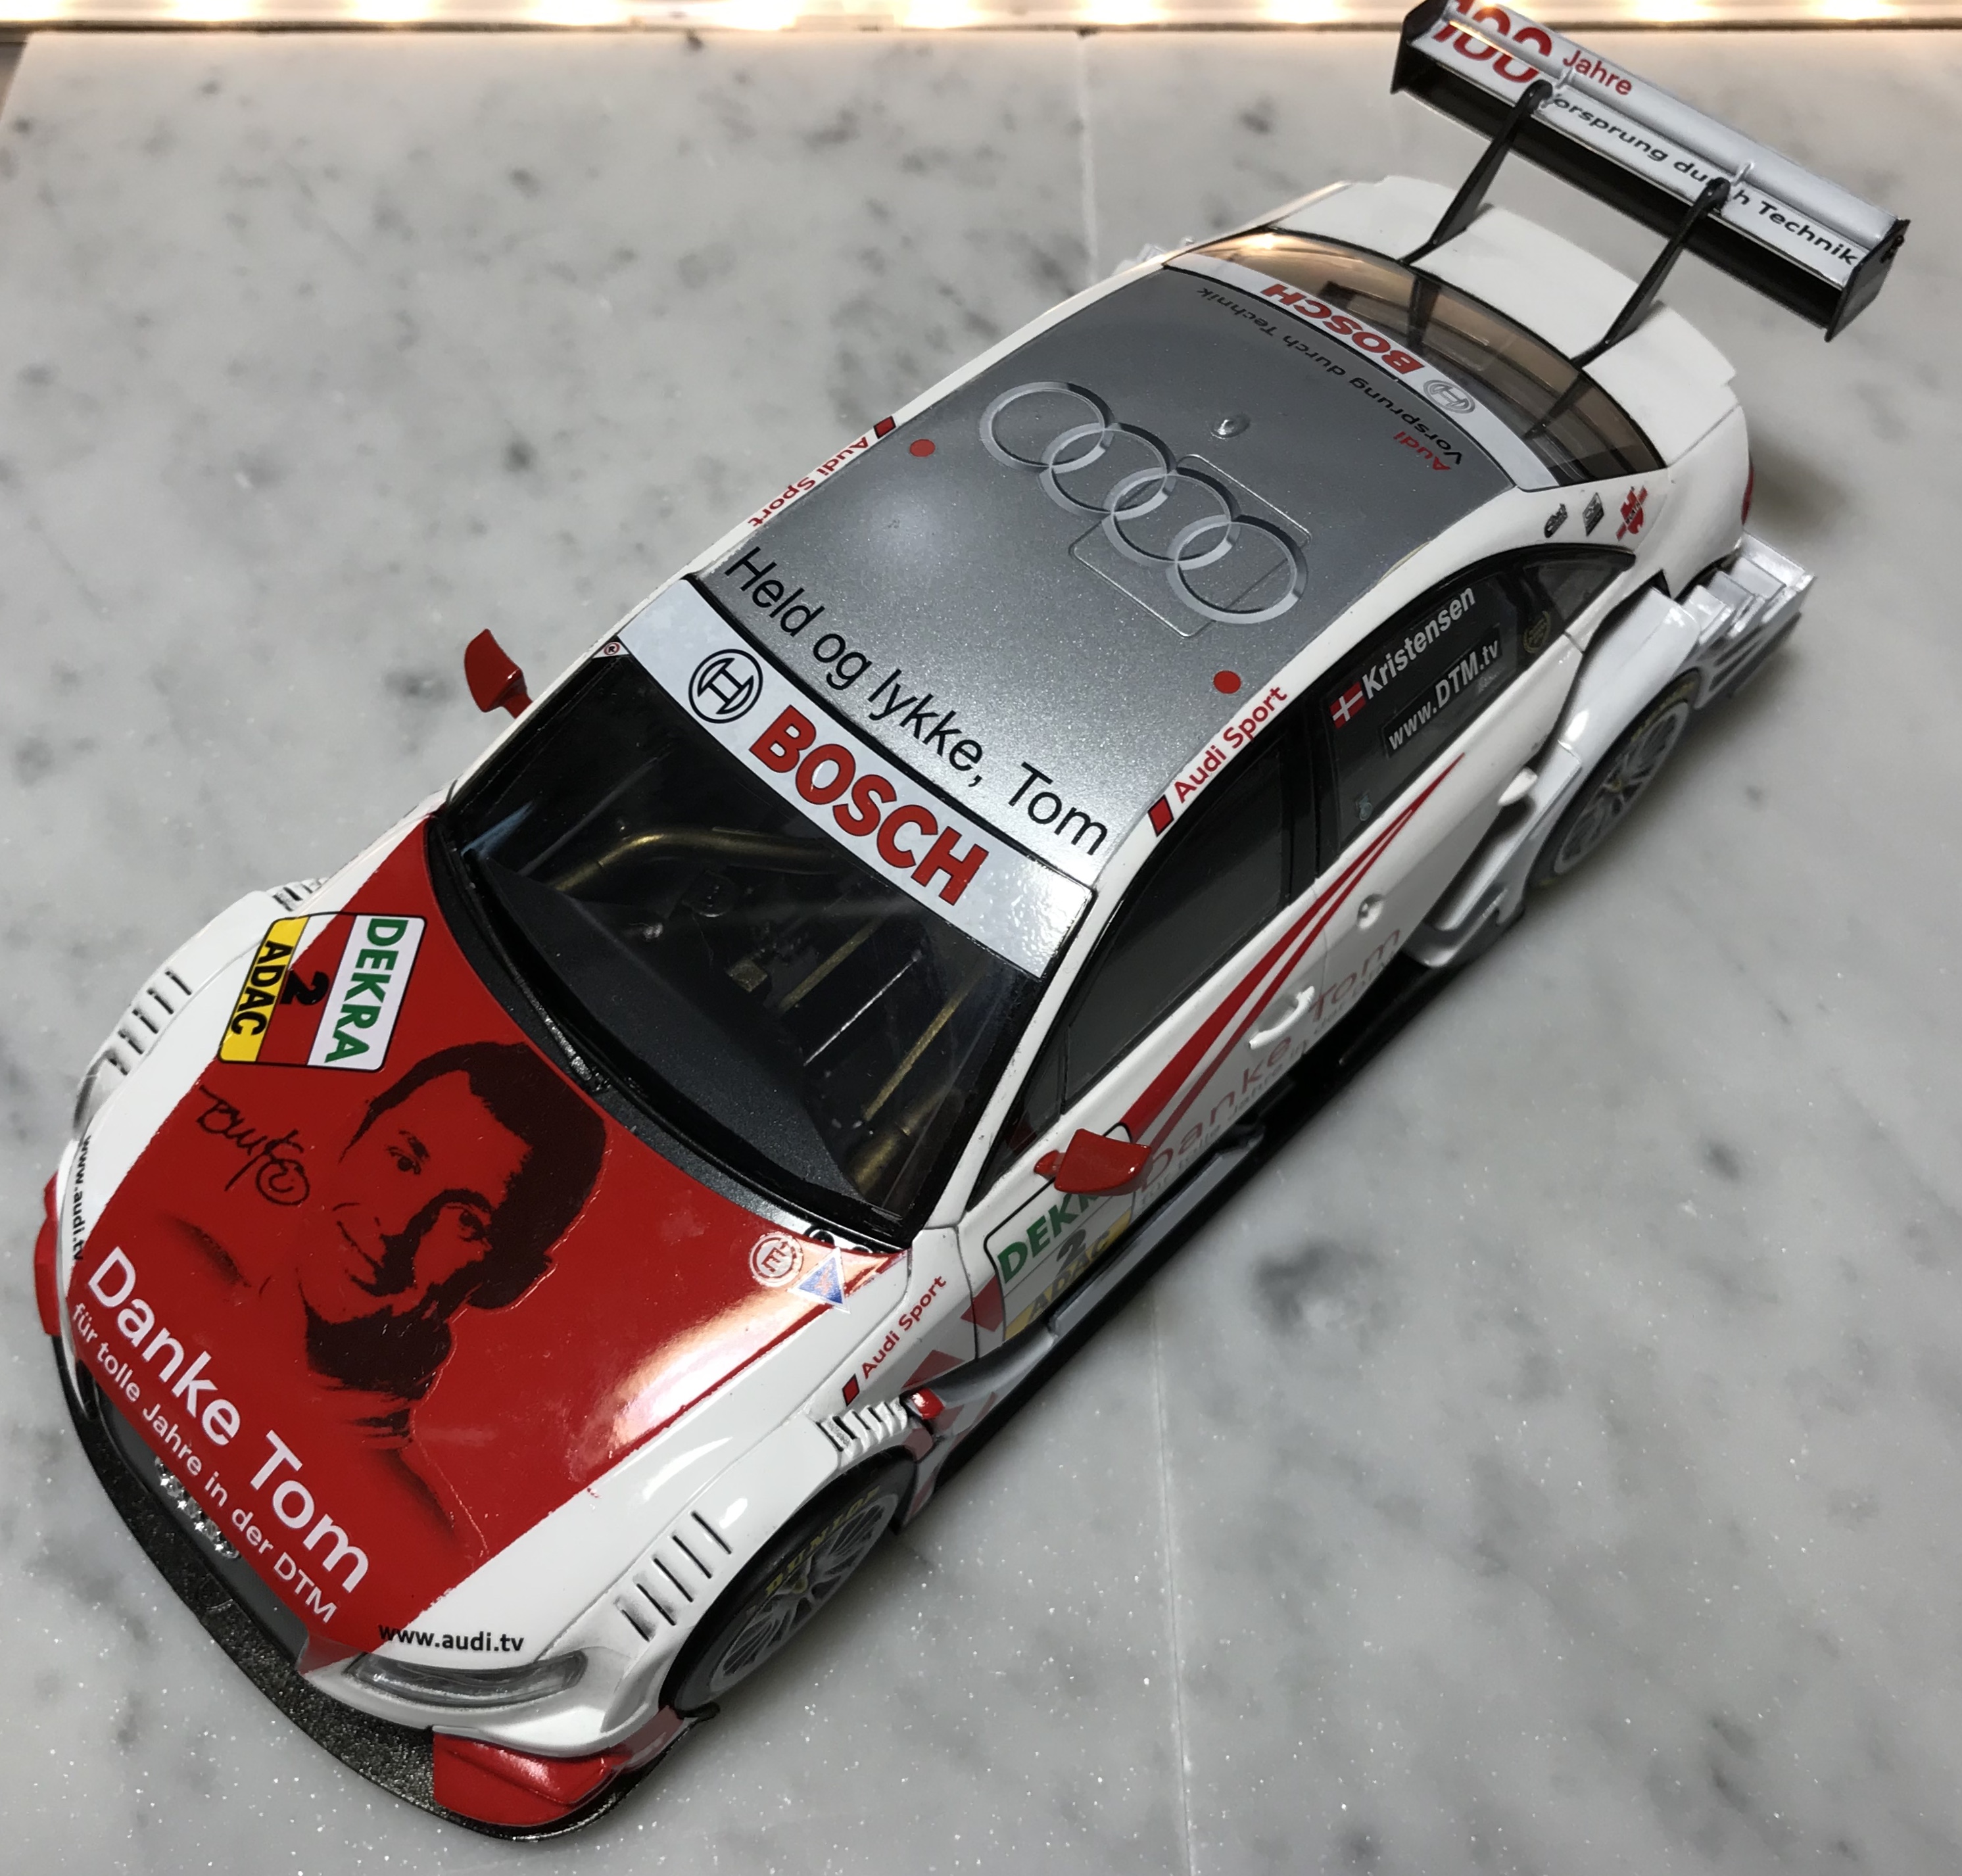
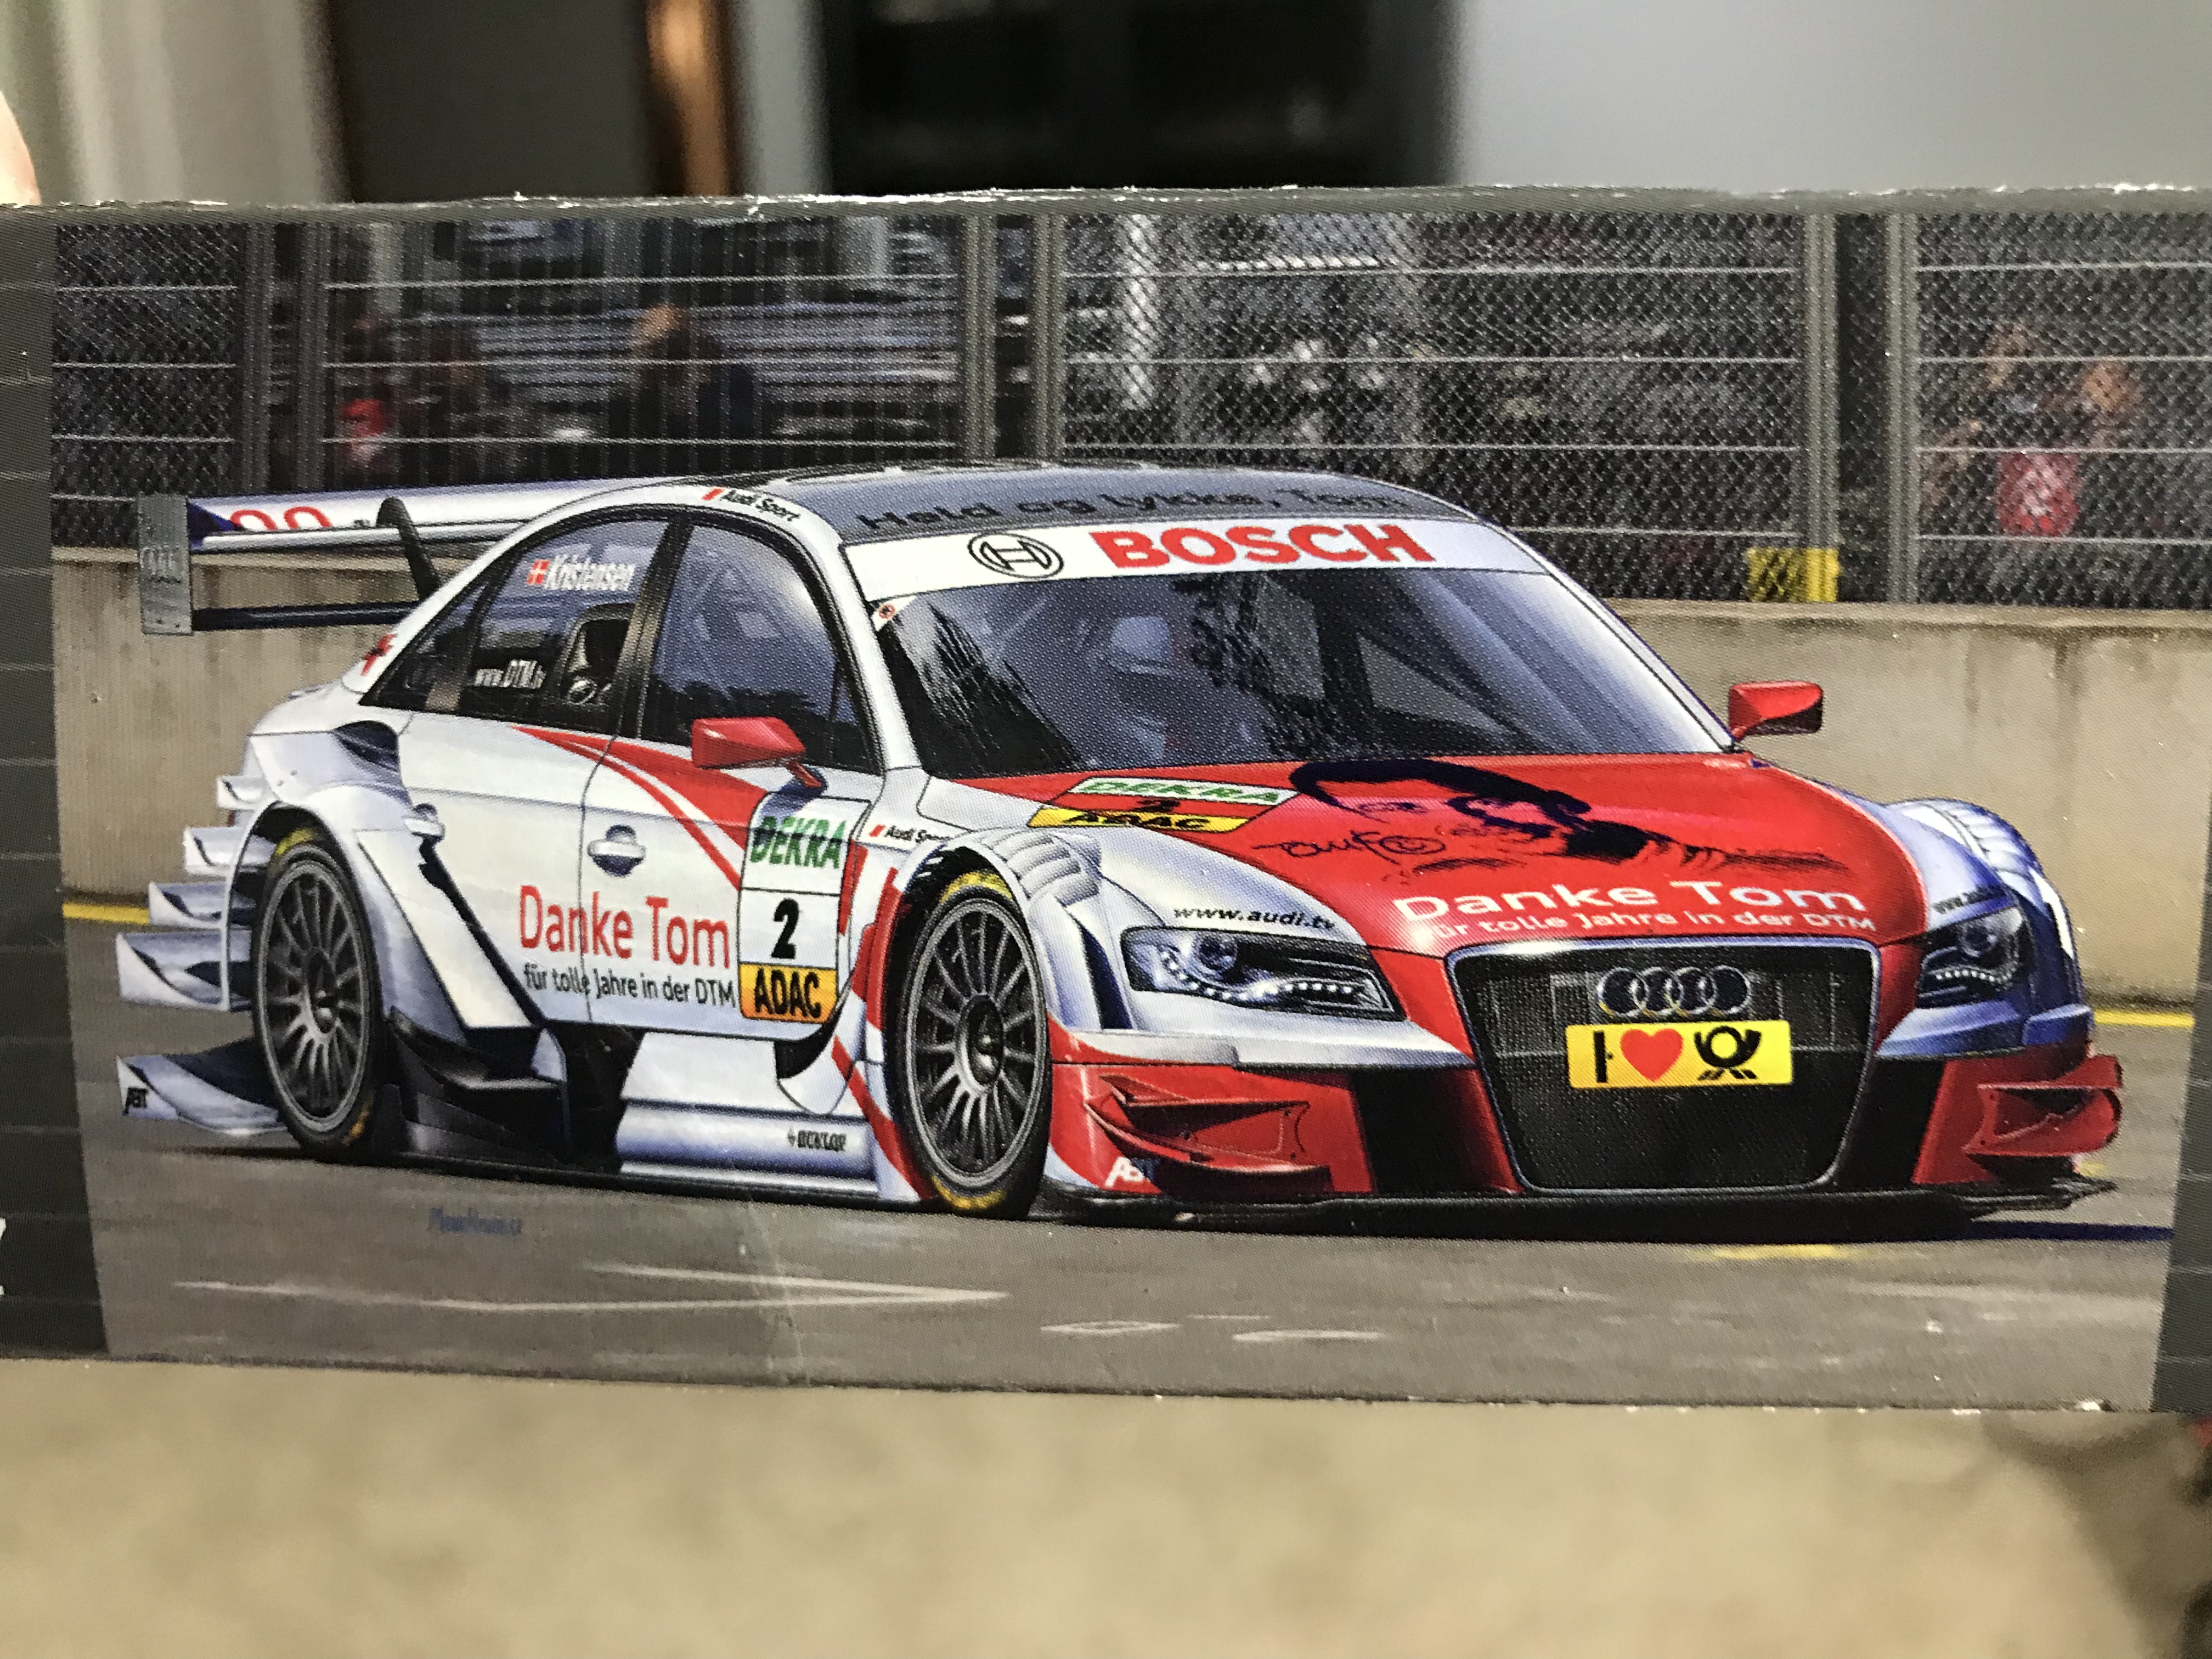
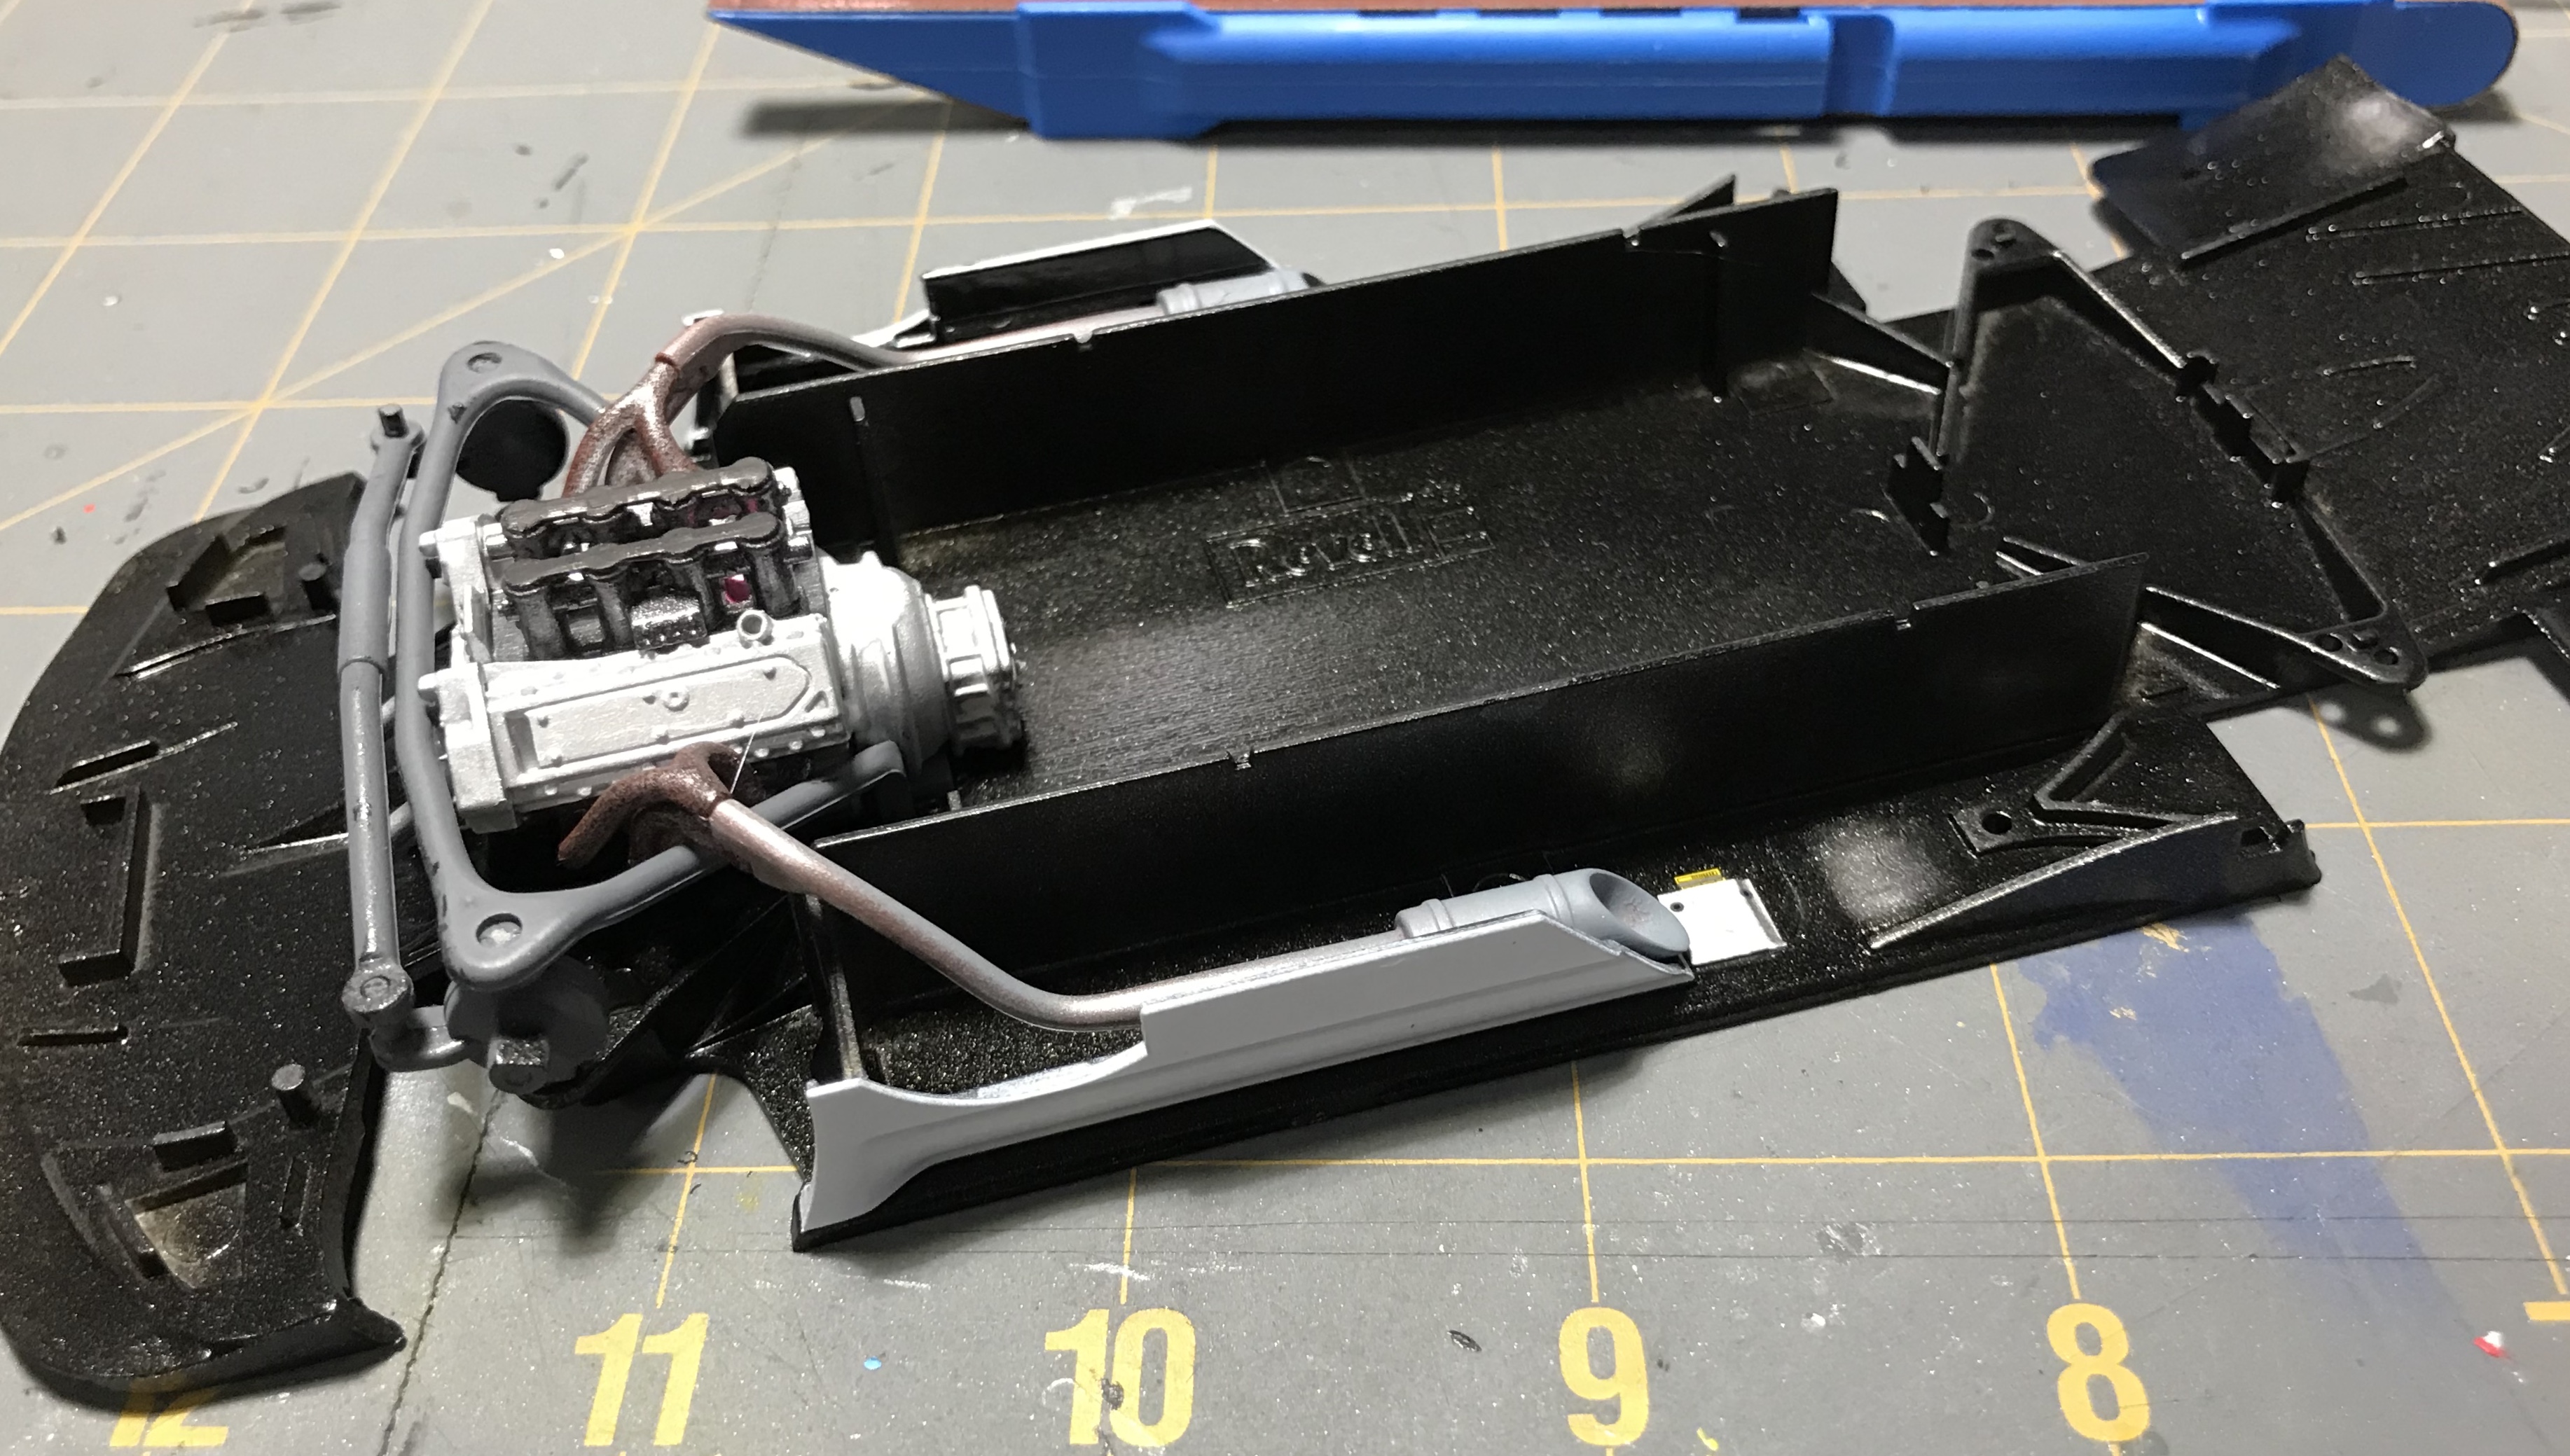
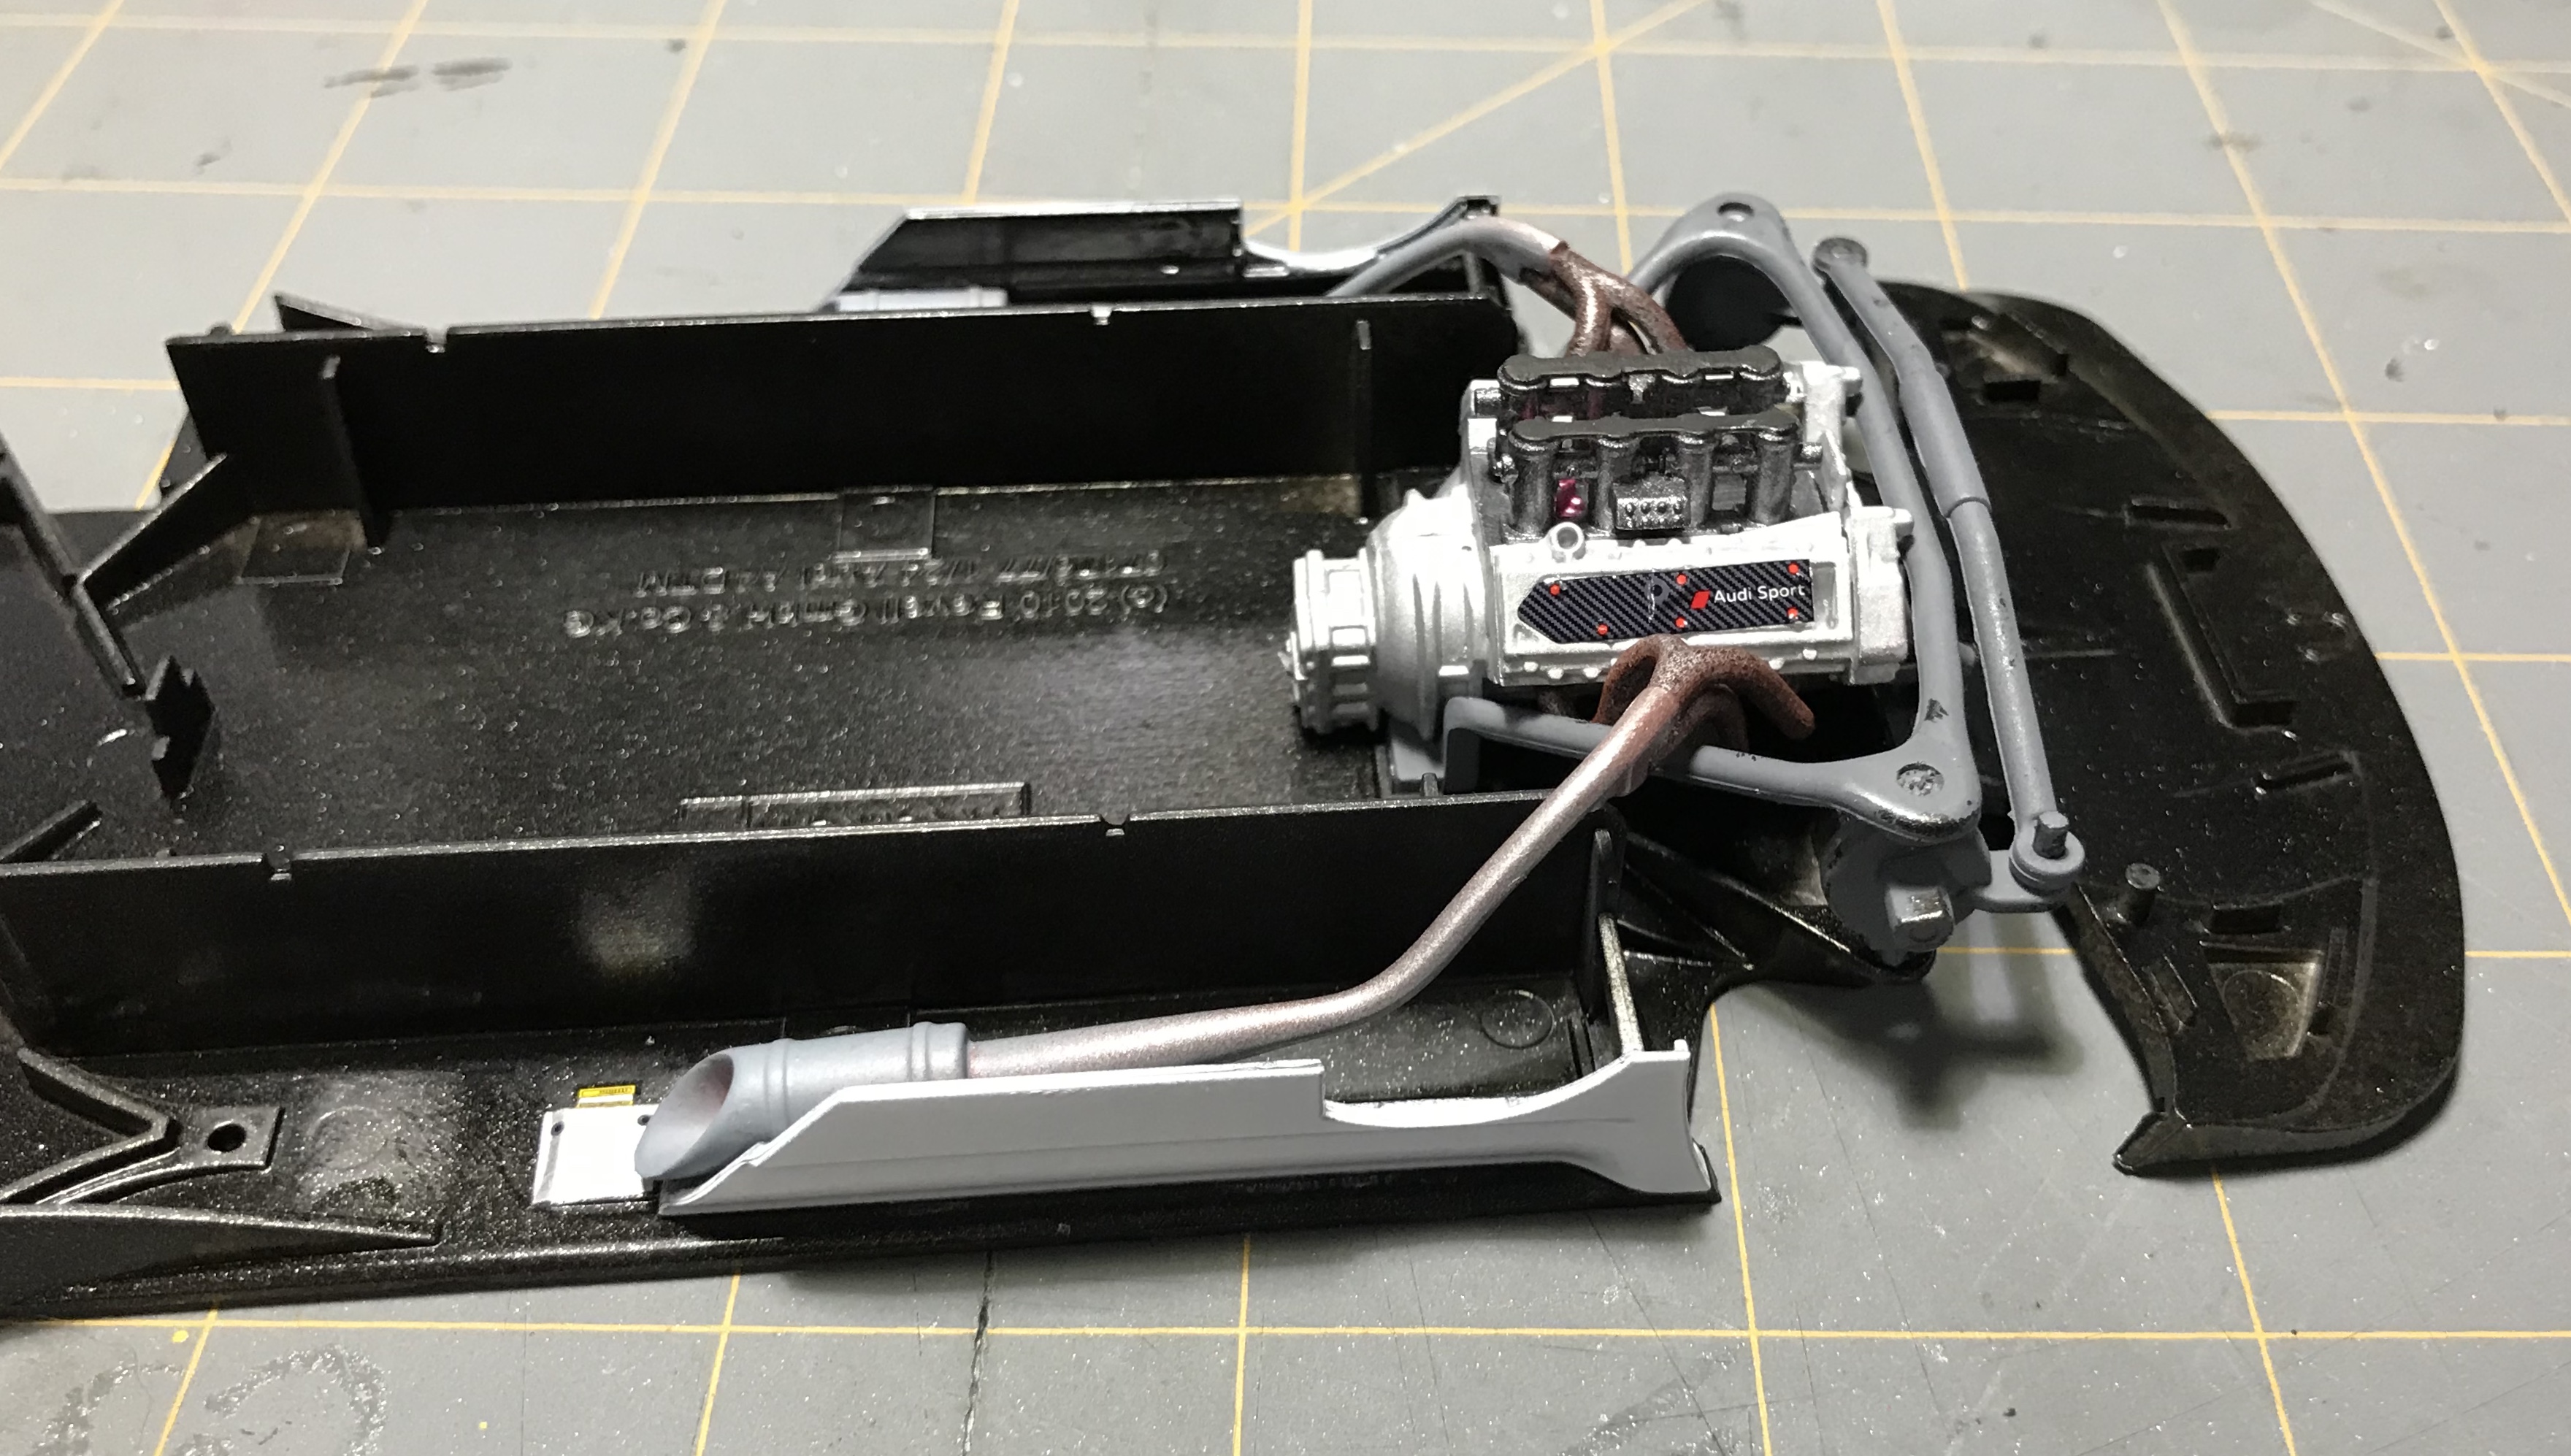
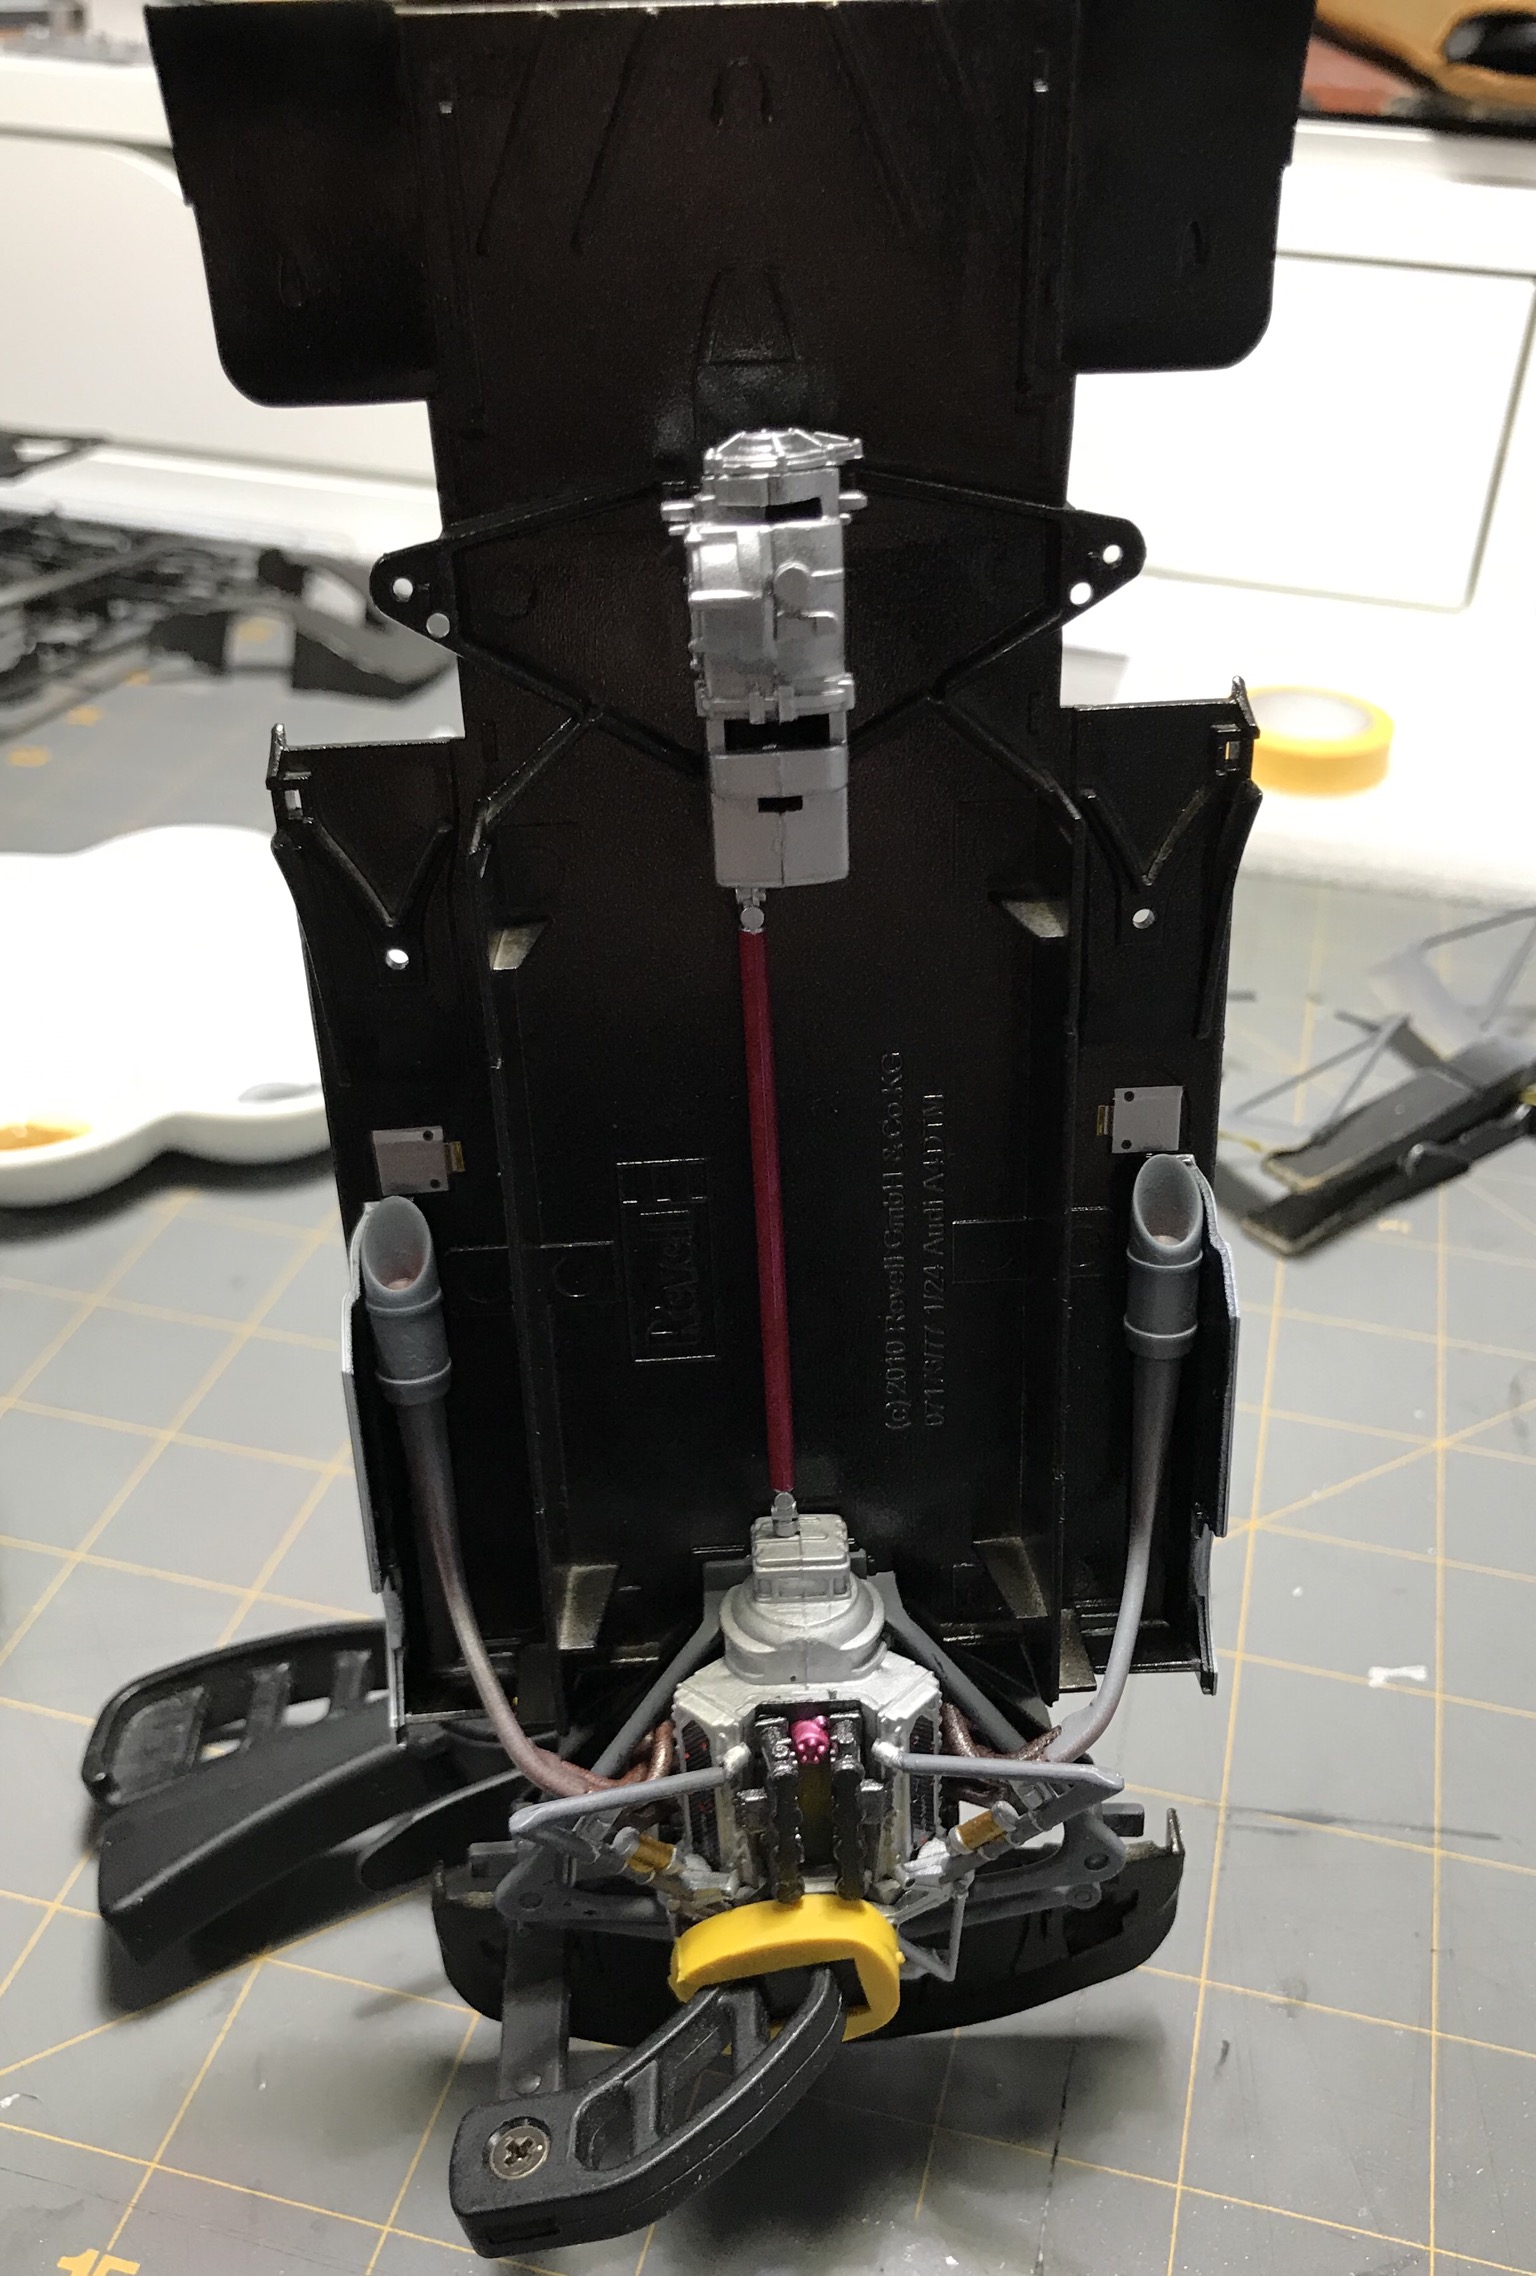
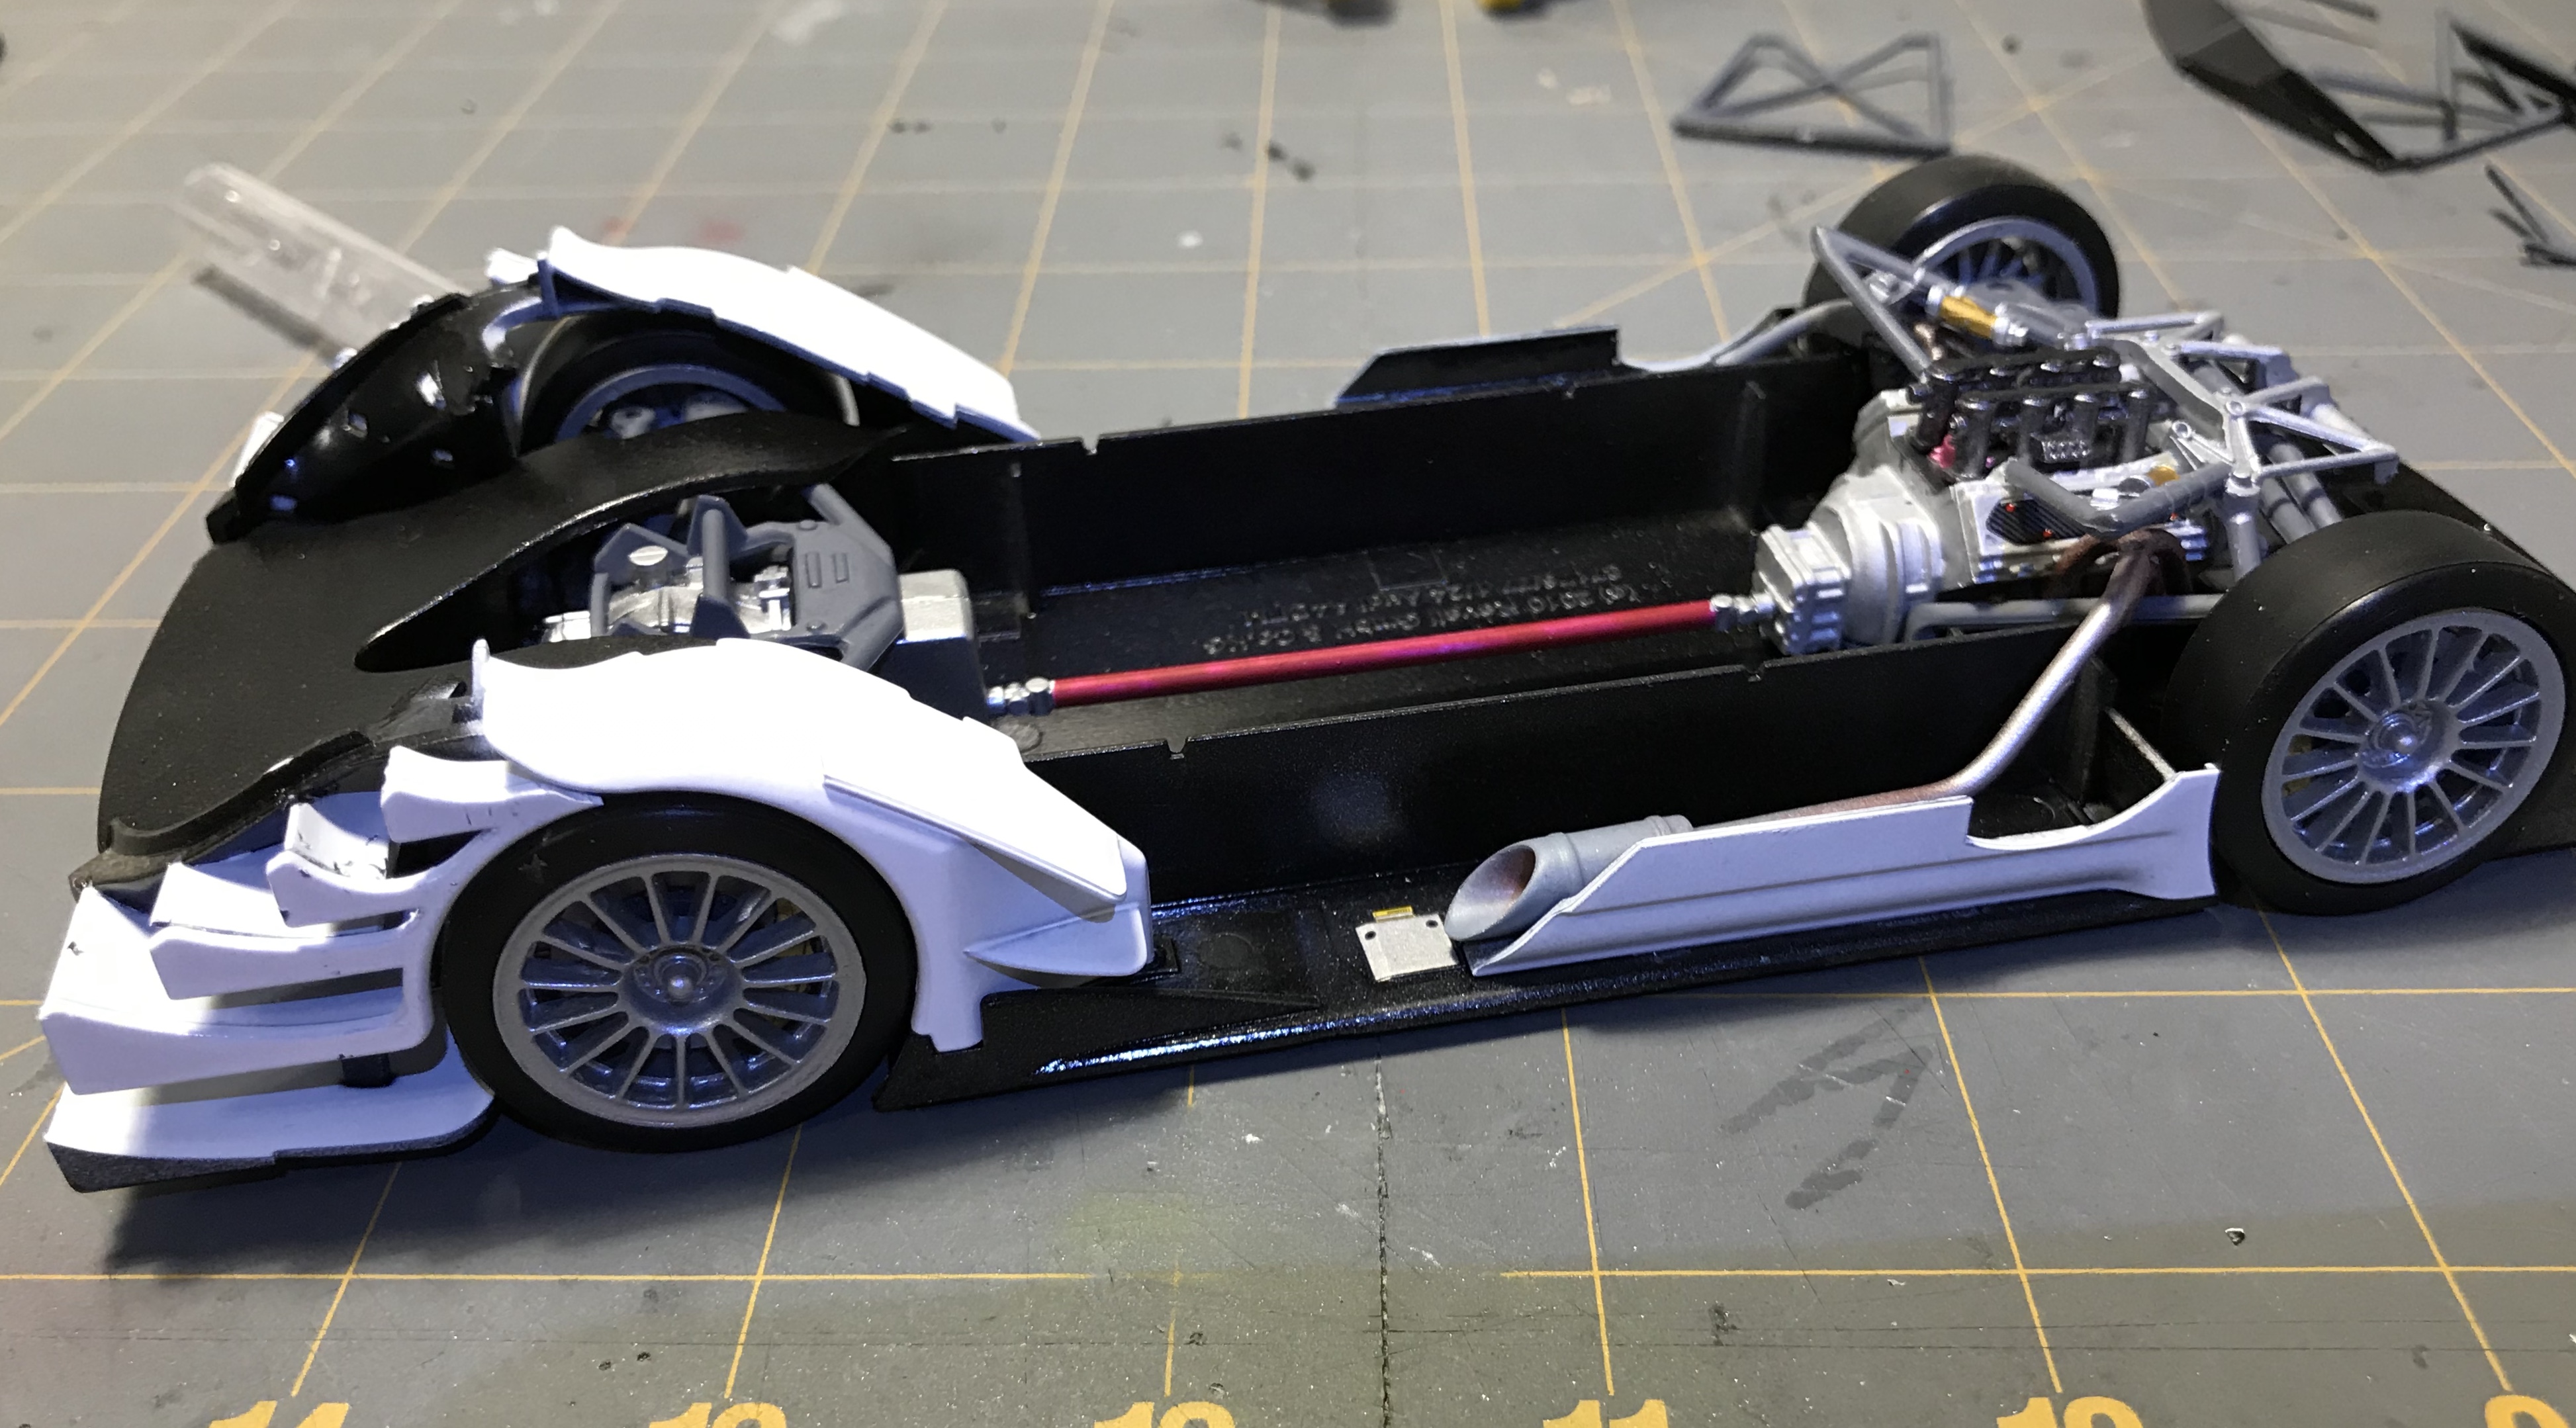
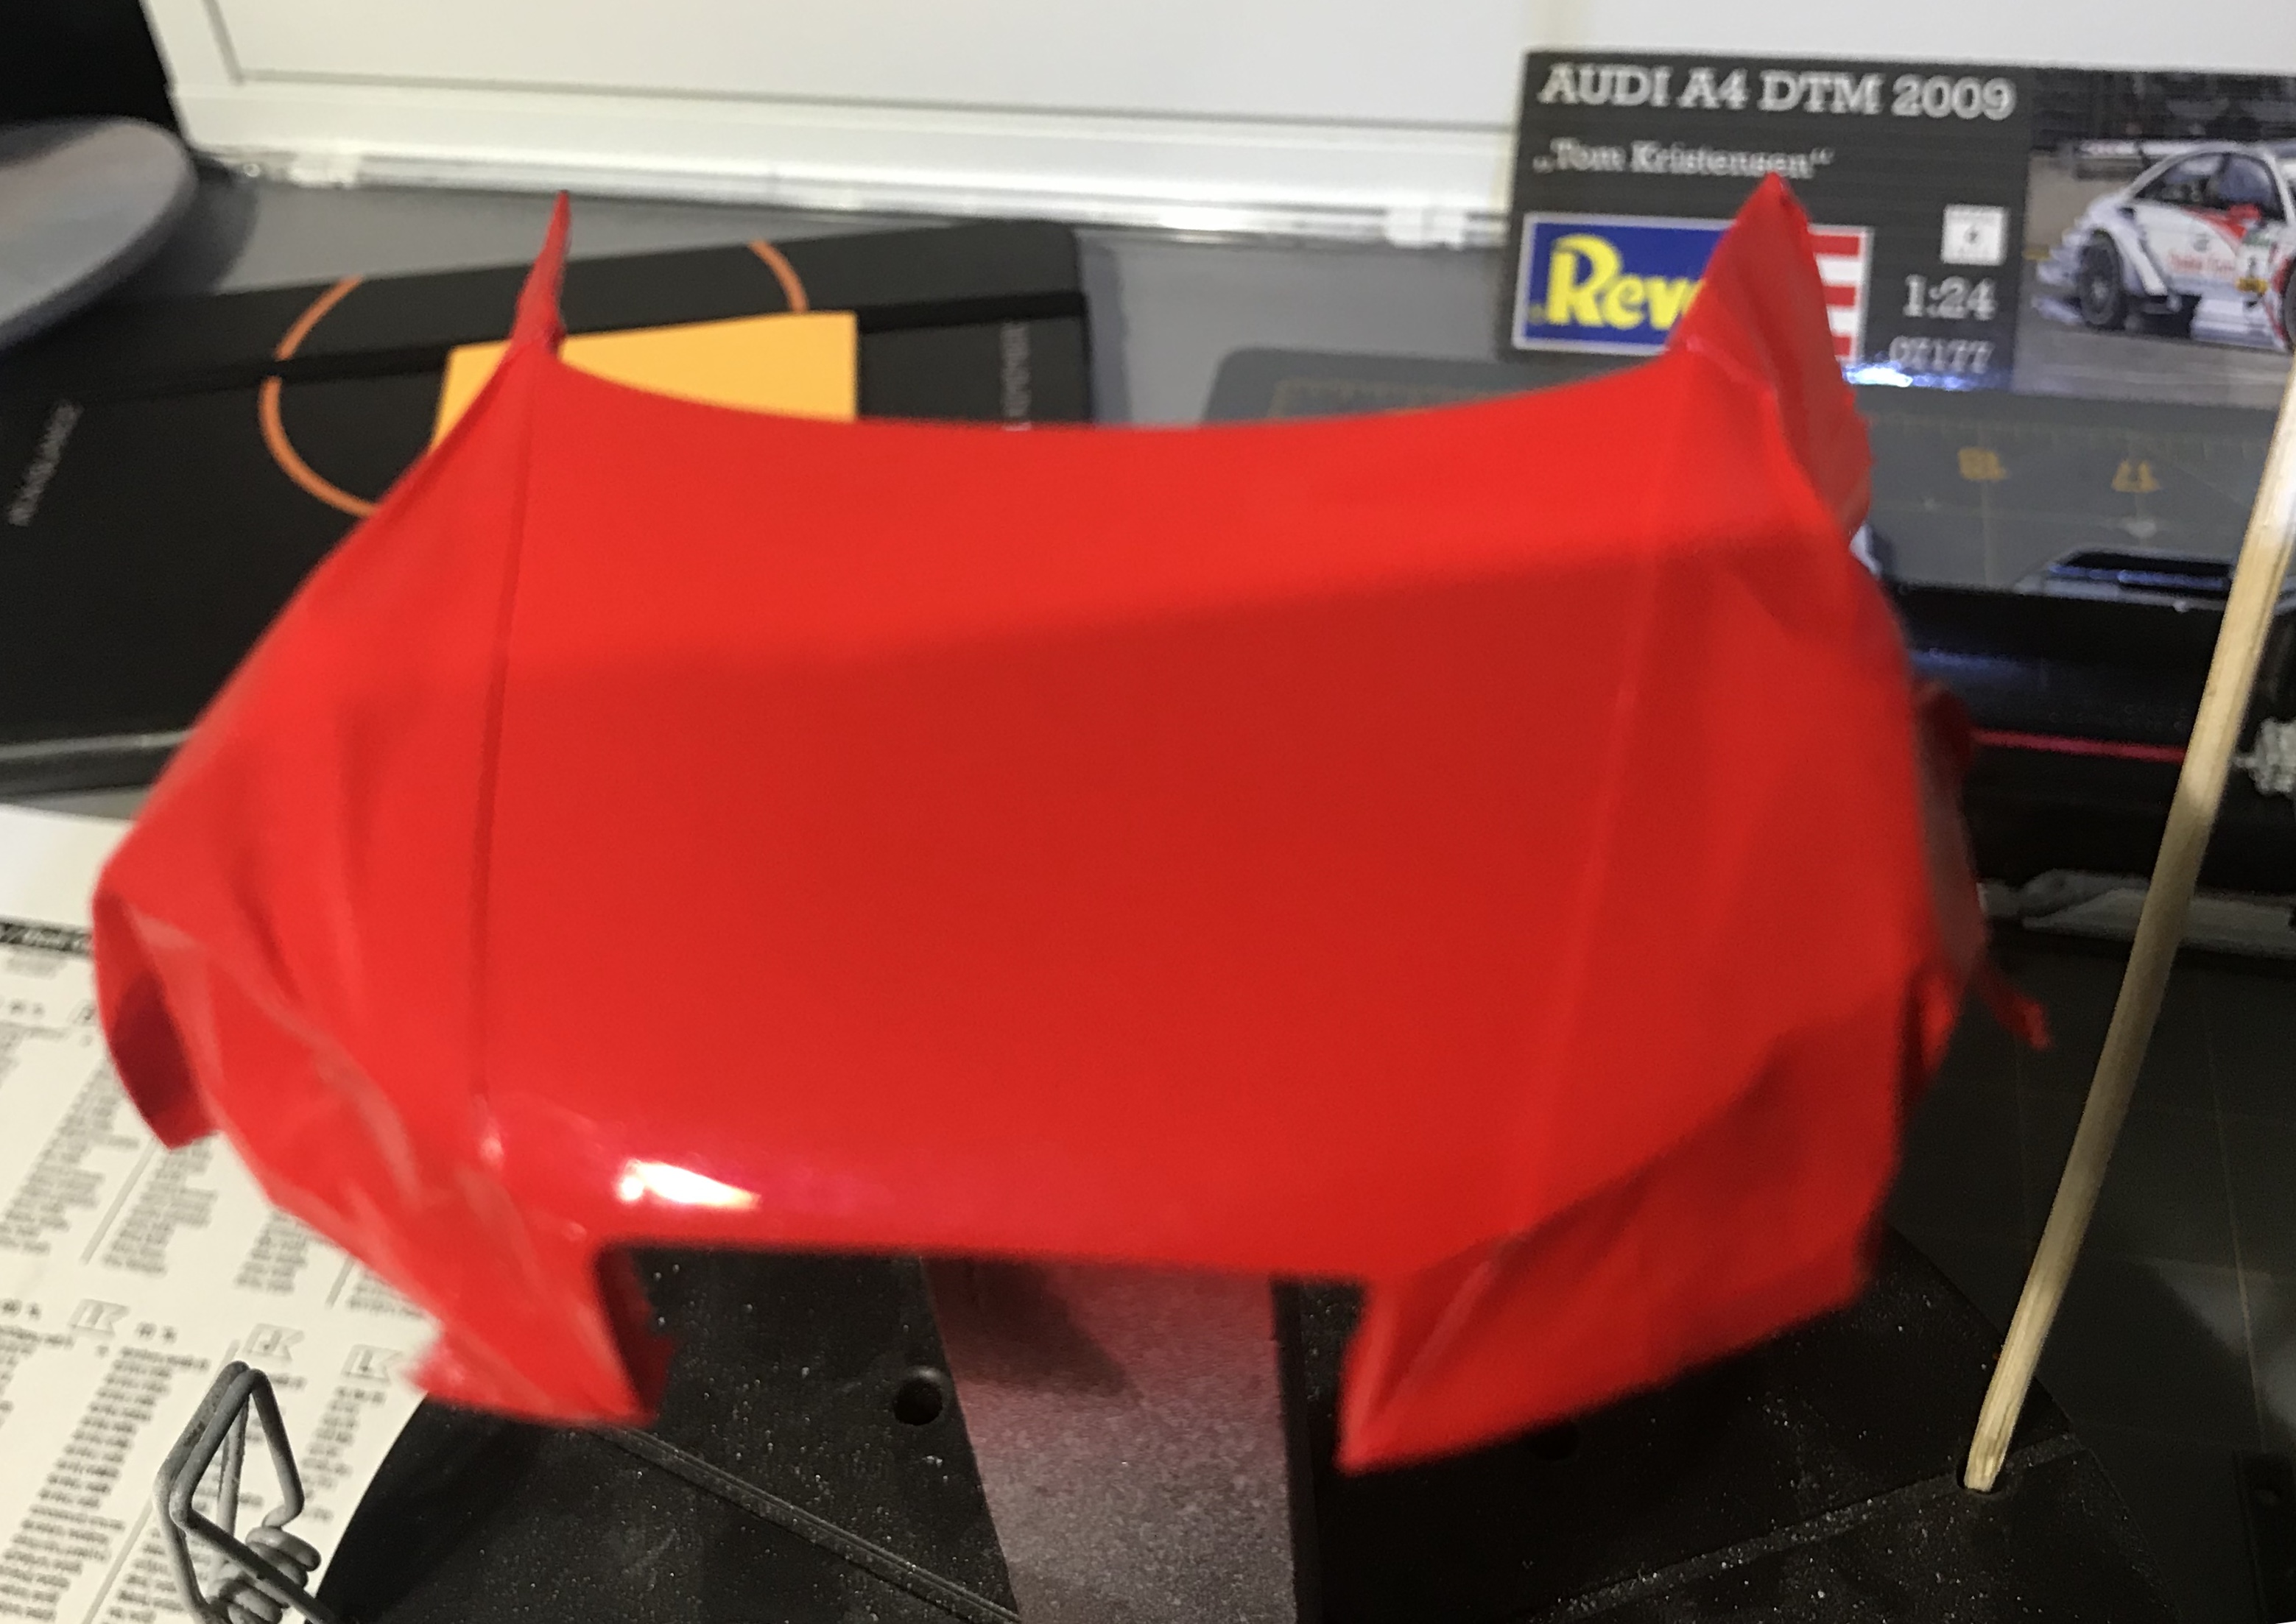
I started this in November of 2017 so I figured I’d better finish it before I start any new kits. So far it has been going together just fine and the only incident was yesterday when I dropped the hood on the carpet after the final coat of red. Into the alcohol bath it went and I repainted it this morning. I love all the crazy aero stuff on these cars.
-
Well I built this from the foose issue of the 1/12 kit. This is my first big scale kit I have completed. Mostly box stock. Paint is a duplicolor gm color and the stripes are airbrushed on. I added the springs, vacuum lines, brake/fuel lines and other small details in the bay. Overall the kit was pretty decent to put together. There was a few fitment issues and the chrome plating is not very good. But the finished product came out very well. This will probably be my last finished build for 2018 ? Thanks for looking.
-
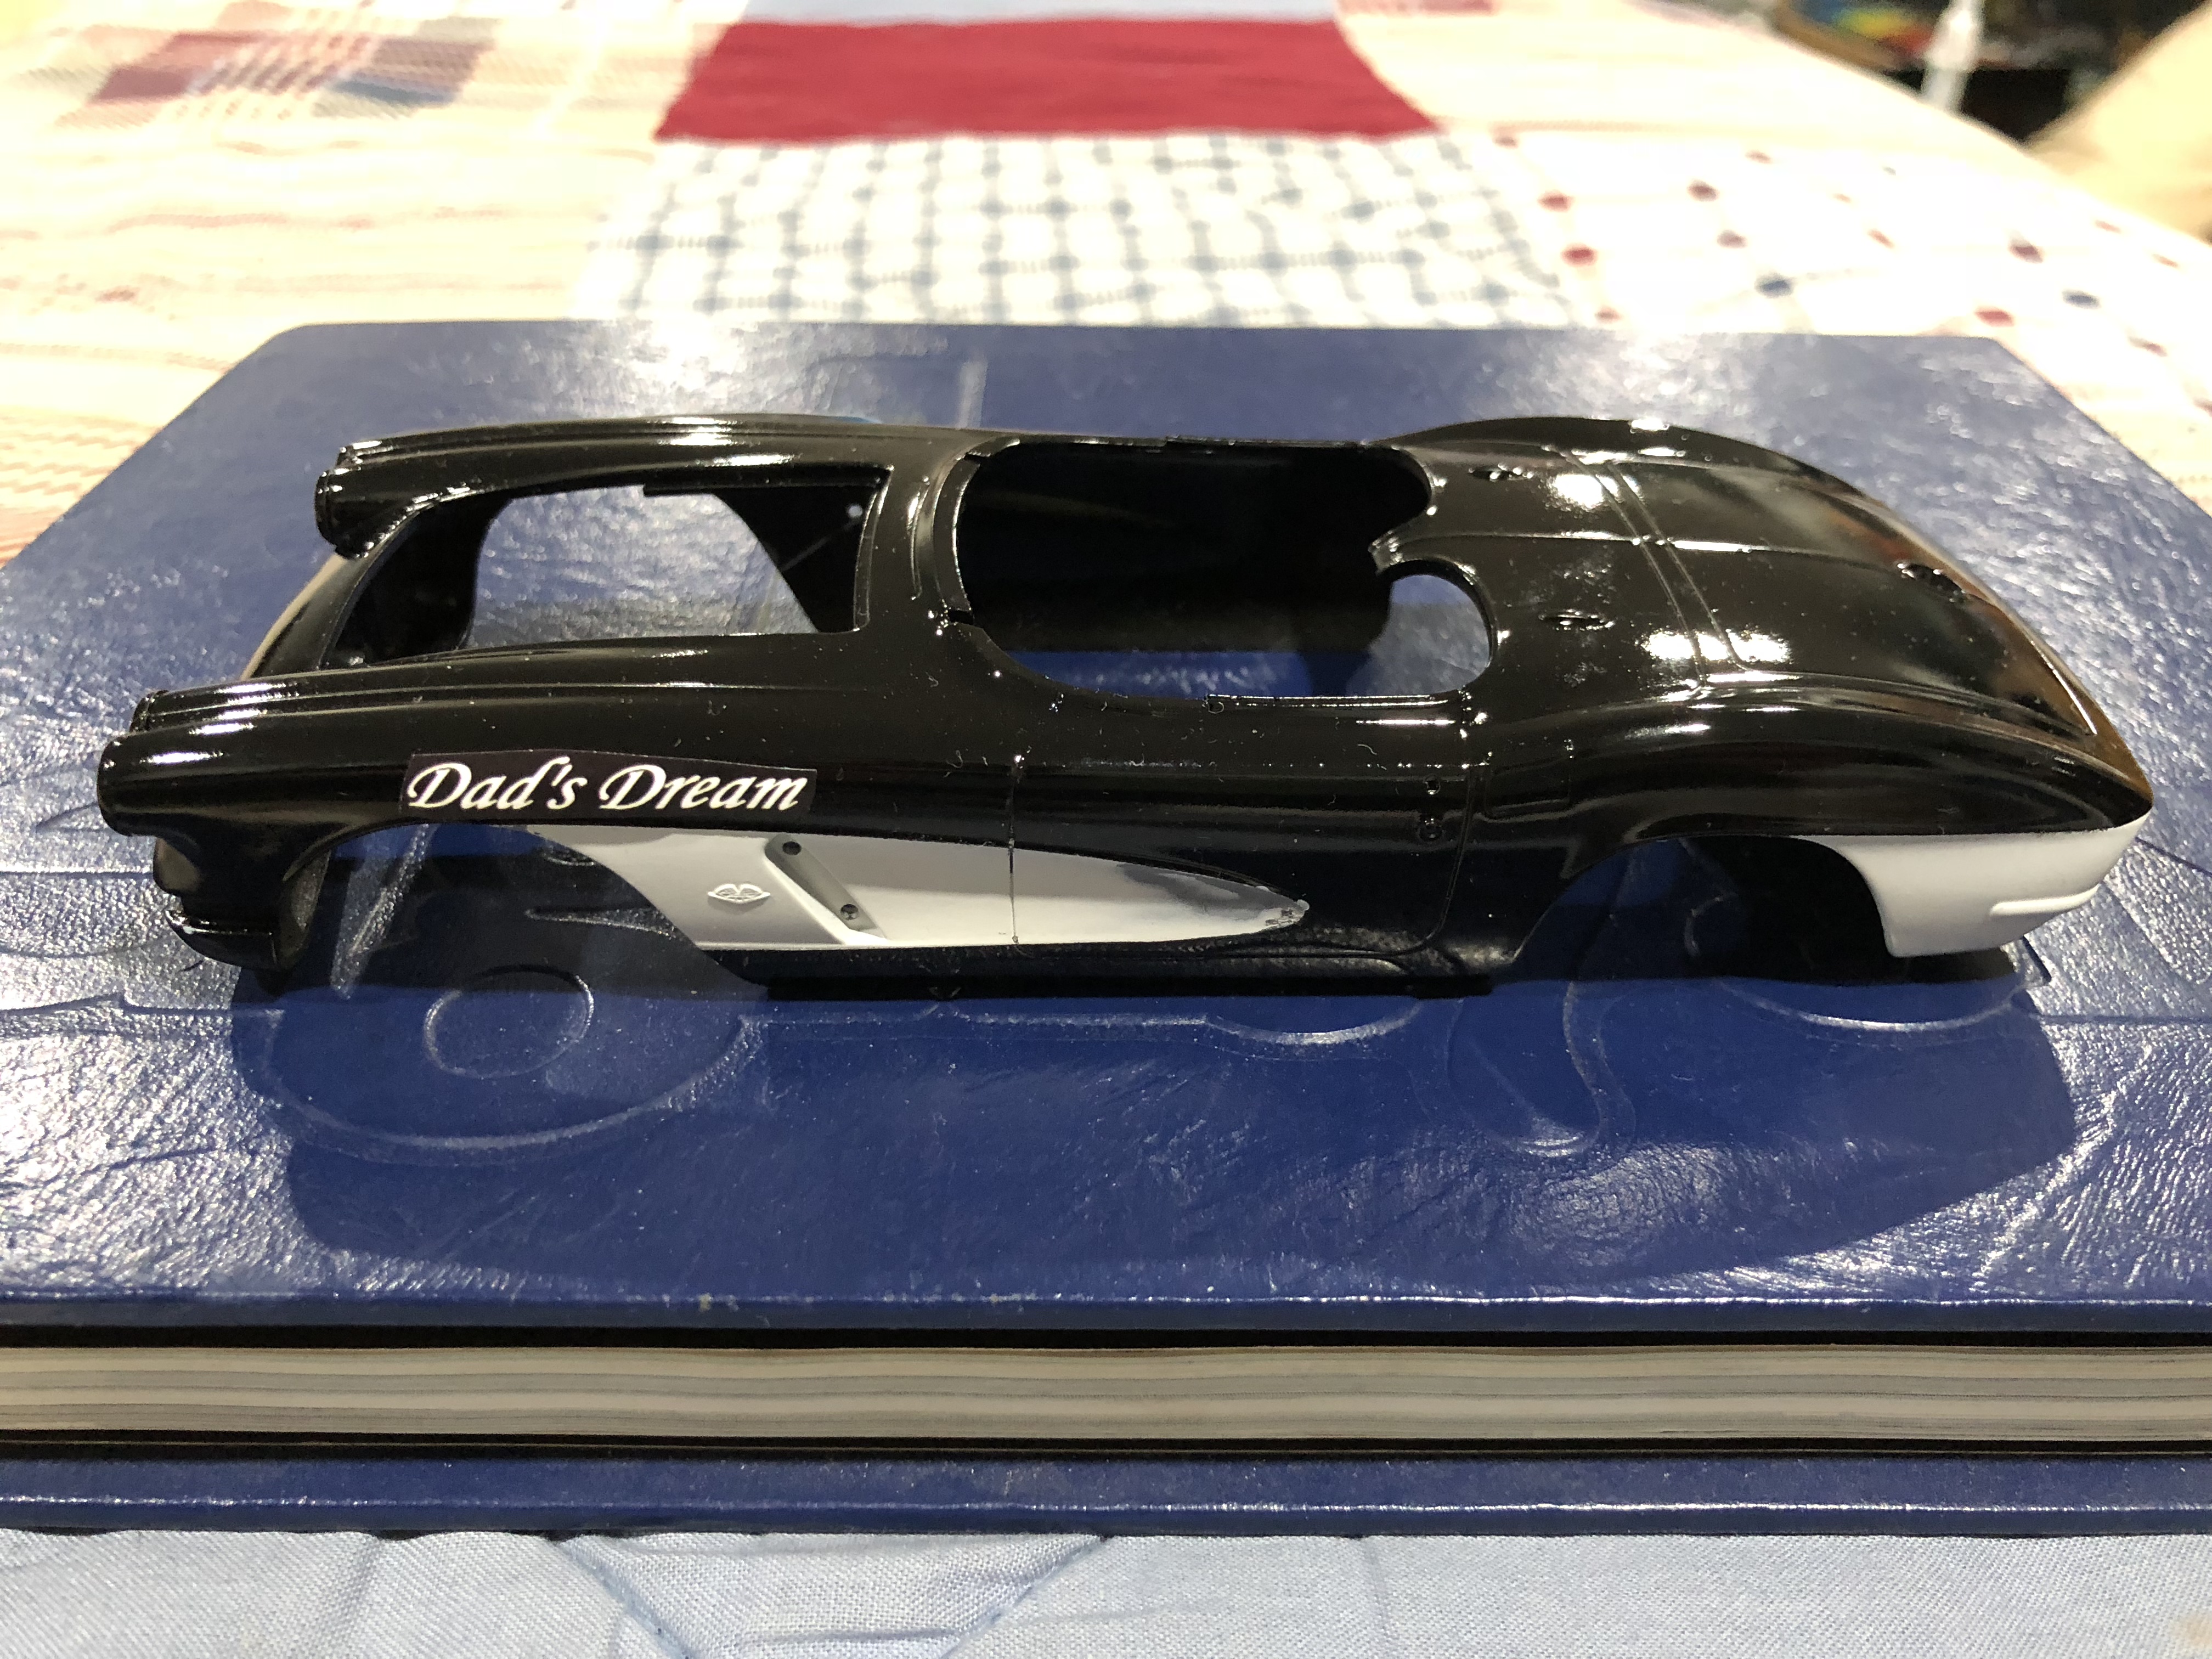
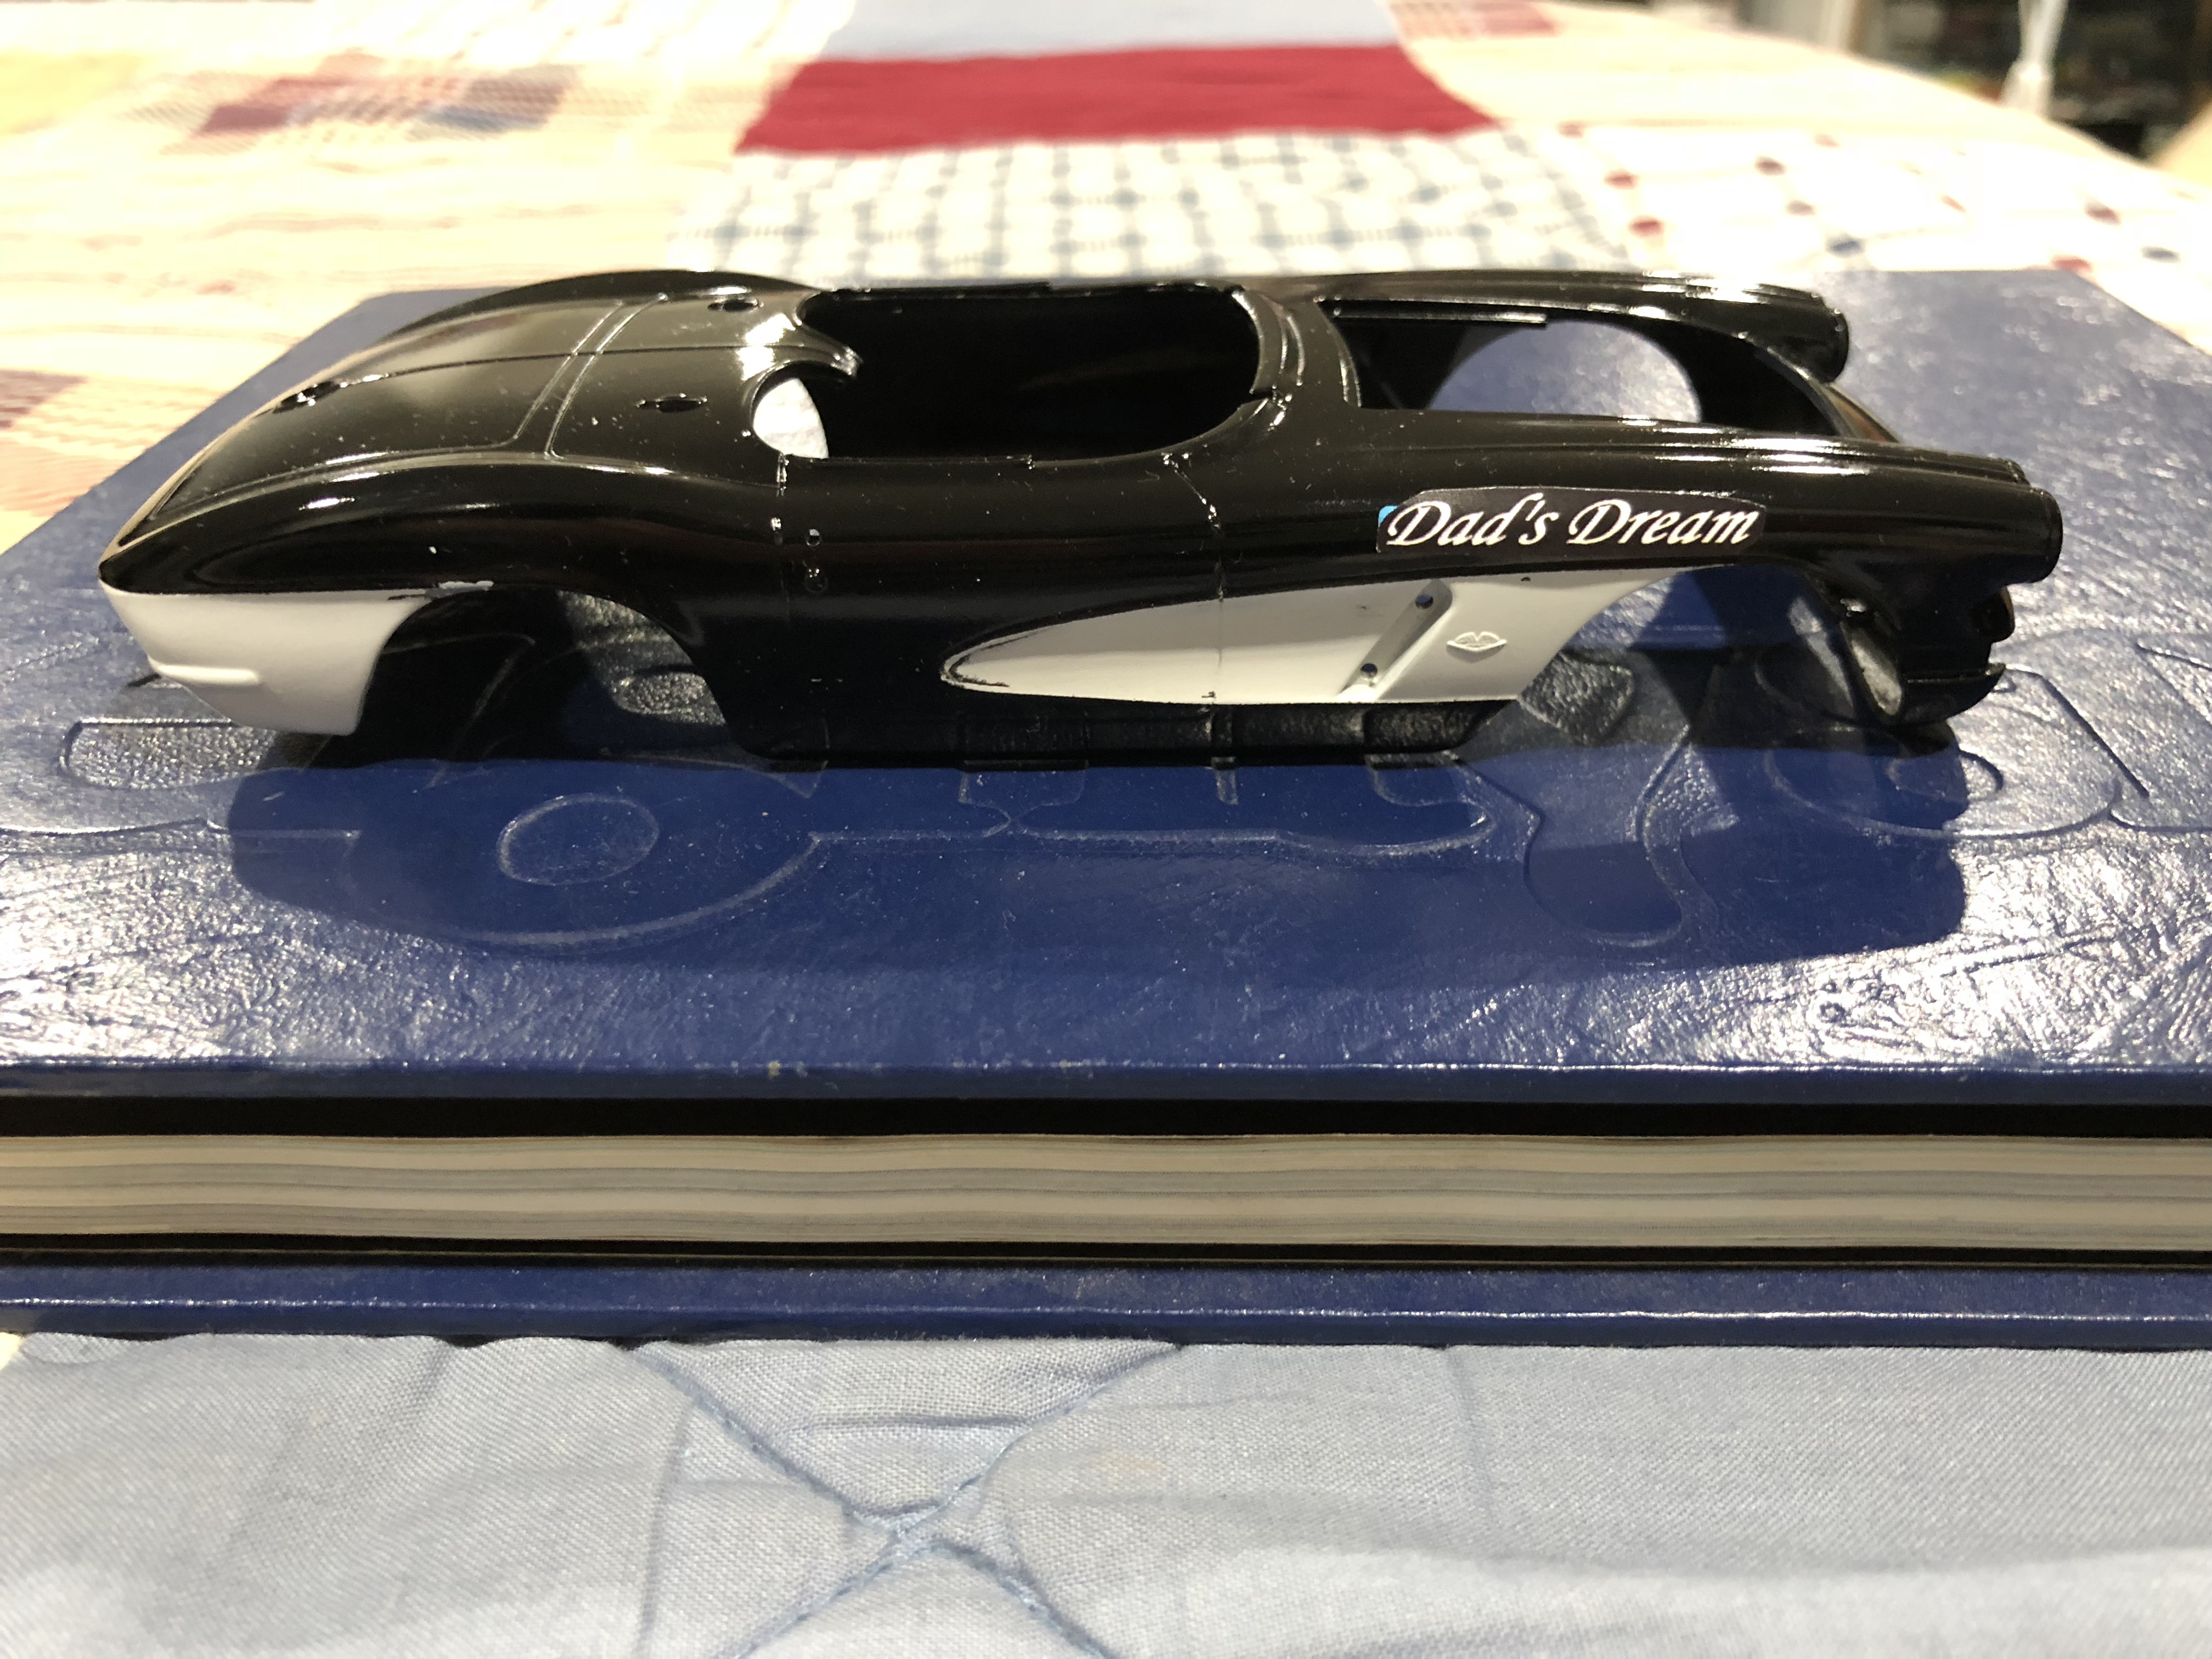
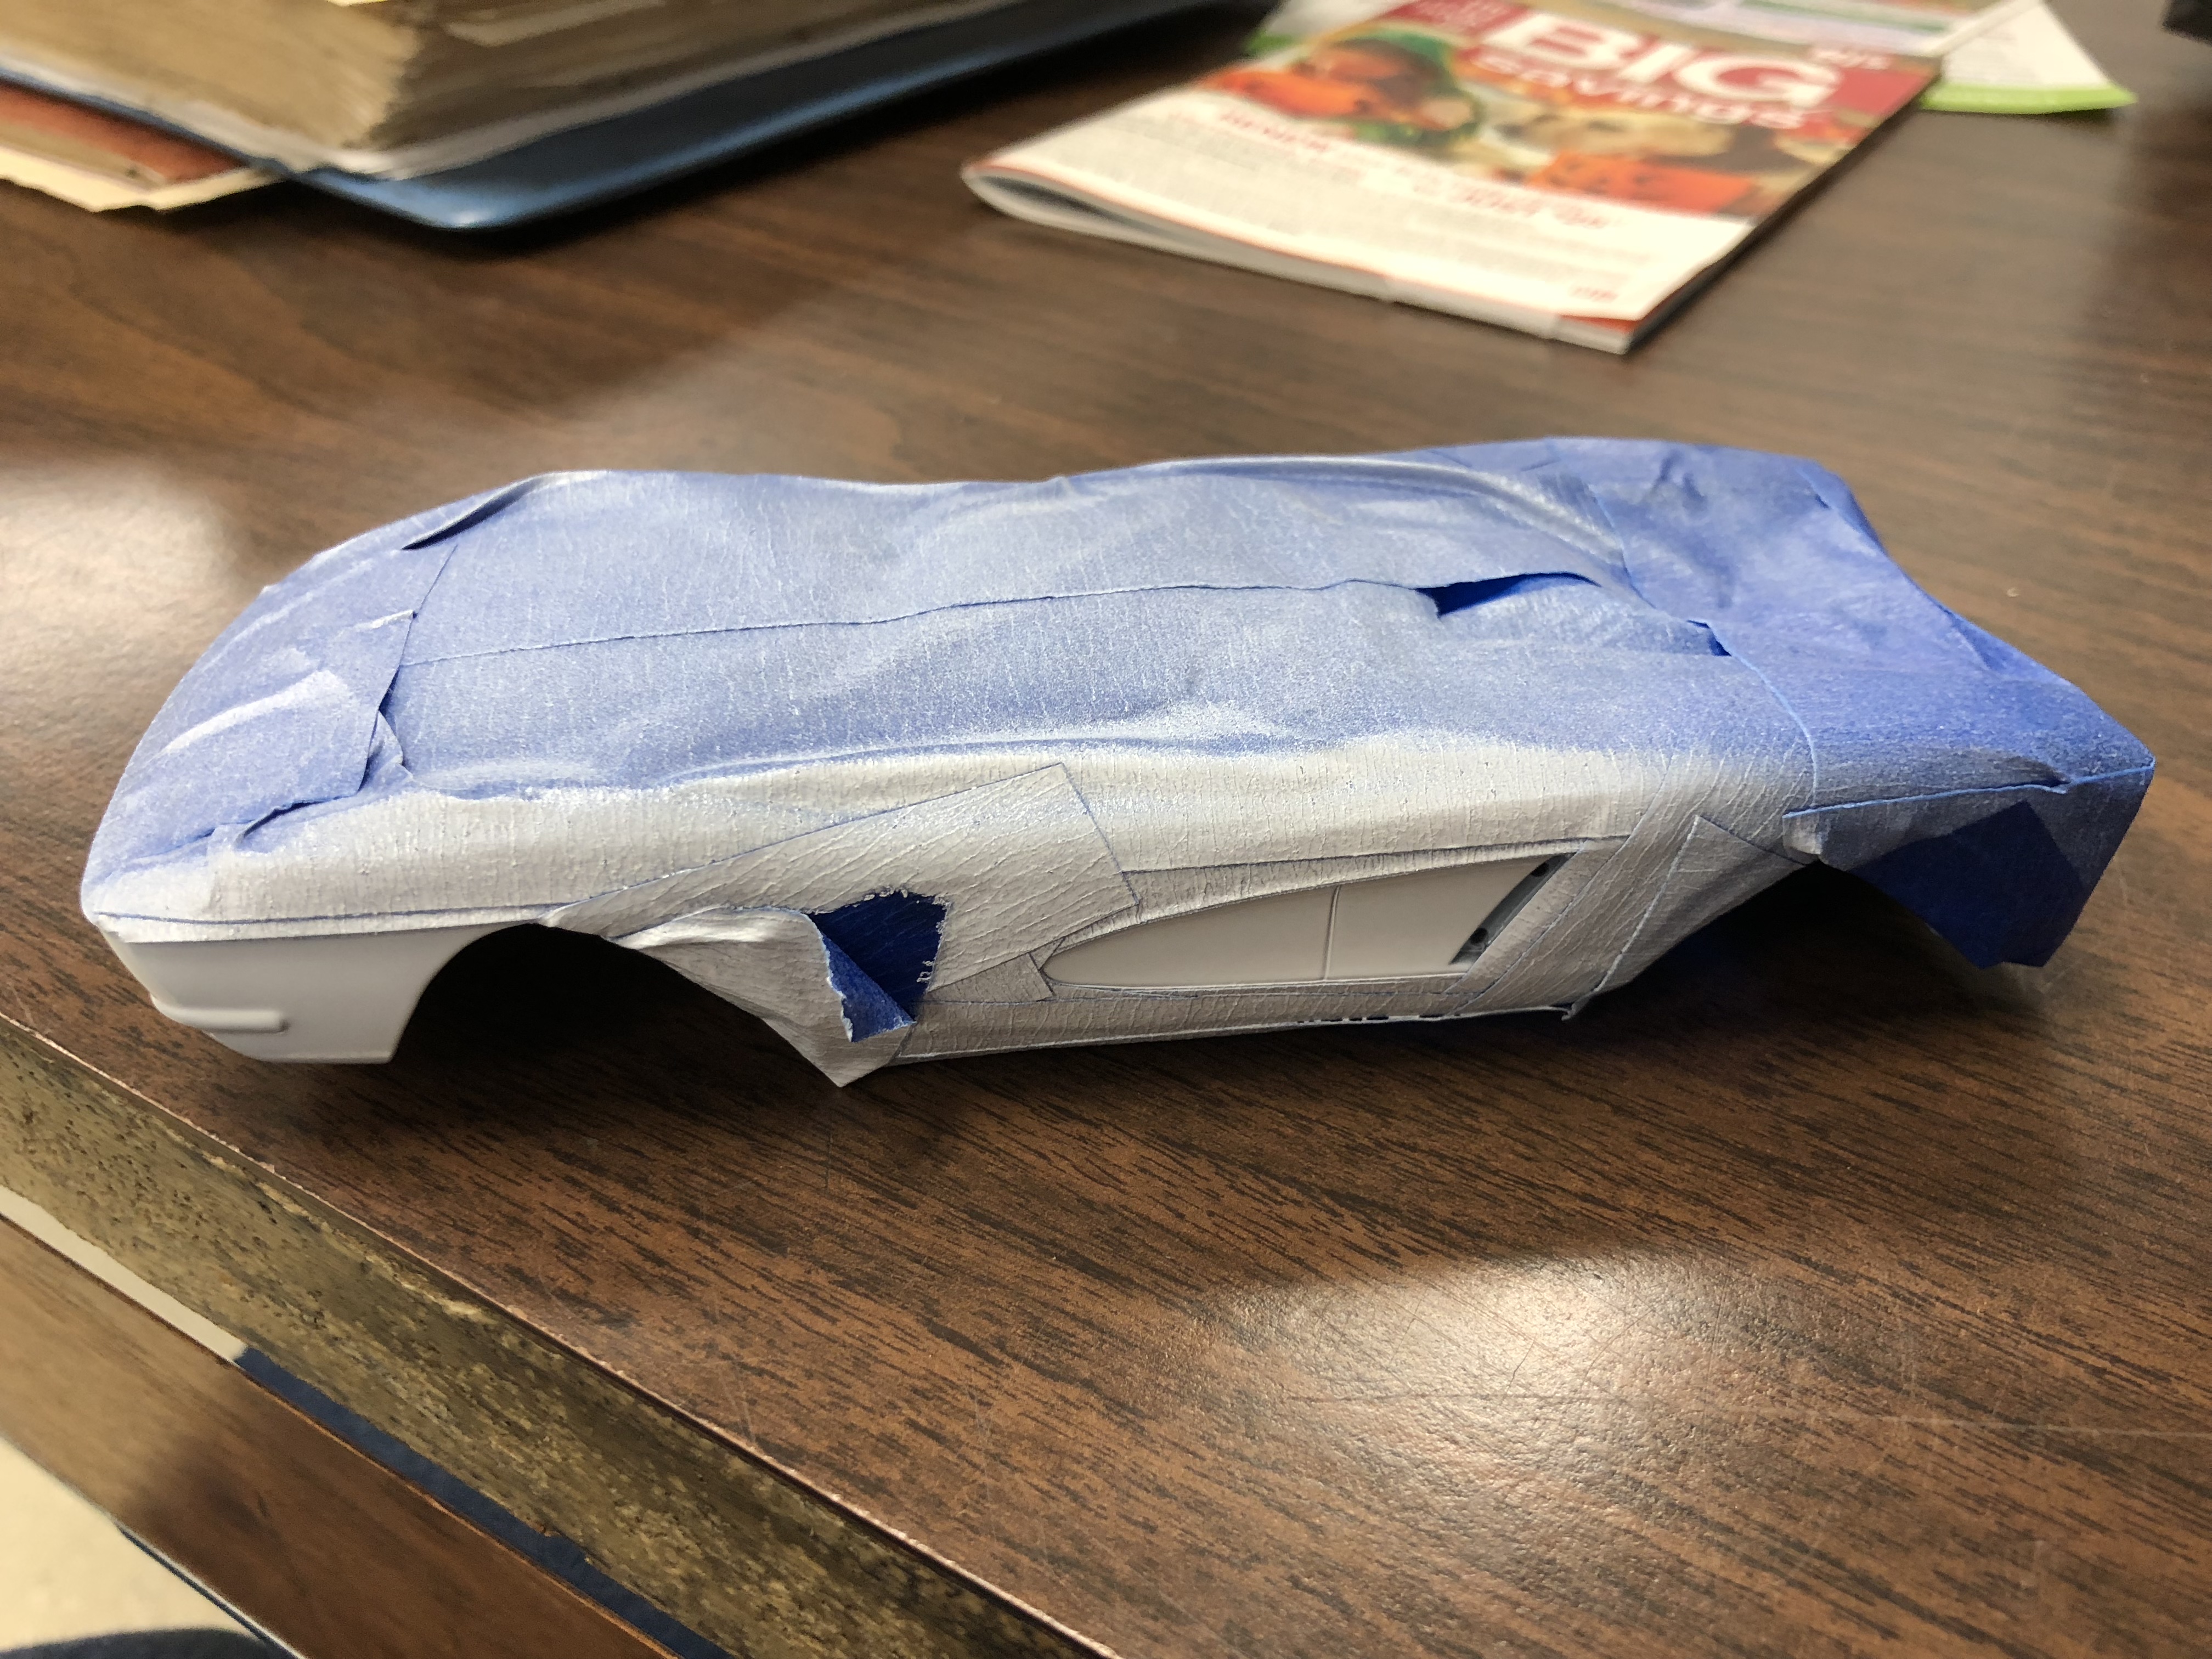
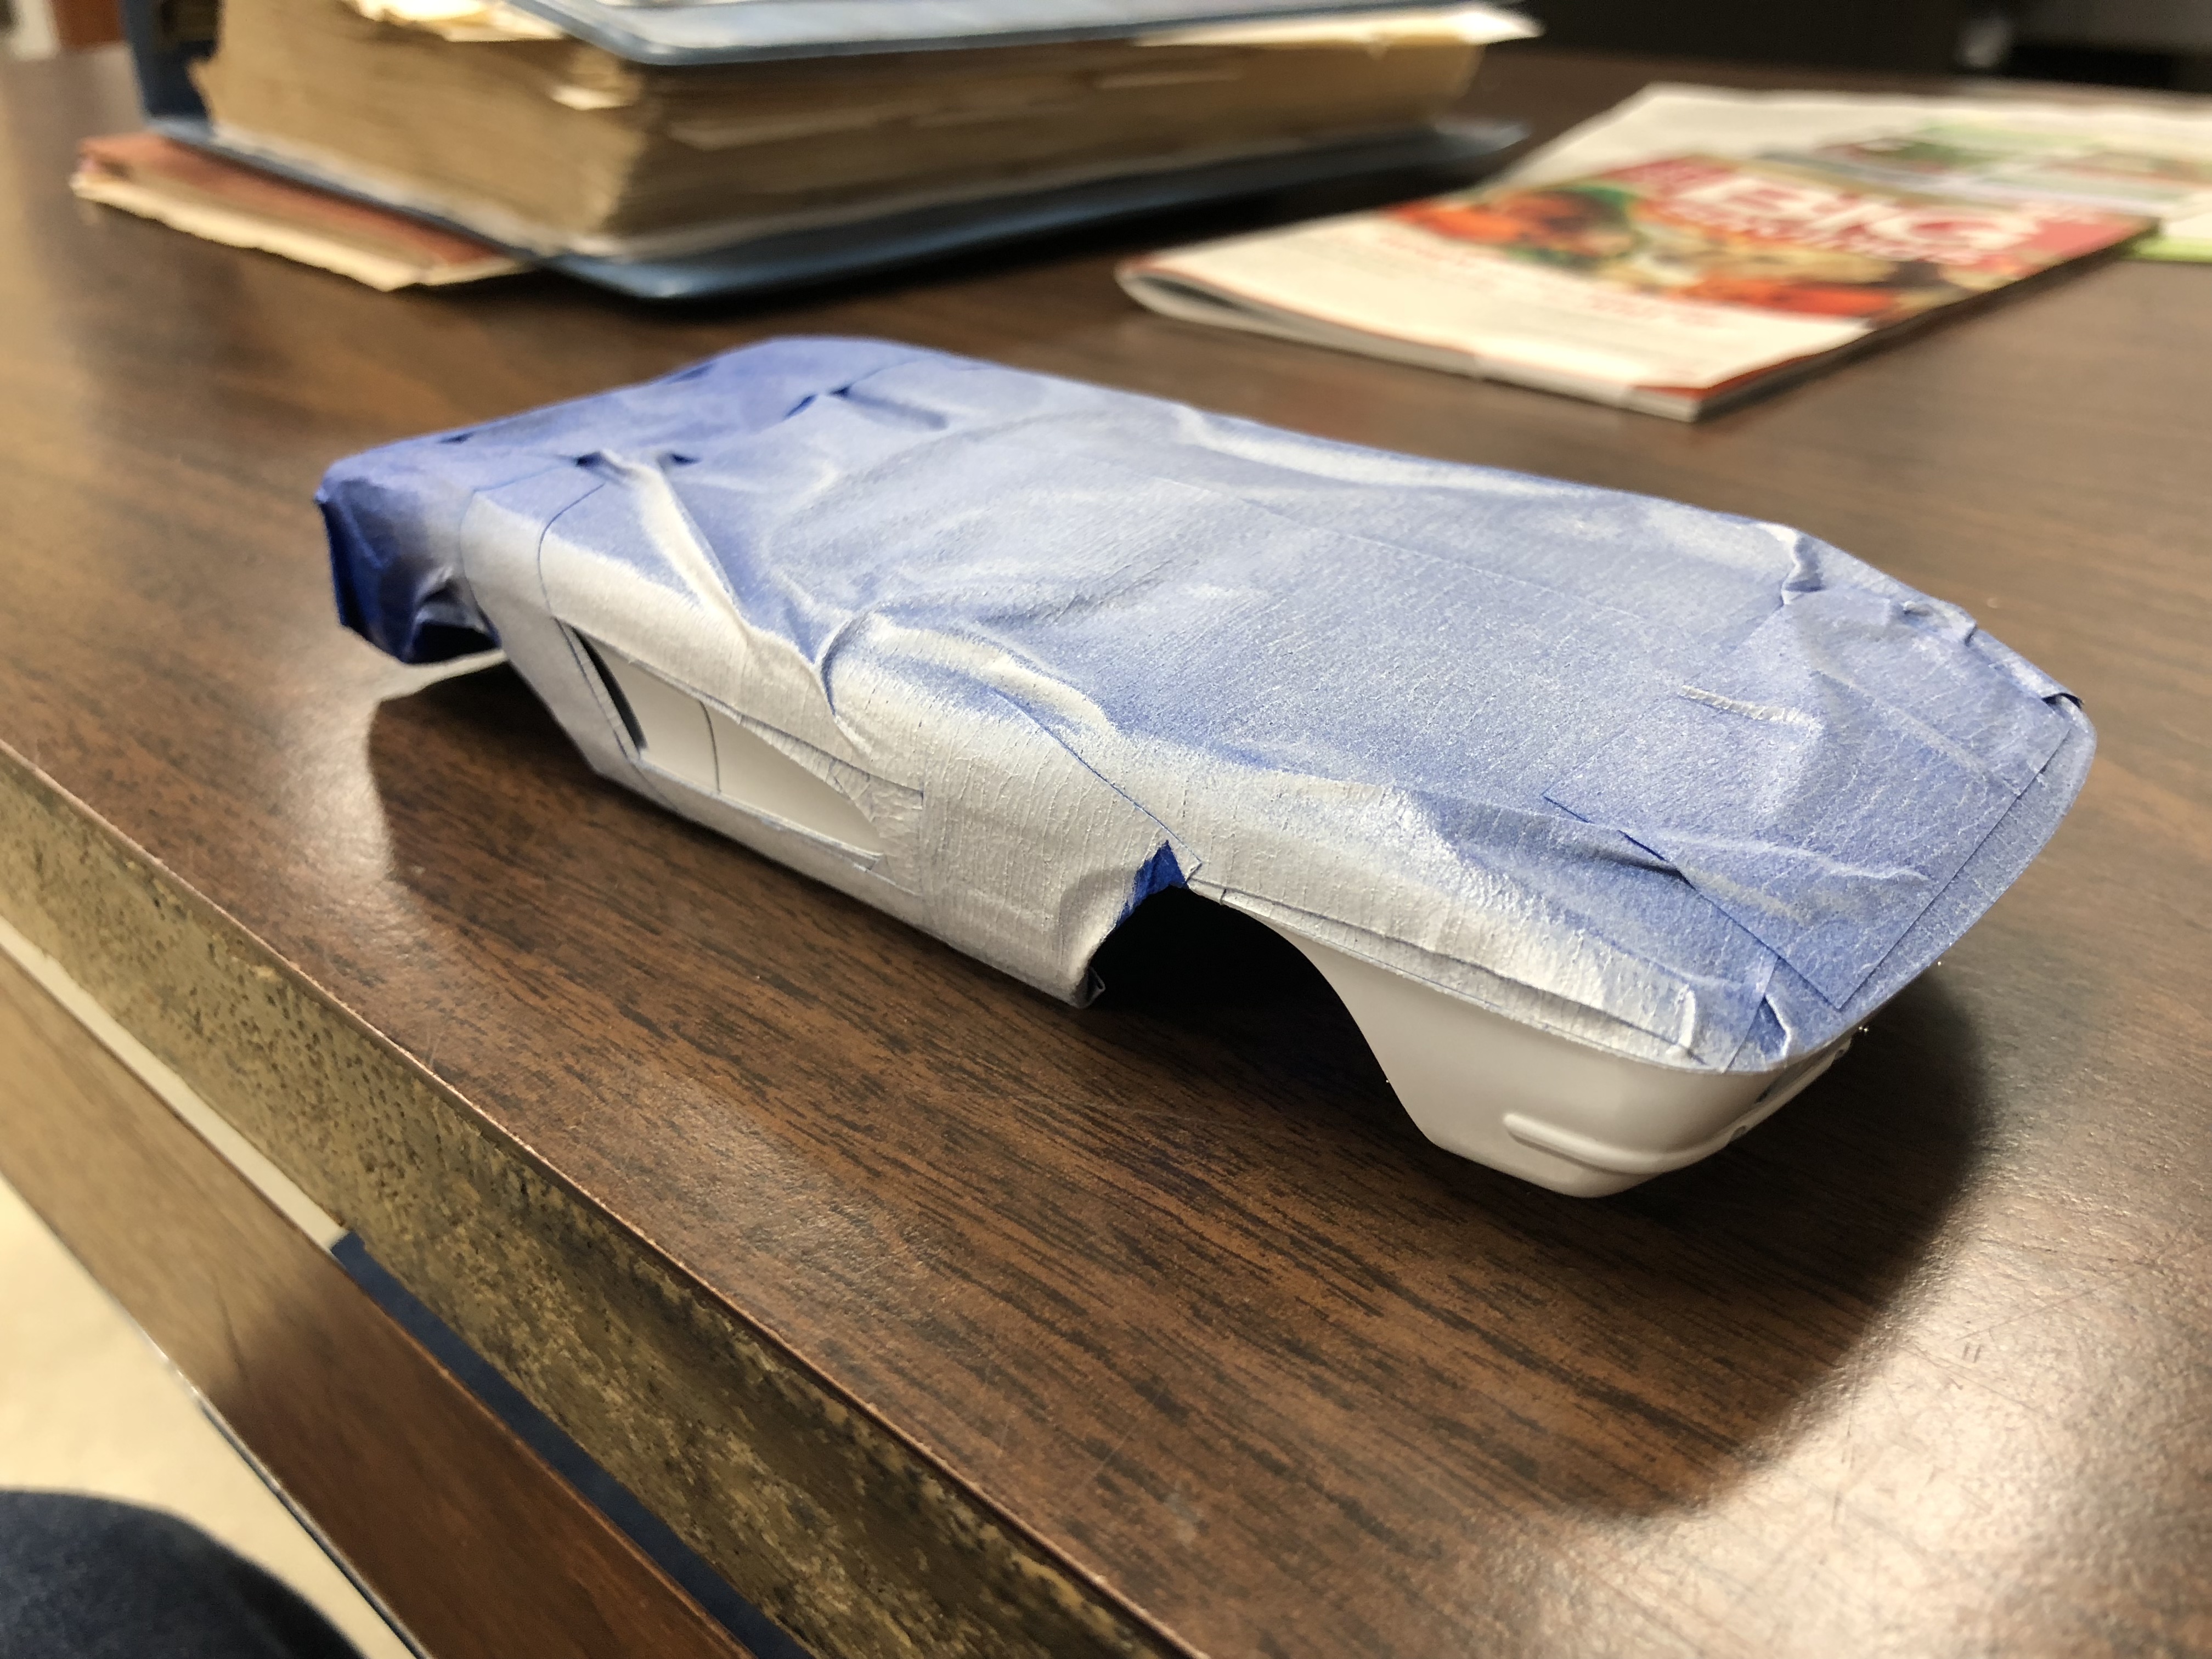
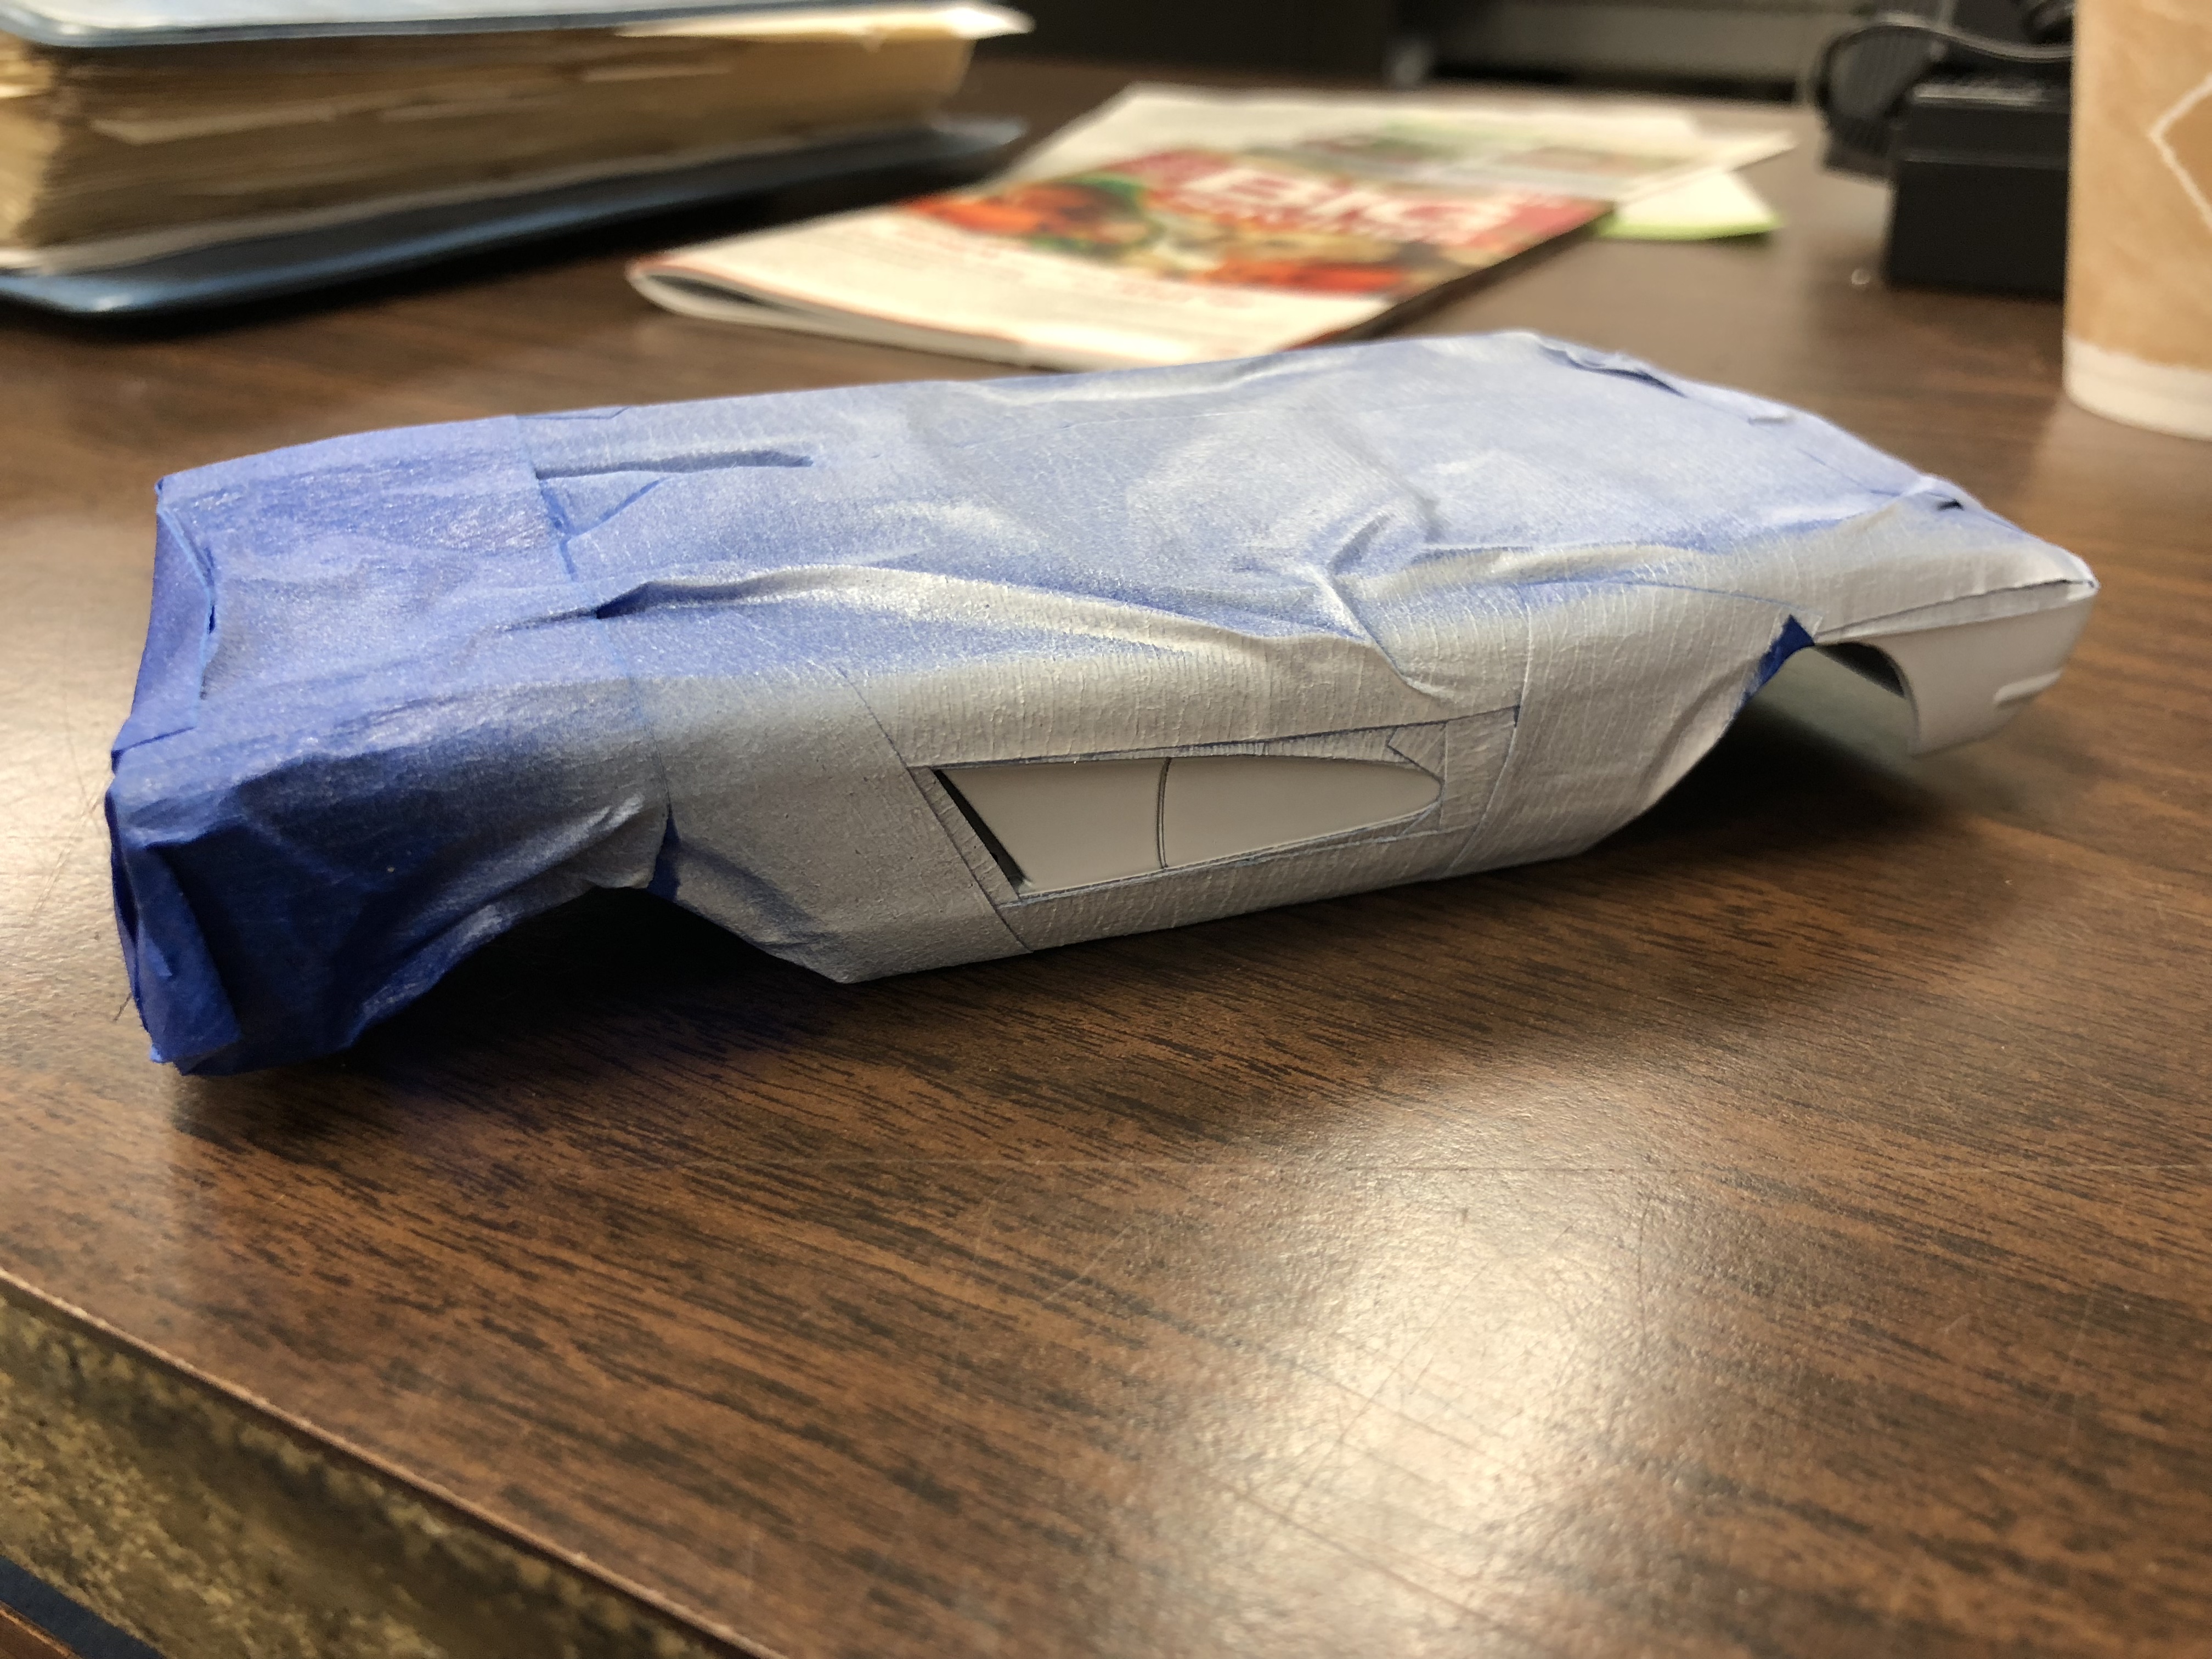
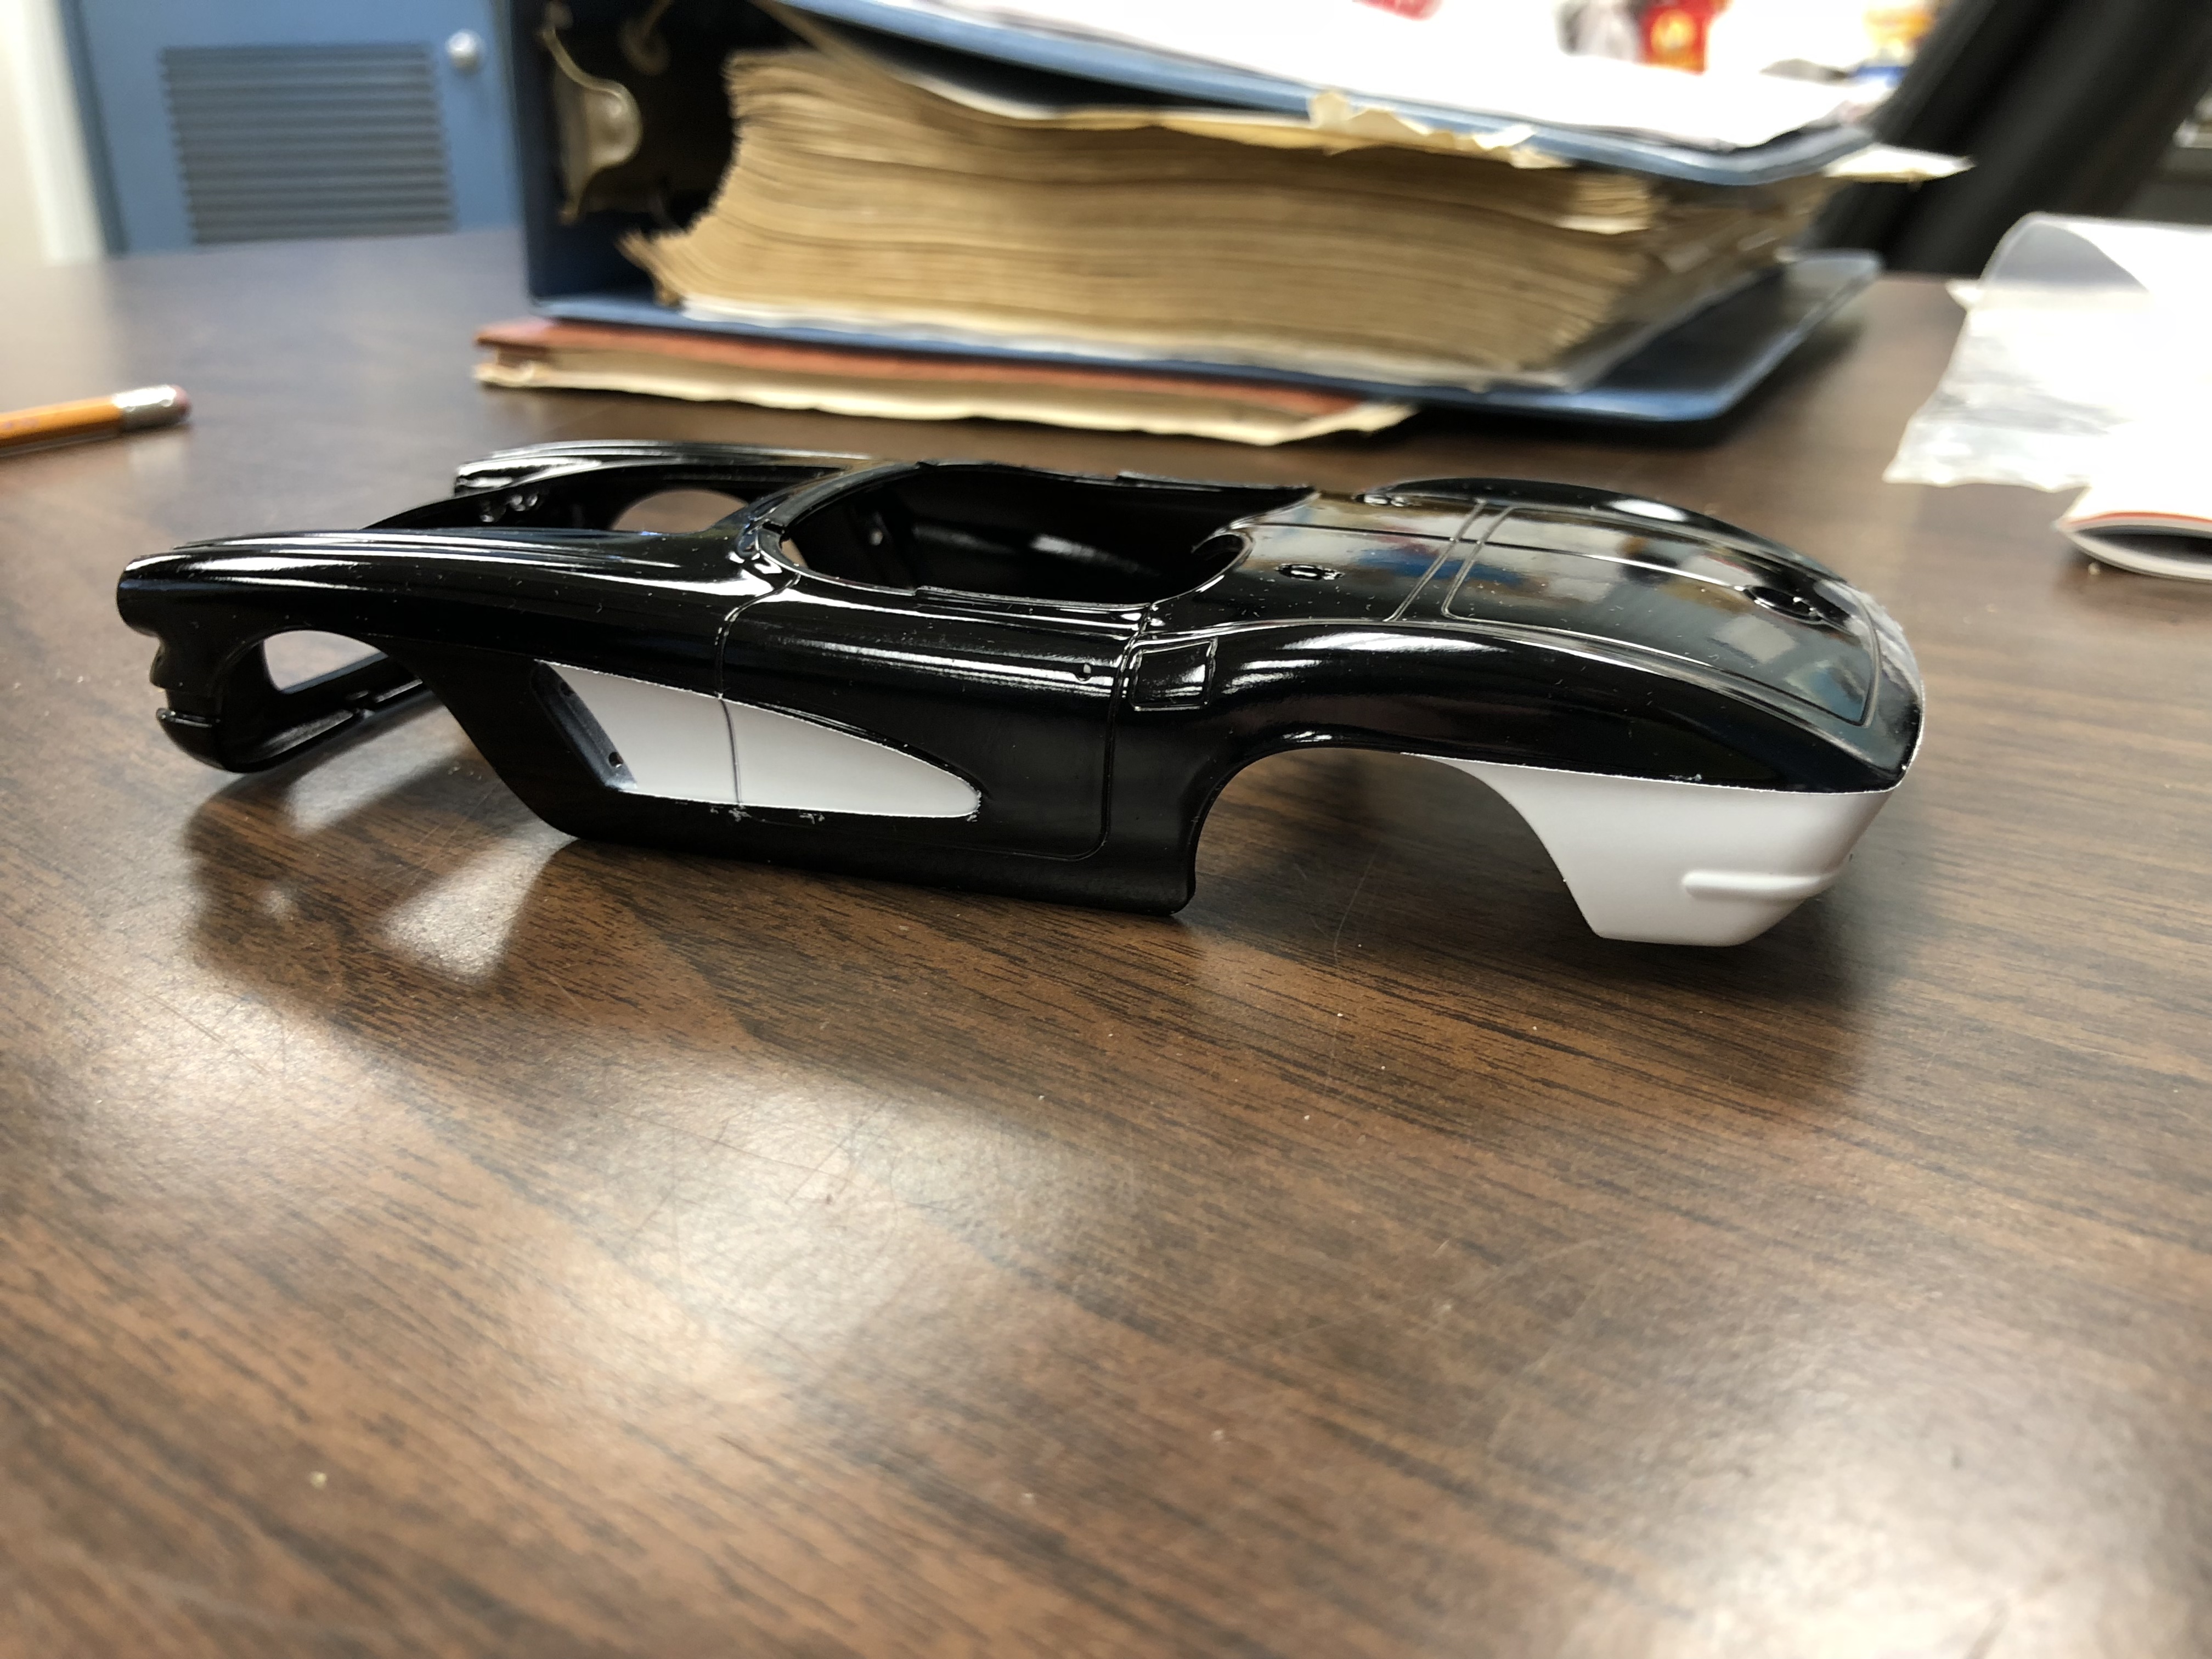
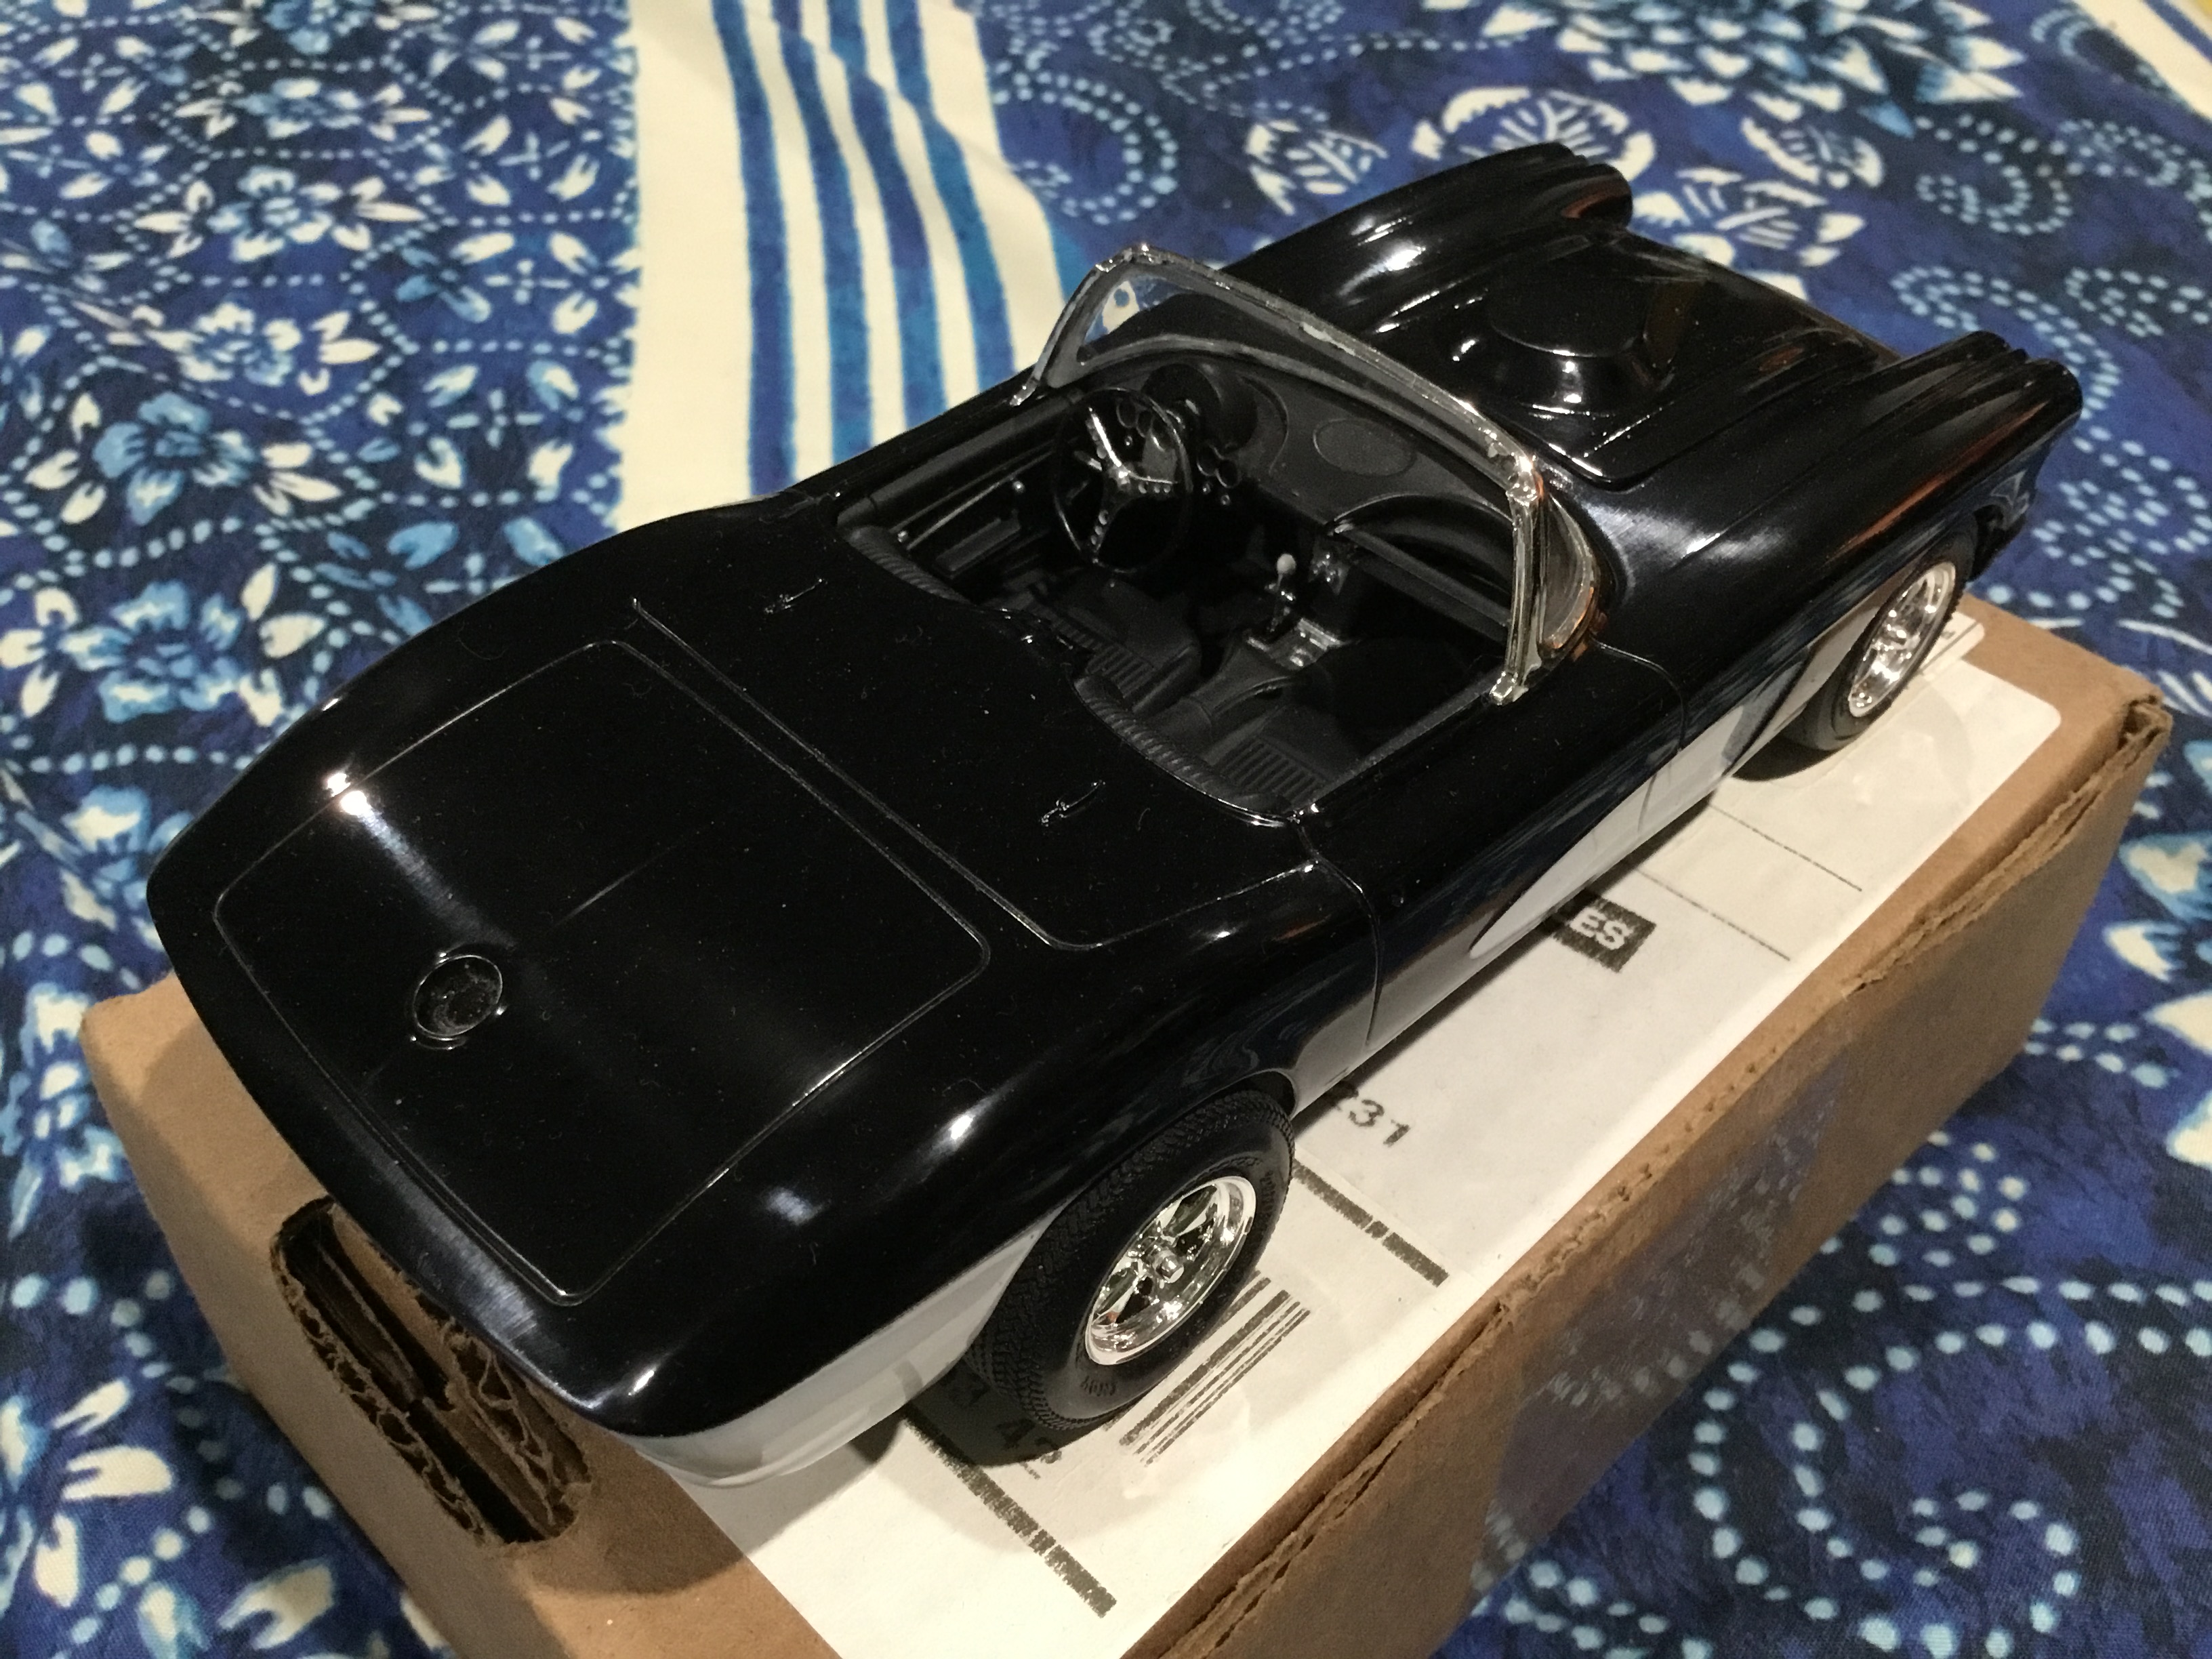
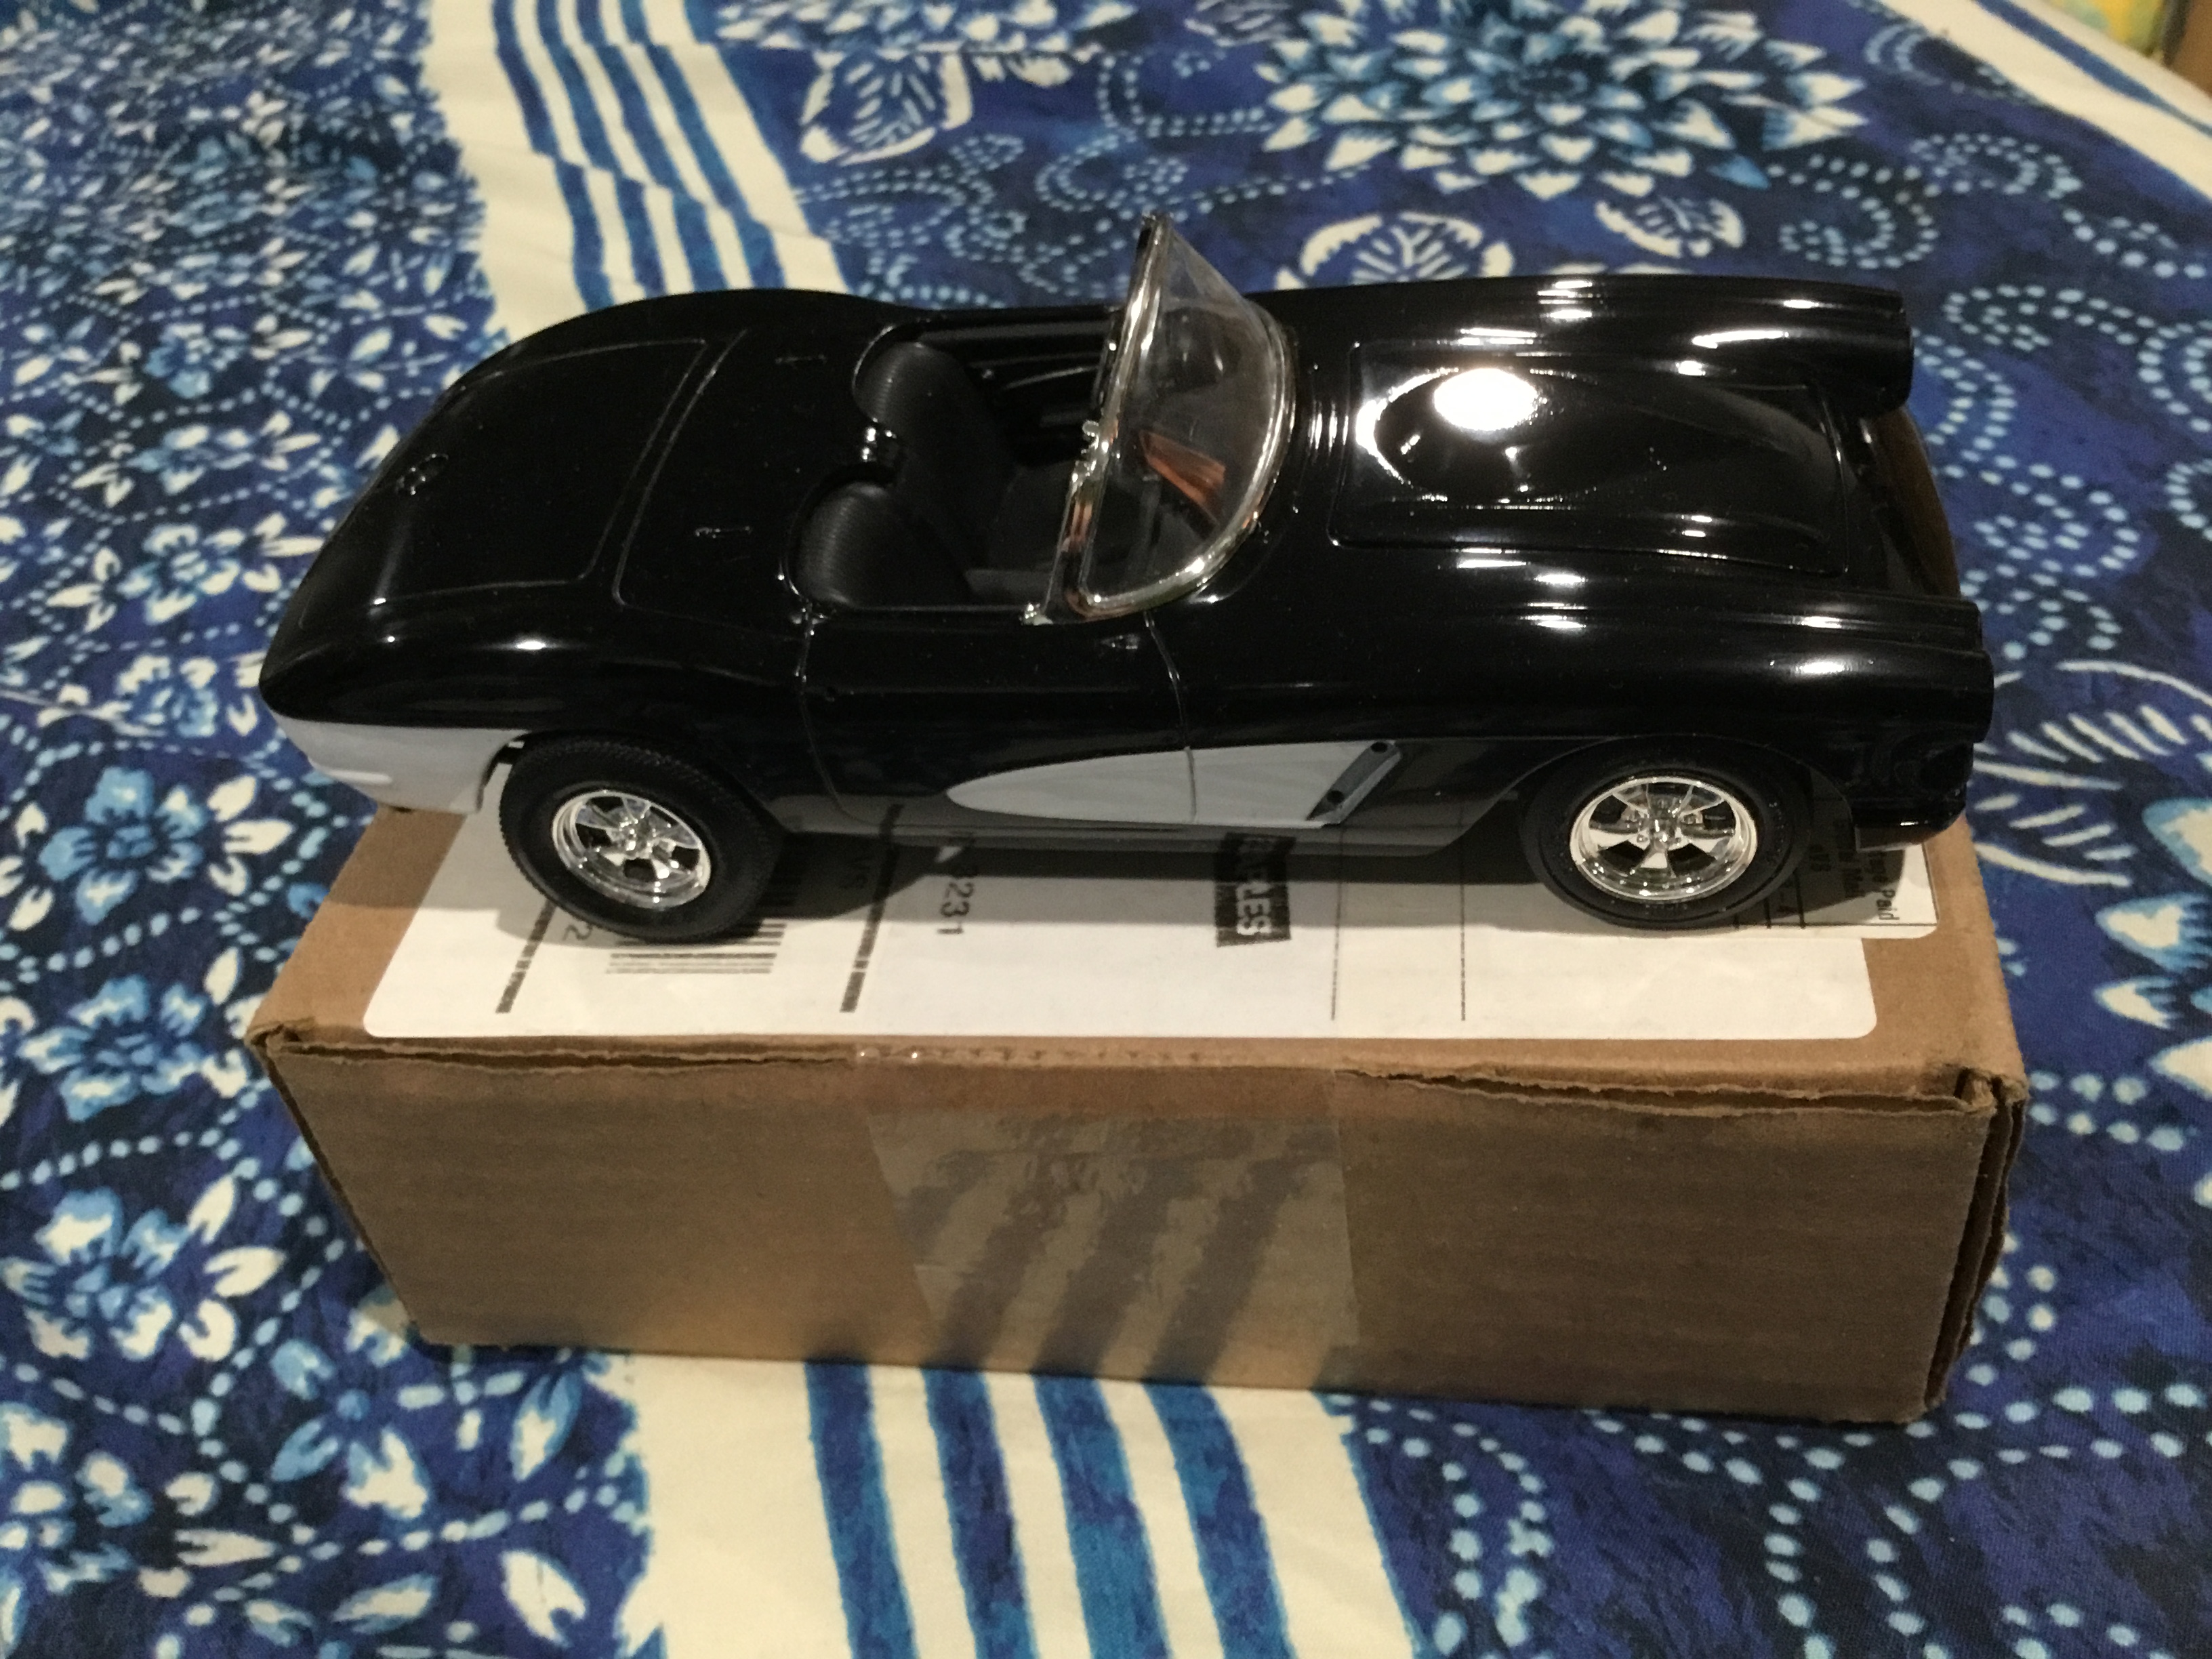
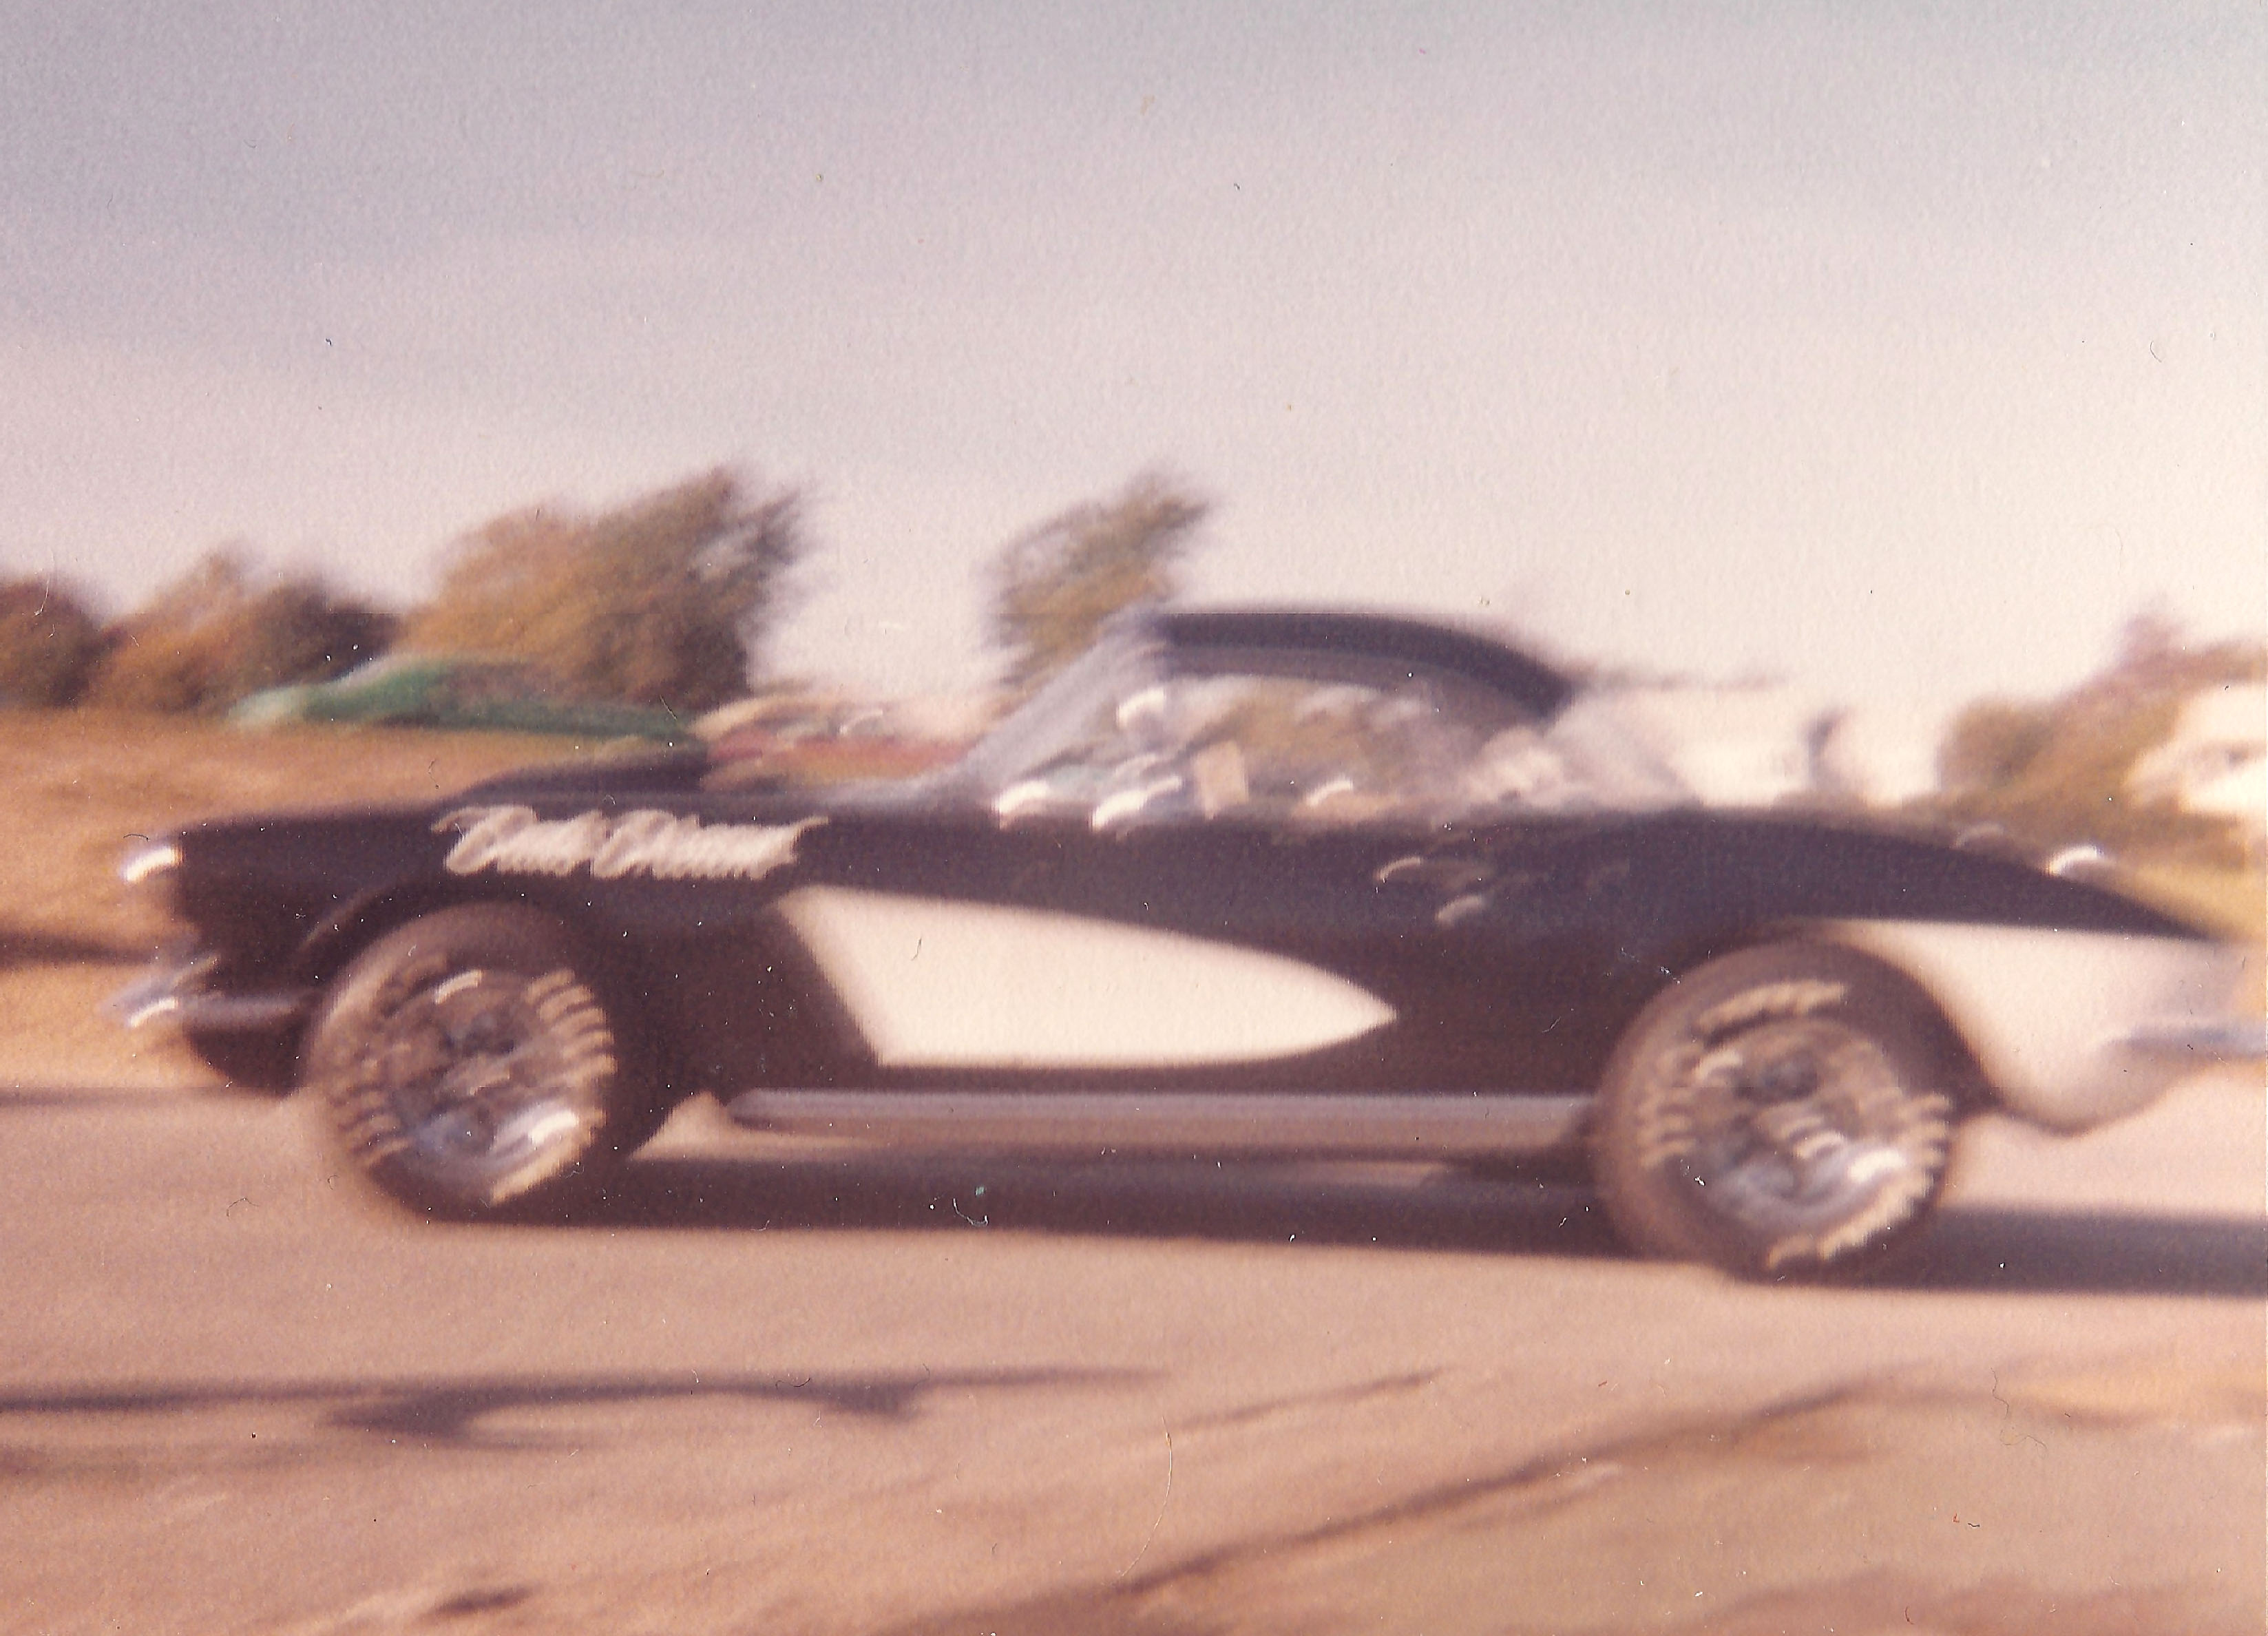
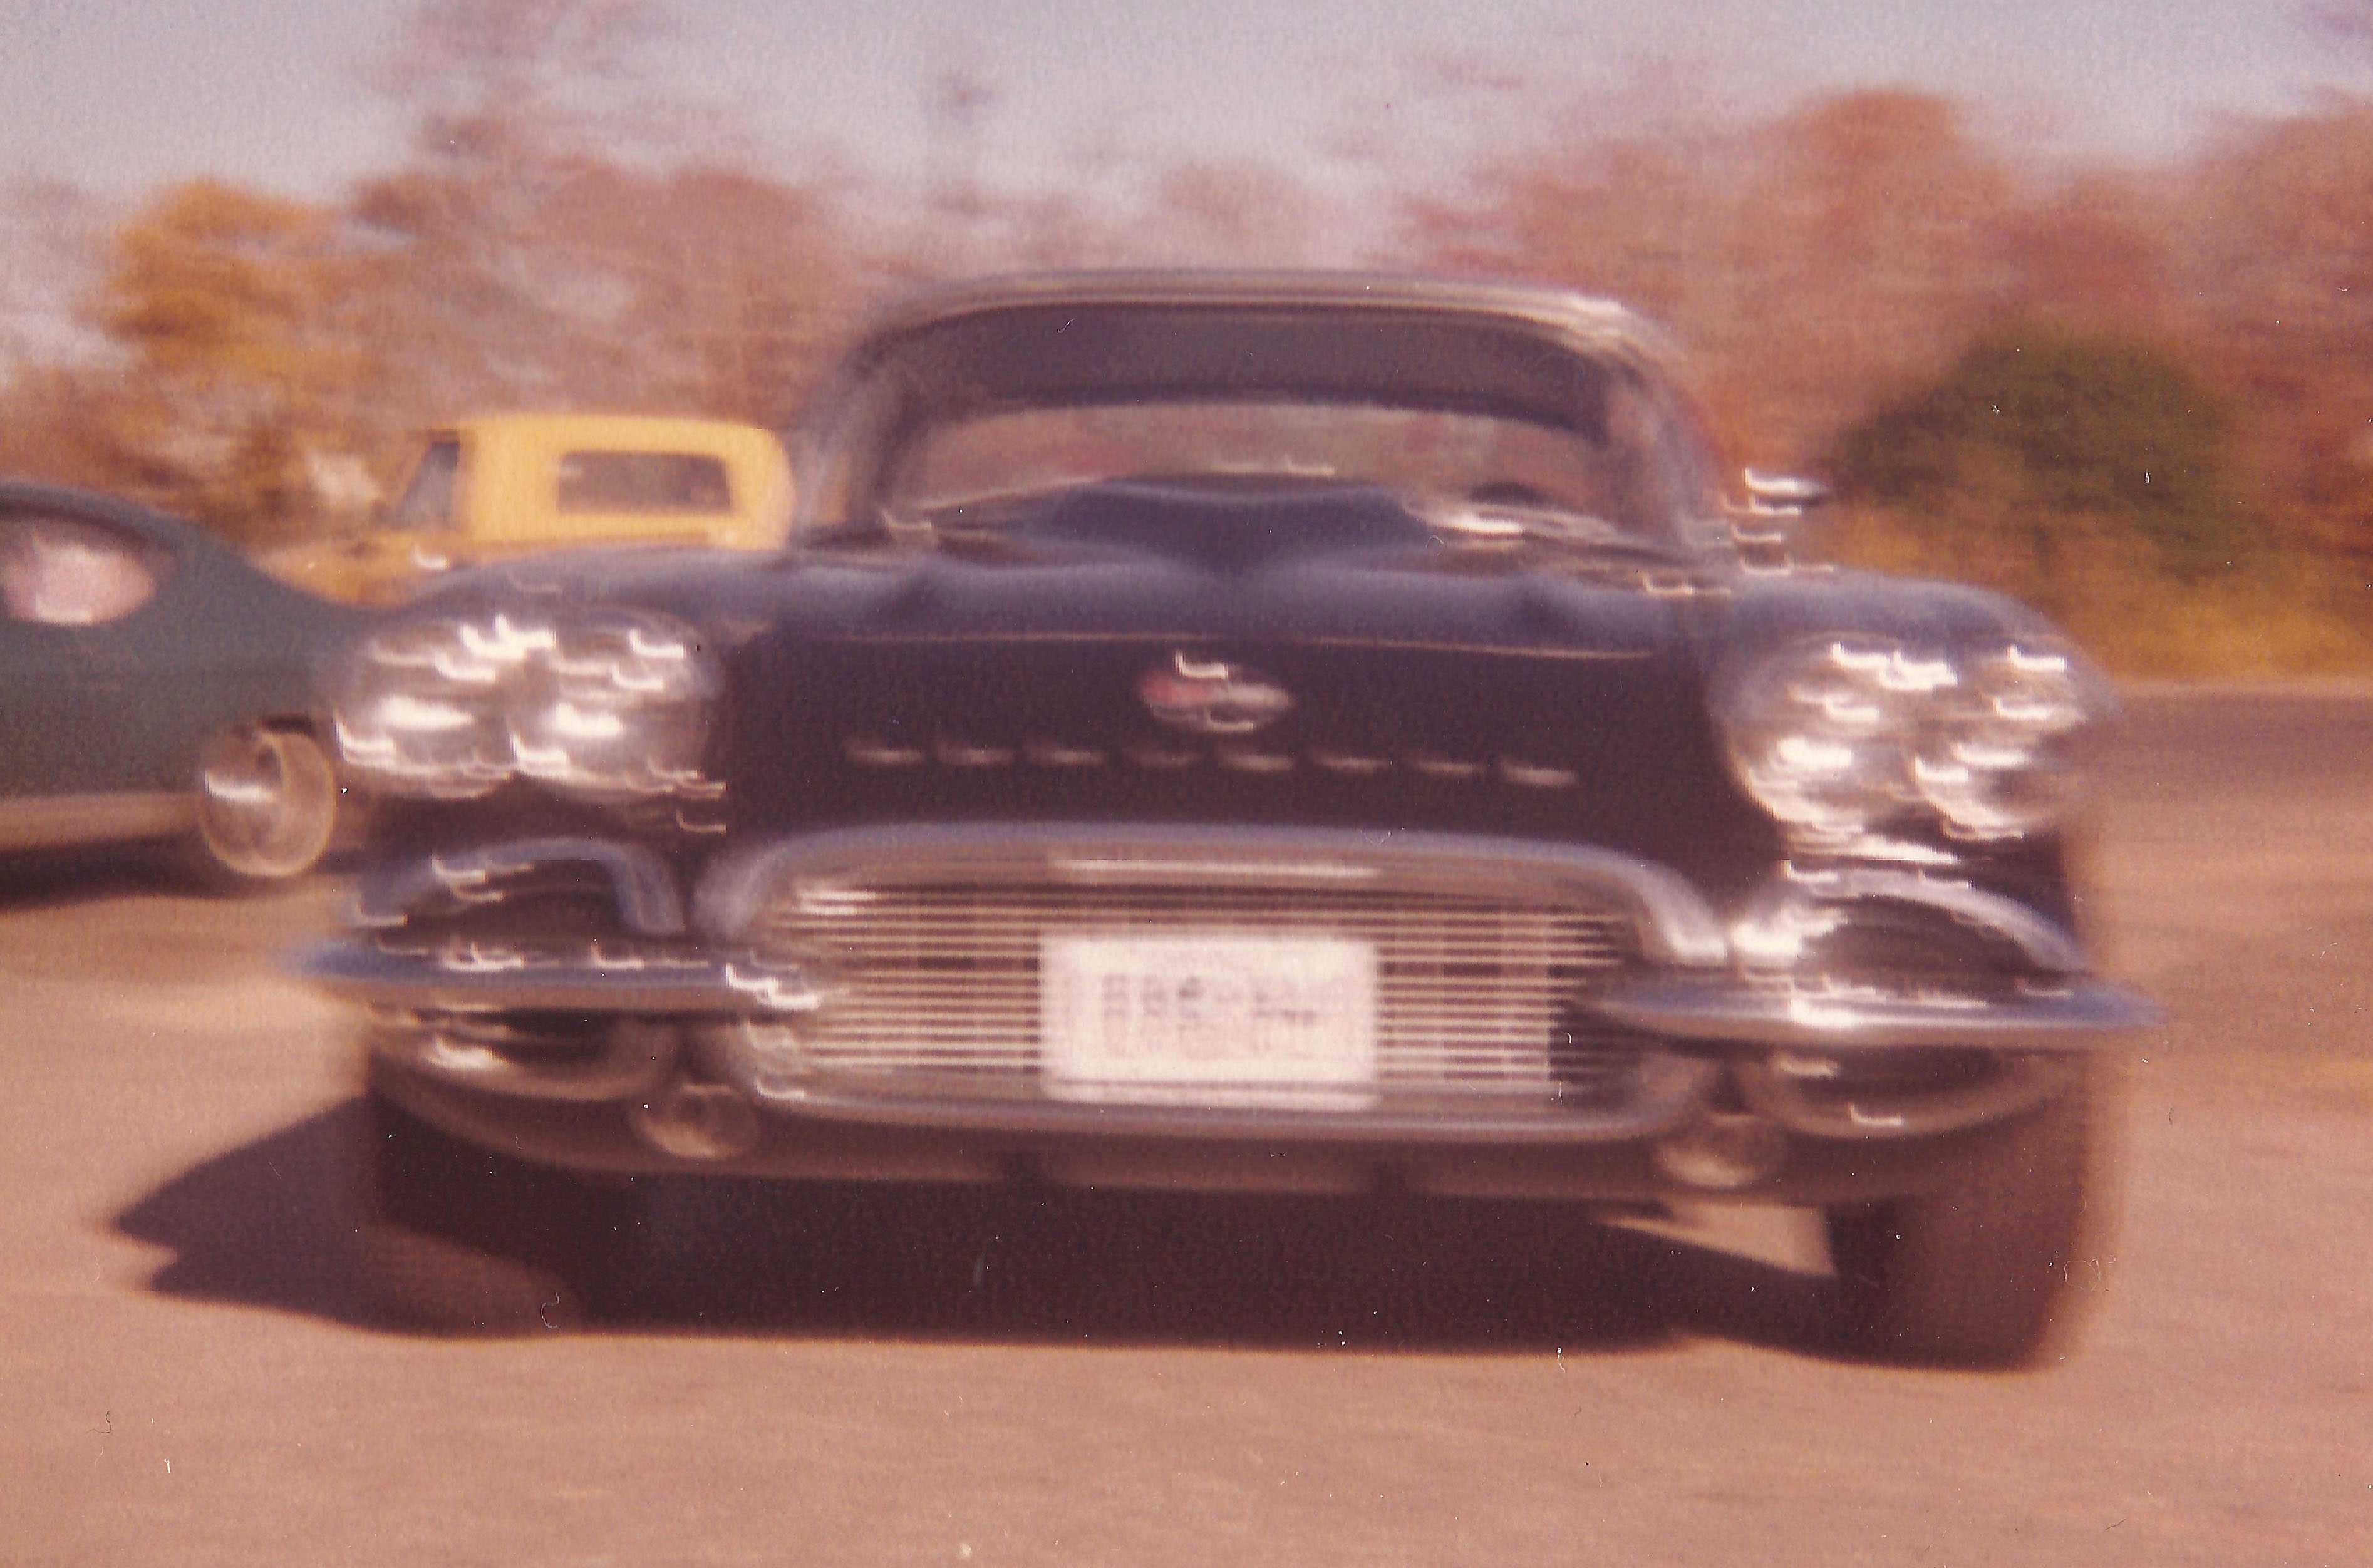
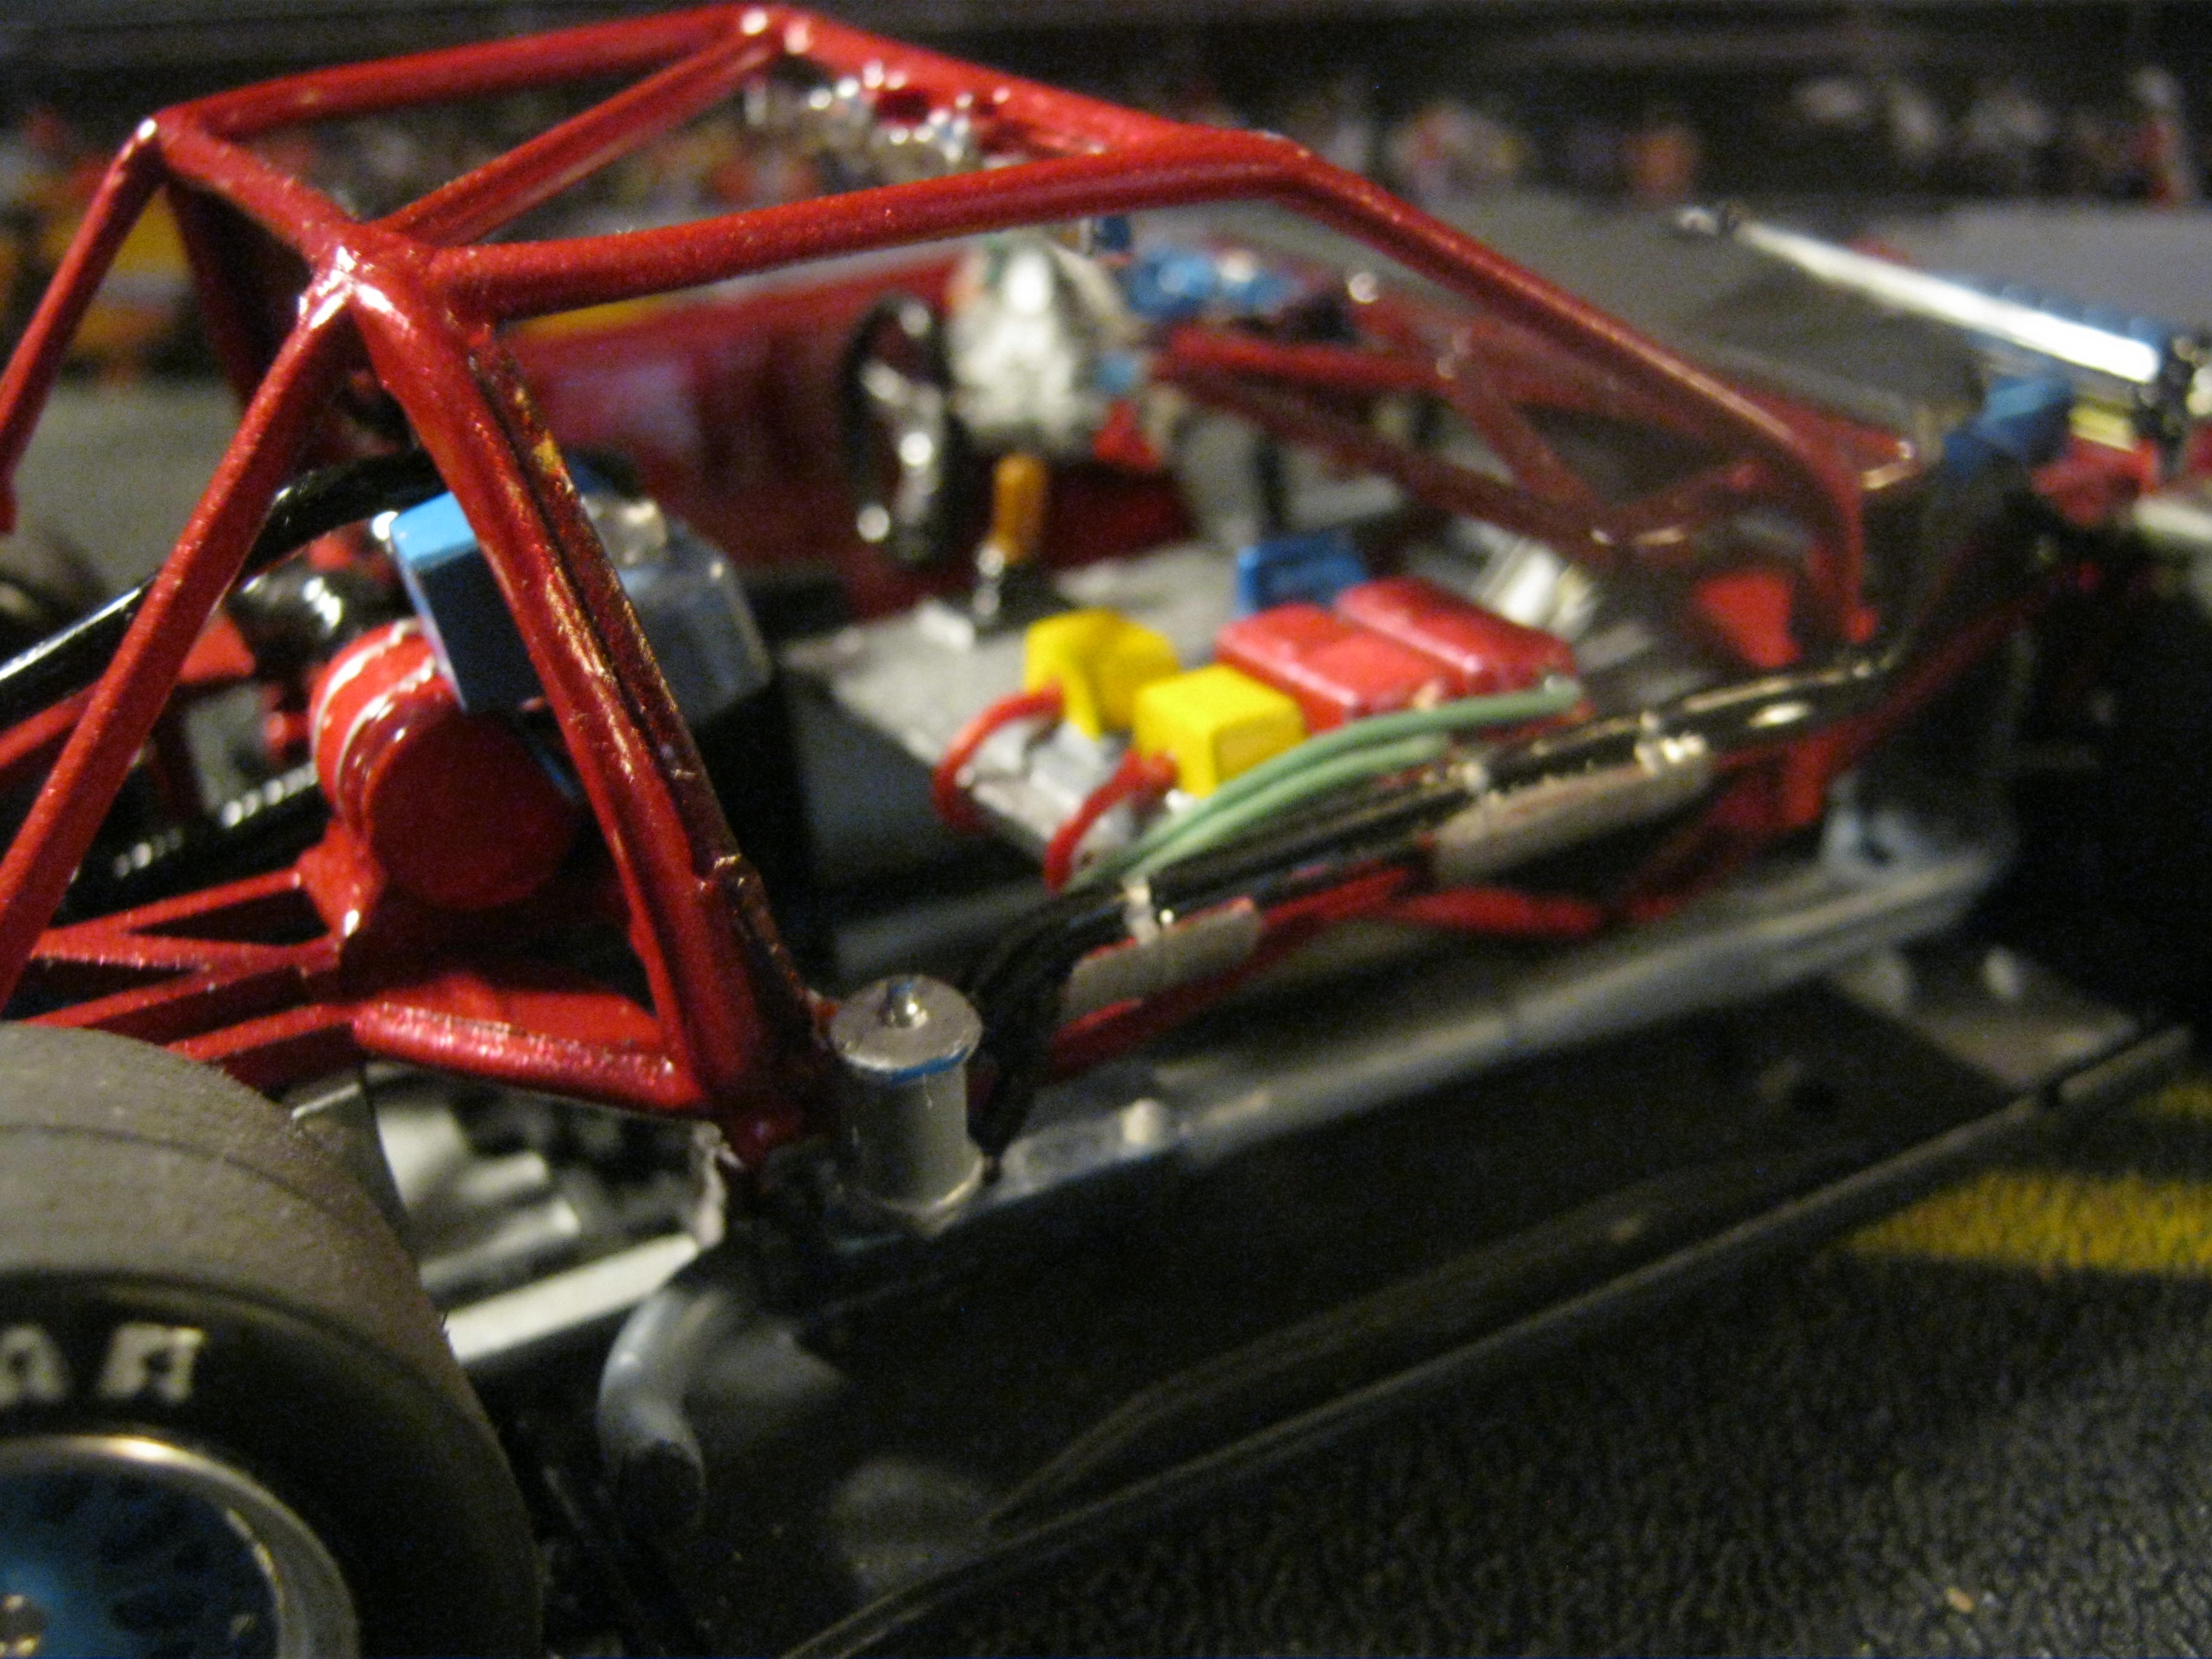
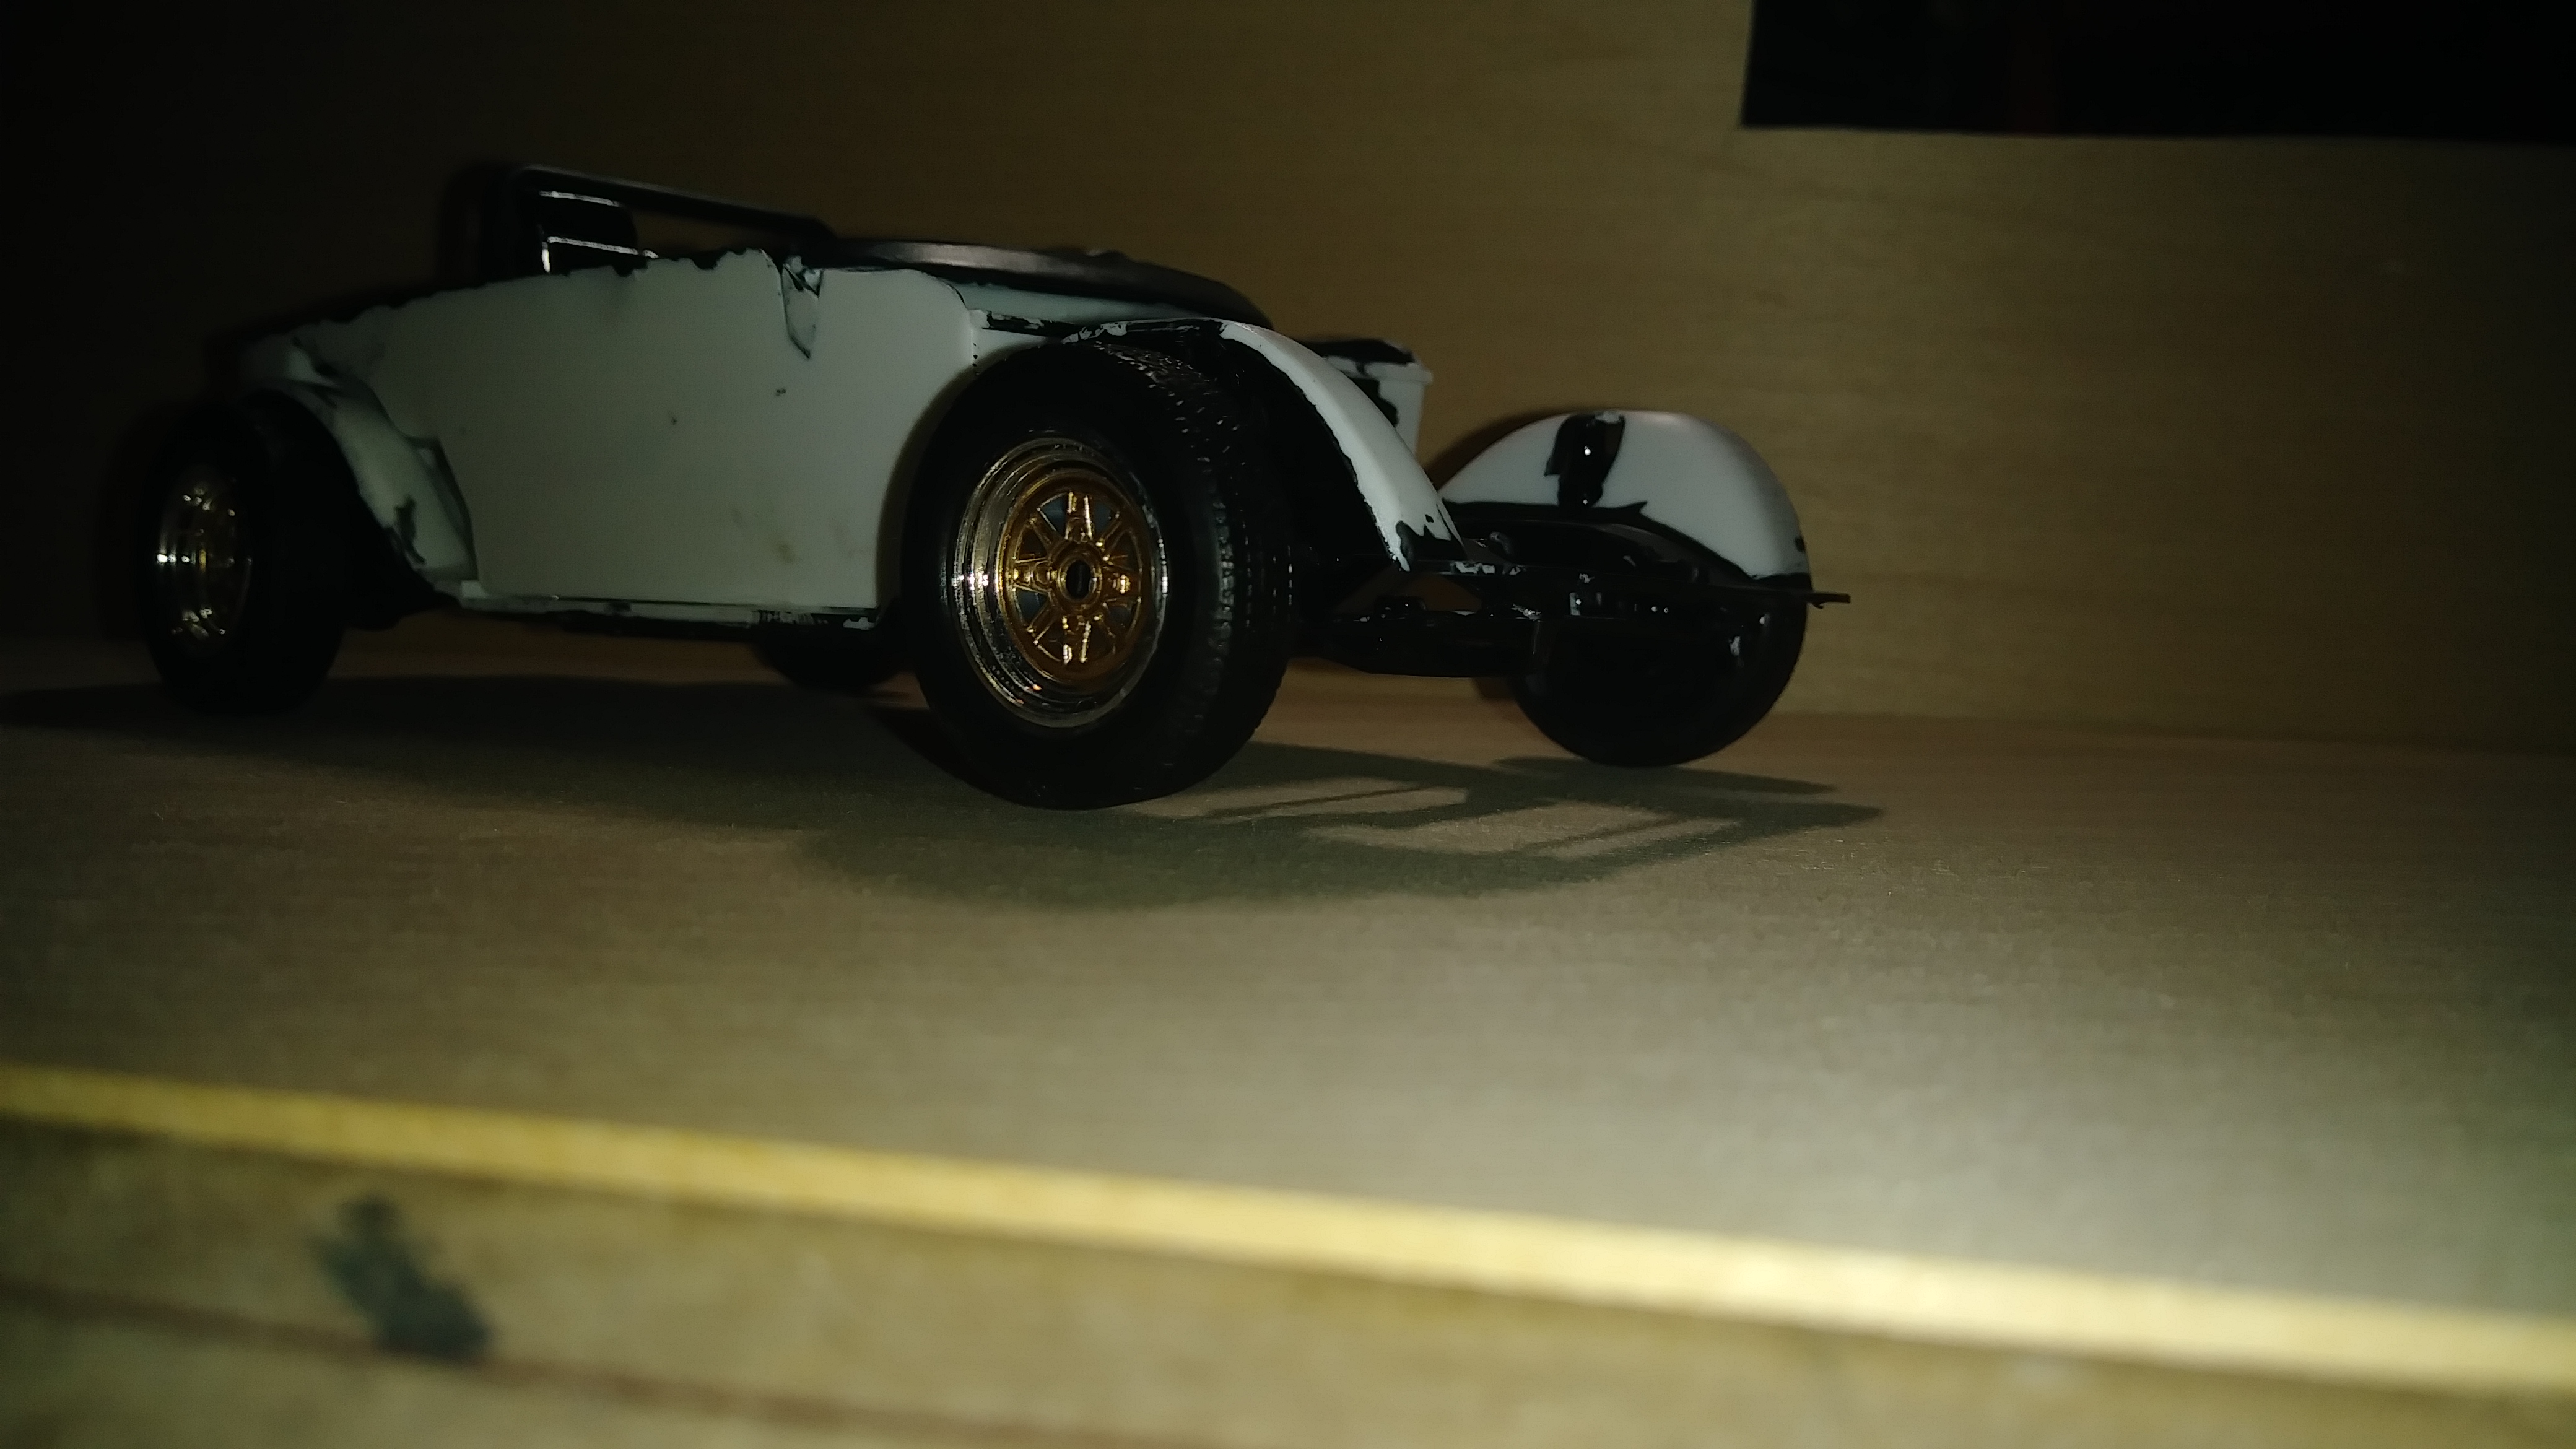
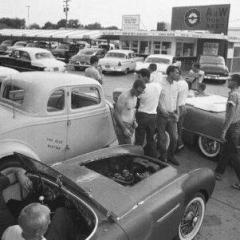
Waaaaaay back in 1980 I was 12 years old. My bedroom window overlooked the West Islip High School. Every graduation day, my dad and I would stand on the deck to the pool so we could look over the fence and chant, “We want smoke! We want smoke!” I remember a lot of muscle cars that were driven to School in the 70s. From Road Runners, Chevelles, Corvettes, to 442s, you name it. They never failed to fill our neighborhood with smoke and the smell of burning rubber! I did my part in 1986 with my 1970 Monte Carlo. It was a 350 2 barrel with a 2 speed powerglide. I couldn’t do a standing burnout, but donuts worked to break the tires loose! I have a short video taken by my mother! We were and still are a car family! Here is a short video of my efforts: Back to the subject of this post! One day in 1980 while looking over the cars in the parking lot, I spied a Corvette. It looked pretty cool, so I grabbed my 110 camera, hopped the 6 foot chain link fence and ran over to the car for a couple pictures. Back in those days you didn’t know what your pictures looked like until you sent the film out for developing and got them back. I guess all the running put me a little out of breath and the pictures came back with bit of camera shake. But I saved those pictures all these years. I’ve always wanted to do a model of that car, and the Revell 62 Corvette was just what I needed to finally get it done! There’s some lettering on the front fenders that is very hard to read today in these pictures. But for some reason “Dad’s Dream” sticks in my mind from all those years ago. Recently a friend of mine was able to clean the pictures up a little bit for me, and it does look like that’s what it says on the fenders. So I painted the body white and then masked off what I wanted to leave white. I painted the rest of the car black but experienced some trouble with paint flaking off while I was removing the masking tape. I set that body aside and decided to paint the spare body that I had, black and then mask off for the white. This yielded much better results. Plus as it turns out I incorrectly painted too much of the cove white the first time around. In the pictures I can see the car had a teardrop hood. I was unable to find a teardrop hood for that body style Corvette so I had to create my own. I used plastic and clay to get a rough shape and then made a mold and cast the hood in resin. The resin copy was smoothed out, primed and painted with the rest of the car. Here is where I’m at now. The interior is in place and the chassis with the wheels in place. There are some pictures below. I figure for the engine I’ll do a dressed up 350 with basic chrome goodies and headers. This is artistic license of course, as I did not get any pictures of the actual motor. I printed the Dad Dream lettering on the laser printer using white decal film with a black border. But it’s not working too well. I recently acquired my father‘s old laptop that still has windows XP on it. I have to try and find drivers for my Alps printer so I can print the lettering in white on clear film. Here are some pictures, any comments or suggestions are welcome!
-
Hi all fellow builders,,wishing you a happy thanksgiving coming up. I always enjoy the oddball,,not so popular kits to build. This is one I got for 10$ at April #DAMM show in SE Mich. Its the 1996 pop of Jack Baldwins SCCA trans-am Camaro. First off,,its not the color scheme of the original car,,but I like it in light blue just the same. It went together fairly well,,the decals were scary,,trying to get them to hug the radius scallops/lines on doors ect. I used the decal micro-soft stuff,,and after a while they went on decent. Added some minor wiring/plumbing,, not a contest car,,but a good addition to my shelf. Hope this finds you doing well! Build on!
-
This is my first build on here, so sorry if it is badly worded or done, but to start it off I’m a 14 year old, and have been building since the age of 5 1/2, starting that age with my dad, building on my own since age of 7-8 years old, but enough of that. It’s a Revell 1/24 1966 Shelby GT350, and I’m not sure how I want to build it, I had a dream a couple of days ago about a vintage racing school, where you learned vintage racing, and in that dream there was a 1966 Shelby GT350, so I might build it as that, but I’m not sure yet, also, when I try to upload progress pictures, from my phone which is what I use to take model progress, it says error, no matter what I use, is it an error with the pictures or? I need input.
-
Getting back to this one final. Did some work on the interior, Tamiya Dark German grey, flat aluminum, ultra bright BMF, and kit supplied decals. I think it come out really well, just some touch up on the aluminum on the front seat. I have some Ken's Fuzzy fur for the carpet area.
-
Ok so I work for a hobby shop in Massachusetts and I just got a fax copy of an email that was sent to 1 of my distributors from Revell. They are back with a new company here in the US. There new warehouse is located outside of Chicago. & there is product on the water on its way to the new warehouse & they are trying to have stuff available by September - October time frame & quantities will be limited. So be patient.
-
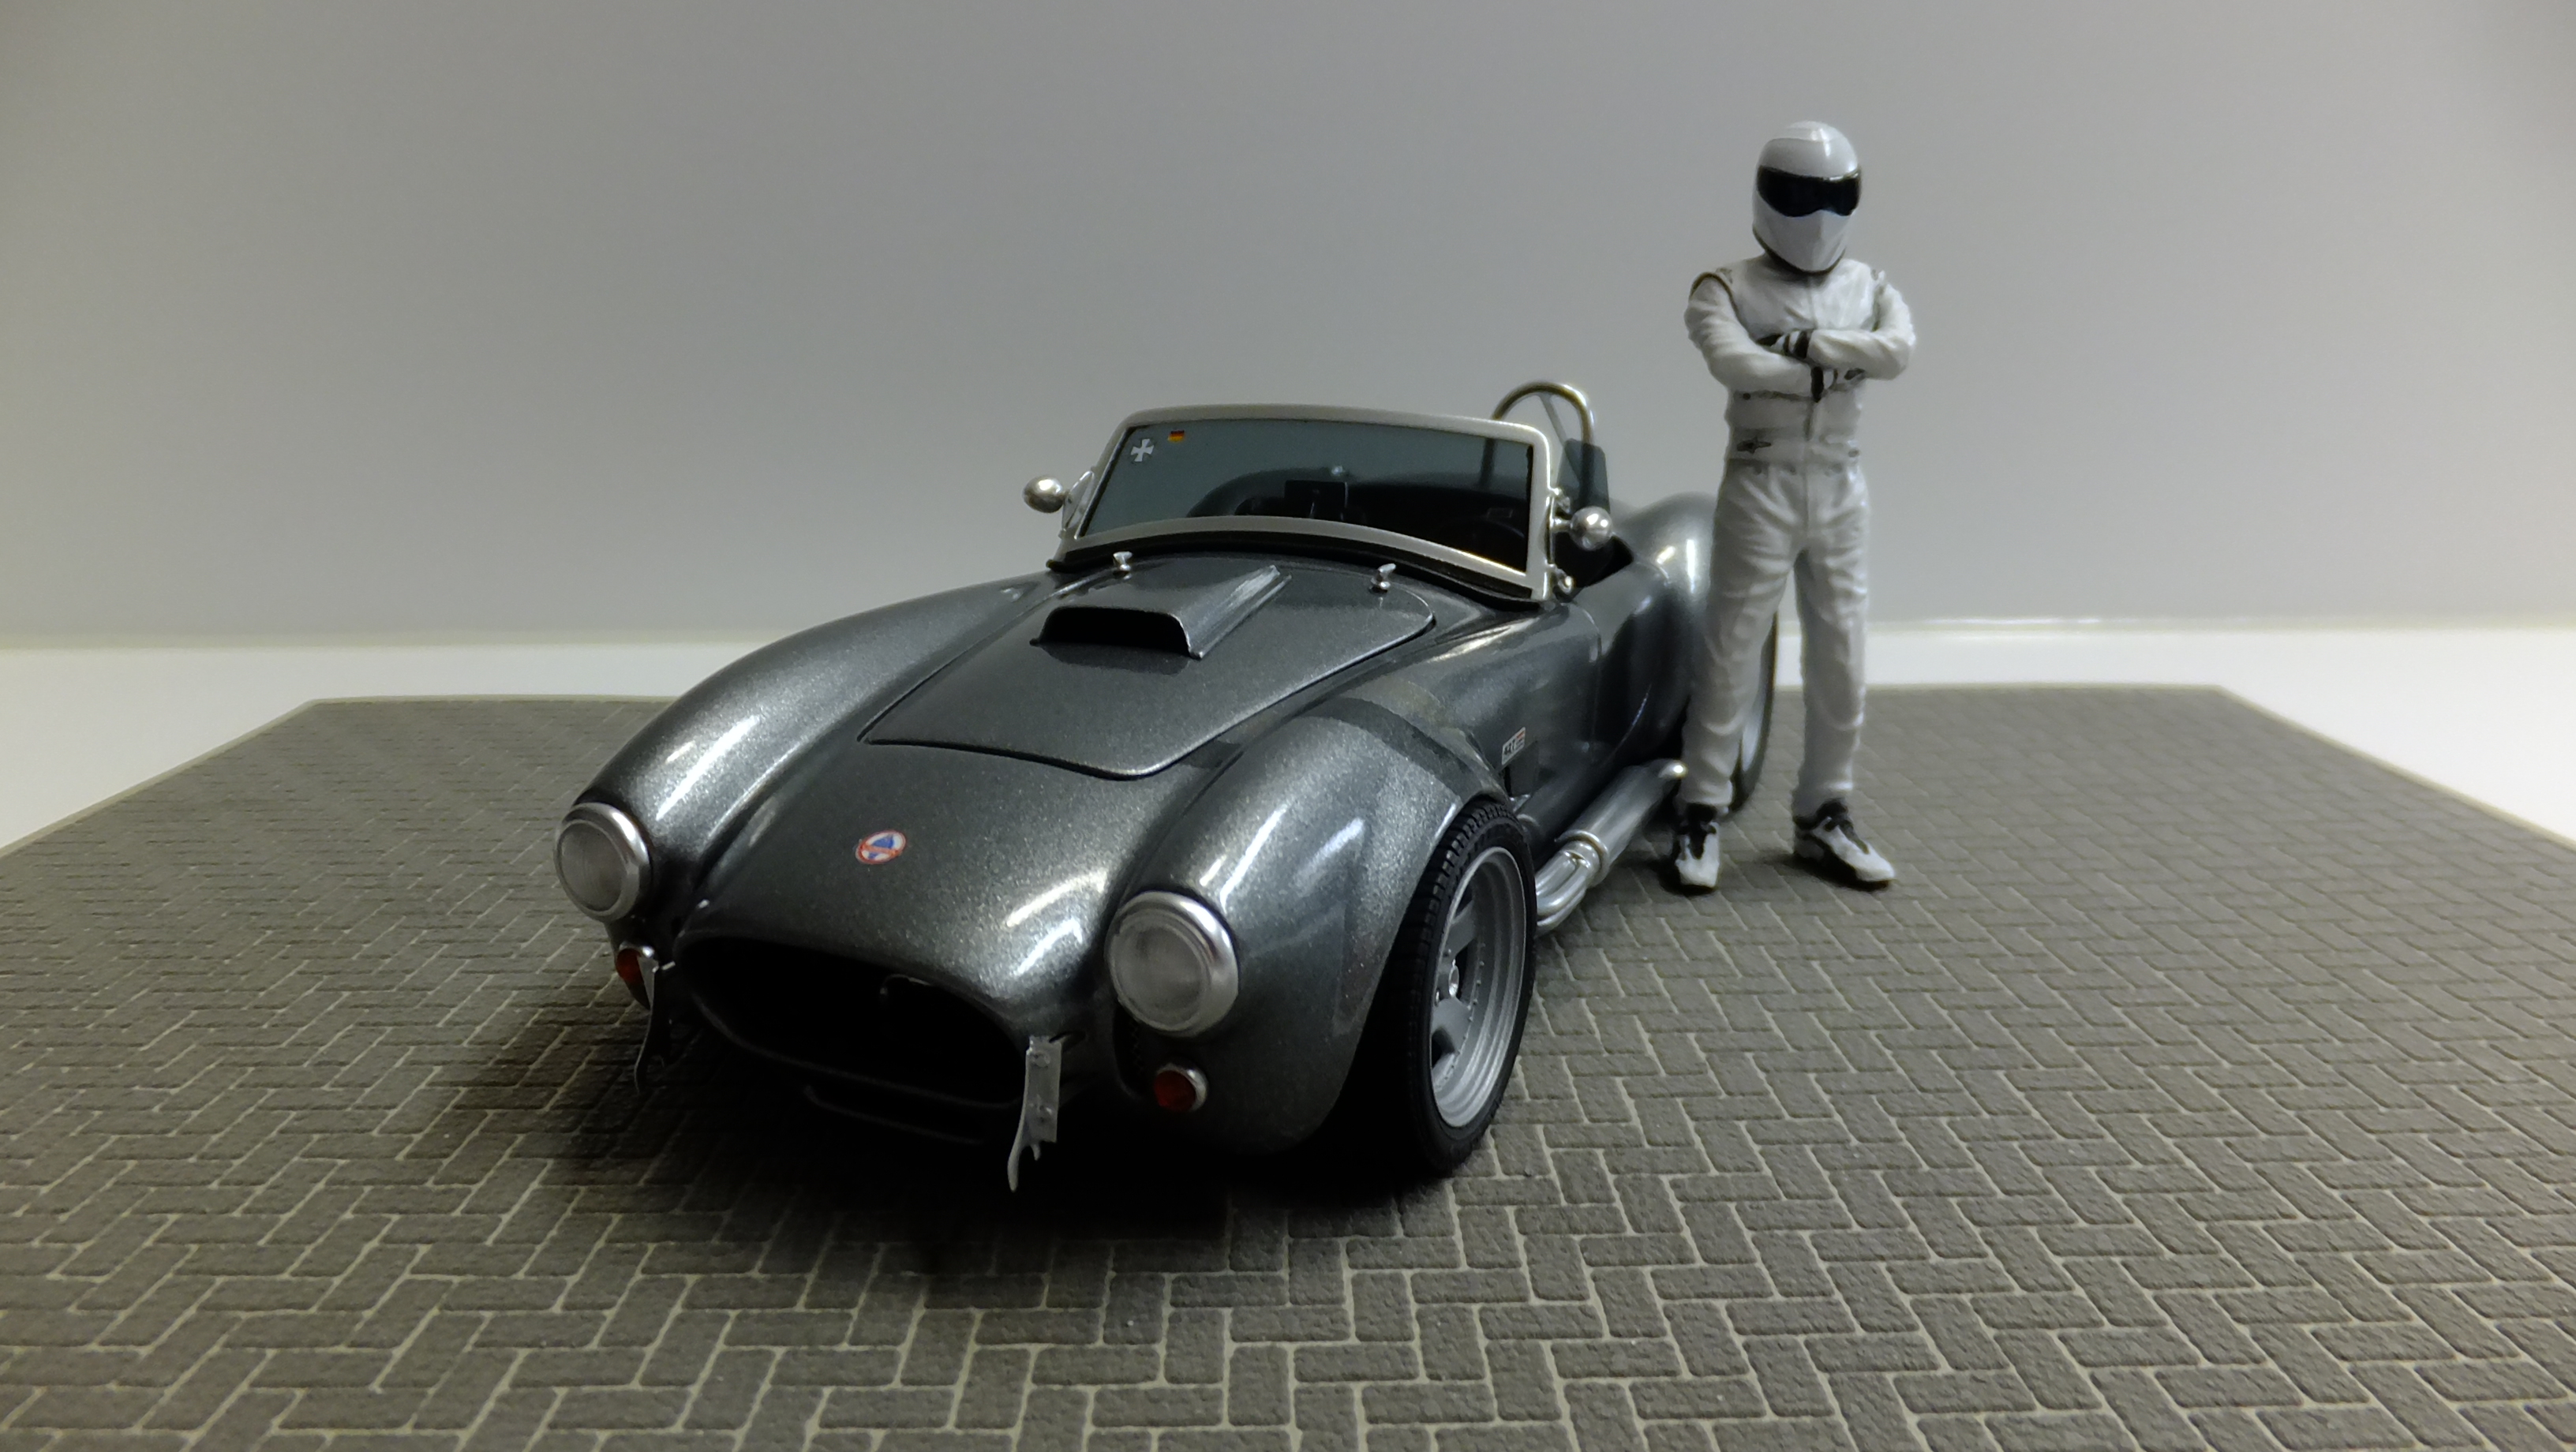
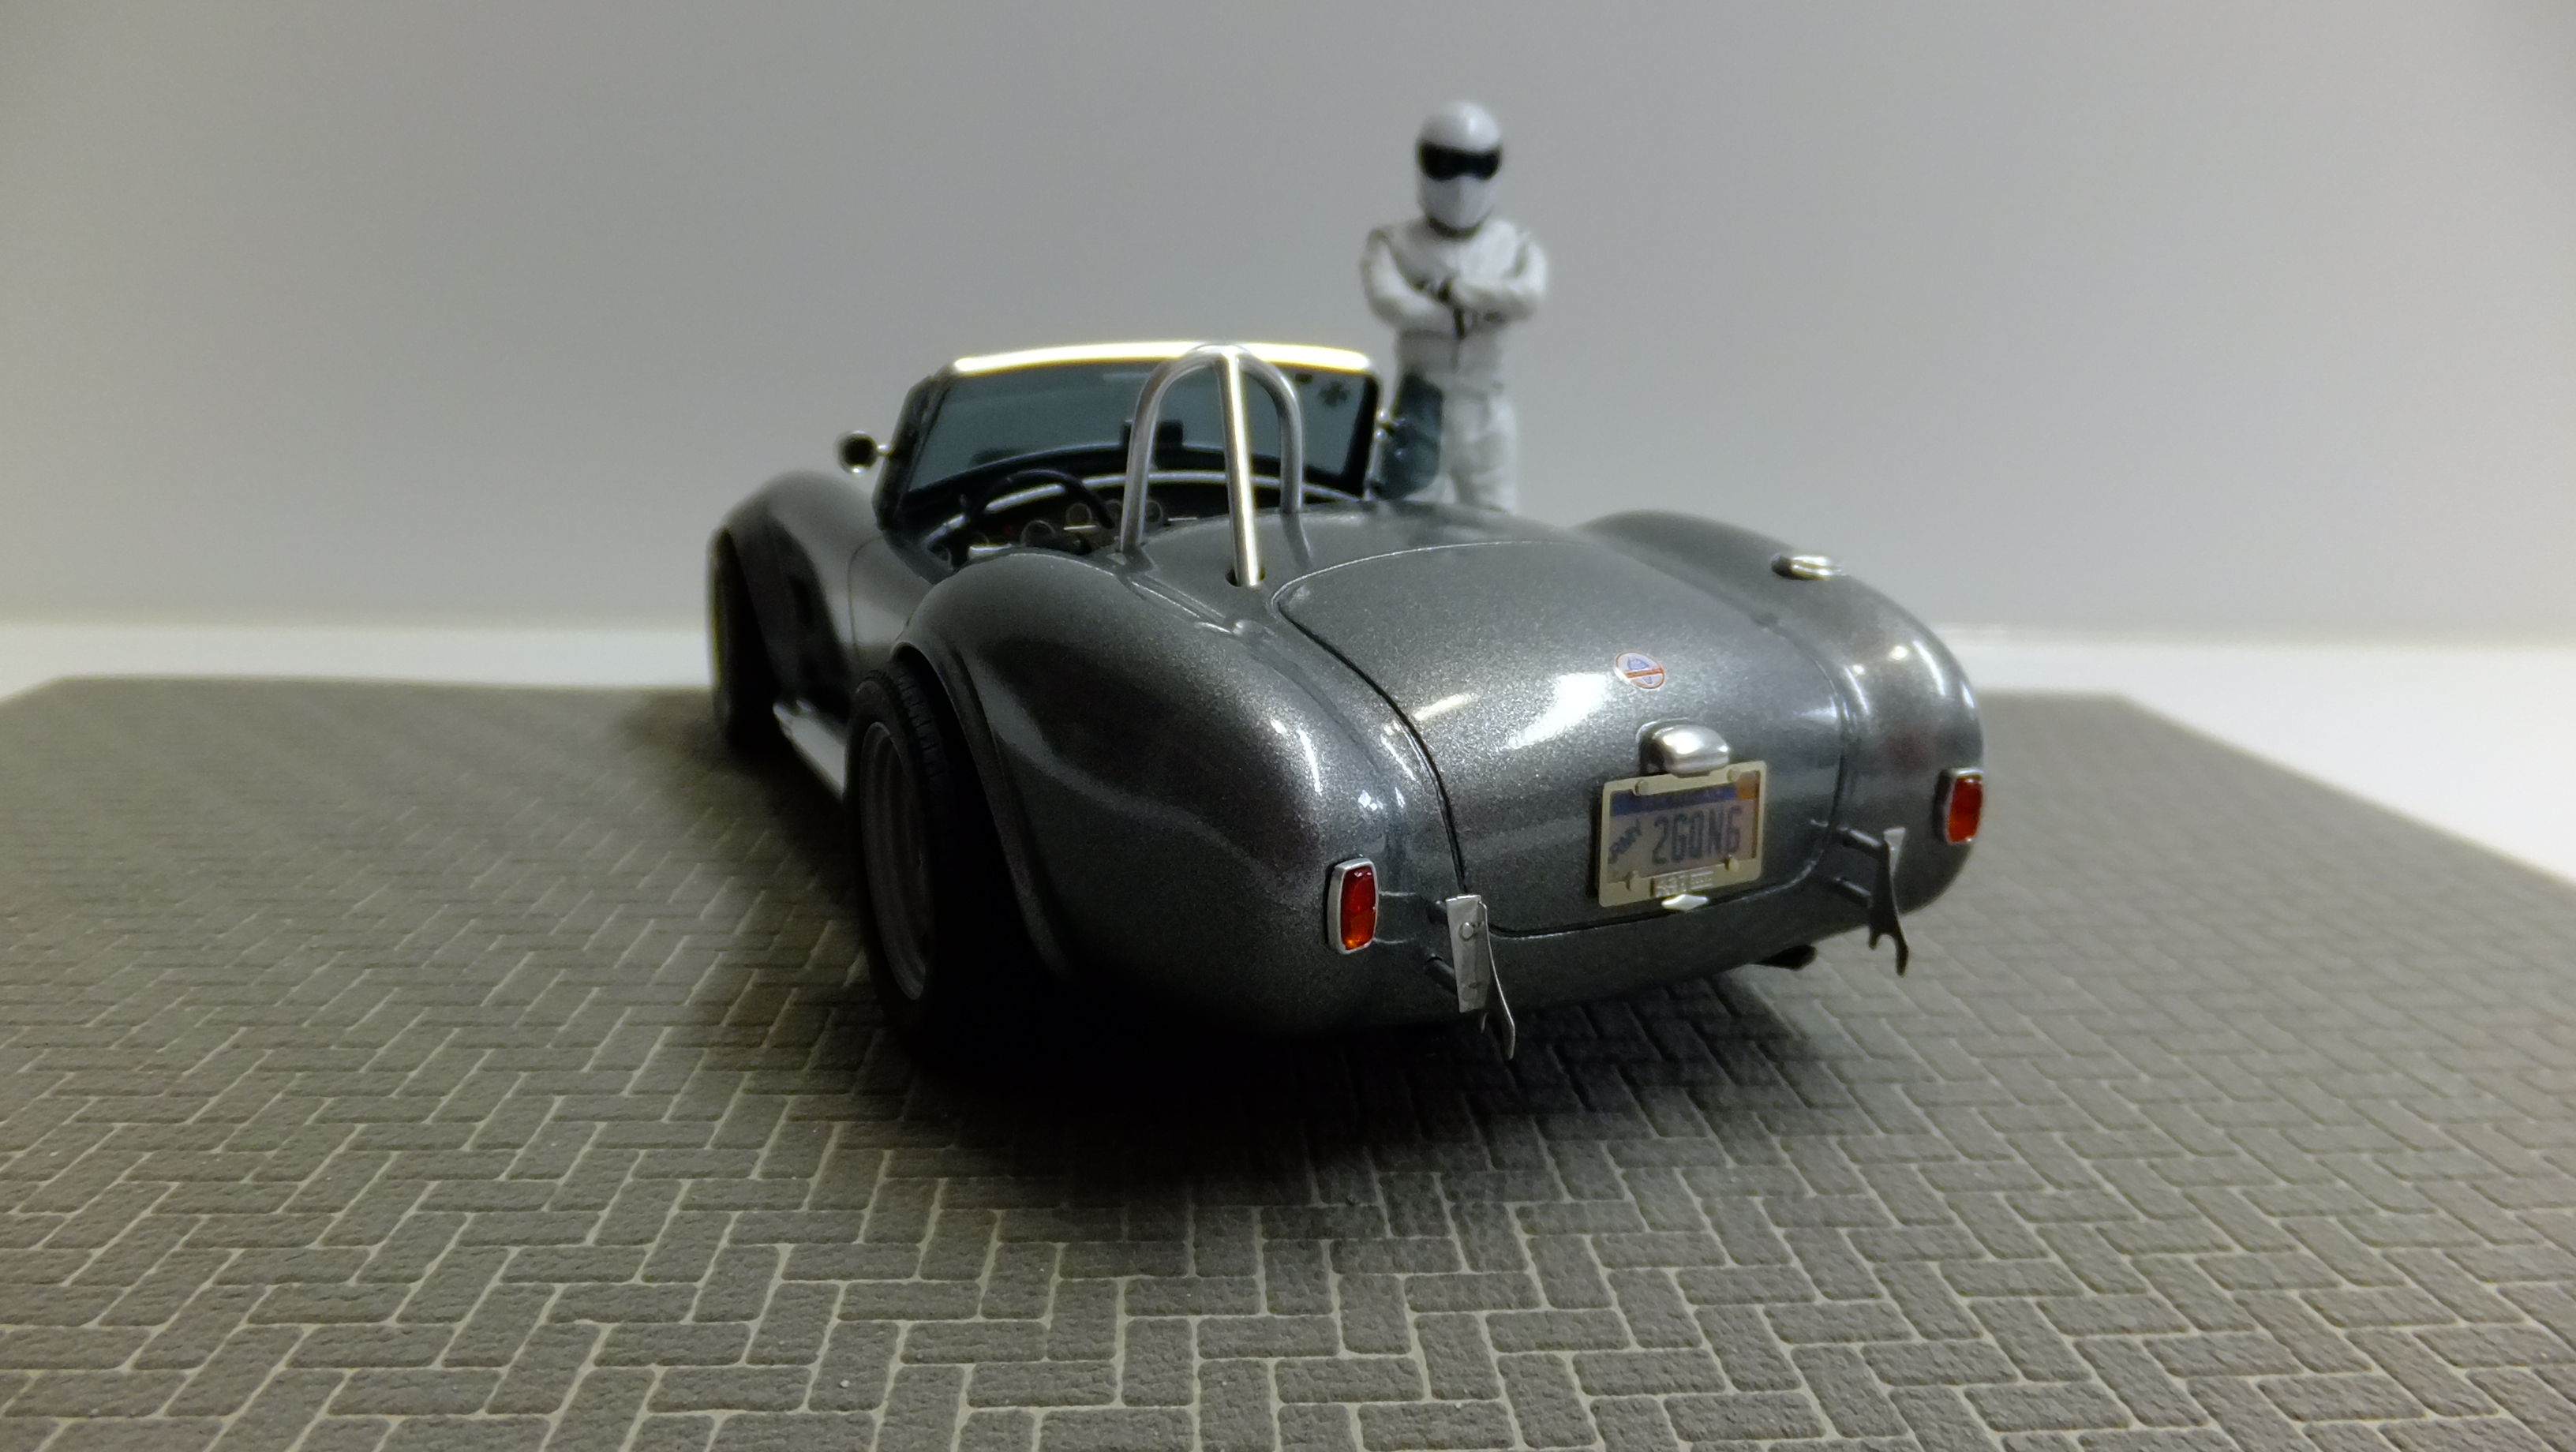
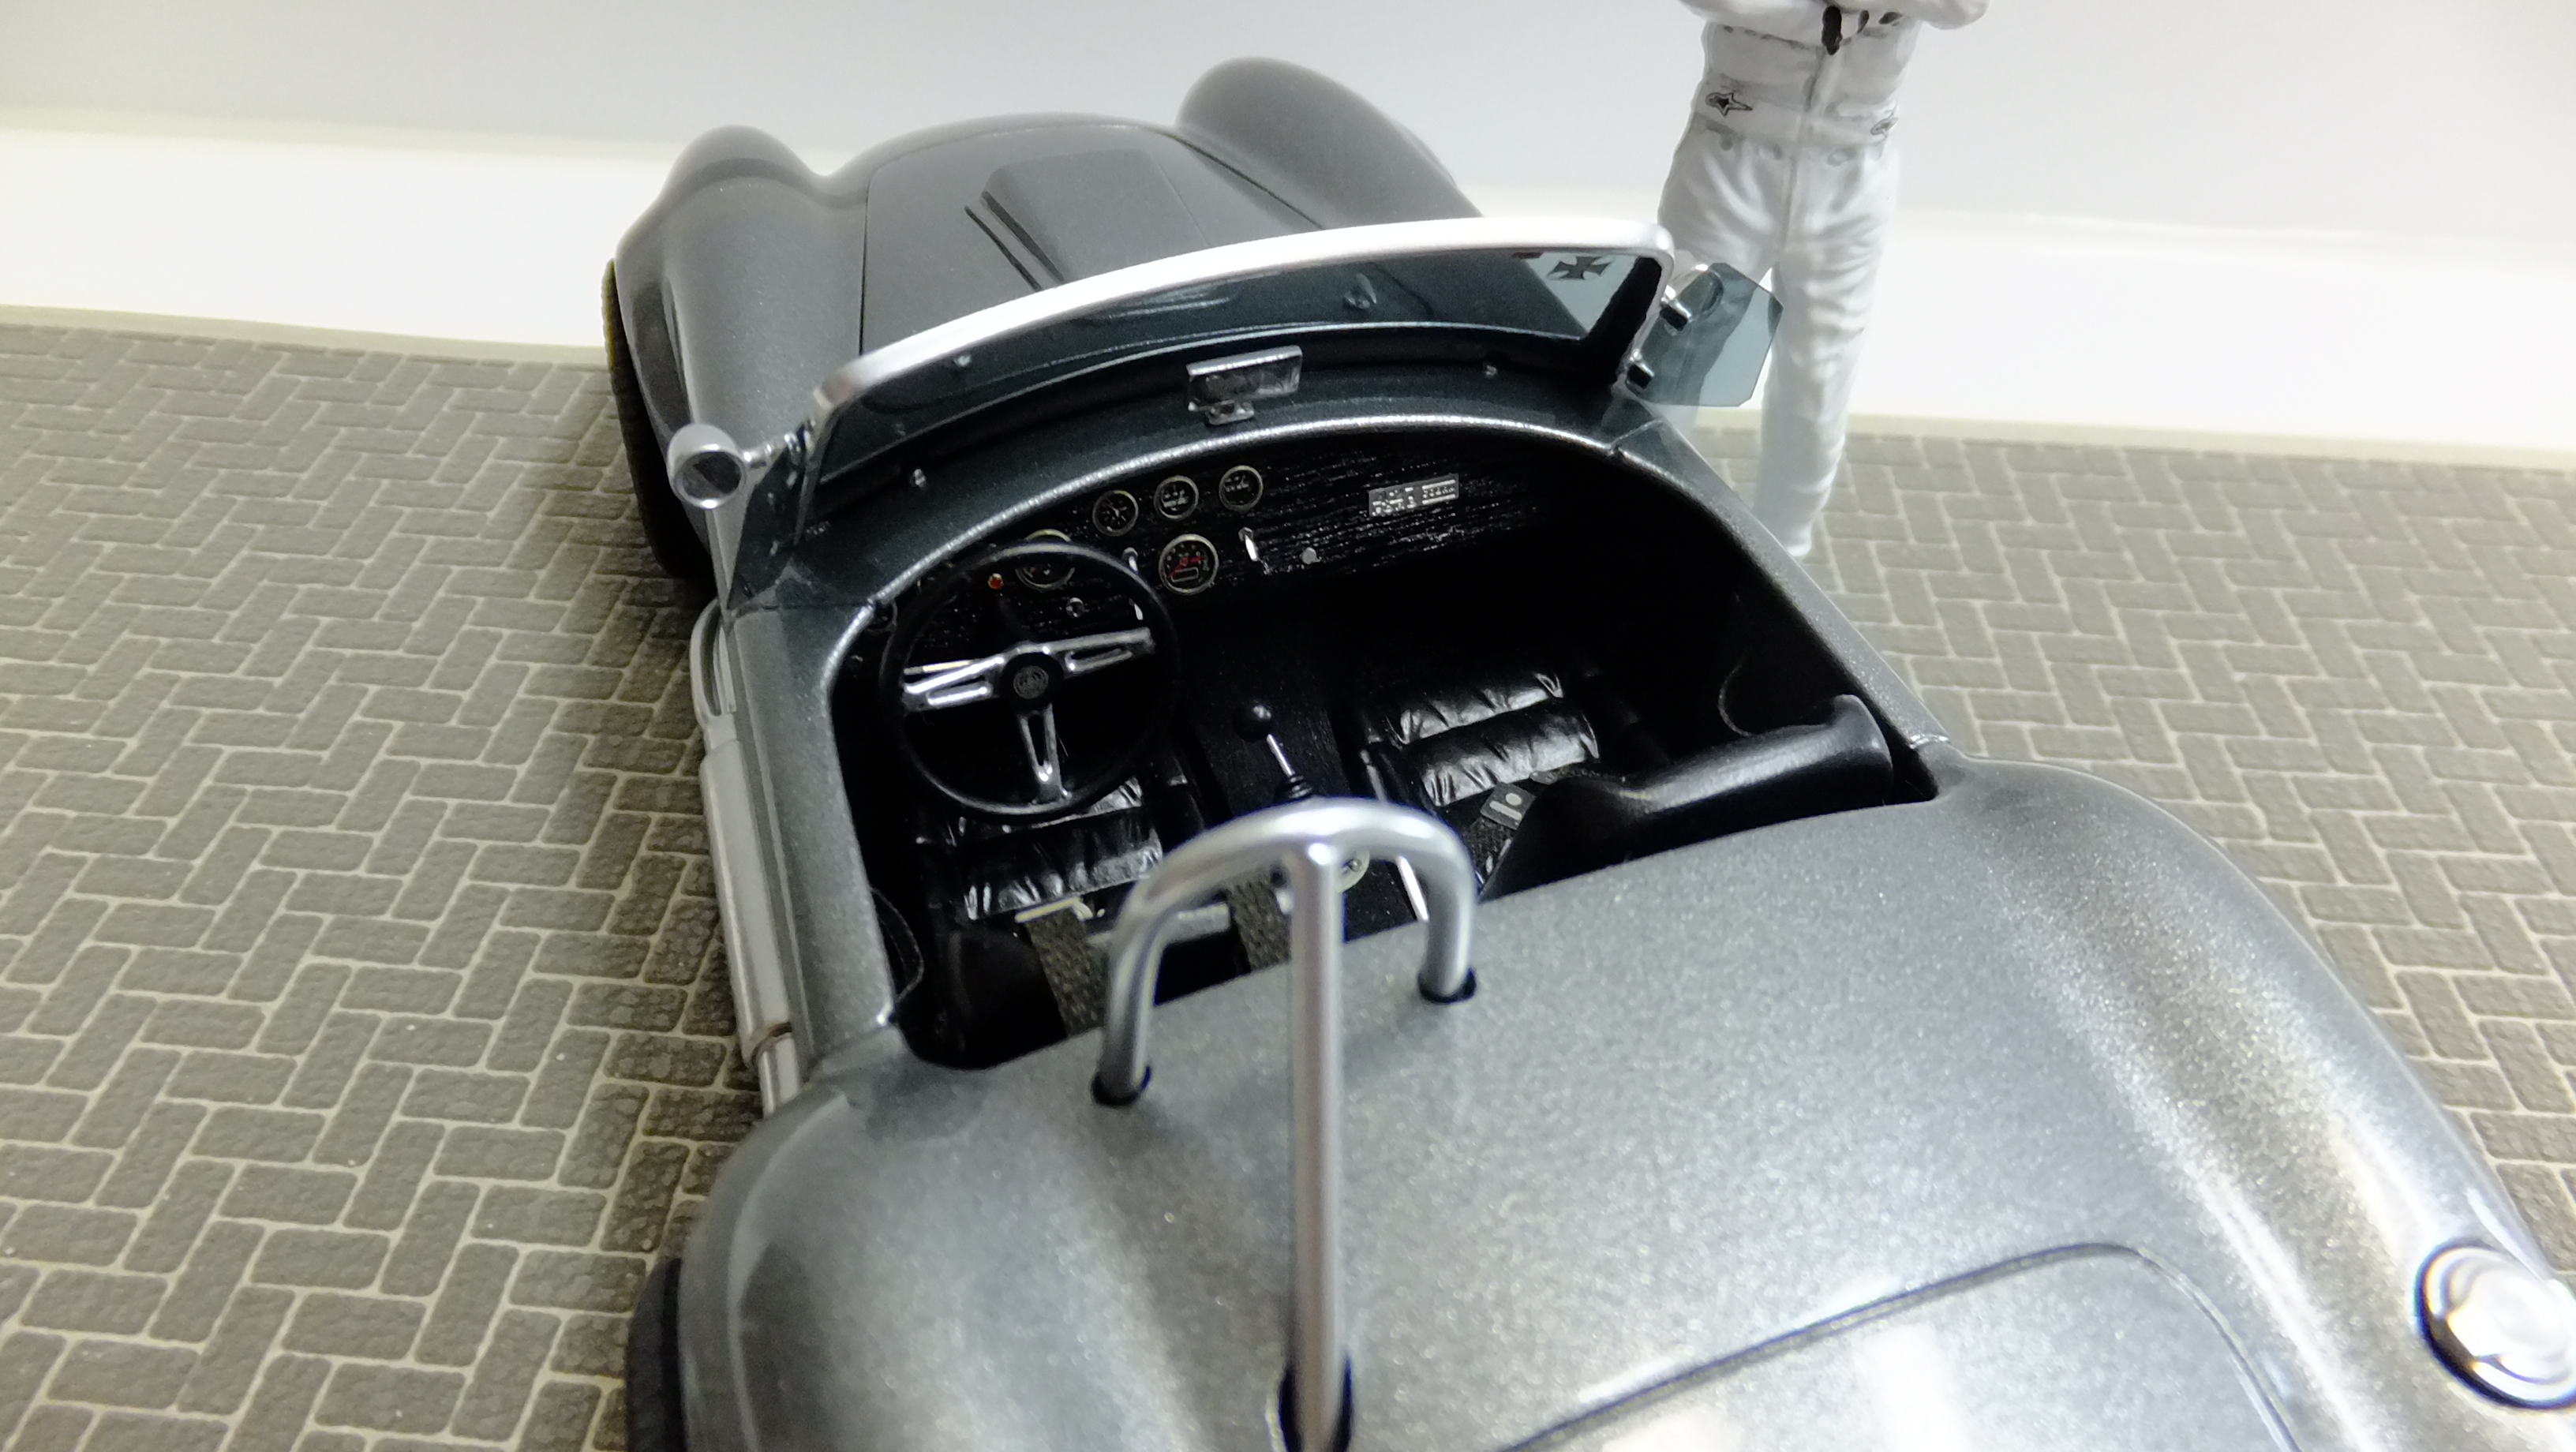
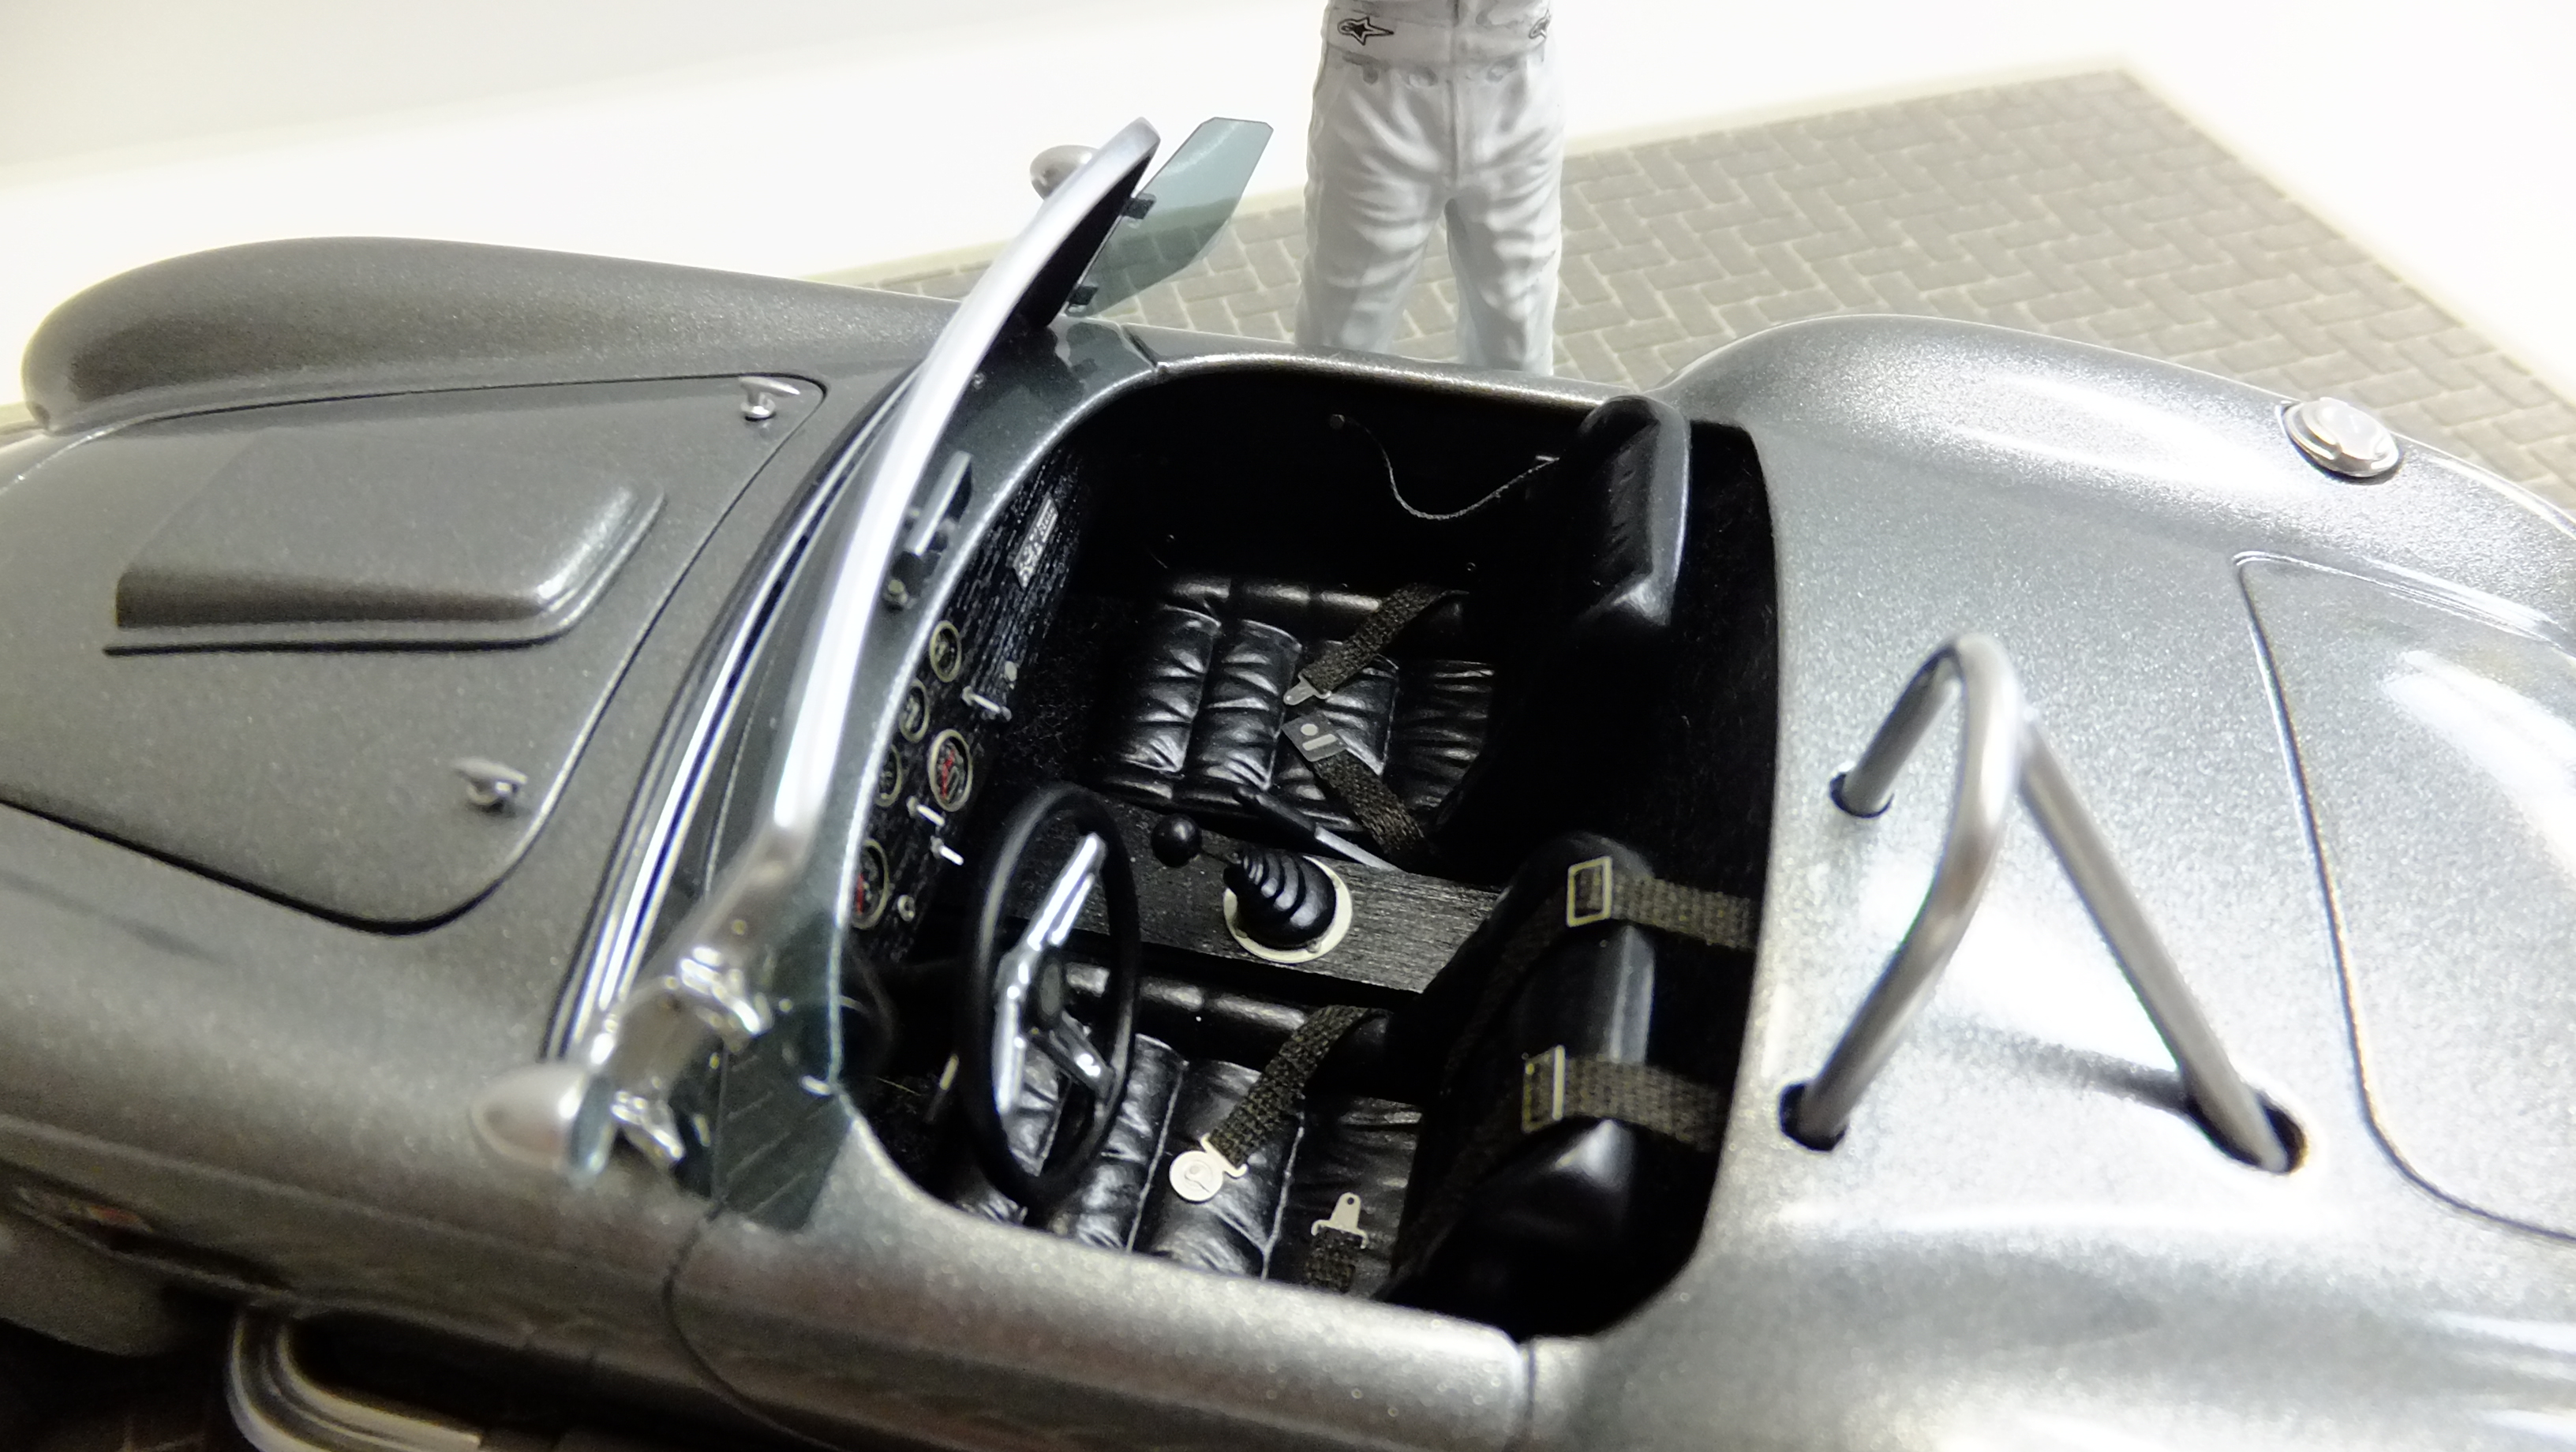
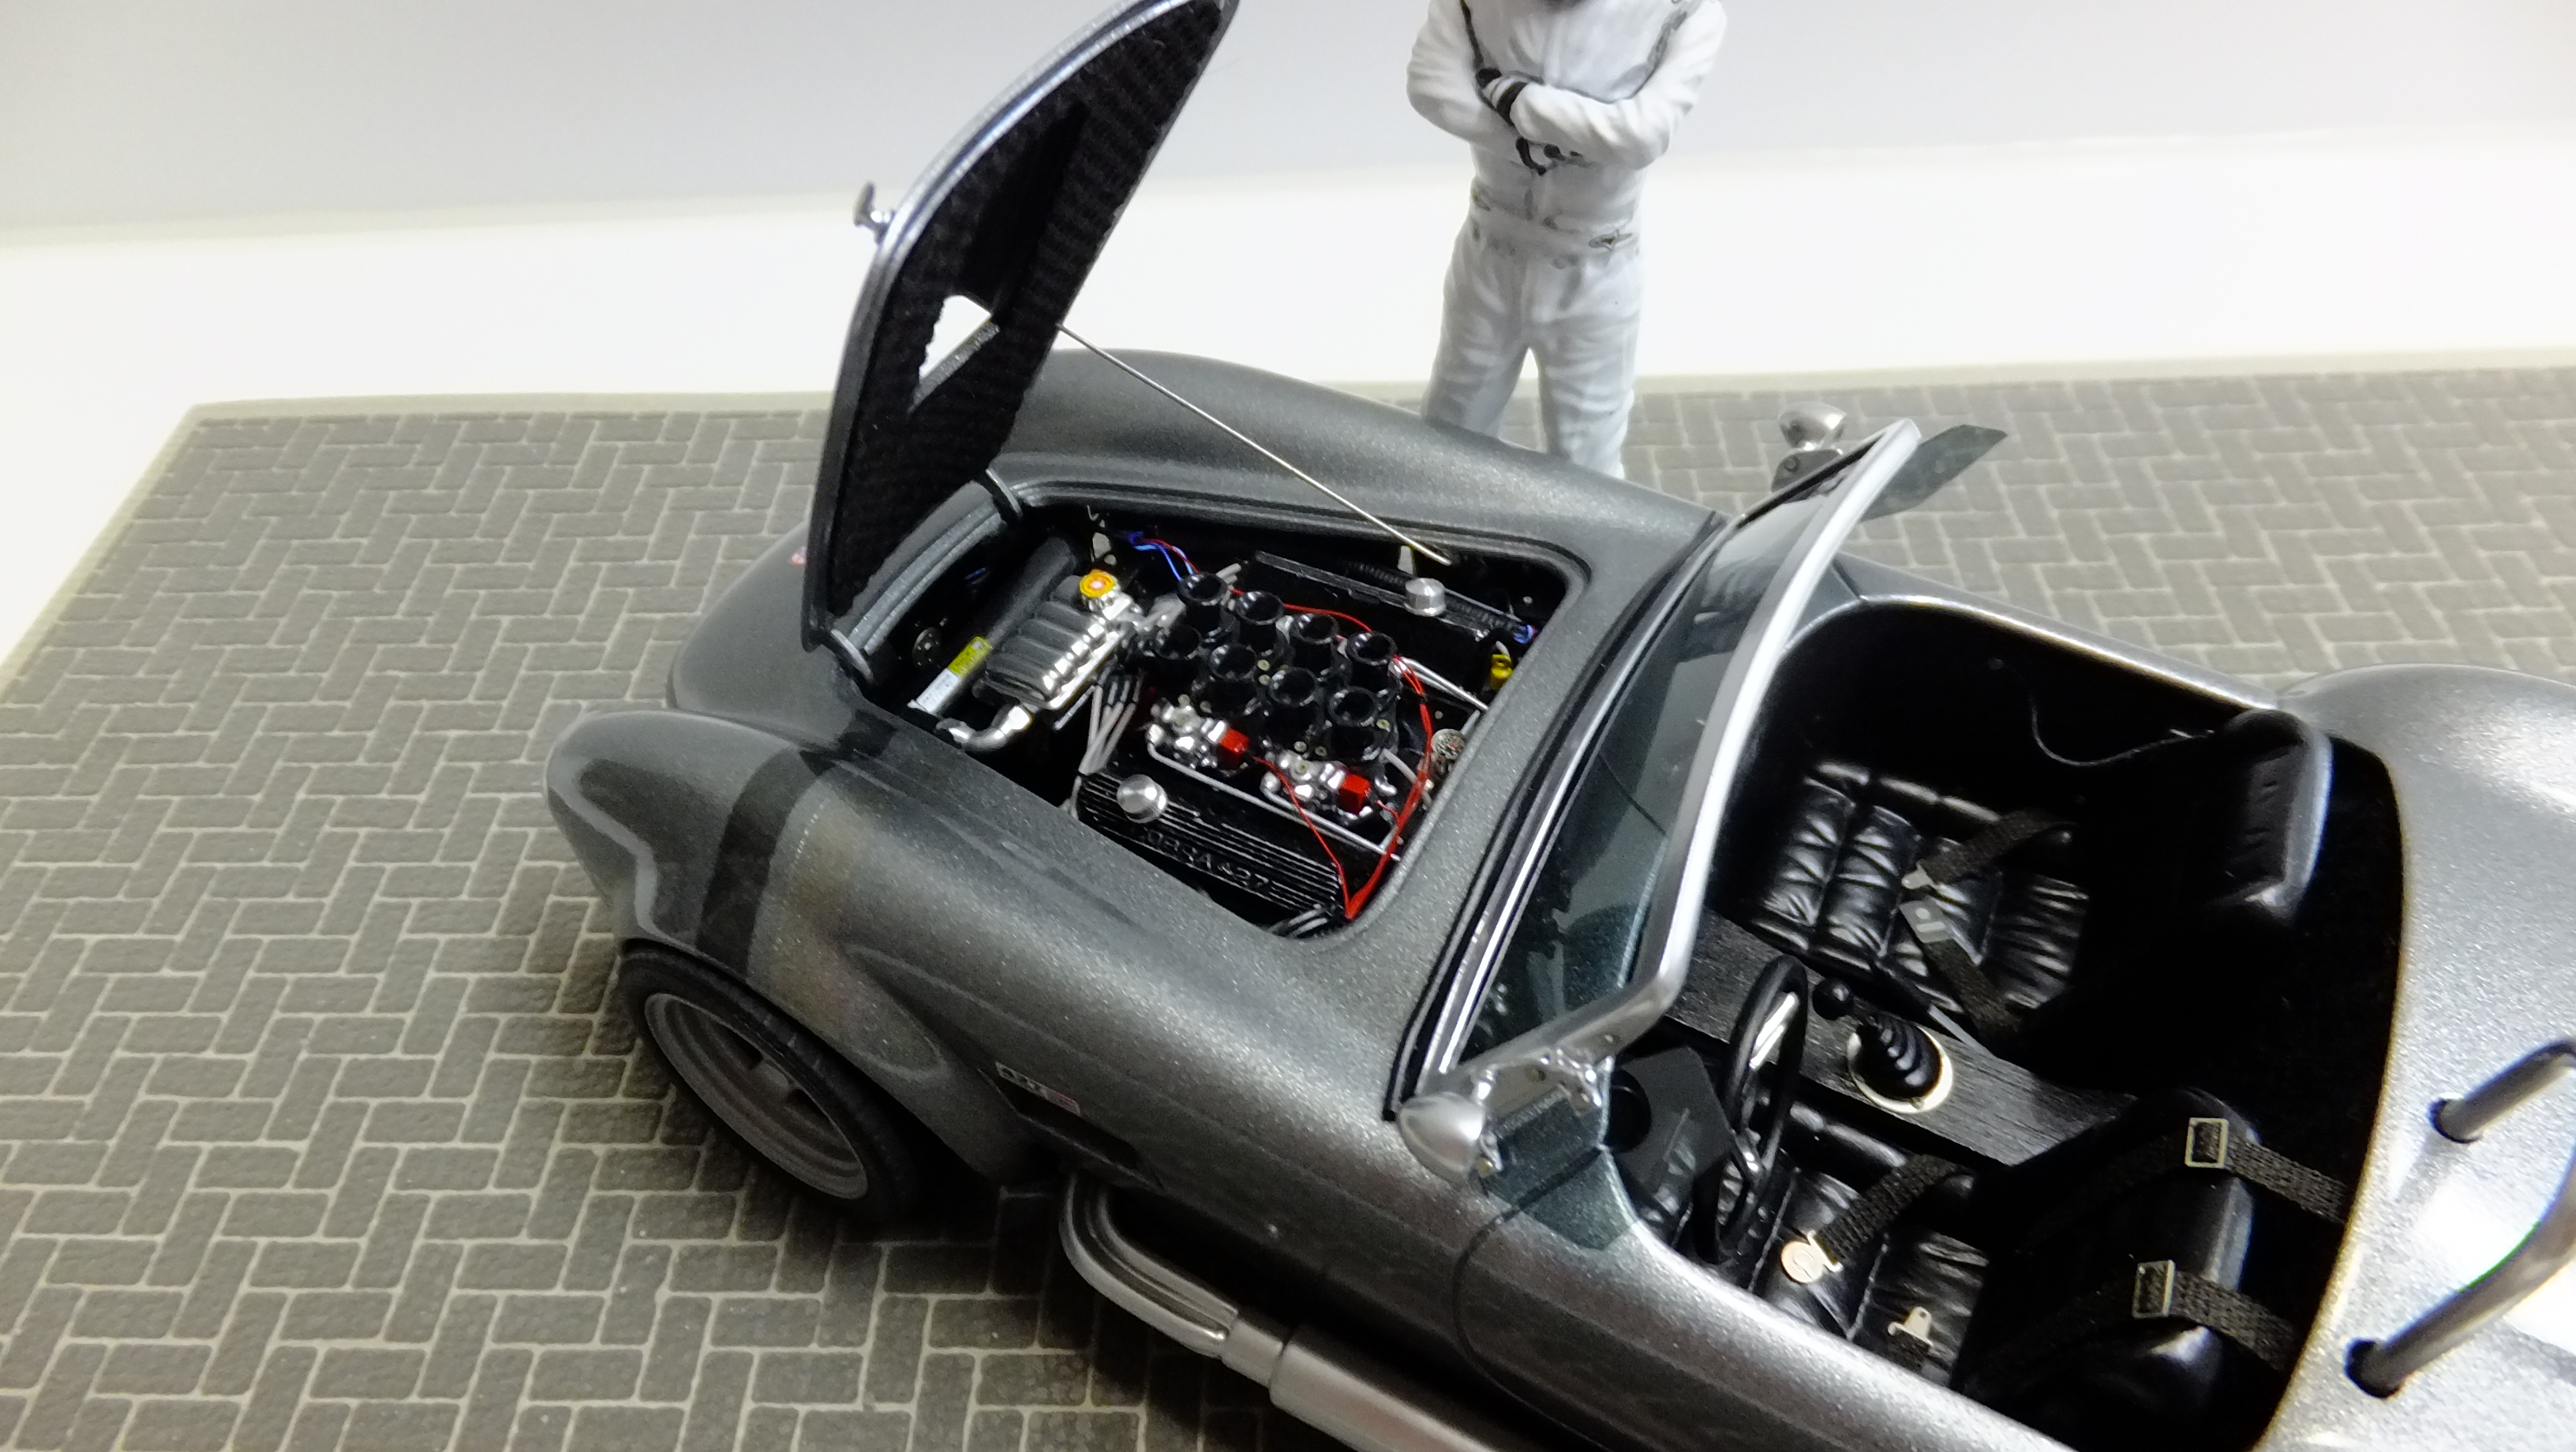
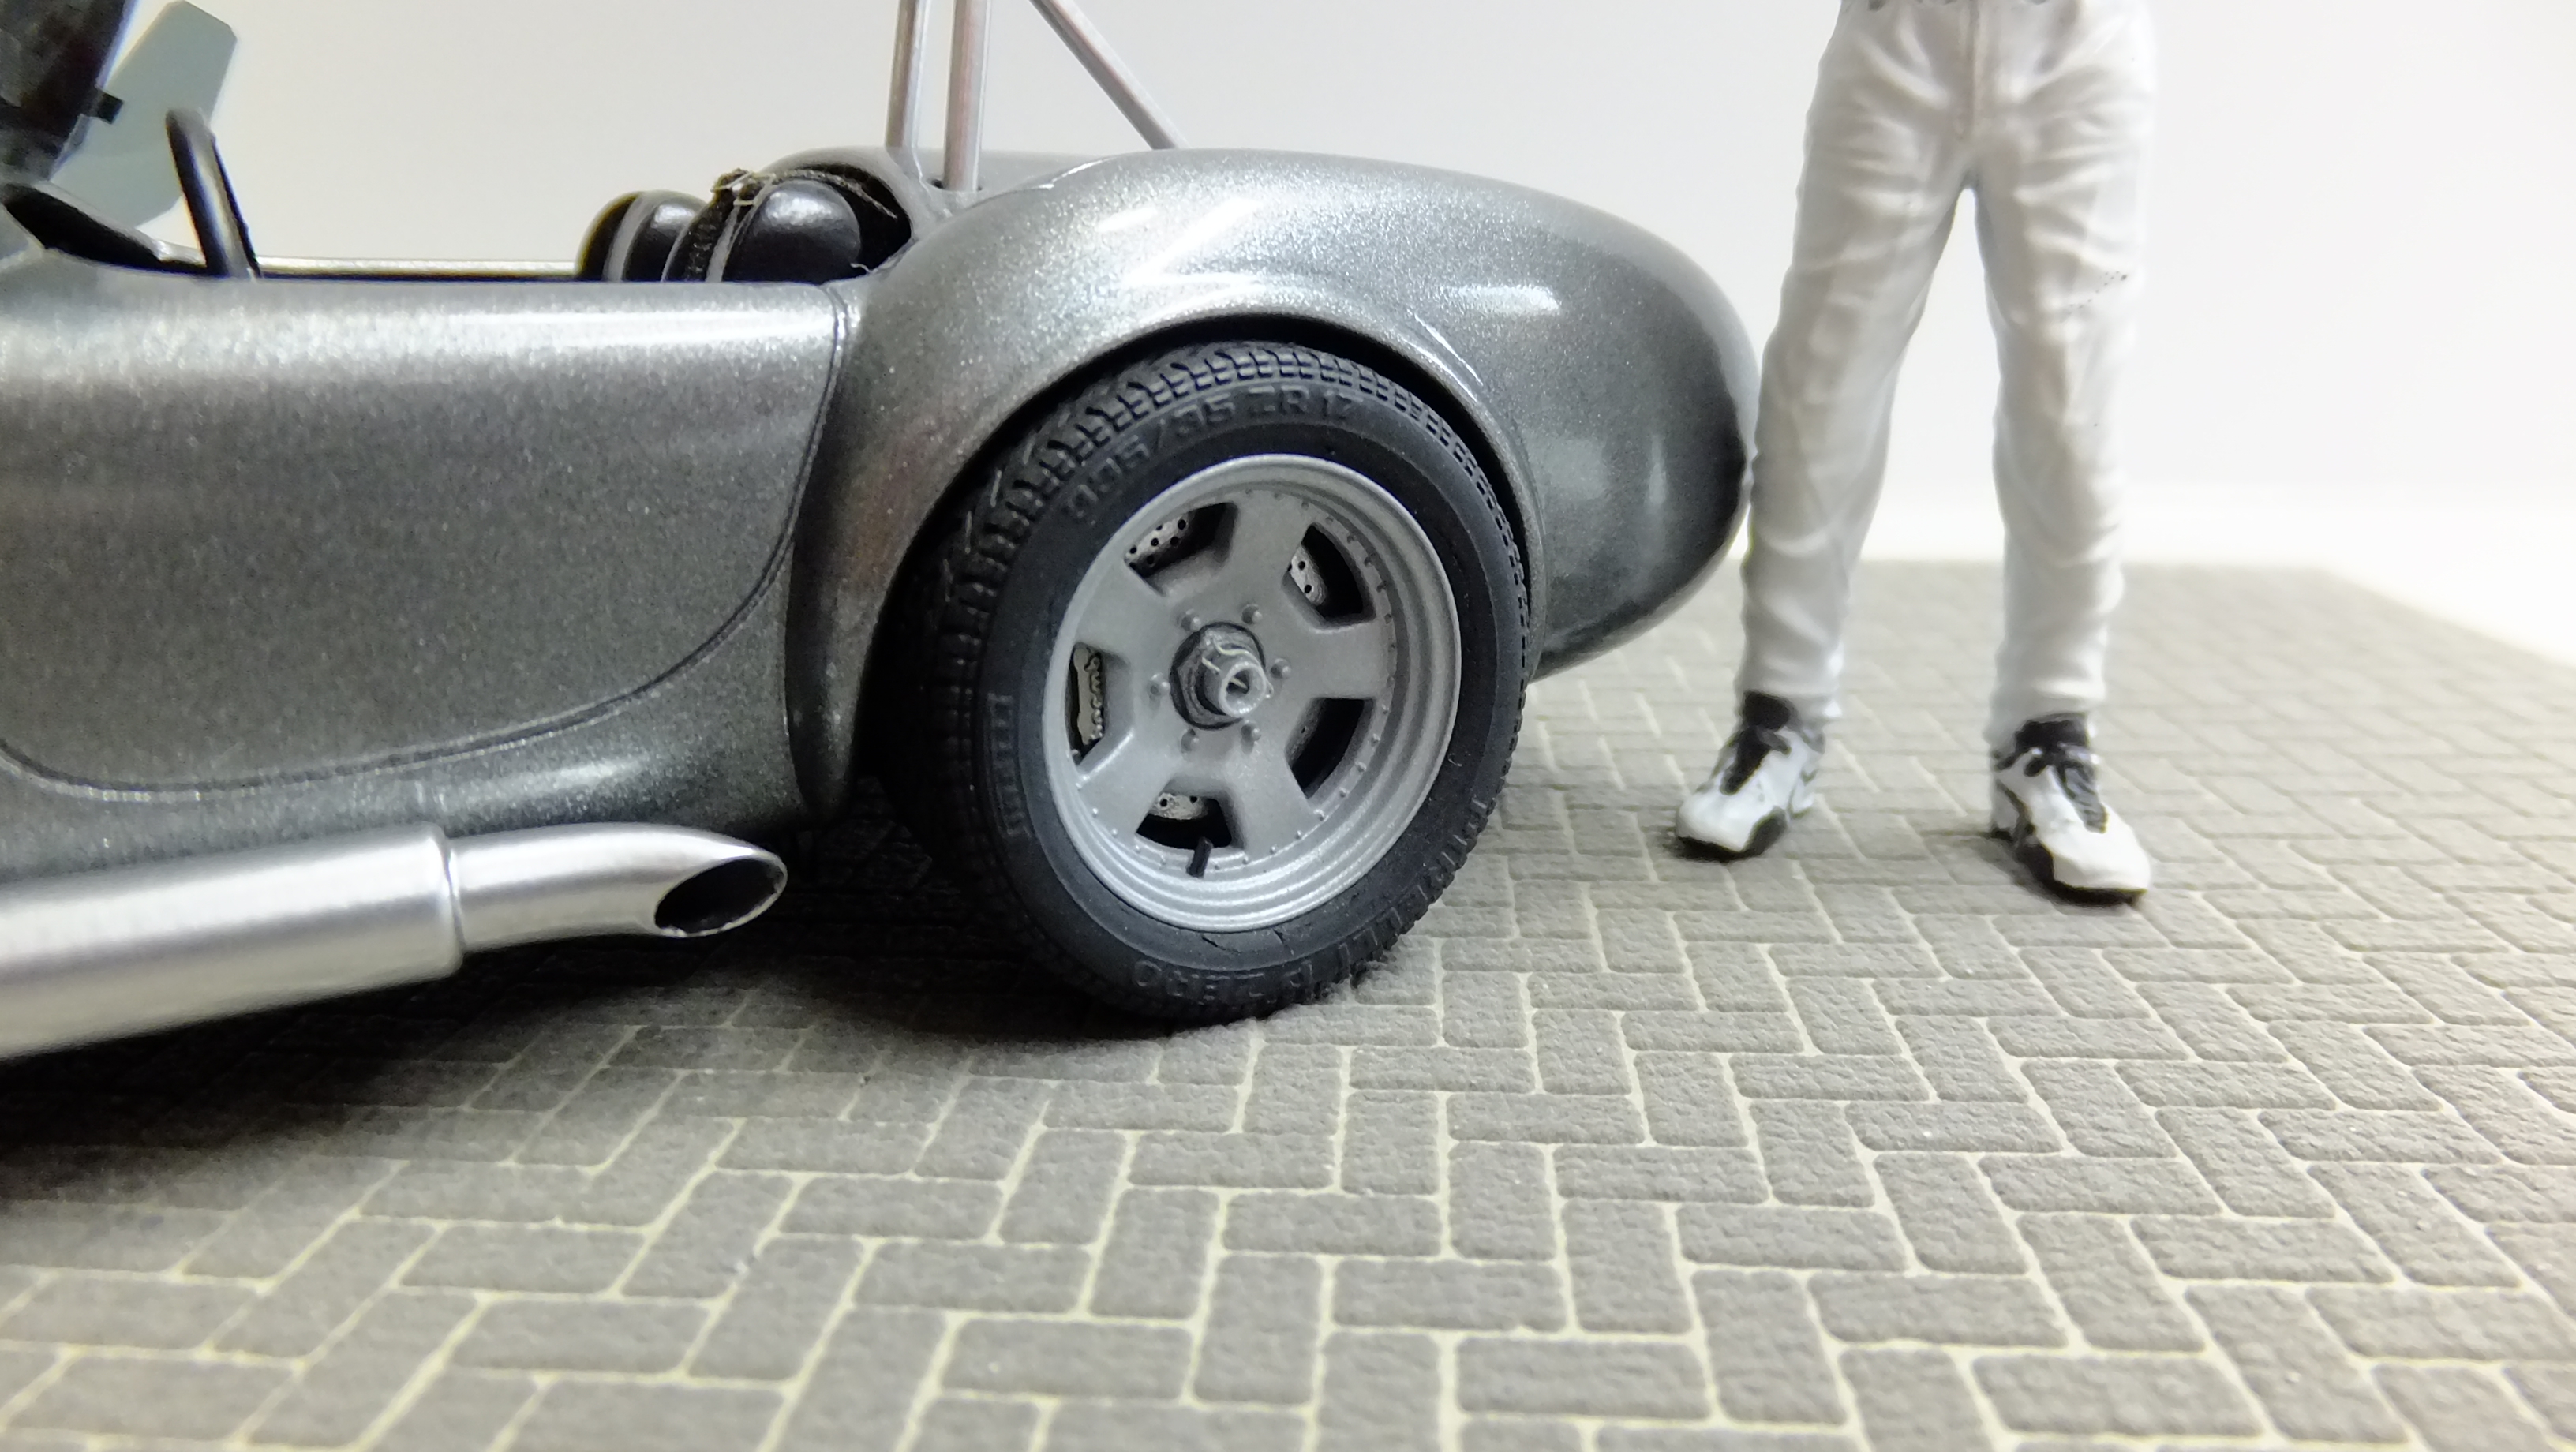
This is my fully detailed, customized Revell Cobra 427. There is so much that I did to this, so heres a few things; I replaced the hood scoop for a Fujimi one, I made the windscreen frame from aluminum, and SB the mirror Brackets. The side pipes are made from aluminum tubing, and the jack-points are photo-etch. The interior has real black lacquered wood, and the seats are modified Lotus Esprit seats. I put Pirrelli PZero tyres from a Tamiya Ferrari F40 kit, and the wheel centers have real cotter-pins in the spindles.
-
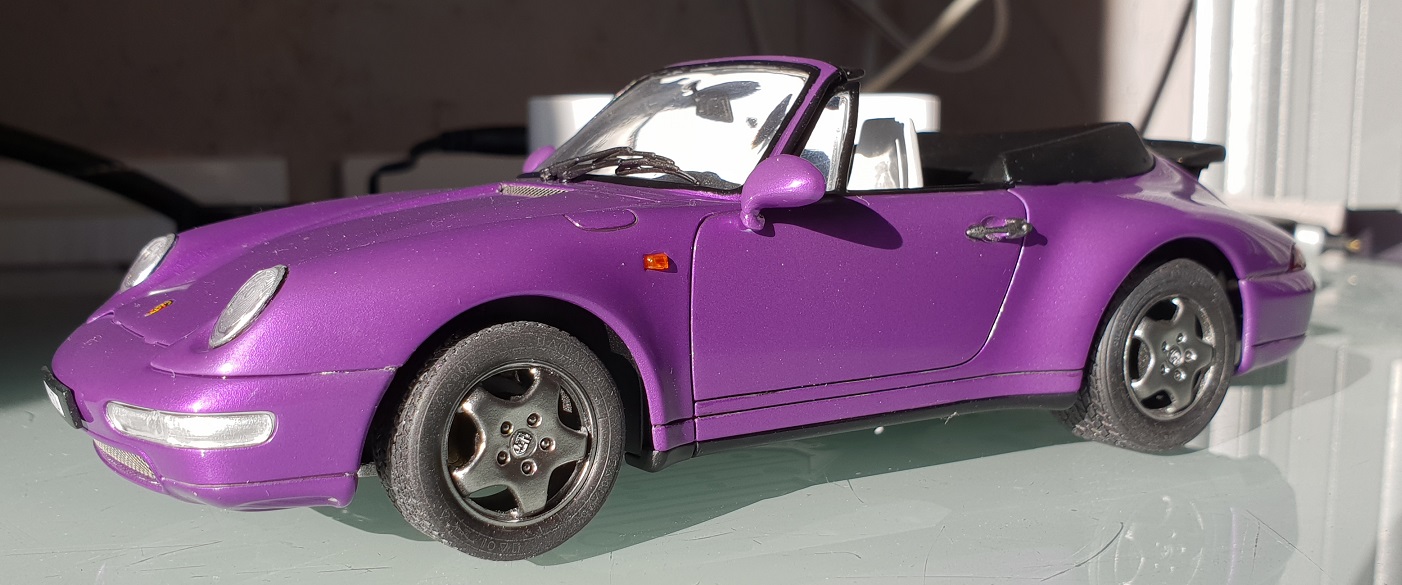
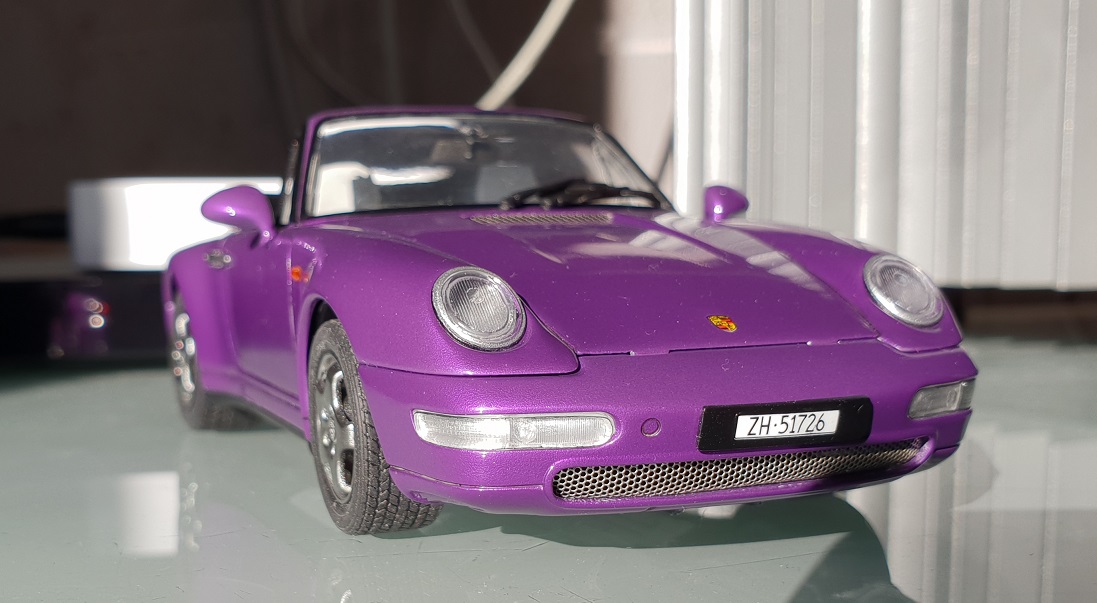
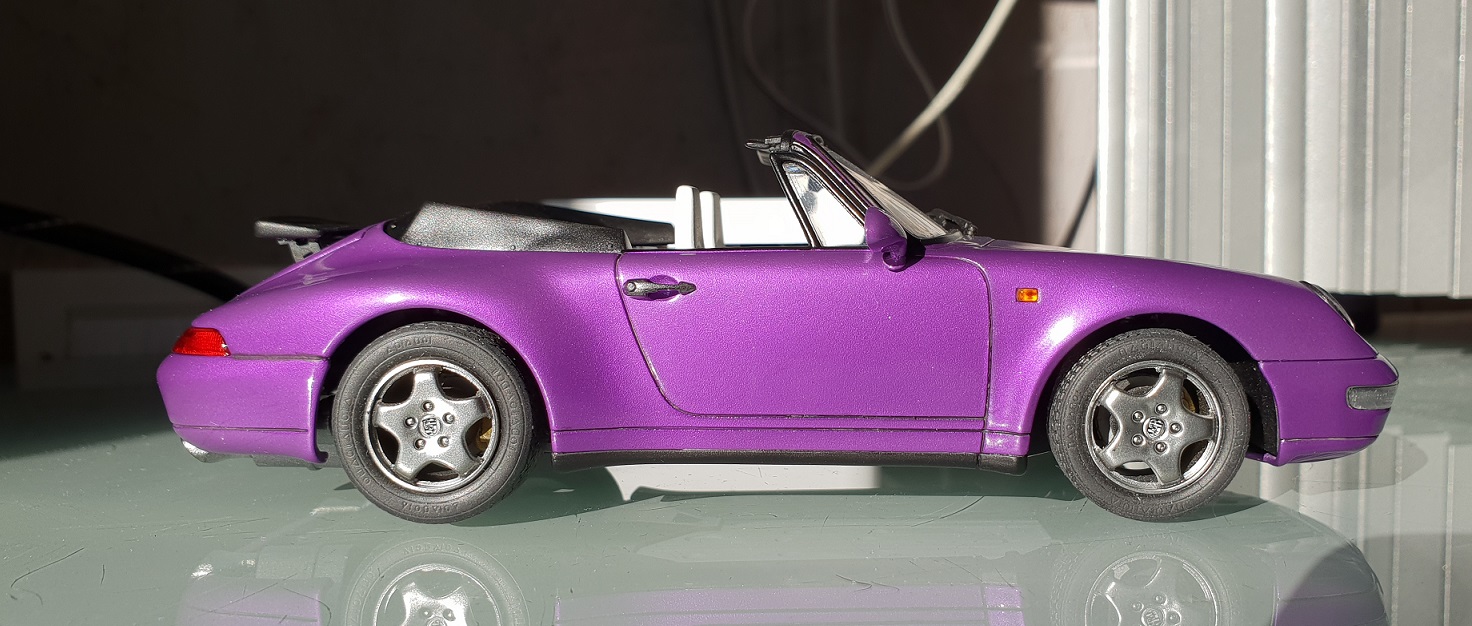
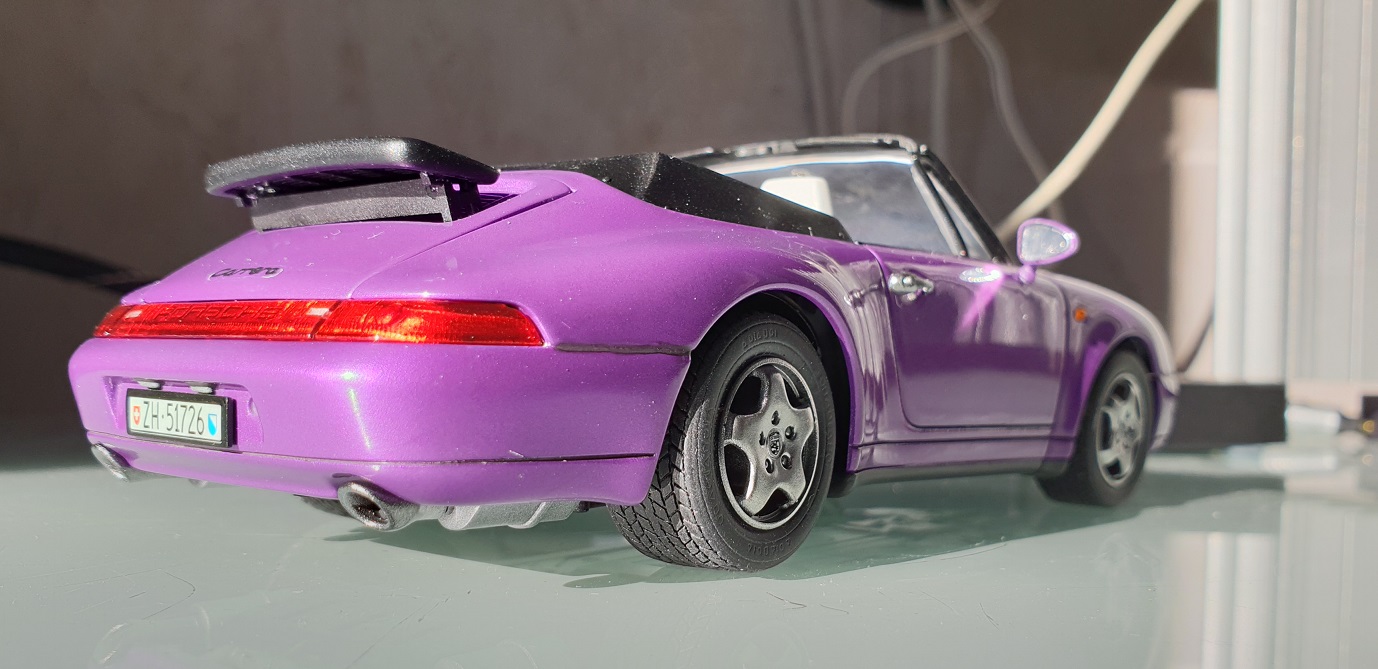
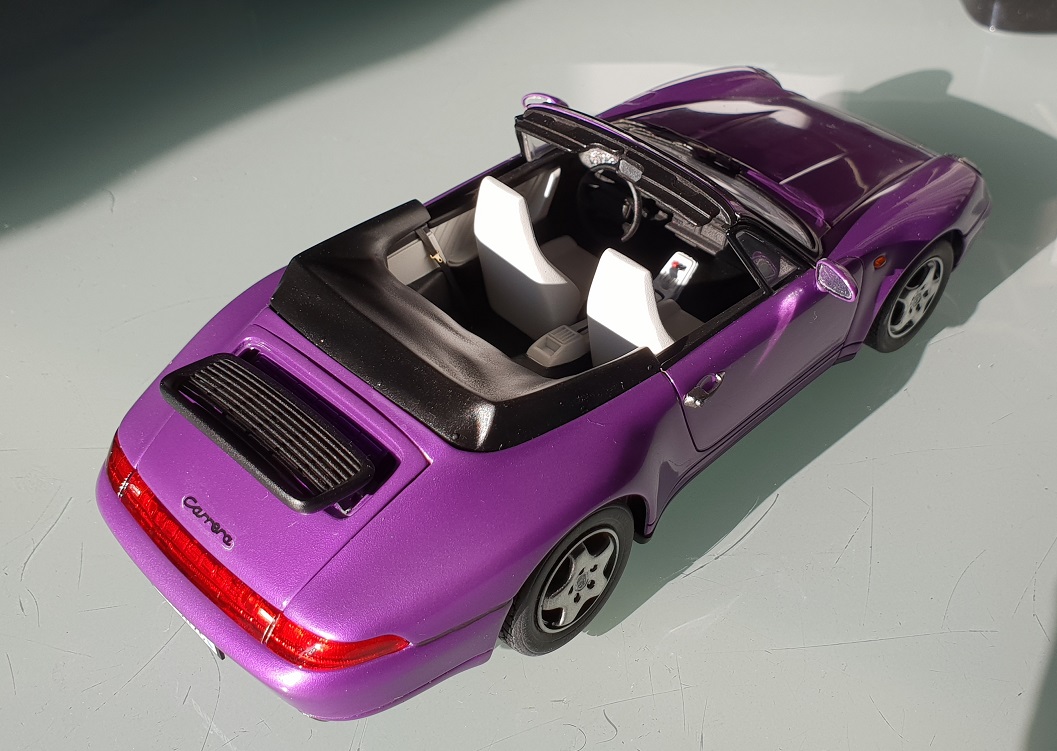
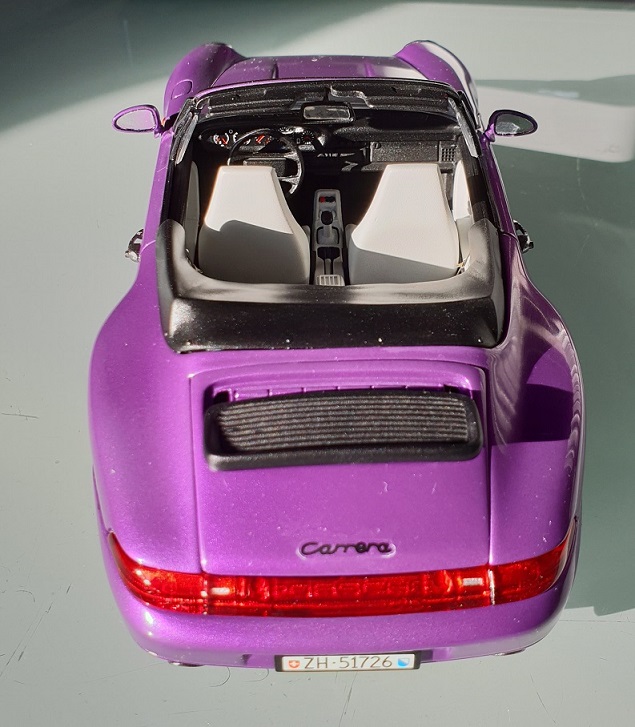
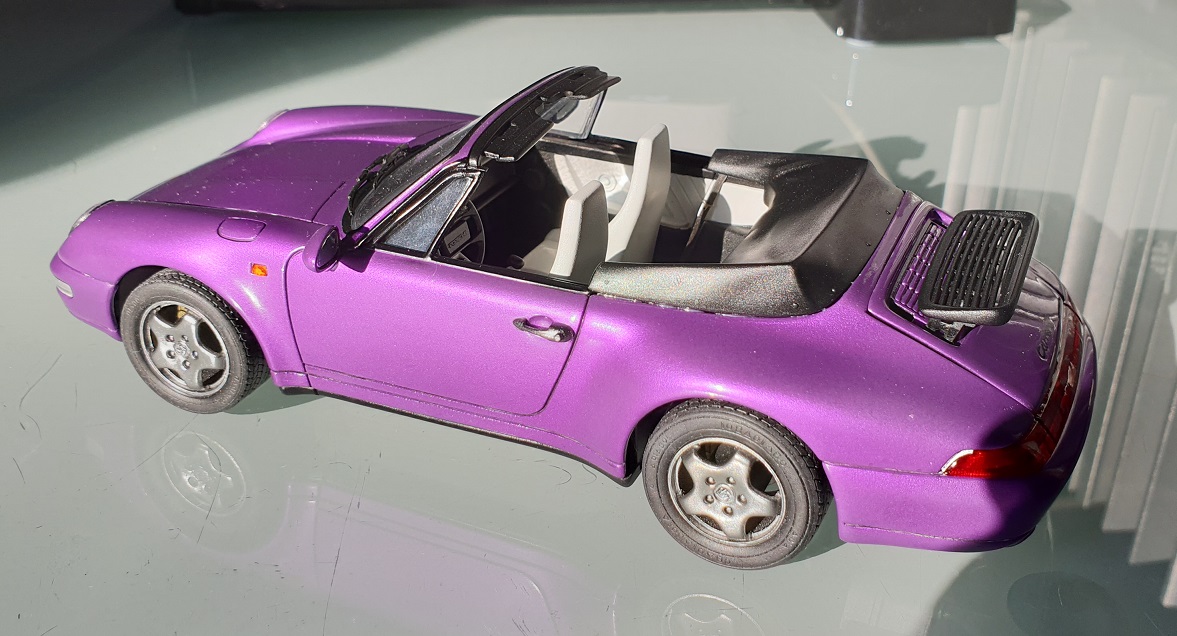
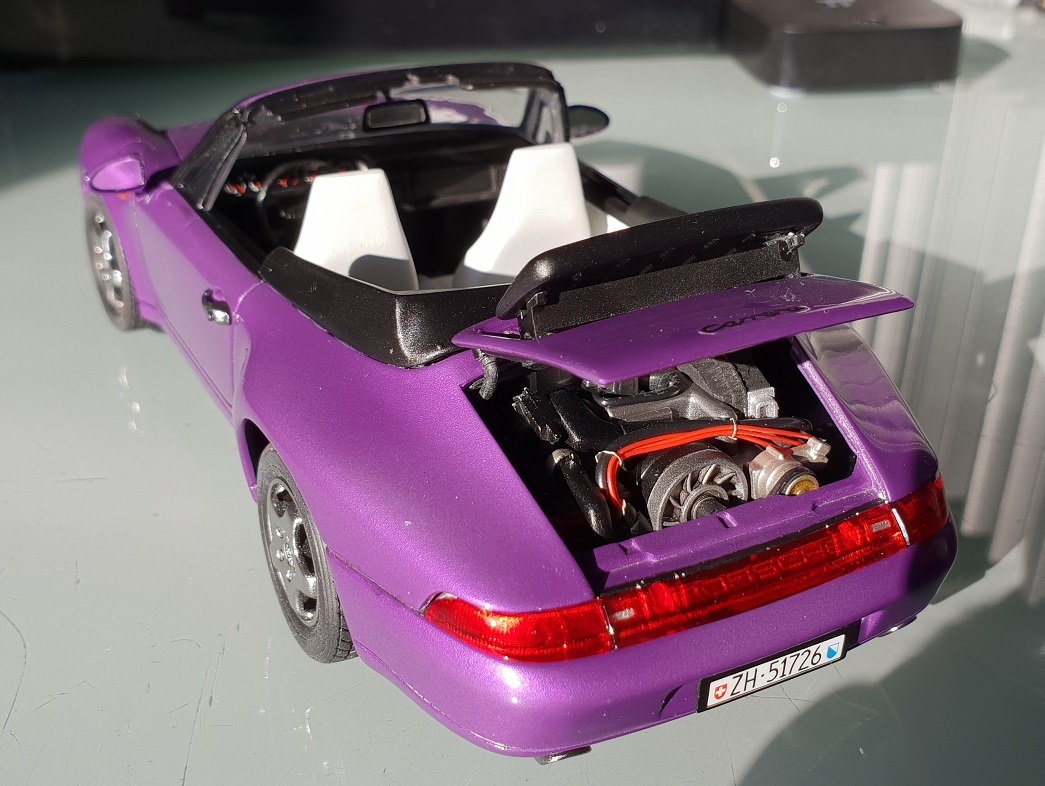
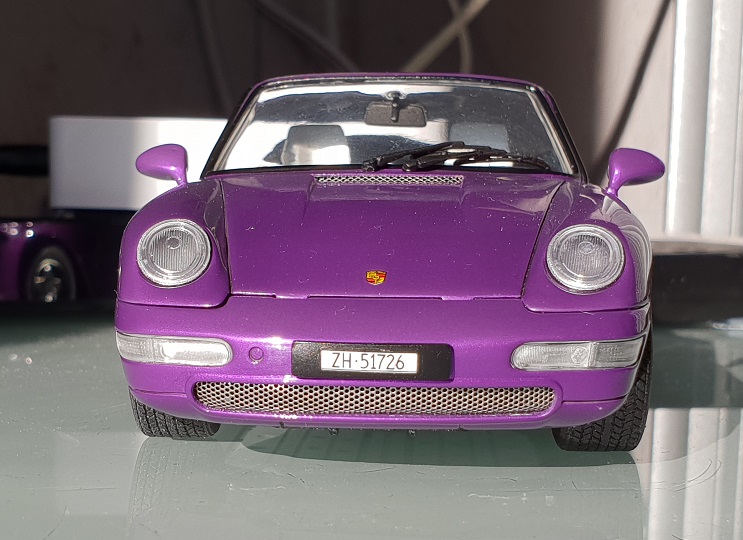
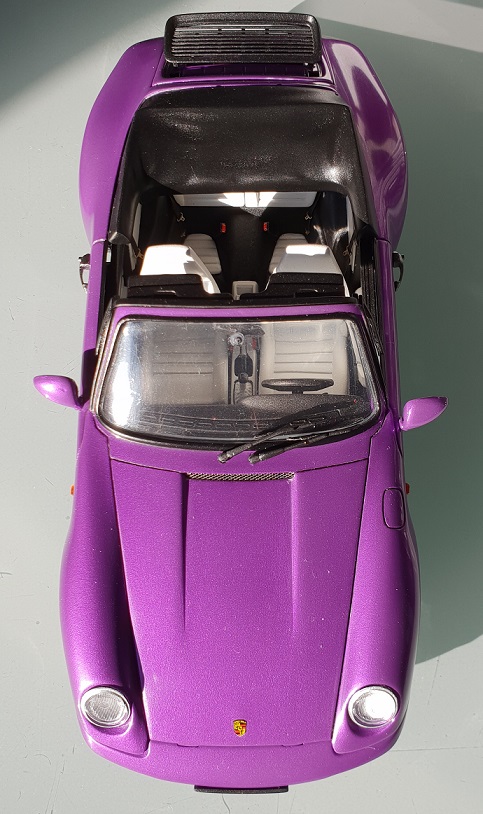
This build was mostly finished in 2016, there is a build thread on this forum. I just had to finish the license plates - which I did this year... It is a dog of a kit, quality is low, general fit is poor and the way it is supposed to be assembled makes it difficult to get right. It was sprayed with some old nail polish, one of may favourite colours on one of my favourite cars, shame it looks a bit strange... hopefully my '85 Fujimi 911 will turn out better! Comments welcome!
-
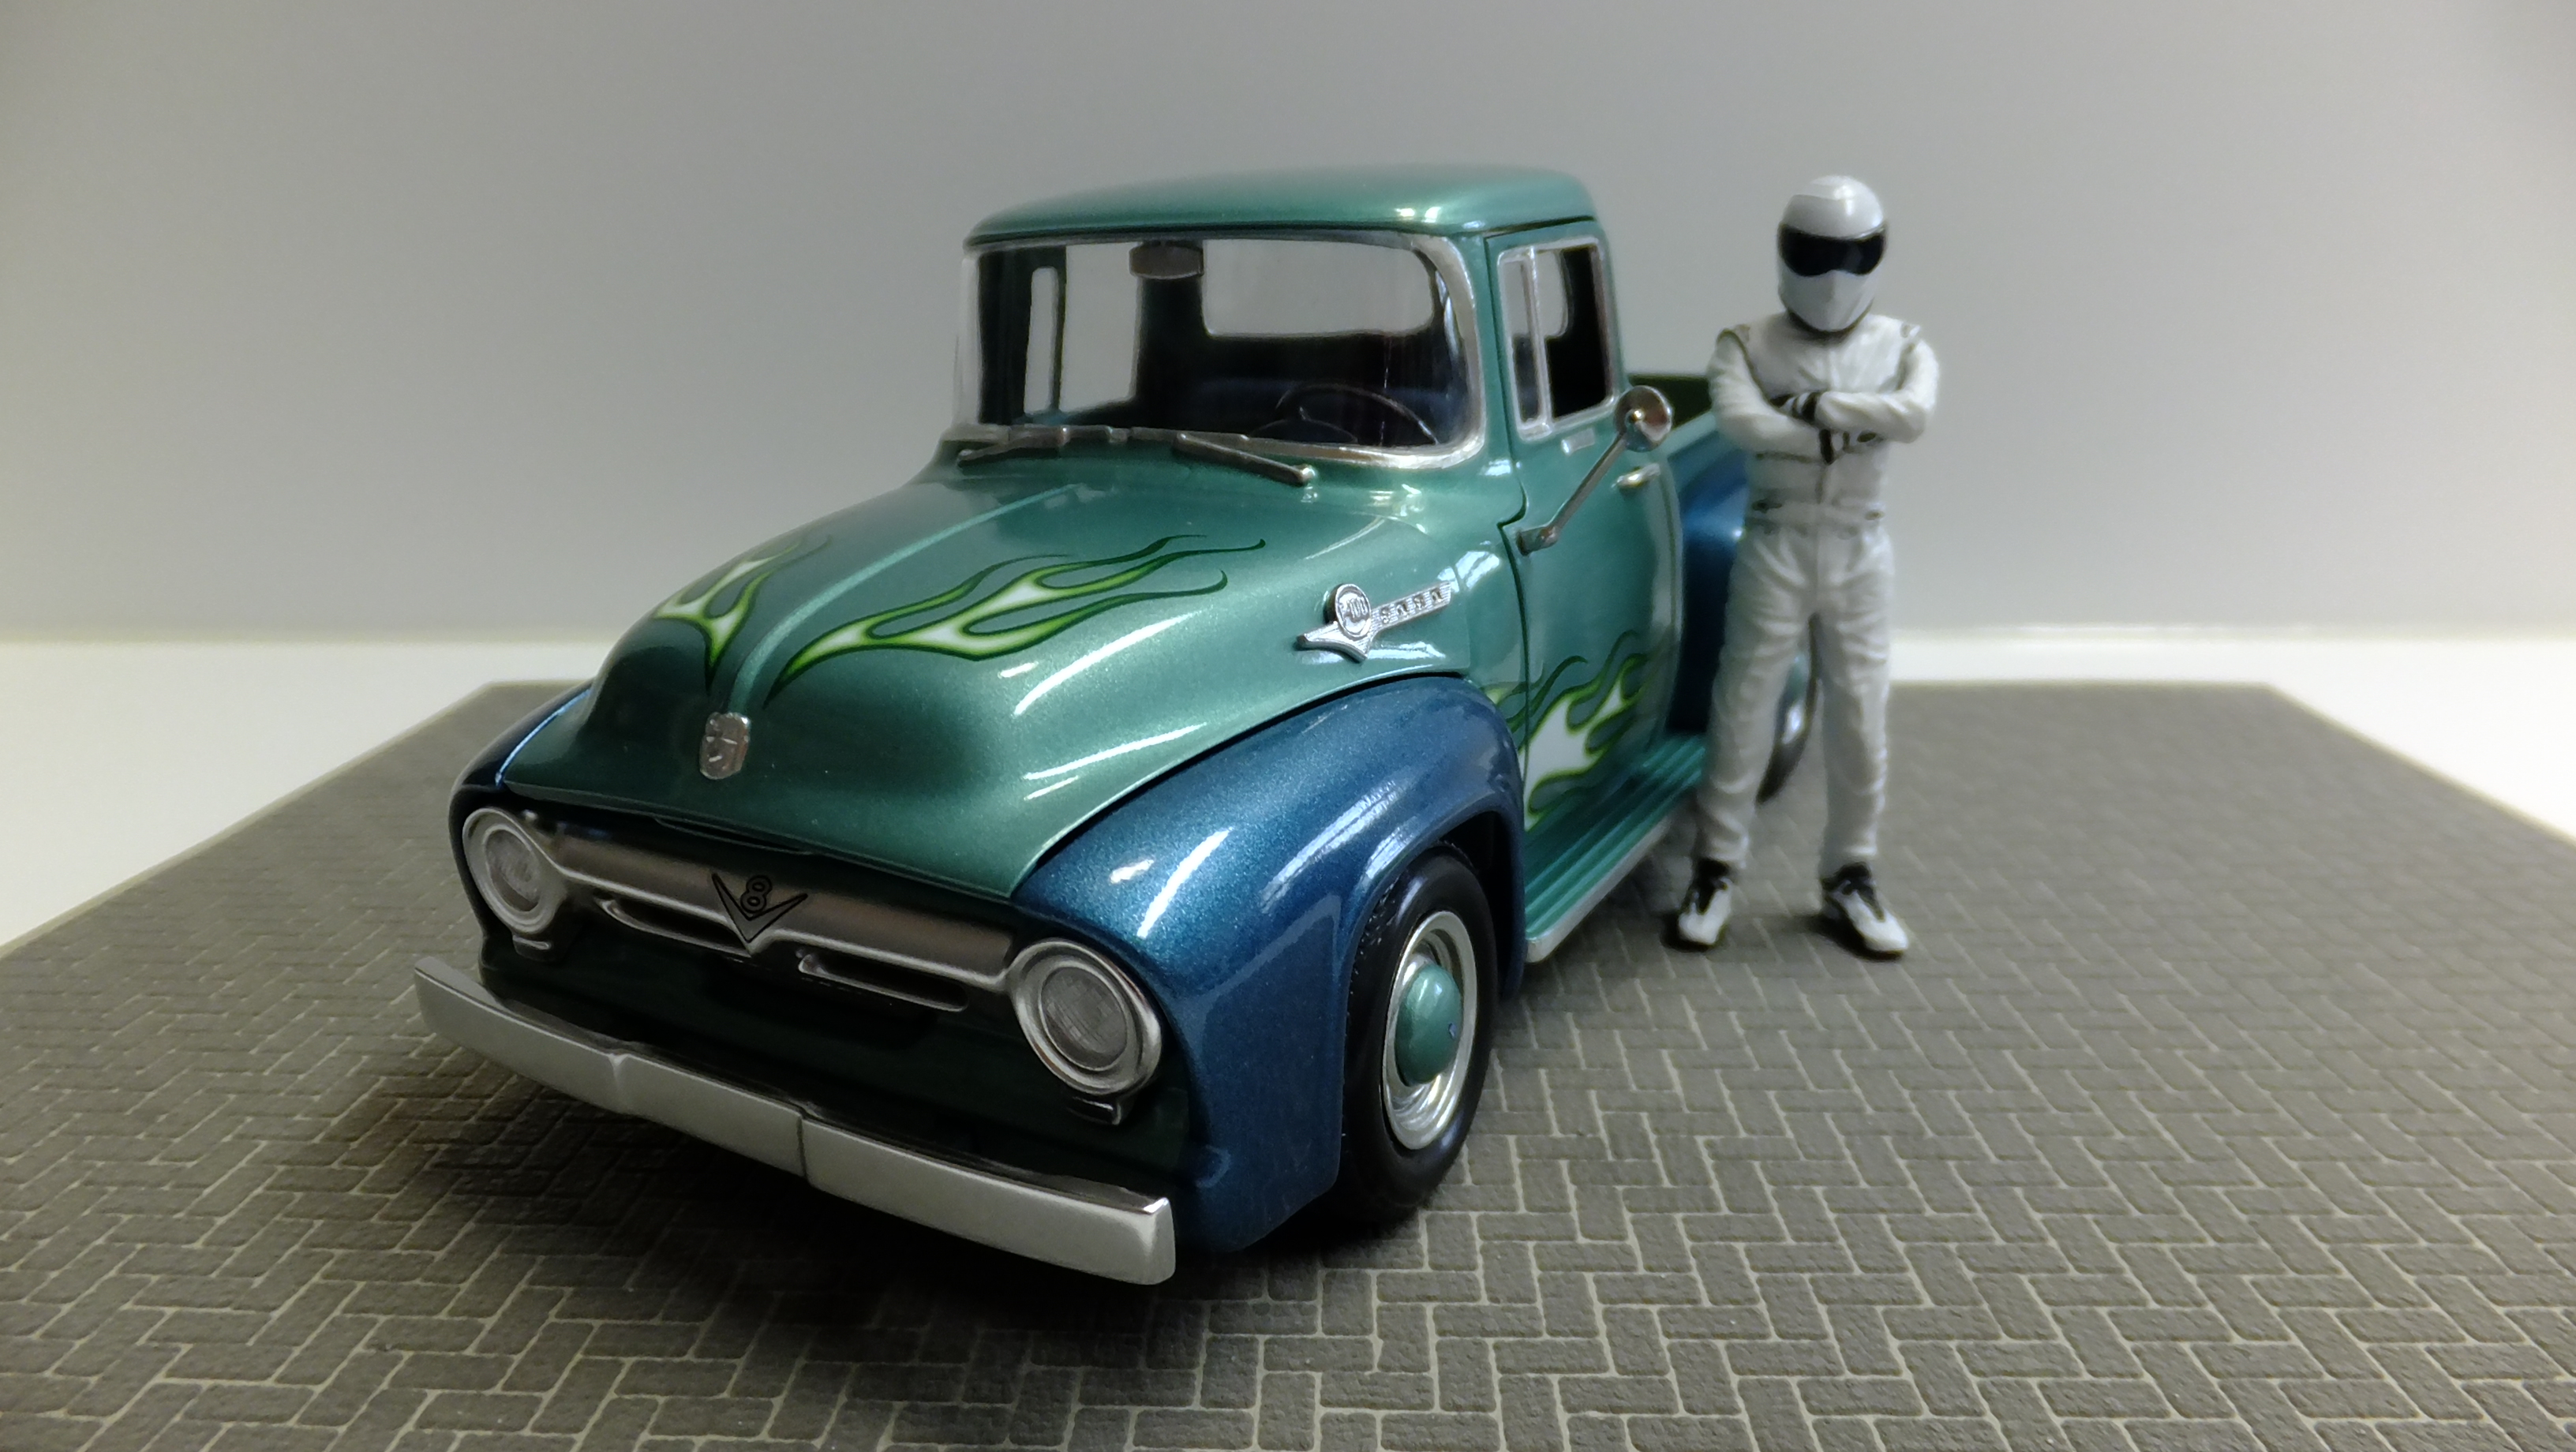
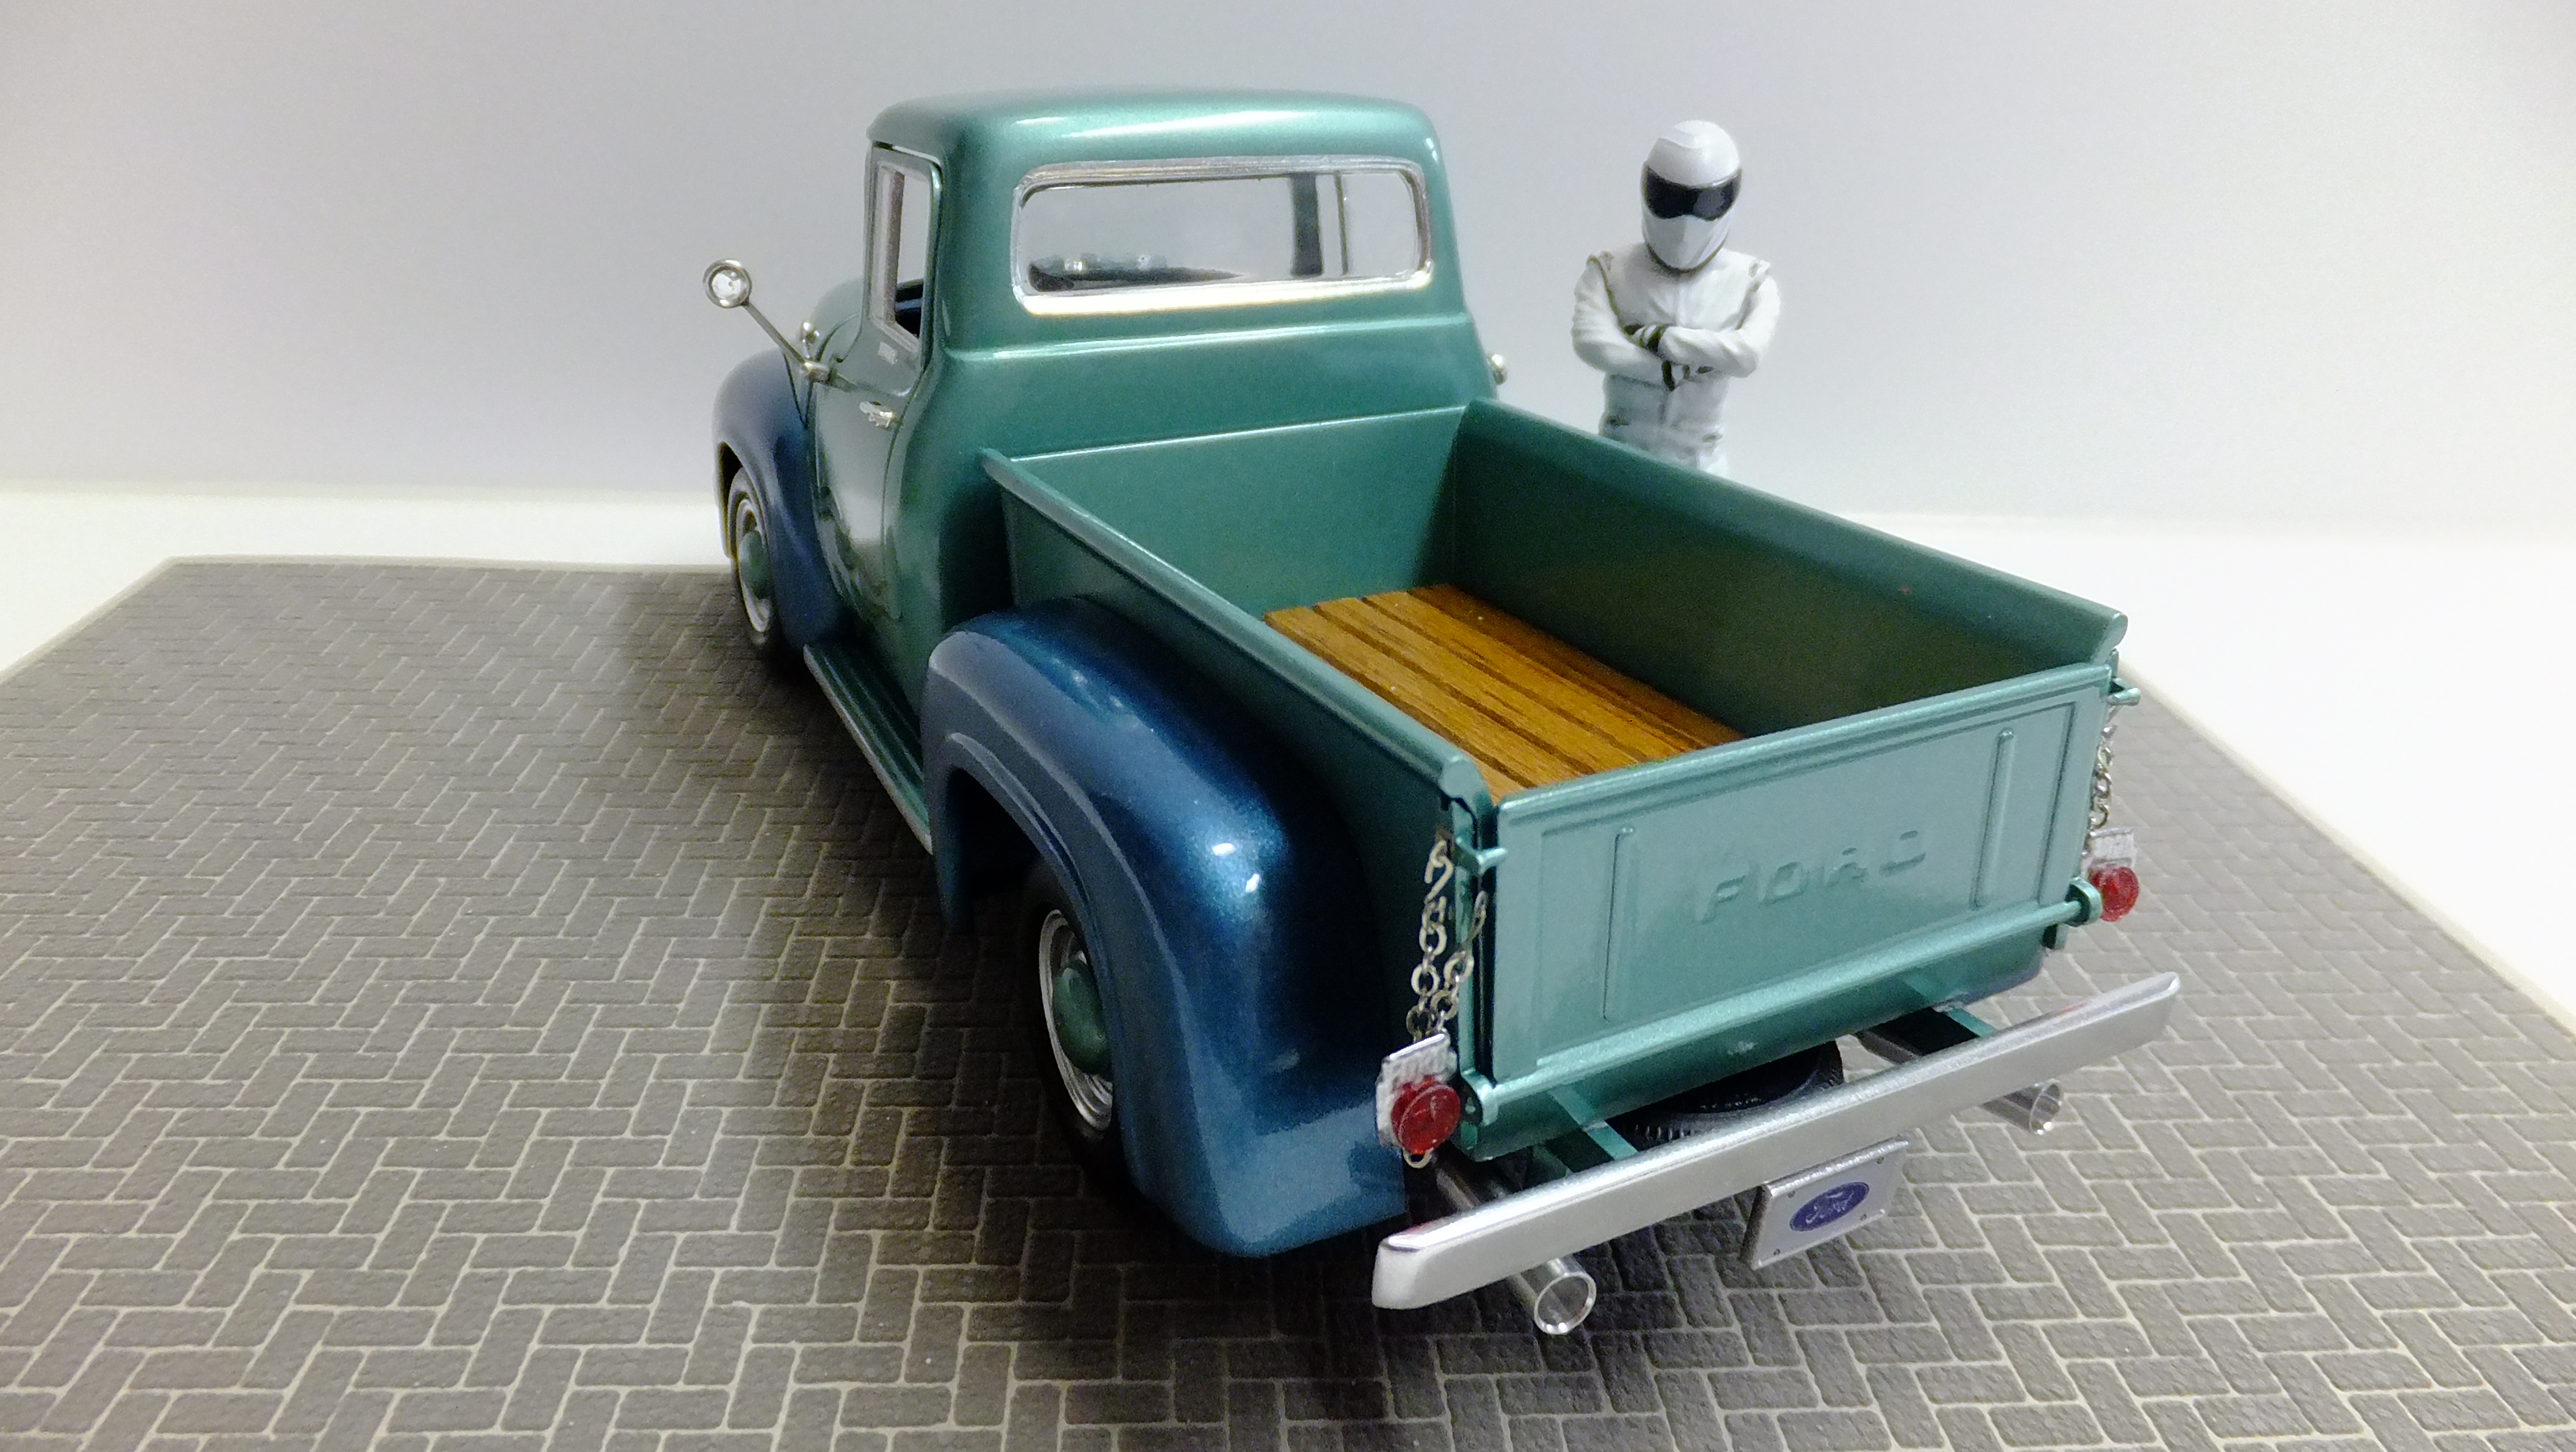
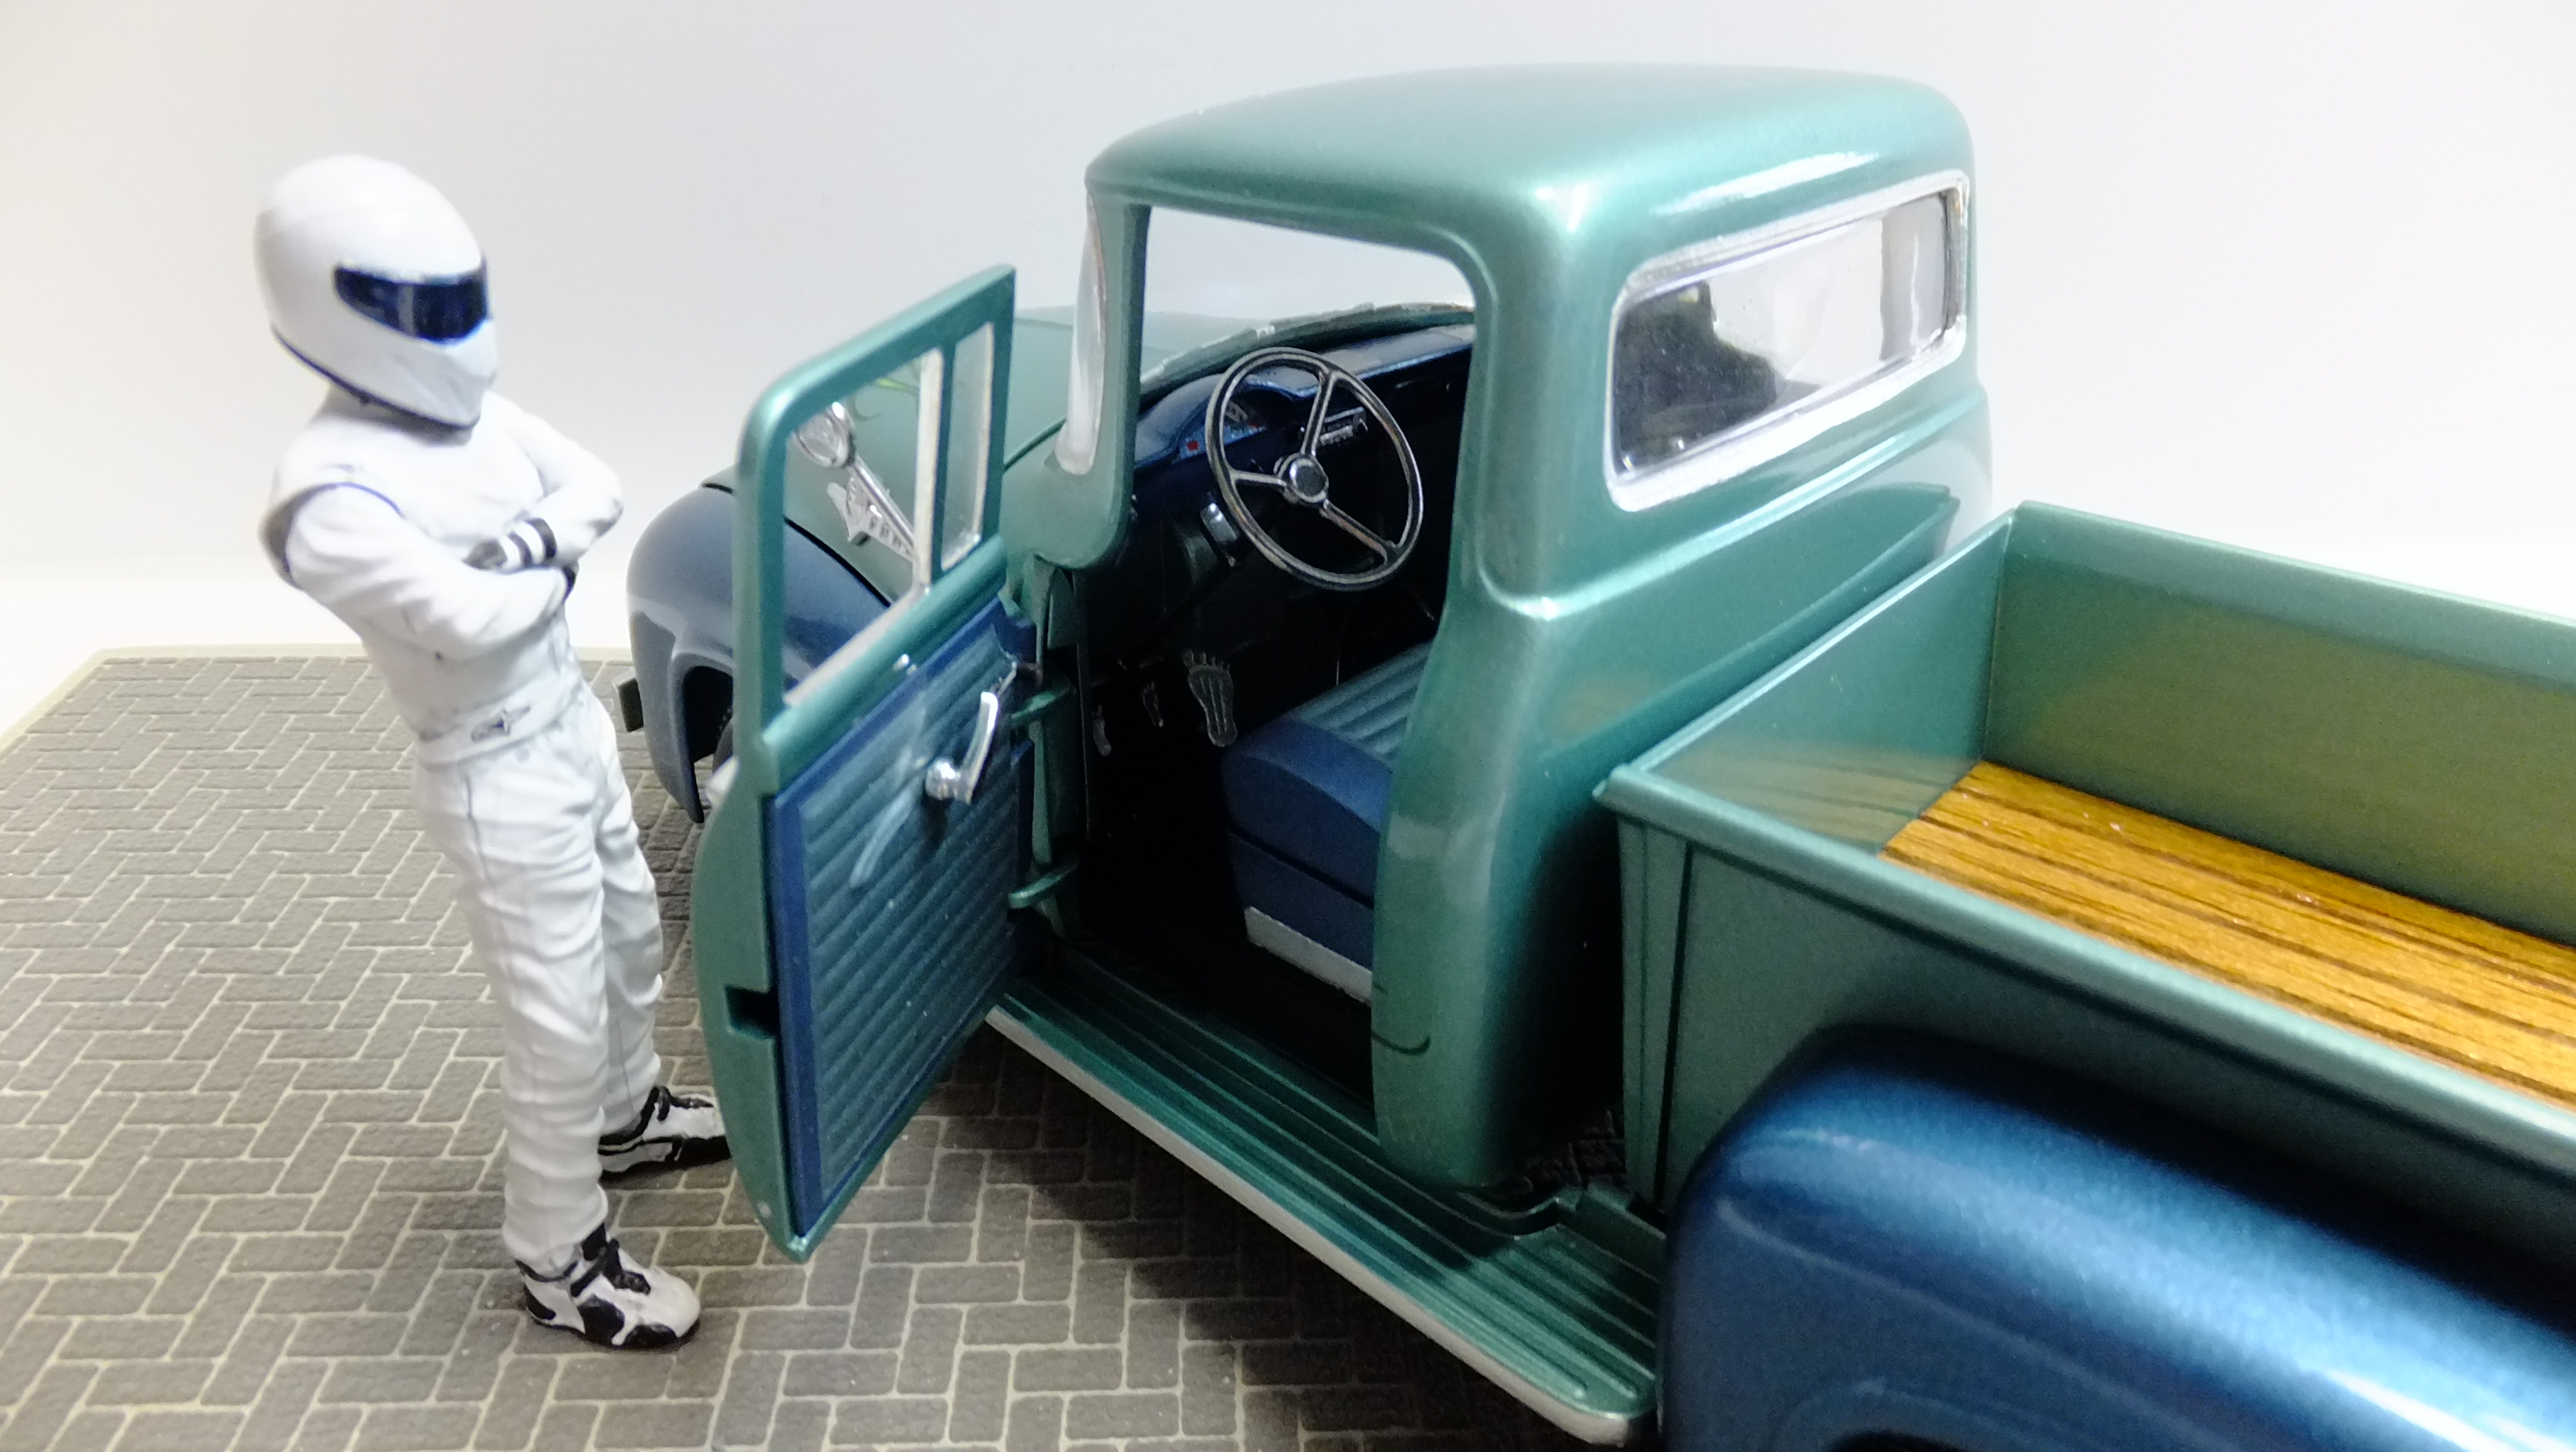
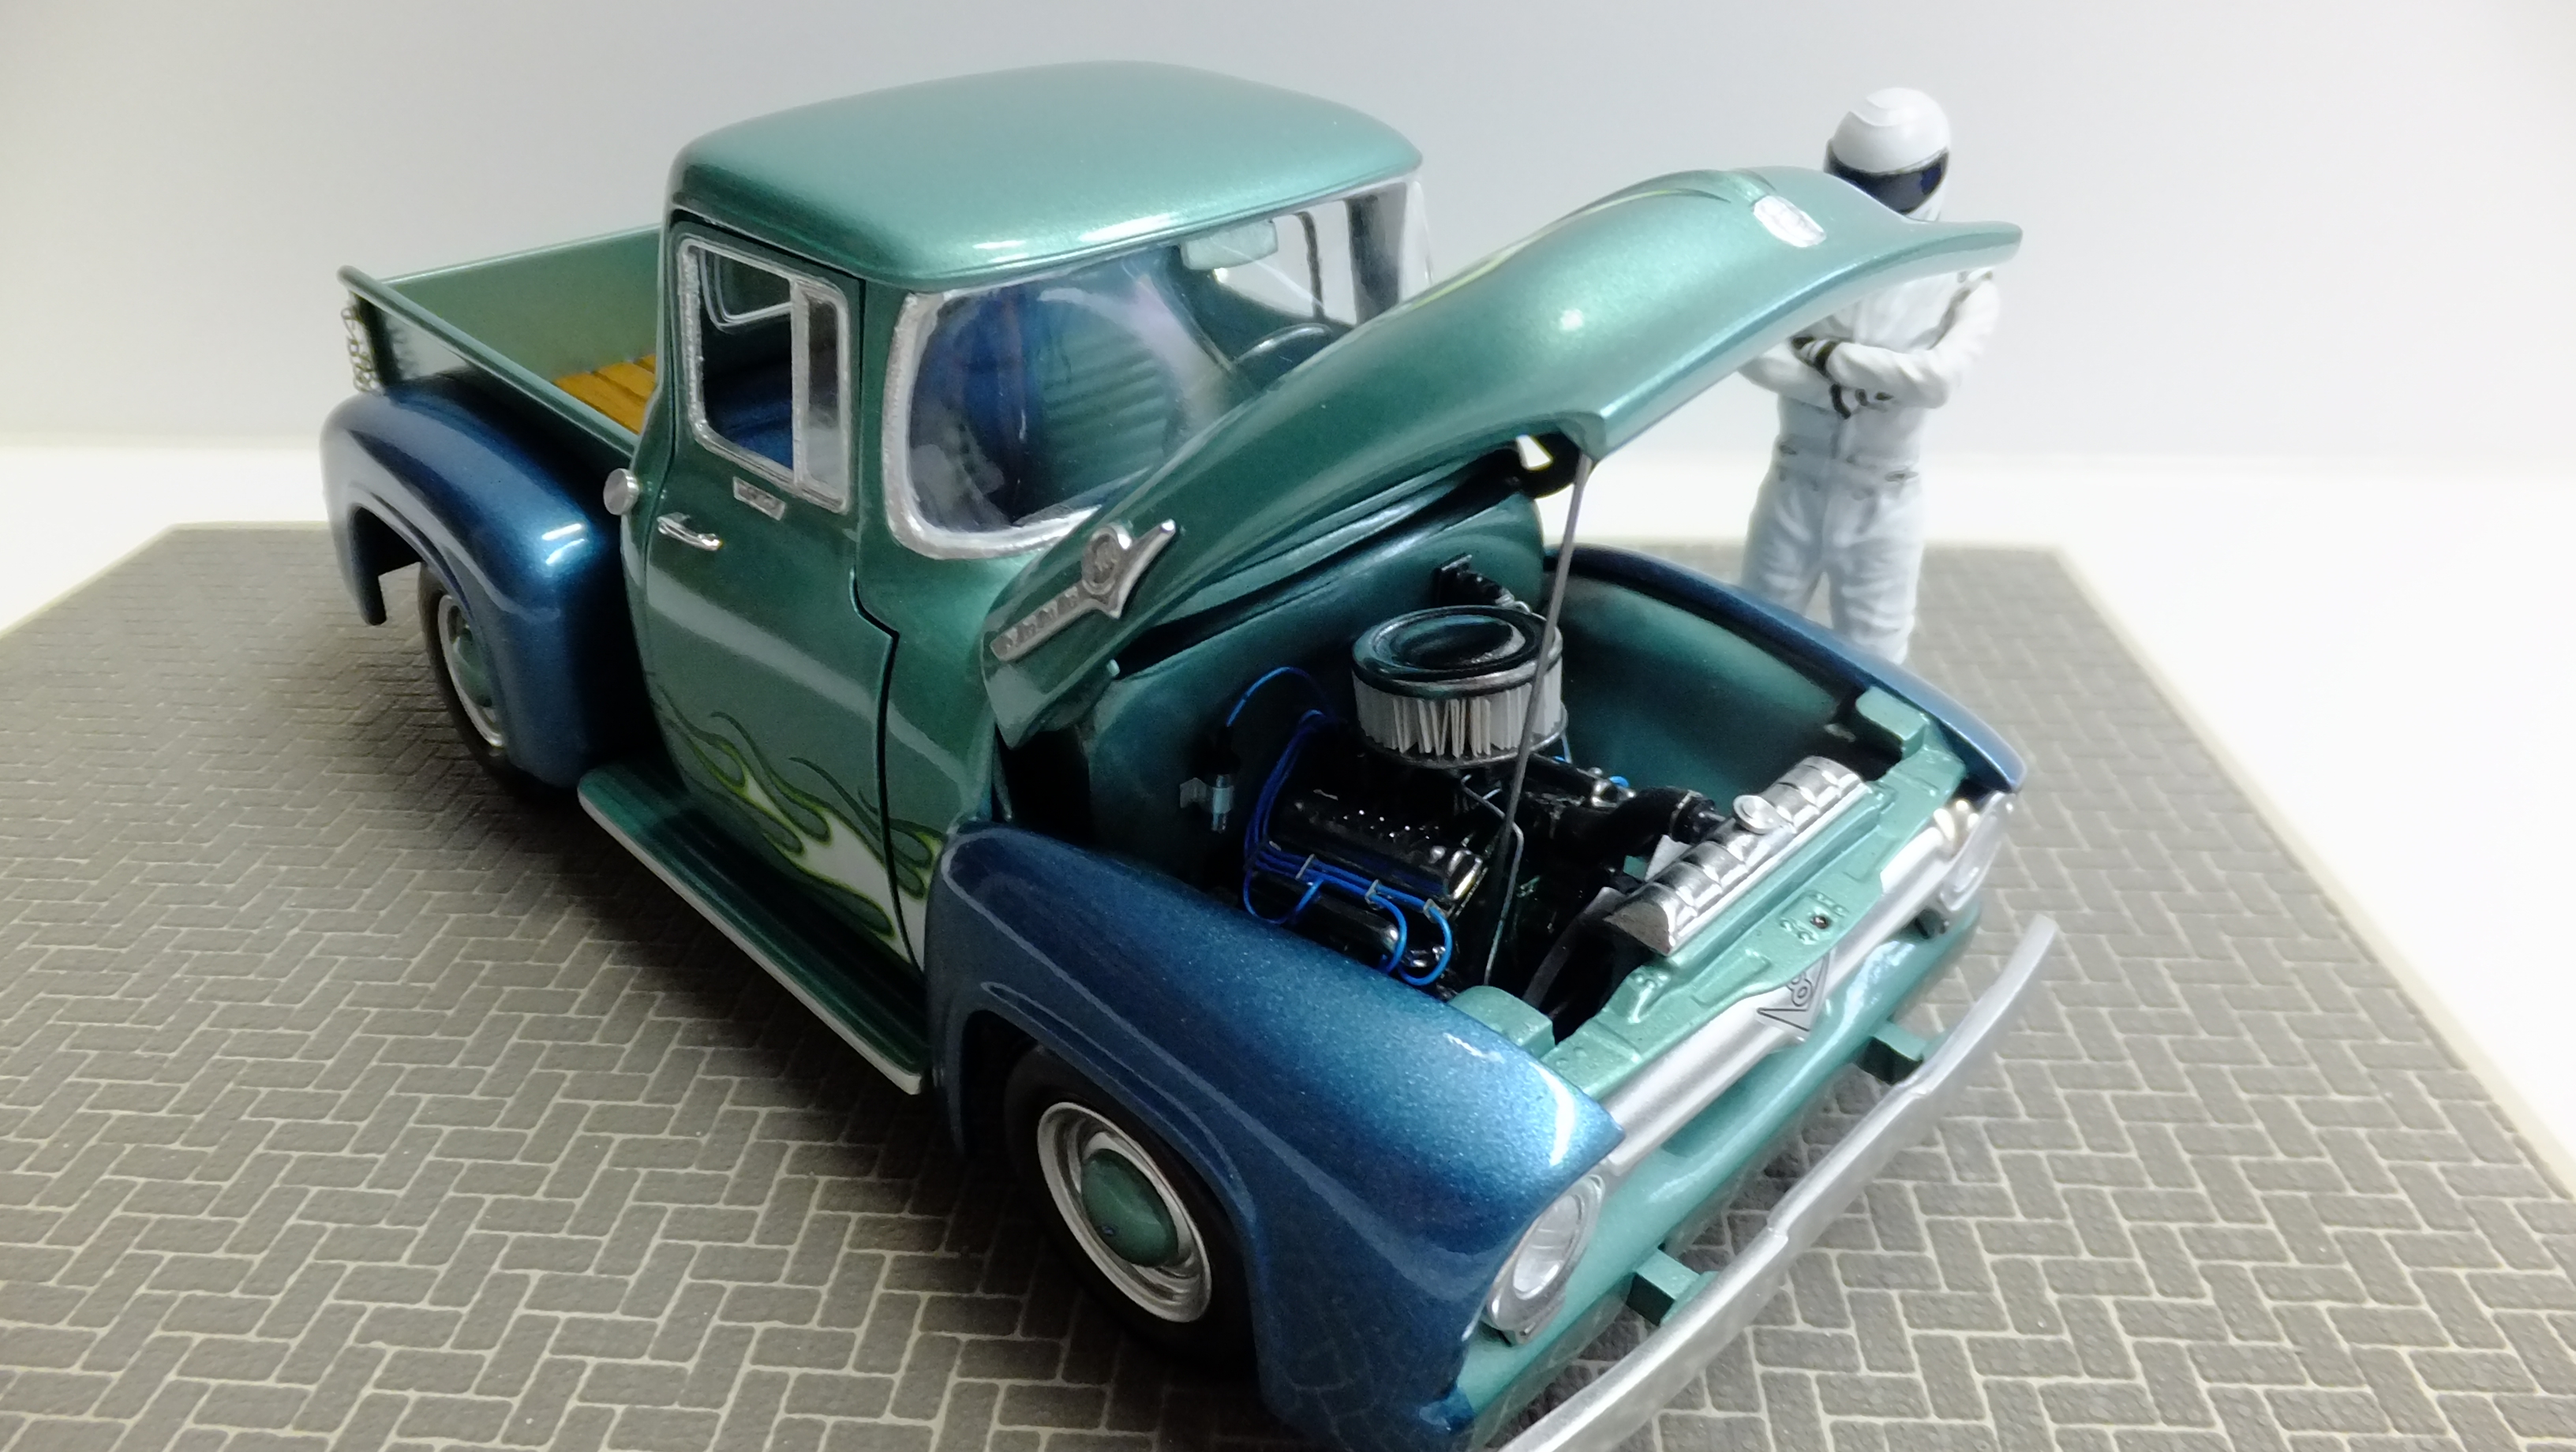
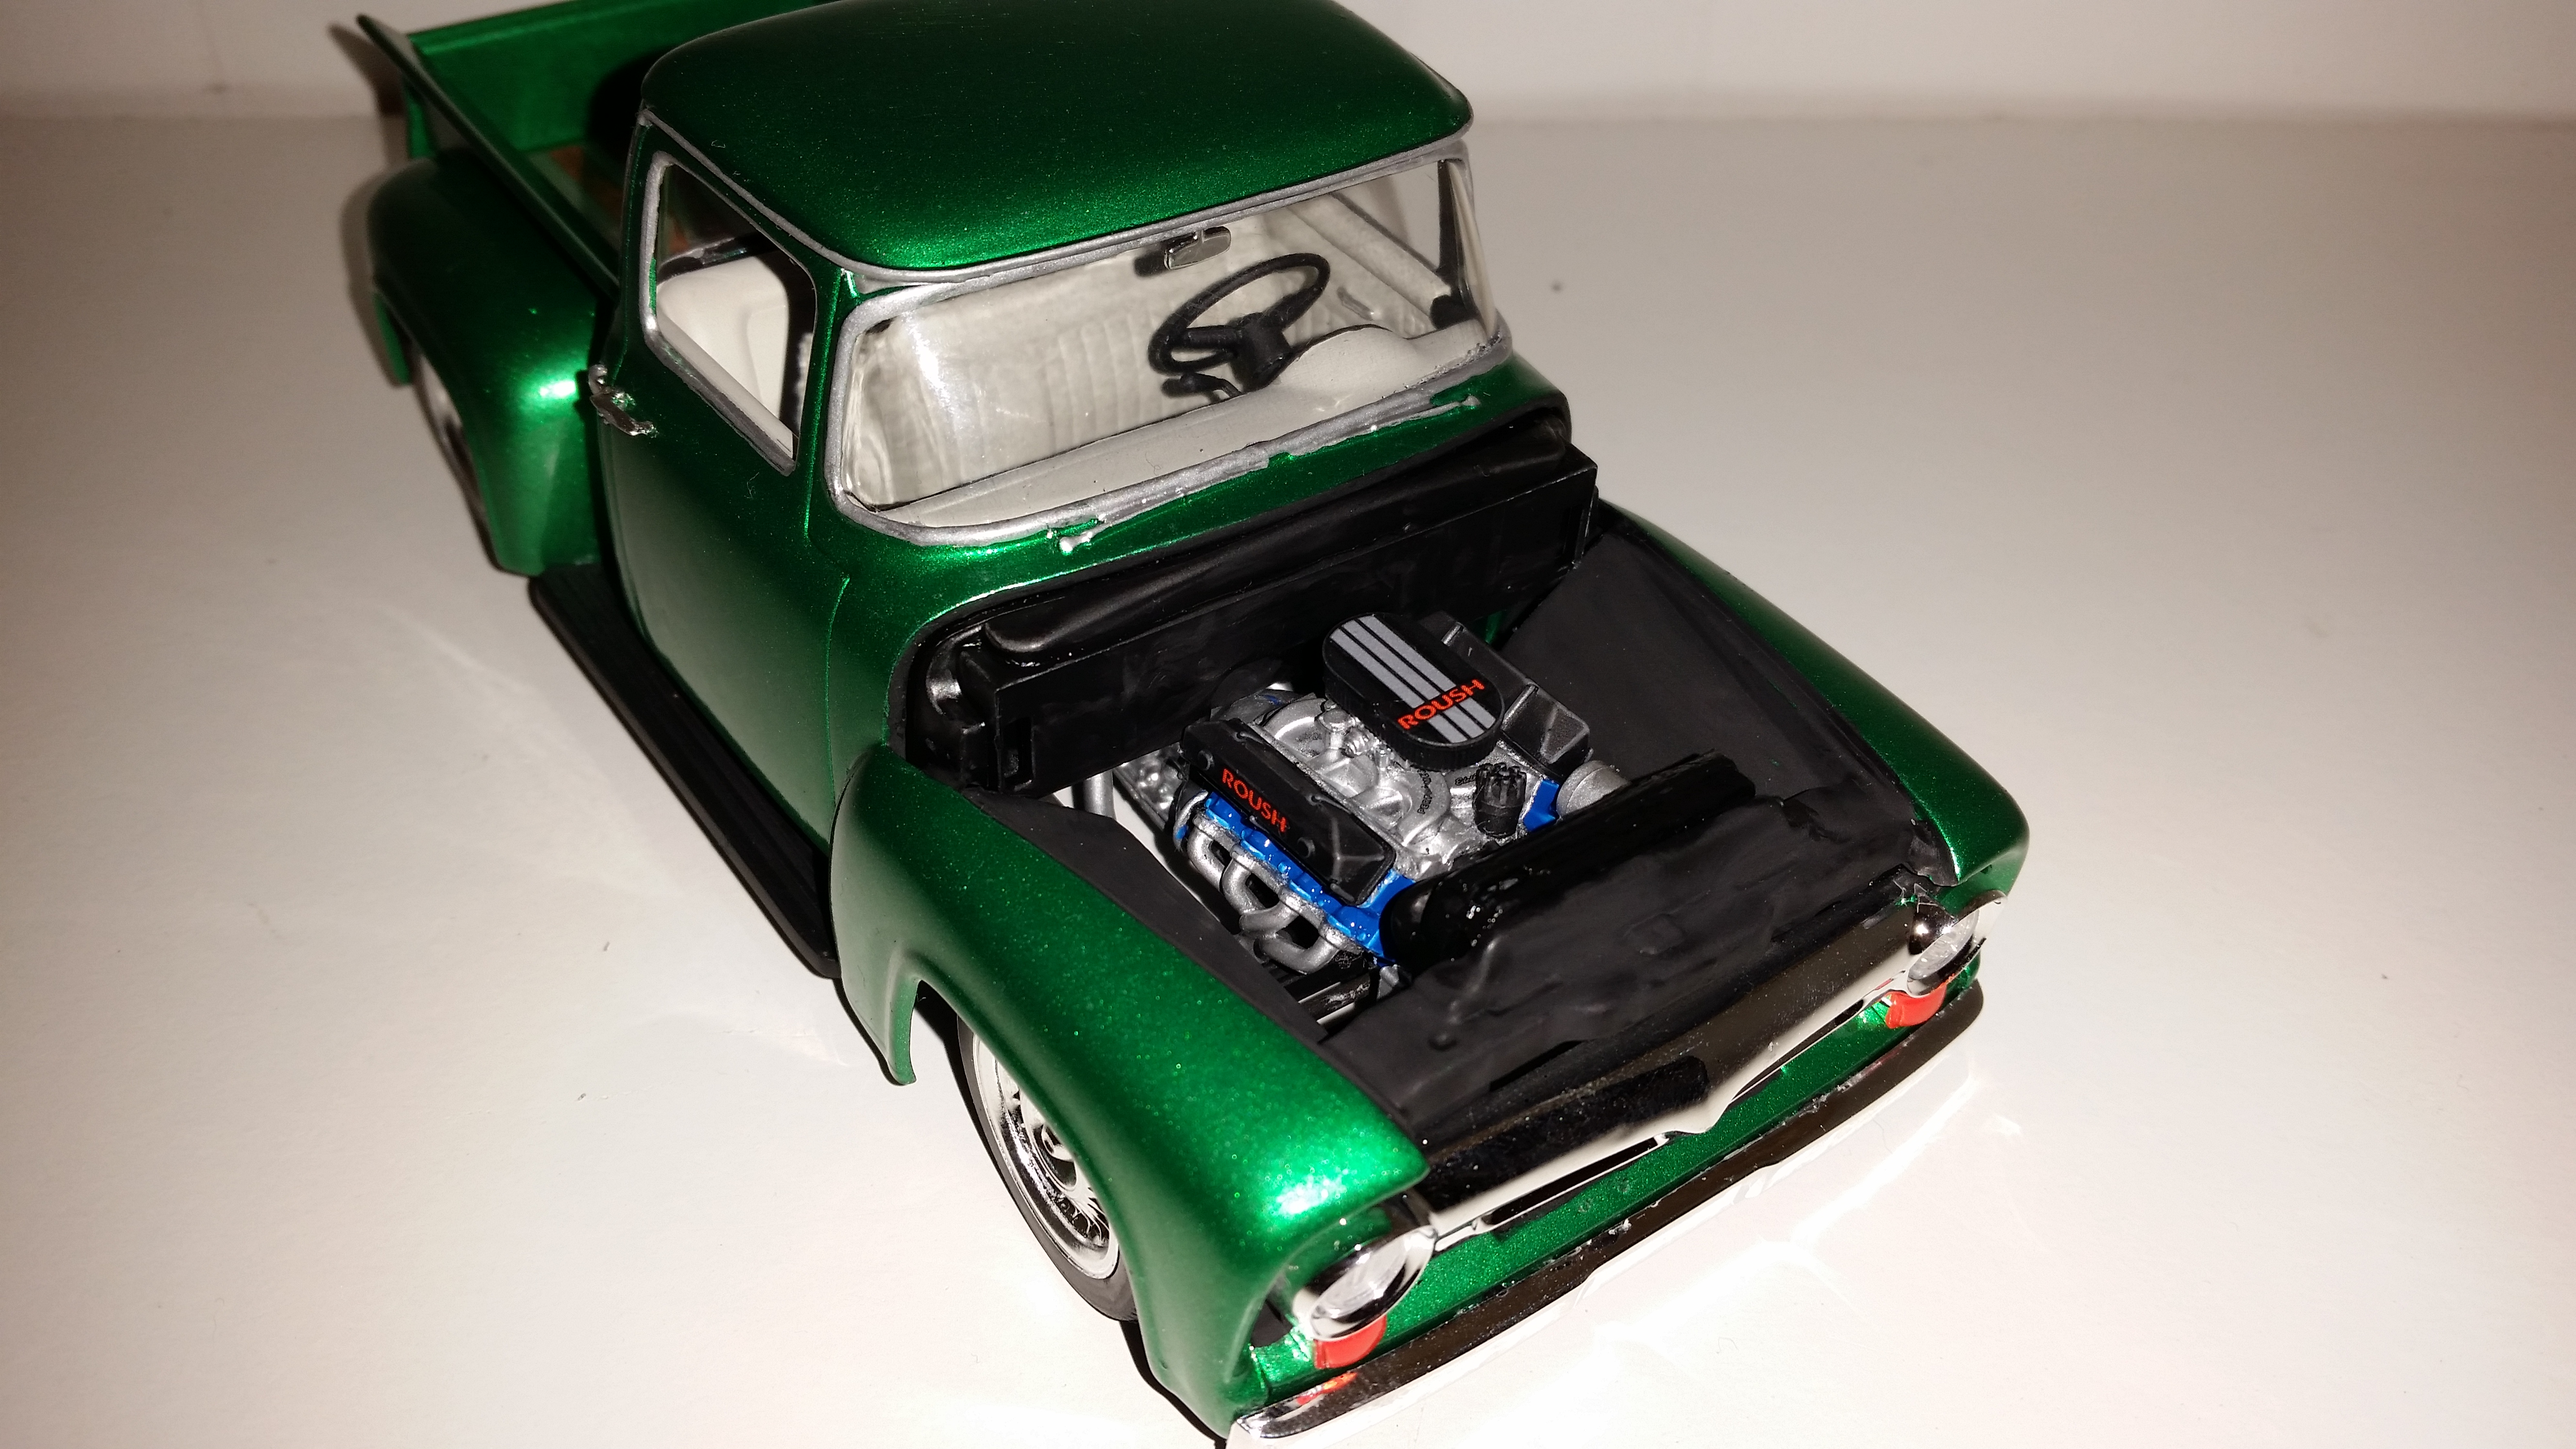
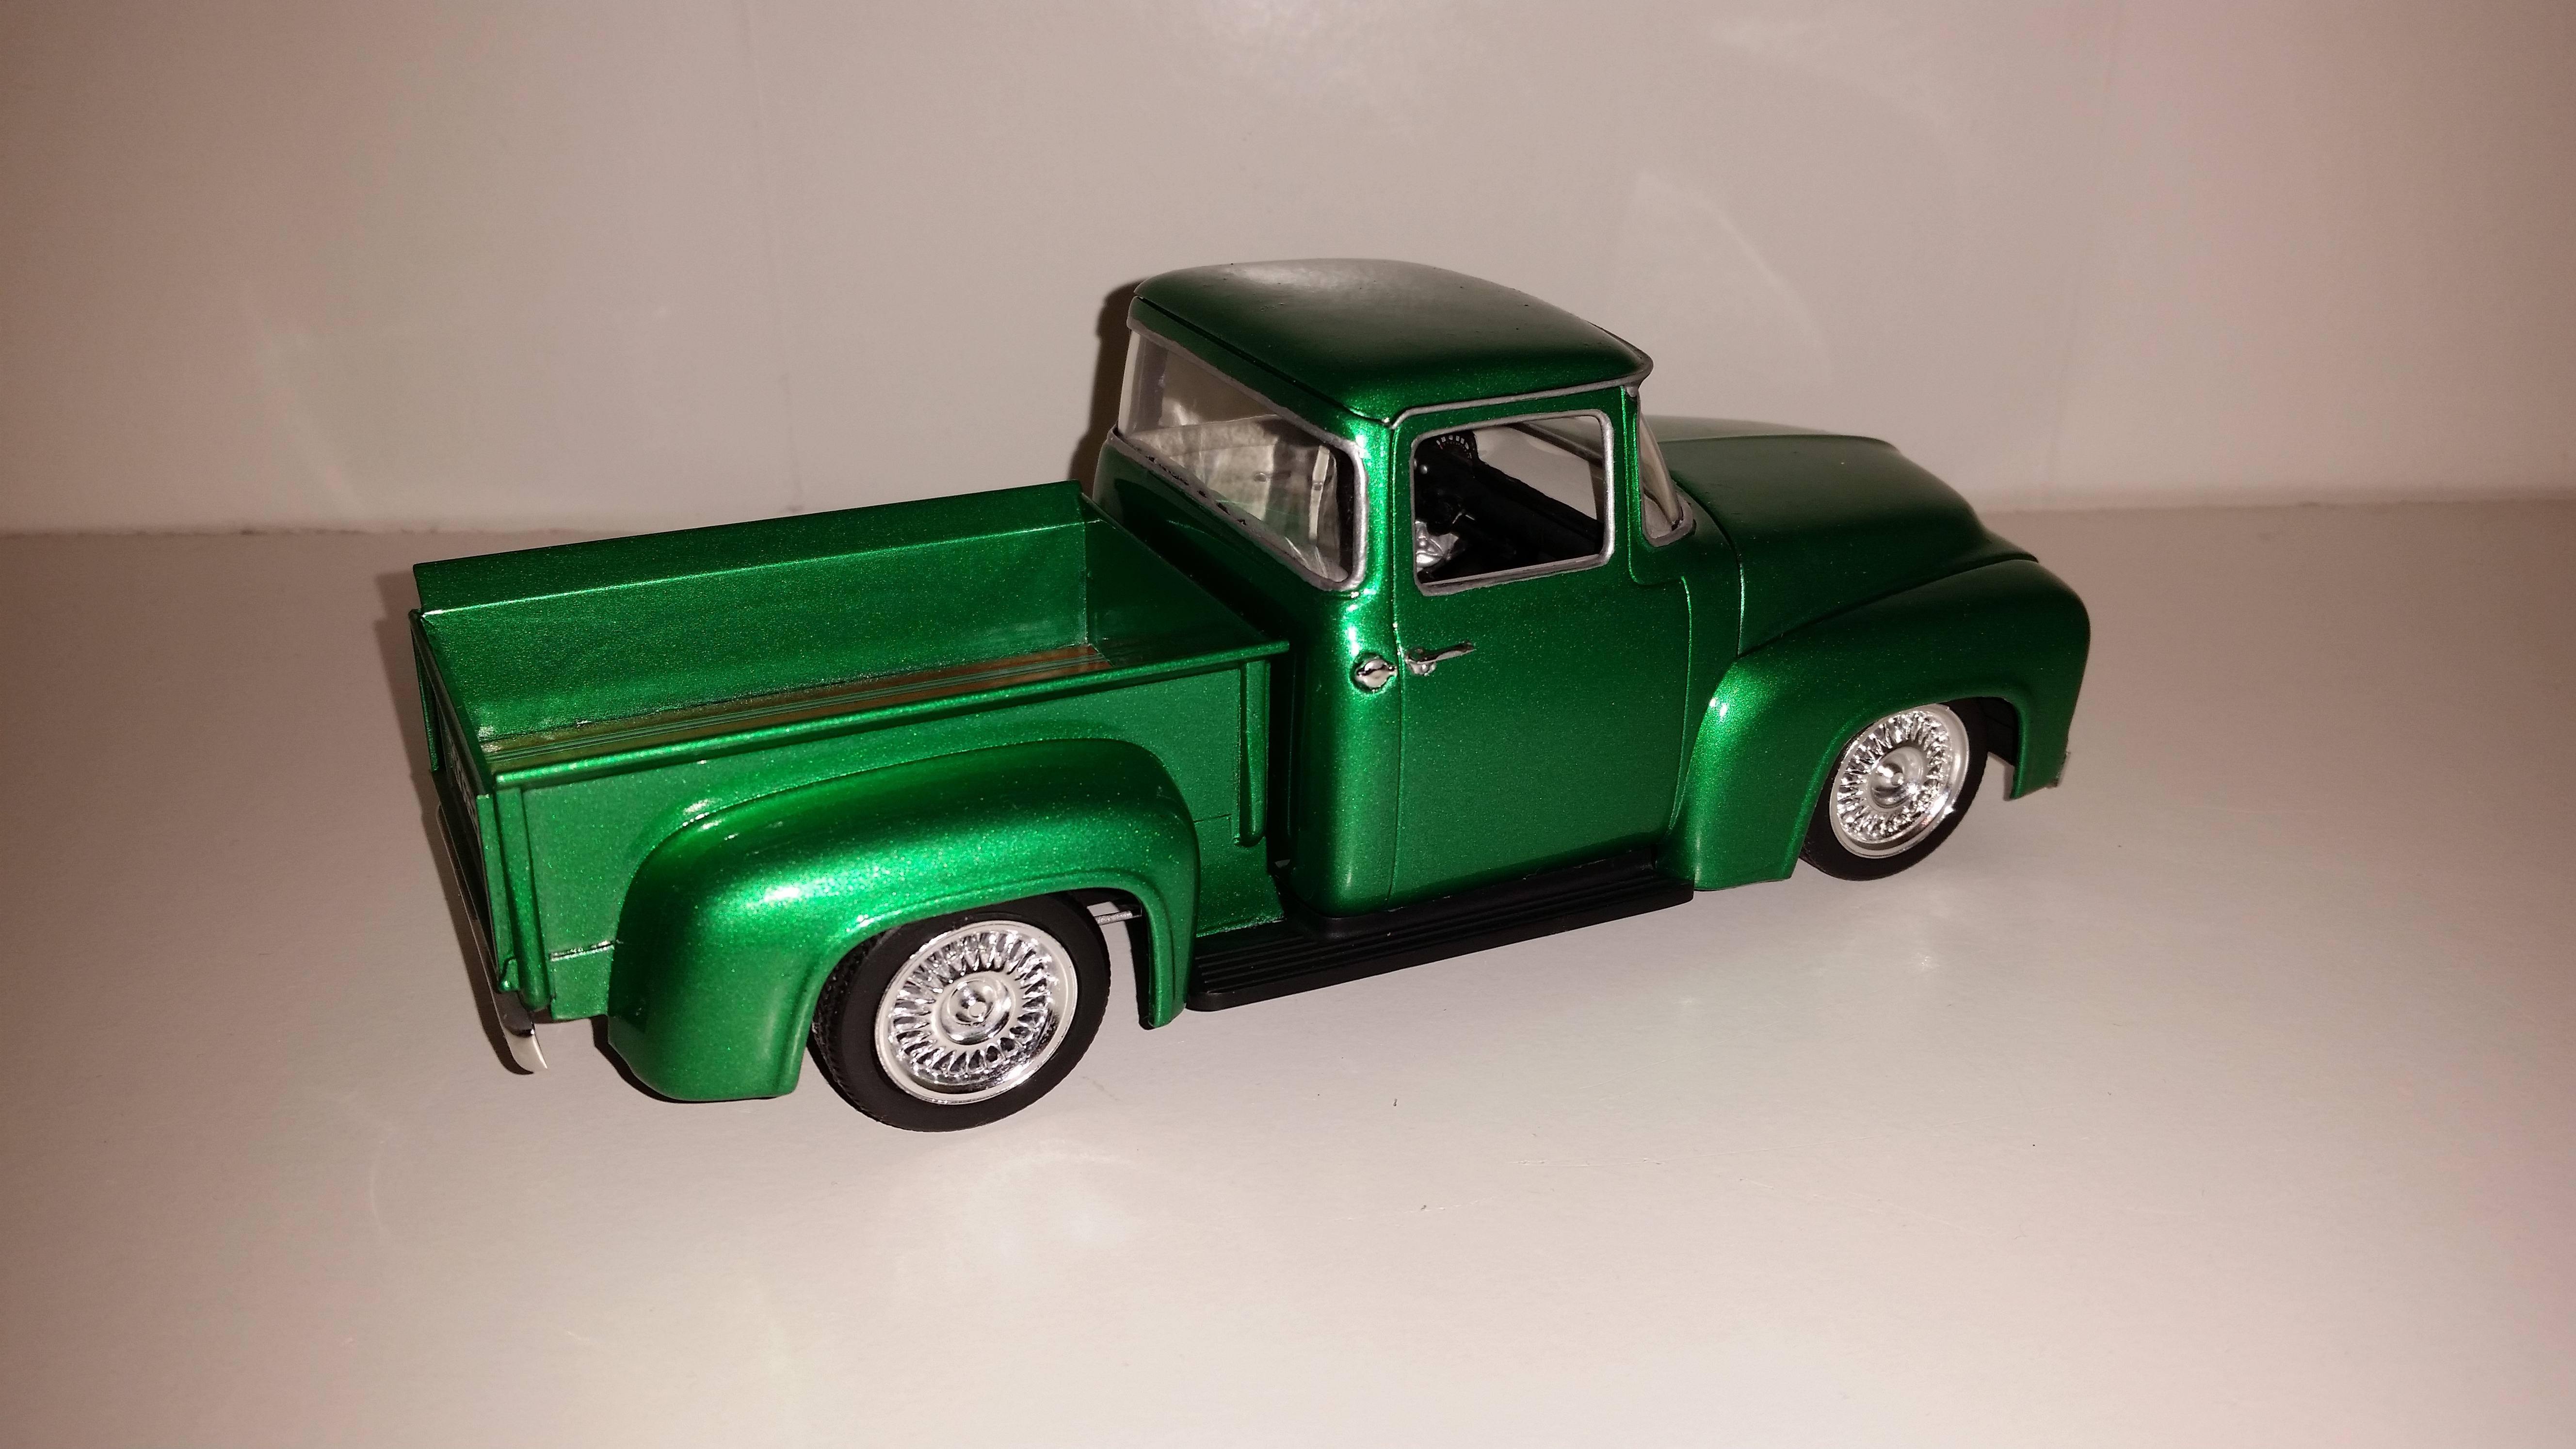
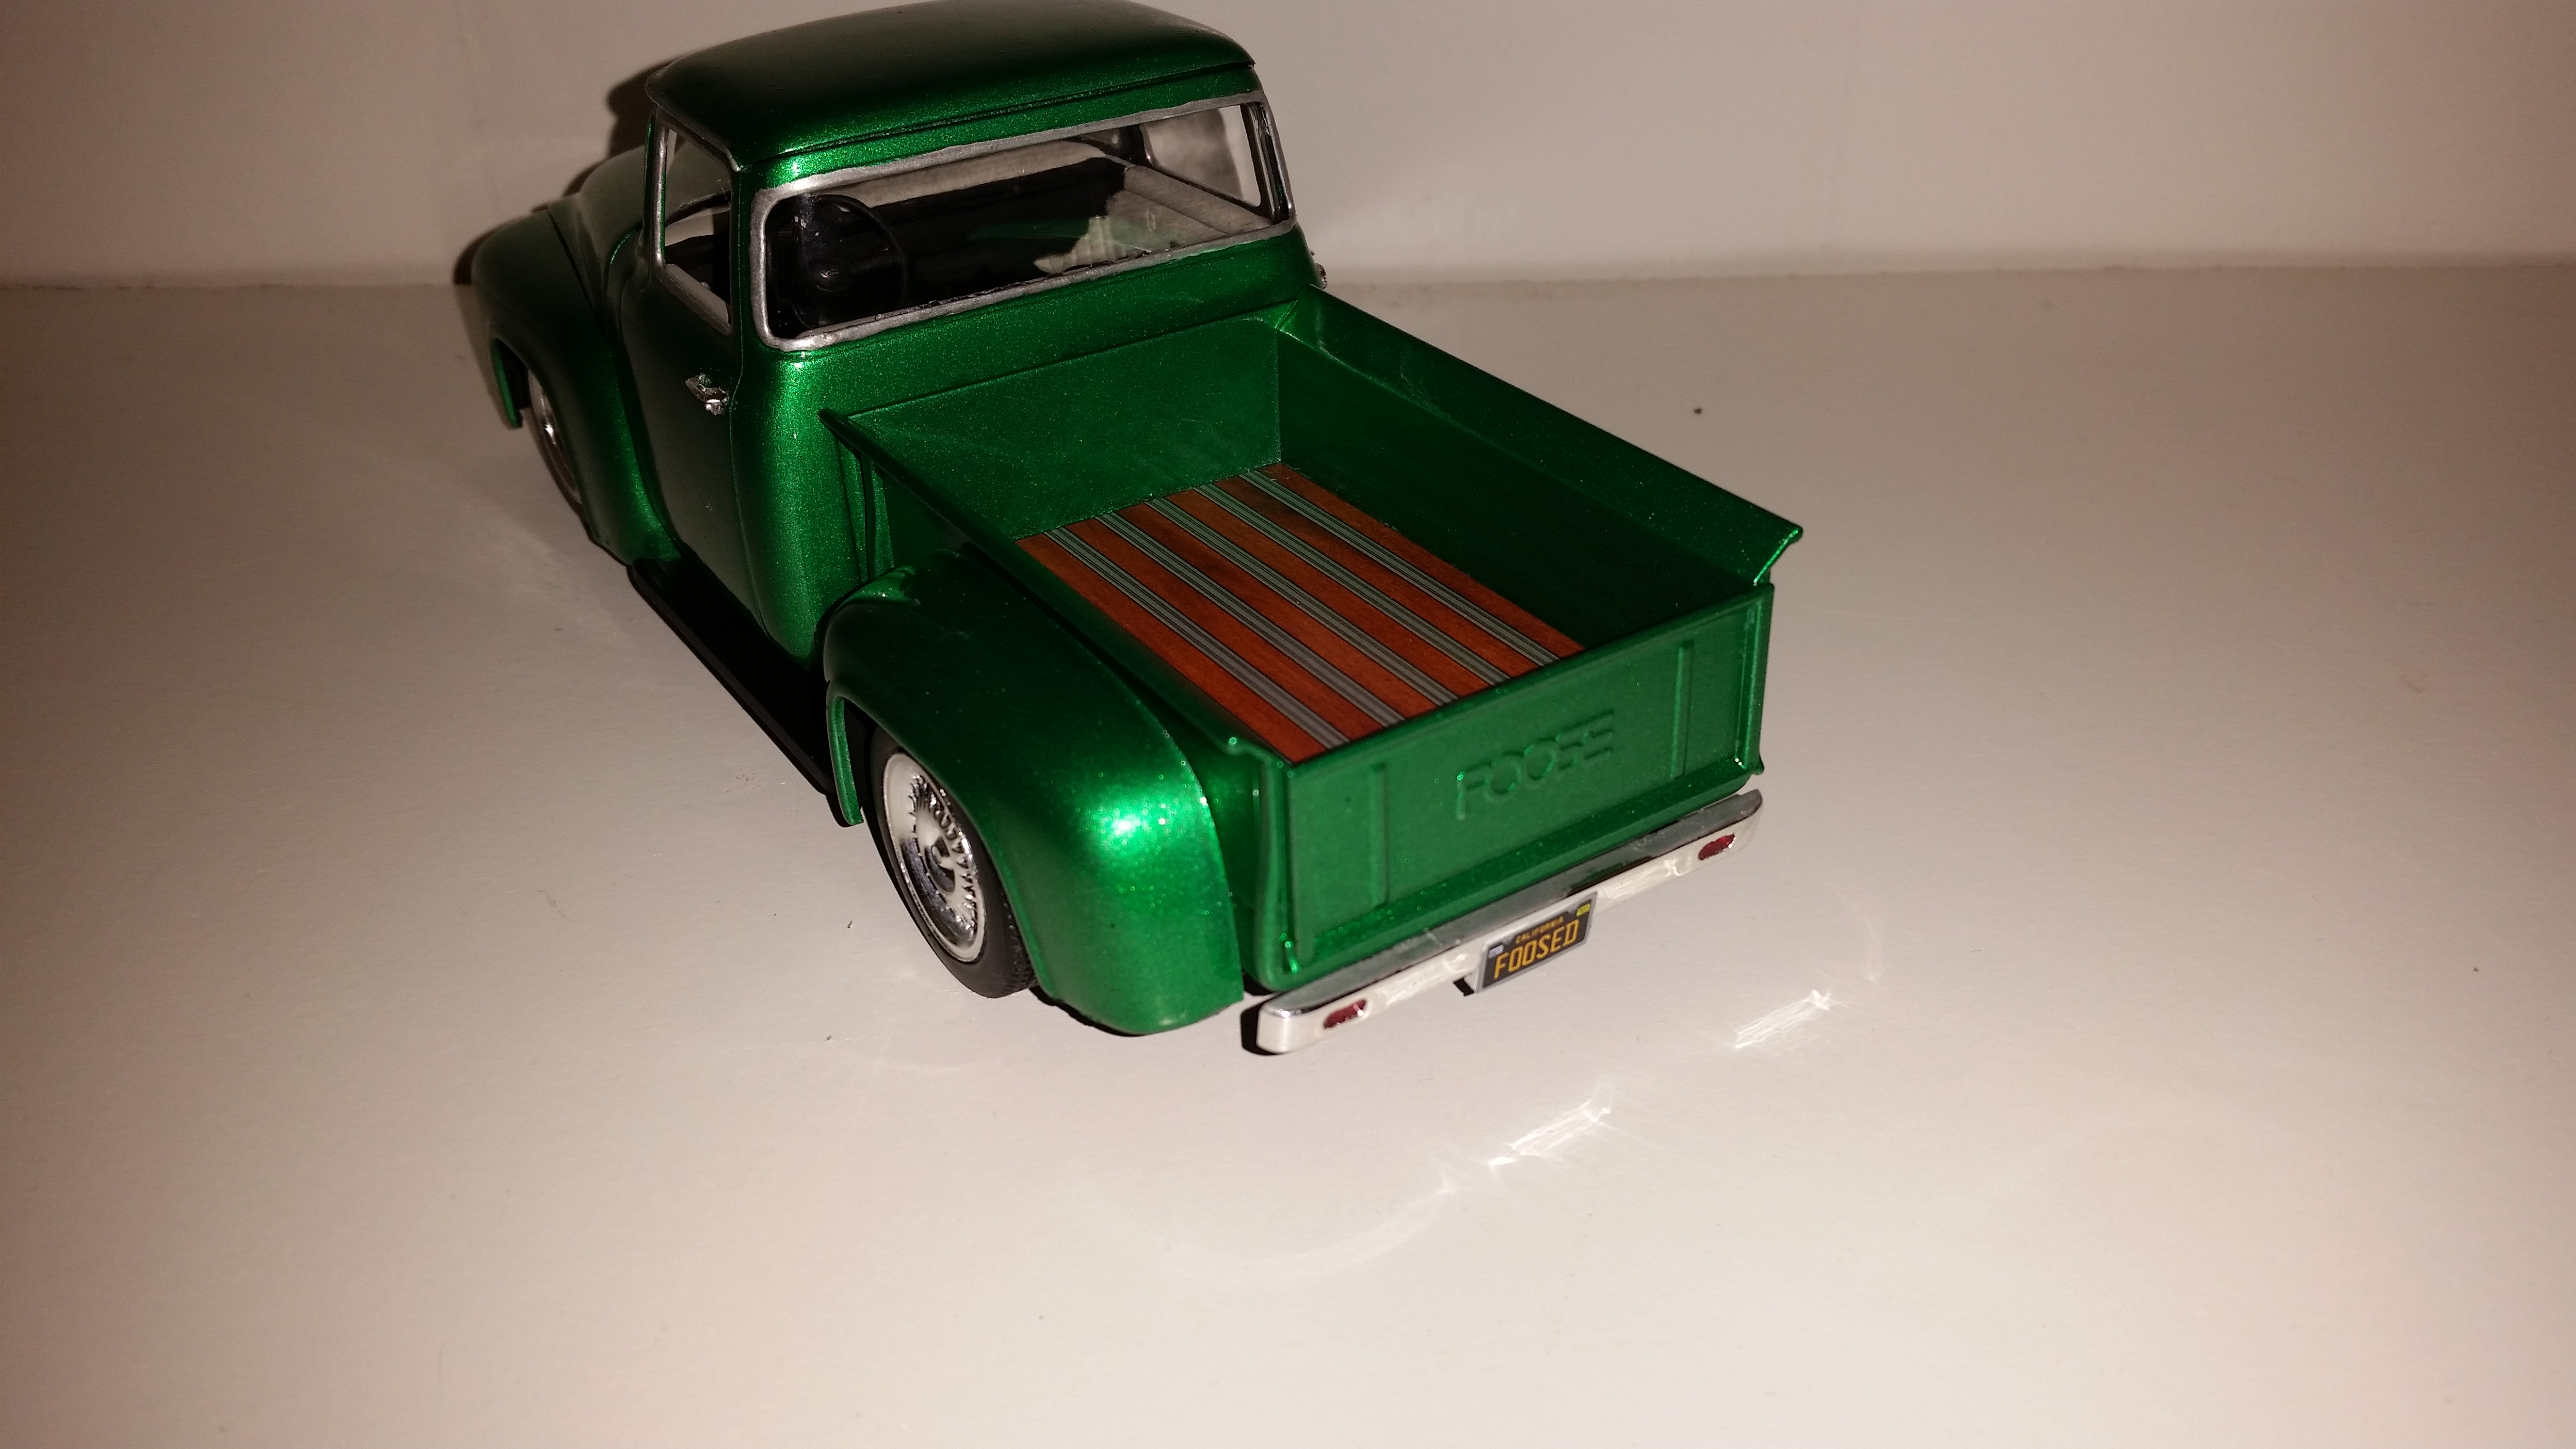
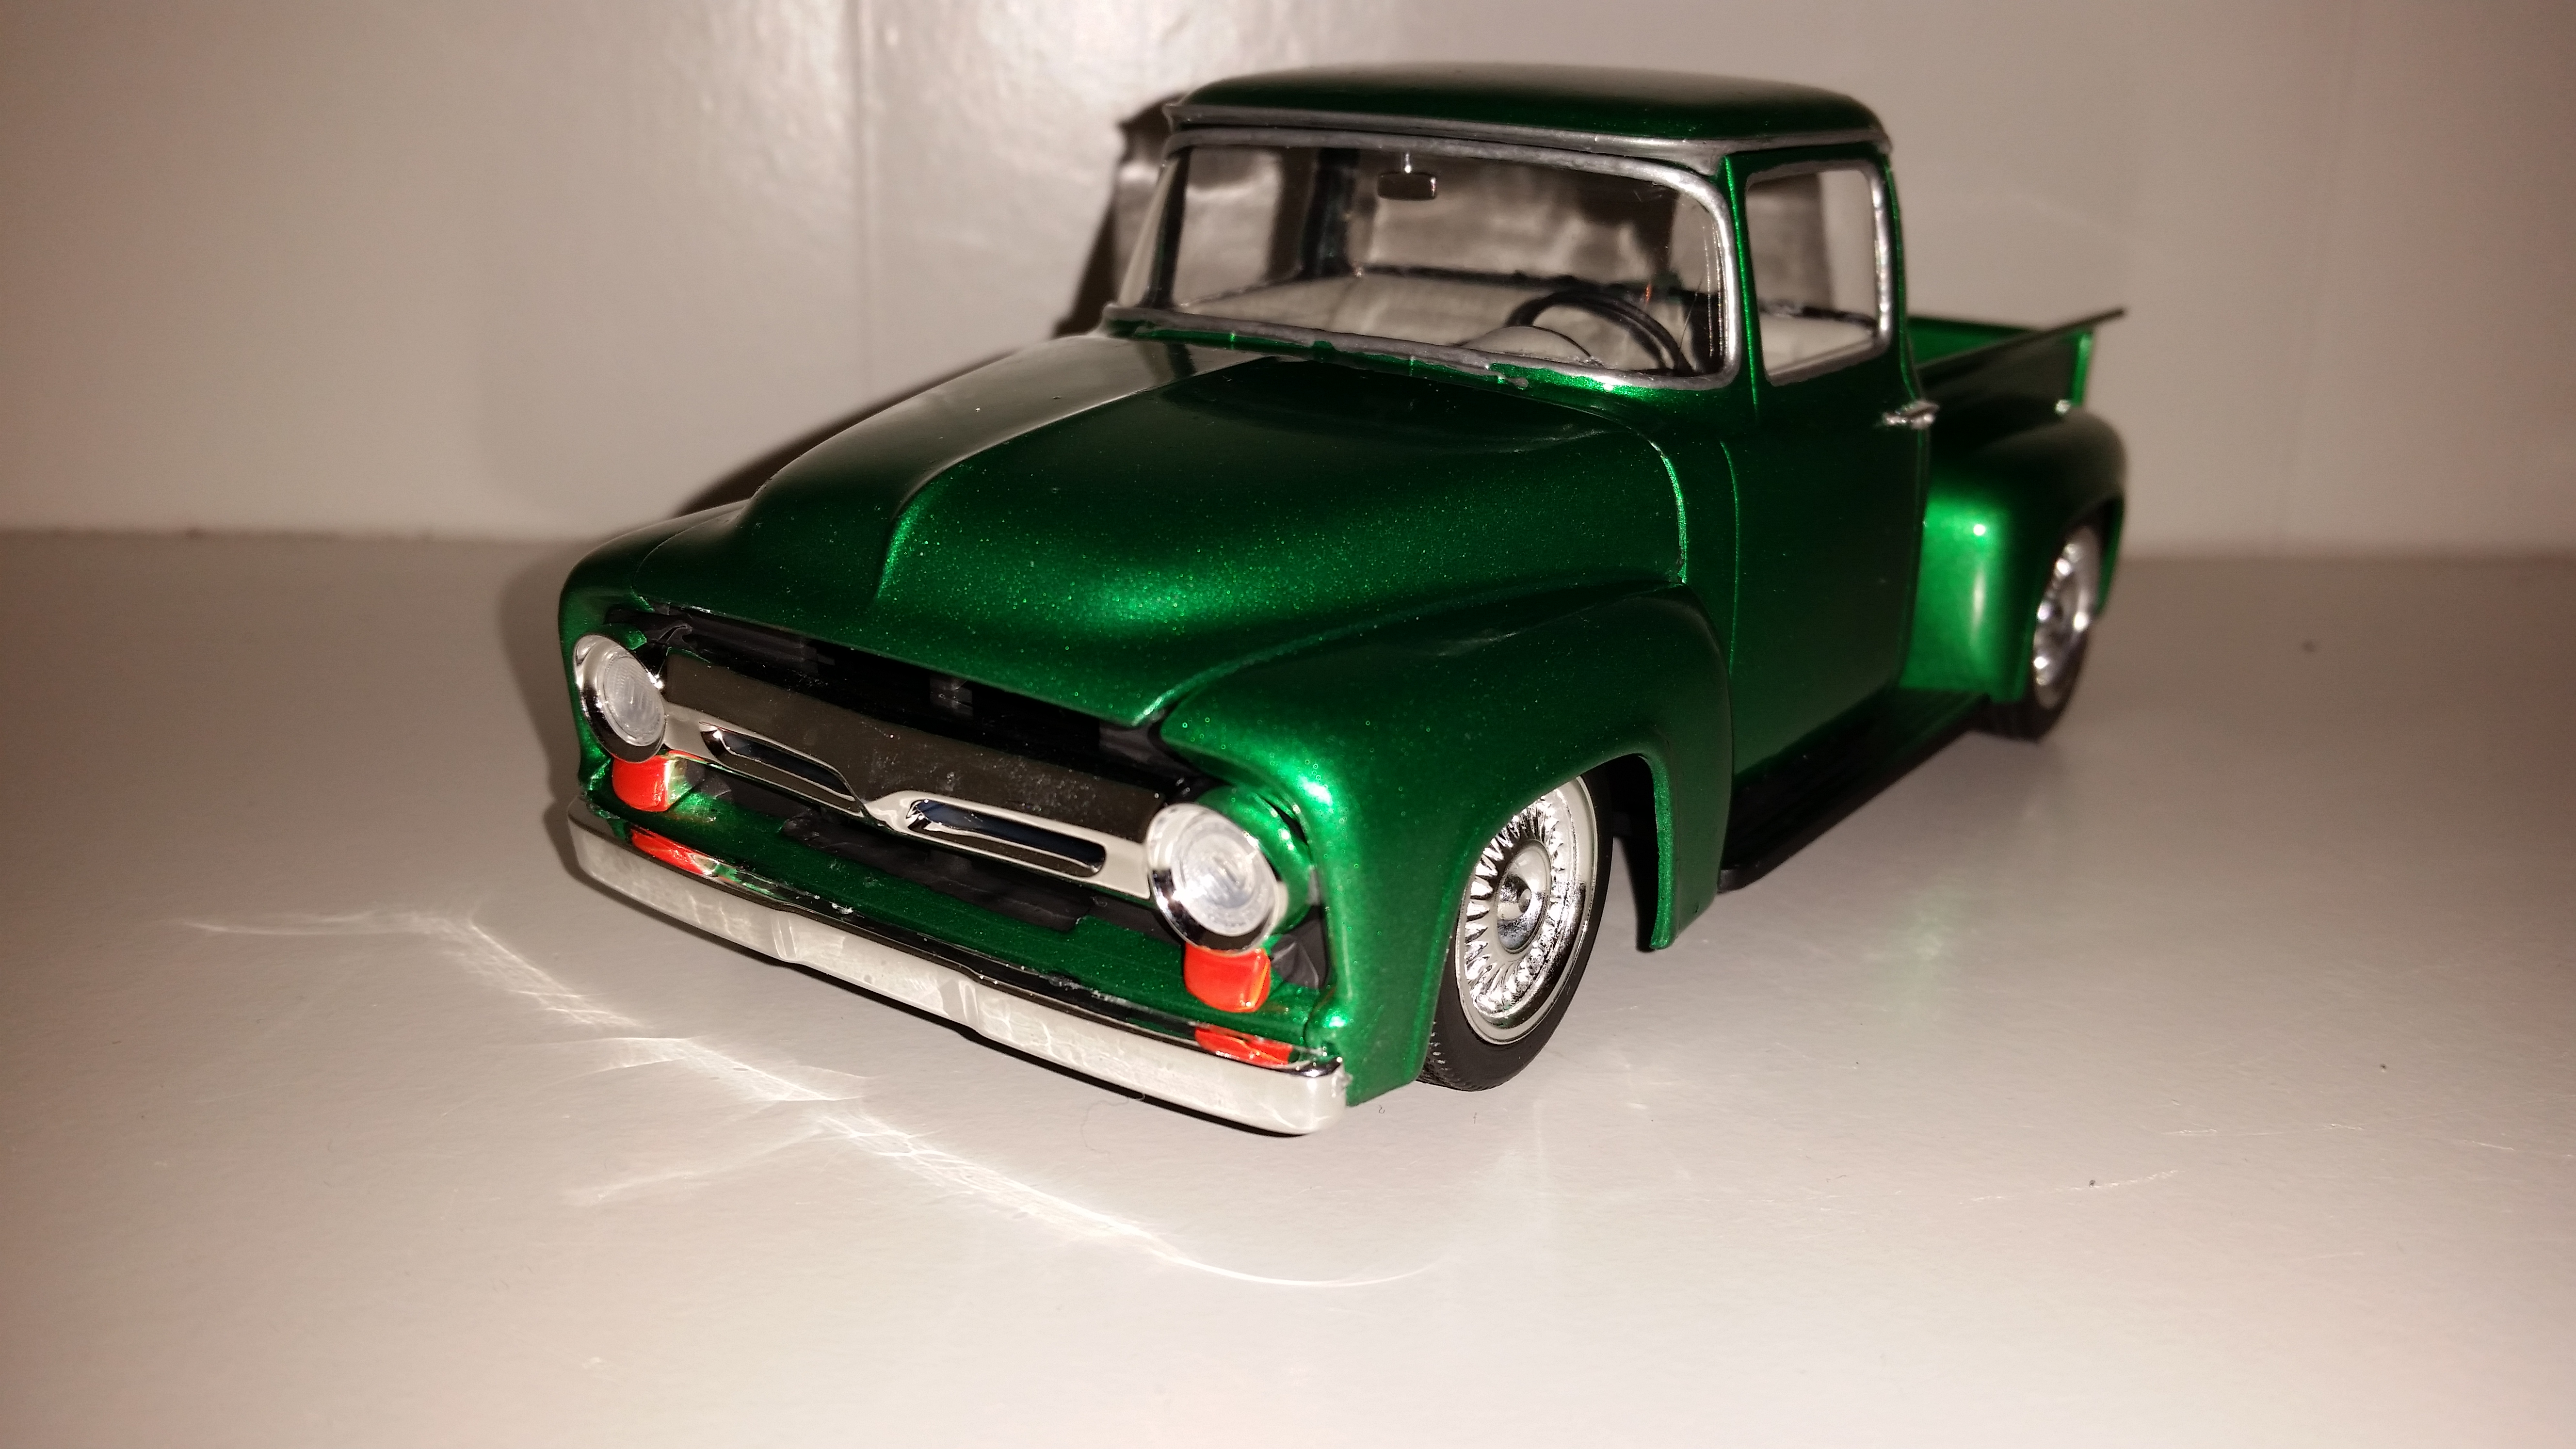
Hey everyone!, My wife, Tina built this Revell 56 Ford Pickup. It was her second model ever, and its totally detailed. This ISNT the Foose version, but the rather HORRIBLE original version. Nothing fit good, but she stuck to it, and did I great job!!!......Stig thinks so too!!!
-
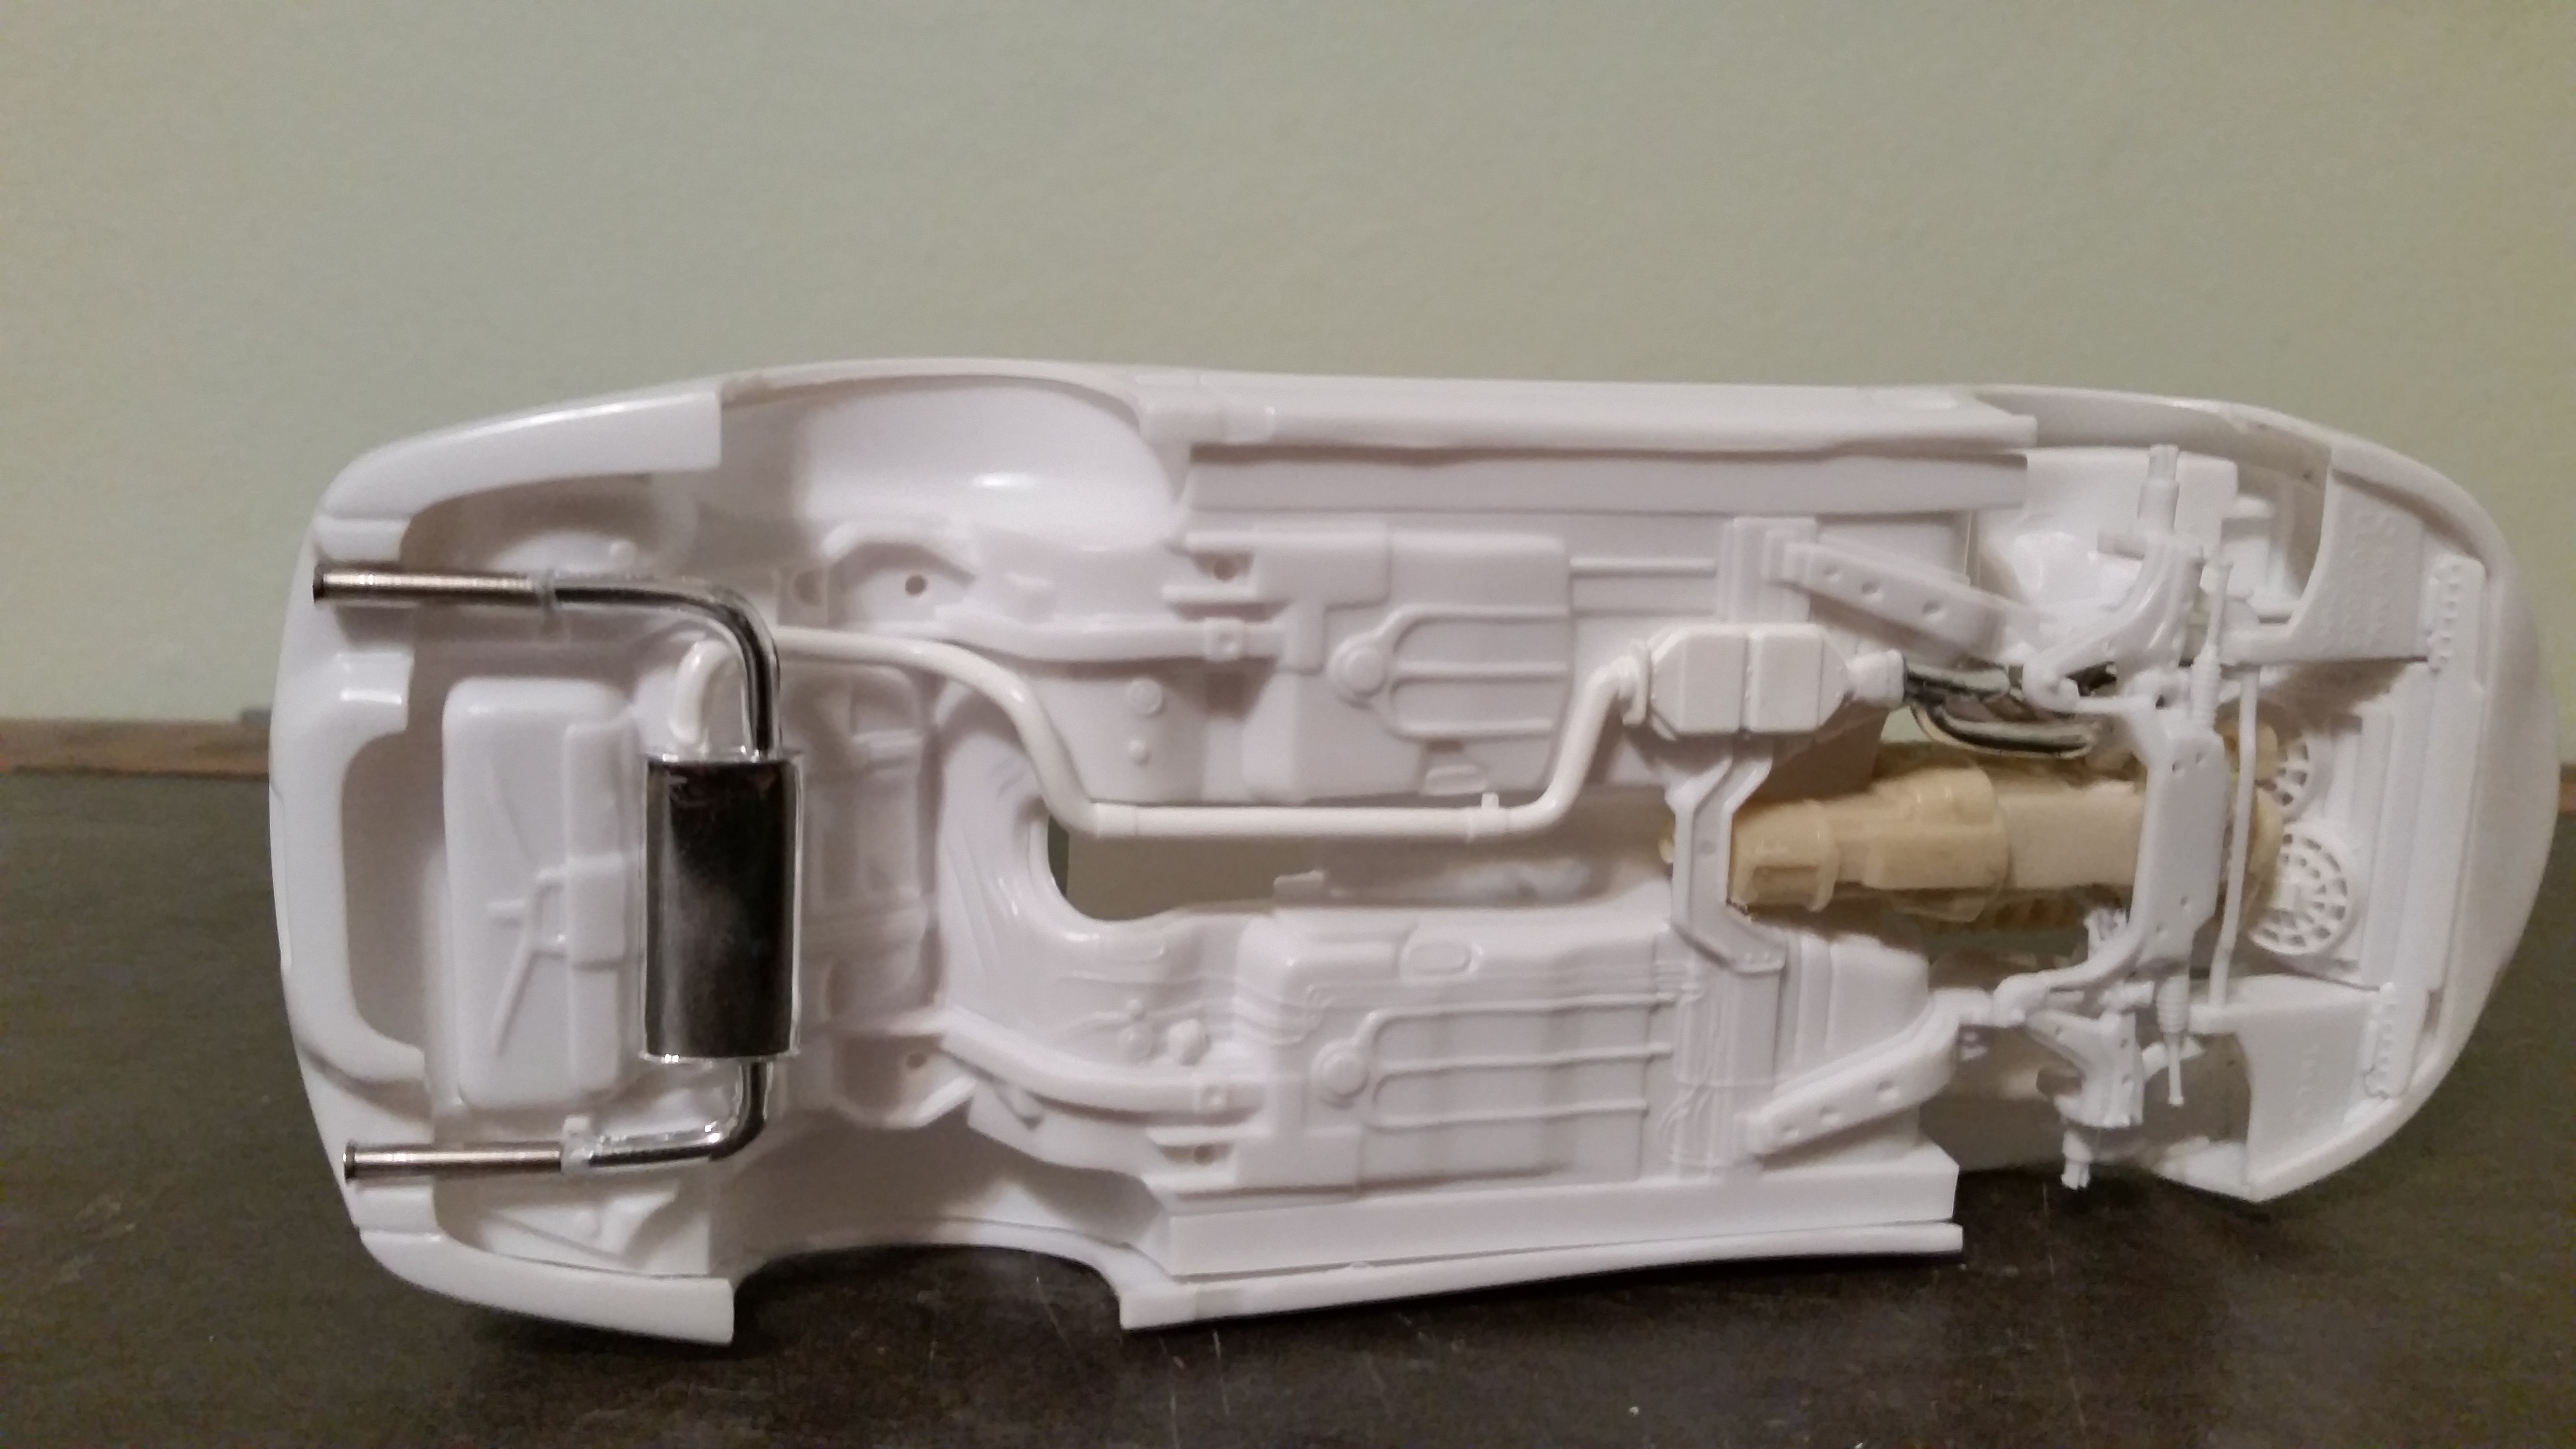
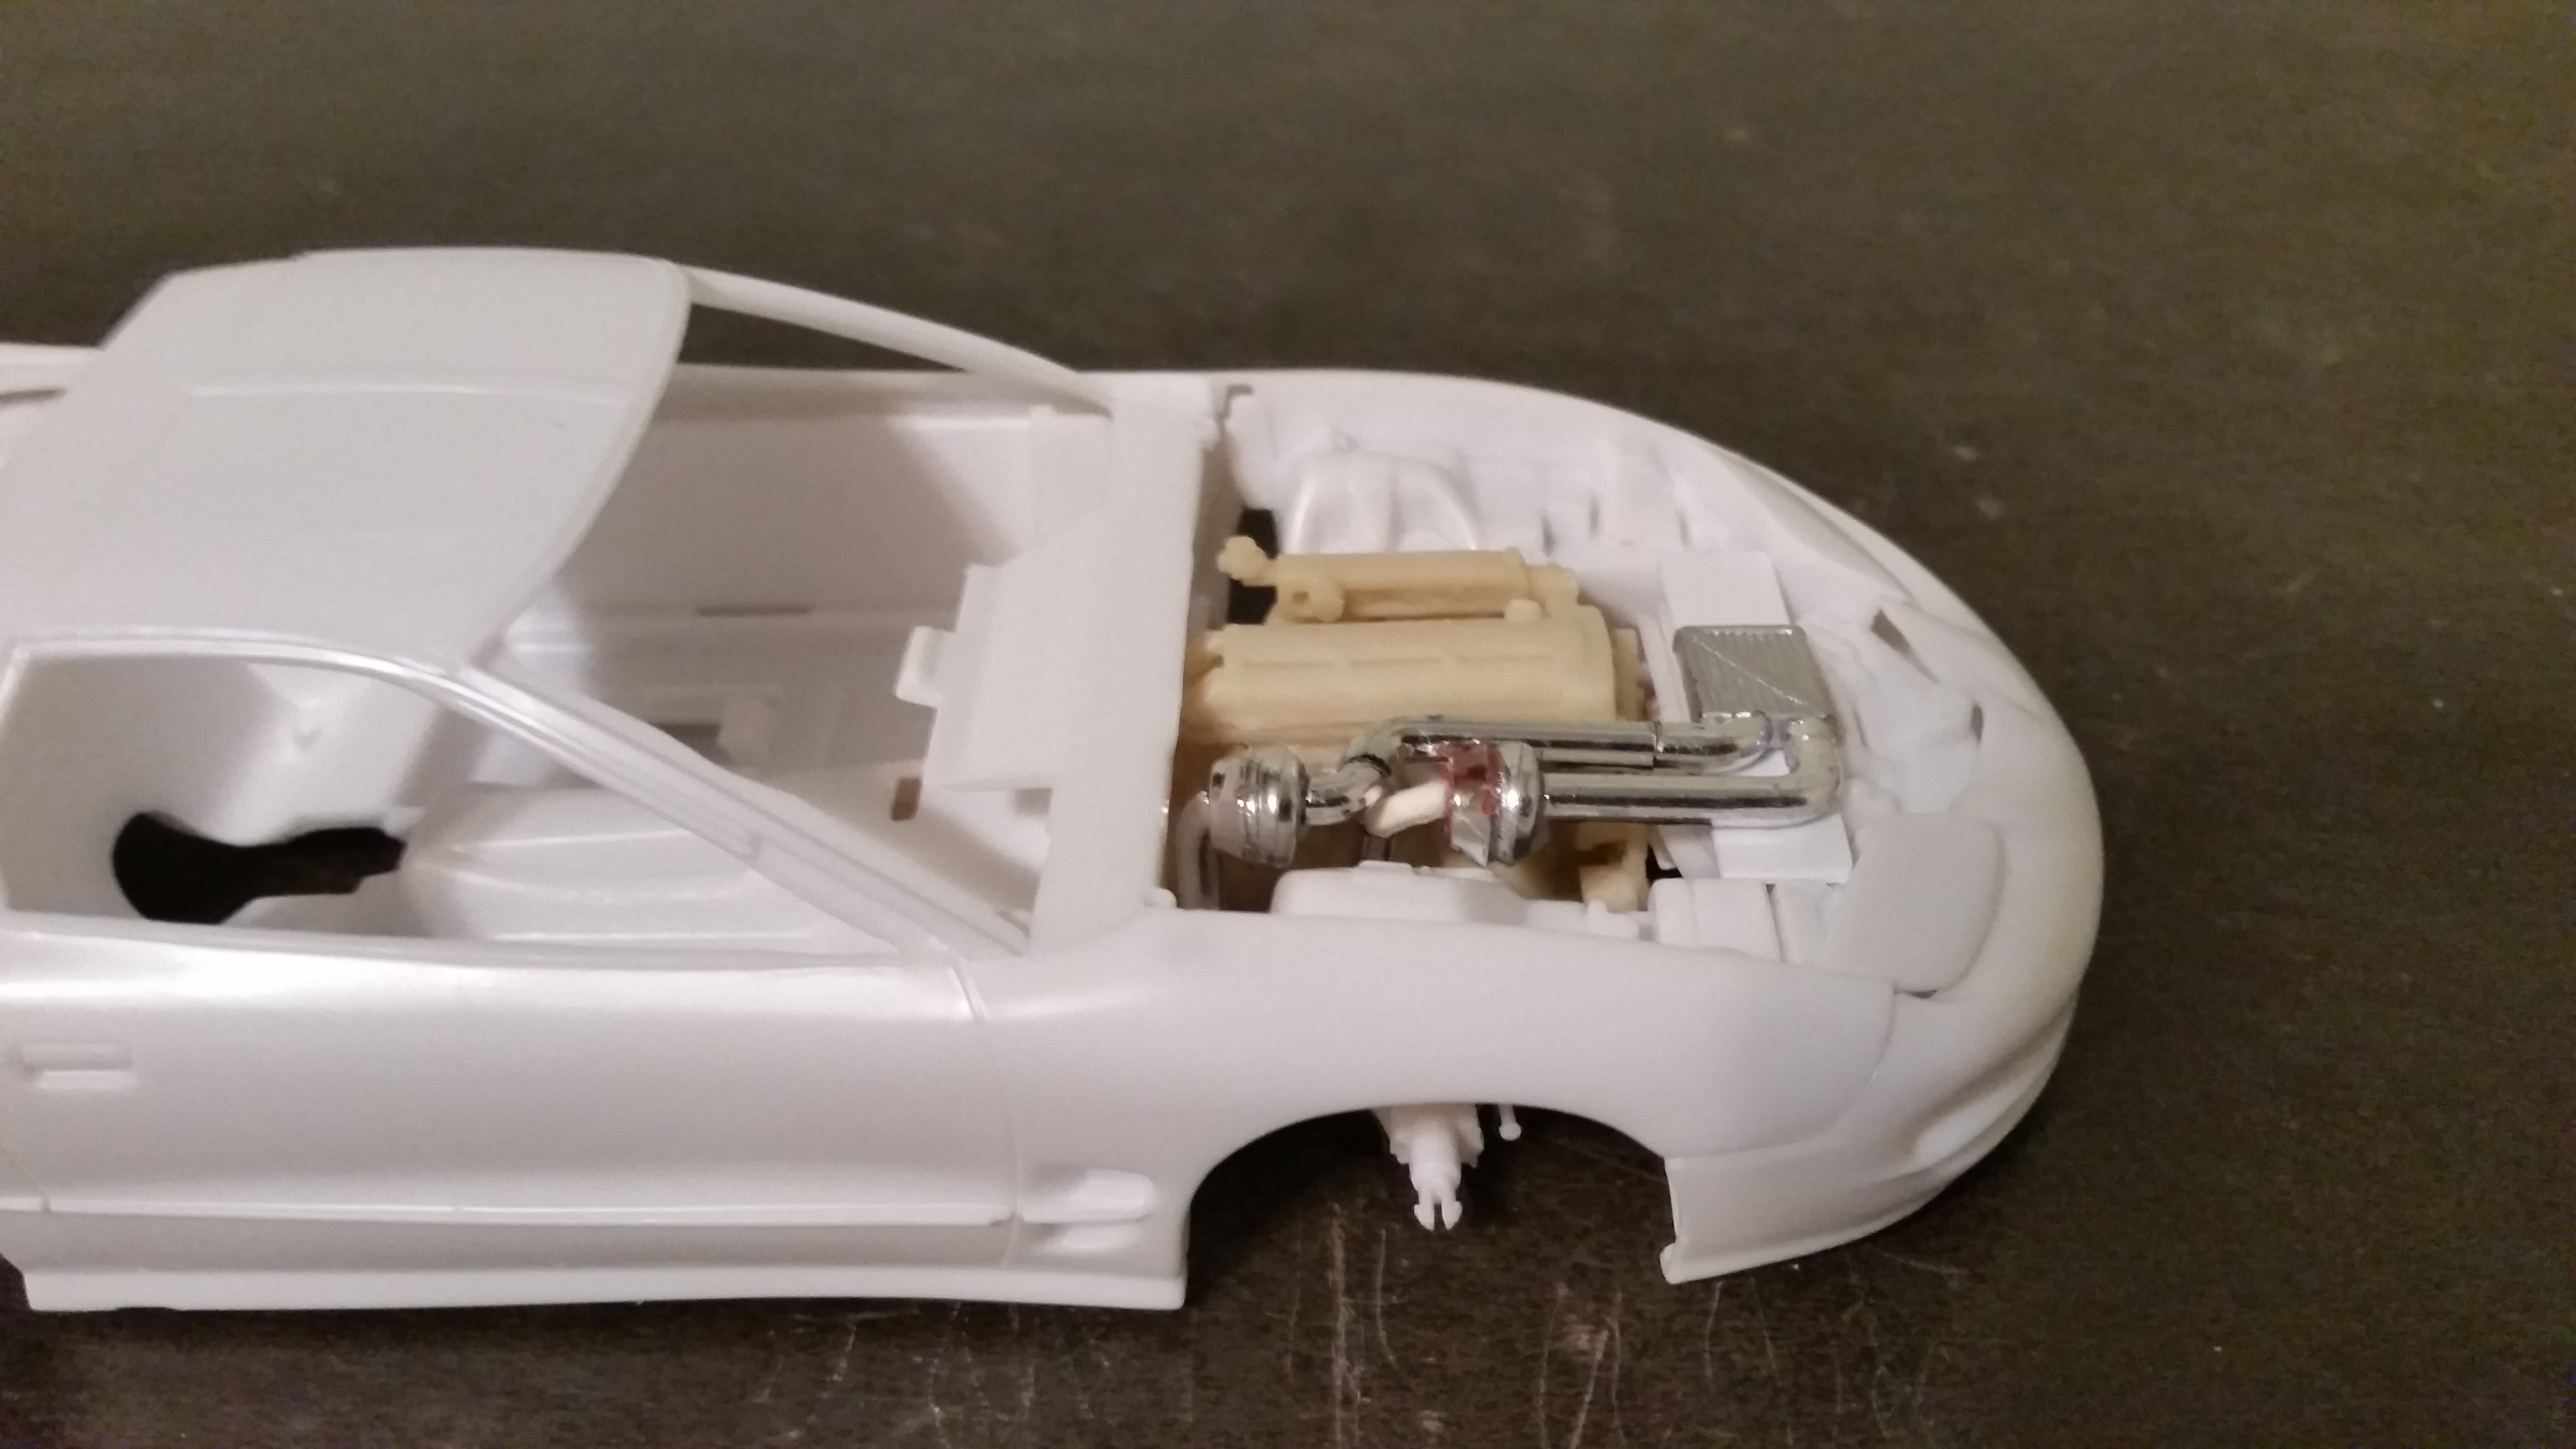
 Posted this in the CB 2018 thread, but not why post it here as well. What I started with: Quick mock up What's done so far 7/22: Did quite a bit of scratch building, trimming, and parts scrounging for the 2JZ and the engine compartment. Quite a tight squeeze in there (won't be able to see the 2nd turbo once the cowl in in) and considering it's 1/24 vs the AMT's 1/25th I used on a eariler 2JZ swapped F-body, that made some things a bit more difficult but was still possible. Used spare turbos from Olds Areo on shortened and trimmed Ferrari Enzo V12 headers and made intake tubes from spare chrome parts trees. The idea for the intake was it to be ram air style for functionality, so I found a old painted radiator from a 80s Turbo FWD of some sort and used that. Exhaust is the old LT1 style from a 93 Pace Car as it's on the same side as the 2JZ's header and easier to intergrate going by experience on a 2JZ'd '93 I built long ago. The 98 strangely had a single exhaust tip setup so a dual tip f-body muffler was scrounged up but was missing the tips. So, on went spare aluminum stacks from the Opel GT as new tips. Also had to modify the radiator so the fan shrouds don't hit the motor as much. Also opened up the vents and expanded the snorkel scoops on the hood for better air flow with that tight motor and the turbos. Still have some small things and a bit of clean up to do motorwise as I plan to add in intercooler to slightly show where the lower front lights were, then it'll be setting the ride height/wheels and it's off to paint. Had Walmart Color-place Fire Red in mind to complement my older 2JZ T/A build. Will try to keep posted here and the CB thread.
-
 I have been working the Revell Porsche 918 and the Revell Mazda Rx-7 kits for quite a while and really want to finish them to start some new ones, but I am being held back from finishing them. Both of the chassis' are warped. I have already painted them and want to know if you have any suggestions on how to fix the warp and also if anyone else is having the same problem. Thanks, Matt.
-
 finished up this one, painted with craft paints. tire decals are from a powerslide nascar tire sheet, the dog is from some dollar store toys.
 -
Mostly OOB, only change swapped wheels from the '48 Caddy onto this (originally, I was going to strip them down and repaint them, but after seeing the purple pond take off the red trim on the wheel without getting the chrome oddly enough I changed plans). Paint is Tamiya TS-20 Metallic Green cleared with Pledge with Future. Apologies for the spotty lighting in a white bookshelf, this is only makeshift till I get things in order since I moved into a former siblings room months ago since I got anything done and still setting up.
-
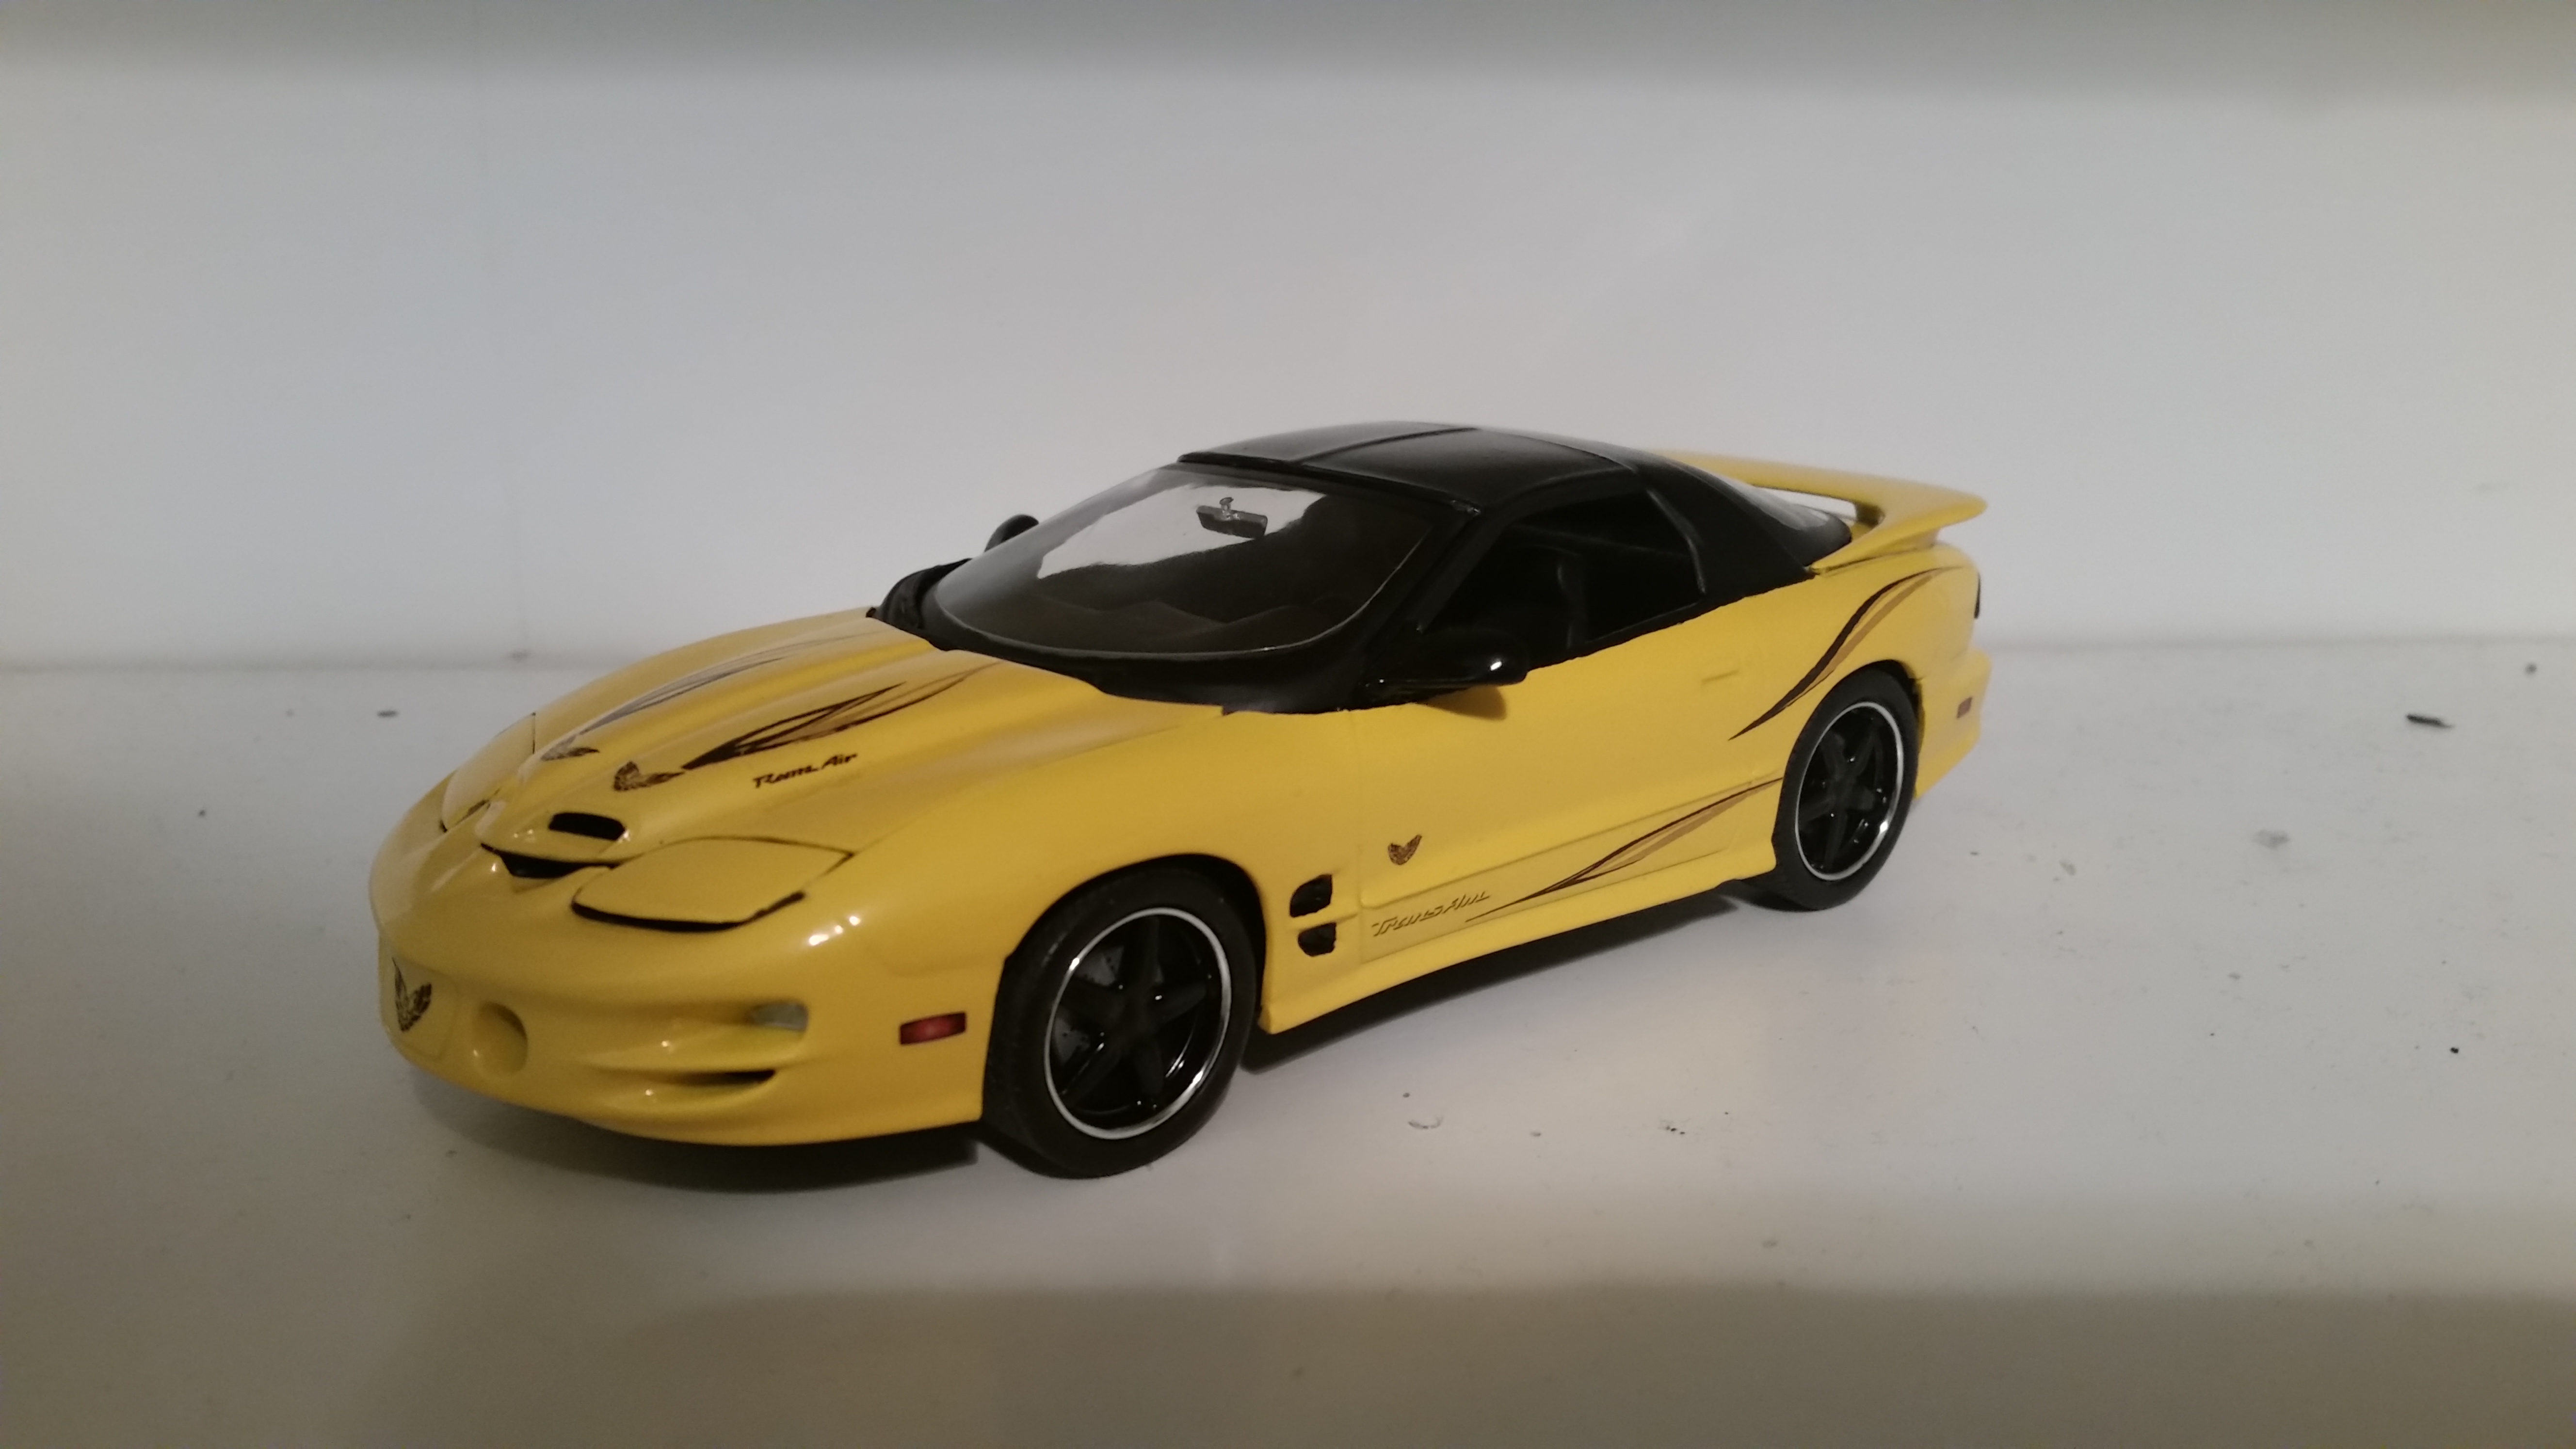
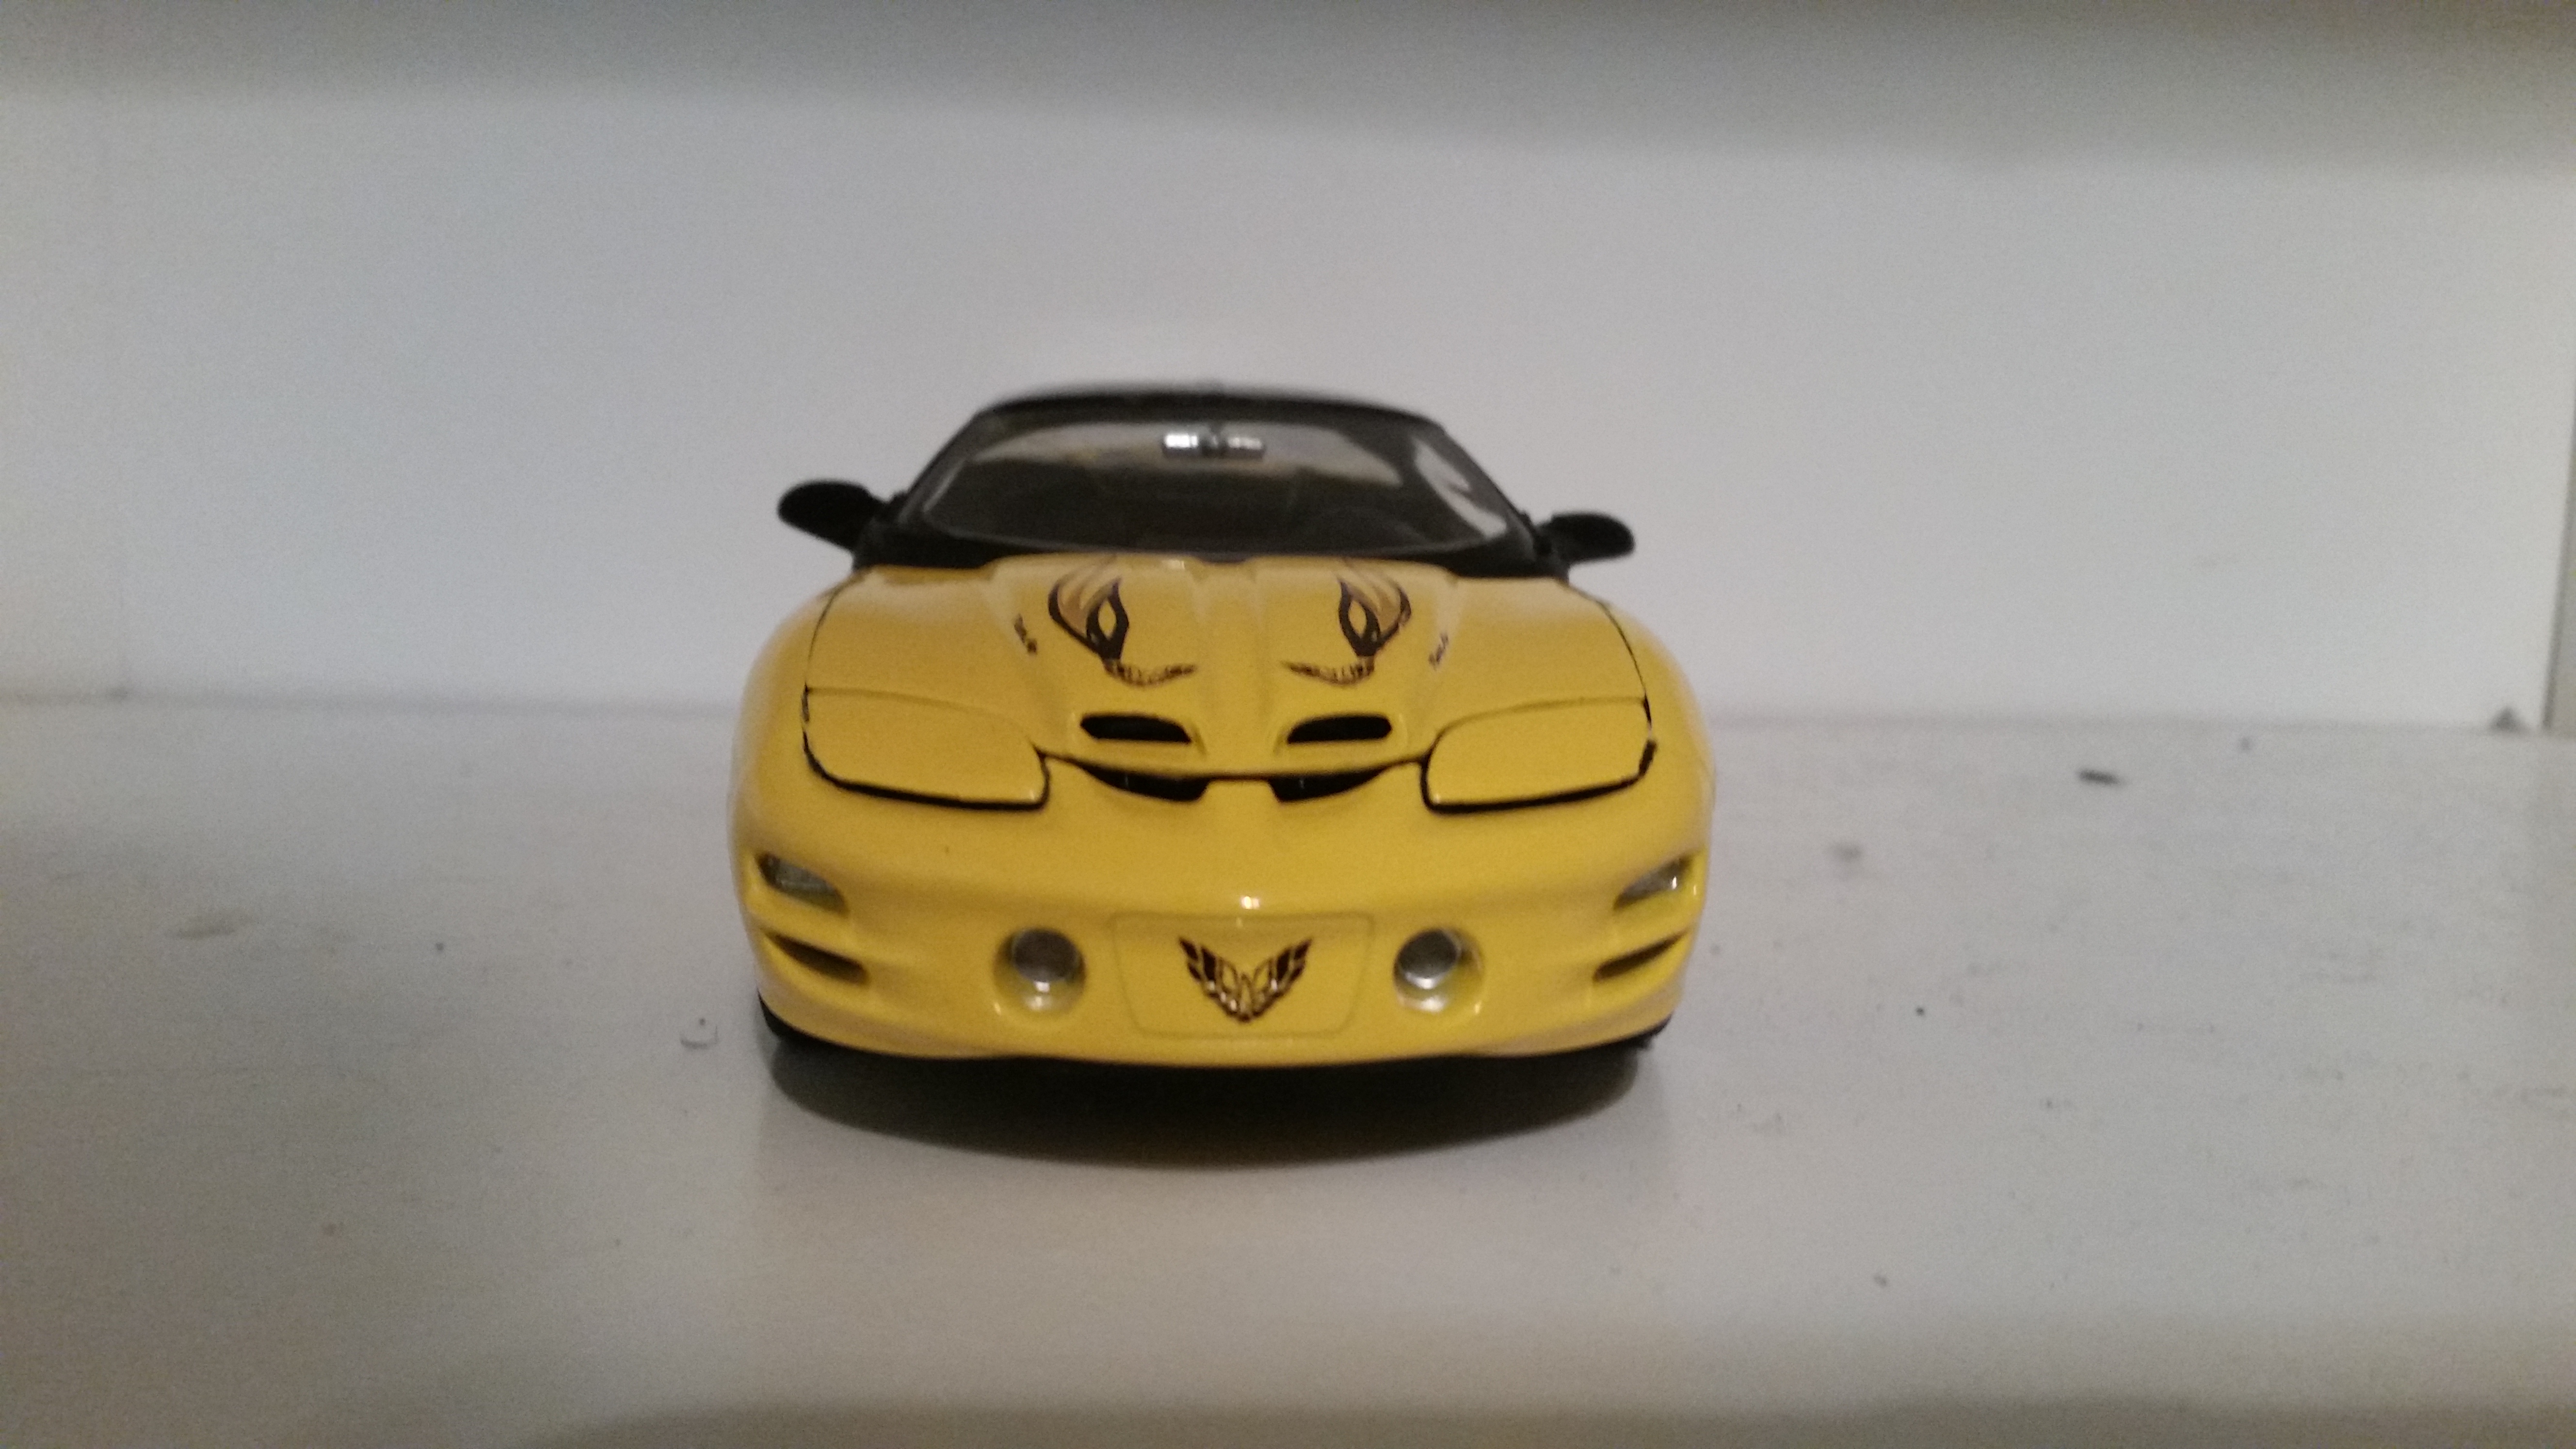
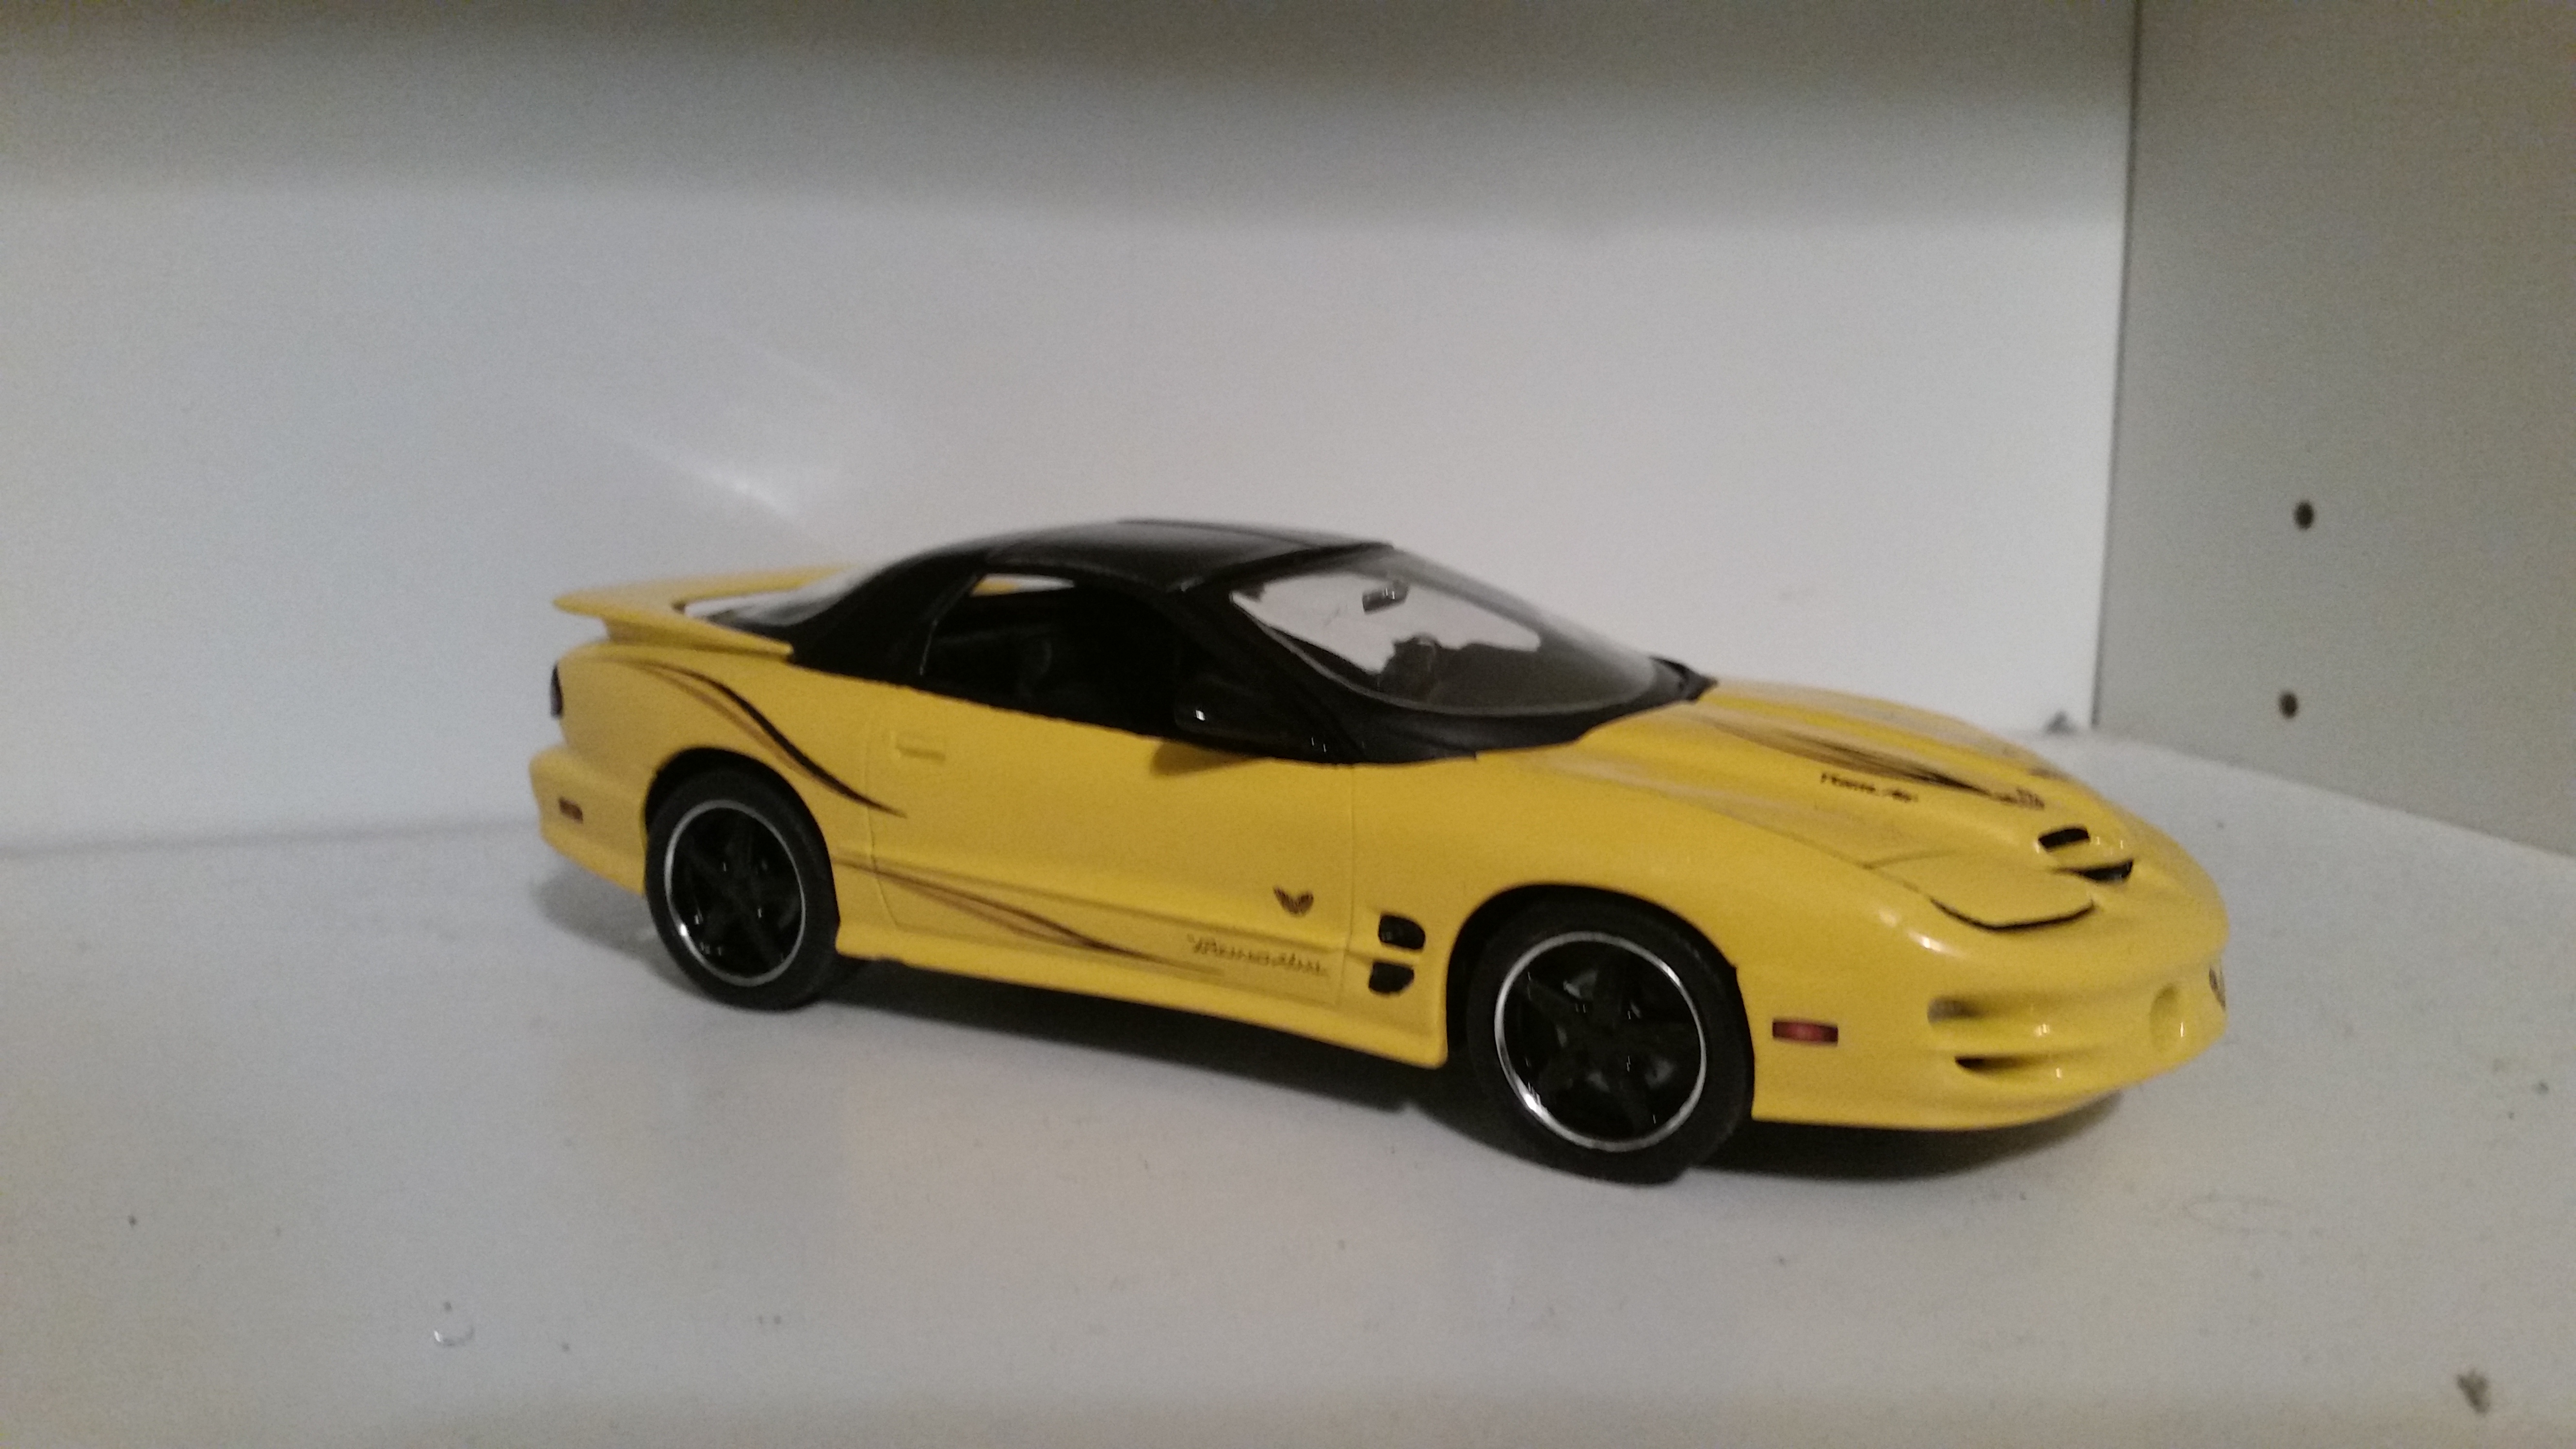
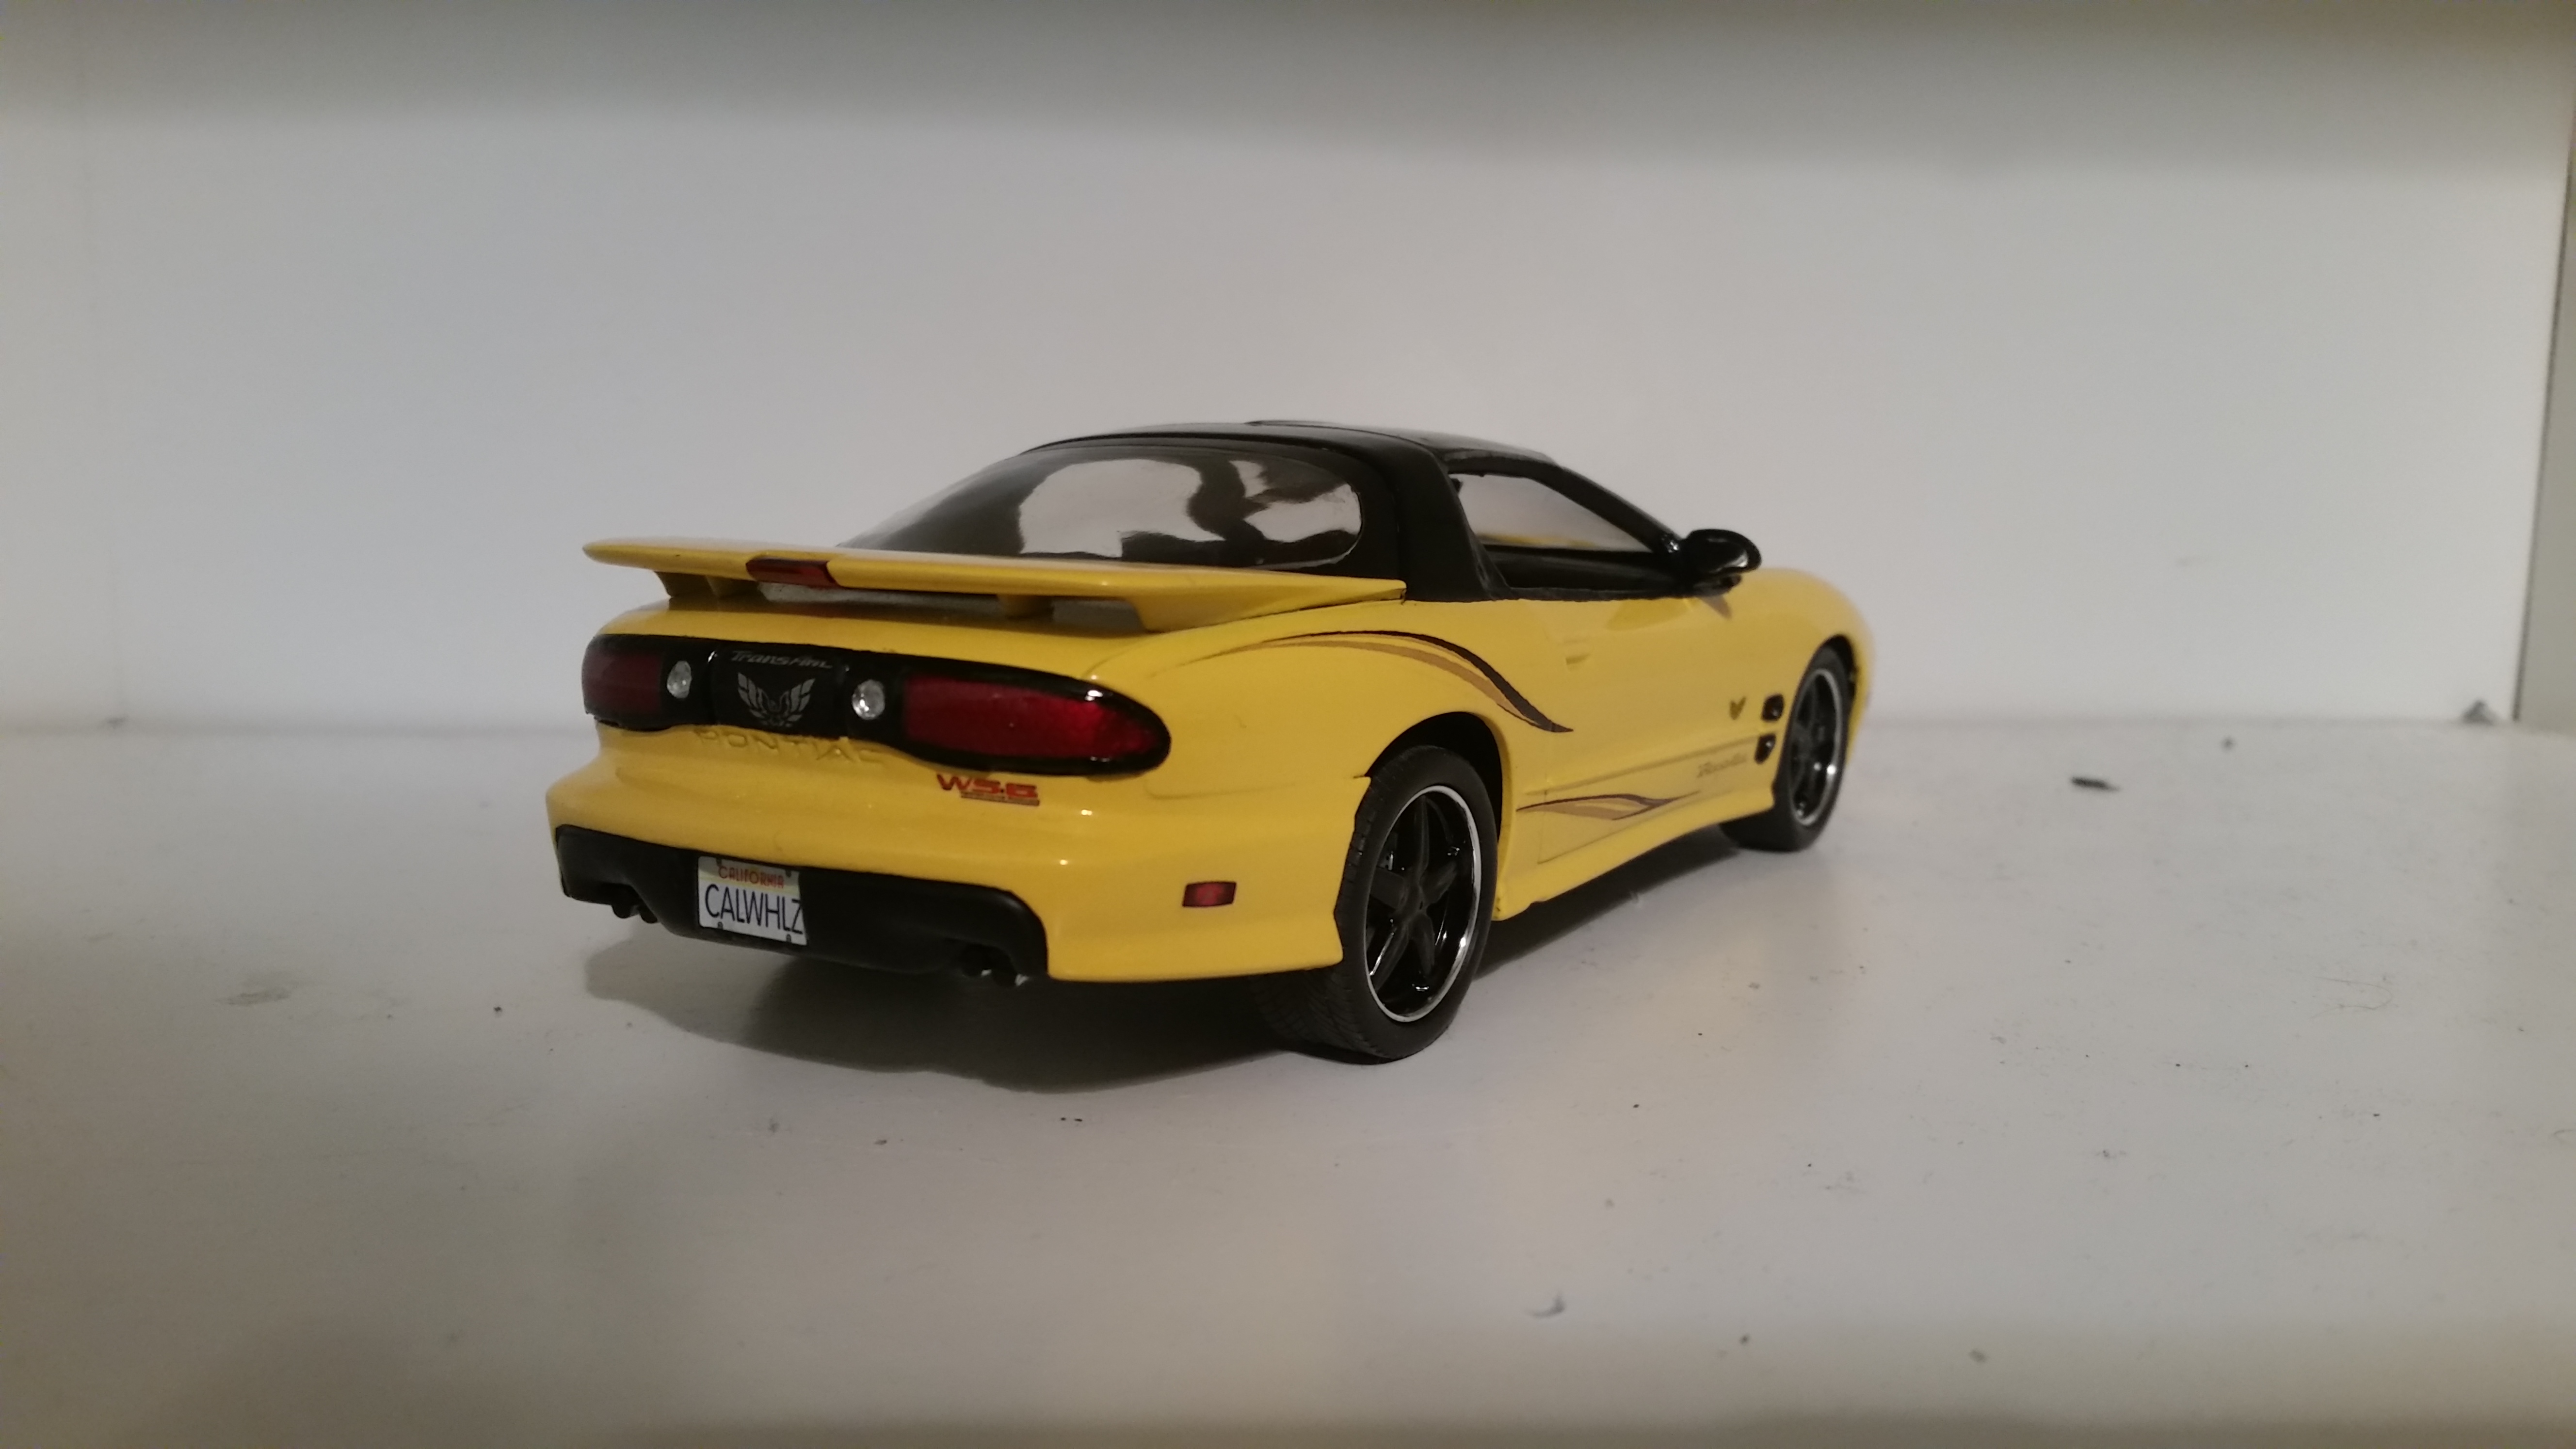
A few months ago at one of the local mtgs, a member was selling some kits and aftermarket decal sheets cheap. Bought some deals and the decals were mostly Slixx drag car decals and 80s-90s era sheets from kits like monogram drag cars and some 90s AMT, but one he had that struck me was a Trans Am Collectors Edition decal sheet (in a baggie marked 2002 Firebird, no manufacturer name) that appeared to fit the Revell 98 Firebird, and it was only a buck so I bought it. Since I had a 2005 Revell reissue of the 98 Firebird on hand and these decals, I looked up photos of the 1:1s to get an idea of what the decals were for and that would give me a spark for a quick fun future project (after dealing with all the work on a incomplete Monogram 41 Lincoln which I also plan to post here). Paint is Rustoluem Yellow (close enough match for the 1:1 sun yellow) and Colorplace black for the roof, all cleared with future. Decals were ok-ish at best, a bit thin and transparent (the silver stripes on the 1:1s are kinda a transparent darkish color here thou) but they did the job well, and I wasn't gonna sweat this being factory stock since I had a plans to do light custom work anyway. Part of the ram air intake had a bit of a short shot so that was cut off and plastic tubing painted silver was used to as an intake pipe to connect to what wasn't half molded. The stock wheels were too small so the custom wheels were used and the toy-ish chrome backings were painted black with rotor decals from another kit to livin it up. The 98 had a single exhaust for some odd reason so that piece was swapped from a snap-tite '93 a friend of mine traded me for another 98 I had that he wanted (he's in love with 4th gen F-bodies and wants to try to build one of these too since I bought the decals first and wonders who originally made them). Apologies if a few of the pics came out kinda blurry, but I didn't notice them on my phones screen (OLEDs must have some kind of magic that hides imperfections that show on normal HDTVs).
-
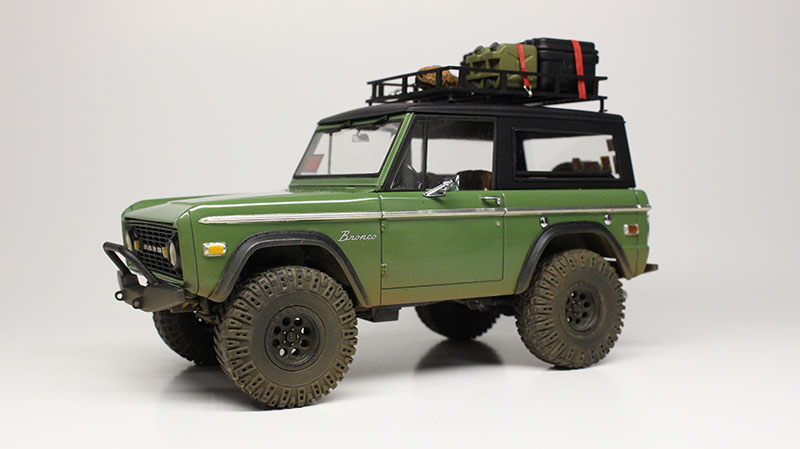
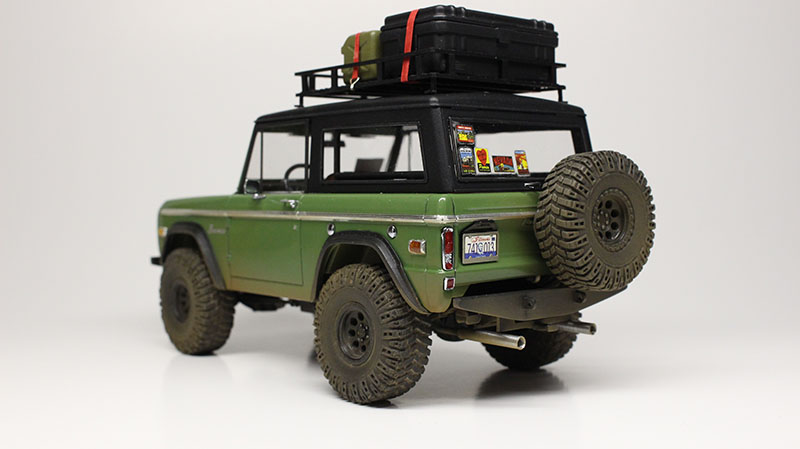
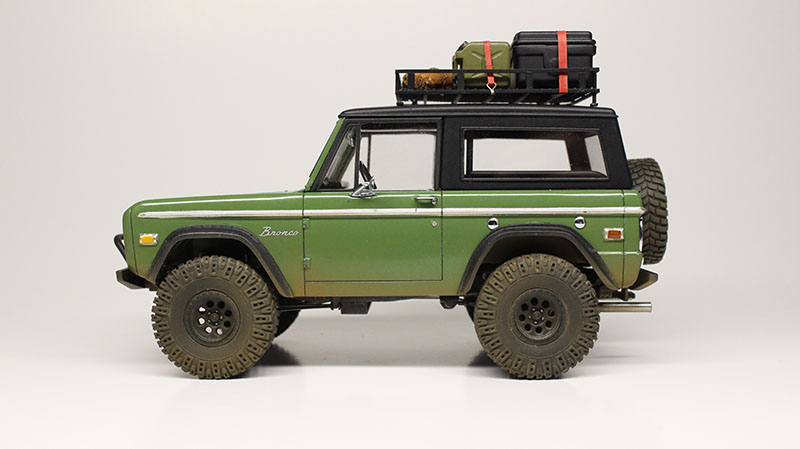
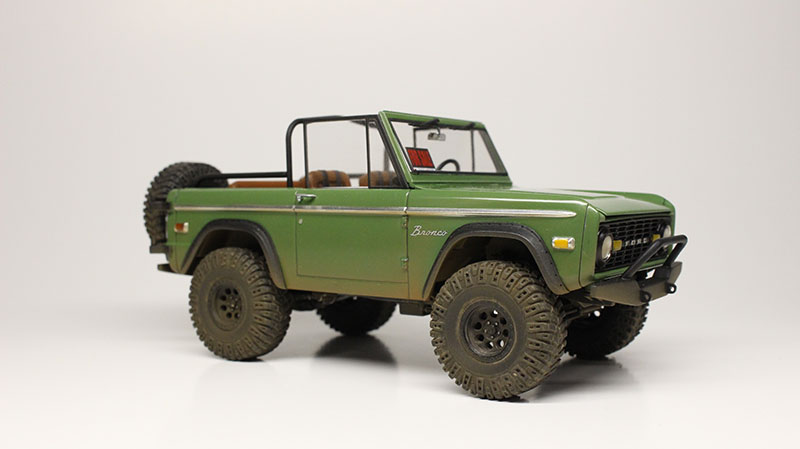
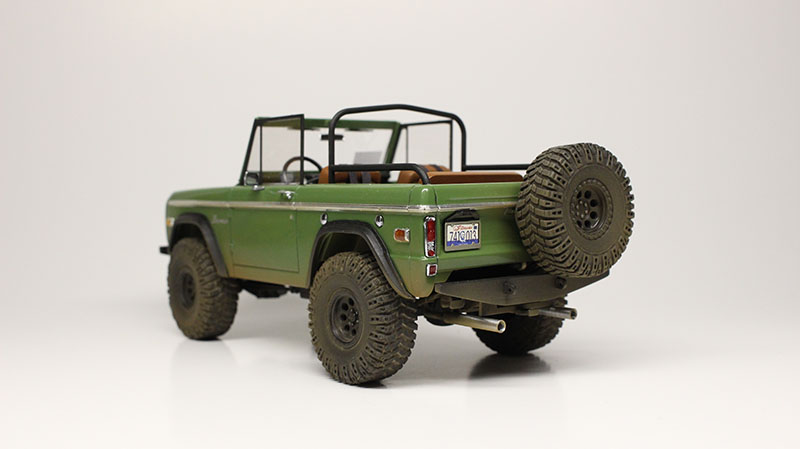
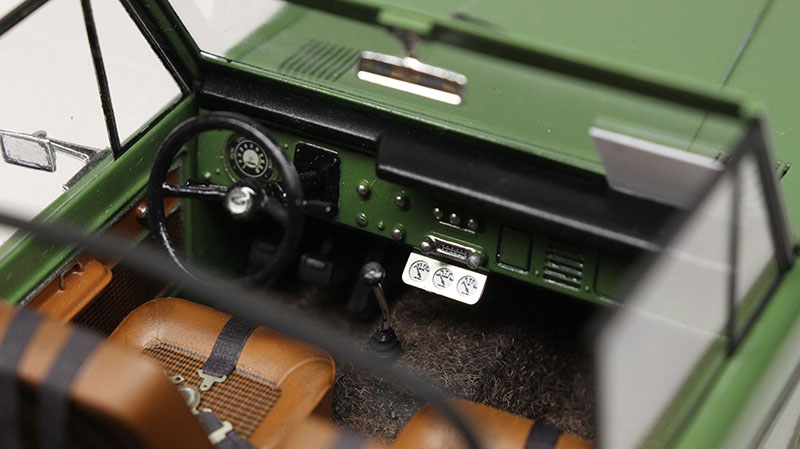
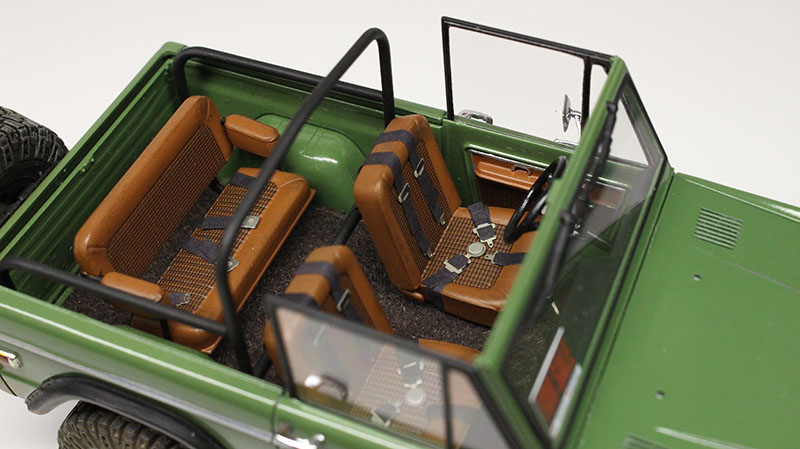
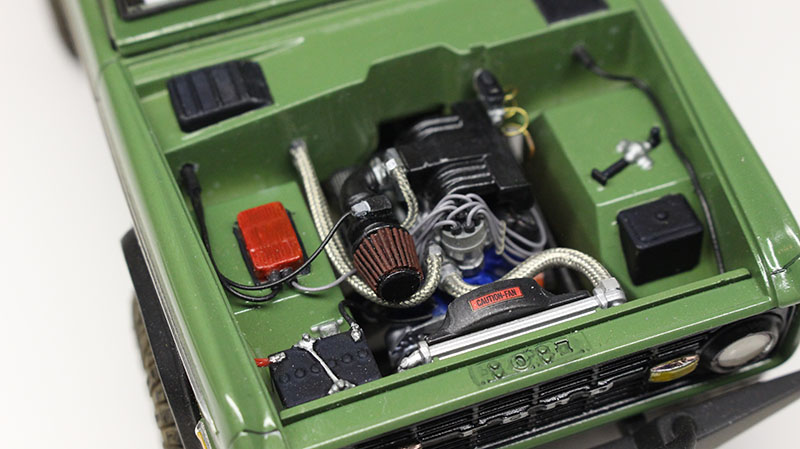
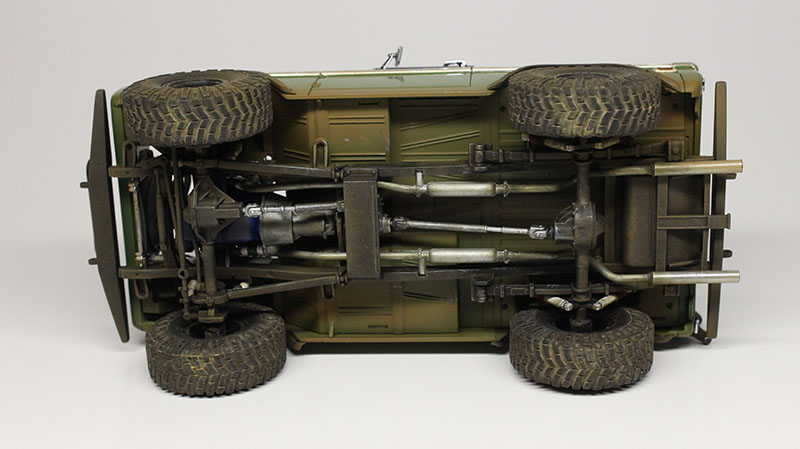
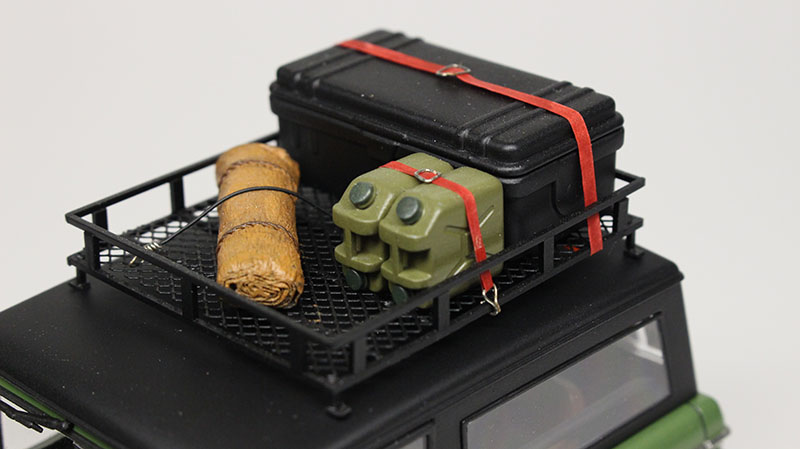
Hi all, Here is my completed build of the Revell Bronco. The body is painted with craft acrylic paint. Scratch-built parts include the front and rear bumper, 2 inch body lift, roof rack and tie downs. The interior is finished up with brown flocking, 5 point racing harnesses for the front seats and under dash gauges from Pro Tech. The rear seatbelt hardware is from Model Masters. I used the kit engine block and transmission, but replaced the intake and valve cover with the EFI set up from the 5.0 engine in the Revell 32 5 window coupe kit. All of the wiring, and pluming and flex fan are parts from Pro Tech. The wheels and tires are from the Revell Jeep Rubicon kit. The fender flares are from Fireball Model Works. Also, I added aluminum tubing for the exhaust tips. Thanks for looking.
-
untilLaski Scale Specialties is proud to present the Third Annual Model Car Event at the LA Roadster Show and Swap! Father’s Day Weekend June 15th & June 16th, 2018! Friday 7:00 AM - 5:00 PM Saturday 7:00 AM - 5:00 PM **NEW DAYS- NO SUNDAY SHOW!!! ** Awards Presentation at 2:00 PM SATURDAY! Fairplex in Pomona 1101 W McKinley Ave Pomona, CA 91768 * In the Vendor Building 4
-
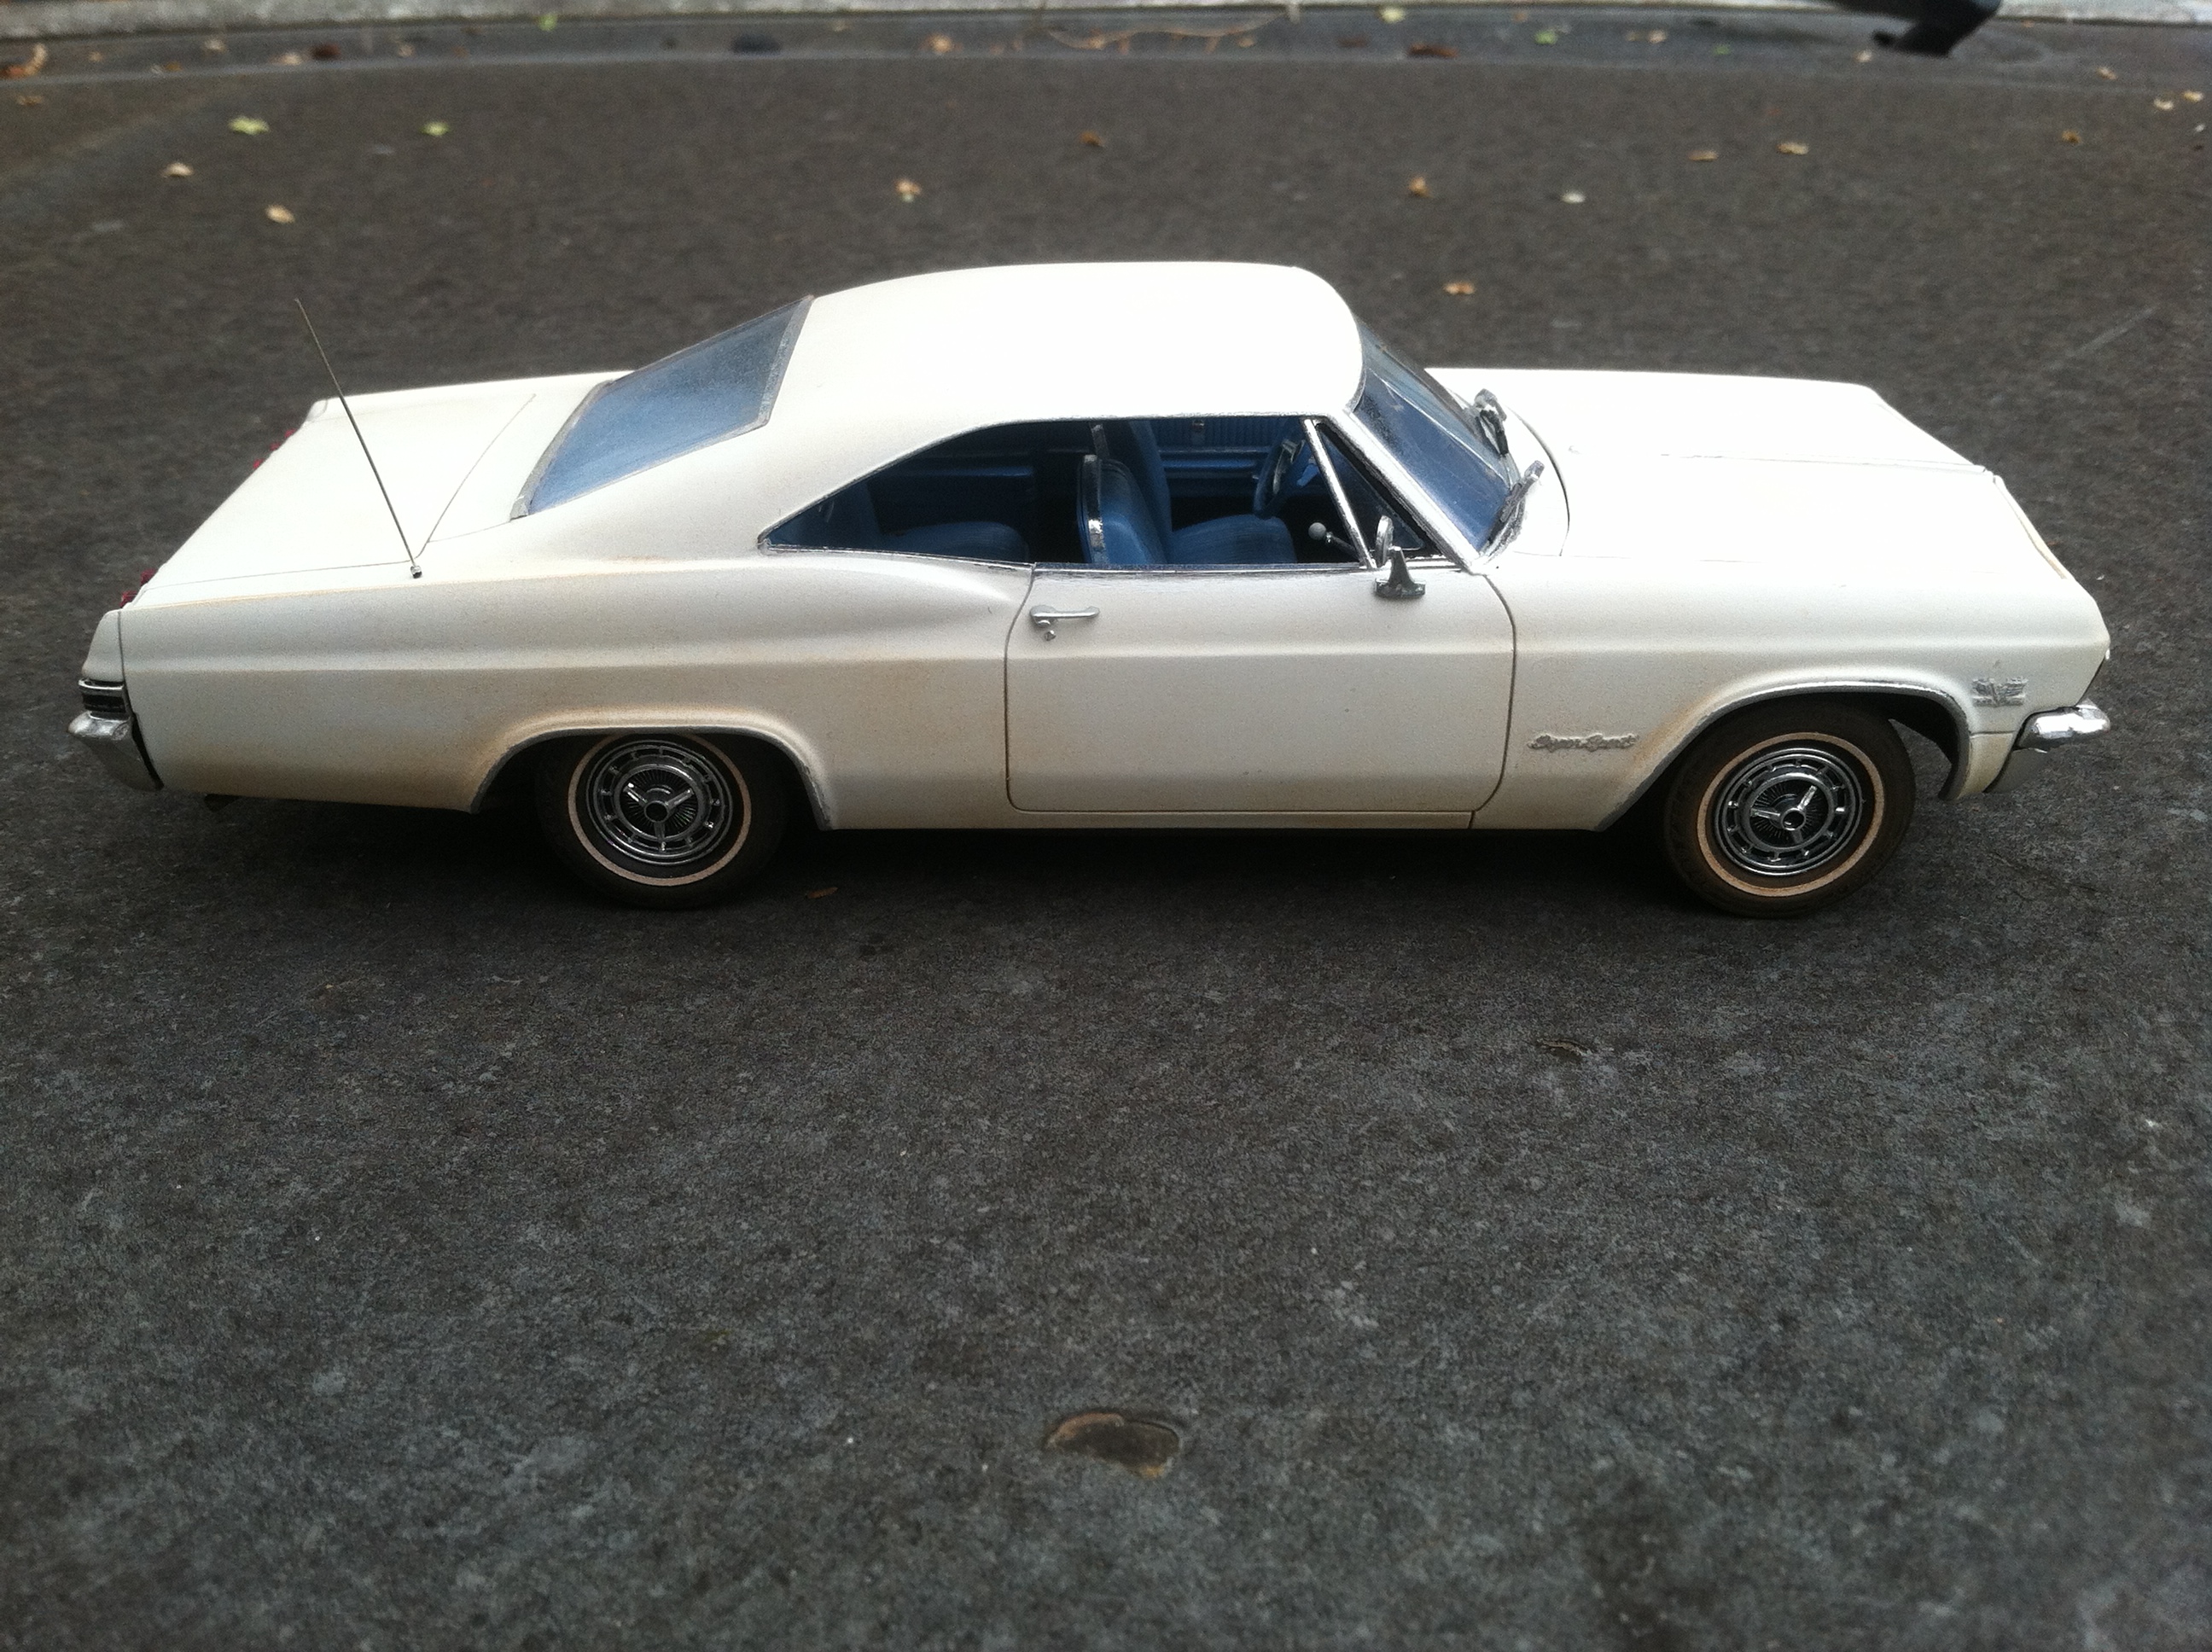
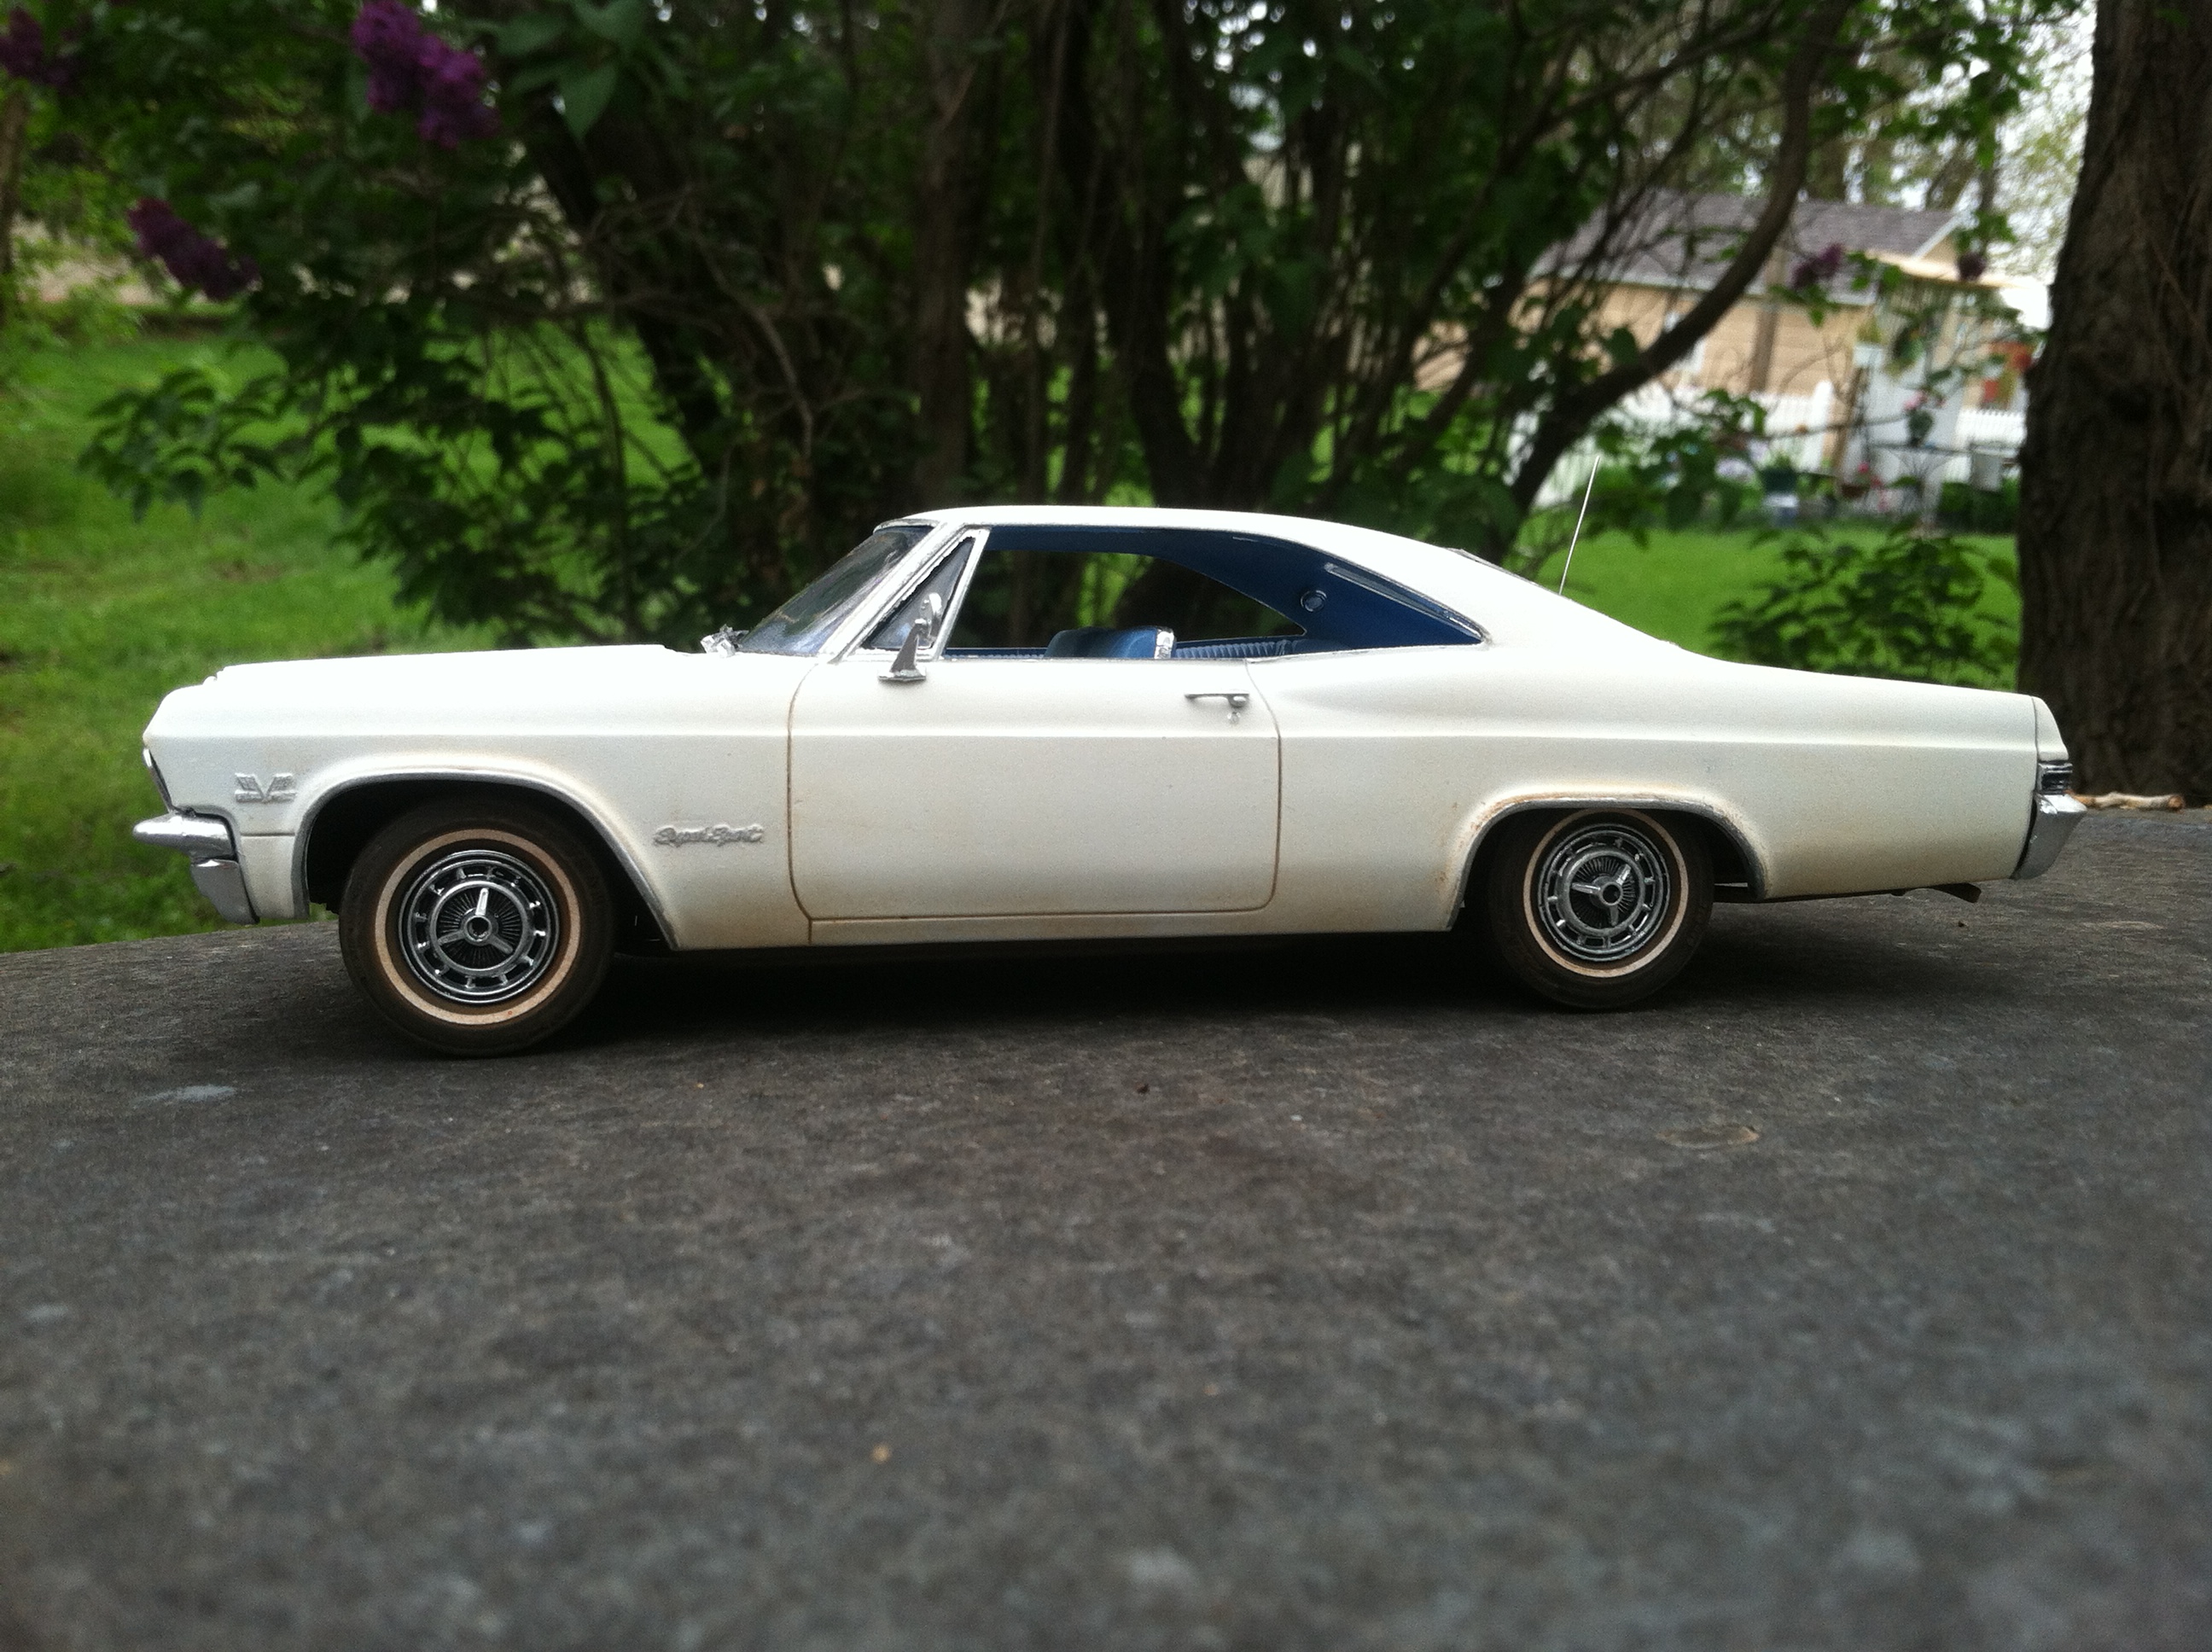
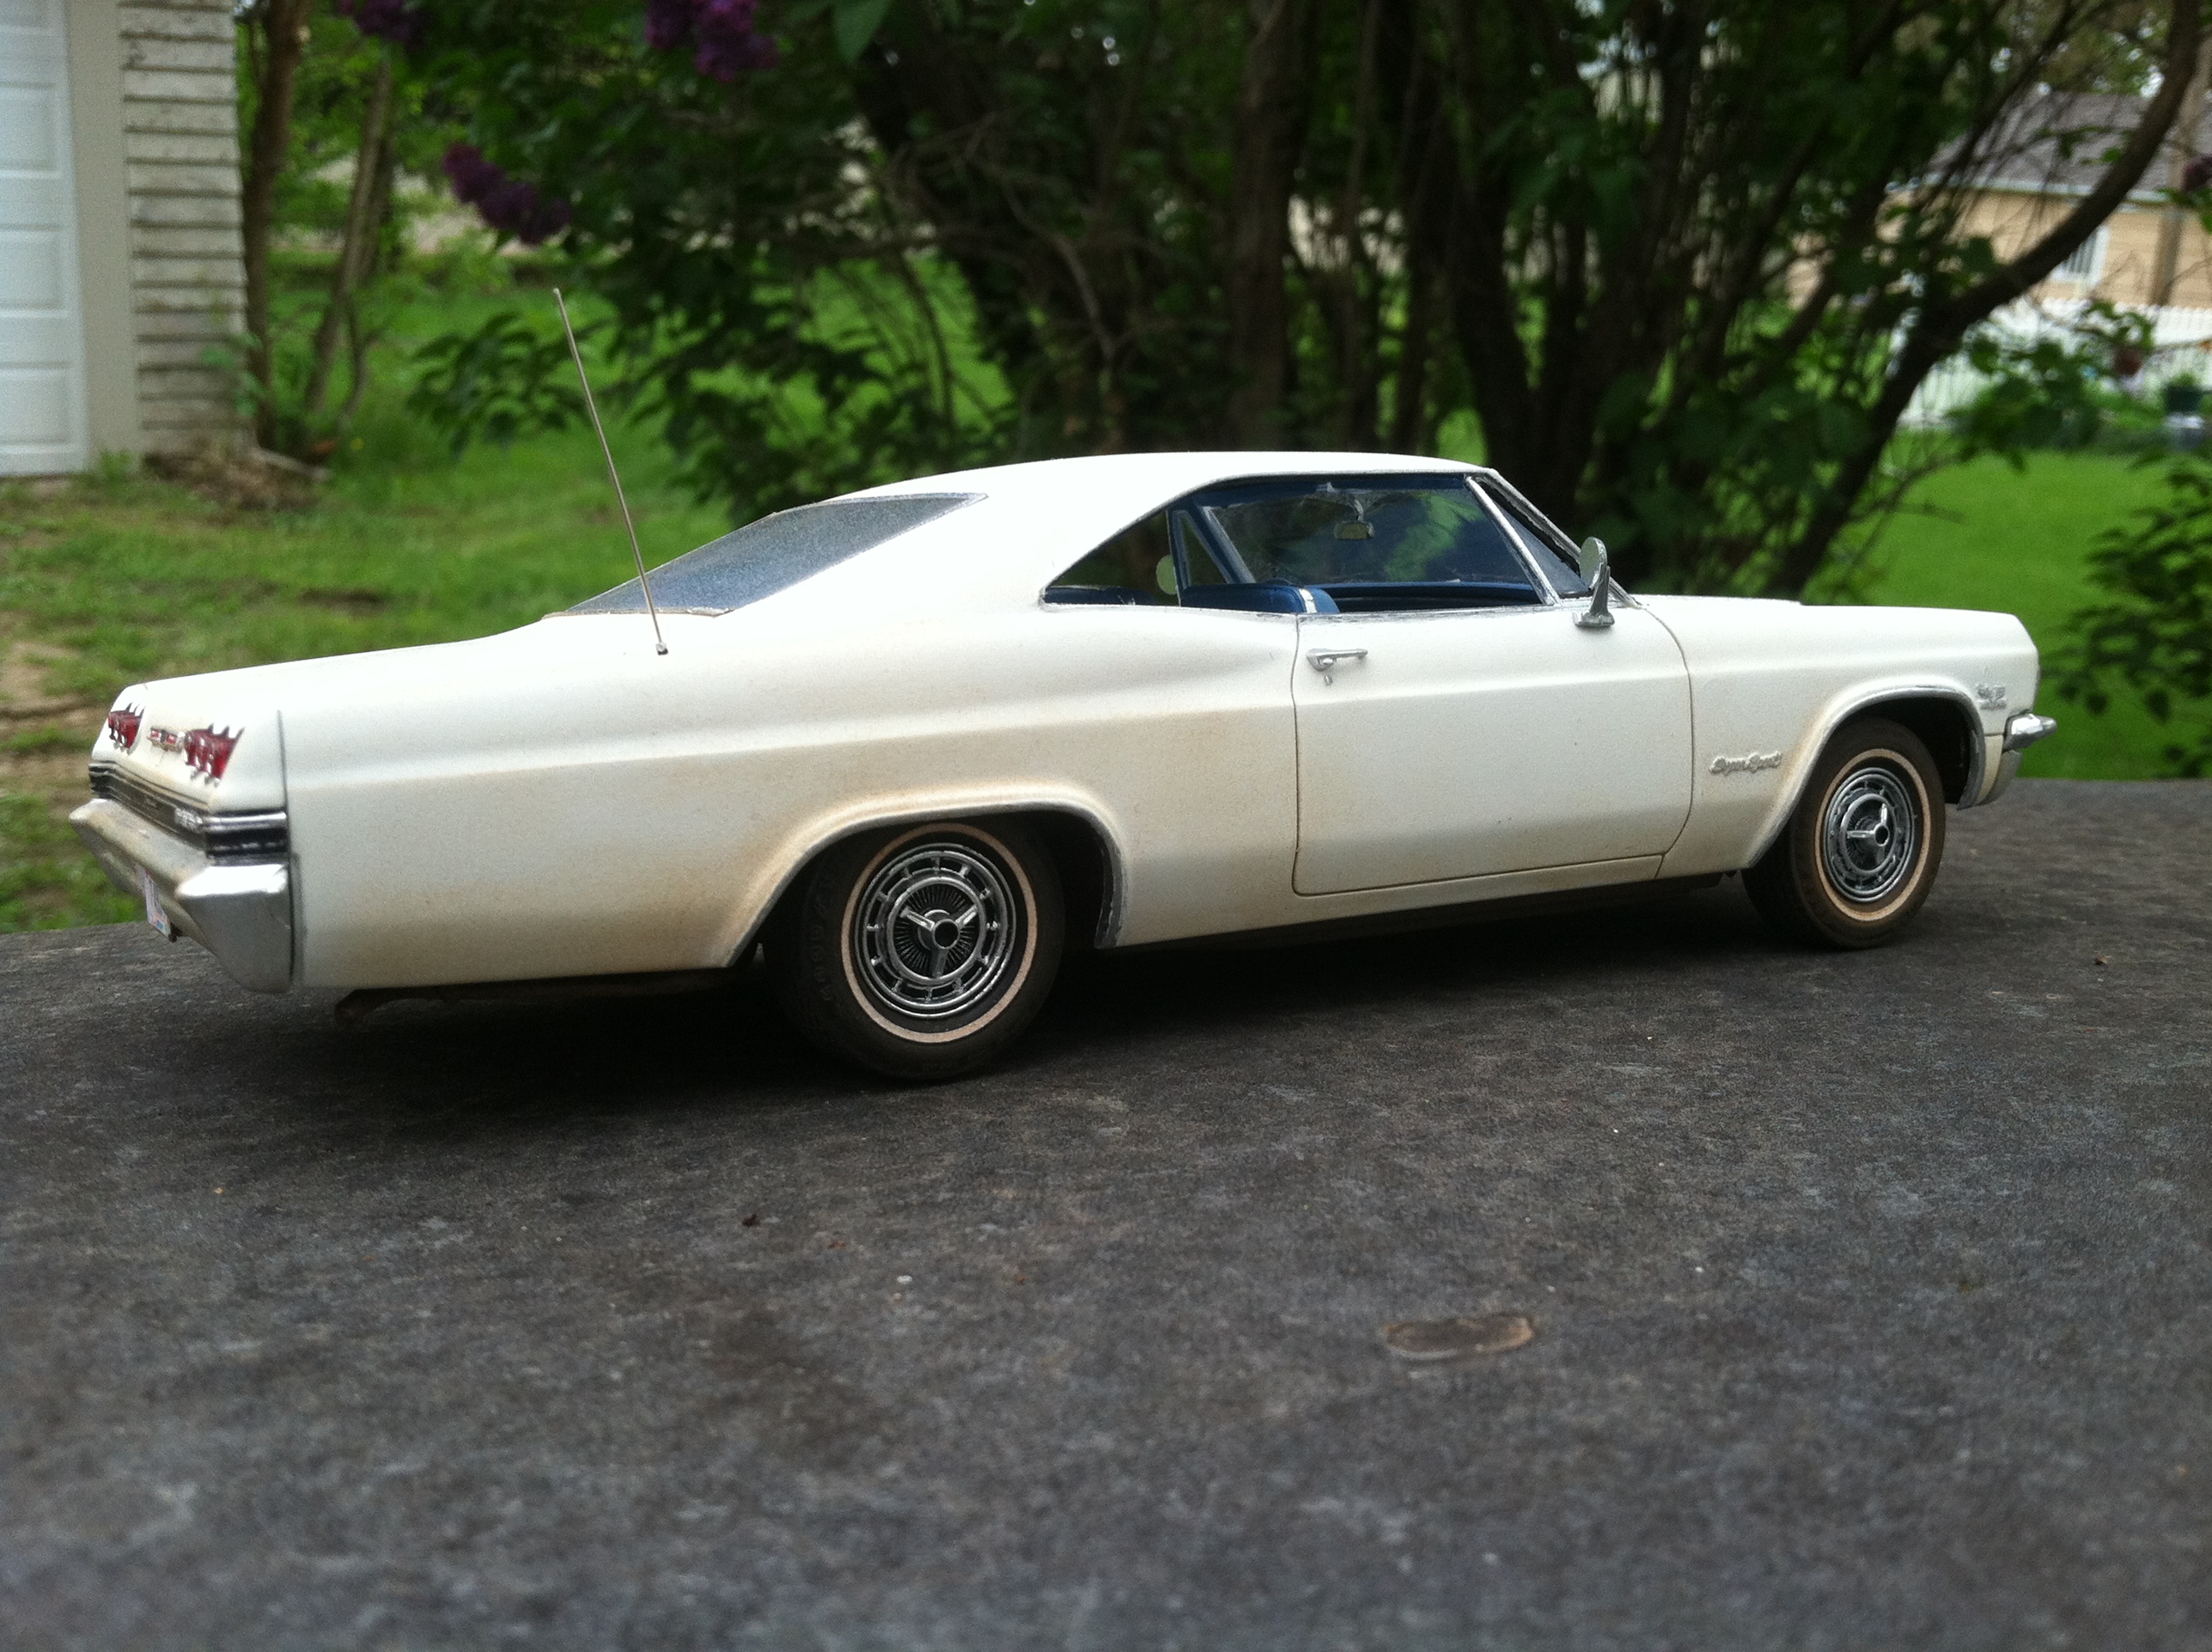
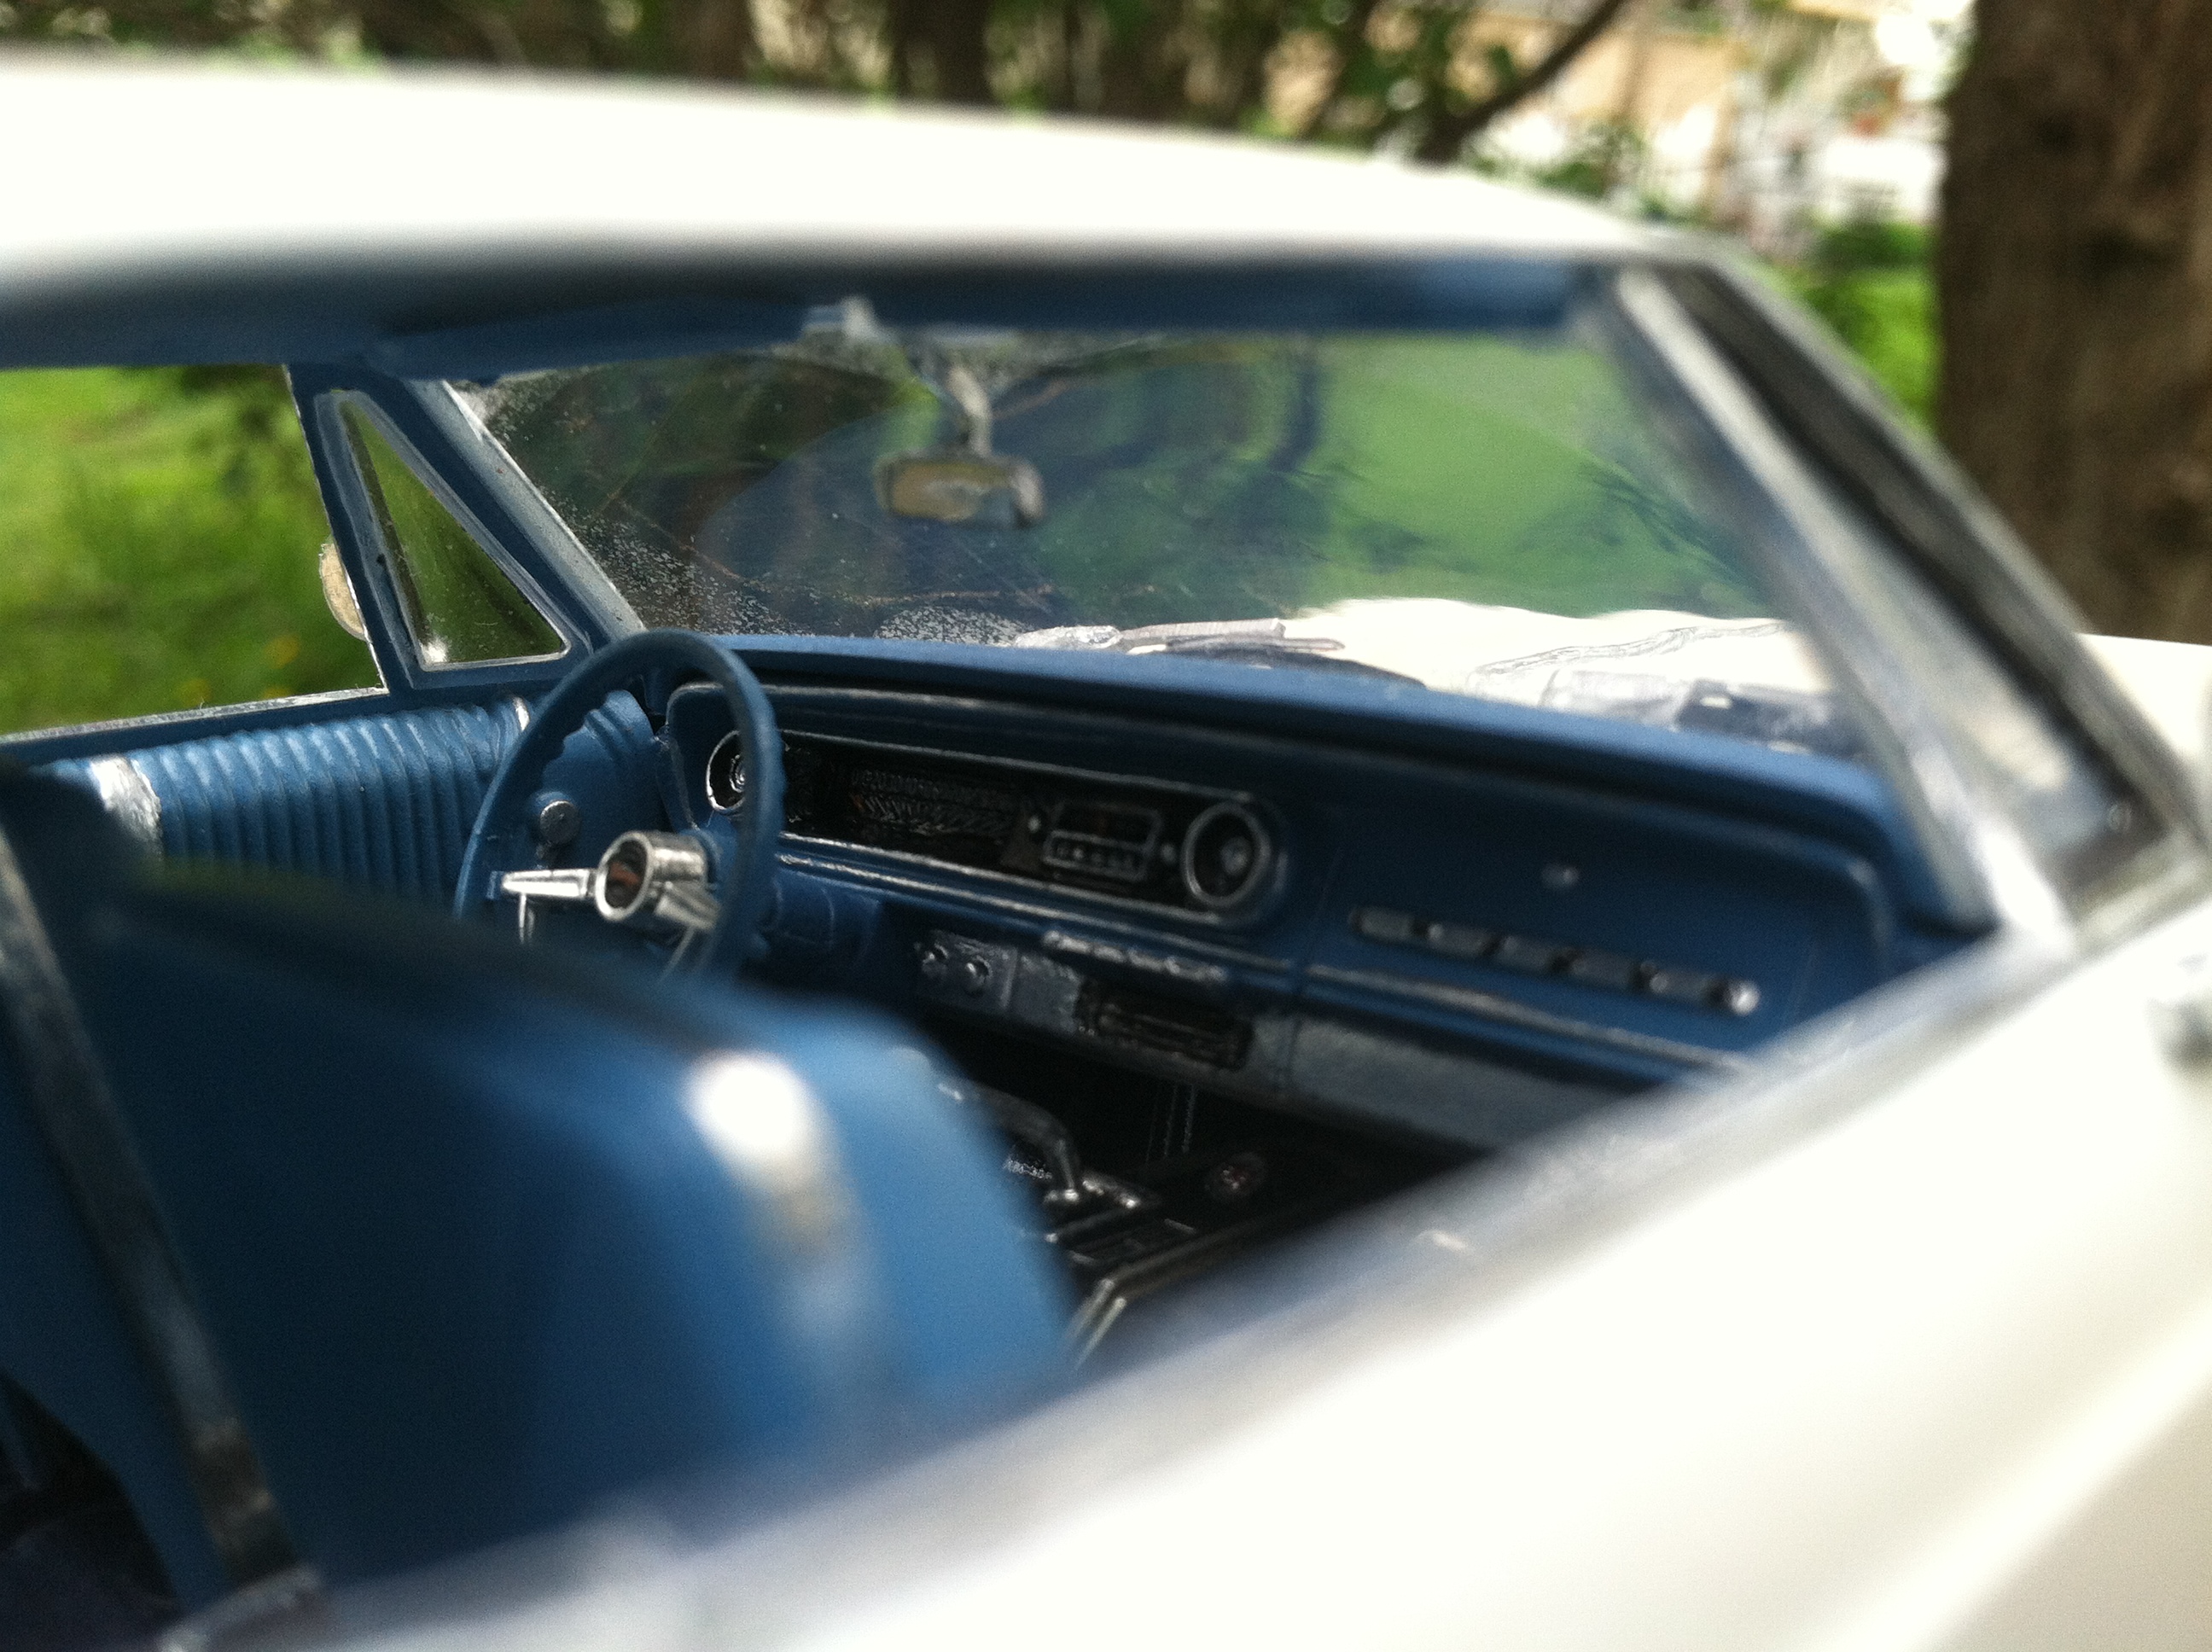
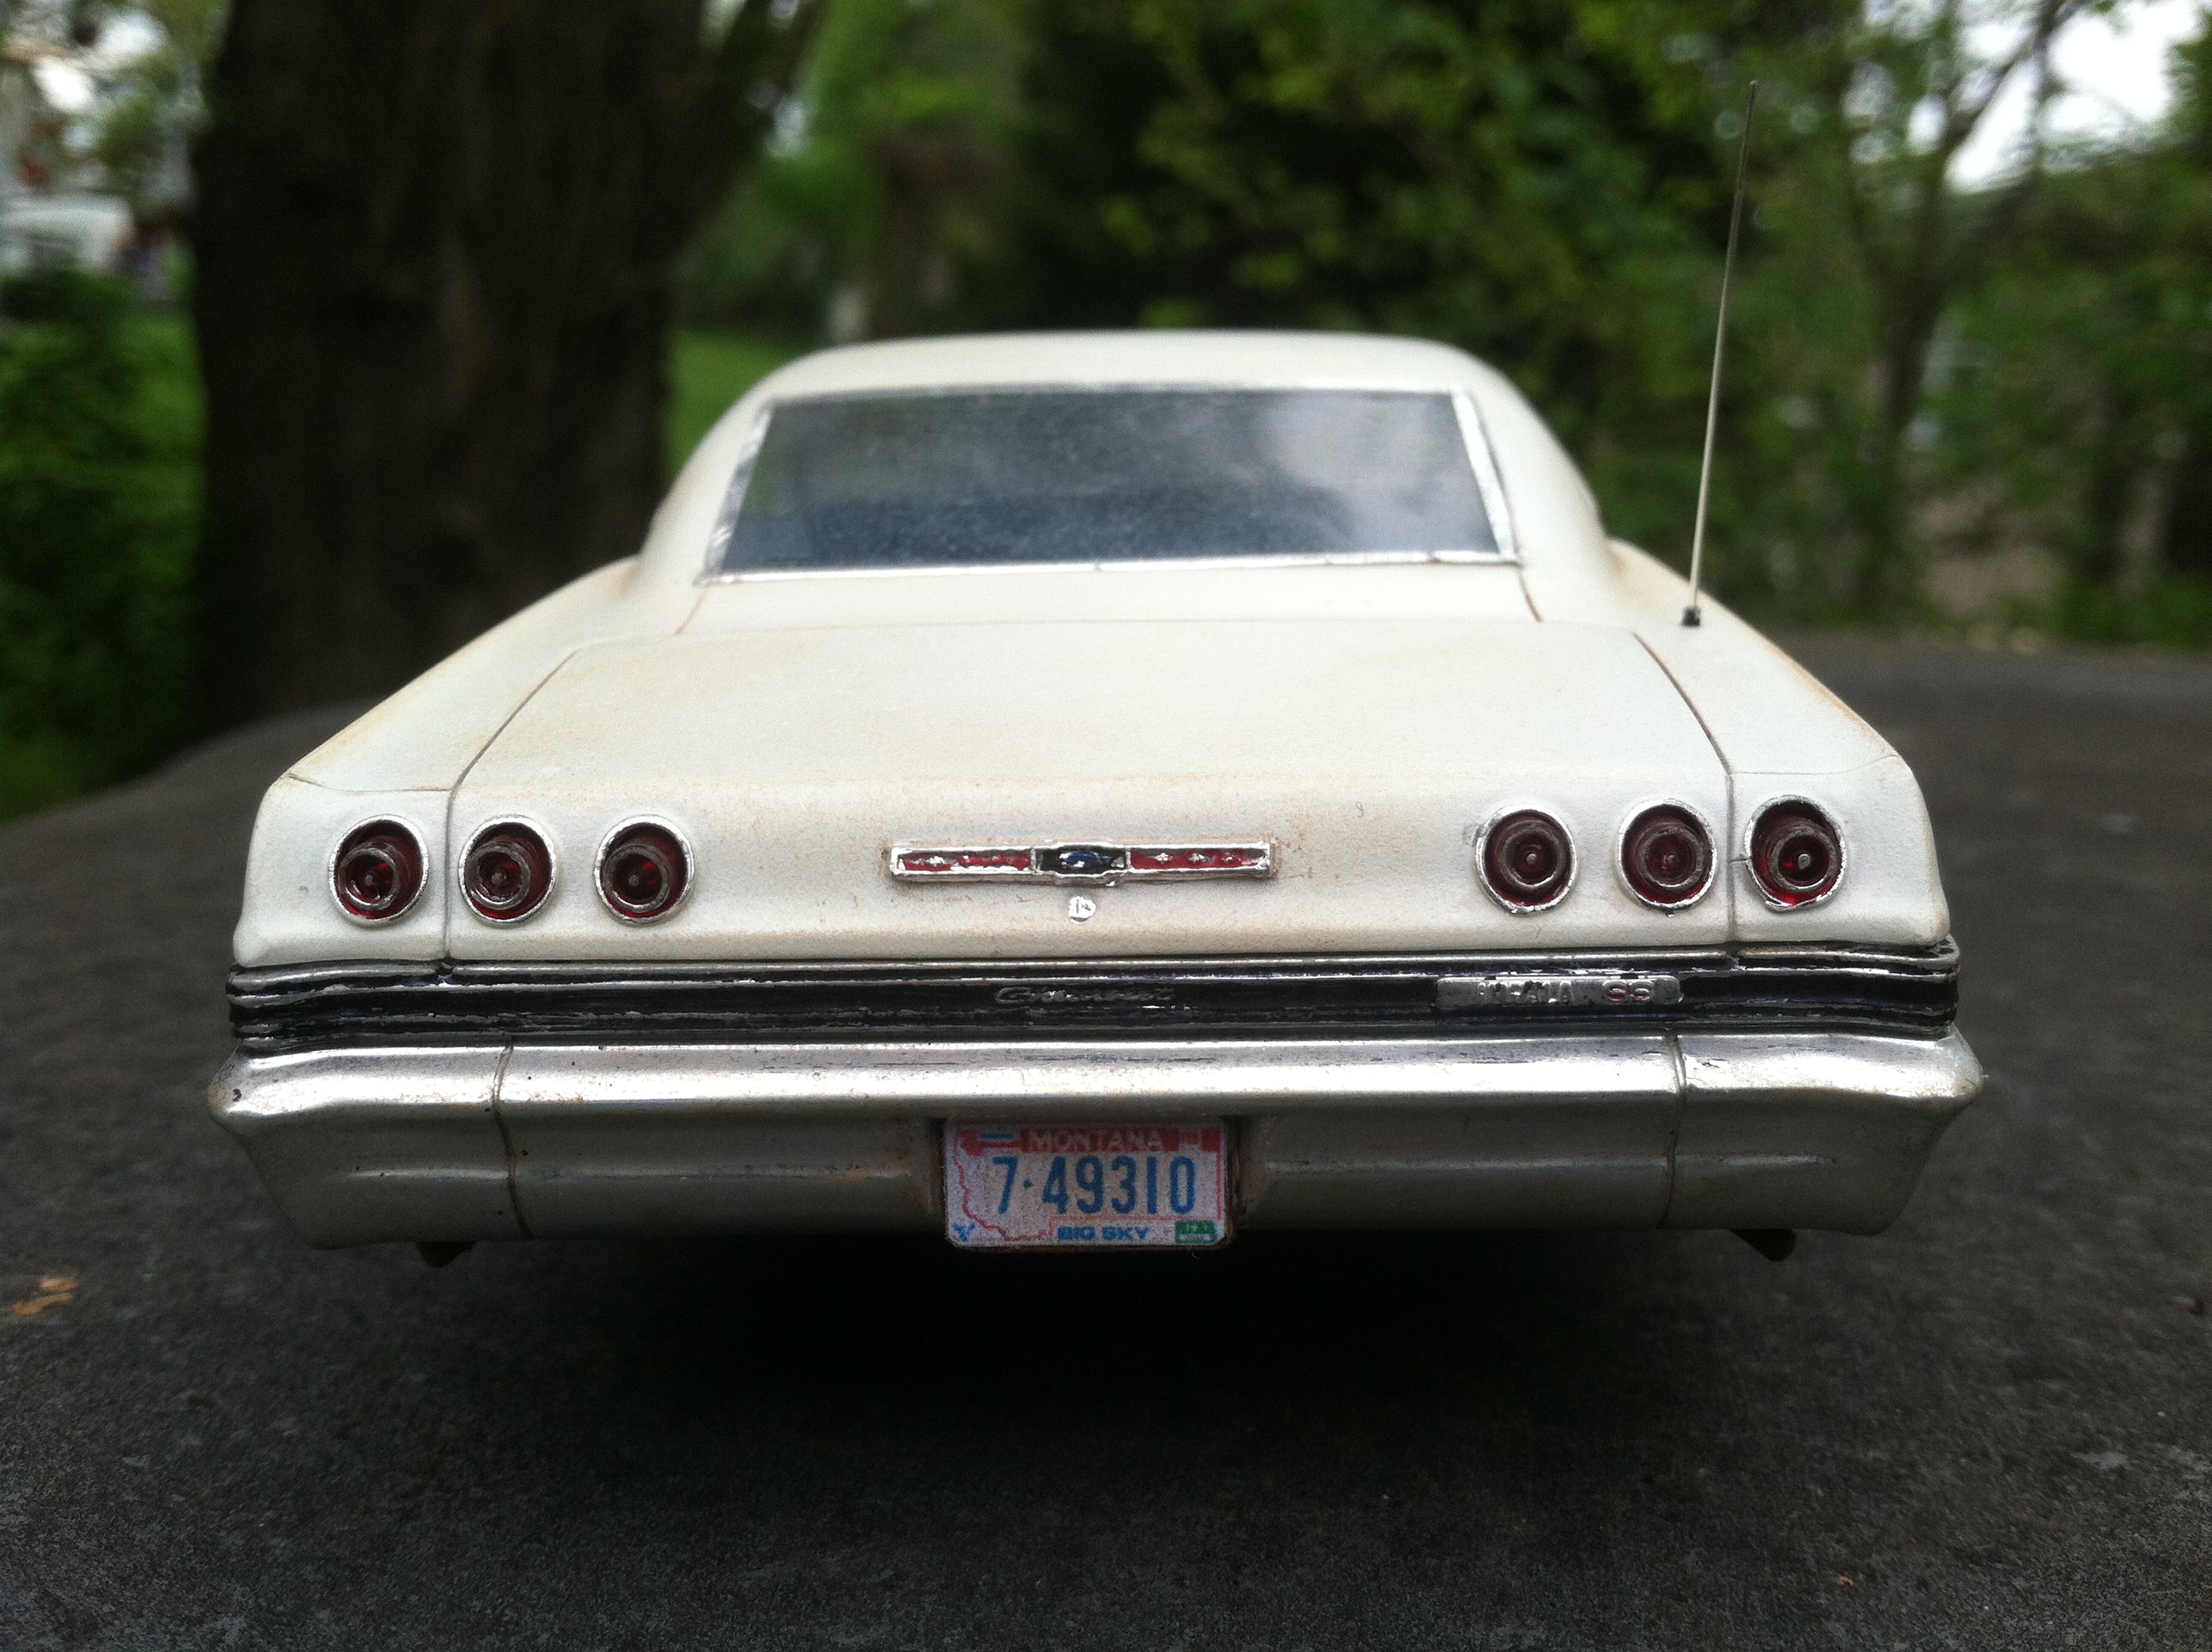
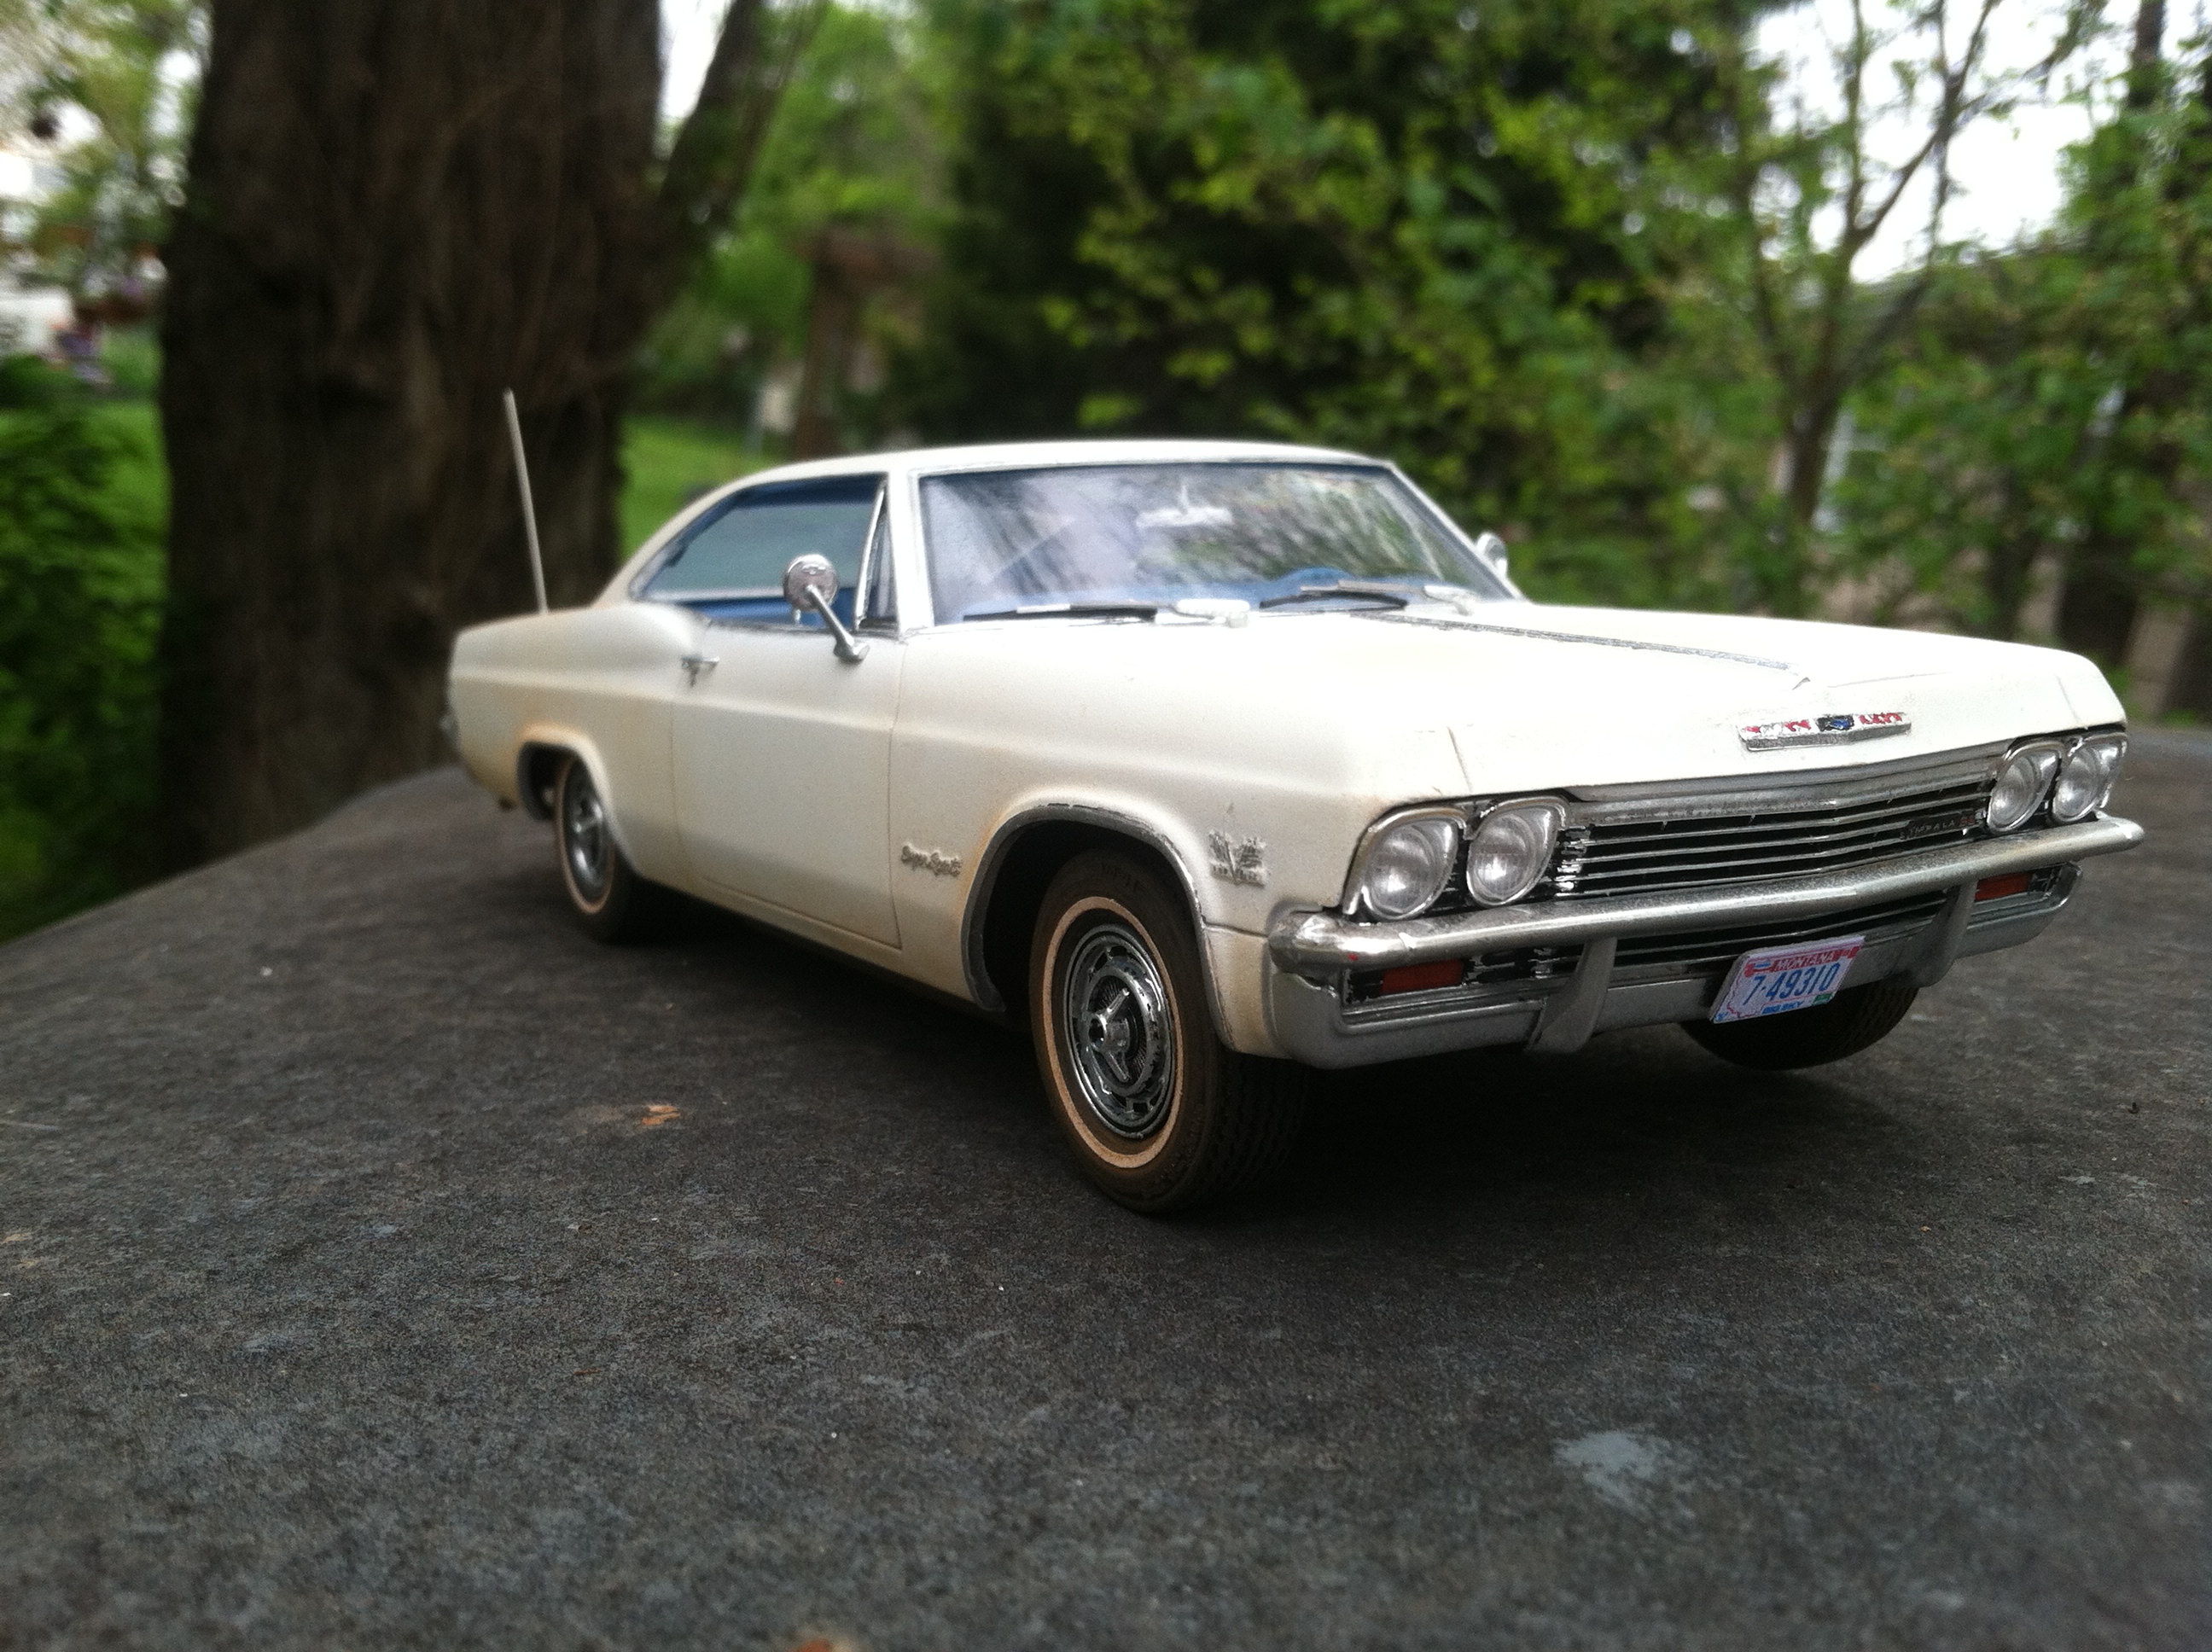
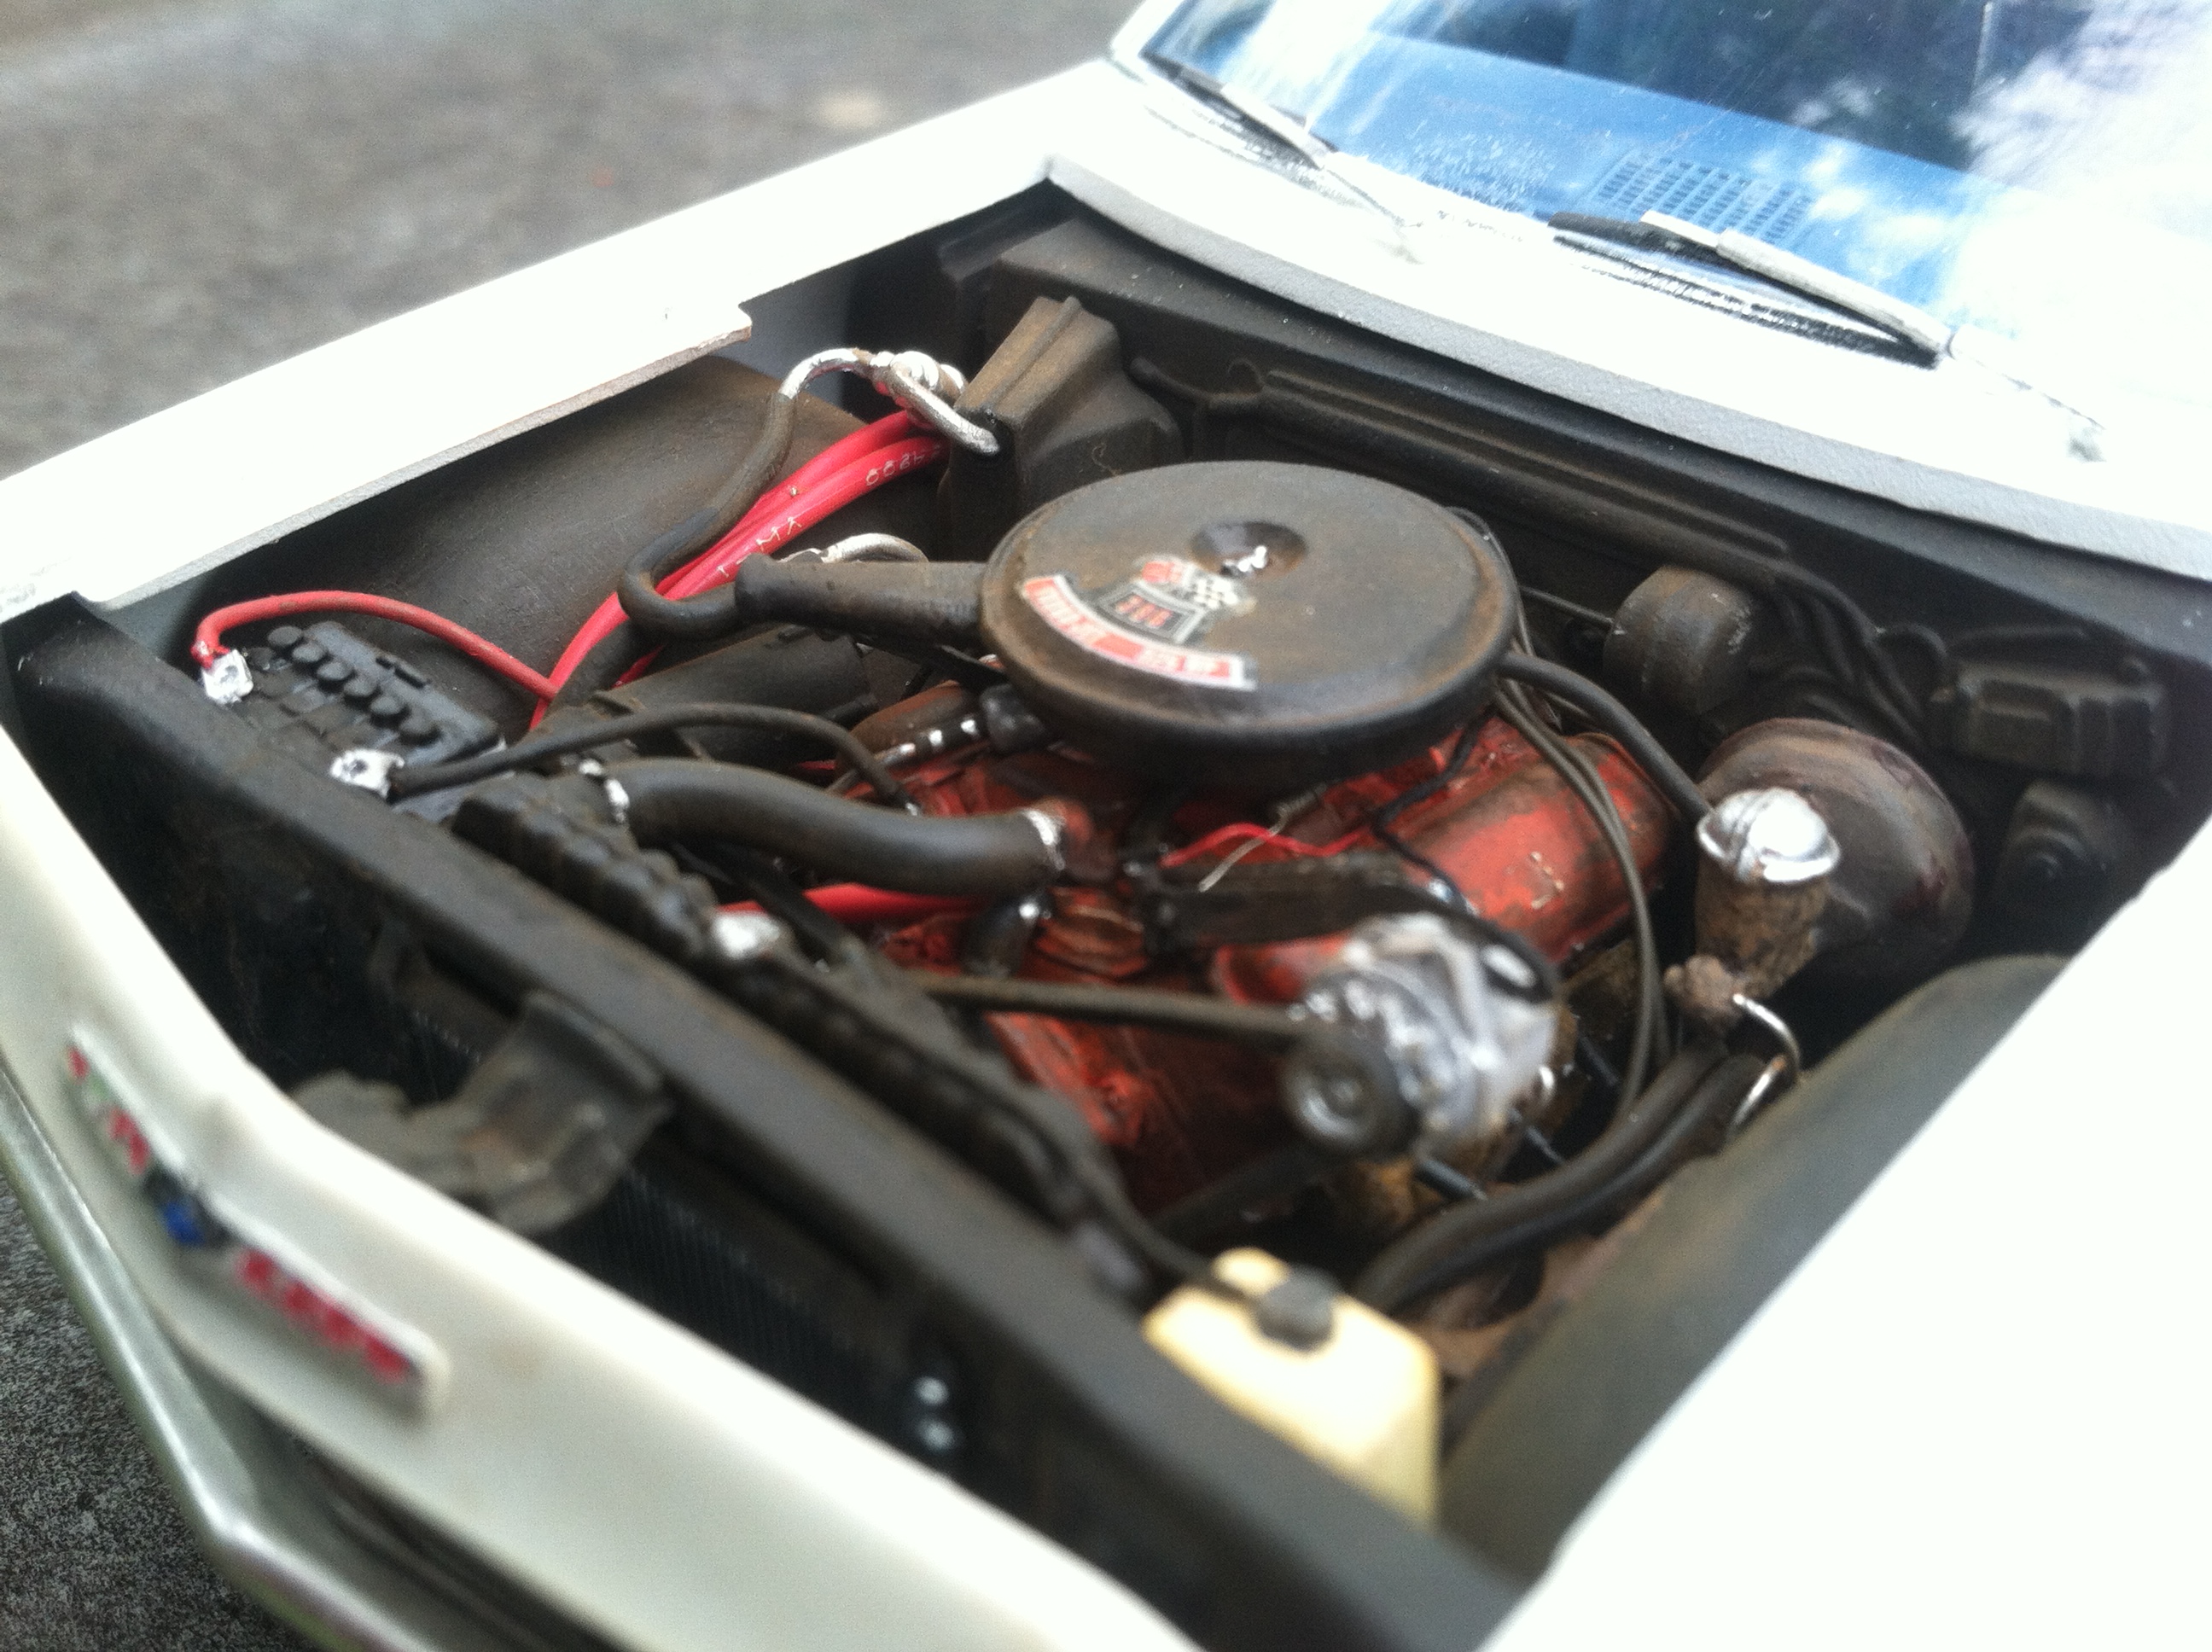
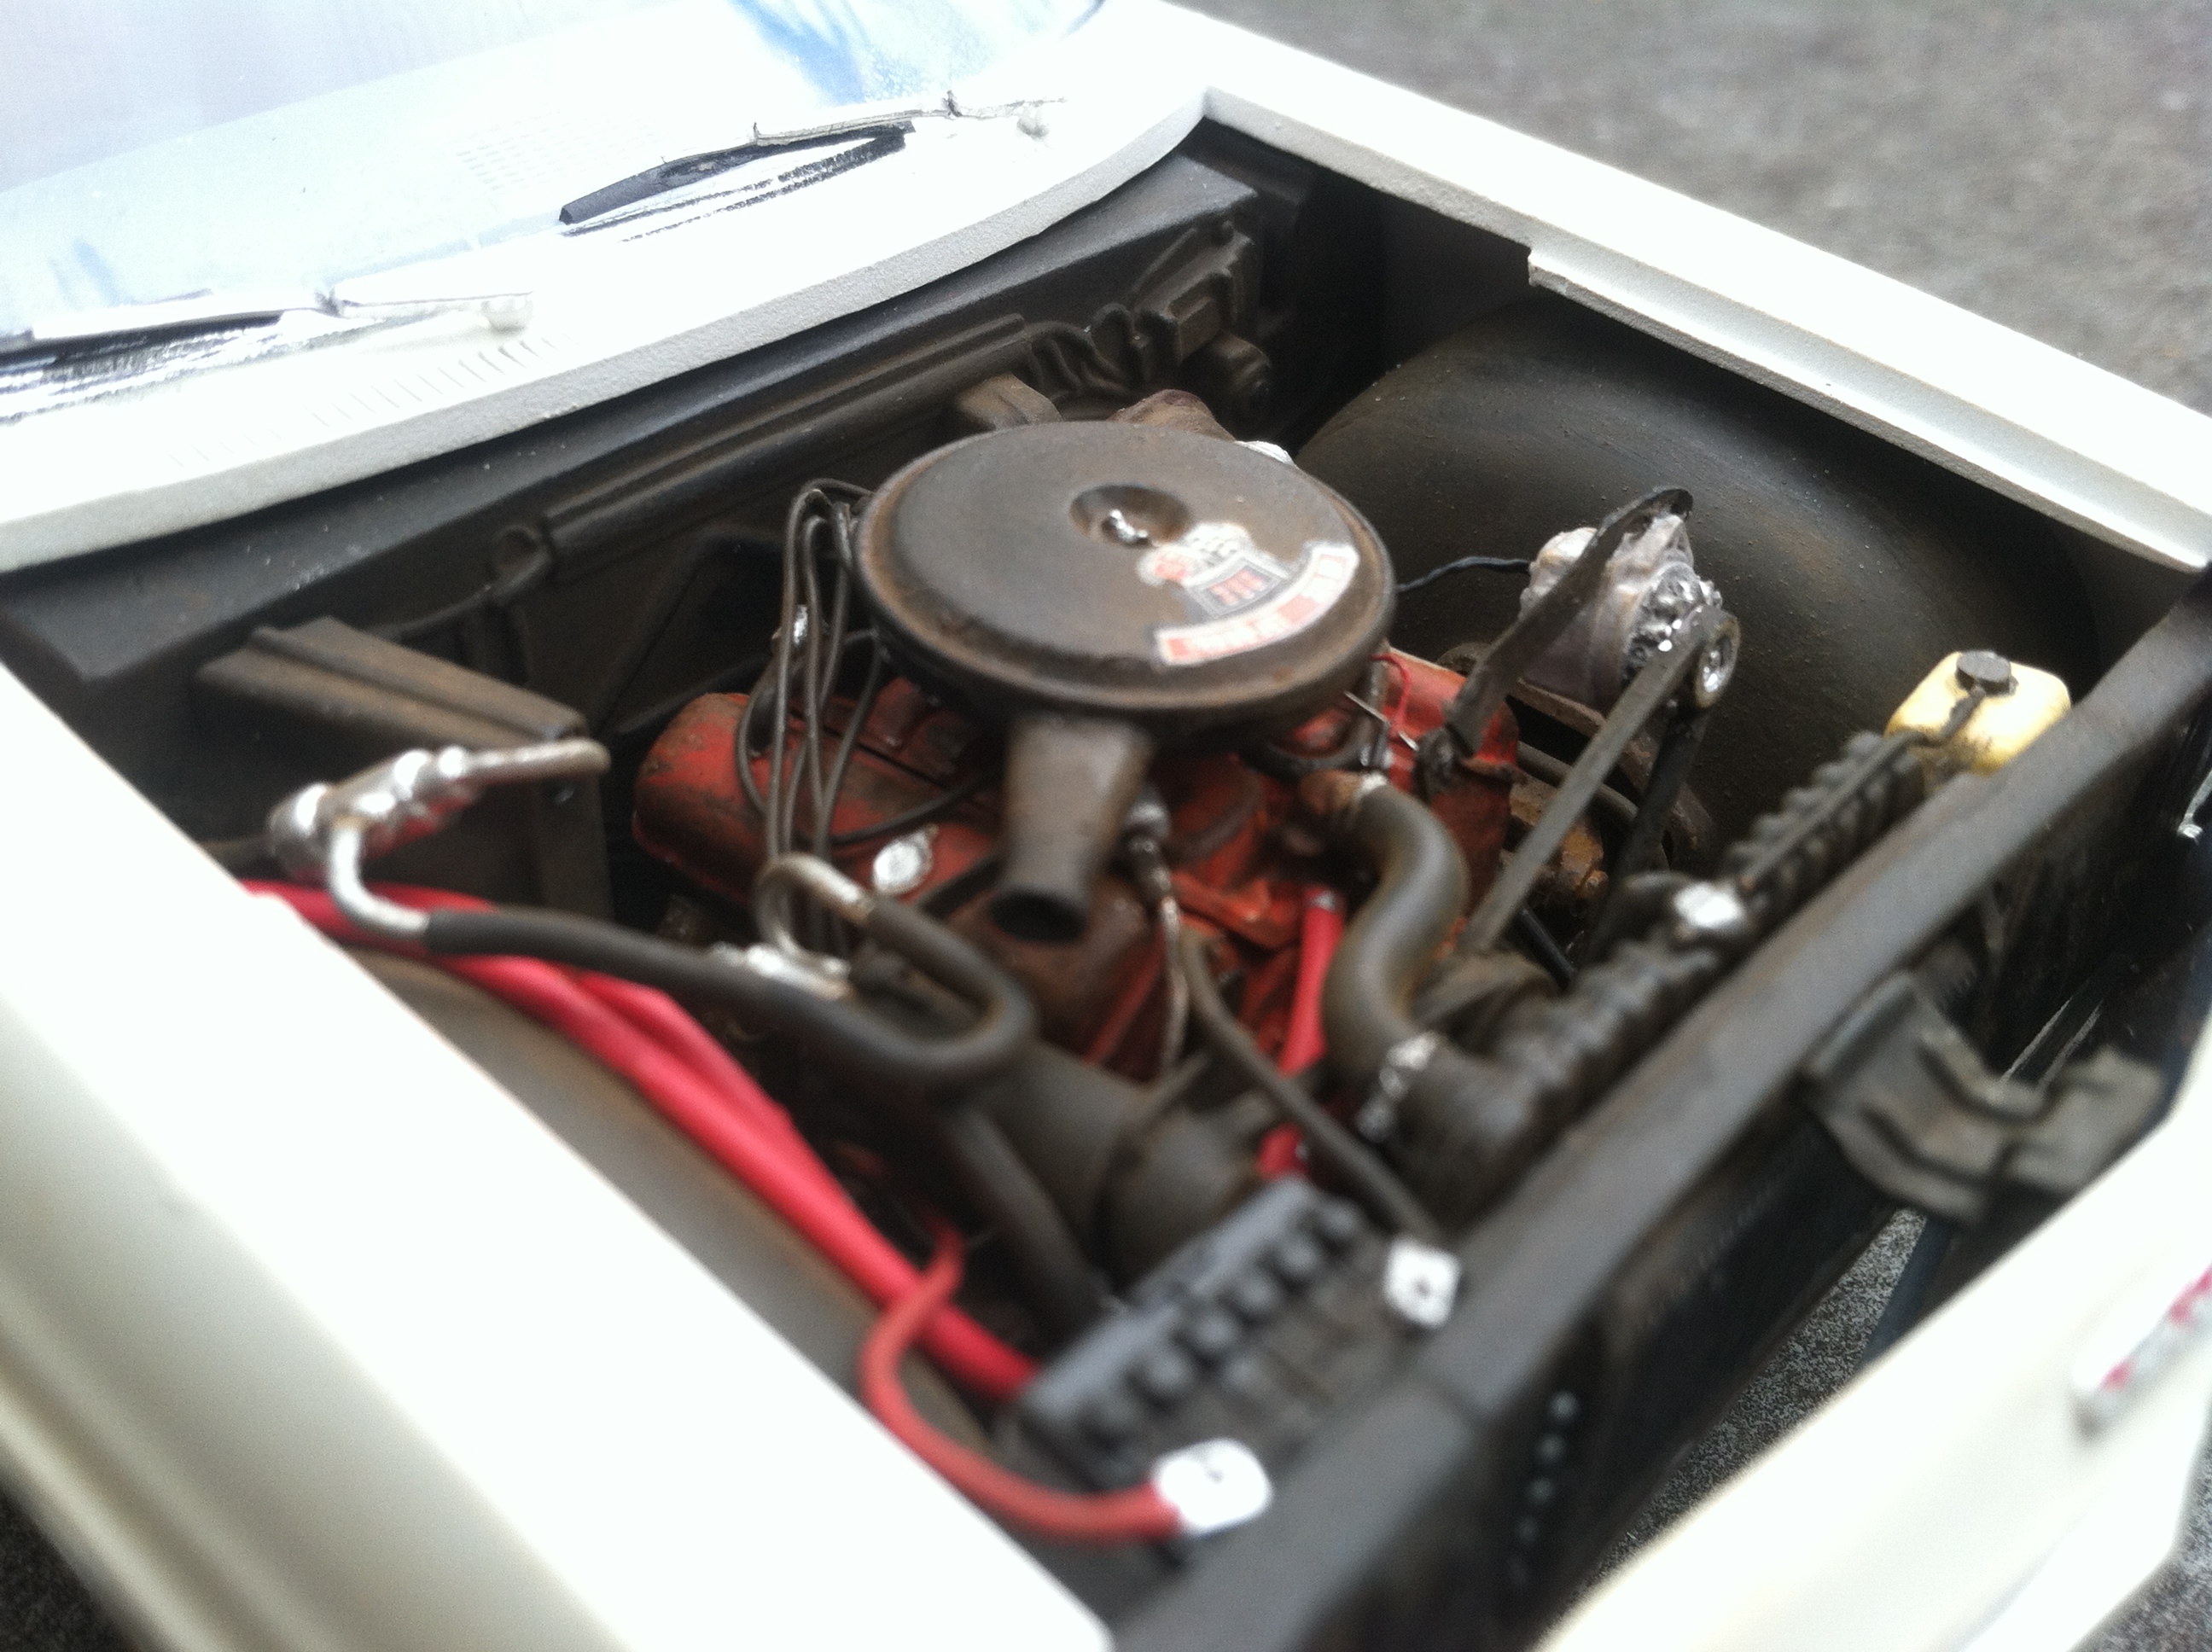
Hello everyone, here is my fifth build for my “a day in 1979” series of models for a future diorama. It represents my uncle’s car as I remember it back in the 70’s. It was his daily driver and his only car for many years. I weathered it slightly to show some day to day use. I hope you enjoy it and let me know what you think. Thanks for looking!
- 27 replies
-
- 1
-

-
- revell
- daily driver
- (and 1 more)
-
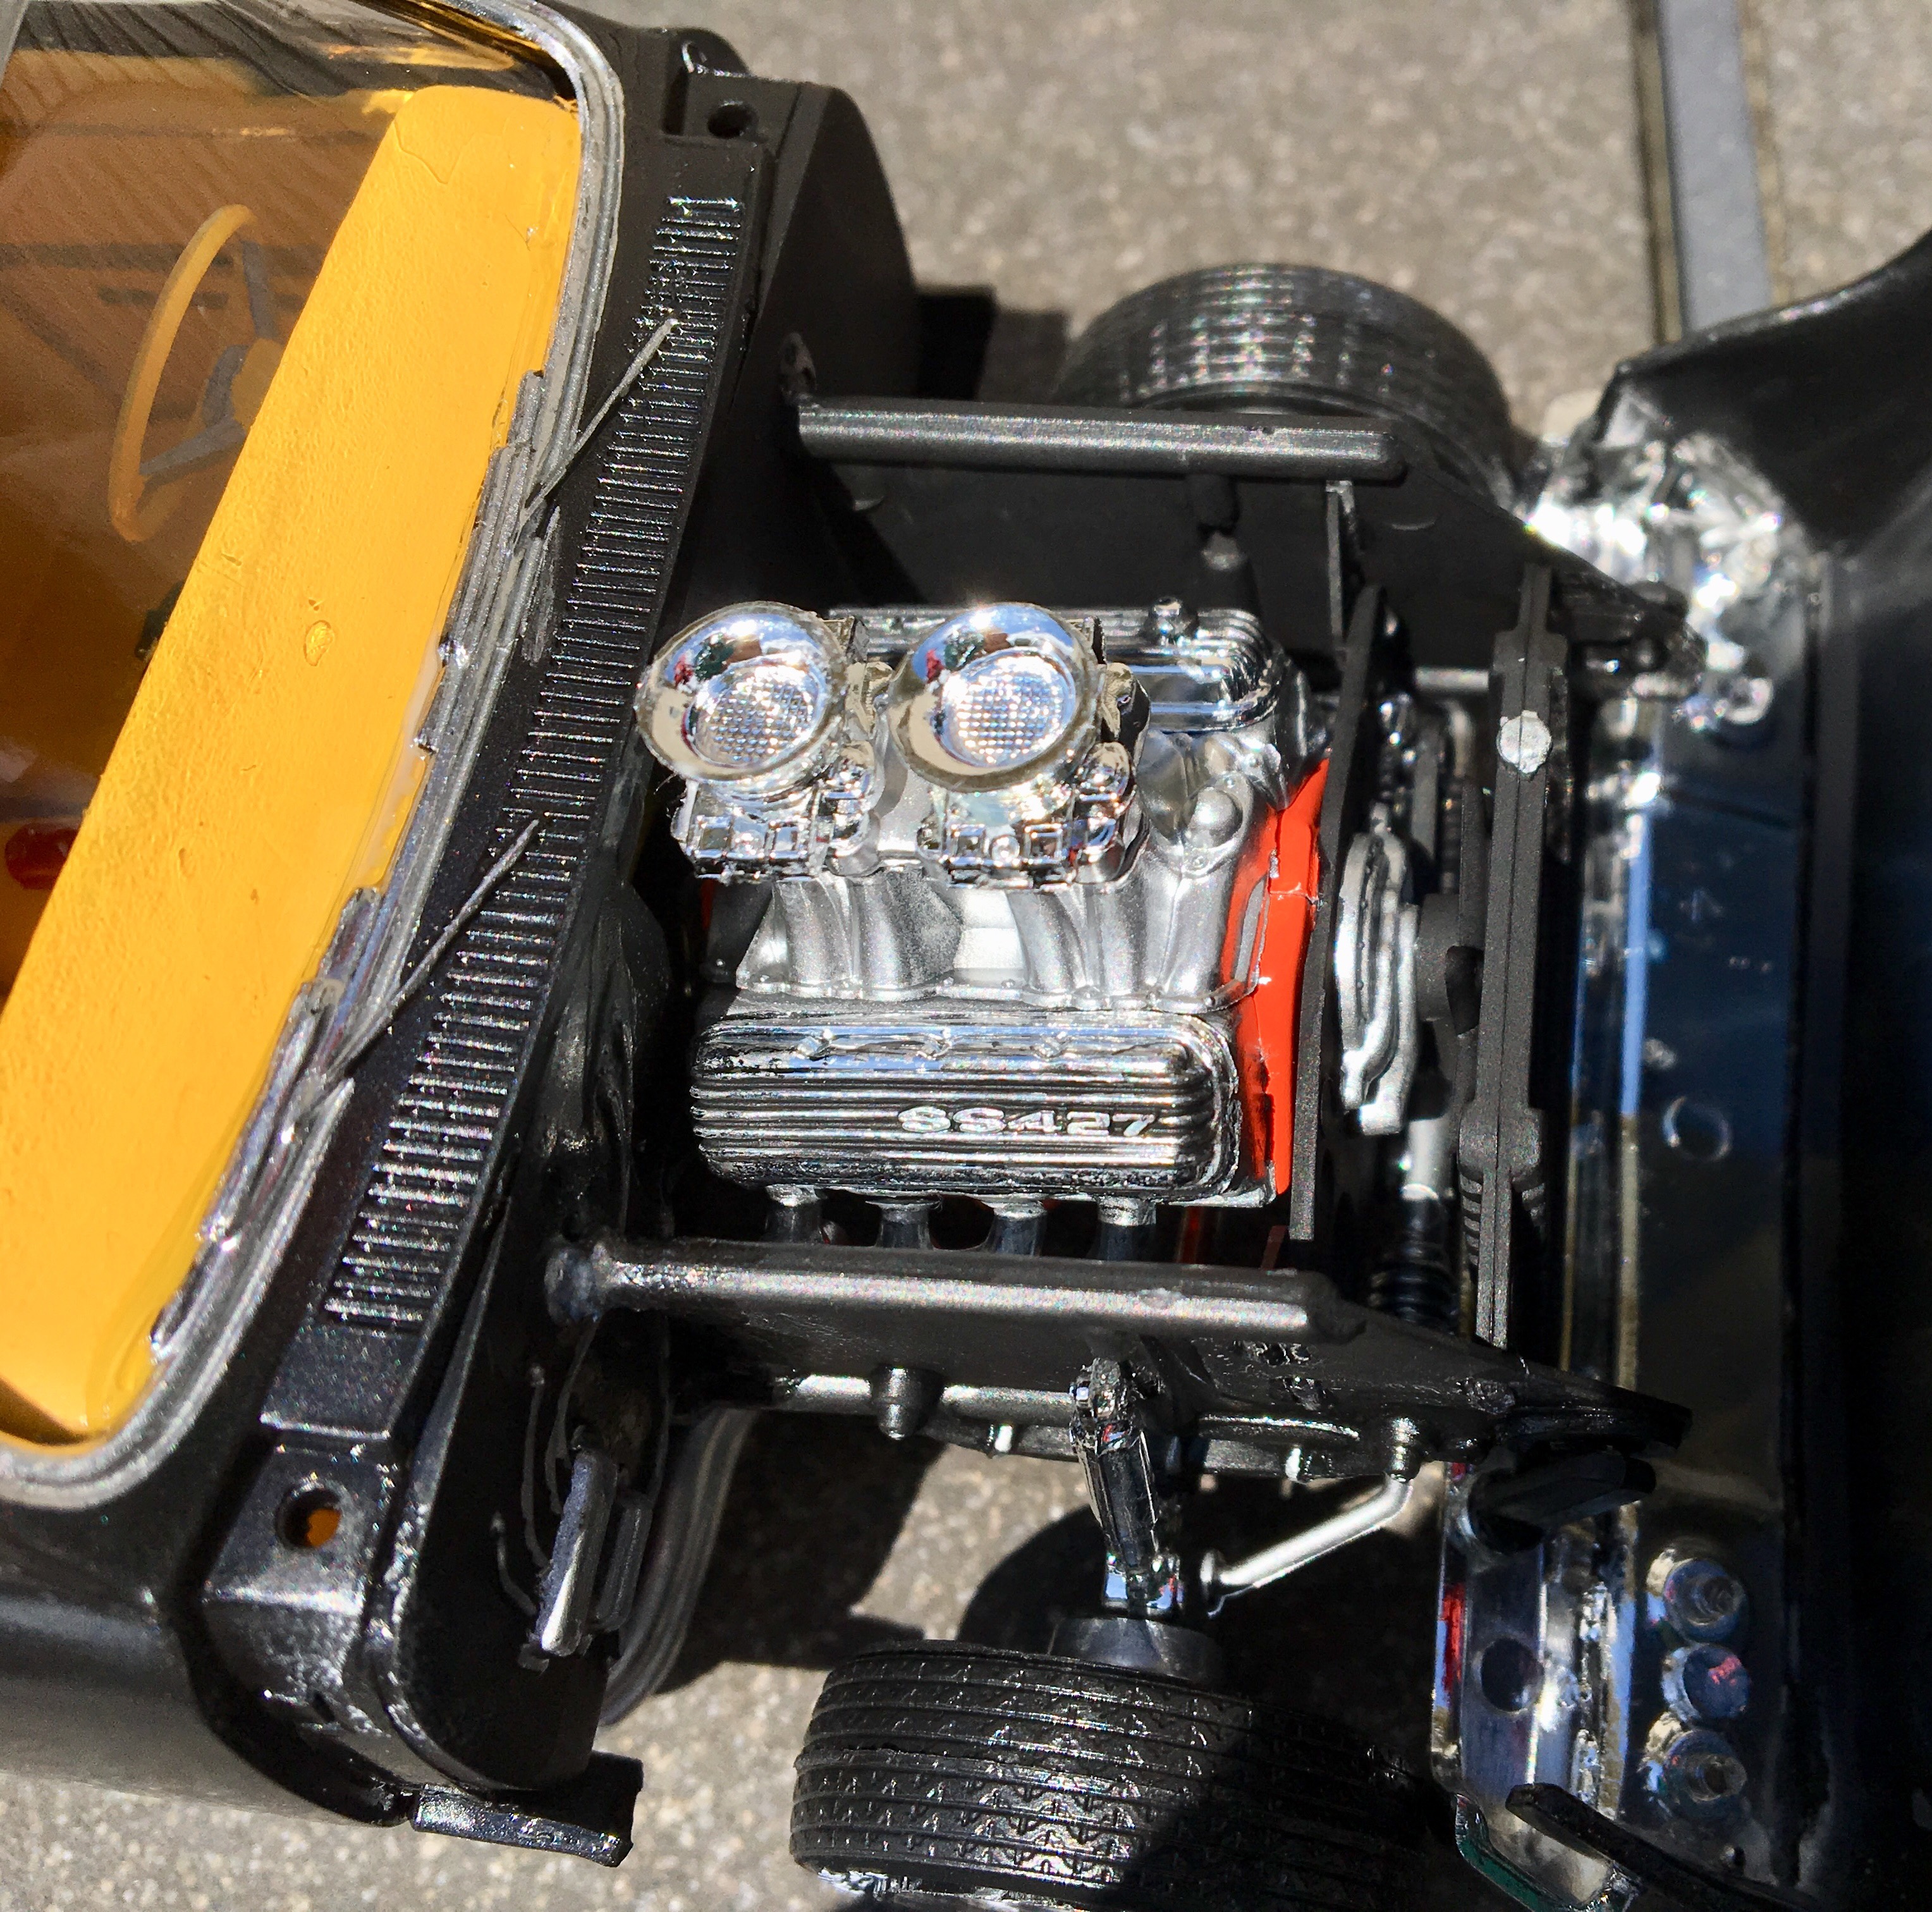
This is a '66 Malibu SS (Revell Monogram). The body paint is Testors Metallic Black enamel. The interior is Testors Yellow enamel. I used a Molotow Chrome pen on the windows. On the rear chrome I painted with Model Master flat black acrylic, and then used a toothpick to scrape off the raised letters. The lettering on the tires was originally flat white enamel, but I found after 2 weeks that it never dries. I rubbed it off with thinner and repainted with white acrylic. I used flat black acrylic in the radiator and on the engine heads. I put a coating of Future on, but didn't think it was glossy enough, so I kept layering on coatings until it became a big mess. Then I sprayed it down with Windex and ran it under the sink faucet and all the Future rubbed off easily. But not before I accidentally scraped up some of the paint. Two coatings of Future with a Q-tip eliminated almost all the scratches. This model has a poor design for fitting parts together. The side frames for the engine actually interfere with the exhaust pipes. I had a really tough time with that. Also, I had a tough time getting the front to stay on and had to end up using superglue, which unfortunately shows up on the seams. The workbench thread is here.