Search the Community
Showing results for tags 'shelby'.
-
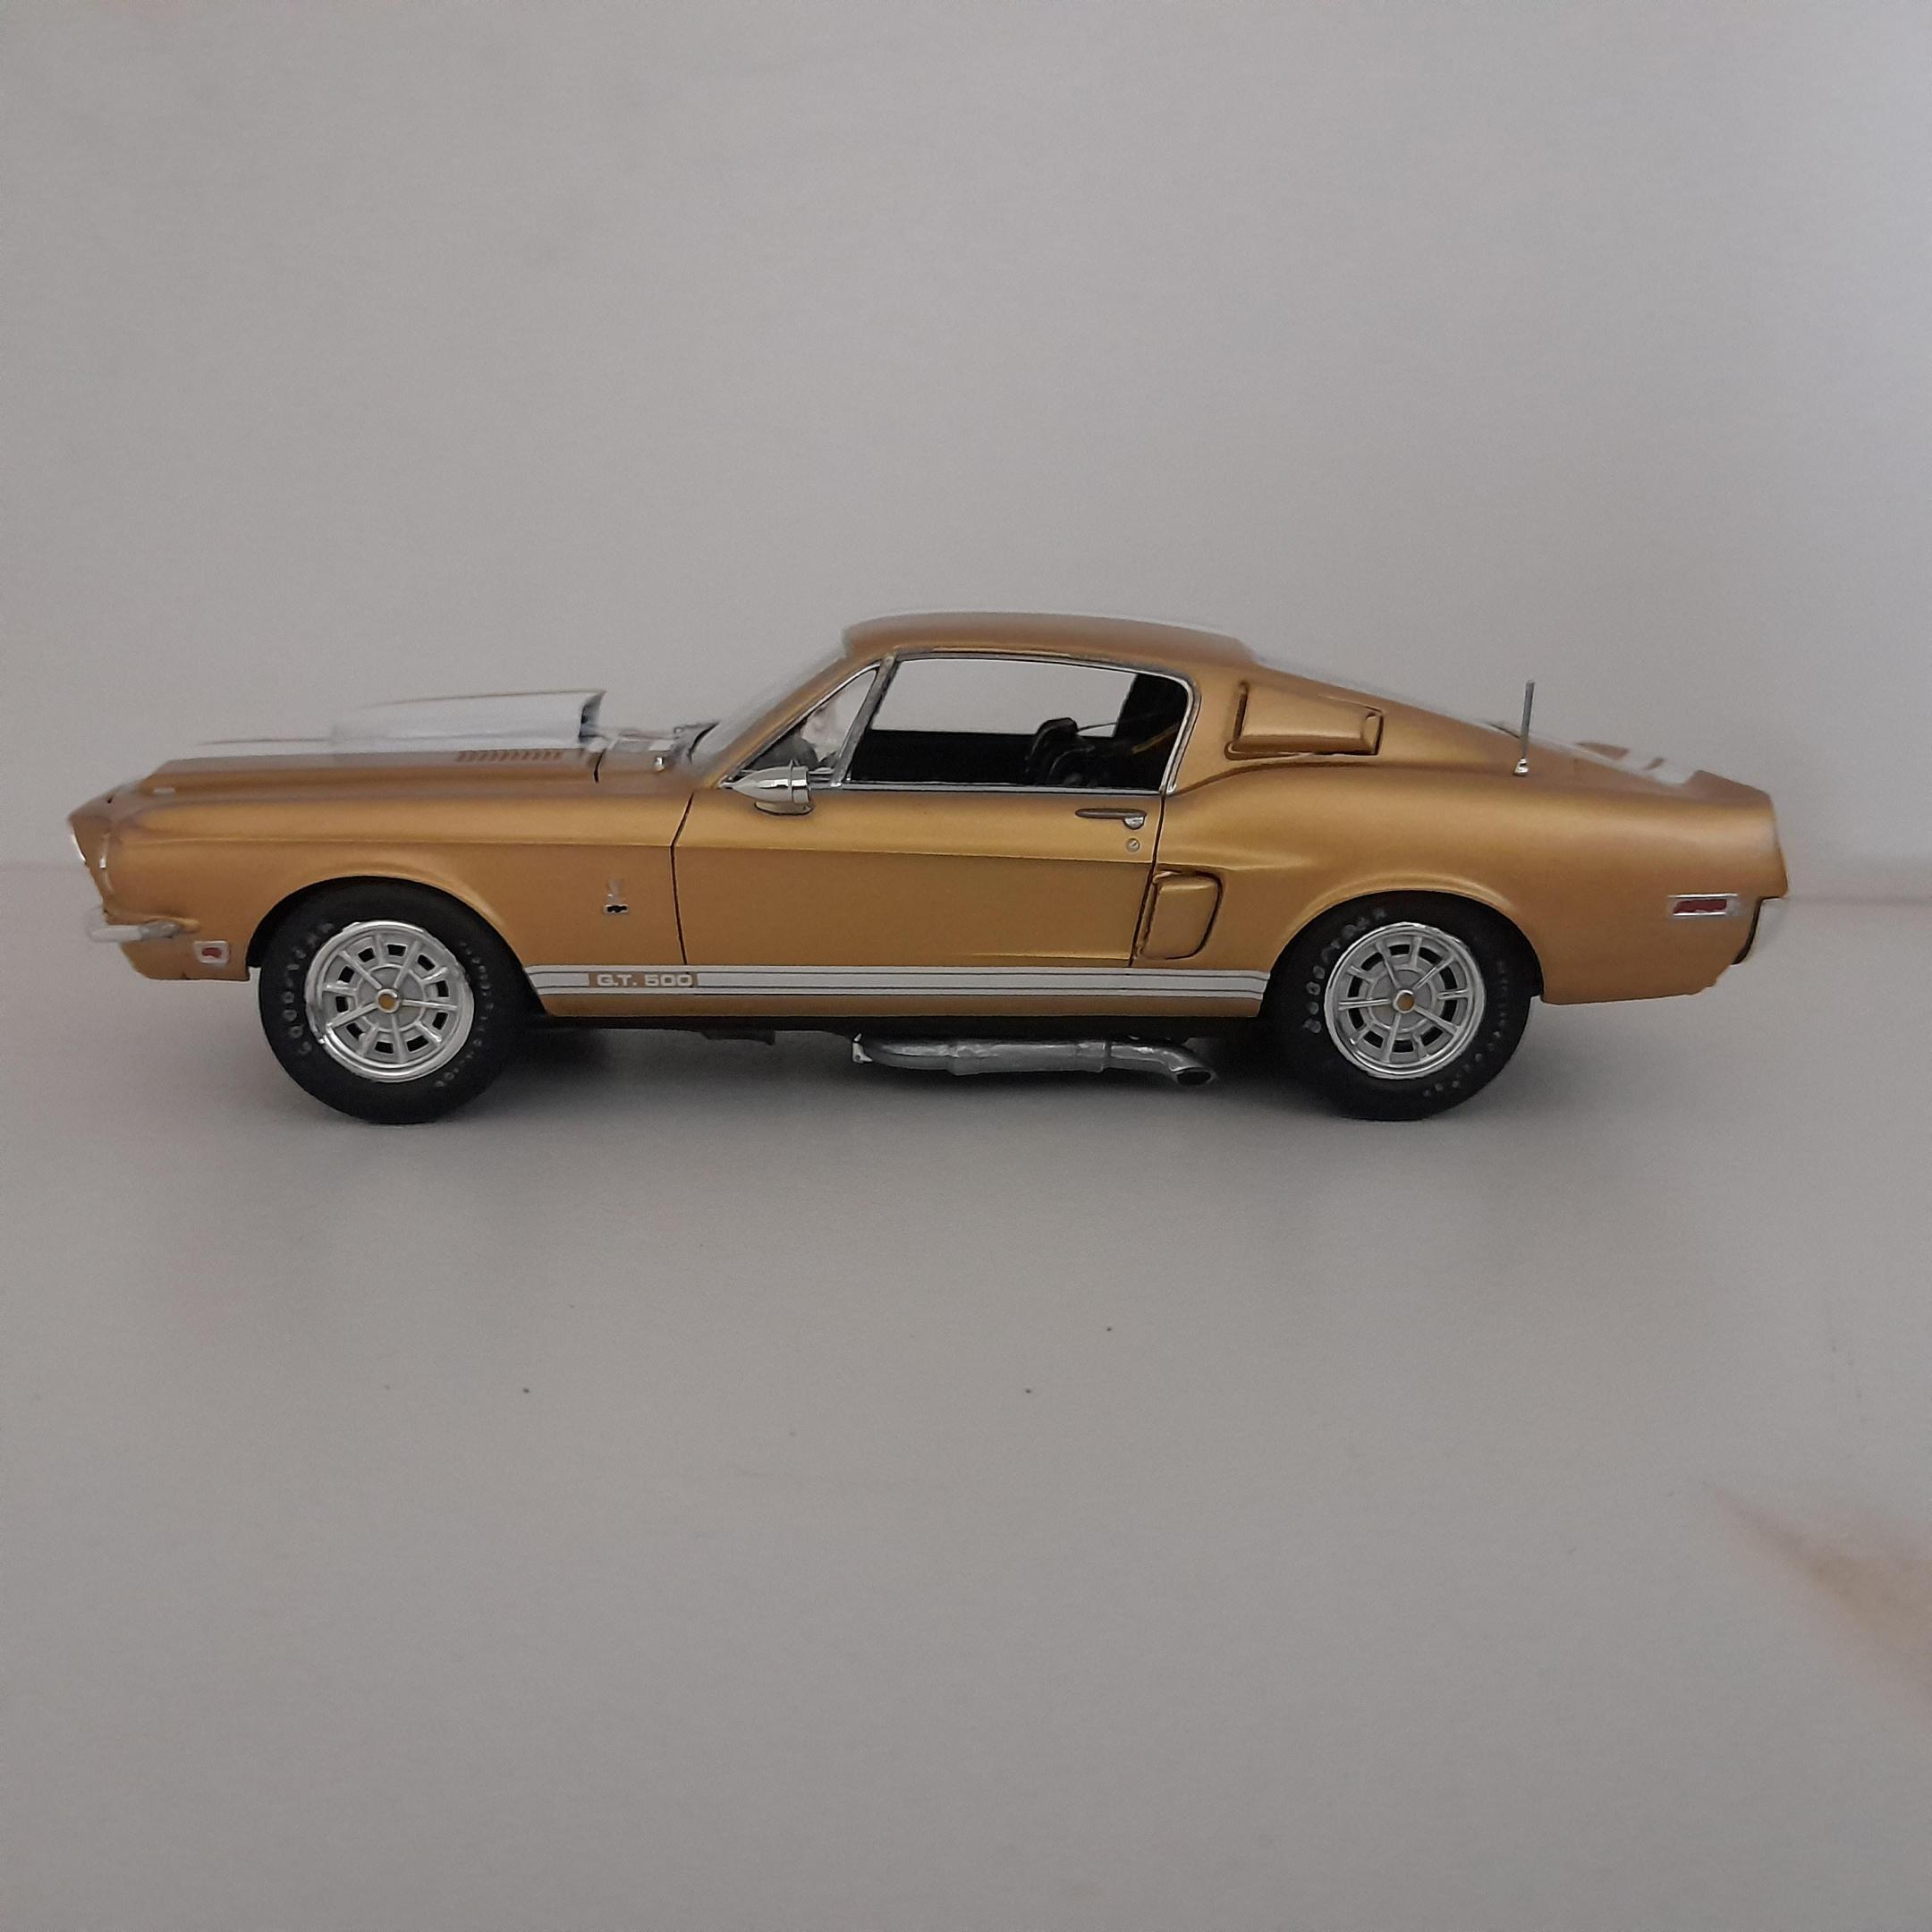
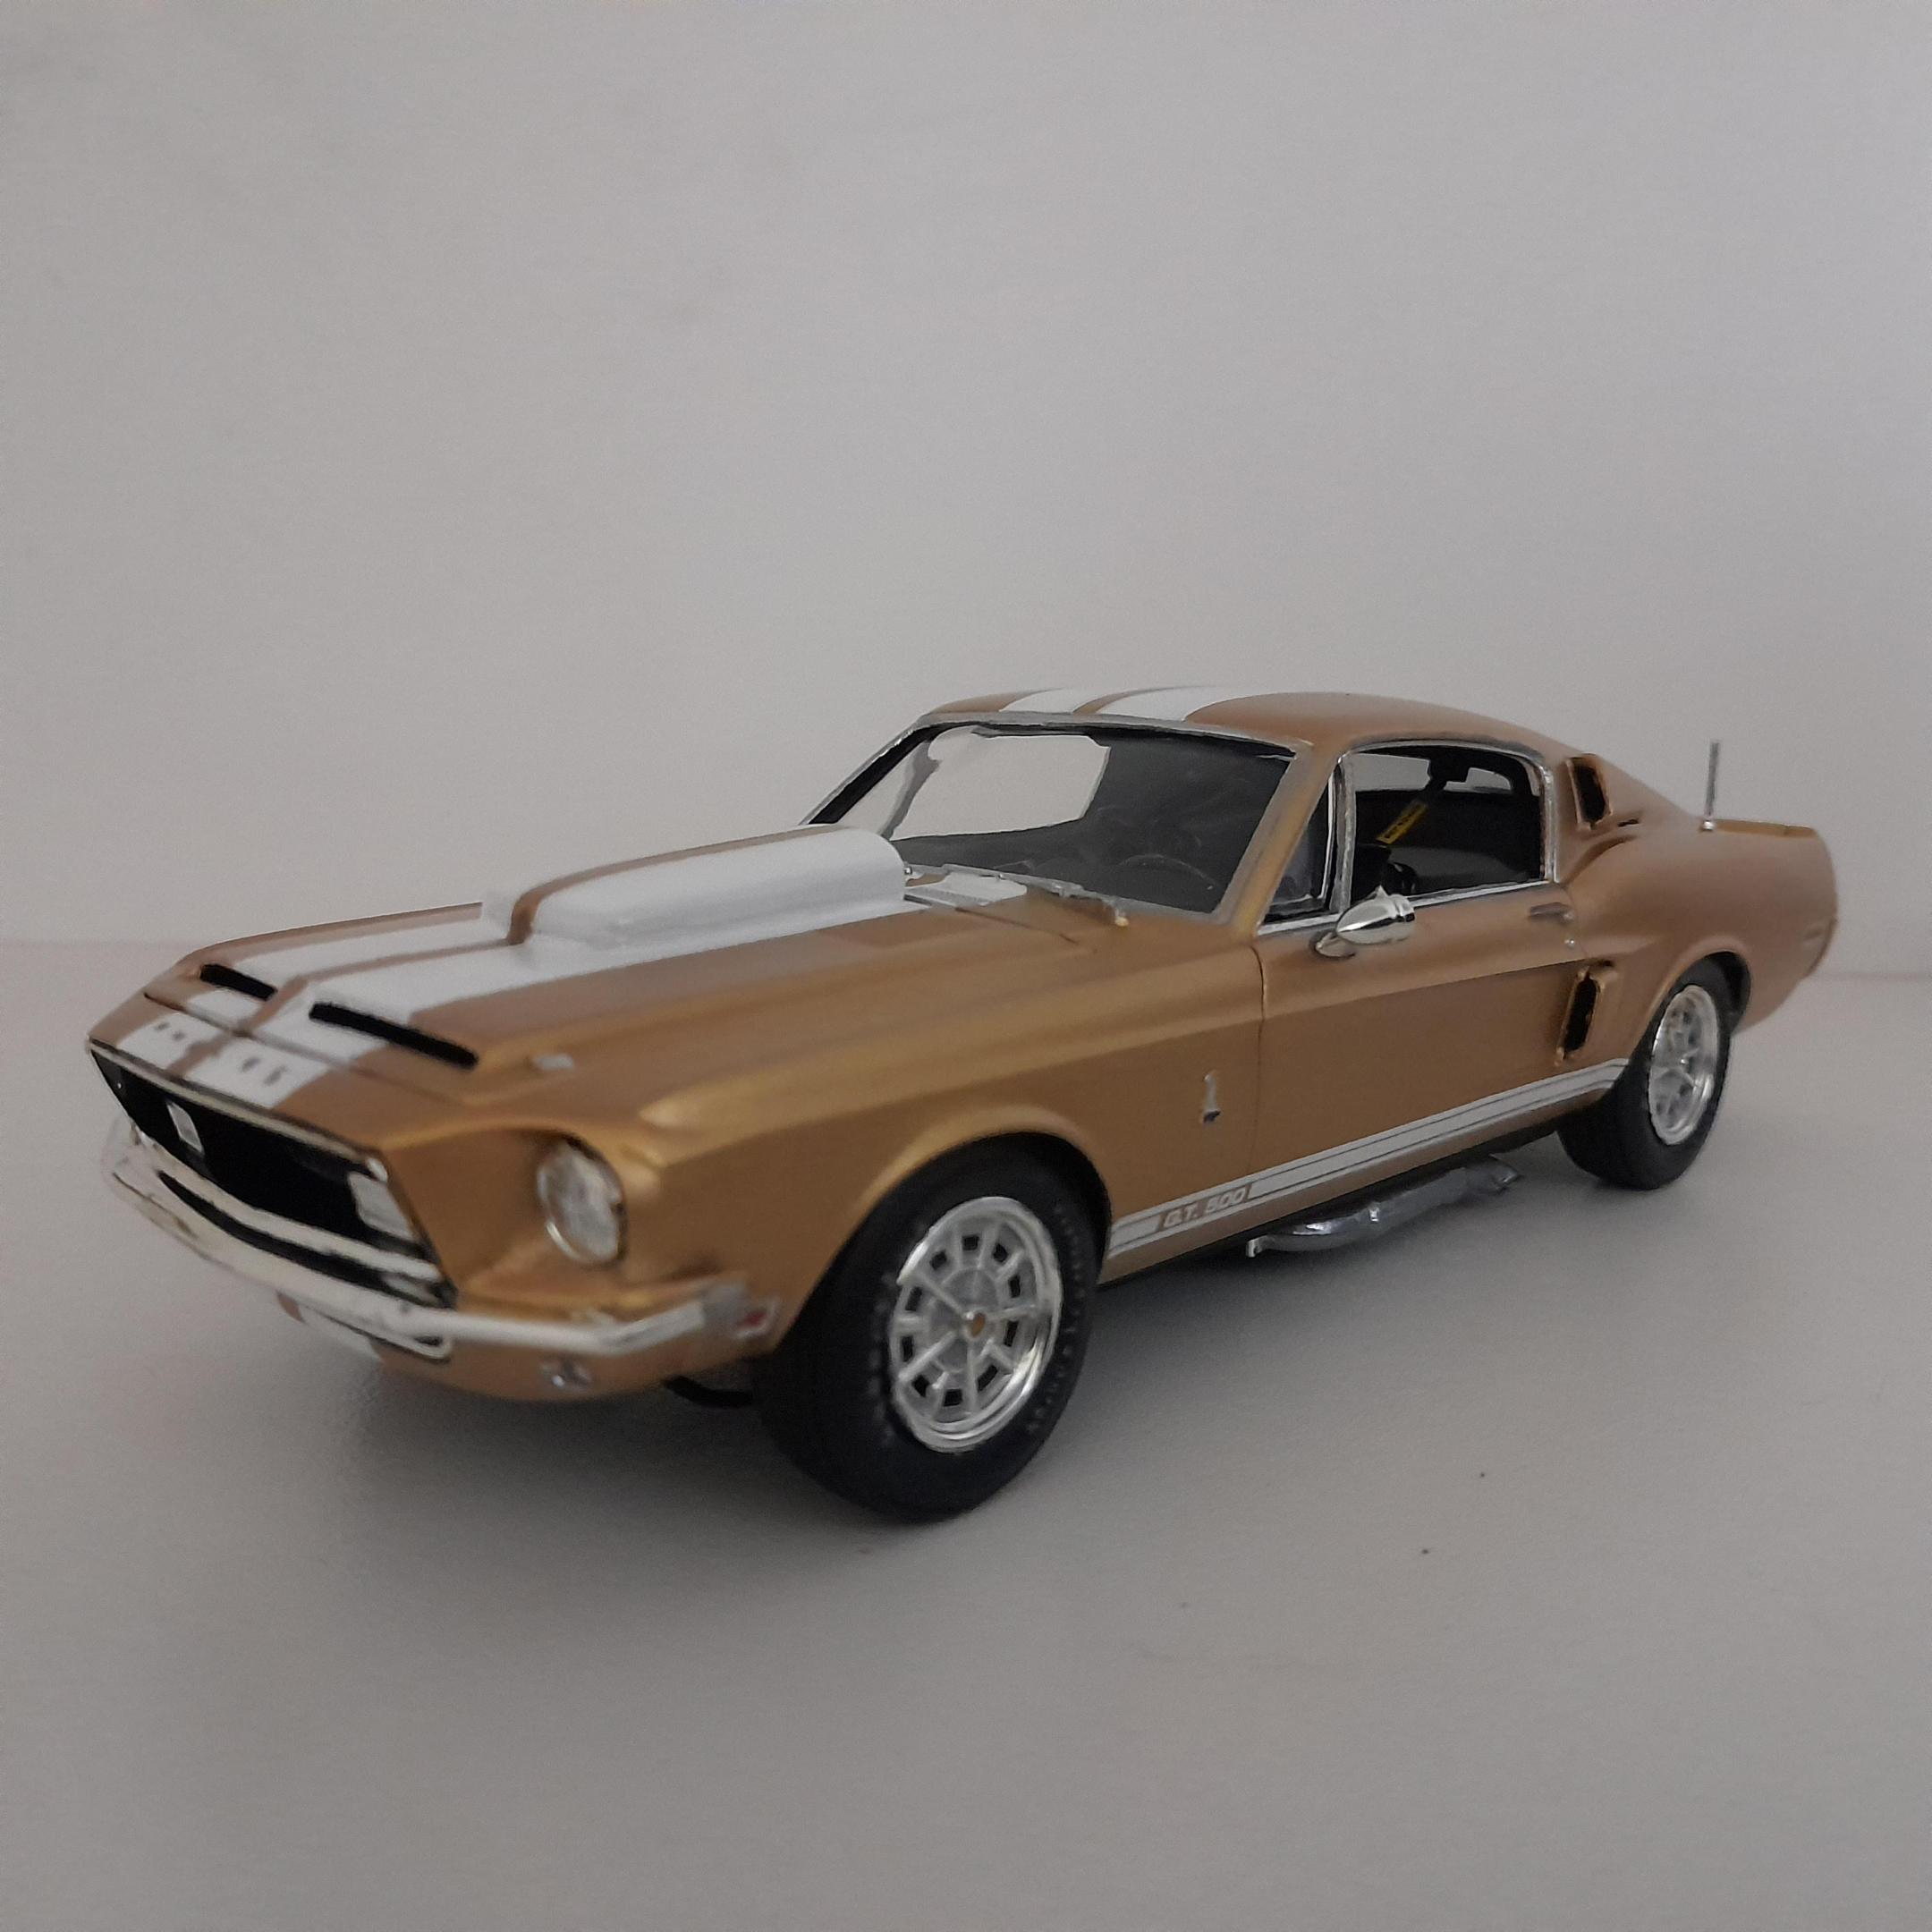
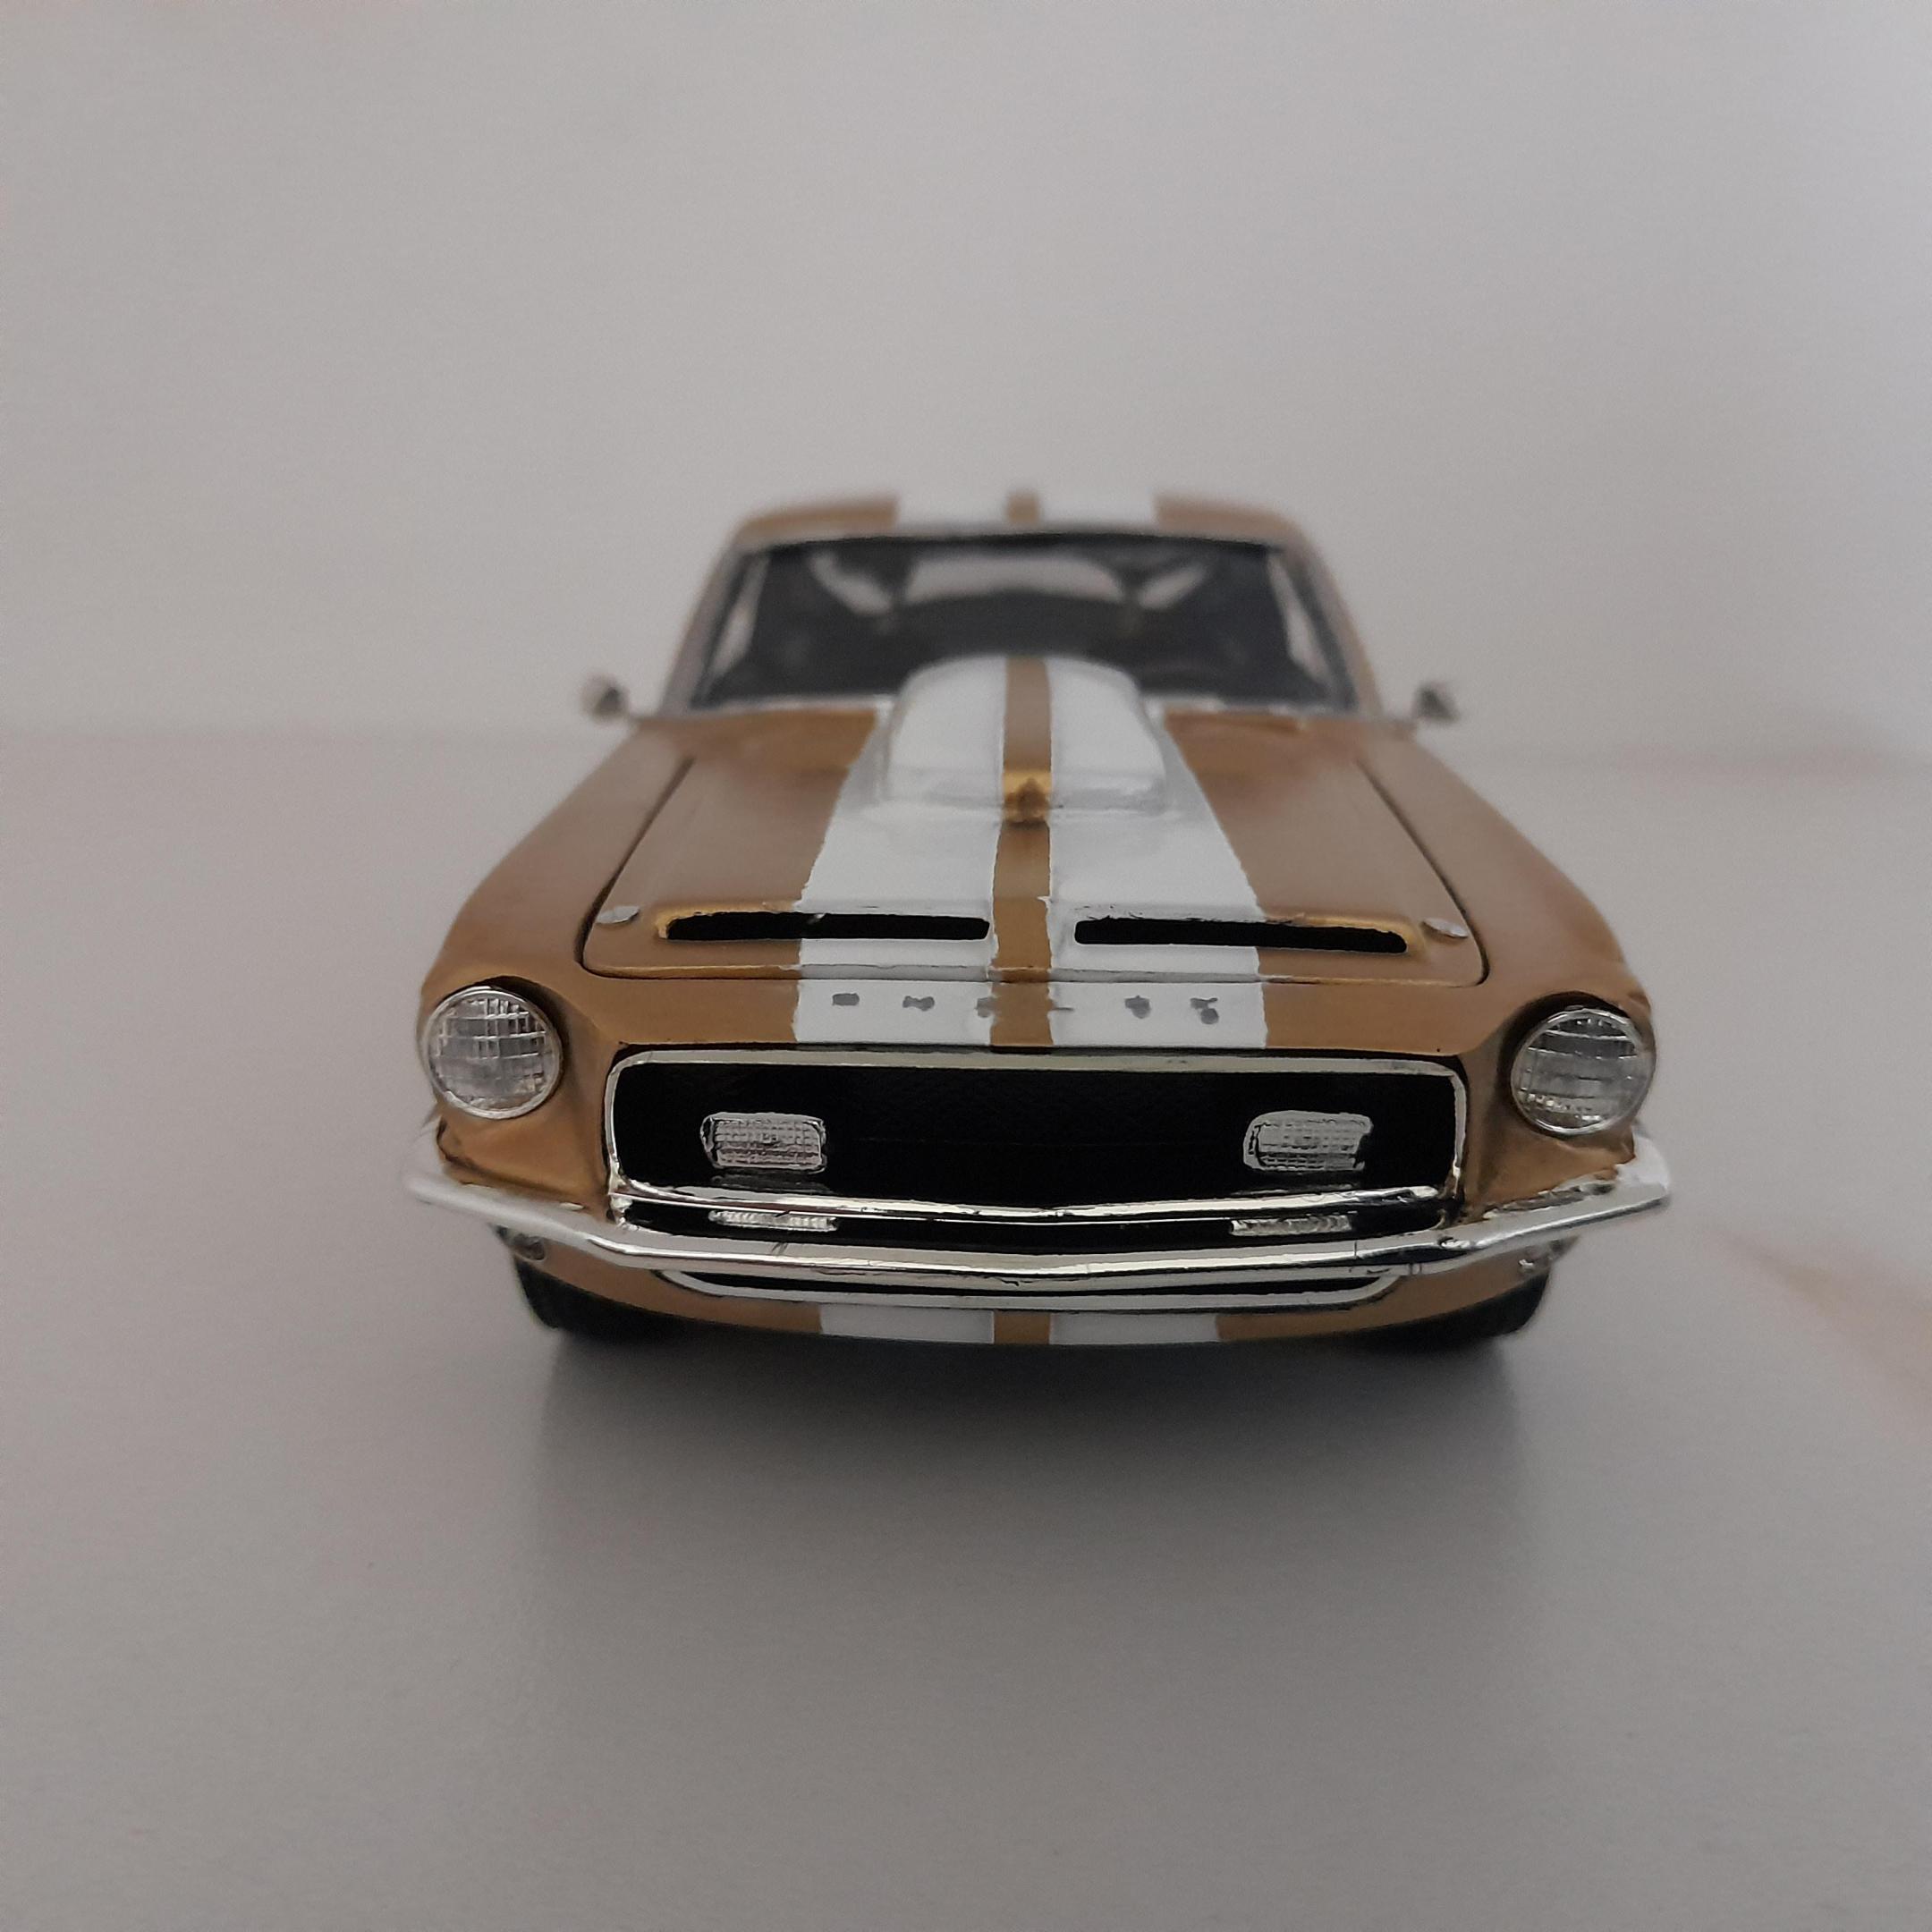
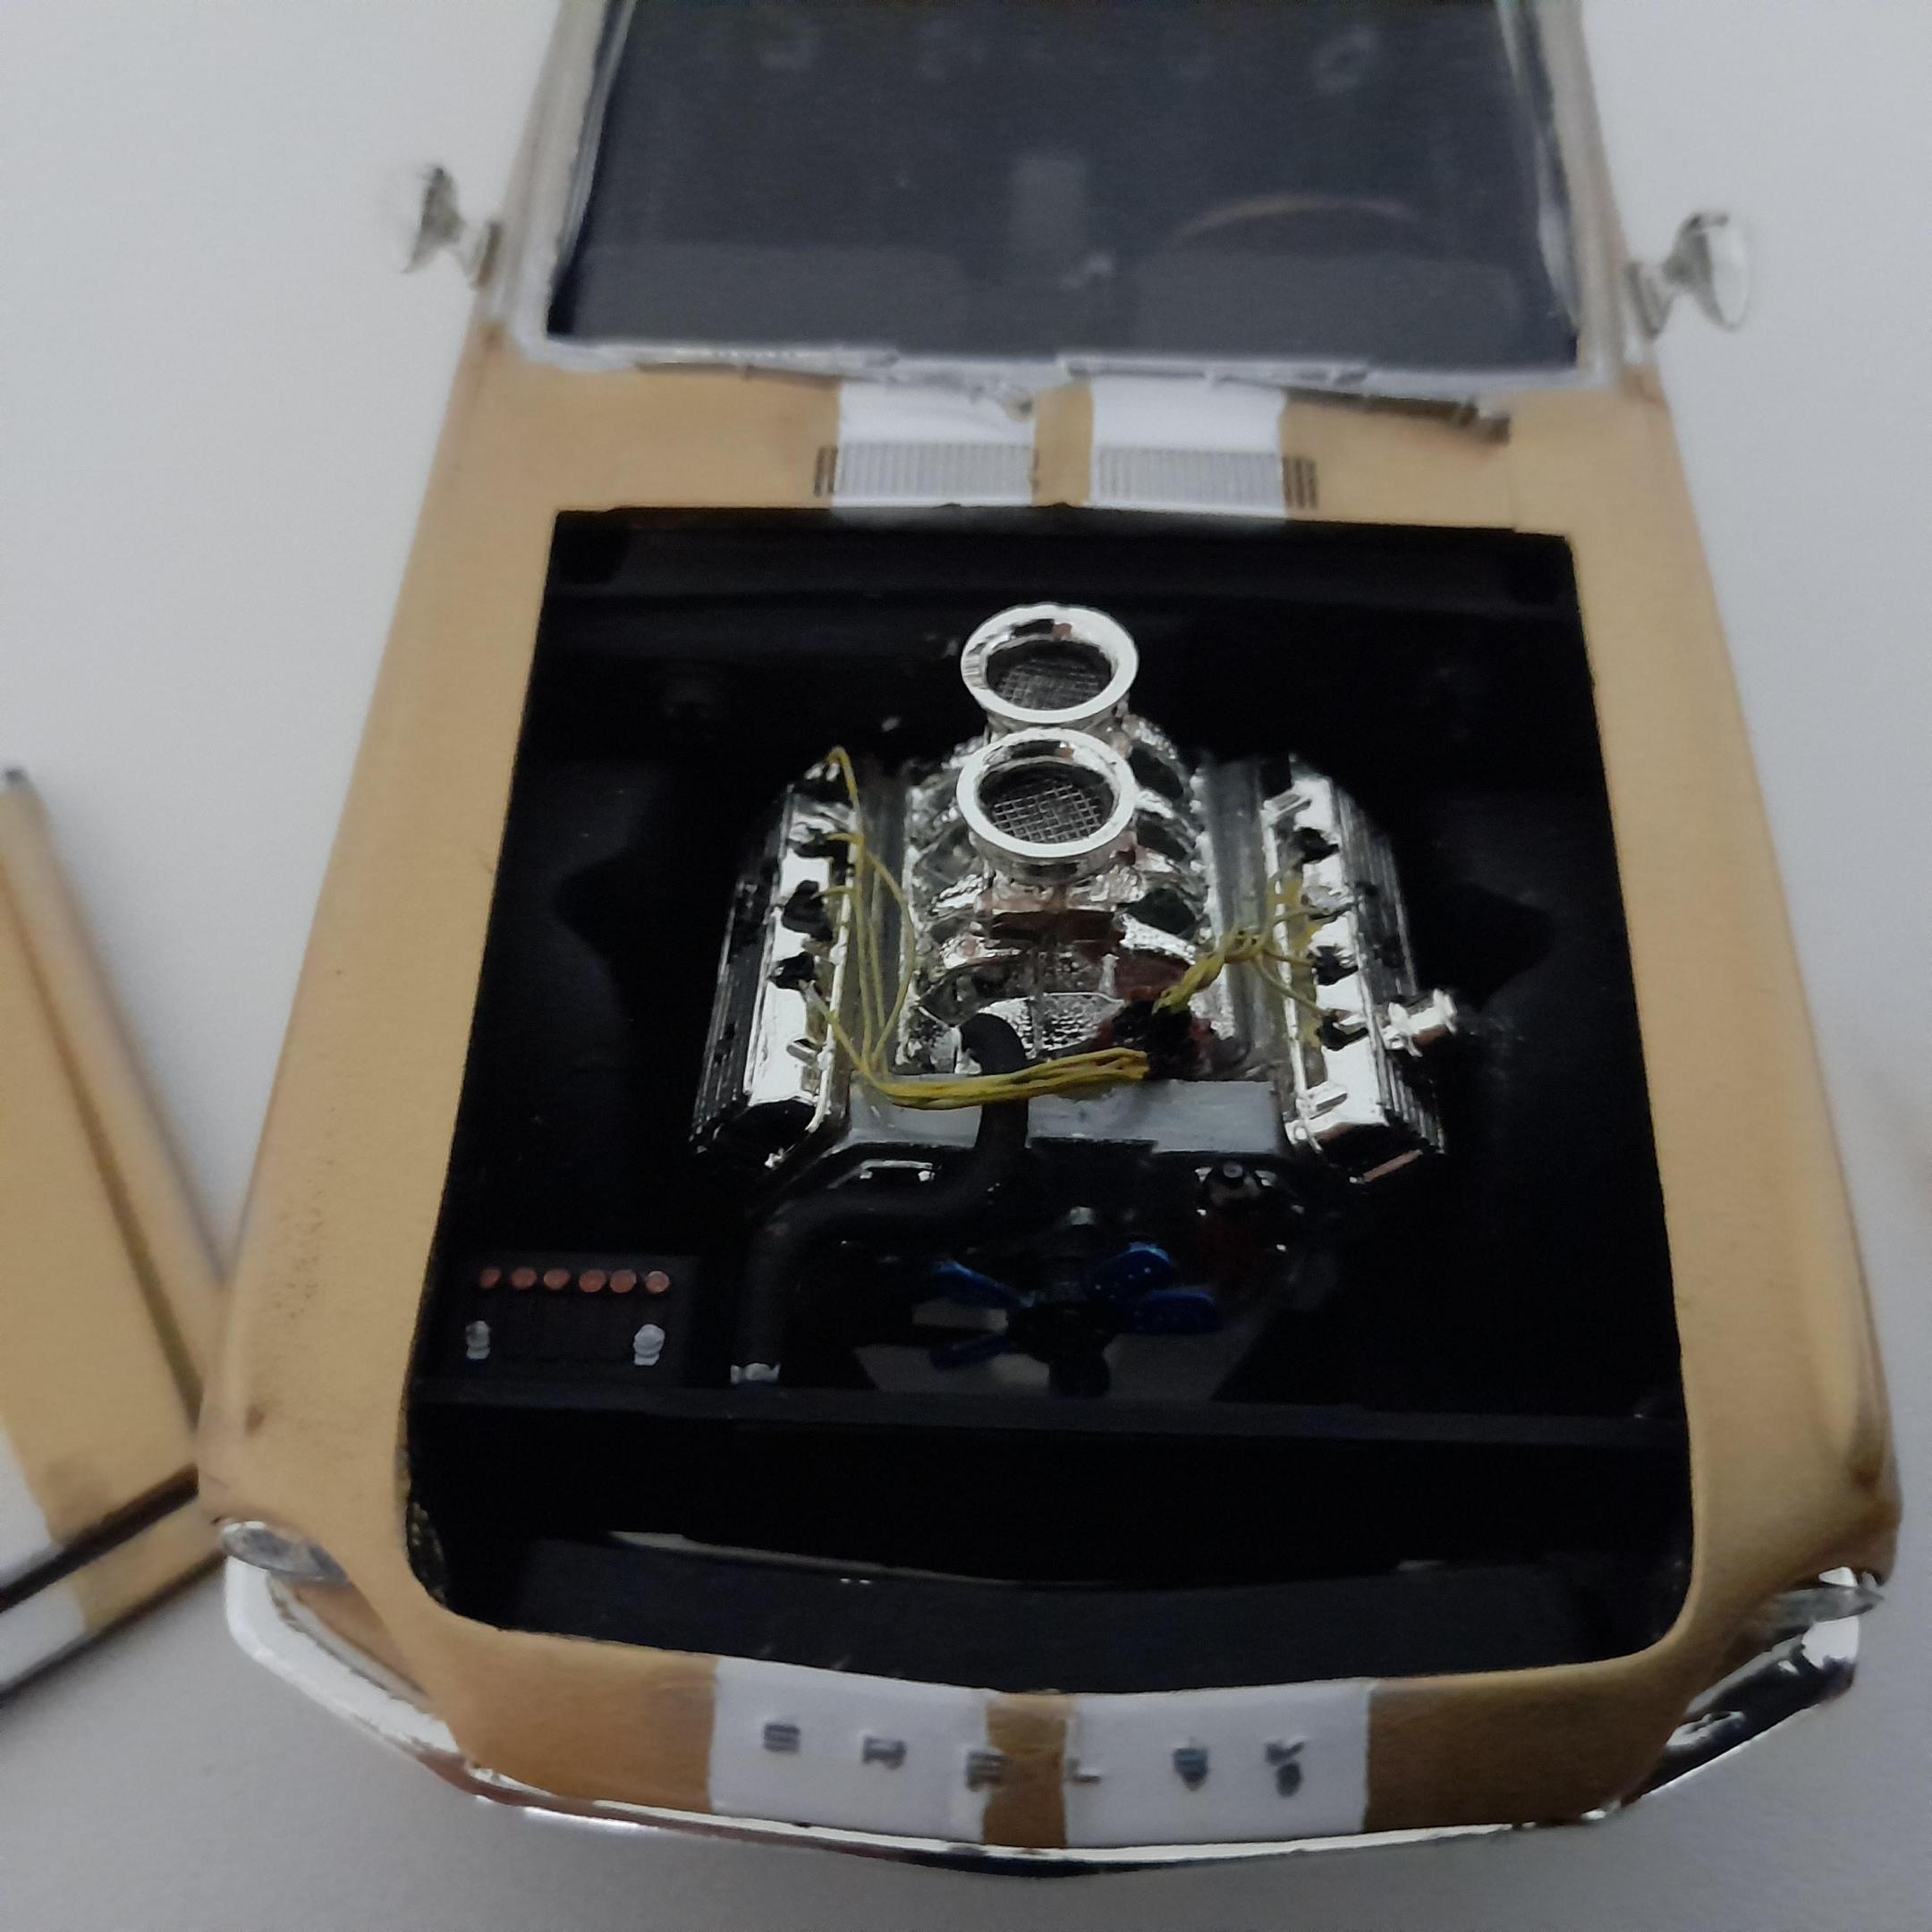
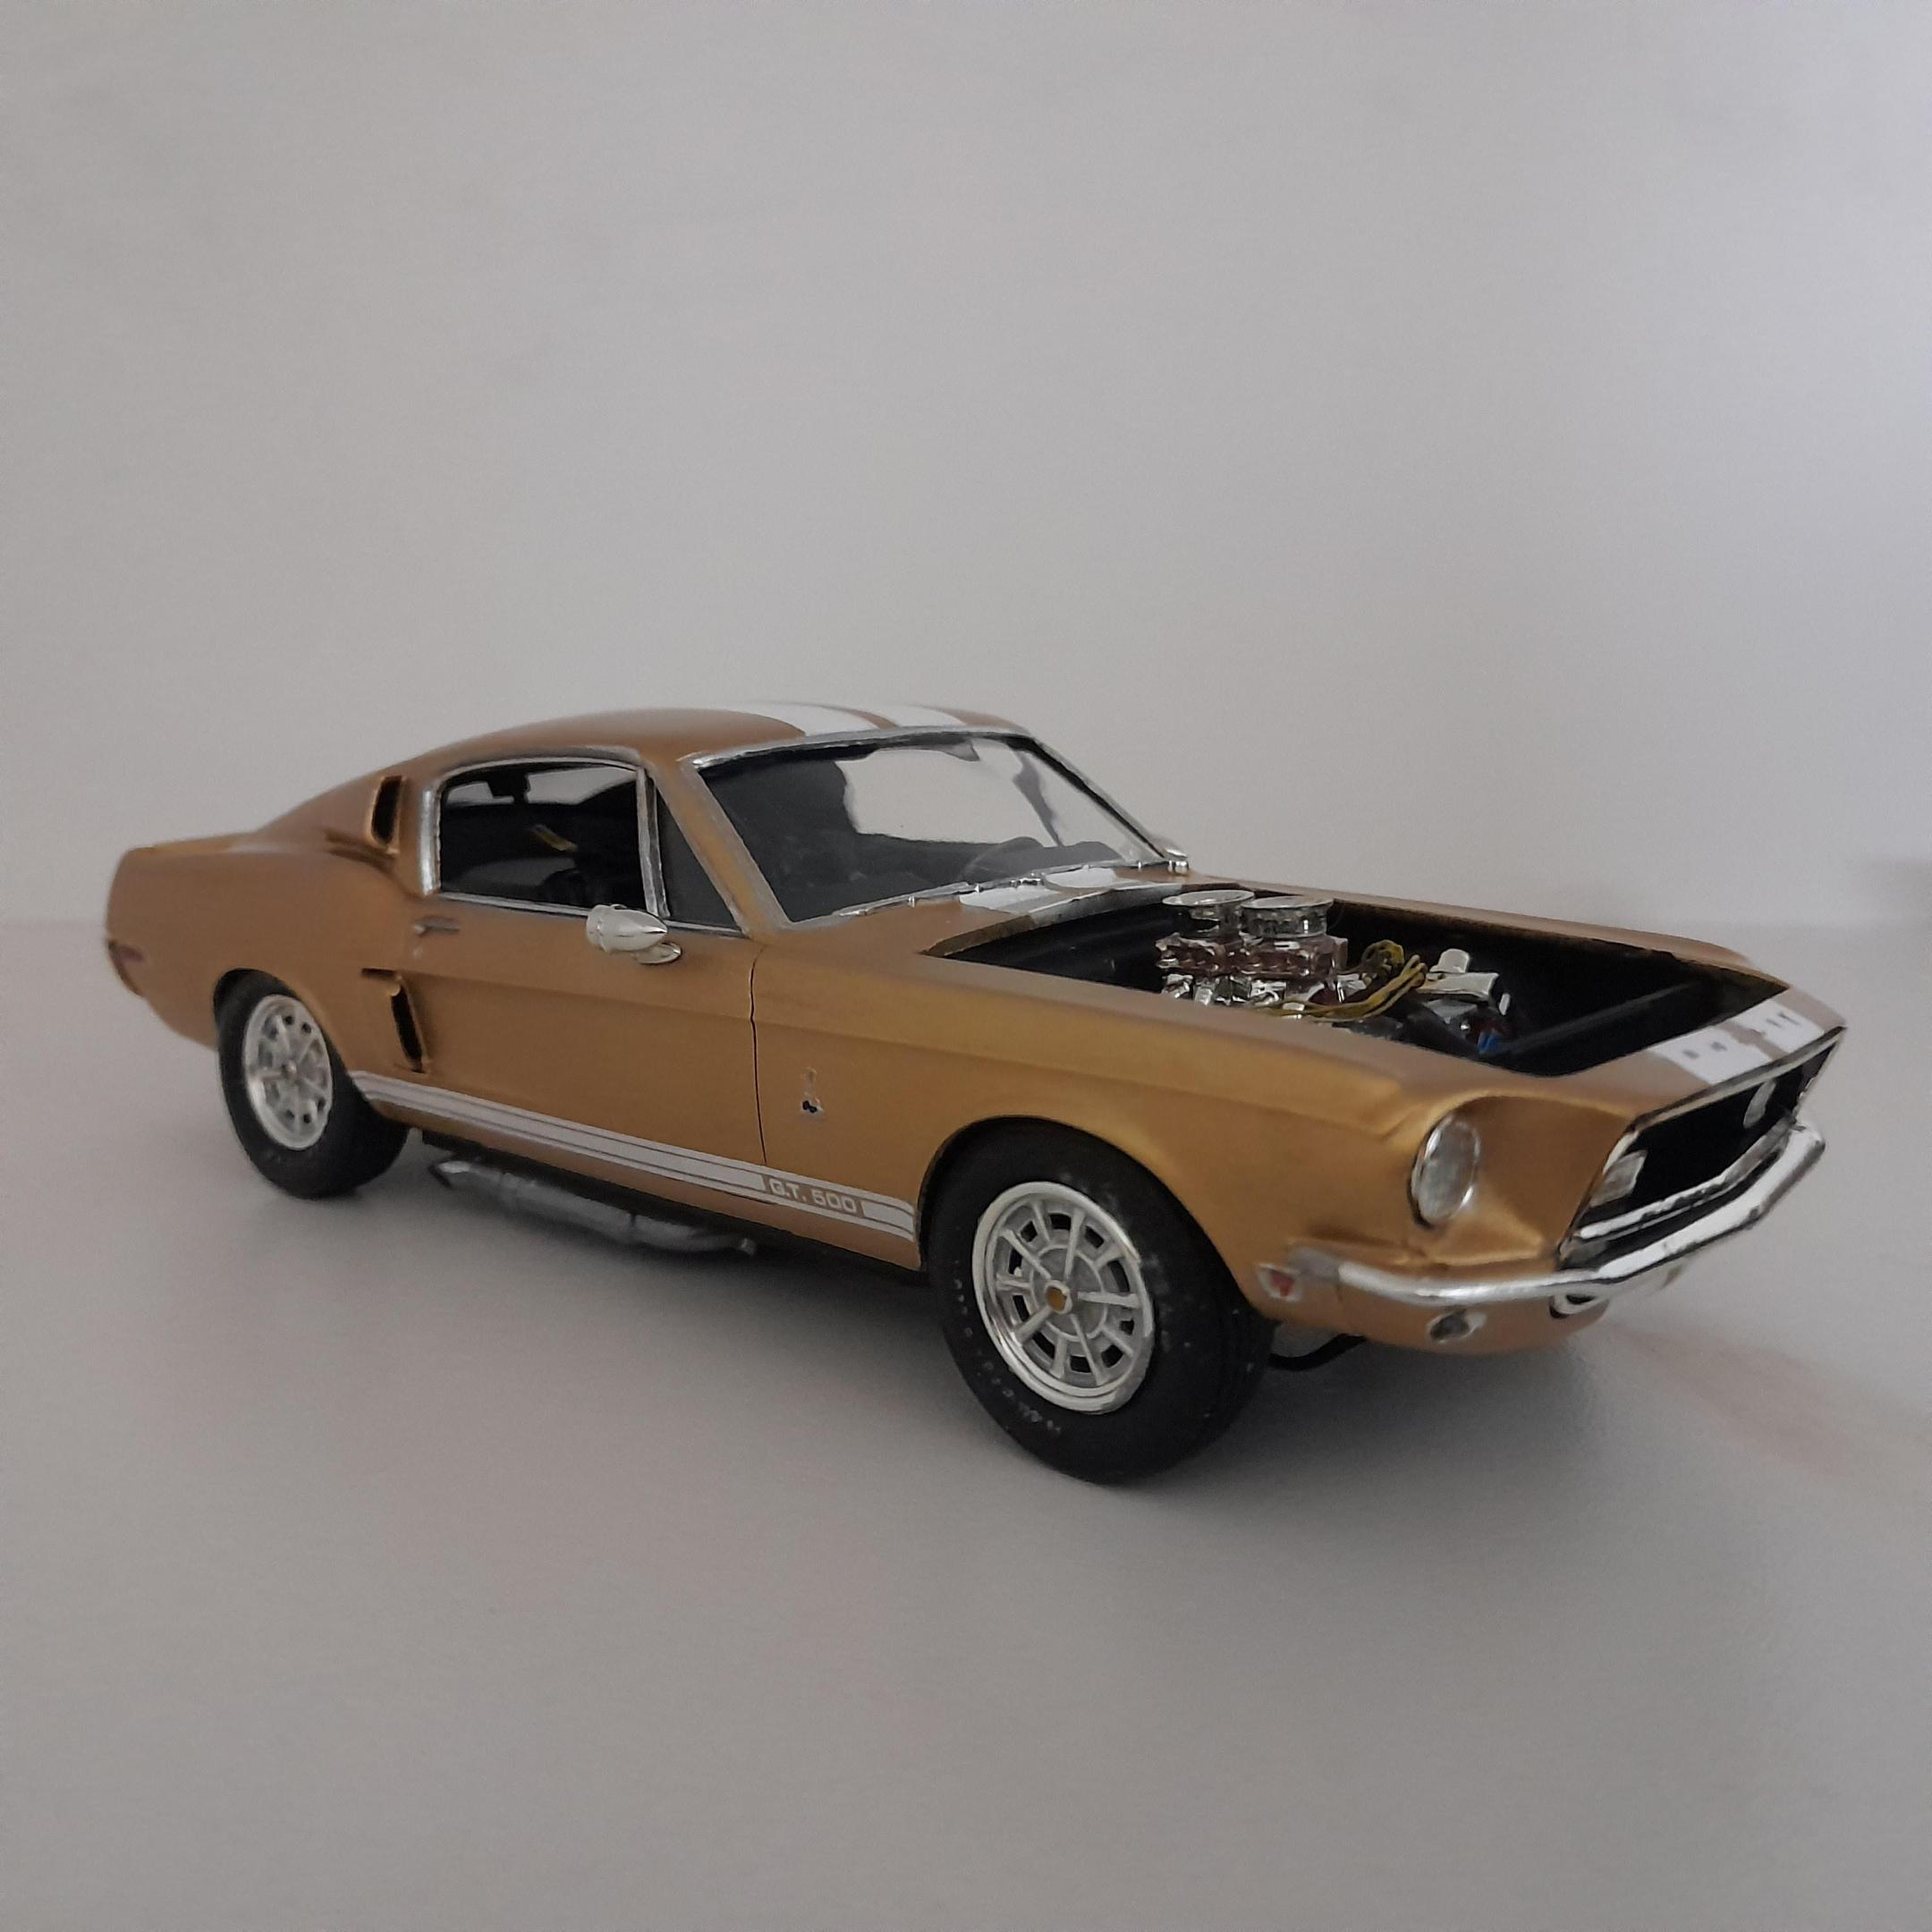
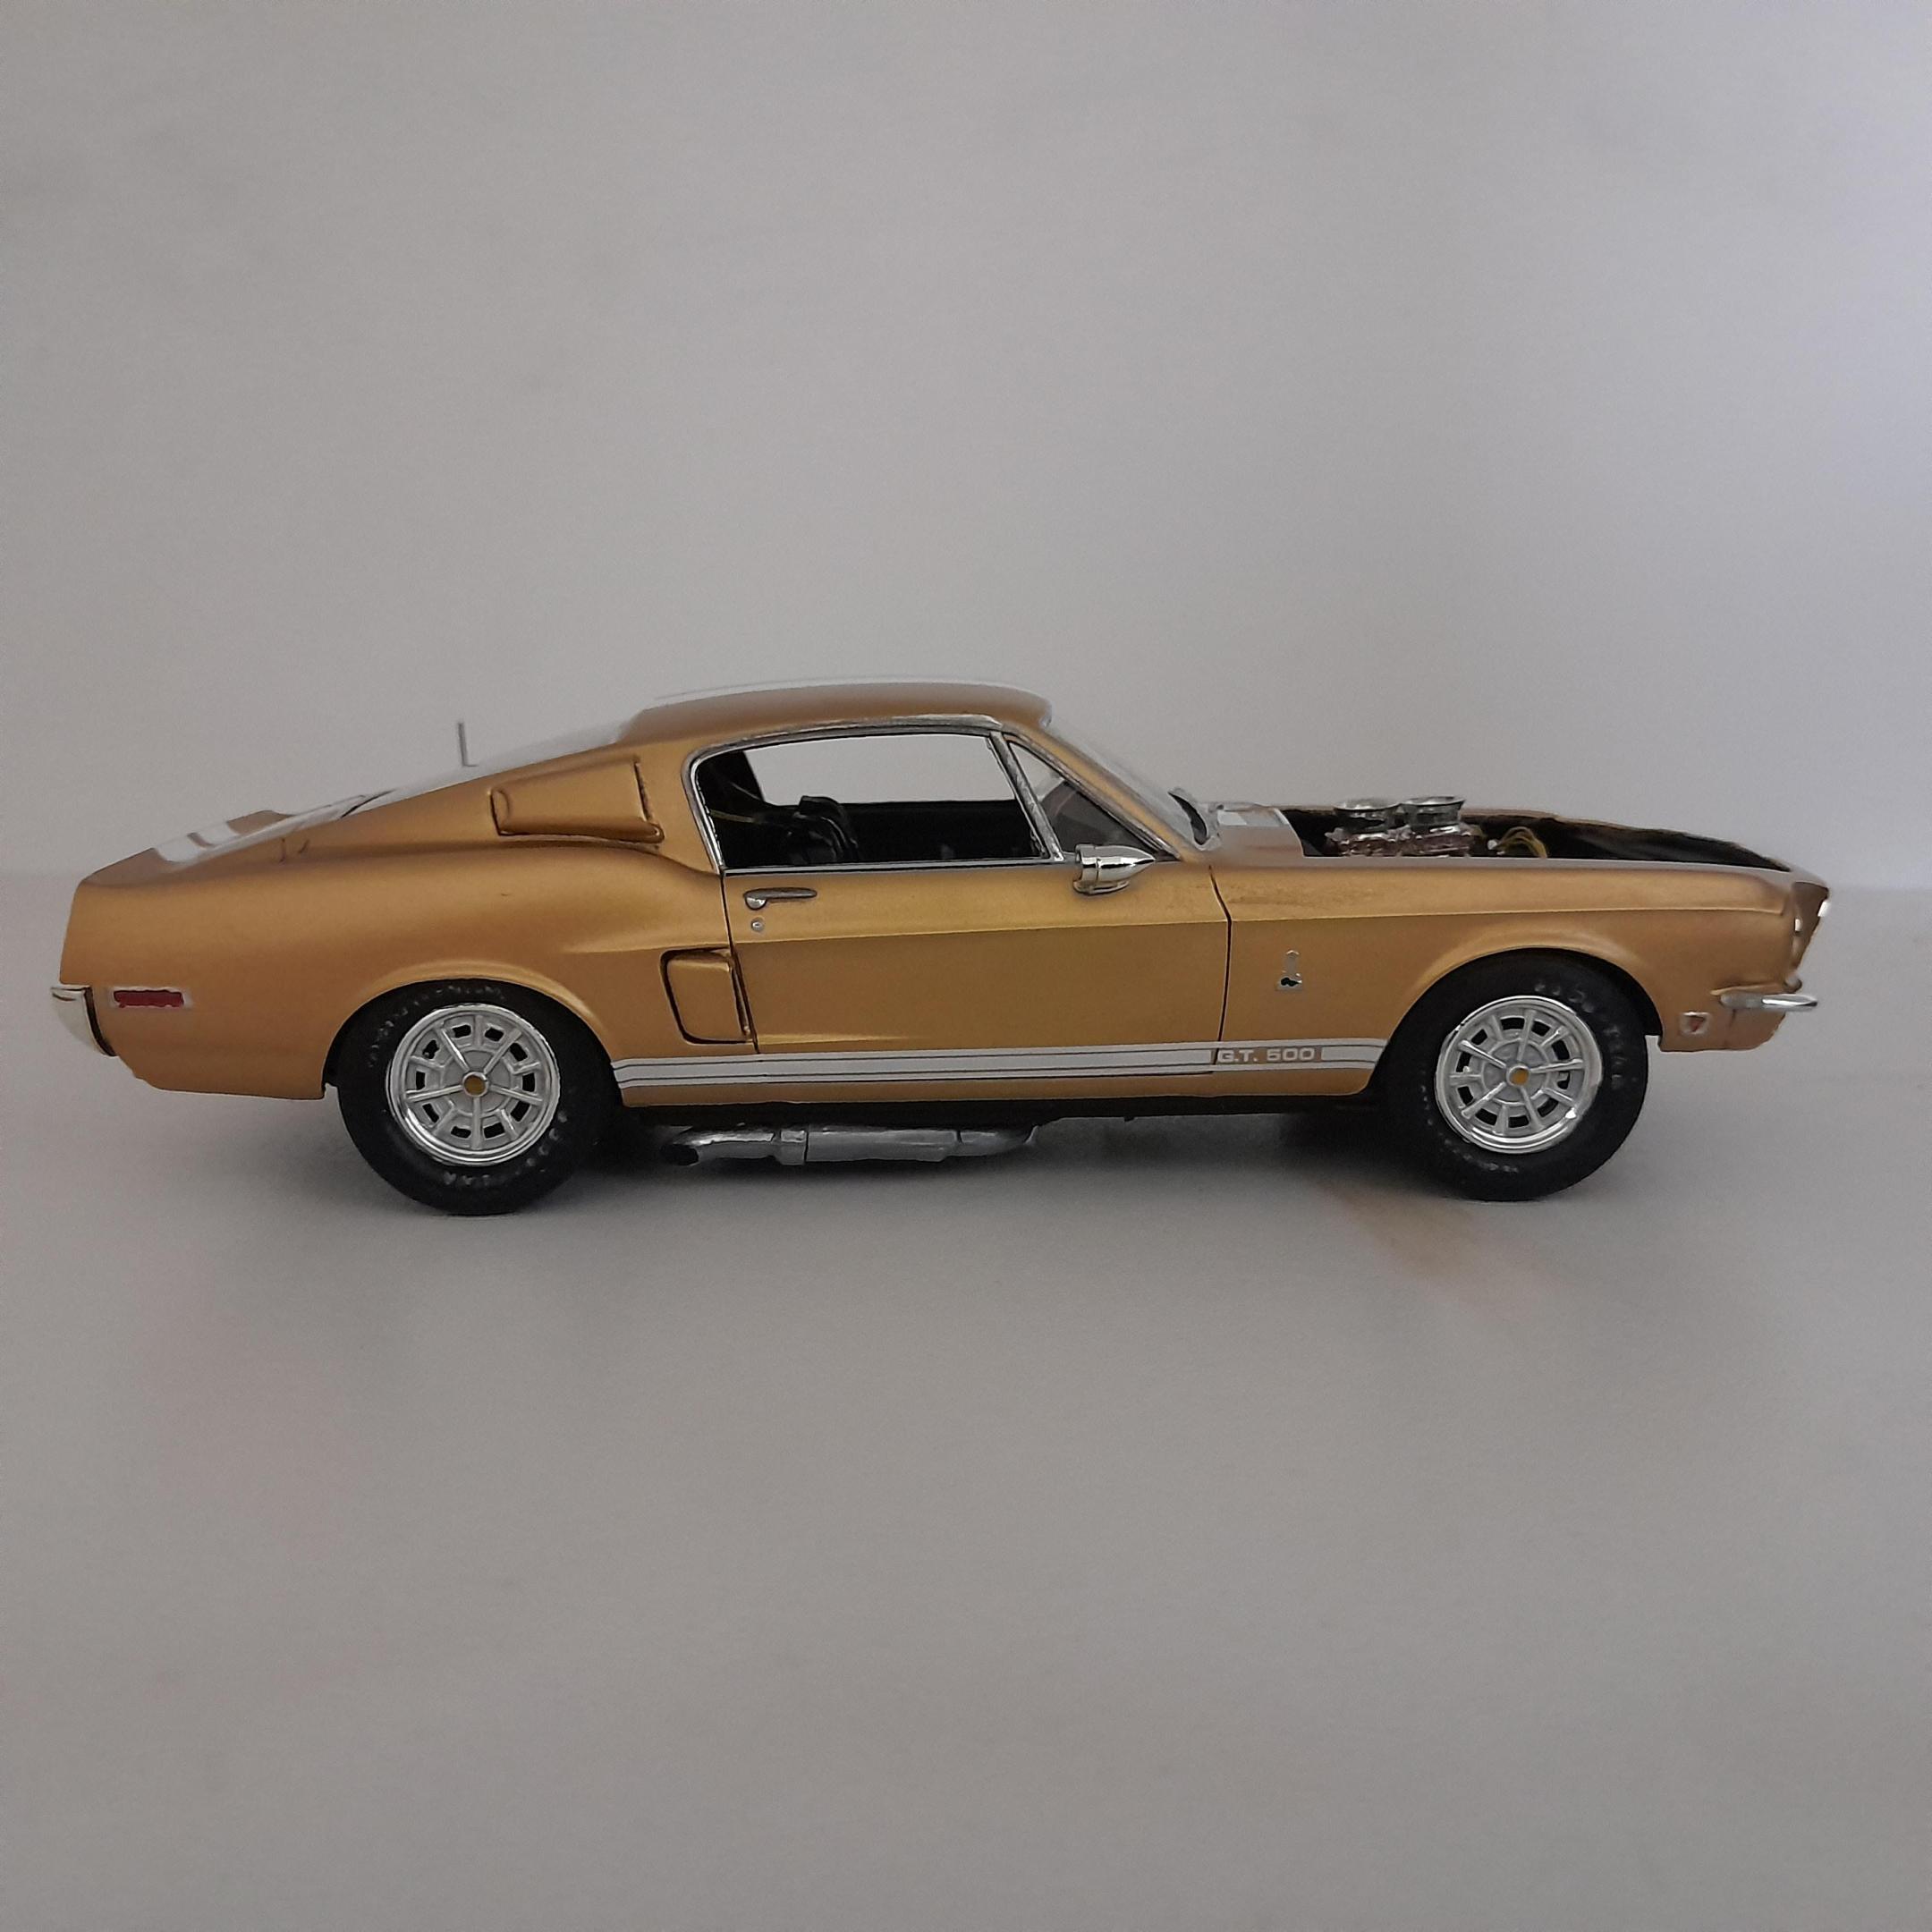
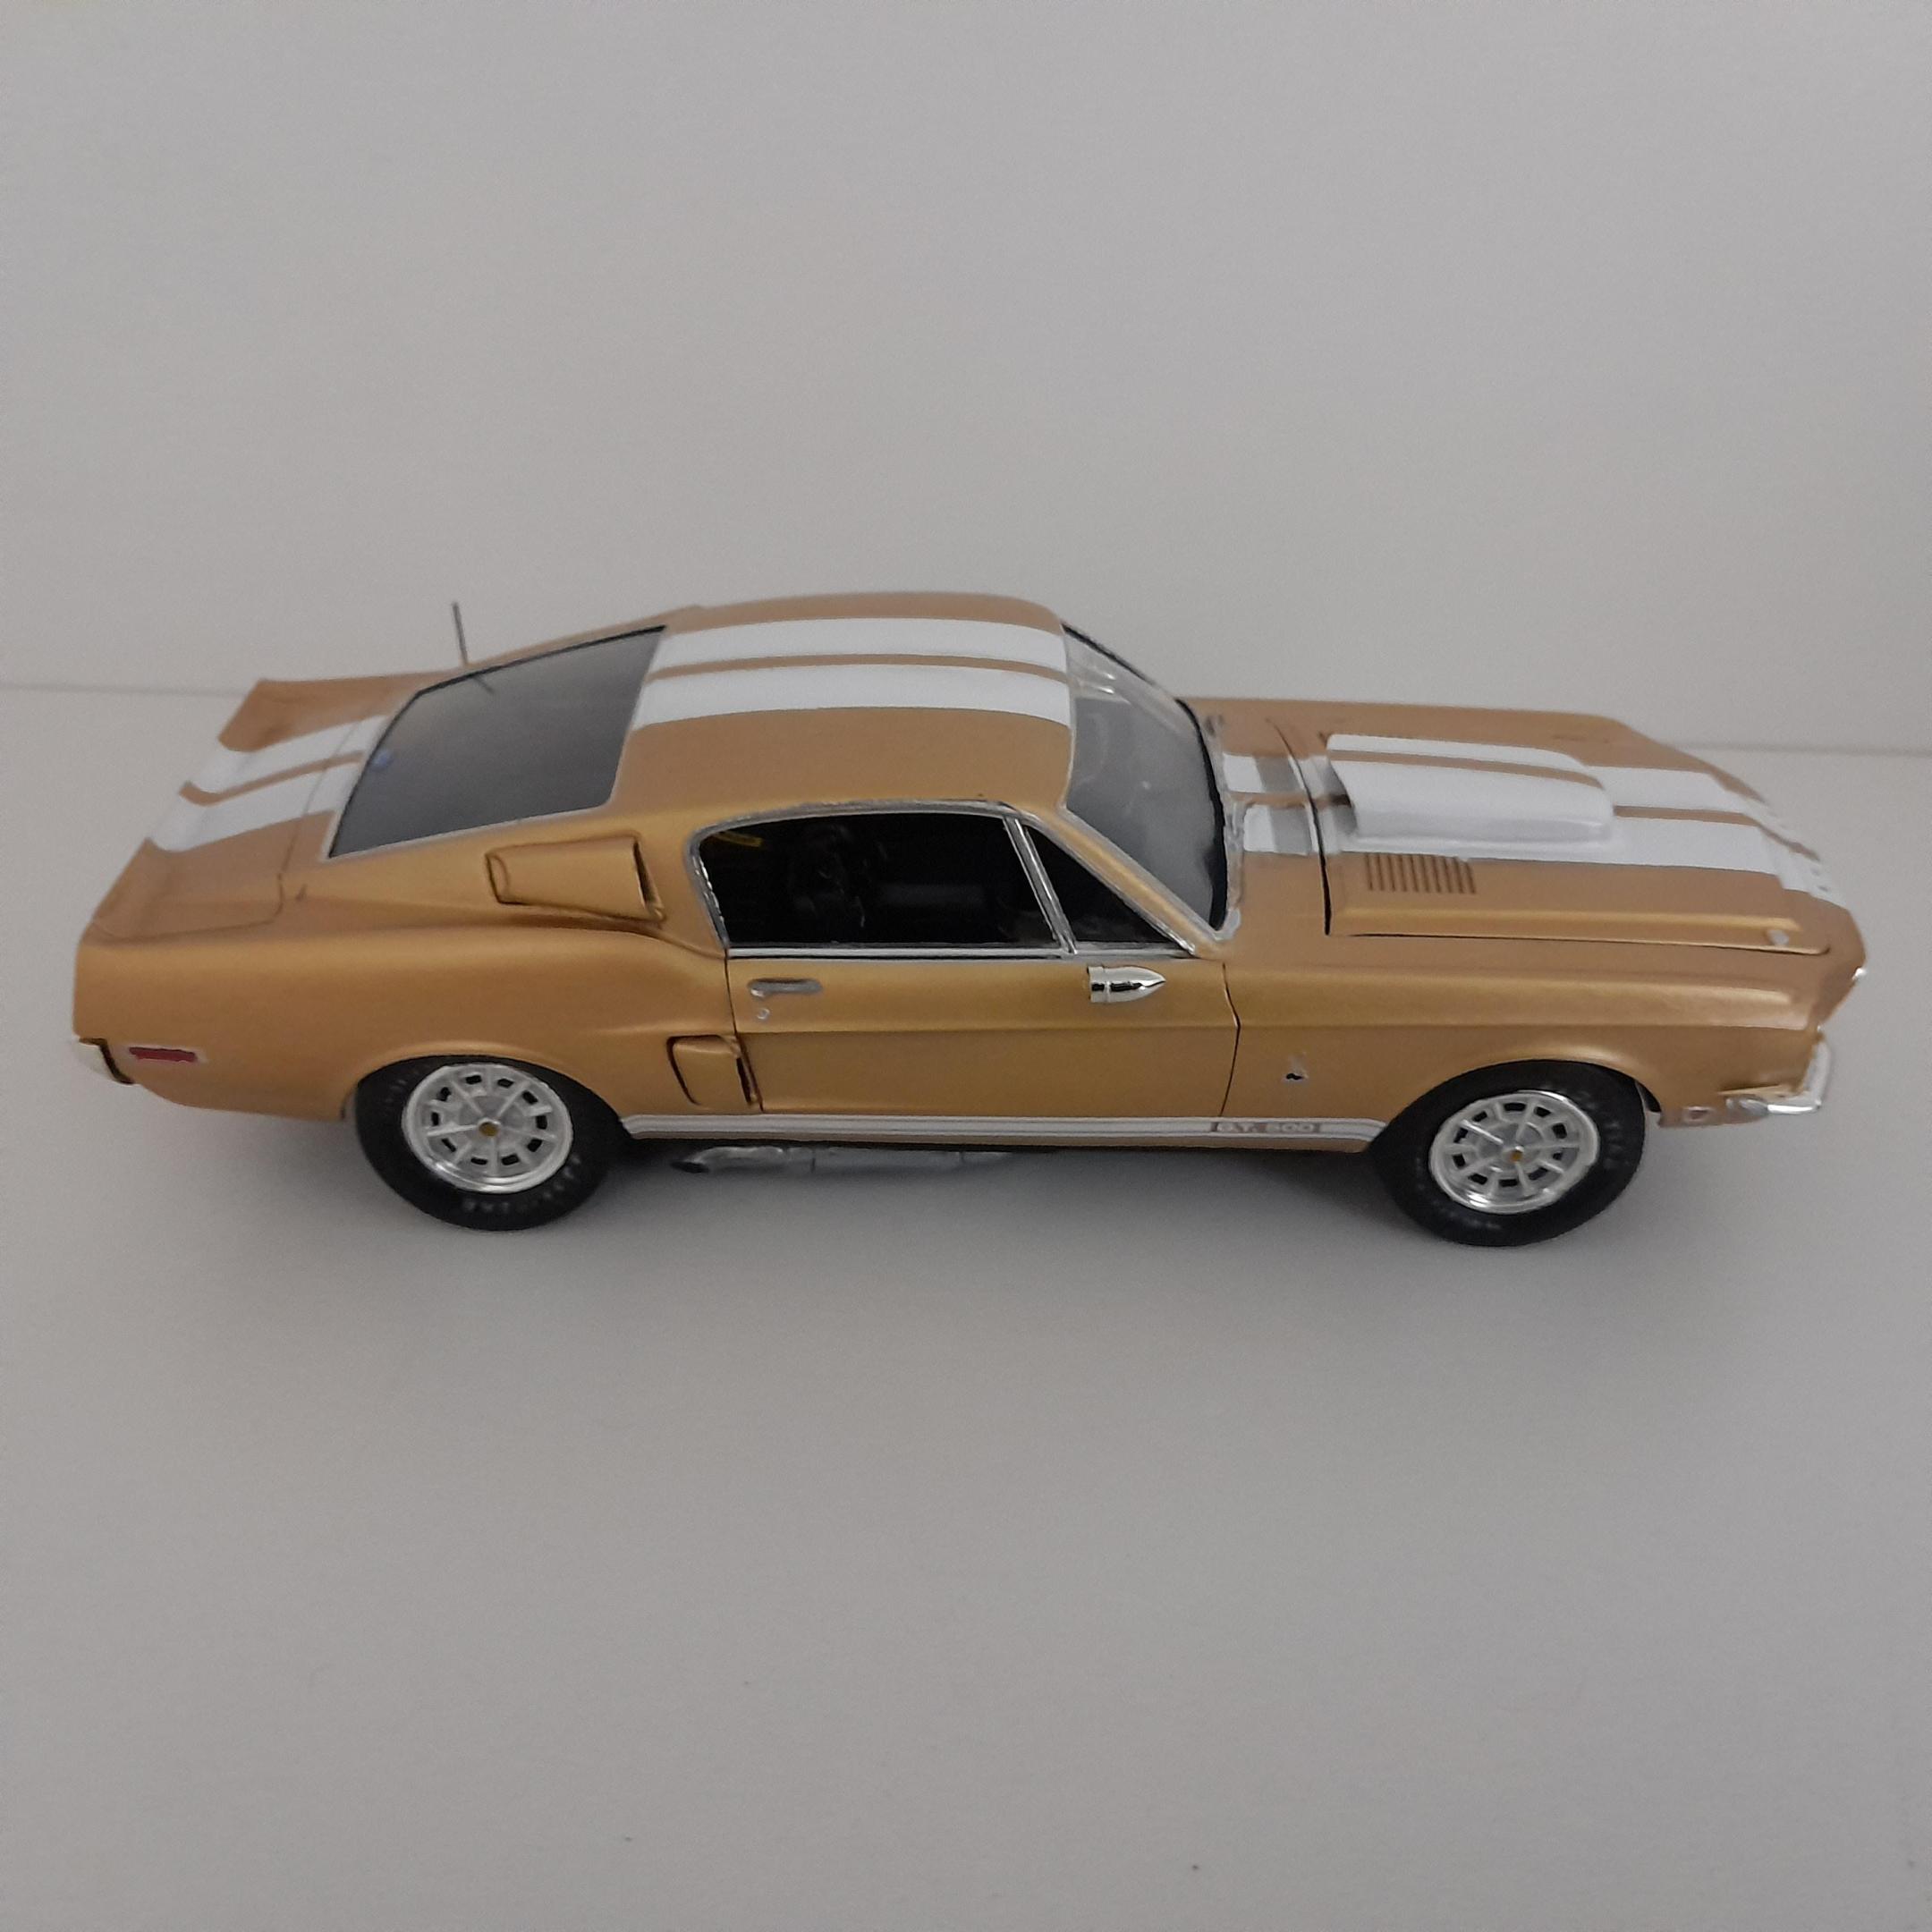
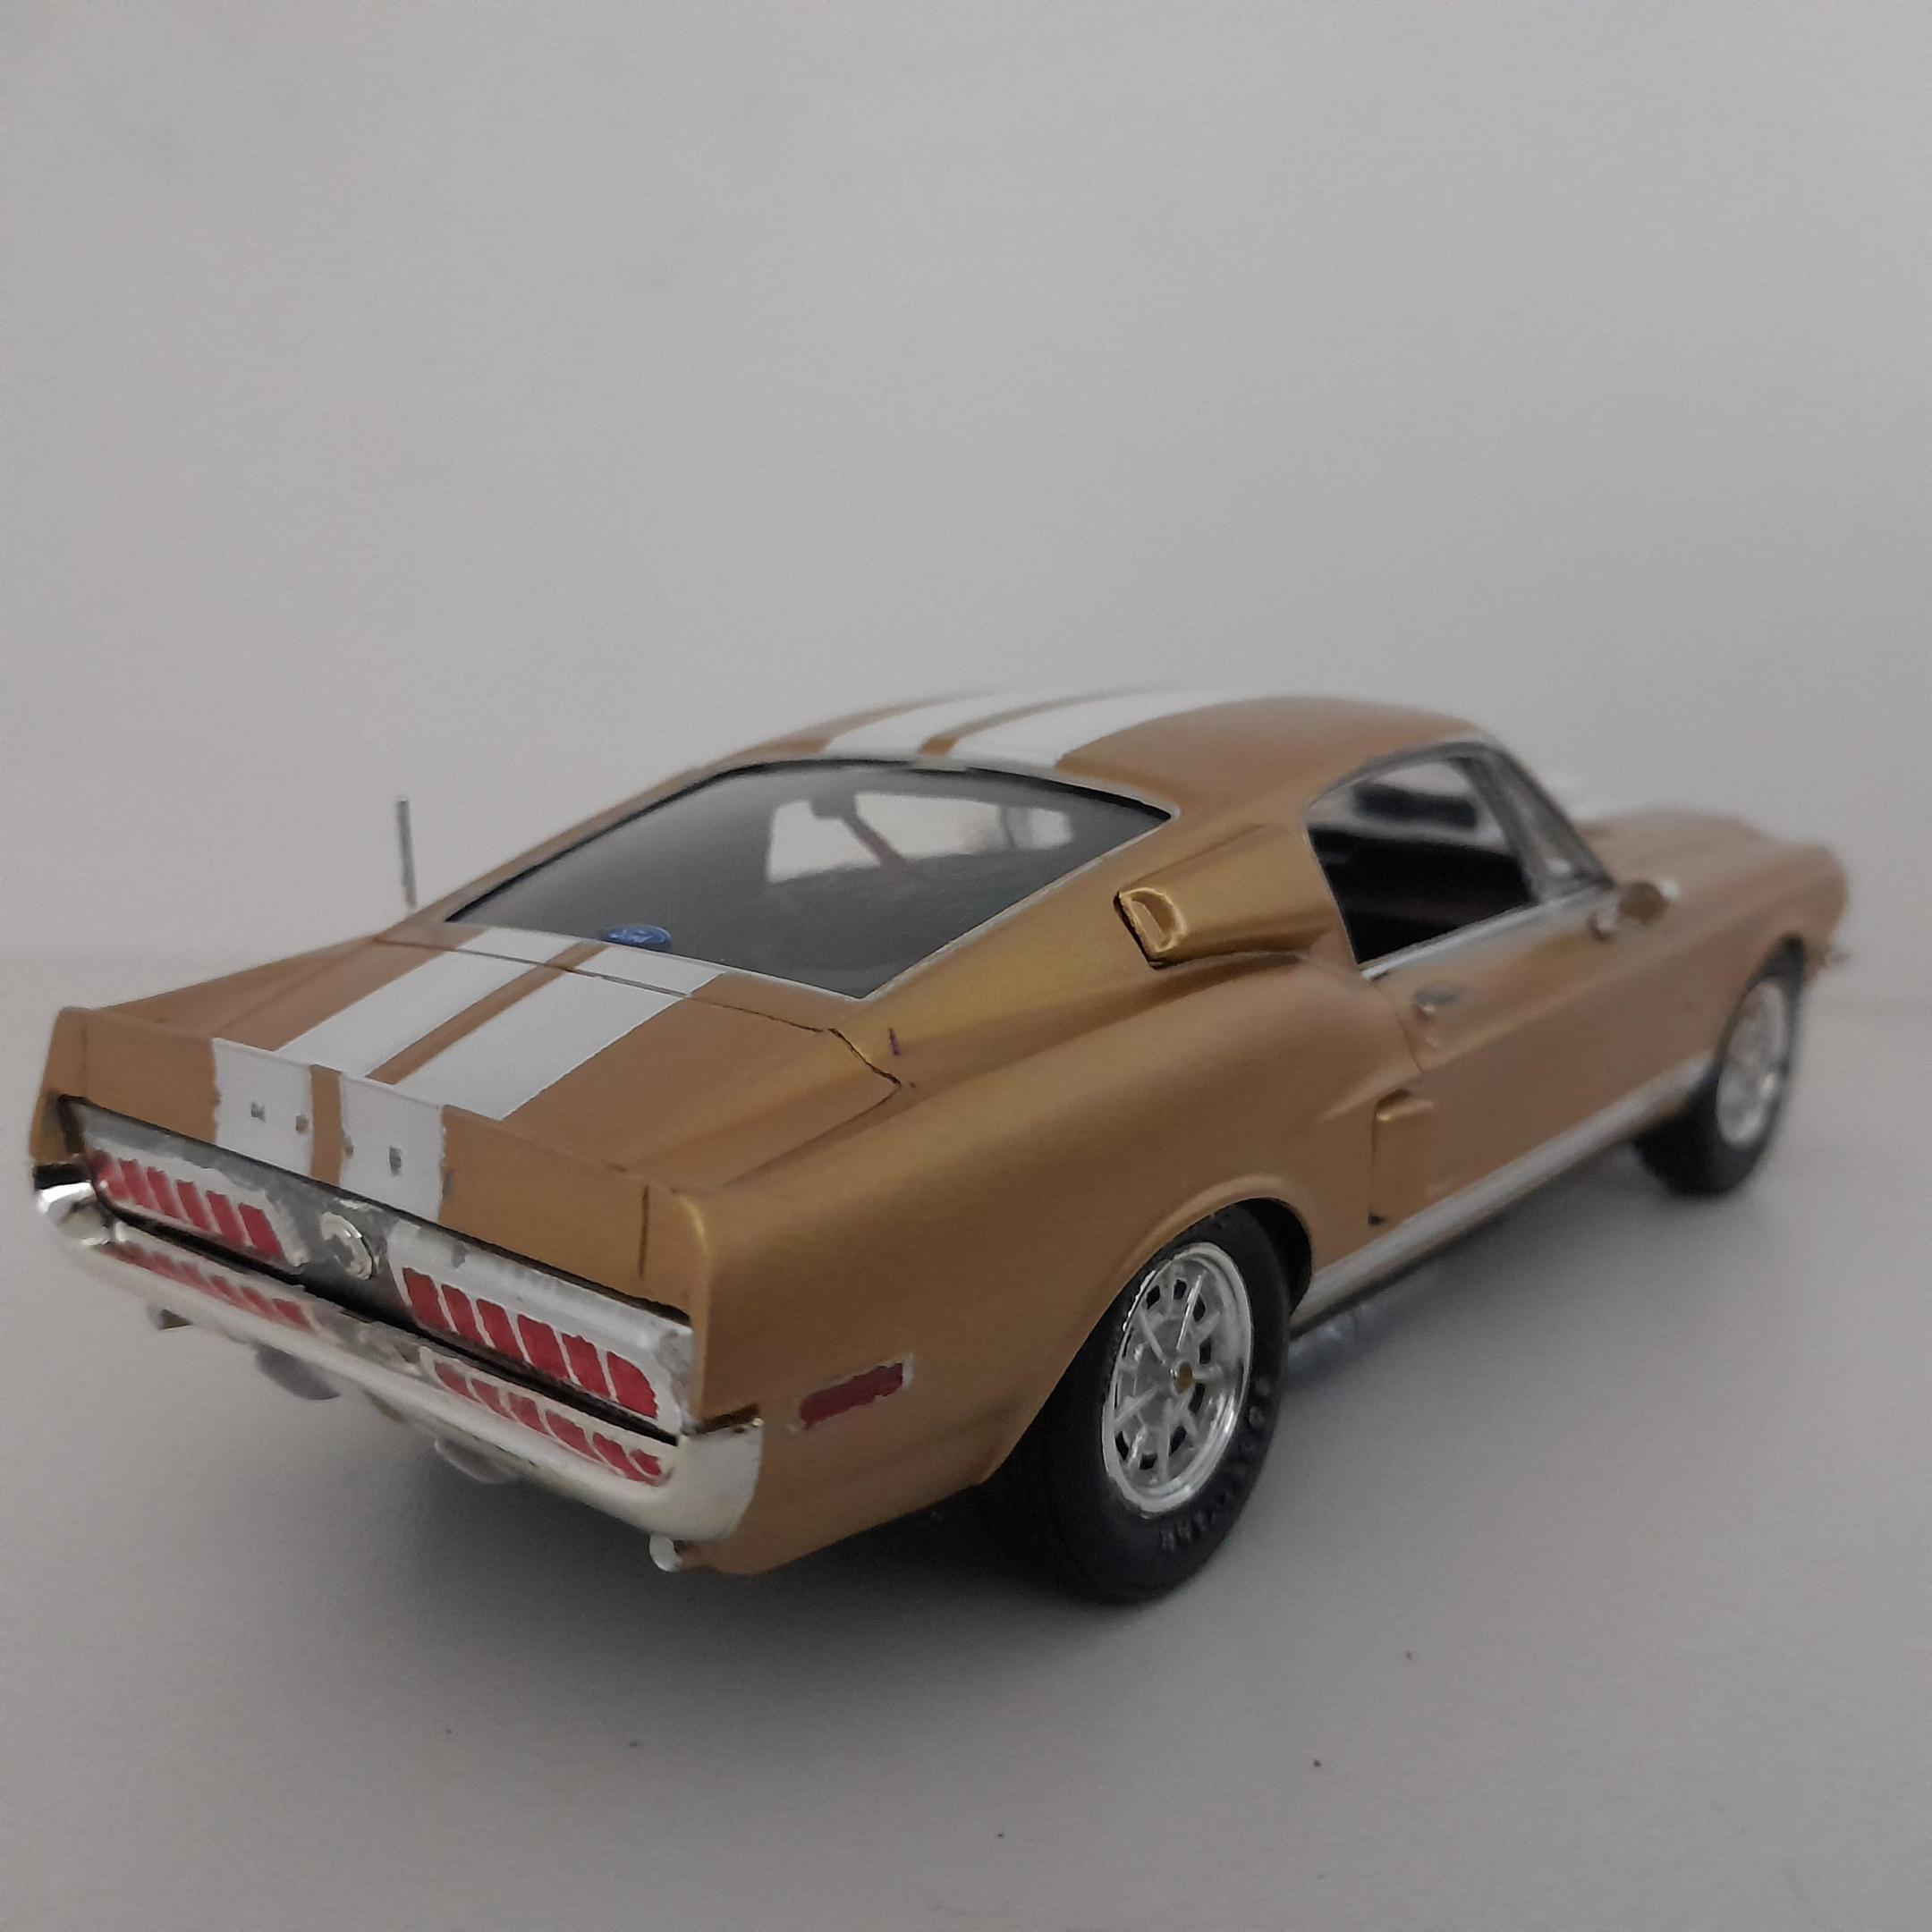
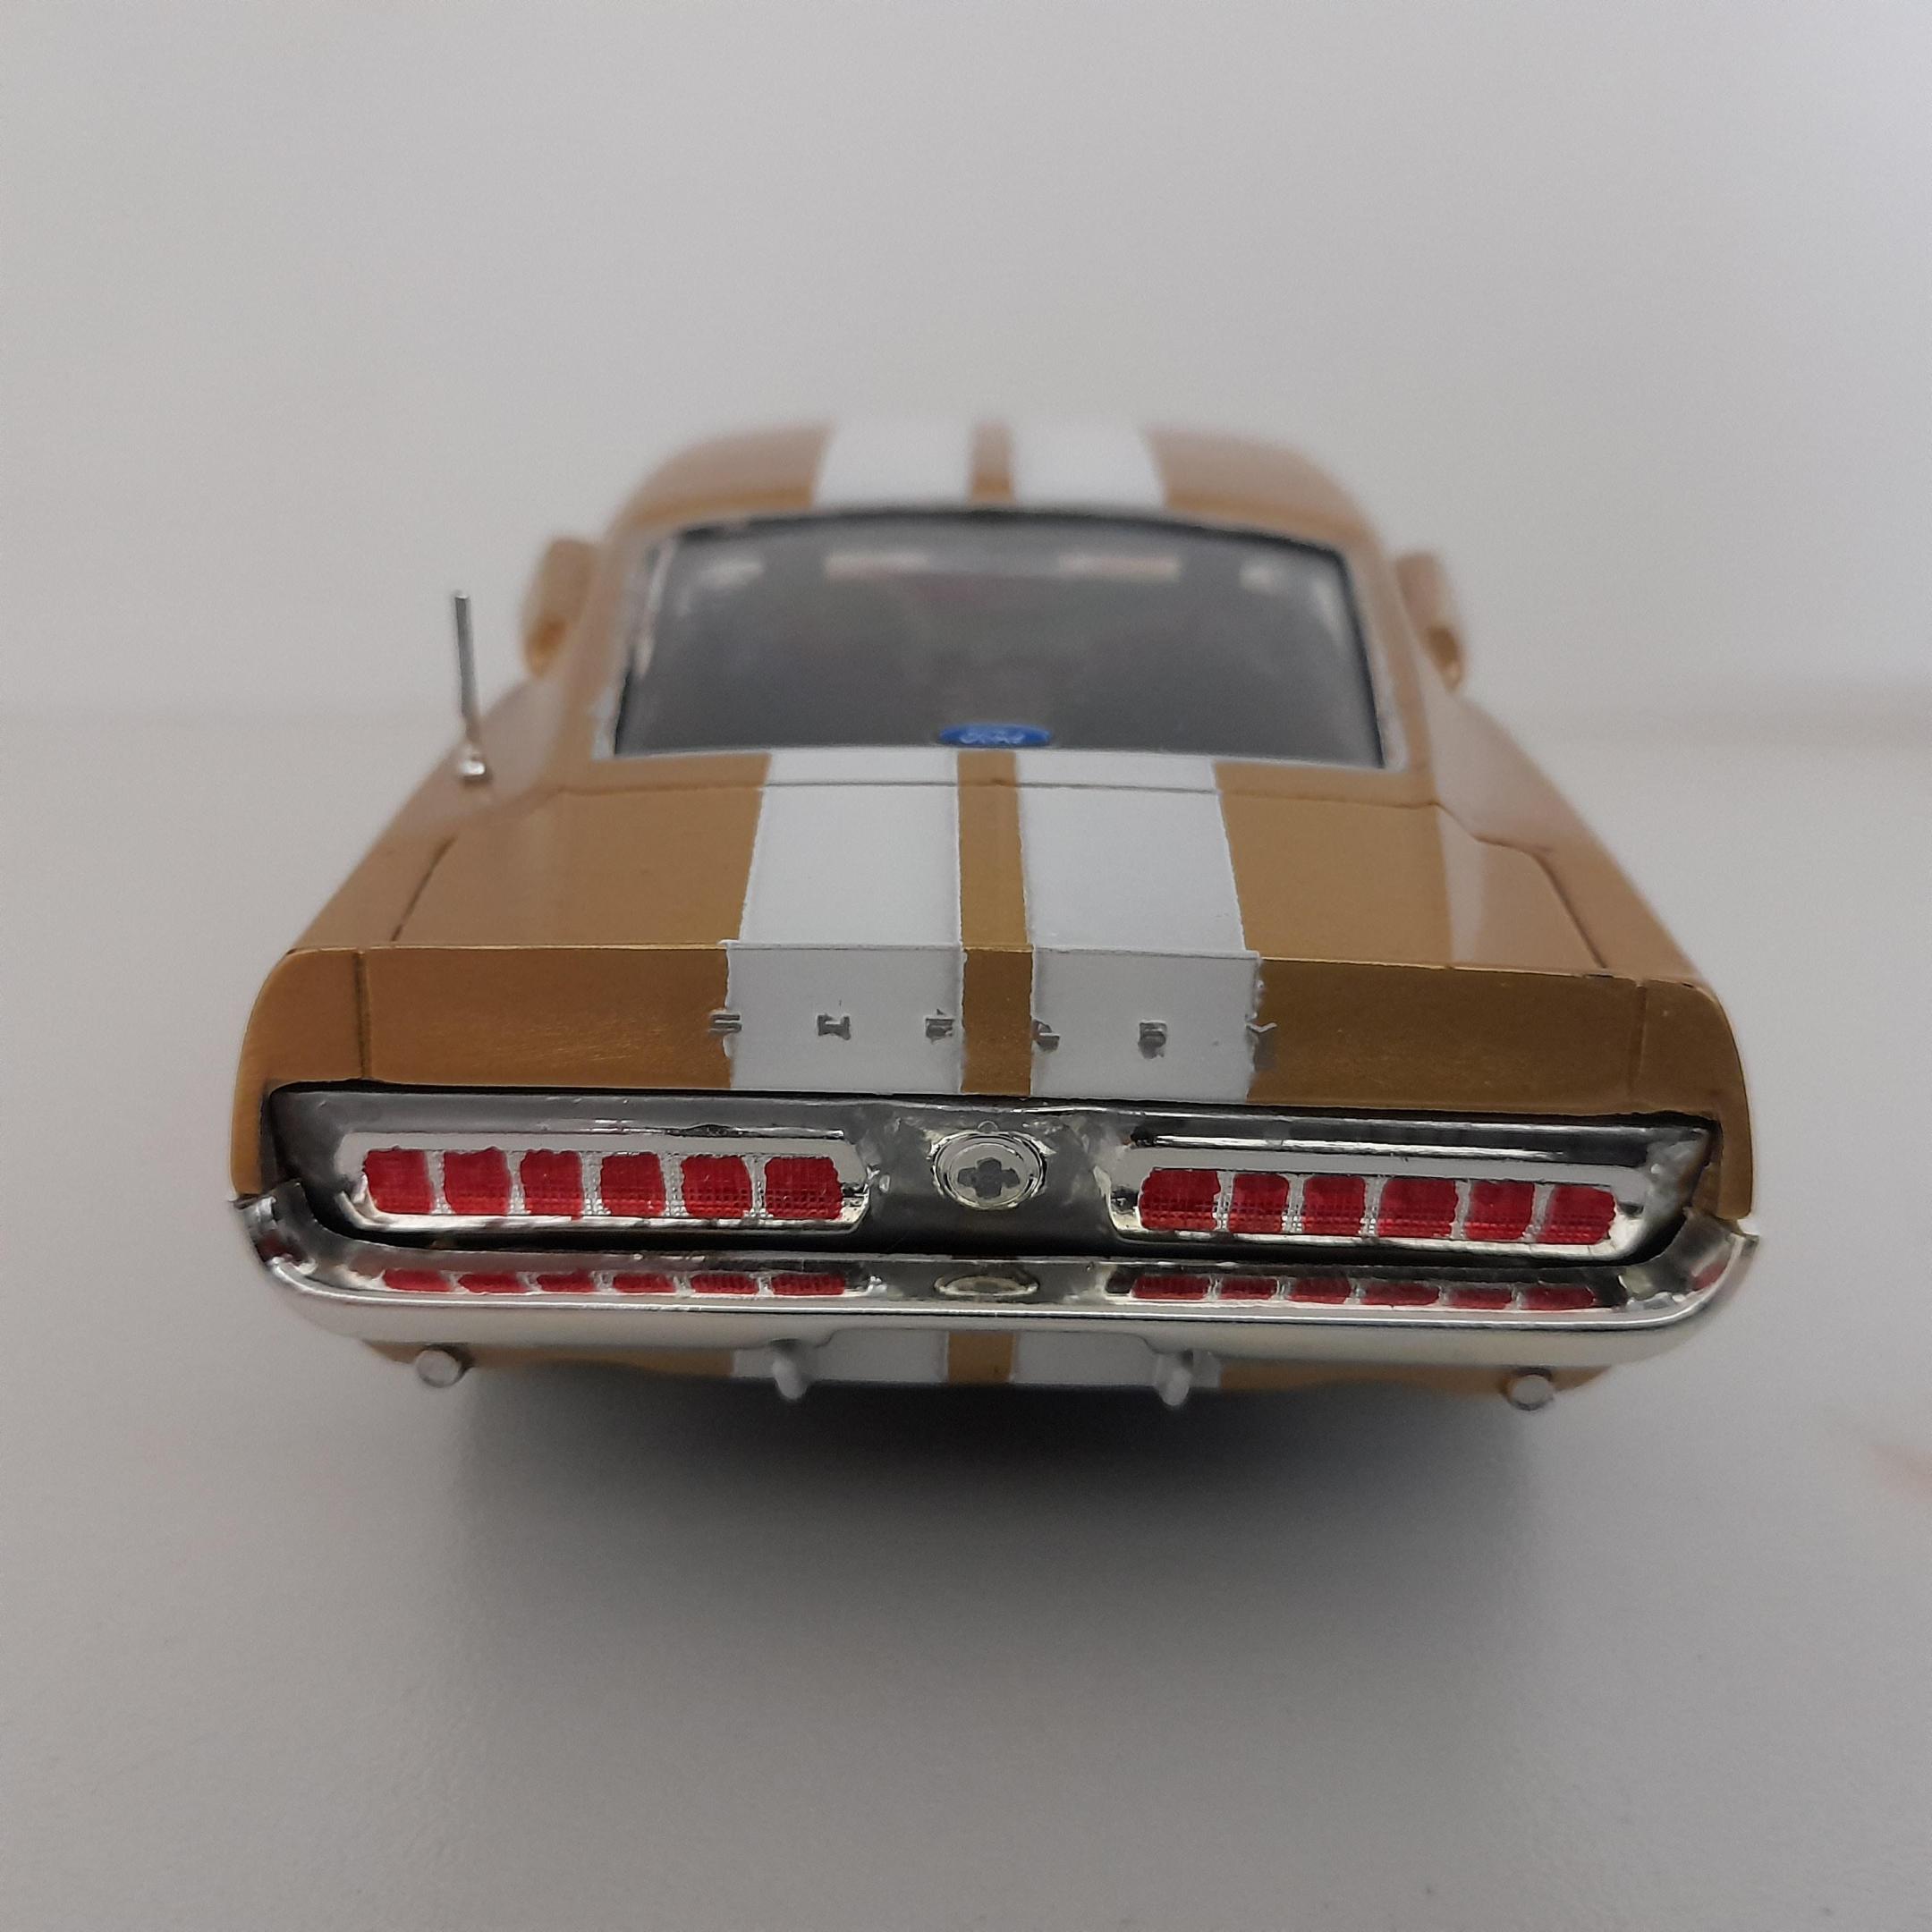
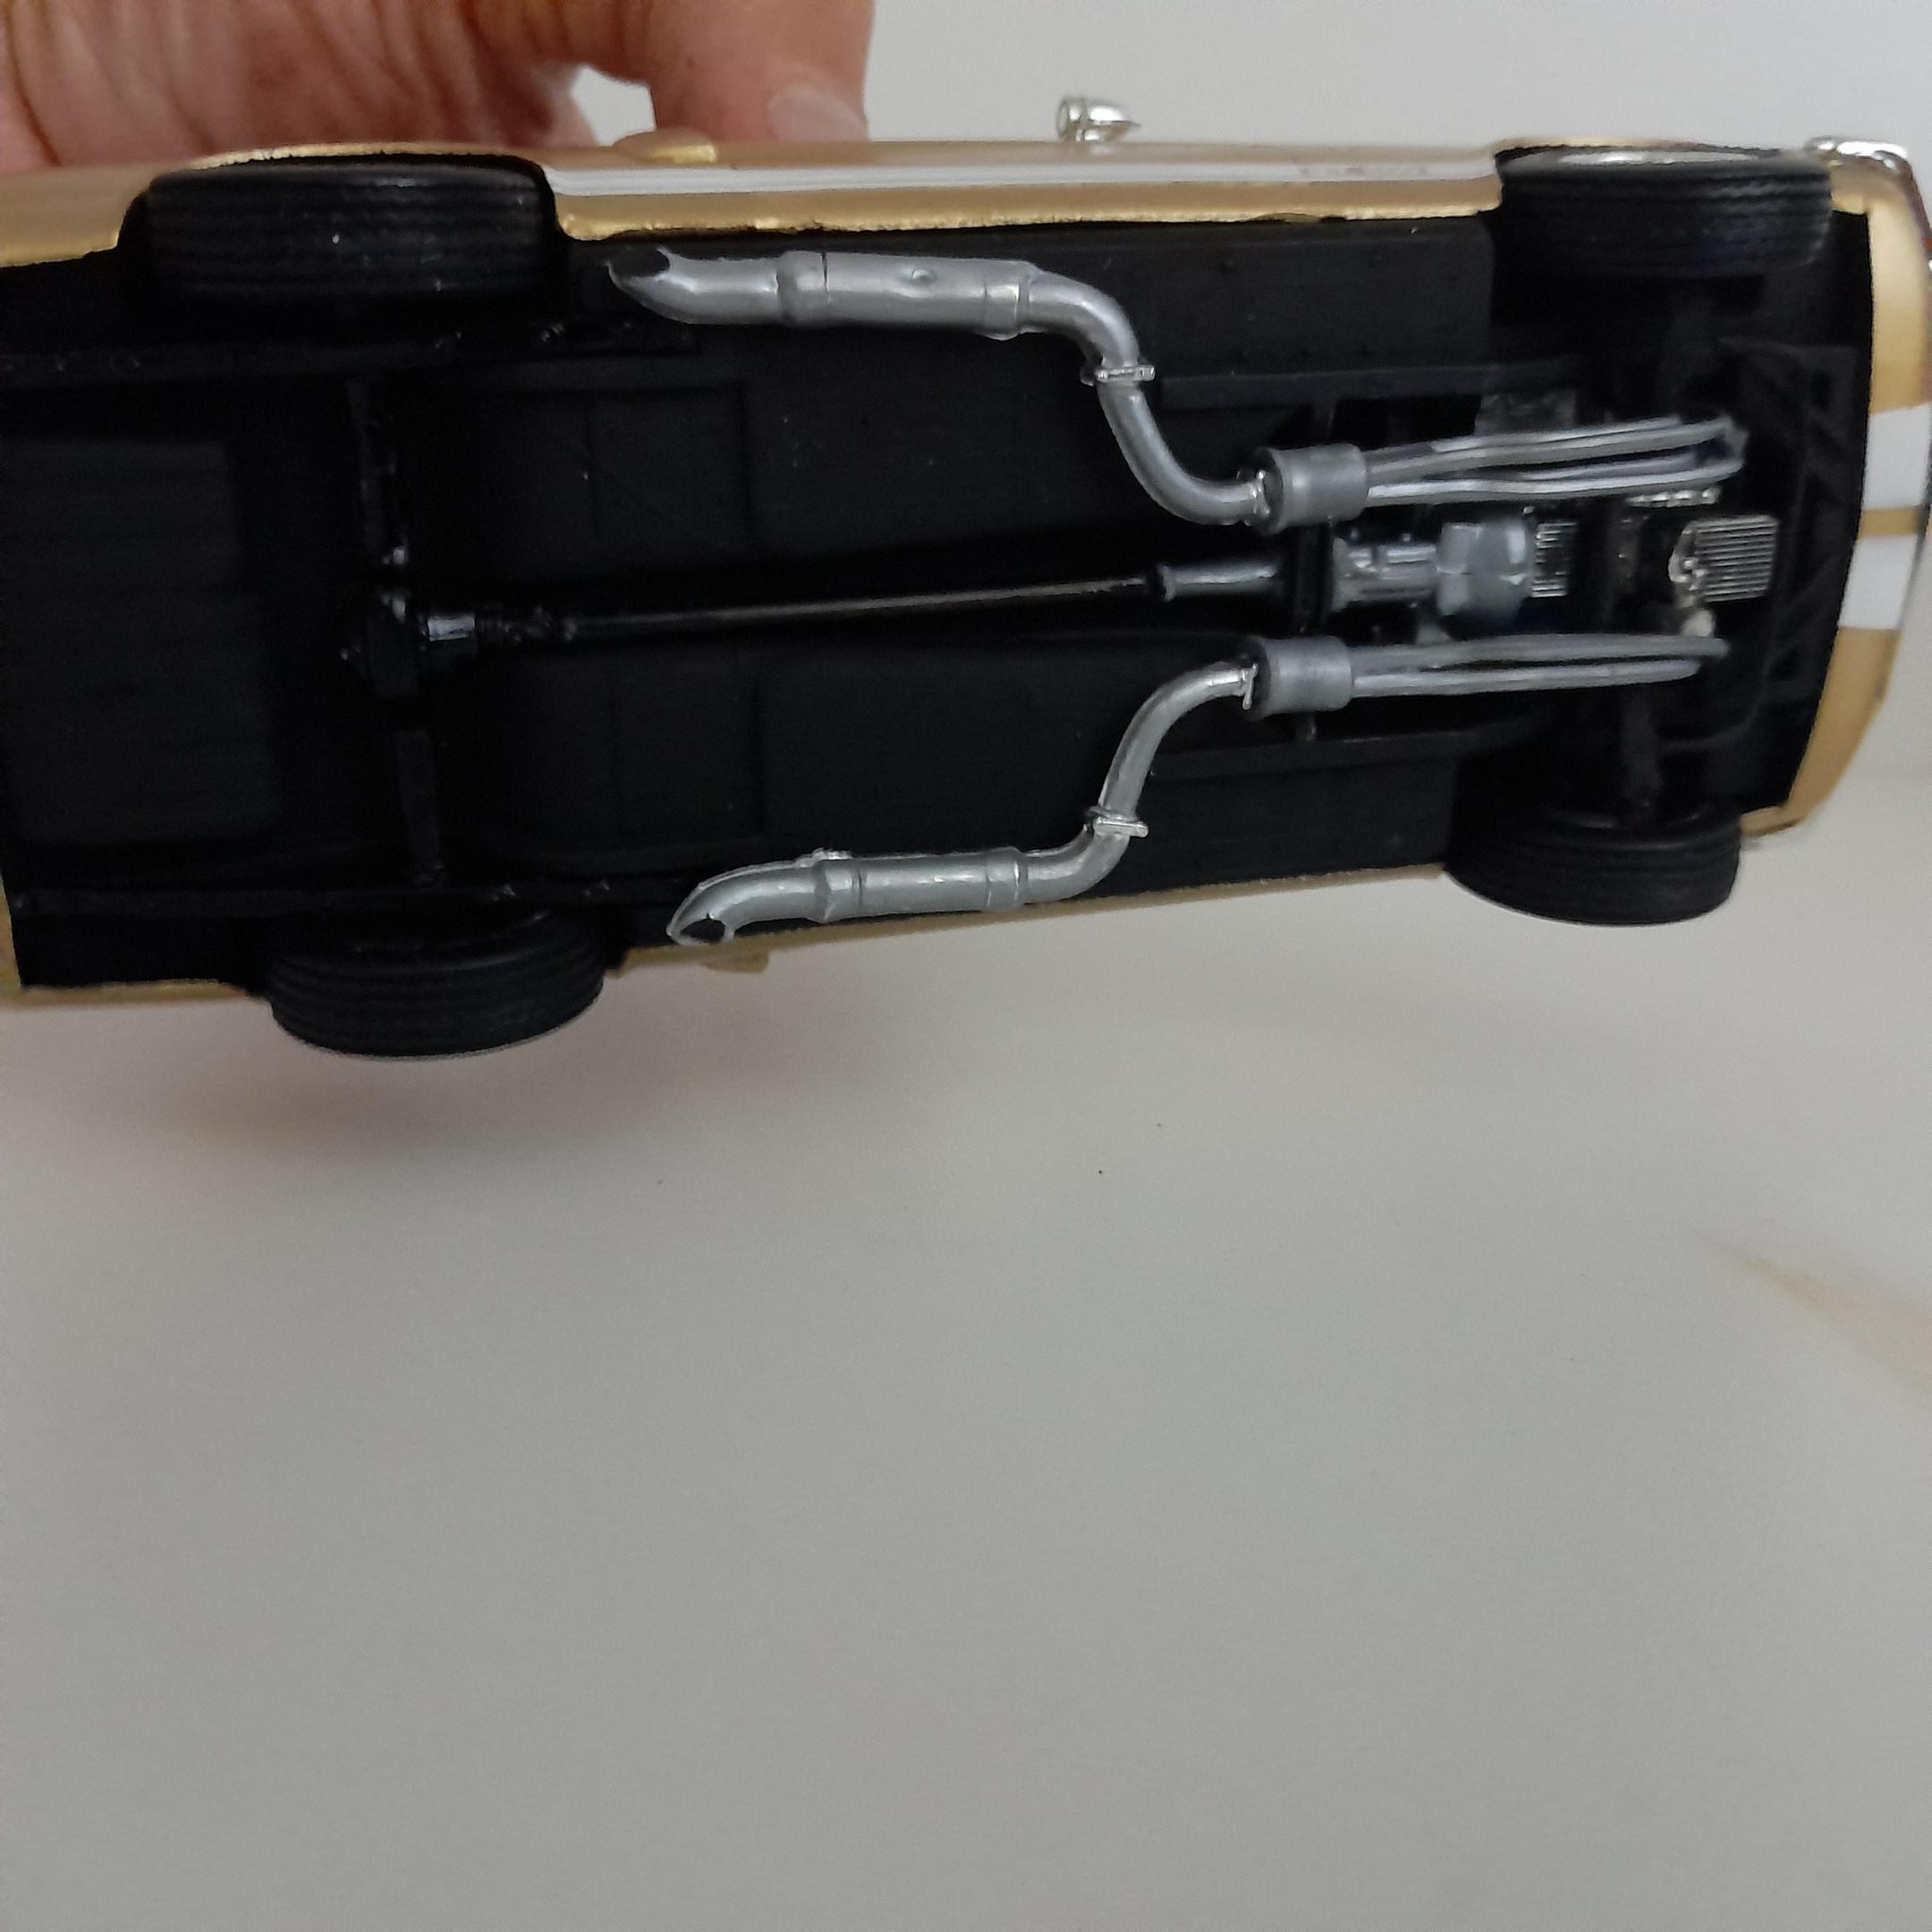
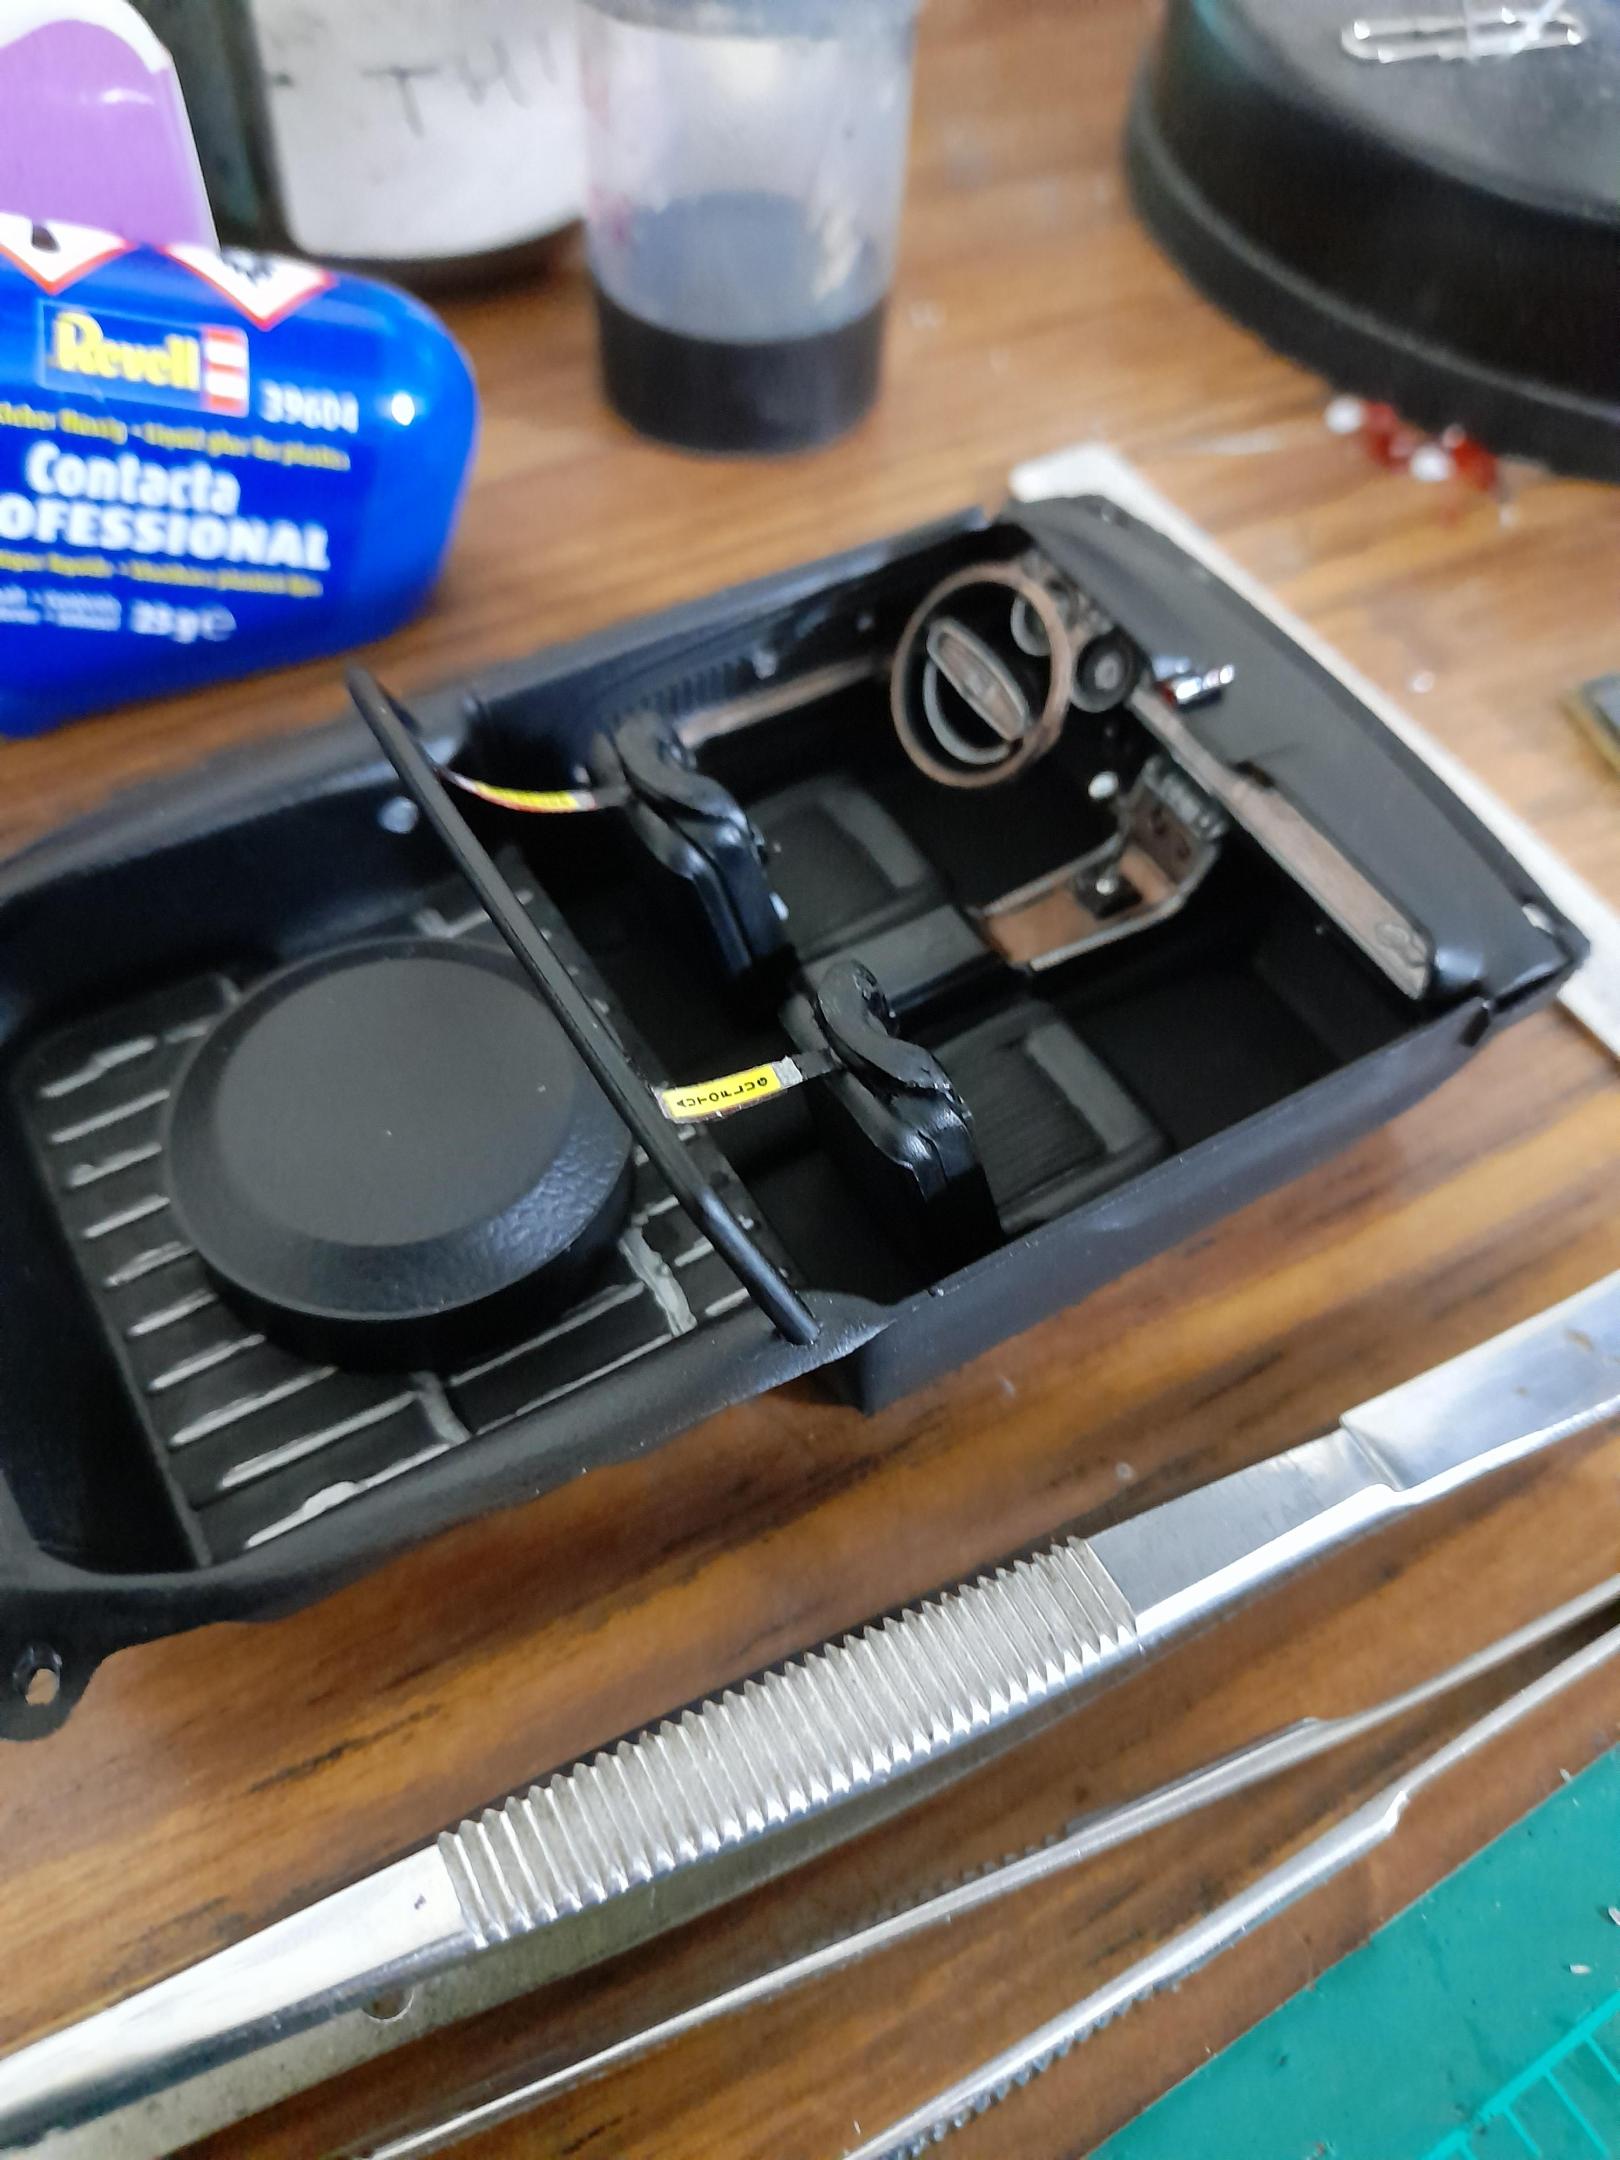
G'day all. Here I have my AMT/ERTL 1968 Shelby GT500 which I built about two months ago. I wanted to present it with the rare 427sohc option. I'm not sure if it was a factory option but I believe a few did have this engine. For it to fit, the hood had to be opened up, which I did but opted to use a scoop from my parts box to make it look more like Shelby might have done it if it was offered to the public. Please excuse the messy masking job, I had a bit of trouble with it. Exhaust was built with spare parts but looks wrong. Anyway, thanks for looking. All feedback encouraged and appreciated. Cheers, David 😎👍
-
Hello everyone, I assembled the Meng kit to reproduce the Ford GT40 Mk. II driven by Ken Miles and Dennis Hulme at the 24 Hours of Le Mans in 1966 I hope you enjoy it 😉 Click here for the WIP by Rodolfo Masti, on Flickr by Rodolfo Masti, on Flickr by Rodolfo Masti, on Flickr by Rodolfo Masti, on Flickr by Rodolfo Masti, on Flickr by Rodolfo Masti, on Flickr by Rodolfo Masti, on Flickr by Rodolfo Masti, on Flickr by Rodolfo Masti, on Flickr by Rodolfo Masti, on Flickr by Rodolfo Masti, on Flickr
-
I am not sure if this is one I built originally or one I got from my nephew. Anyway, it was built back in 1982. Originally painted Ruby red (?) Testors' candy enamel. It had a big hole cut n the hood so I covered it up with the hood scoop from the AMT 65 Ford Galaxie kit put on with the opening facing towards the front. It looks neat to me. The hood was cut open to allow the SOHC high rise intake and engine to fit from the AMT 66 Ford Galaxie kit. I removed all the old paint back in 2011 and then it kind of sat in a box for the longest time. I got another 68 Shelby kit in 2015 to rebuild and have just started to do a build of that kit with the frame from the AMT 67 Shelby. Since I have left overs from the new Shelby build I decided to see what I could do with this old one. Here are some "before" pictures of it taken back in 2011 before I removed the old paint. Here it is with the new frame installed and a new shiny Testors' Revving Red with wet look clear paint. I am going to use a Molotow pen over the head lights then do a smoke cover for them. I could not get the old grille/ bumper to fit so I'll run this without any grille in it. I might find some black mesh to put in that big opening though. I will probably use a body color 67 Bumper to cover the void and split that opening in half. That was the original plan with the front pan/grille. Body colored rear bumper. The tail light panel is painted Tamiya TS-42 gun metal. I am not sure what tires/wheels I'll be using as I only have one of the originals left. I have a set of black painted side pipes from the Monogram 66 Chevelle kit for it and I've found a new Pontiac Firebird rear wing for it as well. I also have the small chin spoiler to put back on it as well. Thanks for looking, all comments welcomed.
-
I got this kit years ago and have decided to give it a go. There was a lot of stuff to clean up on this one. This kit has a lot of problems, first off, the engine compartment is no where near accurate. The wheels only have lug nuts molded on one wheel, I think the interior rear seat is too shallow and the front seats are too small. I think the L60x15 tires are too big. The engine is a bit of a mess, the combined grille/bumper is wrong, plus we get chrome headlights and driving lights. The tail light section is all chromed as well. And finally the frame looks a bit generic. I can't tell you about the accuracy of the body though, but I think it captures the look of a 68 Shelby. This is the kit I am building. I fixed most of the kits short comings by getting an AMT67 Shelby and will be using the frame/engine compartment and running gear from it. I have an AMT 66 Mustang kit coming for better Shelby wheels. The kit tires/wheels. I will be using the tires from the 67 Shelby kit along with the Shelby wheels from the 66 Mustang kit. Even though the wheels from that 66 coupe kit are not as wide as they should be, they are worlds better than the ones that come in the kit These seats are too small when compared to the seats from the 67 Shelby. I think this back seat is way to shallow. Door panel is pretty flat and would be hard to detail. I am hoping the Revell 68 Mustang GT kit has better door panels and that I can graft them onto the 67 Shelby platform interior/frame section. I have ordered a Revell 68 Mustang GT kit for the seats & door panels and will use the AMT kit supplied dash and center console along with the center console arm rest. As a lot if you know, when AMT redid this kit they combined the grille and front bumper as one unit. I started to compare the 67 Shelby front bumper to the 68 front bumper and noticed the overall shape is identical. So I cut off the existing bumper from the 68 Shelby kit and will be using the bumper from the 67. All I will need to do is to remove the two bars that hang down below the bumper to have an accurate 68 Shelby bumper. After I cut off the original bumper from the grille. 67 bumper test fit on 68 Shelby. The two bumper teeth will need to be removed. I have the grille and rear tail light section soaking in Purple power to remove the chrome. I'll clean up the area around the grille where I removed the old bumper, glue it into the body and shoot it body color. Once that is done I will go around the outside with a Molotow pen to do the chrome stripe. The plastic grille section will be cut out and replaced with some black mesh I have. The 67 Shelby kit will donate the clear headlights and my parts box will supply the rectangular driving lights to replace the chromed ones that come in the kit. I am also thinking I want to substitute a different big block Ford engine for the one that comes in the kit. Maybe one from a 65 or 66 Galaxie. So, bottom line, I think I can make a pretty nice replica of a 68 Shelby GT 500 from this kit if I use parts from the AMT 66 Mustang Coupe, AMT 67 Shelby GT350, Revell 68 Mustang GT, and AMT 66 Ford Galaxie! Thanks for looking, all comments welcomed.
-
Just started a simultaneous build of 5 Mustangs. This is #3. Just finished prepping the body for paint. Once I have all the bodies prepped I will paint them all the same day.
-
Ok, I'm finding all these photos of my old builds. Here's a Shelby Mustang. I think it's like '67 or '68. Ya'll tell me
-
I started this back when I was 6 years old, incredible it never got destroyed. Maybe now I can finish it.
-
This is my first build on here, so sorry if it is badly worded or done, but to start it off I’m a 14 year old, and have been building since the age of 5 1/2, starting that age with my dad, building on my own since age of 7-8 years old, but enough of that. It’s a Revell 1/24 1966 Shelby GT350, and I’m not sure how I want to build it, I had a dream a couple of days ago about a vintage racing school, where you learned vintage racing, and in that dream there was a 1966 Shelby GT350, so I might build it as that, but I’m not sure yet, also, when I try to upload progress pictures, from my phone which is what I use to take model progress, it says error, no matter what I use, is it an error with the pictures or? I need input.
-
This is my fully detailed, customized Revell Cobra 427. There is so much that I did to this, so heres a few things; I replaced the hood scoop for a Fujimi one, I made the windscreen frame from aluminum, and SB the mirror Brackets. The side pipes are made from aluminum tubing, and the jack-points are photo-etch. The interior has real black lacquered wood, and the seats are modified Lotus Esprit seats. I put Pirrelli PZero tyres from a Tamiya Ferrari F40 kit, and the wheel centers have real cotter-pins in the spindles.
-
When I attended the 2013 IPMS Thin Air Nationals in Denver, took the tour to the Shelby museum, and the Clive Cussler collection. You have to enjoy the irony, of military focused IPMS having tours of car collections. Posting just a few pictures of the Shelby collection, which is a cooperative of several owners. Car #21 is very special, it's the test mule in unrestored condition. IMHO it's fairly easy to build a model that is clean and shiny, but take a look at the patina of that car.
-
Hello, all. My name is Arturo, and I'm relatively new to the forum. I'm a Ford Mustang guy, and am currently building a 1968 Shelby Cobra GT500 by AMT in 1/25 scale. The progress is slow, as I want to add in as much detail as possible, and the AMT kit is mediocre at best, but I can't help but think about my next build. I'm looking to replicate this car as closely as possible, down to every last detail: https://www.mecum.com/lots/SC0513-154080/1967-shelby-gt500-super-snake/ I have an AMT 1967 Shelby GT350 that I plan to use the body and parts for this build, but I'm having trouble with two things,;the tires and the engine. Per my research, the engine is the same 427 used in the Leman's winning GT40 MK II, but Shelby modified it for this test run specifically. I've purchased the Revell parts pak 427, for the build, but that comes with a dual intake manifold, and per pictures of the actual engine, I think Shelby used a single cobra hi-riser manifold. The problem is, I can't seem to find a decent cobra hi-rise manifold. The car itself is 1 out of 1 built, and was used to showcase the promotional Goodyear Thunderbolt tires, which is my second issue. I've no idea where to find the tires used, or anything similar. I figured with all the knowledge and expertise on here, someone might be able to steer me in the right direction! Regards, Arturo
-
First time posting here, I haven't been finishing many models the last few years (starting lots of them but not finishing). I thought maybe if I posted a few it might get me going to finish them. Here's the first one I have, probably the closest to being done. Need to finish interior, engine and a bit of detailing. Love to hear your thoughts.
-
I found this website after Googling and stumbled upon Shelbytonas thread about the Daytona model he was working on. Unfortunately, his thread or project appears to be unfinished. I'm definitely going to use his photos as references though. I owned two of these cars in real life, both 1988's, both Shelby Z's, both white with maroon interior but one had a blue stripe. Anyways, here's the progress so far: The car: I'm choosing the striped one as my inspiration because I wanted to try painting stripes instead of using decals. This is also the first time I've used an airbrush, which I'm borrowing from my brother, and first time with acrylics. I think the bulk of the painting with airbrush is done, now onto the gluing and brushes.
-
Hi all, well after about two years I finally finished my model. This is probably the best level I have done. I bought a compressor to do air brush painting, chrome marker for window trim. Stuff I never did before. Undercarriage is based on some stock looks when they resprayed at the Shelby facilities. Still had some funky stuff with fitting things (hood warped, body doesn't fit exactly flush on passenger side, etc...) But overall, very pleased on final results. Of course I love to take photos so here they are!
-
I started this build way back around Christmas of 2016 and recently got around to finishing it. I hope it isn't too hard on the eyes. I had allot of problems with getting the frontal area to fit right, warped pieces and my eyes don't mix too well these days. At any rate it was a fun build when things went right. I call her "GOLD FINGER"! IMGP0010.PEF IMGP0019.PEF IMGP0012.PEF IMGP0024.PEF IMGP0030.PEF IMGP0034.PEF IMGP0031.PEF
-
Hi all,,got this at a recent DAMM swap meet show,,10$-- 1/2 started glue blob. I ez-offed every thing,,and went for this burnt orange/root beer color ,,testors quik dry spray,,,and decided to change the intake of the big 427. as well. Hardware store nylon step washers/spacers {8 cents a piece} for the injector tips,,scratch built injector tubes,,gonna do a few other "non-normal" things to this one. Well see what happens,,keep up the great woks! S
-
Hi all. Well this is been a slow ongoing model build. I finally got the body sprayed and just yesterday I clear coated it. This is the first time I've gone this this level of spraying using a Badger air brush. These pix are before clear coat. The undercarriage is based on some pre undercoated Shelby bodies I've seen on the web. They have that little over spray on them which I thought was cool to try. Next step is wet sanding/compounding the final clear coat. Really want to see if I can make this thing shine!
-
Hi all, I've been working on a '68 Shelby Mustang for about 1 year now. Trying to get back into it from a long time not building. I wanted to really step up my game with an air brush. I just finished with the color and now I'm going to be going to the clear coating. I looked up Shelby Mustangs and they had this cool "over spray" on bottom of car when it was not undercoated. So I went the red undercarriage and did a little overspray for the bottom. Haven't done much else yet.
-
There was a thread talking about Greg Wahn's Eleanor and I didn't want to hi jack the thread by posting pics of it on there..... Greg's casting of the iconic movie Gone In 60 Seconds 2 is one of the best castings I've seen!!! As of these photos the car is near done!!! Just havle to put headlights in, strut tower braces and the three bar code spinners on the wheels!!!! Photos do not do this car justice!!!!! I used 32 Ford headlight buckets for the build, photoetched grille, three bar spinners. I can get some better pics up later if anyone wants me to!!!!! the paint is the actual color of the real car..... I also used Keith Marks GT 500 decal set...
-
Well, she's finally done! And finally a couple shot with a different lens that should be a better approximation of what a human eye sees looking at one of these: A really nice base kit, much enhanced by the Fine Molds white metal parts (plus you end up with a spare 427 engine!) bestest, M.
-
Decals from Revell Firebird 3n1, the actual Shelby kit, the Revell Camaro Z21, and the 48? Ford. Engine from Firebird. Yes, I am ashamed, but the engine for it went missing and this one had velocity stacks, so that's a plus. Tires are my favorites, Firestone Supremes. I have about 12 sets of em, so I got to like them What d'ya think?
-
They are back with this. 2015 Mustang, Ill shelby it up the best i can. Itll be a quick build. Remember blurry pics on workbench smooth pictures for underglass. Starting off with a reminder of what the blue crew contains at the moment. What im going for look wise What i have so far... It got to pose with my favorite shelby of all time the 67 GT500 428
-
My Bad... back later with pics, doh! AMT kit with donor engine, front wheels from Revell 2010 Shelby. Tires from Tamiya Silk Cut Jag. First time to mess with the body so let's see how it goes. Found DSE Aluma-Frame on the web and it looked cool so I decided to try and make one. I think it will look better once painted and under the car Later... Hog
-
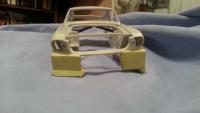
Hi everyone, this is my first post here and wanted to get some feedback. This is my first model in years so any help is welcome. I'm using the amt gt350 kit and have been using a 2 part epoxy putty to create the Eleanor signature body style. Thanks for looking!
