Speedpro
-
Posts
842 -
Joined
-
Last visited
Content Type
Profiles
Forums
Events
Gallery
Everything posted by Speedpro
-
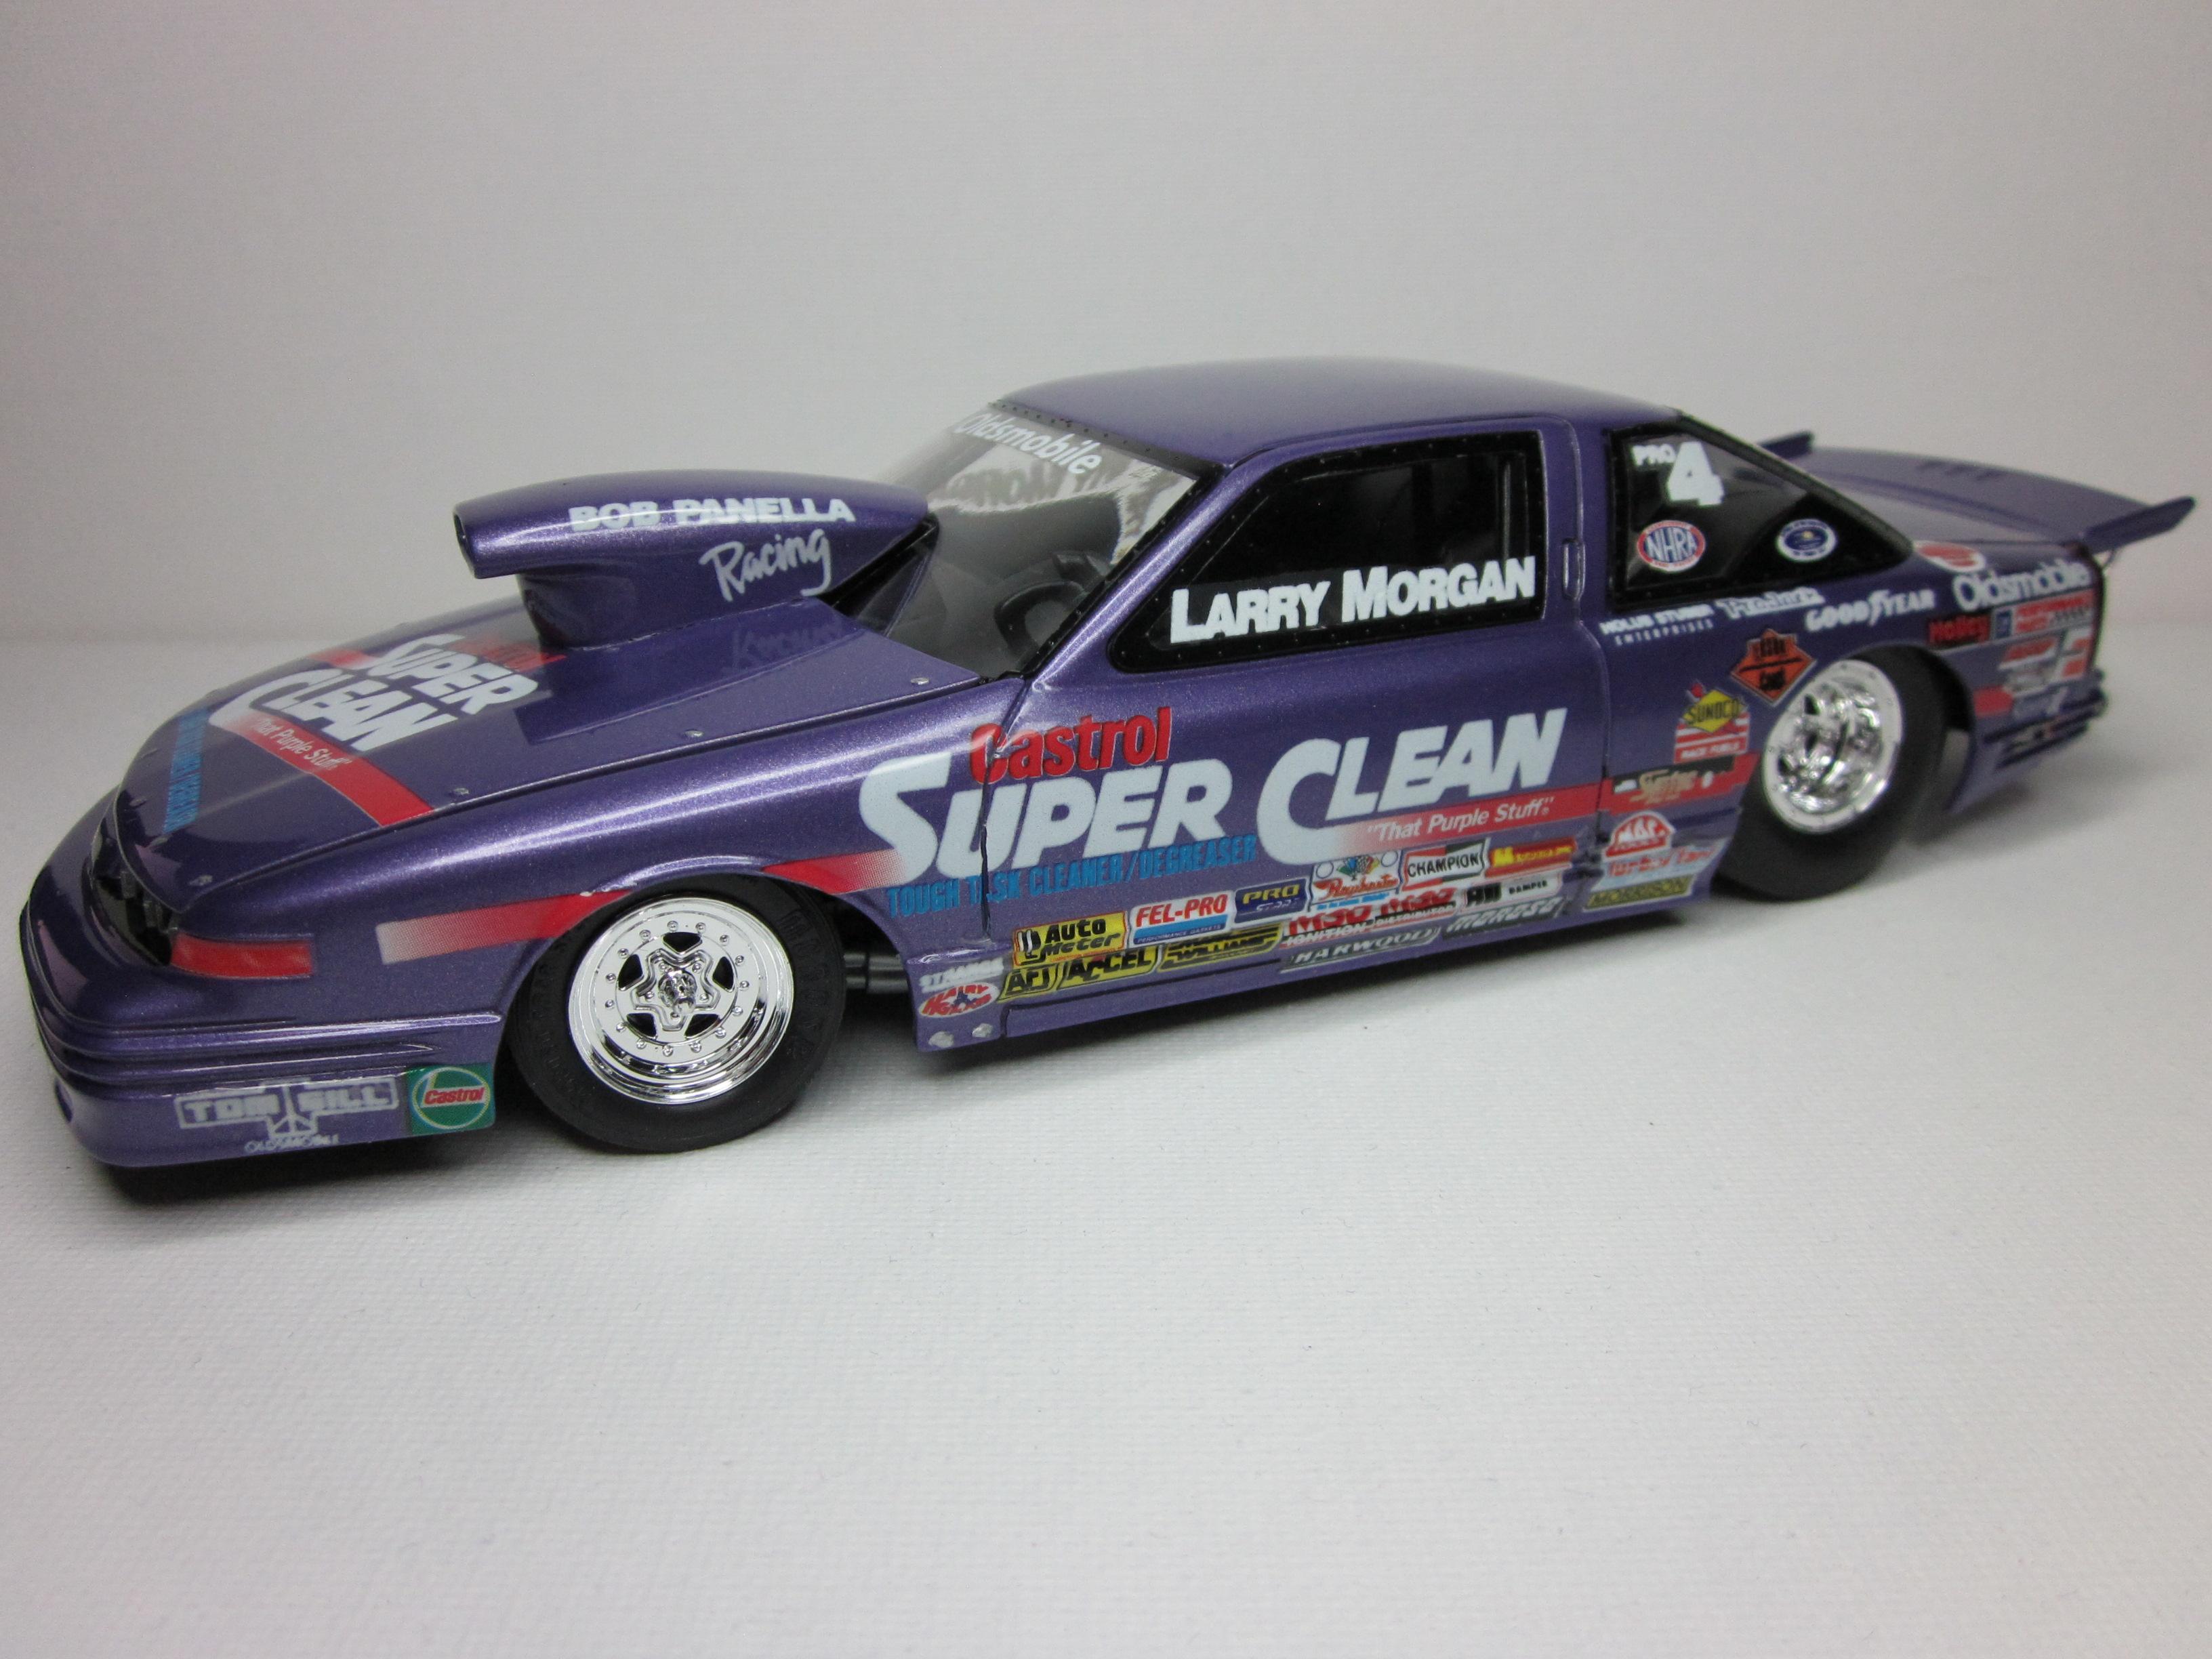
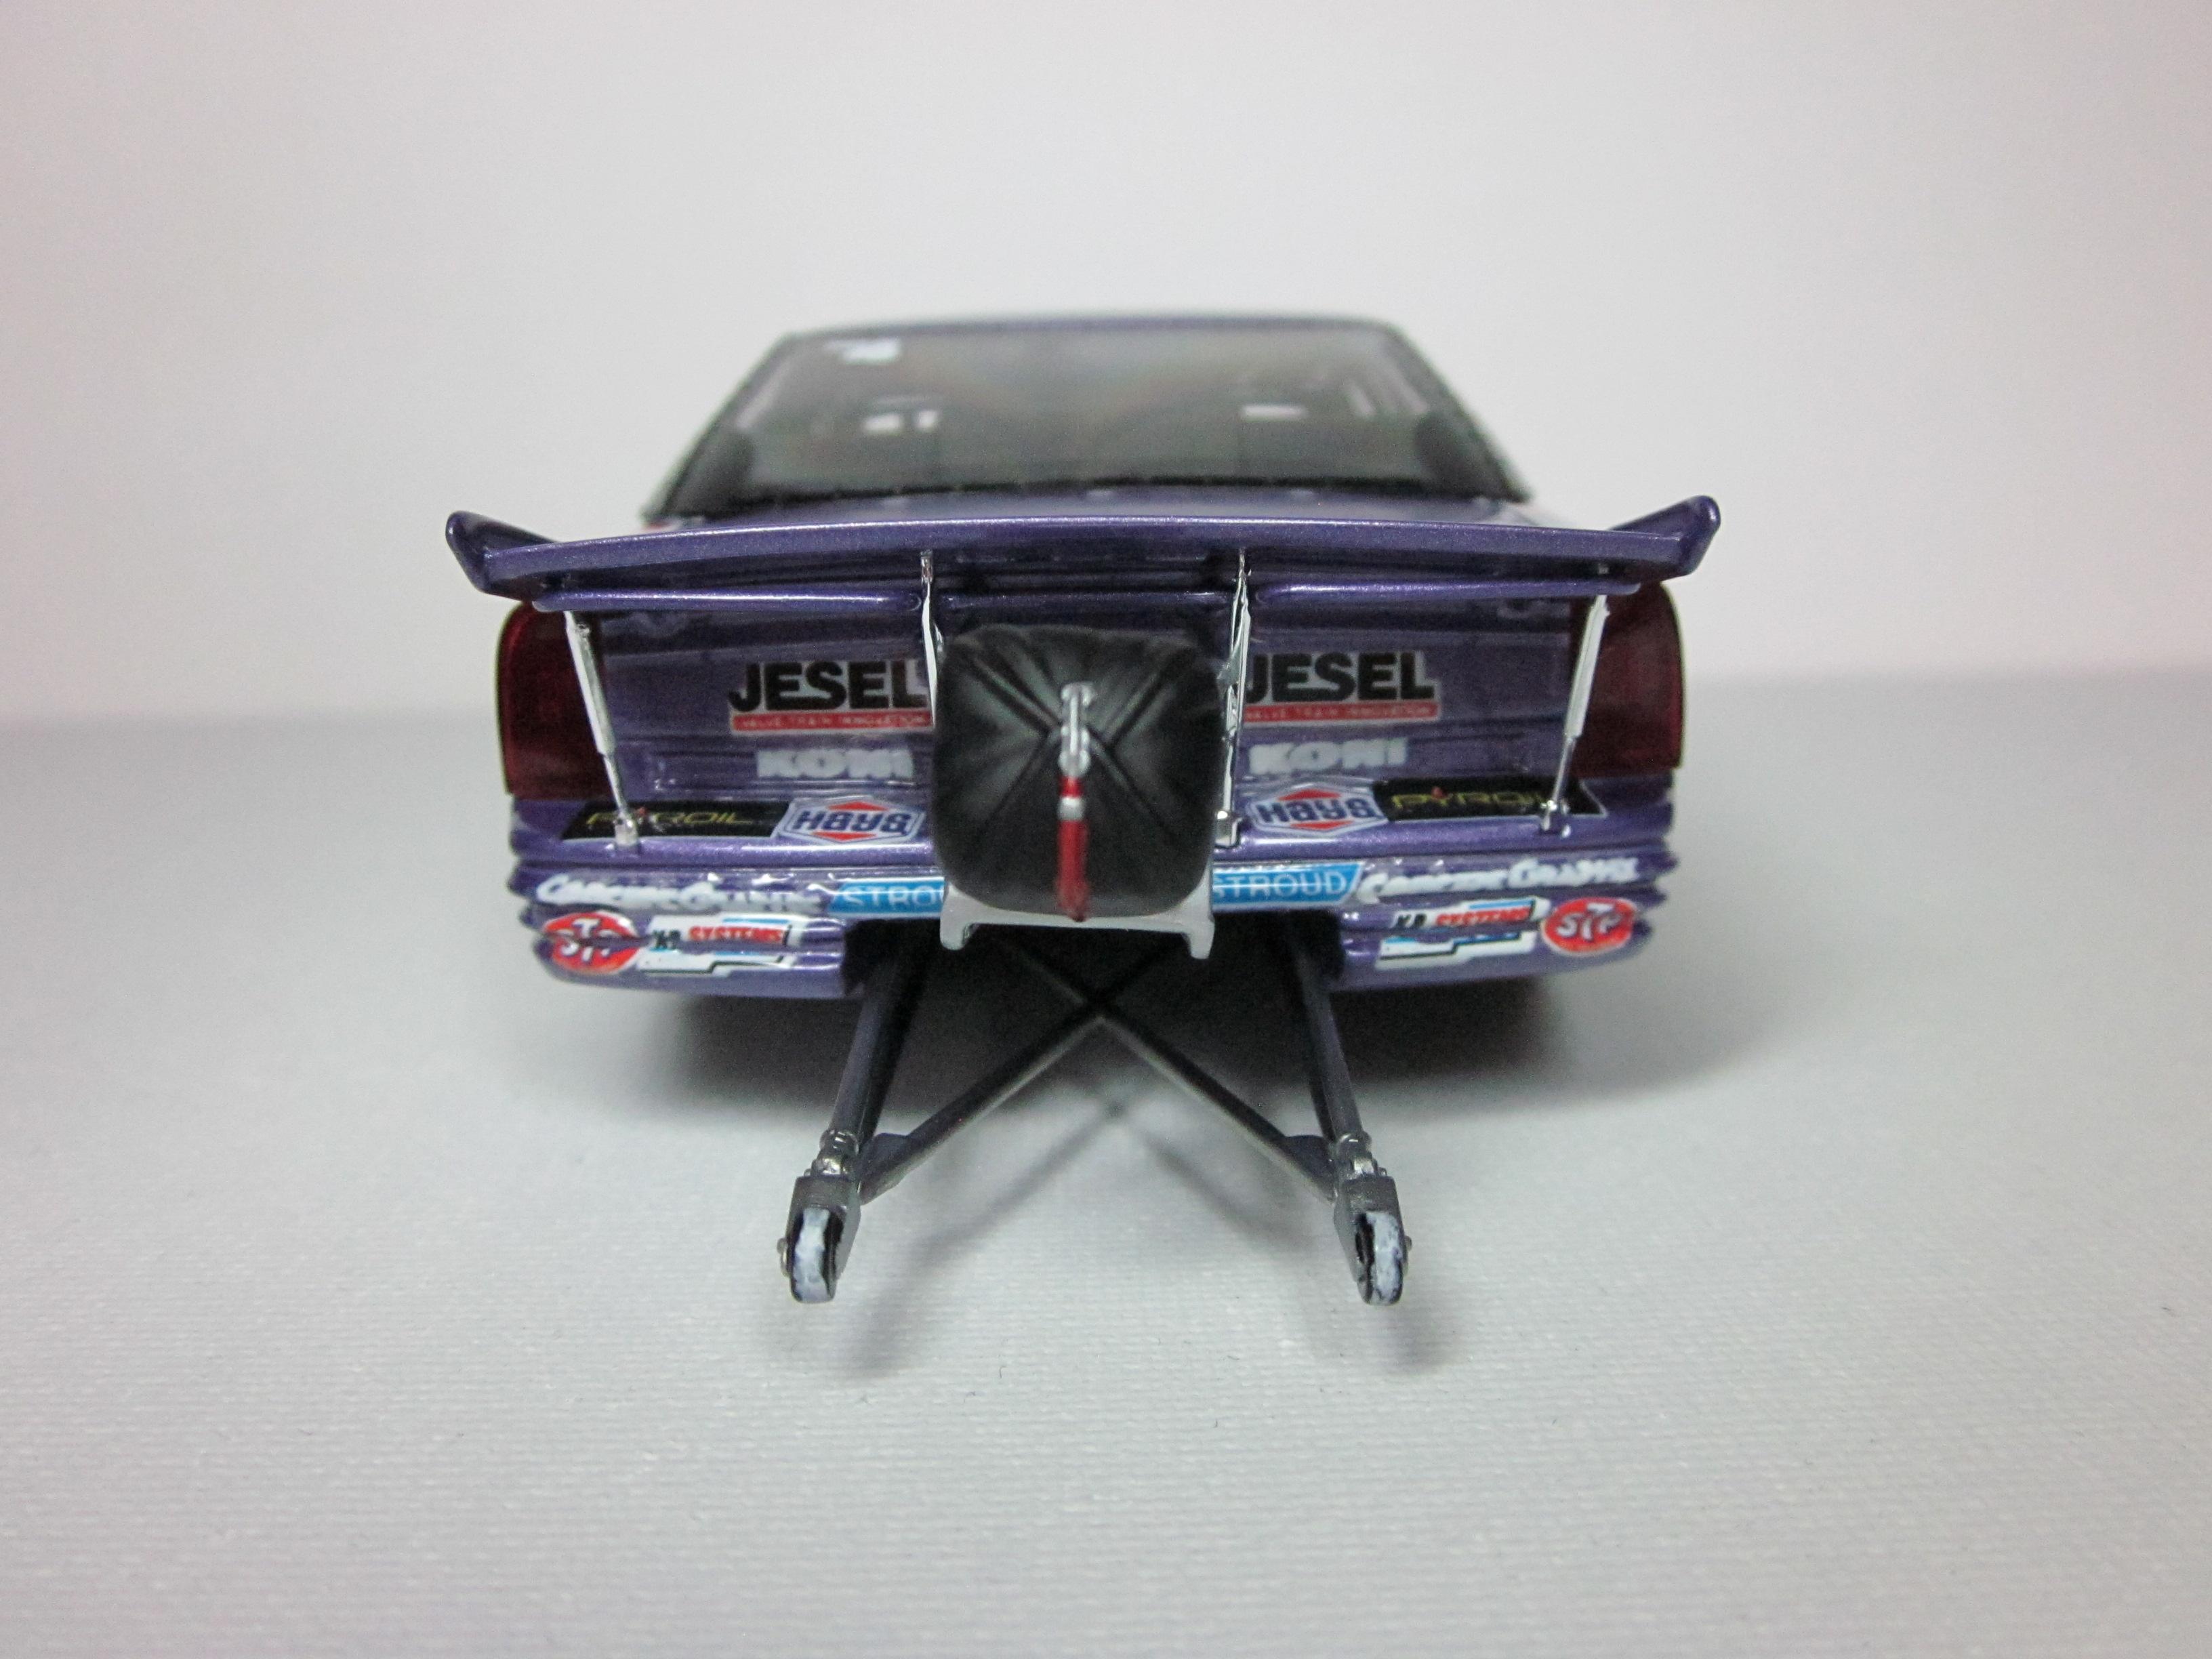
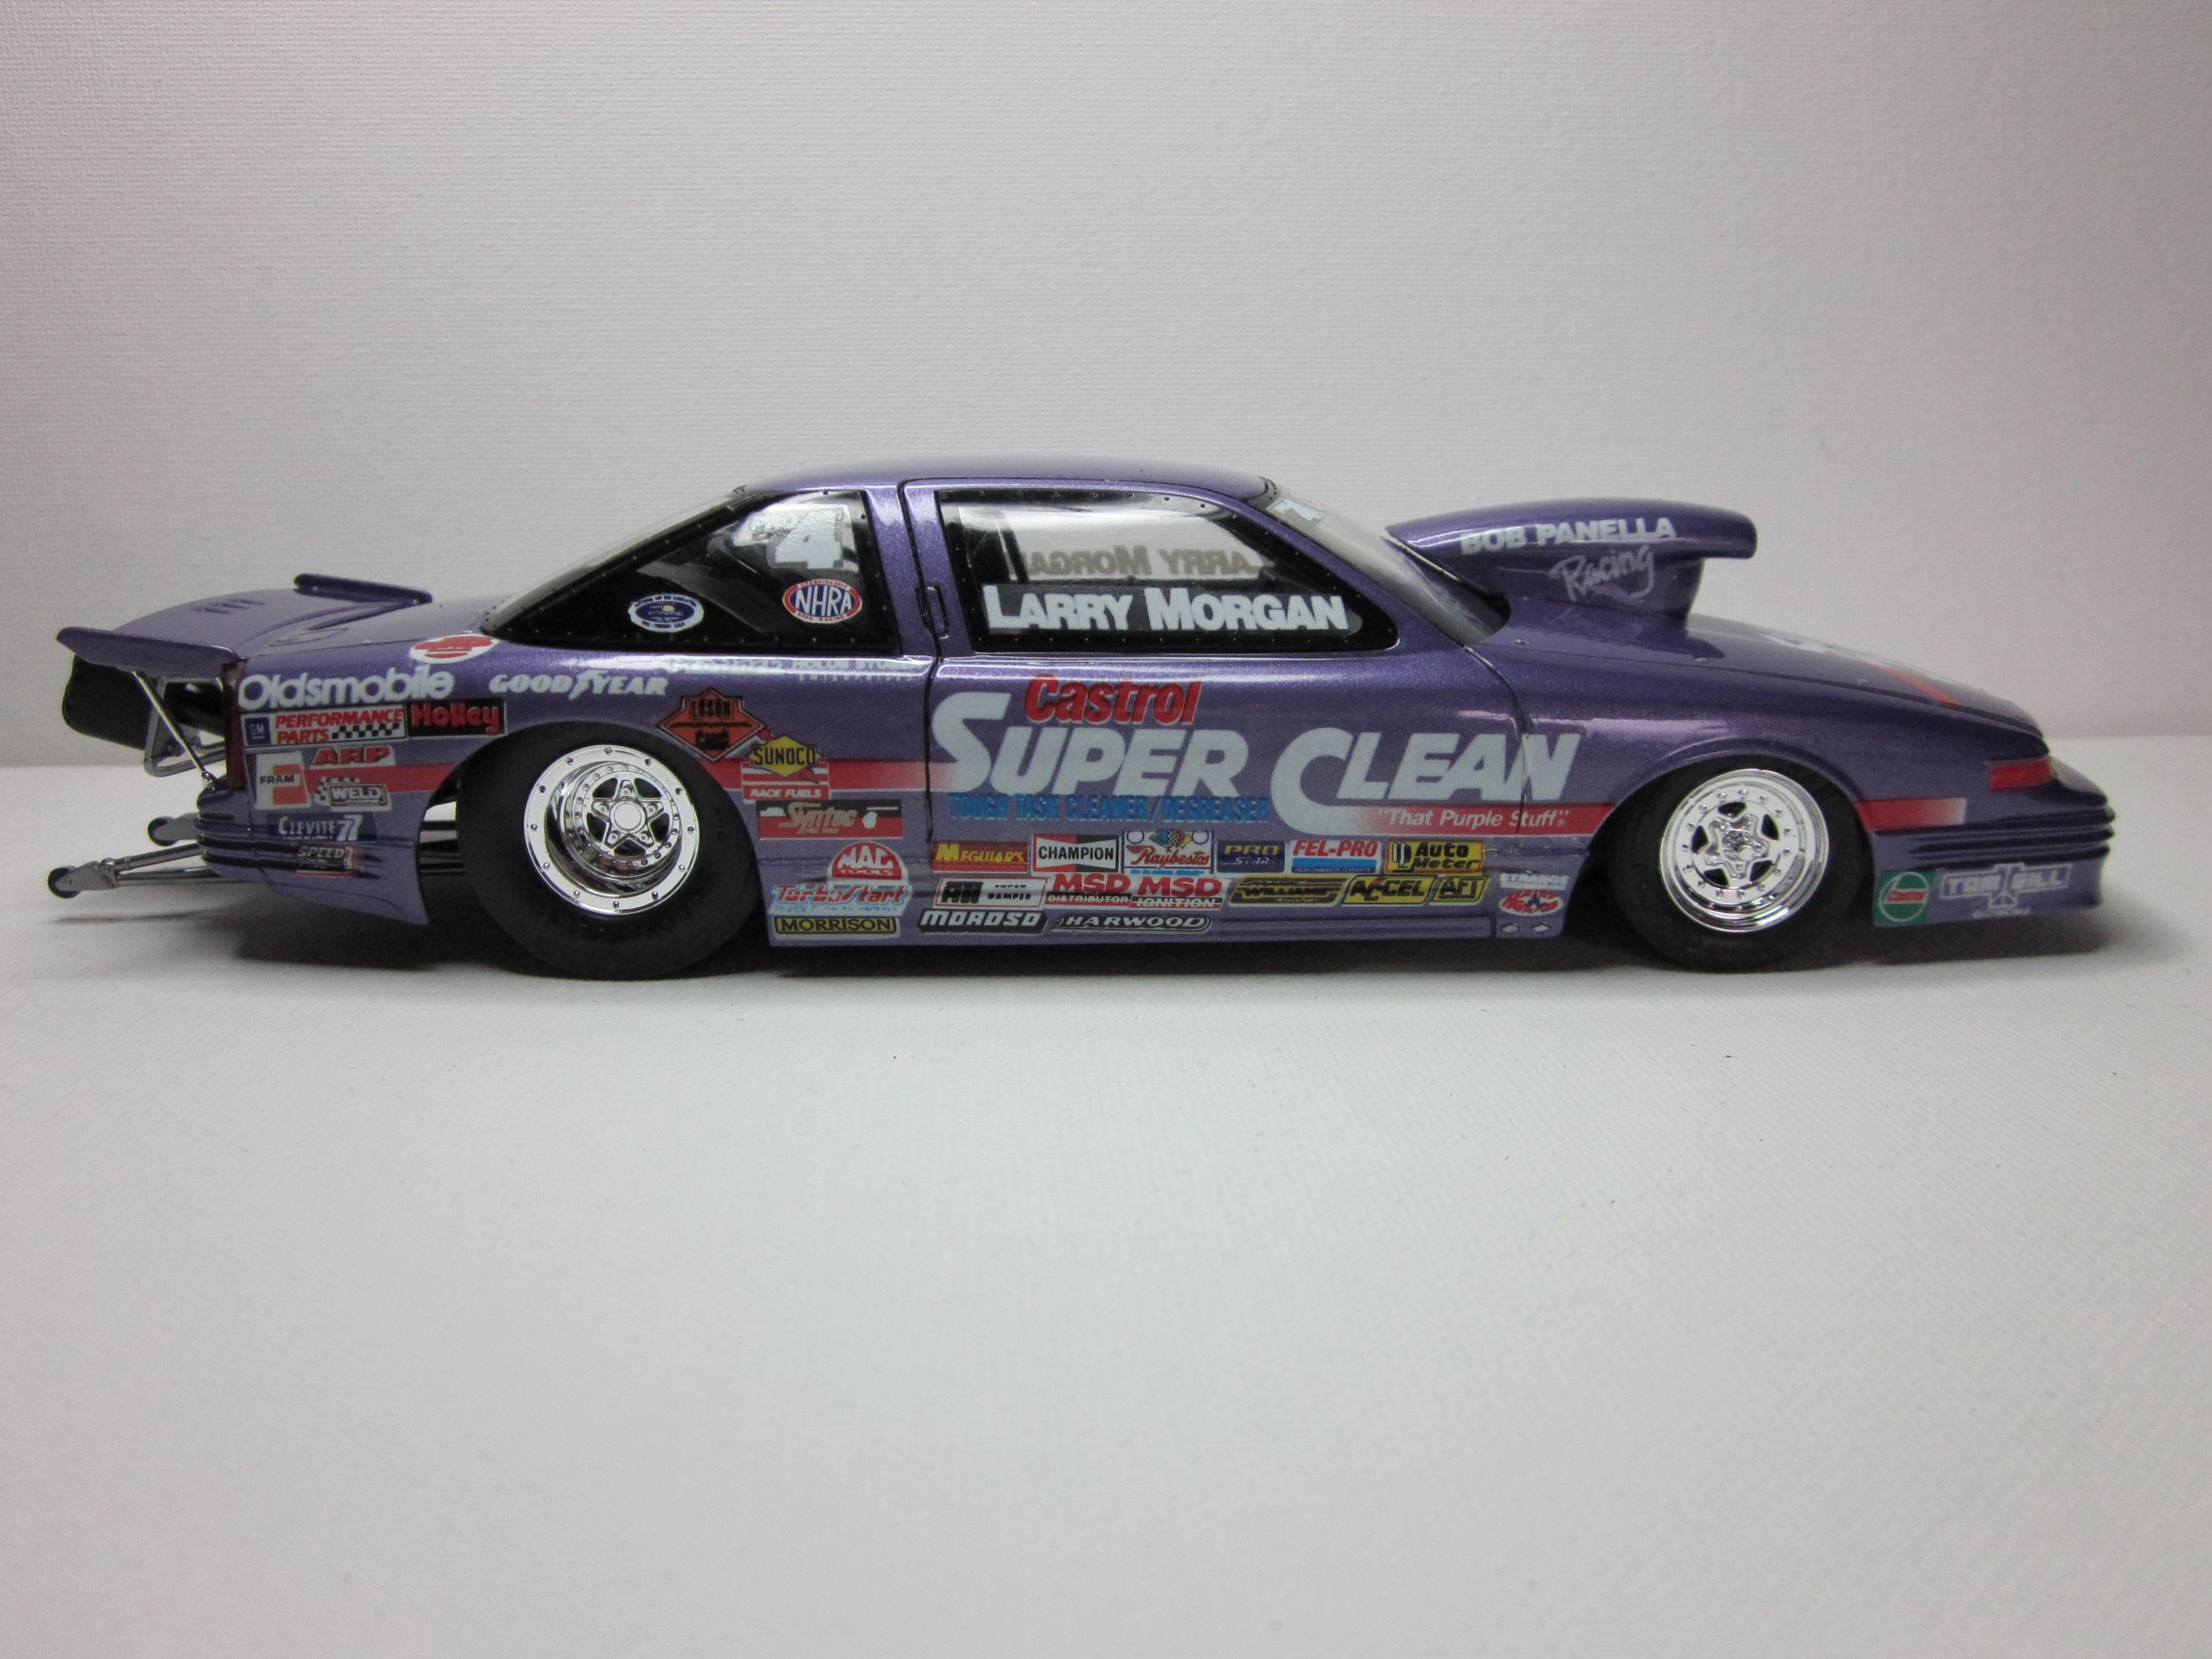
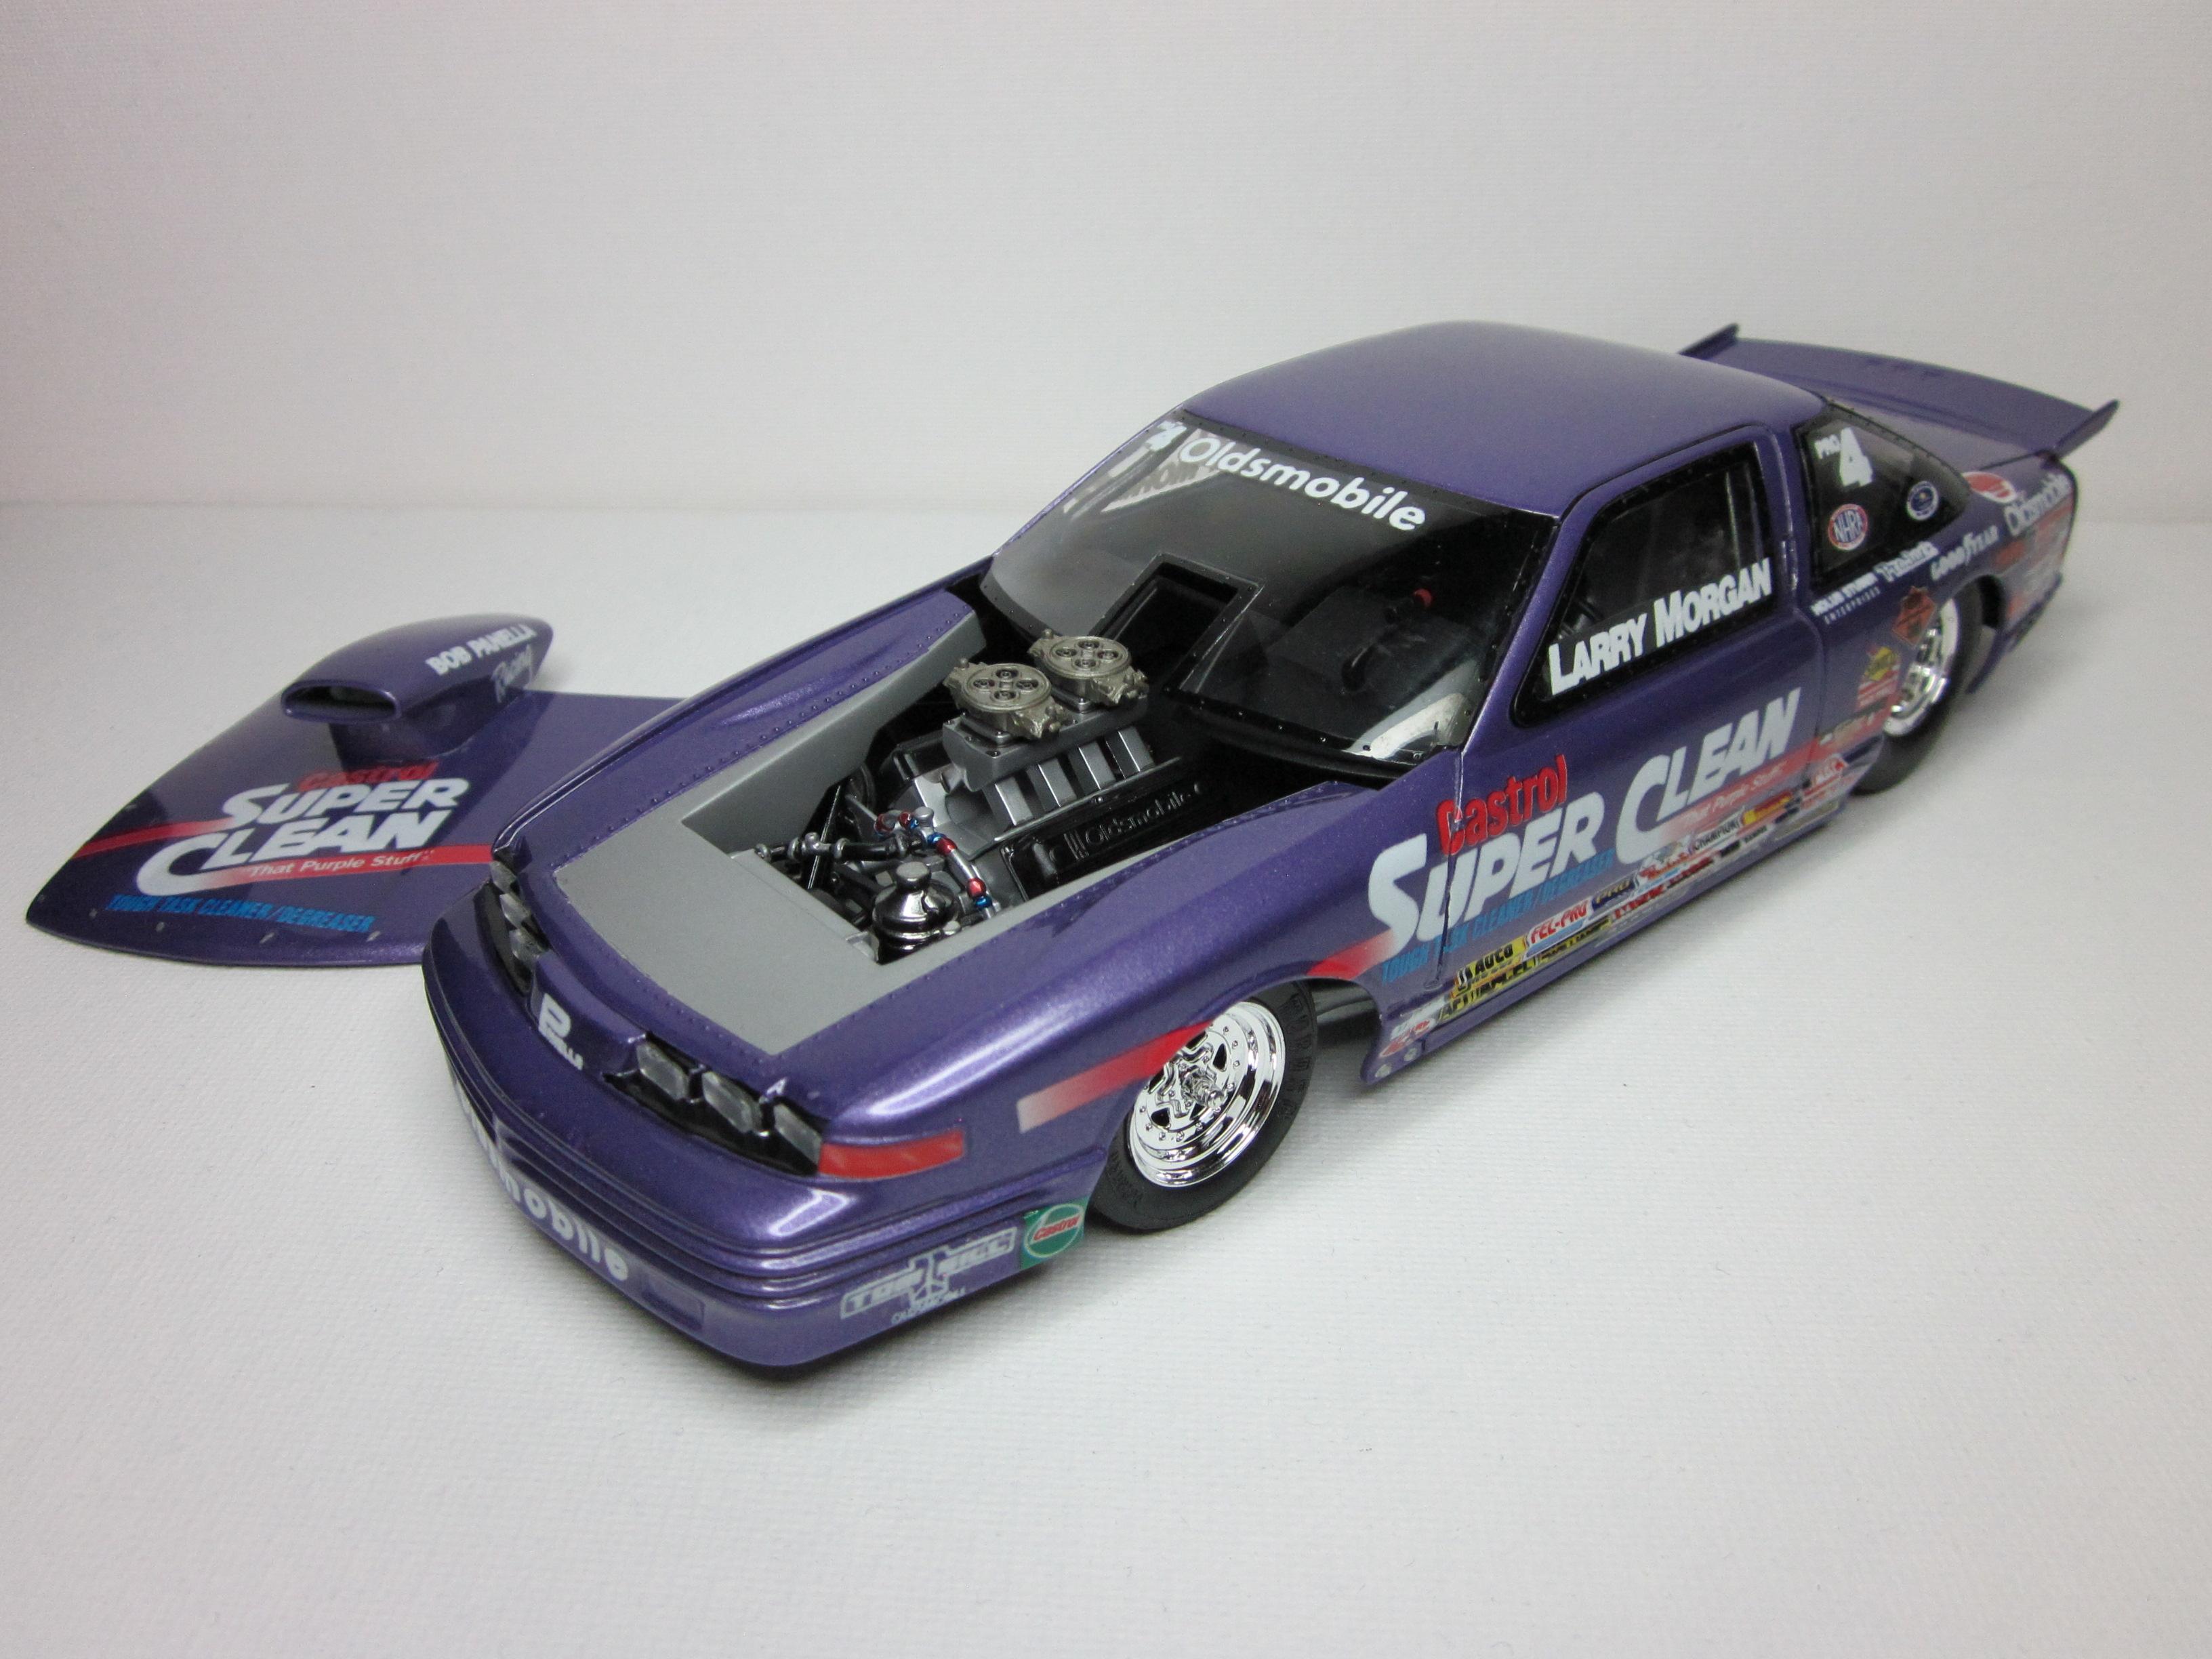
Got this one wrapped up today. This is Revell's Larry Morgan's 1993 pro stock old's cutlass. Built straight out of the box, mcw plum crazy met enamel paint, mcw clear enamel and various alclad colors. Original decals were used. I call this a tune up build. Gives me a chance to keep the old skills honed. Thought this was going to be an easy kit, but it say's skill level 3 on the box for a reason. All in all, this was a fun build! Thanks for looking!

-
Very nice! That flat head is killer. Really clean work.
-
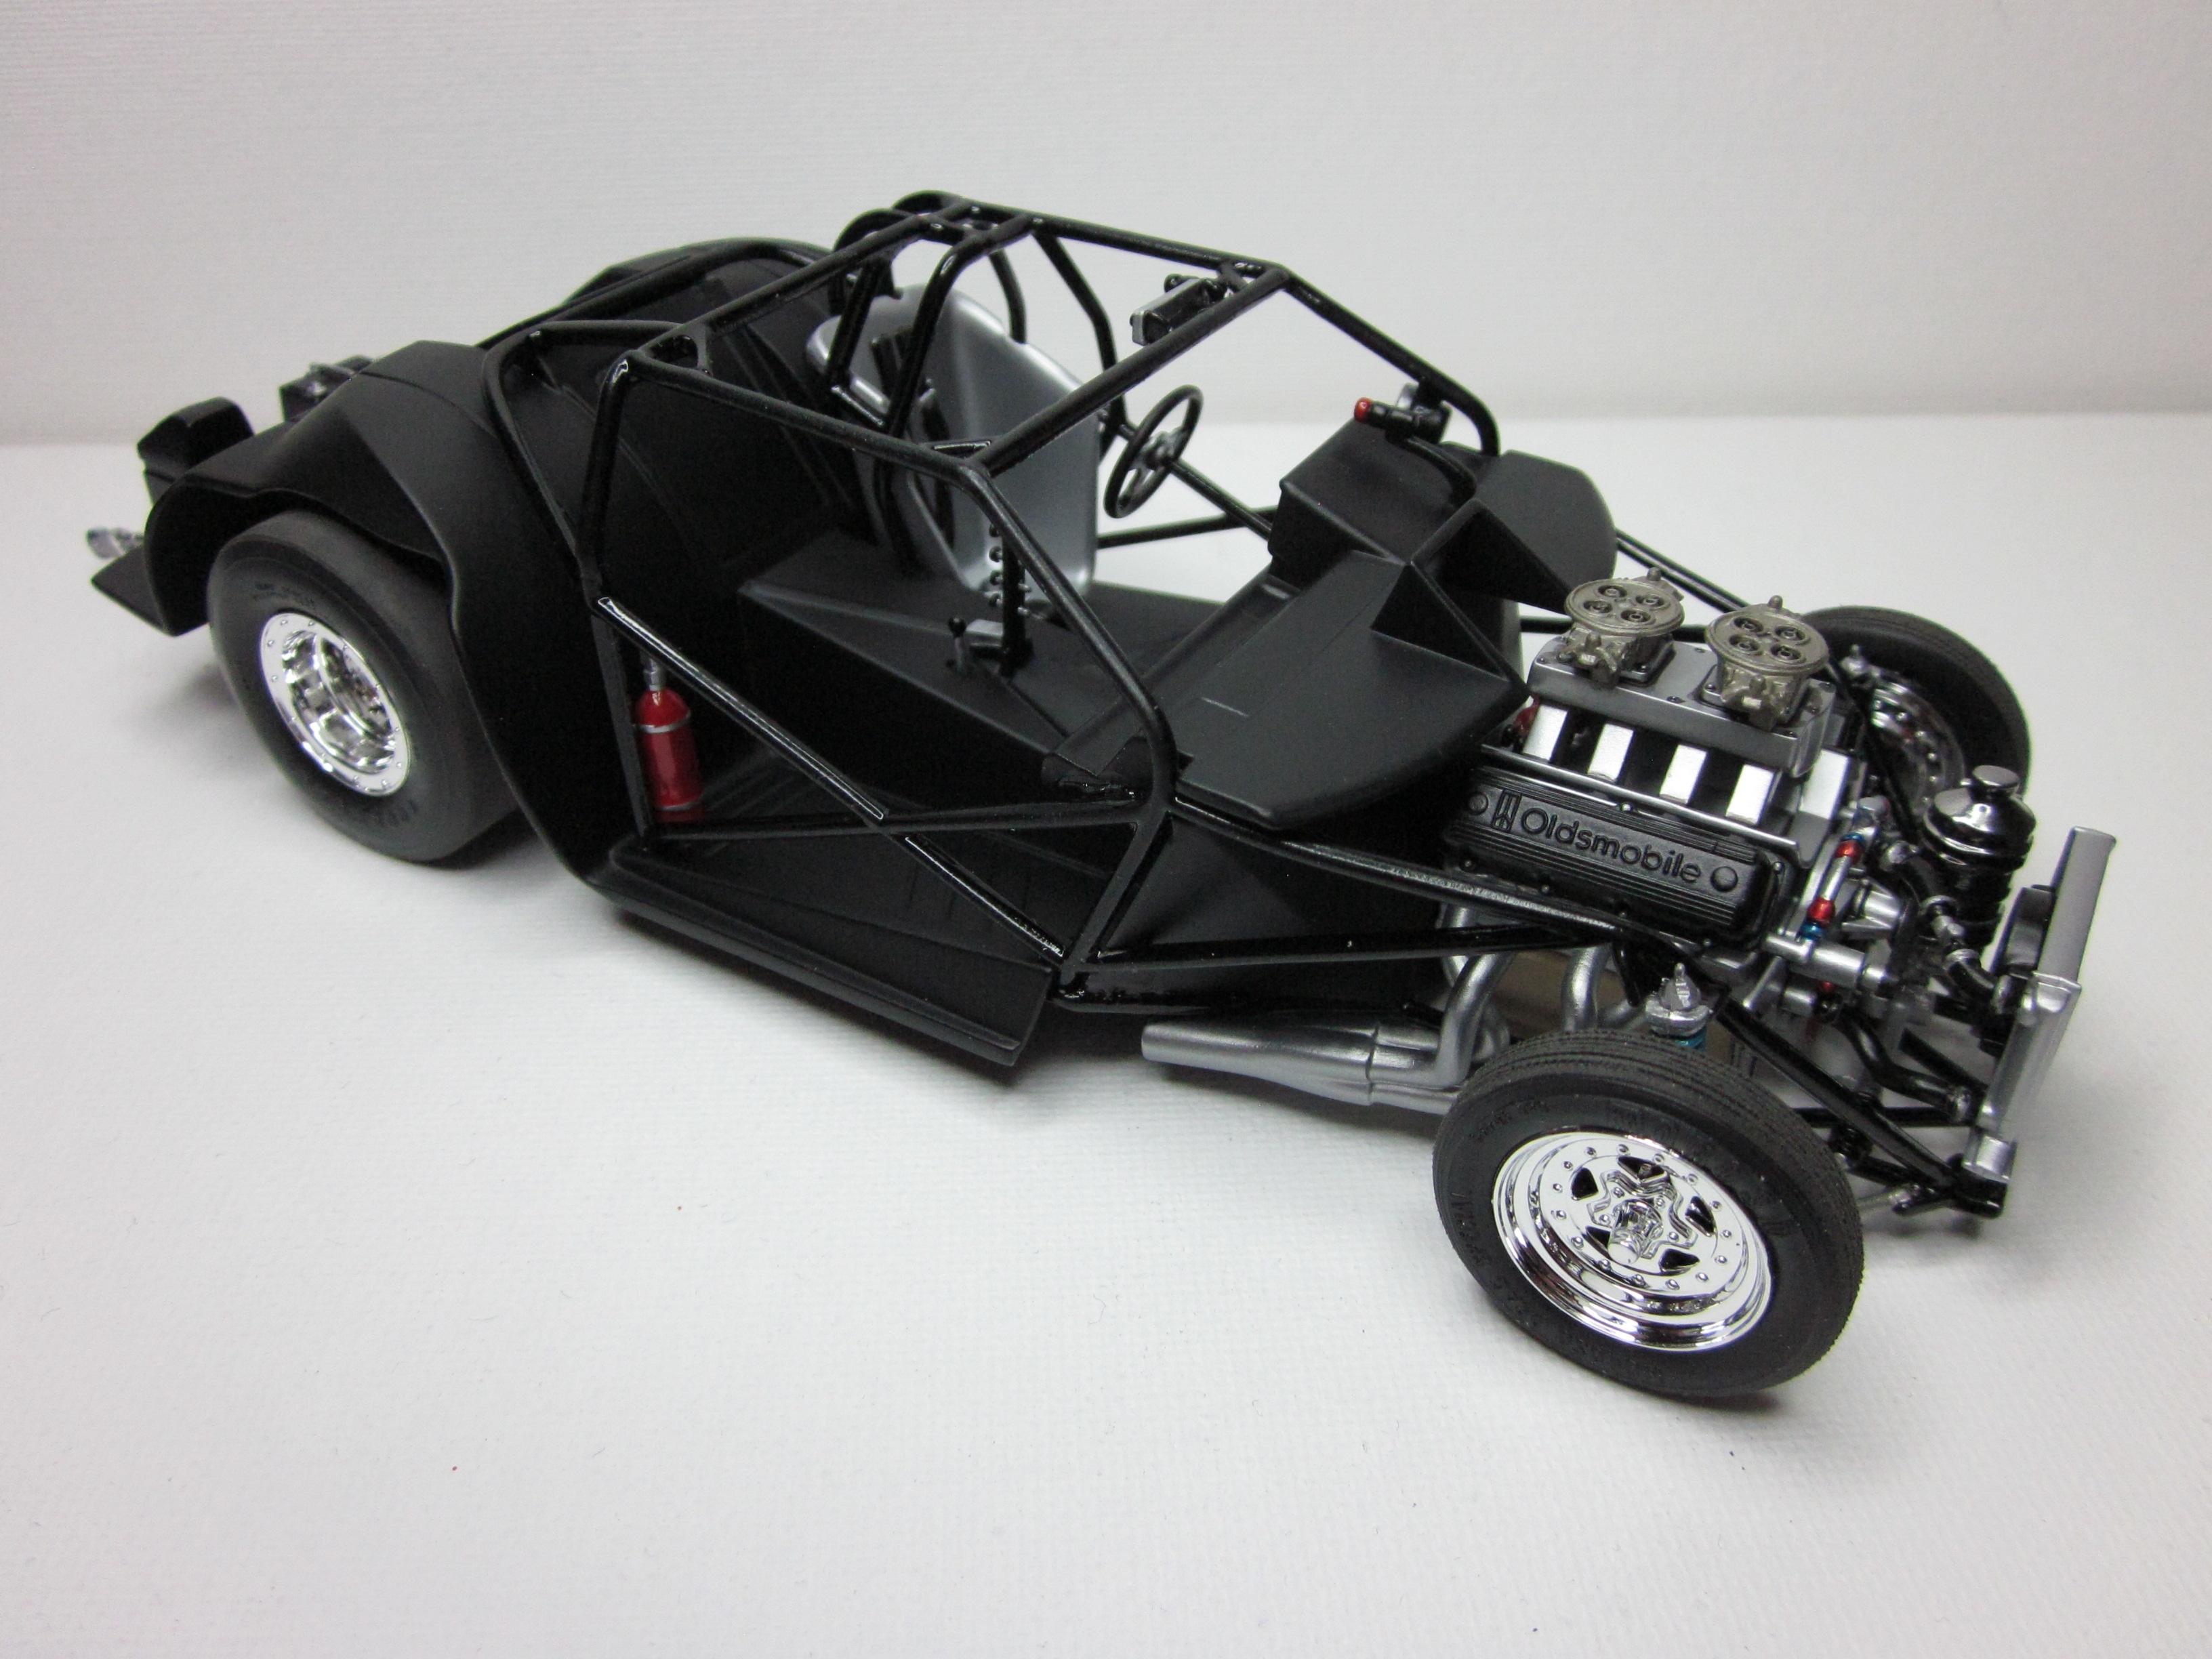
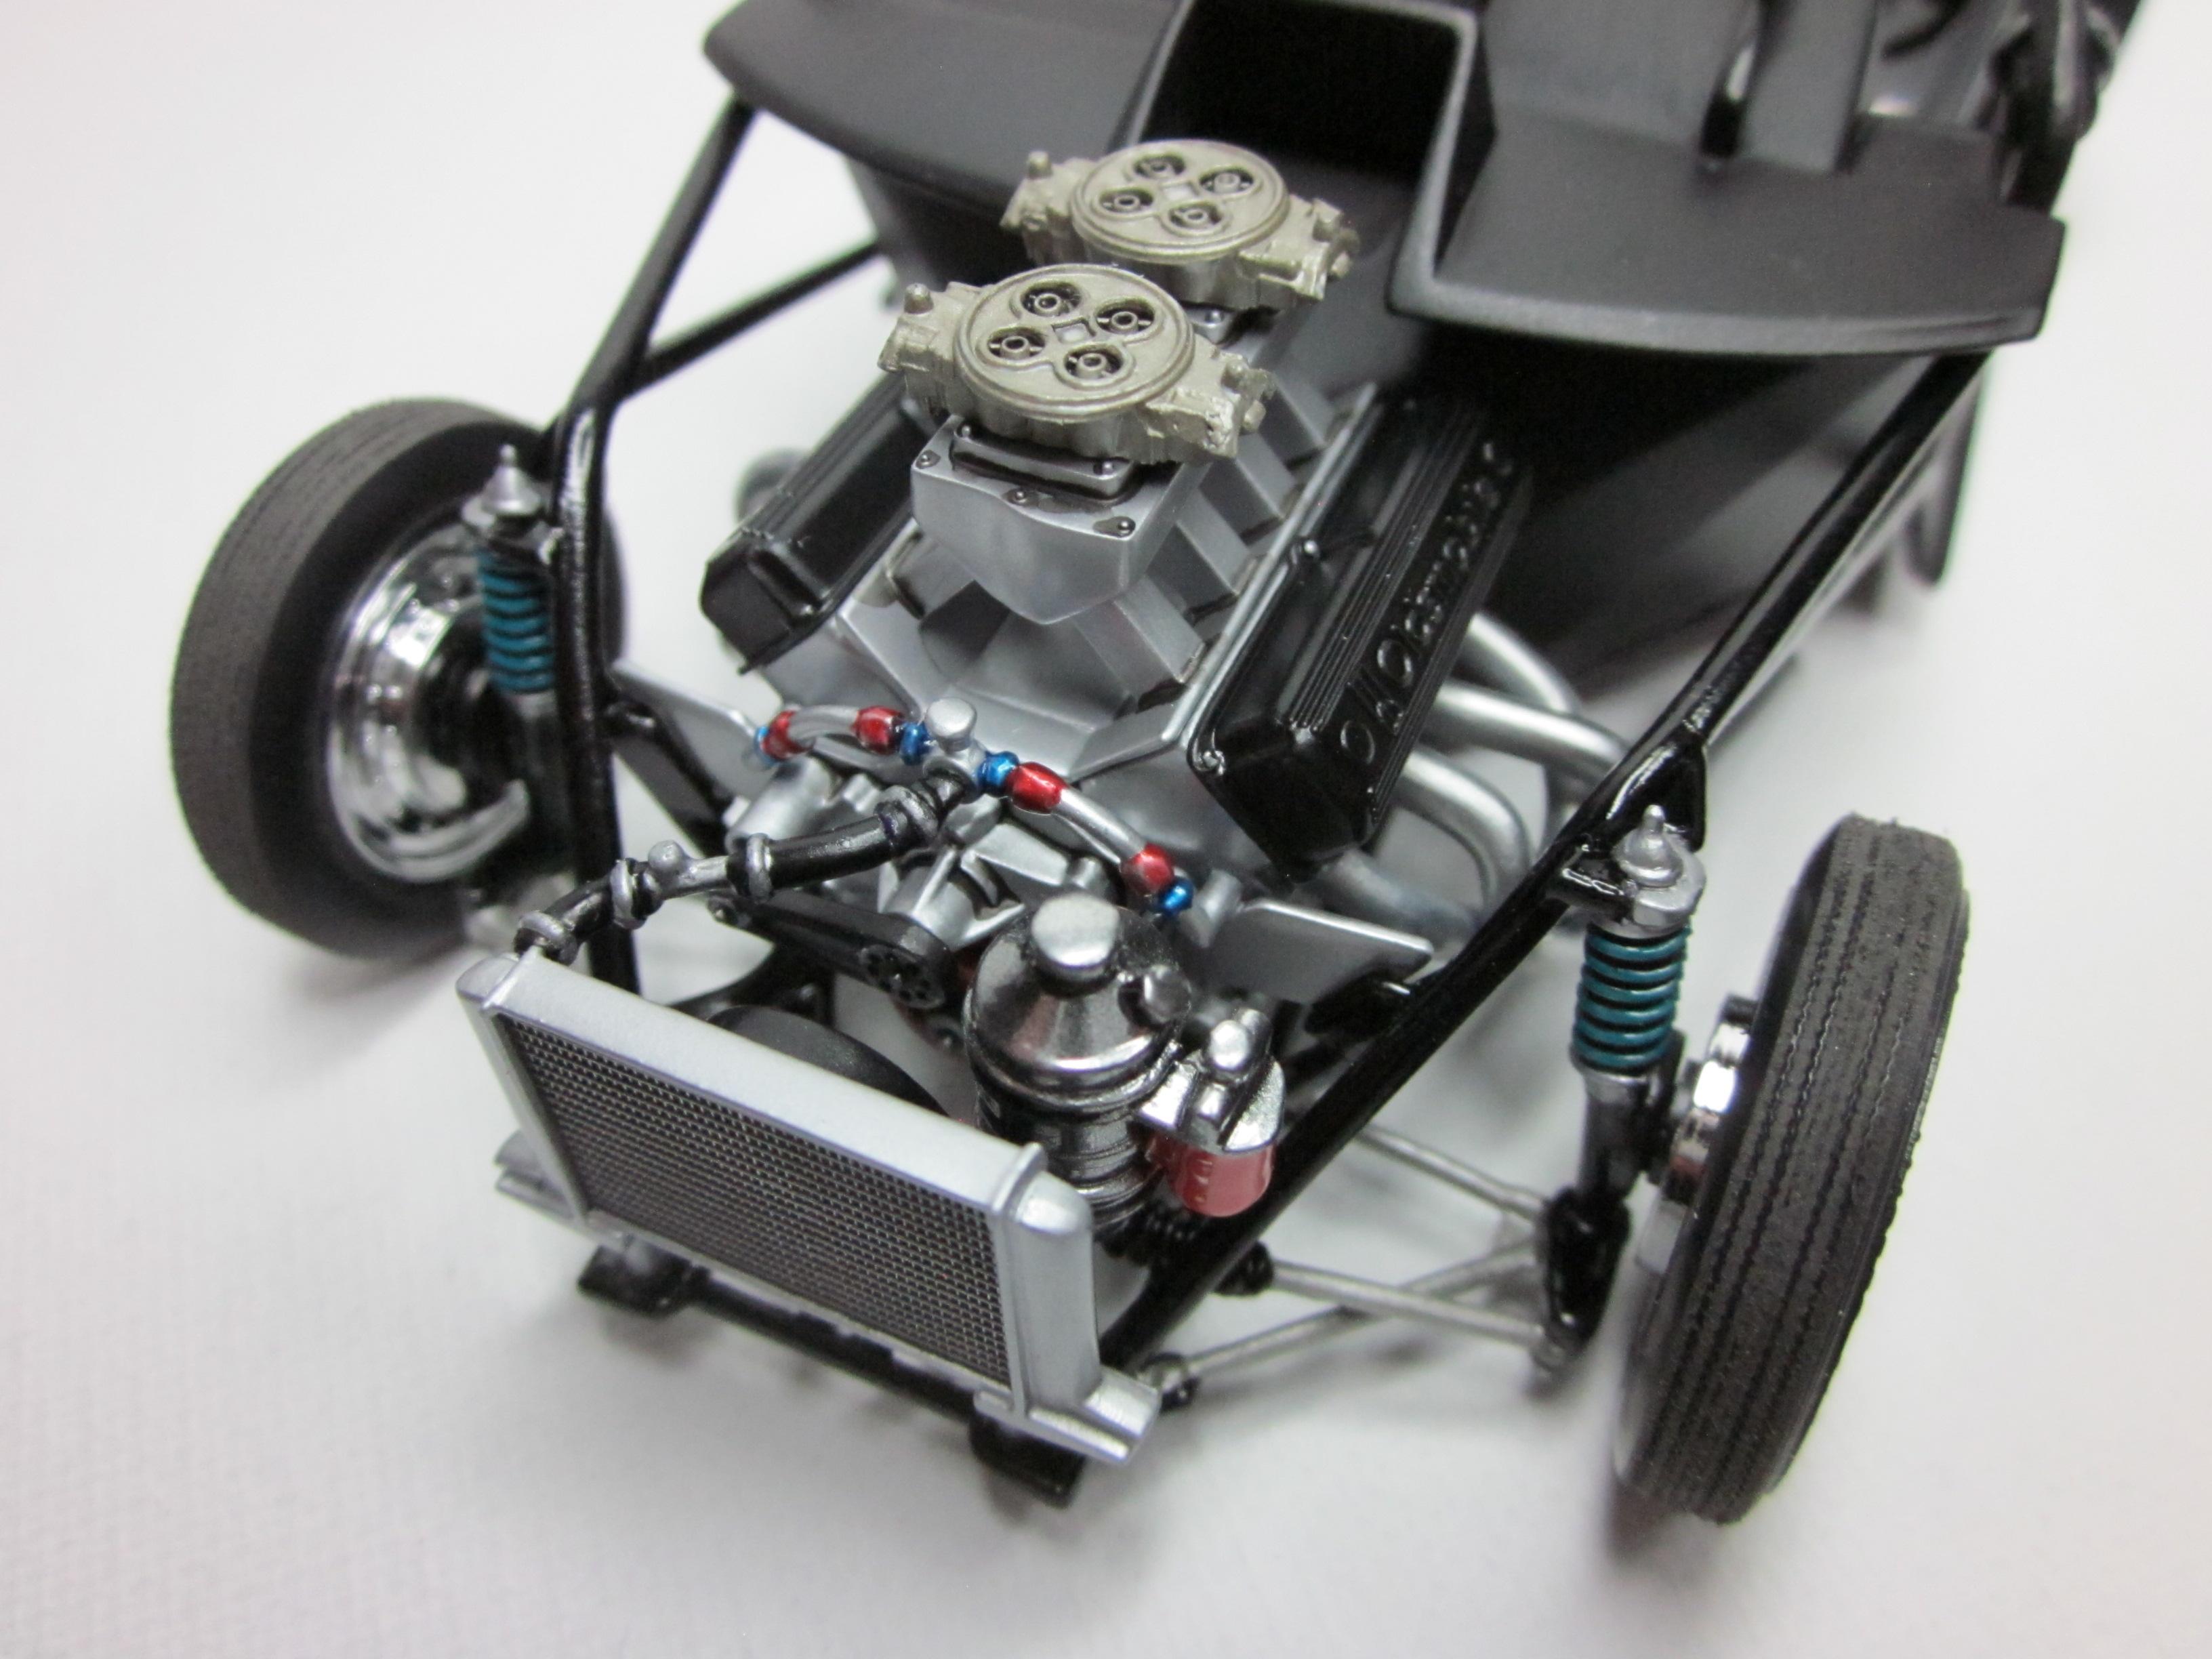
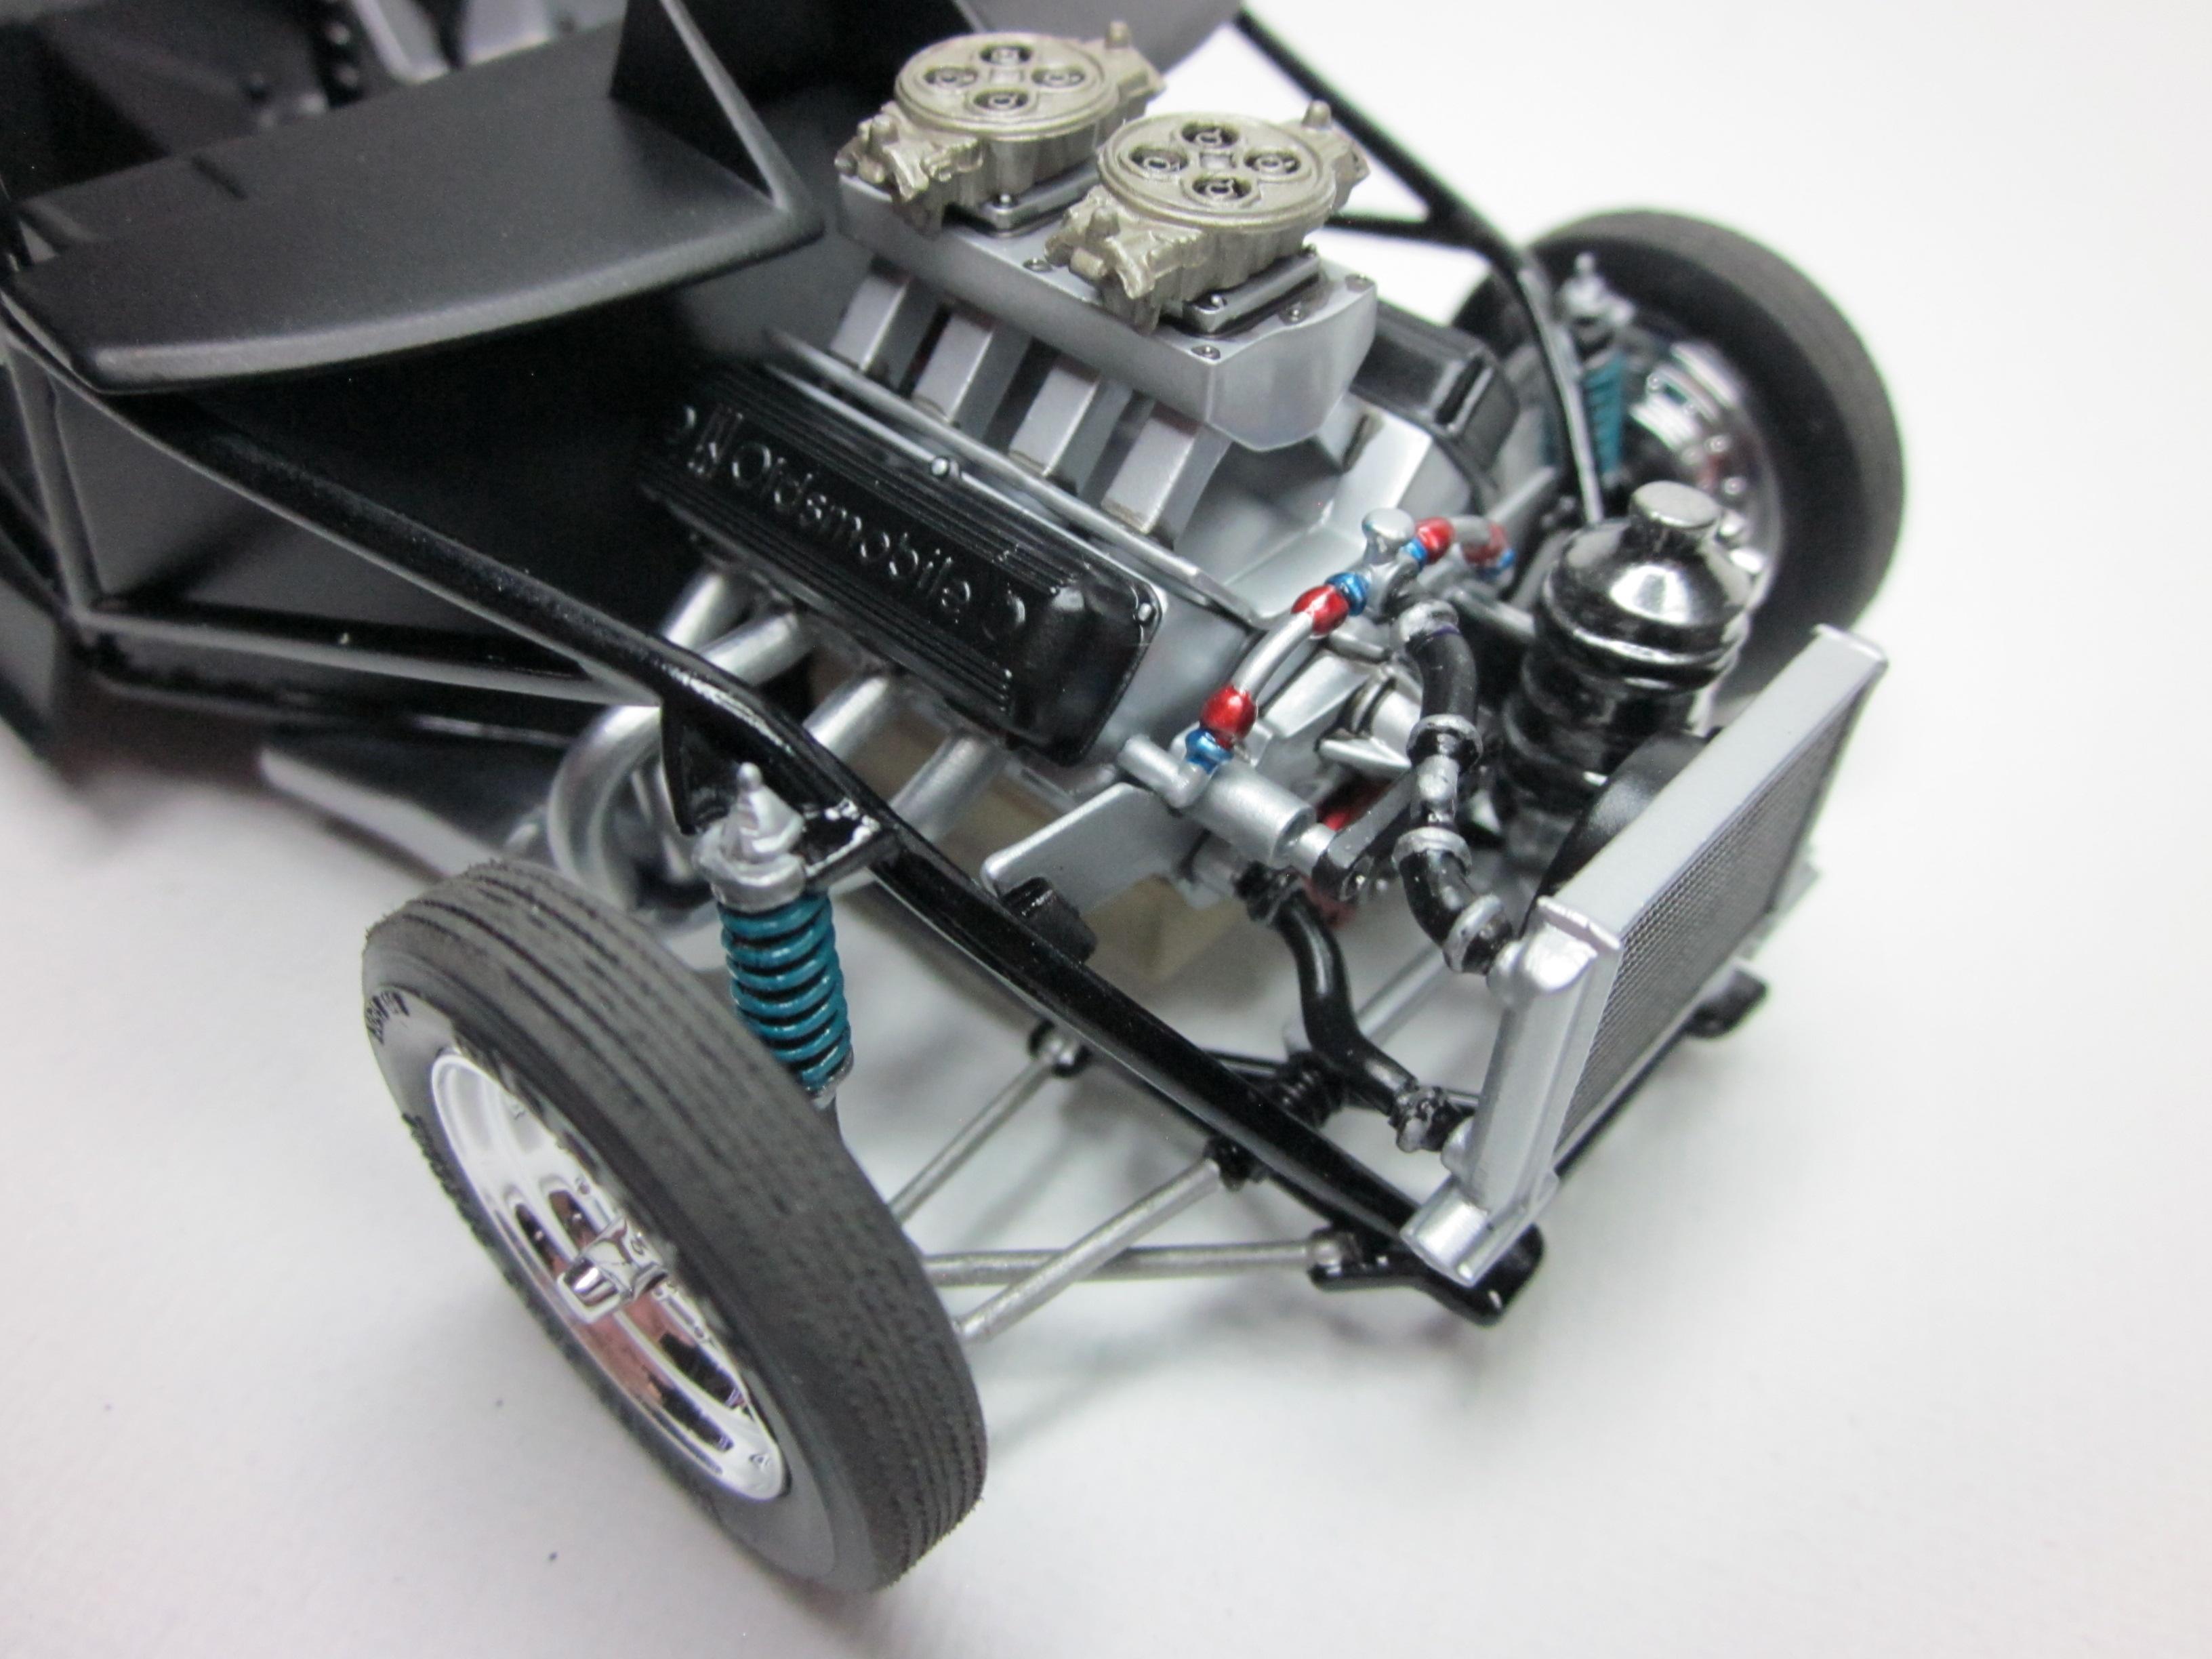
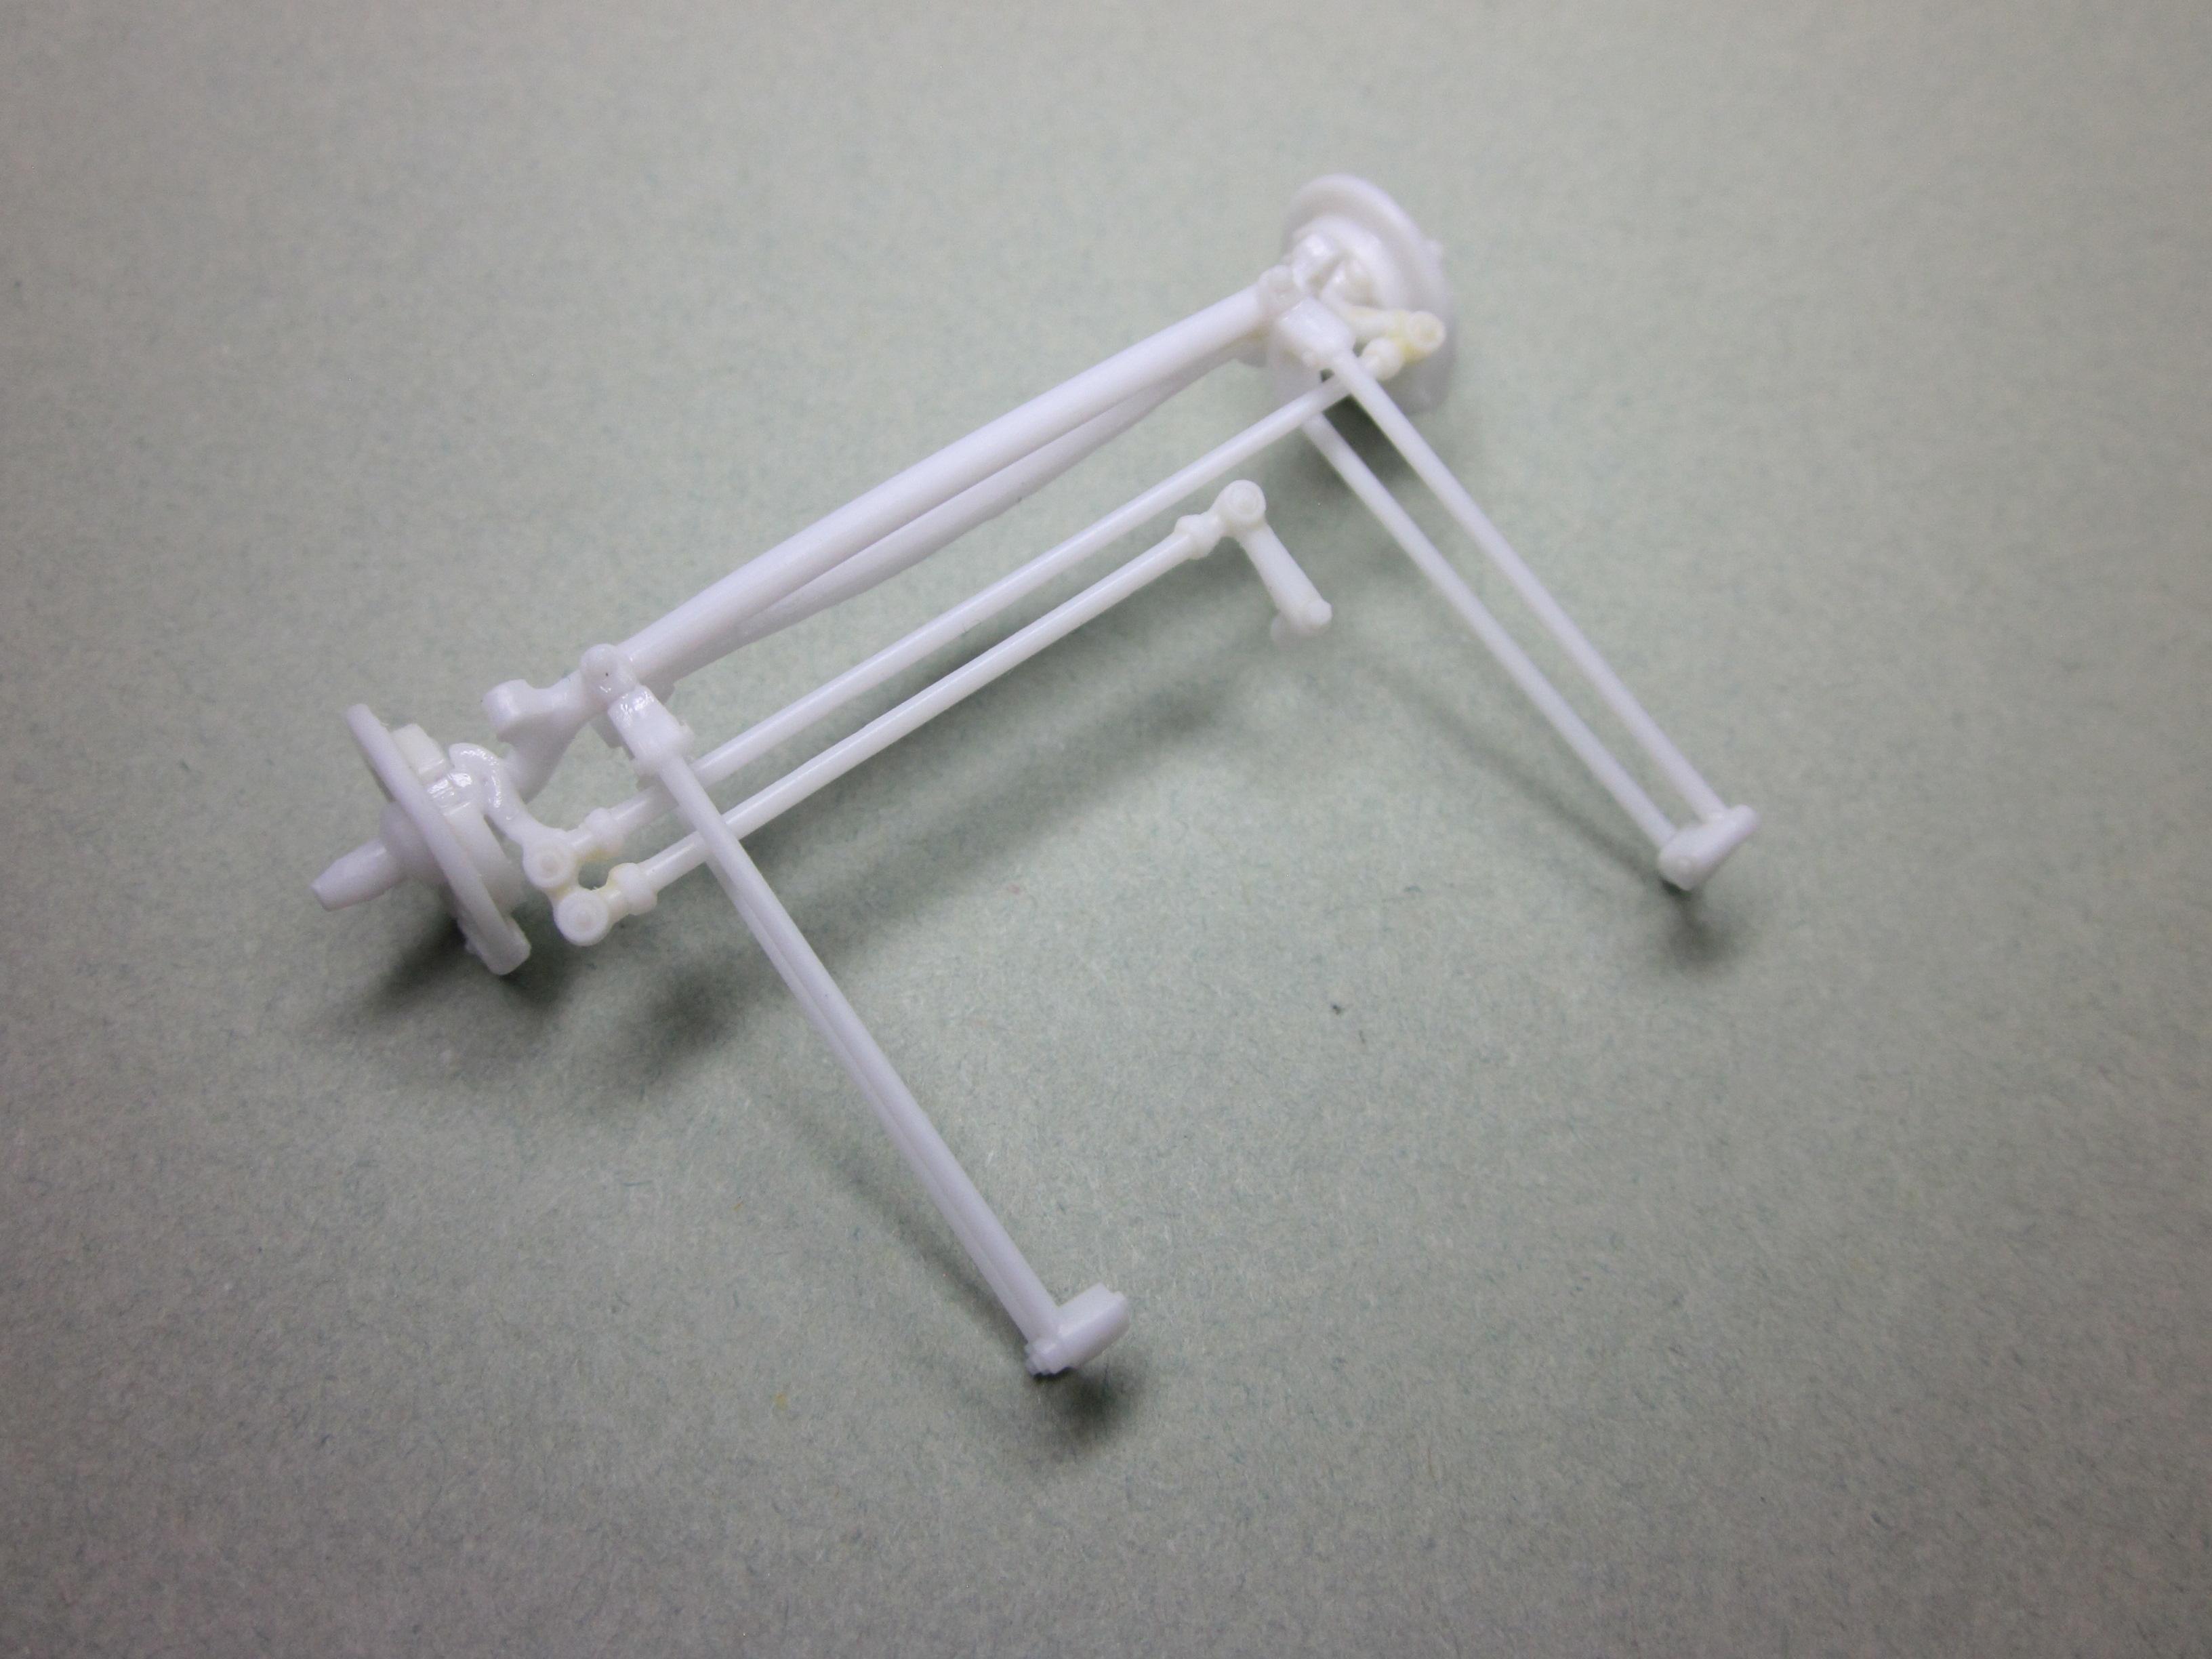
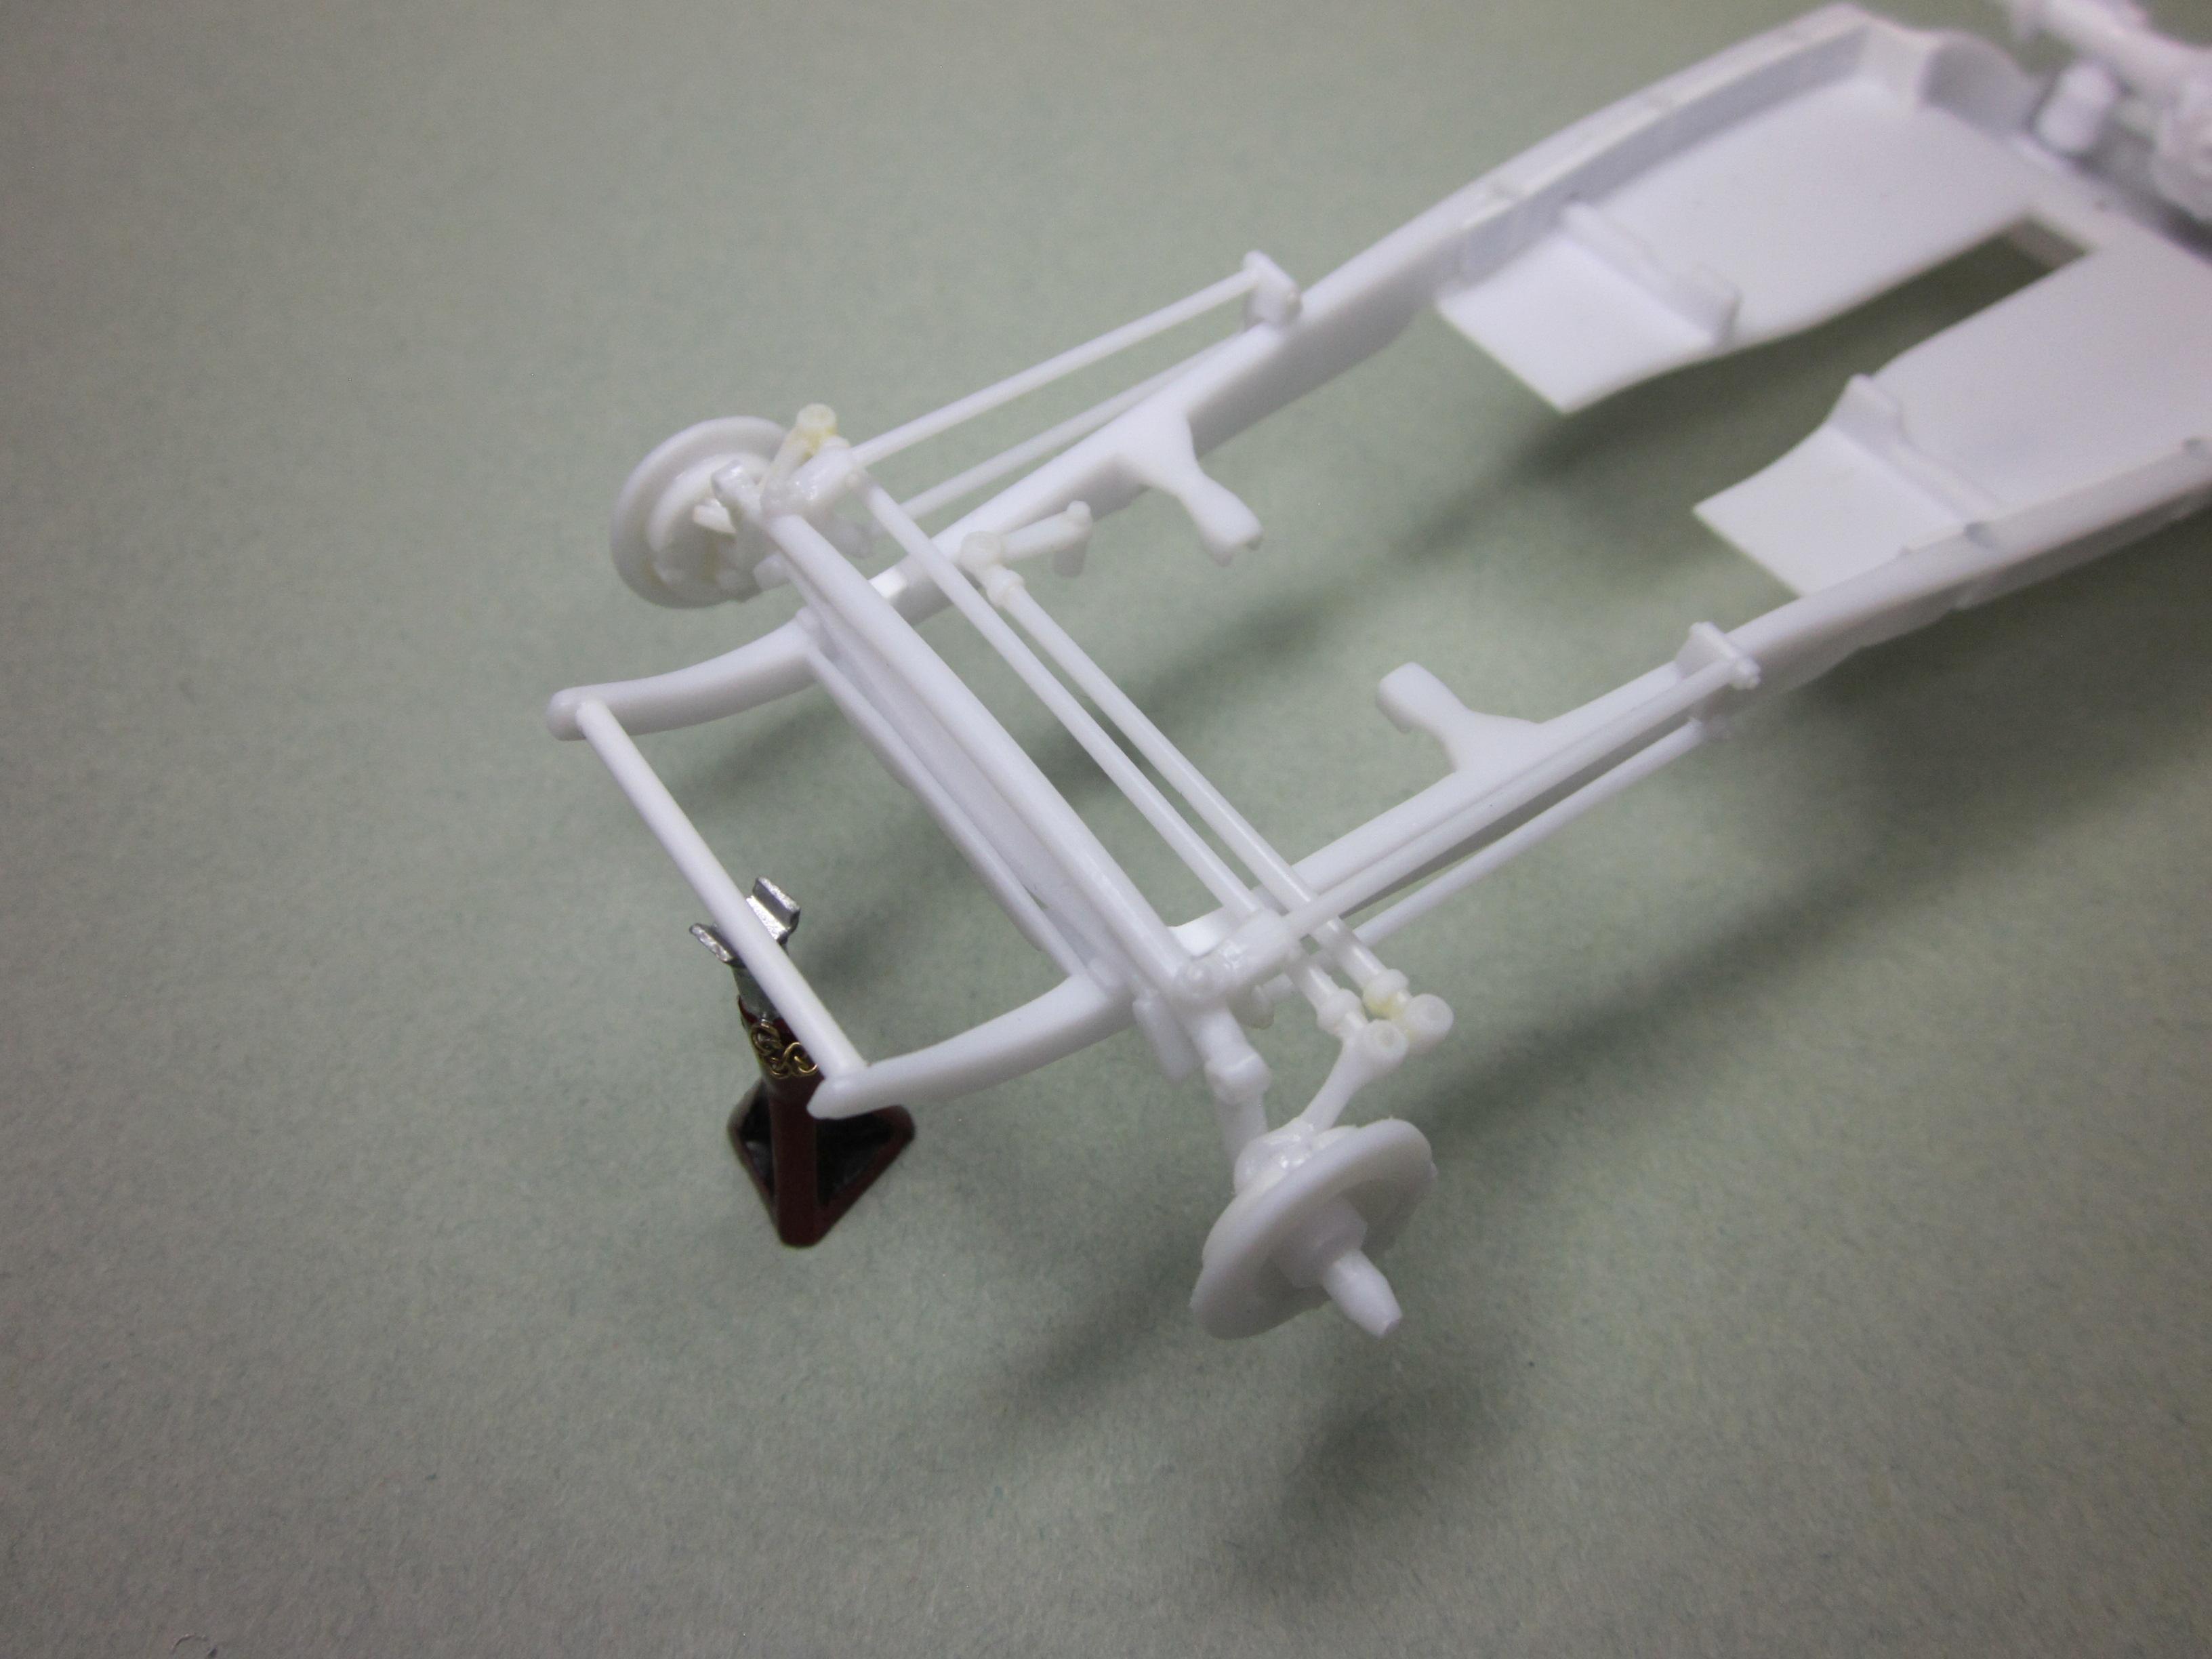
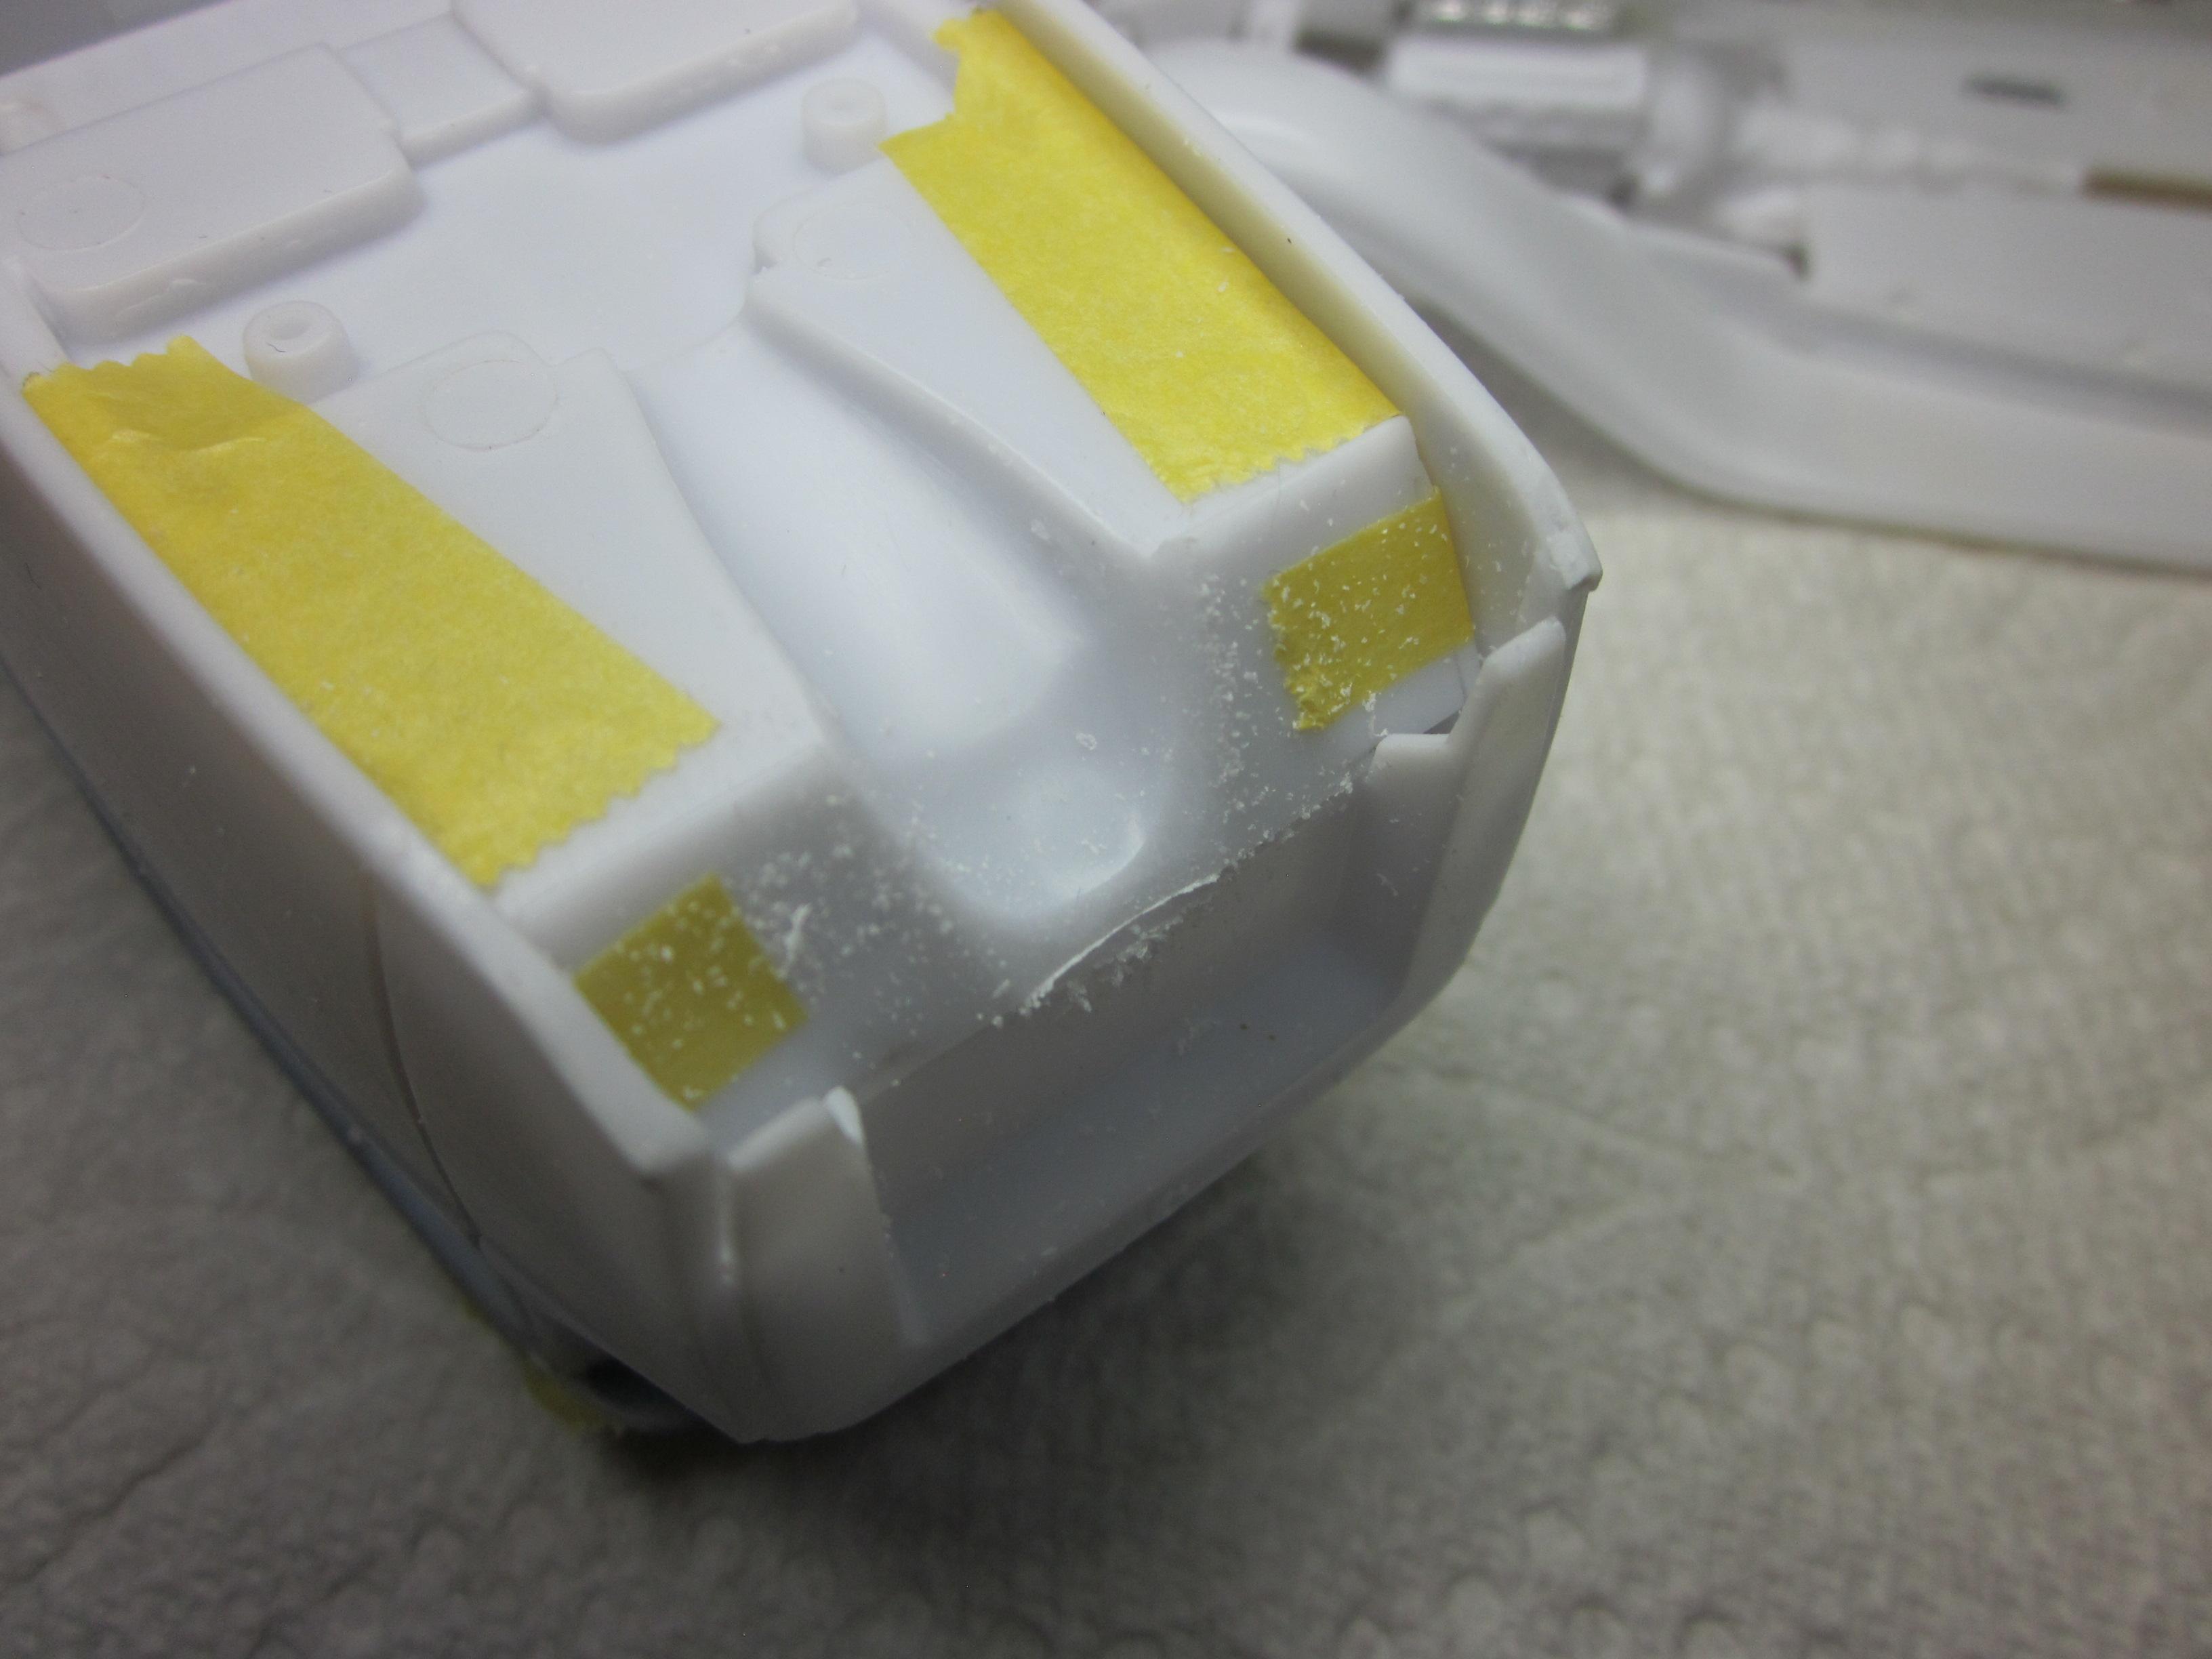
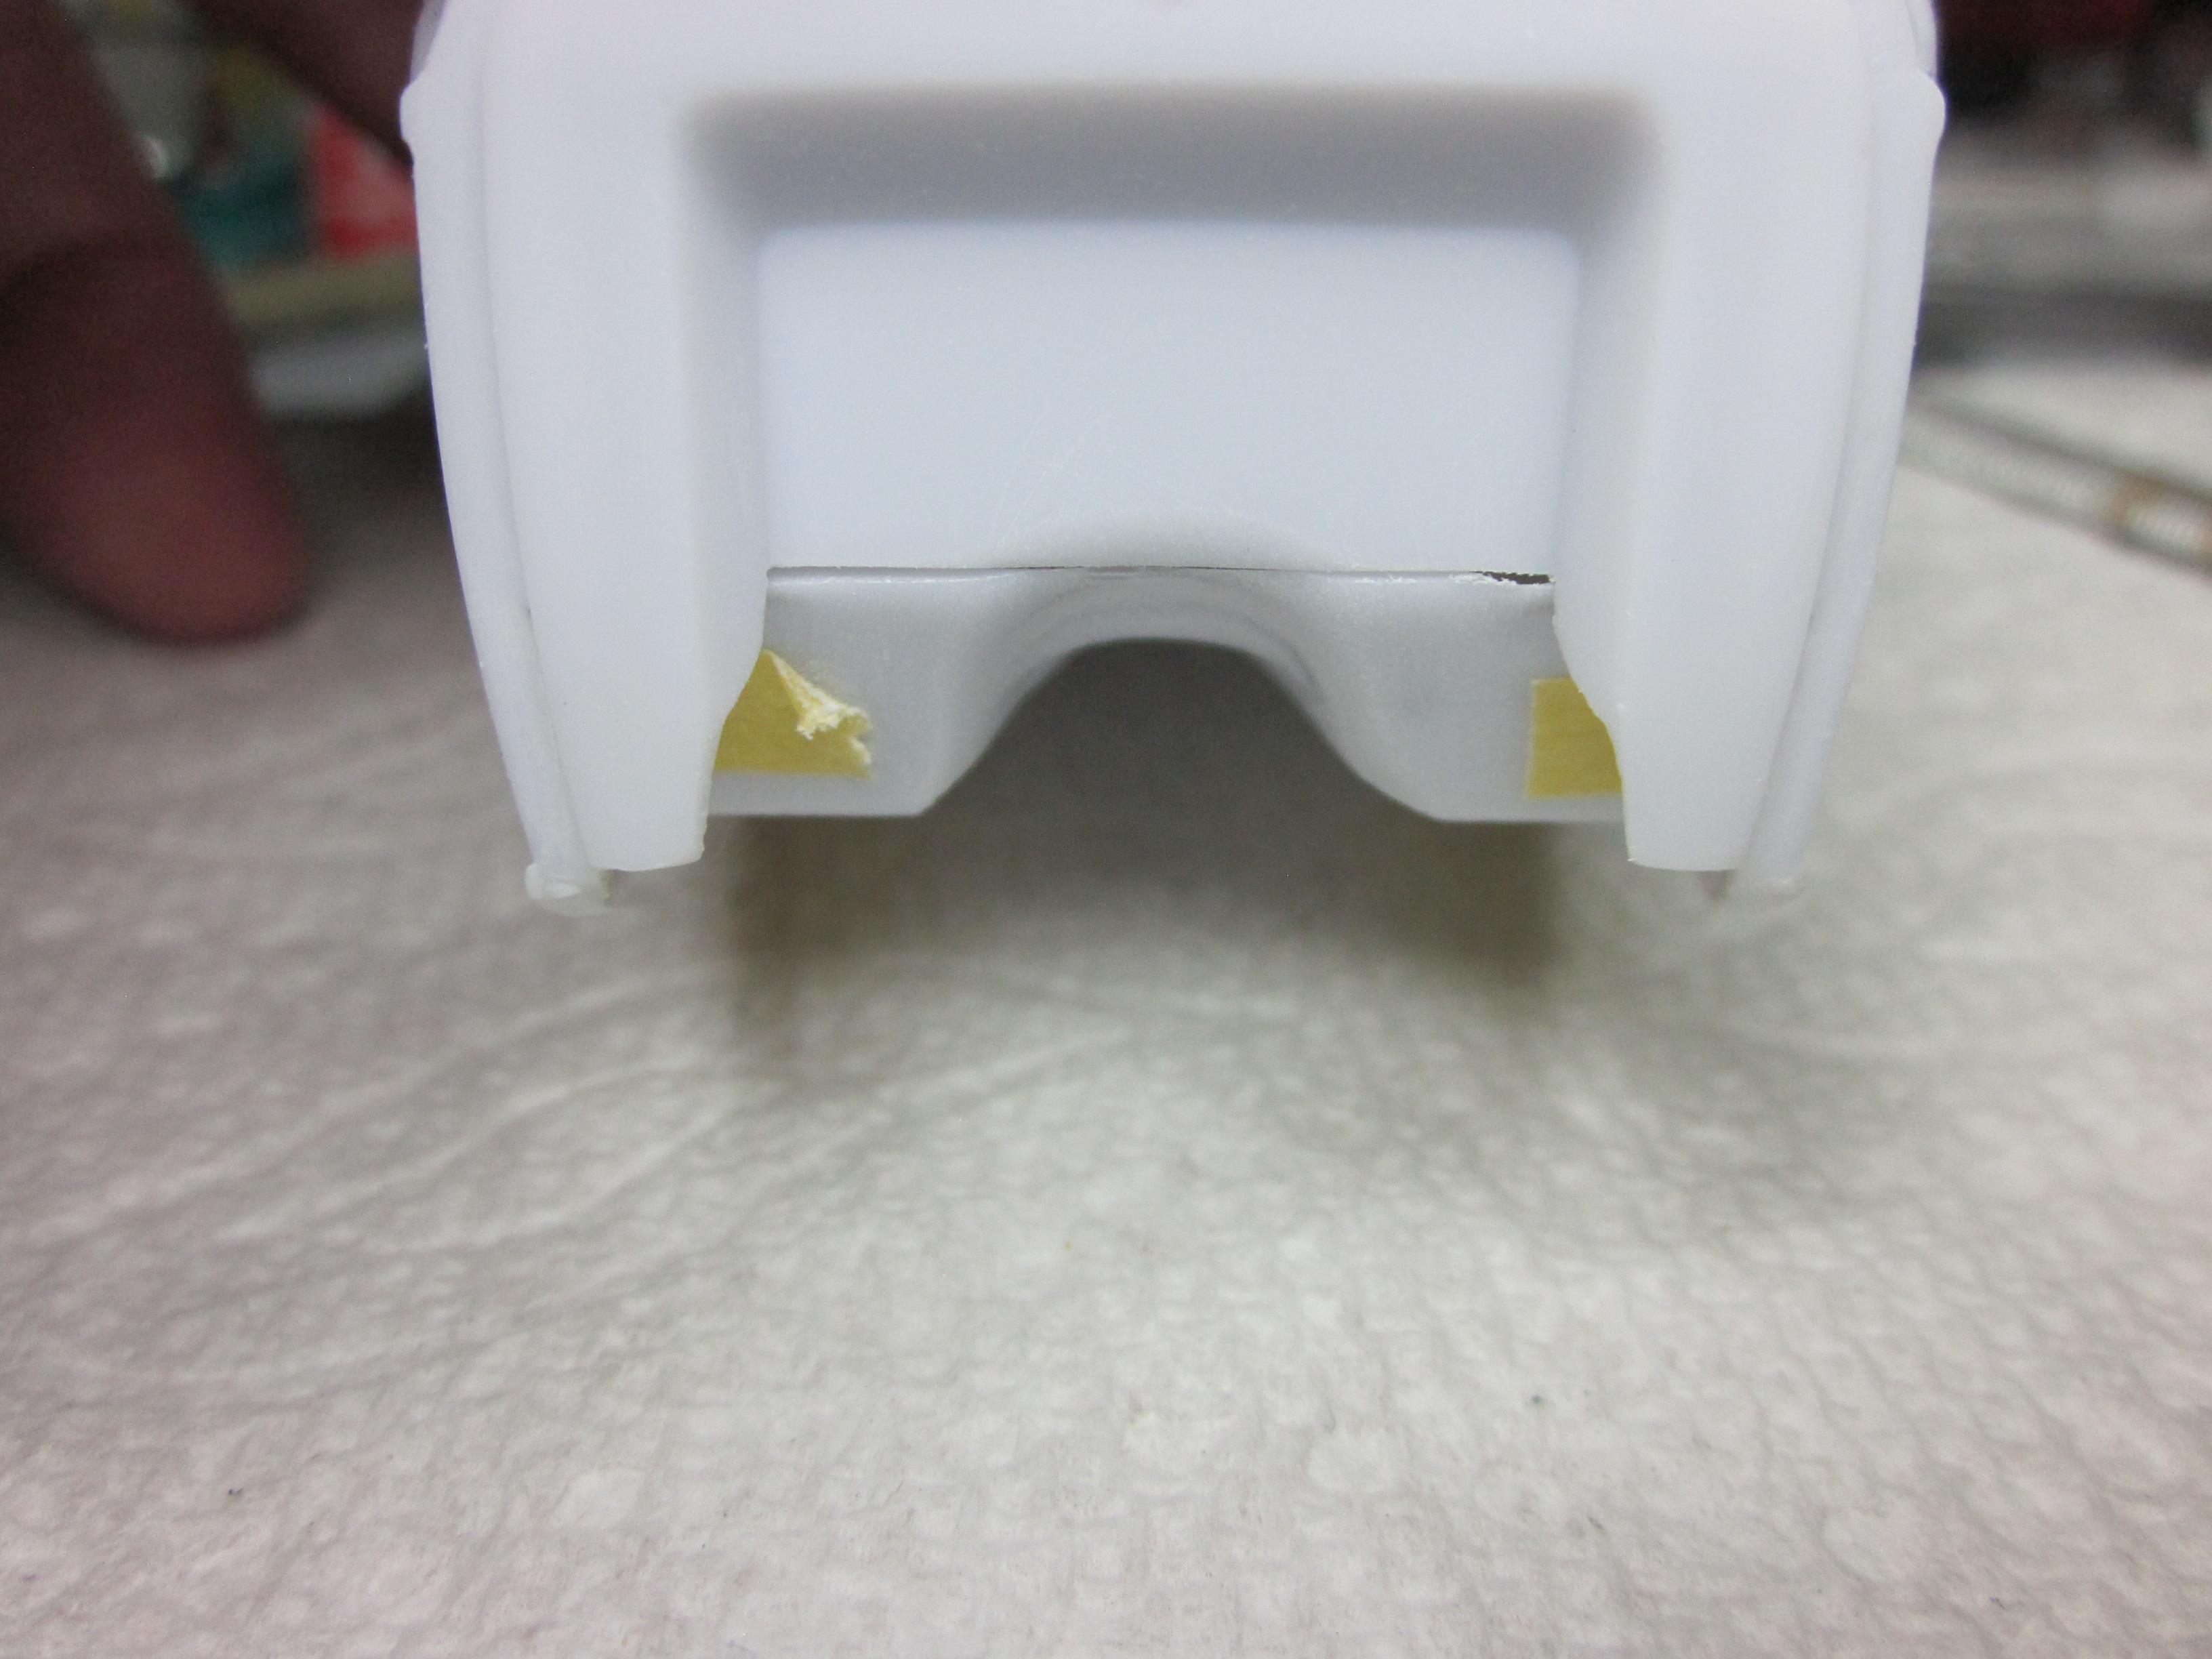
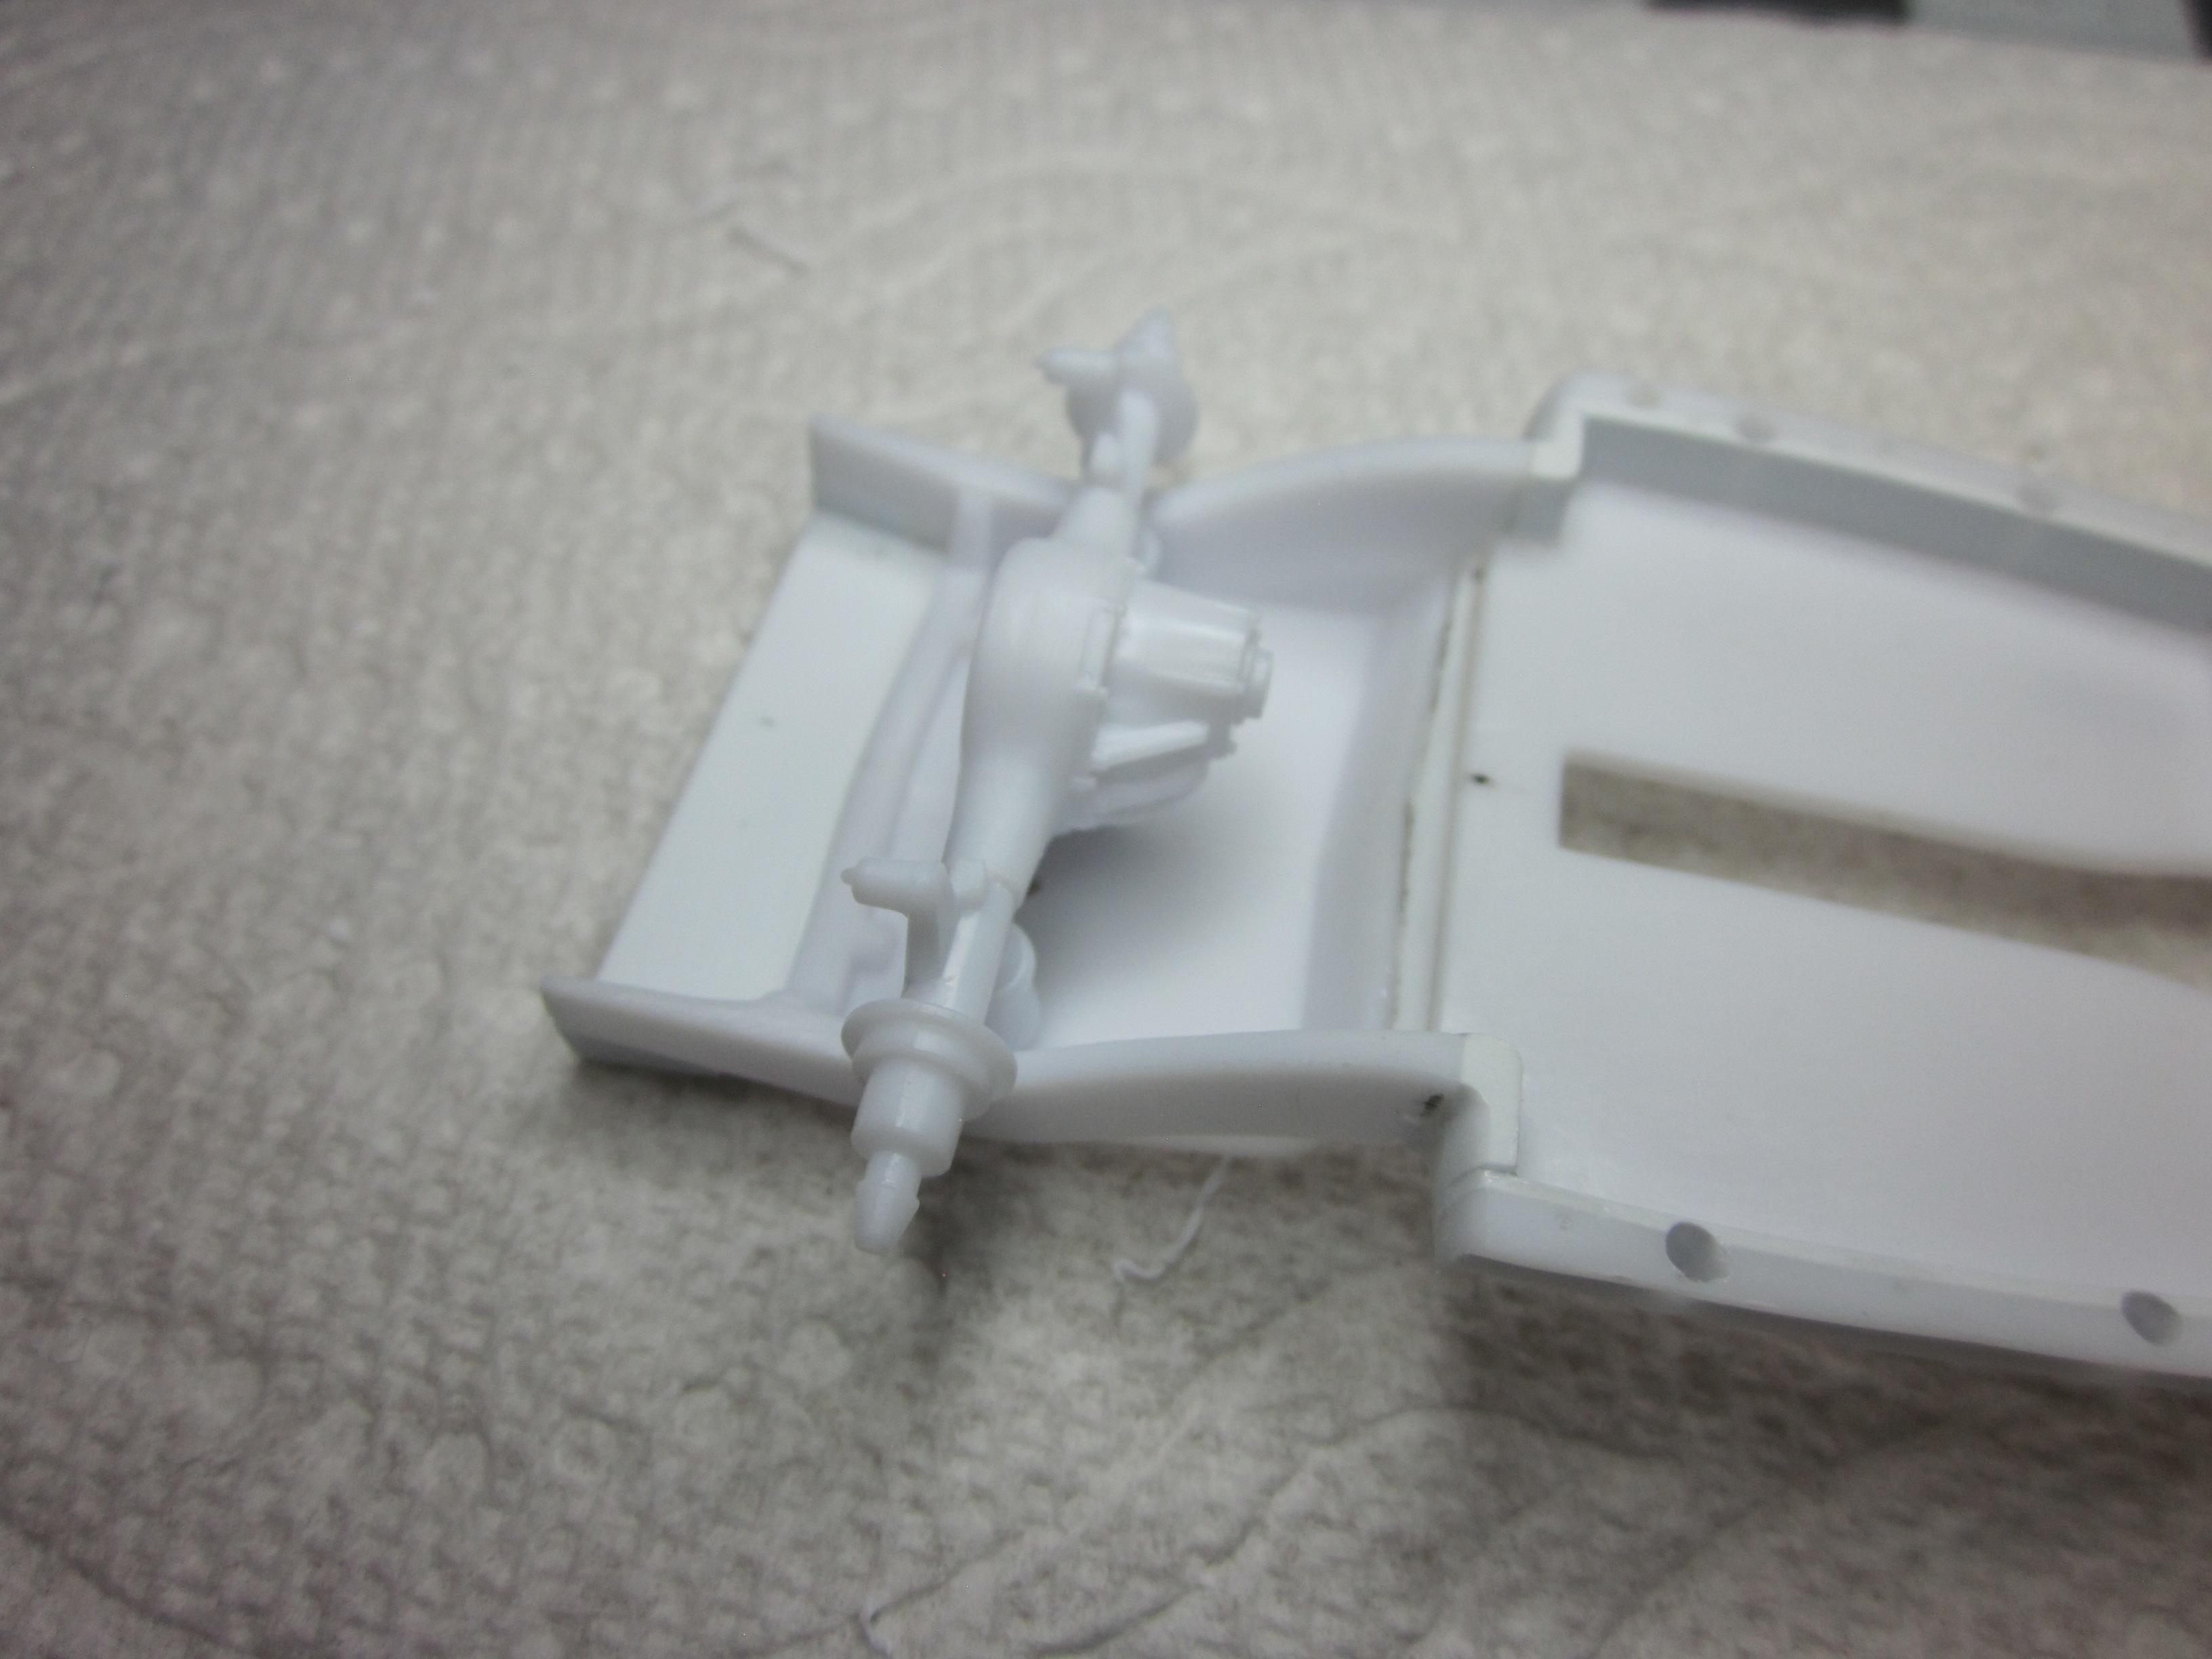
As work continues, it's time to get this thing up on some rolling stock. Pulled some parts for the front suspension and decided on using the wheels and tires from the'32 ford roadster since I gave up looking for that "perfect" set to use. Maybe these "Are" the ones, I don't know. All the chrome on the front-end stuff was stripped, and the parts were cleaned up. After figuring how I wanted this '32 to sit, some lowering to the front end was necessary. This was an easy task as the spring lost almost 2 Leafs and steering arms moved to a different location on the spindles was all it really took. Instant 4ish" drop. Shocks to be done at a later date with those being the hardest part of adjusting the ride height. At this point, all the parts for the front were assembled as one unit so it can be painted and just dropped in the chassis when done. Before any work on the rear suspension, I probably should have an engine in place. At this point, just like a decision on the wheels and tires, I'm tired of looking, so the engine out of the kit is what is going to be used. I've been wanting to do this mockup for some time. If you remember back, the body is channeled over the frame, but it is the frame that was thinned lowering the floor into the frame, not moving the floor up into the body. The concern is the transmission fitment. May have to rework the floor. I really don't want to do this, so I'm hoping for the best. Well, it almost fits. Tight around the bellhousing. Got the sanding sticks out and reworked the trans tunnel. There is a significant area around the bellhousing area that if removed, there just might be enough room. After reshaping the trans tunnel and the engine in place, everything is working well together. Has lots of room now. Now, what to do with that engine? I've got an idea or two. Thats for another time. Gotta keep working toward the rear of the car. Thanks for looking and comments..........
-

Who doesn't love a mock-up? Let's see yours!
Speedpro replied to Belairconvertable's topic in WIP: Model Cars
Thanks Brother! Still thinking about that hood thing you suggested! -
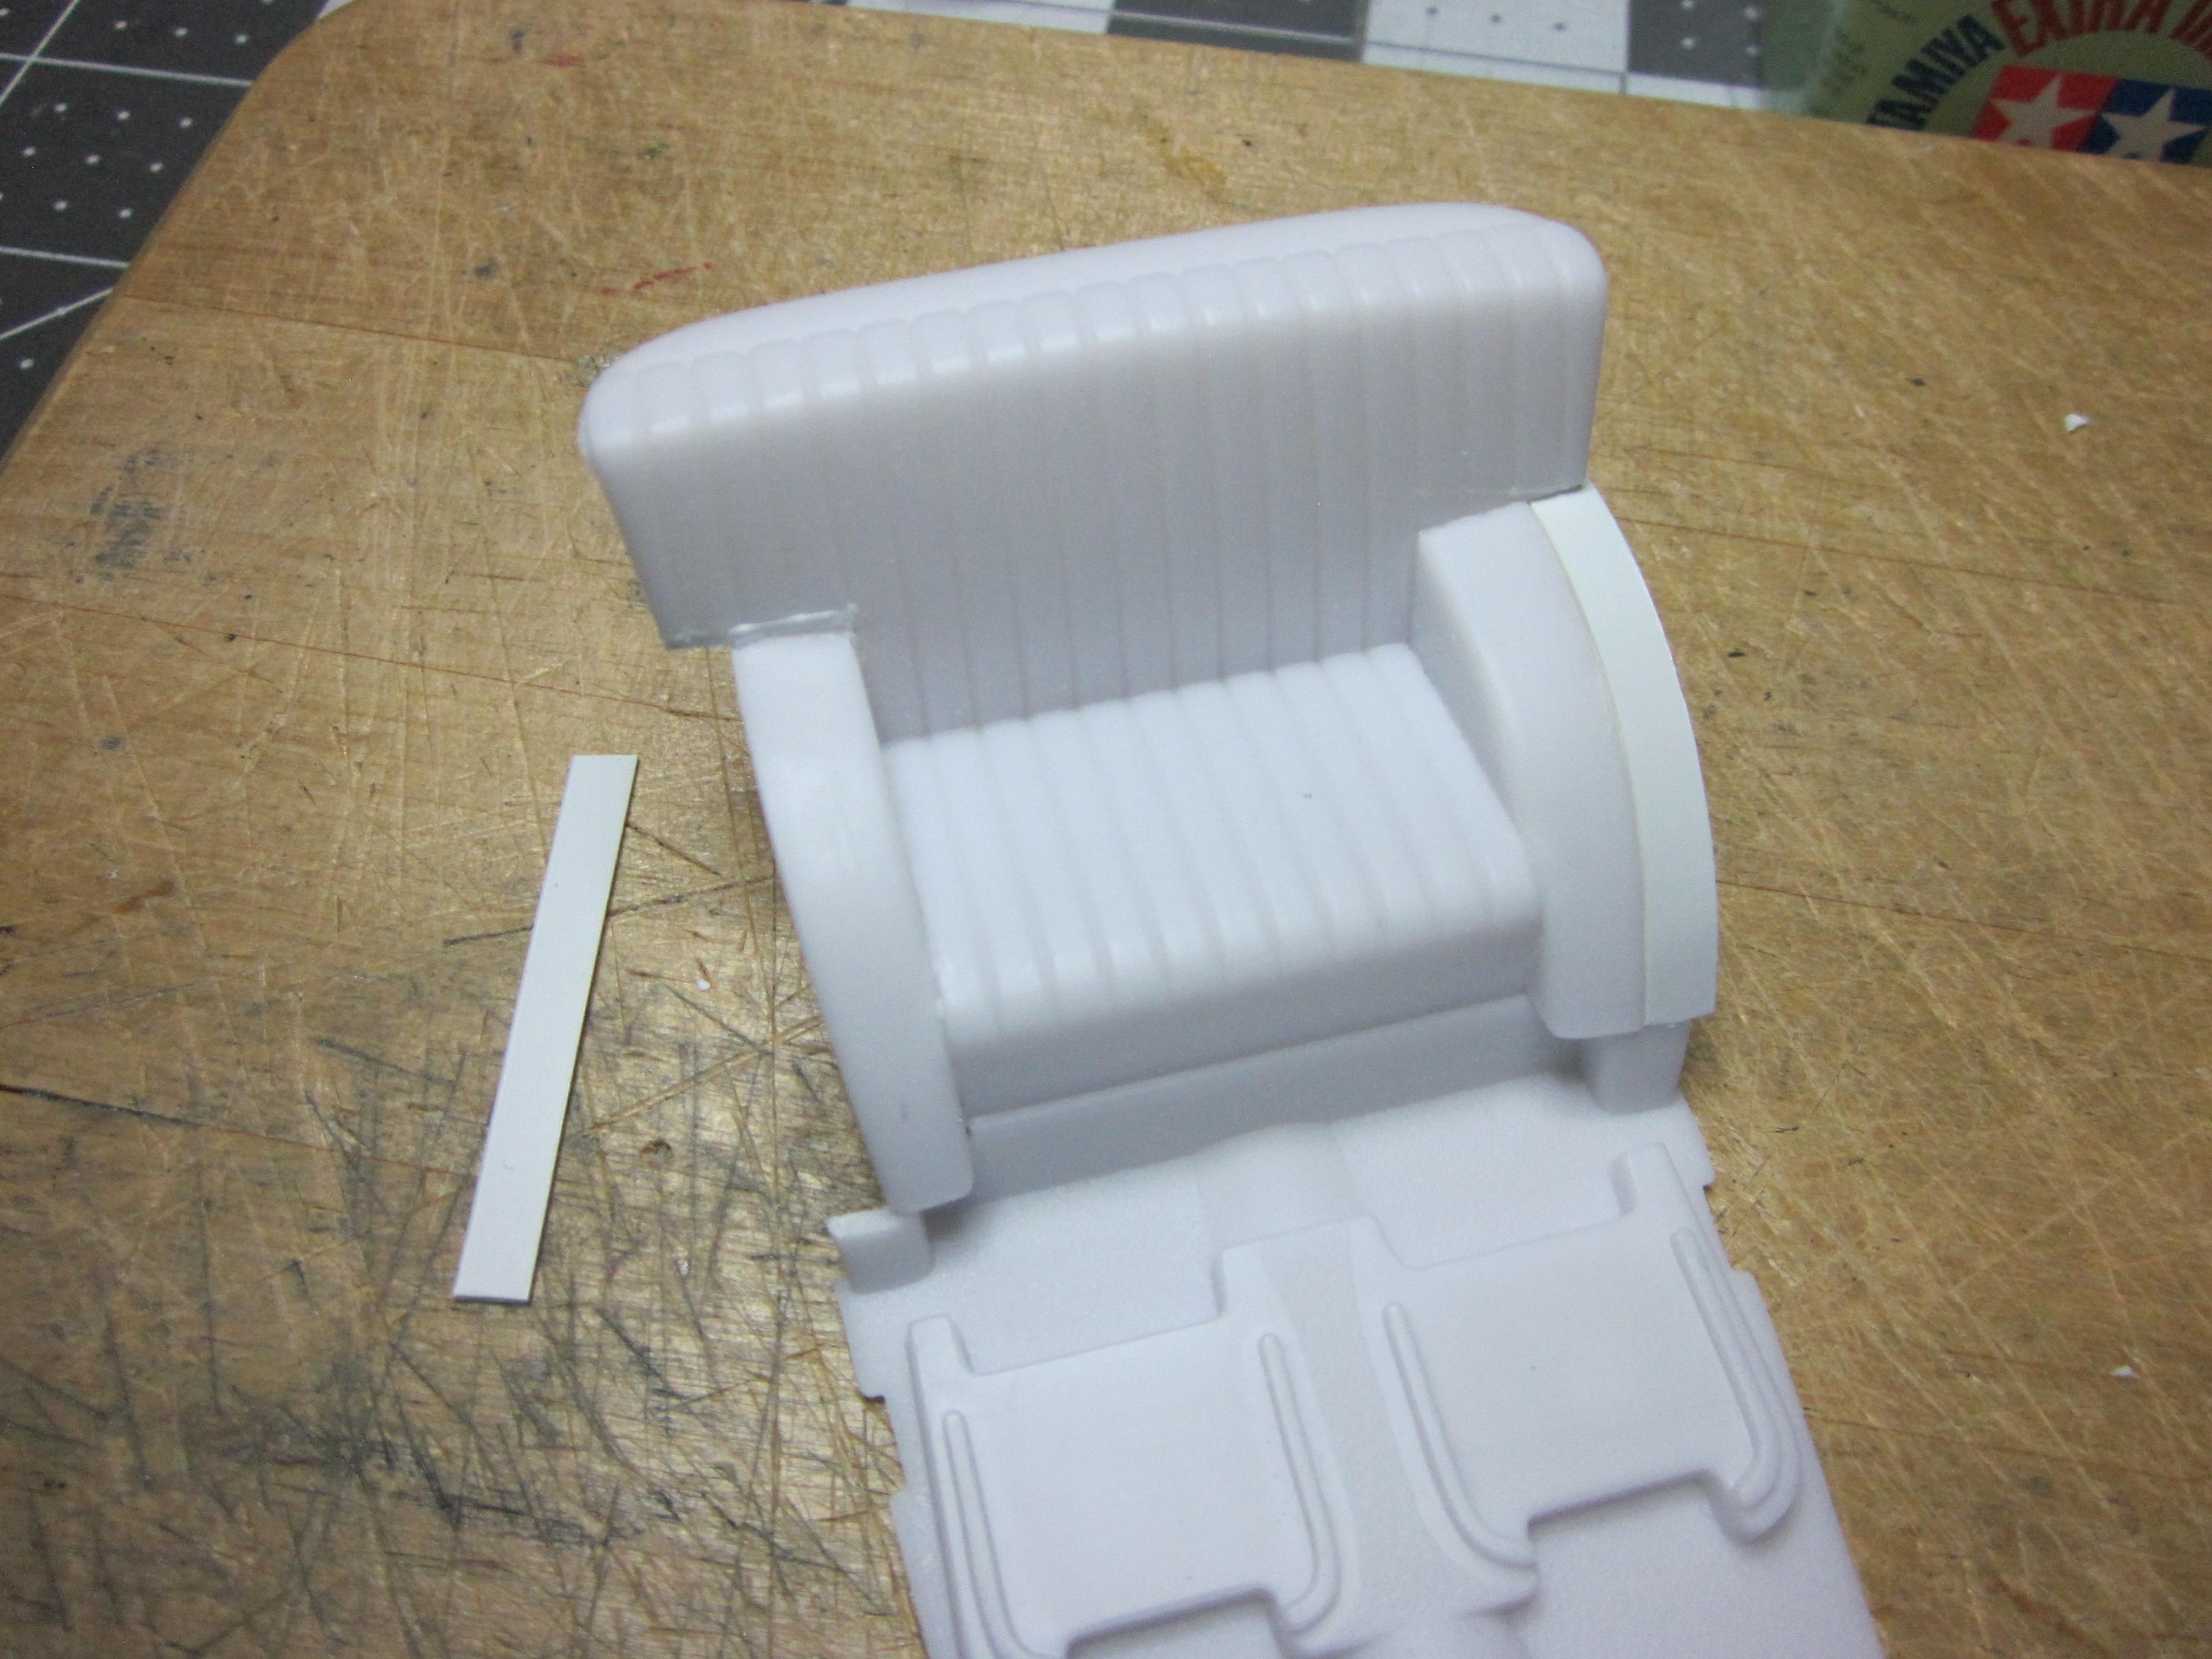
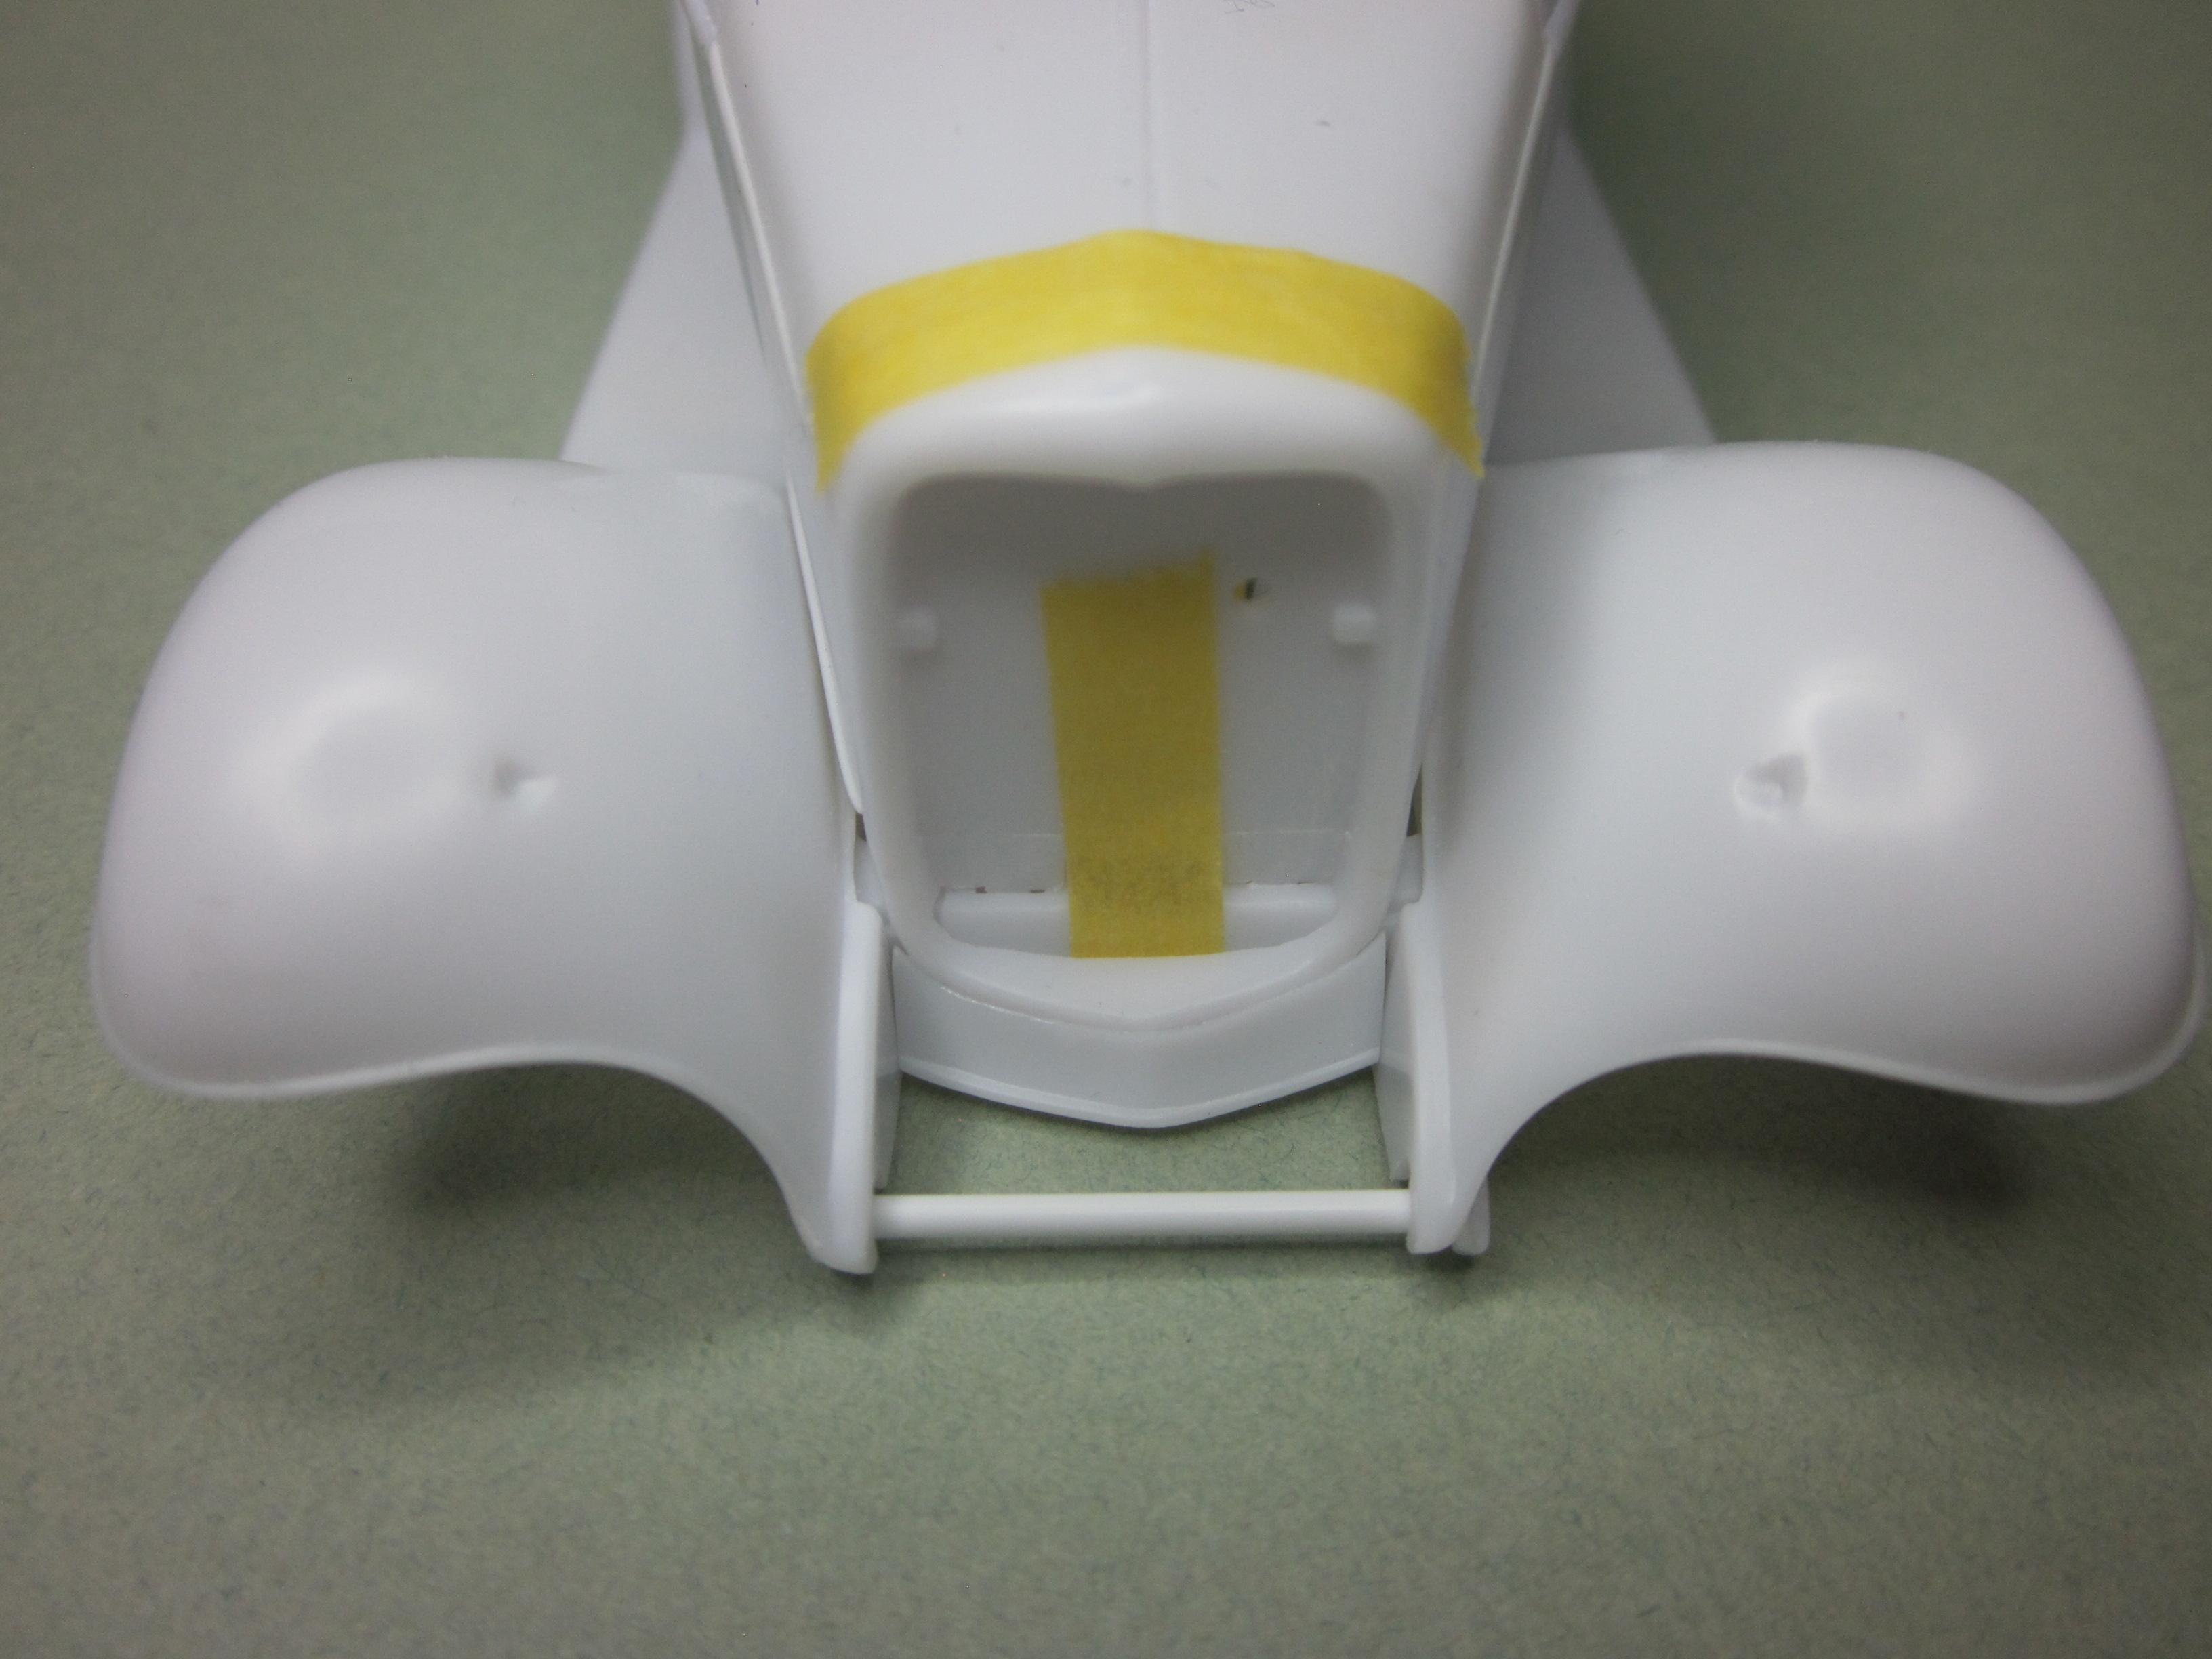
Been away from this project for a while. I did manage to get a few things done though. I left off getting the rear wheel tubs squared away. The rear seat needed to be narrowed a bit to fit between the tubs next. Ended up taking out one pleat on each side and adding a filler piece. Got kinda crazy with the first cuts that were made as you can see on the seat back. It all turned out ok though. Still more to do in this area. Next up was the rear end. It also needed to be adjusted to fit its new home. I figured out how much to remove and started cutting. The drill bits came out next and holes drilled through the center of the center section and a 1/16 rod was inserted through the housing. The outer ends were drilled, and things went back together. At this point the wheels and tires needed to be picked out before things can move forward. Future plans are for a four-bar setup to mount the rear in place. I found that the motor mounts were just a bit too bulky, so they were thinned up some. Darn if I still have not decided on an engine yet! While going through the parts, I found the apron and had to give it a new life. It was trimmed up and fit it to the bottom of the grill shell as you can see. Kind of a cow catcher look, and it holds the front of the fender against the frame better. Still needs more love but it has a good fit so far. That's it for now, more to come................................................
-
Who doesn't love a mock-up? Let's see yours!
Speedpro replied to Belairconvertable's topic in WIP: Model Cars
A '32 sedan I've been working on.
-
Great work on both!
-
Pontiac GTO 1967 (MPC 1/25 scale)… a NIGHTMARE build…
Speedpro replied to Tommy124's topic in Model Cars
Turned out pretty nice! -
Great work on the details!
-
Good looking merc! Great color and engine details!
-
Very nice!
-
Nothing to see here.
-
Ron, if you are interested in using the wheels as in the 1st picture, they can be found in Revell's Pro Stock kit #7362 Larry Morgan's Super Clean Olds. Shy of the bead lock on the rear wheels, they are exactly the same wheels.
-
Nothing to see here.
-
@Rocking Rodney Rat, I think your pretty darn good with that there chainsaw! You create some builds!! As far as the precision cutting thing goes, @Kit Karson is like the best at that. He helps me quite a bit with figuring out an idea and how to do it. He's so good at that! I myself, I'm just a hack that knows how to cover his tracks really good! Anyhow, I have all intensions of finishing this thing. I just hope it's not "someday" when its finished!
-
@BullybeefI realize it's not a race! lol, I sure wouldn't be doing this if it was! When I first started this project, I had all the intentions of it being a fairly simple build. But as always, my builds seem migrate in another direction. I just thought it would be great to meet the deadline like most everyone else.
-
Jim, thanks for taking the time to check out the build! And I'm glad you're enjoying it.
-
What an awesome build! At first, I thought you painted it with splash paints Ocra Pearl SP-215. But that's a nice color you put on it. At one time, we had talked about applying alclad. It really helped me out using that stuff. But I got to say, you have the best alclad I have seen. So brilliant. Fantastic work Luke!
- 22 replies
-
- 1
-

-
- holden
- ddacollectibles
- (and 1 more)
-
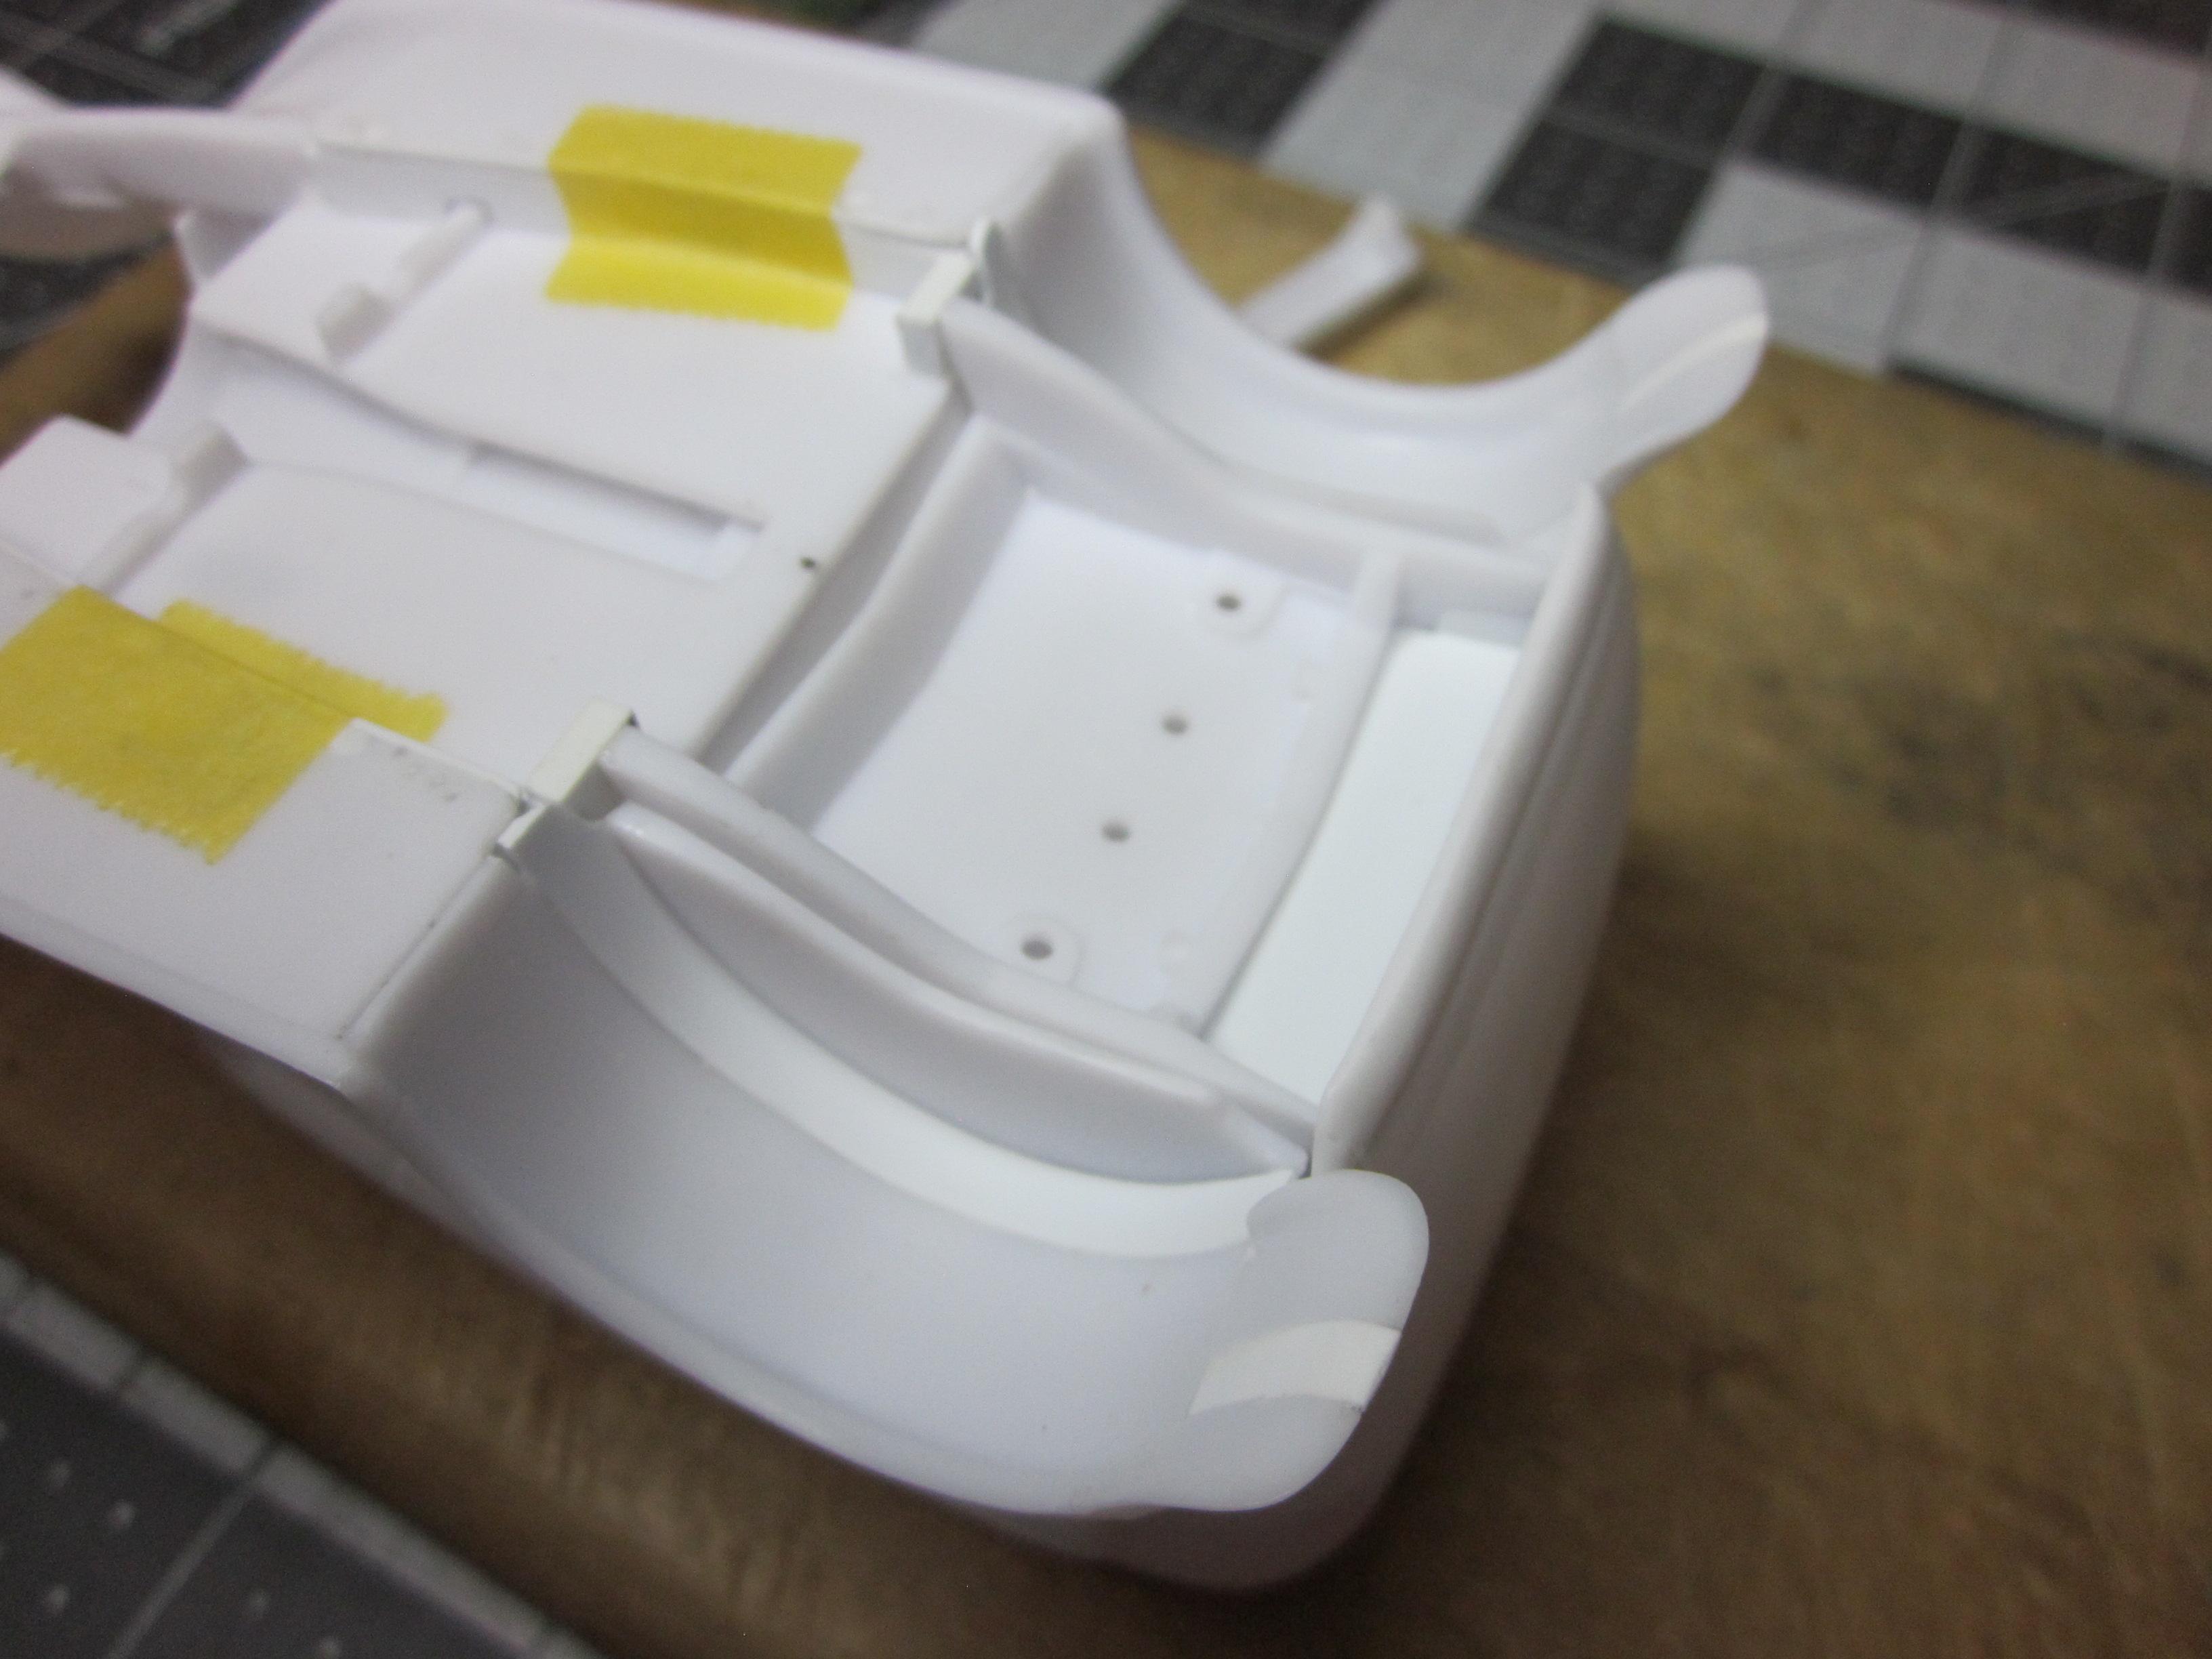
Well, not too sure if this thing is going to see the finish line date. If I weight time spent versus what little time is left, well it just doesn't look good. I actually thought I would do better. There are a couple guys that are almost done and have done some great work! Others not too far behind. Sometimes being a slow builder just don't work in a place like this. I'm just going to keep on plugging along and see what happens. The last update of my '32, left off getting the wheel tubs finished up. At this point it is ready for the rear frame to be modified to fit between the new wheel tubs. First thing to be done is to cut the frame apart to remove a sizable chunk out of the middle. I chose to save the gas tank, and it will be reinstalled in its original location This got things close, but the rails did not run true to the tubs as the front part of the frame section is wider than the rear. To fix this, a small amount of material was removed get things straightened out. The rear frame section now fits. And fits nice and snug. So next is the gas tank. It needs a place to mount. Some pieces of 0.60 sheet were used to build a new floor at the very back. After the new rear floor was cleaned up and finished, it was time to rejoin the rear frame section too the main frame. A couple small pieces of .080x.156 evergreen is used to create the area to glue too. Once glued in place, it was left to dry overnight Still more to do now that the frame is rejoined. I did get the rear seat narrowing started. Will show that next time. Here's a couple pics of the car fitting together. Also added the vent door. That's it for now. More to come..........
-
Excellent build! Very well done!
-
Very nice! Alot to like about this build.
-
Nice dodge! Came out great!
-
Ouch! So much entertainment while modeling!
-
Very nice! You did a great job for OOB build!
-
Allways cool to see what one can do with a '53 corvette. Well done!