Hard_2_Handle_454
-
Posts
1,781 -
Joined
-
Last visited
Content Type
Profiles
Forums
Events
Gallery
Everything posted by Hard_2_Handle_454
-
 Not a big Ford guy, but that looks pretty cool.
 -
Good color choice.
-
Very nice. A lot better than what mine turned out.
-
Been wanting that kit for awhile, but I have nowhere to put my aircraft kits.
-
I need one in red
-
Revell 68 Chevelle availability
Hard_2_Handle_454 replied to Timonator's topic in Car Kit News & Reviews
They've been on the market for awhile now. Shop around. -
I just saw one of these today while grabbing some medicine at CVS. My dad pointed it out. I think it's pretty cool too. I also got a Holy Grail die cast in the mail today; my last AMC for my collection, a Rebel Machine!
-
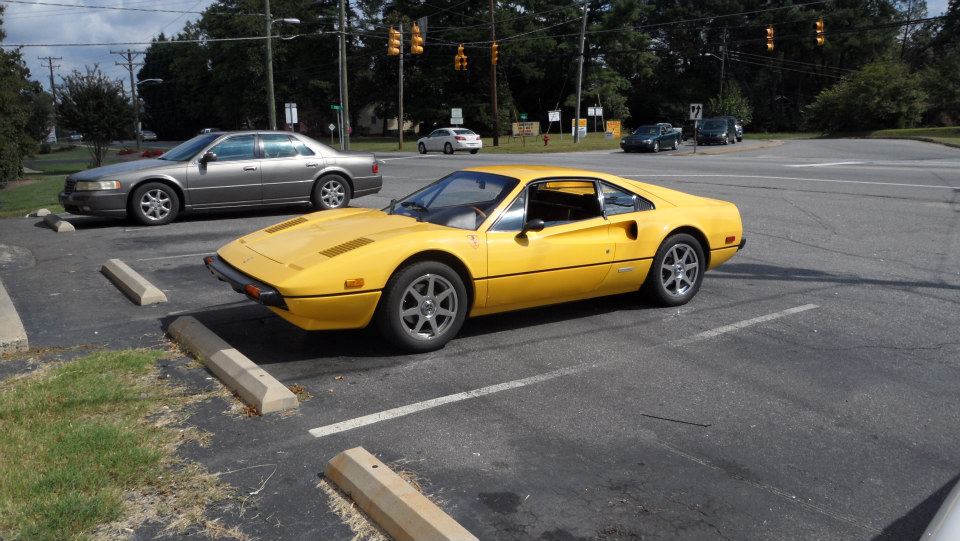
Had to go Red for mine. Can never go wrong with Red. SAM_0435 by Eric Lucas, on Flickr
-
Stopped at a pizza place on the other side of Charlotte and the owner used one as a pizza delivery car.

-
Revell '69 Boss 302 Mustang
Hard_2_Handle_454 replied to PlymouthFan's topic in Car Kit News & Reviews
It was definitely the hood. Just a little too wide. Worked on it and got it to fit a bit better. -
Revell '69 Boss 302 Mustang
Hard_2_Handle_454 replied to PlymouthFan's topic in Car Kit News & Reviews
About to finish mine last night and the hood is to wide to fit. Gonna have to trim it or find a way to sand it down. Was a good kit up till that point. Now I'm a little frustrated and angry. -
About to finish mine last night and the hood is to wide to fit. Gonna have to trim it or find a way to sand it down. Was a good kit up till that point. Now I'm a little frustrated and angry.
-
Revell '69 Boss 302 Mustang
Hard_2_Handle_454 replied to PlymouthFan's topic in Car Kit News & Reviews
Revell had a kit awhile back for a 69 Mach 1. There's got to be someone out there that has the decals from it. I was thinking about getting another Boss kit so I could convert it into a Mach 1. The parts for it are in the kit. -
Oops, sorry, didn't see it was a 69 you were talking about until you quoted me.
-
I liked it. Thought it came out pretty good. Looks pretty accurate. 1 (269) by Eric Lucas, on Flickr
-
Thank you, I still have to post most of them. Haven't had the time. I believe the scale is 1:18, but don't hold me to it. It's a video game car so there's no real reference to go from.
-
Looks cool. I wouldn't mind having one in the collection
-
This is my newest micro car to my collection and also a rare piece of video-game merchandise from my favorite video-game, Fallout. SAM_0443 by Eric Lucas, on Flickr SAM_0444 by Eric Lucas, on Flickr SAM_0445 by Eric Lucas, on Flickr SAM_0446 by Eric Lucas, on Flickr
-
I got mine from Mega Hobby. It's A LOT cheaper. Less than $30. I think $25 range. Might I suggest a Butternut Yellow with the black stripes for your build?
-
Well, if you haven't noticed by my profile pic, I'm a Chevelle guy. When I saw this kit coming out I knew I had to have it. This is the Chevelle I always wanted. I wanted to be the first to post, but because of work wasn't able to get the job done, so I got beat by a couple days. SAM_0435 by Eric Lucas, on Flickr SAM_0436 by Eric Lucas, on Flickr SAM_0438 by Eric Lucas, on Flickr SAM_0440 by Eric Lucas, on Flickr SAM_0442 by Eric Lucas, on Flickr
-
Nice!
-
Johan Pro Street Rambler kit question
Hard_2_Handle_454 replied to USAC_1957's topic in Car Kit News & Reviews
It's not hard if you can find the decals 1 (73) by Eric Lucas, on Flickr -
Looks amazing. Gotta start mine soon. Been working on the Chevelle, but work has been keeping me from getting much of anything done.
-
Oh, almost forgot; there is also a fit issue with the dash. The directions show it fitting in like most models, with the dash sitting in a certain position on the door frames. However, the reality is, there is no slot for it. If it sits on the frames, then it is too high when putting it in and the dash is knocked around. If you try to put it between the frames, then it sinks a little and messes with the frames. The latter is what I had to end up doing, so the dash is actually sunken in a bit from where it should be since there was no notch in the frames to place it. The dash just slid down after it was put in. Best I could do though. The directions start off great, but go full blown retard after a few pages, having you do multiple things. It also gets vague on how things are supposed to fit. The fit issues are what makes it a frustrating model to build. It was a great kit I would recommend up until that point. I literally had to cut chunks of the frame out to put the grill piece on. It extends up under the nose of the car so you can have the radiator/fans (which you can't see, so what's the point?), but the frame drops down too far and interferes with the grill placement.
-
Love it.