Dann Tier
-
Posts
8,151 -
Joined
-
Last visited
Content Type
Profiles
Forums
Events
Gallery
Everything posted by Dann Tier
-
Thanks, Bud!!....i havent seen one like this before.
-
Thats looking pretty SWEEEET!!!!
-
Thanks, bud!...i think its insomnia....lol
-
Its looking GREAT, Bud!!!!, i too like to slightly overbuild, and shape it.
-
LOL!!!
-
You bet, Bud!!
-
Thanks again, Bud!!
-
Thanks, Bud
-
....forgot about it, lol.....til now, THANKS.
-
Thanks alot fellows!!...much appreciated!!
-
BRILLIANT!!!! -Perfect stance!!!.....looking forward to more, Bud!!!
-
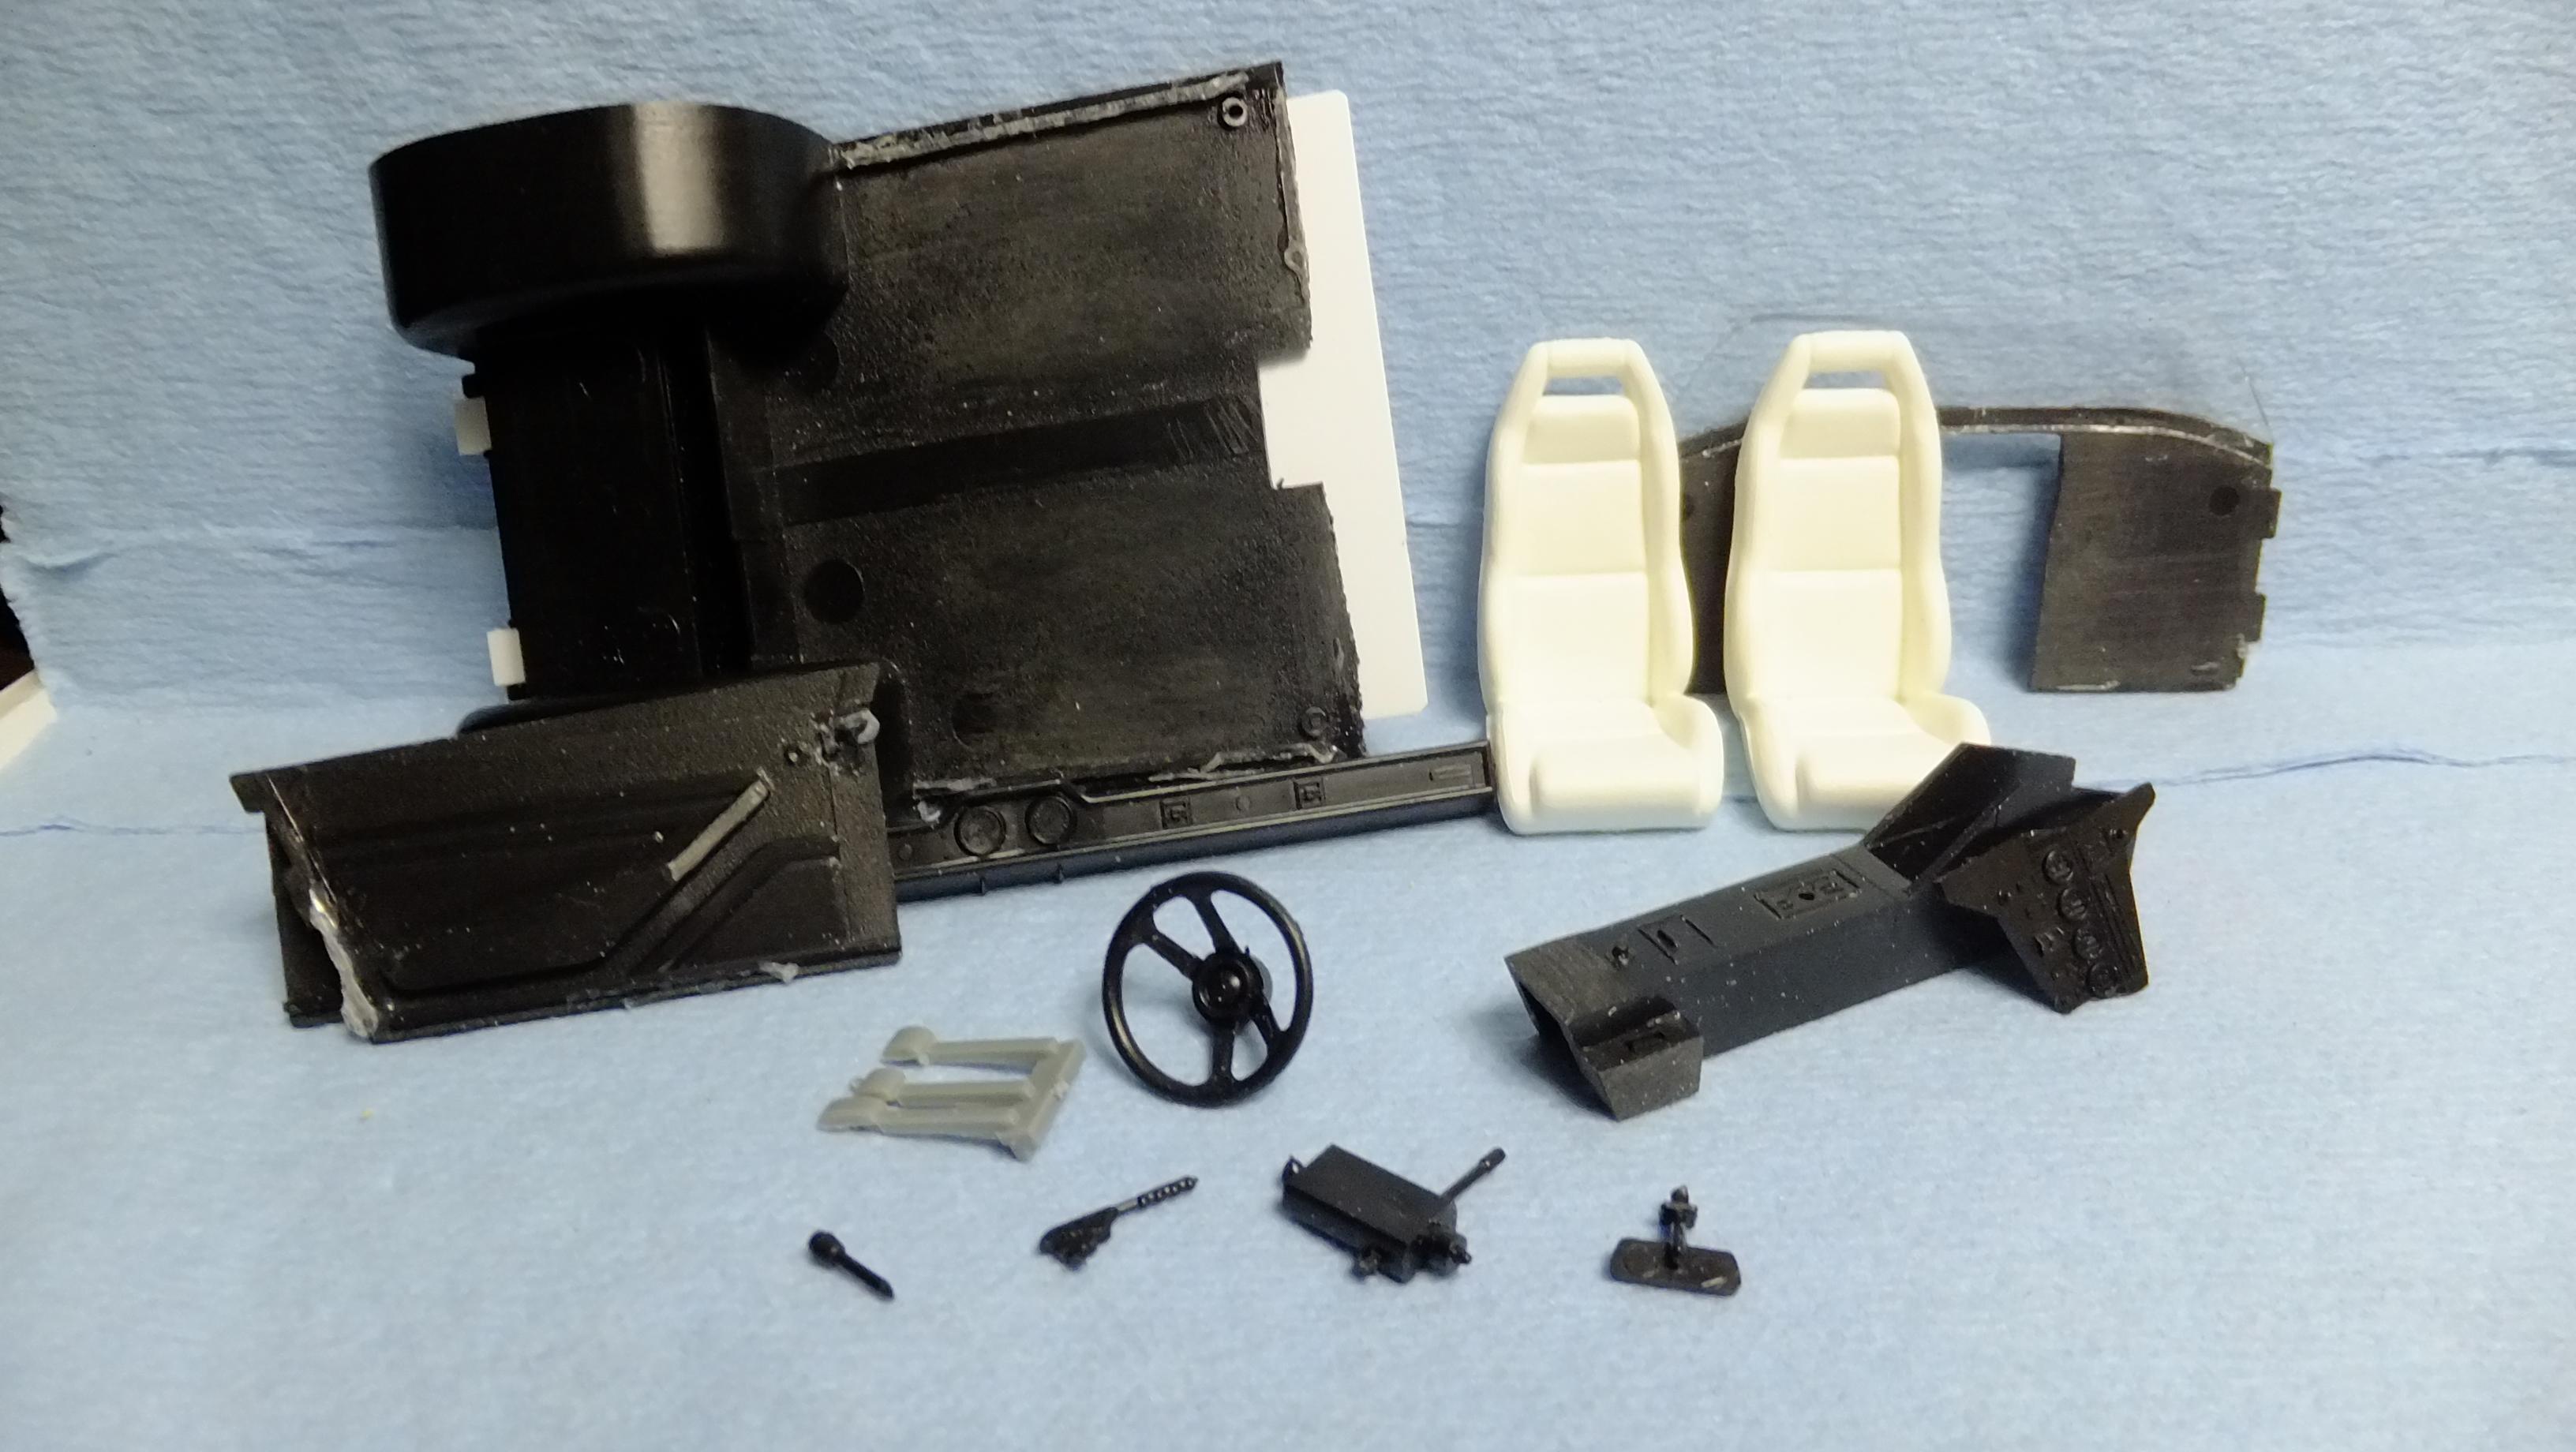
Time to switch this one up a bit too!, like my other builds, i want to finish and paint ALL of the interiors that i'm working on now....at the same time. -It looks a mess, but i will fix it all up. I got the seats from the parts bin, the foot peddles from a Fujimi Countach kit, and the steering wheel is from a Testors Lamborghini Sihlouette kit. I will first sand, and clean up all the patrs as individuals, then attach, and SB a new tranny tunnel....let the hacking-up begin!!

-
This build is starting to pick up momentum! -Photo 1; Filler kept sanding out....even CA glue wasnt filling them. When i get stubborn seams that need to be filled in, i will super glue VERY thin styrene over the spot...add more glue all around it, then sand it smooth after its dry -works a treat! -Photo 2; In order to move along on the interior work, i needed to add a shifter base. Next will be adding vents to the dash top, re-scribing the door card seams, and making the rear seat look like its NOT part of the parcel tray. -Photo 3&4; As you can see, the headers are still gonna work GREAT!!...just need to curve them a tiny bit to touch the heads.
-
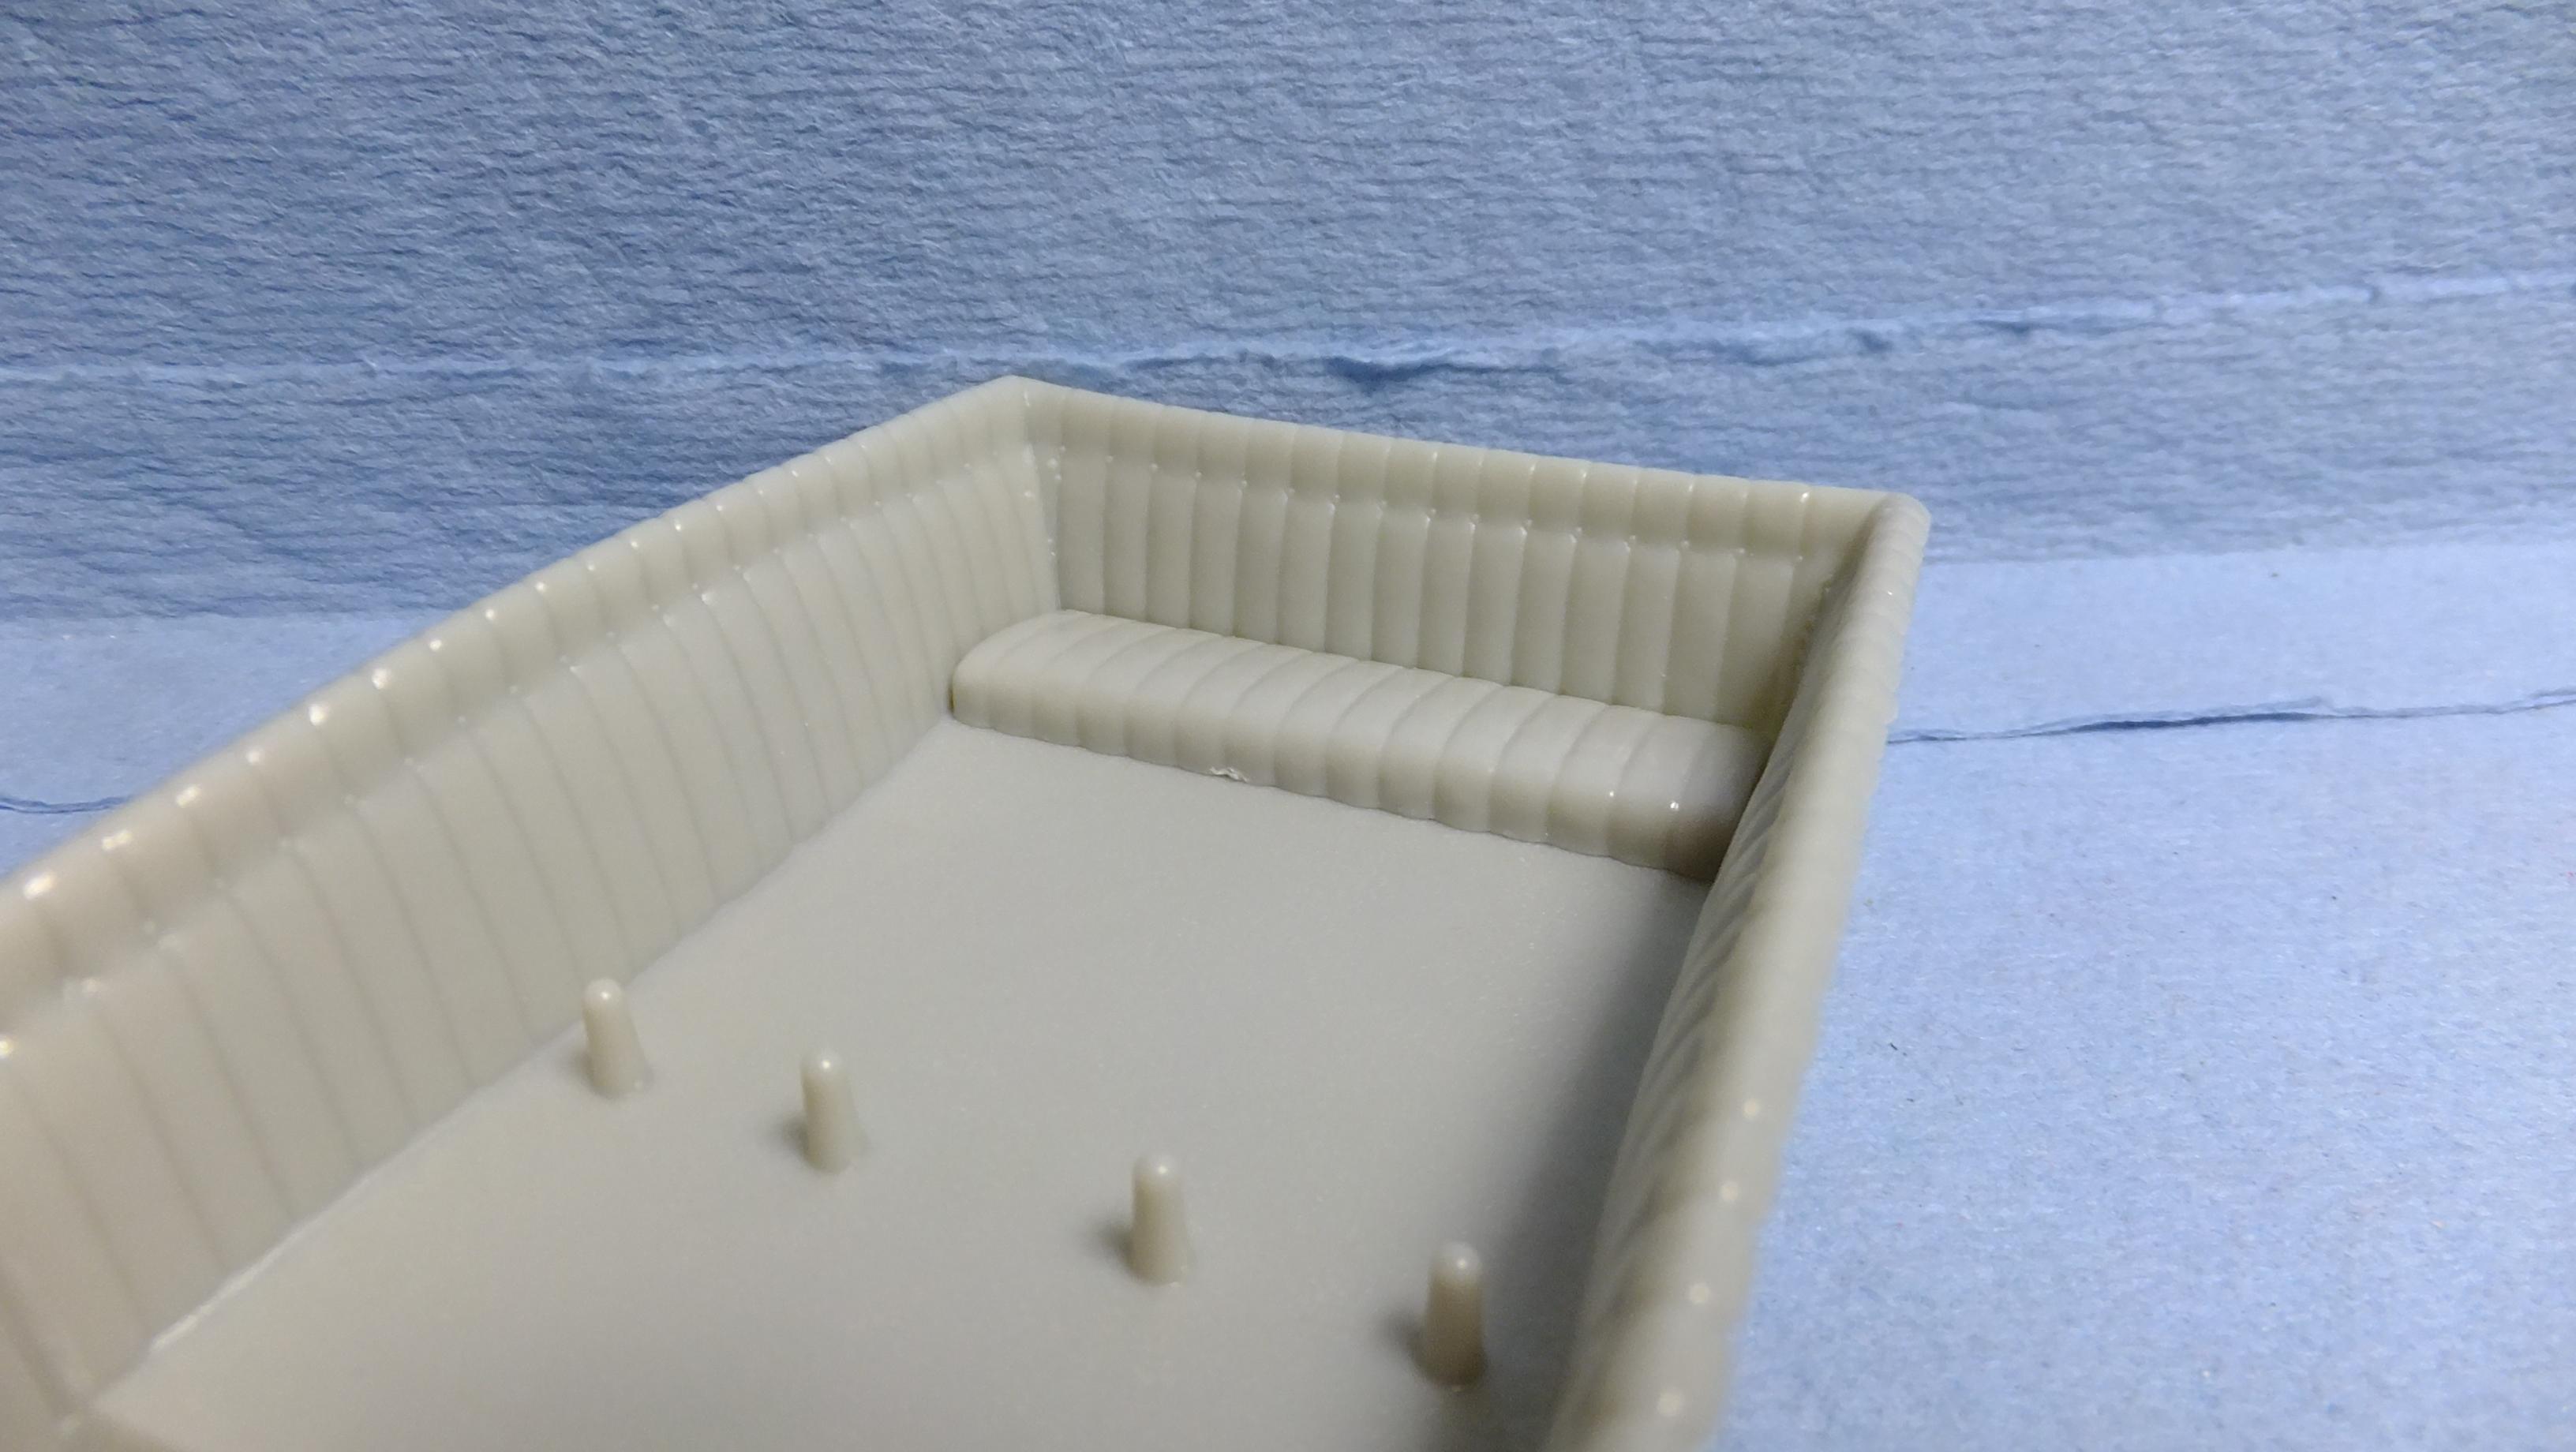
Hey, everyone!, i'm feeling like working on the easiest bit now -the interior, lol -Photo 1; This is a bit missed by most people...the interior padding goes all the way to the A-pillar. After removing the upright, i have a section of padding from a second kit that i will splice in. -Photo 2; The bench in the real car is actually raised up a bit, so i will be fixing that issue. -Photo 3; I will do my usual work to make the seats look more "cushiony". The arrows point to the areas that need to be scribed. Since i have a bunch of spare seats, i will be separating the backs from them, and adding the more realistic details....i'm really looking forward to that bit!.
-
Hey, everyone!....my mesh idea was a success! -Photo 1; After attaching mesh that was the closest i could find to match the vents, i proceeded to attach square styrene rod to the perimeter of it. I was lucky to have the pre-made size that matched the trim around the other vents. You can also see my starting points for gluing them on. Once these points of contact were dry, i moved along with the same technique. -Photo 2; Here i added the vertical bits...once fully dry, i sniped off the ends, and used CA glue to fill all the joints. -Photo 3; I think it looks more Miura than just painting the area....again, once dry, i will sand the joints to blend them all in.
-
Thanks alot too, Bud!!...we can all inspire each other!......you've given me some great ideas as well!!
-
Thanks, Bud!...its fun, and i'm glad to share how i like to do things.....looking forward to more of your work!!!.....the original engineers might not like me, lol
-
VERY nice job, bud!!!....i love this kit!!, its really fun so far!!!....sounds like you need to be the Lambo expert now!!!
-

Fully detailed Airfix James Bond Aston Martin DB-5
Dann Tier replied to Dann Tier's topic in WIP: Model Cars
Heck no, lol....plastic!! -
FANTASTIC, Bud!!!....you can fix that dash easy-peasy!!!
-
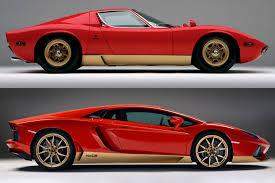
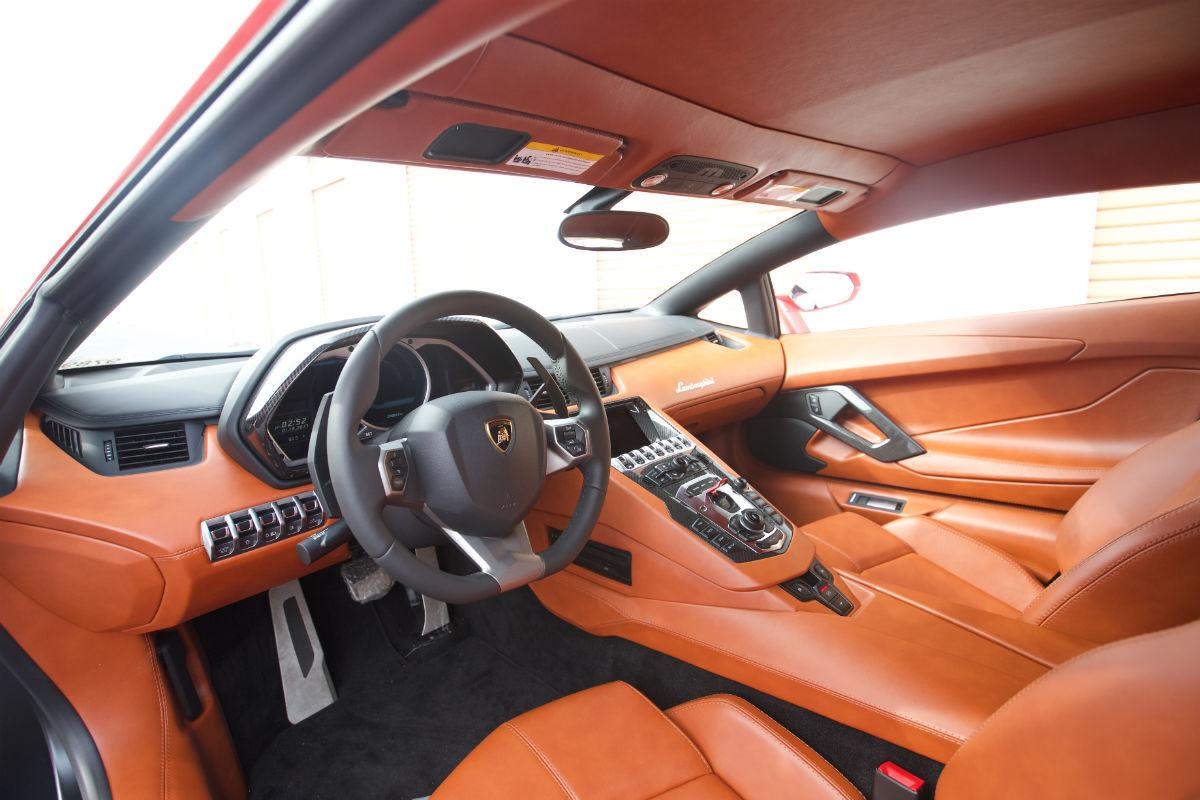
Hey, everyone!, ALL the bits to this kit will be painted today after i figure out something about the black space between the rear vents. I know its suppose to be reminiscant of the Miuras rear mesh, but why not take it a step further, and make it mesh also?!! The "real deal" photos show the look i will be going for...a lighter tan interior though. Most of these interiors are done crazy, but i'm not keen on that...i like simplicity the best. -Photo 1; In my mind, if i was gonna copy the original Miura, i wouldnt just have black paint connecting the rear vents, i would have MESH!...so i will! -Photo 2; To more closely resemble the original, i will also NOT be adding gold to the front fascia. -Photo 3&4; This is how i want my interior to look, but with a lighter beige. -Photo 5&6; Its always a better idea to make vent stencils BEFORE you paint the body....the less you need to handle it, the less chance of messing something up!
-
Airfix 1/32 Ford 3 Litre GT
Dann Tier replied to cobraman's topic in Other Racing: Road Racing, Salt Flat Racers
LOL....you got it, Ray!!! -
Its all good, LOL....it was a nice, funny thing to say, as well as being appreciated!!
-
Fully detailed Airfix James Bond Aston Martin DB-5
Dann Tier replied to Dann Tier's topic in WIP: Model Cars
LOL, normally i show step-by-step, i will make another one to show you! -
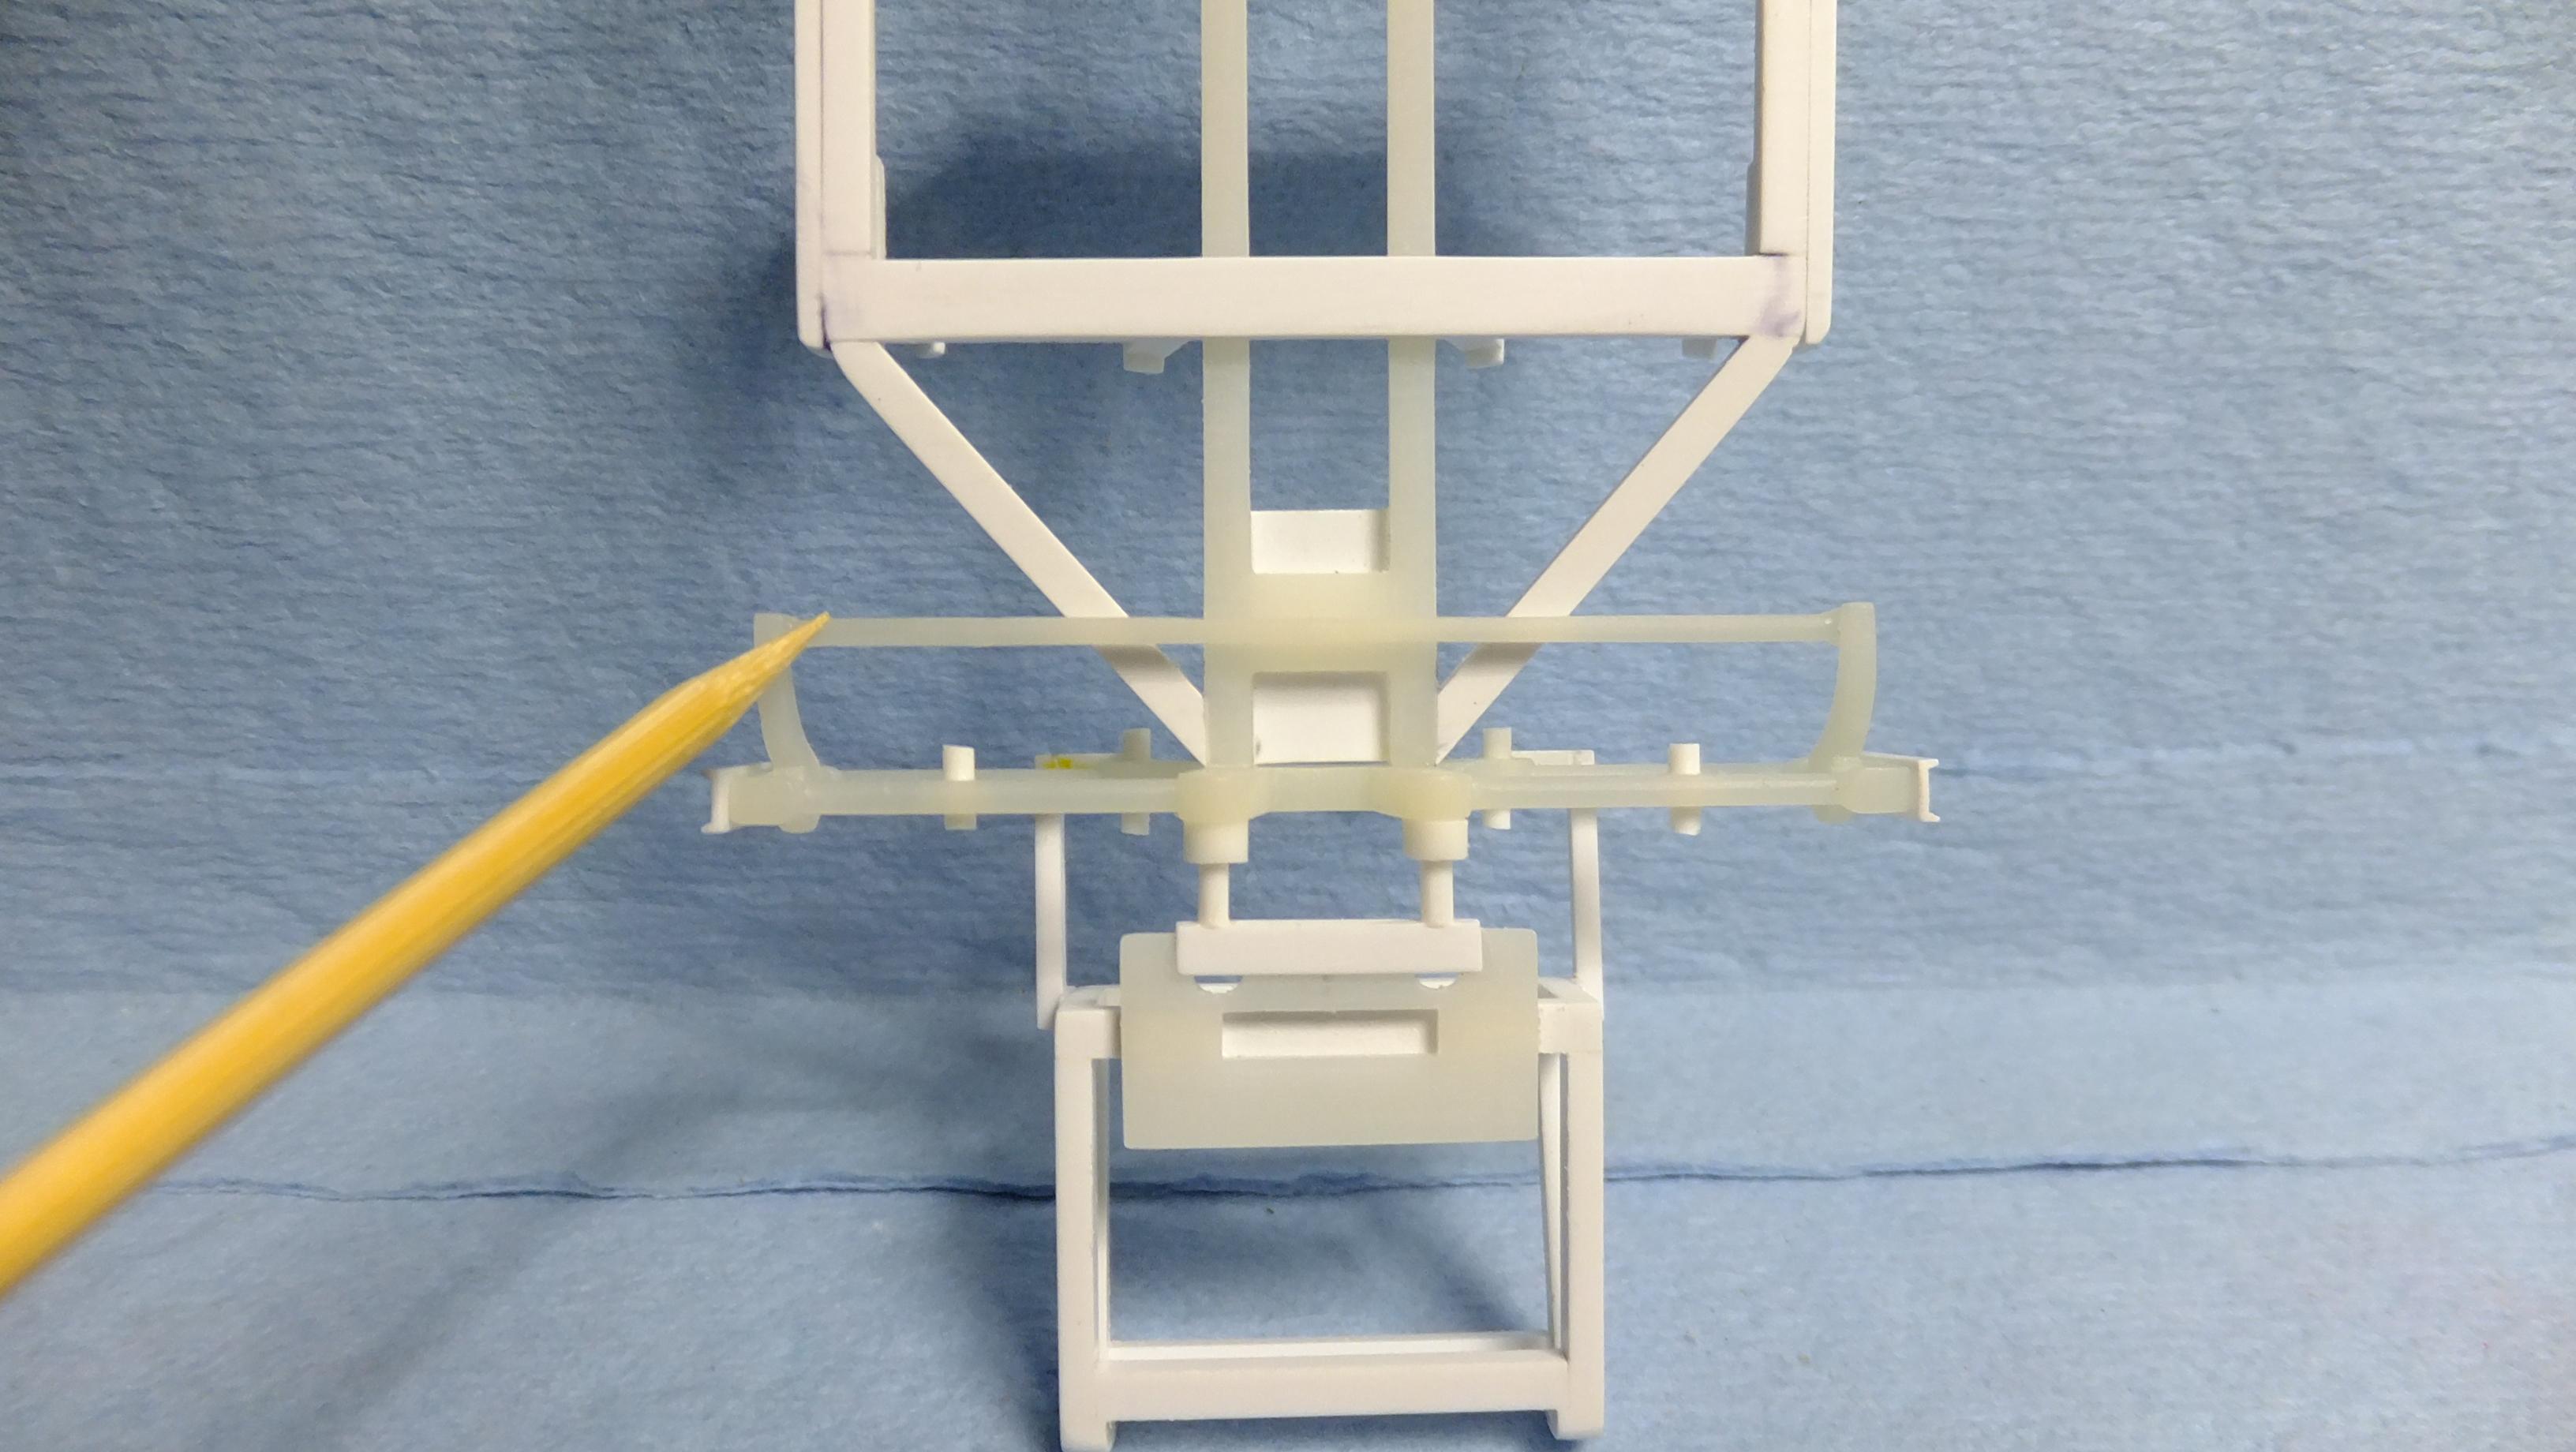
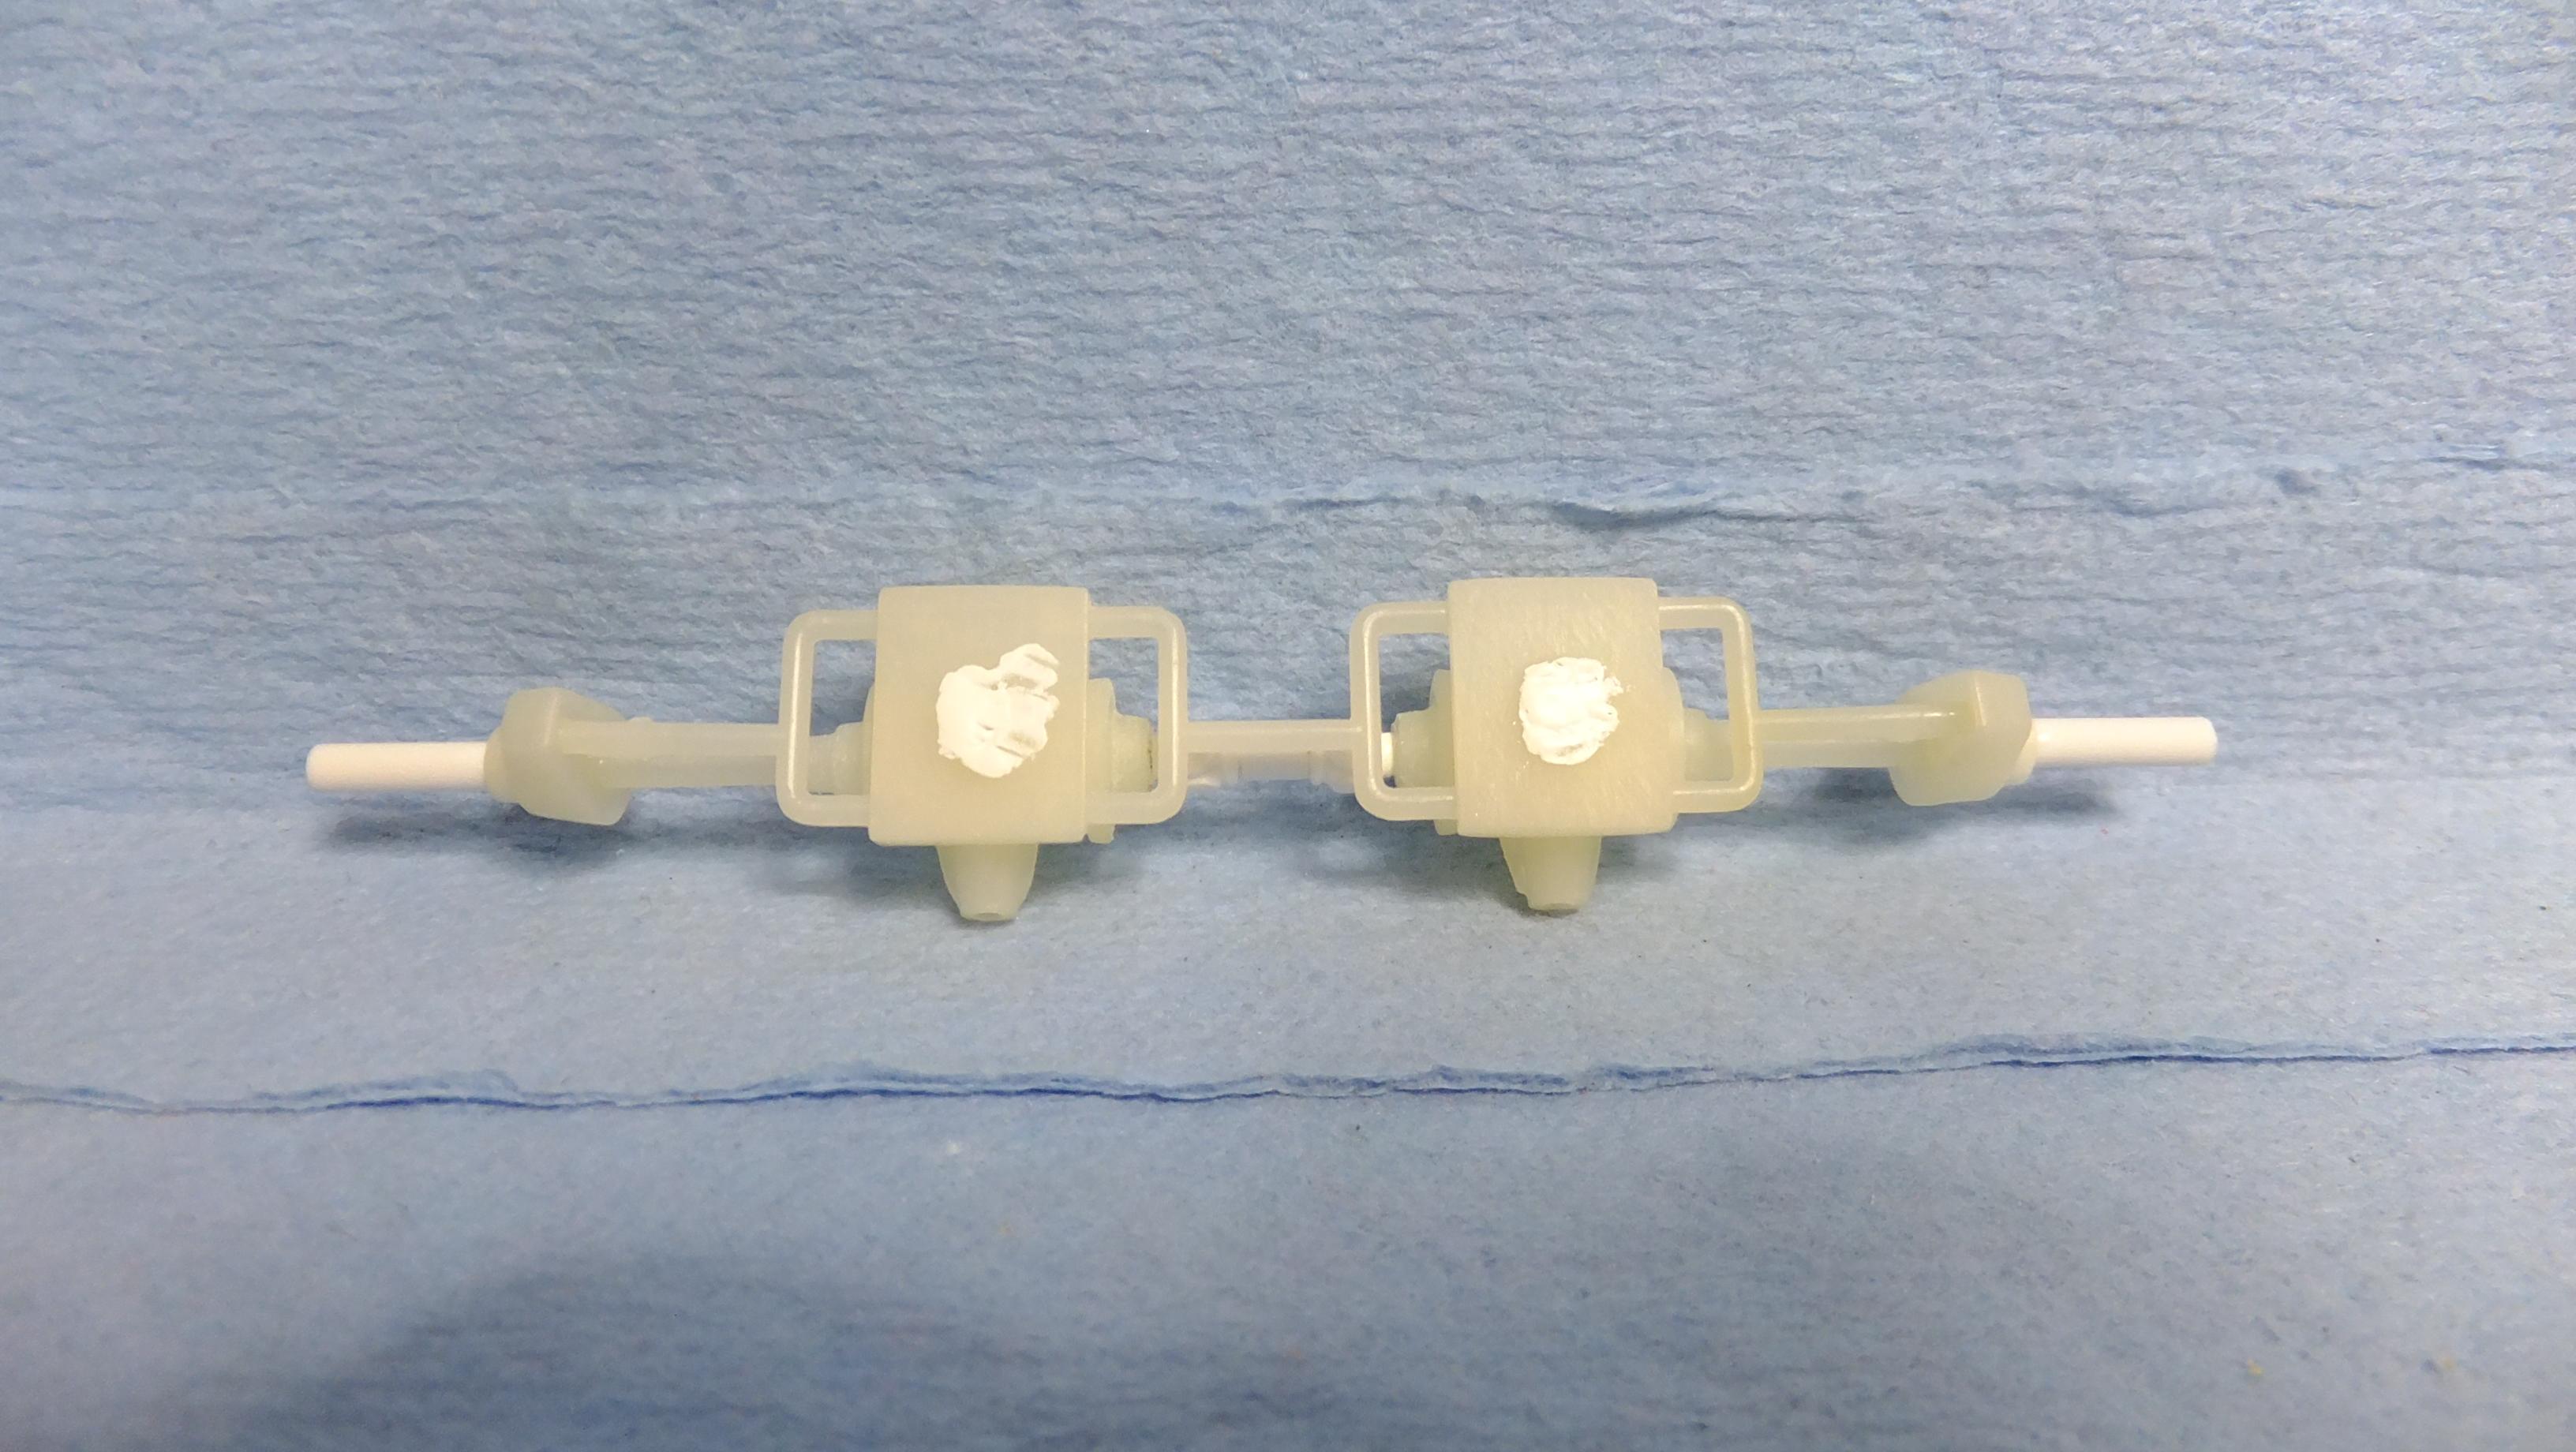
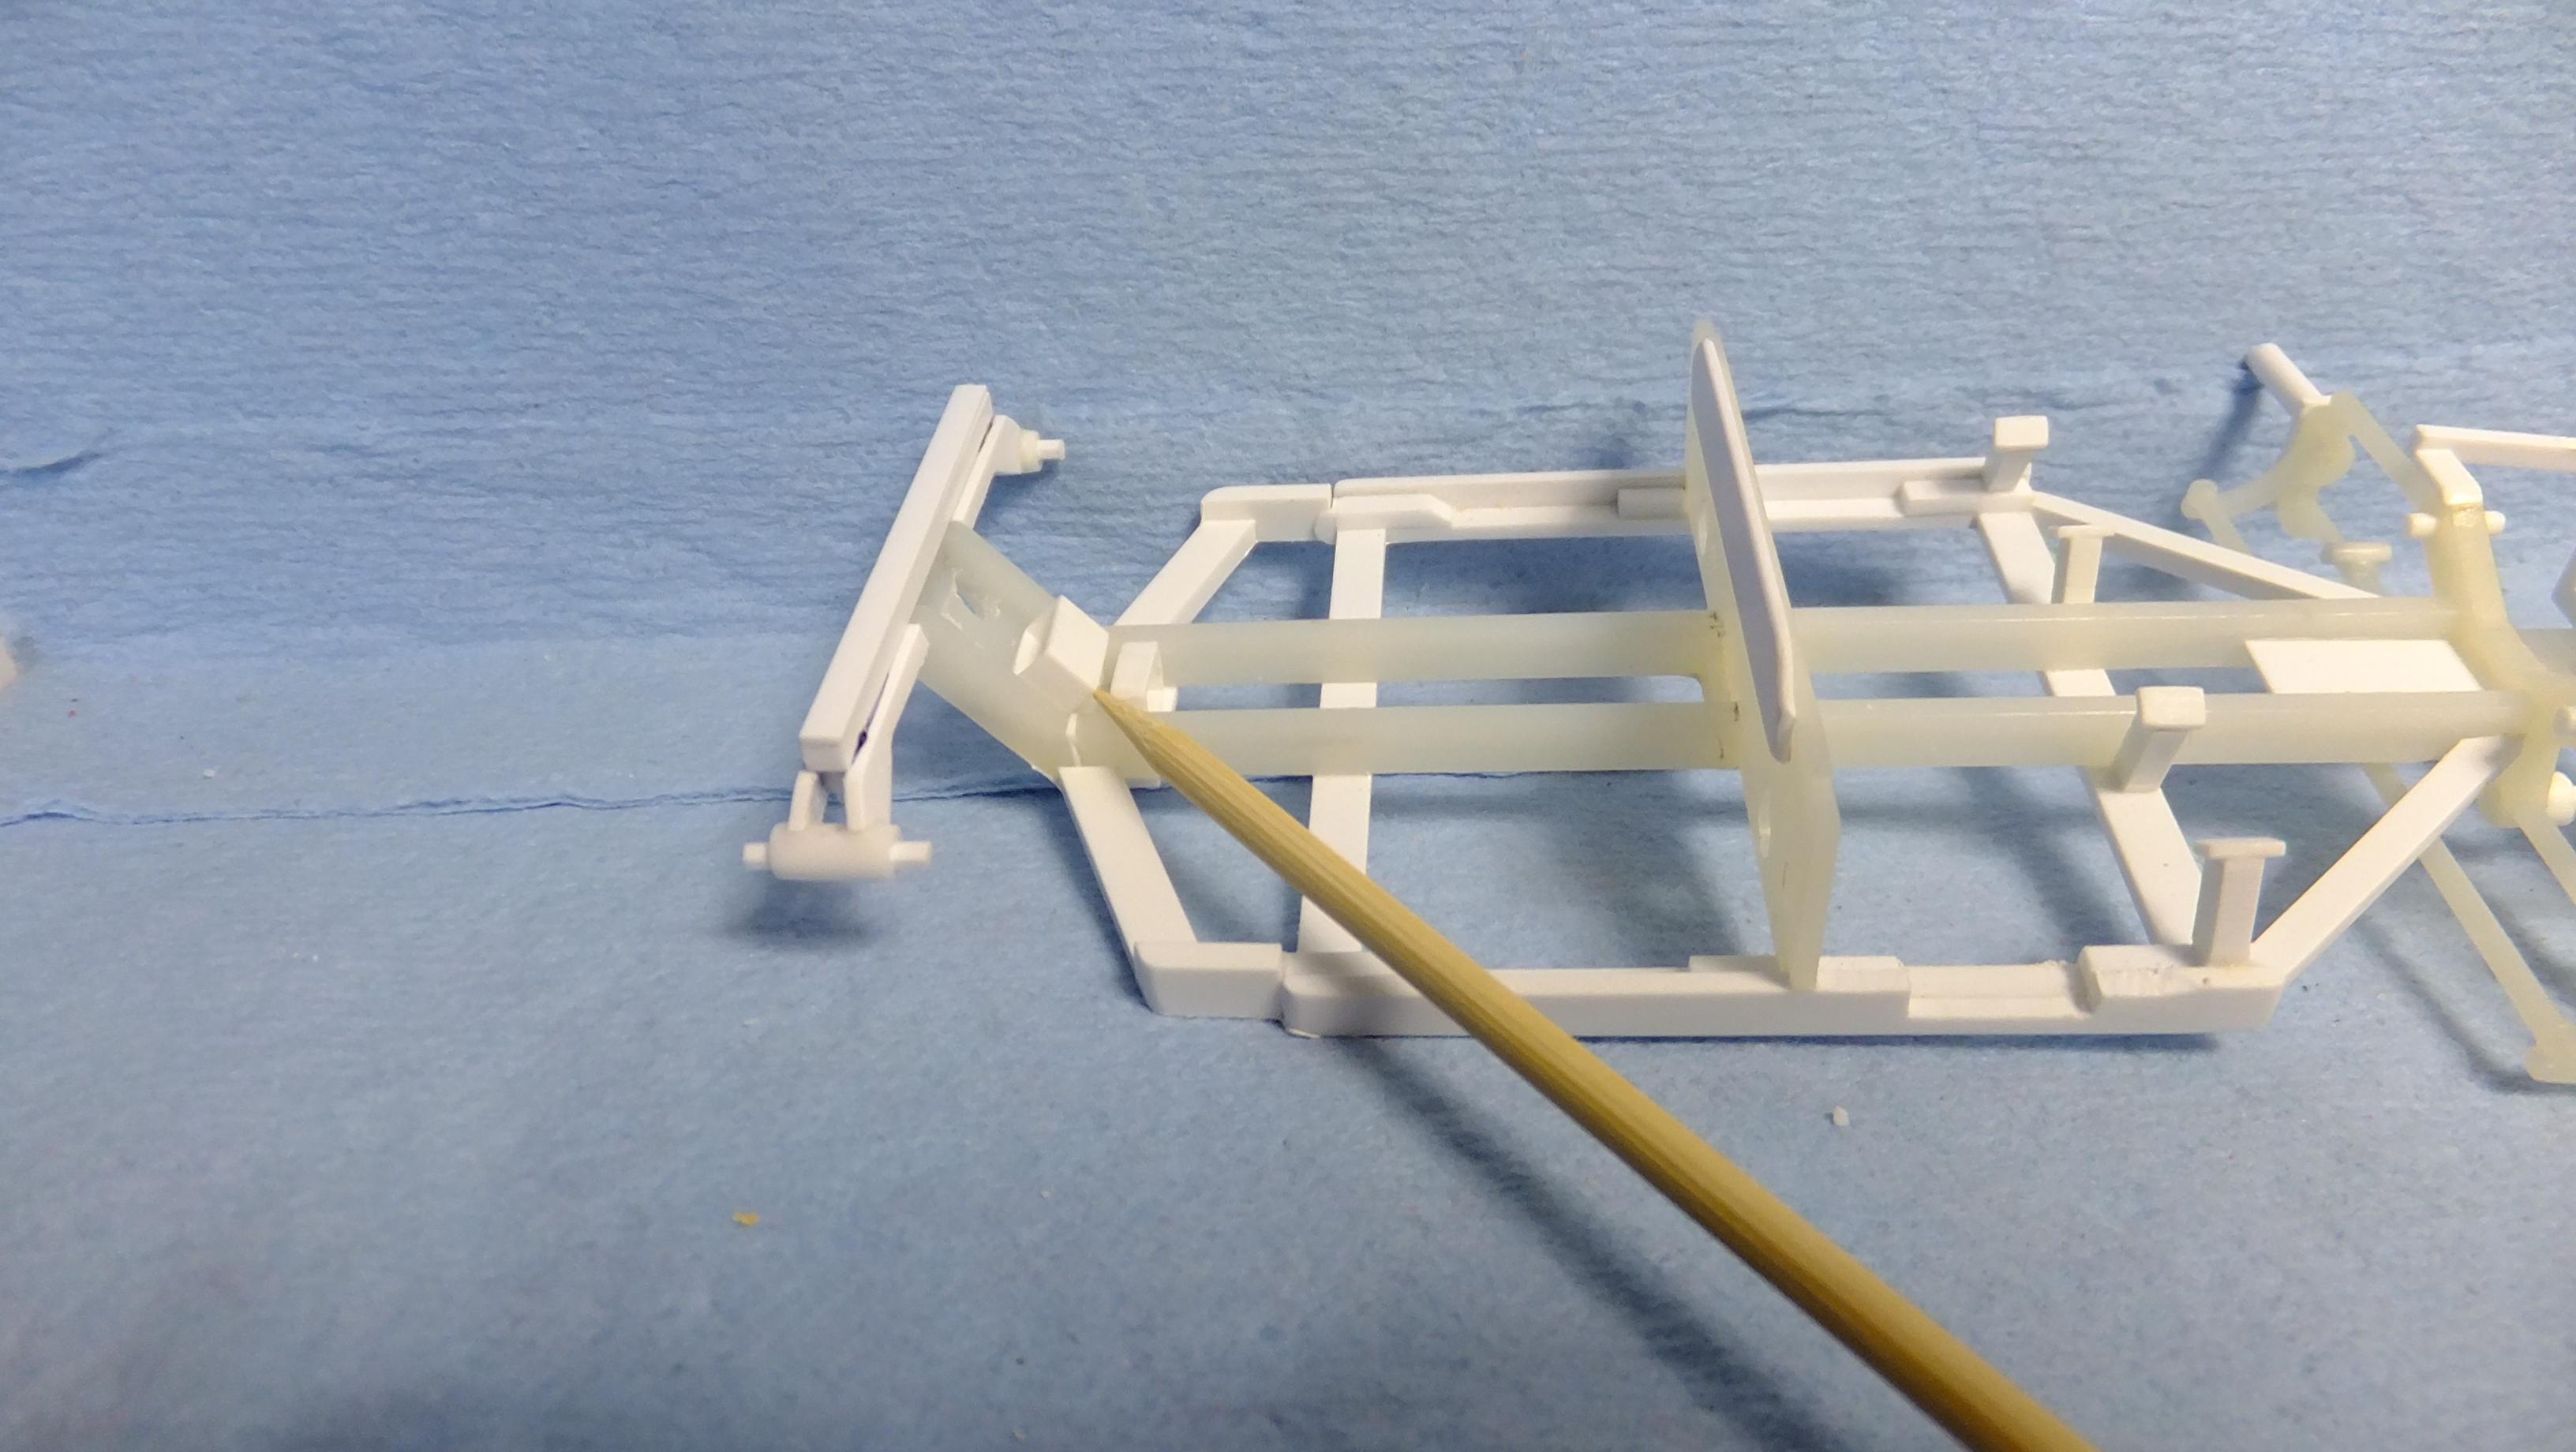
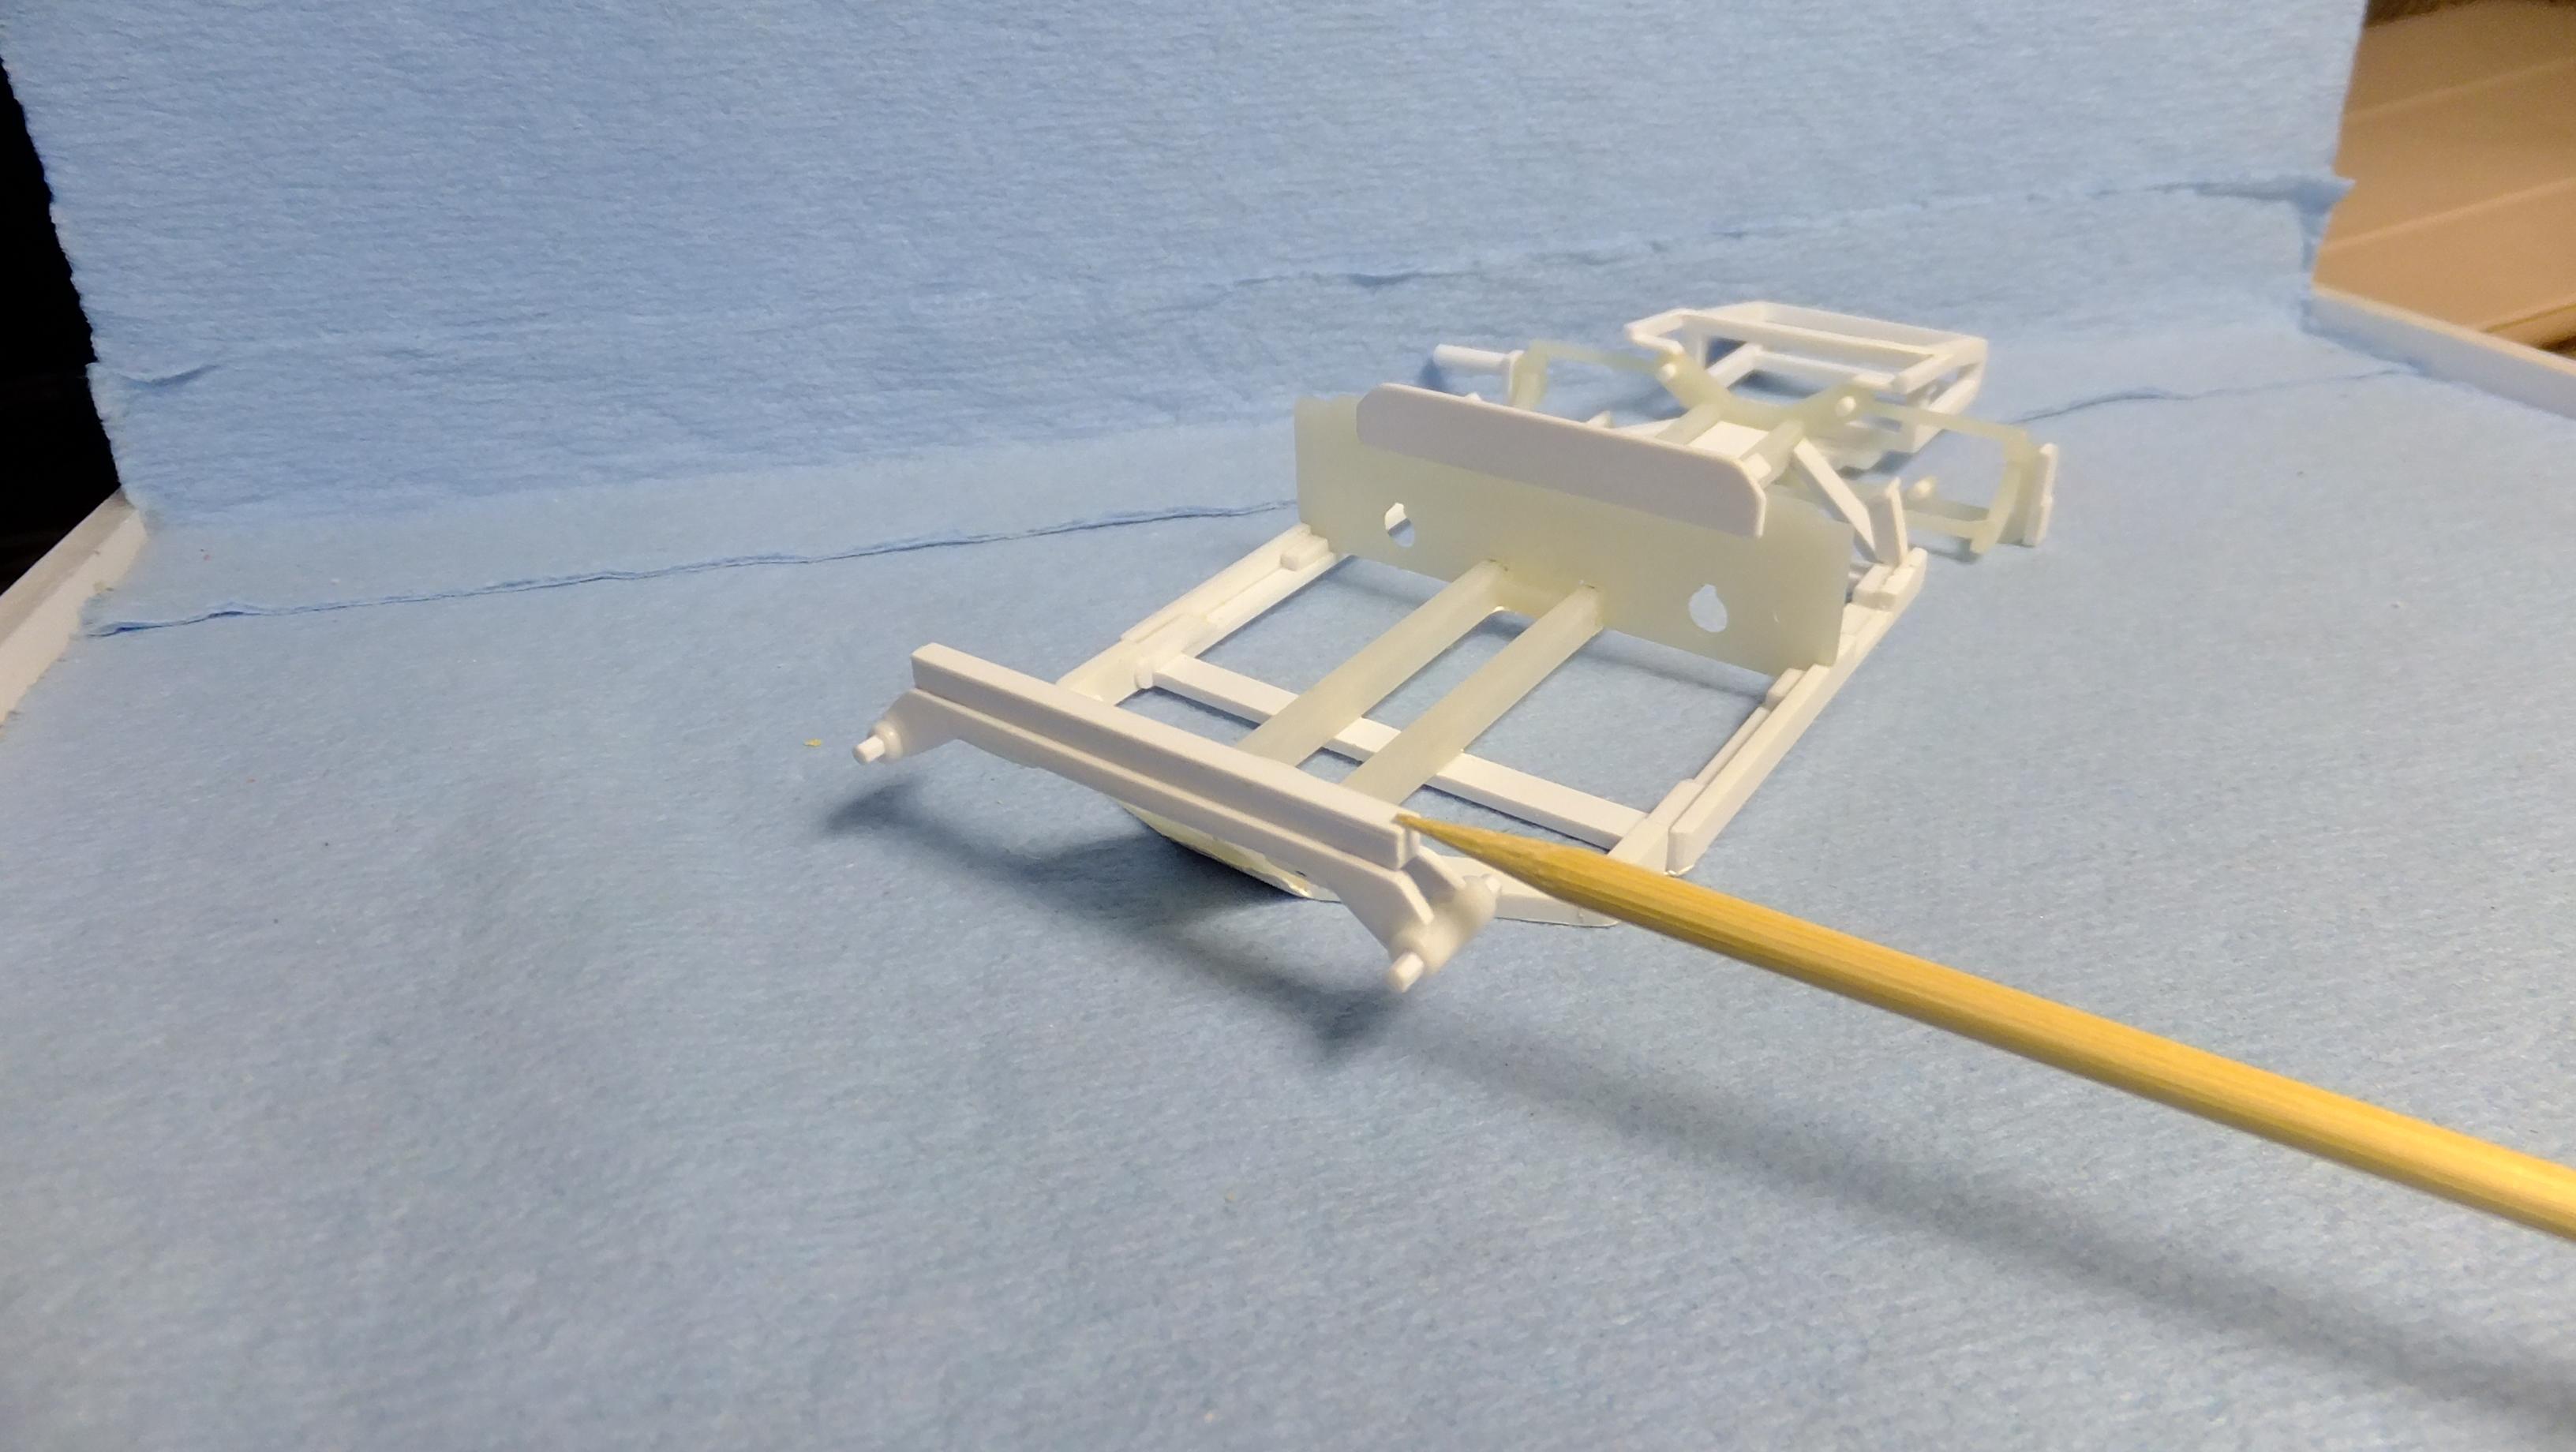
I woulda had a bunch of this in paint by now, if it werent for the fact that the new bottle of CA glue i used on it wasnt expired, so i had to redo, and fill stuff again...then i found more details to add, lol.....after ANOTHER session of final sanding, i WILL have paint on the body, and most of the rest of the parts -by midnight. Heres what i've added; -Photo 1; I decided to attach the tie rod, since it would be easier, and safer to paint, since the plastic is a brittle, clear type. I will add further details to it after its been painted. -Photo 2; The real car has a U-joint shaft between the two differentials, so i needed to carefully snip this one out, and add a better one. I aso decided to add the new spindles to the ends of the axle. -Photo 3; ...fits Perf!! I also decided to upgrade the other two driveshafts -they werent good. -Photo 4; I needed to filler the contact pins... -Photo 5; its looking good! -Photo 6; Still needed a bit of putty. -Photo 7; I felt like i needed to add these two angled frame pieces, and after the putty is dry, i will sand, and paint it. -Photo 8; After braking the front framework, i decided it too needed upper frame supports. I felt stupid for not thinking i would need them anyway, but i caught it in time. -Photo 9; Square rod is my cleaver way at alligning, and tying down my re-routed exhaust pipes. -Photo 10; The frame has had a VERY slight twist to it from the begining, and i have carefully, and subtly adjusted it along the way. This is one of three solid/sure contact/glue points that will totally finish eliminating the twist. The interior tub contact will be made first, then this rear one, and finally followed up by the fronts. -Photo 11&12; Something i like to do, is to measure out, and drill little divits wherever i need to locate a part before the the glues dry, and so i dont have to keep moving the bit into proper placement.


.jpg.e565c671bfc8bd830cf286ef729b3e82.jpg)