Chariots of Fire
-
Posts
2,782 -
Joined
-
Last visited
Content Type
Profiles
Forums
Events
Gallery
Everything posted by Chariots of Fire
-
 That is really a nice do-over! Well done! You said you had trouble with the windshield rubber. I found success using a black magic marker. Just a few swipes around the perimeter and it is nice and straight with no paint buildup.
 -
Looks like a pretty nice kit! Wish they made a Farmall Cub!
-
Weathering techniques don't get much better than this. So much can be overdone to where it does not look real. Not in this case! THAT is how a well used vehicle is supposed to look. Great work!
-
Class 325 is Complete
Chariots of Fire replied to Chariots of Fire's topic in Model Trucks: Big Rigs and Heavy Equipment
It's on its way to Hawaii! For the second time. It arrived a couple of weeks ago and the left front wheel and tire had broken off as well as a couple of small detail parts. So it got shipped back for repairs in the motor pool. Today it went back in the mail in a different box with plenty of soft foam around it for protection. Should fair better this time (I hope!). -
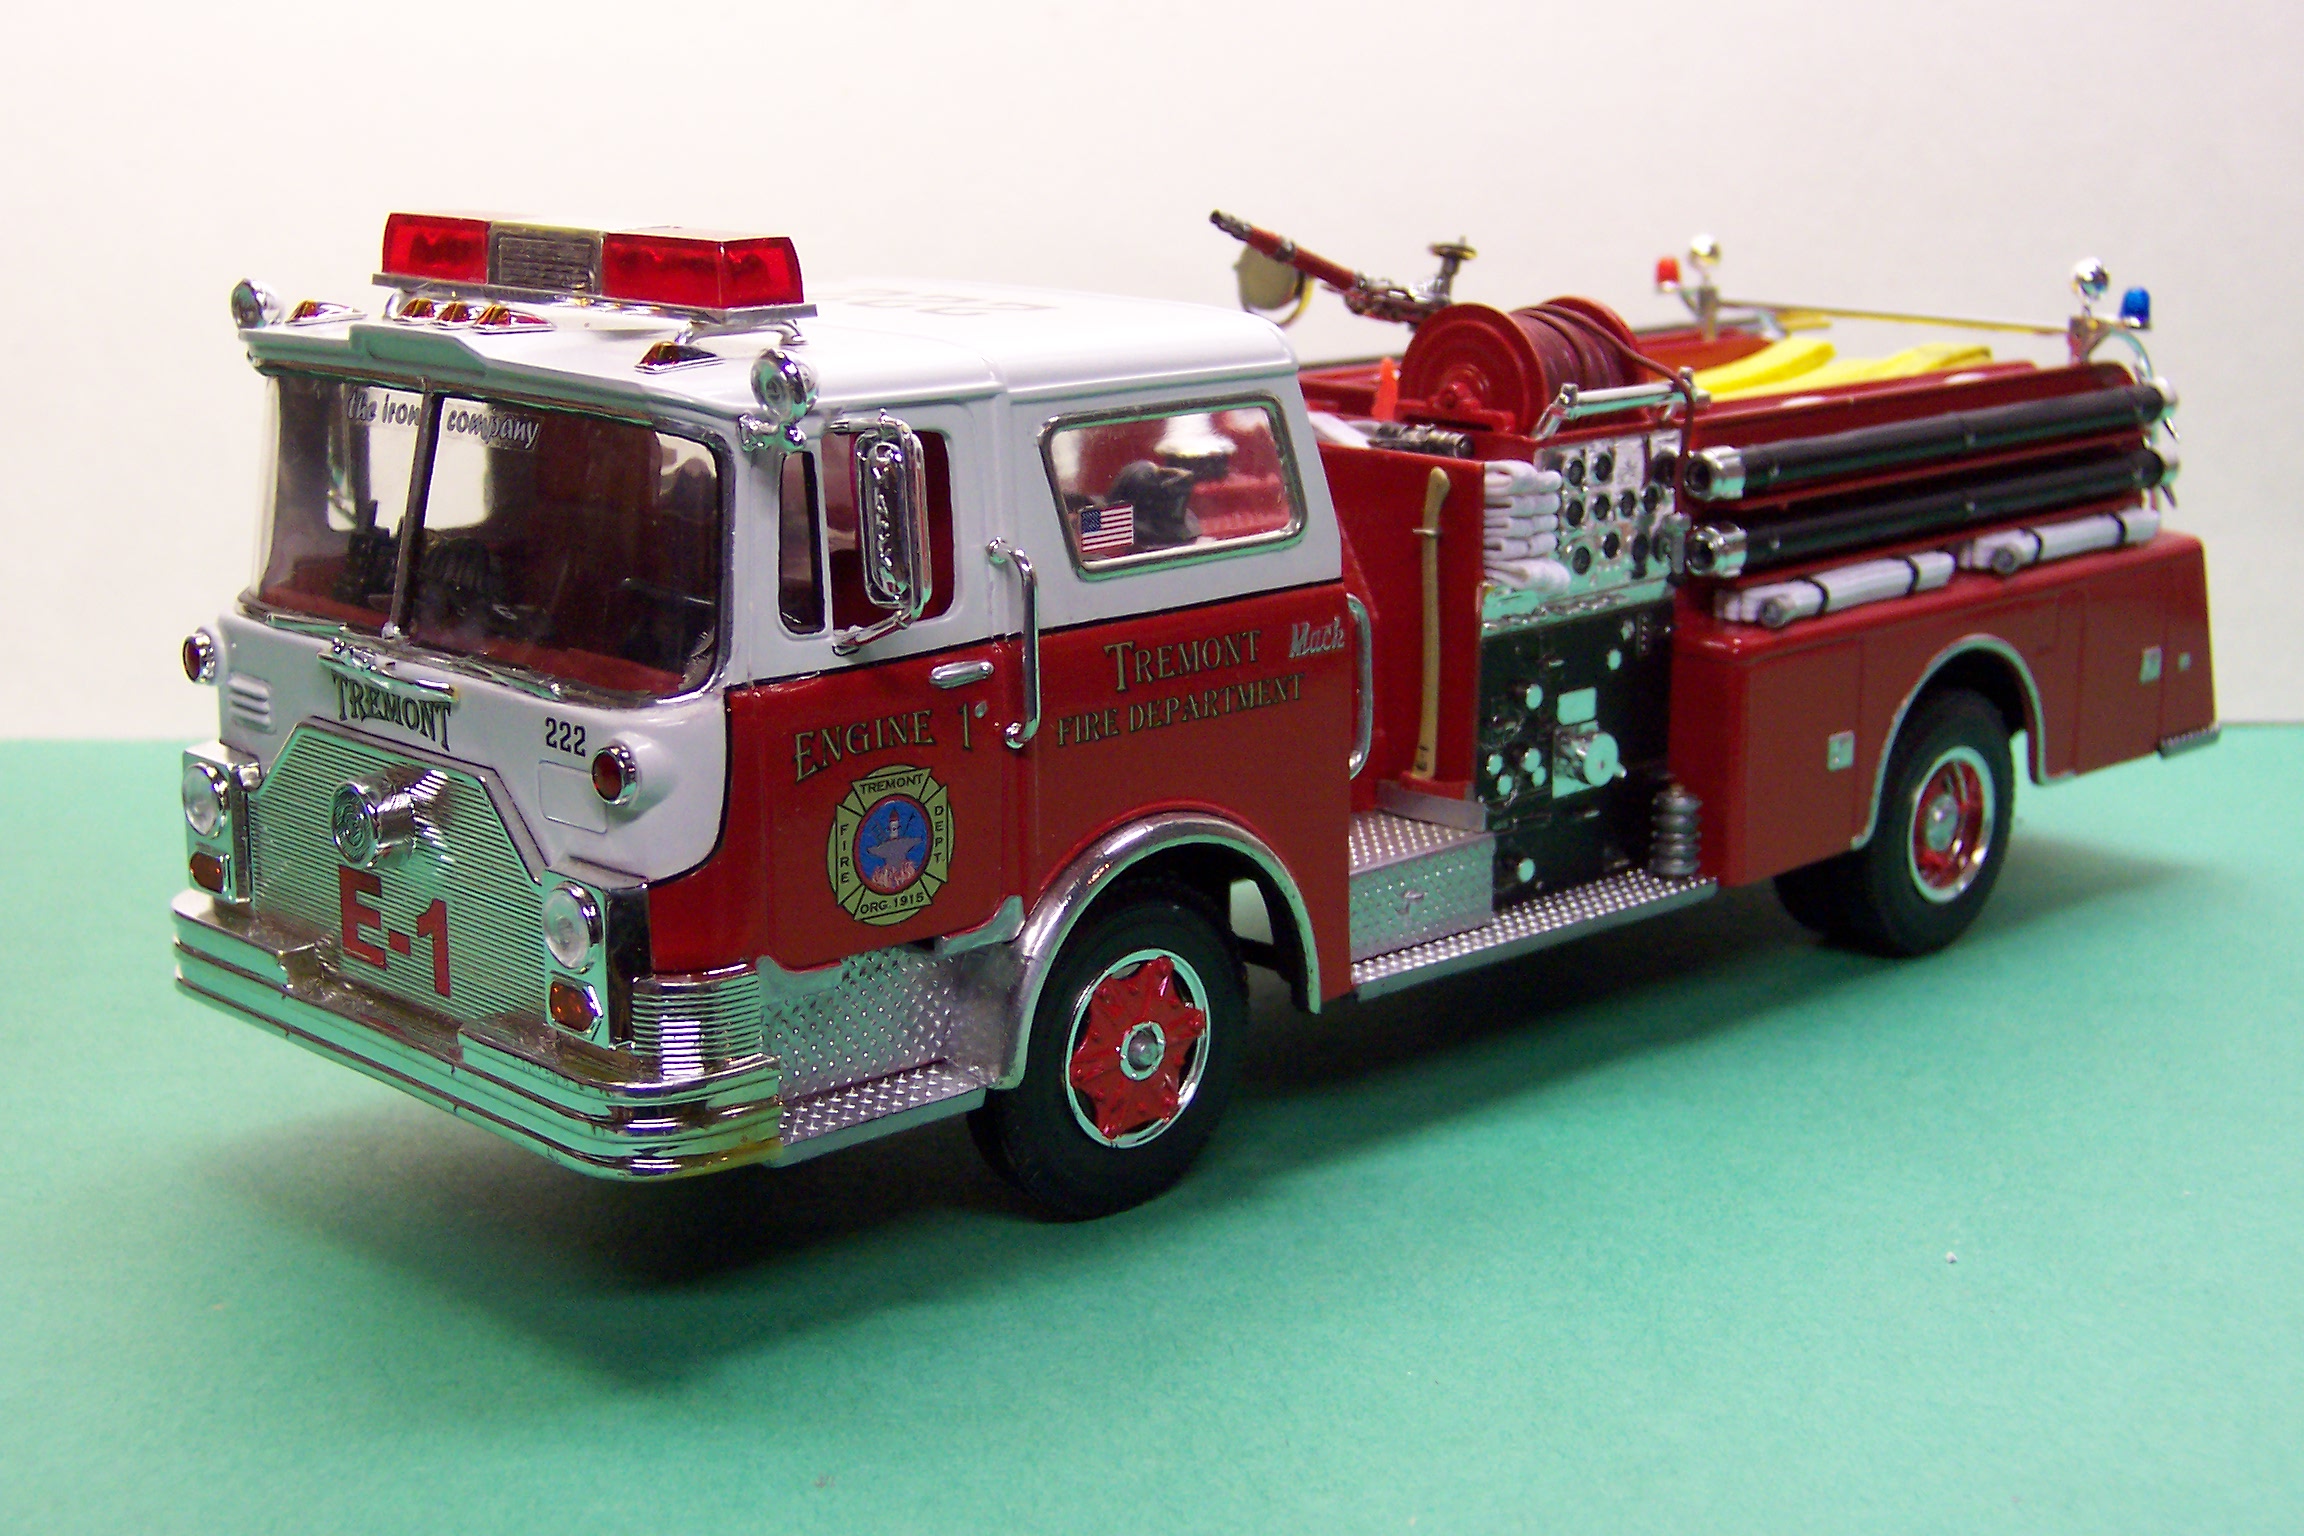
1941 Chevy Garbage Truck
Chariots of Fire replied to Warren D's topic in Model Trucks: Big Rigs and Heavy Equipment
Warren: That's perfect!!! I remember a local trash contractor who had small trucks like this only on International chassis and he had the trash barrels on board just like you have shown! He also had a rake and shovel mounted for when things get stuck. Some nice decals on the packer body would finish it off! Great job! Don't forget to dirty it up a bit where the trash gets dumped! -
Post your "Snap" kits.
Chariots of Fire replied to Petetrucker07's topic in Model Trucks: Big Rigs and Heavy Equipment
Both of those are super fine! Nice clean work! -
CAT yellow rattle can spray ?
Chariots of Fire replied to Goodwrench3's topic in General Automotive Talk (Trucks and Cars)
Try Duplicolor paints. They are not thick. As a matter of fact they are thinner than Testors or Model Master and flow on nicely. You should be able to find a respectable color match to Cat yellow there. Us them over Duplicolor gray or white primer. -
Decals bleeding through
Chariots of Fire replied to Super28's topic in Model Building Questions and Answers
That's the wonder of an ALPS printer. It prints in pixels of color using 4 cartridges to mix them. But any colors other than black, gold or silver need a white undercoat or as you say, they disappear into the underlying paint. That's because there are spaces between the tiny pixels of individual color. The white tends to blend them together to make an opaque background. Printing on clear decal film is done using first the white undercoat and then the colors go on top. When you cut the clear decal out only the printing shows and the clear border disappears. I suspect the same basic issue persists for an inkjet printer as the inks tend to be somewhat transparent on anything but a dense opaque background such as white. As Peteski says above, the quality of the printed image is only as good as the original. I have an old computer program by Micrographx that I use to produce vector type drawings. If I'm trying to reproduce an image from a photo I import the photo and draw over the image and insert appropriate colors. Then the image can be sized and printed on the ALPS. I'm fortunate to have an MD-1000 and an MD 1300 to print with. They are both pretty much the same with only slight differences in the format for printing. -
I'm glad to hear of so many who use Duplicolor paints. I've been using it for years and swear by it. I also use the Duplicolor gray primer, either the filler or the ordinary primer. Either one works well. Several light coats of this primer works well , especially if the primer is lightly sanded between coats. When the primer is set and ready for the finish it spray on a light coat of color just to get it to cling to corners and at edges. Then I lay on several coats until the gloss really stays. One thing about Duplicolor: If you paint in humid weather expect the surface to dry flat. However, the flat can be polished out. Duplicolor works well on resin castings as well. Here are two examples. Both are AITM castings primed and colored with Duplicolor.

-
Depends on the paint and the type of polish. If you use model paint the polish has to be something that will not react with it and make it soft. What has been said above is correct. Wait a few days before trying to polish it. On the other hand I use Duplicolor paints. It dries quickly and hard. It can be polished almost immediately after it sets up. Sometimes less than a day. Novus polish works well. So does Turtle Wax if you let the paint dry two or three days.
-
Post your "Snap" kits.
Chariots of Fire replied to Petetrucker07's topic in Model Trucks: Big Rigs and Heavy Equipment
Got these few with some modifications here and there.
-
Class 325 is Complete
Chariots of Fire replied to Chariots of Fire's topic in Model Trucks: Big Rigs and Heavy Equipment
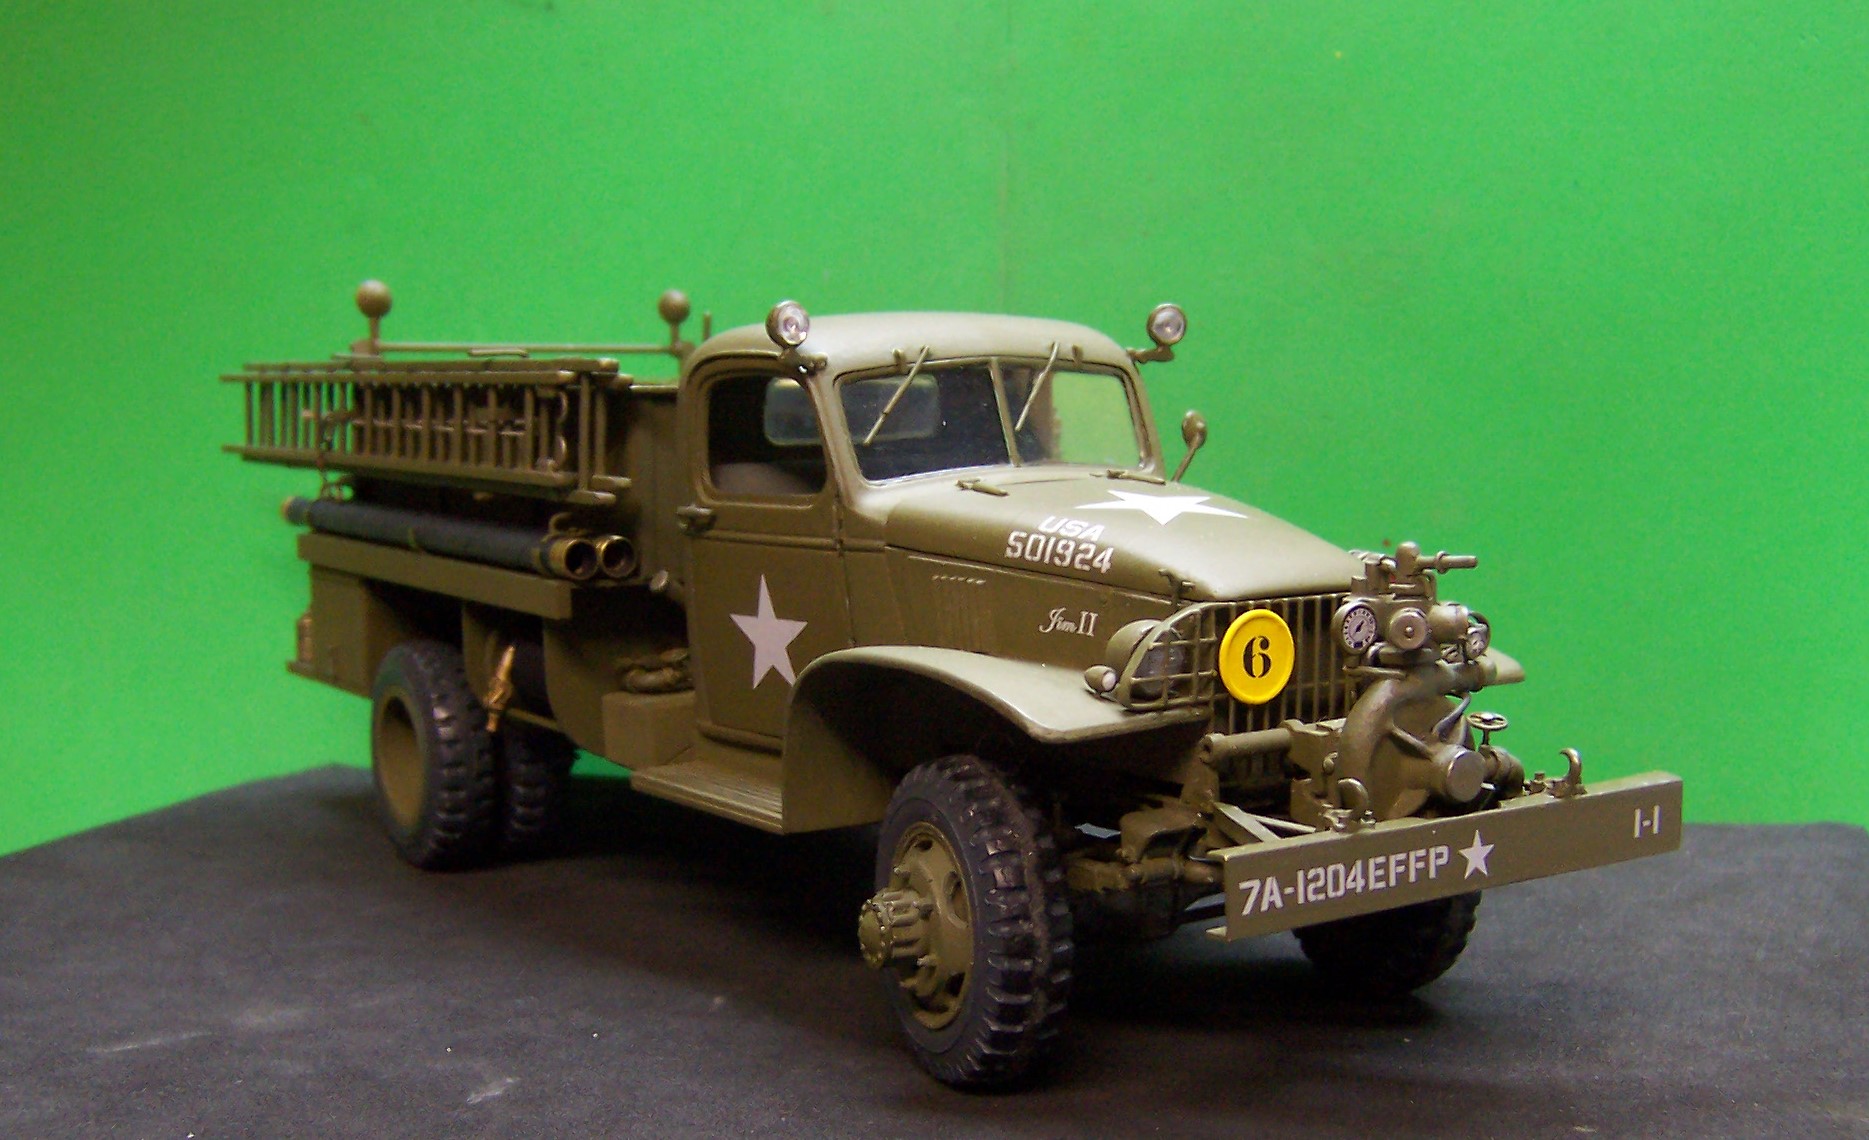
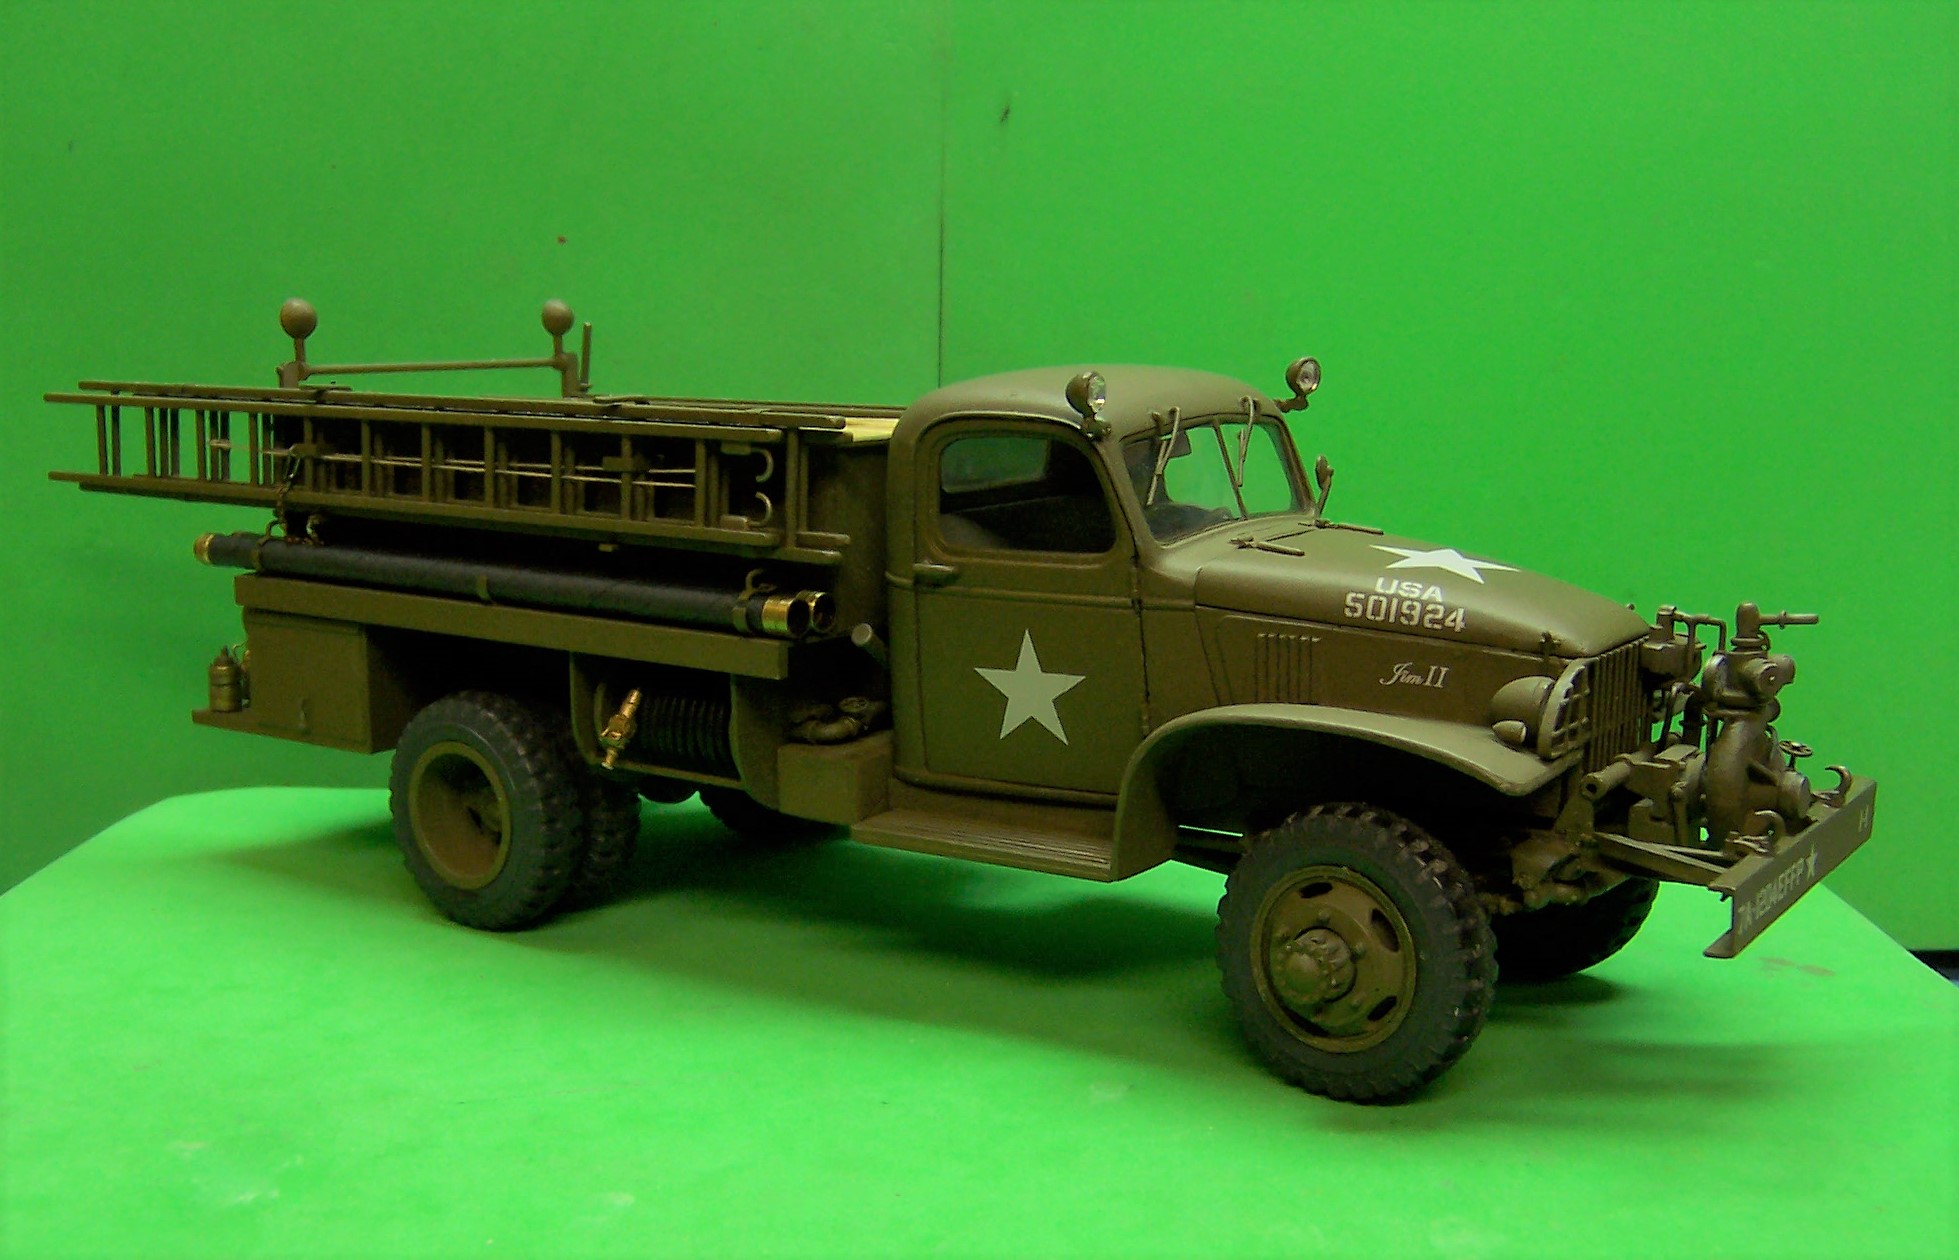
Well, it was complete until I was asked to add one last detail. And that was the bridge weight placard. The 6 refers to the GVW in tons.
-
Blade treatment is spot on. I think the tracks could use the same. Great job though.
-
Hi, Tom. I've found that using acrylic washes over oil based paints works pretty well as the acrylics wont attack the base paint. It's just a matter of finding a good consistency for the wash. Micro-Mark also makes a good set of weathering powders and Tamiya makes small sets of similar materials that can be swiped on with the sponge and small brush they supply. The Tamiya set that has the silver in it is great for creating worn edges and places where the paint would be worn off like on floor boards, running boards and such.
-
1950 Ford F-8 Big Job
Chariots of Fire replied to DRIPTROIT 71's topic in Model Trucks: Big Rigs and Heavy Equipment
Three thumbs up! Great job, Brian. Wasn't there a marketing ad: "Built Ford tough!"? Fits it to a T!! -
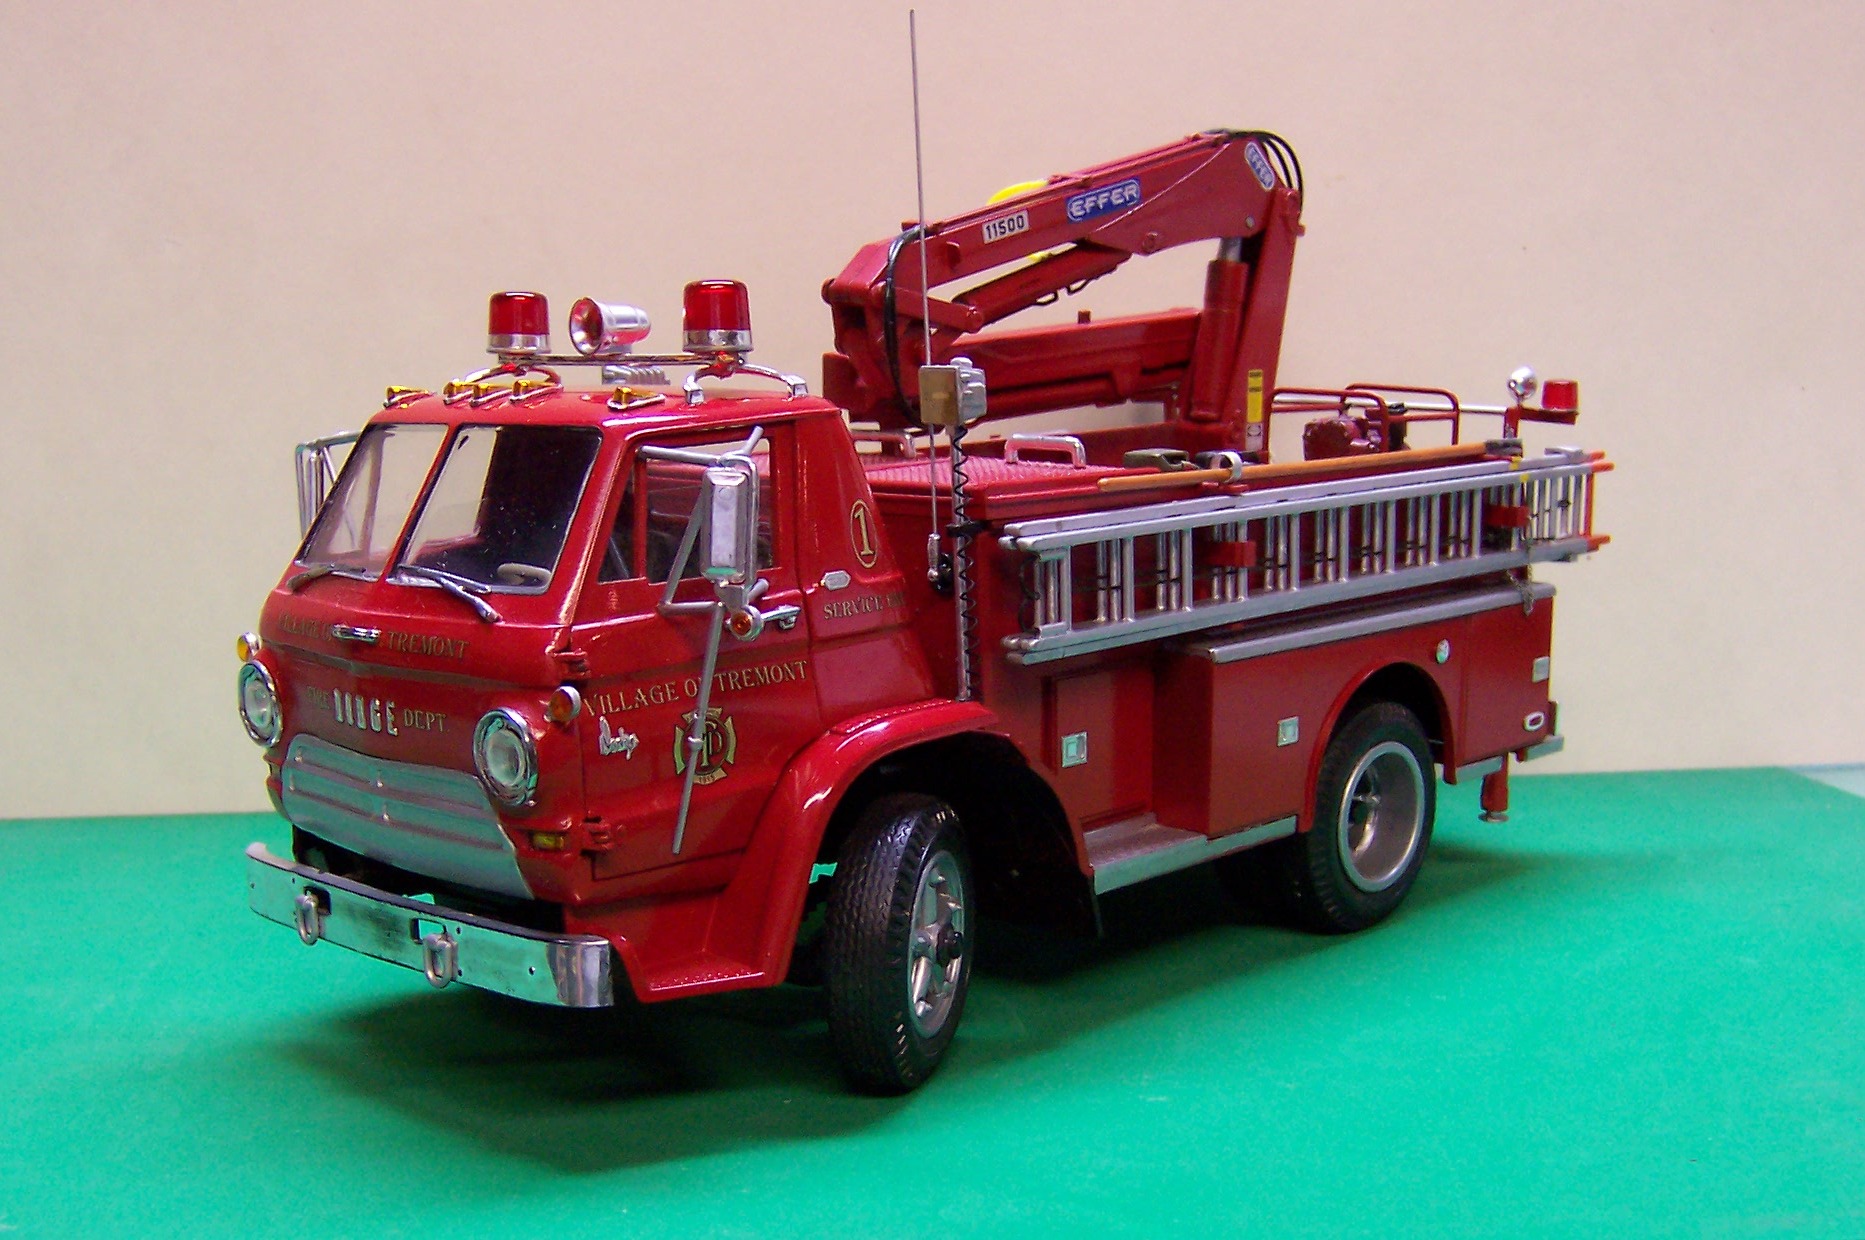
1919 Mack AC Wrecker
Chariots of Fire replied to Warren D's topic in General Automotive Talk (Trucks and Cars)
That would make a beautiful model, Warren! The wrecker portion would actually be quite easy. Lots of simple pieces that could be fabricated in brass and then painted. -
Frustrating wing mirrors LN8000
Chariots of Fire replied to Shambles77's topic in General Automotive Talk (Trucks and Cars)
I like Ben's second suggestion but I would go a step further. Drill some holes in the door where the mirror bracket would go and insert the bracket into the holes and secure it with a TINY amount of superglue. Paper clips are good for the brackets since they are already chromed. You could also use brass stiff brass wire and then coat it with "chrome" using a Molotow chrome pen. Glue the mirror to the bracket top and bottom. -
1950 Ford F-8 Big Job
Chariots of Fire replied to DRIPTROIT 71's topic in Model Trucks: Big Rigs and Heavy Equipment
That's a nice job, Brian. Really nice. One question: Did you leave the chrome off the front and sides of the hood on purpose? Just askin' -
Chevy Titan 90
Chariots of Fire replied to Ken Gilkeson's topic in Model Trucks: Big Rigs and Heavy Equipment
Super work, Ken. I like the wheel treatment. is that just a wash over the chrome? It looks nice! -
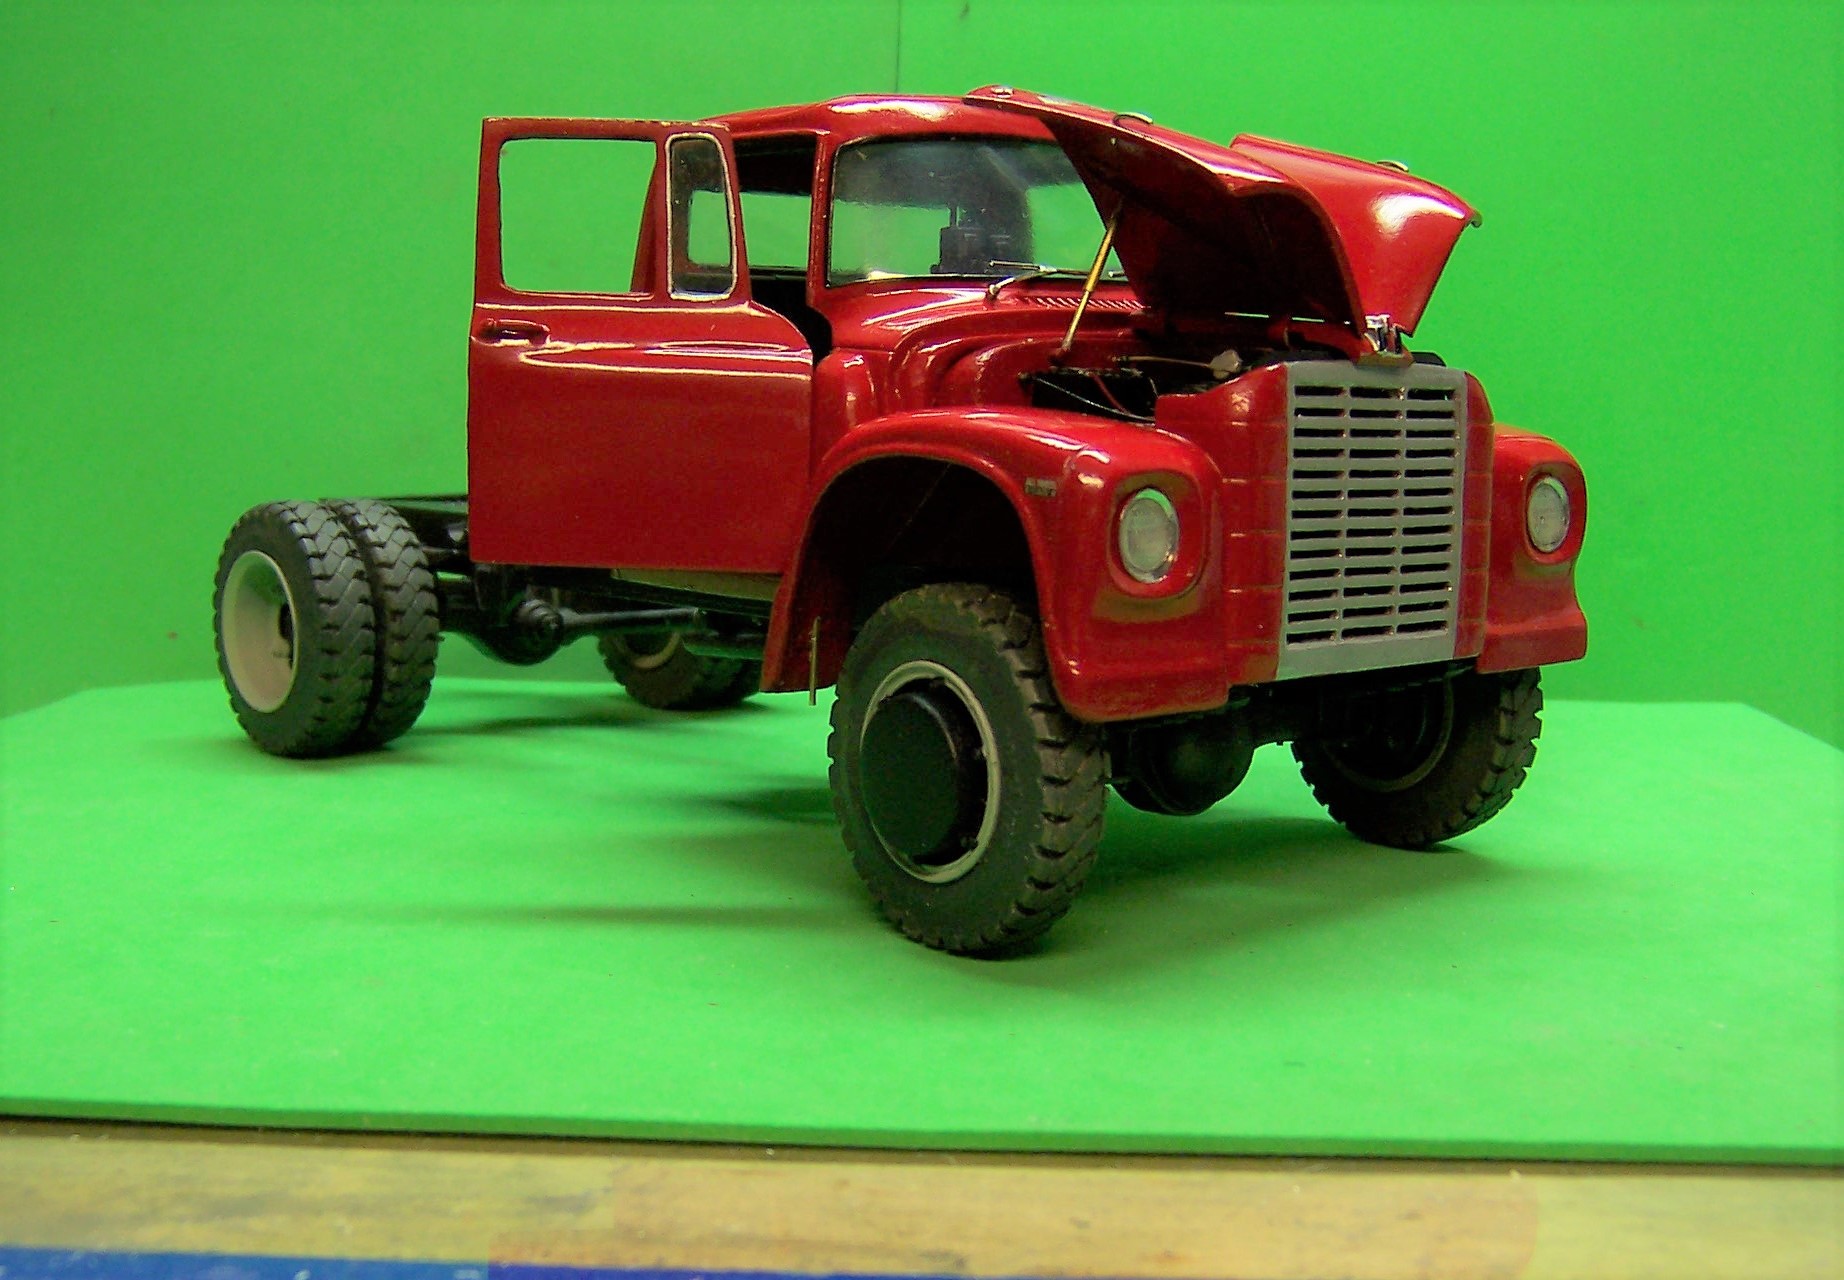
Class 325 is Complete
Chariots of Fire replied to Chariots of Fire's topic in Model Trucks: Big Rigs and Heavy Equipment
Thanks, Tim: I did have to use the Revell '41 Chevy kit for the cab and engine. Without those I could have been in big trouble! -
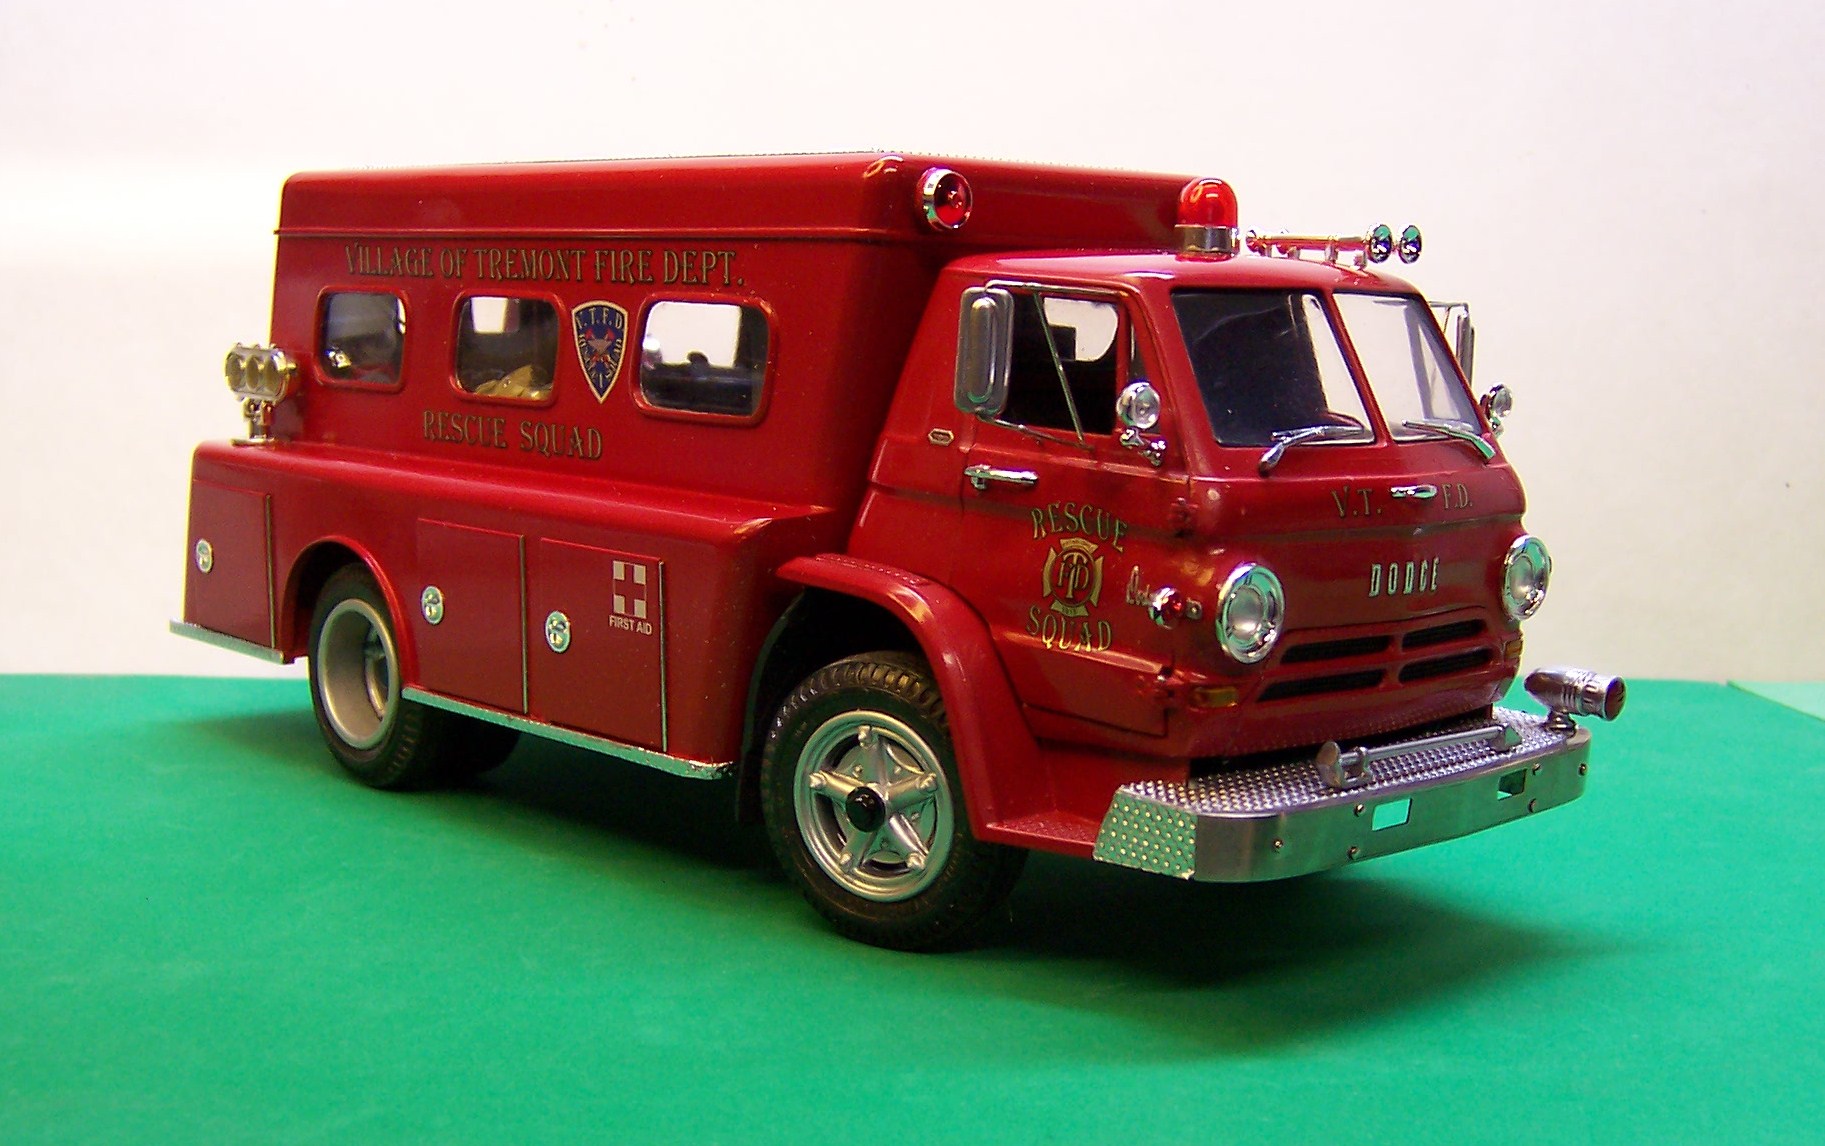
Let's see those Dodges
Chariots of Fire replied to DRIPTROIT 71's topic in Model Trucks: Big Rigs and Heavy Equipment
-
International
Chariots of Fire replied to Ken Gilkeson's topic in Model Trucks: Big Rigs and Heavy Equipment
That's a real pretty rig!! -
Class 325 is Complete
Chariots of Fire replied to Chariots of Fire's topic in Model Trucks: Big Rigs and Heavy Equipment
Thanks, guys. Now I just have to do it all over again for Jim's friend who is in Belgium! -
After a couple of feverish work sessions the Class 325 fire fighting rig is finished. The plumbing from tank to pump and from pump to hose reels was finished yesterday and a battery box was installed behind the cab. A little paint touchup here and there and it is now ready to go.
-
And finally here are the 4 pails that are part of the equipment. I used a photo of the actual truck to determine the size of the pails and then turned out a master of the stacked pails on my lathe. A mold was made with the widest part down so that when the resin copy is pulled out it comes out of the mold easily. Next was to wrap some wire around the top edges of each pail to represent the rolled edges. Then similar wire was bent to form the handles. The whole piece was sprayed with Rustoleum etching primer and then given a swipe with some Tamiya weathering powders. The slightly off OD color adds some contrast and the weathering powders gives them a bit of wear around the edges and on the handles. Just got to get all this stuff permanently mounted now.