Chariots of Fire
-
Posts
2,782 -
Joined
-
Last visited
Content Type
Profiles
Forums
Events
Gallery
Everything posted by Chariots of Fire
-

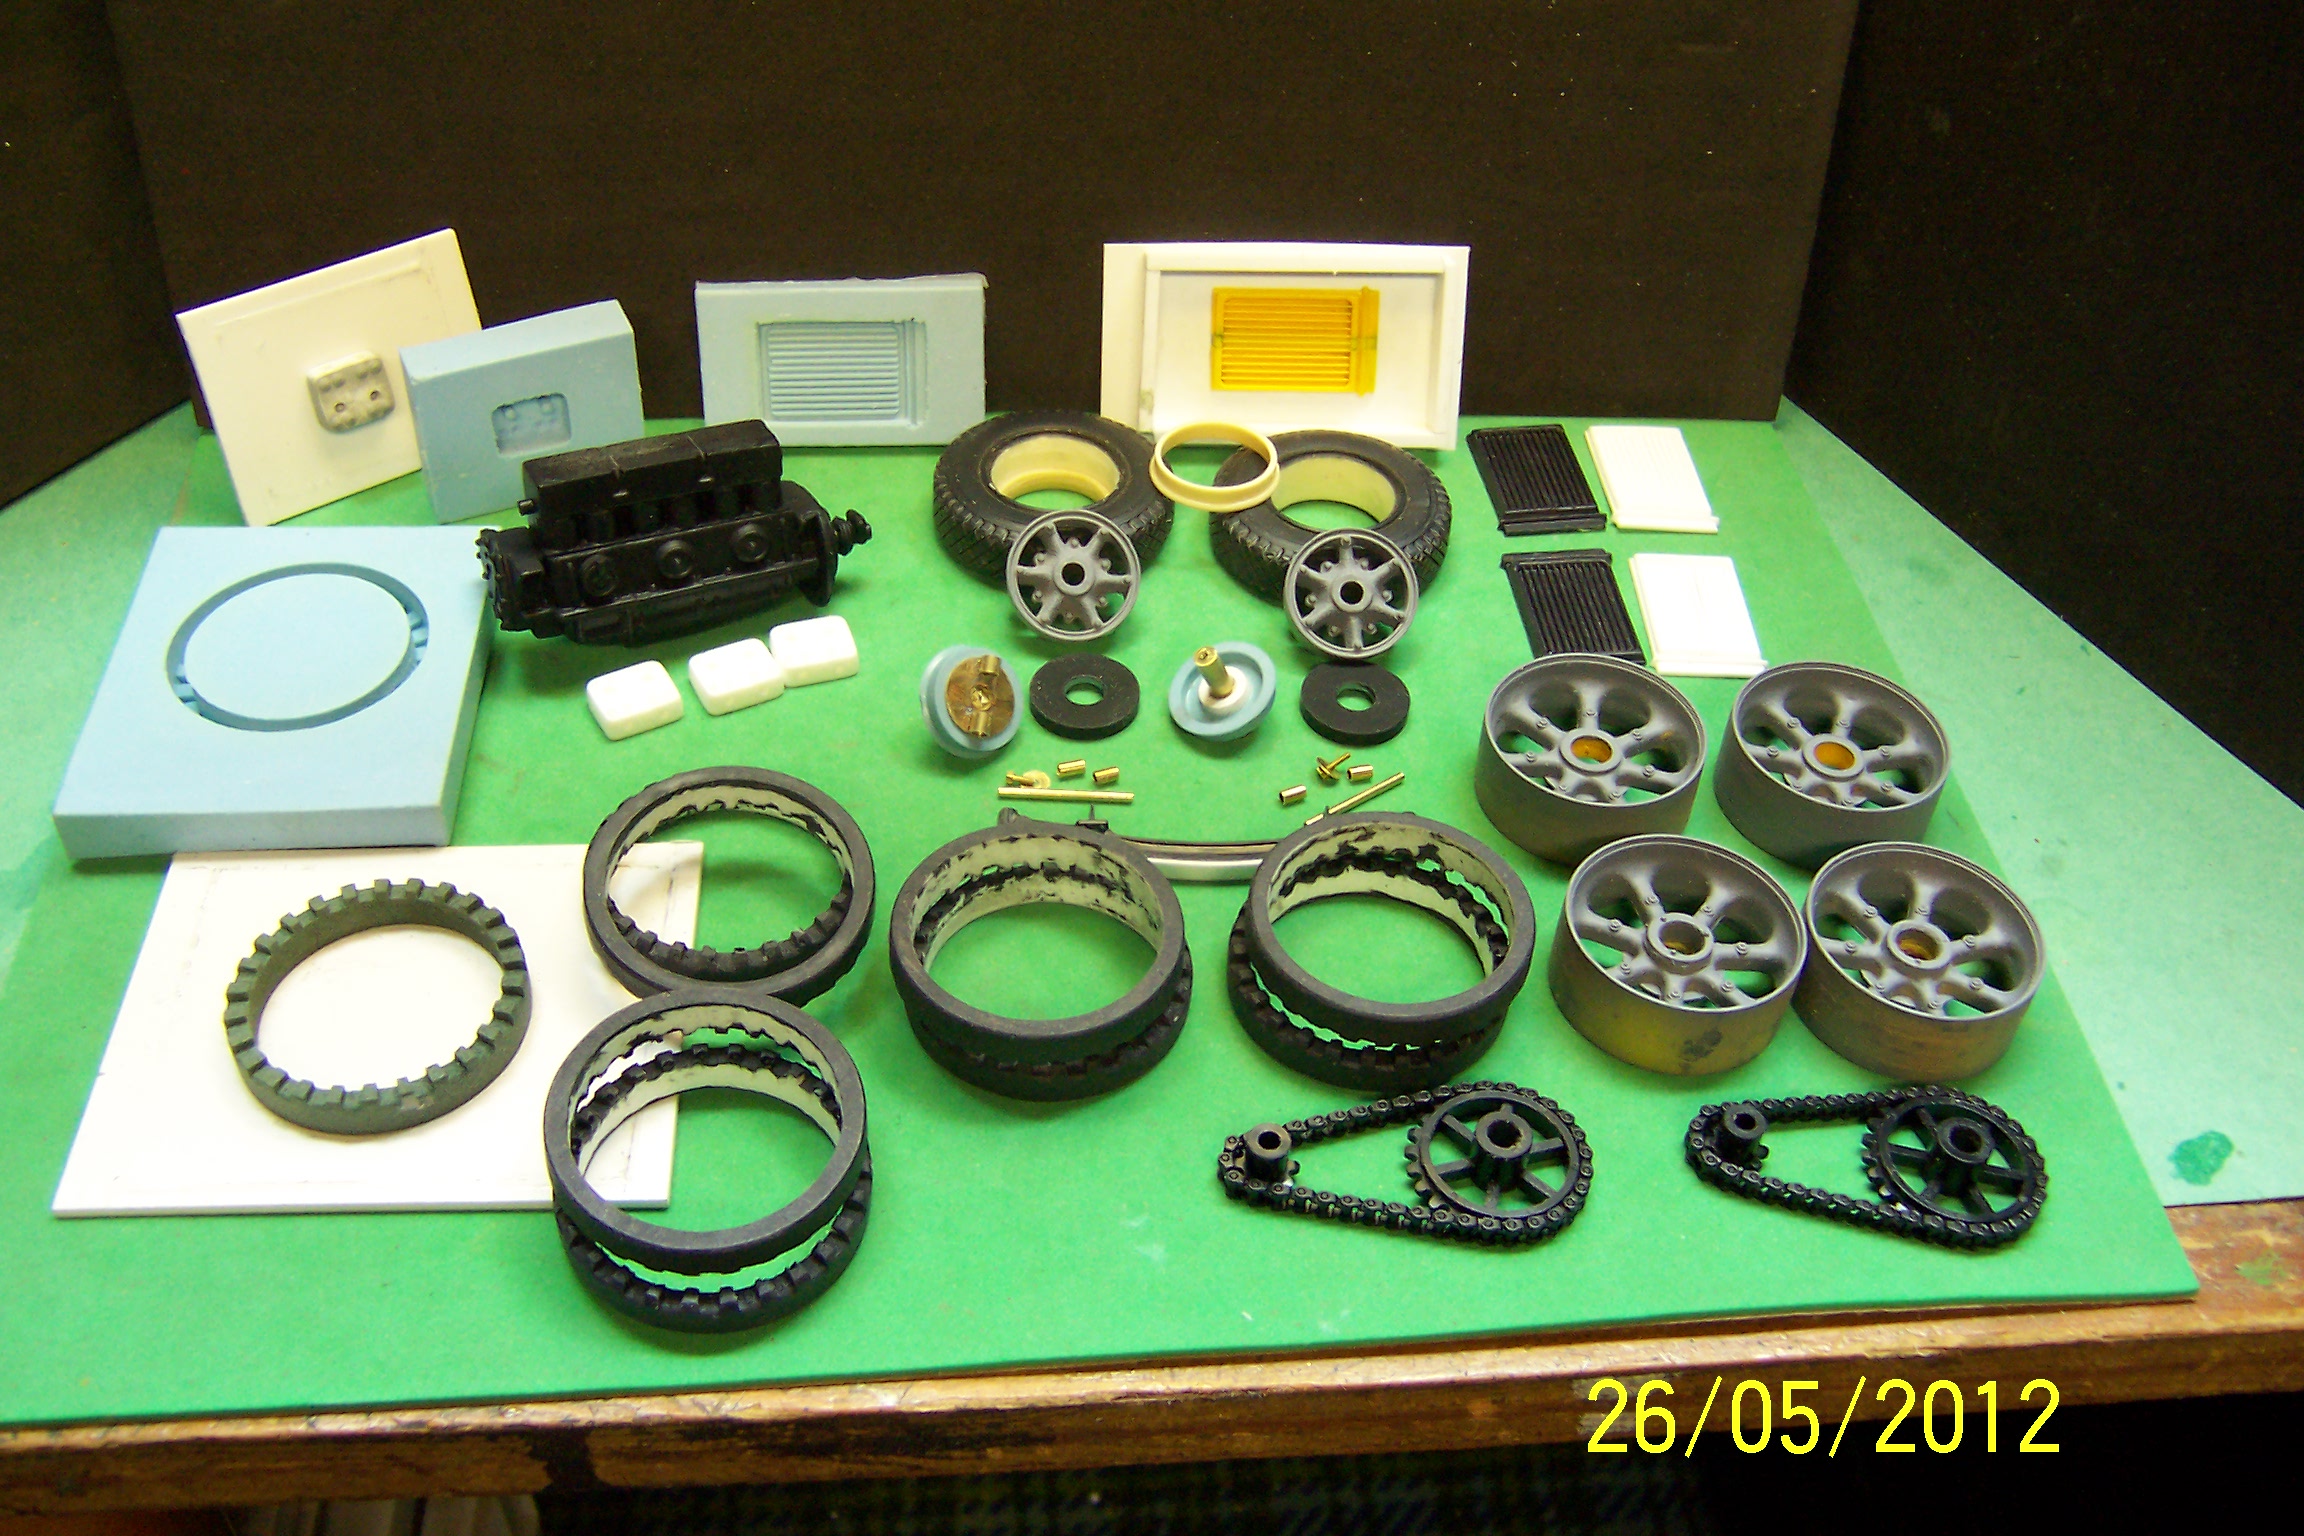
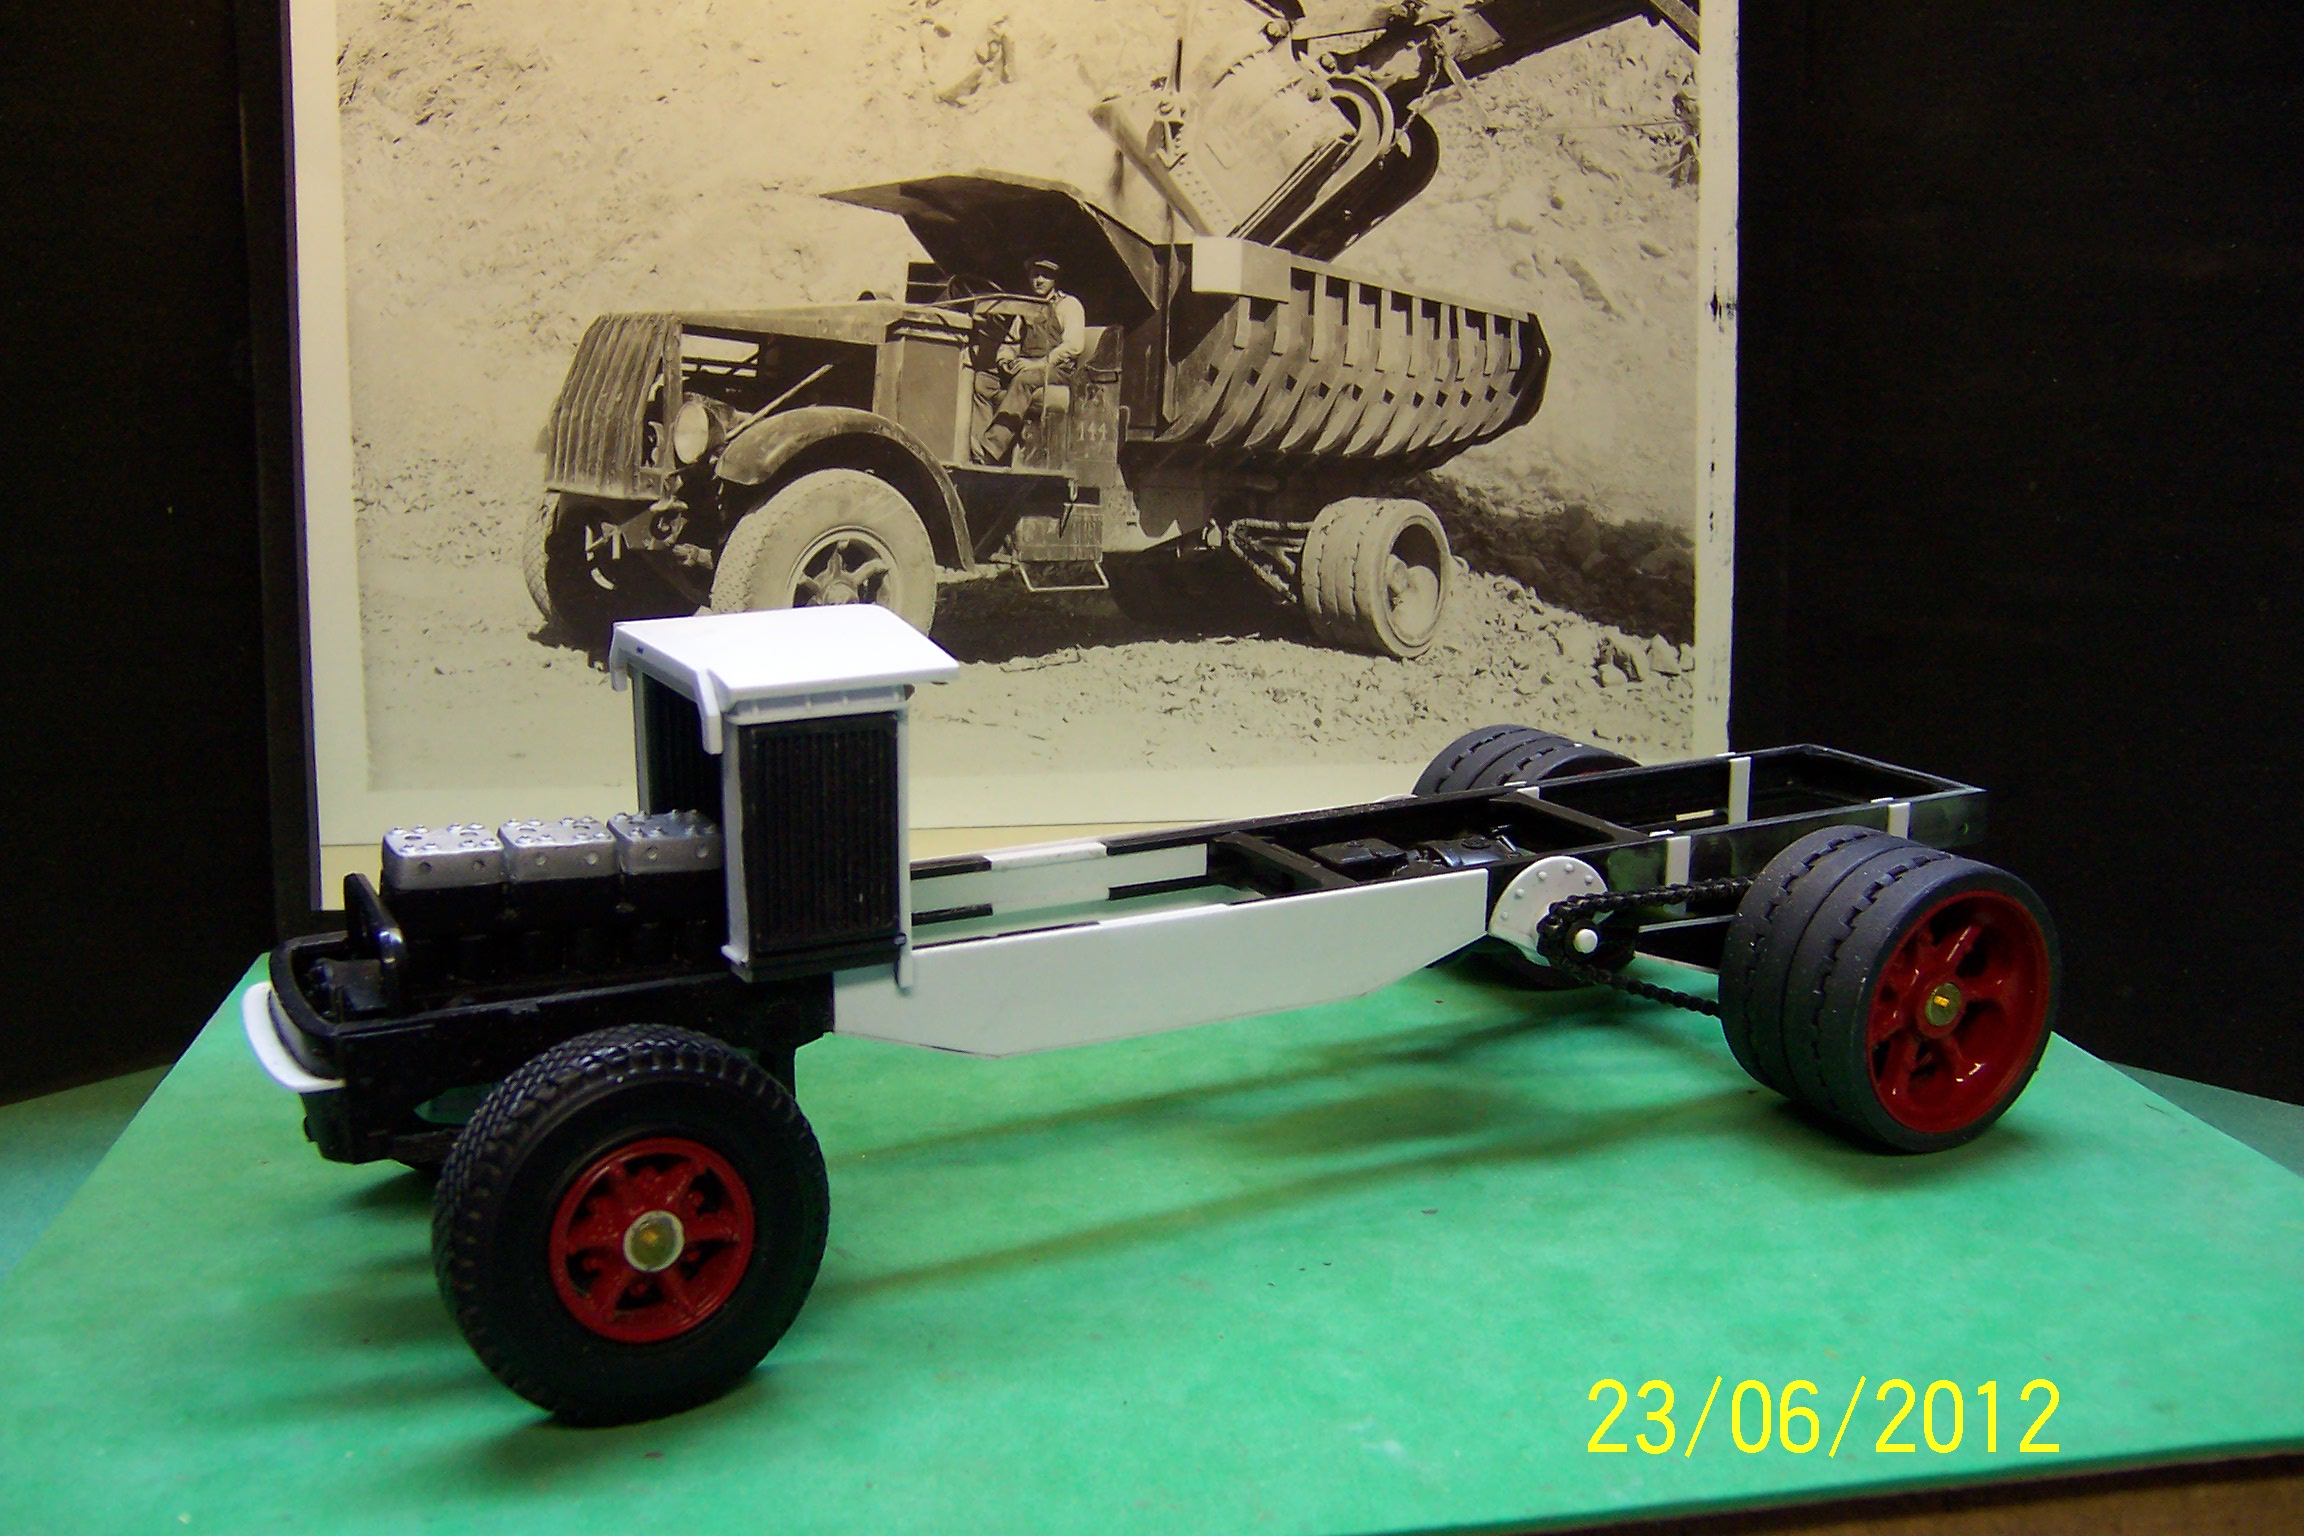
1926 Mack AC Dump Truck
Chariots of Fire replied to Jim B's topic in WIP: Model Trucks: Big Rigs and Heavy Equipment
Here is a better photo of the chain and sprockets. I used brass tubing for bushings inside the sprockets and inserted the next size down so that the wheels would turn. Then I added a plastic pin with a head on it to secure the small sprocket and a plastic tubing tapped to take a small screw for the rear sprocket. If you scroll back to the finished truck photo you will see I swapped out the plastic pin for a brass bolt and washer for the front sprocket. That way I could take things apart during the painting process and for final assembly. Both sprockets mesh nicely with the Delrin chain.
-
1926 Mack AC Dump Truck
Chariots of Fire replied to Jim B's topic in WIP: Model Trucks: Big Rigs and Heavy Equipment
We got them from a local flea market vendor but in looking at the Micro-Mark catalog it appears the same thing is available there. The chain can be taken apart link by link so you can fit it properly. It is larger than the 1926 AC Mack kit chain but it looks right for the larger AP Mack. The sprockets appear to be the same as what we used as well. -
Hi, Hermann. Not quite 1/24; but rather 1/25. Not a lot of difference but it is my preferred scale. Easy scale to use since 1/25 in metric is almost exact.
-
Heller 359 wrecker
Chariots of Fire replied to Jimbo8v92's topic in WIP: Model Trucks: Big Rigs and Heavy Equipment
They come in 3 sizes, 1mm, 2mm and 4mm. The smallest would work the best for real small stuff. If you thought of chroming the radiator shell I would go with the larger ones to reduce the number of passes required. -
Heller 359 wrecker
Chariots of Fire replied to Jimbo8v92's topic in WIP: Model Trucks: Big Rigs and Heavy Equipment
IF you want some chrome try a Molotow chrome pen. It really works! -
A-car Heavy Haul & Lowboy 1/87
Chariots of Fire replied to Vince66's topic in WIP: Model Trucks: Big Rigs and Heavy Equipment
Who did the cab and fenders? Would love to have one for my HO RR! -
Been so busy with these last two projects I have not given a wrecker build much thought. If I did, though, It would be of a local one that I remember from the '70's. Metallic Blue/green and white scheme with a Holmes 600 wrecker boom.
-
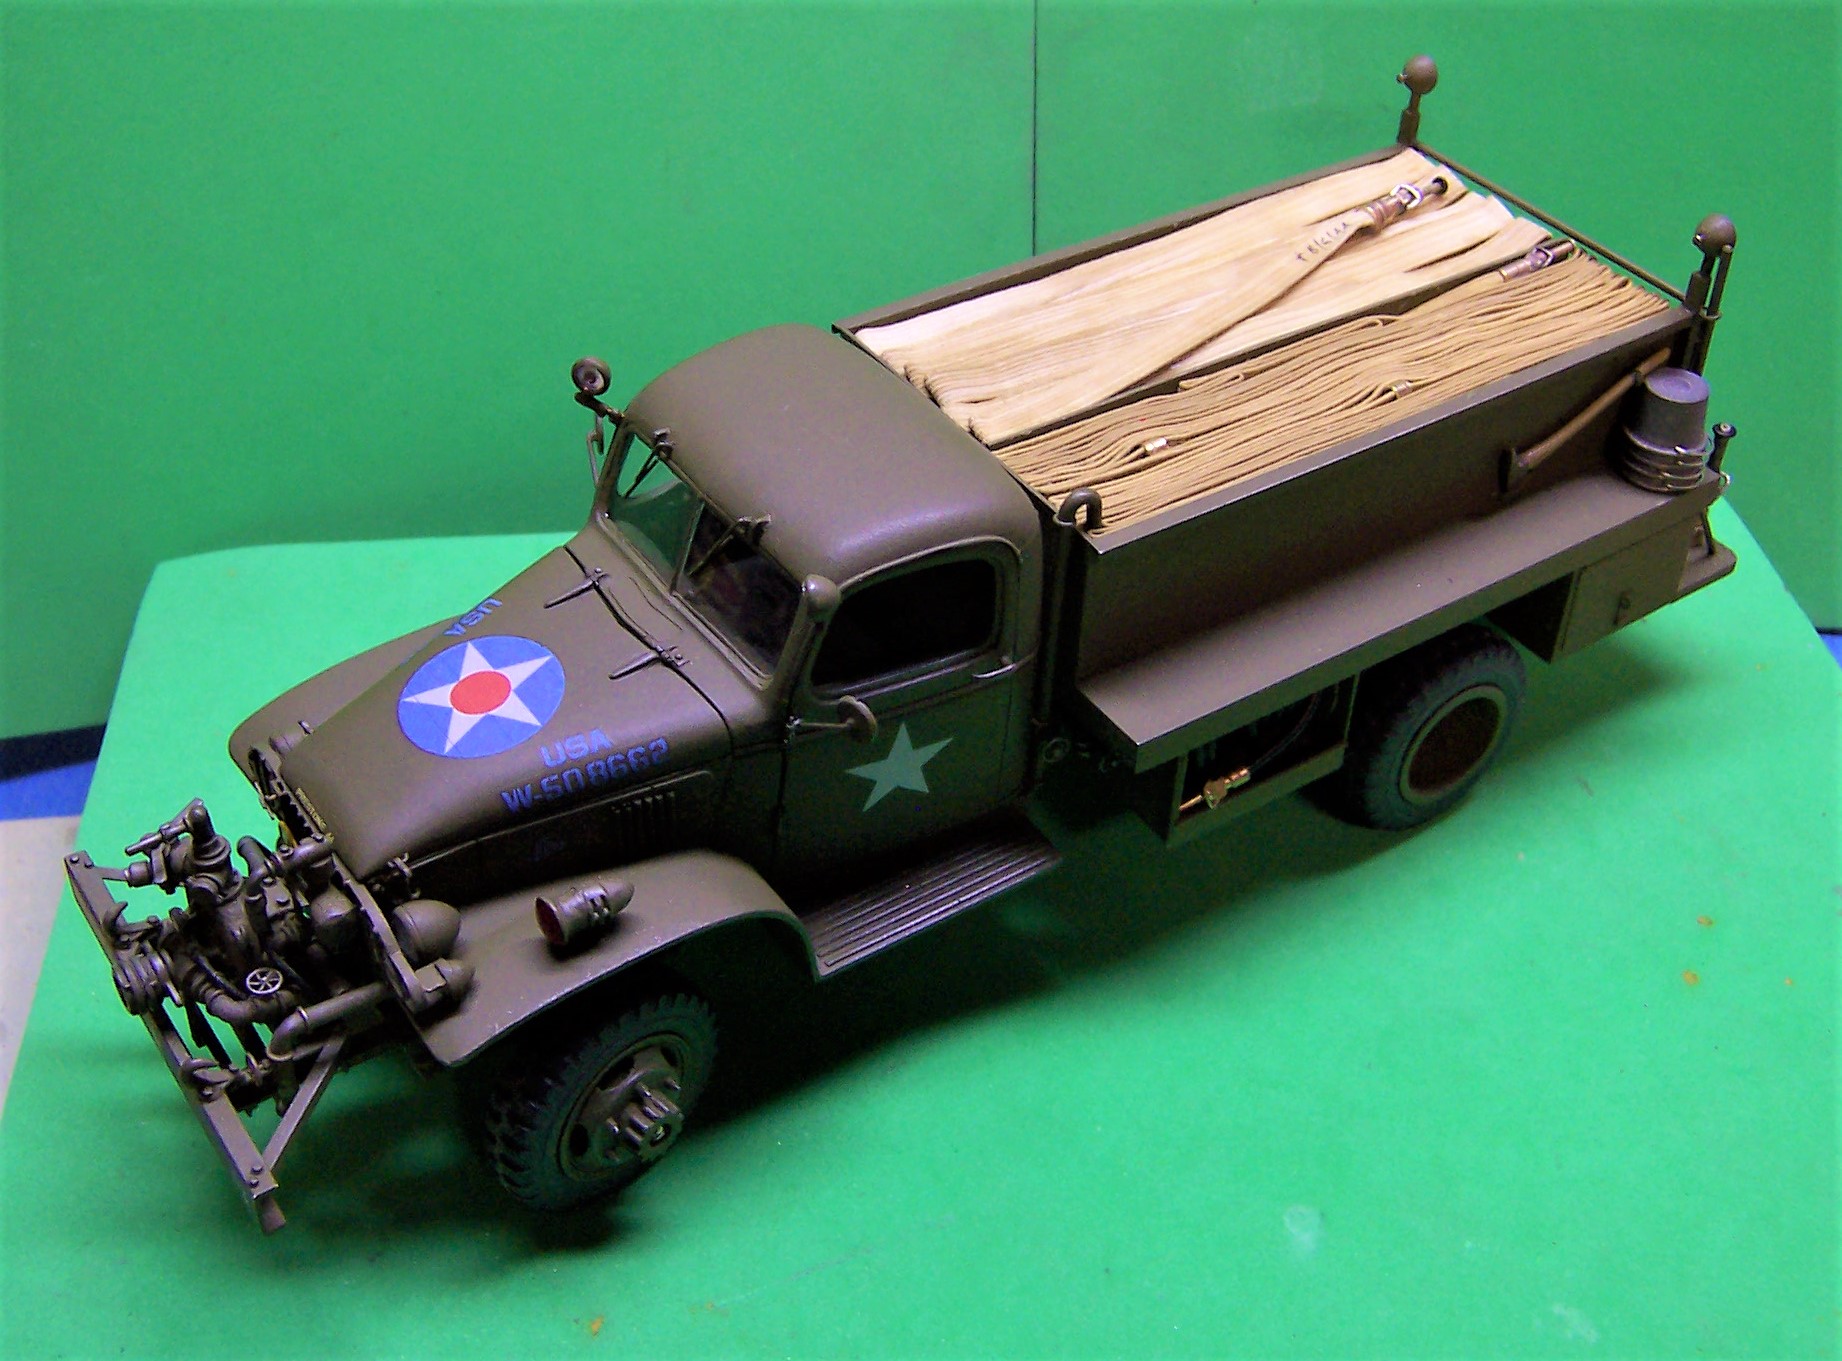
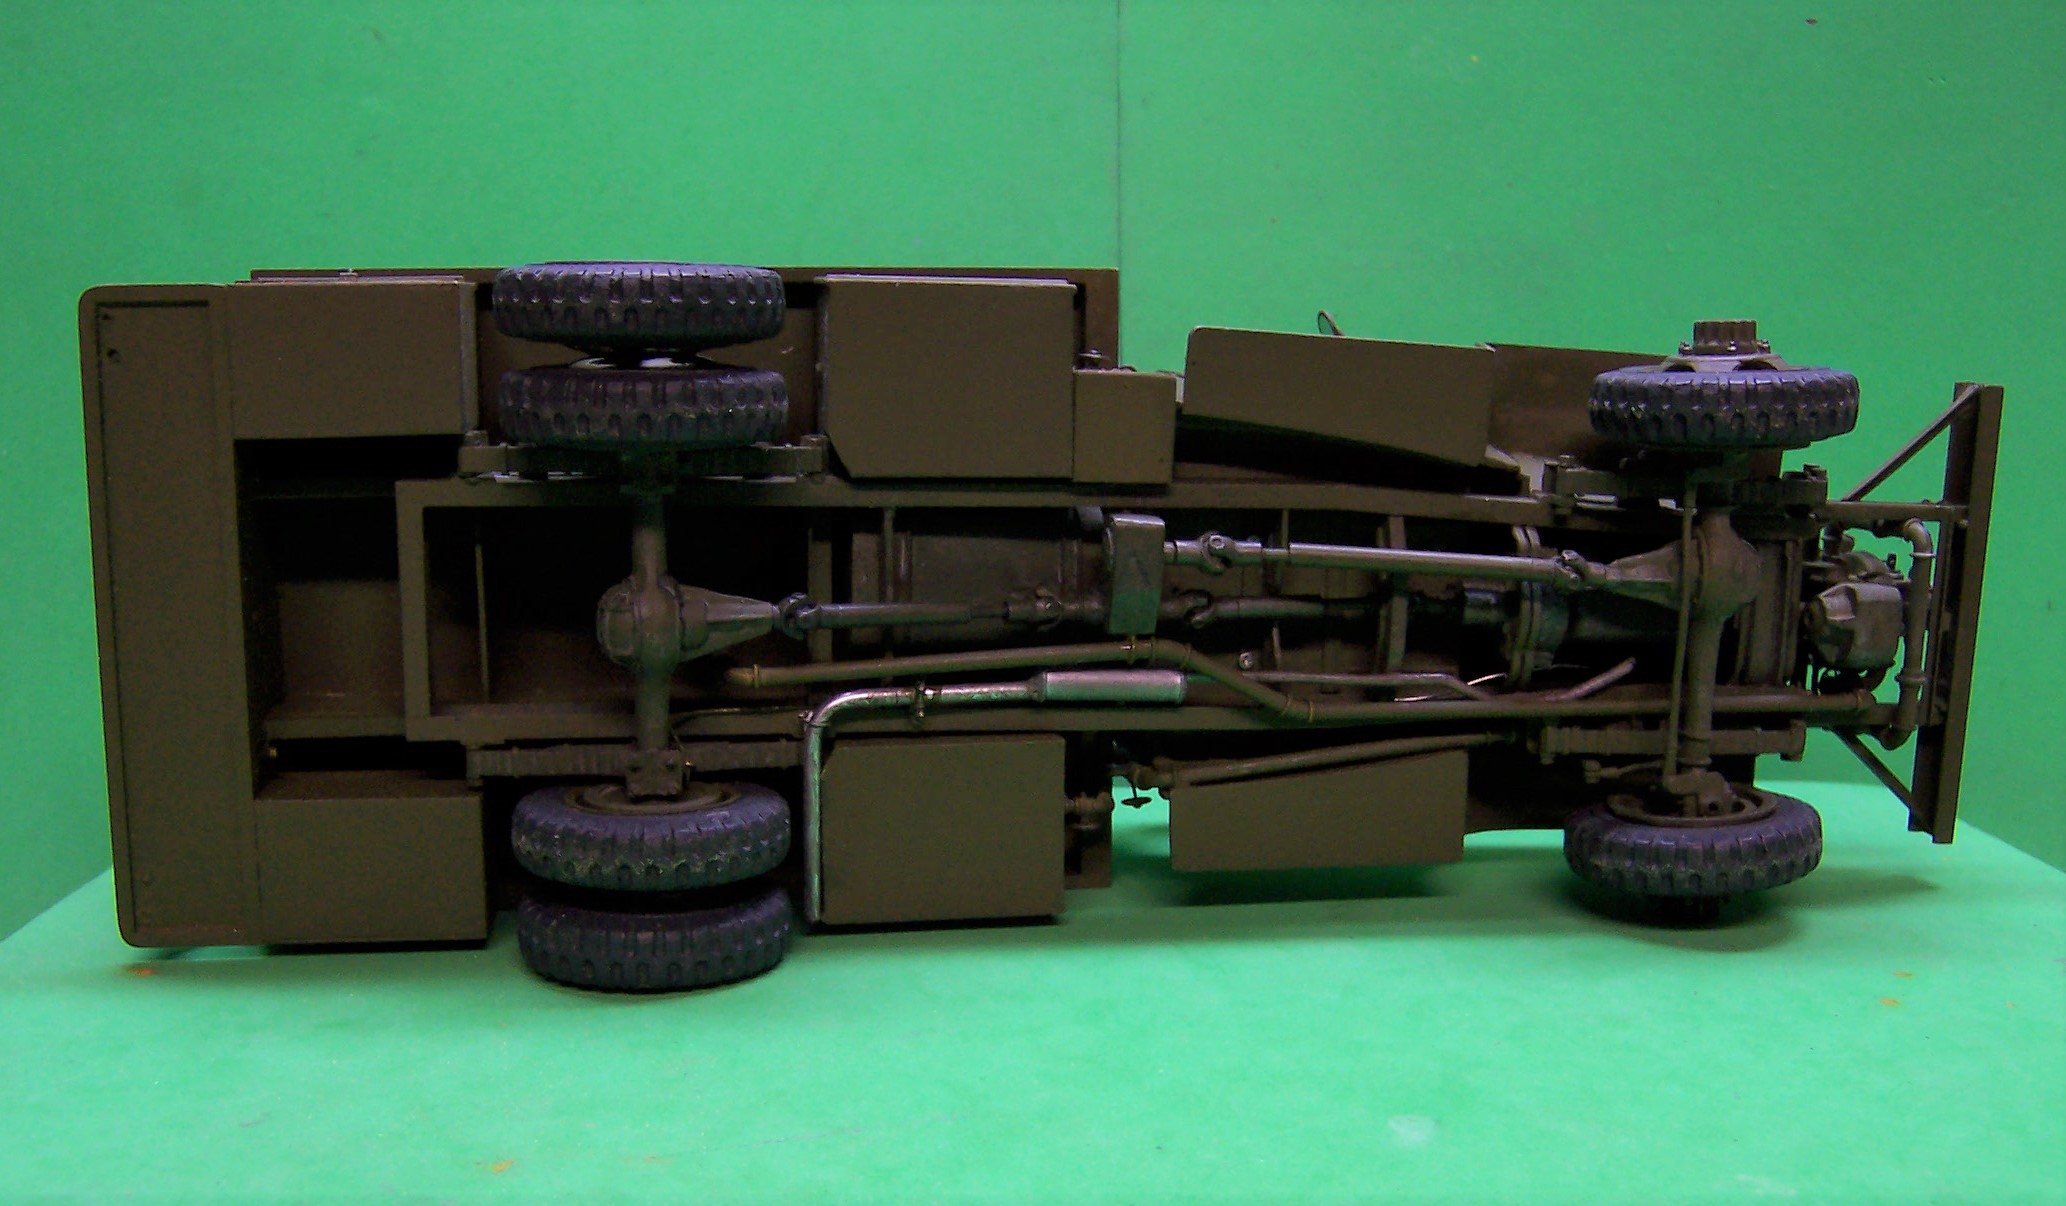
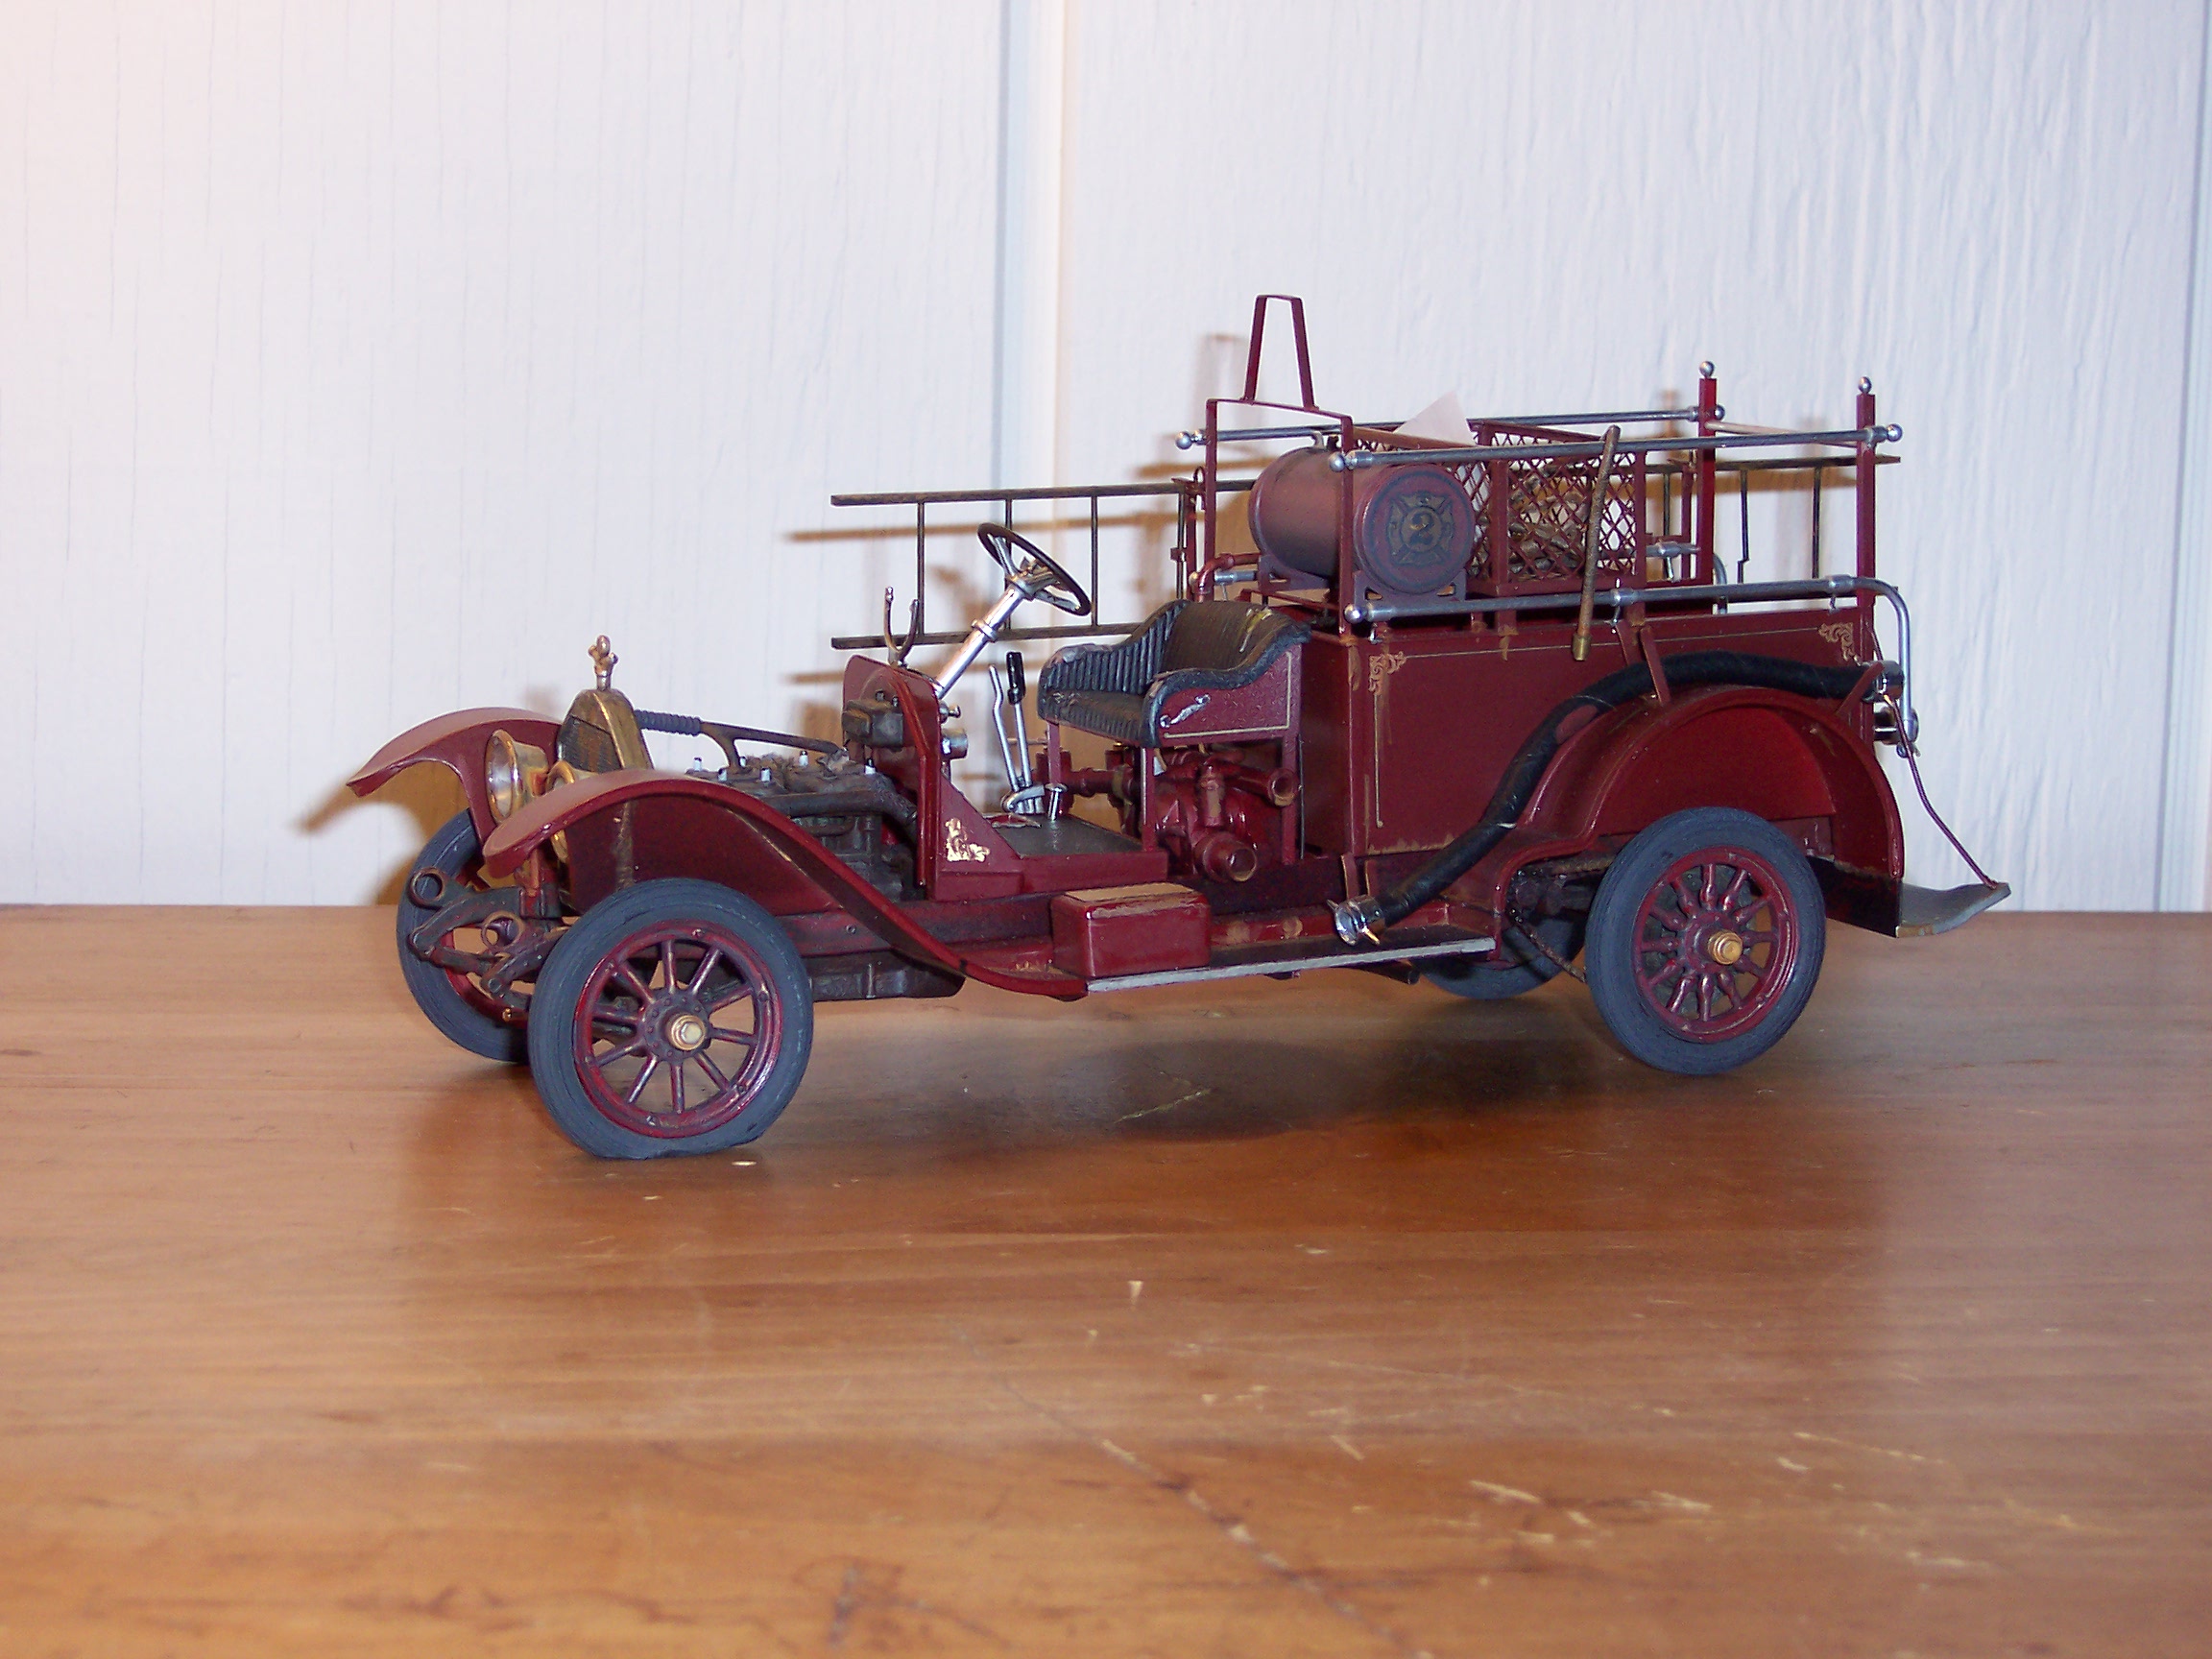
Been working a bit more on the model. With the body work finished it was time to clean up some things that had been left hanging. The plumbing from pump, tank and hose reels was finished up. The hose bed is filled and the nozzles are done. On the back is a long handle shovel and small pick axe. On the sides are the stacked pails and an axe. Lots more to do to finish up the ladders and rack, pump cans and some things to fill up the opening under the hose bed on the back.
-
Dodge W 3000 Big Rig
Chariots of Fire replied to John Pol's topic in Truck Aftermarket / Resin / 3D Printed
I believe that was done by Larry Krauck and was based on my standard cab W300. The W300 standard cab version is no longer in production. Two years ago I mailed out the master for it to someone who wanted to cast it but in that time the original has not been returned. If any new castings turn up they are completely without my permission. -
Dodge W 3000 Big Rig
Chariots of Fire replied to John Pol's topic in Truck Aftermarket / Resin / 3D Printed
What doe a W3000 look like? -
Will check in on a regular basis for this one. The dozer build is especially interesting with the adaptation to fire fighting.
-
Brockway Construction Water Wagon
Chariots of Fire replied to Warren D's topic in Model Trucks: Big Rigs and Heavy Equipment
Can you edit the color on the computer by darkening it up? -
Brockway Construction Water Wagon
Chariots of Fire replied to Warren D's topic in Model Trucks: Big Rigs and Heavy Equipment
Nice job, Warren! No dust to water down now tho'! Just snow. -
No me! Complete waste of time!
-
High, Kurt. The cab came from the Revell 1941 Chevy pickup kit. It is identical to the cab that Chevy used to make up the 4x4 rigs used by the US Army in WWII. The Dodge cab has similar lines but the kit cab is spot on.
-
What are you using for the hex nuts on the ends of the hoses? Fusion beads?
-
1950 Ford F5 / F6 coe
Chariots of Fire replied to BIGTRUCK's topic in WIP: Model Trucks: Big Rigs and Heavy Equipment
Can I make a suggestion? I like what is coming together but I think the front of the hood needs to be rounded out more. I found this photo on line that shows how the 1:1 rig looks. If you thinned out the inside of the hood at the front it might mean pouring some casting resin in the nose when you round it out. Just sayin'.
-
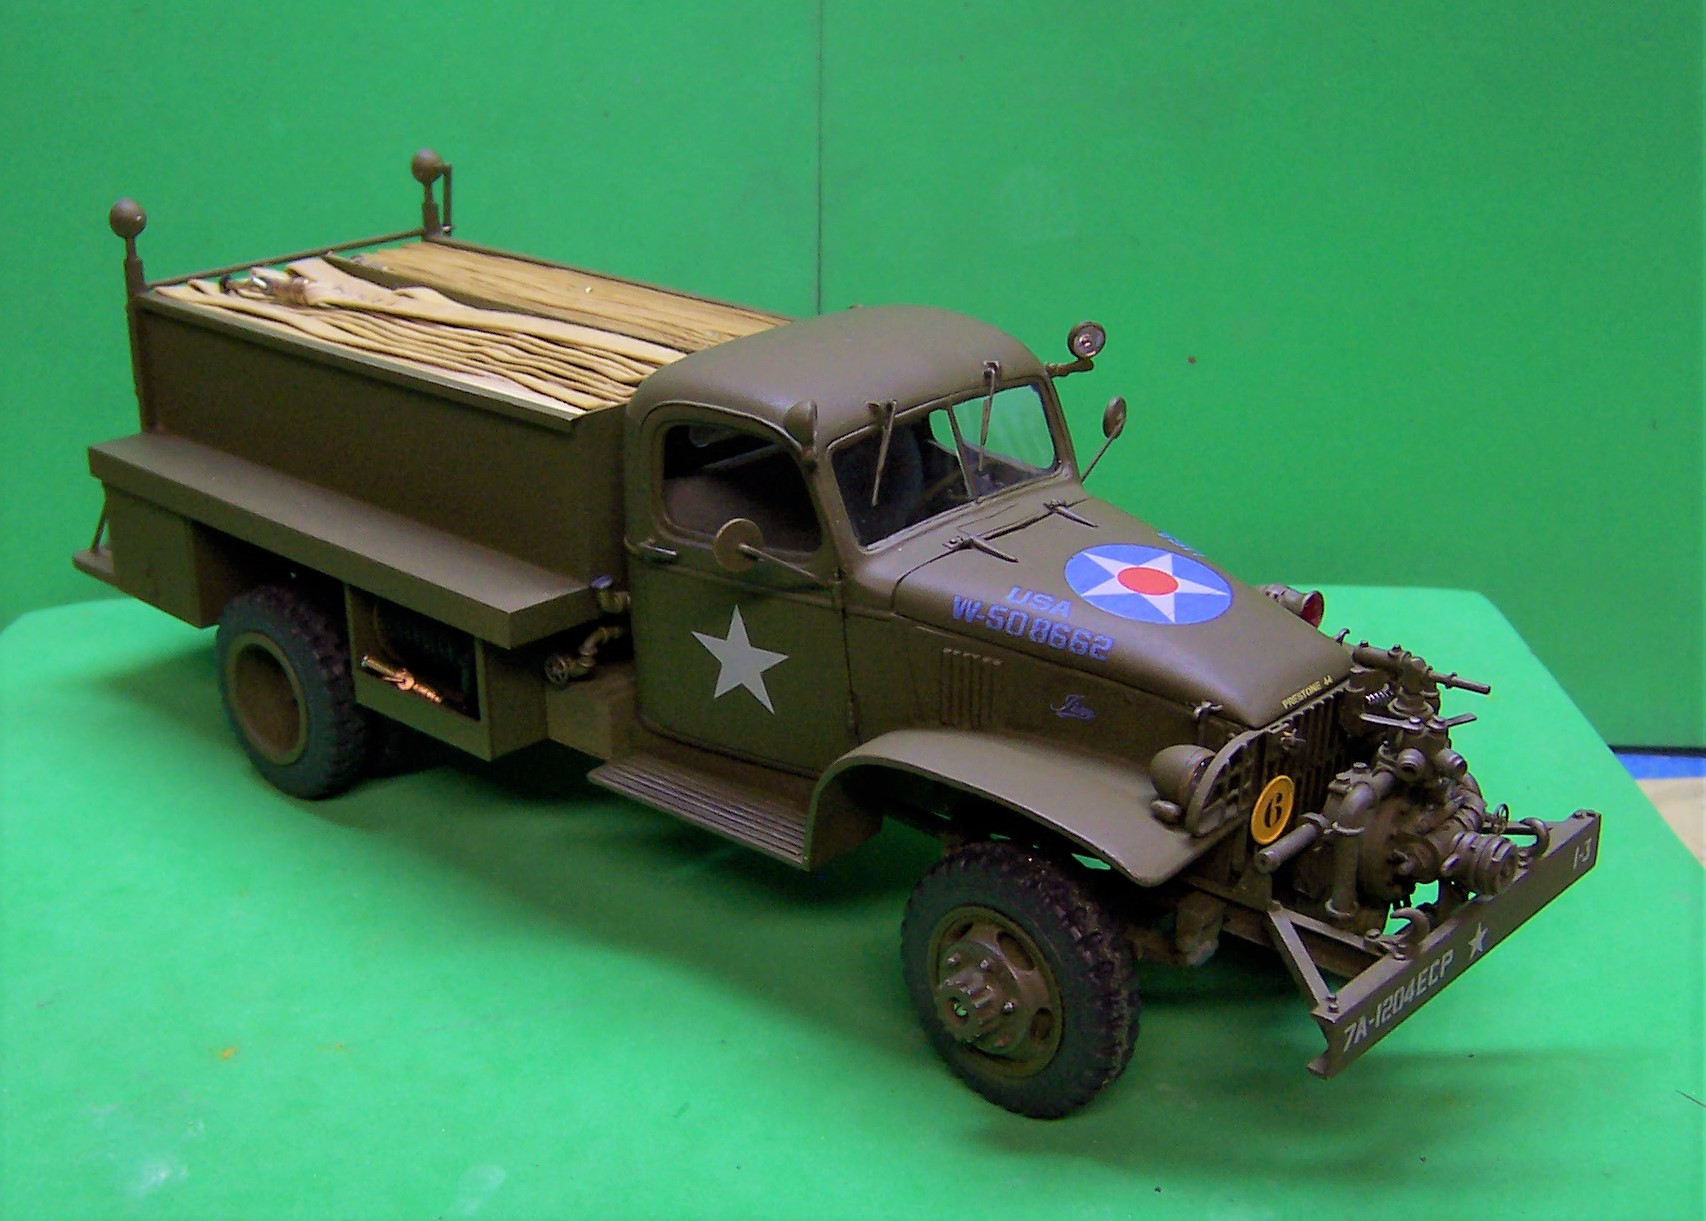
1926 Mack AC Dump Truck
Chariots of Fire replied to Jim B's topic in WIP: Model Trucks: Big Rigs and Heavy Equipment
There is another option for the wheels as well. Yat Ming (Signature) made a 1/24 scale 1923 Maxim pumper with spoke wheels. They are not wood, however. By that time even the heavy spoke wheels were made of steel. You may be able to pick one of the Maxim's on e-bay for a reasonable price. -
I have heard from friend Jim Davis many times, as recent as yesterday. He has the model and is attempting to replace the right hand spotlight on the cab. Not an easy task for someone not familiar with modeling. A bit hard to make a day trip to help him out! I'll see if his daughter can take a photo of him with the model when he gets the light put back. When he called yesterday he said that they (Oahu) recently recorded winds at 180 mph on top of the volcanos and that about 10 miles away they were recording waves hitting the beach that were 60 feet high! Good surfing weather, I guess!
-
1926 Mack AC Dump Truck
Chariots of Fire replied to Jim B's topic in WIP: Model Trucks: Big Rigs and Heavy Equipment
I think only the real early AC's in the teens had the wood spoke wheels. The wheels in the kit are definitely steel, both front and rear. Below is a 1917 American LaFrance rig I built years ago using the Stutz Bearcat kit as a basis. It has these wheels (wood?) in the kit. The rear ones have a bit more beef to them than the front ones do. Jeff Harper recently did a 1907 Mack that has the wheels you are looking for as well. Here is a photo of his work. He will have it with him at NNL East in April.
-
Thanks, Hermann. When it is finished it will be going to its owner in Belgium! The body got painted last nite. I also worked on making a long handle pointed shovel out of brass. After a couple of tries it came out pretty nice. Will take some pics shortly.
-
MARMON coe 86" cab
Chariots of Fire replied to CRUSADER2's topic in WIP: Model Trucks: Big Rigs and Heavy Equipment
That's pretty nice work! Details are great! Keep going!!! -
If you do the red color scheme for the IH and trailer, I might be able to come up with some LA County decals for the doors. I have the info. Give me a shout, Scott.
-
BRBO 2019 Dodge W500
Chariots of Fire replied to Aaronw's topic in WIP: Model Trucks: Big Rigs and Heavy Equipment
That is correct. -
BRBO 2019 Dodge W500
Chariots of Fire replied to Aaronw's topic in WIP: Model Trucks: Big Rigs and Heavy Equipment
I glued a small strip of plastic to the hood side of the original master for the cab. The strip essentially "raised" the photoetch above the sides of the hood just a little. Then I glued the photoetch directly to the plastic strip permanently. Here is a photo that shows it a little better. This is on the 1966 W300 casting with the raised letters on the strip. I covered it with BMF before painting. Then rubbed off the red paint leaving the raised lettering.