Chariots of Fire
-
Posts
2,781 -
Joined
-
Last visited
Content Type
Profiles
Forums
Events
Gallery
Everything posted by Chariots of Fire
-

Mack R685 Tanker 27 in service
Chariots of Fire replied to towman1271's topic in Model Trucks: Big Rigs and Heavy Equipment
That came out nice! Did you color the hose lines? The look good! -
YES!!! That is absolutely spot on! Rust in just the right places, faded paint. You know your stuff! Not only where such things belong but how to get it there as well. Fantastic work!
-
TAT L-700 7-8 trailer done
Chariots of Fire replied to Spruslayer's topic in WIP: Model Trucks: Big Rigs and Heavy Equipment
The cab mounts are difficult to say the least. If one is off the slightest amount the cab will not sit straight. And that is the most egregious thing about this rig. Try putting a section of tubing through the mounting pins so that they line up squarely to the frame. Do the same for the mounting attachments on the cab. Maybe use the same tubing to run through all 4 pieces so that everything matches. Take your time and it will work out. Here are a couple of rigs I have done. the first one was a glue bomb that I rebuilt and added the body to. The second one was done using a second generation kit and extending the frame. You are doing a good job on the chassis and engine.
-
Peterbilt fire truck DD powered
Chariots of Fire replied to truckabilly's topic in Model Trucks: Big Rigs and Heavy Equipment
That is one nice model! Neat, clean, details just right. I'm impressed! Great job, Jaroslav! -
BJ & the Bear XXL Project Complete
Chariots of Fire replied to Mike77's topic in Model Trucks: Big Rigs and Heavy Equipment
I have a question for anyone who is a lot more informed than me on this kind of rig. With the exhaust stacks that far away from the engine won't there be a significant amount of back pressure on it? Just wondering. And it is not a criticism of the build at all! It is well done for sure! -
NNL East - - April 21st - - Are you going..???
Chariots of Fire replied to Ramfins59's topic in Contests and Shows
Been going every year for about 15 years! So much to see and buy (wish money grew on trees!). Got 3 models to put on the tables including one for the 50th anniversary of 1959 vehicles. Will be leaving around 10AM tomorrow, will get us there about 3 in the afternoon. LaQuinta Hotel was fully booked for the show and is sold out. Hoping for decent weather. -
TAT Mack B-61
Chariots of Fire replied to landman's topic in WIP: Model Trucks: Big Rigs and Heavy Equipment
I've used those fusion beads. Real small but effective. They are inexpensive and you get a bunch of them in the package. They cannot be crimped, however. If you try they just disintegrate. Size 15 is what I have also. -
Eisbrenner Seagraves
Chariots of Fire replied to Chariots of Fire's topic in Model Trucks: Big Rigs and Heavy Equipment
Awesome! -
Eisbrenner Seagraves
Chariots of Fire replied to Chariots of Fire's topic in Model Trucks: Big Rigs and Heavy Equipment
Nice job, Jeff! You ought to bring that to Toledo next October 6! -
Hey! those are nice! Quite an improvement on the kit parts. You say you did them for a D9. Is there much difference between the D8 and D9 that would be noticeable?
-
International Scout II
Chariots of Fire replied to Classicgas's topic in Model Trucks: Pickups, Vans, SUVs, Light Commercial
That was well done! Great looking paint job and the engine bay is outstanding. -
1952 Reo Gold Comet
Chariots of Fire replied to Chariots of Fire's topic in WIP: Model Trucks: Big Rigs and Heavy Equipment
-
1952 Reo Gold Comet
Chariots of Fire replied to Chariots of Fire's topic in WIP: Model Trucks: Big Rigs and Heavy Equipment
A ways, Steve. Different cab, almost on the style of an LJ Mack. Good possibilities though. -
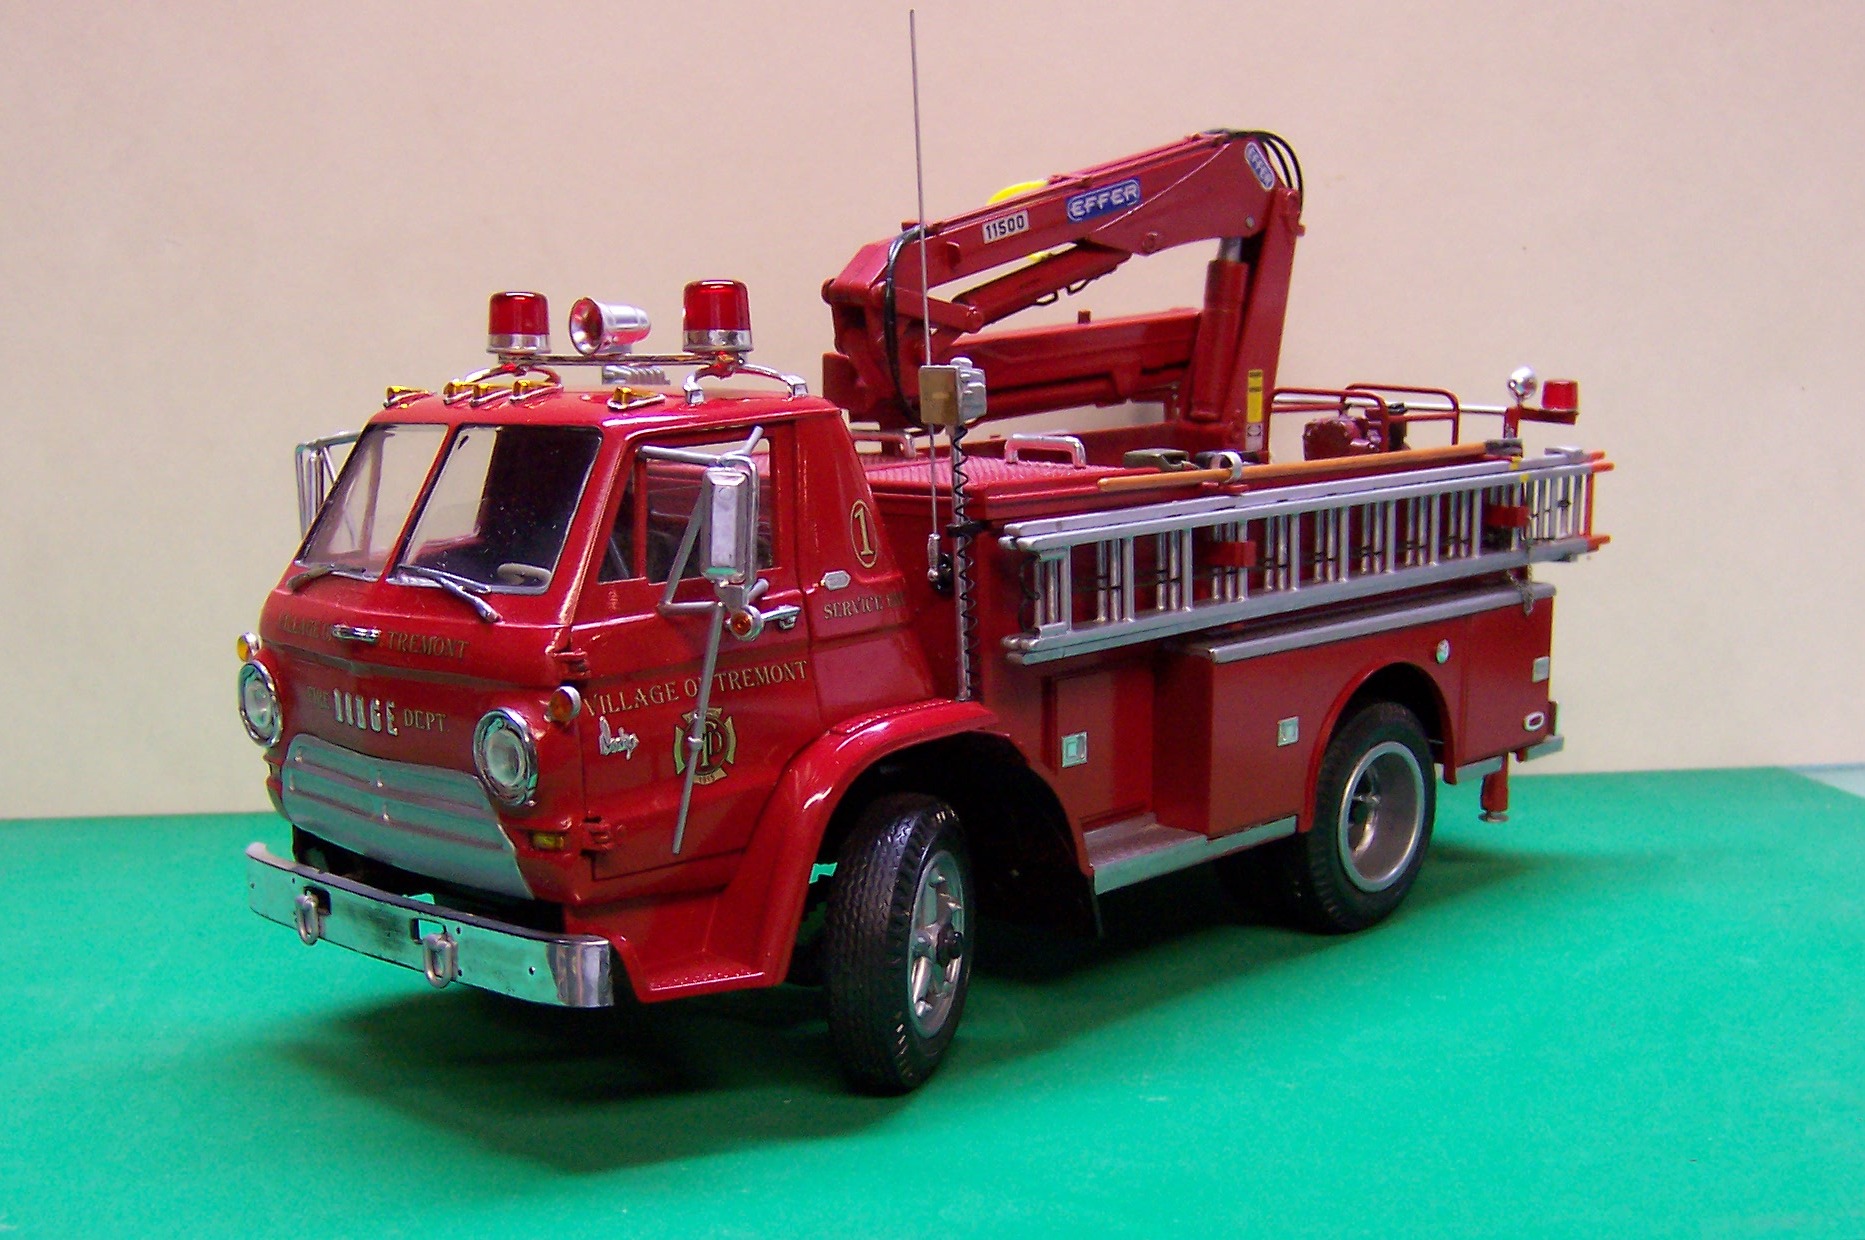
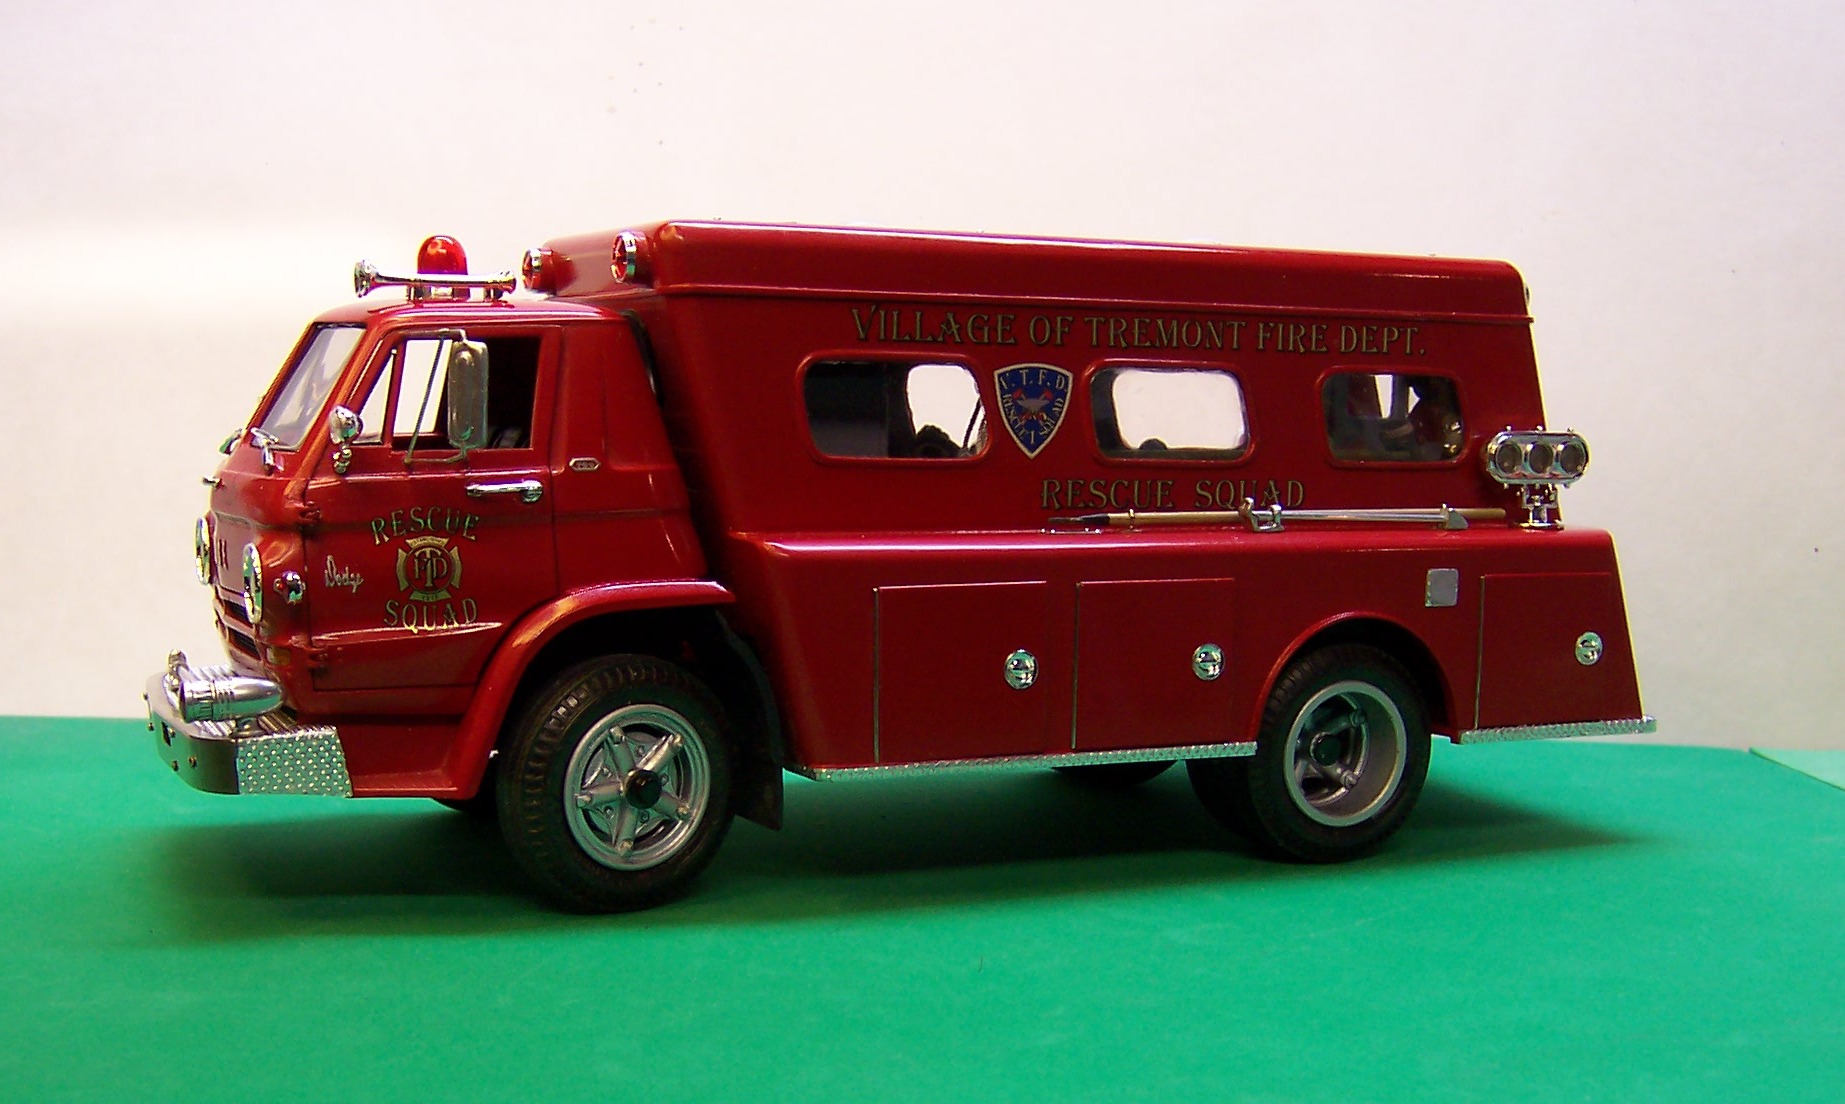
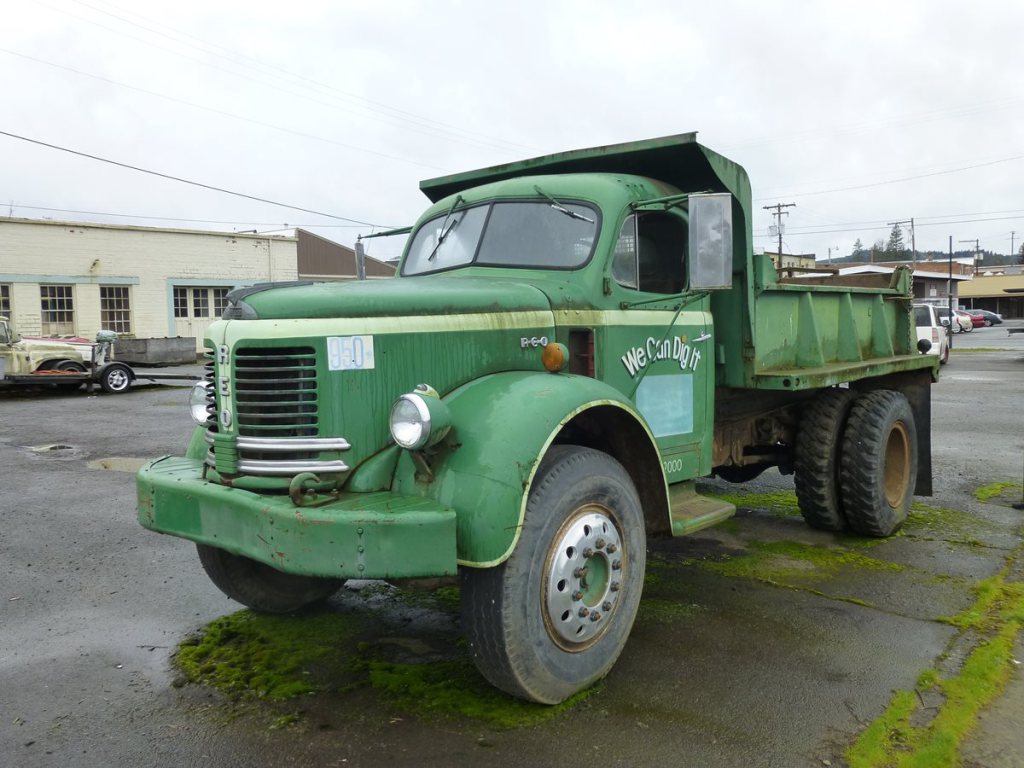
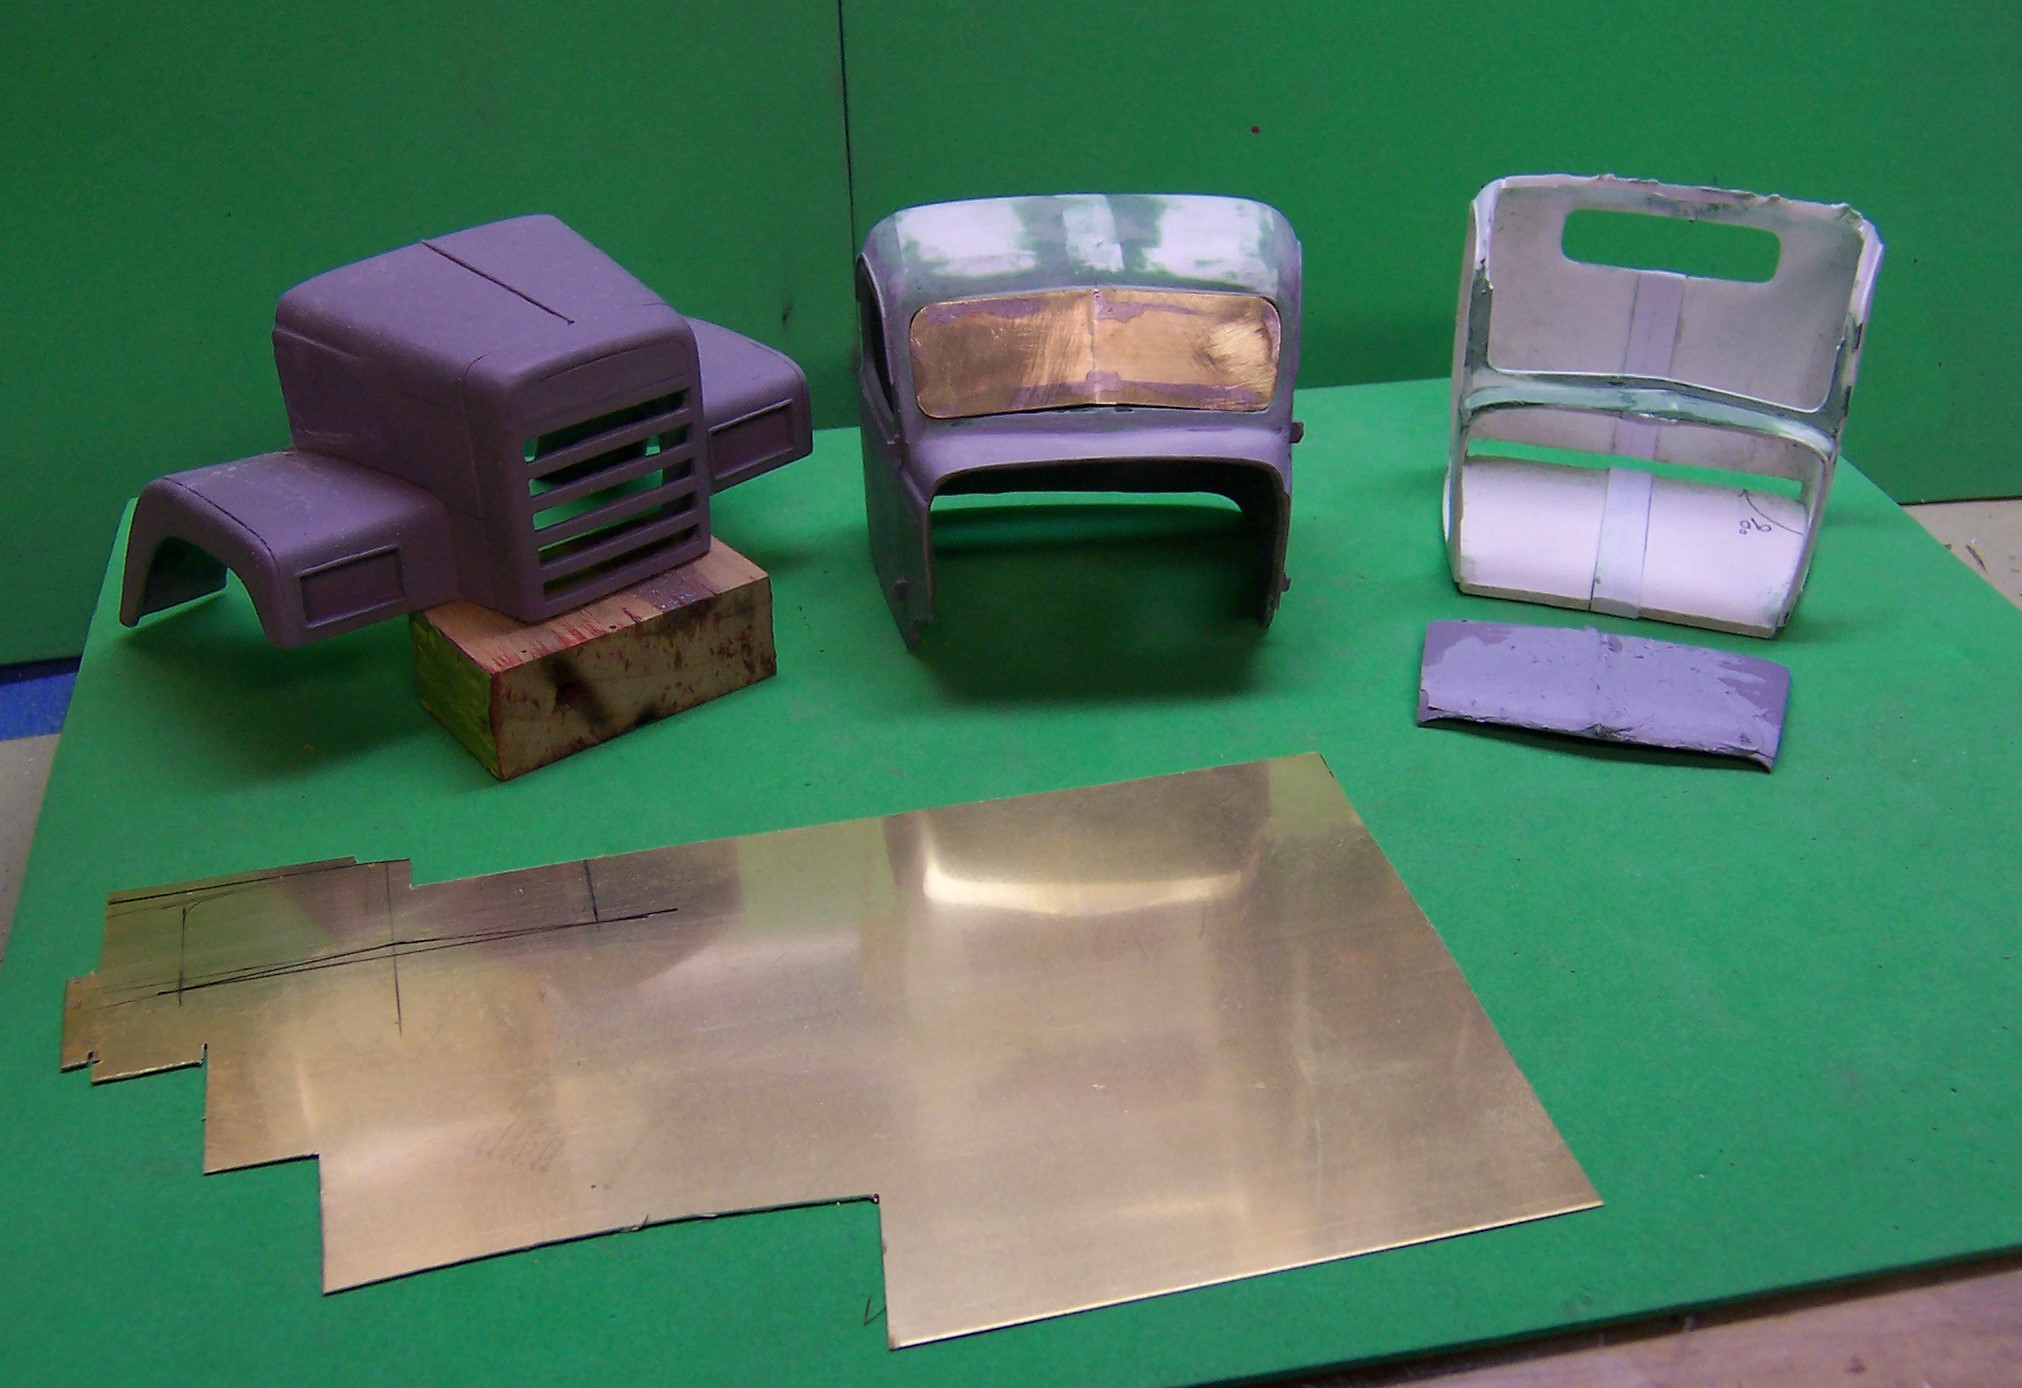
The next build is on the bench. I'm working with an old resin casting of a Reo that has the squared off fenders and hood to convert back into a Gold Comet like the one in the first photo. There is a lot to do to get the cab right. At first I thought I could dive right in but the more I studied photos of the Comet and how the casting looks the more flaws I saw. So the front end was sawed off and the windshield line needed to be changed. I took a '41 Chevy, cut the cab in half lengthwise and inserted a section 7mm wide. I then cut the top of the cab off and took out a similar size piece from the casting and inserted the plastic roof in place. It made an immediate difference. The windshield was next that required reshaping. Originally the windshield was virtually straight across and did not look like anything close to the real thing. A new windshield surround was made from some 0.010" sheet brass. After taping down a paper template of the windshield opening a brass shape was made and bent to fit into the opening. Then a thin strip was cut from the same sheet and soldered around the perimeter of it. The strip was trimmed flush with the brass shape on one side and trimmed to a thin edge on the opposite side like what you see in the photo above in front of the modified cab. In the photo you are looking at the inside surface. In effect a trim piece has been made into which the clear glass can be inserted once all is in place. Obviously the inside of the brass shape has to be cut away but that will be done after the shape is permanently attached to the cab with some two part epoxy. Doing it that way will avoid damaging or distorting it in any way. Final trimming will be done with files to obtain a smooth outline. The next photo shows the brass insert in the windshield opening. The areas around the insert can be filled with putty where needed. With that done the next step will be to separate the top half of the cab from the bottom half. It is badly distorted and not cleanly done at the belt line so it will have to be rebuilt. That's it for now. More to come as we get into the next part of the modifications.
-
That's certainly one way, Art! Another way would be to get some 3D printed.
-
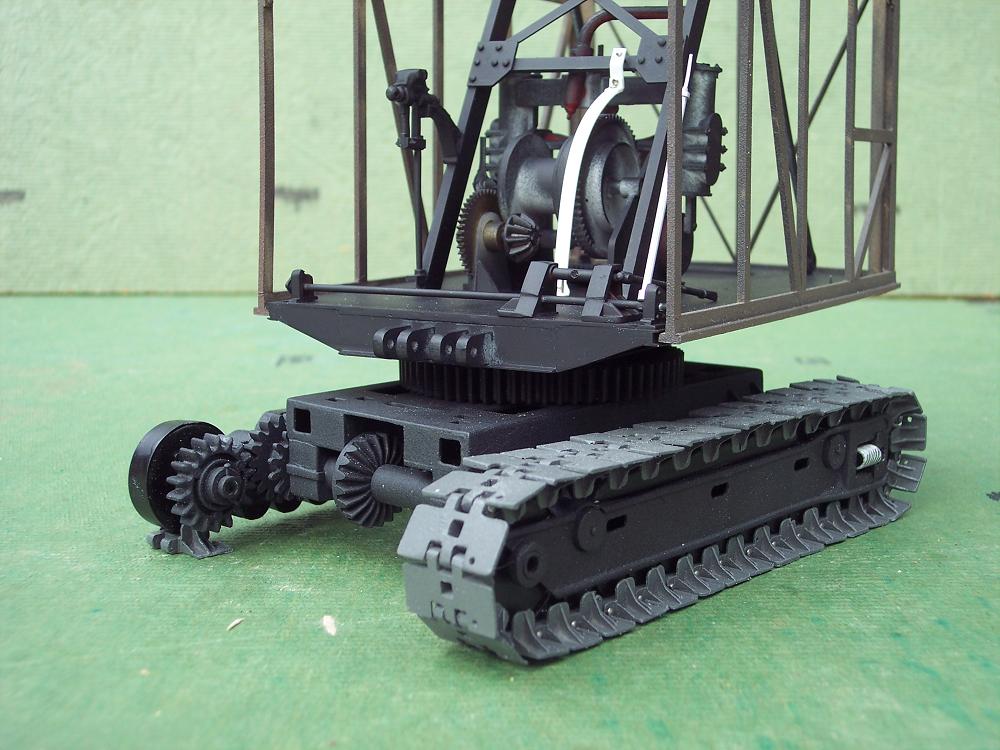
The one issue I have always had with this kit is the tracks. The grousers are just way too tall and klunky looking. I have a kit but have never built one. It might take doing the track links all over again and casting a bunch. Jeff Harper did just that with his 1920's Marion steam shovel. Made two links, cast each one and just kept on casting until he had something like 62 links for each track. The effect was totally awesome. This is an in-progress shot of what he scratch built. Finished shovel and a 1932 AP Mack n the foreground.
-
NYR KW Aerodyne wrecker
Chariots of Fire replied to gotnitro?'s topic in Model Trucks: Big Rigs and Heavy Equipment
Nice paint and color combination. Should be able to see that one coming! -
Firetruck lime yellow paint
Chariots of Fire replied to Oldcarfan27's topic in General Automotive Talk (Trucks and Cars)
If you don't want to do actual manufacturer's paint, try to find a reasonable color in Duplicolor. I don't like Rustoleum for painting models because it is too thick and the spray is too concentrated. It does not dry as well either. Take a copy of the paint chips to an auto parts store and see if you can get close to one of the yellows you want. Just MHO! -
If I can get photos of the color scheme of one that was used locally I would. Had a Holmes 600 wrecker body. It was blue and white but I can't remember exactly how the paint was laid out. Maybe some day I will run across one for reference.
-
Gold Comet was one version and it had that logo outside the cab on the hood.
-
Thanks, Mike. Two new builds are in my head but not on the workbench right now. Going to take a short break from building just to let this one cool off, so to speak. One will be a '46 Reo Gold Comet and the other one will be a Pierce Enforcer engine for Jacksonville, Florida.
-
Super nice, Dave!!
-
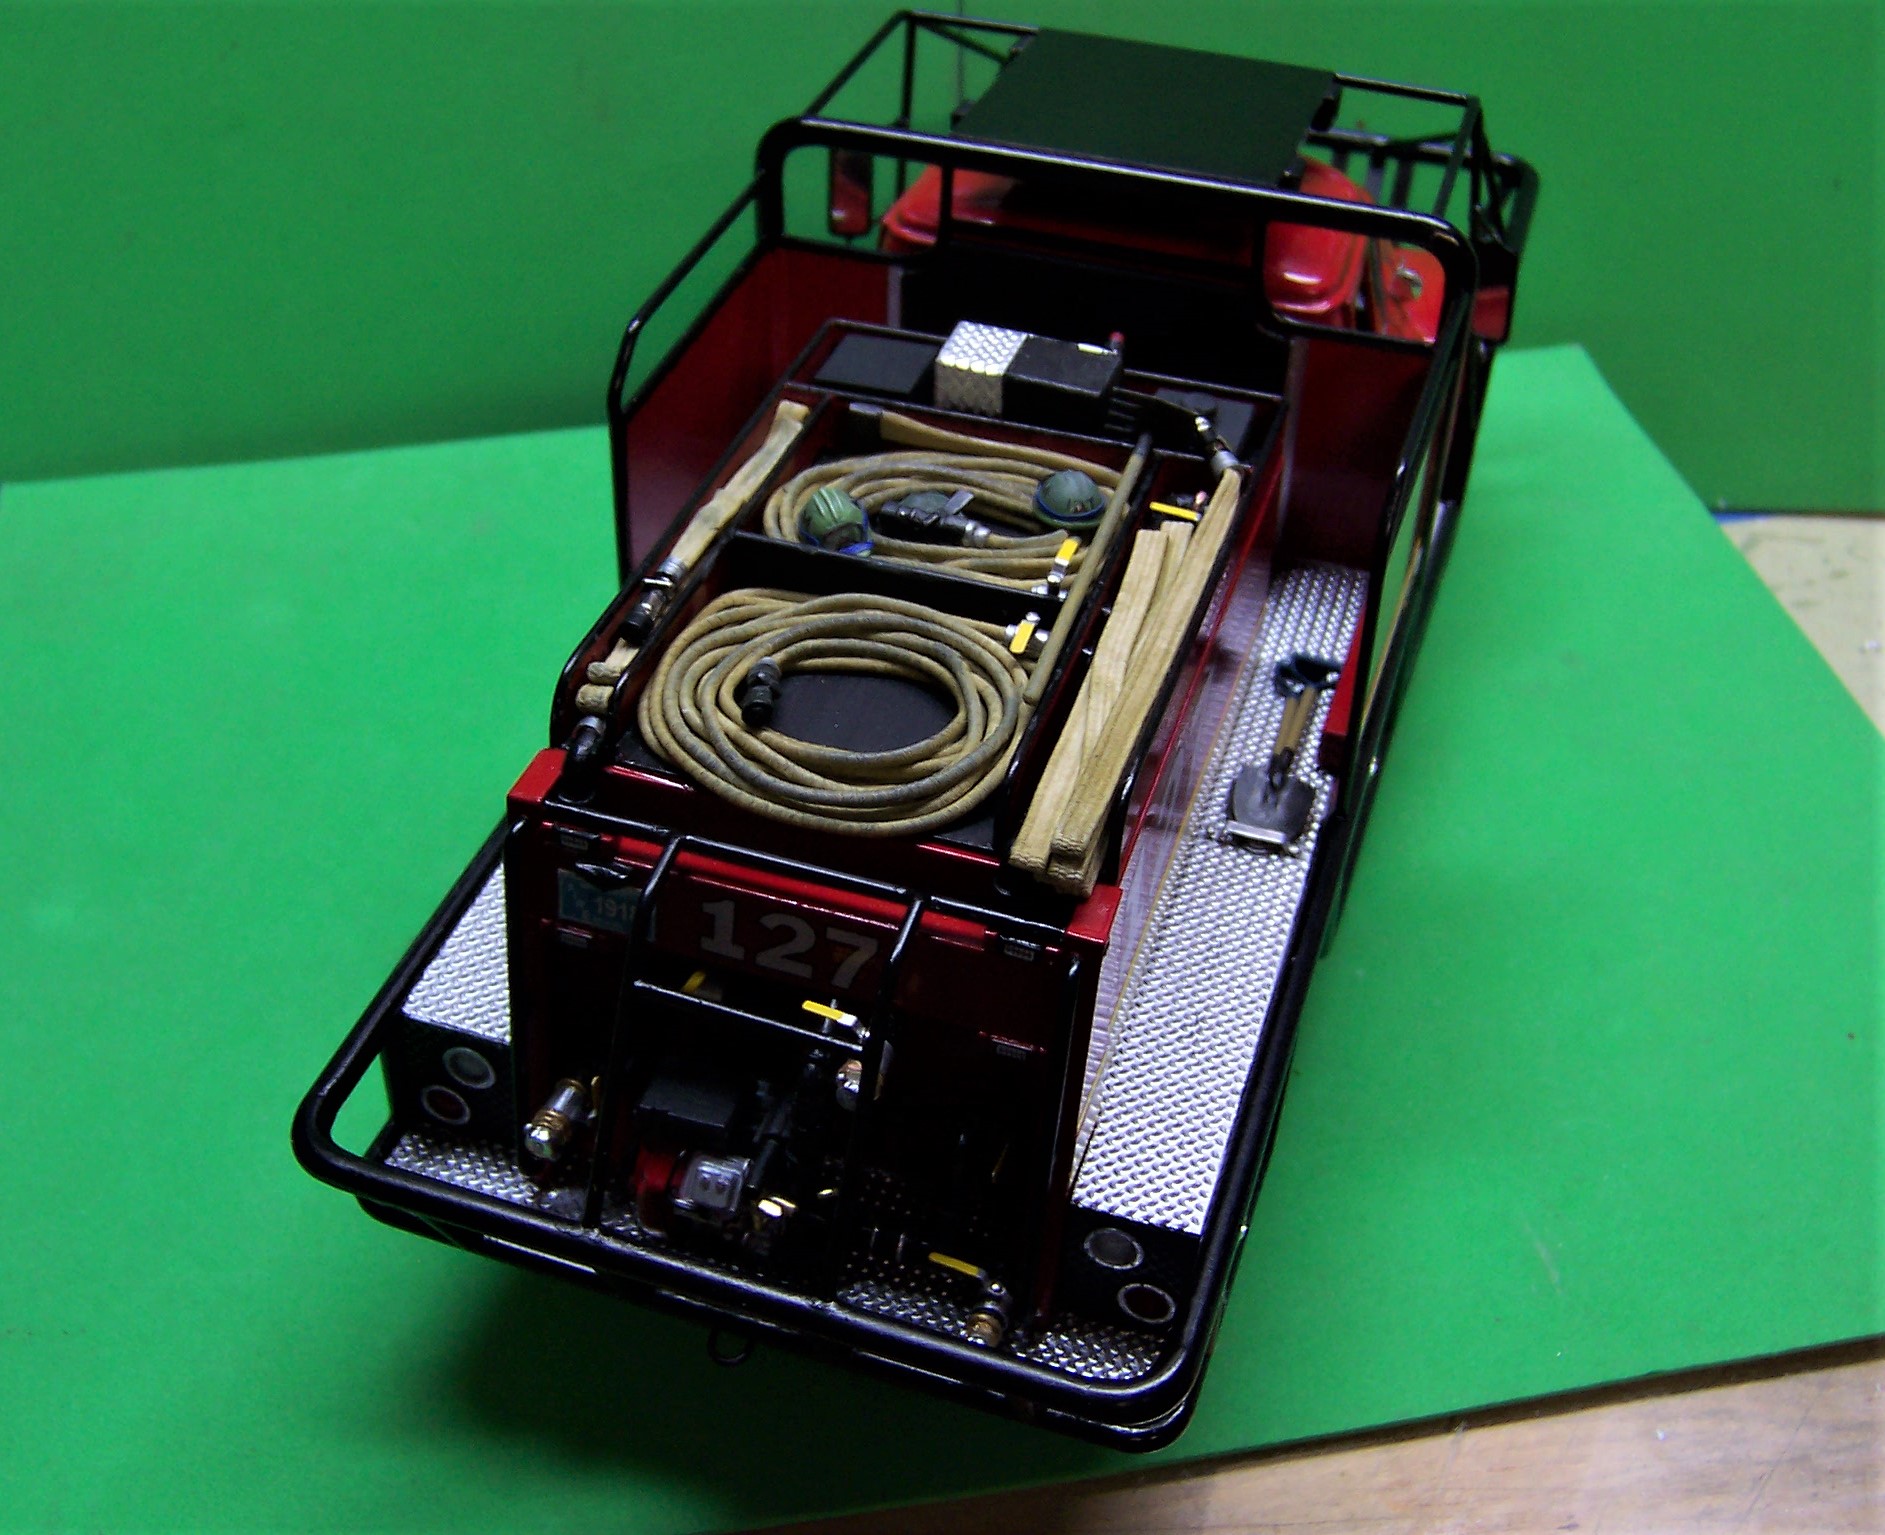
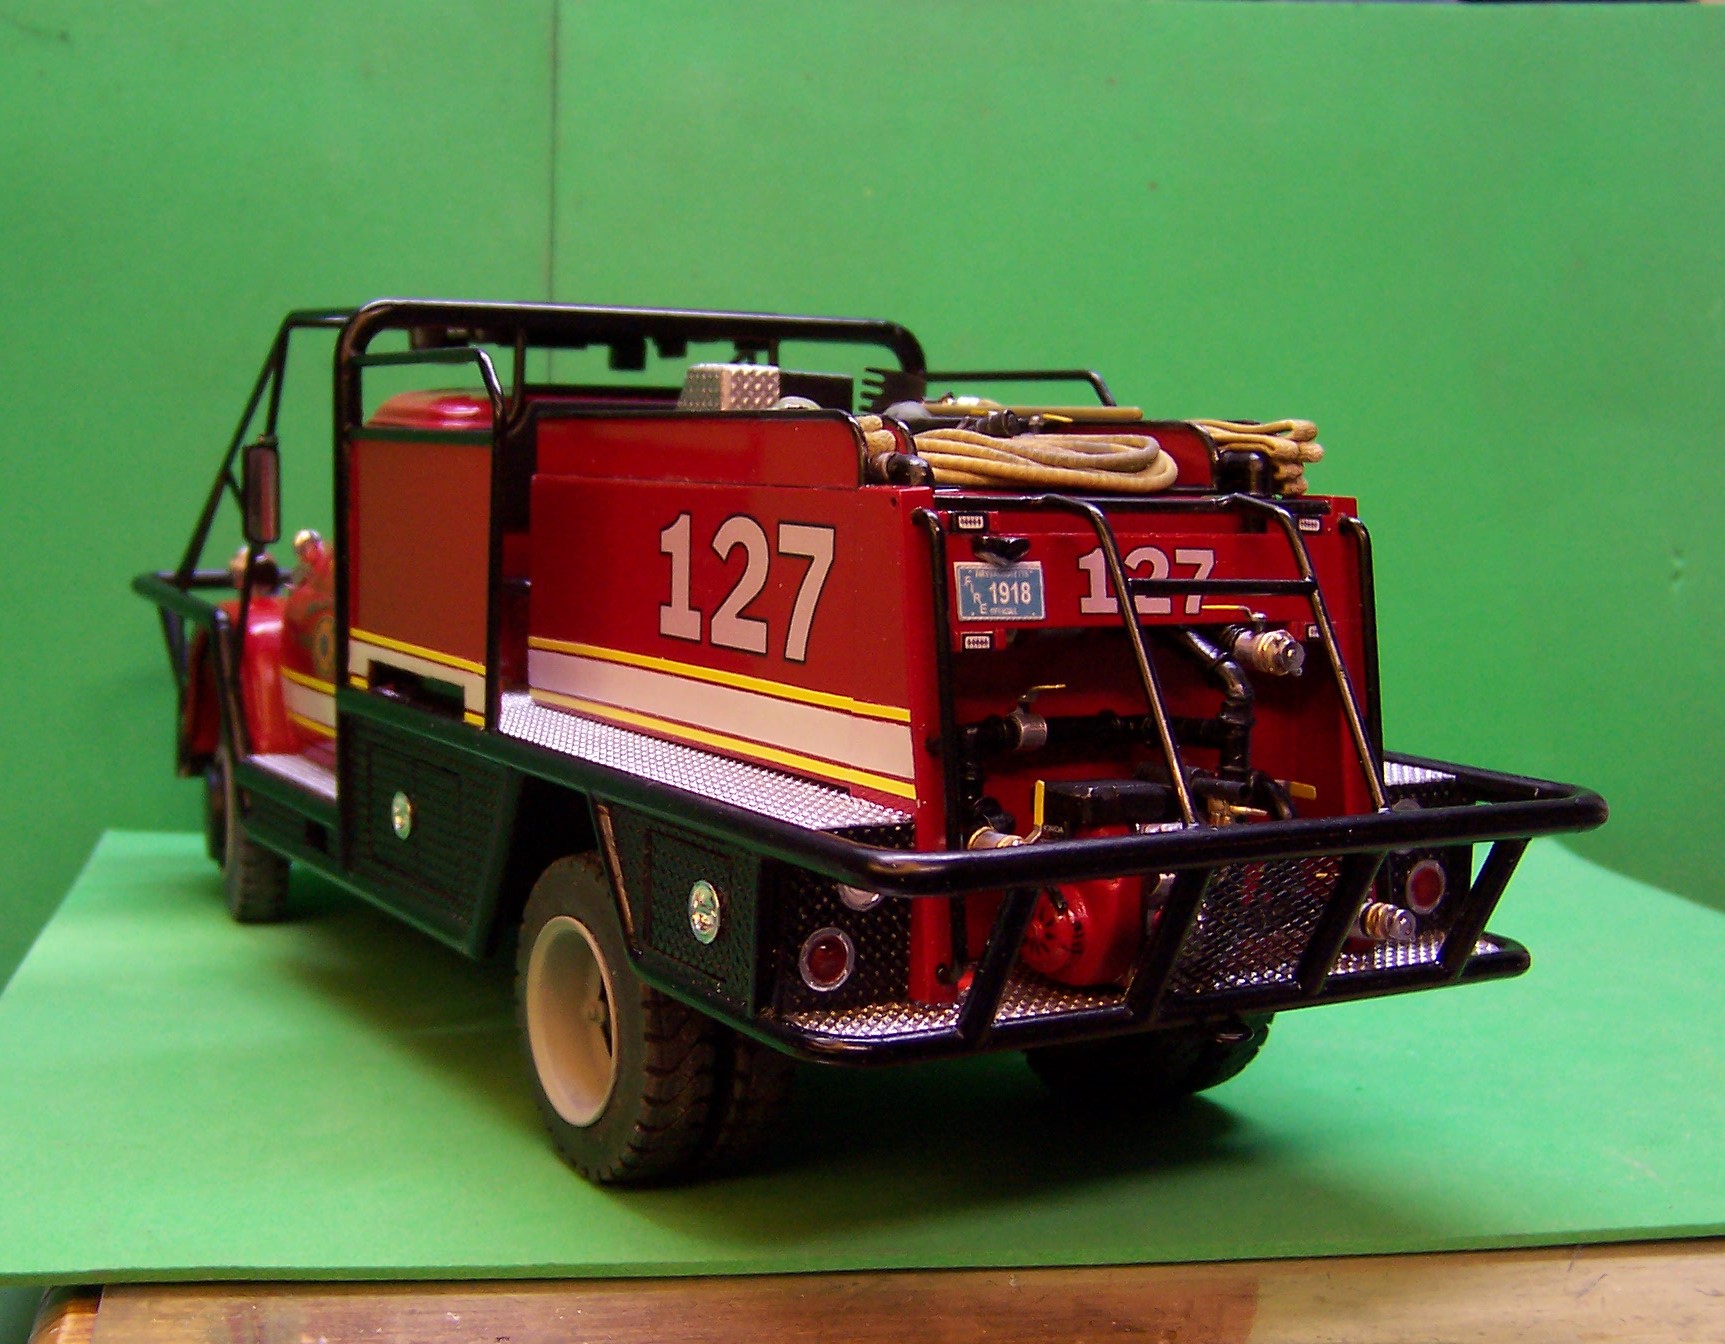
All of the final details and such have been added to the build and it is done as of today. Electronic speakers on front bumper, LED's under the headlights, directional lights on the cowl, hardhats, axe, McLeod tool on top of the hose body and shovels next to the tank. The gold and black rectangle next to the 127 on the rear is a dedication plaque that was put on the truck at the time it was rehabbed in 2013.
-
Eisbrenner Seagraves
Chariots of Fire replied to Chariots of Fire's topic in Model Trucks: Big Rigs and Heavy Equipment
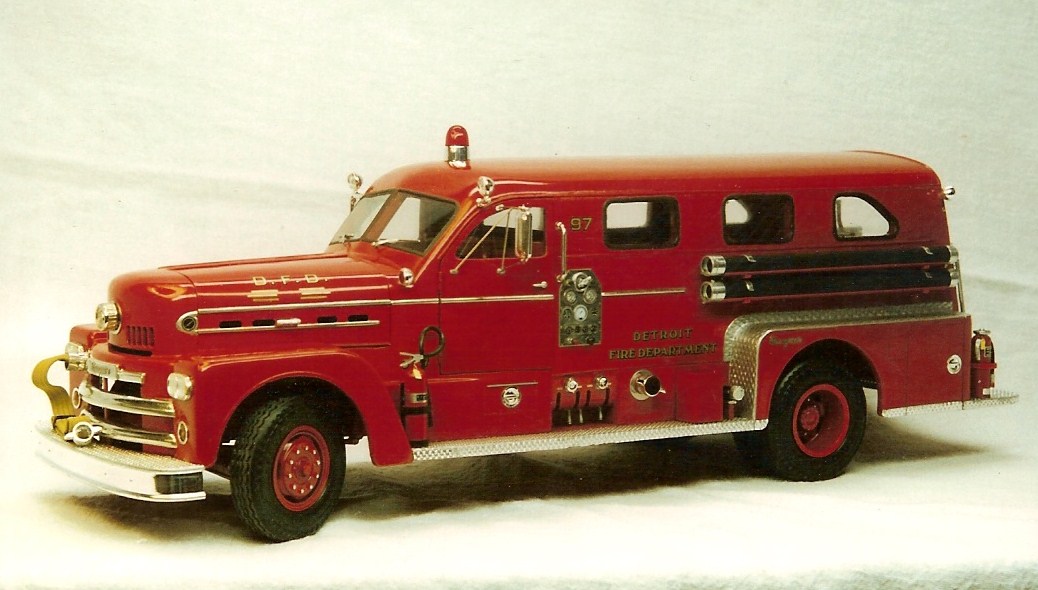
That's one of the second generation ones. It's a good casting but is quite brittle. Don't drop it! This was built using one of those castings. The 97 just above the pump panel tells you the year I built it. (1997)
-
Loadstar Brush Truck
Chariots of Fire replied to Chariots of Fire's topic in WIP: Model Trucks: Big Rigs and Heavy Equipment
I sort of have a plan for any build but a lot of it is the way something might be made on an assembly line. Engine and chassis first, next the cab and finally the body and details. After so many scratch building projects it sort of is a repeat of what has been done before. Many thanks for all of the kind comments. I'll post the final photos in the display section once the little missing details are completed. Yes it is a colorful model! I didn't plan it that way, just the way the real one is. There's even a touch of green wiring on the pump engine but you really have to look to find it!