89AKurt
-
Posts
8,429 -
Joined
-
Last visited
Content Type
Profiles
Forums
Events
Gallery
Everything posted by 89AKurt
-
I use wood clothes pins, hemostats, different tweezers that can either spring load or lock, and on rare occasions a little Erwin quick-grip. I'm tempted to get the little wood clothes pins at Hobby Lobby.

-

50 Chevy Pickup, First WIP
89AKurt replied to gbtr6's topic in WIP: Model Trucks: Pickups, Vans, SUVs, Light Commercial
Hope it's not too late..... the driveshaft is the wrong direction in the instructions. It mounts solid to the differential, the ball joint is at the transmission. I owned a '48, replaced that seal on the transmission. Cigar wood a nice touch! -
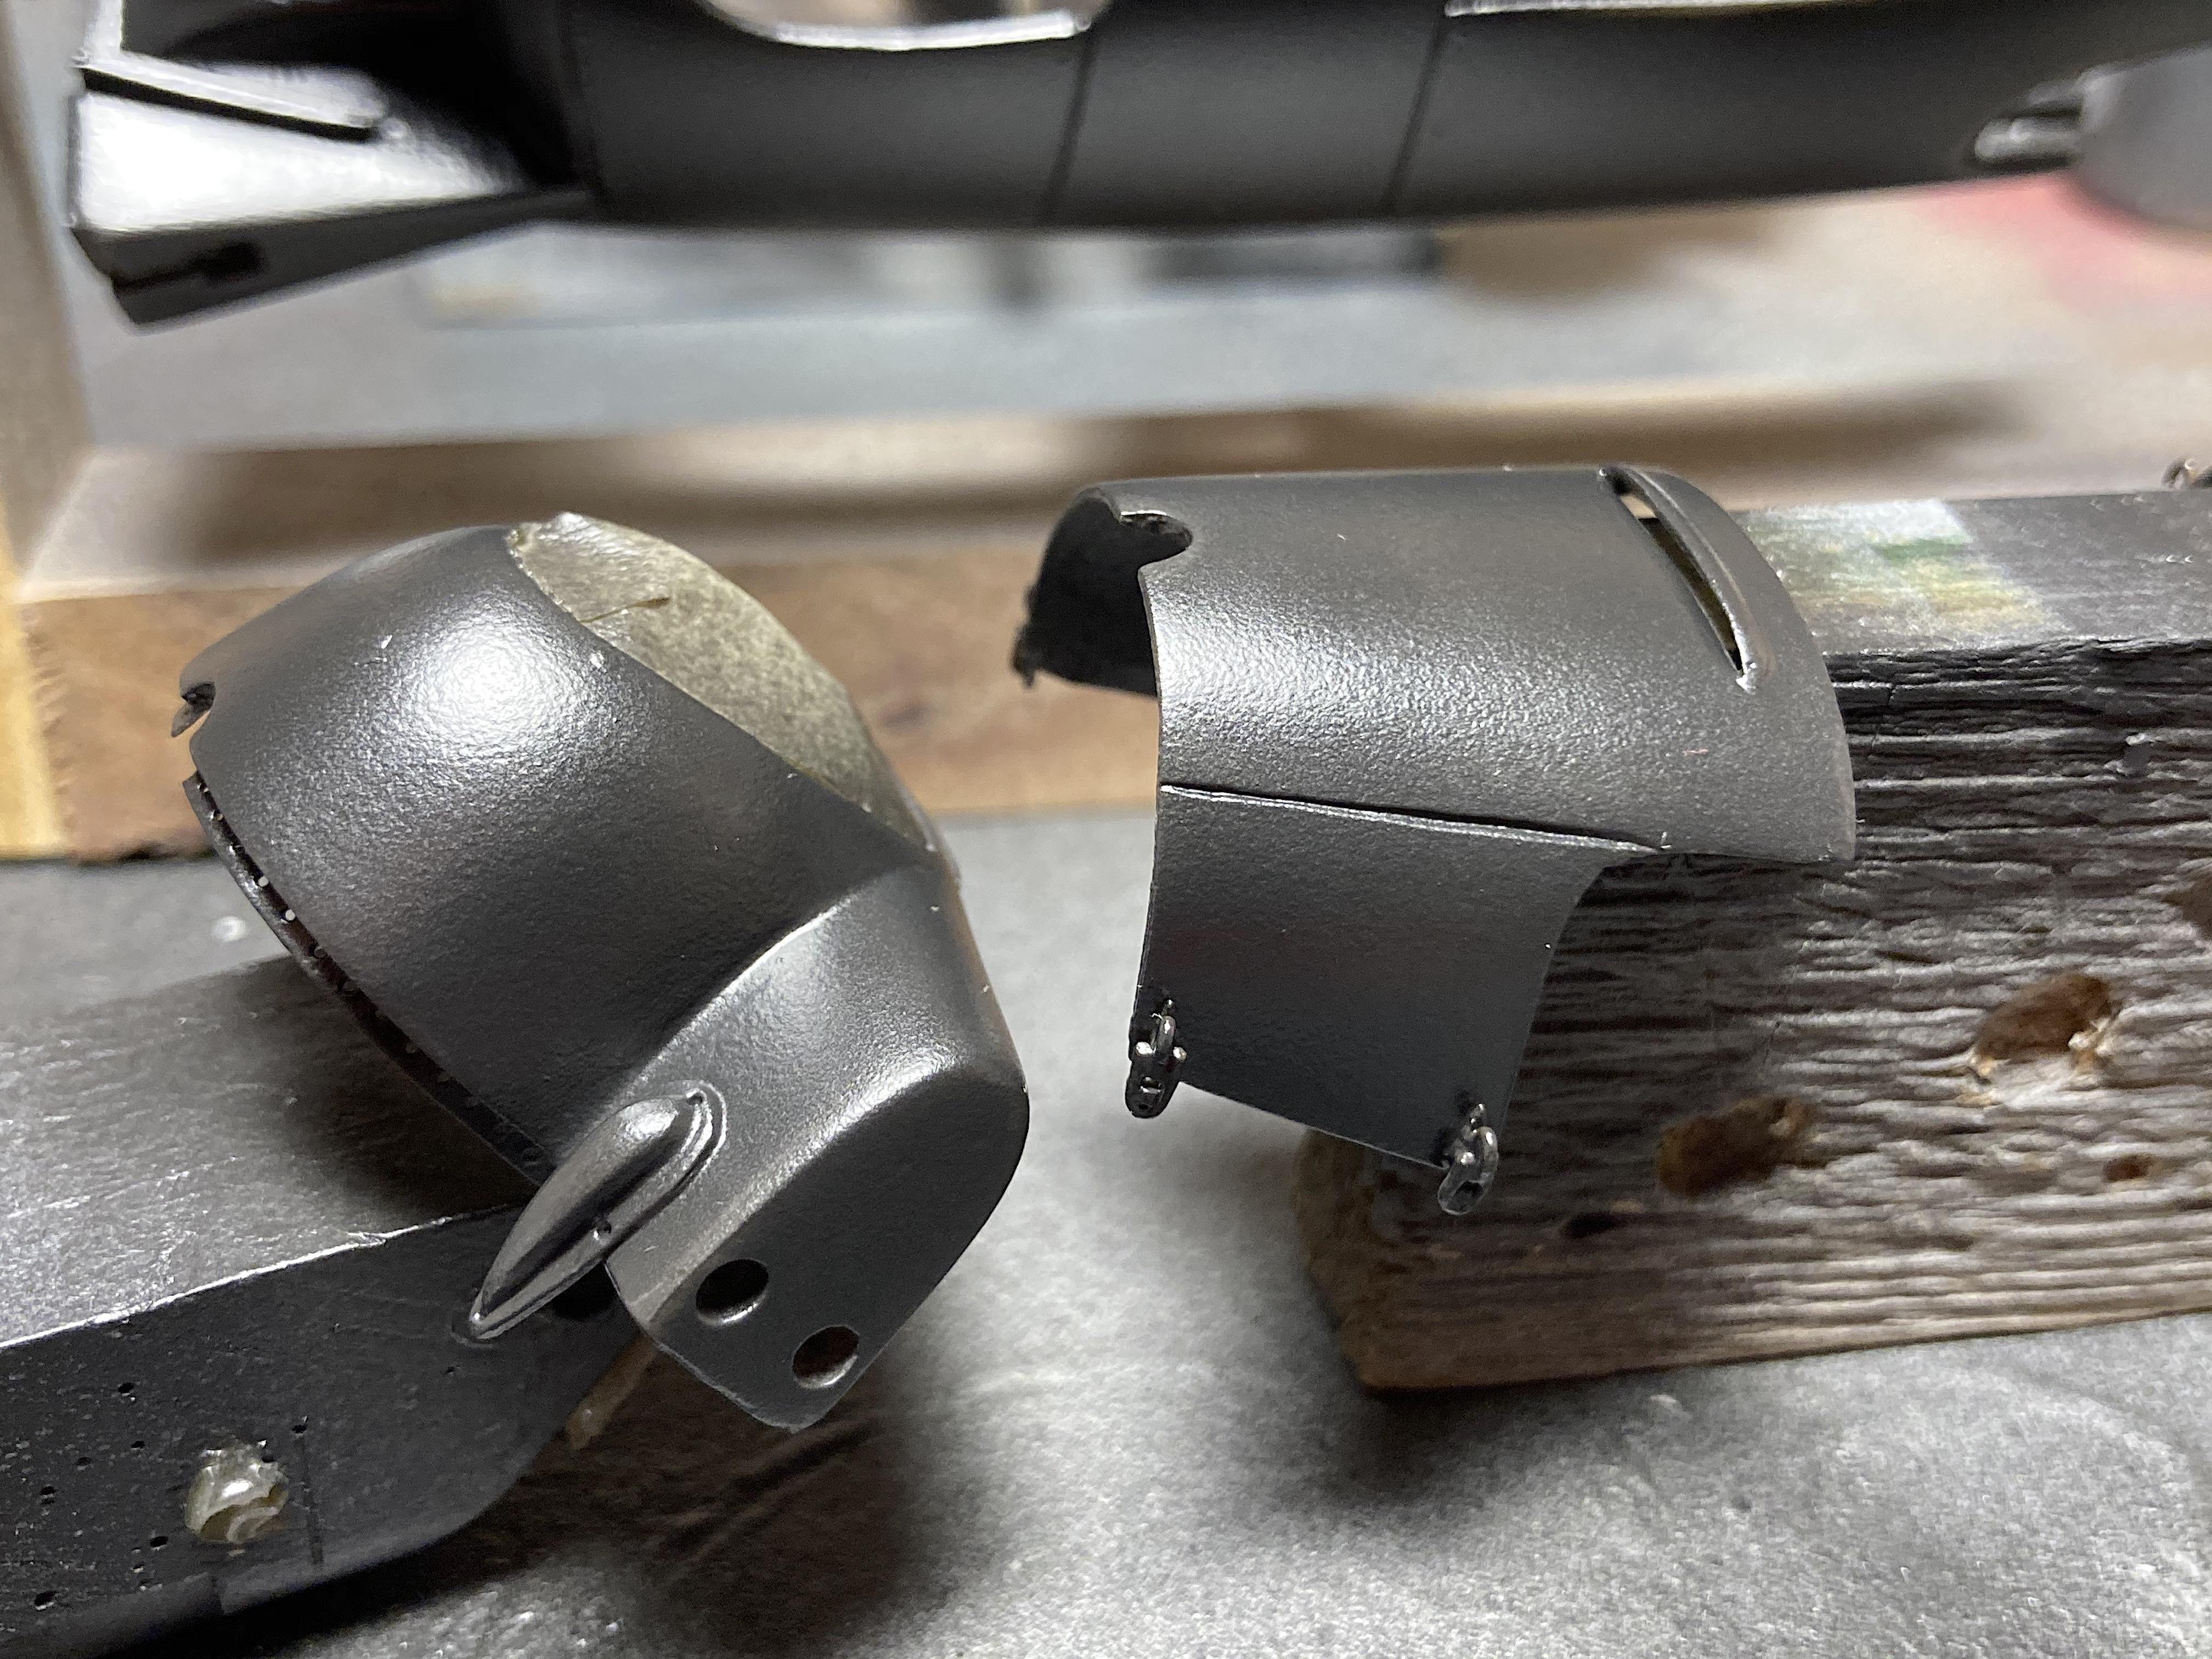
This is why some builders don't do WIP topics.... ? I'm now hating on this kit. Wet sanded the primer, I will say it sands really nice, doesn't gum up the sandpaper like other paint. Lost some of the rivets, but oh well. Now Splash Paint aluminum is really nice! Straight out of the bottle, high pressure, quick light coats, didn't screw it up. Also did the other exhaust pipe set with tubing, and painted flat black with just a tiny bit of silver. Russell Cook gave me some photo-etch screen, this worked perfect for the intake scoops. Also fabricated the aluminum plate divider, bent an edge with the photo-etch tool. I also did the carb air screen filter, which was a waste of time, found out the engine can't be installed with that much more in length. This paint dried really quick, so started to assemble. This is where things went wrong big time. ? I had glued on the rear brake drums, then realized the spats (aerodynamic wing thing) need to go on first. So I screwed up the axles pulling it apart. The instructions have no suggestion of order. Now I don't see how this will ever go together, without enlarging the hole in the spat. Perhaps the trailing arm should be glued in first inside the spat? Anyway, this is going to be fun, the sort of cluster ?[censored]? that gets a project thrown into the box. More scratch-building because the other axle went flying into the black hole.
-
Thank you.
-
I think, instead of metal blade, these can smoosh down putty. Otherwise, I'm not an artist, no clue.
-
1948 Chevrolet COE Cannonball
89AKurt replied to 89AKurt's topic in Model Trucks: Pickups, Vans, SUVs, Light Commercial
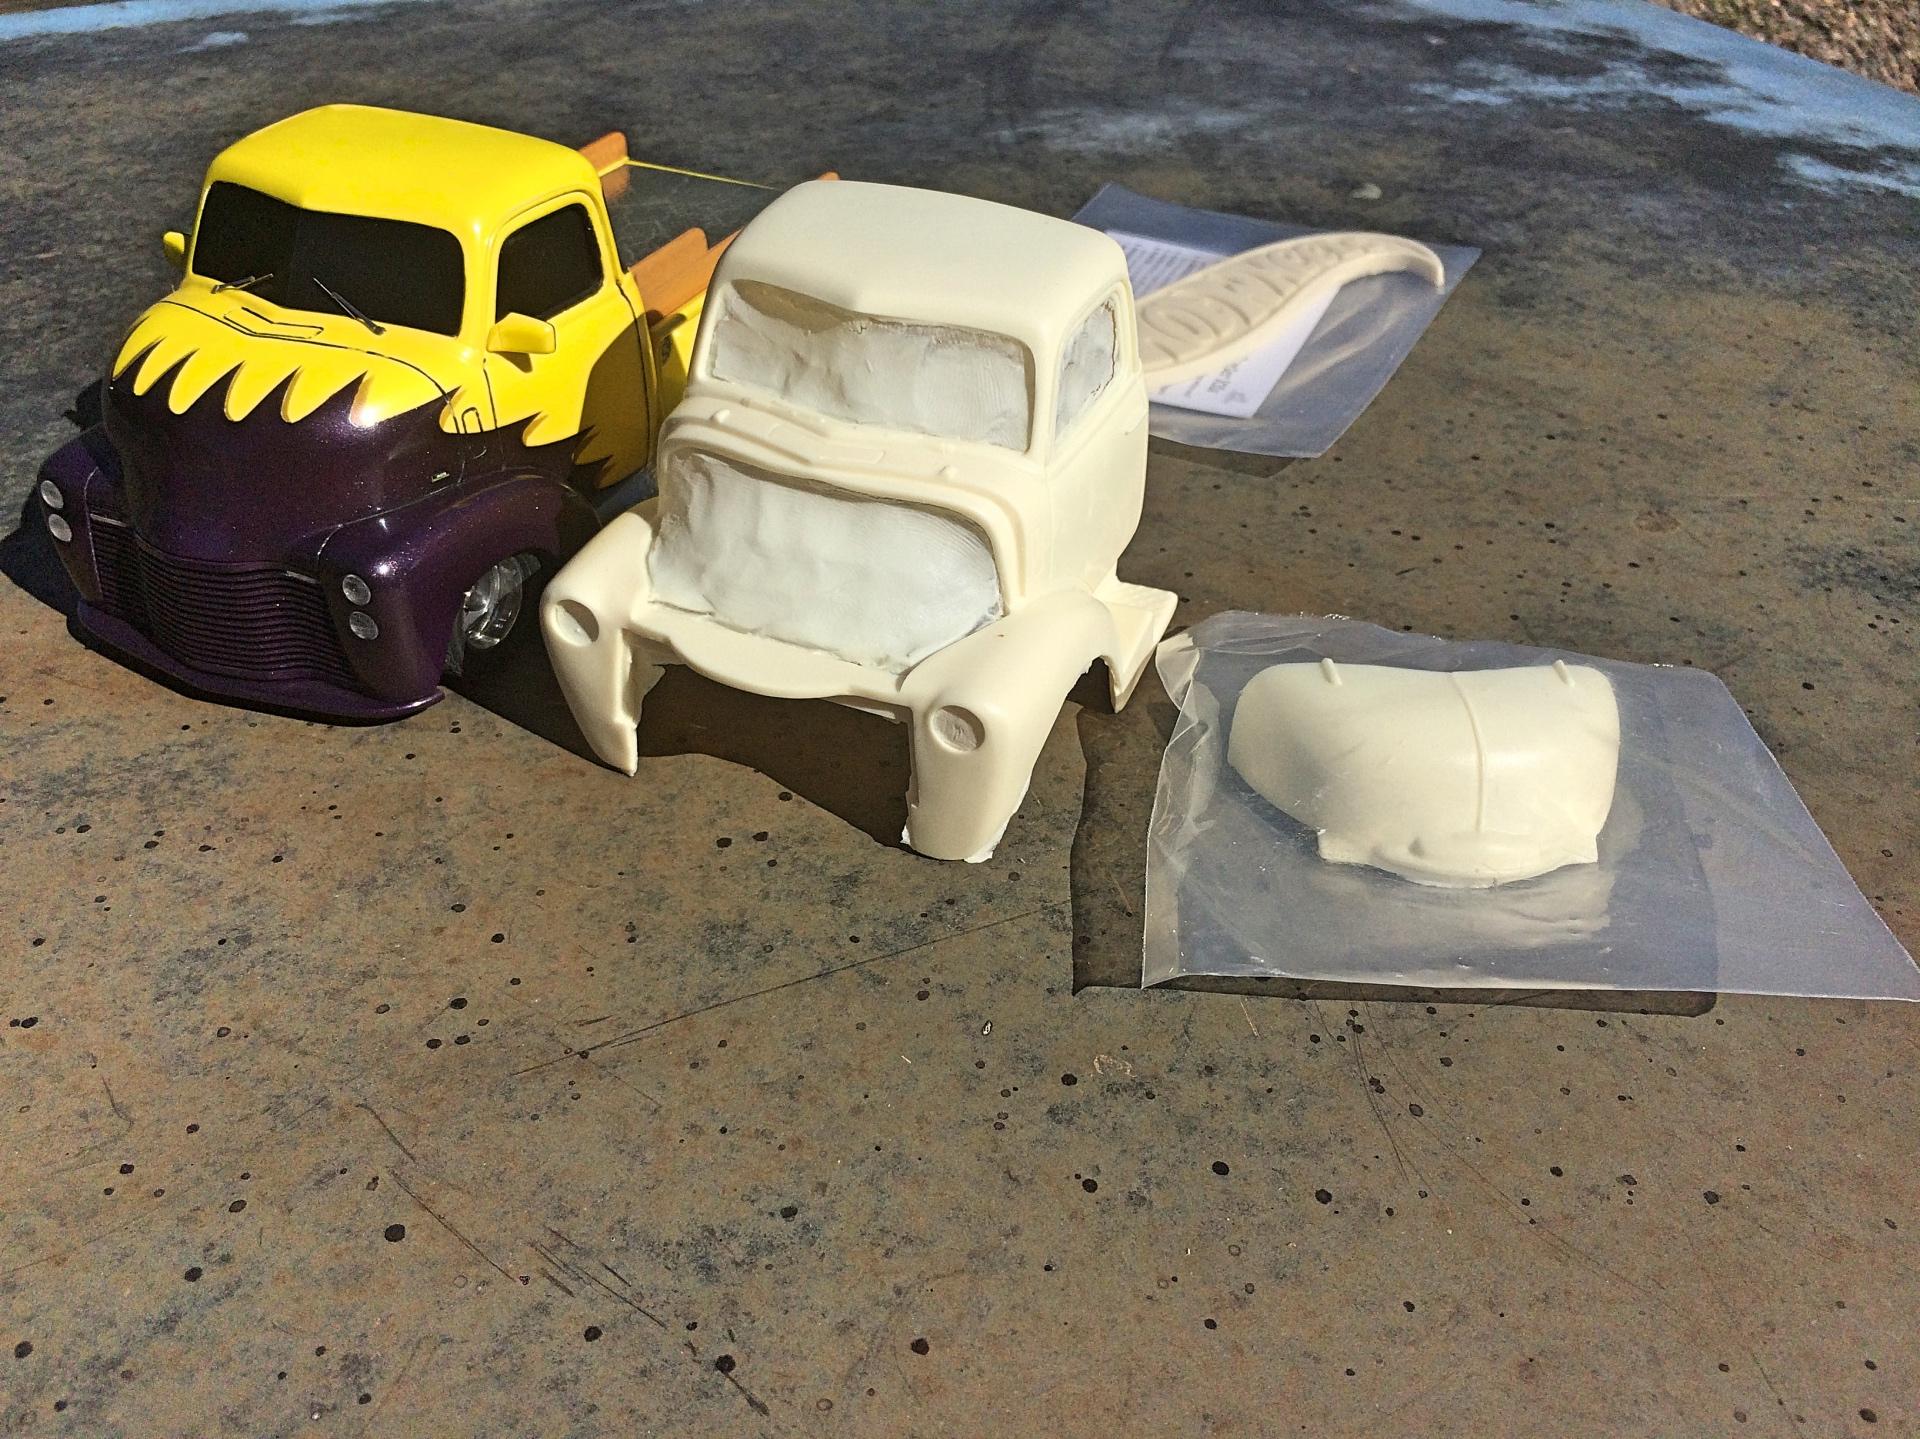
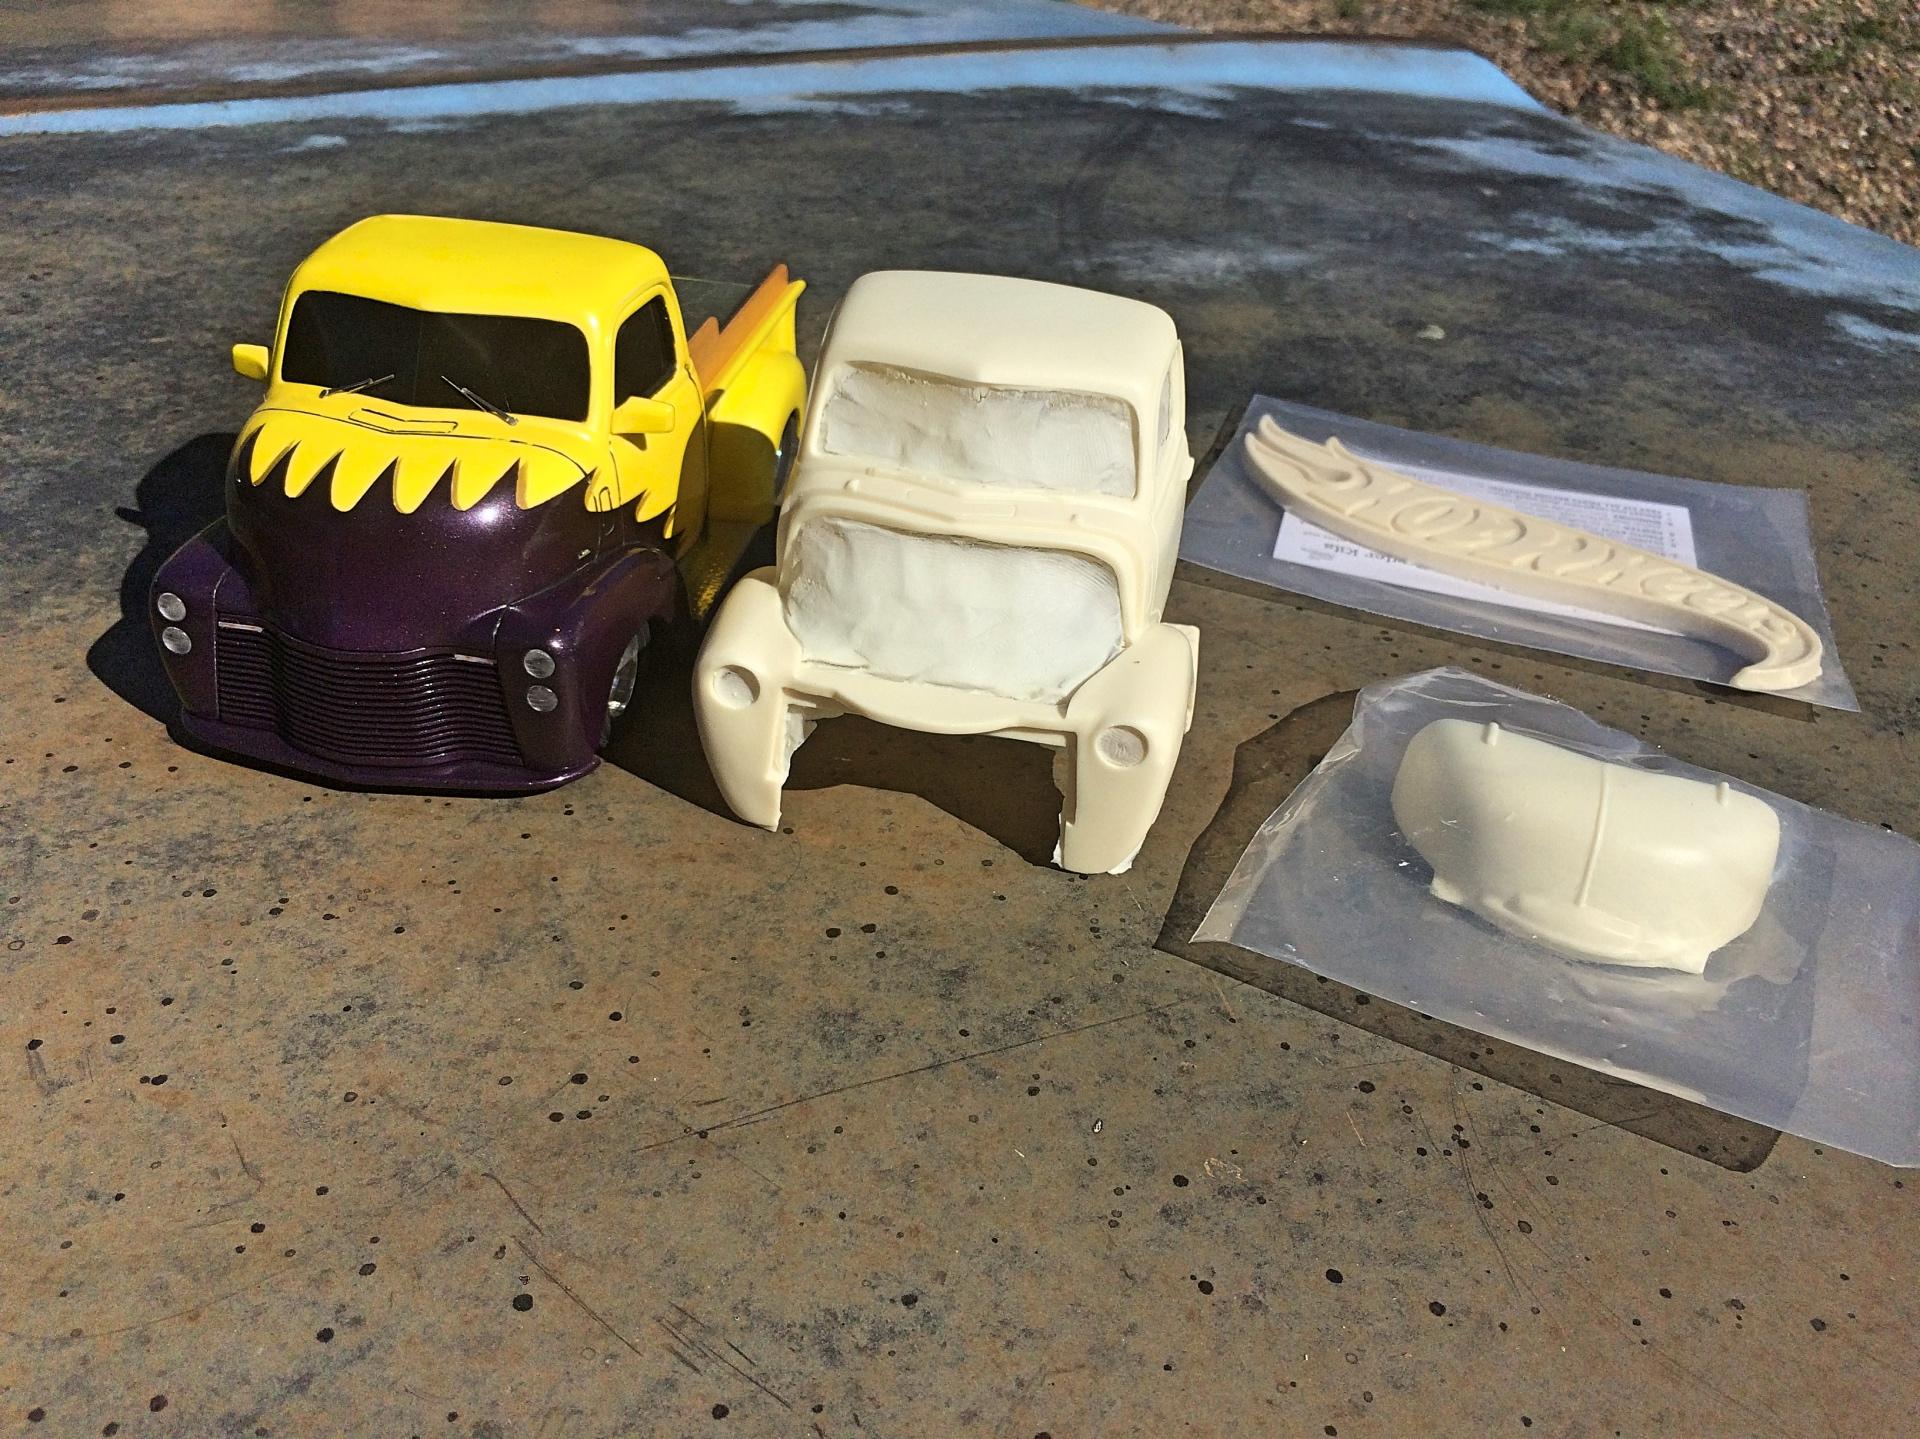
Thank you. I'm surprised with the popularity of the scallops design. Thank you. The COEs are getting more popular. They make great haulers. Thanks! I have so many other subjects haunting me, doubt it. Other than a morphing of the style. Thank you sir! I shouldn't say never, after I started this topic, bought this Jimmy Flintstone cab from feeBay. I have 3 of the '50 Chevy pickup kits. But one idea is to do an ice cream truck. Maybe in my second life.......
-
No Charger or Challenger SRT Hellcat kit?
89AKurt replied to 89AKurt's topic in Model Building Questions and Answers
Better late than never! I noticed the engine emblem on another post (on Fakebook). I got two of your engines, any possibility to get those? -
What is "NA"?
-
Nice job on the patina.
-
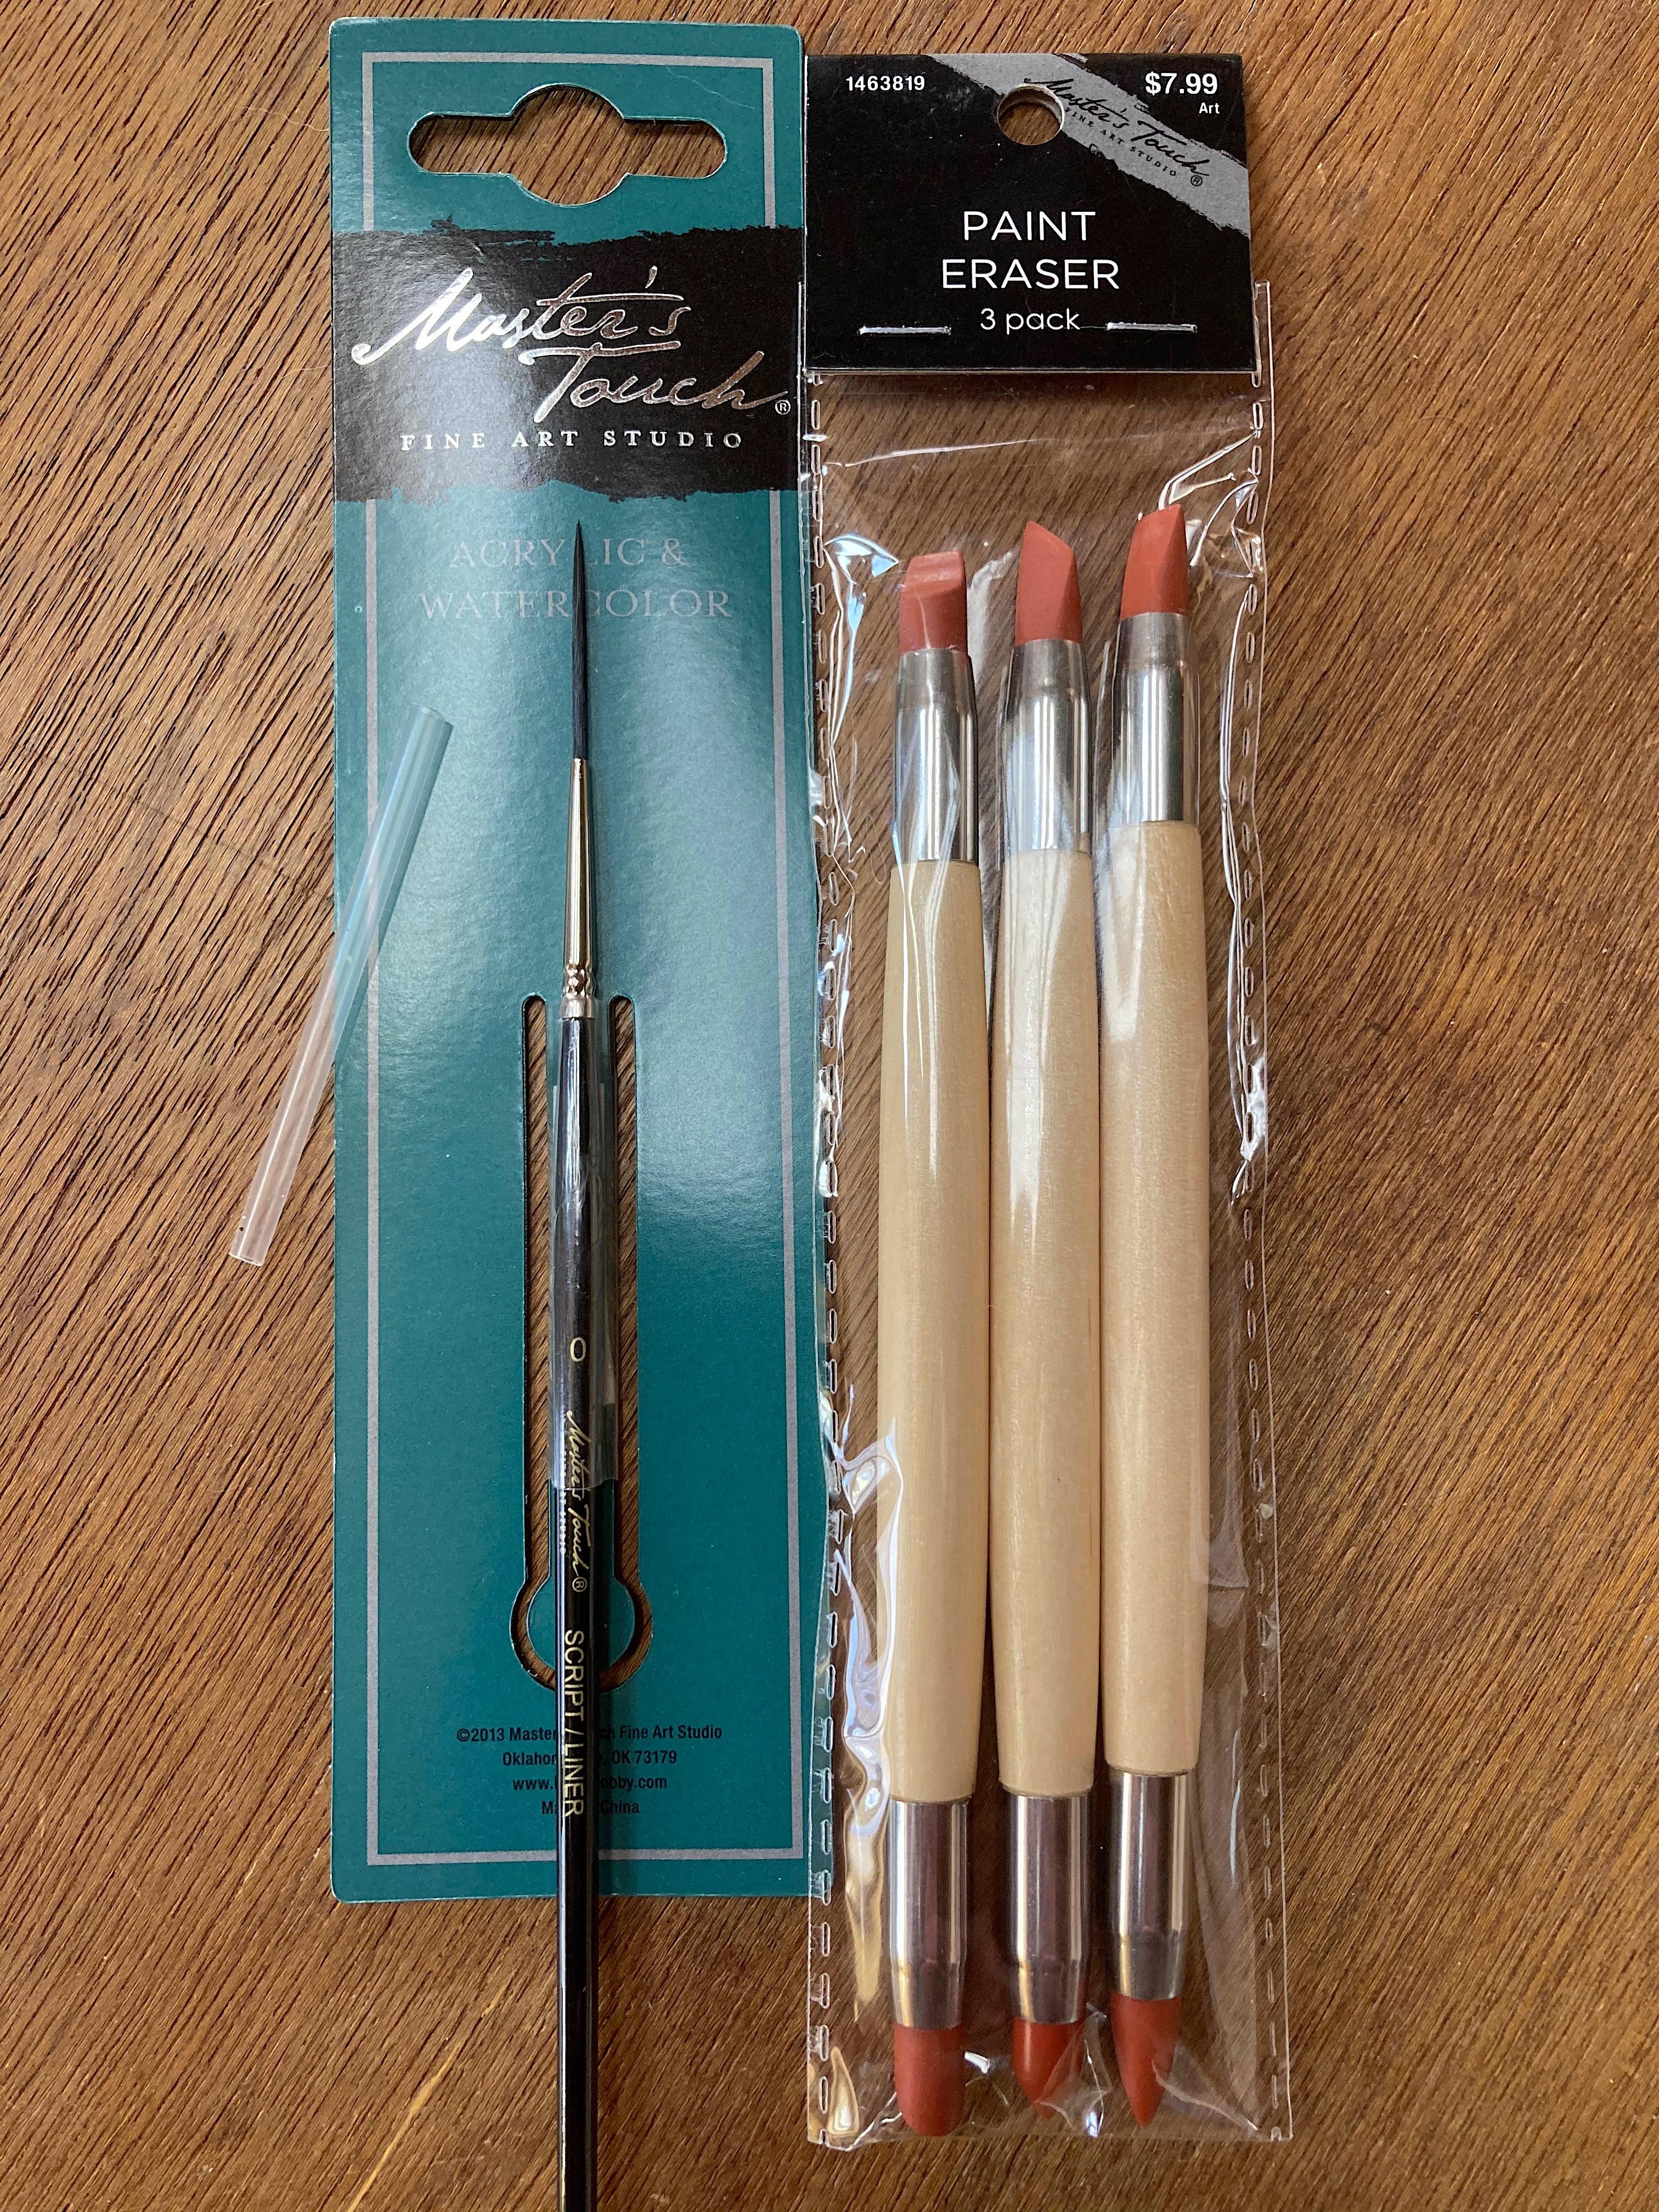
Hobby Lobby has some things on sale at 50%. Saw on a Facebook post another brand of these rubber spatulas, to use for putty. Got another brush just because.
-
Unbelievable Mini-Cooper
89AKurt replied to TarheelRick's topic in General Automotive Talk (Trucks and Cars)
Looks like a fiberglass body. Crazy build. When I owned newer MINI Coopers, these were fun to look at, but never wanted one. But maybe this one: -
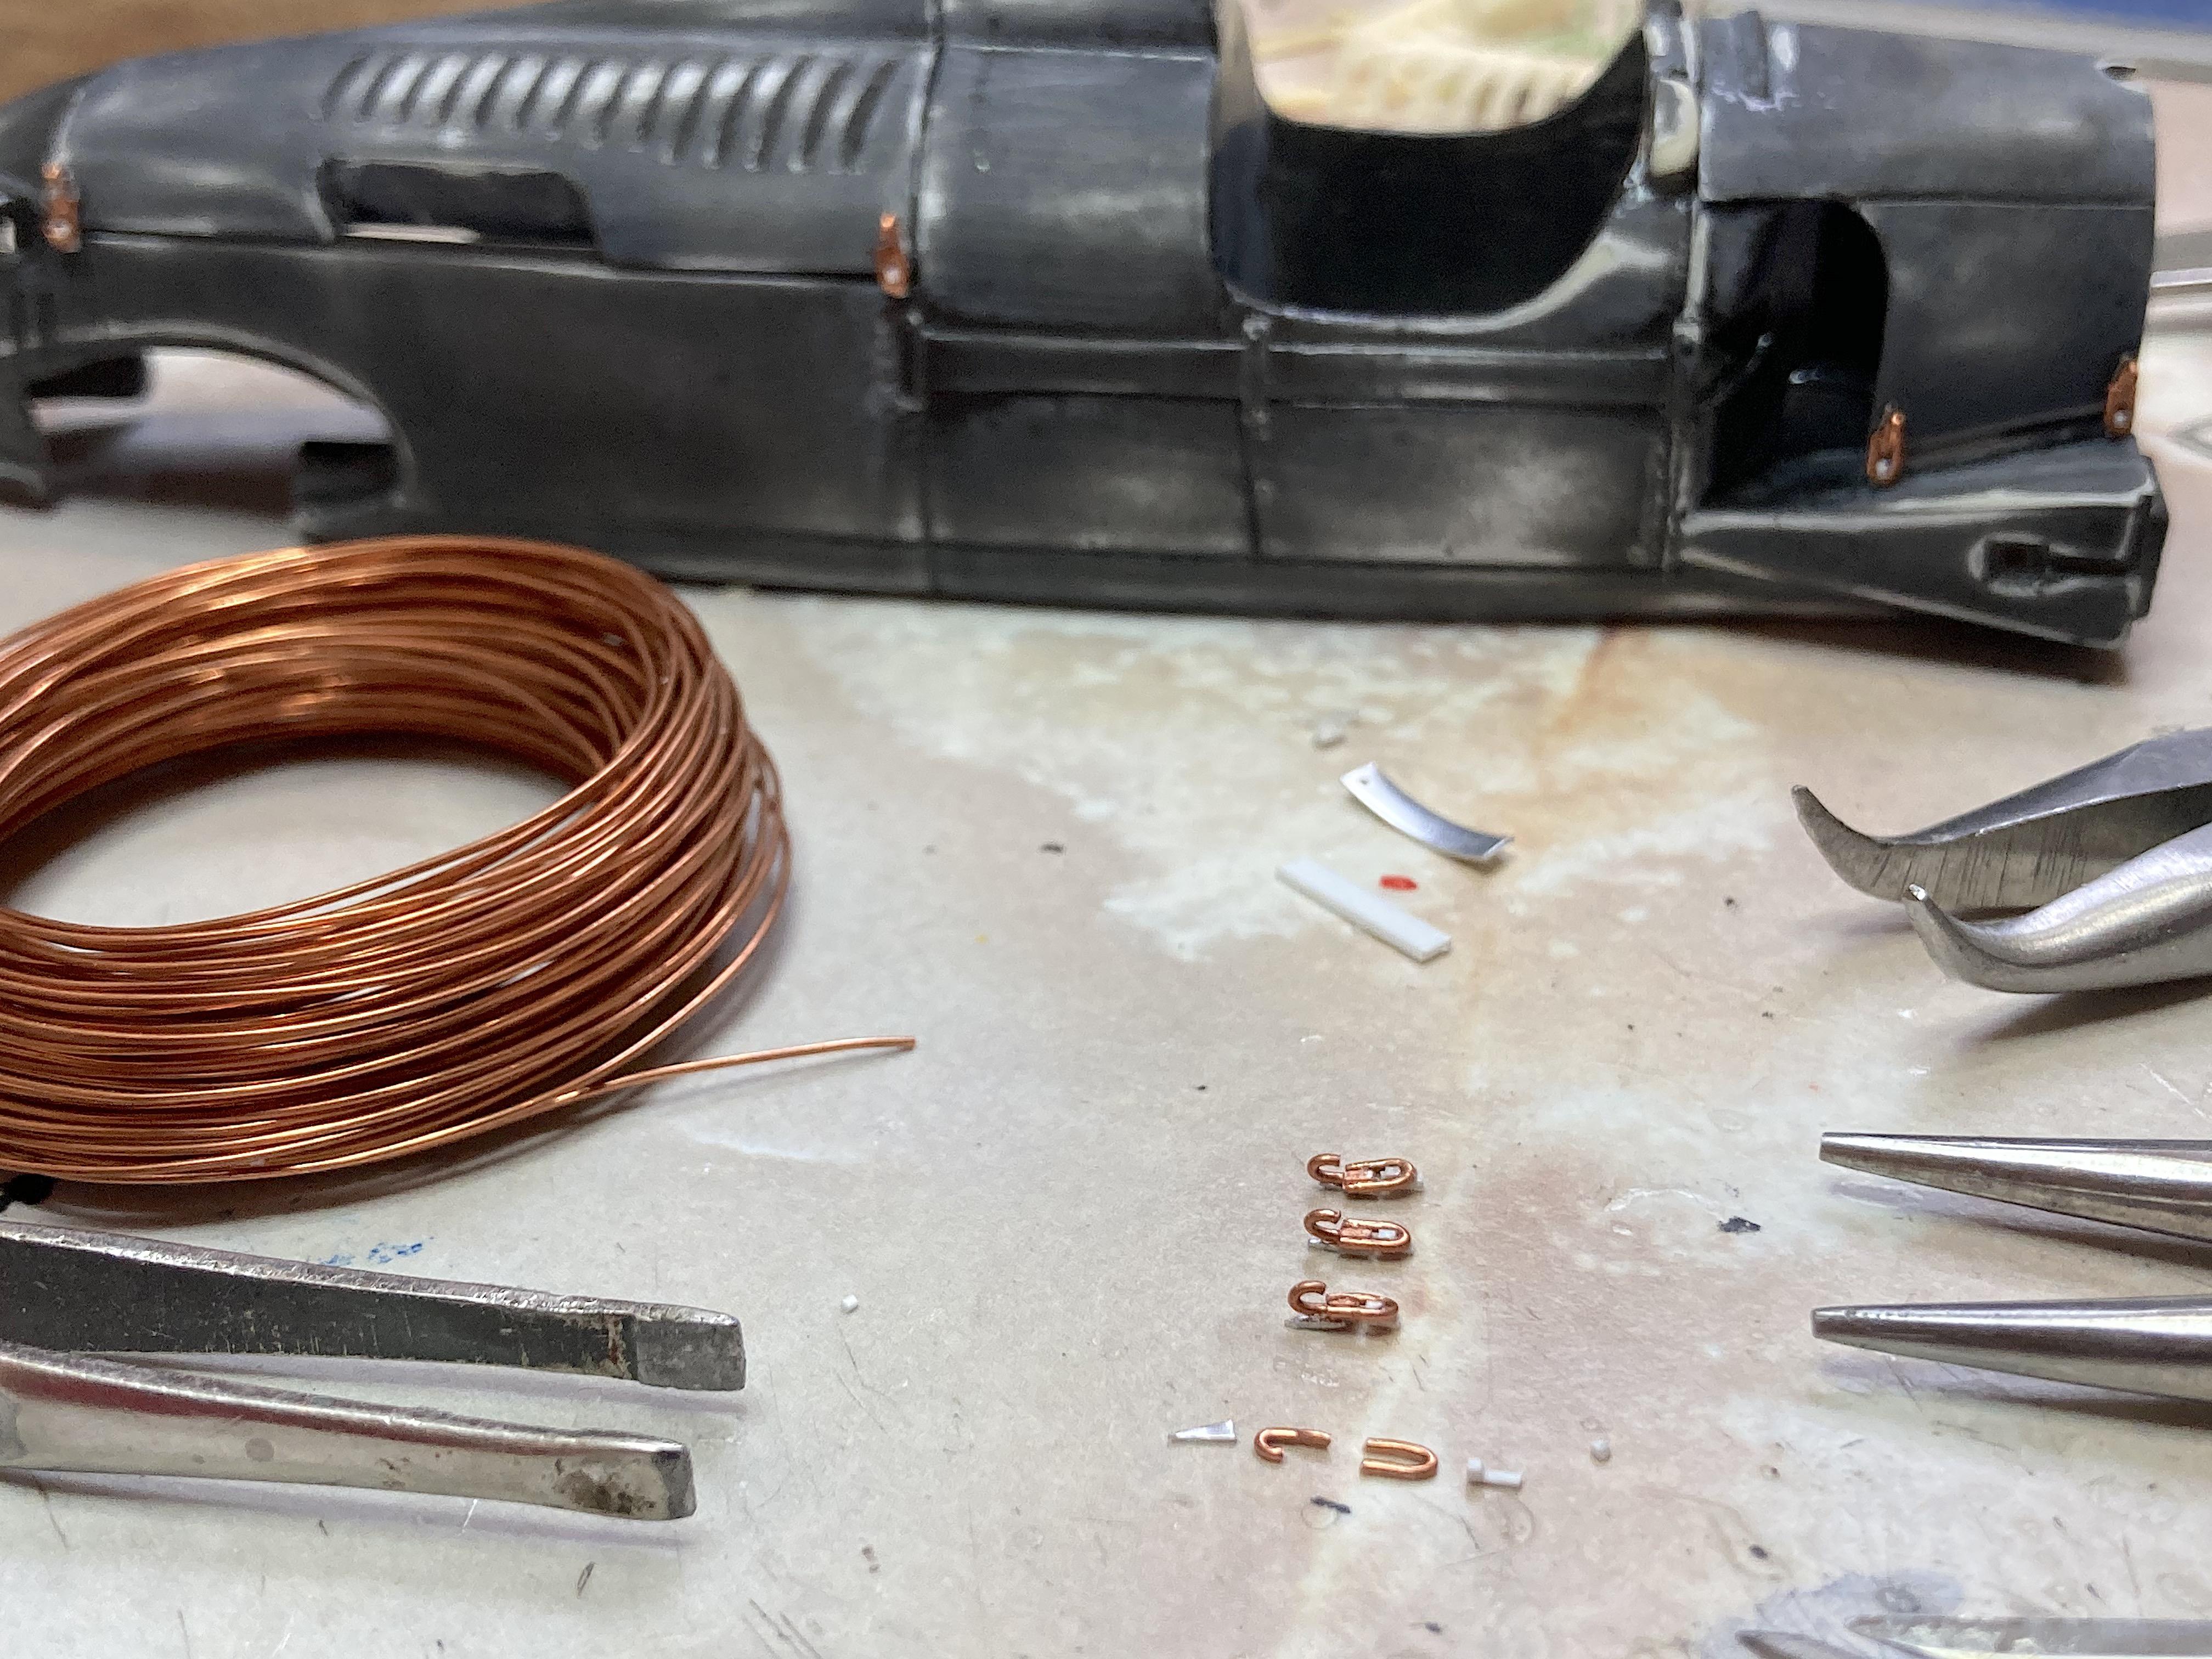
Wet sanded the crappy primer job, which lost the rivets that I added. So I redid those, which was fun because the primer and rivets are exactly the same color. ? I noticed there are hood latches, if photo-etch parts were to be done, this would be a nice detail. Used copper wire, aluminum plate, and styrene, and many tools. This time I added thinner, which helped. Took forever, did quick light coats. Still some orange peel, so will have to lightly wet sand before the silver. Questioning what the big deal about this paint is, costs more than Tamiya primer which I'm very happy with. To put up with the toxic fumes, it should be like the most awesome stuff around. Model paint covers better, this was like a clear with tint, the latches are hardly covered.
-
Why not cherry? ?
-
Guys are doing the real trucks, so what's the big deal? ? If it's still the promo style chassis, it wouldn't be hard. Y'all are whining about the cost. Don't forget that Coke wants their take, license fee for using their logo costs something. Who knows, maybe they made a deal with Round 2, to infuse capital in order to re-pop old models.
-
Prices are ridiculous! I had some of the first ones, destroyed or sold to help fund a high school band trip.
-
by your wife
-
Stevens International Hobby Distributors: AMT-1231 1/25 1972 Chevy Pickup Truck w/Coca-Cola Vending Machine & Crates $35.95
-
Built a few of those last century. Have the 924 in the junk yard. Recently acquired the TR8, so add to your wish list.
-
What did you see on the road today?
89AKurt replied to Harry P.'s topic in General Automotive Talk (Trucks and Cars)
LOL The Tesla took off, the hot rod spurted a little but only to the speed limit. Think he's been stopped too many times, and imagine the cops all know the car. That's what I like about sleepers. -
worthy of reporting
-
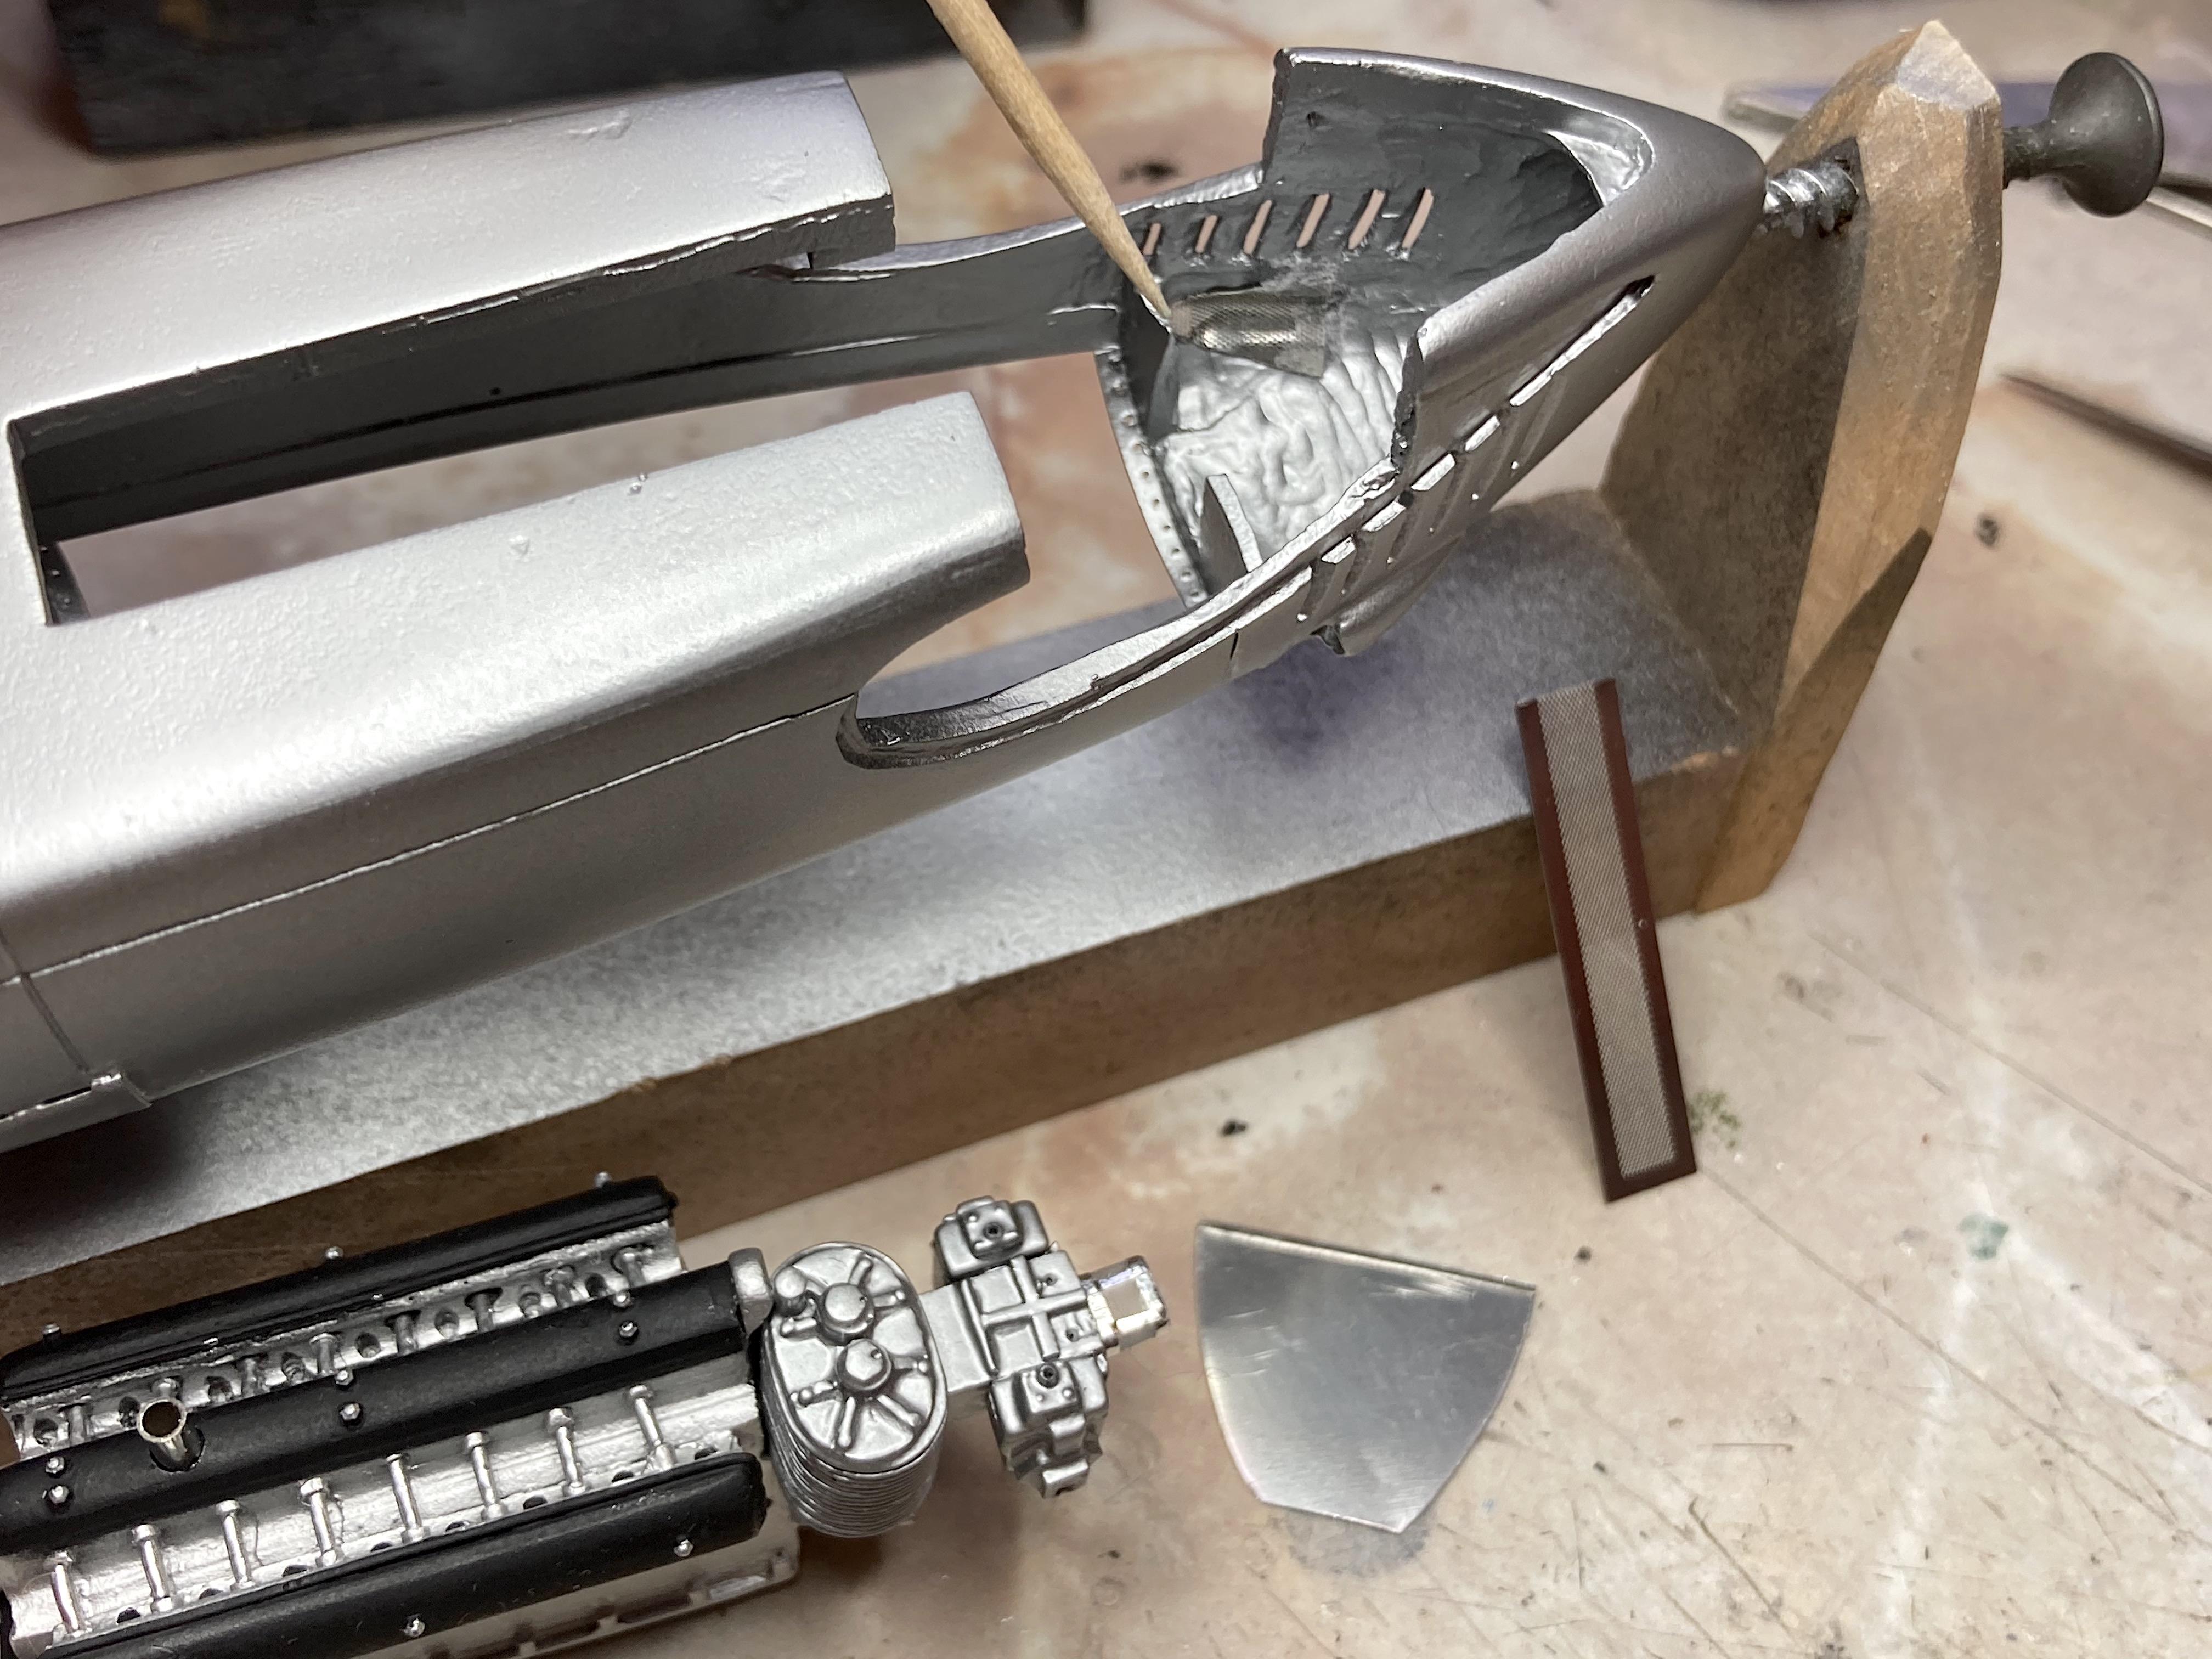
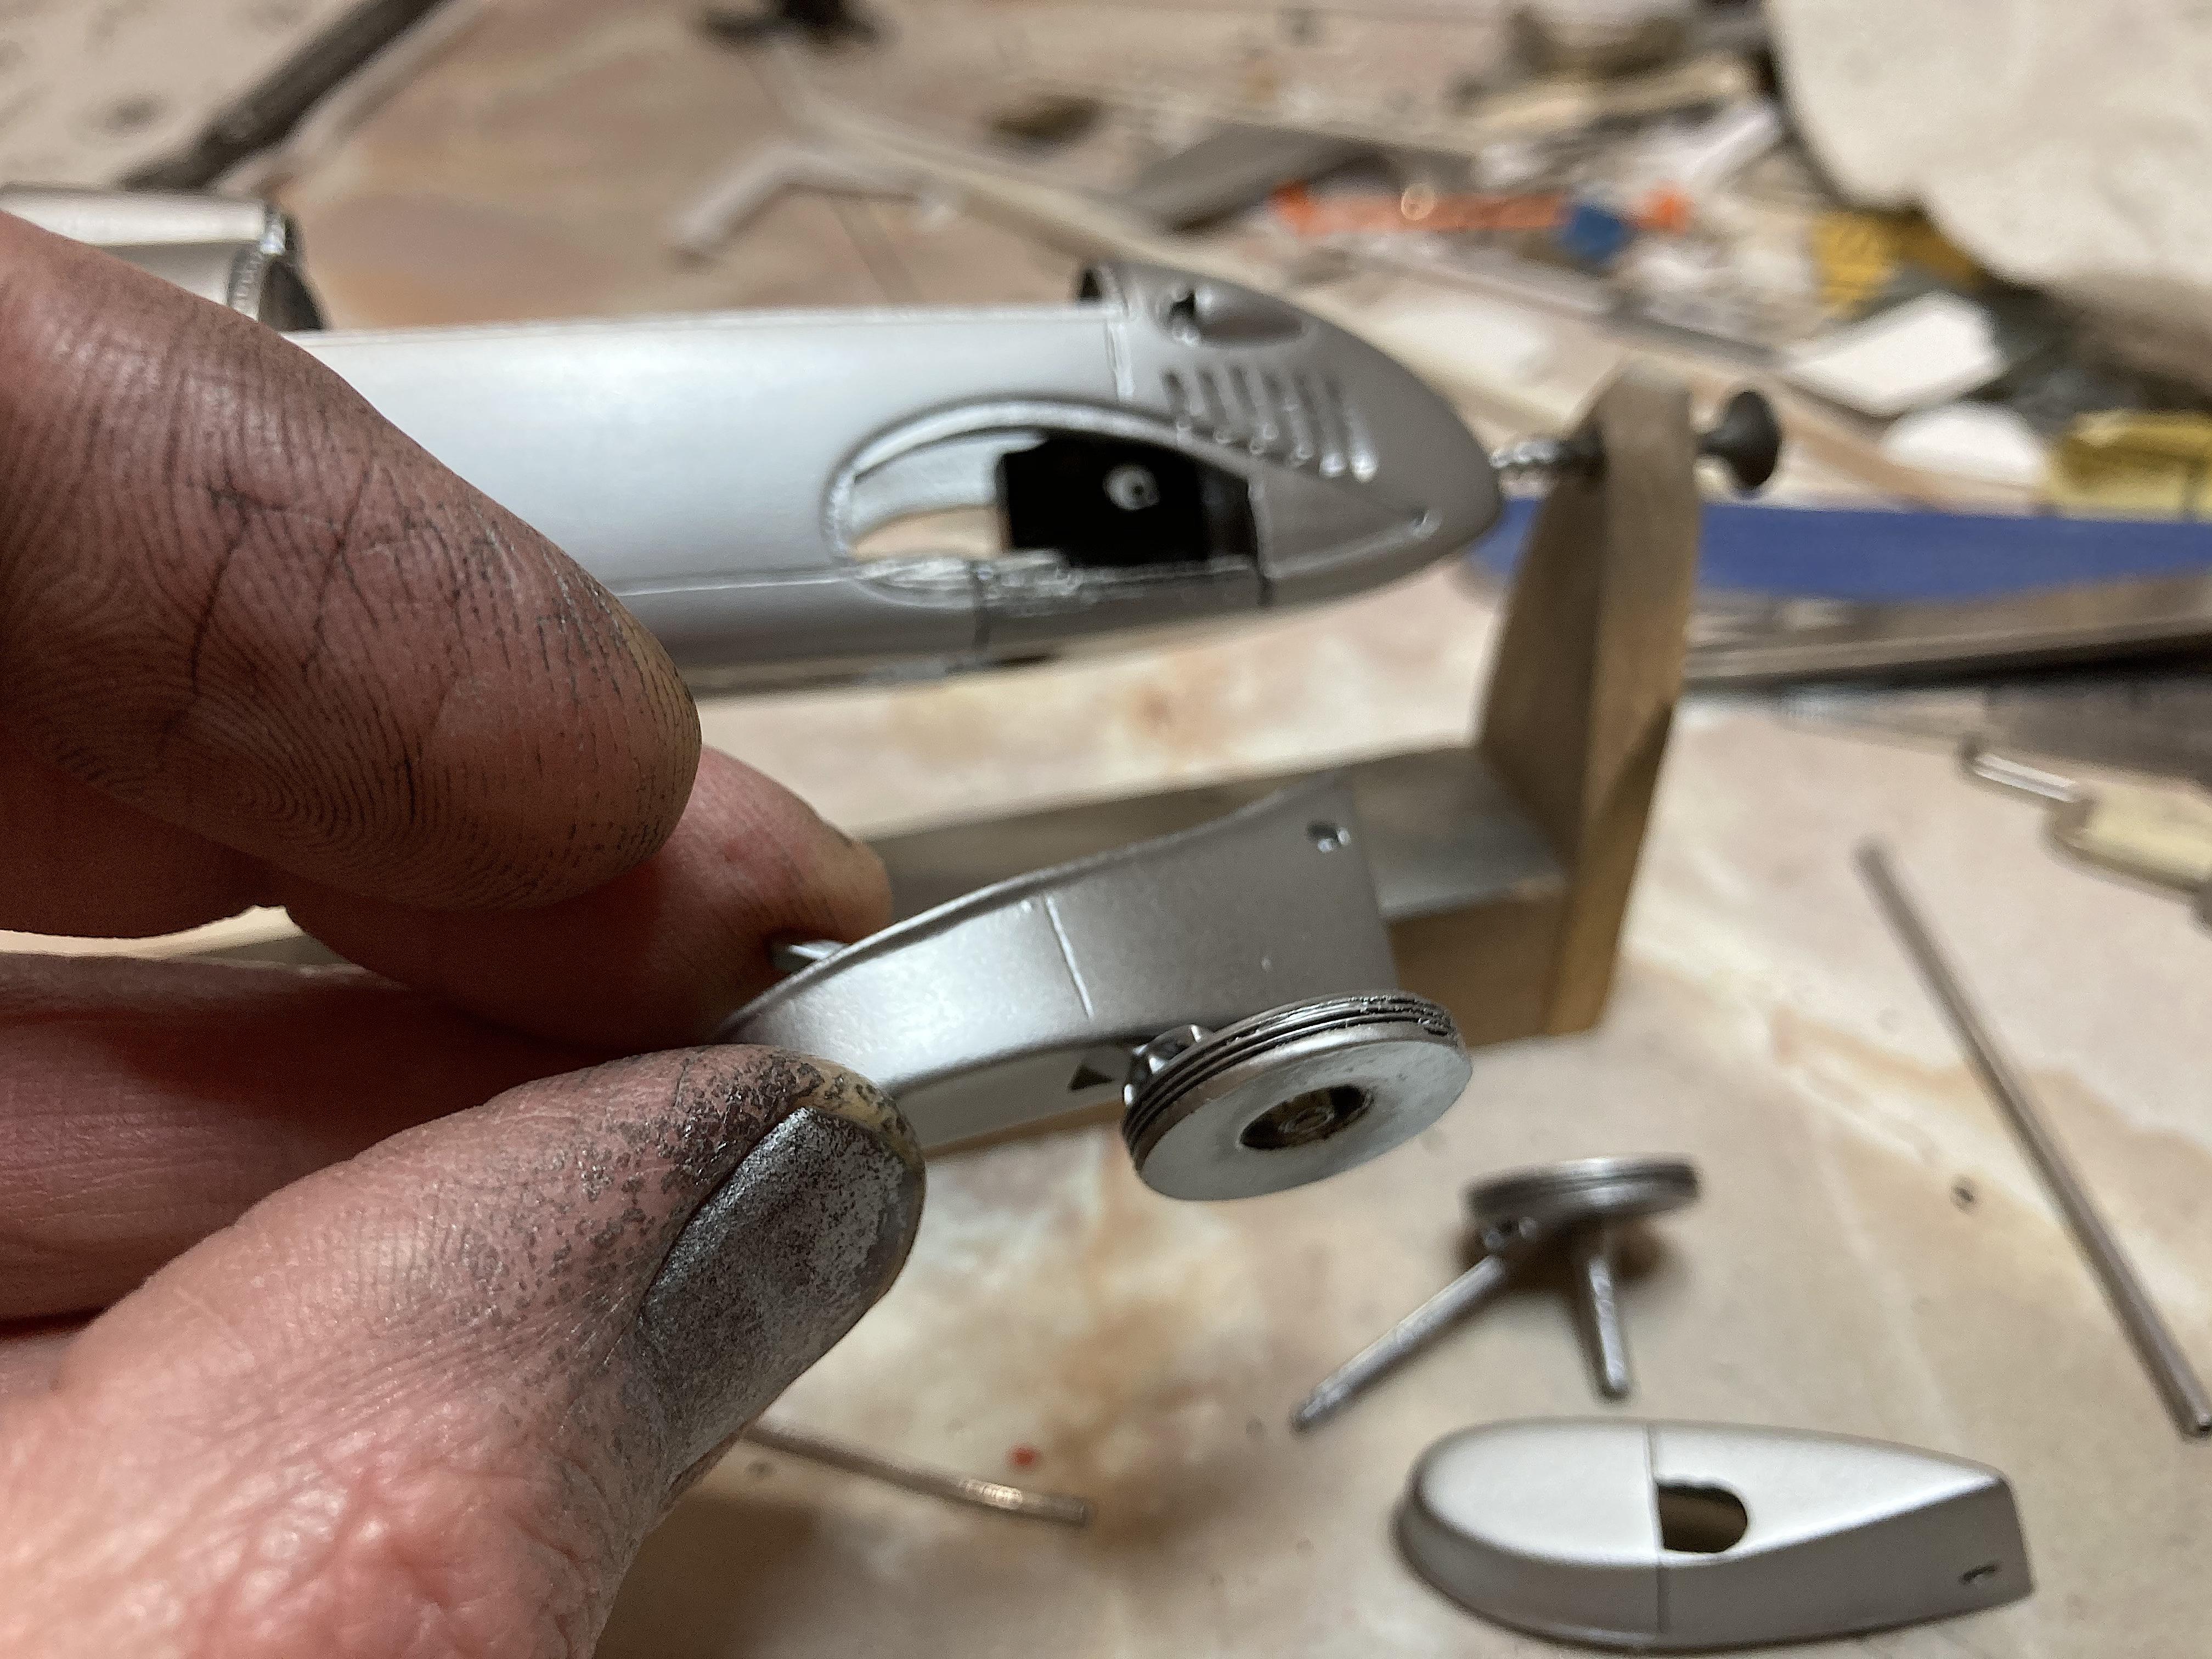
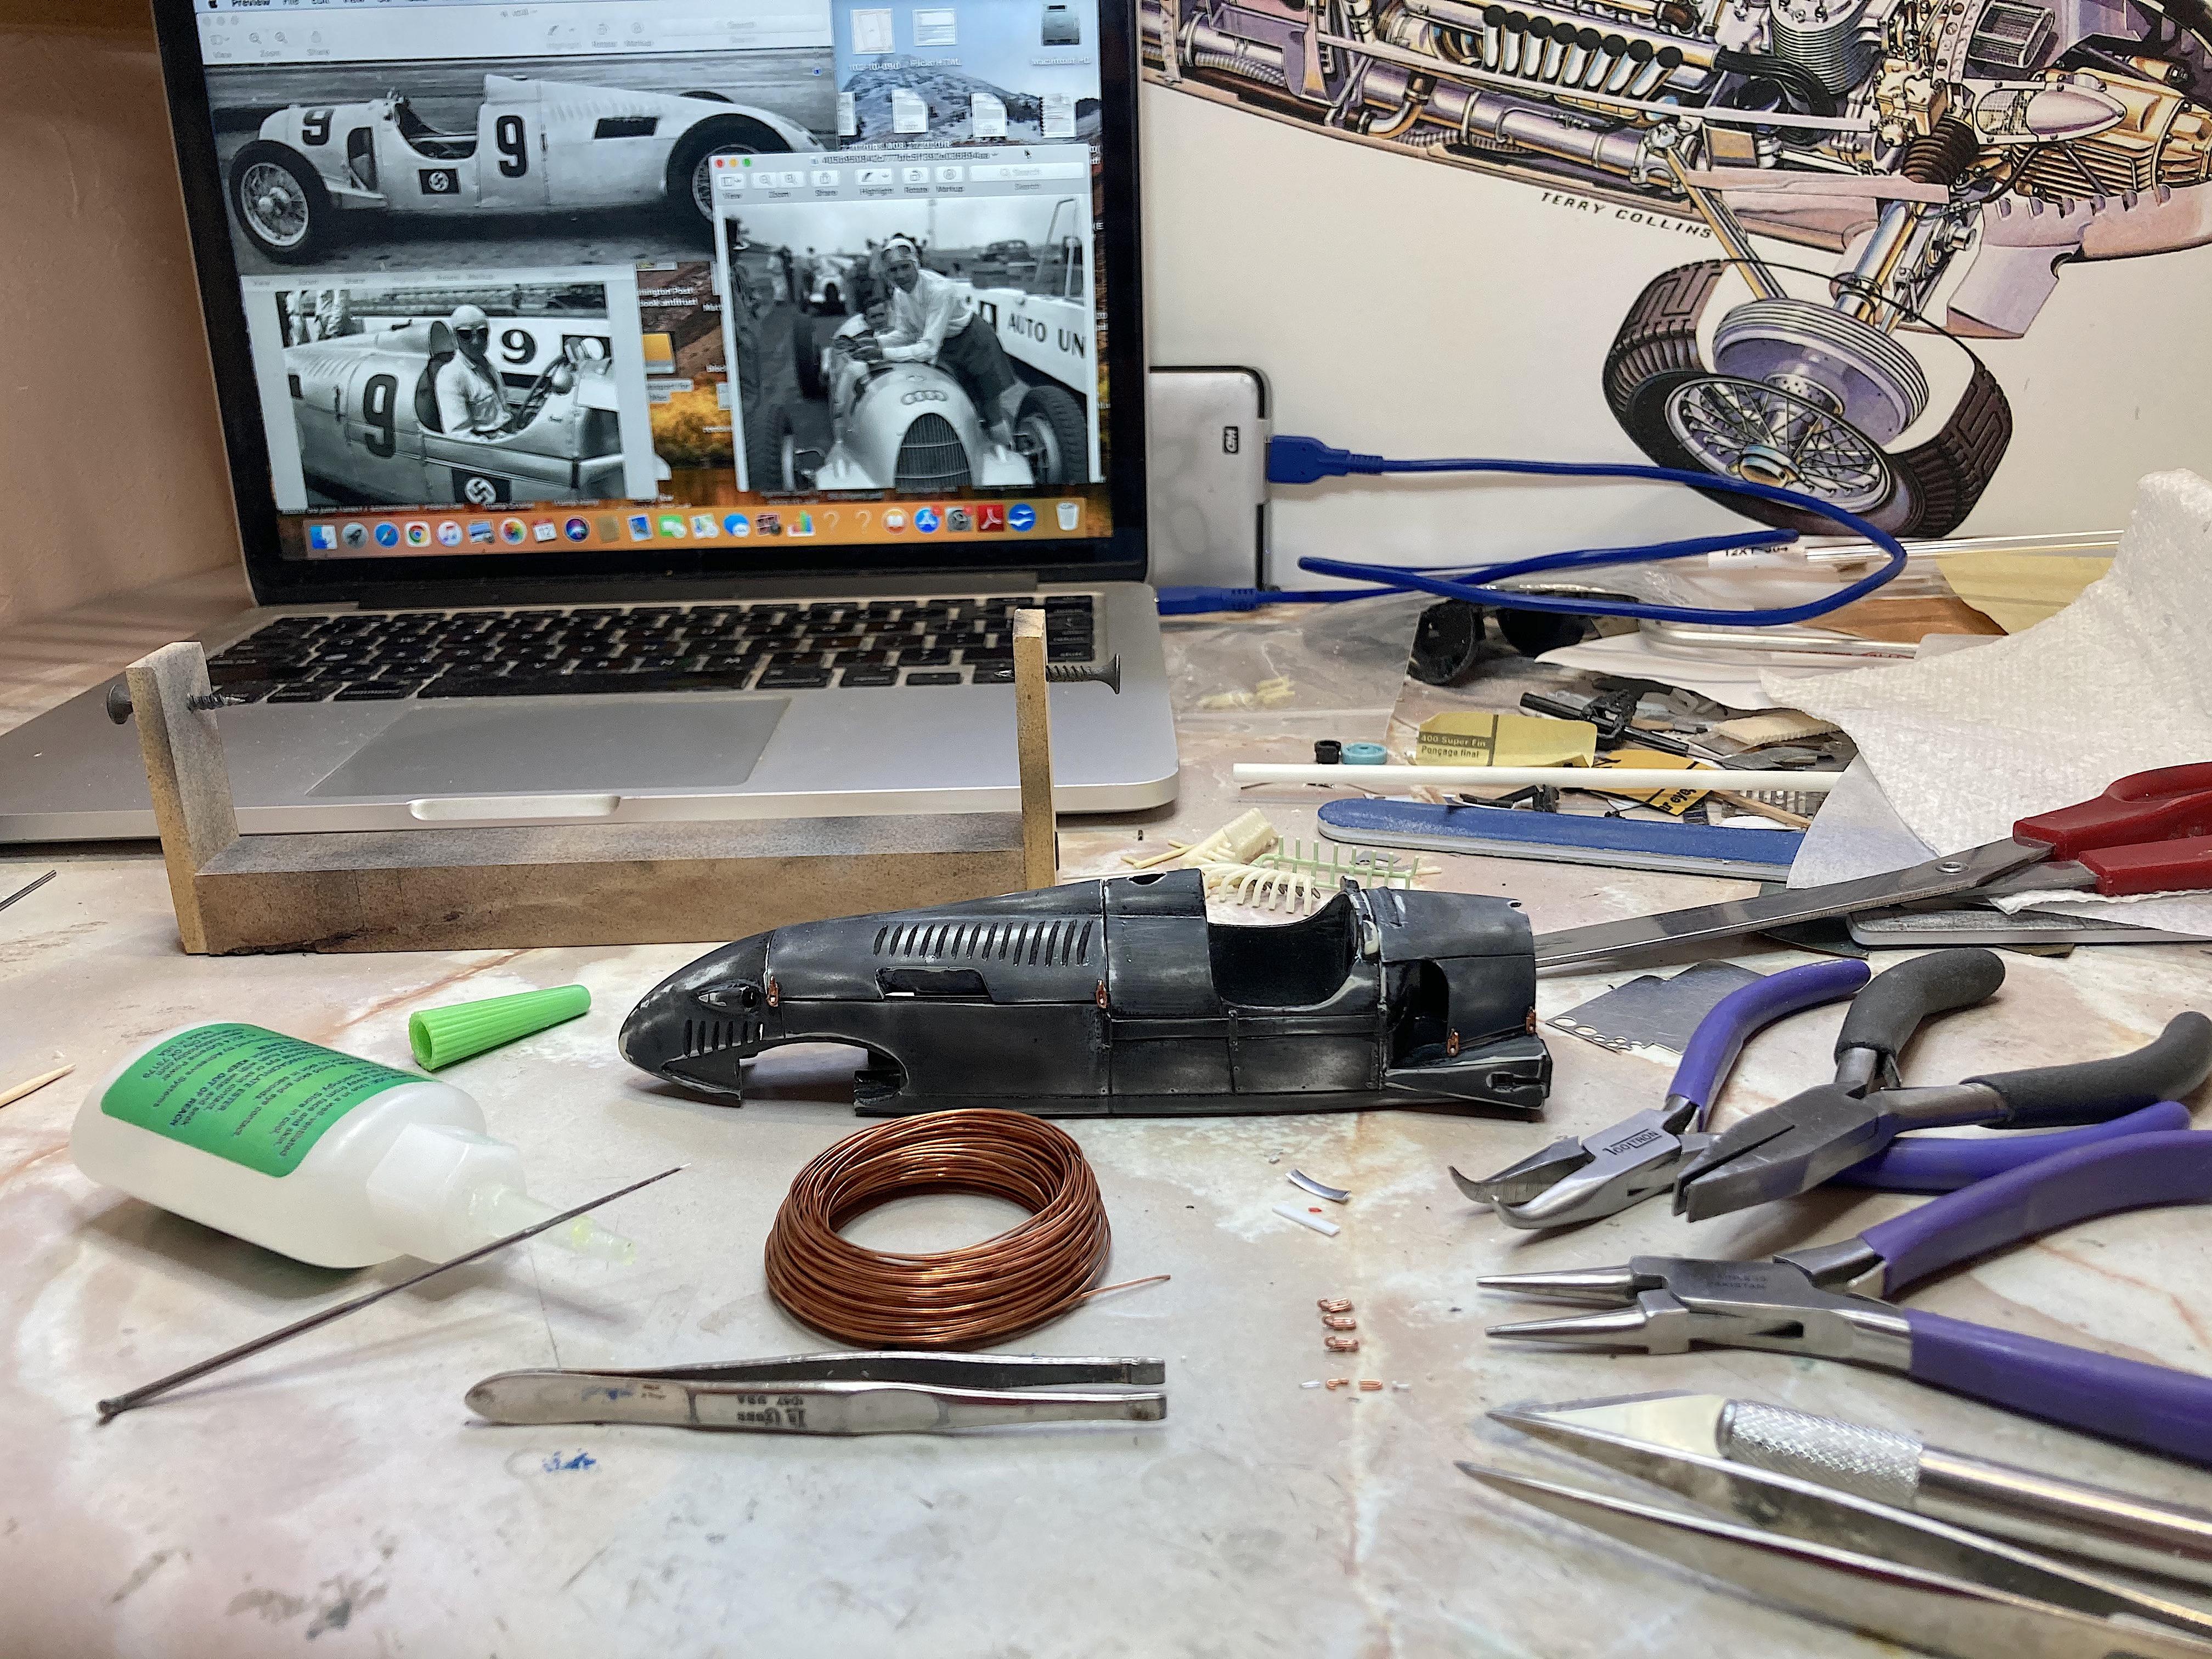
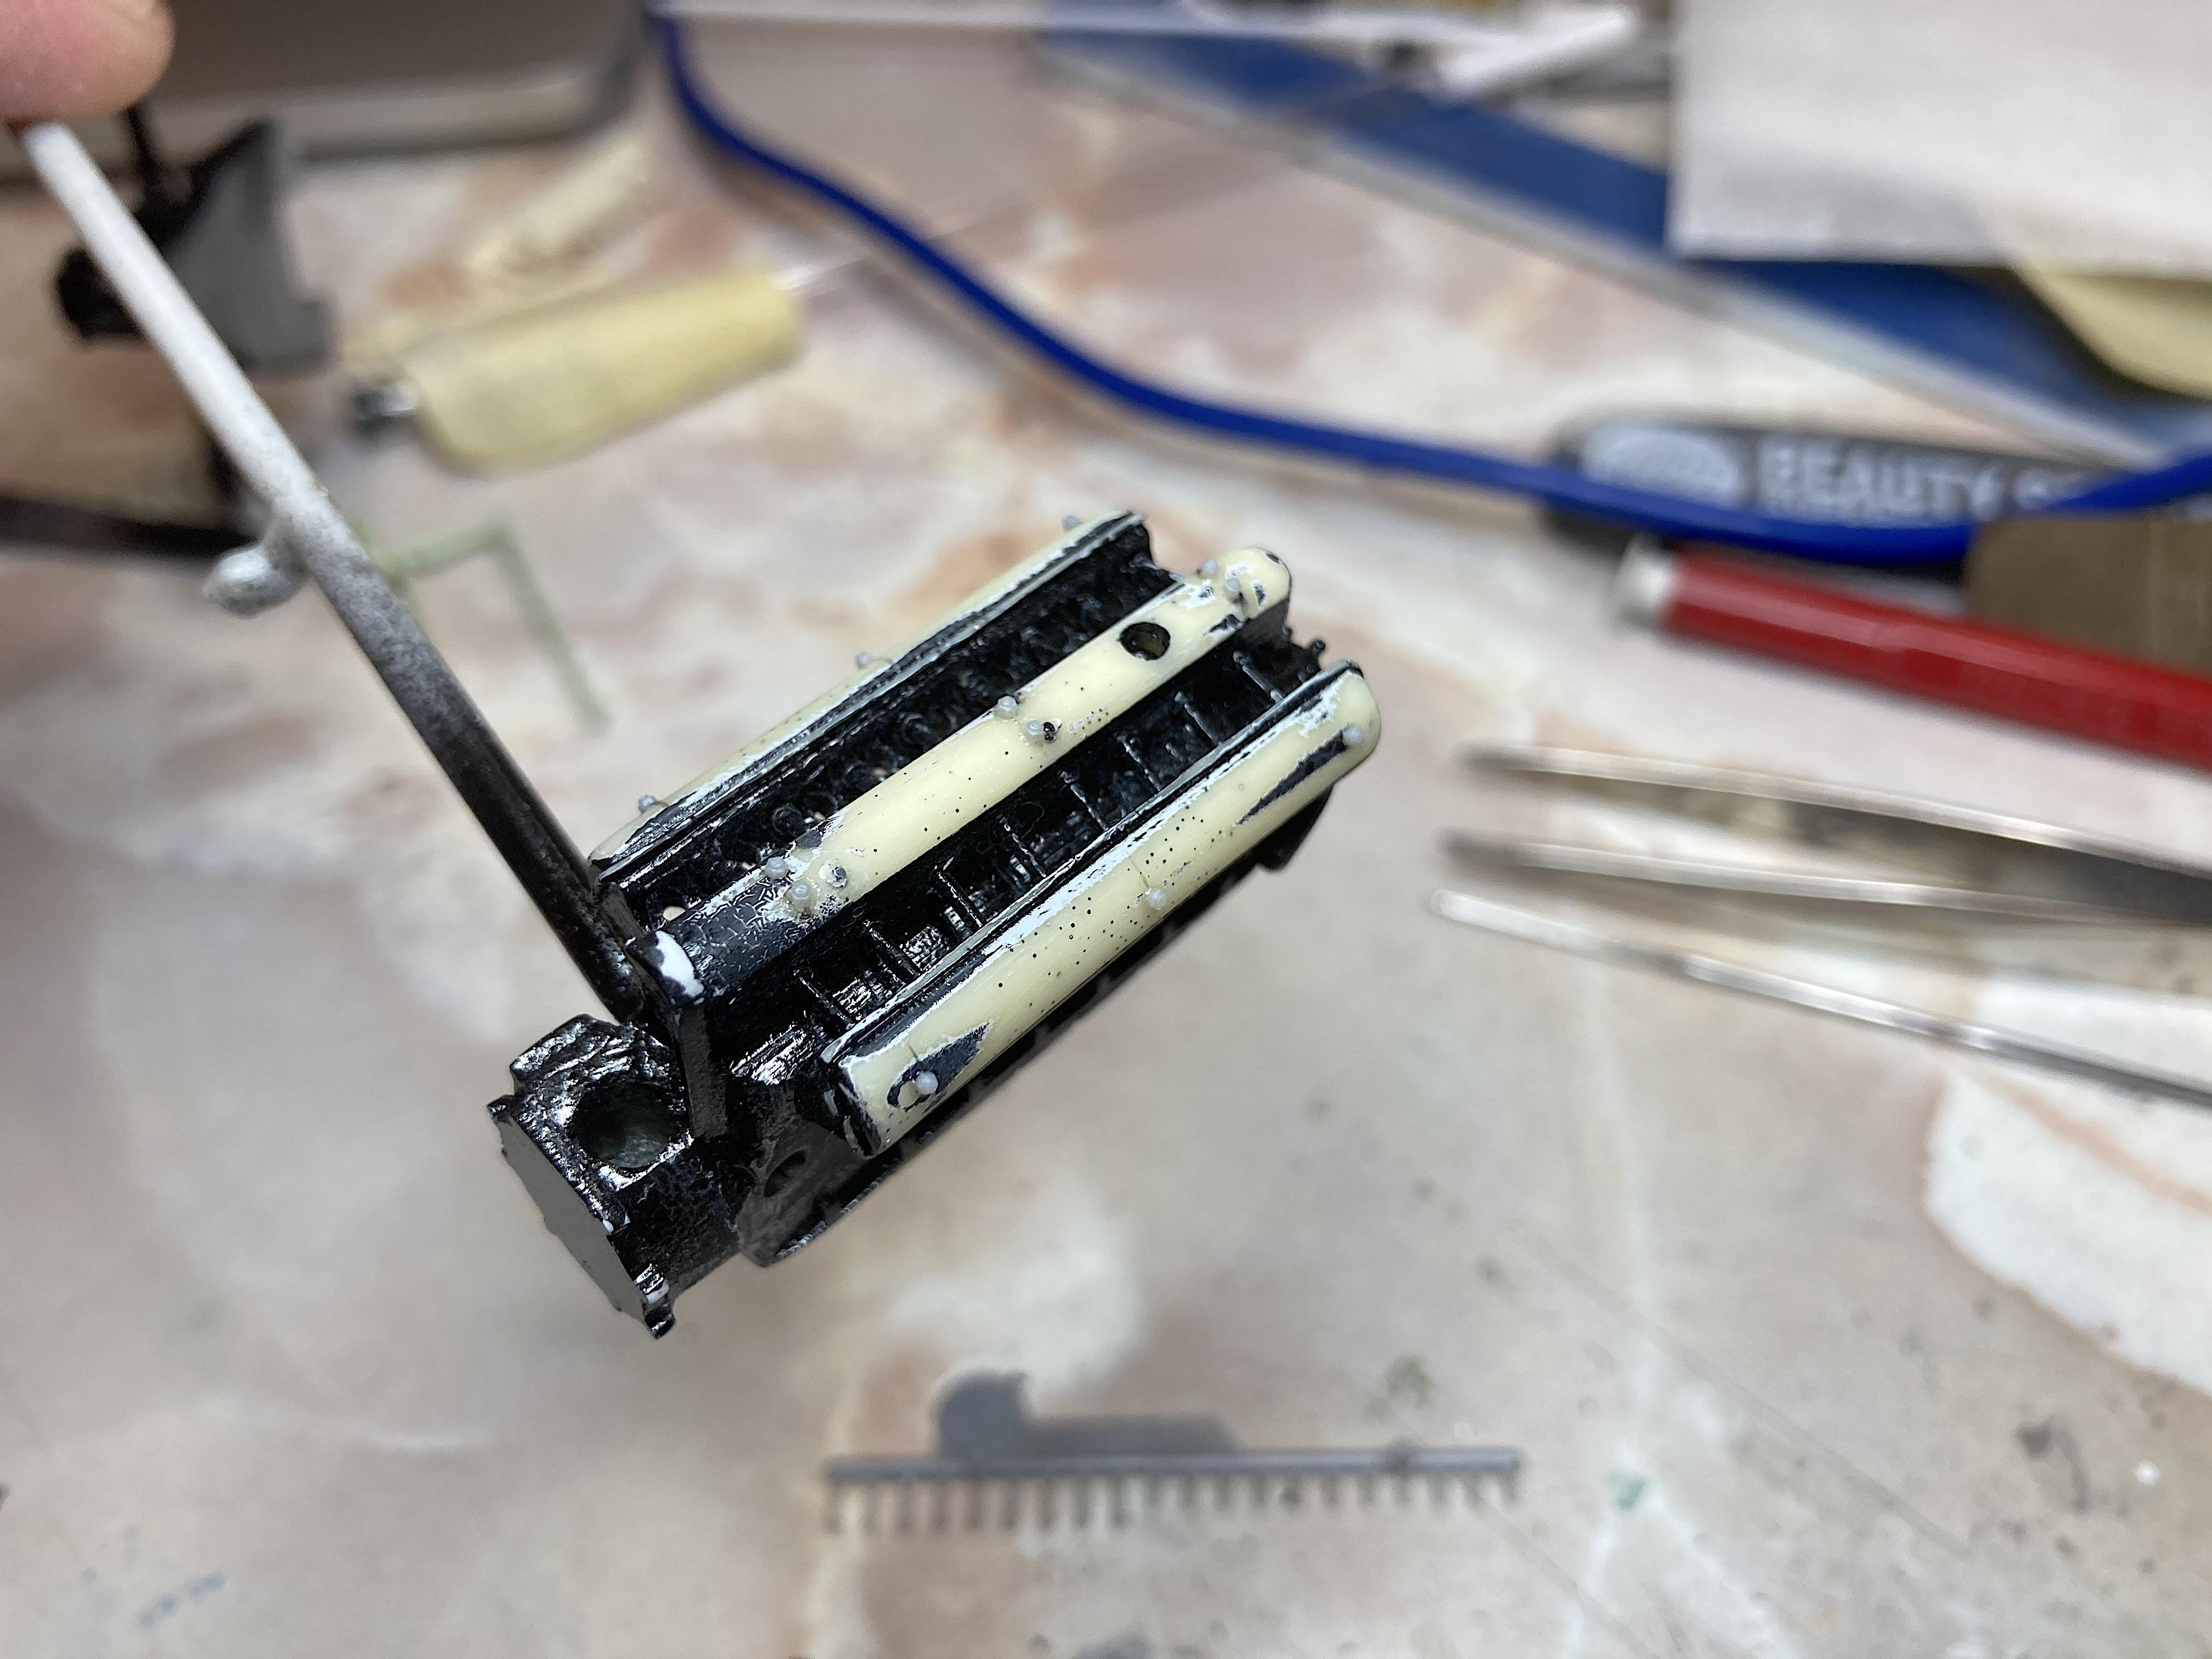
Cool vintage photo. Look at that brick road, and the landscape. I'm wondering if the grill was touched up (old school Photoshop), doesn't look right. I have now been trapped in the take-one-step-foward-two-steps-back stage. Having to wet-sand the body, started on the engine cover and front cover (it's not a hood is it?). Also noticed I screwed up the engine, had a nice crinkle texture that would look great on a Ferrari valve cover, need to experiment with that so it can consistently be duplicated, ON SOMETHING ELSE!!!! Something I didn't notice, the engine has a bunch of tiny holes, what is the trick to fix that, on the next project? It was easier to just remove all the bolt heads to sand those covers, glued on different Grant Line bolts that show up better, and some were re-located according to reference pictures, so that was an improvement, since I'm going to the extra effort. Painted flat black on the engine, masked the valve covers and painted with Model Master aluminum. Tried Silly Putty for the first time, it seems to have a shelf life so it was a little stiff, but warmed up with kneading, to mask the differential. I'm finding it difficult to know what colors to paint everything. The instructions only say matt grey for the seat, nothing else is indicated. Black & white pictures do not show brown. I've seen brown steering wheel and seat on current museum cars. One color cutaway shows olive drab seat. Cutaways show aluminum valve covers, pictures show flat black. Some exhausts are flat black, some are steel. Hard to tell in the race pictures. One little detail I spotted, the fairing cushion was missing during the race, so I need to remove it from the model. I'm to the point of doing what I want, accuracy be damned. I figured that using every aluminum paint I got will add some interest to the look, much like airplane builders do.
-
Mercedes Outlaws & Hot Rods
89AKurt replied to 89AKurt's topic in General Automotive Talk (Trucks and Cars)
Welcome to the forum! I'm not surprised this is being done, thanks for the comment. Are there kits with this engine, or aftermarket engines? -
by mad UPS
-
Porsche Outlaws & Hot Rods
89AKurt replied to afx's topic in General Automotive Talk (Trucks and Cars)
-
Most of the comments on UToob point this out too. ? He needs to watch some Dukes Of Hazzard, and belt out a YEE HAW!!!!