Steamboat
-
Posts
826 -
Joined
-
Last visited
Content Type
Profiles
Forums
Events
Gallery
Everything posted by Steamboat
-
Very nice. The off-angle photo is very cool too. It adds to the "Outa Control " feel.
-
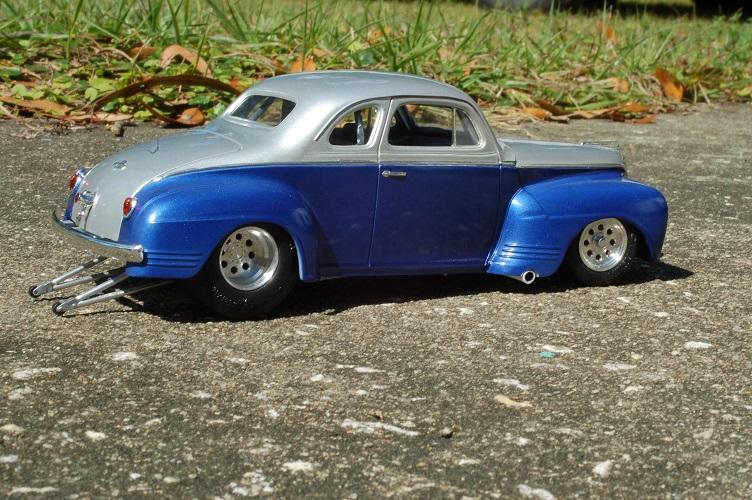
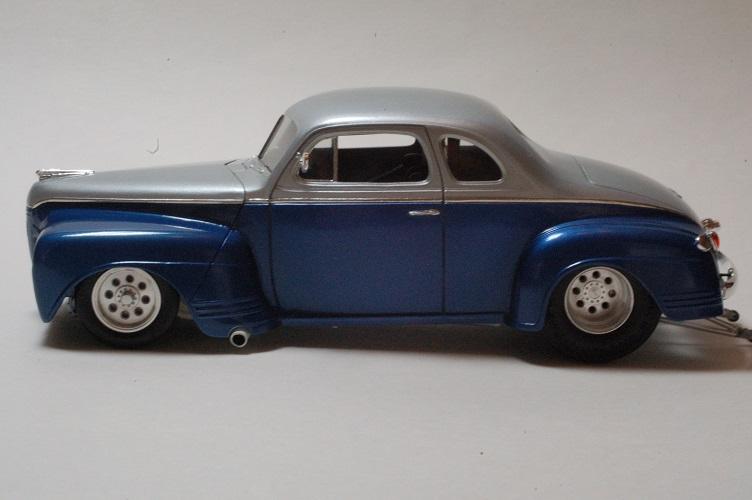
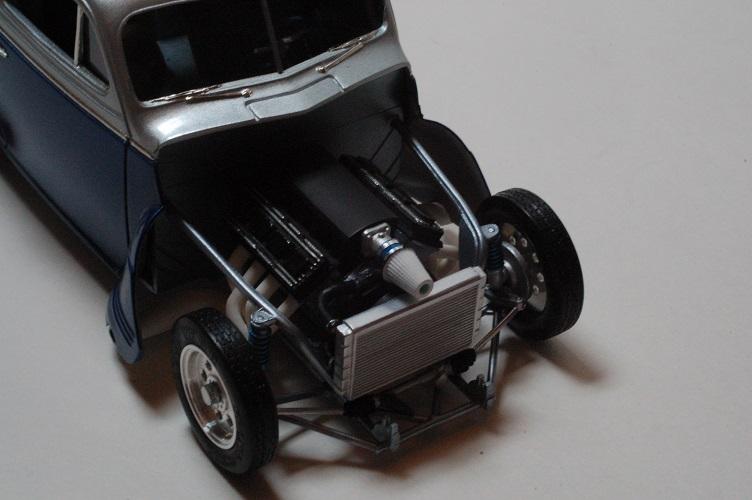
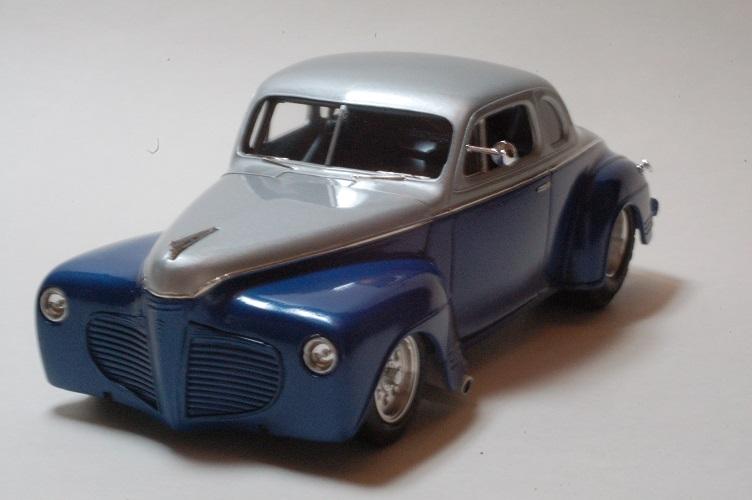
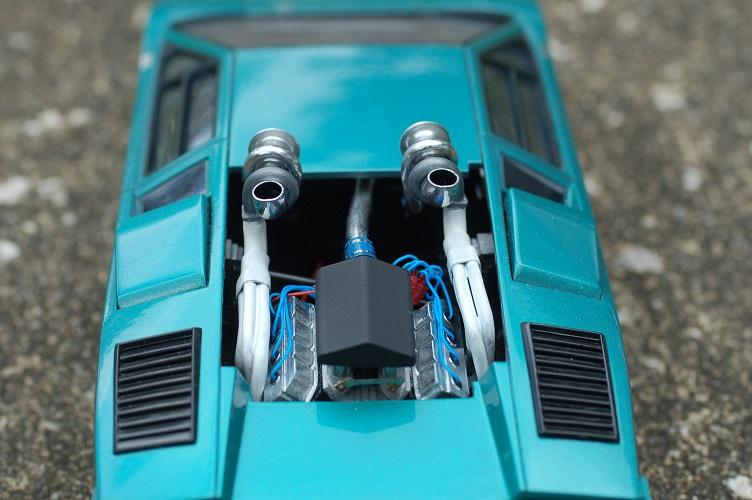
This one is a Shelf of Doom build for my local club. It's been on the shelf in various forms for at least 20 years. I'm finally calling it done. Forgive the poor photography, that's still a work in progress. The only AMT kit parts remaining are the body, dash and some of the chrome. The chassis is from the Pro Street Firebird, stretched and narrowed to fit the Plymouth. The engine is a resin cast of the 5.7 Hemi from a Revell Charger. I opted for an A833 four-speed (with requisite pistol-grip) because I didn't have to modify the transmission tunnel to make it fit. Rear tires and the seats are resin clones of the Mickey Thompsons from the Pro Street Coronet. The roll cage is made of bits and pieces from my parts box. 3d printed parts include the valve covers, intake manifold, throttle body, K&N air filter, front wheel dust caps and the exhaust dumps. Comments and suggestions are always welcome!

-
What to use to make clear plastic windows.
Steamboat replied to James Maynard's topic in Model Building Questions and Answers
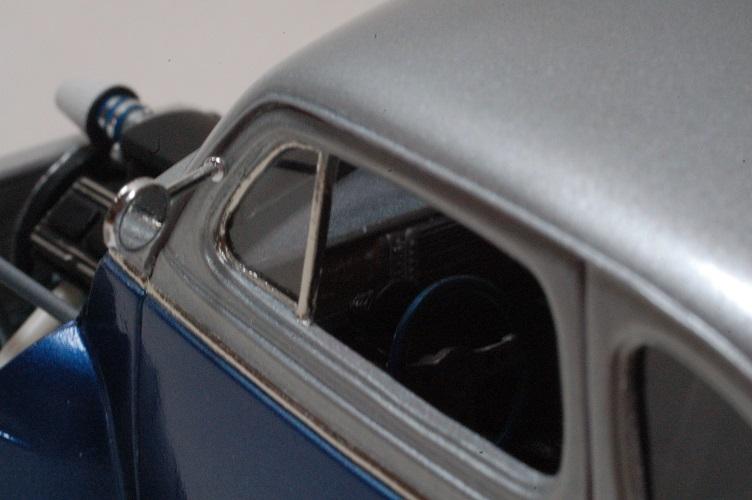
My latest project used clear film the came wrapped around a cut flower. It's 0.05 mm thick, which in 1:25 scale equates to only 3/64" in 1:1! Here it is on the windshield. The vertical bend was really easy to do, with no discoloration around the bend. It cuts super easy with scissors, and I glued it in with canopy glue. Takes up no space inside the body, so the interior tub doesn't have to be cut down for the side windows. The only disadvantage so far is that it's so thin that it's hard to see. I had to use a flashlight to make sure I had it positioned correctly.
-
1969 AMC Rambler (Rouge) Jo-Han Hemi Streetmachine
Steamboat replied to Beamerman's topic in Model Cars
Very nicely done, and congrats on finishing her up. There's a 4-dr sitting at a shop near me. I can't believe what a small car they were. That thing with a Hemi would go like a scalded ape! -
60 Ranchero
Steamboat replied to 2doors3pedals's topic in Model Trucks: Pickups, Vans, SUVs, Light Commercial
You don't see these very often. Nicely done! -
1977 International Scout SSll
Steamboat replied to bogger44's topic in Model Trucks: Pickups, Vans, SUVs, Light Commercial
Nicely done! -
Very nice. Clean, crisp and great attention to detail. Well done!
-
Tim Flock 1955 Chrysler 300
Steamboat replied to OldTrucker's topic in Stock Cars (NASCAR, Super Stock, Late Model, etc.)
Looks great! How did the build go? This one is on my to-do list as well. -
Very cool. I've always wanted to do a build of the Hot Wheels Metroliner. May I ask who the resin manufacturer is?
-
1969 Ford Talladega Richard Petty
Steamboat replied to jjsipes's topic in Stock Cars (NASCAR, Super Stock, Late Model, etc.)
Nice job! Kudos for using the 429. I gave up on the ill-fitting 429 and used the 427. -
I made these as Scott describes by using two slightly different sizes of wire. The exhaust turbine will typically be slightly smaller than the compressor. I wrapped them around a nail and then cut sections to fit. The core is a piece of aluminum tubing for the compressor and a piece of sprue for the exhaust turbine, which just fits inside the aluminum tubing. Flanges are just sheet styrene.
-
Thanks Monty. I think the paint was Graphite Gray Metallic. I would have gone with black but was afraid that all the bodywork would show.
-
I 3d printed these for a 41 Plymouth project I'm working on. The fins are done with BMF, foil under paint technique.
-
Very nice. A great rendition of a NASCAR classic. I'm a Million Dollar Bill fan as well, but the #3 car is always great material for a build.
-
77 Ford Cruising Van
Steamboat replied to Classicgas's topic in Model Trucks: Pickups, Vans, SUVs, Light Commercial
Very nice! Is that paint or decals for the stripes? They look great. -
'78 Dodge Warlock 4X4
Steamboat replied to Can-Con's topic in Model Trucks: Pickups, Vans, SUVs, Light Commercial
Beautiful! The paint and decals look perfect. Not sure if I care for the red heater hoses, but they certainly were available from parts stores at the time! -
Sweet!
-
Very nice!
-
That orange plastic is going to be a bear to paint over with Sublime. I would suggest primer and test paint on some bits of sprue first. How about Tor Red?
-
My goal is to take two of them and make an actual long wheelbase model. The box art depicts the LWB, but the model is a SWB. I've got a 99 Silverado to use the front end from to make a Suburban, which is my 1:1 ride. Chevy fenders and body side molding are different, so it will be a challenge.
-
Make sure you test fit the chassis after the drivetrain is installed. I gave up on it after being unable to make it fit. I probably did something wrong....
-
Thanks guys! One of the biggest challenges is going to be making a windshield and frame. Does anyone have any experience with doing it? I have an old 57 Corvette windshield that I was going to try to modify, but it's quite different.
-
Looking great! One of my favorite Mopar kits.
-
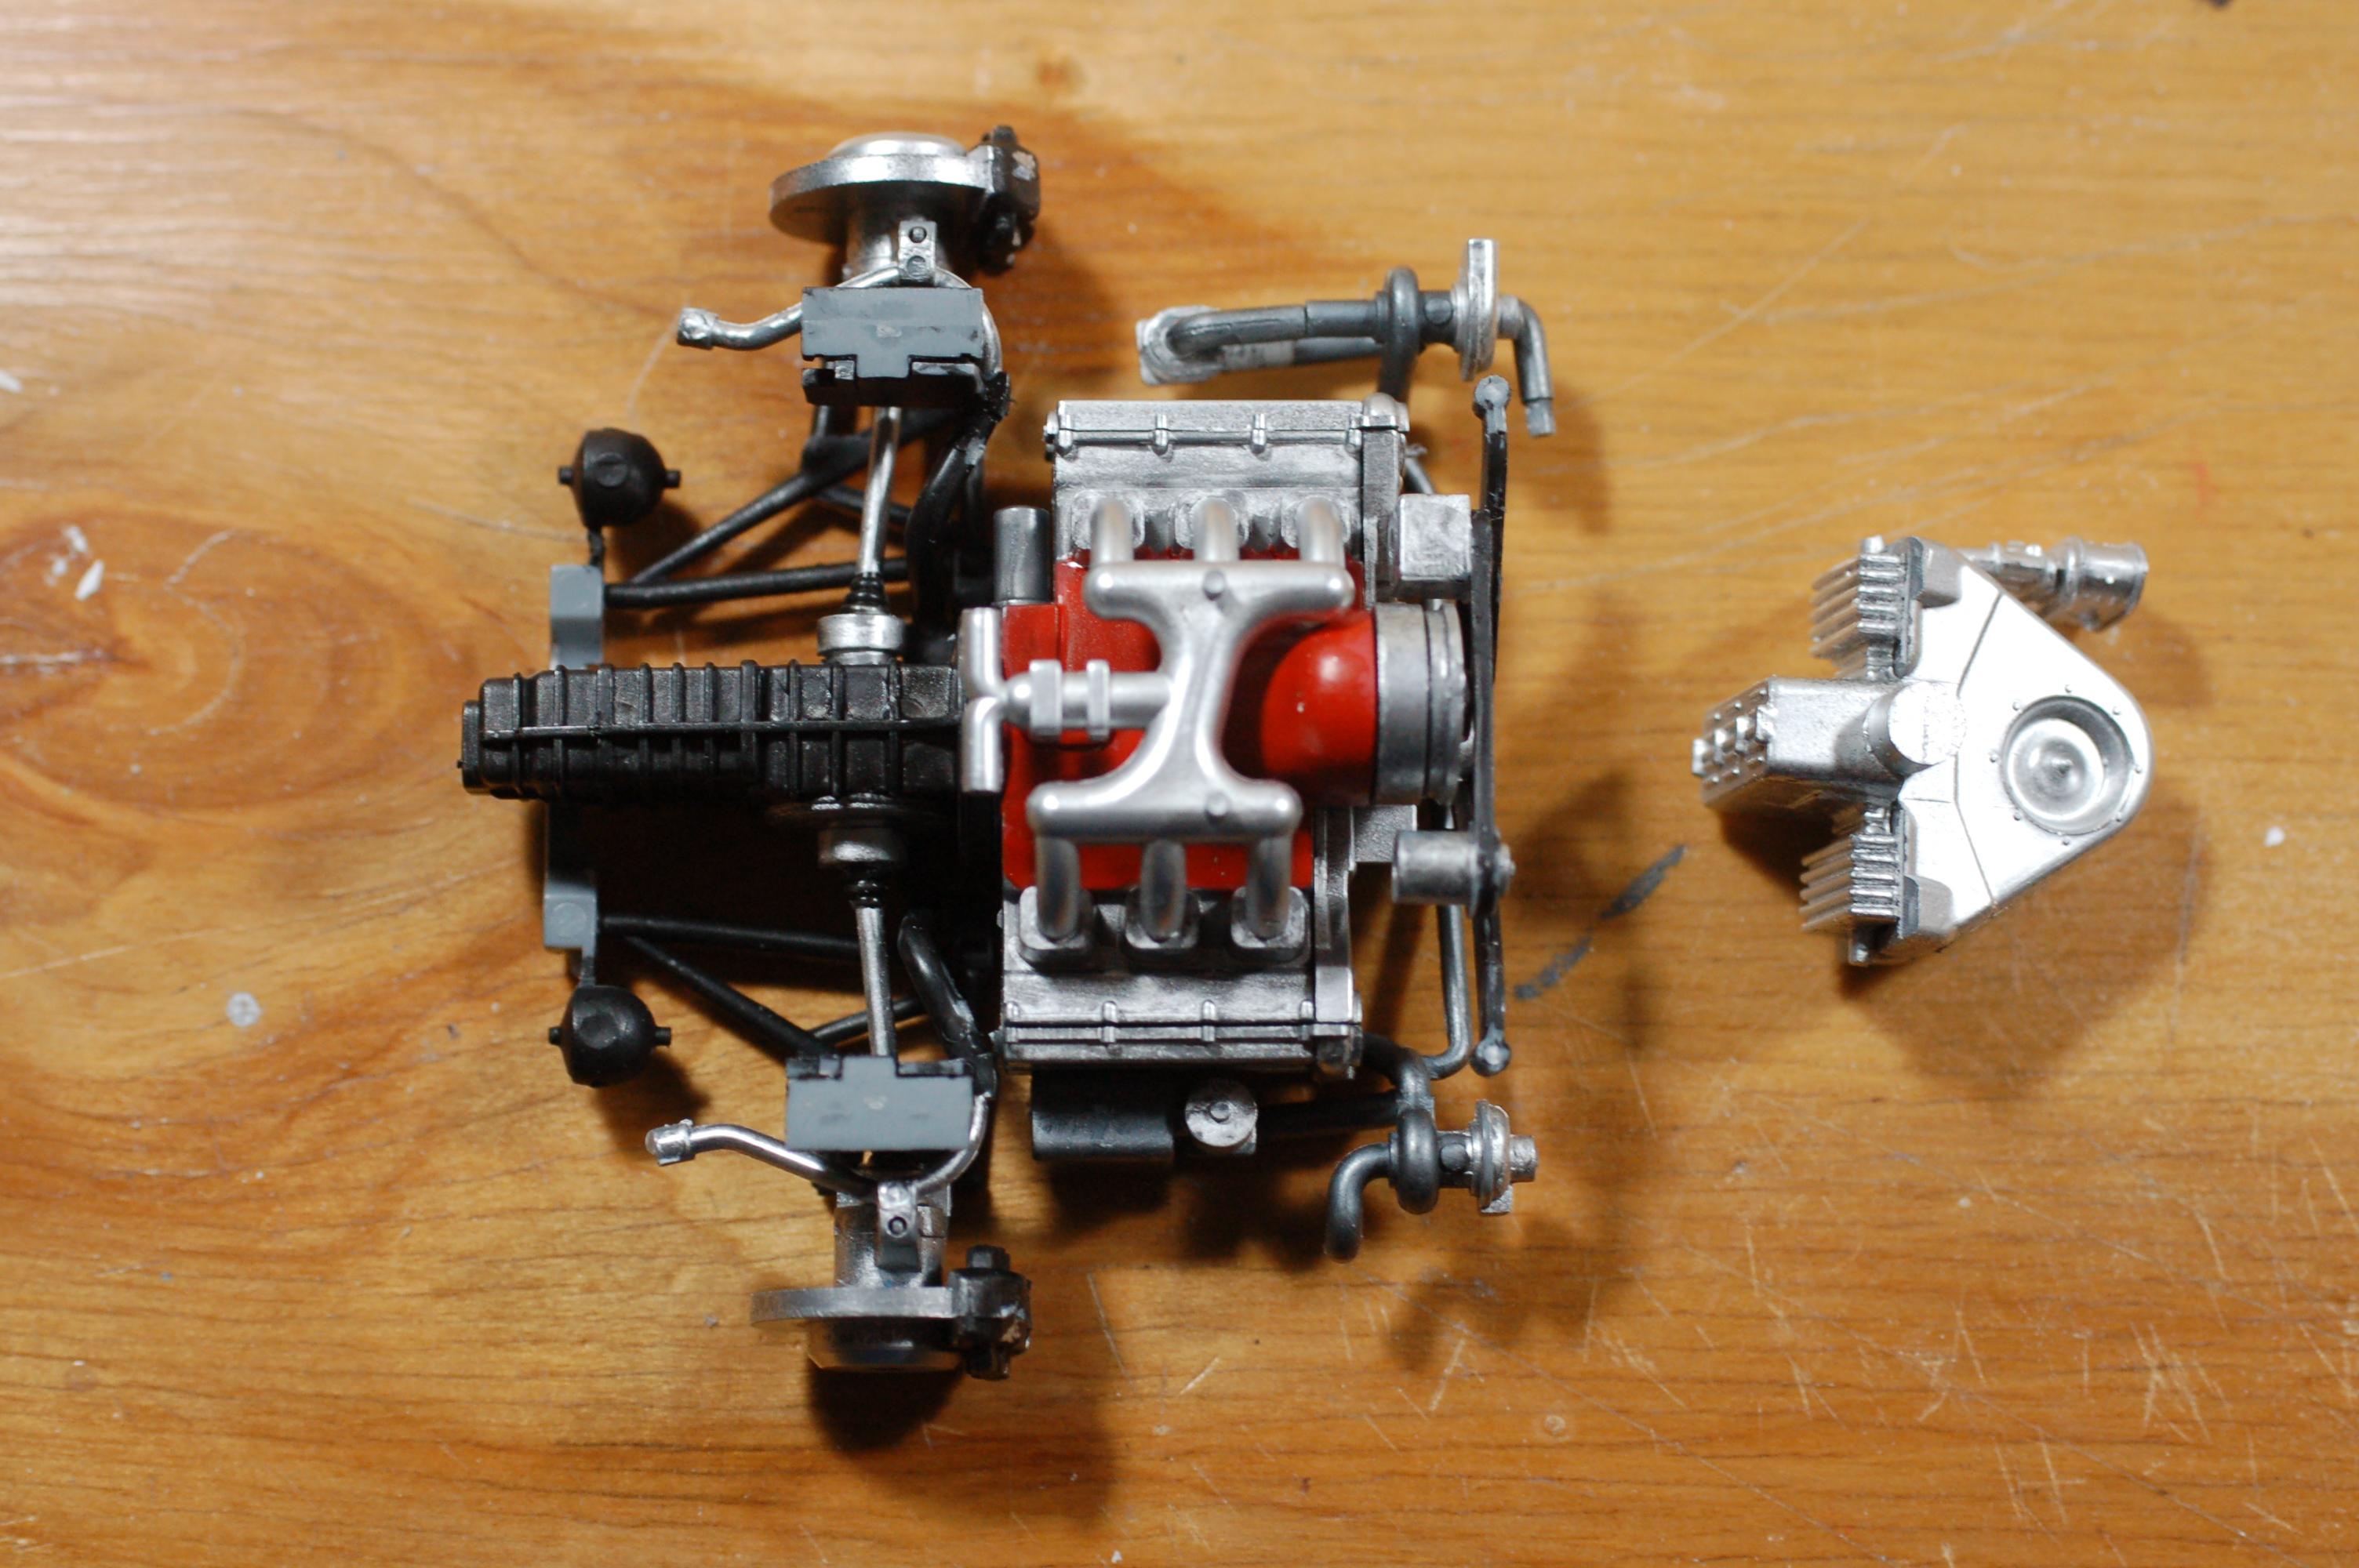
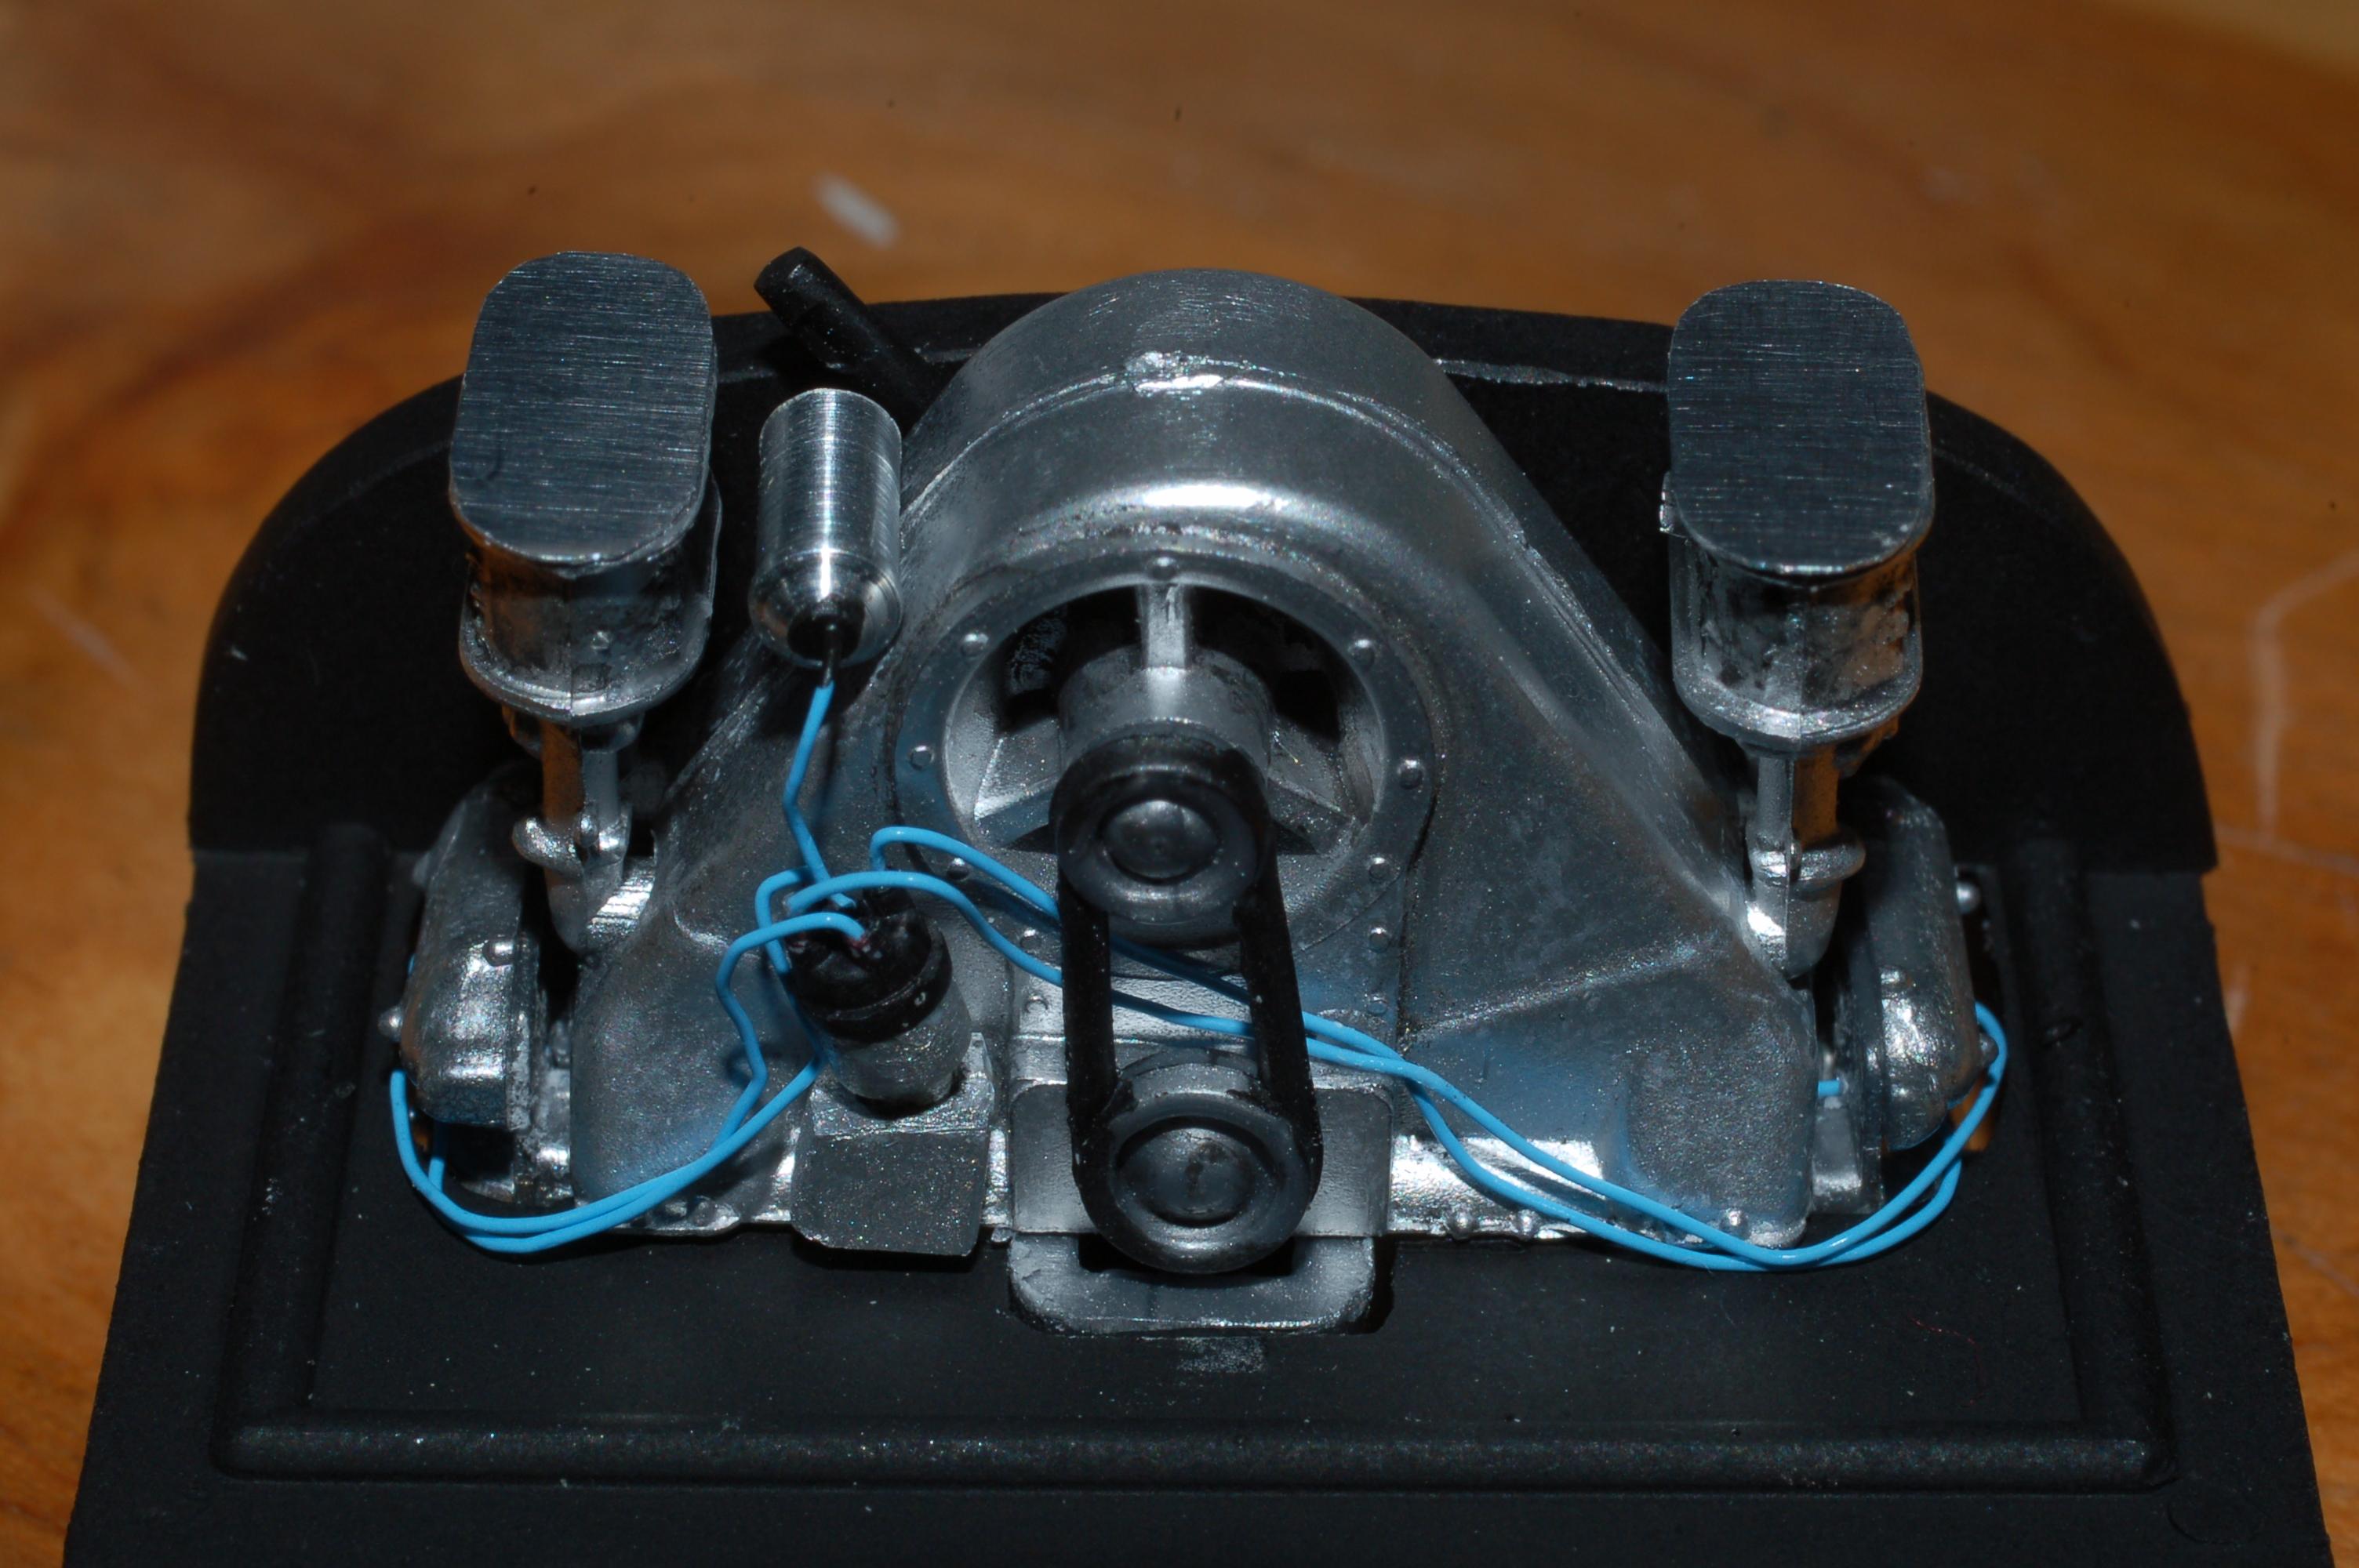
I've been working on the wee tiny engine a bit. In scale, it measures about 30" from valve cover to valve cover, which seems small to me for a 1600 cc engine. Here it is, shown with a Porsche 959 drivetrain for comparison. Granted the 959 is 1:24 scale vs. 1:25 for the Revell. I thought about using the 959 engine in the Speedster. It would have been very cool, but thankfully the KISS Principle kicked in before I did any cutting. I went ahead and finished the Speedster engine with a distributor and coil from my parts box, and some covers for the air filters made from soda can aluminum. Here's the little guy ready for install.
-
If it's an original issue, just keep it sealed! You'll be much happier in the long run if you don't build it and get a Tamiya kit instead. Mine was in a reissued 3-car Road Legends set, so I don't feel bad about it.