NOBLNG
-
Posts
9,965 -
Joined
-
Last visited
Content Type
Profiles
Forums
Events
Gallery
Everything posted by NOBLNG
-
Thanks for looking!? Boy…you can say that again!? The stance is probably one of the easier fixes.? Thanks!? Thanks, I’ll be careful.? It’s definitely got its issues.?
-
Thanks for the offer! By all means…please start a build thread on all of these.??
-
Soul mates are rare.
-
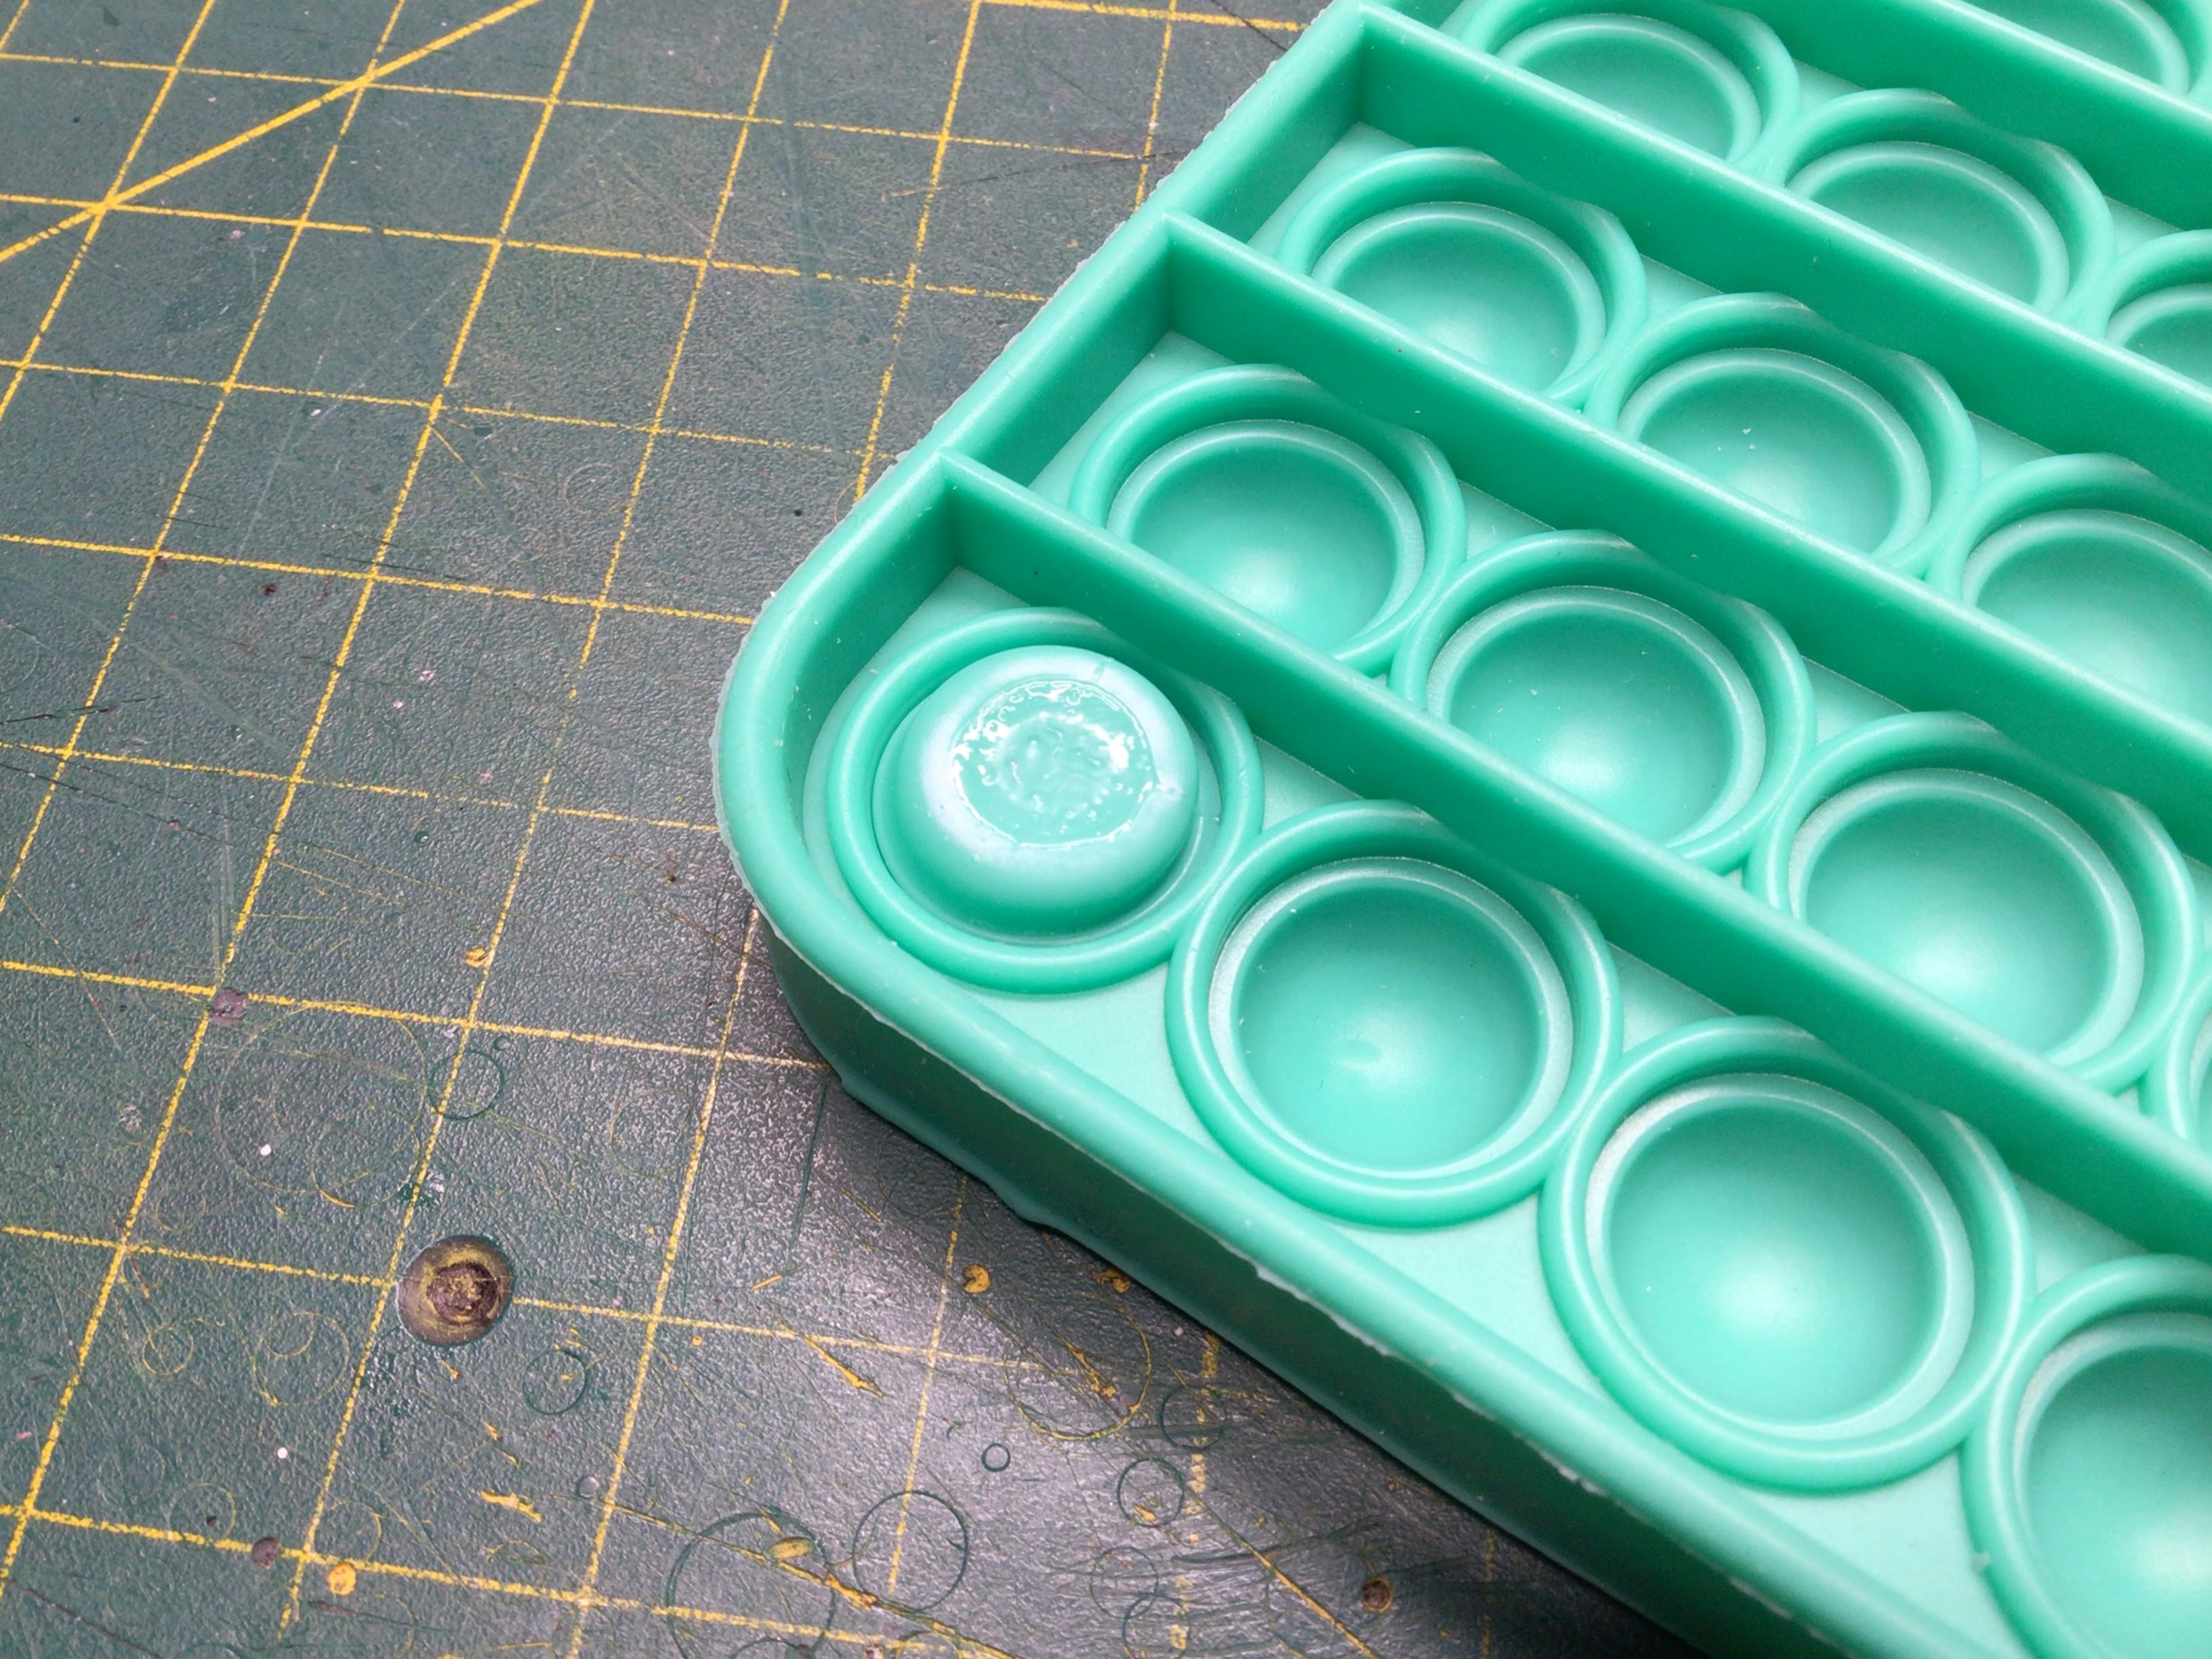
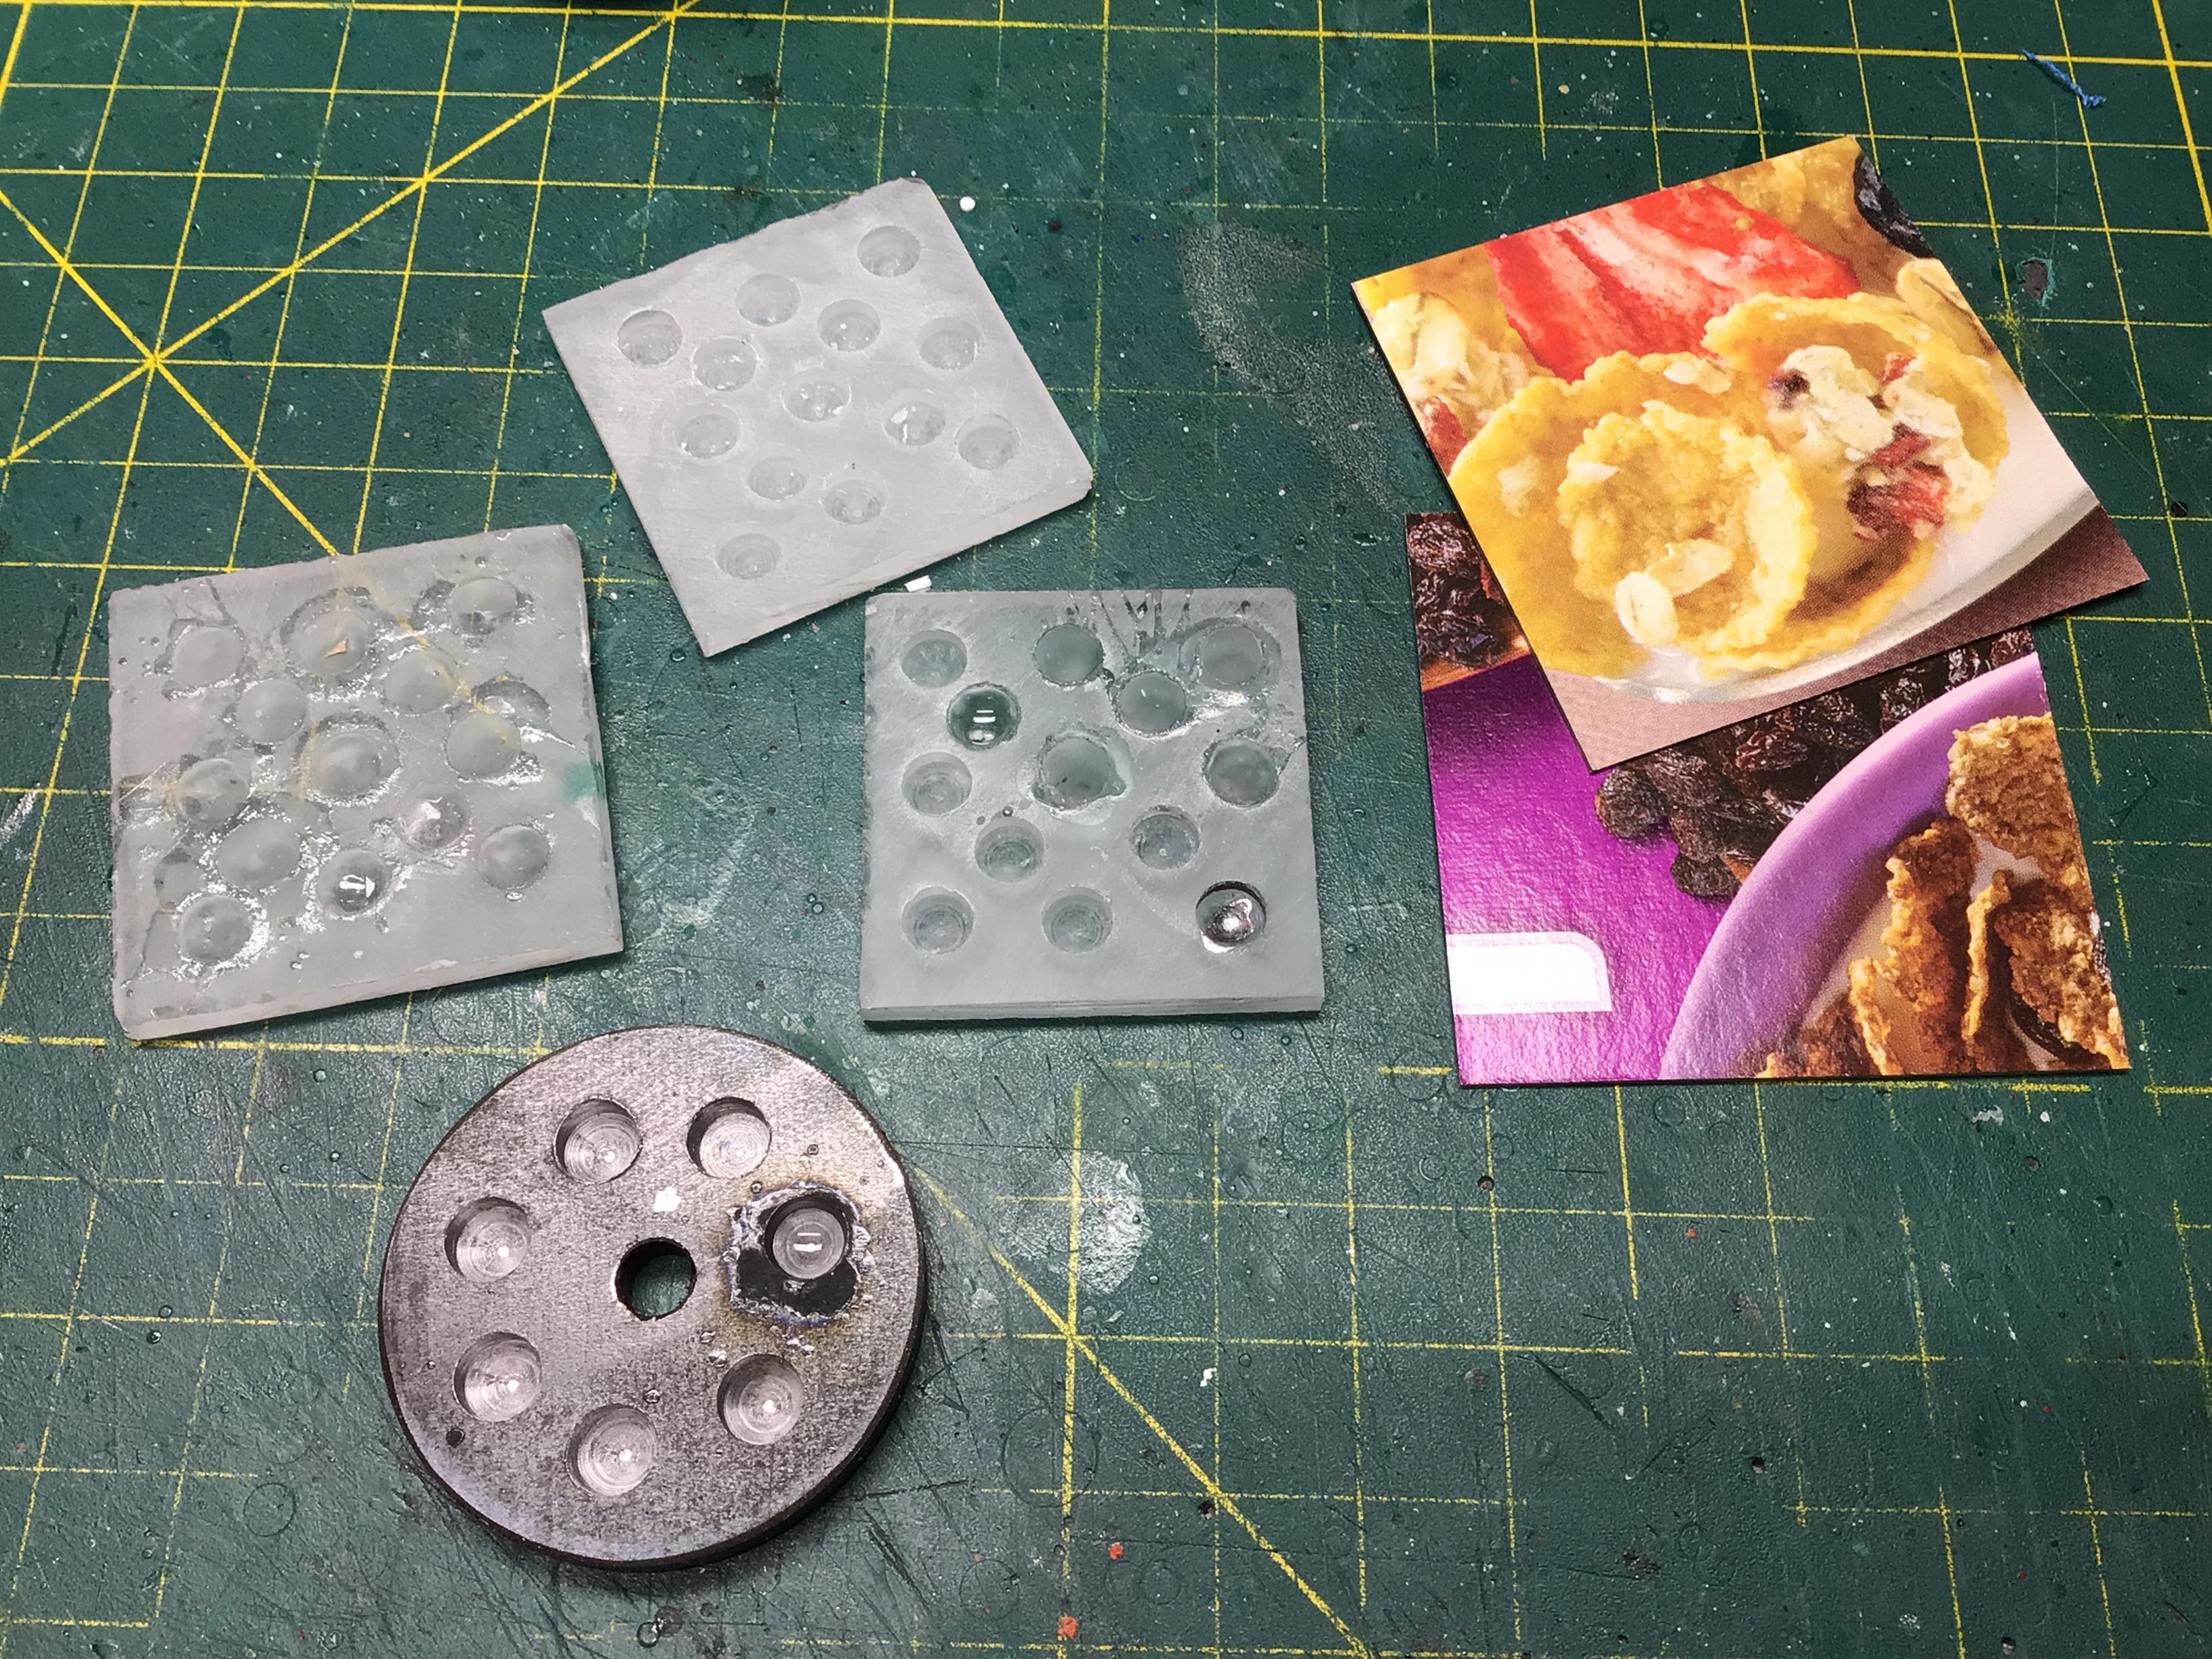
I had never heard of a fidget before this thread. I saw one yesterday for cheap so I snagged it. The CA does not “pop out” of this one like I hoped.? So I am back to using my acrylic glue wells. Each hole holds 3-4 drops of CA. I just made a steel one also. When all filled up, I just re-drill them. For epoxy and putty, I use cut up cereal boxes for pallets.

-
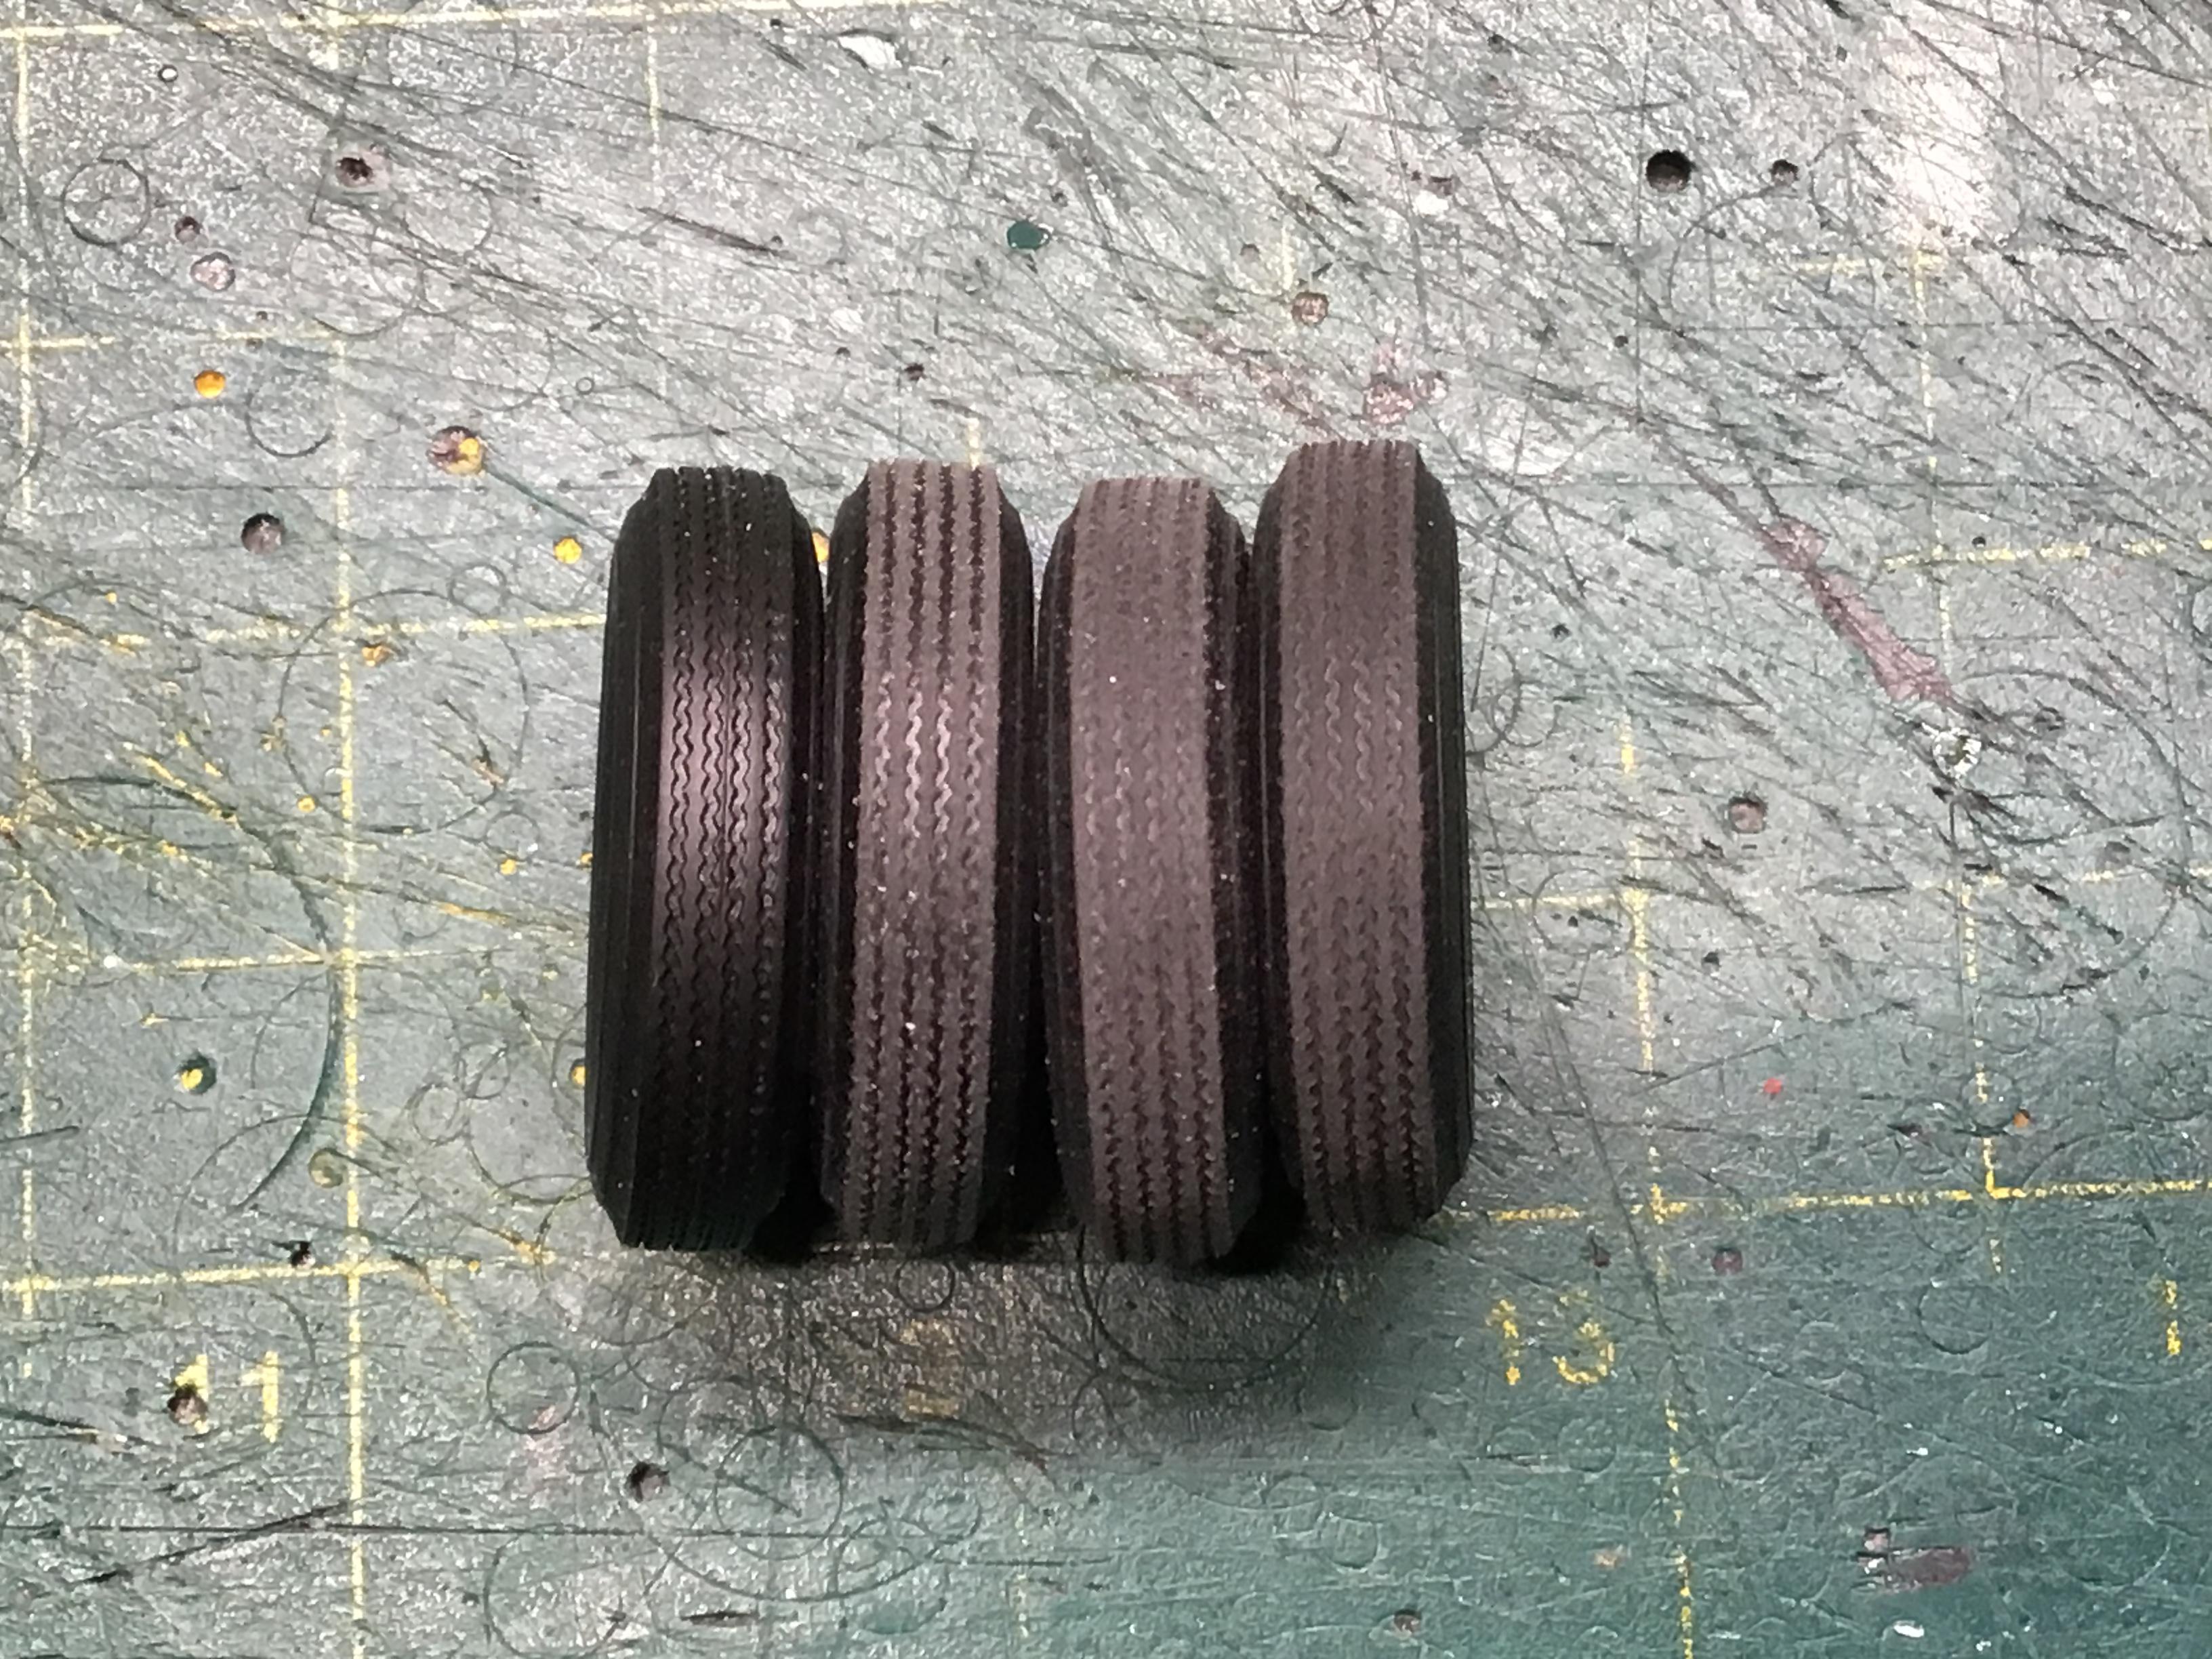
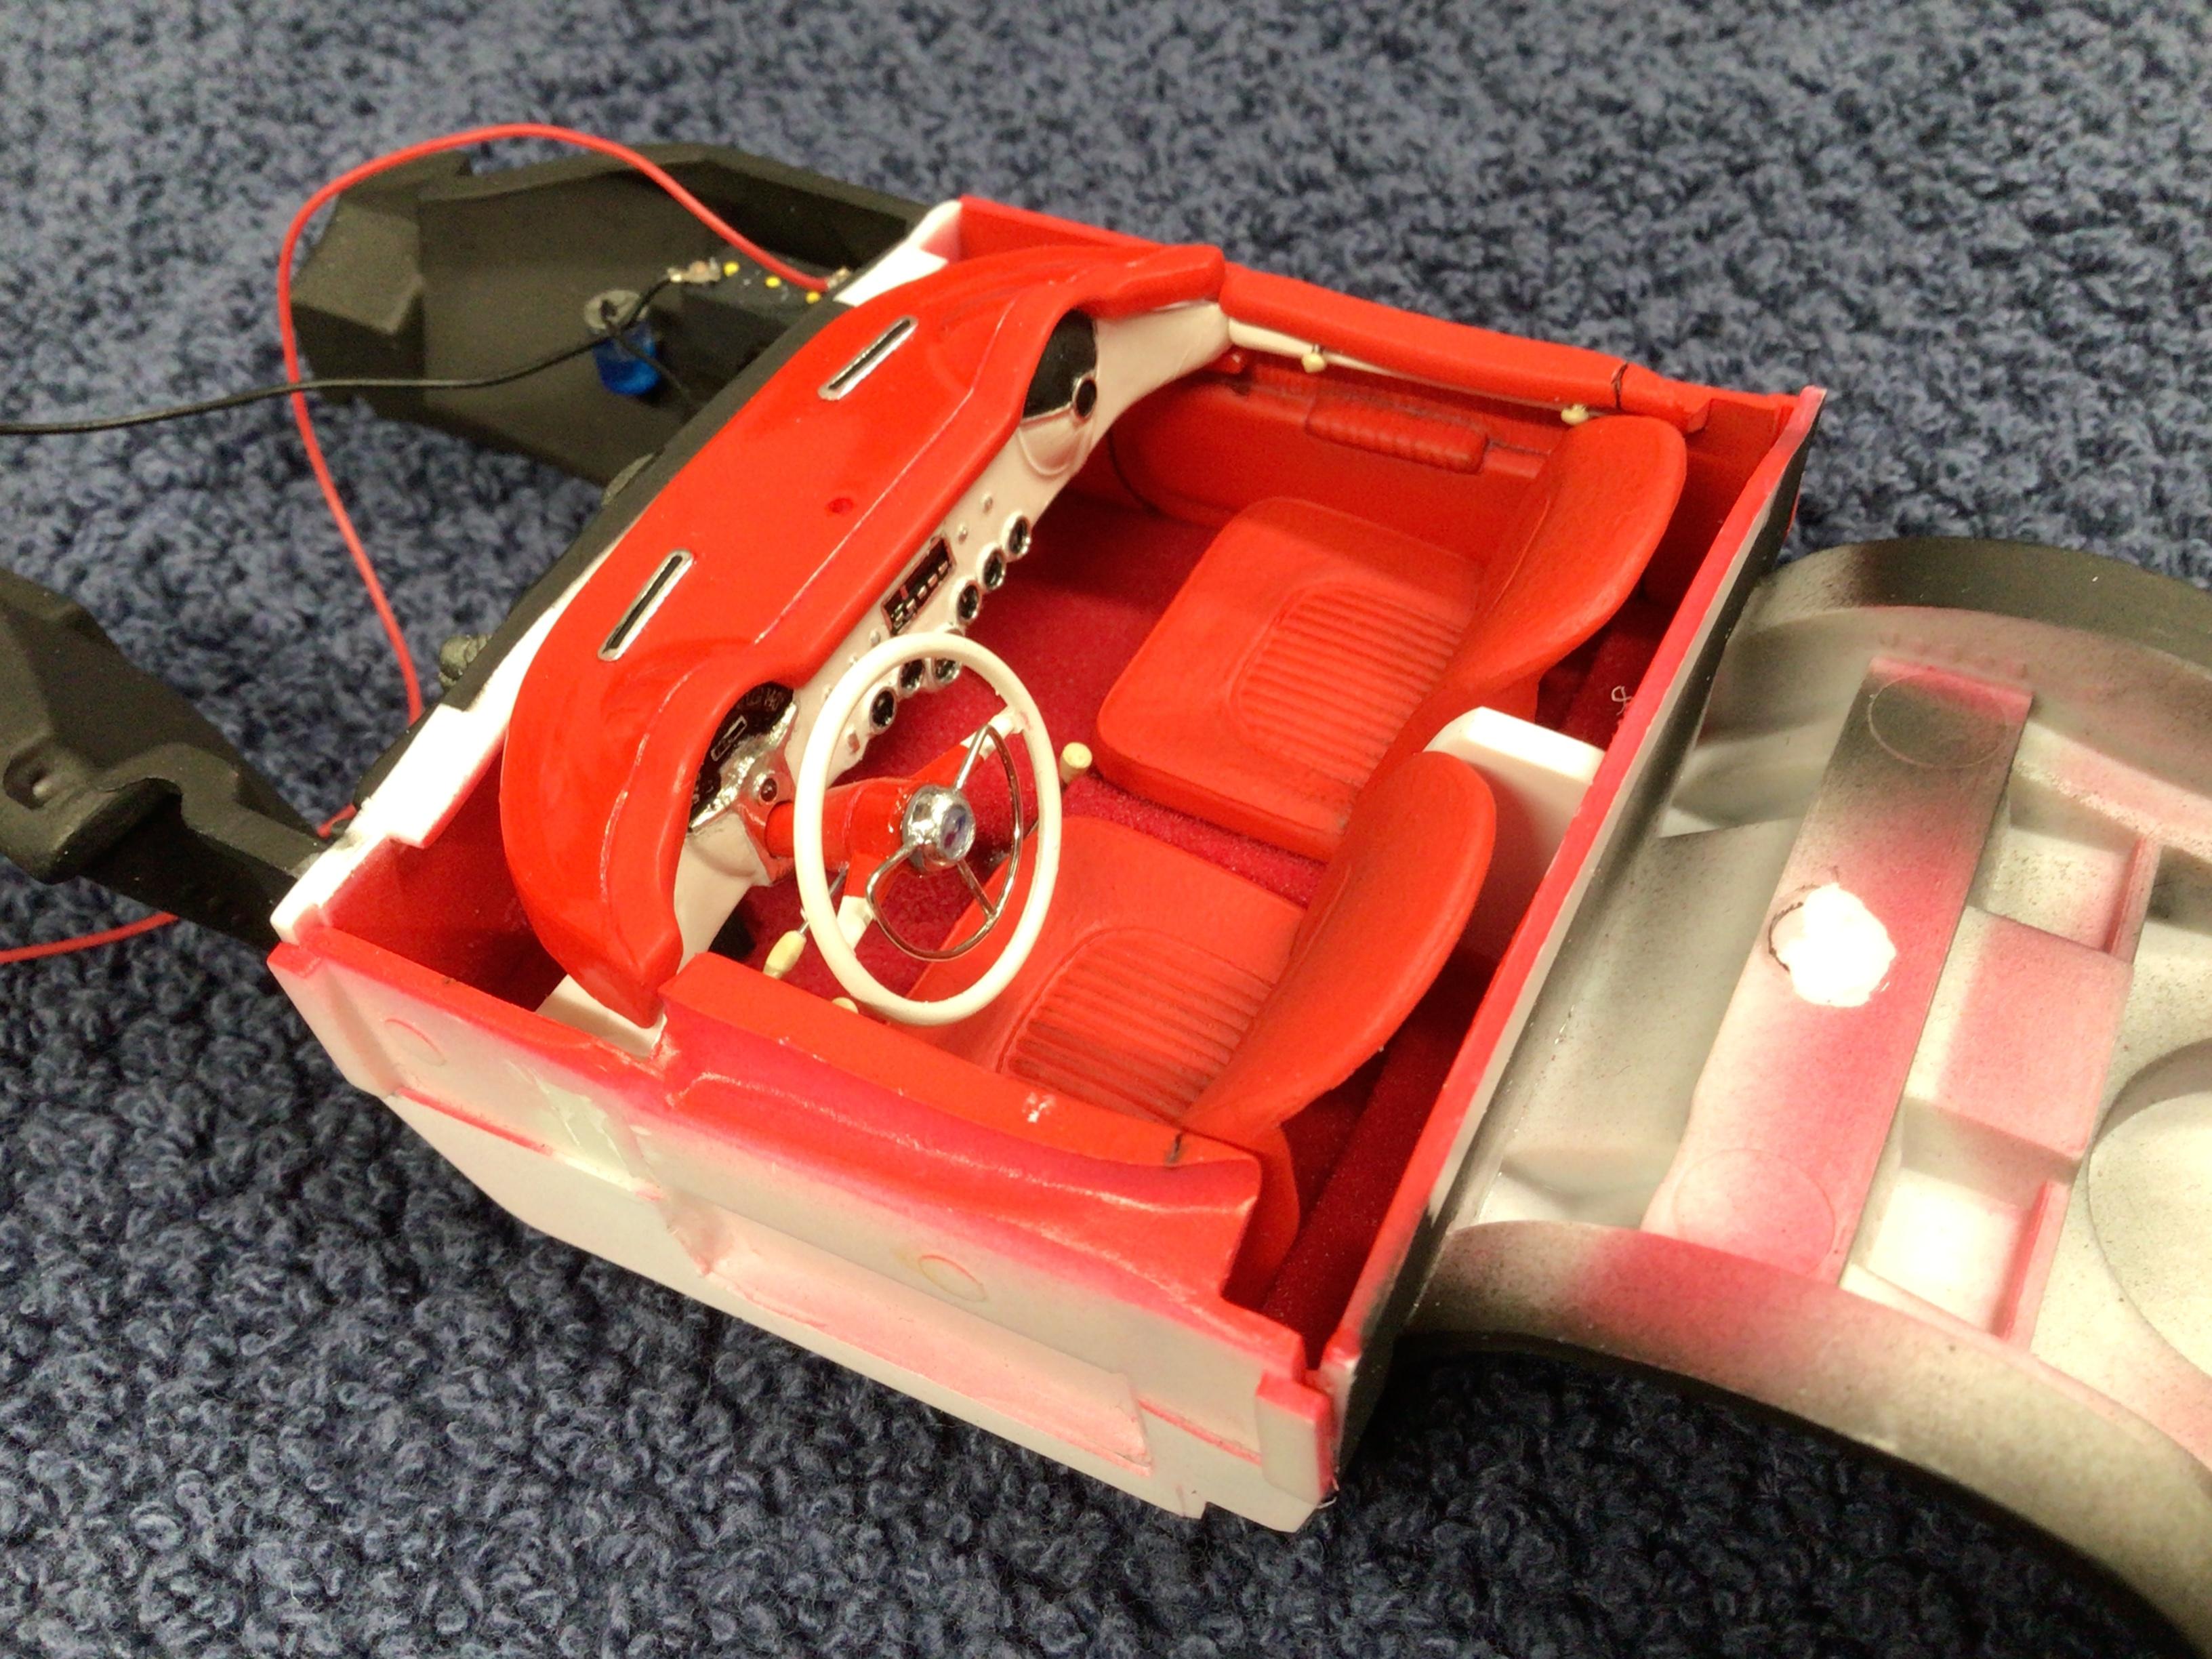
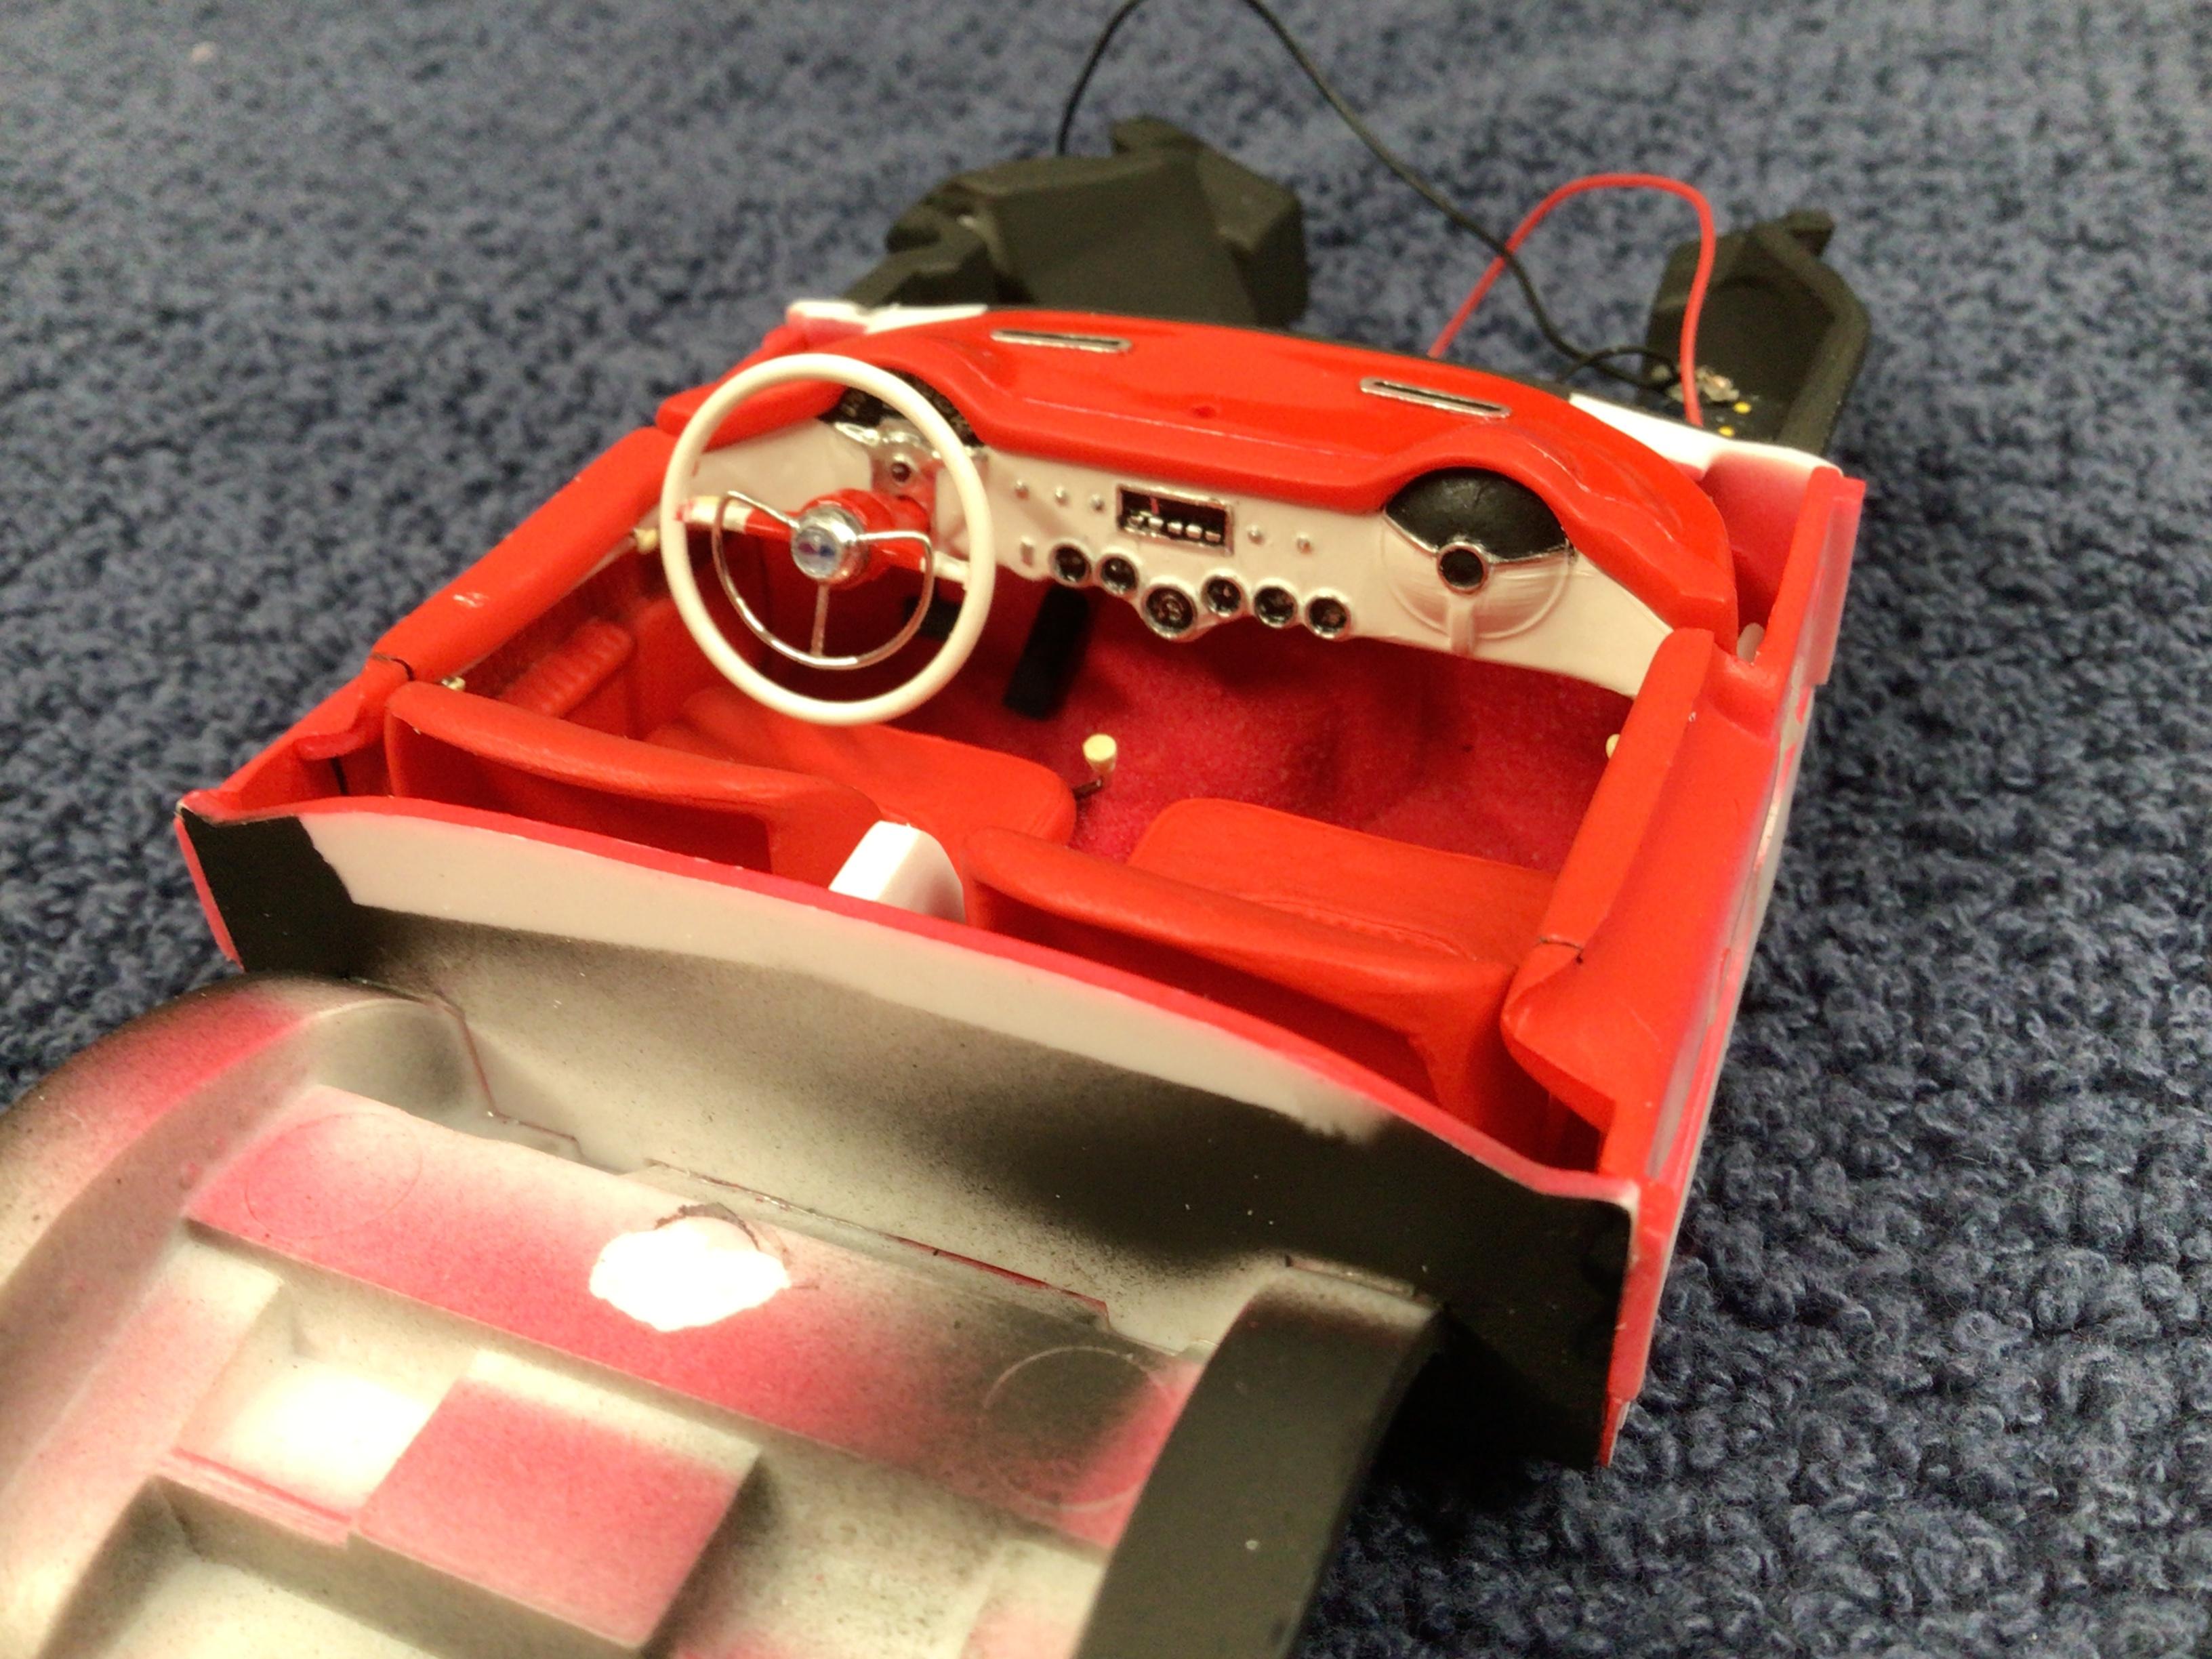
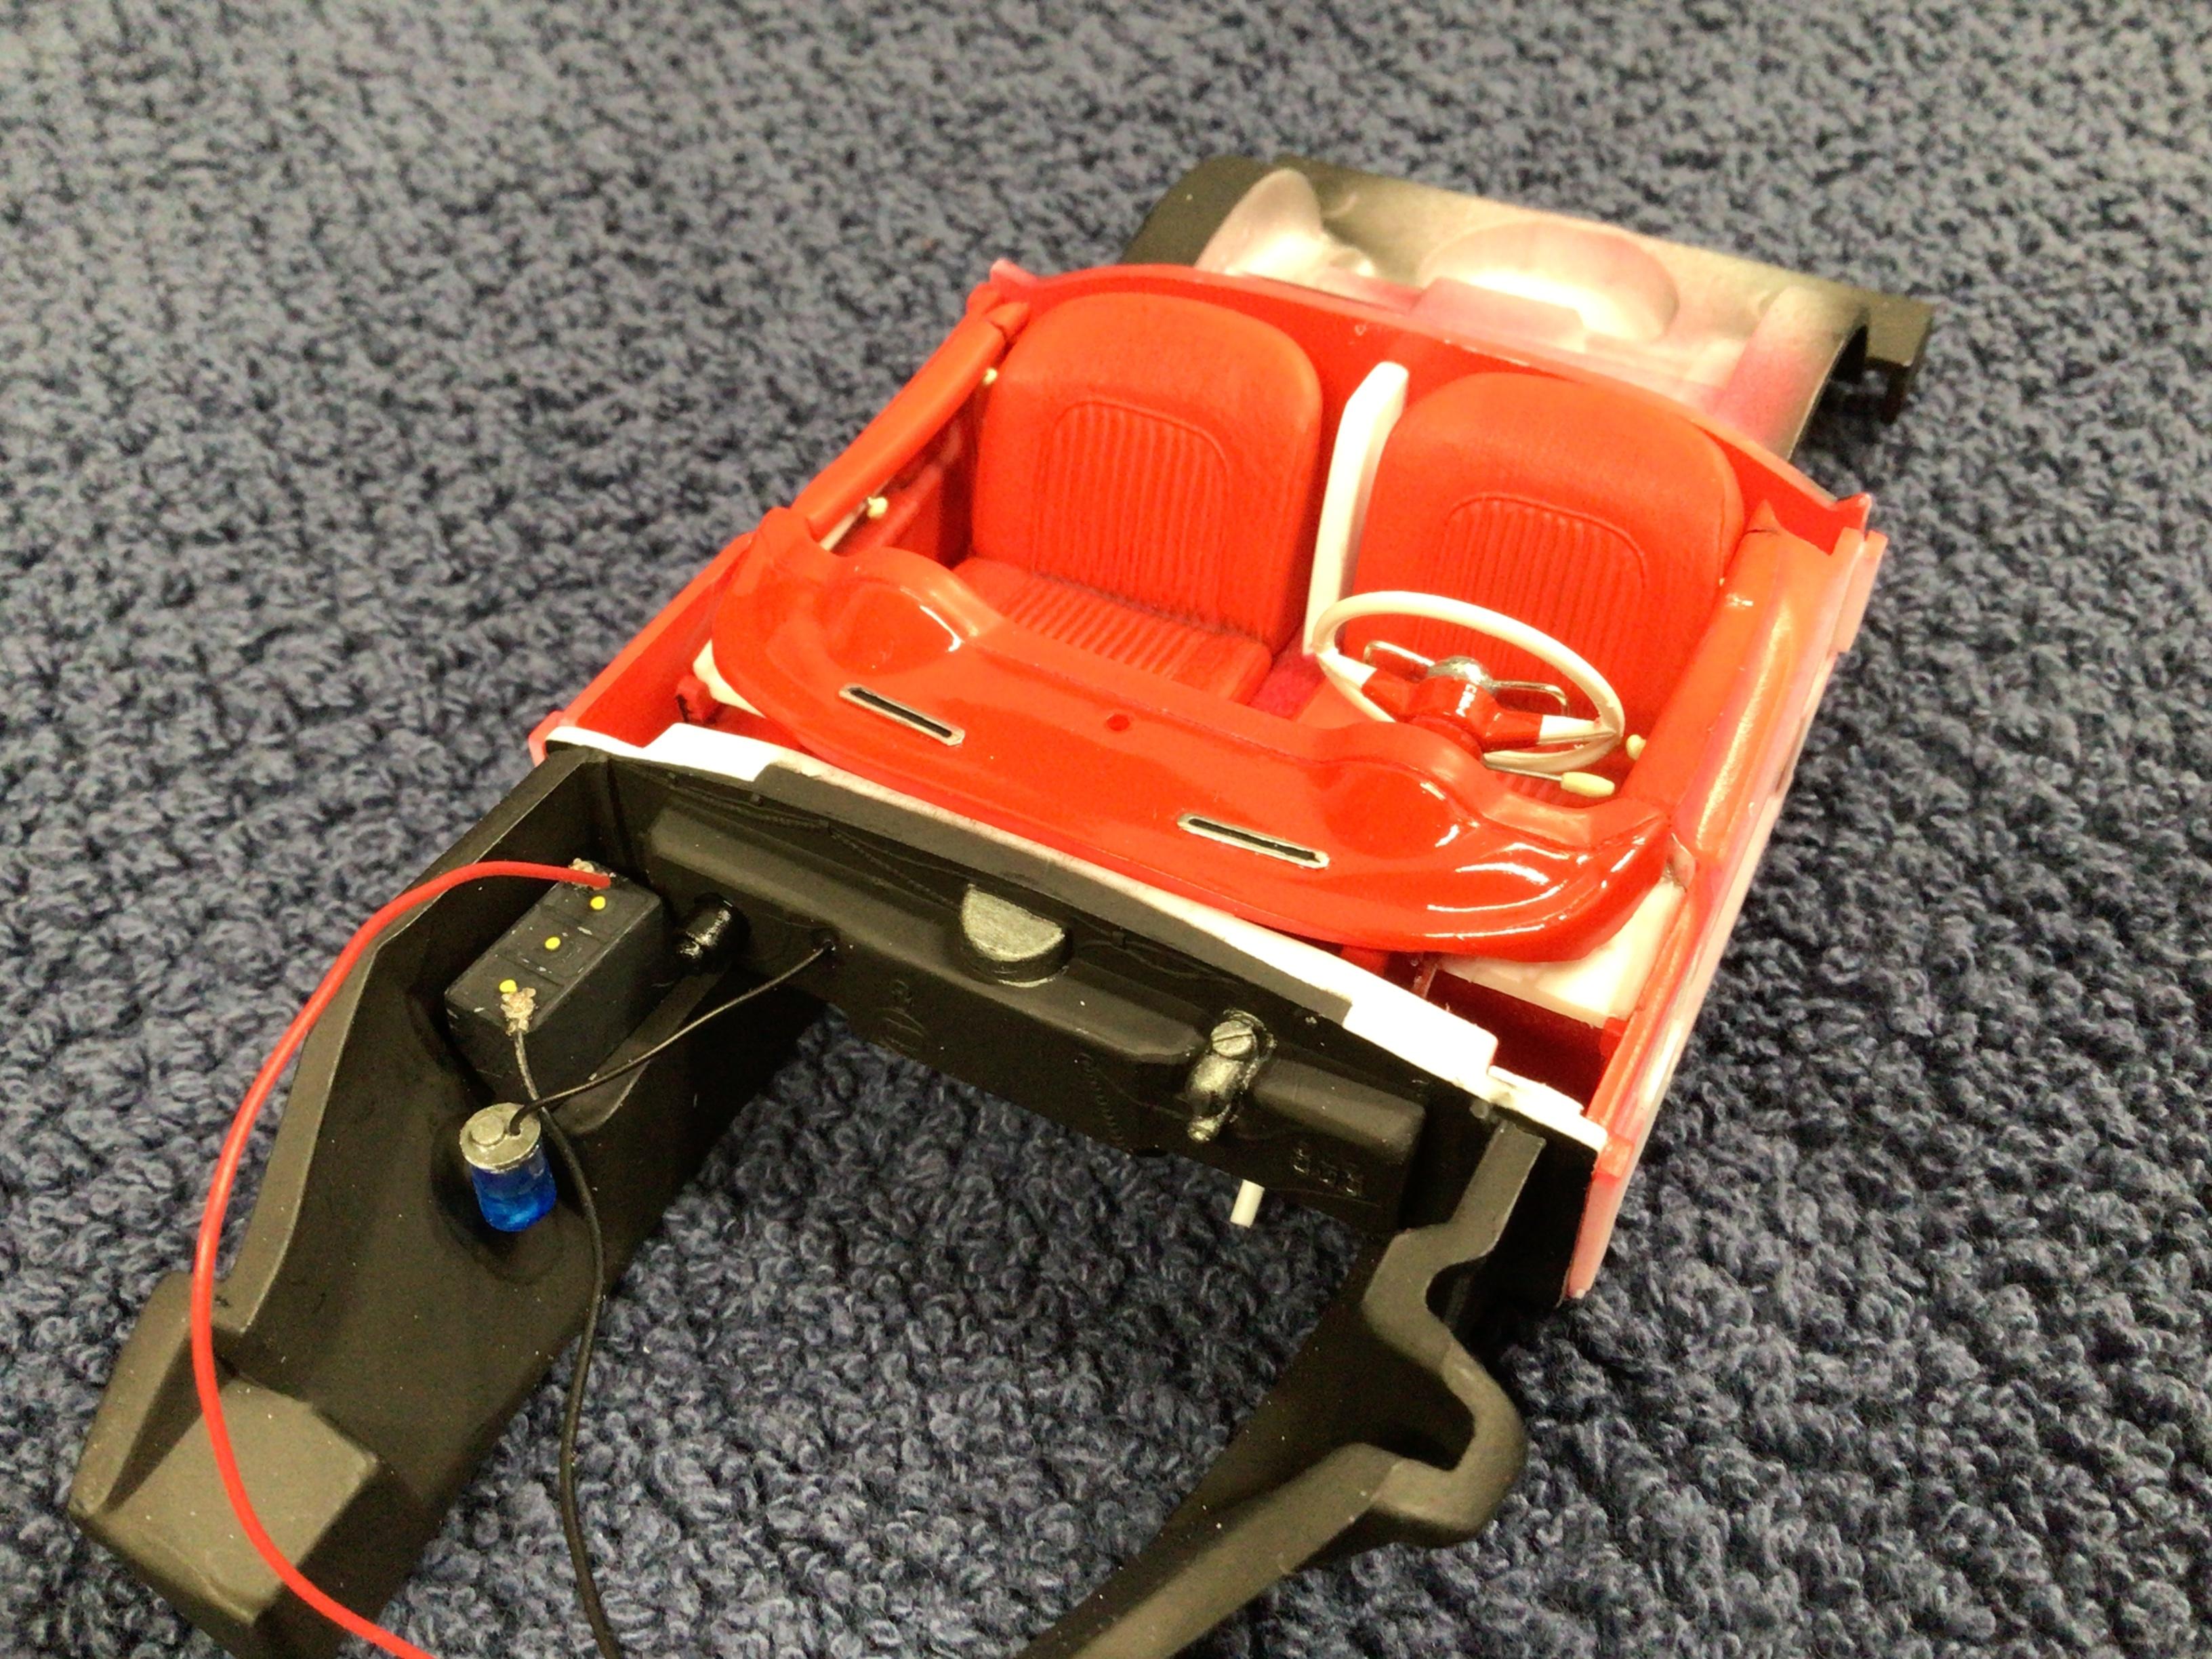
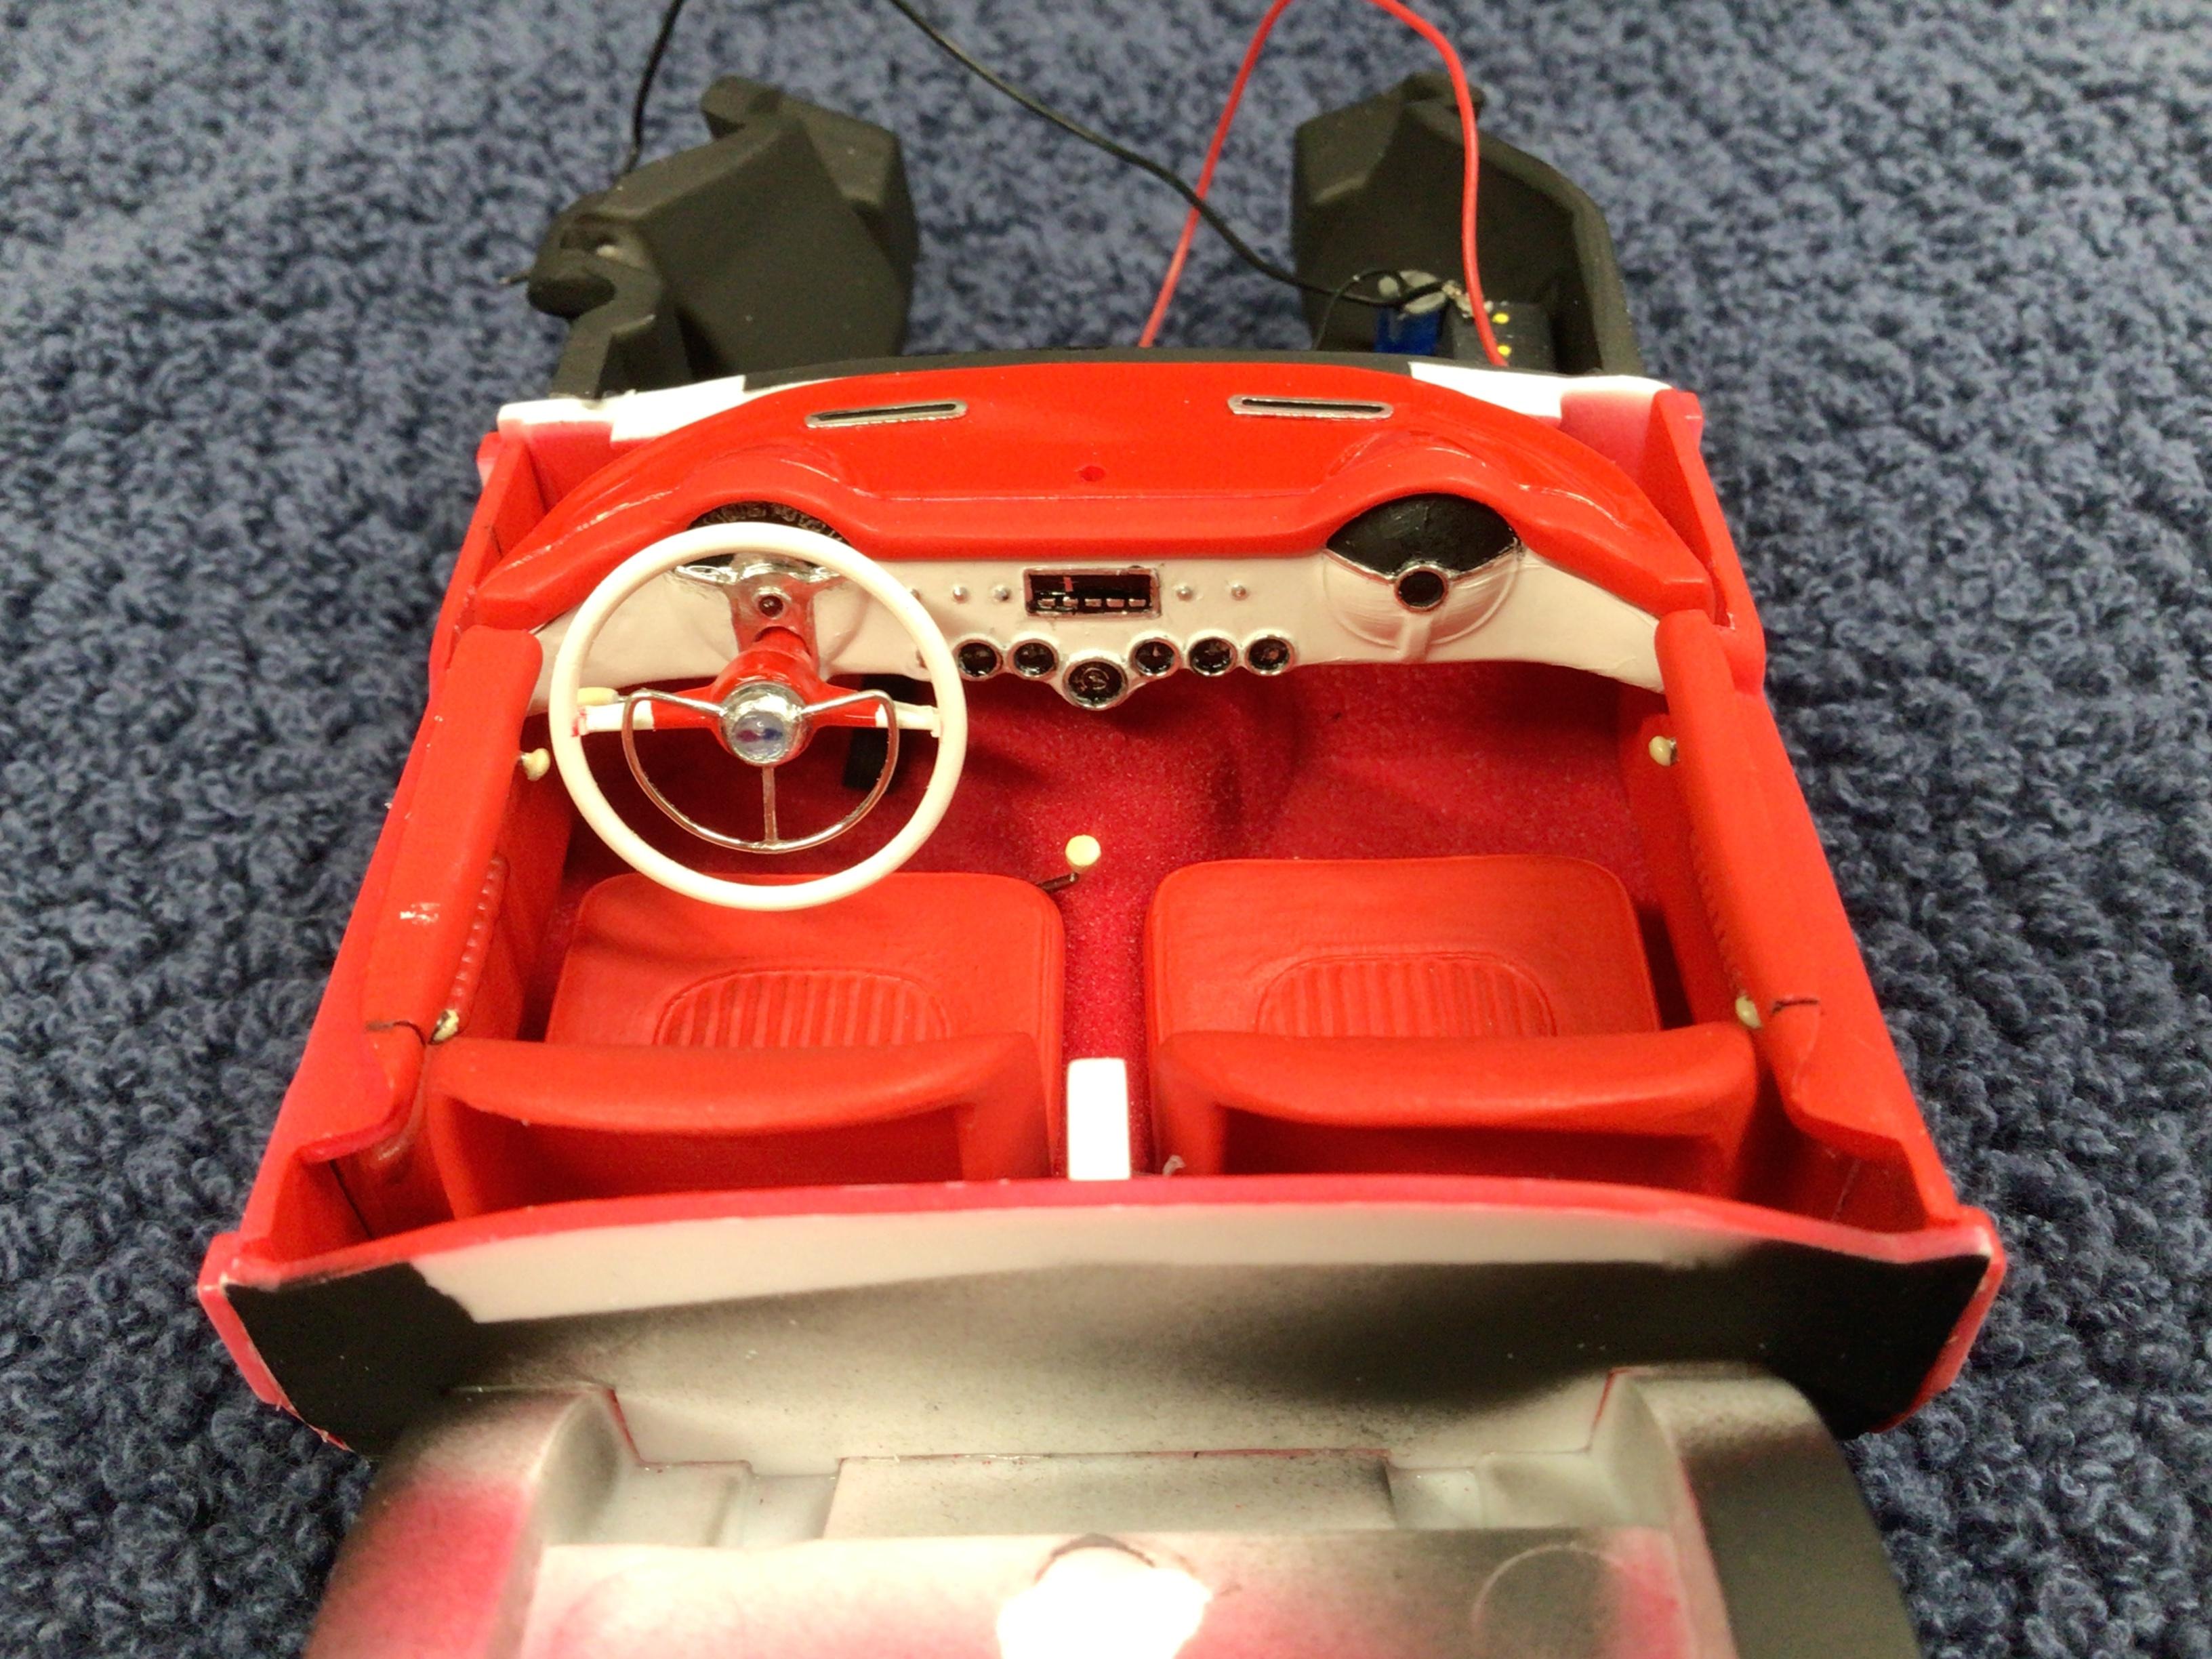
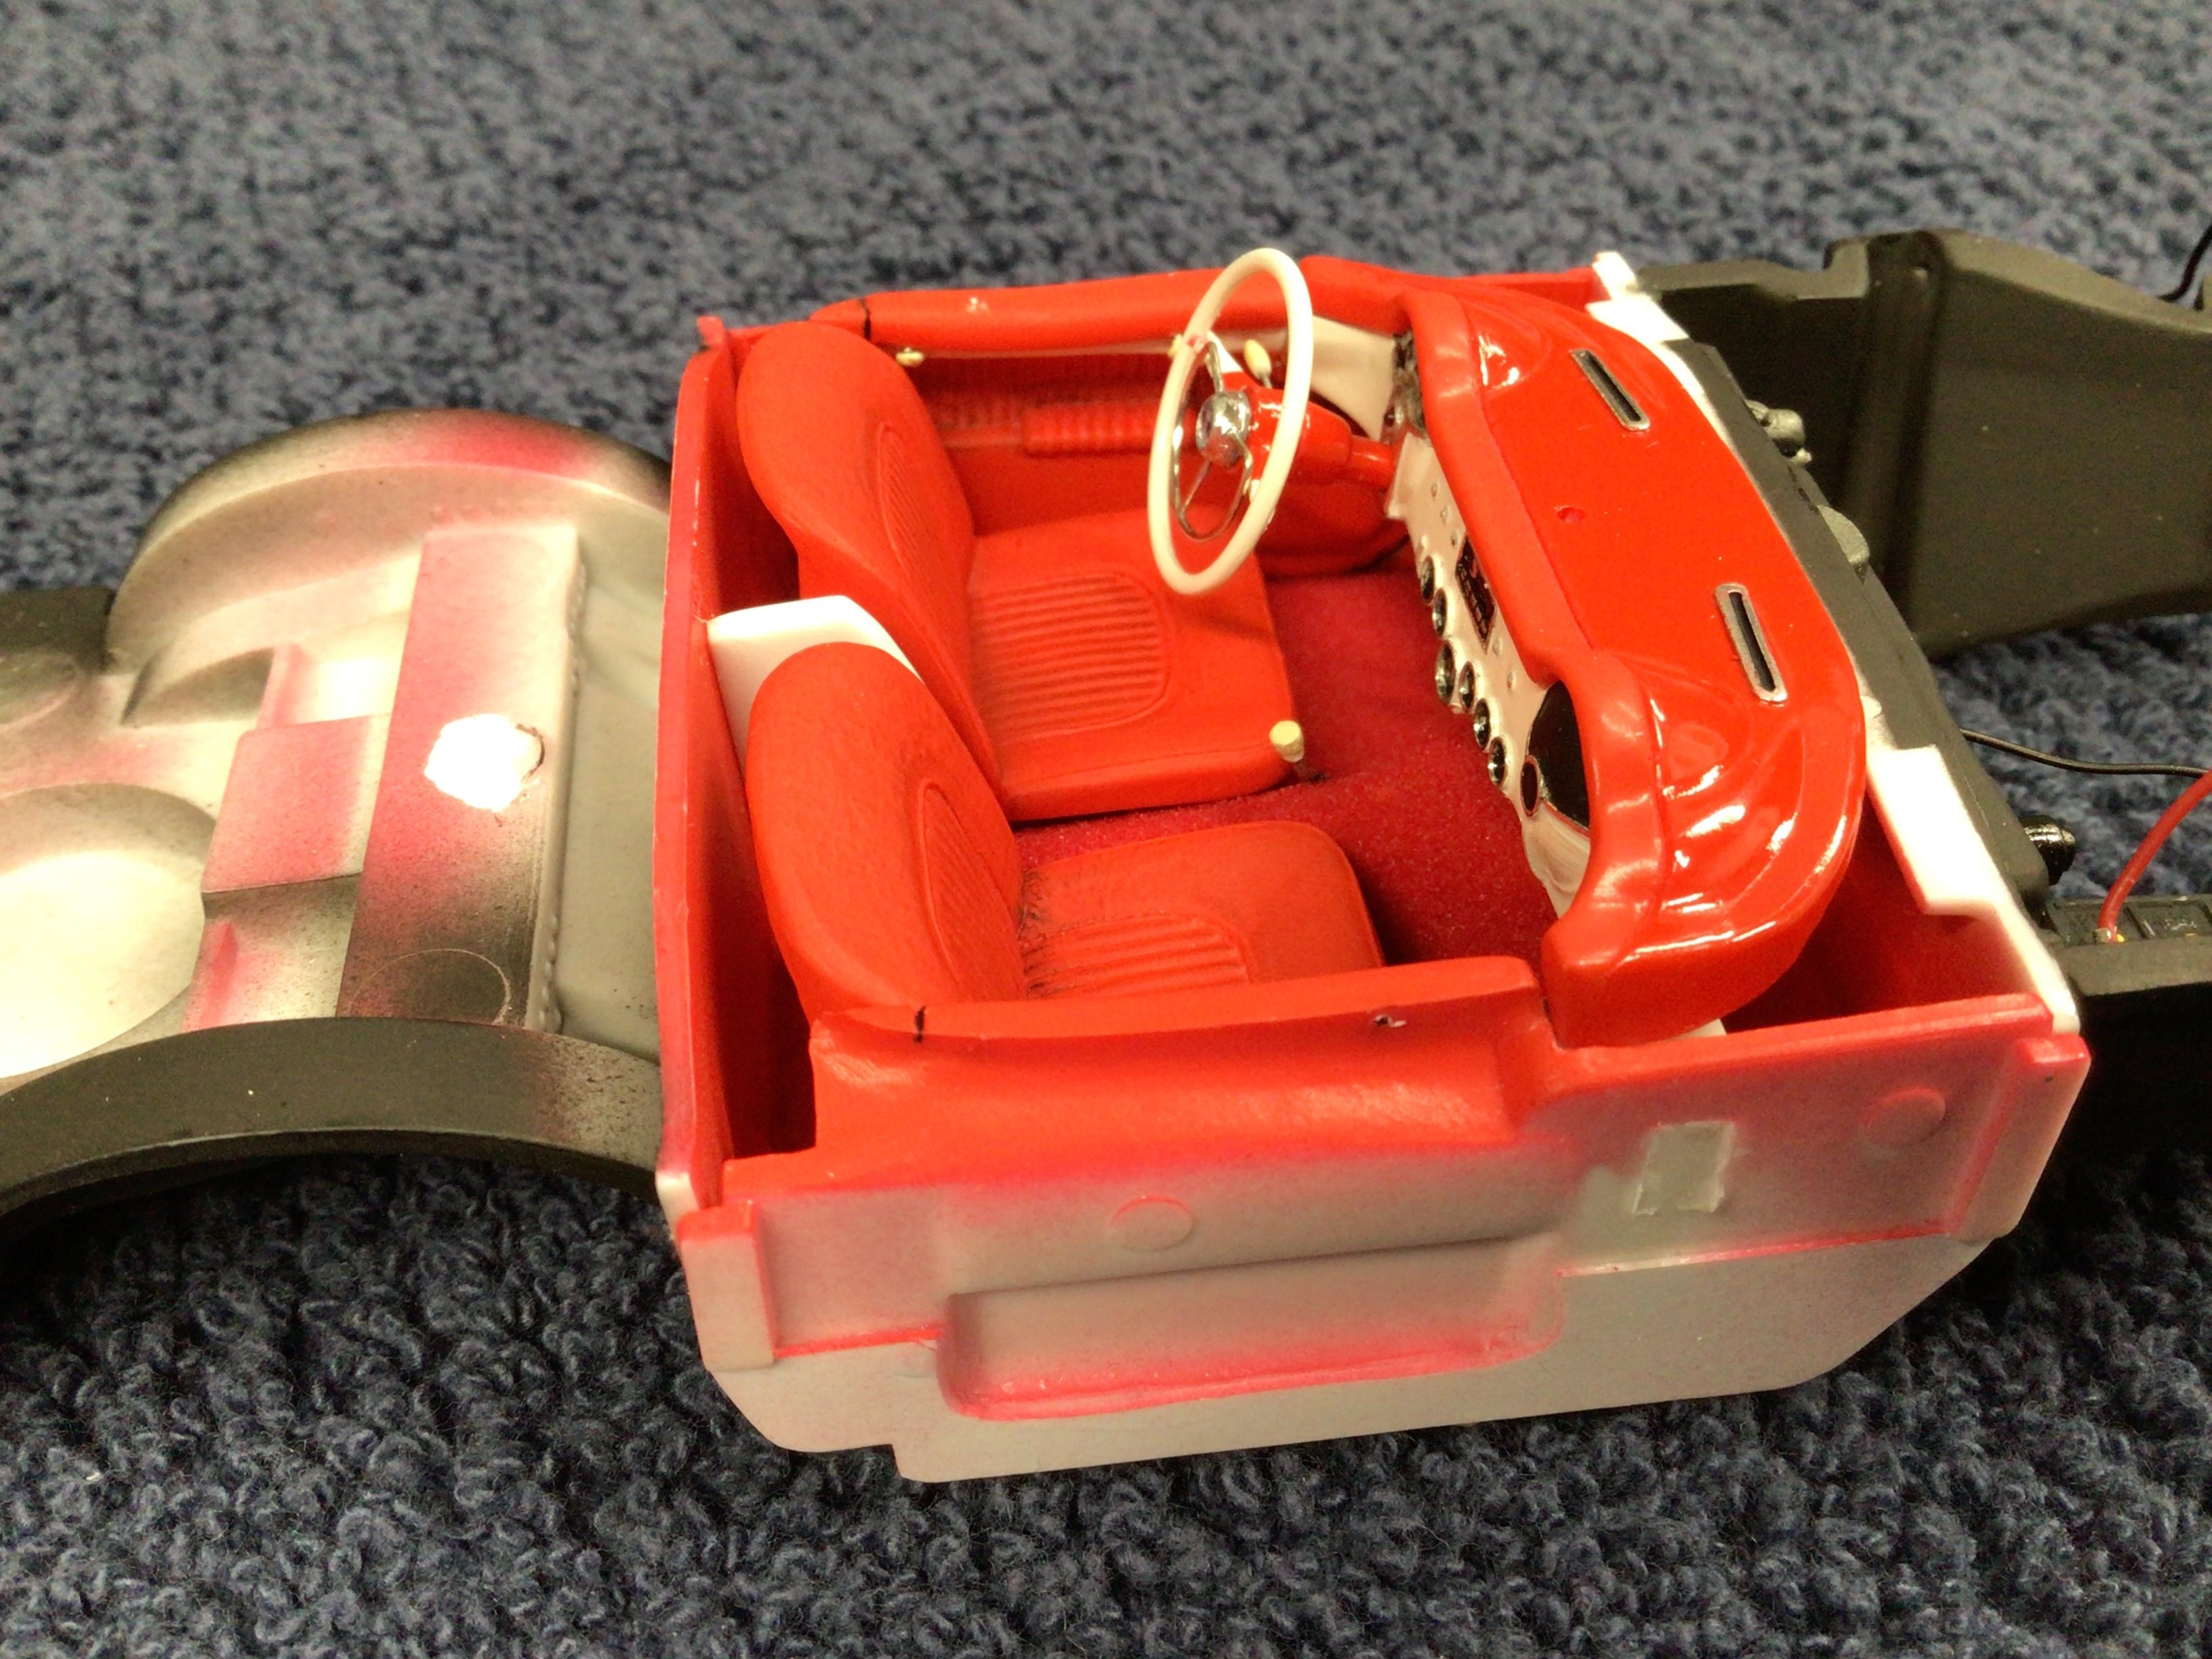
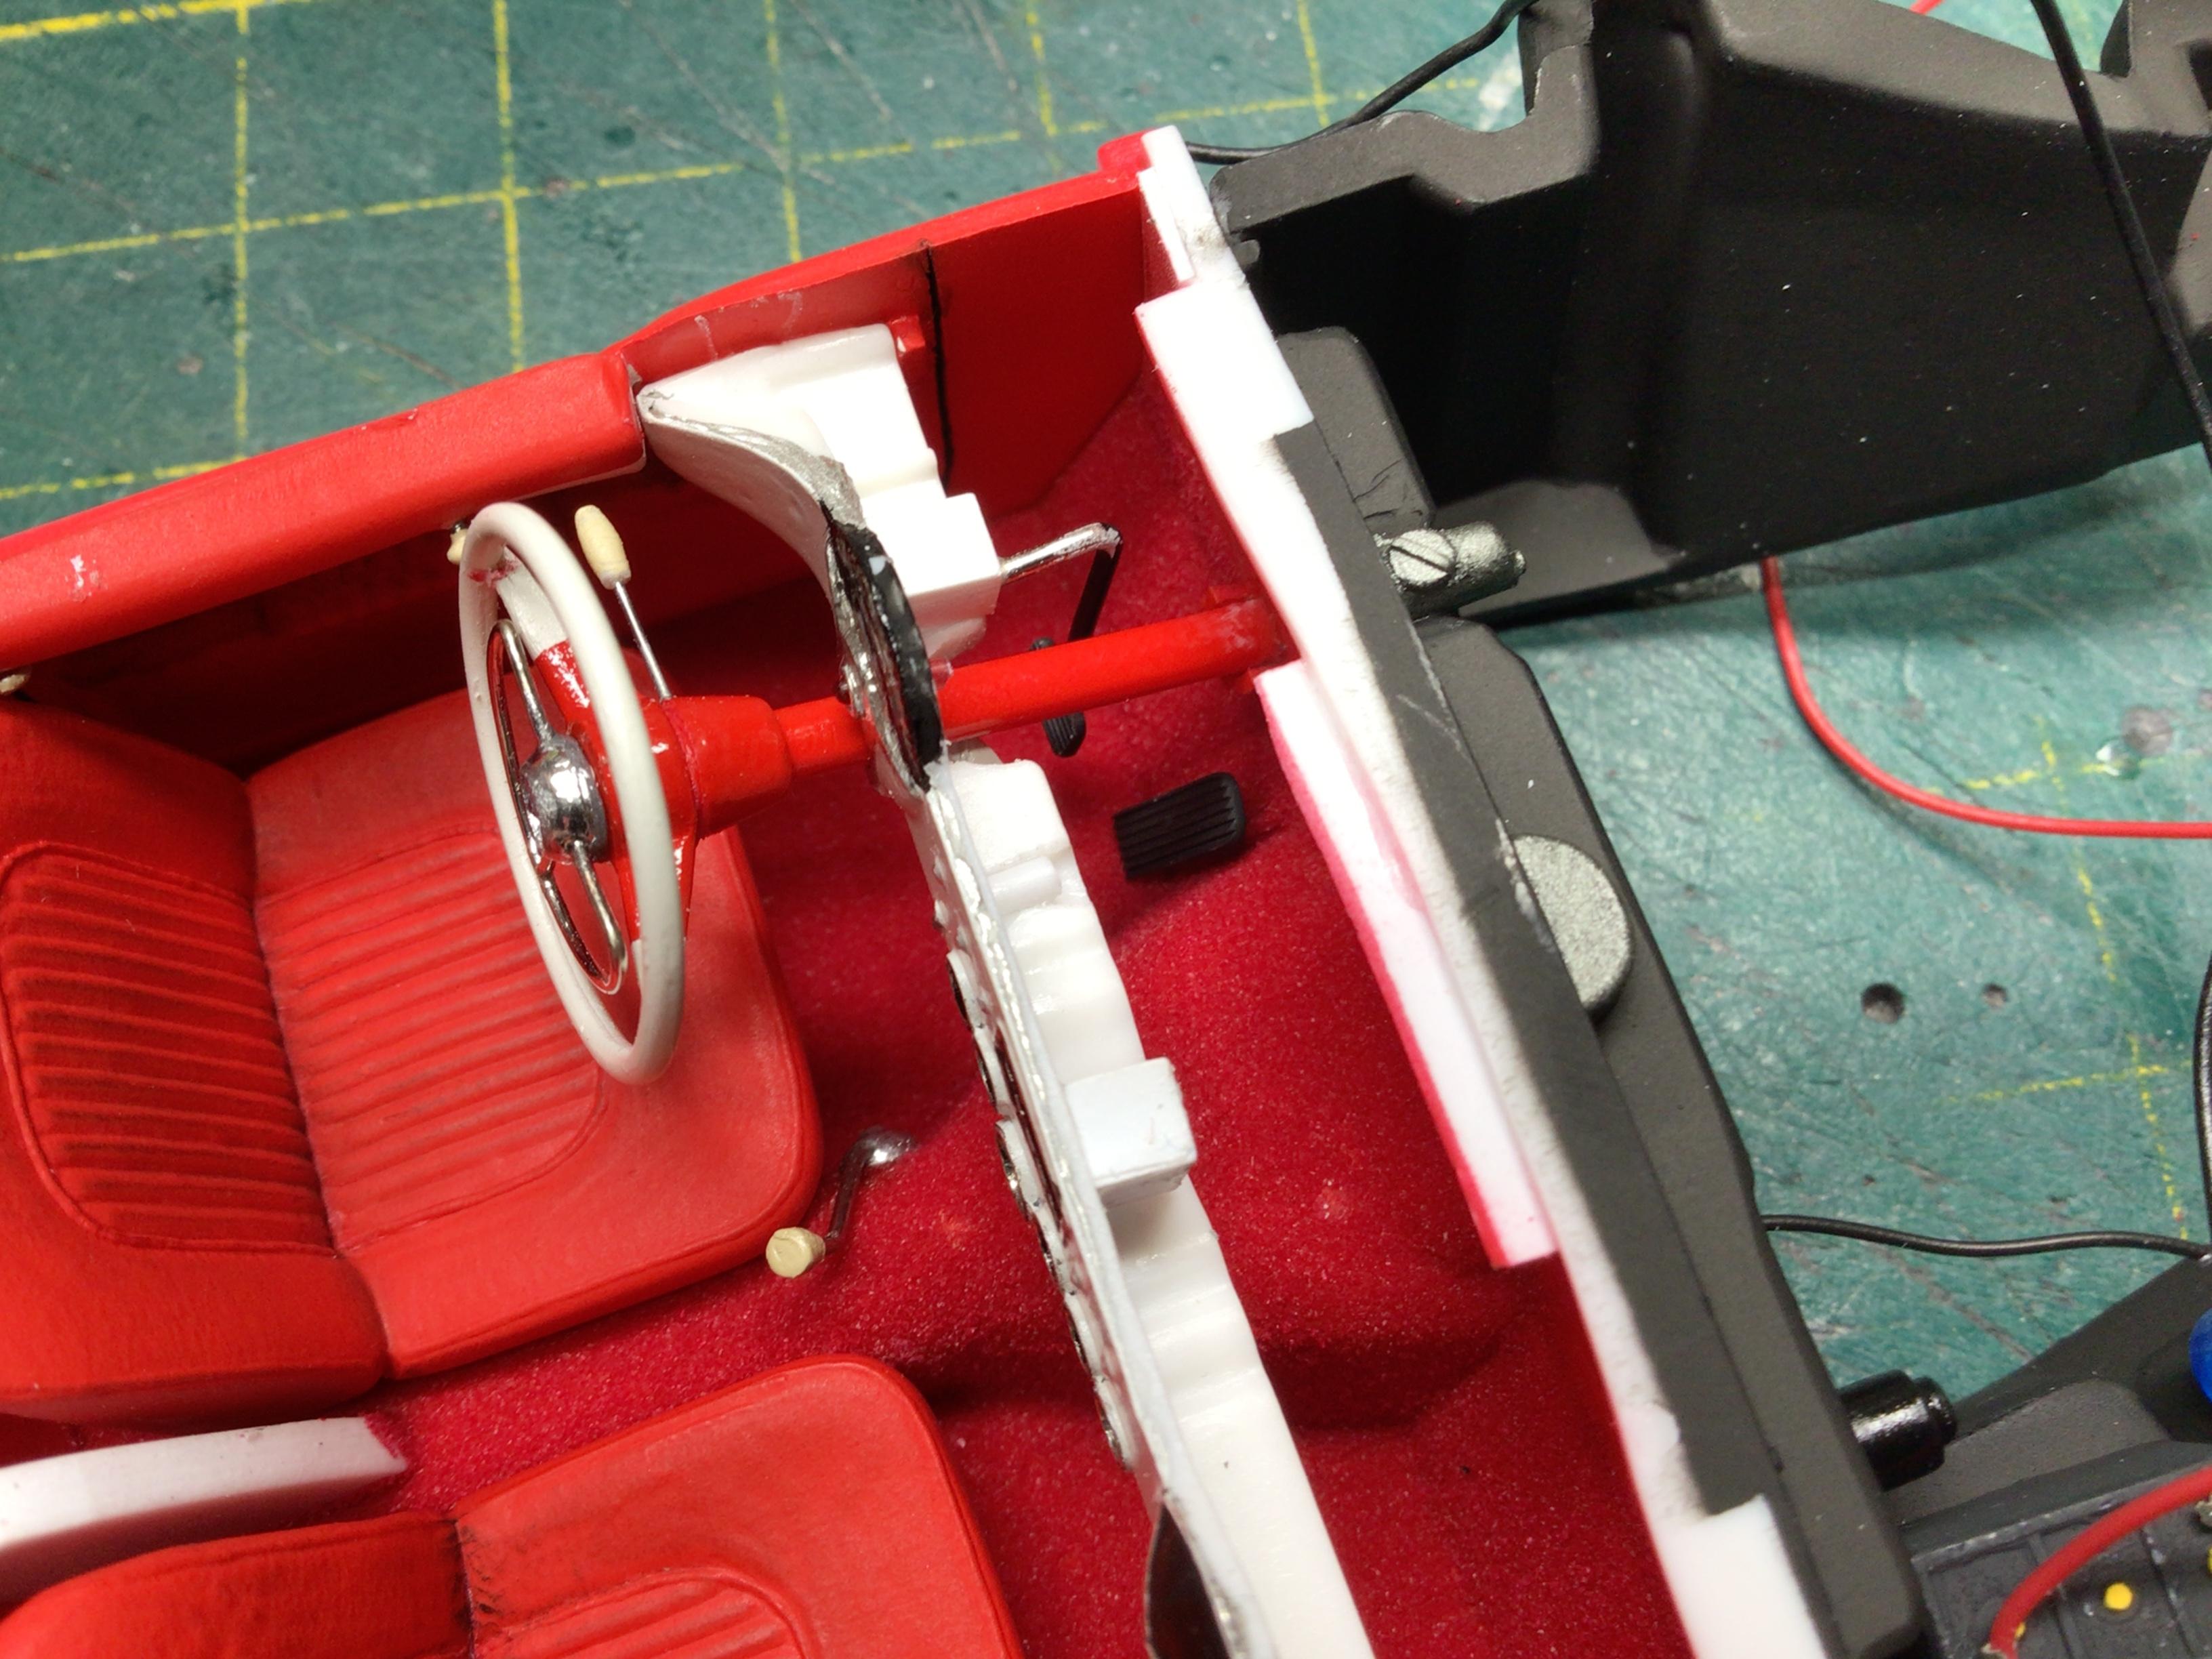
The tires from the ‘62 Corvette are semi-hollow and just a tad narrower at the rim than the solid kit pieces. The sprue attachment points that I filed off were visible, so I tried stuffing the tire in order to expand it slightly, but that didn’t work out.? I ended up filing the lips off the rims in order to narrow them slightly. I also have the interior pretty much assembled. I added a chunk of .100” styrene to the tub between the seats for something to fasten the glove box lid to. The instructions show it glued to the passengers seat.? The pedals, shifter, turn signal lever, horn ring, door openers, defrost vents and washer bottle are all scratch made.? I still need to modify or make rear view mirrors. The drivers is going to have to watch his knuckles on the door opener.? The steering column is not quite centered on the driver’s seat though, so it is what it is.? TAFN.
-
Thanks Fellas!?
-
Cool…love that color too!?
-
Very nicely done Keith!?
-
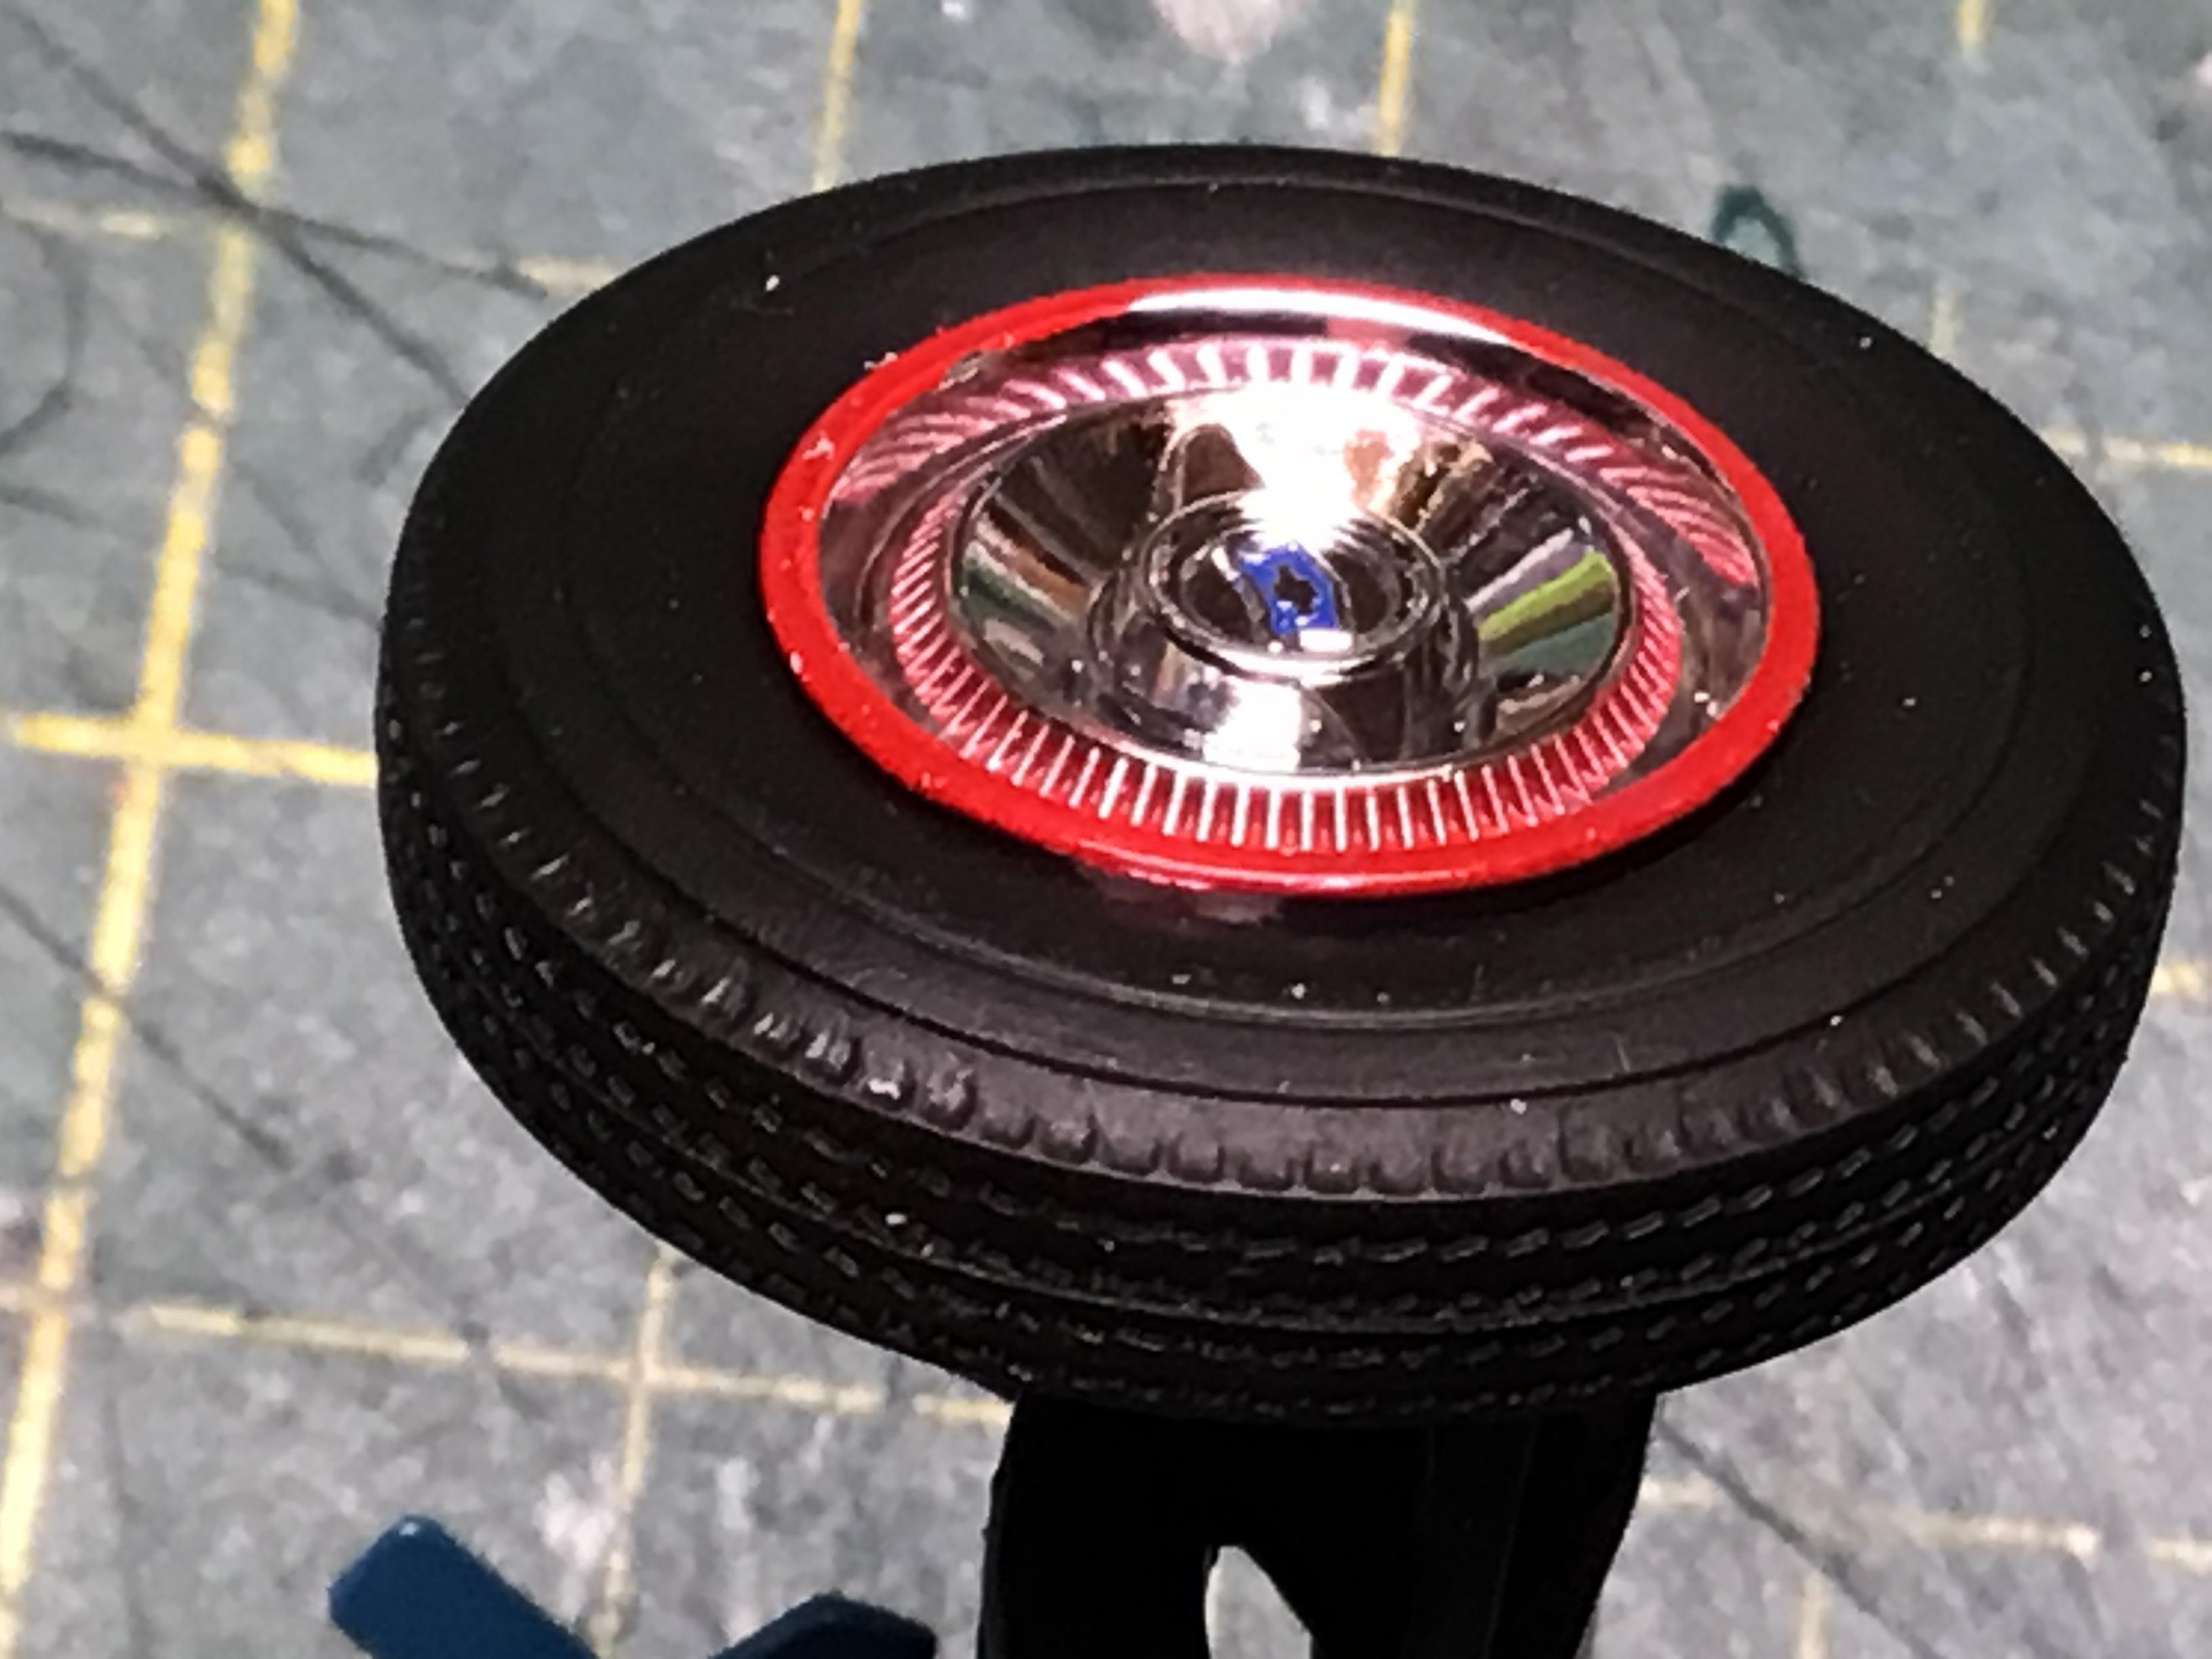
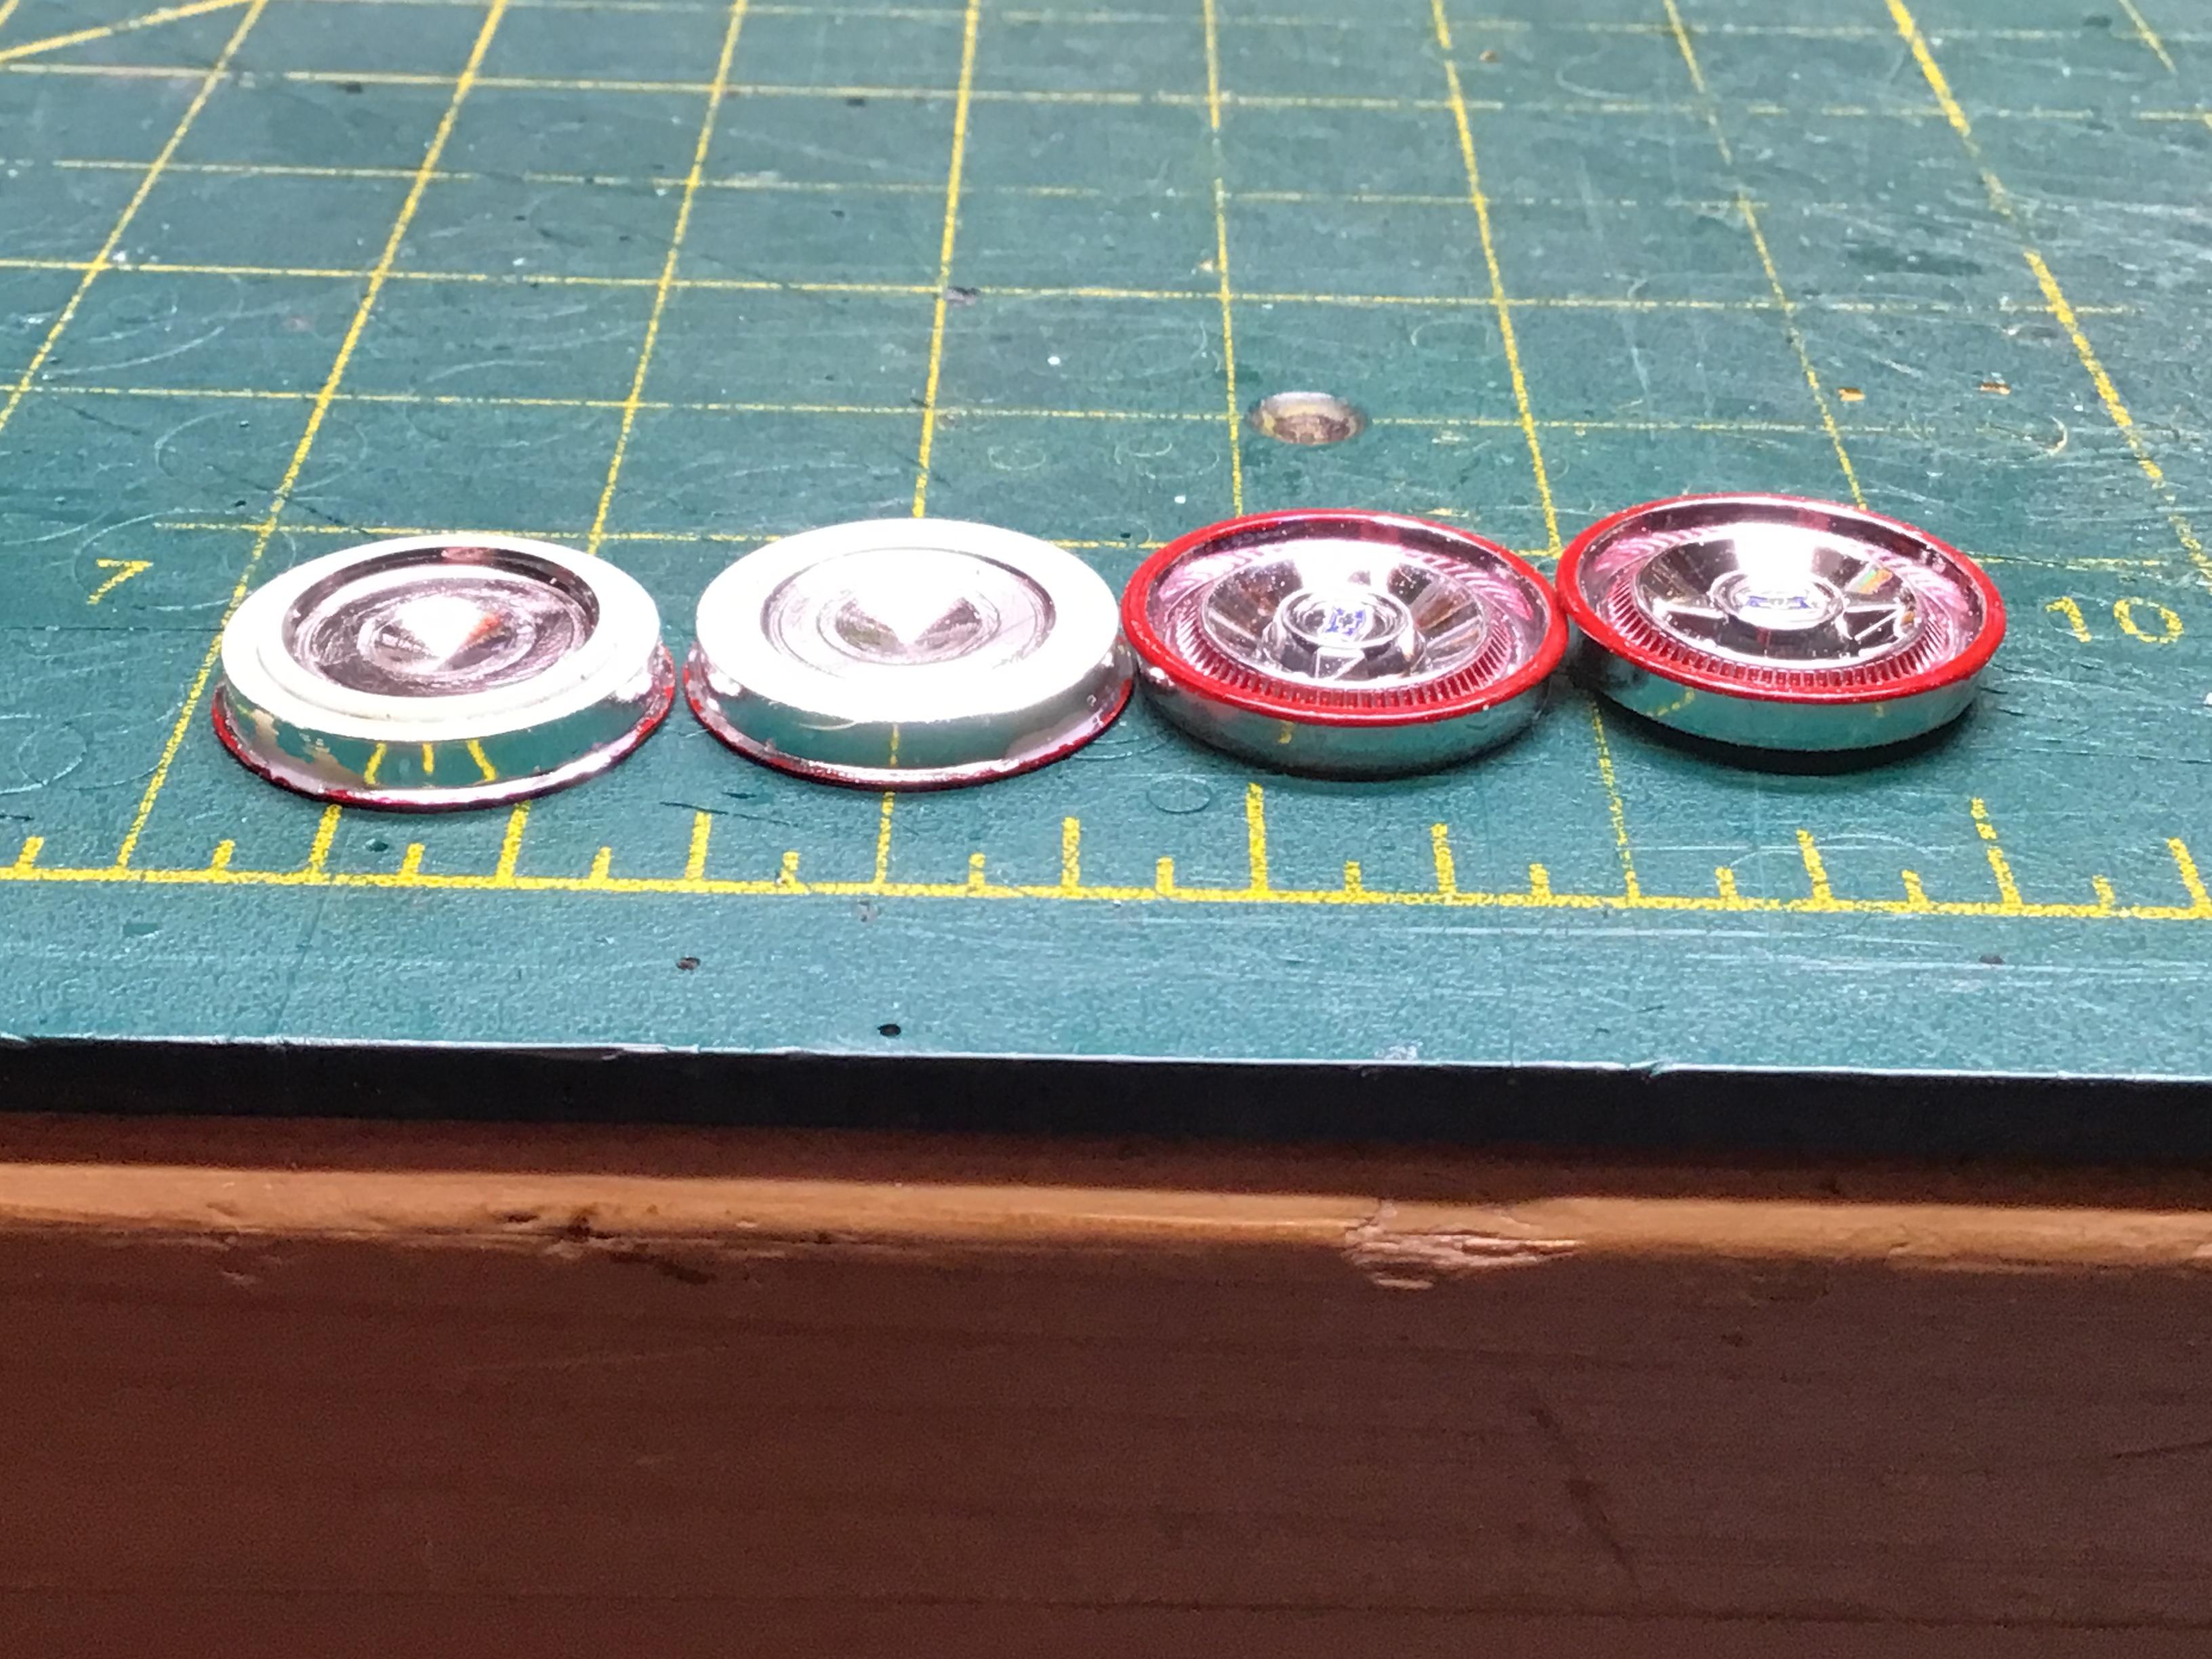
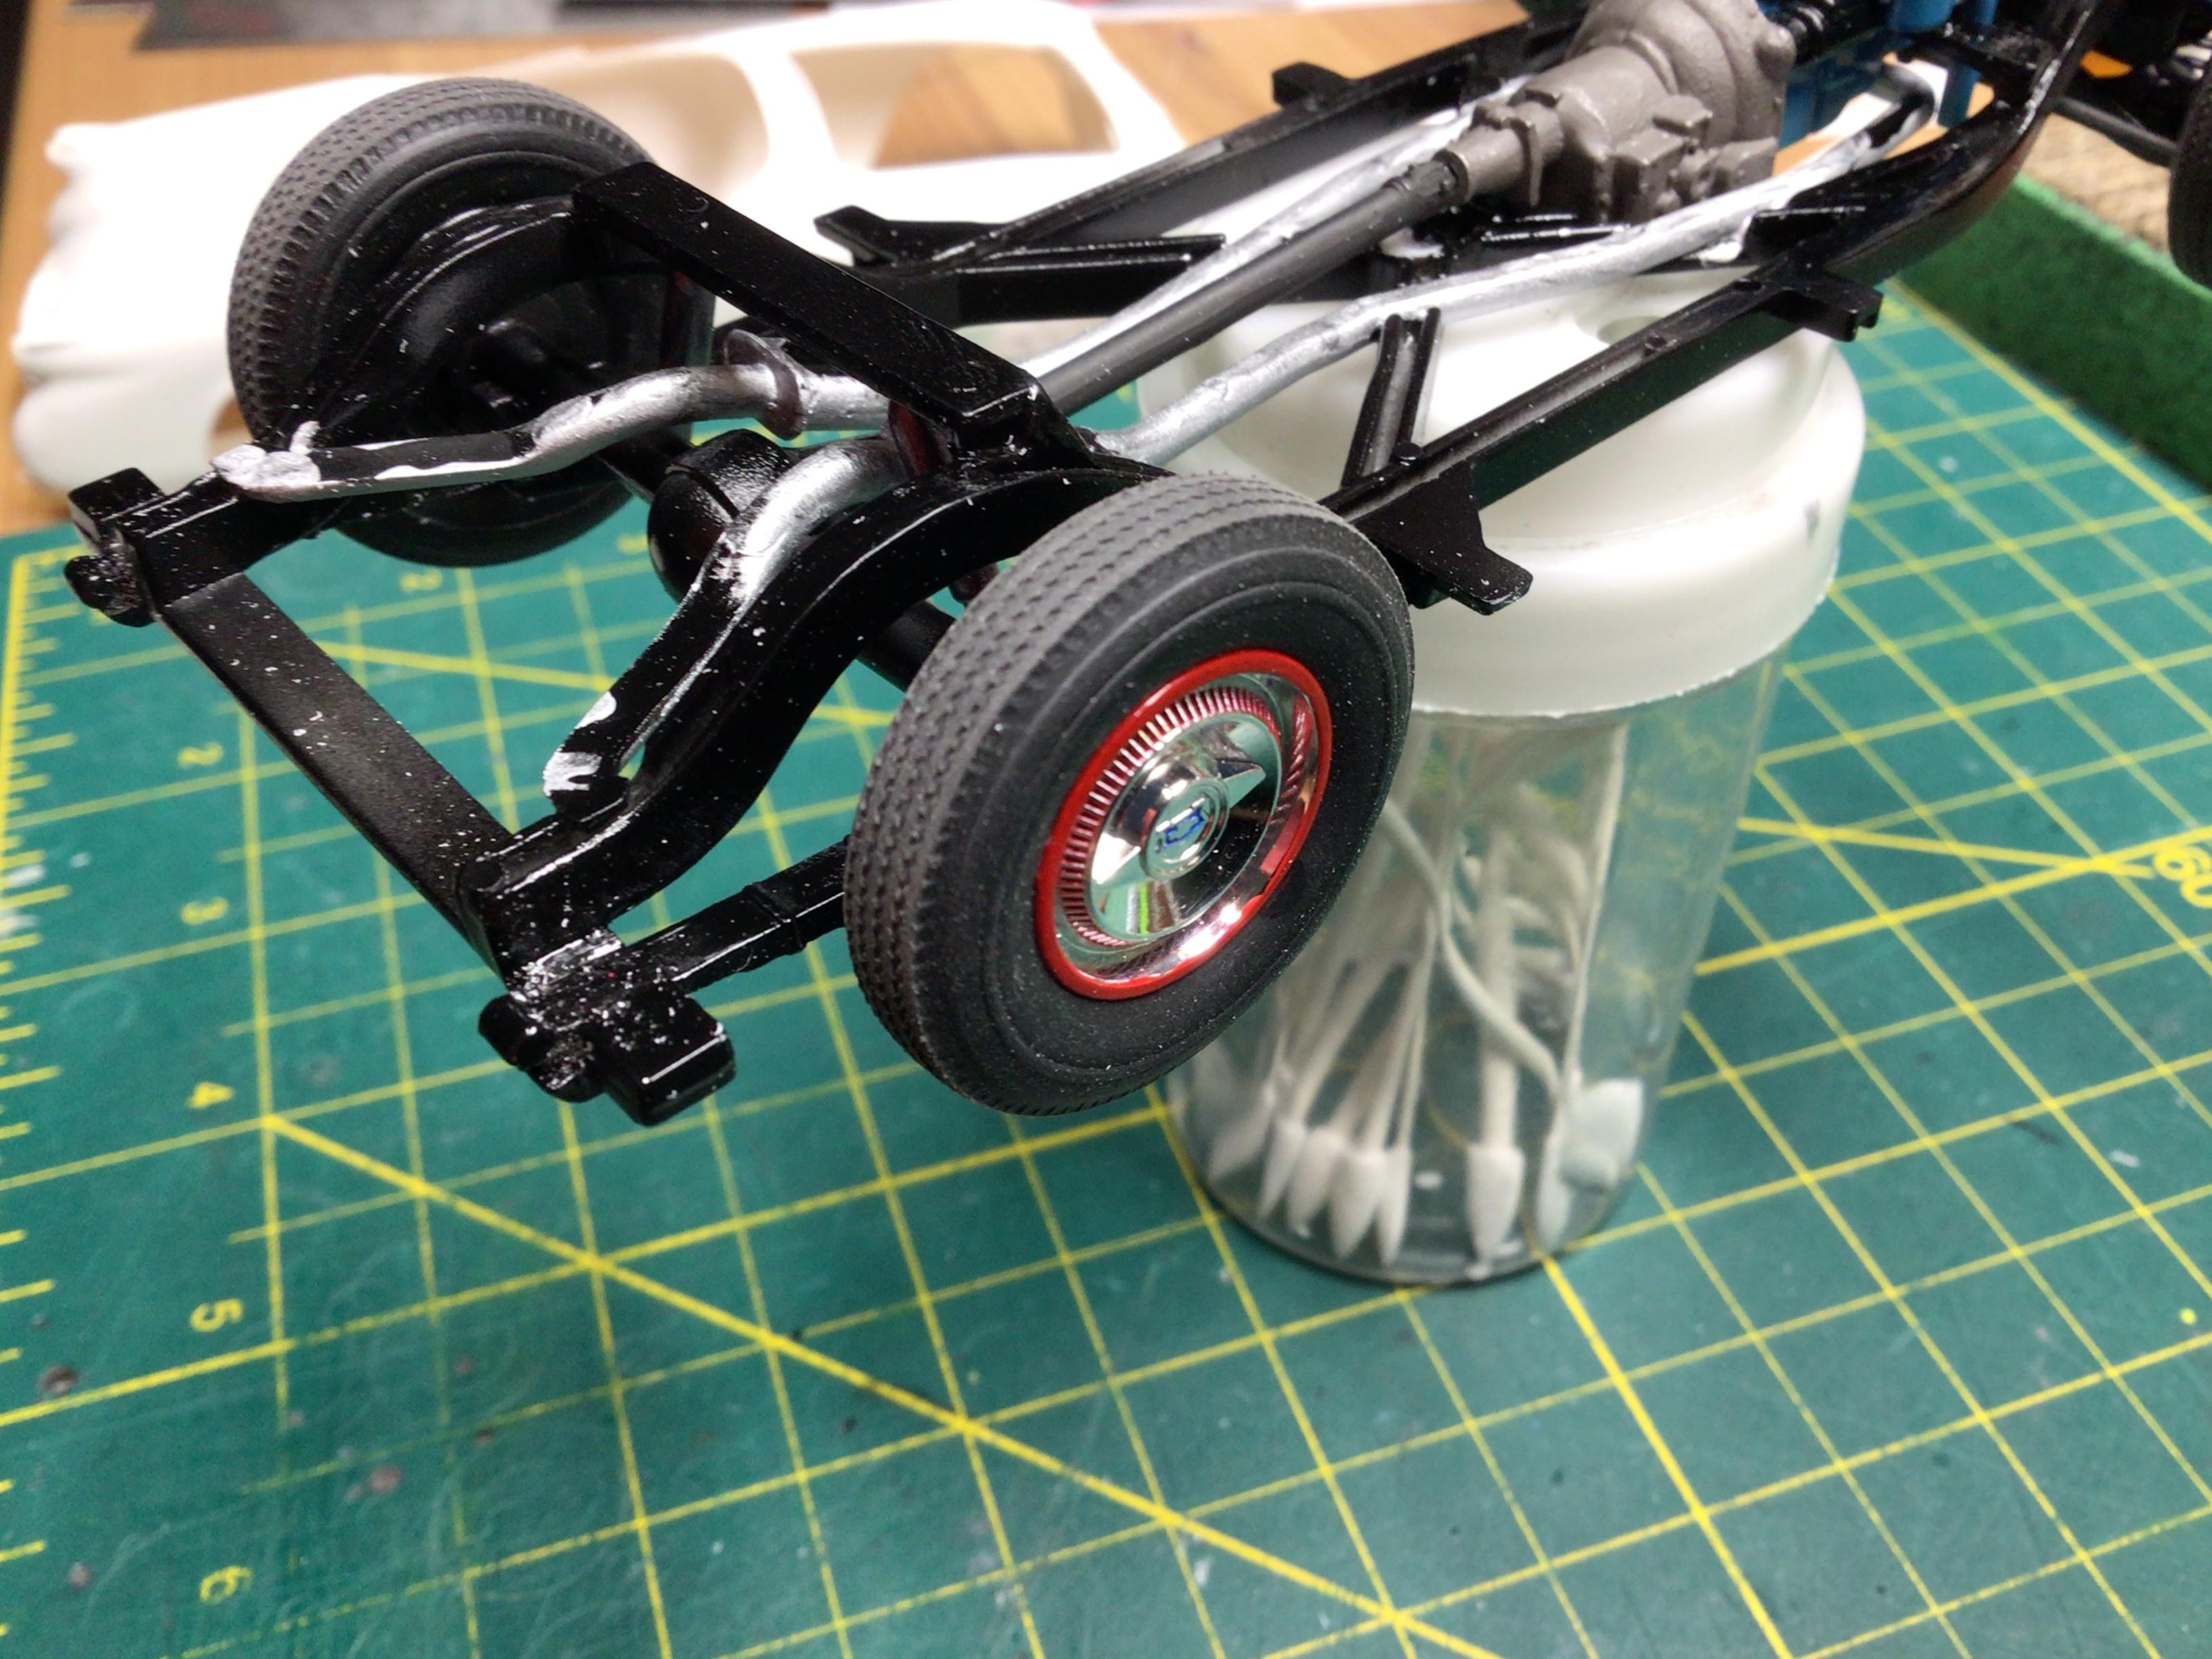
I detailed the hubcaps this morning before brewing my second cup of coffee. The outer ring would actually be part of the wheel rim on a 1:1.
-
Nice work so far Pat. It should be easy to mirror it…I just did it on my iPad.
-

Johan ‘70 Cadillac ElDorado pro touring (low and aggressive)
NOBLNG replied to Steve H's topic in WIP: Model Cars
Love the color and the finish Steve. And I like the little recess for the door latch. I’ve been thinking of doing that to my T-Bird. -
My take on the most famous ‘55 gasser street machine’…
NOBLNG replied to OldNYJim's topic in WIP: Model Cars
Wow, you’ve put a lot of detailing into this one Jim!? The paint and decals look beautiful.? -
I don’t know what to say except…WOW!?
-
Fabulous work JC!??
-
Restomod '57 Chevy Cameo
NOBLNG replied to Can-Con's topic in WIP: Model Trucks: Pickups, Vans, SUVs, Light Commercial
Nice!? I have two of these and this makes me want to get at ‘em.? -
Nice pair!??
-
Looking good Steve!? I love these cars.?
-
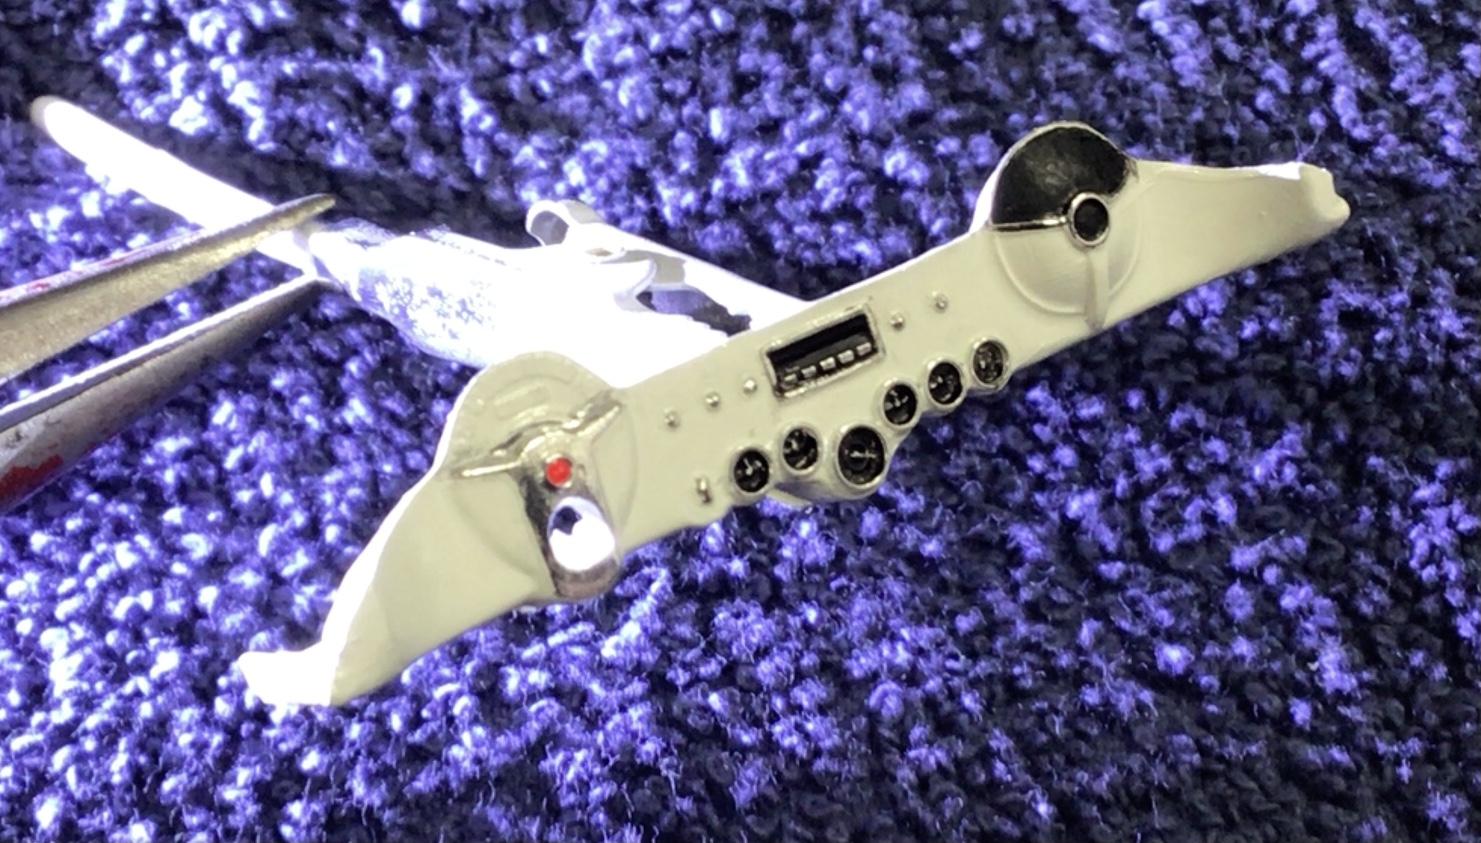
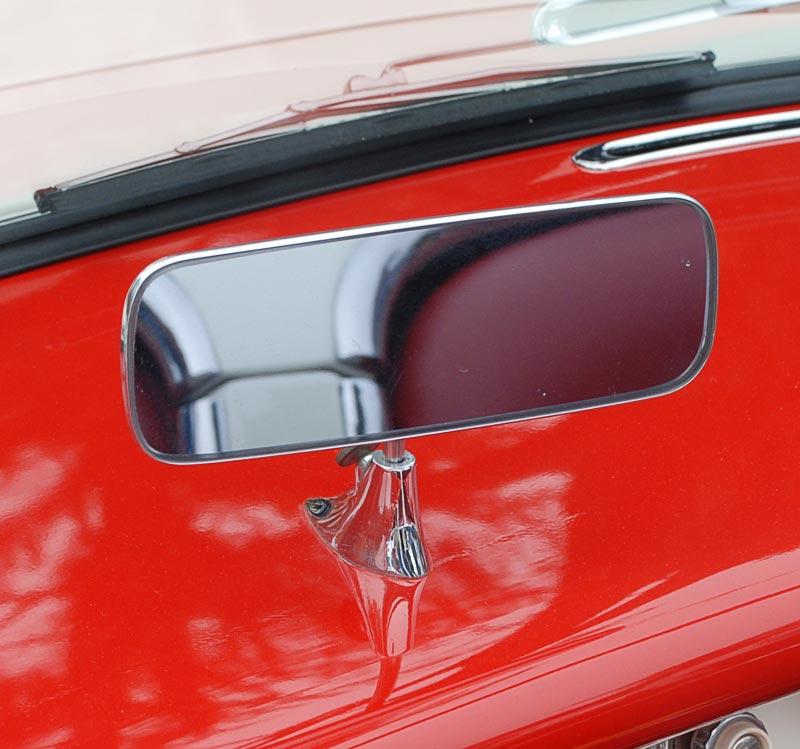
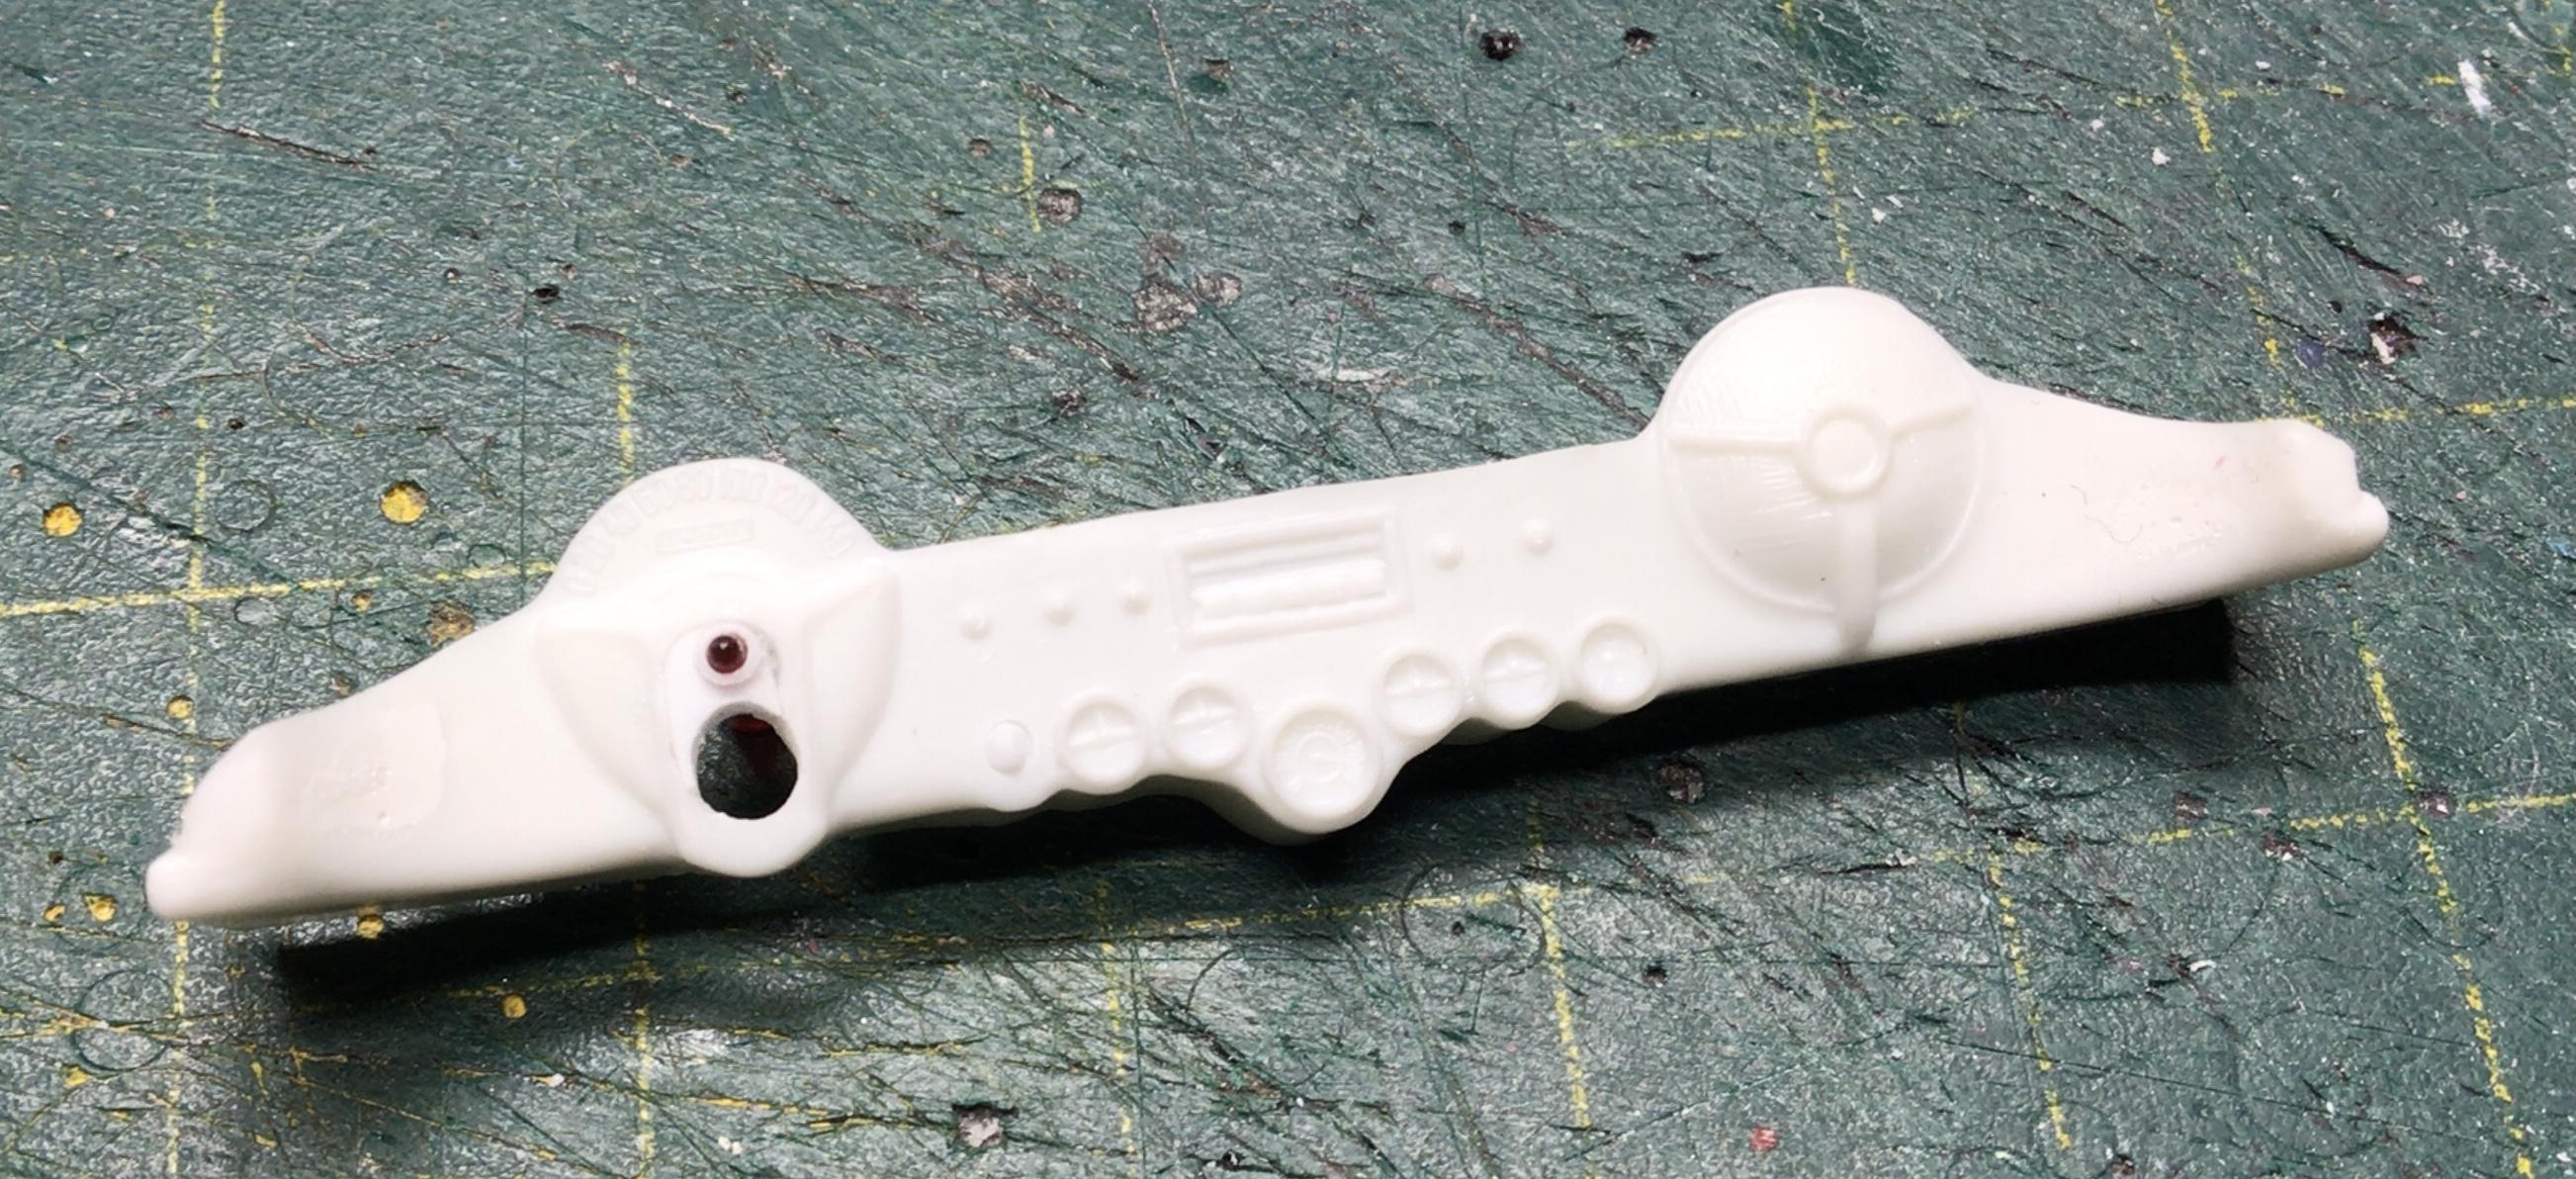
Did a little more work on the dash. I foiled the entire lower section, then primed and painted over the foil. Then I painted the guage faces and speaker grill, and cleaned the paint off the foil where required. I also scribed in the dash pad on the upper section with my handy dandy trim scriber, and will coat the pad with flat clear once everything is dry enough to mask. I still have to add the speedo that I printed. The guages look good enough in my eye with just the black paint wiped off the raised areas…bonus!? Hey…the brake light works!? I will have to scratch build a rear view mirror, since the kit piece is clunky and has a nice ejector pin mark right on the mirror face.?
-
It won’t be any contest winner that’s for sure.? It won’t be the proper polo white either, just an off-white. Mr Color #69 actually…it’s got a bit of a greyish tone to it, but it’s good enough for me.? Just fixing some (not all) of the defects, and there are plenty.?
-
Cherished objects of my youth included my bicycle.
-
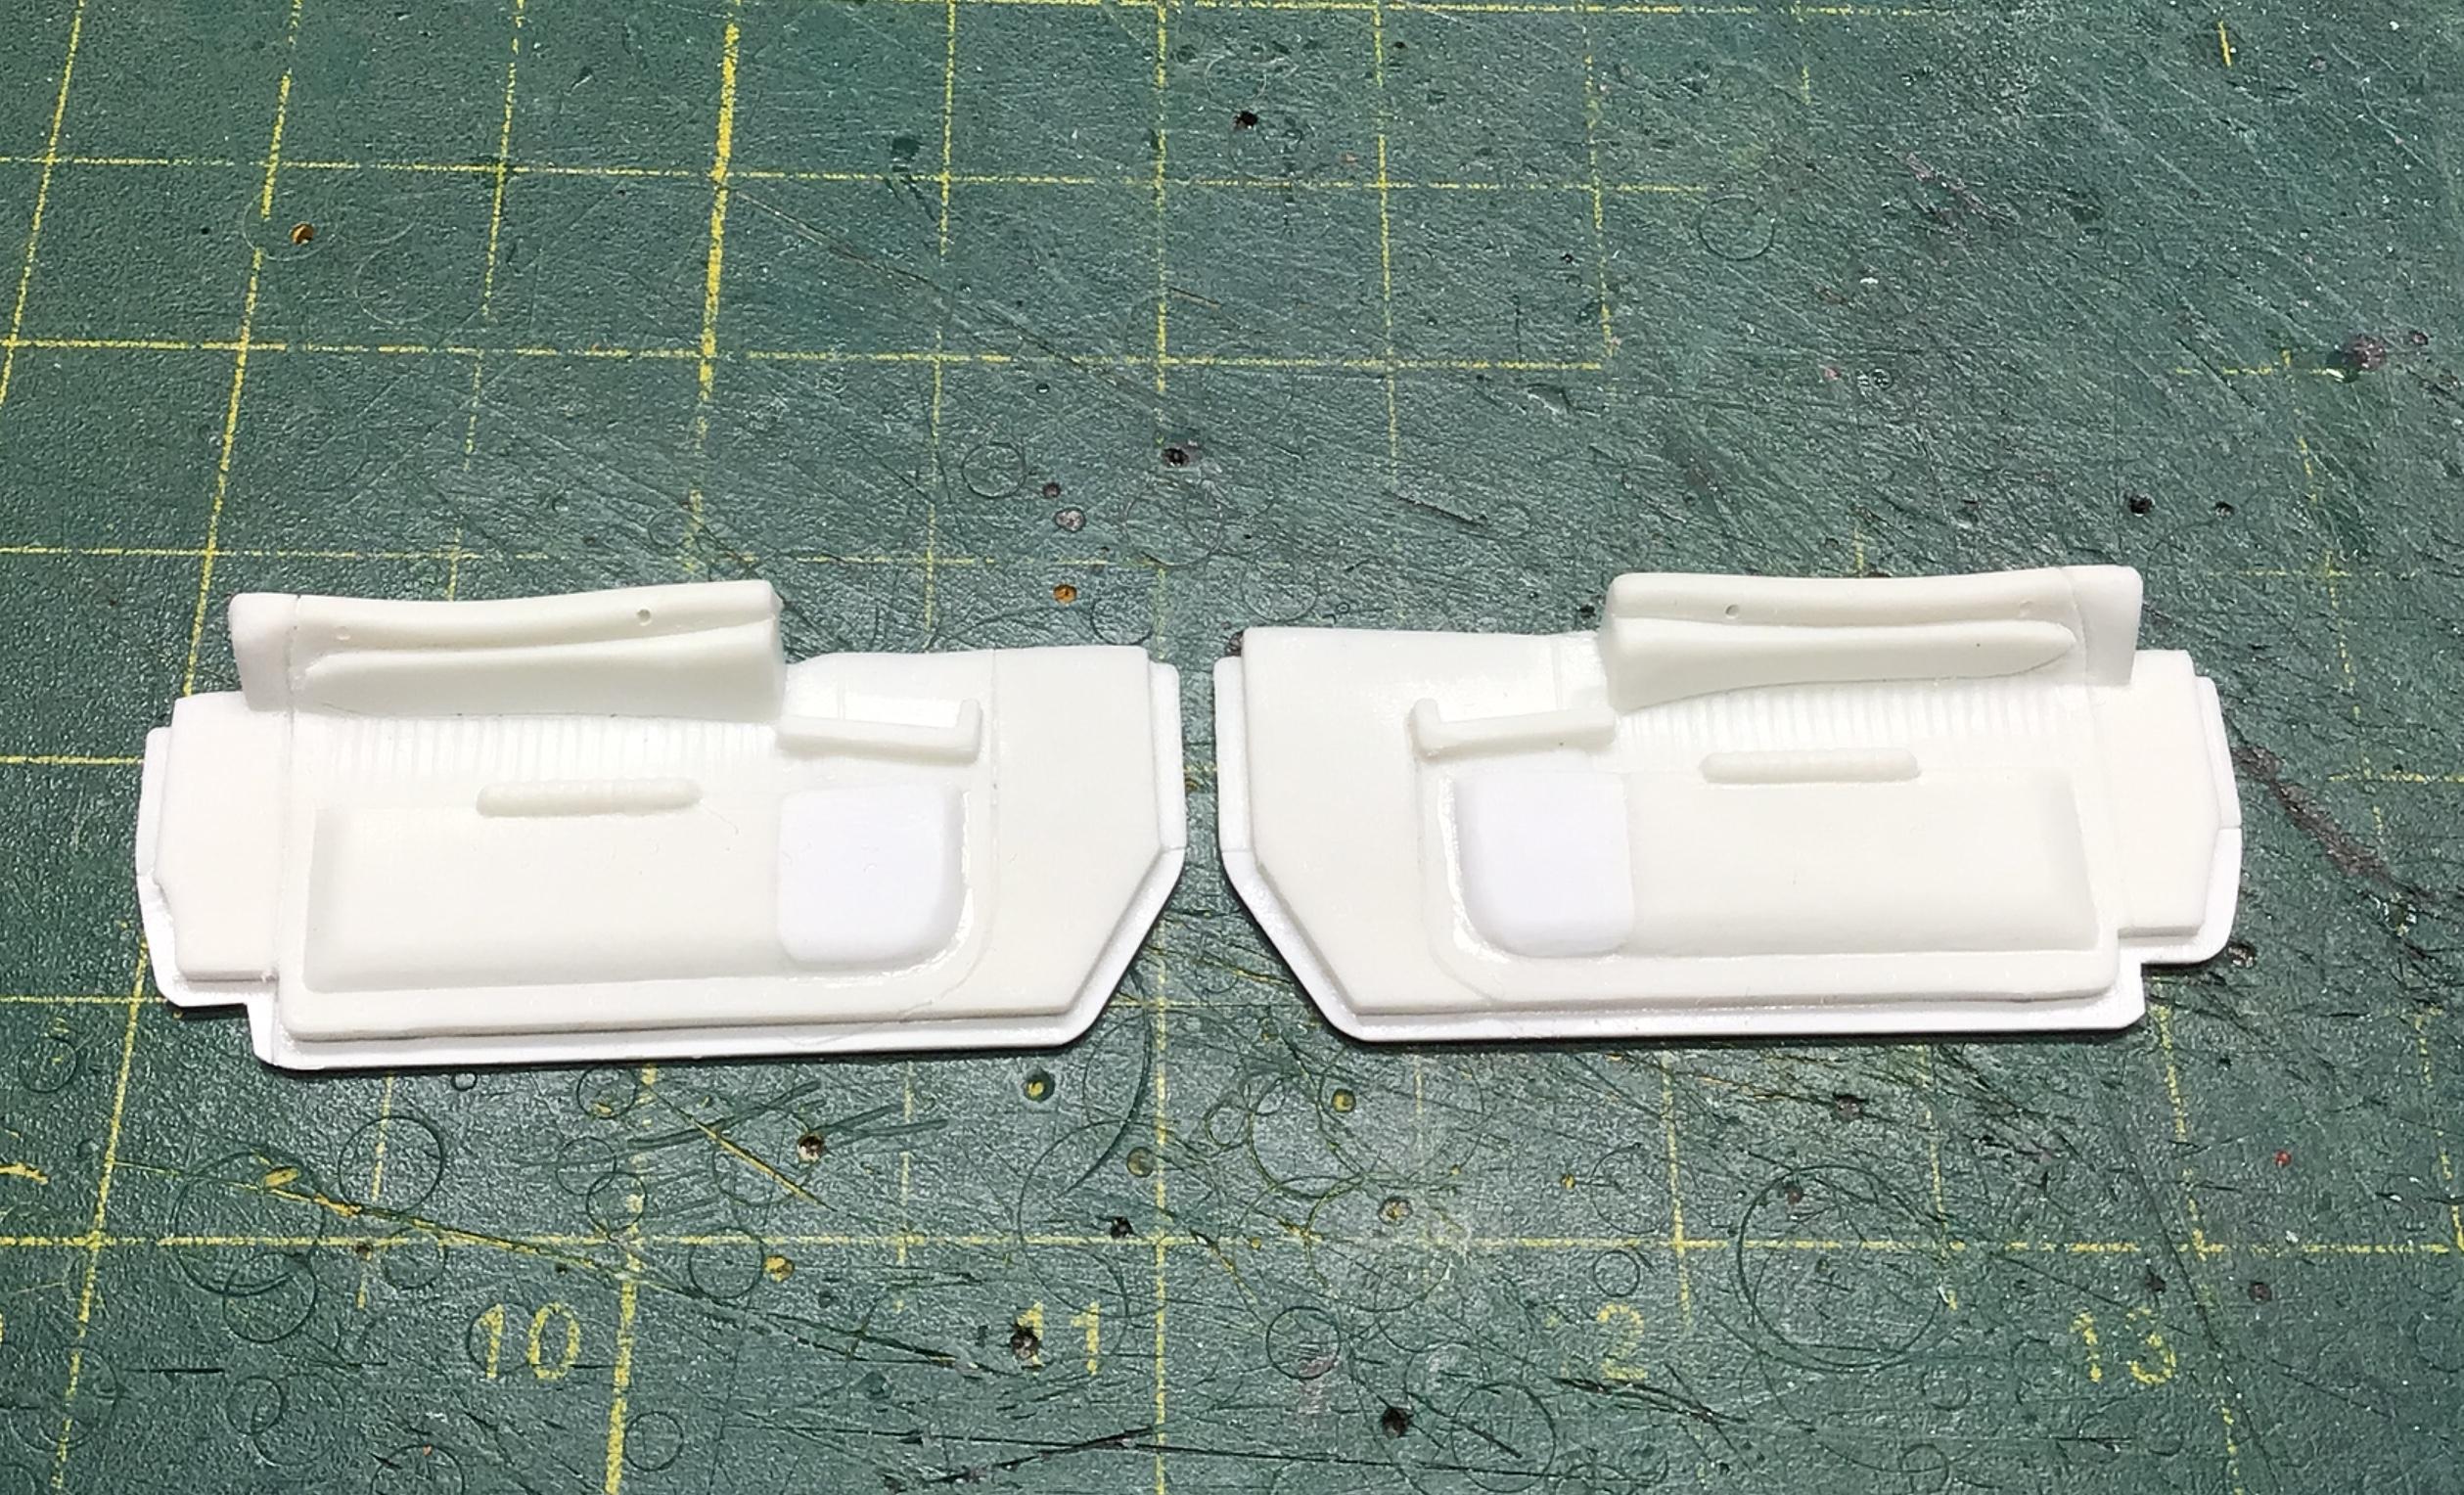
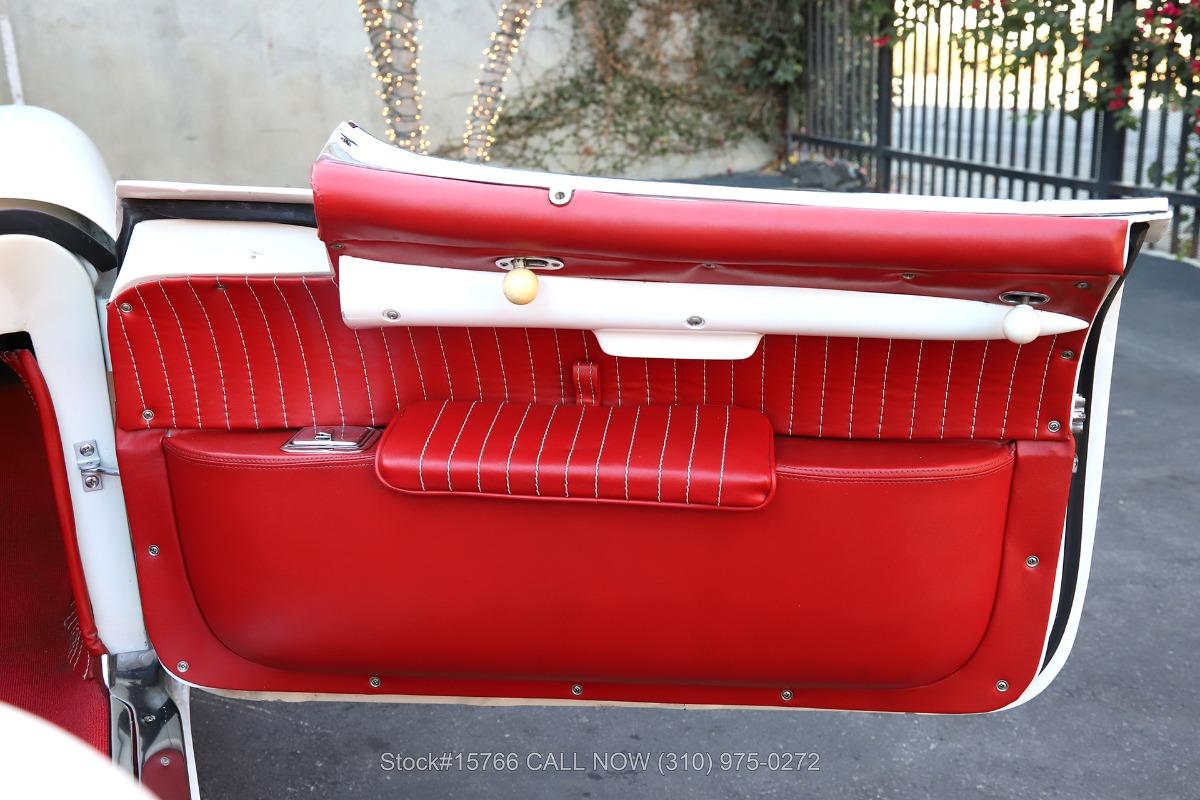
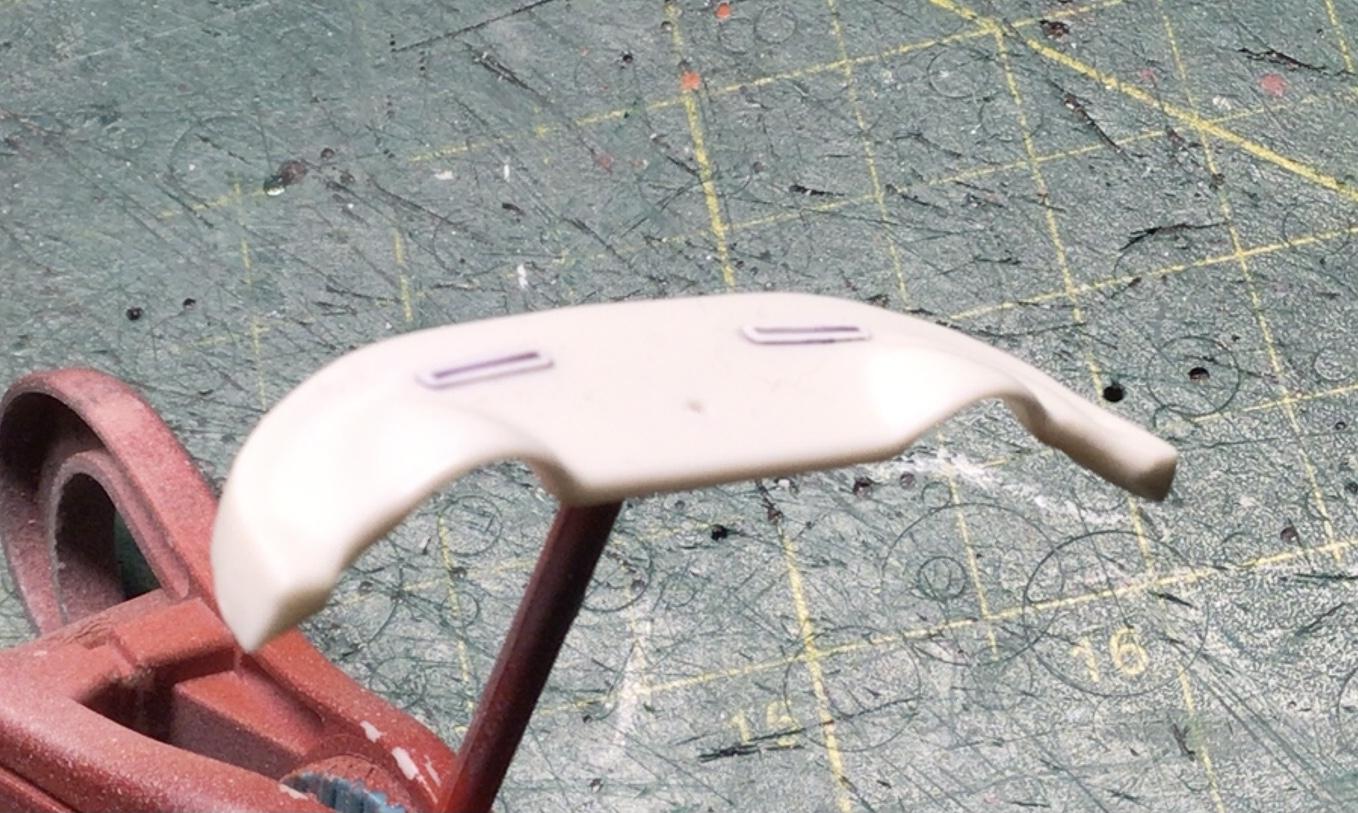
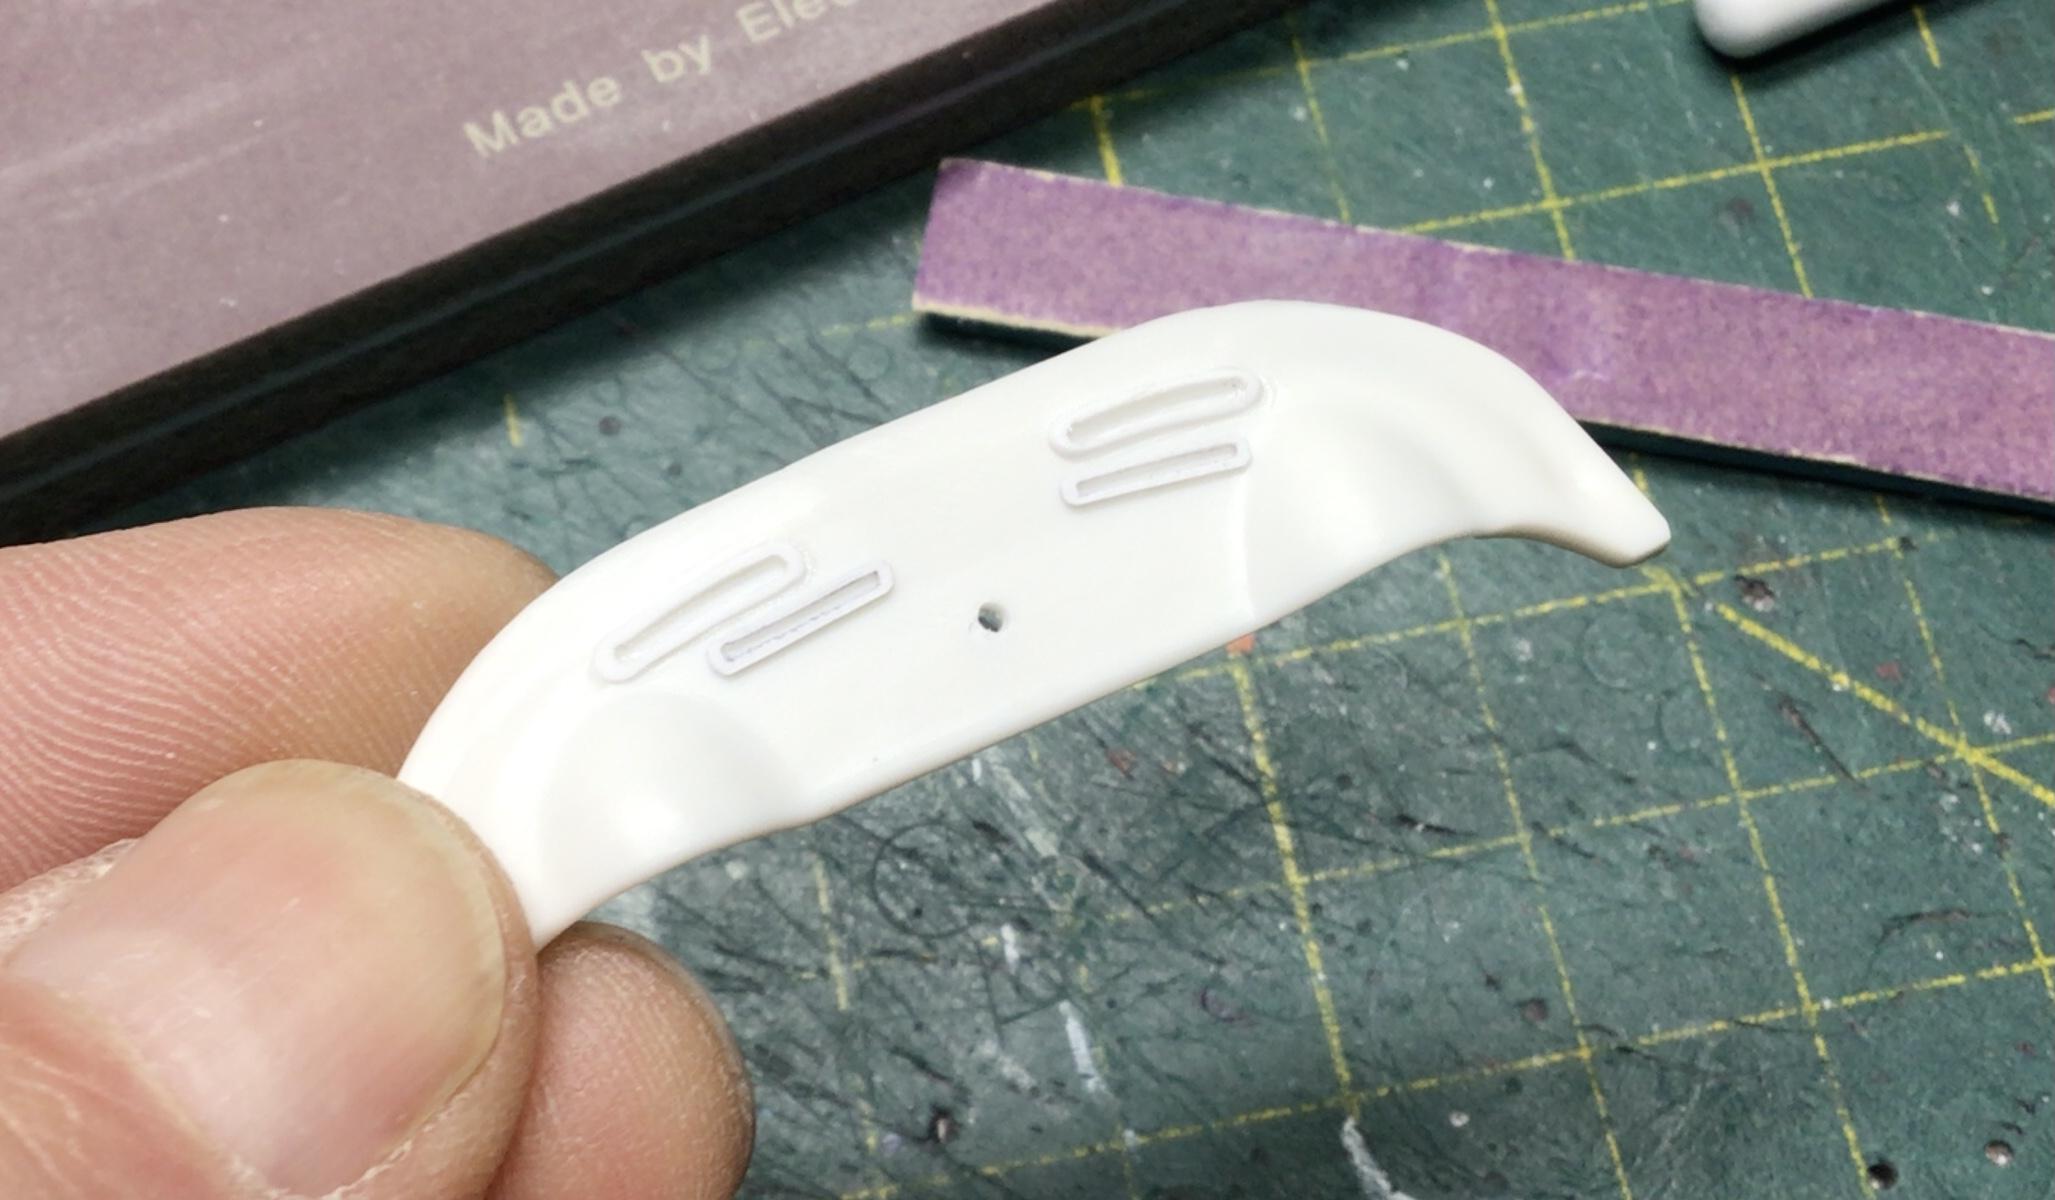
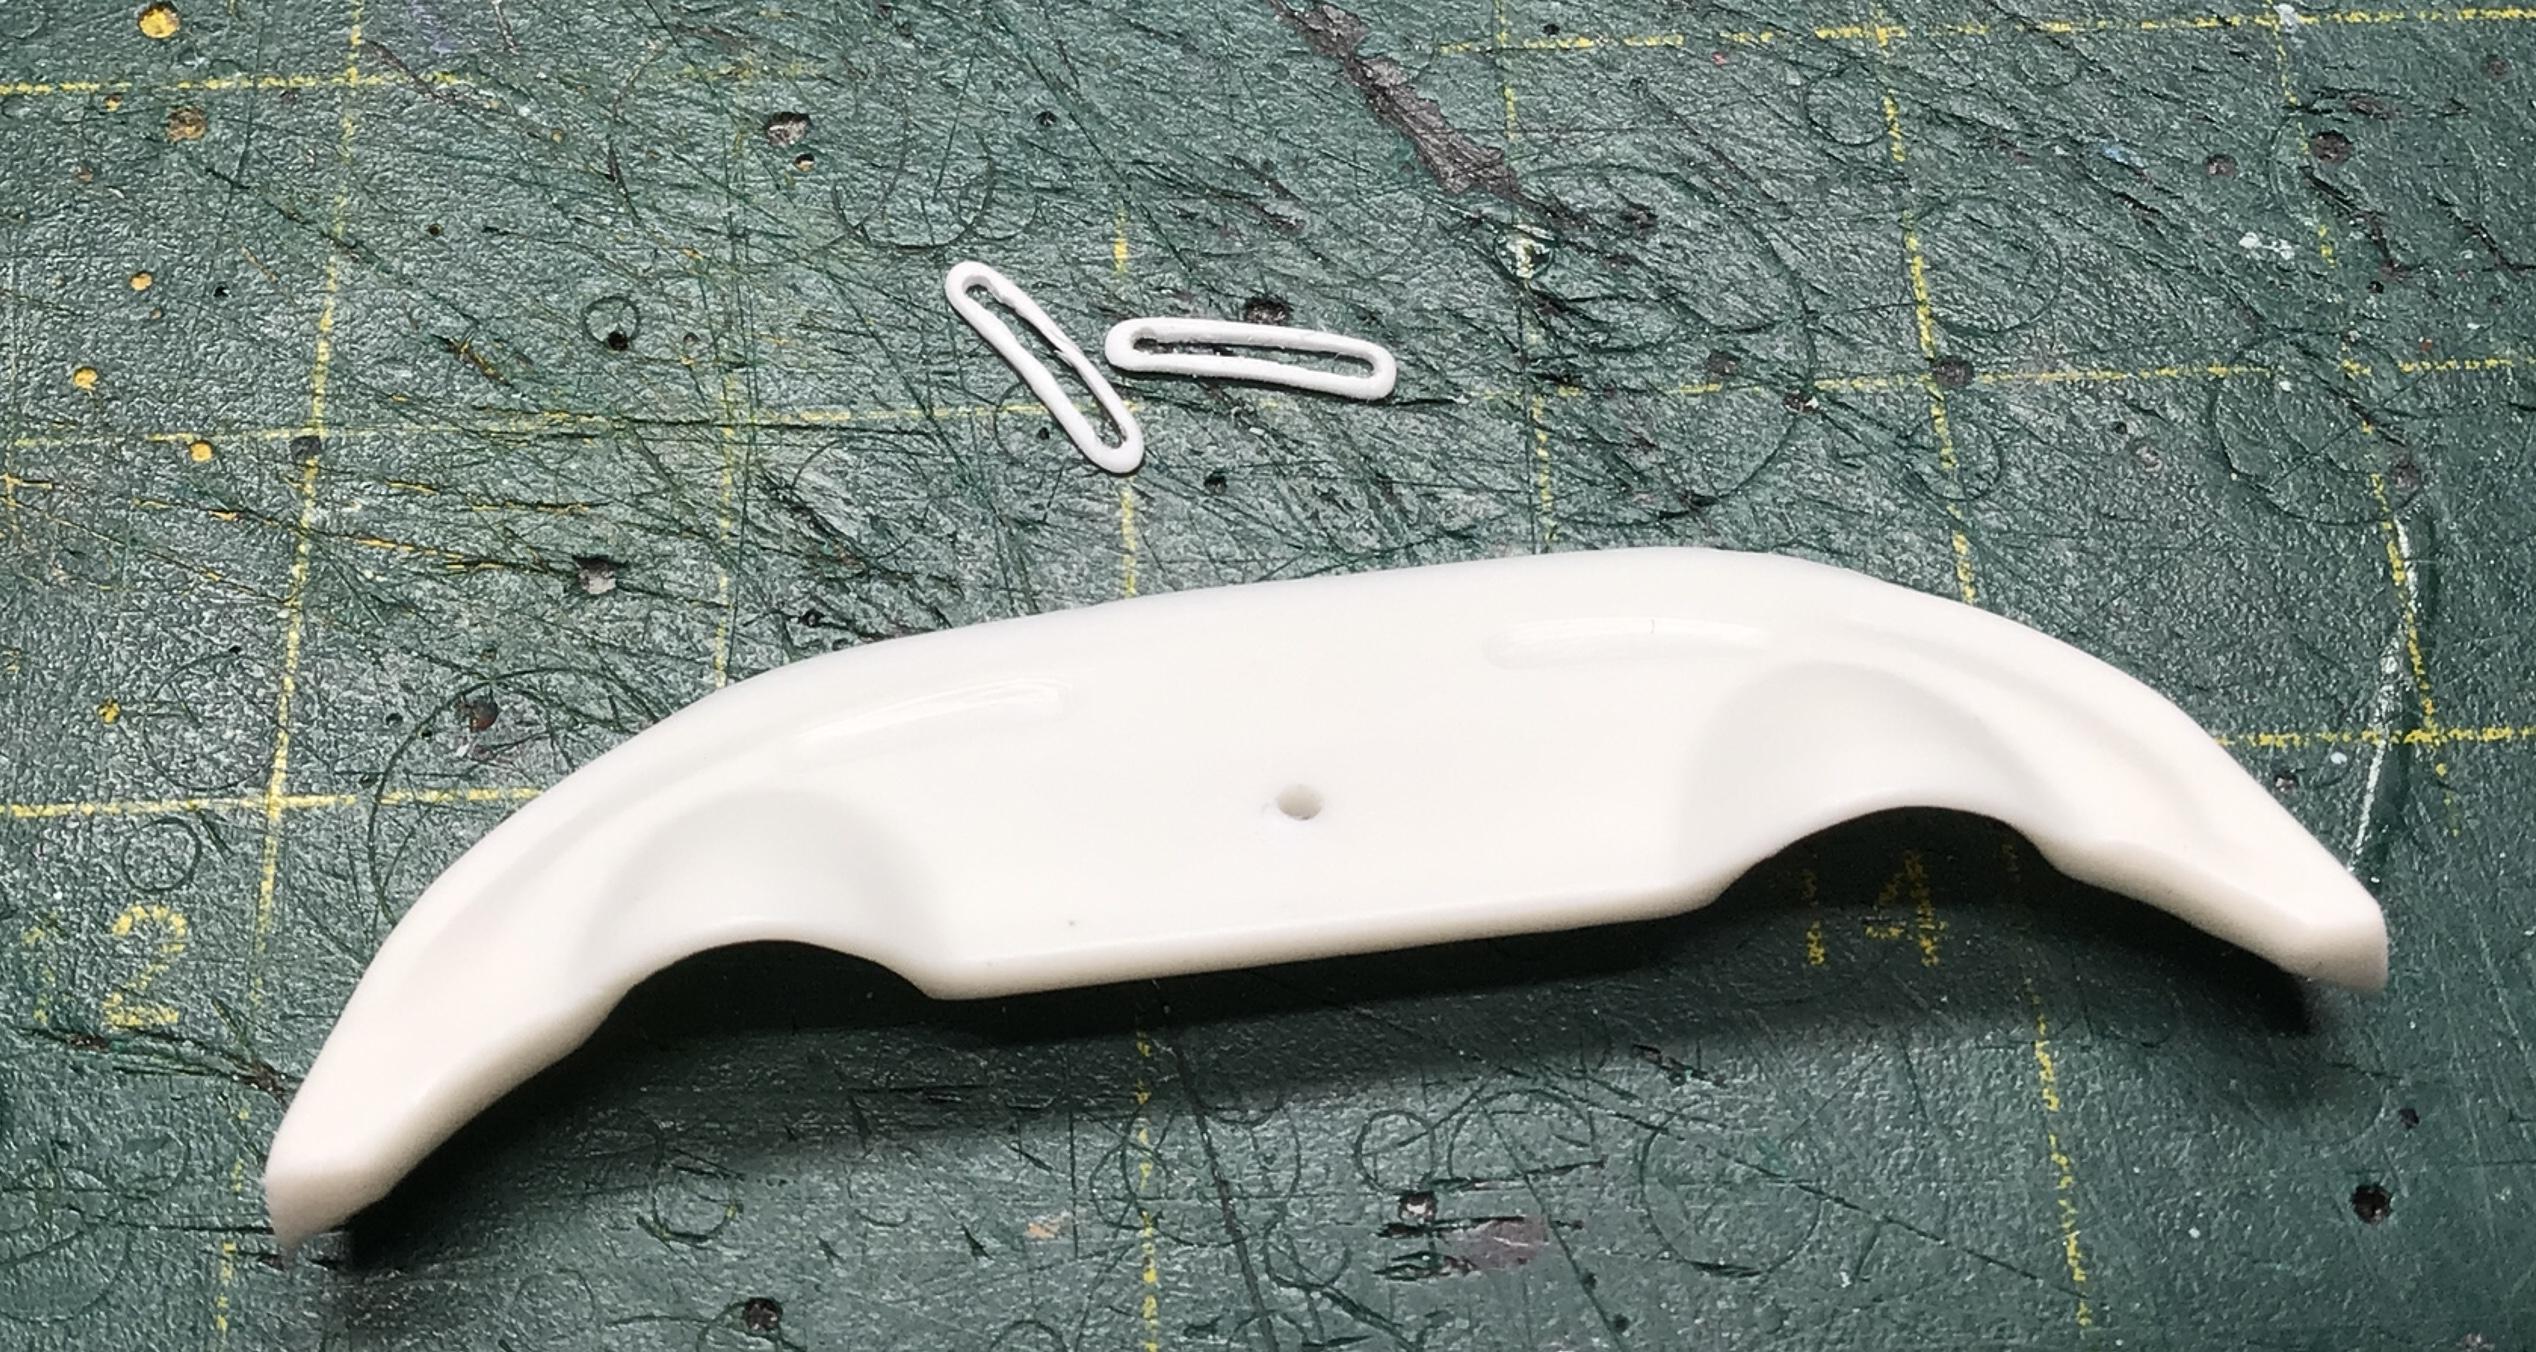
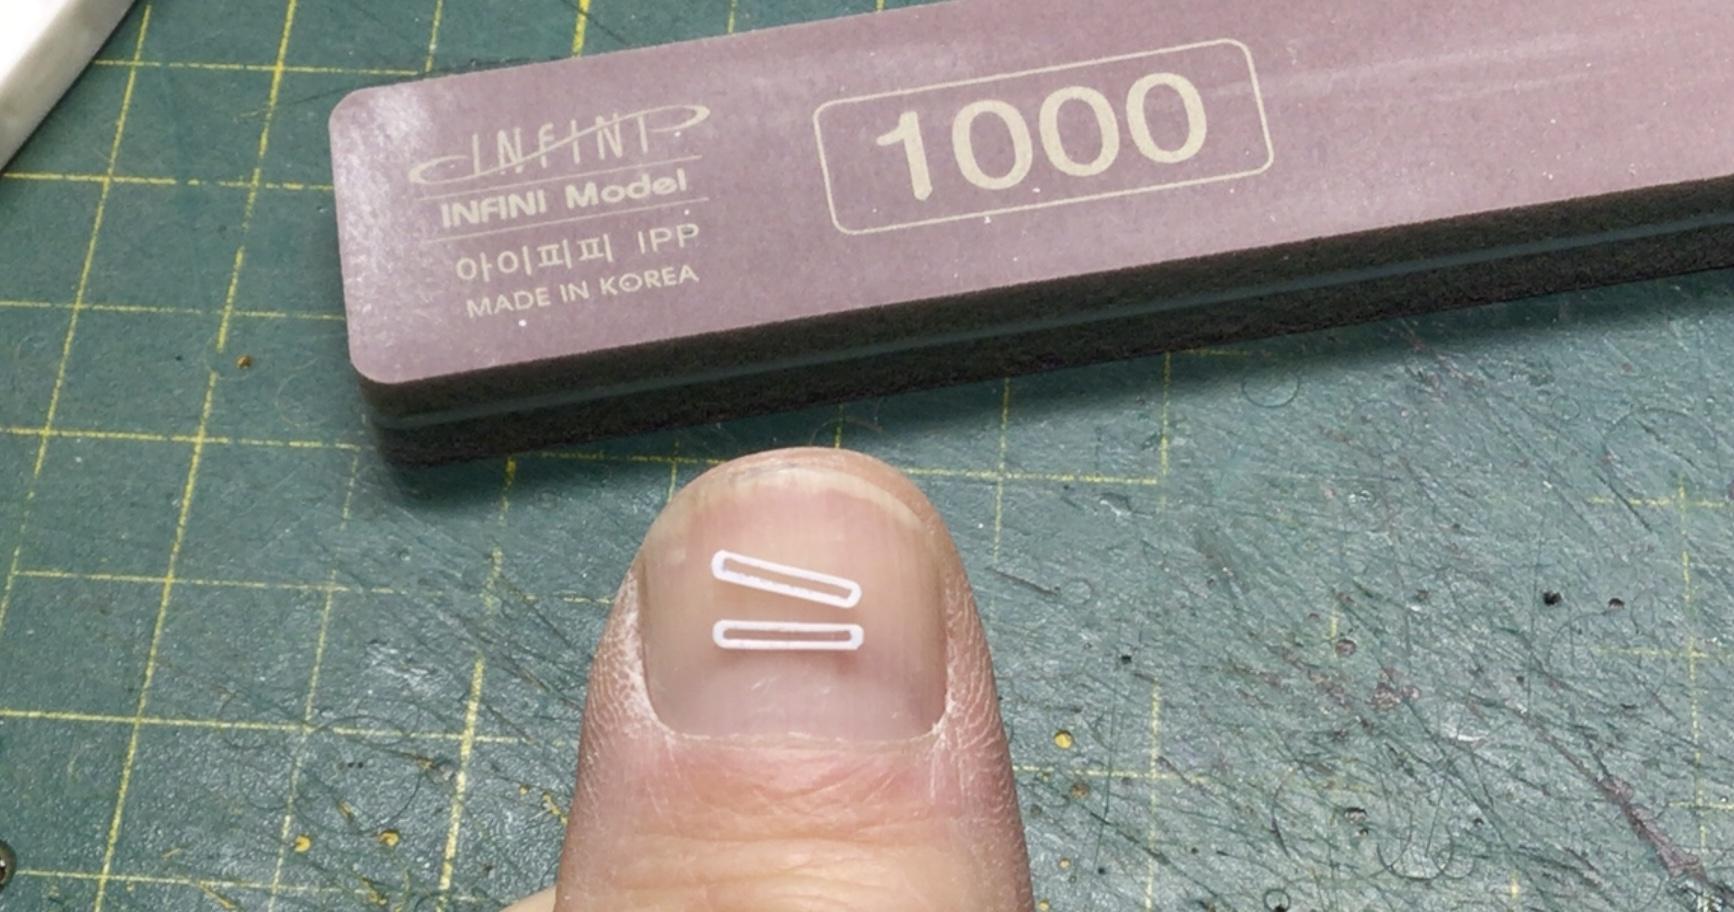
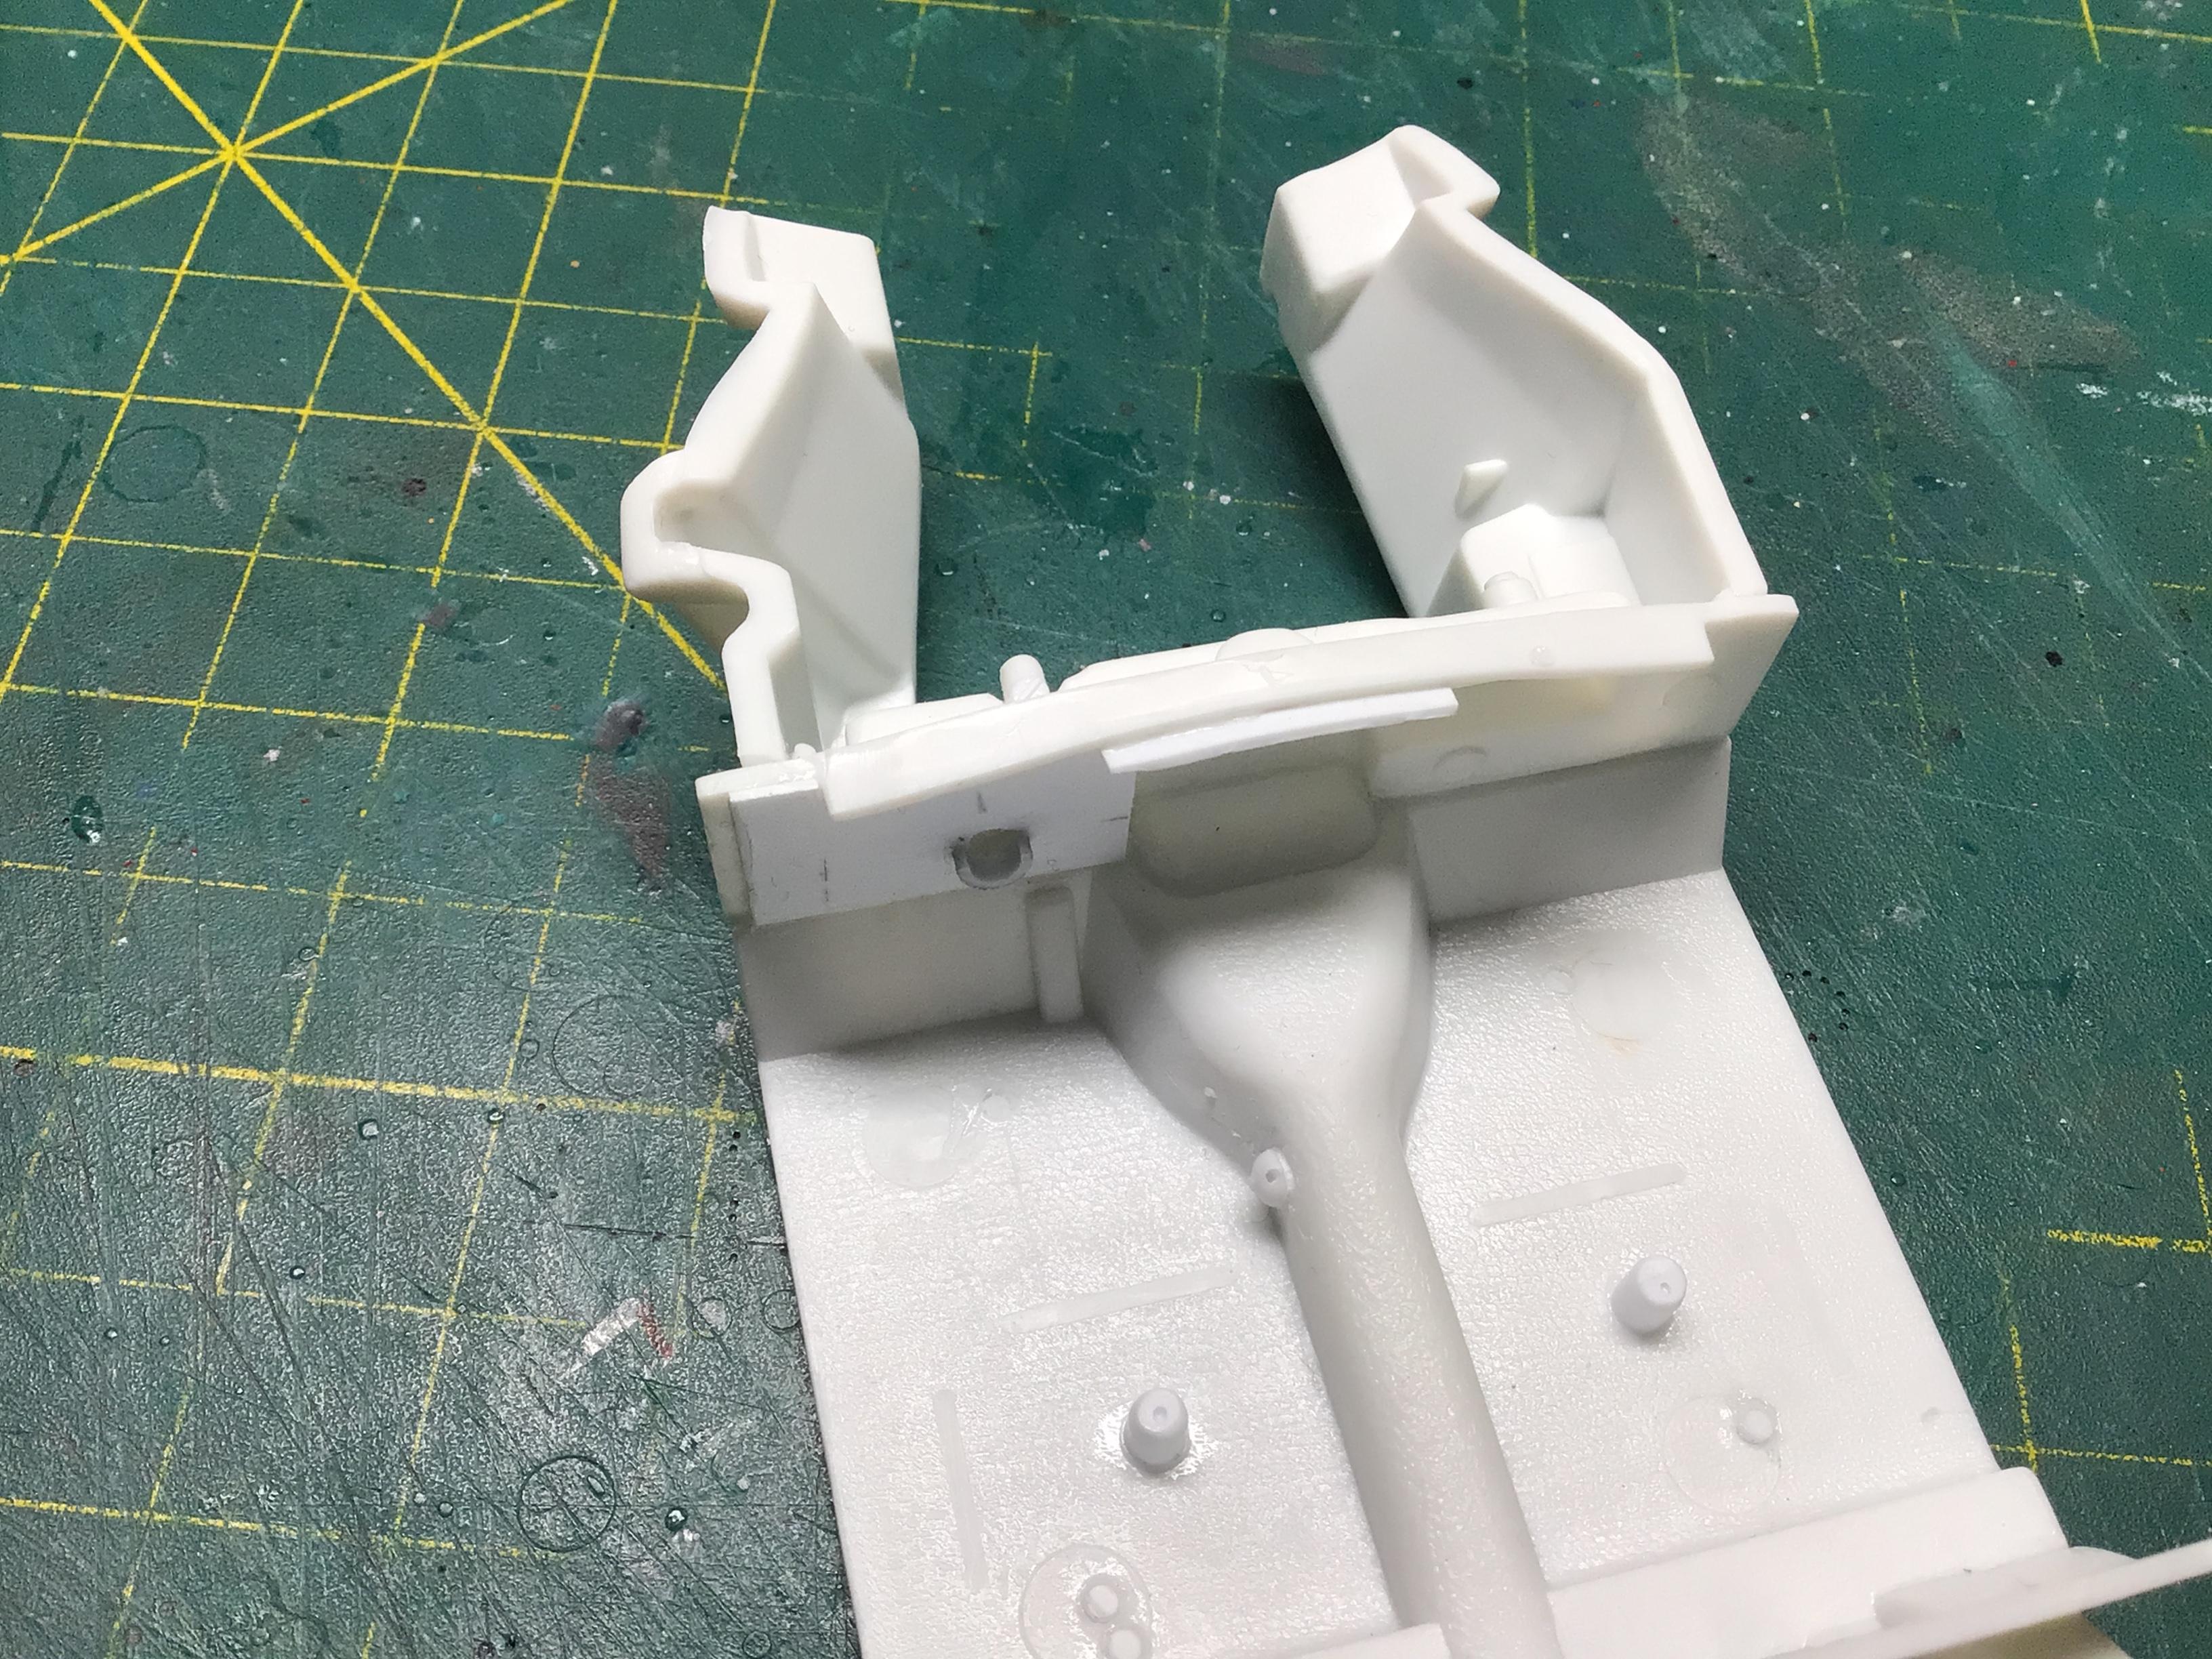
I did a little work on the interior panels and dash today. I re-scribed the front seam to lengthen the door section approximately 10 scale inches? and added to the lower raised section accordingly. Also added a thin strip of styrene to the bottom half of the panel to act as a locating ledge and glue point. I noticed on some of the pics I downloaded that there is a little chrome trim around the defroster vents. So I made a set and glued them onto the dash. I wasn’t happy with the first ones, so I re-did them.? There are no positive locating points to connect the two piece dash together, so I added a lip at the firewall for the dash top to sit on. I will install the pieces separately when assembling the interior. I added a lower mounting point for the steering column at the firewall, filled and re-drilled the hole in the dash, and fabbed up a little brake warning light. That’s all for now!?
-
The thoughts been churning around in my brain too.? There is only about 1mm difference between the front and rear trim to bottom edge difference. I haven’t decided whether to do it or not yet. Good Idea! I have a Polar Lights GTO that I can put in there and crank it up.? Thanks Carl.
-
Todd is correct. You pretty much need a vacuum pump and chamber to make good quality molds. And a pressure pot for the casting. I made a lid for a painters pressure pot to convert it into a vacuum chamber. I used Smooth On products for my molds and resin when I cast my Willys cab and I was quite happy with the results. Here’s a link to my build thread. http://www.modelcarsmag.com/forums/topic/156181-‘54-willys-pu/page/2/
-
What model of airbrush is it? If it’s a good to high quality one, you could try to save it. There is CA debonder available for starters. If it’s a real cheapie, chuck it. JMO?.
-
Builders beware…styrene can be addictive.