NOBLNG
-
Posts
9,963 -
Joined
-
Last visited
Content Type
Profiles
Forums
Events
Gallery
Everything posted by NOBLNG
-
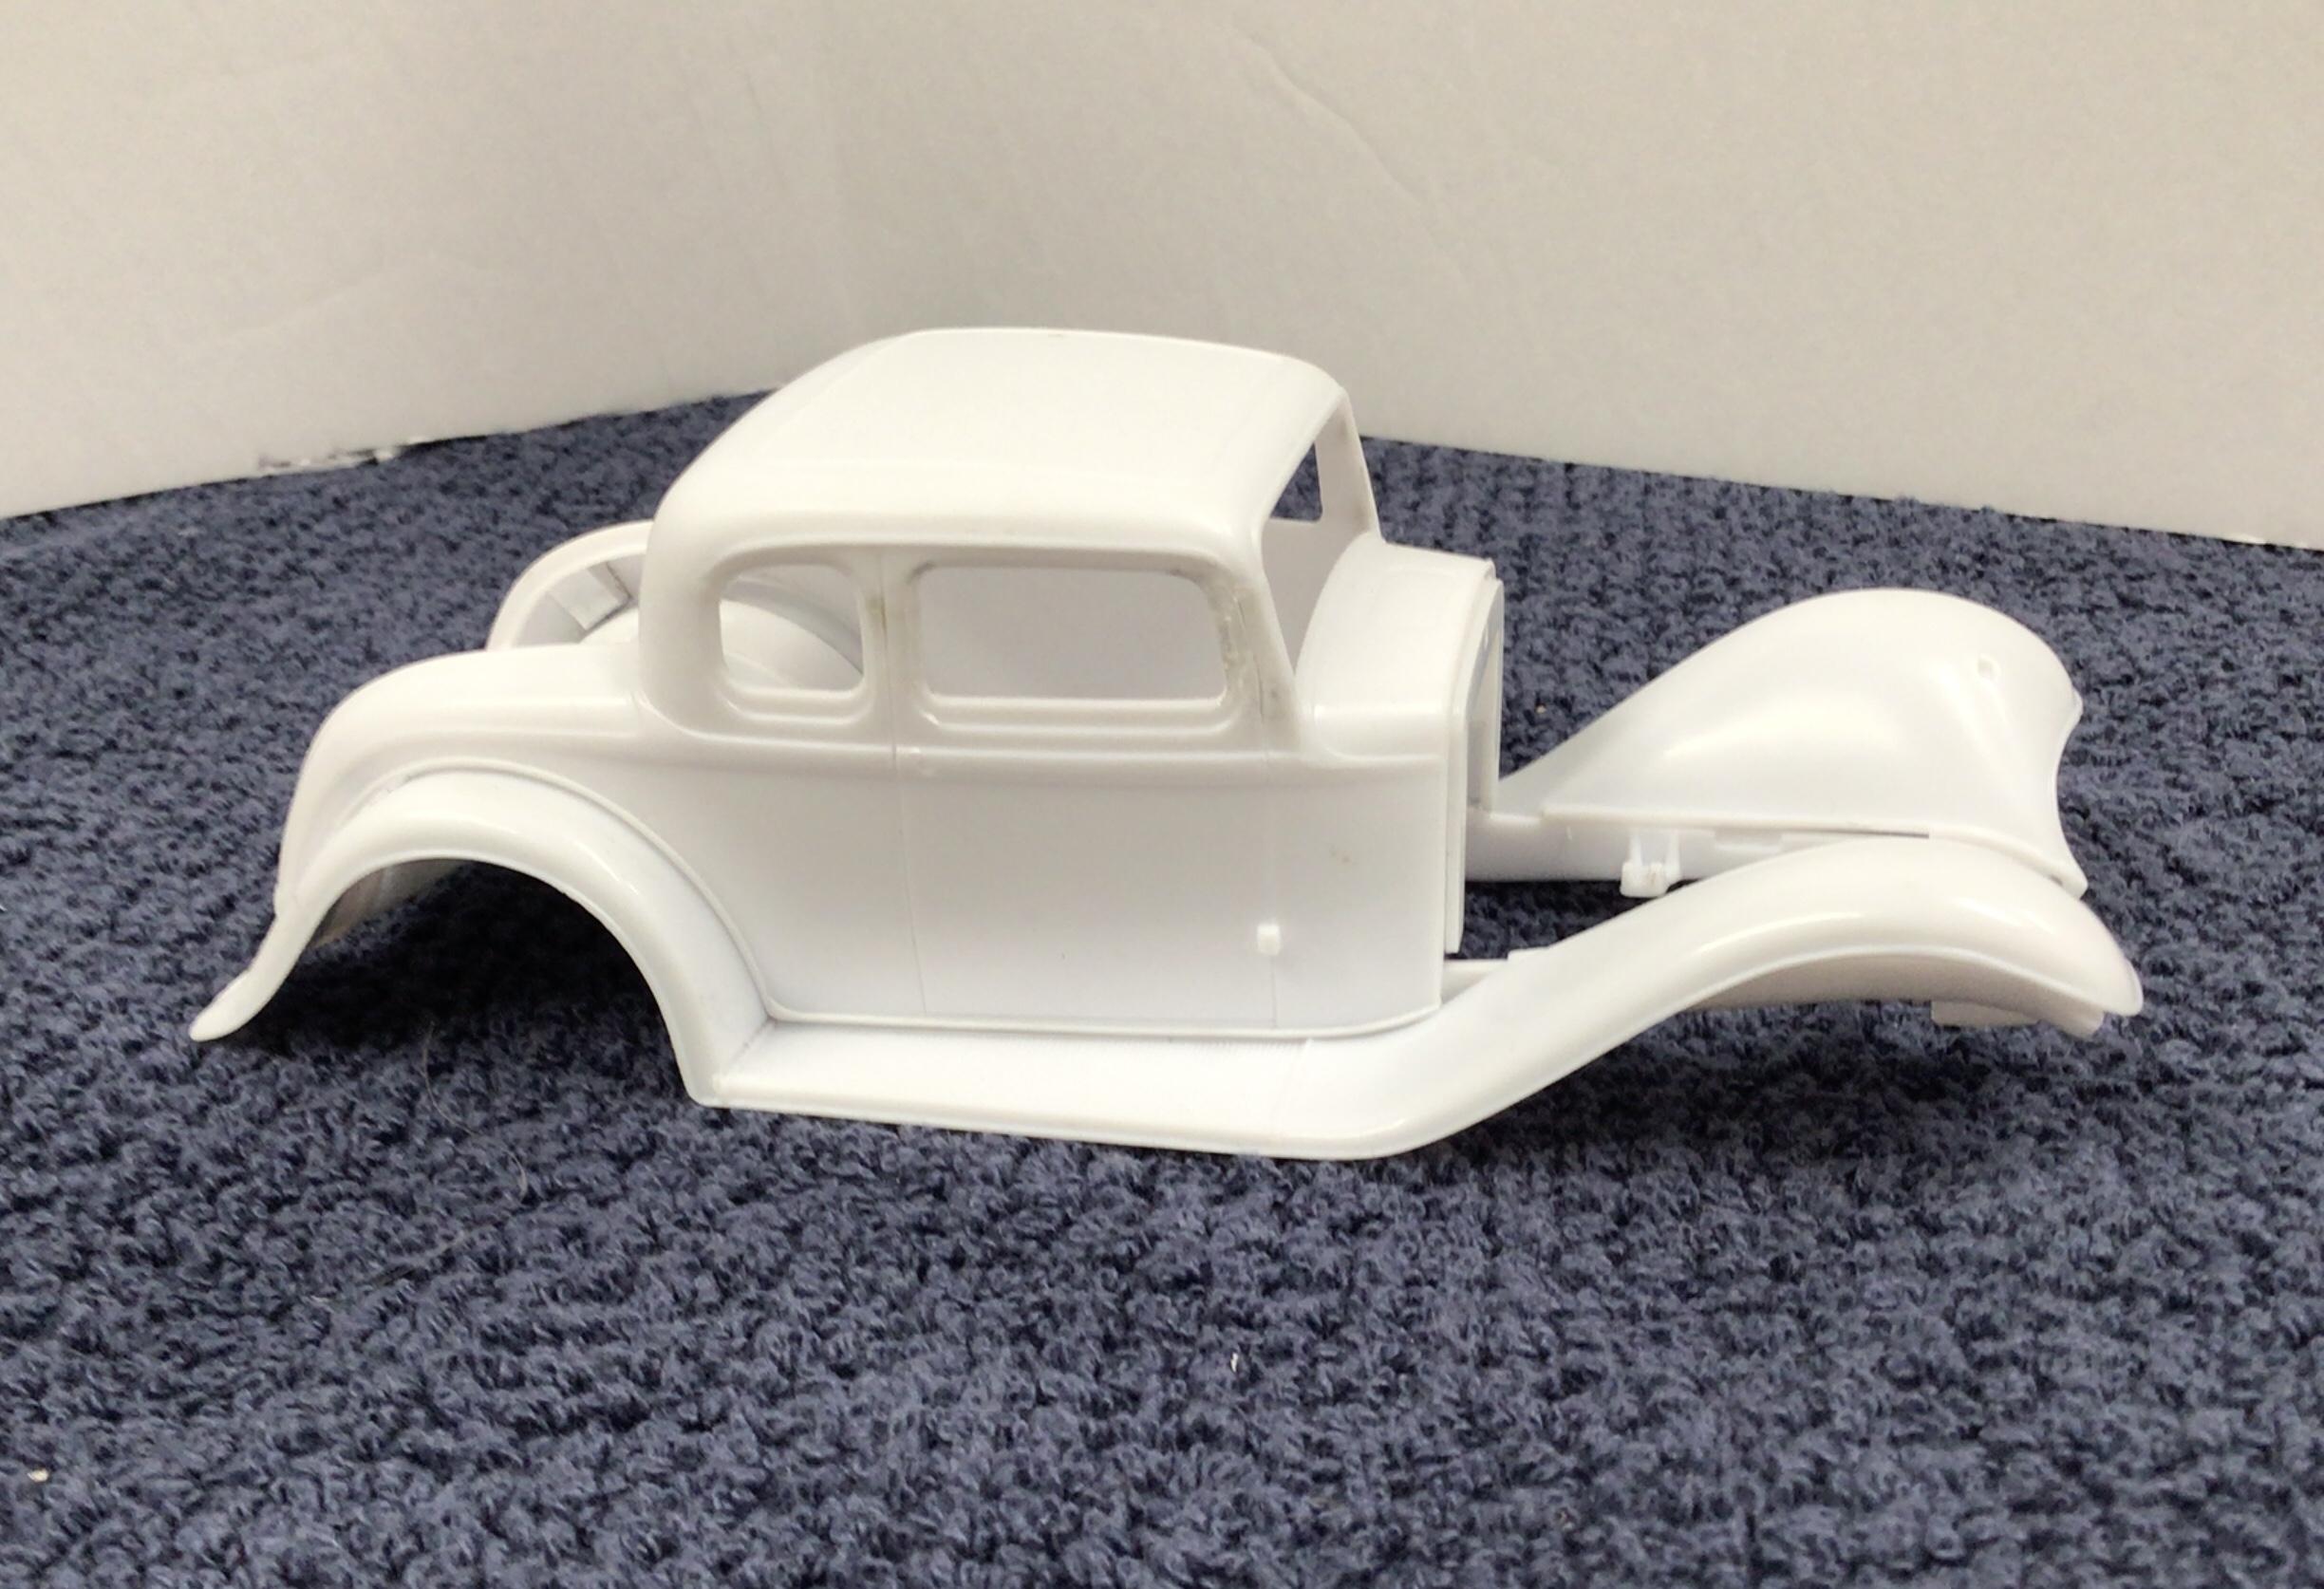
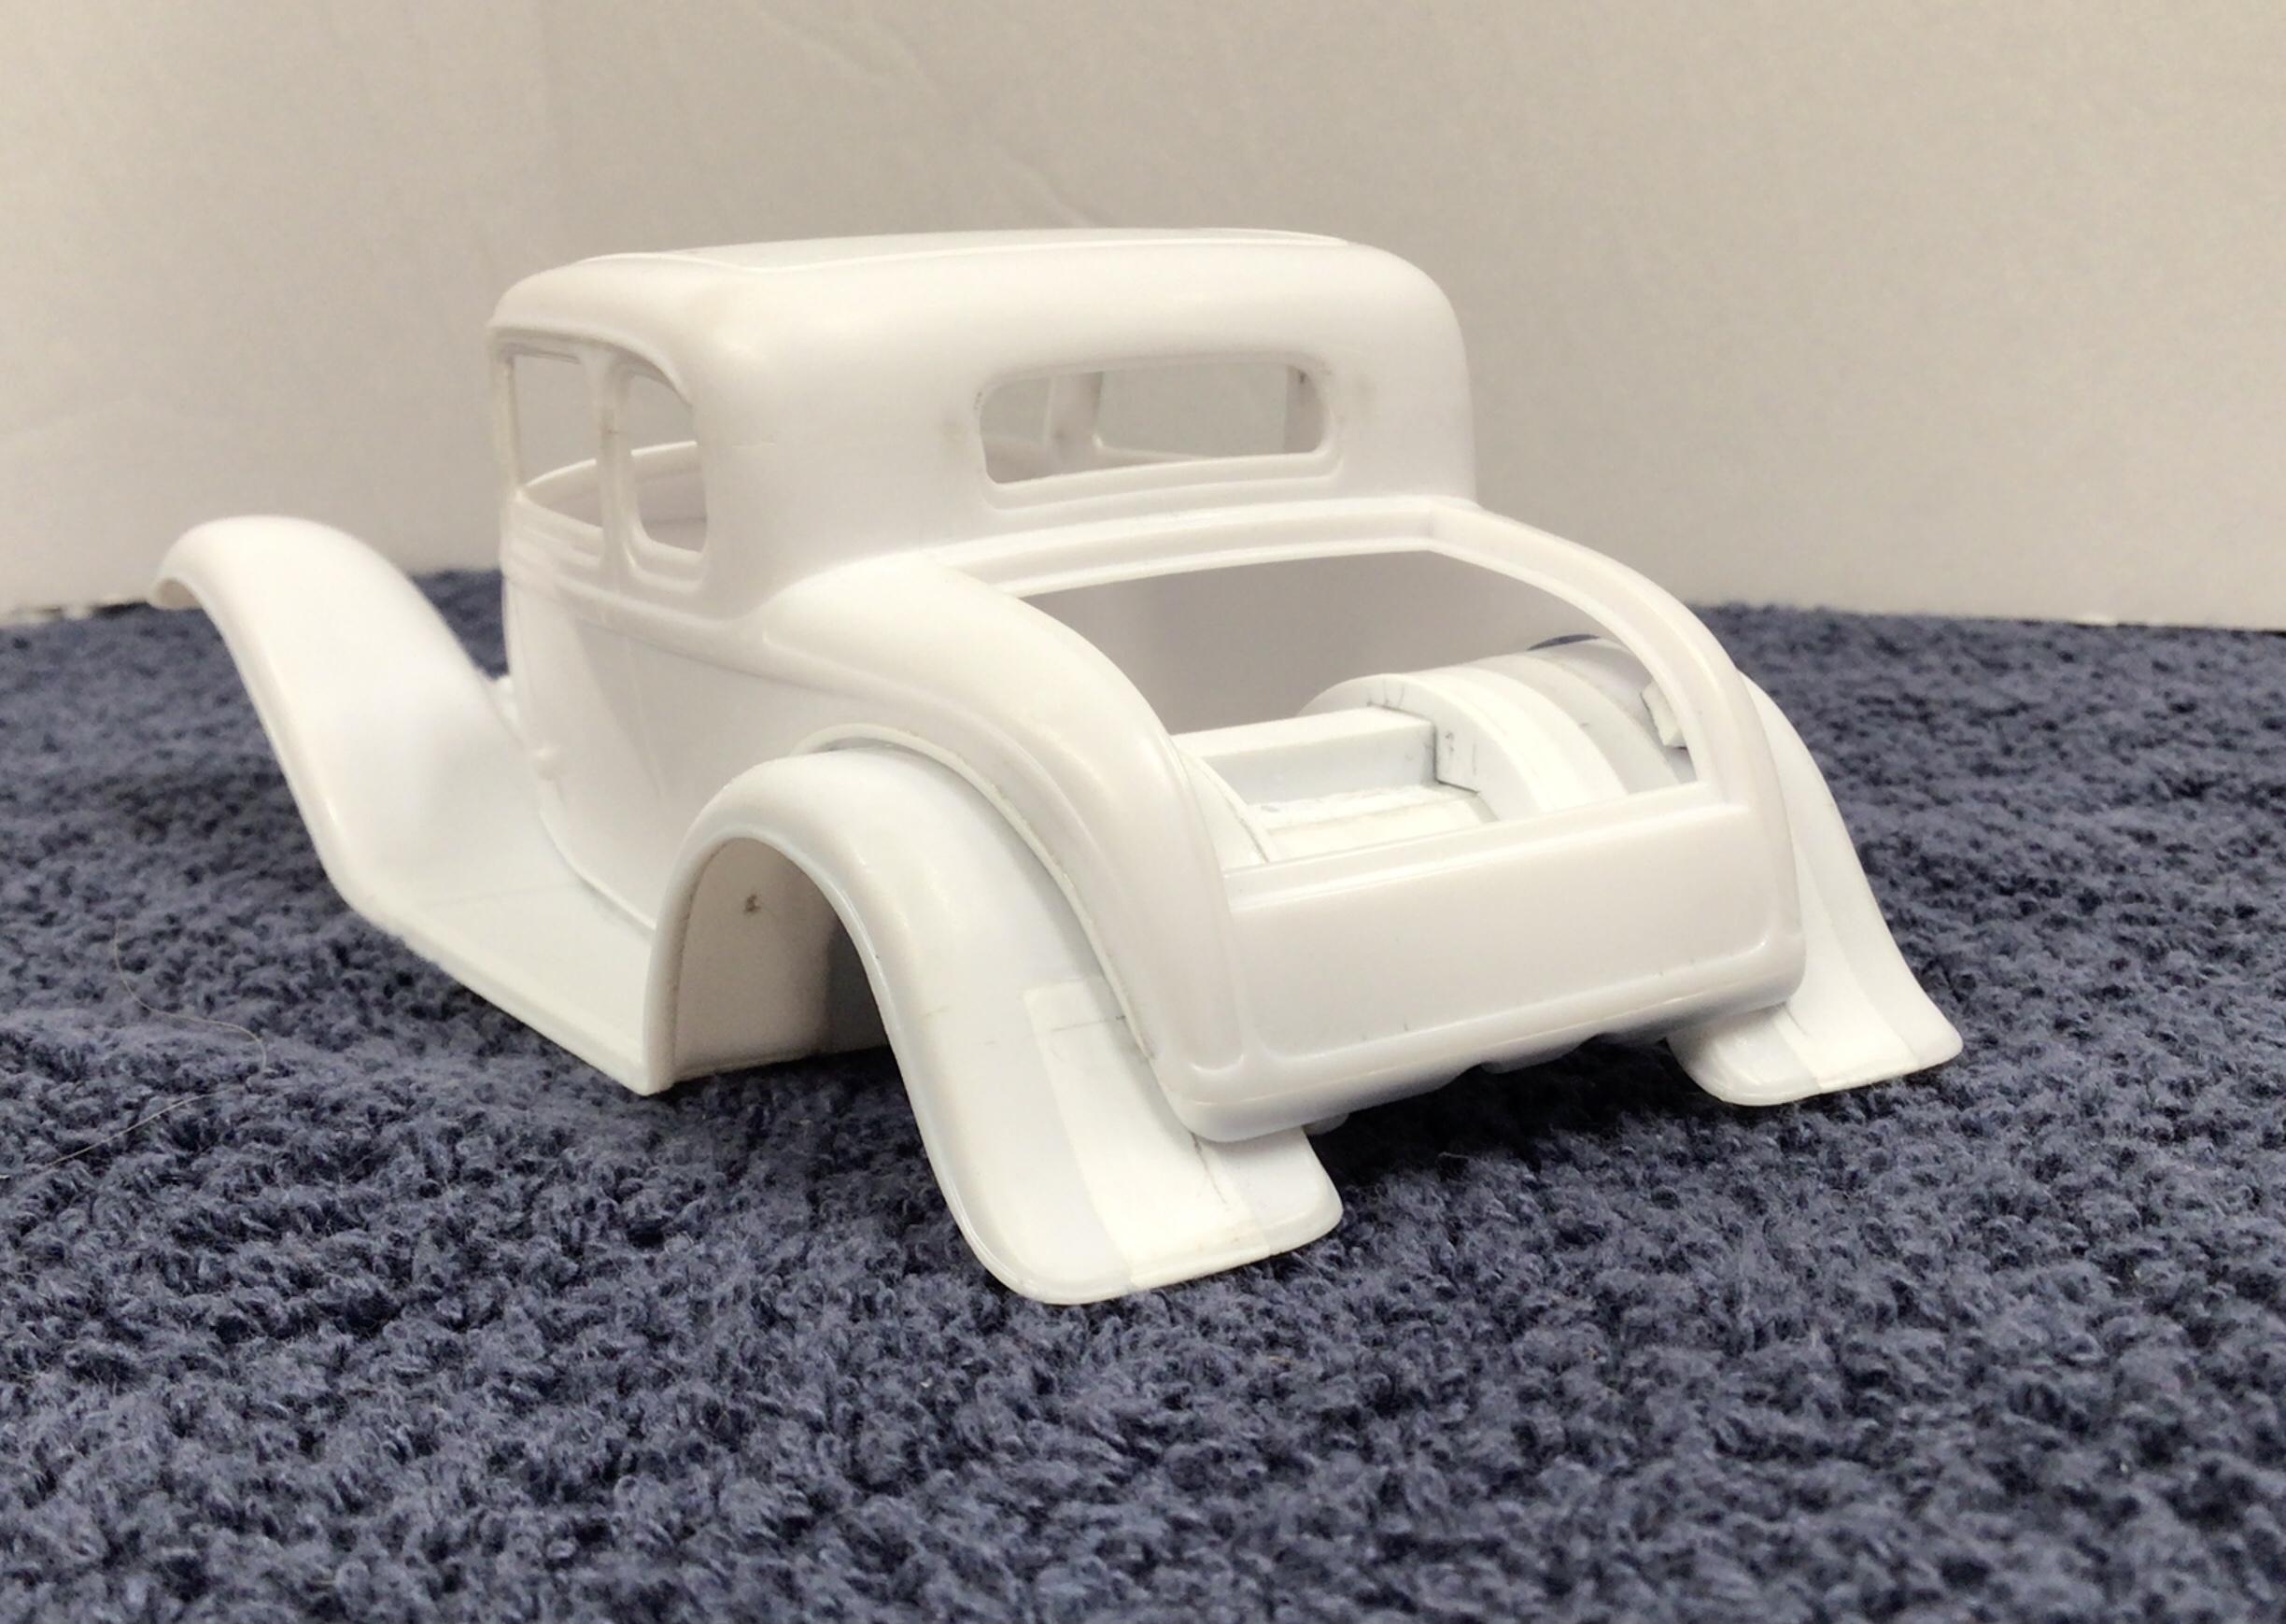
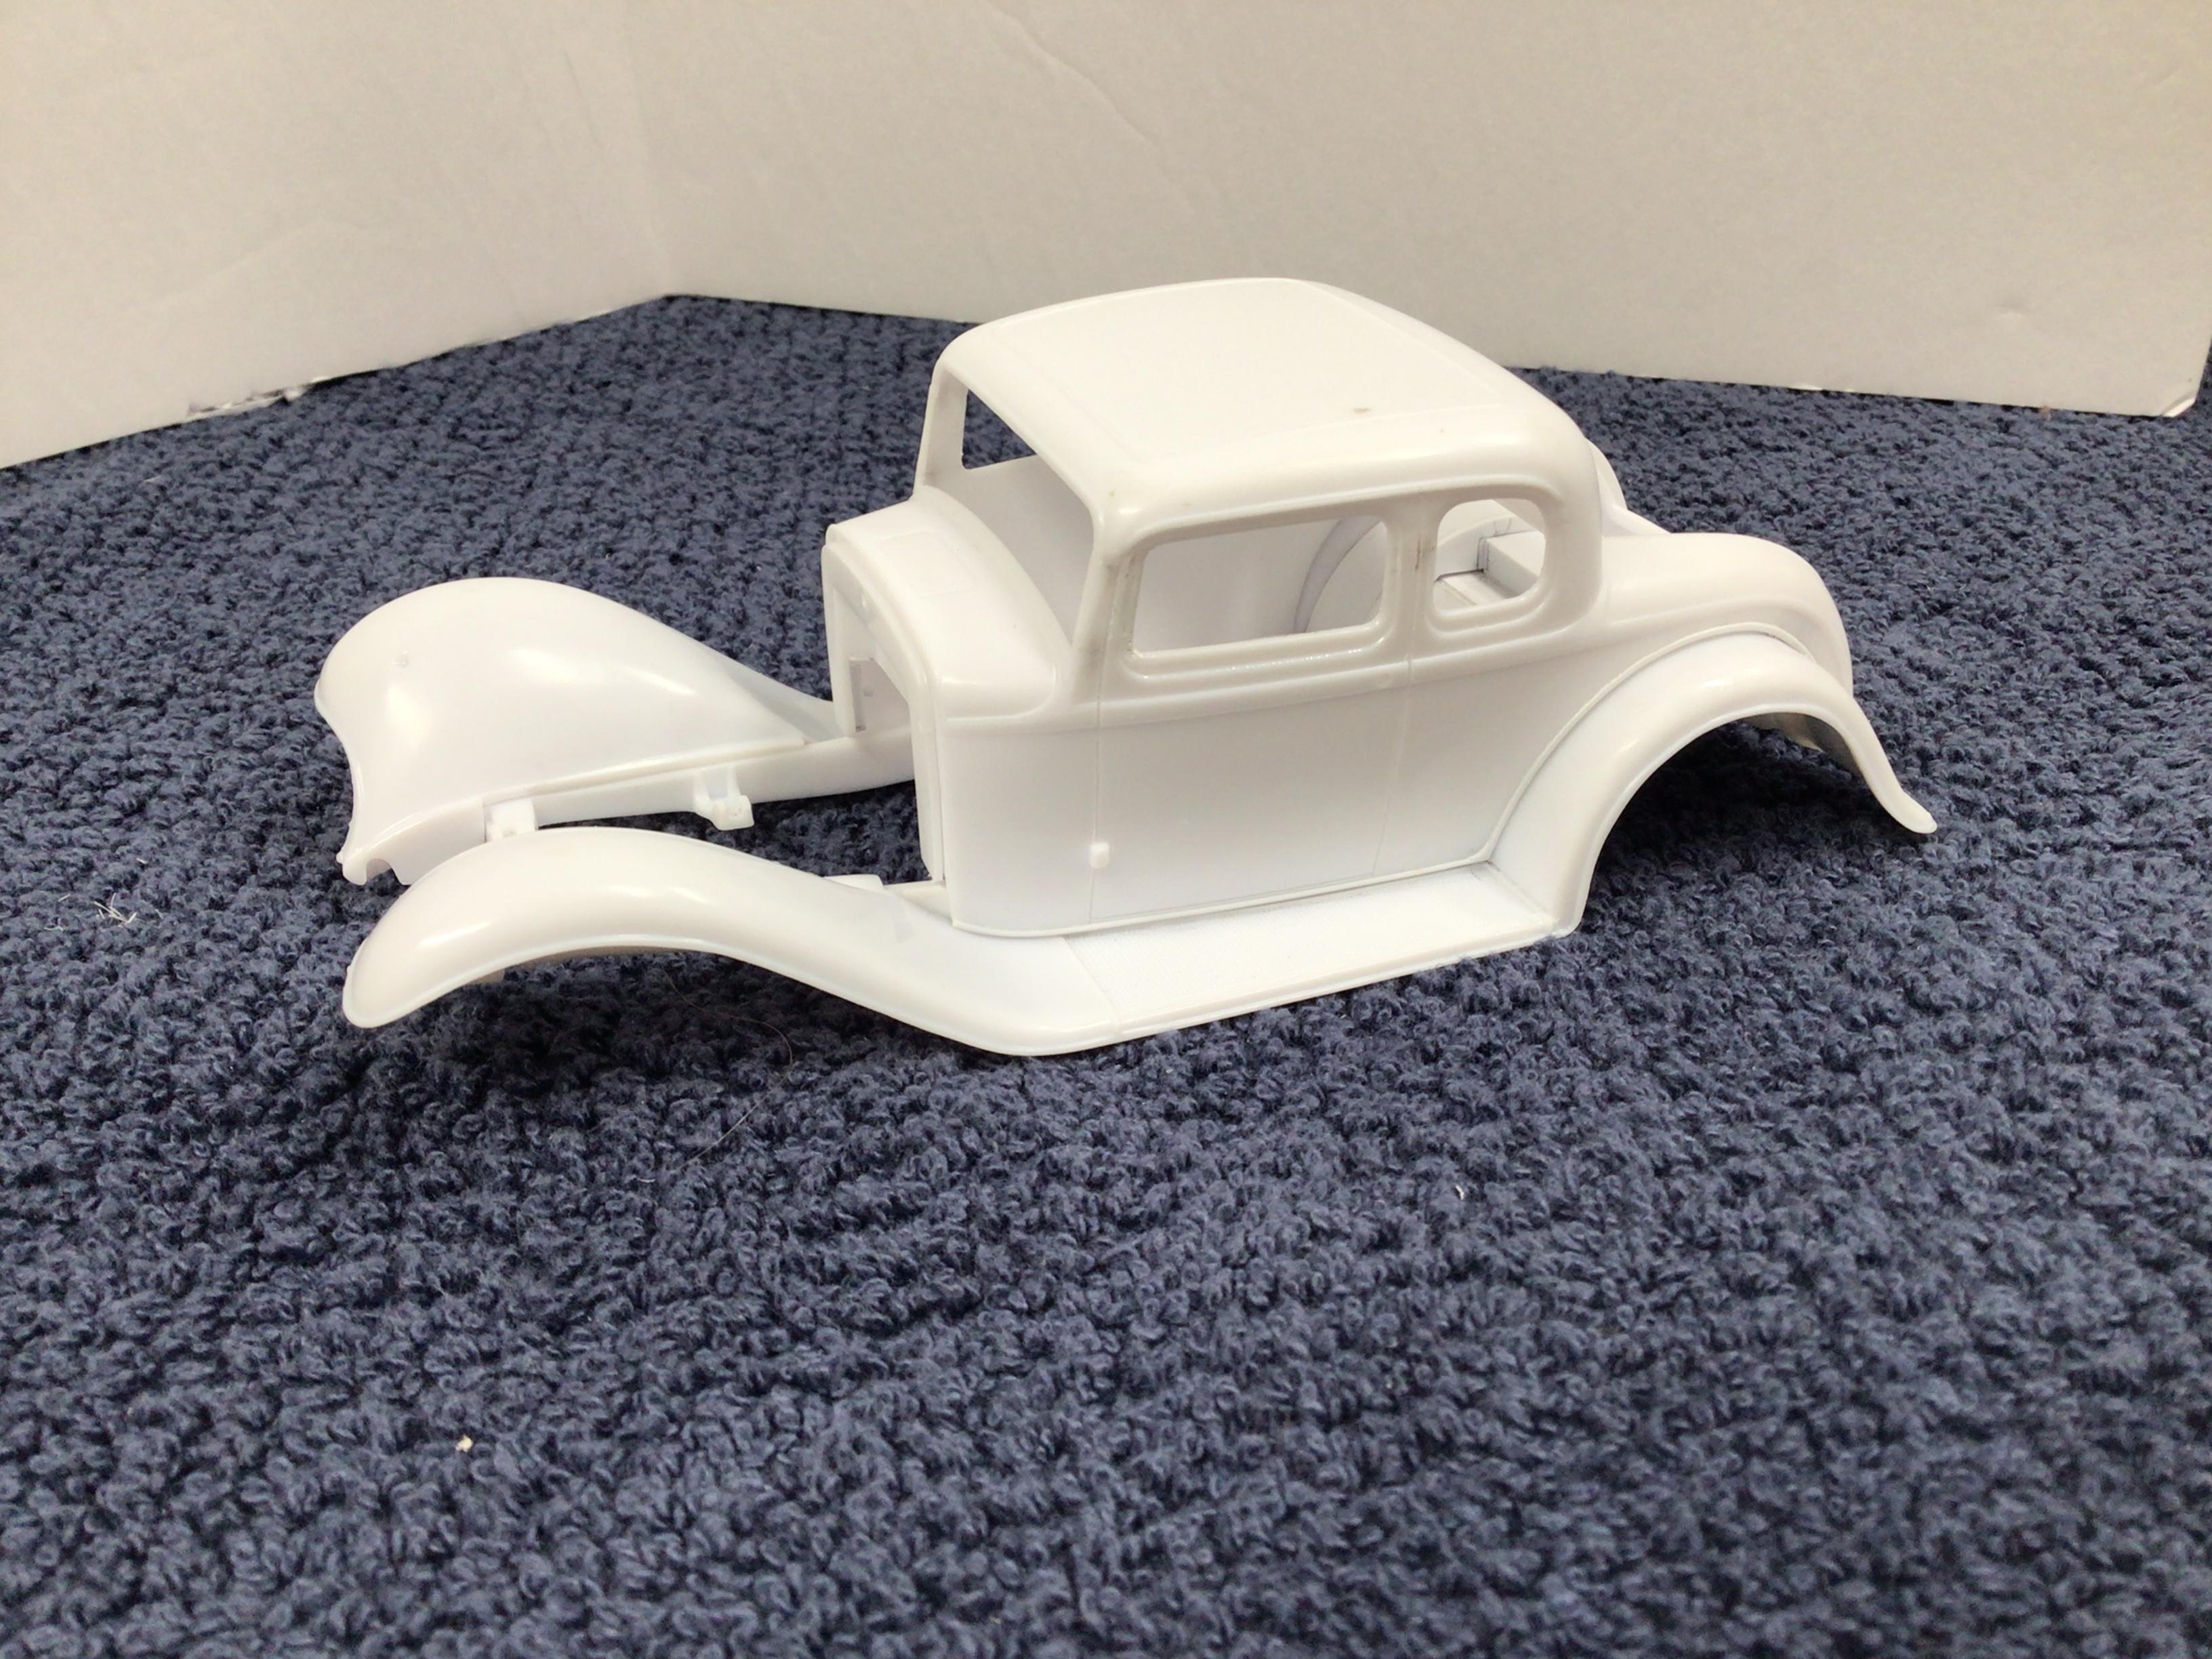
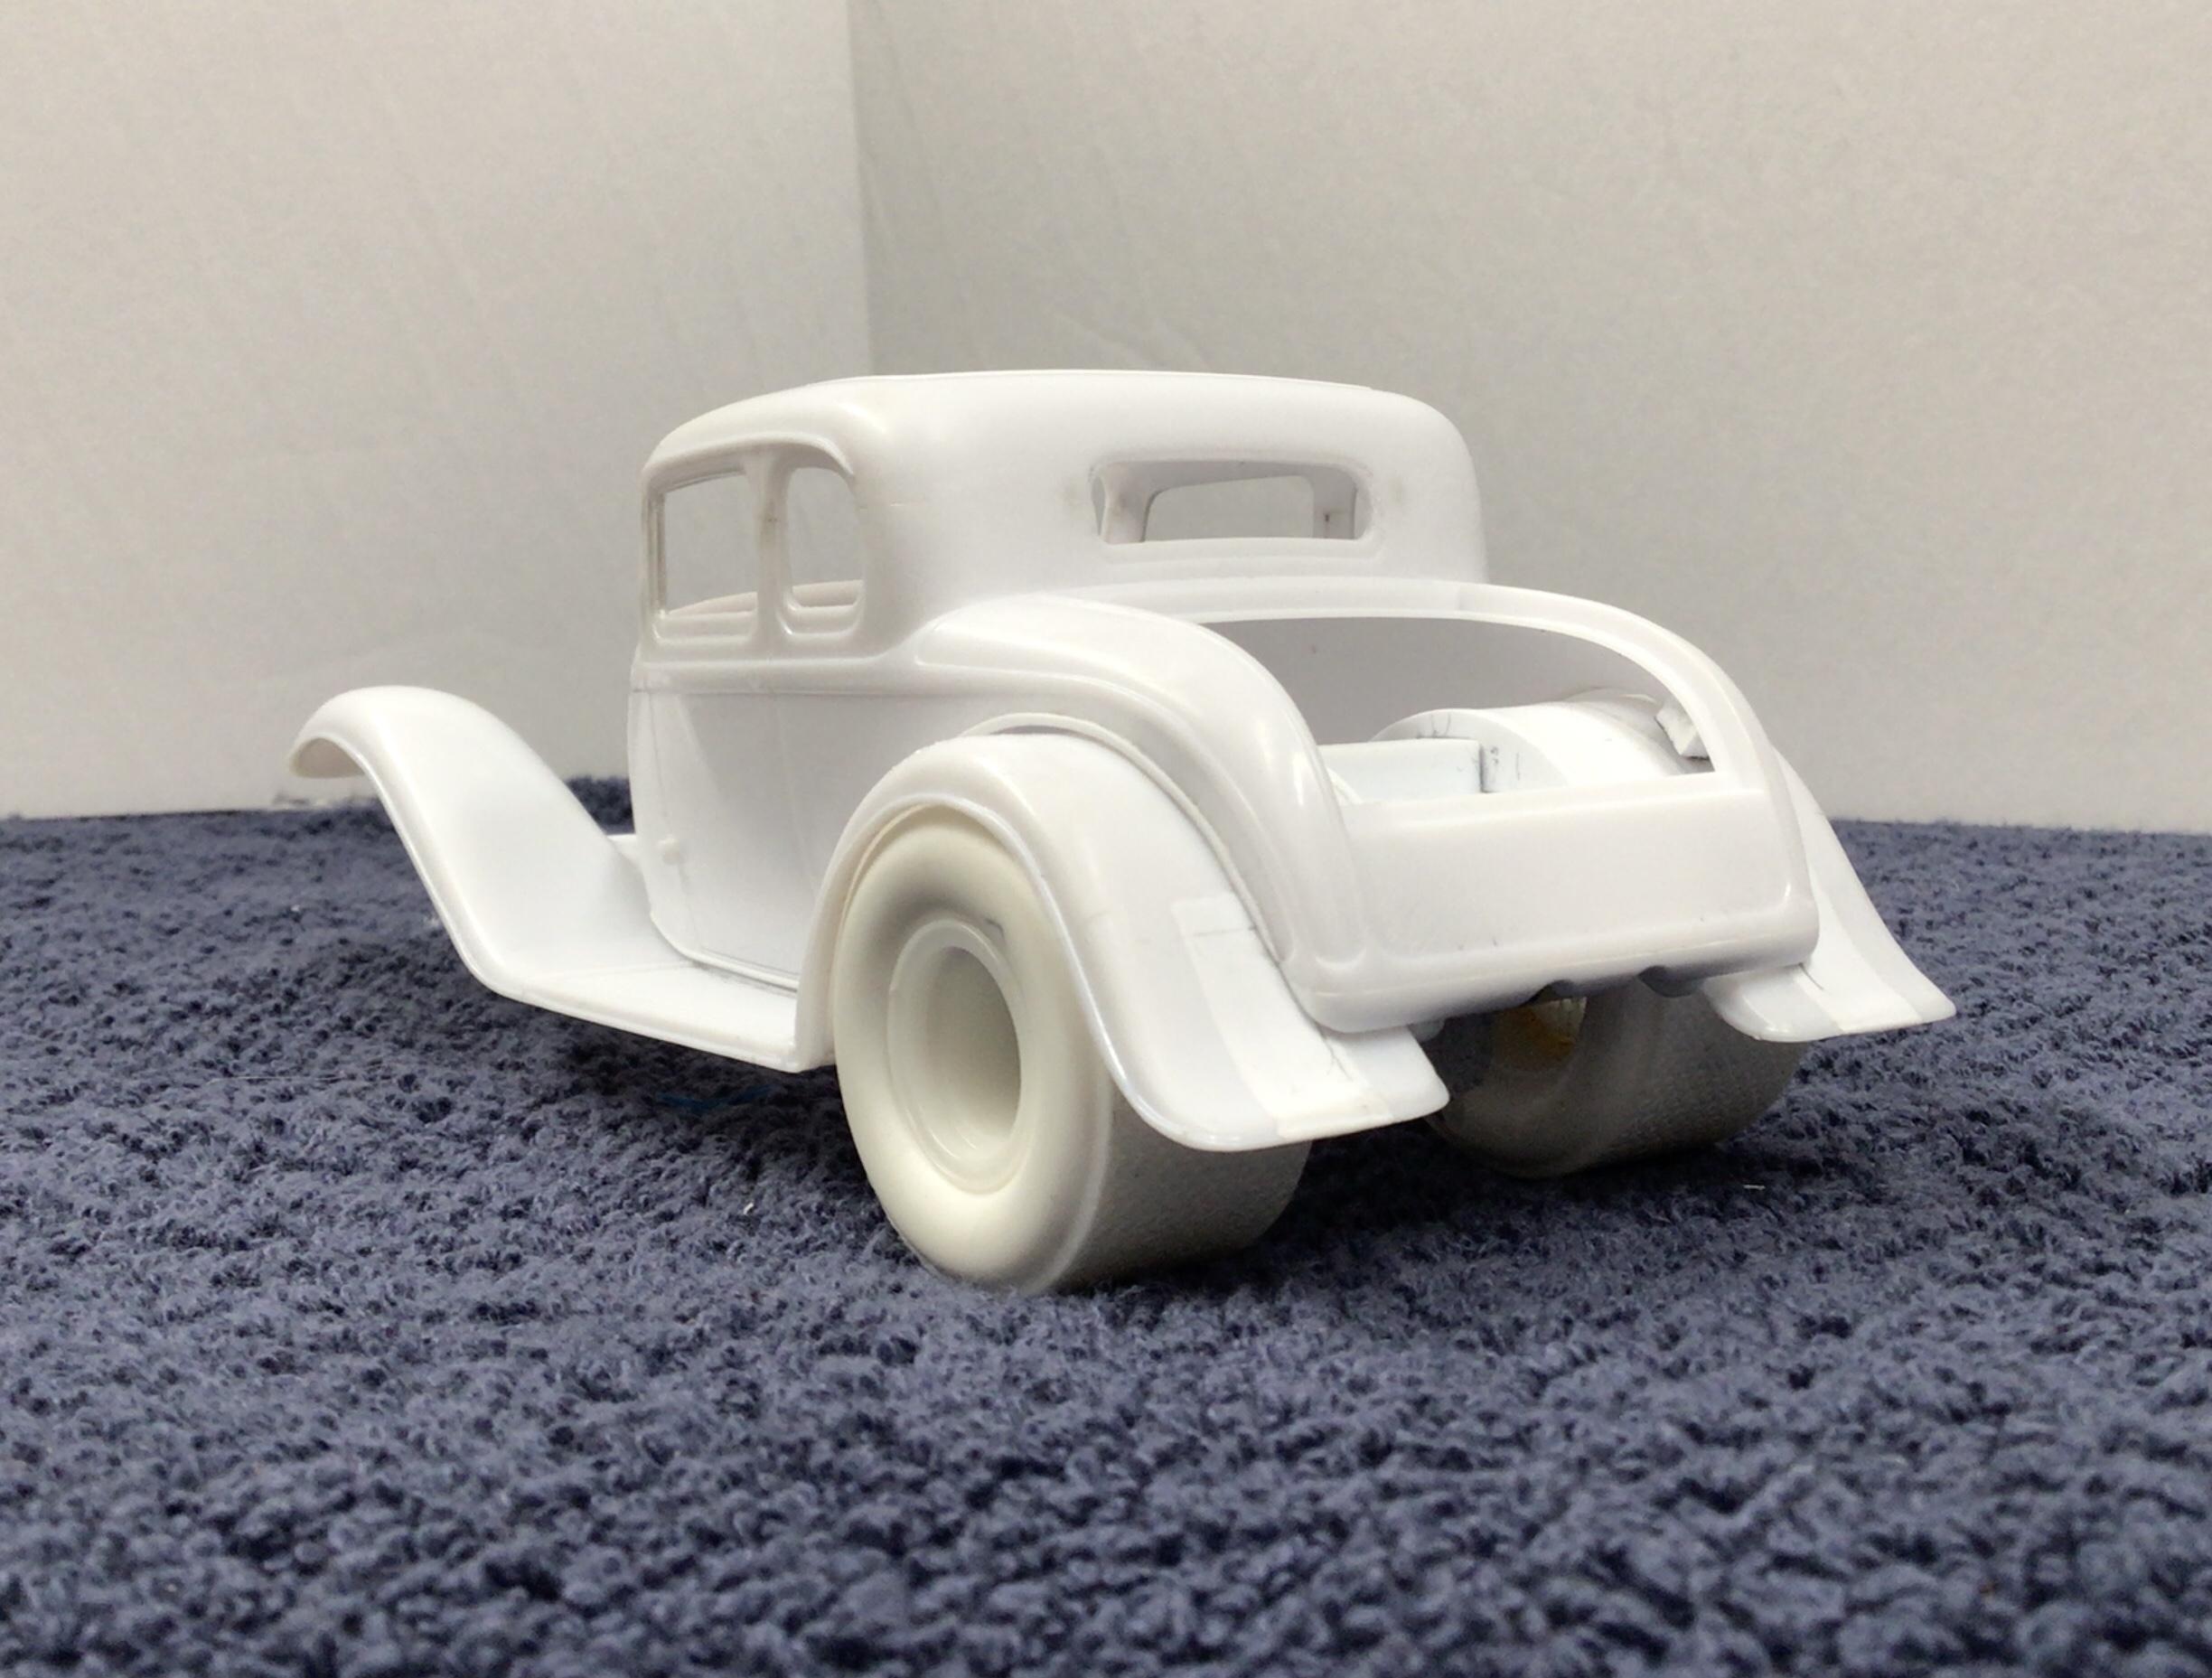
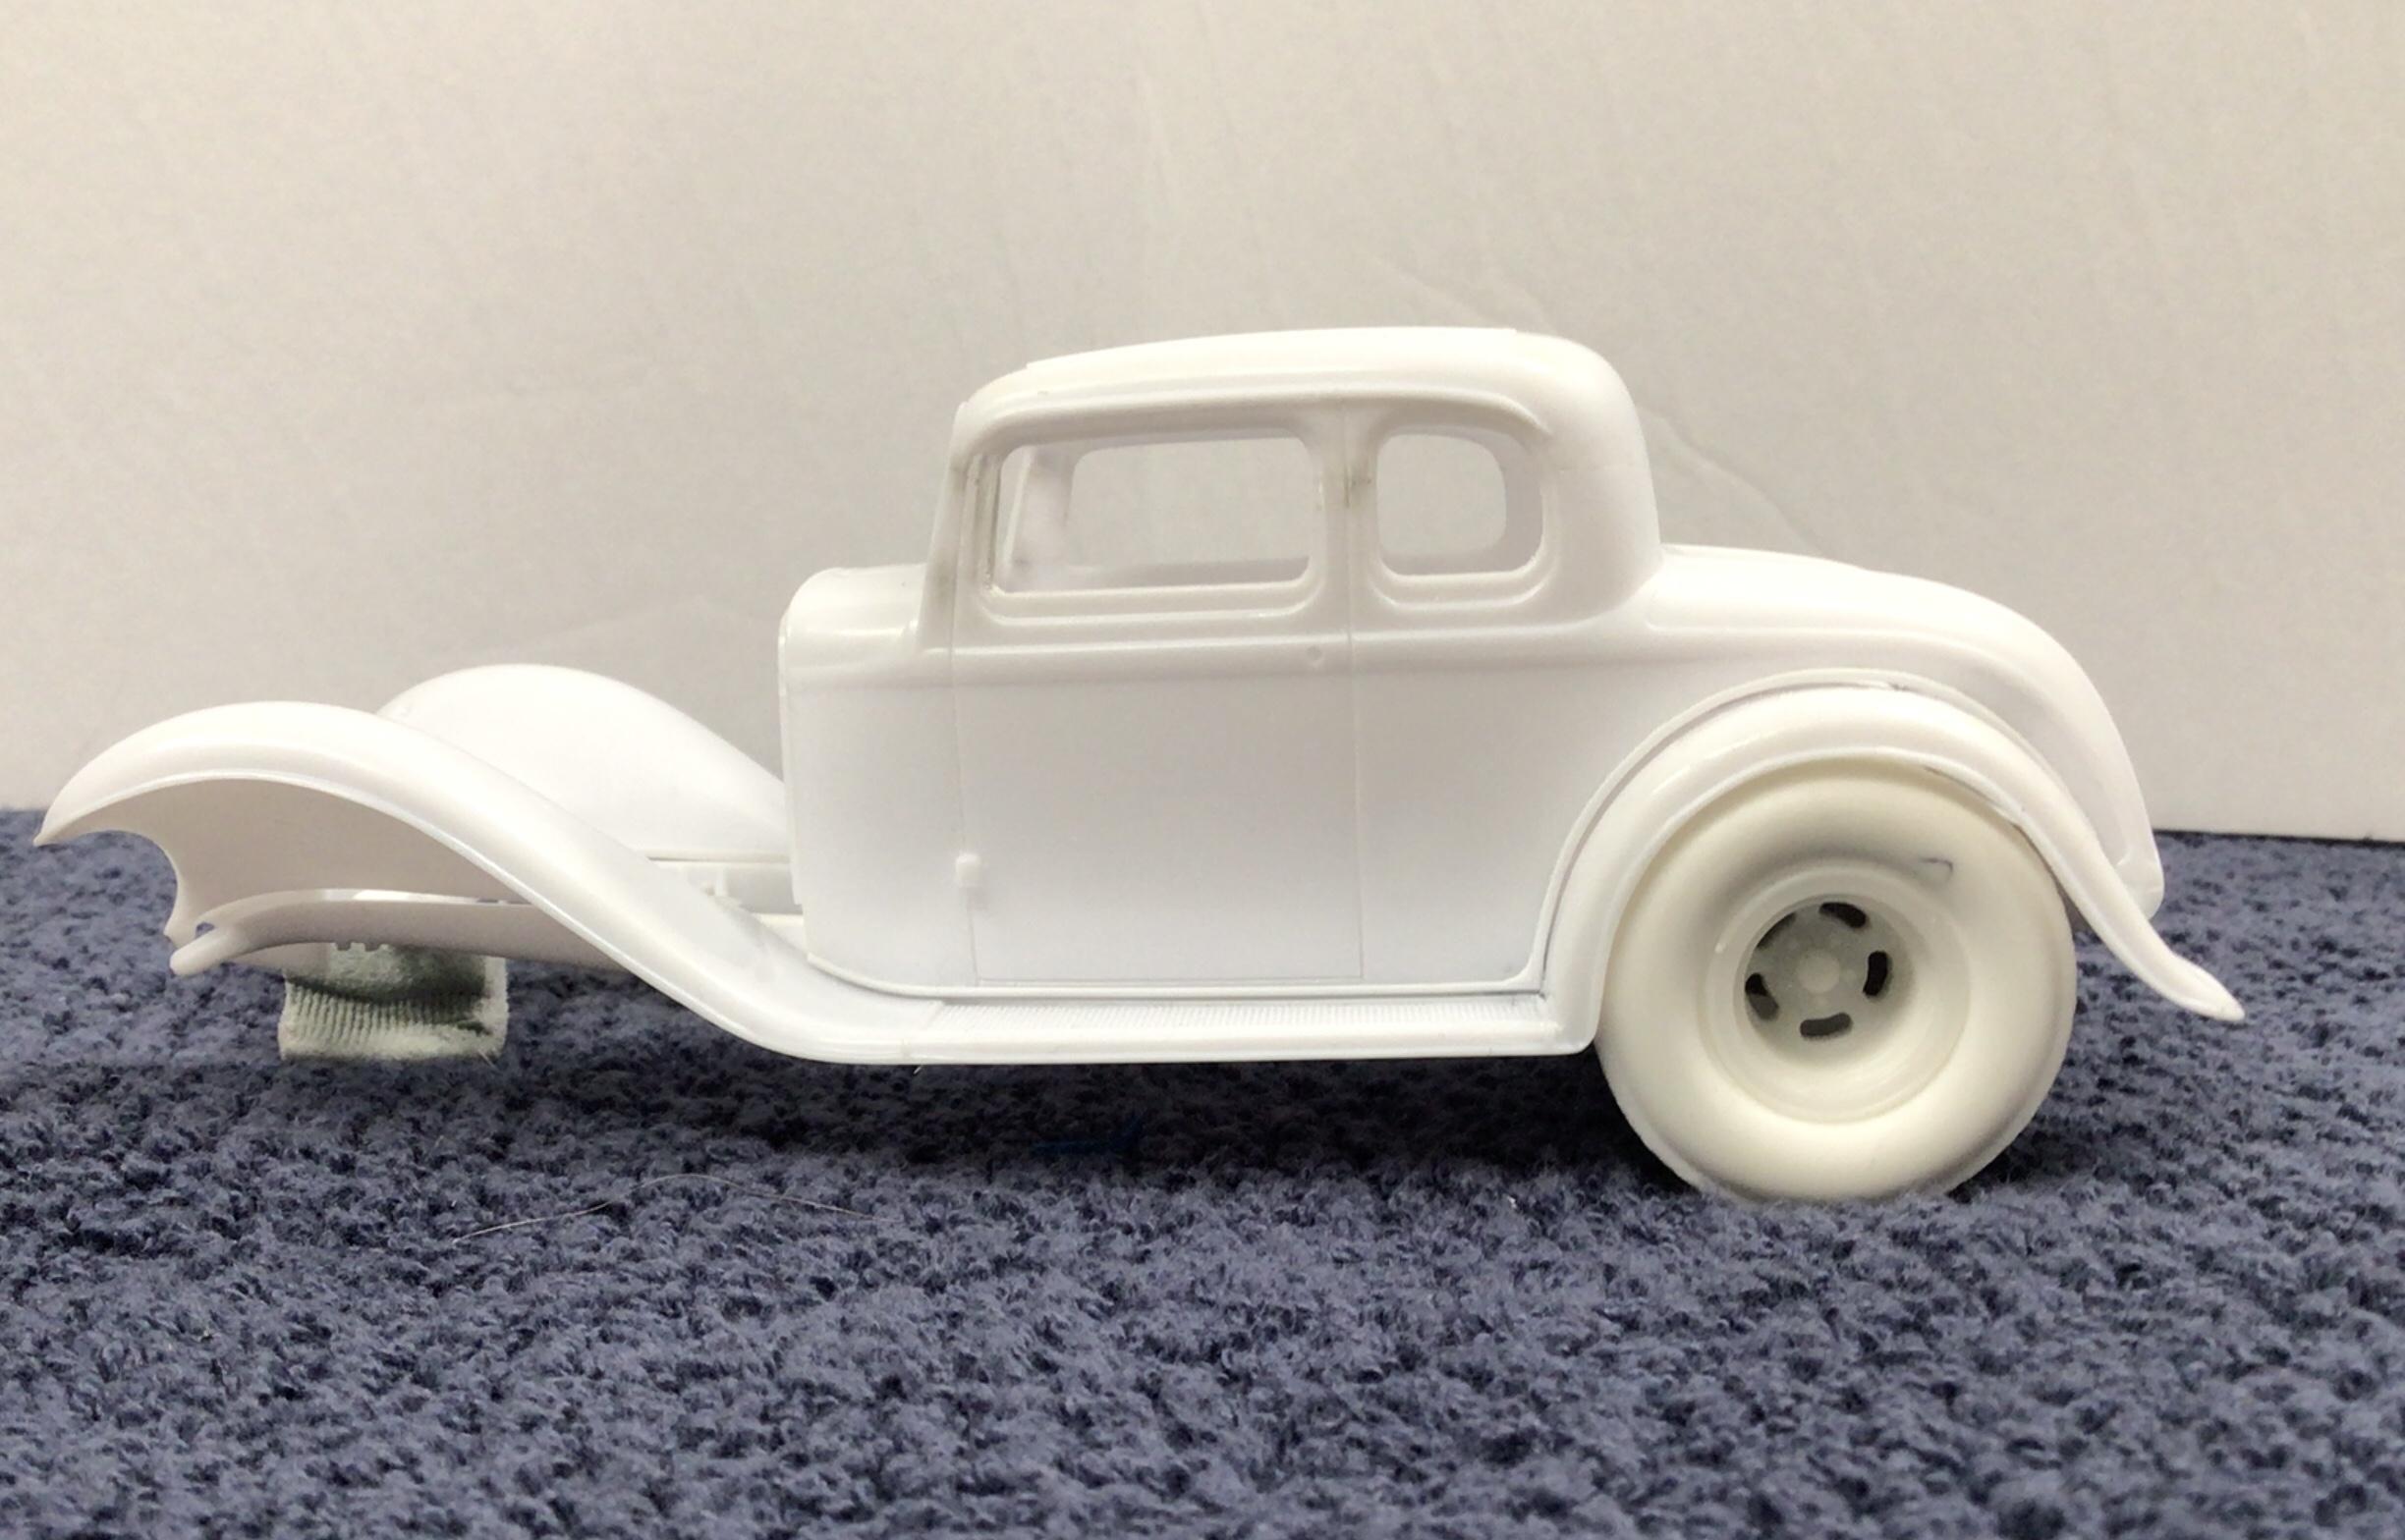
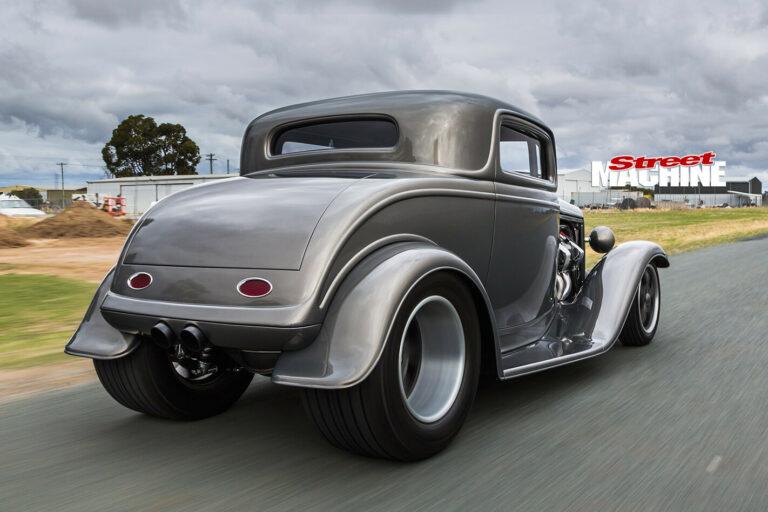
Been playing around with this one again. Not much progress, since I had to re-do the rear clip.? It was not on center and kicked off to one side.? I’m sure I did that on purpose to get the frame rails centered at the rear of the body…but it was the body being twisted from not being modified evenly that was causing the problem. Anyways…it is all squared away now I hope. Only new progress is a rear valence added along with new lower body and wheel well trim and re-scribed lower door edge.? Dropped the rear ride height a tad too, but I still need to figure out a suspension system for it.? I’m take some cues from this 3 window I found online.?

-
Thanks Bob! Yes, I will eventually be fixing the attitude of that hood…bigger fish to fry as they say at the moment.?
-
Nice work so far Keith! I do believe you have found the perfect stance.?
-
Excellent work going on here Mike!? Shame about the hood.? I like your methodical approach to the modifications required. Carry on.?
-
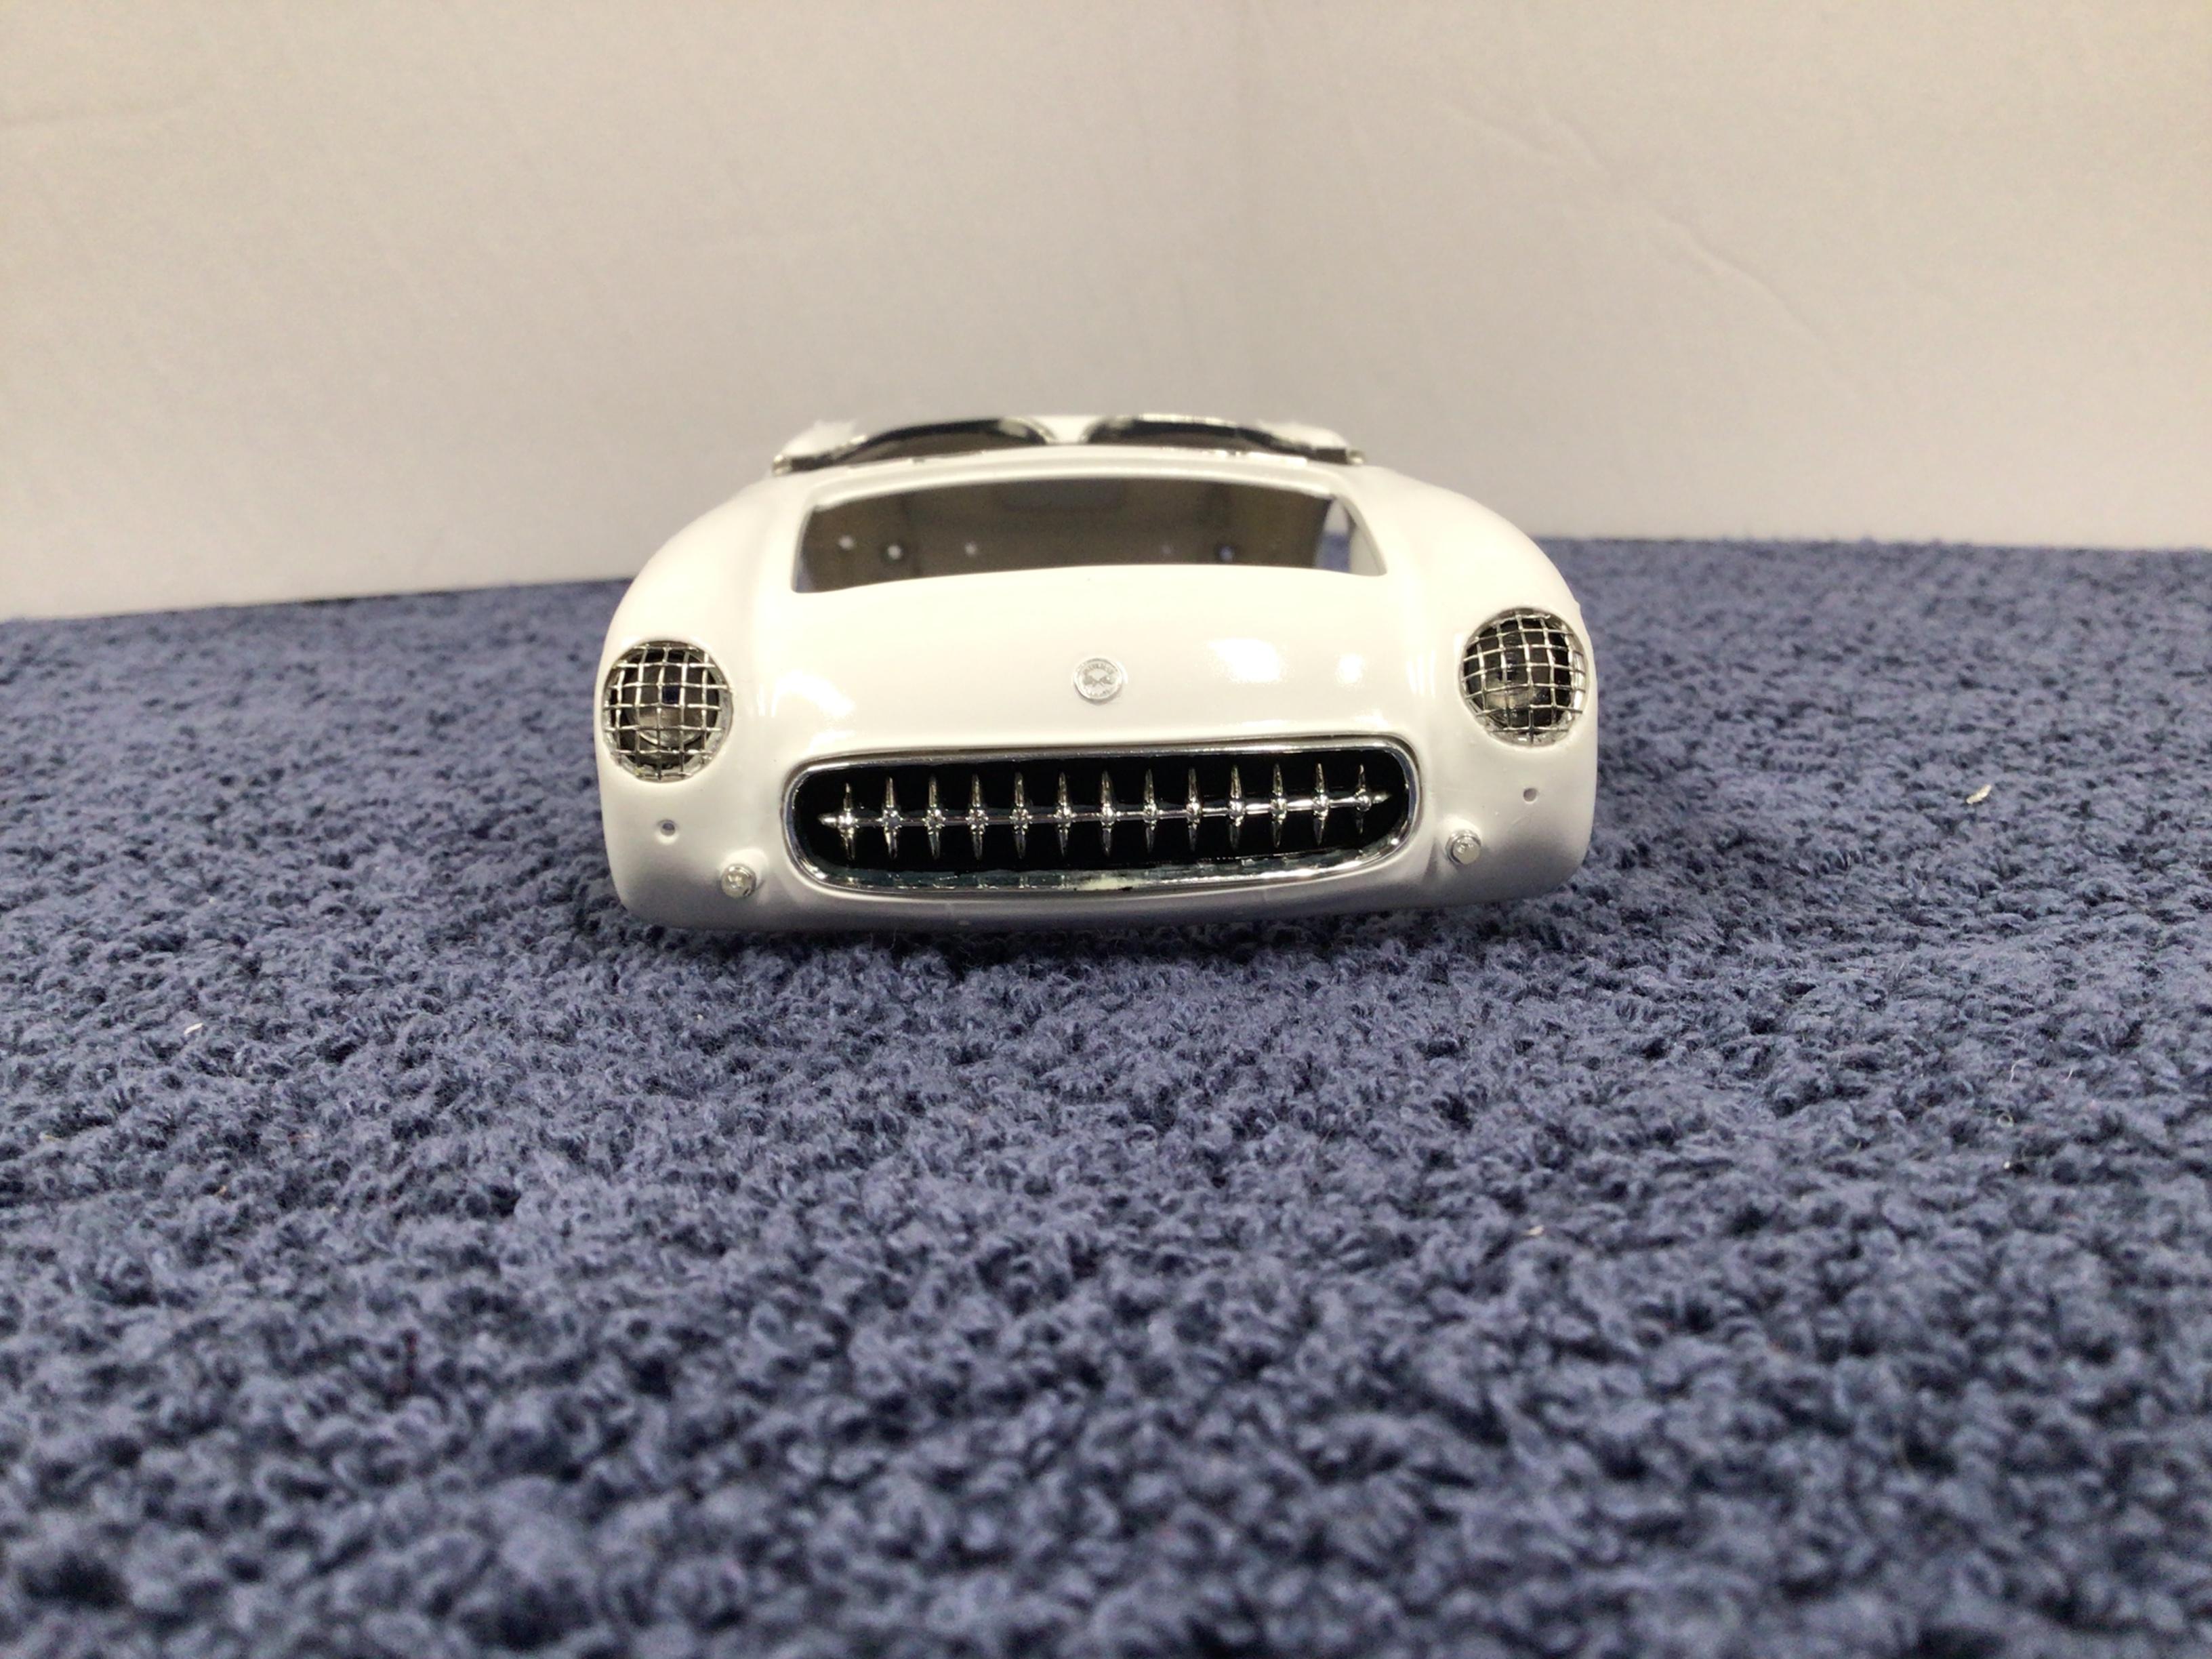
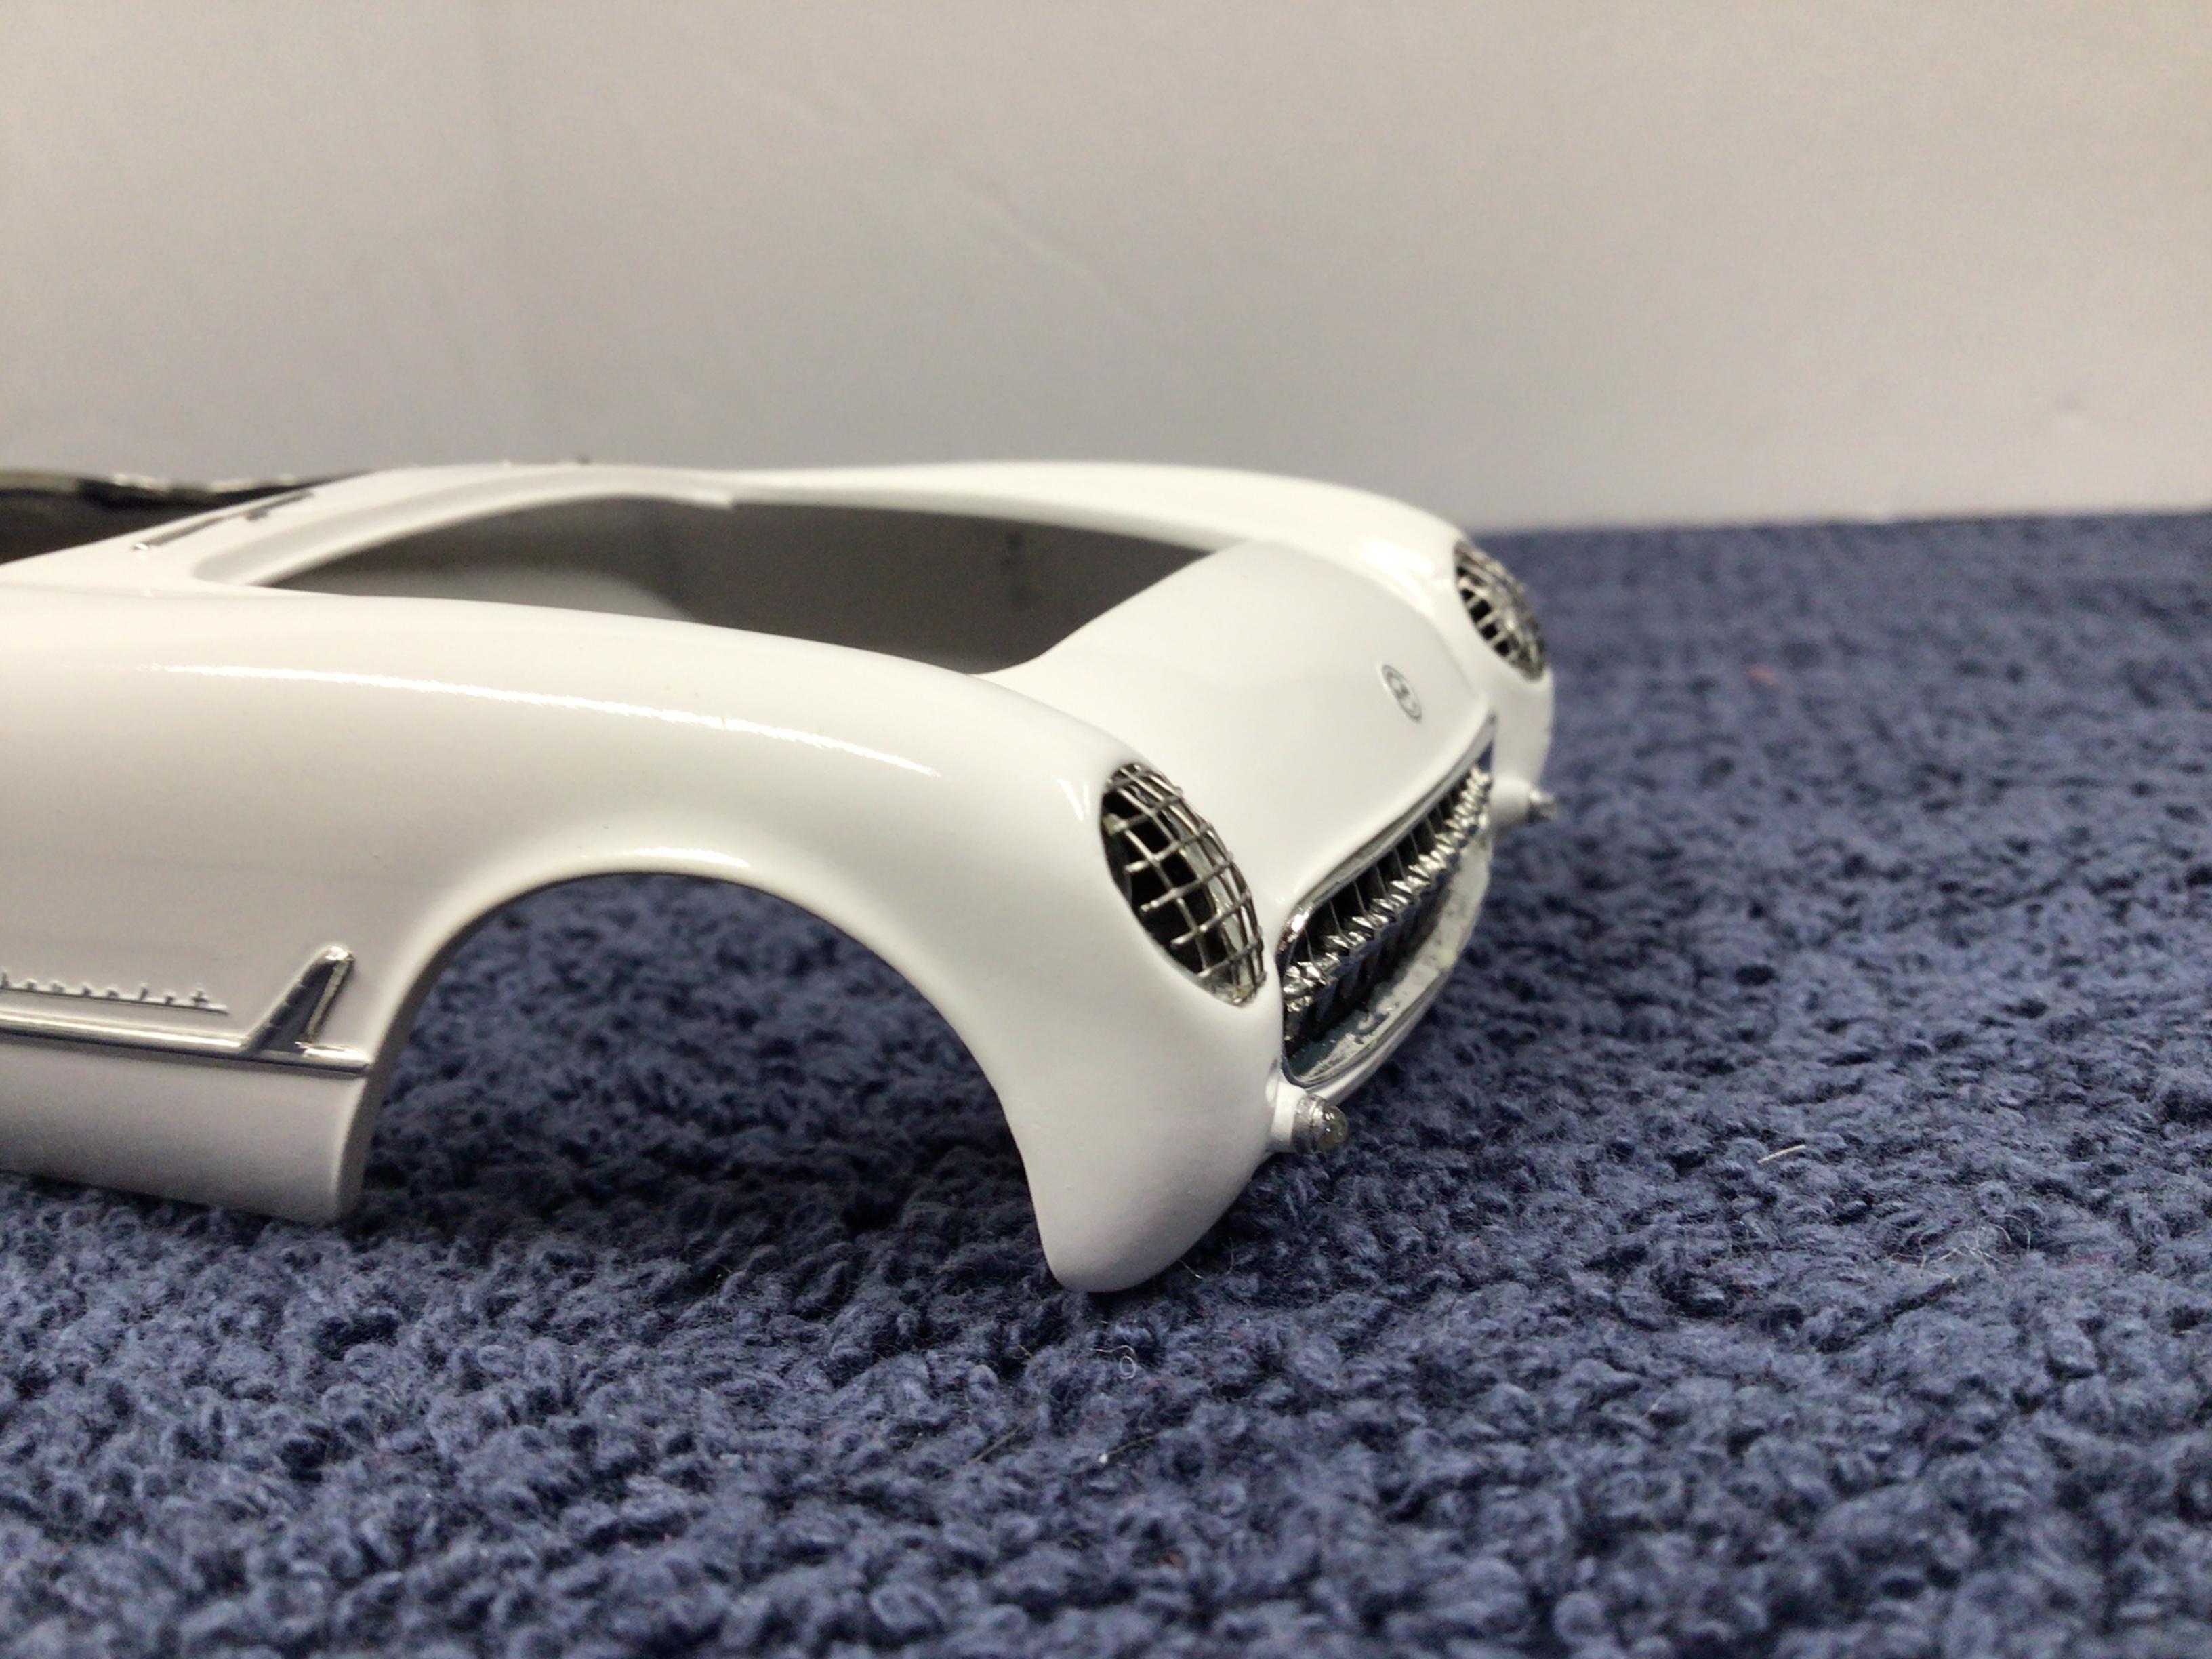
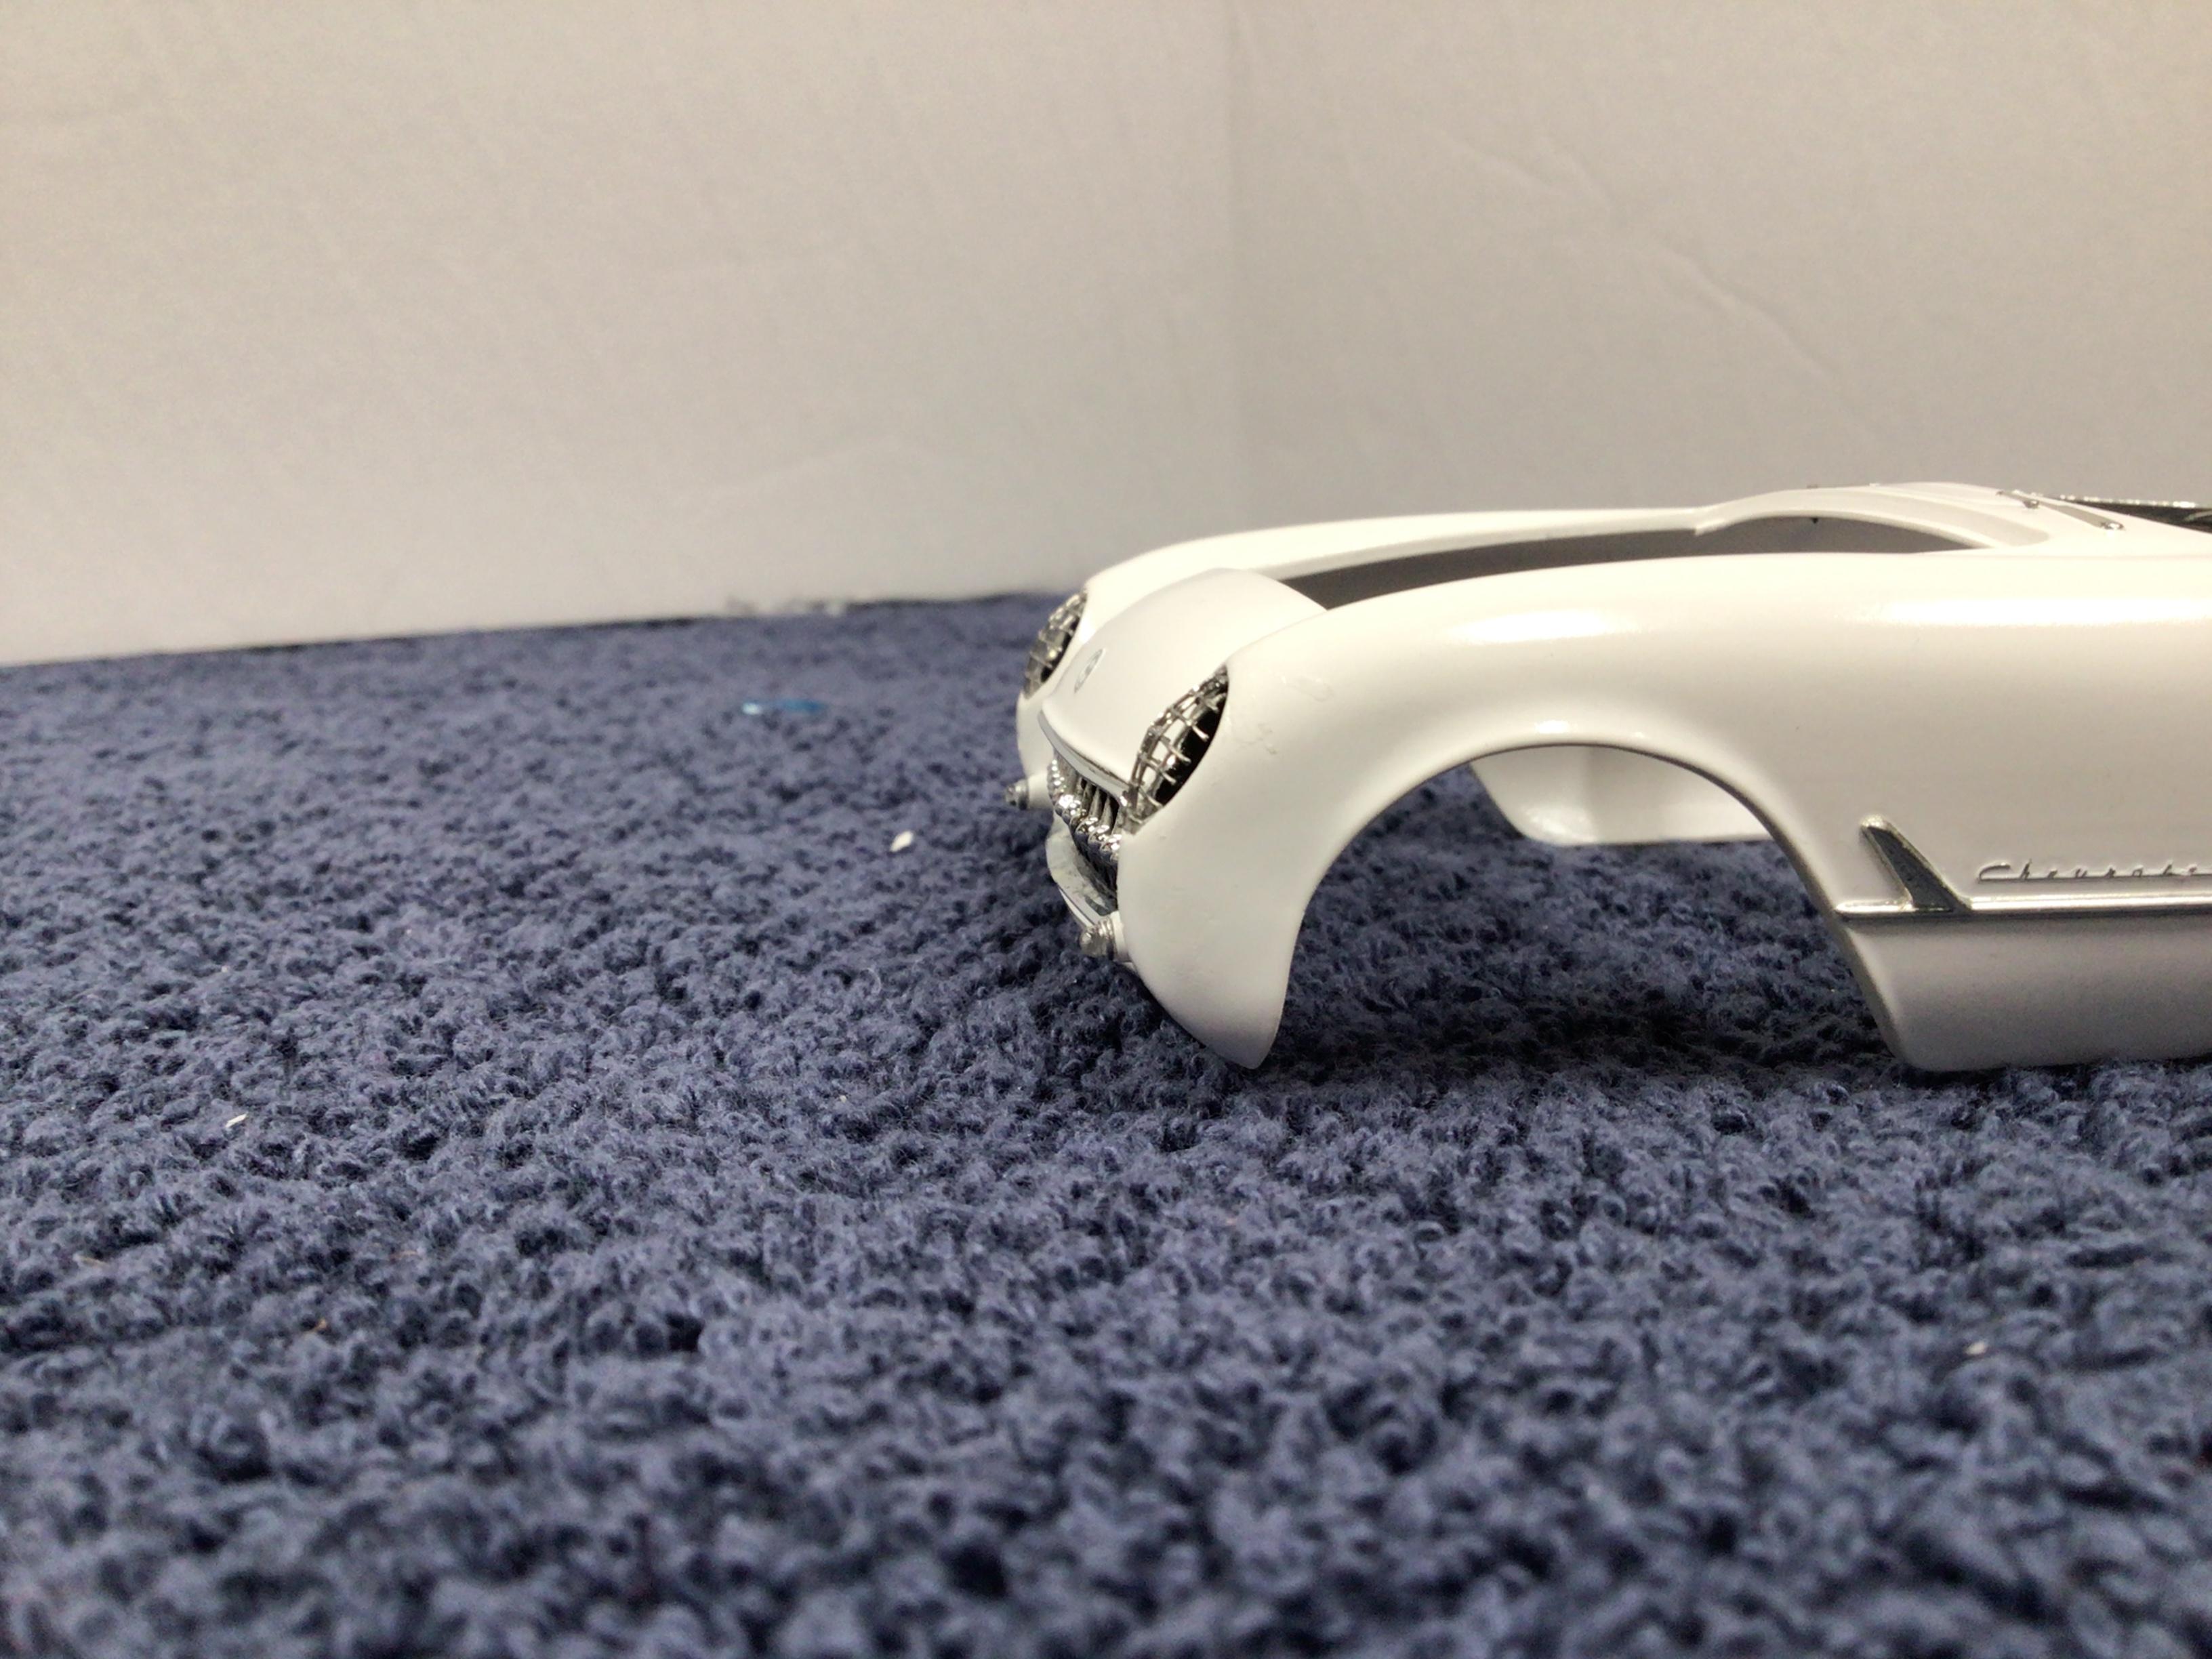
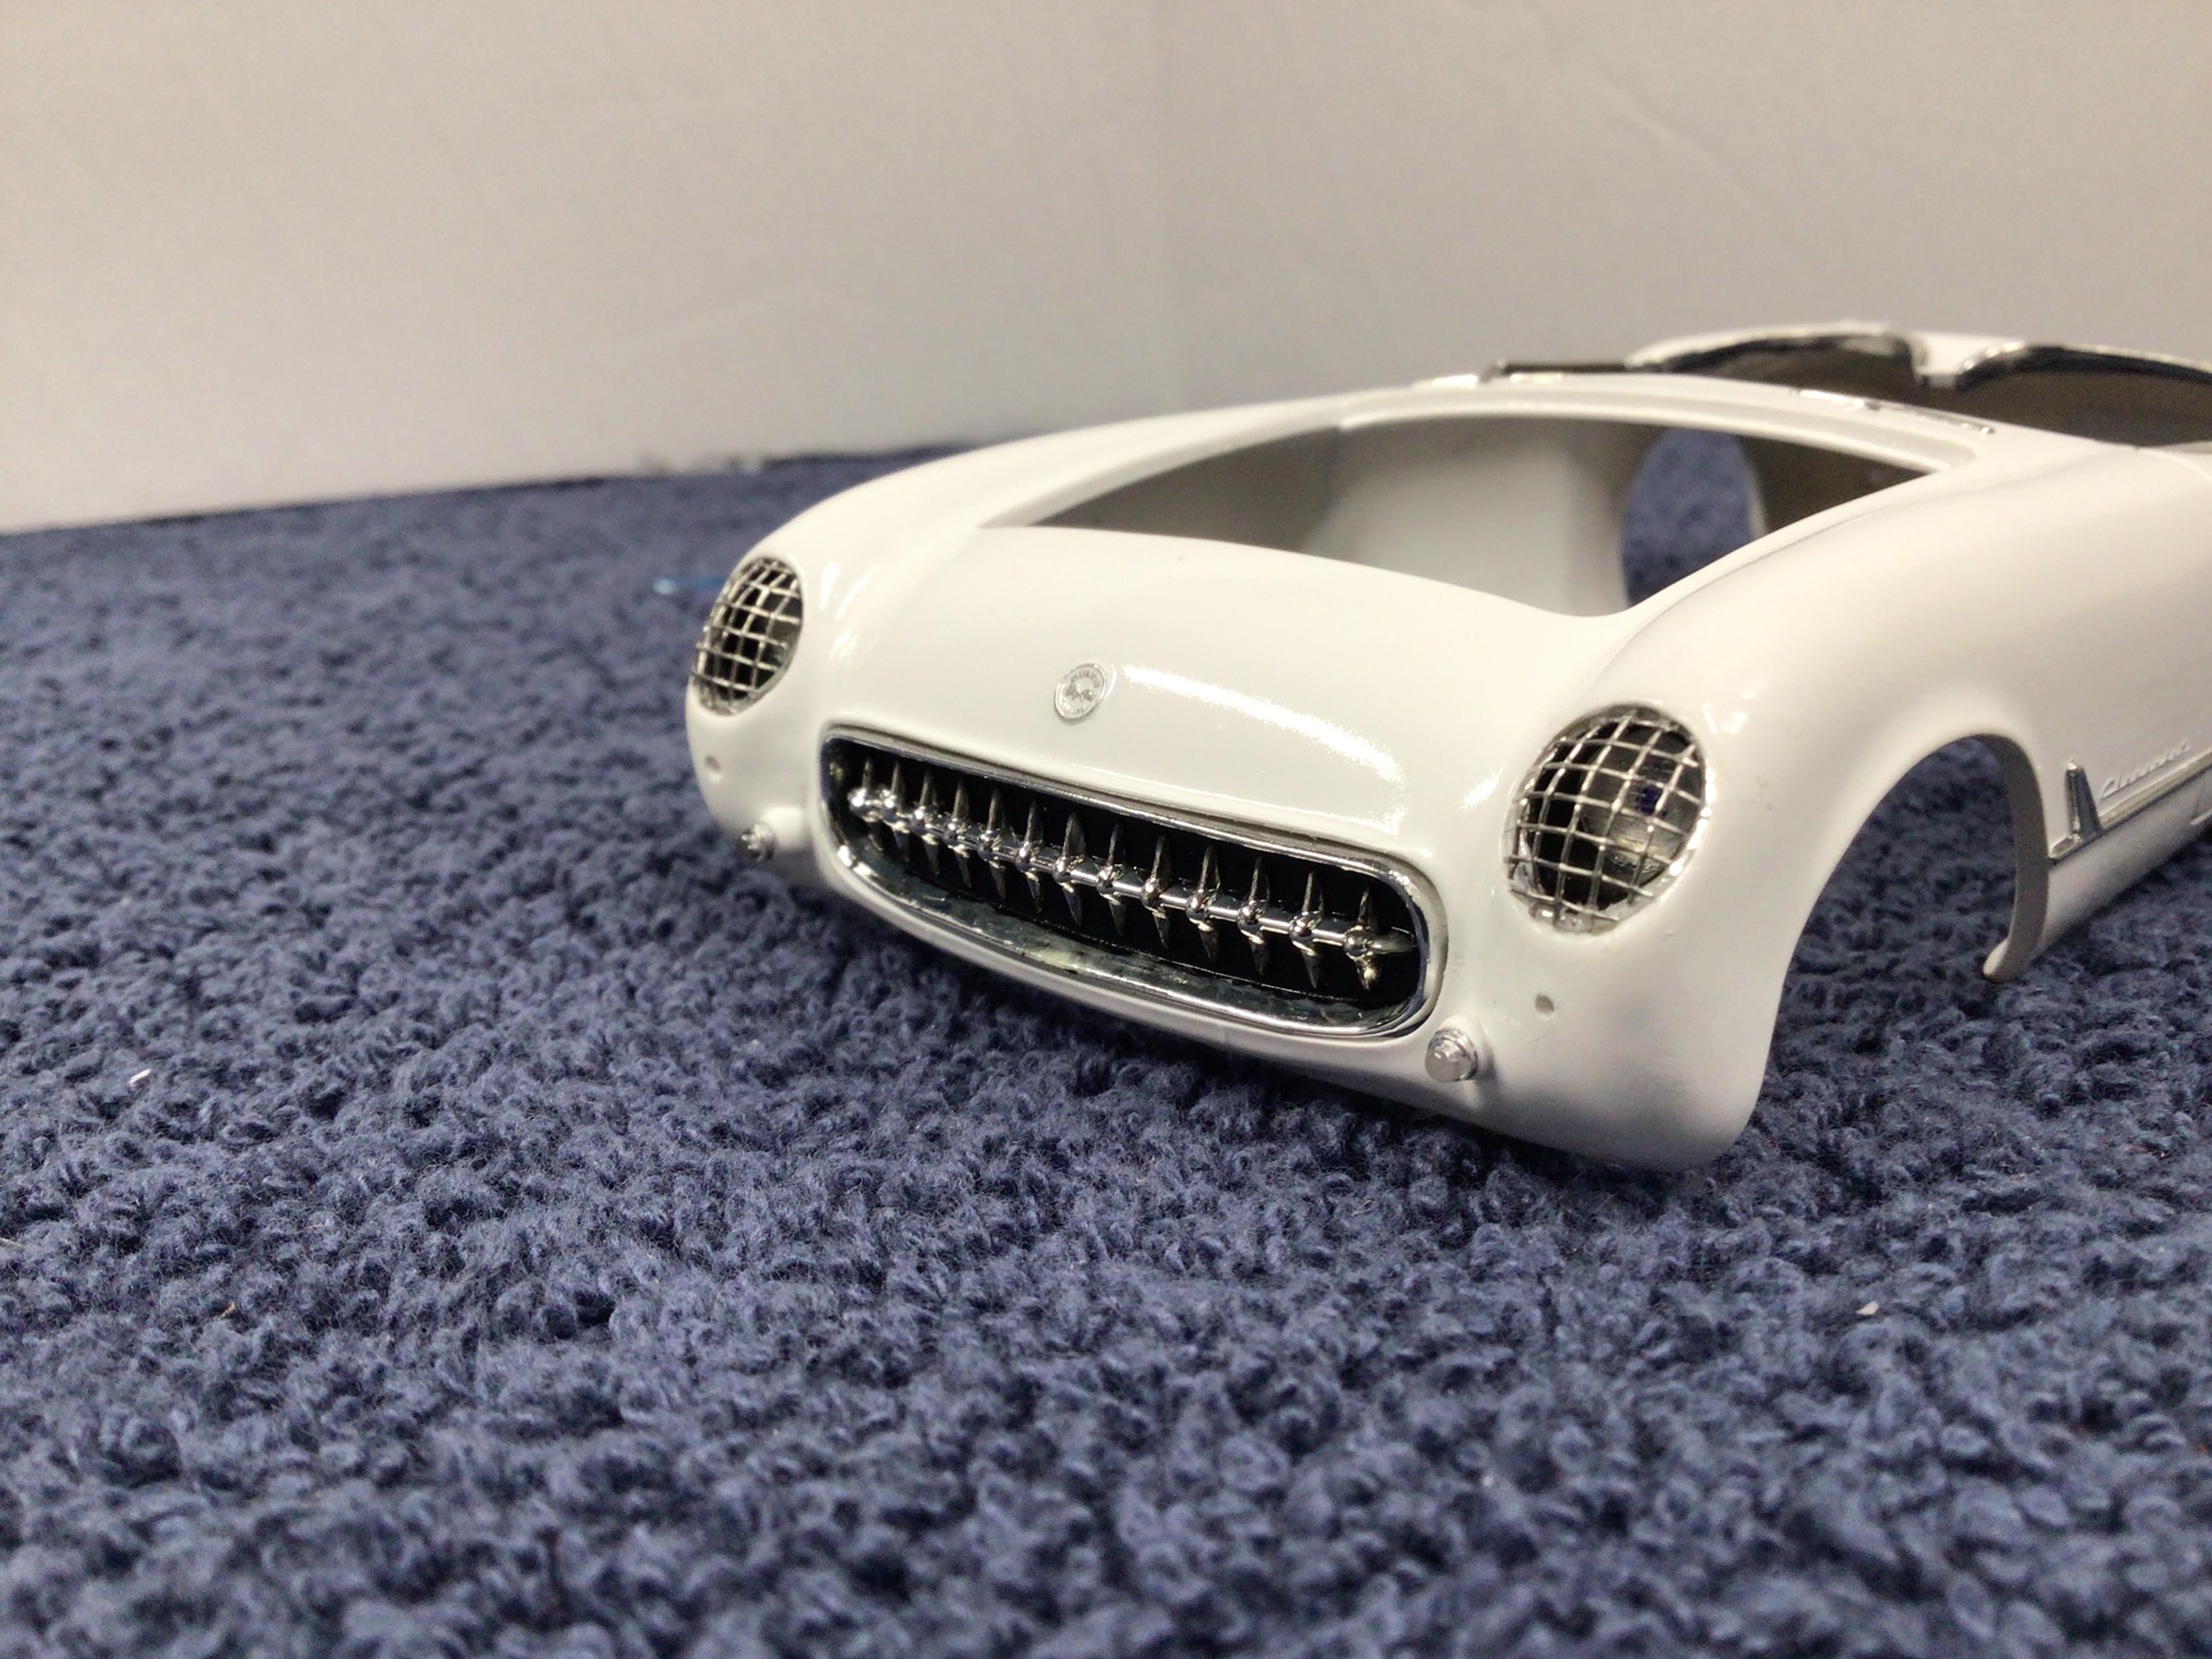
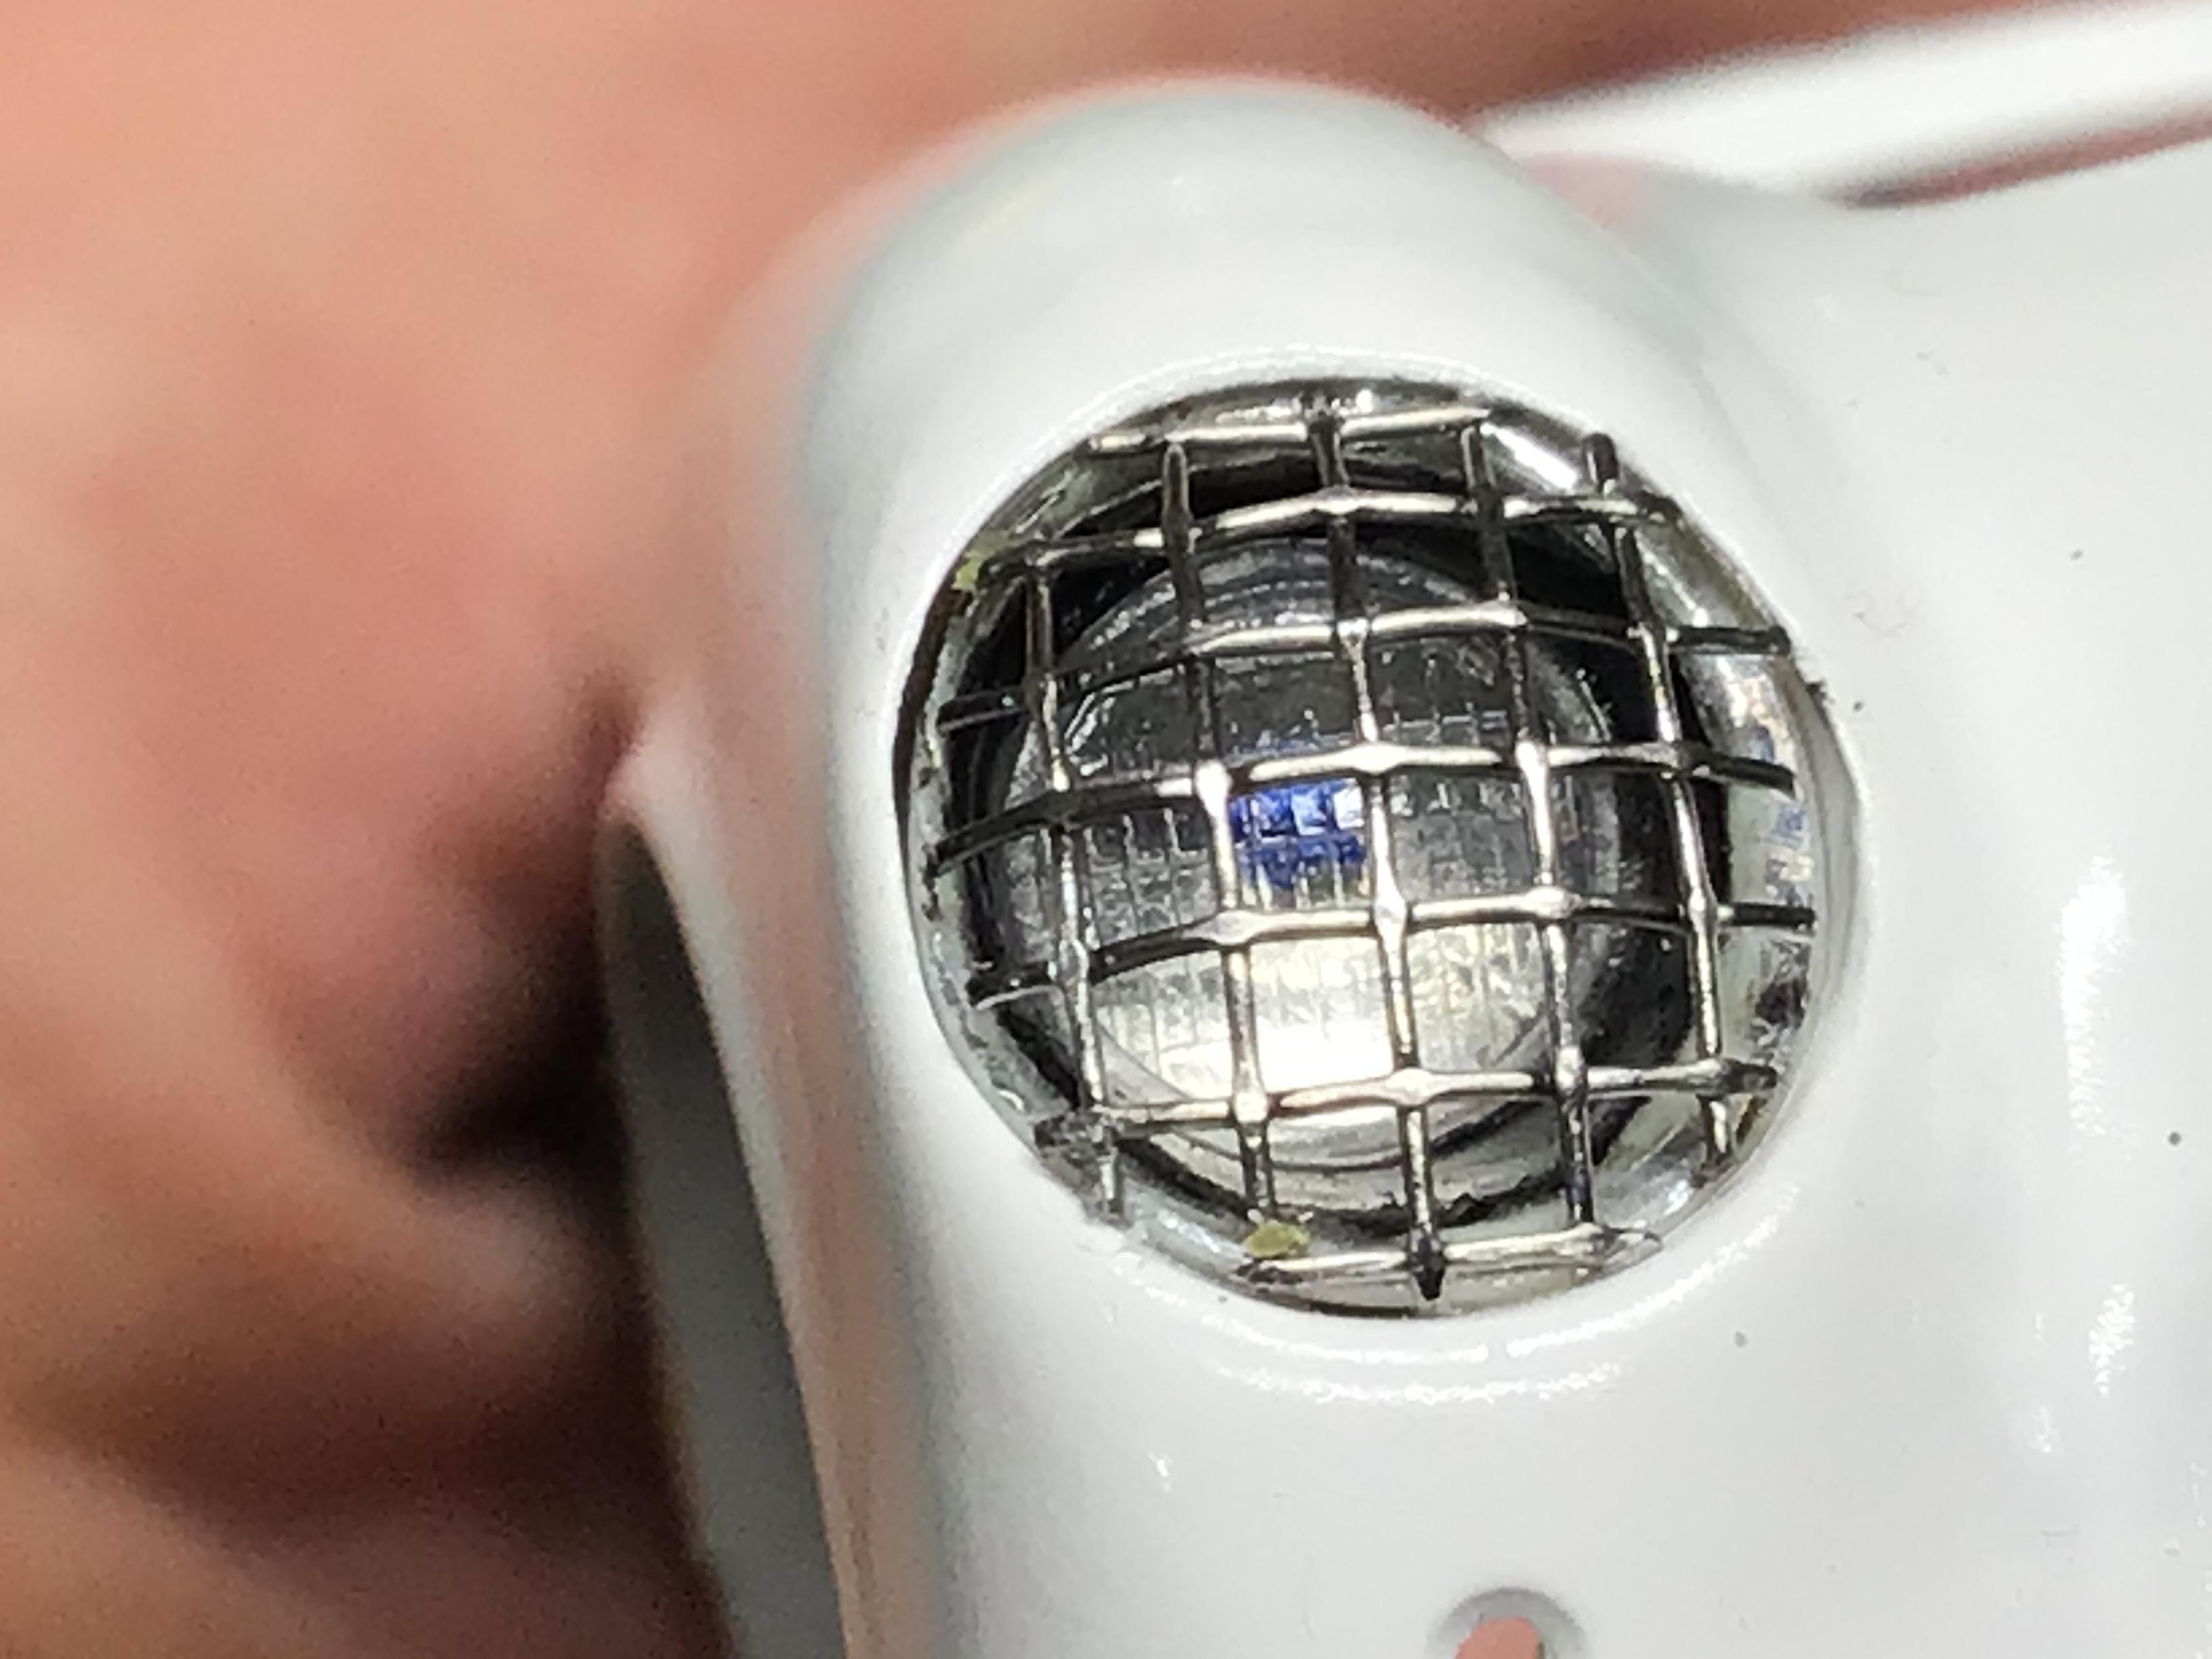
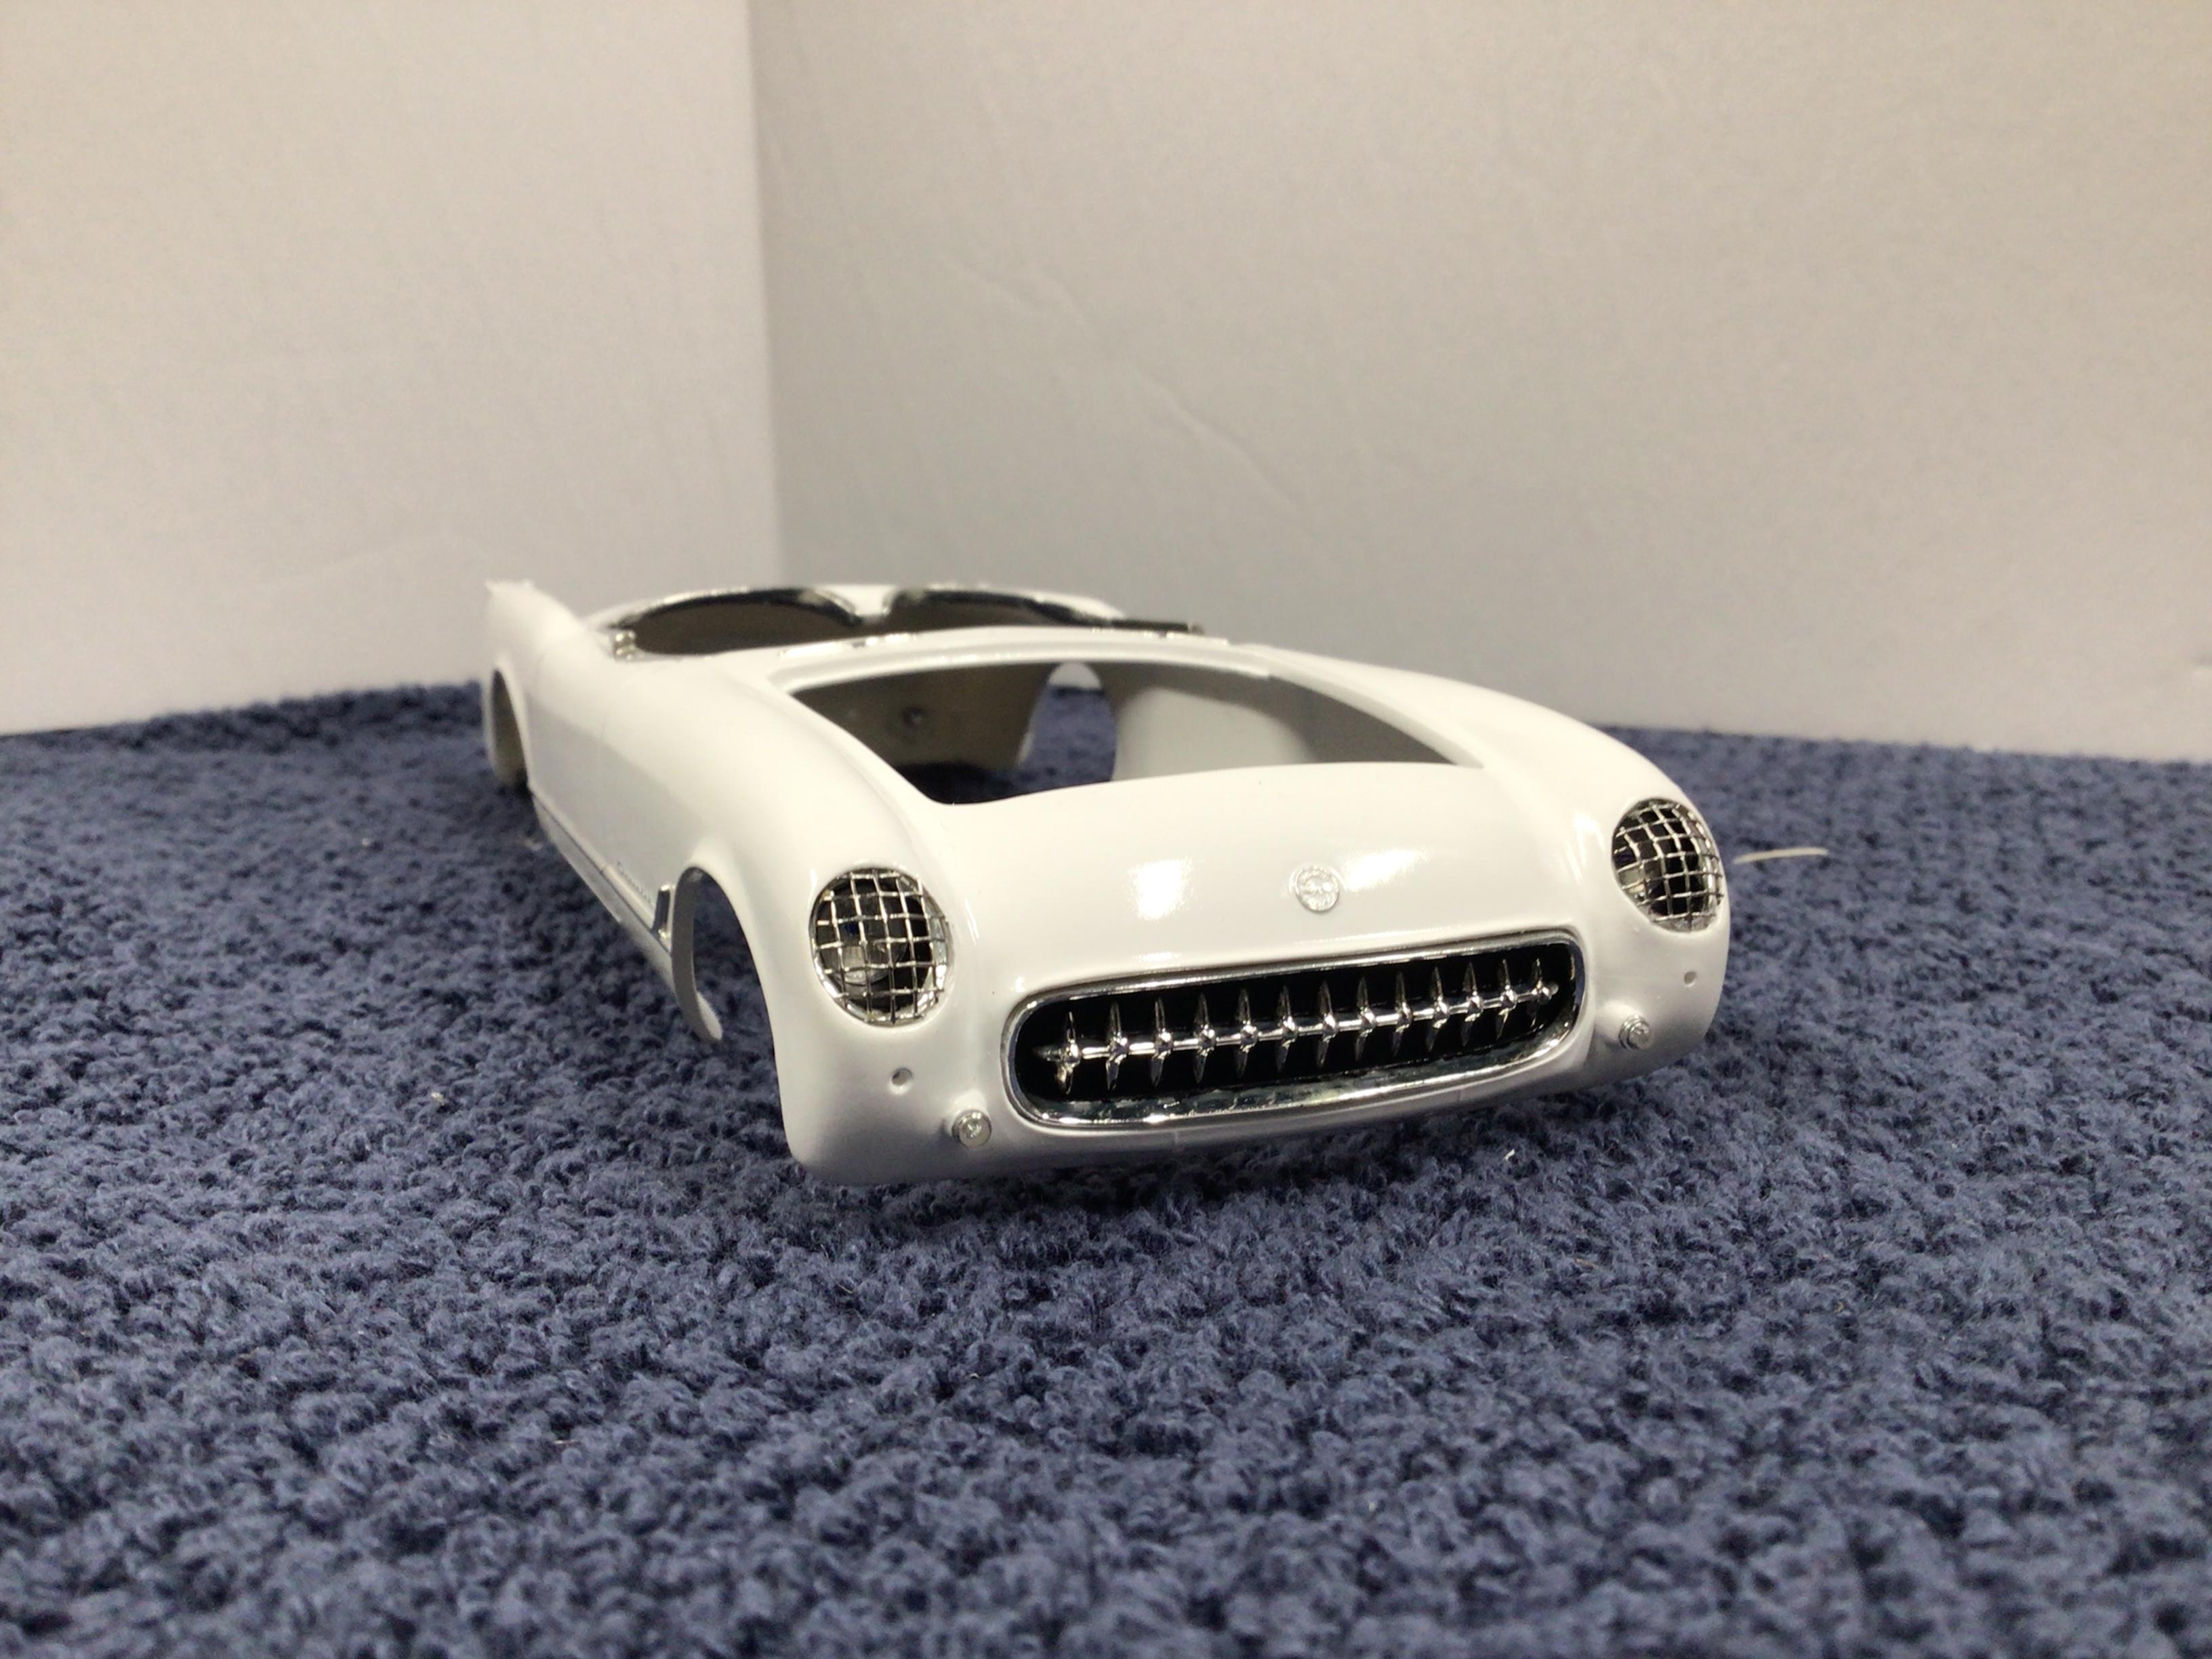
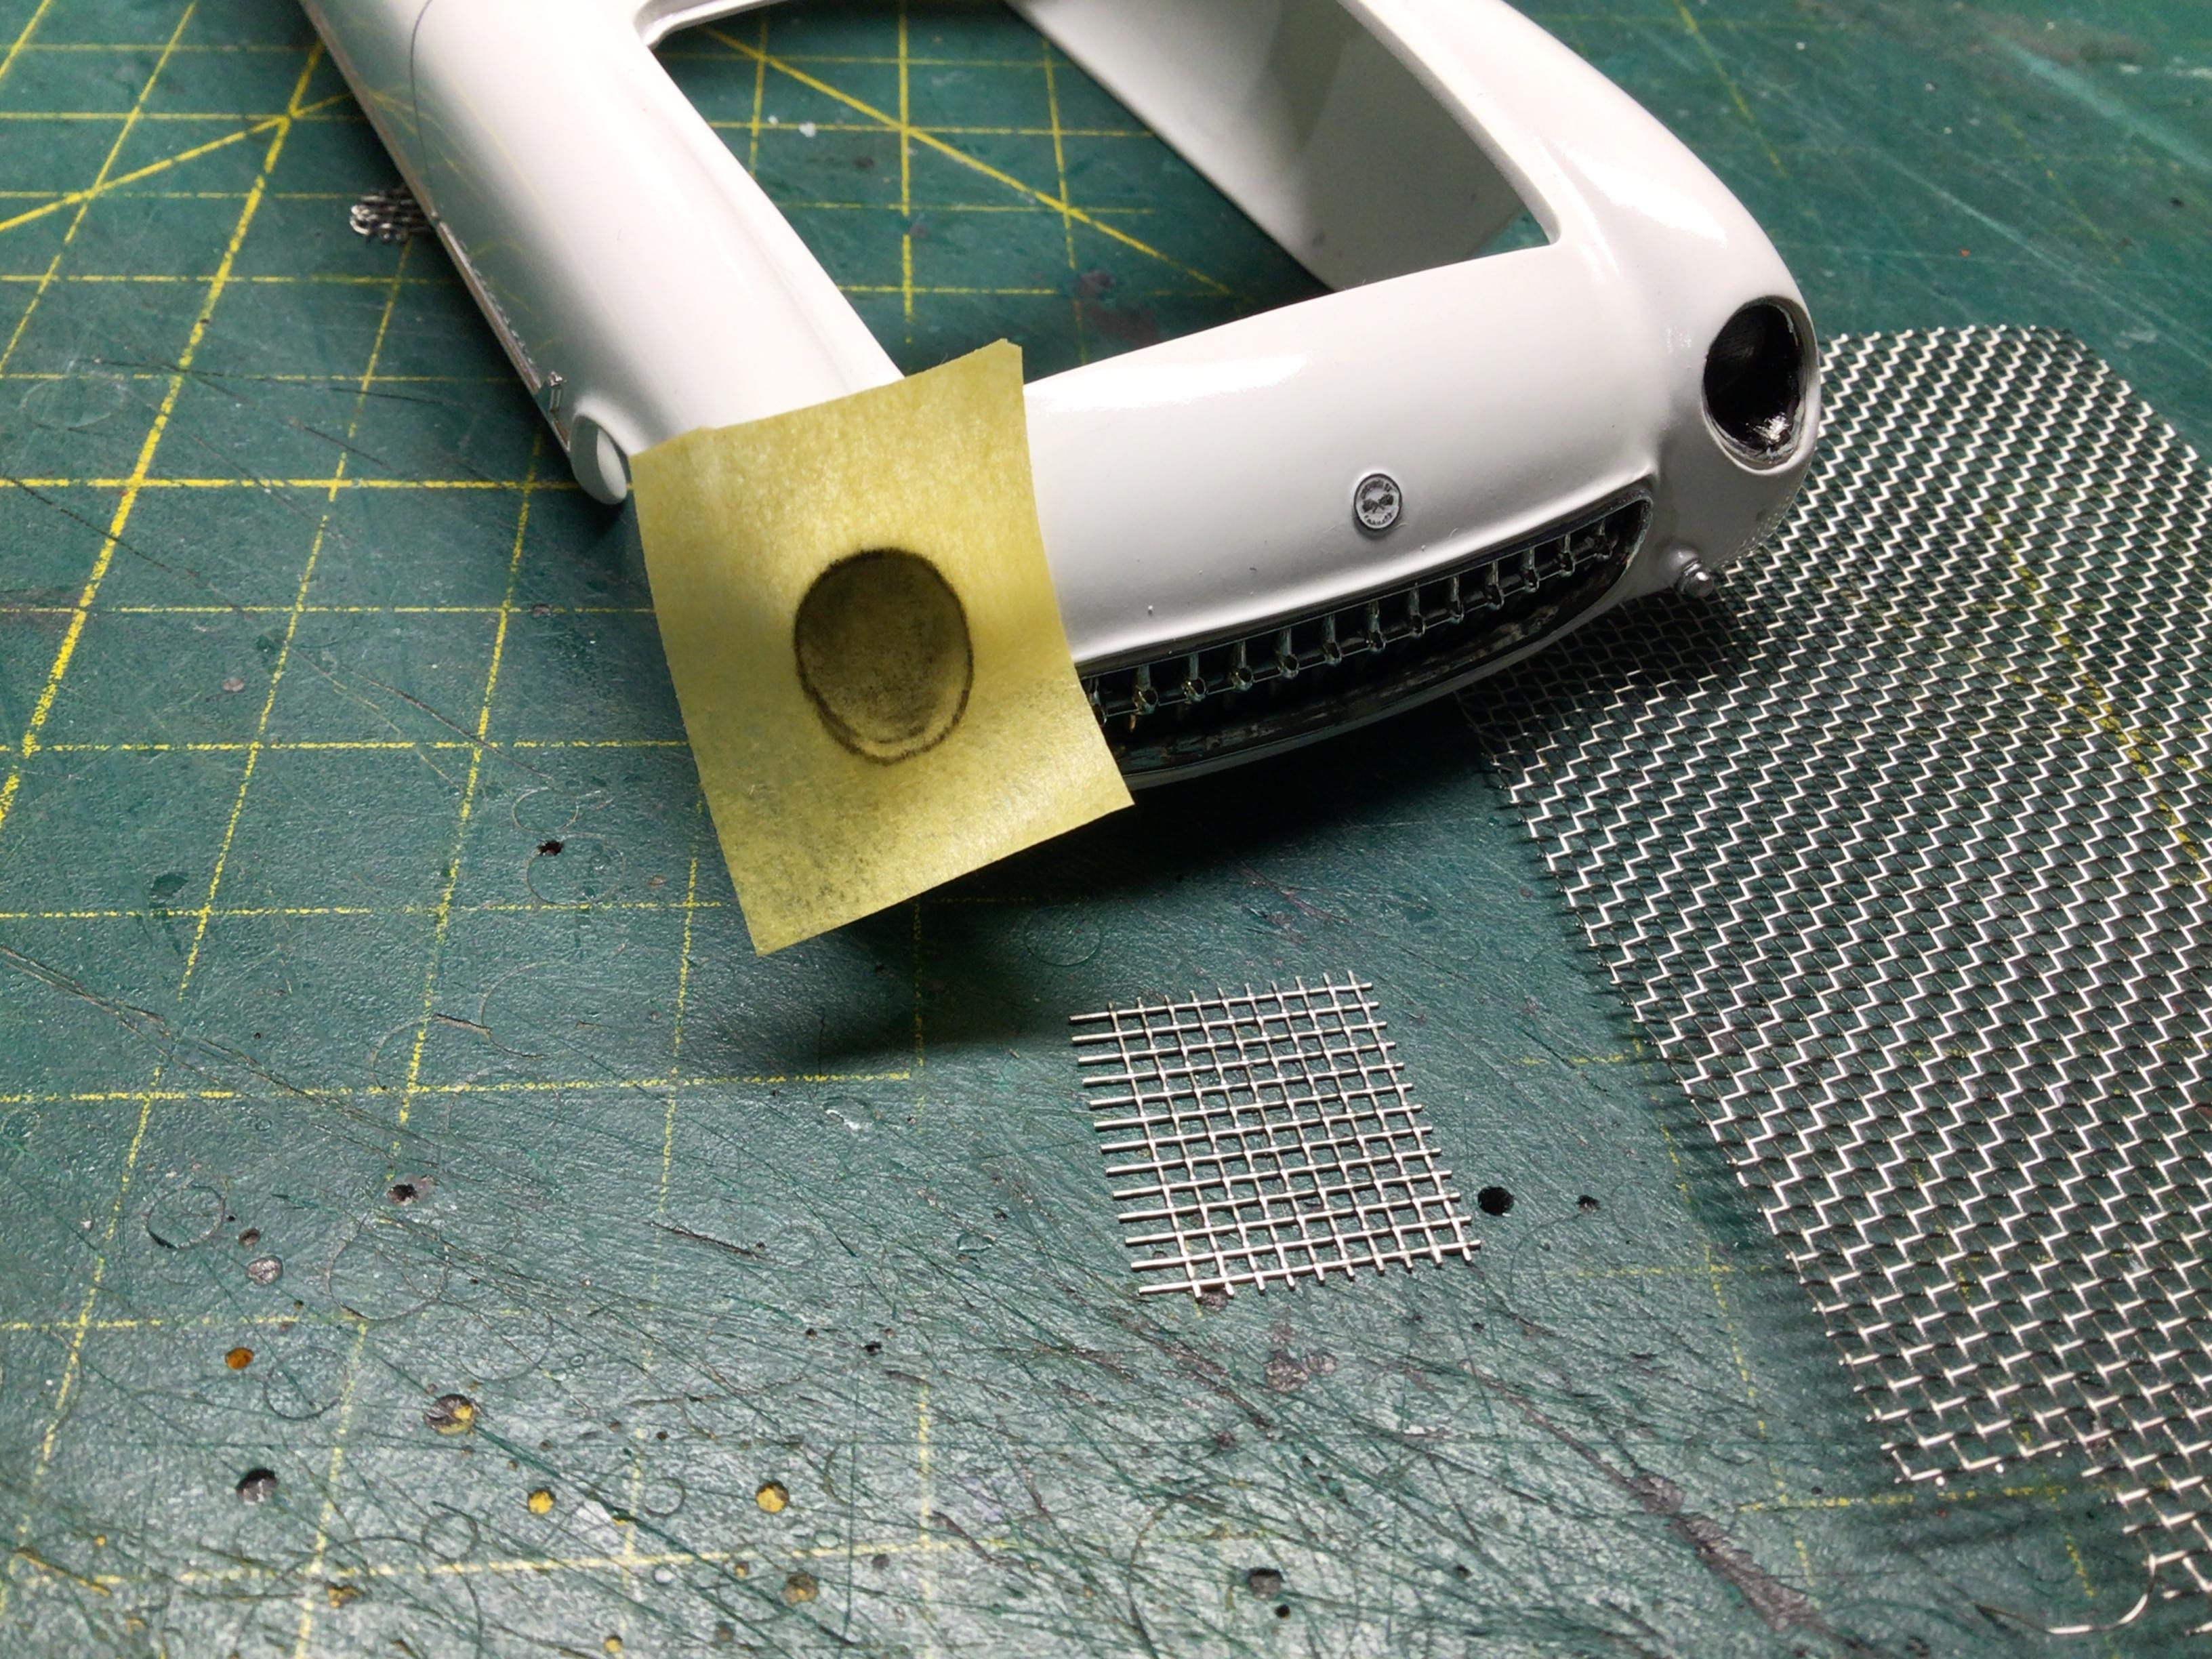
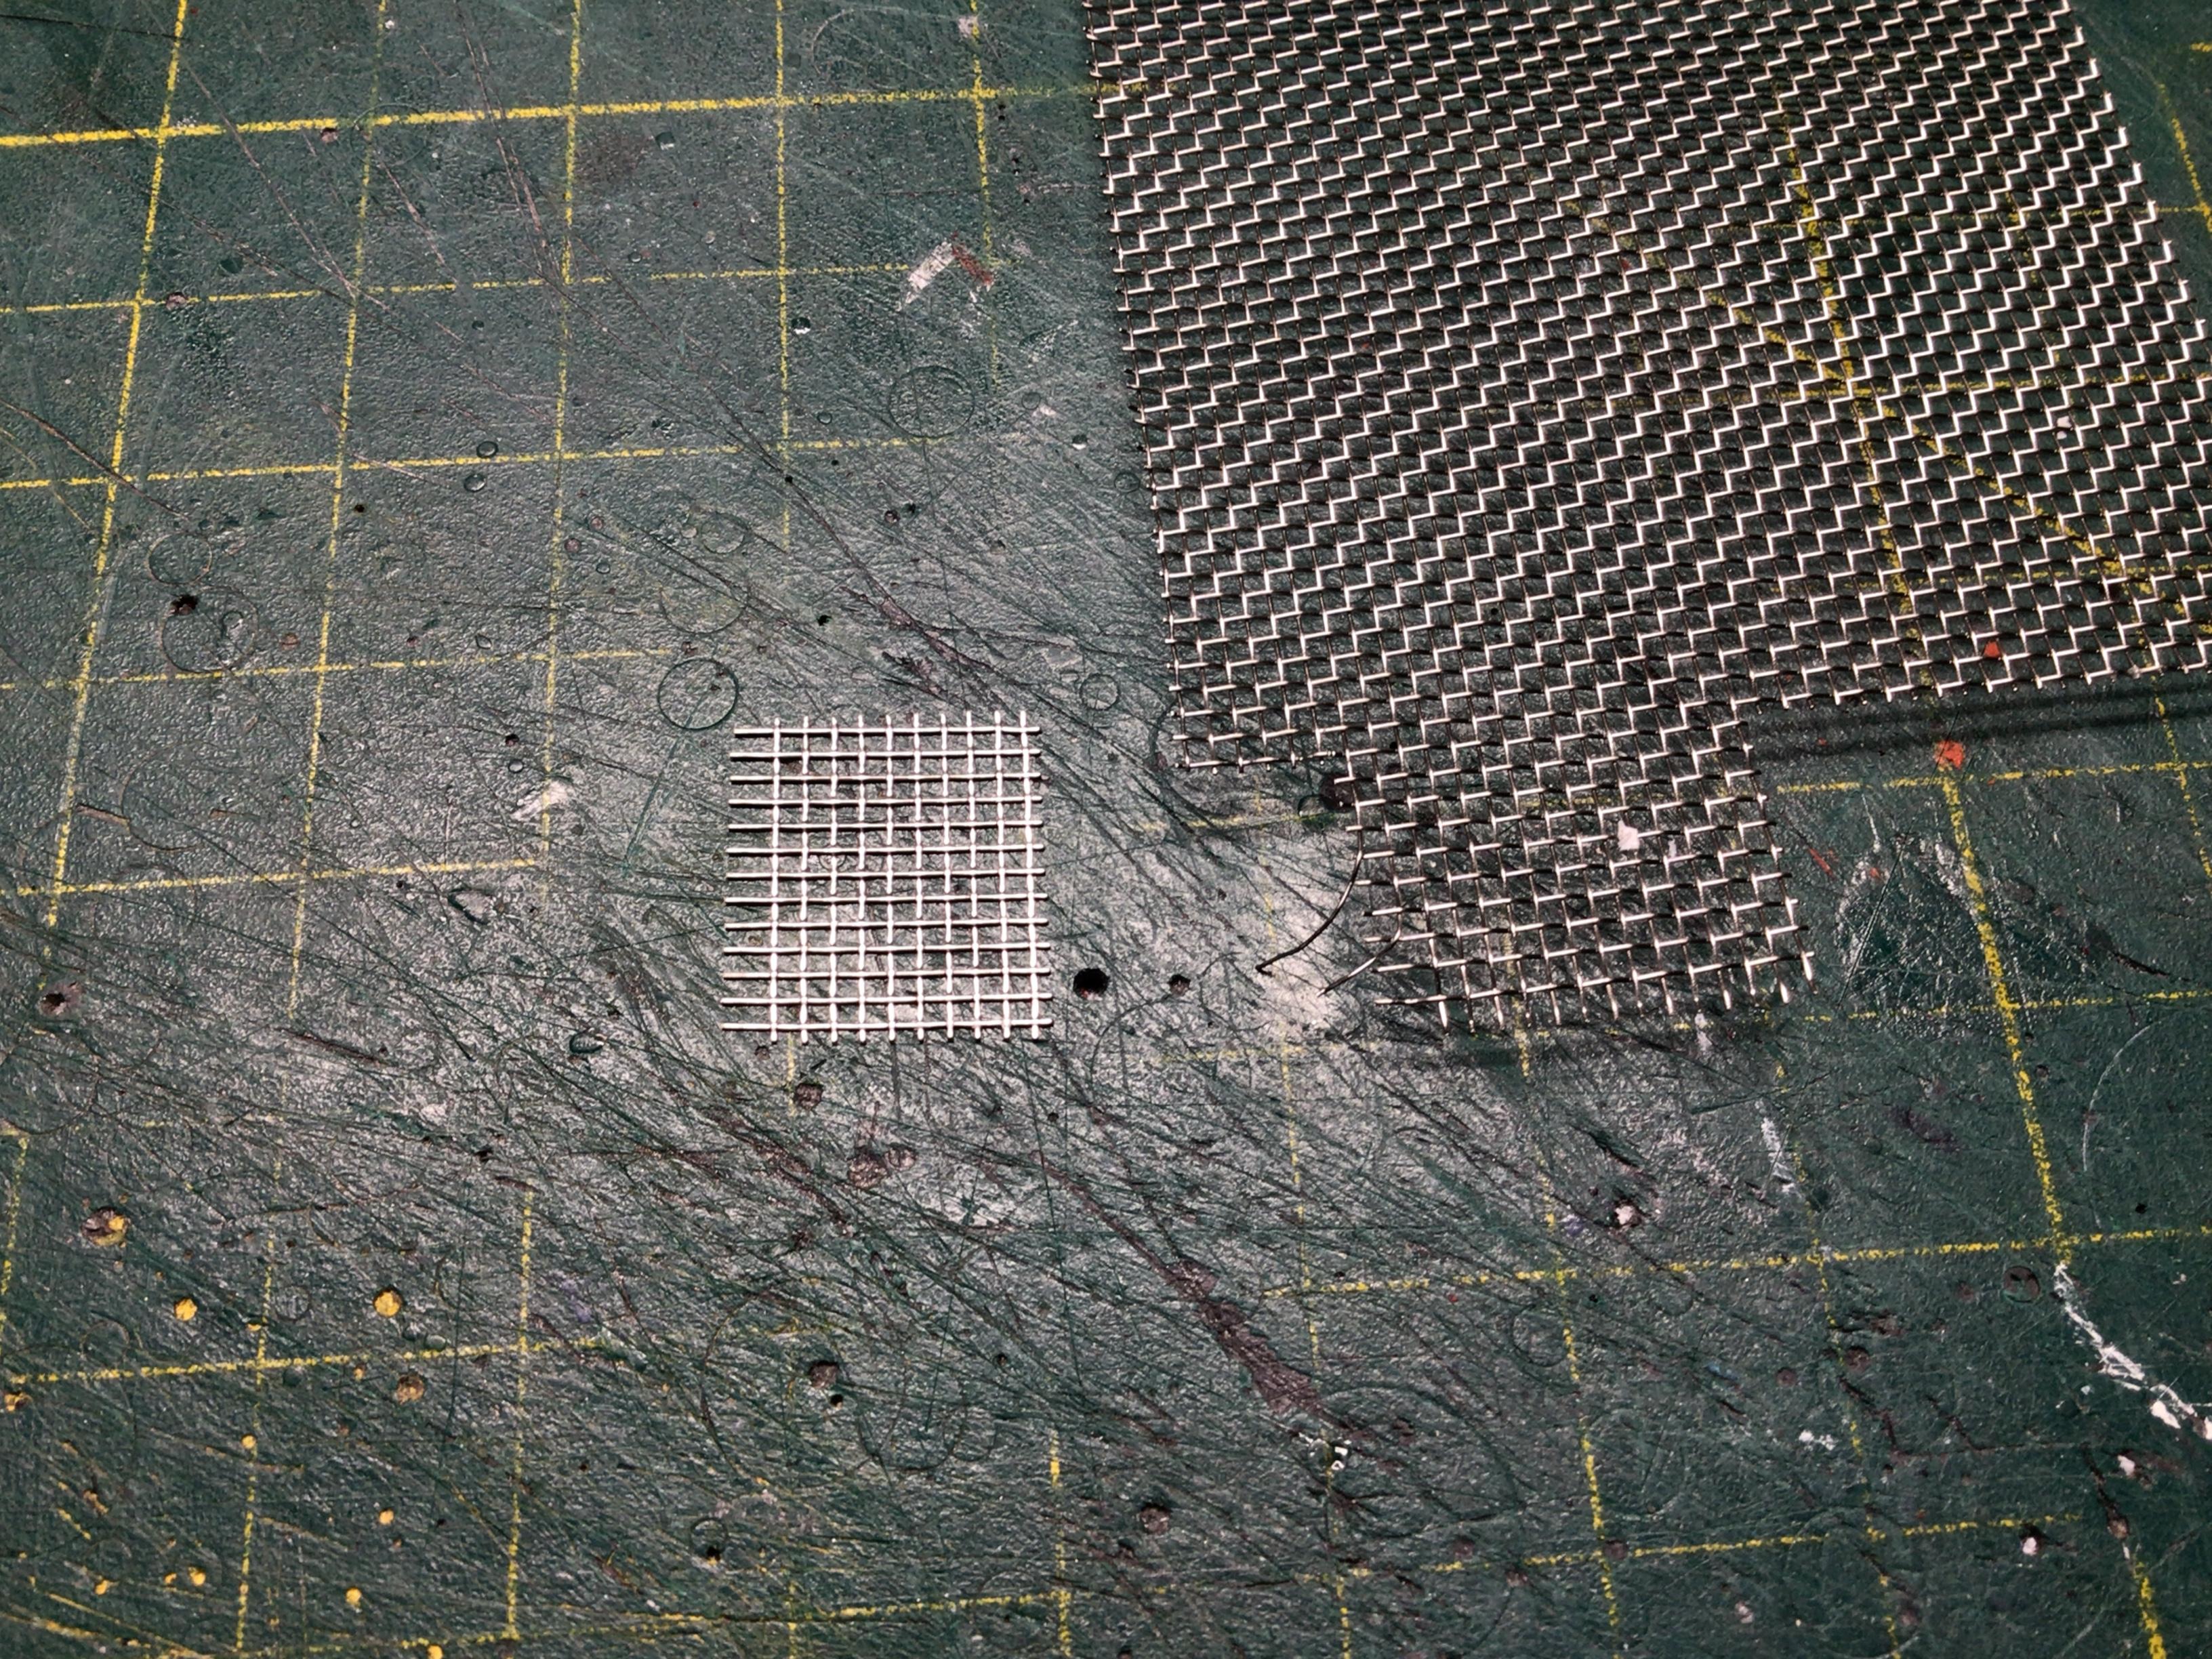
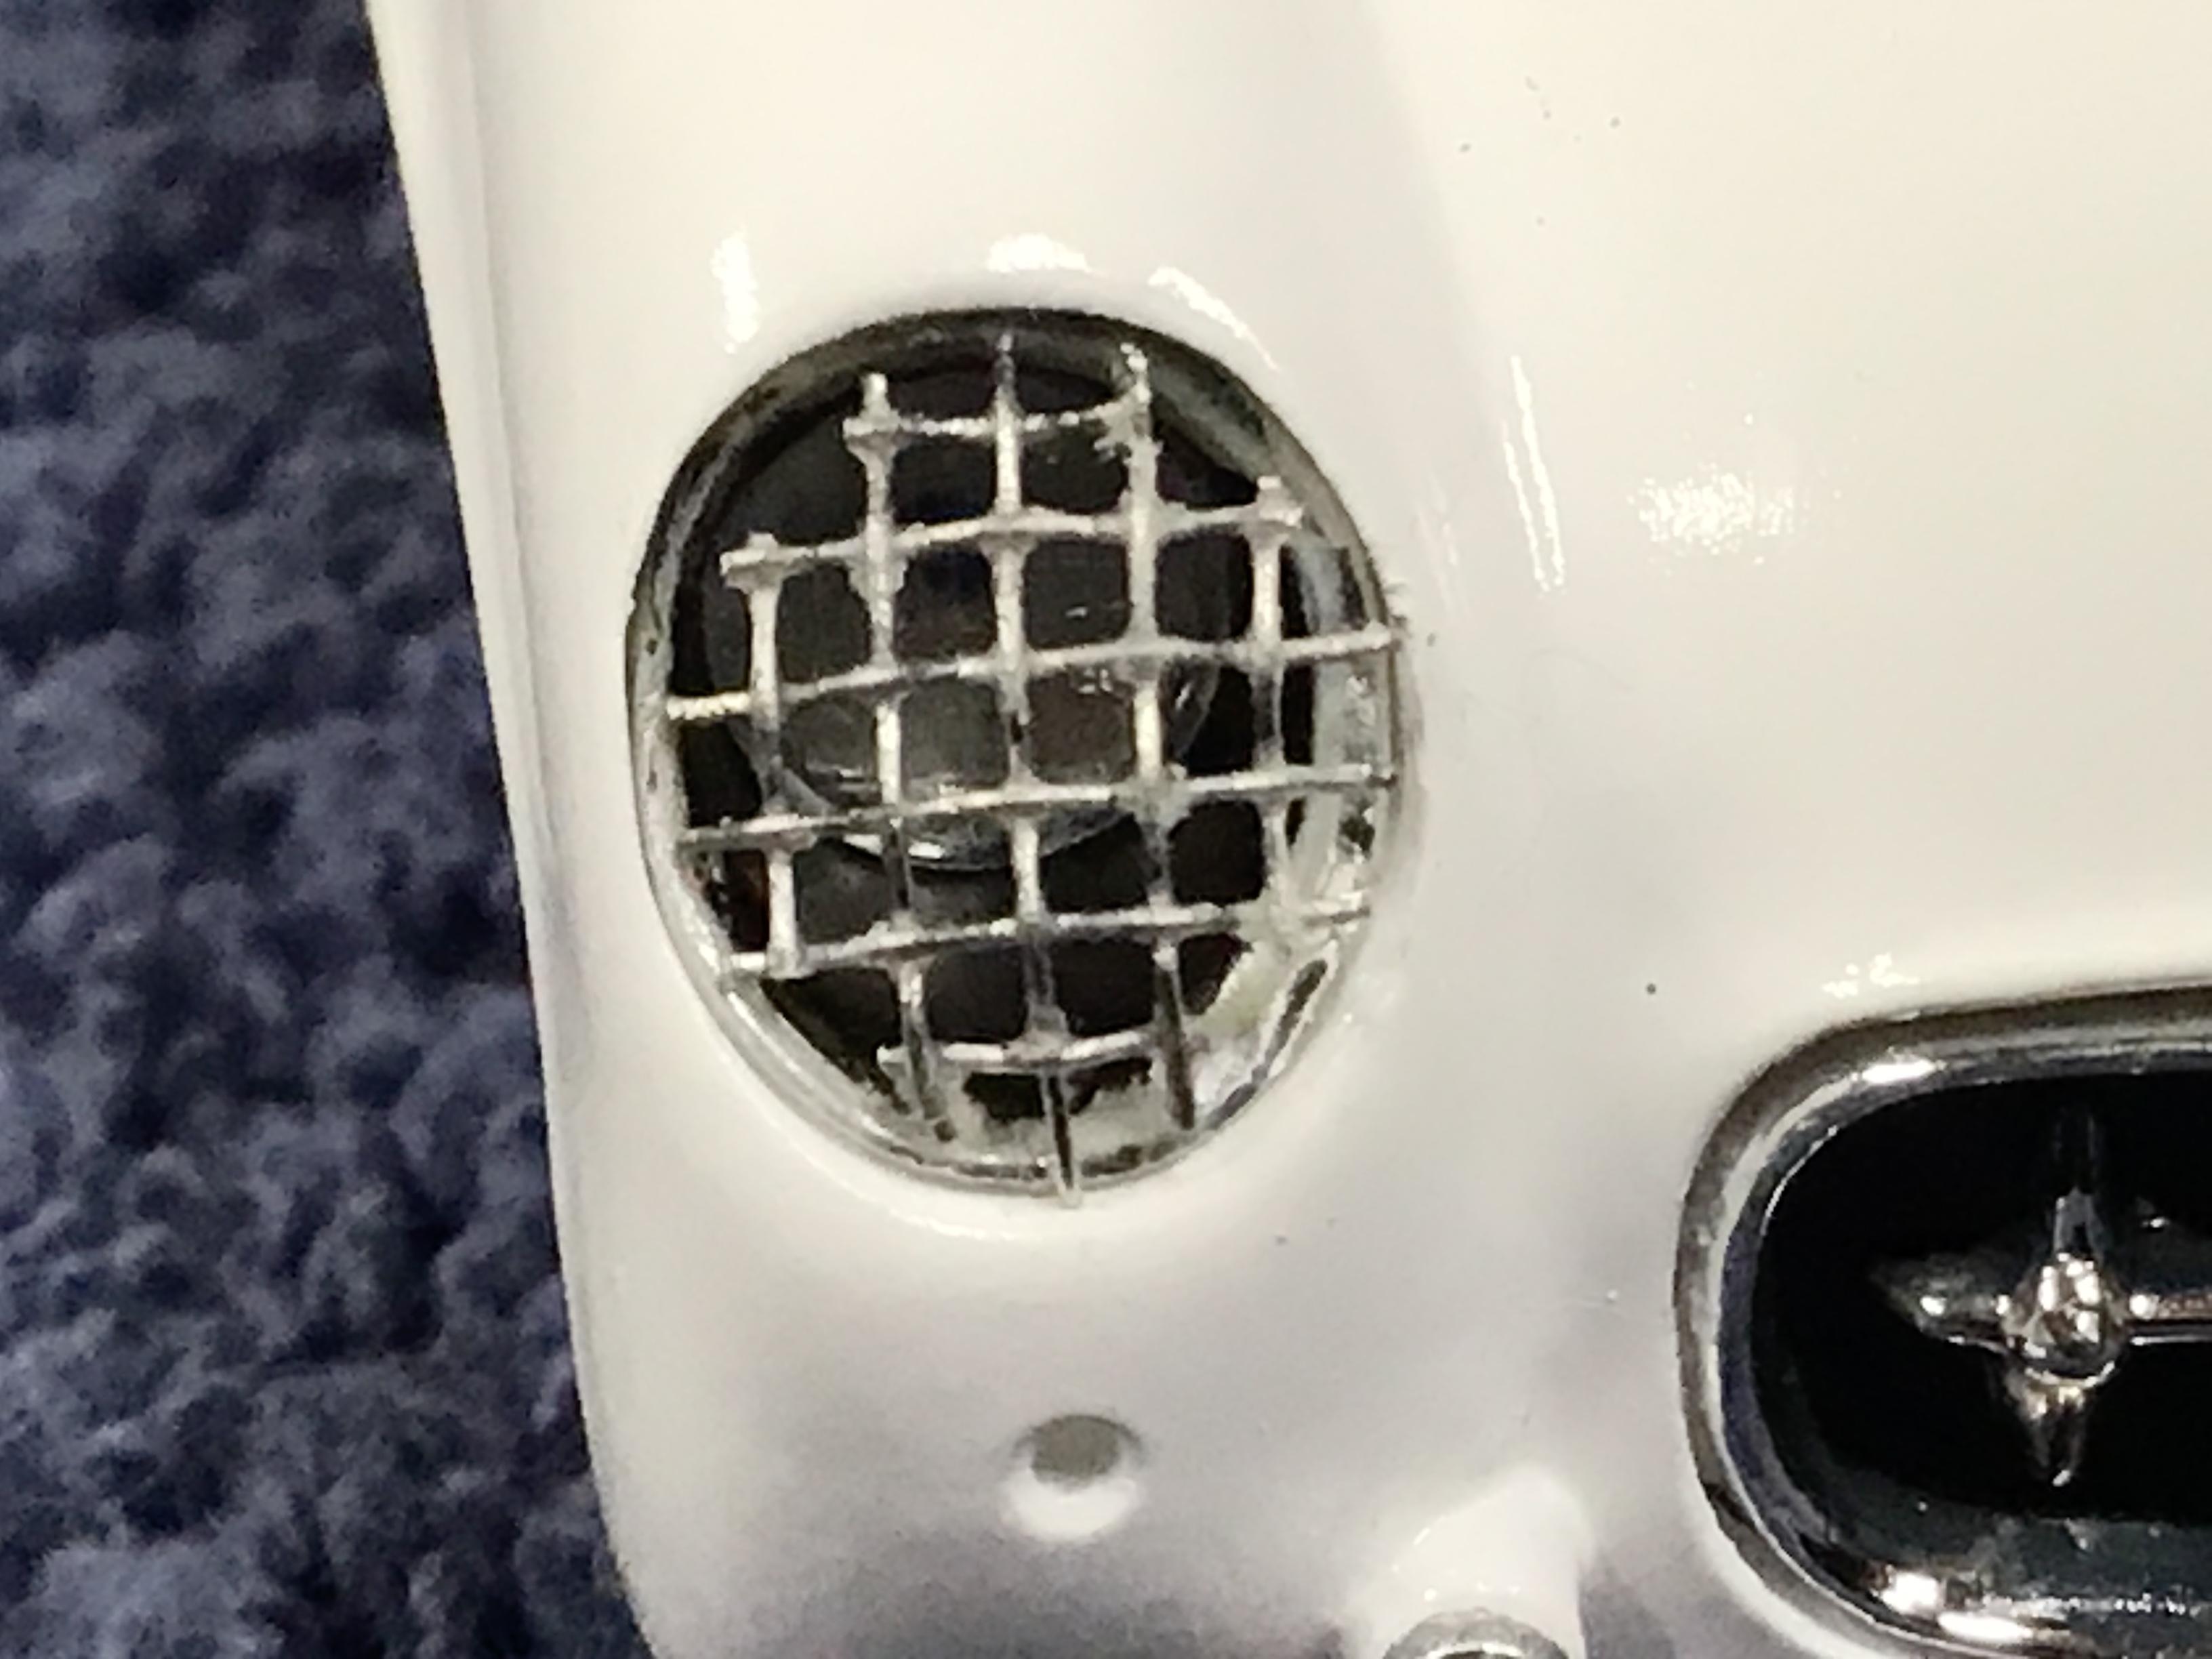
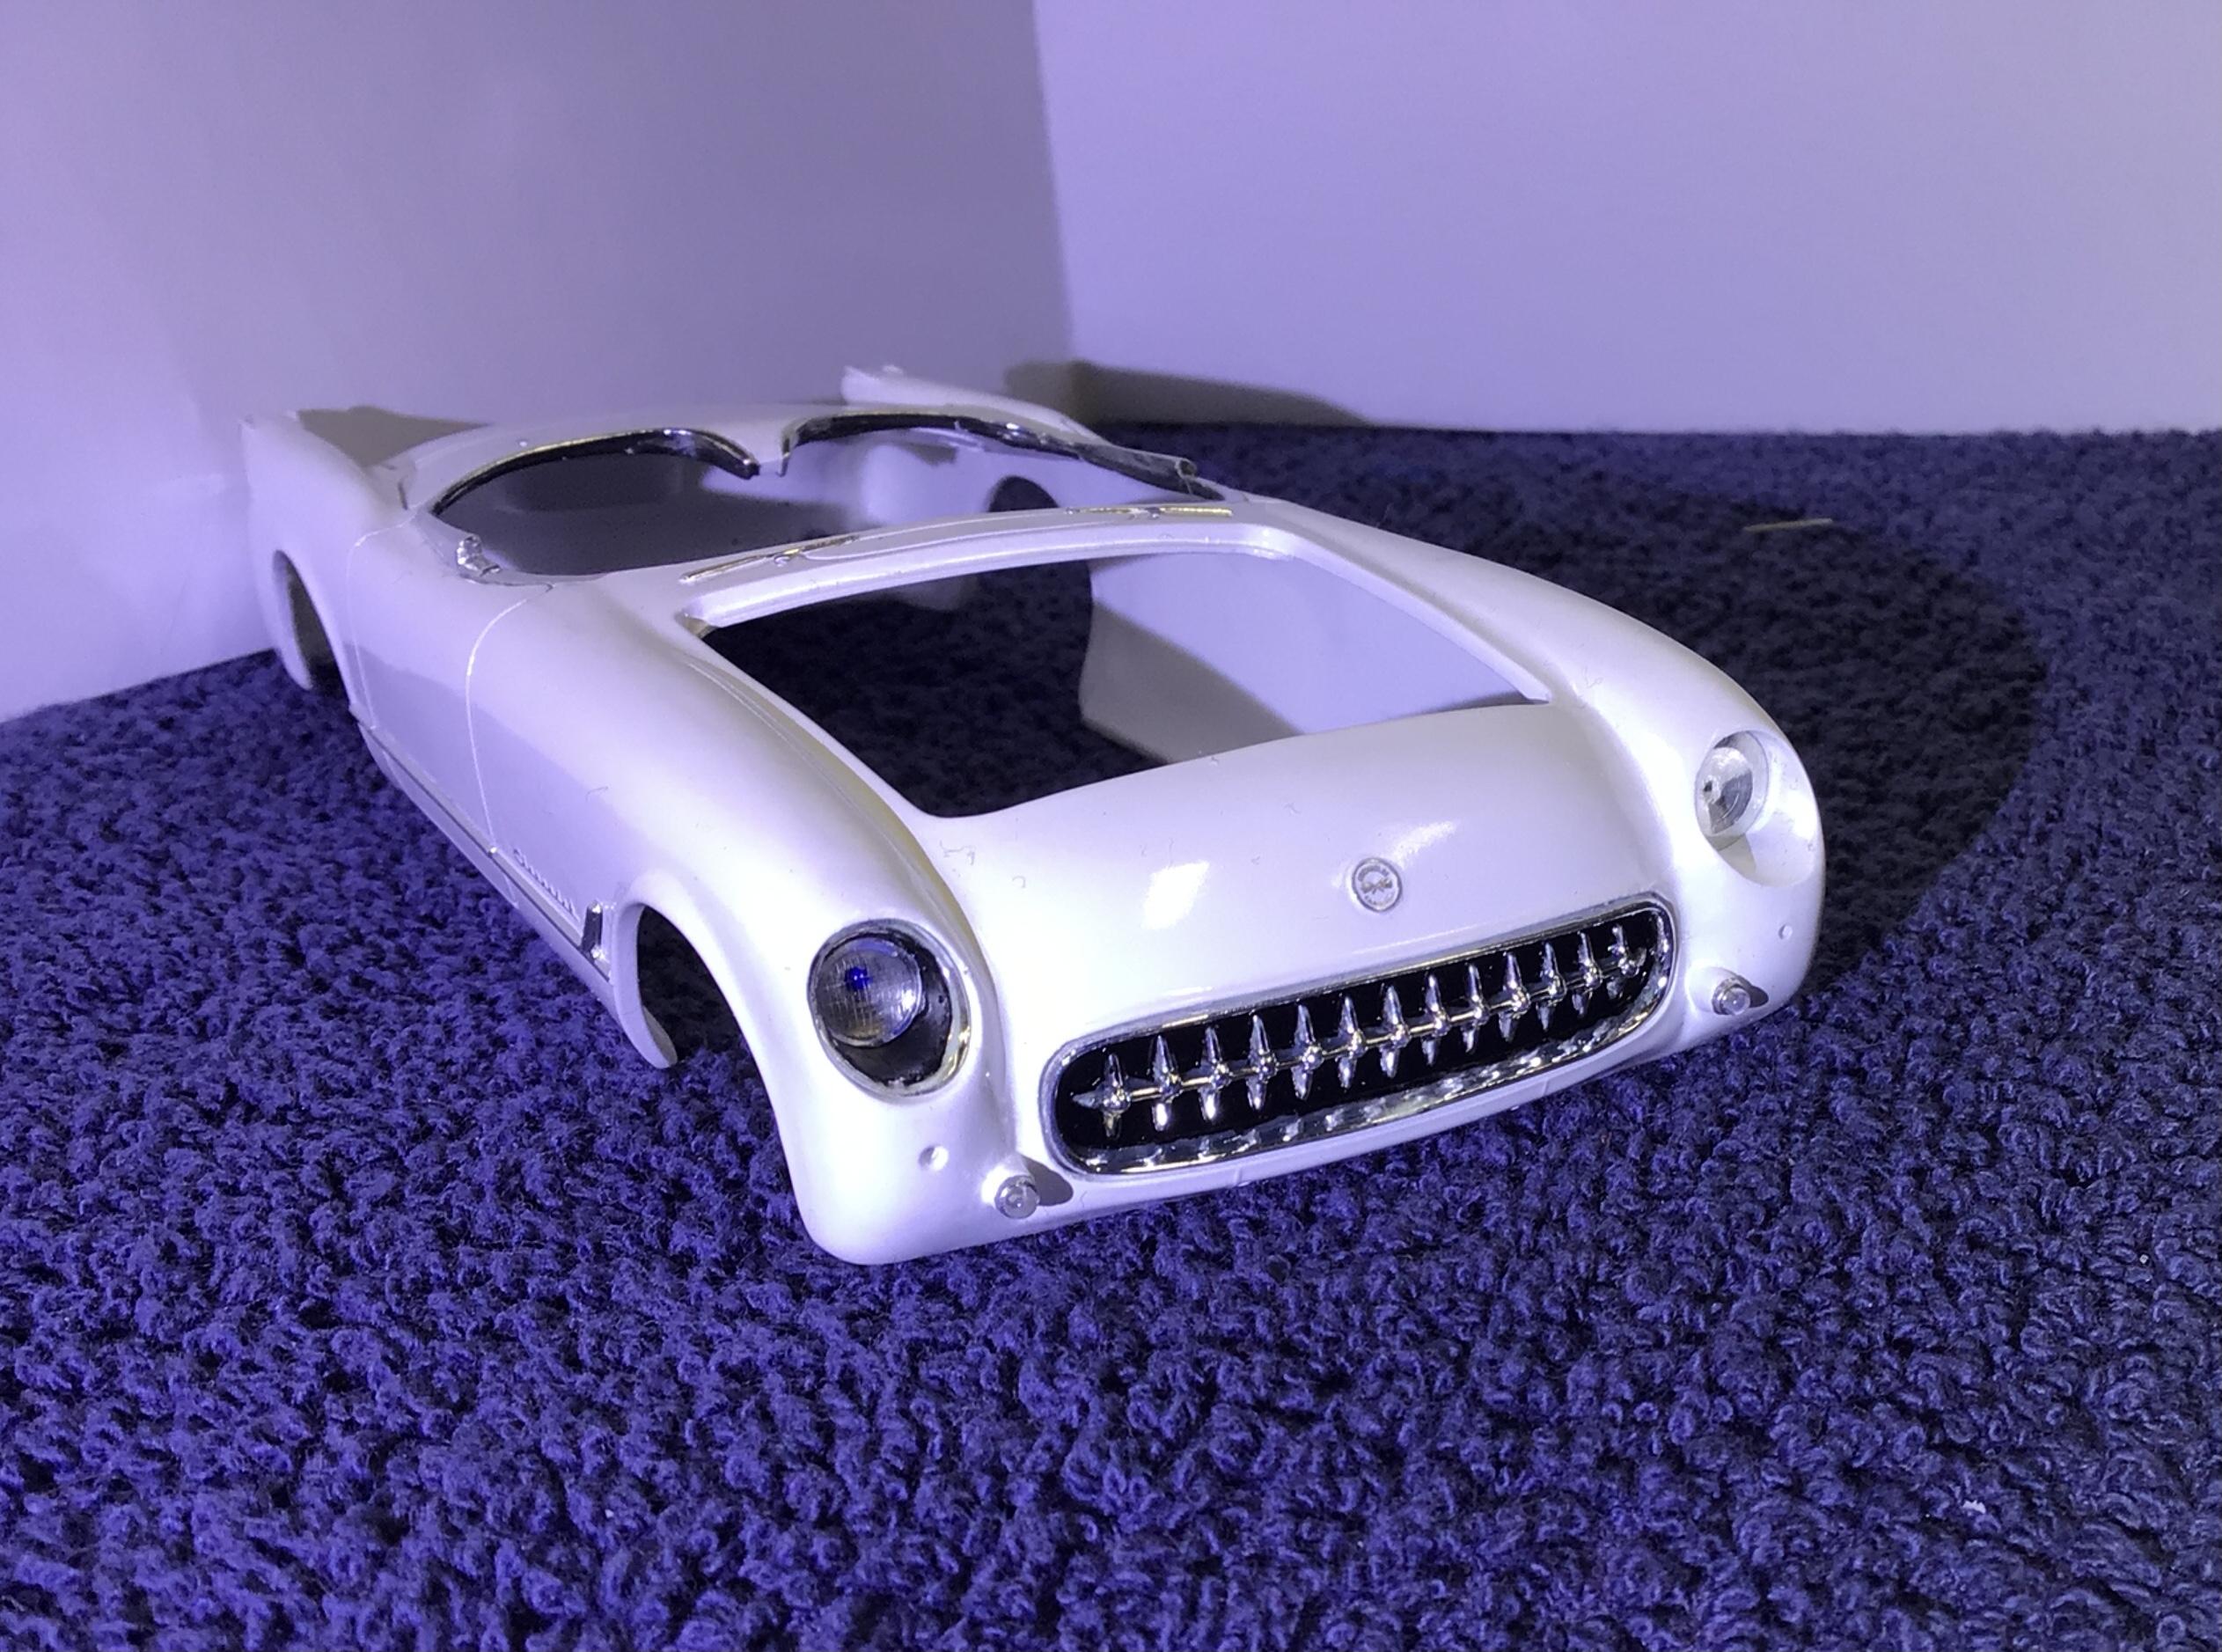
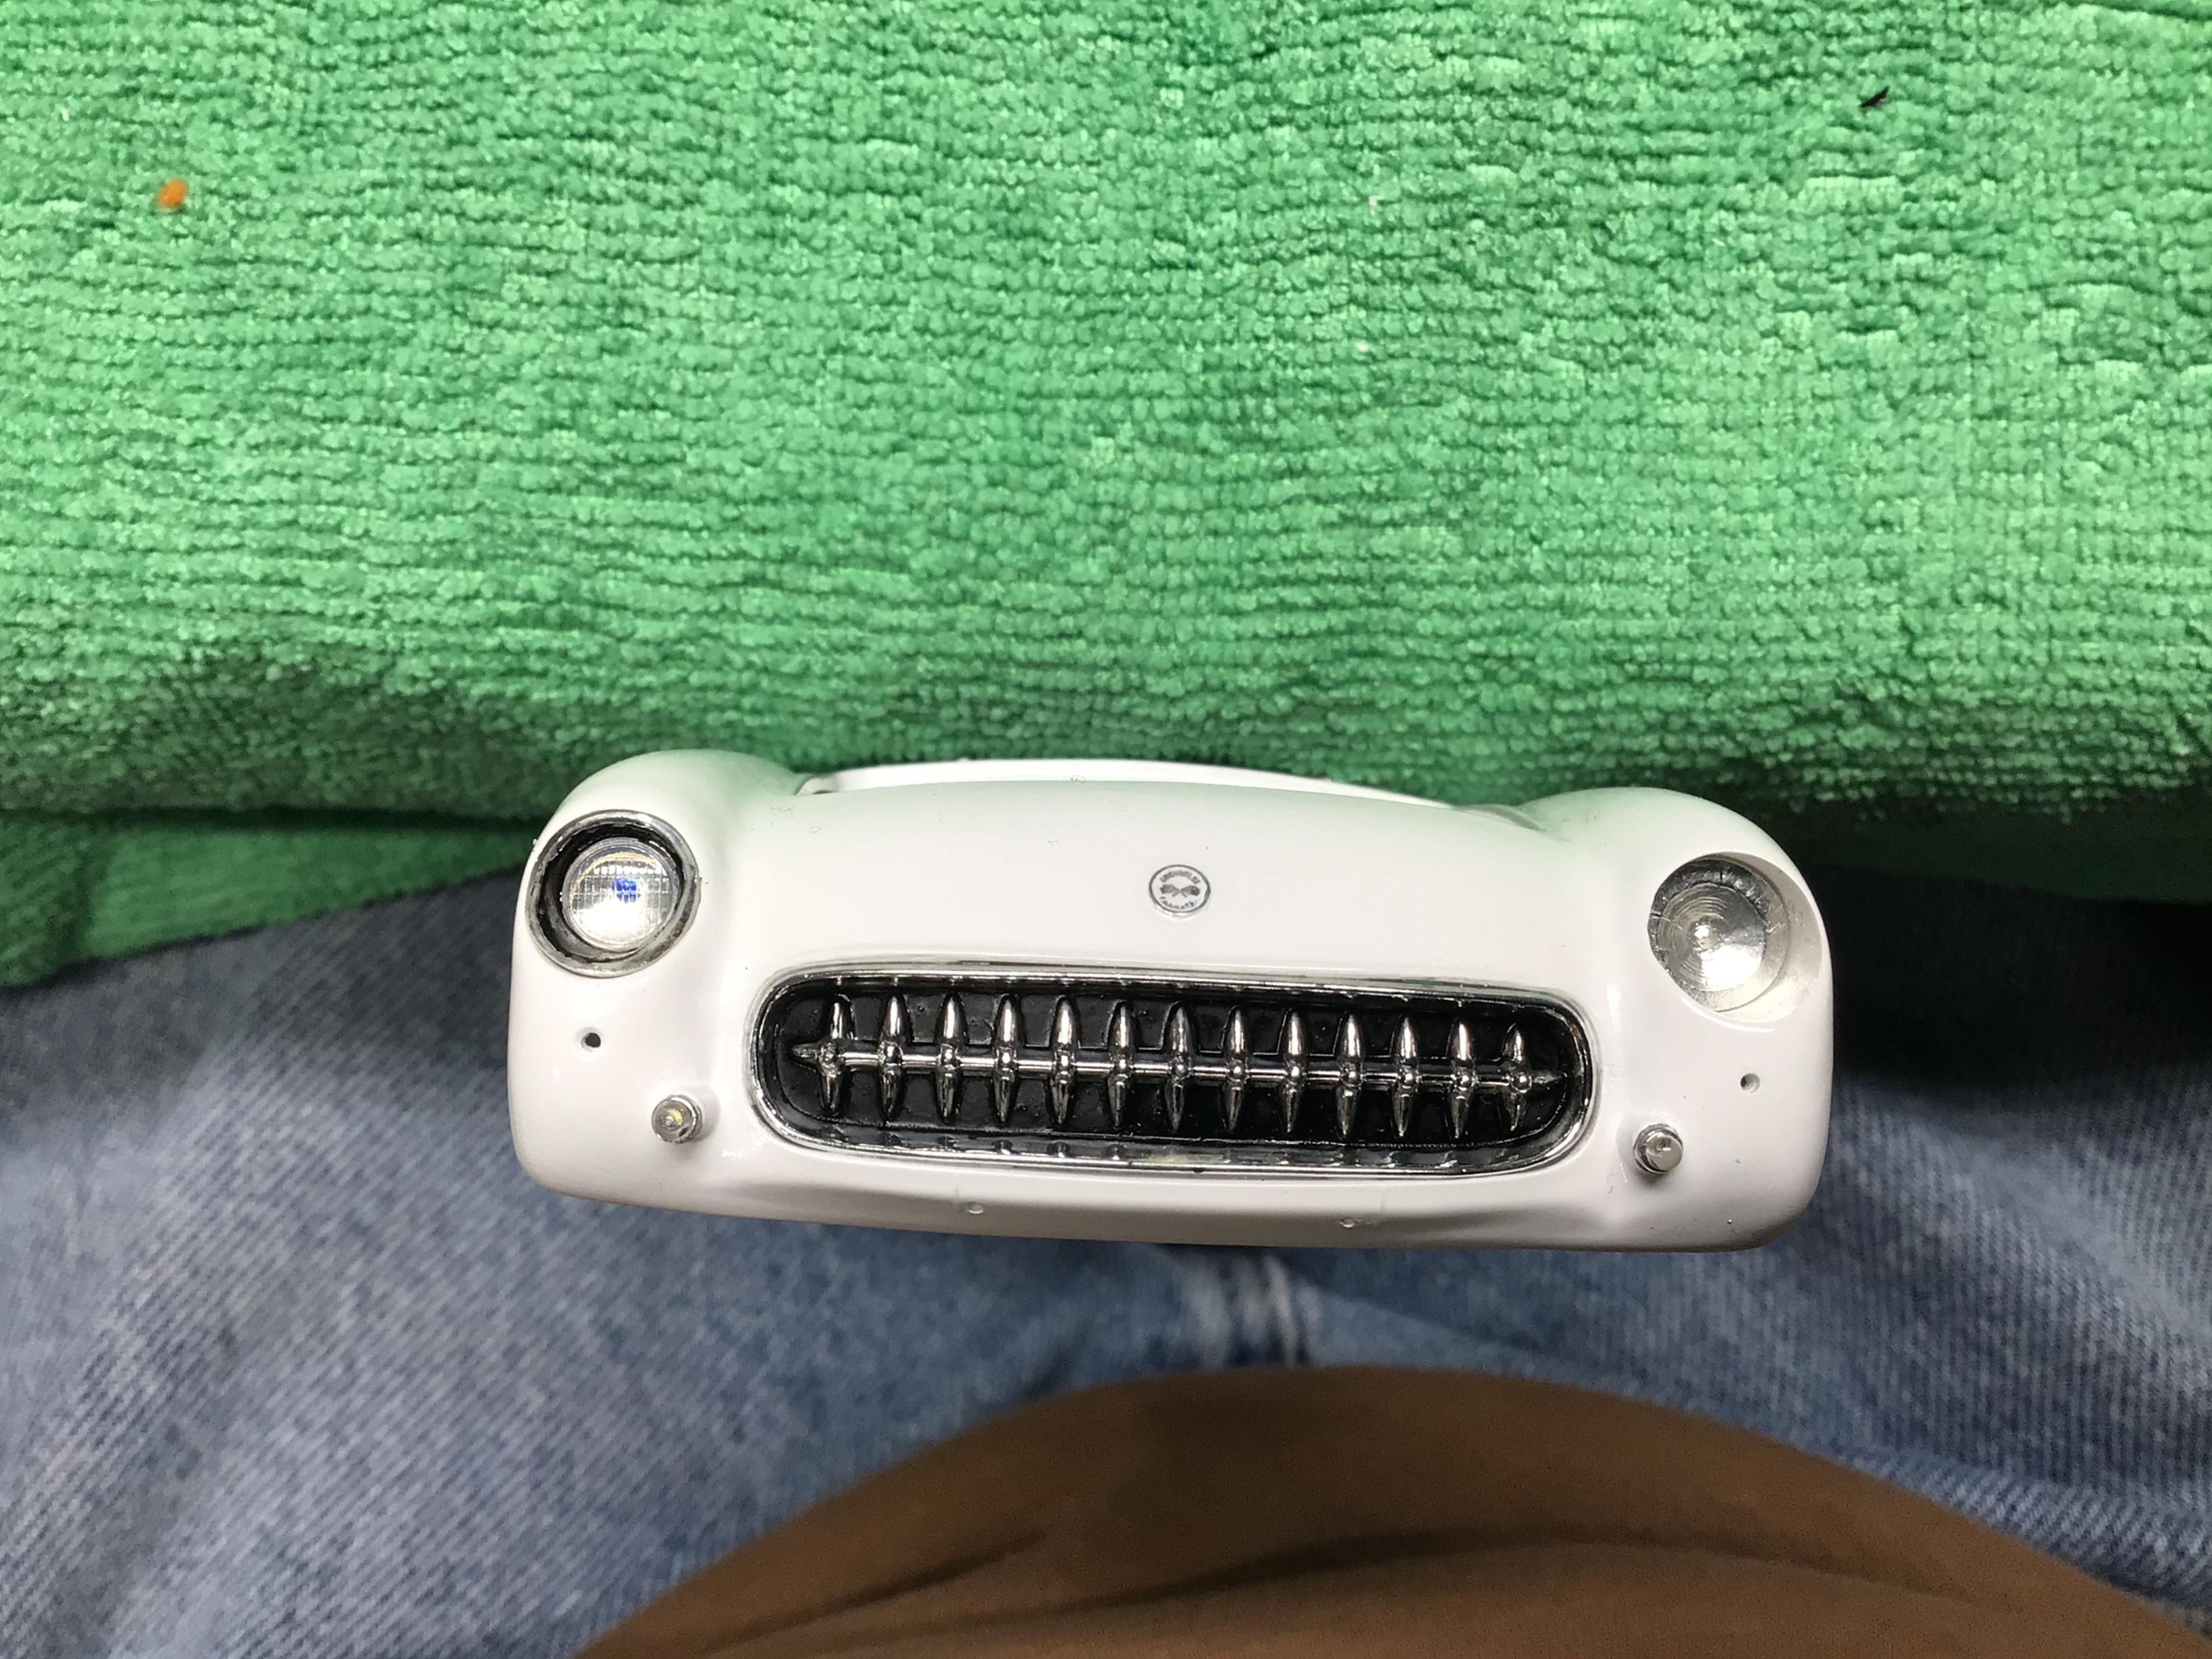
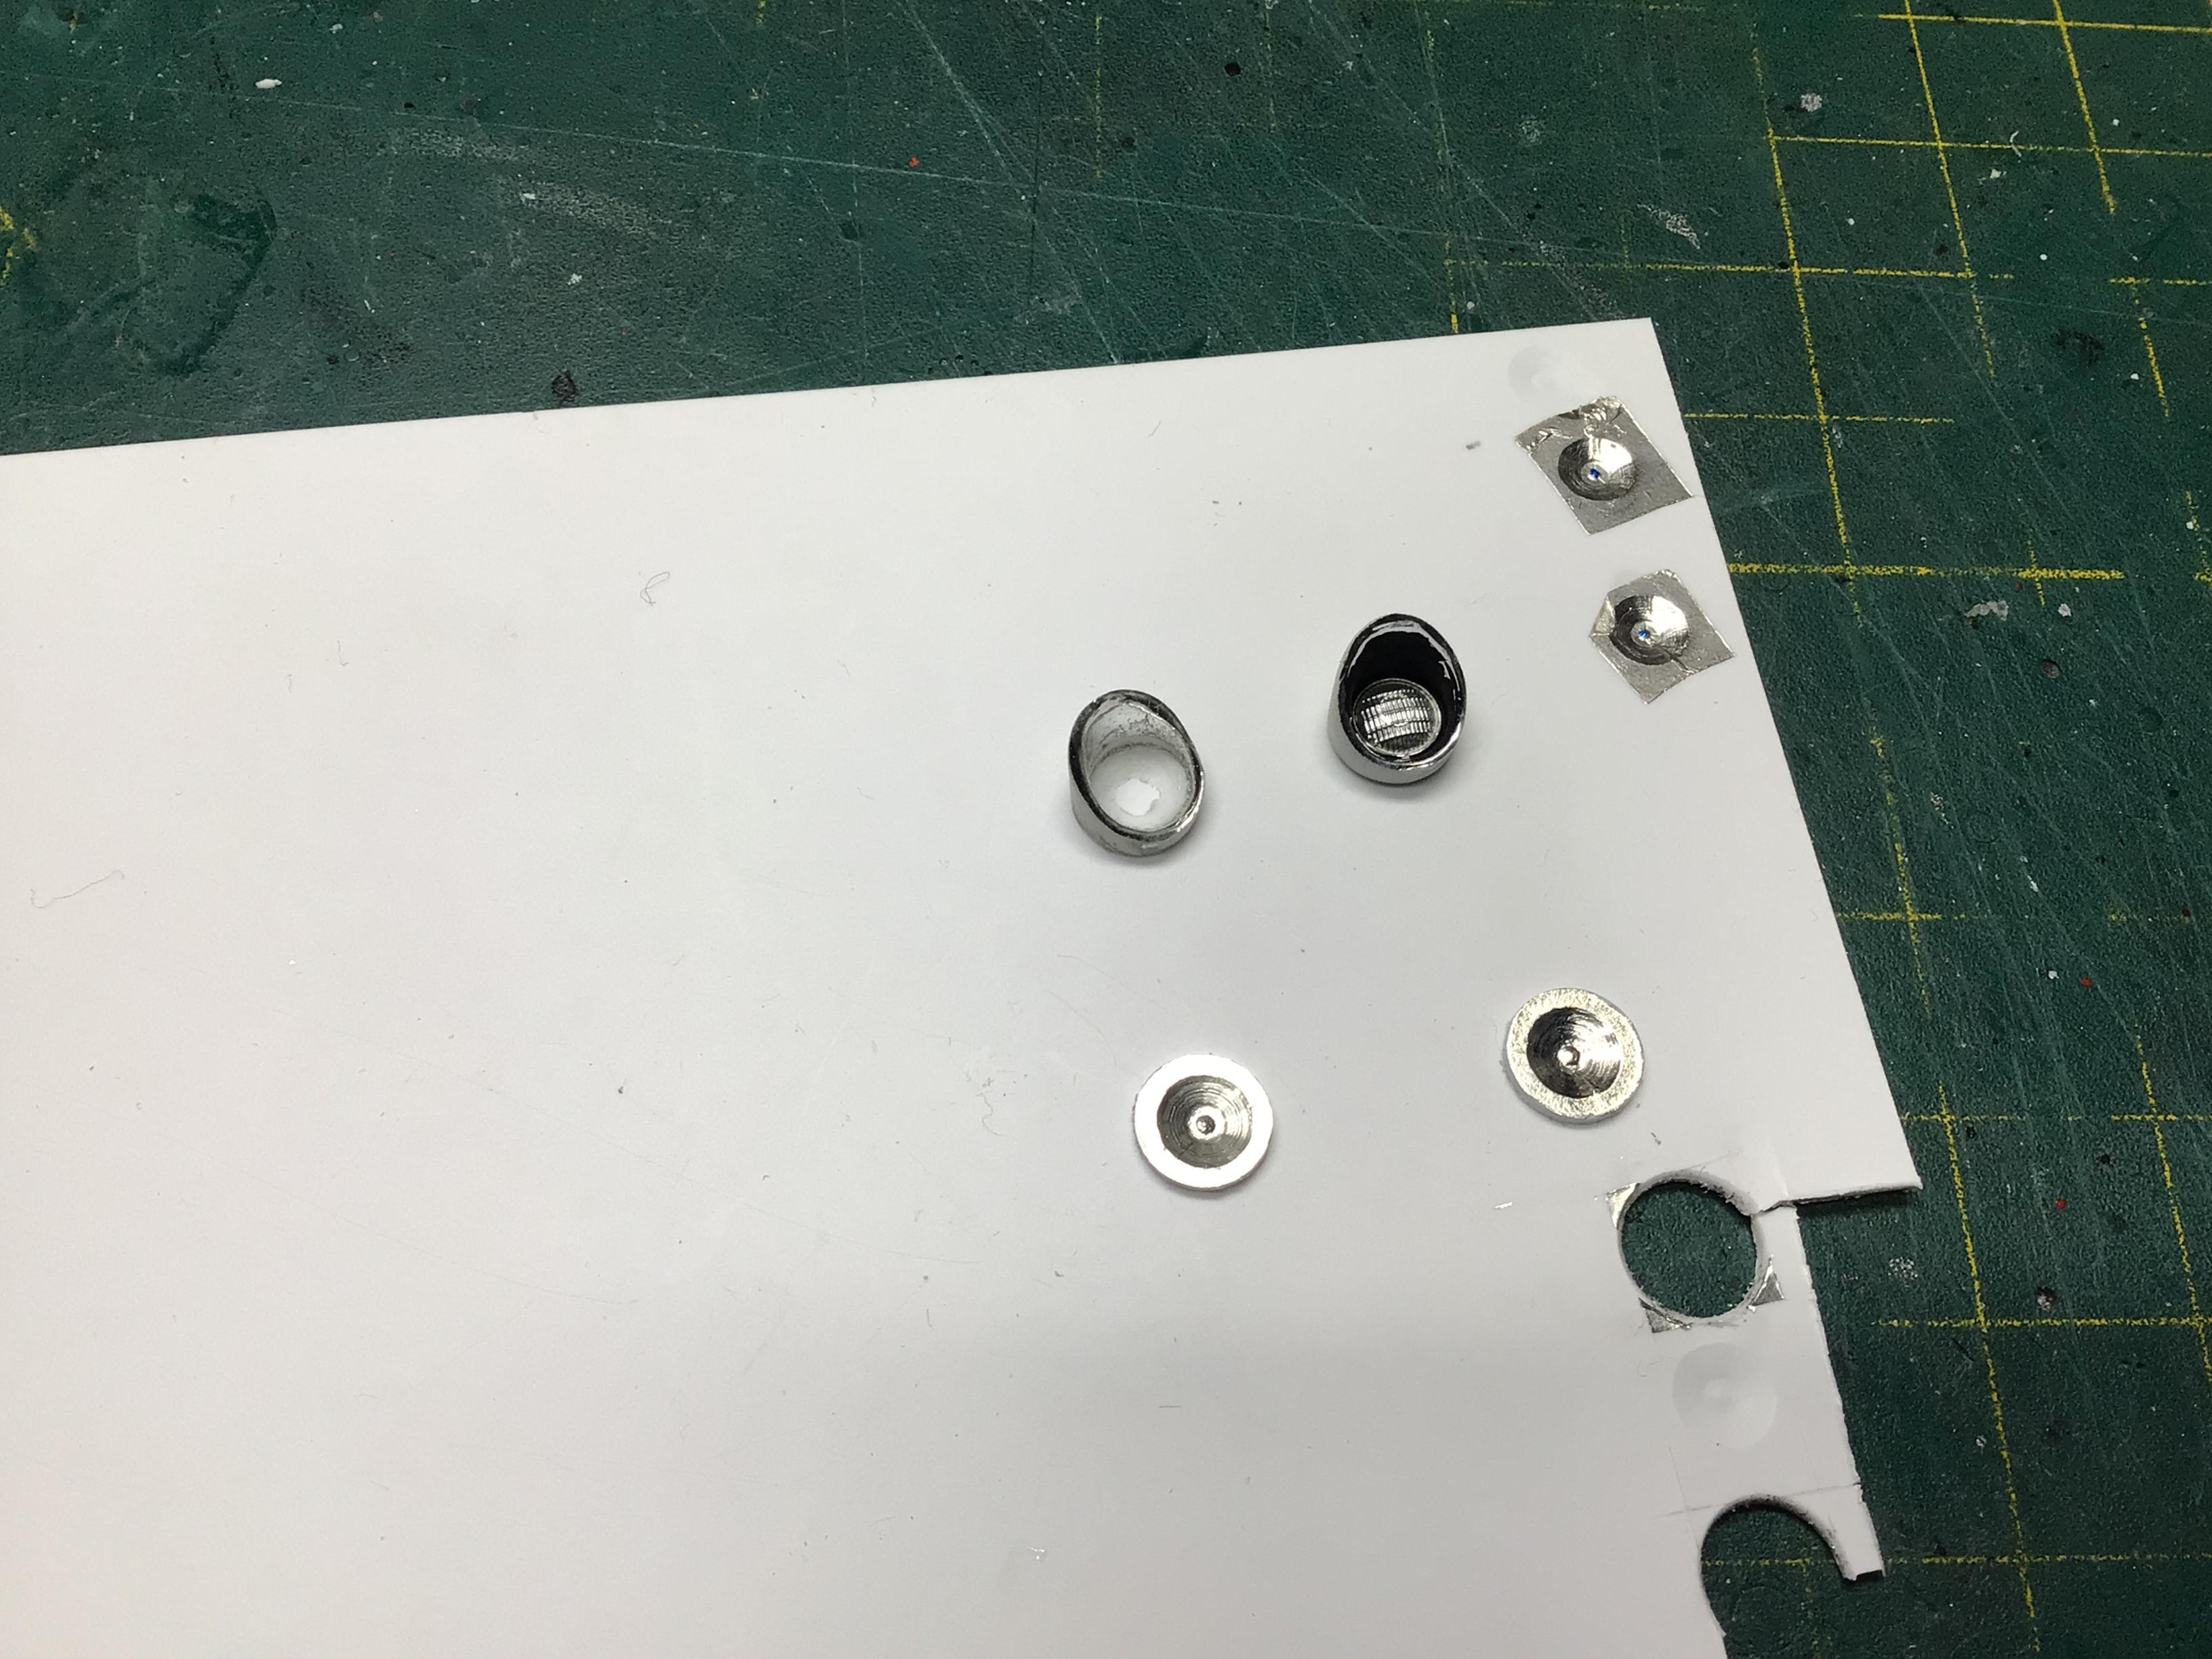
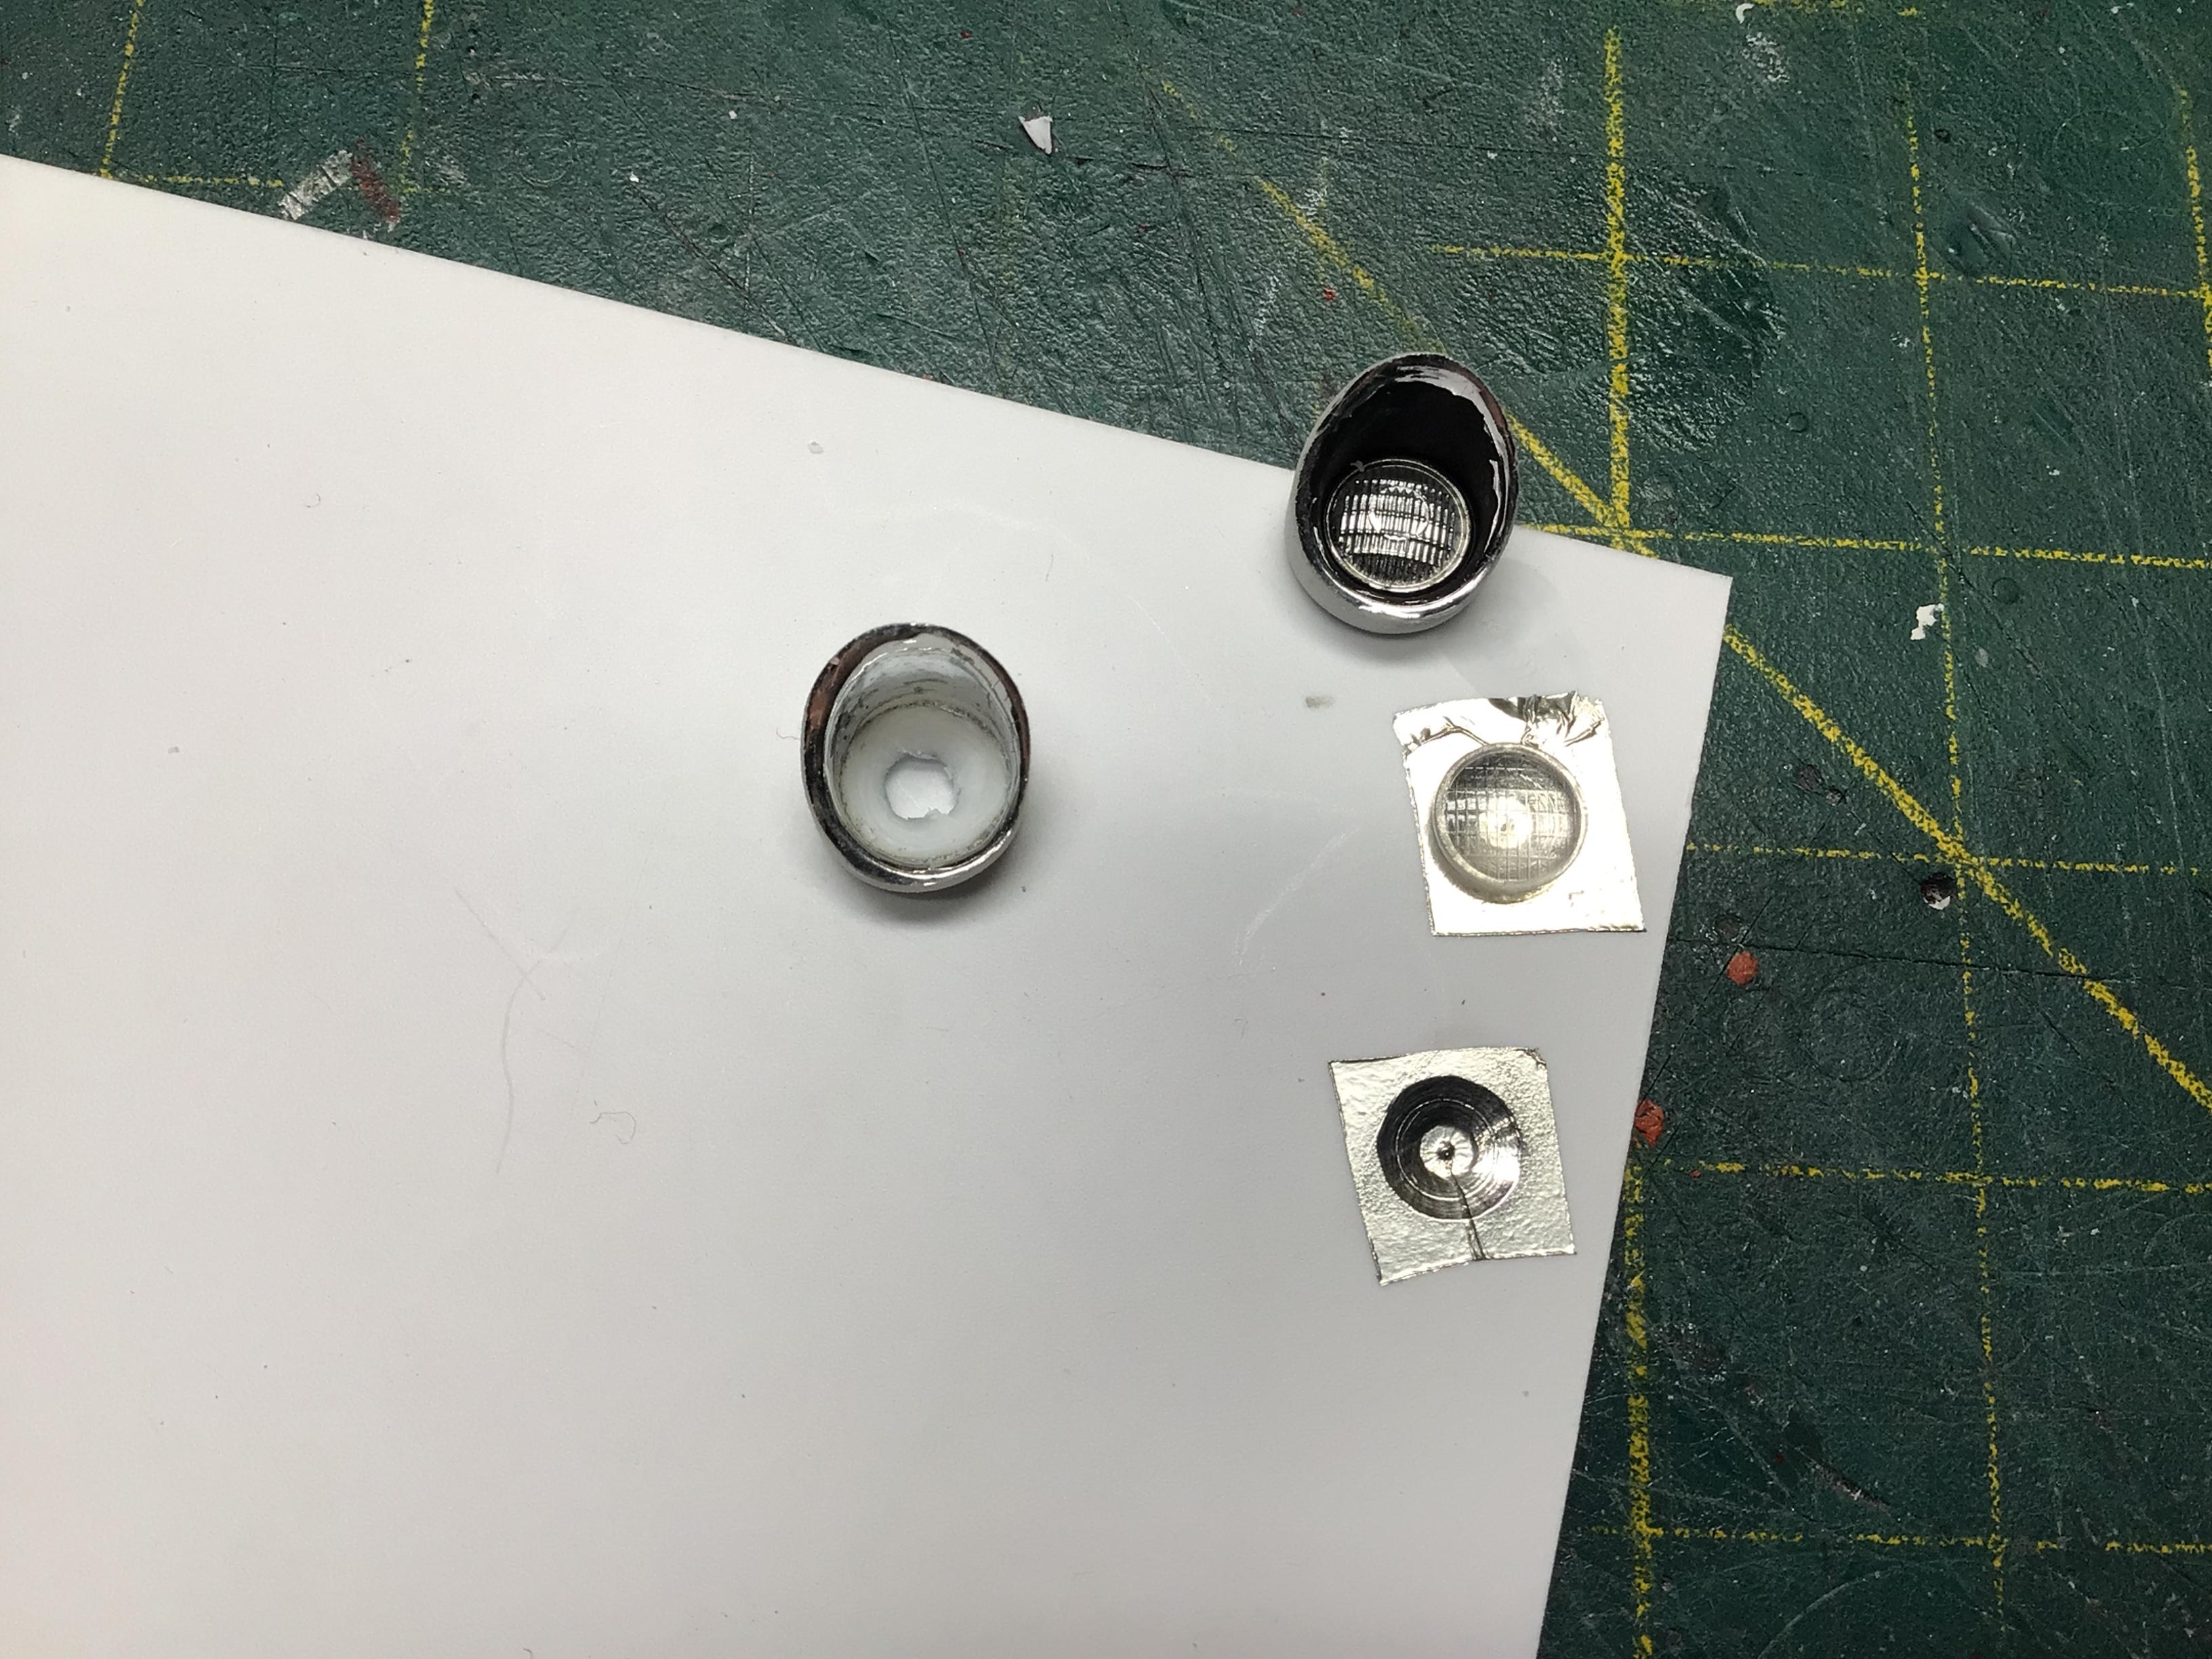
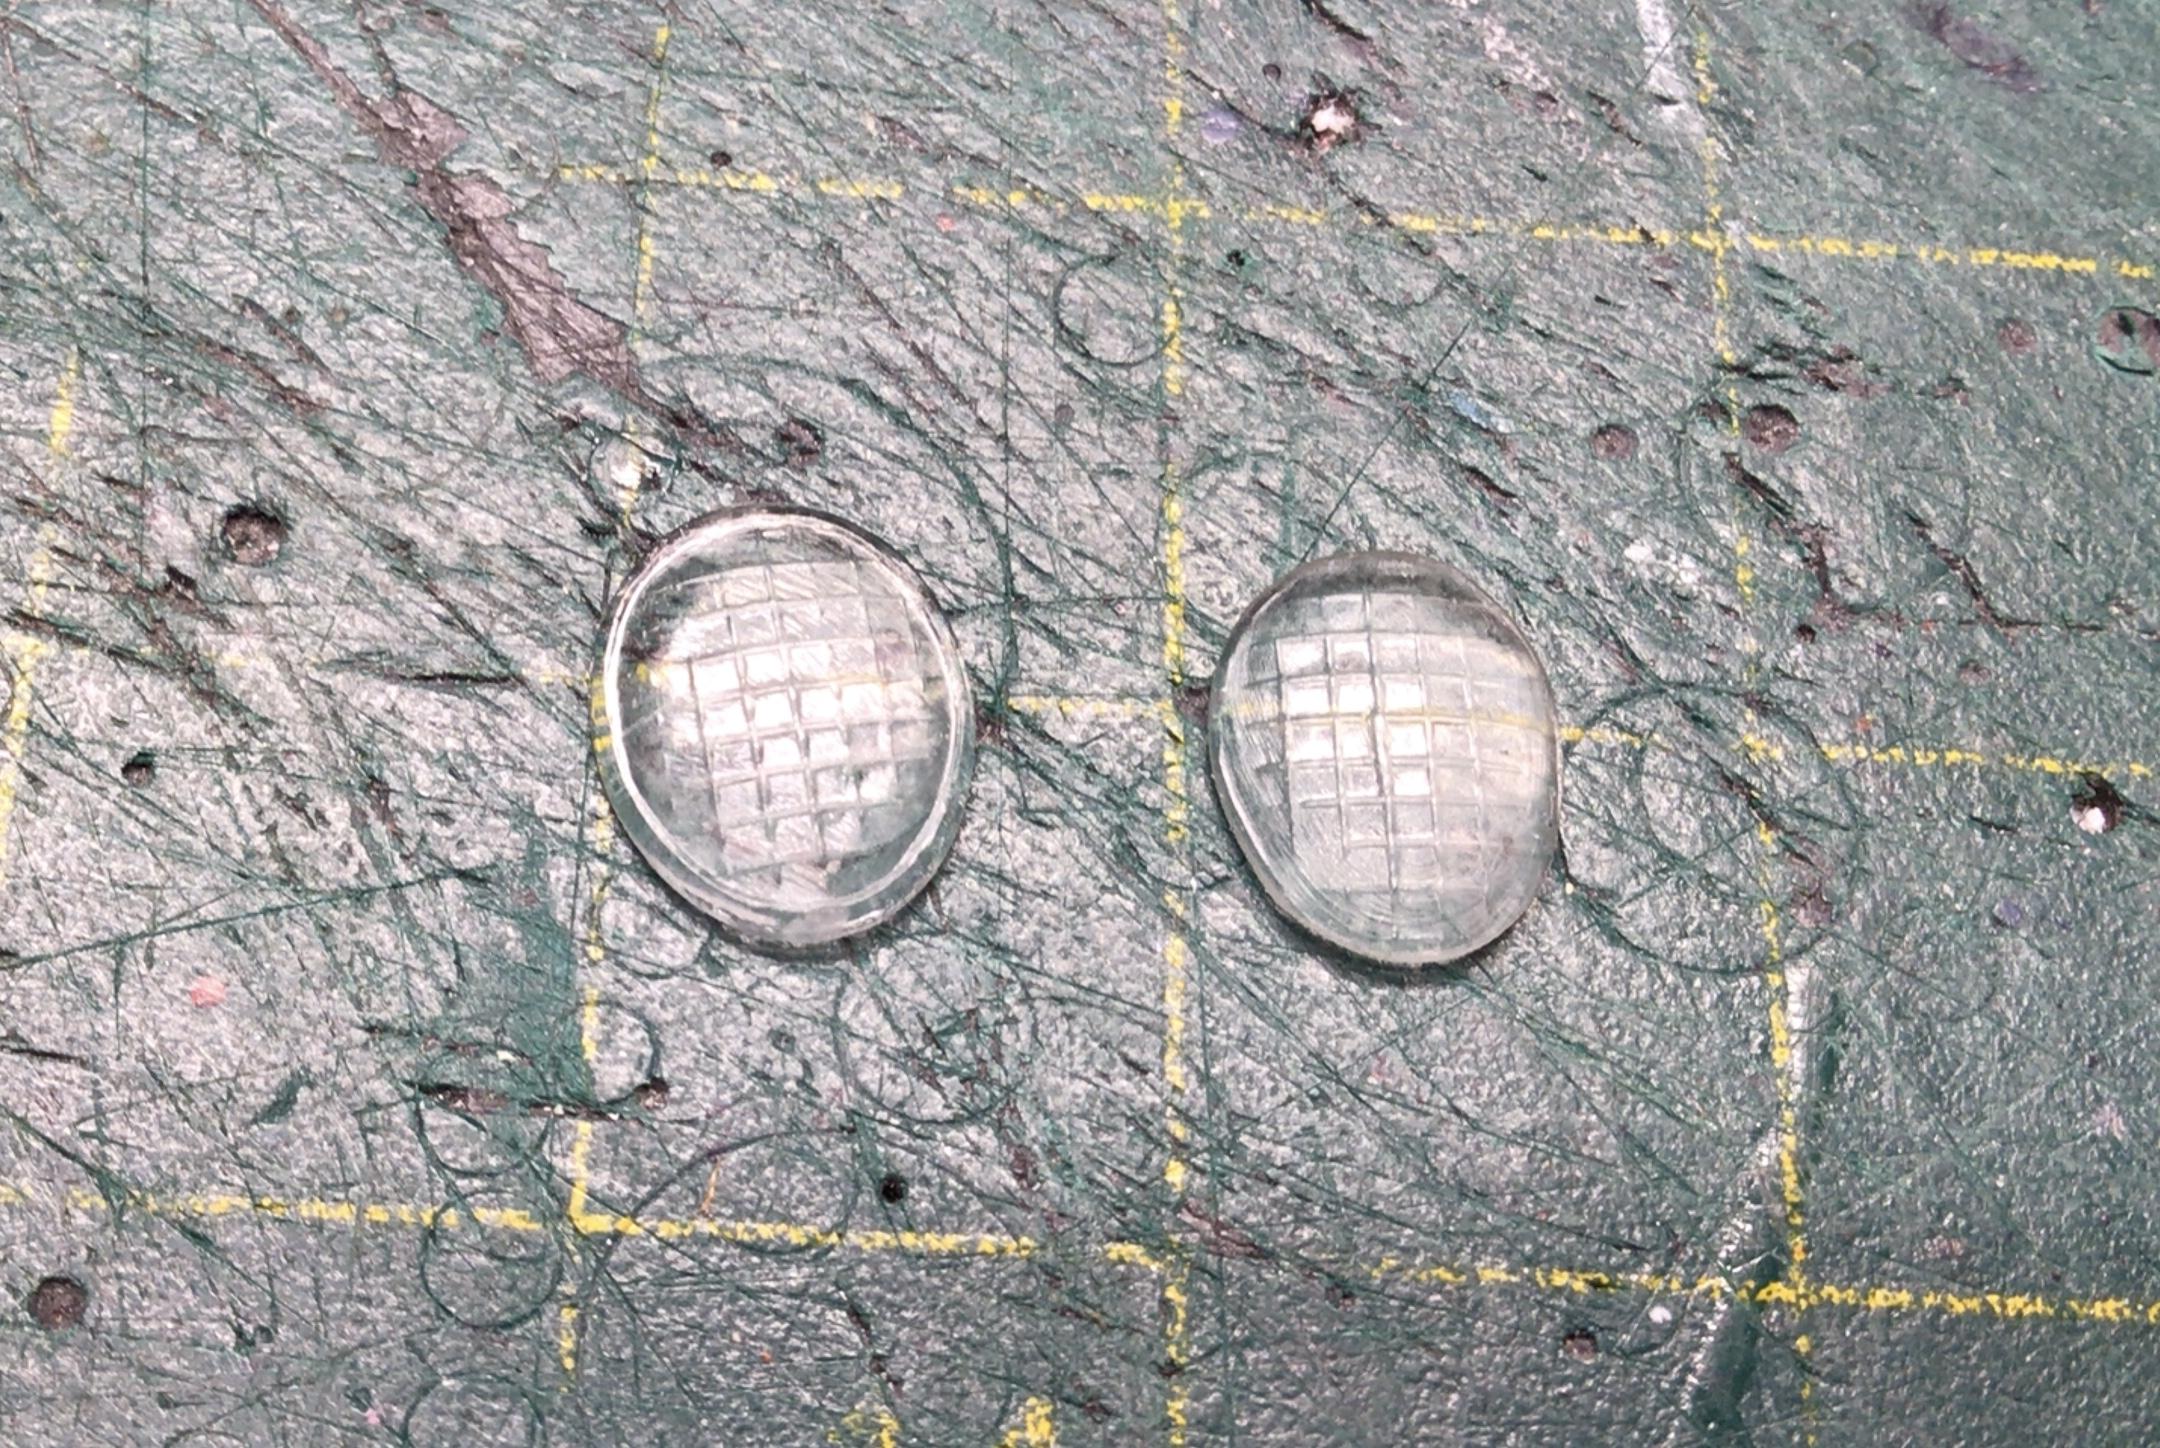
I decided that I didn’t like the chrome headlights and decided to drill them out. I came across this idea while fiddling with them. The O.D. Of the bezels is a hair more than 5/16” so I drilled a shallow 1/4” “reflector” hole in some .040” styrene, foiled it, and punched a 5/16” disc with the divet in the center. These fit perfectly into the recesses in the fenders. To my surprise, the drill left a raised point dead center which I decided looked a bit like a bulb or filament.? Then I trimmed .040” off the back of the bezels and hollowed them out. They slide in snugly and hold the reflectors in with no glue required. And a couple of lens from the parts box fit inside the hollowed out bezels which I painted SG black on the inside. On to the screens?. I wound up ordering some #20 s/s mesh on Amazon. I tried a number of ways to cut an oblong/oval disc that wouldn’t come apart.? I even tried CA gluing the intersections. It made a bit of a mess, but I figured I could clean them up after they were in place.? Then I had the idea to flatten the mesh between two flat plates in my big bench vise. I domed it a bit with the butt end of a paint brush and a 5/16 washer, made a tracing of the opening on some tape, fastened it to the screen and cut it out with my snips. They hold together a lot better than the un-flattened mesh, and a little tweeking with my favourite pointy tweezers and it wedges in place fairly nicely.? I gave them a couple spots of CA as insurance. They don’t have the proper chrome surround like the 1:1s, but I can live with this look…much better than the clear kit pieces with the molded in wires I think.? Now…I just have to be careful not to touch them while assembling the remainder of the kit.??
-
Beautiful work Chuck!?? I have one of these, and you are making me want to tear into it…even though I have half a dozen others on the go.?
-

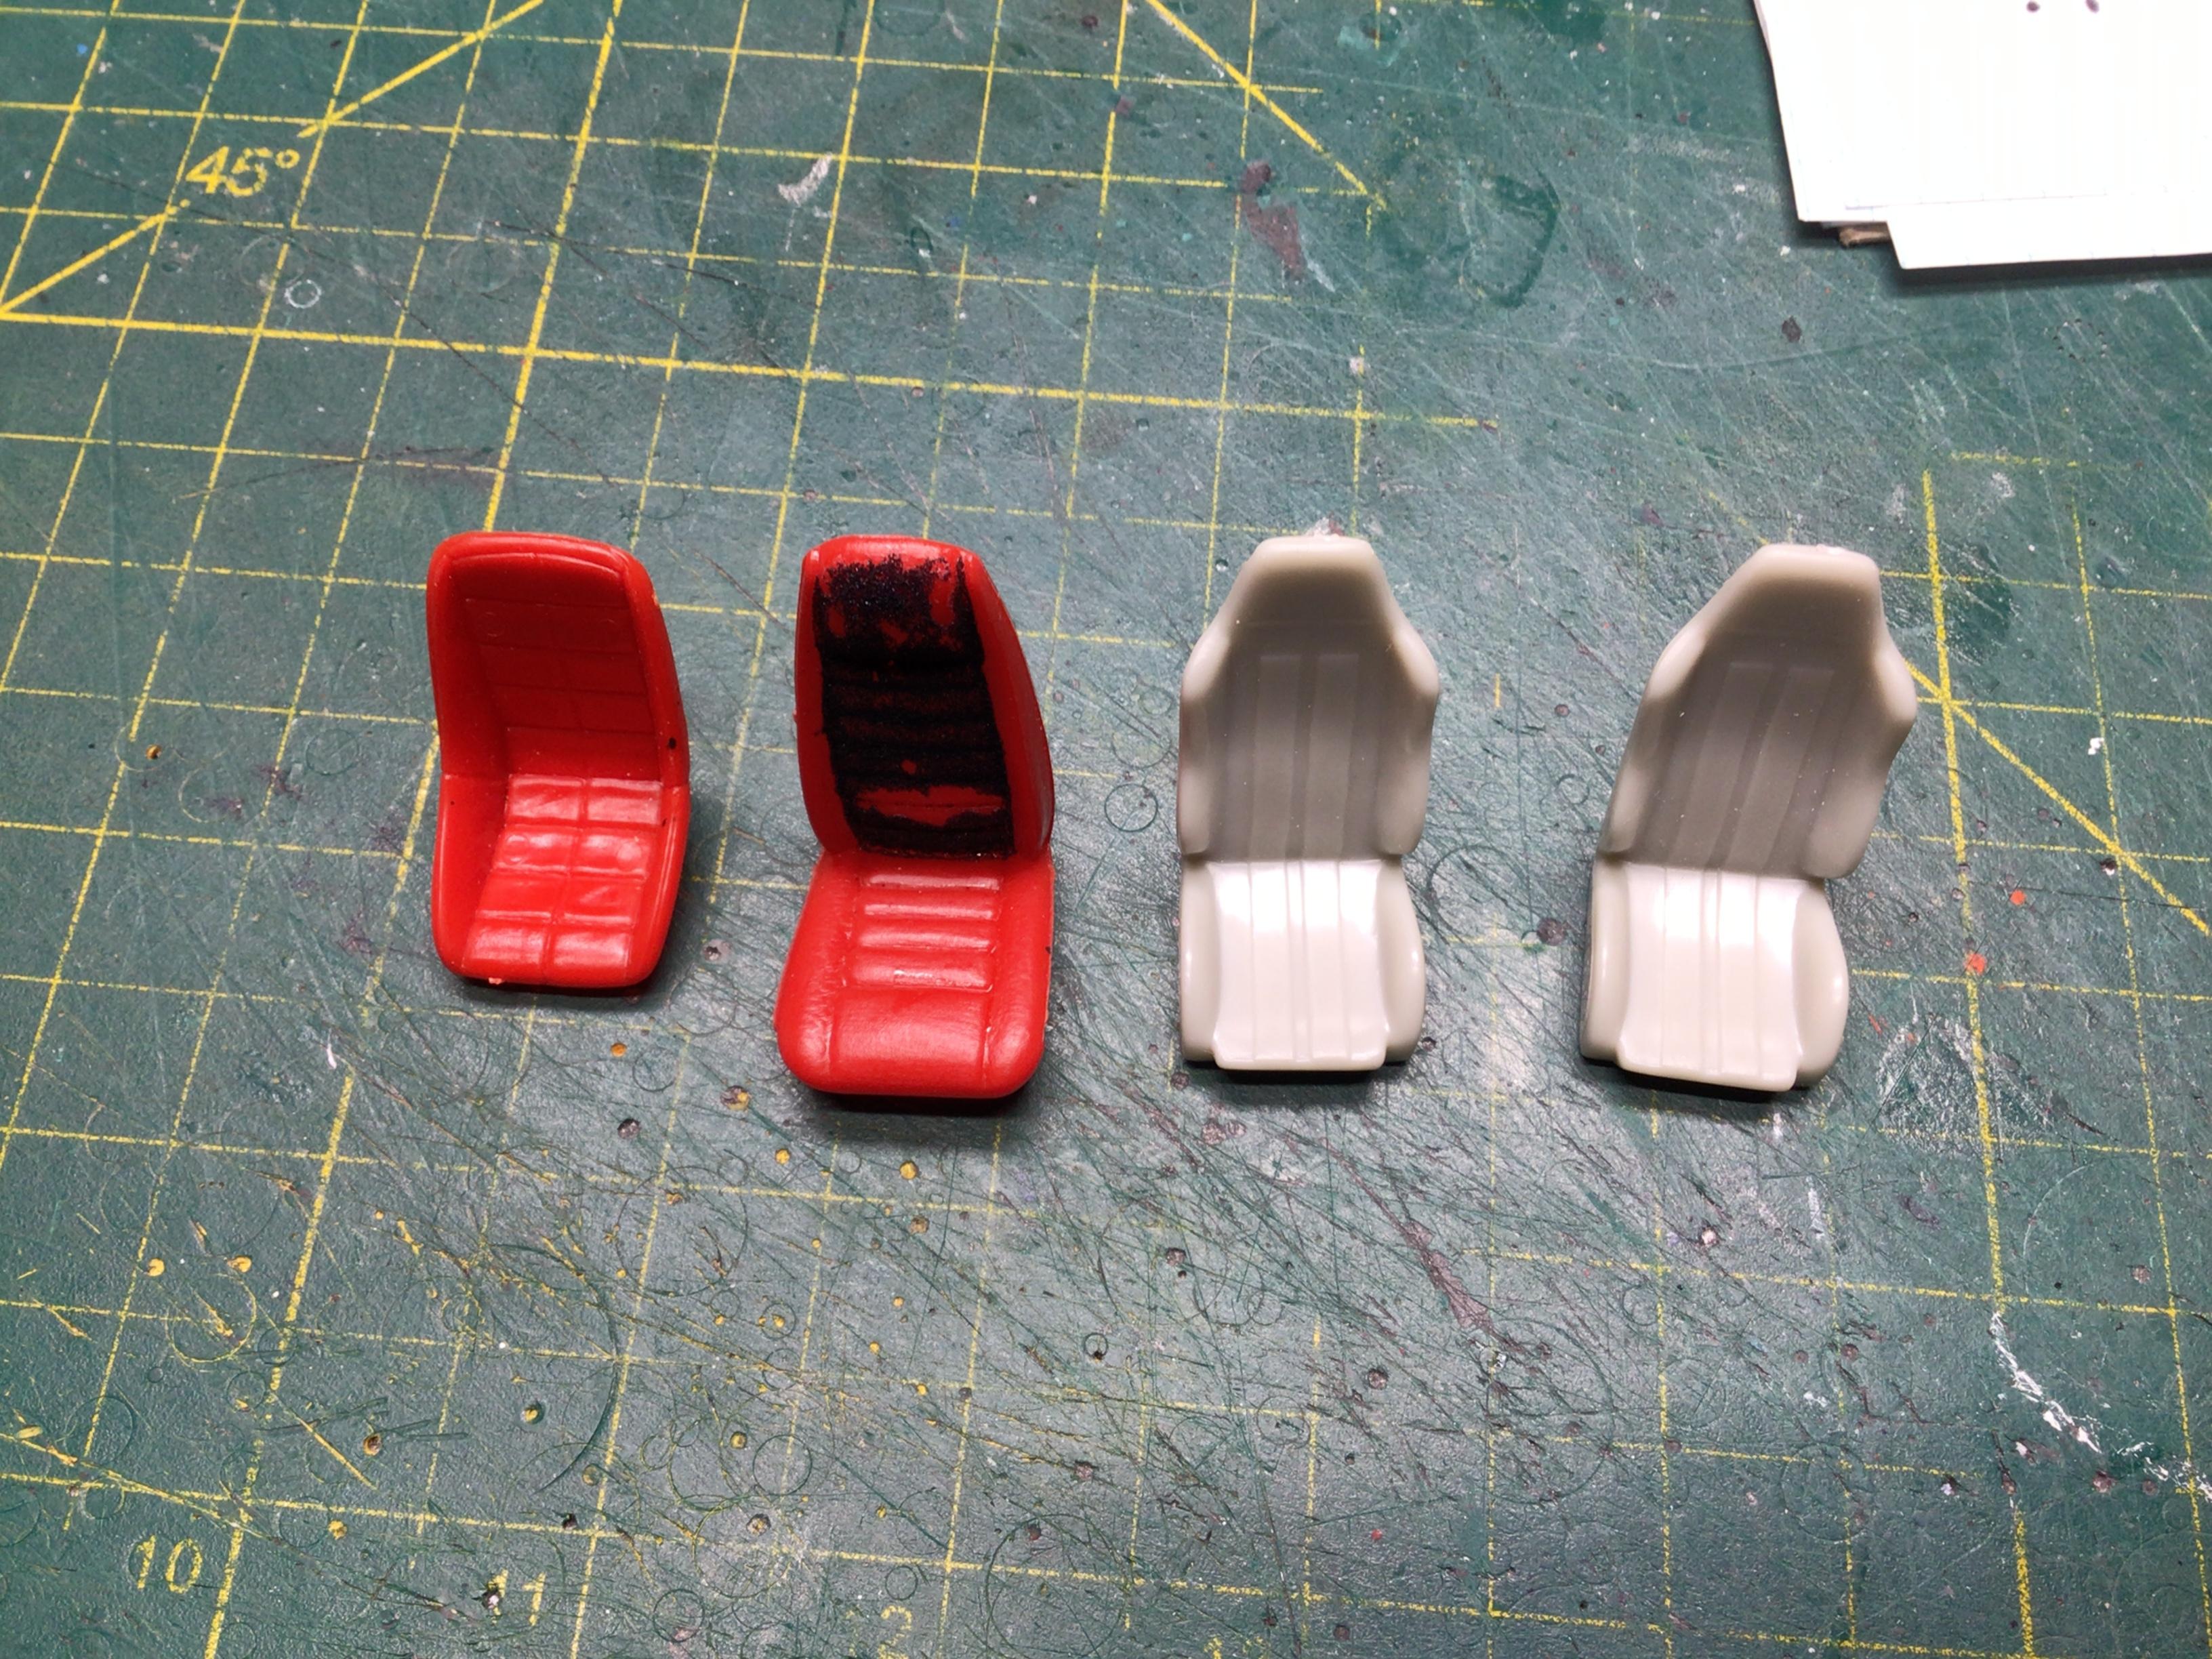
Old bucket/racing seat possibilities?
NOBLNG replied to R. Thorne's topic in Model Building Questions and Answers
I believe the grey ones are from the AMT ‘66 Nova resto rods kit. The red high back, possibly a Monogram ‘57 Chevy kit?.?
-
Jurassic Park Jeep Wrangler YJ
NOBLNG replied to spencer1984's topic in Model Trucks: Pickups, Vans, SUVs, Light Commercial
Nice work!? -
Really nicely done. The wood grain looks authentic.?
-
Very nicely done Steve!?
-
Those are both just beautiful !!?
-
Very nice little street rod!?
-
My first thought was epoxy, and that is what is recommended here. Good luck with it. https://www.lakesidepottery.com/Pages/Pottery-tips/epoxies-vs-cyanoacrylate-super-glue-crazy-glue-ceramic-china-repair.htm
-
That is NICE! I like the color combo.?
-
It looks good in white Garry…and you did a fabulous job on the foil work!??
-
Donor kits are sometimes found at the flea market.
-
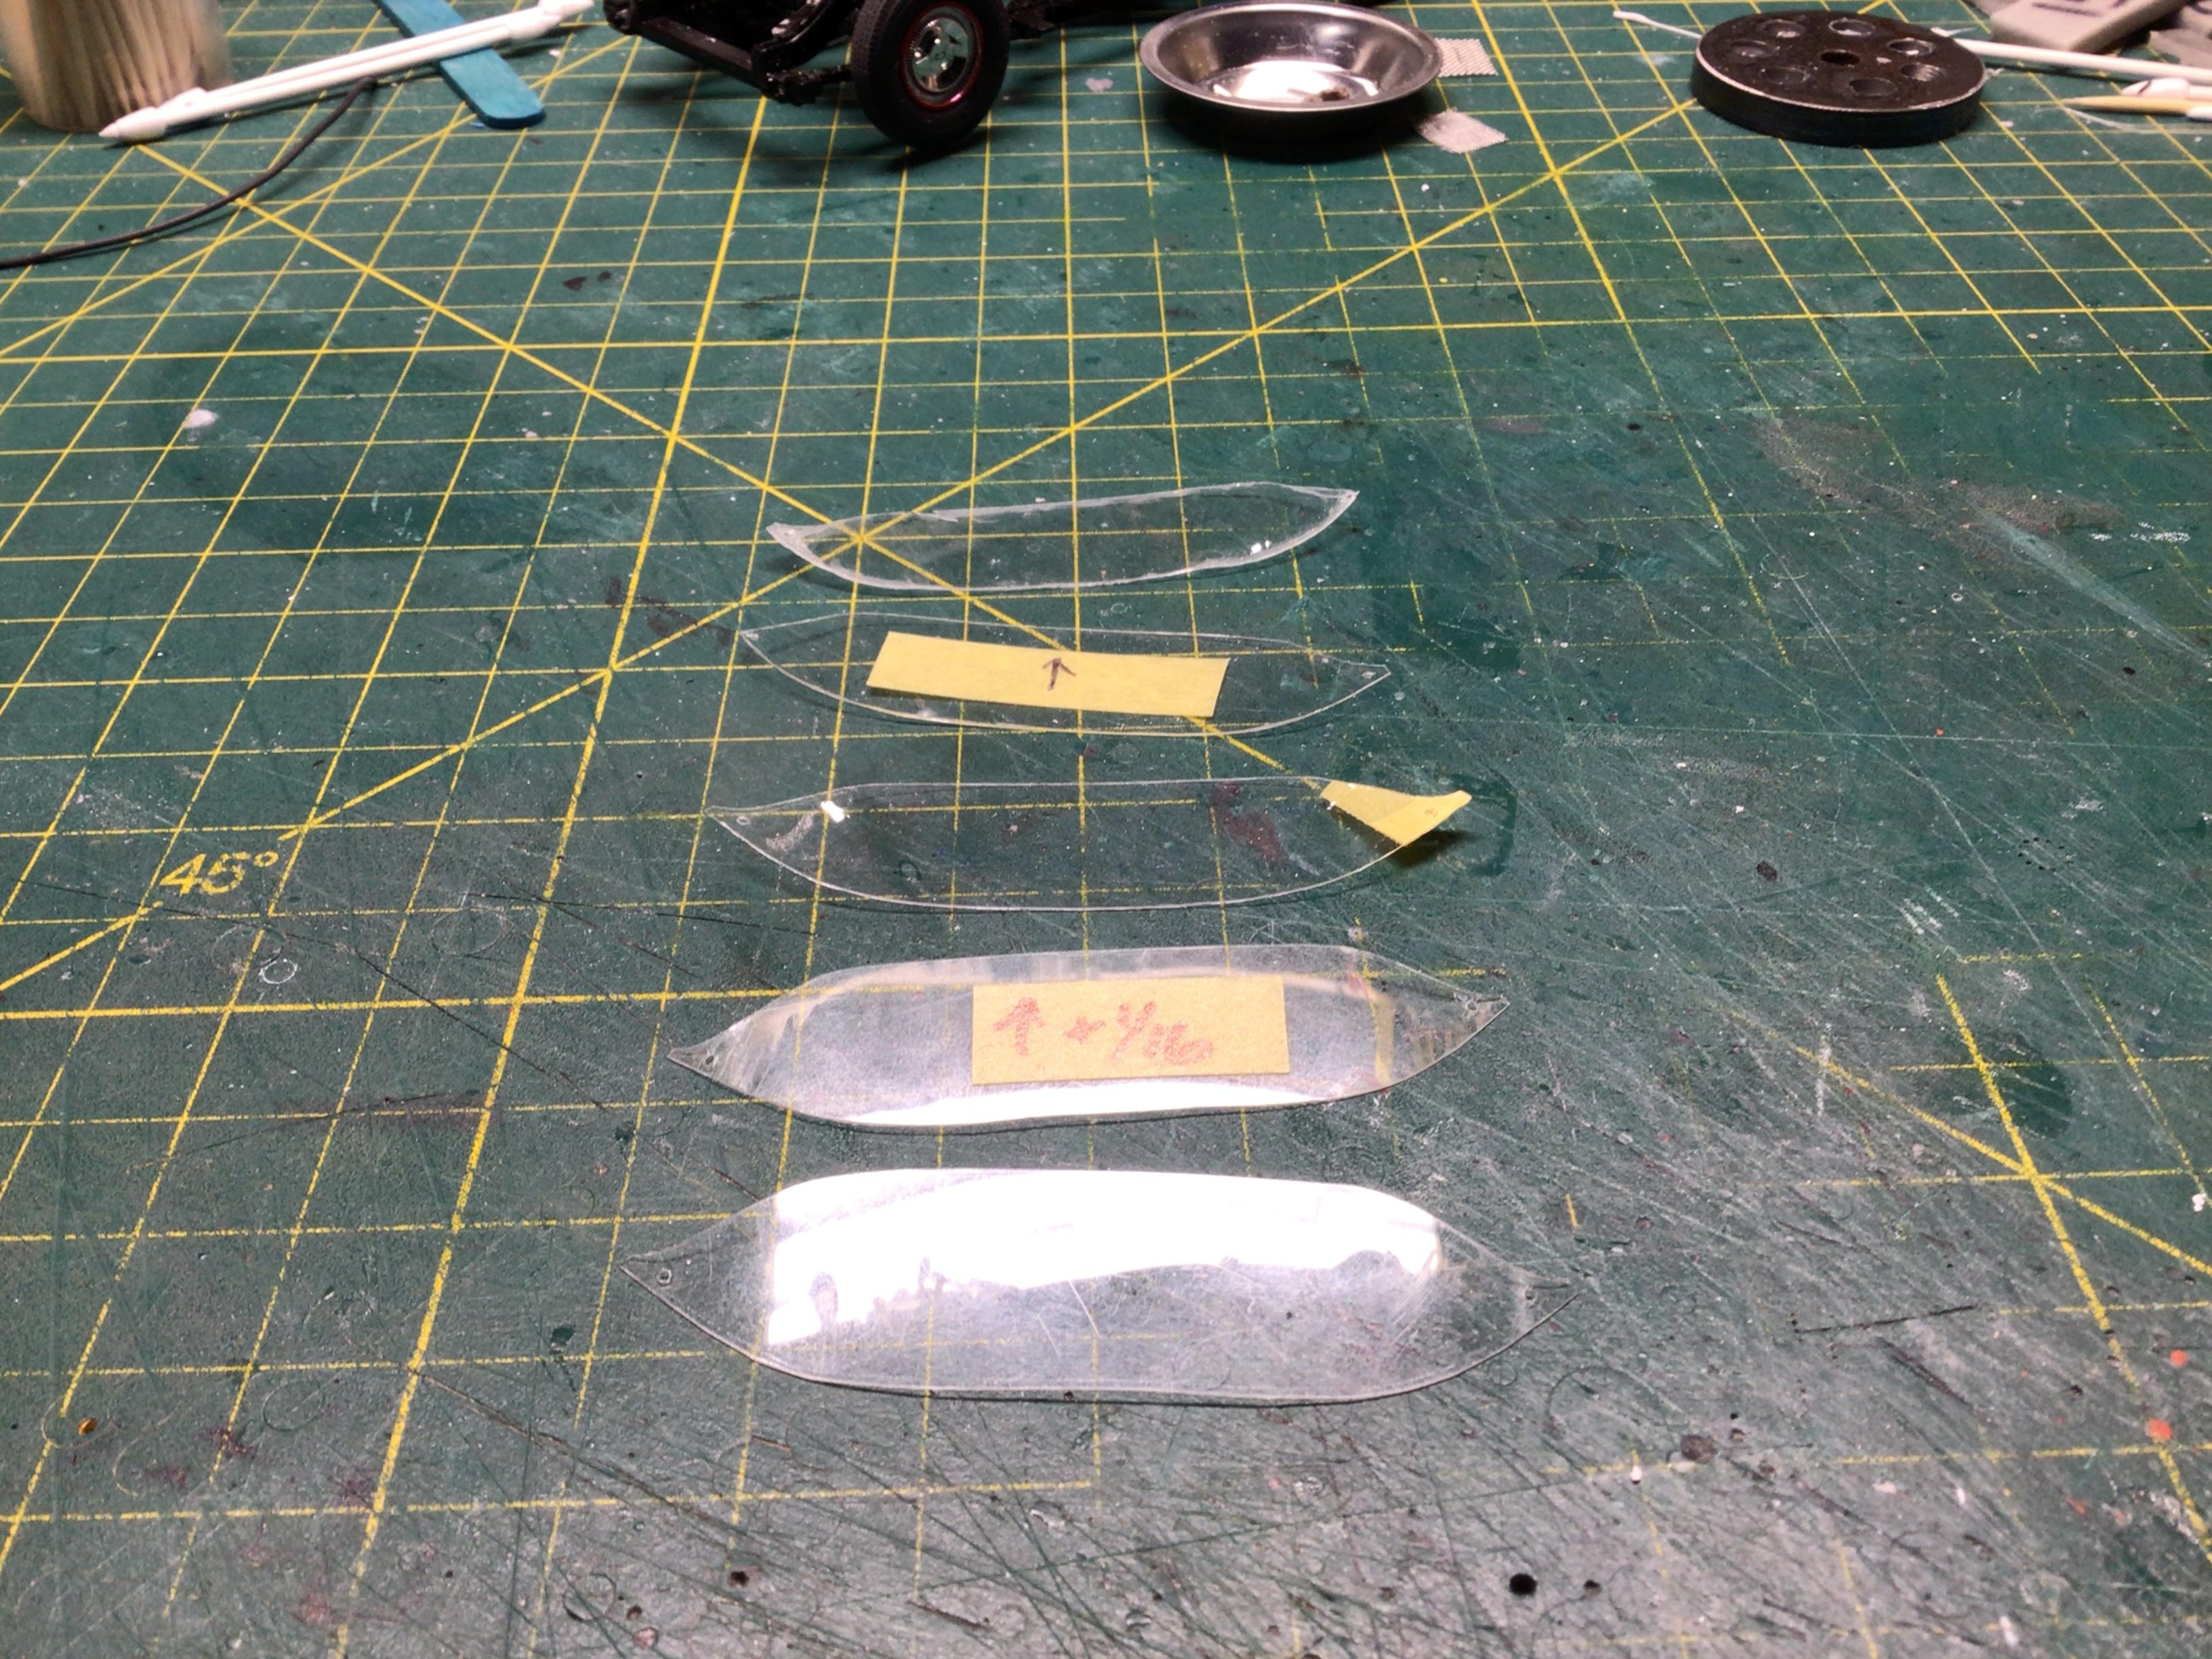
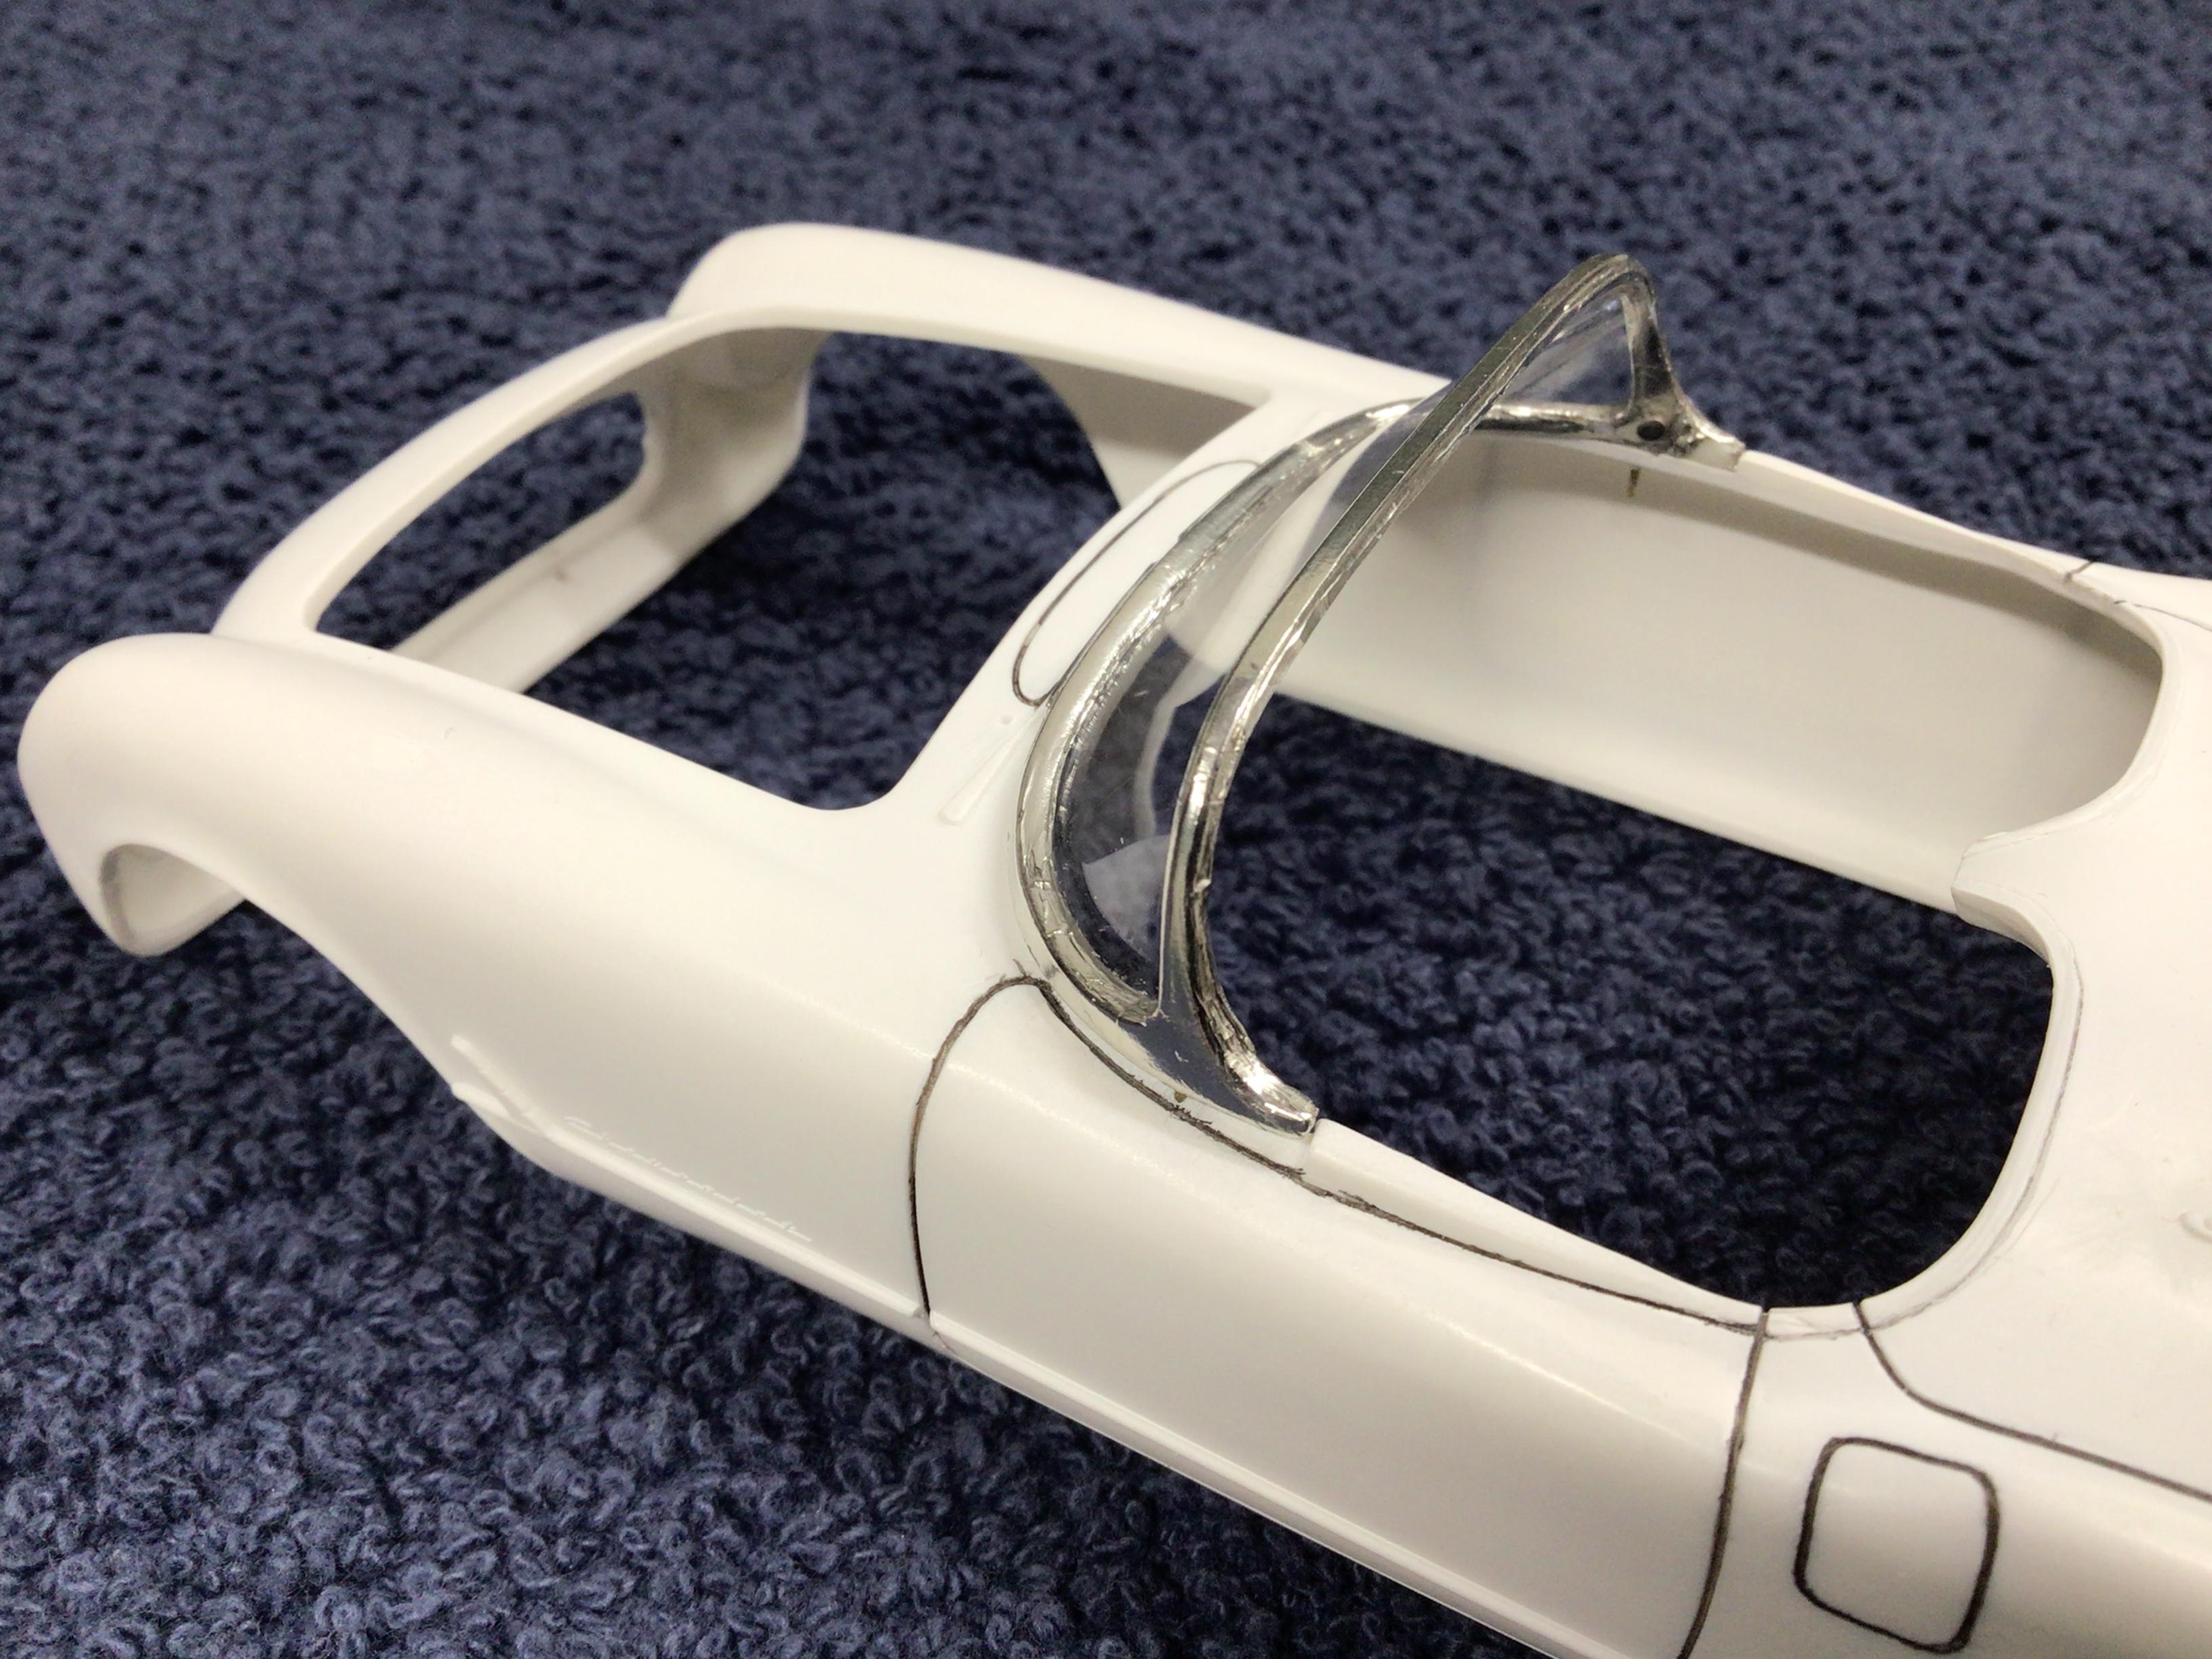
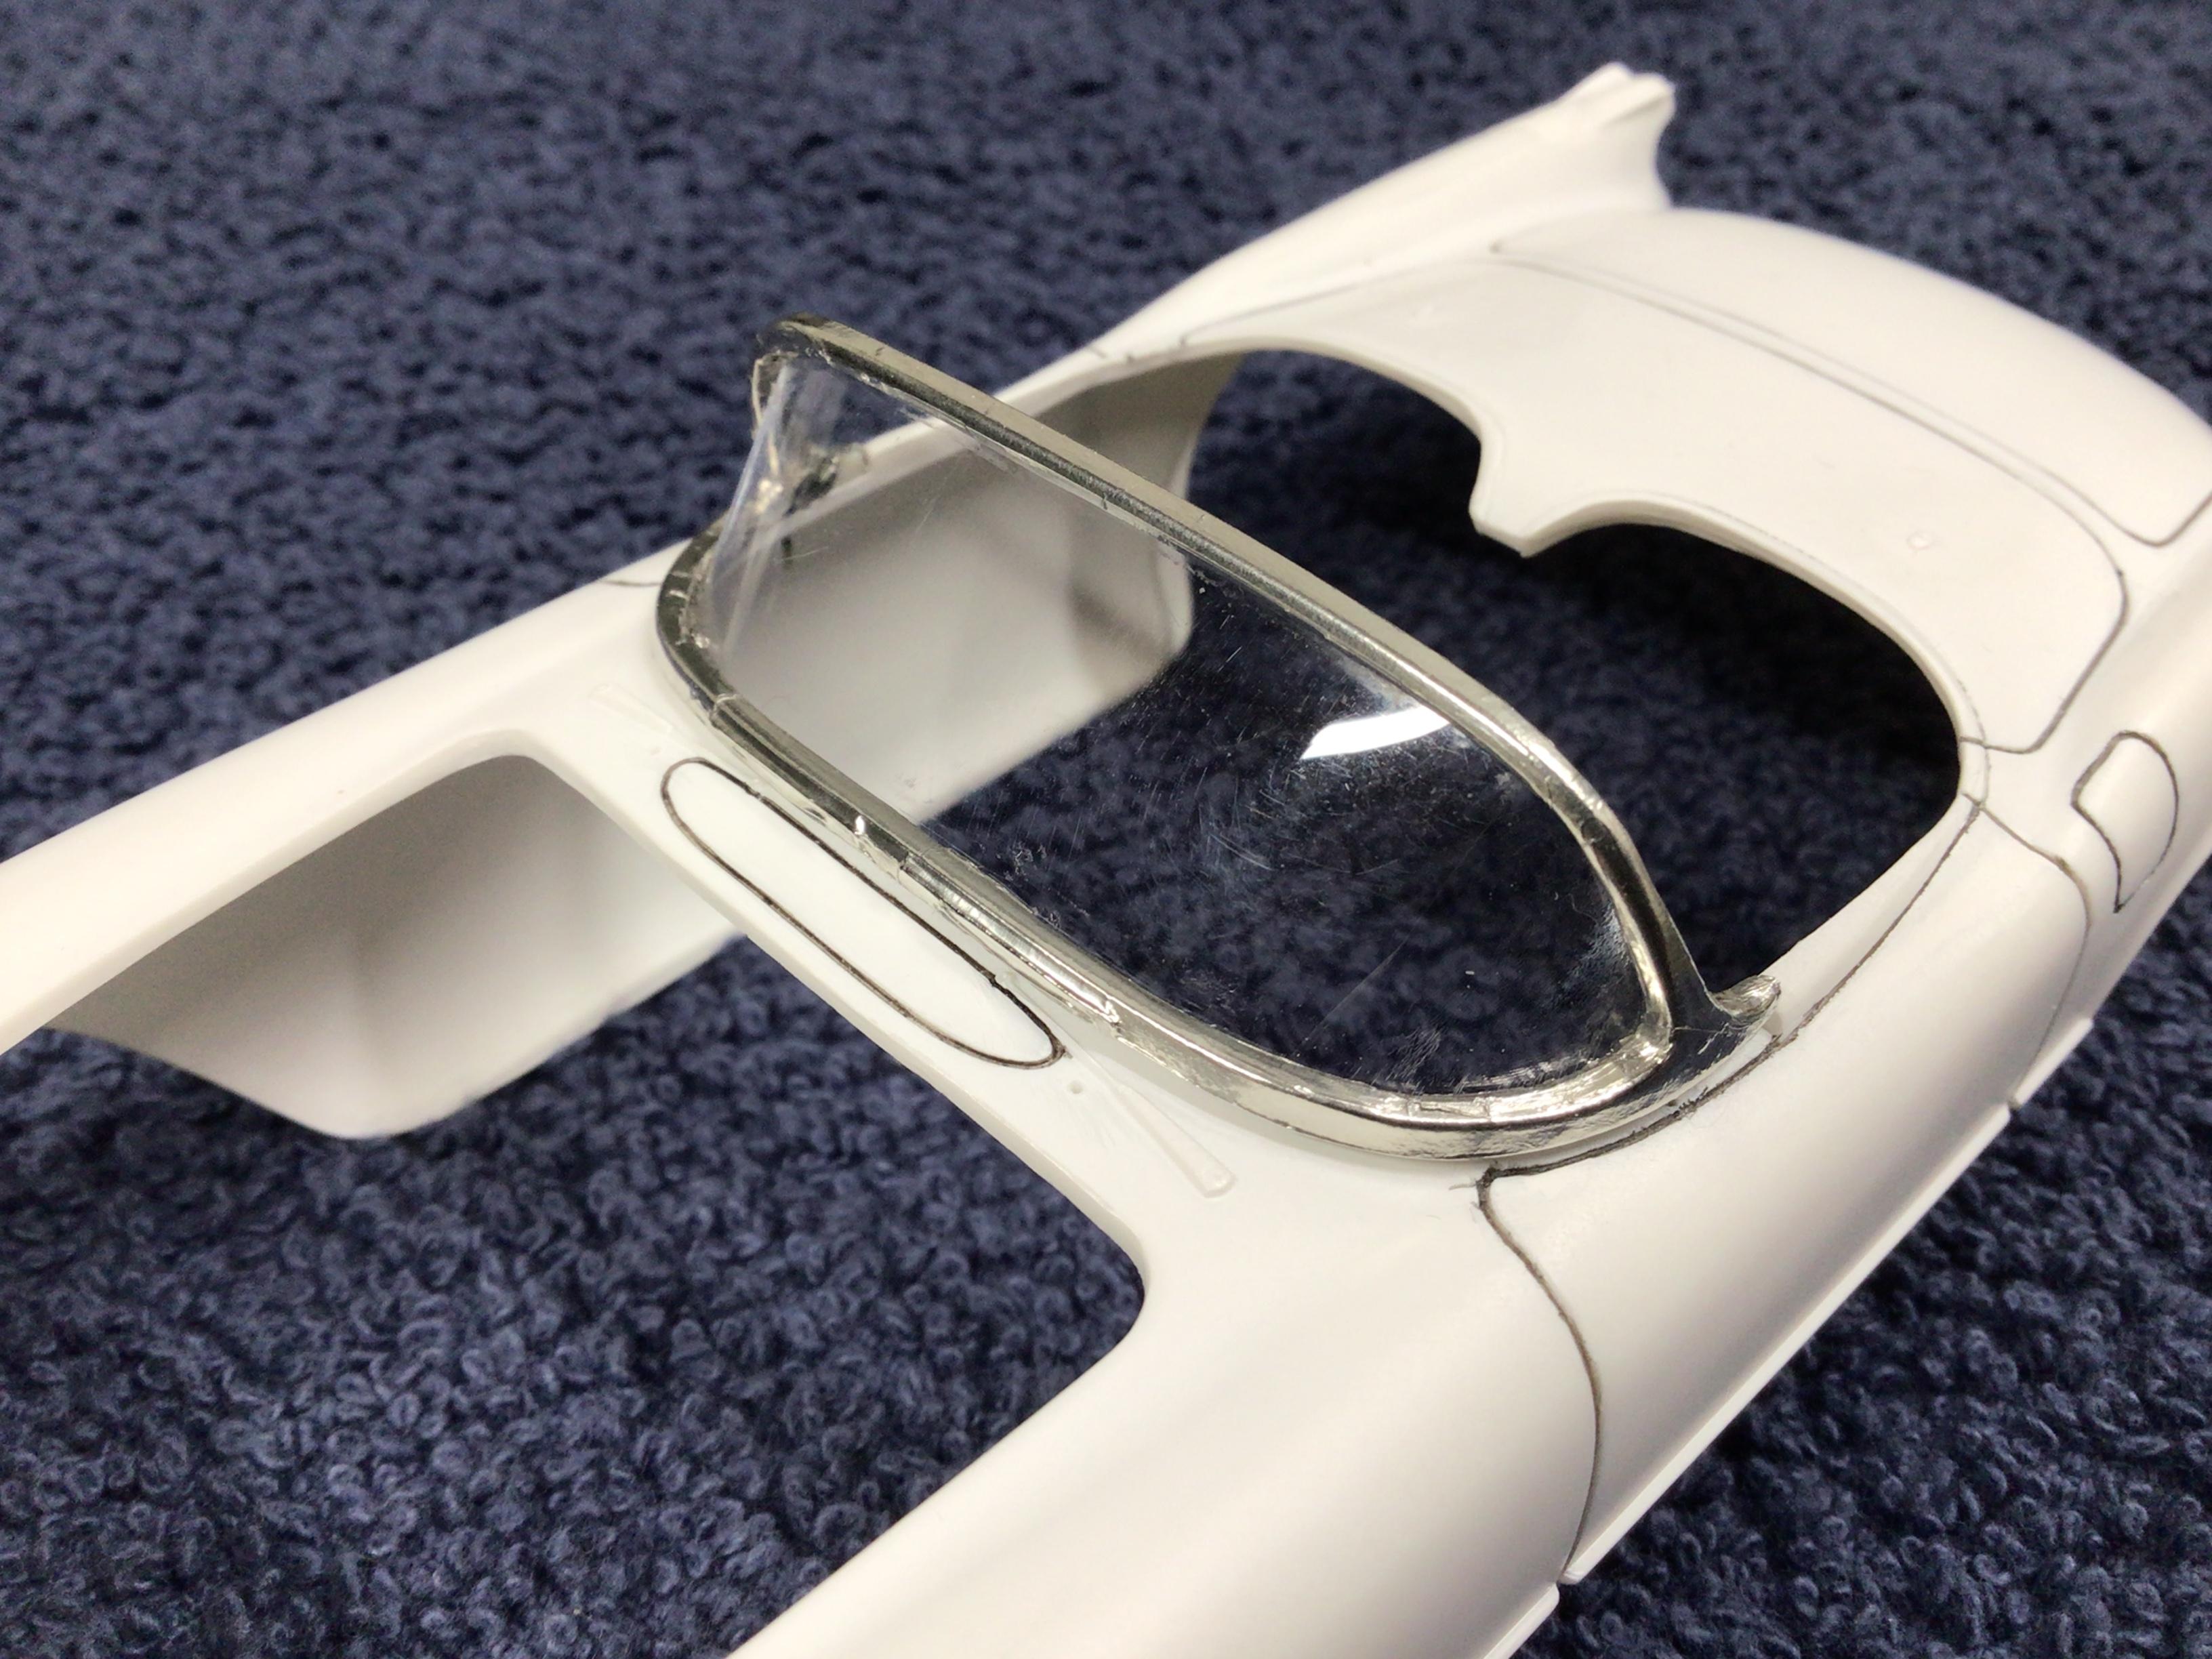
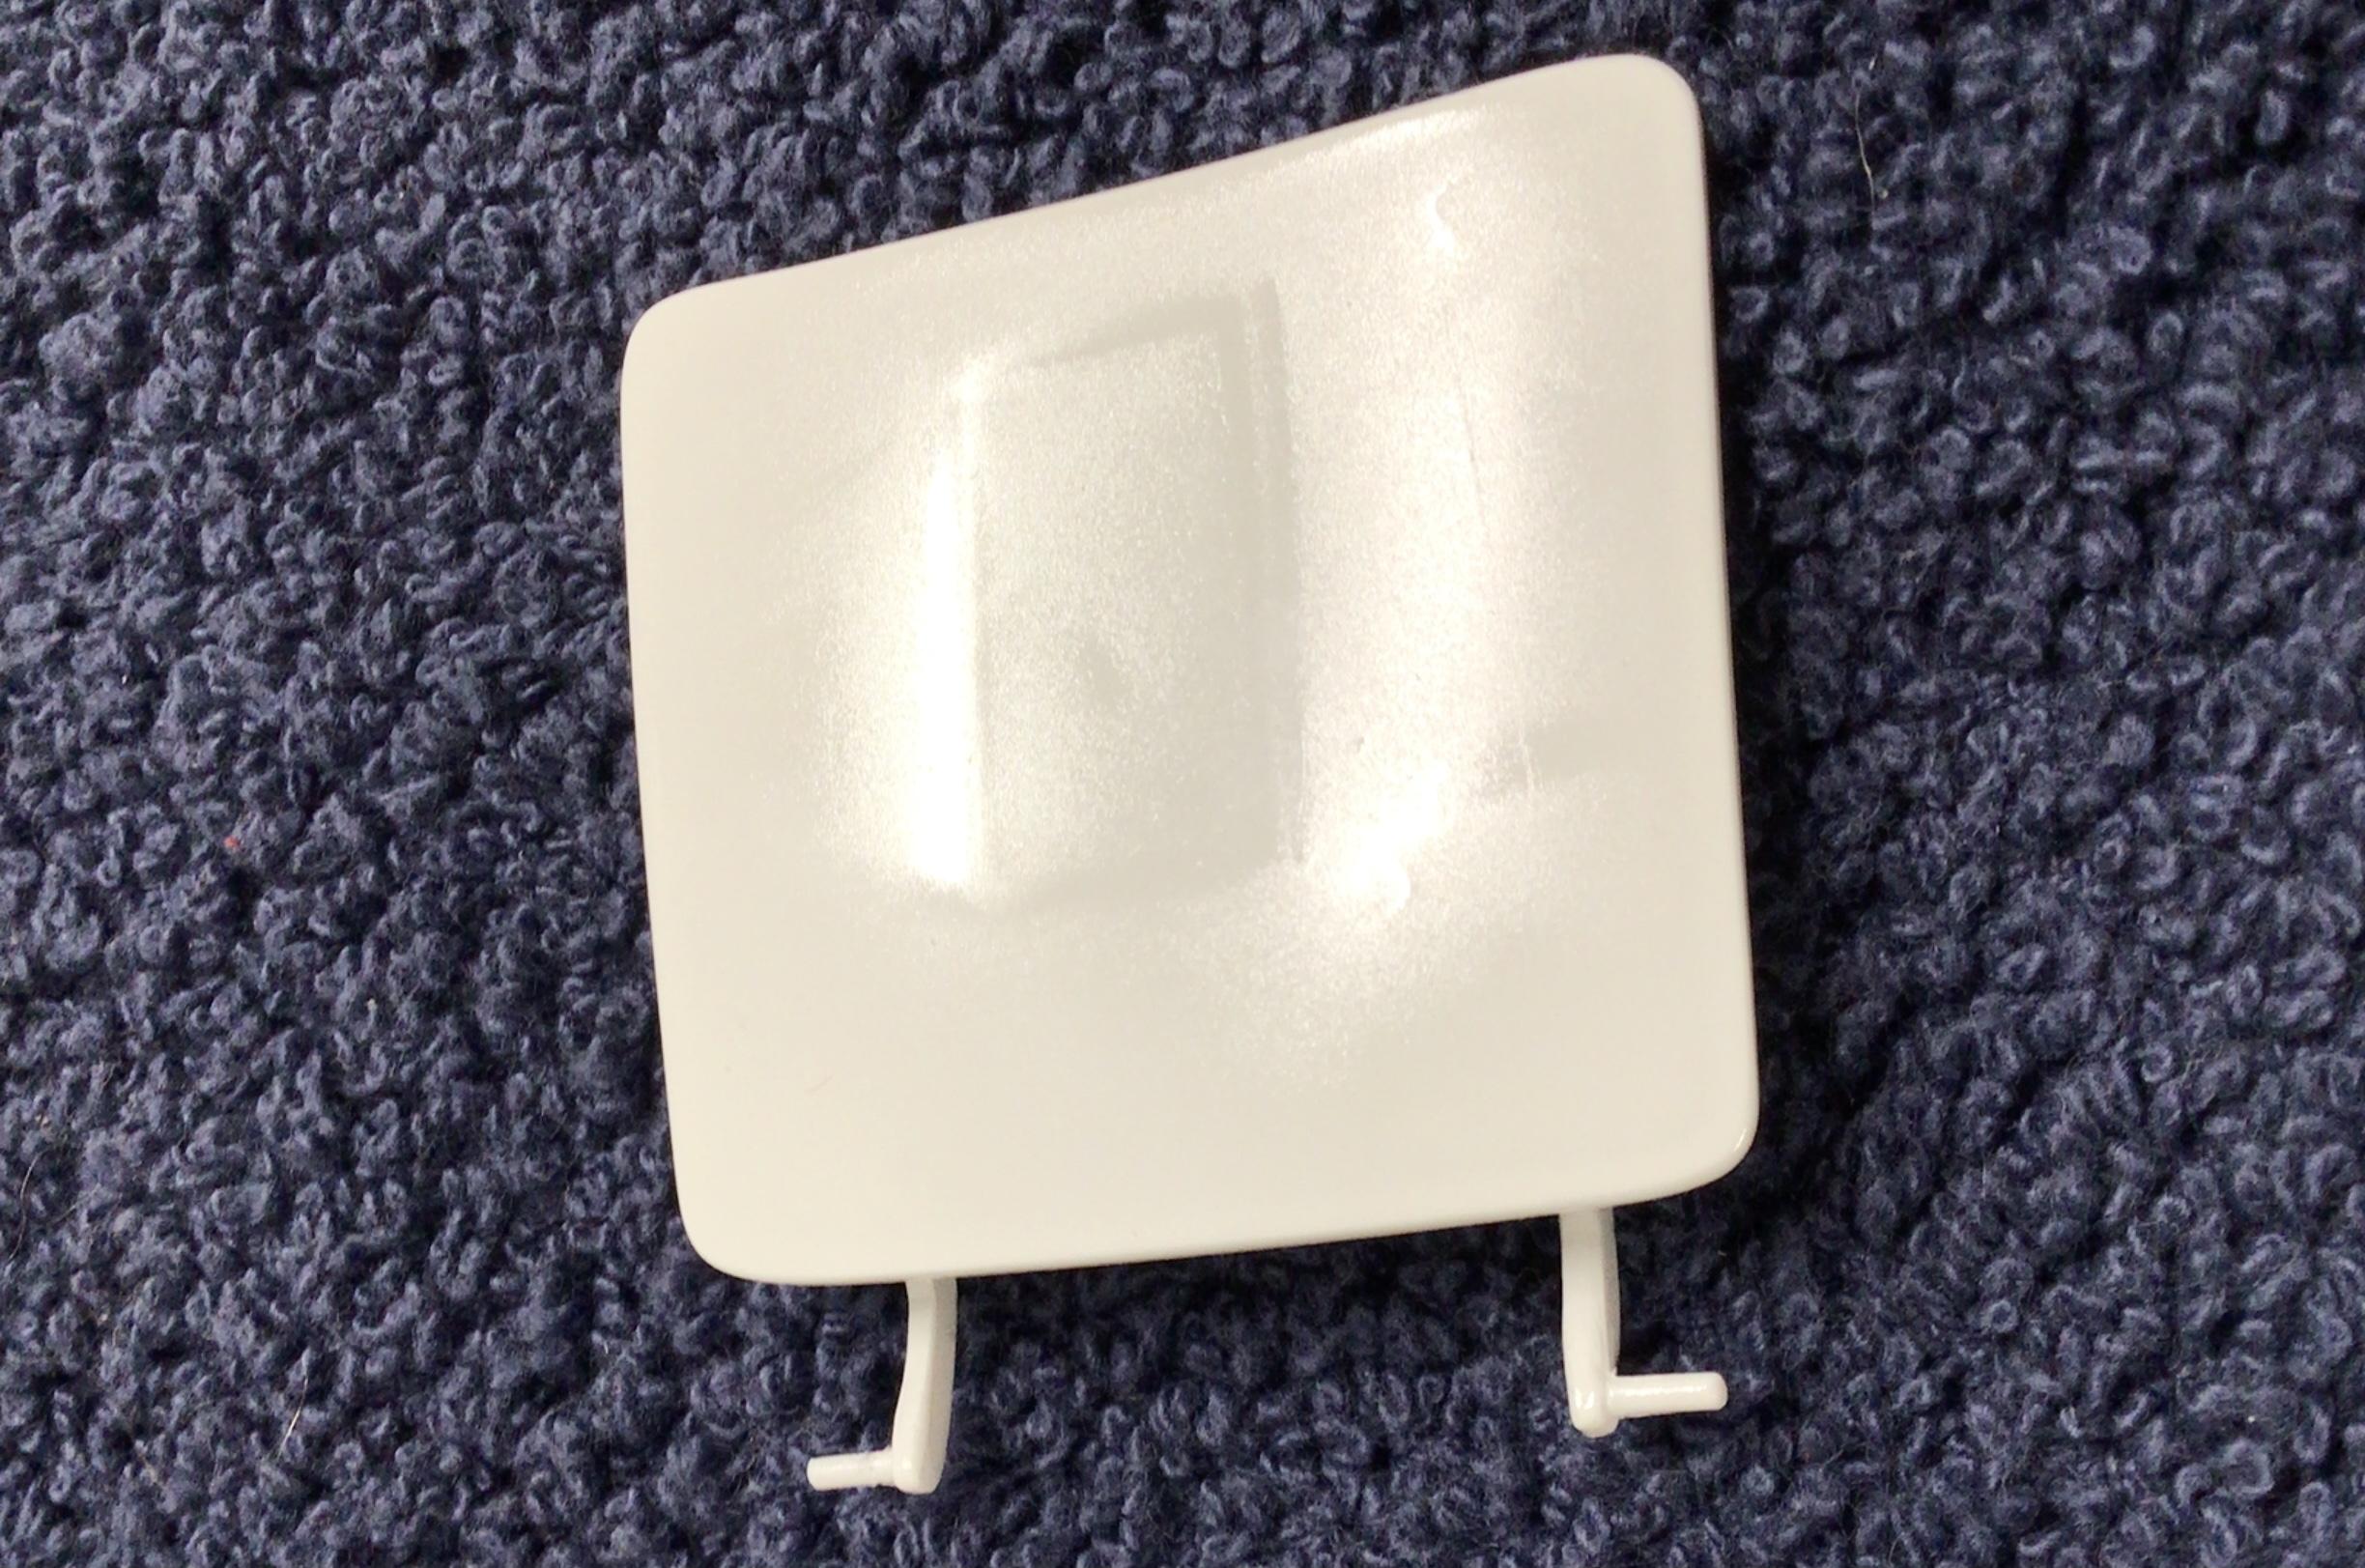
Thanks Dennis. Ha Ha…not a chance! I have stripped my foil job off the windshield frame, and after four more attempts, I have a windshield that fits OK I hope. I’ve sprayed the frame with Revell chrome this time and when it is dry enough…I can hopefully get the glass mounted without wrecking the chrome finish.? That assembly will be the absolute last thing to be installed on the model.? That… and I have been trying to decide what to do about the headlight covers and stone guards.?
-
Thanks Steve!?
-
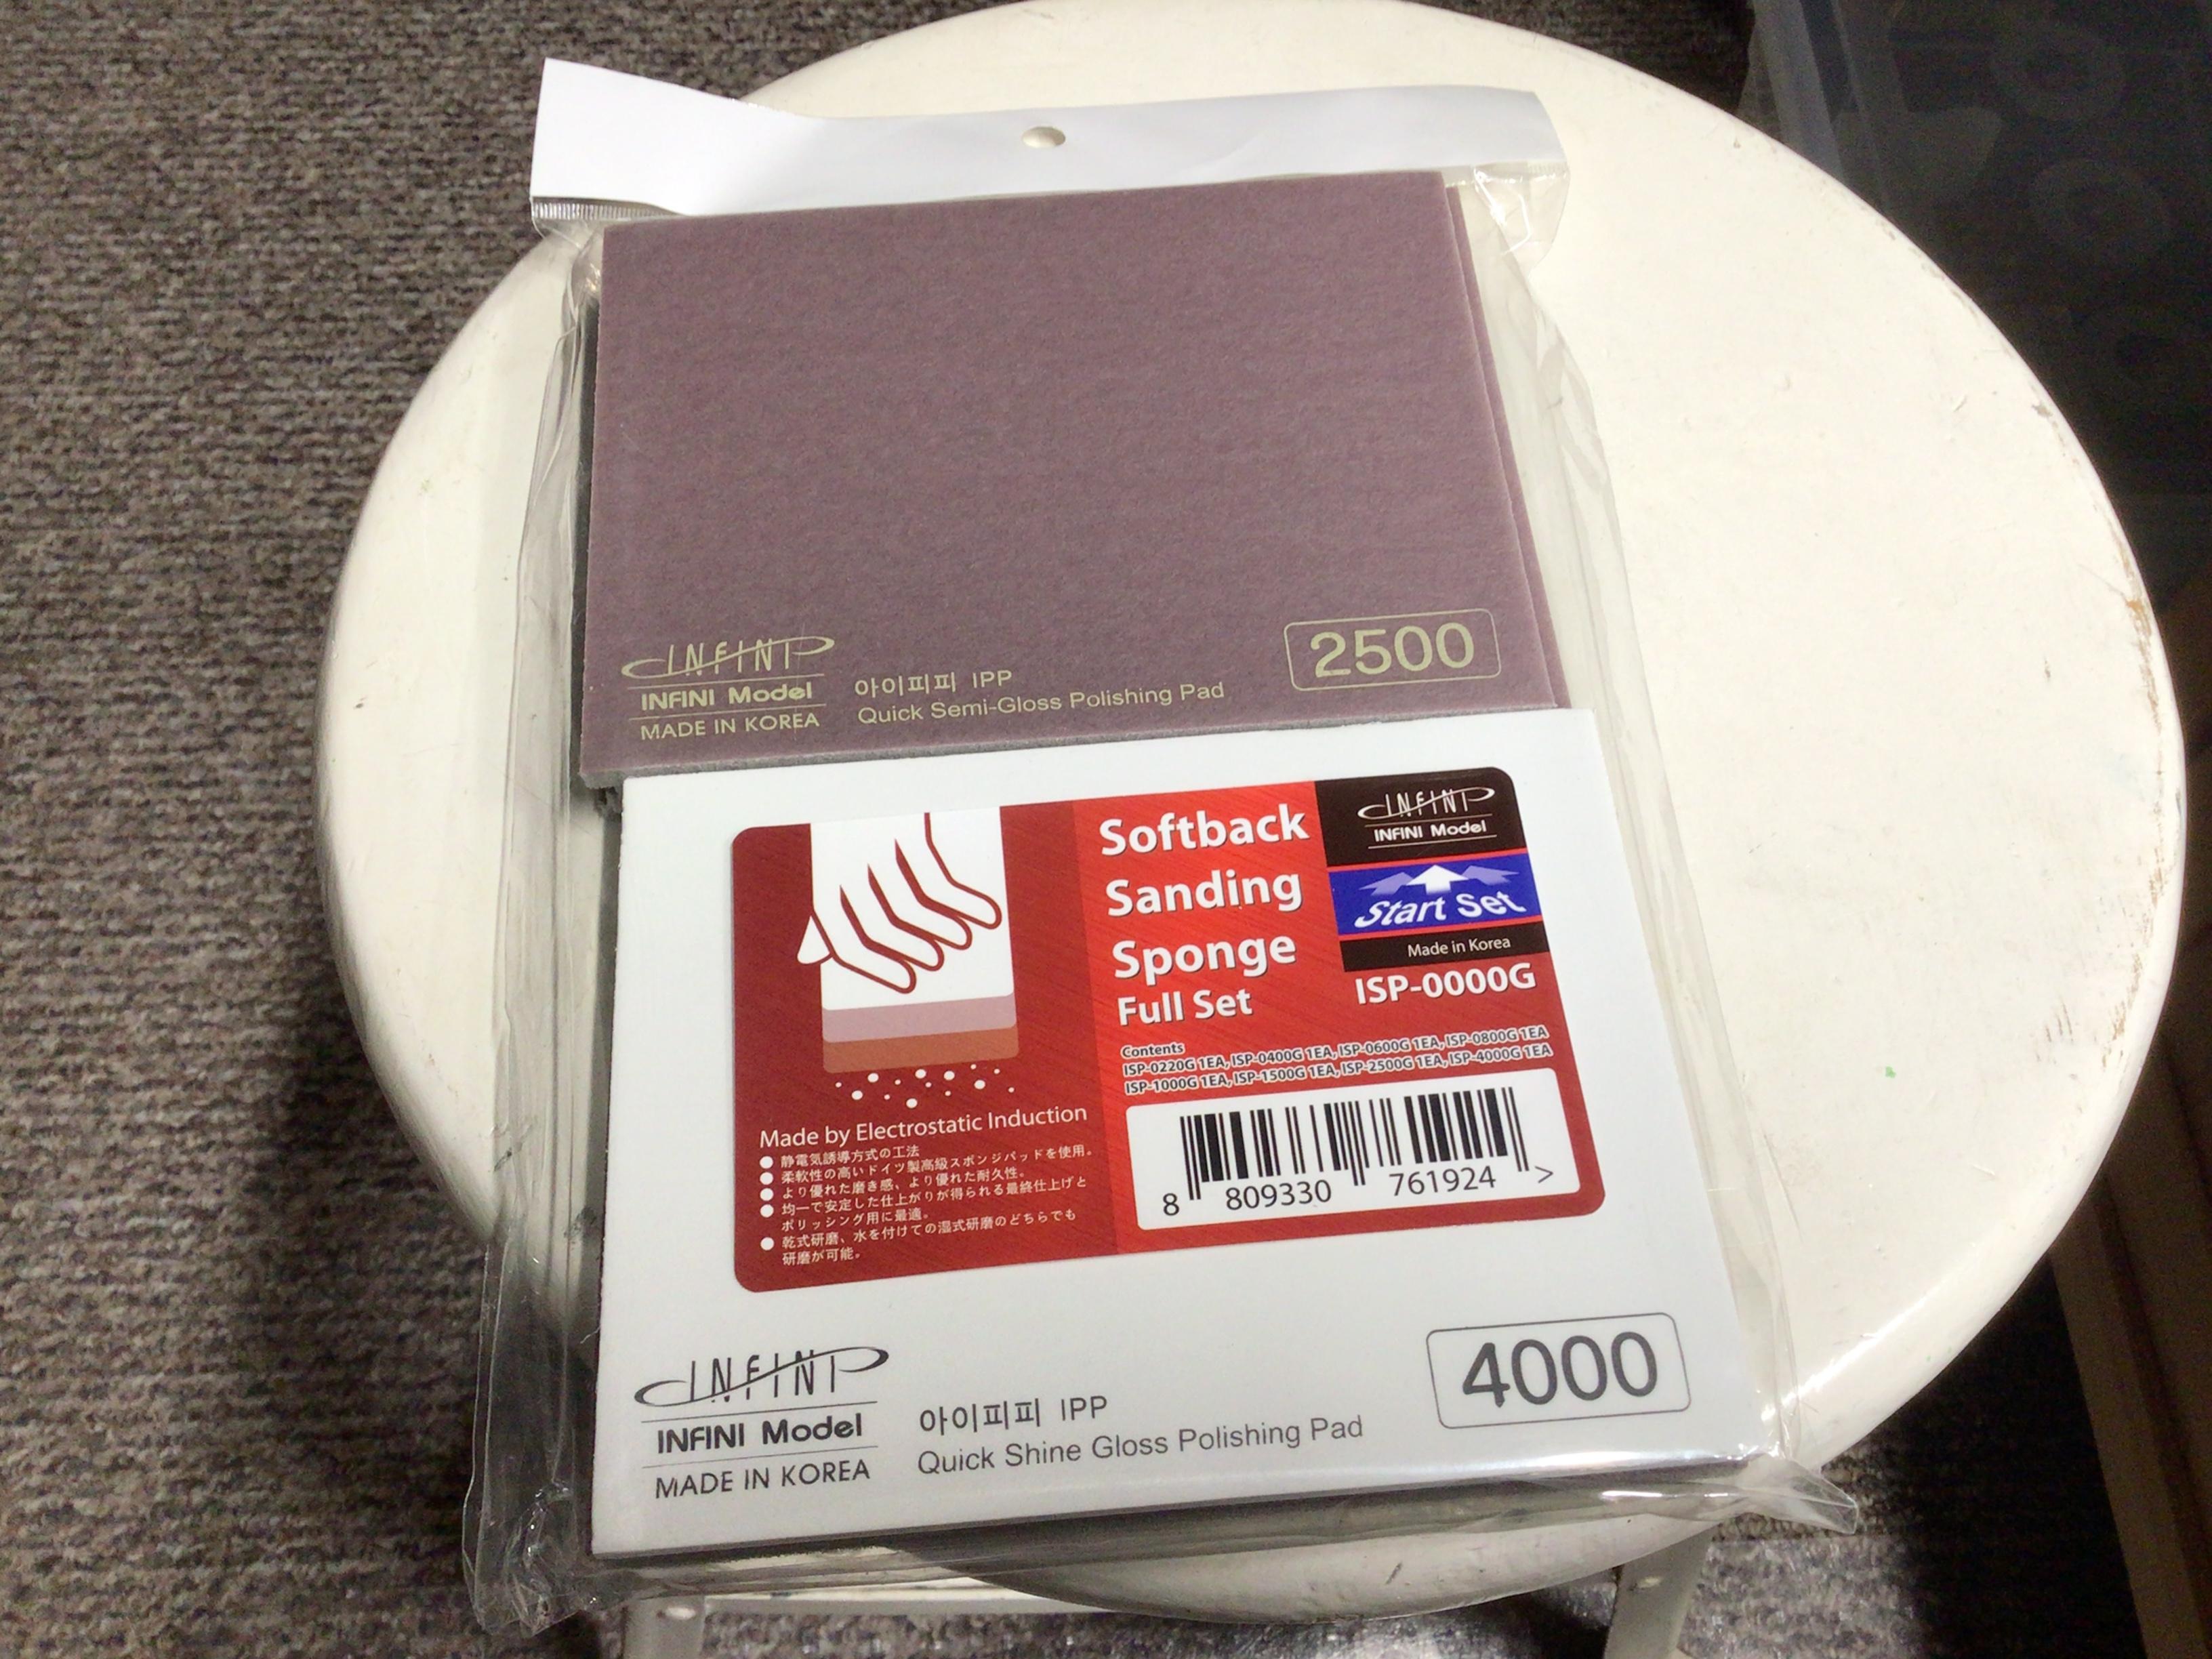
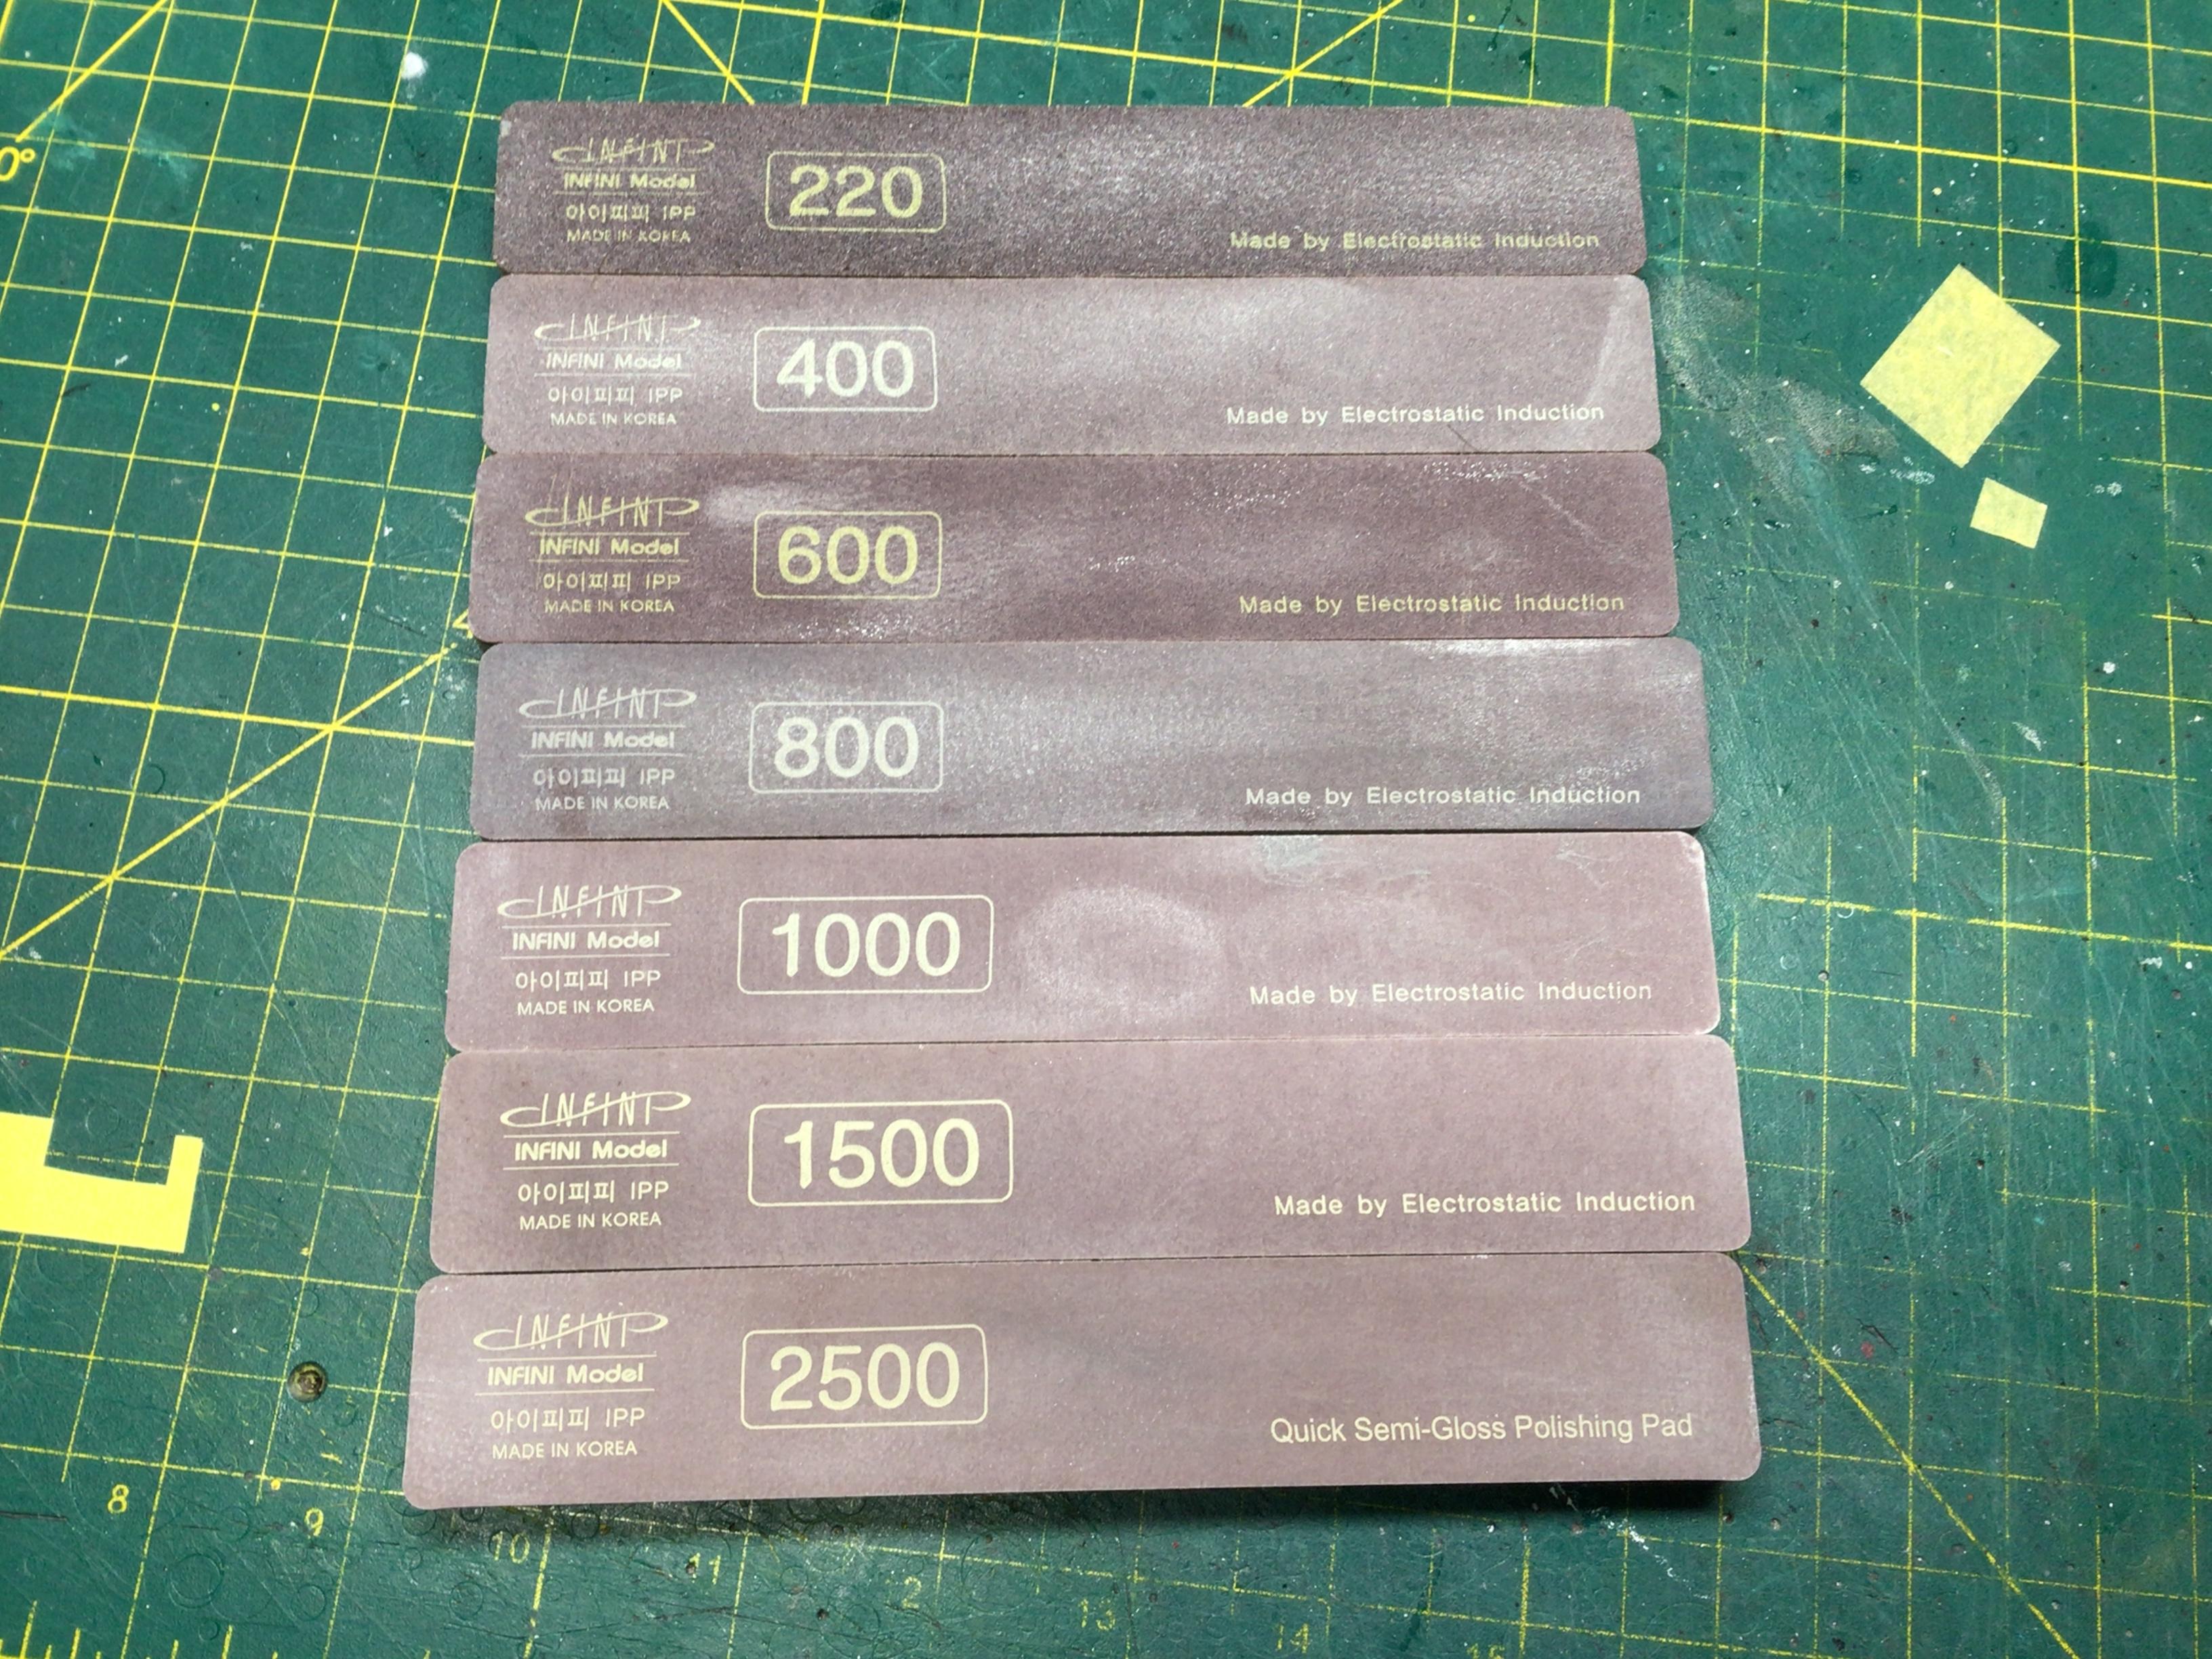
They are also available in 4”x5-1/2” pads.
-
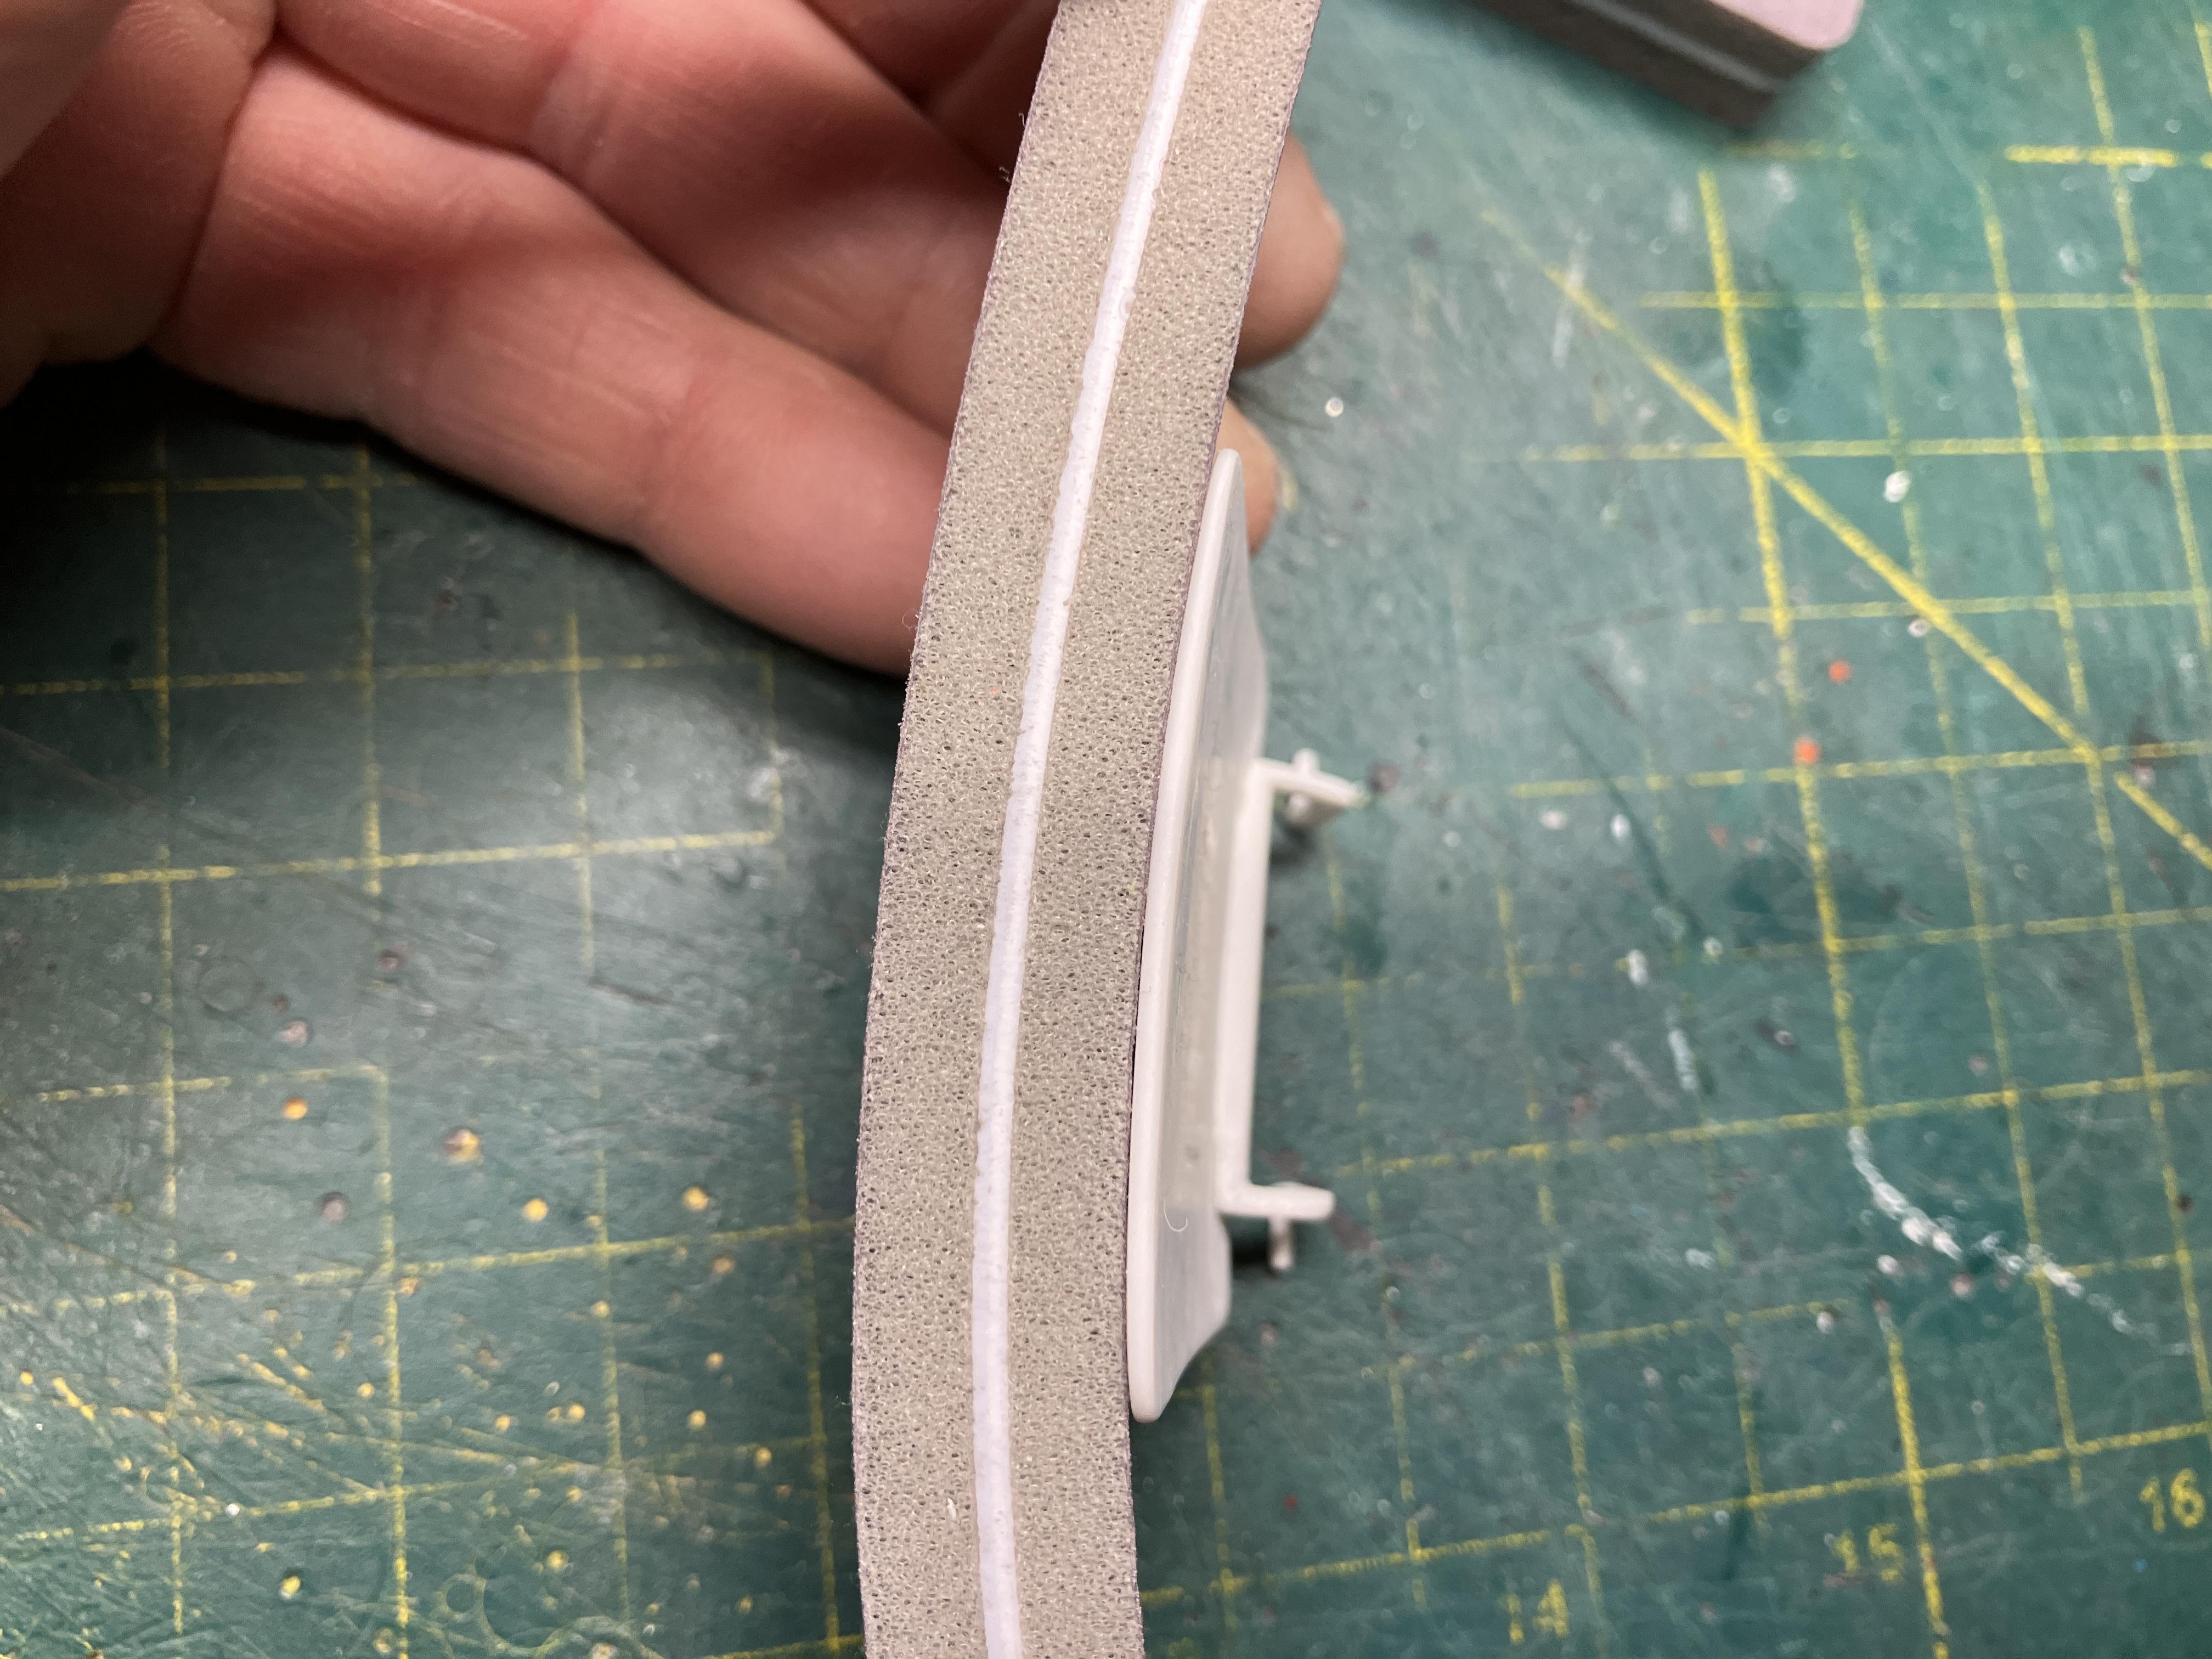
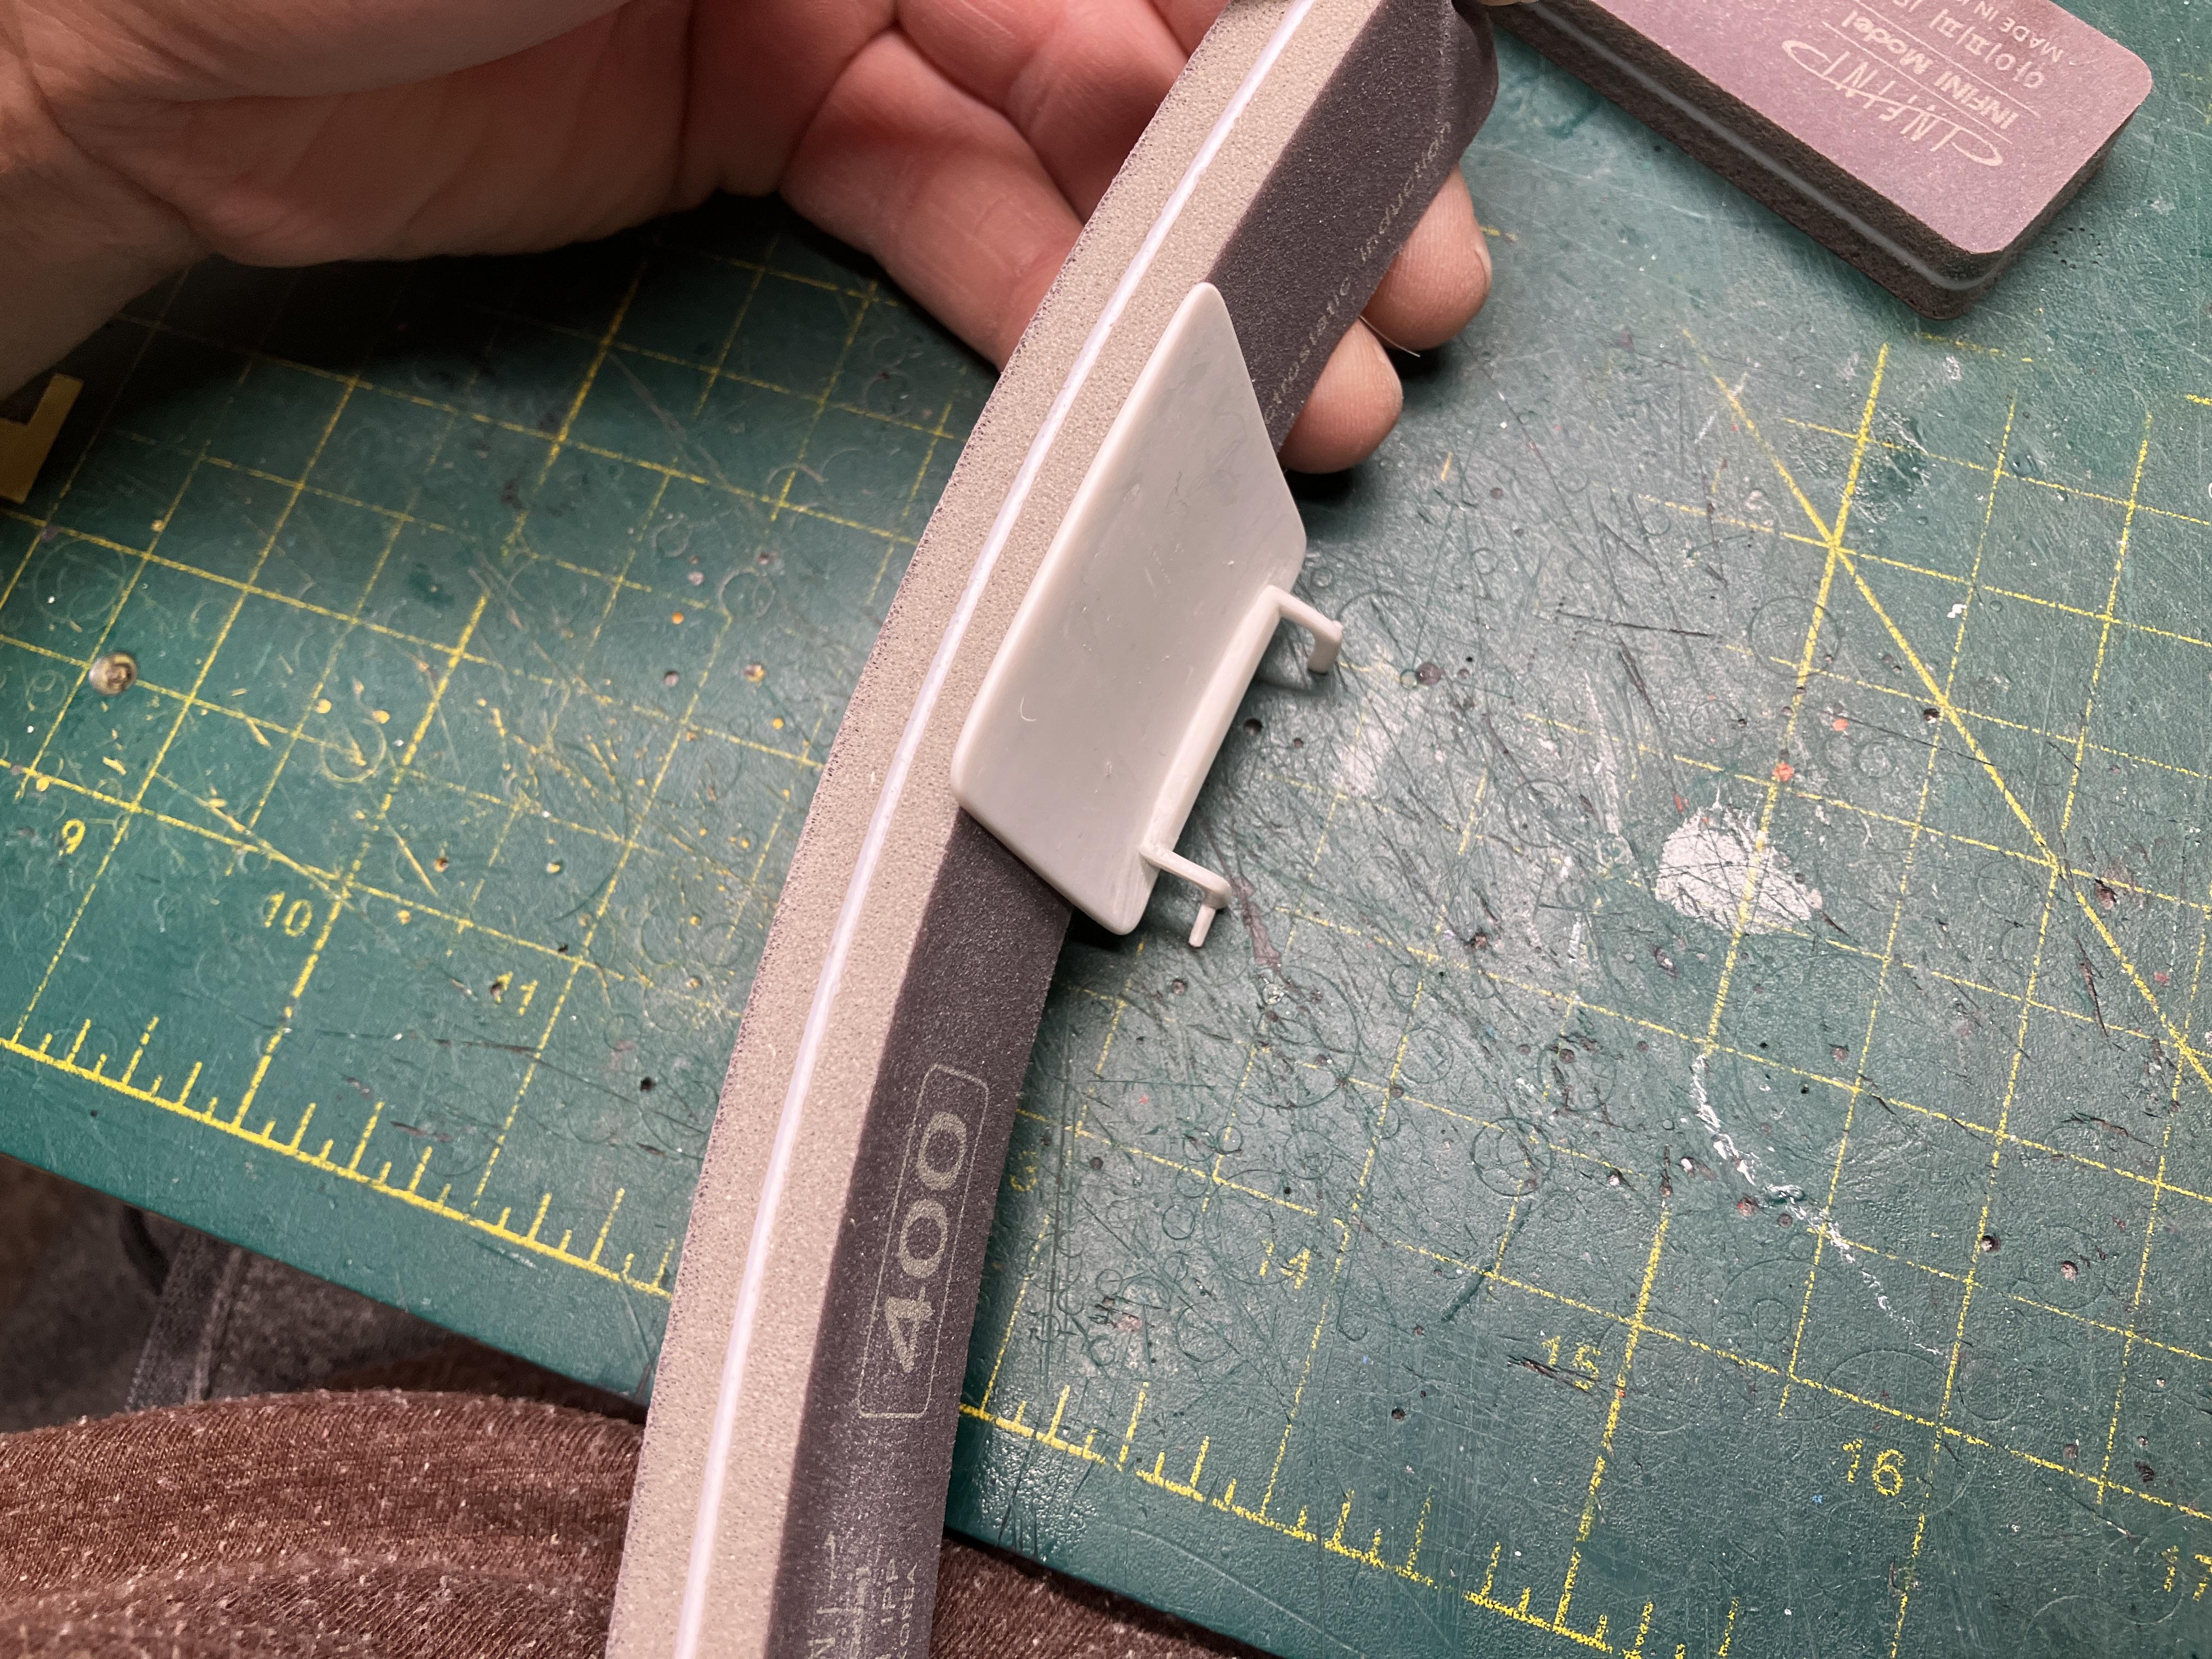
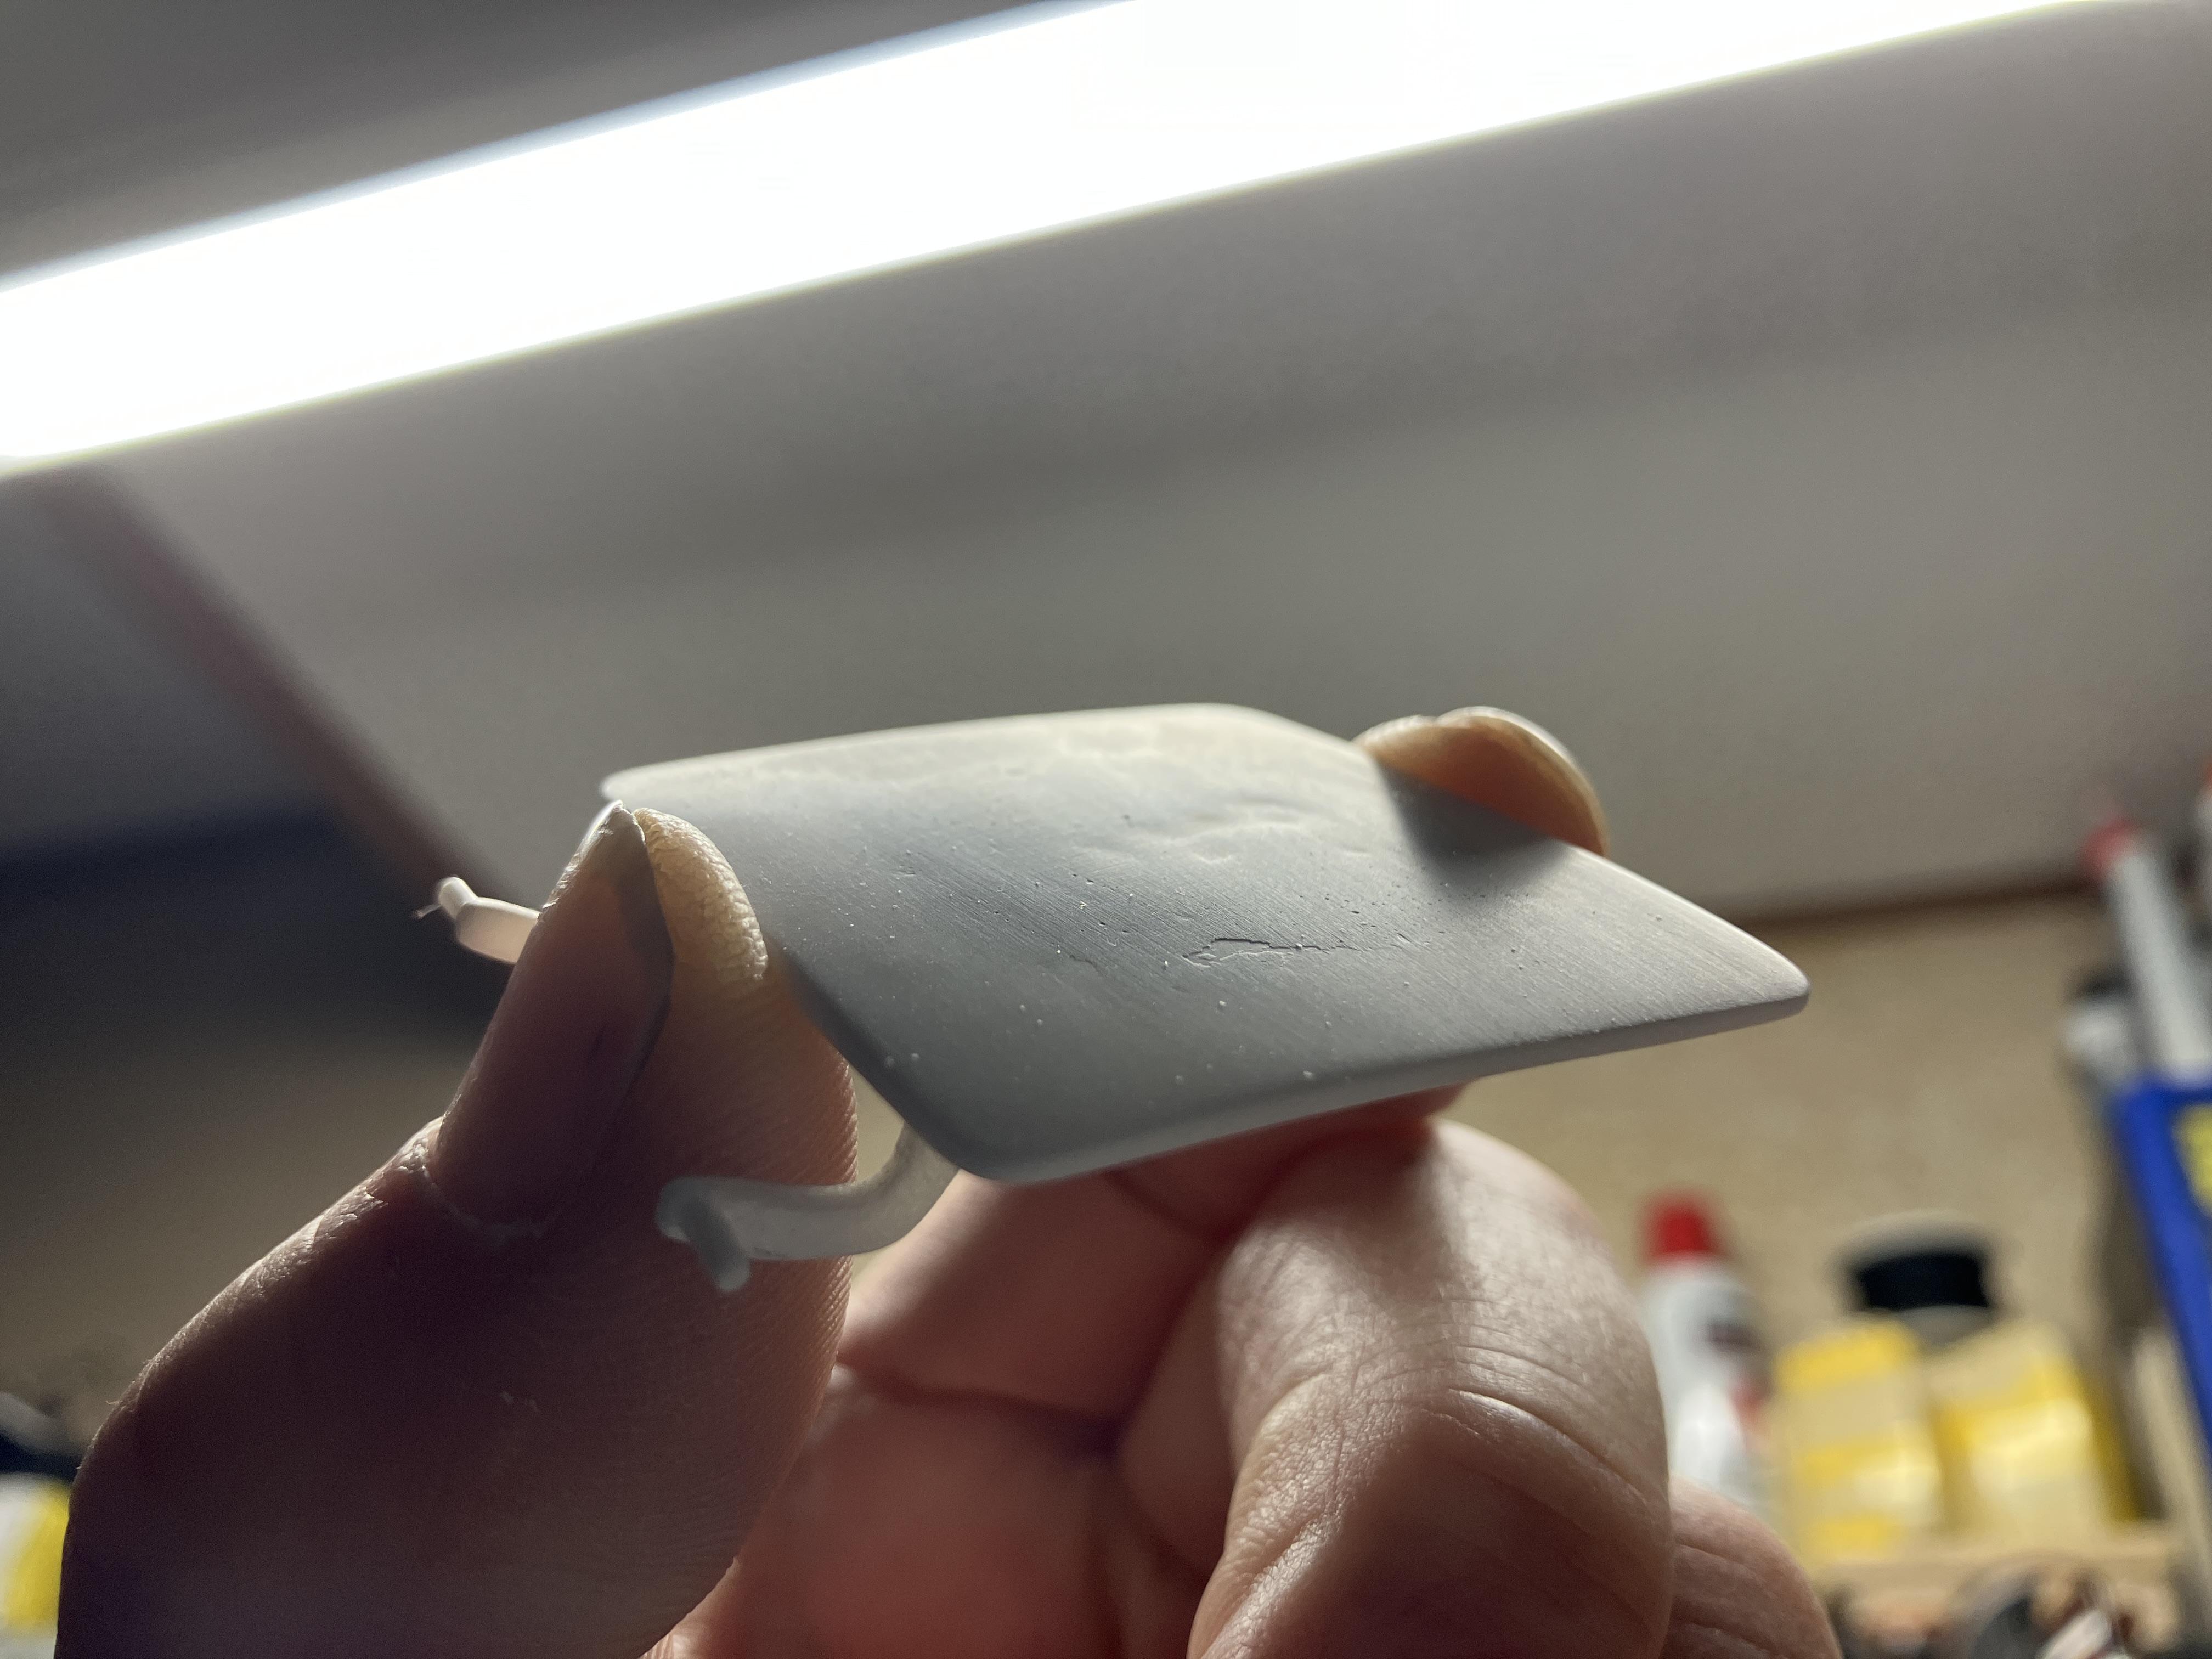
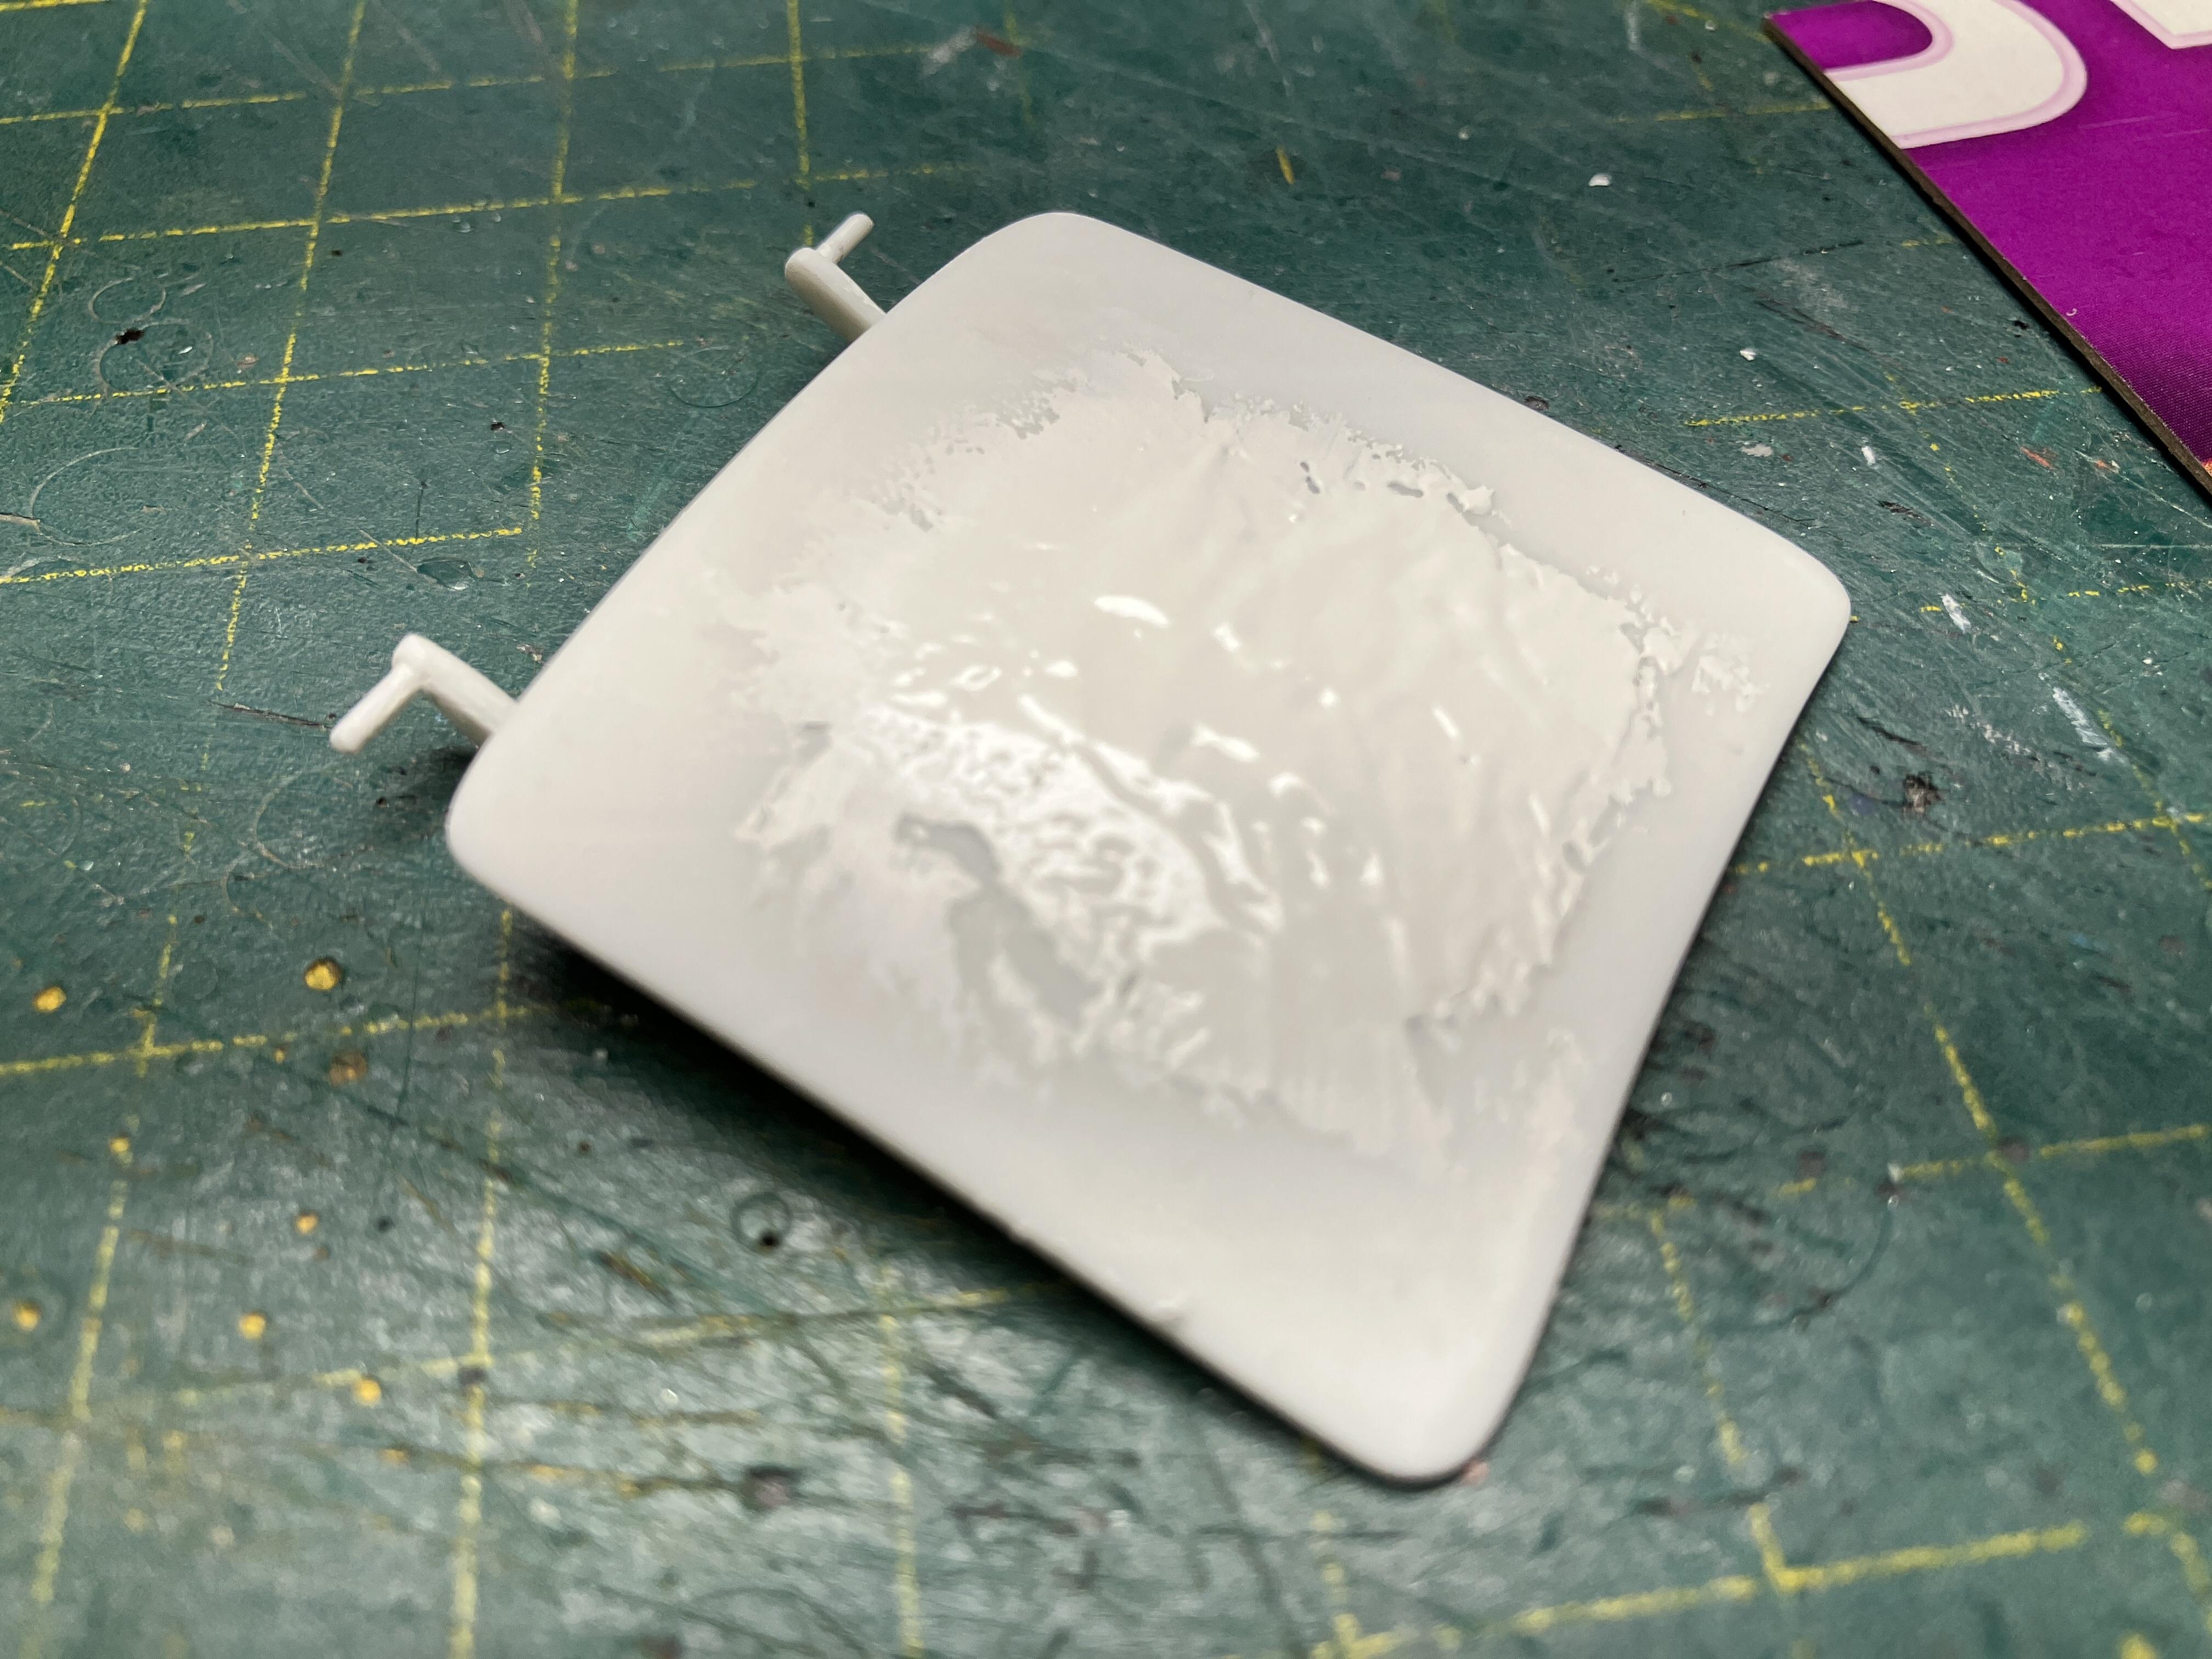
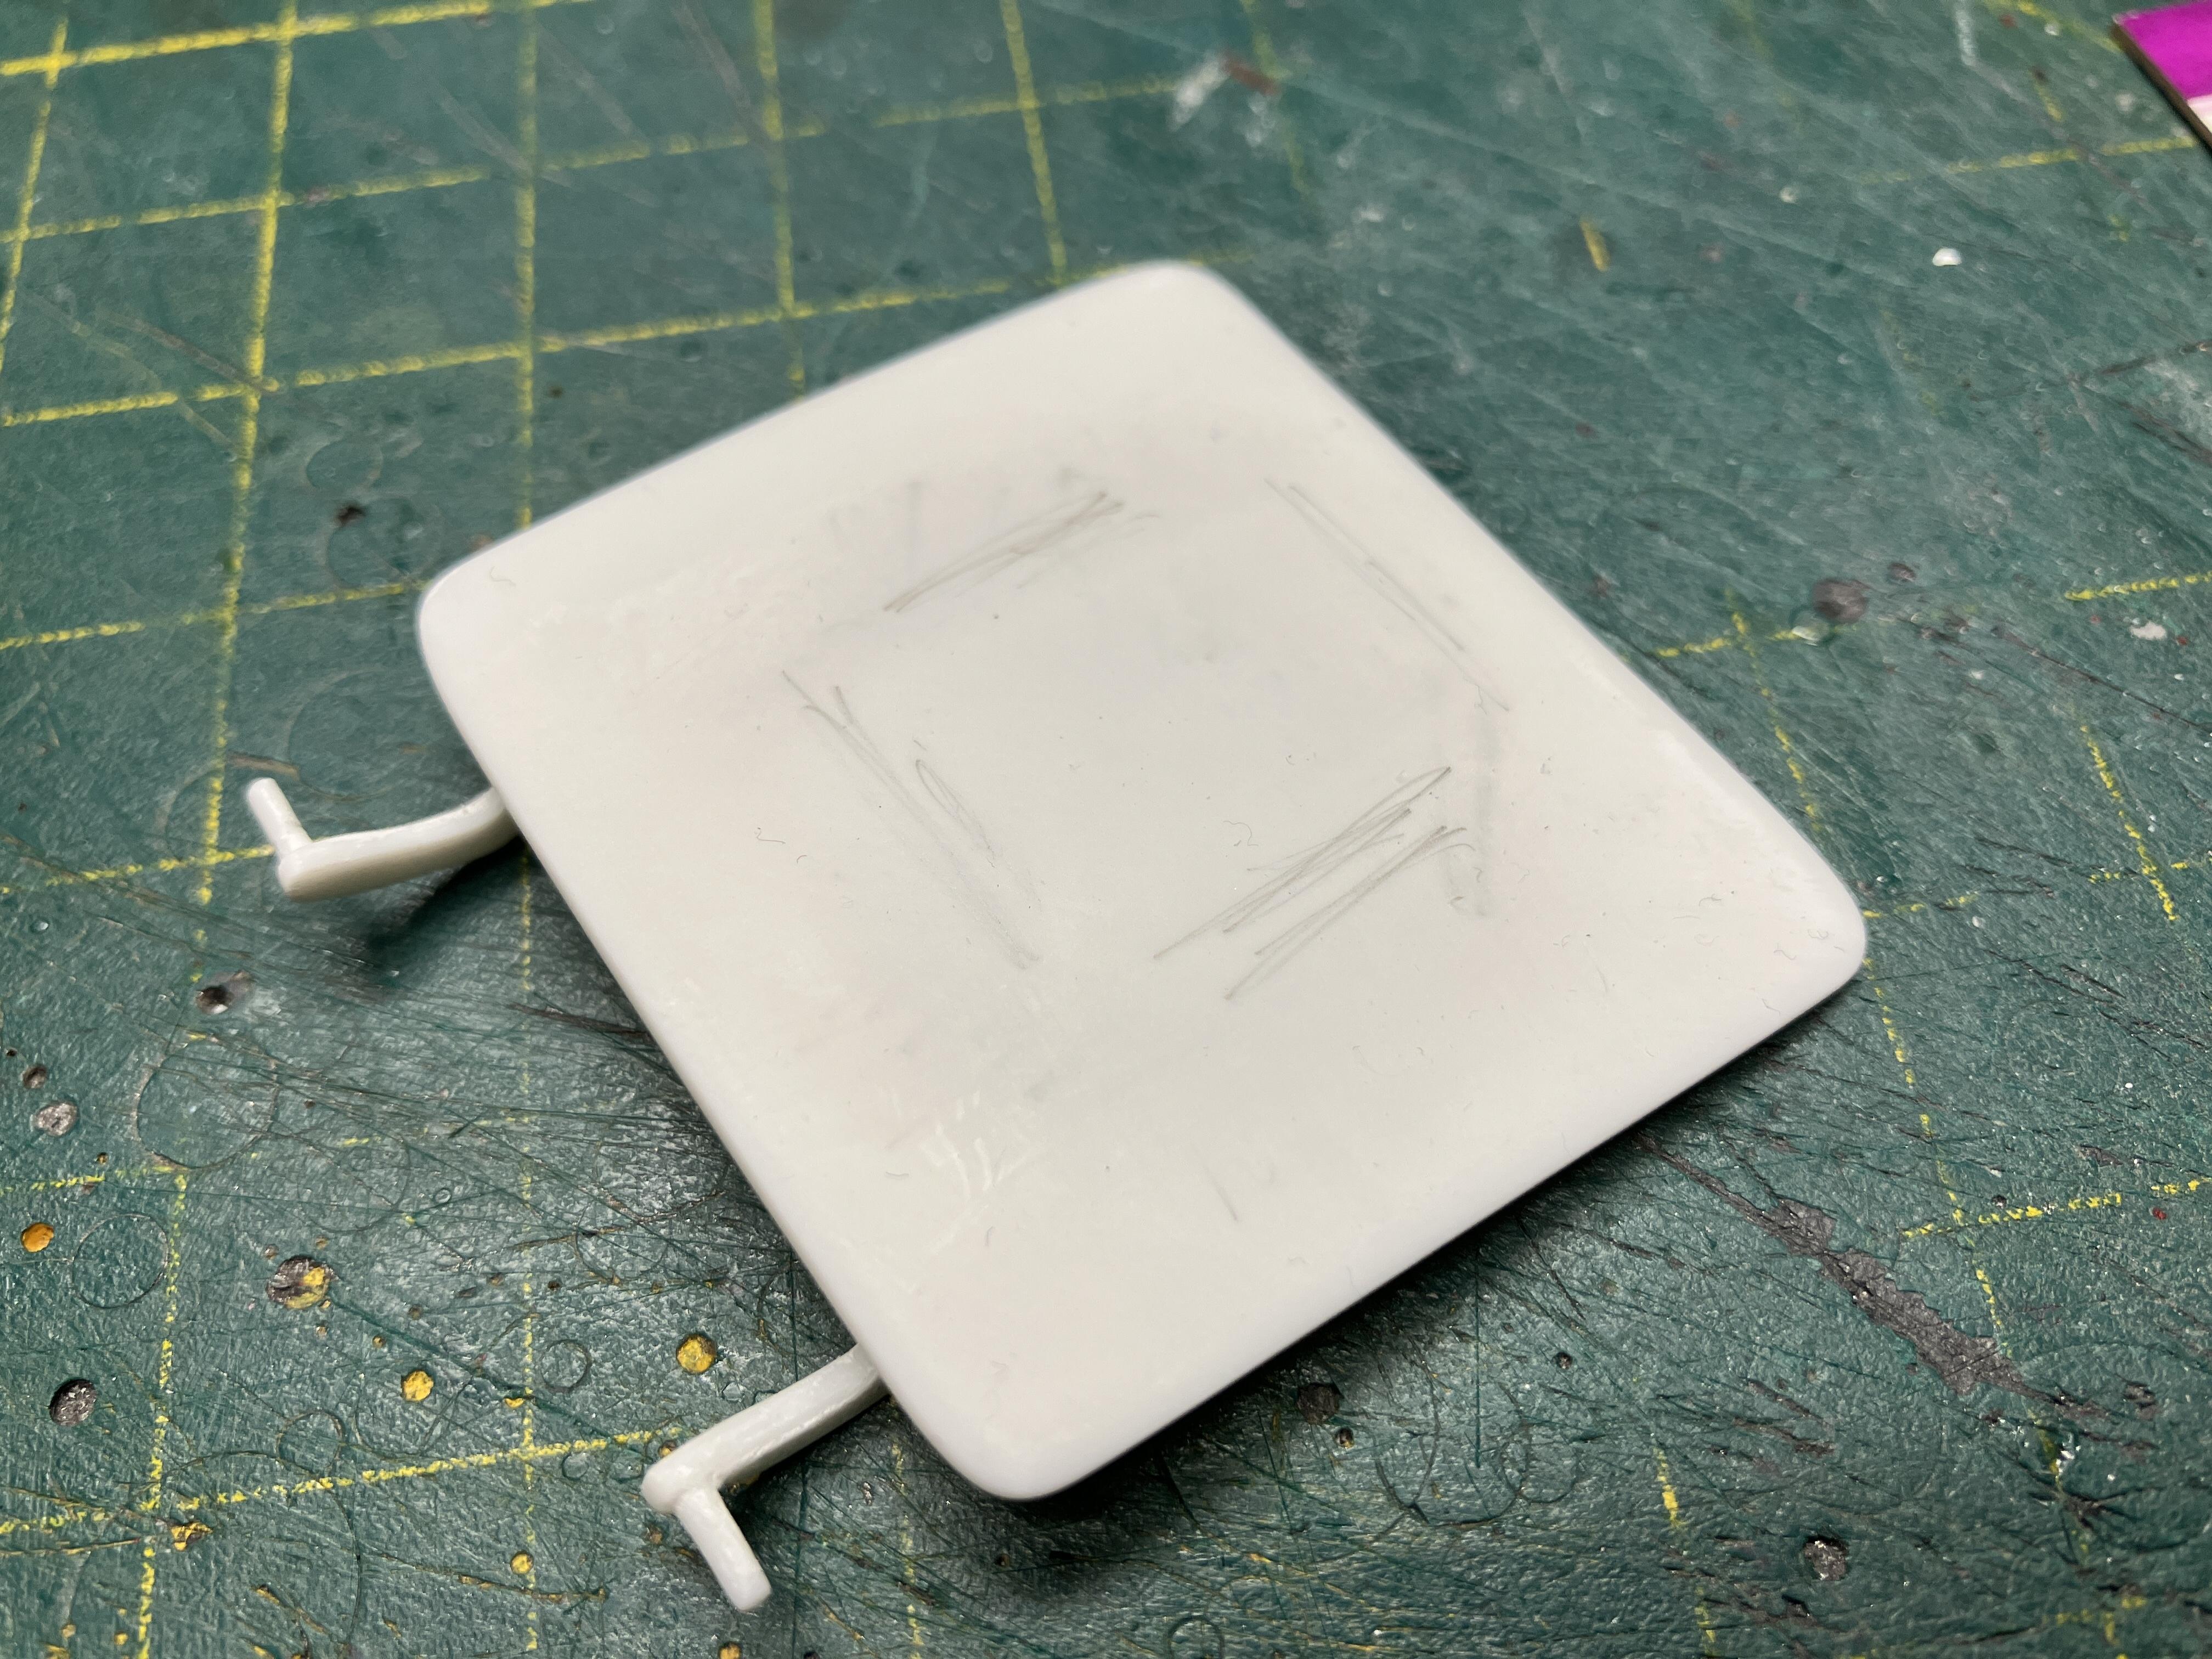
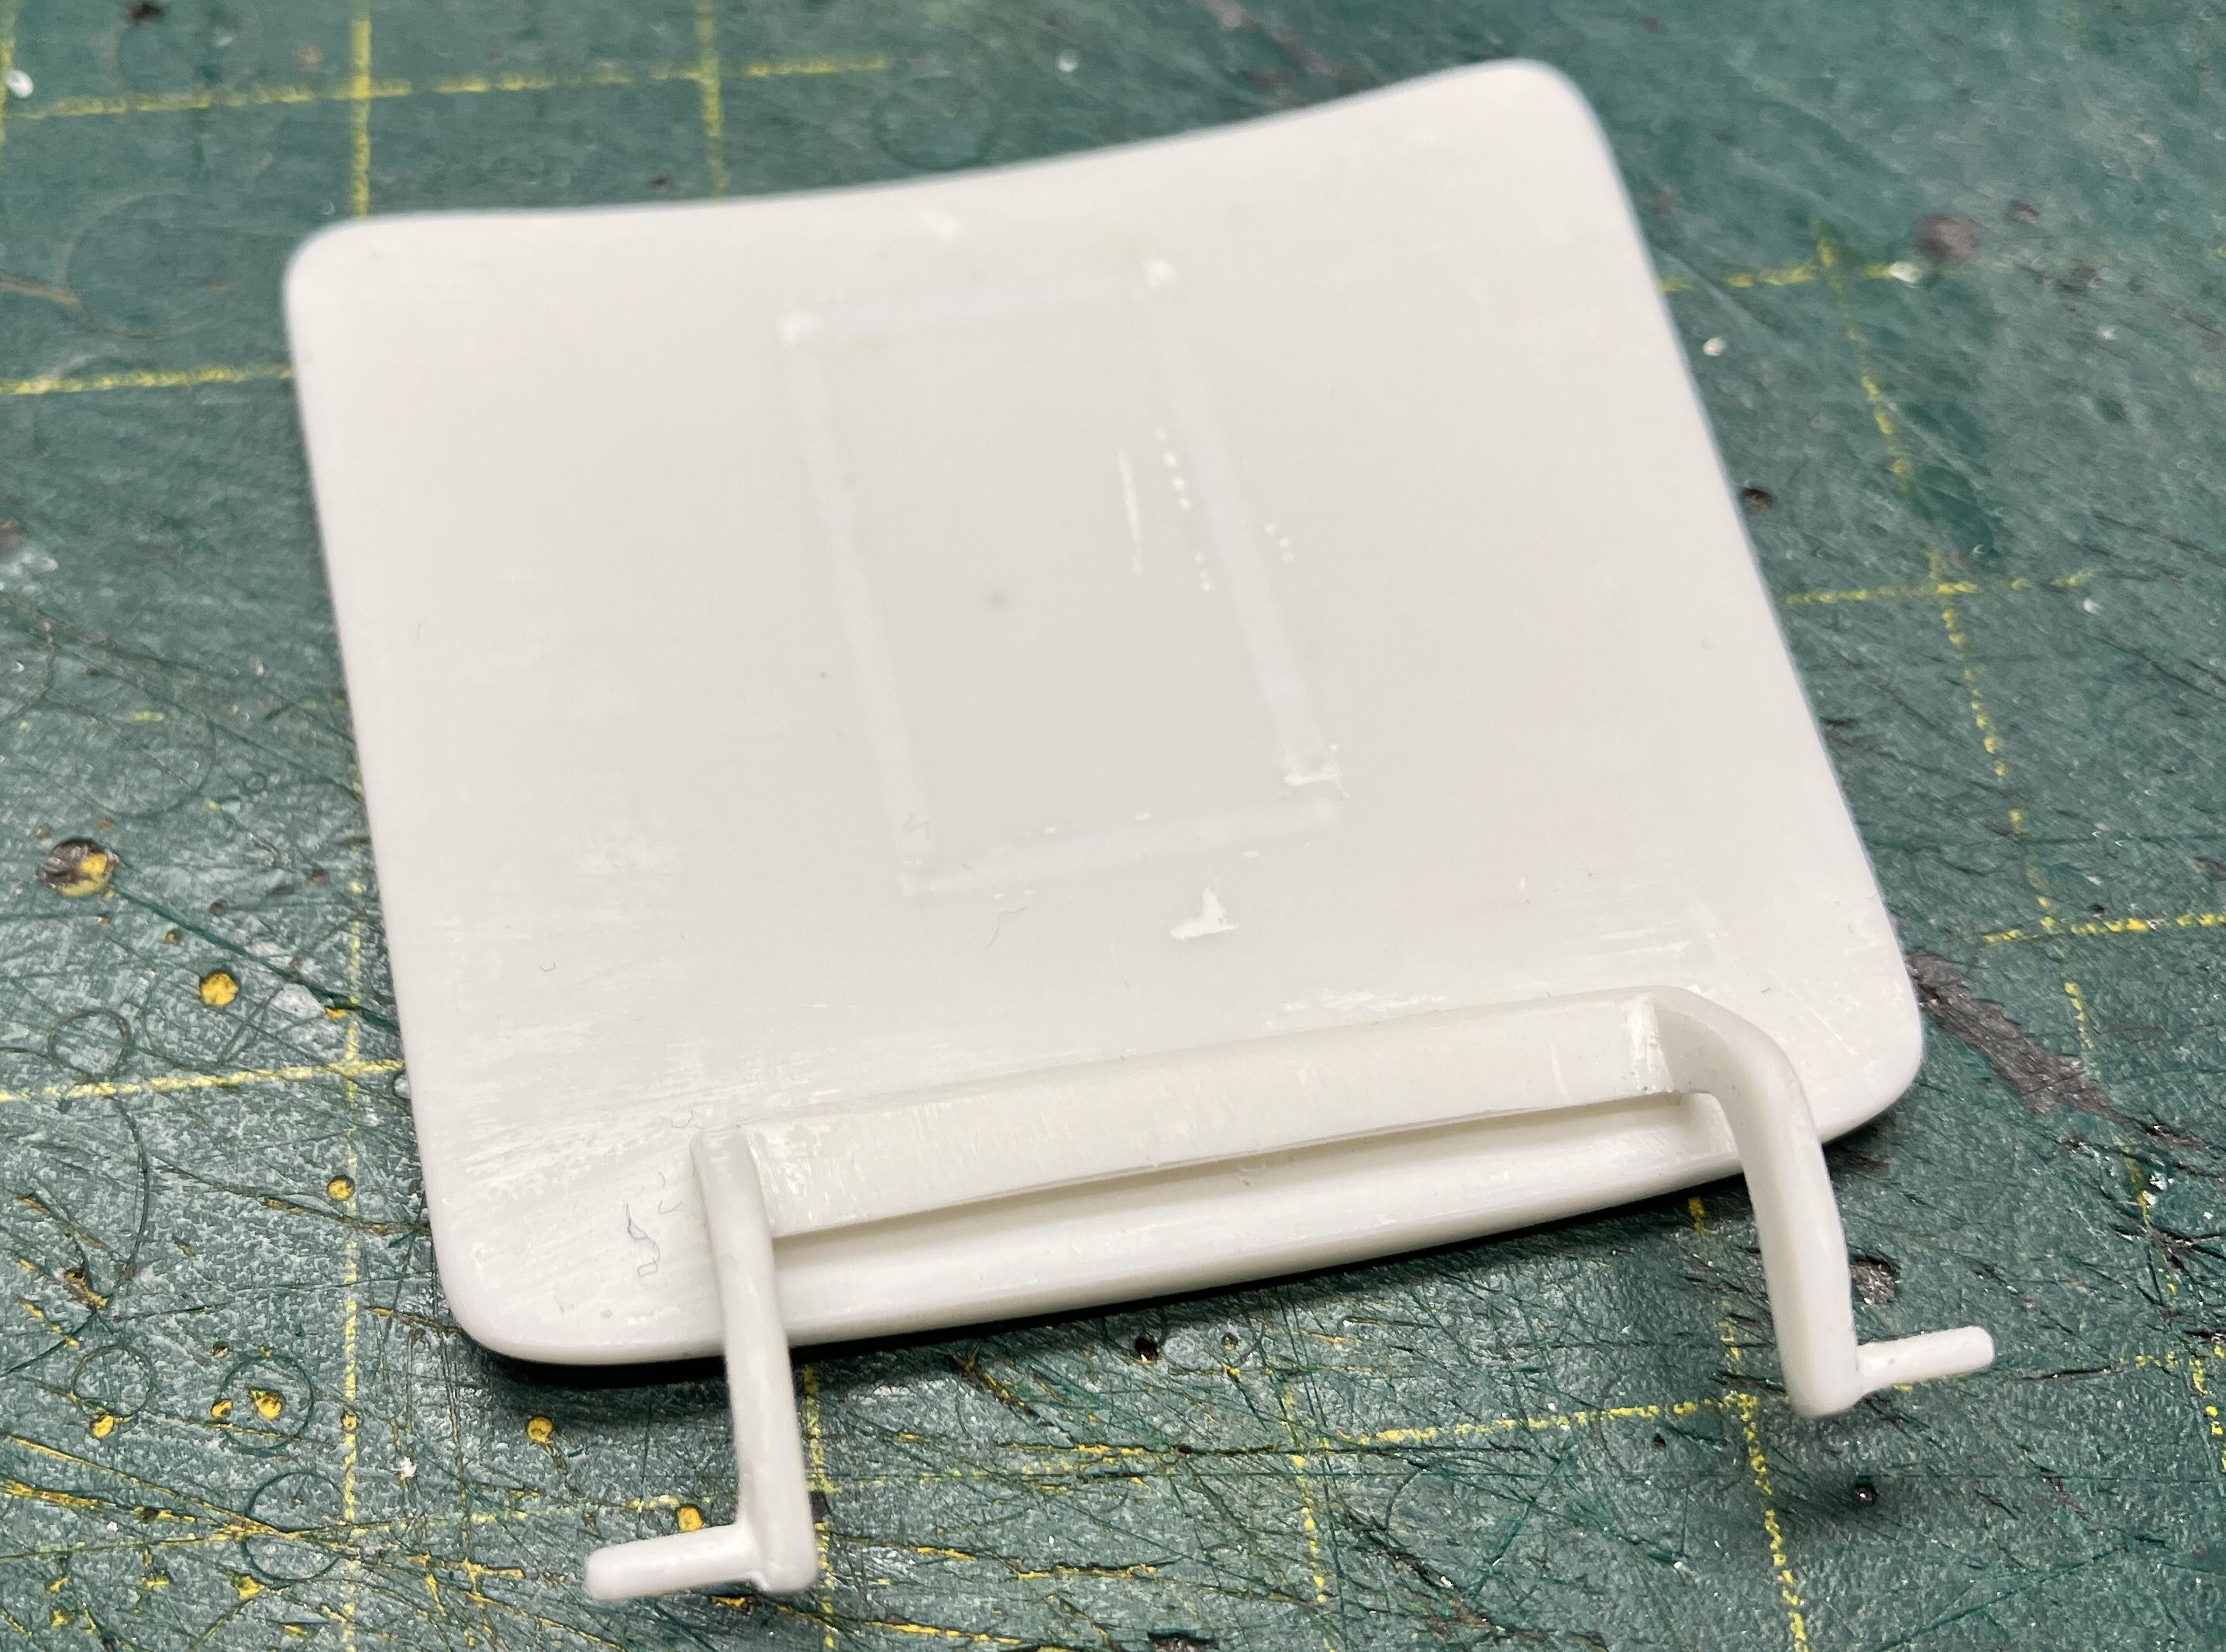
I just love these things! The grit lasts forever, and they will bend to suit curved surfaces. I filled the recessed cut-out in the AMT Corvette hood…but as it turns out, it has a flat spot in the center of its compound curved outer surface.? So I slathered on some Tamiya putty and am in the process of sanding it back to a nice smooth curved surface. These things should make it much easier.
-
I’ll follow along. These are one of my favourite Chevys.
-
Looking good John!?
-
My first look at this project, and it looks mighty fine!? I love the color and all the cool mods you’re doing to it.?
-
Aluminum foil for making wrecked car?
NOBLNG replied to Steamboat's topic in Model Building Questions and Answers
Possibly an aluminum pie plate or baking pan? -
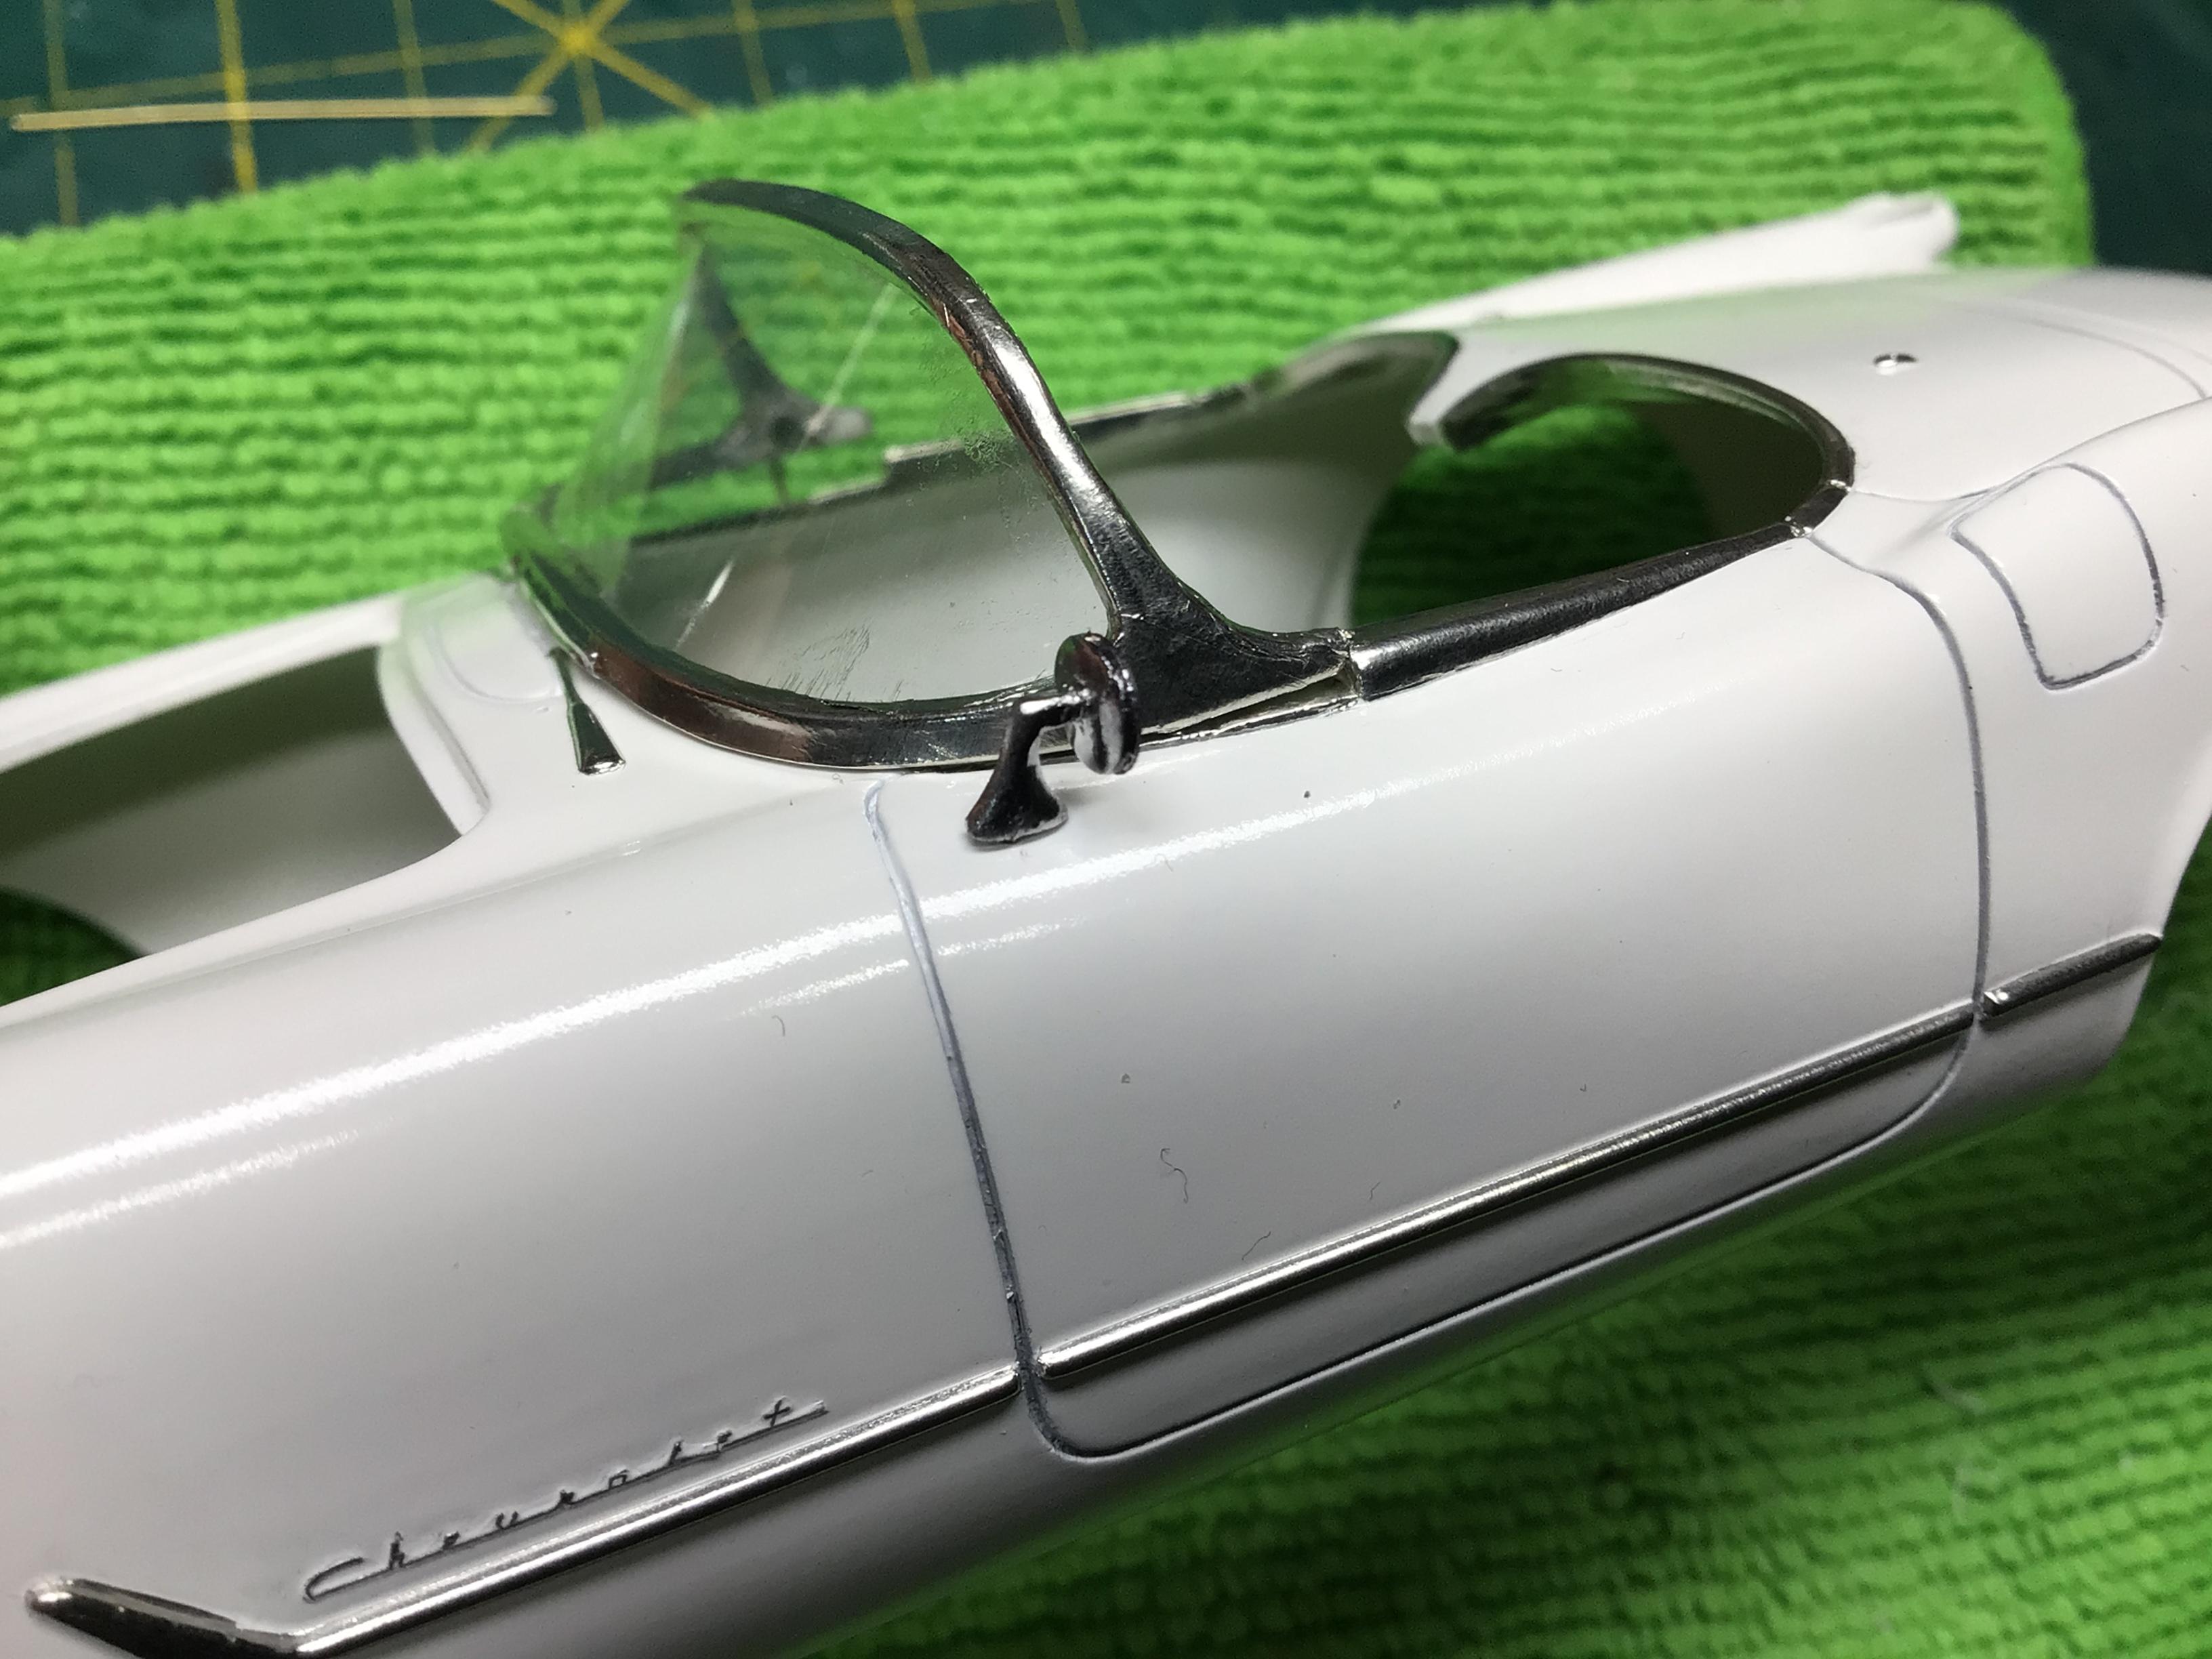
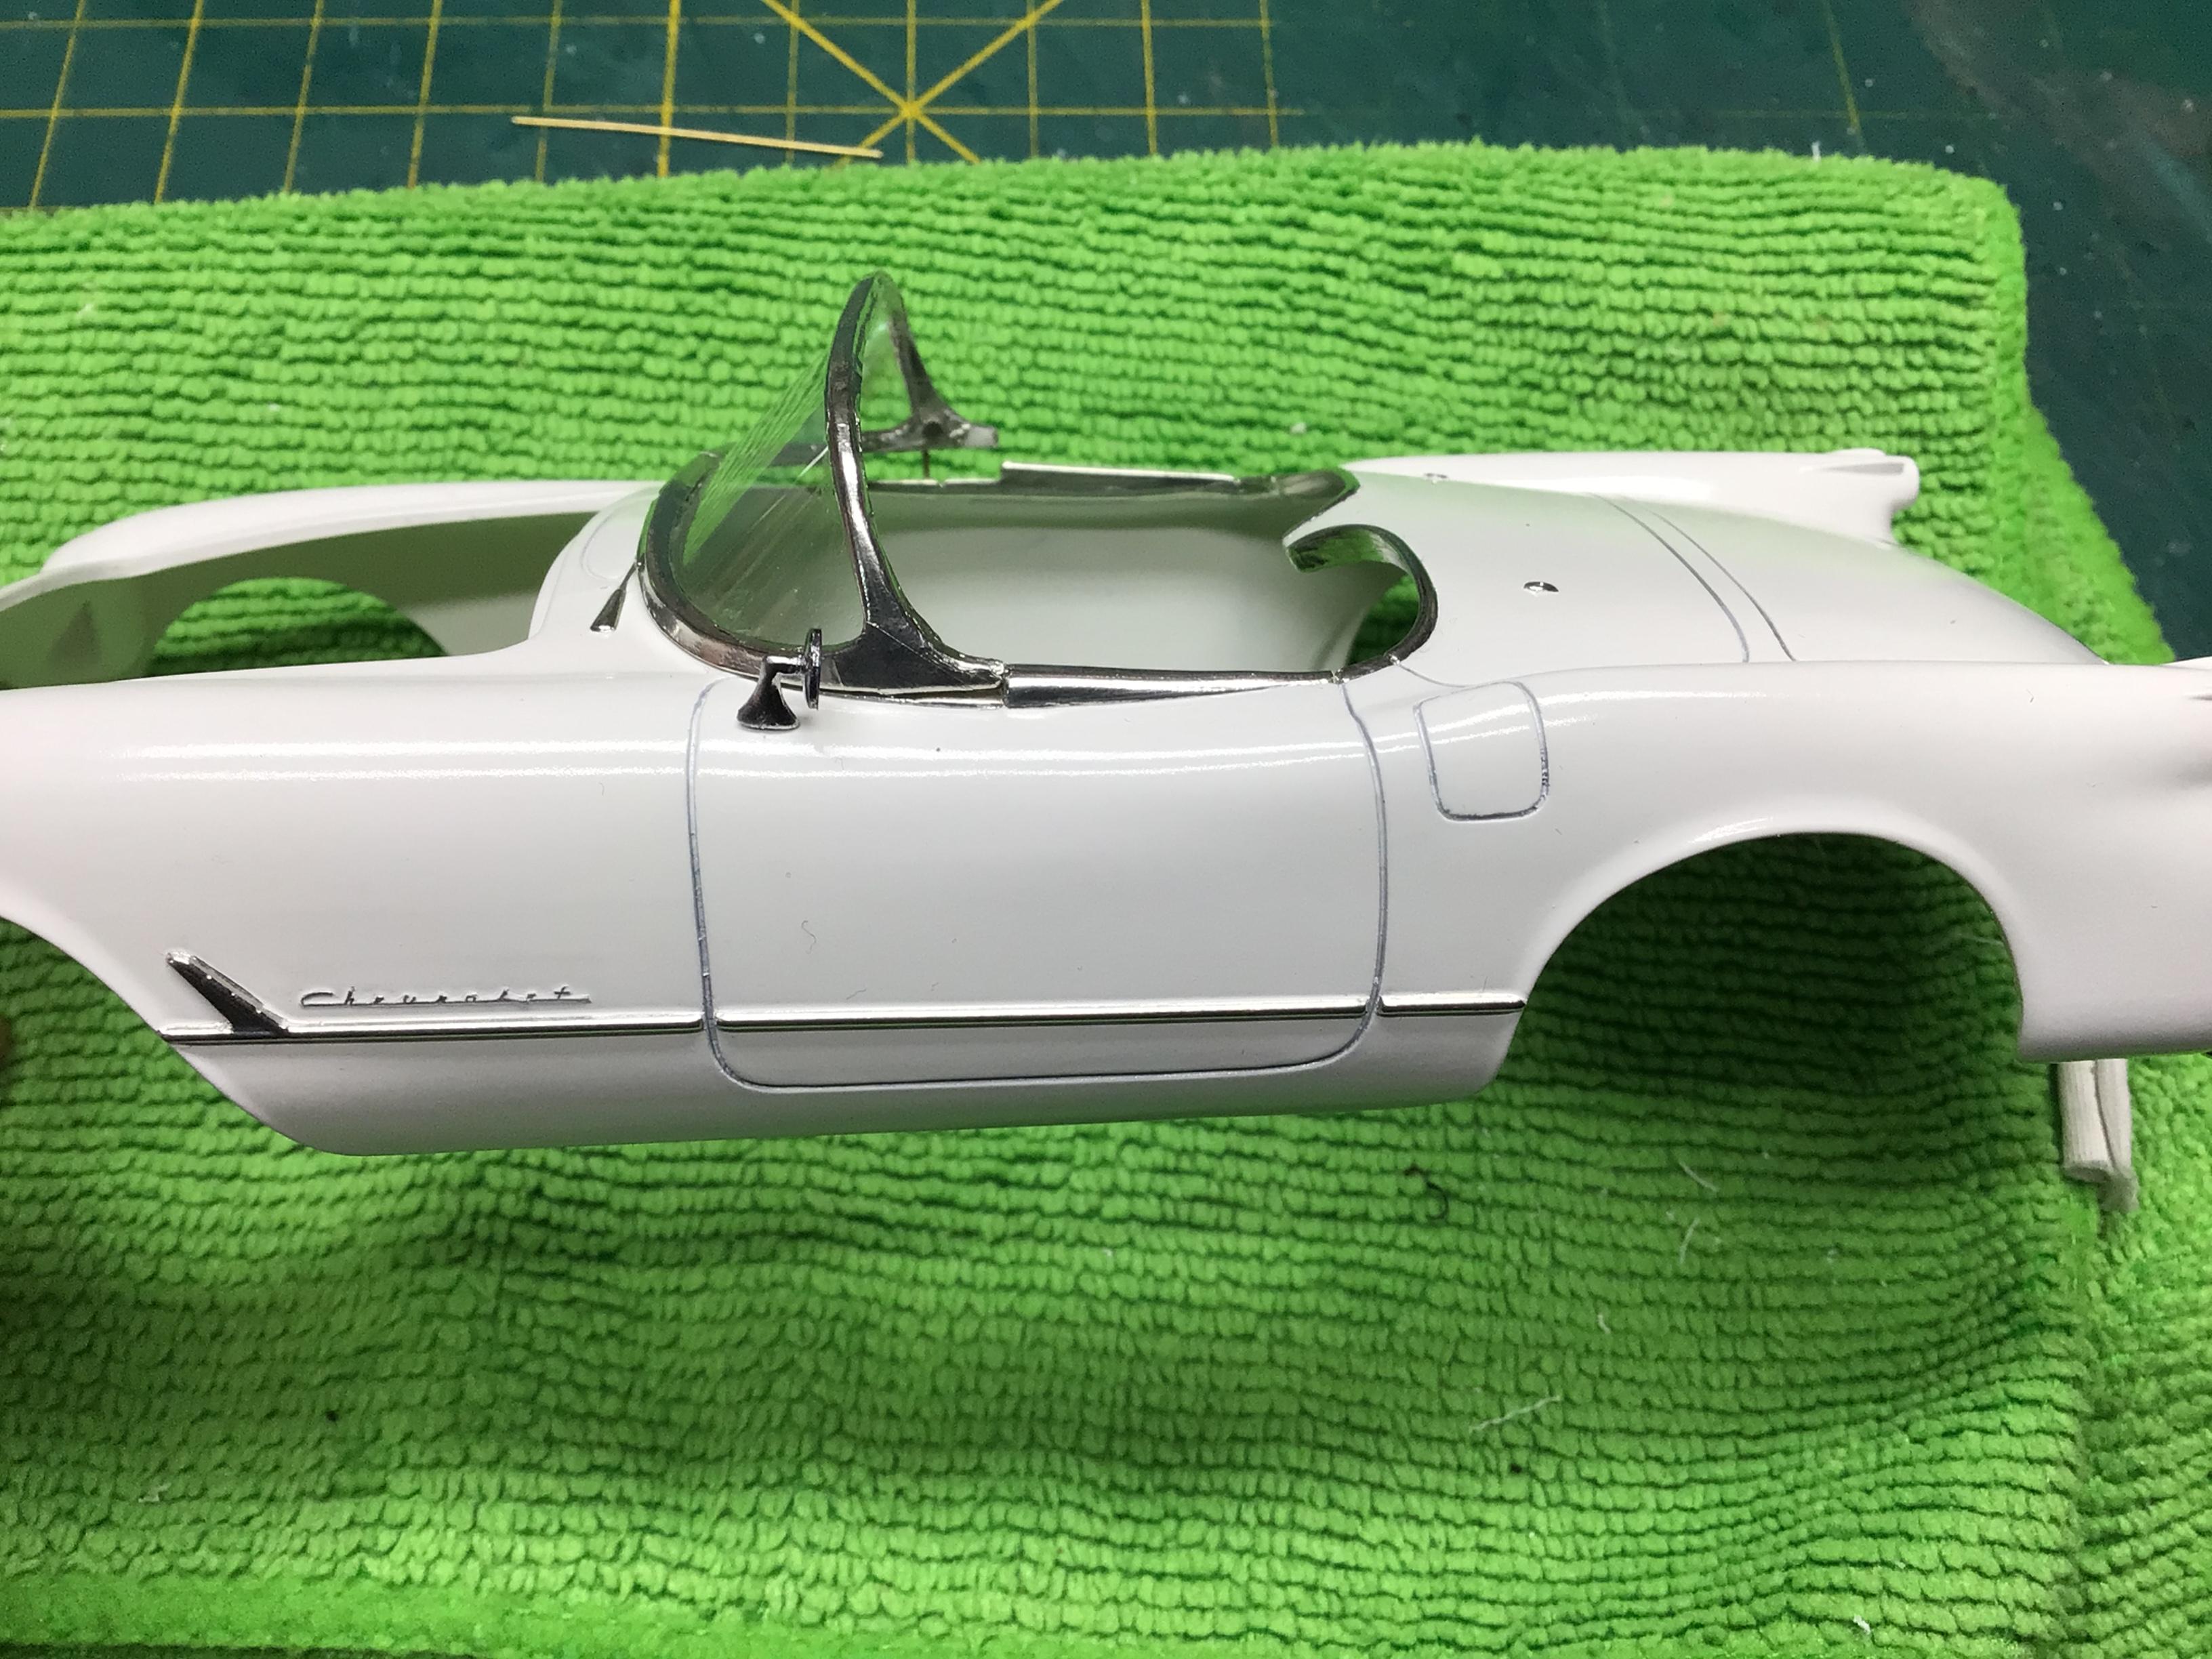
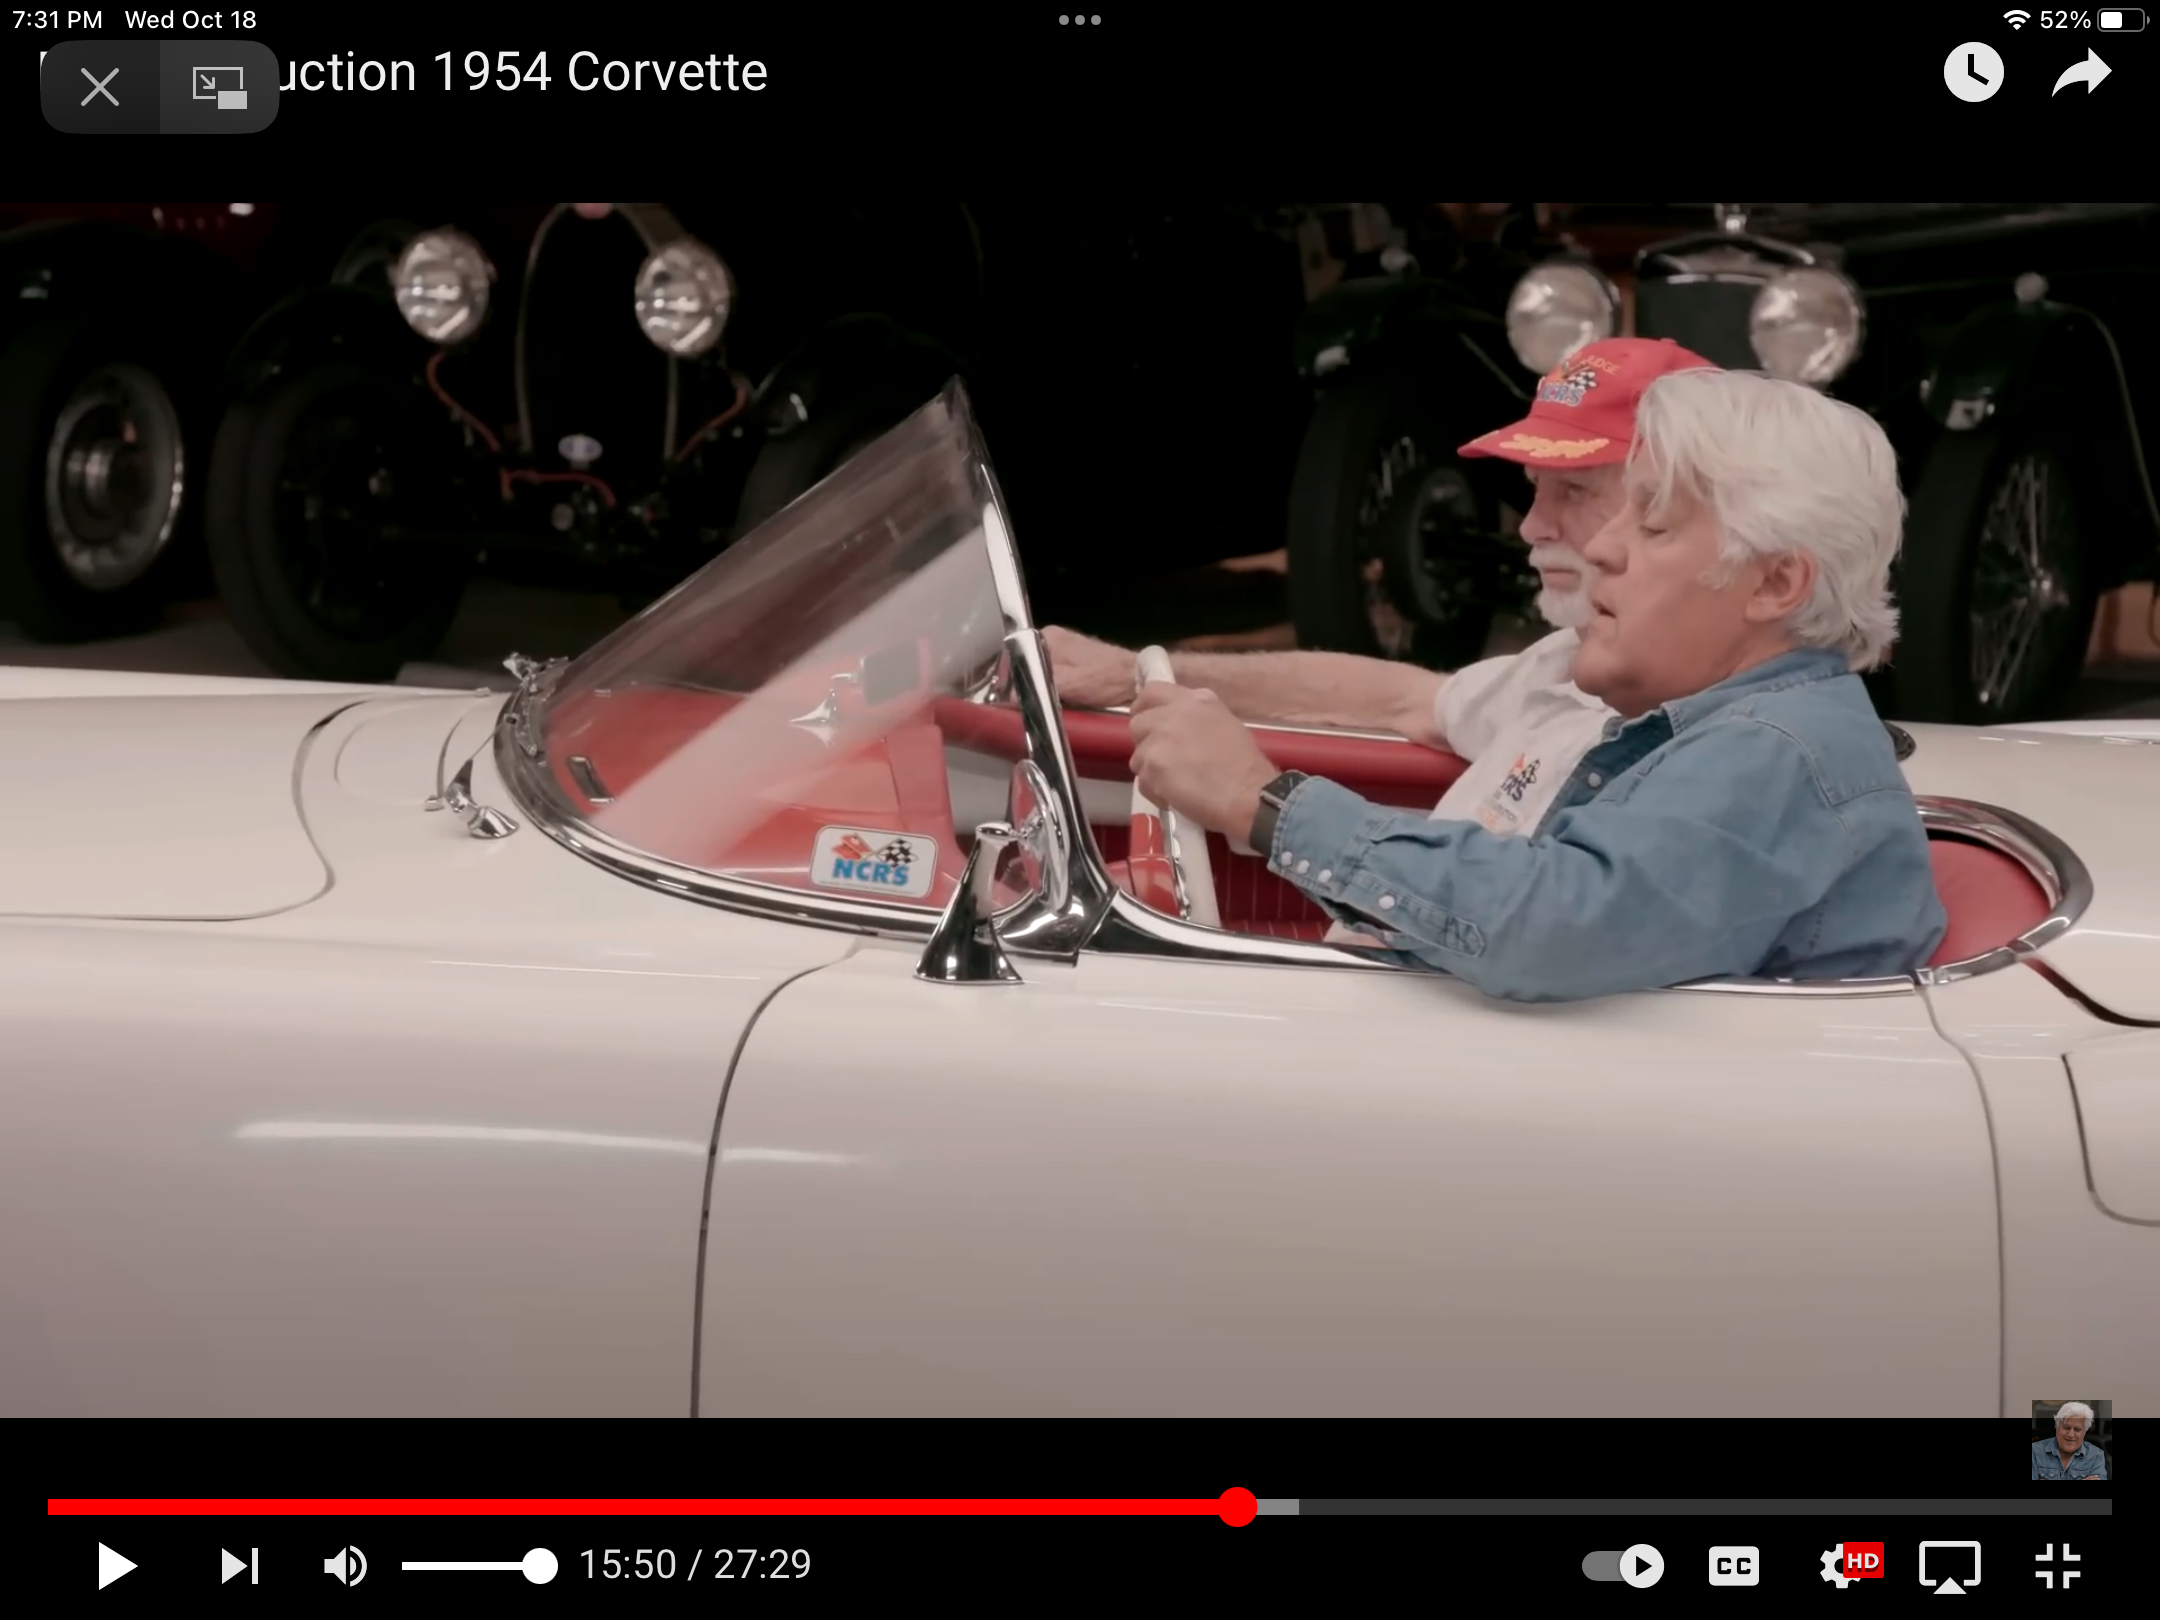
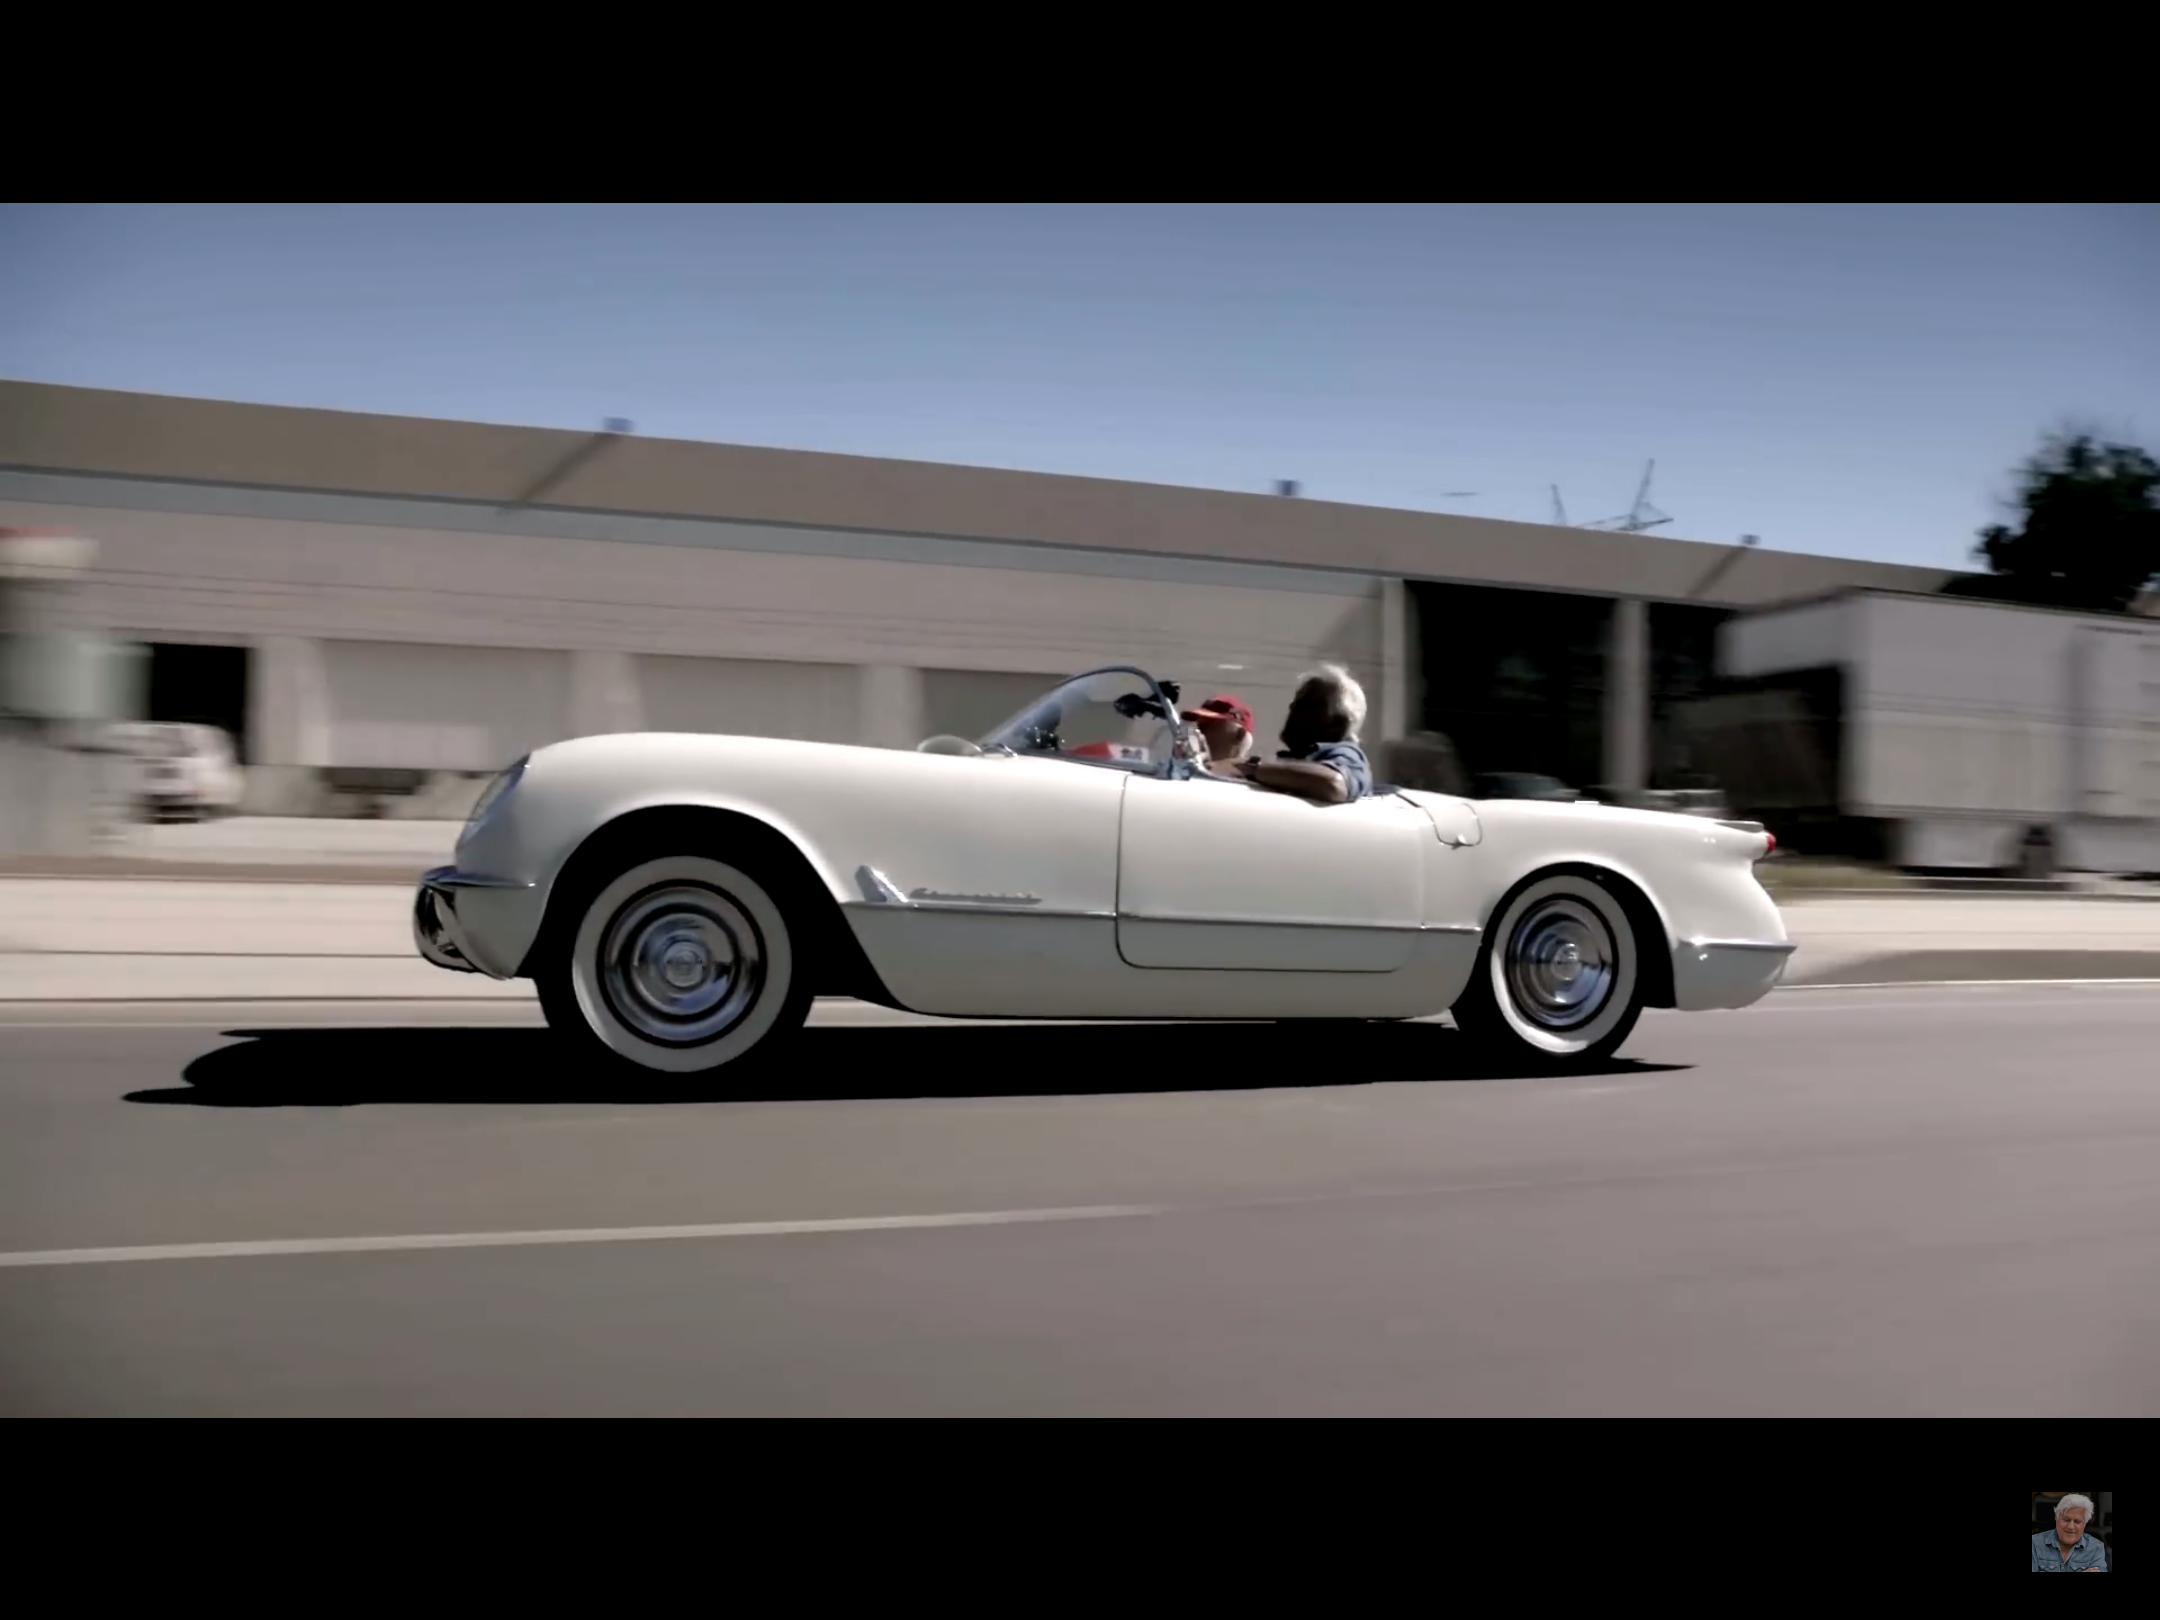
When deciding where to mount the side mirror, I discovered that the front door seam contour and the windscreen profile are nowhere near correct on this AMT version. This screenshot from Jay Lenos Garage shows quite a difference.? However, I have no desire to correct it (not easy?) at this point. Also, according to this interview, Chevrolet intentionally gave it the “squatted” stance, so that it would look like it was “taking off”….Okaaay.?