NOBLNG
-
Posts
10,236 -
Joined
-
Last visited
Content Type
Profiles
Forums
Events
Gallery
Everything posted by NOBLNG
-

Favorite/greatest body style ever?
NOBLNG replied to Venom's topic in General Automotive Talk (Trucks and Cars)
Now that tops my 4x4 list for sure! I like my Willys too, but the drivetrains were weak. -
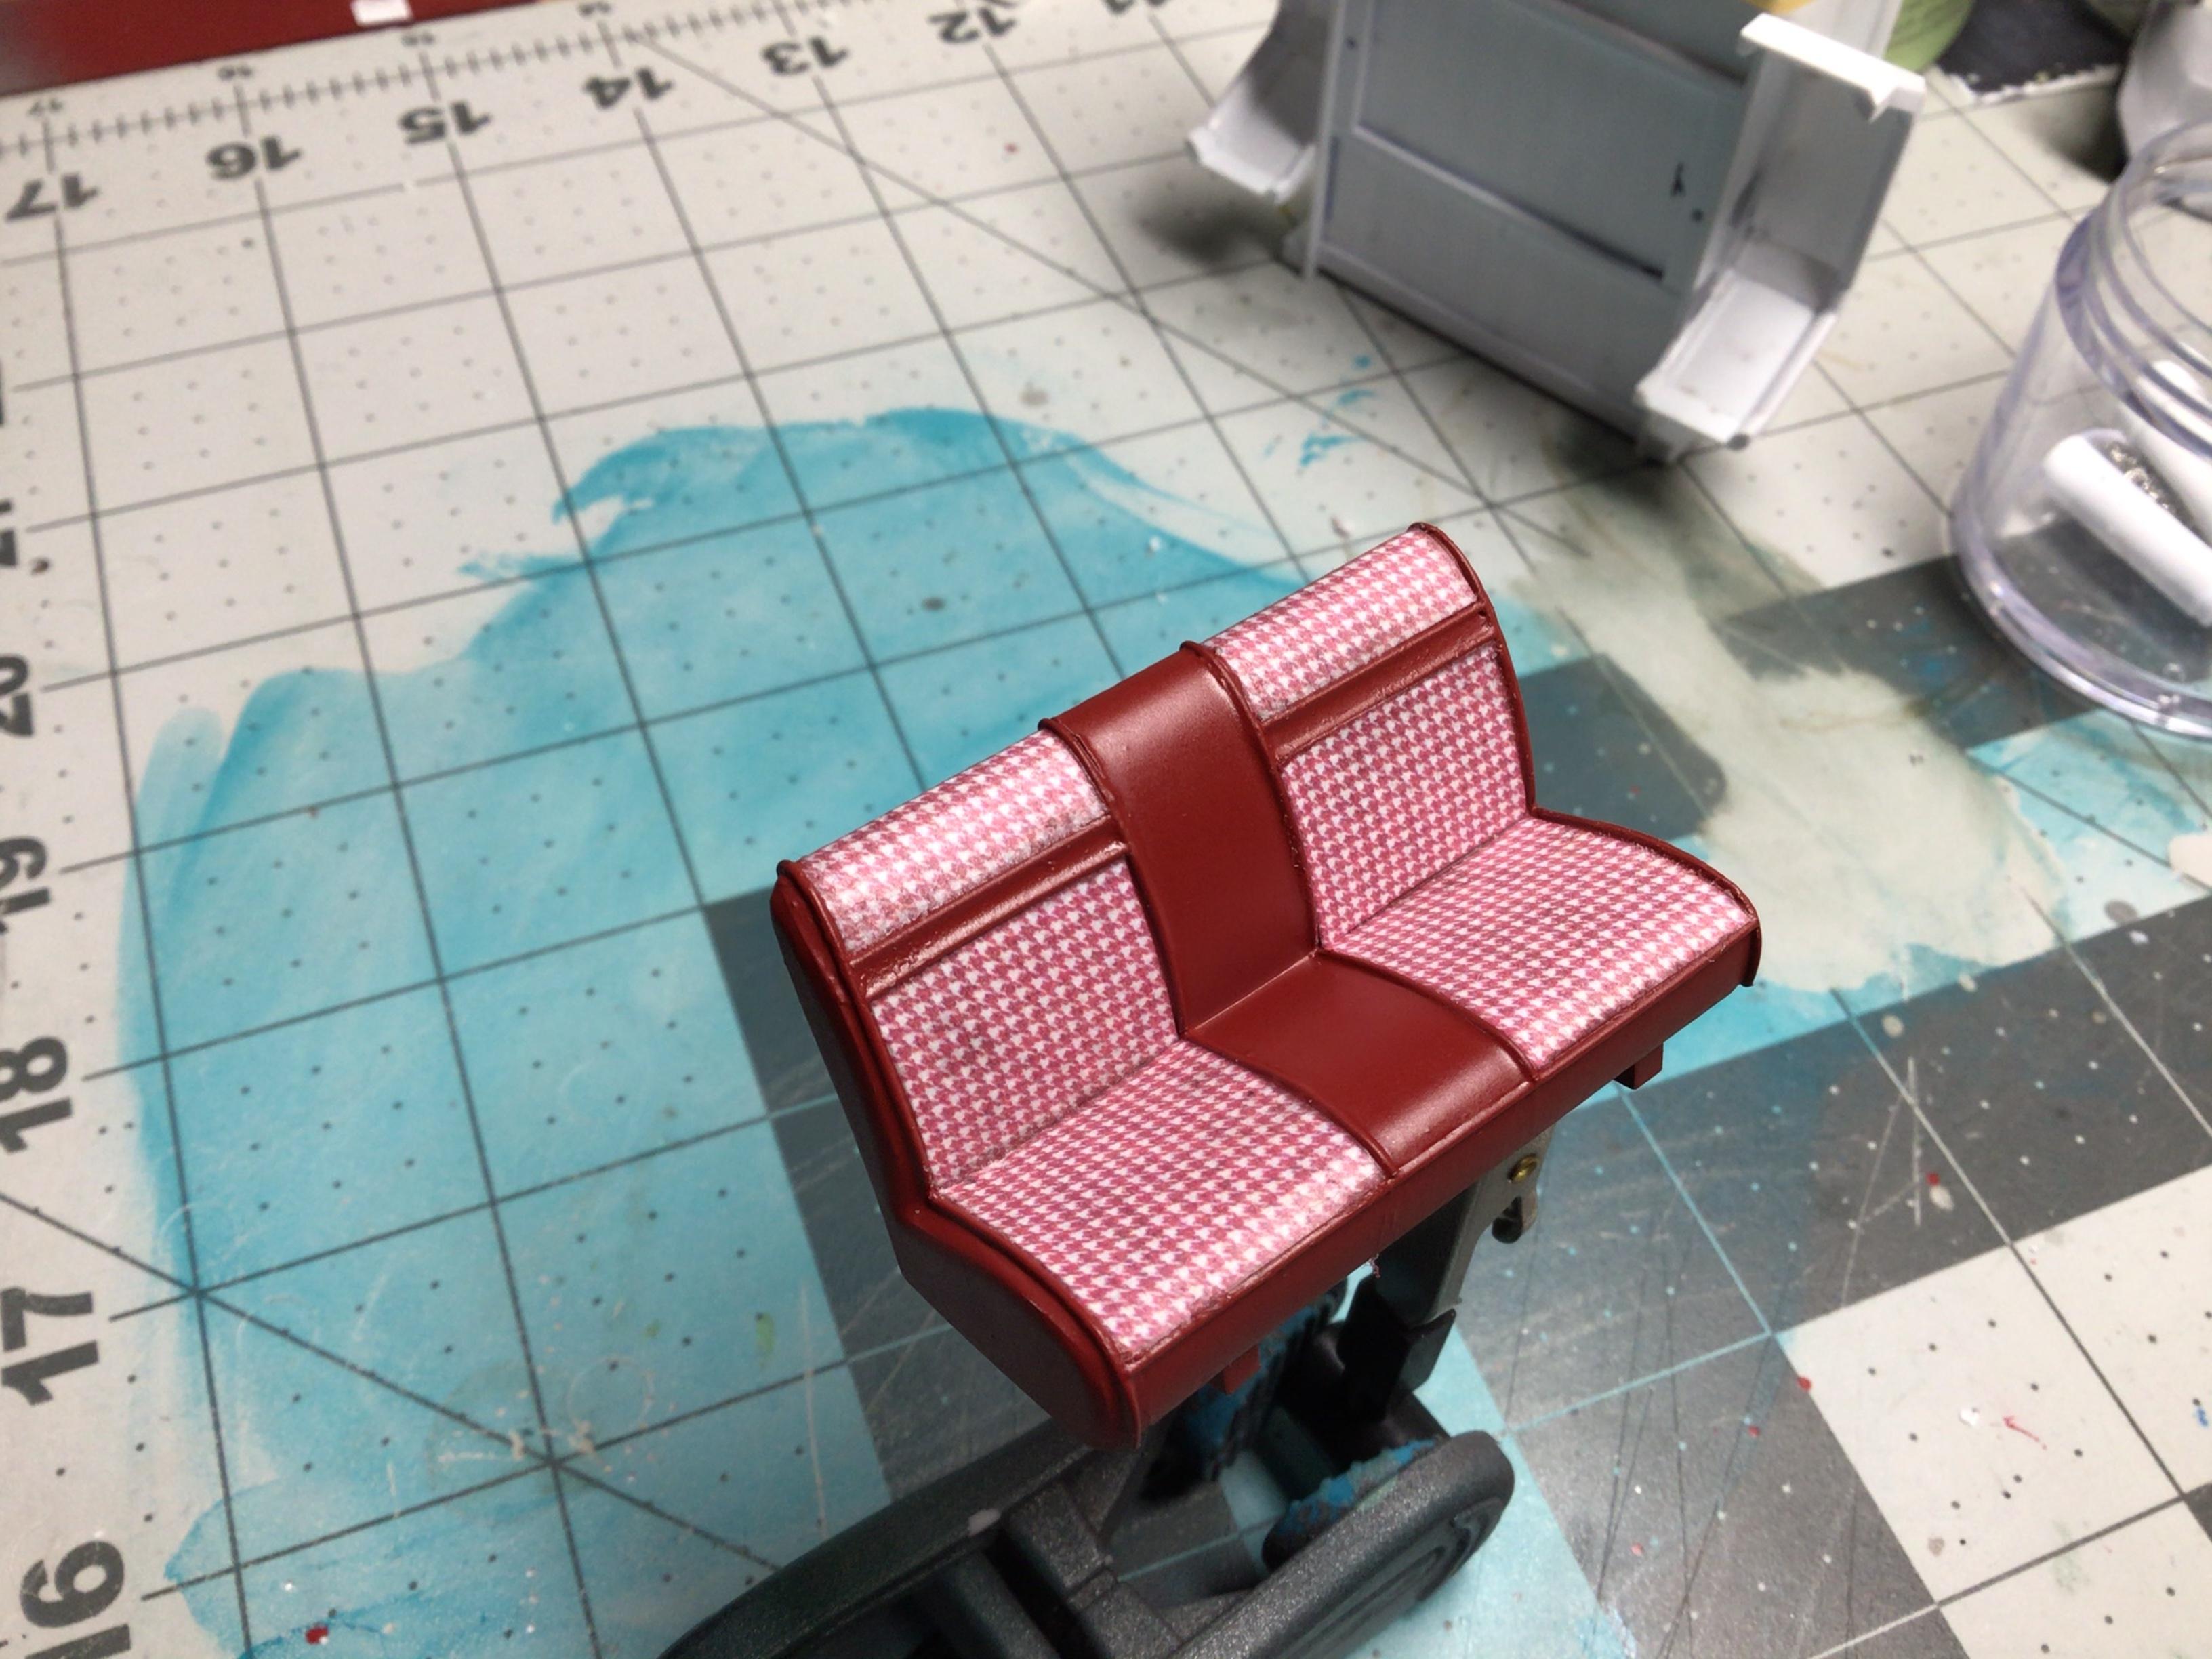
I found this pattern on the net, downsized it and printed it on normal paper. I didn’t go all the way down to 1/25 size just so the pattern stands out more. I’ve never printed on decal paper, but I imagine it could be done. Hope this helps.

-
Agree also! Keep a photo only if it is relevant to your reply, and even edit out the text parts if it was a long post that aren’t relevant also.
-
Truck pics
NOBLNG replied to Jon Cole's topic in 1:1 Reference Photos: Auto Shows, Personal vehicles (Cars and Trucks)
How would you like to find this in the back 40 of some property you just bought.
-
Question For The Pontiac Guys
NOBLNG replied to Plowboy's topic in Model Building Questions and Answers
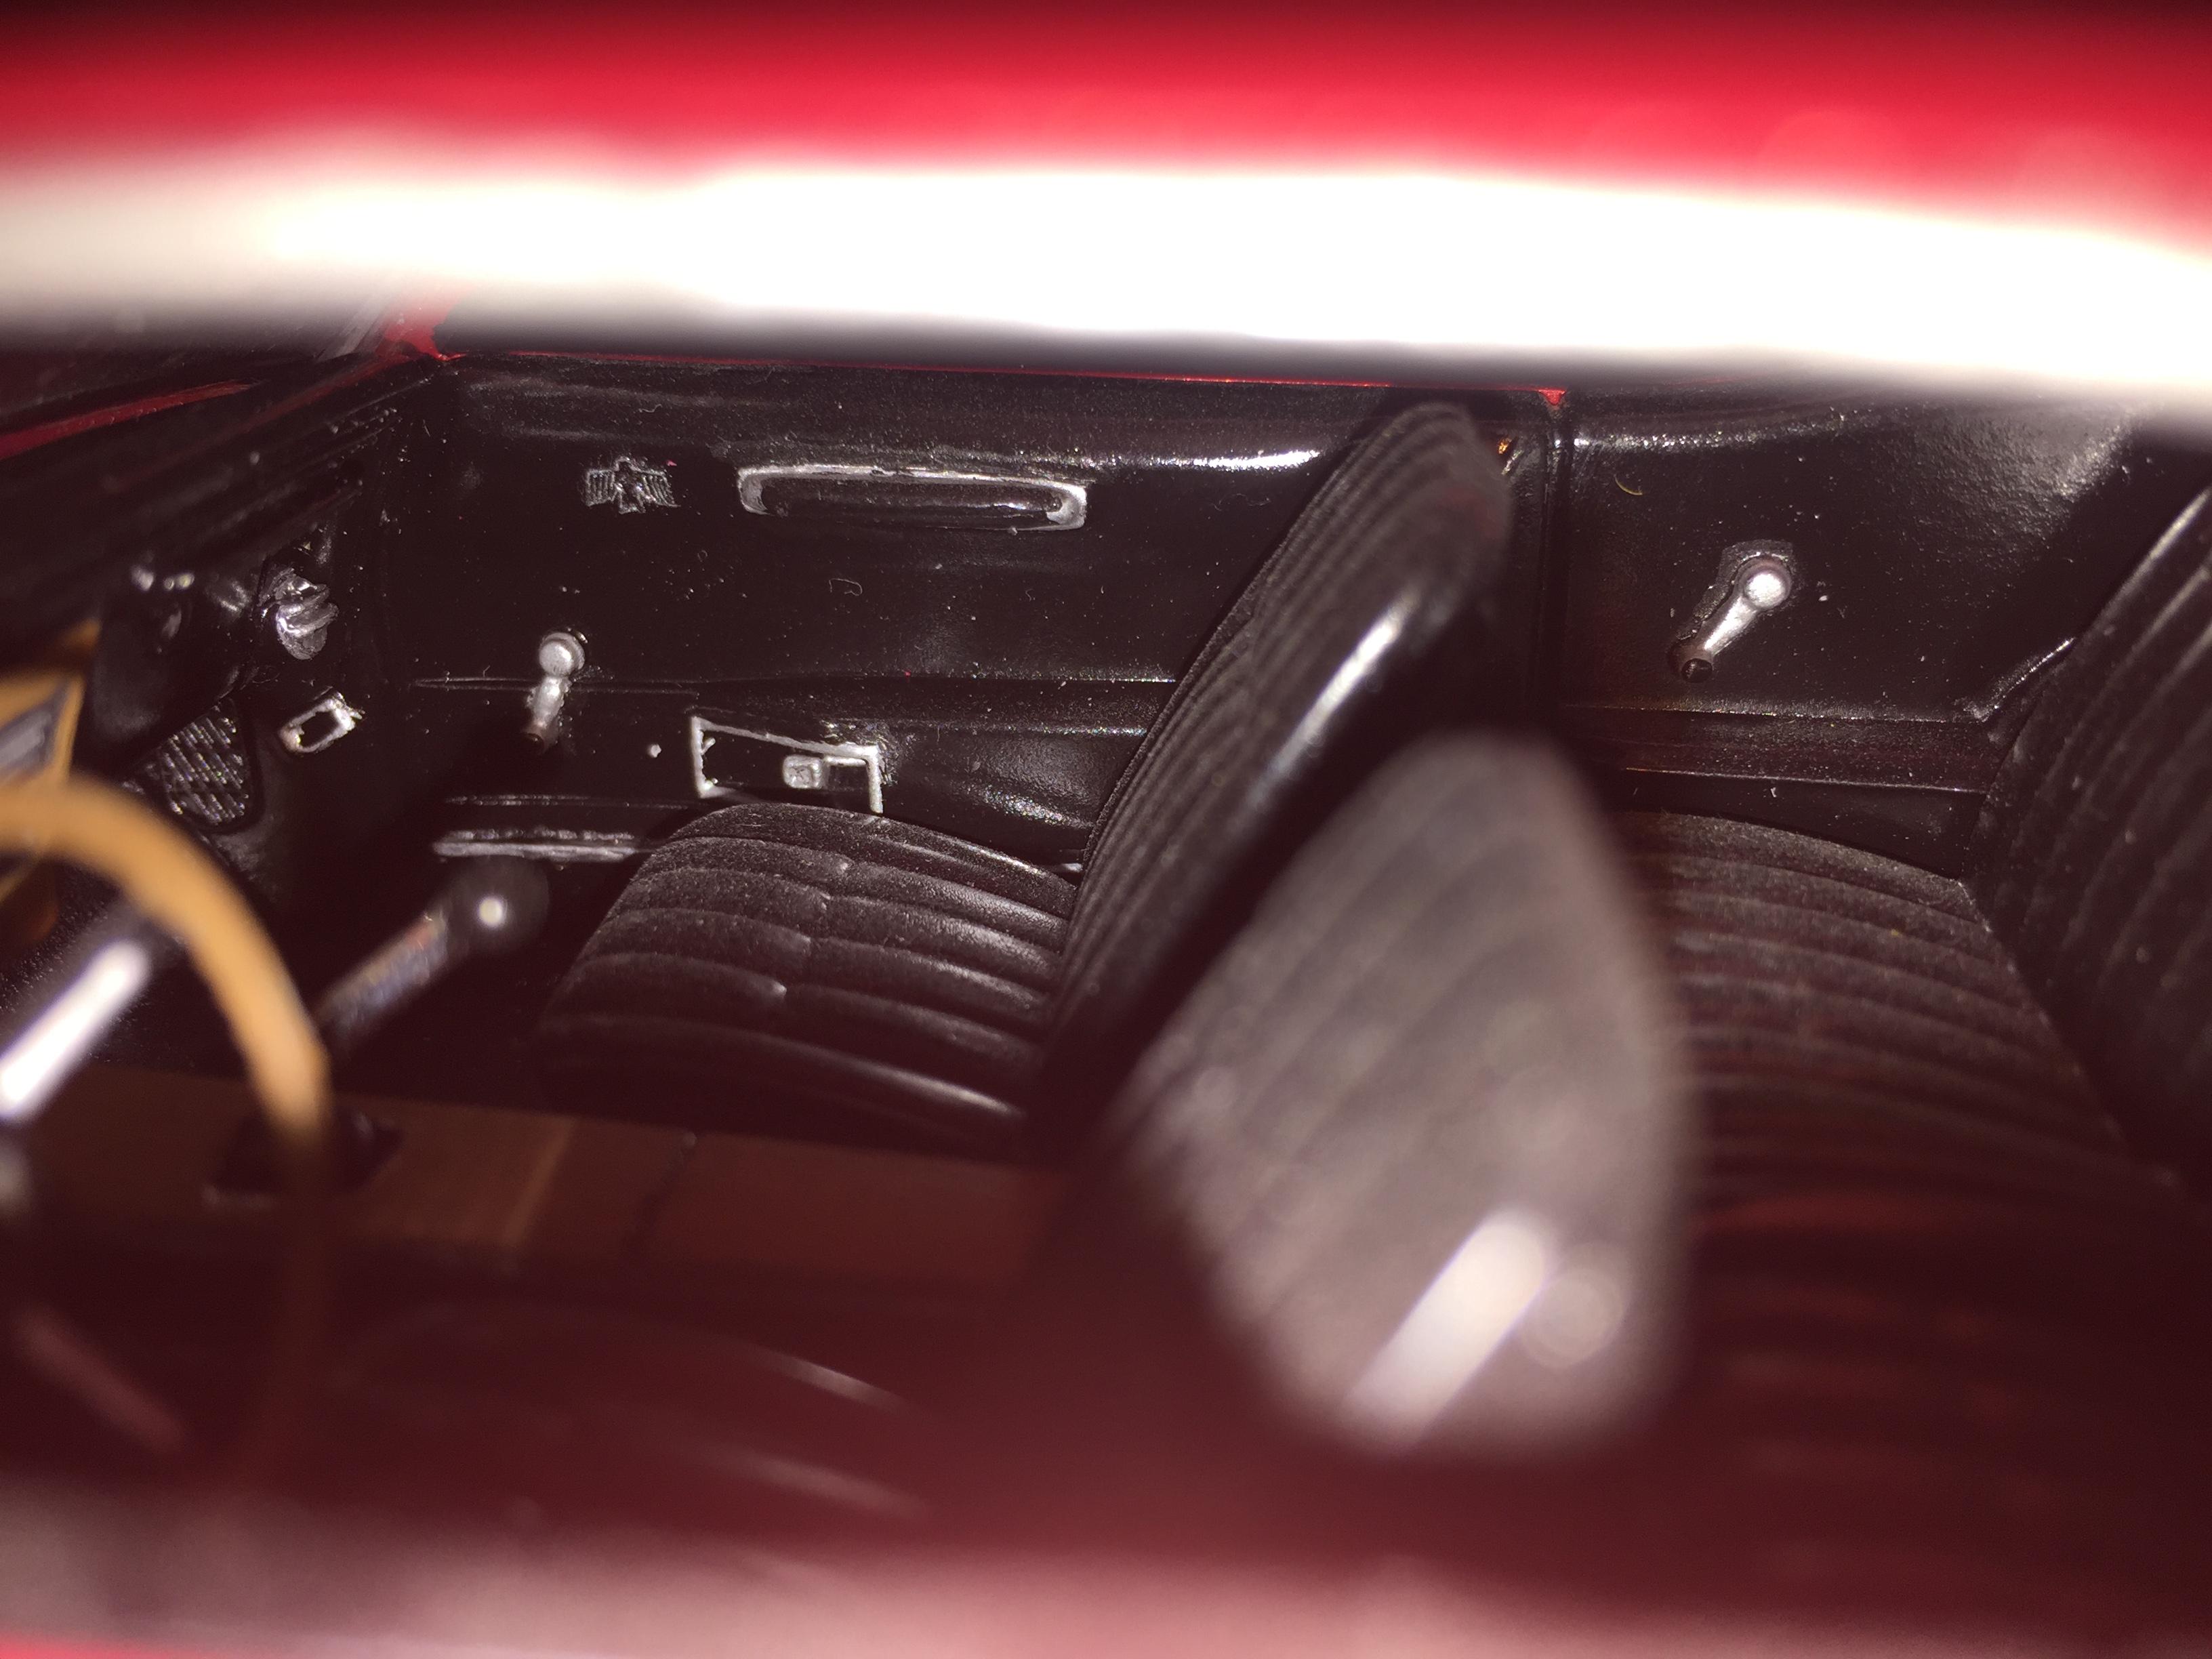
This is the Revell ‘68 firebird that I built some time ago.
-
Favorite/greatest body style ever?
NOBLNG replied to Venom's topic in General Automotive Talk (Trucks and Cars)
Now THAT is beautiful! -
Favorite/greatest body style ever?
NOBLNG replied to Venom's topic in General Automotive Talk (Trucks and Cars)
The amazing thing that this thread brings to light is that a lot of cars that I didn’t find visually pleasing many years ago, now have a “classic nostalgia” that I can now appreciate. I know those cars haven’t changed. Edit: And it is sad that aerodynamics plays such a huge role in design today. -
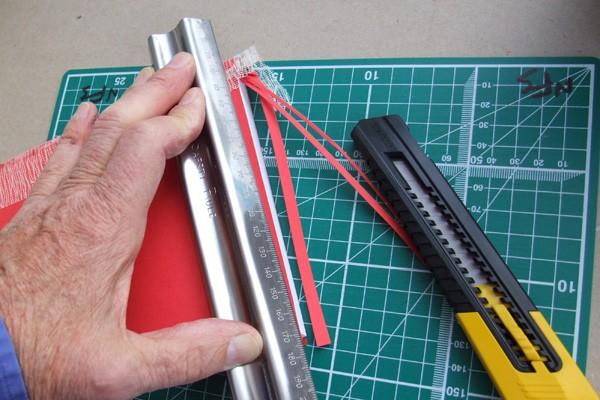
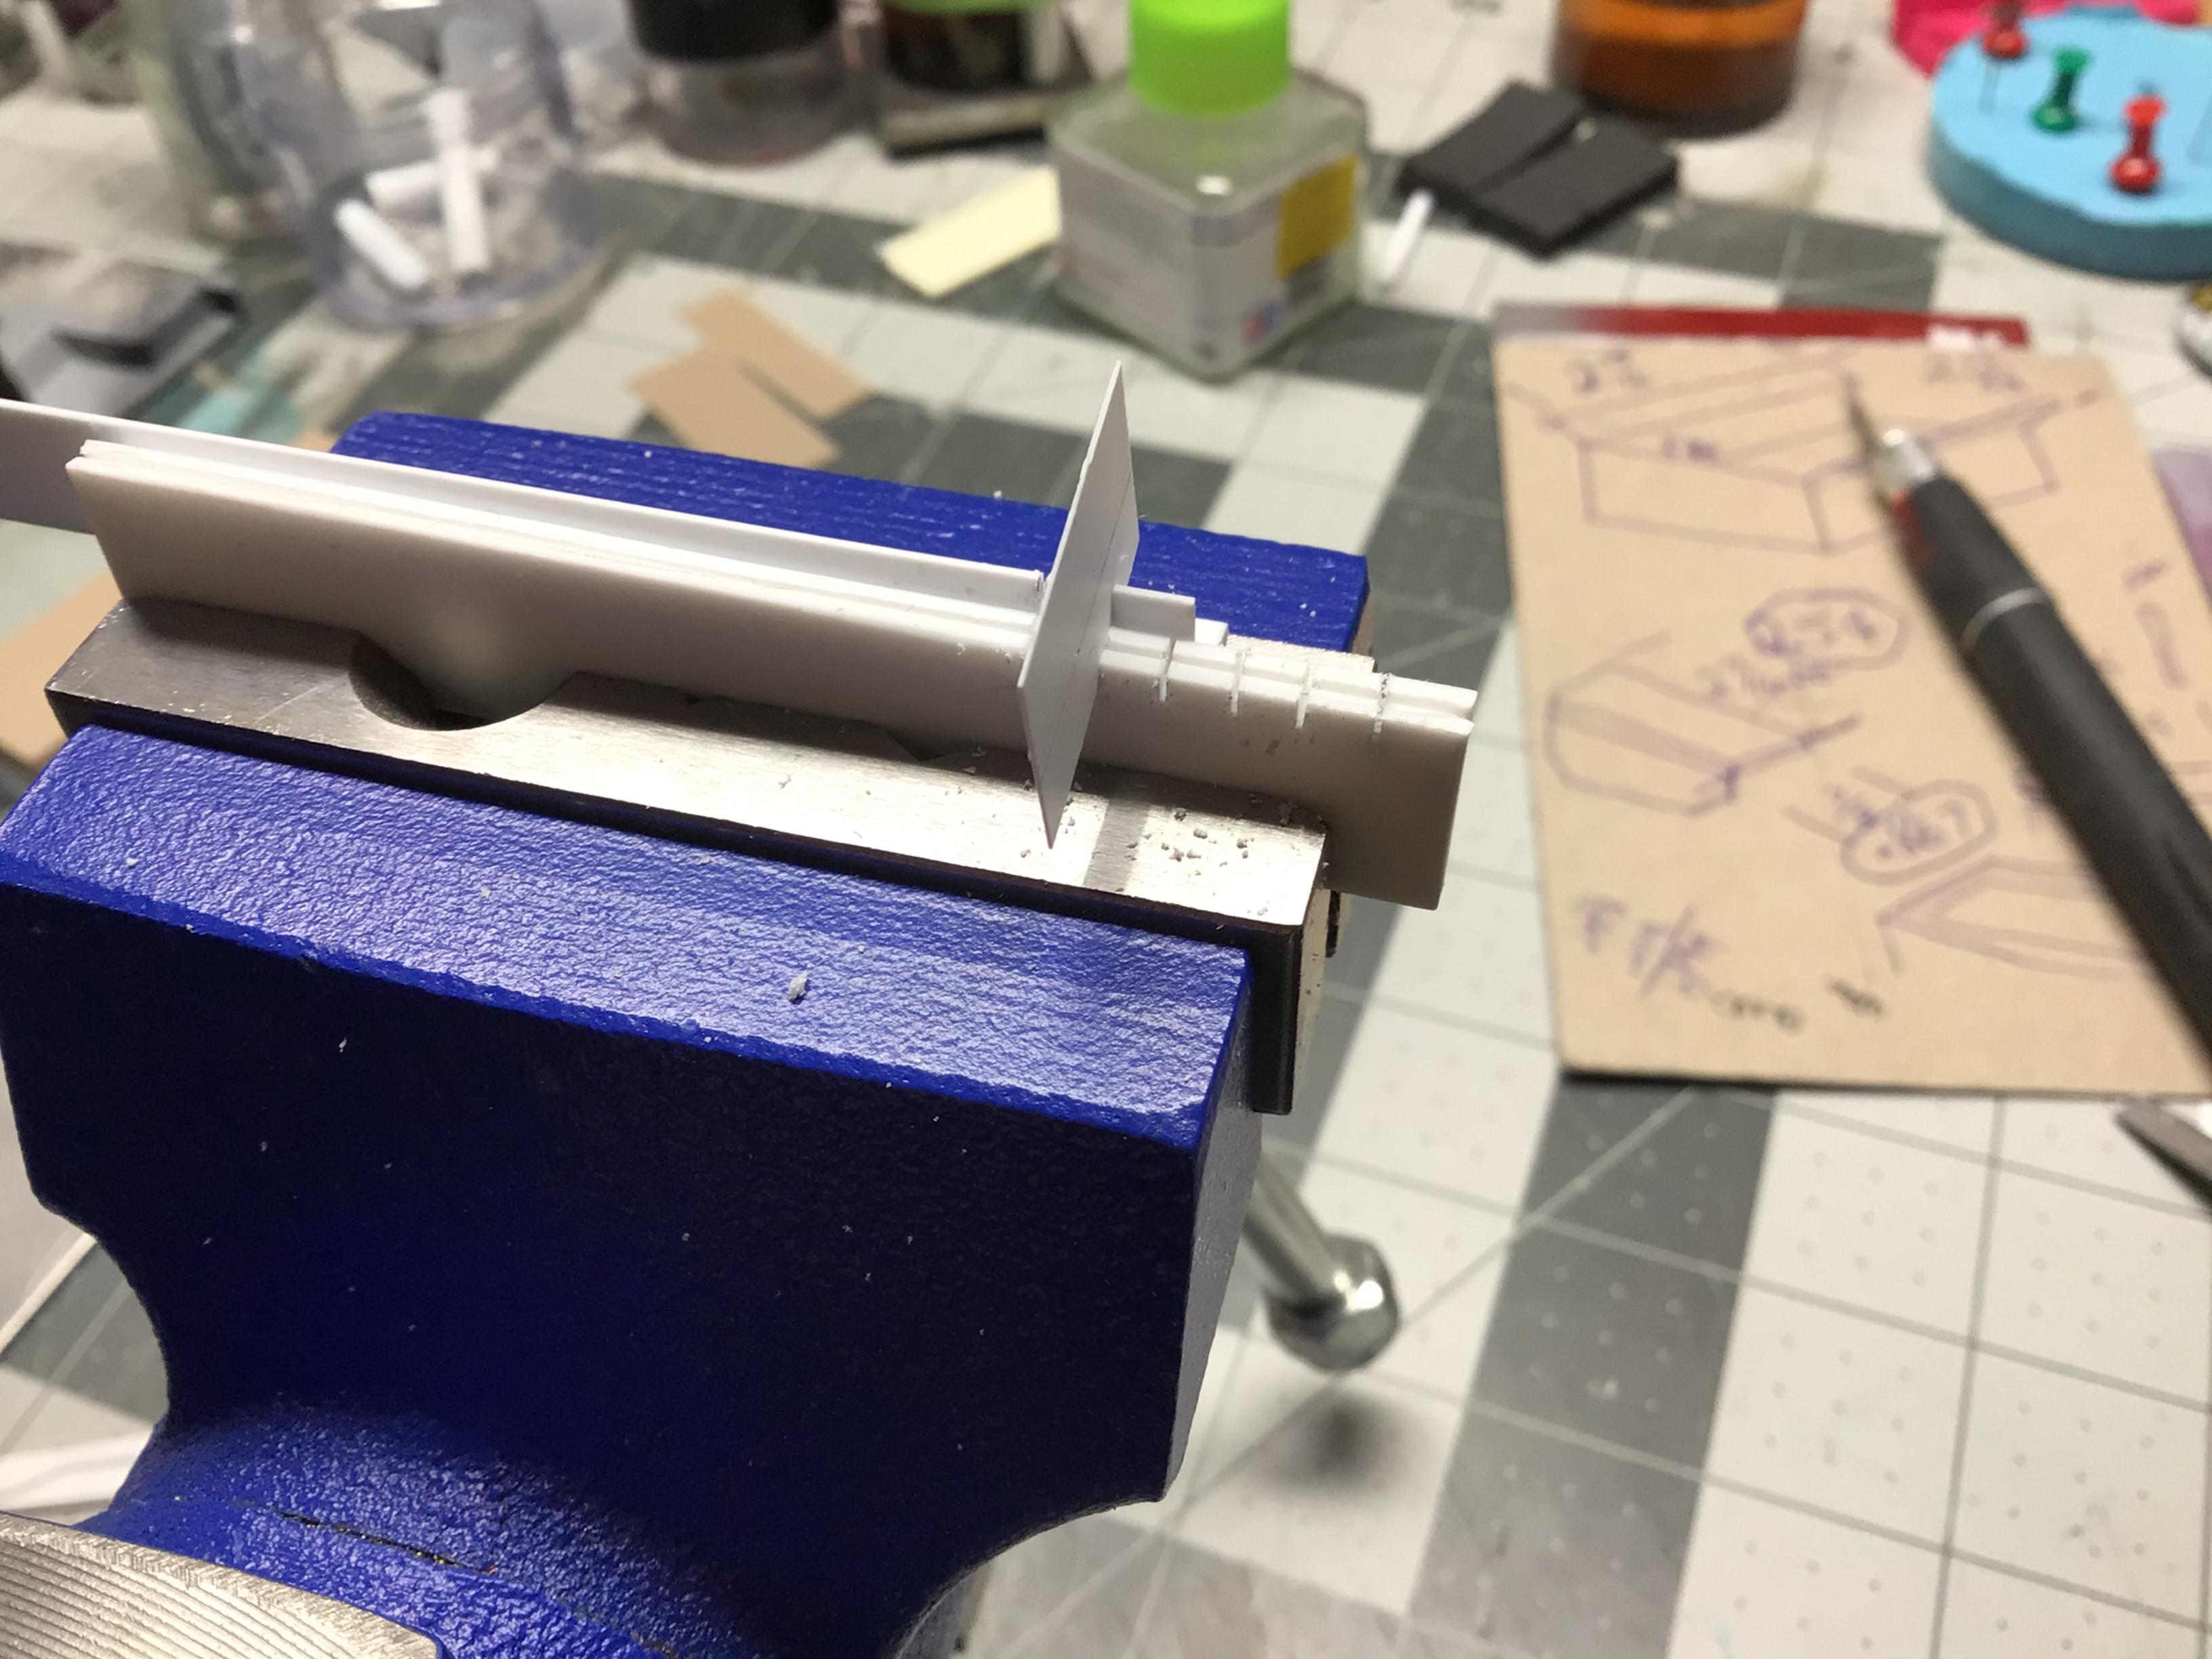
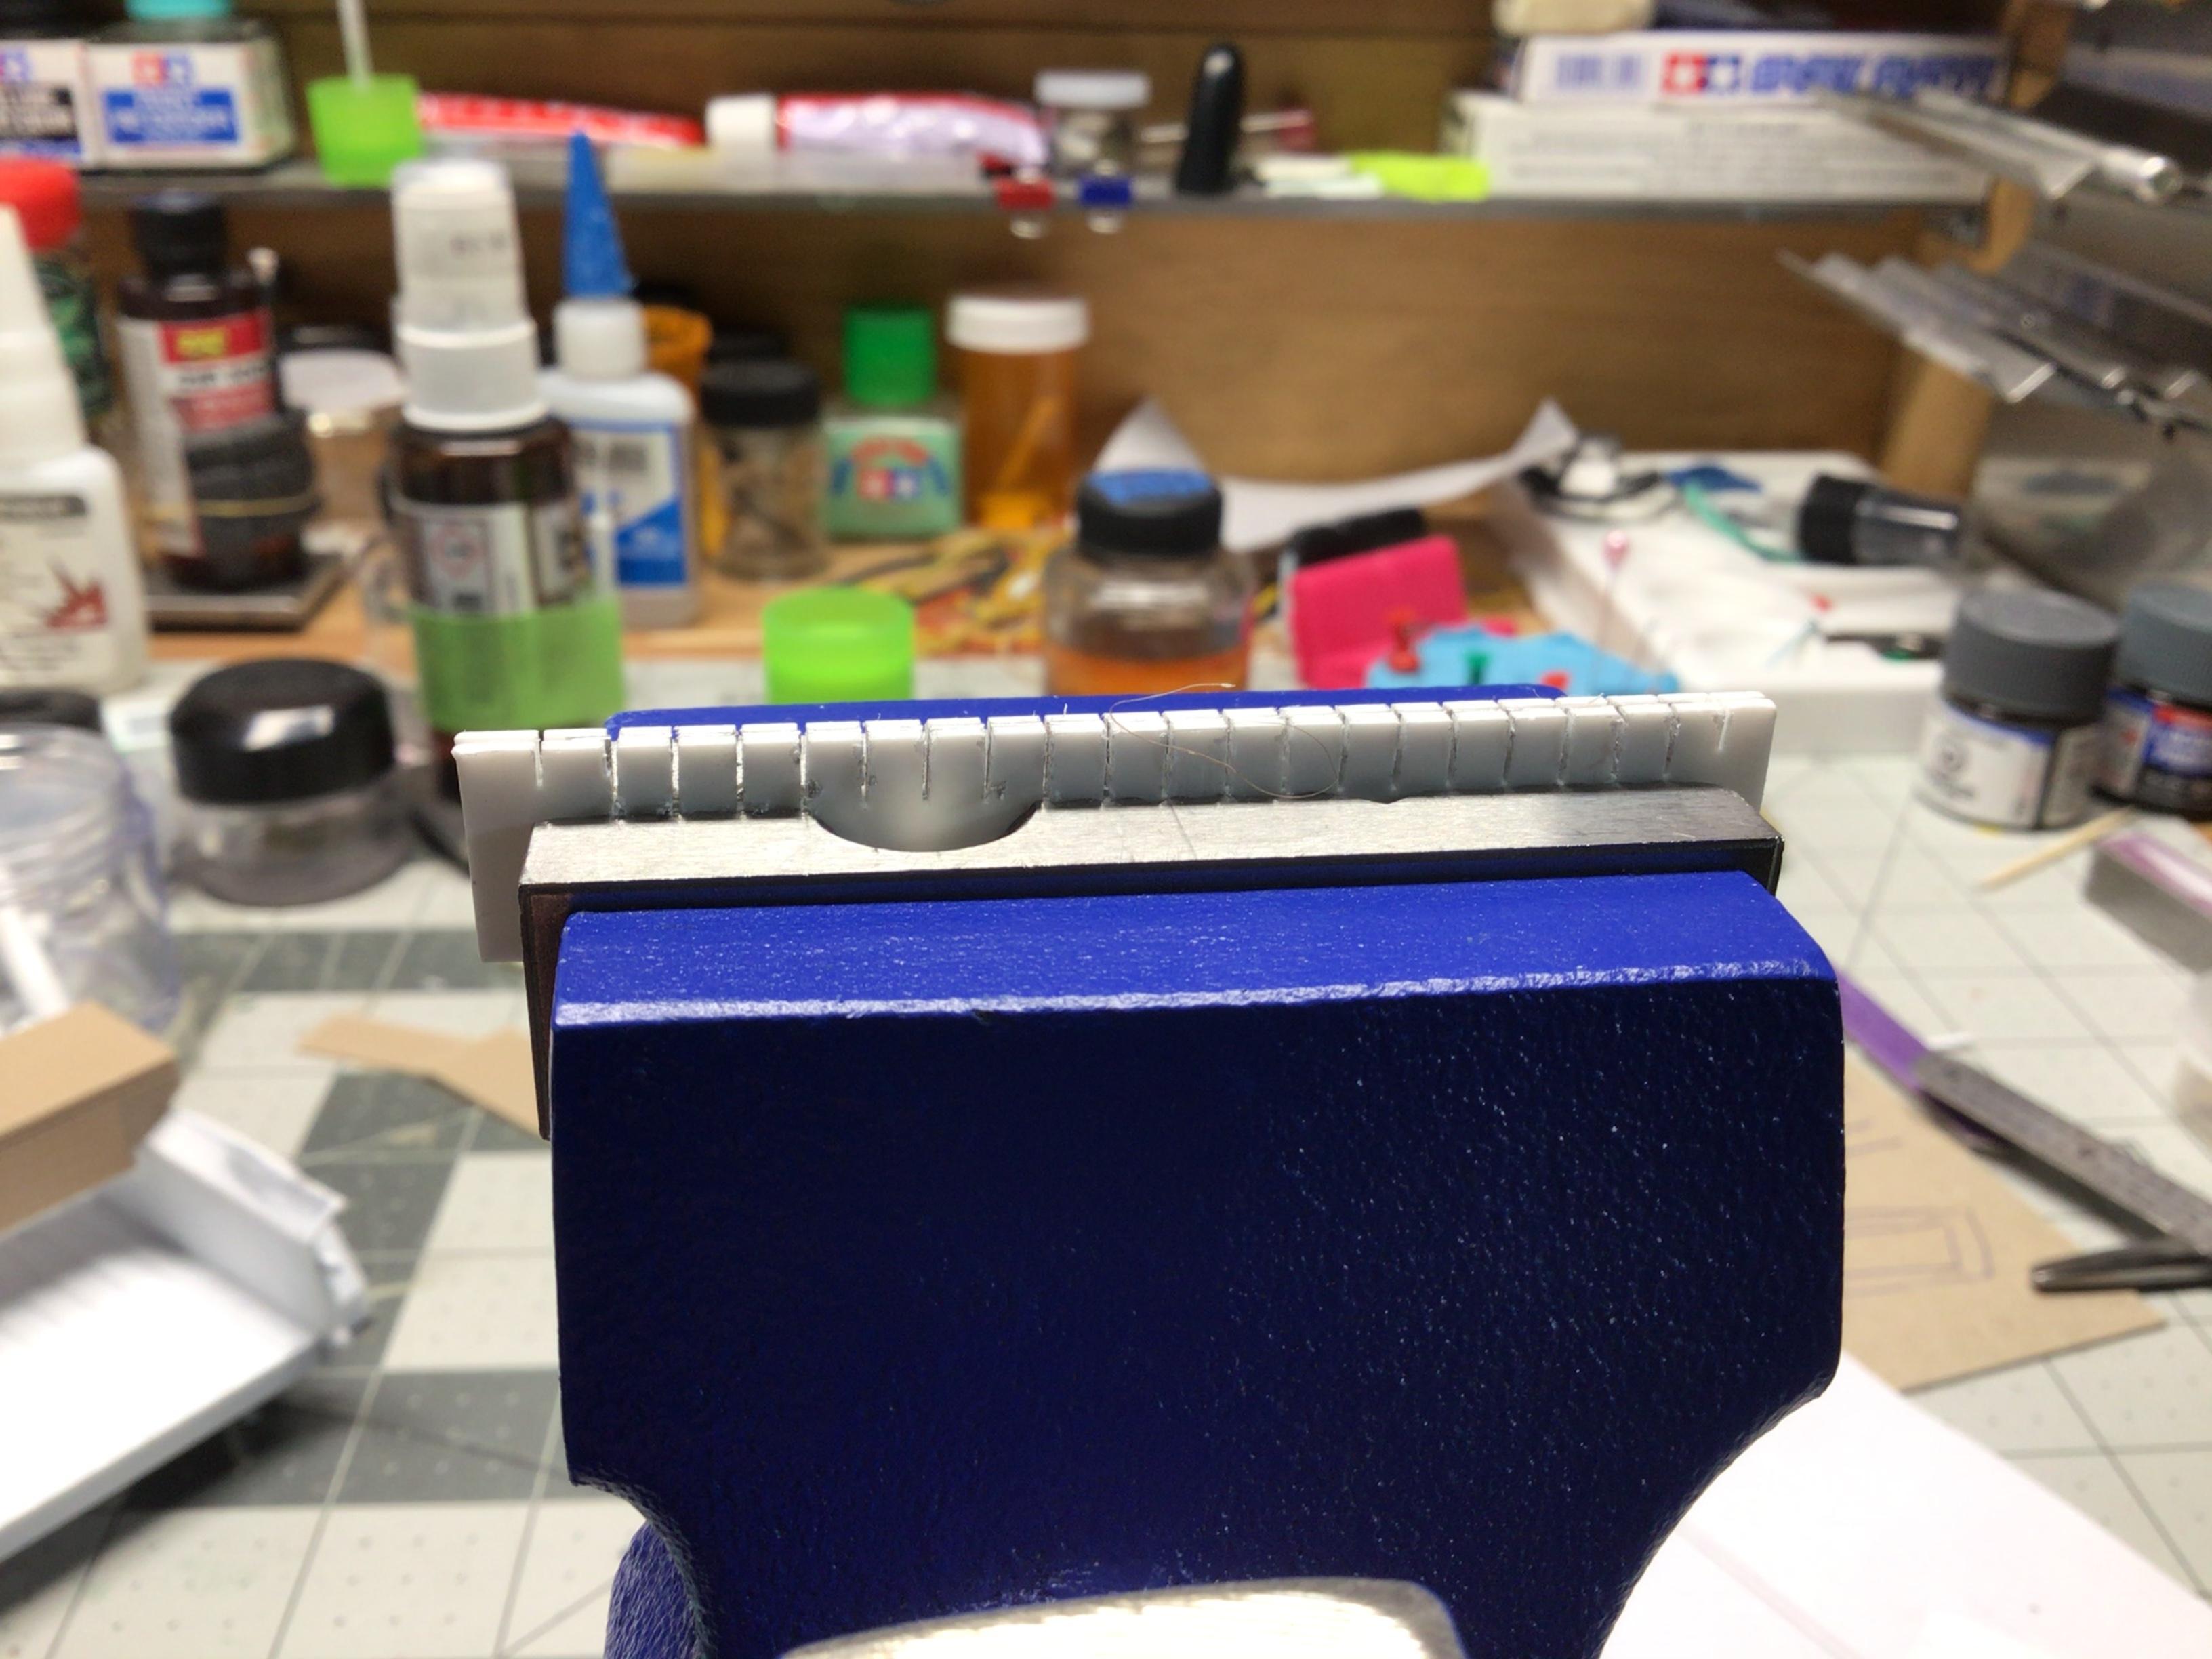
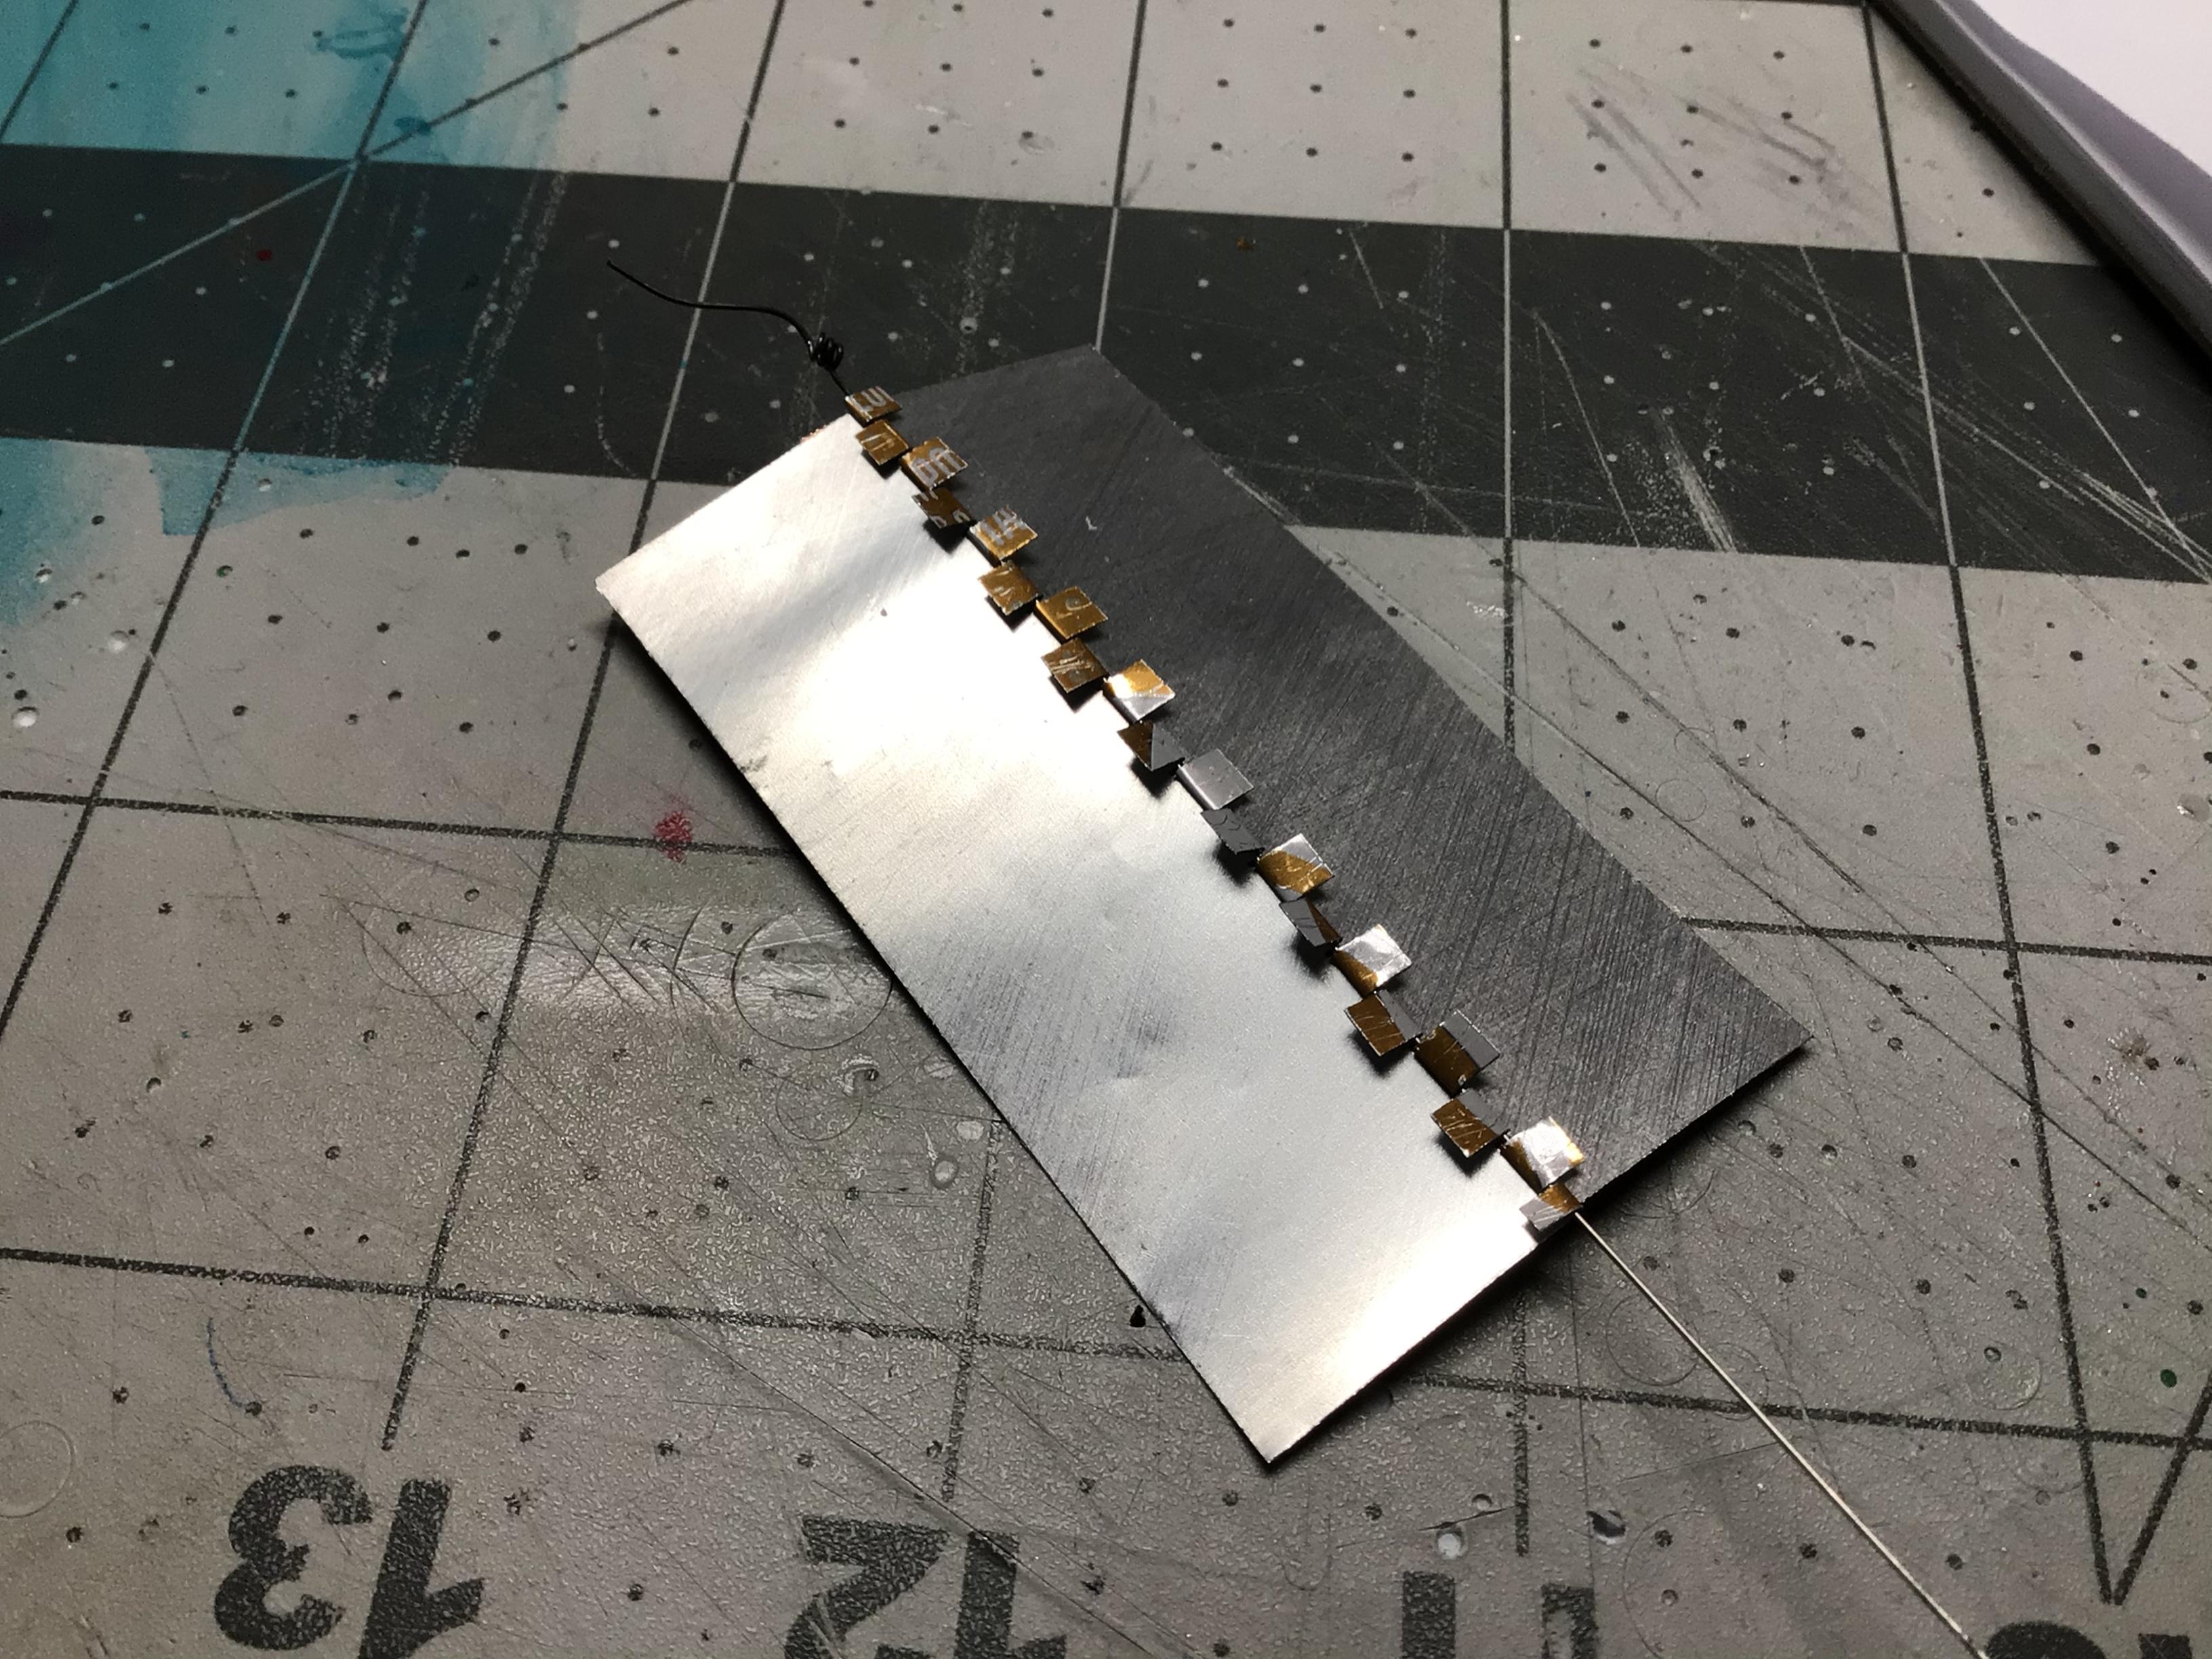
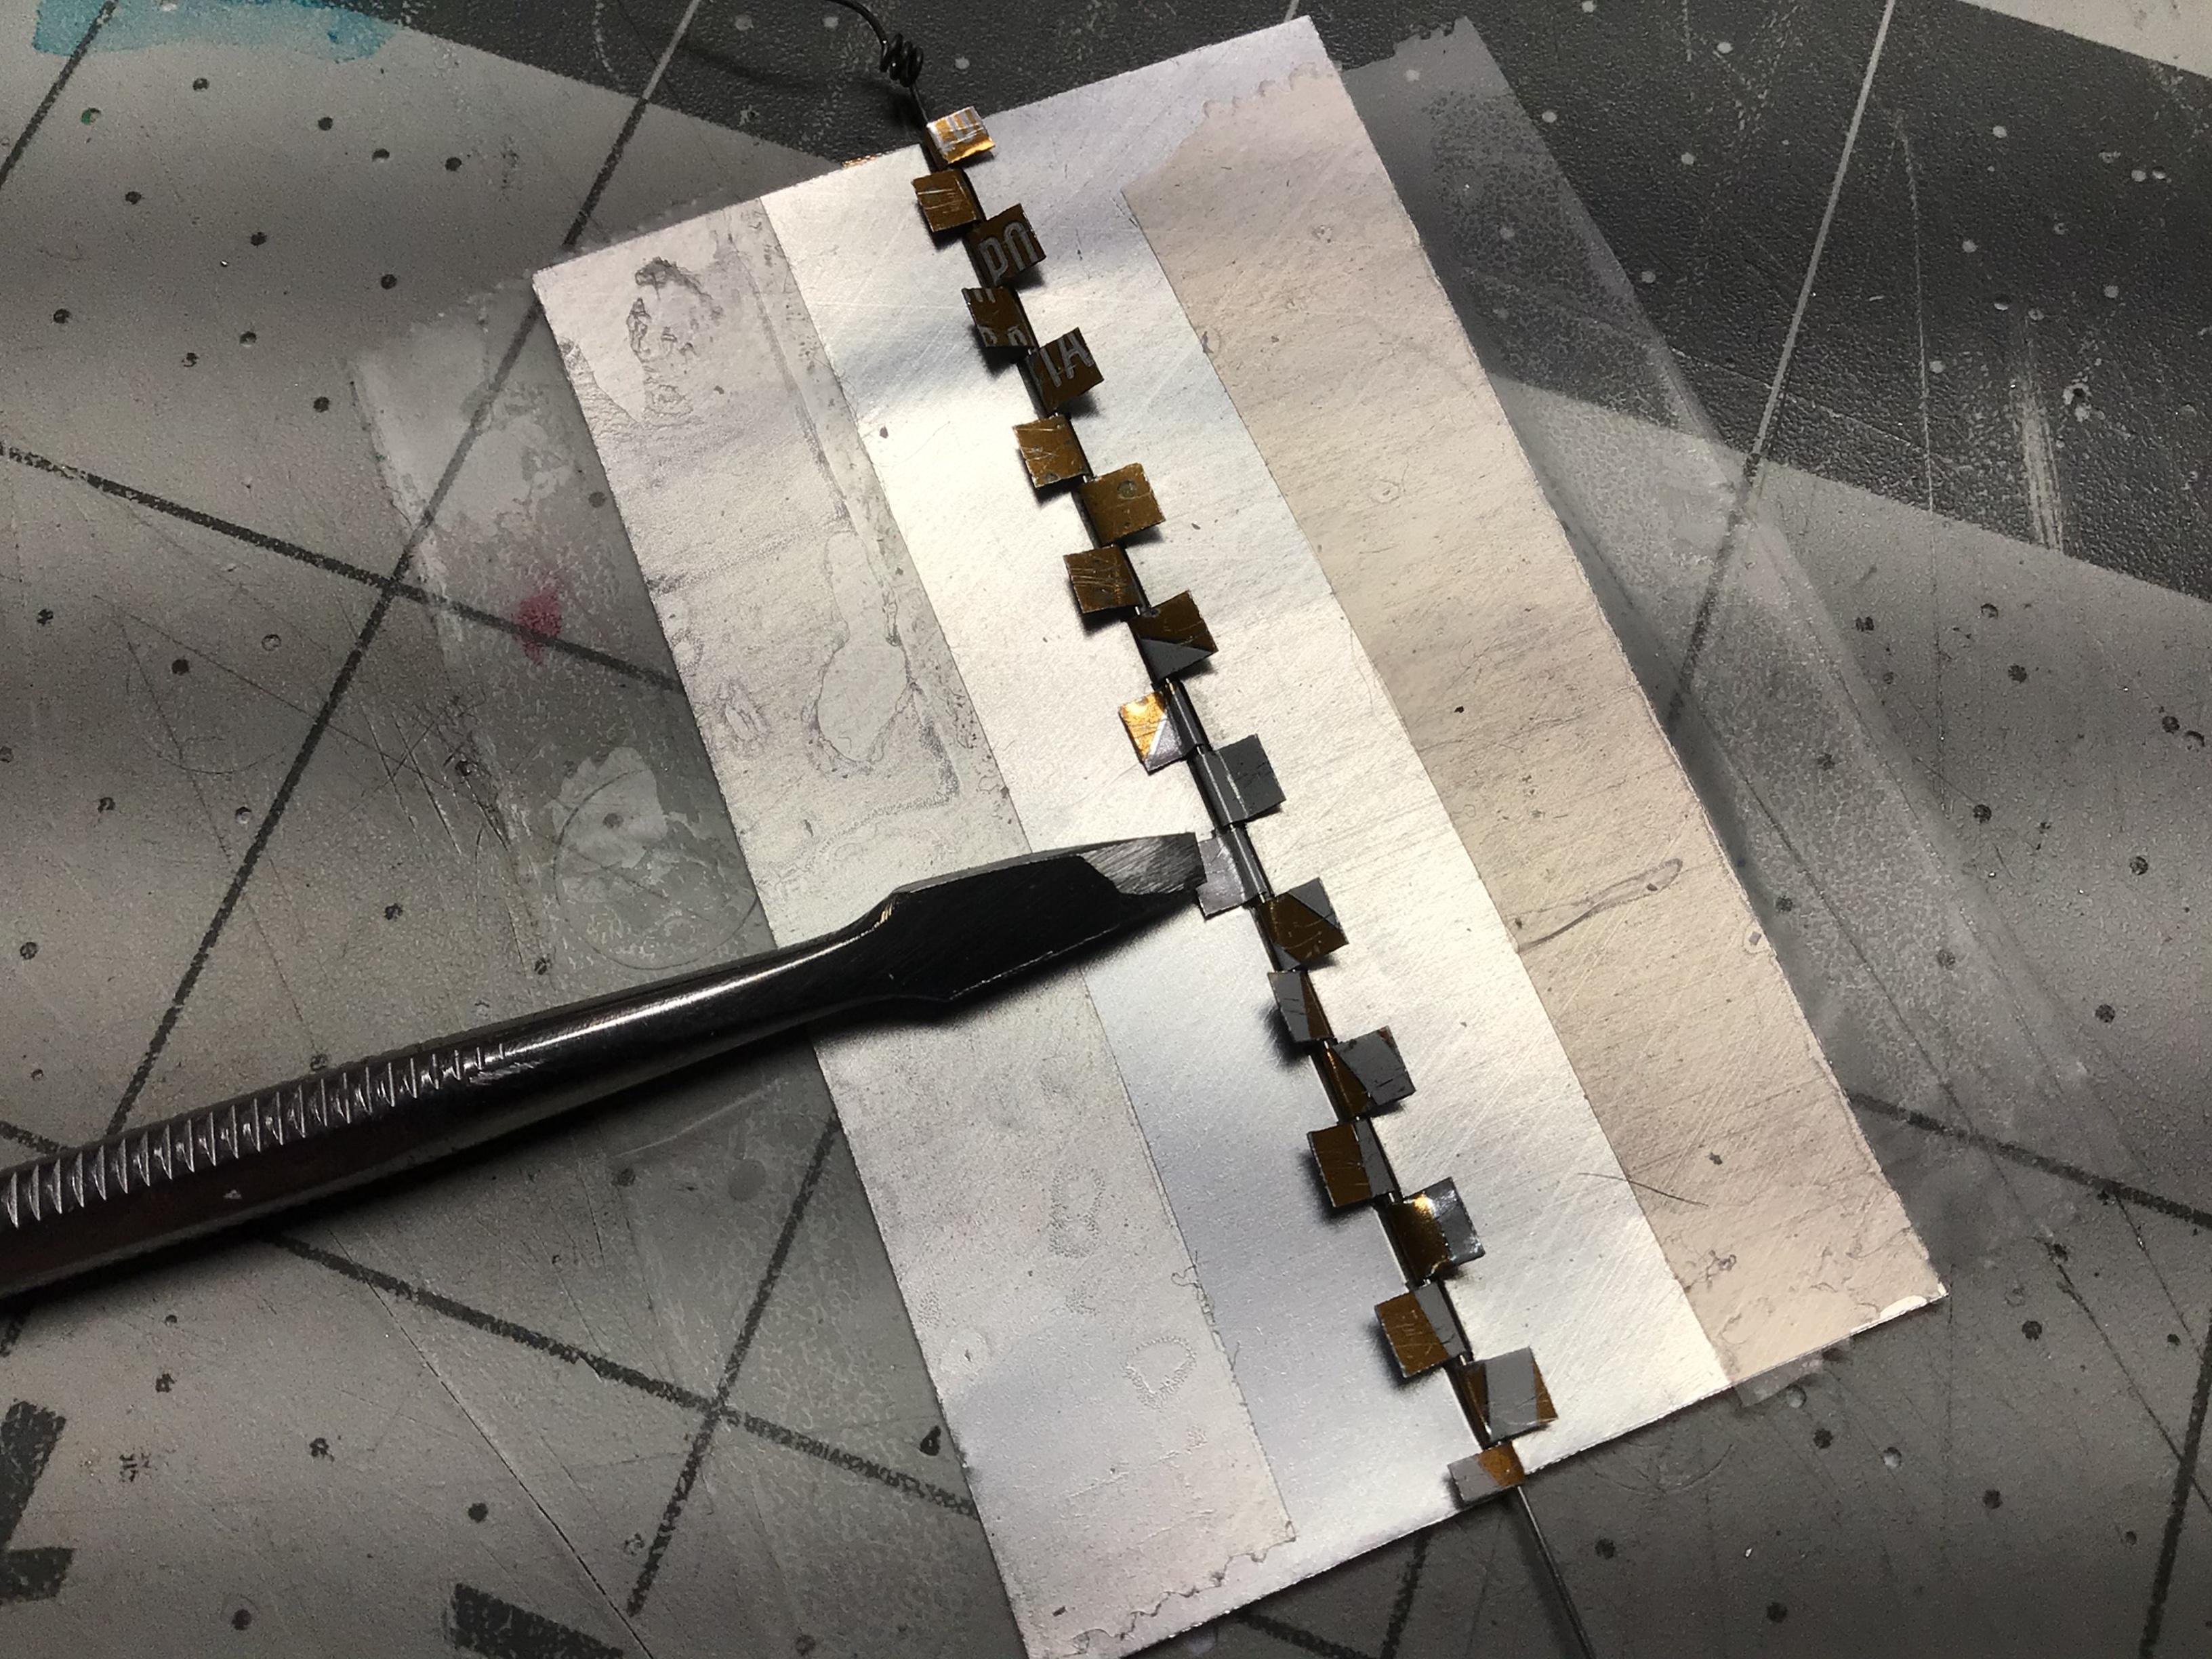
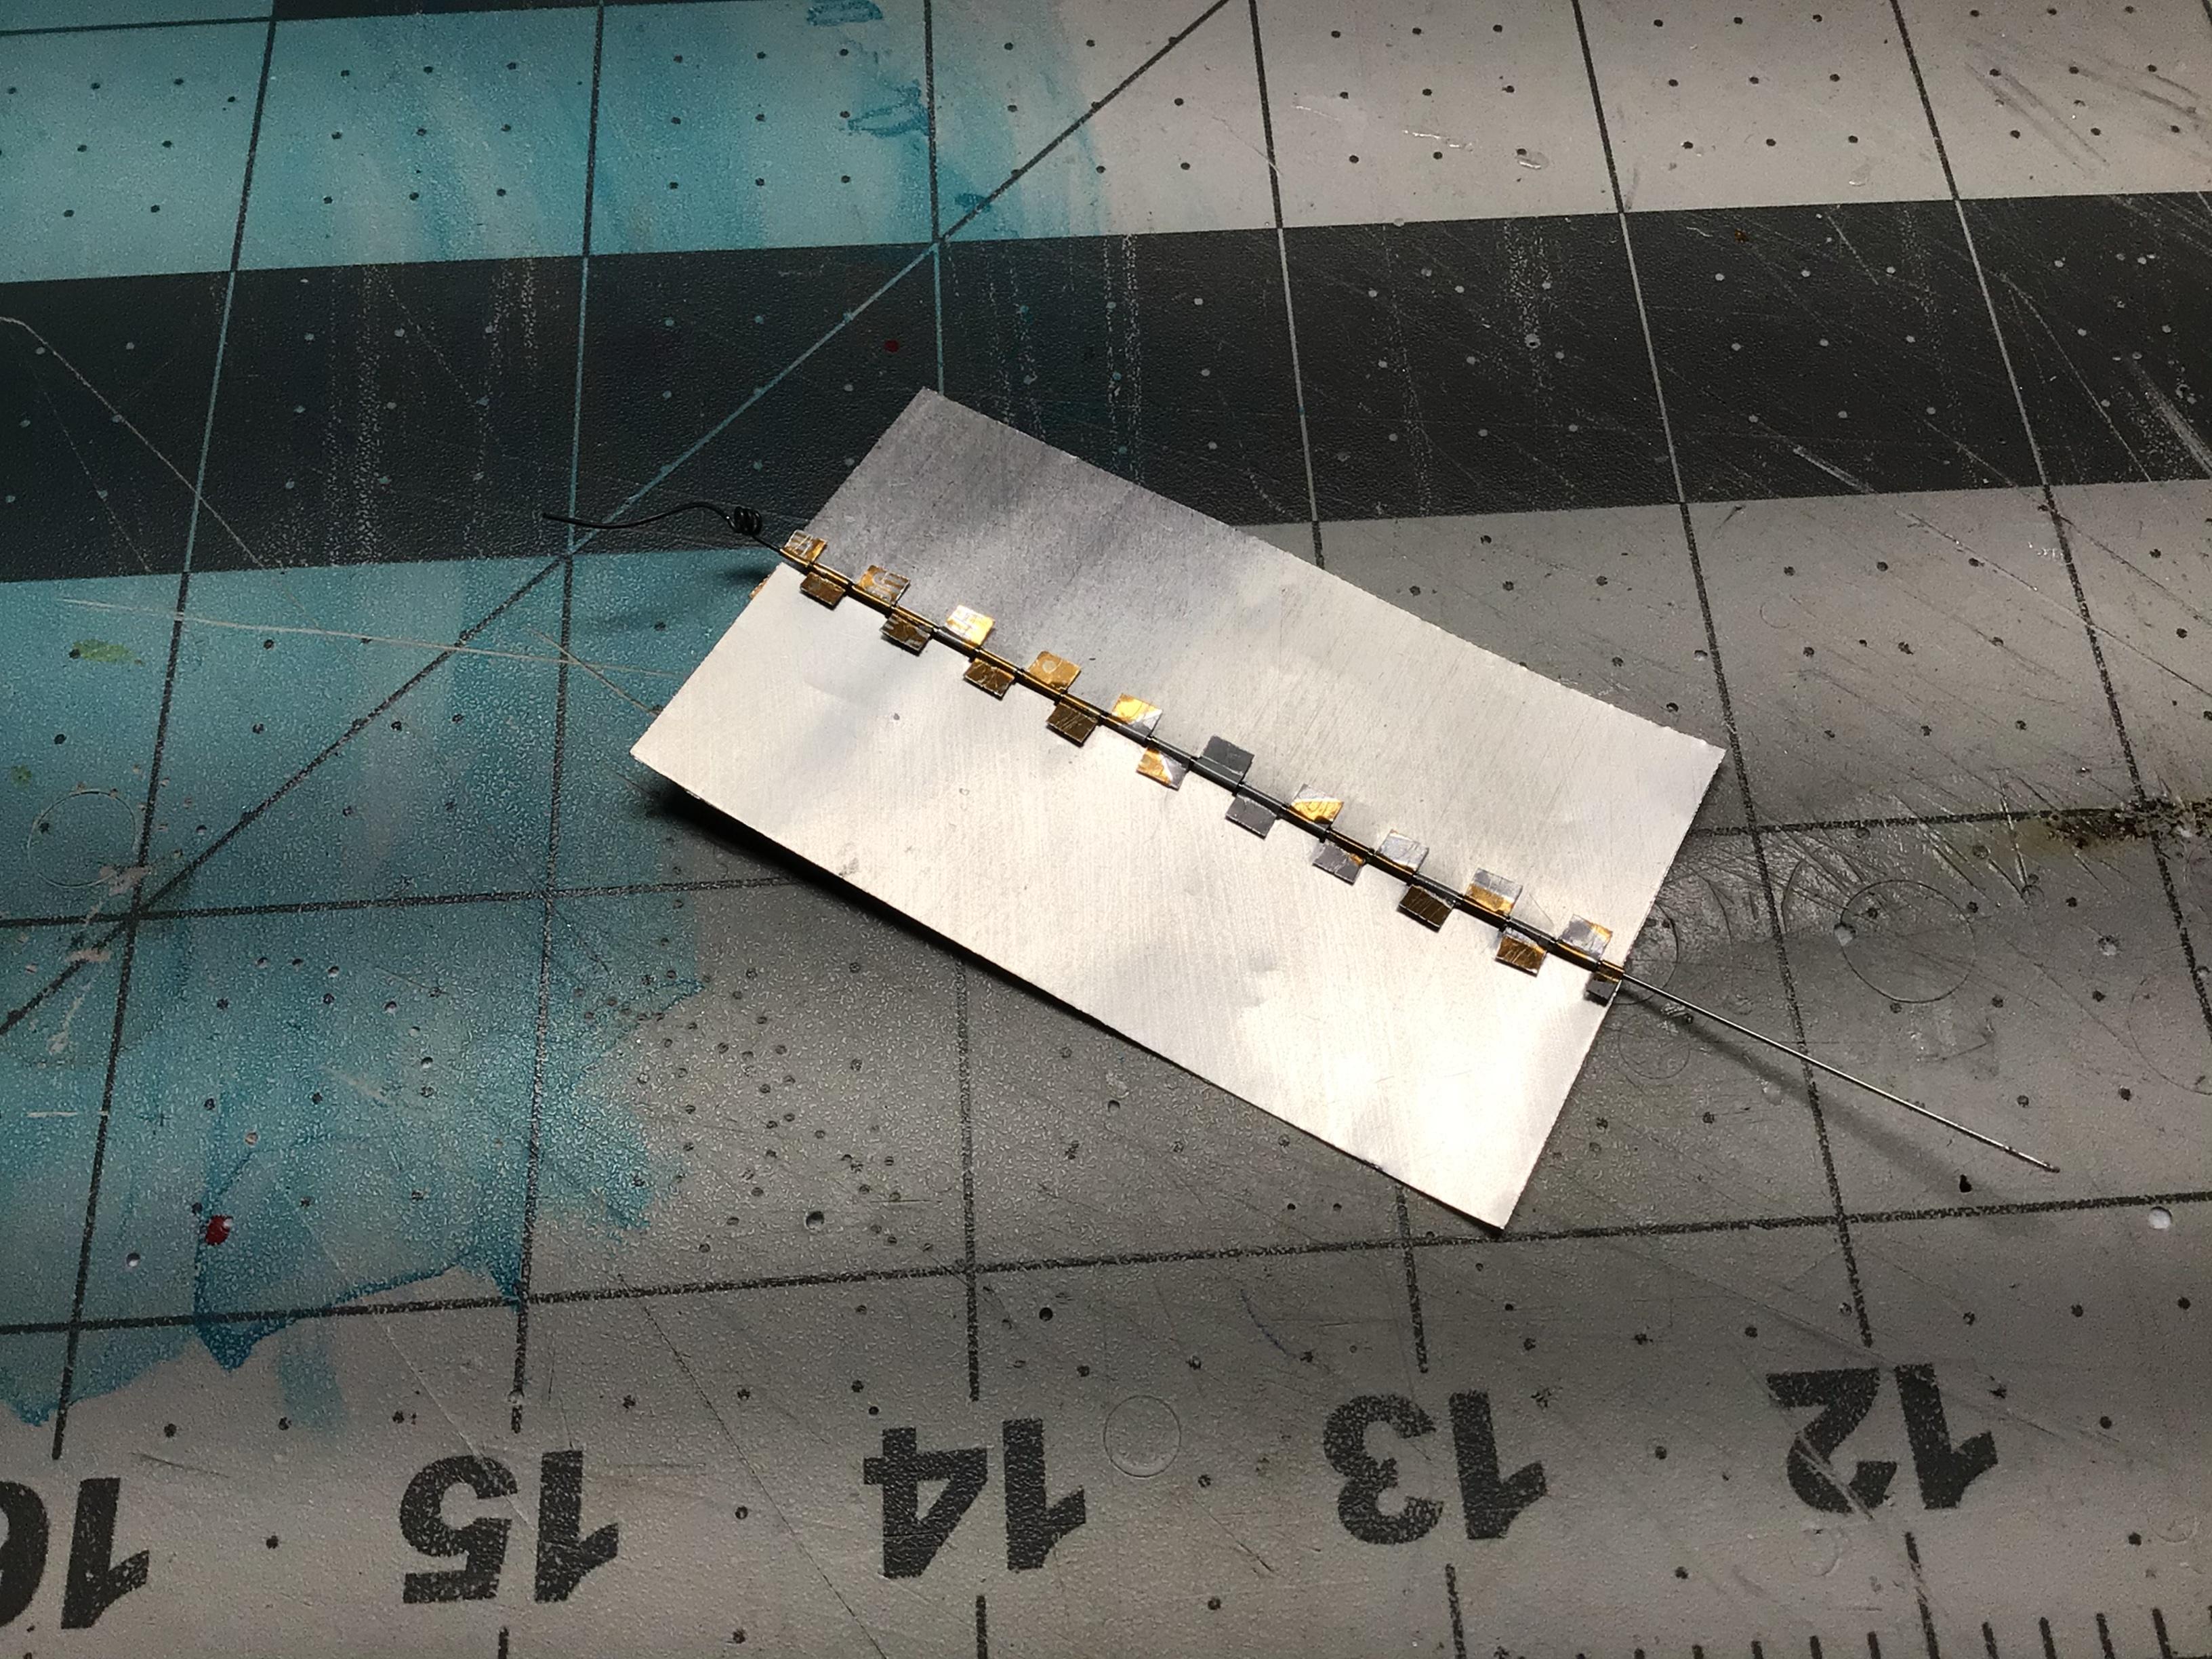
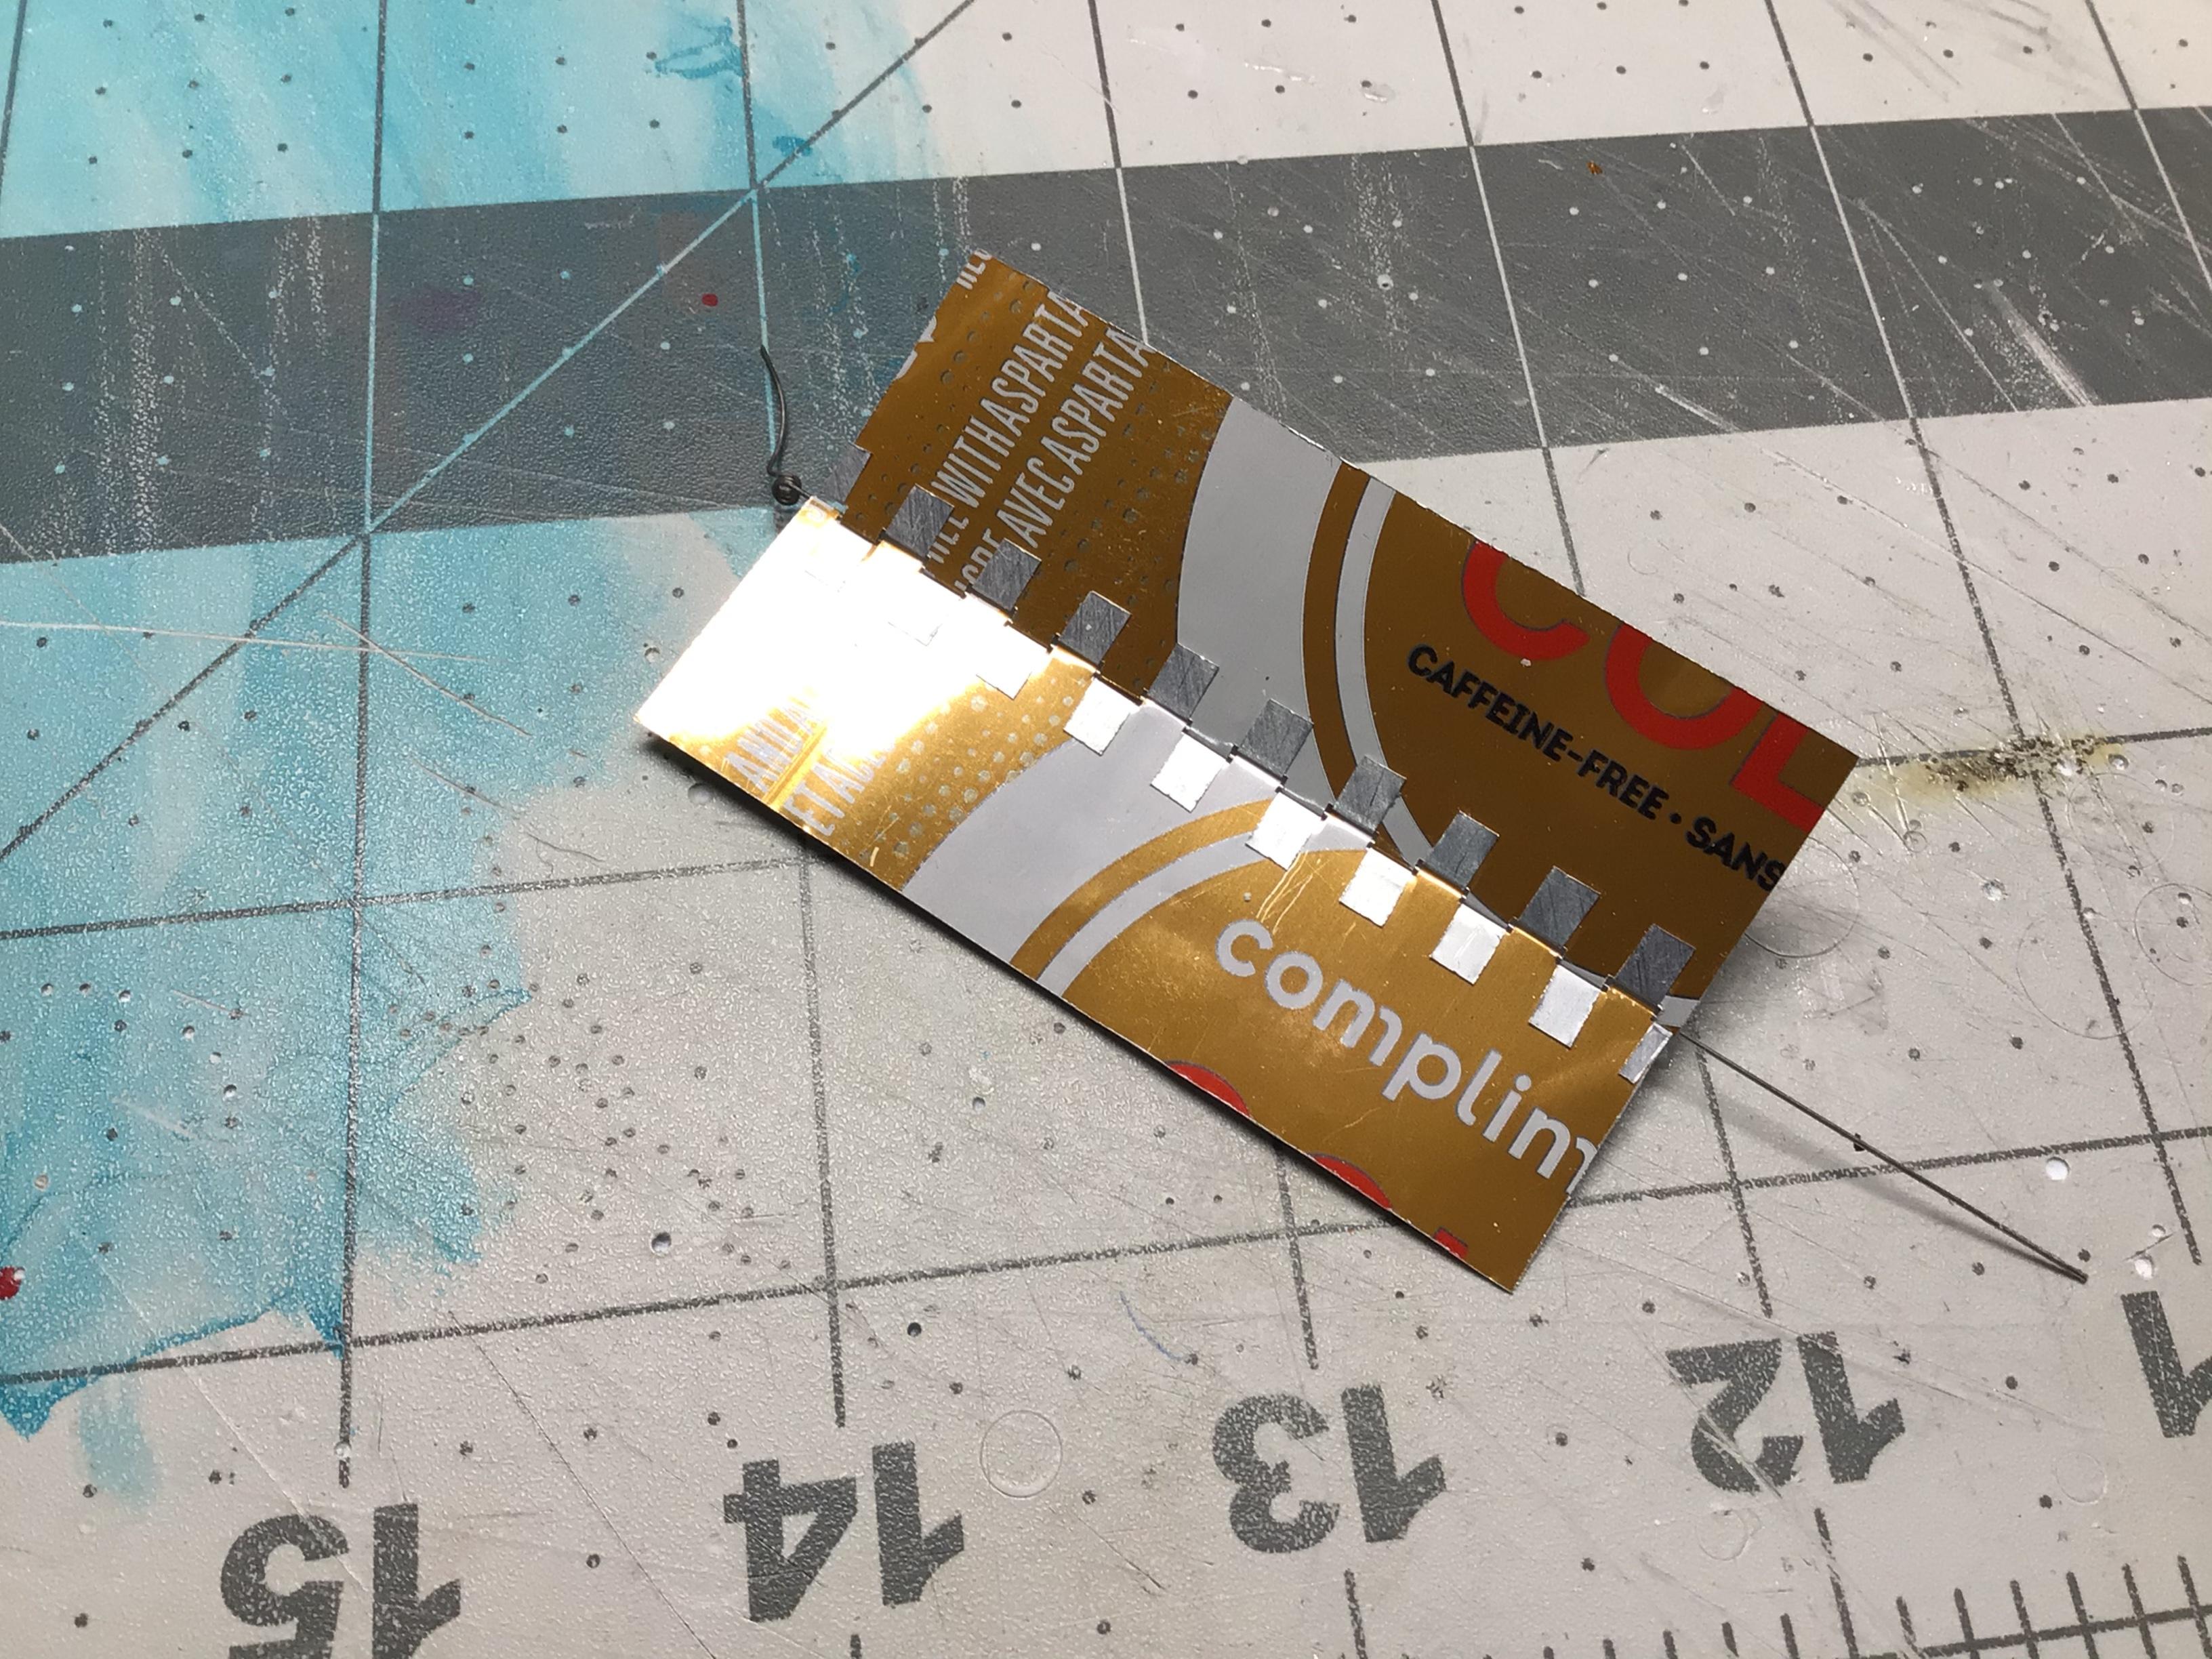
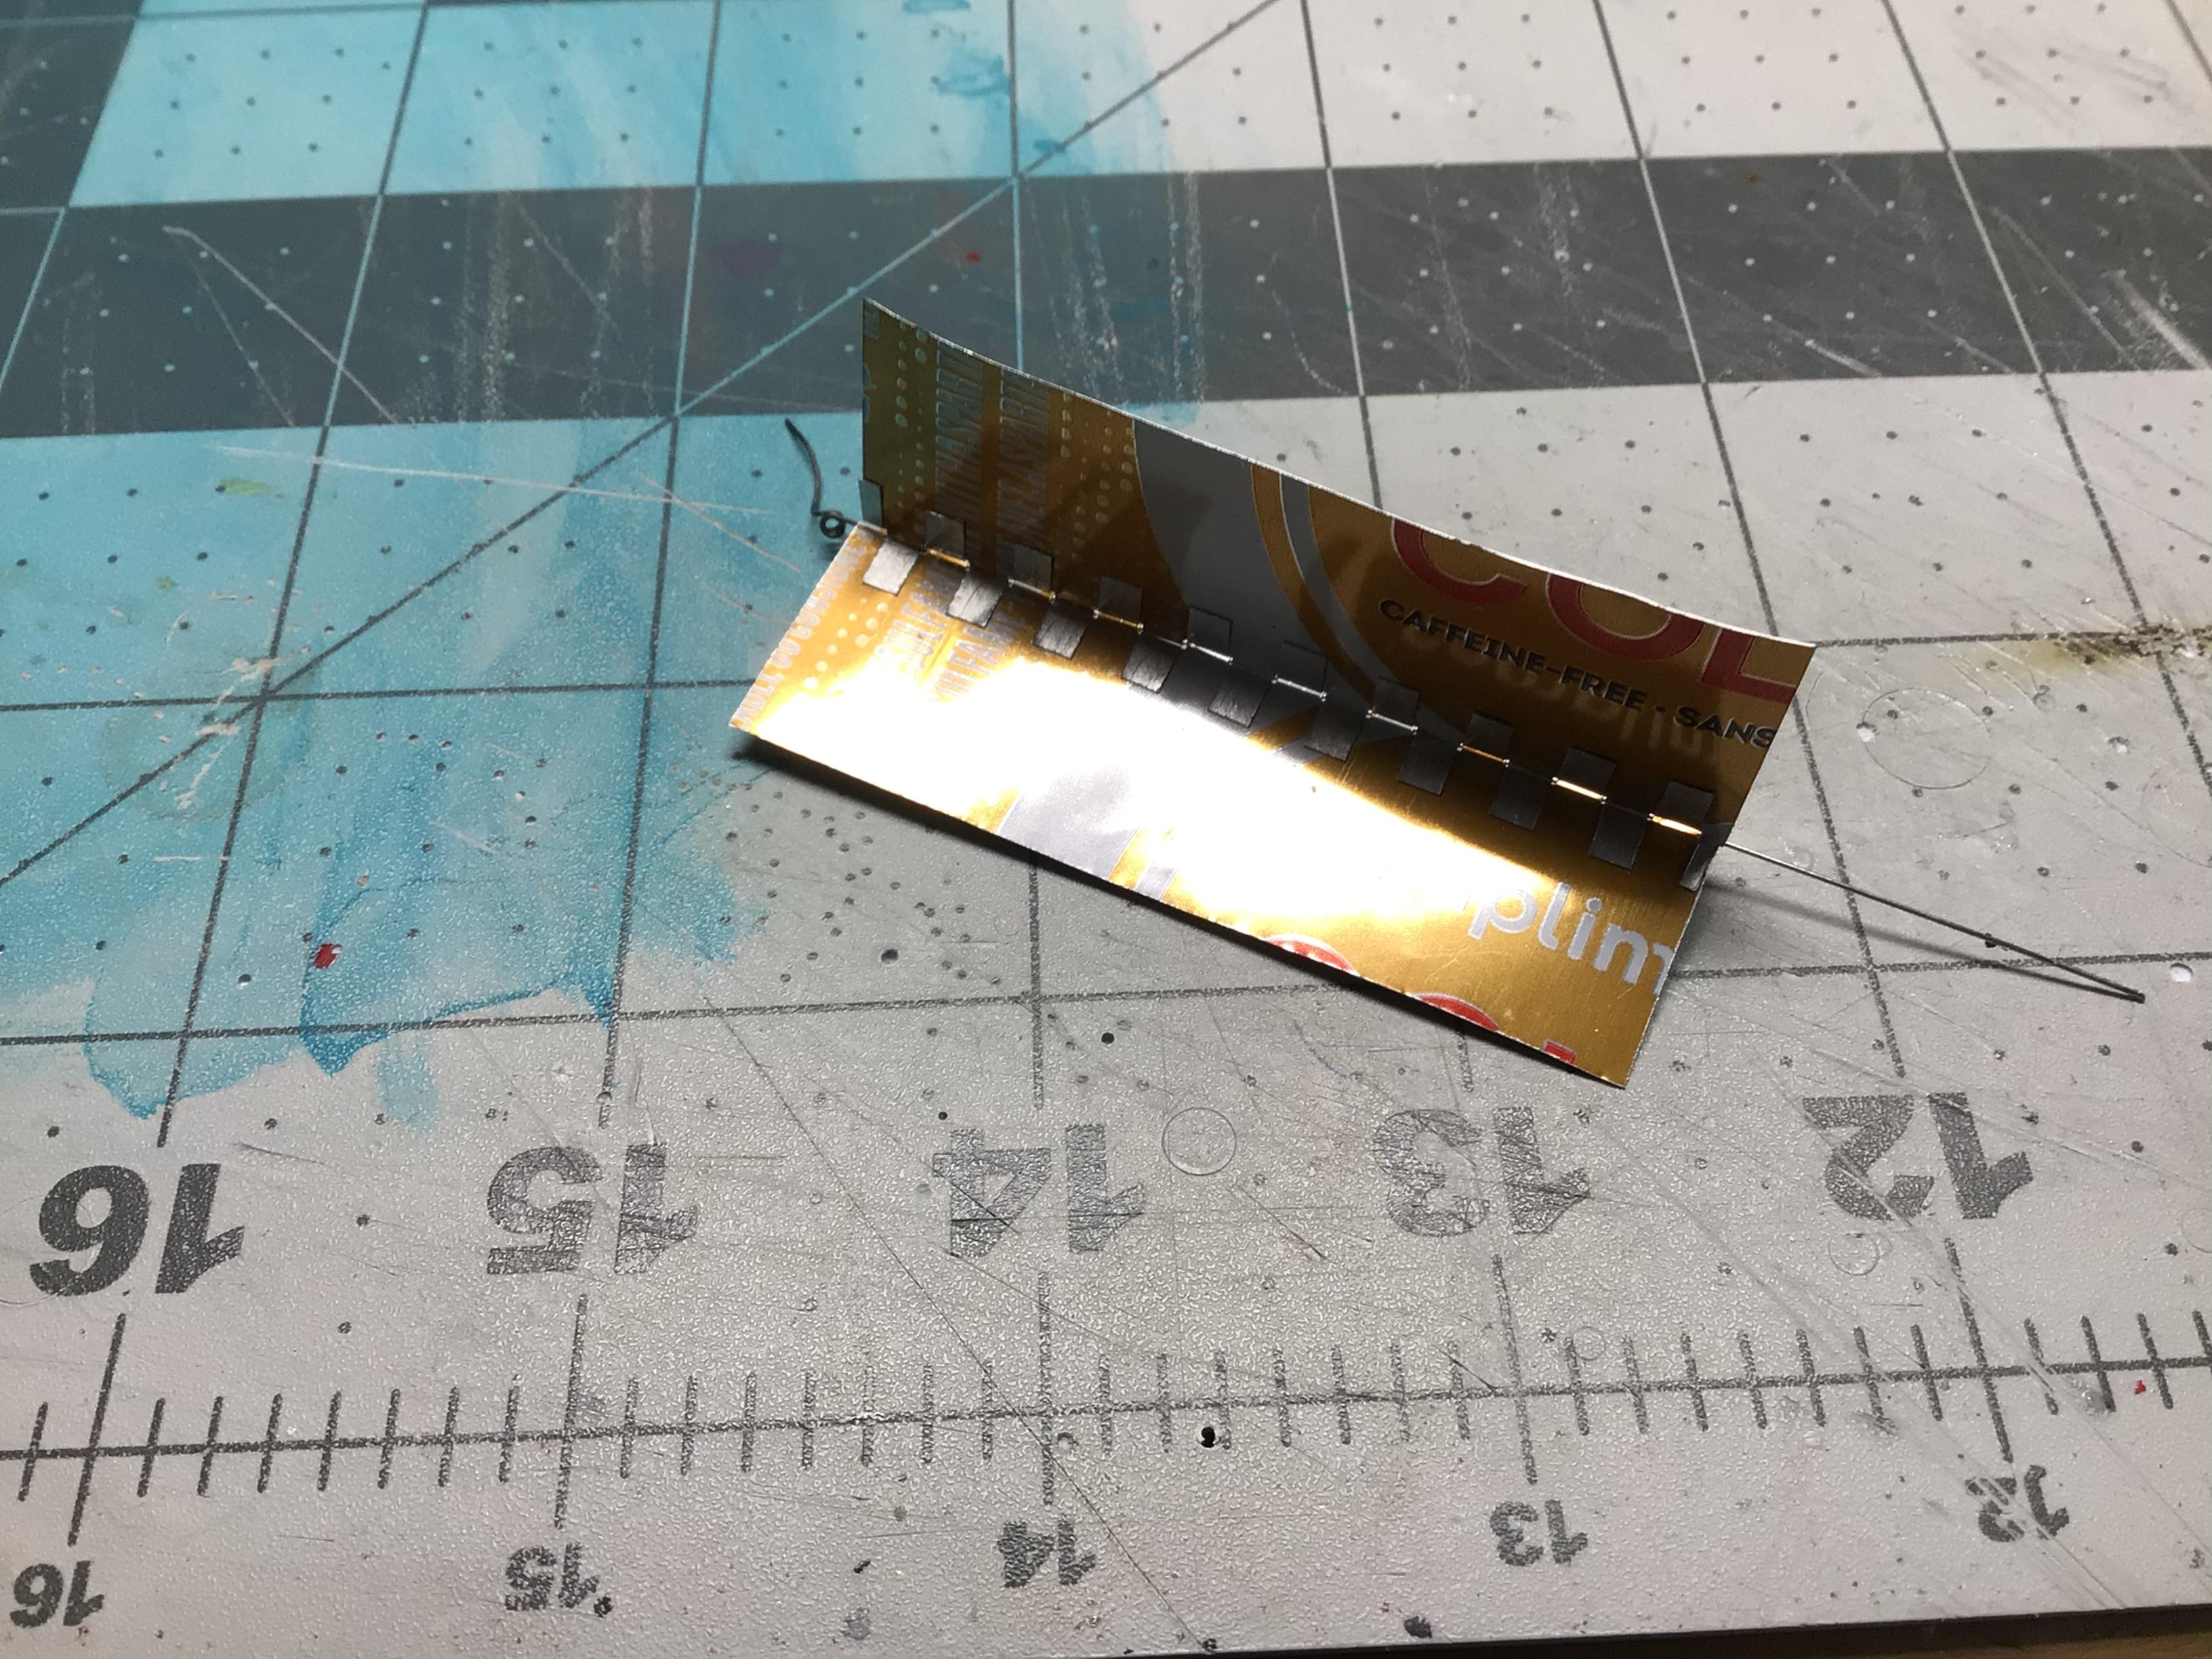
There are a few older threads on this subject, but it seems the closest to what I need is some photo etch items available. But...being me, I figure I’ll give it a shot on my own. Pics are self explanatory I think, and the wire is a .014” guitar string. This is a preliminary attempt and my only concern so far is the ability to glue or fasten this securely somehow to the model parts. Any advice or input appreciated.?
-
“Well, ain’t this place a geographical oddity...two weeks from everywhere.”
-
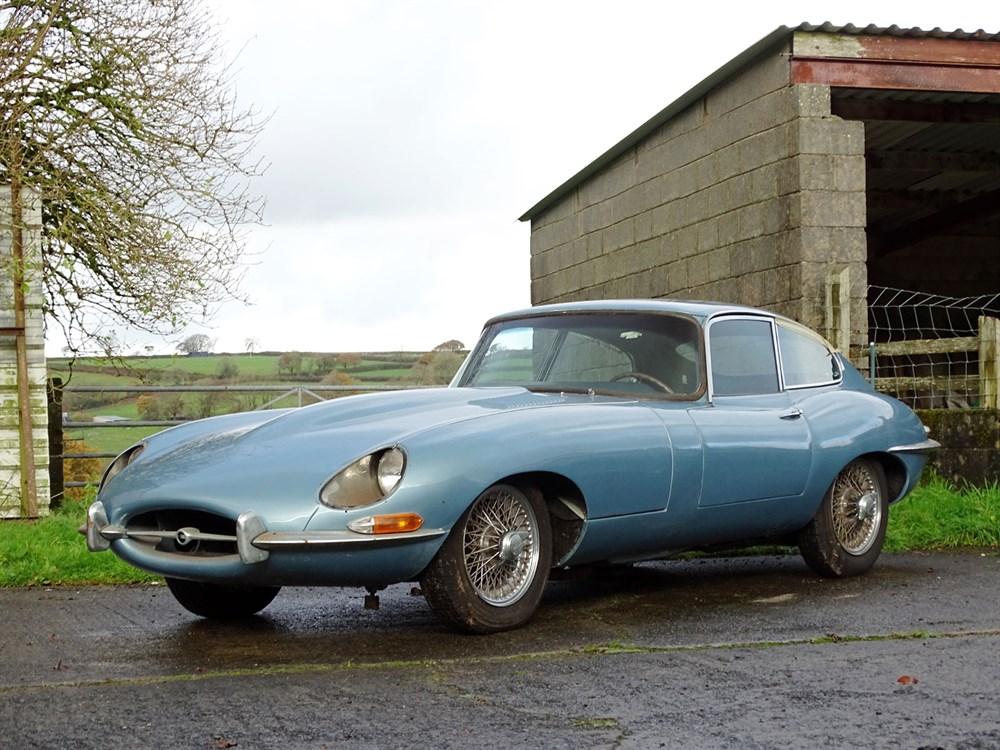
Favorite/greatest body style ever?
NOBLNG replied to Venom's topic in General Automotive Talk (Trucks and Cars)
I agree. I have this kit and have been really tempted to crack it open lately. My only worry is that my painting skills will not do it justice.
-
Another great comedy in a different vein is “Heartbreak Kid”. It’s a loose remake of 1972 movie. It didn’t get great reviews, but I enjoyed it.
-
One of my favourite lines: “Them syreens did this to Pete. They loved him up and turned him into a horny toad.” And how devastated Delmar is when John Goodman crushes him...?
-
Favorite/greatest body style ever?
NOBLNG replied to Venom's topic in General Automotive Talk (Trucks and Cars)
I don’t believe I’ve ever laid eyes on one of those before. It IS very nice! ? -
One of my favourite comedies is “ Oh Brother Where Art Thou”. Starring George Clooney, John Turturro and Tim Blake Nelson. I could watch it over and over. Great sound track too.
-
Nice...that does look like a beast! The wife drives a stock 2014 Wrangler. I may commandeer it when she wants a new vehicle.? I am making a sort of replica of my truck in the avatar and I may need a couple of struts.
-
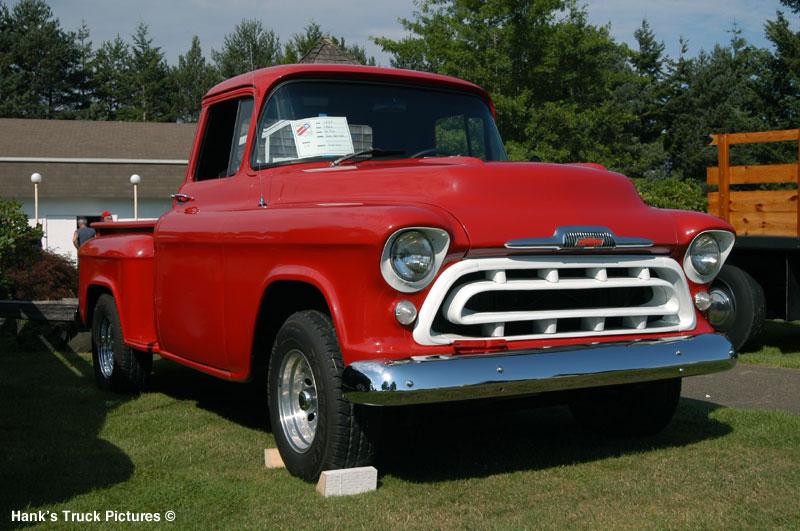
Favorite/greatest body style ever?
NOBLNG replied to Venom's topic in General Automotive Talk (Trucks and Cars)
For trucks, I think the best looking ones ever are the ‘55-‘59 Chevys. Particularly the ‘55!
-
Fantastic work Dan! I know what you mean about the never ending nit picking bits when scratch building...and I am not (or ever will be) anywhere close to this level. Kudos to you!? Are those door struts you’re making going to be functional? I’d like to know how to make them.?
-
It is! It doesn’t have to be expensive, a cheapo from HF is fine. I use mine a lot for checking the thicknesses of all my styrene sheet off cuts and the dimensional accuracy of the Evergreen and Plastruct shapes. If you’re going to scratchbuild anything, you need one.?
-
The CA is flammable cause it sure burns when you take a lighter to your applicator to clean it. Maybe not technically solvent, but I don’t even dunk my clean hot applicator back in the bottle till it’s cool.?
-
Favorite/greatest body style ever?
NOBLNG replied to Venom's topic in General Automotive Talk (Trucks and Cars)
I agree with the C2 Corvette...I wouldn’t change a thing. The back half of the ‘Cuda is beautiful...but the front could have been better? This is one of my all time favourites.
-
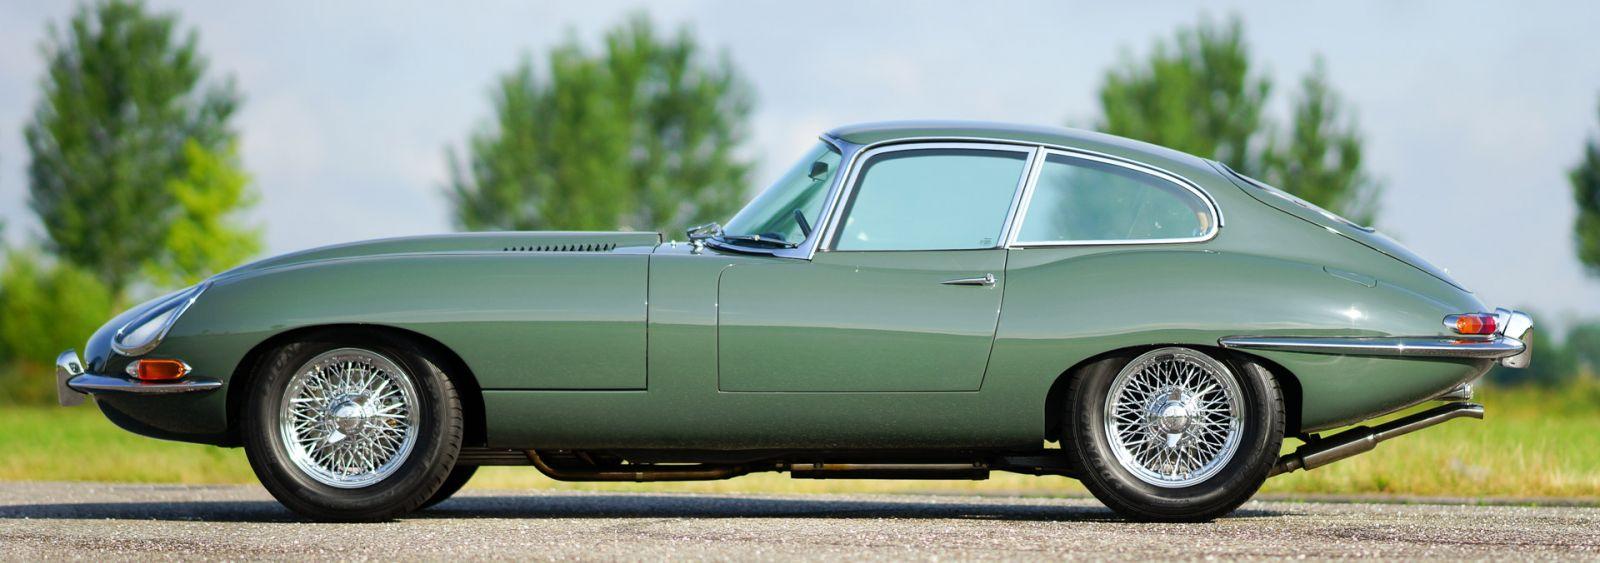
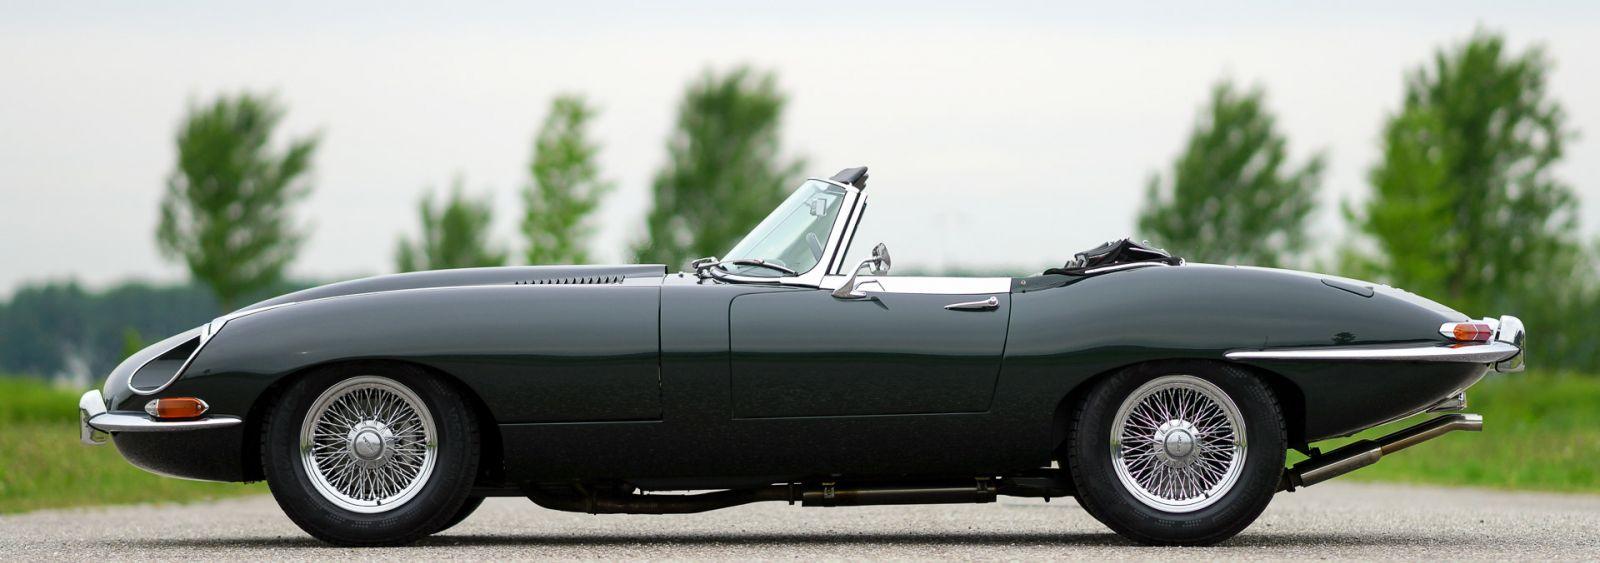
Favorite/greatest body style ever?
NOBLNG replied to Venom's topic in General Automotive Talk (Trucks and Cars)
I must say that the roof does somewhat detract from the looks slightly, as that convertible is absolutely gorgeous! -
They are quite nice! I have recently printed my own also.
-
Wow, some outstanding details in that build! I have some 0.015” guitar string that would work nicely for linkage rods.
-
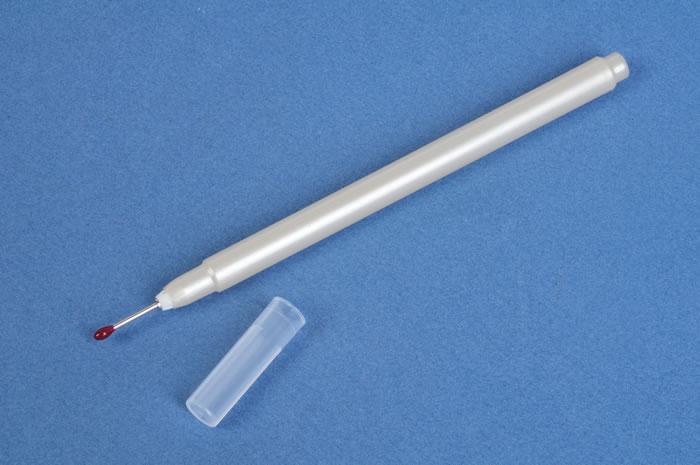
Something like this? I don’t have one, so I don’t know how well it works. http://www.hyperscale.com/2011/reviews/tools/pickandplacereviewbg_1.htm