NOBLNG
-
Posts
10,233 -
Joined
-
Last visited
Content Type
Profiles
Forums
Events
Gallery
Everything posted by NOBLNG
-

‘54 Willys P/U
NOBLNG replied to NOBLNG's topic in WIP: Model Trucks: Pickups, Vans, SUVs, Light Commercial
Thanks for your interest...I am just making these for myself though. And thanks everyone for the compliments!? -
What did you screw-up today??
NOBLNG replied to TransAmMike's topic in General Automotive Talk (Trucks and Cars)
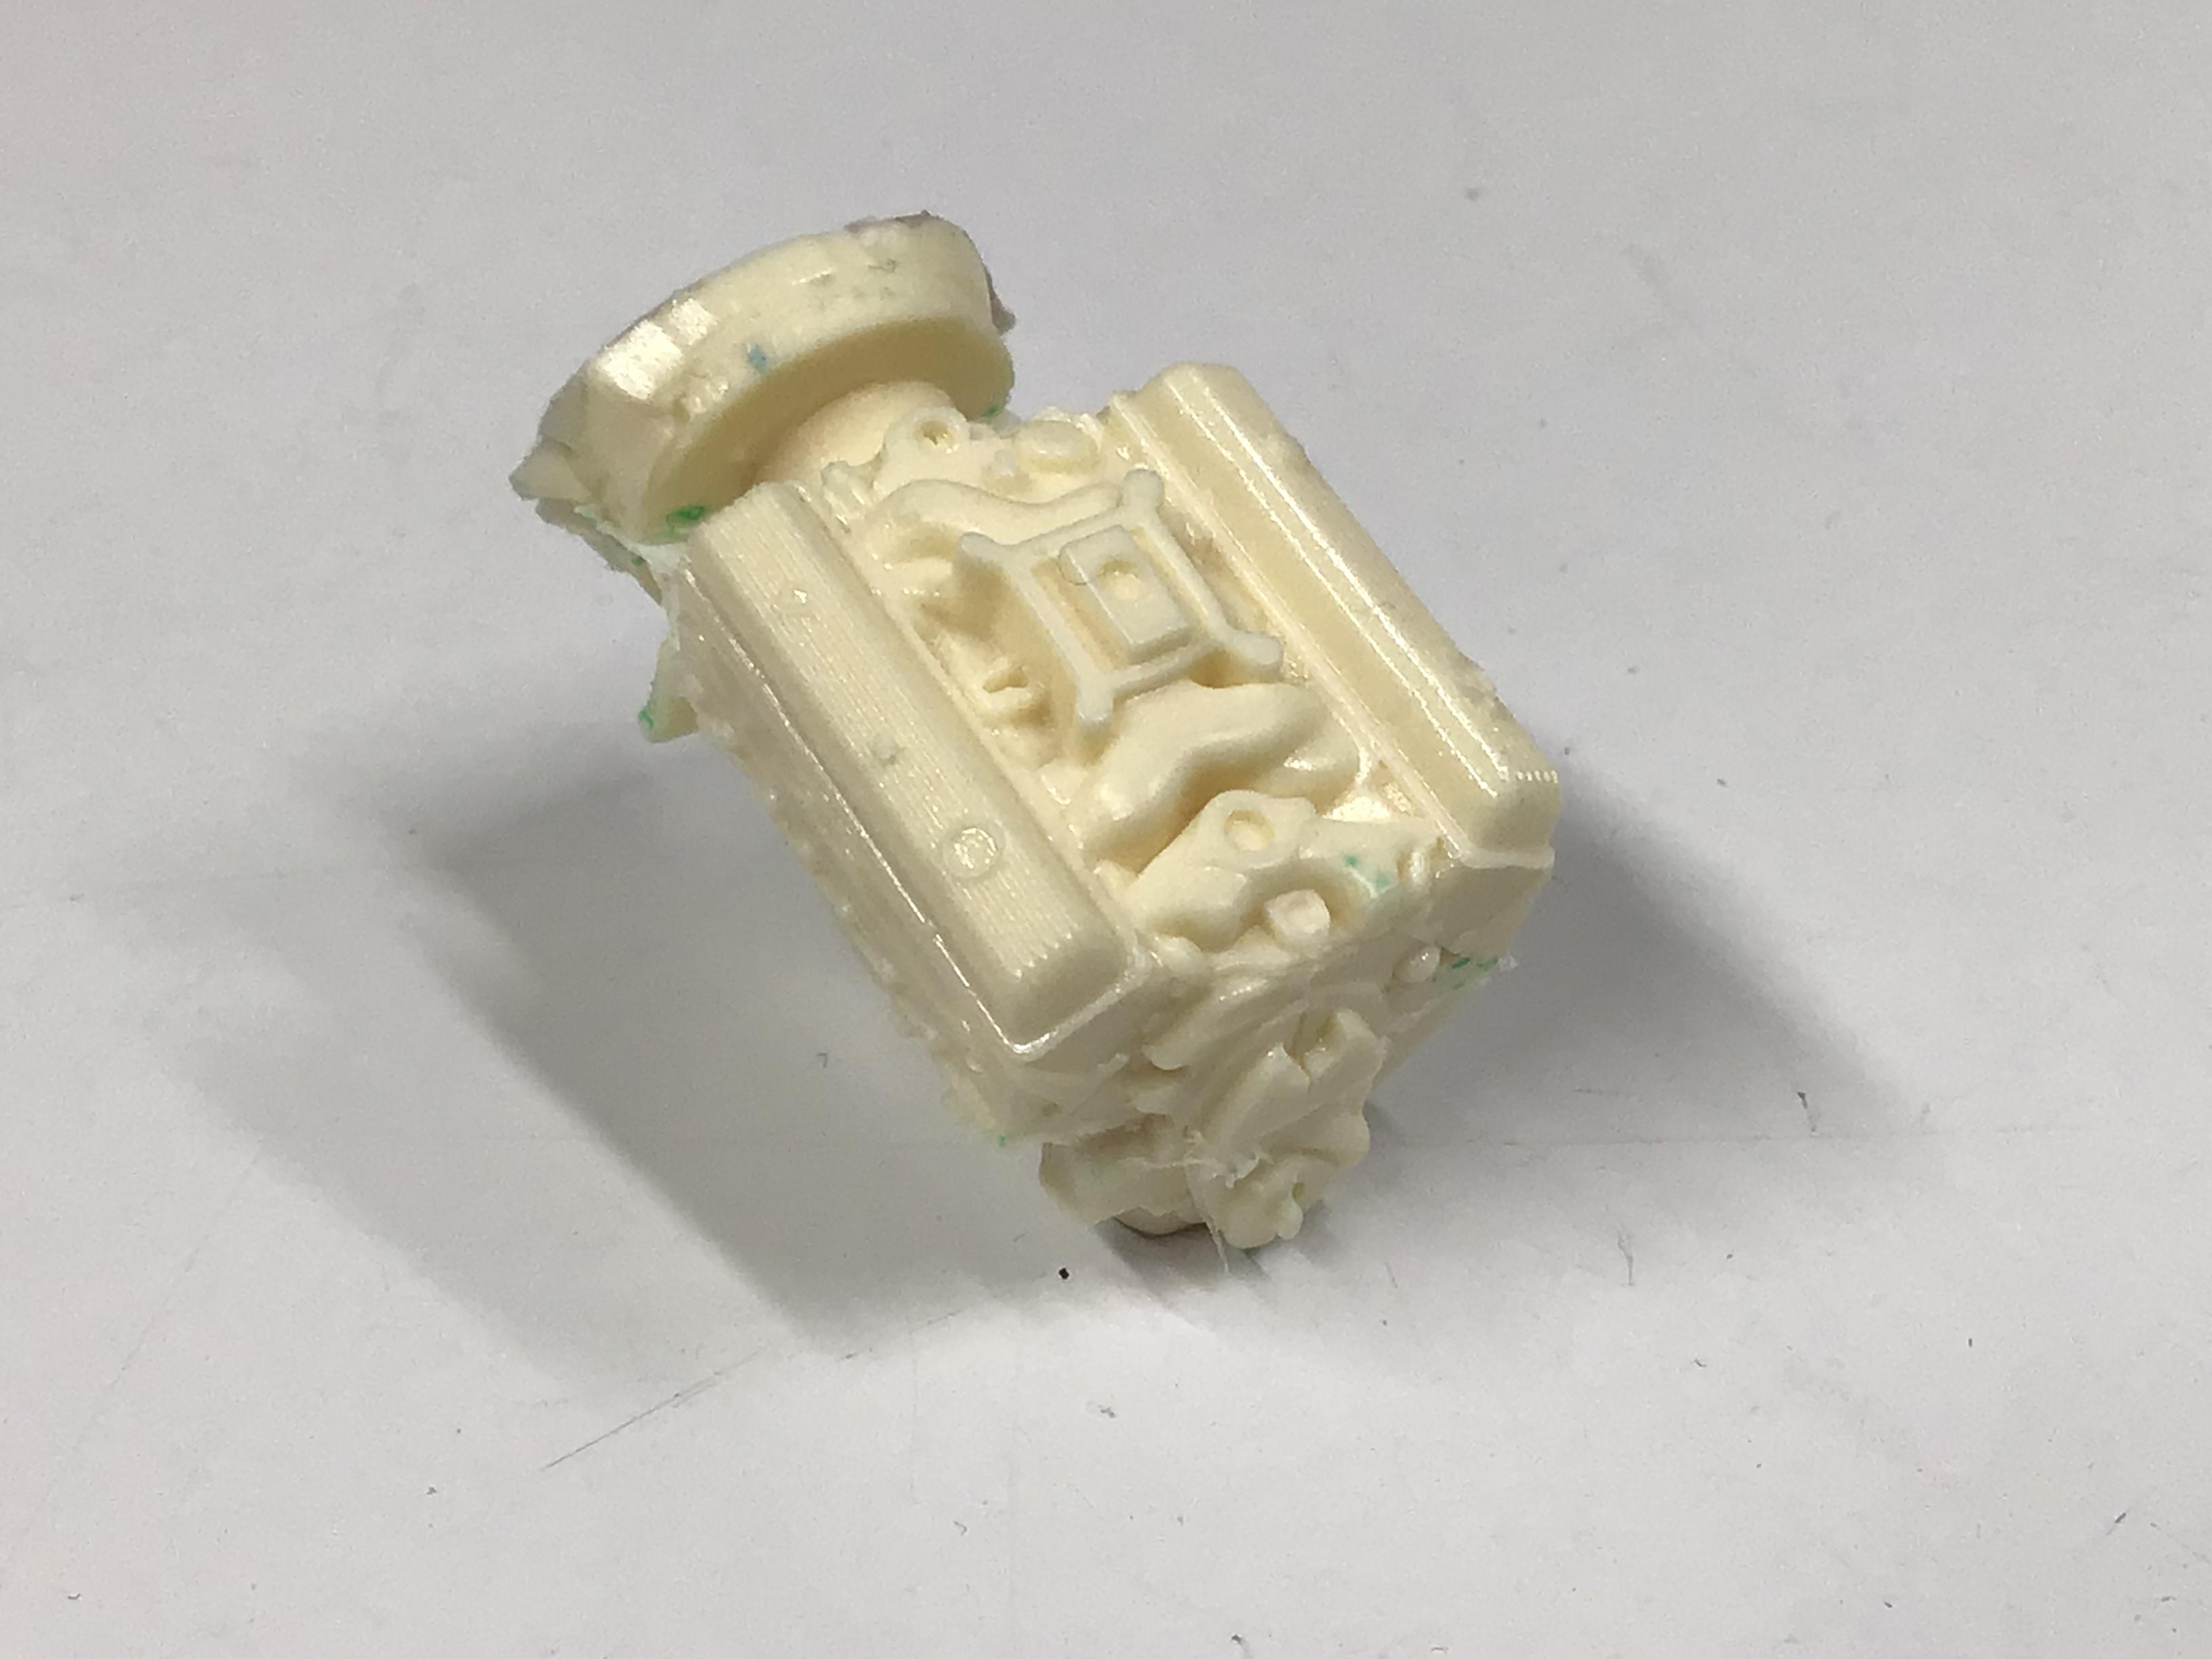
My latest resin casts didn’t harden up properly. I must not have mixed them well enough, as it’s not the first casts from this batch of resin.
-
What did you screw-up today??
NOBLNG replied to TransAmMike's topic in General Automotive Talk (Trucks and Cars)
We have the same first aid kit ?, although I don’t know how this happened. We were out shopping for a new recliner for the wife and on the way home I noticed I was bleeding. ?
-
‘54 Willys P/U
NOBLNG replied to NOBLNG's topic in WIP: Model Trucks: Pickups, Vans, SUVs, Light Commercial
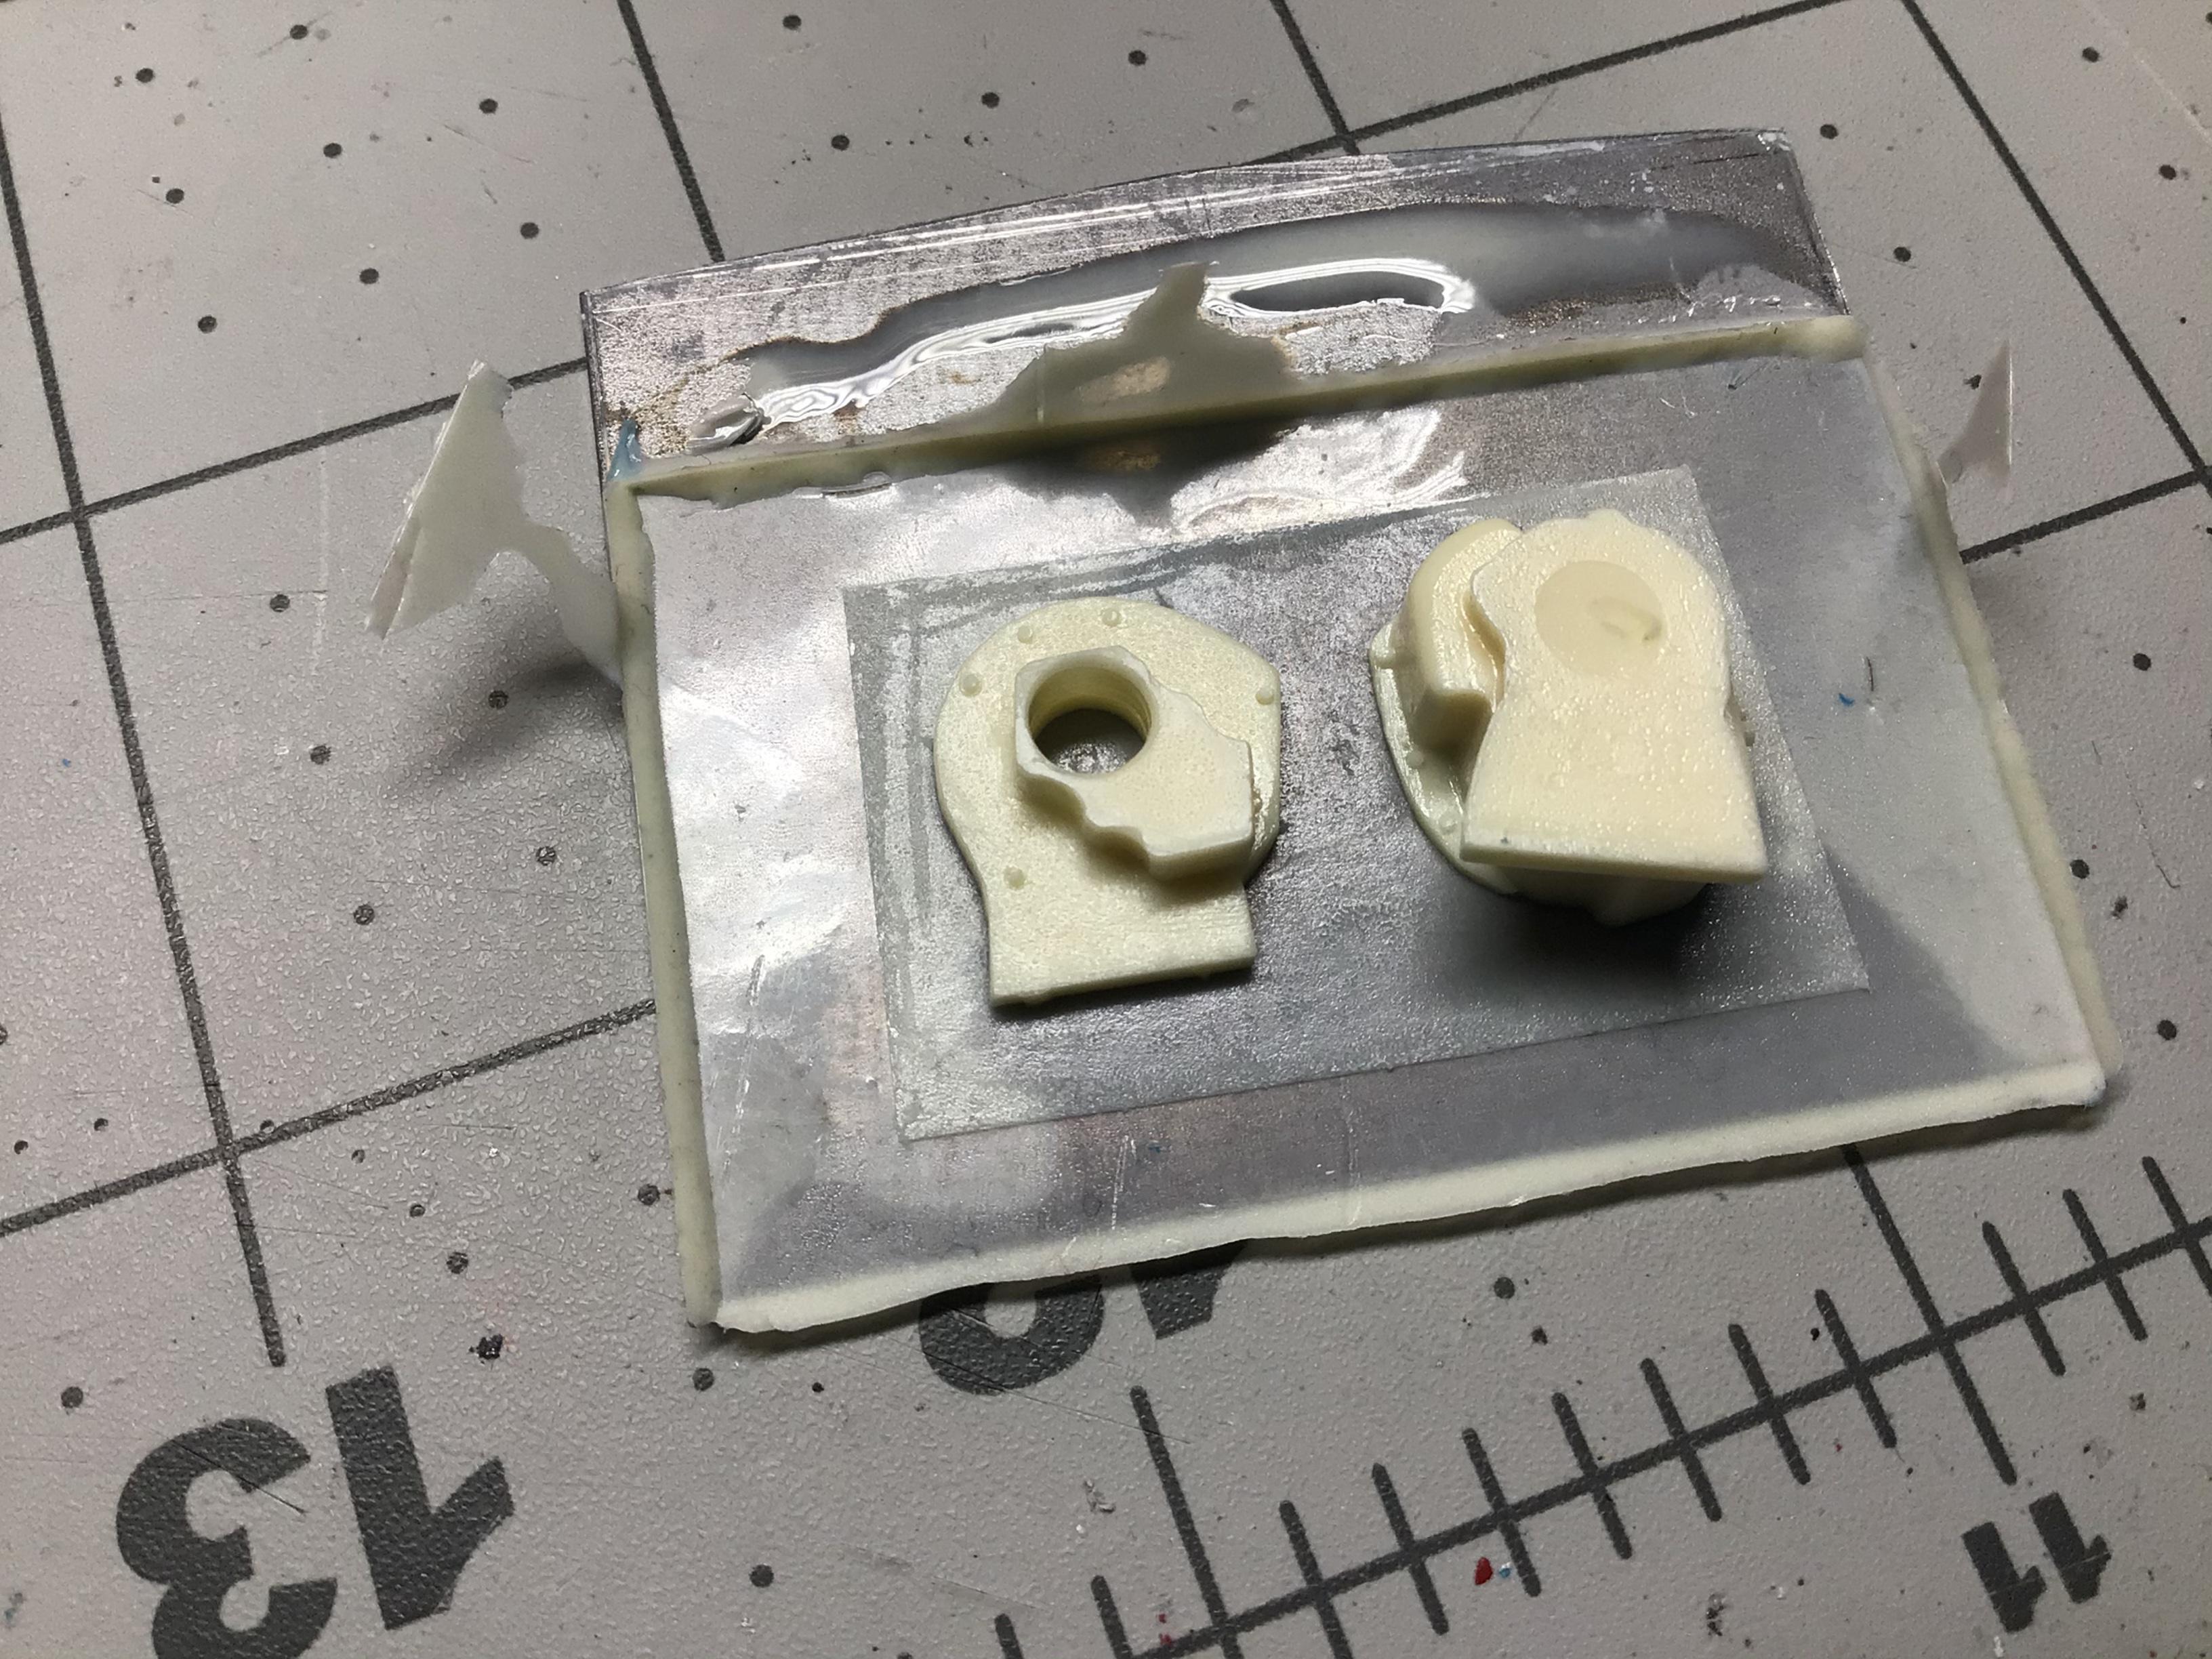
I fabbed a couple of steering boxes and cast them. At first I did the GM one on the right, which mounts outside the frame, since that is what my truck has. Then I remembered that I switched to the J10 frame, so I need one that mounts inside the frame. Now that I have the box, I can get started on the linkages.
-
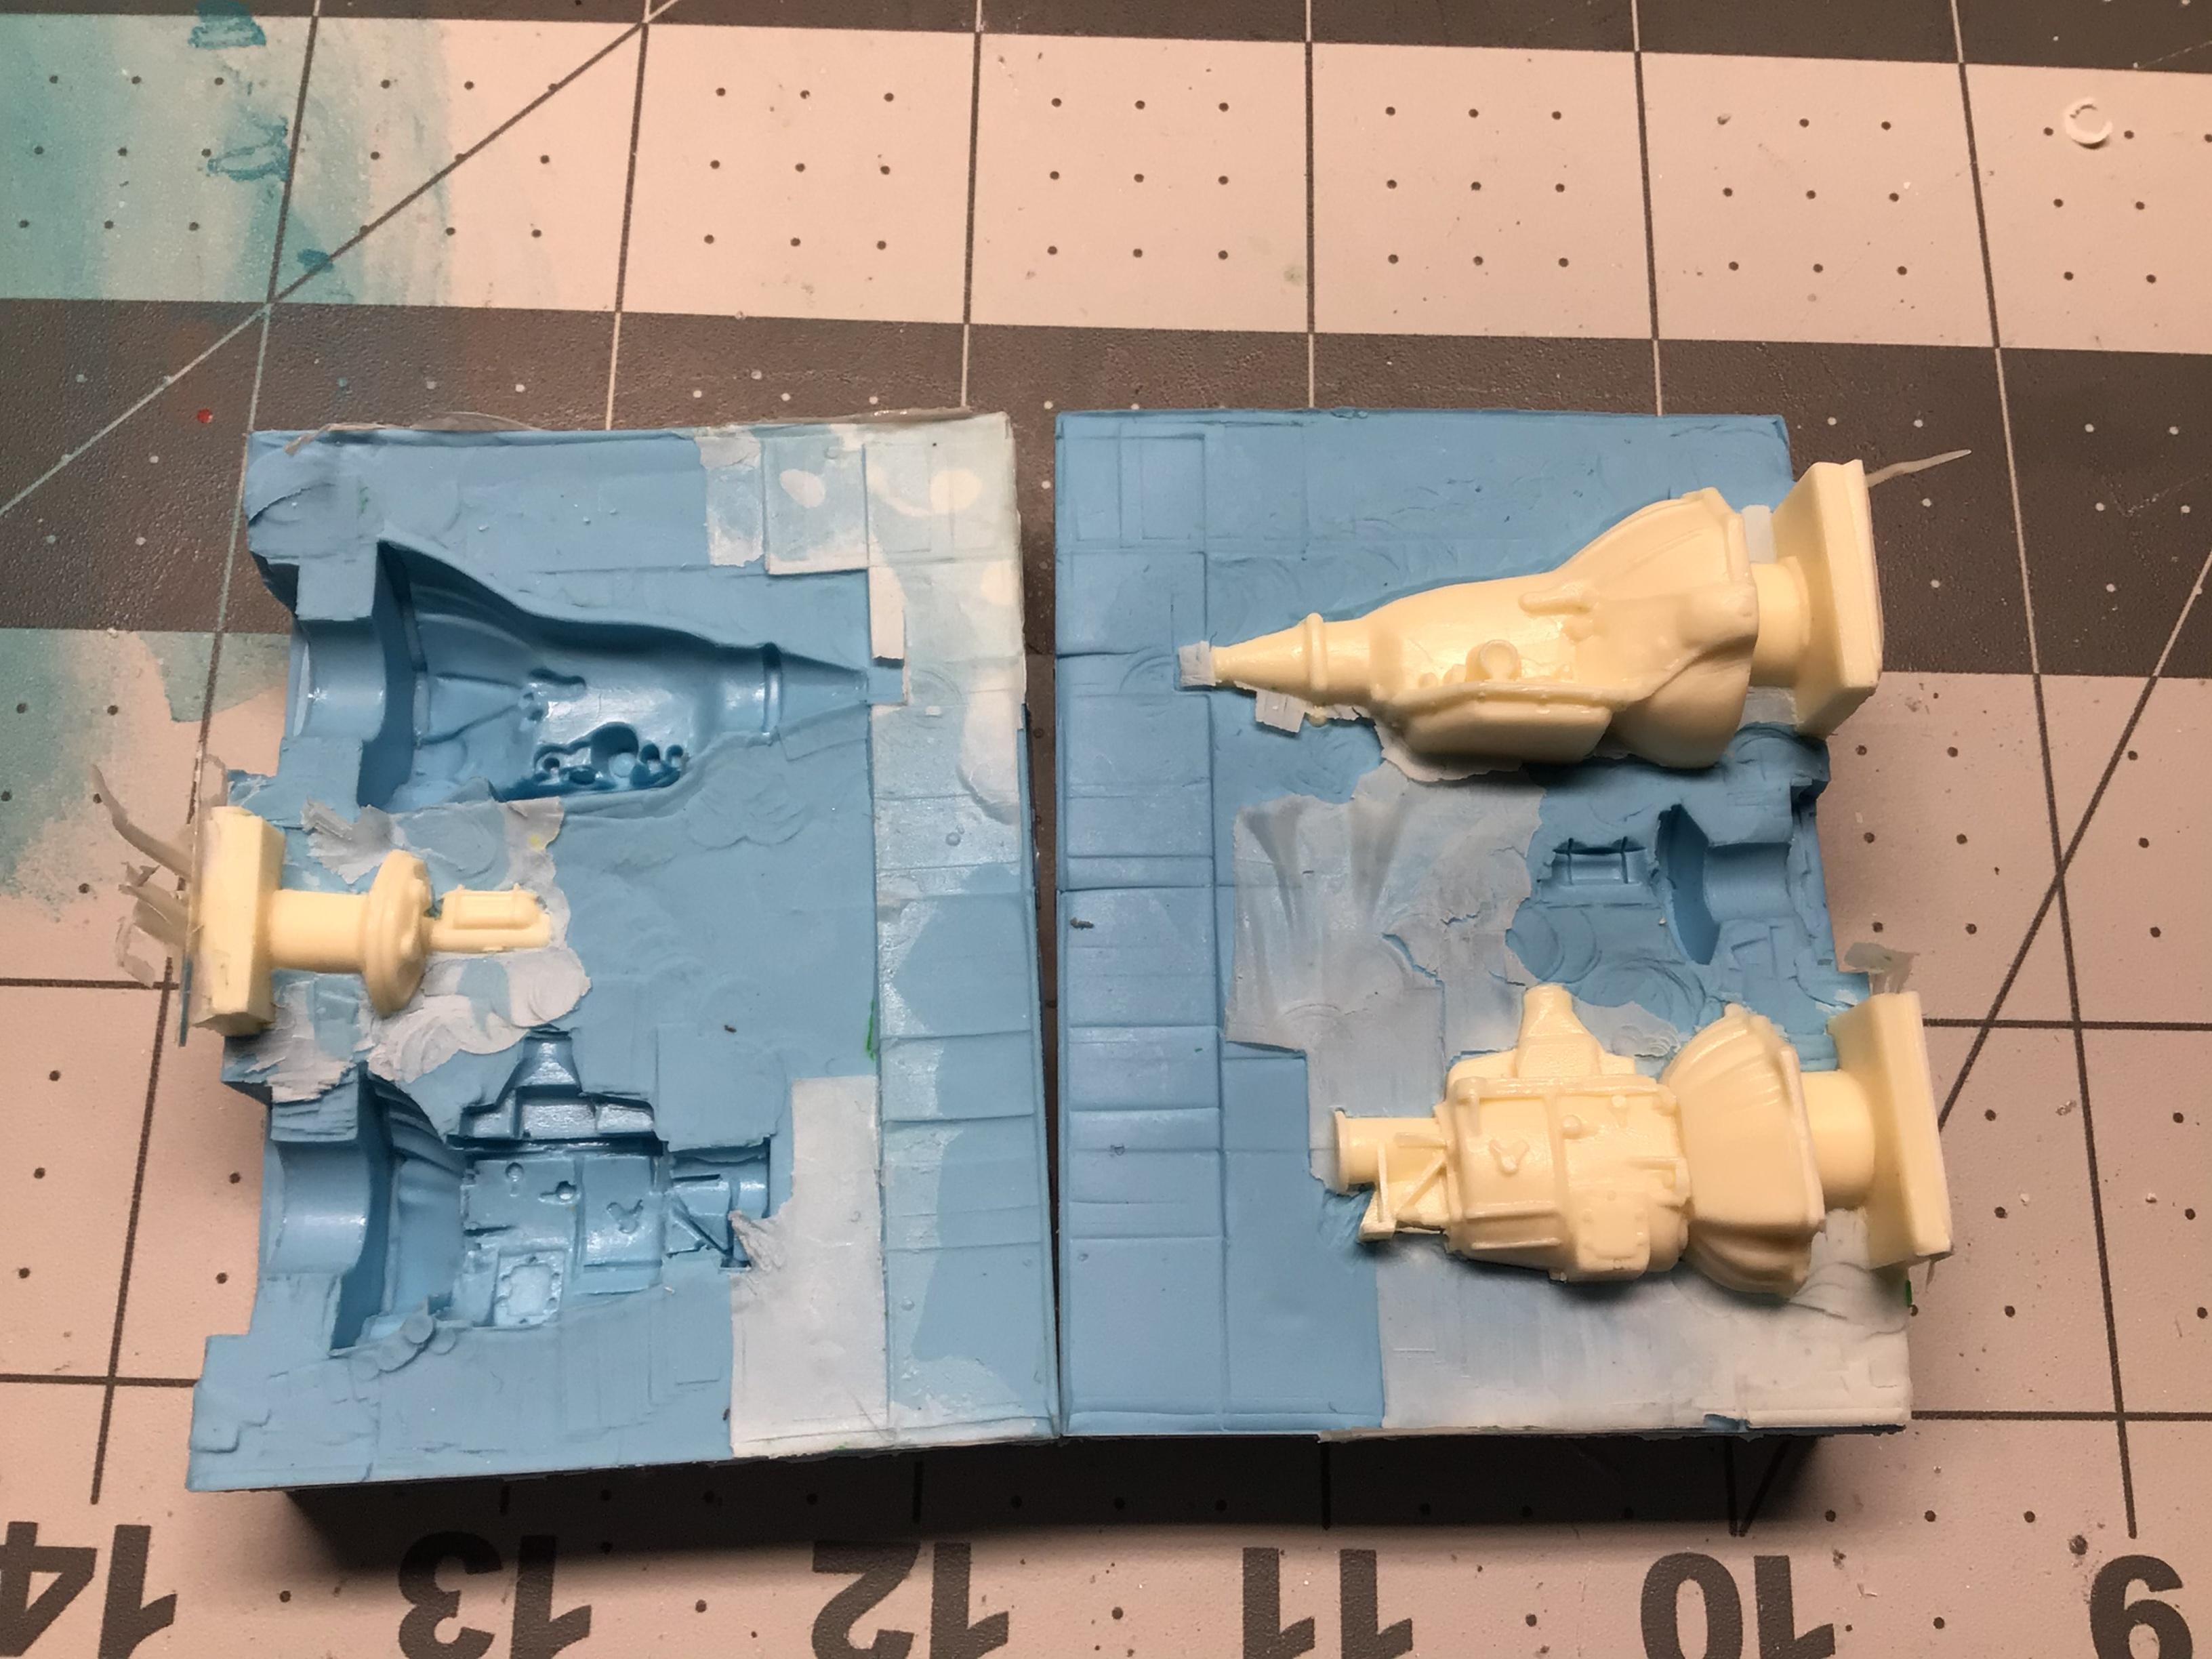
I cast a bunch of miscellaneous parts.
-
I’ve never heard of that...so I looked it up and it sounds like great stuff! I am going to pick some up at Michaels later today.
-
Nice. Everyone should have silly, fun projects in their life.??
-
I like the rear deck treatment and the side scoops.?
-
I think the stance looks just fine. Nice job so far.?
-
Most Involved Part of Building?
NOBLNG replied to JollySipper's topic in General Automotive Talk (Trucks and Cars)
That is definitely what is holding me up on my current project. I’ve been casting copies of my scratch built parts and parts from kits that I don’t want to steal from. -
1953
-
Most Involved Part of Building?
NOBLNG replied to JollySipper's topic in General Automotive Talk (Trucks and Cars)
I think it’s FINDING parts and tools that I’ve just laid down on my bench minutes ago.? -
Snap Kit Rig
NOBLNG replied to Chariots of Fire's topic in Model Trucks: Pickups, Vans, SUVs, Light Commercial
That looks great! Nice job.? -
I ordered some lego bricks to use in mold making. They left Jamaica NY with DHL on Mar 9th. Arrived in Avenal NJ on the 24th and are still there! ??? I don’t mind if they are getting bumped by vaccines...but I am sure that is NOT the case.
-
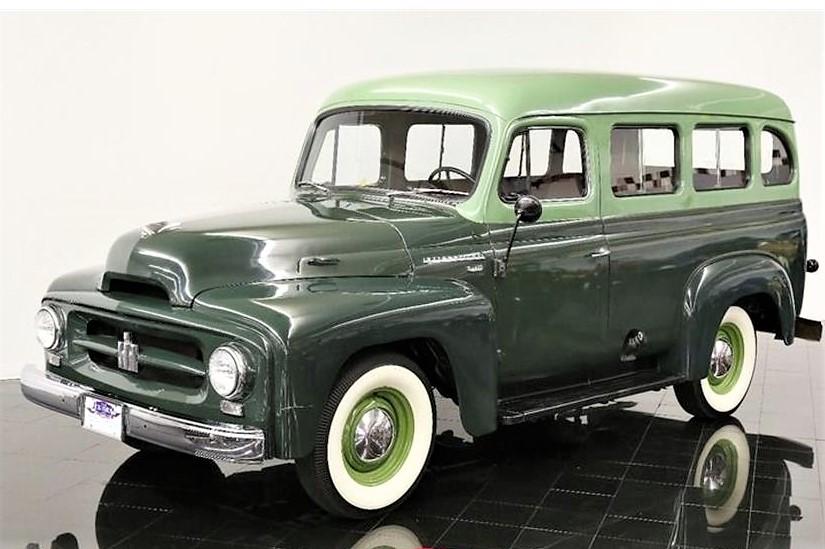
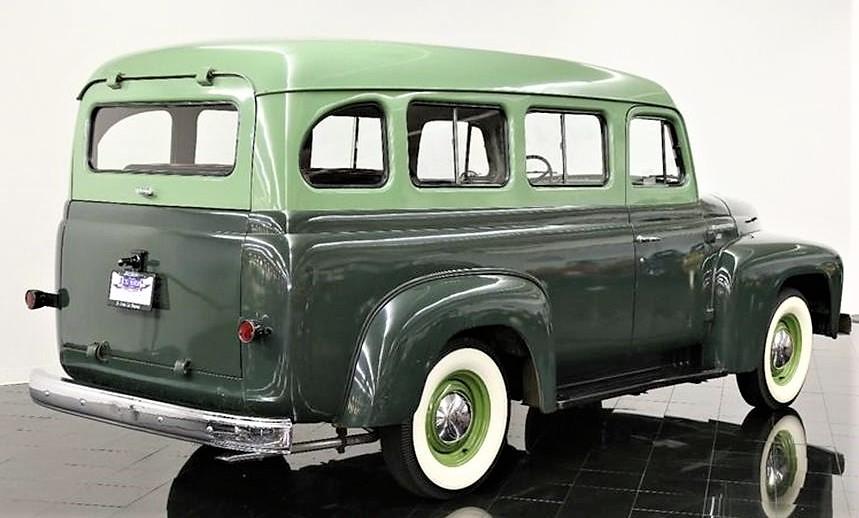
what kind of truck is this?
NOBLNG replied to youpey's topic in General Automotive Talk (Trucks and Cars)
I concur. Definitely a Scout. International did make an 800A earlier, but it was quite a bit smaller, and the grill was different. -
Type this into google and you will get a whole bunch of threads on here about the topic. Some will be more helpful than others. Substitute “frame building” for any other topic you want to research. site:modelcarsmag.com frame building
-
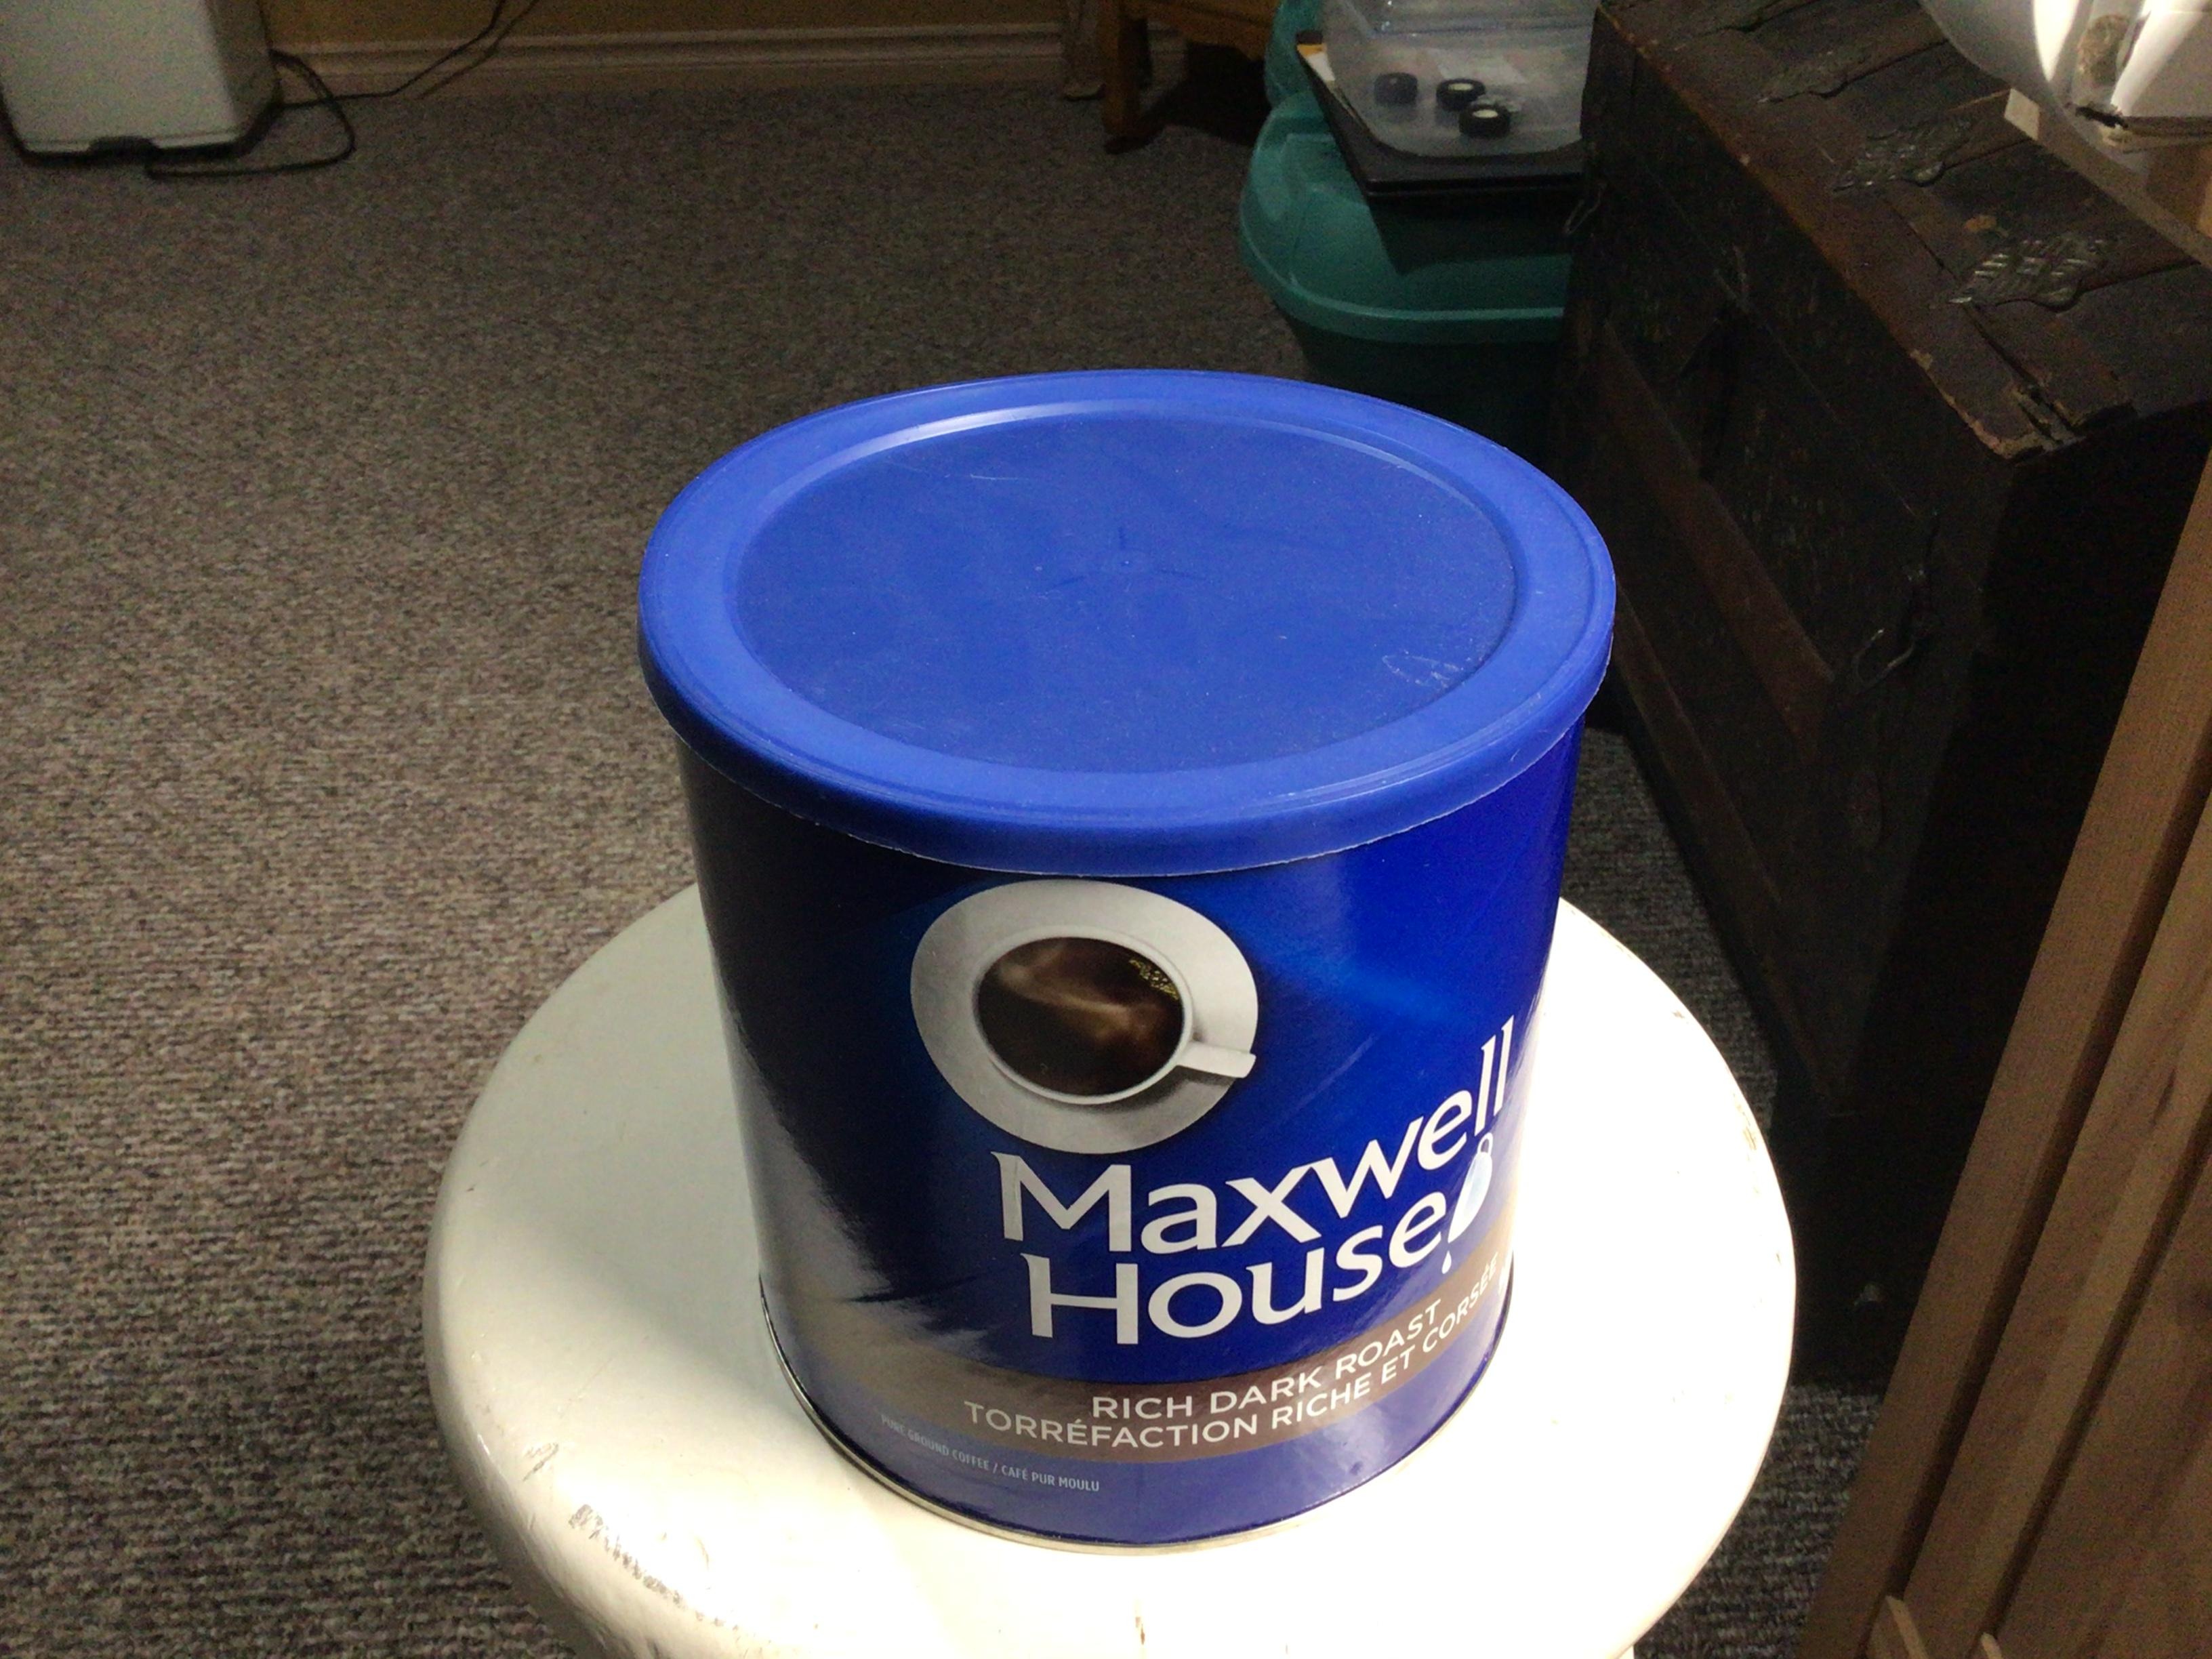
One trick I just learned is that CA will not stick to whatever plastic a coffee can lid is made of (polypropylene)? I can use one as a base for glueing parts together with CA.? No worries about glueing them to my cutting matt or the glass or metal plate that I use when gluing parts with Tamiya cement.??
-
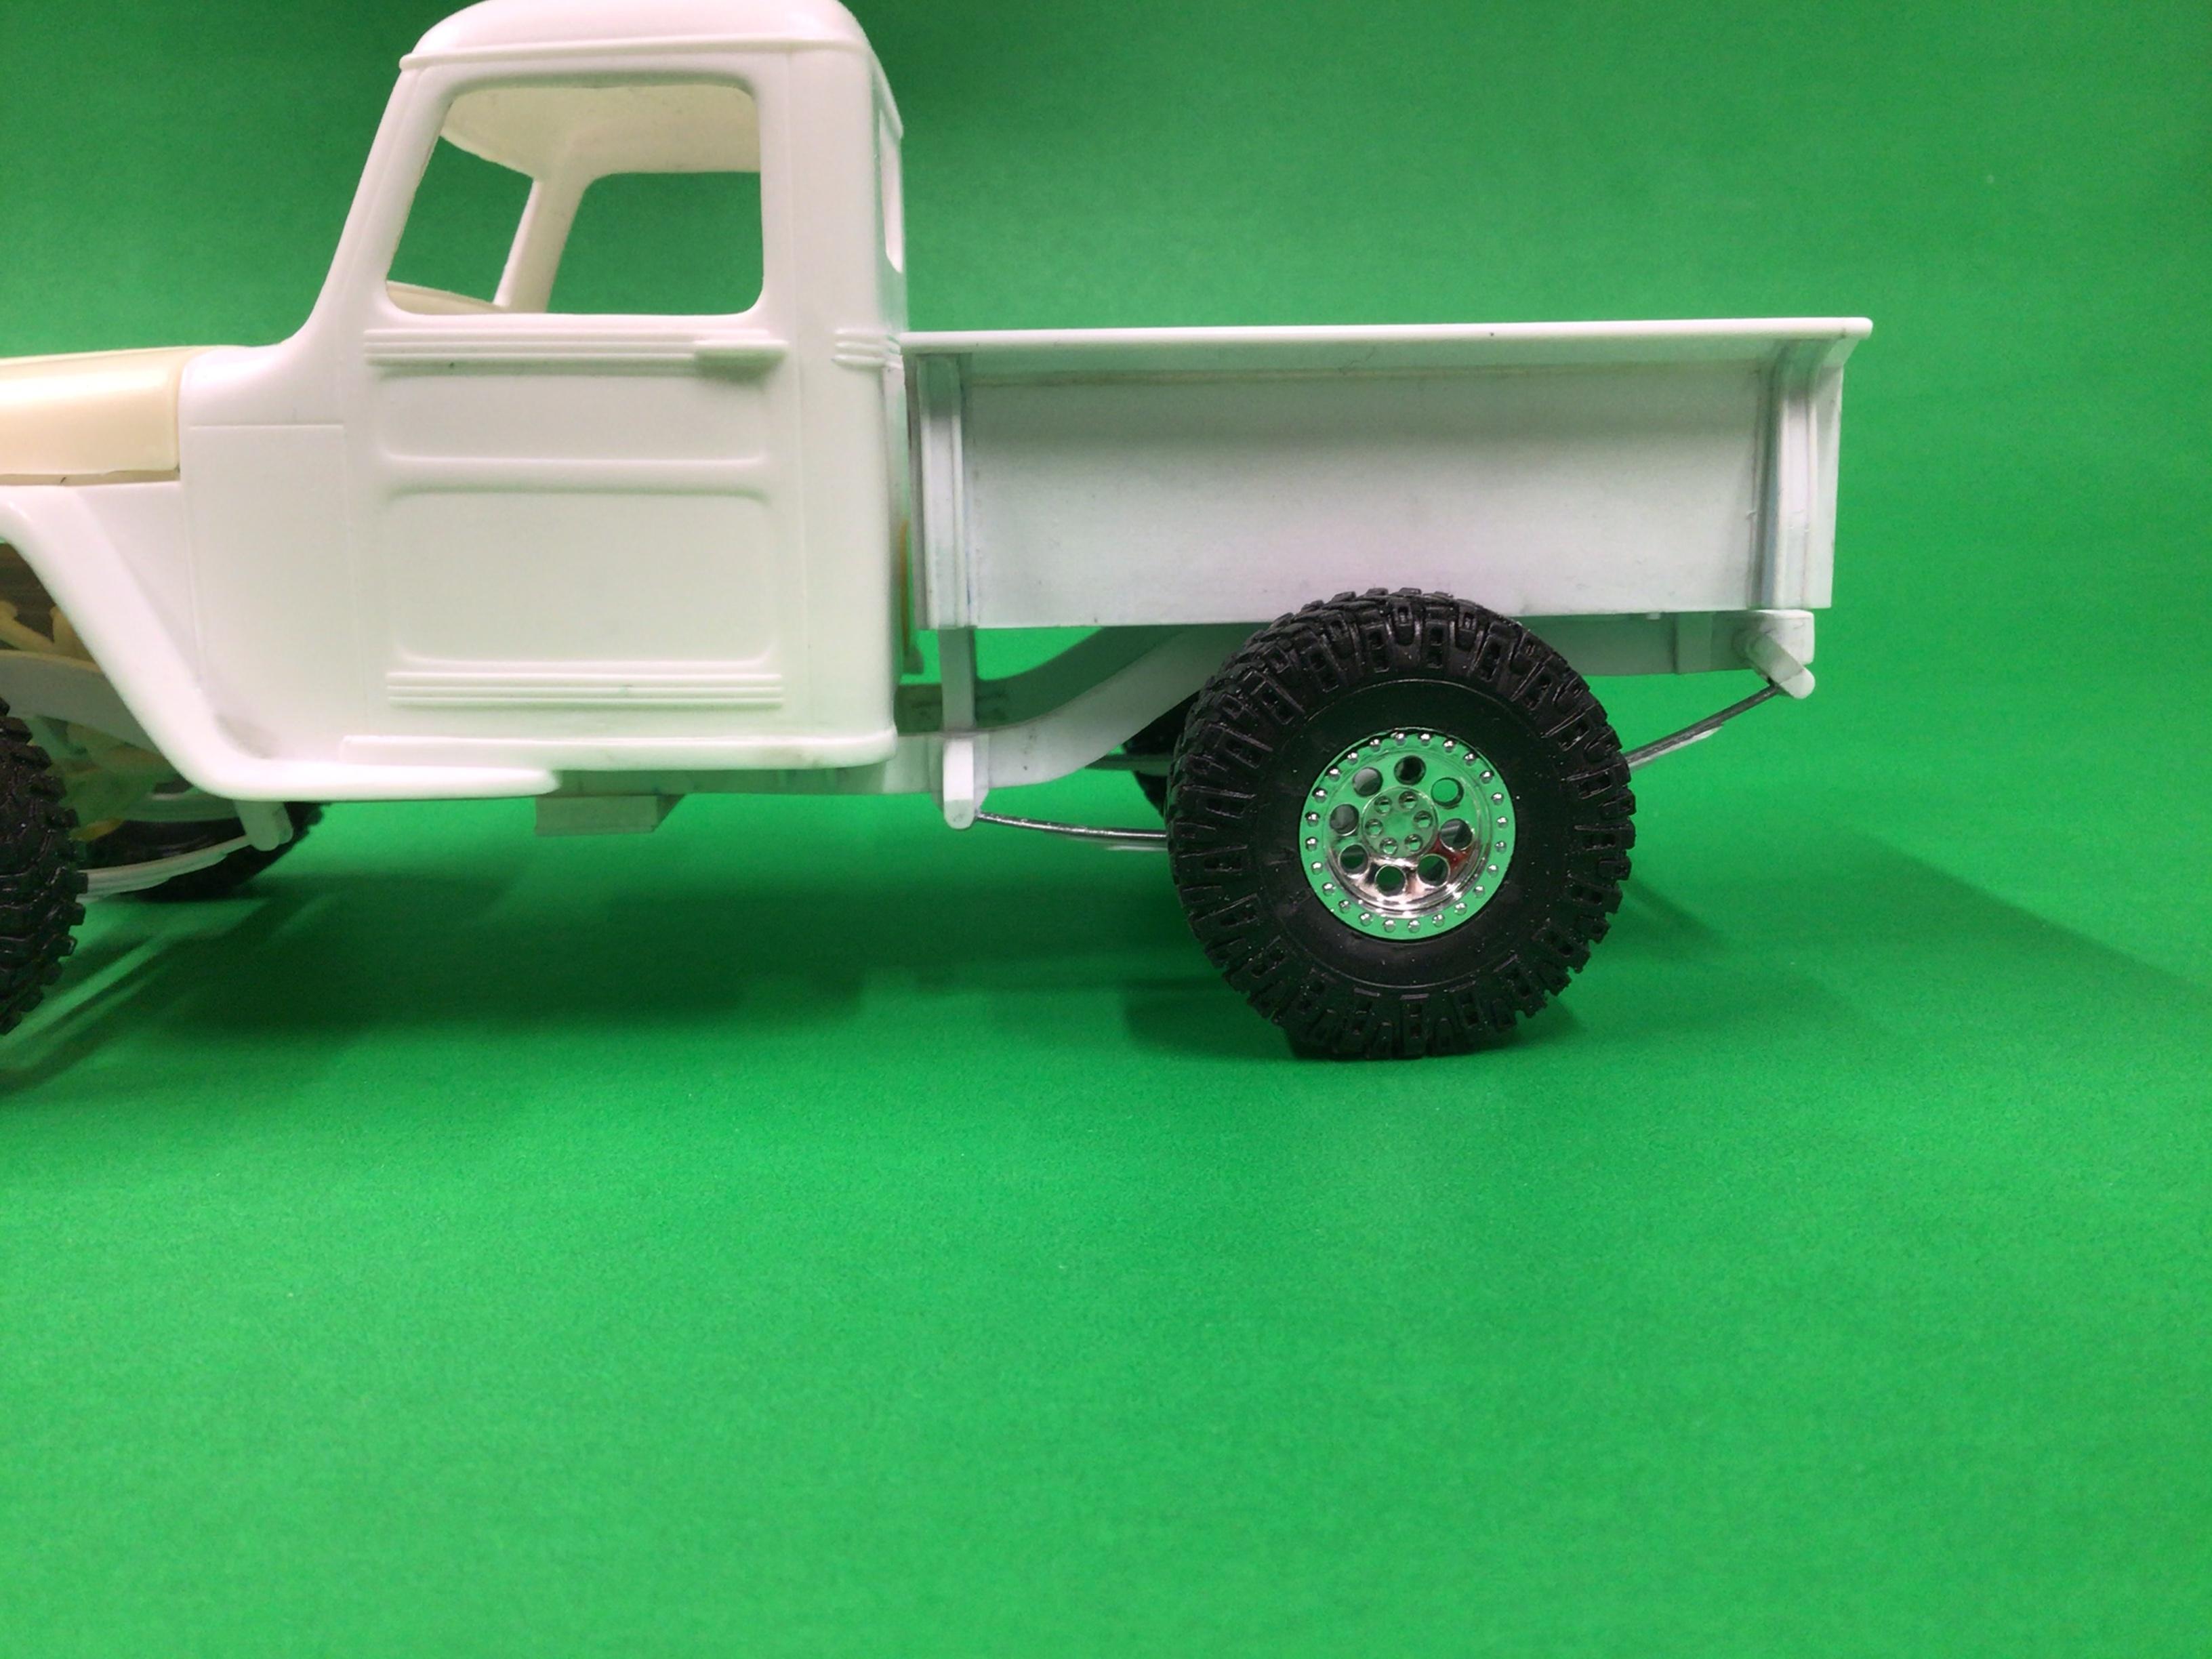
‘54 Willys P/U
NOBLNG replied to NOBLNG's topic in WIP: Model Trucks: Pickups, Vans, SUVs, Light Commercial
Thanks Tom. Mmm...yes, pins are good. I try to pin everything.? Thanks Tom. It seemed like a logical method once it occurred to me. It won’t be any contest winner, that’s for sure...but that shallow roof profile and flat windshield are two flaws I couldn’t live with. And after going through the work to correct it, I figured why not cast it so I don’t have to duplicate my efforts in the future. -
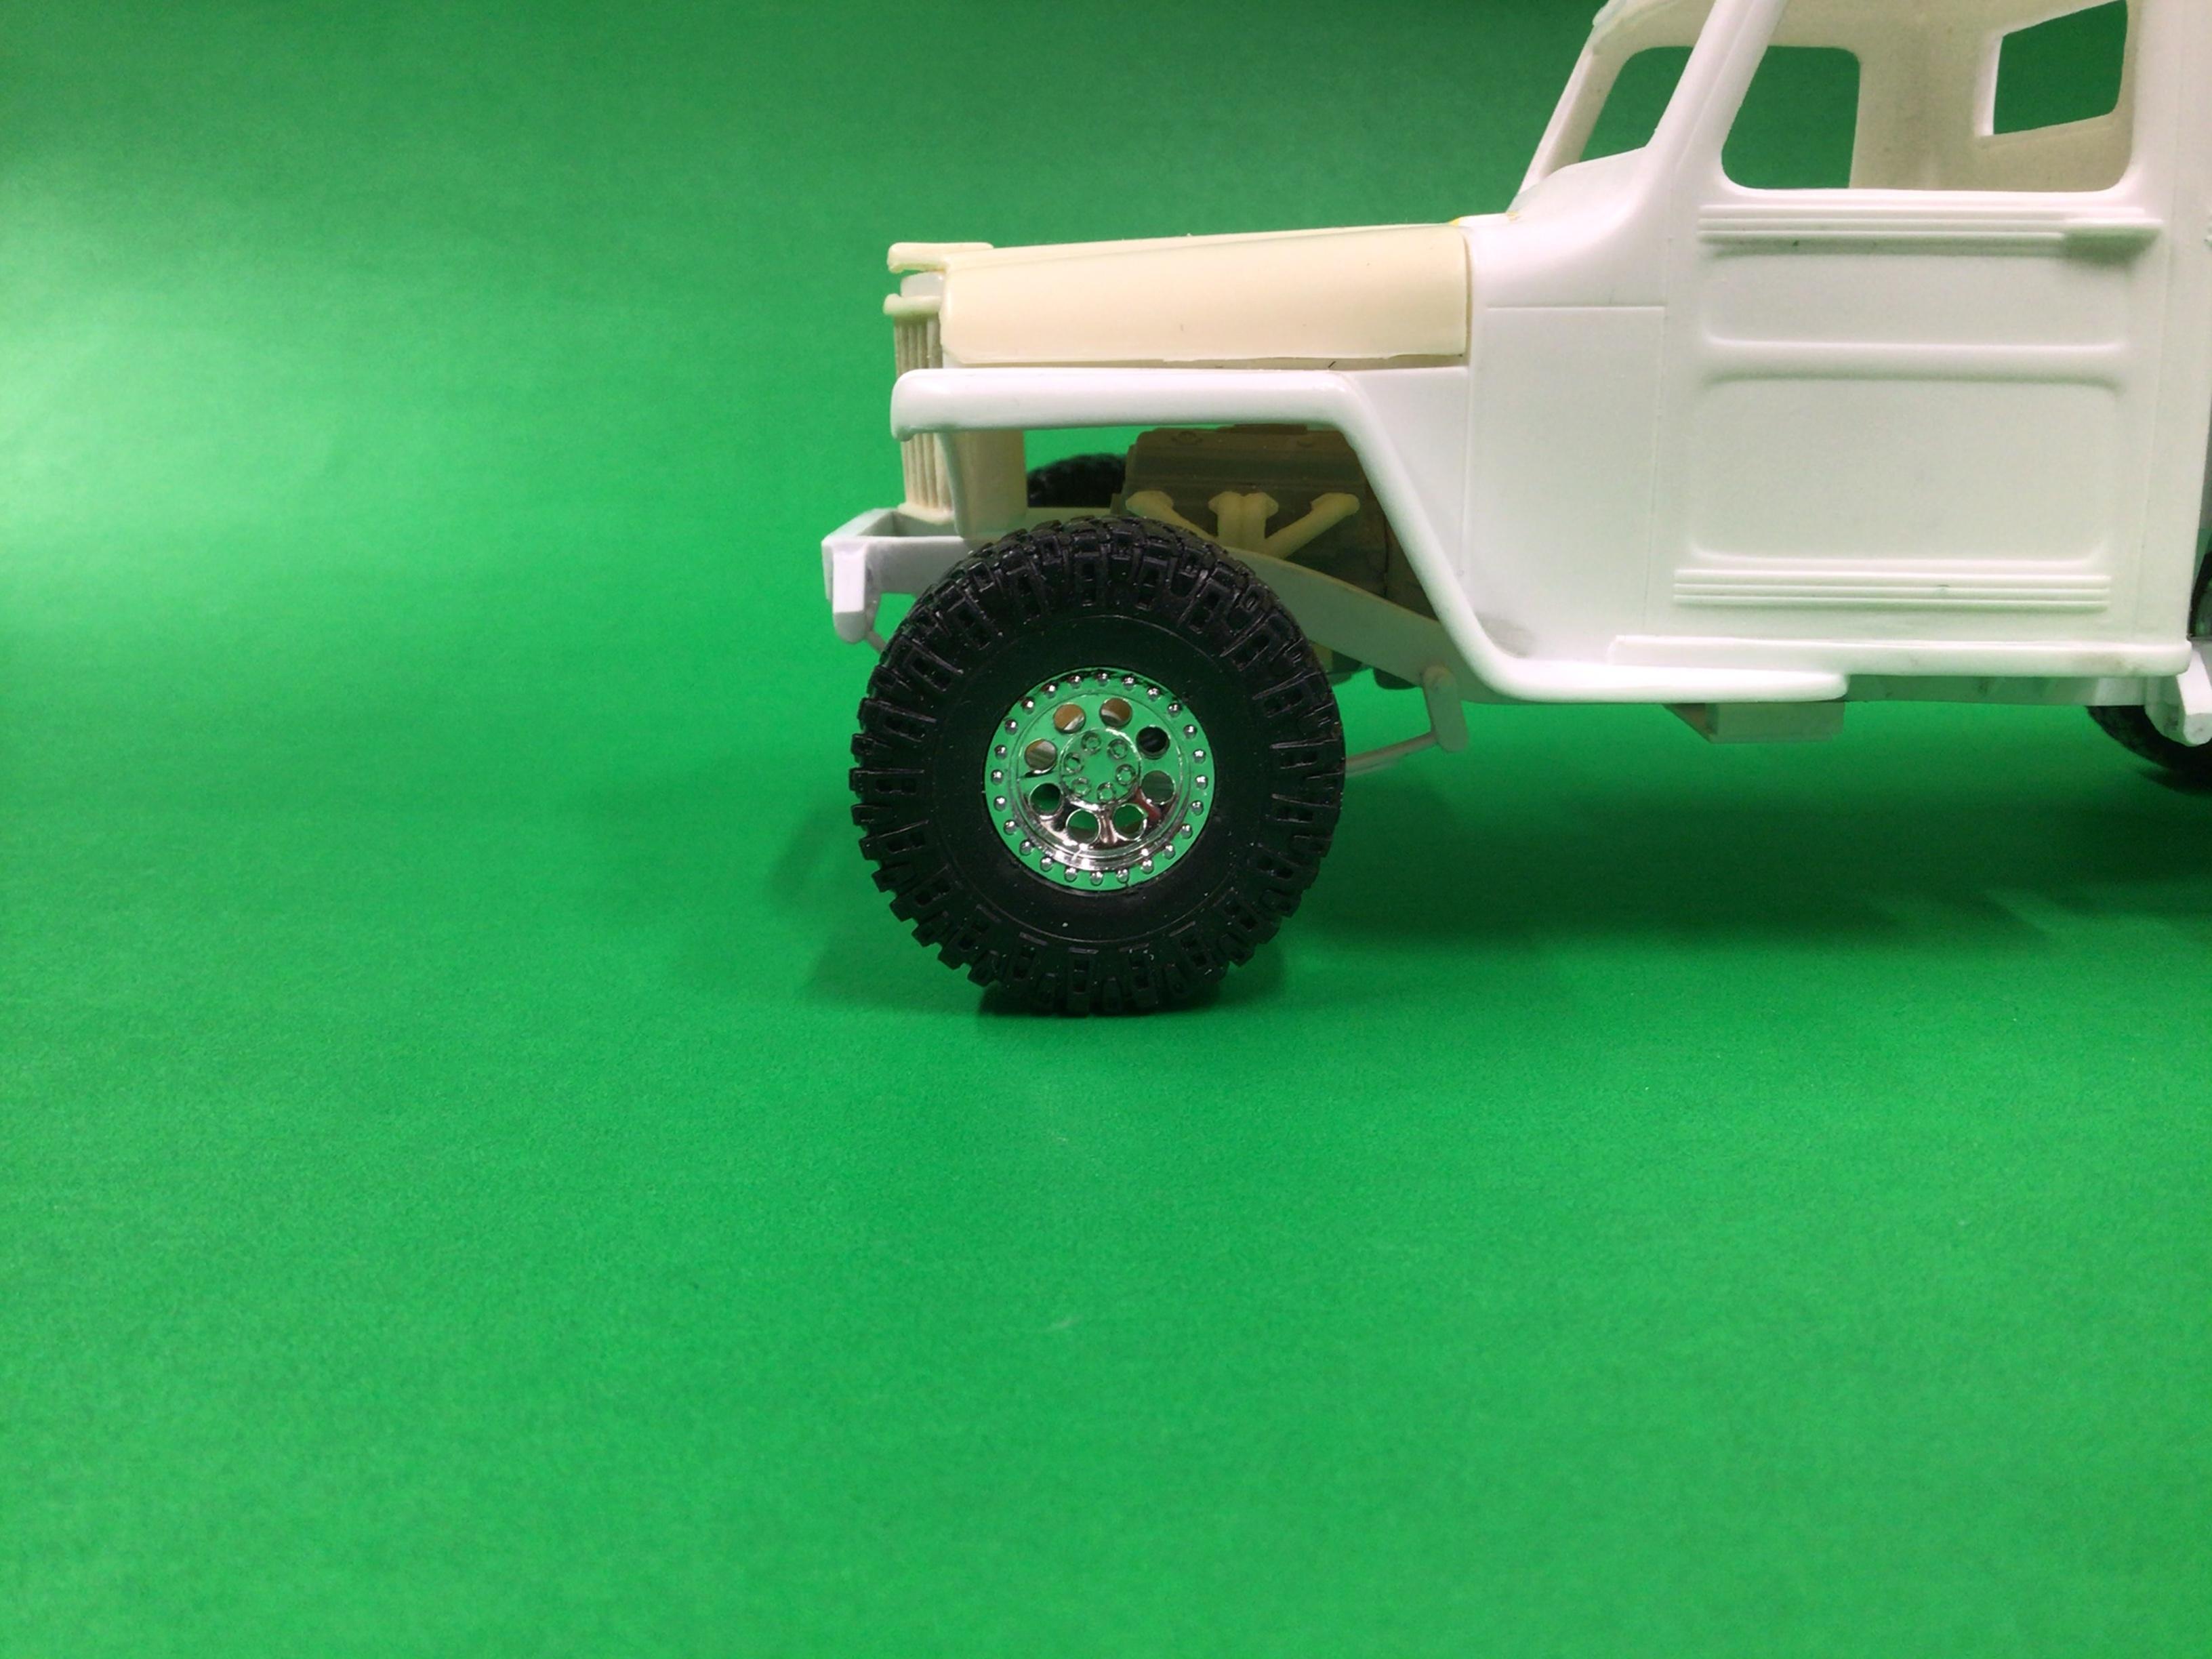
‘54 Willys P/U
NOBLNG replied to NOBLNG's topic in WIP: Model Trucks: Pickups, Vans, SUVs, Light Commercial
I built the driveshafts from aluminum tubing. There is a post in the tips section on how I made them. Next up is fabricating some steering gear.? Thanks for lookin’!
-
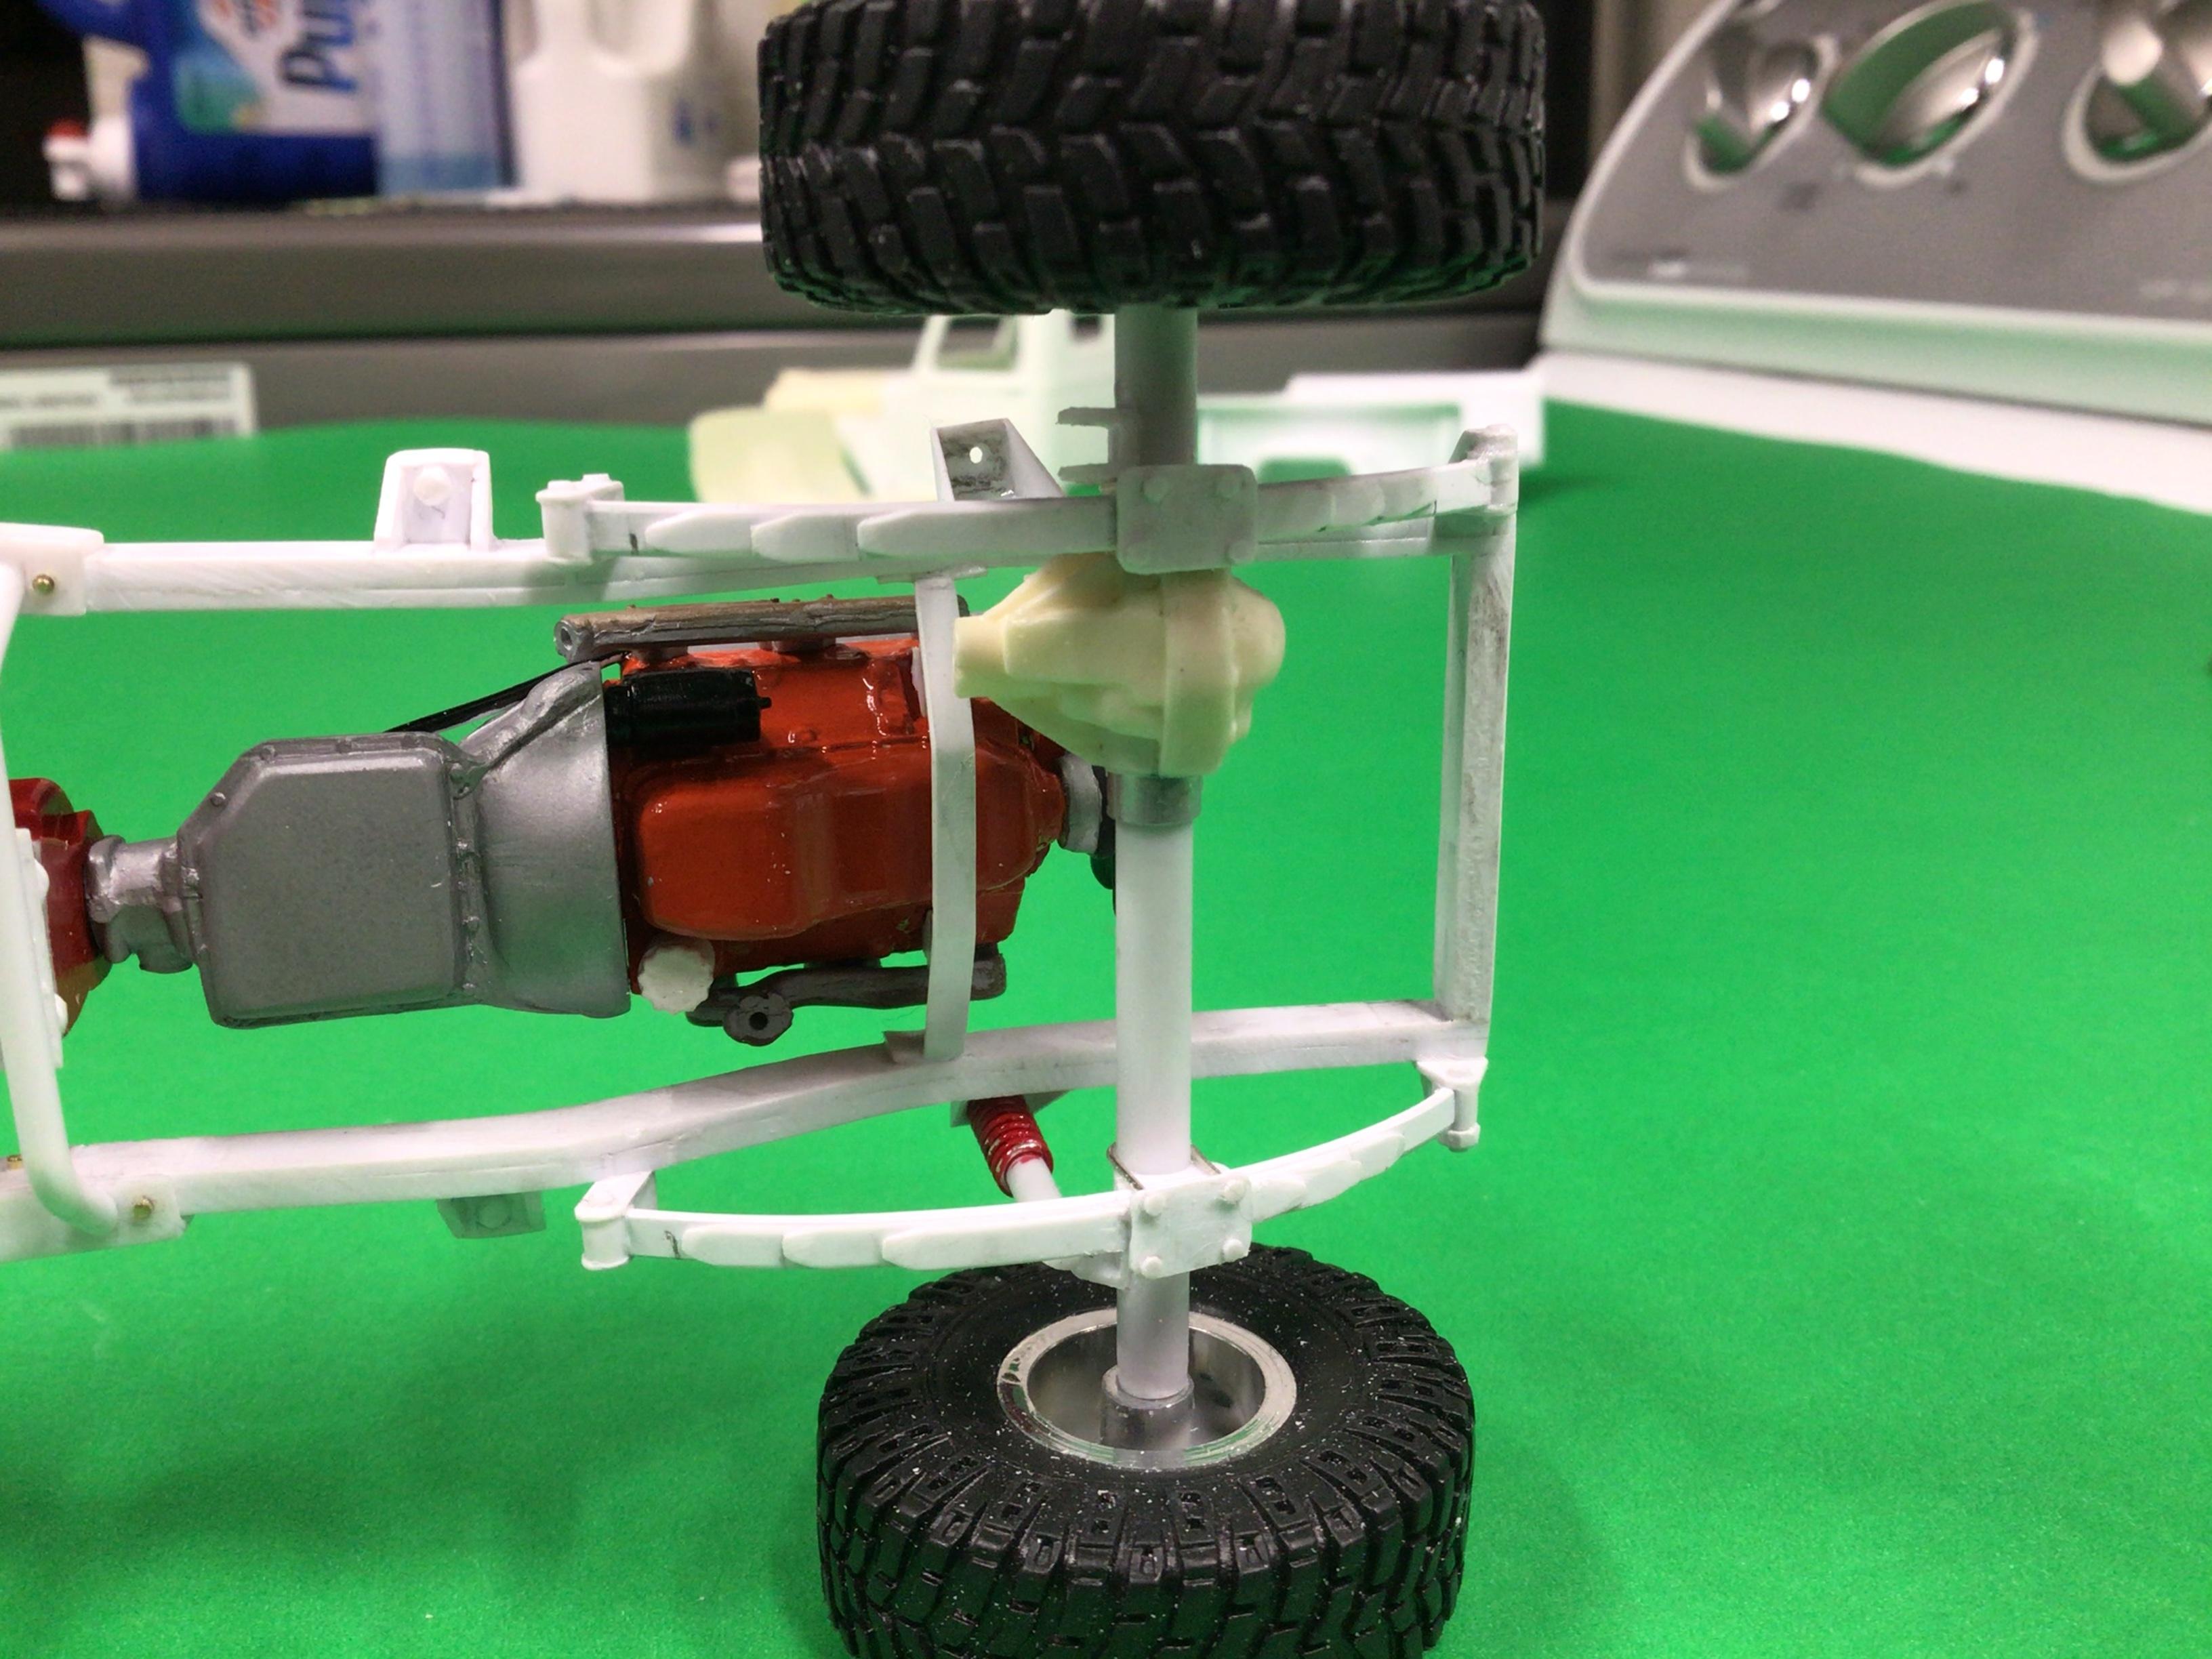
‘54 Willys P/U
NOBLNG replied to NOBLNG's topic in WIP: Model Trucks: Pickups, Vans, SUVs, Light Commercial
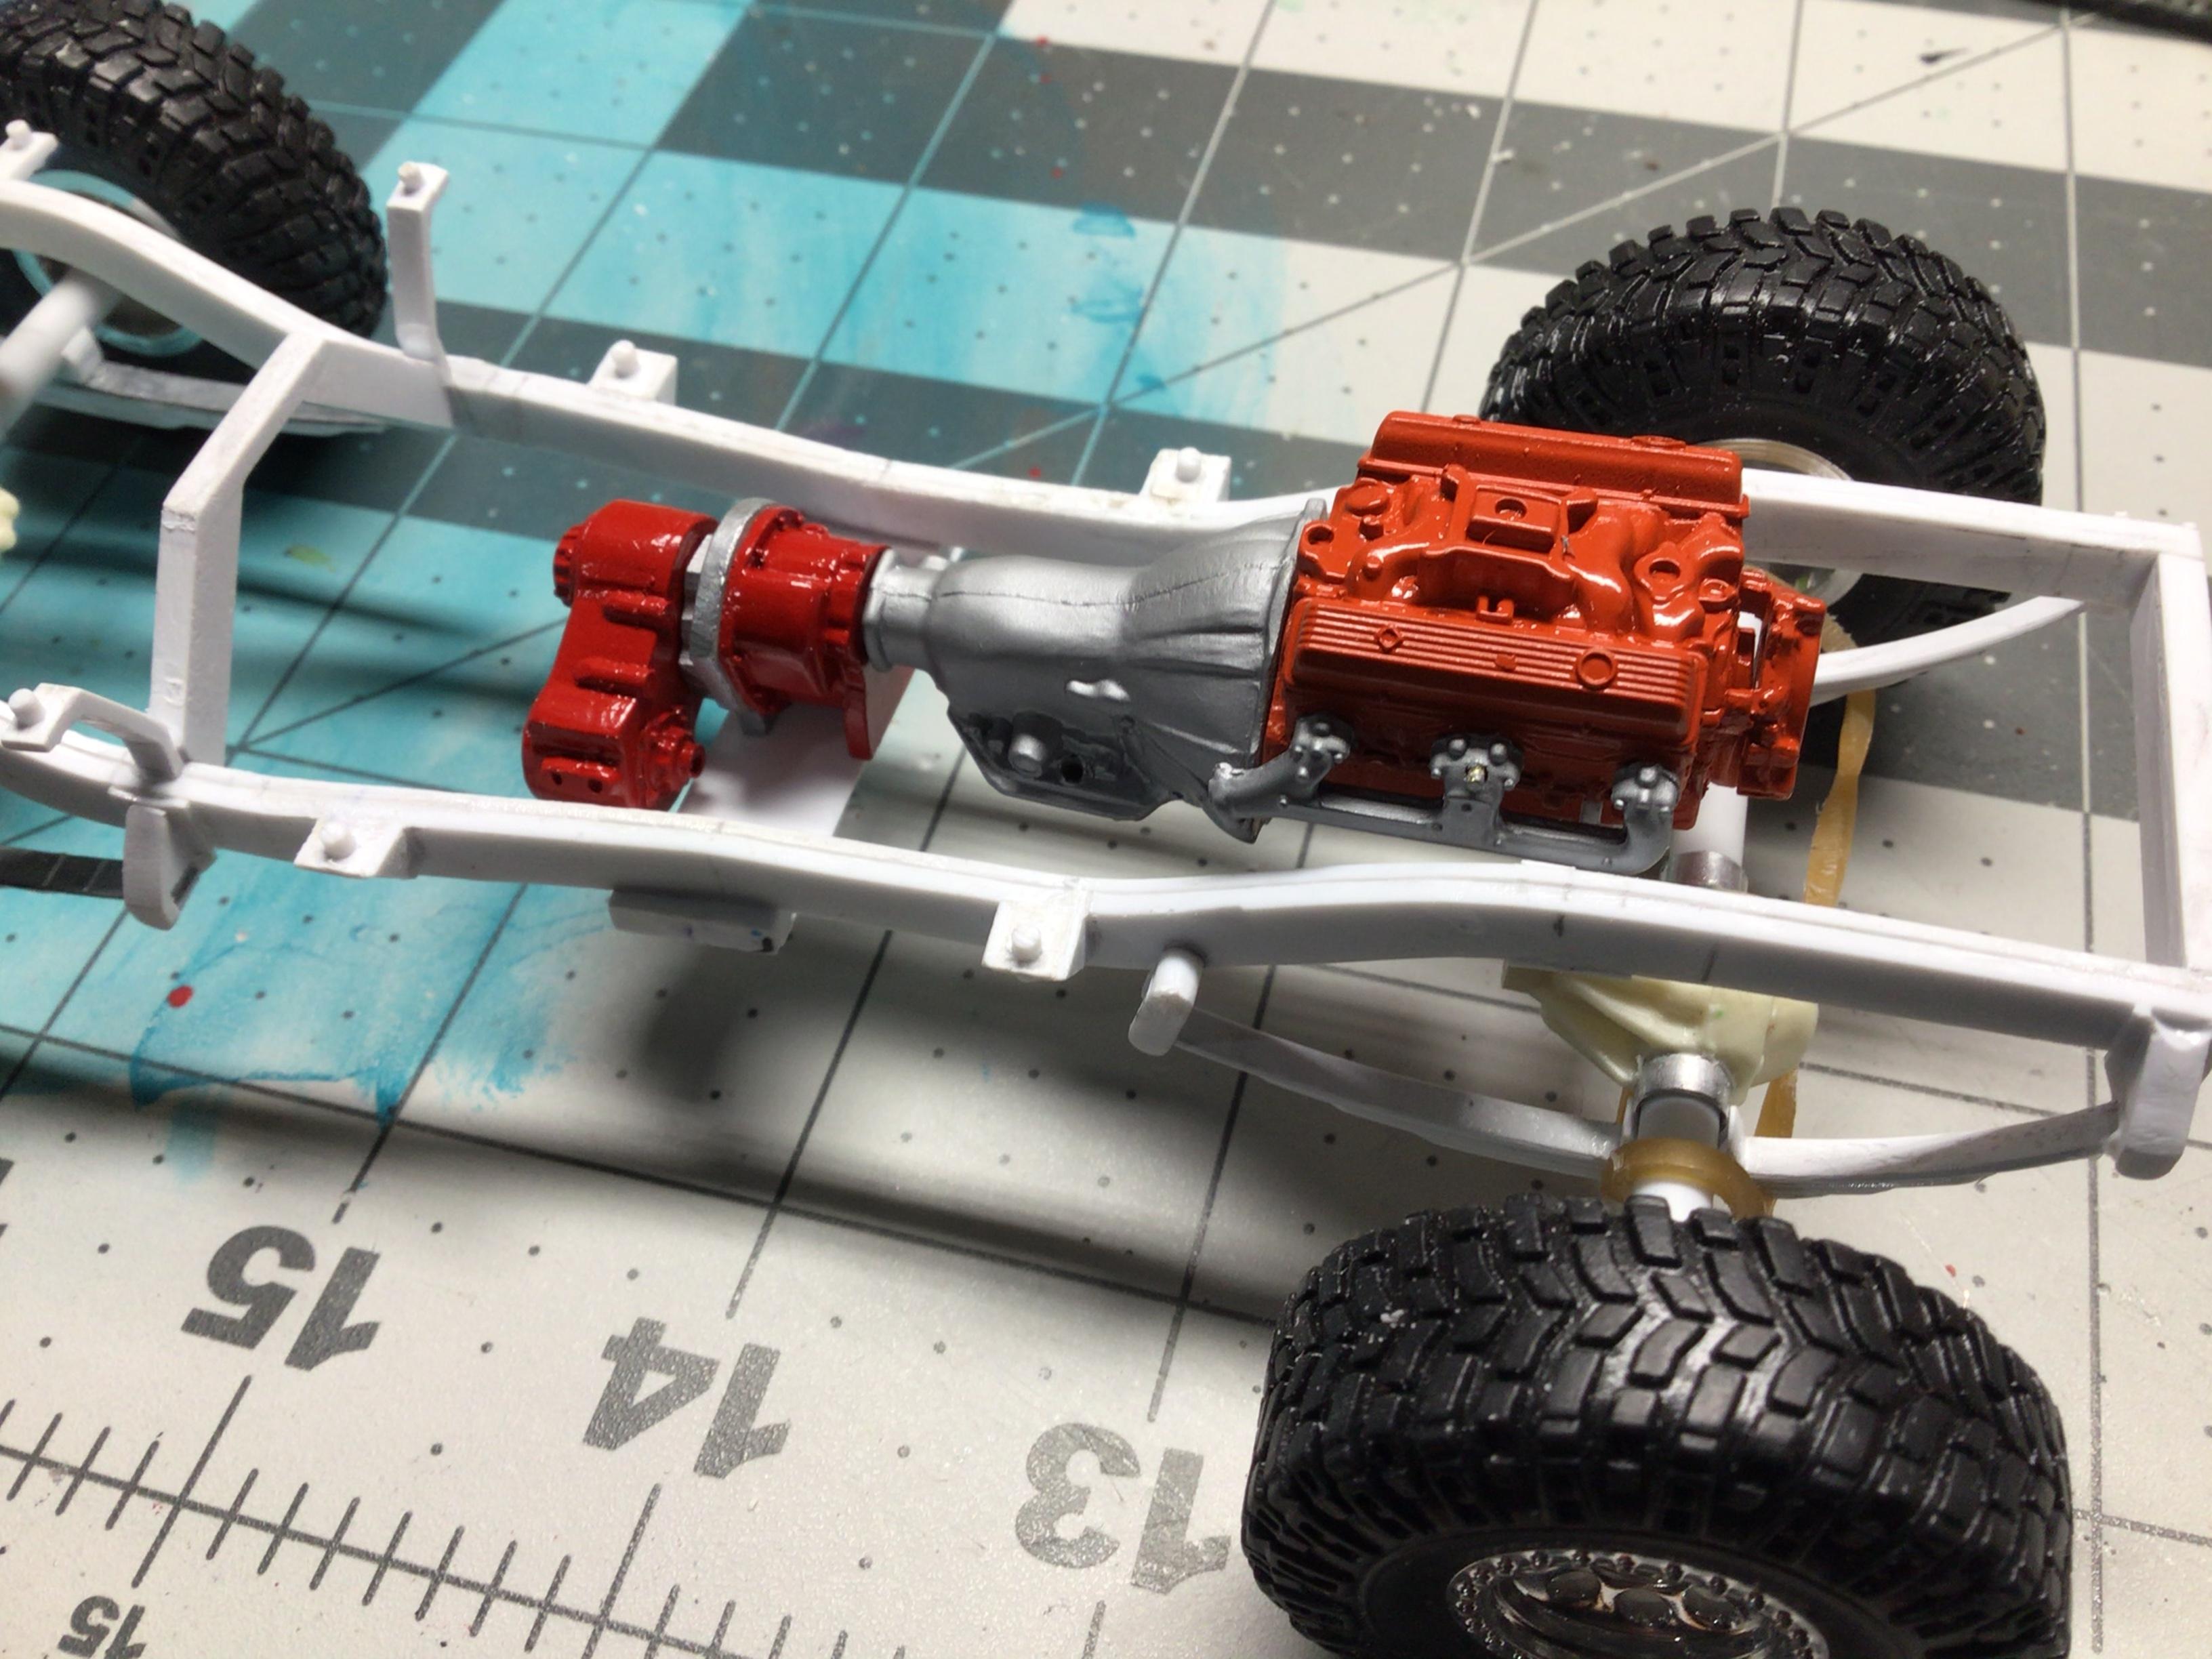
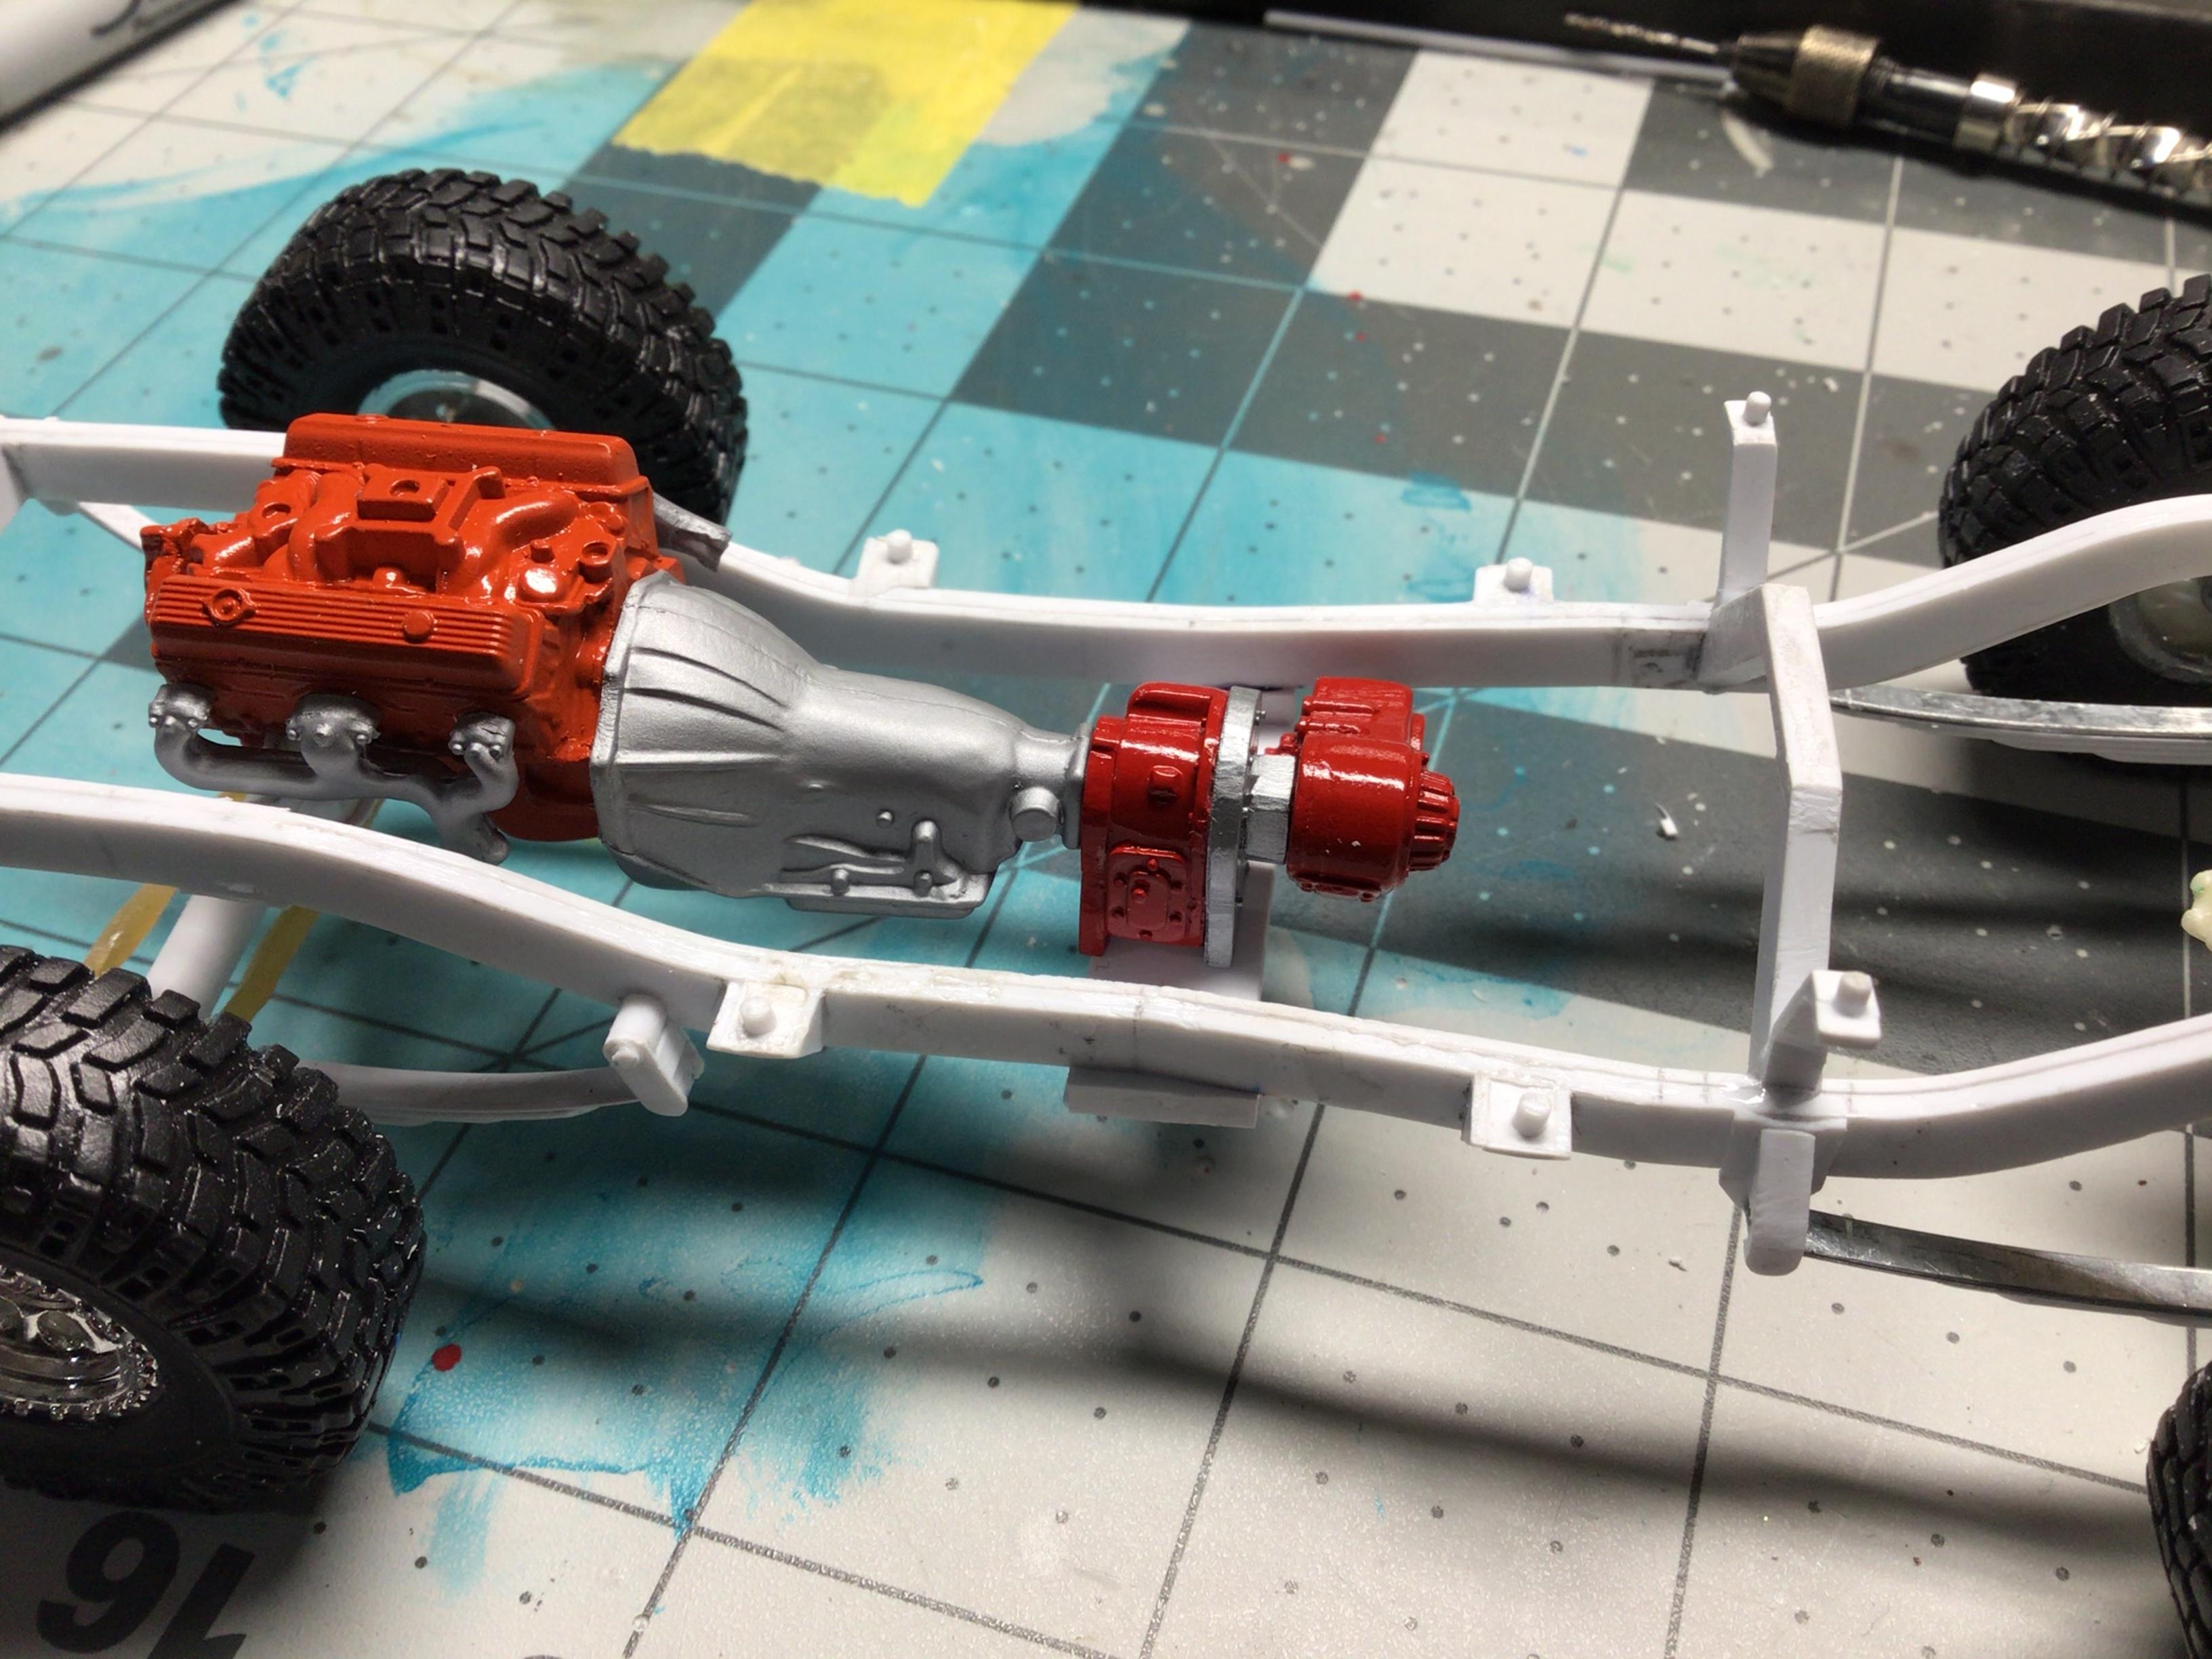
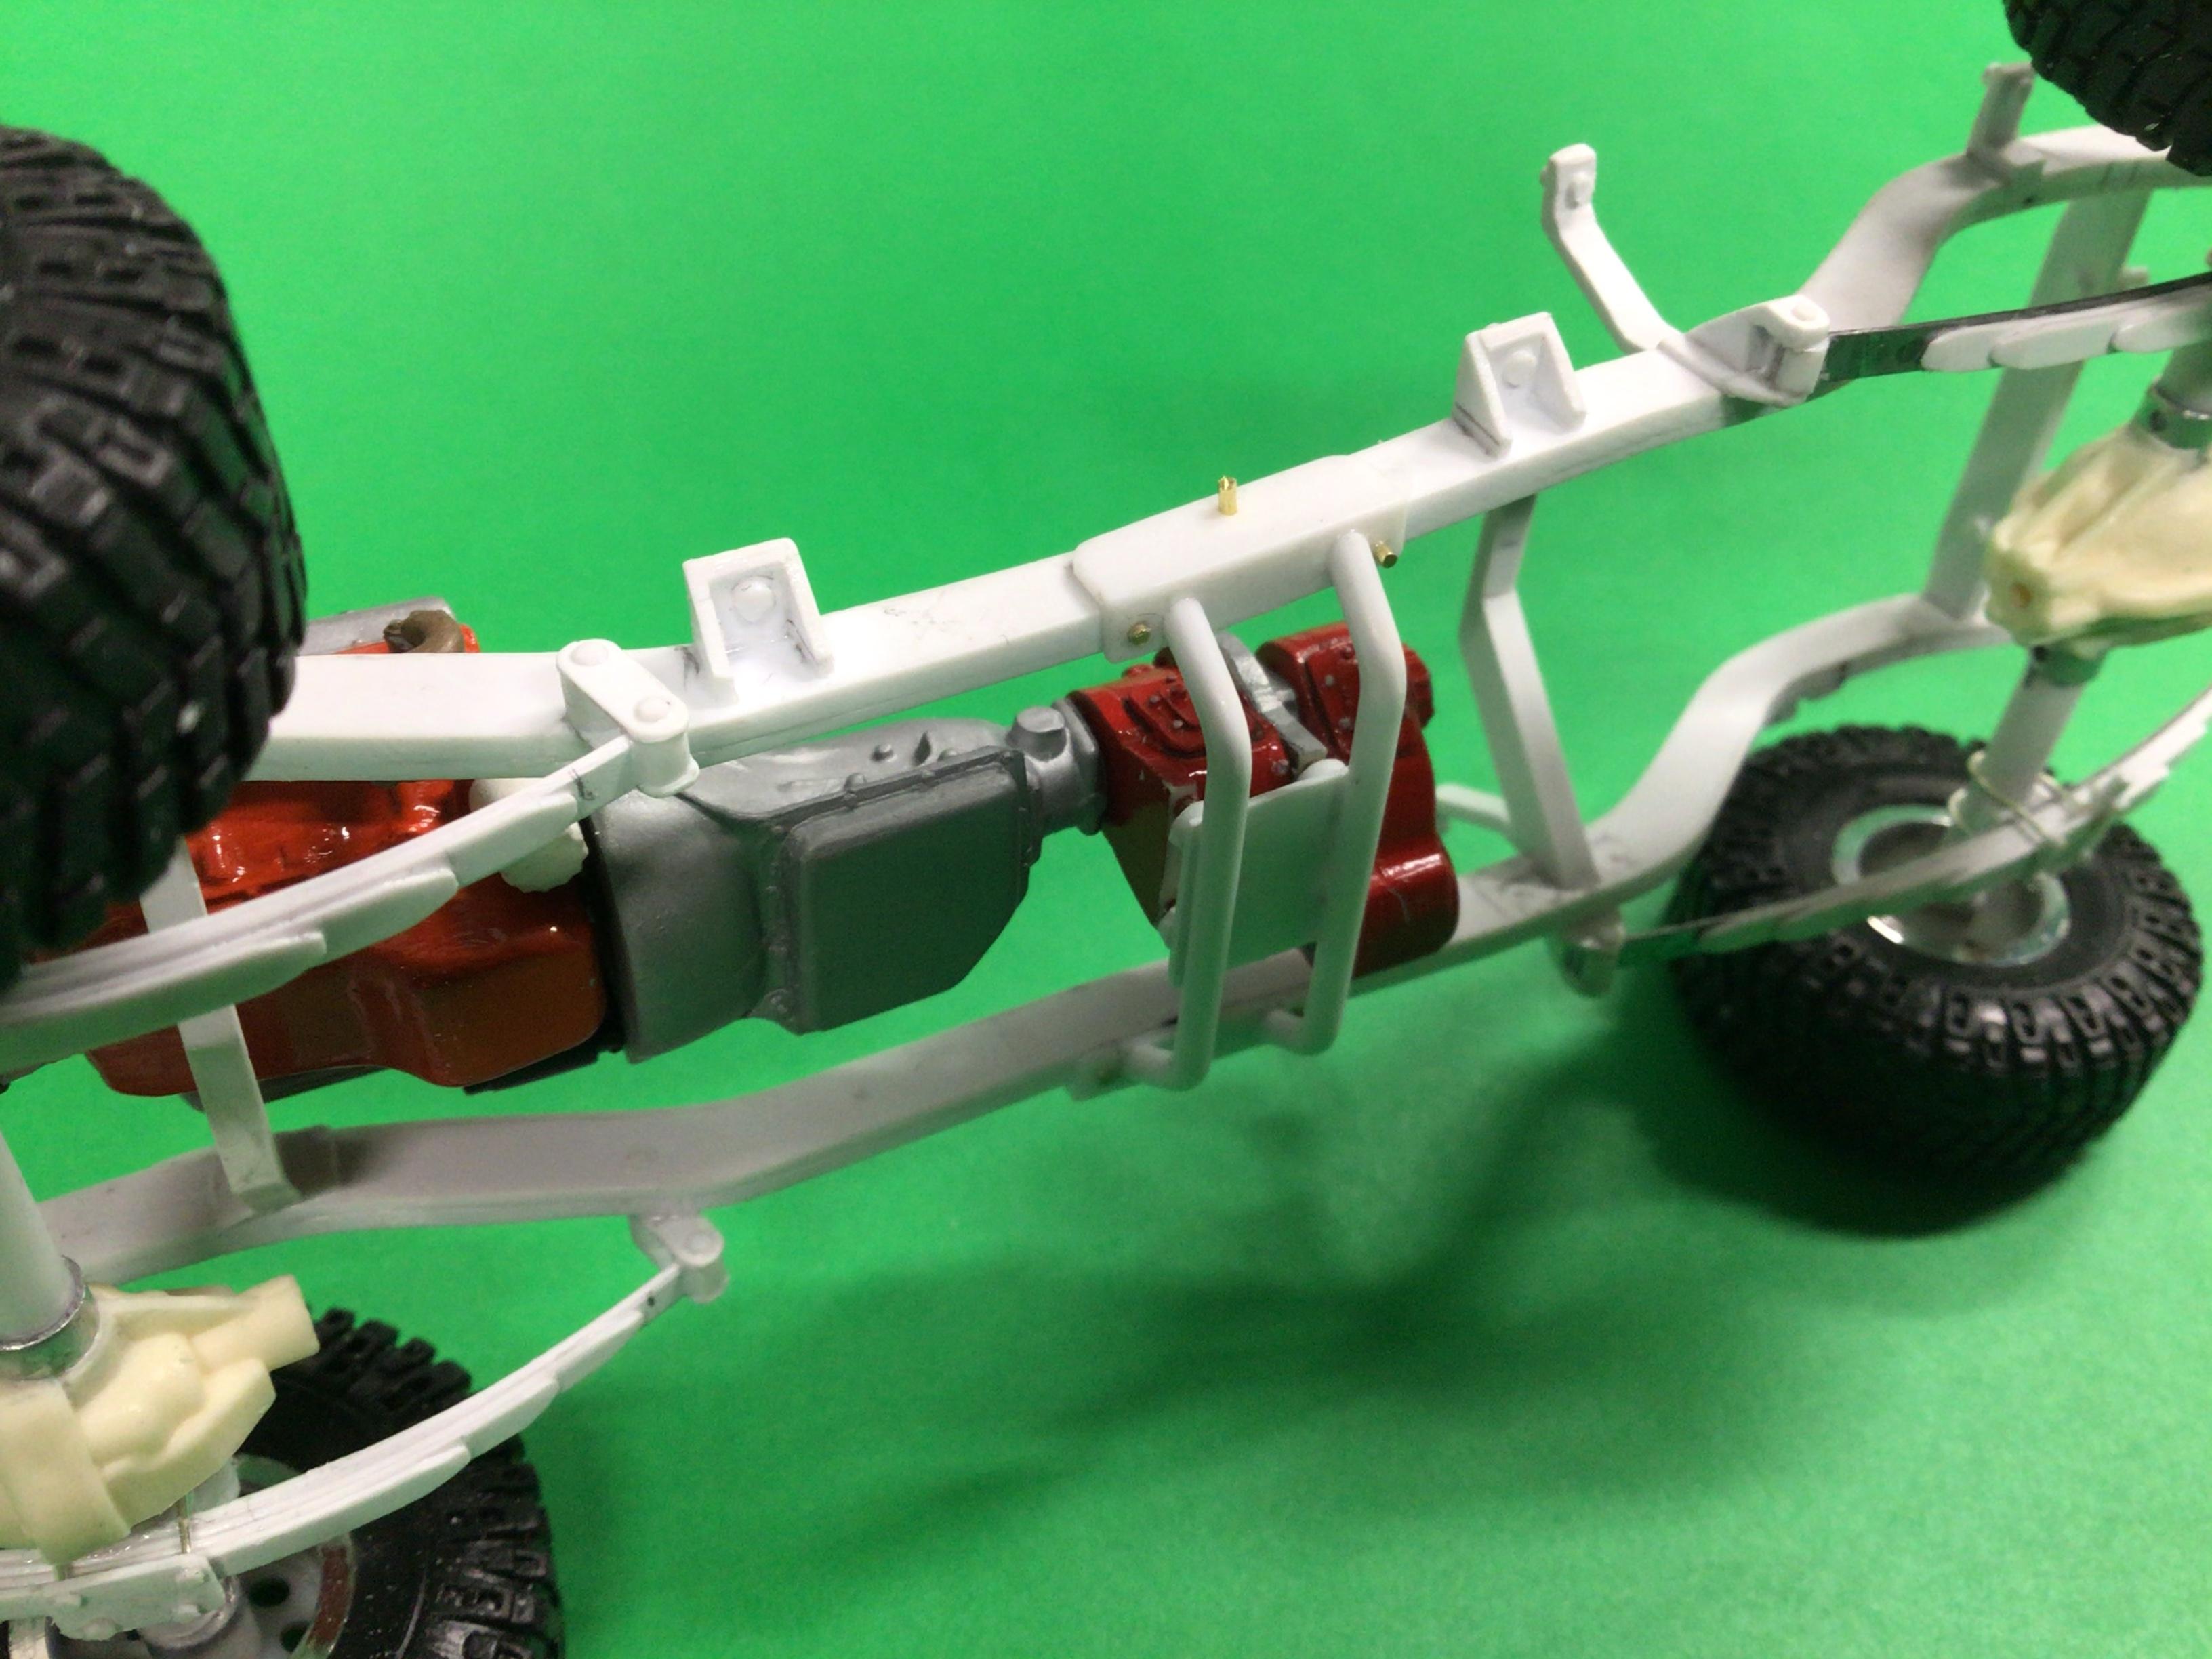
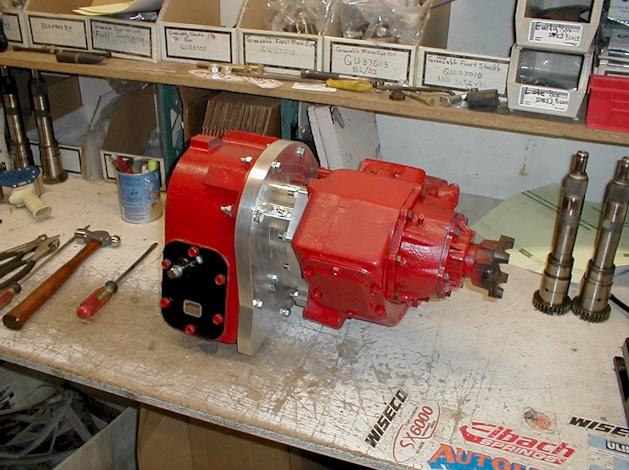
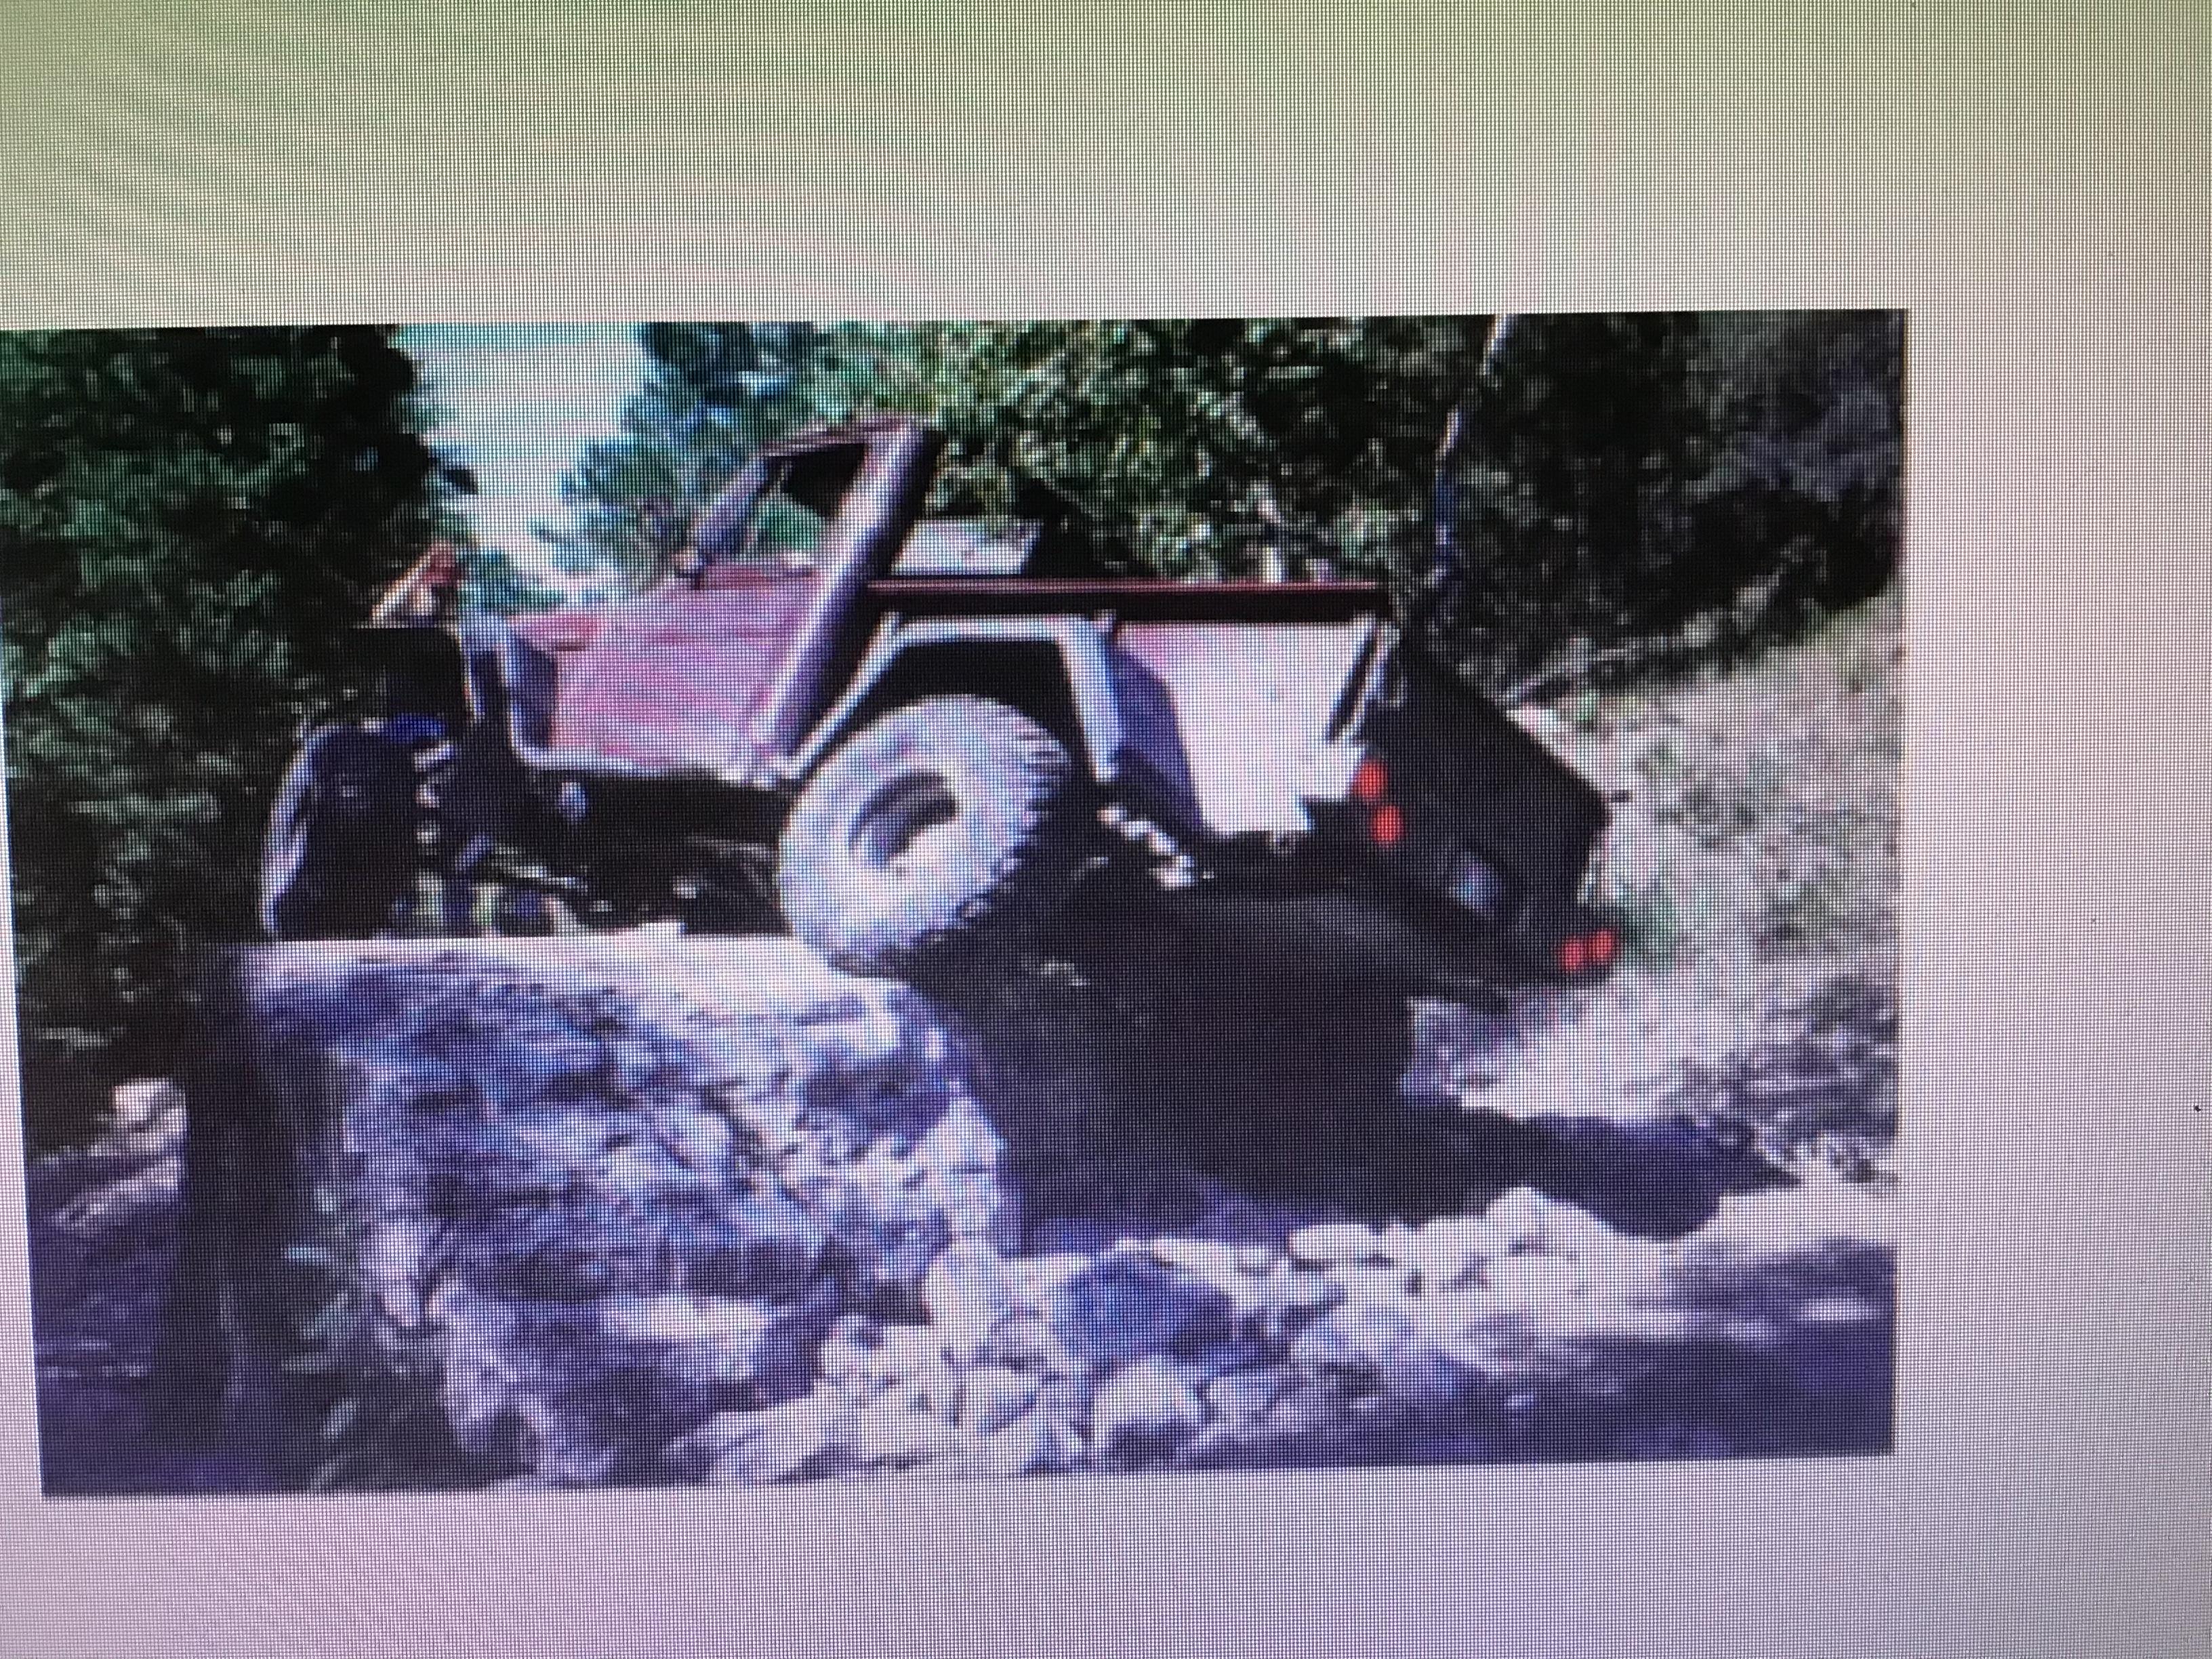
I’ve been busy casting a bunch of miscellaneous parts. My truck has a chevy 350 and turbo 350 trans, so I snagged an MPC El Camino and copied the tranny...engine is copied from the Revell Nova. I also have an Off Road Design doubler kit which pairs the high-low range box from a New Process 203 transfer case with a complete NP 205 transfer case. This gives me two low ranges resulting in a 4:1 ratio for crawling (great for rocks)! I scratch built the 203 range box, the adapter and most of the 205. The last pic is a screenshot of me climbing Jasons Rock at the Dakota Territory Challenge in 2001.
-
‘54 Willys P/U
NOBLNG replied to NOBLNG's topic in WIP: Model Trucks: Pickups, Vans, SUVs, Light Commercial
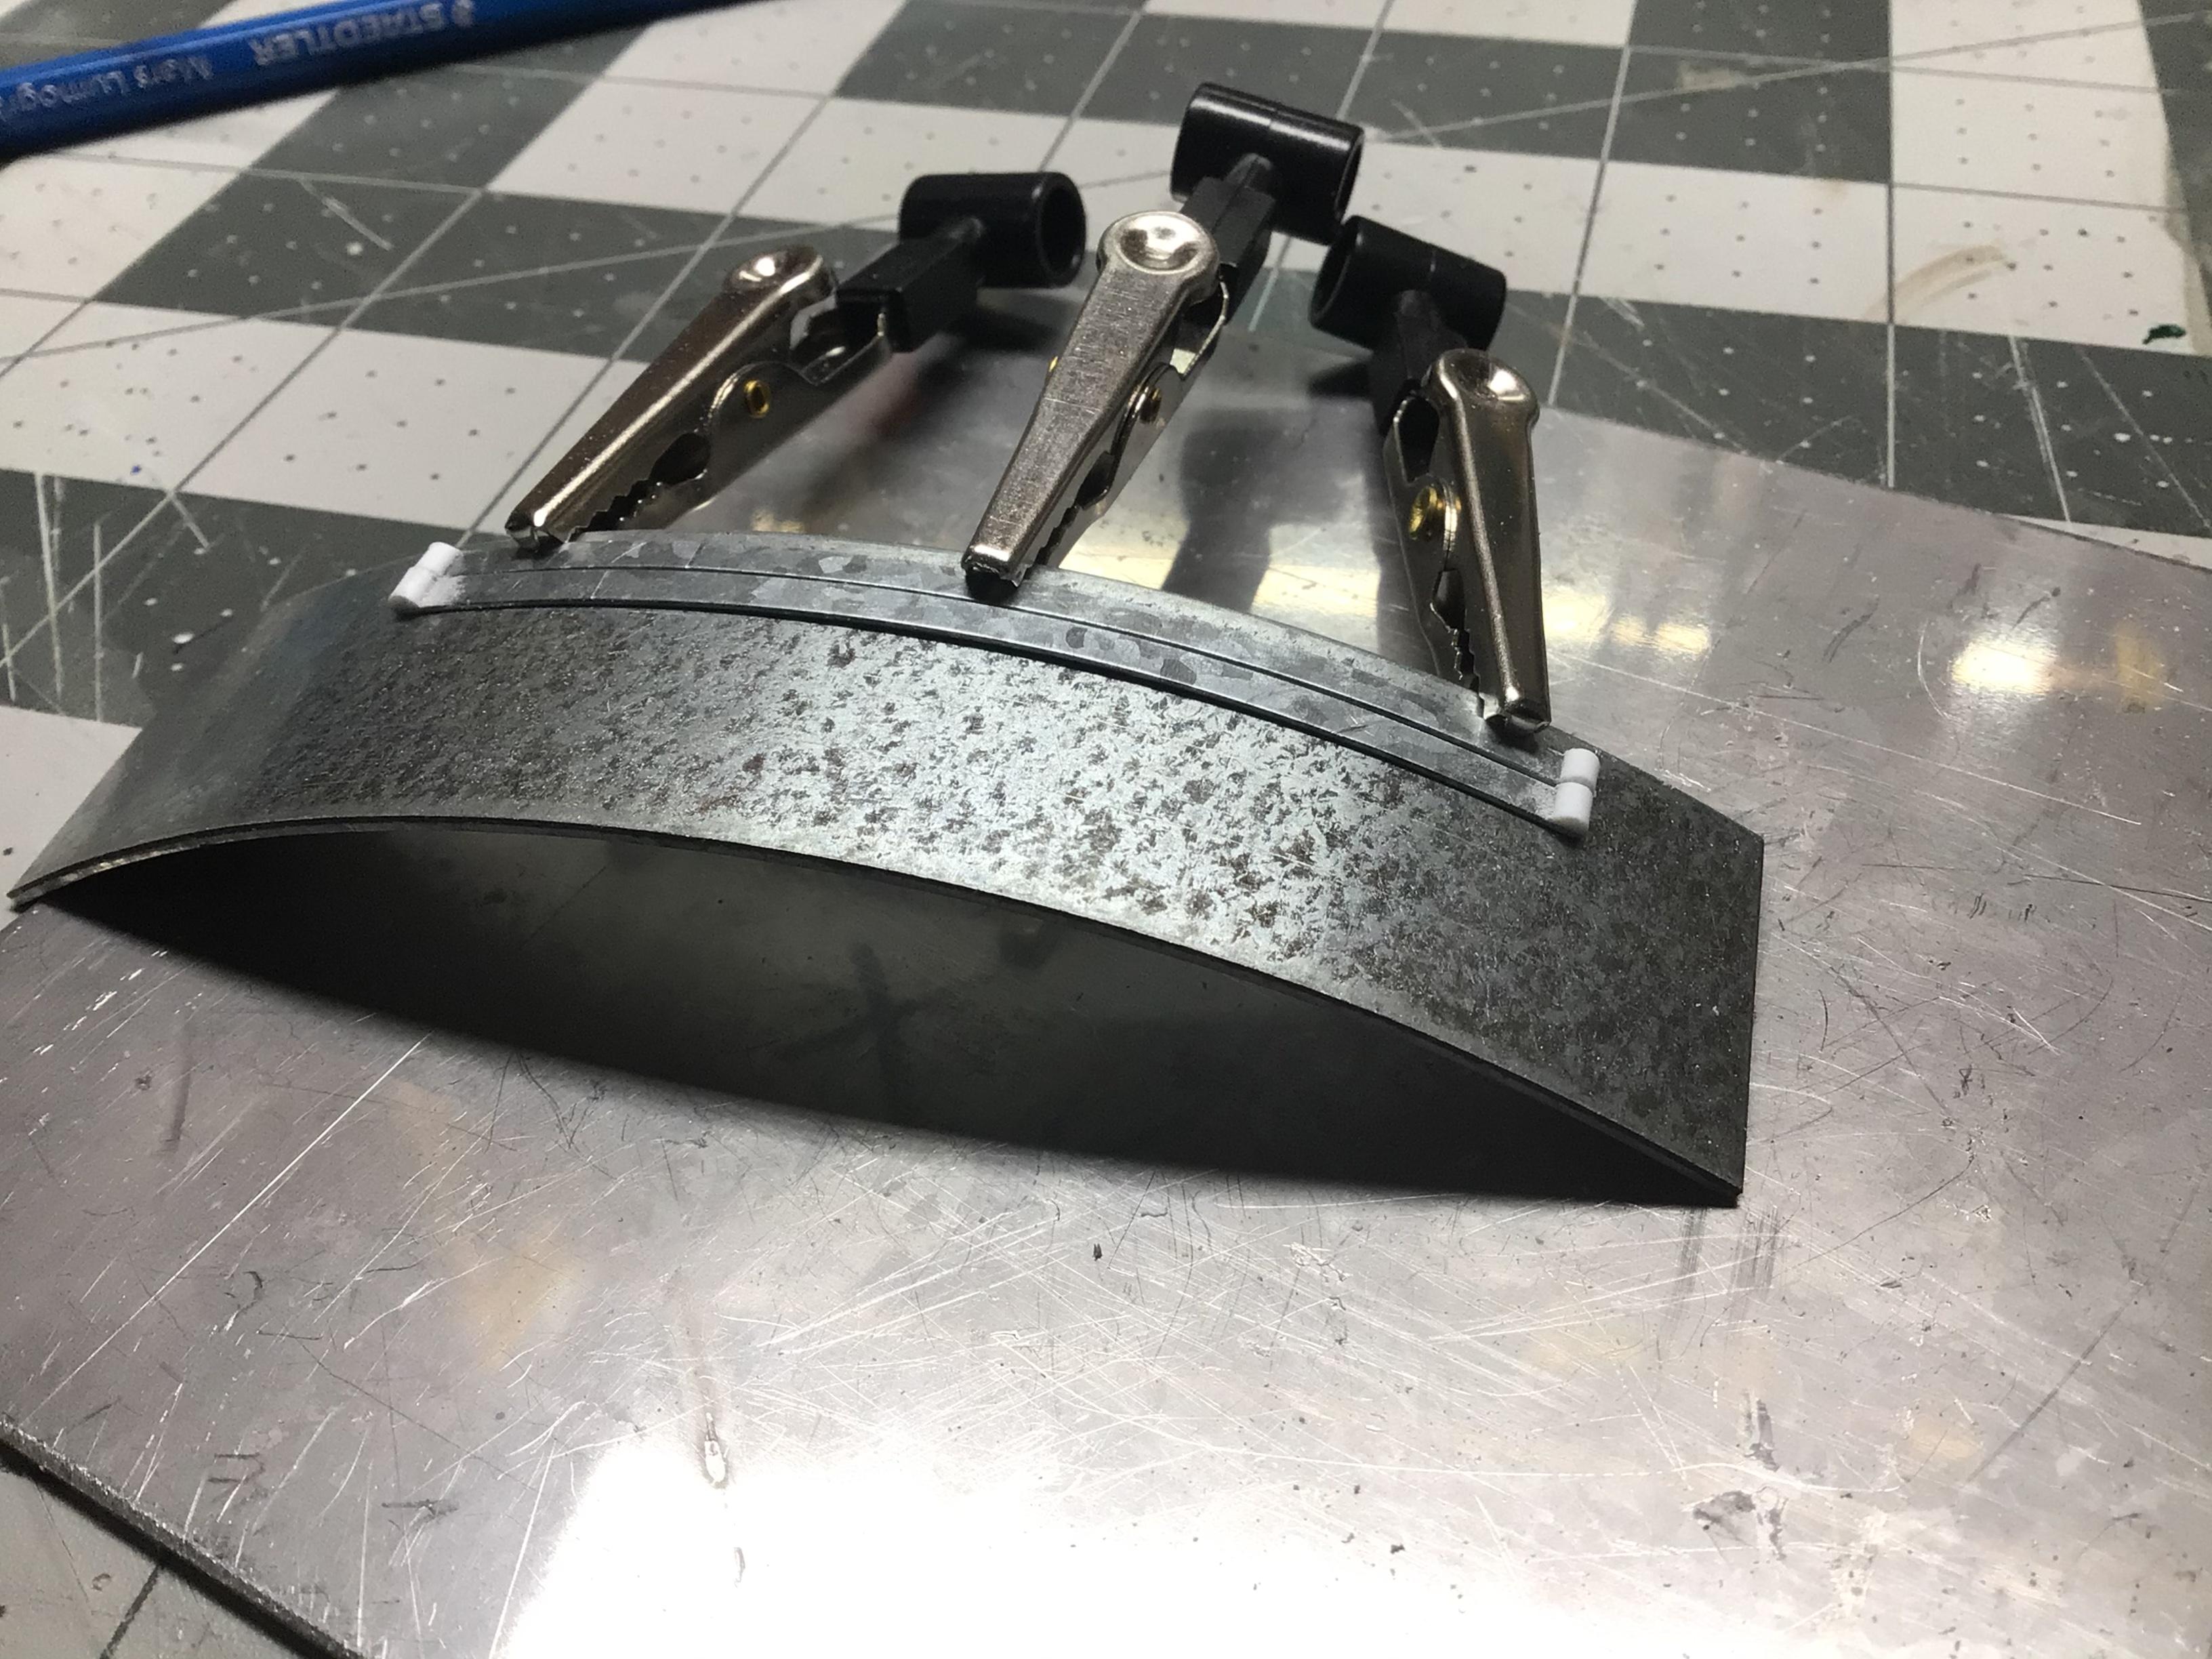
Well the rear springs I made bent while I was fiddling with things, so I re-made them using some 26ga. metal for the main leafs. The fronts are fine as they are shorter and have a lot more arch to them. I got all the spring hangers and shackles made. Also added some u-bolts and plates. I didn’t like the angle of the rear shackles on my first attempt, so I re-did them and made them just a hair longer too. Shocks are styrene tube and .020” aluminum wire.
-
help with building frame
NOBLNG replied to bauercrew's topic in Model Building Questions and Answers
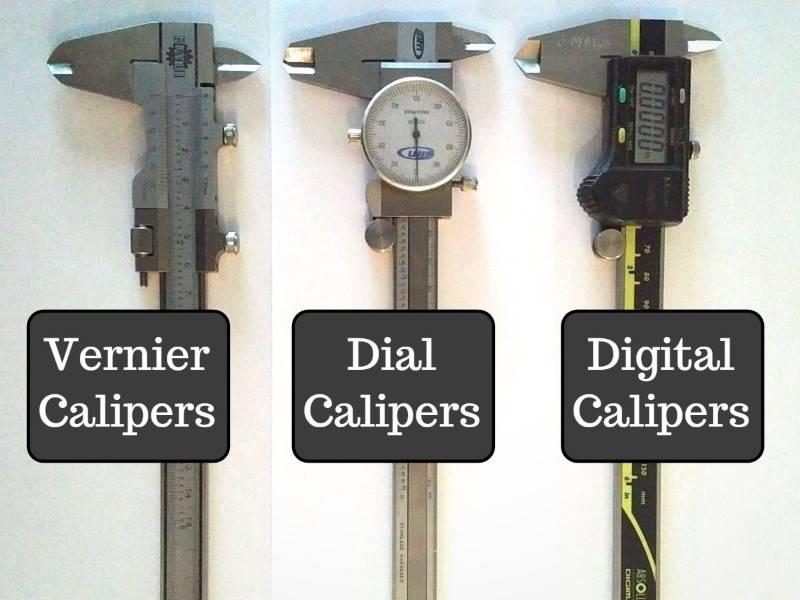
If you are working with rectangular frames, likely .080”x.156” or .100”x.156” would be close. A measurement with a calliper would give you the exact size. If it’s not available, you may have to get the next size up and file it down? For conversion.... scale size multiplied by 25 (or 24) equals full size. Full size divided by 25 (or 24) equals scale size needed. I agree! Easy to read and no battery expense. A cheap harbour freight or princess auto one will suffice. -
help with building frame
NOBLNG replied to bauercrew's topic in Model Building Questions and Answers
This is a link to Evergreen’s website. https://evergreenscalemodels.com/ This is Plastruct’s https://www.plastruct.com/ Invest in a dial caliper (or digital) and measure the frame you have. Then you can go to the website and get the number of the closest match. I find Evergreens website much easier to navigate than Plastruct.
-
One advantage of CA that just dawned on me now. I was just using Tamiya extra thin to glue some .020”x.100” strips to make shackles and the strip snapped due to being temporarily weakened by the cement. Once dry it may be the strongest joint...but the solvent does weaken the styrene by dissolving the surface of it. I imagine CA would not do this since it is actually more of a mechanical joint?
-
Bronco Crawler Build
NOBLNG replied to MJO's topic in Model Trucks: Pickups, Vans, SUVs, Light Commercial
Wow. Excellent job on this. I like all the features that a real rock crawler would have. Maybe we can go wheeling someday!?