NOBLNG
-
Posts
10,233 -
Joined
-
Last visited
Content Type
Profiles
Forums
Events
Gallery
Everything posted by NOBLNG
-
 That is just too neat and tidy for me.? I made a little chart that lists my stock and clipped it to the light right above my bench. I color coded them so I know to look for evergreen or plastruct. At least I can tell whether to go searching or not.
-
That is what I do too.
-
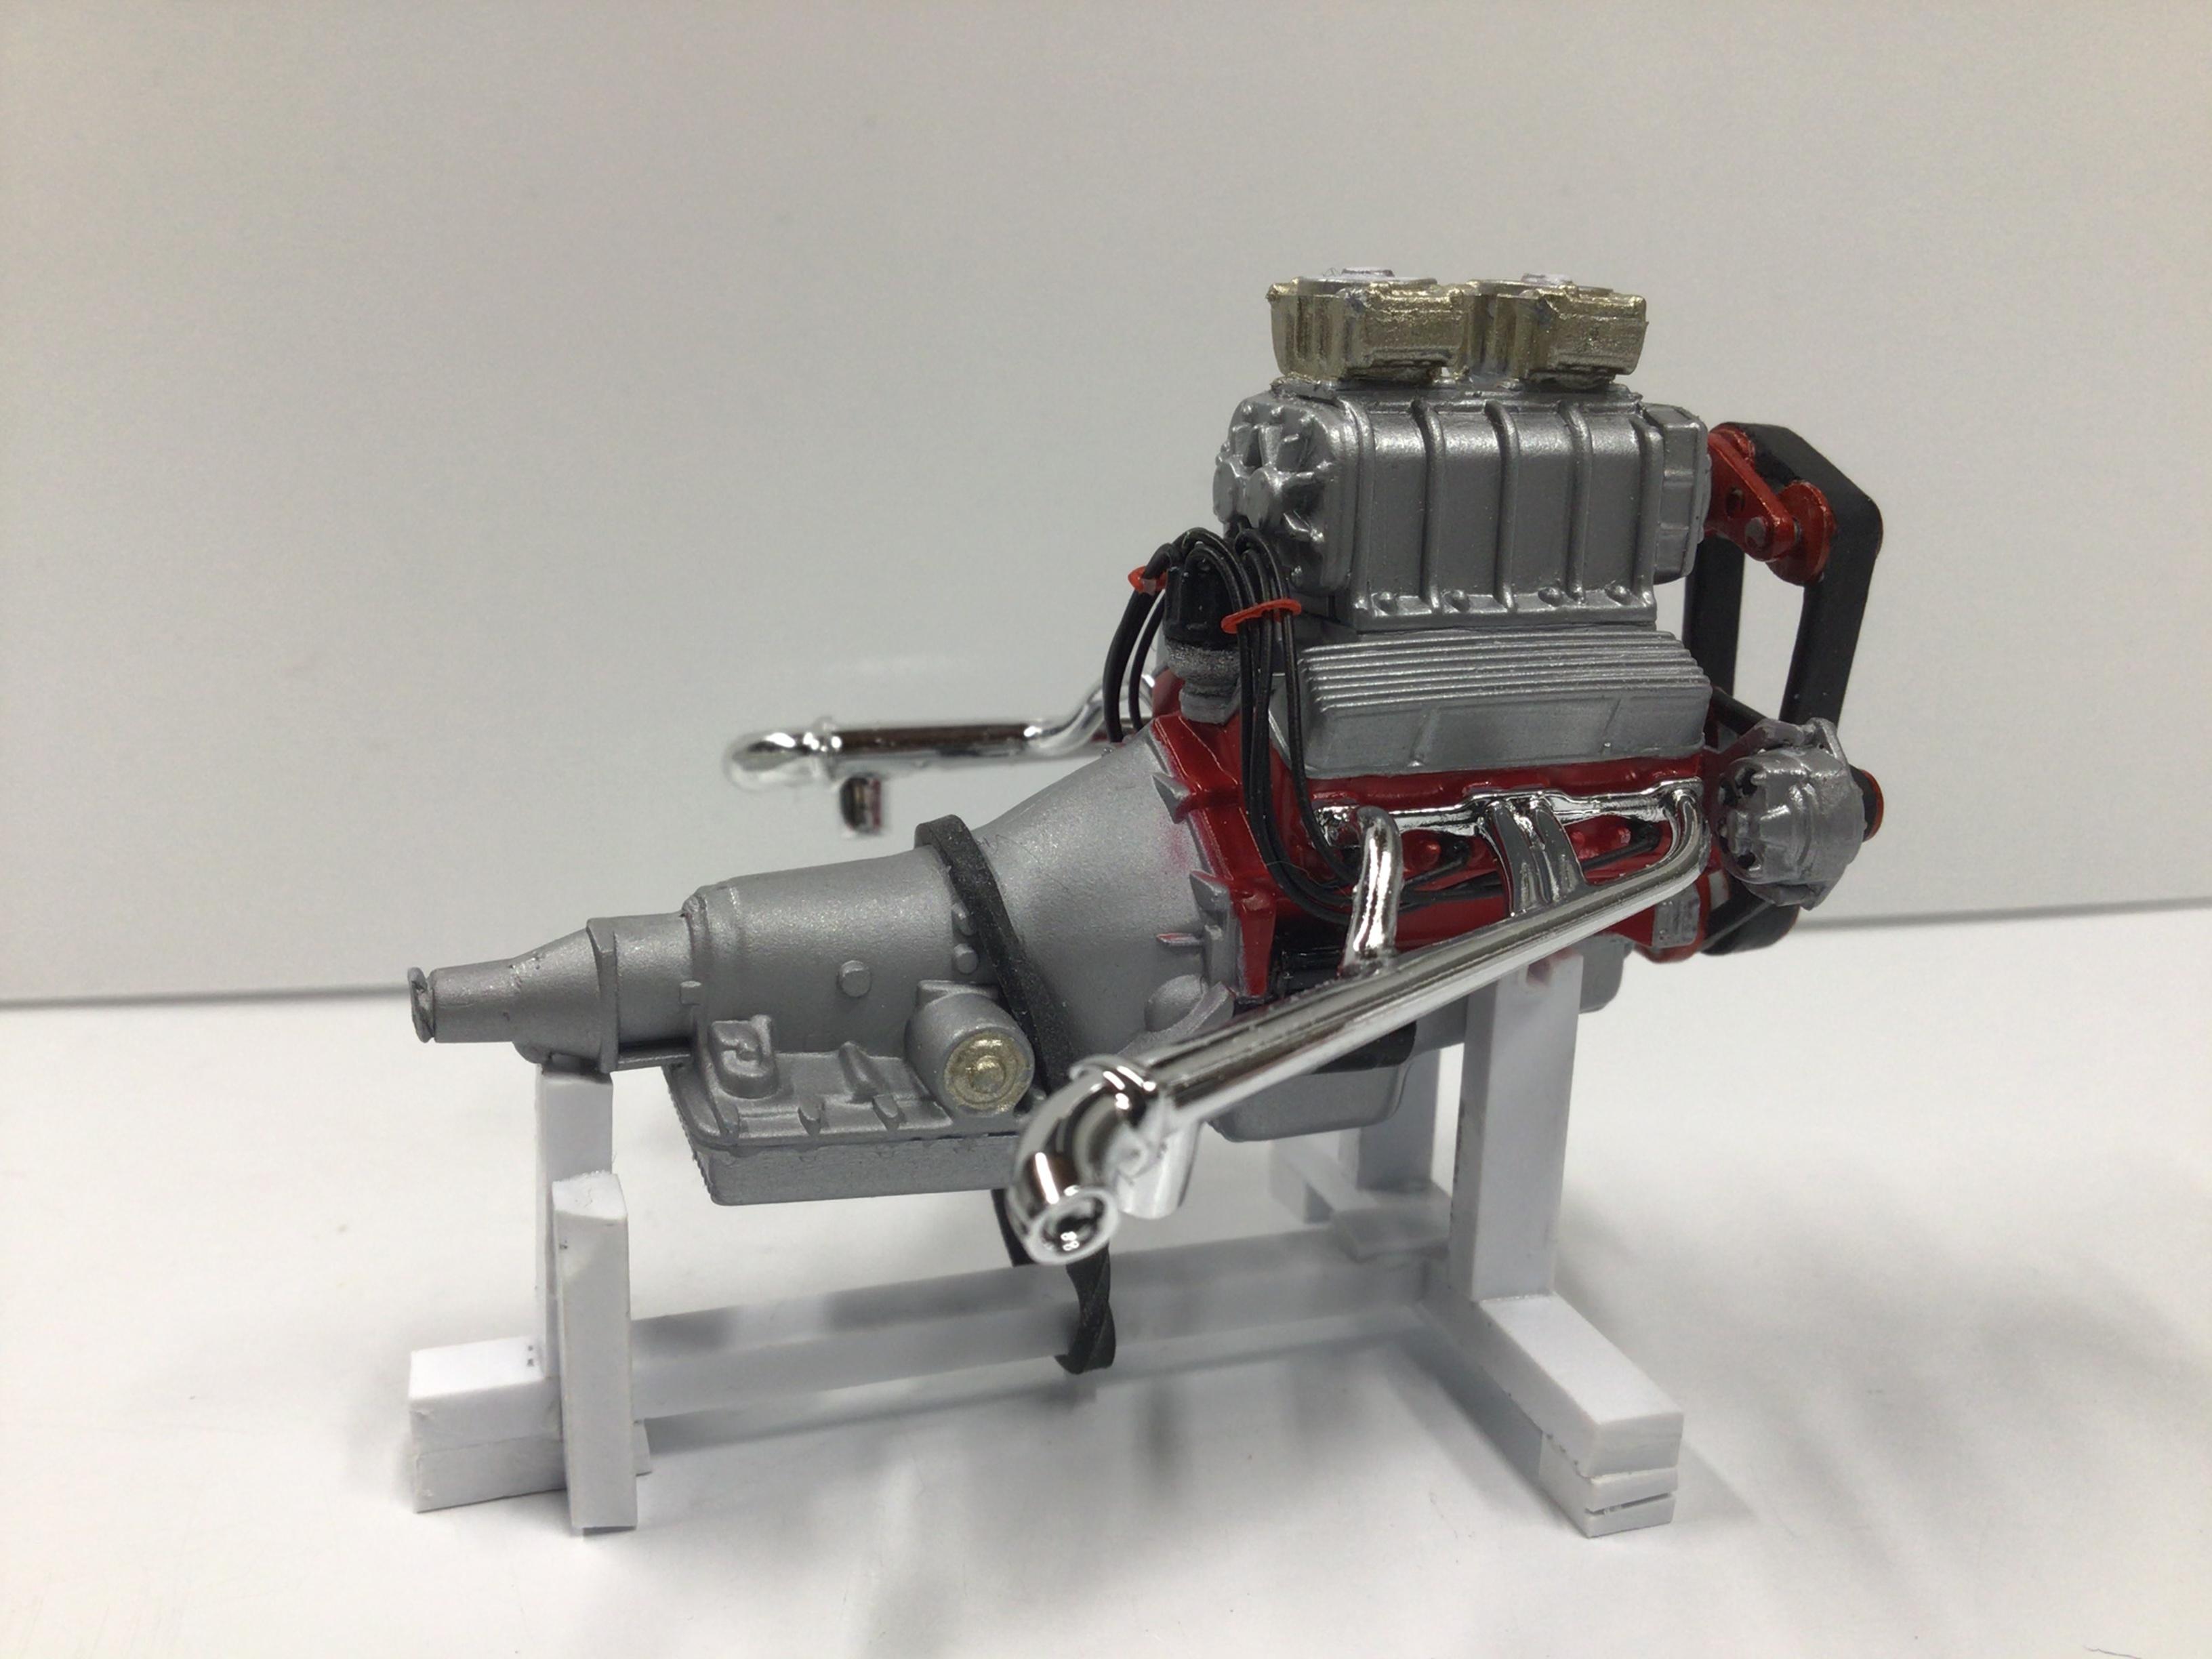
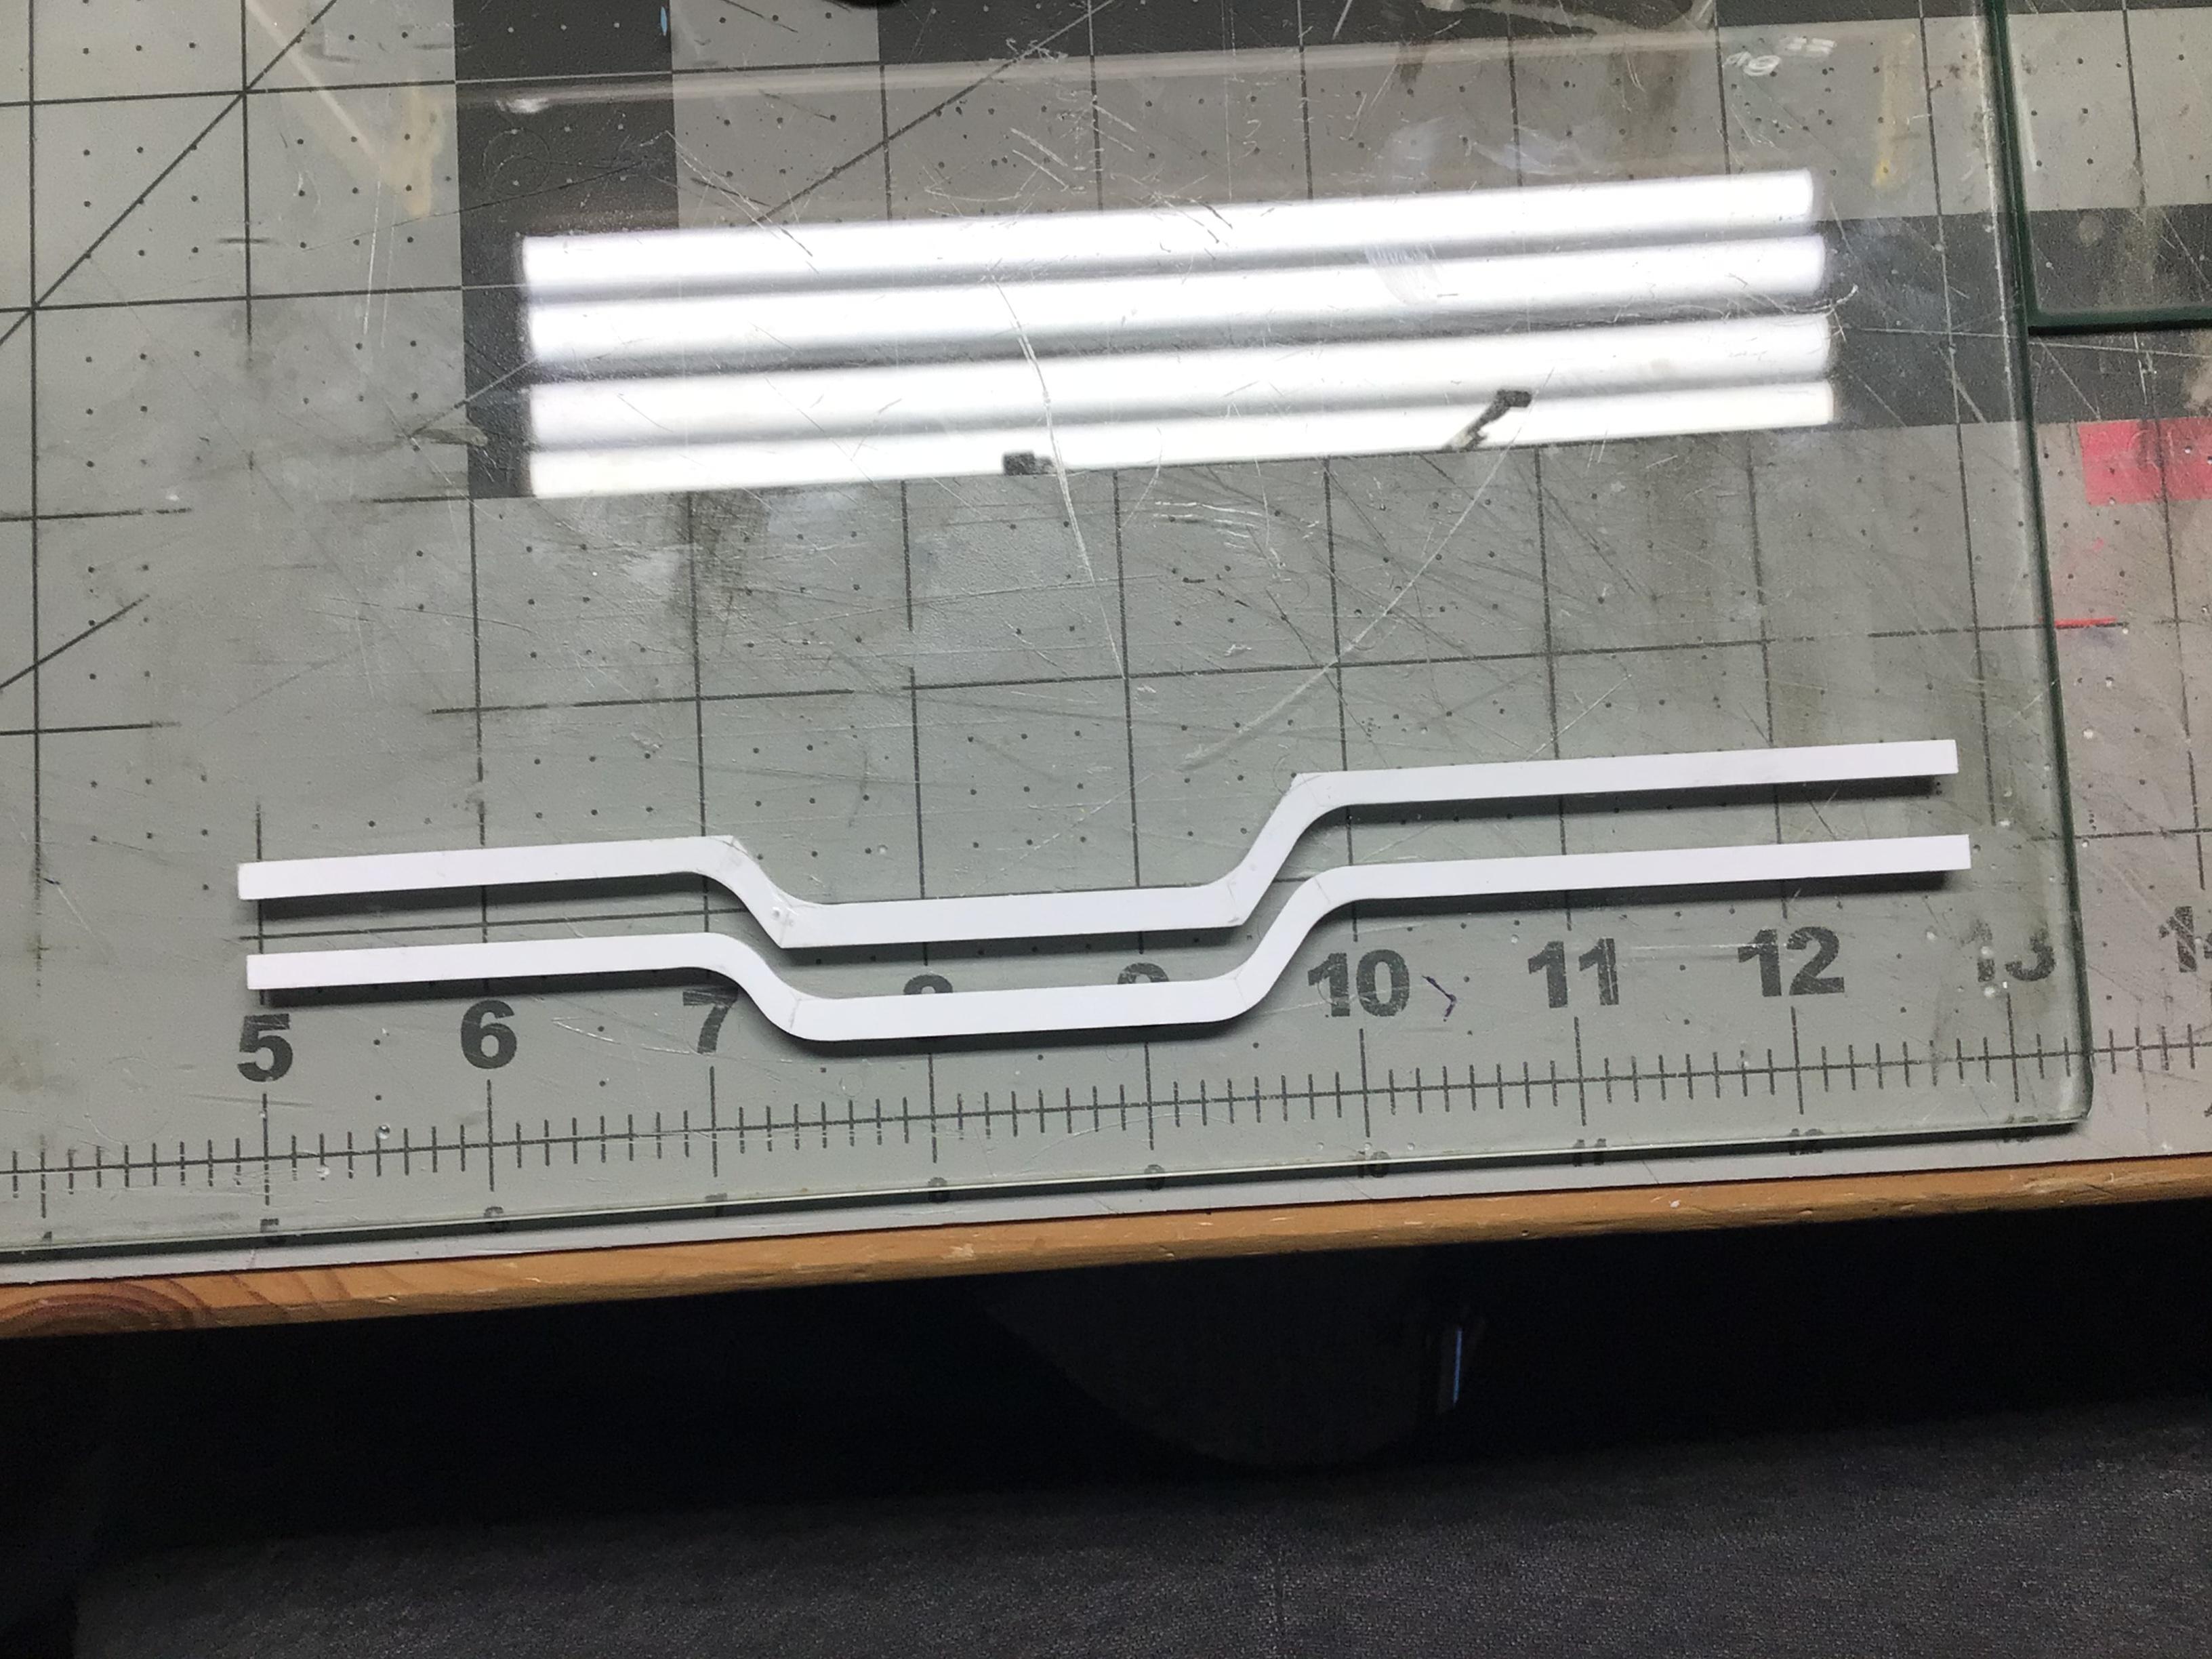
I made a set of frame rails for an upcoming project and cast myself a copy of a Chevy engine and trans.
-
Cool project! I like it.?
-
Jeep Wrangler Rubicon
NOBLNG replied to mrmike's topic in WIP: Model Trucks: Pickups, Vans, SUVs, Light Commercial
The tires are very nice, and so are the rims...but they should really only be 5 lug. -
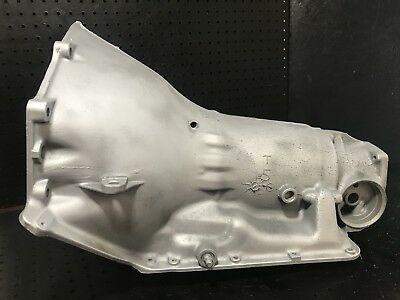
Definitely! This is a shot of the TH 350 in the El Camino kit. I think it looks better than the deserter one too.
-
Jeep Wrangler Rubicon
NOBLNG replied to mrmike's topic in WIP: Model Trucks: Pickups, Vans, SUVs, Light Commercial
I do like that colour!? -
It looks like it was just placed there for the photo and not properly settled in.
-
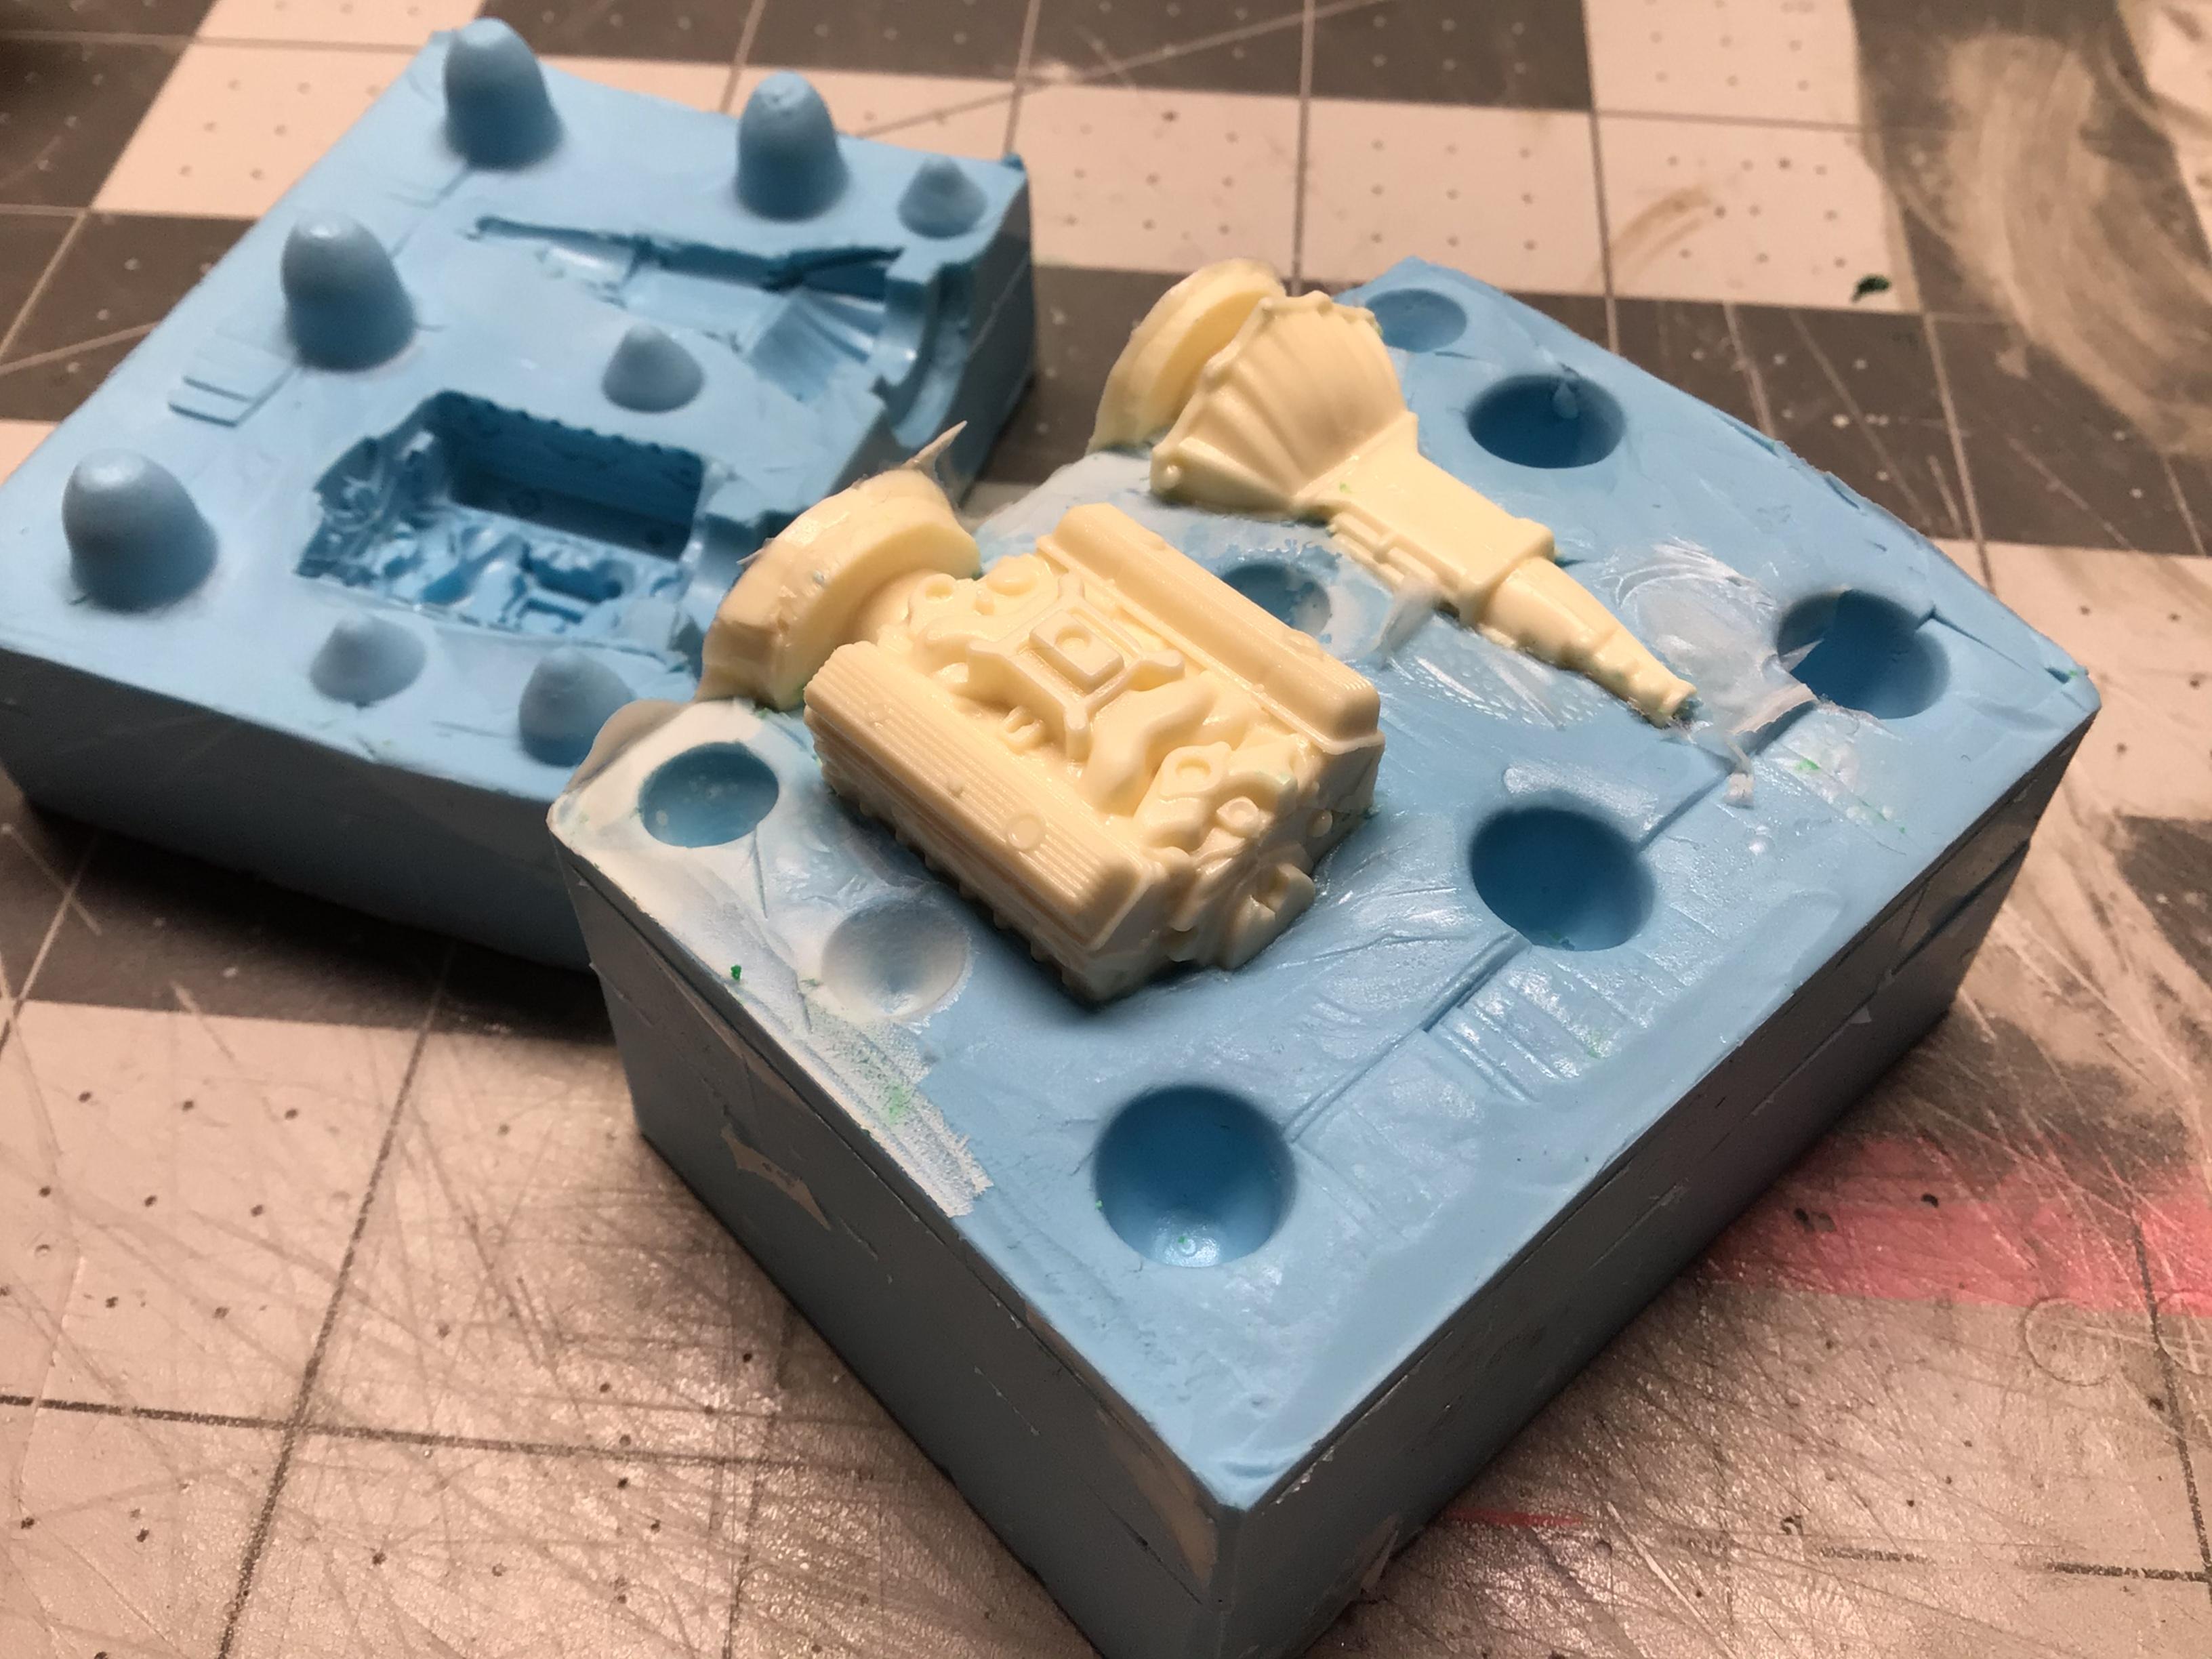
I made a couple of nice 2-piece molds today for some engine parts. As I began to pour the second half, I suddenly realized that I forgot to spray it with mold release. I now have one solid block of silicone with my parts inside.?
-
It looks like a nice engine to me. Whoever took the photo just didn’t bother to blow the dust off it after cleanup.
-
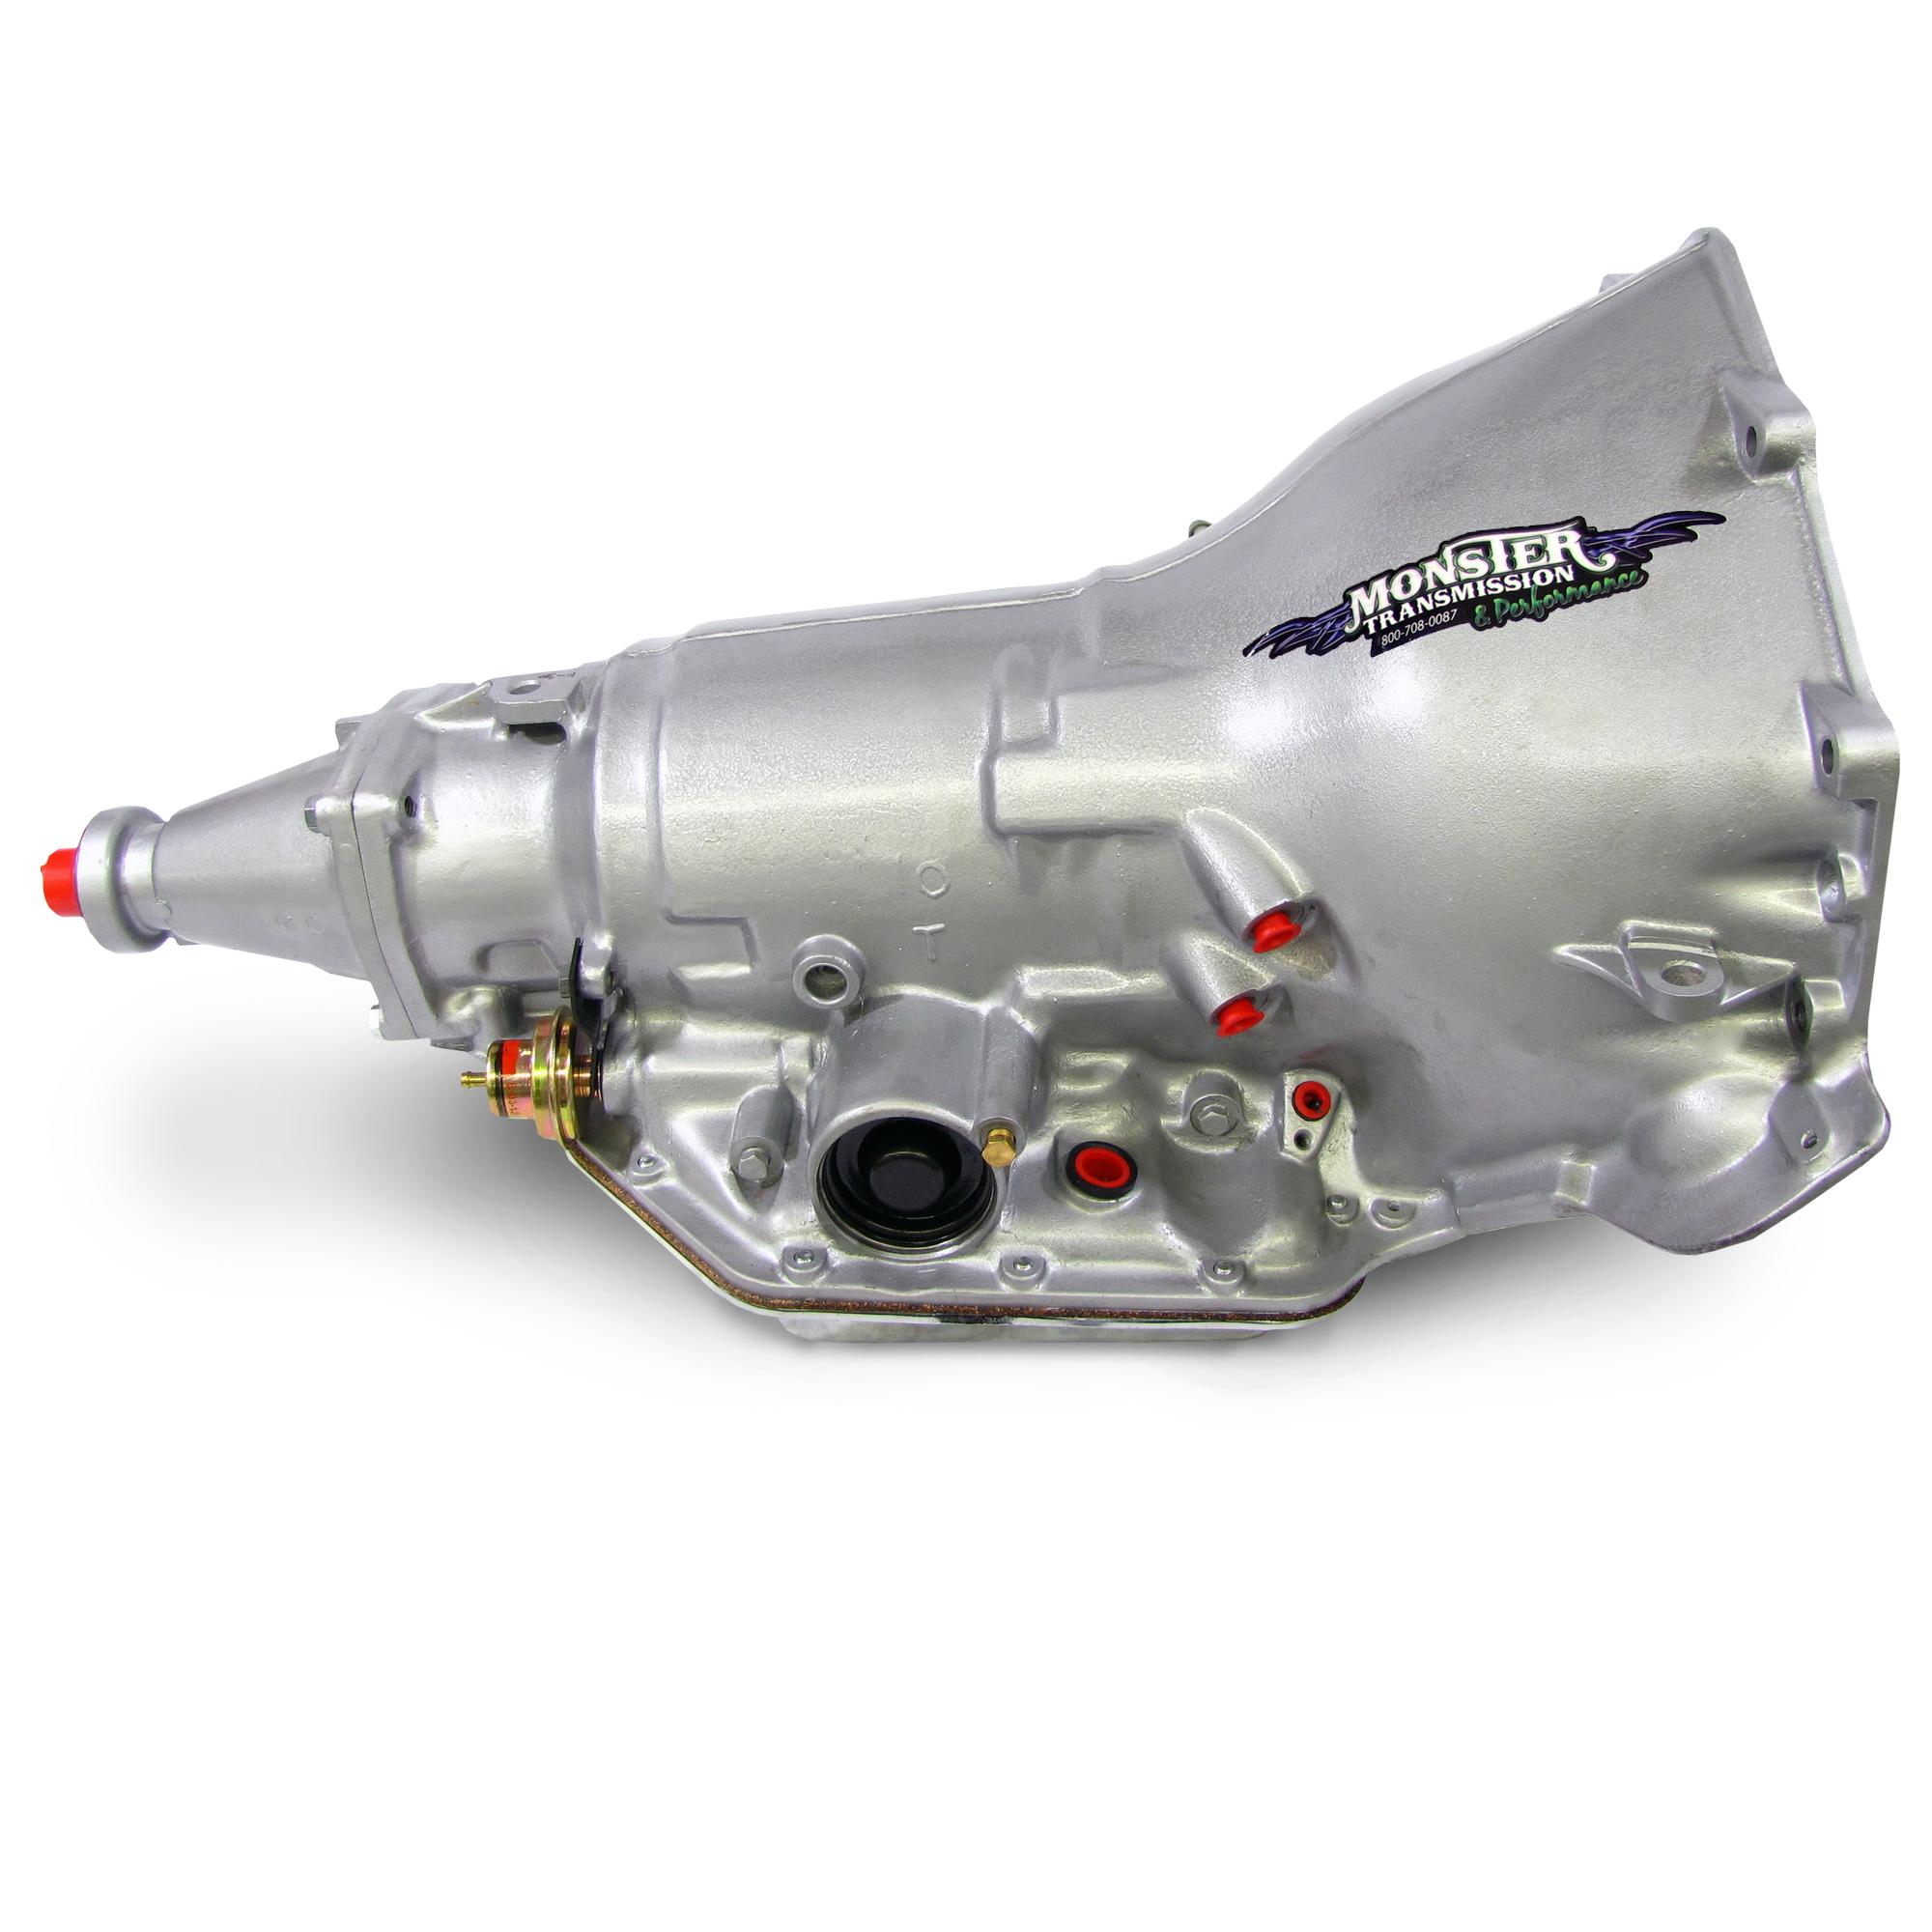
Thanks Mark! A local shop here has an MPC ‘86 El Camino. I checked out HPIGuys review on YouTube and it definitely has a TH350. It also has a really nice looking 305 and some nice wheels and tires. I will pick it up on Monday.?
-
As far as I can tell from searching on here the only kit that for sure comes with a TH-350 automatic is the MPC 1980 Monte Carlo. Alas, none of my local hobby shops have one in stock. Are there any other kits that have one? Thanks.
-
Jeep Wrangler Rubicon
NOBLNG replied to mrmike's topic in WIP: Model Trucks: Pickups, Vans, SUVs, Light Commercial
It’s too bad Revell didn’t make this a full detail kit or include a full top.? That said it is a nice little kit. -
Too bad that wouldn’t work for the thin CA. ?
-
And any glue will make a mess at that point, especially the old tube glue.?
-
For the Tamiya extra thin cement, you’re supposed to put the parts together...then apply the cement. It will wick itself into the seams.
-
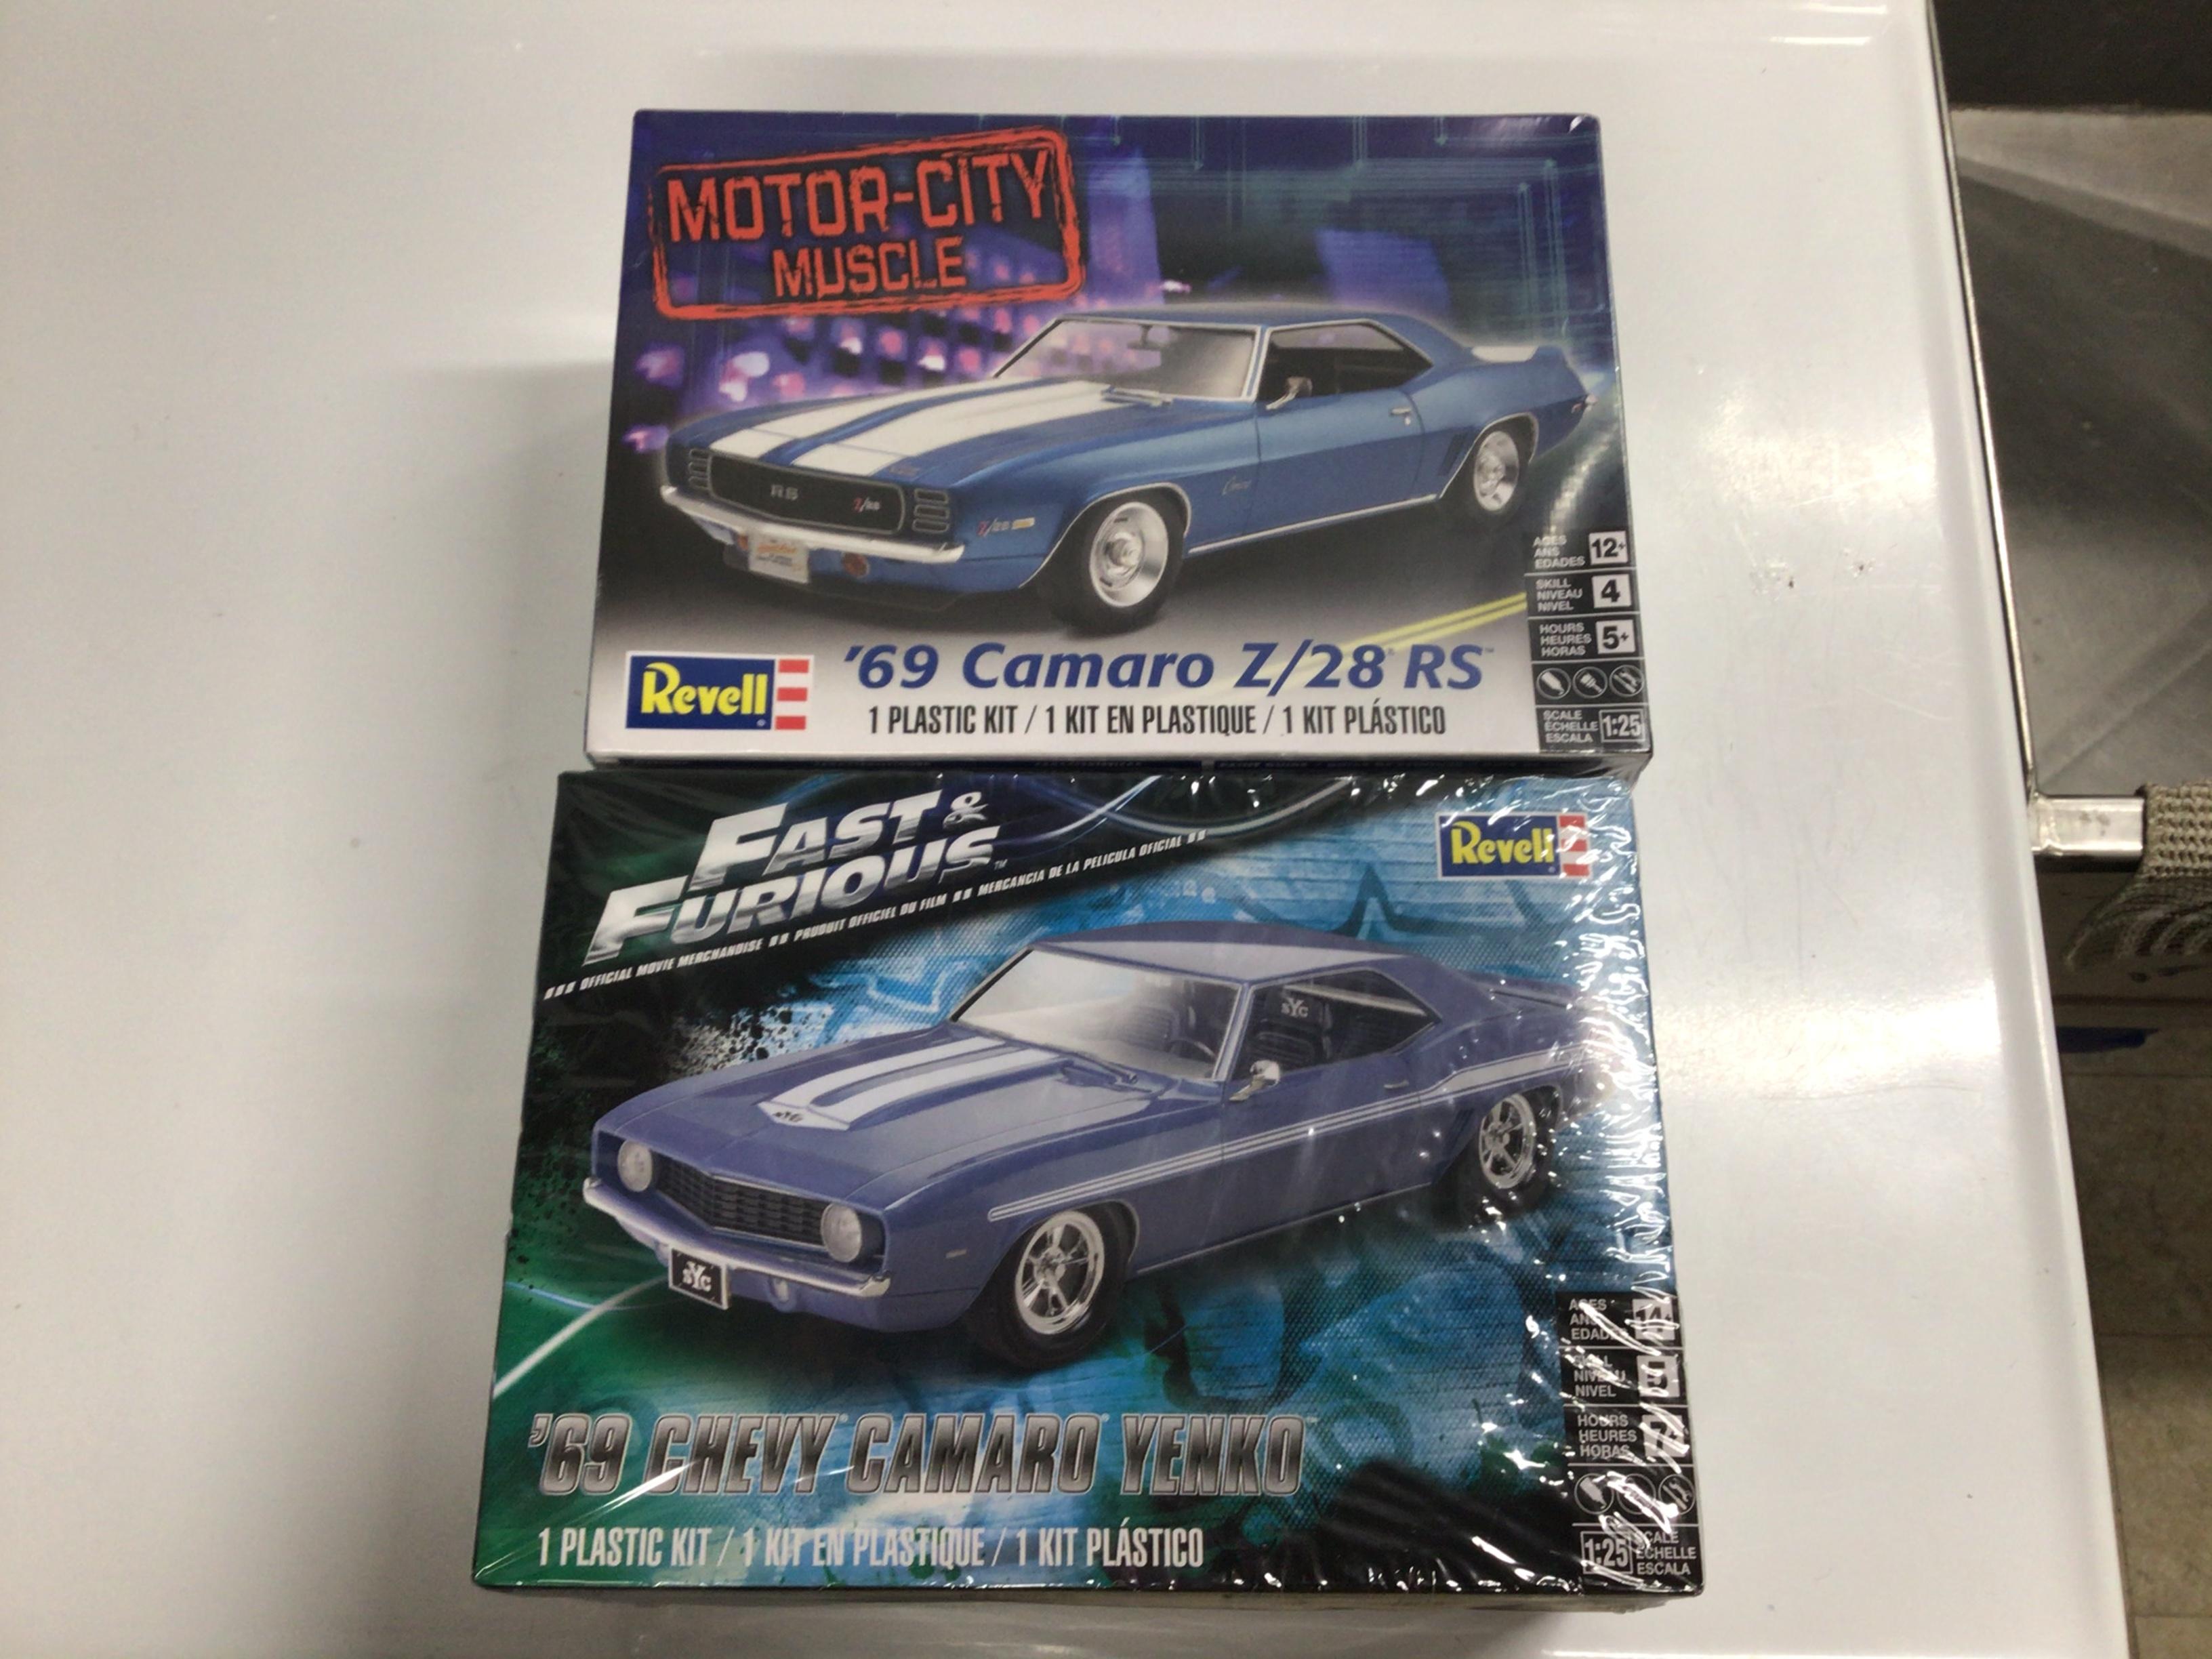
Ok, so I cracked open both boxes...and most of it is identical. Casting numbers are the same on the trees for the body, interior, hood, tires etc. The only differences are the chrome tree and the engine tree. Thanks Guys.
-
I was just typing in a further query as to whether the bodies came from the same mold or not when you replied. Thanks!
-
Which one of these is a better kit to build? I eventually want to build one and the other is going to go for parts. Thanks, Greg
-
Kind of eerie that they’d ALL be missing one.?
-
Beautiful. I love the water bottle! Made from clear sprue?
-
International Scout Family
NOBLNG replied to dragstueck's topic in Model Trucks: Pickups, Vans, SUVs, Light Commercial
I take it you like Scouts...and it shows. Beautiful work on all of them, but I really like the first light blue one.? -
Nice. I do like the color. Makes me want to dig mine out.?
-
Looking real fine there Jason. The wheels you have on it now look great! The photo etch grill is a nice touch too.
-
Absolutely. It goes into a bottle cap and applied with a toothpick. It is still stringy though. I don’t have to squeeze it at all...it comes out on it’s own. I also have the thick, medium and thin CA glues. The thick and medium are the only ones I can apply straight from the bottle. I rarely use the thin, as it winds up everywhere.?