NOBLNG
-
Posts
10,233 -
Joined
-
Last visited
Content Type
Profiles
Forums
Events
Gallery
Everything posted by NOBLNG
-
 This is the first multi piece body I have come across, and was my only attempt at building one. I can see why people like it because it does build up very nicely! Waaay better than the AMT I did at the same time.
-
Transfer Cases - Identification & Reference
NOBLNG replied to Casey's topic in Model Building Questions and Answers
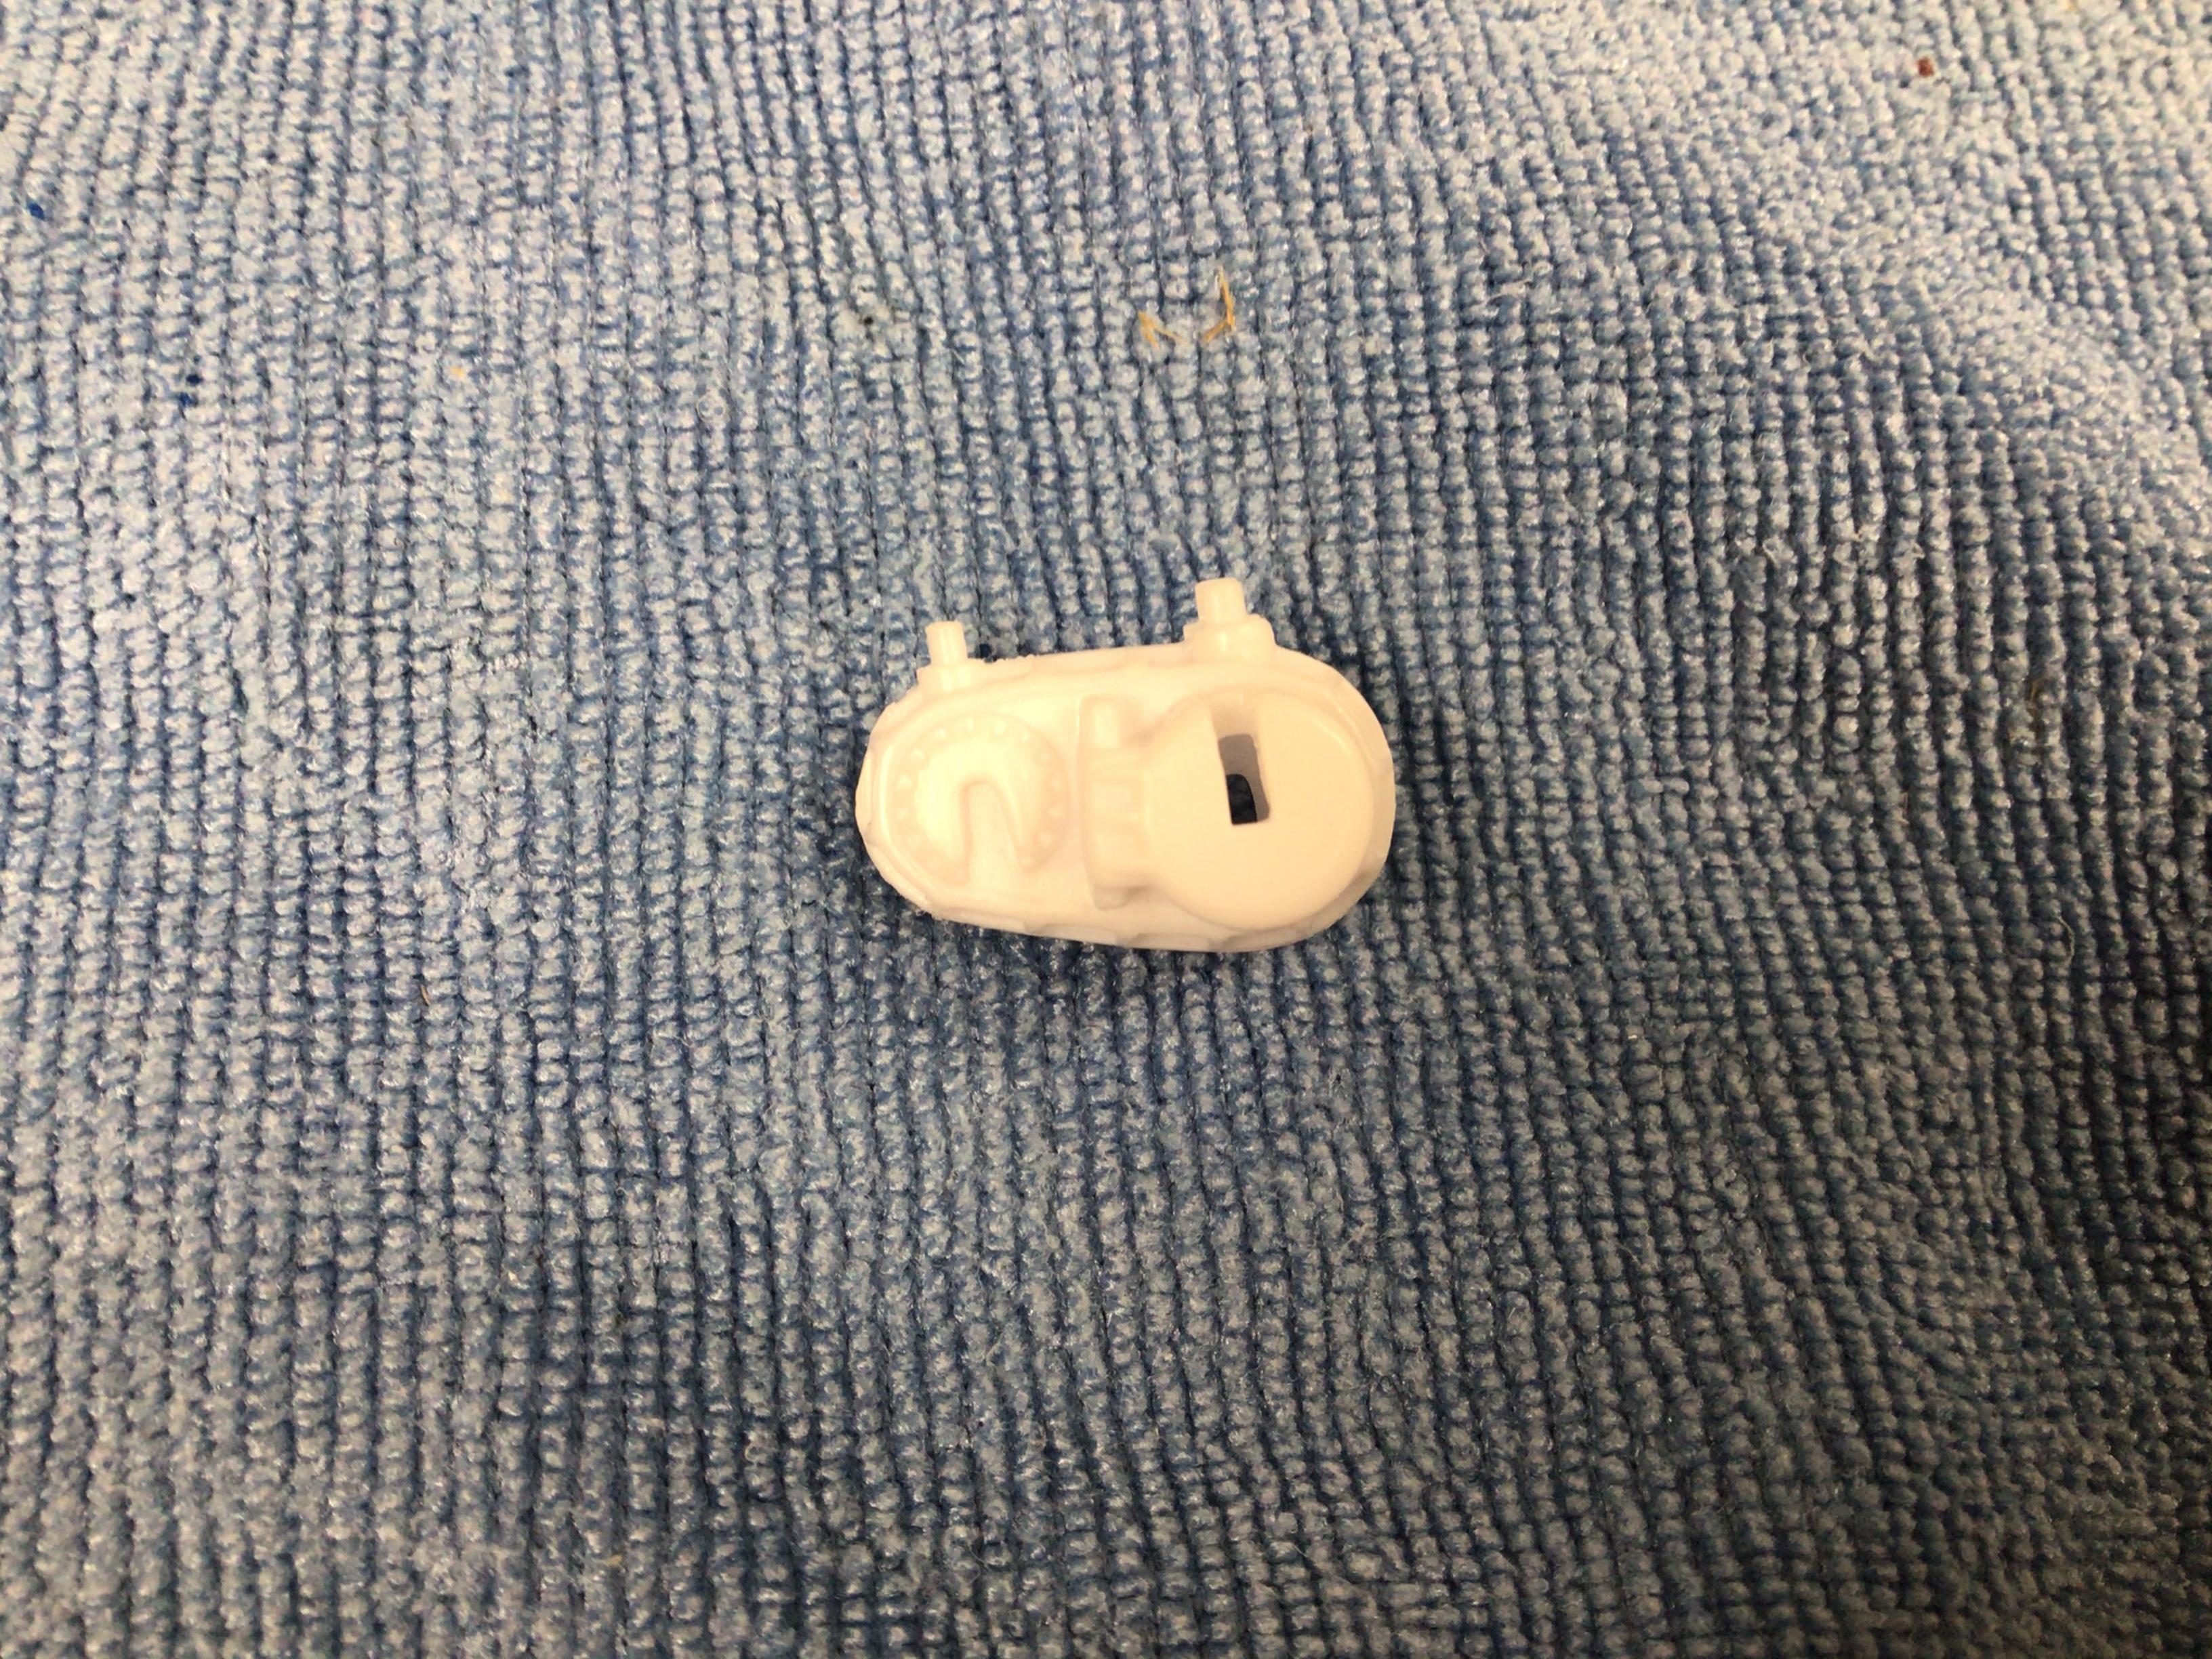
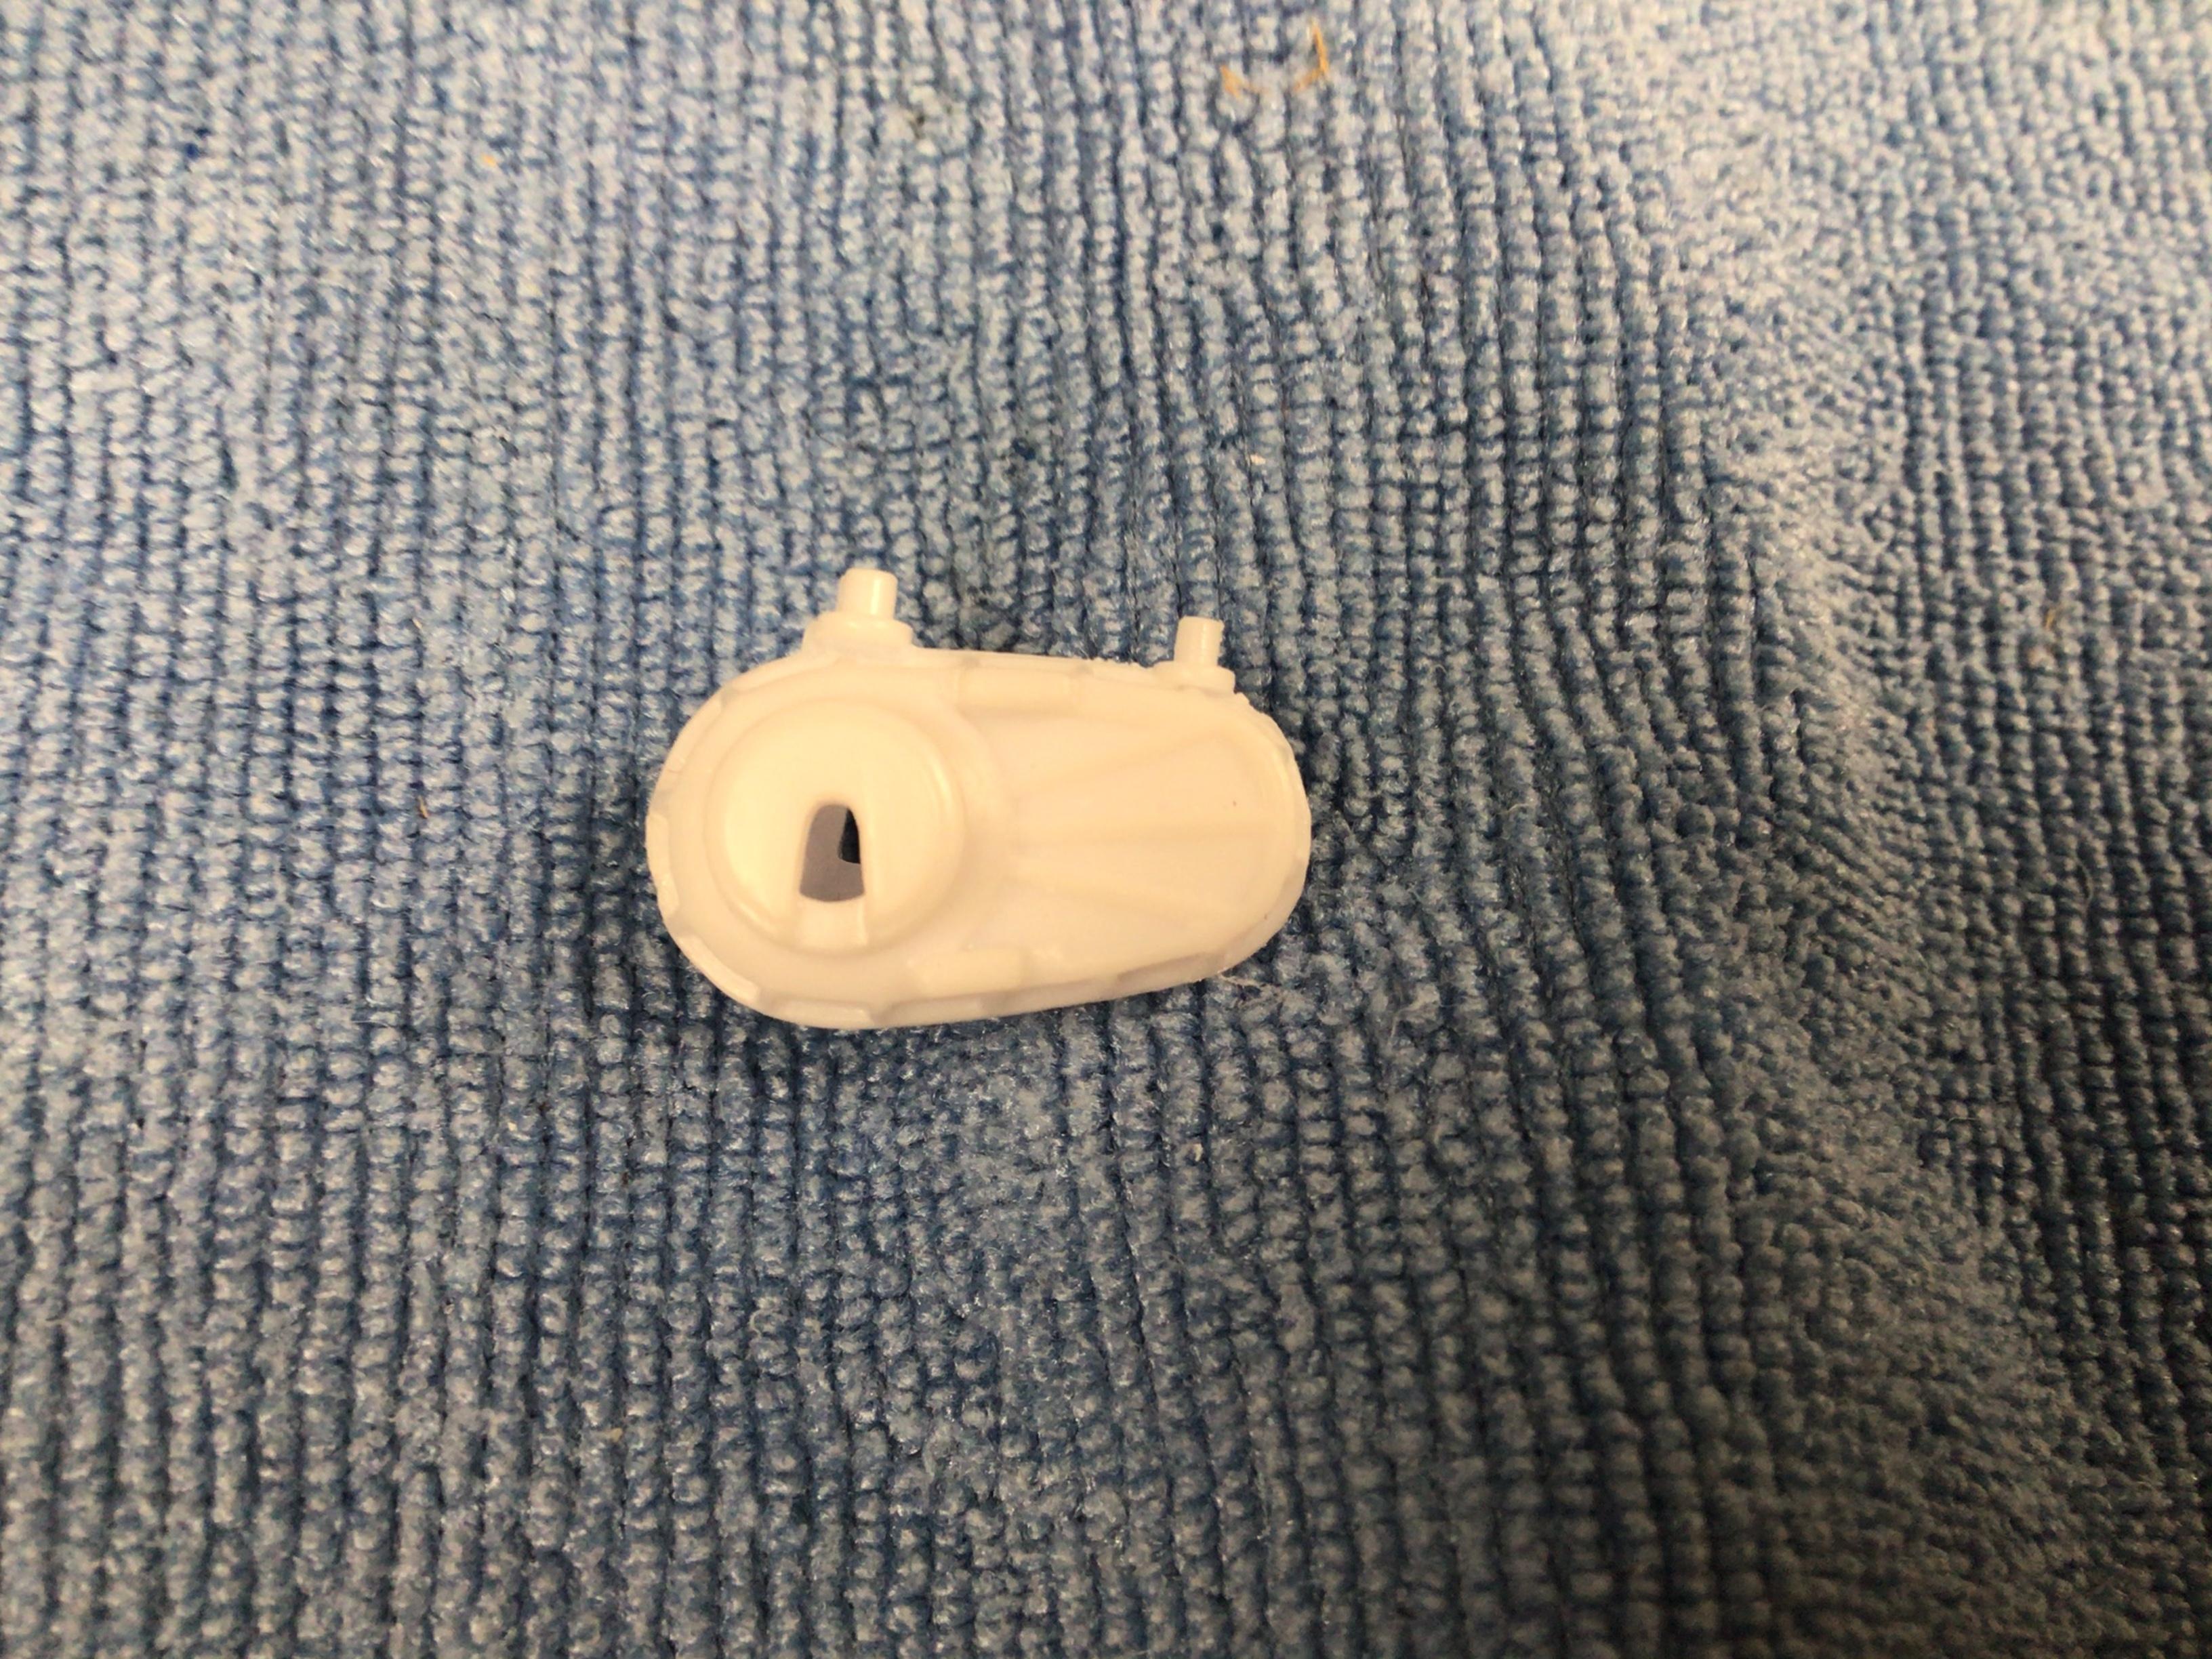
i wonder if it belongs to a motorized model or some toy that needed the notch for clearance? -
Cool little car!??
-
I too like the ‘56 best. My dad had one, but I was too young to remember him driving it. You’ve done an excellent job on this one Andrew....I love It!
-
Nicely done!
-
Kits Which Were Once This, Then Became That
NOBLNG replied to Casey's topic in General Automotive Talk (Trucks and Cars)
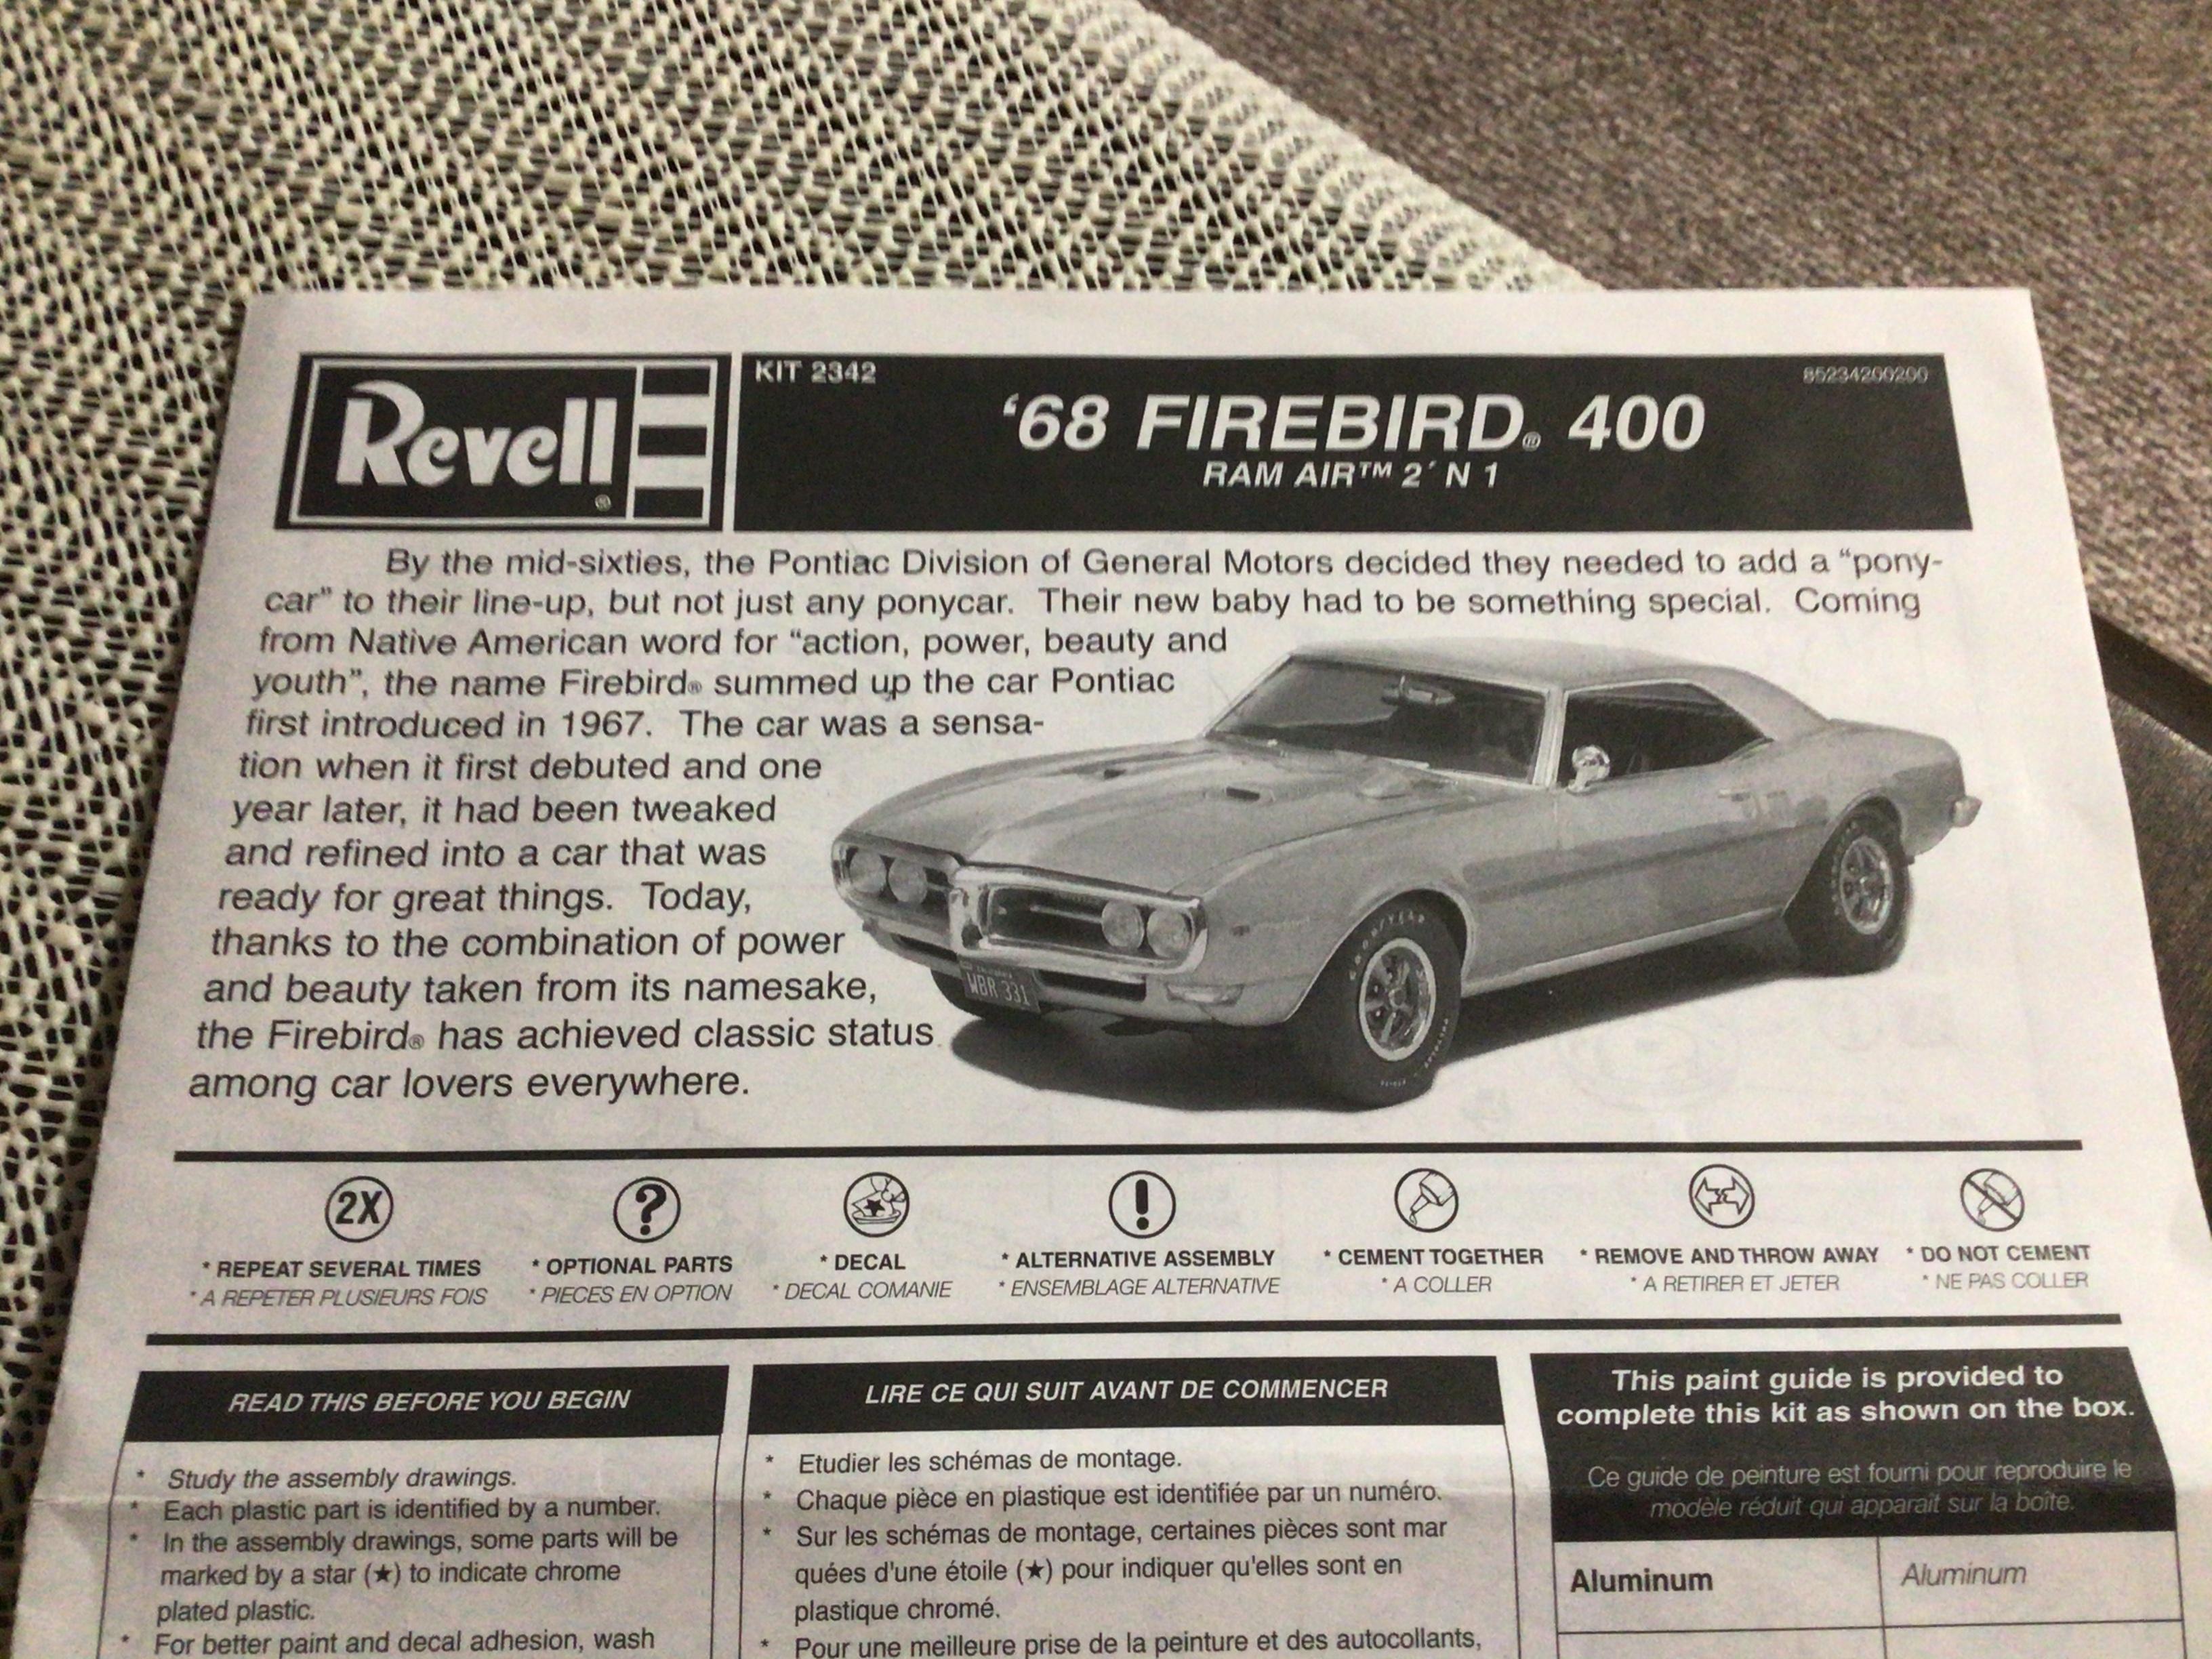
It is a 400 I believe.
-
Nice fab work on this Dennis. Good revision on the exhaust system. It has to move up and down with the frame when the airbags levels are adjusted.
-
Interesting flash removal tool
NOBLNG replied to Jonathan's topic in Model Building Questions and Answers
I don’t see what advantage the flexibility would provide? If it came with a permanent curve and double edged maybe? -
Transfer Cases - Identification & Reference
NOBLNG replied to Casey's topic in Model Building Questions and Answers
These are some I have. Revell jeep Rubicon. (NV241OR) Revell GMC plow truck. (NP205) AMT Crew Chief Blazer. (Dana20) Revell Early Bronco. (Dana20)
-
Transfer Cases - Identification & Reference
NOBLNG replied to Casey's topic in Model Building Questions and Answers
I agree. The last one from the Jeep Honcho is the Borg-Warner Quadra trac I believe. The red half one at the bottom of the first column may possibly be a New Process 203...or the front half of a Ford 205? Ford had drivers side front outputs, GM’s and Dodges had Passenger side outputs for all solid front axled trucks. (Thanks for correcting me on the Dodge outputs Brian). Some more info here. https://www.fourwheeler.com/how-to/transmission-drivetrain/1906-junkyard-t-case-spotters-guide/ https://www.fourwheeler.com/features/1406-transfer-case-spotters-guide/ The silver one in the first column, and the blue one at the bottom of the second column both have a three bolt idler shaft cover which I thought was a distinctive feature of the NP-205....but Wow, poor quality if that is what they were intended to be? -
Nice cleanup.
-
'66 Nova Chassis for '63 Nova Wagon Conv.
NOBLNG replied to ranma's topic in Tips, Tricks, and Tutorials
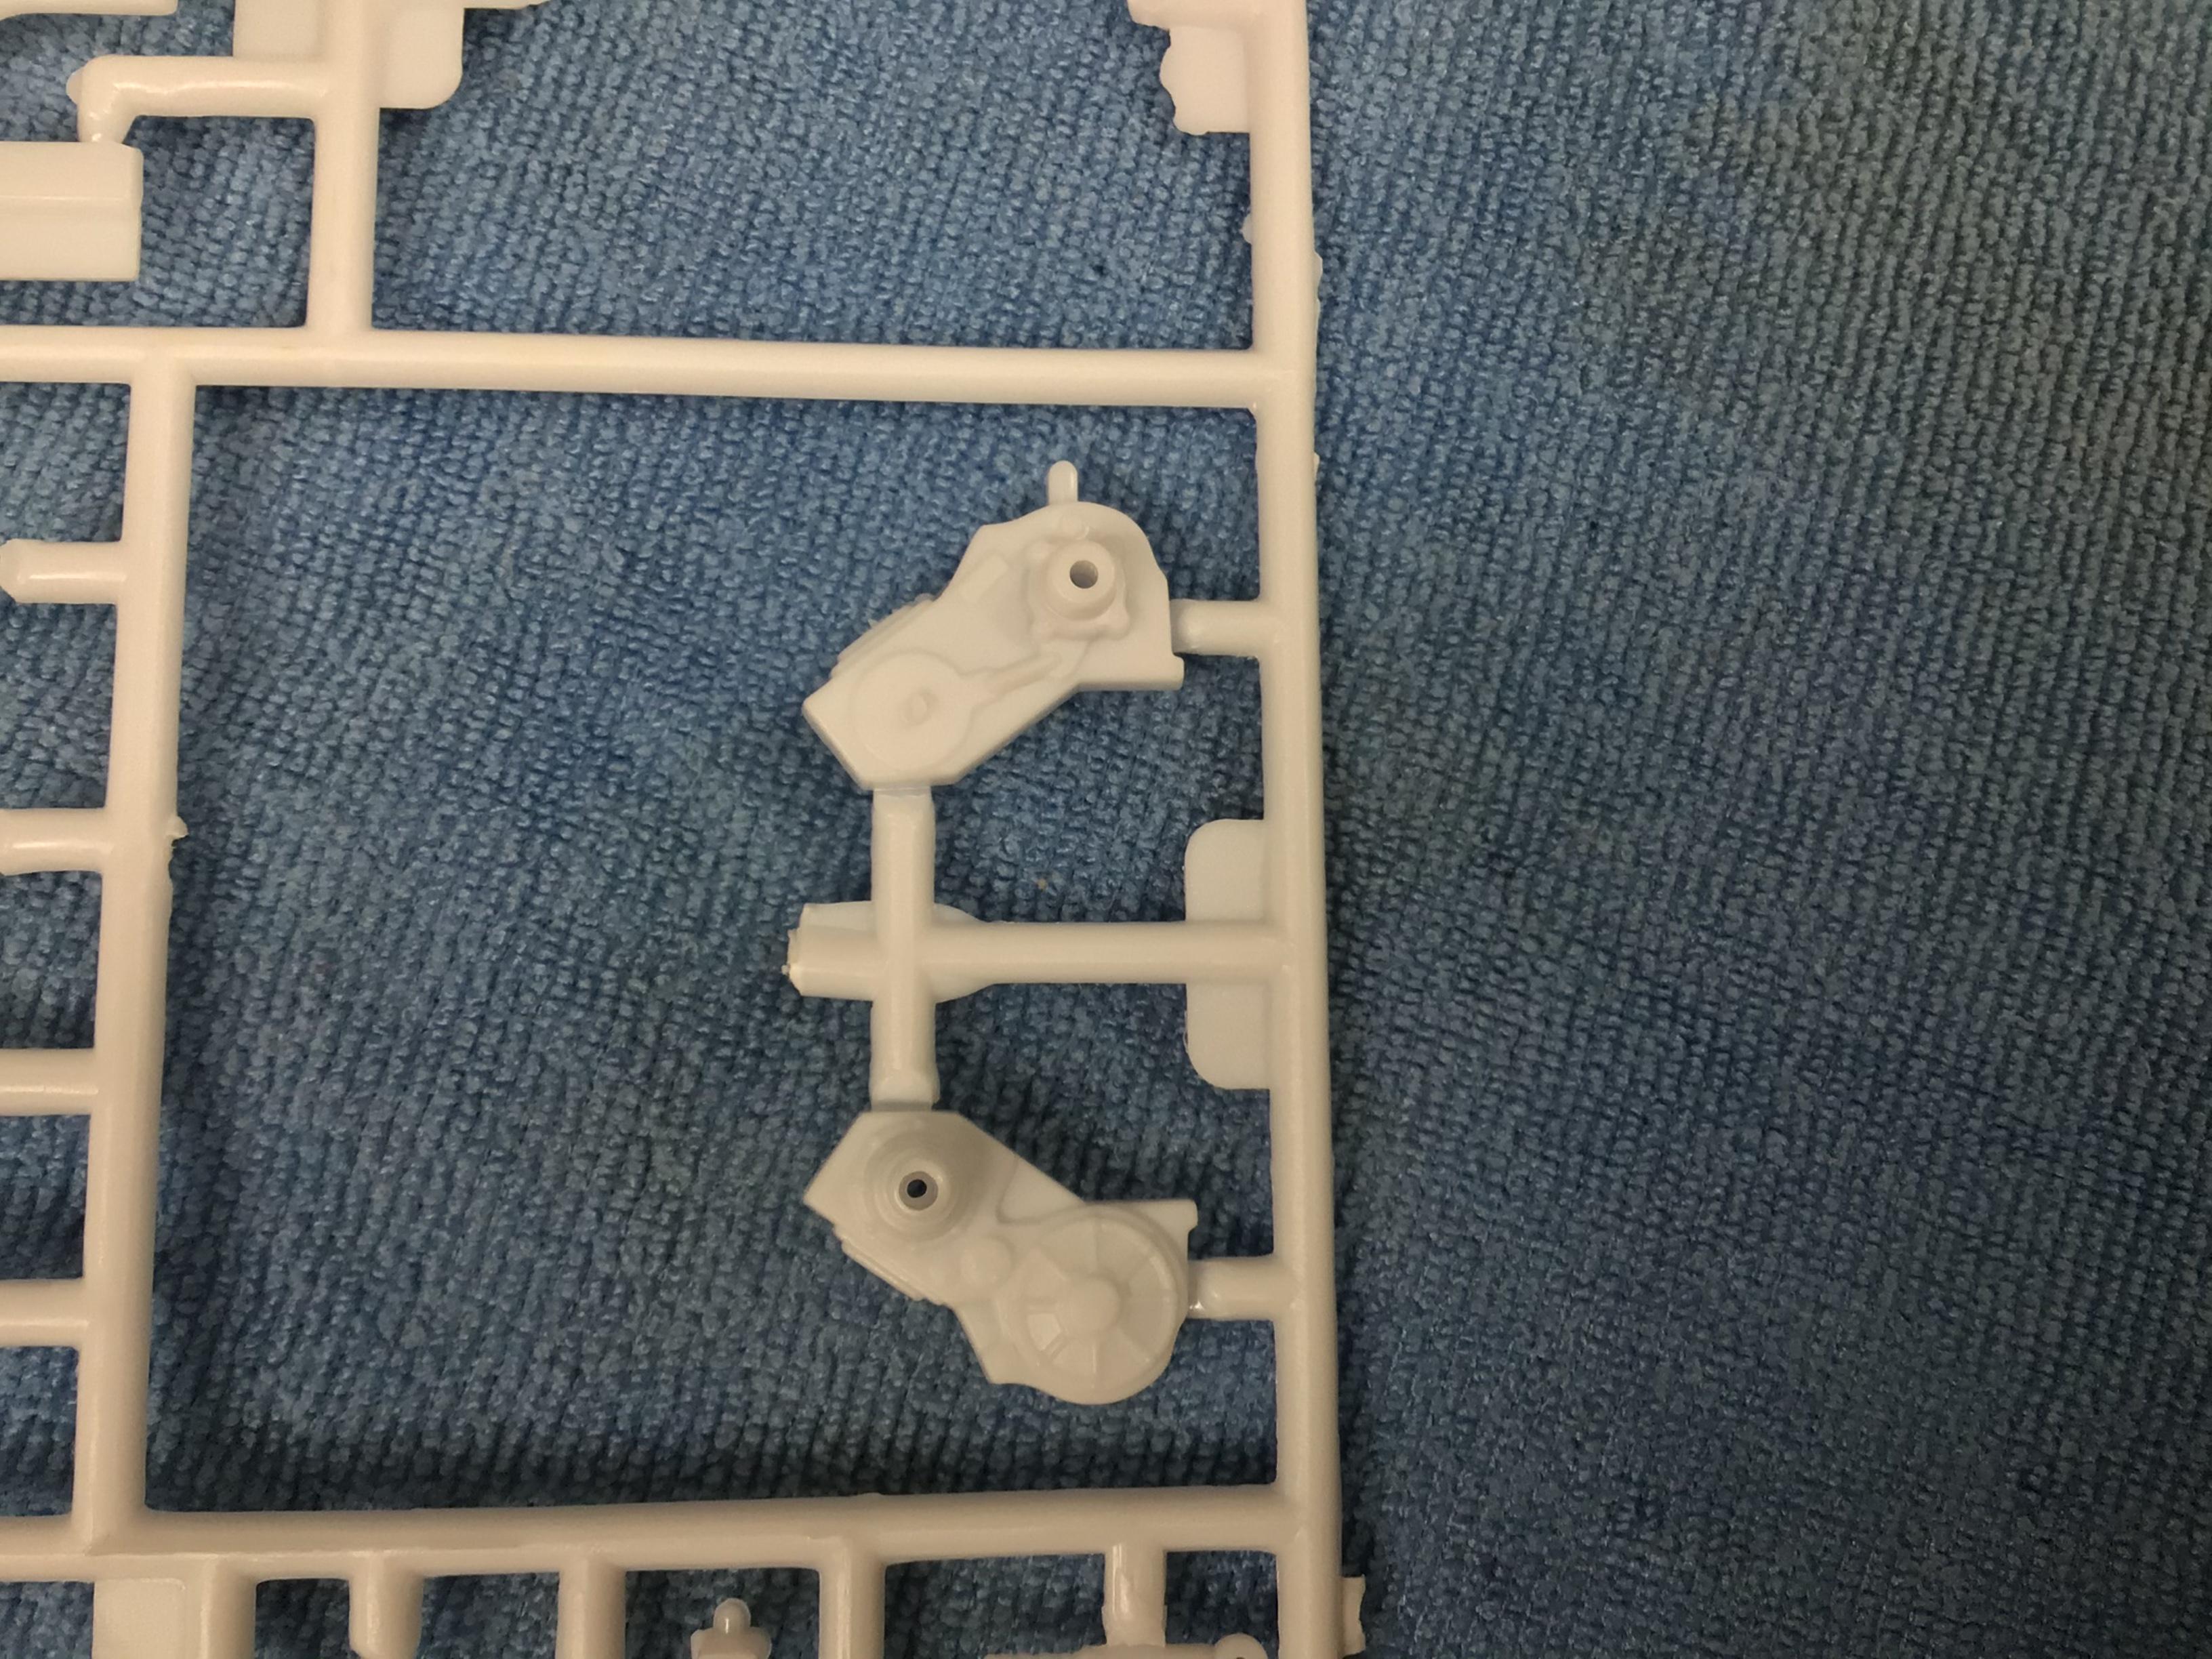
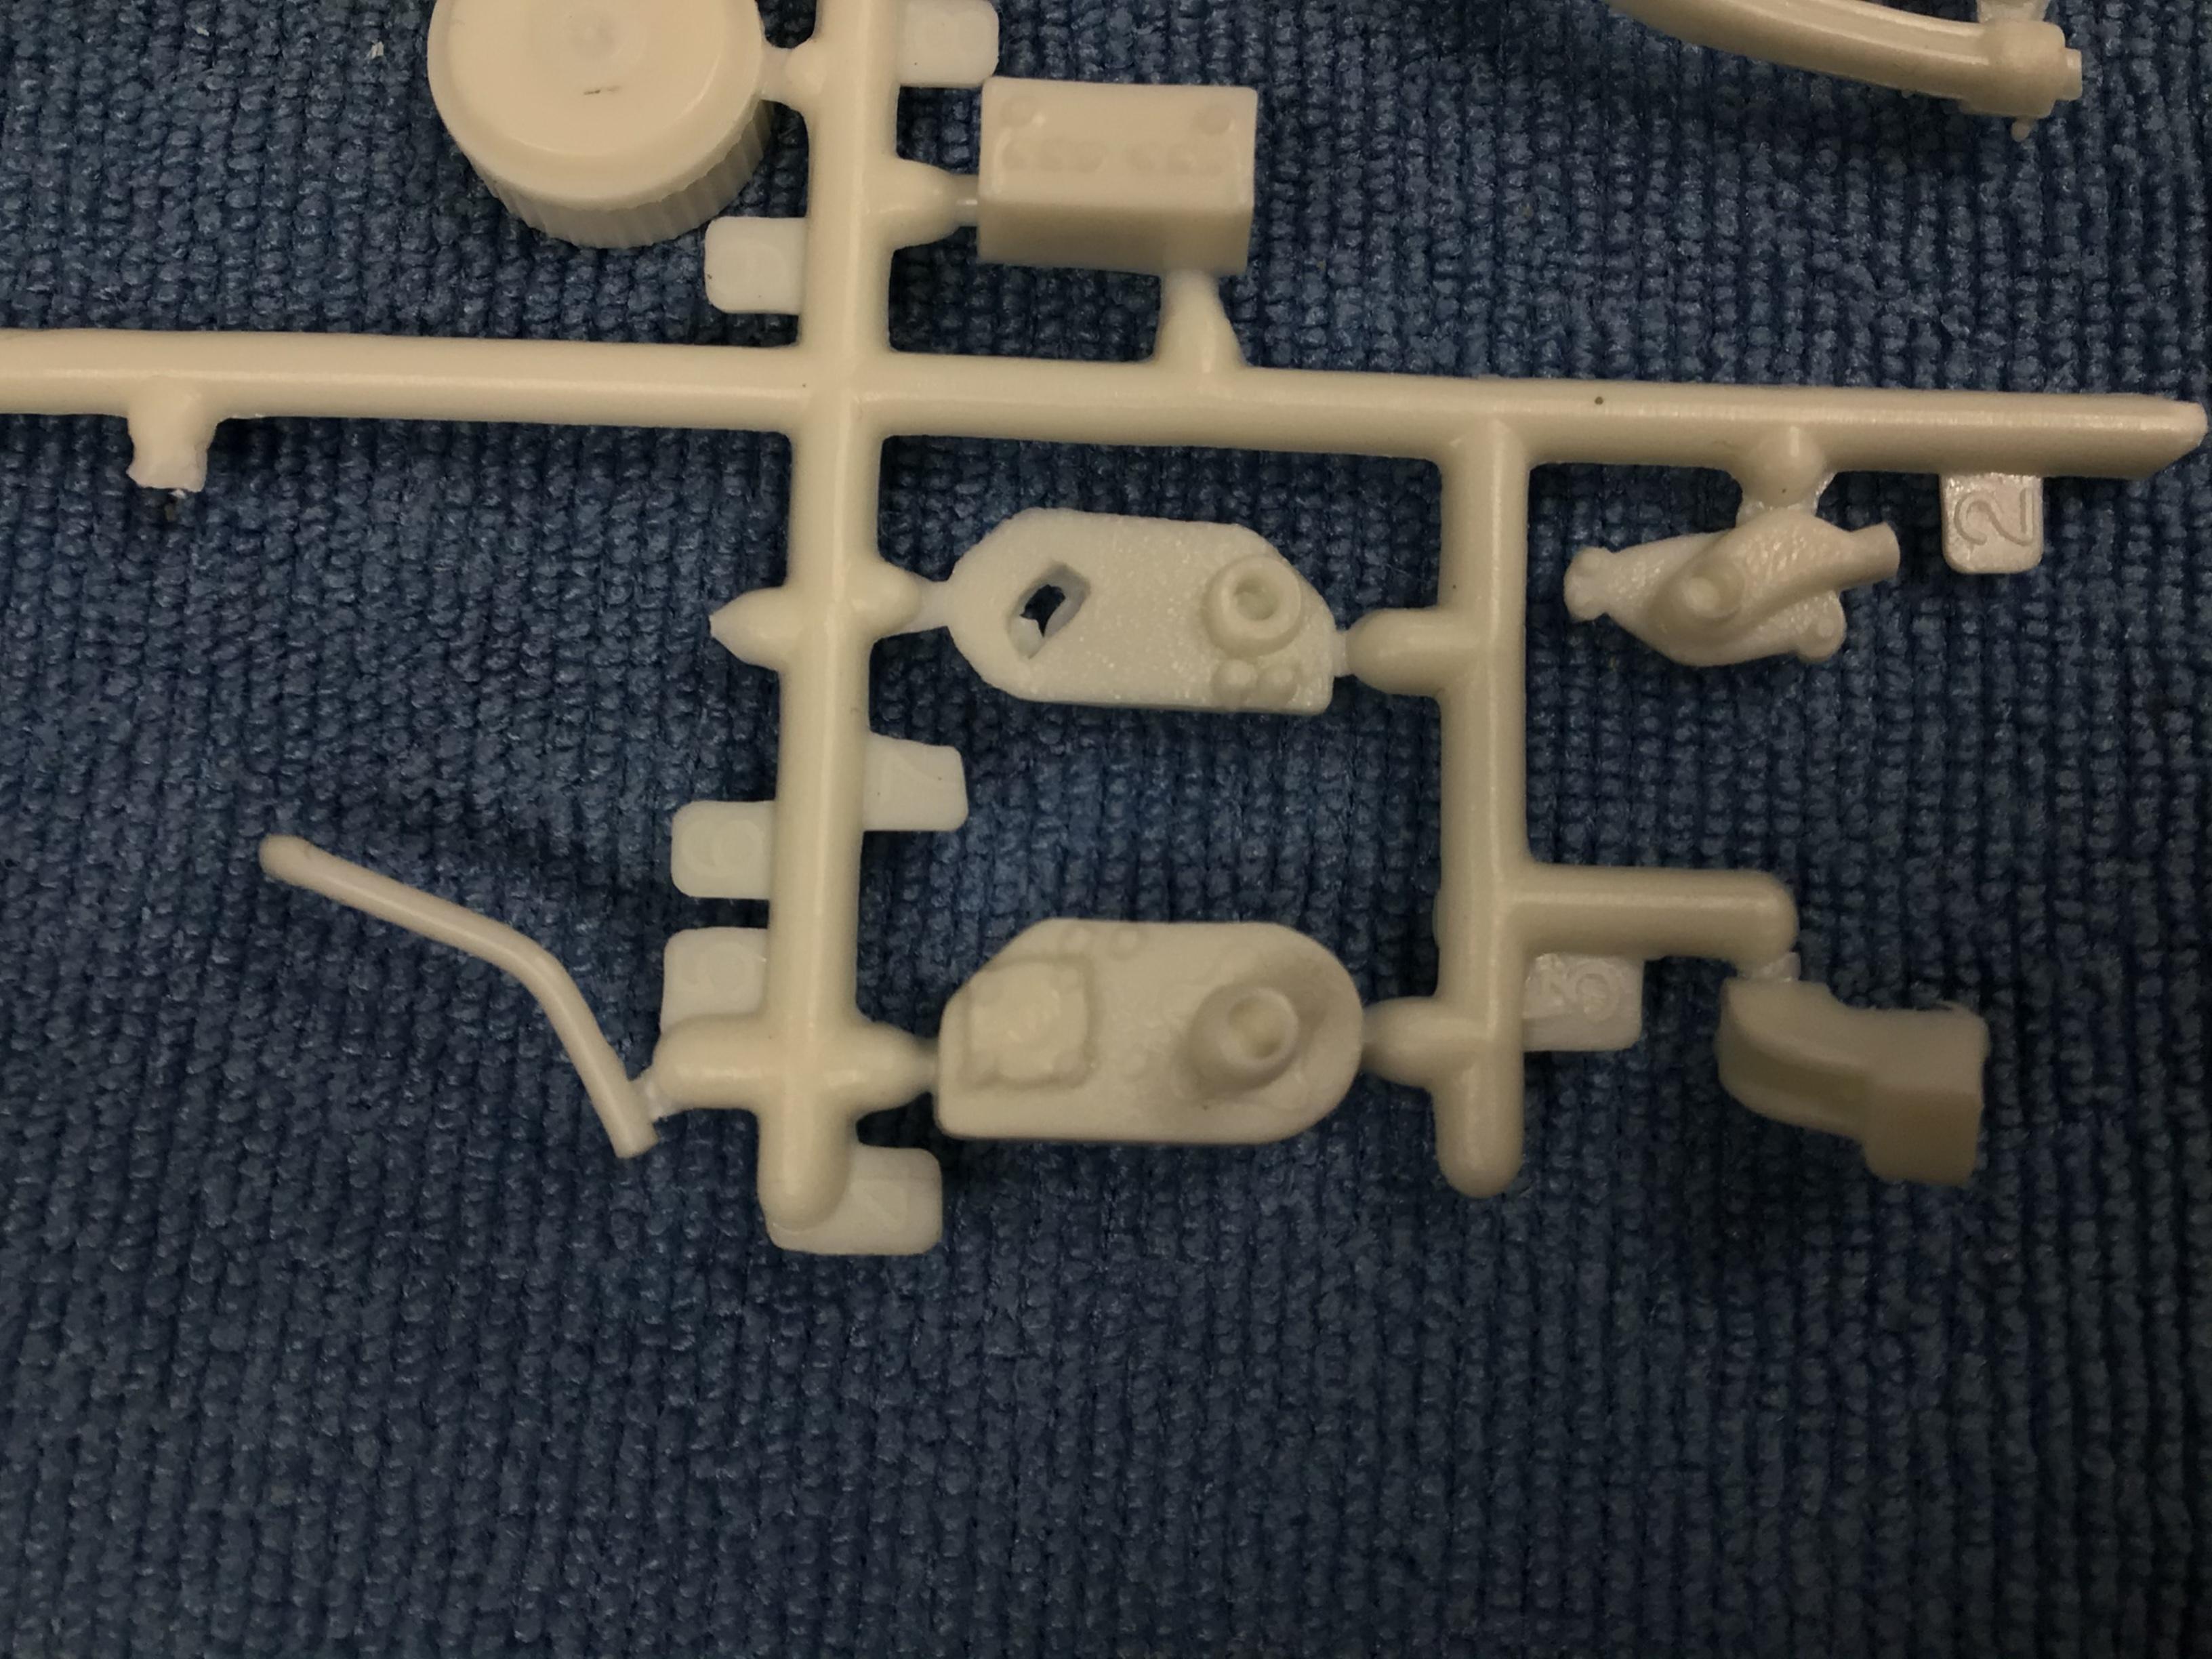
Which kits do these parts belong to? Or are they resin? -
Glad the Mrs. is Ok! If he knew the brakes weren’t working well, he should have been driving extra defensively.?
-
Nice woodgrain on the footrest. This looks to be a very delicate but very nicely cast kit.
-
Wrecker's front bumper question
NOBLNG replied to Andrew D the Jolly Roger's topic in Model Building Questions and Answers
Check out the “what did you accomplish today” thread in the general section. Someone just made a nice one. -
1960 Chevrolet Pick-up
NOBLNG replied to Jeff Stotz's topic in Model Trucks: Pickups, Vans, SUVs, Light Commercial
It looks just fine by my standards. Nice job!? -
Beautiful work! I have nothing to contribute but my praise.?
-
Wrecker's front bumper question
NOBLNG replied to Andrew D the Jolly Roger's topic in Model Building Questions and Answers
The real bumper probably wouldn’t be any thicker than 1/4” plate which would be .010” in 1/25 scale. ( 0.250” divided by 25 = 0.010”) then it would probably be covered with a sheet of at least 1/4” thick rubber, or more likely conveyor belting? This is so that when push-starting a vehicle the tow truck will not scratch or otherwise damage the bumper of the vehicle being pushed. I would personally upscale the actual bumper to at least .020” styrene or even .030”....it will not look out of scale in my opinion. -
The_Kyza PhotoShop rendering video
NOBLNG replied to 89AKurt's topic in General Automotive Talk (Trucks and Cars)
Wow, what an imagination! Just to be able to conceive of some of these in your mind is creative genius. Then top that with the skills required to create a rendering that someone else can see?? -
Wow, this is looking really nice. It is a kit you can really have fun with. Looking forward to seeing the paint finished!?
-
Thanks all of You for the nice comments! Tom...I’m still working on the Jeeps. Ken...I re-made the gage pod from styrene and printed the gage faces. The wood is veneer for counter edging. Carl...I had to paint the grill shell since a chunk of chrome peeled off so I figured why not do the scoop too.
-
Looking good! Just the right amount of chop.?
-
Super nice job on this one. When I first scrolled through the pics without reading the text, I thought the blue car was real for the first few. Well done and excellent photos!?
-
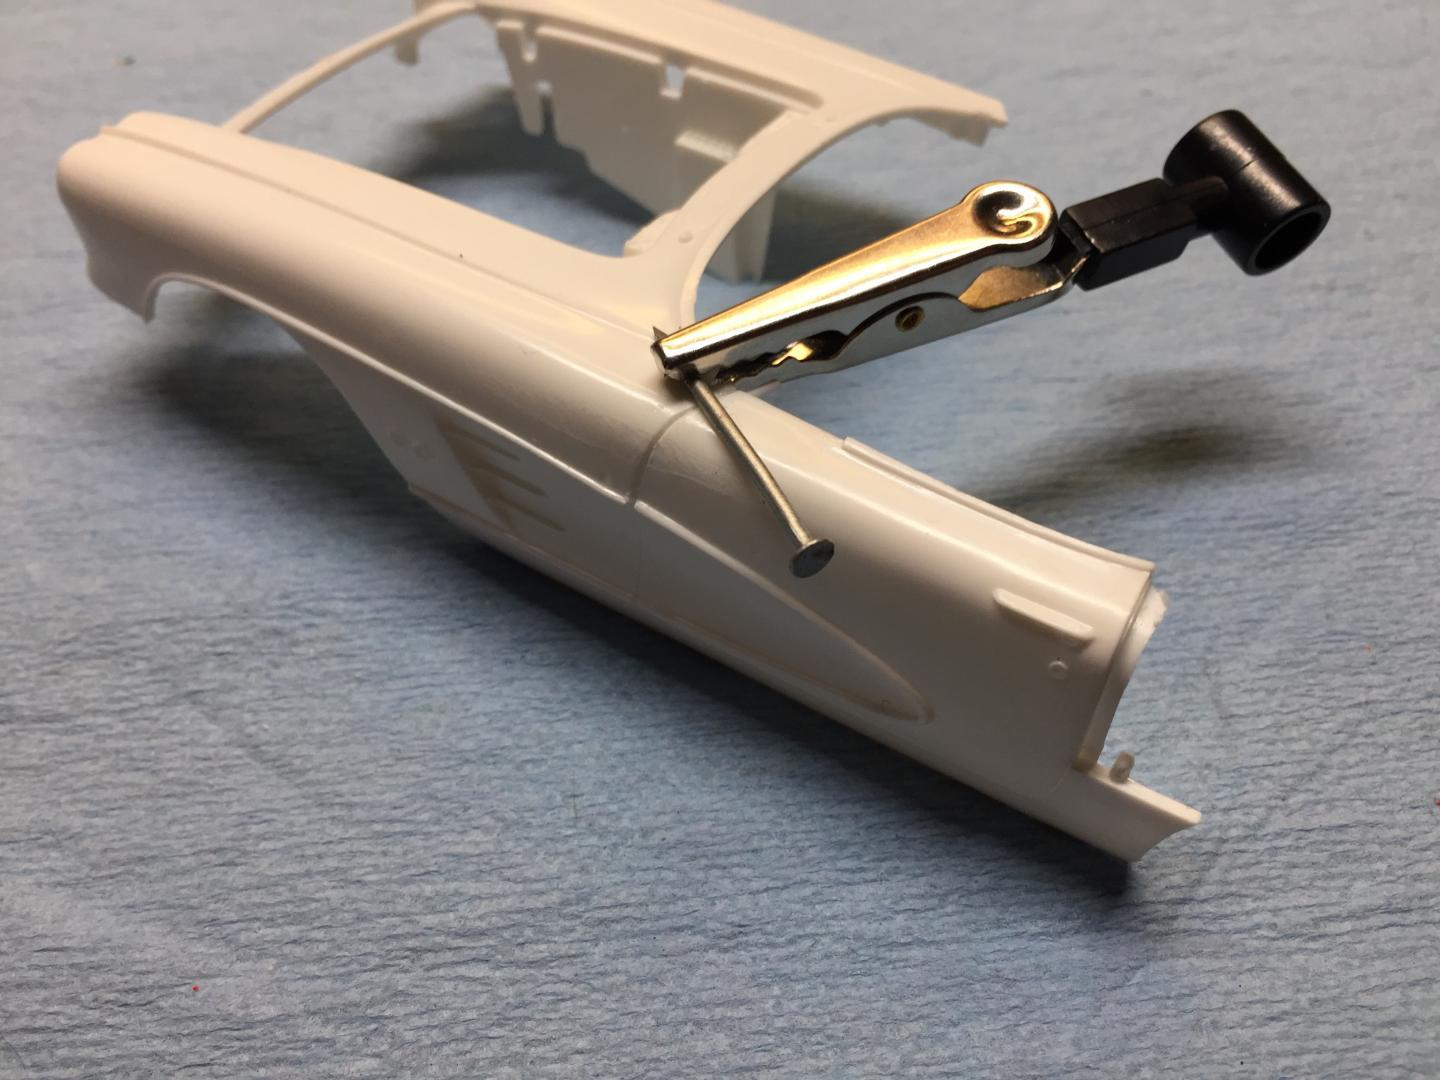
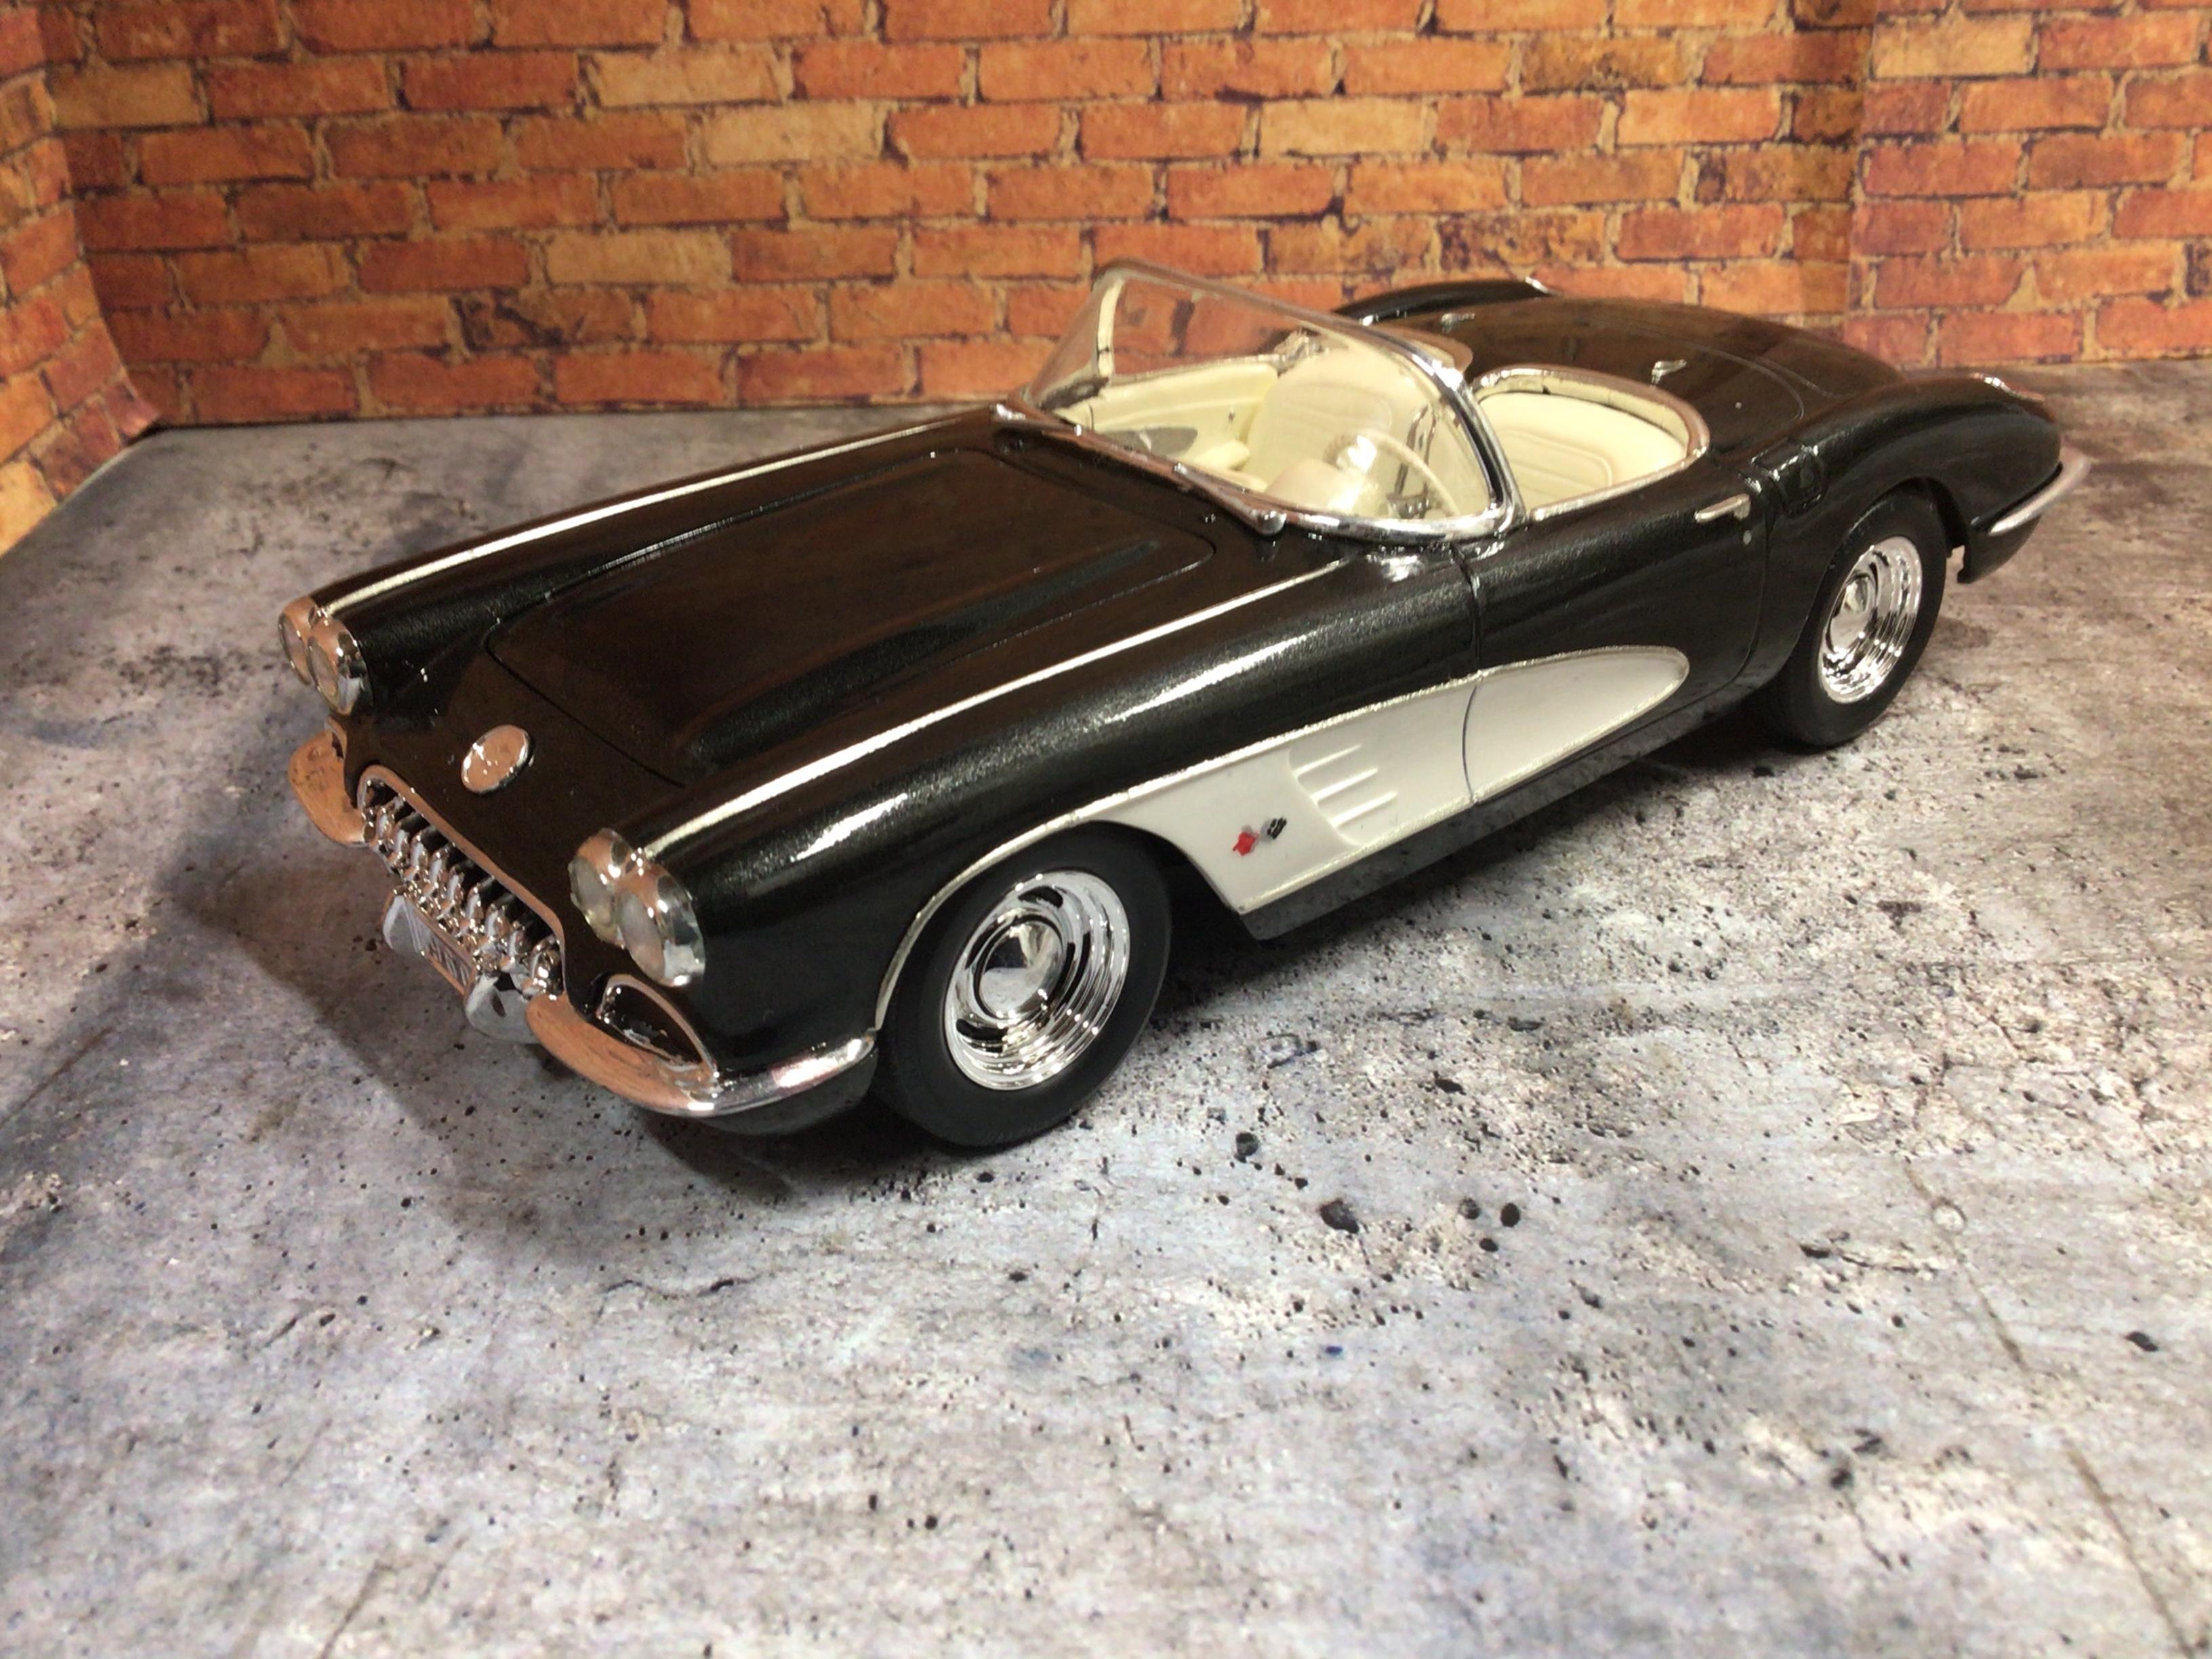
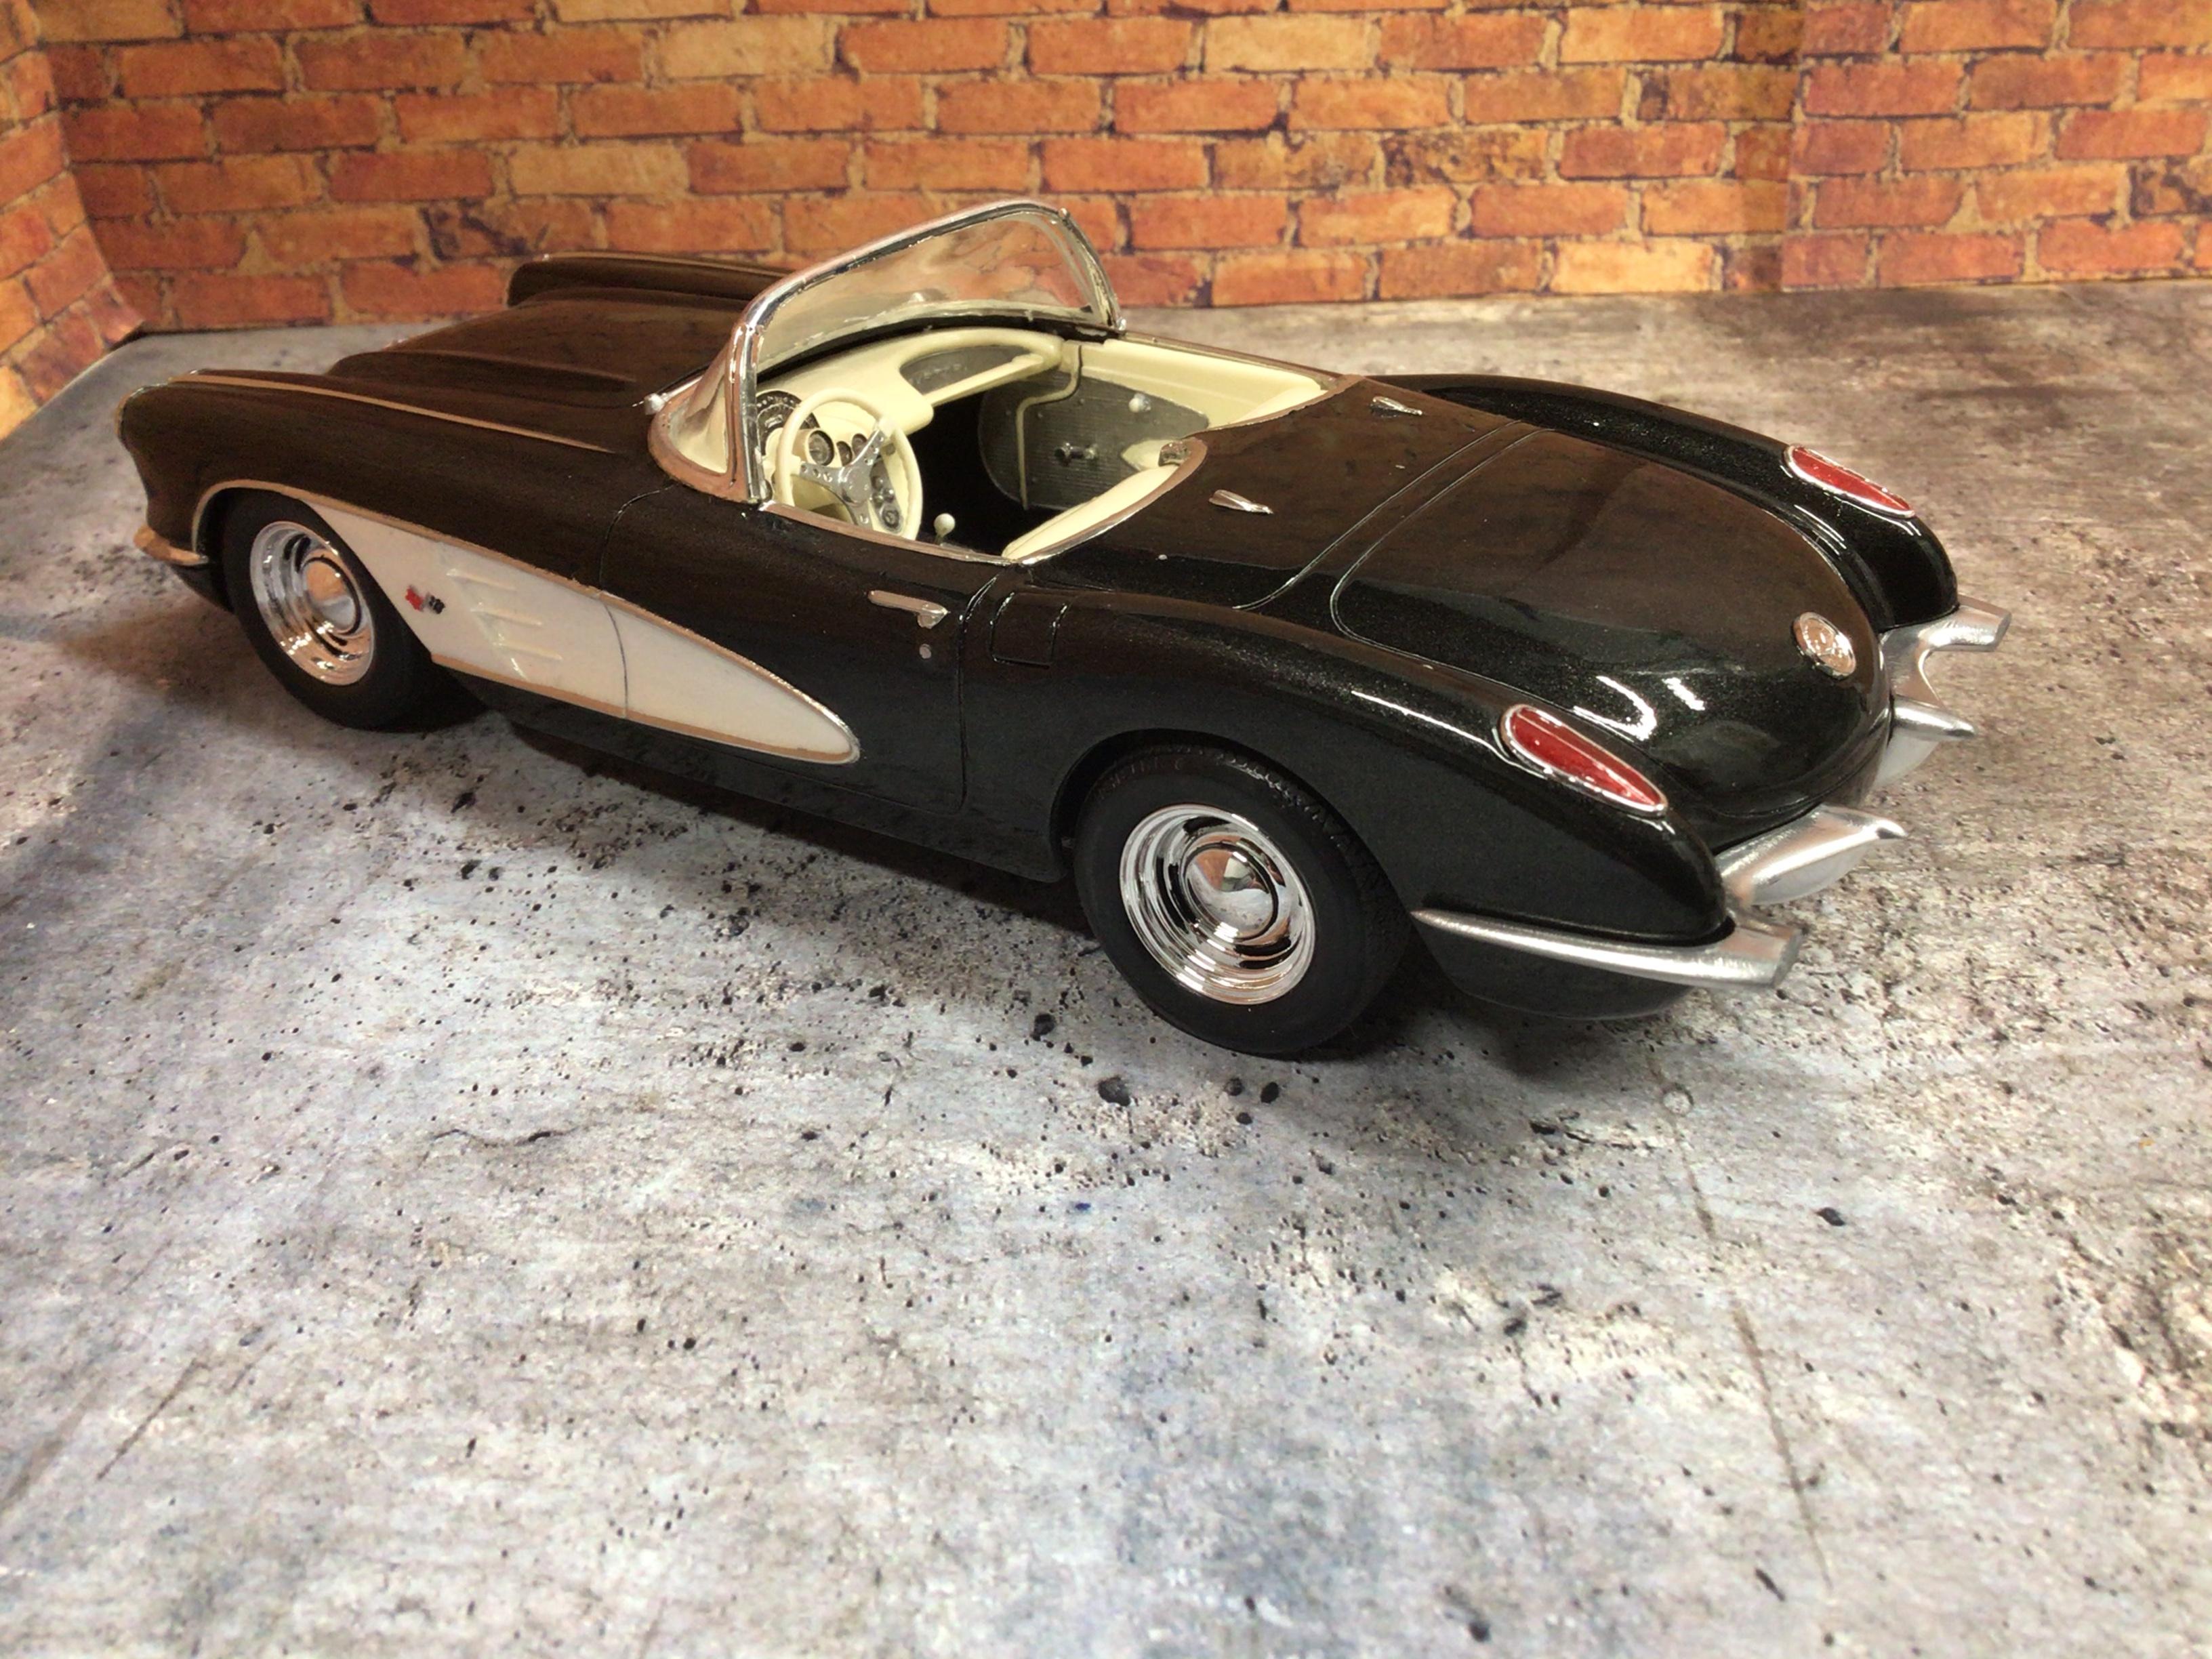
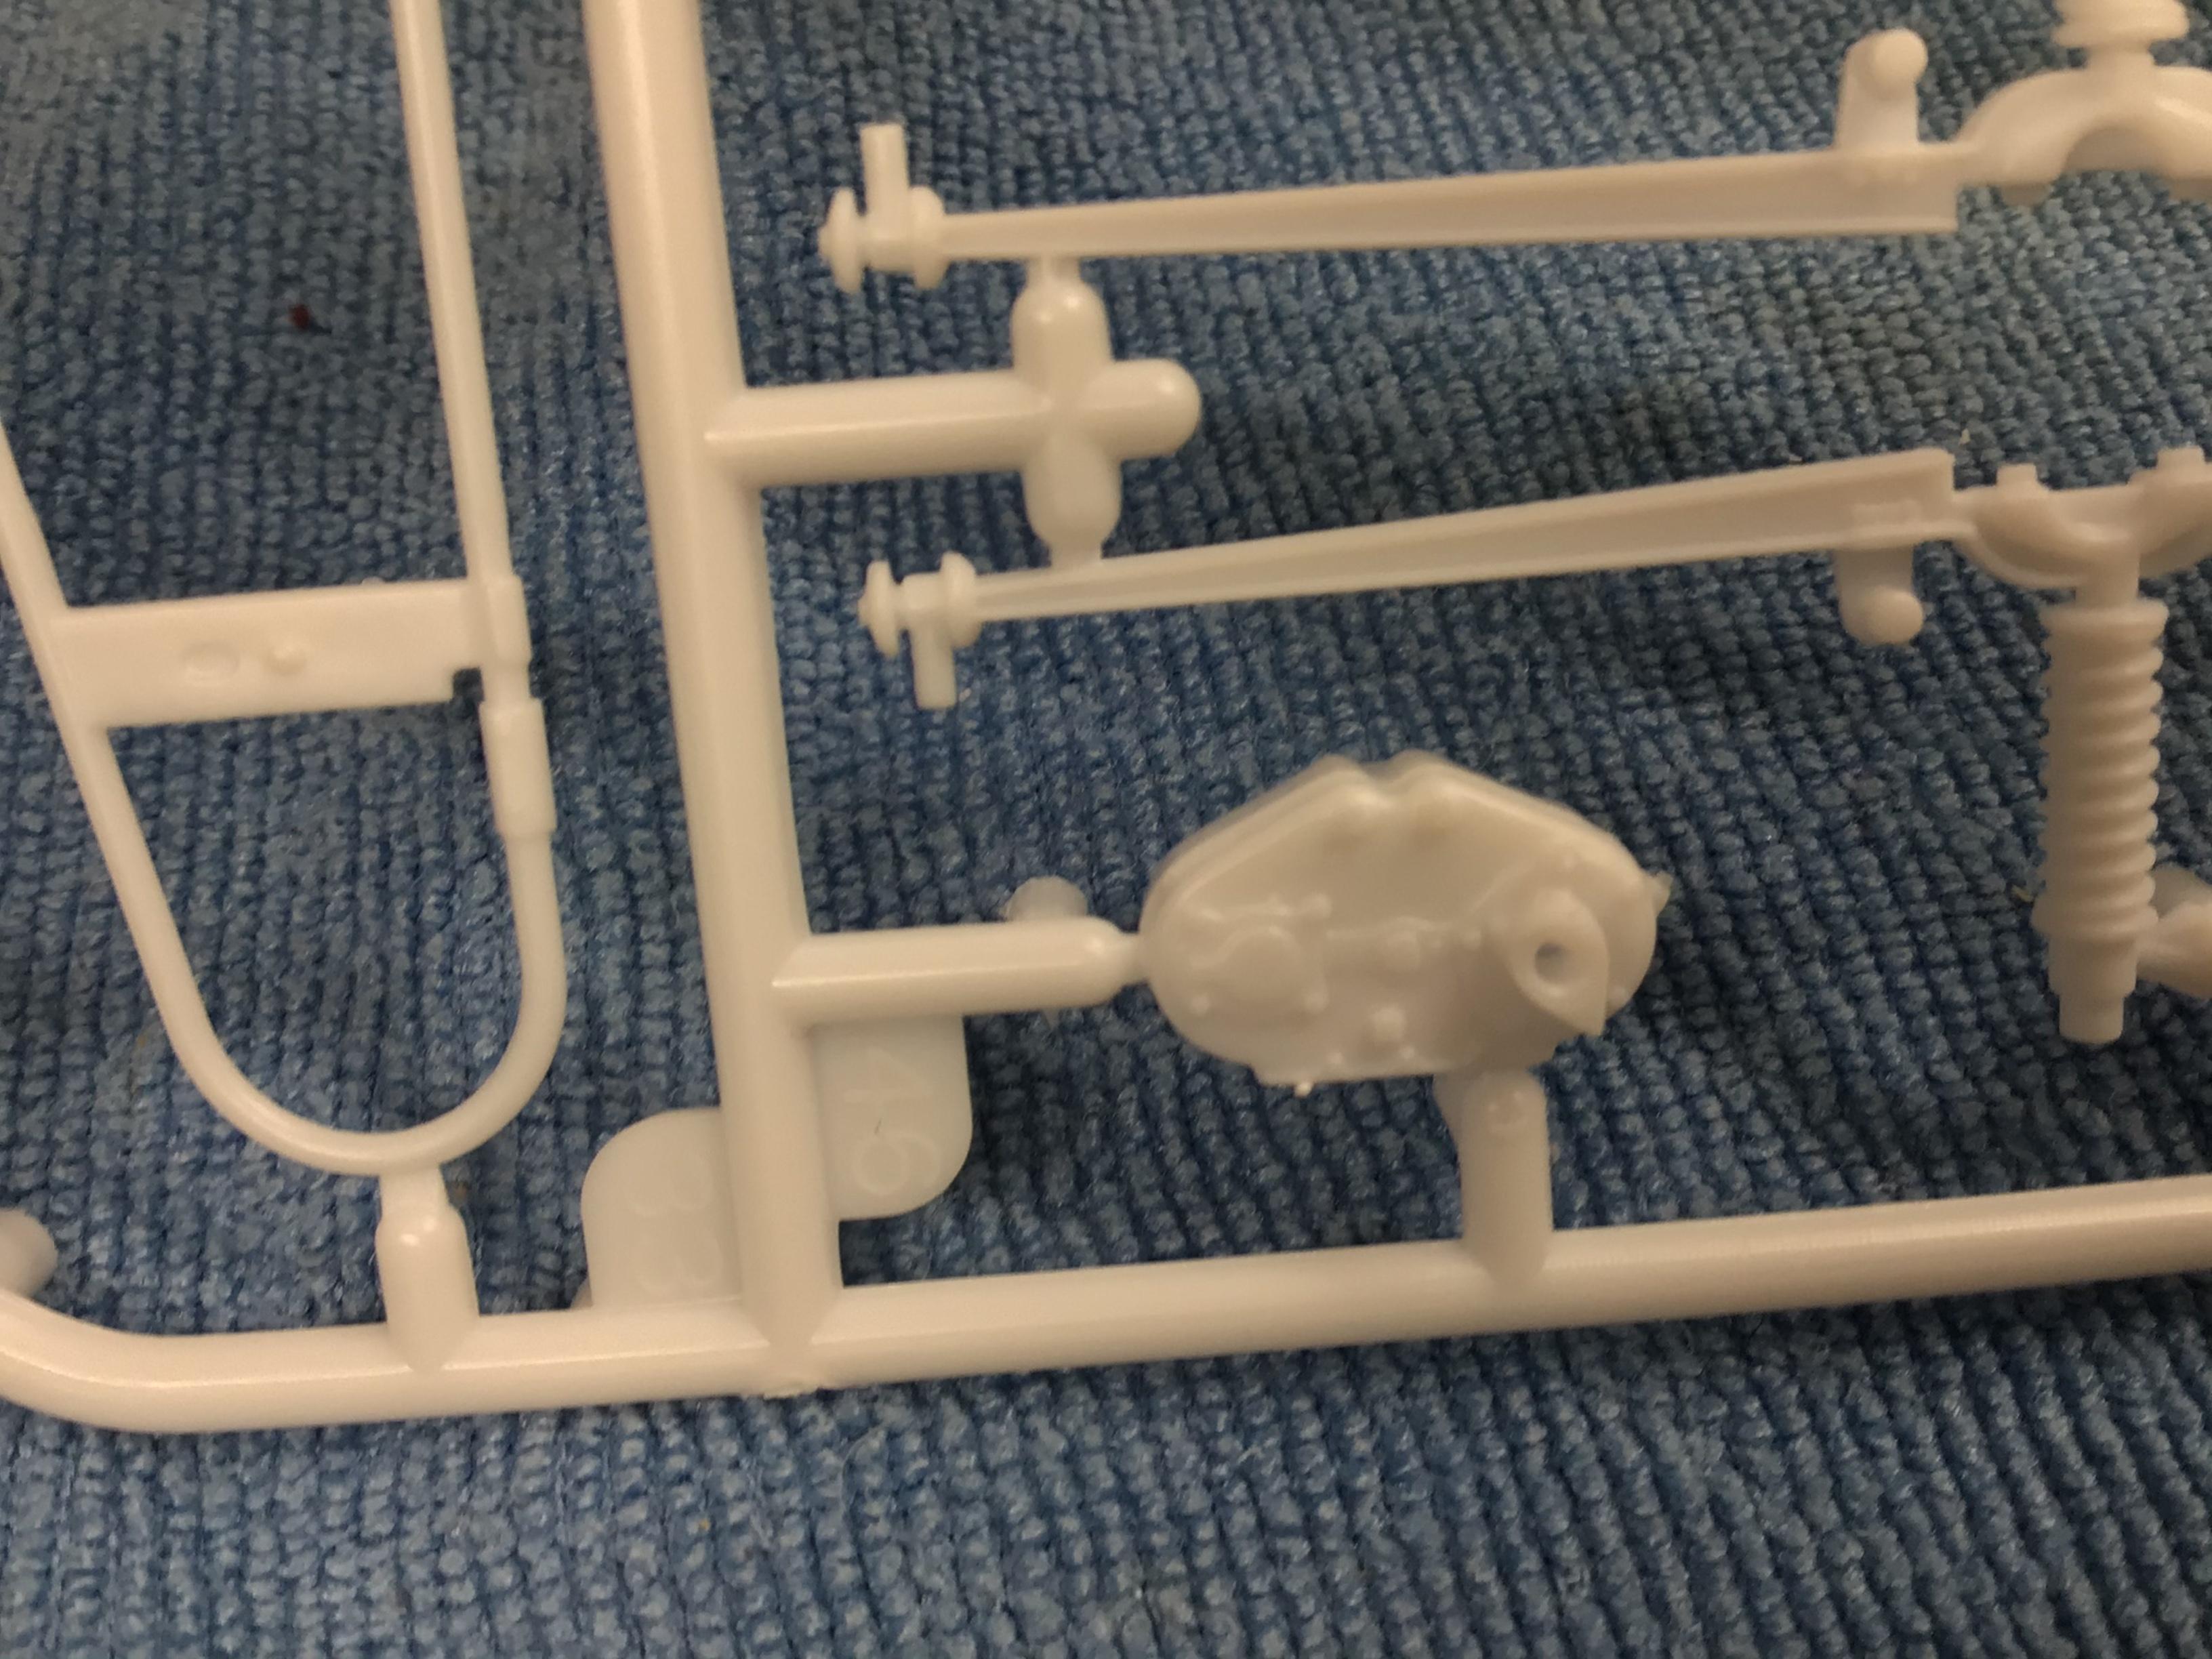
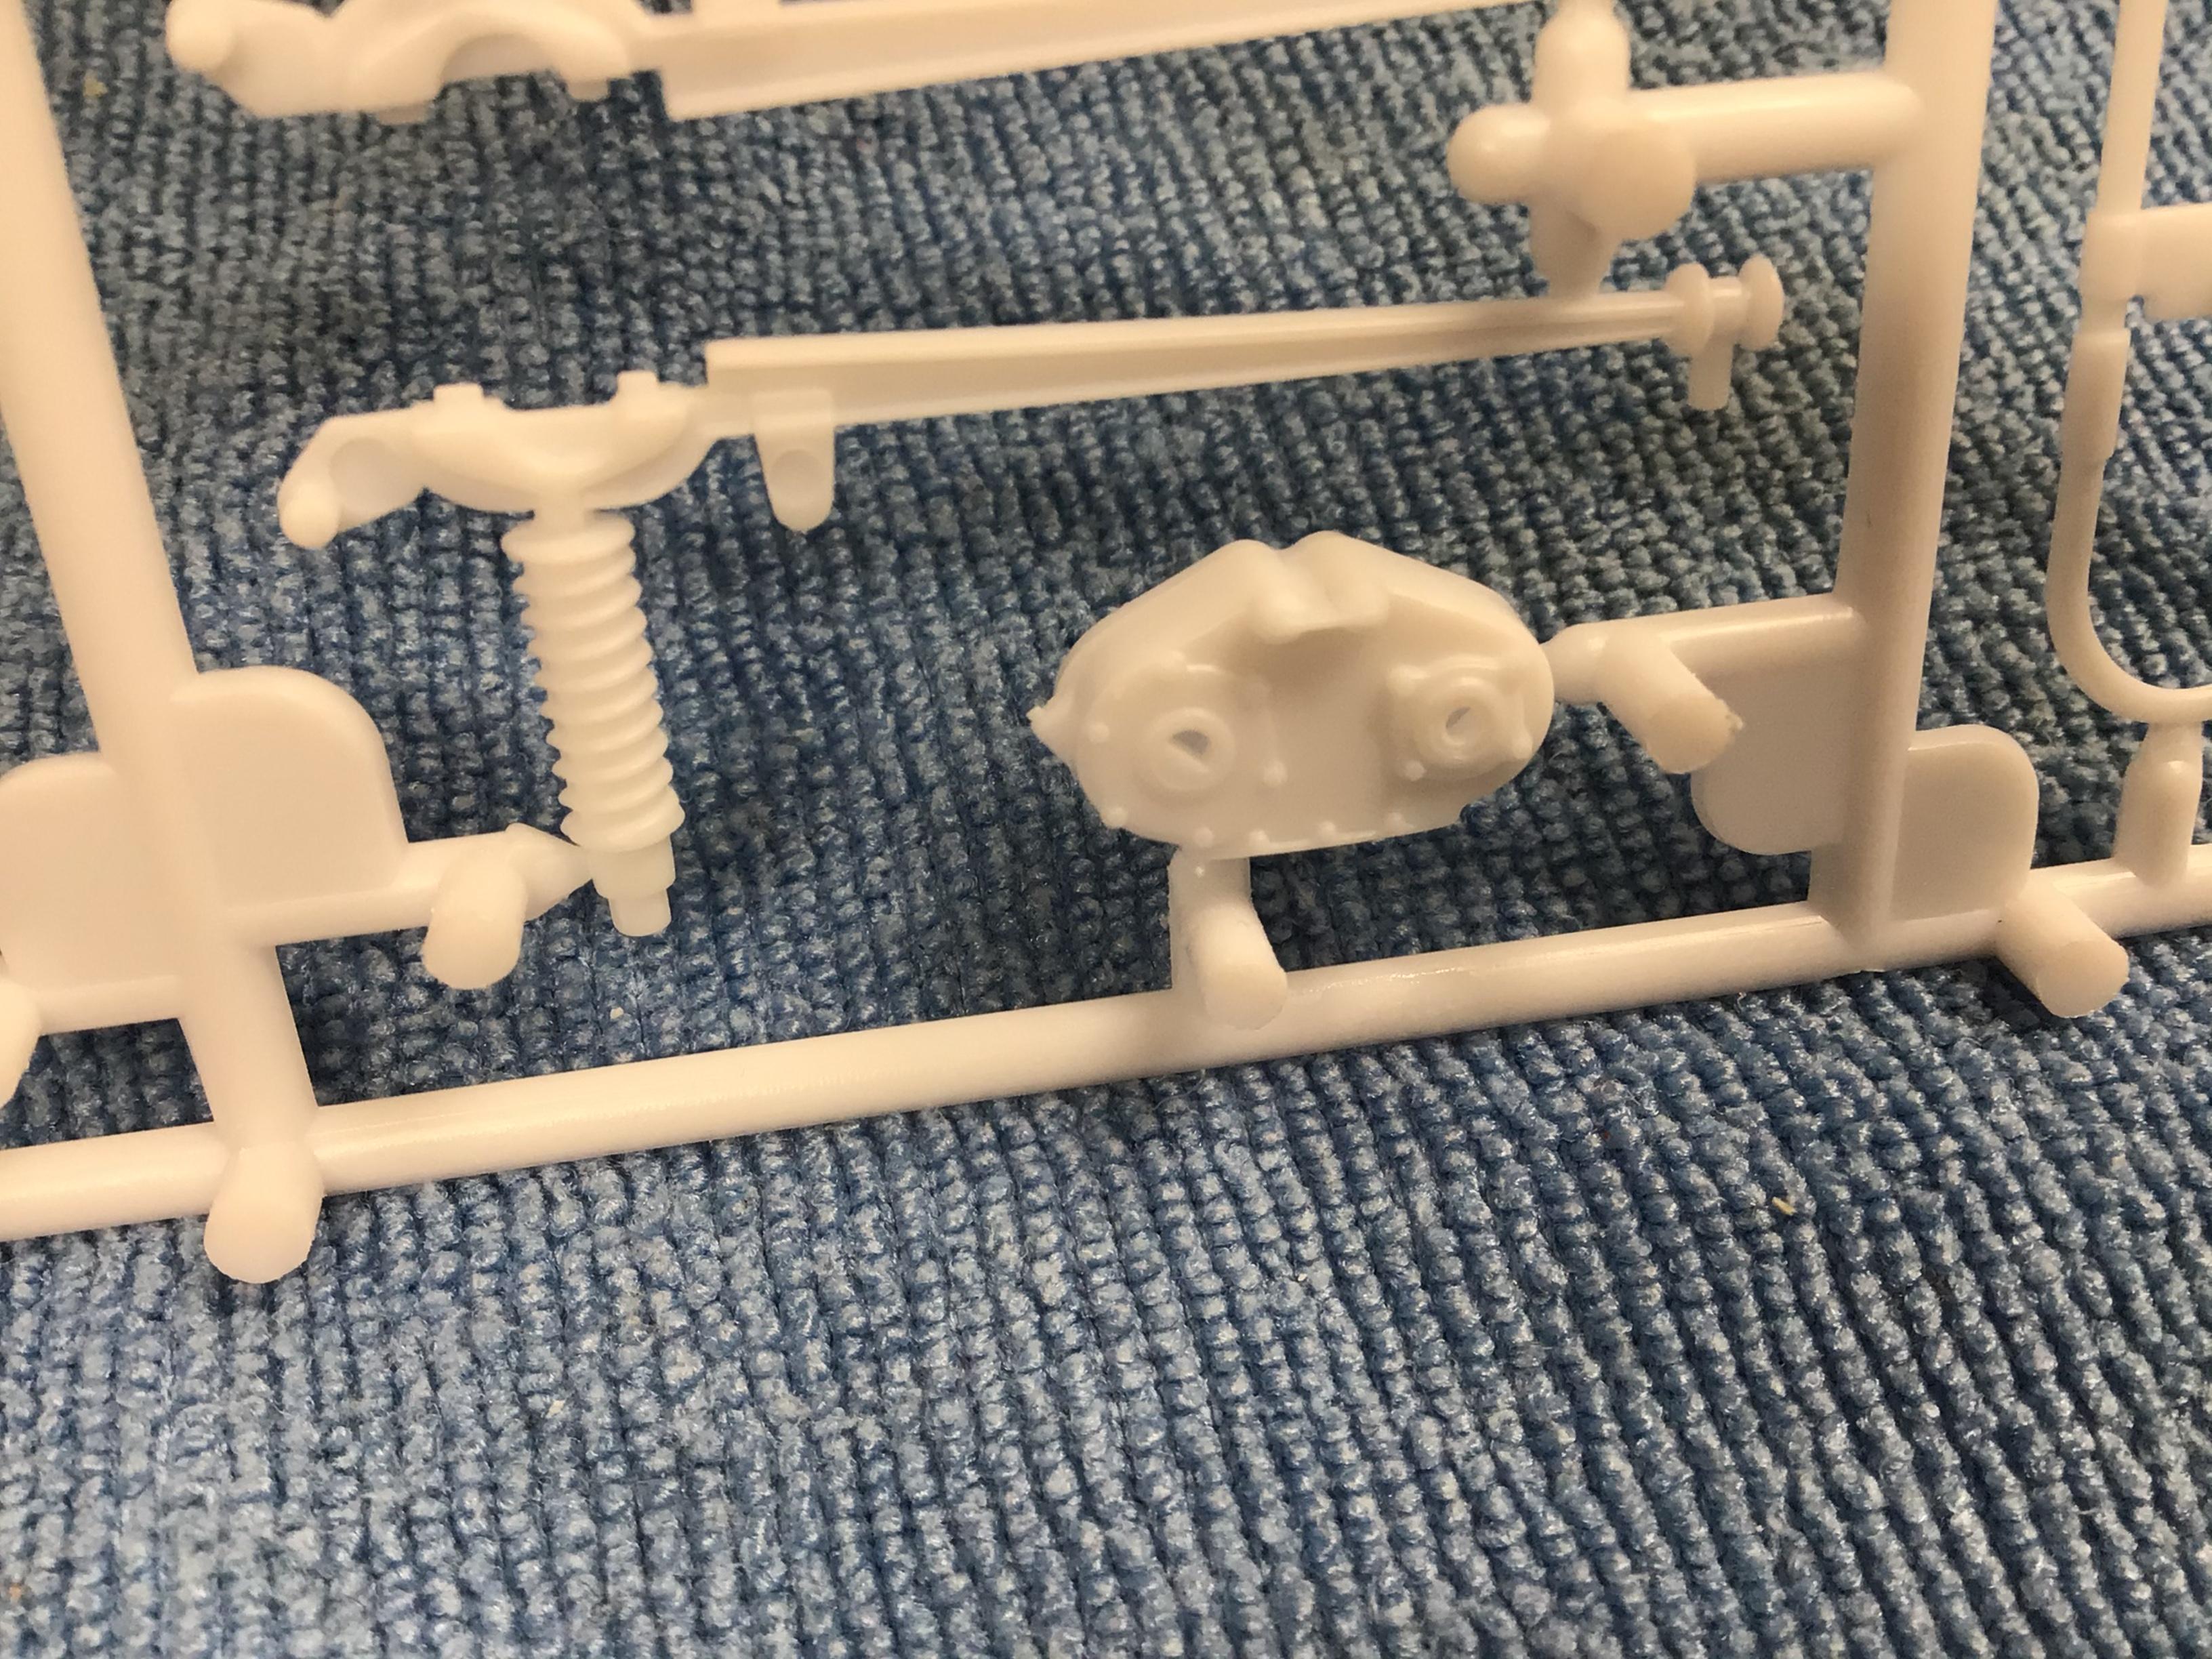
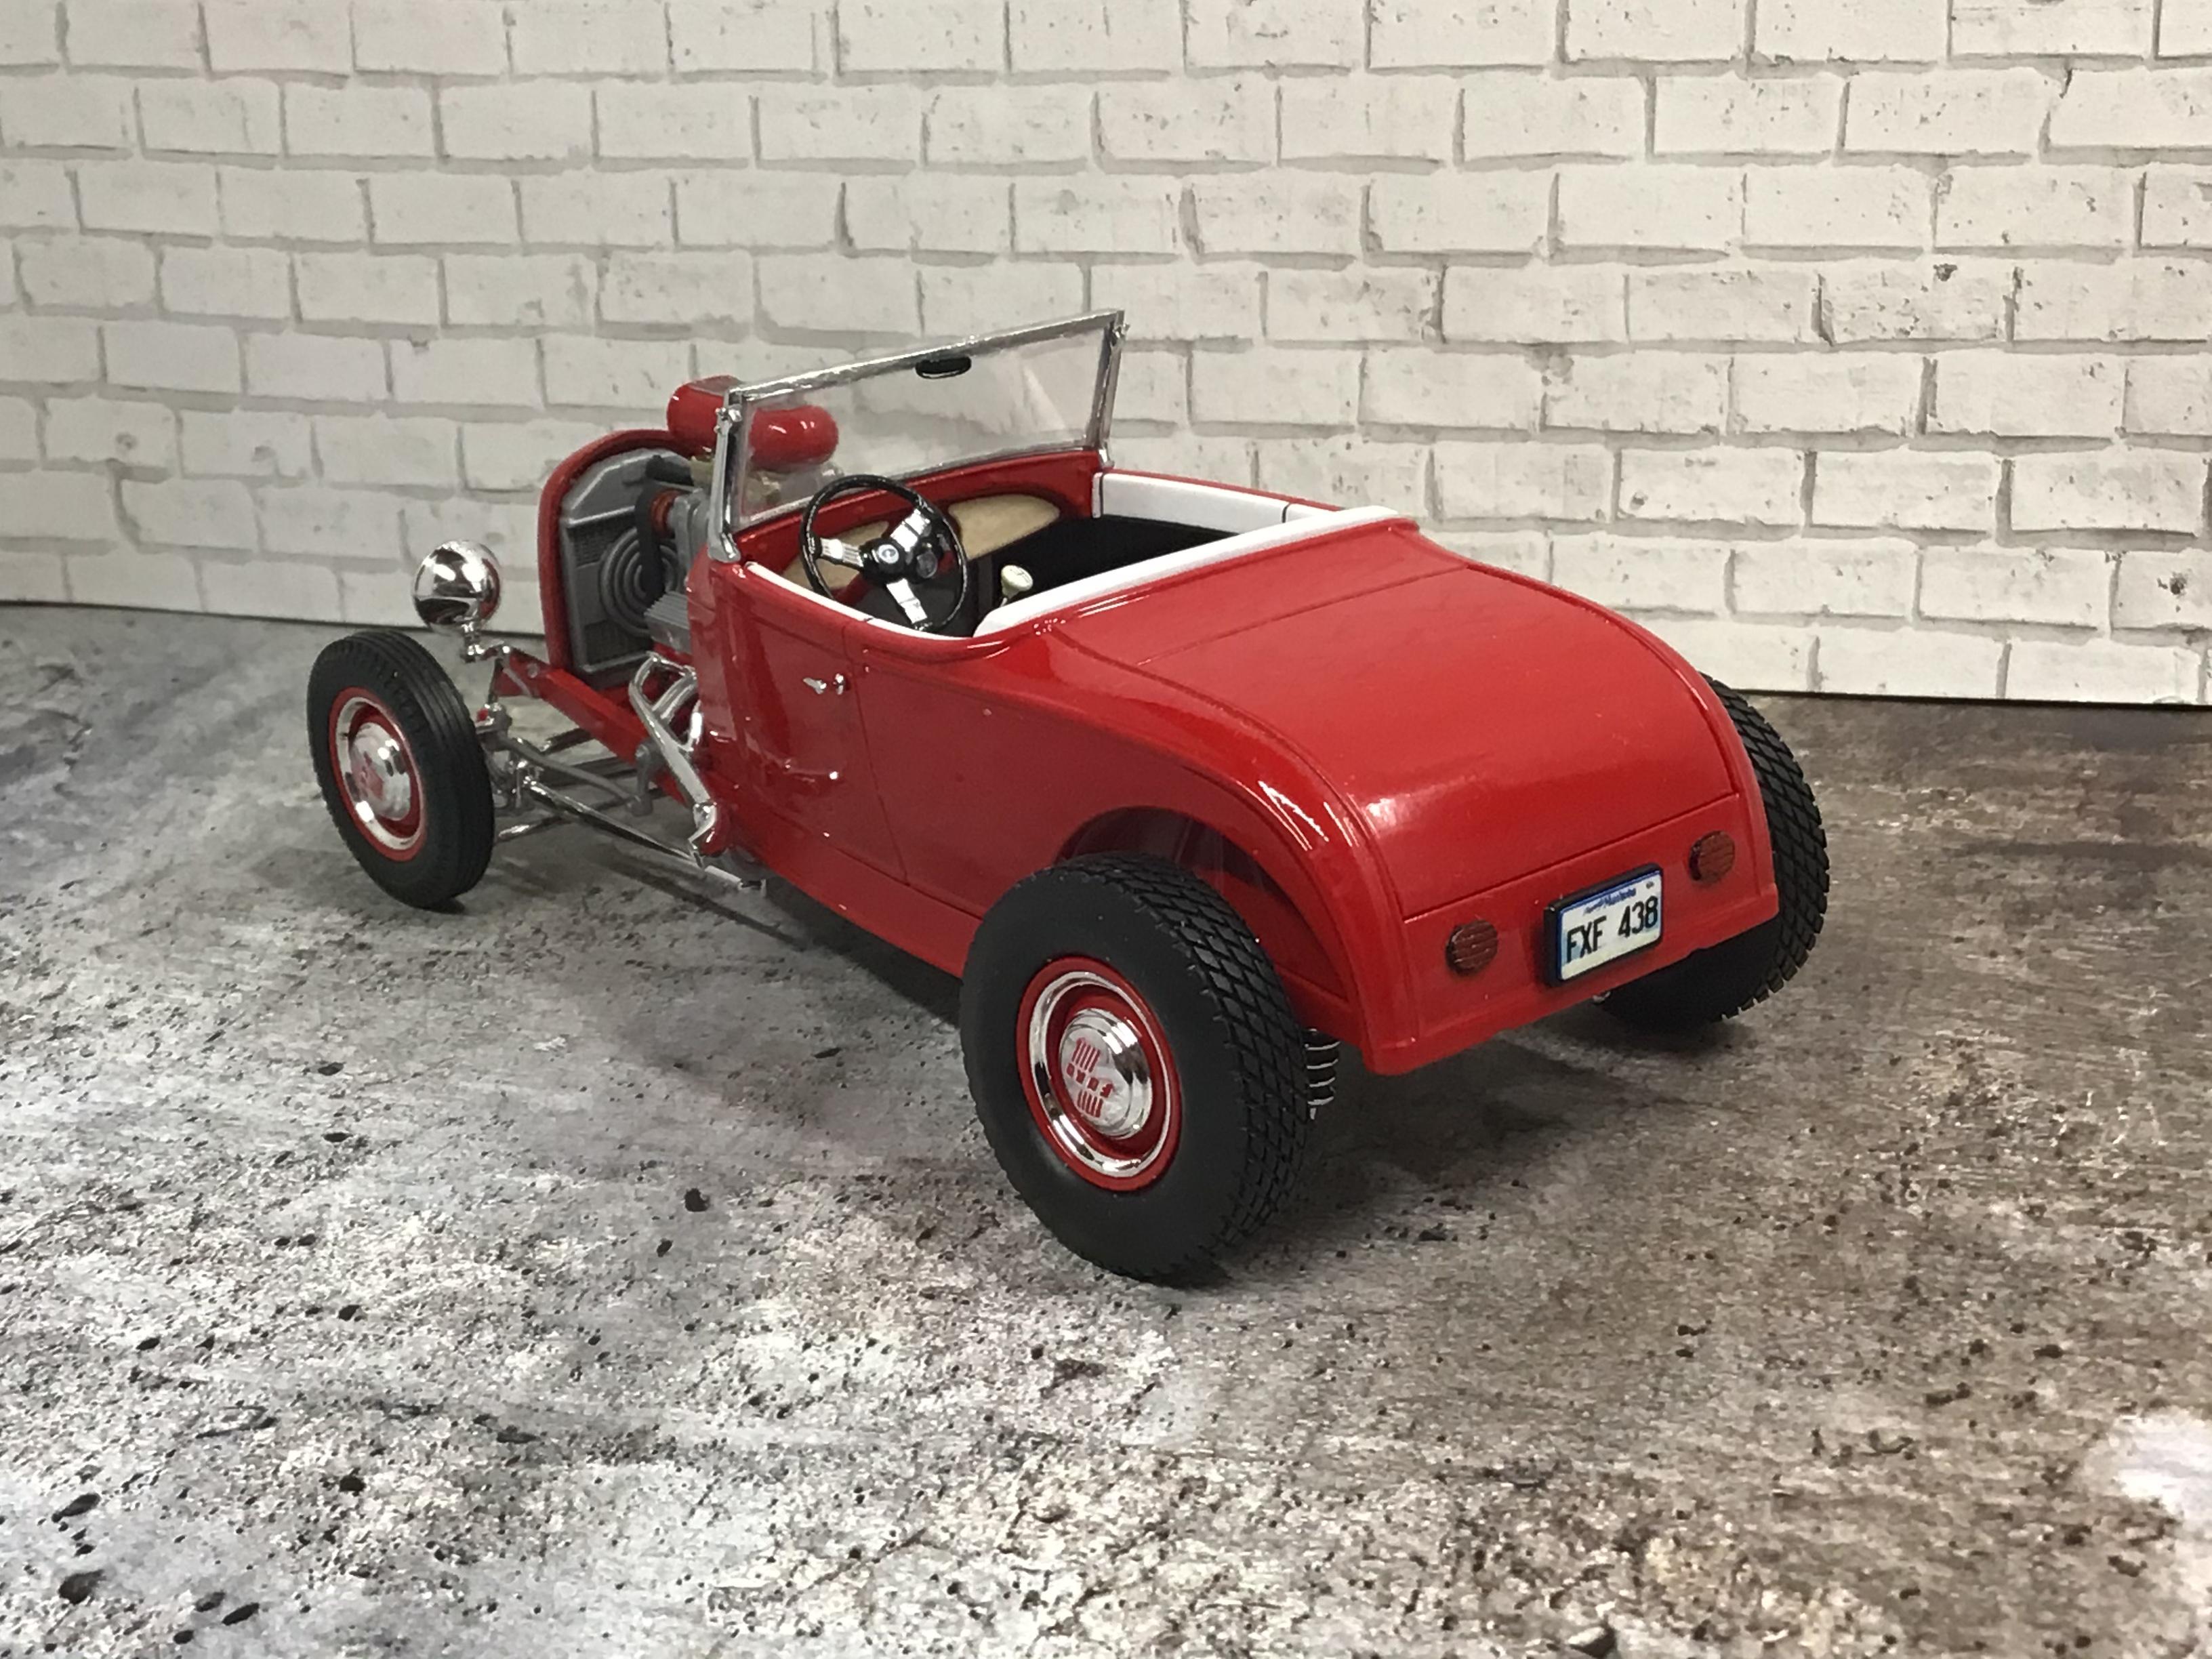
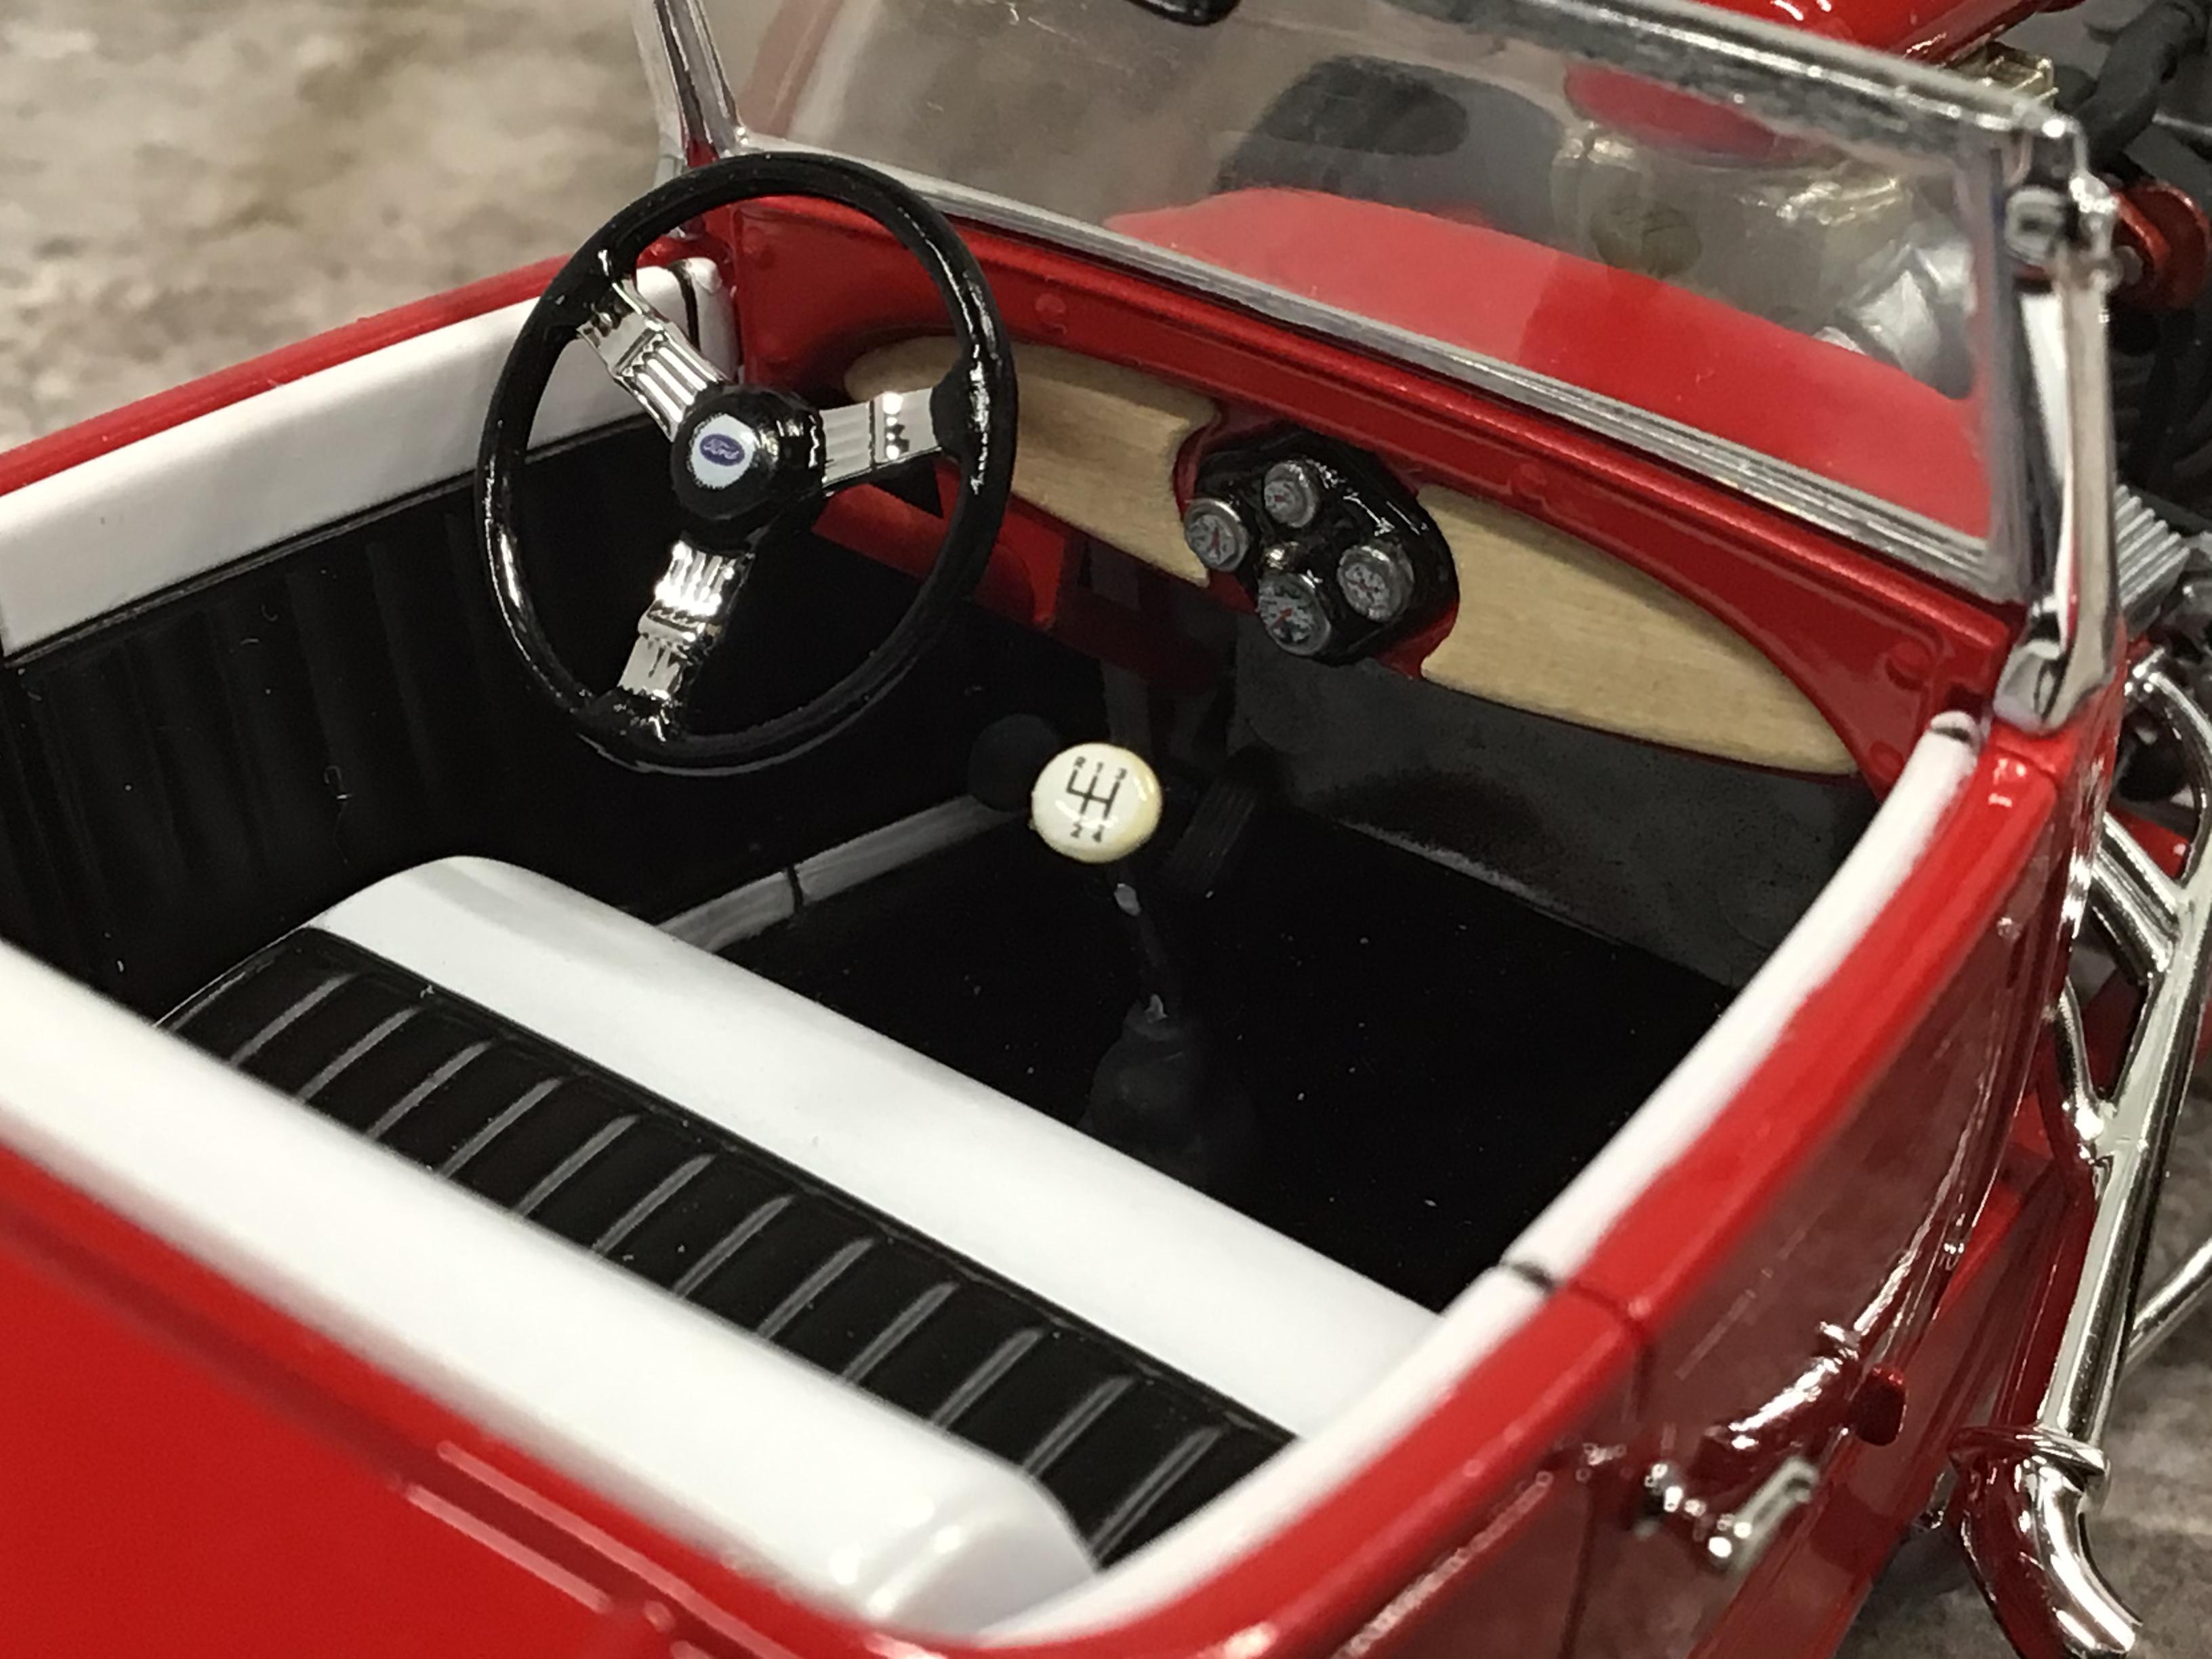
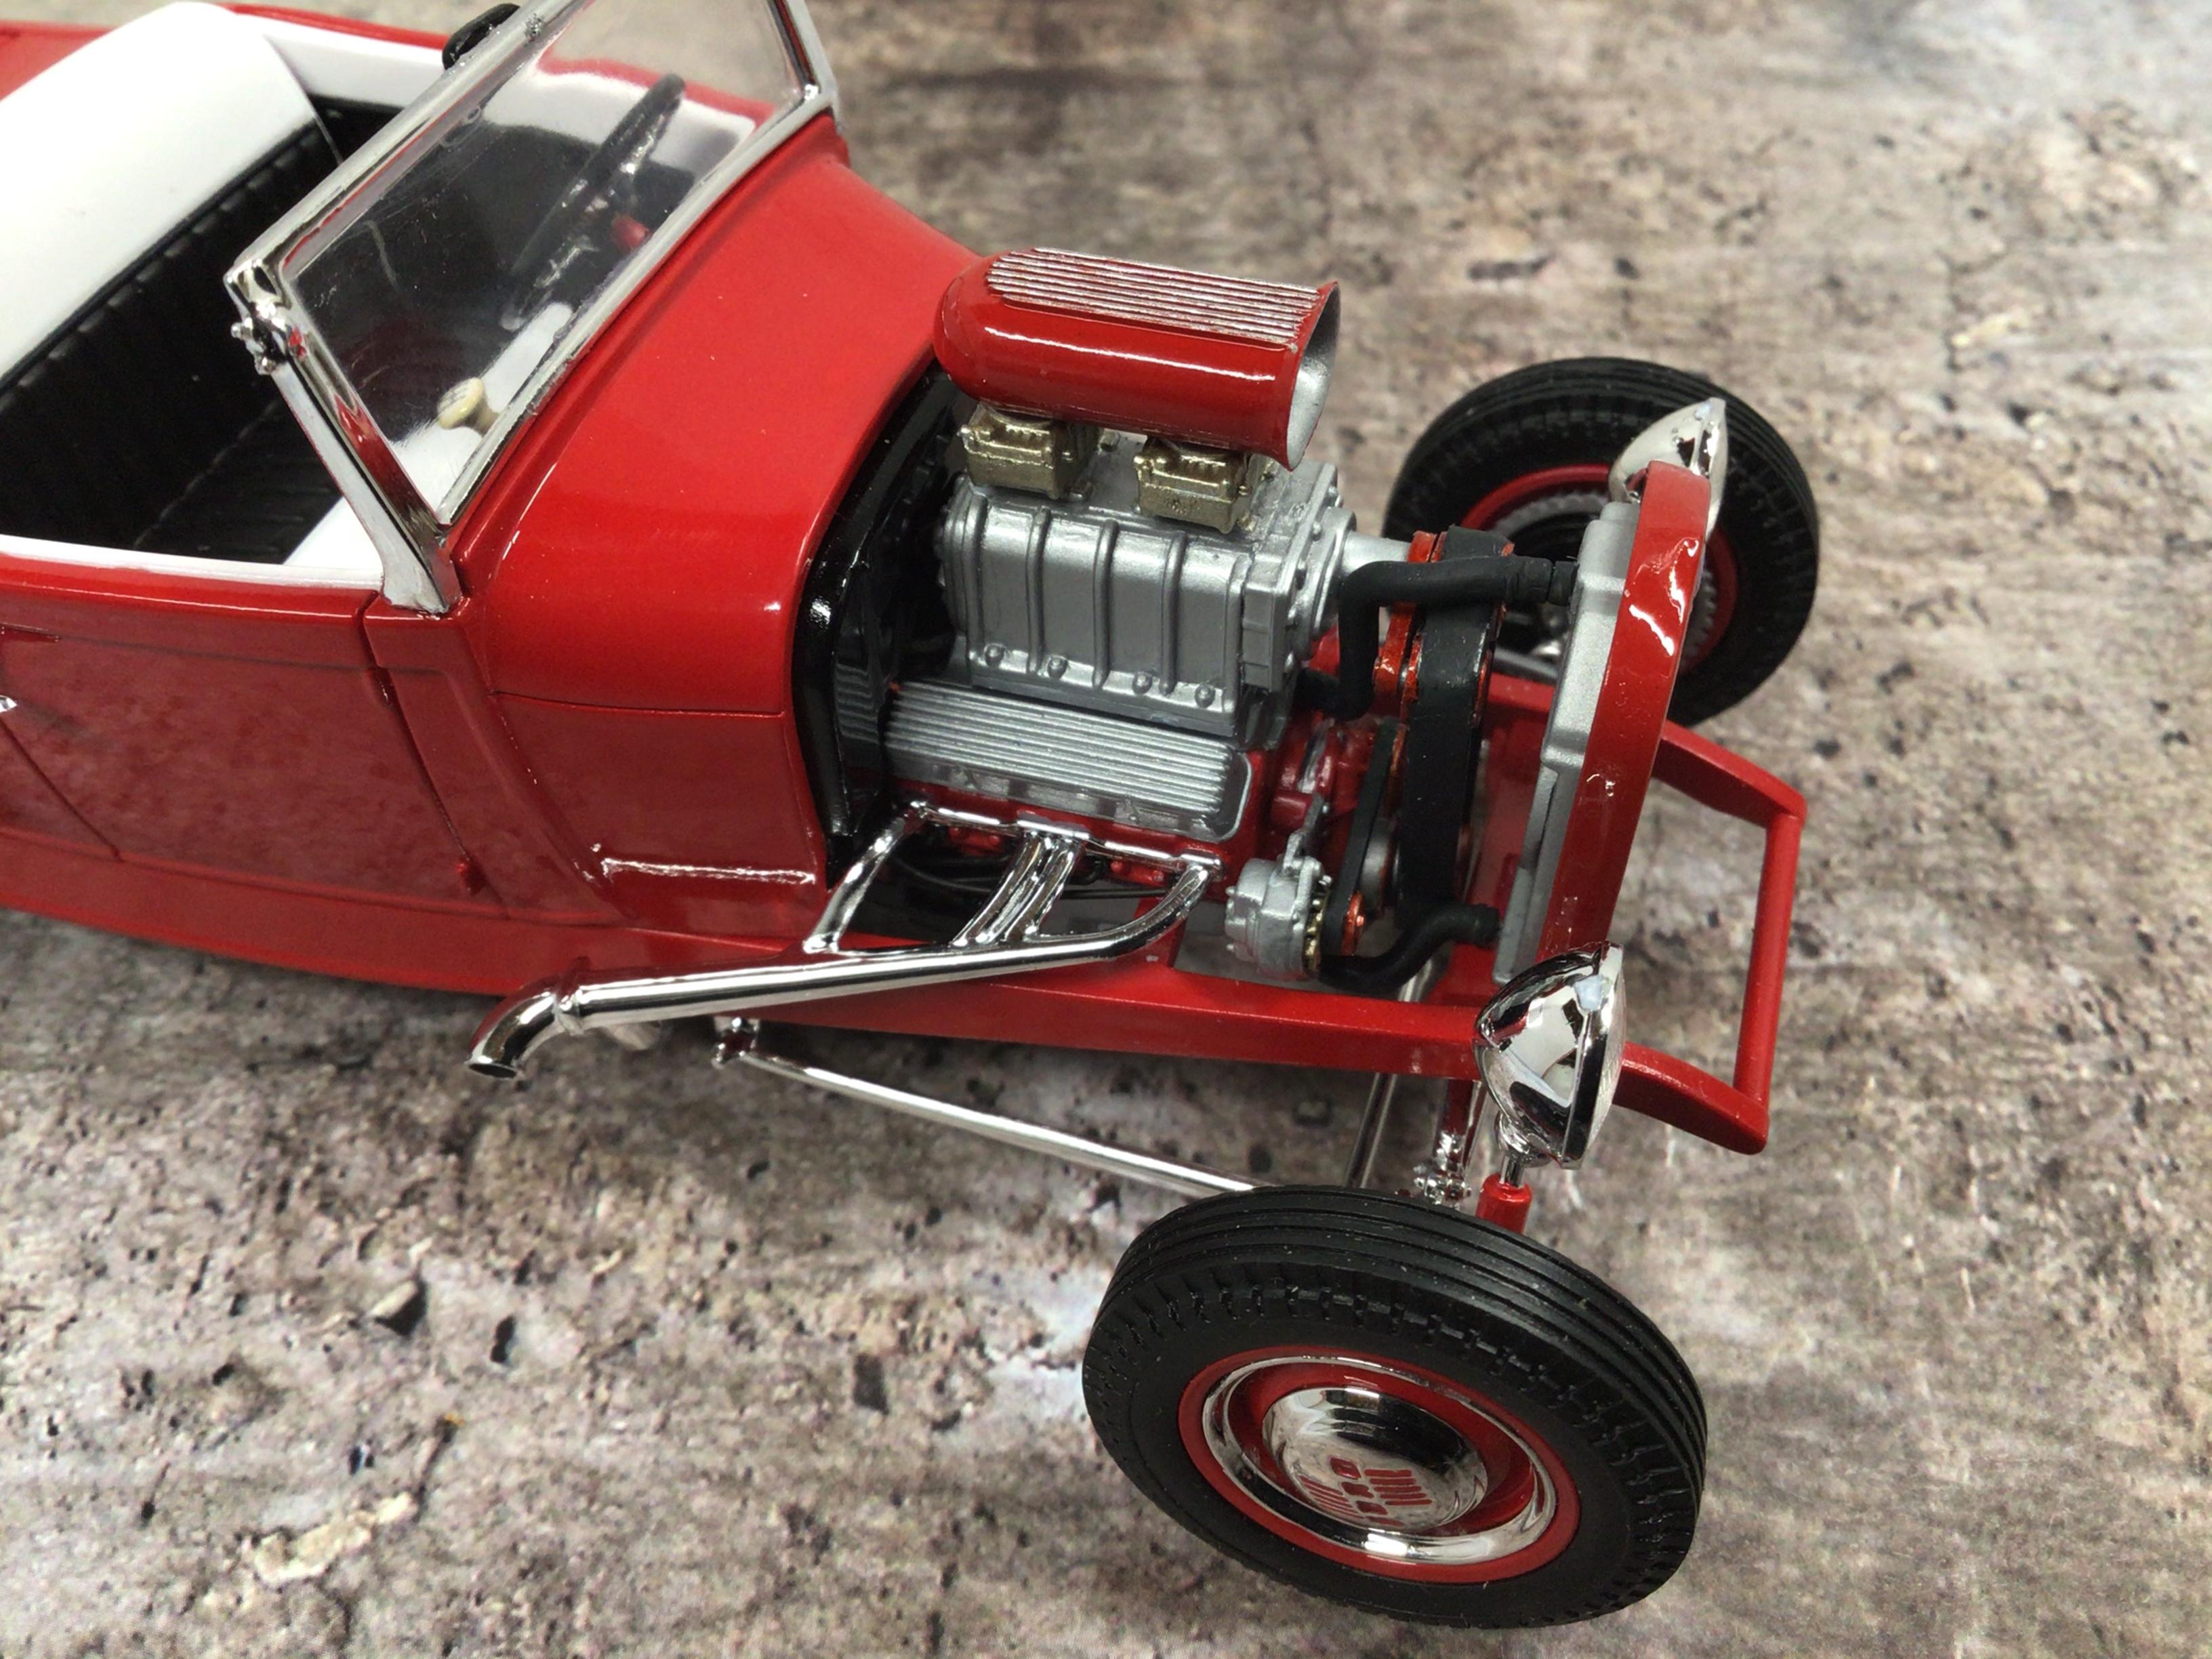
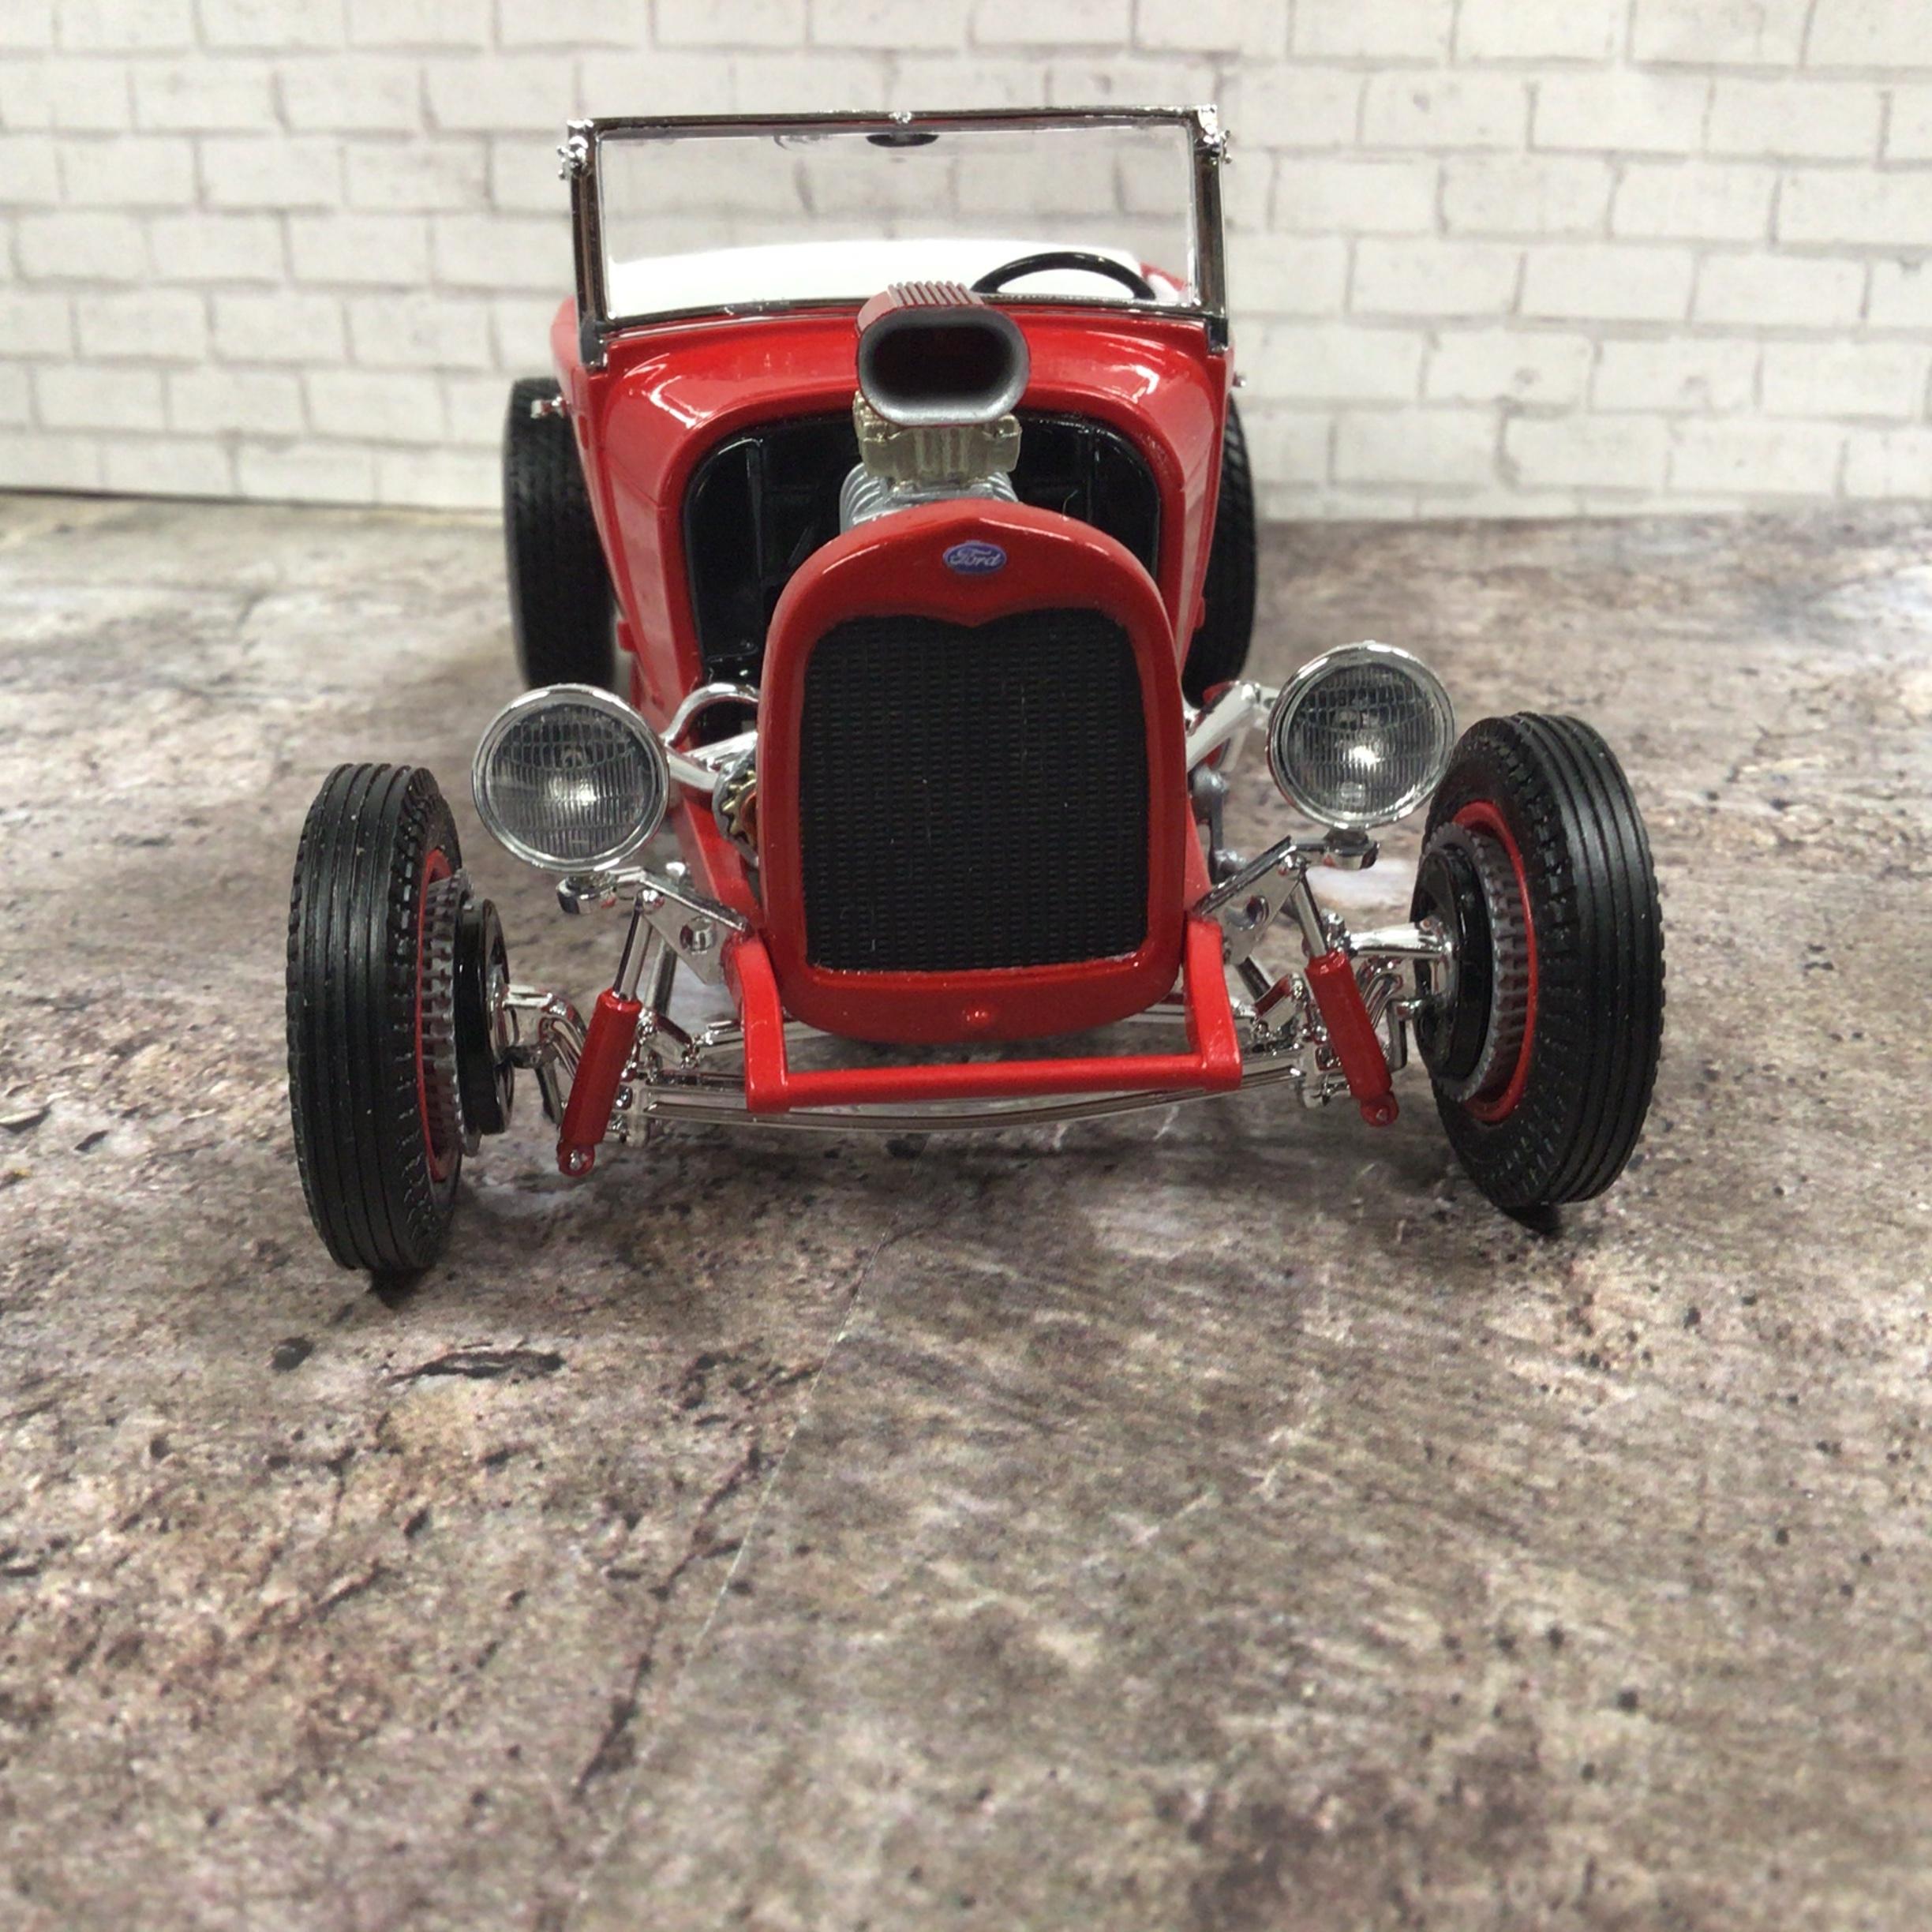
Just finished this one. Fun little kit! Box stock build except for added dash detail, plug wires, belt tensioner, and scratch built tail lights. Paint is Spaz Stix solid red and Testors clear laquer. Oops, forgot the exhaust tips!
-
I cringe when I hear the rattle of something substantially sized going up the vacuum hose and into the bag of oblivion. I would have to be missing something pretty precious before I would go sifting through the contents.