NOBLNG
-
Posts
10,236 -
Joined
-
Last visited
Content Type
Profiles
Forums
Events
Gallery
Everything posted by NOBLNG
-
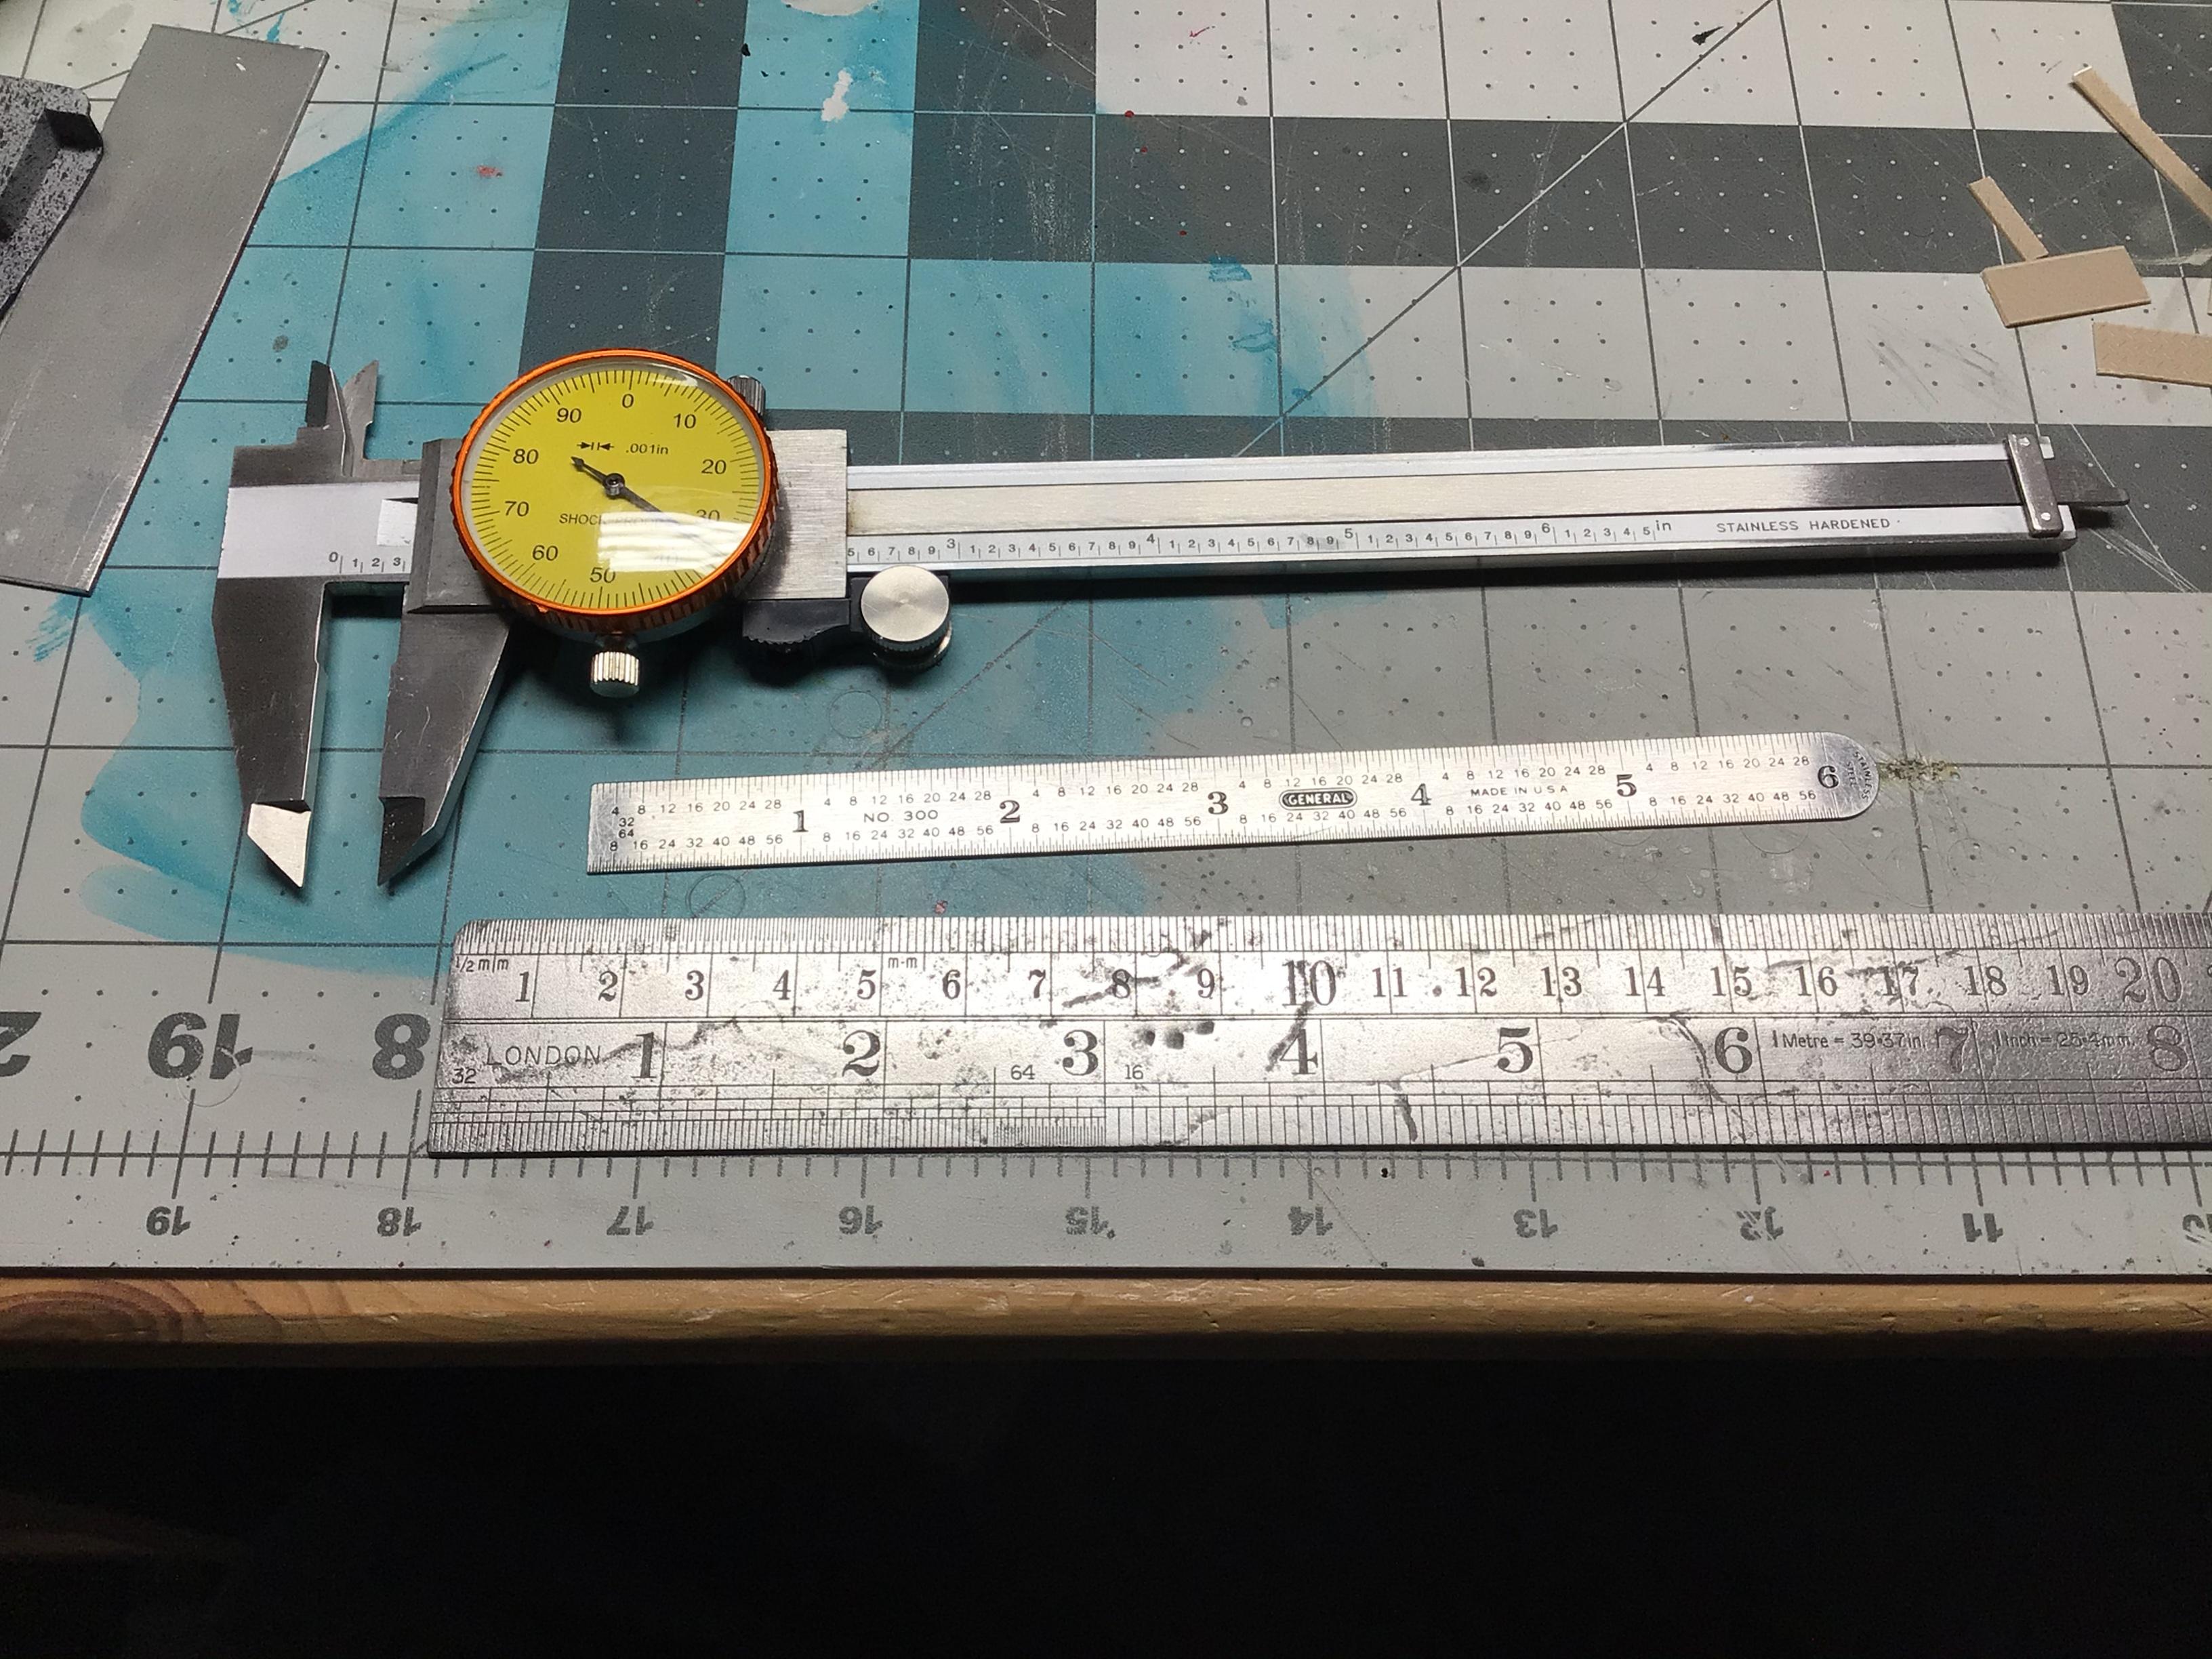
I’ve got two steel rulers I use a lot. The 6” one is marked in 32nds and 64ths. The bigger one I mostly use as a straight edge. It’s easier to hold down and keeps my fingers farther away from the cut. I will also use the micrometer to transfer measurements.

-
Nice! Thats some tight quarters you’re working with there.?
-
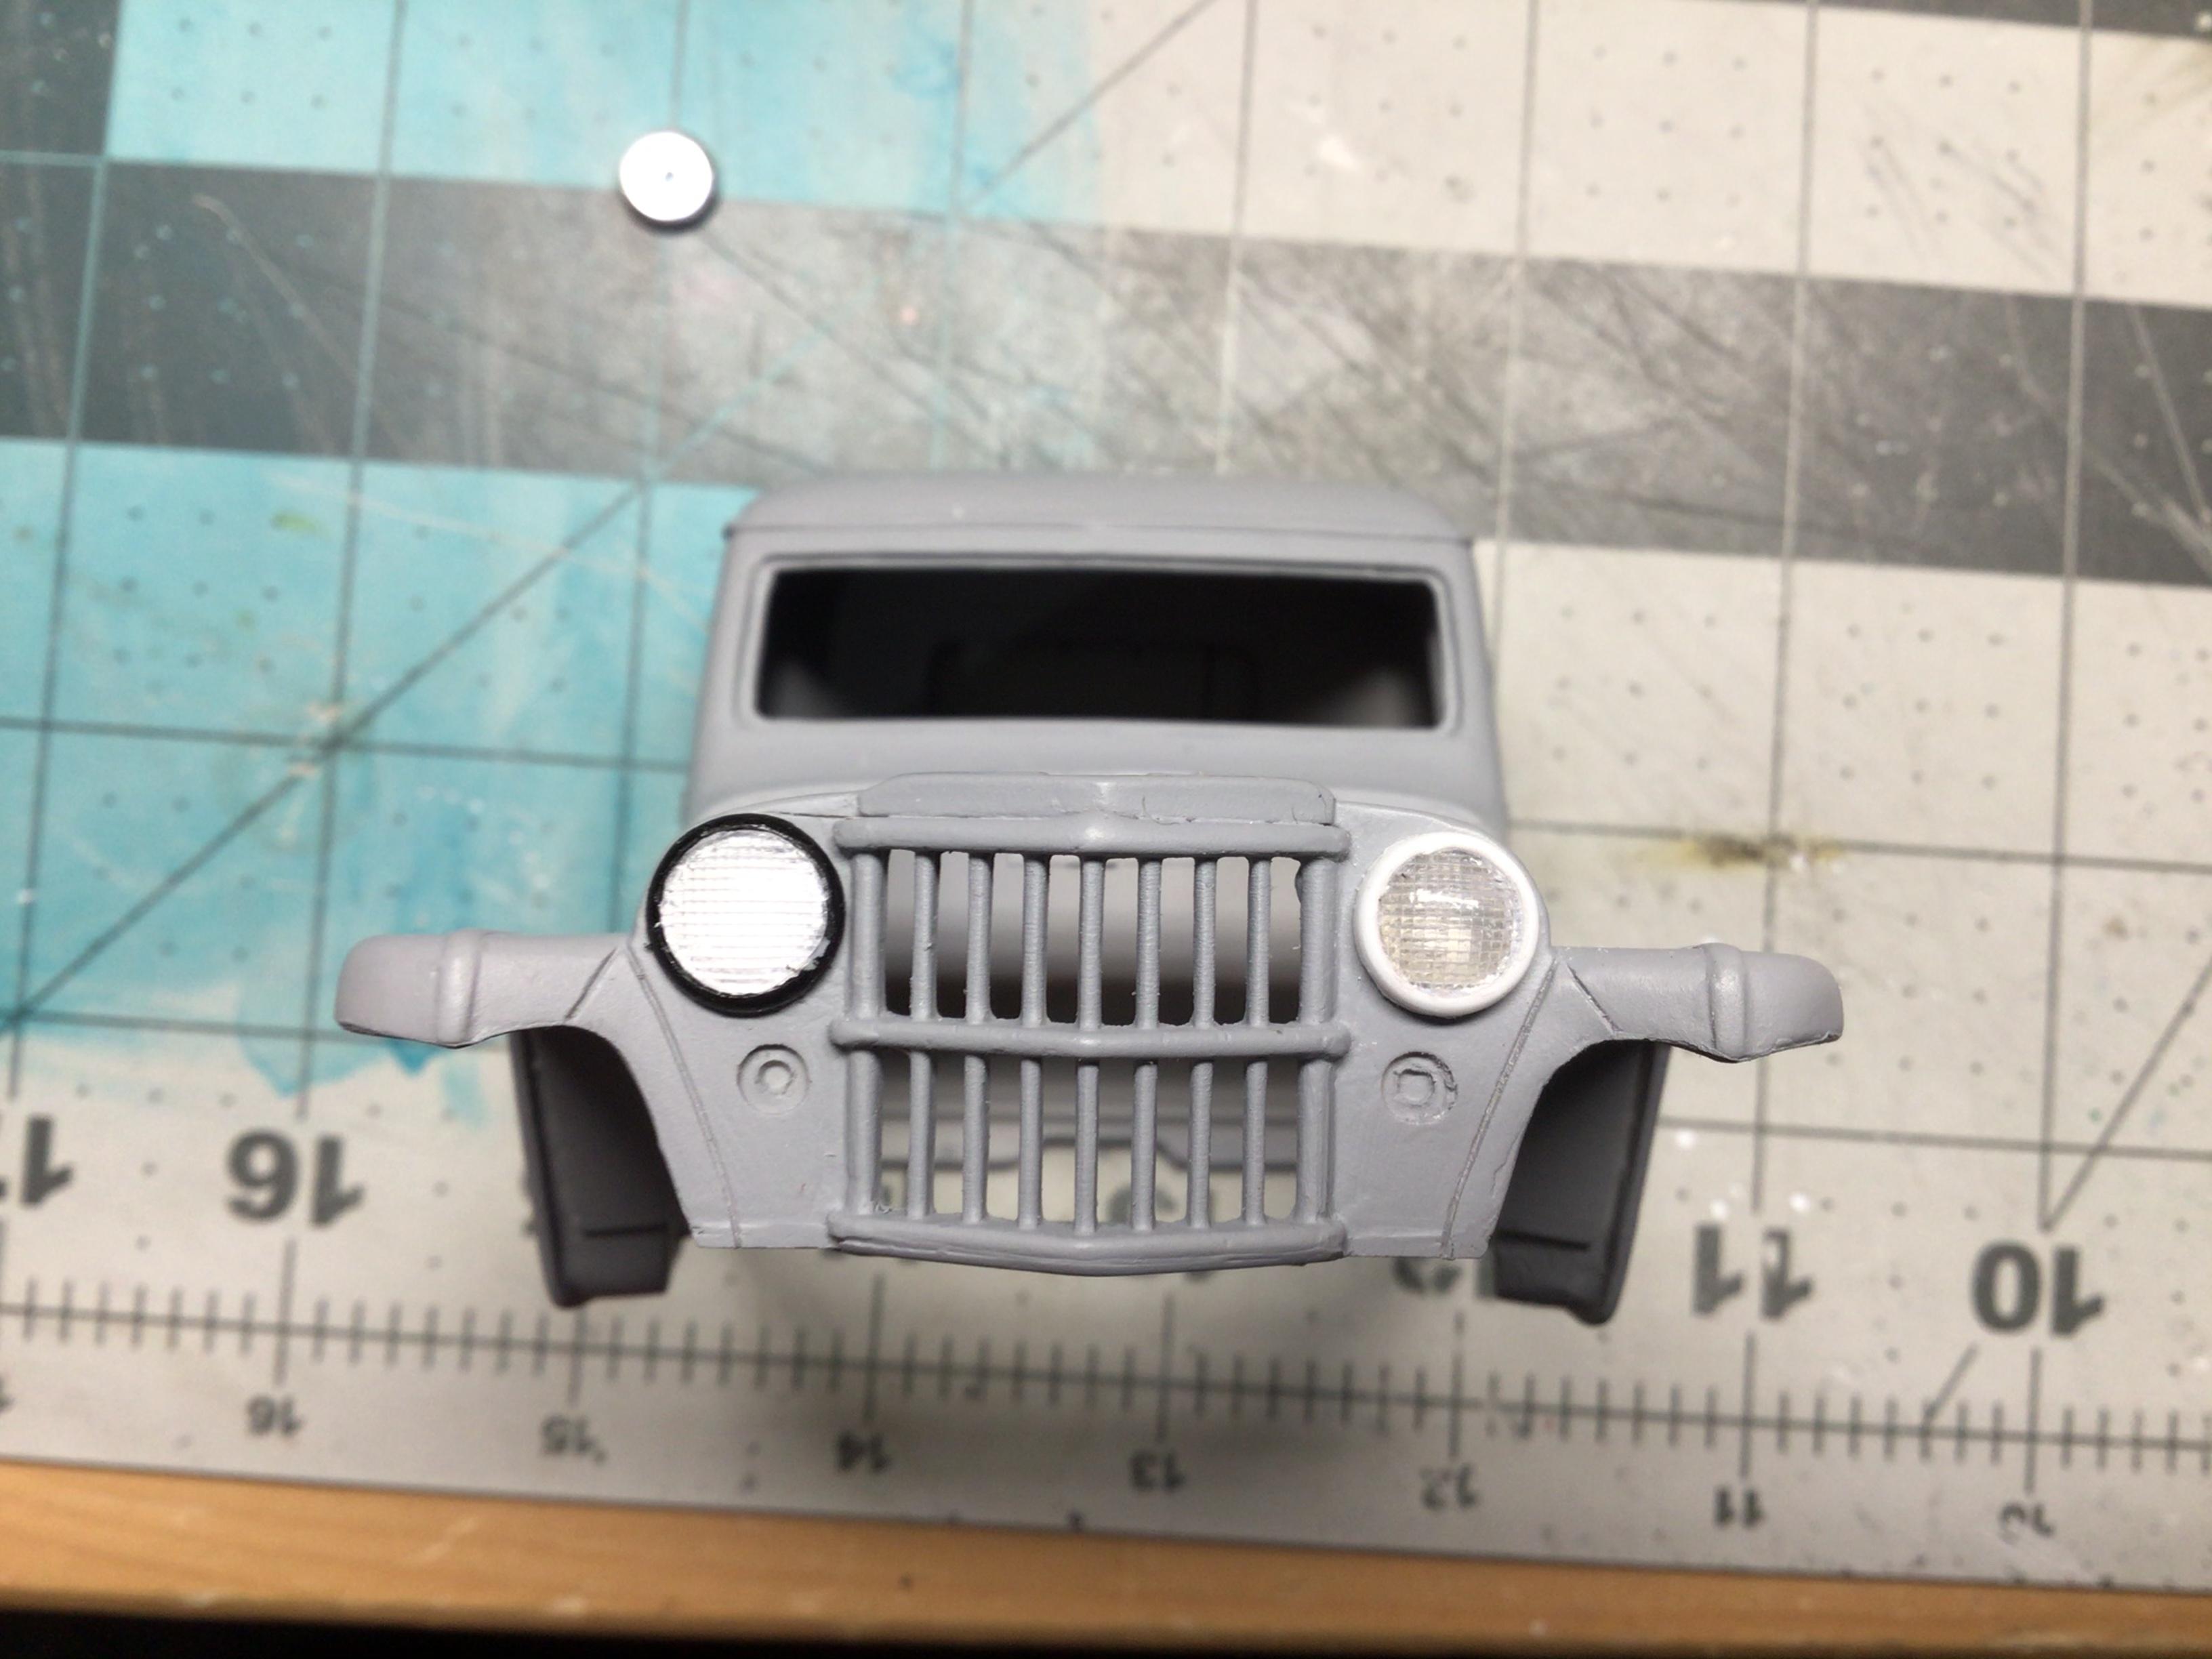
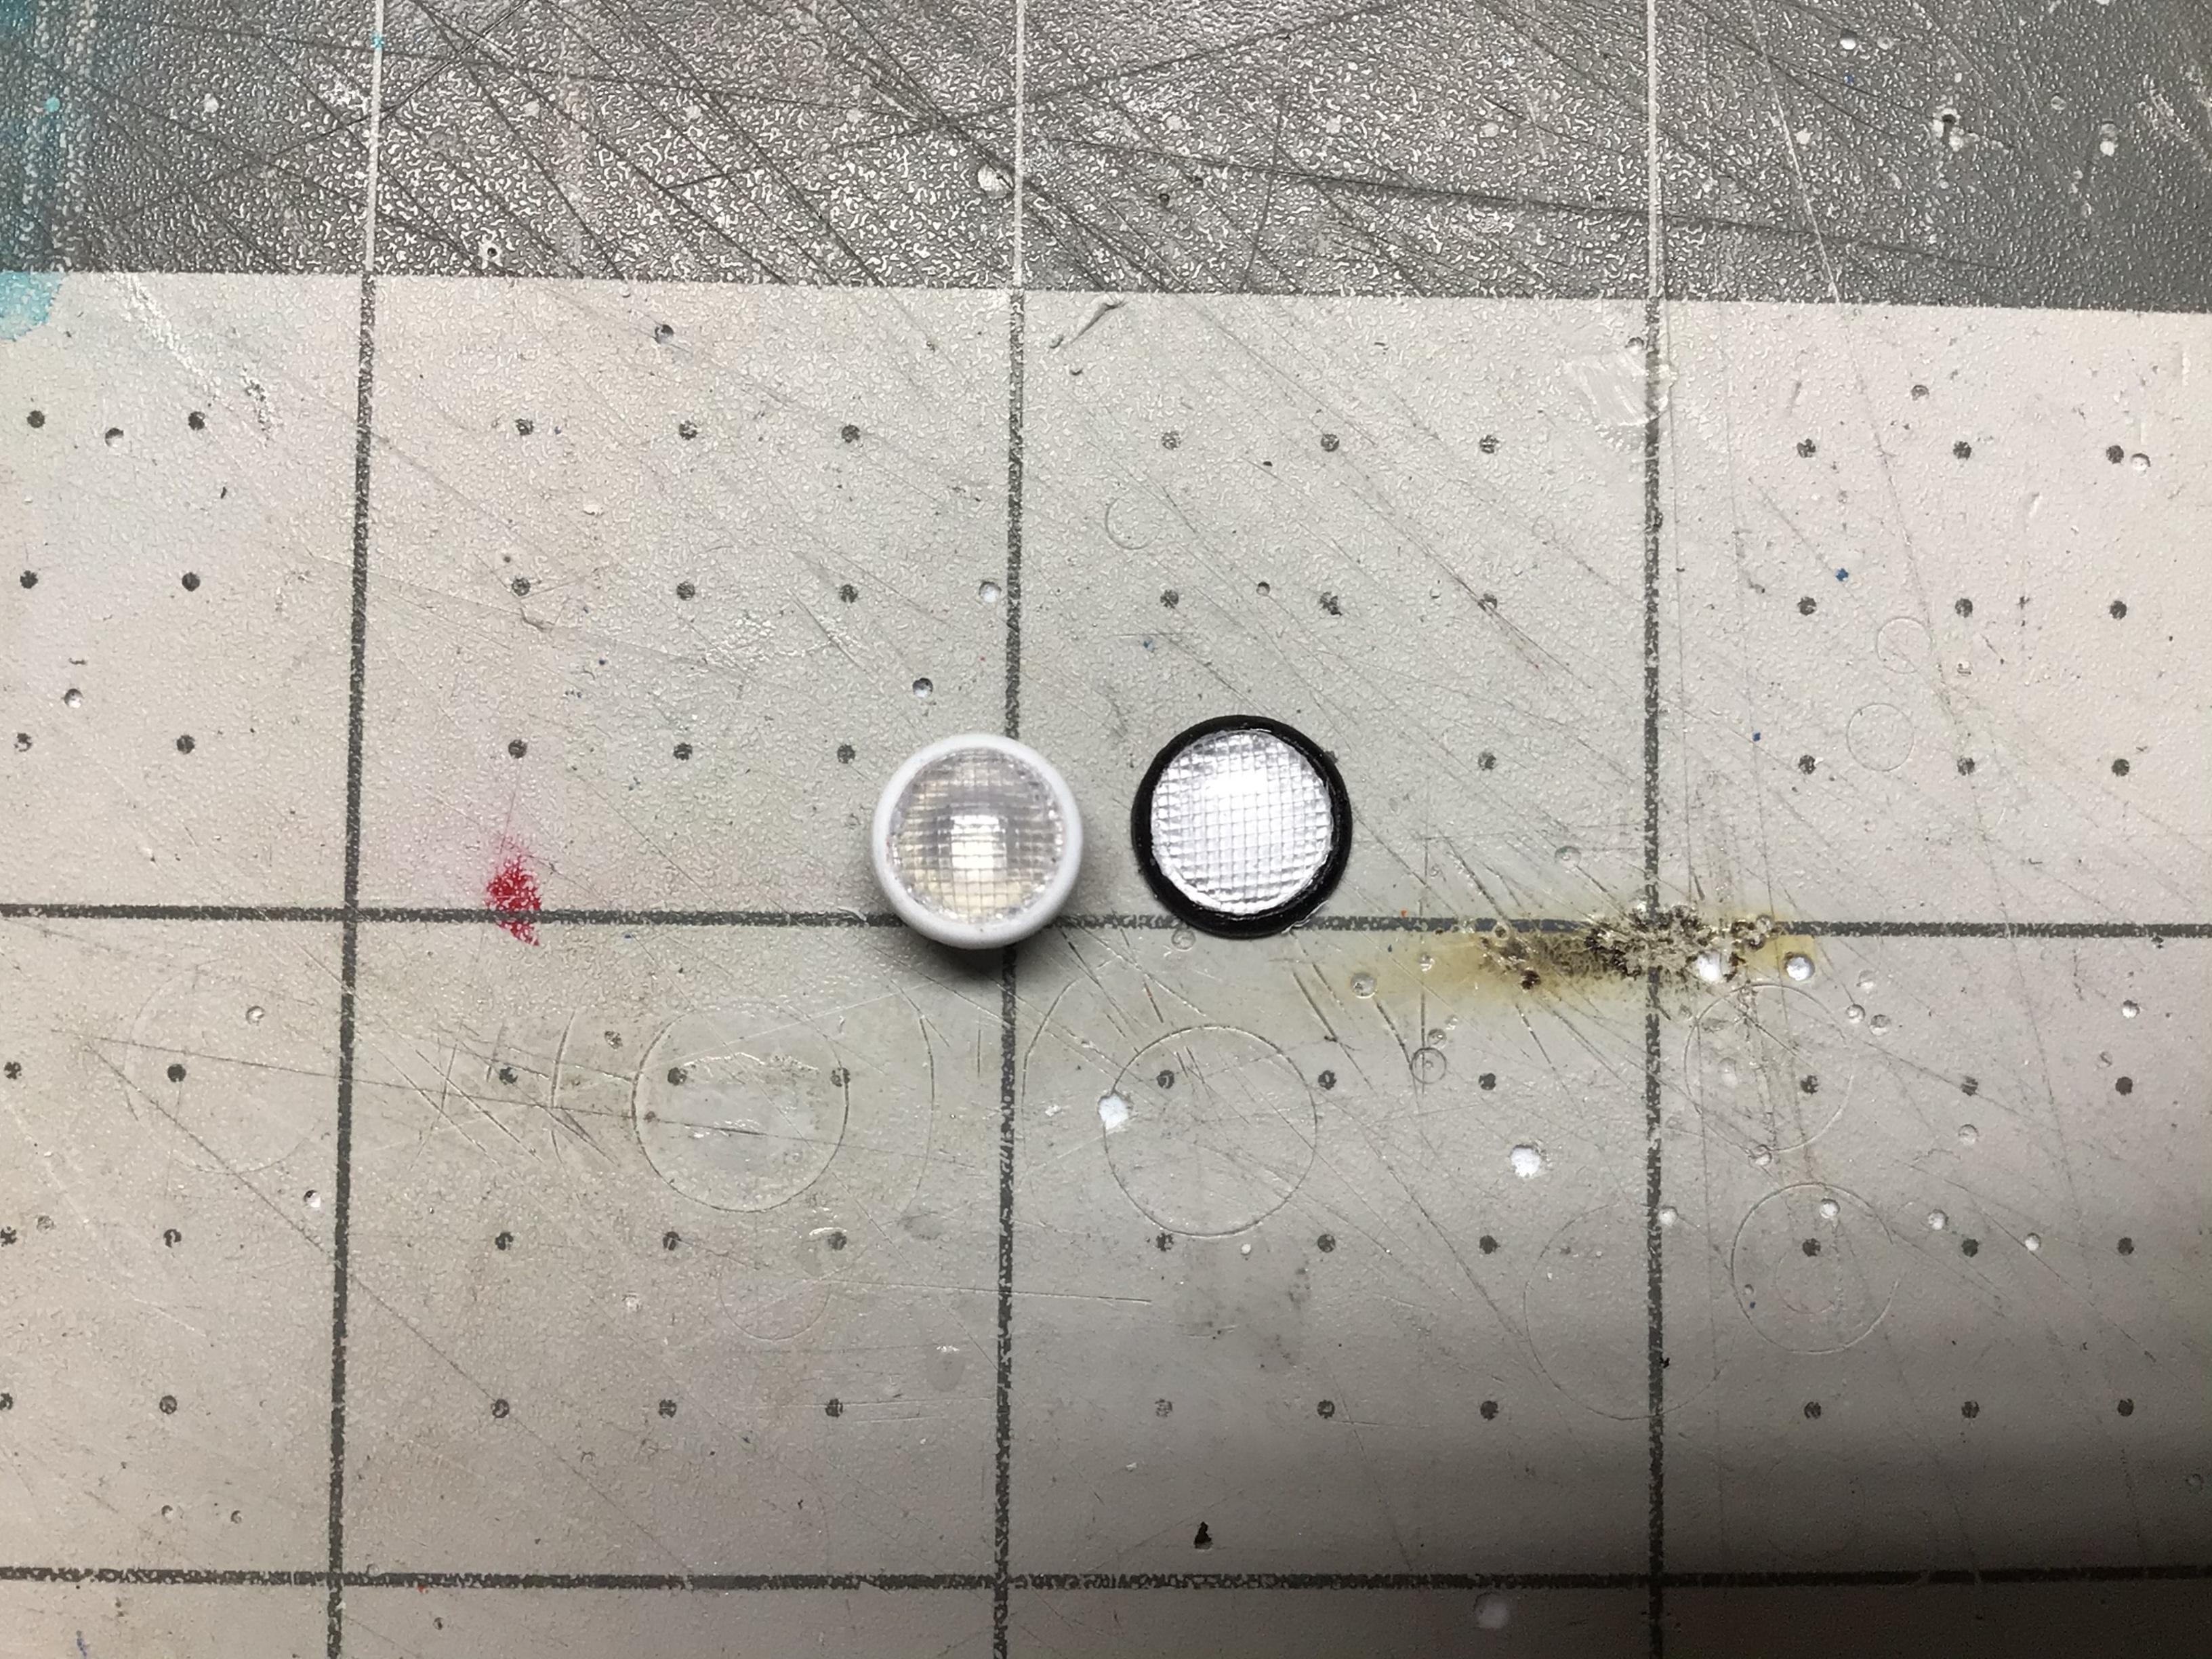
On the left is the original die cast headlight and my latest attempt on the right. And my first attempt with the flat reflector behind the lens on the left.
-
For long straight cuts, maybe this? It likely won’t be a 90 degree cut on both sides.
-

What New (Modeling) Technique Did You Try Today?
NOBLNG replied to Snake45's topic in Tips, Tricks, and Tutorials
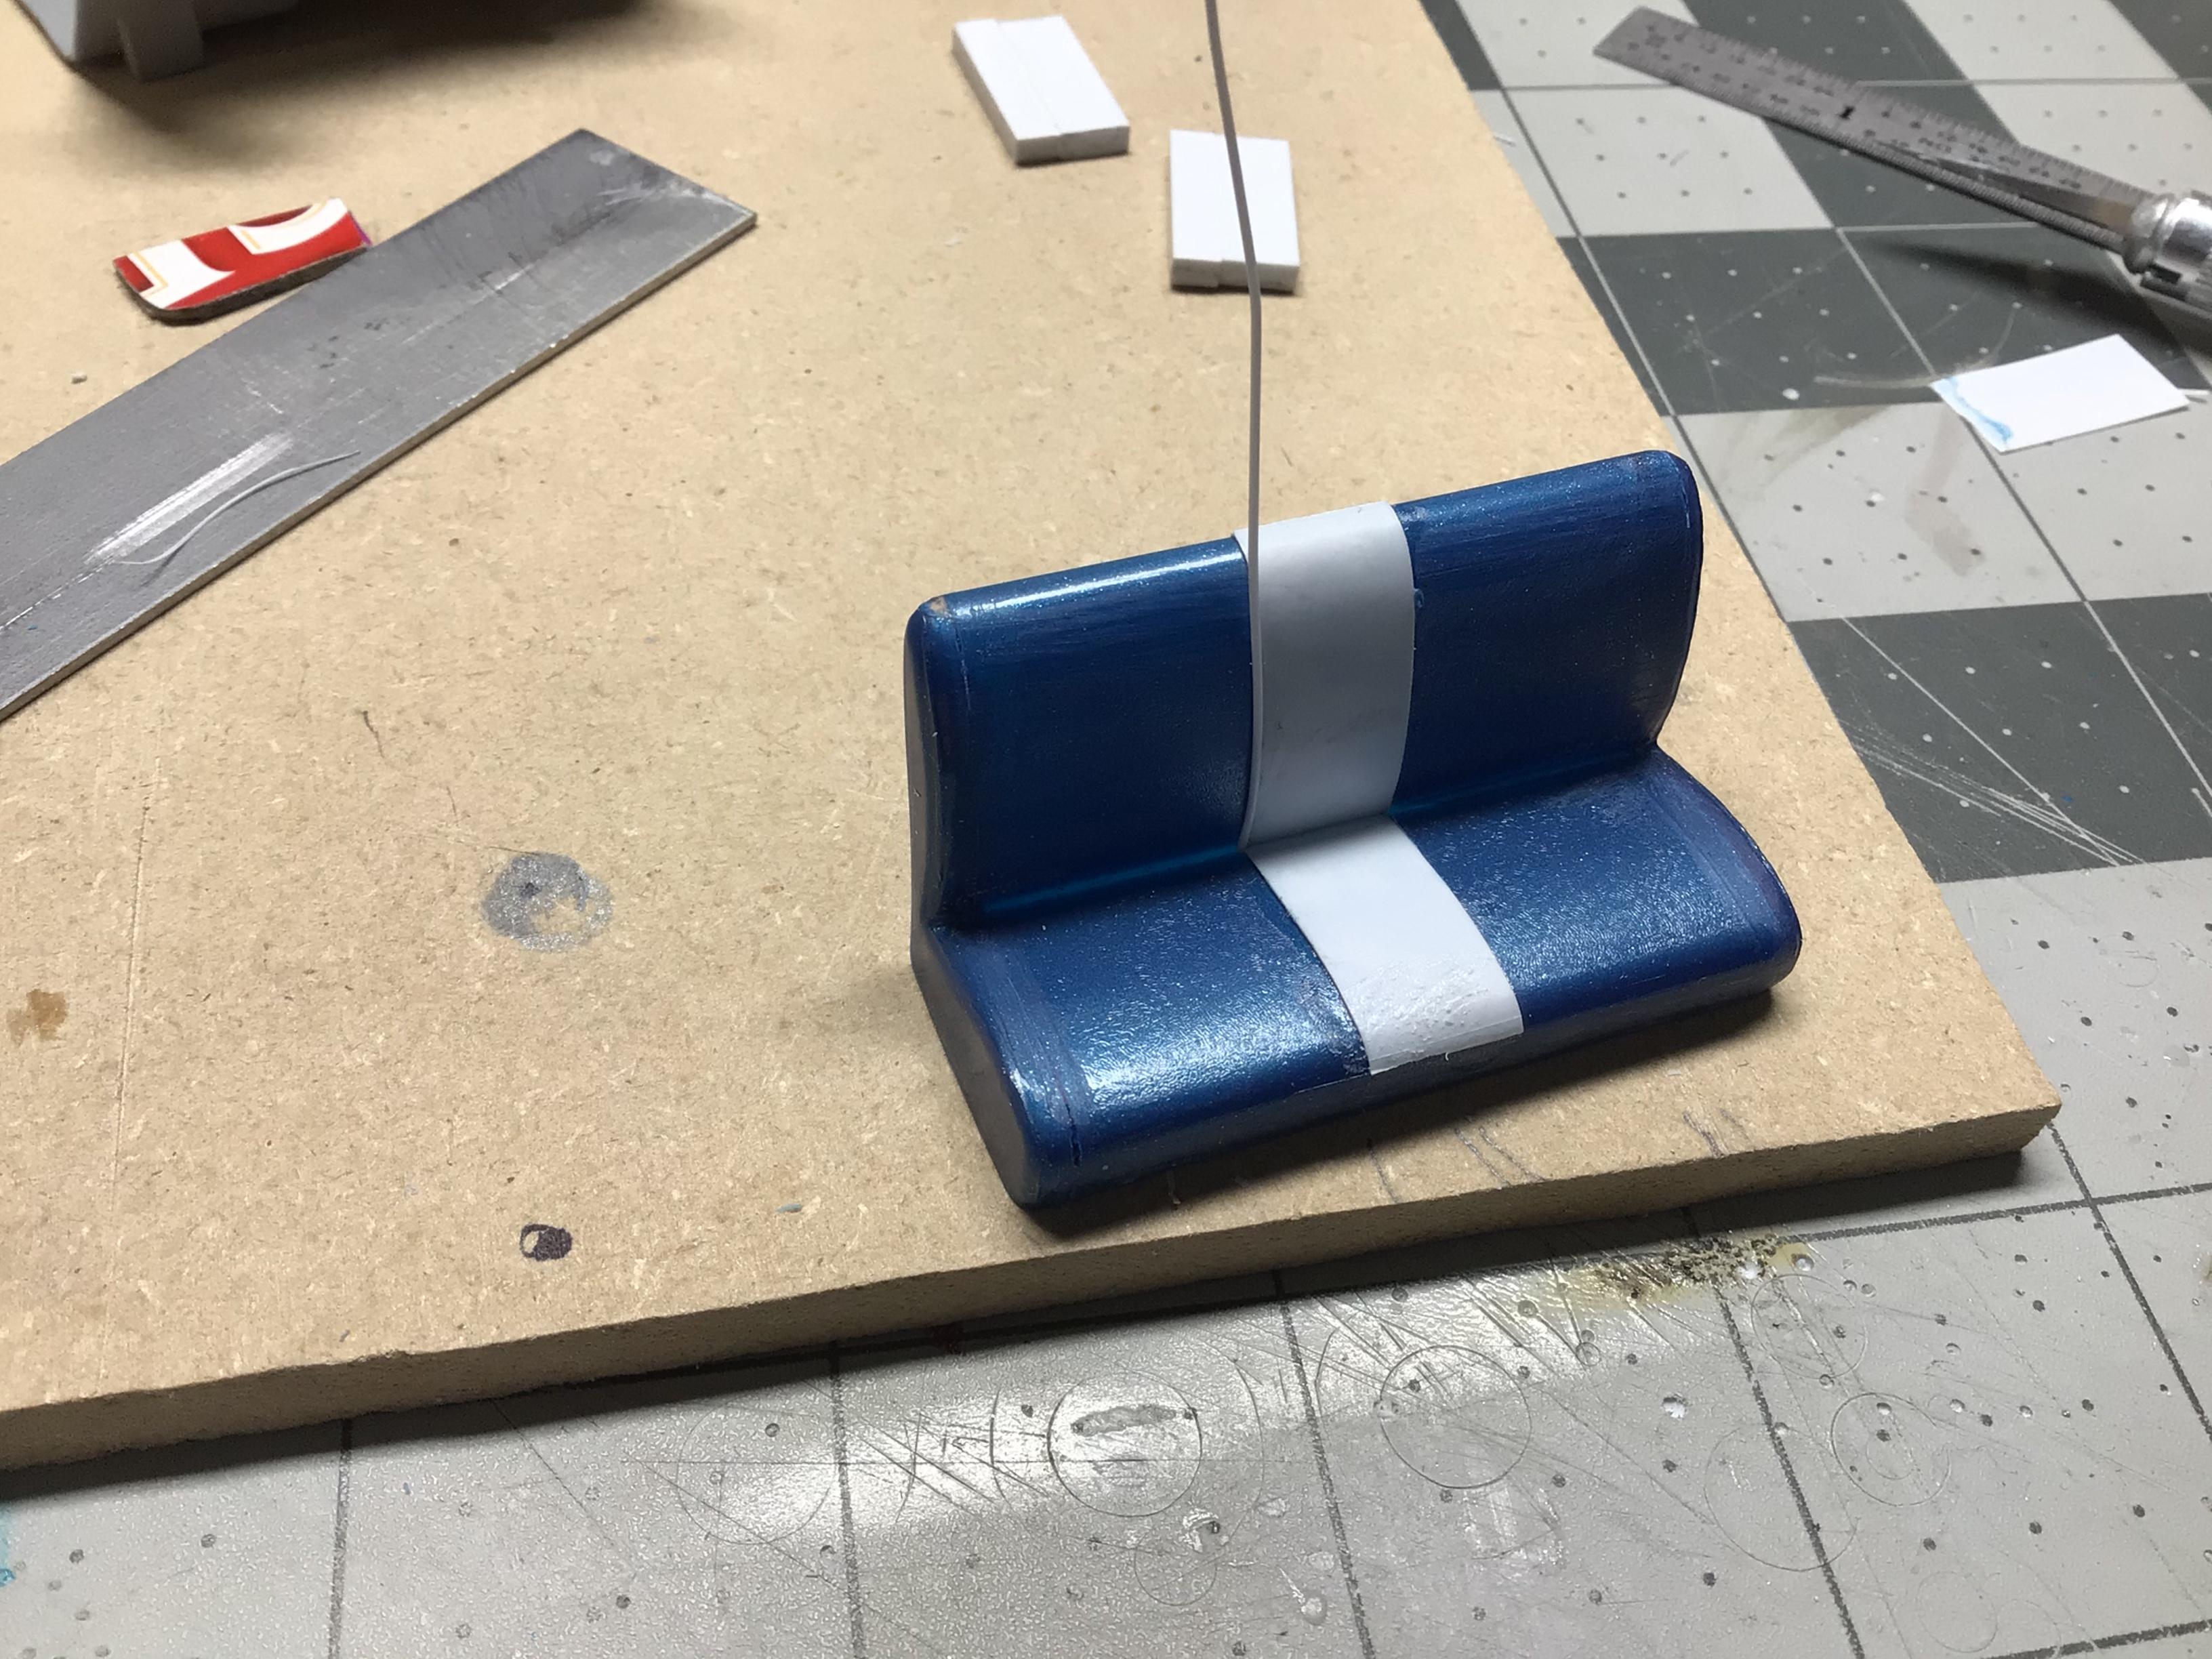
I downsized the pattern a little more and glued it on with epoxy after coating the backside with clear laquer so the glue wouldn’t soak through. Then a coat of flat acrylic.
-
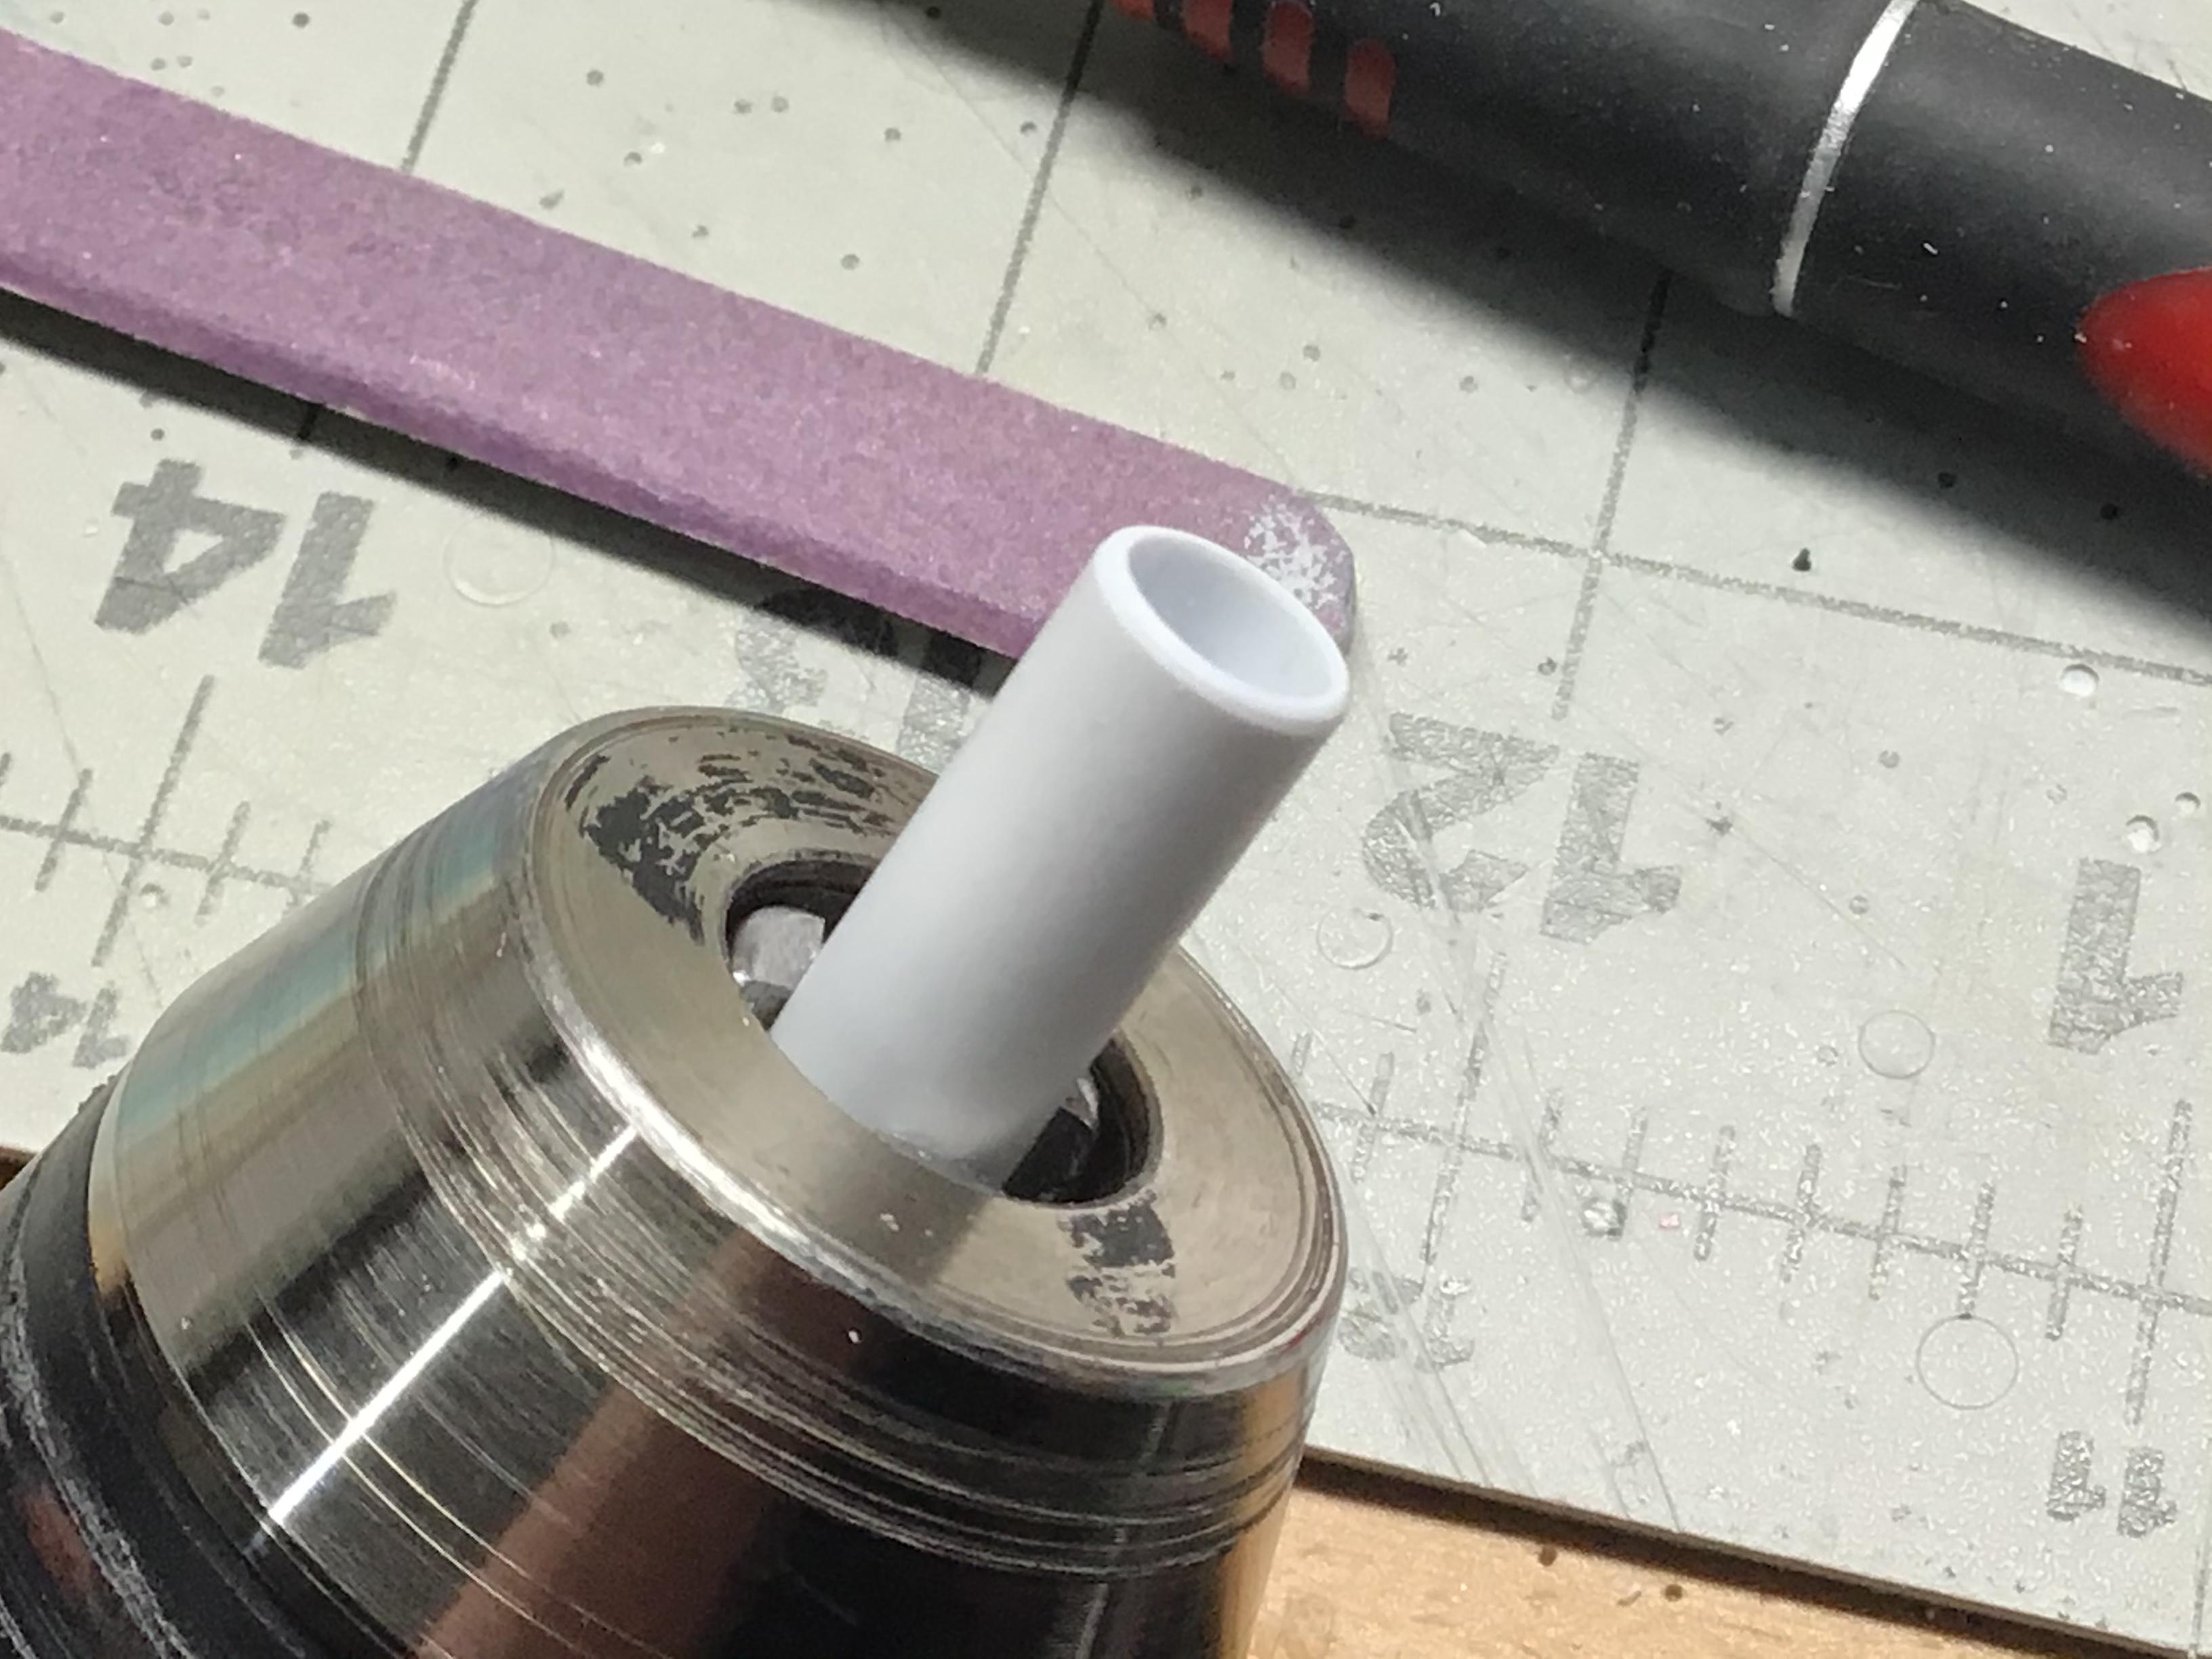
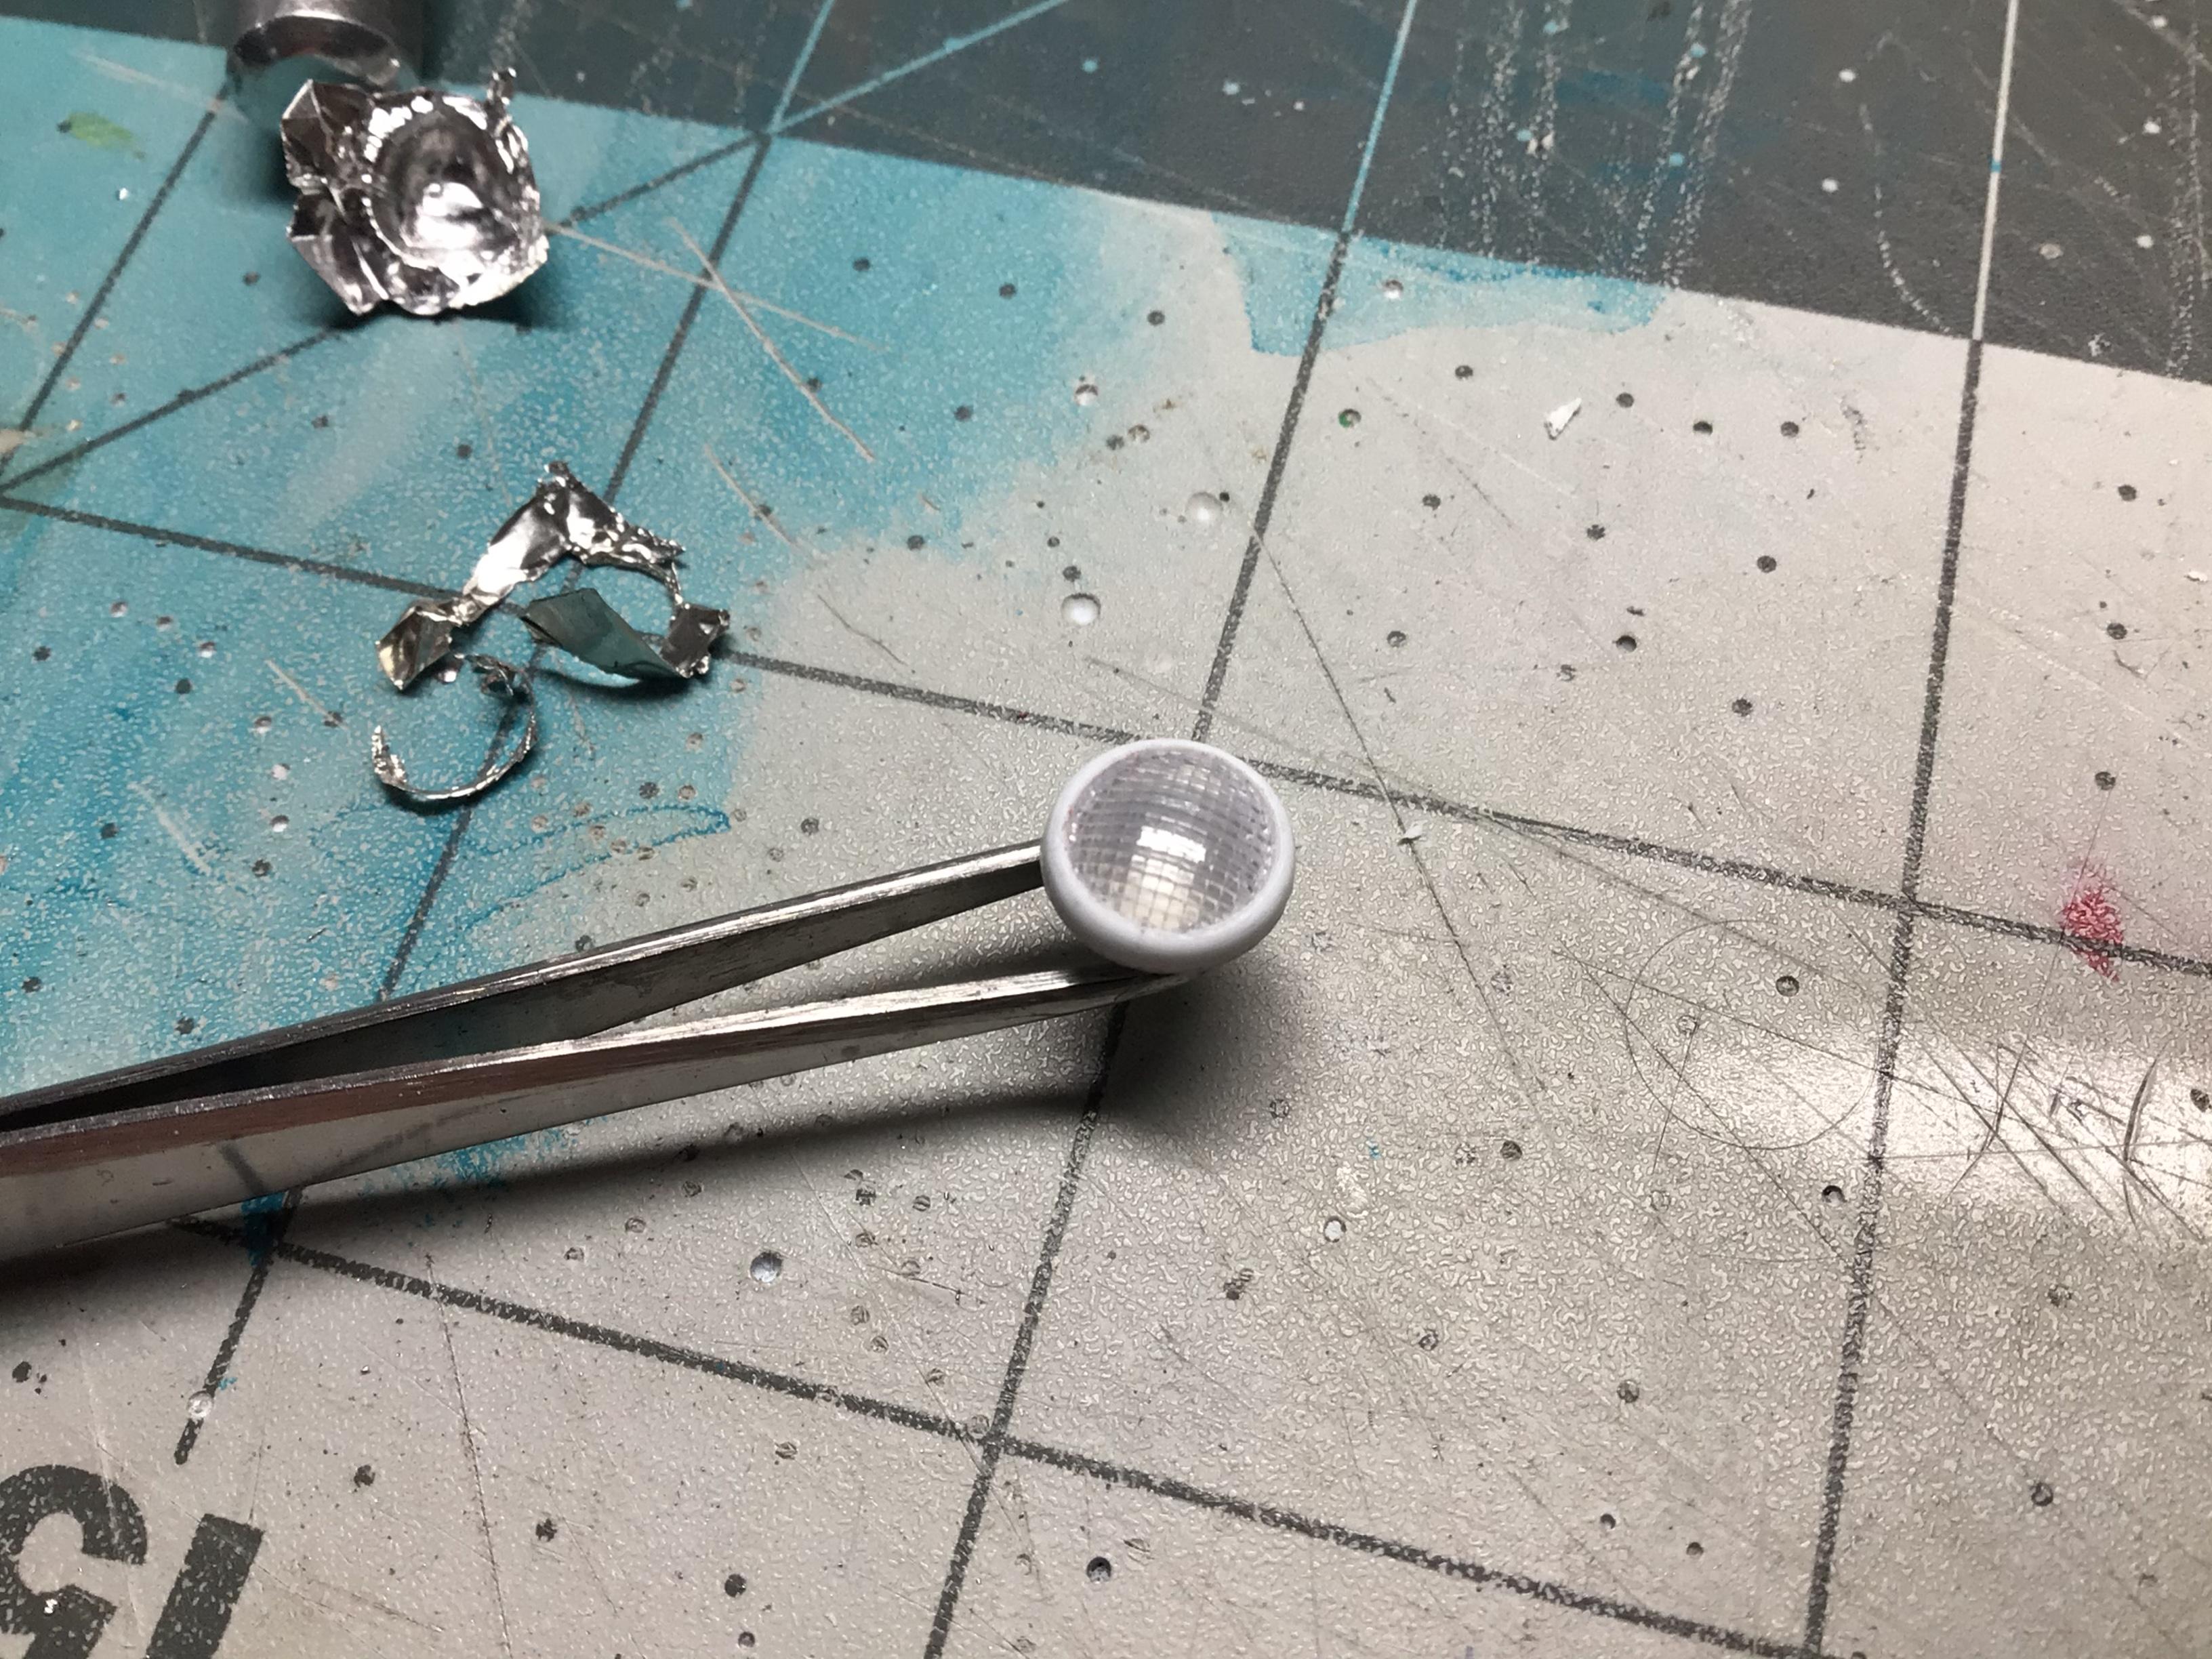
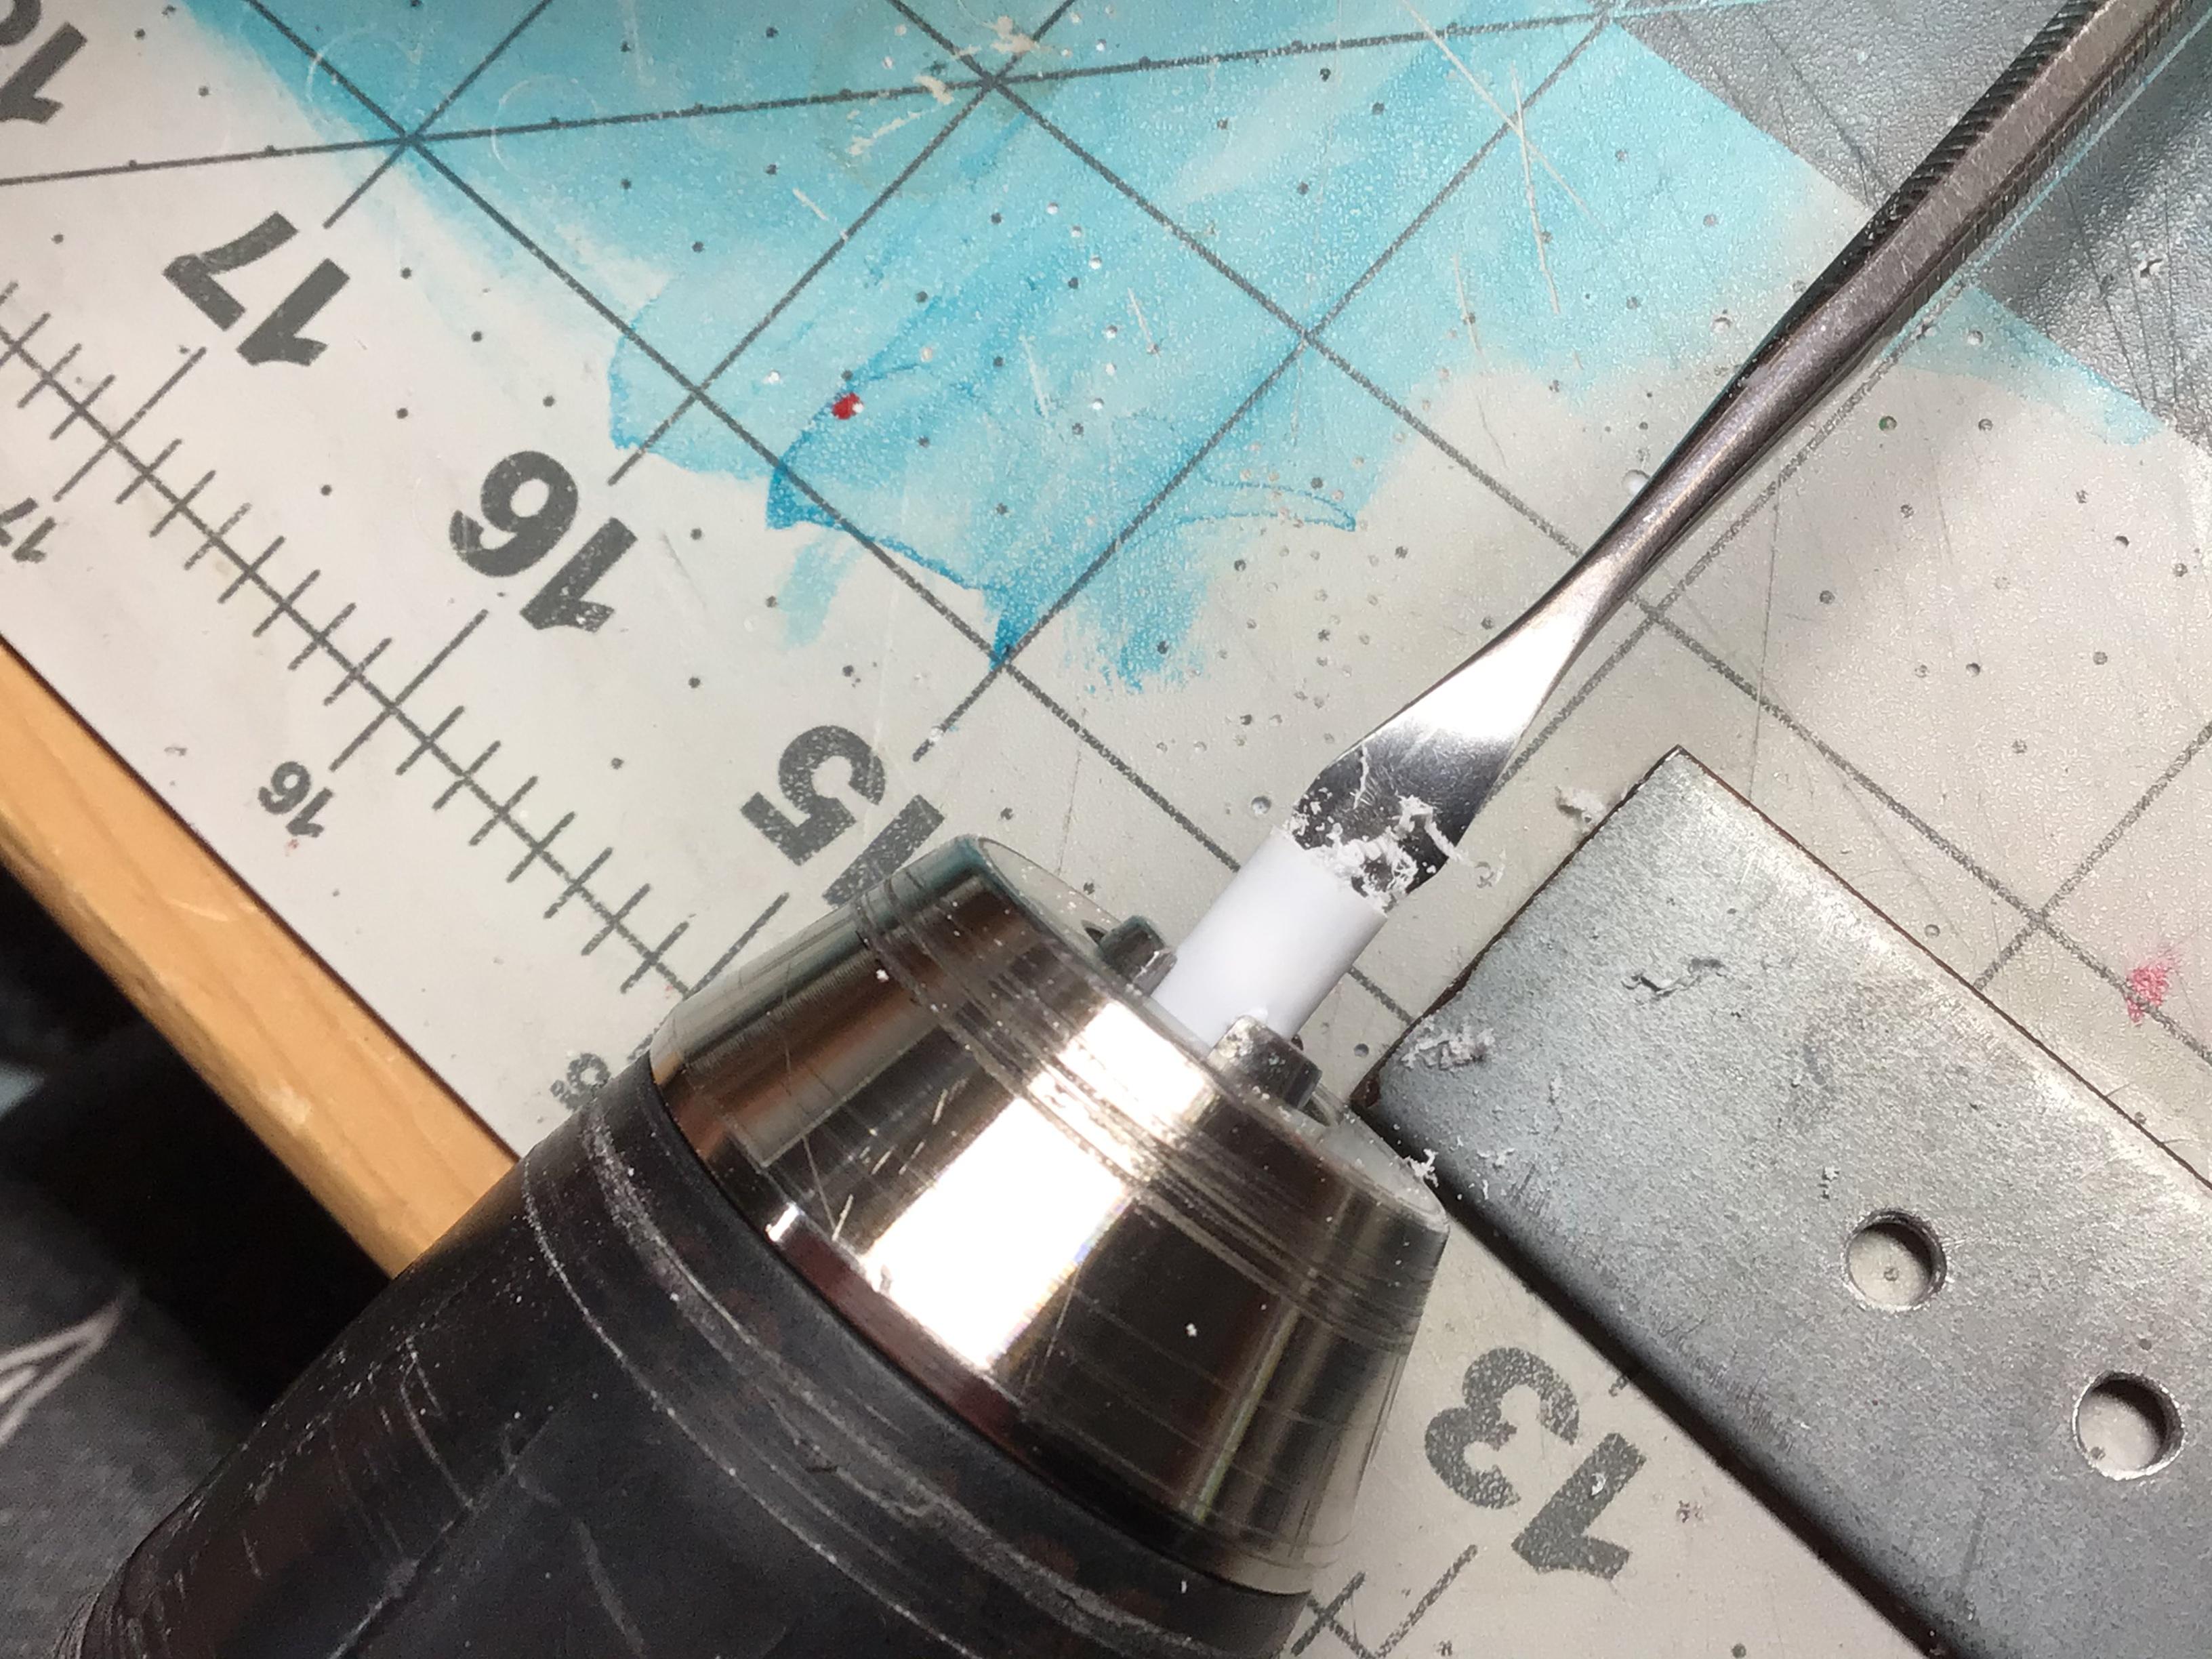
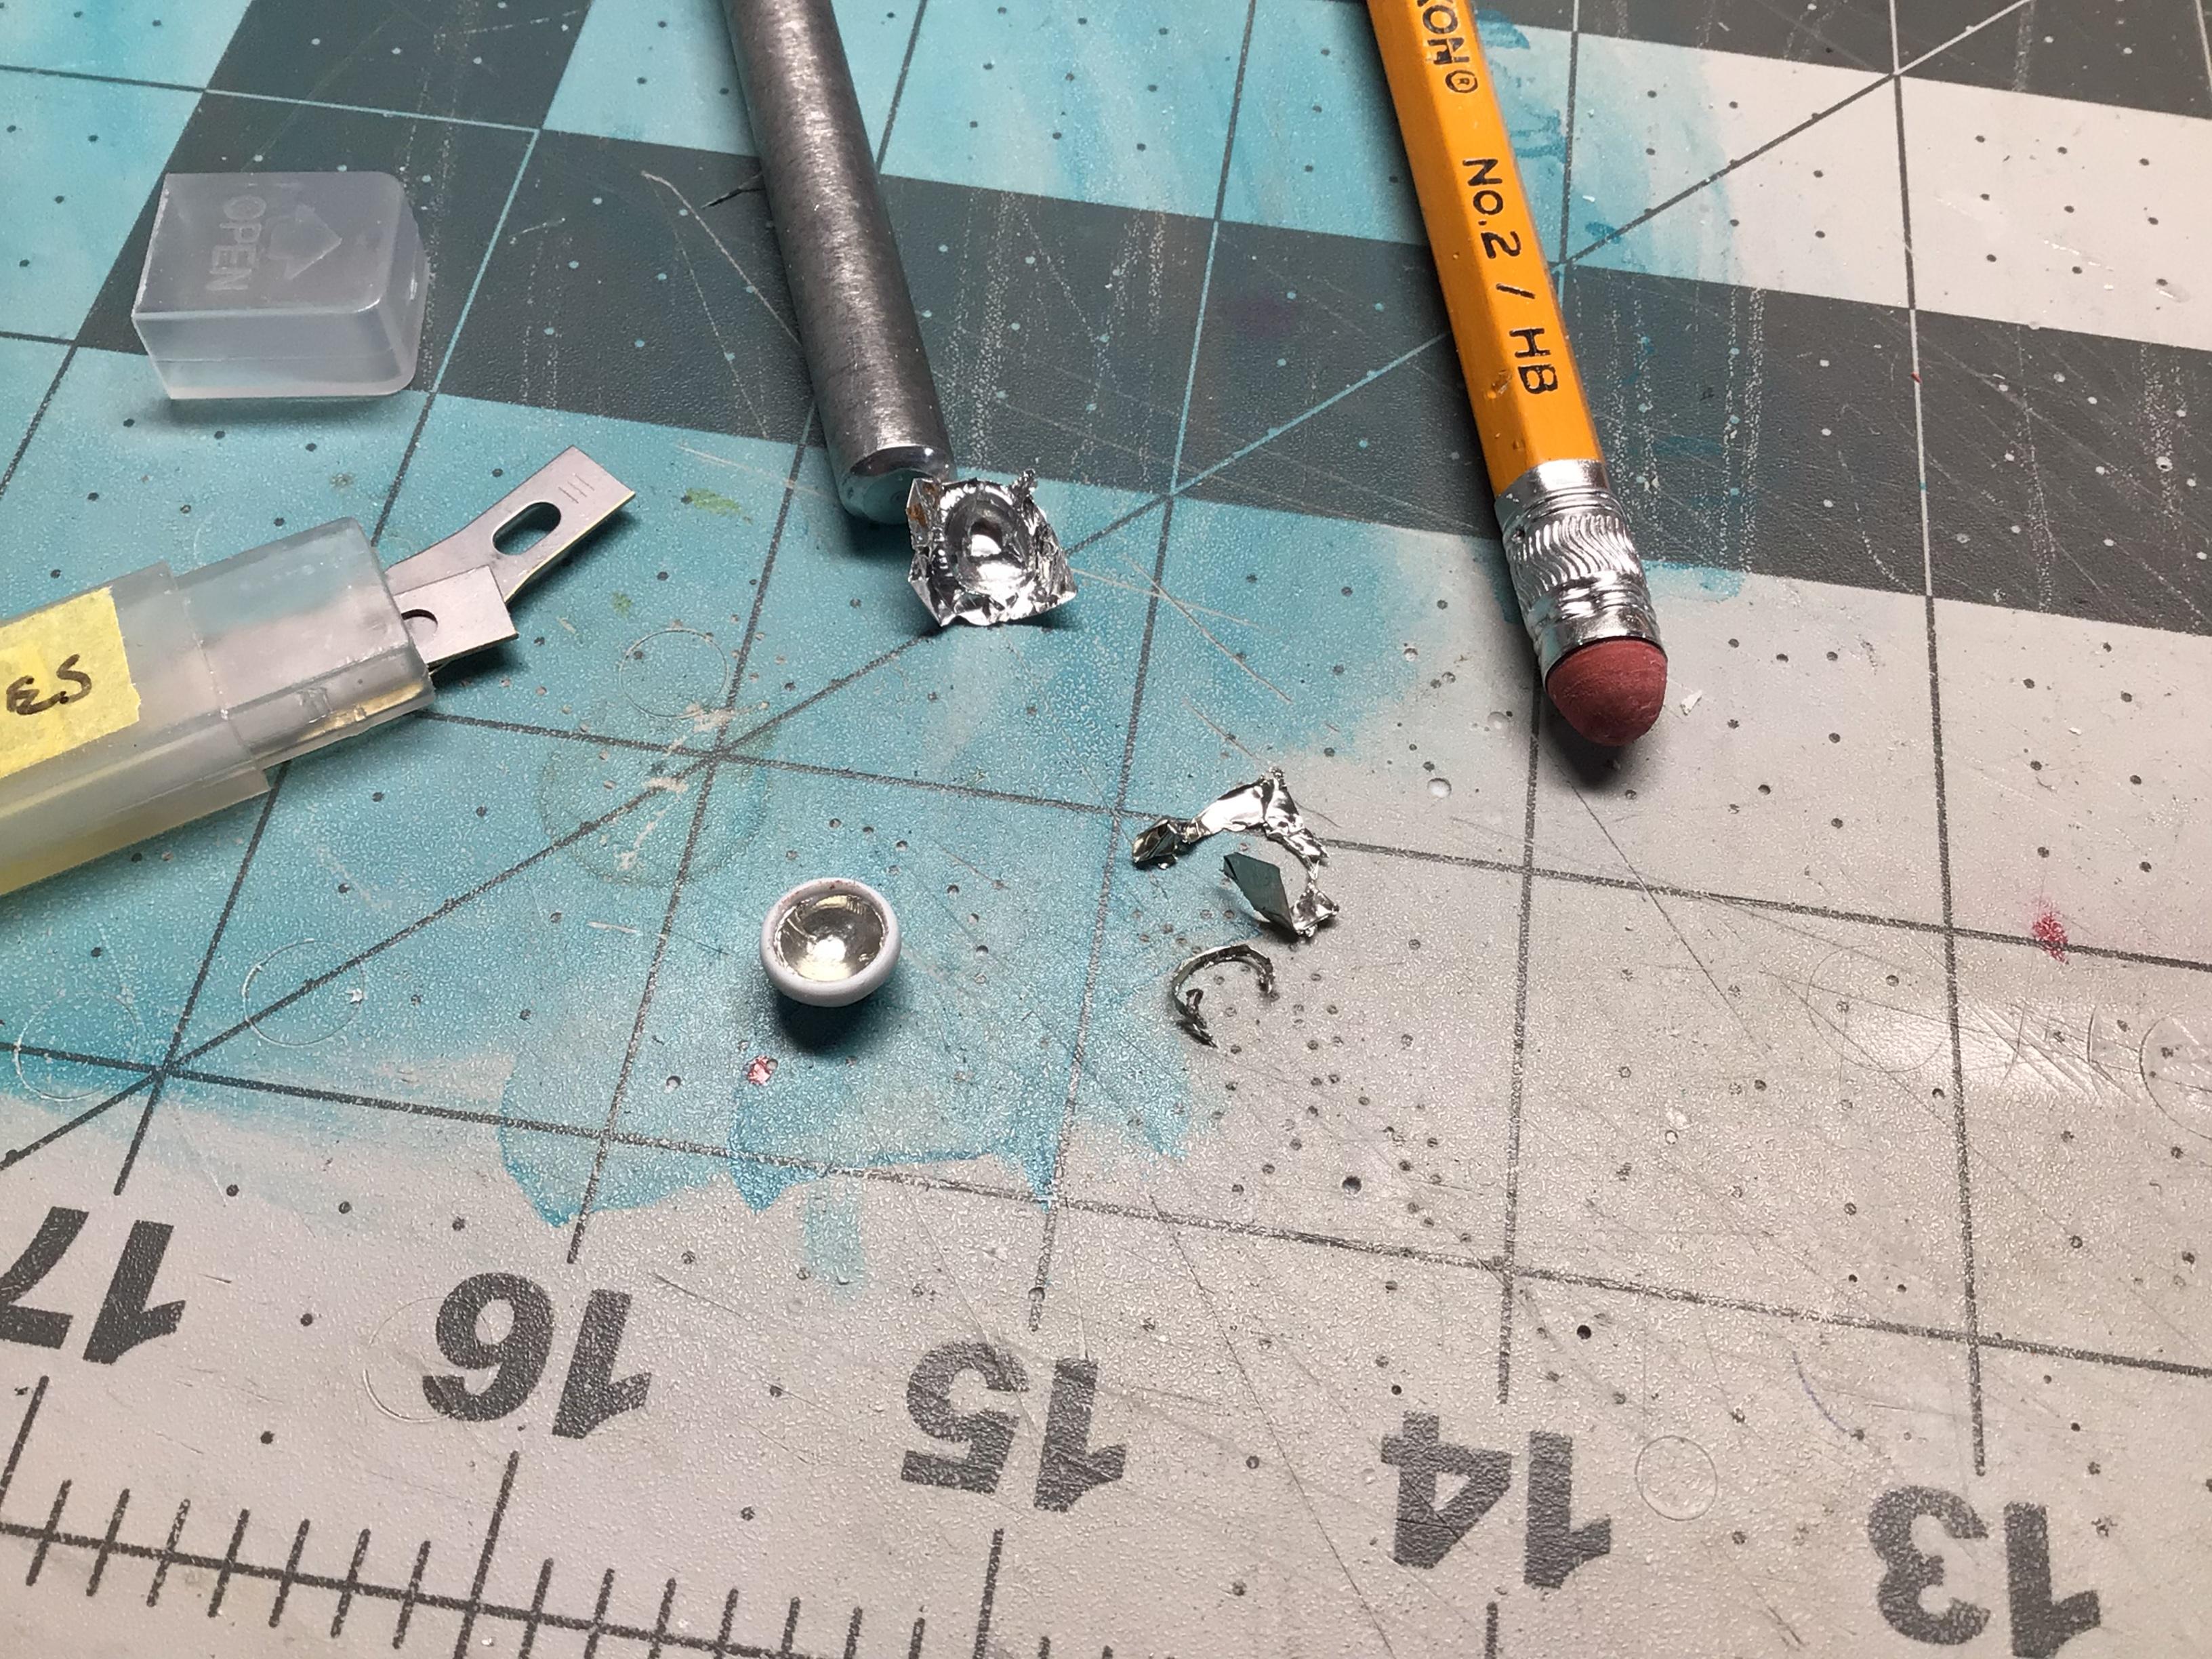
Well I decided to try making some buckets for these lights to get a touch more realism. First I shaped the bezel from some 5/16” O.D. tube. Then, after drilling a shallow pilot hole, I used a sculpting tool to hog out a piece of 1/4” solid rod. I then glued the bezel onto the rod. Shaped the backside. I foiled the bucket using a shaped pencil eraser to carefully seat the foil. My .252” diameter punch made a lens that Can be wedged inside the bezel and may not even need to be glued. That does look a bit better than the flat backing I originally had.
-
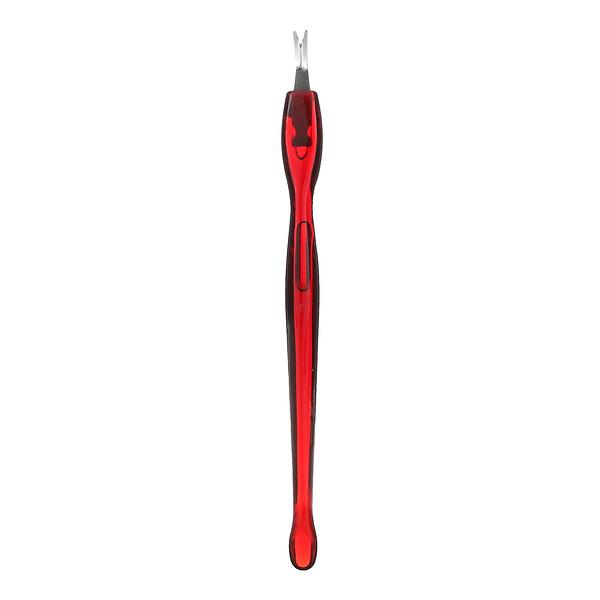
I’ve never tried it, but maybe a cuticle trimmer would work?
-
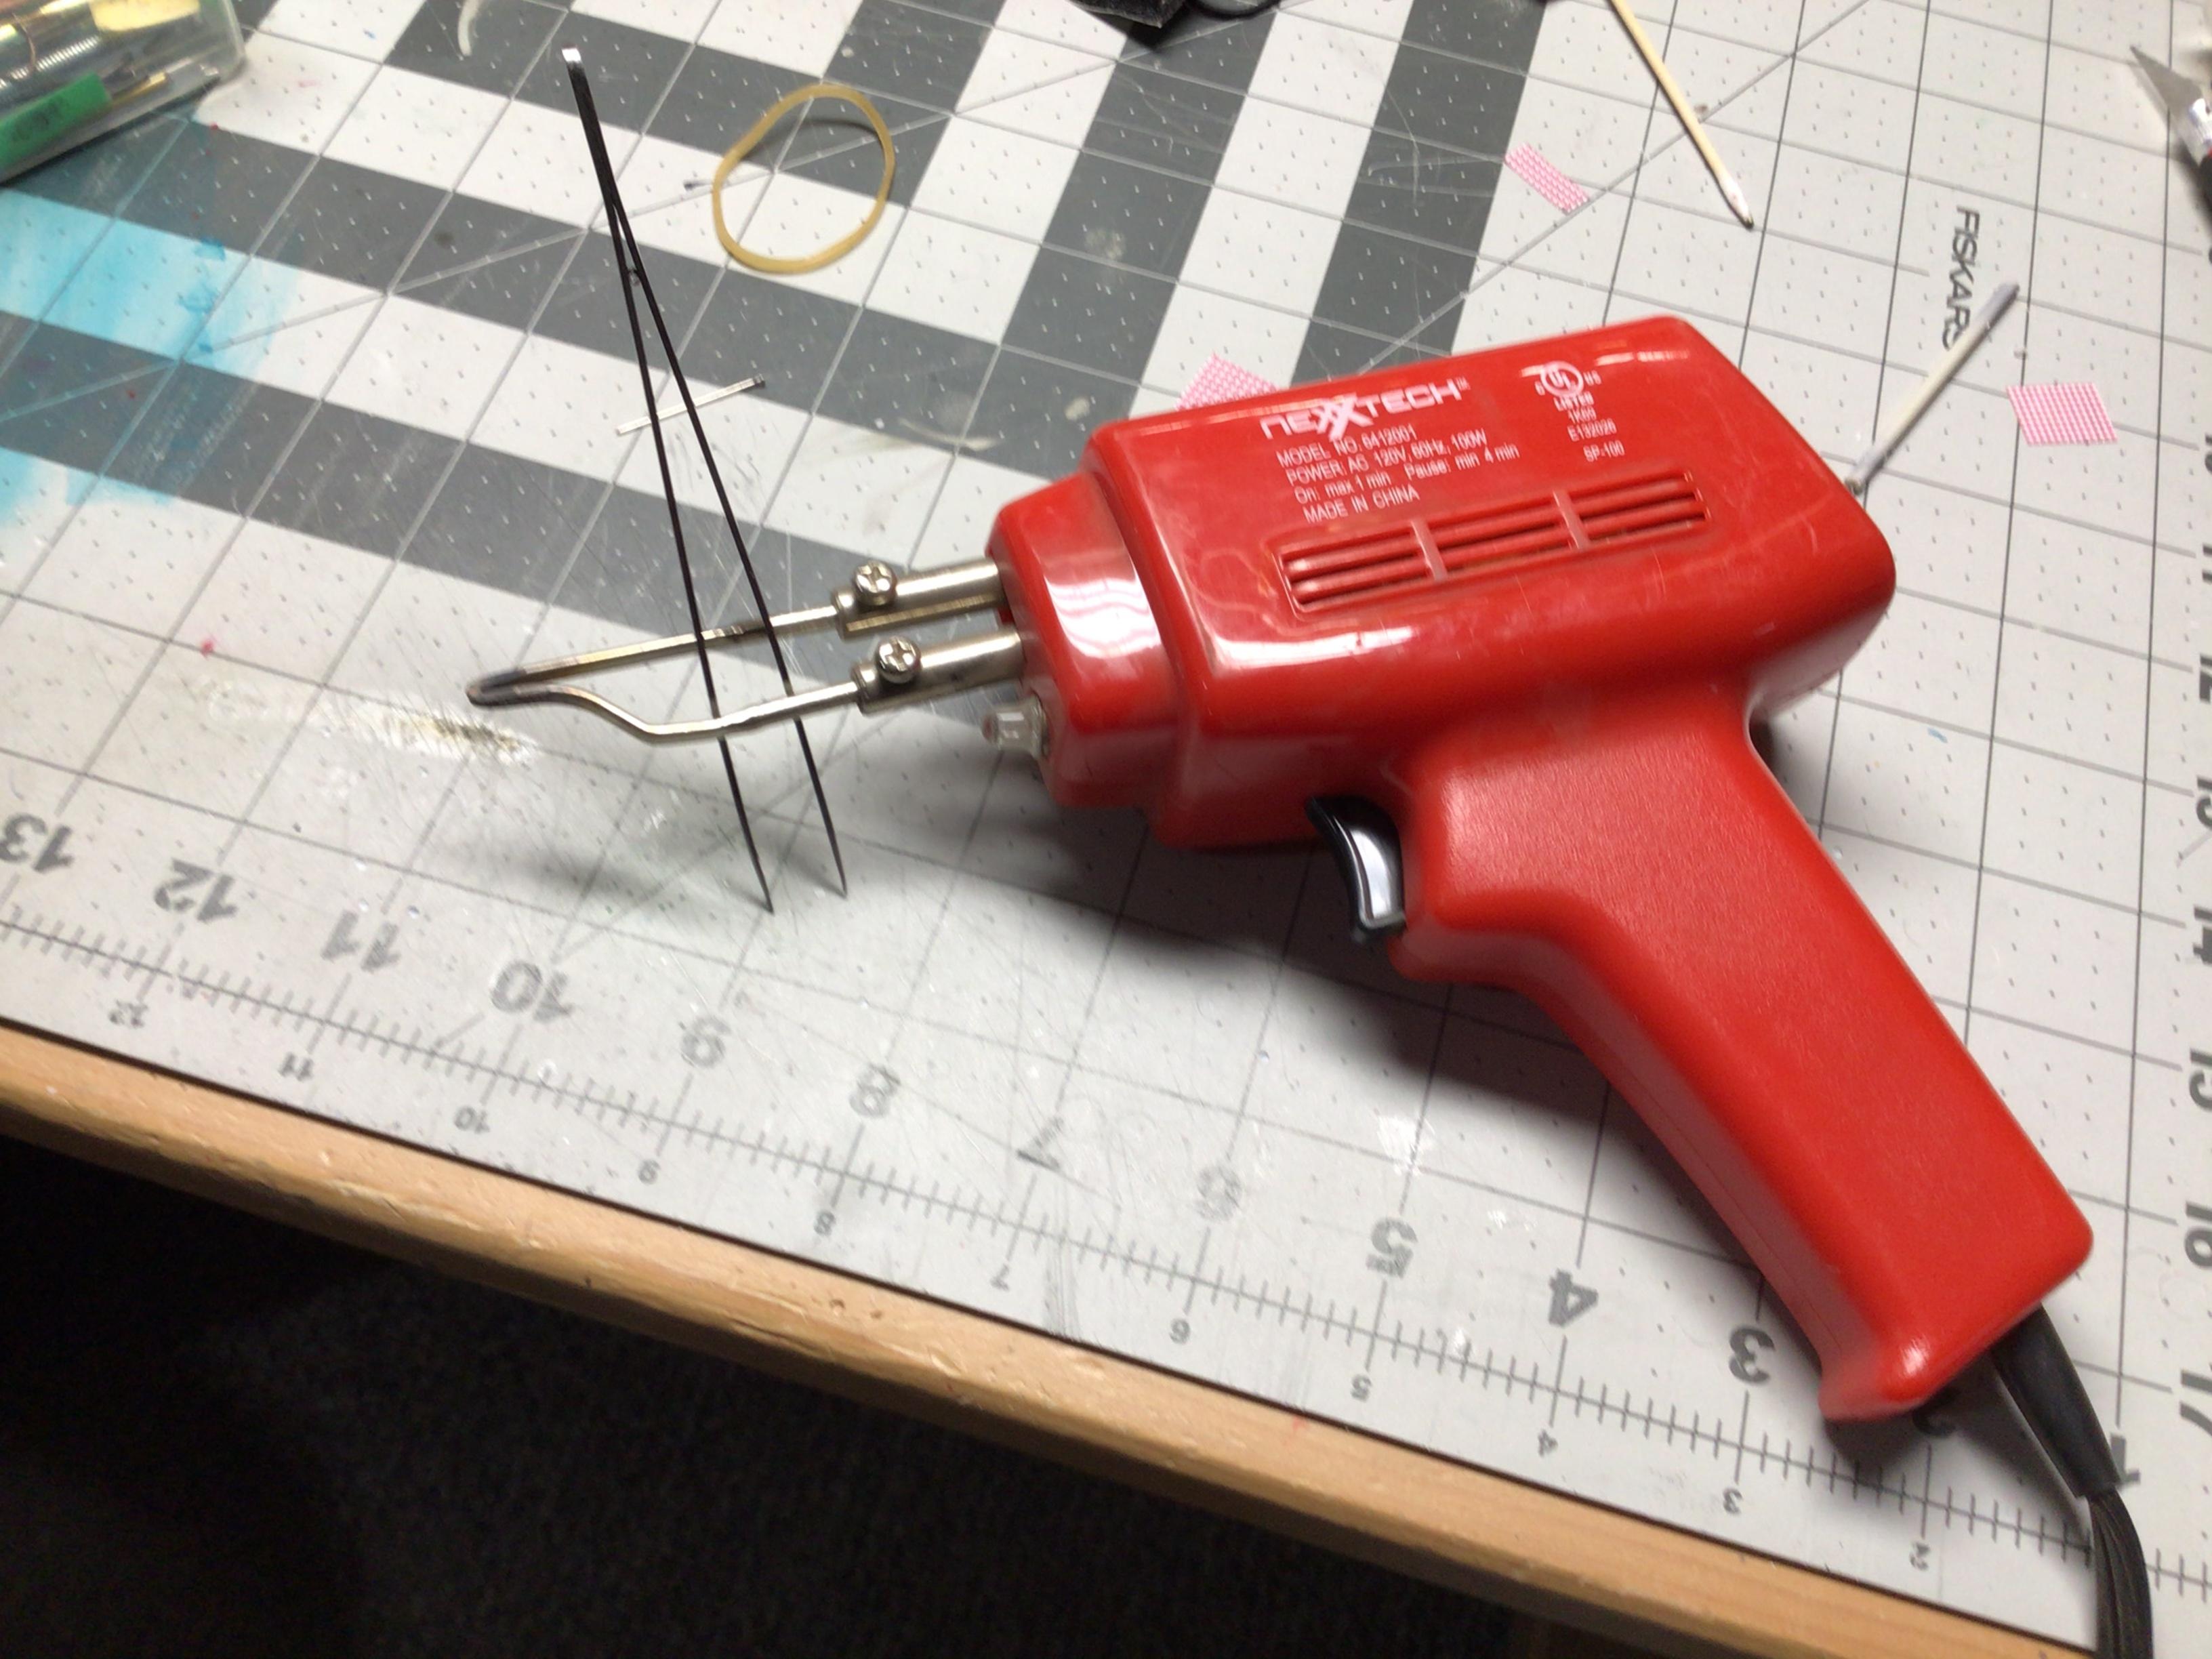
I’ve posted this previously, but this is an easy to make trim scriber. Any stiff wire would work. Chuck it in a drill and sharpen it before bending.You can vary the width by spreading it or rotating it off 90 degrees. Sure beats free-handing it!
-
Does that chopper make a nice 90 degree cut on one or both ends on something like say .100 x .188 ? Or do the ends need to be sanded square?
-
Well how about that!? Running it once in and out of the center of my soldering gun worked...and the thing was sitting in a drawer right beside me all the time. Thanks for the link Bill.?
- 3 replies
-
- 1
-

-
- magnetized
- tweezers
- (and 1 more)
-
Yeah, fiberglass won’t dent like that.????
-
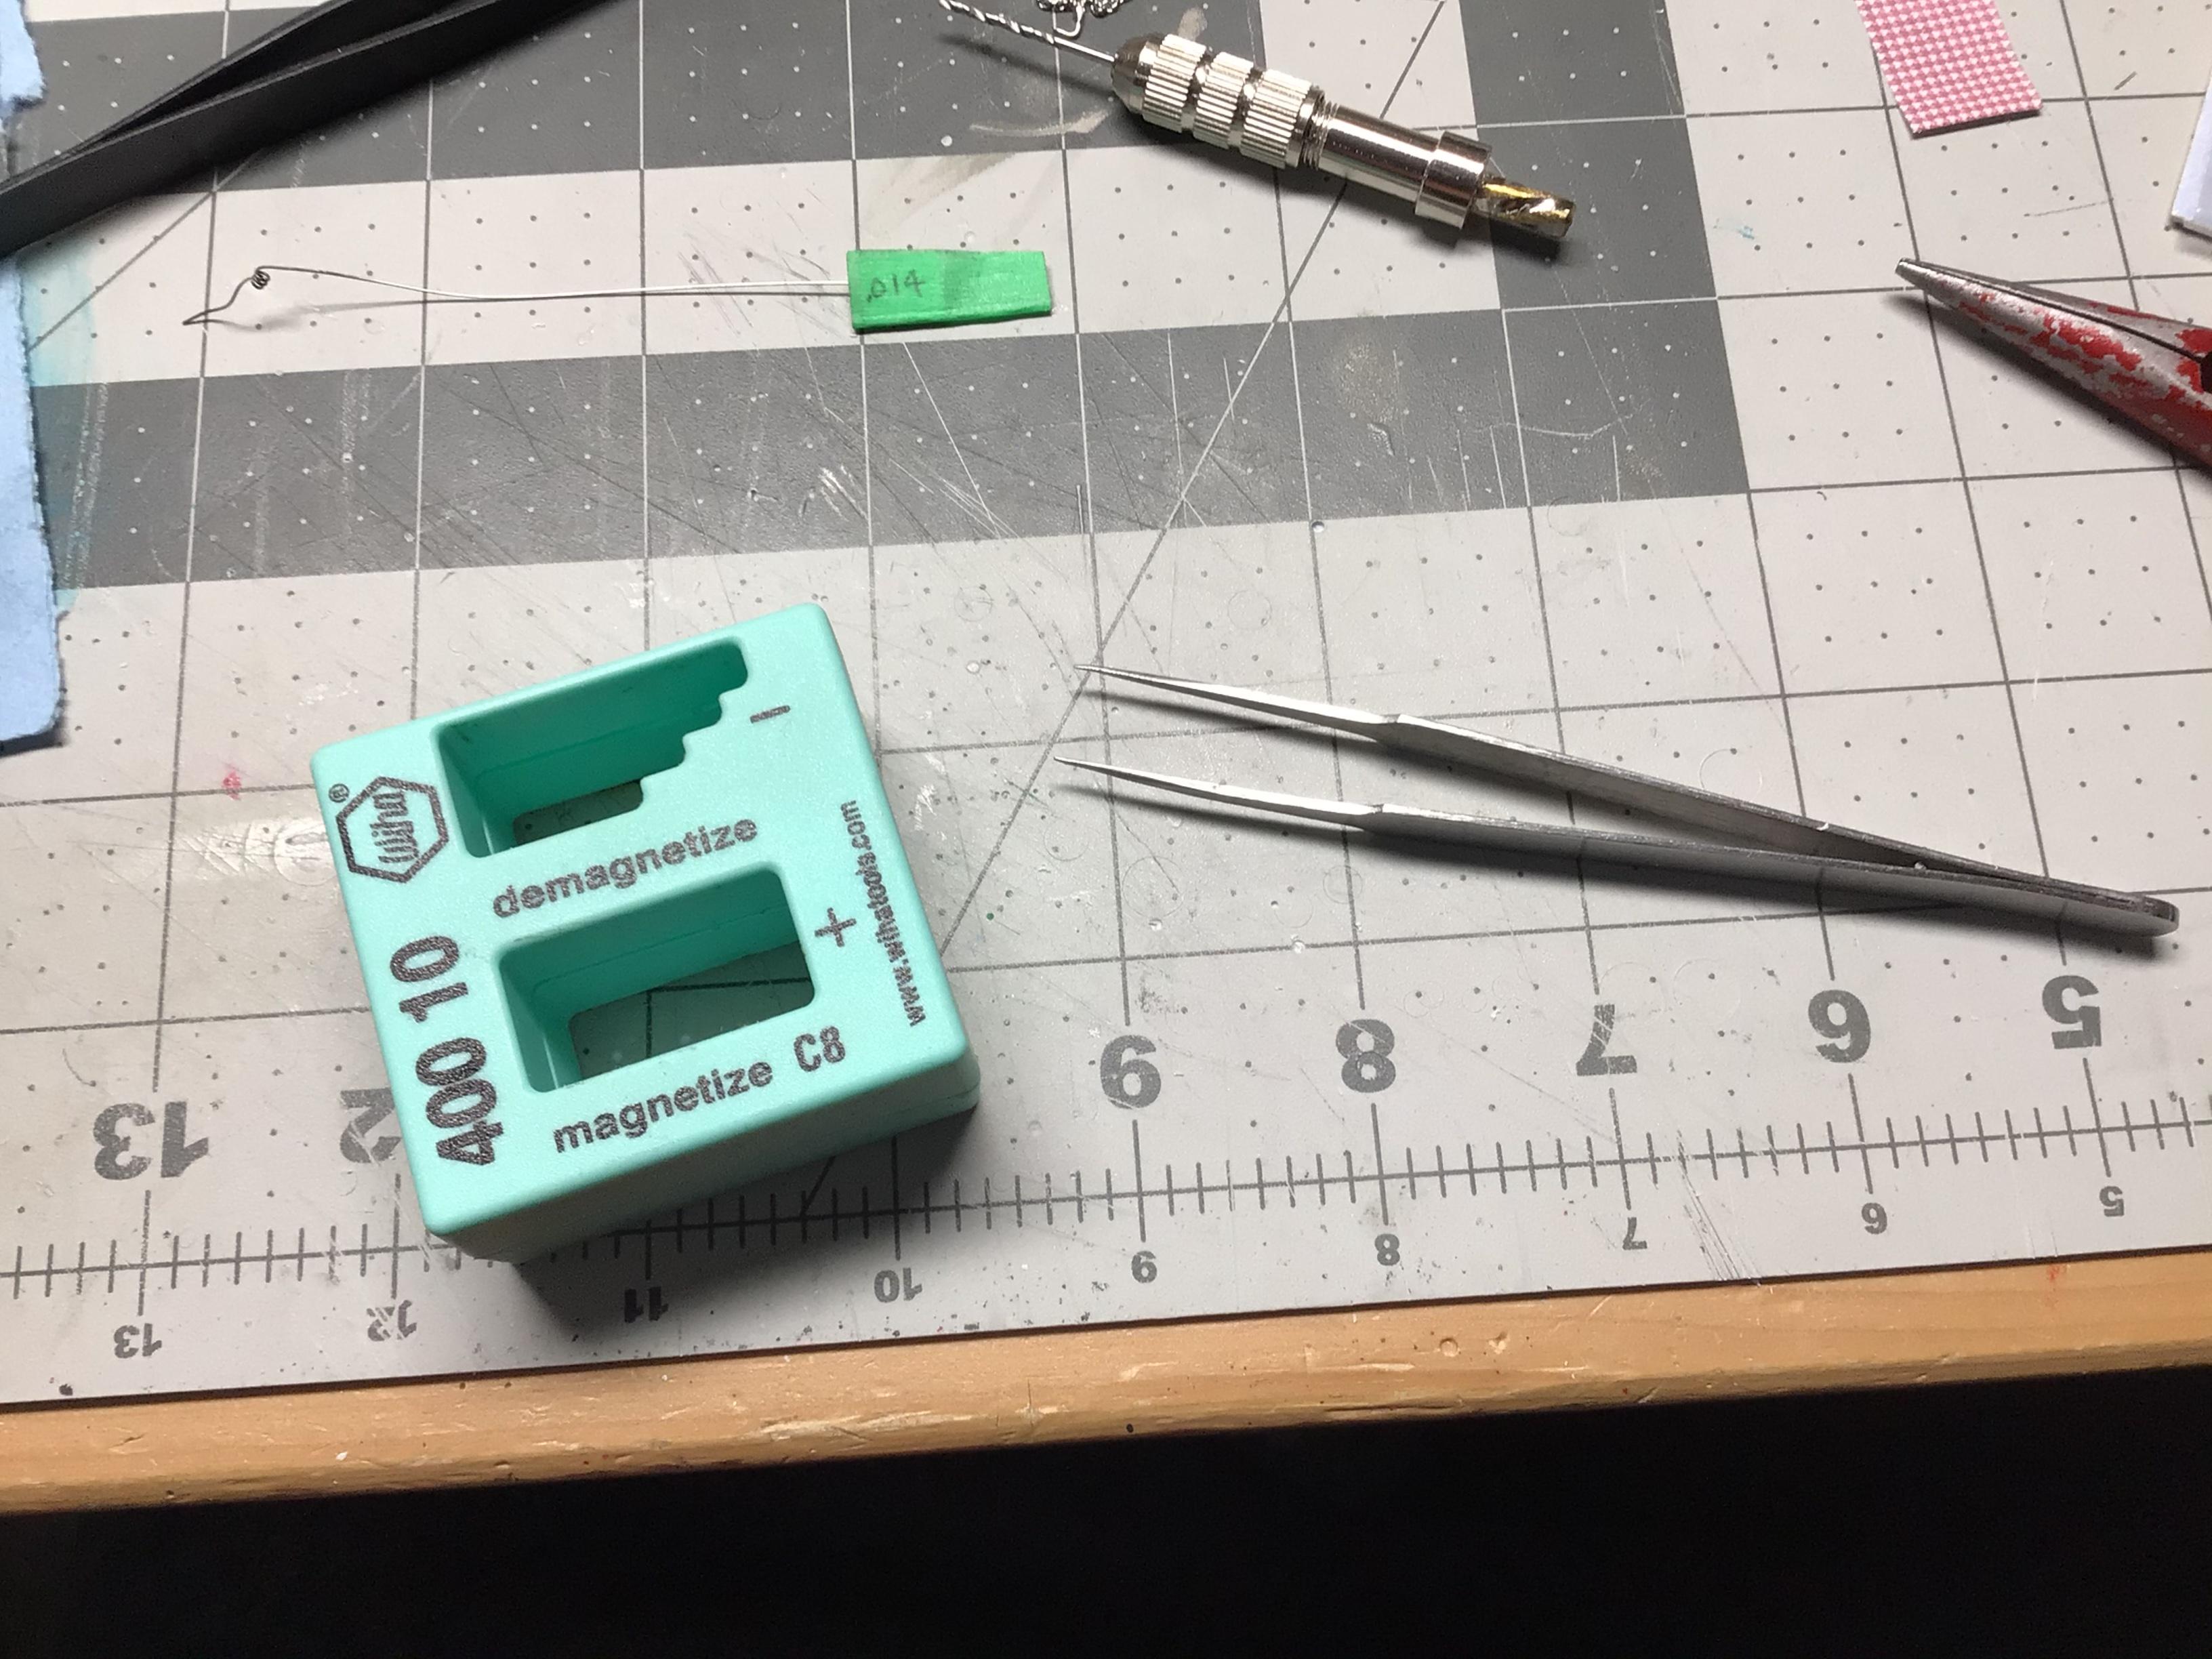
I have a pair of tweezers that have become horribly magnetic. I dragged them through this thing a number of times and couldn’t get rid of the magnetism. There are units that are 115v powered...but I have this. Eventually, I re-magnetized them first, then de-magnetized them and it worked....but only for a little while.?? Does anyone have another way or do I need a powered one?
- 3 replies
-
- 1
-
-
- magnetized
- tweezers
- (and 1 more)
-
How do I tag posts? I can’t find it in the “how to use this board” section.
-
Looking really great so far,?
-
66 Suburban/Deserter bash
NOBLNG replied to Chuckyg1's topic in Model Trucks: Pickups, Vans, SUVs, Light Commercial
Now that’s a super nice 4x4! Well done. Makes me want to get one of these kits.? How did you do the Upholstery on the seats? -
Nice! Extremely well detailed. I like all the extra accessories.?
-
Super clean build!?
-
Beautiful job...especially under the hood!?
-
Nice job! I love that colour.?
-
68 Charger rear-engined late Hemi Pro-Touring Concept
NOBLNG replied to Claude Thibodeau's topic in Model Cars
Yes, I’m glad this build re-surfaced. It is absolutely outstanding in design and execution!? -
Maybe a thread like this should be a sticky? There are numerous threads on here about various tools. It would be nice to have them all in one place?
-
What New (Modeling) Technique Did You Try Today?
NOBLNG replied to Snake45's topic in Tips, Tricks, and Tutorials
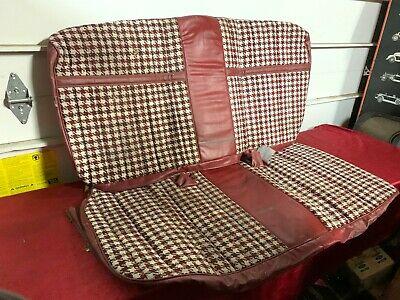
Upholstery! I am trying to replicate the seat in my Willys, which is actually the rear seat from a 1980 Blazer. I narrowed the seat from a ‘56 Ford pickup. Then I added some piping (not quite correct, but pretty much out of sight). Then I found a picture of similar colour houndstooth pattern on the internet, re-sized and printed it. The last pic is some self adhesive label paper that doesn’t stick well enough. I’ve re-printed it on normal paper and am experimenting with different glues to fasten it securely. Then I will give the whole thing a coat of satin clear.
-
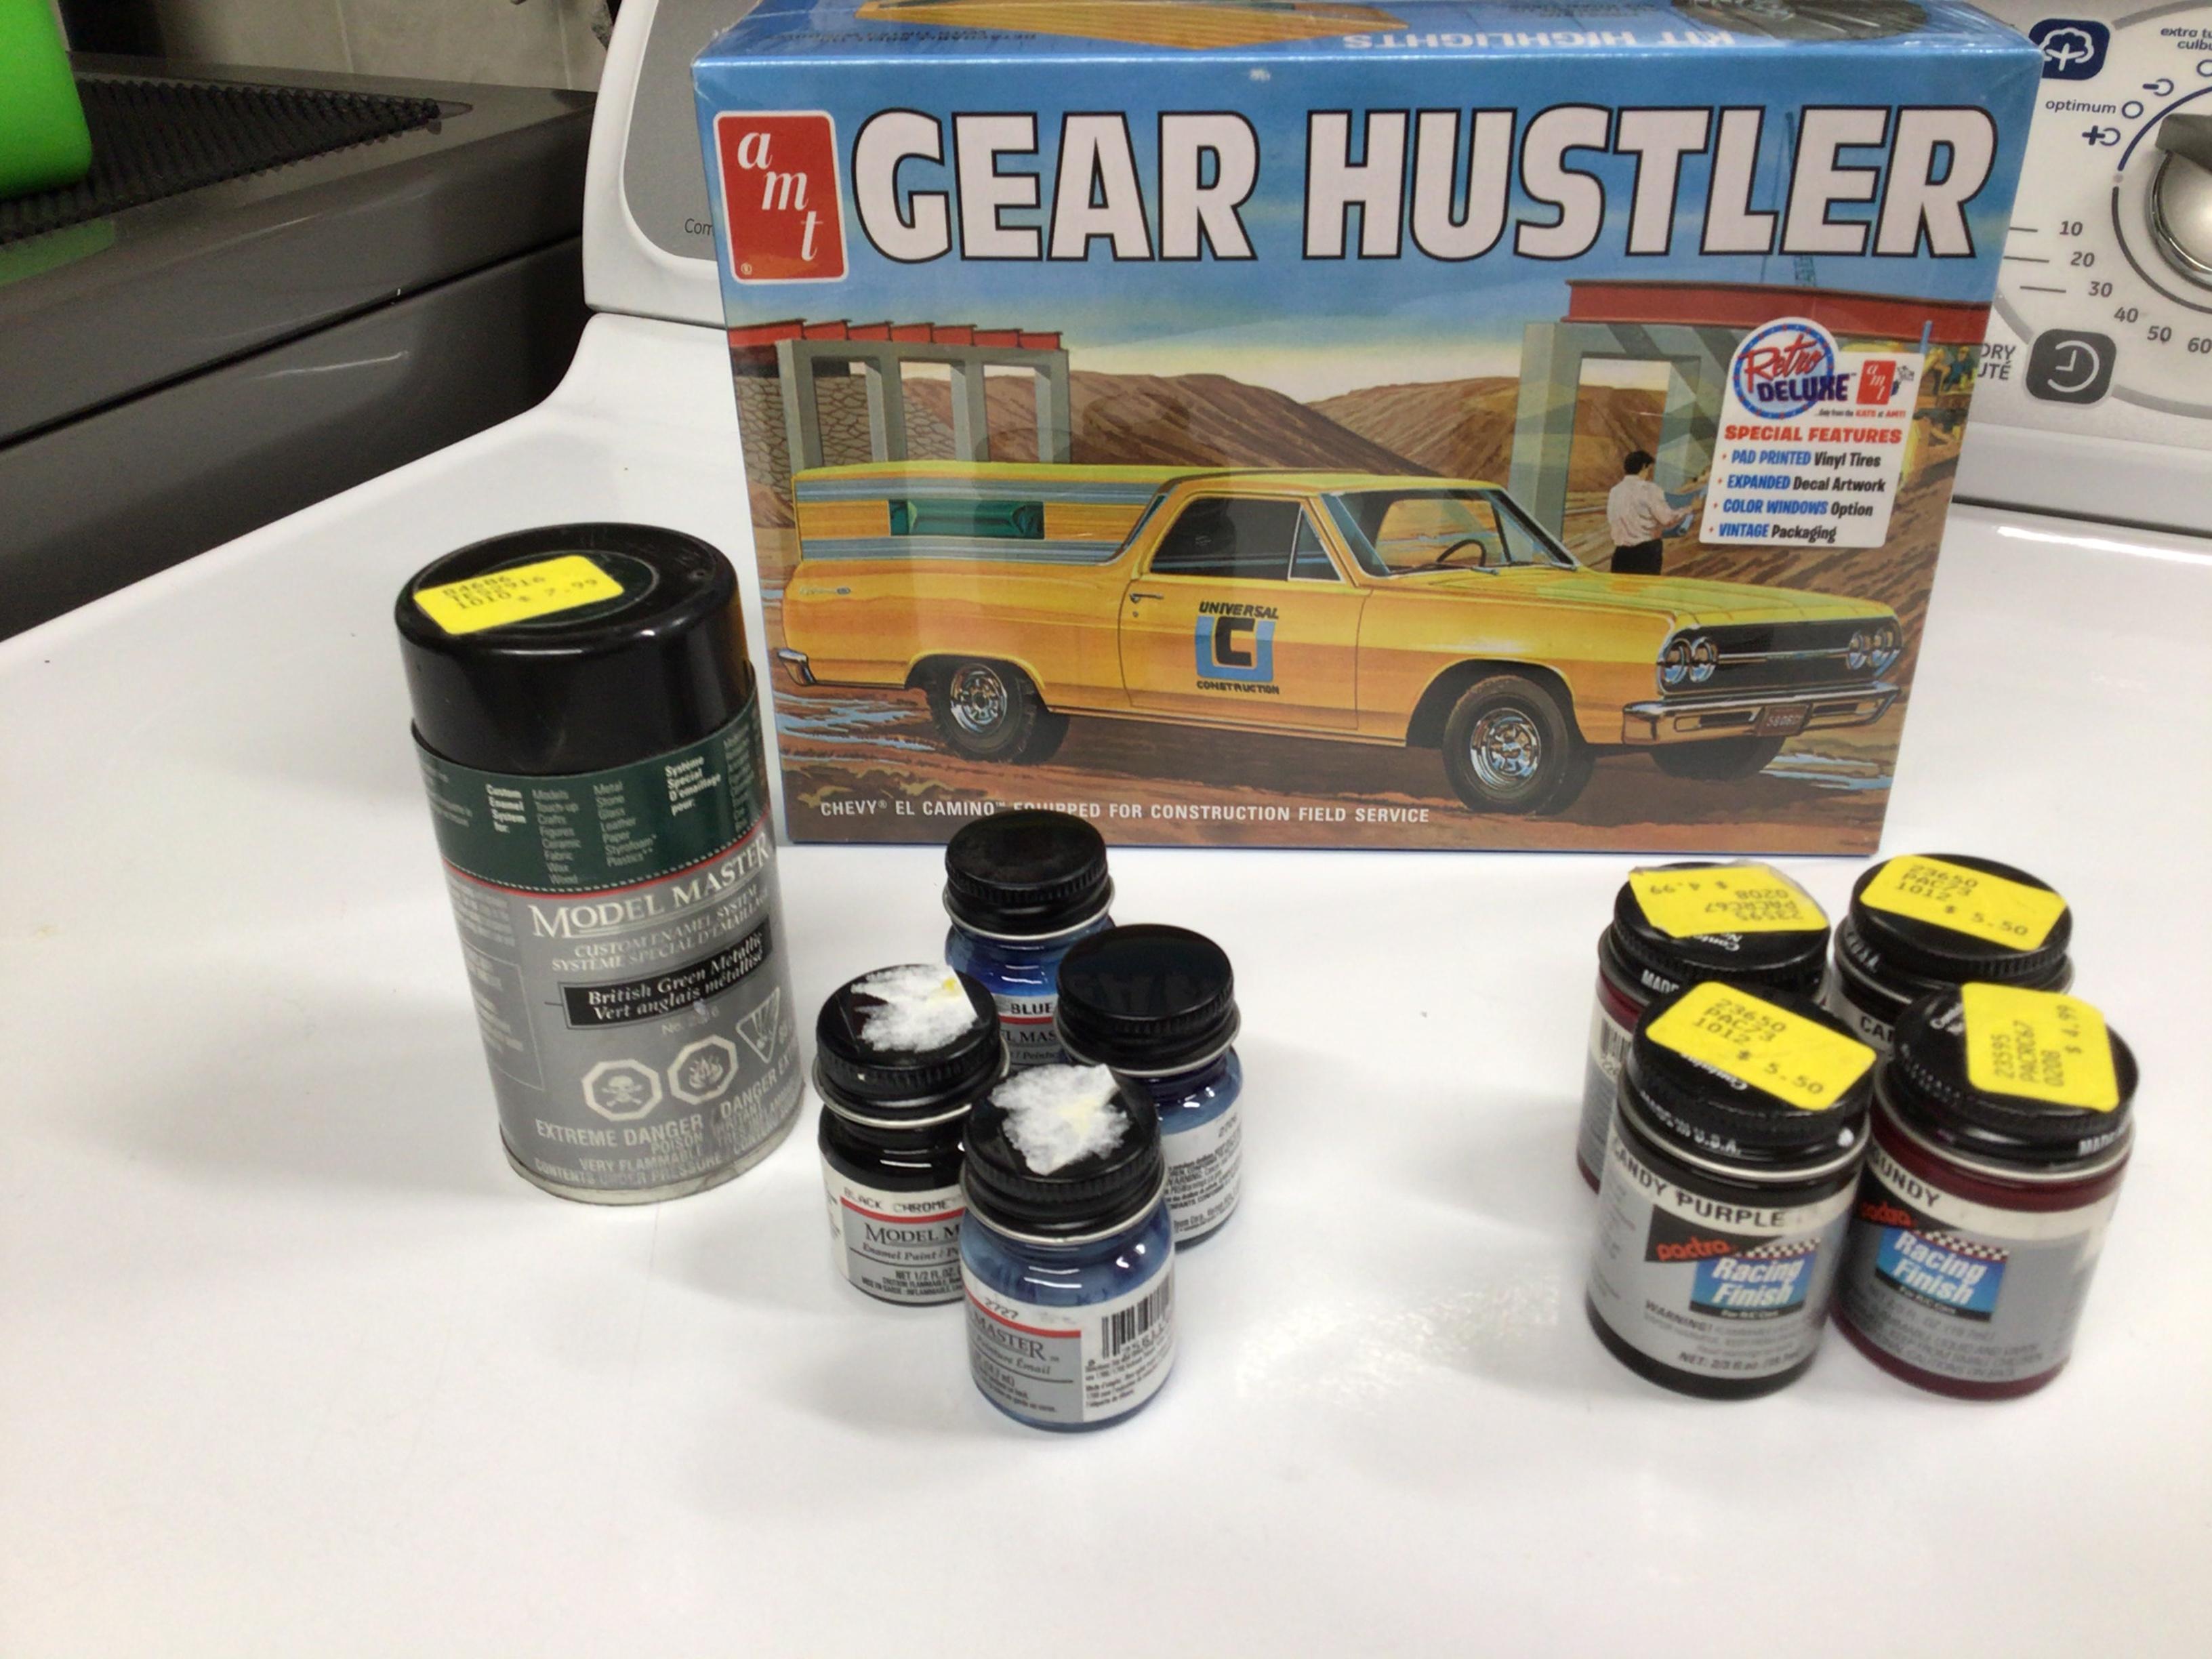
On my way home from getting my first Covid shot, I decided to stop at a hobby shop in that neighborhood. To my dismay, I found out that the owner passed recently from cancer. Unfortunately the business is closing so I grabbed a few items
-
If anyone has any nifty tools, especially ones that are not normally associated with model building...post them up! I don’t know where I got this? I found it one day in the garage with a bunch of drill bits. It has three collets that will take anything from a #80 up to 1/16”. I use it by hand, in my cordless drill and in my drill press. It runs very true.?
-
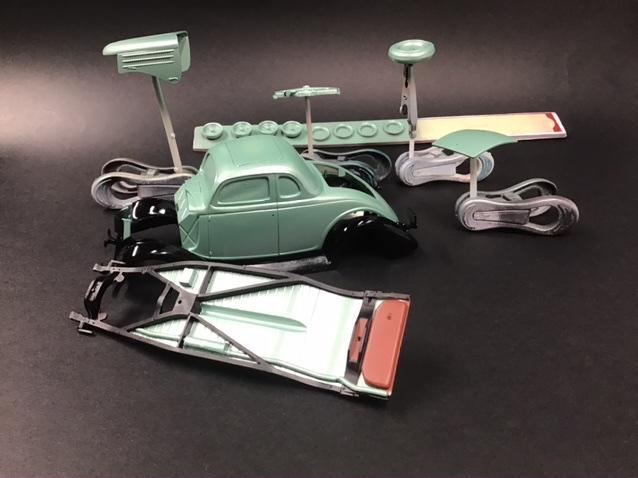
Here is a sample of the effect of four different colour primers. The paint is Tamiya LP-46 Pure Metallic Red in the little bottles airbrushed. All were sprayed with equal coats...I don’t recall how many, likely two. This is Tamiya TS-60 pearl green aerosol that I decanted and airbrushed. It covered the red oxide primer in pretty much one coat. The only way to know for sure is to experiment.