Bills72sj
-
Posts
4,586 -
Joined
-
Last visited
Content Type
Profiles
Forums
Events
Gallery
Everything posted by Bills72sj
-
Excellent work. Very fine result.
-
You must have some popular mechanics. You have run out of parking space. lol
-

The current Otto Ray Sing Classic Car Center
Bills72sj replied to The Modeling Hermit's topic in Dioramas
Nice roomy diorama. I like the period look to it as well. -
Engineering wise the huge volume of the blower case would be counterproductive for building boost from your turbochargers. Also where are the butterflies to be located and controlled? I would think an engine built that was would have very poor throttle response. Might work for an LSR effort though.
-
Looking very nice indeed. You efforts are paying off. I love the diorama.
-
Thanks for the info. Unfortunately I am out of that orange paint.
-
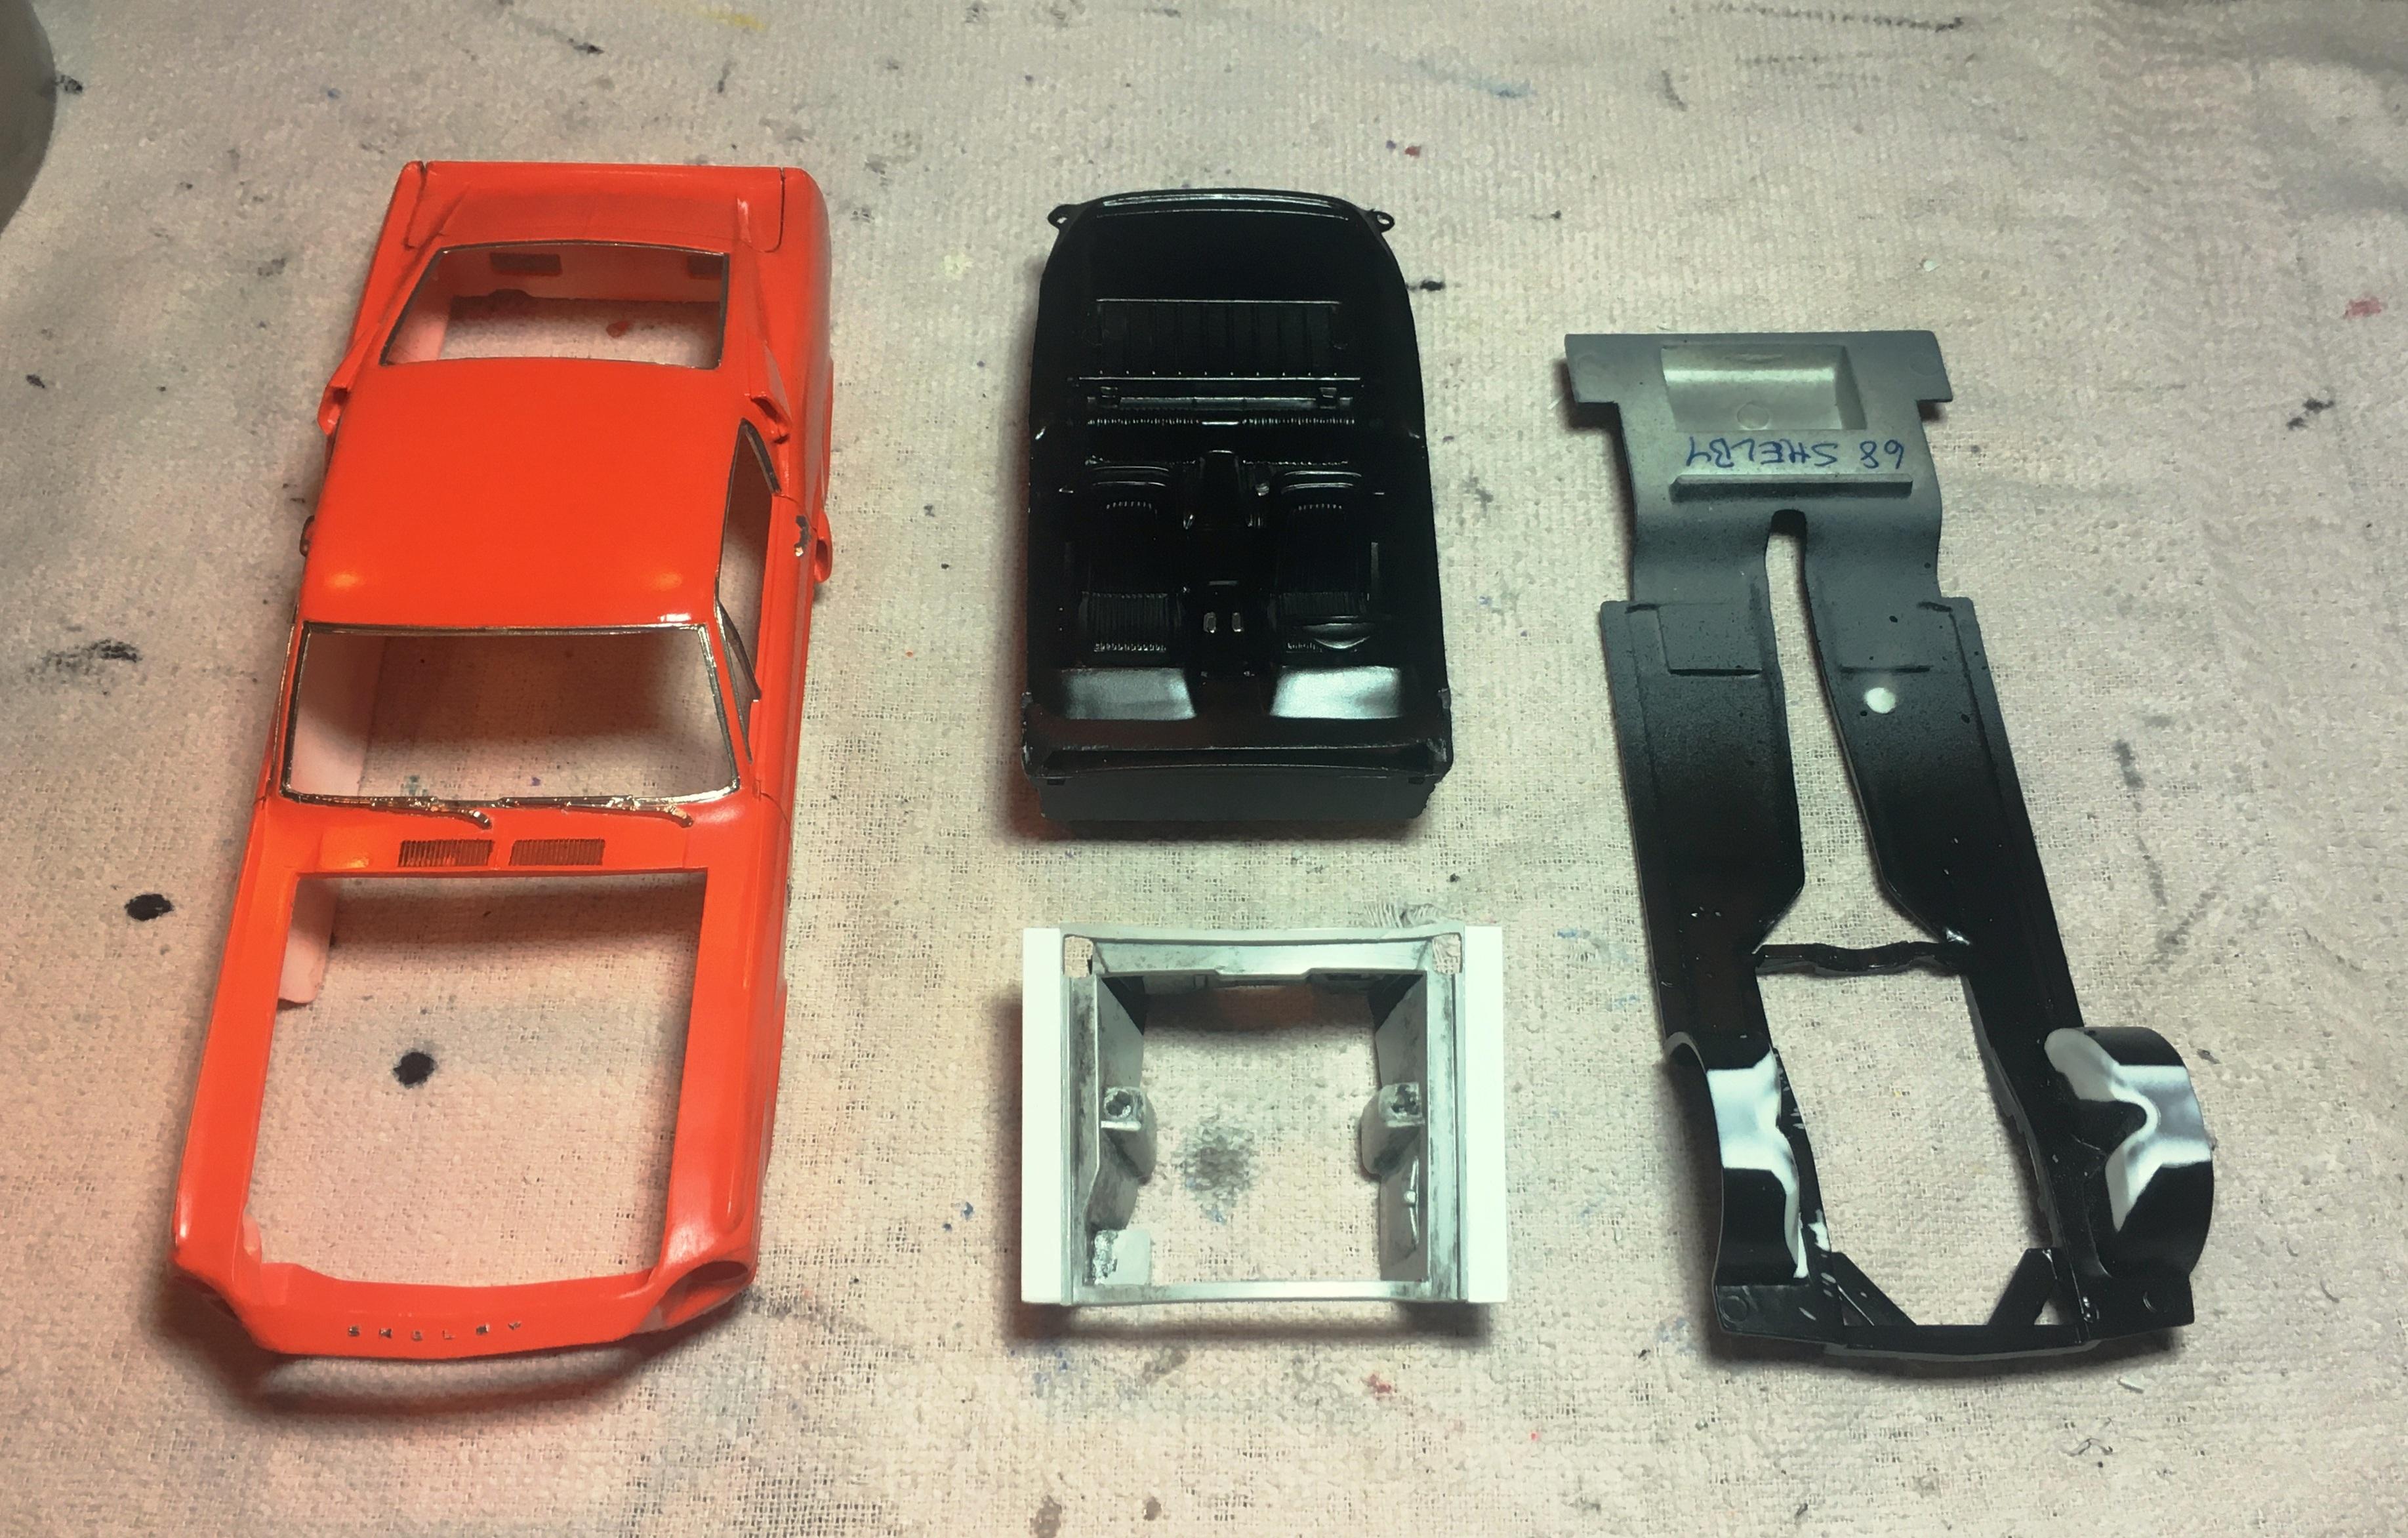
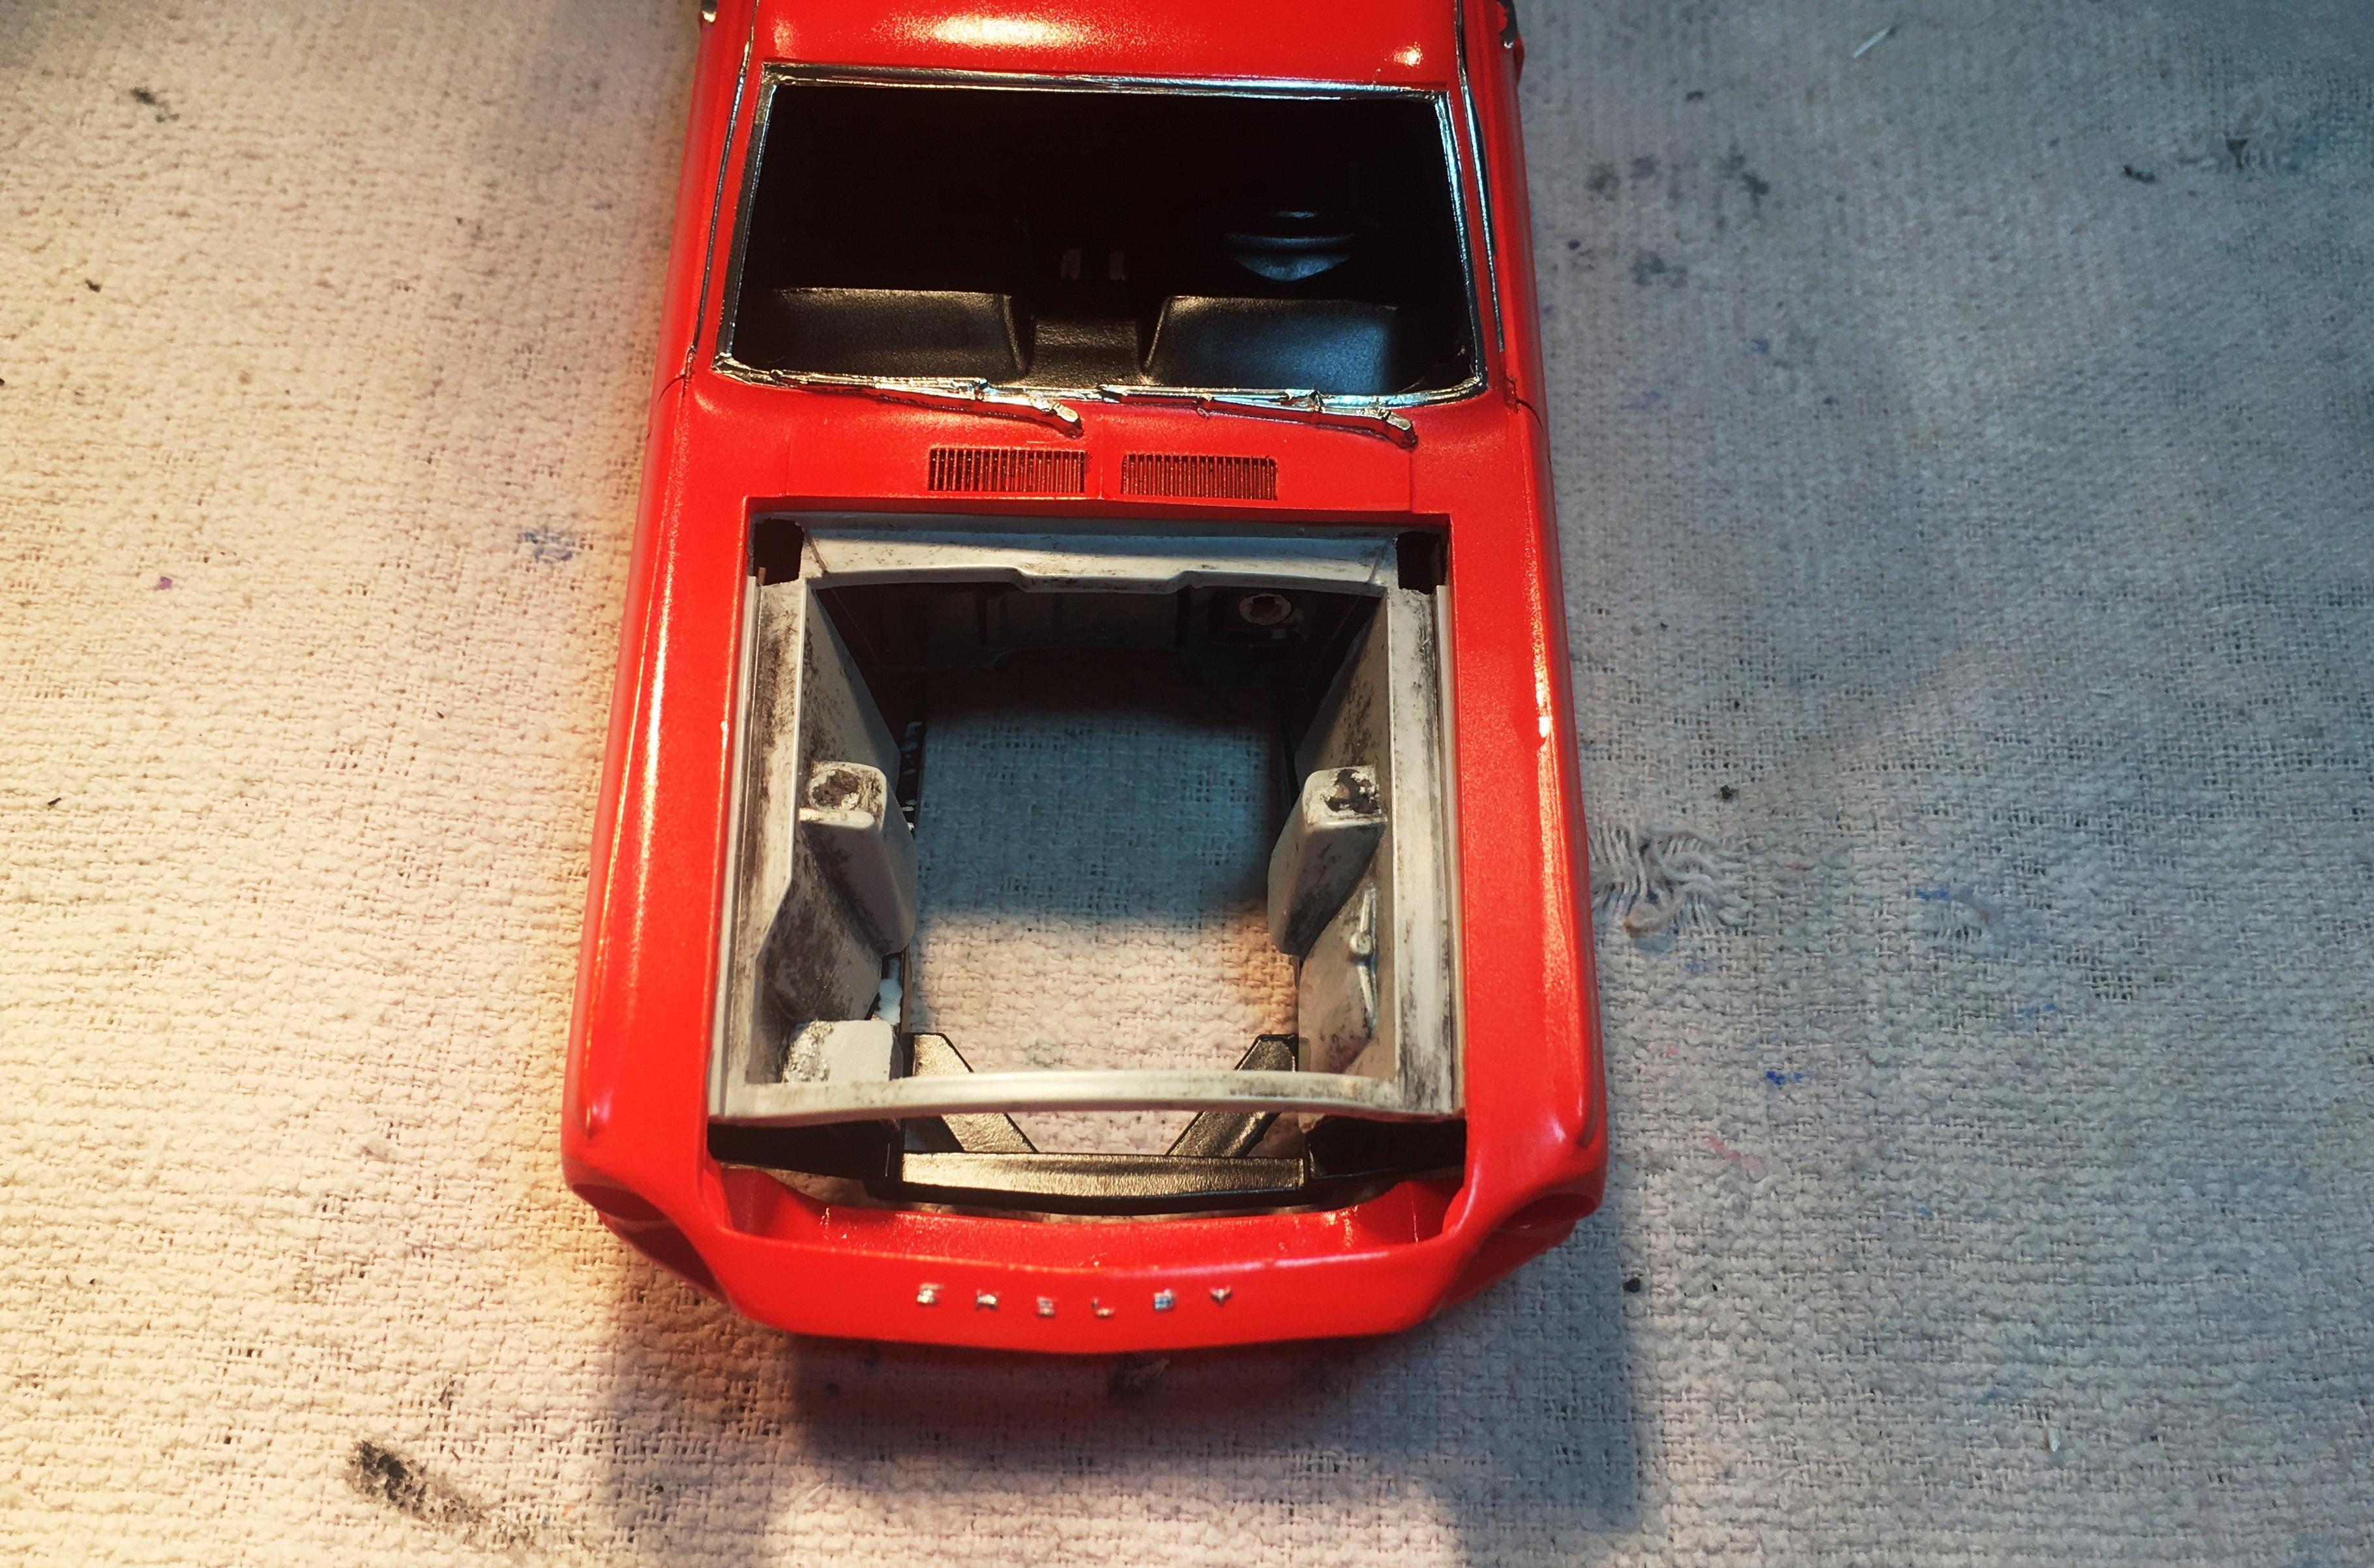
Slowly making progress. I have been trimming and thinning the parts box 67 engine bay to fit into the 68 body and chassis. I found the Shelby center console and added that to the interior tub. I also ran the spark plug wires on the 428 Cobra Jet. I even matched the factory wiring order. (Not that anyone would notice).

-
Those look quite handy.
-
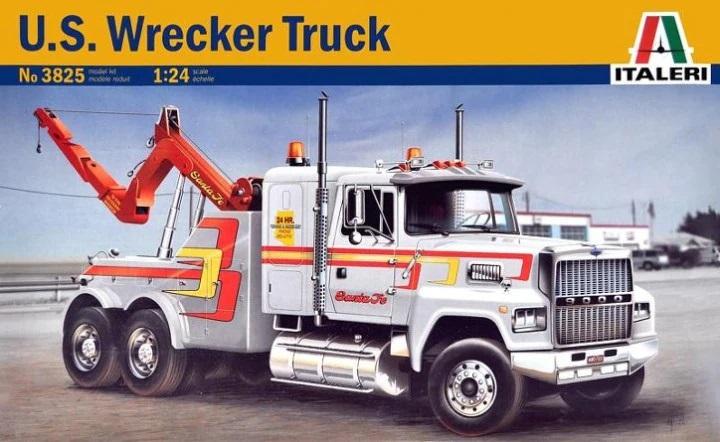
I got this yesterday. I will not be using the wrecker portion. I just wanted the Ford truck with the smaller sleeper.
-
Favorite/greatest body style ever?
Bills72sj replied to Venom's topic in General Automotive Talk (Trucks and Cars)
The 66 2+2 in metallic Brandywine.
-
Down memory lane for fun
Bills72sj replied to John1955's topic in General Automotive Talk (Trucks and Cars)
The demise of many of my early models is similar. My brother and I both built models. A couple died by firecrackers but most were destroyed by demolition derbys. We had a long hallway upstairs with oak flooring. We would be at each end and slide them towards each other to make them crash. Our rule was once the engine came out the winner got to keep the loser's model. I had an unpainted 56 Ford that was pretty tough. I think I won 5 or 6 in a row with that car. My brother finally won it by strategically wrapping rubber bands around his engine compartment. Technically it was cheating but our rules were limited as we were grade school kids. -
I do not know how I missed these but great results on all! BTW where do you get your RWL tire decals?
-
I will be following. I would like to encourage you to continue. Here is my only one's WIP.
-
Favorite/greatest body style ever?
Bills72sj replied to Venom's topic in General Automotive Talk (Trucks and Cars)
Yep, Sexiest car ever made. -
Gator, Thanks. The sleeper choice was based on a generous donation from Sam. I am not sure of which sleeper is the ERTL sleeper please share a pic if you have one. BTW the wheelbase actually exceeds that of my triple drive Freightliner.
-
The Zen of Model Building
Bills72sj replied to afx's topic in General Automotive Talk (Trucks and Cars)
I hear you. Too much detail takes too much time for those of us who are not retired, I am driven by the sense of accomplishment of an aesthetically pleasing final product. I do admire the skills of others and utilize their methods from time to time. I like to get about 5 done a year. -
AMT Dodge D100 Styleside
Bills72sj replied to xs650shawn's topic in WIP: Model Trucks: Pickups, Vans, SUVs, Light Commercial
Great start. Following -
.oo00OO00oo. Very pretty.
-
Awesome job sir!
-
Well done all around.
-
Detail - What is enough?
Bills72sj replied to prostreeter69's topic in Model Building Questions and Answers
If you have the inclination and the time. Go ahead. Do it for yourself if you enjoy that level of detail. -
I agree. Very nice detail work.
-
Very realistic. Well done!
-
Very nice indeed.
-
That is a beautiful color and has excellent gloss. Well done example of one of my favorite cars.