Bills72sj
-
Posts
4,586 -
Joined
-
Last visited
Content Type
Profiles
Forums
Events
Gallery
Everything posted by Bills72sj
-

Westernstar 6900 oilfield bed truck
Bills72sj replied to yh70's topic in WIP: Model Trucks: Big Rigs and Heavy Equipment
Very impressive work all over the place! -
Looks pretty good. I am impressed by guys that aren't afraid to modify stuff after it has been painted.
-
REVELL 1/24 '65 FORD MUSTANG 2+2 FASTBACK
Bills72sj replied to doubleyoung2003's topic in Model Cars
Gorgeous Mustang sir! I had a really cute GF that has a Black 1:1. -
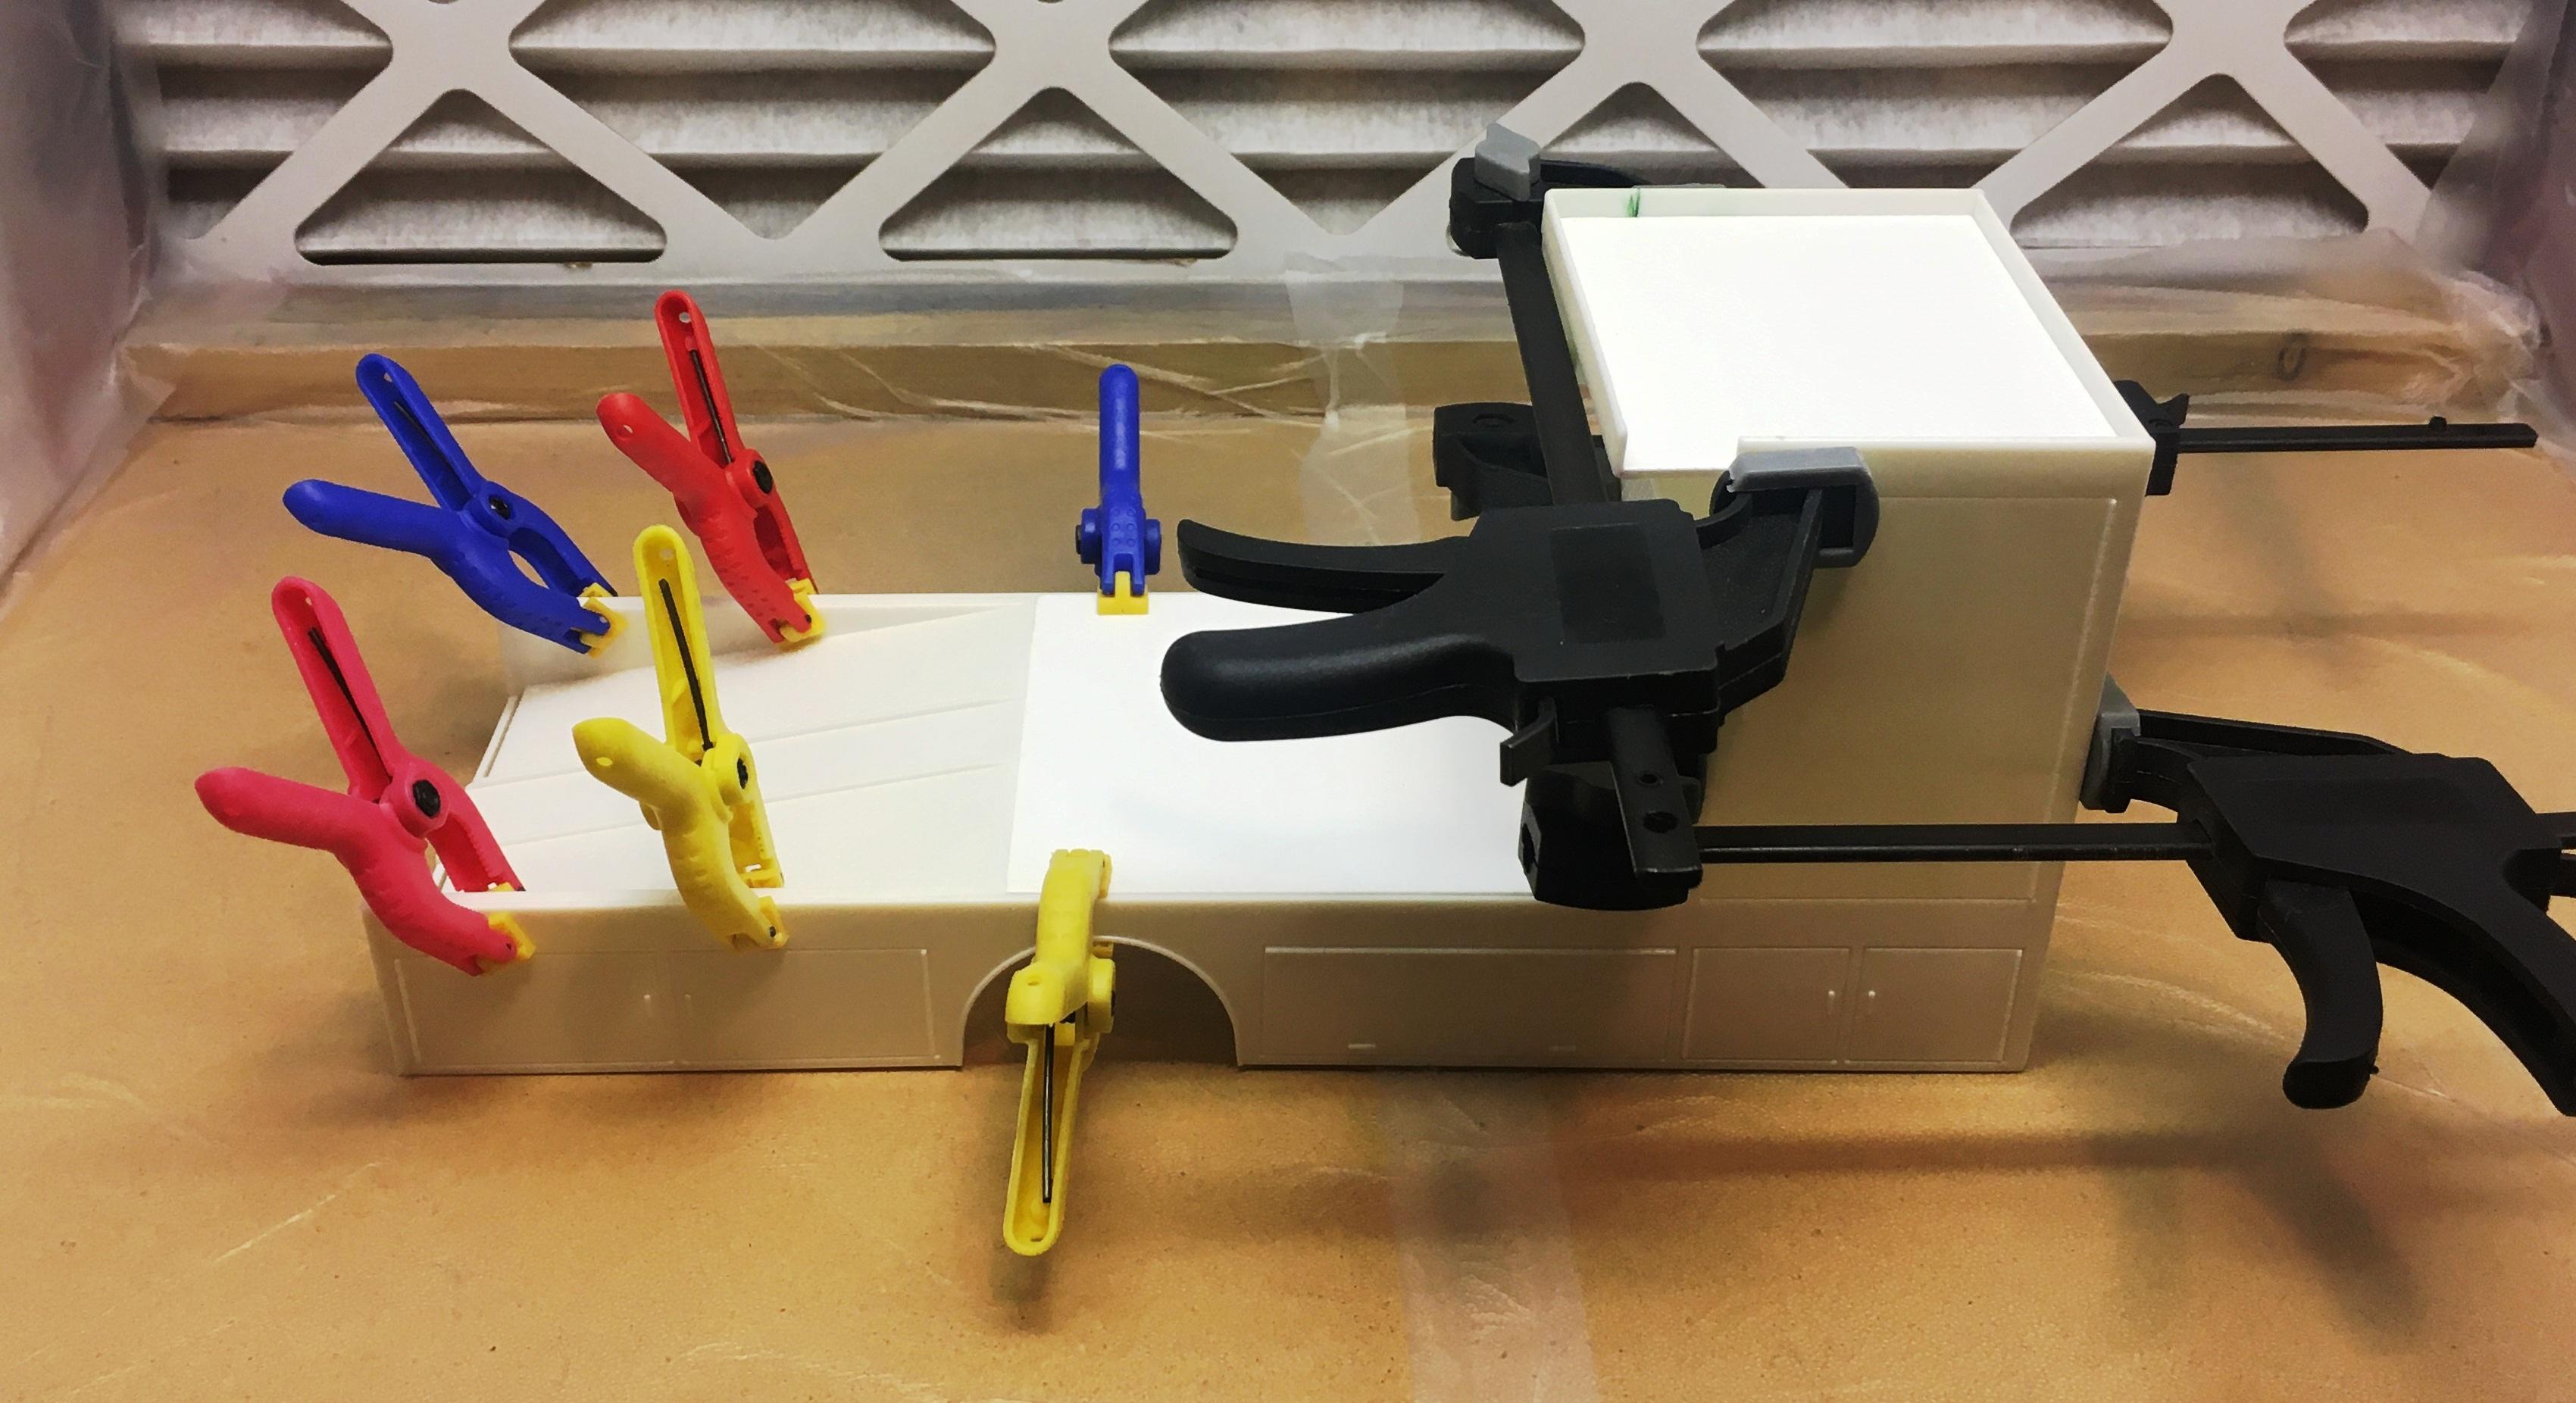
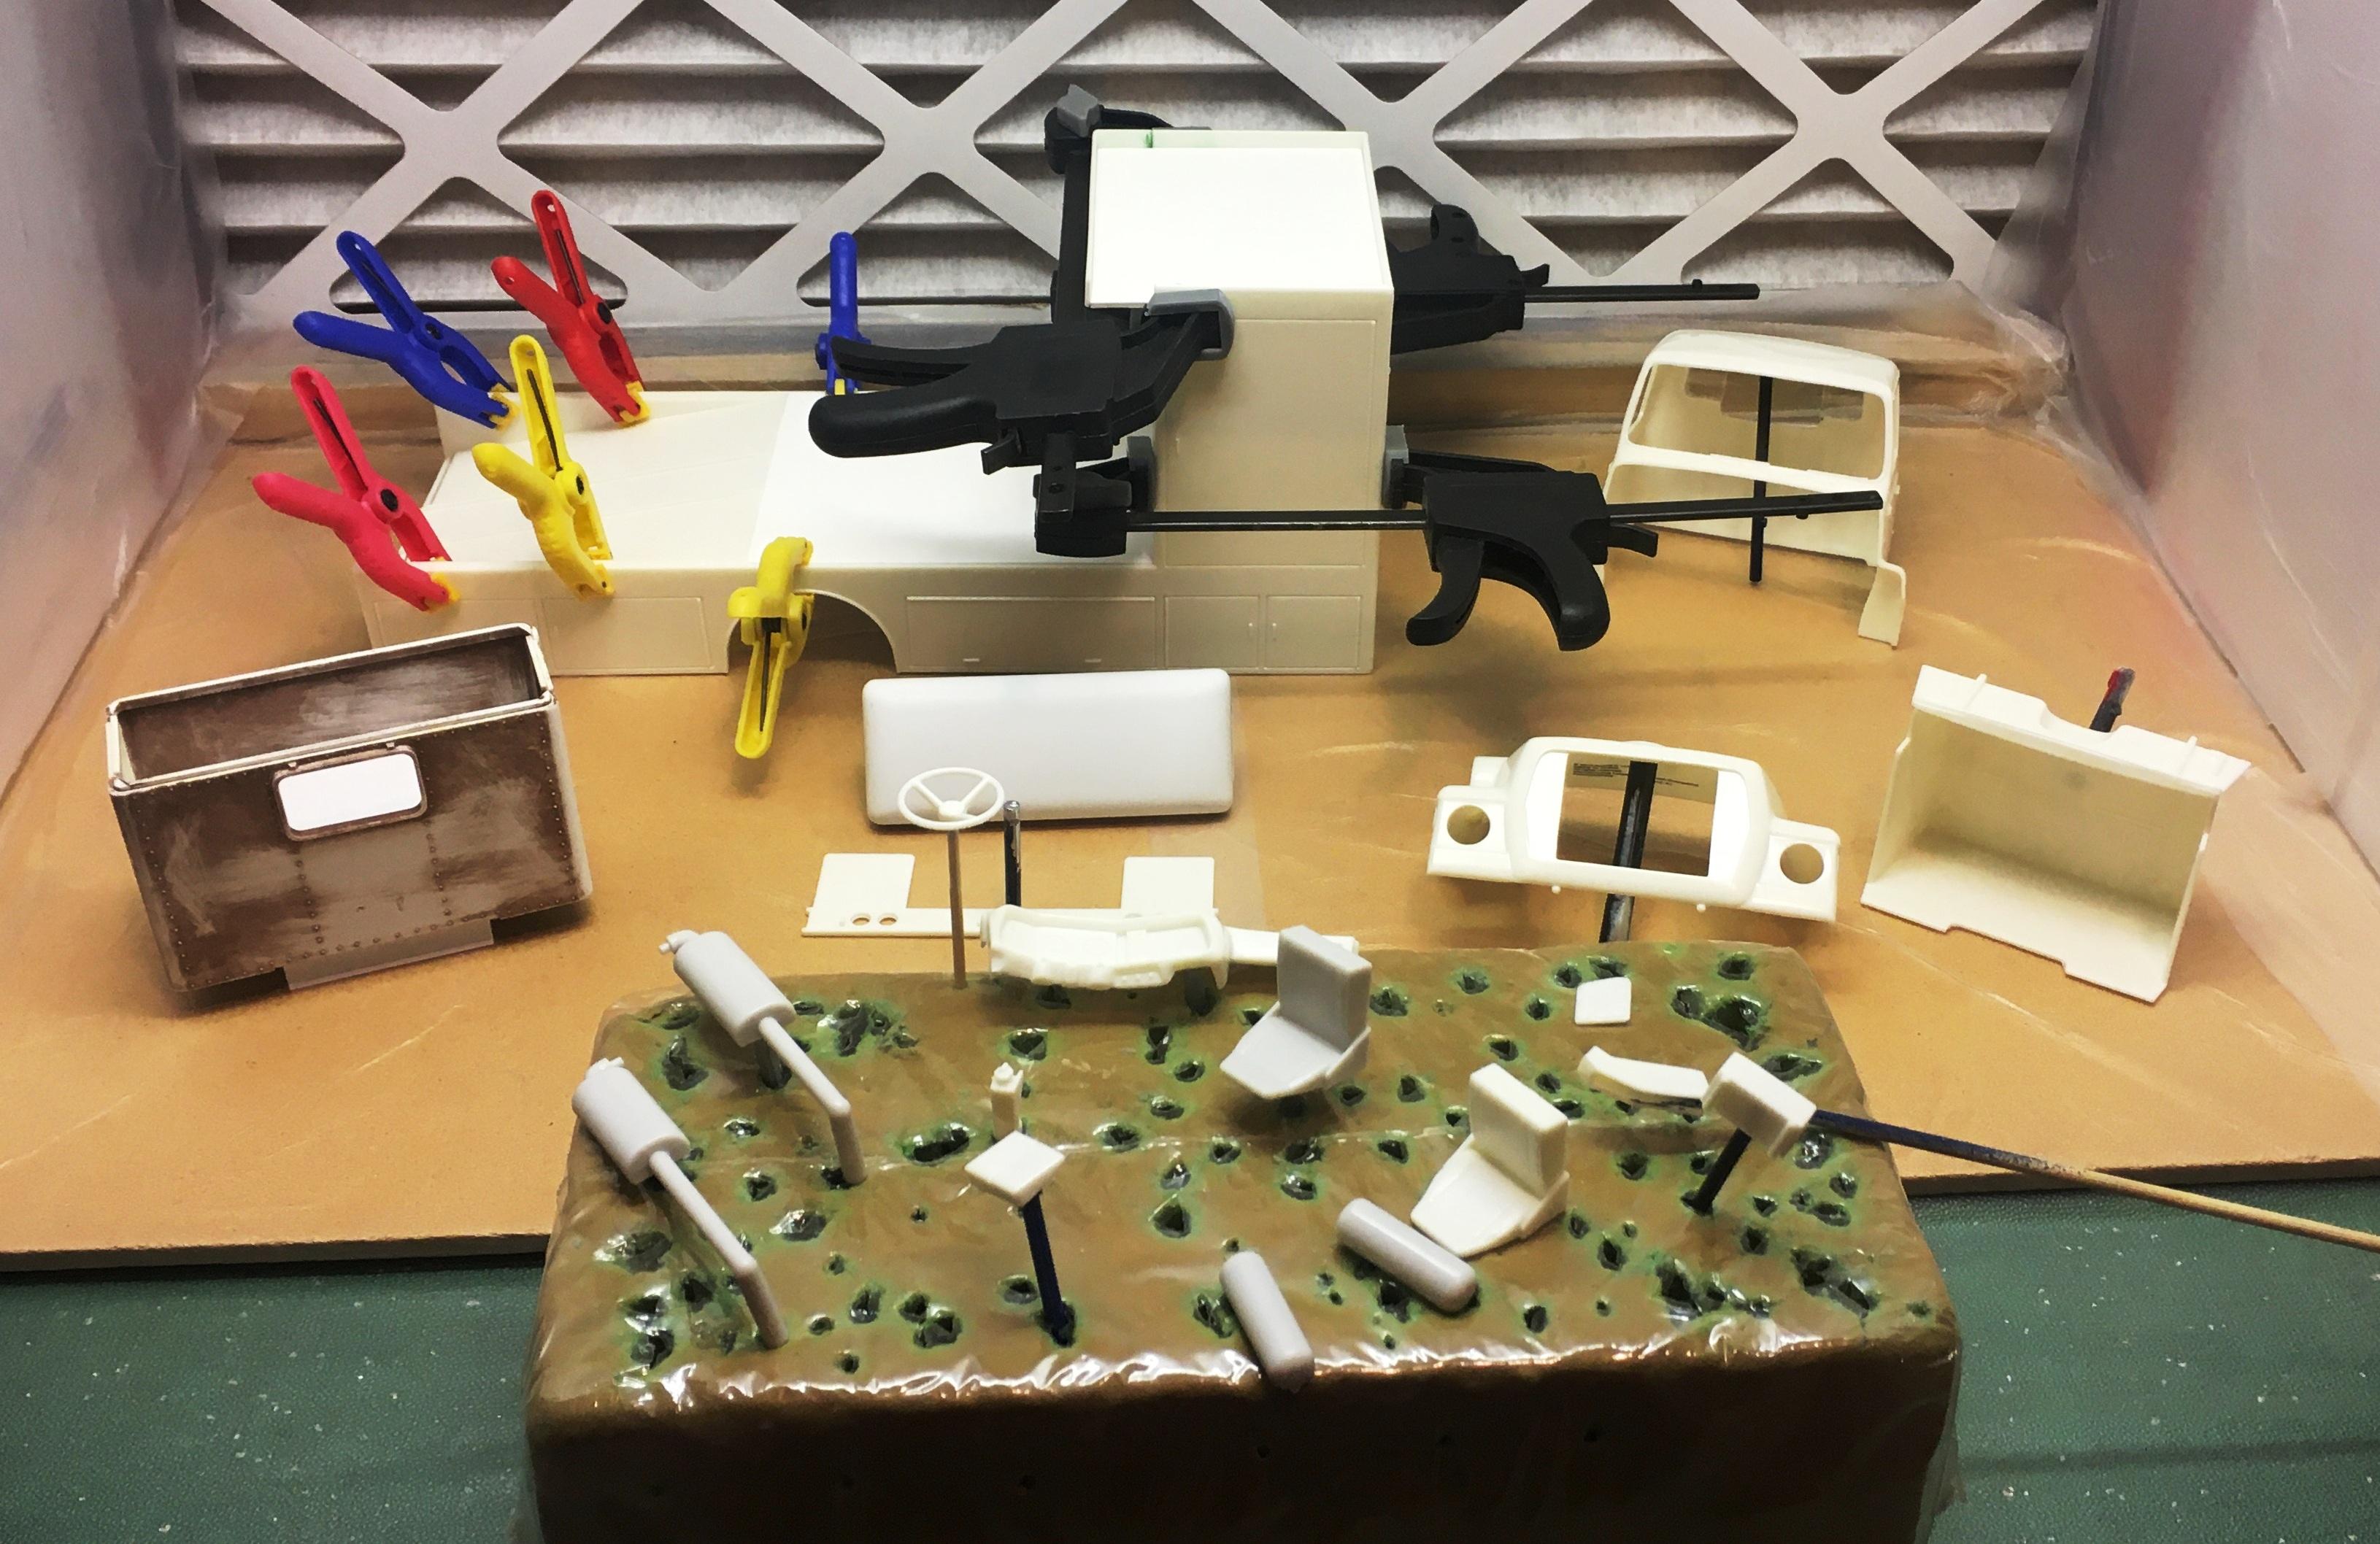
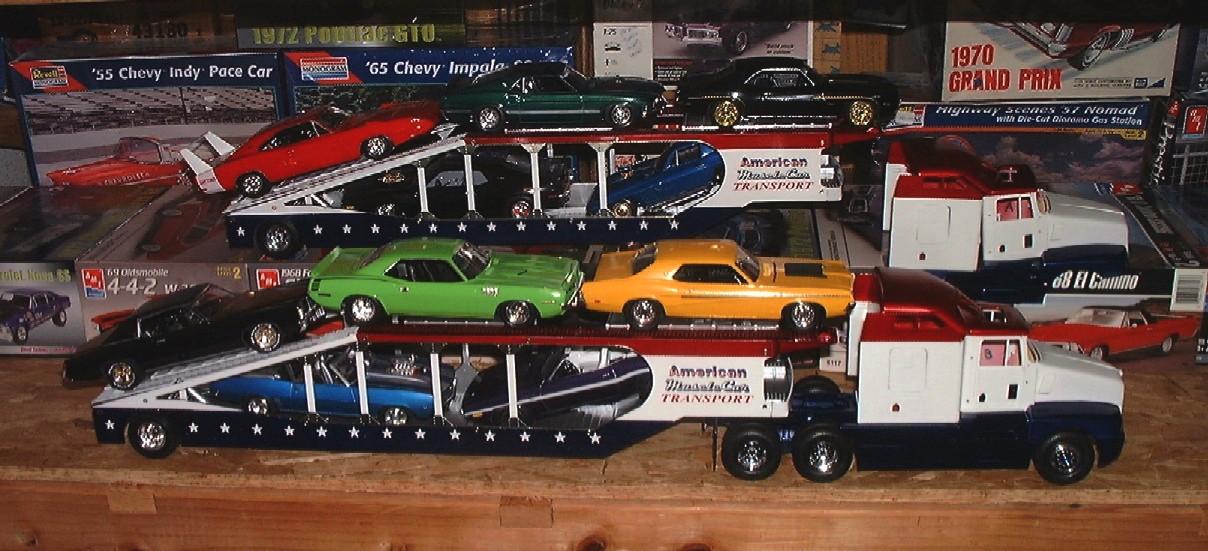
Assembled the ramp/box now that all the mods are done. Superglued all the sprue stems to parts to hold them for painting. Hoping to prime tomorrow.

-
Too bad those are not 5 spoke. I have been looking for a set to build my 1:1 Grand Prix accurately.
-
It is very doable. Use progressively finer grits of sandpaper then finish with Future. To take your original coat of Future, use household ammonia.
-
I am new to airbrushing just starting late last year. You budget and the type of paints (and their solvents) will be the two biggest hurdles. I have a ton of testors rattle cans but am not generally happy with how they spray. Decanting and then using an airbrush has been a learning curve. Don't forget the paint booth.
-
I agree. Well done.
-
post just your cabovers here
Bills72sj replied to Ken Gilkeson's topic in Model Trucks: Big Rigs and Heavy Equipment
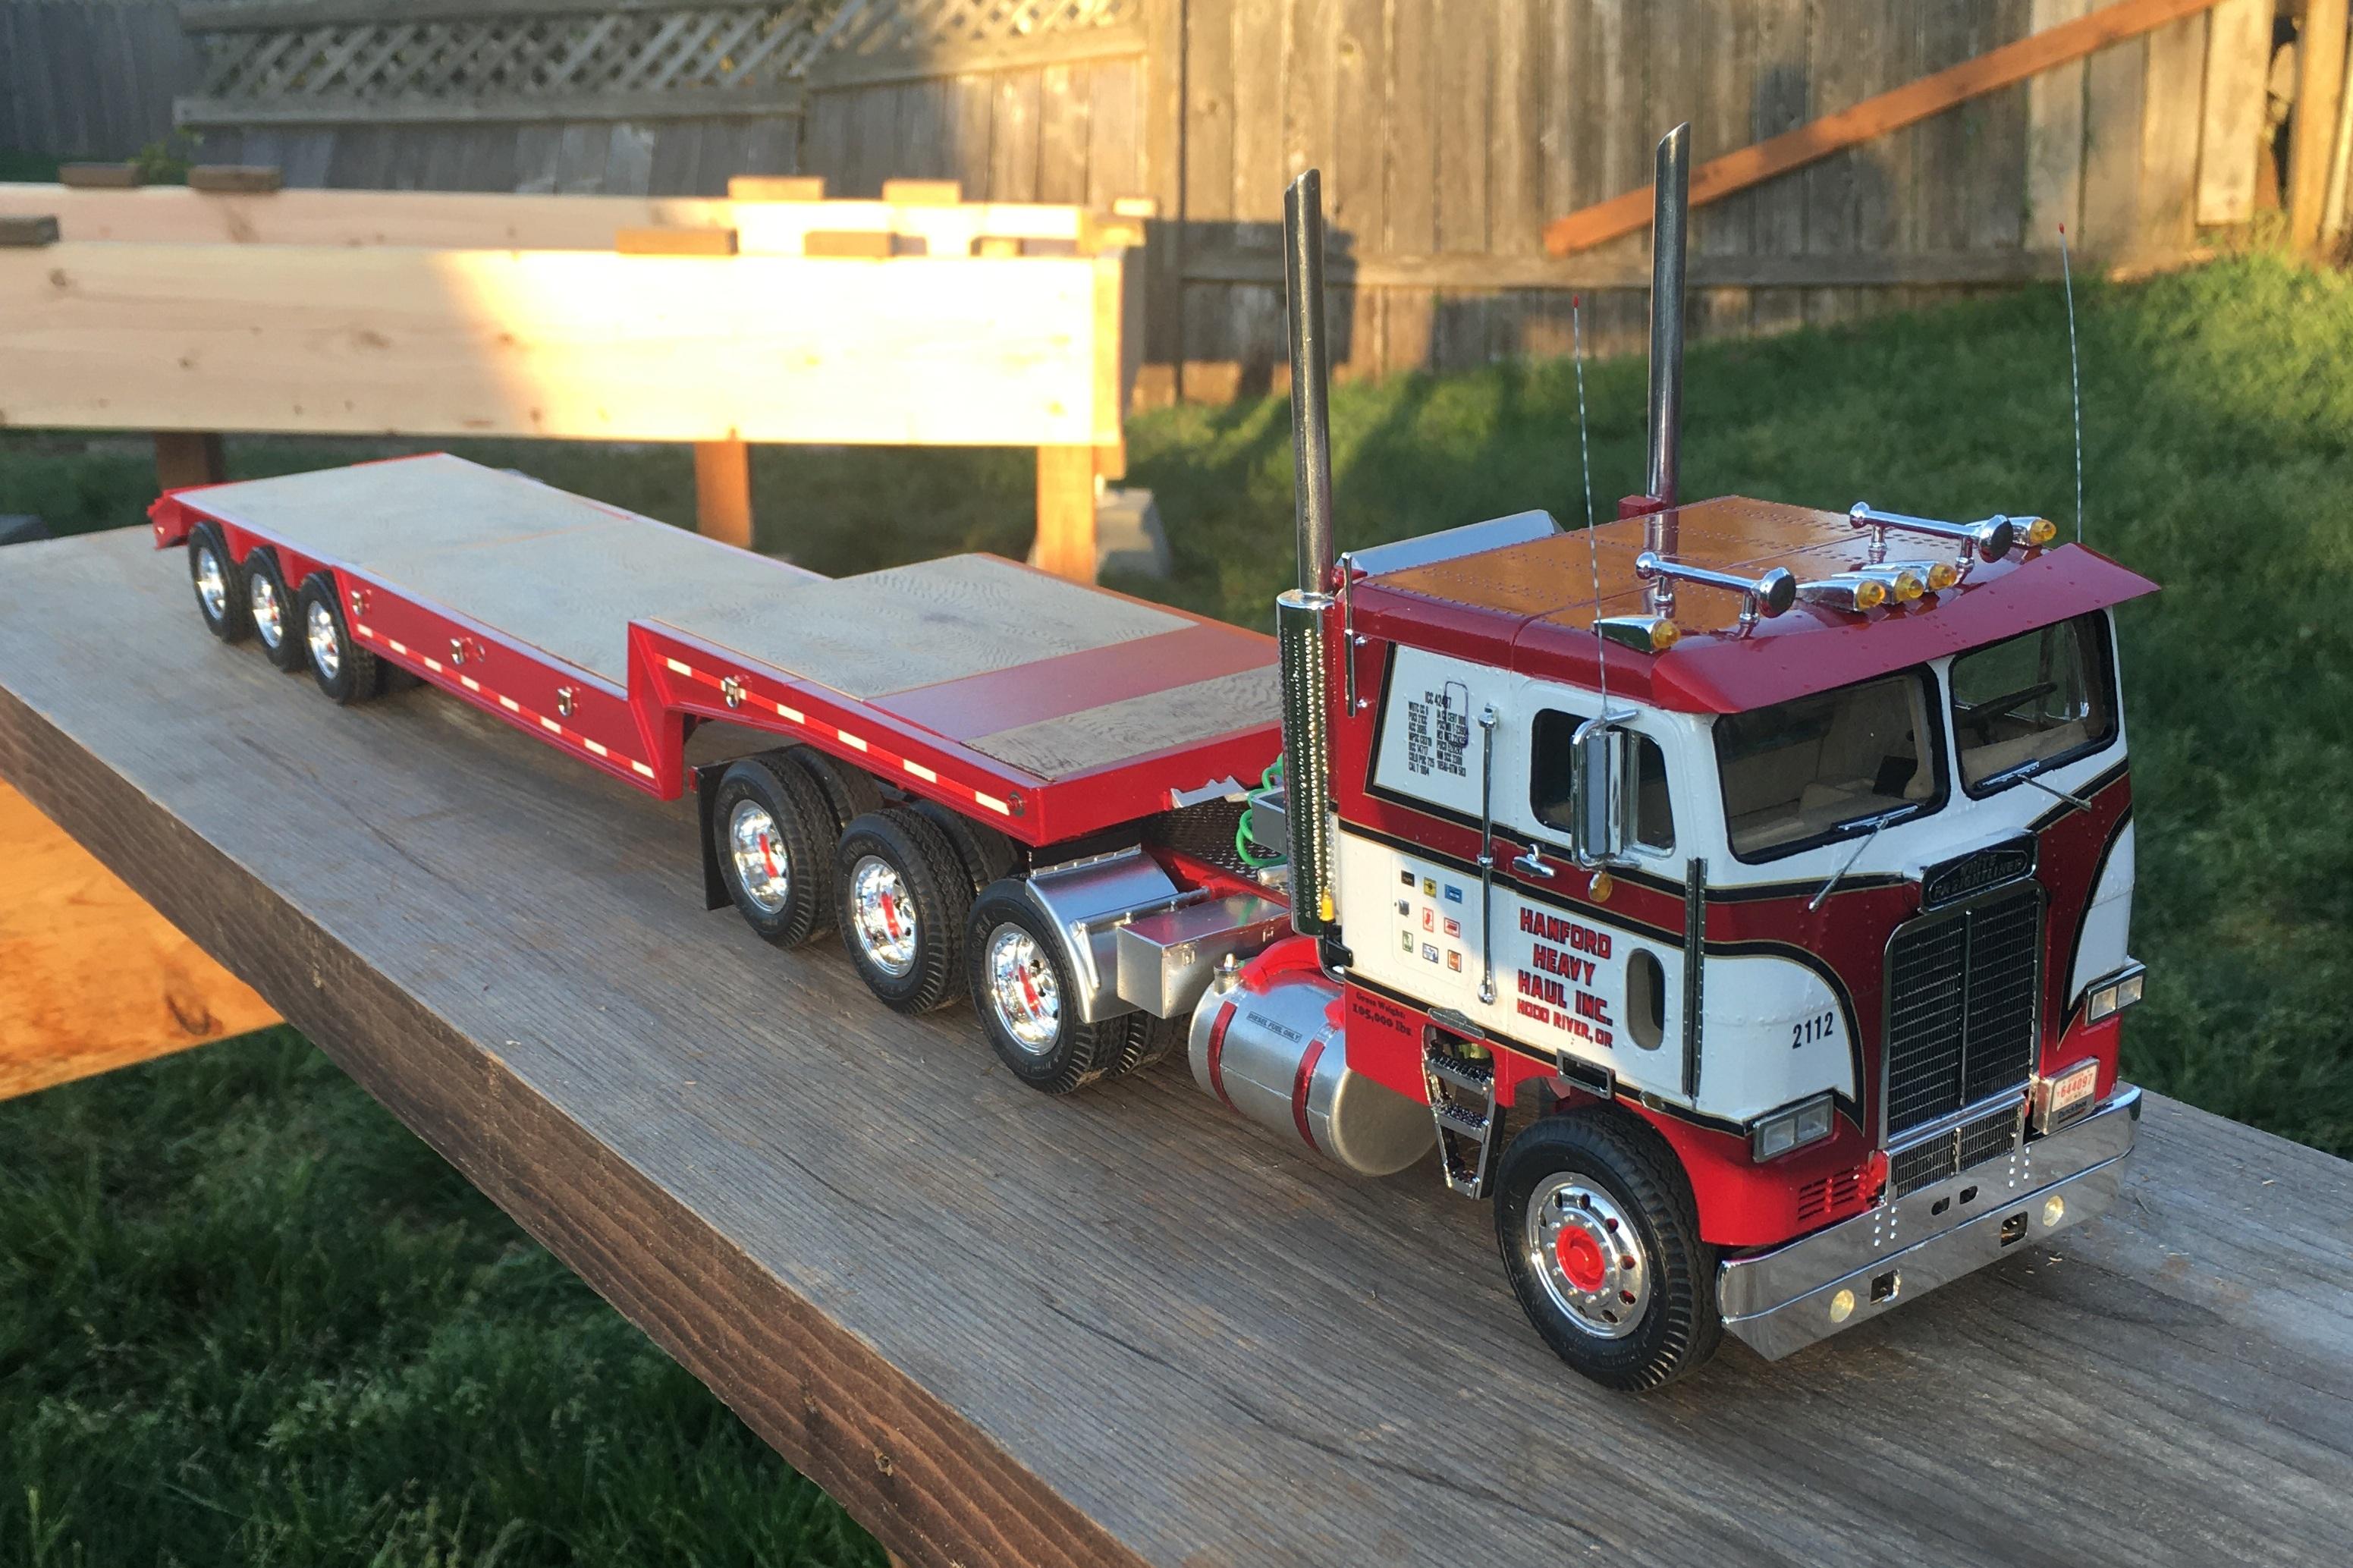
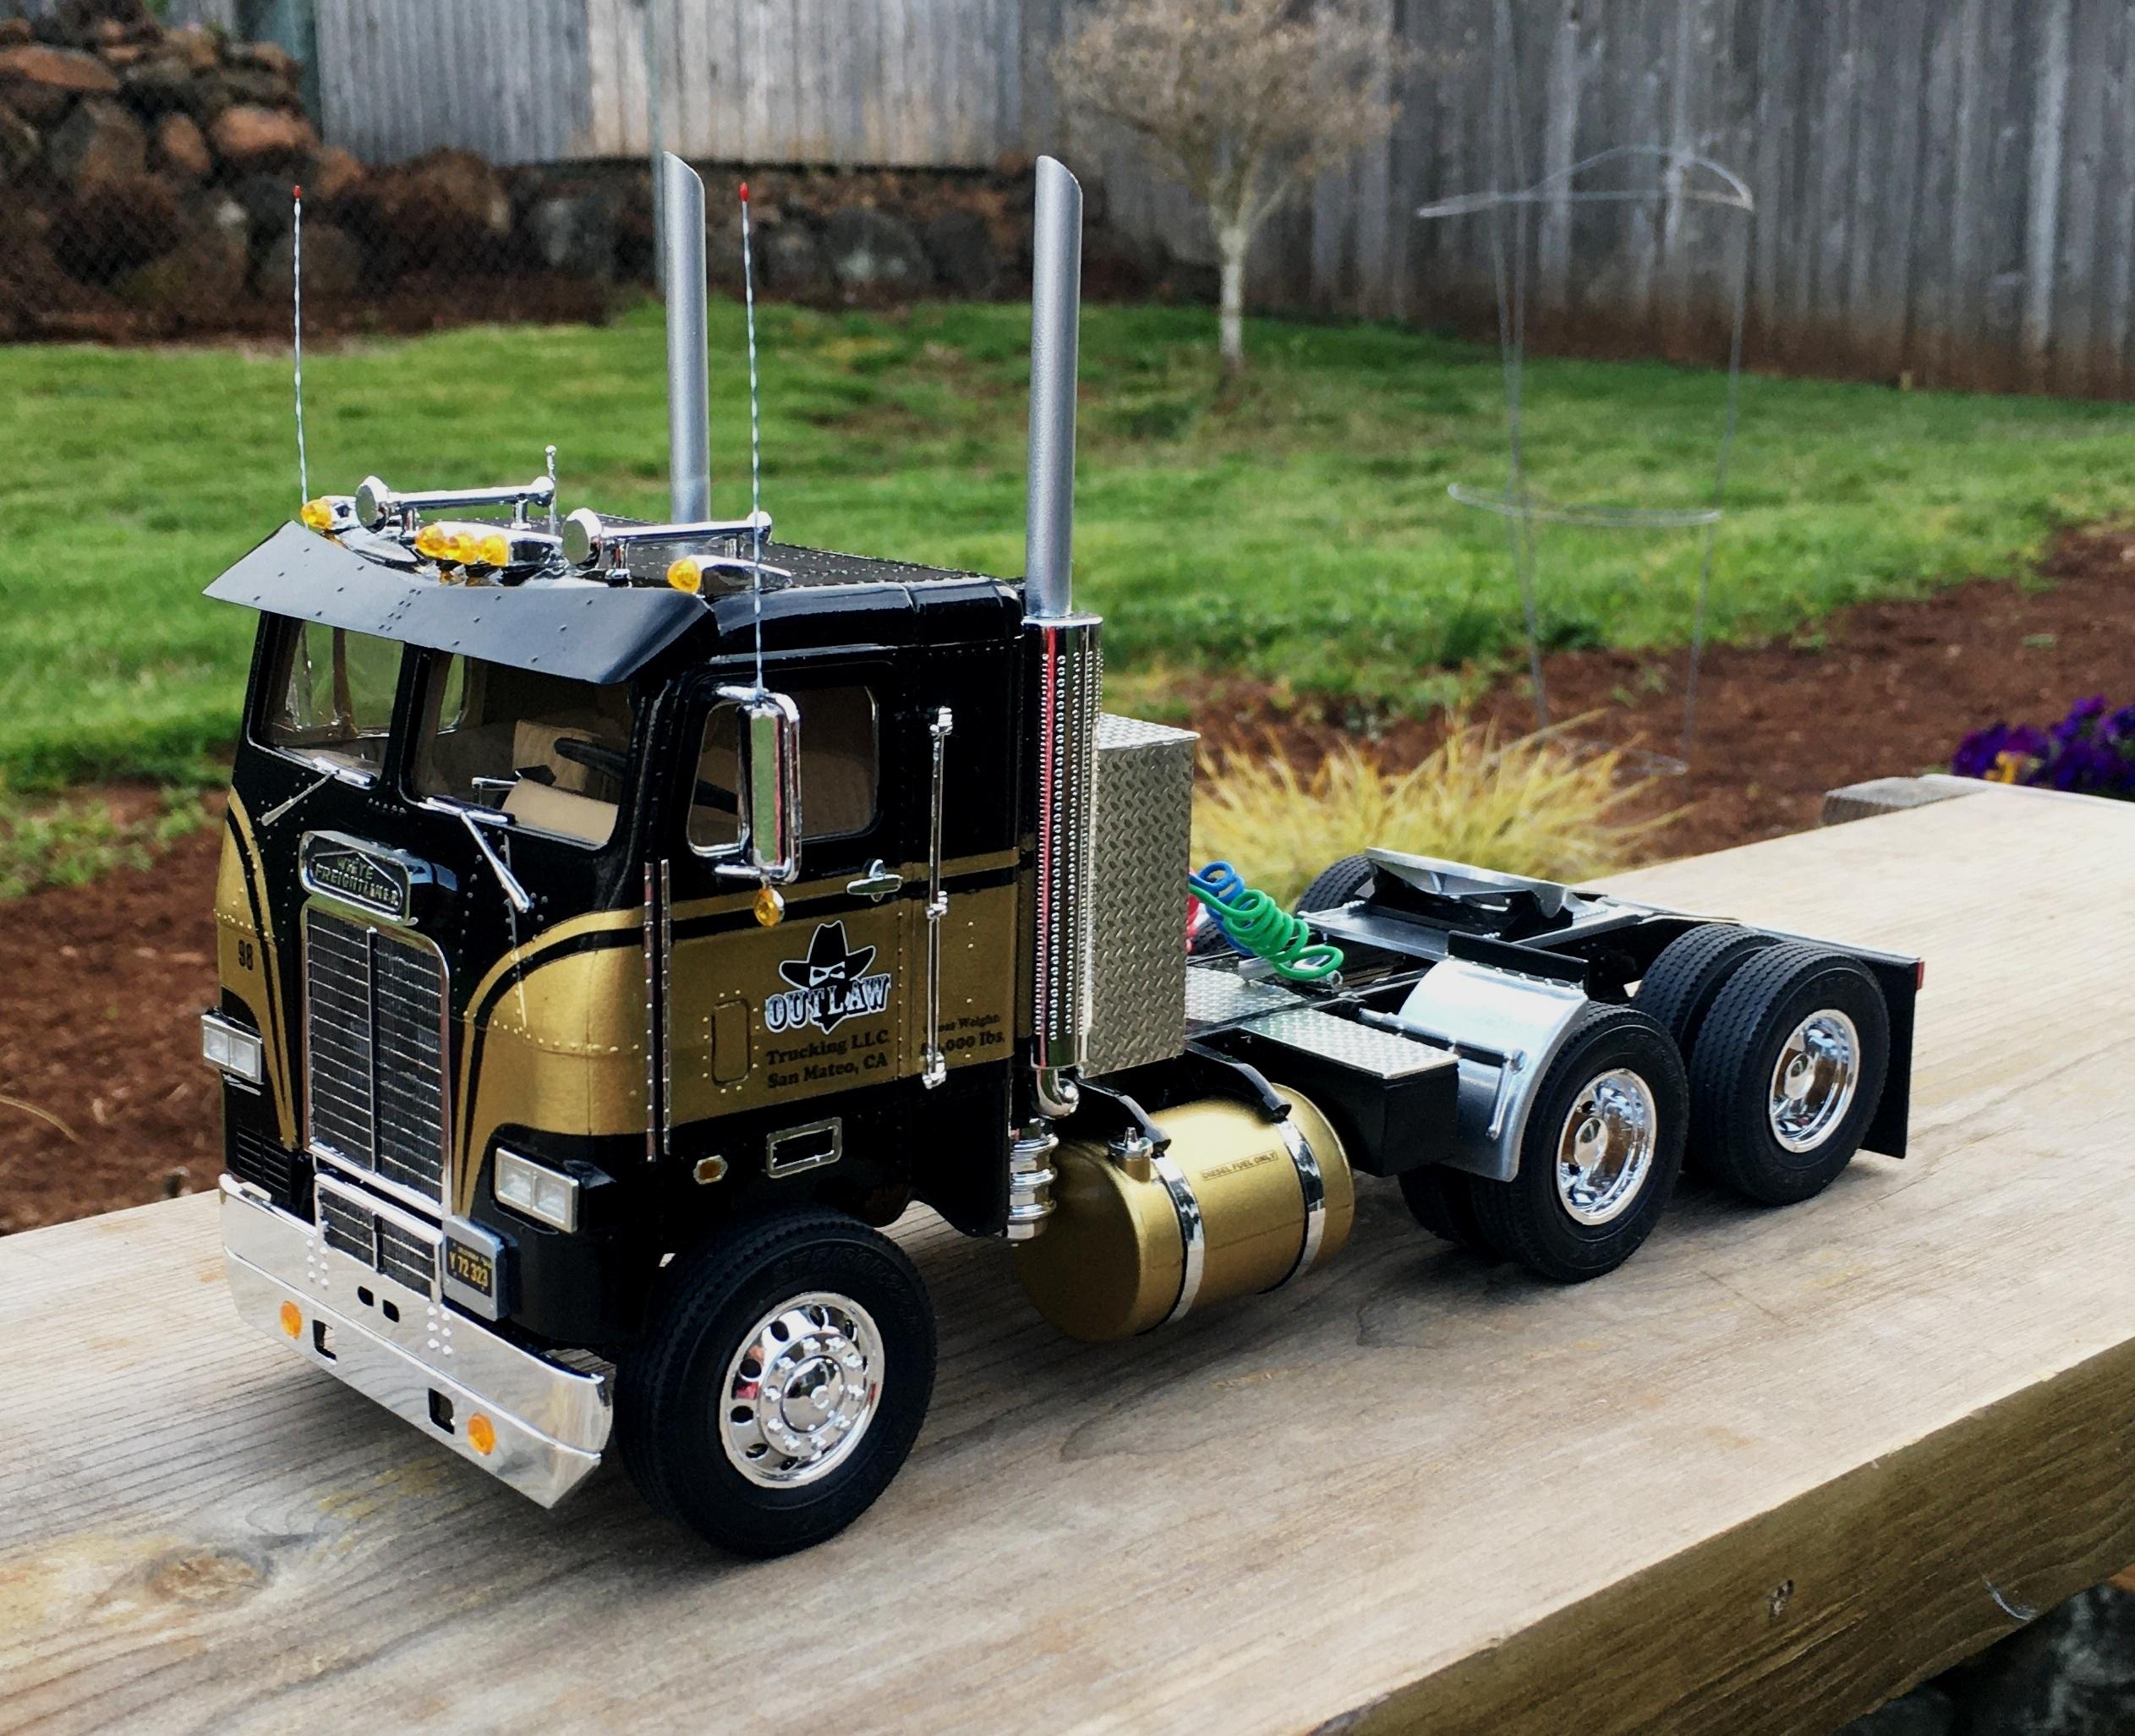
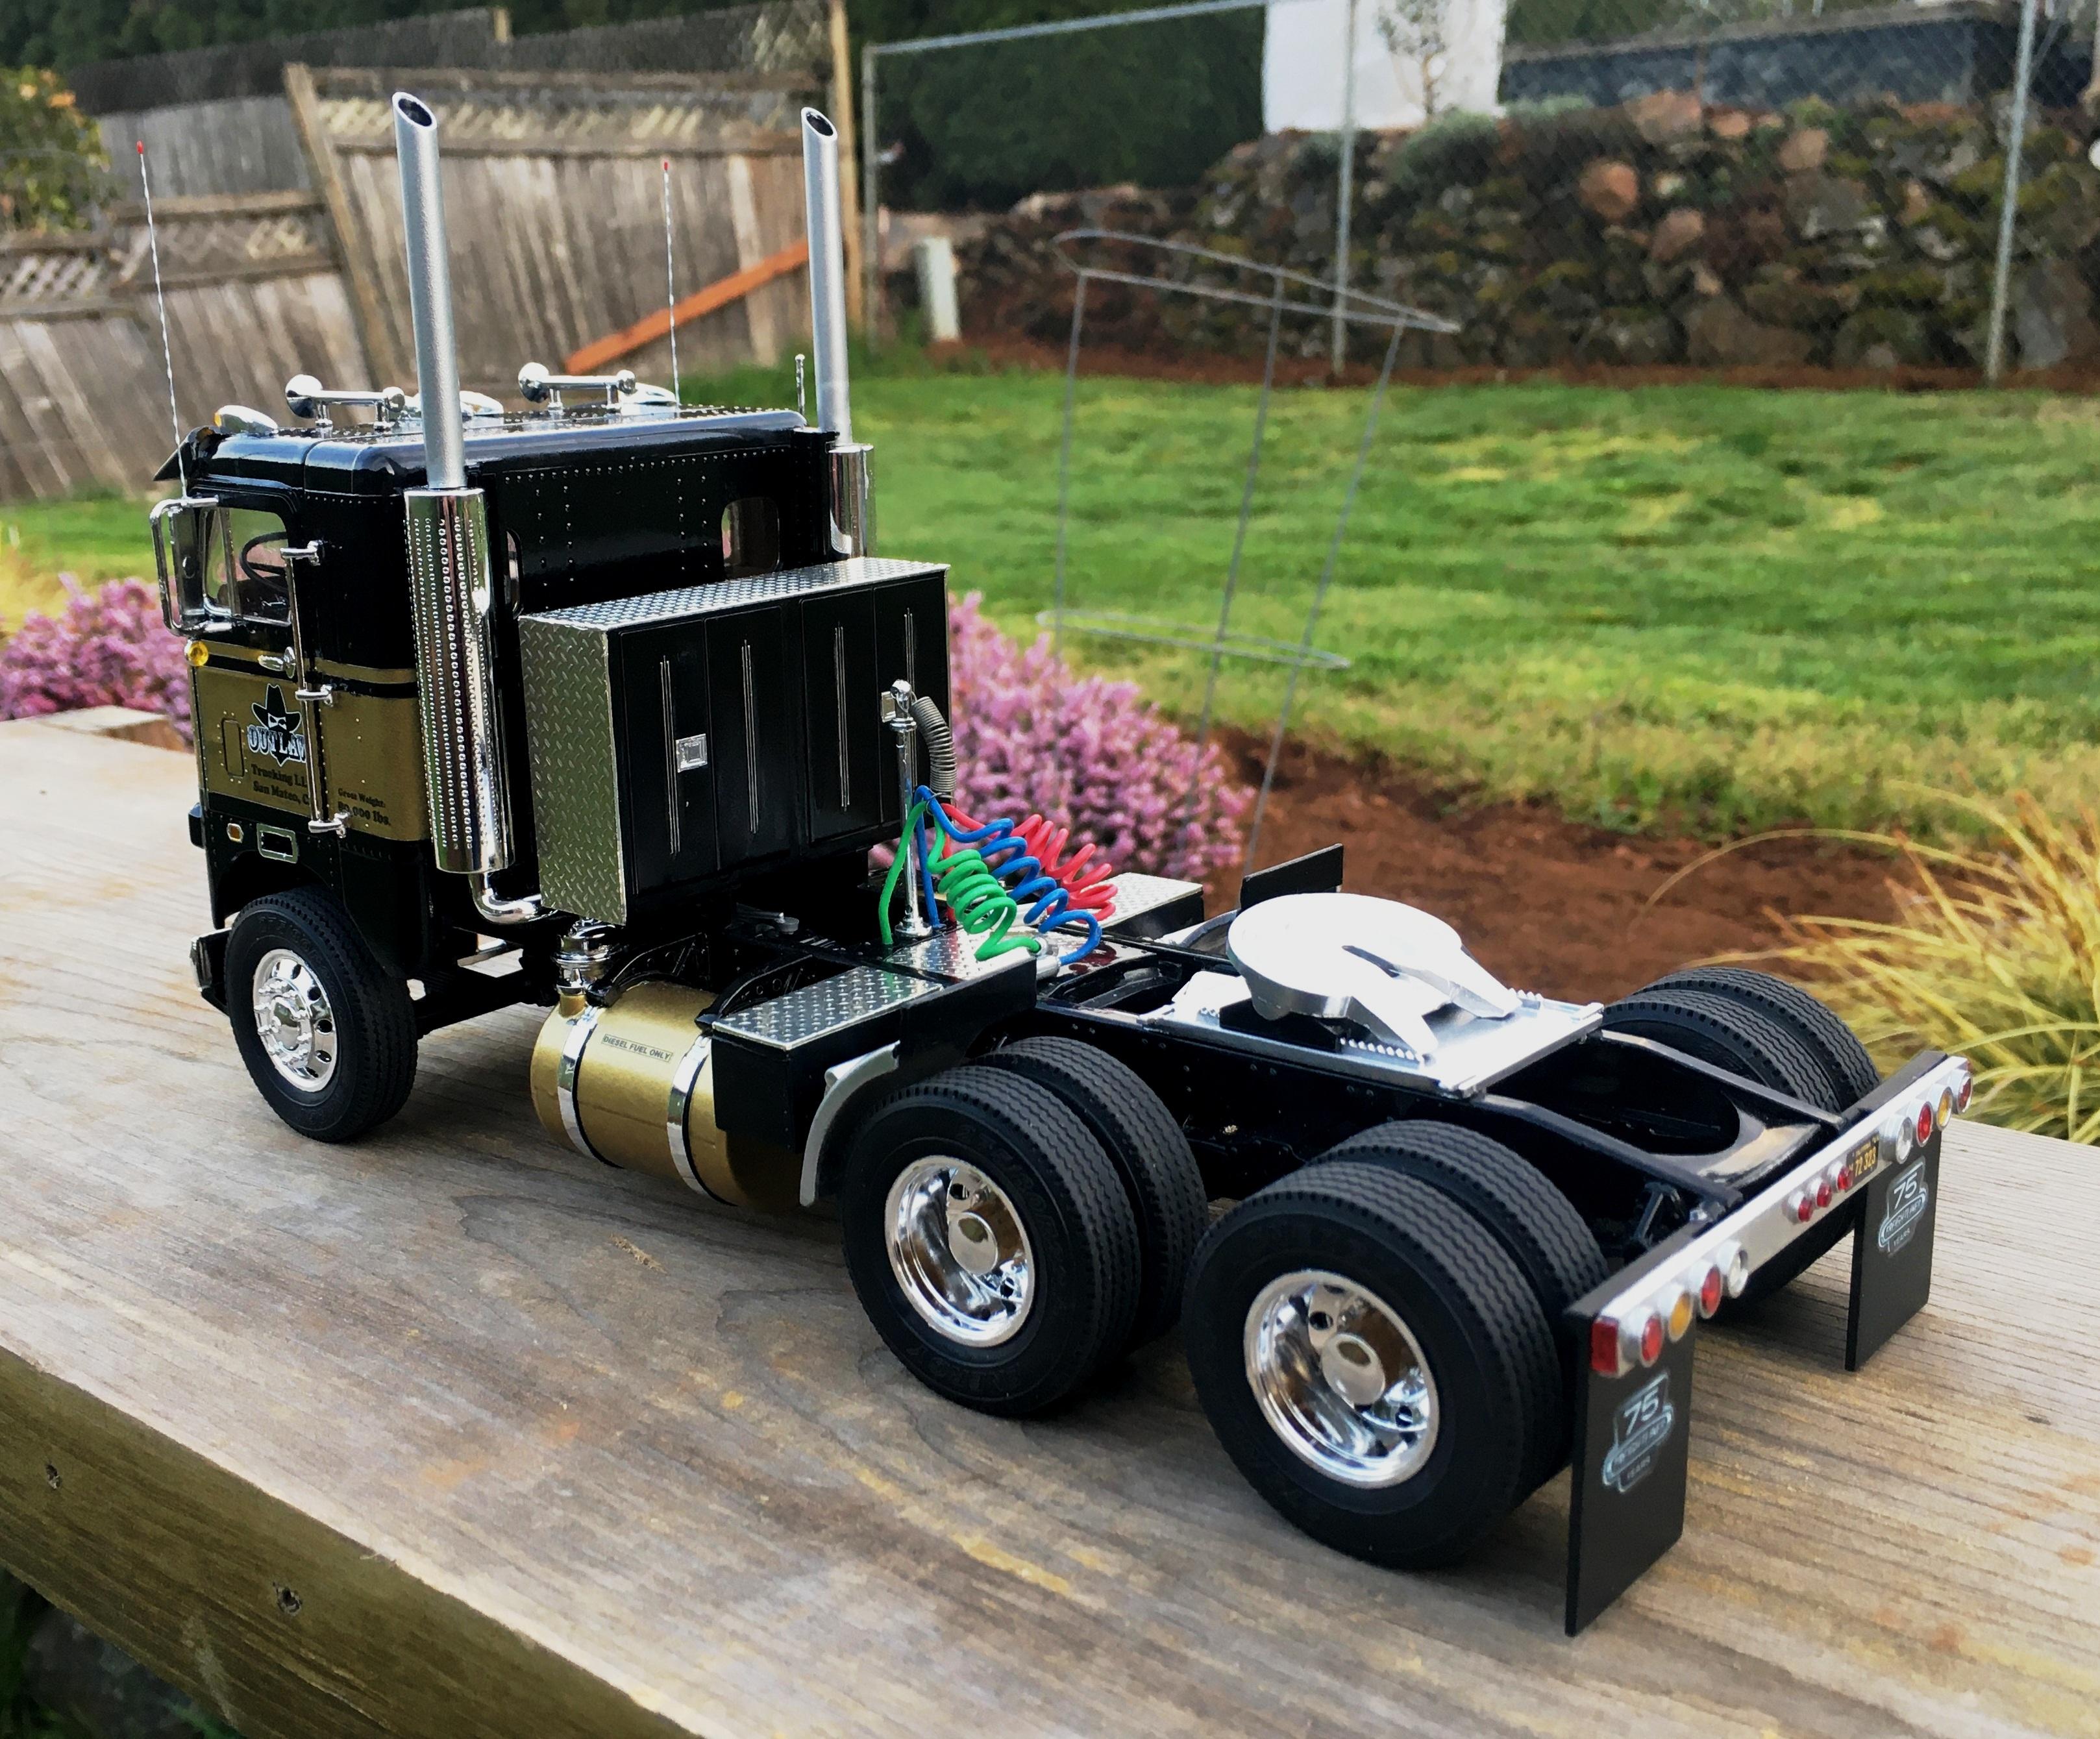
I did not know about this thread. Here are the only two I have (so far).
-
Dodge L700 rebuild
Bills72sj replied to Kruzn's topic in WIP: Model Trucks: Big Rigs and Heavy Equipment
I like it too. I might have to steal the idea for my Ford race car hauler. http://www.modelcarsmag.com/forums/topic/158539-brbo-2021-ford-ln8000-racecar-hauler-extended-version/ -
Box Art Puzzles from Round2
Bills72sj replied to Casey's topic in General Automotive Talk (Trucks and Cars)
Very nice, my family loves puzzles. -
You are making one very attractive KW.
-
I love what you have done. Keep up the good work.
-
Thank you gentlemen
-
Thank you Dan.
-
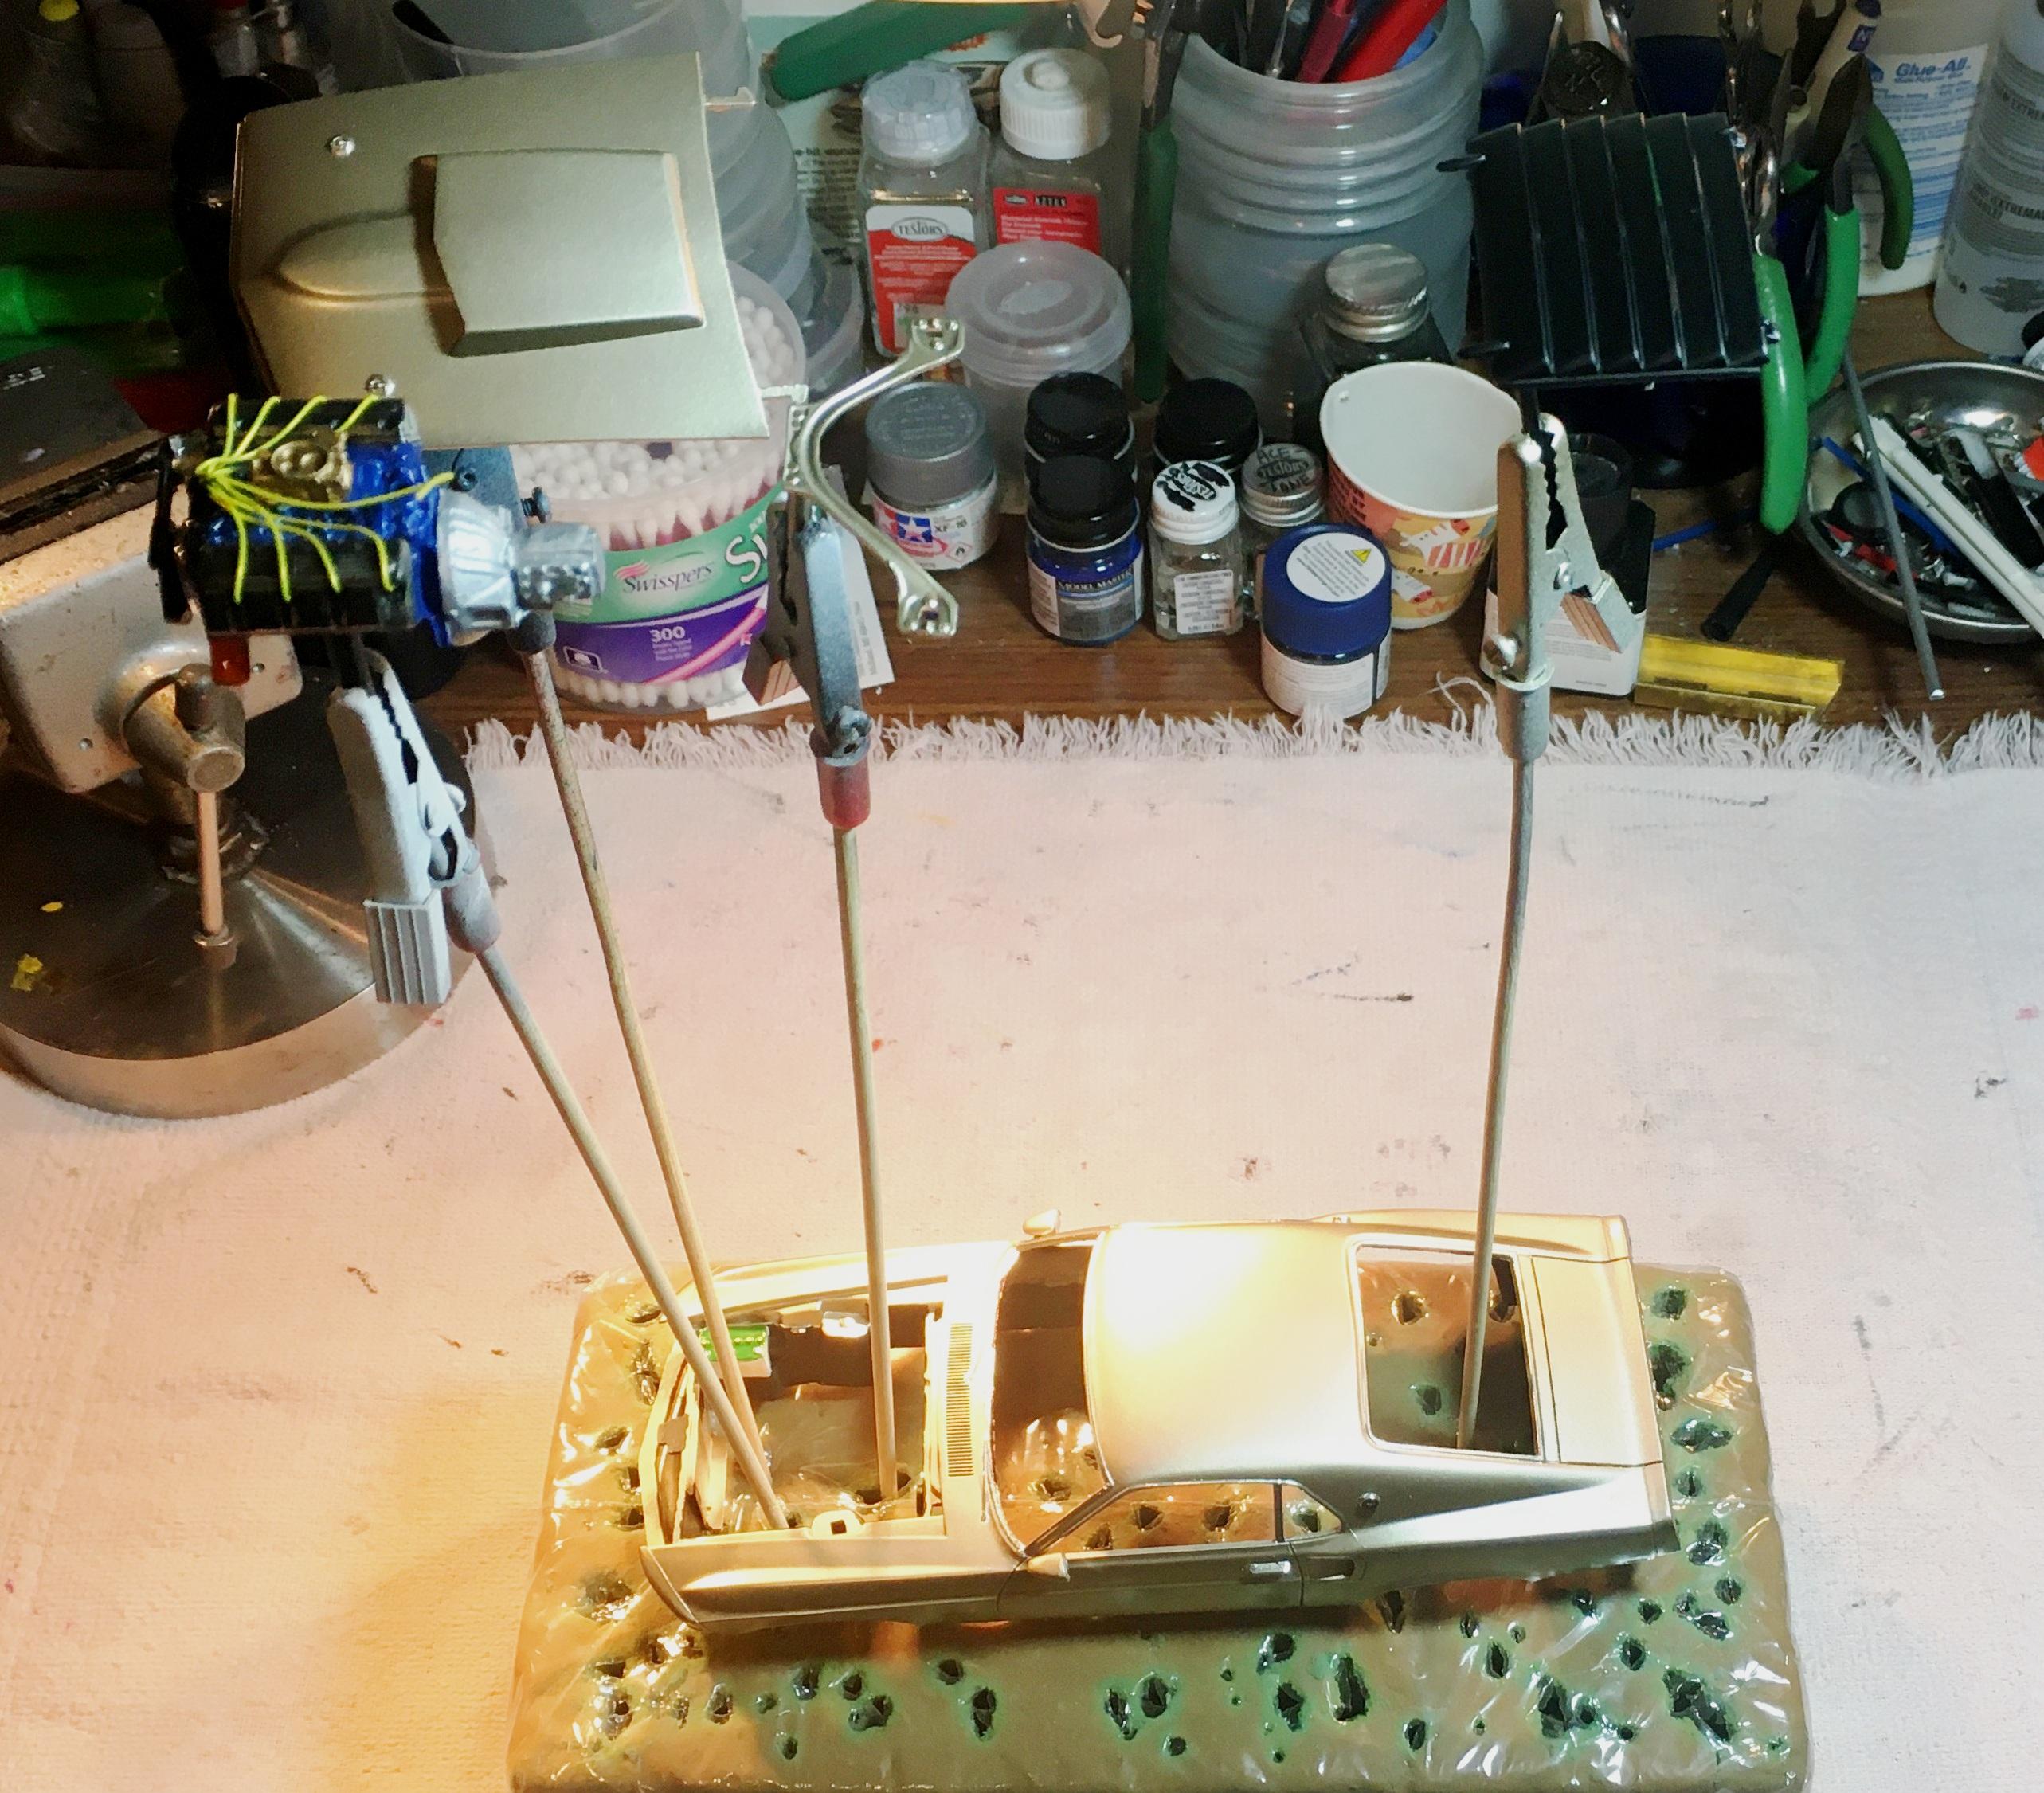
Stalled 1967 Mustang GT coming back in the queue.
Bills72sj replied to Bills72sj's topic in WIP: Model Cars
It is Duplicolor. Some OEM silver metallic. -
See if your local aquarium supply store has an black rocks that are not porous.
-
BRBO 2021 Crackerbox car hauler
Bills72sj replied to Sam I Am's topic in WIP: Model Trucks: Big Rigs and Heavy Equipment
Keep up the good work my friend. I have two matching trailers with some minor mods.
-
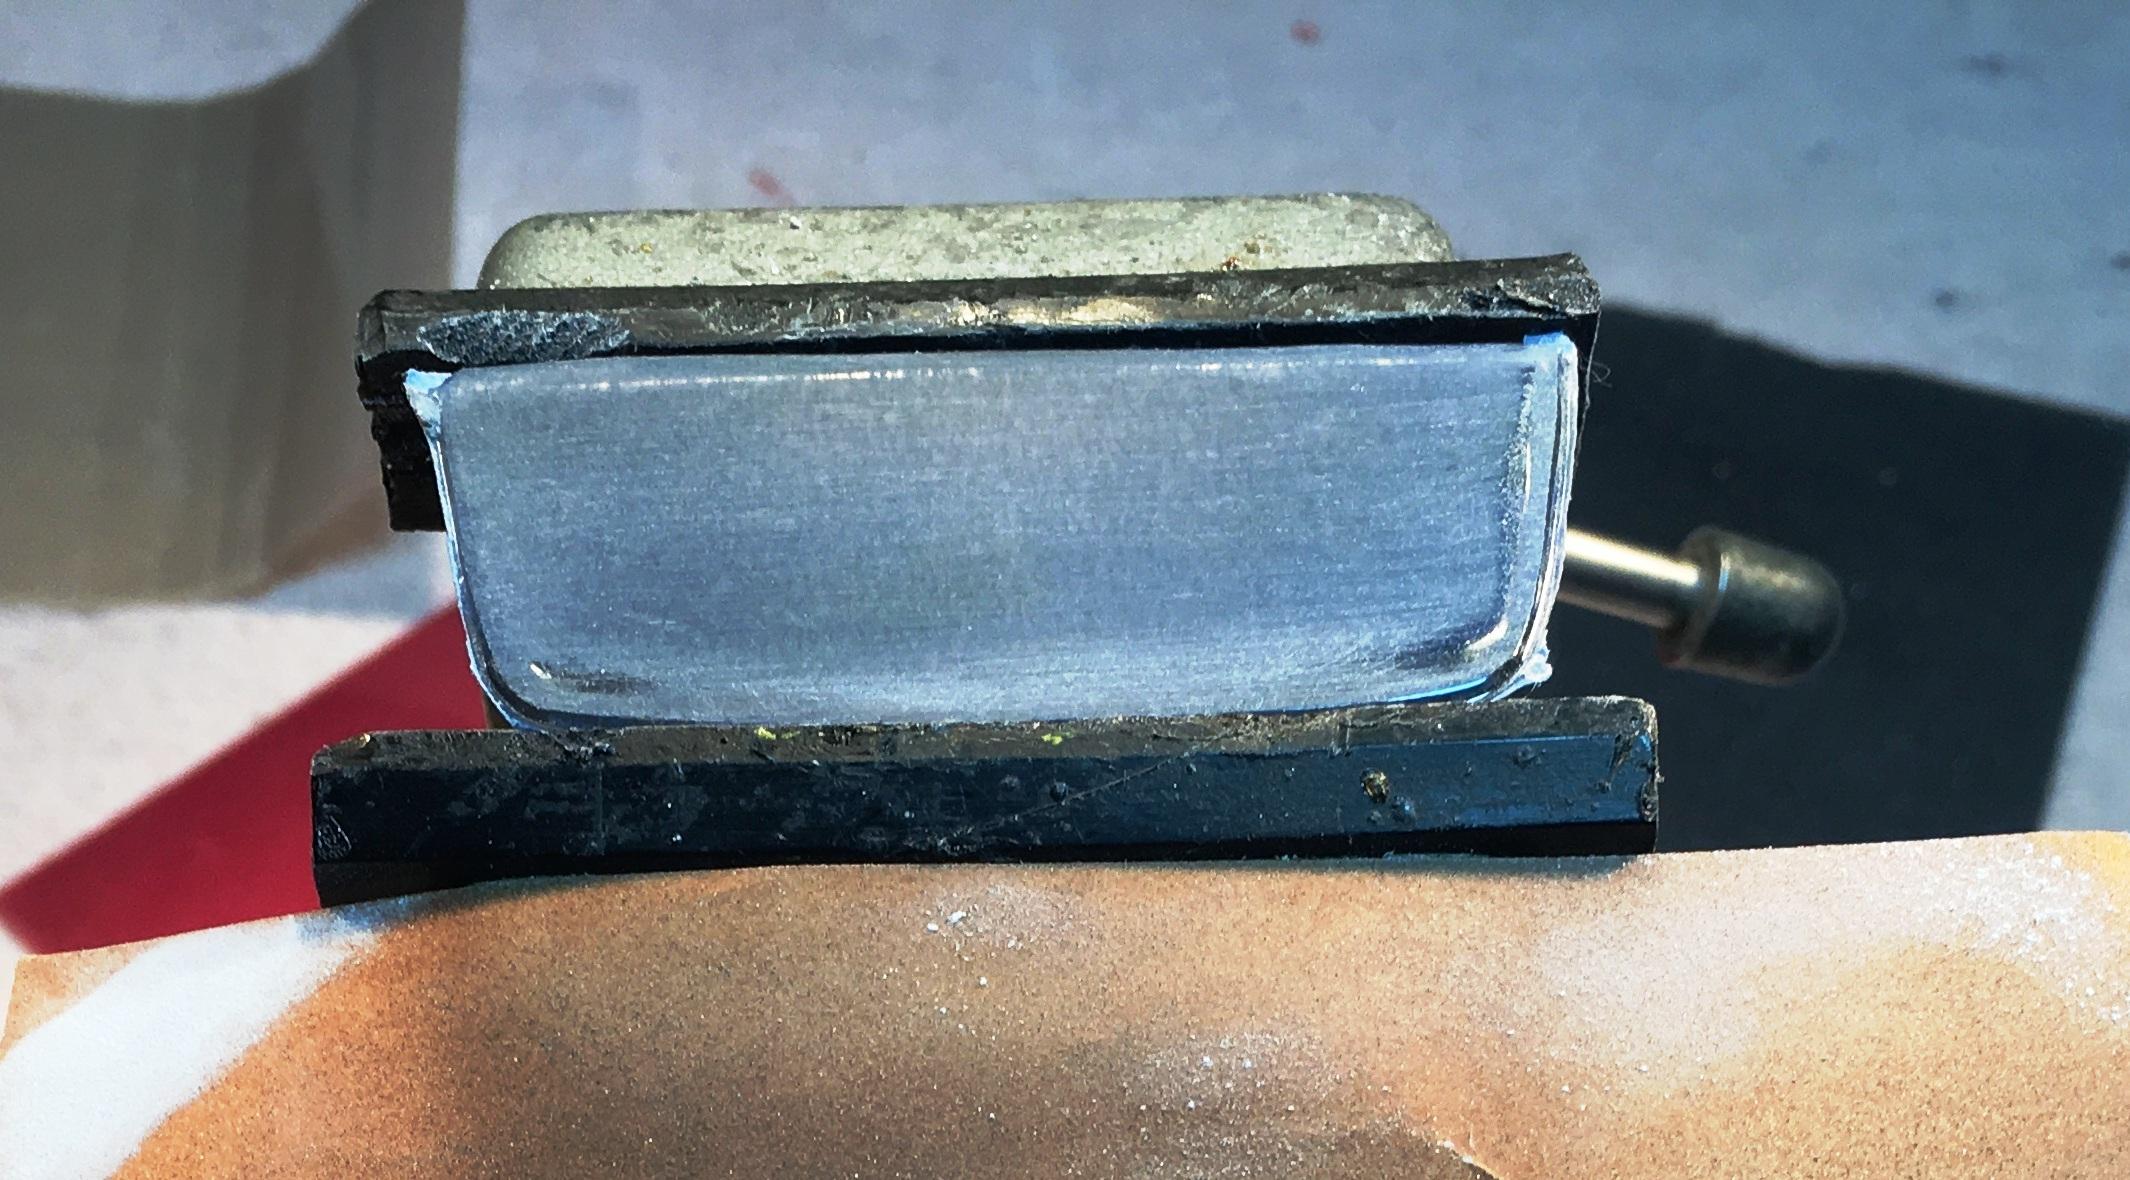
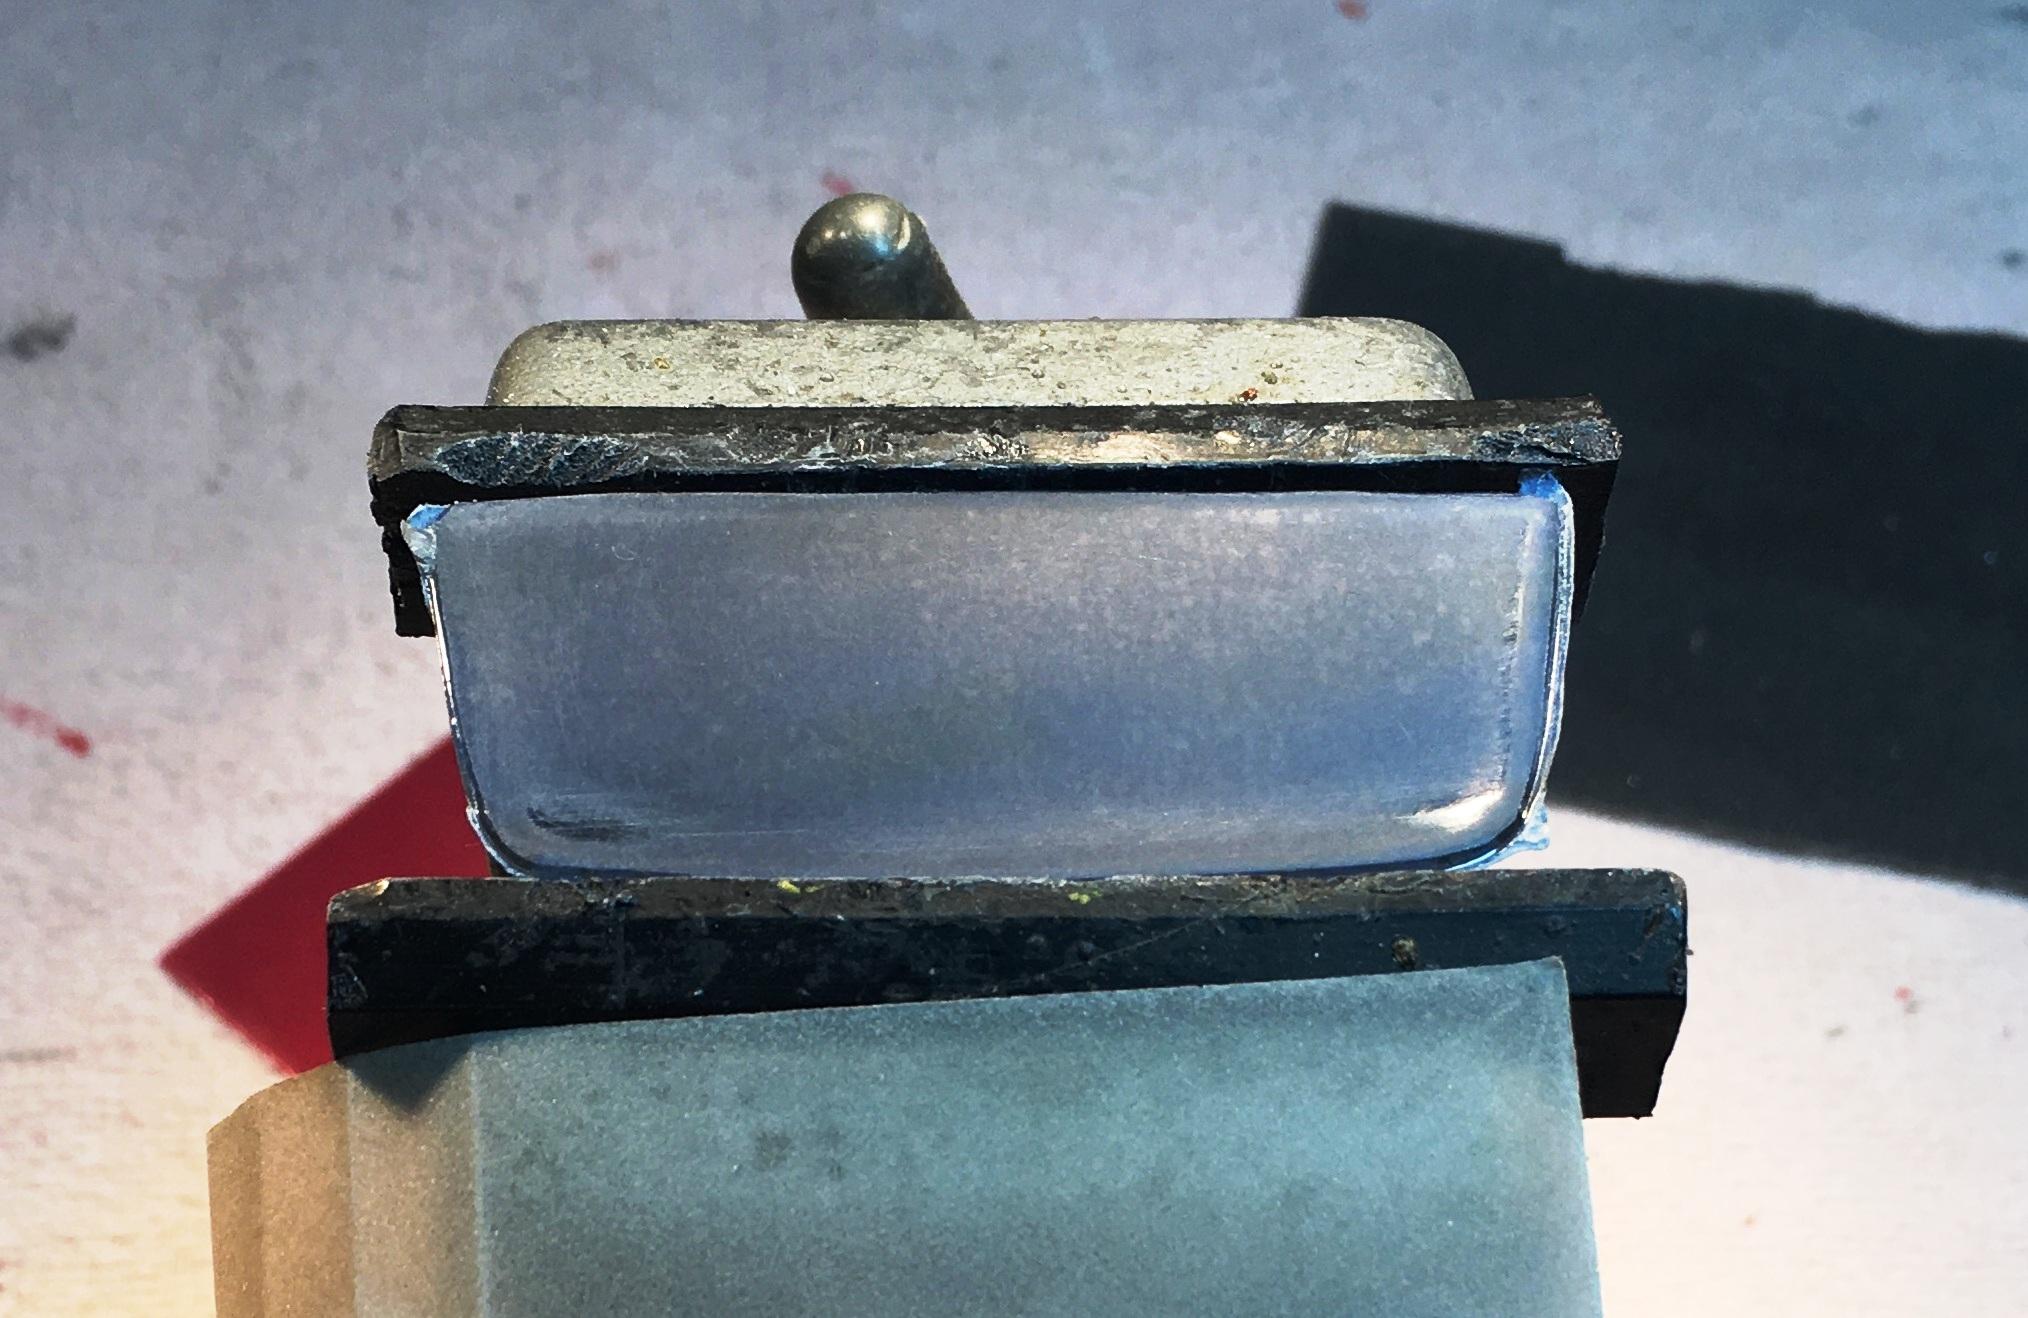
They are plastic. So far they have been resistant to straight lacquer thinner. I have separate glass jars but the threads are slightly off and will not screw on tight.
-
I got to use it yesterday. Decent spray out and much faster cleaning. Not sure how the plastic jars will hold up in the long run but the cost is so low they are basically disposable.
-
After getting some donated parts from a fellow modeler, I got them painted so this project may continue.
-
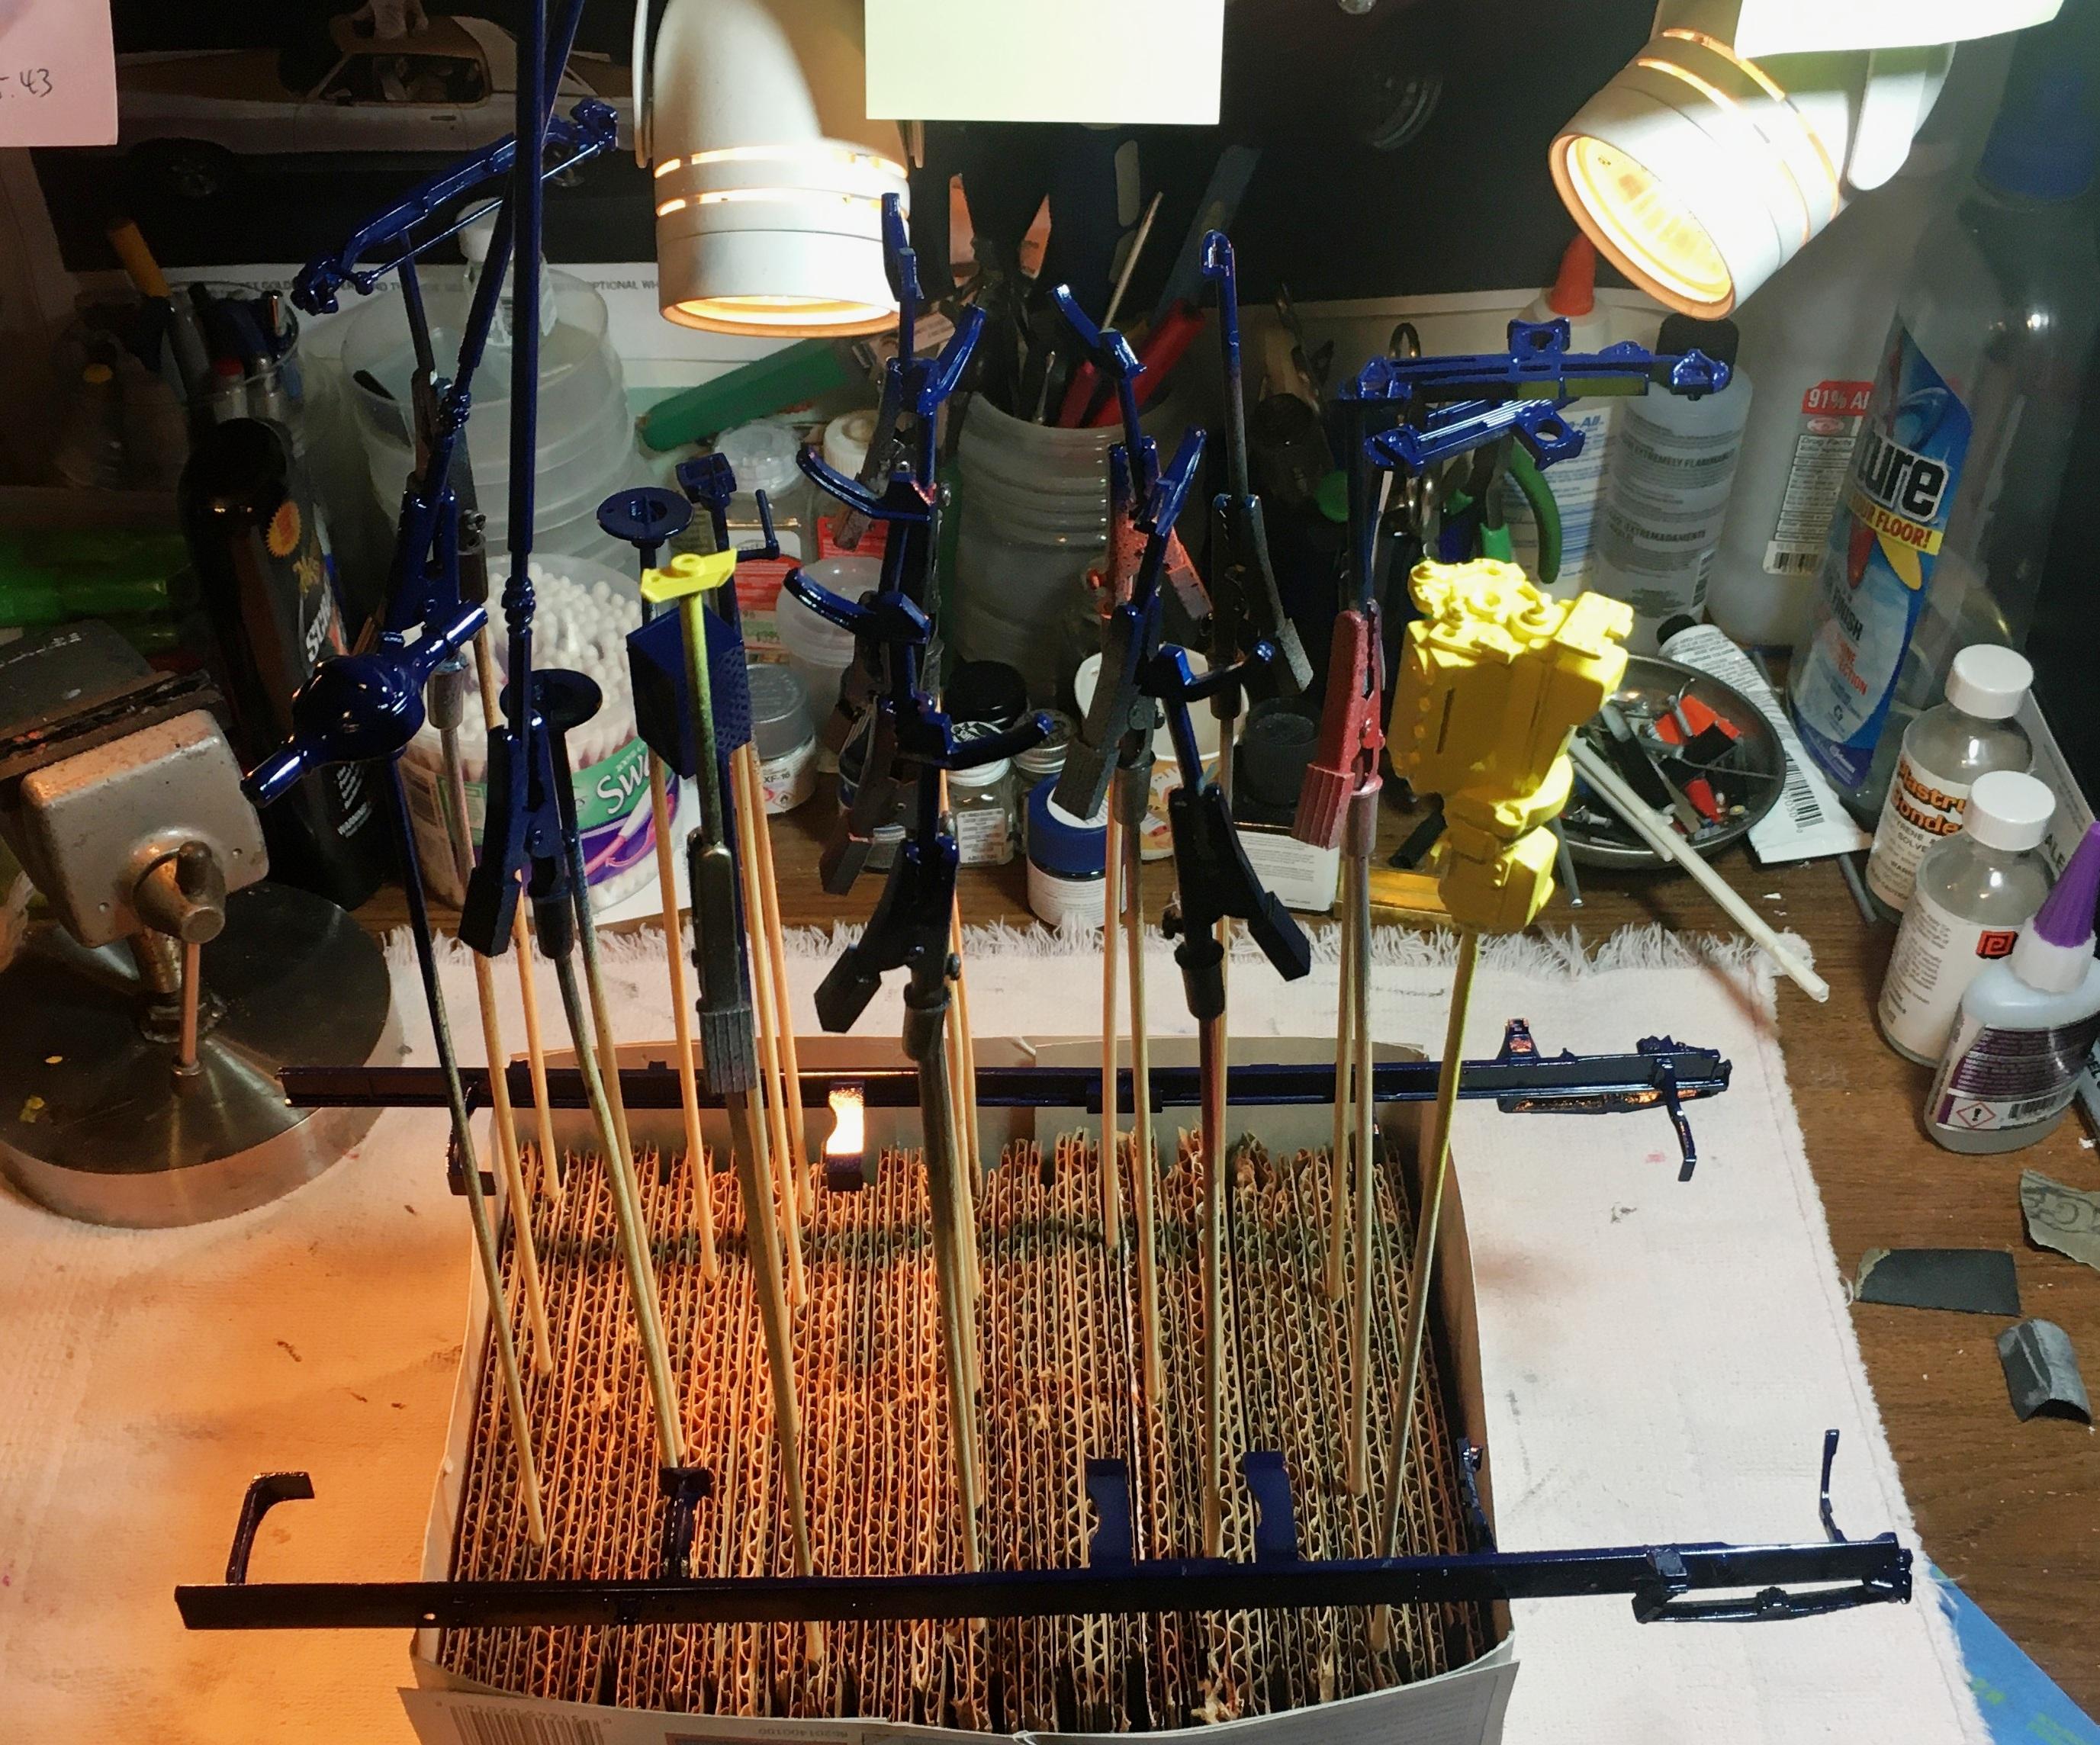
Did enough mock up to confidently splice the two frames into one. Since it was dry enough Saturday, I set up my paint booth and painted the frame and engine. Still undecided on which two or three color paint scheme I want to go for.
-
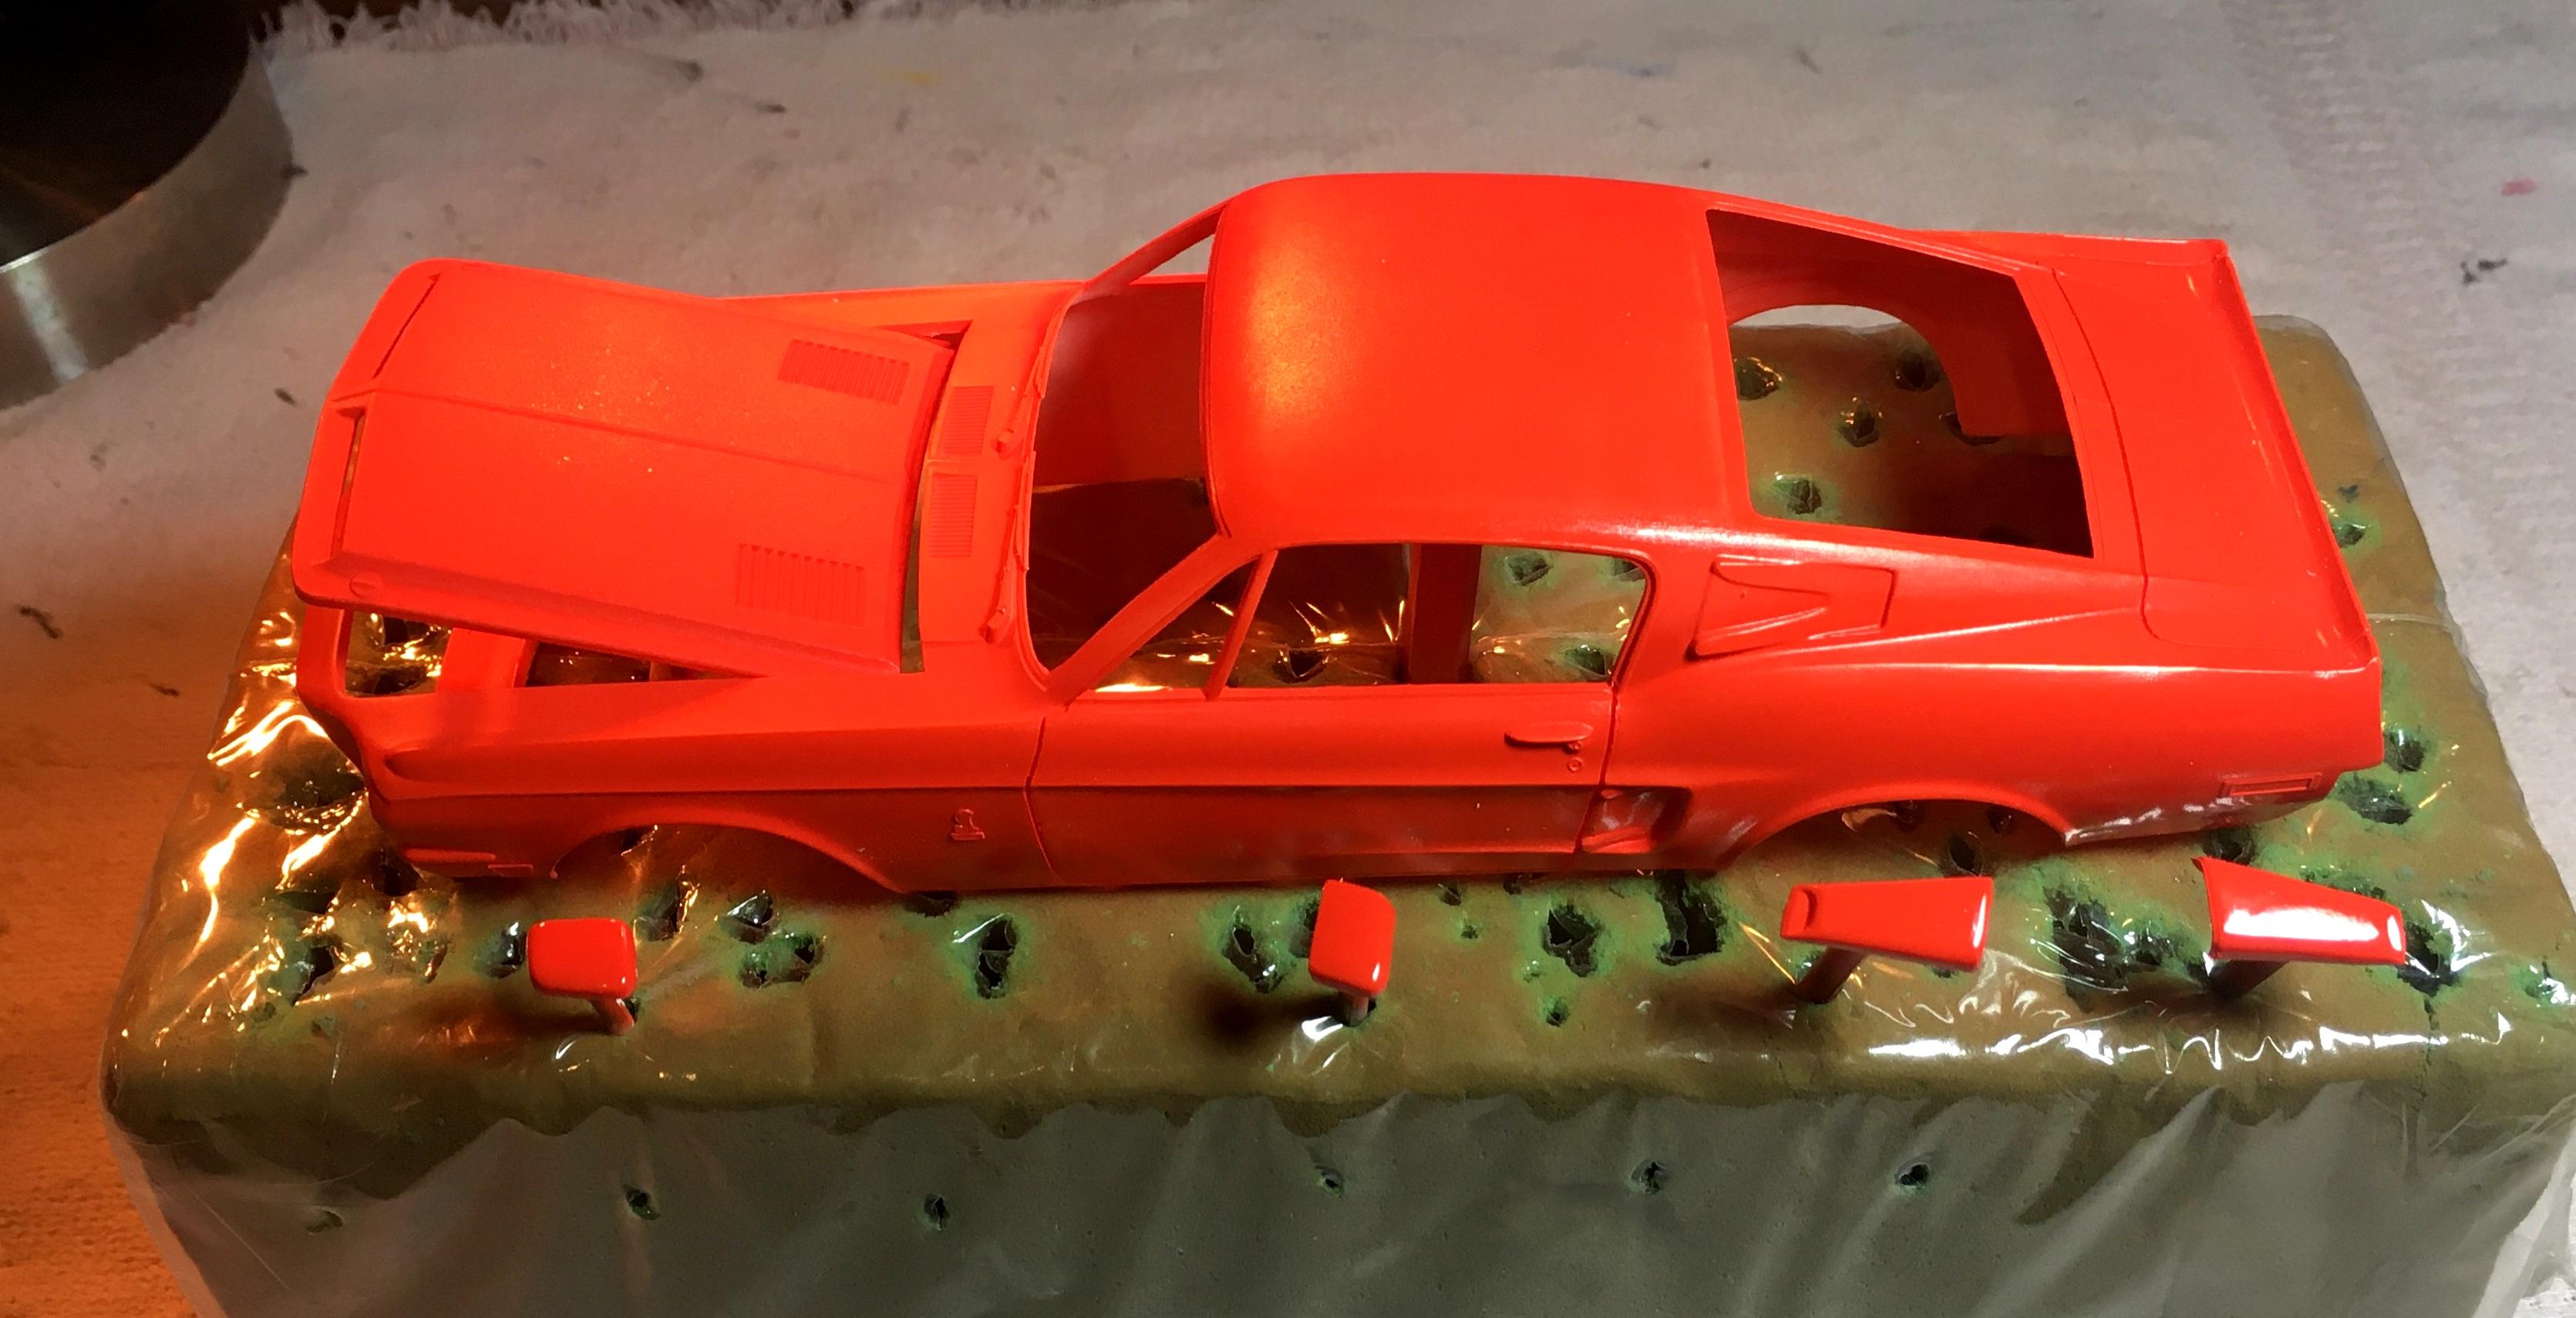
After rescuing enough liquid paint under the jello in the jar of decanted Testors orange, I got the hood repainted. I hope clear can bring life into this dull of a paint job because now I am out.
-
Stalled 1967 Mustang GT coming back in the queue.
Bills72sj replied to Bills72sj's topic in WIP: Model Cars
Finally had a dry day on a weekend. Got the teardrop hood painted on this one.
-
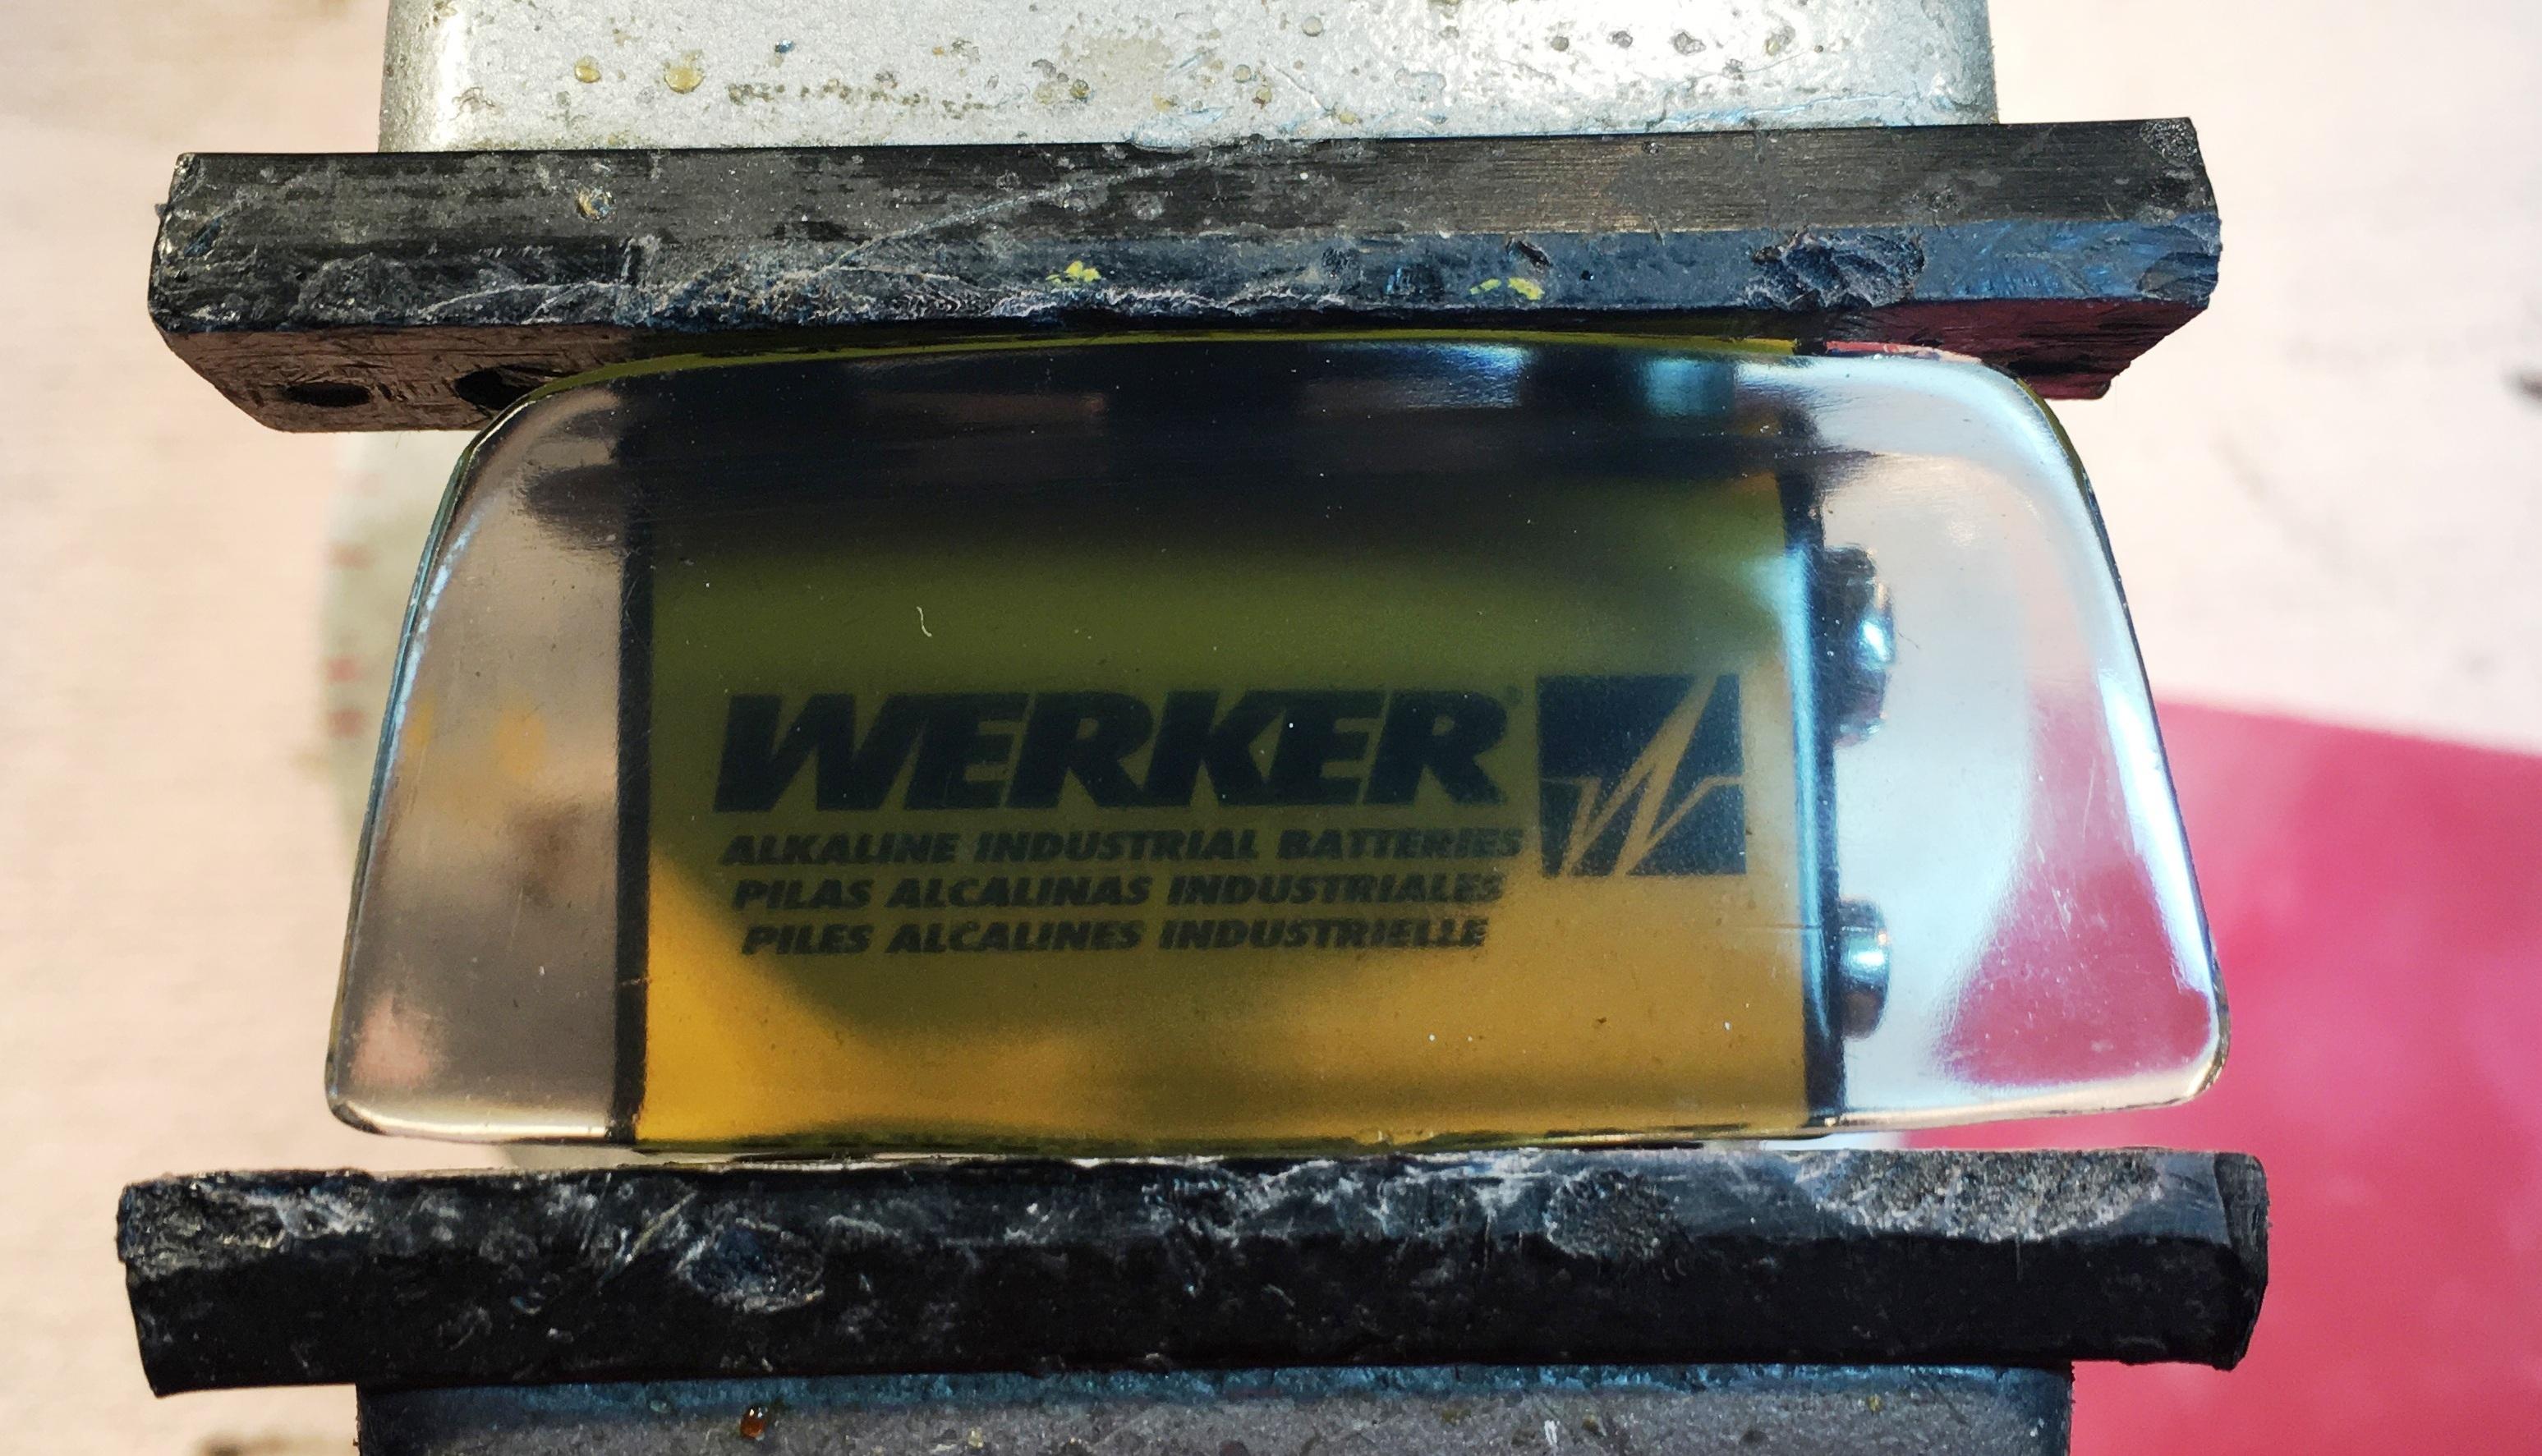
Went to HL, my LHS, and Harbor Freight today. No GMC Jimmy or International COE yet. But I did pick up two $11 HF air brushes after seeing a review on Youtube. Very convenient little devices. The brush never needs cleaning (just the jars) and I has a decent spray pattern. I bought two just so I could have more siphon jars. They will pay for themselves just from the lacquer thinner I will not need to waste cleaning my other airbrushes.