Bills72sj
-
Posts
4,589 -
Joined
-
Last visited
Content Type
Profiles
Forums
Events
Gallery
Everything posted by Bills72sj
-

Most Involved Part of Building?
Bills72sj replied to JollySipper's topic in General Automotive Talk (Trucks and Cars)
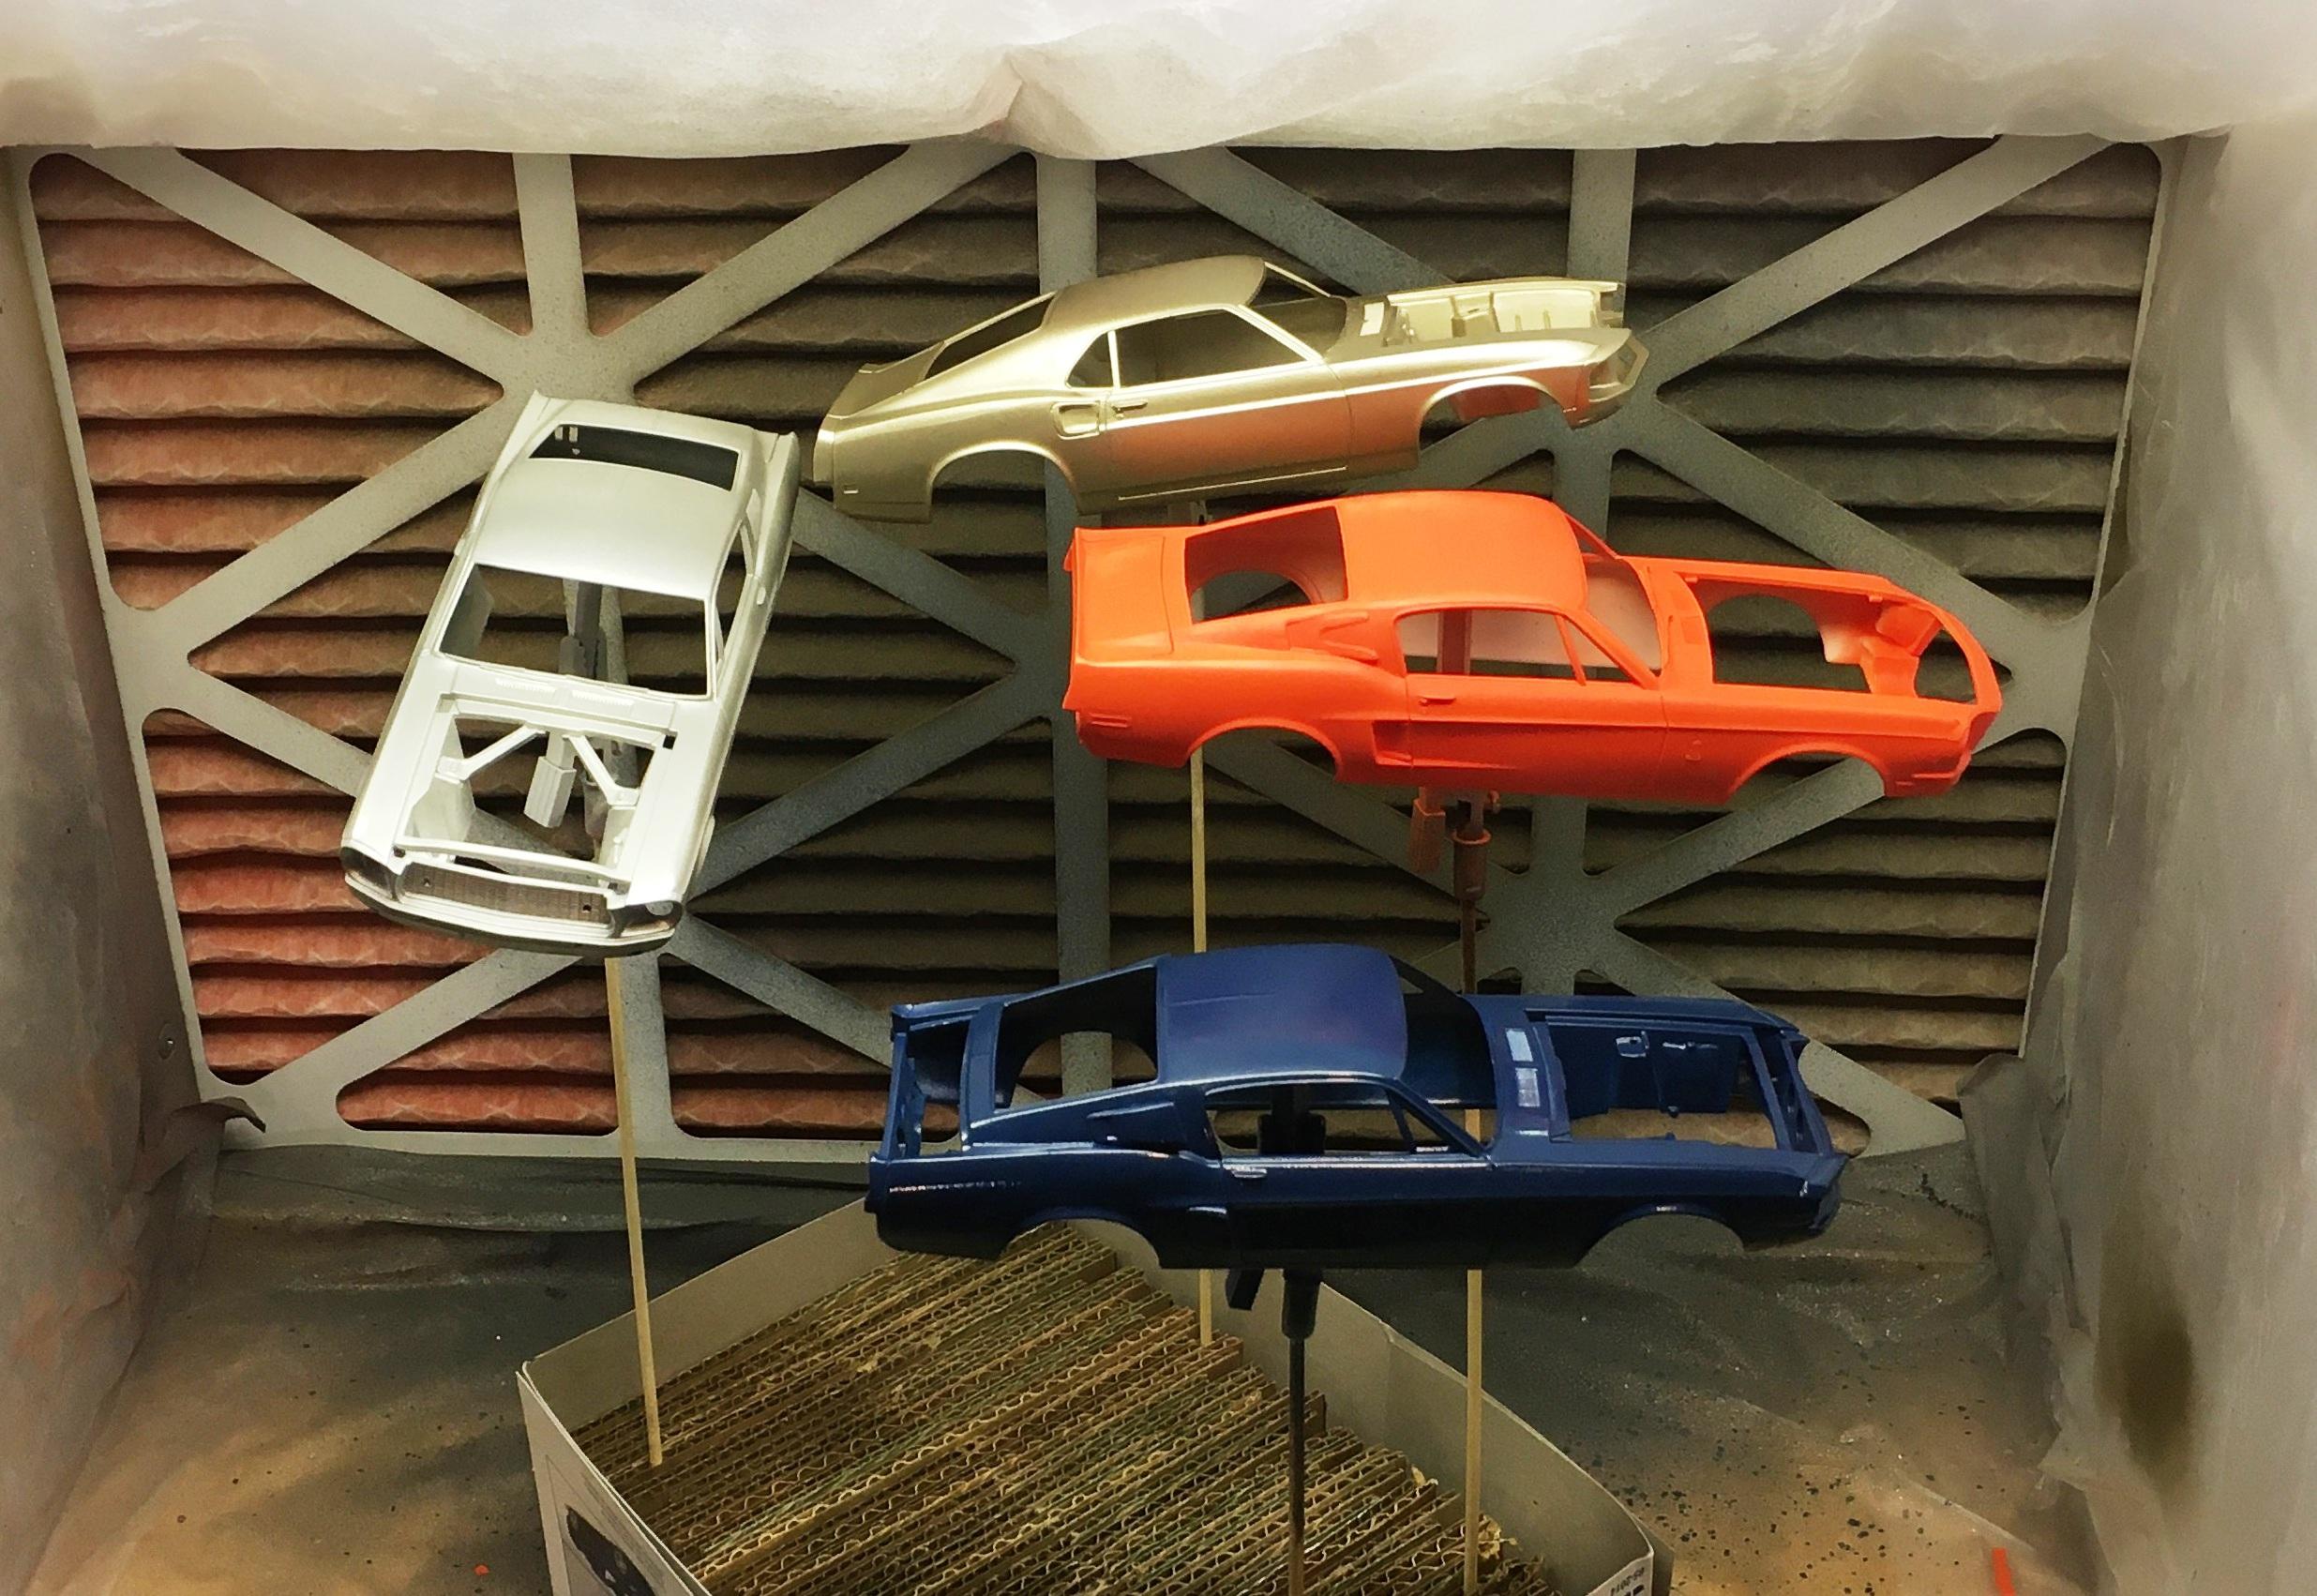
John, Thank you for the tutorial. I am currently working on some engine swapped Mustangs. None of the supplied exhausts are going to work. Especially the 427 SOHC in an AMT 67 Mustang GT or the Boss 429 in an AMT 69 Mach 1. -
Most Involved Part of Building?
Bills72sj replied to JollySipper's topic in General Automotive Talk (Trucks and Cars)
Snake, I am with you brother. I was fortunate enough to buy multiple boxes of just wheel and tire lots on ebay when they could be had for $10-20 in the early 2000's. I now have 3 FULL model boxes of tires and one full model box of rims. Many of which you would like. My problem has been lately I am out of deep dish rims to sacrifice to make deep dish rears for the 'Street Machine' look. I have actually purchased a mini-lathe expressly for the purpose of making hoops to mate styrene mags with wider tires. To me STANCE is everything. -
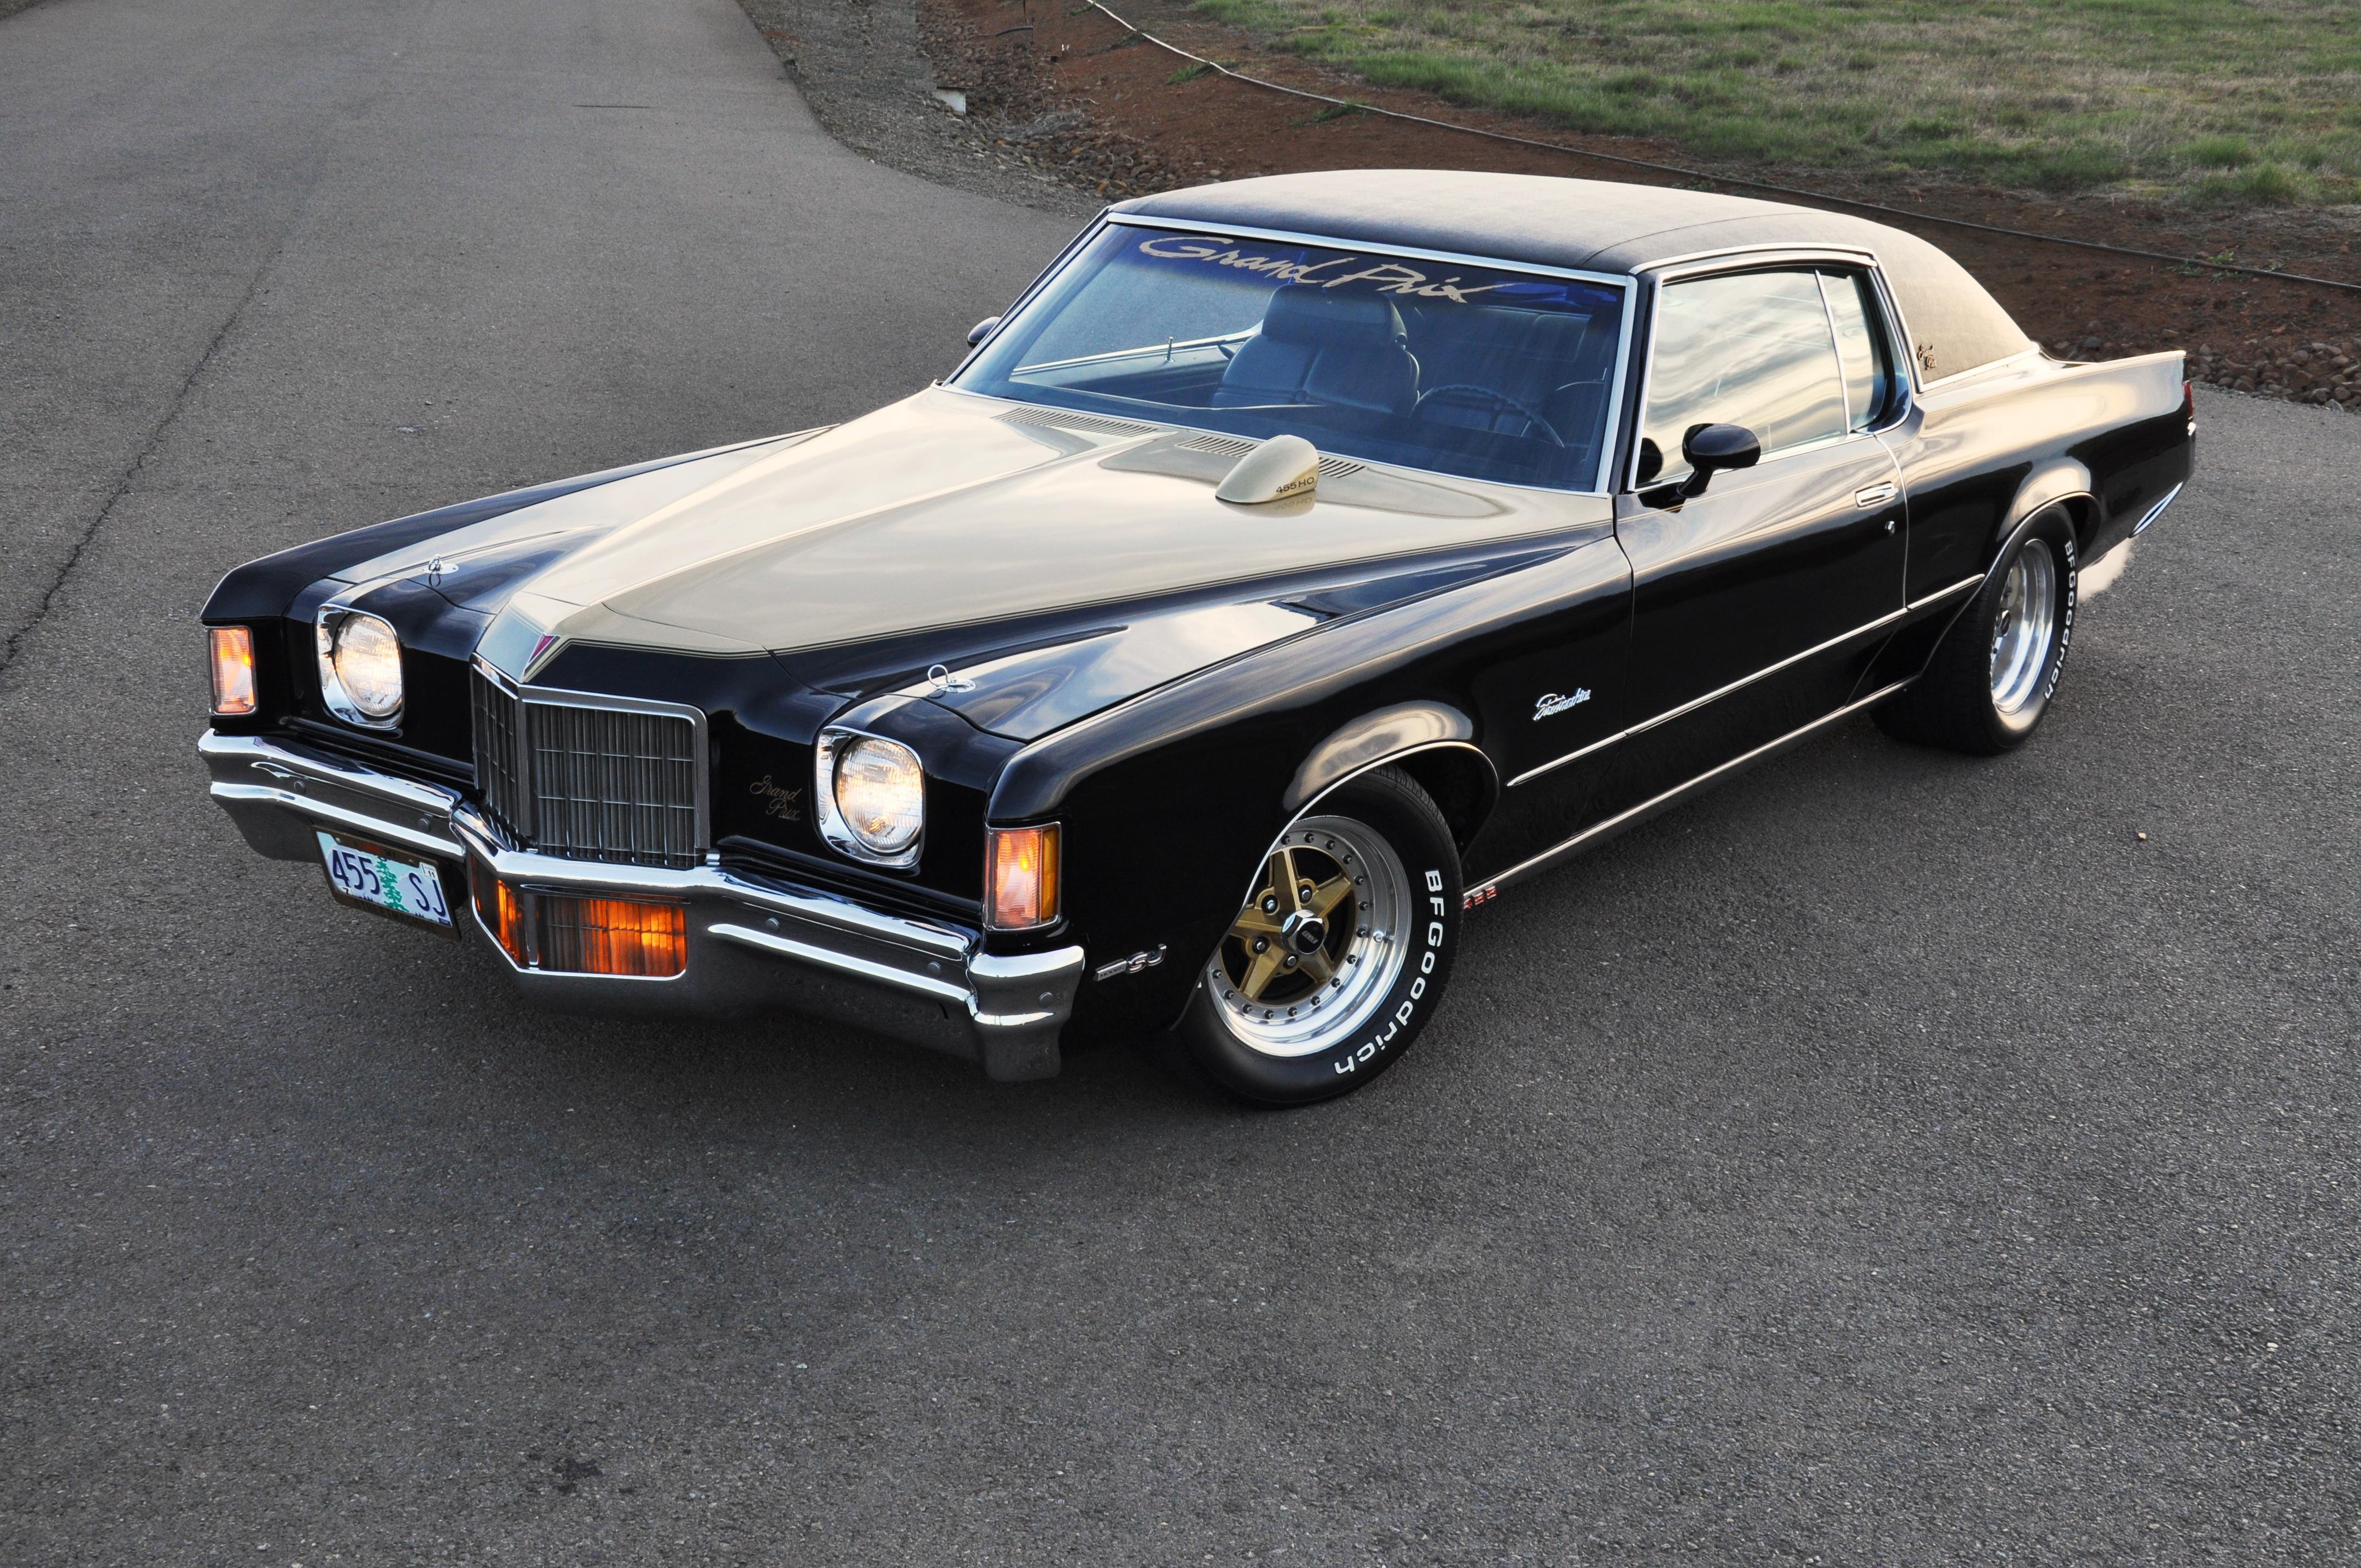
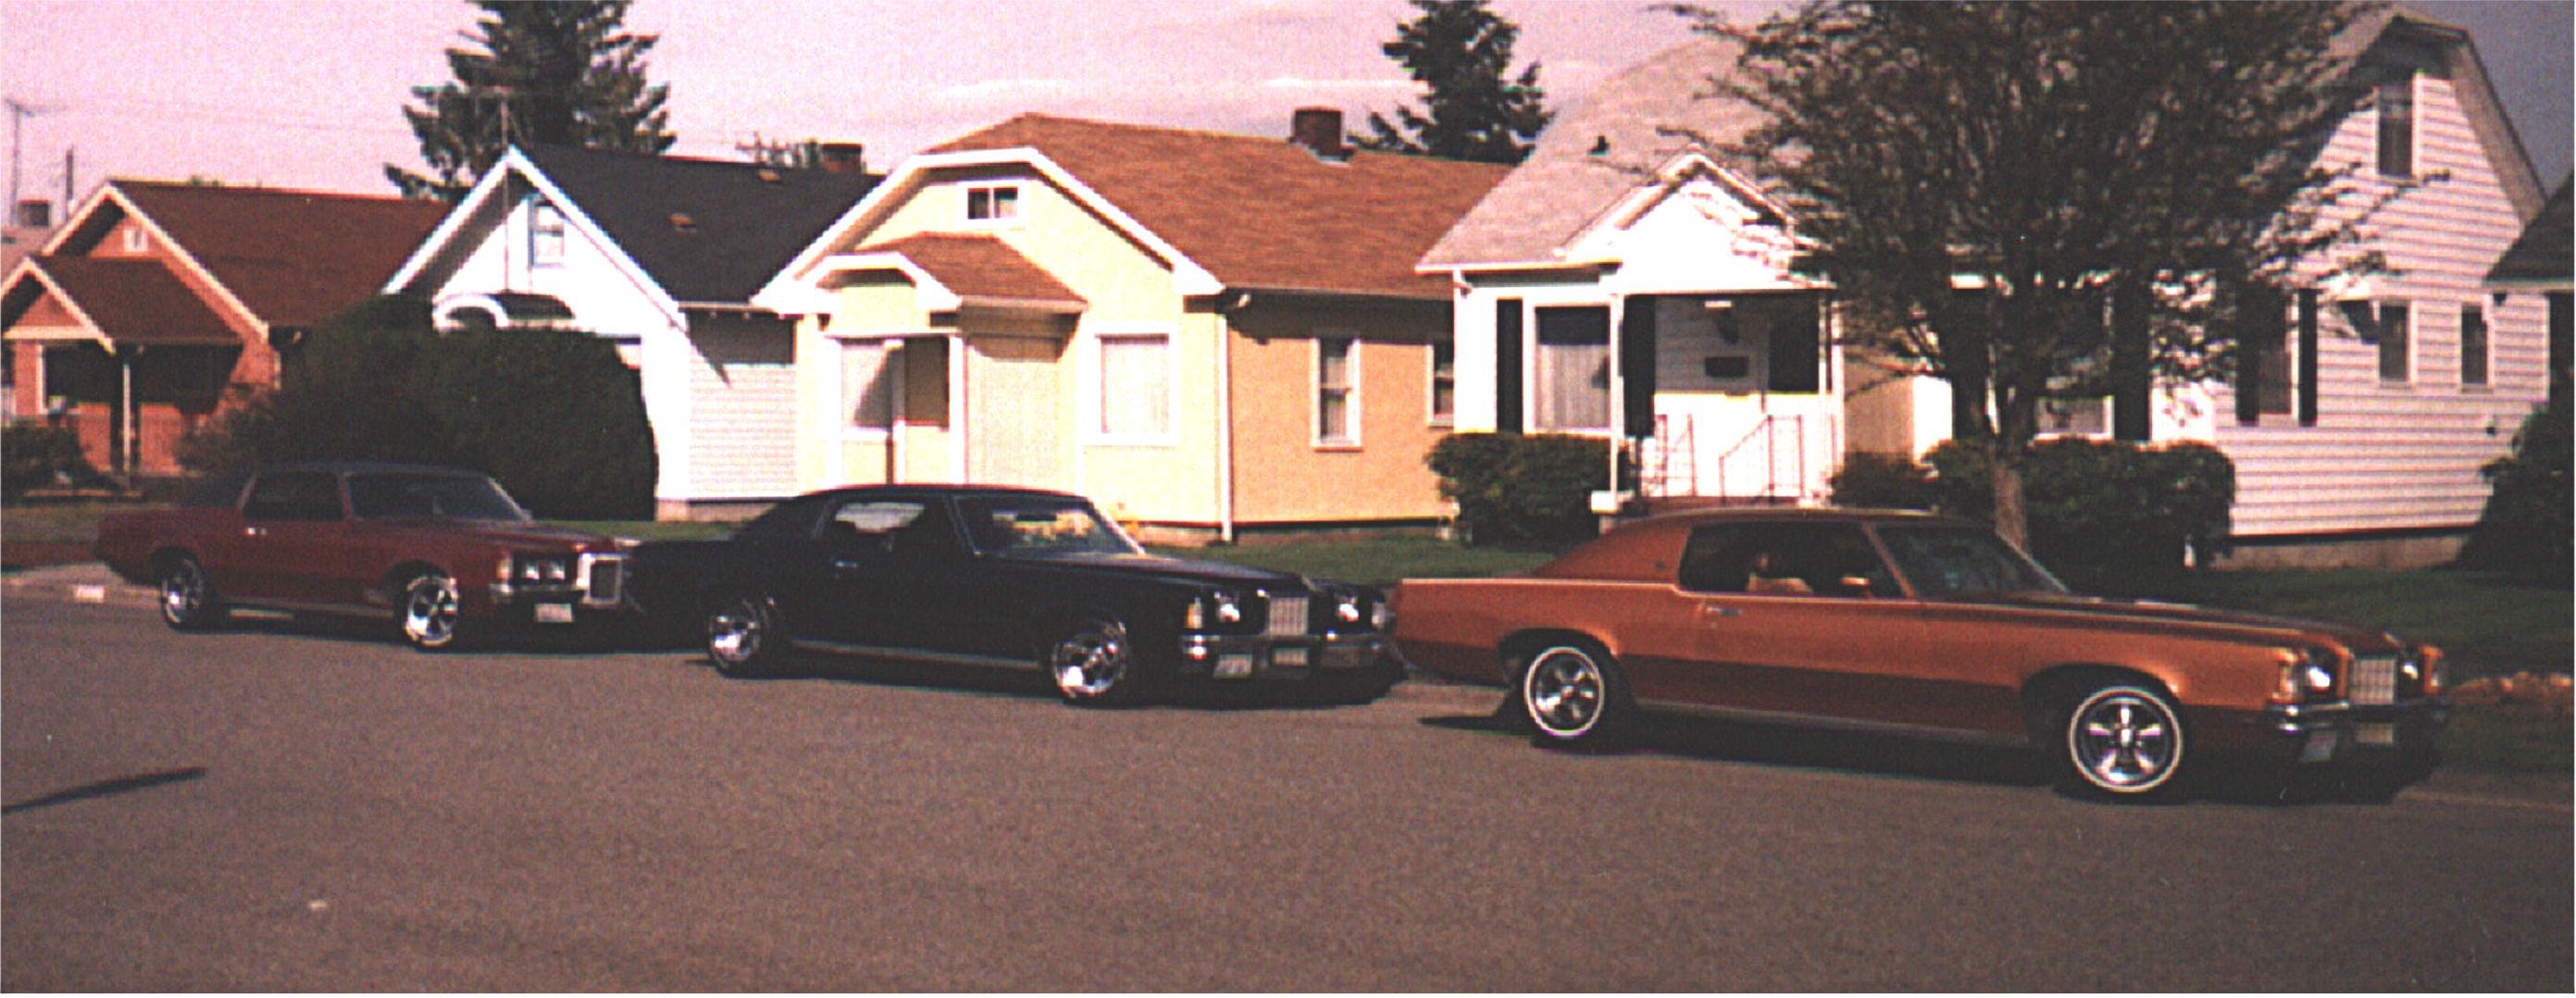
I have been a gearhead all my life. My Dad drag raced a 34 Plymouth coupe with a 33 Hemi and zoomies. In grade school I knew virtually every make an model of car from the mid 50's to the mid 70's by sight. I built models as a kid well into my teens. I have owned a few classic Grand Prixs from 1982 on including my current ride a 1972 SJ with a 455 TH400 12 bolt posi. Having a family and raising kids precluded me from owning a whole fleet of 1:1's so I dived back into the hobby about 20 years ago. I now build in scale what I would like to have if I were to win the lottery. Here are my first my best and my last Grand Prixs.

-
I made progress on three projects this weekend.
-
Very nice Chevelle. I had two friends in HS that had SS 396 4-speed Chevelles. Both red with black stripes. One a '69 one a '70.
-
Very nice work. The hub cap detail is well done. My Dad had a black 64 station wagon with the wood grain sides when I was a kid.
-
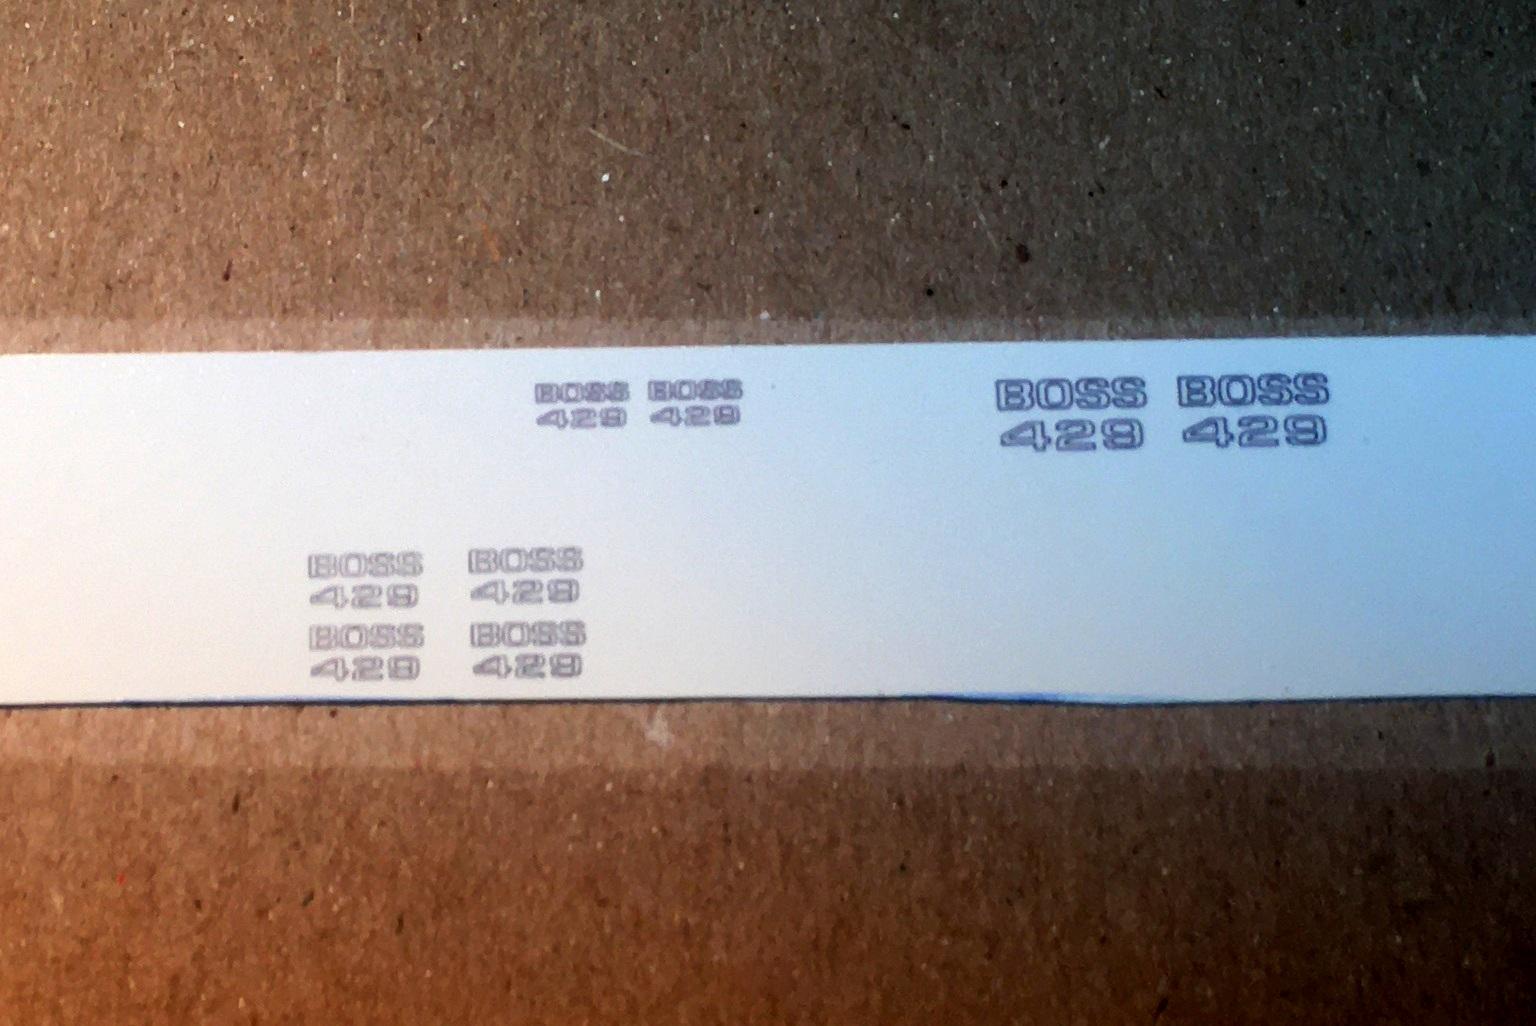
Made a little progress this weekend. Awhile back I applied some BOSS 429 decals from a 70 BOSS kit. Well they "silvered" and looked like caca. So I cribbed the best file I could fine and printed some new ones. While I was at it, I made some long past due license plates for some old completed builds. Anyway I was just about to apply the new BOSS decals when I suddenly remembered I printed them on white decal paper. DOH! So I printed off another batch on clear paper. Now I have to wait for the humidity to go down to paint them. Meanwhile, the body has been BMFd and detailed and the engine is ready to install. I even found some teeny tiny decals in my stash for the valve covers.
-
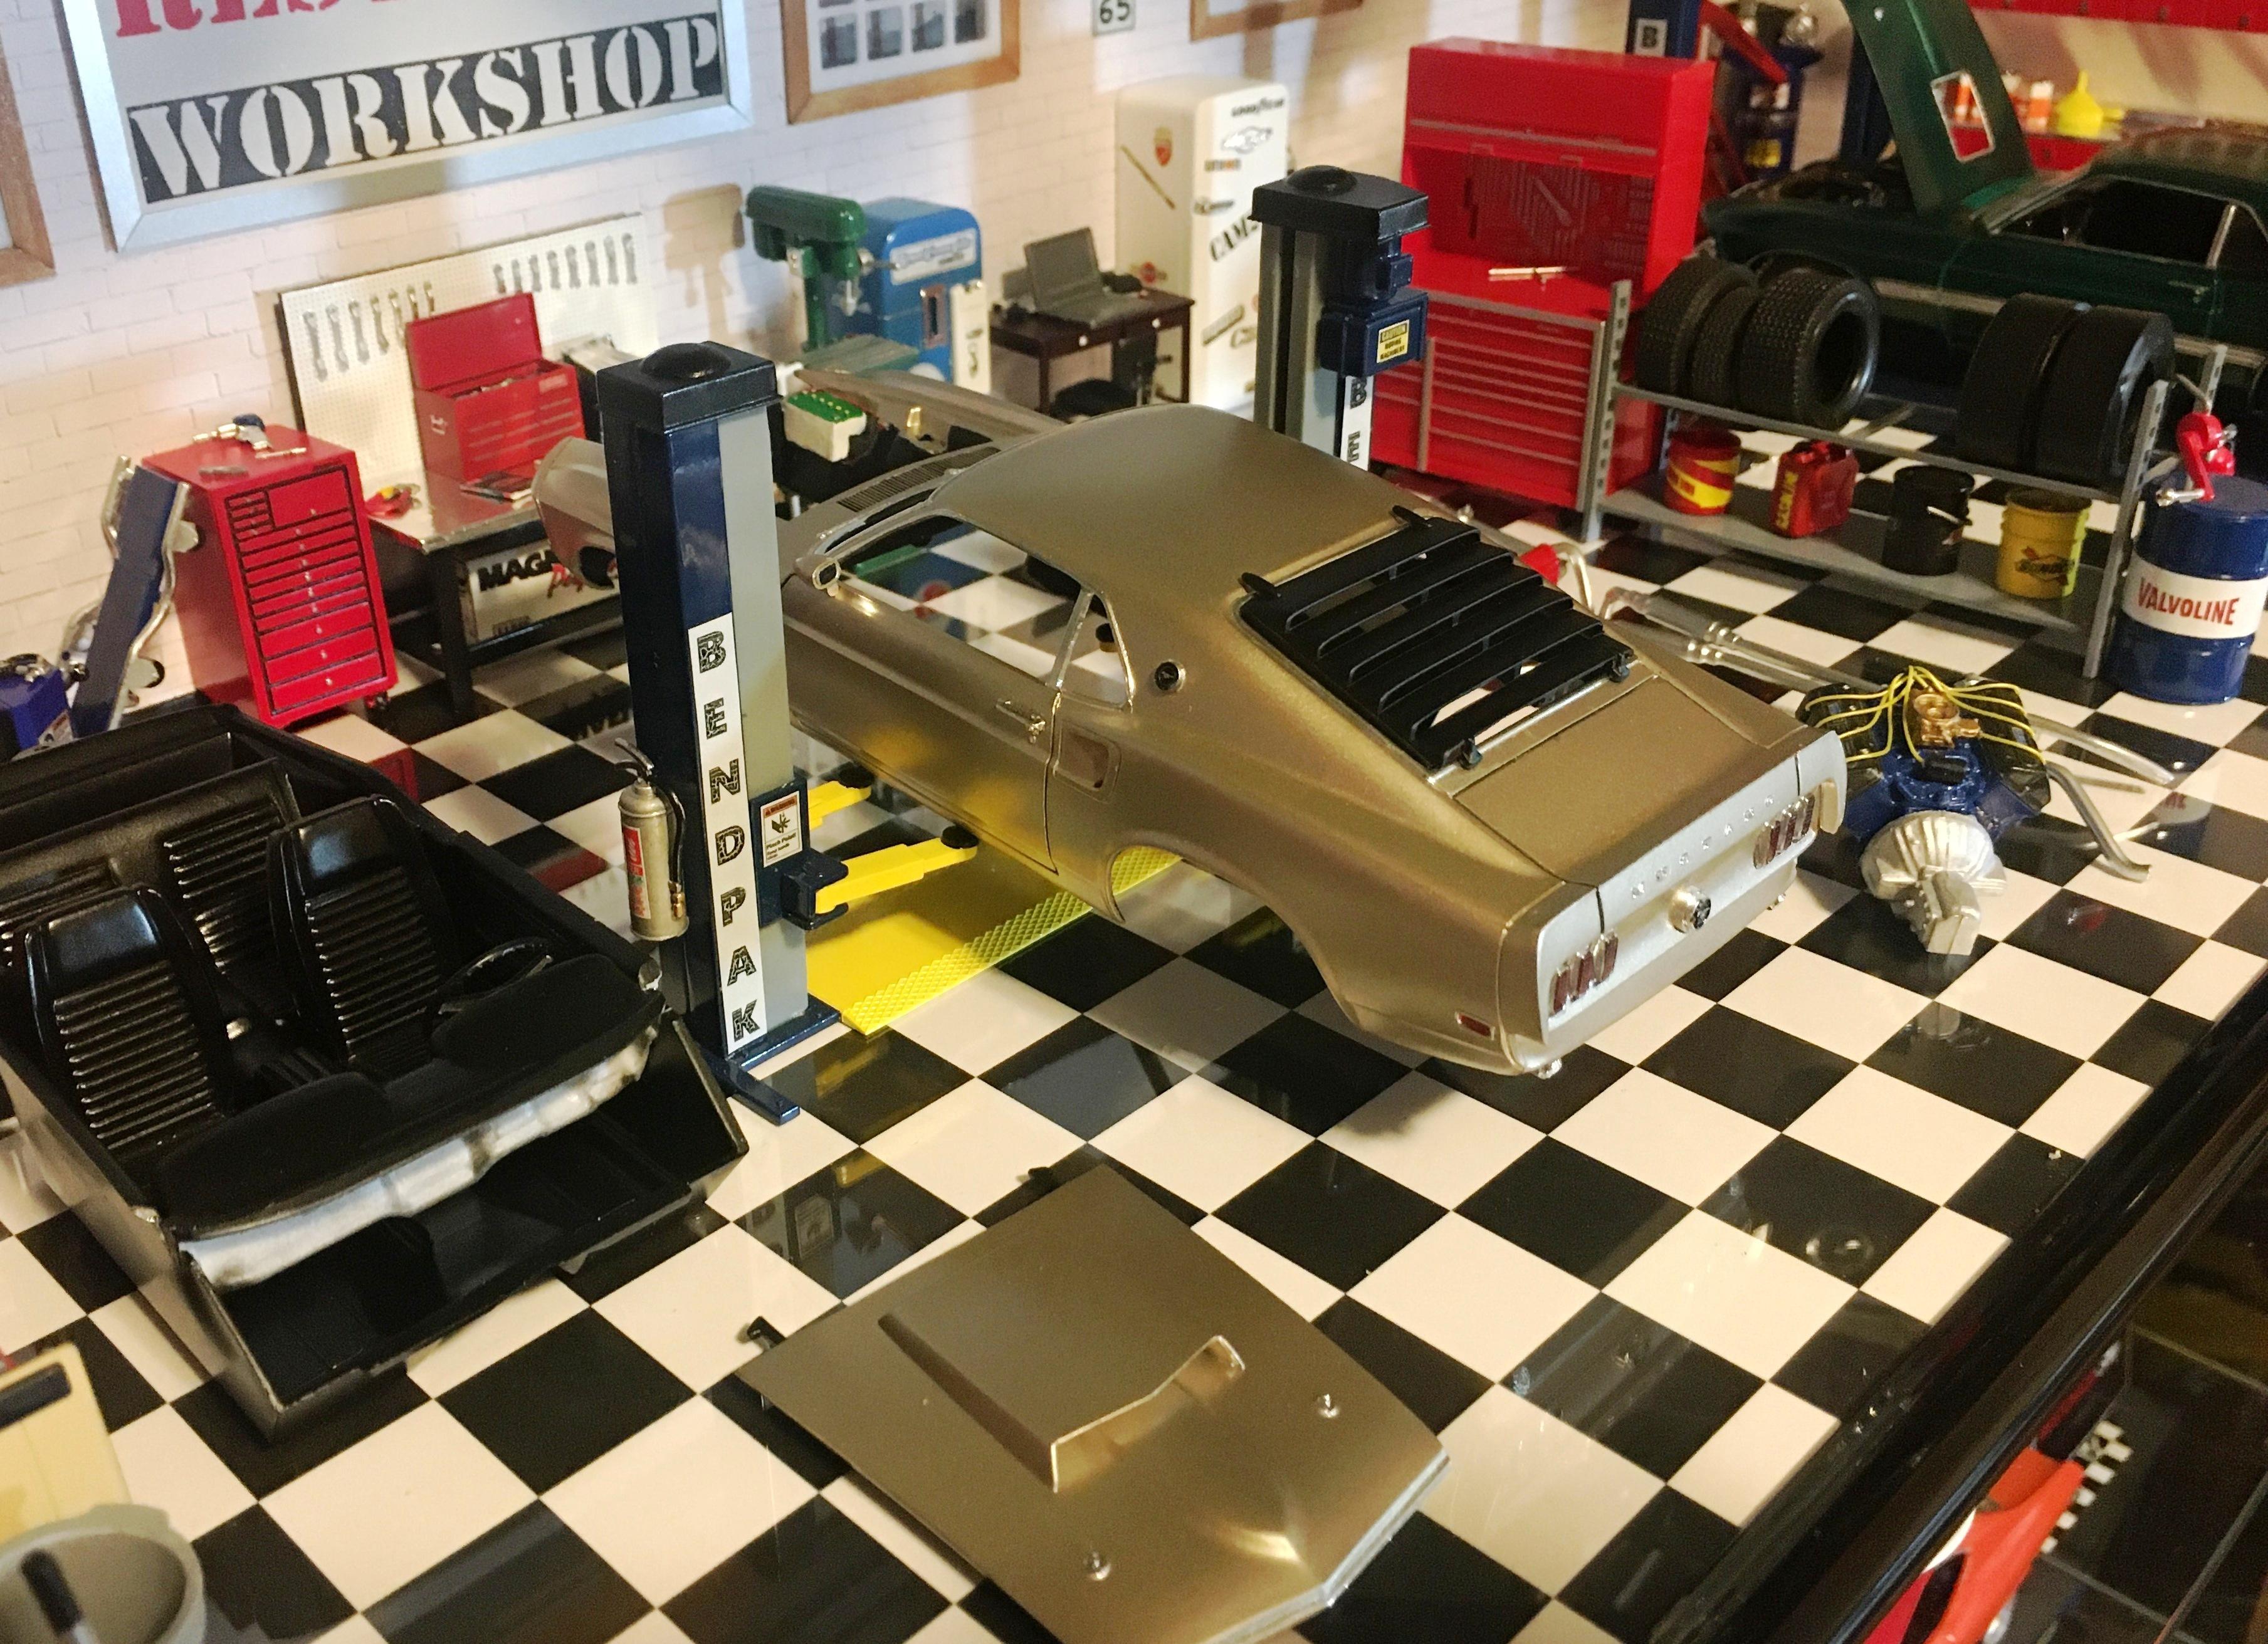
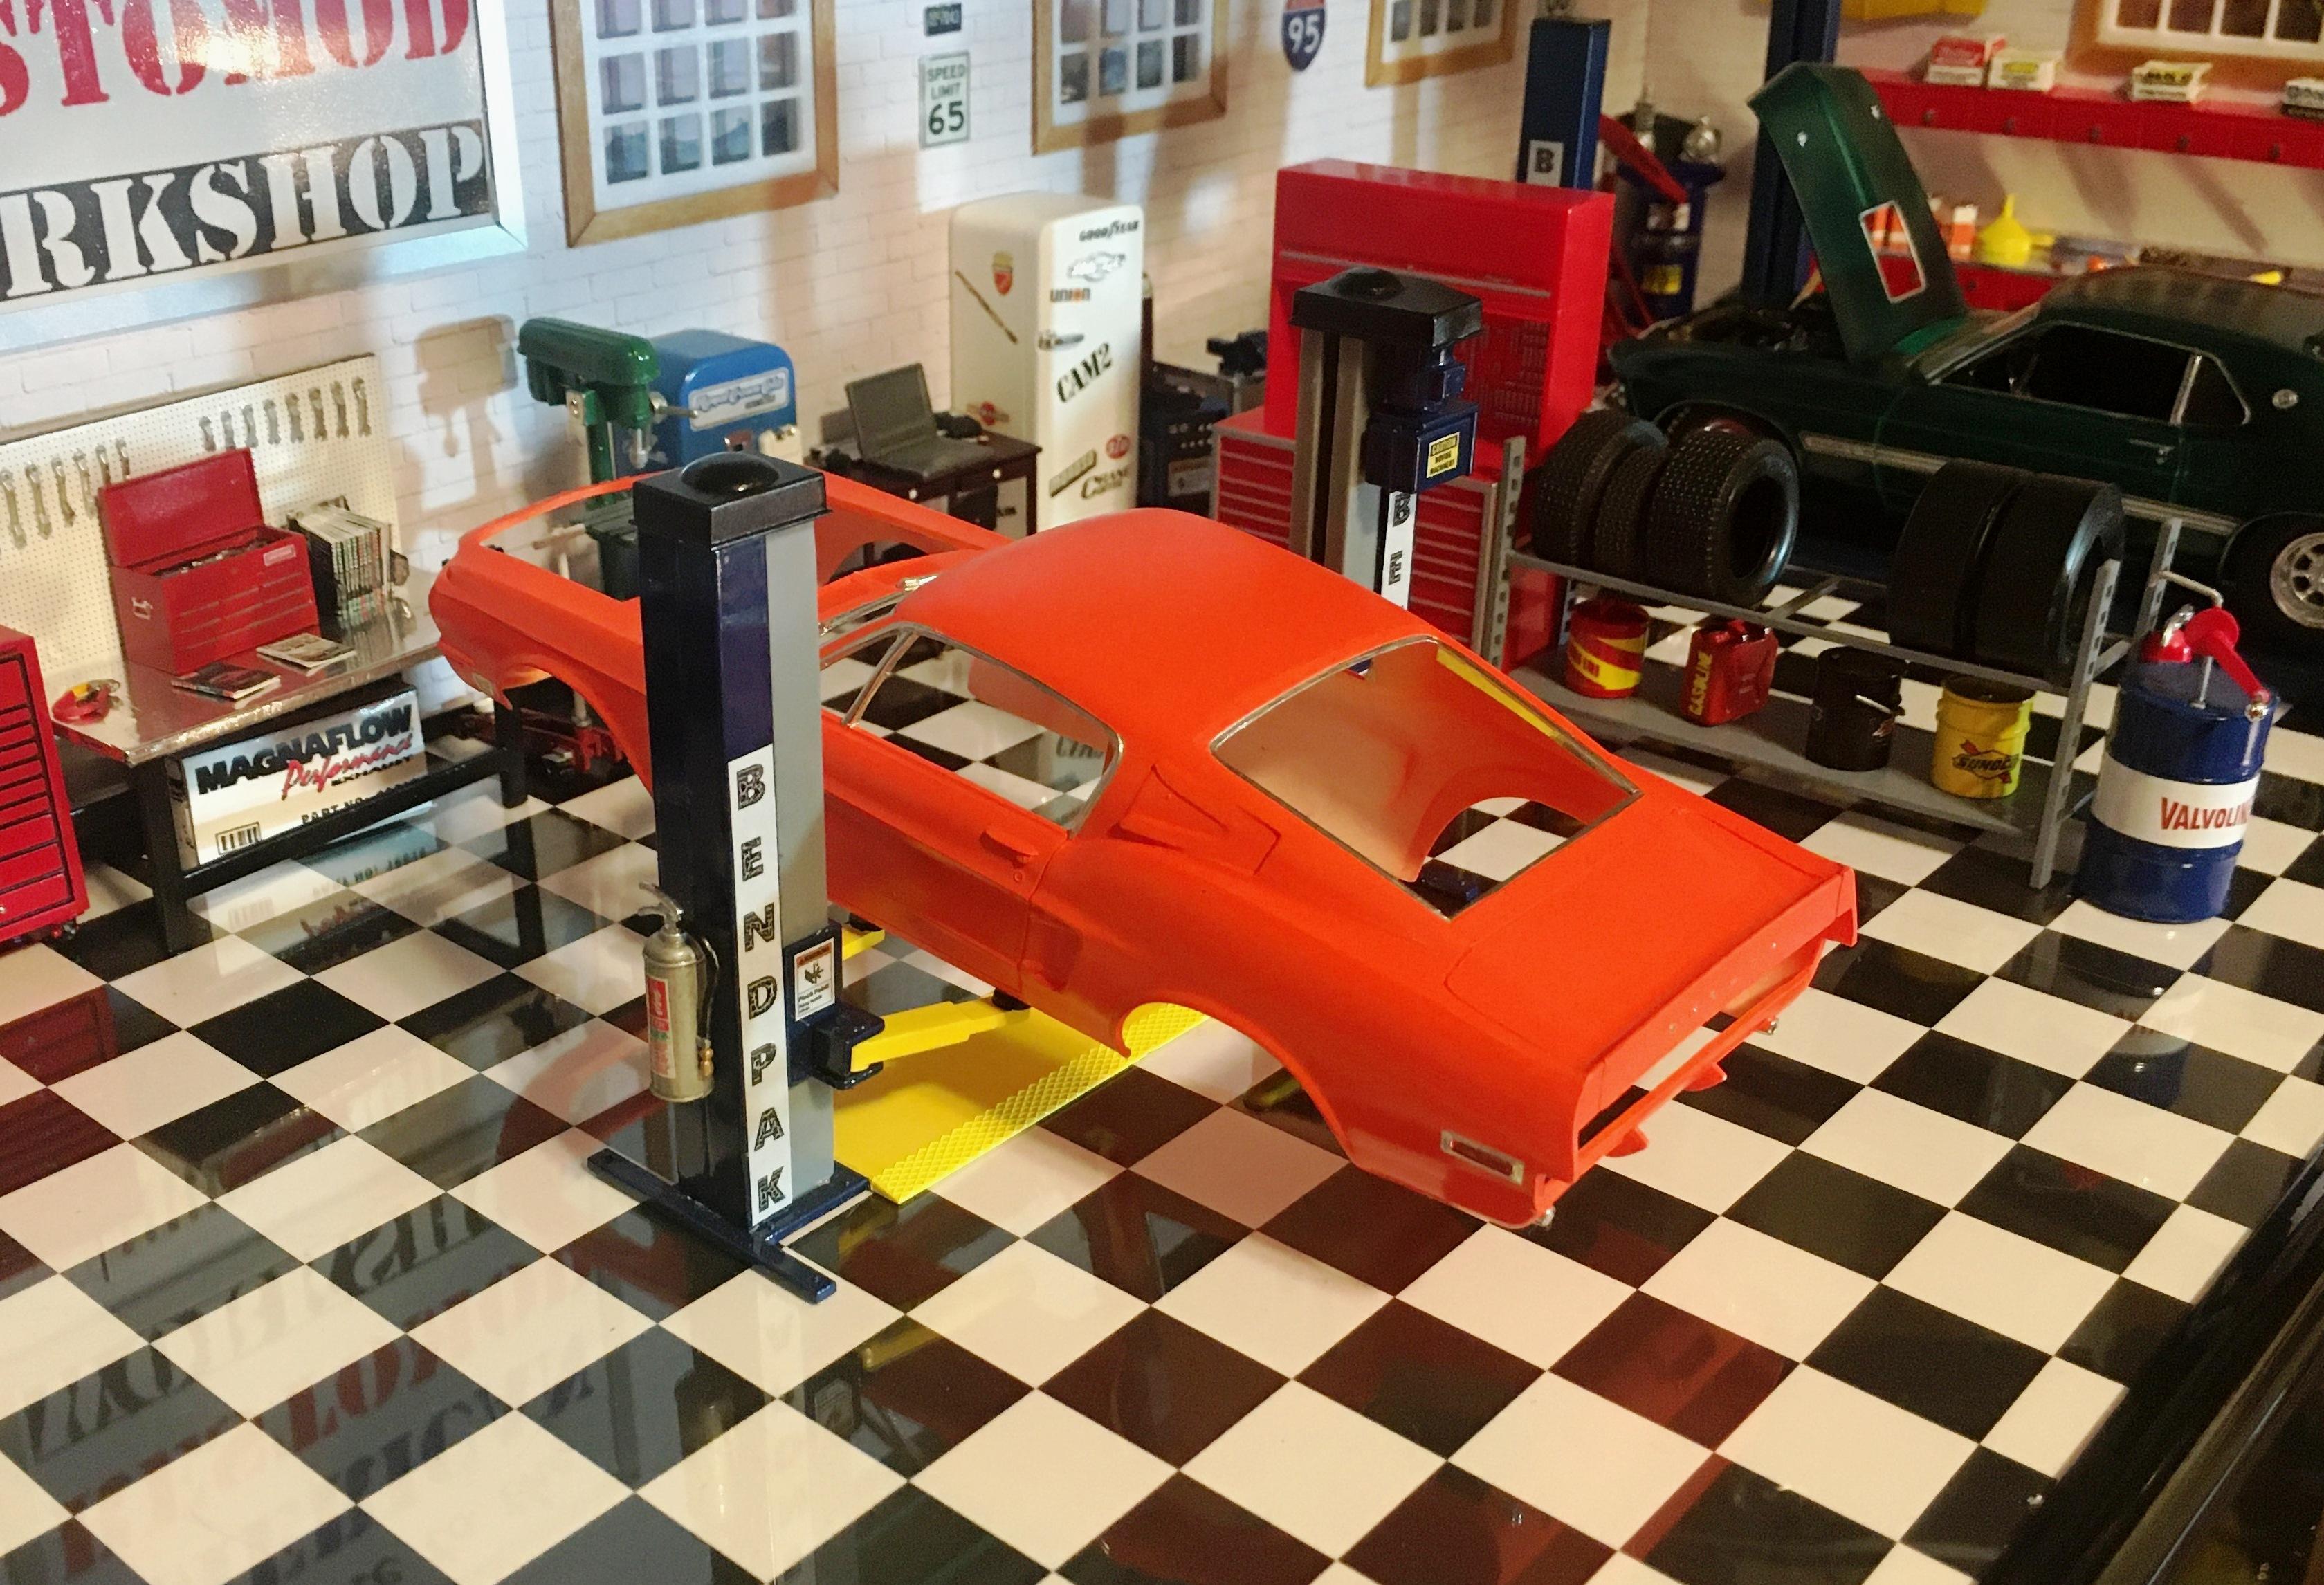
This project has given me some drama. Shot the dull flat enamel hood with some Testors Wet Look clear and got foam trapped under the too heavily applied clear. A few days later I got the clear lacquer off with a short soak in some 91% alcohol. It did not affect the surface of the enamel orange but the orange now wants to let go of the white Tamiya primer here and there. A few touch ups with a peach colored sharpie and it is barely noticeable. Brushed on some Future and hopefully that will seal everything down. Since the hood appears to be saved for the moment, I got brave and applied some BMF to the body. The orange on the body has the same borderline adhesion to the primer. Anyway, I got the window frames and the side markers done. I also started on correcting the kit's lame engine compartment by working on grafting in one from a 67 Mustang which has the correct shock towers and such. Comments welcome.
-
Finally made some progress after being in a funk for a few weeks. Peeled the masking and filled some gaps in the sleeper doors. Finally got to repaint it yesterday. Actually used my siphon airbrush outdoors to save the hassle of setting up the paint booth indoors. Got the interior finished which turned out pretty well.
-
Thanks for asking the question. I am partway through the same dilemma. Thinned my paint too much and it came out flat. Toothbrushed the entire body the remove the dryness. Paint is dull but smooth. Tried Wet Look clear on the hood but overapplication required removal of the clear lacquer from the enamel base color. Fortunately 91% alcohol removed the clear without affecting the orange enamel. I am going to take the safe route and use Future clear as I know there will not be any issues.
-
Way Cool!
-
Gotta love those detailed Klassics.
-
Very nice job on the BMF. I like what you did to the wheels too.
-
Peterbilt 359 Conventional
Bills72sj replied to Captain Spaulding's topic in WIP: Model Trucks: Big Rigs and Heavy Equipment
Following too. Have one in the stash. -
Well done on accomplishing your vision.
-
Ditto that!
-
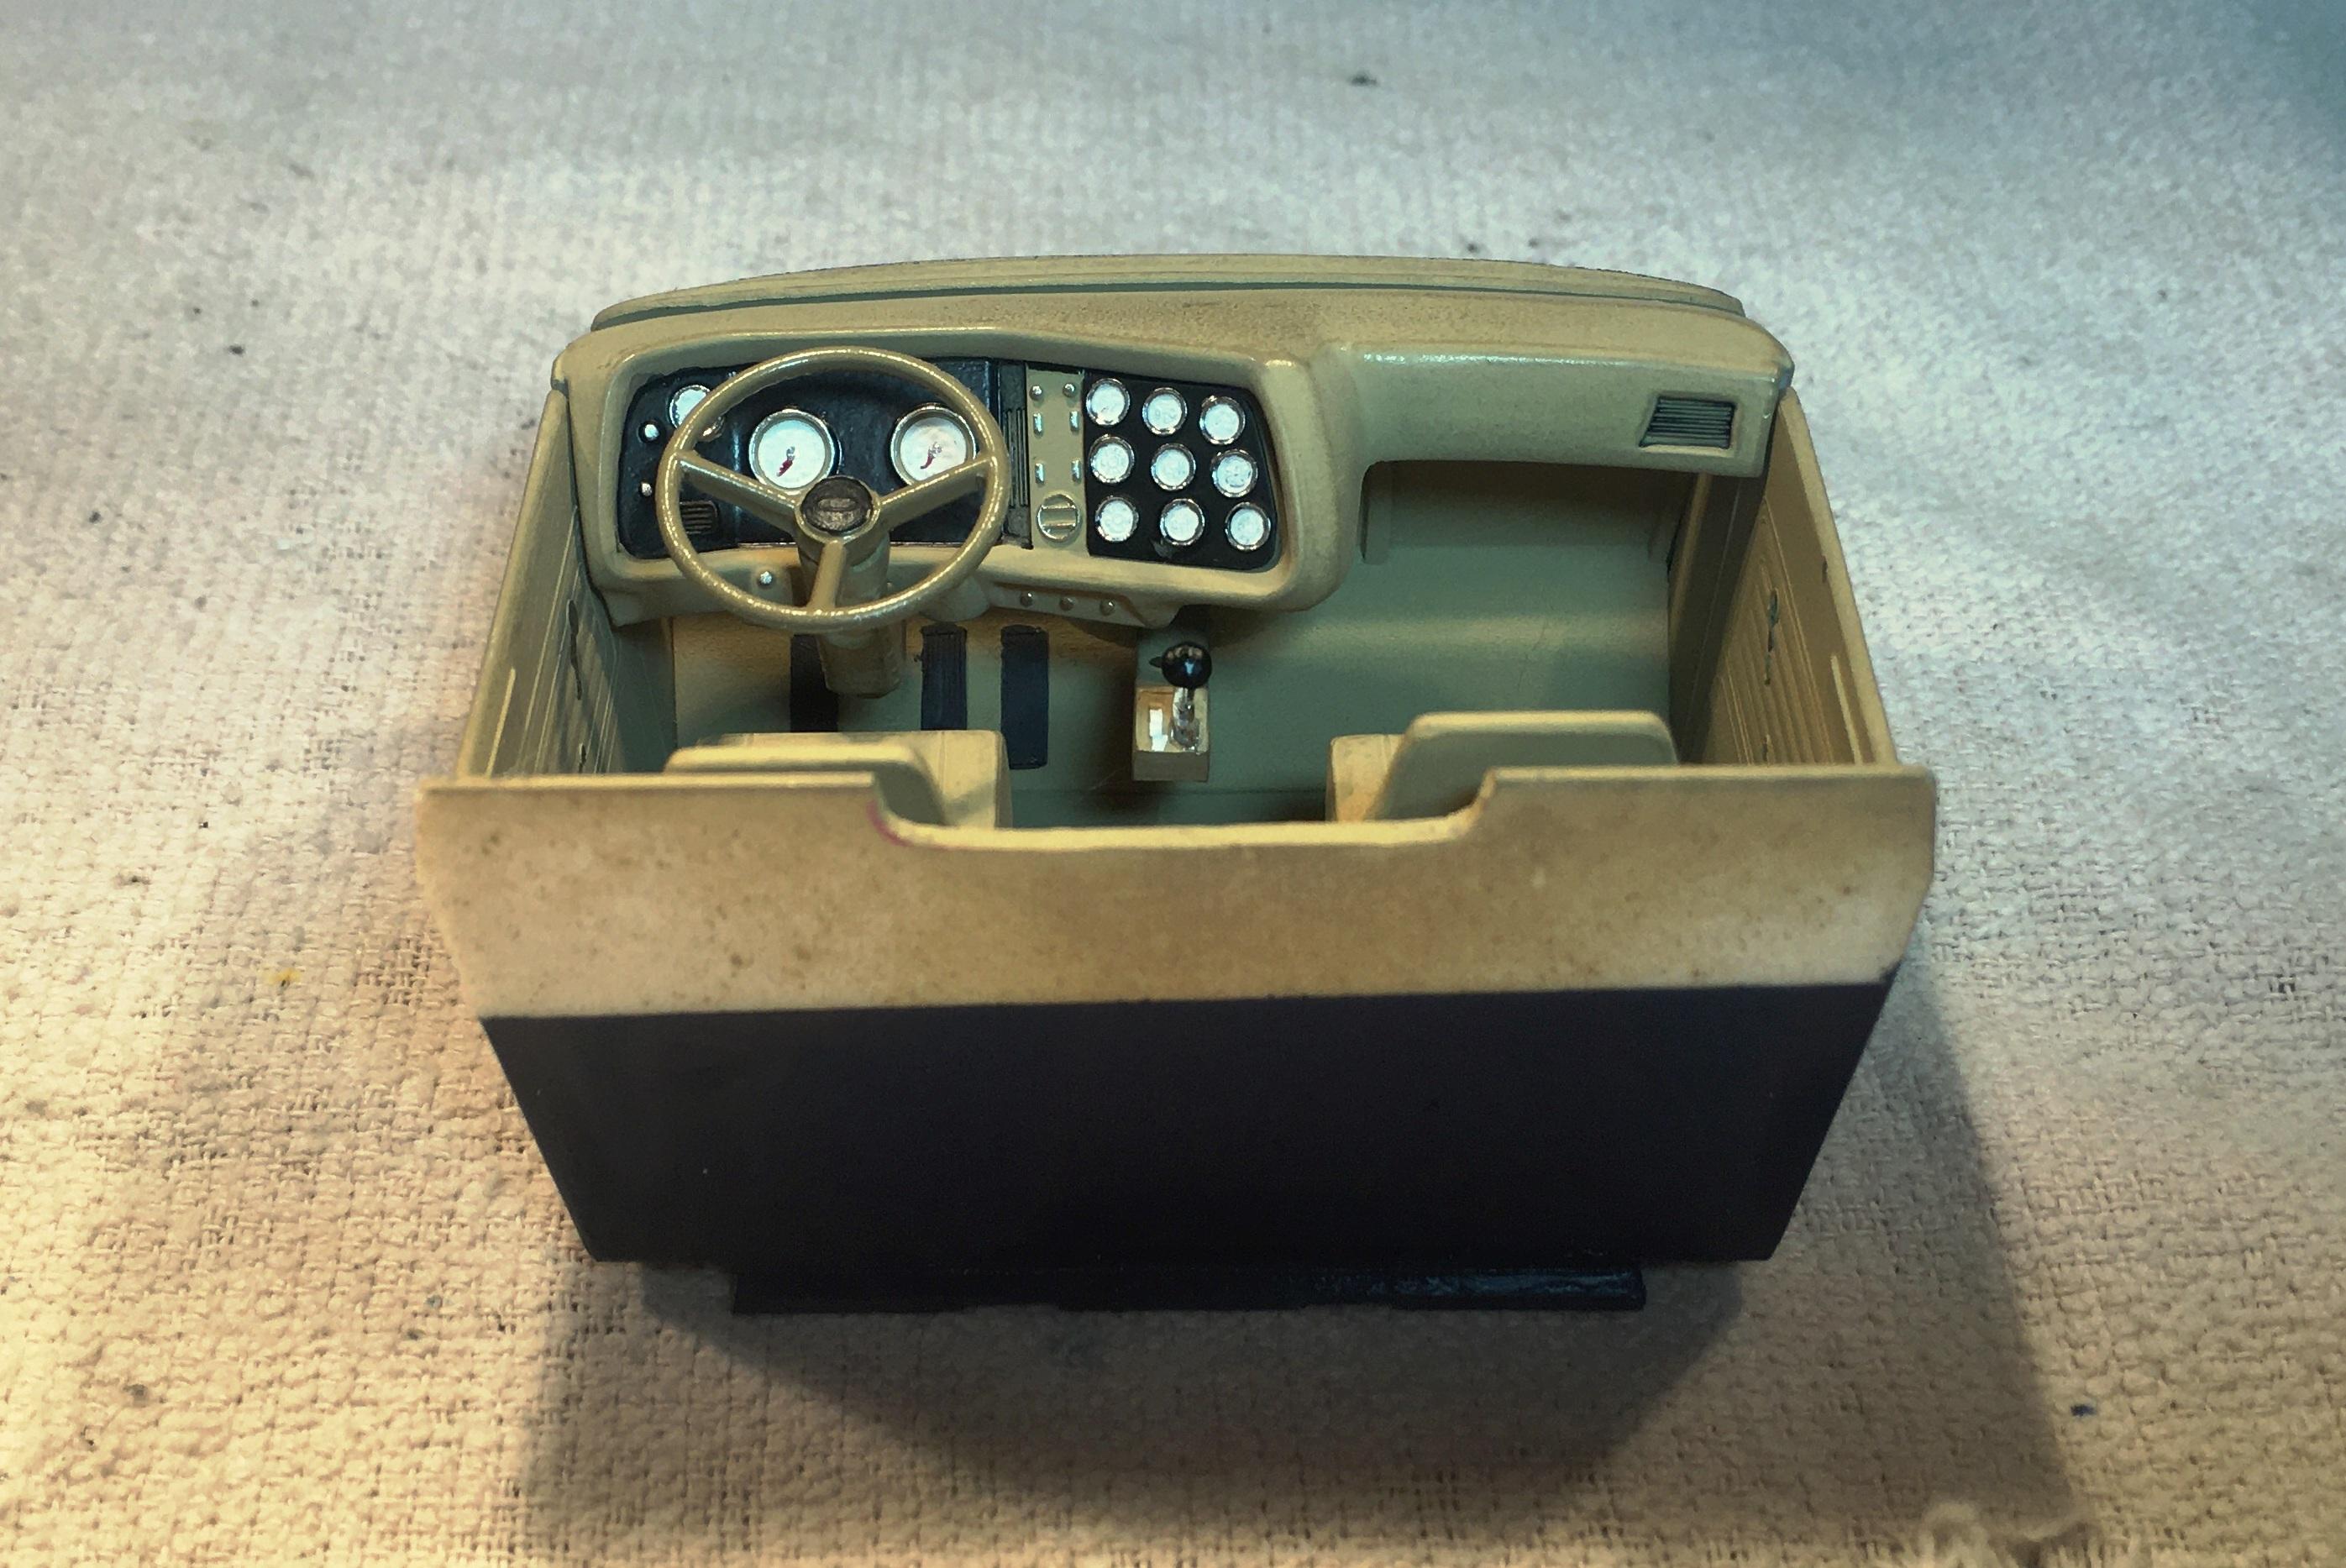
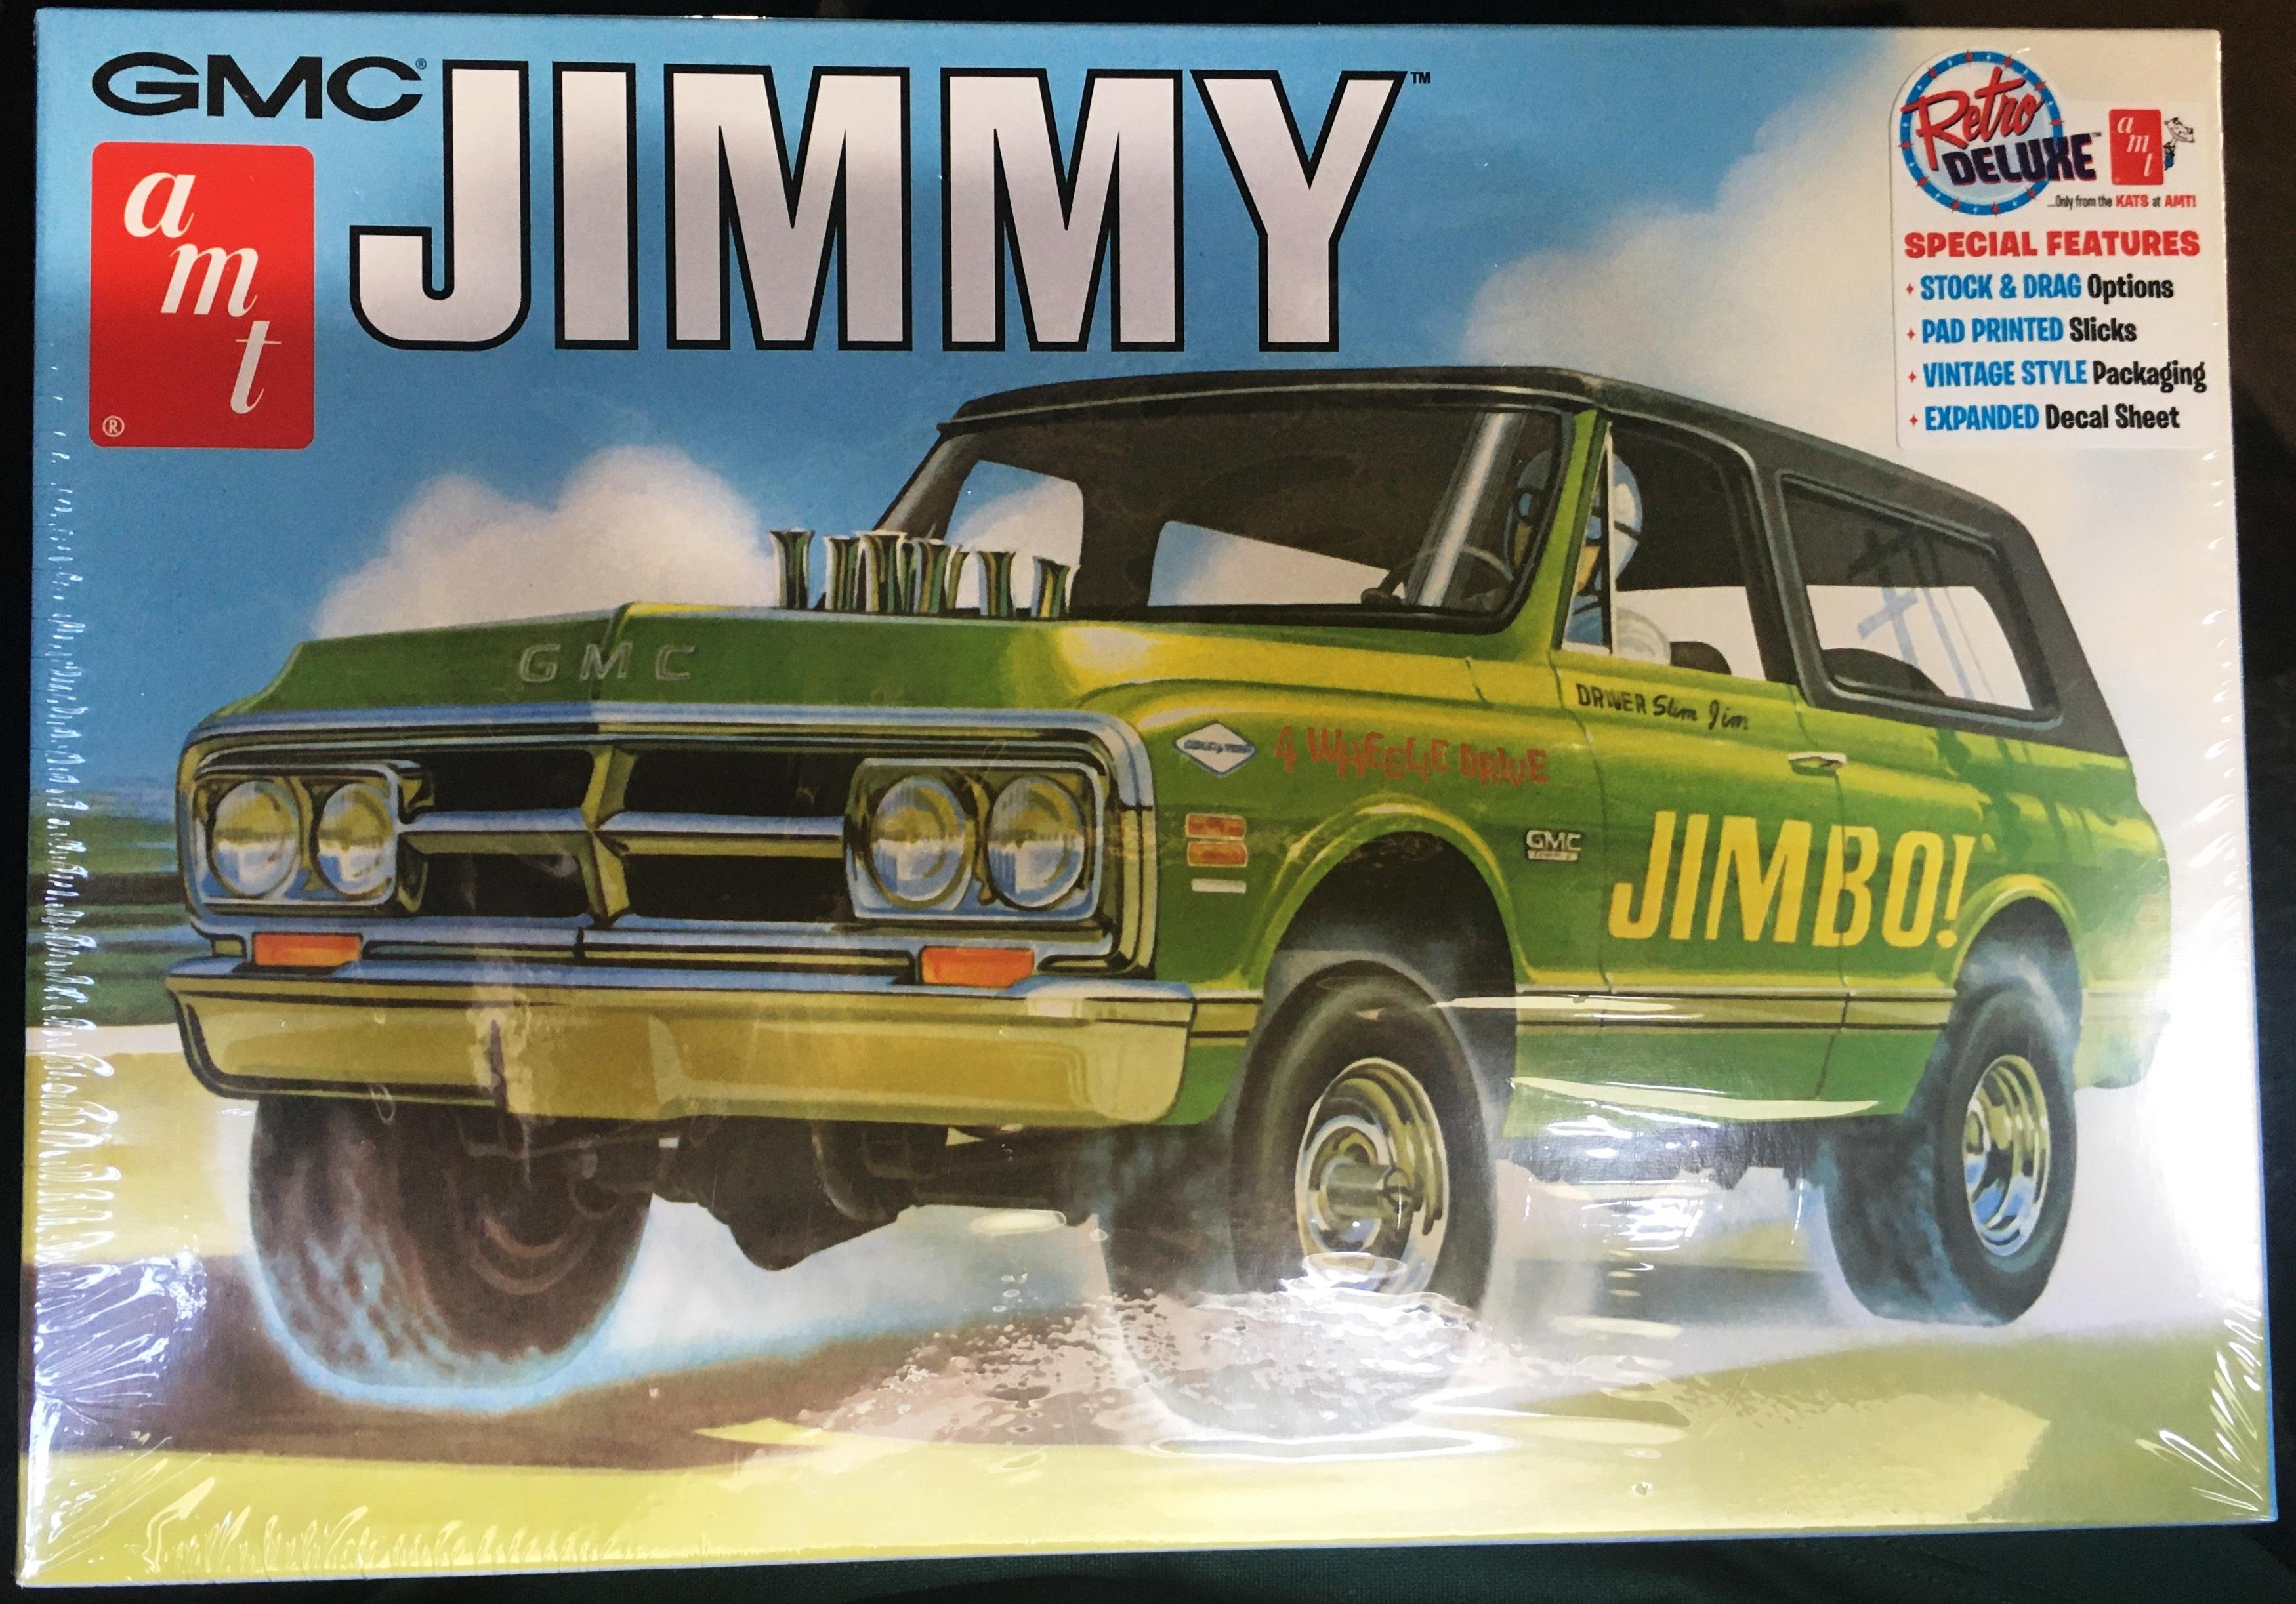
Got impatient waiting for HL to get the GMC Jimmy, so the one I ordered from ebay came today. I also got a bunch of really cool photo etch parts from Brazil.
-
Broke out of a building slump by tinkering on this one again. Worked on detailing a few items.
-
I too got the foamy clear problem on a hood. The base coat is long cured Testors enamel of which I have no more. Is there any thing that will chemically strip the clear lacquer without affecting the enamel base coat?
-
I too am a fan of BSI CA glue. I use the 5-15 second gel with out an accelerator. It give you time to position parts and has a very good bond. It is very useful for attaching sprue stems to parts to allow holding them with alligator clips for painting. Once the paint cures, the stems can simply be snapped off.
-
All are very nice subjects. If they were mass produced kits I would gladly add them to my stash. As resin items the cost will likely keep out. Besides, I have too much to build now.
-
No, no paper. At 1st I was going to use BMF with 3/32" tape for the lines/curves. Then I switched to strips of Parafilm because it seals just as well without leaving residue. It is also more flexible and durable.
-
Well my ambitious paint scheme has been quite the challenge to mask. So much so, it has put me in a funk for a couple of weeks. I started with the hood and then the cab and then the sleeper. When I got to the box, I could tell the sleeper curves and spacing were all wrong. So... all of masking of the sleeper got undone. Since the stripes at the rear of the cab were approximately the same width, I figured I would try attempting uniform spacing at the front of the box. After carefully measuring and making said spacing I roughed in the curved line masks on the box to discover that was not going to work either. So, I just went for "Magic Eyeball" and just laid them and relaid them until they looked right. Once I get the both sides of the box figured out, I will just remask the sleeper by connecting the dots (or lines as it were). Then it will be paint white to seal the masks, paint the blue, remask and paint the red then remask and paint the silver. This all assumes of course my rookie painting skills succeeds without flaws. Wish me luck.
-
I have been following. The end result is most impressive all around.
-
I am a fan of both. Cragars look good on Chevys and Klassics look good on Pontiacs. (Your opinions may vary) Here are some pics of a few that have been in my life both 1:1 and scale.