Bills72sj
-
Posts
4,582 -
Joined
-
Last visited
Content Type
Profiles
Forums
Events
Gallery
Everything posted by Bills72sj
-

Those that were only made once
Bills72sj replied to T-Ray's topic in General Automotive Talk (Trucks and Cars)
MPC 1968 and 1969 Impalas -
If the paint is fresh and the decals are fresh. Just apply them. Set aside an unused portion of the decal sheet still on the backing paper and spray IT with your desired clear. If you get NO reaction from that, then you may clear the decaled model. I have had only one bad reaction from clear. Testors Glosscoat Enamel over a set of custom Keith Marks decals. I got very undesirable wrinkling. He printed them on an ALPS printer with a clear of his choosing. I failed to test 1st.

-
Dang that's pretty. I'll trade you an unbuilt kit for it... lol
-
Custom decal suppliers?
Bills72sj replied to Steve H's topic in Model Building Questions and Answers
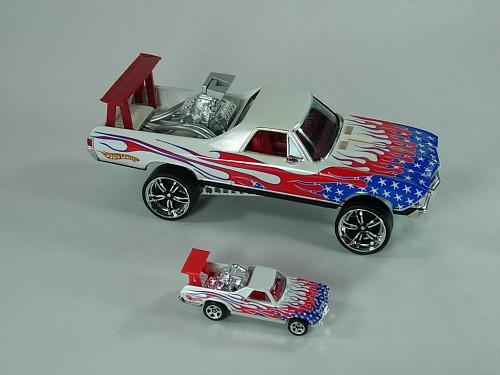
If you are willing to put forth the effort, you could just make and print your own. Here are some examples of my home made decals.
-
What is the best glue for glass/clear surfaces?
Bills72sj replied to AlbertS's topic in Tips, Tricks, and Tutorials
This is my go to as well. I also use it to fill in the gaps between chrome bumpers and the body. It draws in the color form both parts and visually narrows the unsightly gaps. -
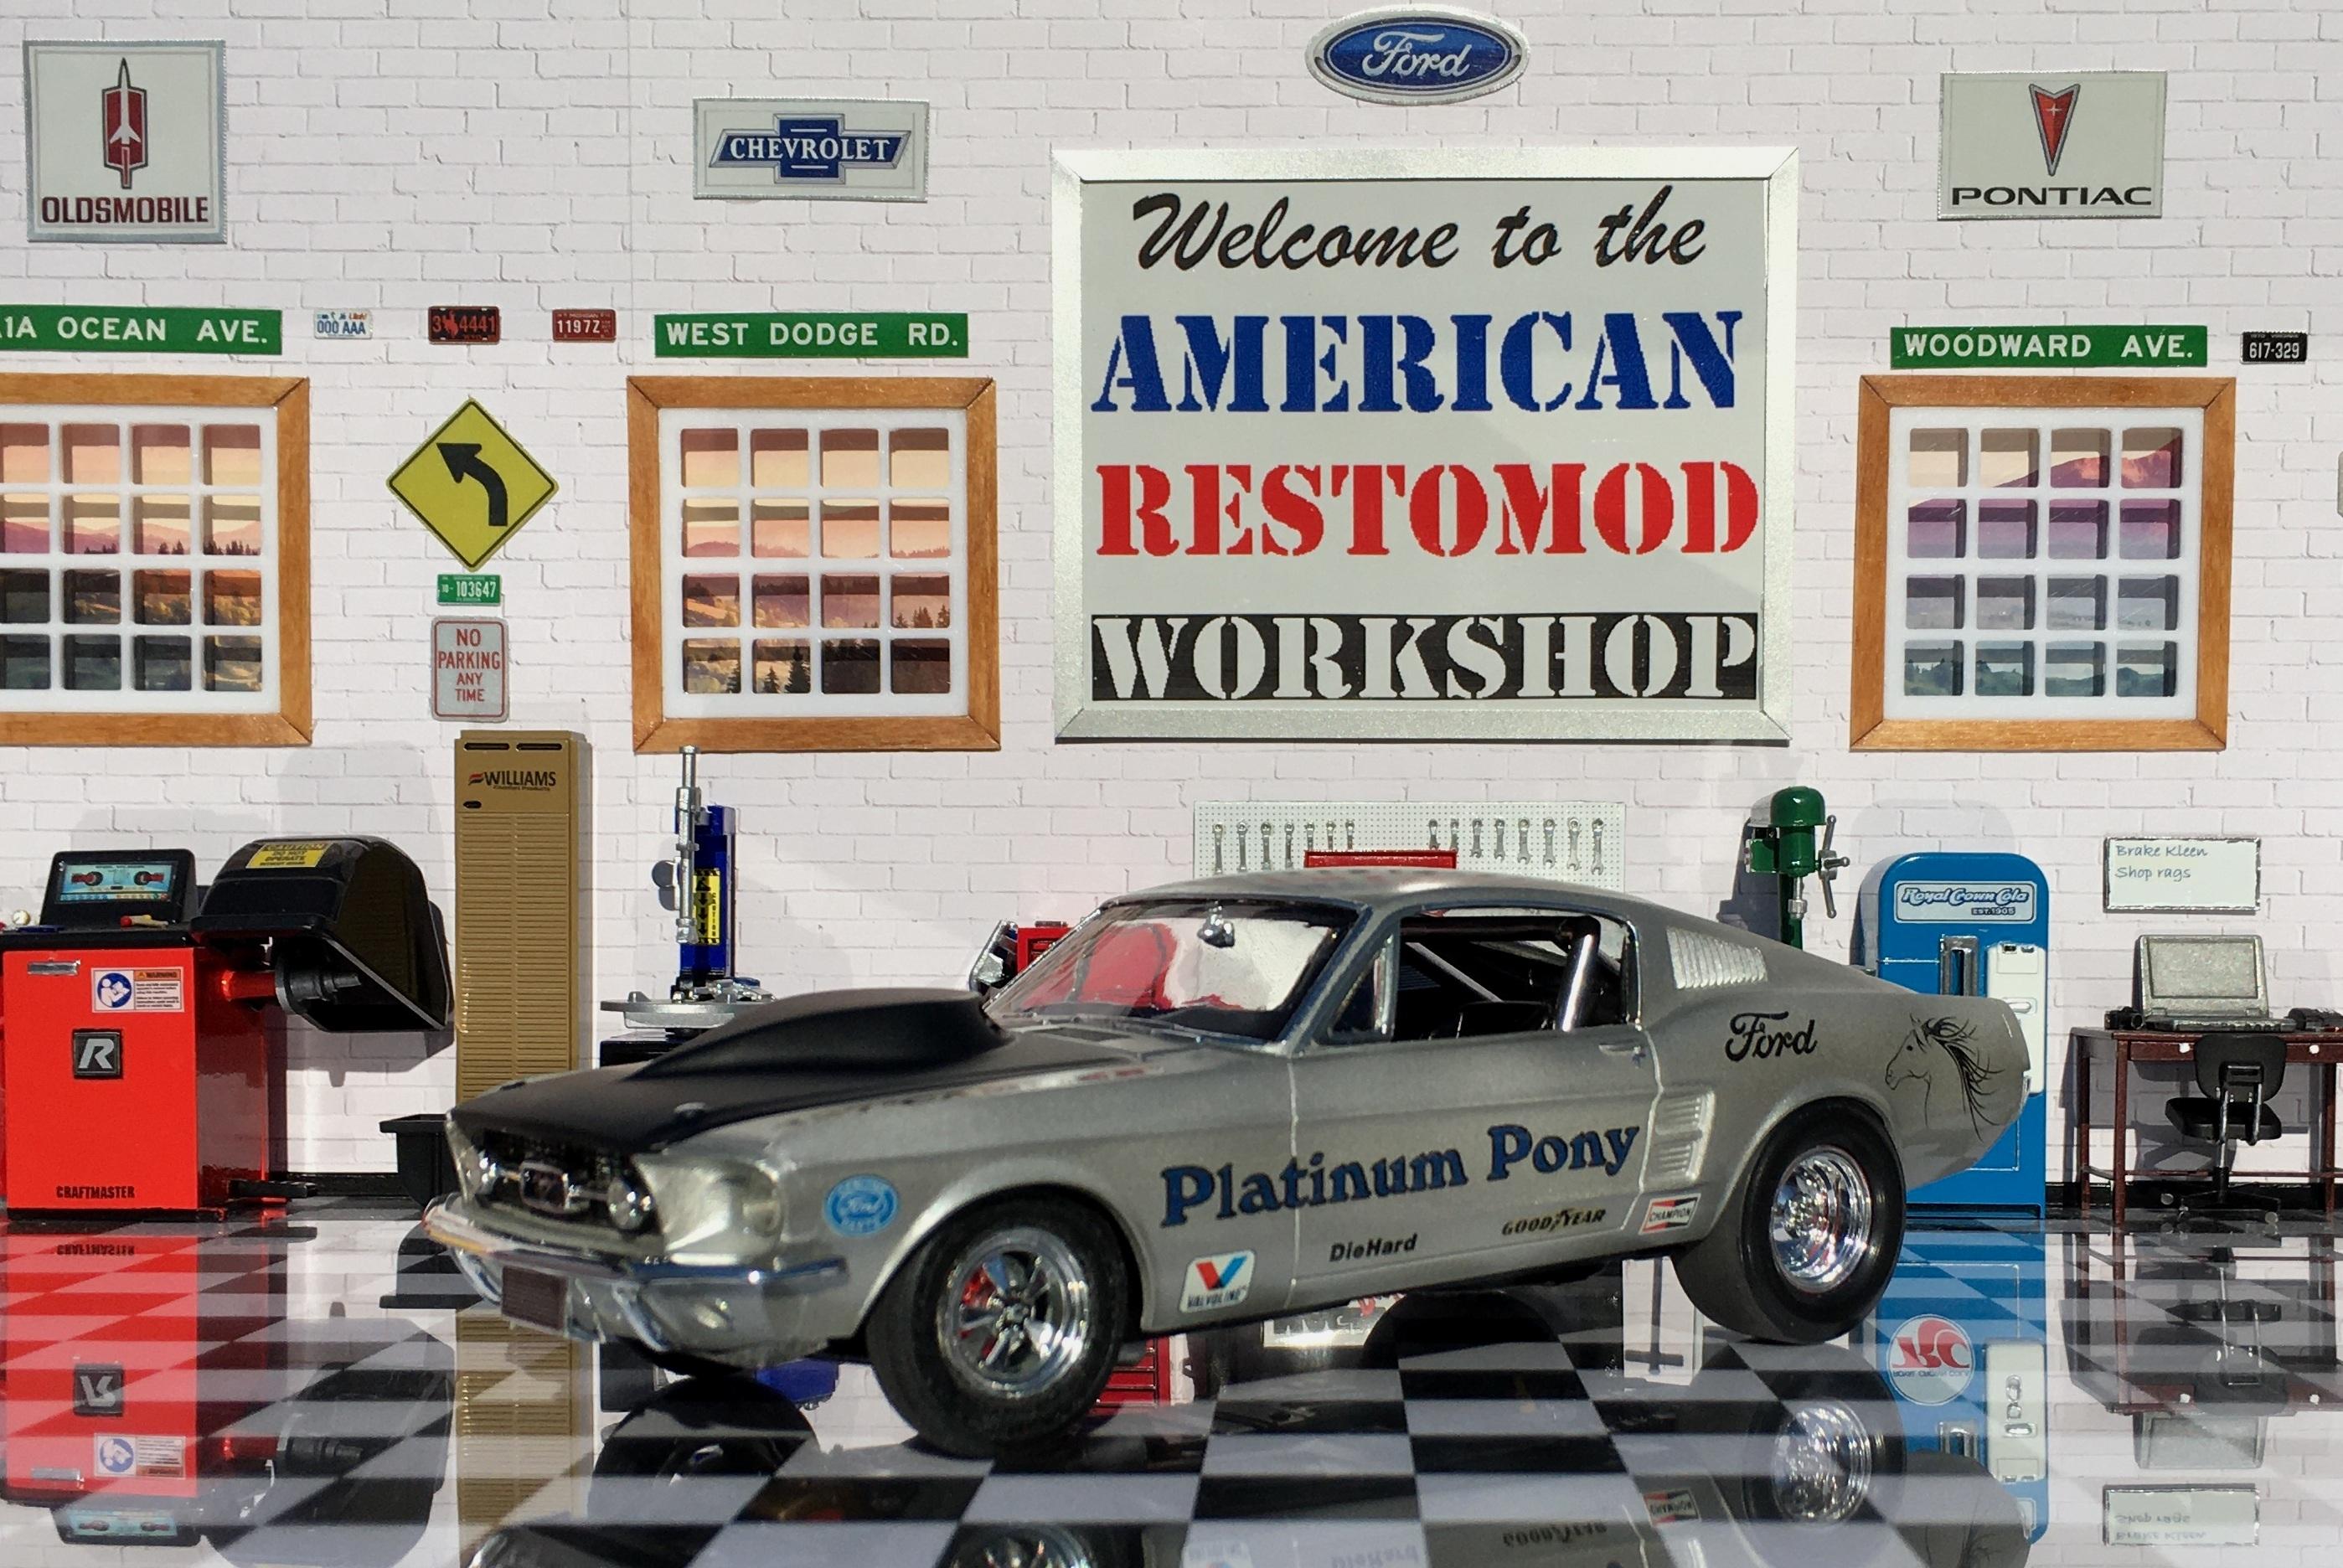
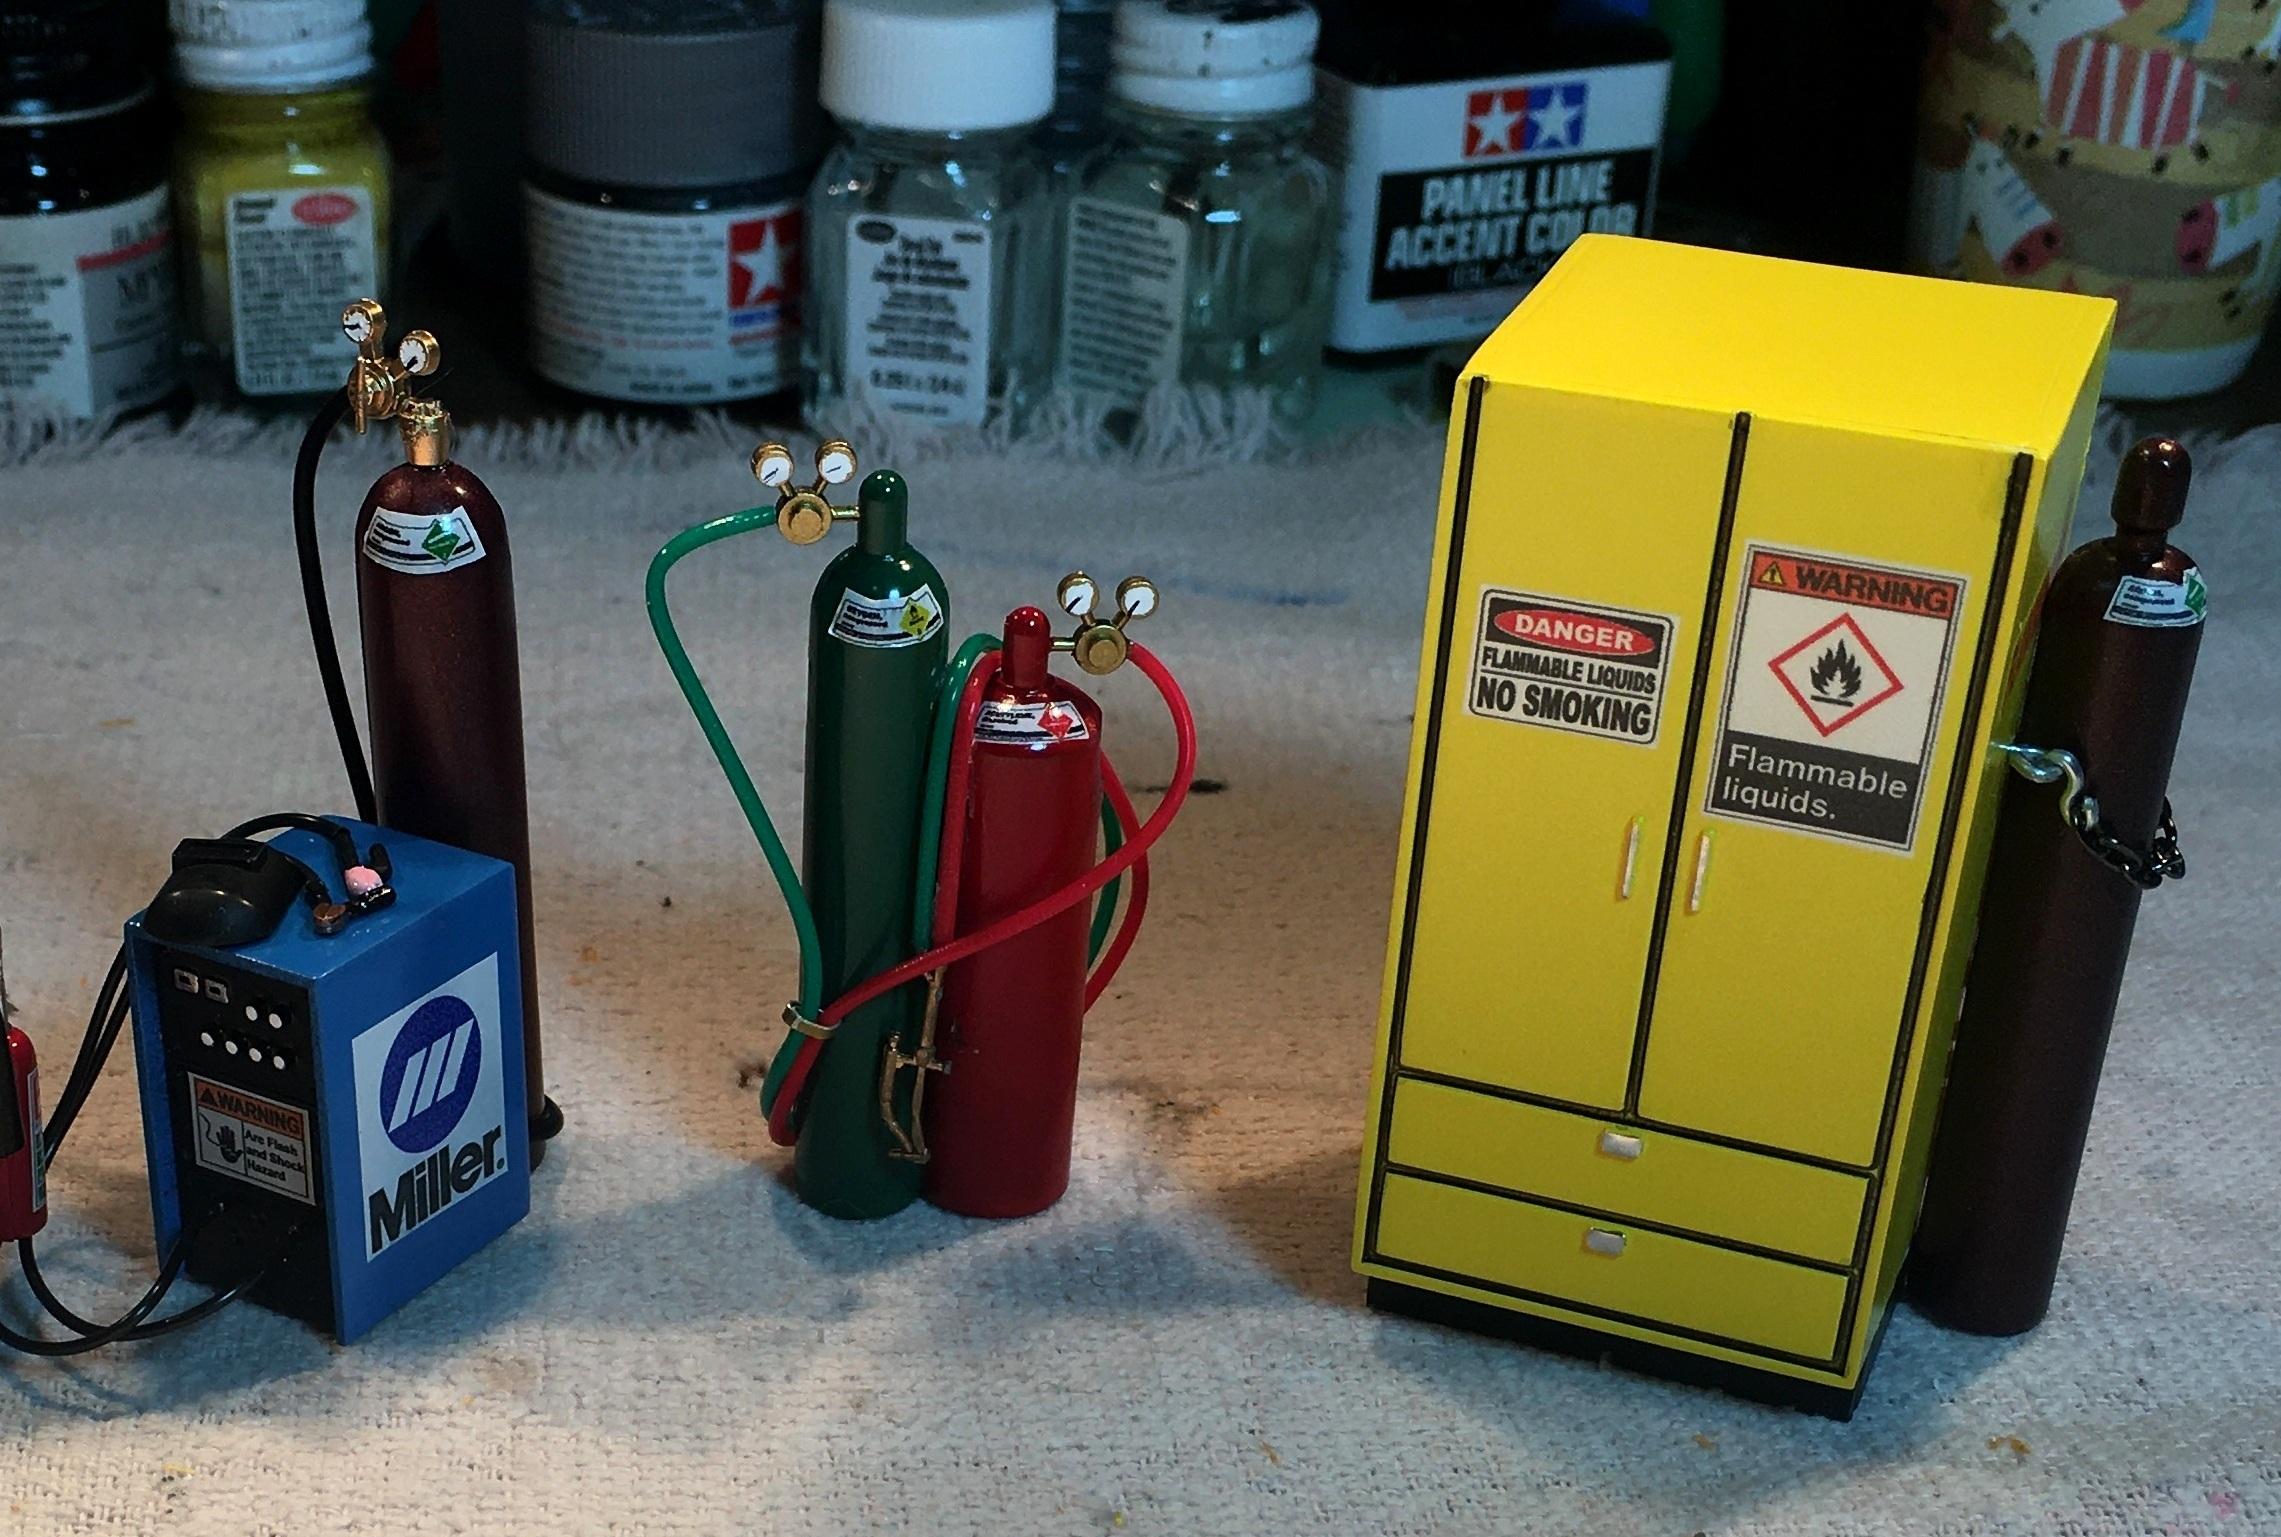
I have only done one glue bomb. It was only attempted due to rarity/cost of an unbuilt kit. I wanted to replicate a nicer version of my 1:1 work beater that I tinkered with for 4-5 years when my kids were little. It is not exactly recent but it is the only one I have done. I have WAY too many new kits to put forth the time into any others. The model was brush painted blue when I got it.
-
Following. My Dad had a 64 Caddy in dark metallic blue when I was a kid.
-
Yes, do it for the fun of it. Do not get worked up about the results. Just practice your craft. Never let it become a chore. Just walk away for a bit if needed.
-
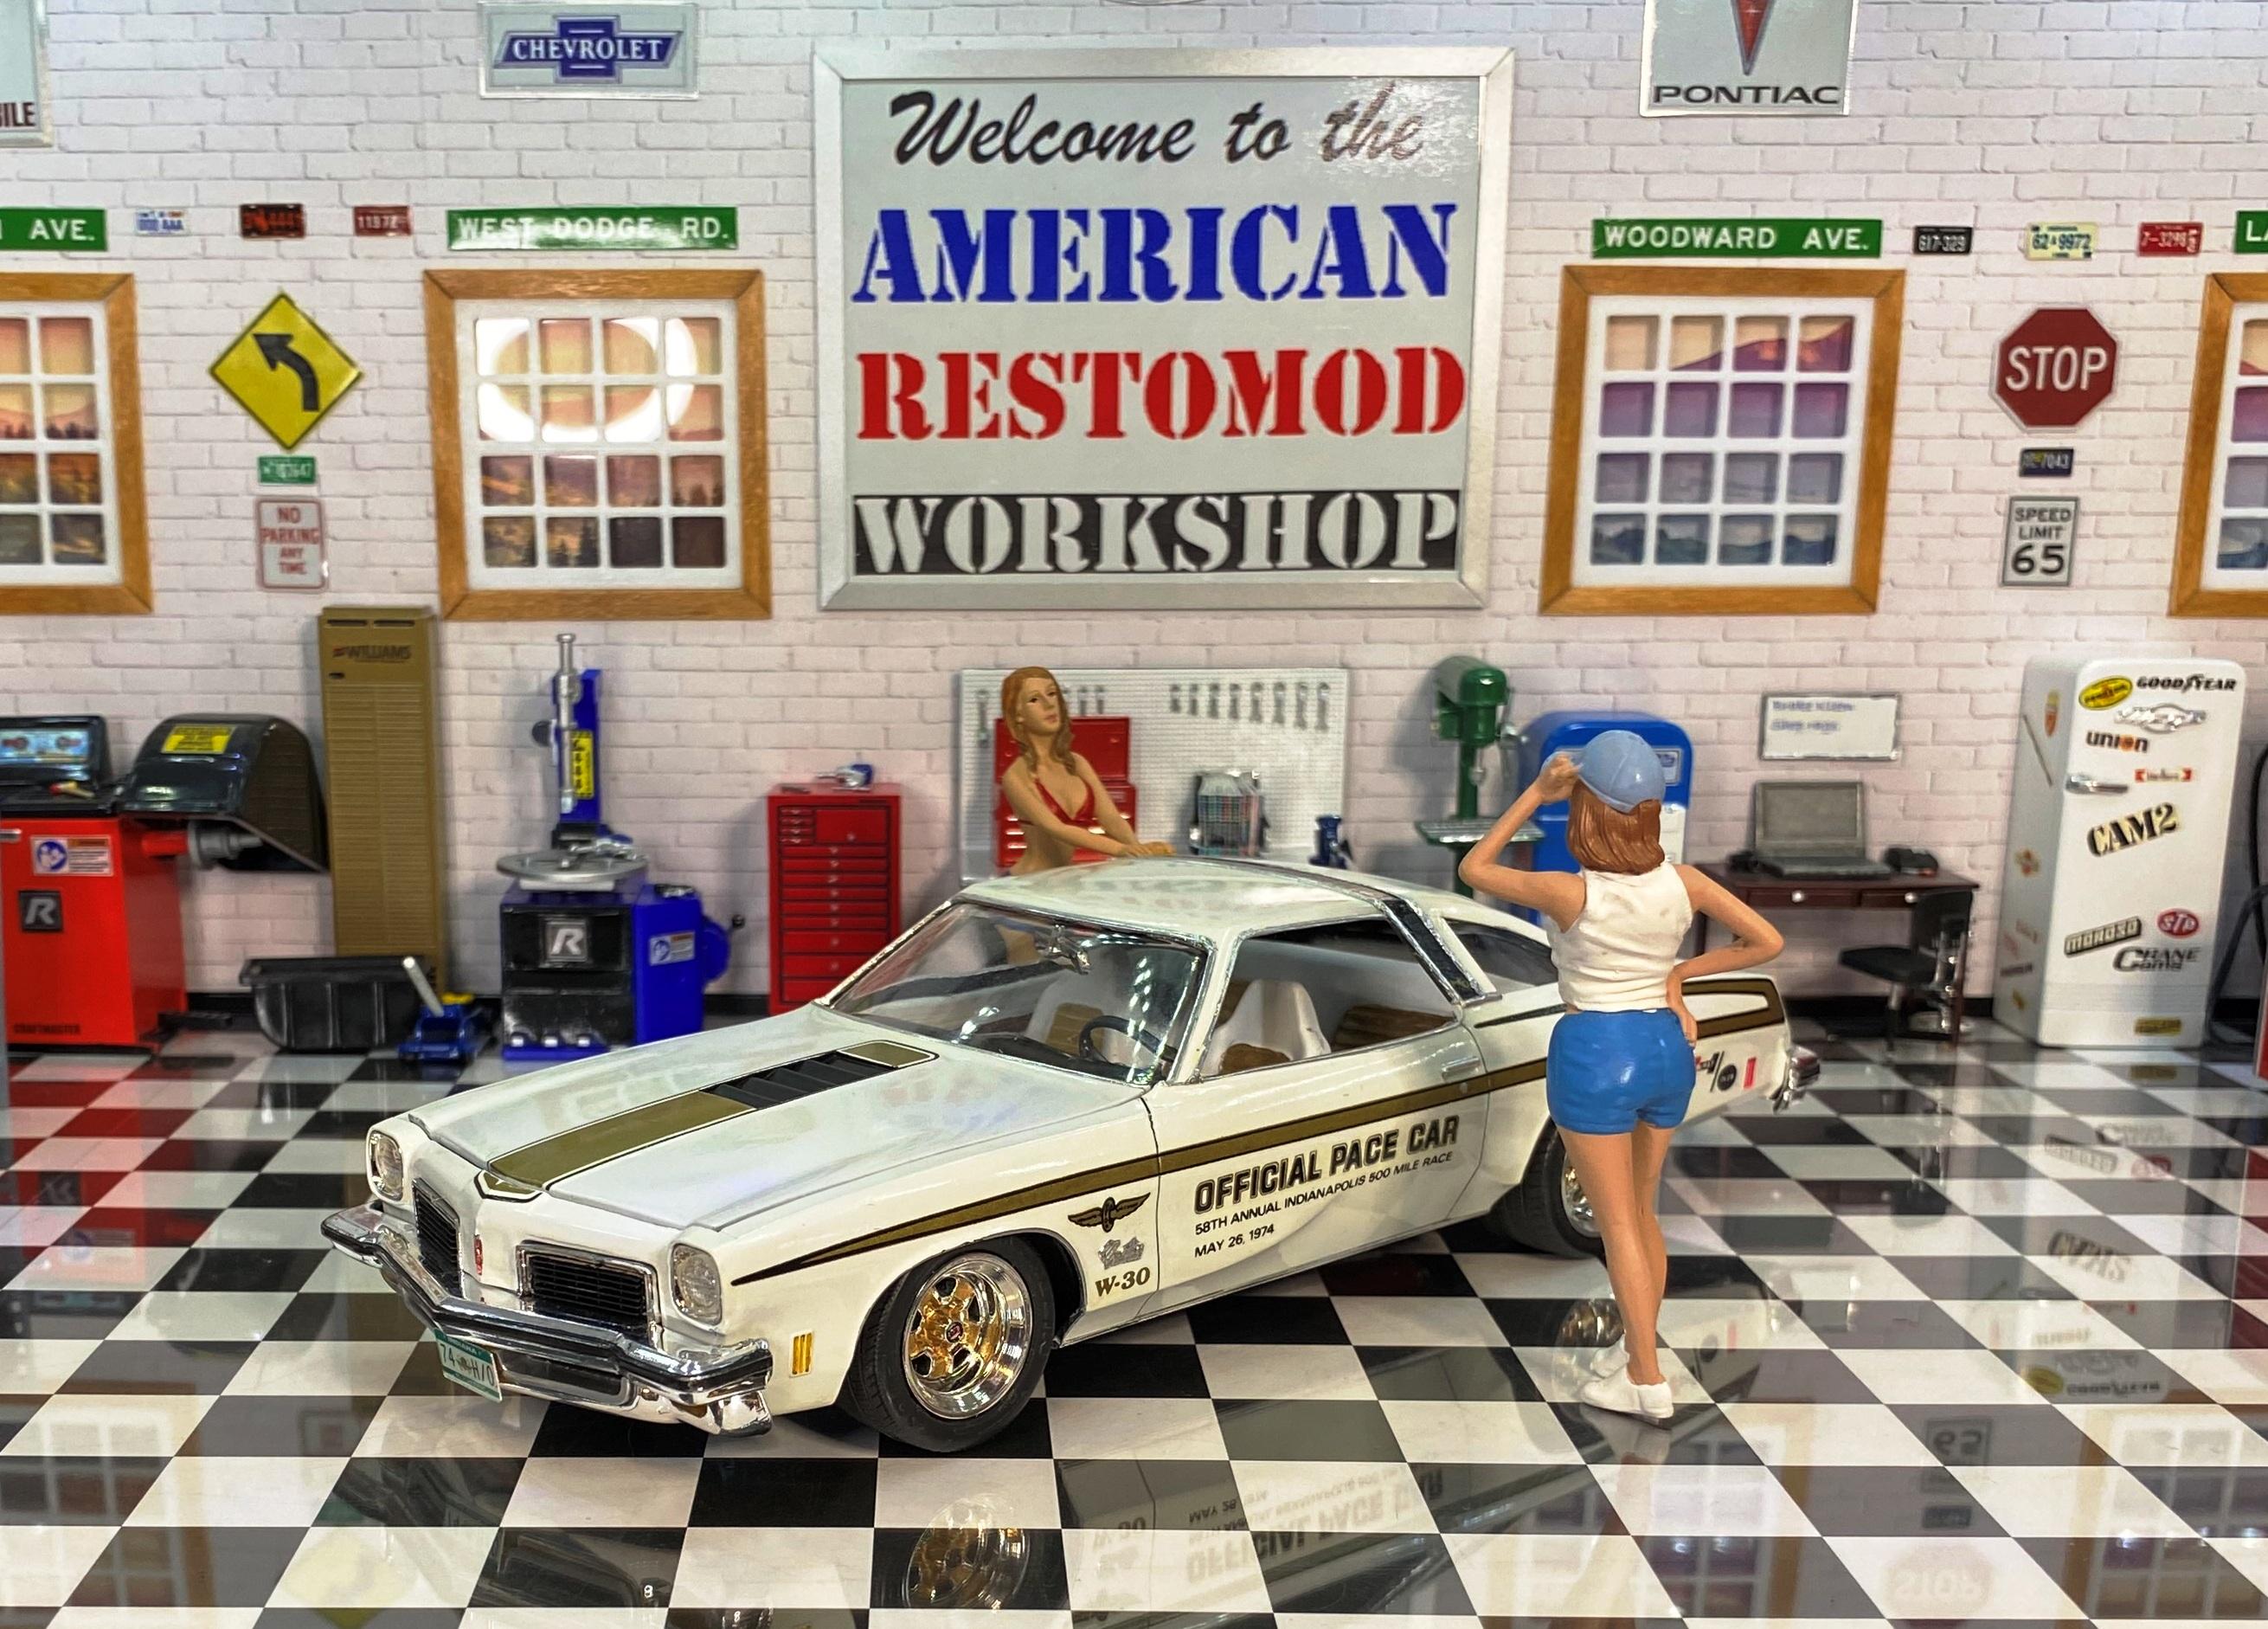
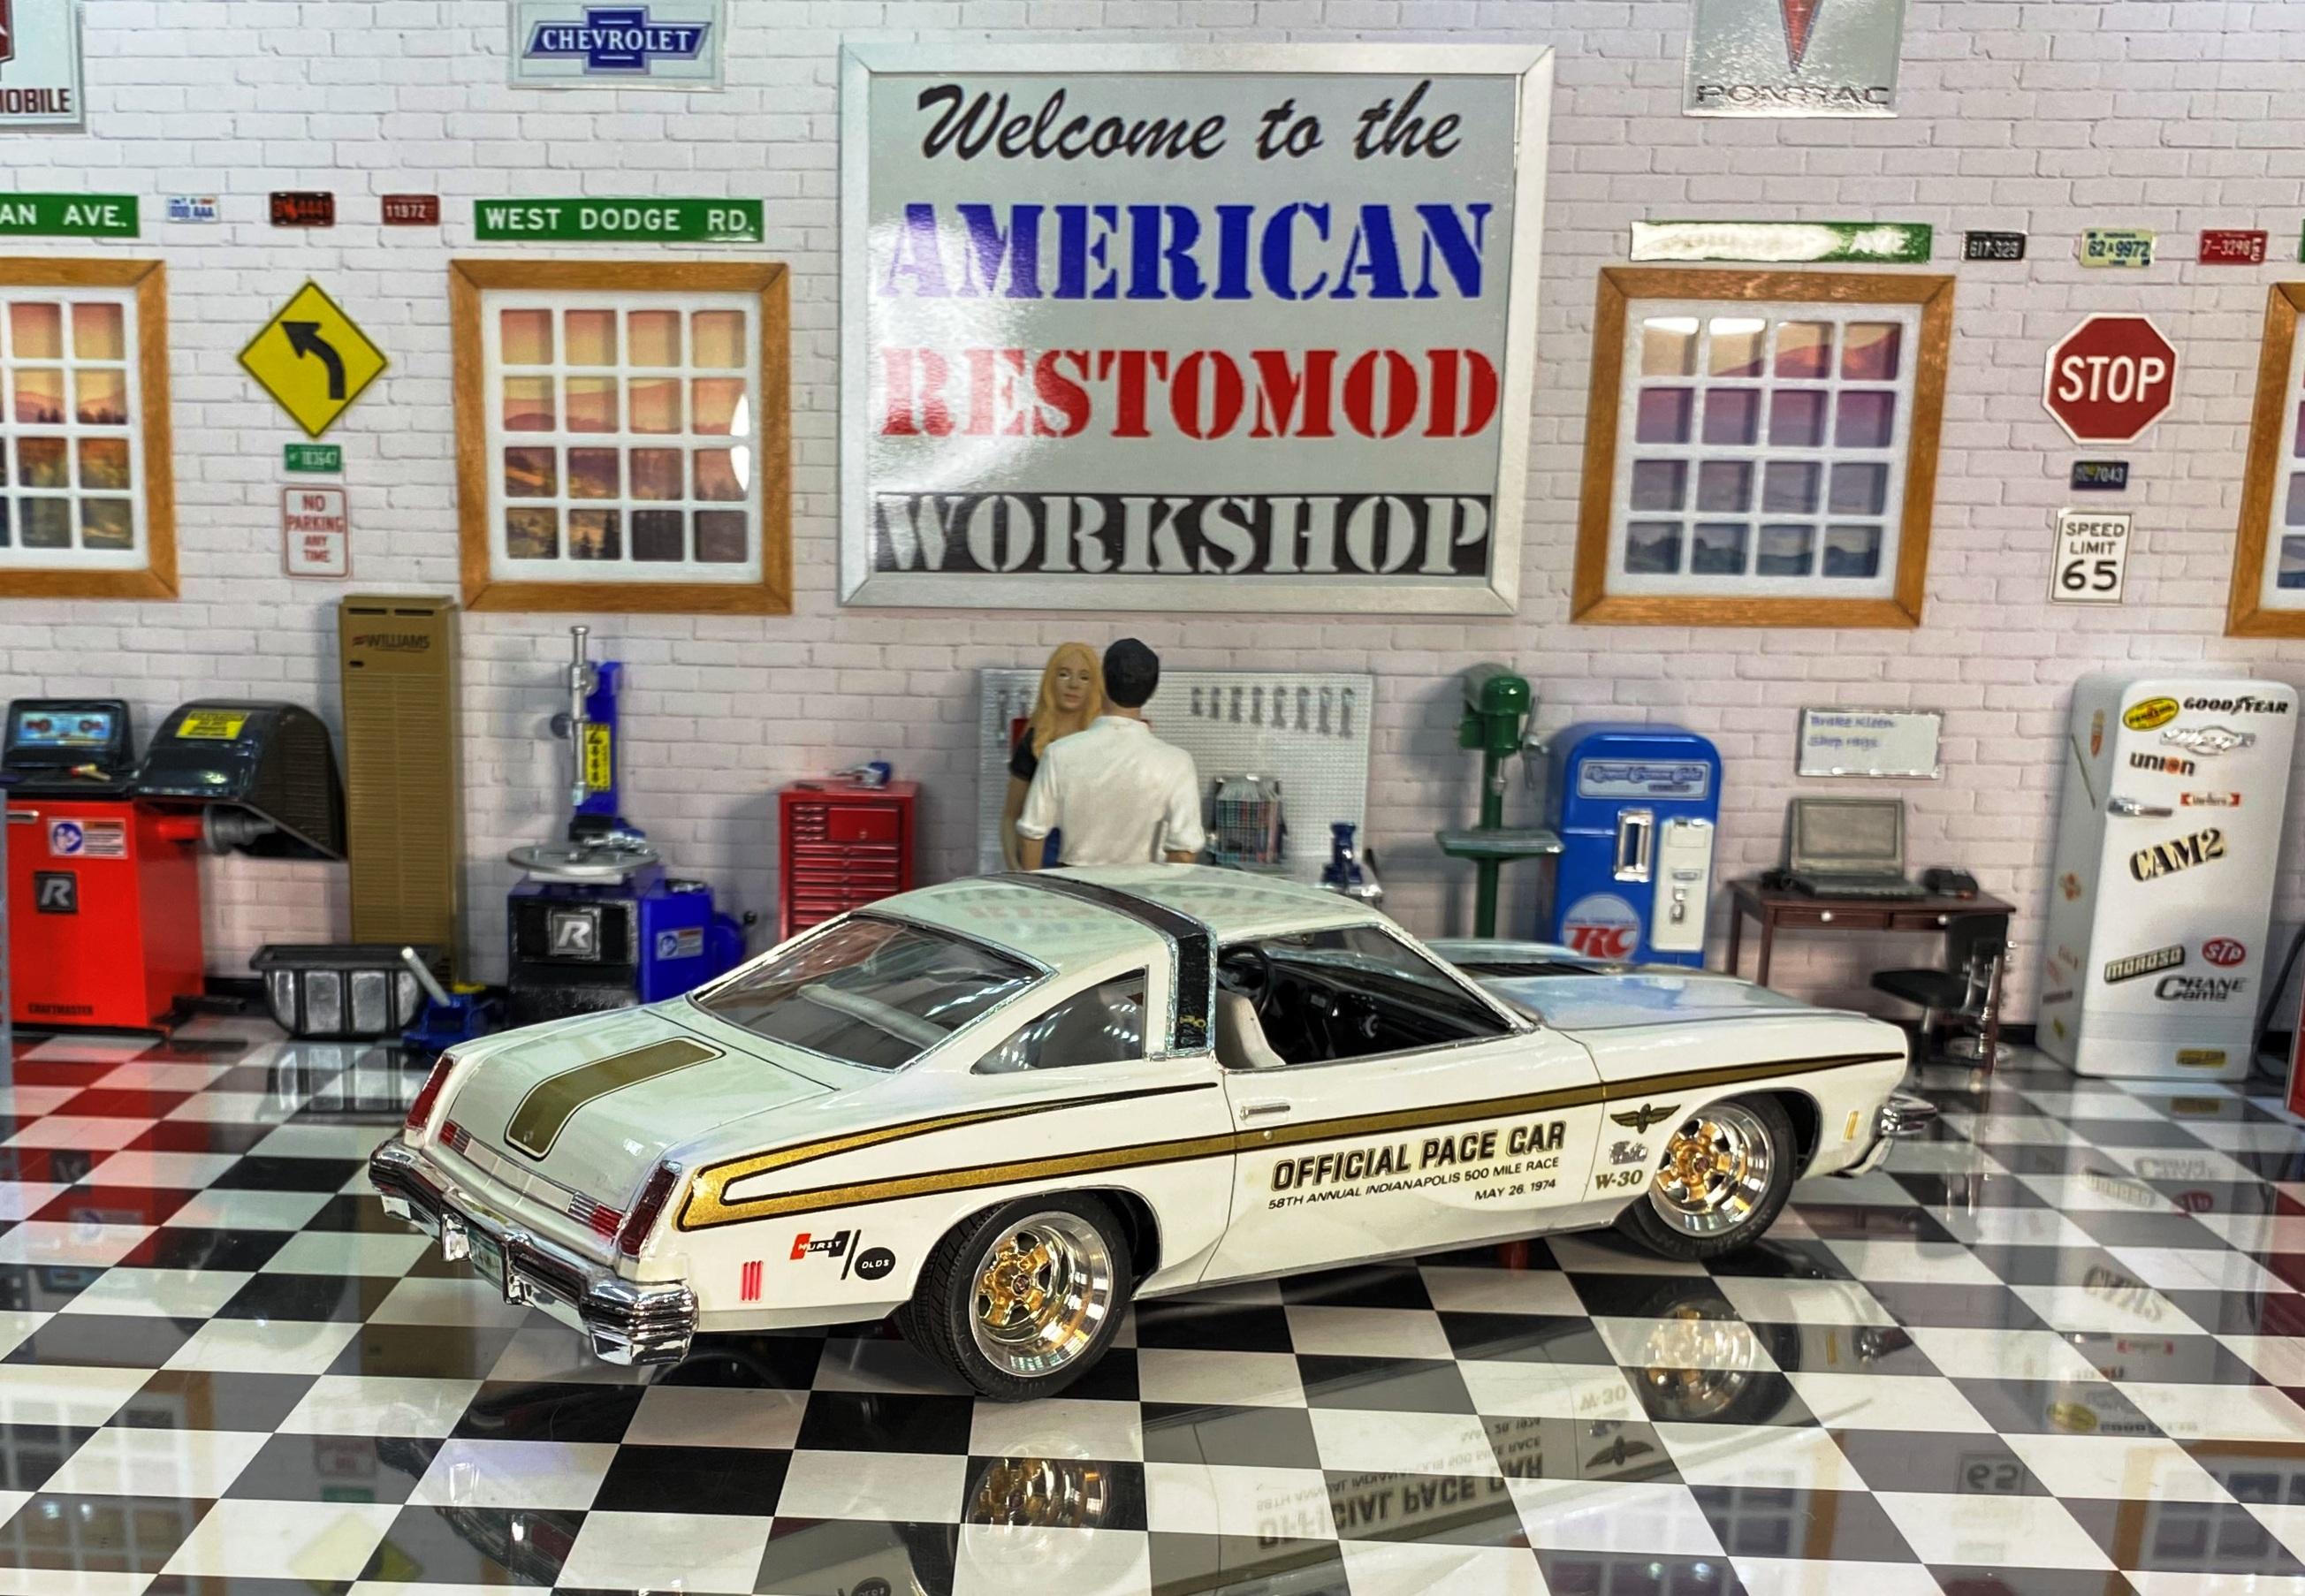
Have have 2 done. A poory built Javelin Pro Mod and my recent 74 Hurst Olds. I have a Maverick and a 70 Olds Cutlass in my stash. I would LOVE to get a "Haulin' Hearse" (or any other Cadillacs for that matter)
-
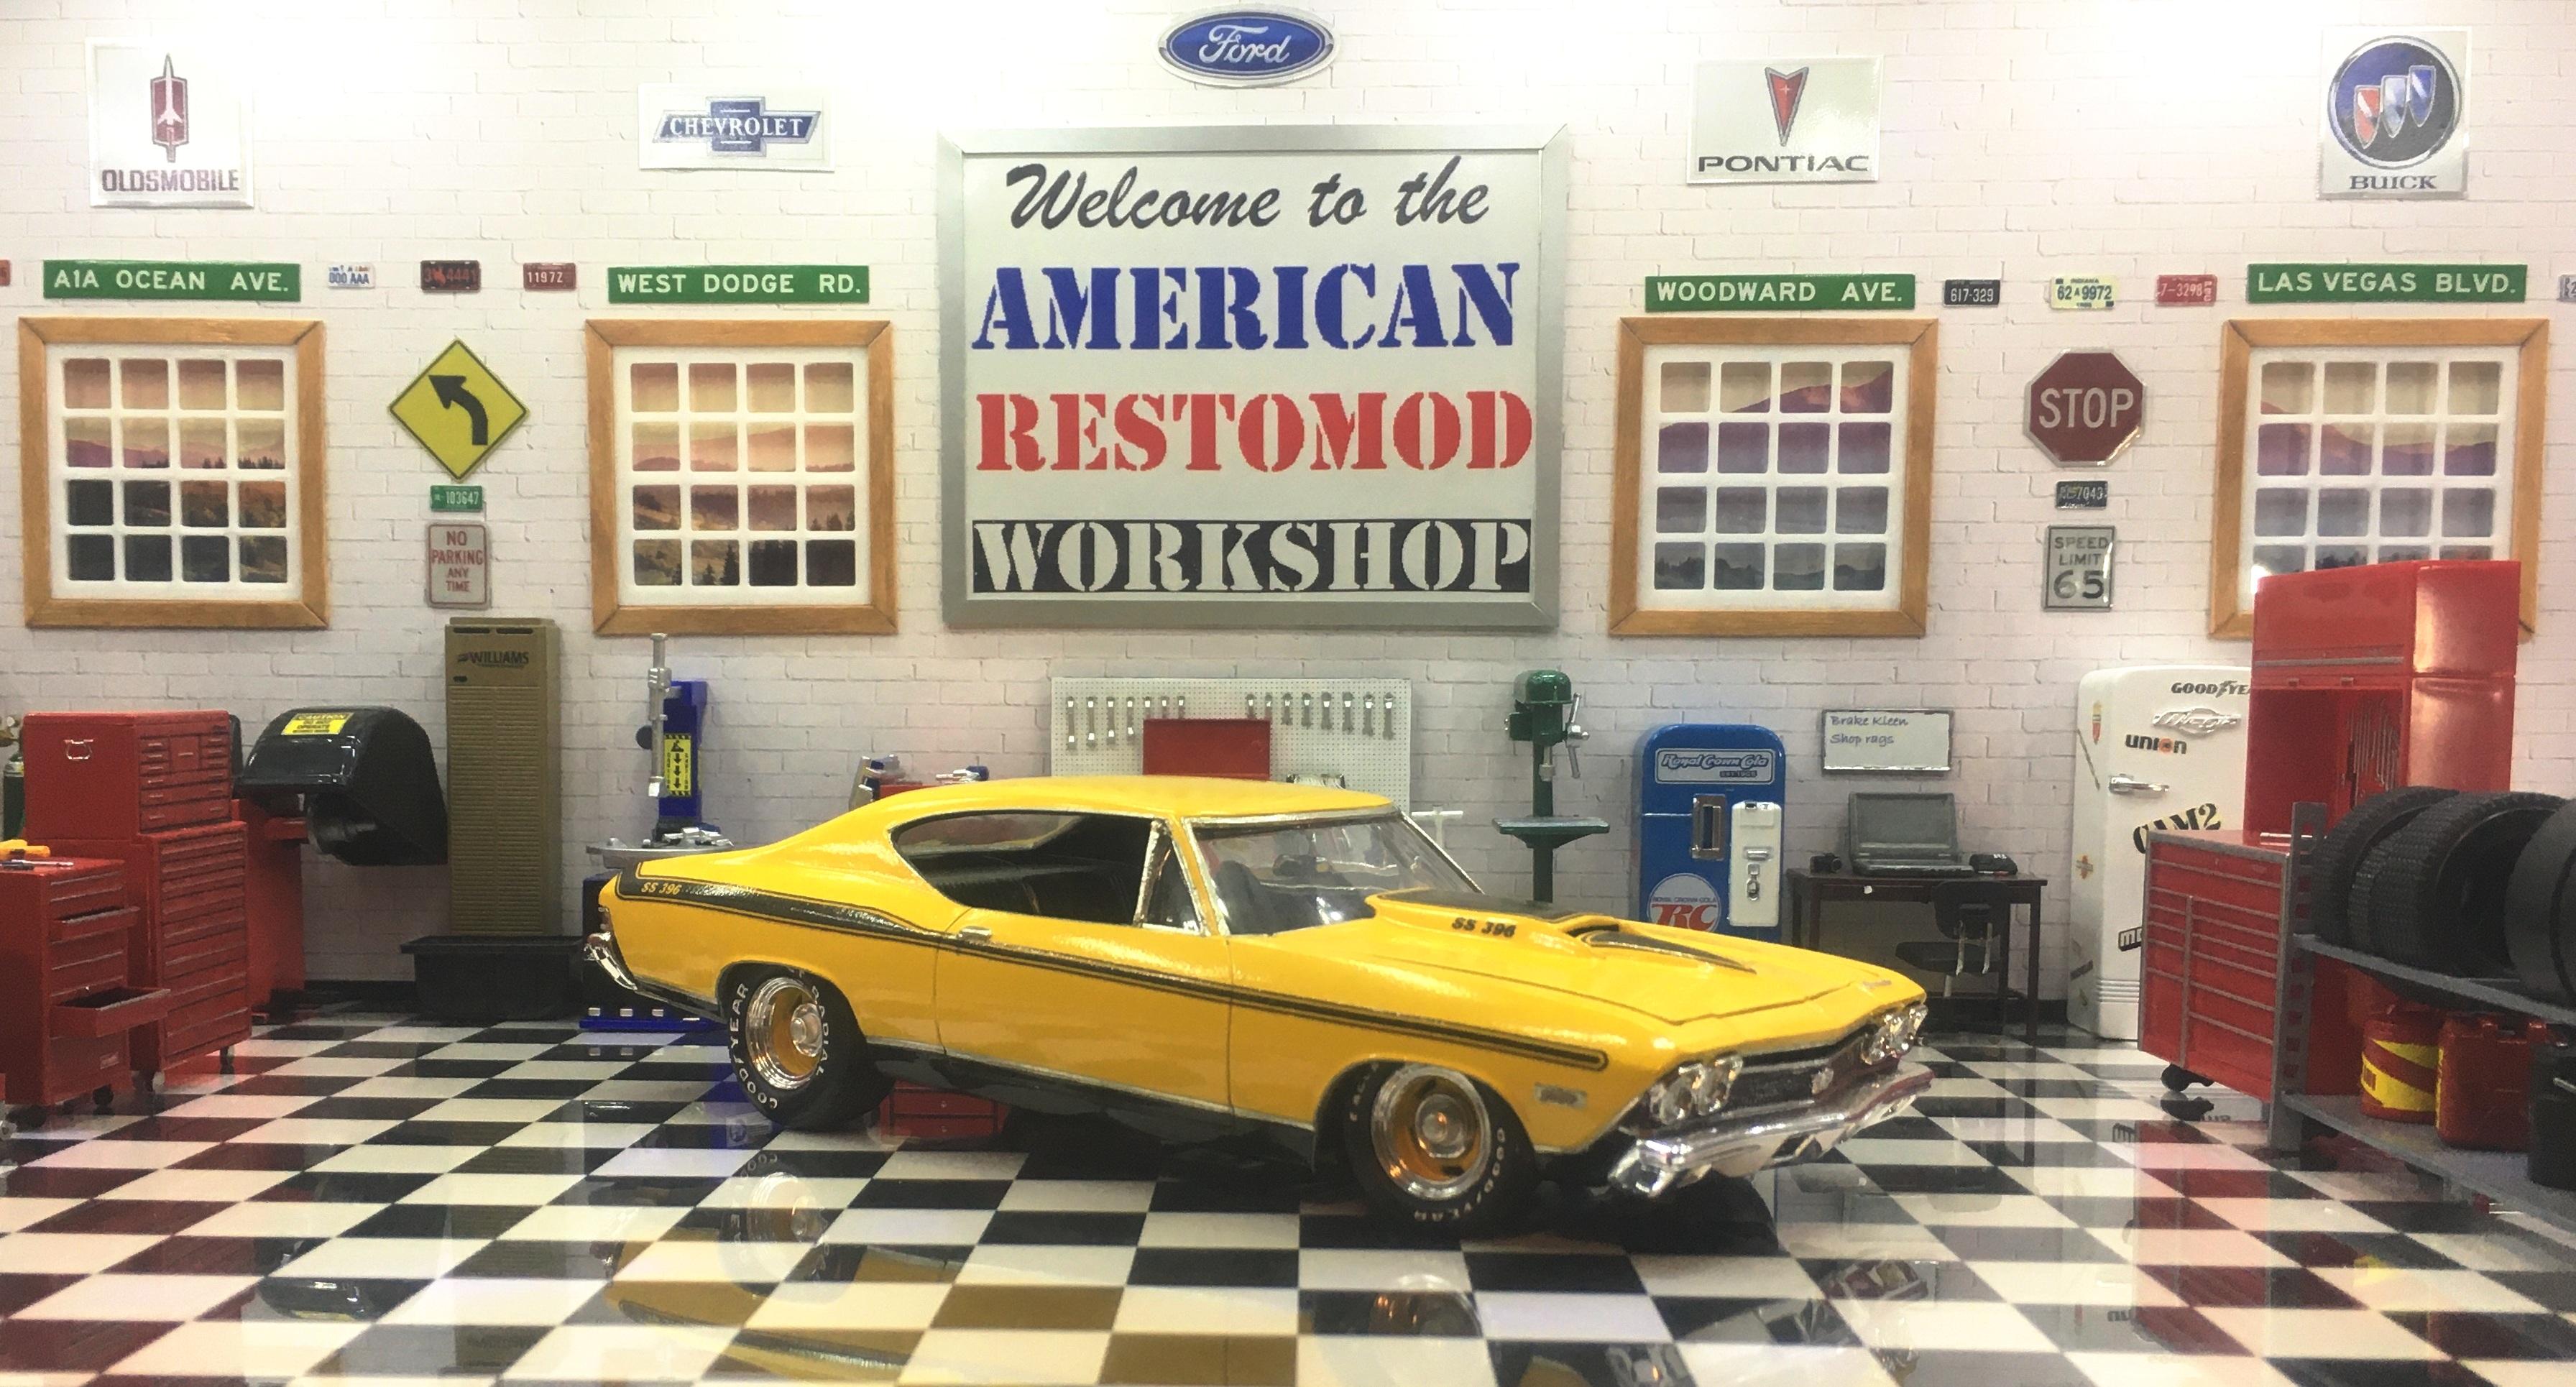
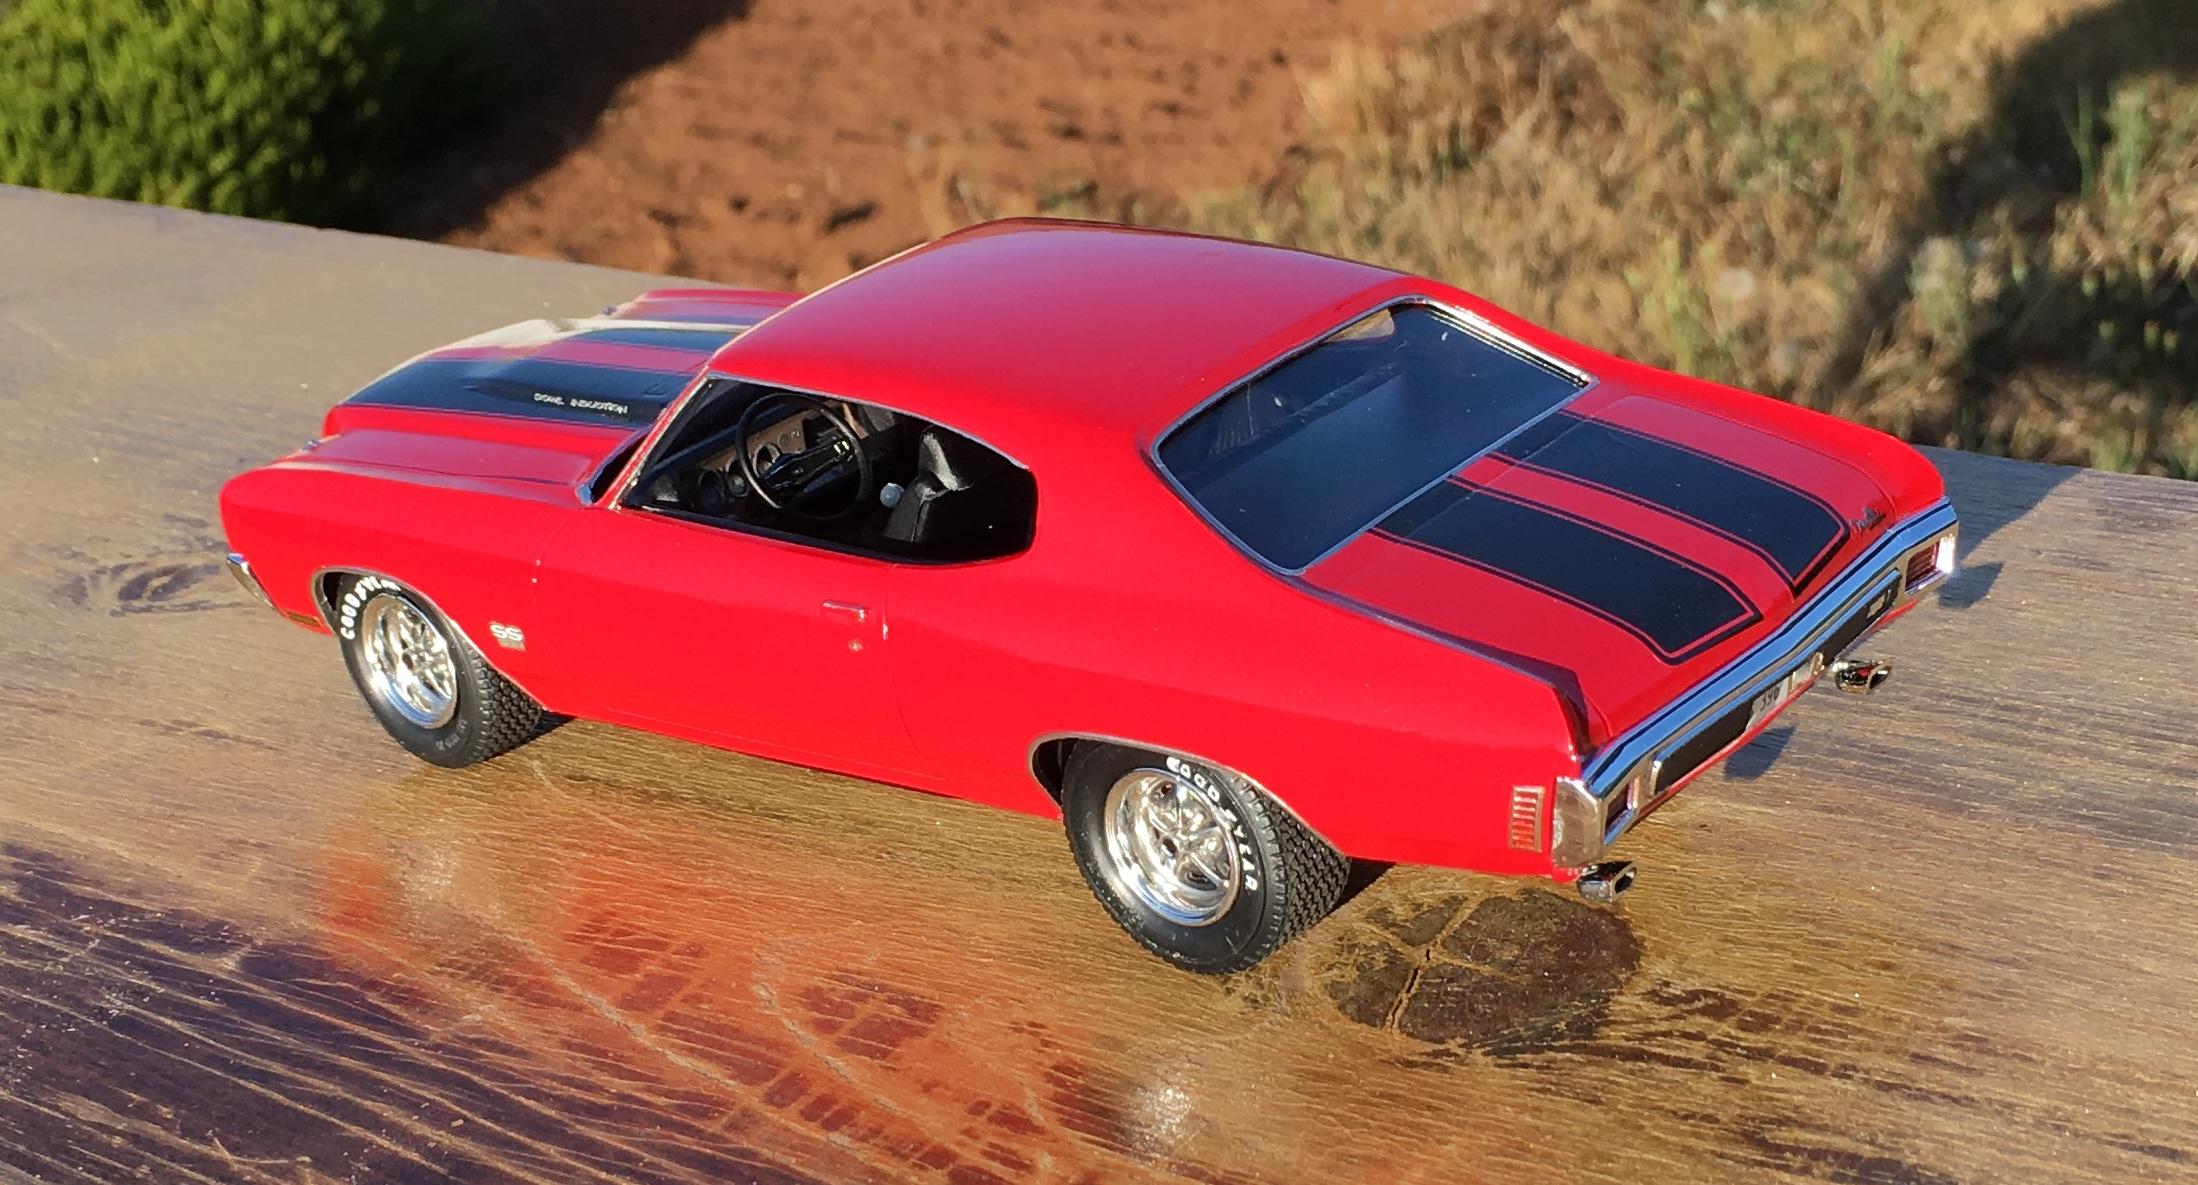
That is an interesting color for the engine. If Quick Shine is the same a Pledge. you can remove it with a household ammonia and cotton swabs. doing so does not bother solvent based paints in the least. I recleared the roof on my Chevelle 3 times with no affect on the color.
-
I hear ya on the windshield fit on a resin body. I have a WIP that I struggled getting the windows in place THEN had to Dremel them and the painted body to get the interior tub to fit properly.
-
Wow! You could fit 6 of your friends in the trunk sneaking into the drive-in.
-
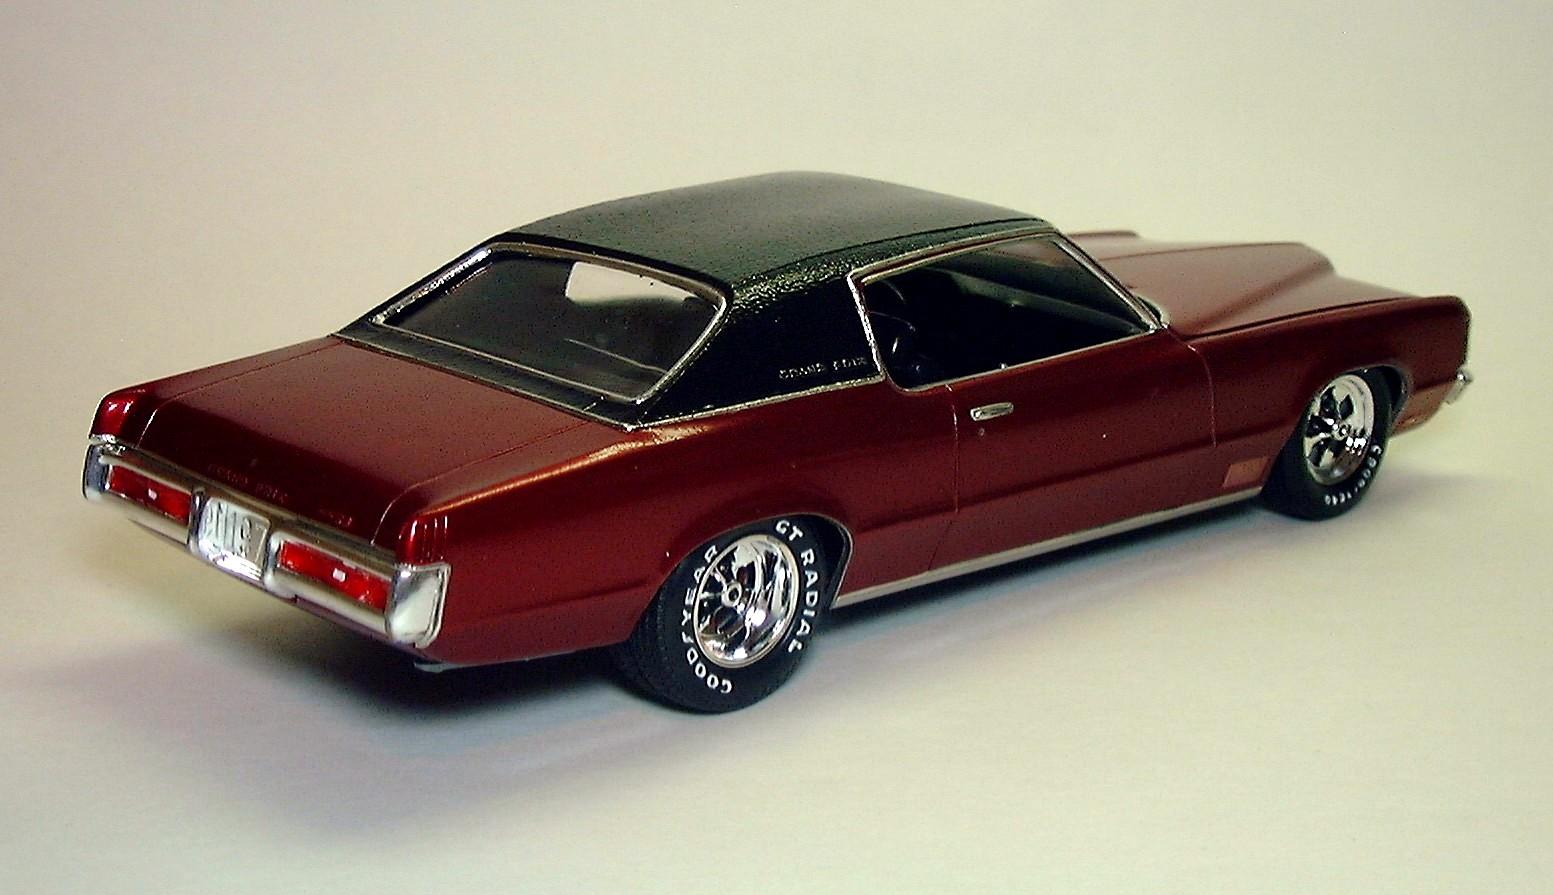
Nice work on the tail panel detail.
-
Thank you, LM. ? Thank you, Keith. ? Thank you, Carl. It is actually a mix of two Testors bottle enamels air brushed on.
-
Thank you, Carl.
-
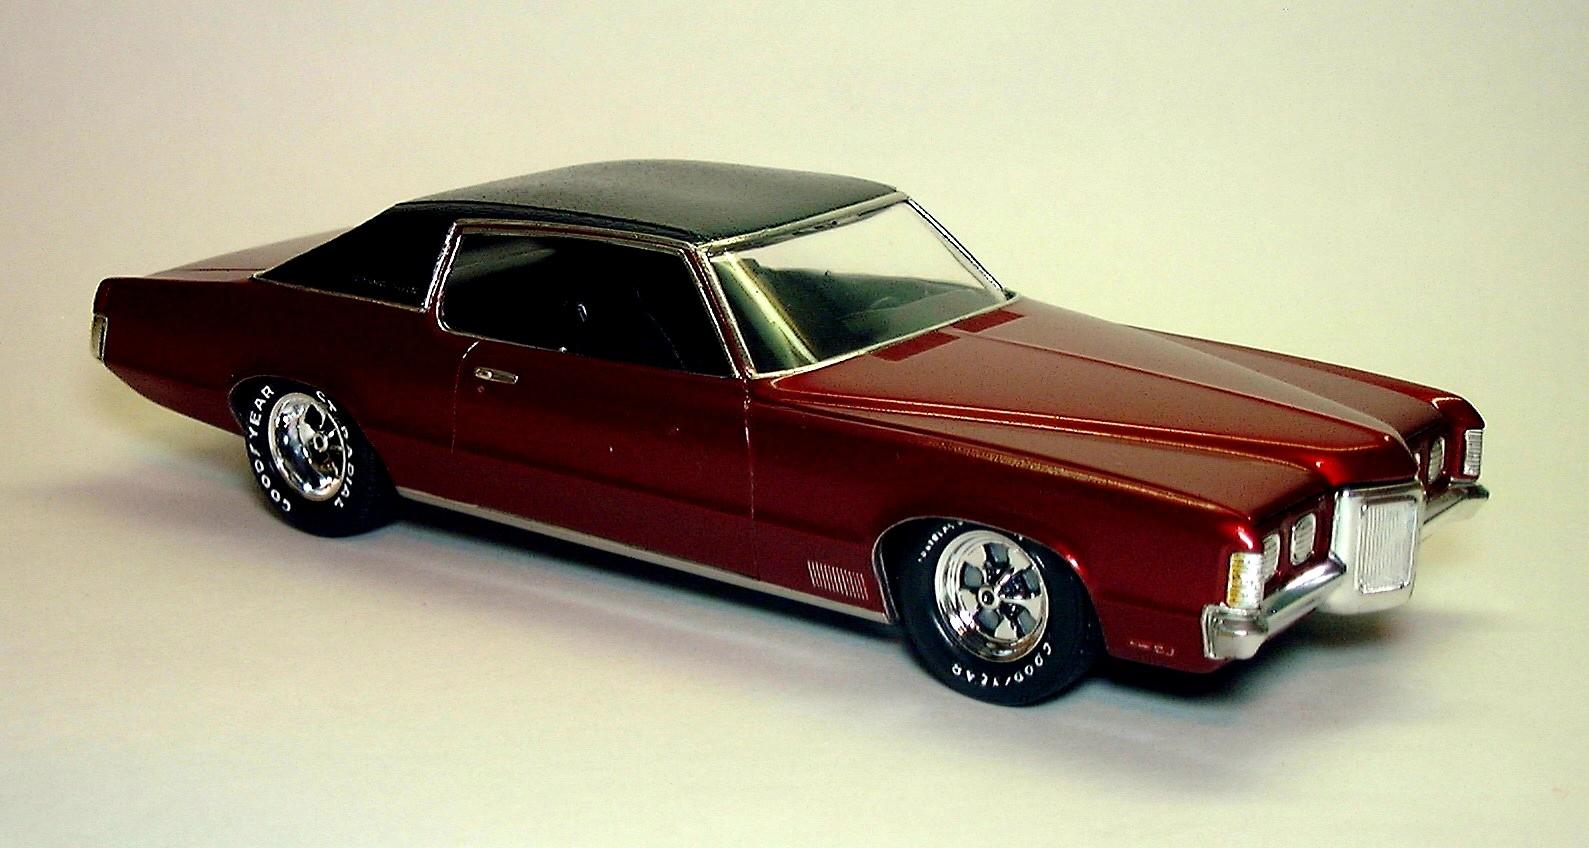
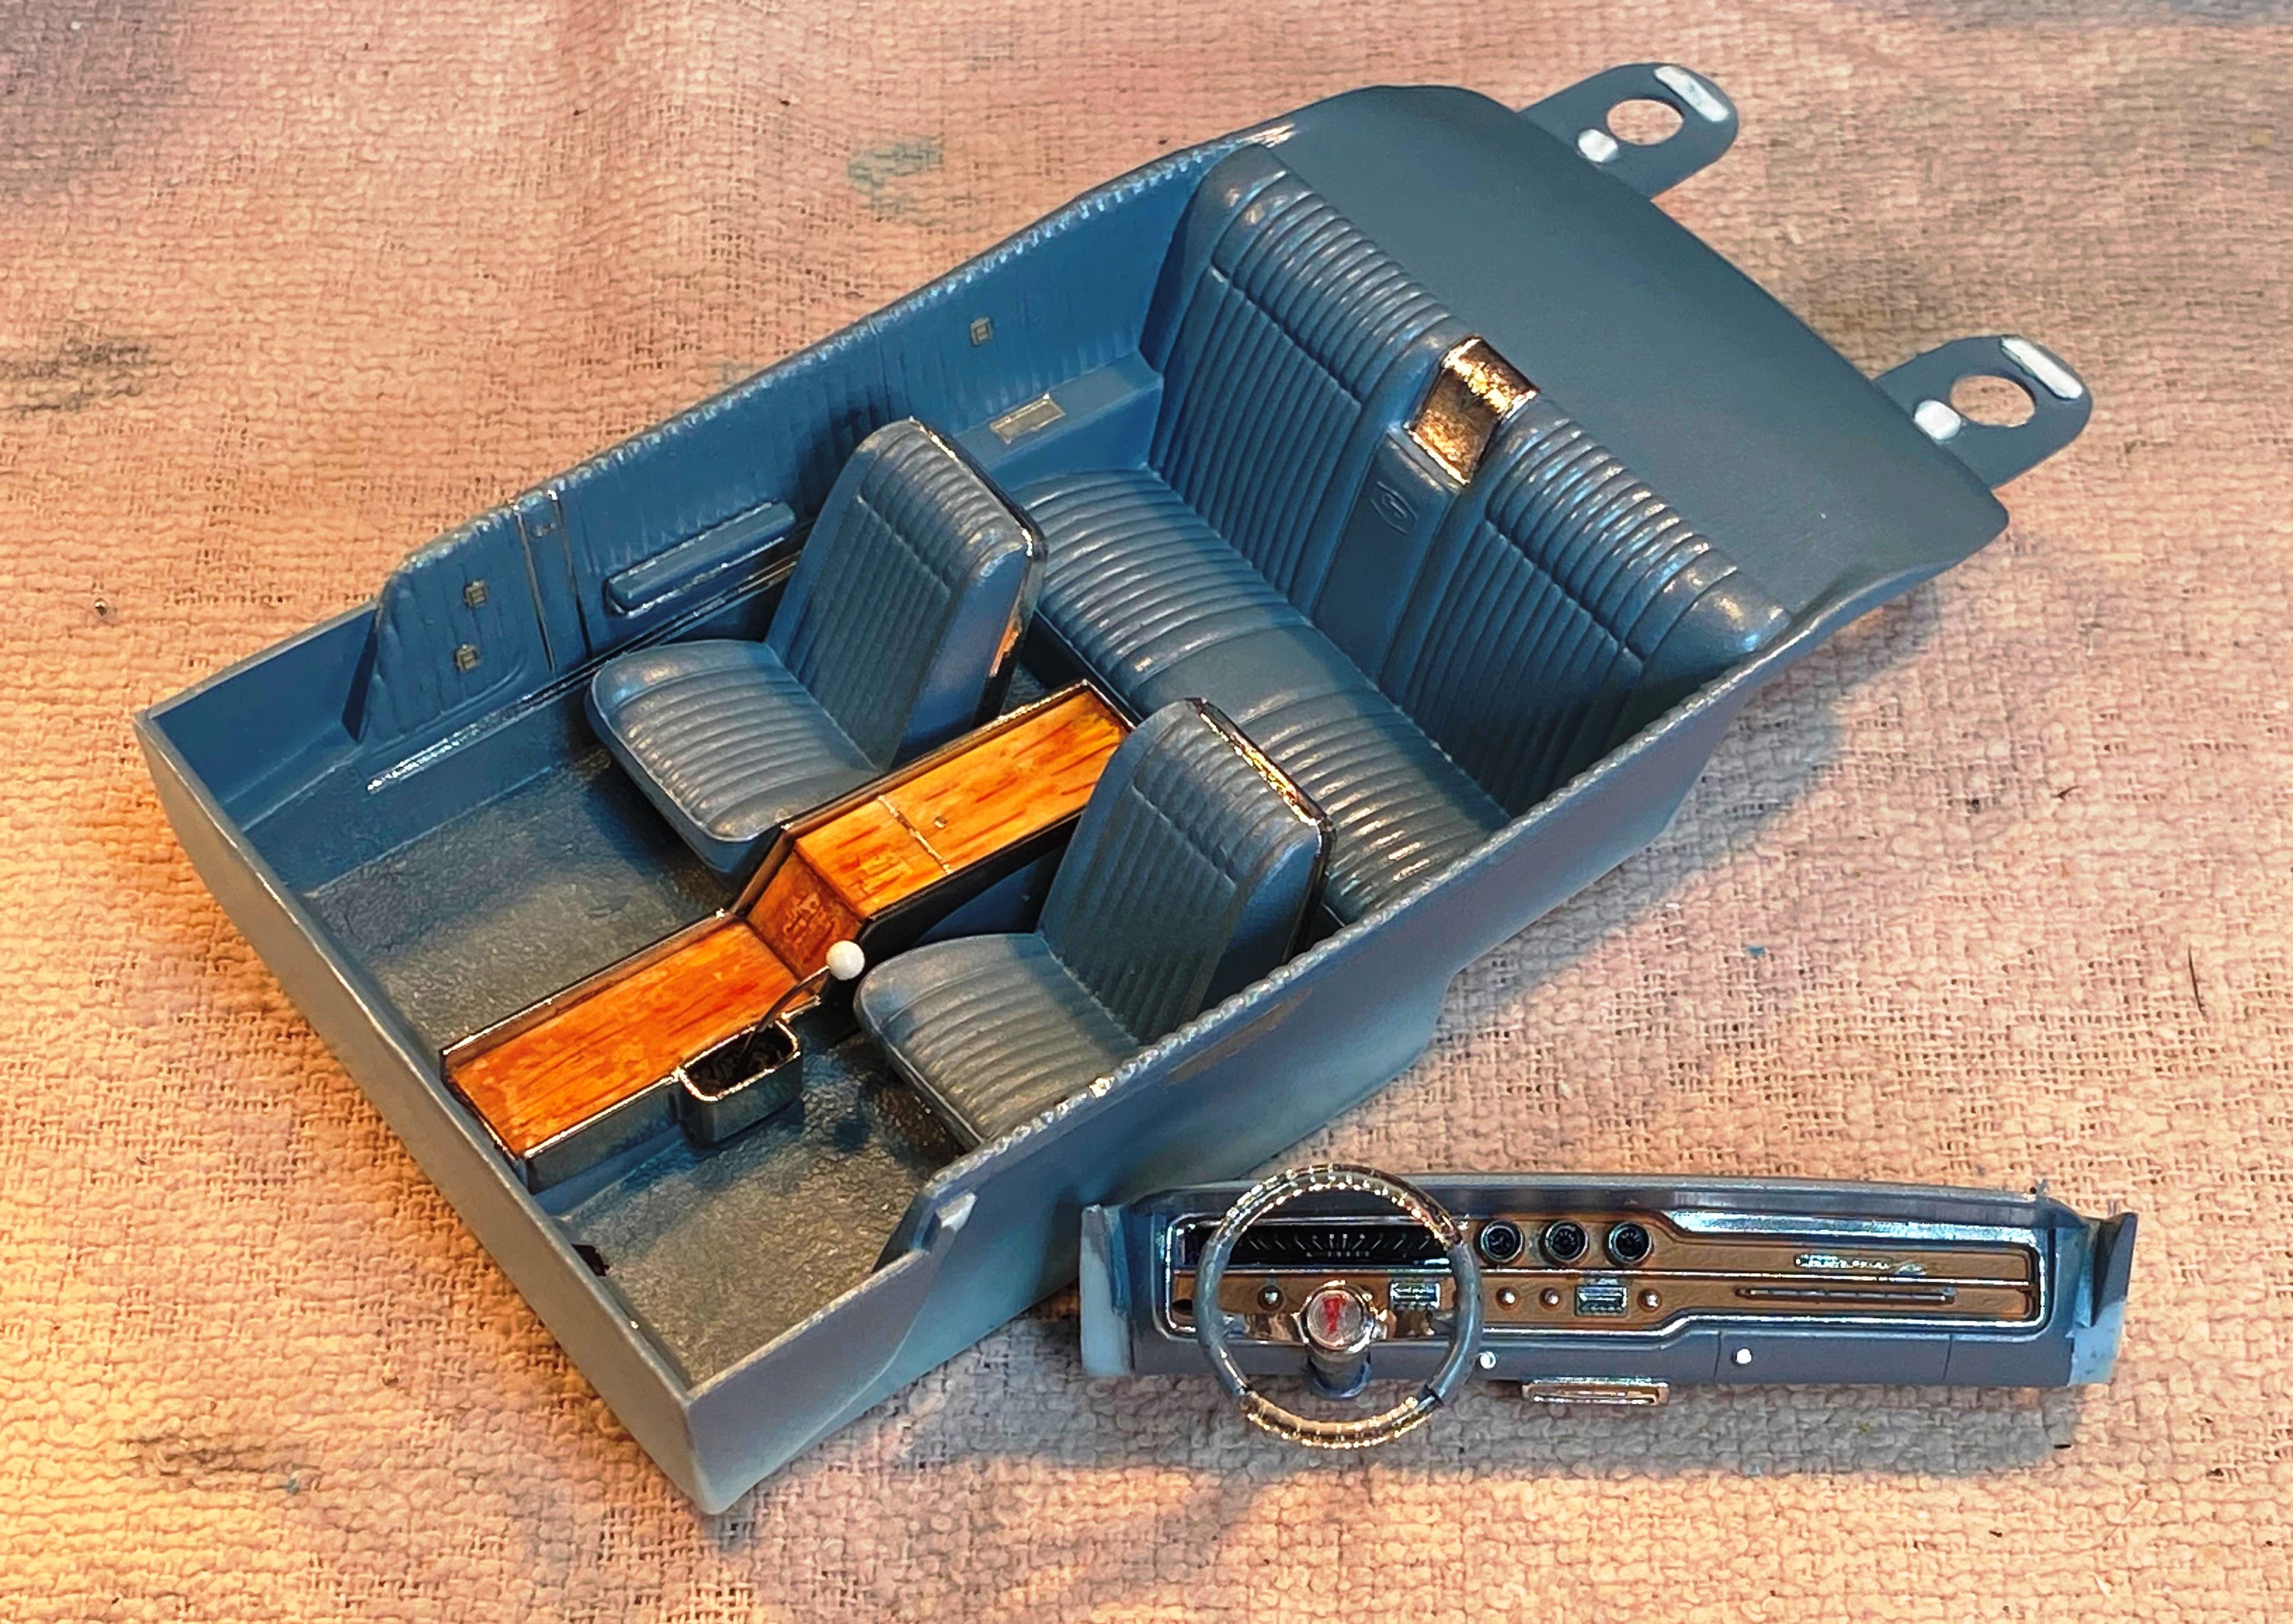
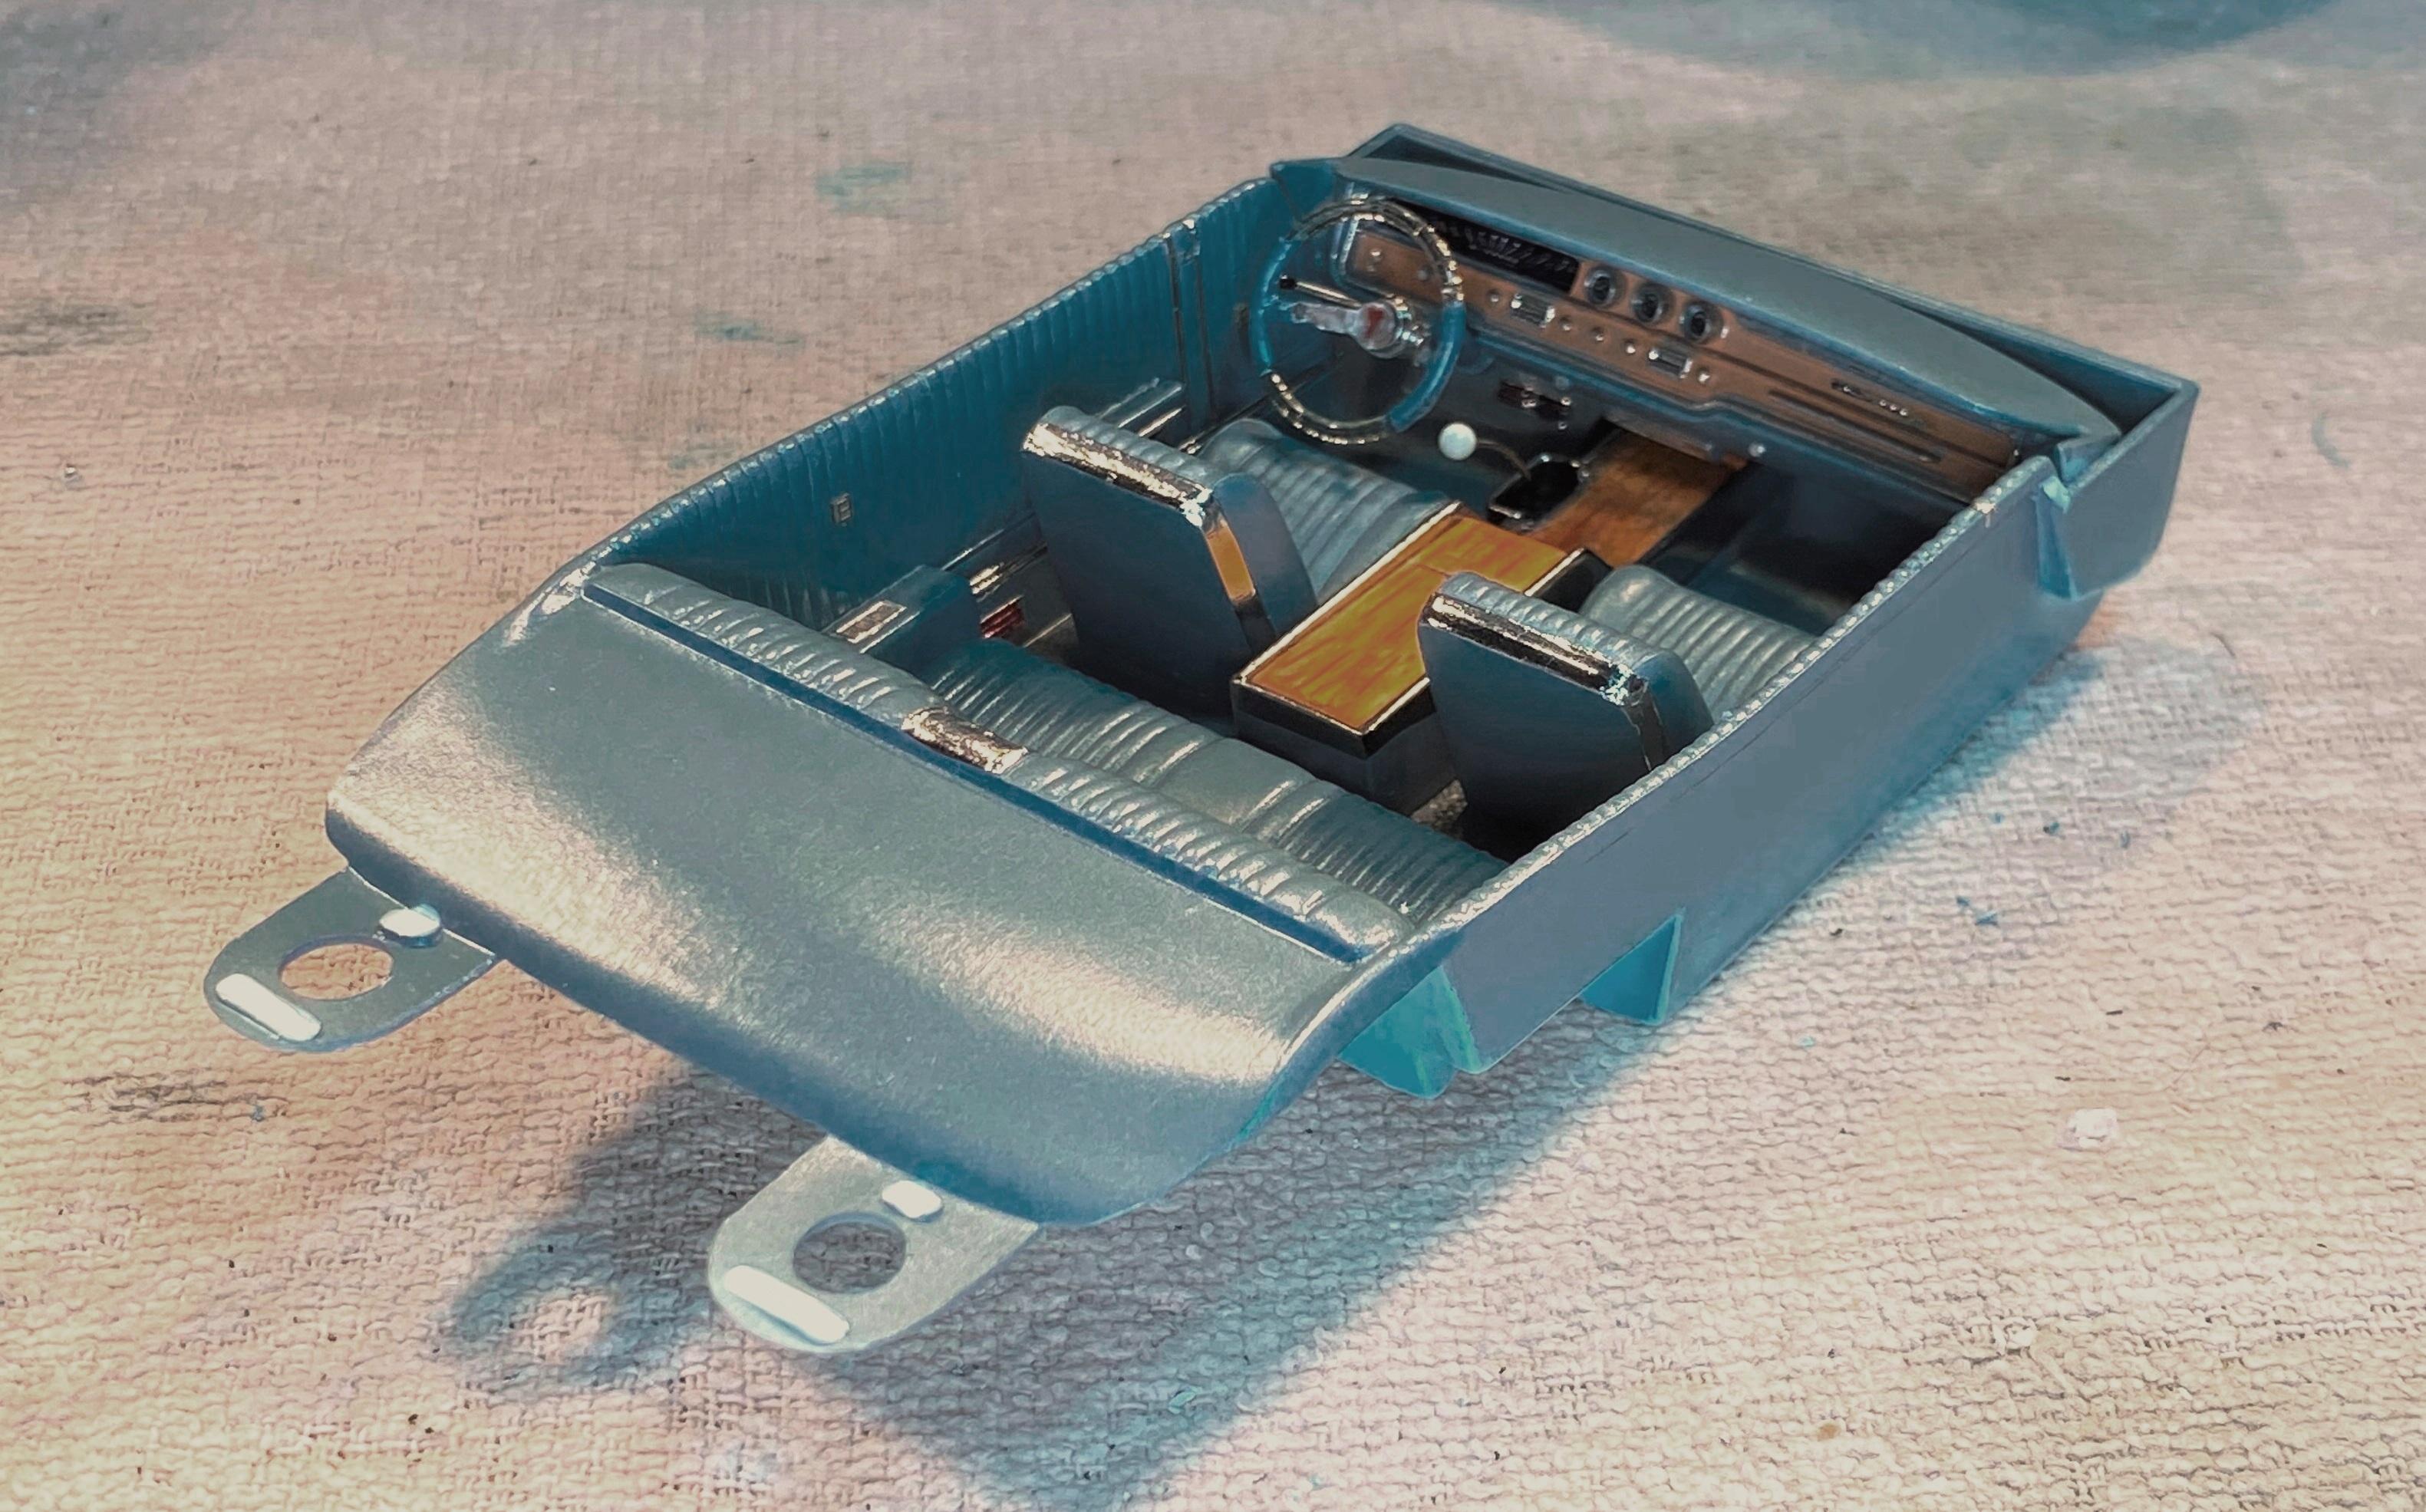
Finally knocked out the interior for this one. Similar techniques to my 65 Bonneville interior with the exception of photoetched power window switches. I did not mica powder the carpet as it is very challenging (and potentially messy) on a tub type interior. "Slate" color code M44 was an option on the Grand Prix that year. (The aqua coloring in the photos is due to florescent desk lamp.)
-
Thanks Steve. I got the idea from you and happened to have a dead can of old Testors clear to decant it from.?
-
Bill, I agree. The 65-66 Big Pontiacs have beautiful lines. Doyle, Thanks. Paint is decanted Testors enamel with Future clear coat. No polishing has been done.
-
Very cool. Thanks for sharing.
-
Welcome to the forum. This place had been great since I joined. I have learned a lot which has really stepped up my results. I hope the same for you.
-
That looks awesome! Where did you source the wheels?
-
Sweet!
-
OldSchool Peterbilt 378 and Trailer
Bills72sj replied to TruckerAL's topic in Model Trucks: Big Rigs and Heavy Equipment
Nice attention to detail. Nice touches in the battery box and under hood. Love those stacks! How long did it take you? I have dreams of a blinged out build when my skills get better. -
Very nice. If I ever get around to building mine, I am leaning towards silver (or white) over medium blue.
-
Pretty cool. Red interior in a blue tuck. Who'd a thought?