Bills72sj
-
Posts
4,583 -
Joined
-
Last visited
Content Type
Profiles
Forums
Events
Gallery
Everything posted by Bills72sj
-
WOW! That is SOOOO COOL! I wish I had one of those! Great job.
-
 Thank you, David. ? Thank you, Chris. ? Thank you, Larry. ?
 -
You need not worry about the big block small block issue. Pontiac blocks went from 287 through 455 CID with the same external dimensions. There were some yearly changes for such things as water pump bolt count and upper radiator hose routing. Once you have a decent photo of a '64, 326, you will be good to go. I would recommend the 2 BBL. I am currently converting a 1966 Bonneville curbside to a full detail using a Revell parts pack 421. P.S. I vote for a gold interior.
-
Thank you Gary. ? Thank you Garry. I agree. Thank you David. ? Thank you Bob, I made the diorama mostly for picture taking. It was a very fun project itself. Thank you Craig. ?
-
Thank you for the compliments. I have some Camaro decals as well but they do not have the correct shape as the Chevelles have the pinstripe wrap around the front.
-
Kits you can't seem to have enough of.
Bills72sj replied to Sledsel's topic in General Automotive Talk (Trucks and Cars)
My weakness is 68-70 Chargers. I got significantly impressed by them as a child. I have 2 builts and 9 unbuilts. Also 69-72 Pontiac Grand Prixs. I have 2 builts and 4 unbuilts and they are expensive! -
Base grille to fit the AMT 67 annual Camaro
Bills72sj replied to hedotwo's topic in Model Building Questions and Answers
An alternate way of dealing with the gaps is to wick/fill it in with Testors window maker which dries crystal clear. It VISUALLY pulls color from both sides of the gap making it less visible. I have been using this technique for years to tone down the "air gap" between chrome bumpers and a painted body.
-
Steve's results speak for themselves. Panel liner has a mild solvent effect on some surfaces which is OK in many instance. Though as you have discovered, it also takes a solvent to clean it up. If you find/create an equivalent acrylic-based home brew, then water will be your clean up. Alternately, clear acrylic coat your part(s) before weathering to act a sealing agent that is resistant to a solvent based clean up.
-
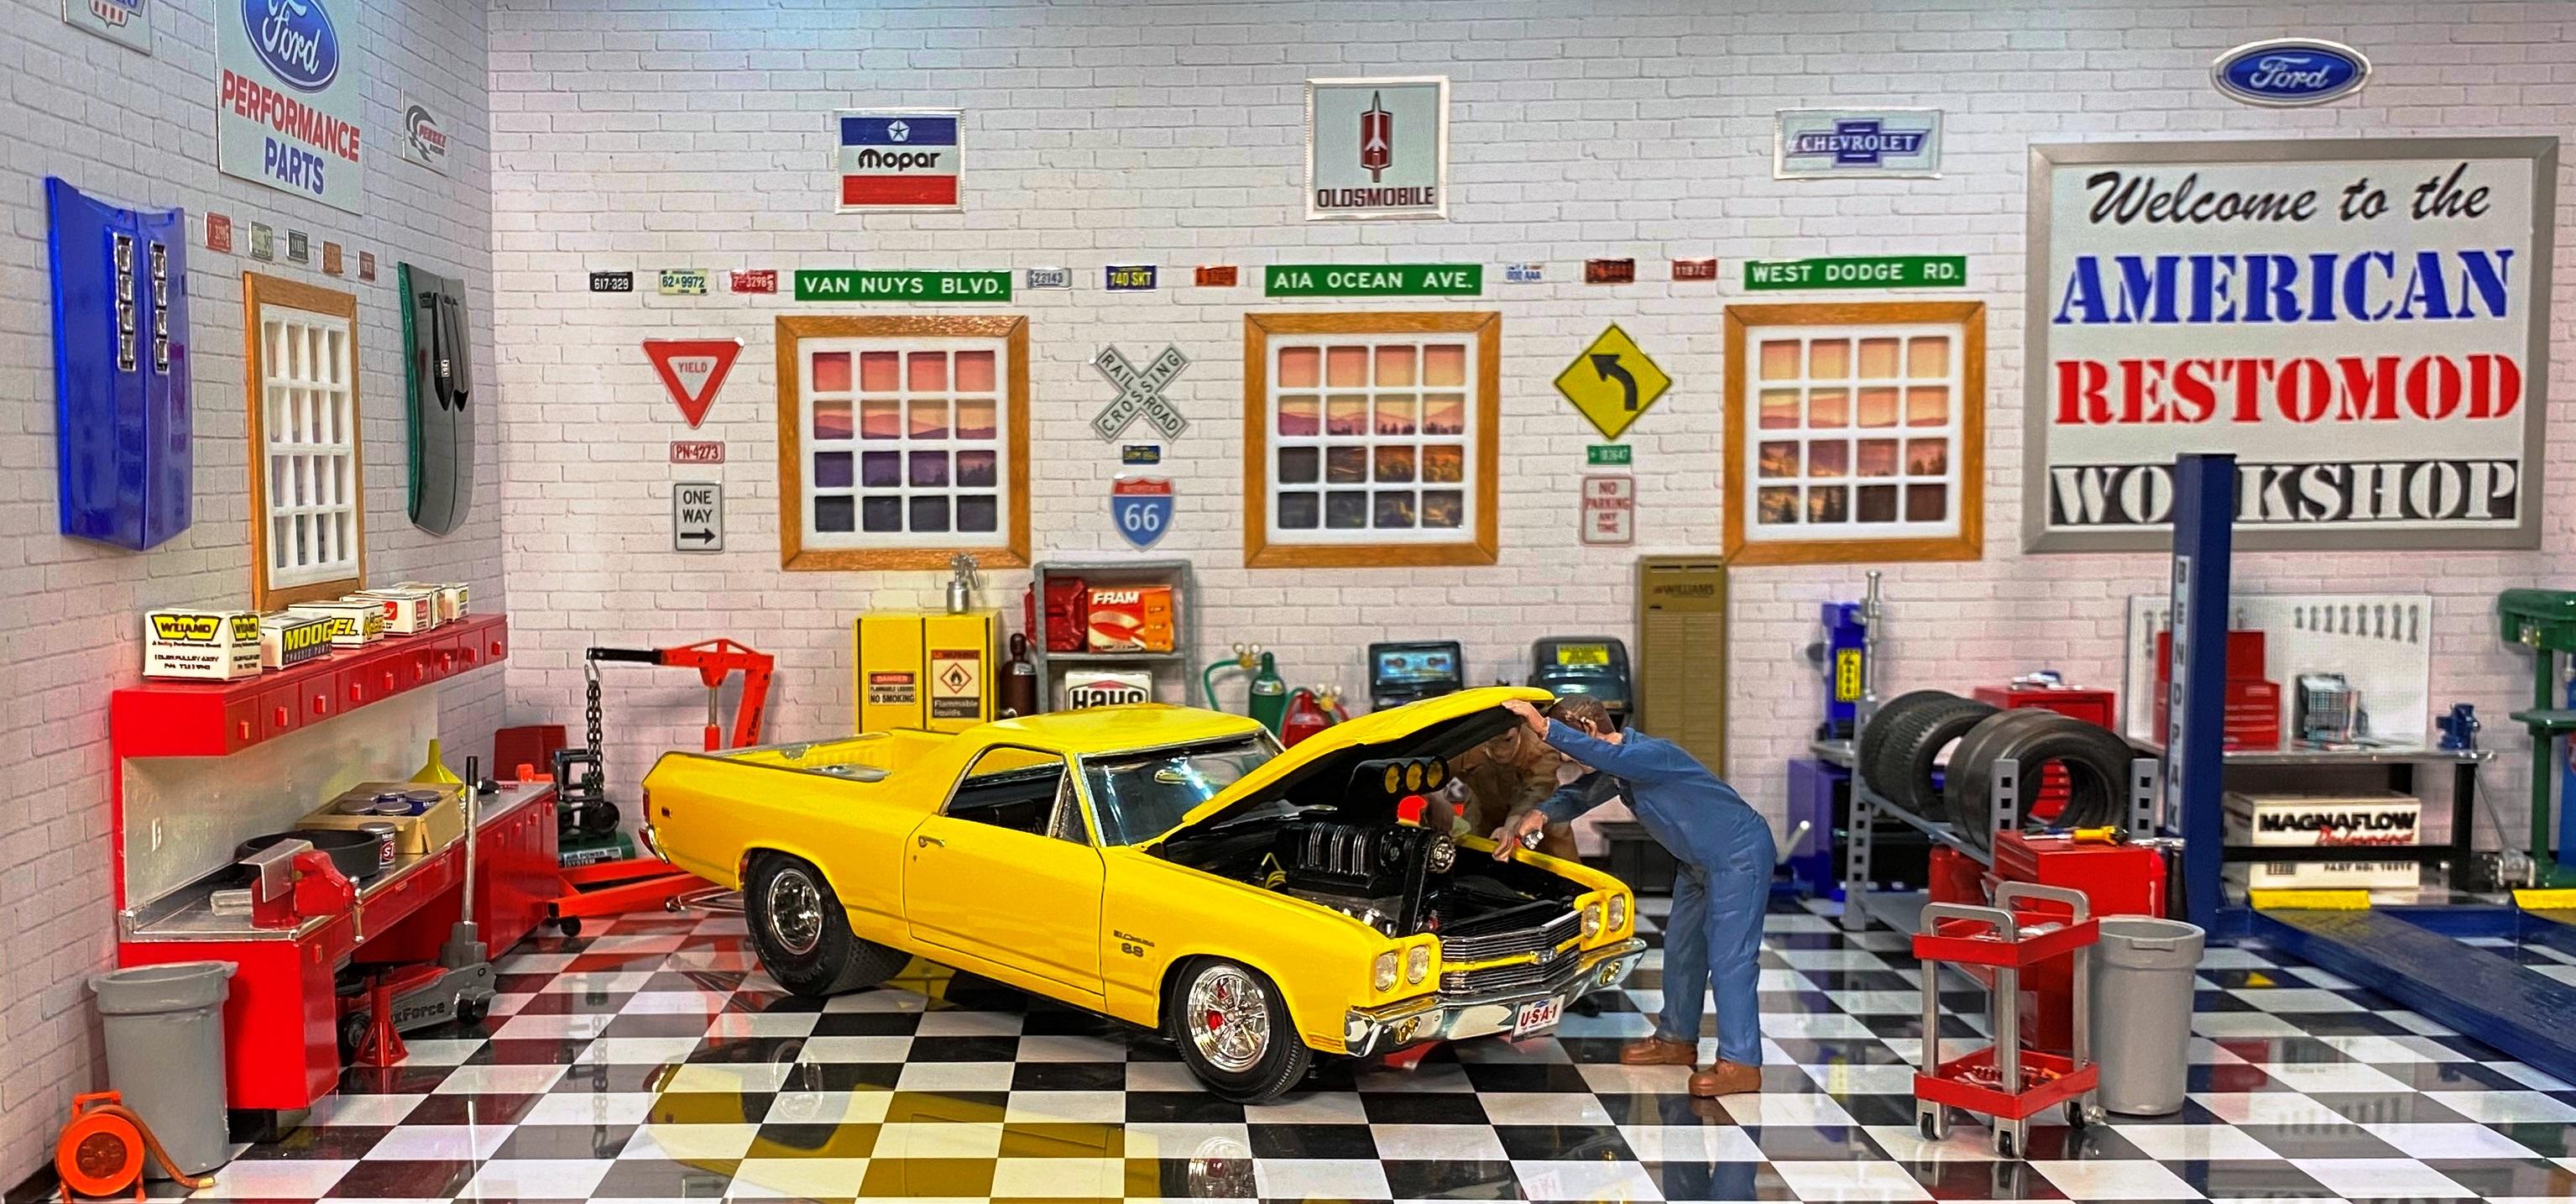
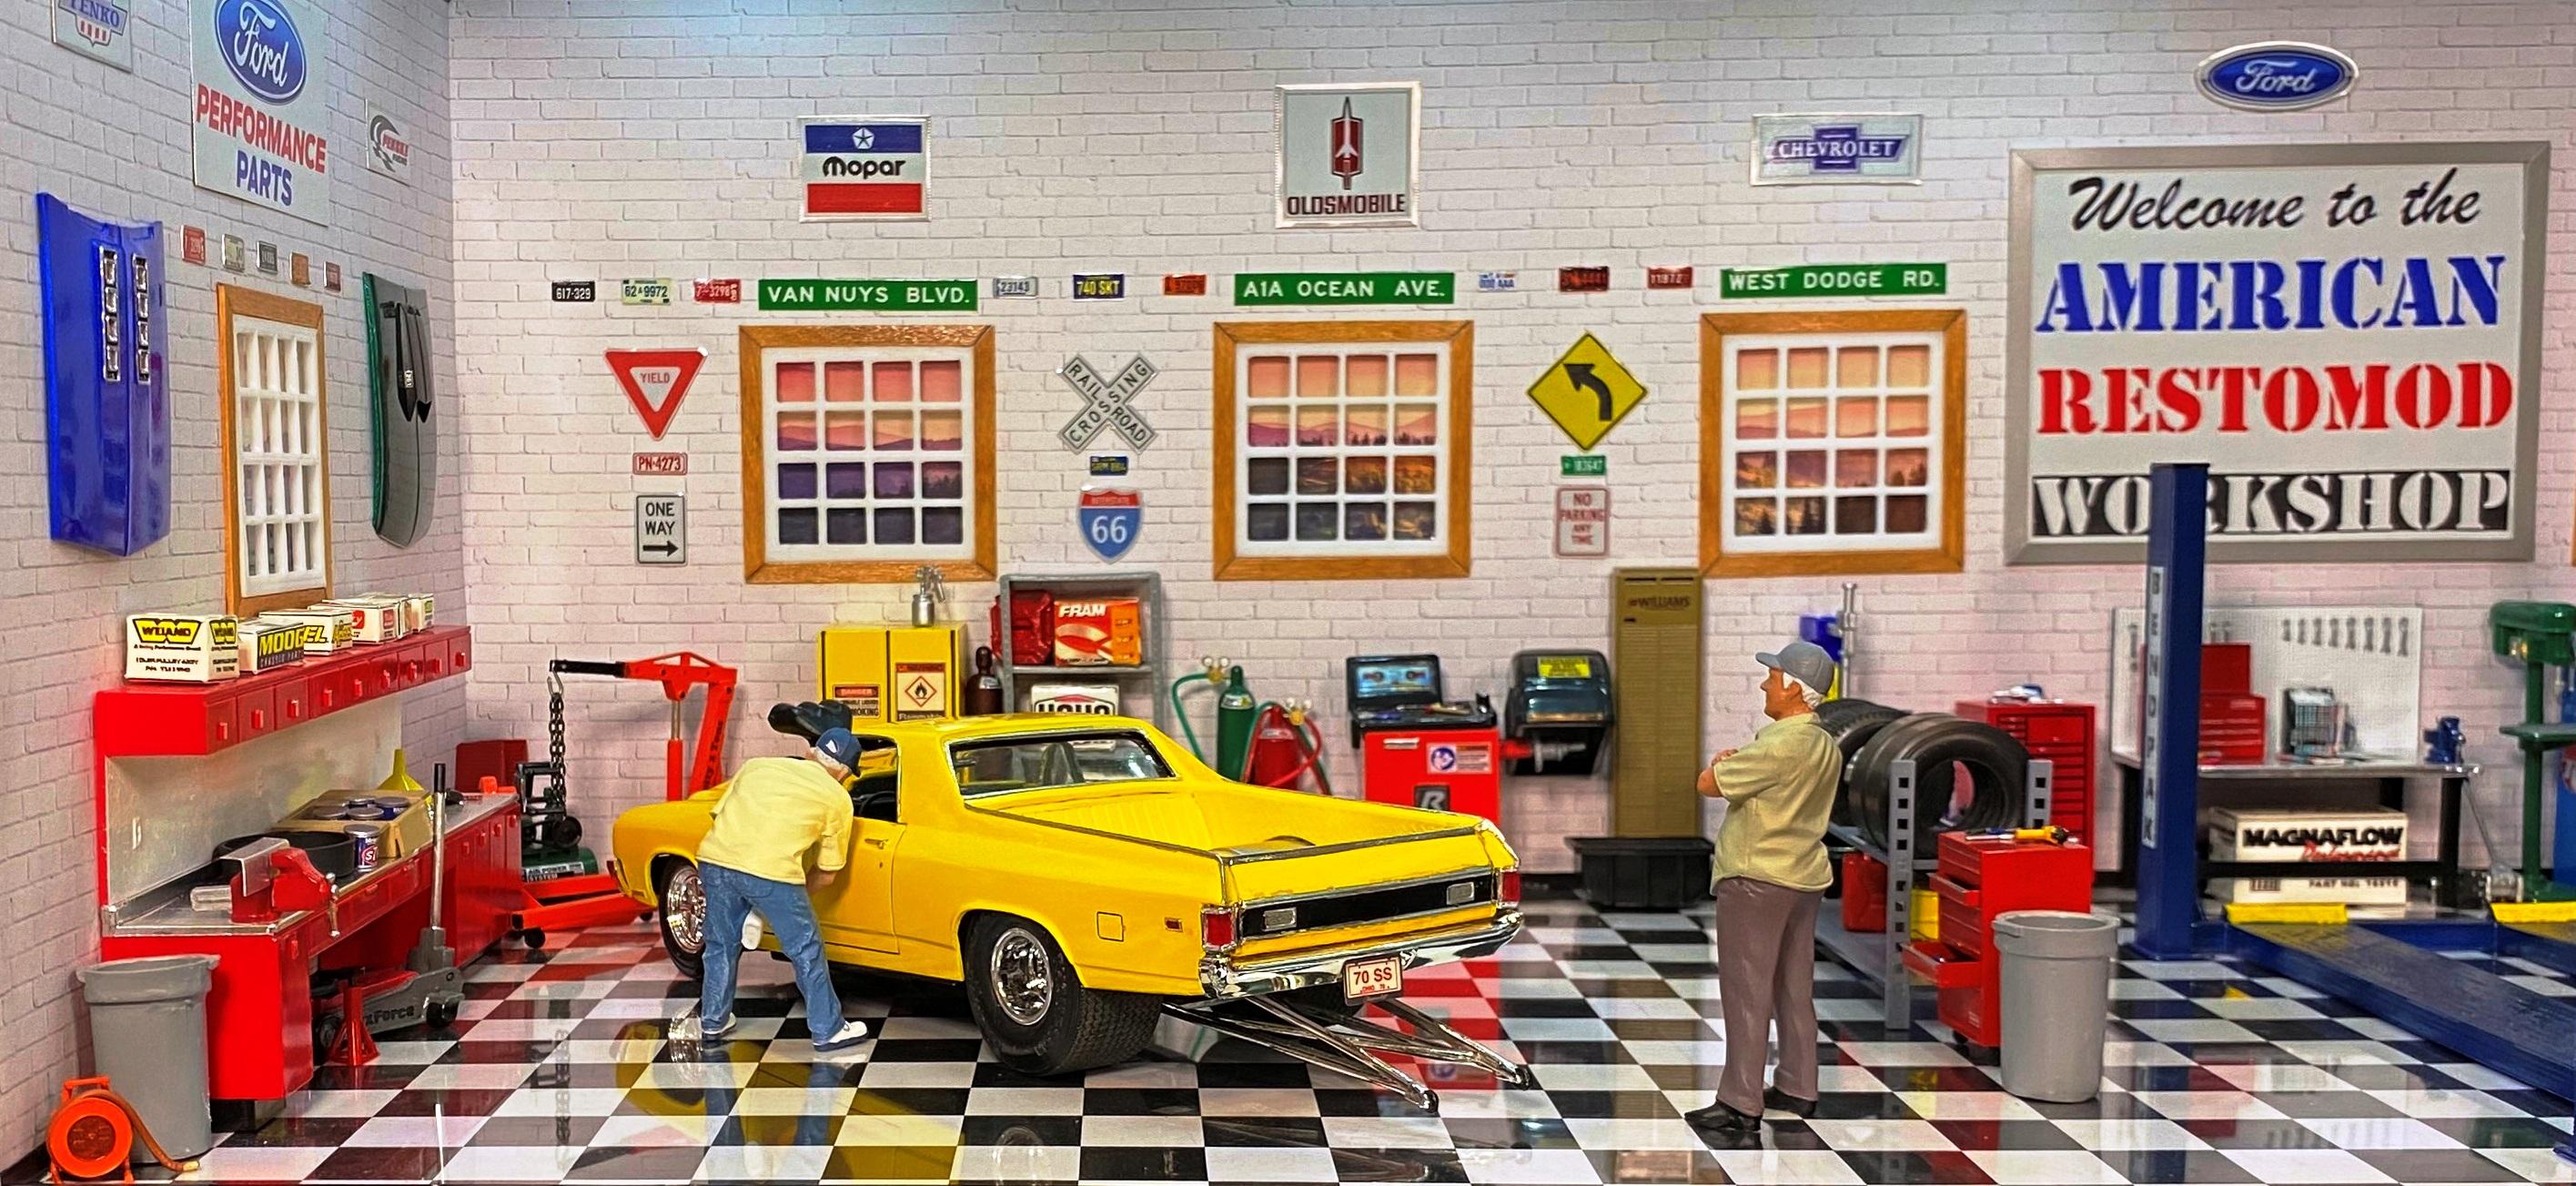
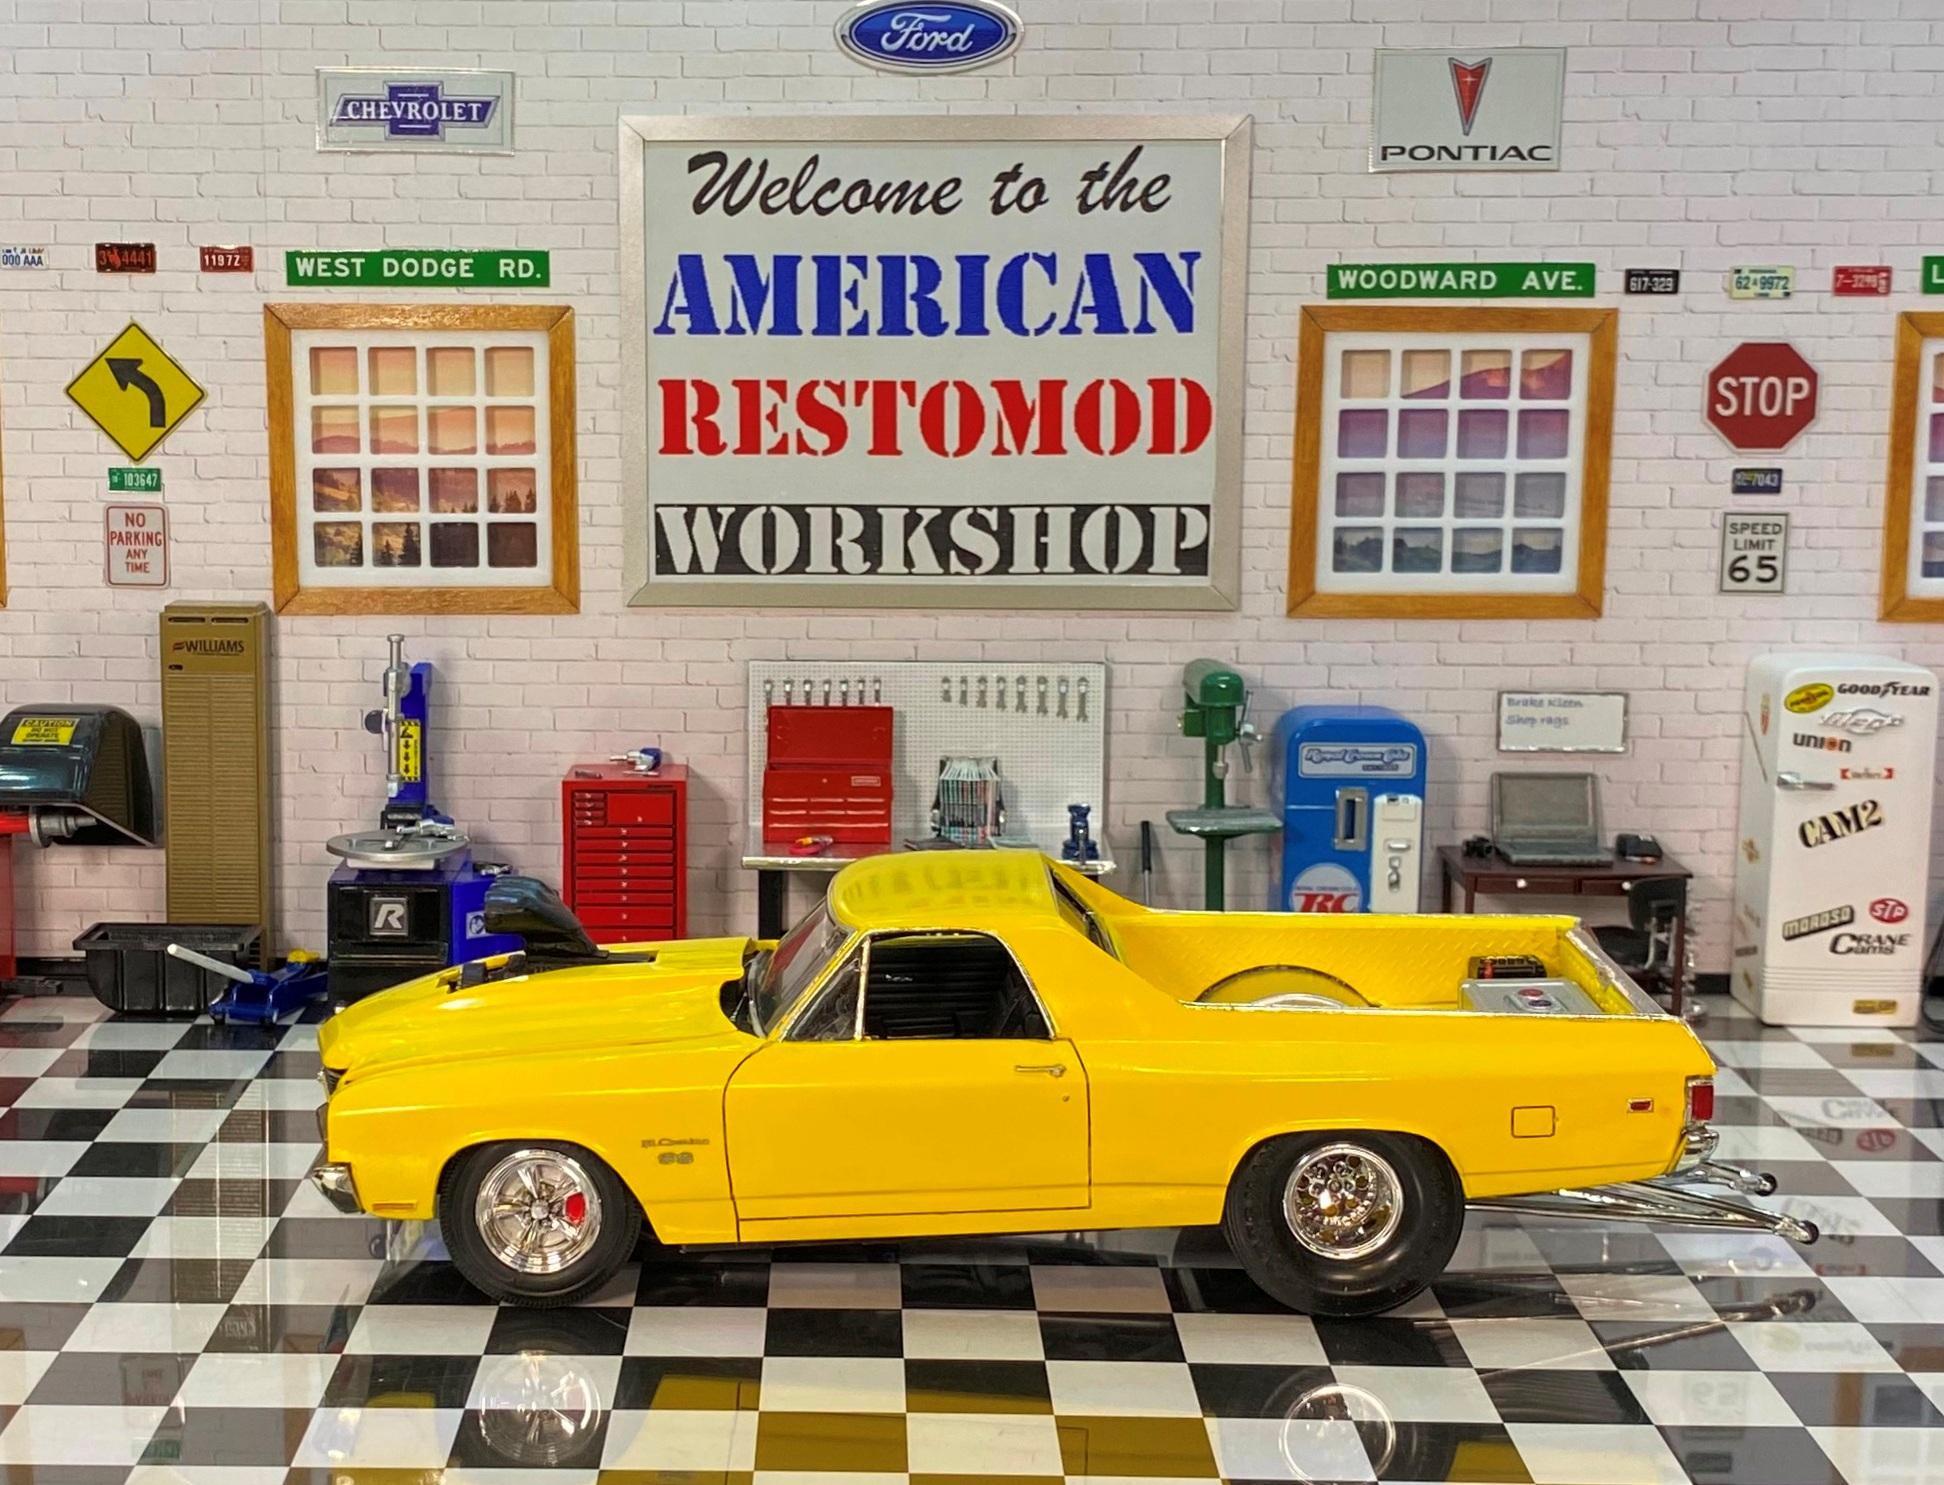
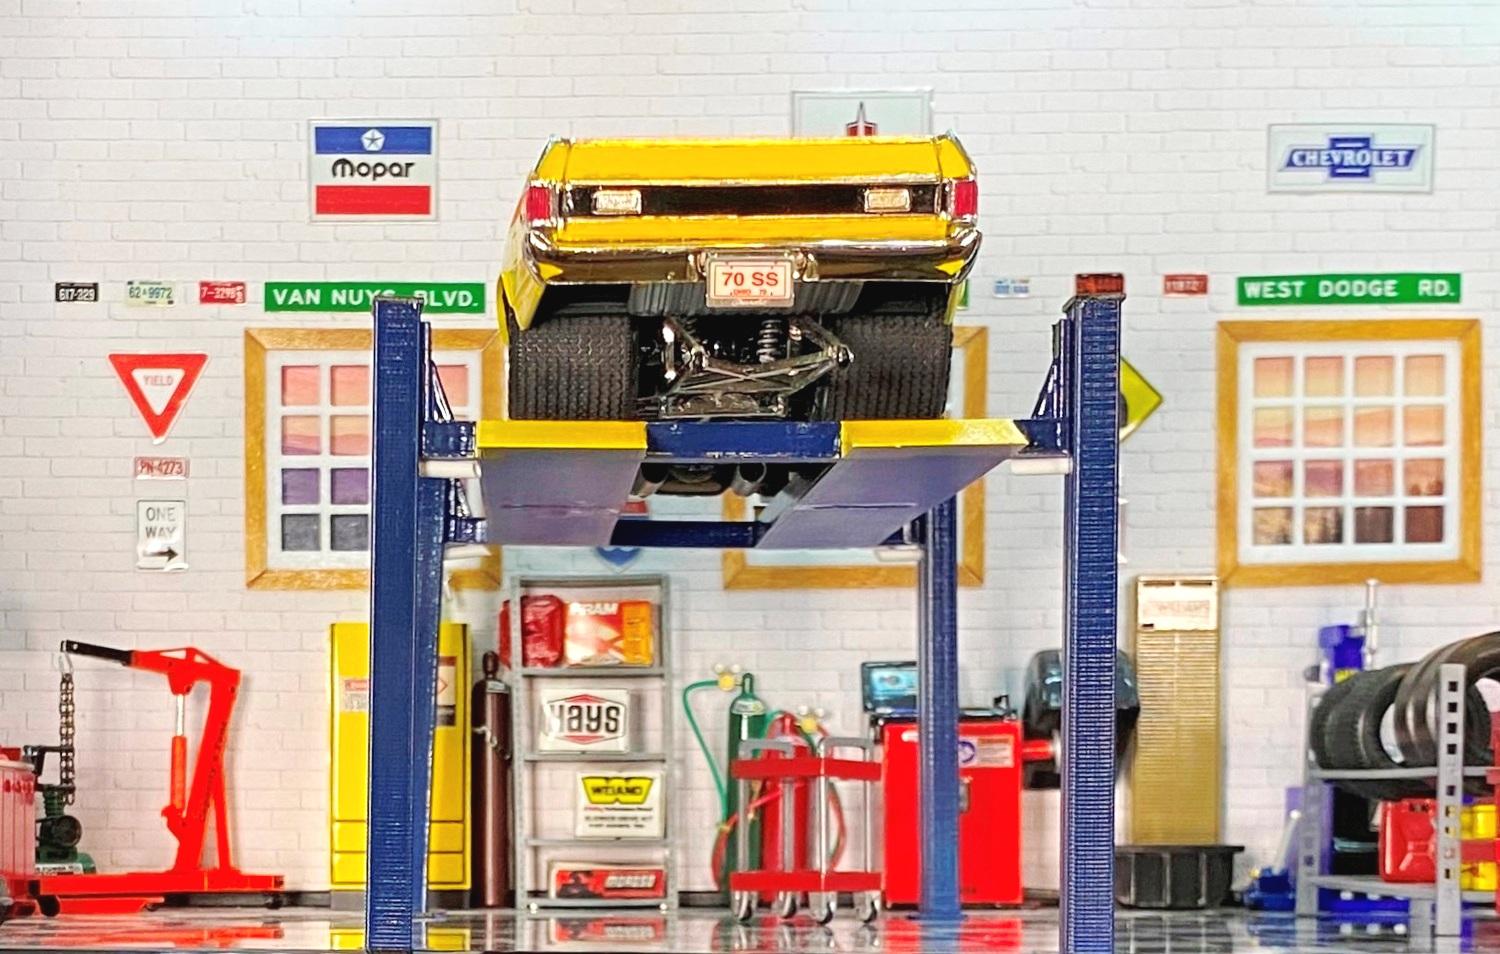
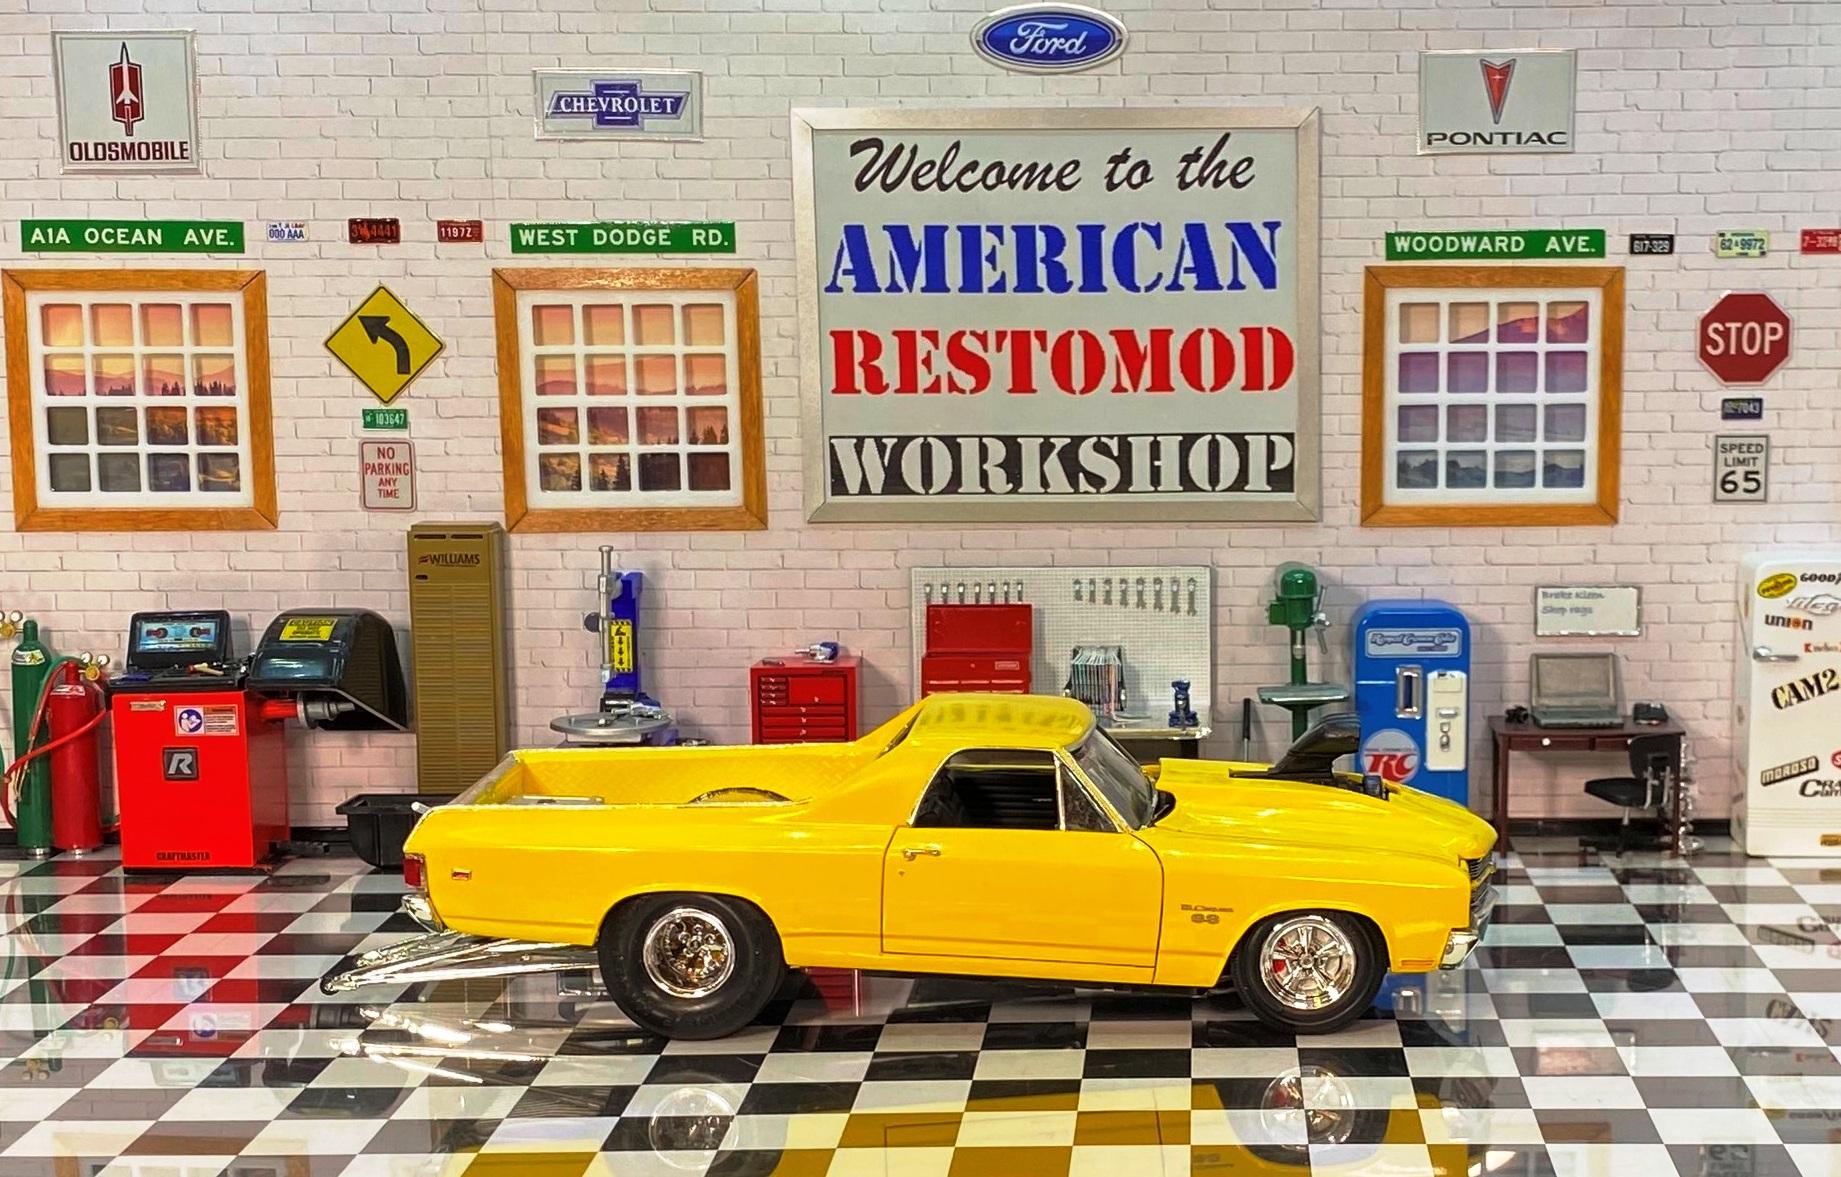
This build was originally part of my Chevelle batch build in 2019. Due to all the test fitting and fabrication required this one was quite the challenge. However, I had a vision, and have now finally seen it through. The quality is not up to par because I had to handle it so much but it is "good enough". I am not sure I will ever take it to a show but at least I have one holy grail under my belt. Comments welcome. P.S. Does anyone have a spare set of AMT black 70 Chevelle hood stripes to help me give it the final touch?
-
Great job! I have always been a Rusty/MGD fan and I do not like beer.
-
Tamiya paint cracking; cause?
Bills72sj replied to Roadrunner's topic in Model Building Questions and Answers
WOW! That is PRETTY! -
This is one of my favorites. I built one as a kid. I am waiting for my skills and bravery to get better before tackling a kit with opening doors.
-
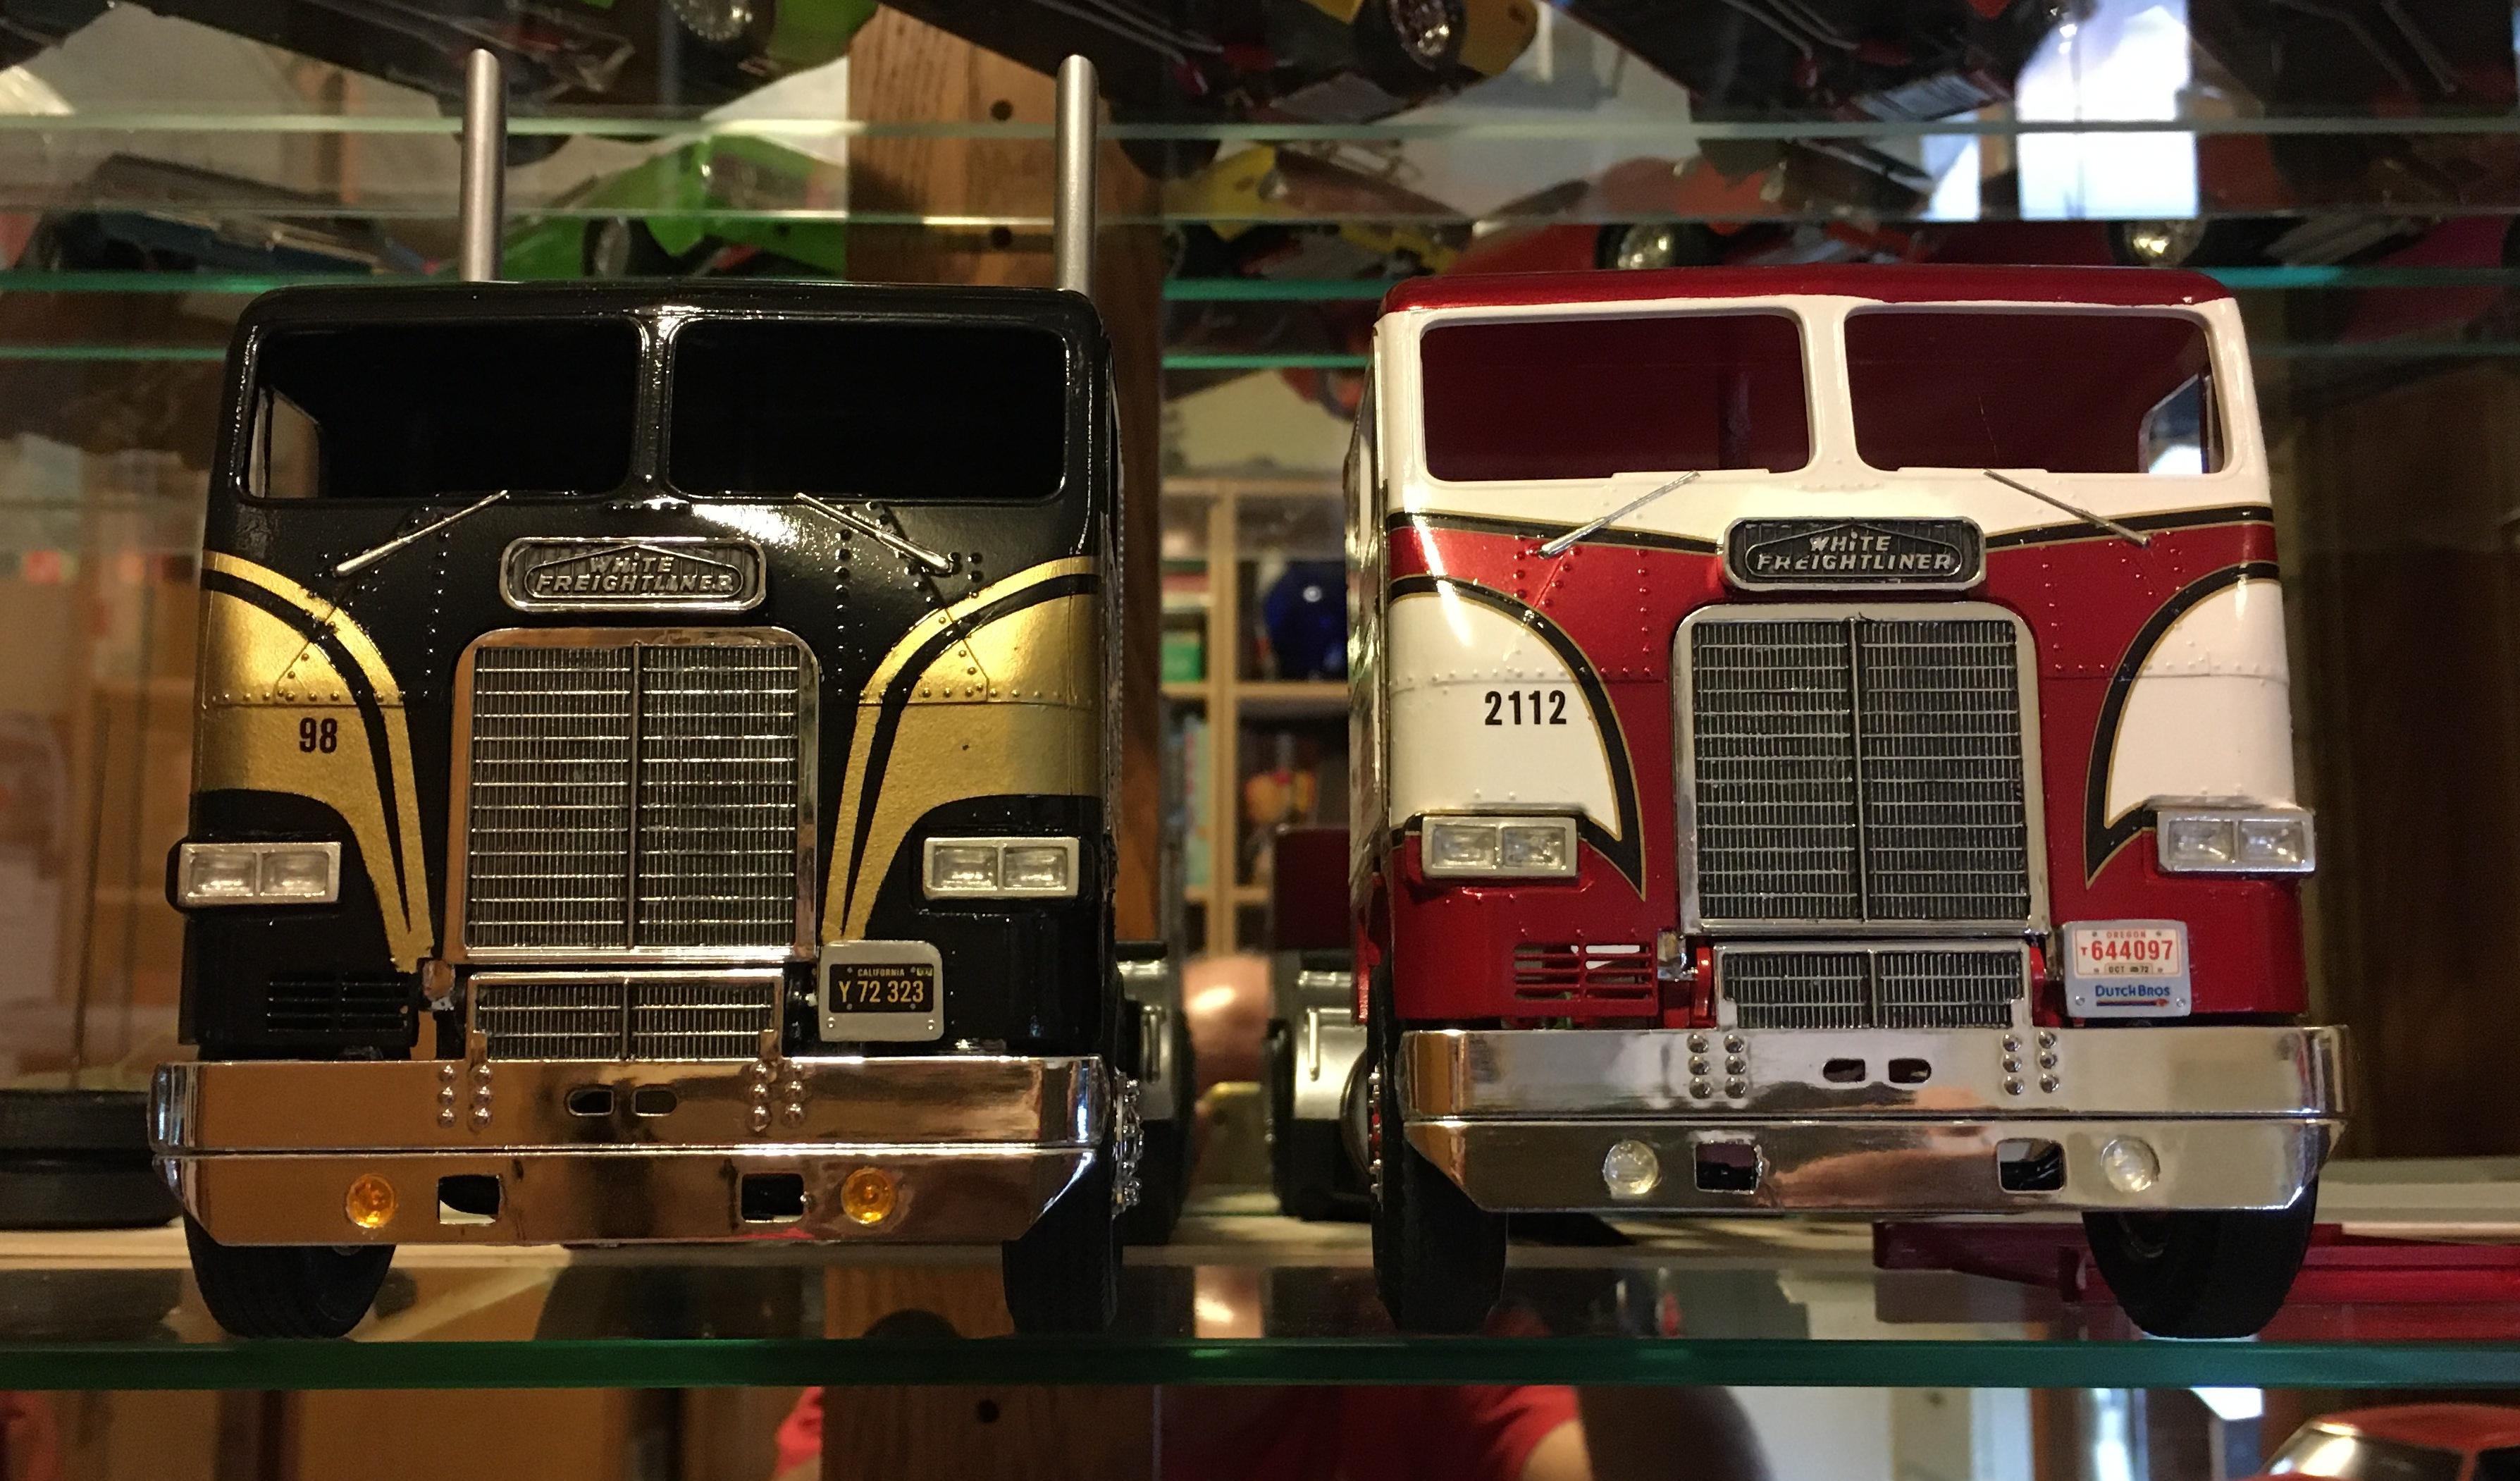
AMT Freightliner C.O.E.
Bills72sj replied to athlon's topic in Model Trucks: Big Rigs and Heavy Equipment
That certainly dos look very nice. Did you have as much "fun" as the rest of us with assembling the mirrors? -
Nice replica build. I built a couple of 72 Chevelles a few years back. One was an AMT and the other was an MPC. I knew the grille was wrong a soon as I laid eyes on it. Used it any way since it was a Day 2 build. http://www.modelcarsmag.com/forums/topic/147436-1972-heavy-chevy-chevelle-454-bench-seat-4-speed/#comment-2165851 http://www.modelcarsmag.com/forums/topic/147358-1972-chevelle-ss-454-star-spangled-blue-lacquer/#comment-2164399
-
Very nice!
-
Well done!
-
Autocar Wrecker
Bills72sj replied to Warren D's topic in WIP: Model Trucks: Big Rigs and Heavy Equipment
Unique build. Following. -
I have been using uBlock Origin for YEARS. I NEVER get pop ups and I watch You Tube a lot.
-
Square headlights needed.
Bills72sj replied to Chariots of Fire's topic in Model Building Questions and Answers
I got these from Auslowe. They are resin and come with lenses. They were not chromed. I used BMF for that. Not sure if you are looking for Quad headlights or not.
-
I am glad you like them. The ones on the 1:1 are the only set in the world detailed as they are. They were born with gold anodized spokes but have been painted with the same paint used for the hood and trunk. The perimeter bolts have been all changed from black anodized allen bolts to polished stainless steel bolts. The washers under the bolts have all been painted from natural aluminum to gloss black. The hoops were polished after media blasting and the clear powder coated. The chrome center caps are from a black and silver version of the same style wheel. The Pontiac medallions were custom made for me from a guy in the Czech Republic.
-
I still have my 1:1. My buddy commisioned a wooden version of it in probably around 1:18. I made a 1:25 scale version with a marginal skillset years ago. I even made a 1:64 diecast from a Johnny Lightning. I now have correct 3D printed rims and another mint unbuilt to take another swing at the 1:25 version.
-
I am liking the flat top sleeper. Nice job on the headache rack. I had some hexagonal sprue that was just begging to be a headache rack.
-
ford drag team transporter
Bills72sj replied to Jack L's topic in Model Building Questions and Answers
Then you may be down to making them yourself. The key is to get the clearest, straight on side view then manipulating the file. I print mine on an inkjet.
-
After viewing them all twice. I like D followed by 2.
-
Loosen the lid on Testors enamel square bottles.
Bills72sj replied to R. Thorne's topic in Tips, Tricks, and Tutorials
I have been leaning towards getting this... https://www.ebay.com/itm/325372061702