Bills72sj
-
Posts
4,583 -
Joined
-
Last visited
Content Type
Profiles
Forums
Events
Gallery
Everything posted by Bills72sj
-

Brockway 360 Heavy Hauler
Bills72sj replied to Warren D's topic in Model Trucks: Big Rigs and Heavy Equipment
Tough looking rig. What did you use for winch cable? -
Nicely done Ford. I built one back in the 70's. Haven't owned one since.
-
CF White-Freightliner SD with doubles
Bills72sj replied to 1959scudetto's topic in Model Trucks: Big Rigs and Heavy Equipment
Nice rig. The Doubles trailers will be my next big rig project when I get my race car hauler done. -
Project Terminator
Bills72sj replied to Saltie Olds's topic in Model Trucks: Big Rigs and Heavy Equipment
Nice rig! Is the steerable front wheels engineered into the kit or did you customize it to permit that. -
Very nice build. I like the color.
-
That looks like it was fun to create and put together.
-
That is a way cool creation. Excellent weathering too. The super clean tires look out of place though.
-
I am in the fortunate circumstance that I do not build well enough to compete with talent and skill such as Steve G produces. What I am happy about is admiring other peoples builds and sharing mine on the tables. If I win anything it is a pleasant surprise. If I don't I am still very glad to participate. I have the same attitude when taking my 1:1 car to car shows. With them, the dollars + skills generally win out.
-
70s cars as they really were!
Bills72sj replied to Oldcarfan27's topic in General Automotive Talk (Trucks and Cars)
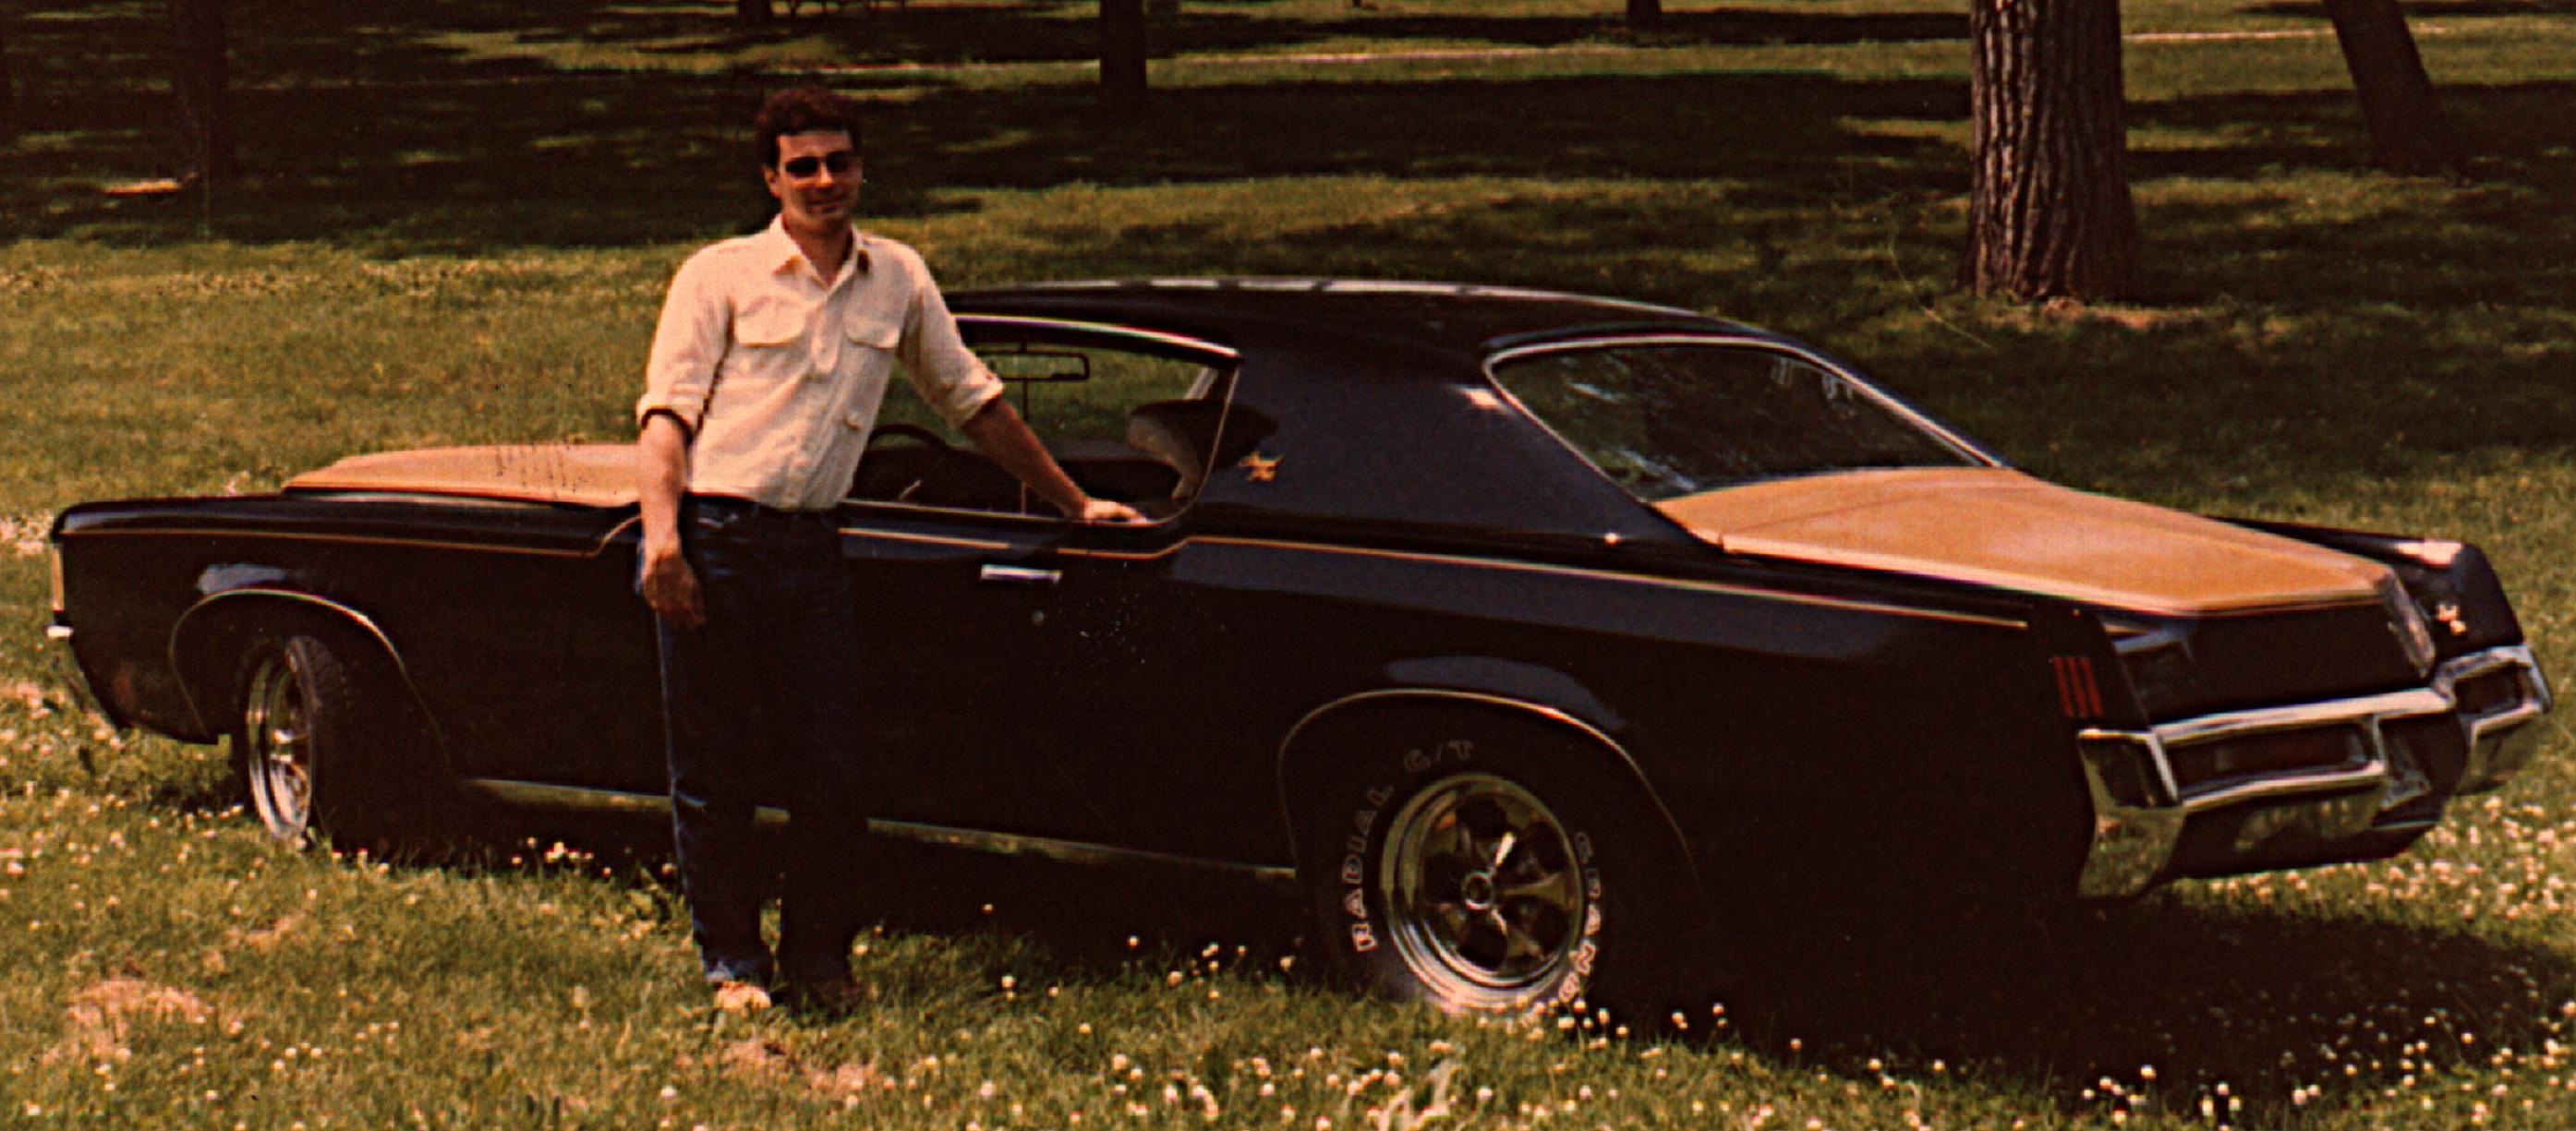
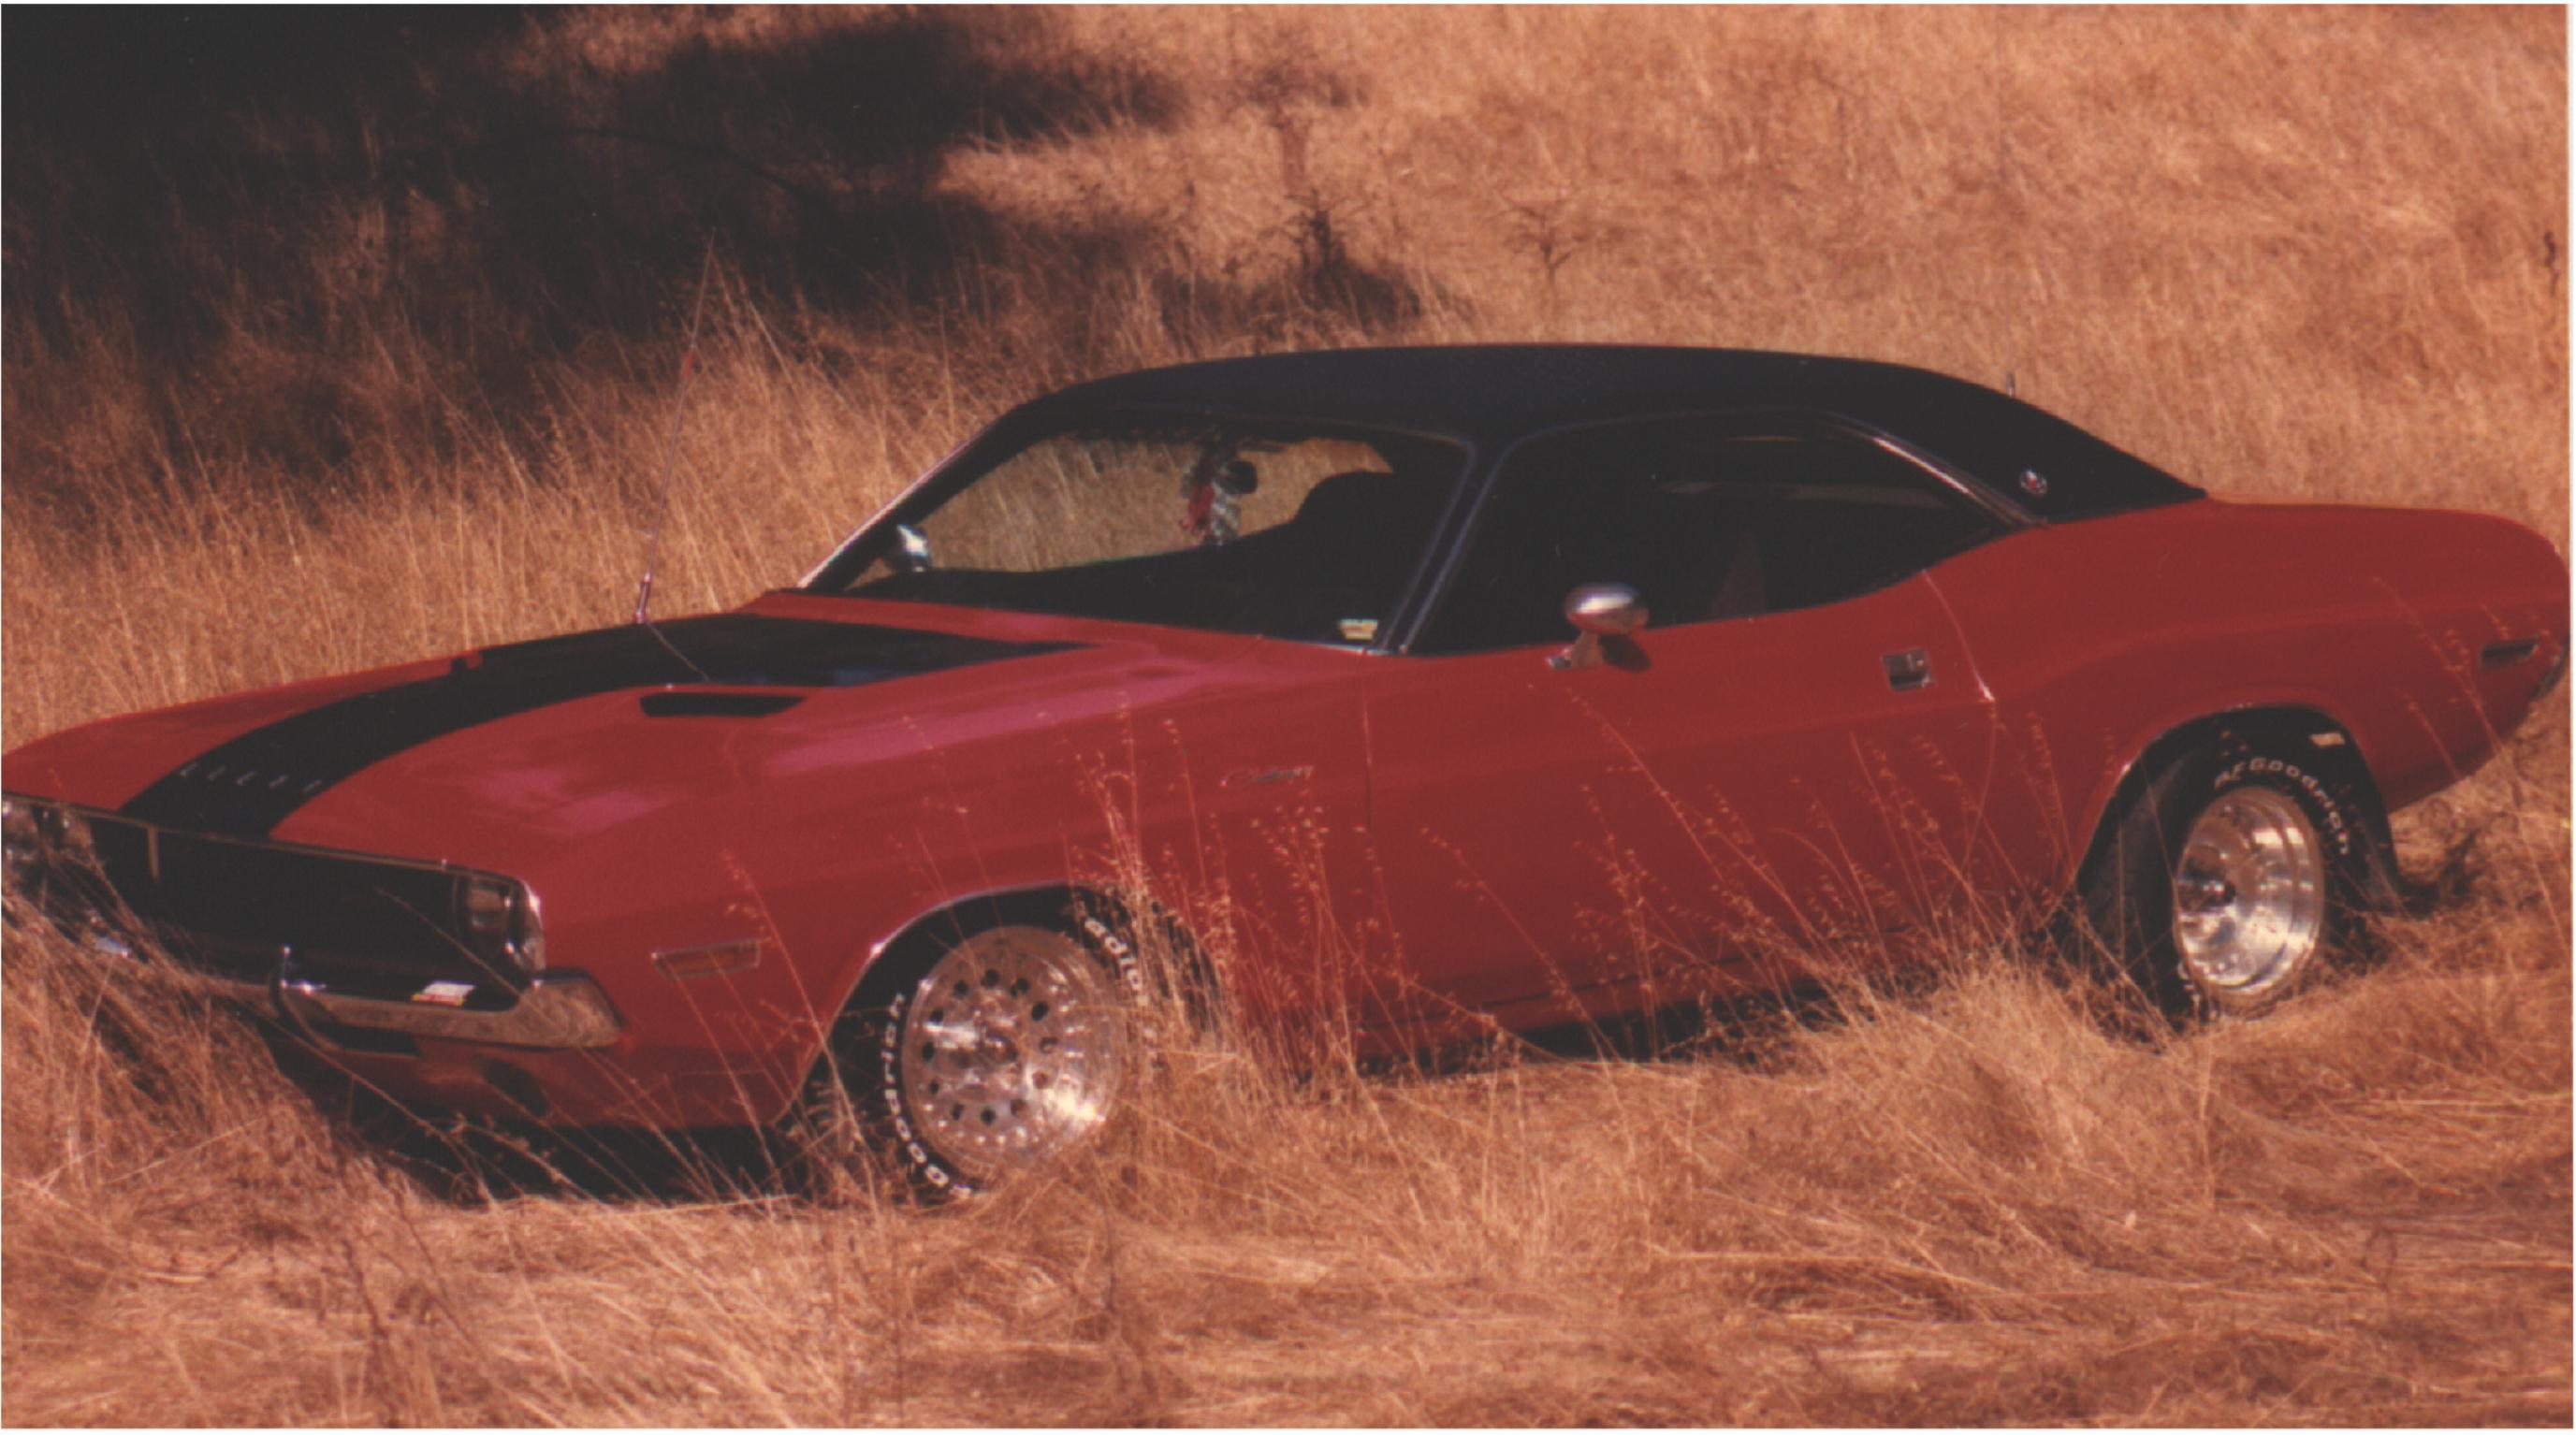
I graduated in '79. All my friends were into cars. Back then muscle cars were just 10-12 year old used cars and were dirt cheap. Our little group had all these cars... Red black striped 69 Chevelle SS 396 4-speed Dark metallic green 69 Mustang Grande 351 Winsor with flat black Mach 1 hood Dark metallic green 67 Firebird 326 3-speed taken out 400 4-speed put in Copper metallic 69 Coronet 440 with a 383 Dark metallic green 72 Duster with a 225 leaning tower of power Red 70 Chevelle SS 396 4-speed with the whole speed parts catalog thrown at it then bought for $1000 Light green 67 Mustang coupe 289 Mine was a gold 68 Malibu with a 307 powerglide (and scary 4 wheel drum brakes) A few years later I got my 1st Grand Prix (see pic) My best friend had a 70 Challenger R/T SE
-
1972 Oldsmobile Indy Pace Car Convertable to Hardtop Conversions...
Bills72sj replied to Katsusauce's topic in Model Cars
Very nice builds both. Where did you get the wheels on the copper one? I am working on a 74 Indy Pace car. -
Nice Camaro. I had the same problem when I put that fuel injection intake on my 69 ZL-1 Camaro. I ended up shaving the intake manifold under the box and very carefully thinned the hood that was already painted and decaled.
-
Your rig photographed in your diorama really brings out the illusion it is a 1:1. Did you subtlety highlight the Firestone lettering on the tires or is a trick of the lighting?
-
Thank, Steve. It will. It looks kind of Pontiac's light metallic blue with more of an Aqua tint to it. I have a number of metallic paints stocked up now I can probably get close enough.
-
Thank you. The link was an excellent read. I now know my 455 needs to be blue with a dual snorkel air cleaner. It should have the Hurst Dual Gate shifter/ (not sure if/how I will do that). At least I already have the W-30 callout decal correct.
-
Isn't there some sort of mid 60's Mercury Comet/Caliente/Cyclone that have similar tail lights?
-
Following. I am about to work on the 455 engine for my 74 H/O. I too would like to know the correct color.
-
Ooops, I forgot about them! I just cleared both sides so it is too late now.
-
Thank you Anton and John.
-
That turned out very nice in spite of what you started with.
-
Started on the chassis assembly and glued in the interior.
-
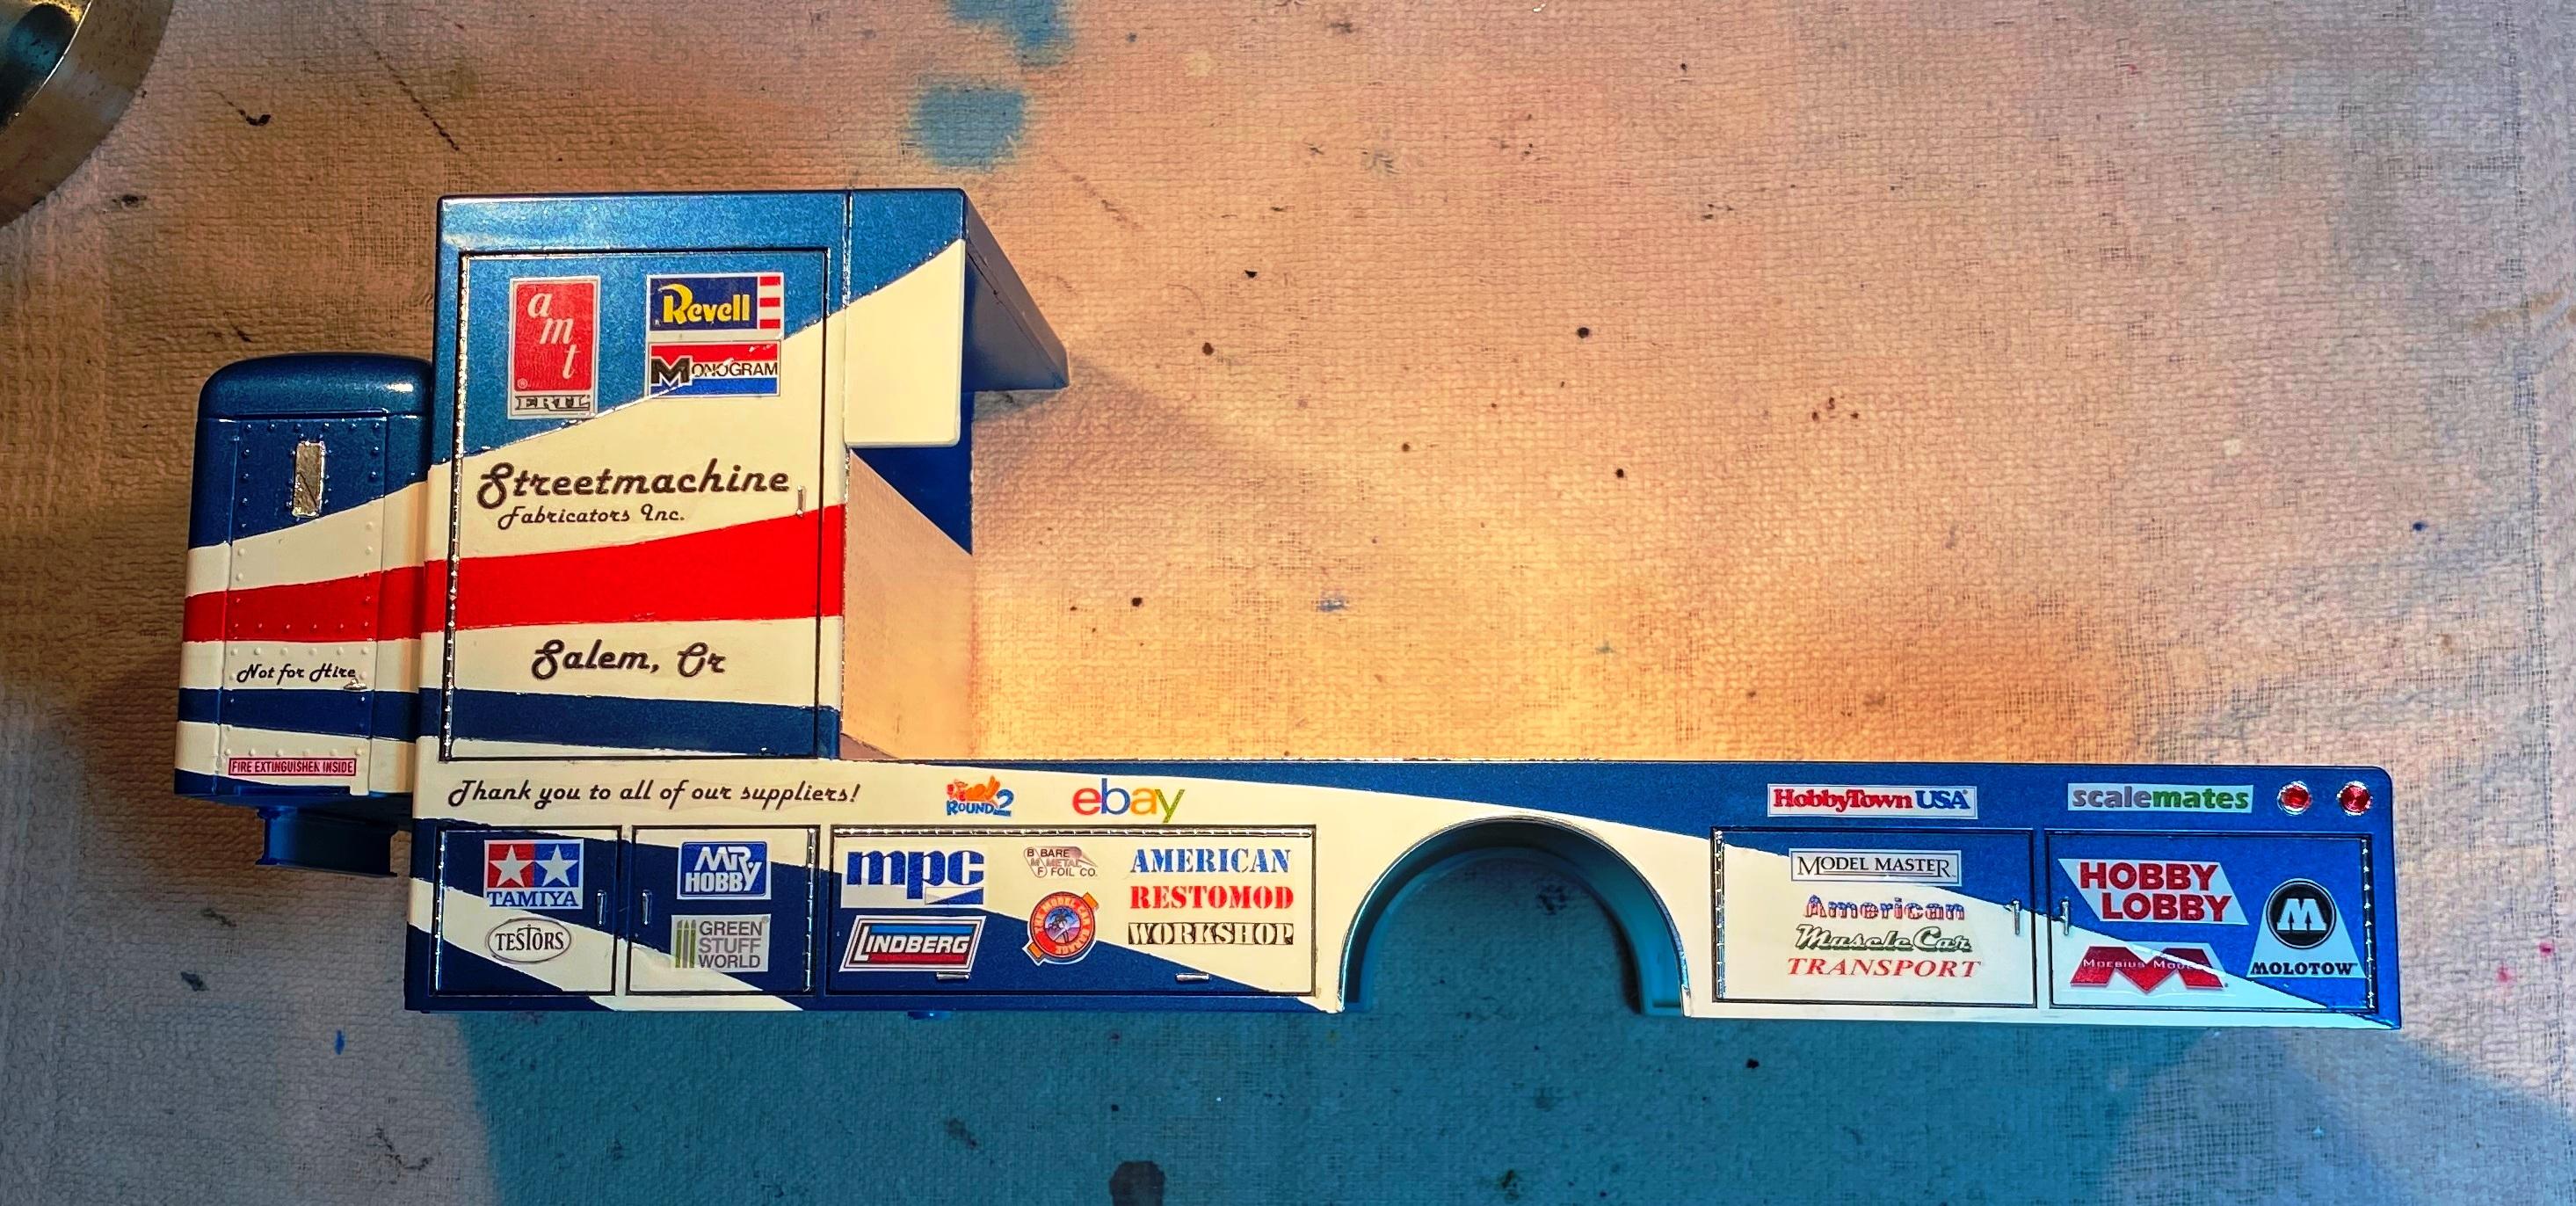
I was contemplating what livery and/or contingency decals to put on it to "decorate" this cake. I came up with the idea of most the products and vendors I have used in the past. So I spent some time and made all the decals from scratch. This is my artwork files dropped on a scanned pic of the hauler. This is the layout as planned. This is the actual layout after experimenting with the decals as printed.
-
I used to be on the hunt for one of these but I gave up. They were always a bit to pricey. Besides, I already have the double my remaining lifetime stash problem. Nice color BTW.
-
Ready for BOOT HILL EXPRESS - The DRIFT edition?...
Bills72sj replied to Claude Thibodeau's topic in Model Cars
Those intake and exhaust tubes are way cool. -
Nice 67 in my favorite color scheme. Do you have a pic of the box art?
-
You sir, are a true artist. Very impressive paint job.