Mattilacken
-
Posts
3,673 -
Joined
-
Last visited
Content Type
Profiles
Forums
Events
Gallery
Everything posted by Mattilacken
-
Days of Thunder Sequel Maybe
Mattilacken replied to Leo64's topic in General Automotive Talk (Trucks and Cars)
I cant agree more. I must say if its in line with Ford vs Ferrari i am satisfied! Seems like Cruise has no role in this one so i might gotten that wrong. -
1/16th Scale 1980 Reher-Morrison Pro Stock Camaro
Mattilacken replied to Ian McLaren's topic in WIP: Drag Racing Models
Nice! So cool that we can do these kinds of builds today! -
Days of Thunder Sequel Maybe
Mattilacken replied to Leo64's topic in General Automotive Talk (Trucks and Cars)
And you can always push the pedal further to the floor! btw he have made a new race movie but with F1 cars. I hope it’s better than DoT. 300 million budget. -
Nice build. It has been a similar struggle for me with different kits since I wanted to build a street car
-
Cool! Never seen that kit, will be following!
-
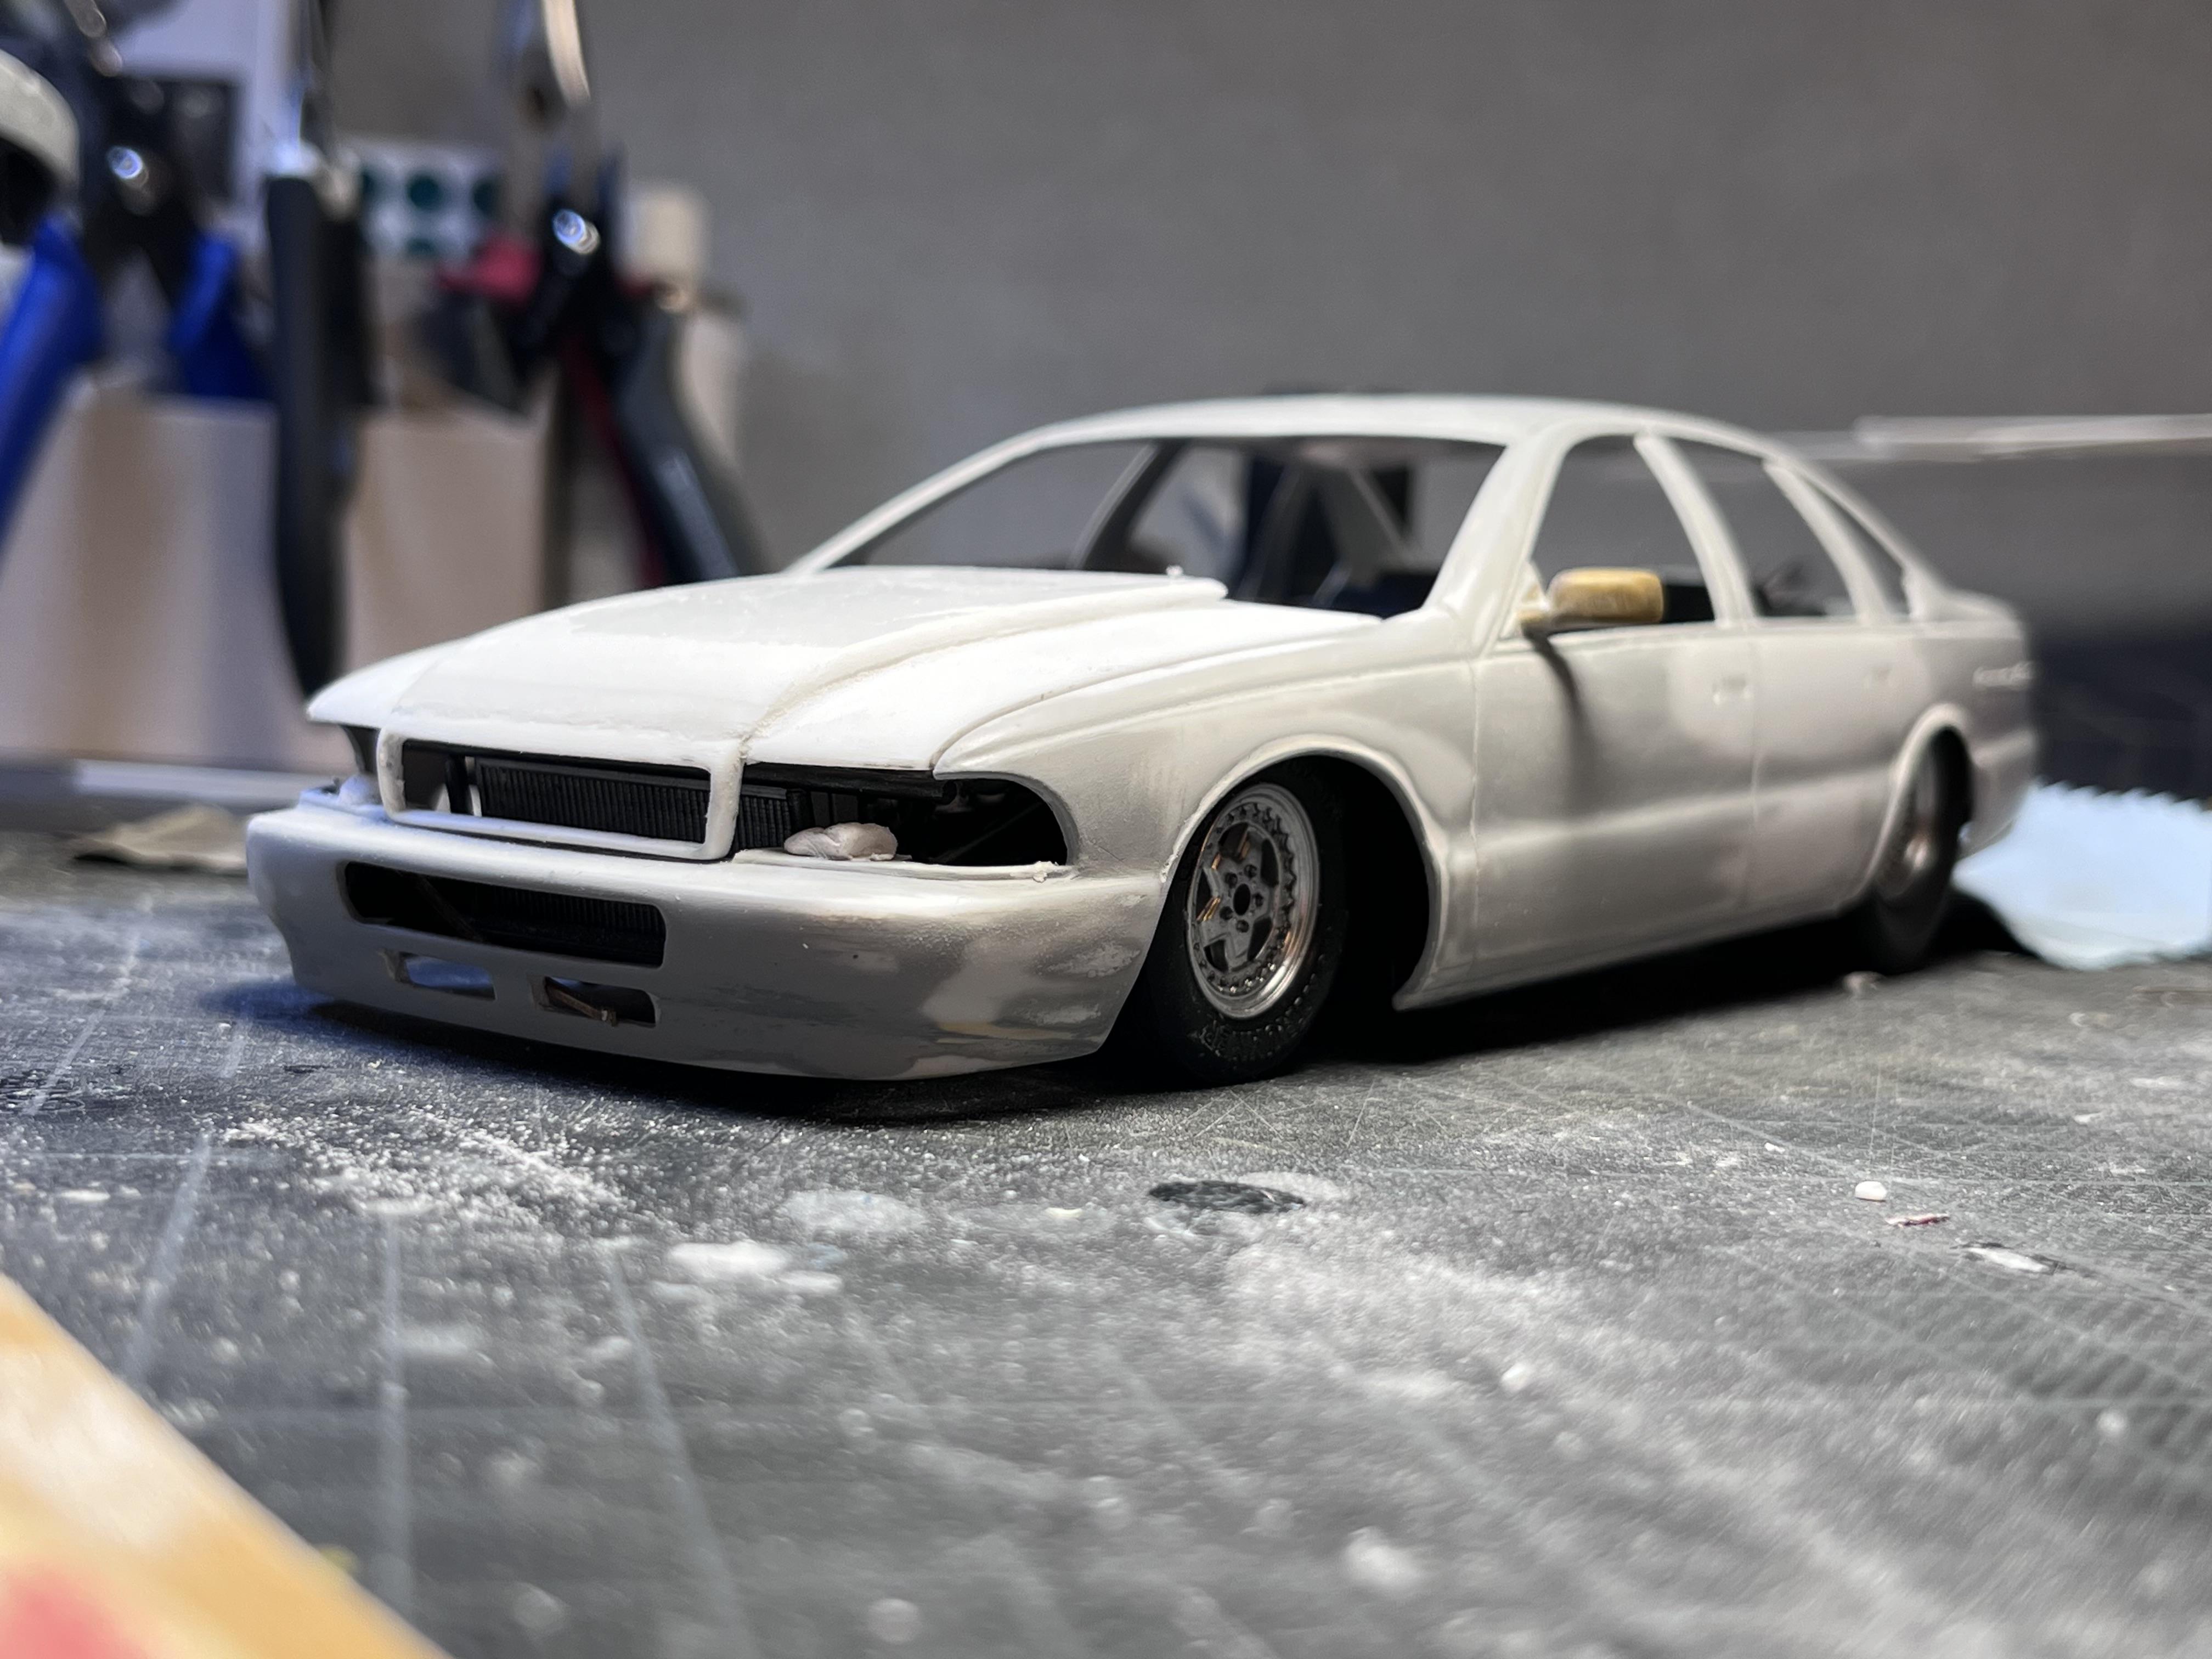
Who doesn't love a mock-up? Let's see yours!
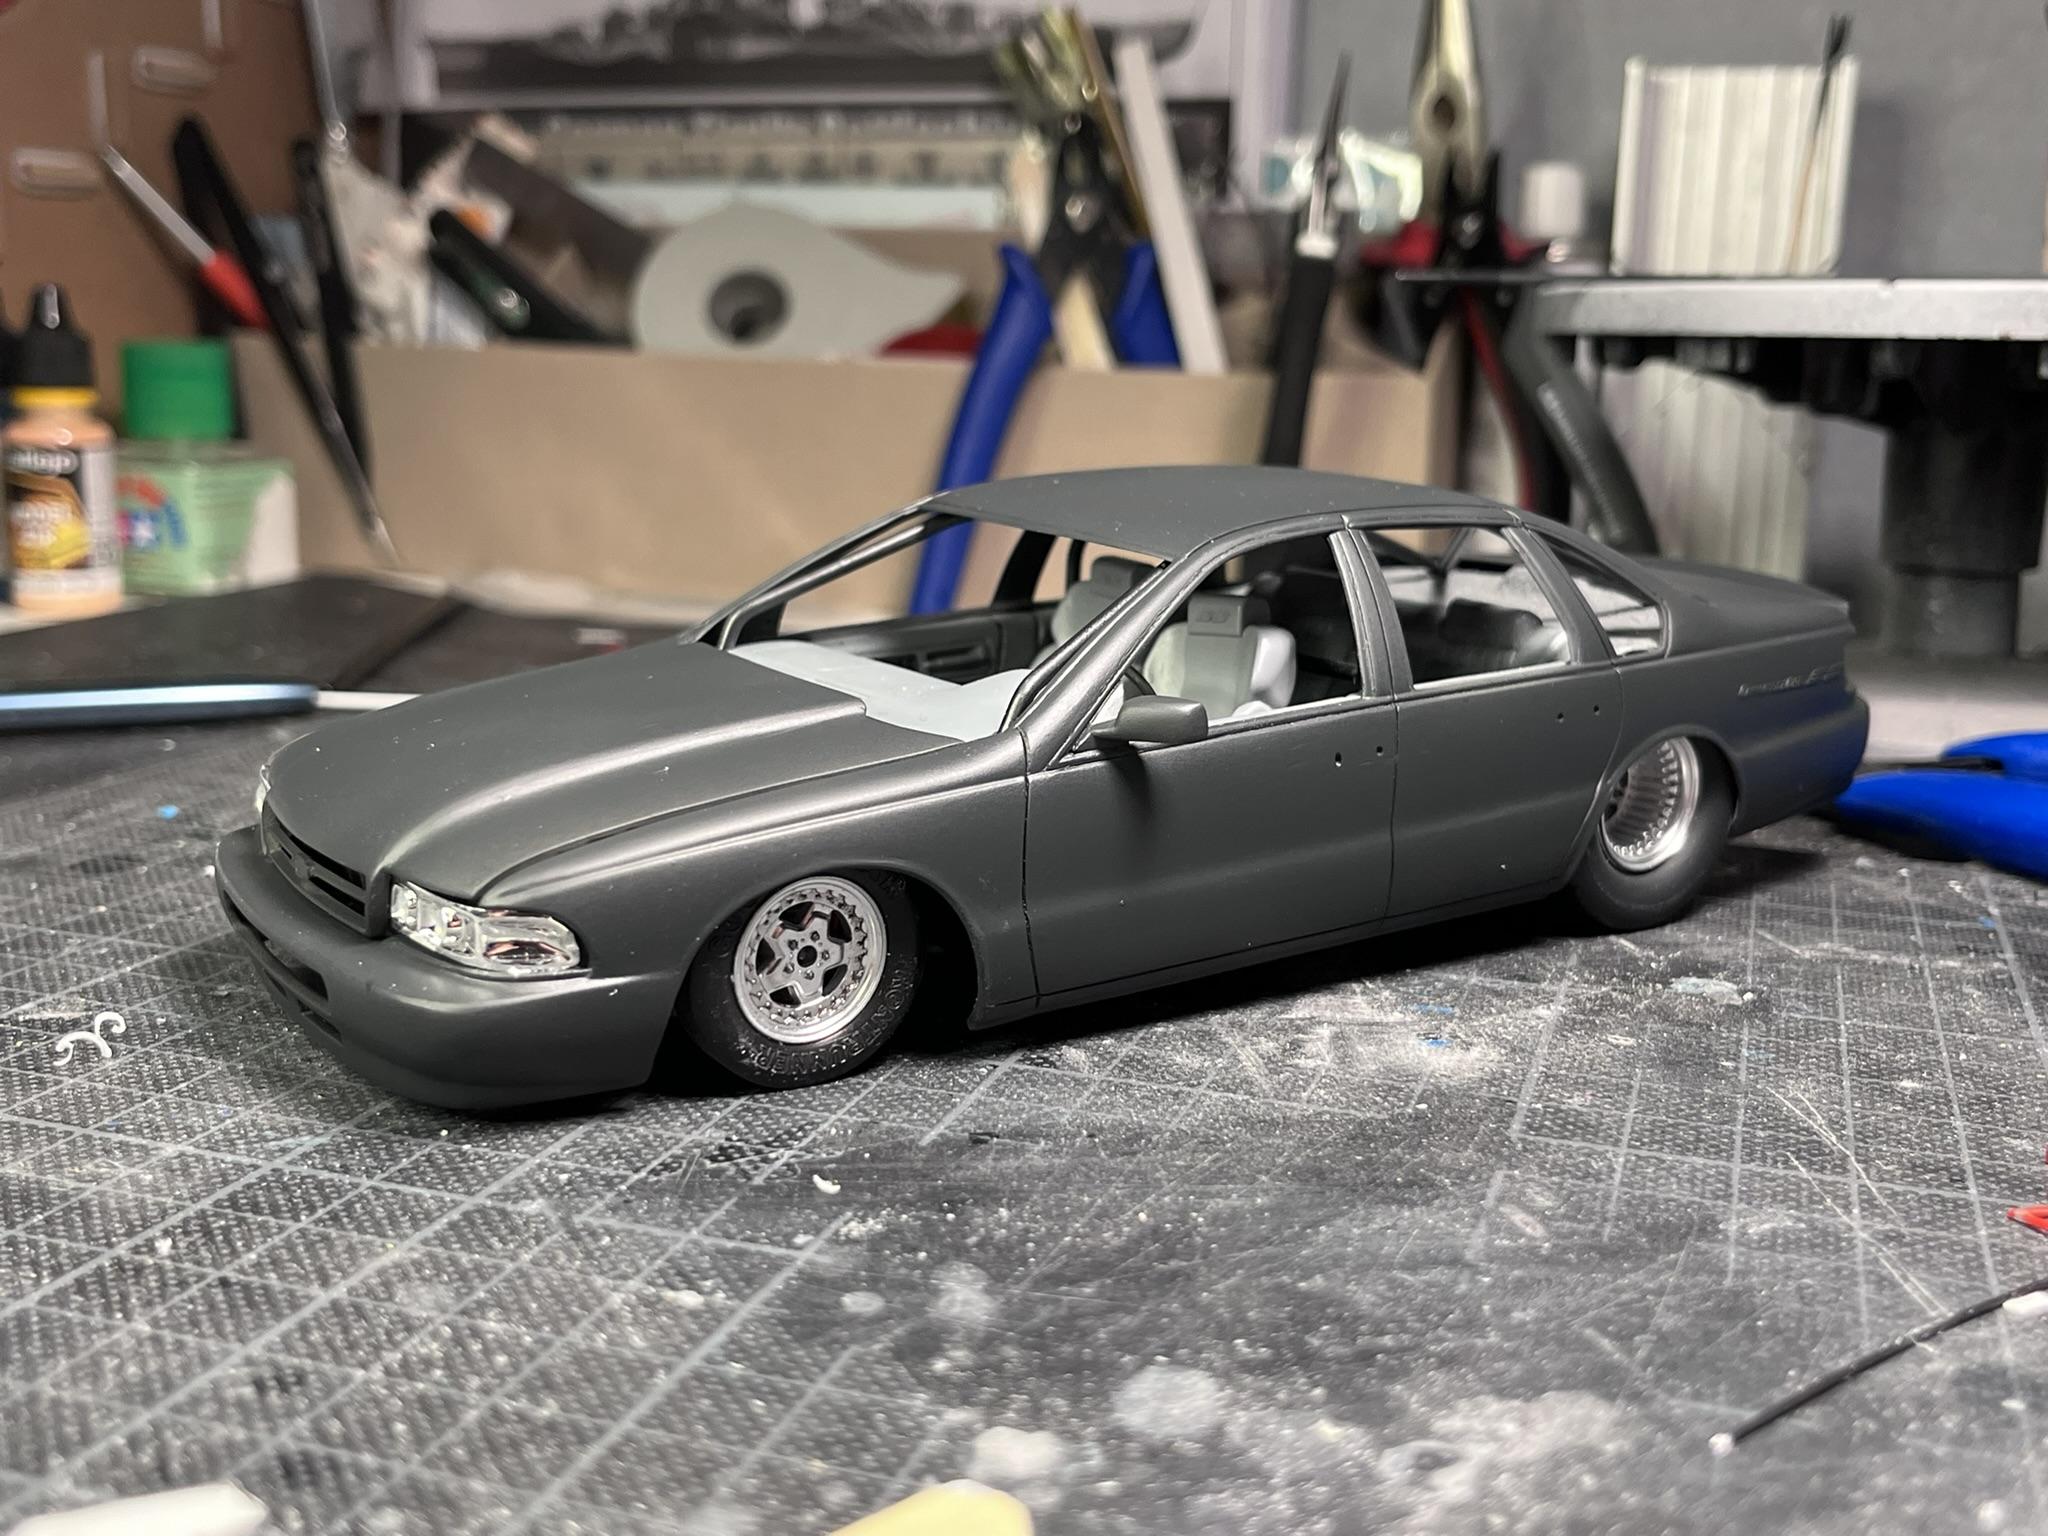
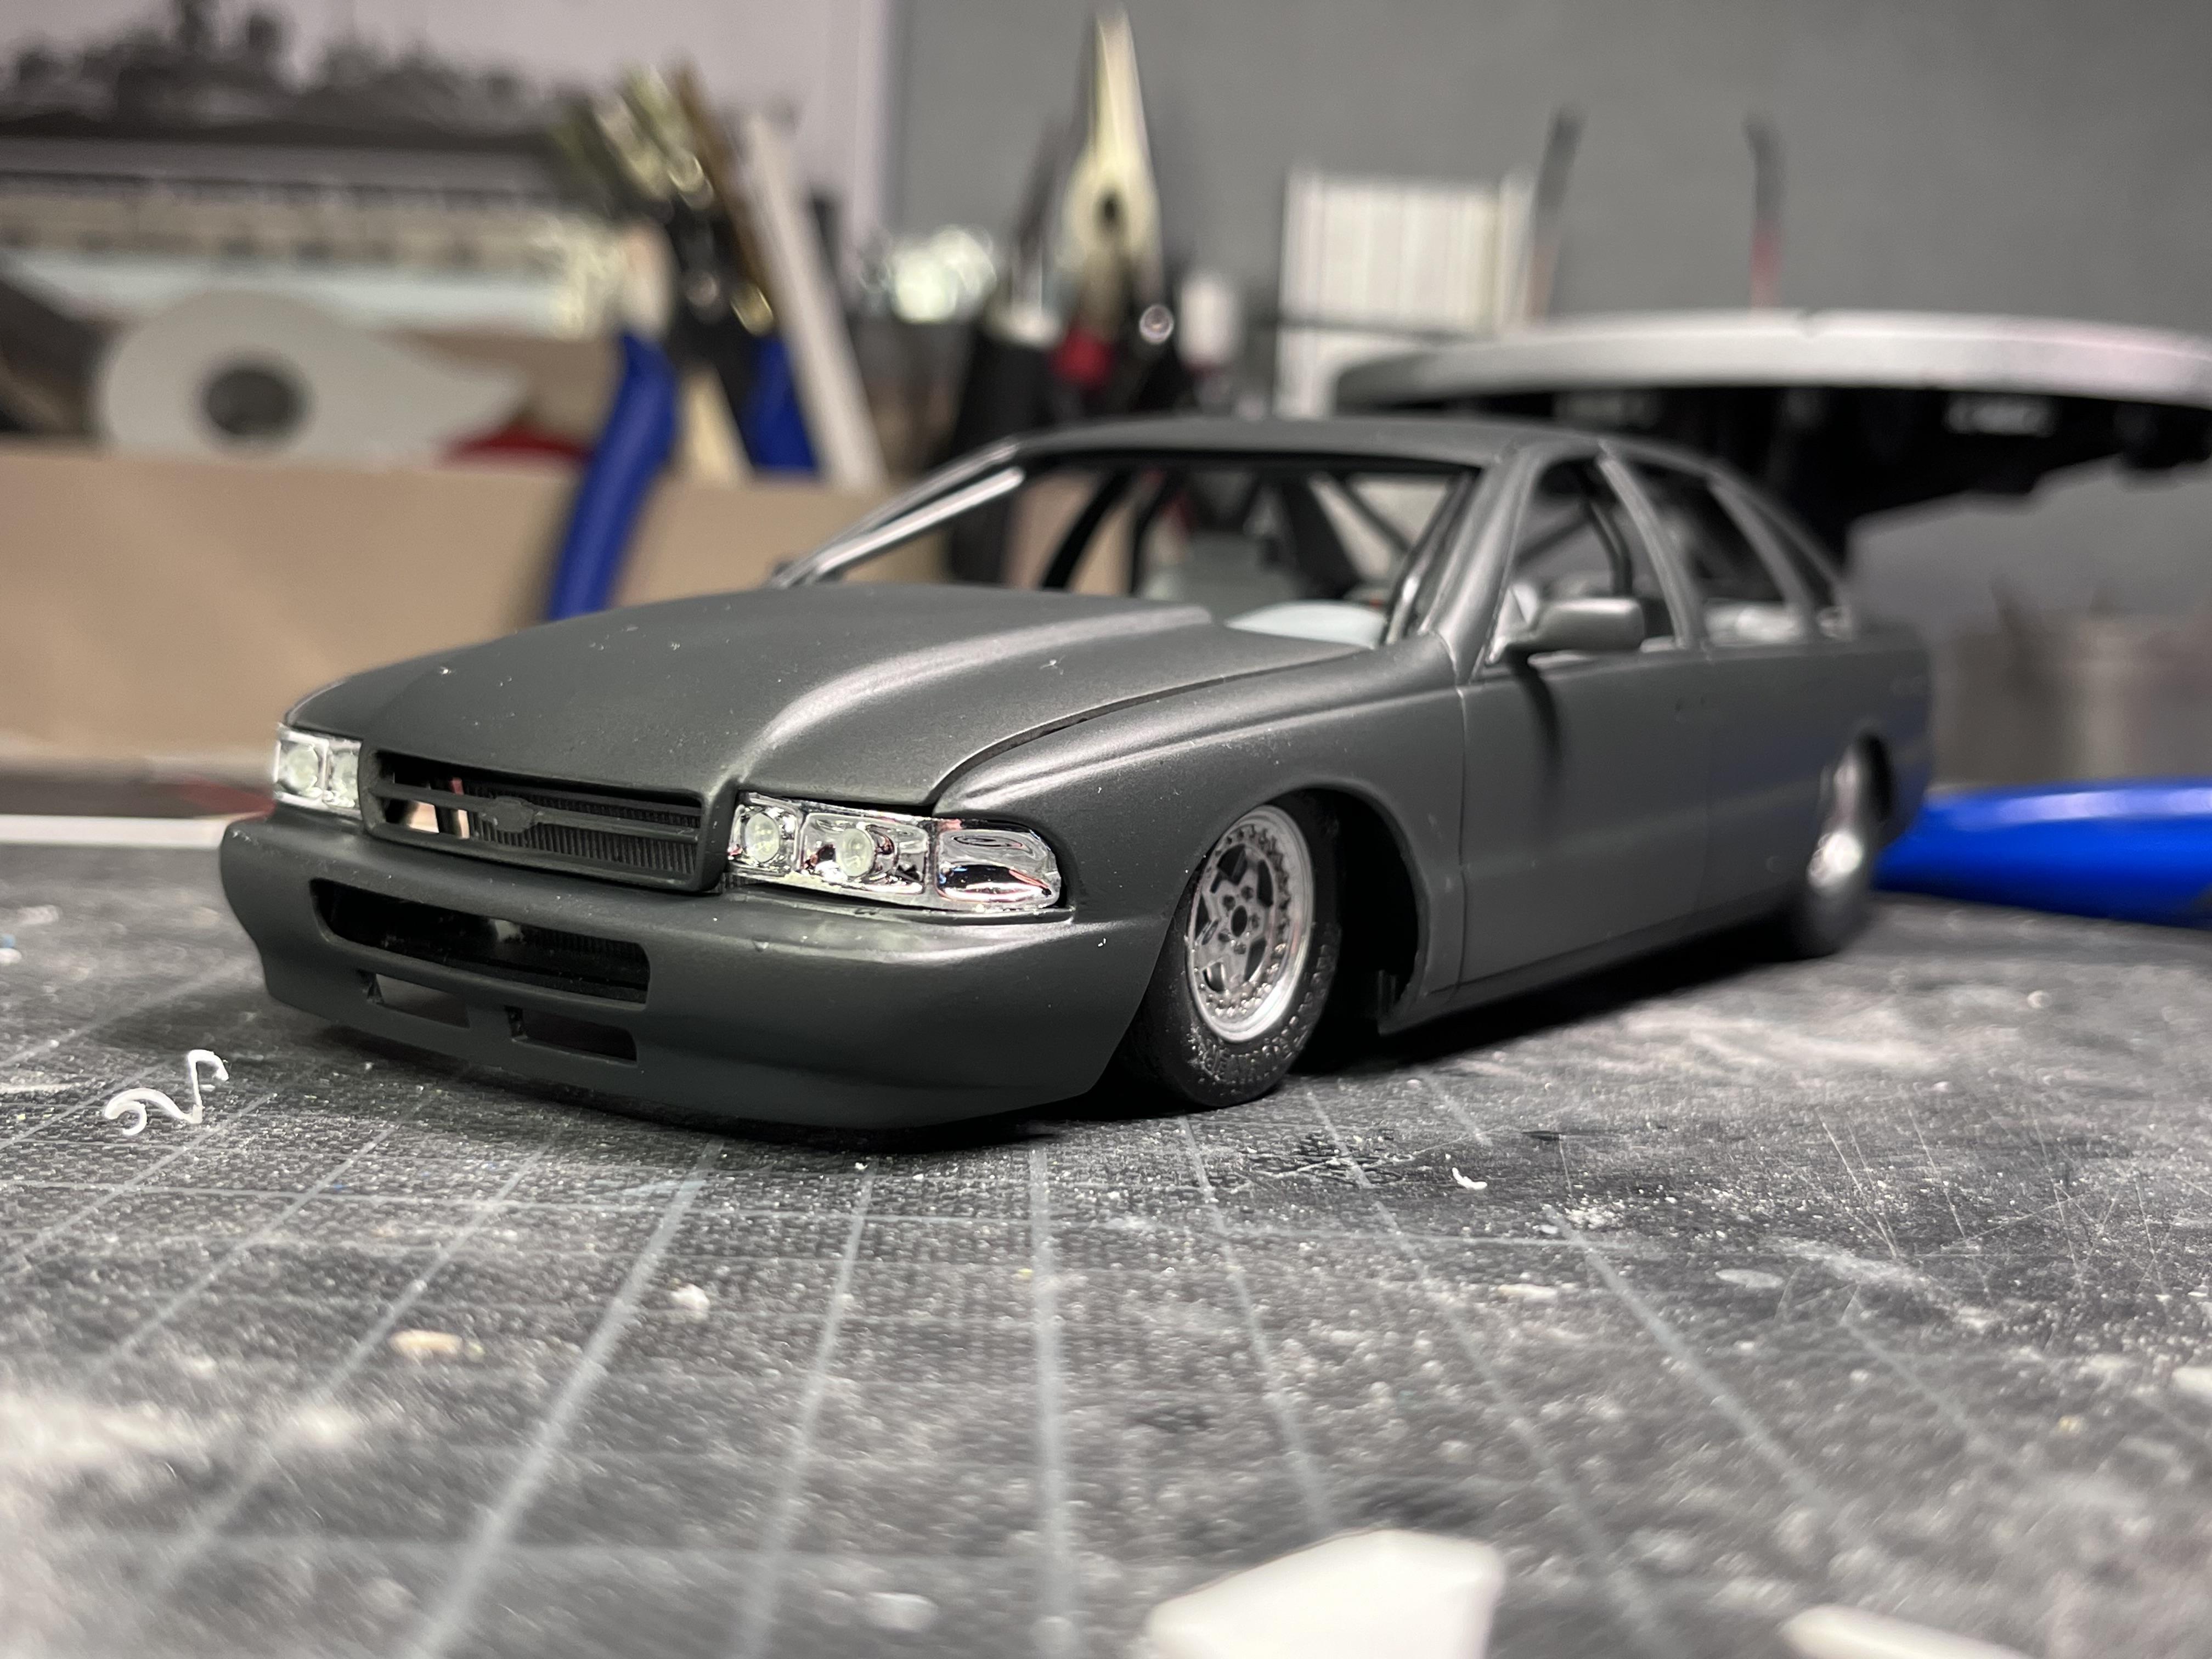
Mattilacken replied to Belairconvertable's topic in WIP: Model Cars
Had to do a poser shot after base coat.
-
Base coat!
-
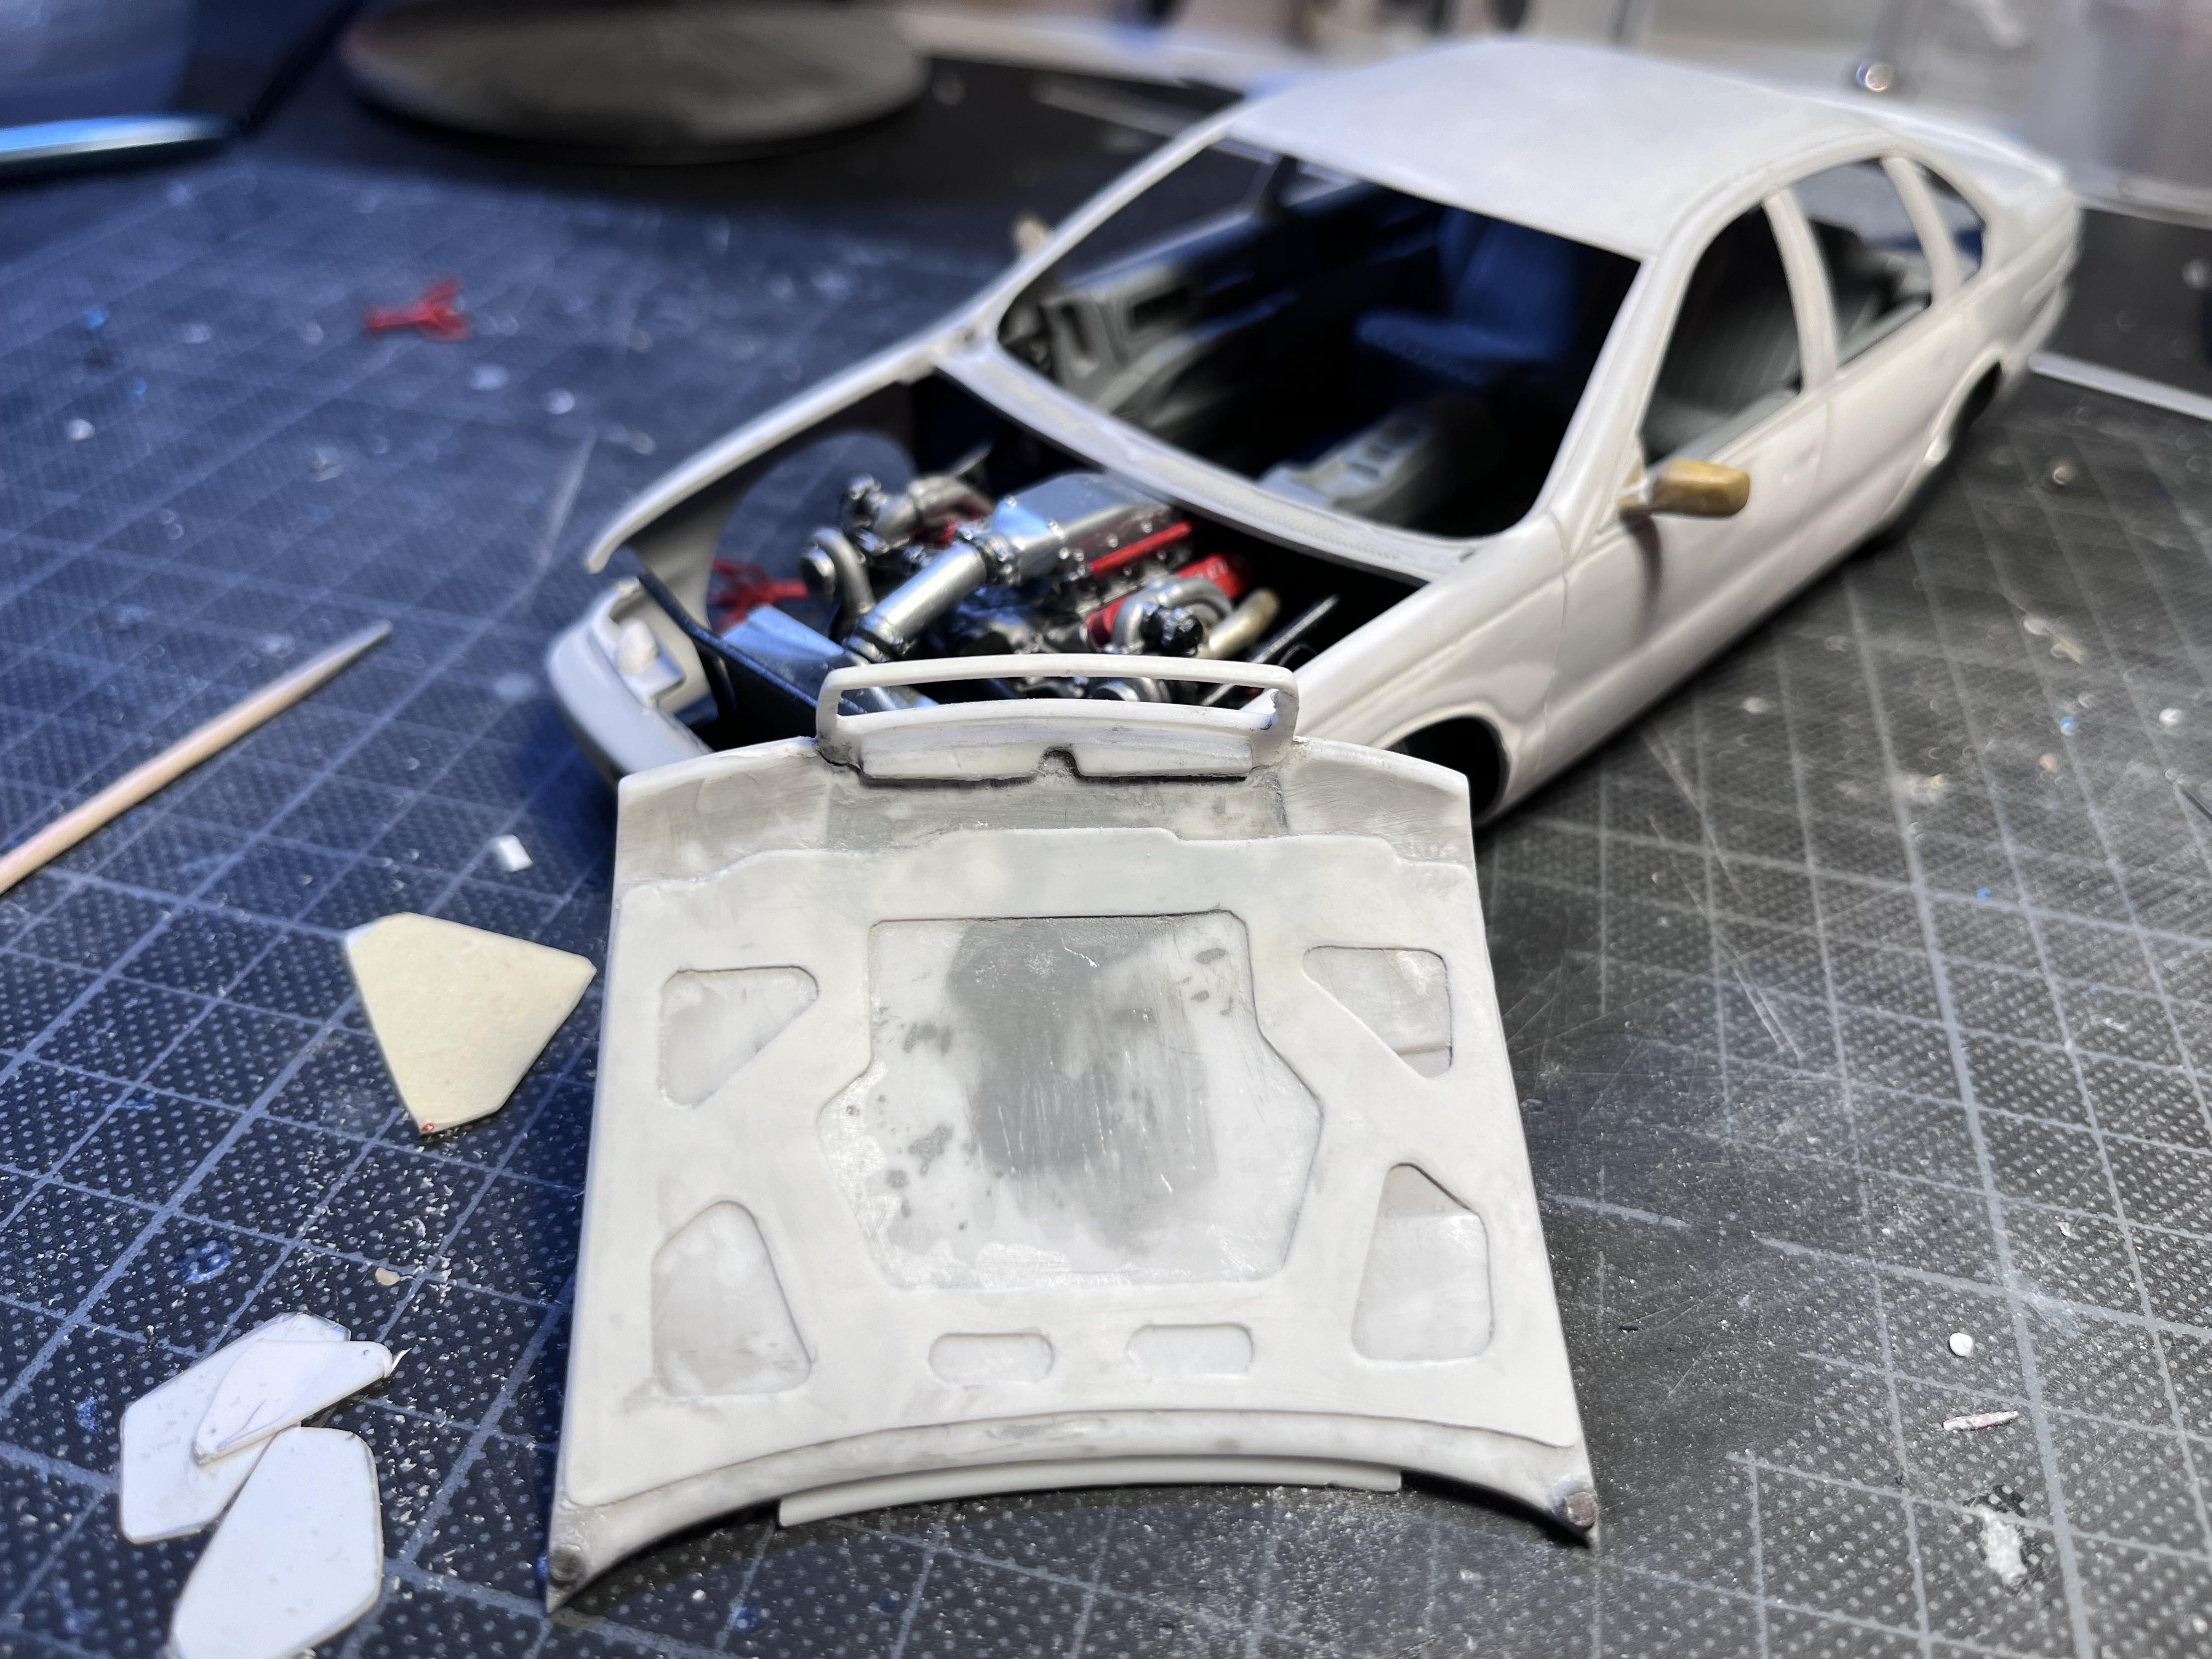
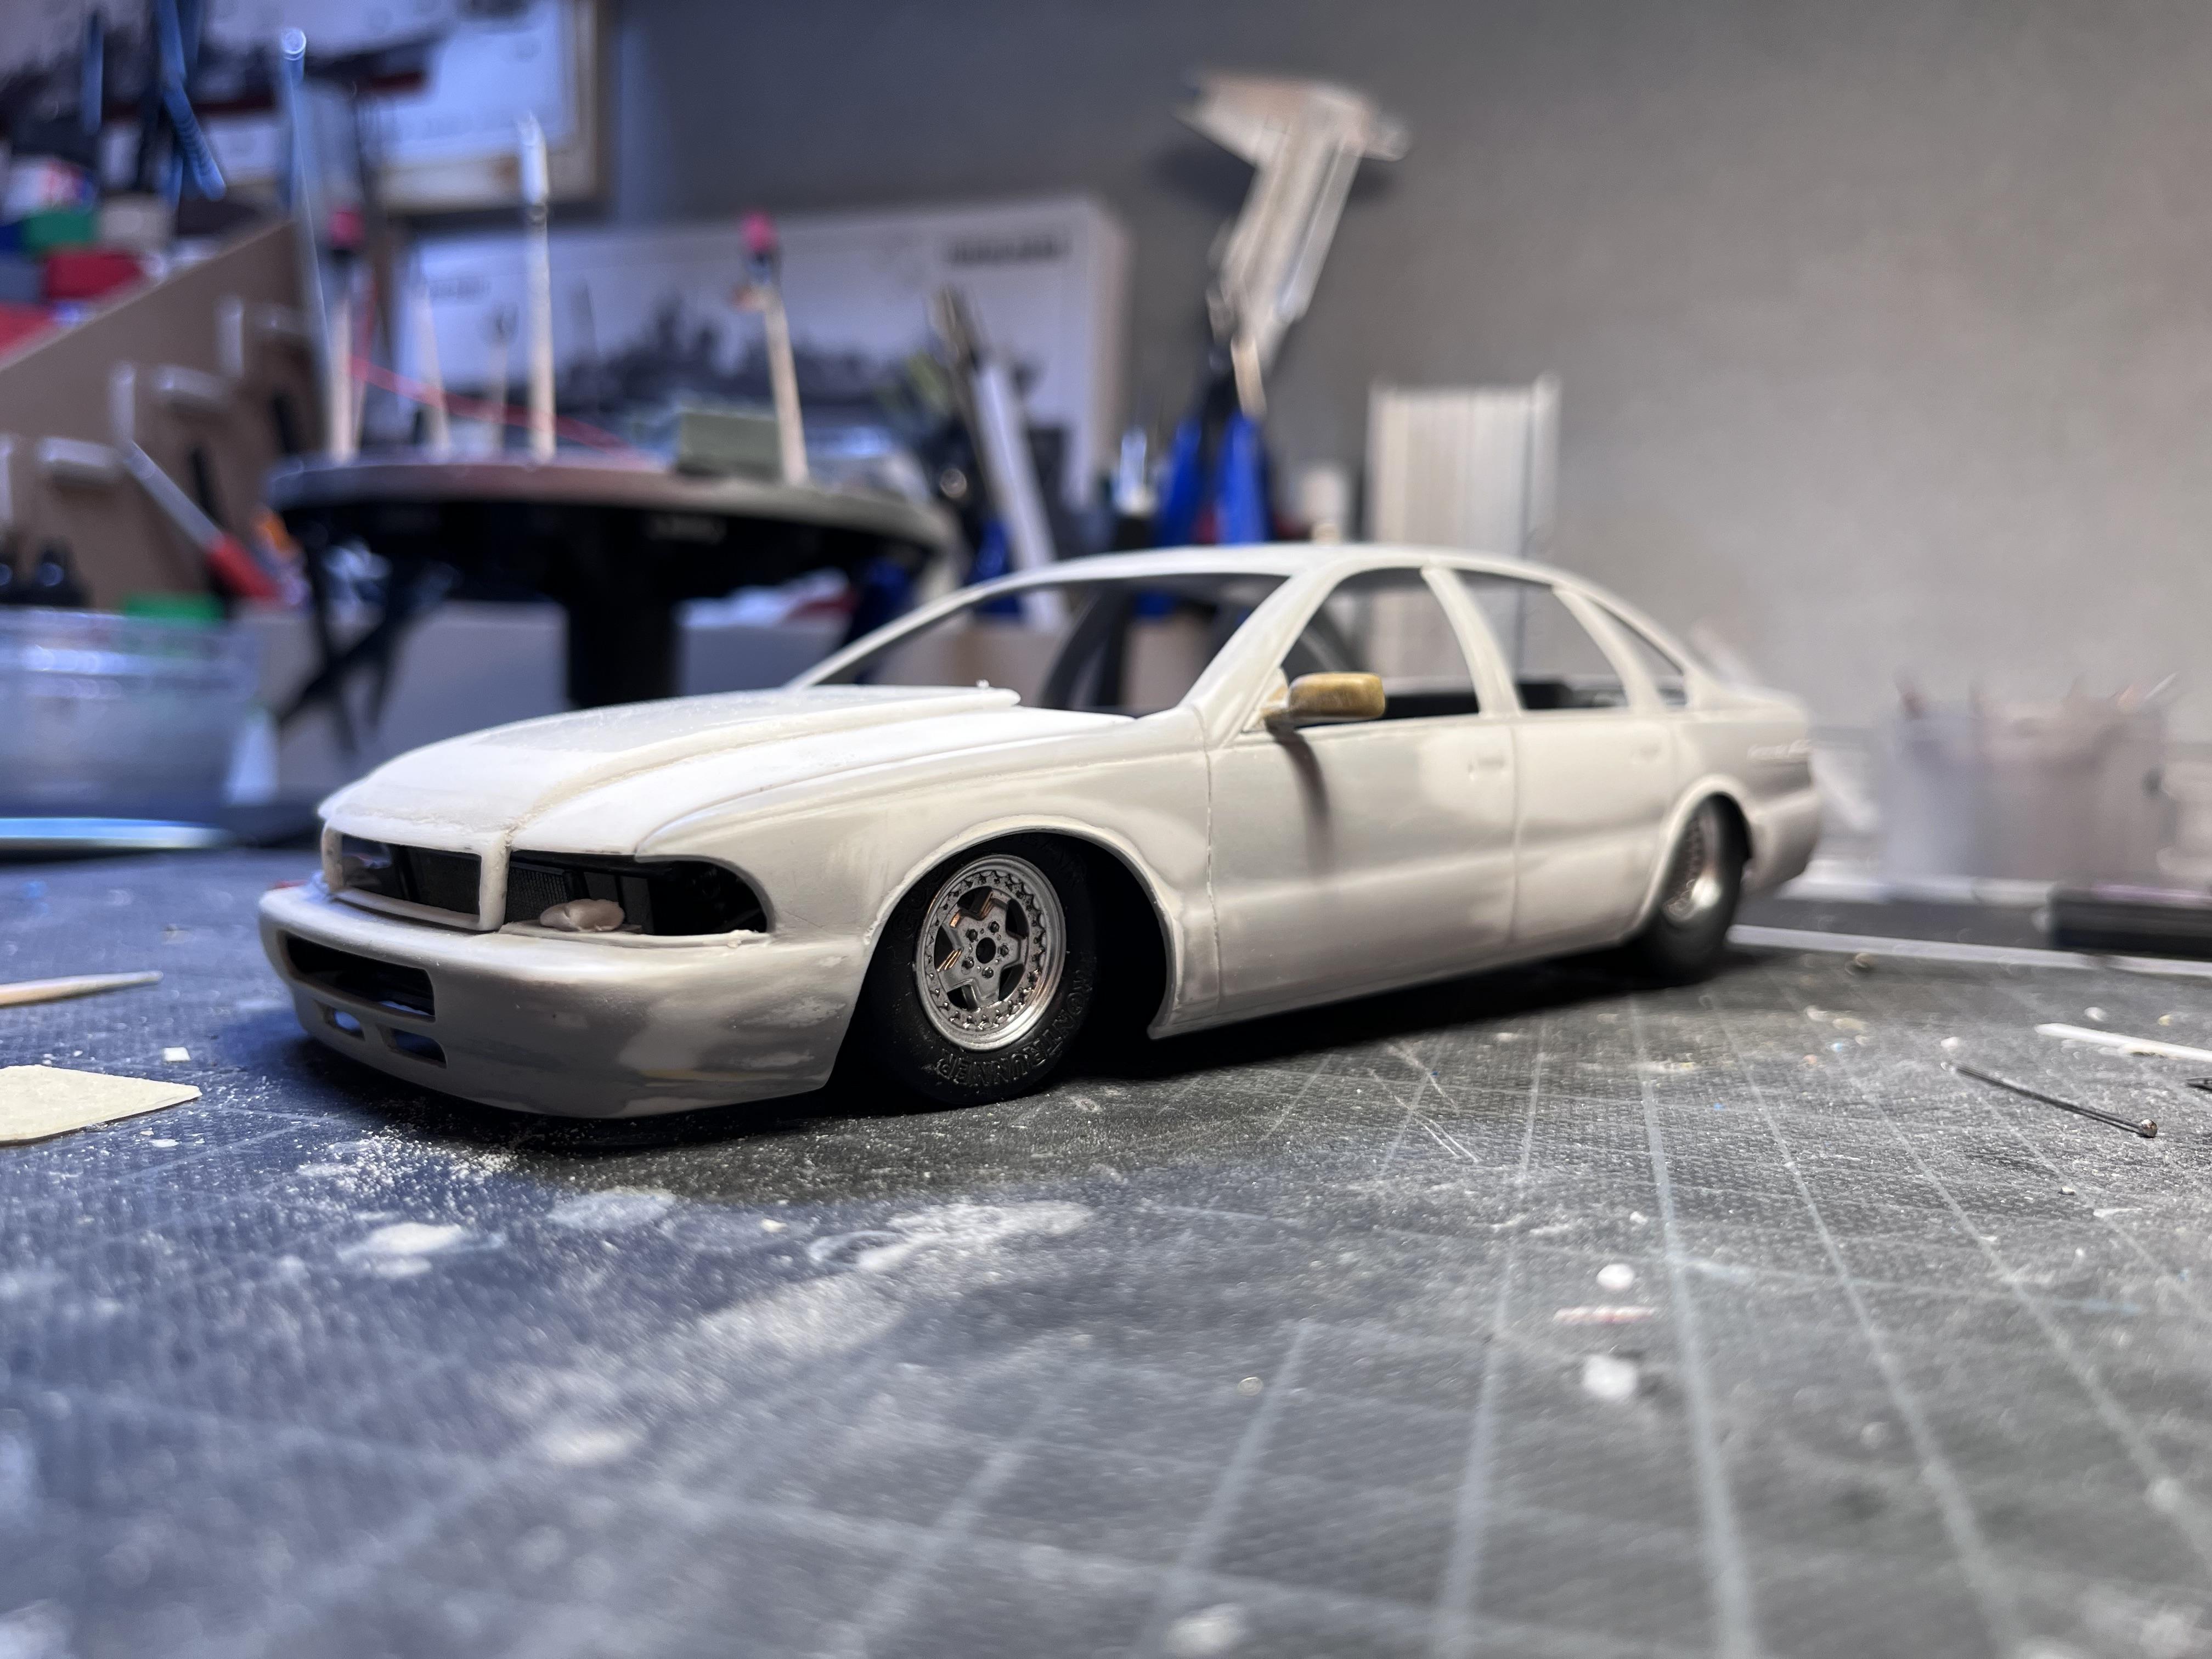
I believe the hood is done. Some sanding on the trunk and I hope to go to primer tomorrow! Fingers crossed! I wanted the hood to look almost like an Stock hood but with more attitude kind of a performance version I think I nailed it with stacking an other as hood on top of the other one ?
-
A Team van
Mattilacken replied to avidinha's topic in WIP: Model Trucks: Pickups, Vans, SUVs, Light Commercial
Nice build! Why can’t you paint during winter? No sprayboth? That sucks never the less. I had to build a both so I could paint since our winter is so long here above the arctic circle. -
Such a nice build! Any updates 2 years later? Did you look at the lights any more? I actualy bought the Burago 1/24 die cast to try to make it in to a nice model in that scale. And I do have the Revell one but i am no fan of the kit but might be ok thanks to 3d printed parts. I know I have some started even earlier still not done so thats why i revive this one
-
Thanks mate! For sure, it’s been a long ride and still ton left. I will try to get the good done so I can paint the body. And when my latest supply purchase arrives I can finally finish the wiering.
-
Nice builds! Good job there!
-
Nice builds! any progress on these 2?
-
Nice start on a great topic! Keep it going!
-
I have made progress over the last week but not much to show. But both hood and trunk are now secured with magnets. I also made a structural brace based on the 1:1 underneath the hood. And after almost destroying the hood since it’s so thin I decided that I needed a power bouldge on the hood so here is my first take on that. Lot of finishing needed. comments are most welcome
-
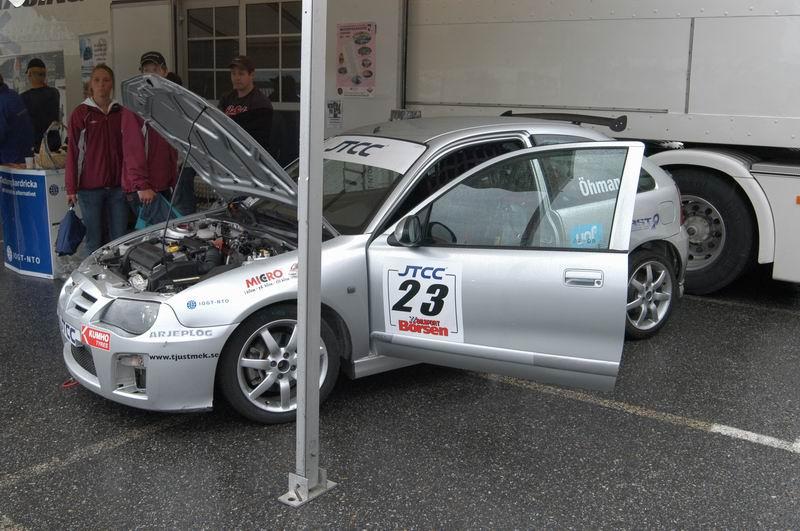
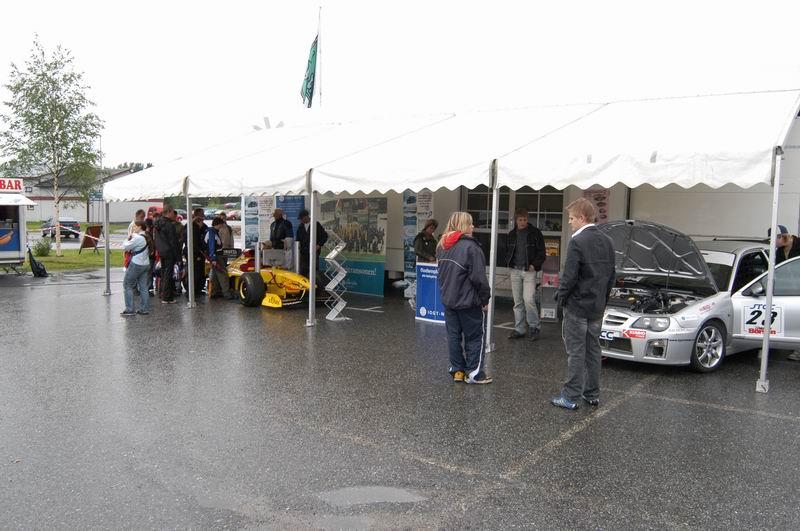
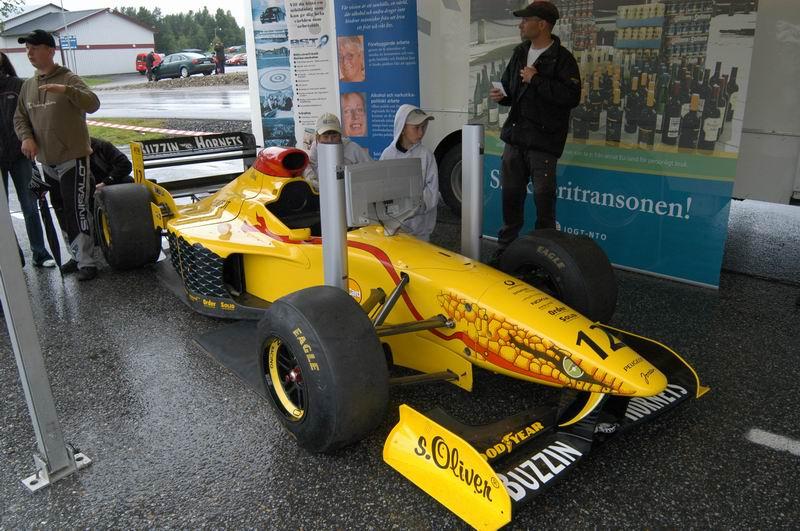
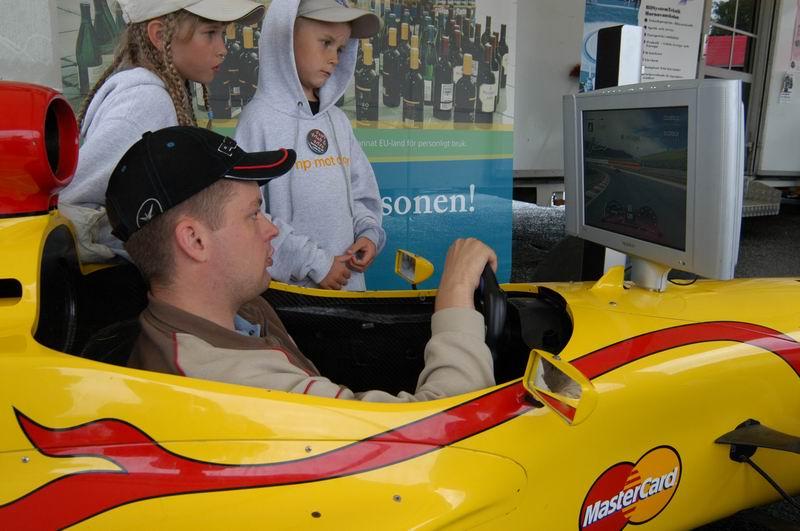
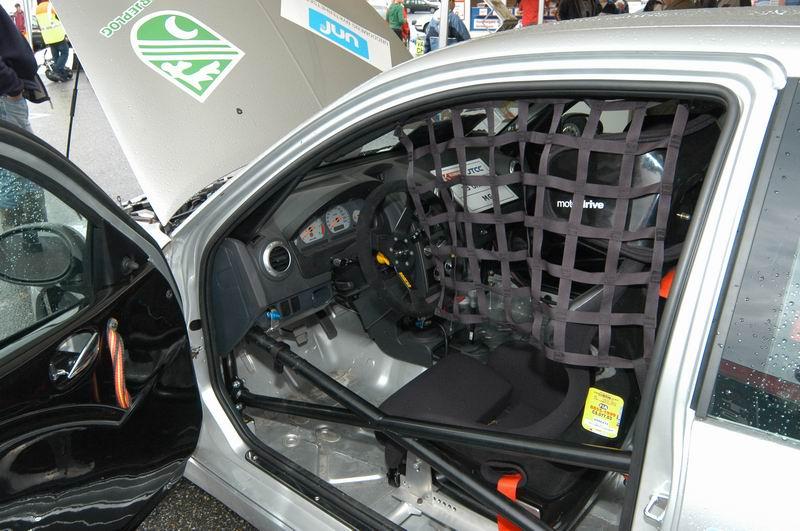
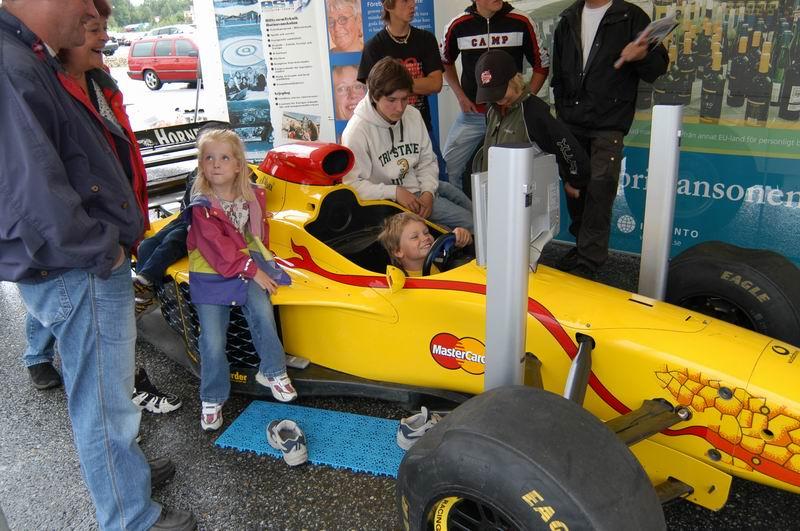
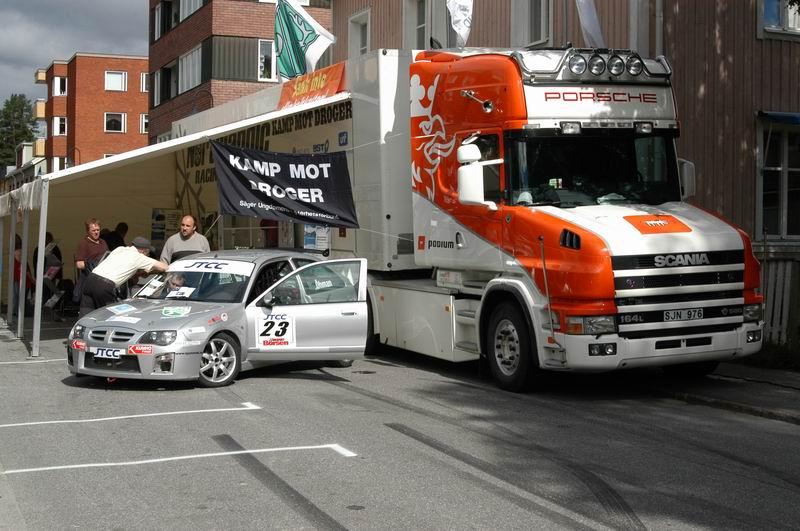
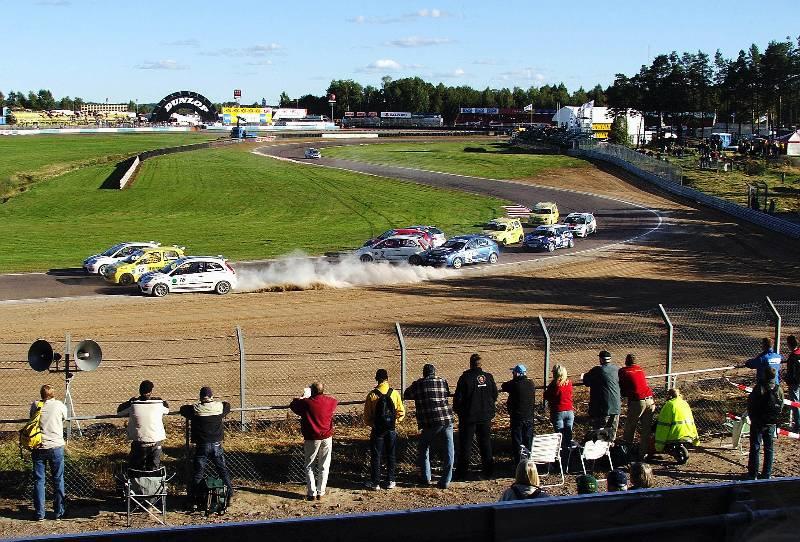
Jordan 197 R.Schumacher 1997
Mattilacken replied to Mattilacken's topic in Other Racing: Road Racing, Salt Flat Racers
Thanks everyone for taking time to comment i apriciate it allot! I found some of the old pictures from 2005 when we where racing in the Swedish JTCC. Here the tent can be seen with the F1 car aswell as our race car. Here is the setup with speakers and the screen, smal with todays view. This was our setup when touring the country on different race tracks. I belive we had 5 different drivers on the car. I was on marketing and stuck in the tent most of the time. I think our driver that time is in the center of the picture behind the white and read car where the dust trail starts.
-
Vintage Nitro Front-Engined Dragster
Mattilacken replied to OldNYJim's topic in WIP: Drag Racing Models
Nice build! Never been much for dragsters but this type is so hardcore so you got to love it! Parts looks great! -
Looks great!
-
Radwood Ready... Tamiya Mercedes 500 SEC Lorinser
Mattilacken replied to jaymcminn's topic in WIP: Model Cars
That’s such a nice car and paint looks good! -
Donnie, Cale, 1979
Mattilacken replied to Horrorshow's topic in Stock Cars (NASCAR, Super Stock, Late Model, etc.)
Beautiful builds there! Great job! -
‘66 Chevy Modified Stocker
Mattilacken replied to Horrorshow's topic in Stock Cars (NASCAR, Super Stock, Late Model, etc.)
Great livery! Looks killer! -
Uppdatera: JUN Supra tribute build
Mattilacken replied to Mattilacken's topic in Other Racing: Road Racing, Salt Flat Racers
Thanks! Can’t take any credit for the display, bought it from scale production ? thanks Pierre! thank you! Thanks Carl! Appreciate it! Thank you sir ? -
Cyber punk ‘88 Dodge Daytona/Mercedes C9 kit bash
Mattilacken replied to Steve H's topic in WIP: Model Cars
Looking cool mate! Will be a killer! -
Put a complete evening on sorting the AC system that this beast have so all five can ride in comfort! It was fidley.. but will be worth it. Not done yet by far but here is a first attempt.
-
#3 Dirt Devil Super Truck
Mattilacken replied to Mattilacken's topic in Stock Cars (NASCAR, Super Stock, Late Model, etc.)
Thanks Guys! And yes it’s a nice kit and I would like to buy some more.